
This may be one of my favorite DIY projects yet. Super cheap (less than $20), pretty simple and a result that is not only functional but makes a big statement in the room.
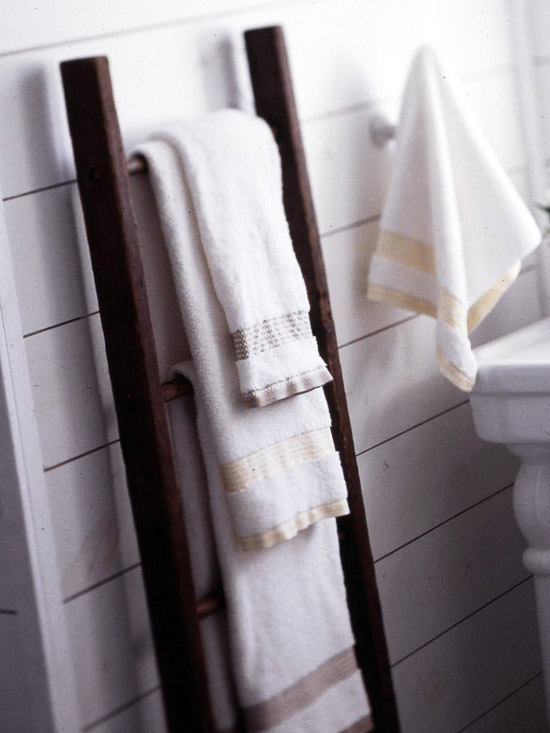
Here was my inspiration for the ladder found on Pinterest, originally from Better Homes & Gardens.
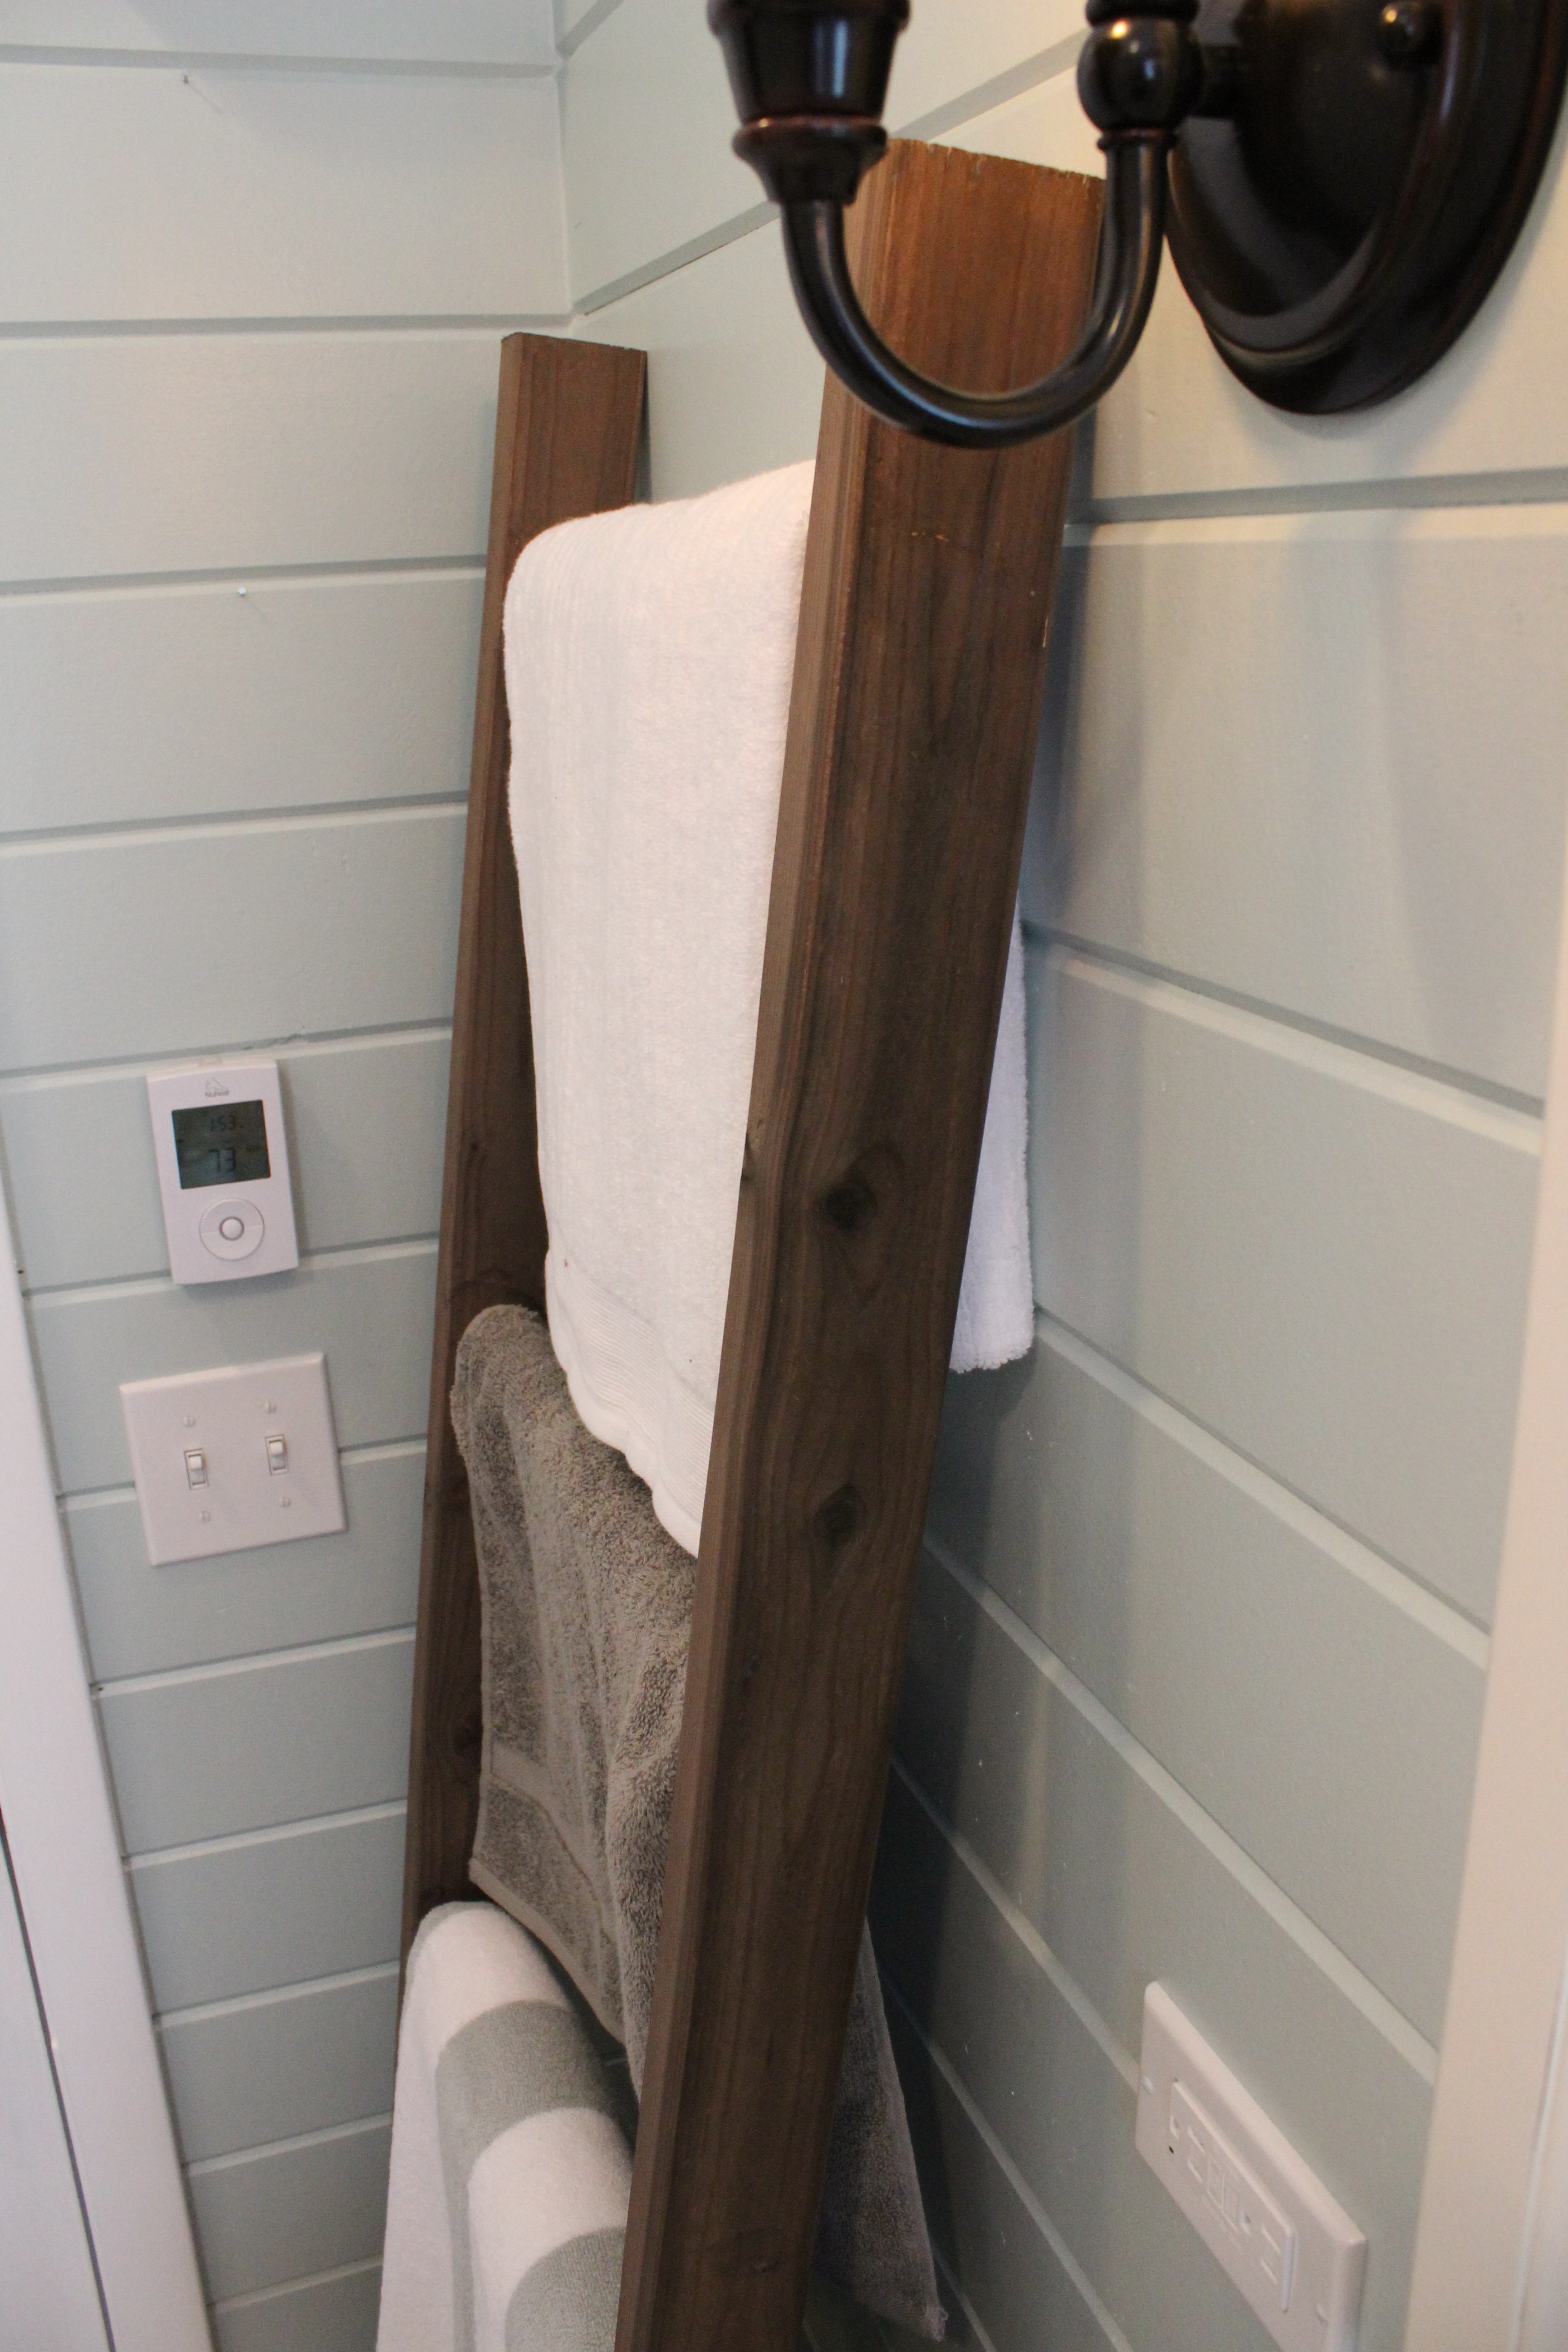
And here is our DIY-version in the newly remodeled guest bathroom (sharing big bathroom reveal later this week). Update: Bathroom revealed here!
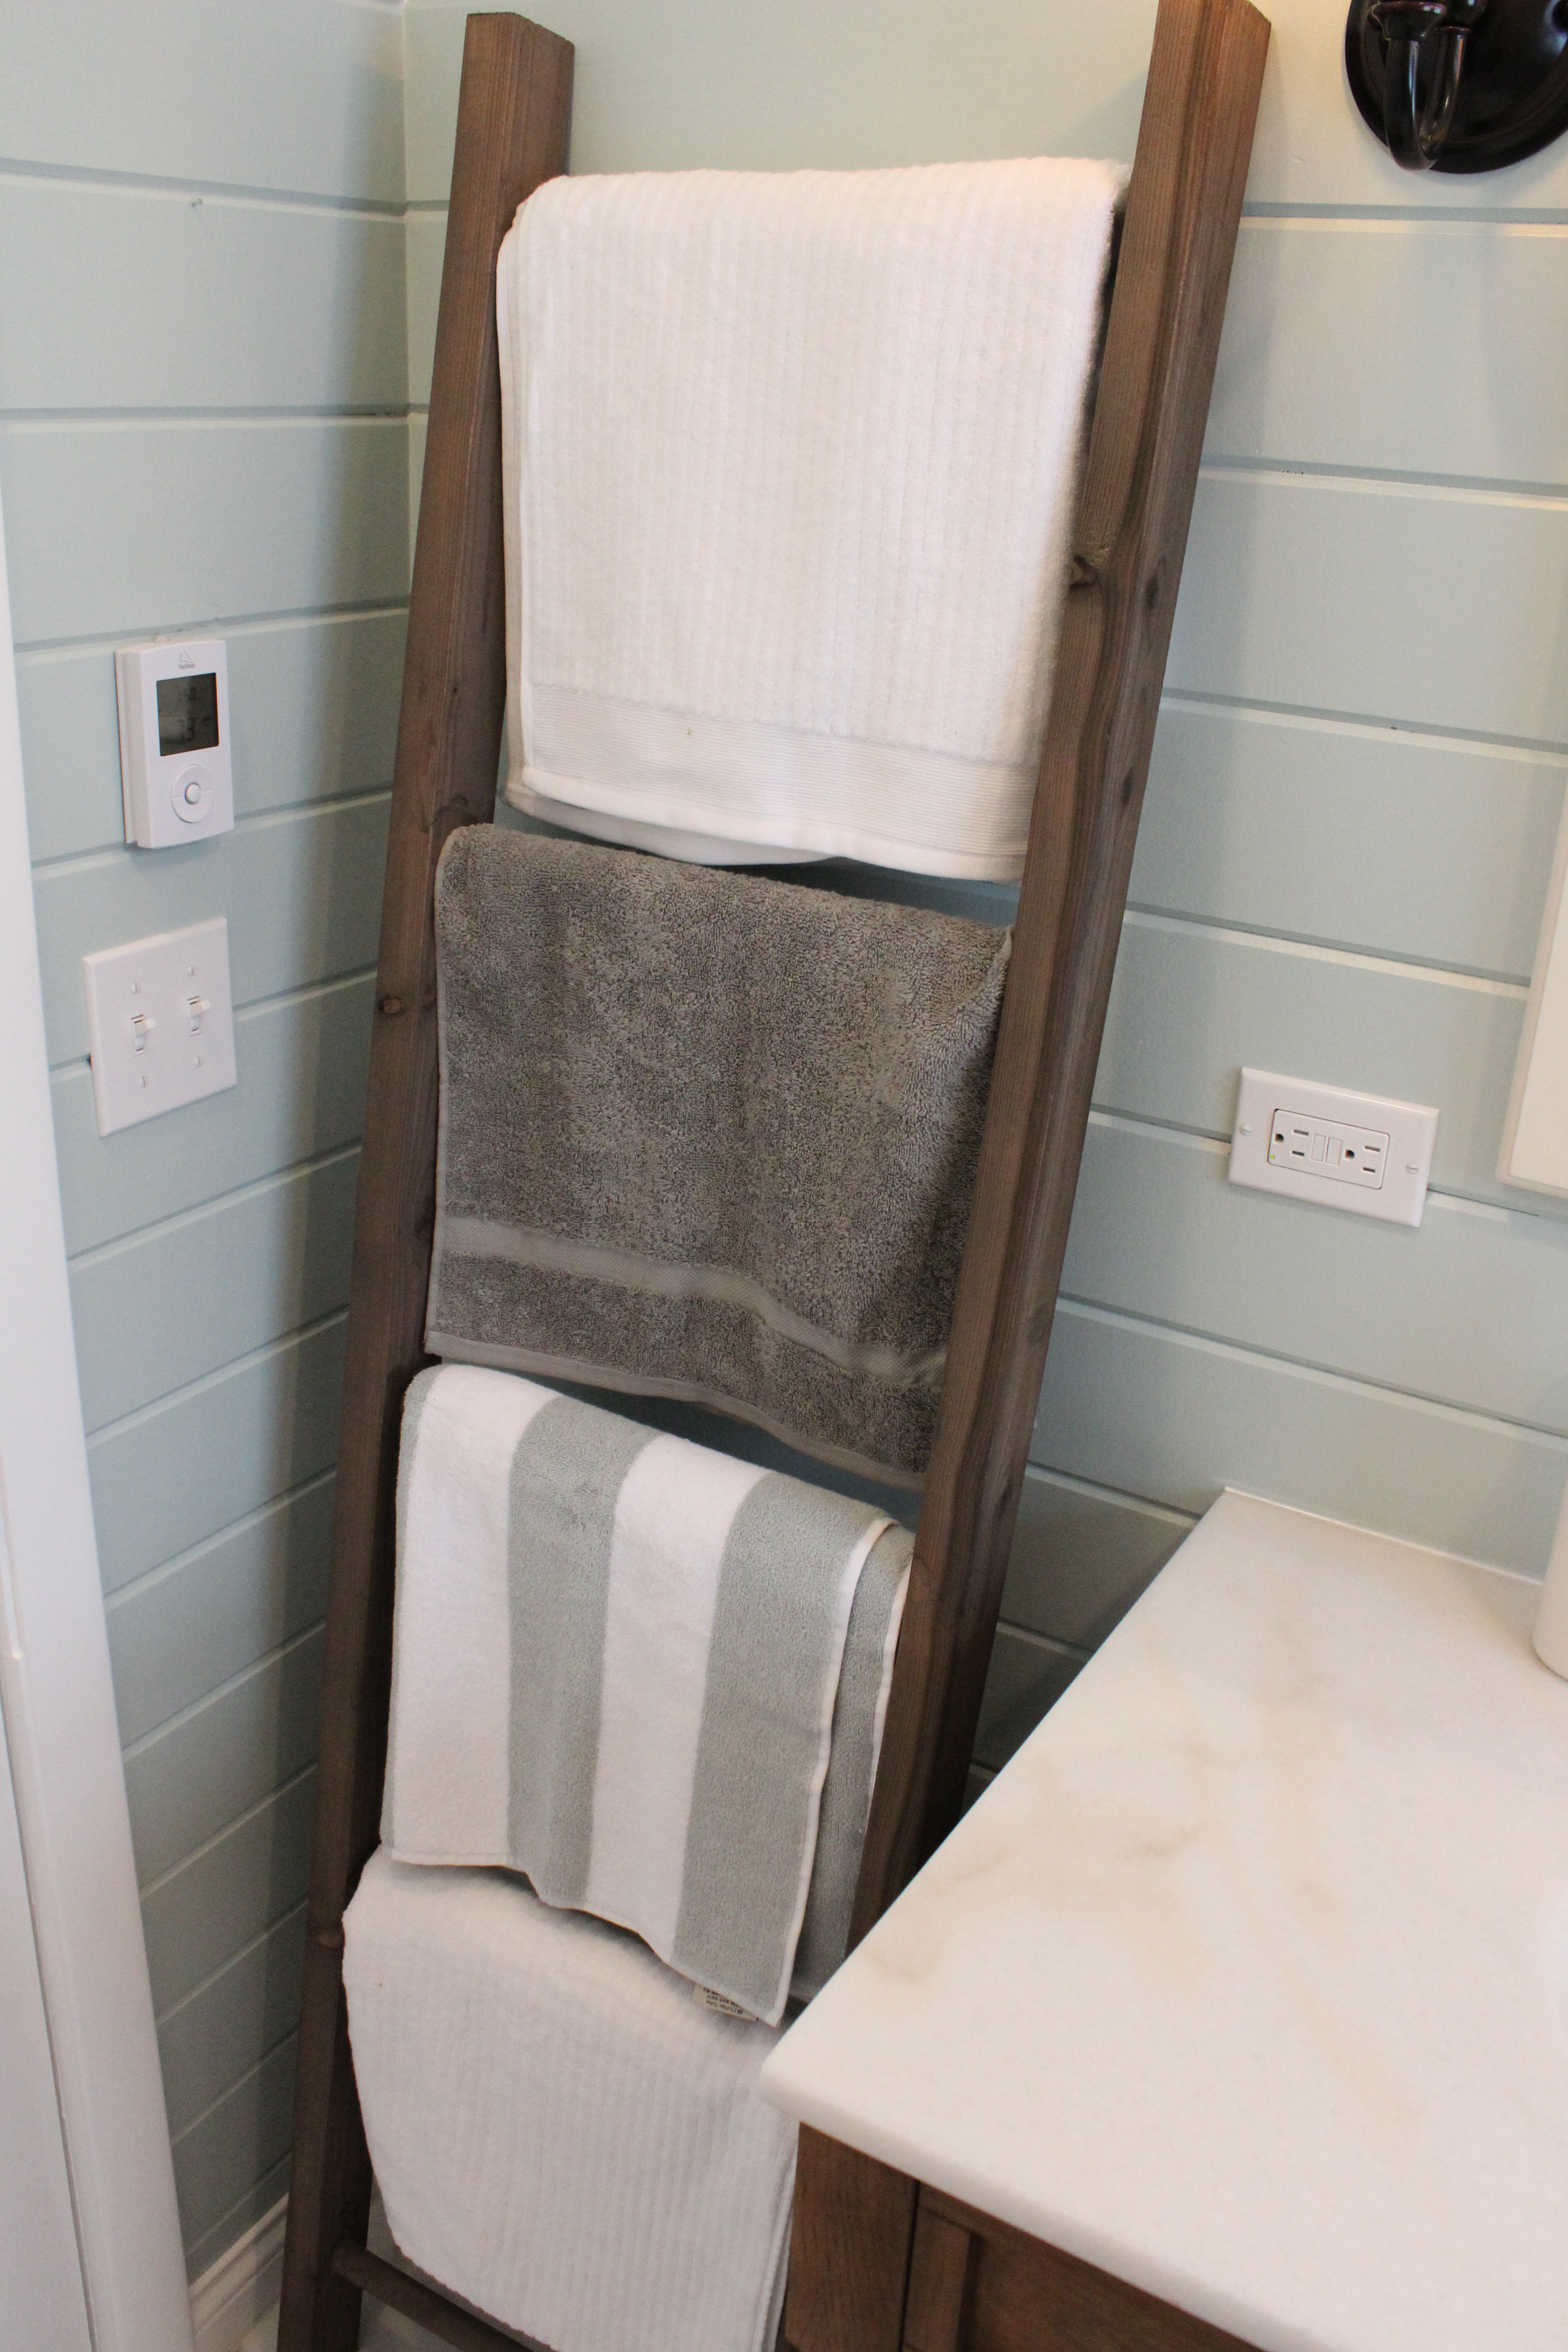
Not only does it work great for towels, but I’ve seen ladders used to hang blankets in living rooms and I love that use too.
So if you are wondering how to make one of your own, here is a step by step, including giving it the weathered, rustic look.
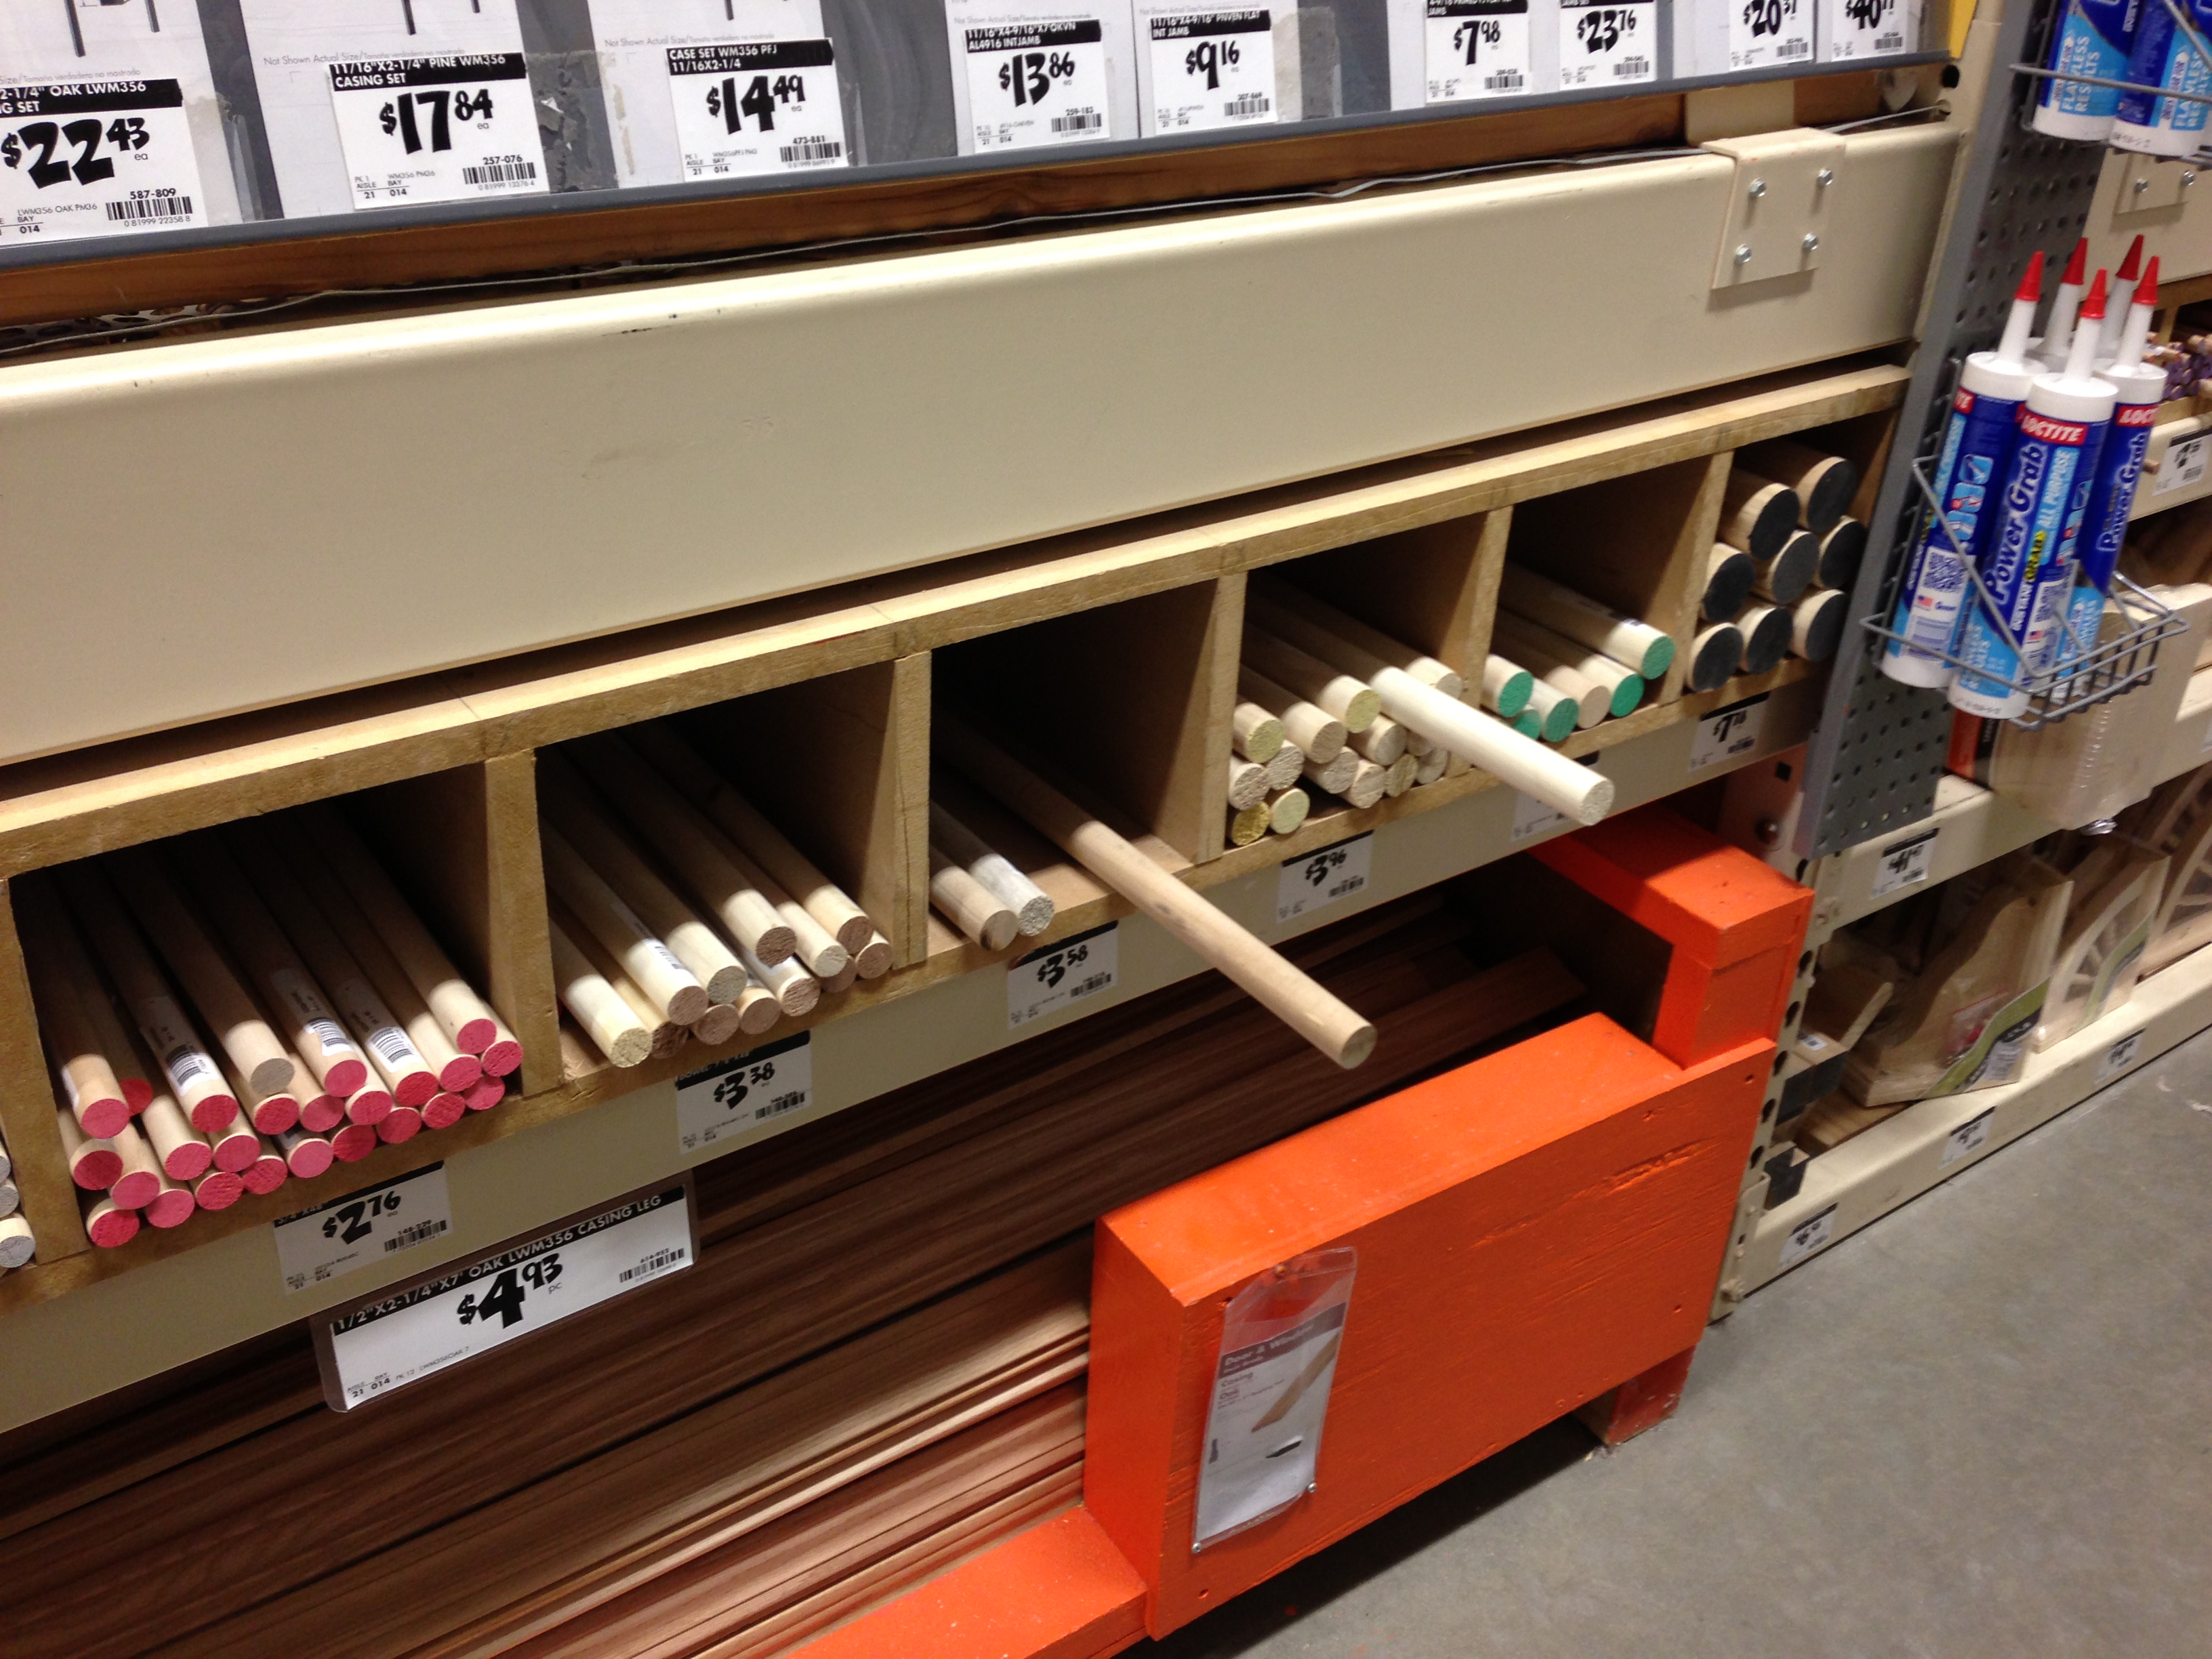
Step 1. Get all your materials
You will need to gather/purchase the following materials that should be around $20 or less. We had everything but the lumber on hand so ours was $16.
- 3- 4ft 1″ diameter pine dowel rods (ours were less than $4/each from Home Depot)
- 2- 8 ft 2″x3″ pine studs (ours were less than $2/each)
- Wood glue
- Sand paper
To make the weathering solution you’ll need:
- Very fine steel wool
- Vinegar
- Black tea
- Empty glass jar/lid
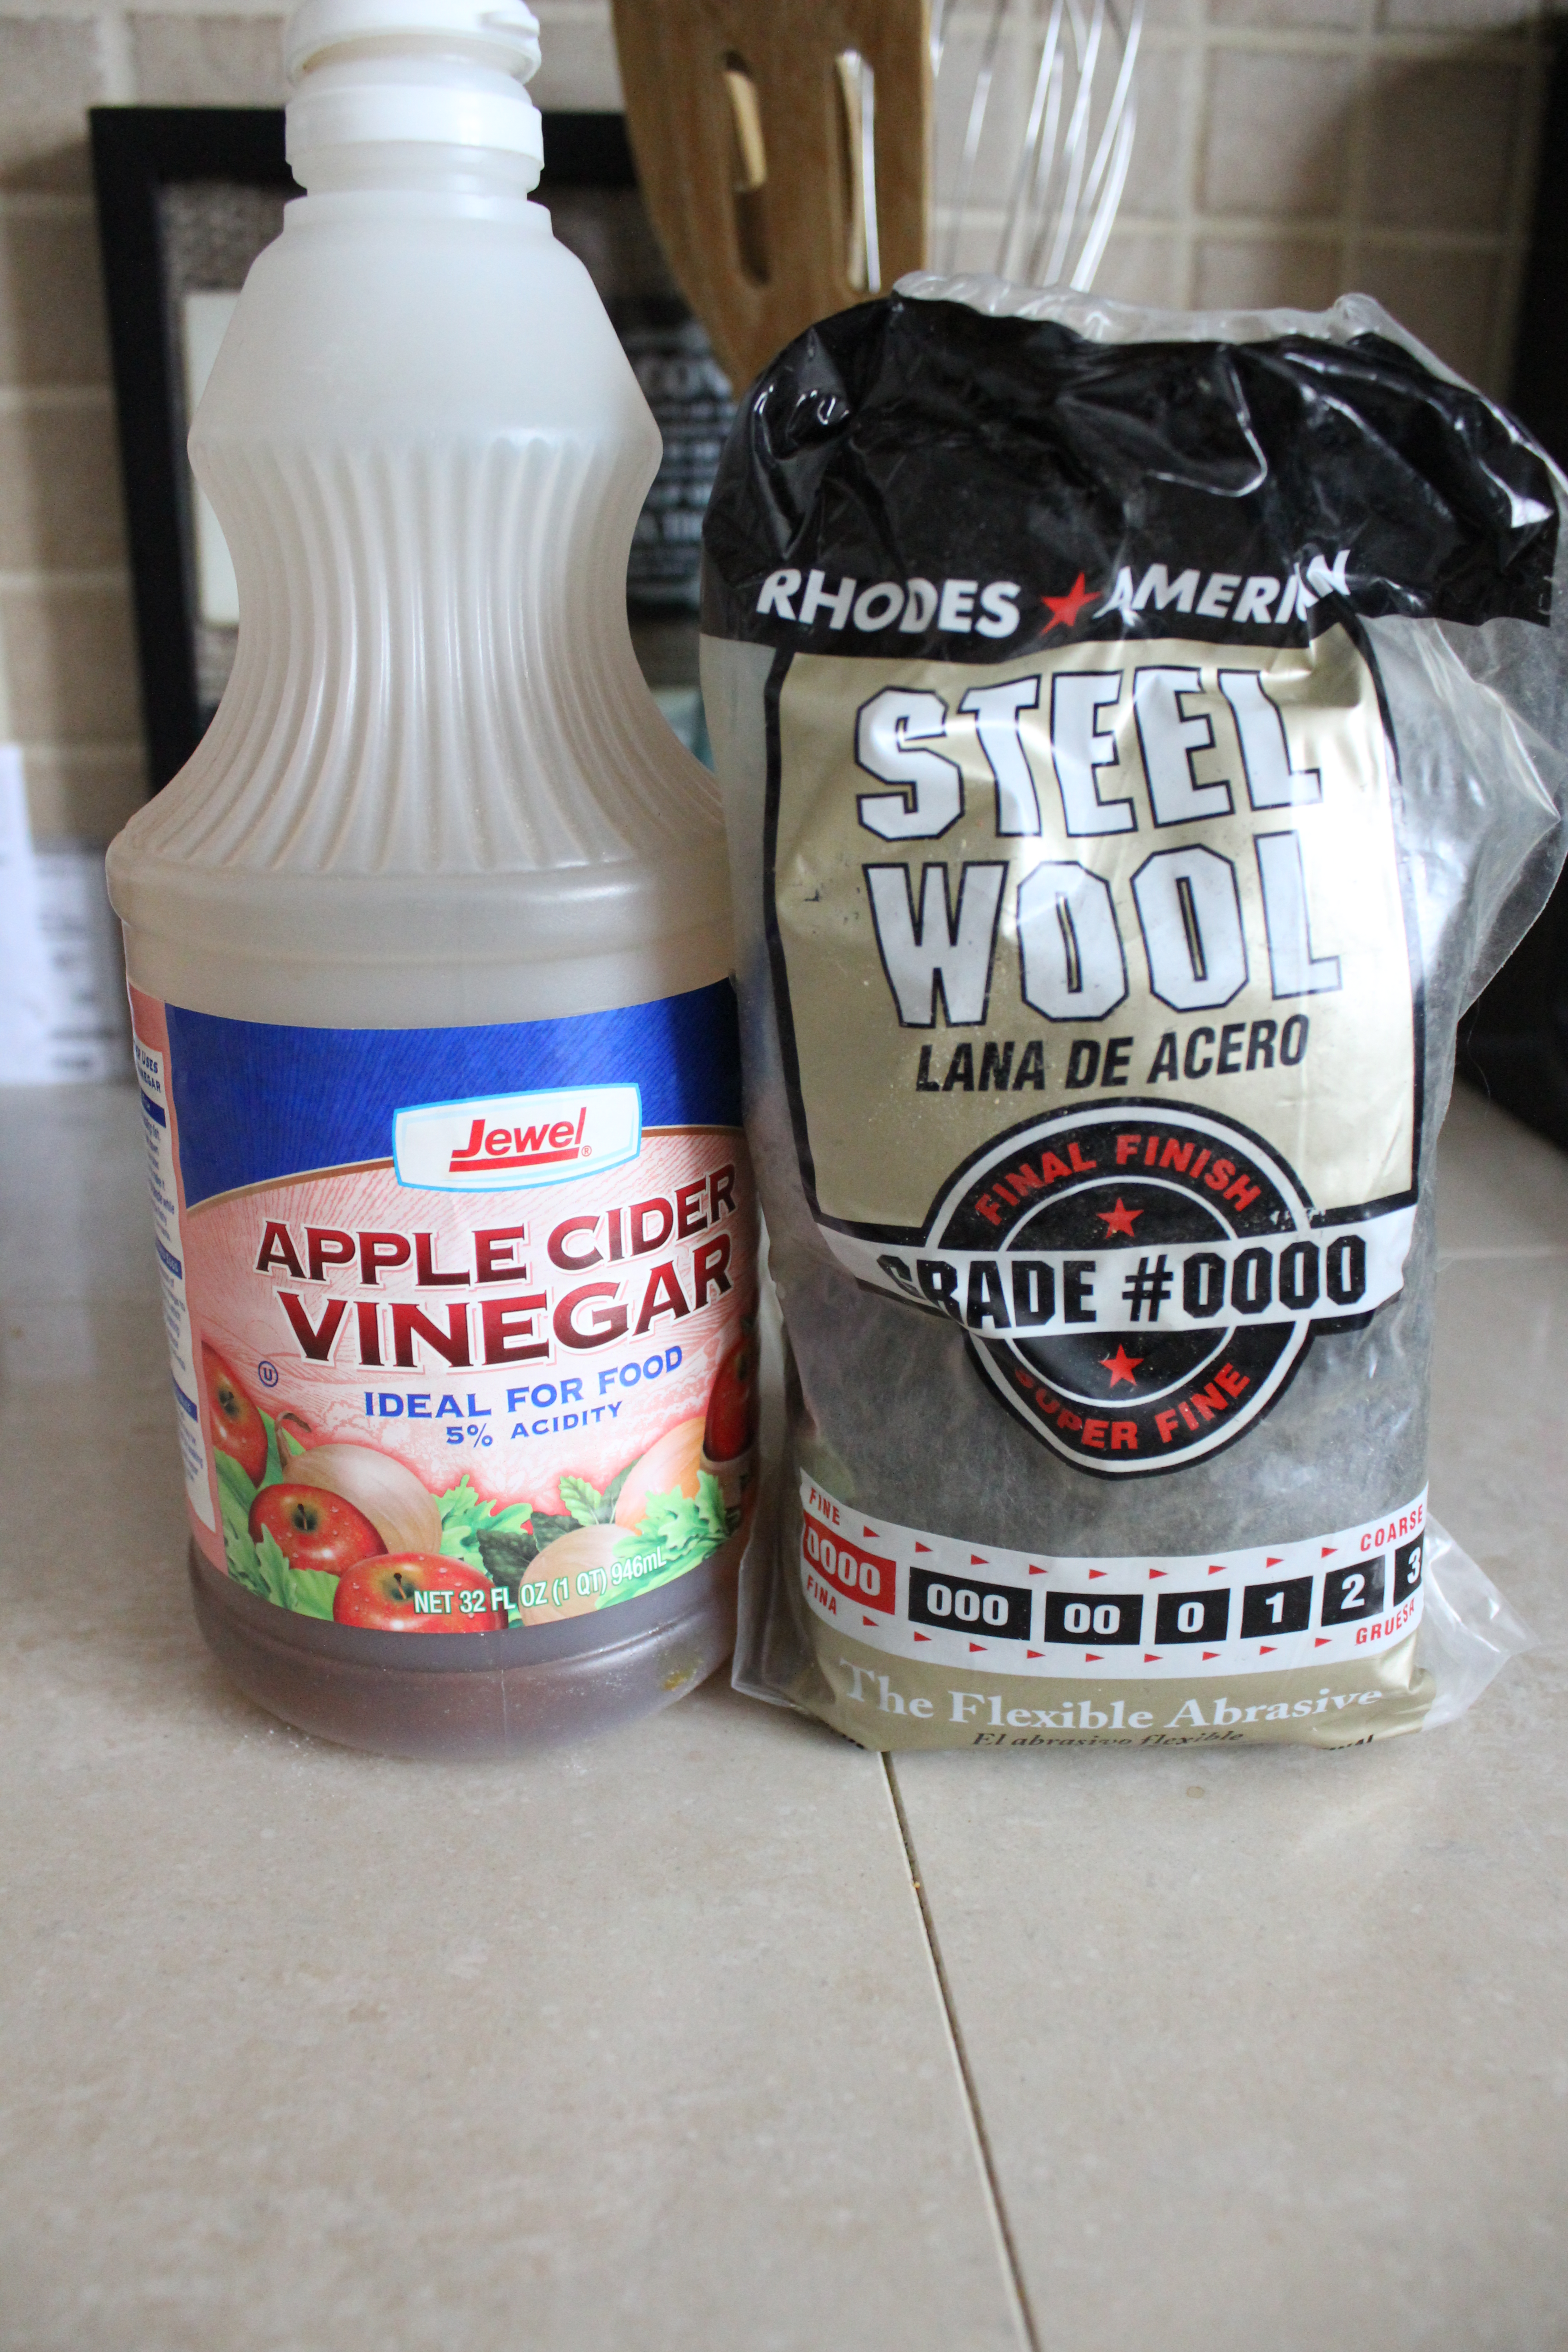
Step 2. Make weathering solution 24 hours before.
Take a handful of very fine steel wool and mix with vinegar in a glass jar. The steel wool will start to dissolve but won’t dissolve completely. Wait at least 24 hours before applying to your wood.
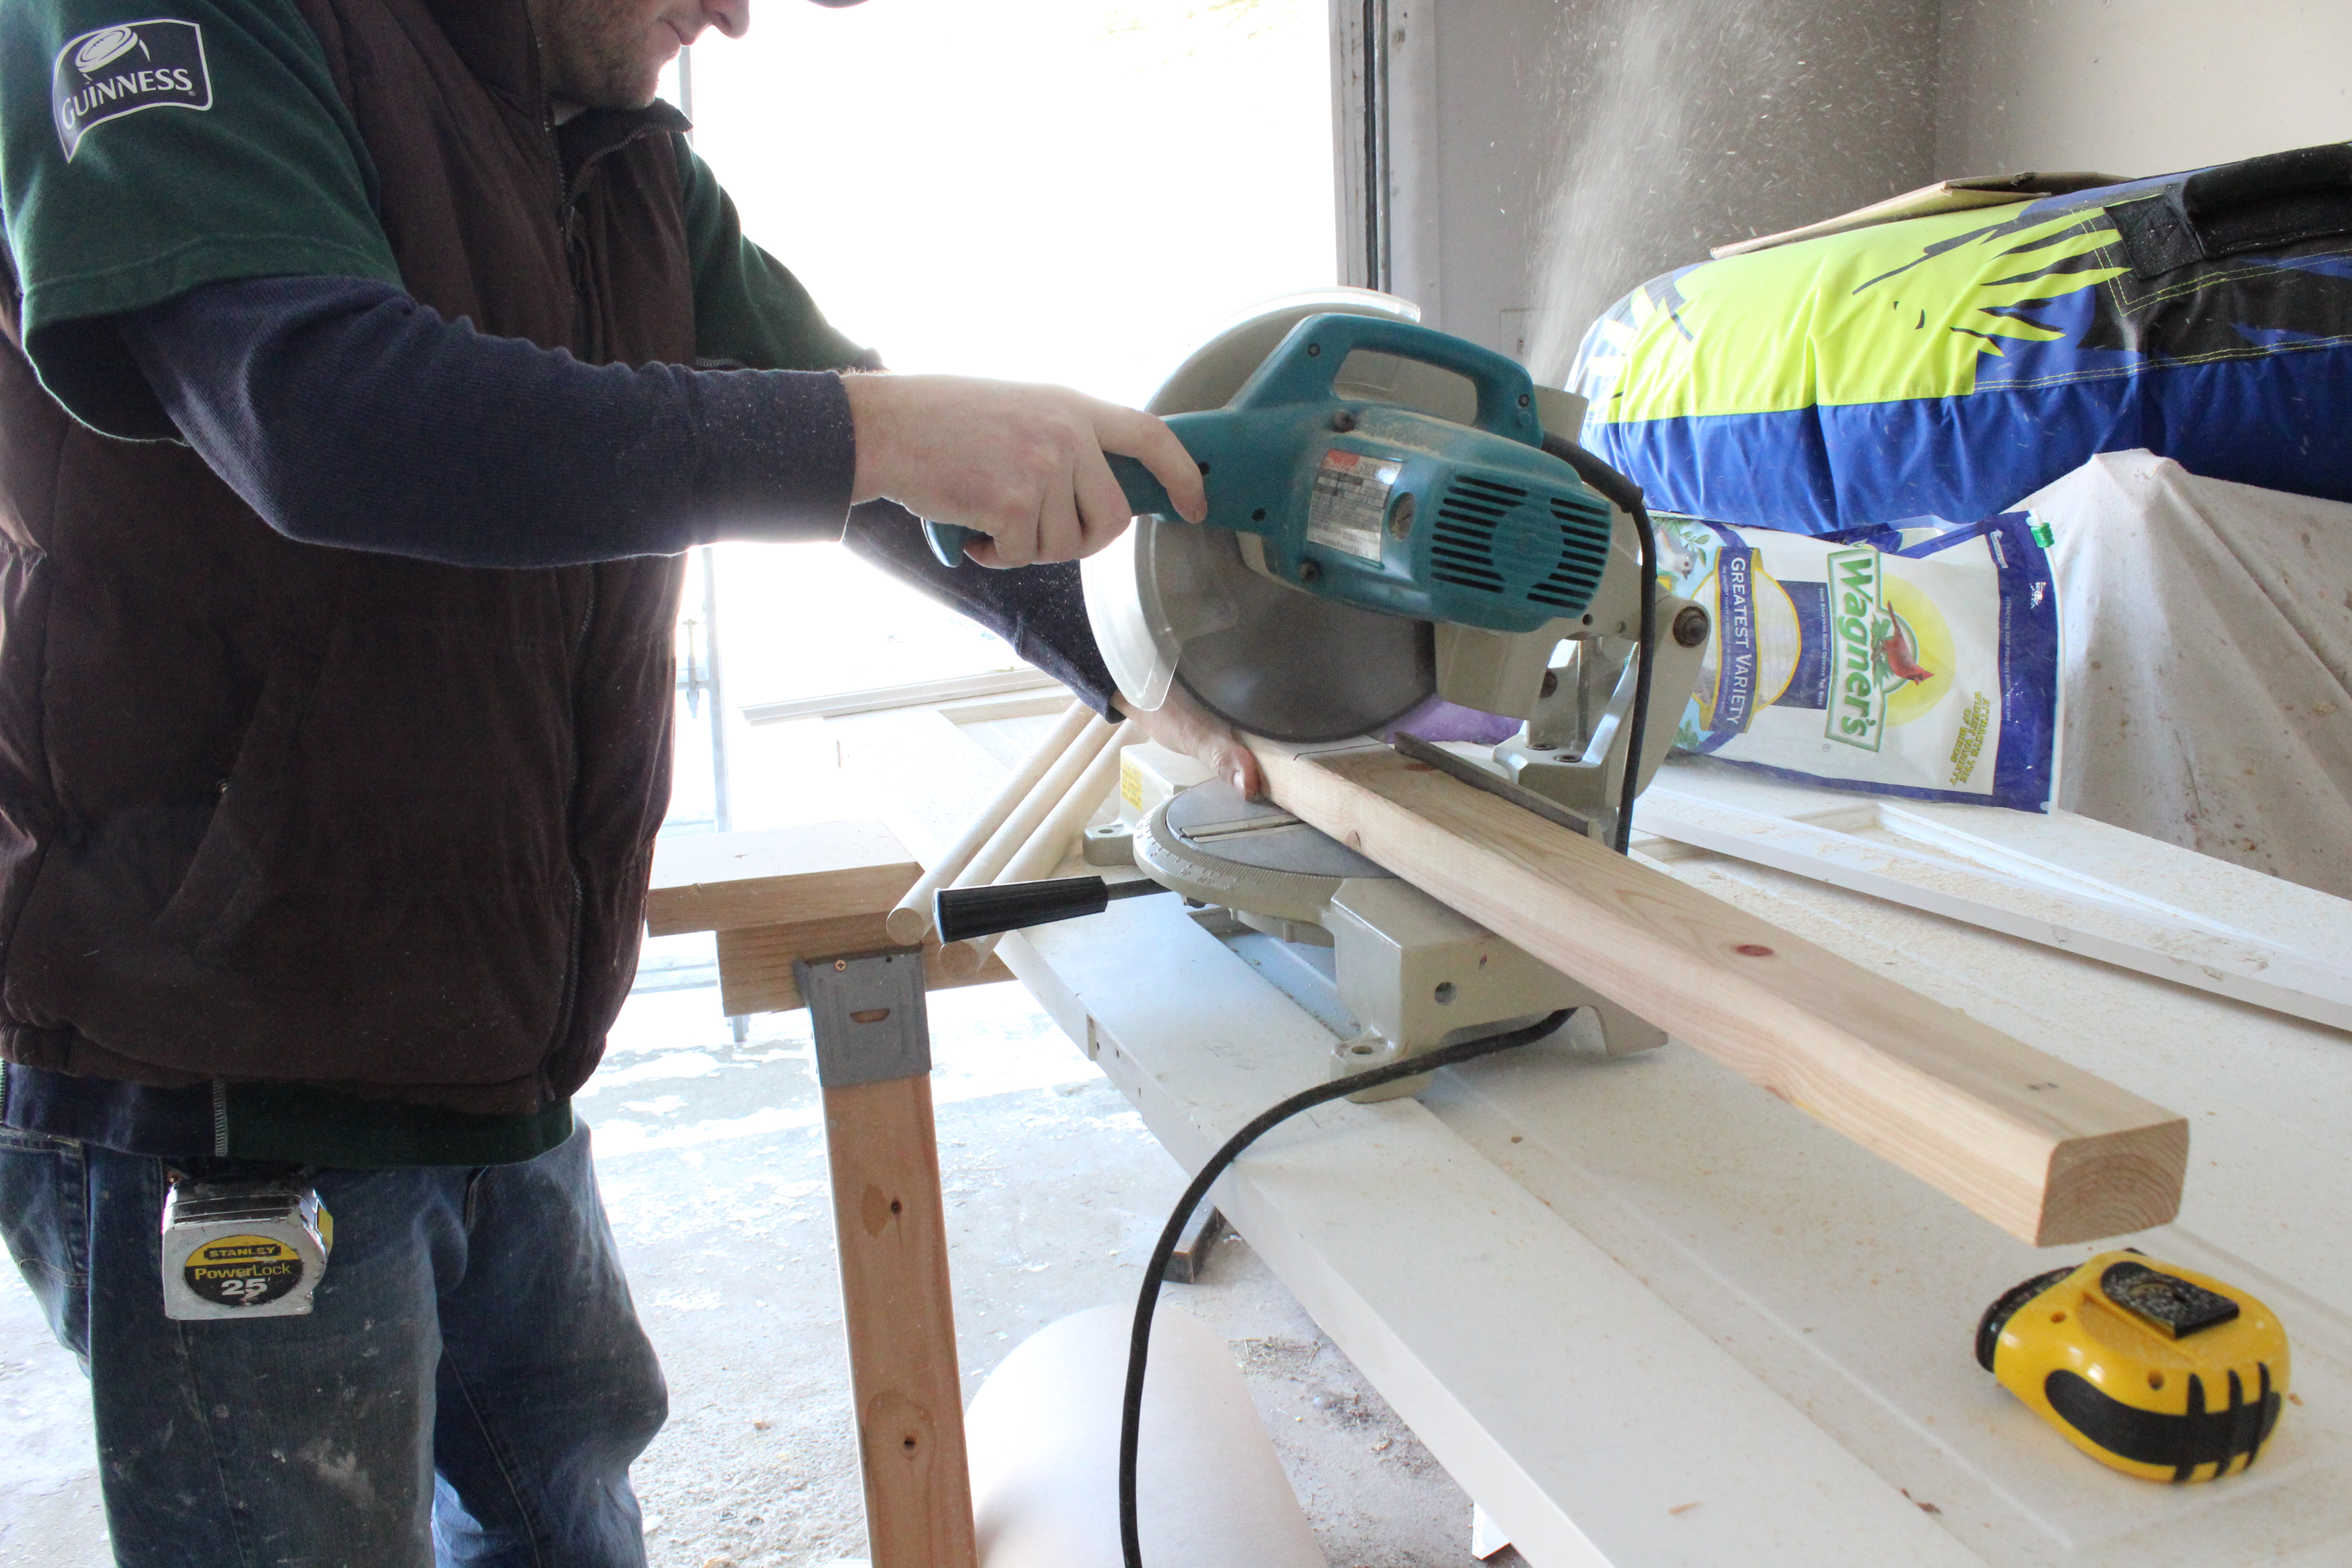
Step 3. Make your cuts.
We cut the dowel rods into 5-16″ long rungs and cut down the 2x3s to 6 feet long.
Step 4. Sand your wood.
We used an electric hand sander but you could also do it by hand.
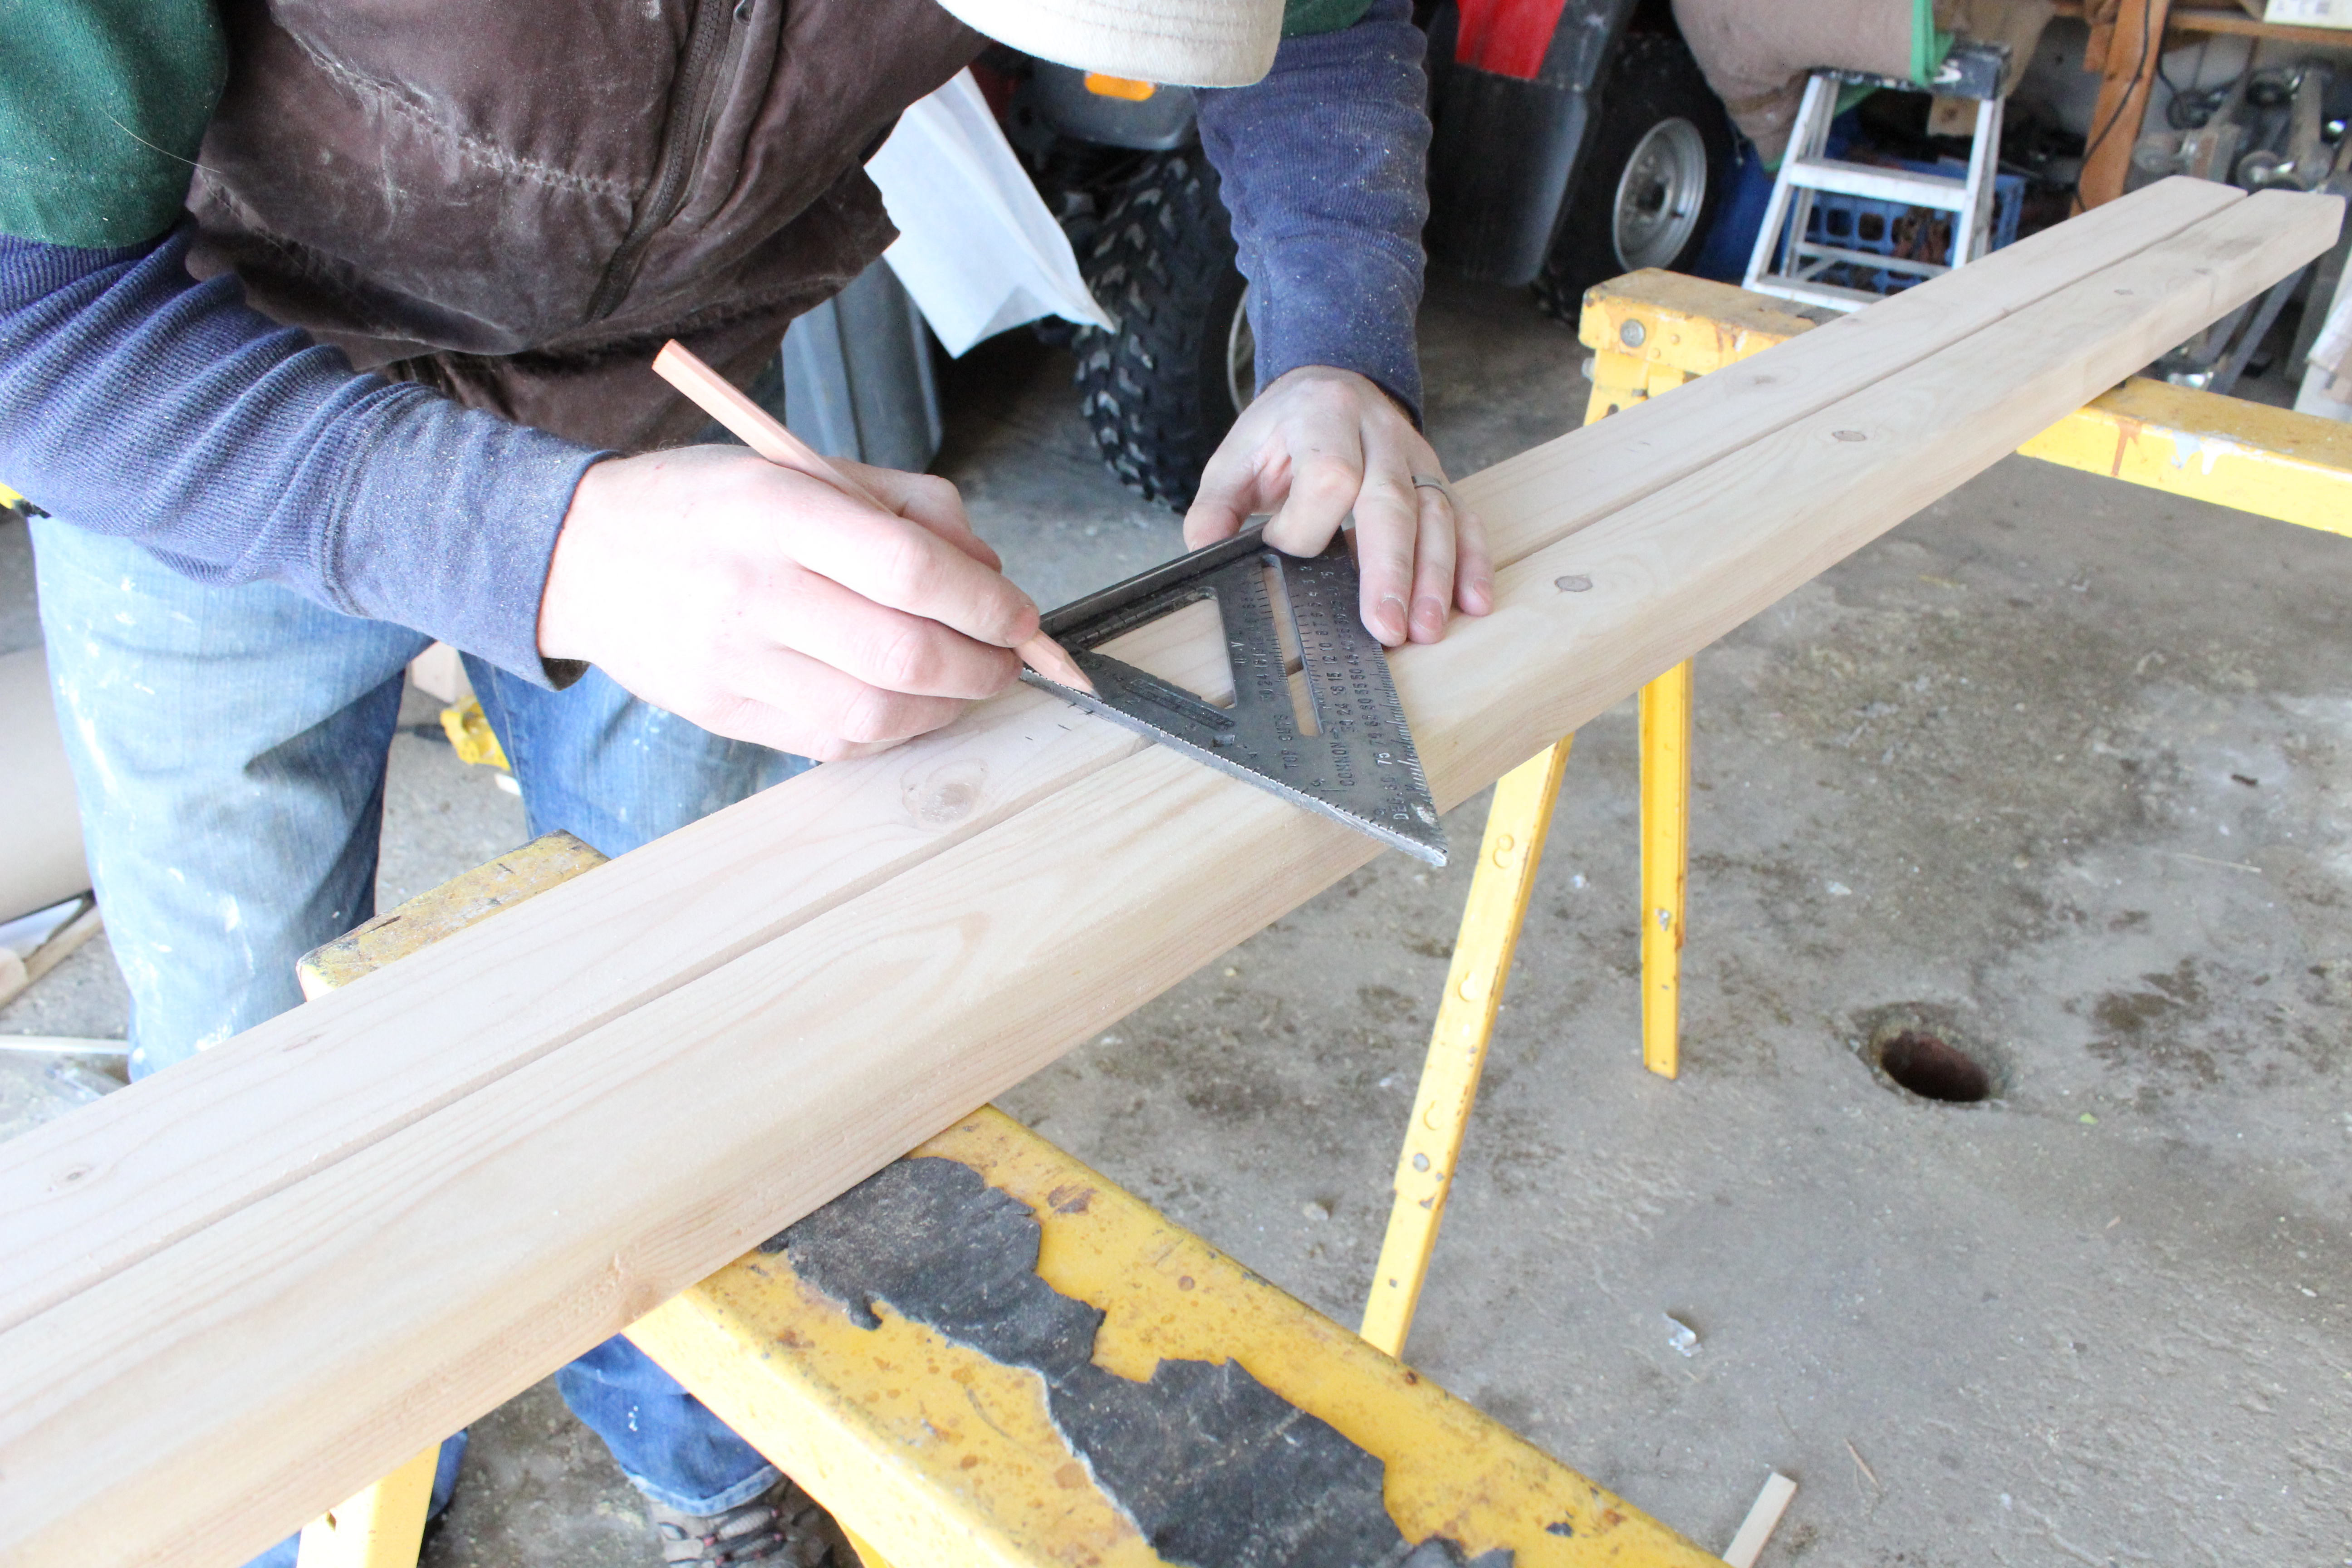
Step 5. Mark sides for holes.
We started our first hole 2.5″ from the bottom and then spaced them 13.5″ apart from the centers. Make sure your marks align perfectly on both sides.
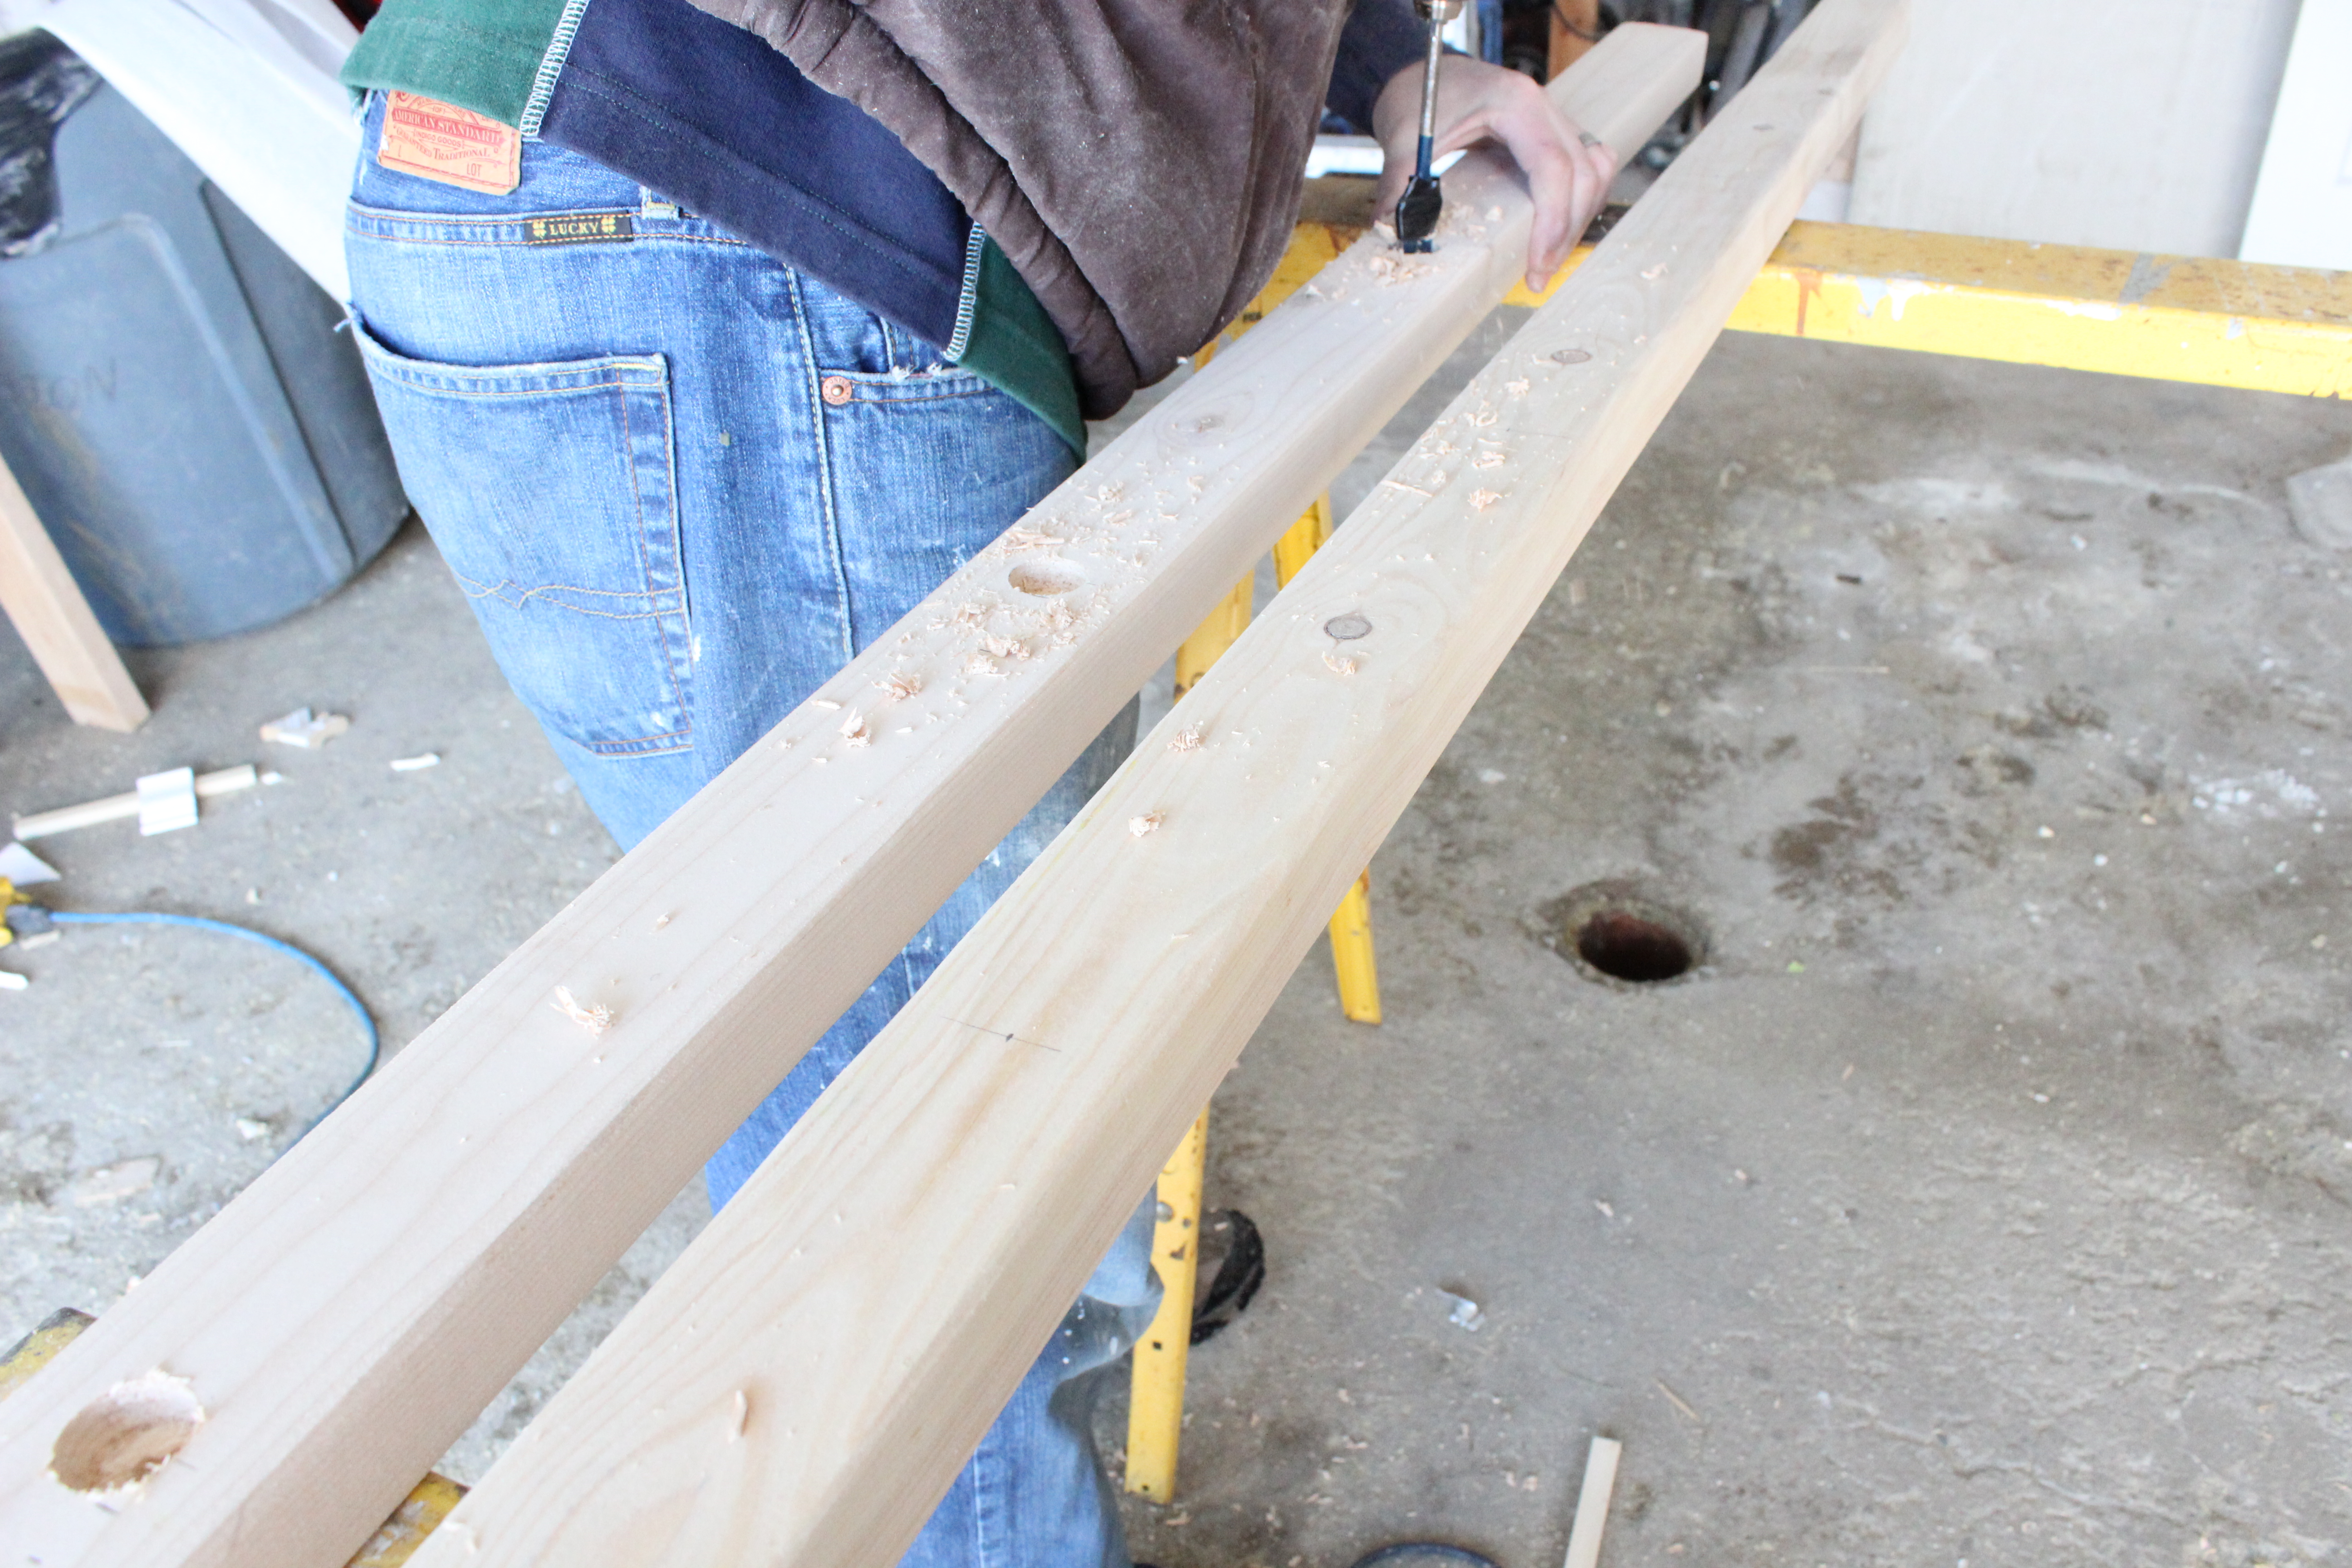
Step 6. Drill 1″ wide holes that are 1/2″ deep.
We placed a piece of tape 1/2″ up the drill bit to know how deep to go. Also go over holes with a light sand to smooth out rough edges.
Step 7. Sand down edges of your rungs to ensure they will fit into the holes.
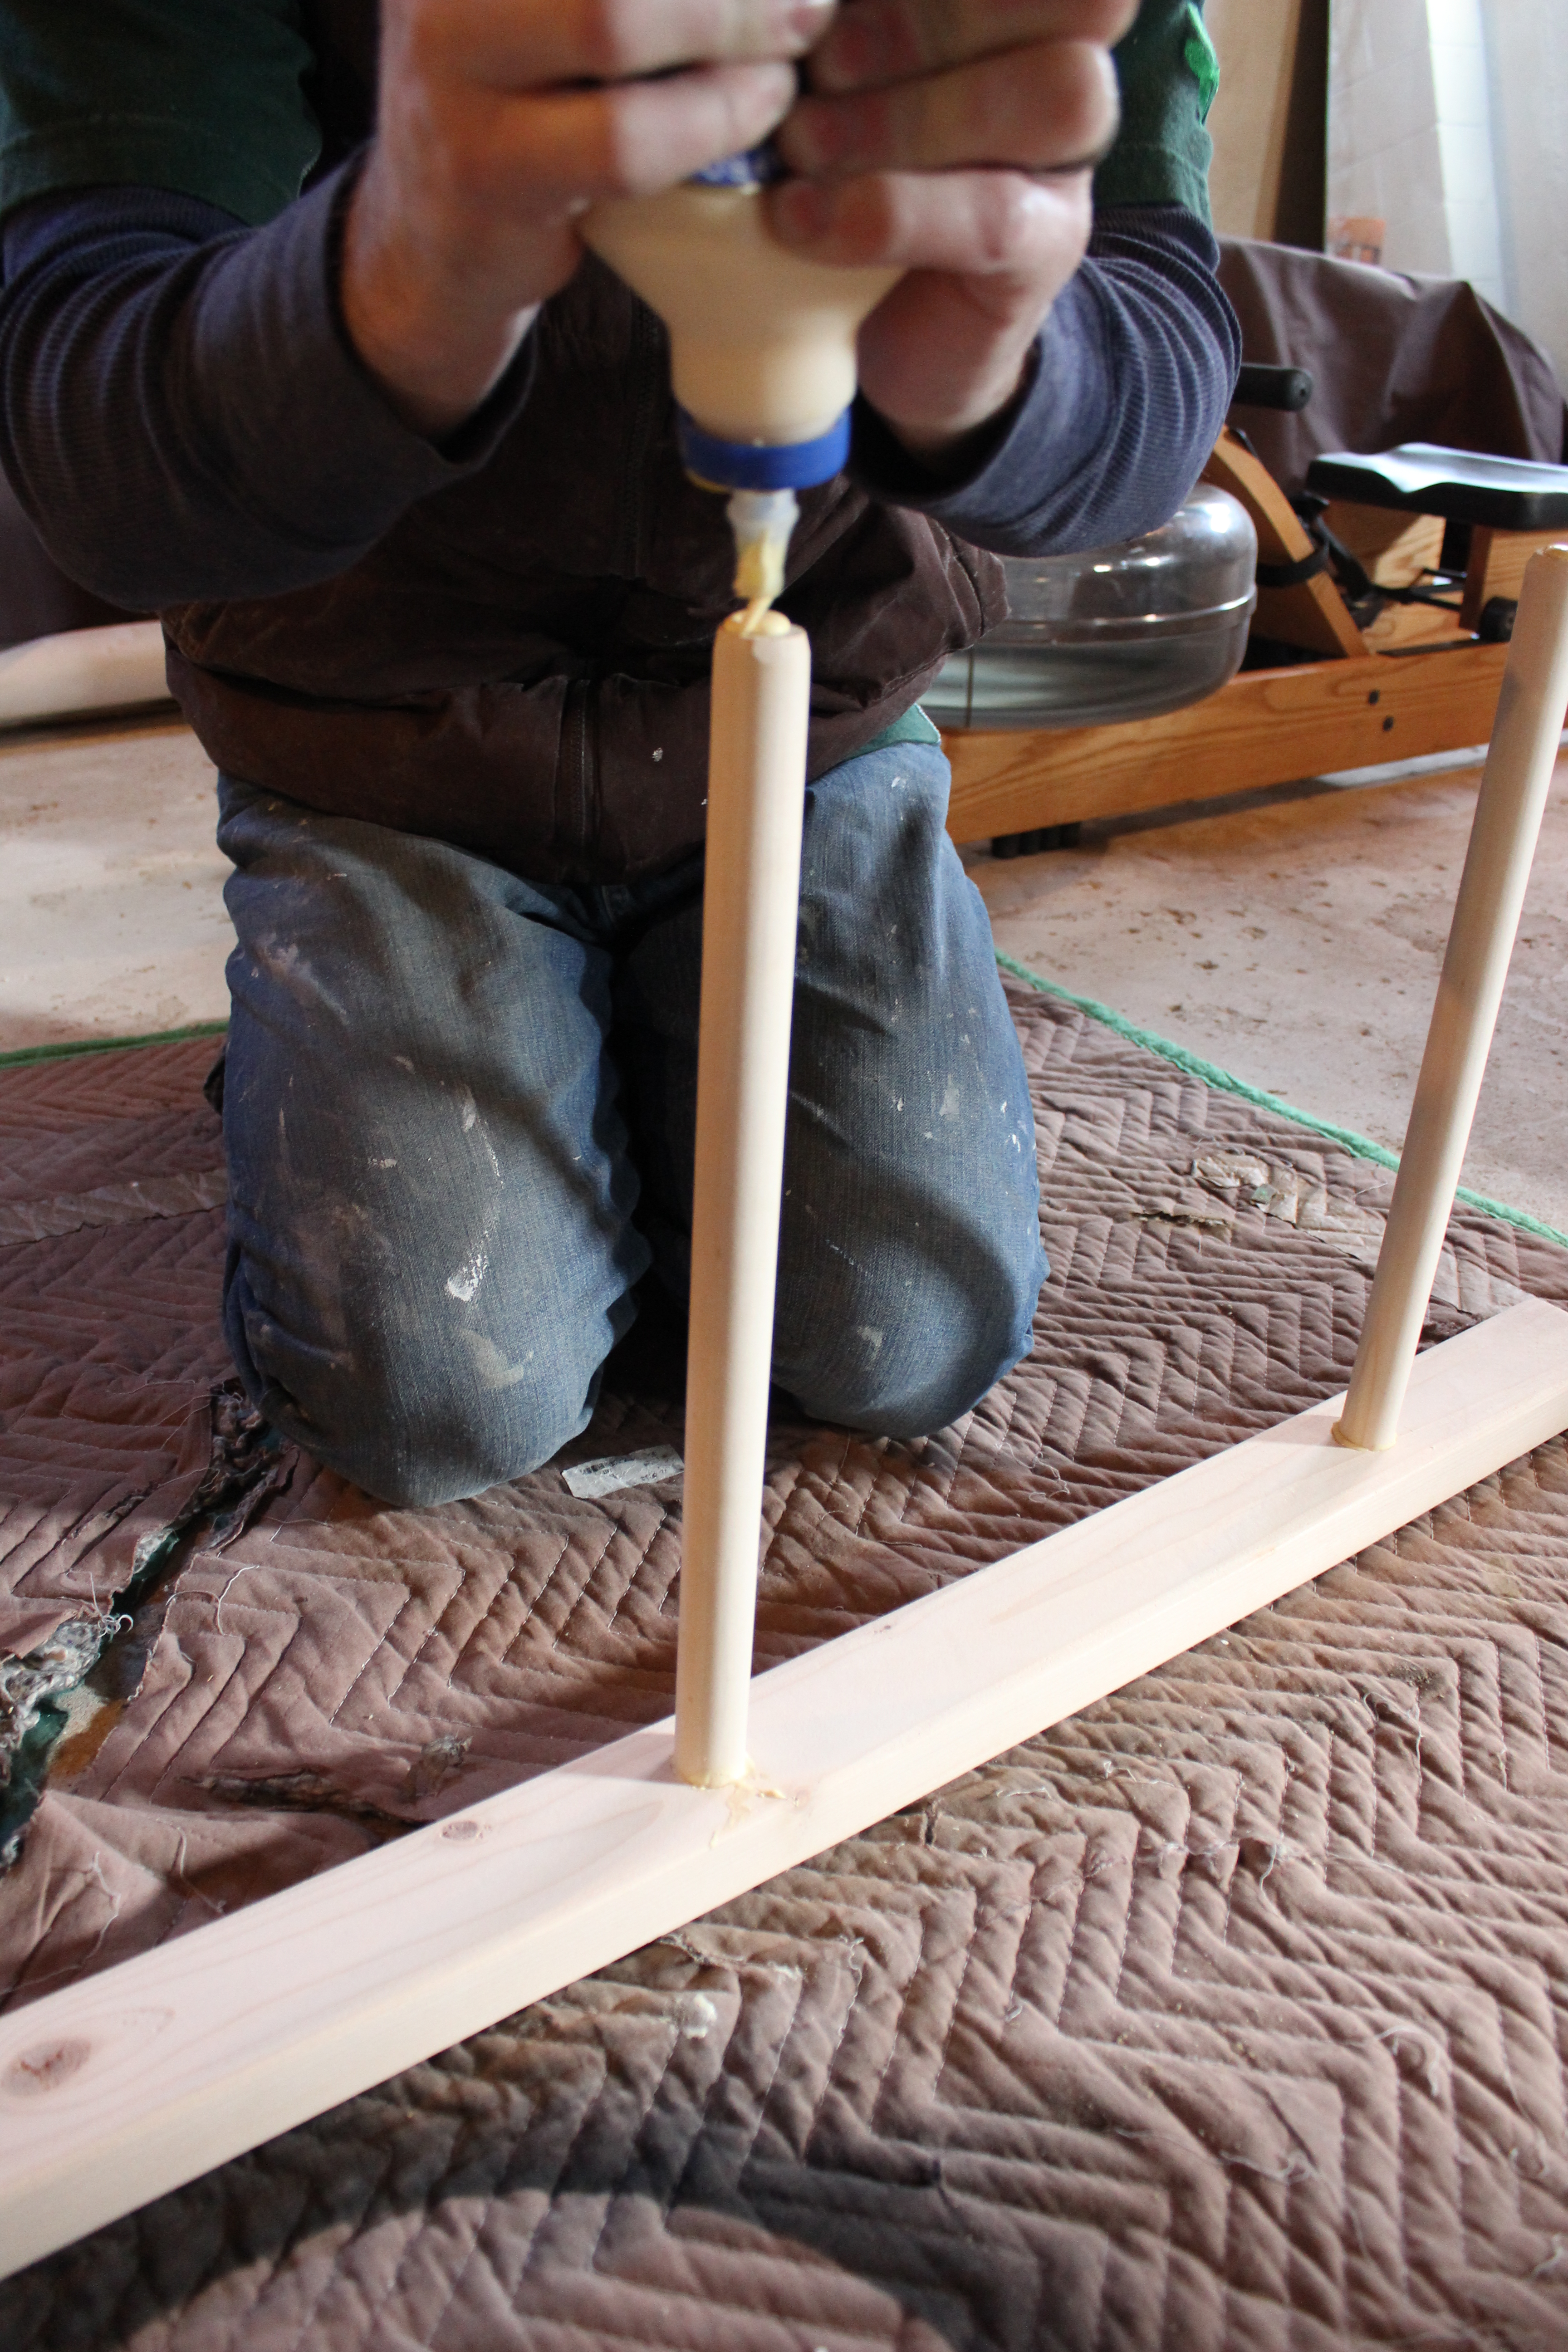
Step 8. Fill one side of holes with wood glue and place rungs in.
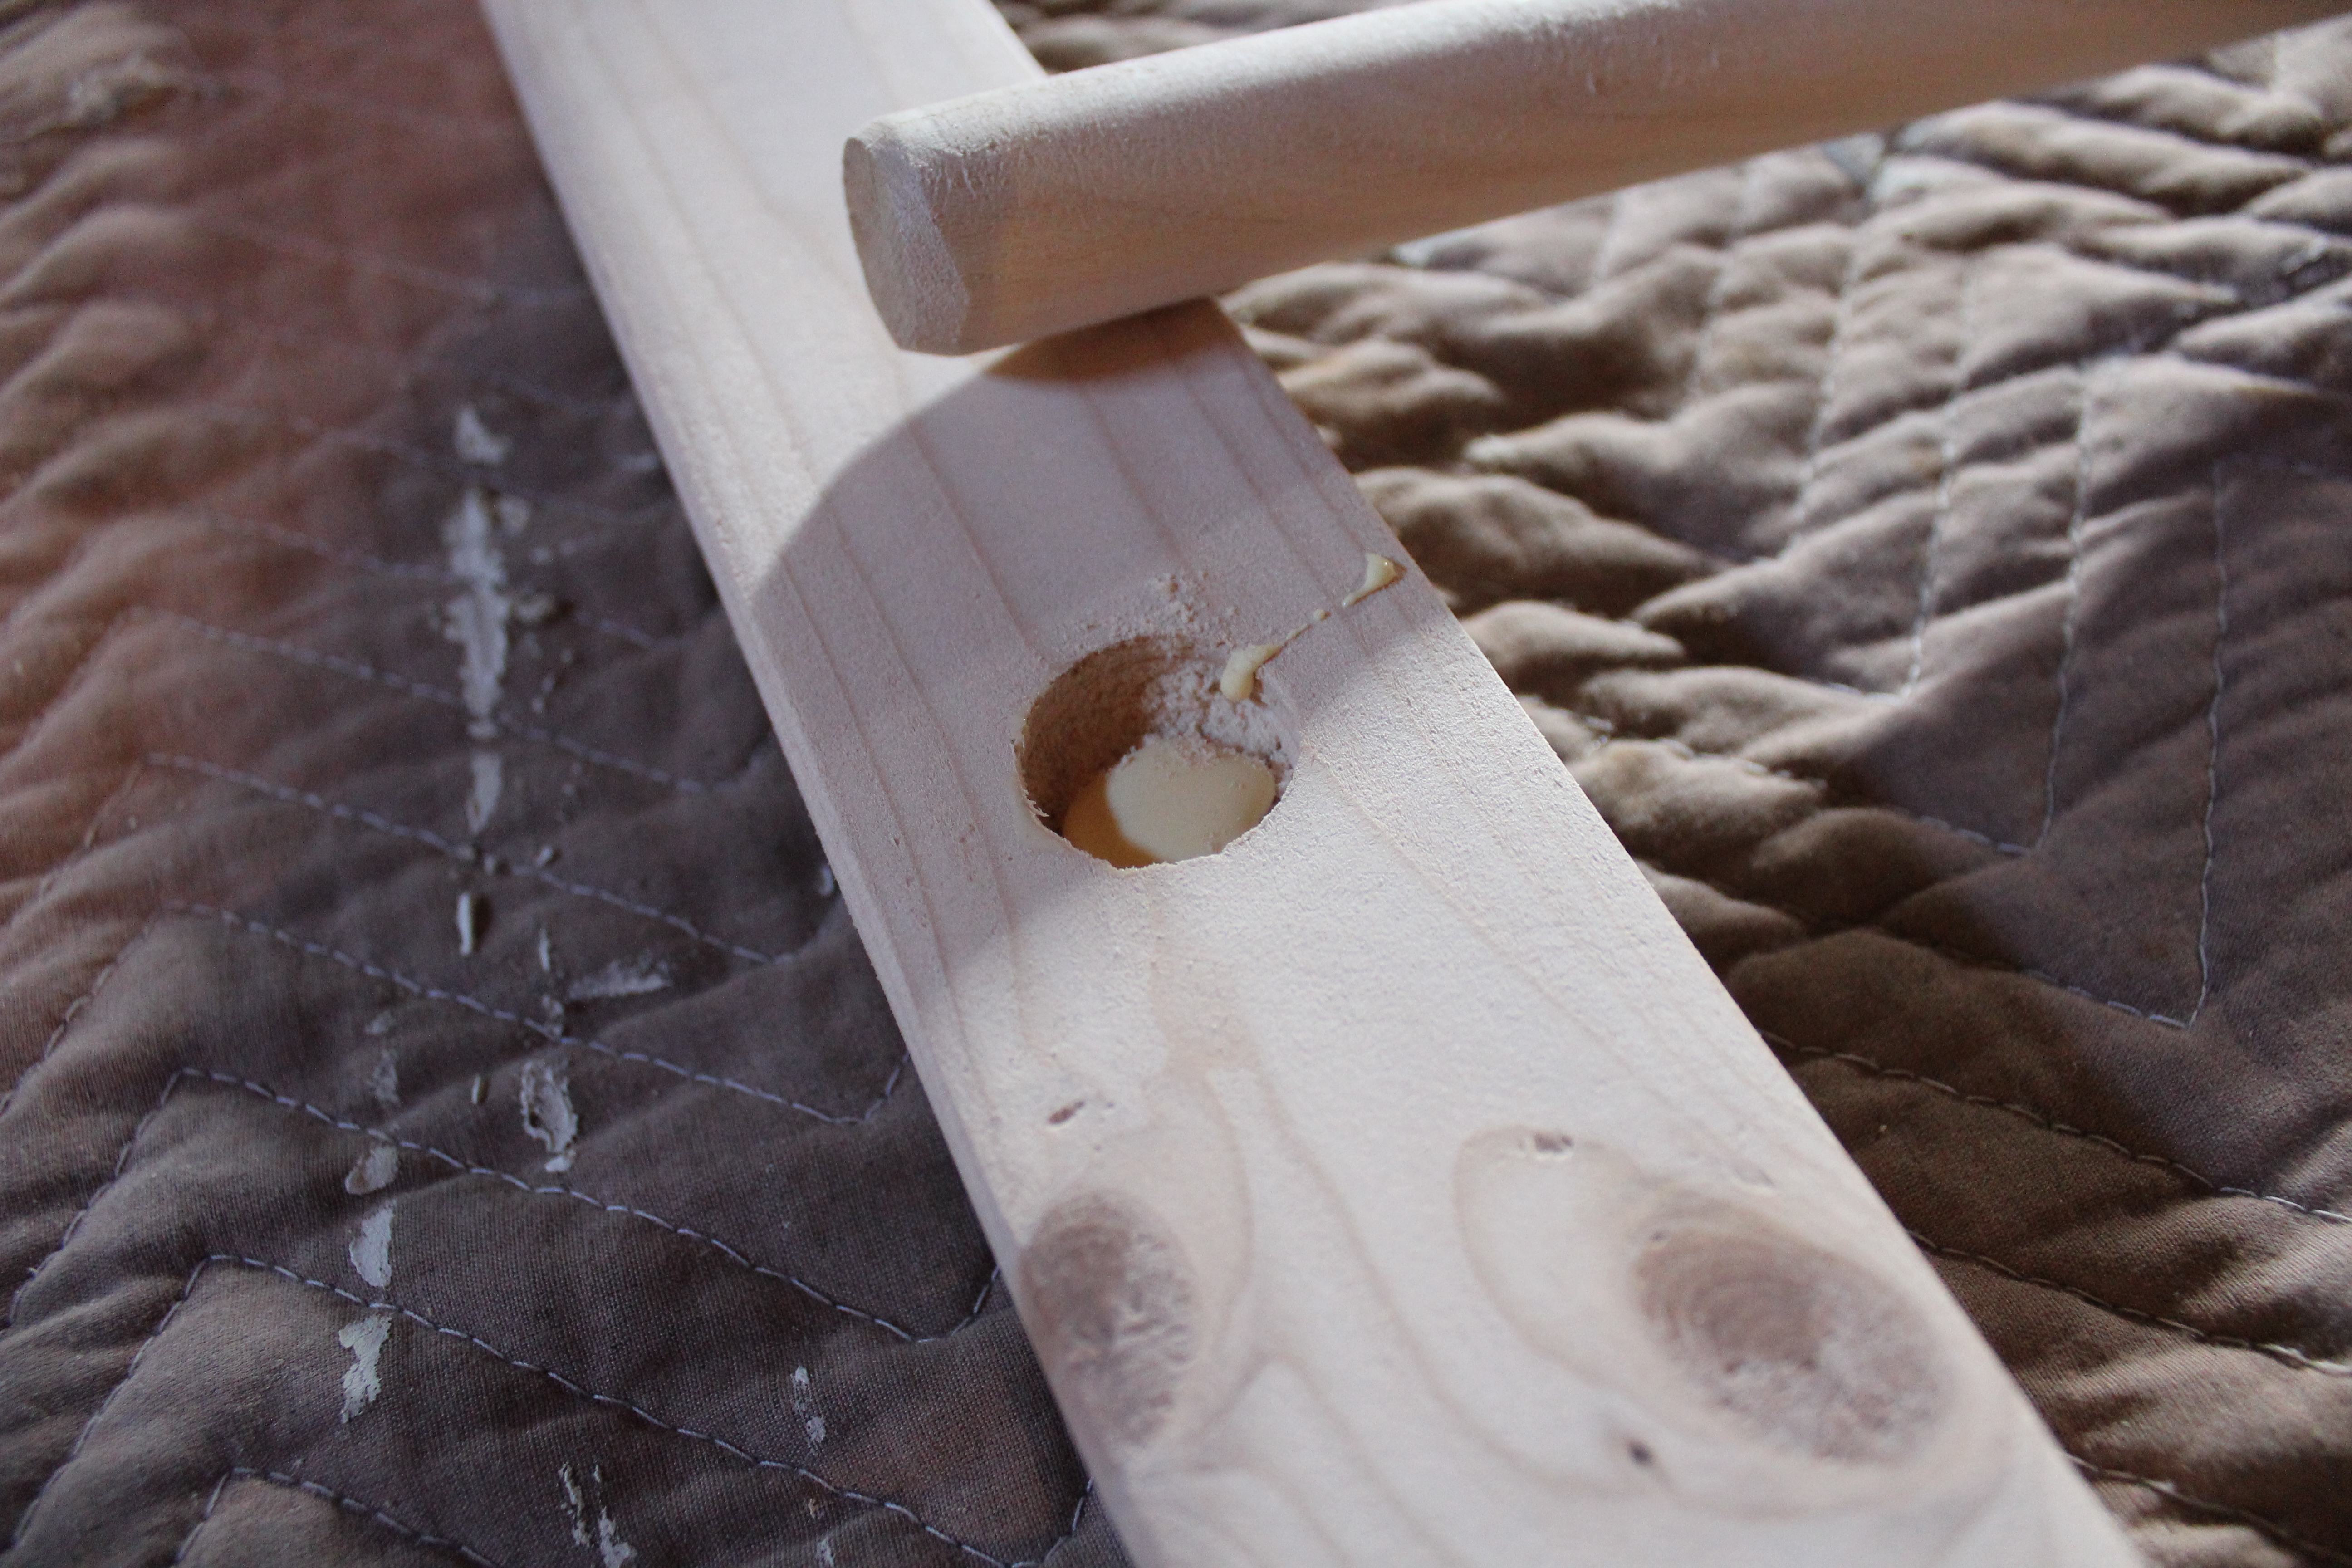 Step 9. Put glue on other side of rungs and place side onto rungs.
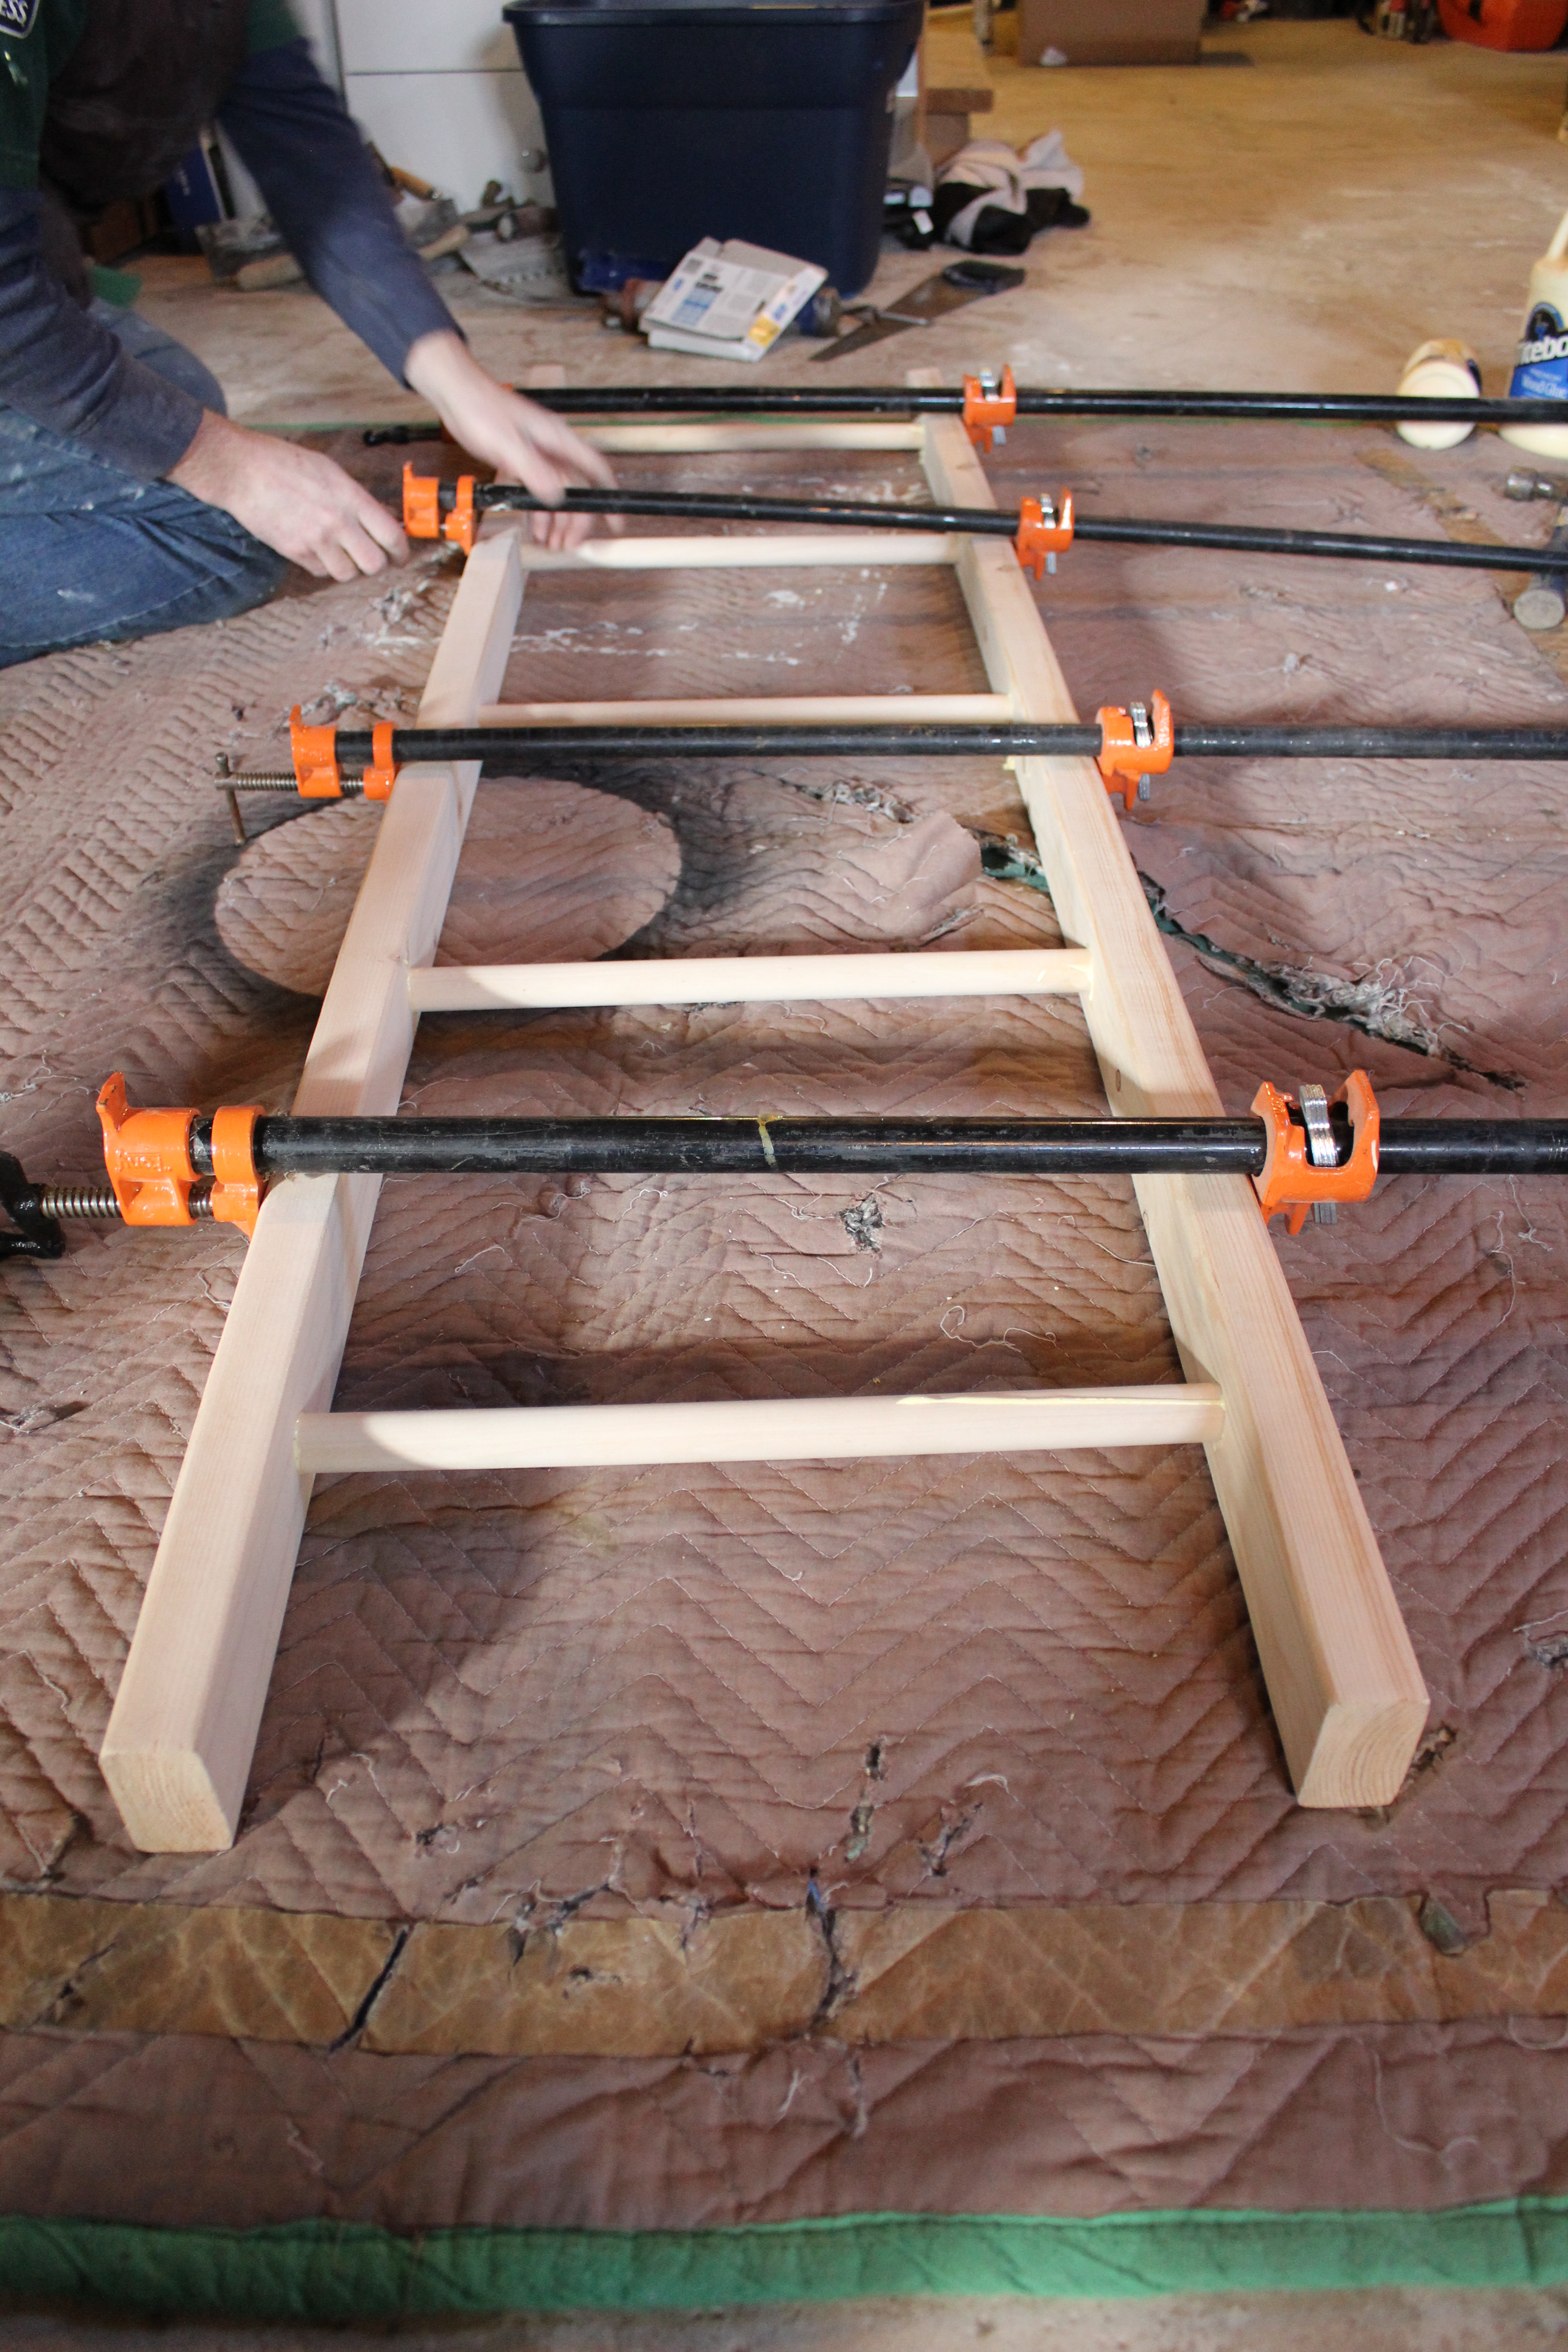
 Step 10. Attach clamps for at least 2 hours to dry. Wipe up all access glue.
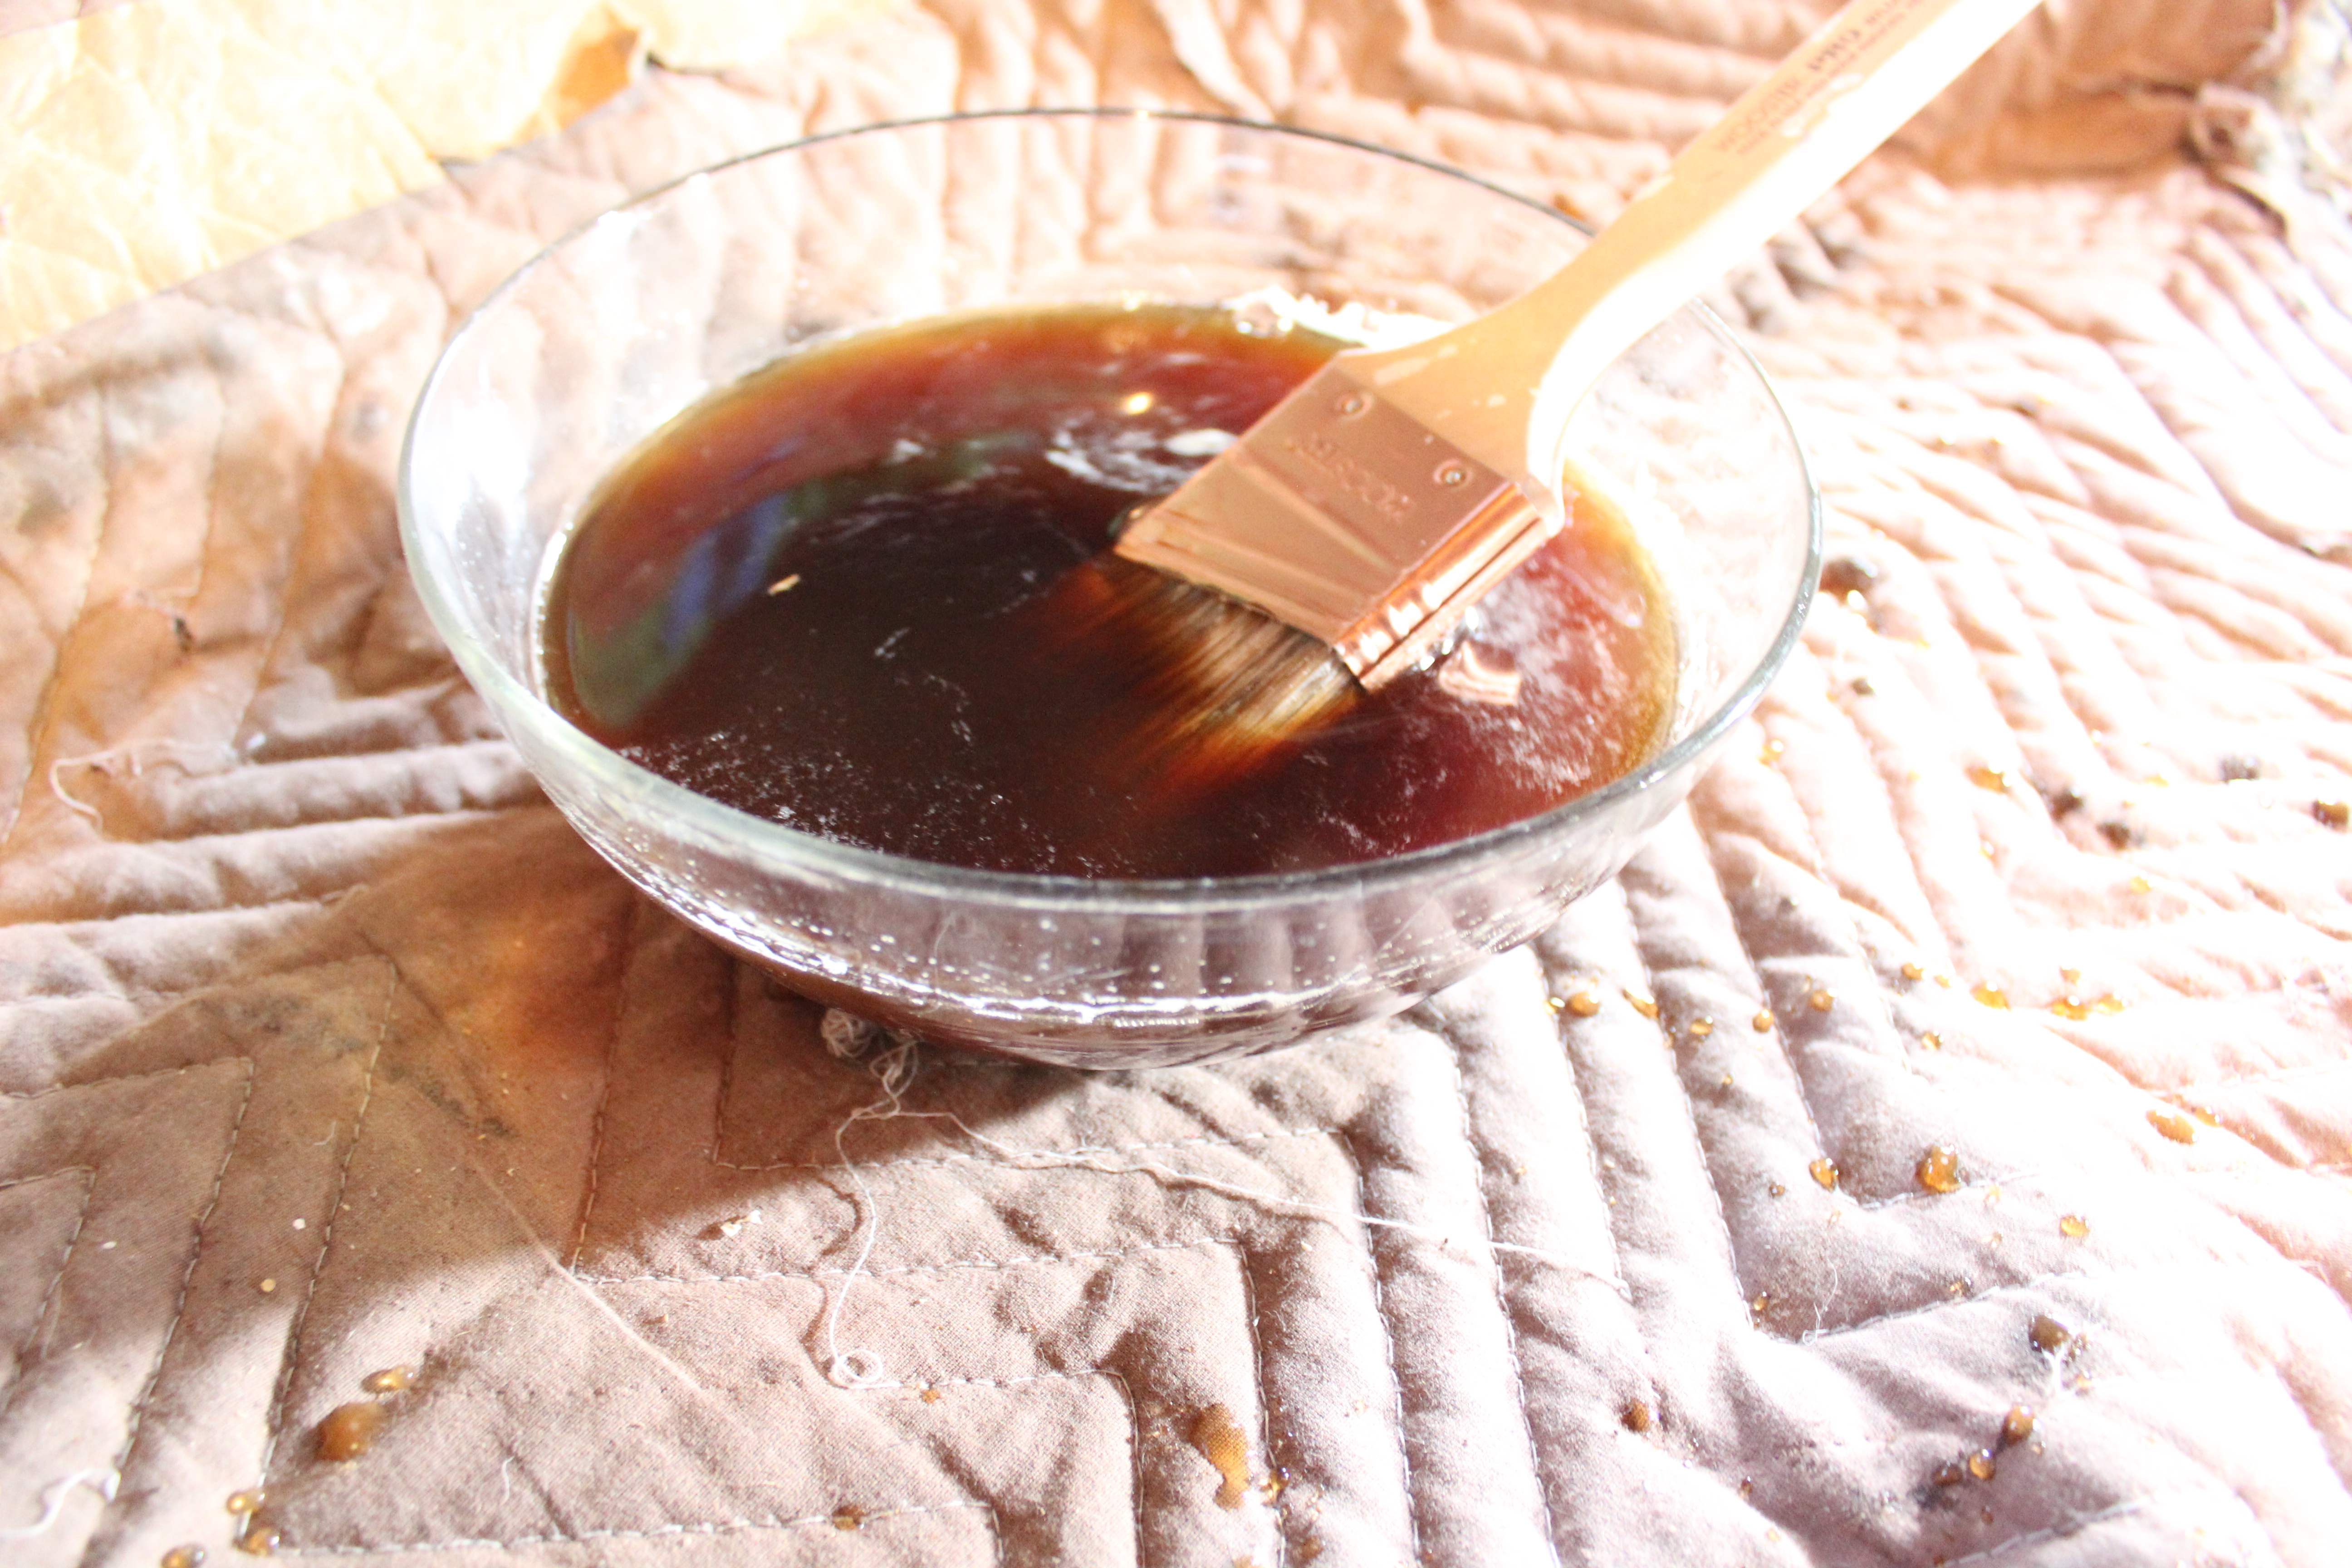
 Step 11. Brew some very strong tea and brush it on your ladder. Apparently the tea releases tannins in the wood which allows it to oxidize from the vinegar/steel wool. We coated ours with tea twice, letting it dry in between coats and before the next step.
 Step 12. Your final step! Brush on your vinegar/steel wool solution. It will start to turn the wood darker as soon as you brush it on and within an hour or so will be completely weathered.
I couldn’t believe how well the weathering process worked and without buying expensive stains or paints. Just household items.
What do you think? Worth $20 and a couple hours of time? I’d say so.
80 Responses to “How to Make a Rustic Ladder to Hang Towels/Blankets”