We’re proud to report our back deck is finally built! This project actually began late last fall. We bought the cedar timber during a sale, and poured the footings then. It got too cold to build, so as soon as we got some decent weather, Ben was out there framing it up.
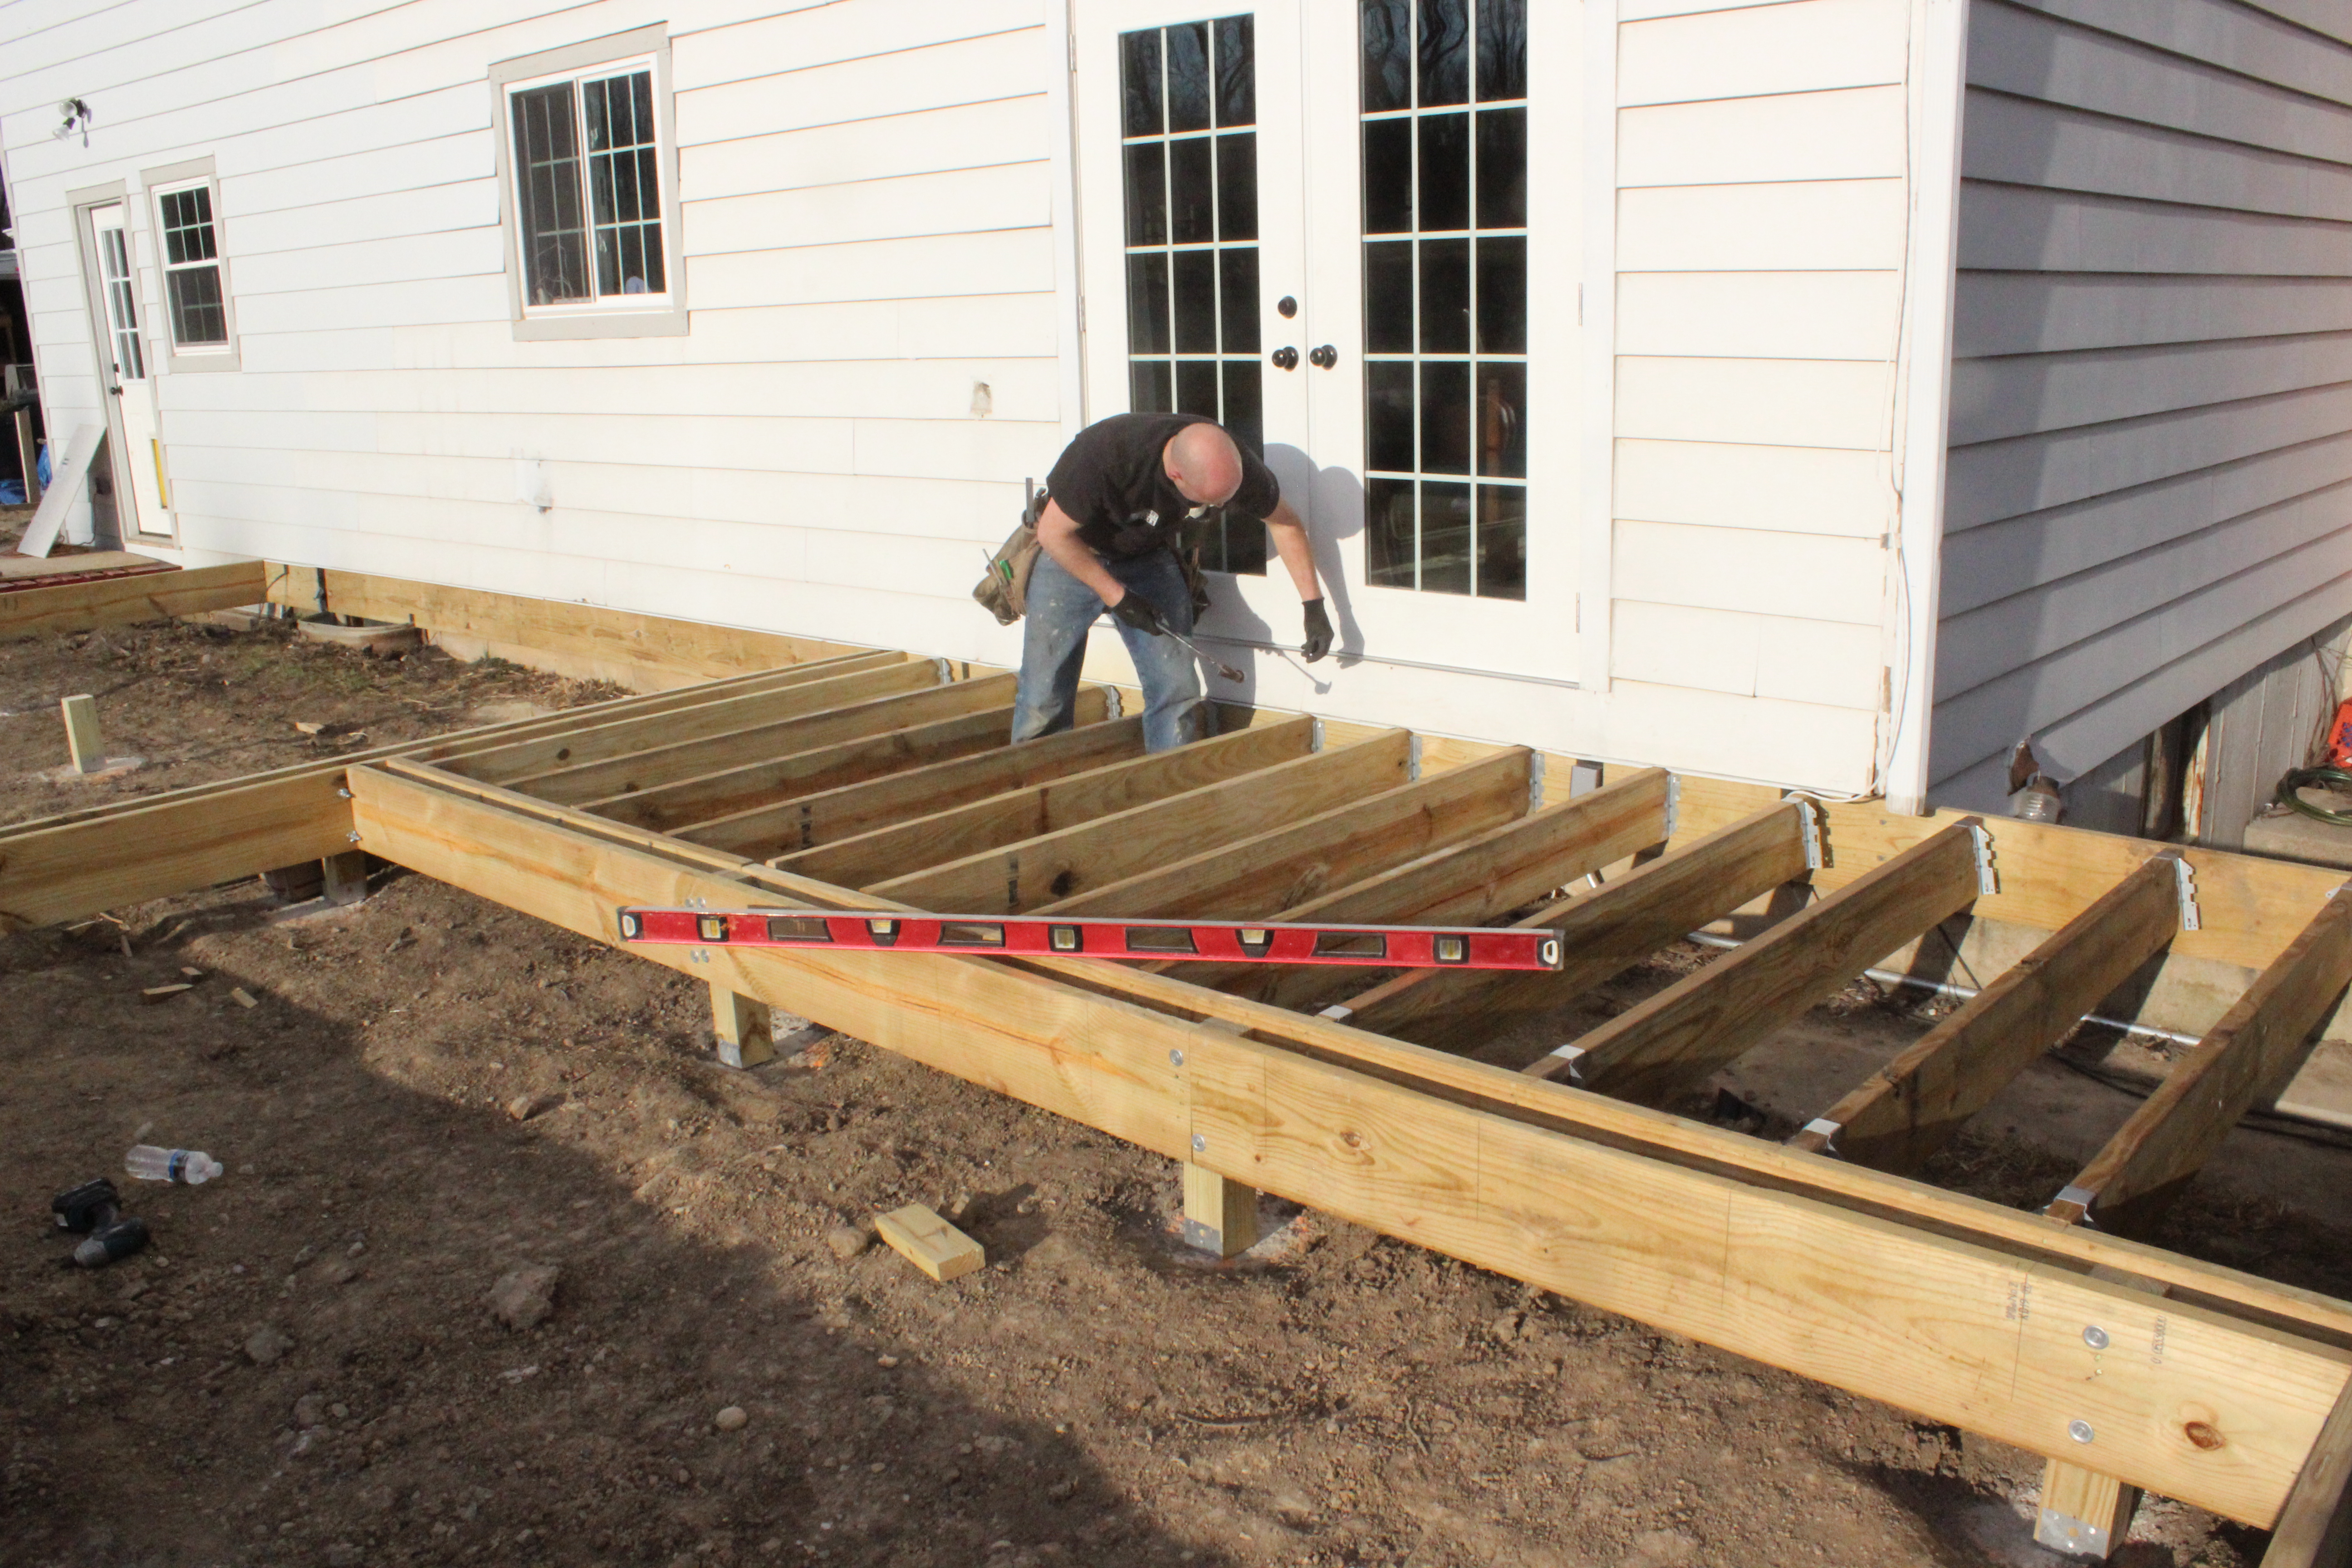
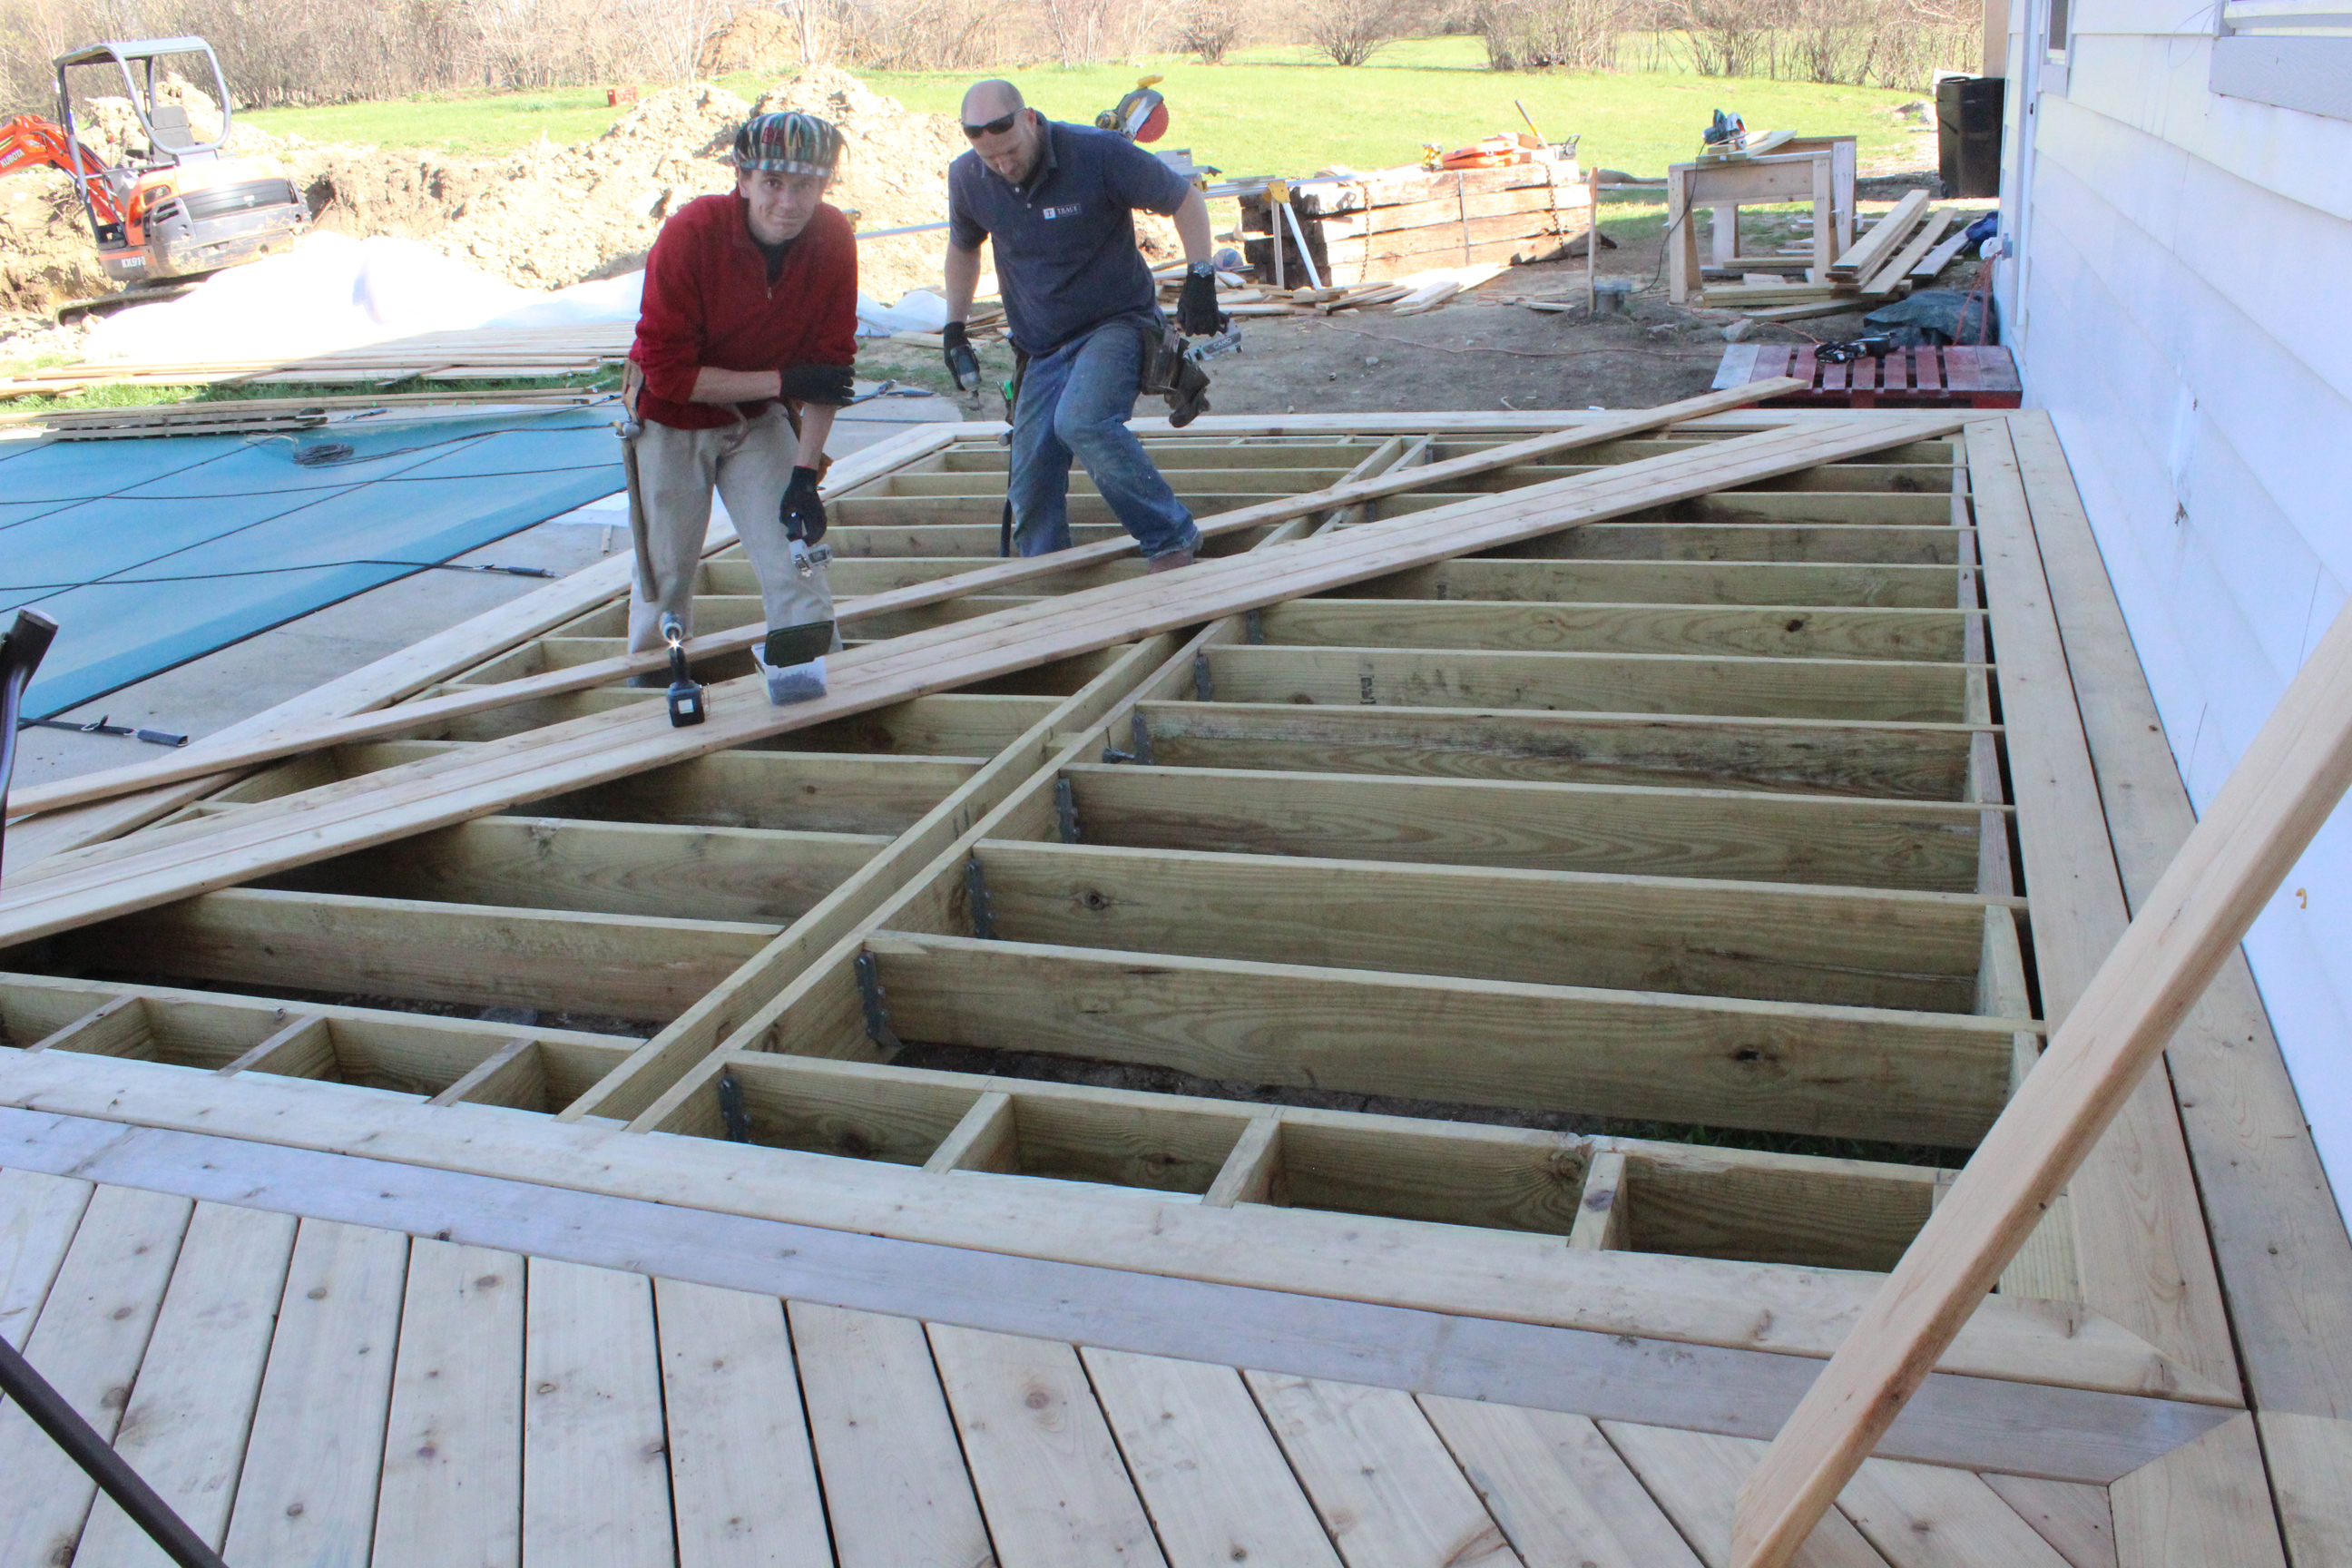
He did the majority of the work himself over several weekends and nights, but he also traded some old furniture to a sub-contractor for 2 days work on the deck. It worked out great. Here are the guys finishing up this last weekend.
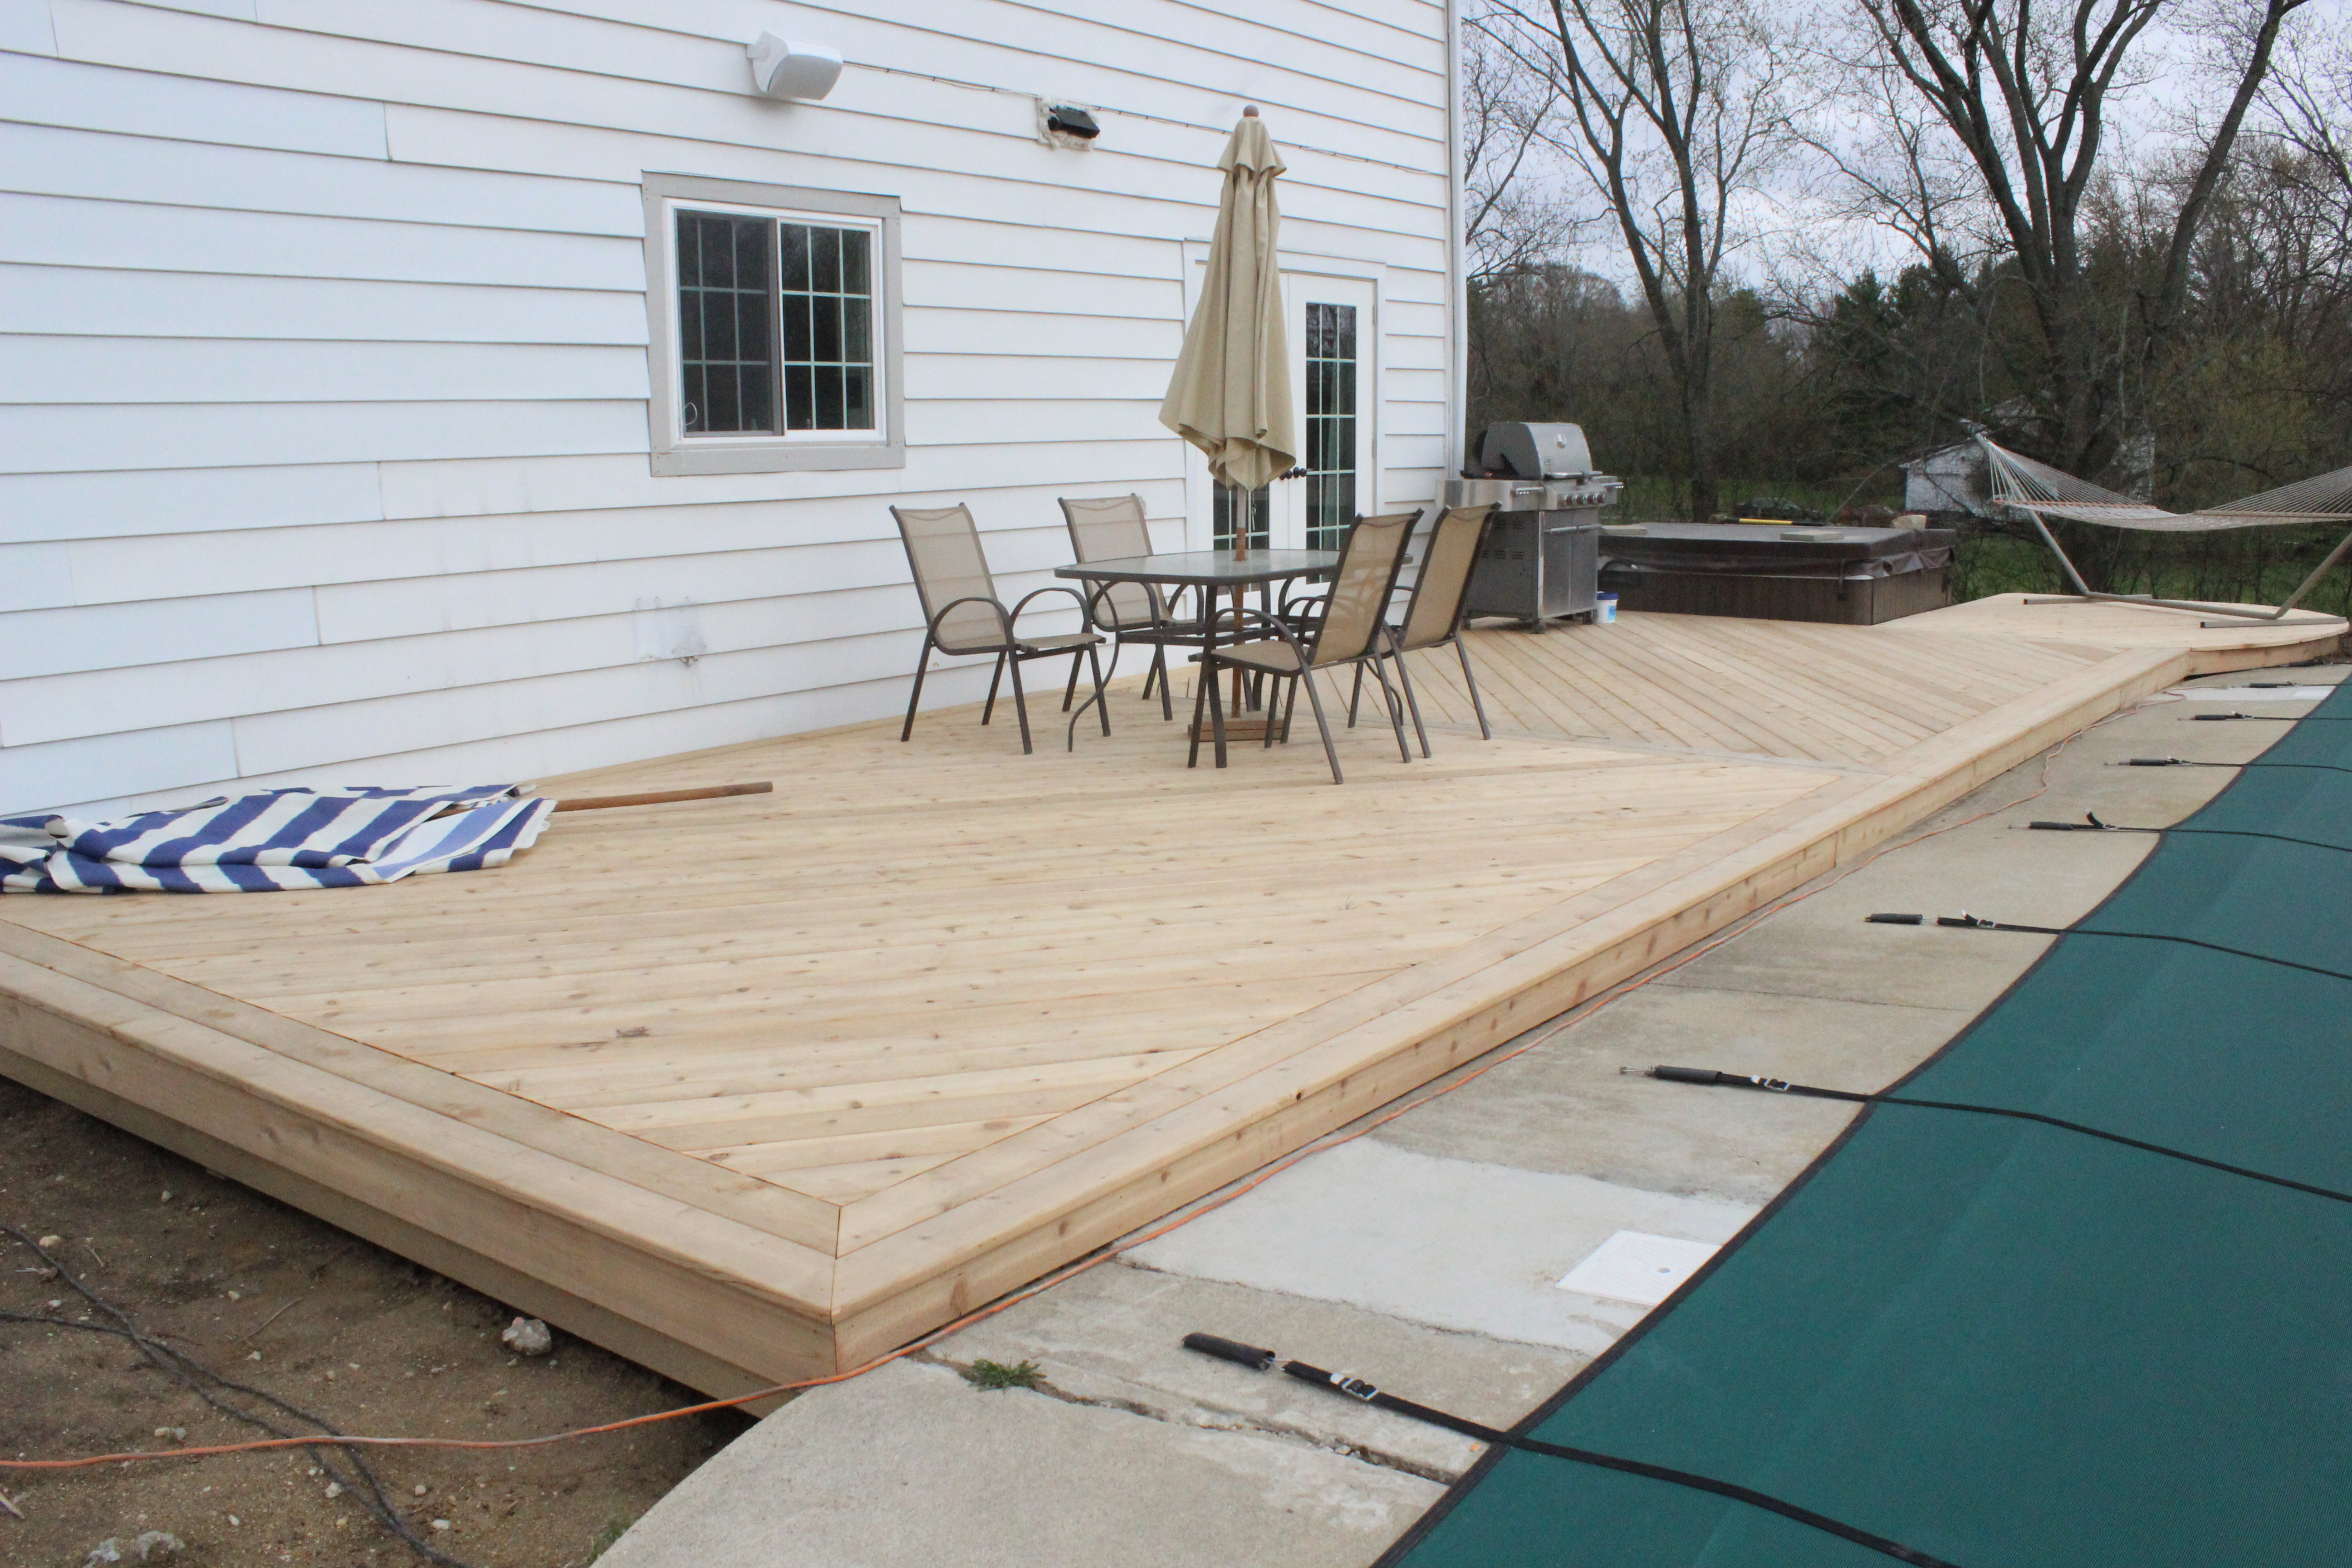
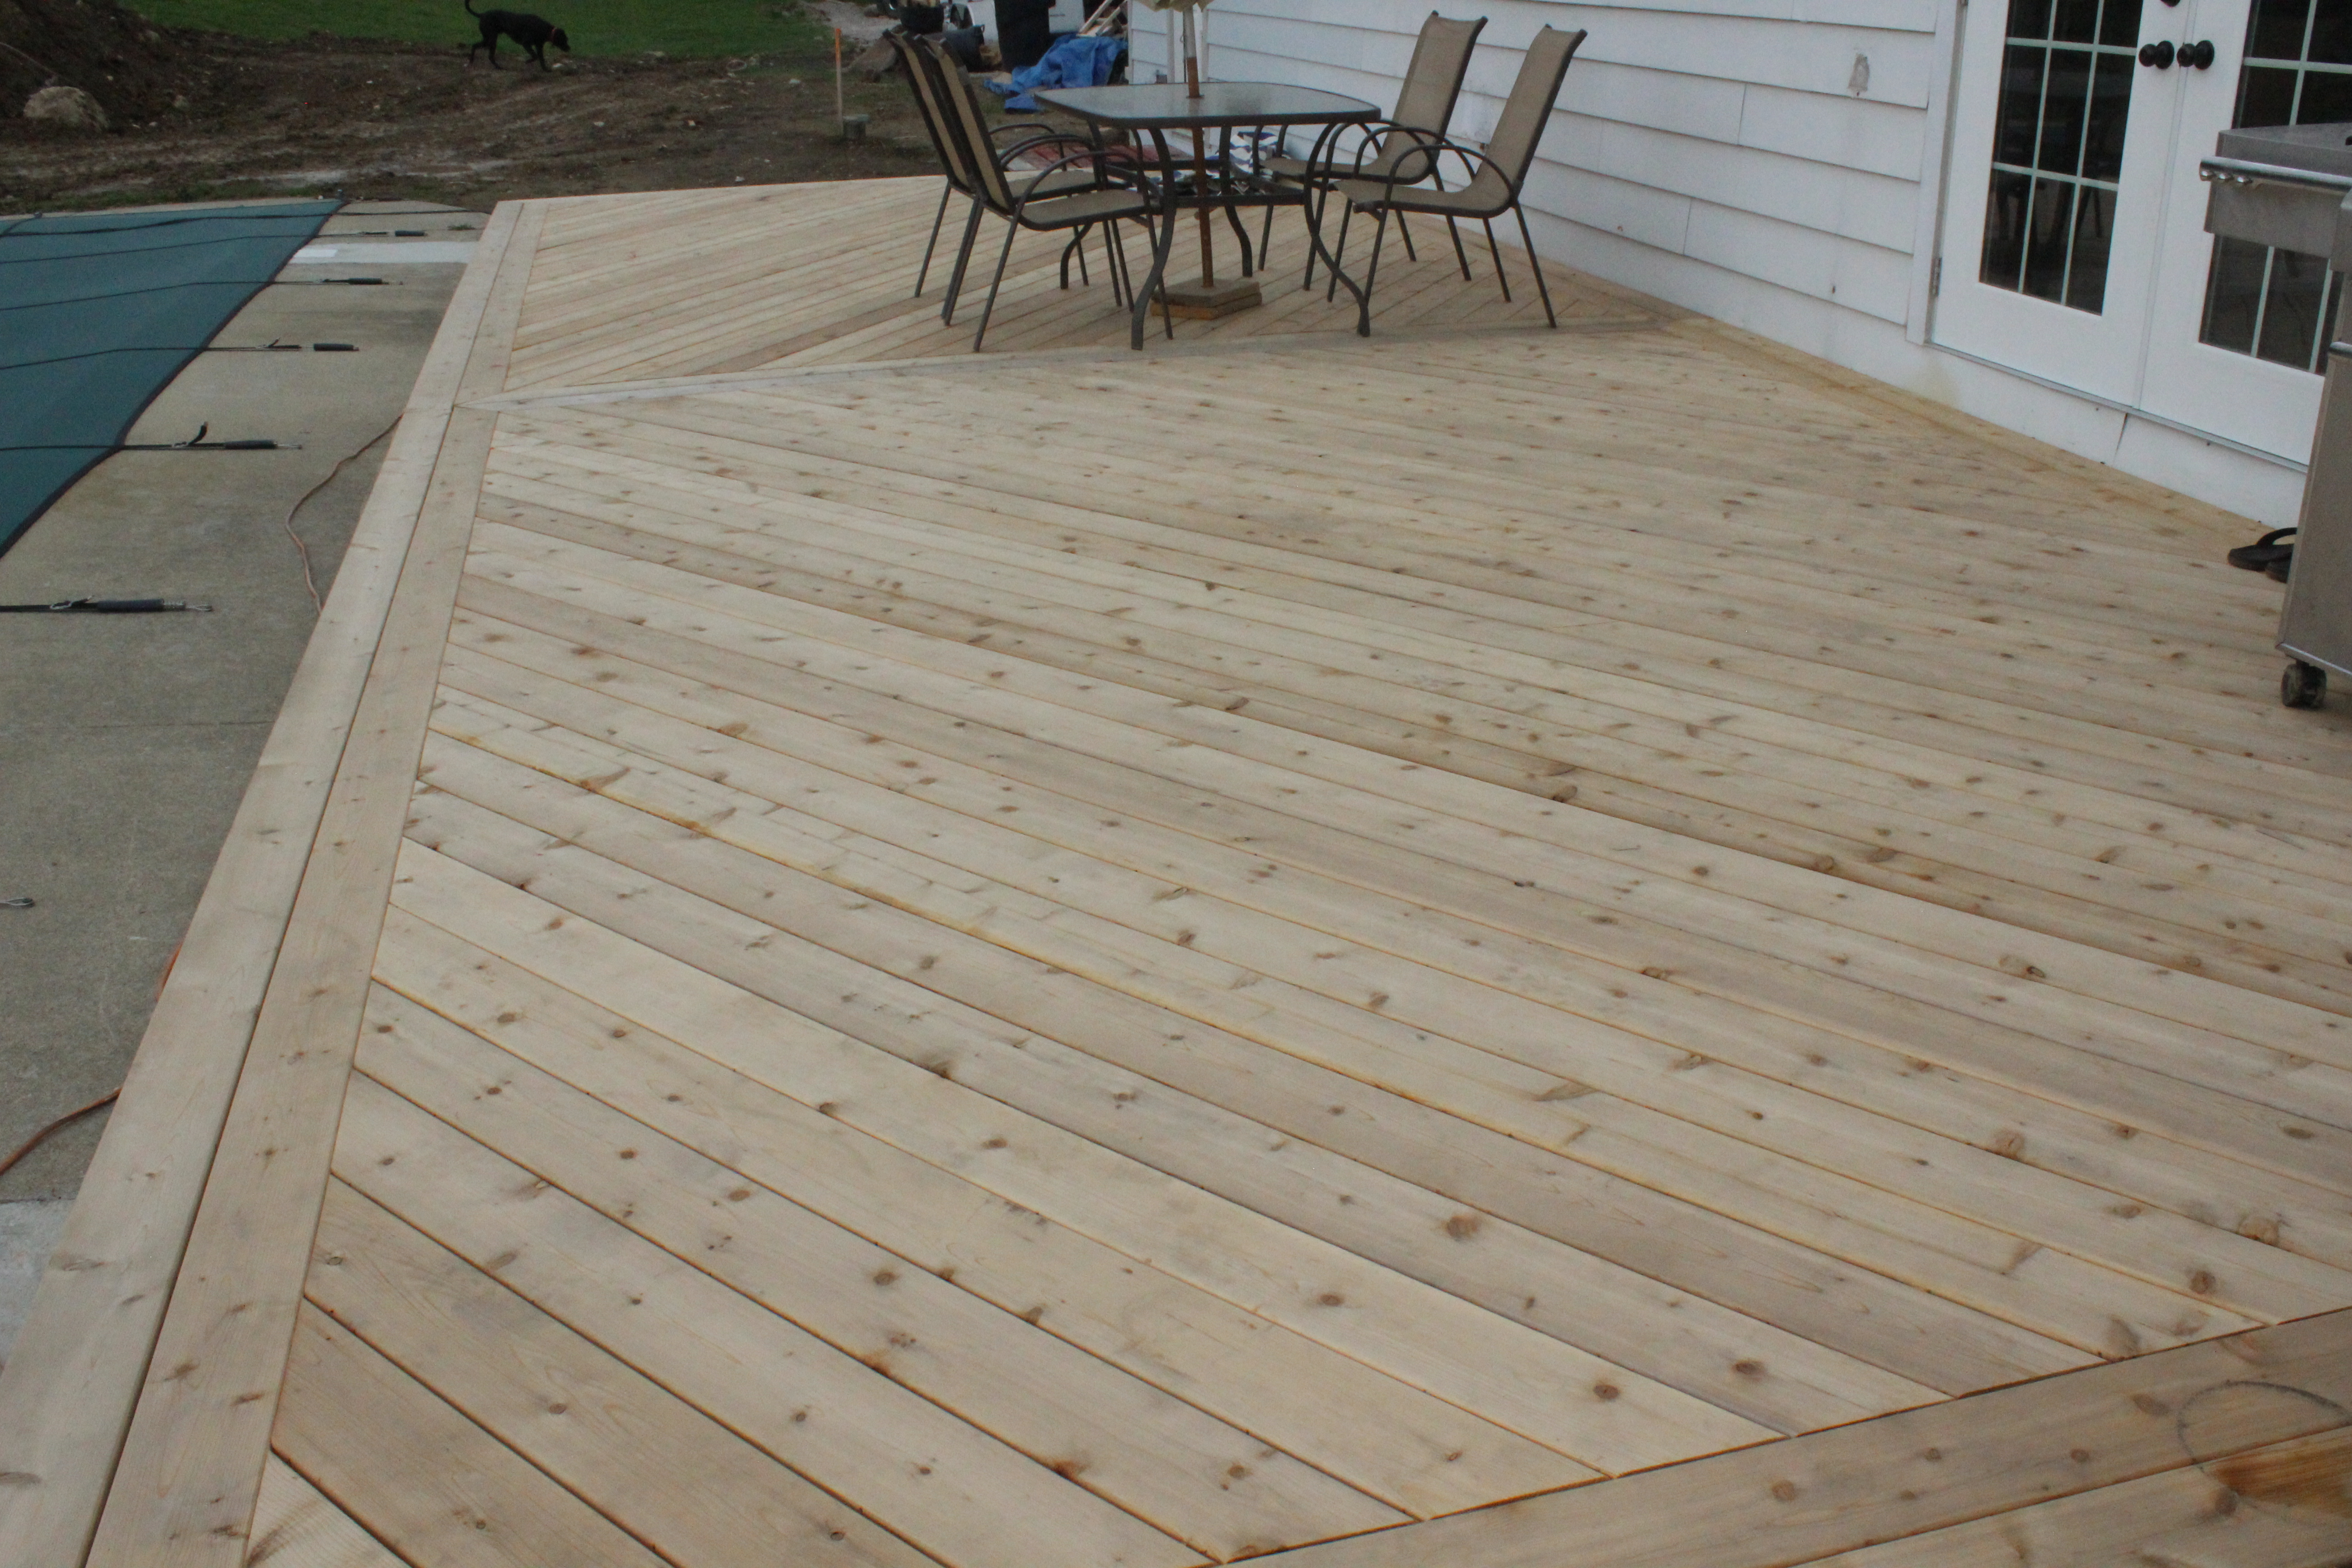
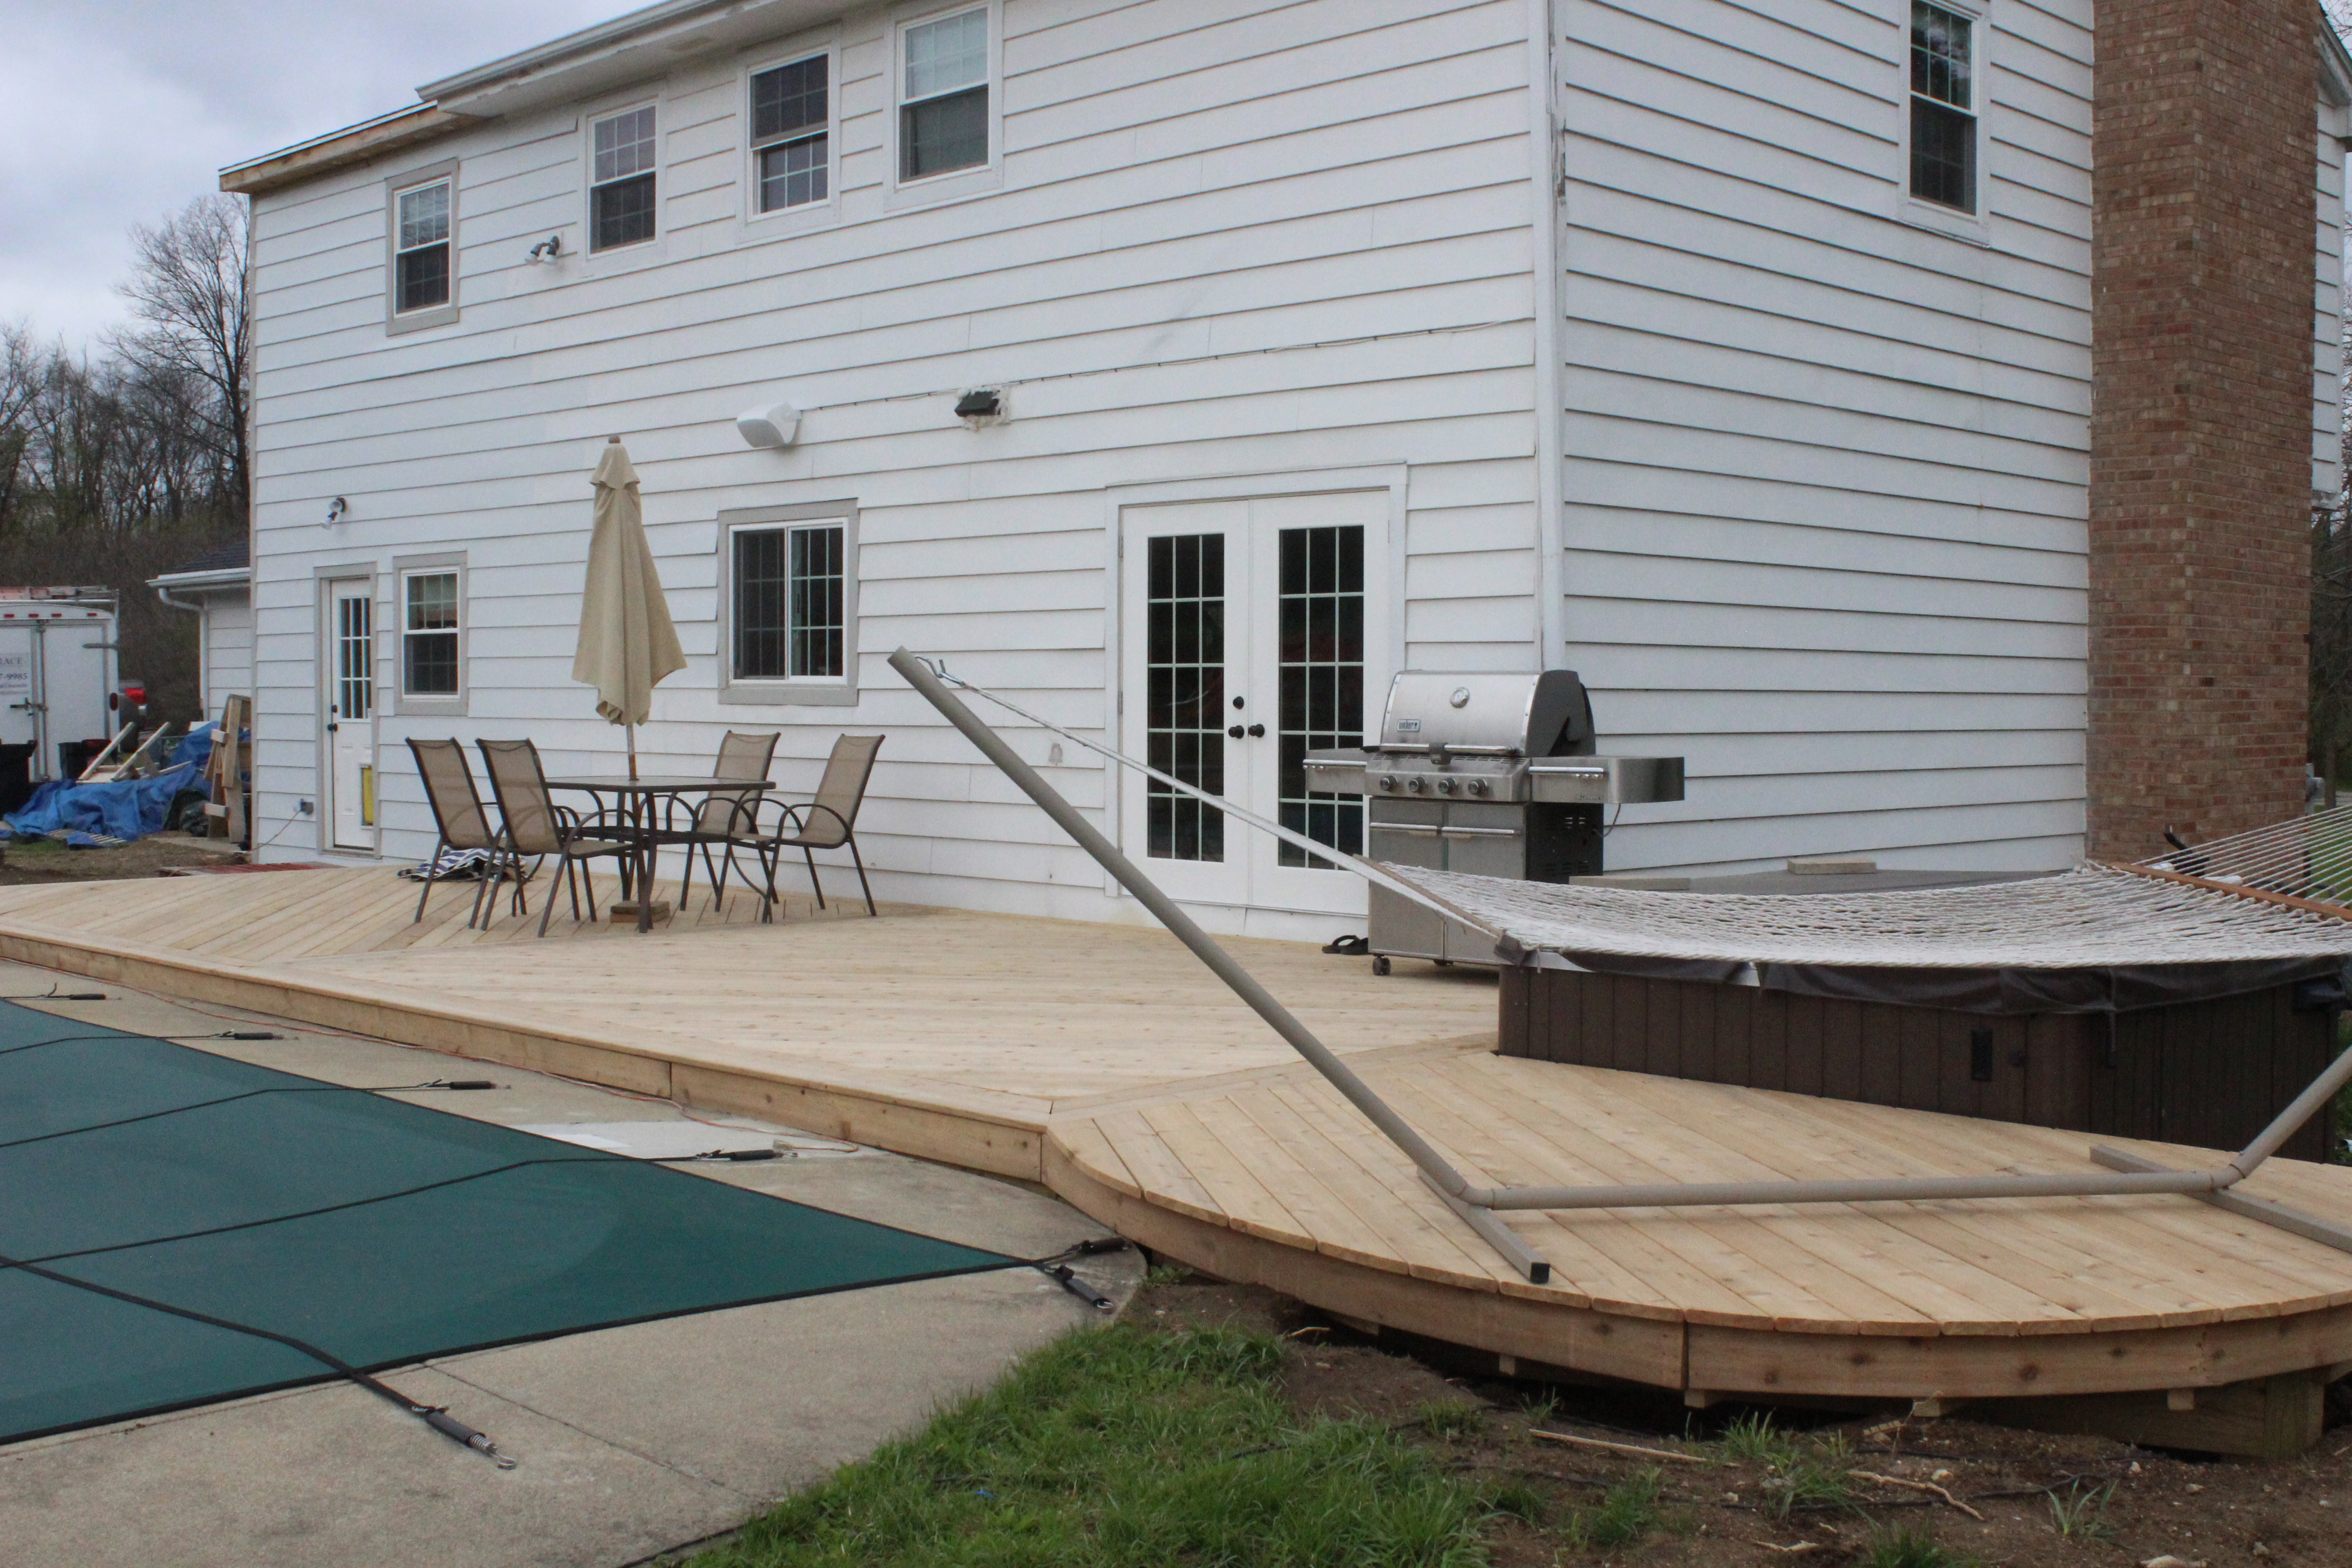
We still need to stain it and move out our good patio furniture, but here it is all built. That’s our hot tub (which we moved from our old house) in the corner.
I absolutely love how the boards run opposite directions and meet in the middle, almost like a herringbone (all Ben’s idea).
 Ben used a hidden fastener system, called CAMO, which made hiding the screws much easier.

The CAMO tool spaces the boards evenly and then guides the screws into the joists. You can see a video of how it works here. The tool itself is less than $40, however the screws that you have to use with it can get a bit pricey.
Here is a closer view of the hot tub area. Our cover broke so don’t mind the weights holding it down for now. And the hammock will be moved somewhere else.
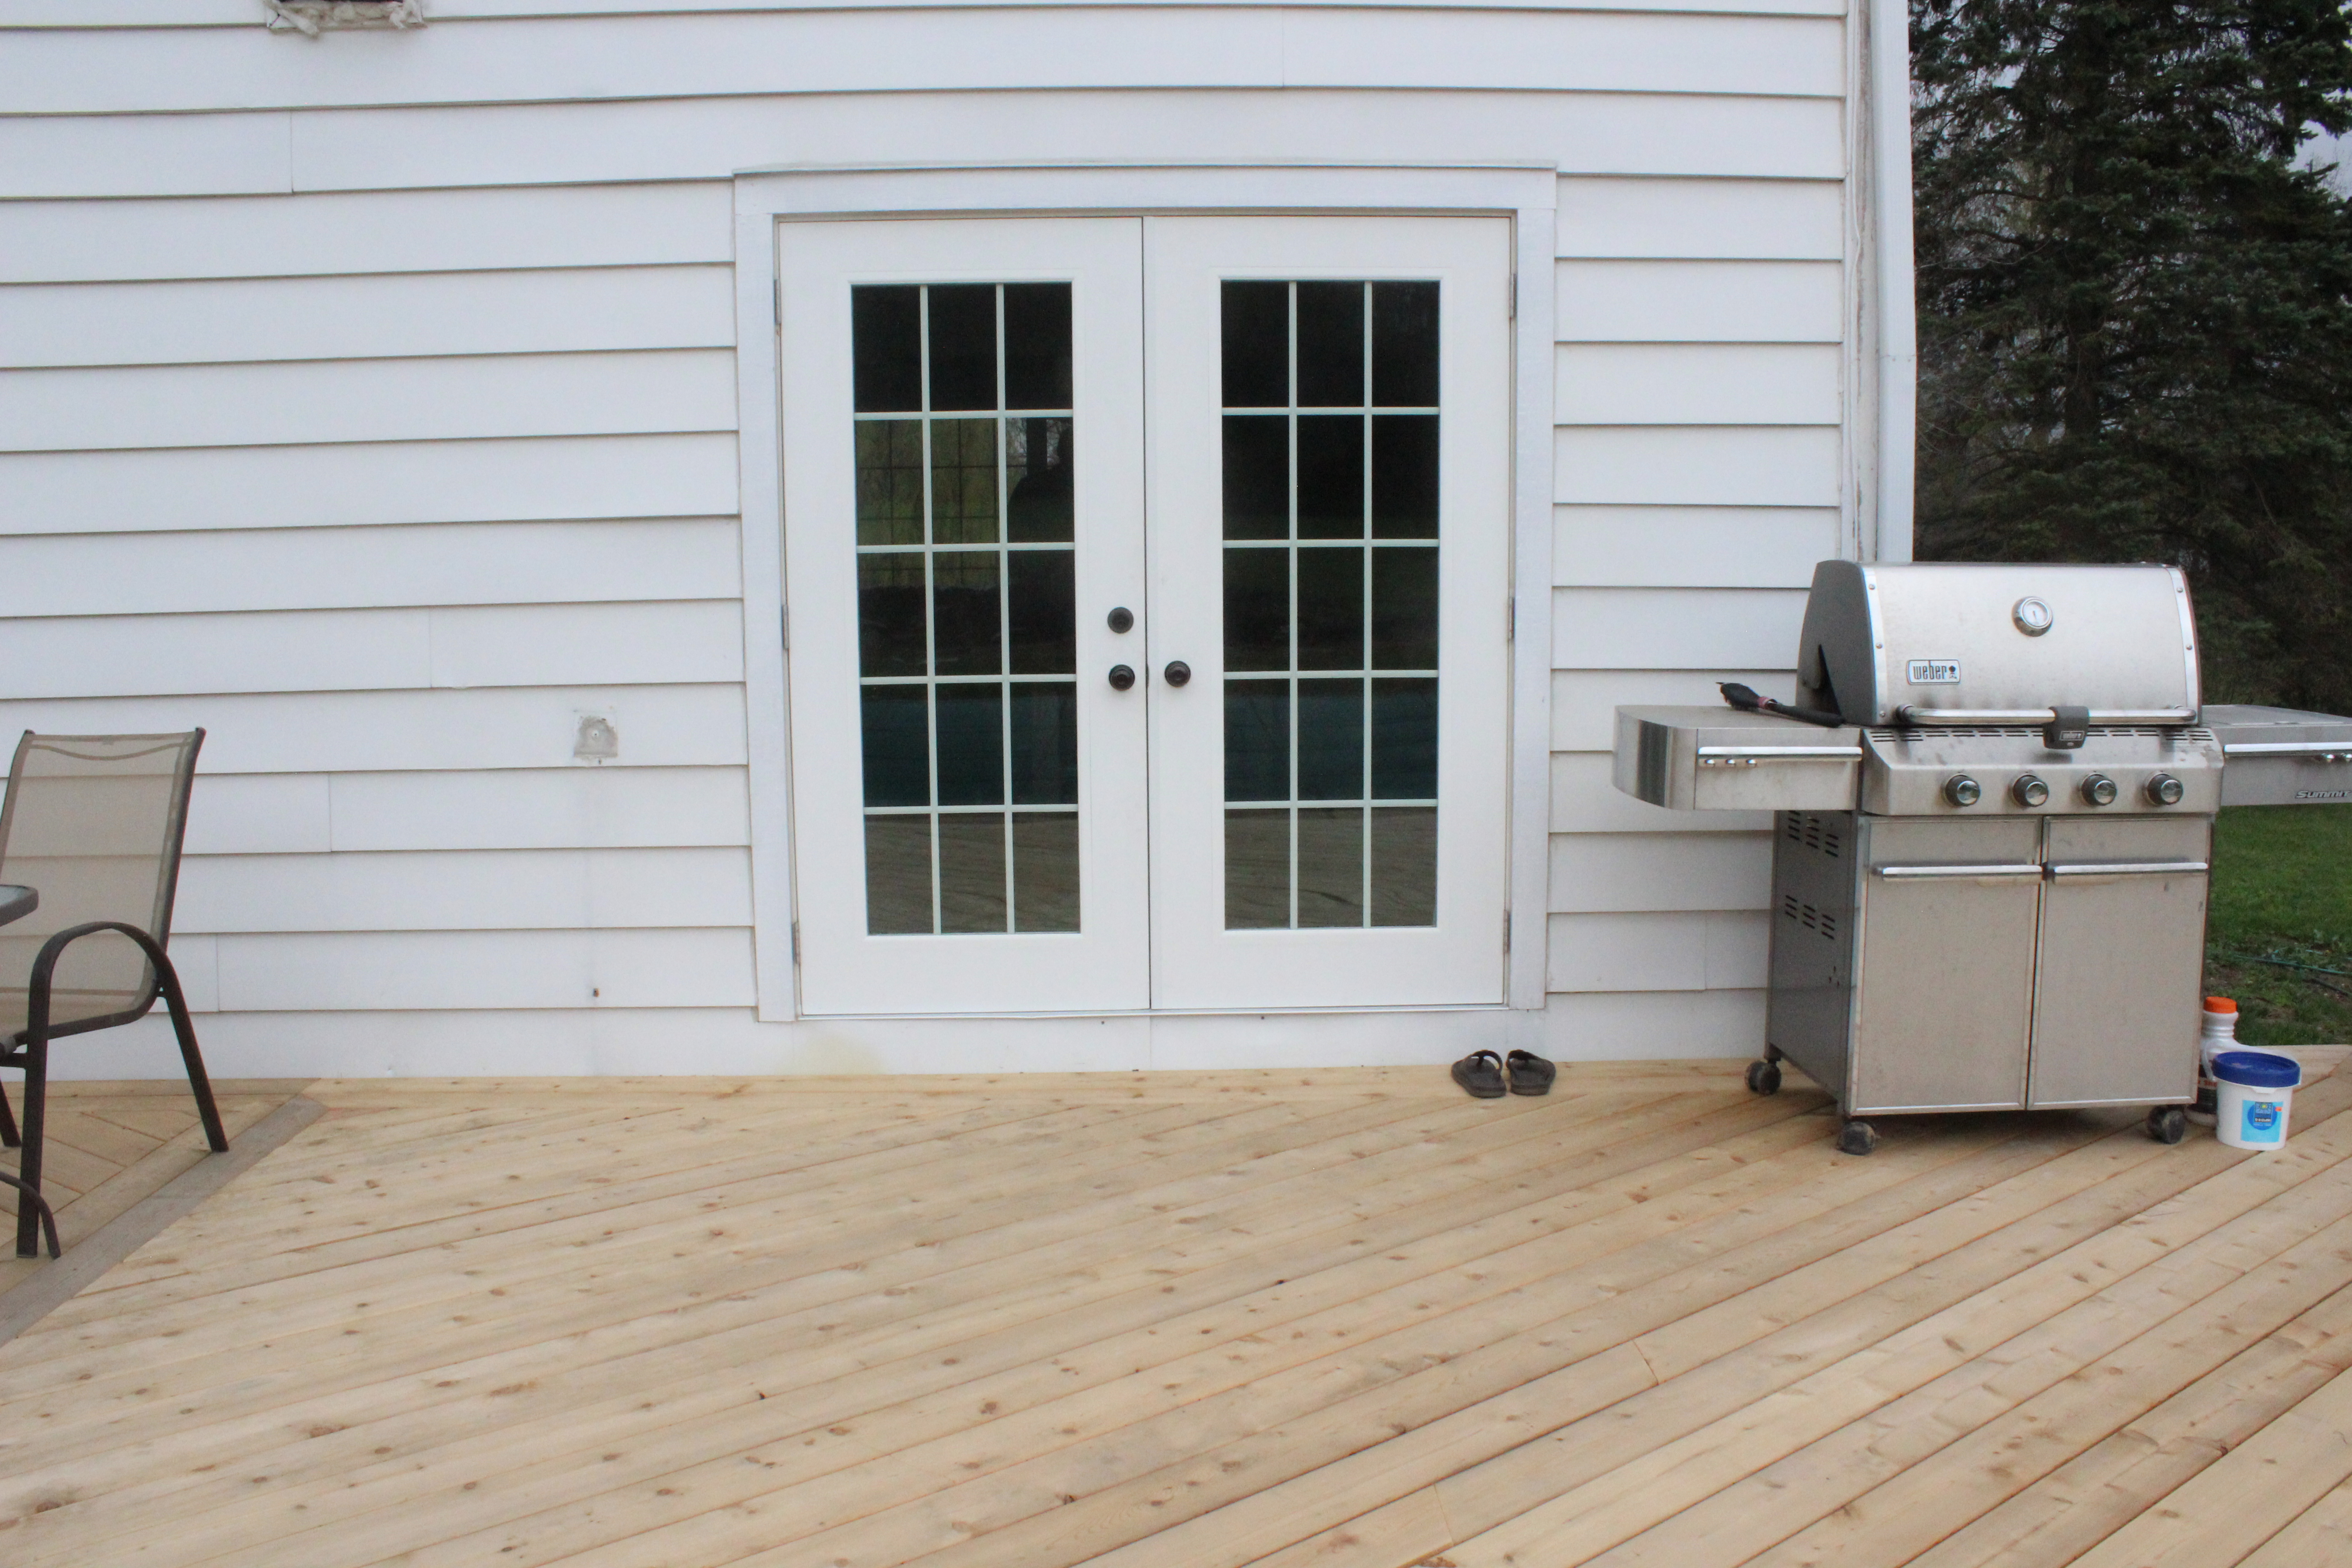
 It is so nice to be able to walk out onto this…
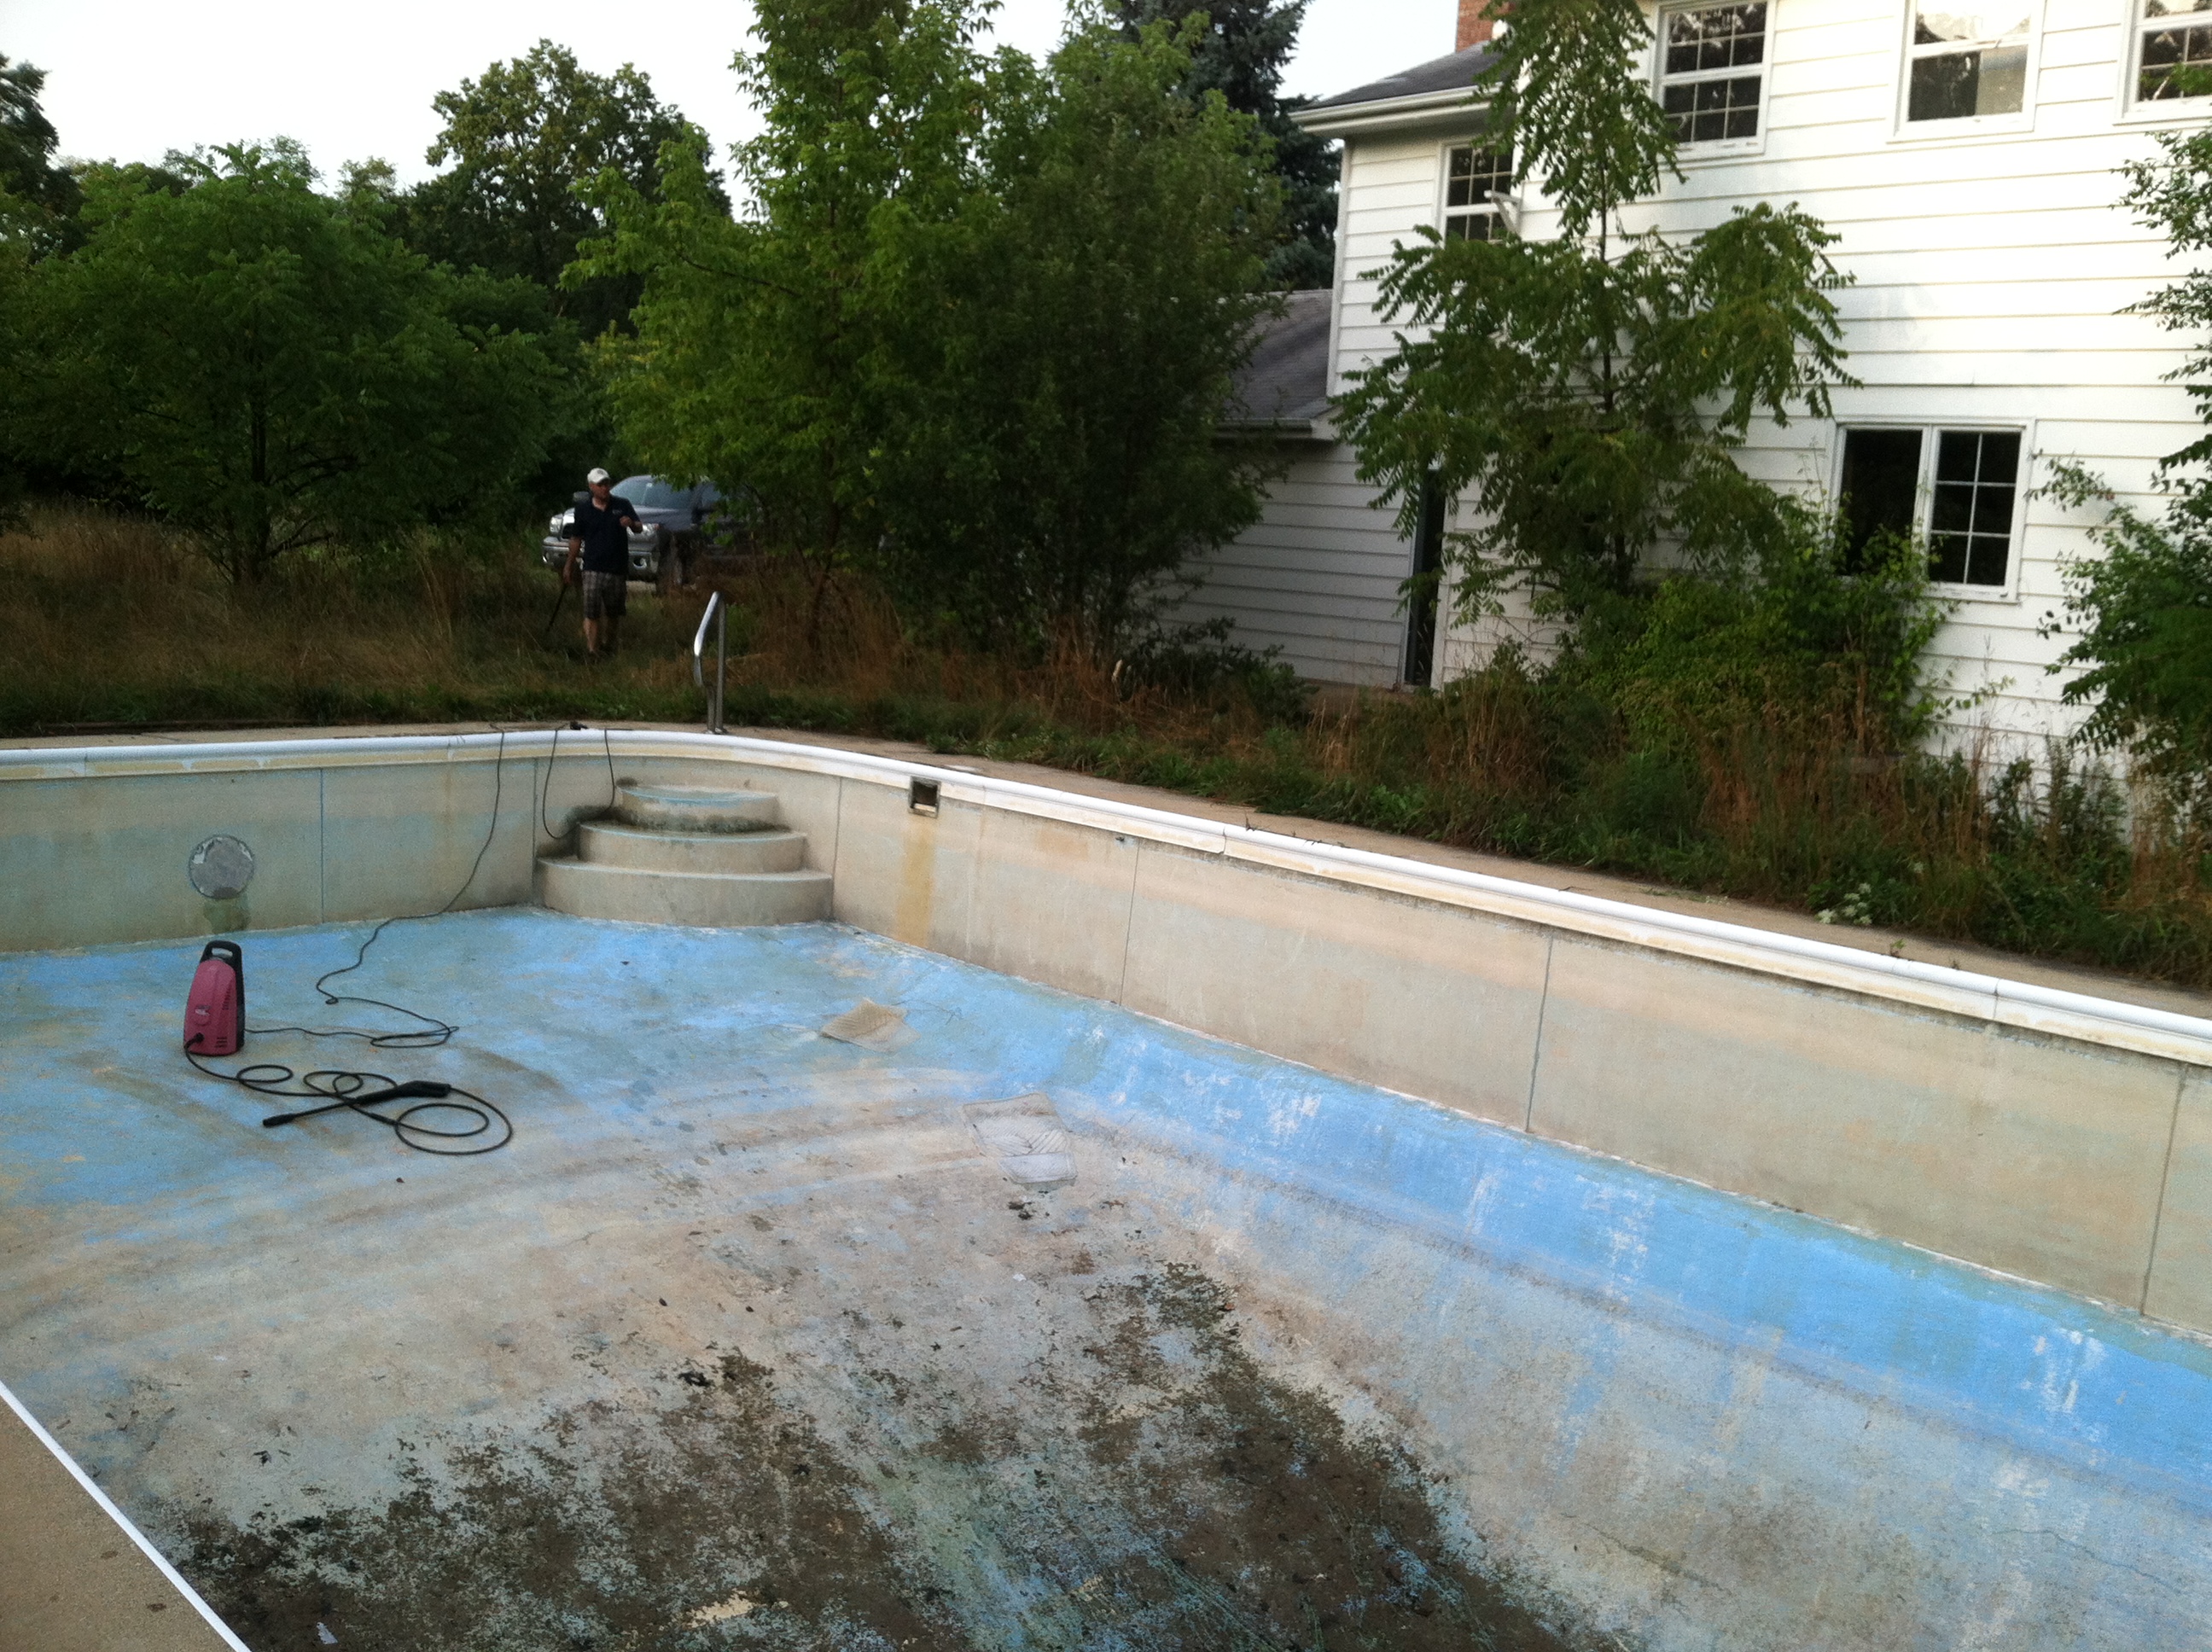
Instead of this….

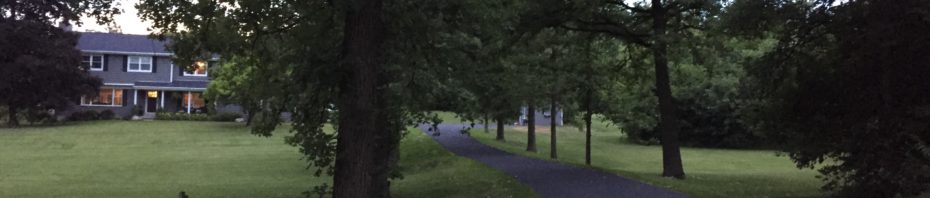
While there is still plenty to do out here, it is quite a change from this when we bought the place.
Here is a similar view now.
In addition to staining the deck, next up is laying some pavers outside the new laundry room door here. We didn’t continue the deck all the way because the doors were at different levels.
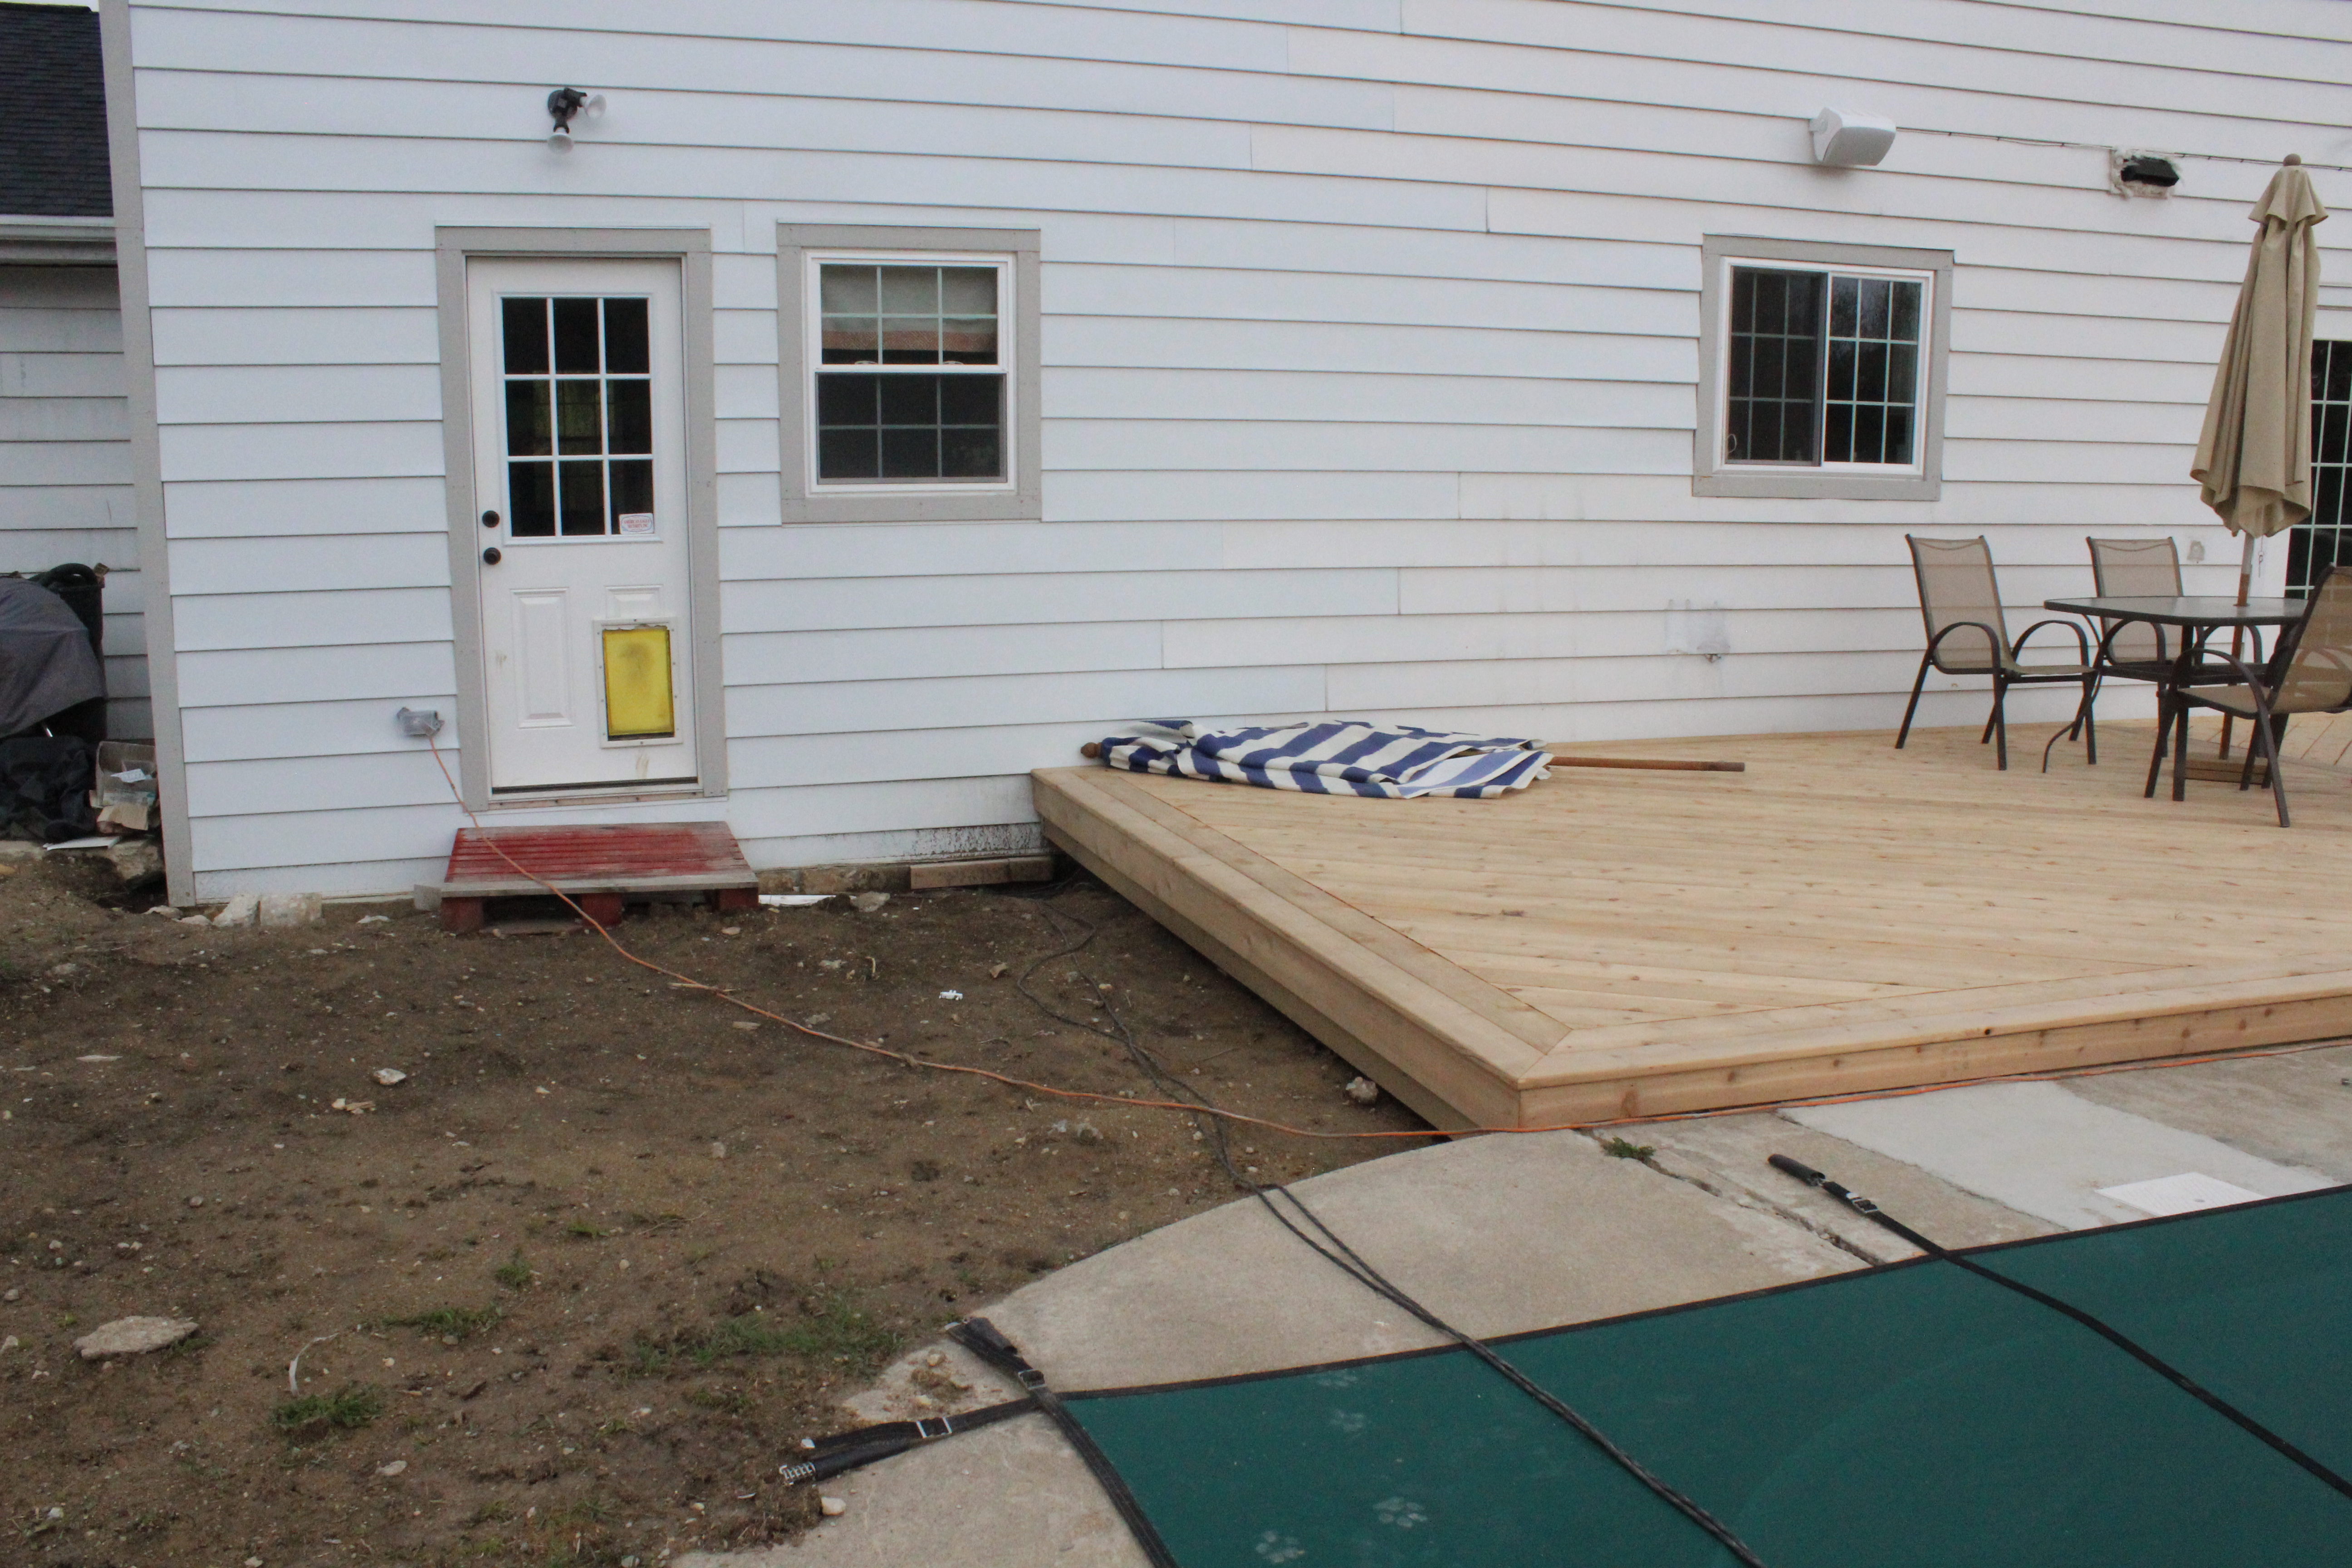 And also building a retaining wall here out of railway ties. And of course laying grass.
 Can’t wait to fully enjoy this area this summer! Pool party anyone?
4 Responses to “Goodbye Mud, Hello Deck”