We’ve got some great momentum going in the renovation of our upstairs guest bathroom. Not without a unforeseen setback, but I’ll get to that in a minute.
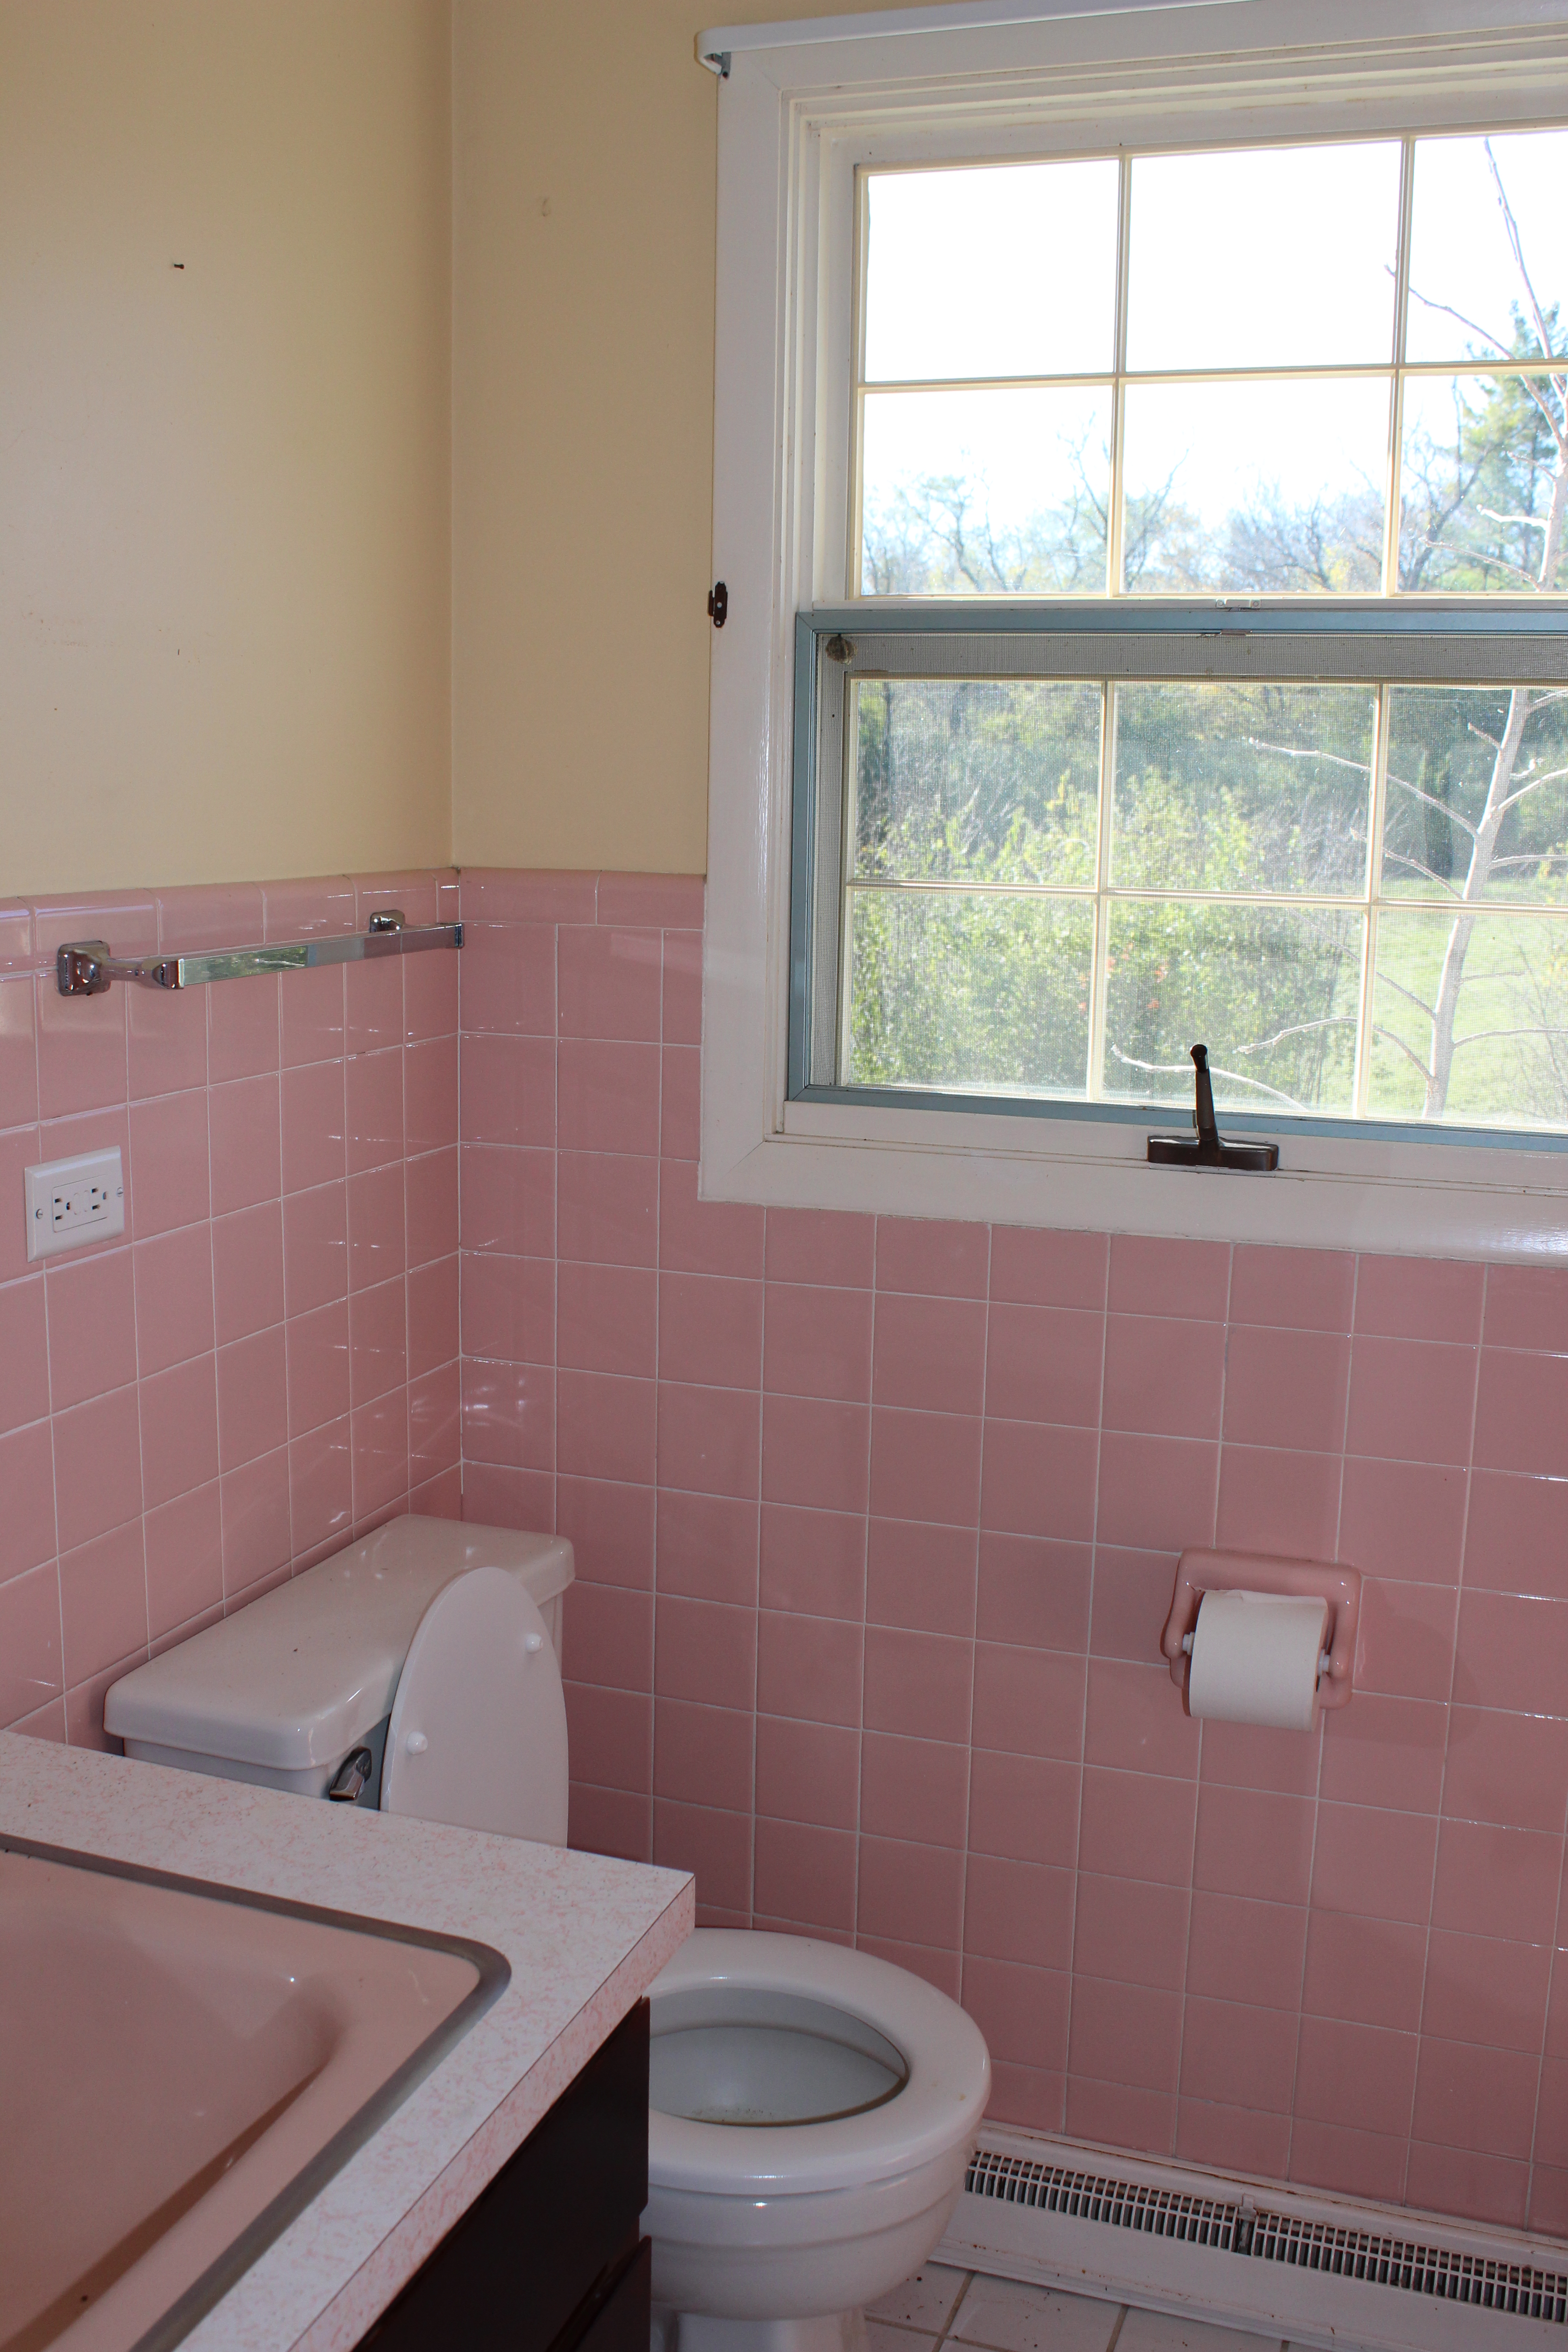
Just to catch everyone up, here is what the bathroom looked like when we moved in.
Due to a leaking tub, we demo’d it completely pretty quickly and then it sat like that for a while.
I created a mood board of what I want this bathroom to look like.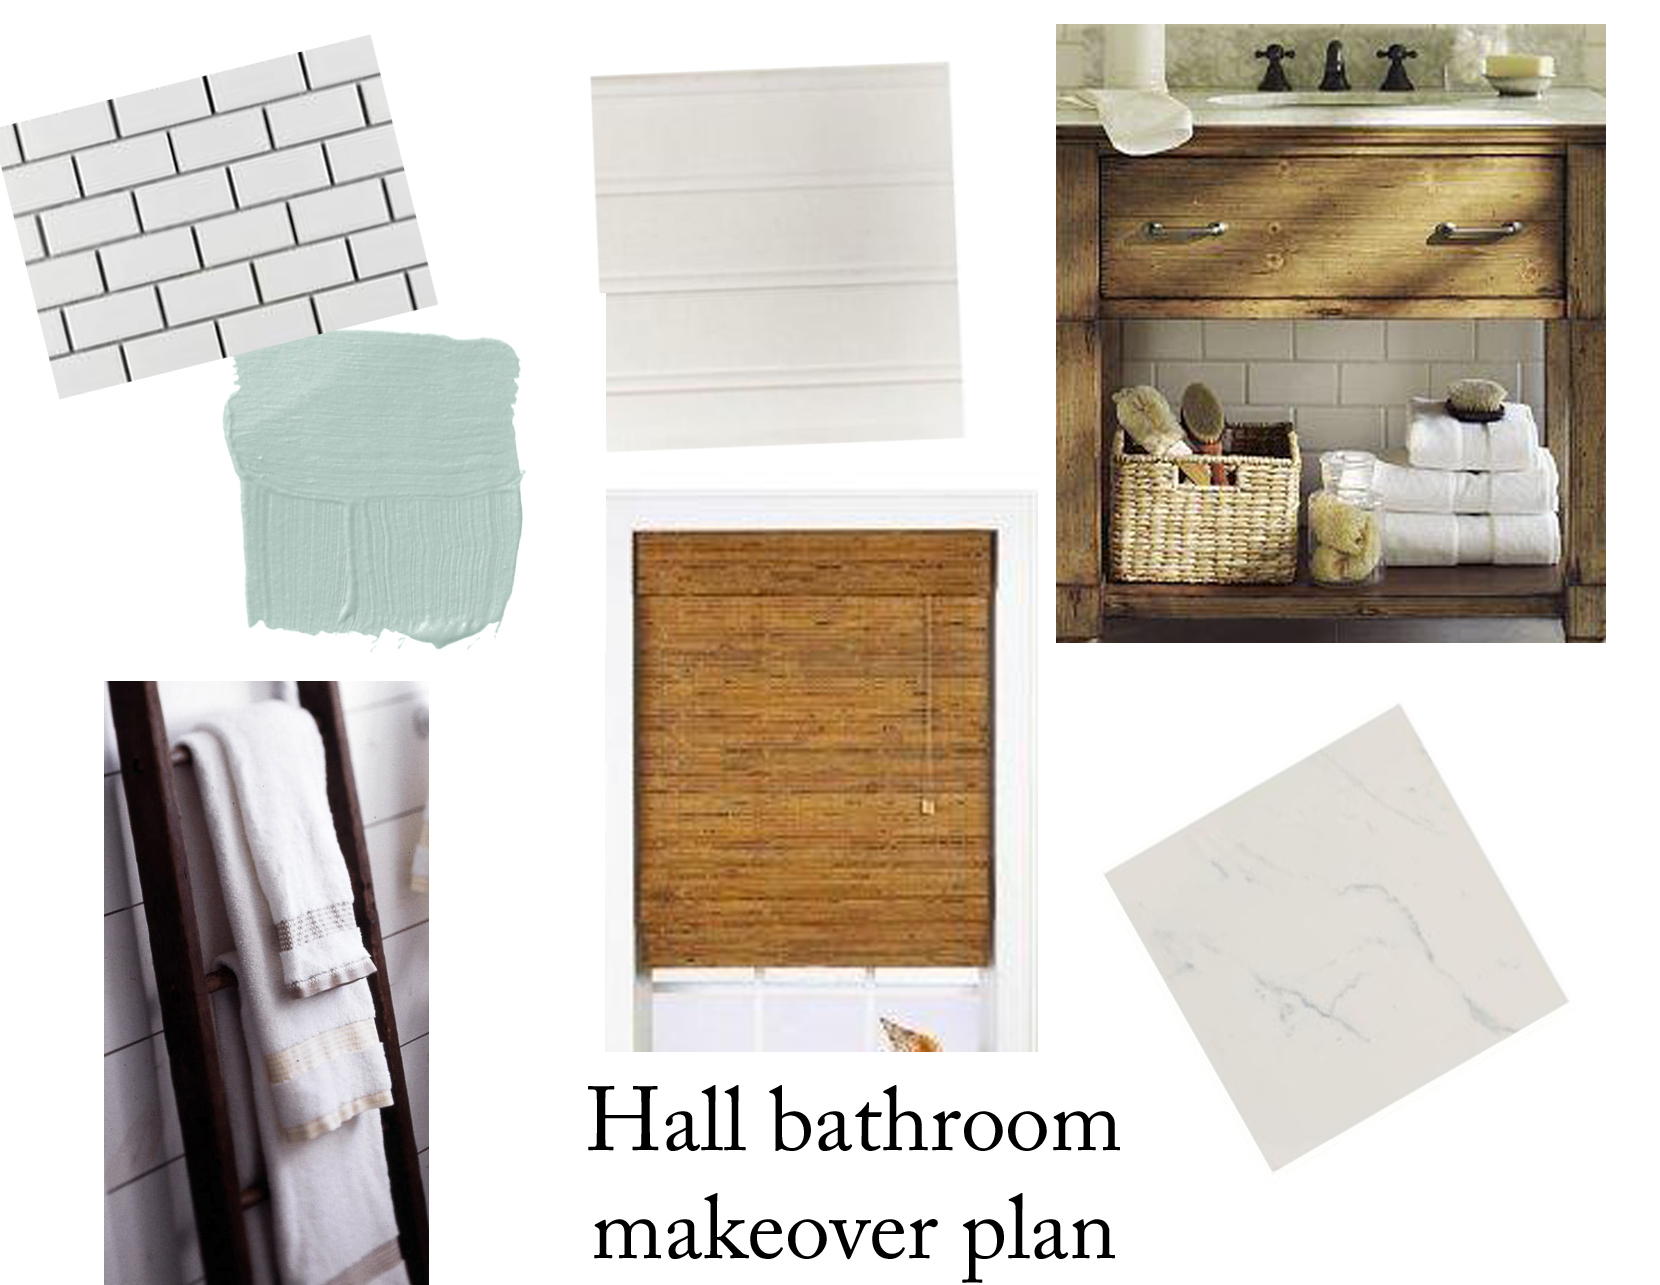
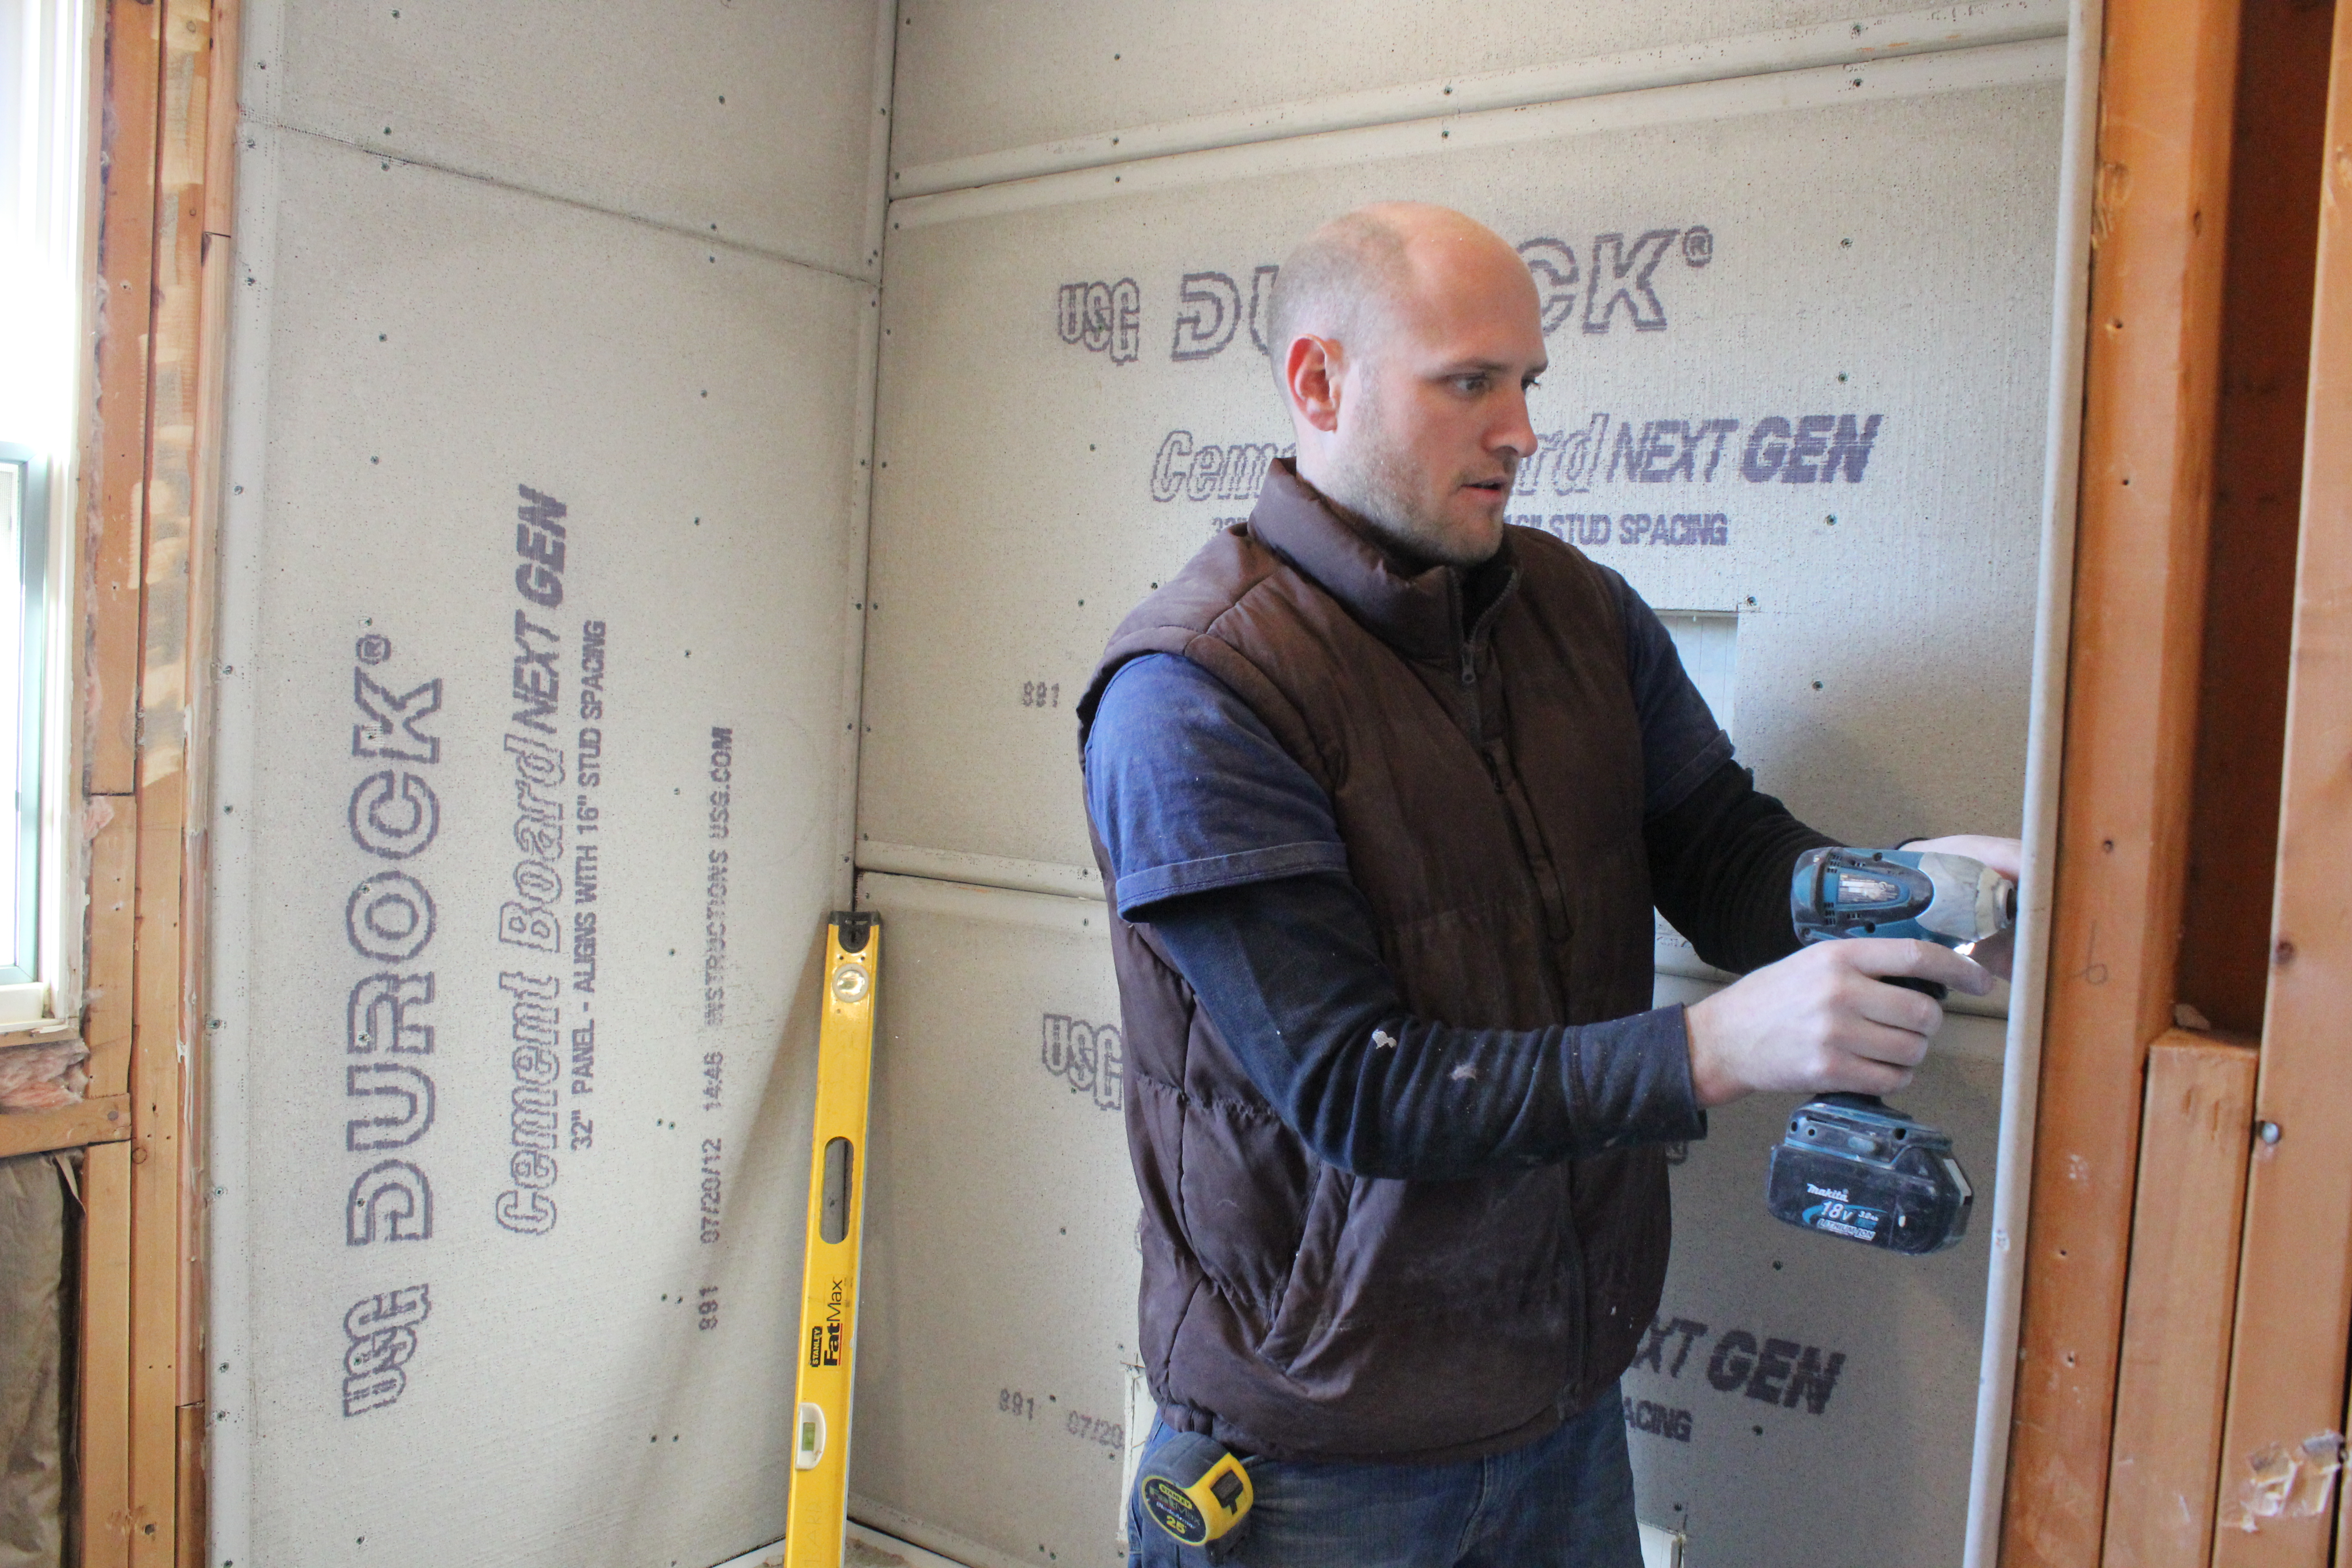
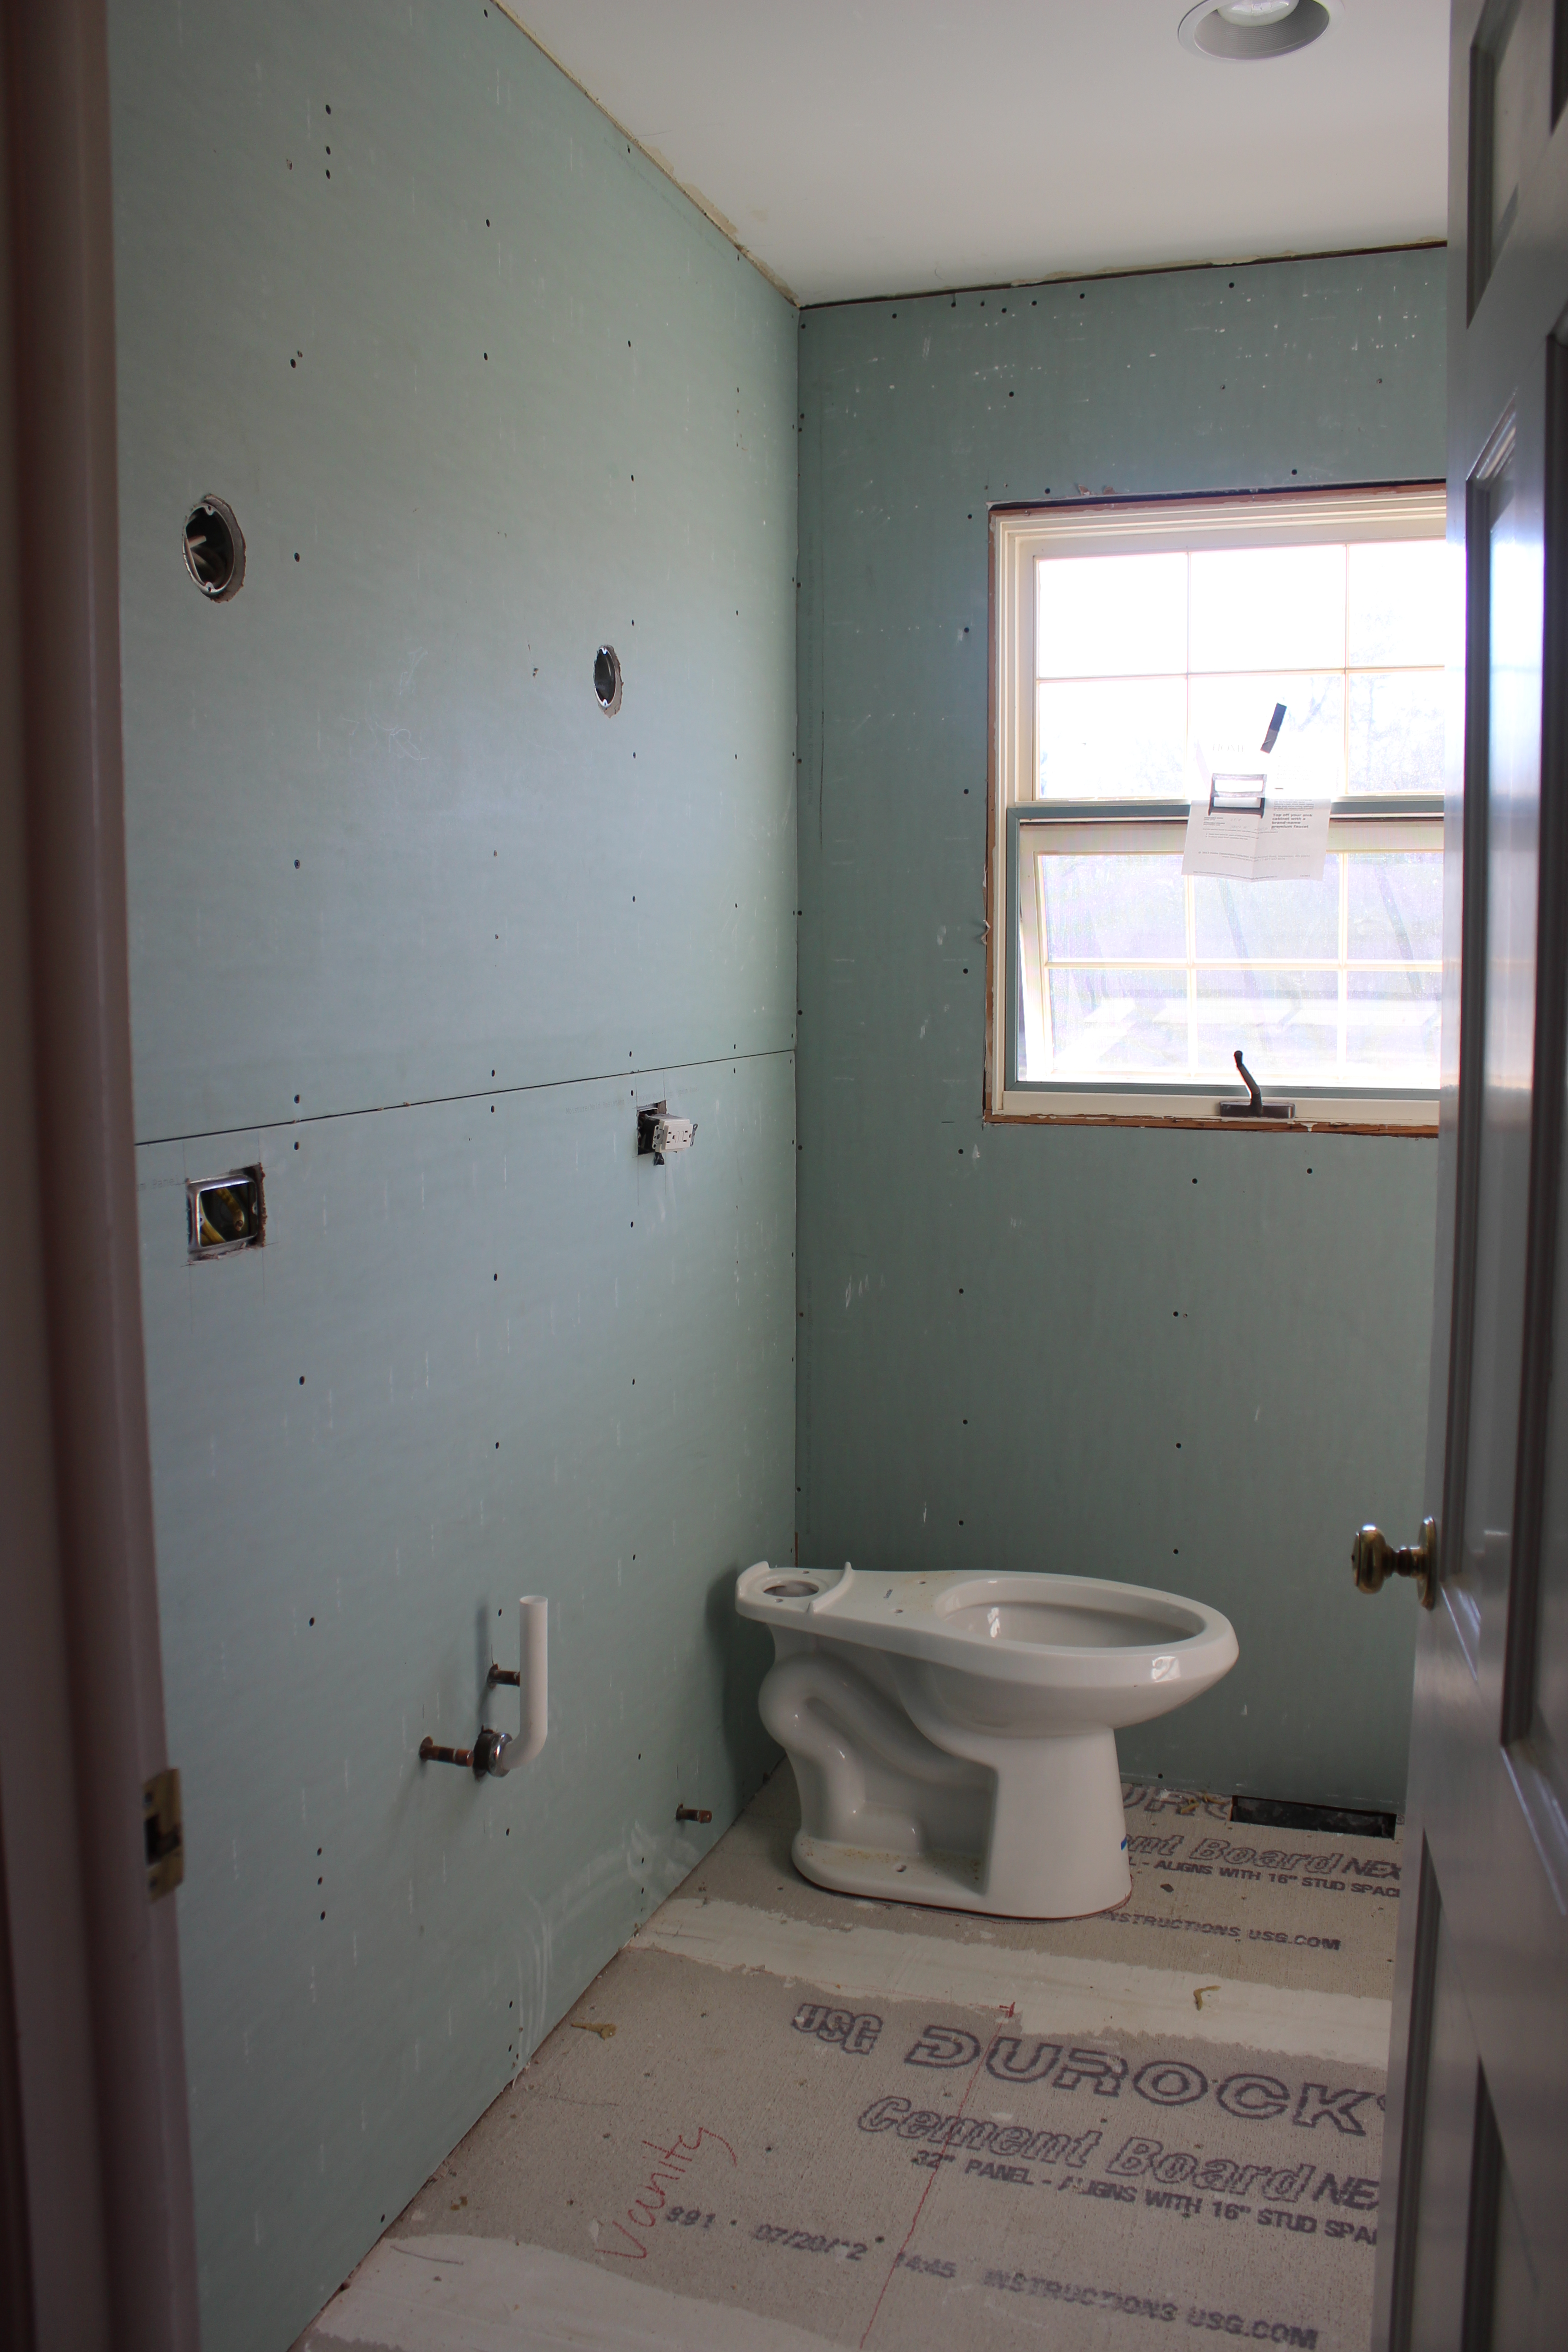
So here’s what she’s looking like as of today with drywall (the mold-resistant kind from USG), tile backer, electrical and plumbing.
We had the electrician come in to wire for sconces which will go above the vanity and put in can lights and a fan.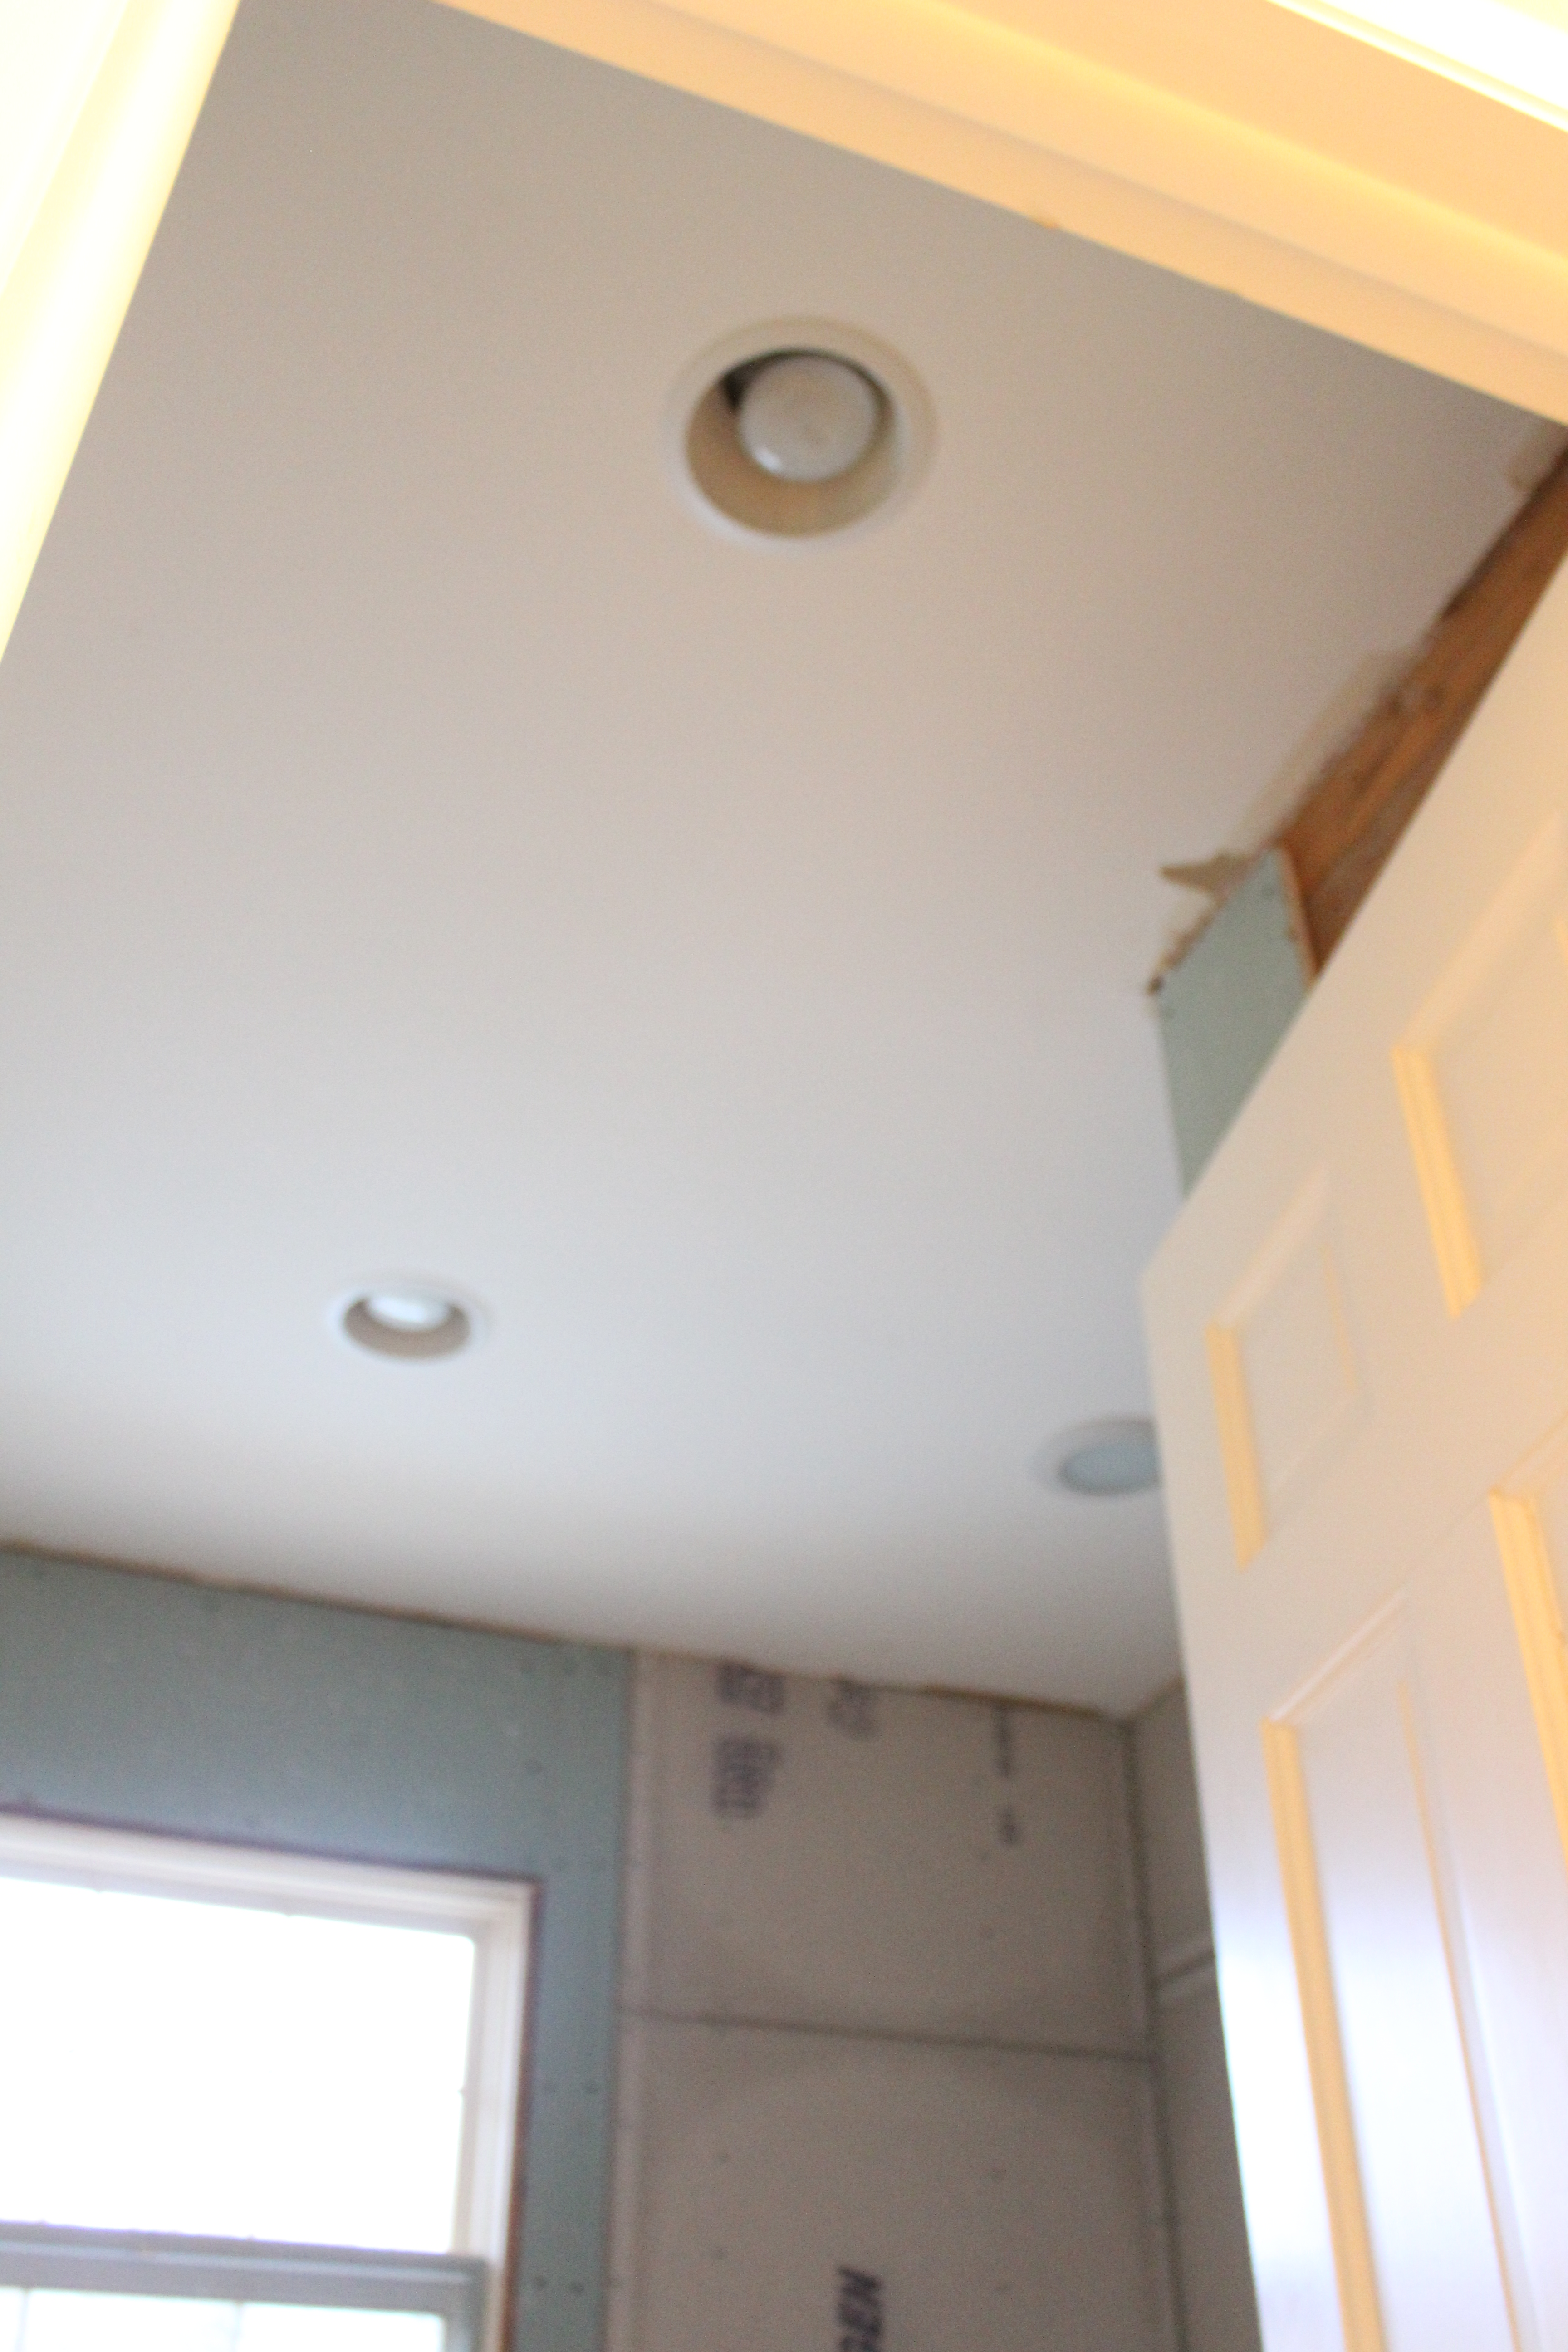
You might be asking, “what fan?” It’s actually built in to one of those can lights. Cool, right? I’m not a big fan of the look of bathroom fans so when I saw this one at Menards, I was sold. It just blends right in.
Everything was rolling along nicely, until Ben found this.
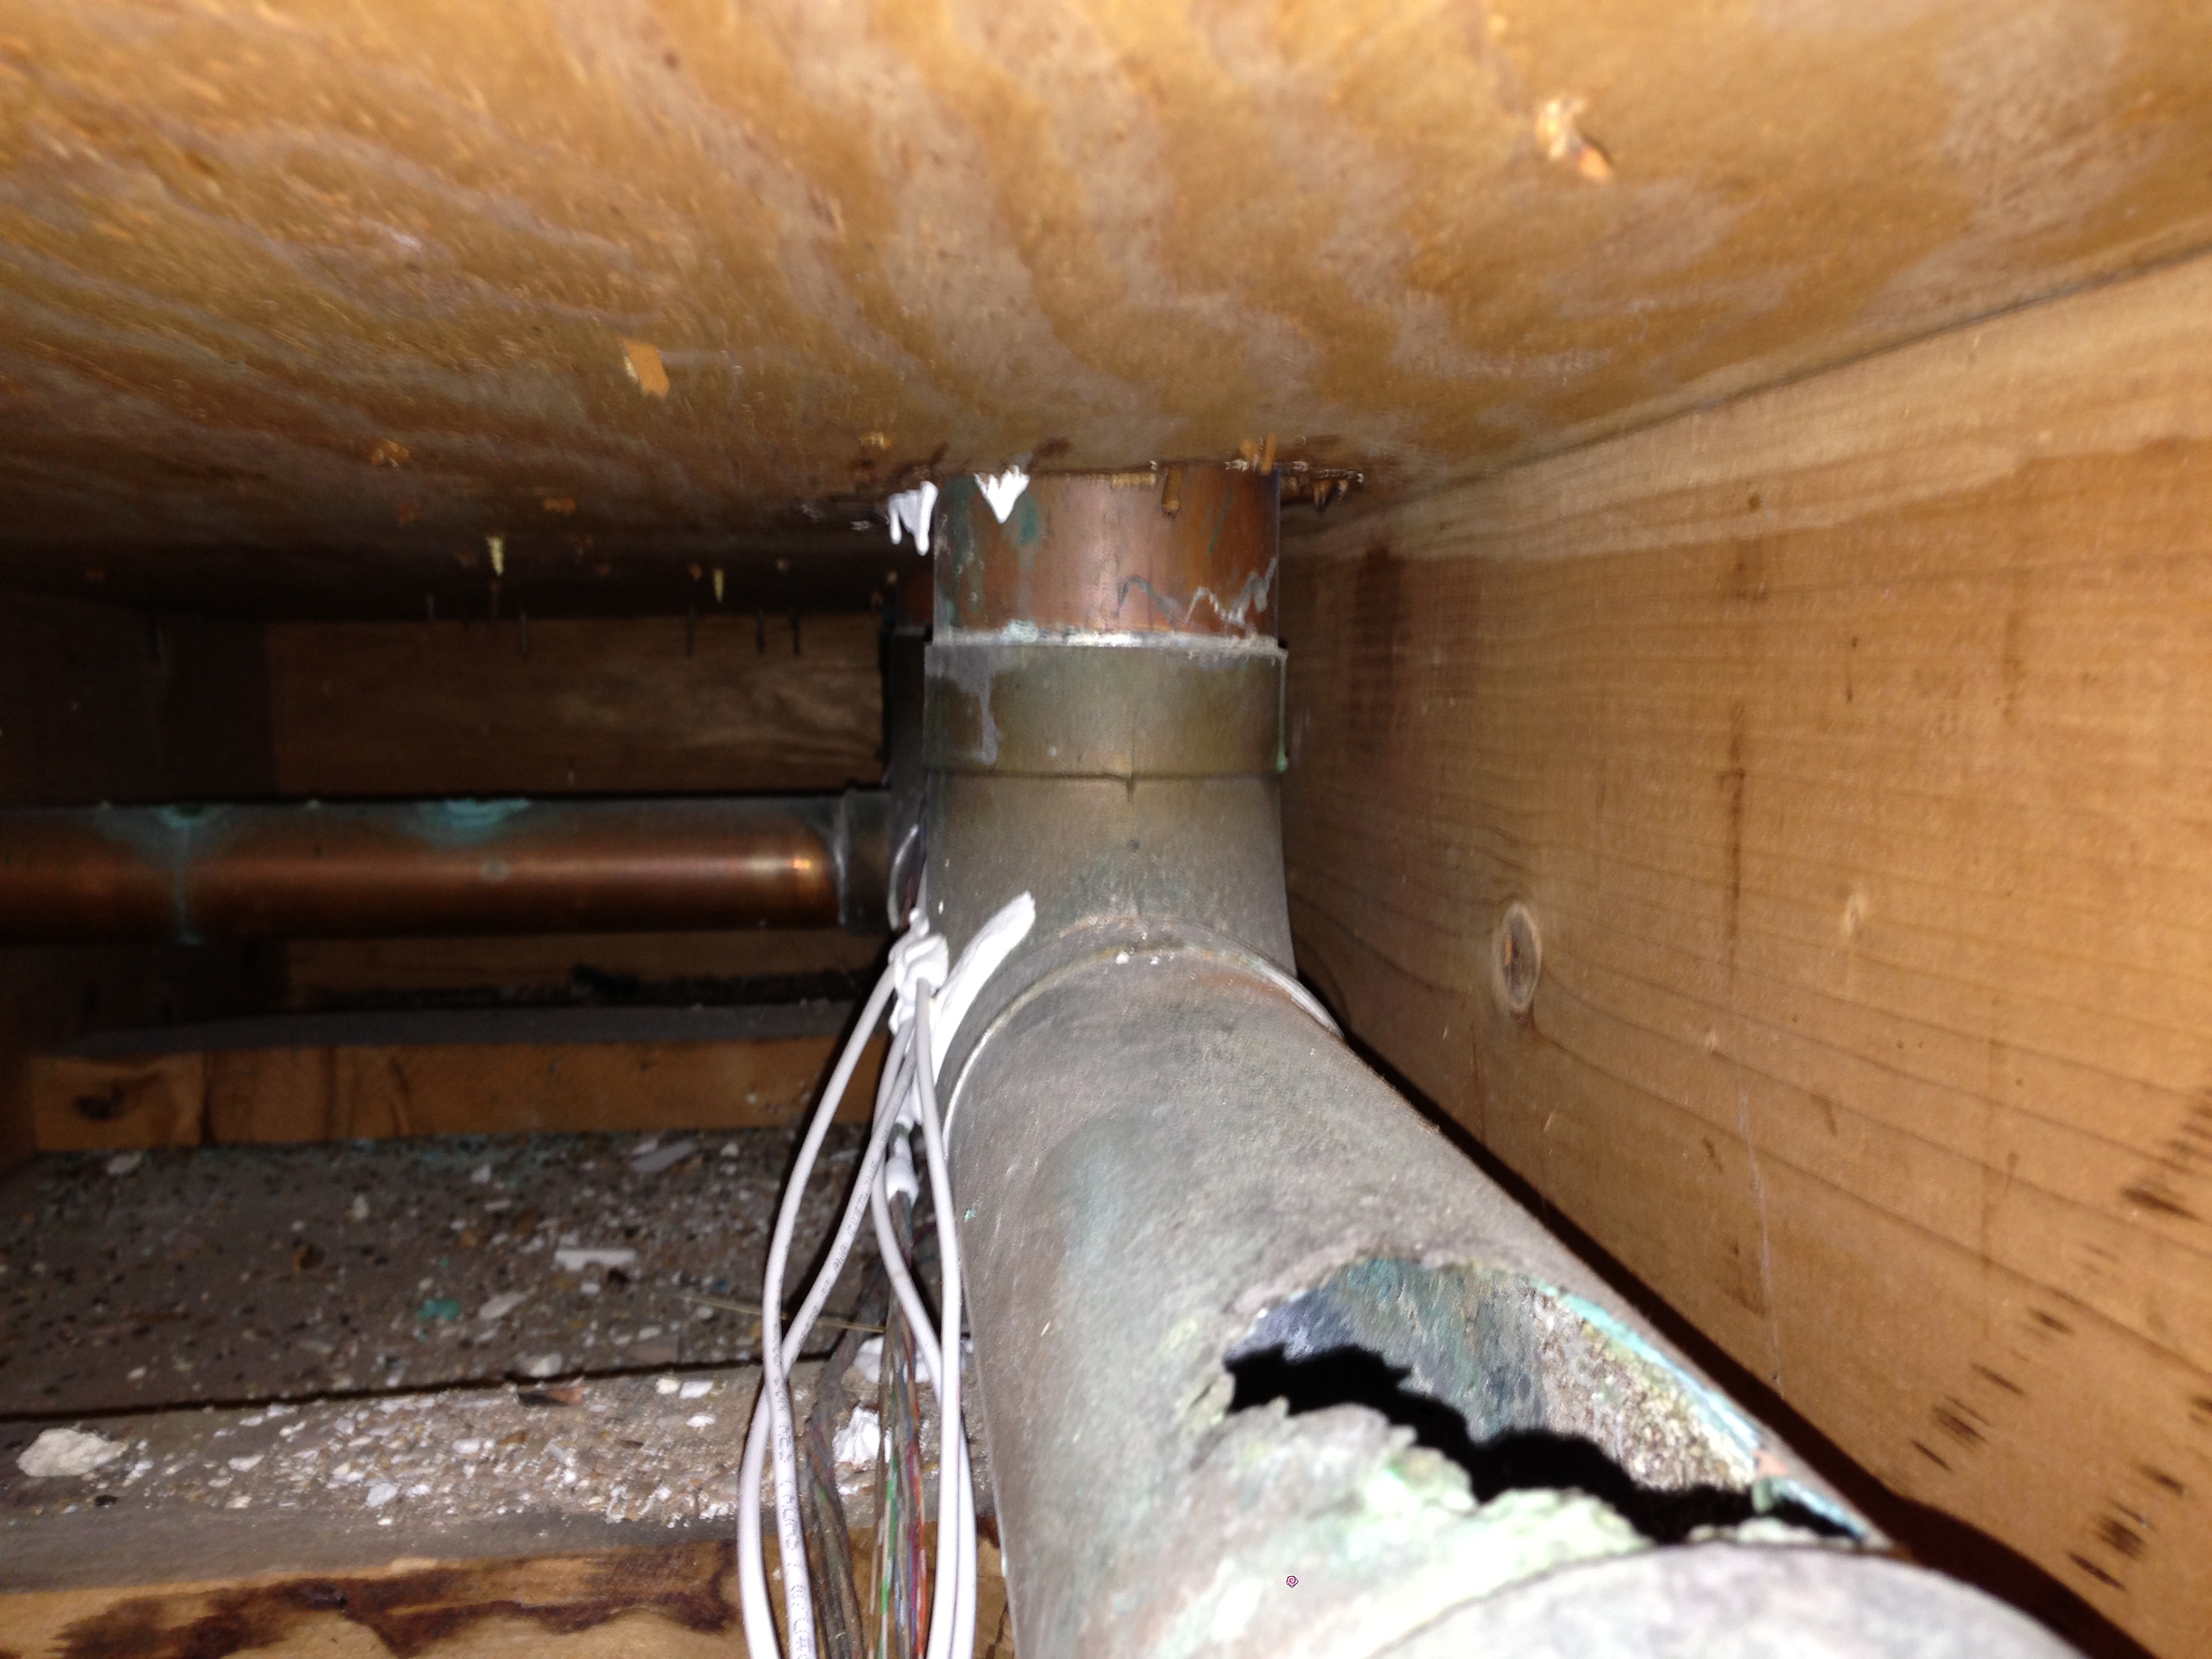 Yep, our copper pipes were corroded. Both the waste line (seen here) and the vent pipes. Luckily that huge hole was on the top of the pipe so no sewage could get out.
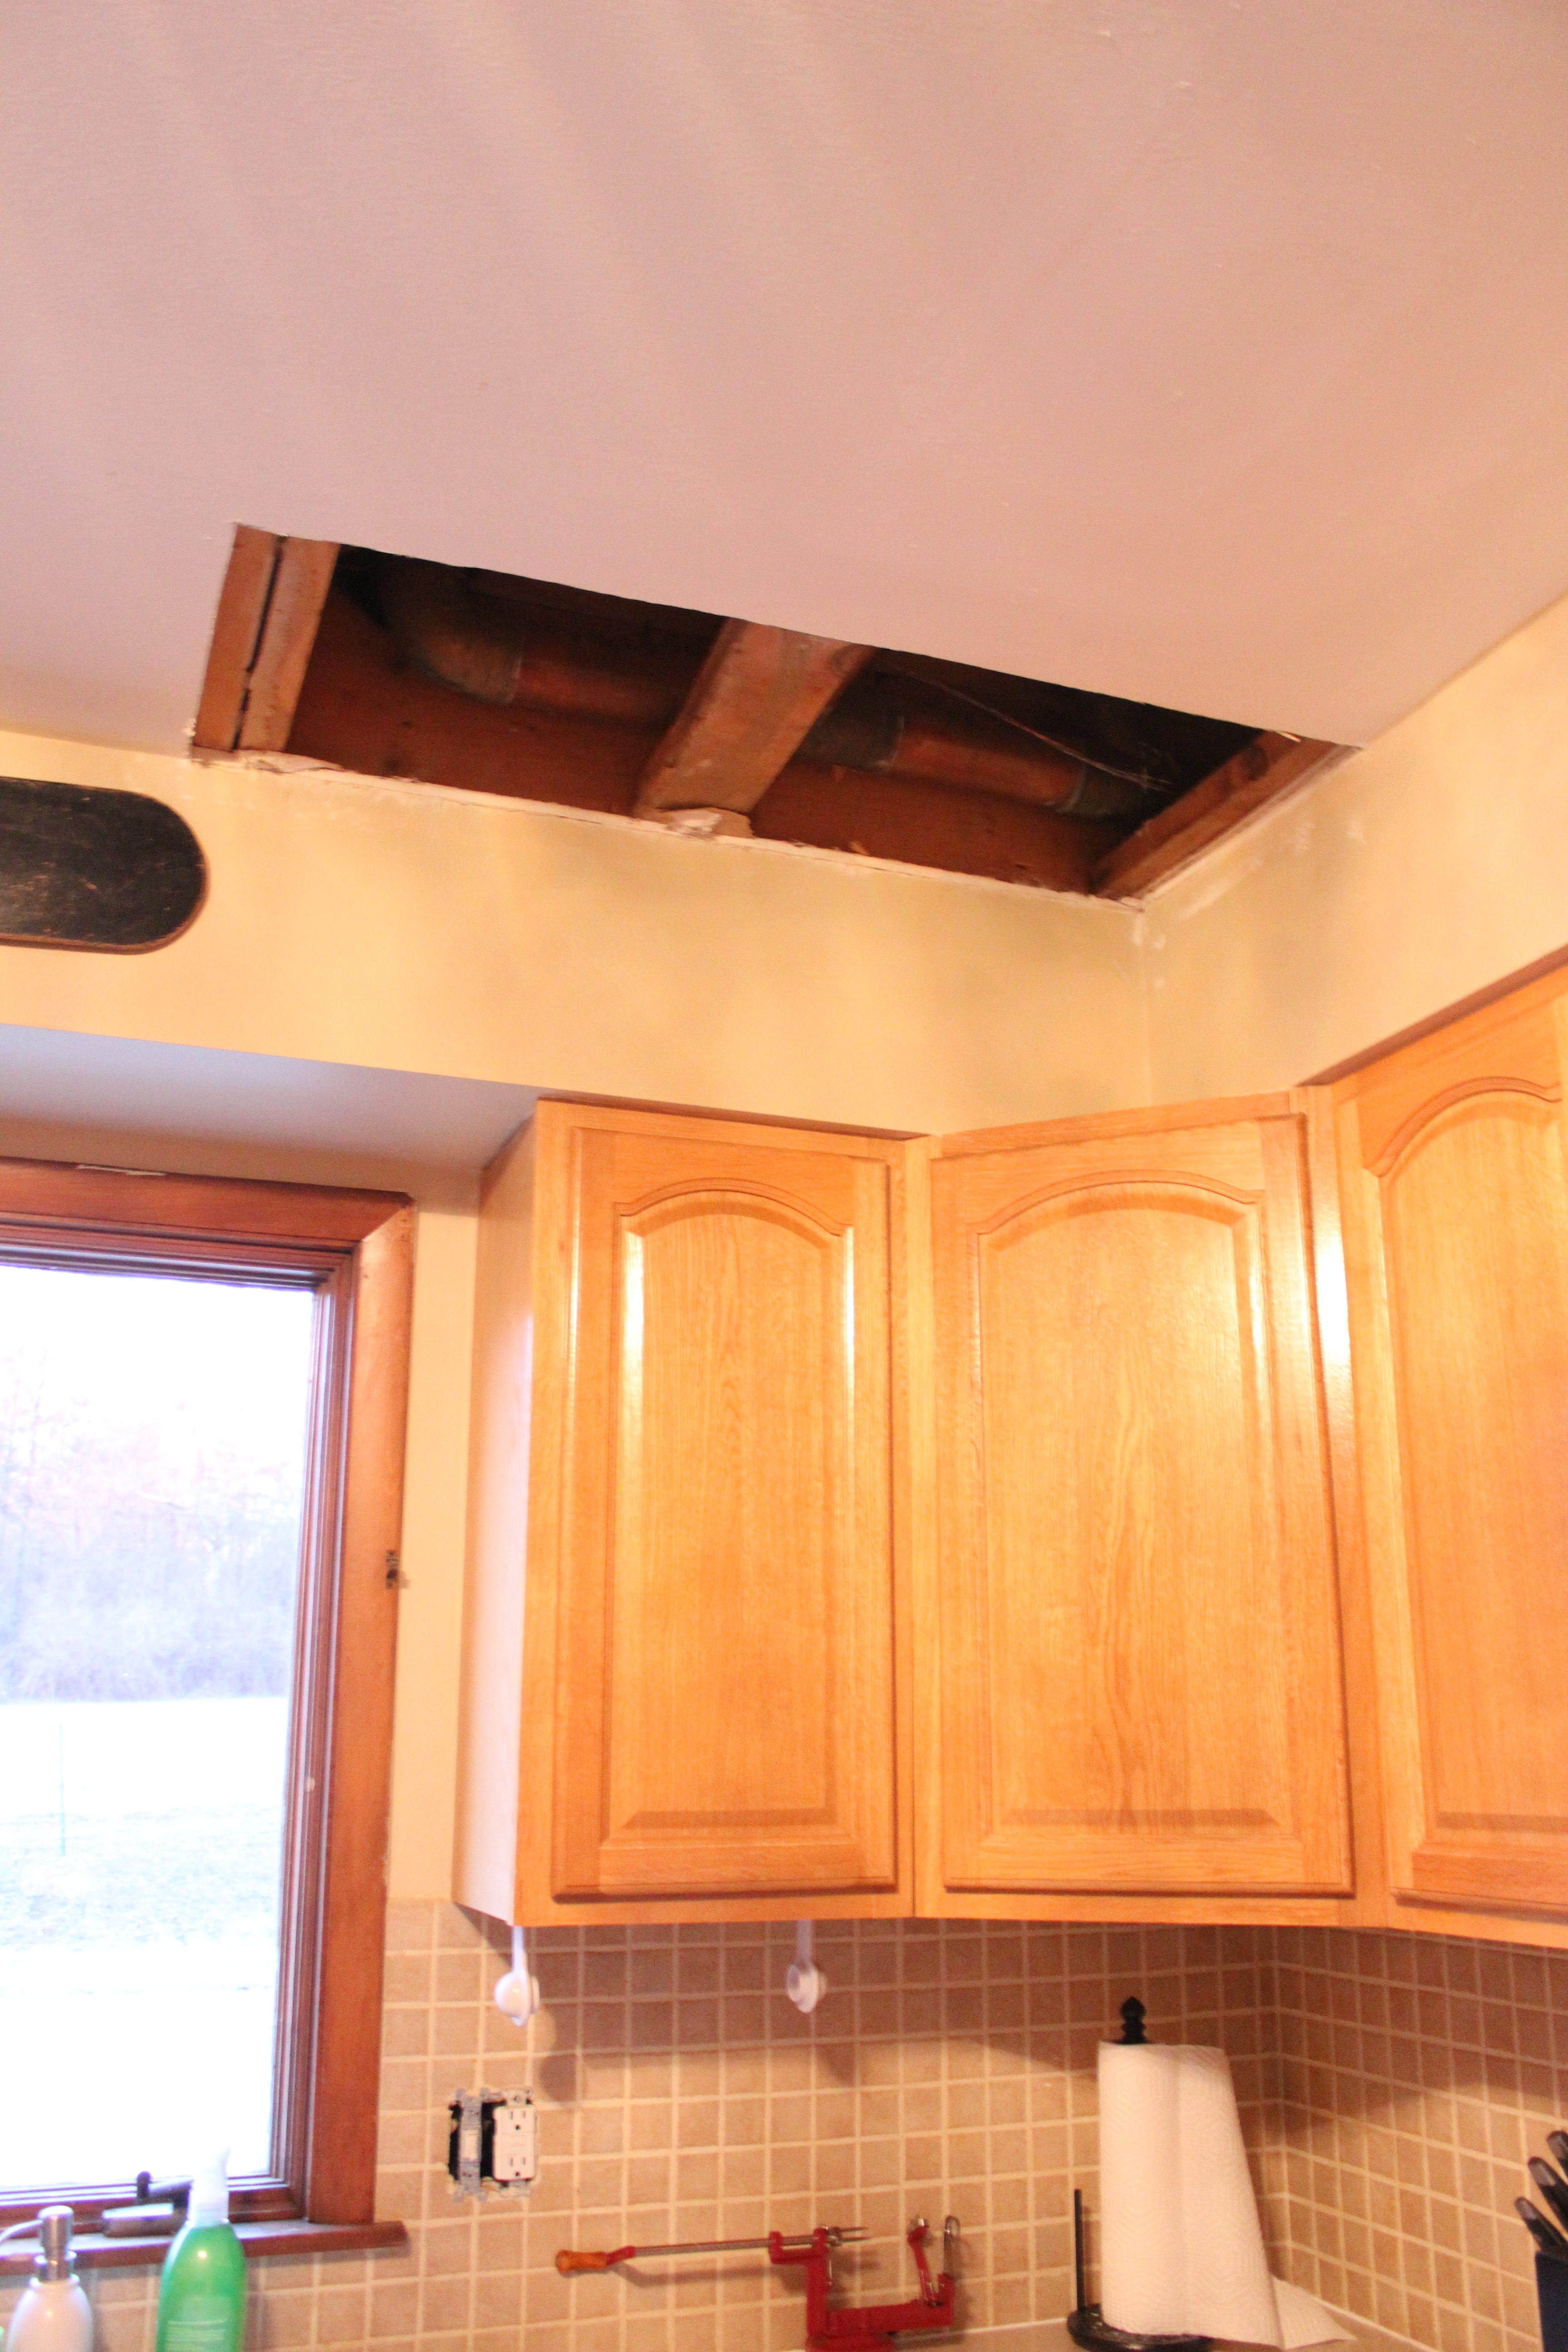
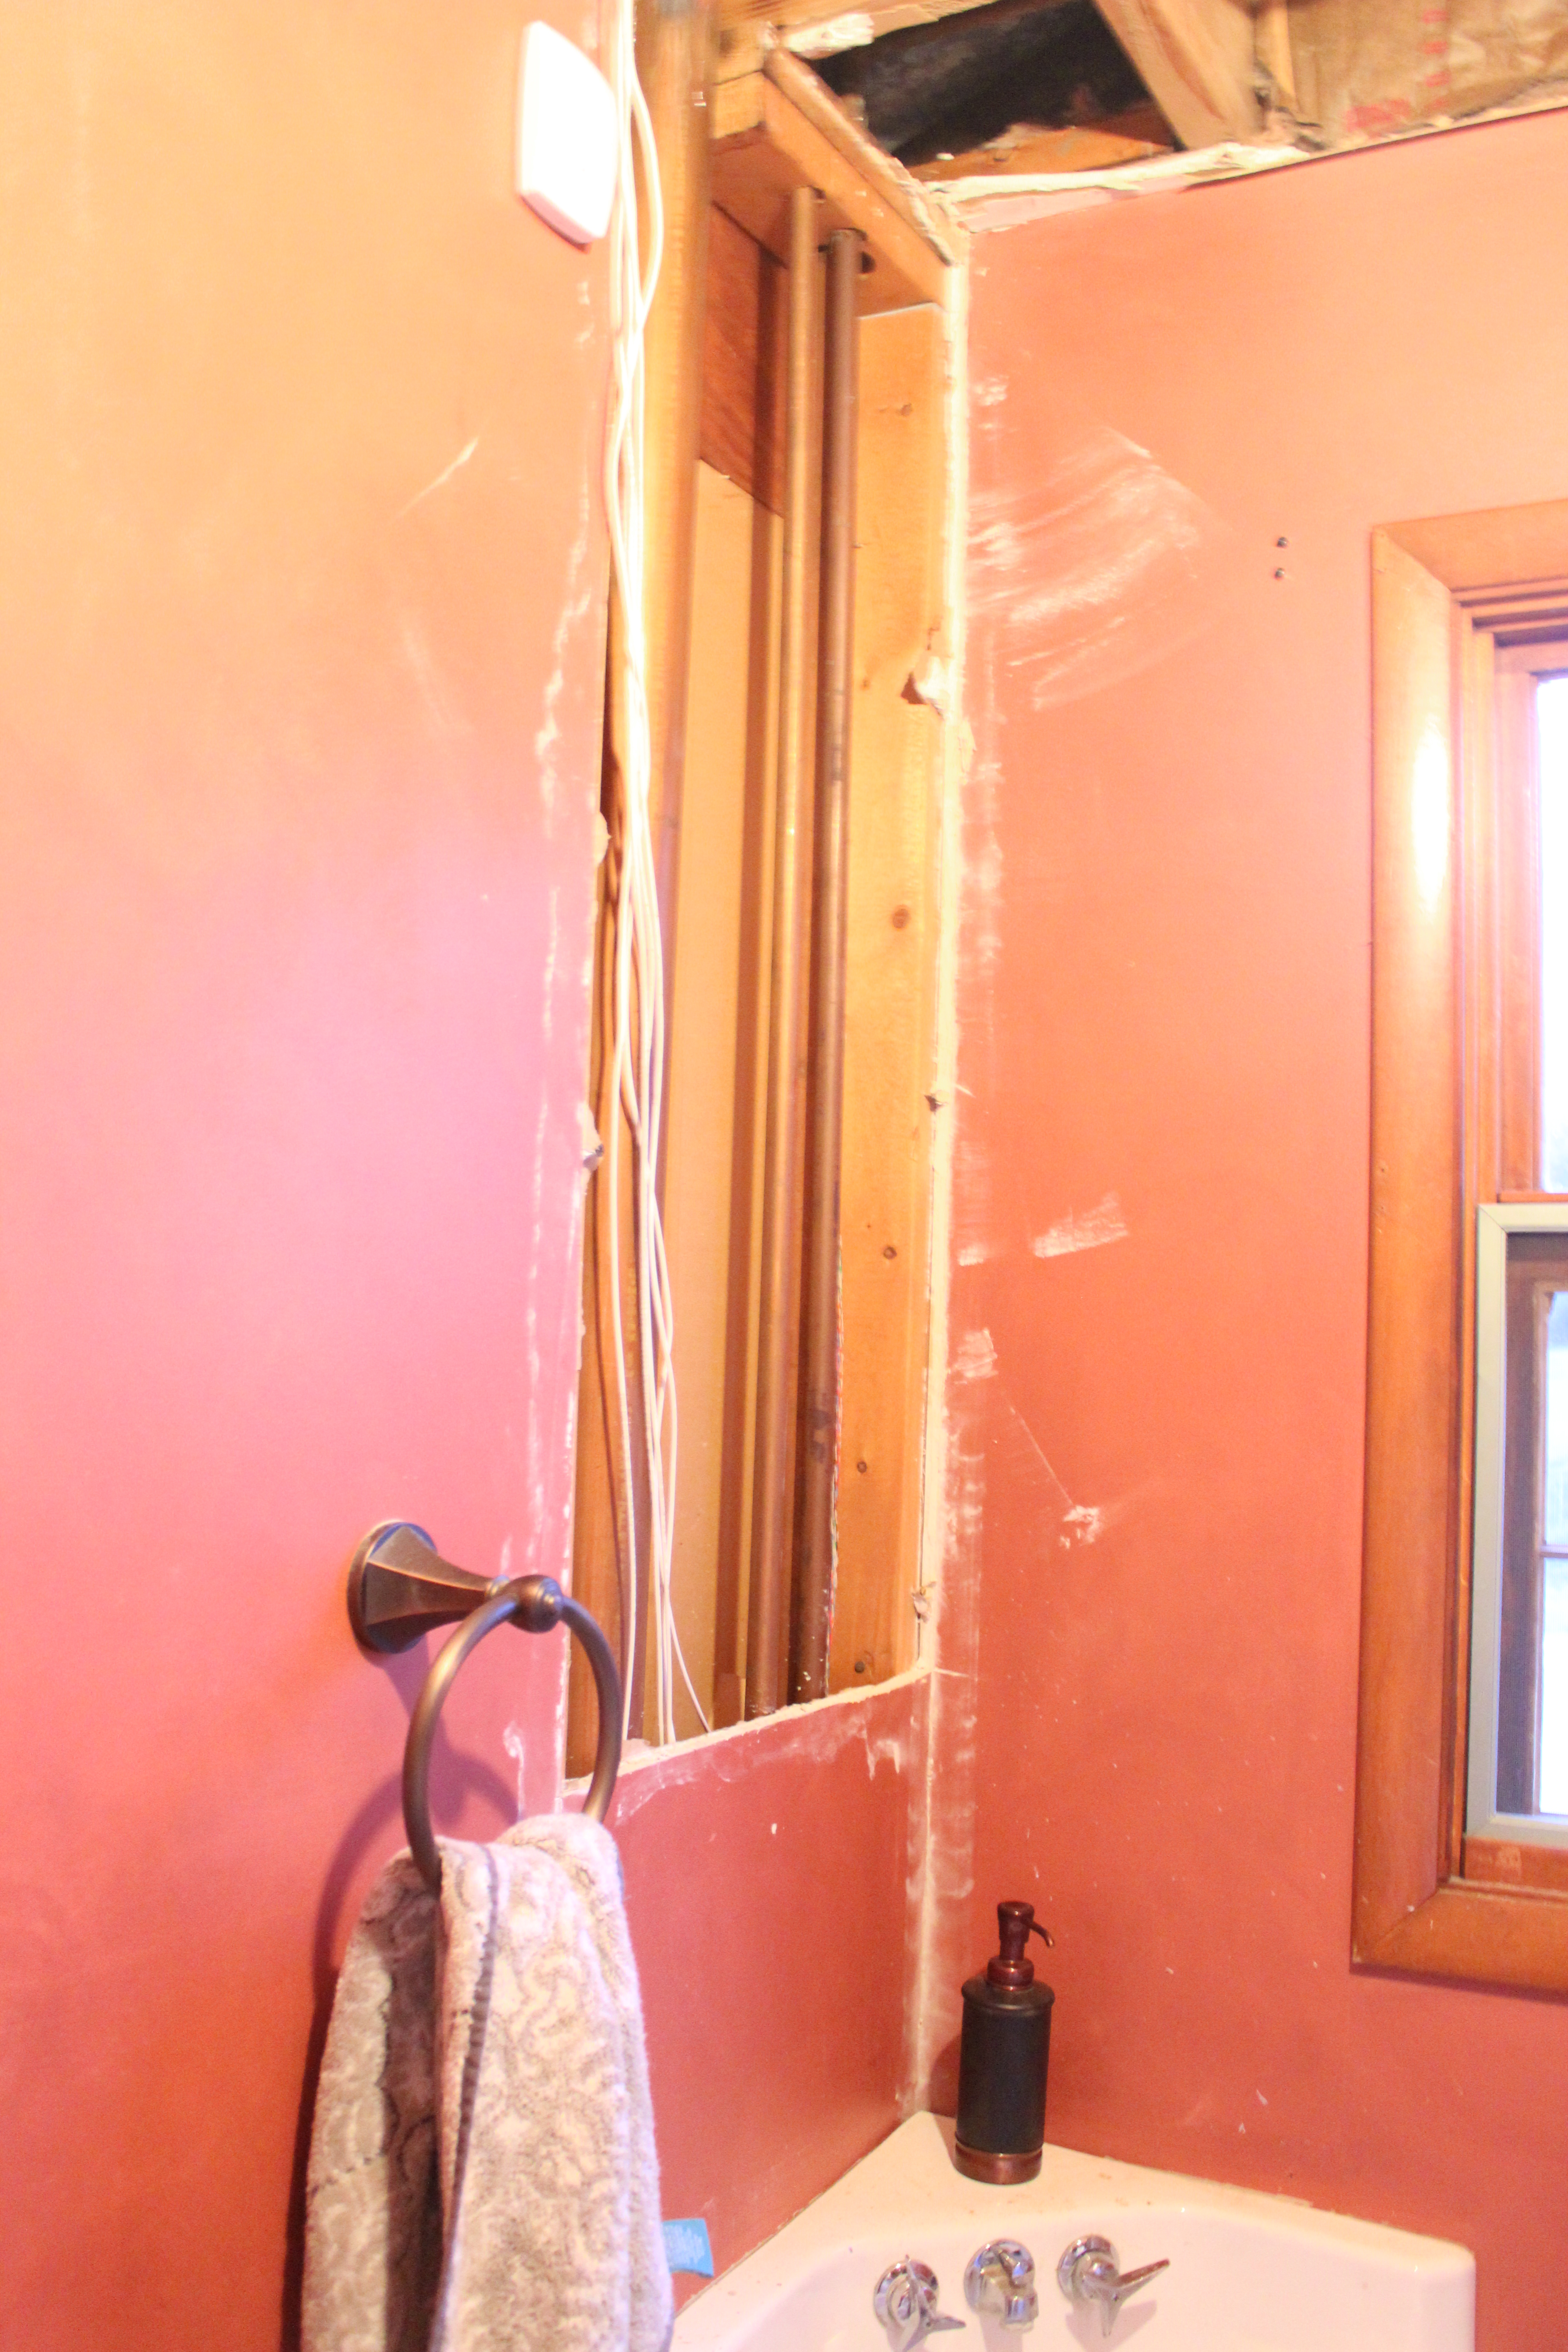
To fix the pipes Ben tells me he needs to rip out a huge hole in the downstairs bathroom wall and kitchen ceiling. I was thrilled!
But actually it wasn’t bad and he had it all done and cleaned up in a few hours. But we do have some remaining holes in those rooms.
Next up in the bathroom will be underfloor heating and then tile. We debated the underfloor heating but all our guests absolutely loved it in the last house (and we did too). We found a good deal on the size we needed which was only $99 from Menards. That doesn’t include the thermostat, but that shouldn’t be too much online. 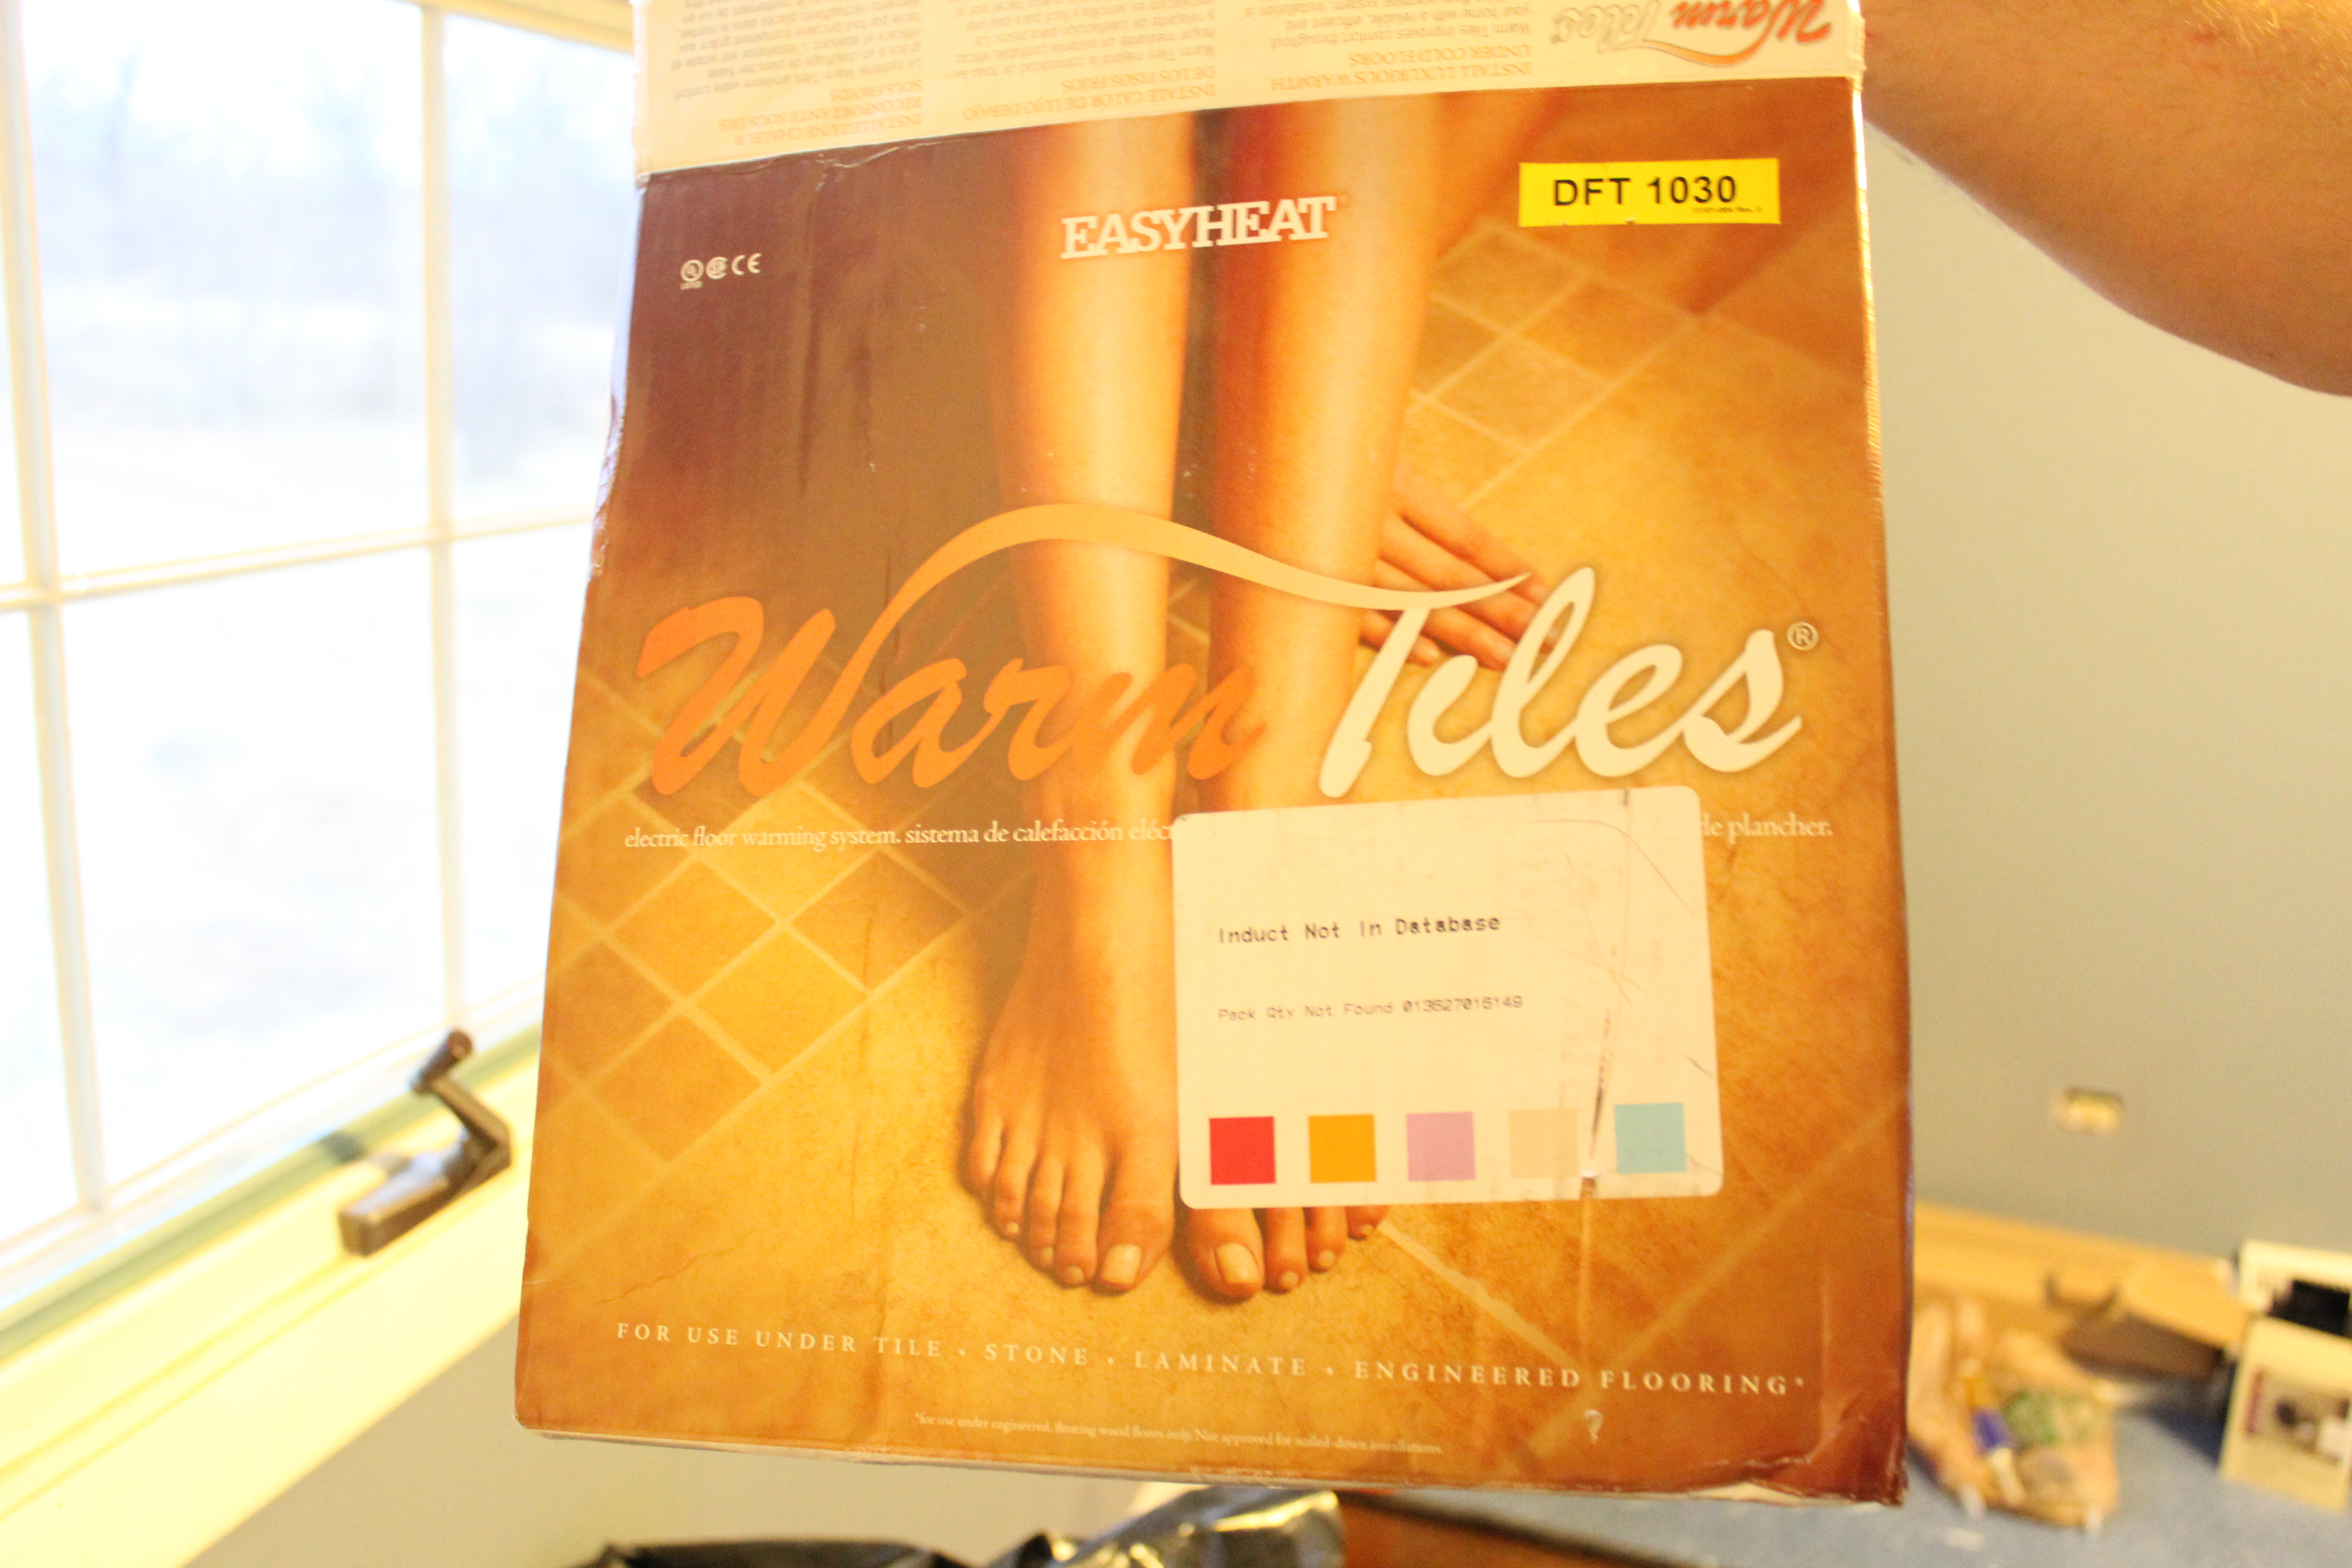 We’d like to do a tutorial of how to lay this stuff, so stay tuned for that.
Hope everyone has a good weekend! It’s a long one for me because of Martin Luther King, Jr. Day on Monday so I am pumped.

10 Responses to “Operation New Bathroom Part I”