Search results for 'flip'

The Finished Flip

27 Oct

Last October, I shared a new “flip” property that we purchased— a 1931 Montgomery Ward home in our old neighborhood that had so much charm but needed to be brought back to life.

After a pretty grueling 7-month renovation, we sold it in May (to our good friends actually), and now here is the finished tour!

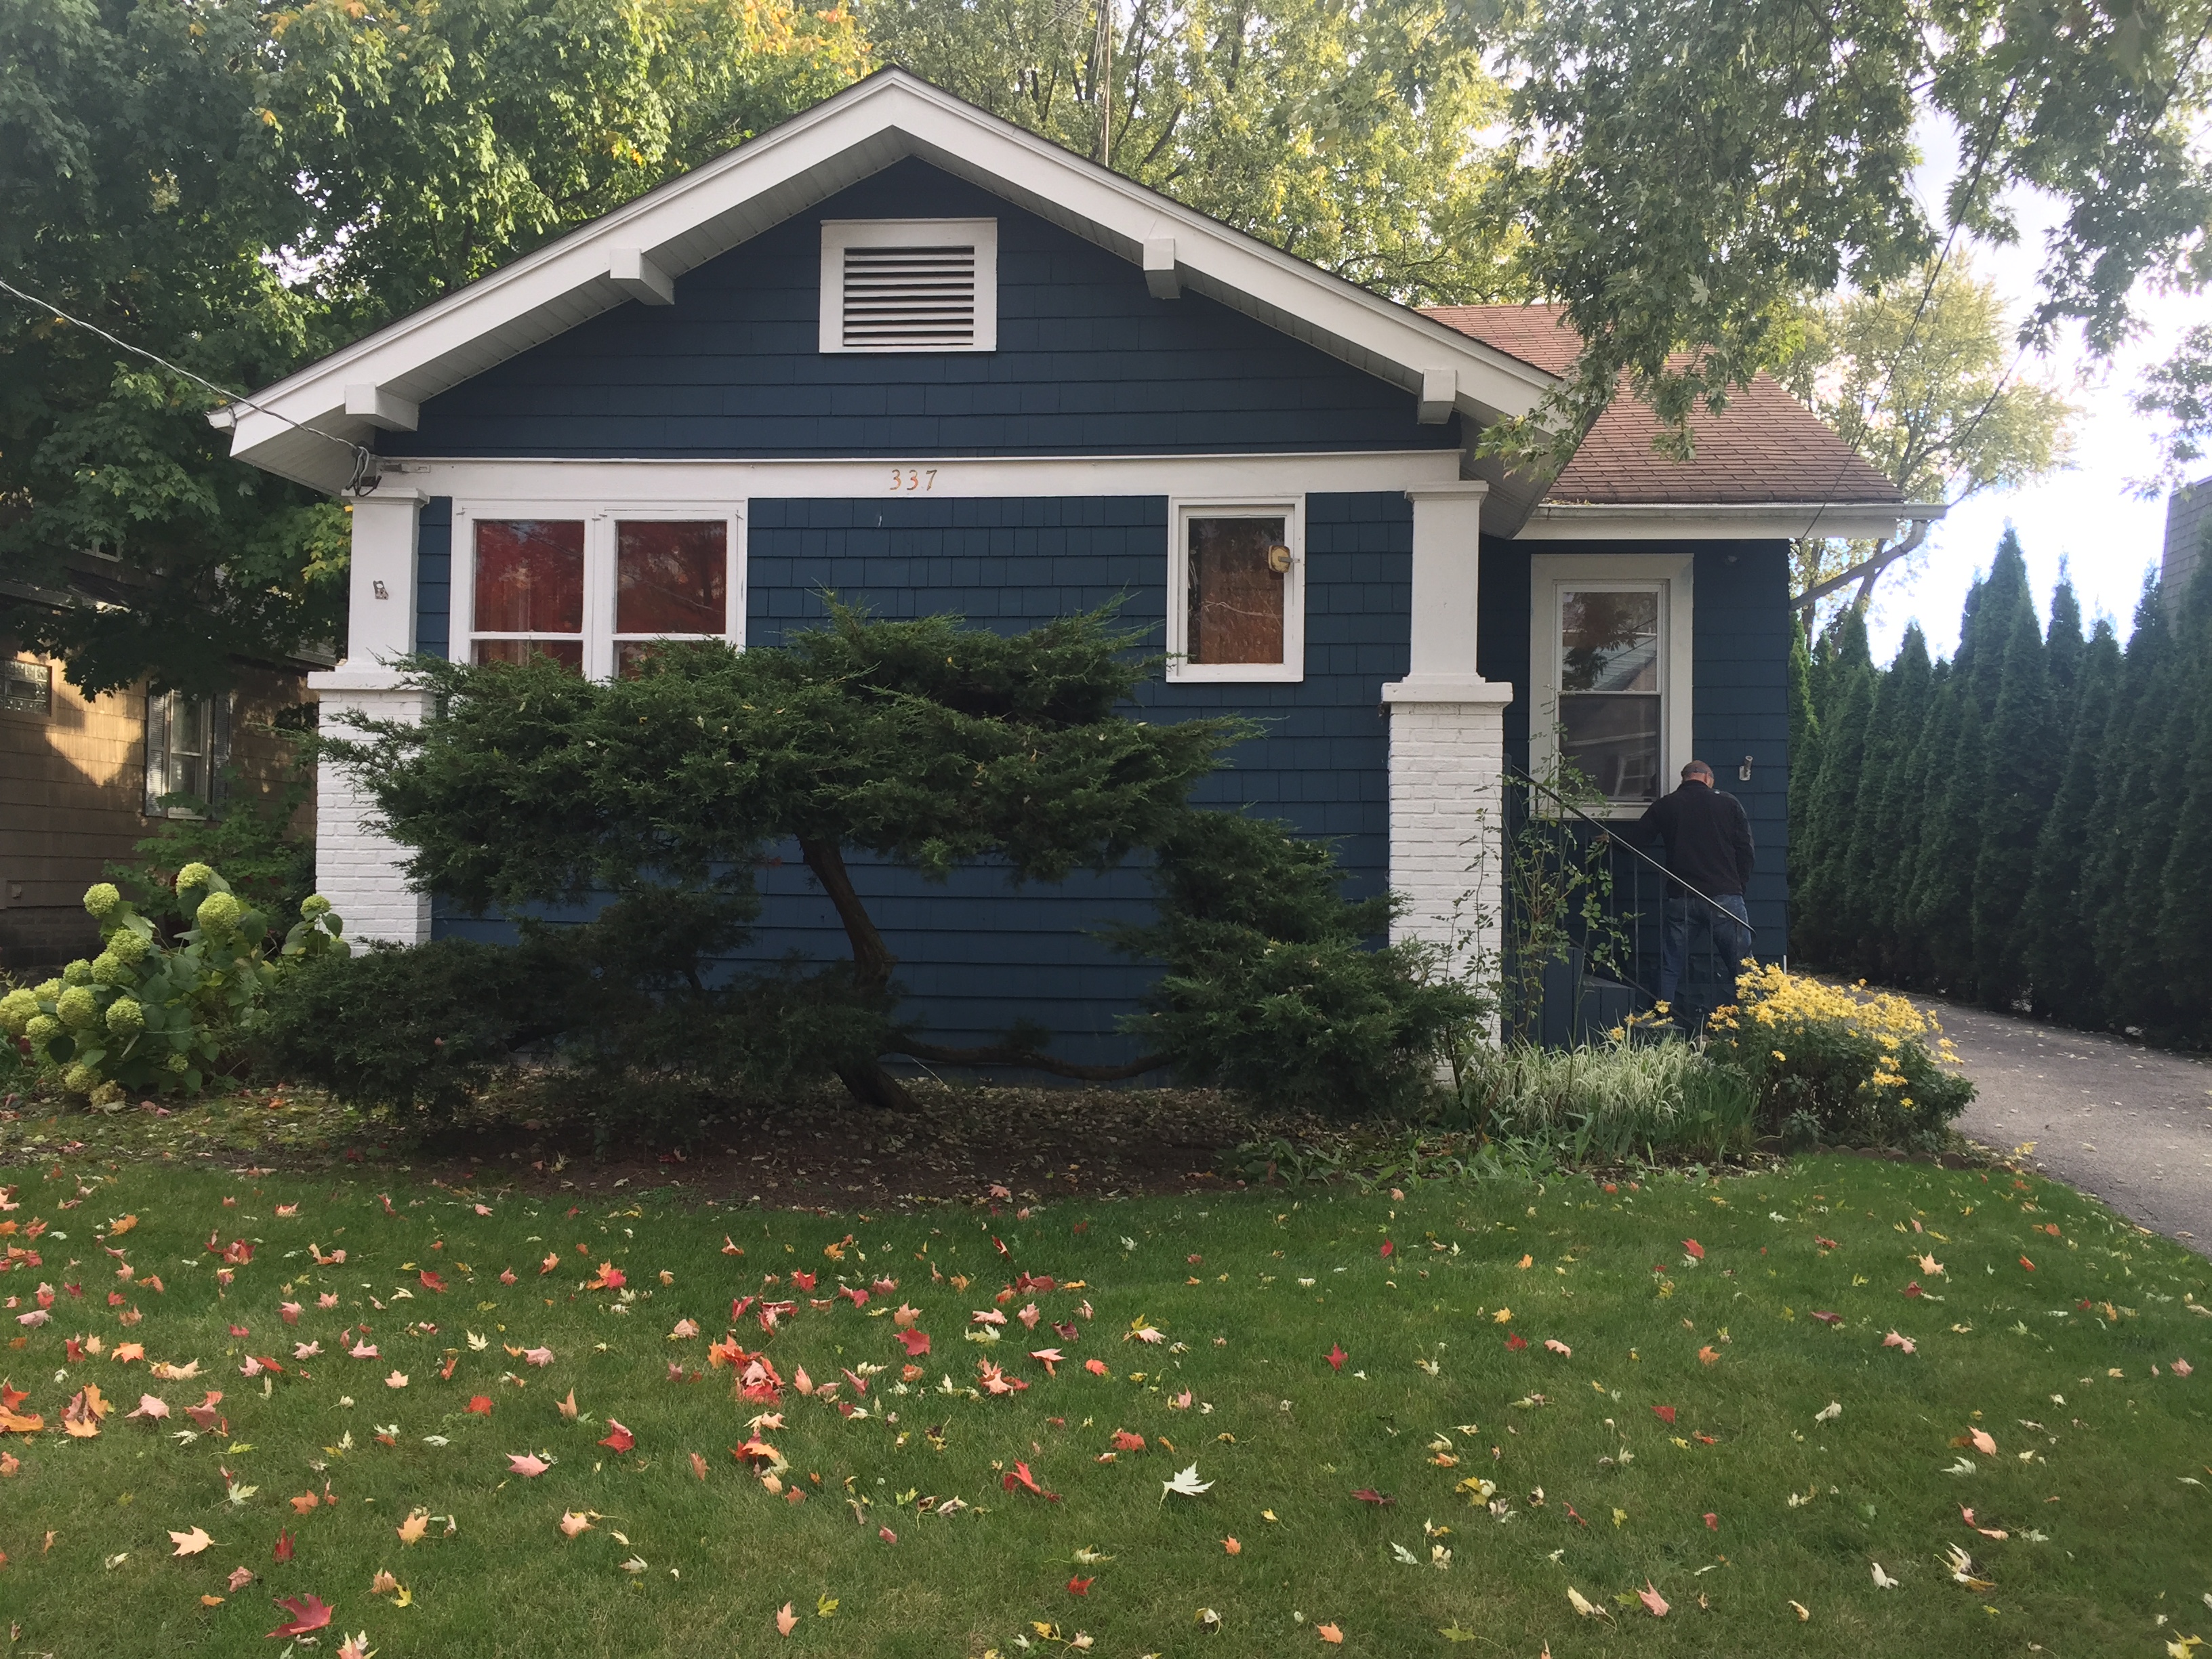
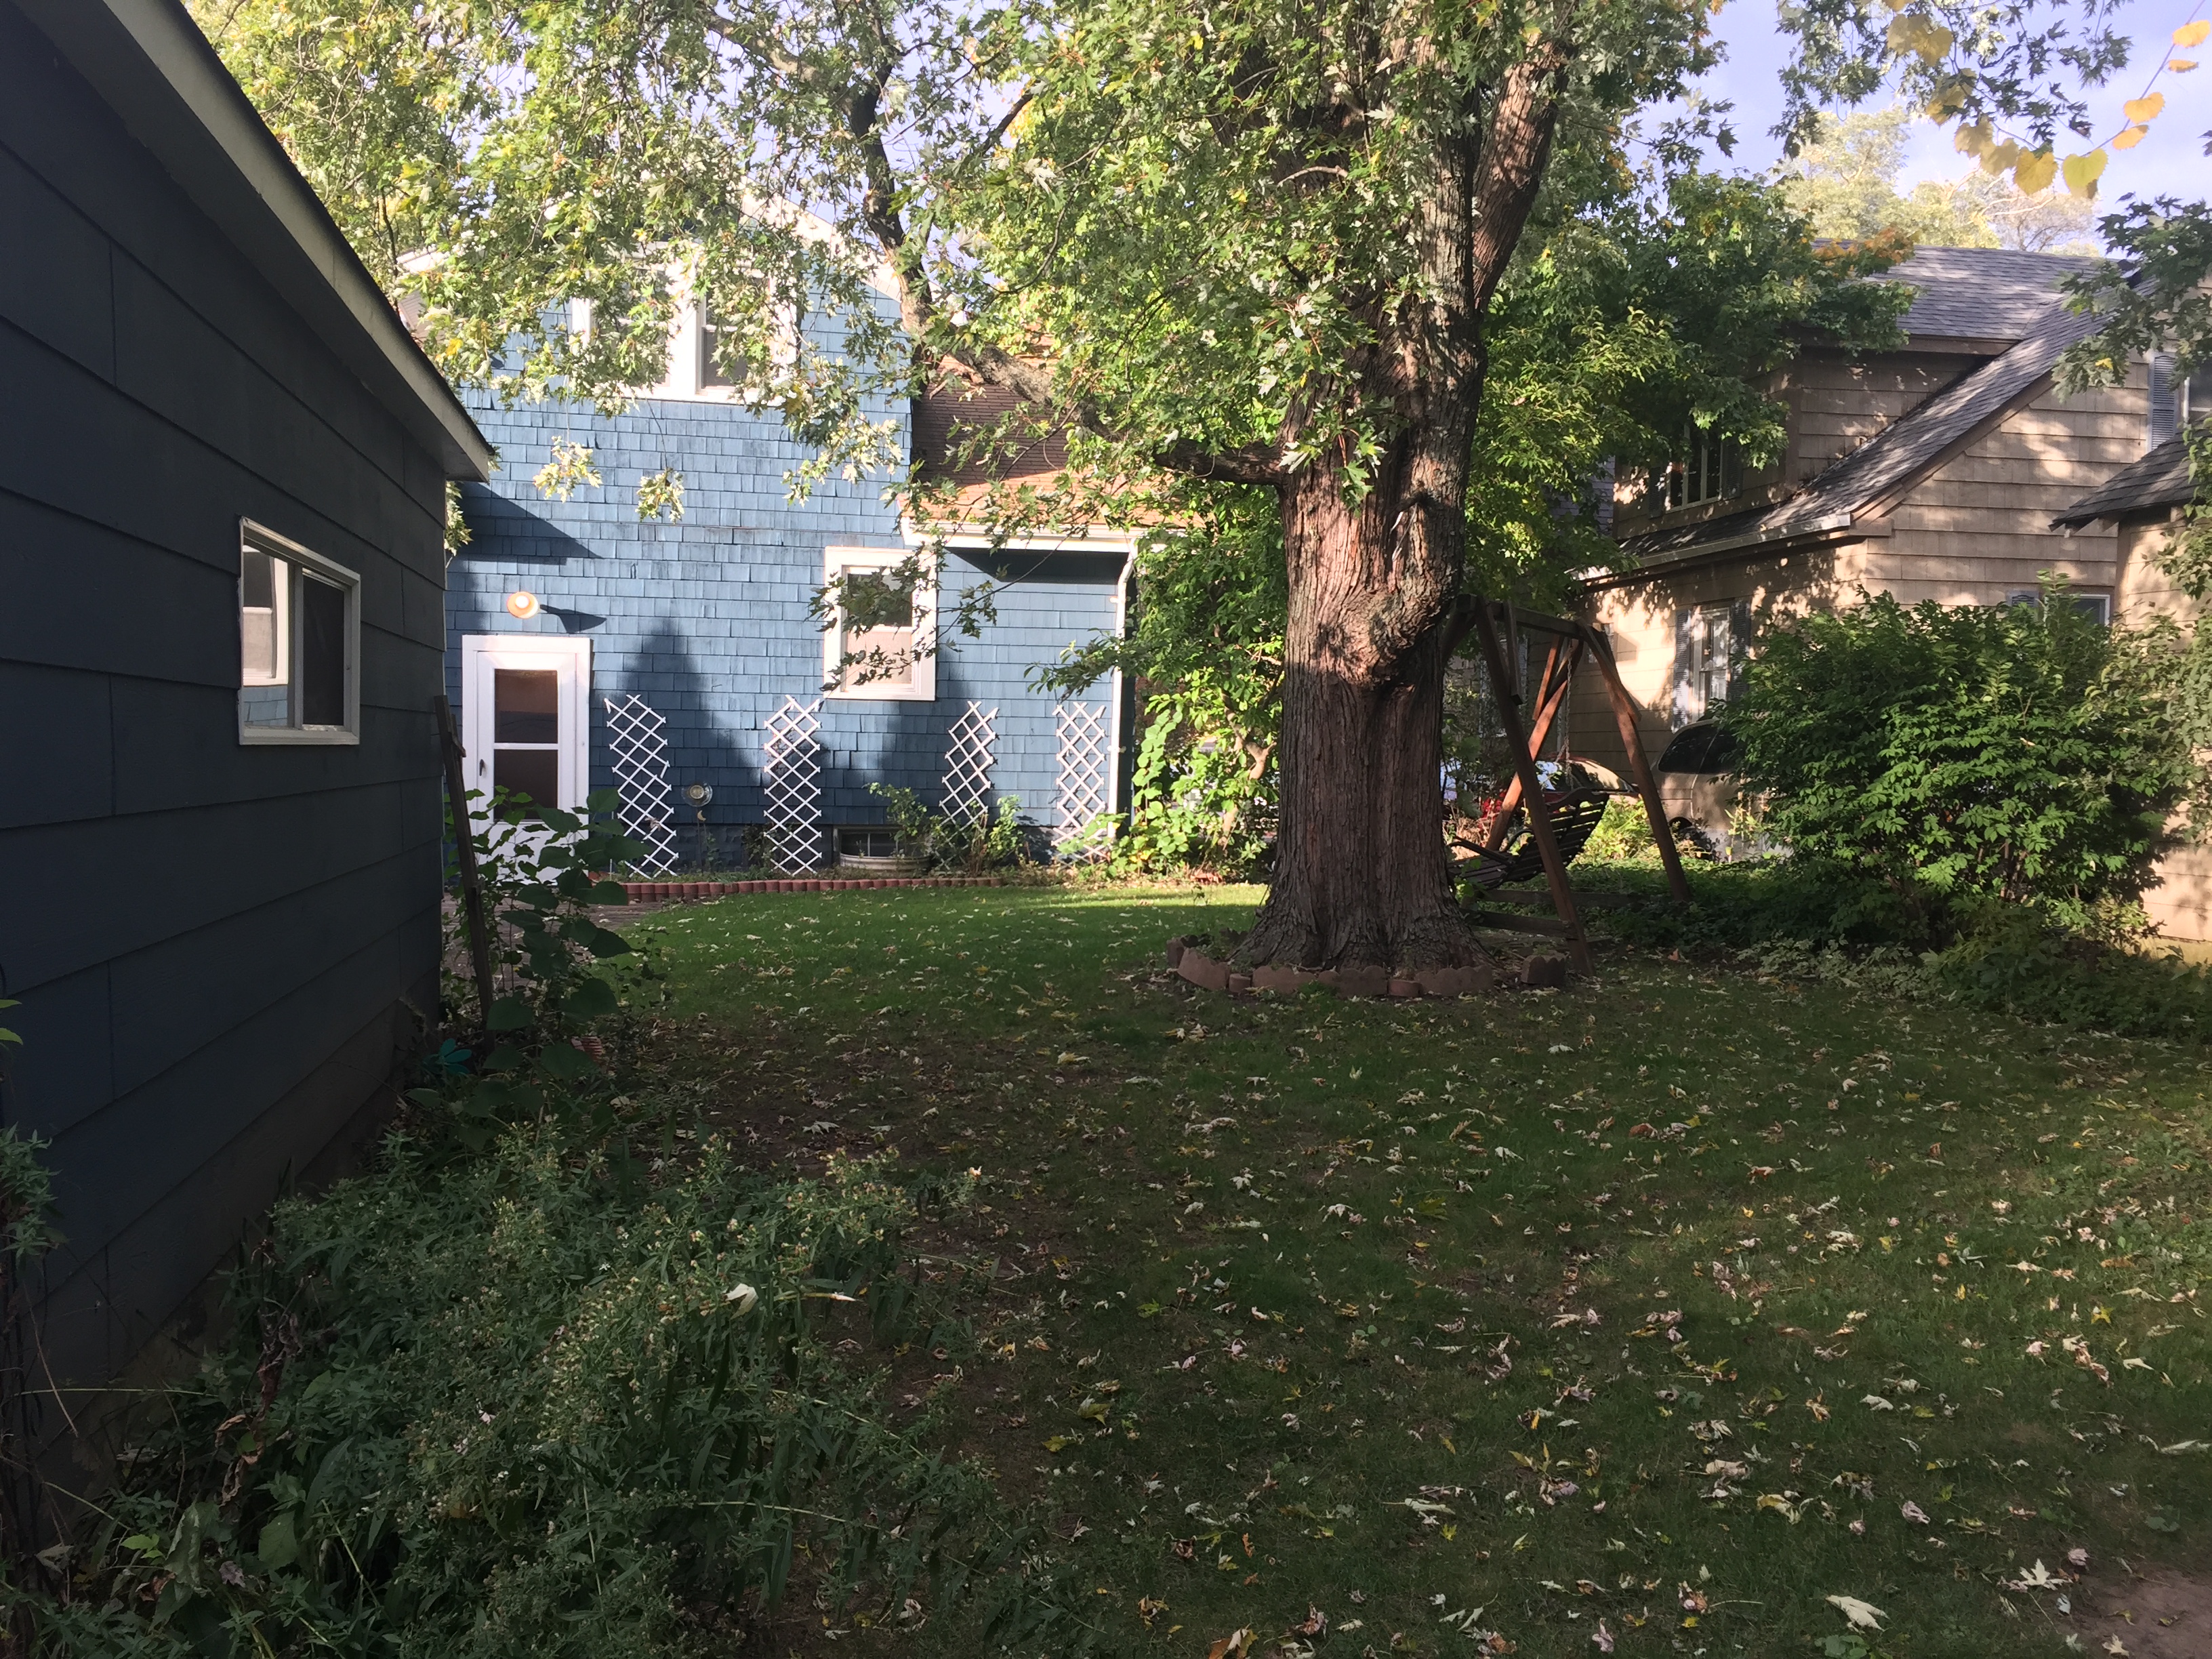
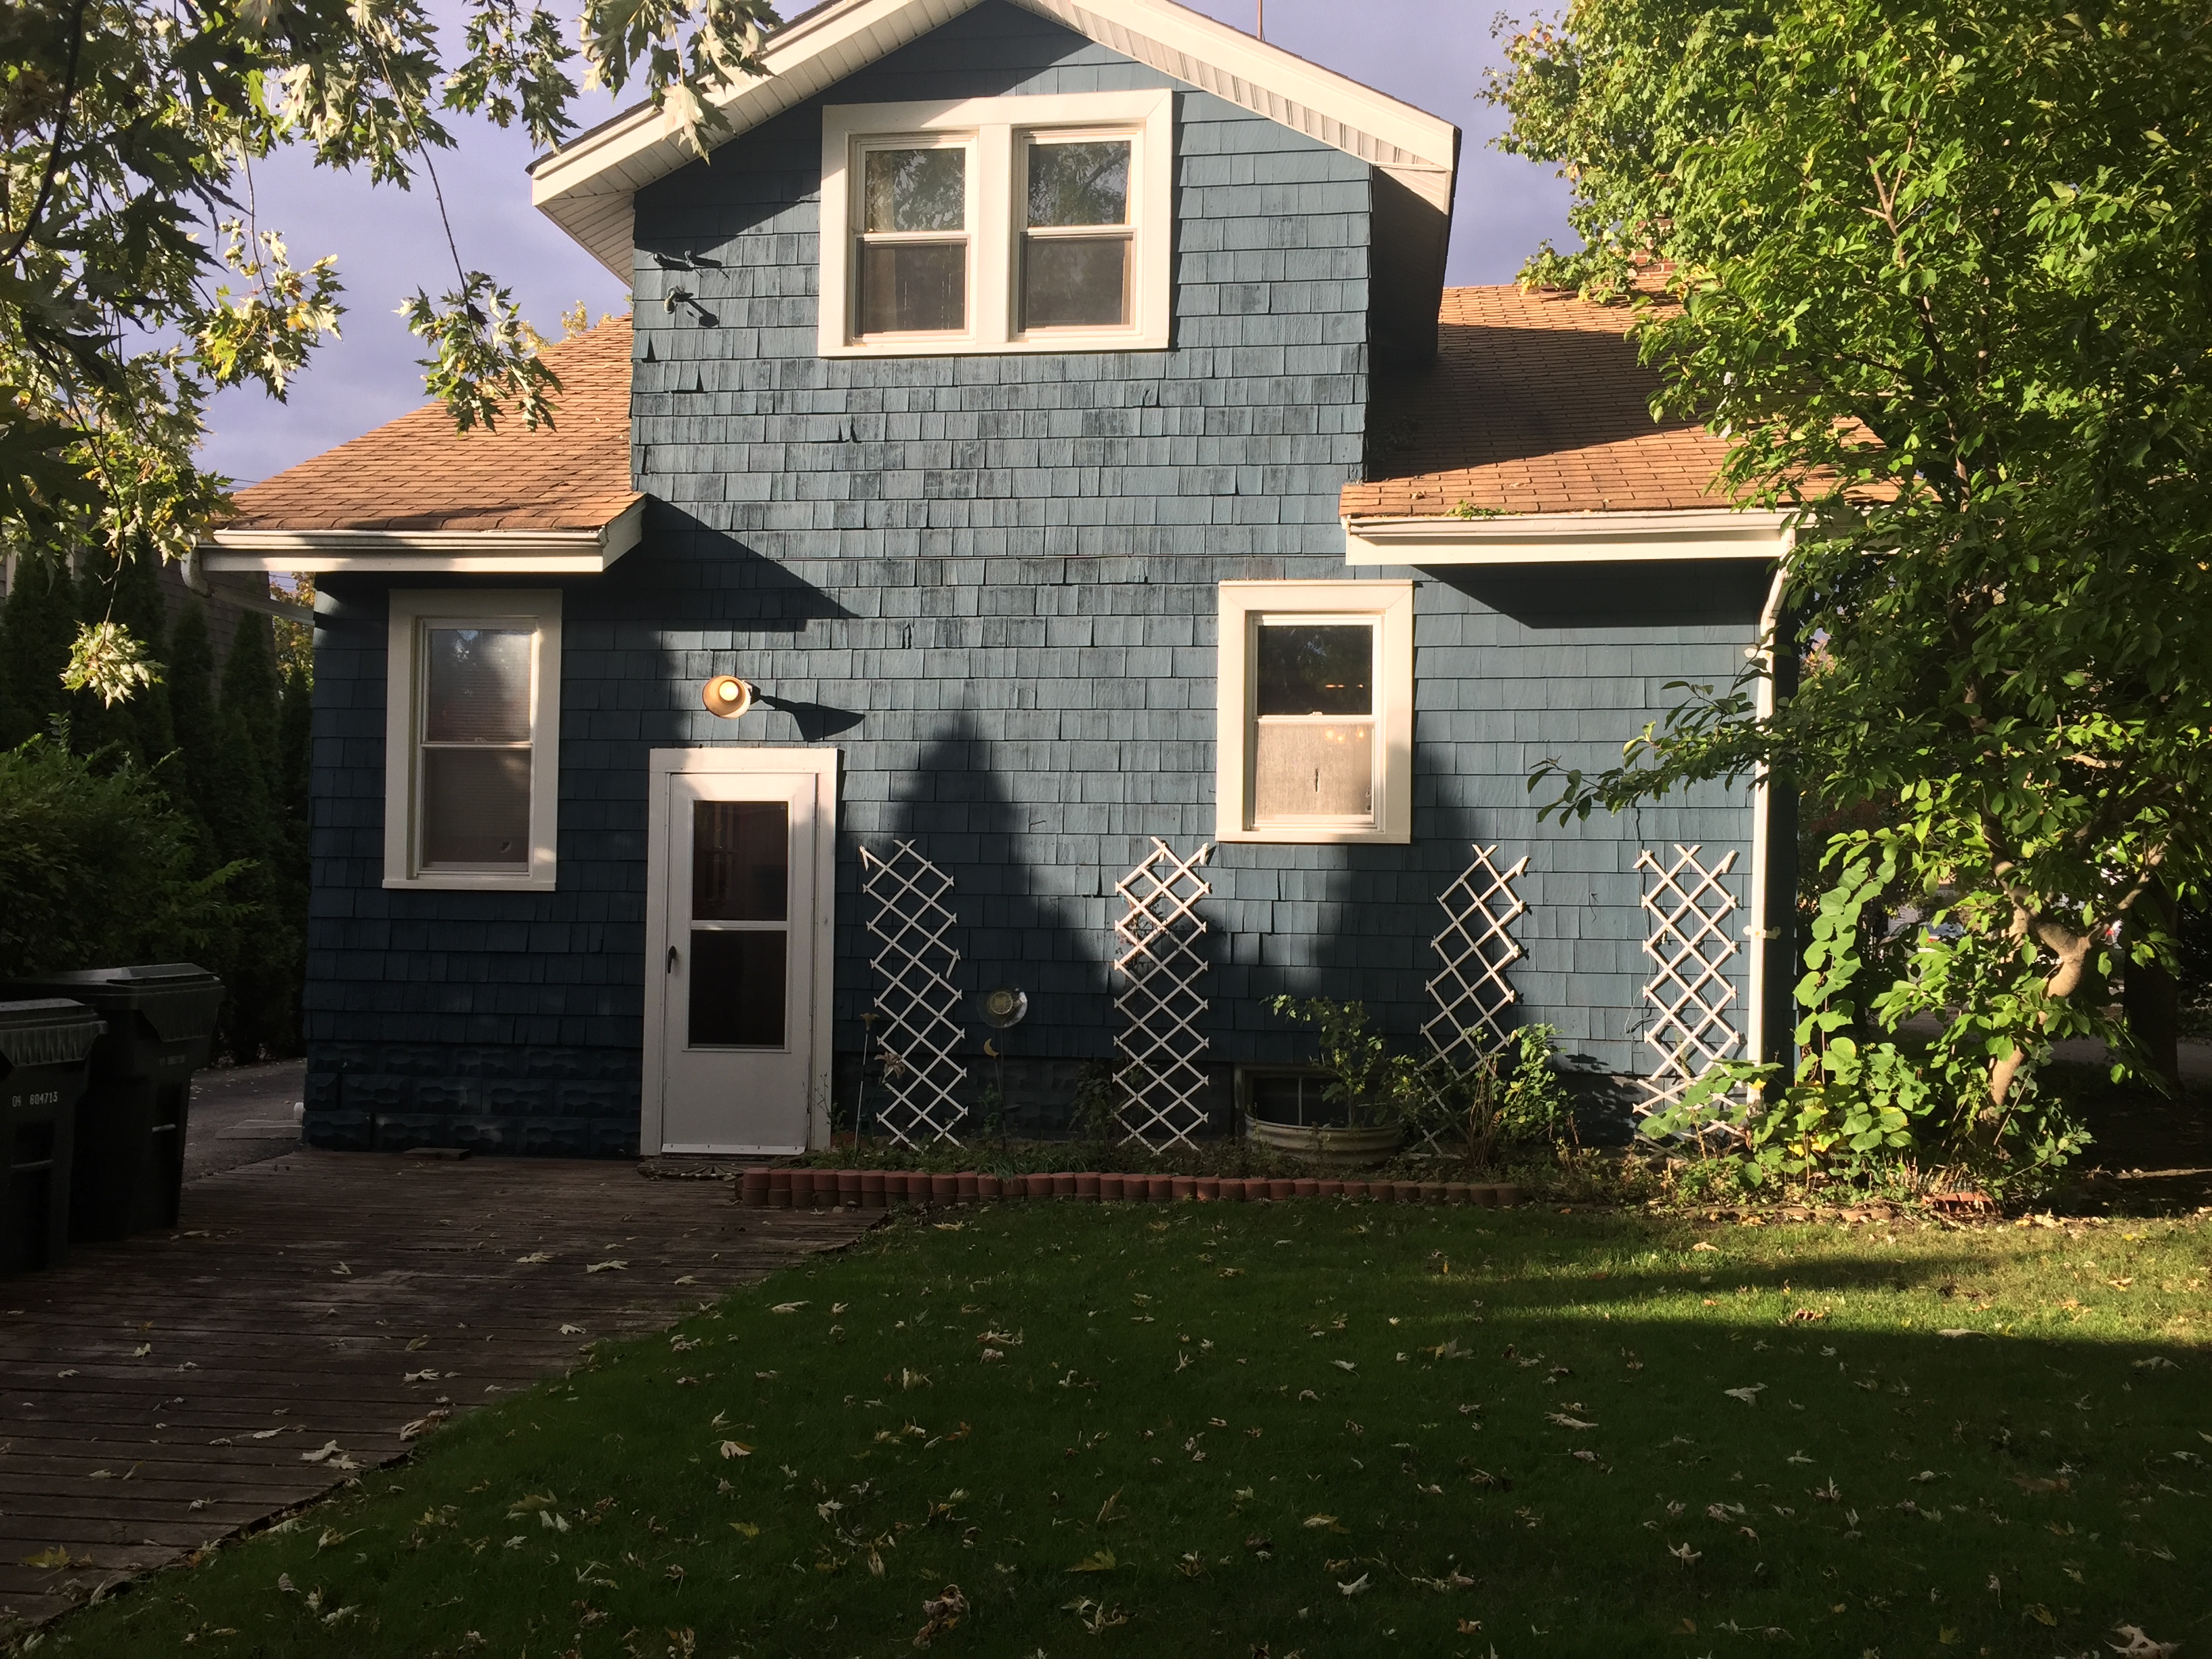
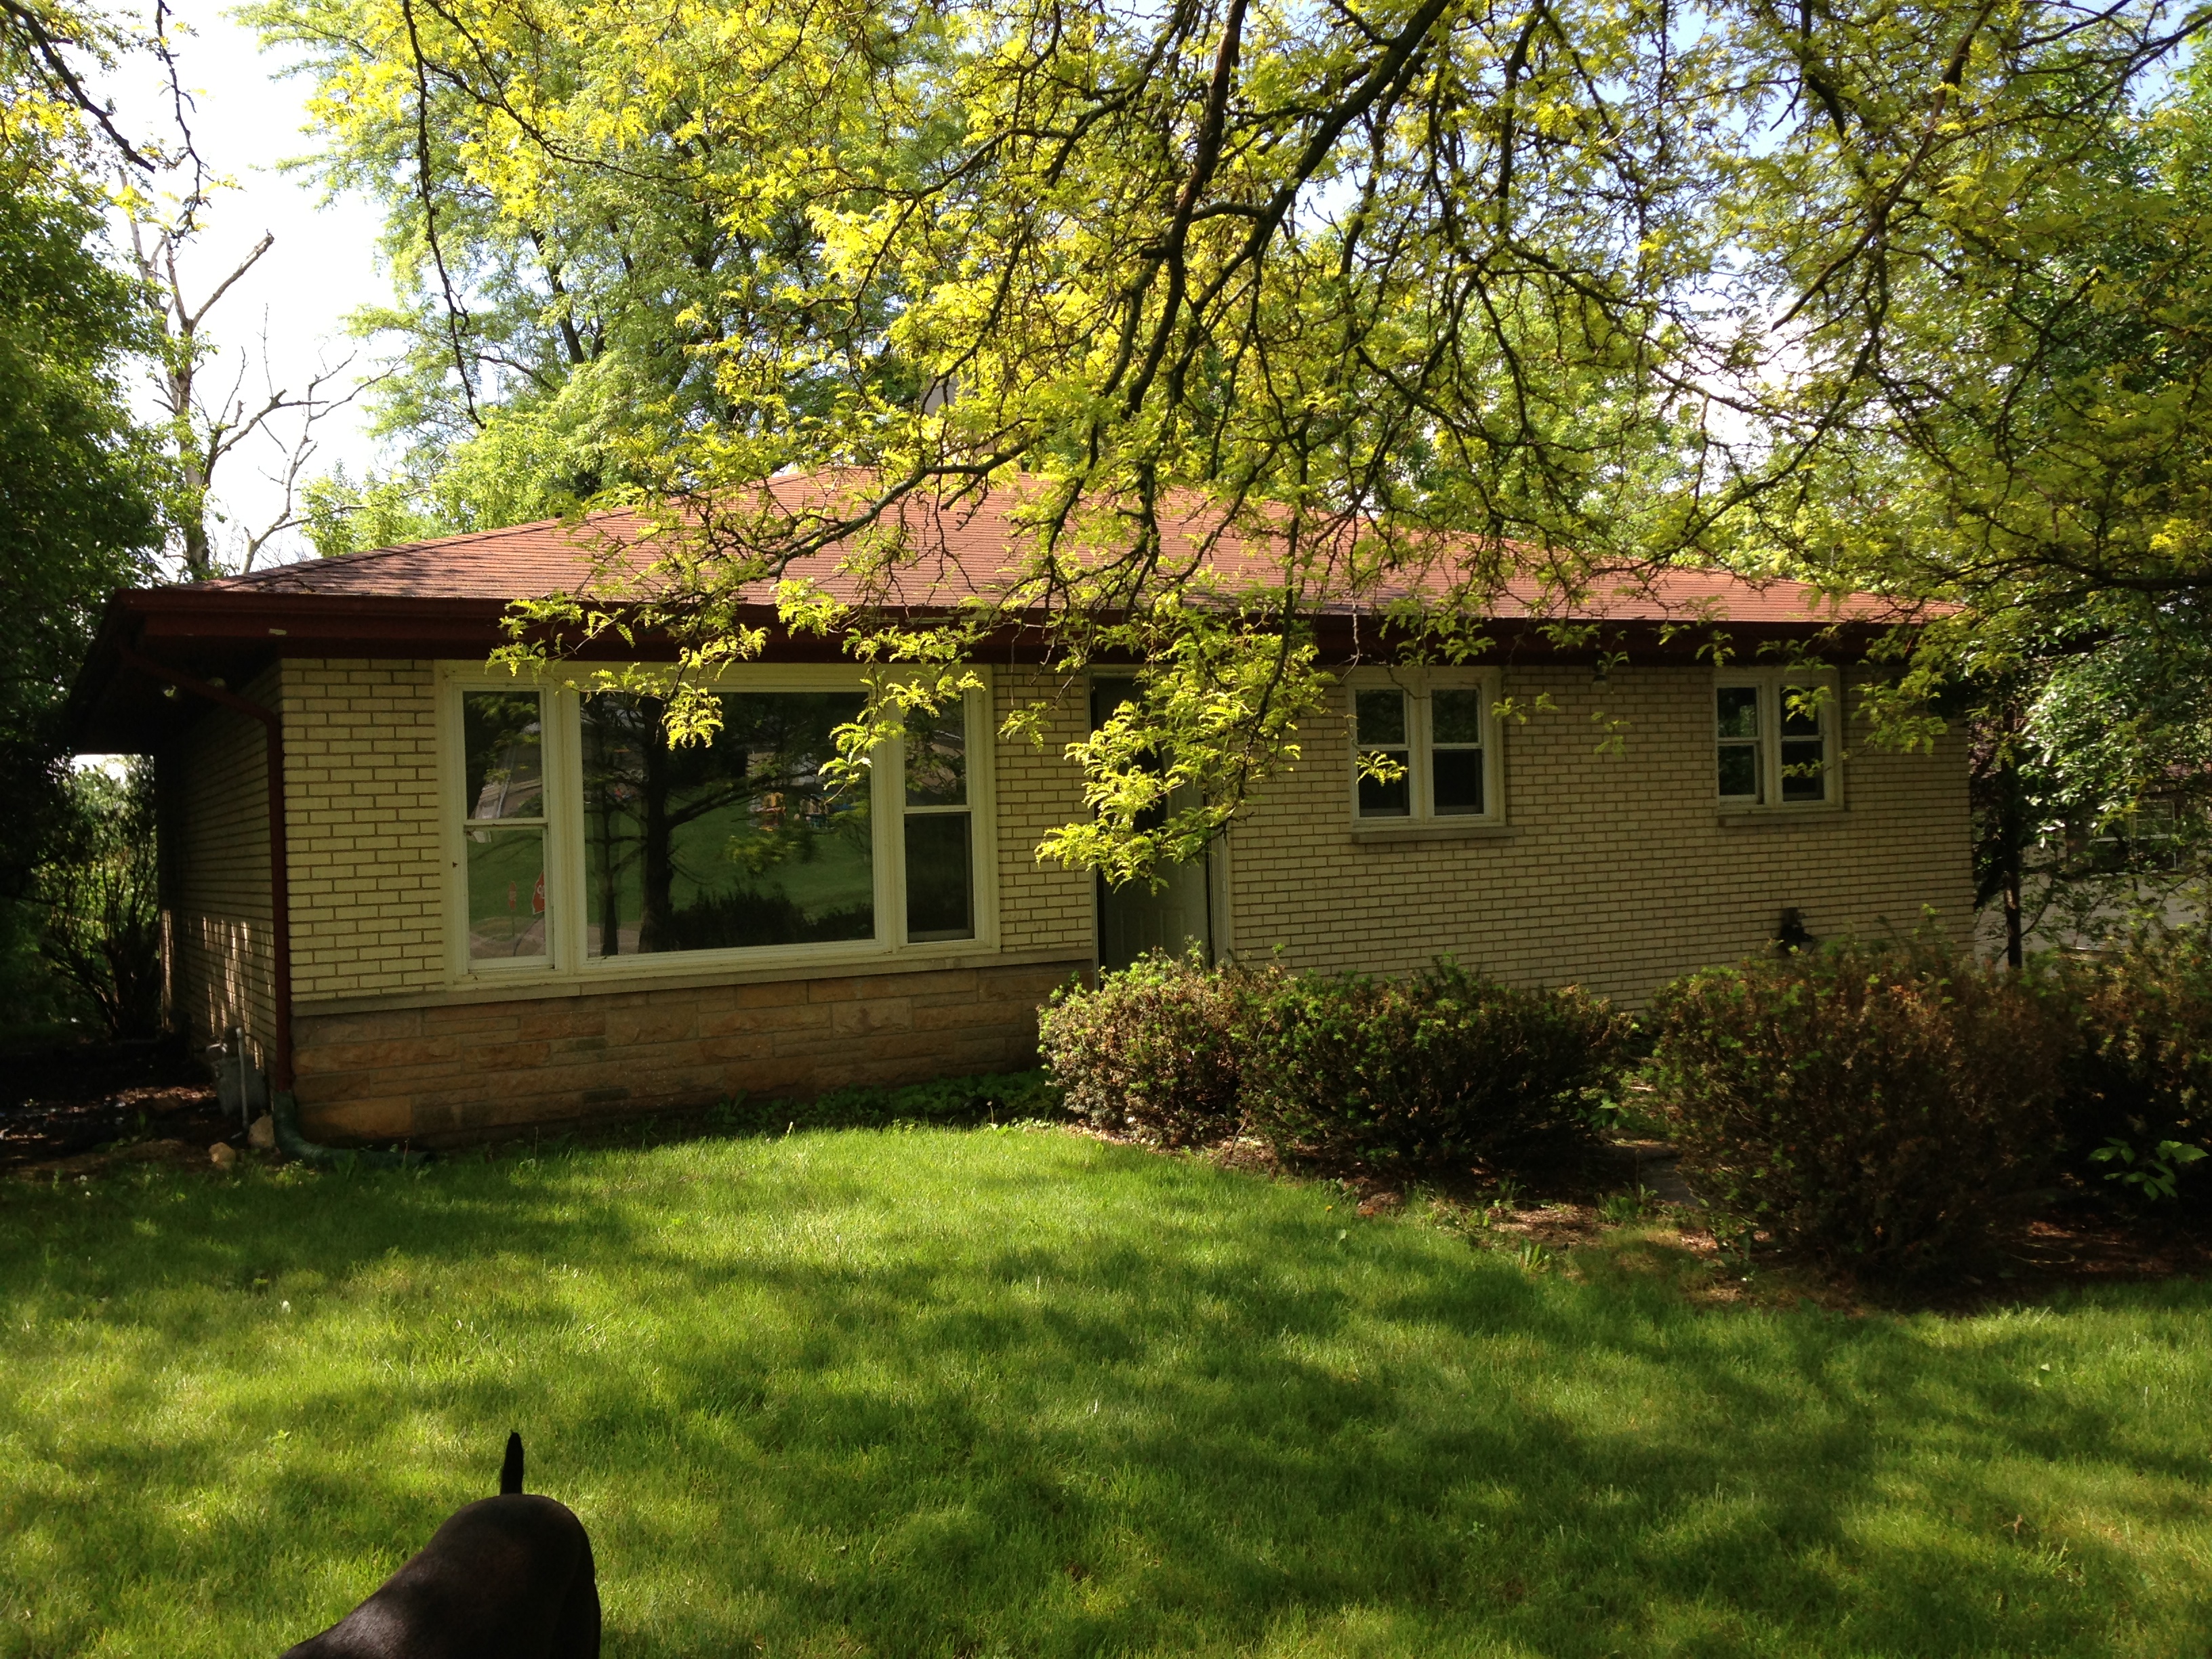
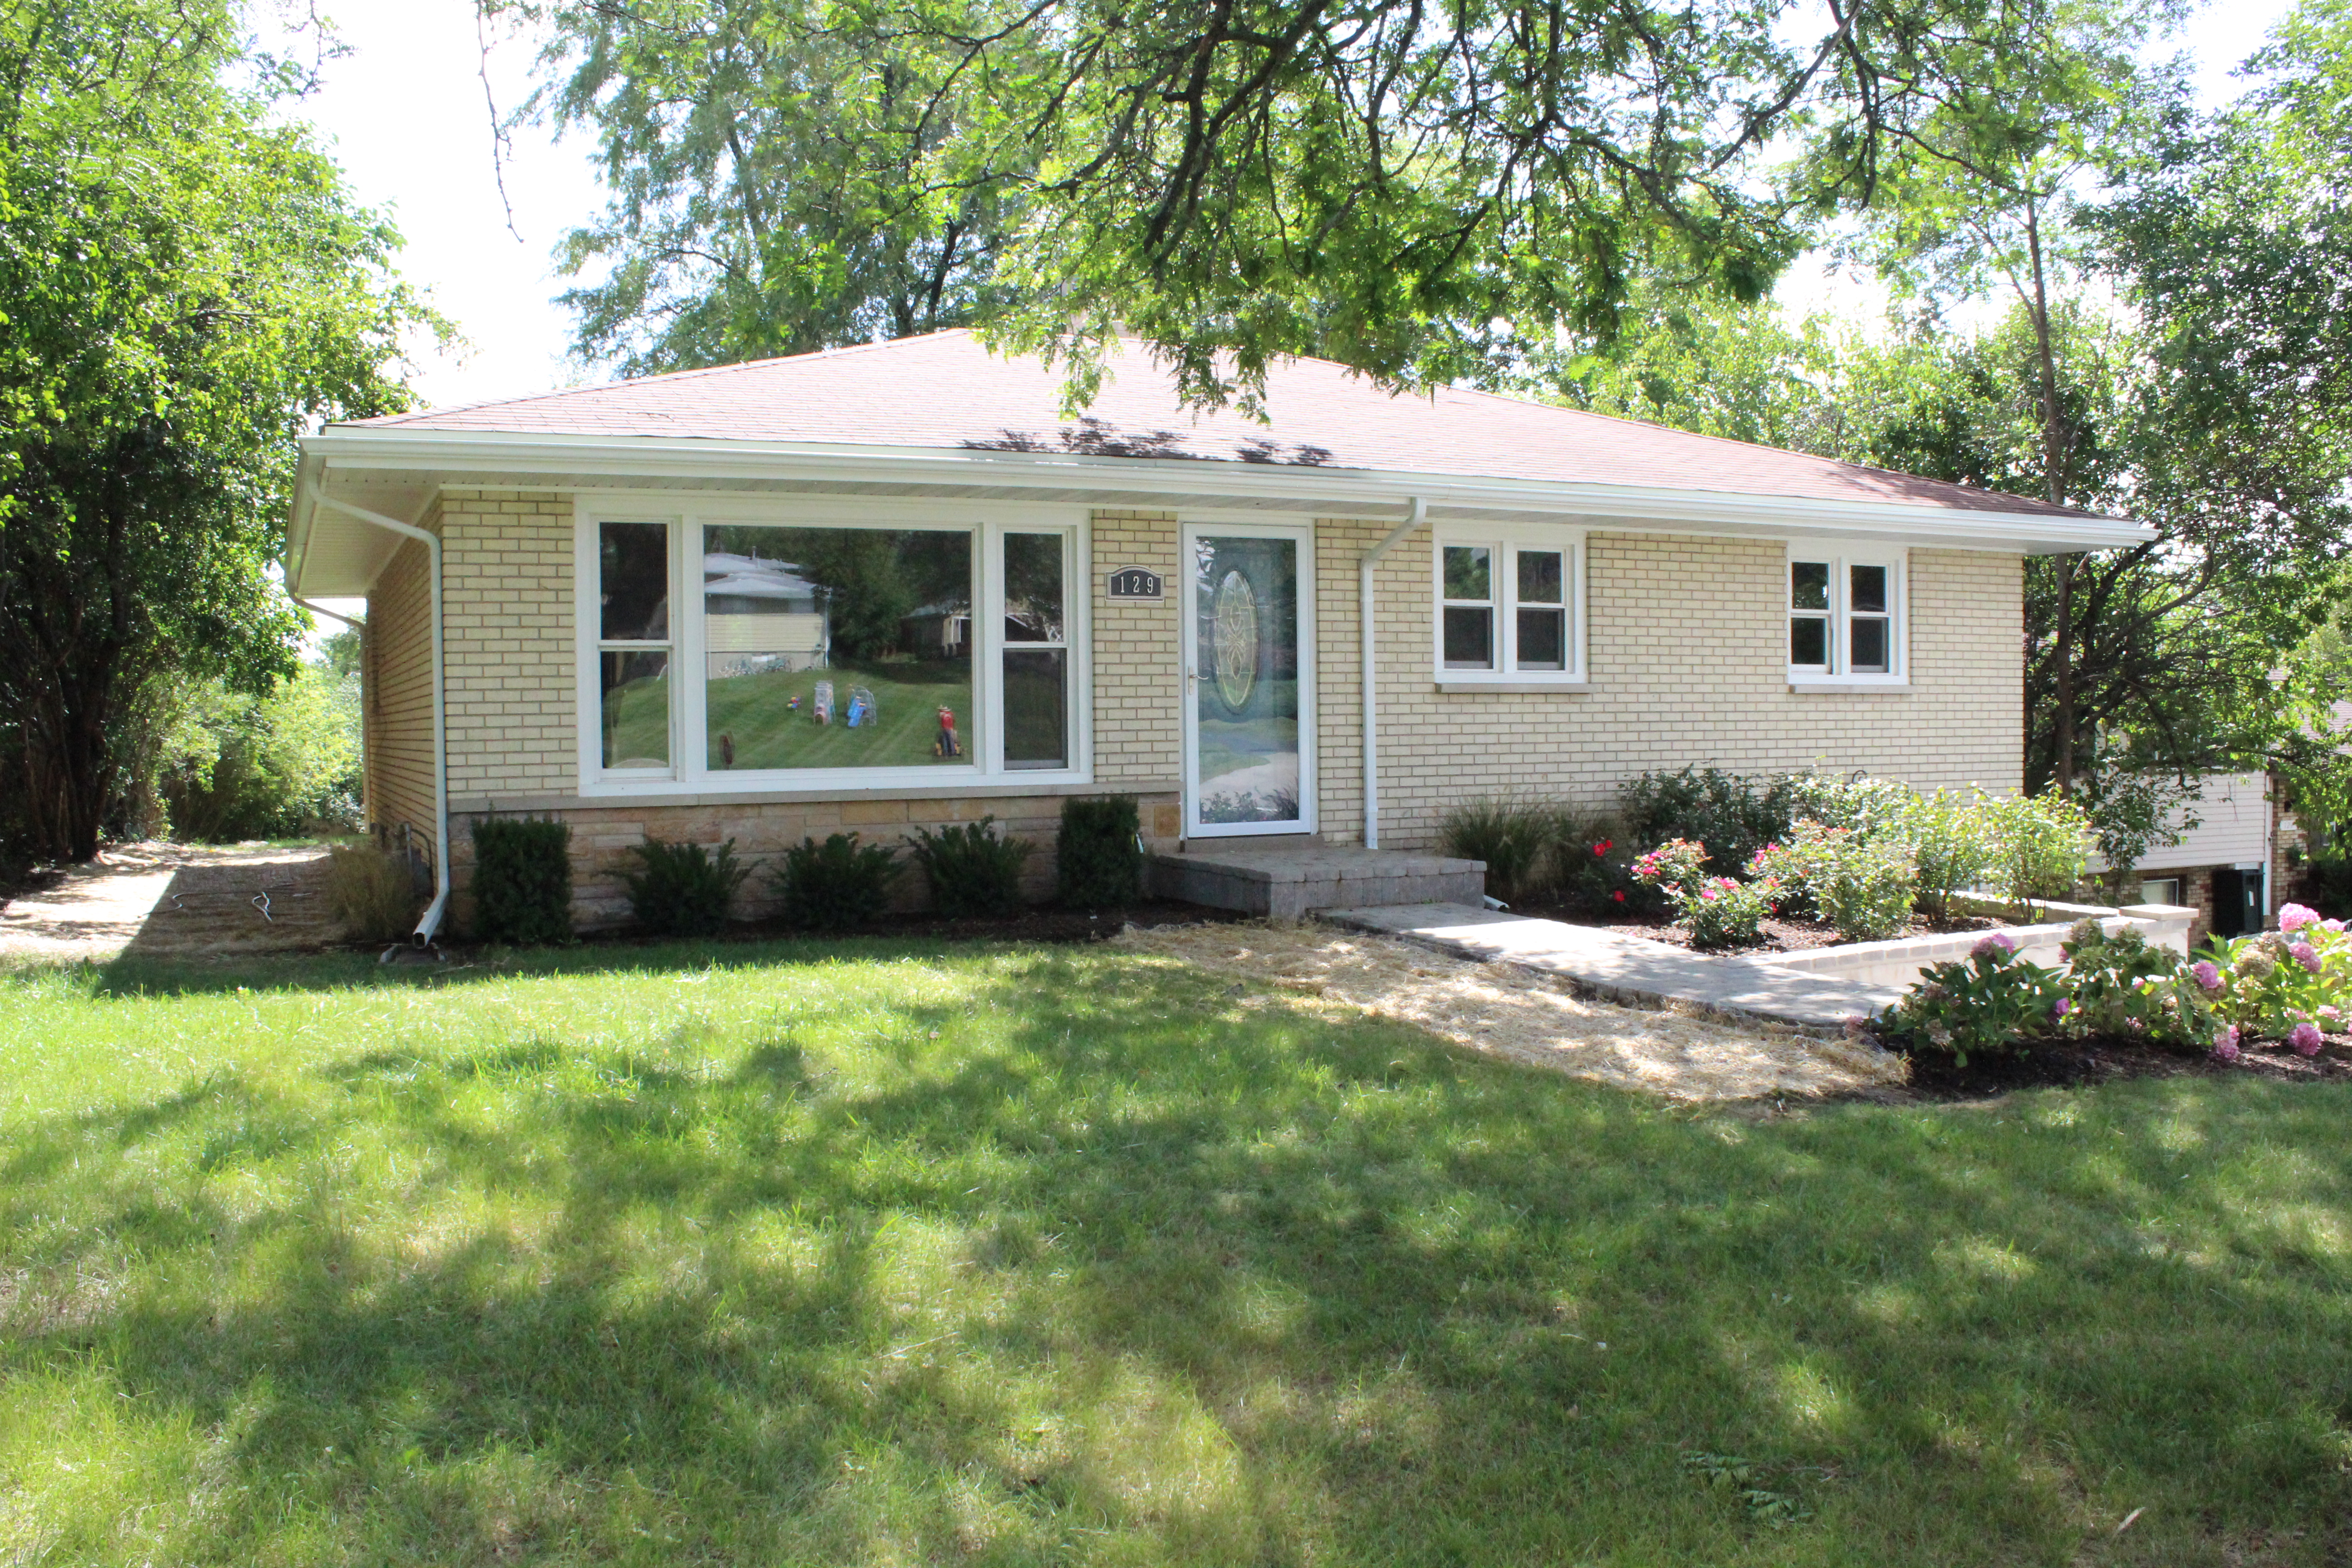
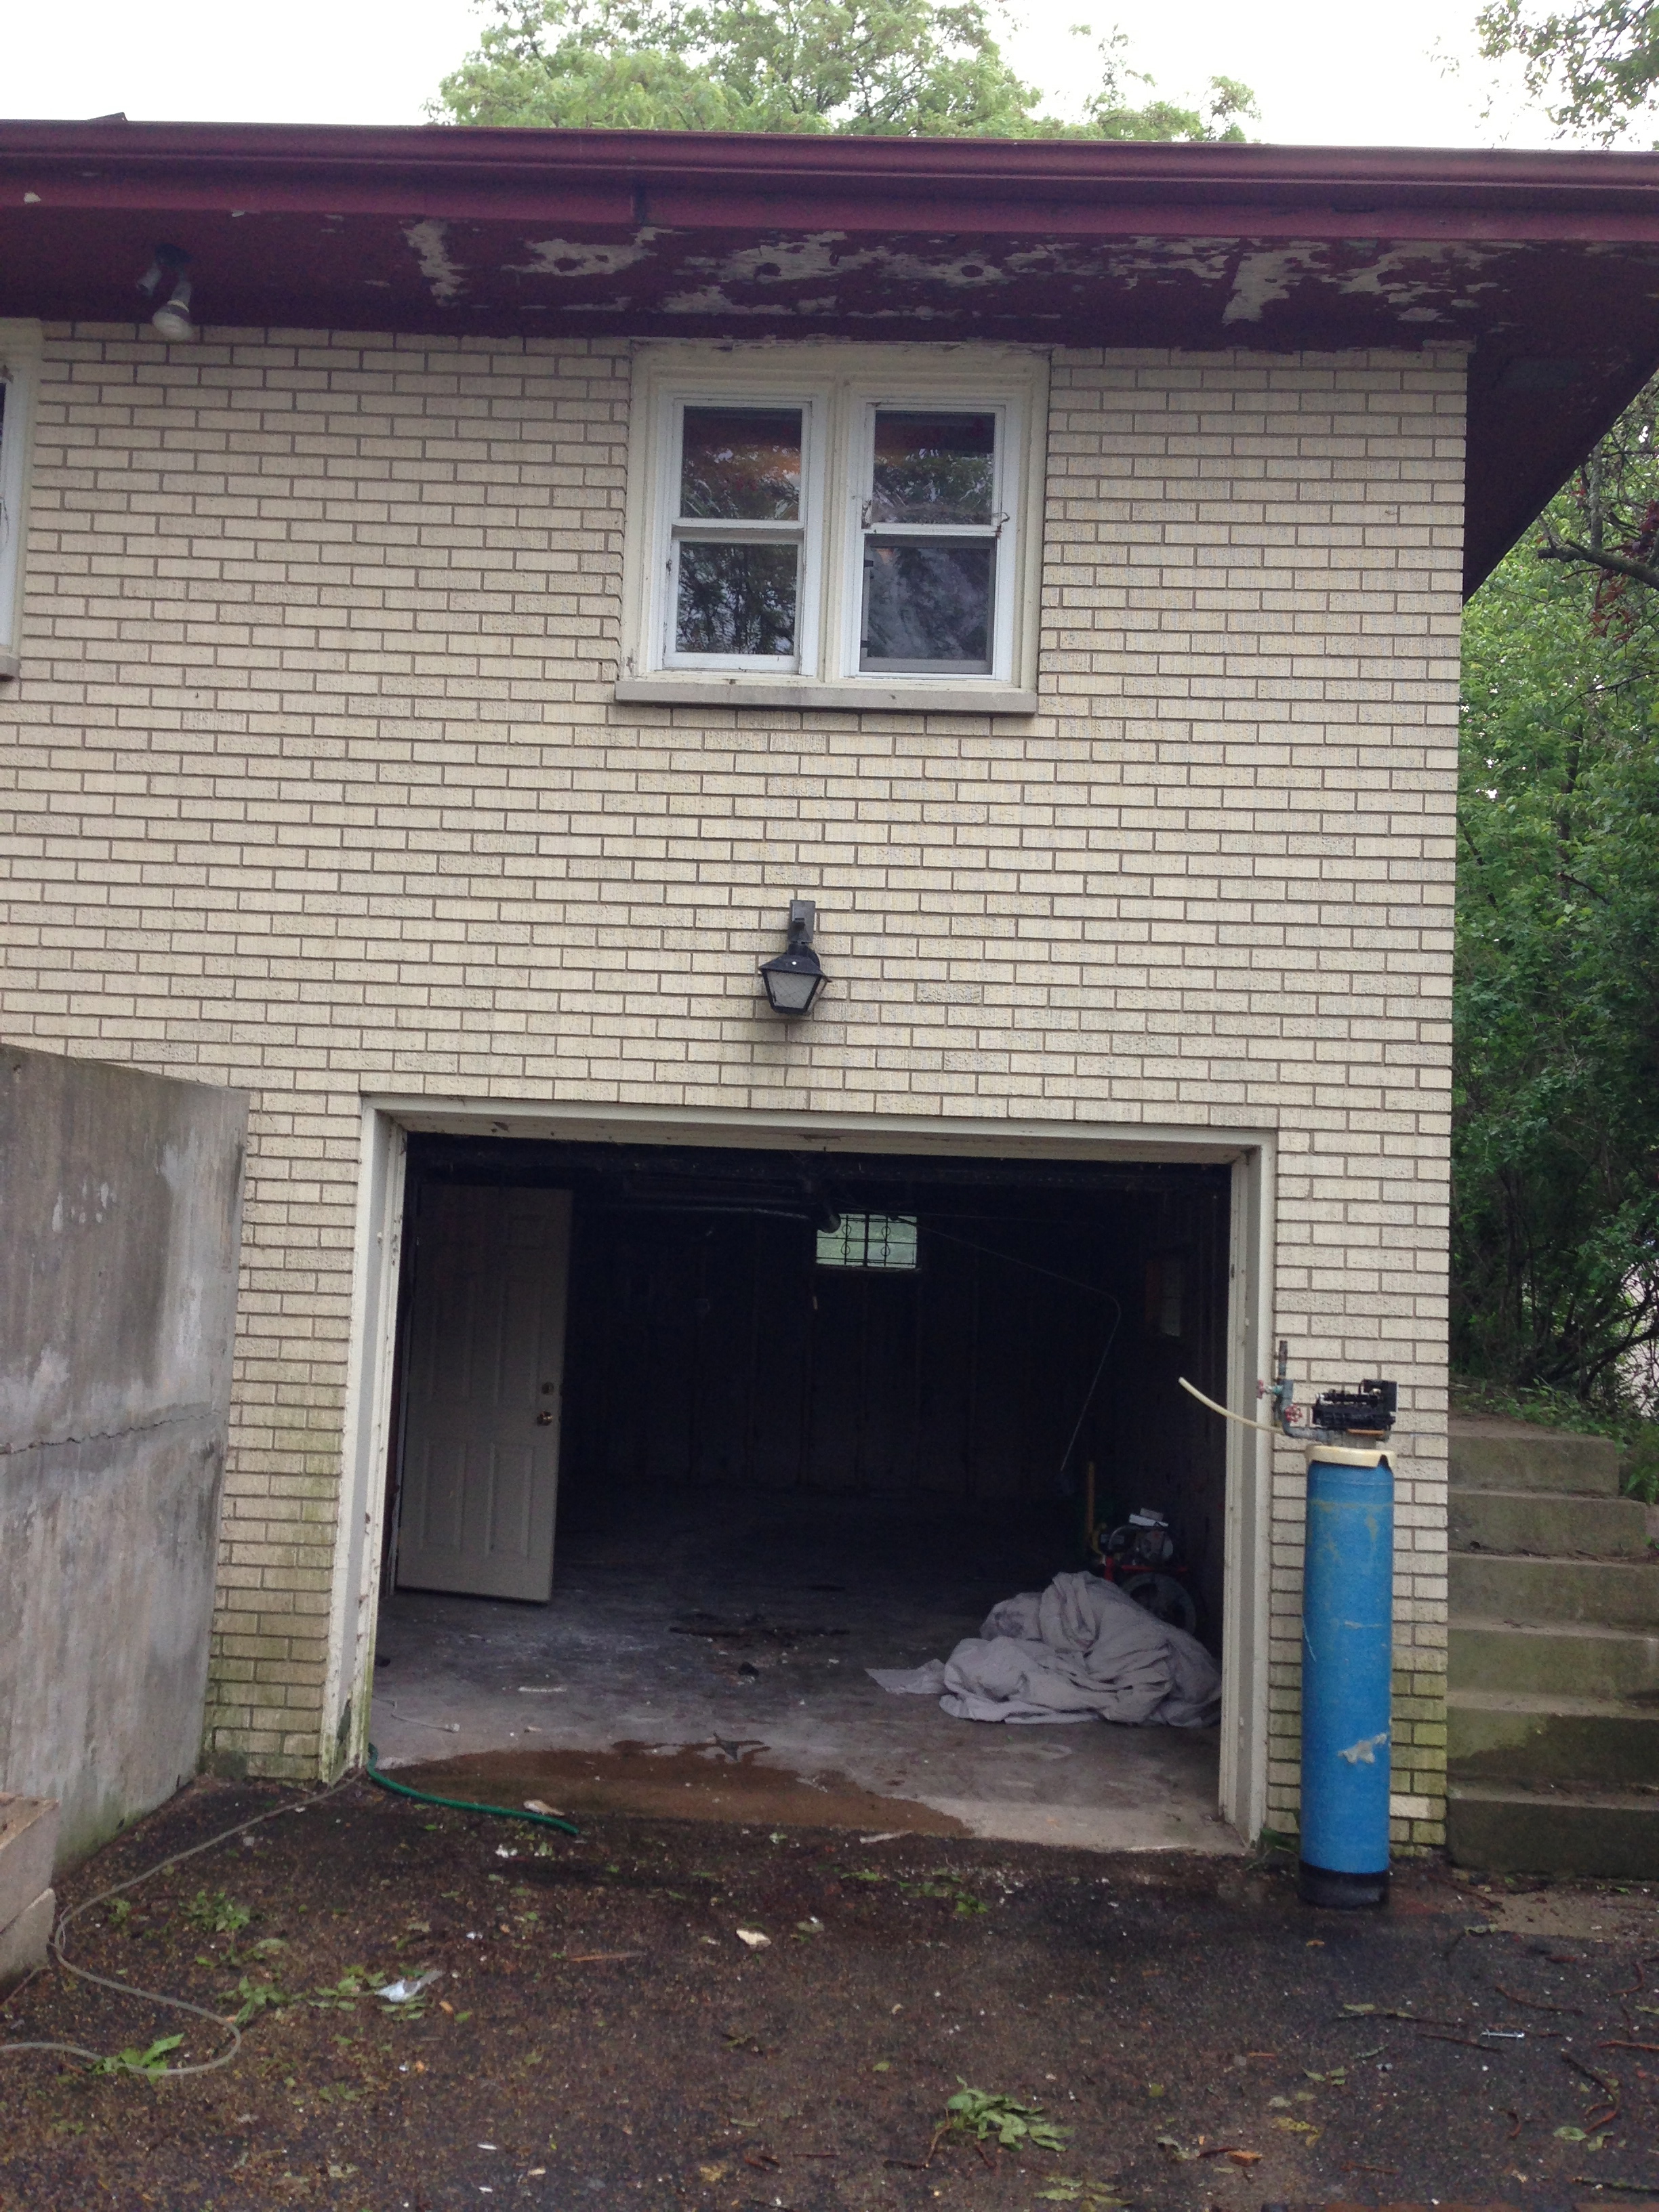
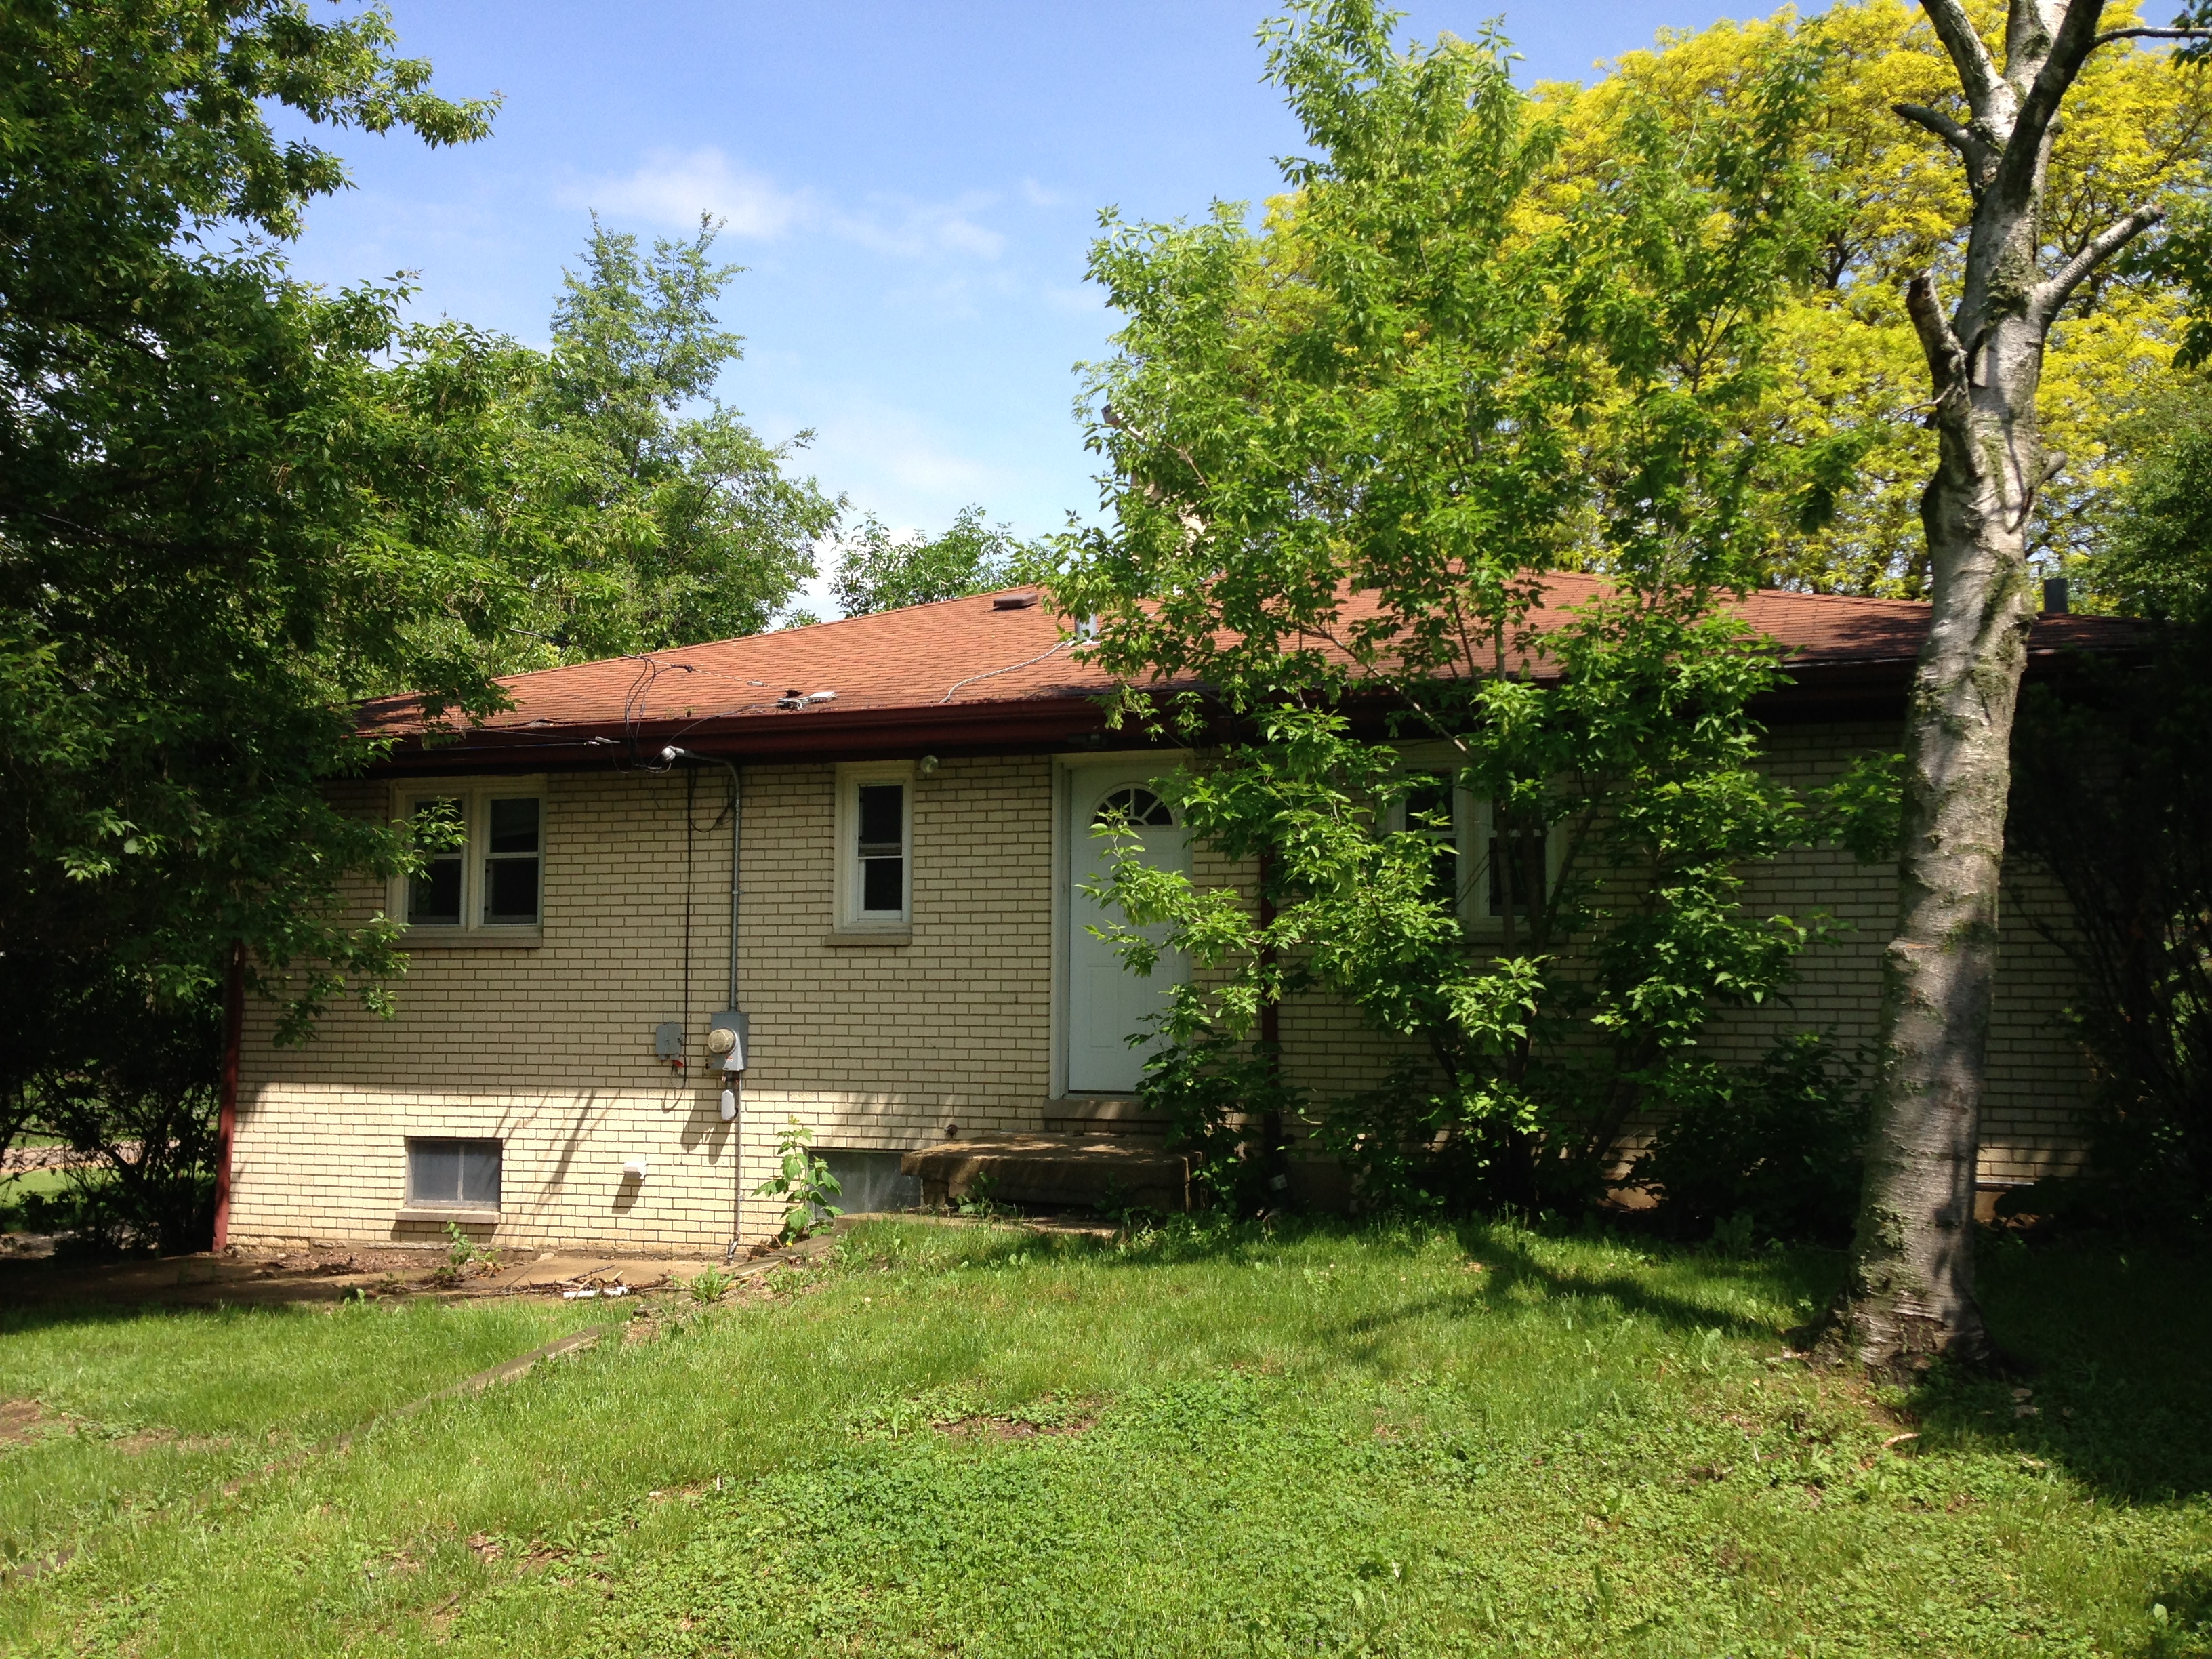
This was the old exterior: img_4539

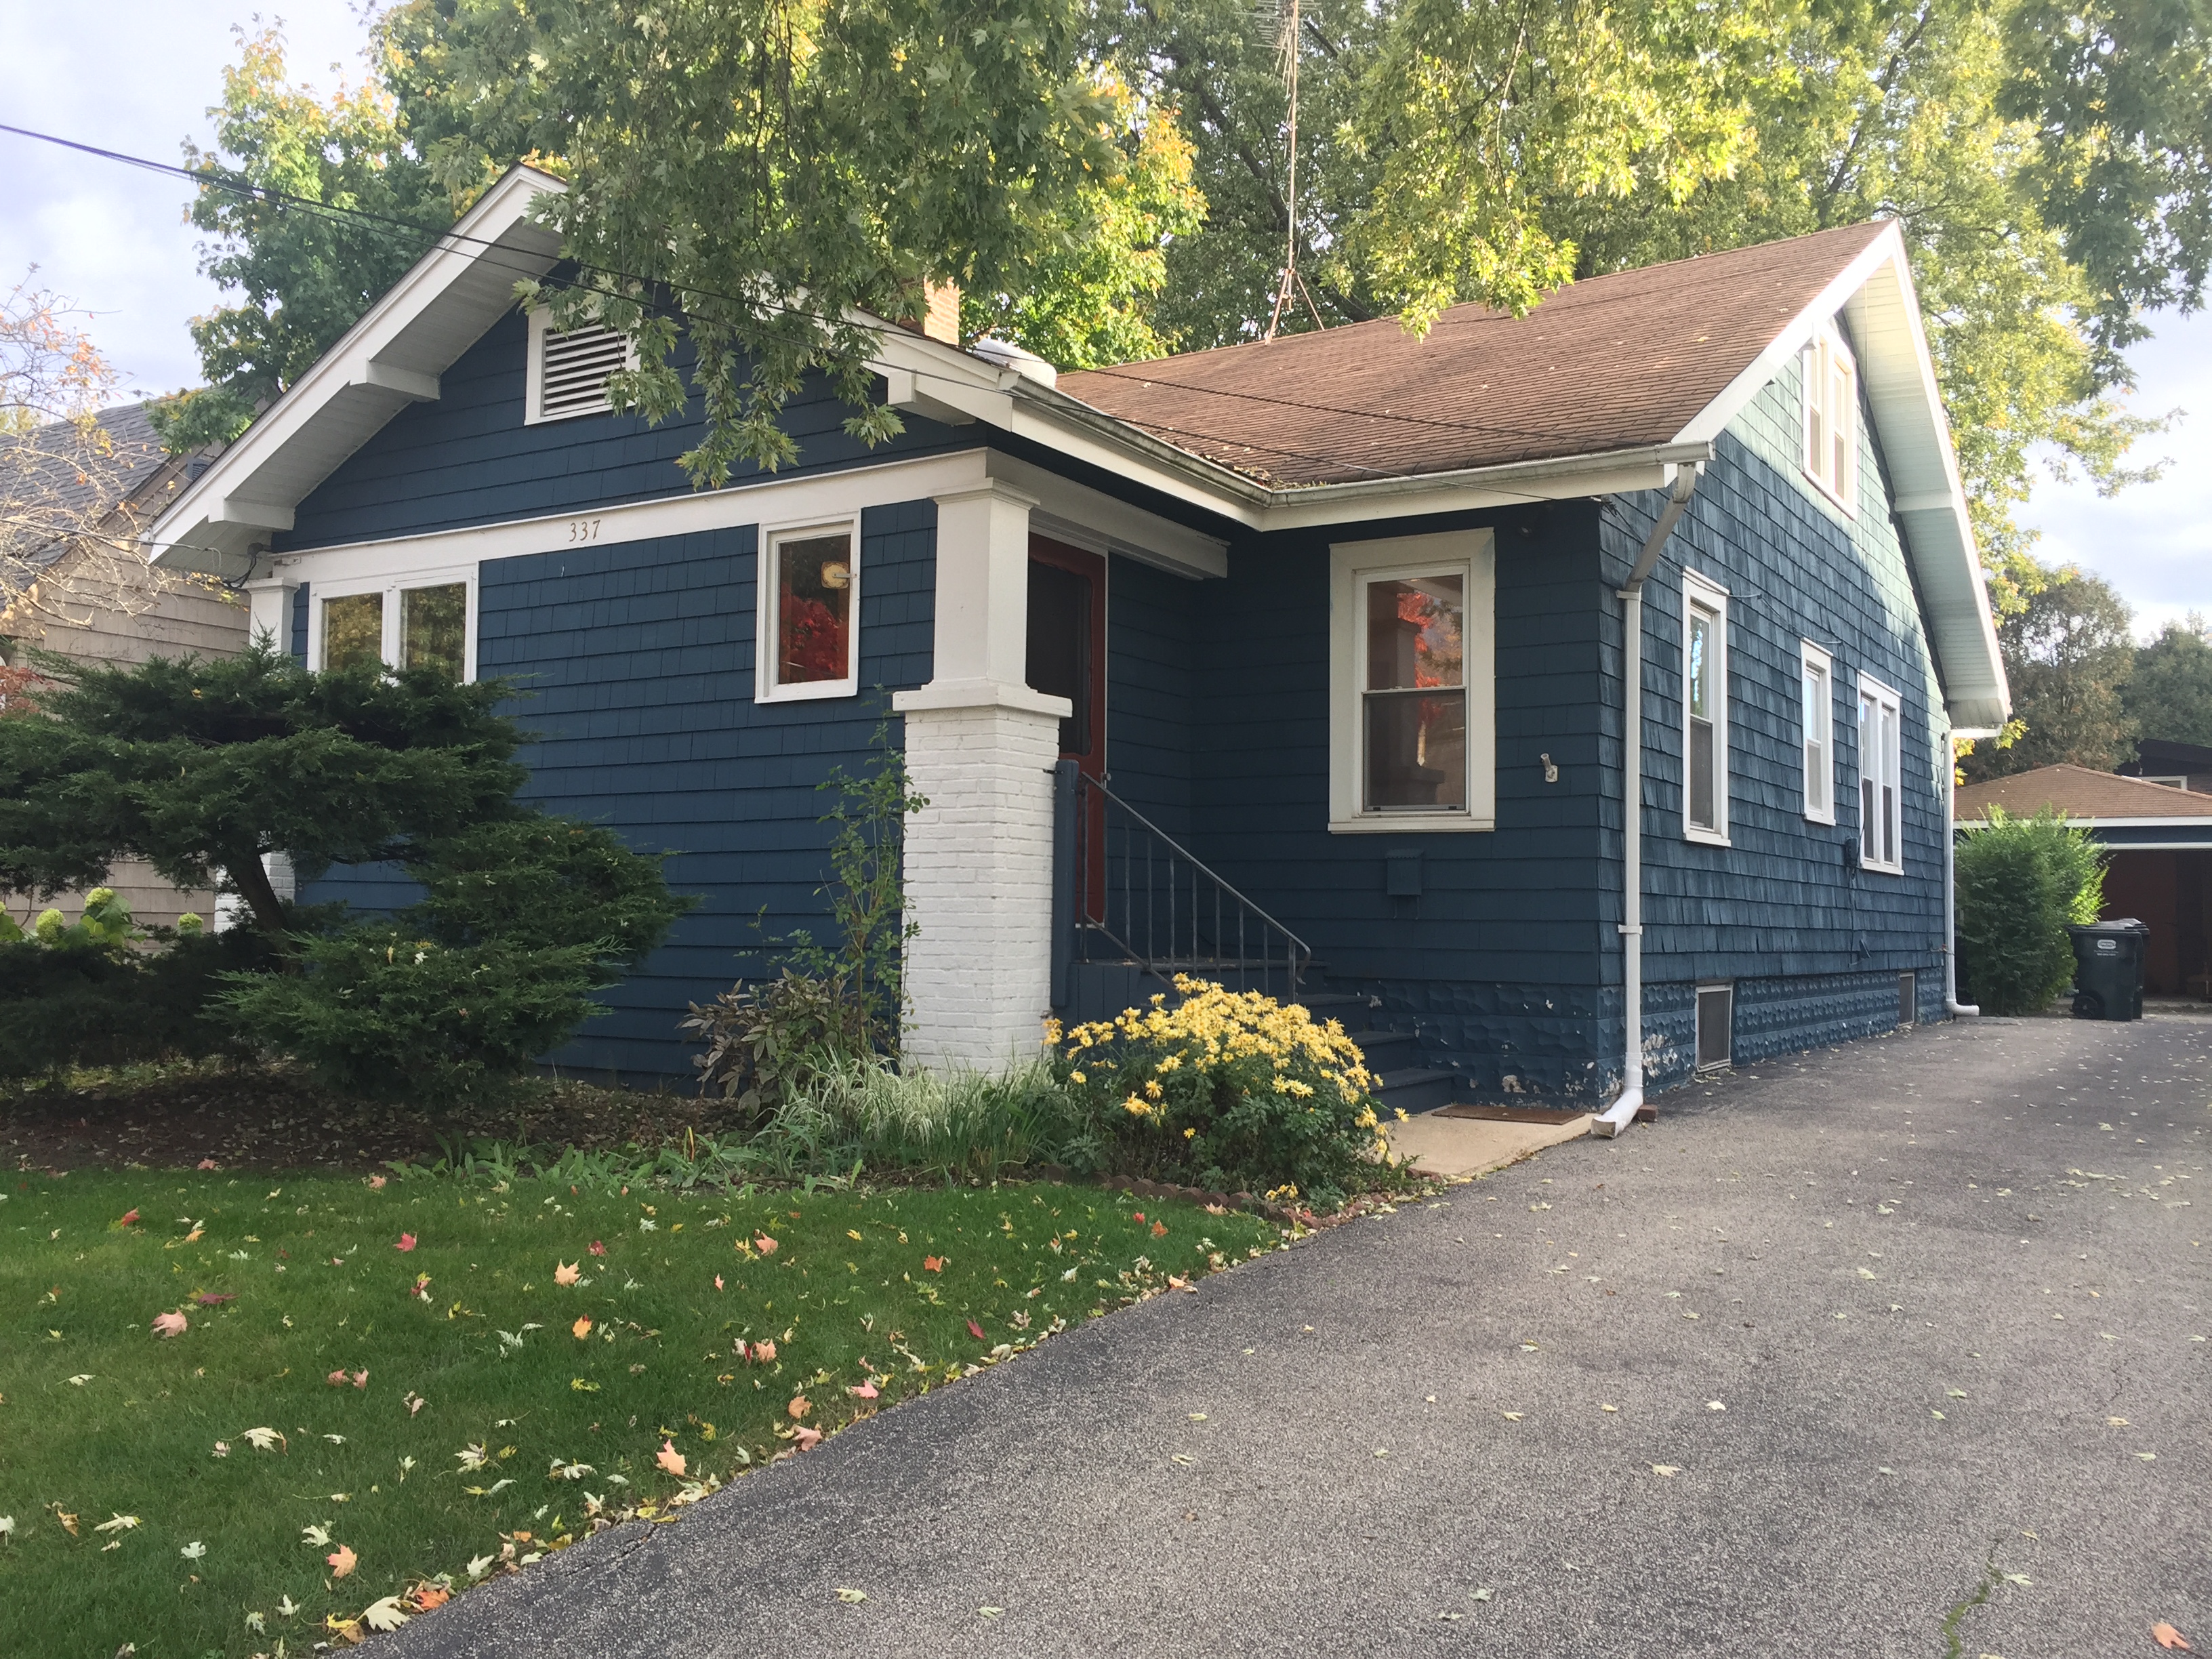
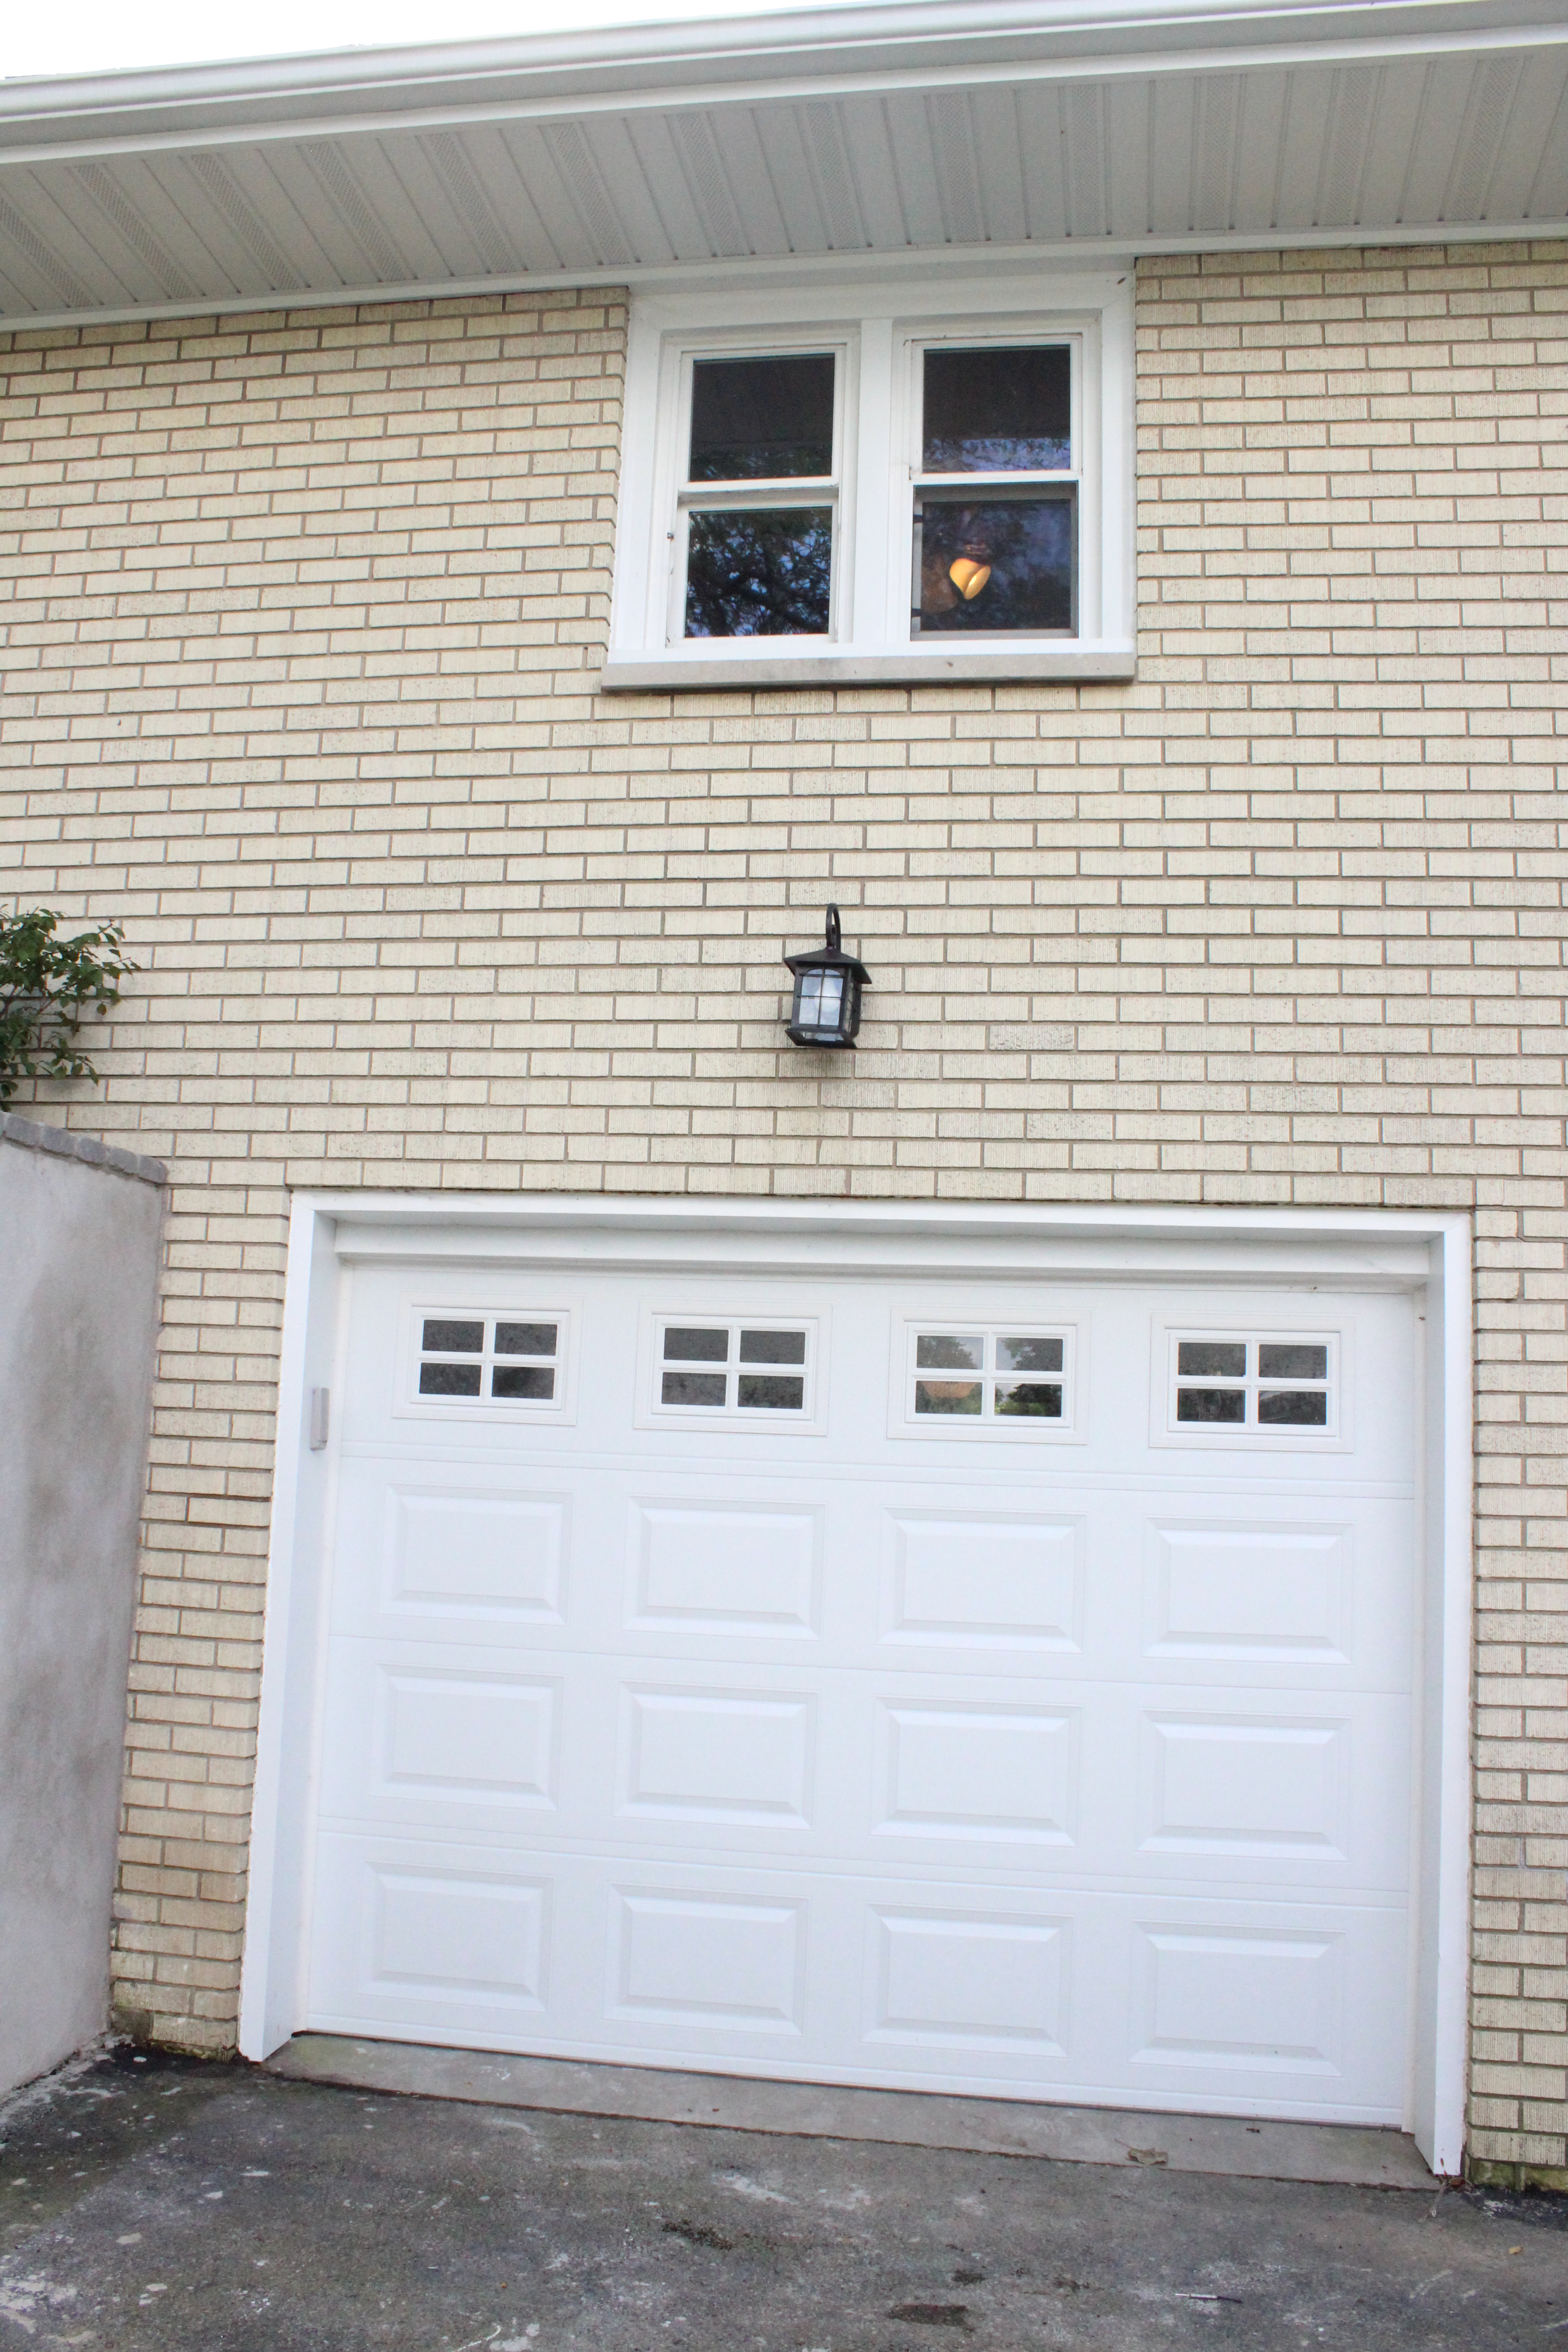
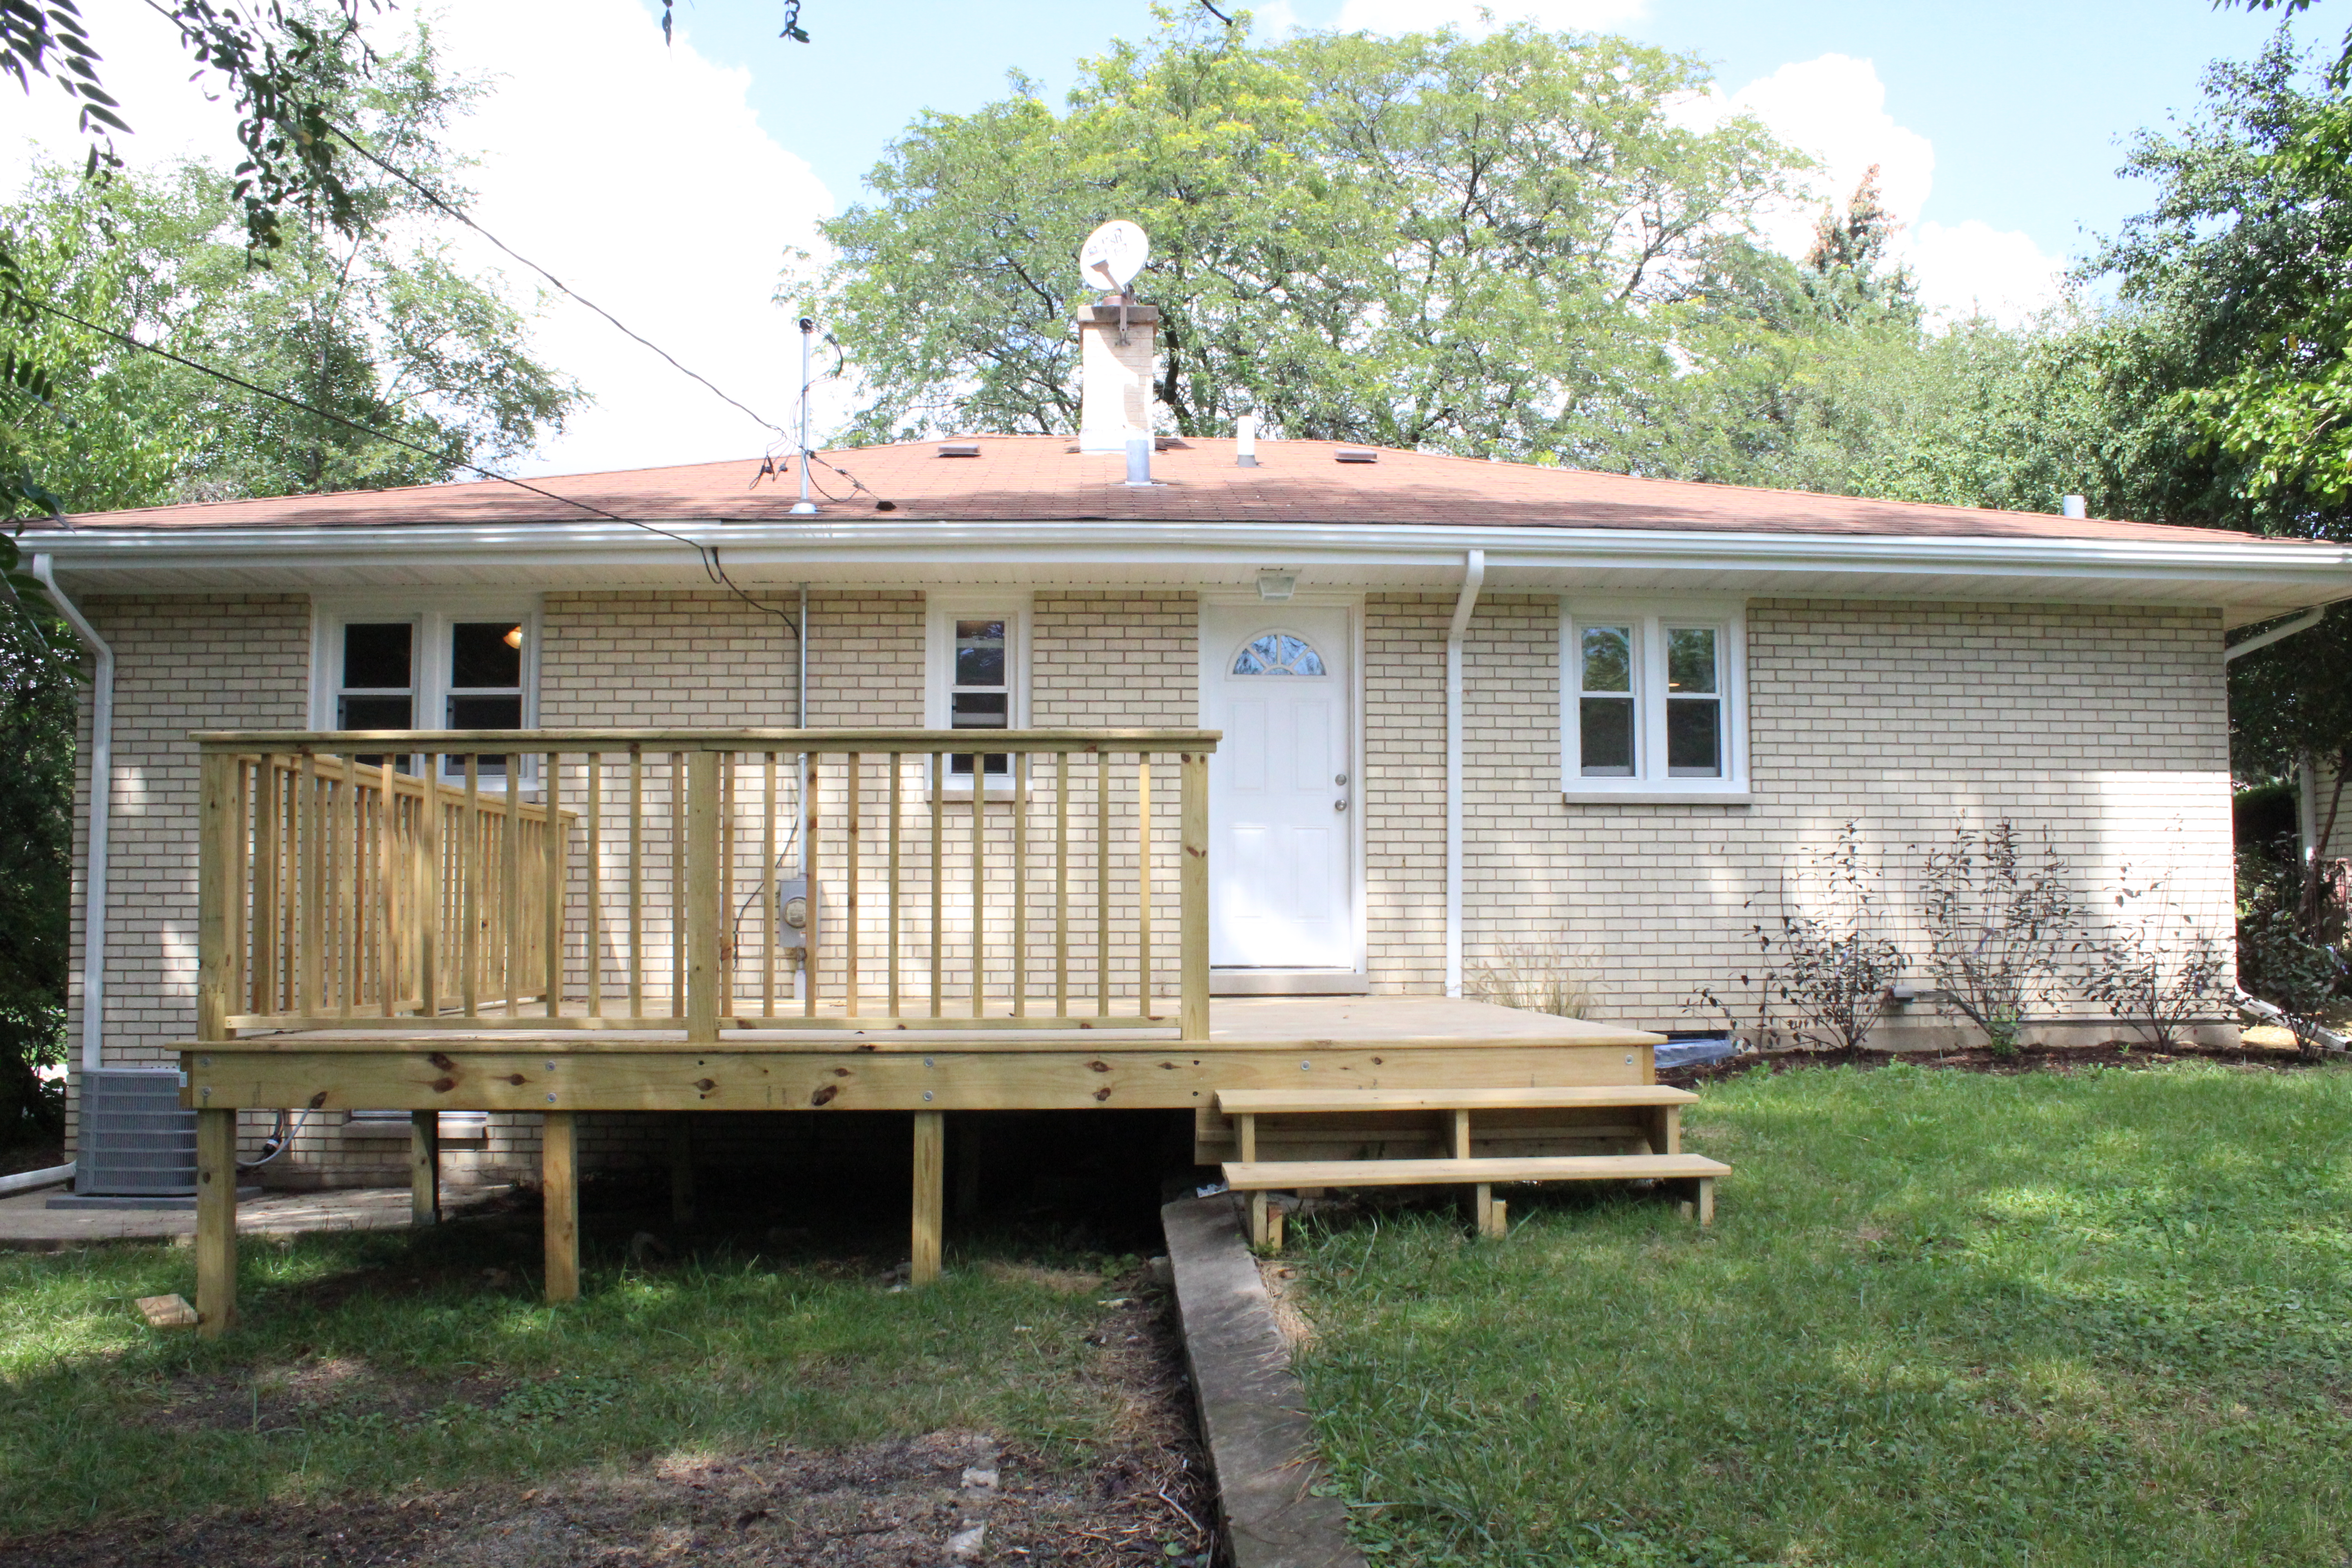
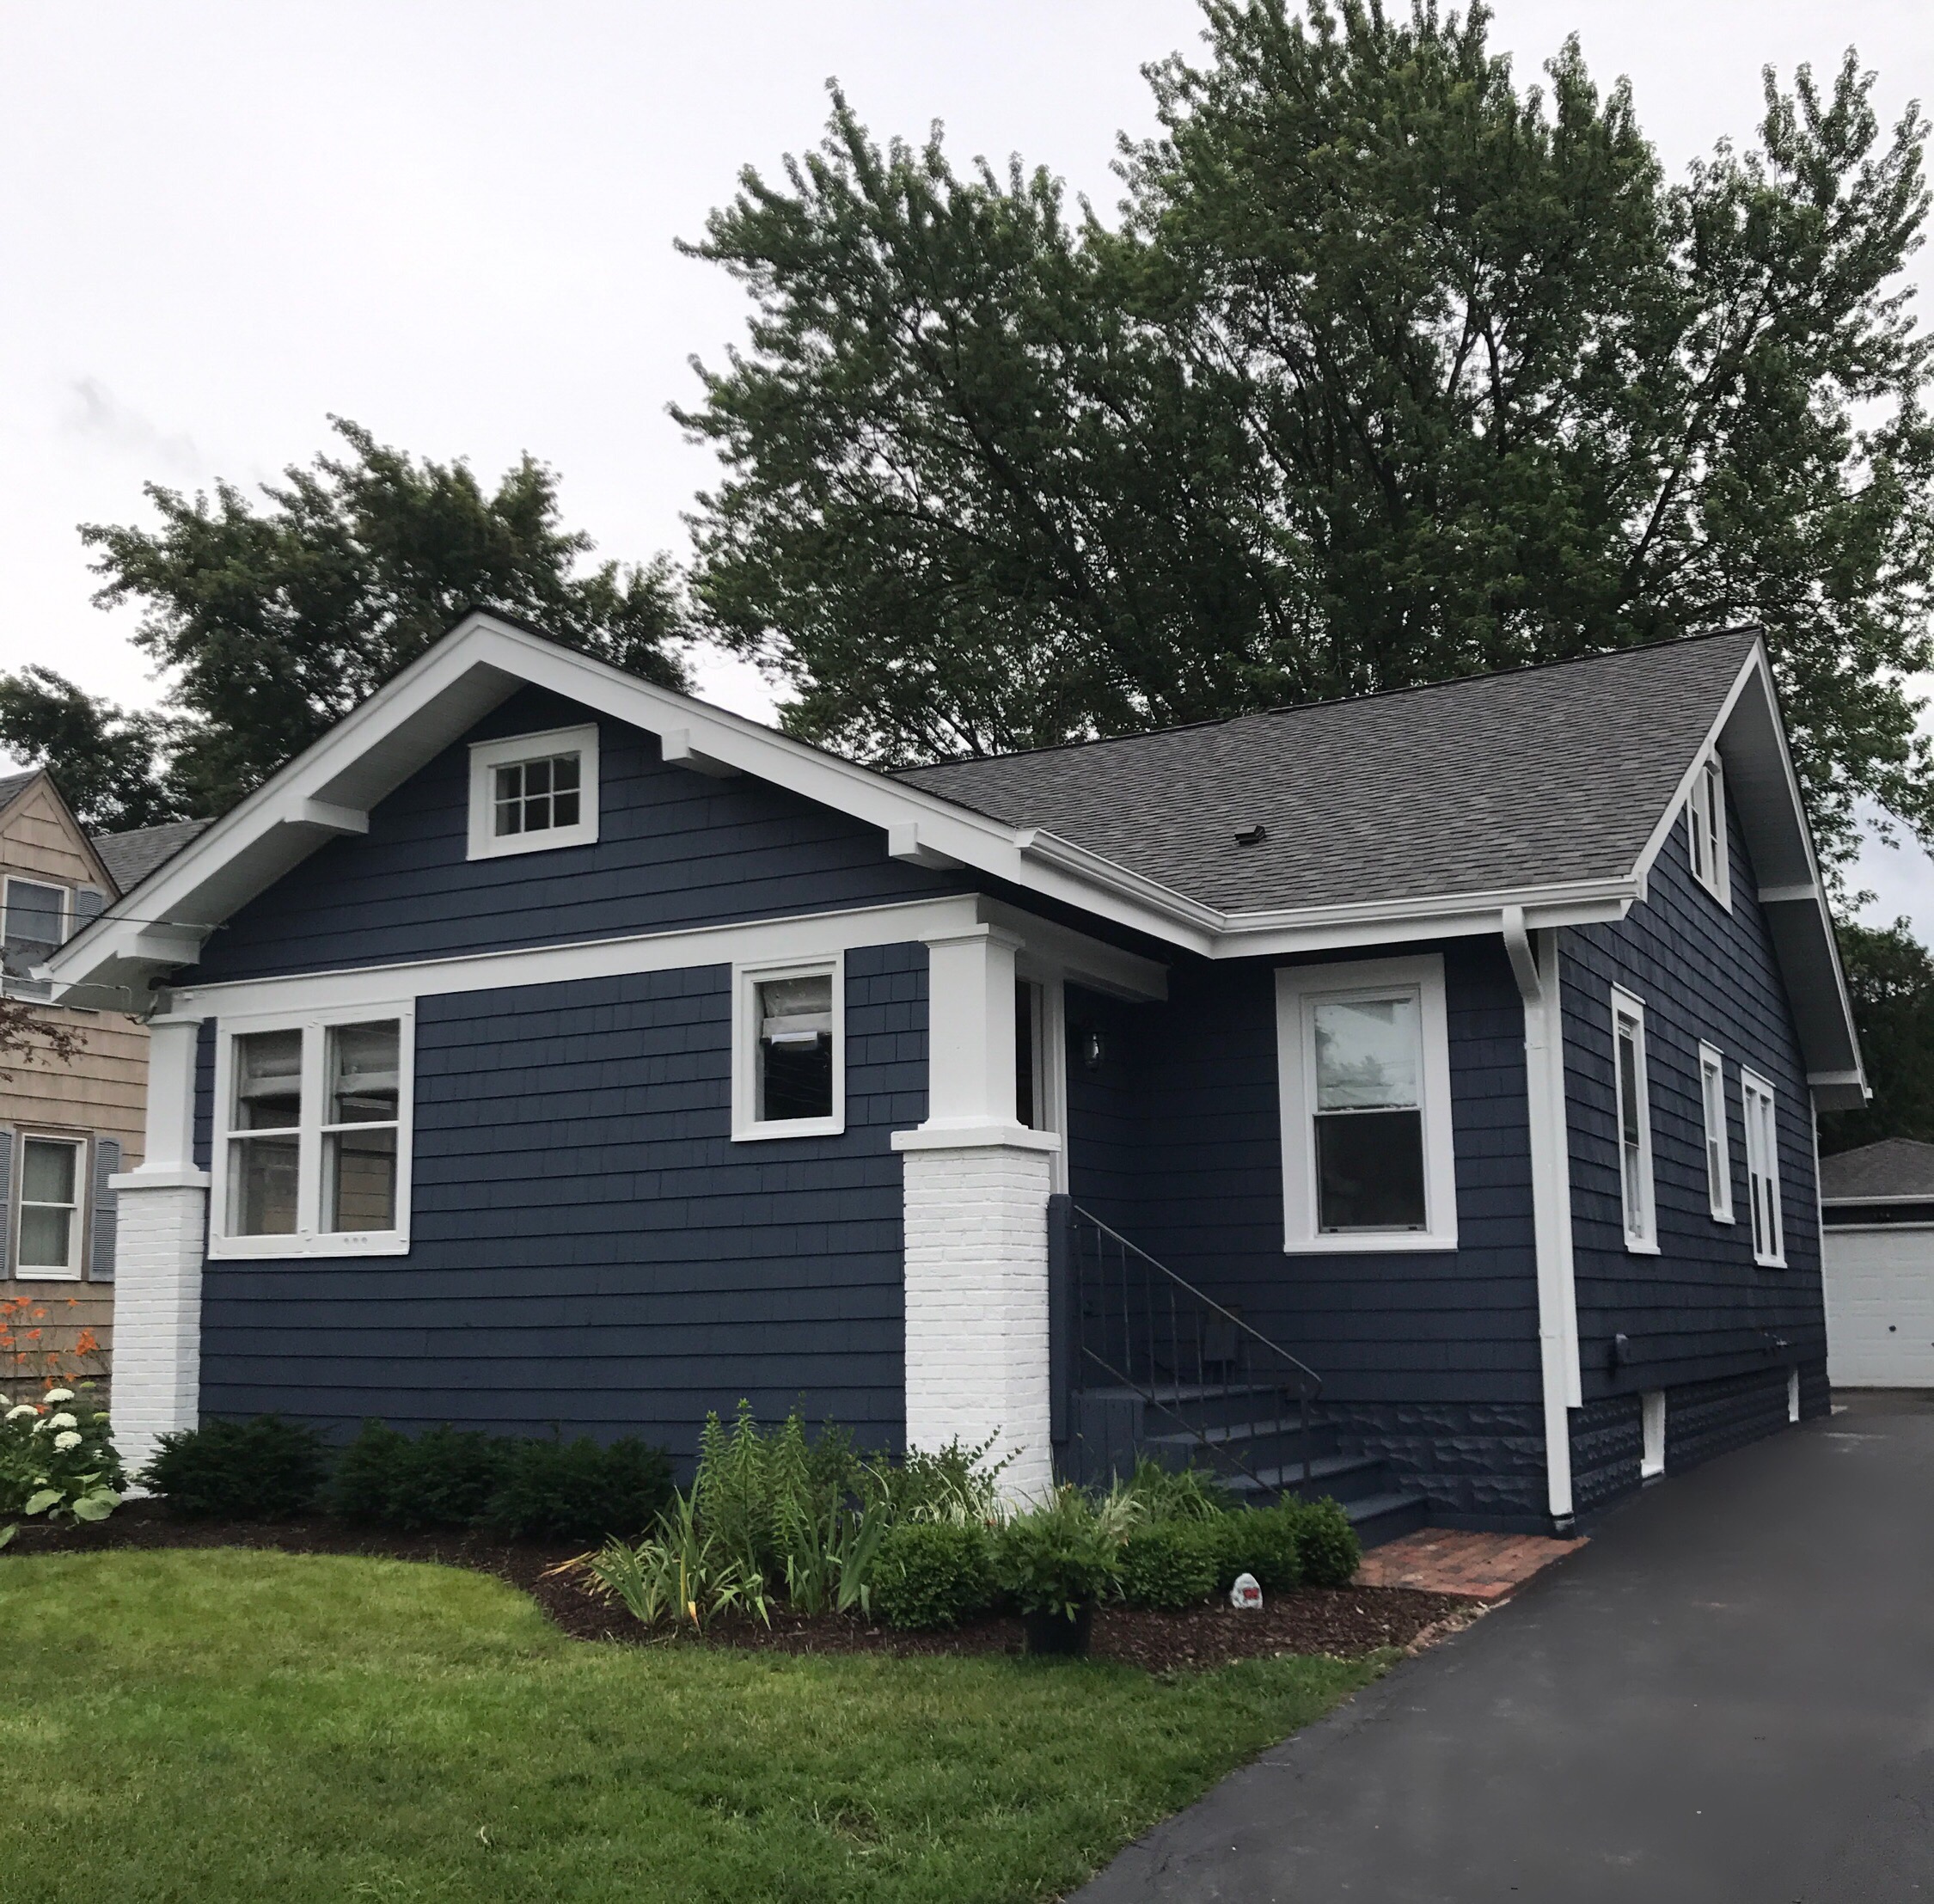
And after a new roof, landscaping, front door, paint (Benjamin Moore Evening Dove), new window on the gable, and fresh asphalt on the driveway:

Image-1

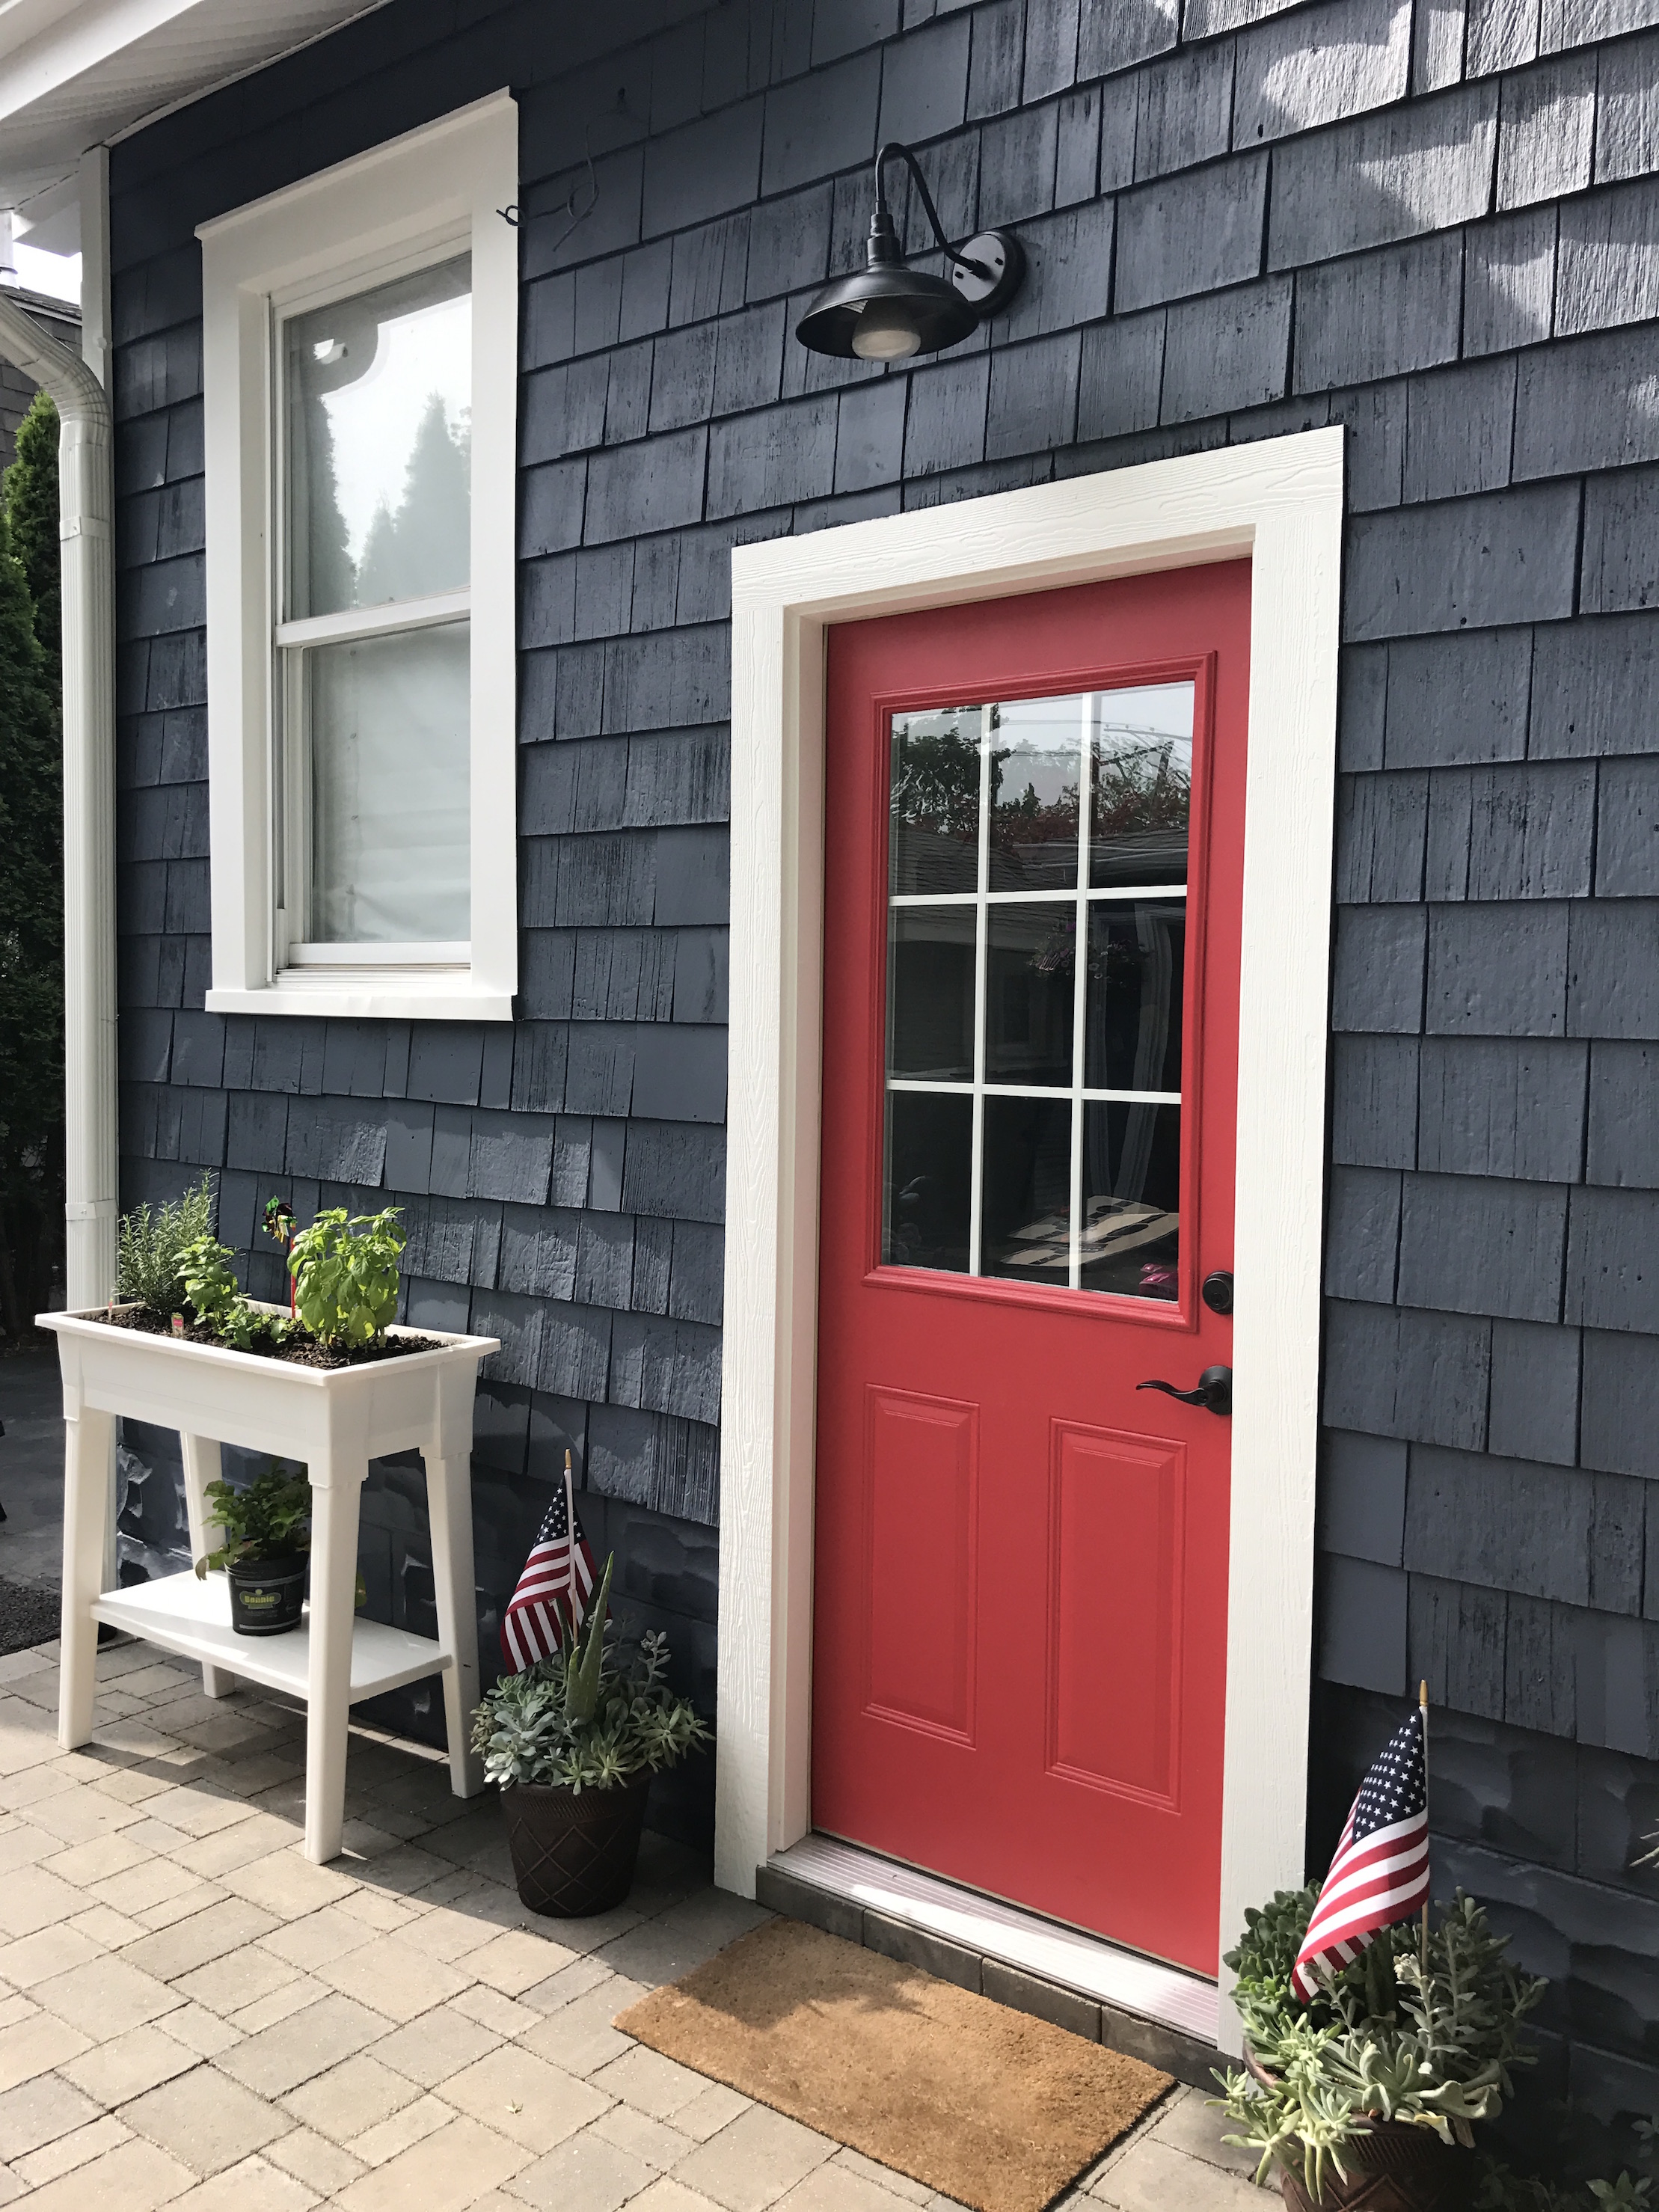
The homeowners choose this fun Poppy color for the front and back doors!

IMG_3399

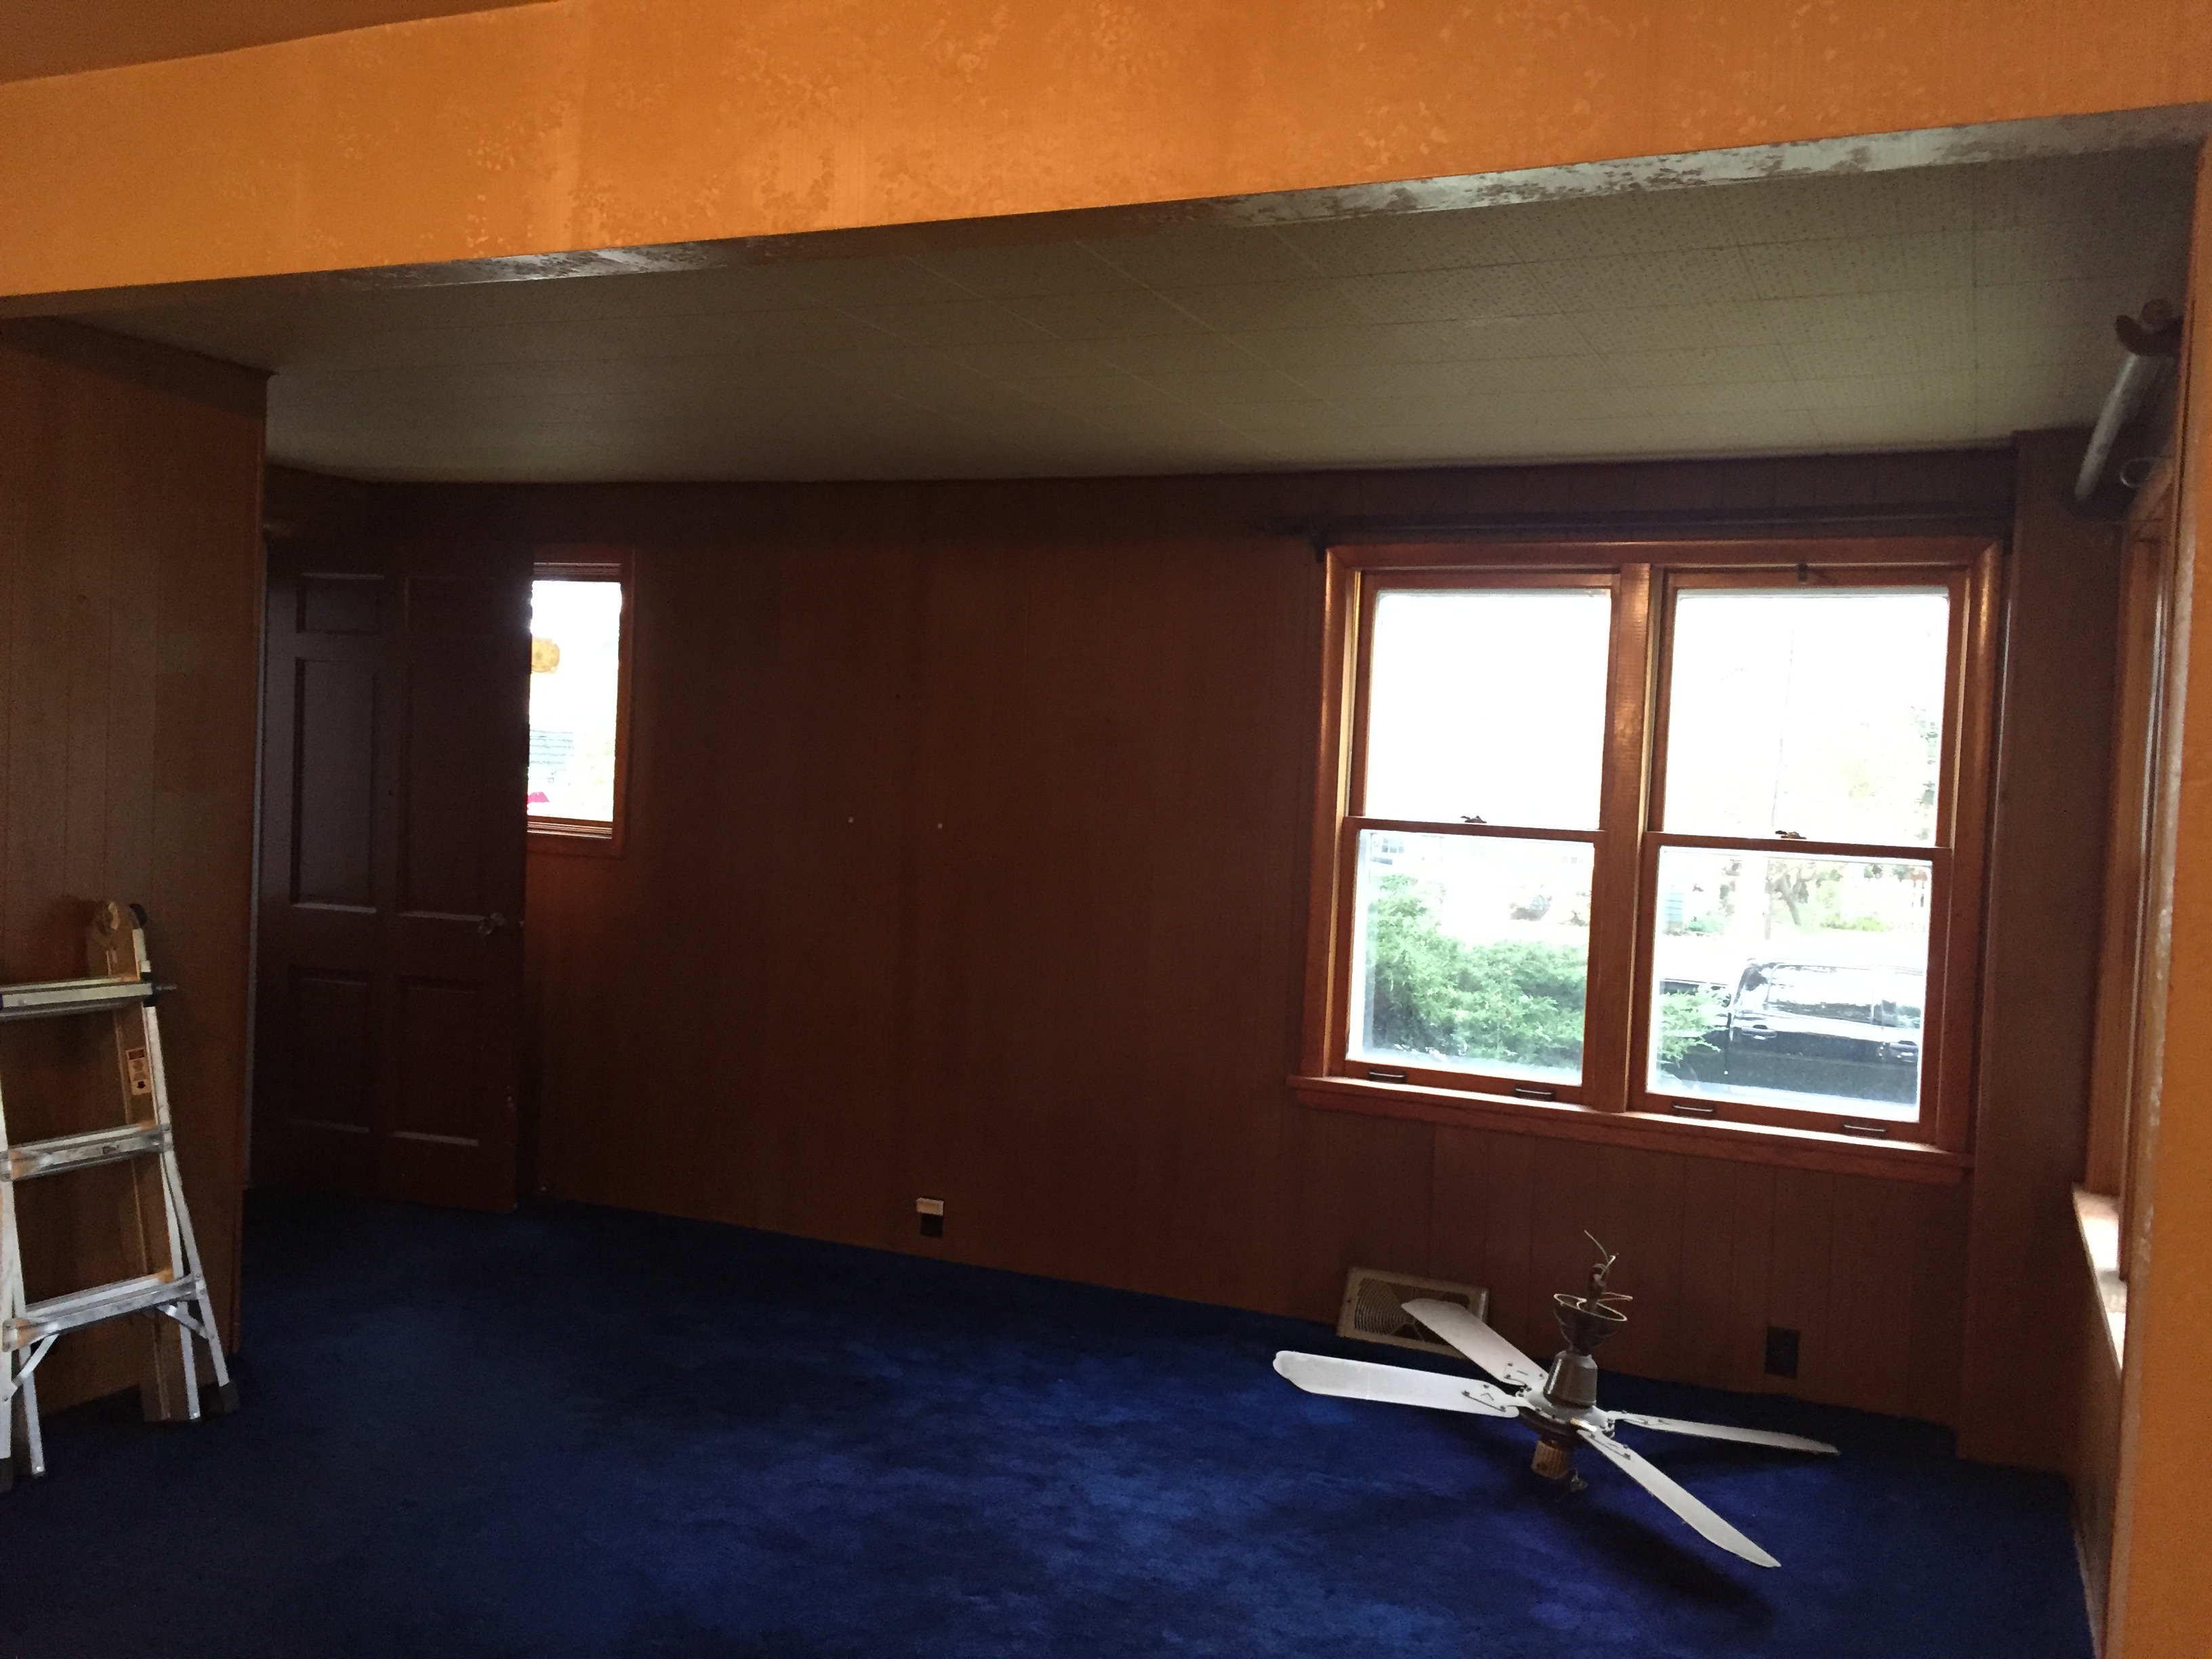
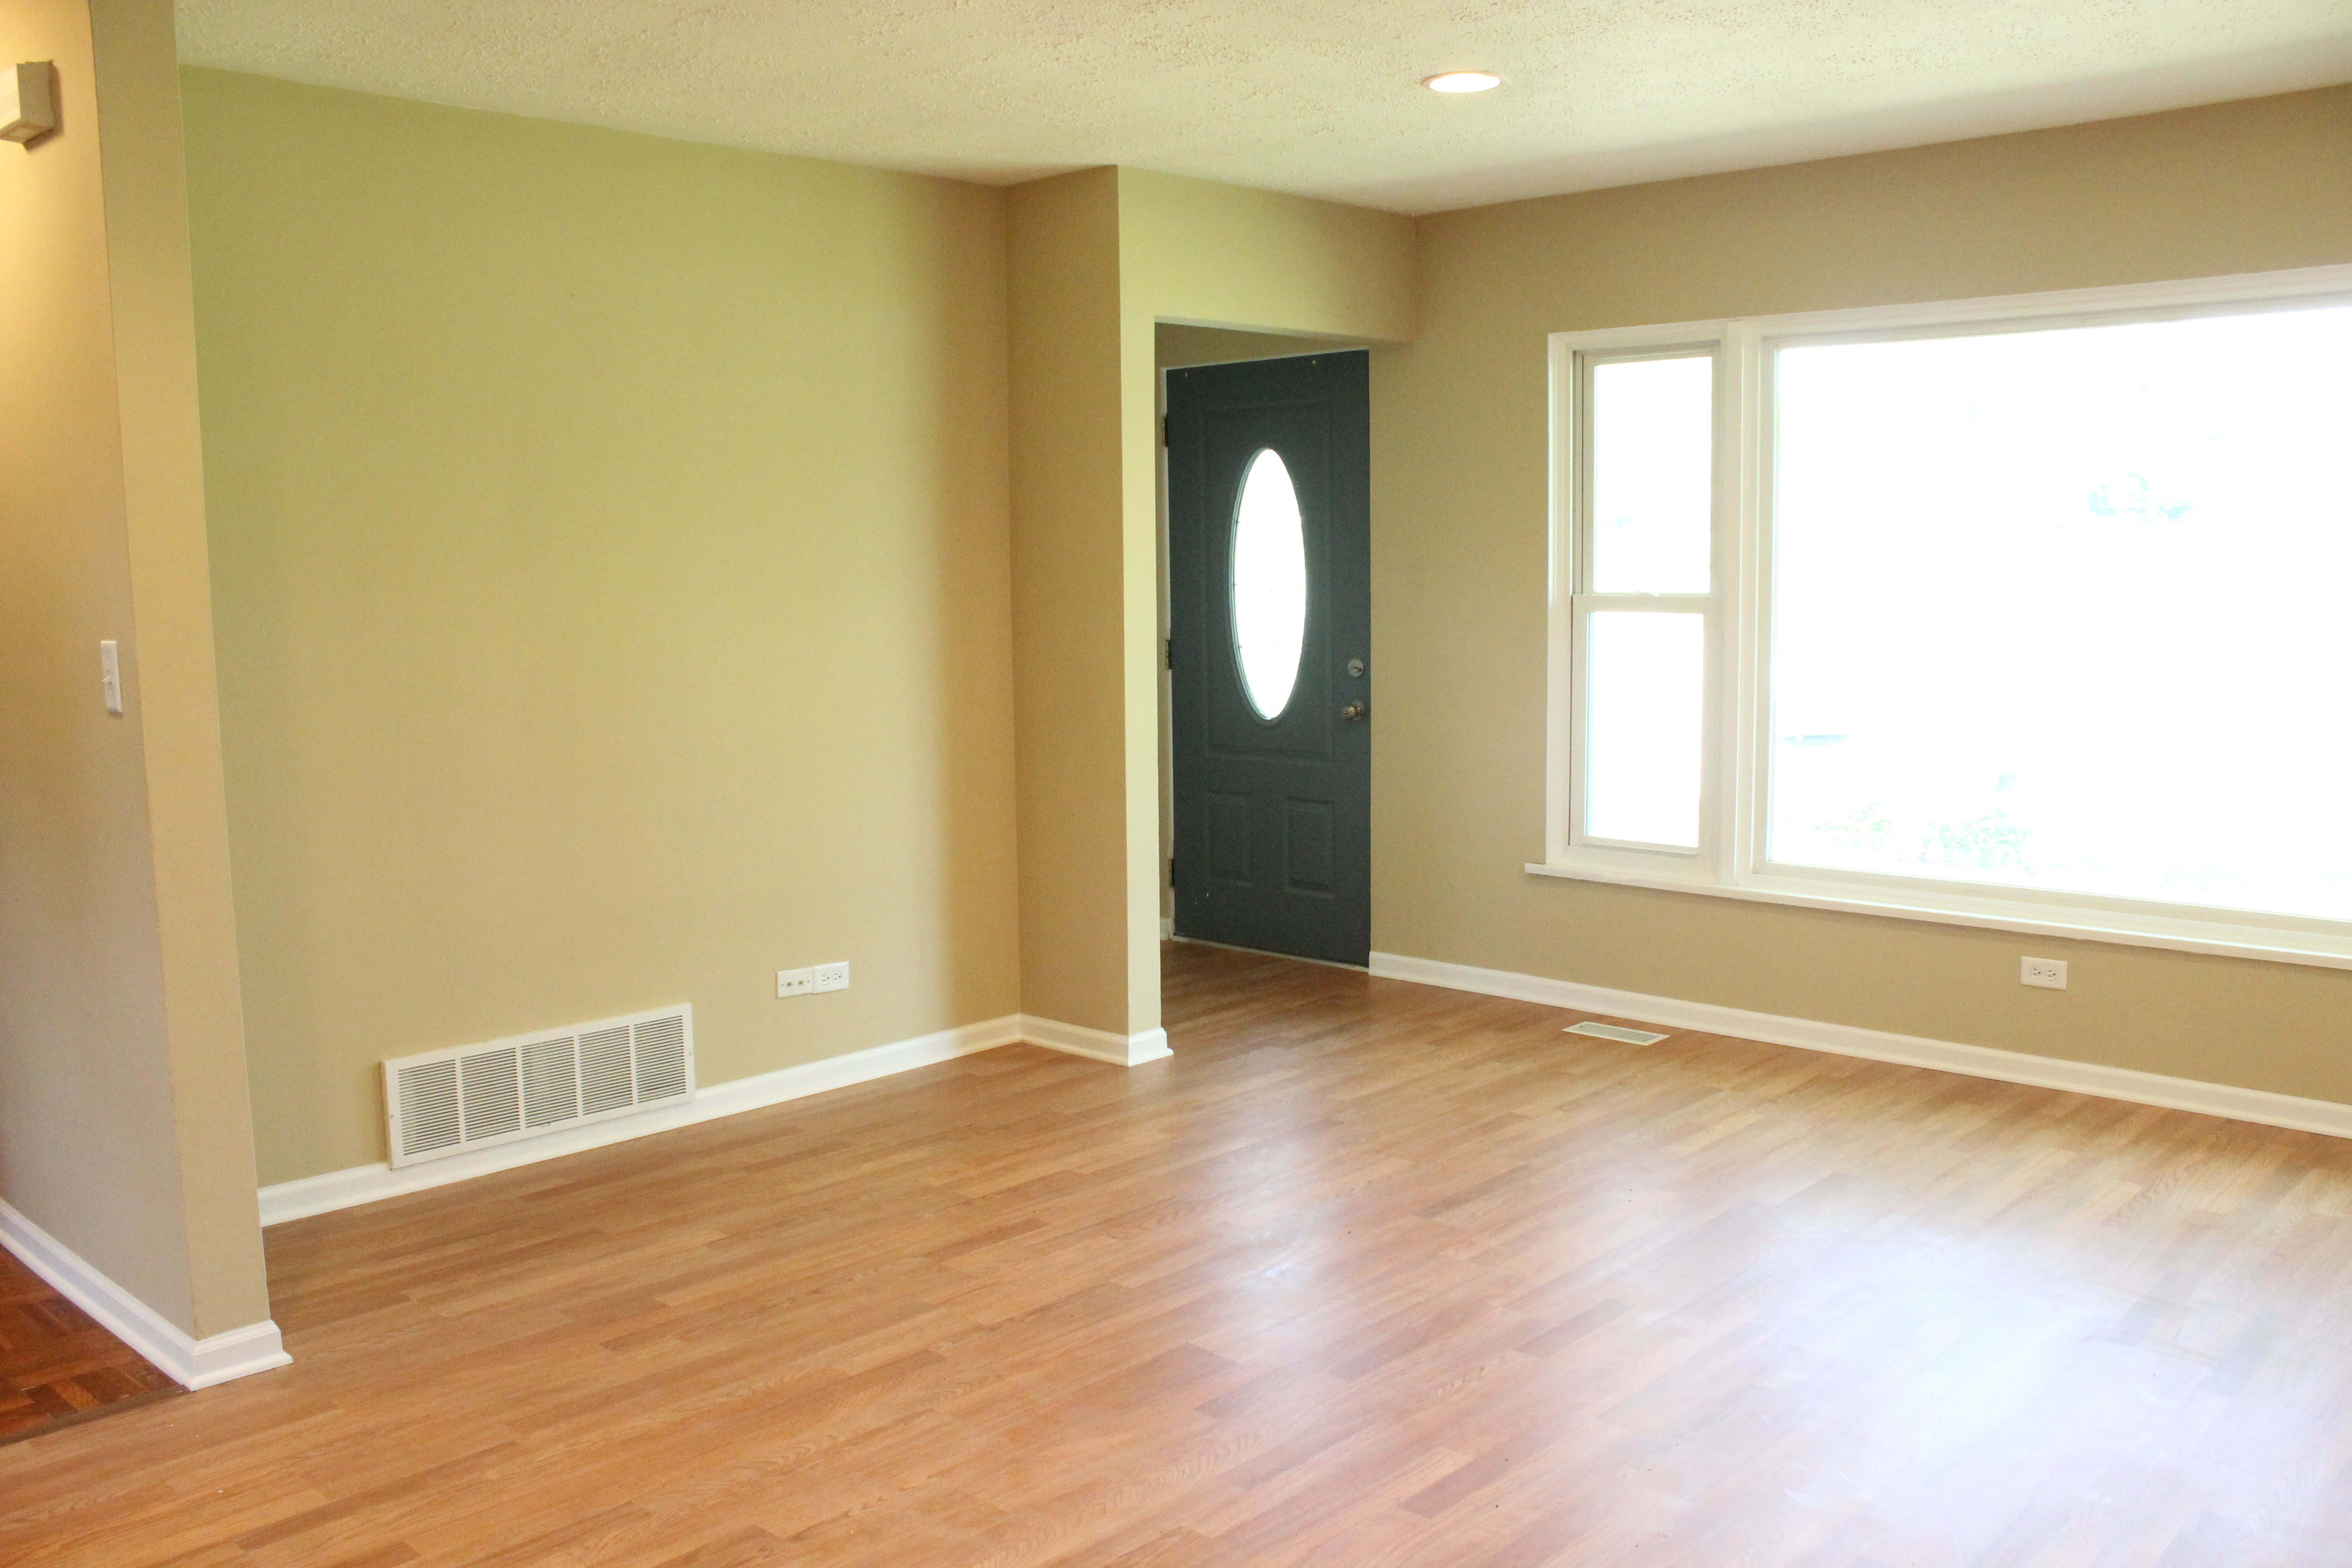
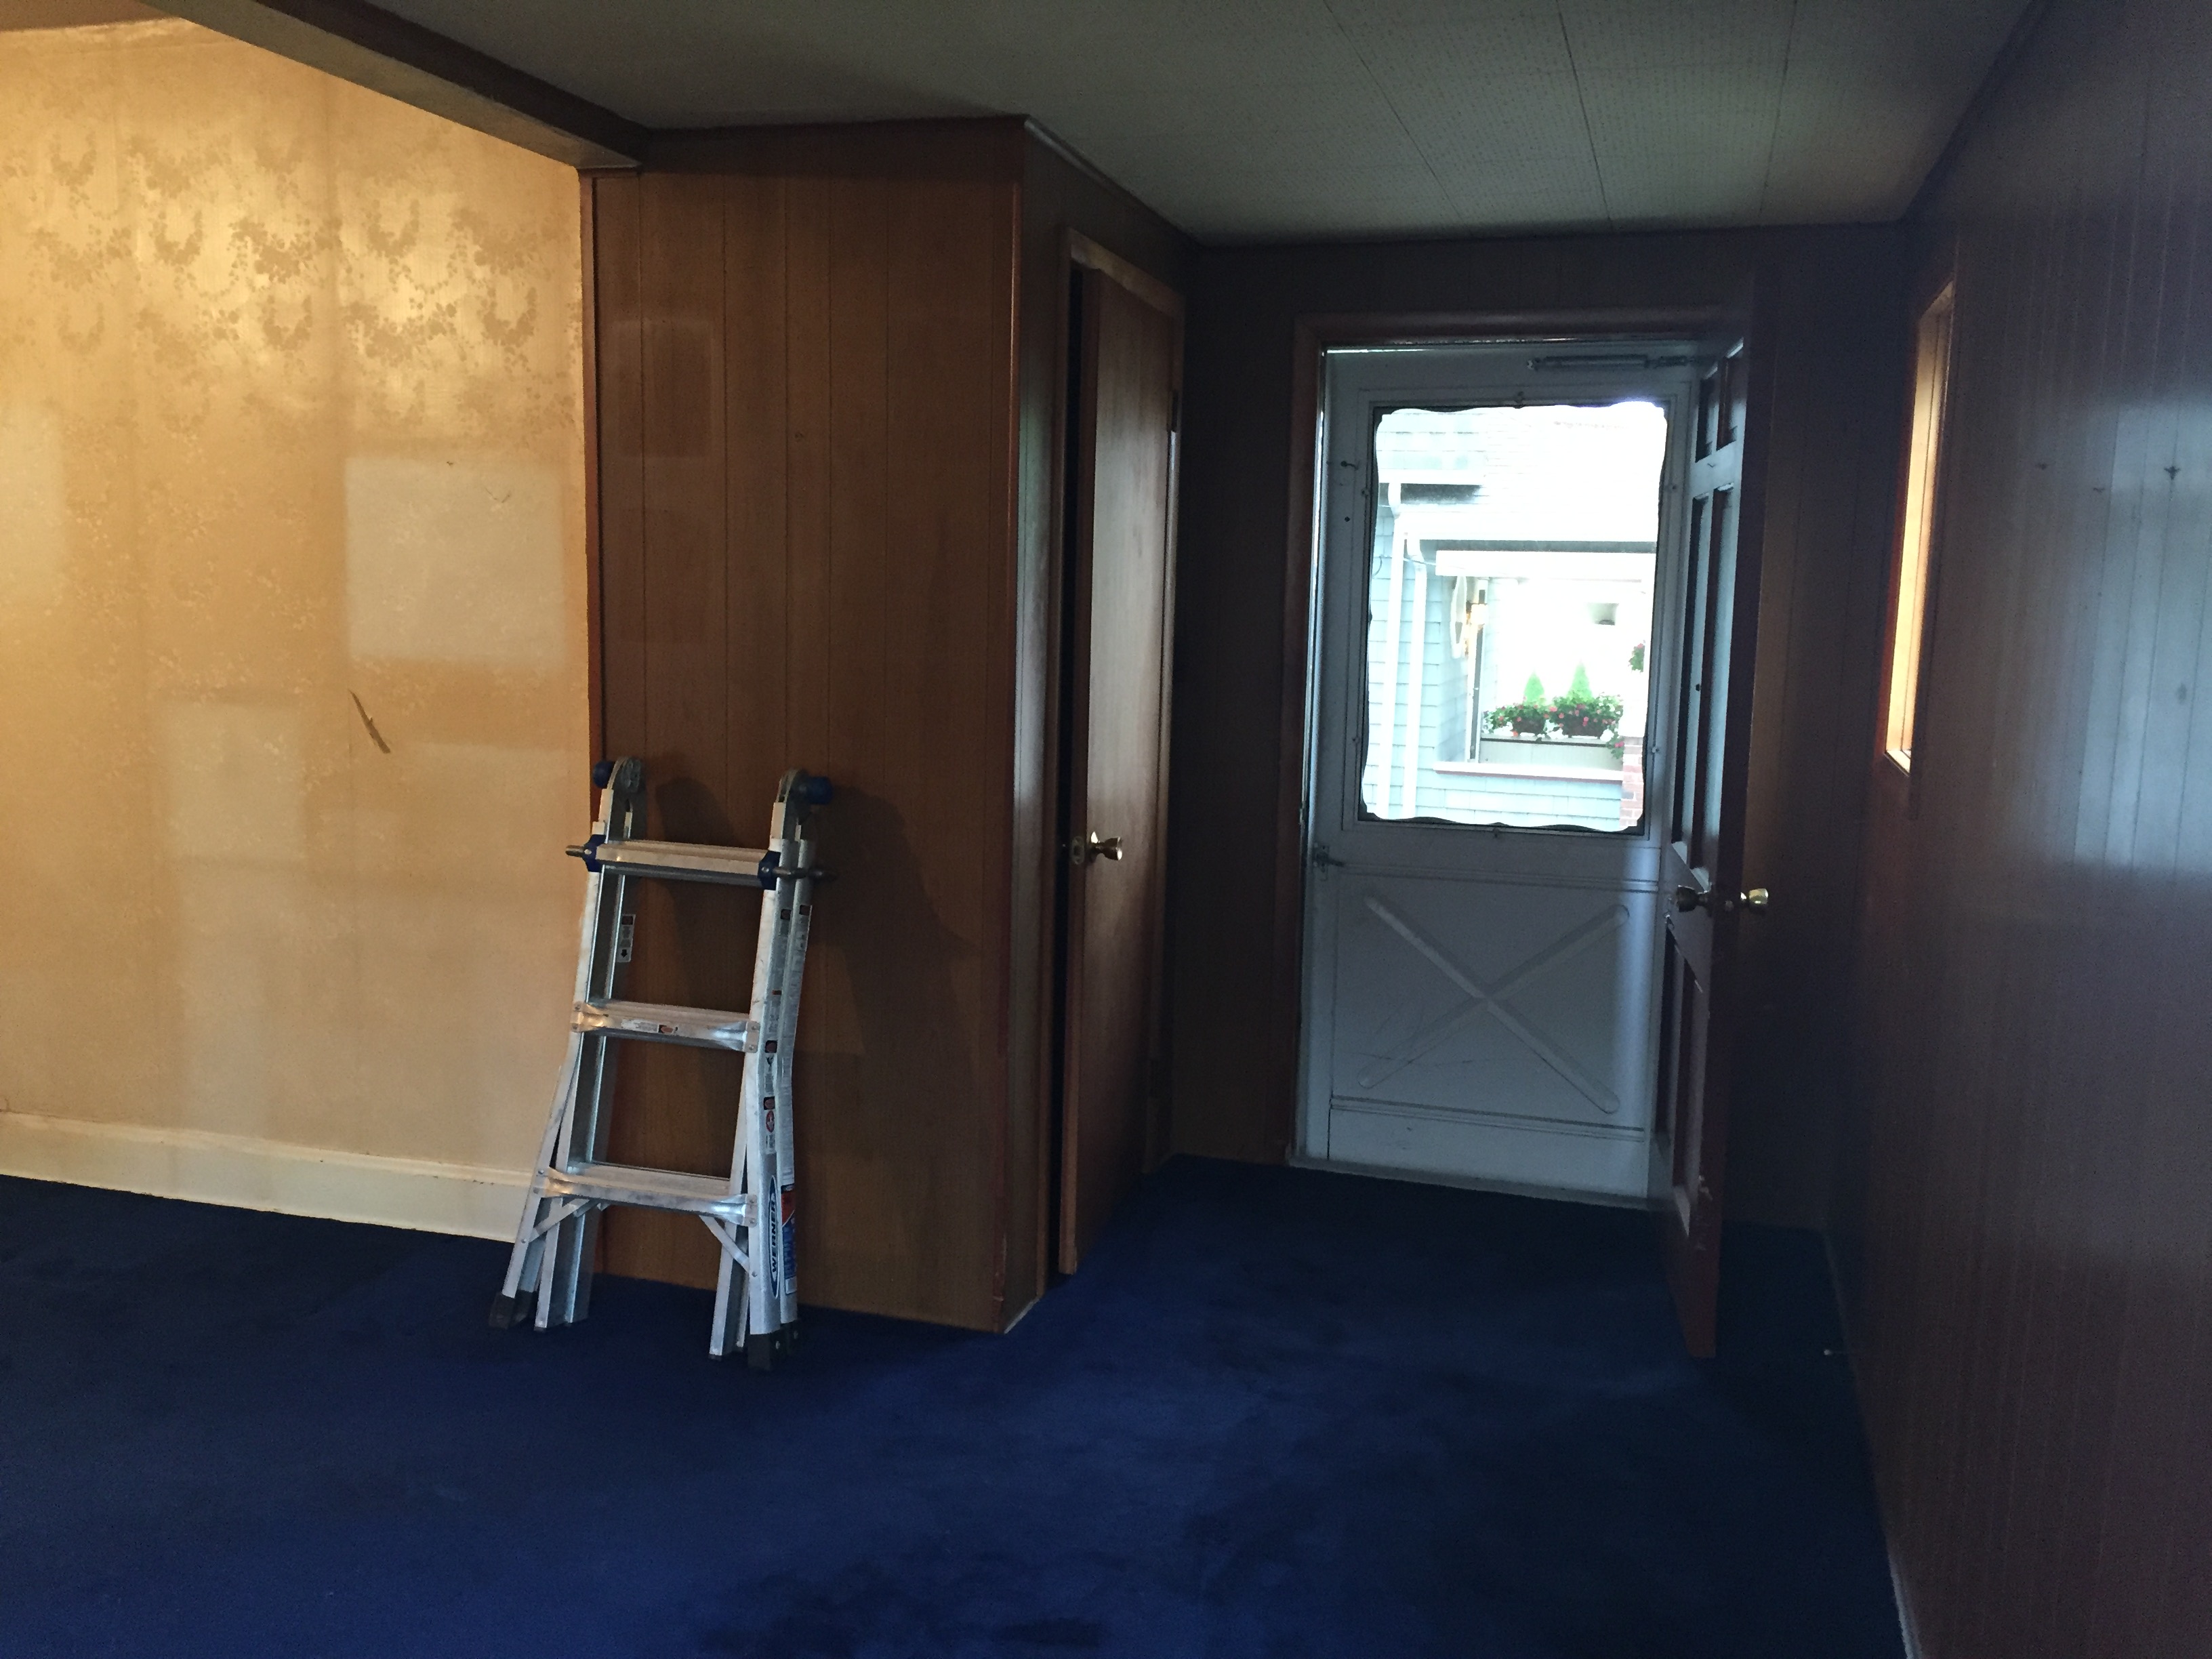
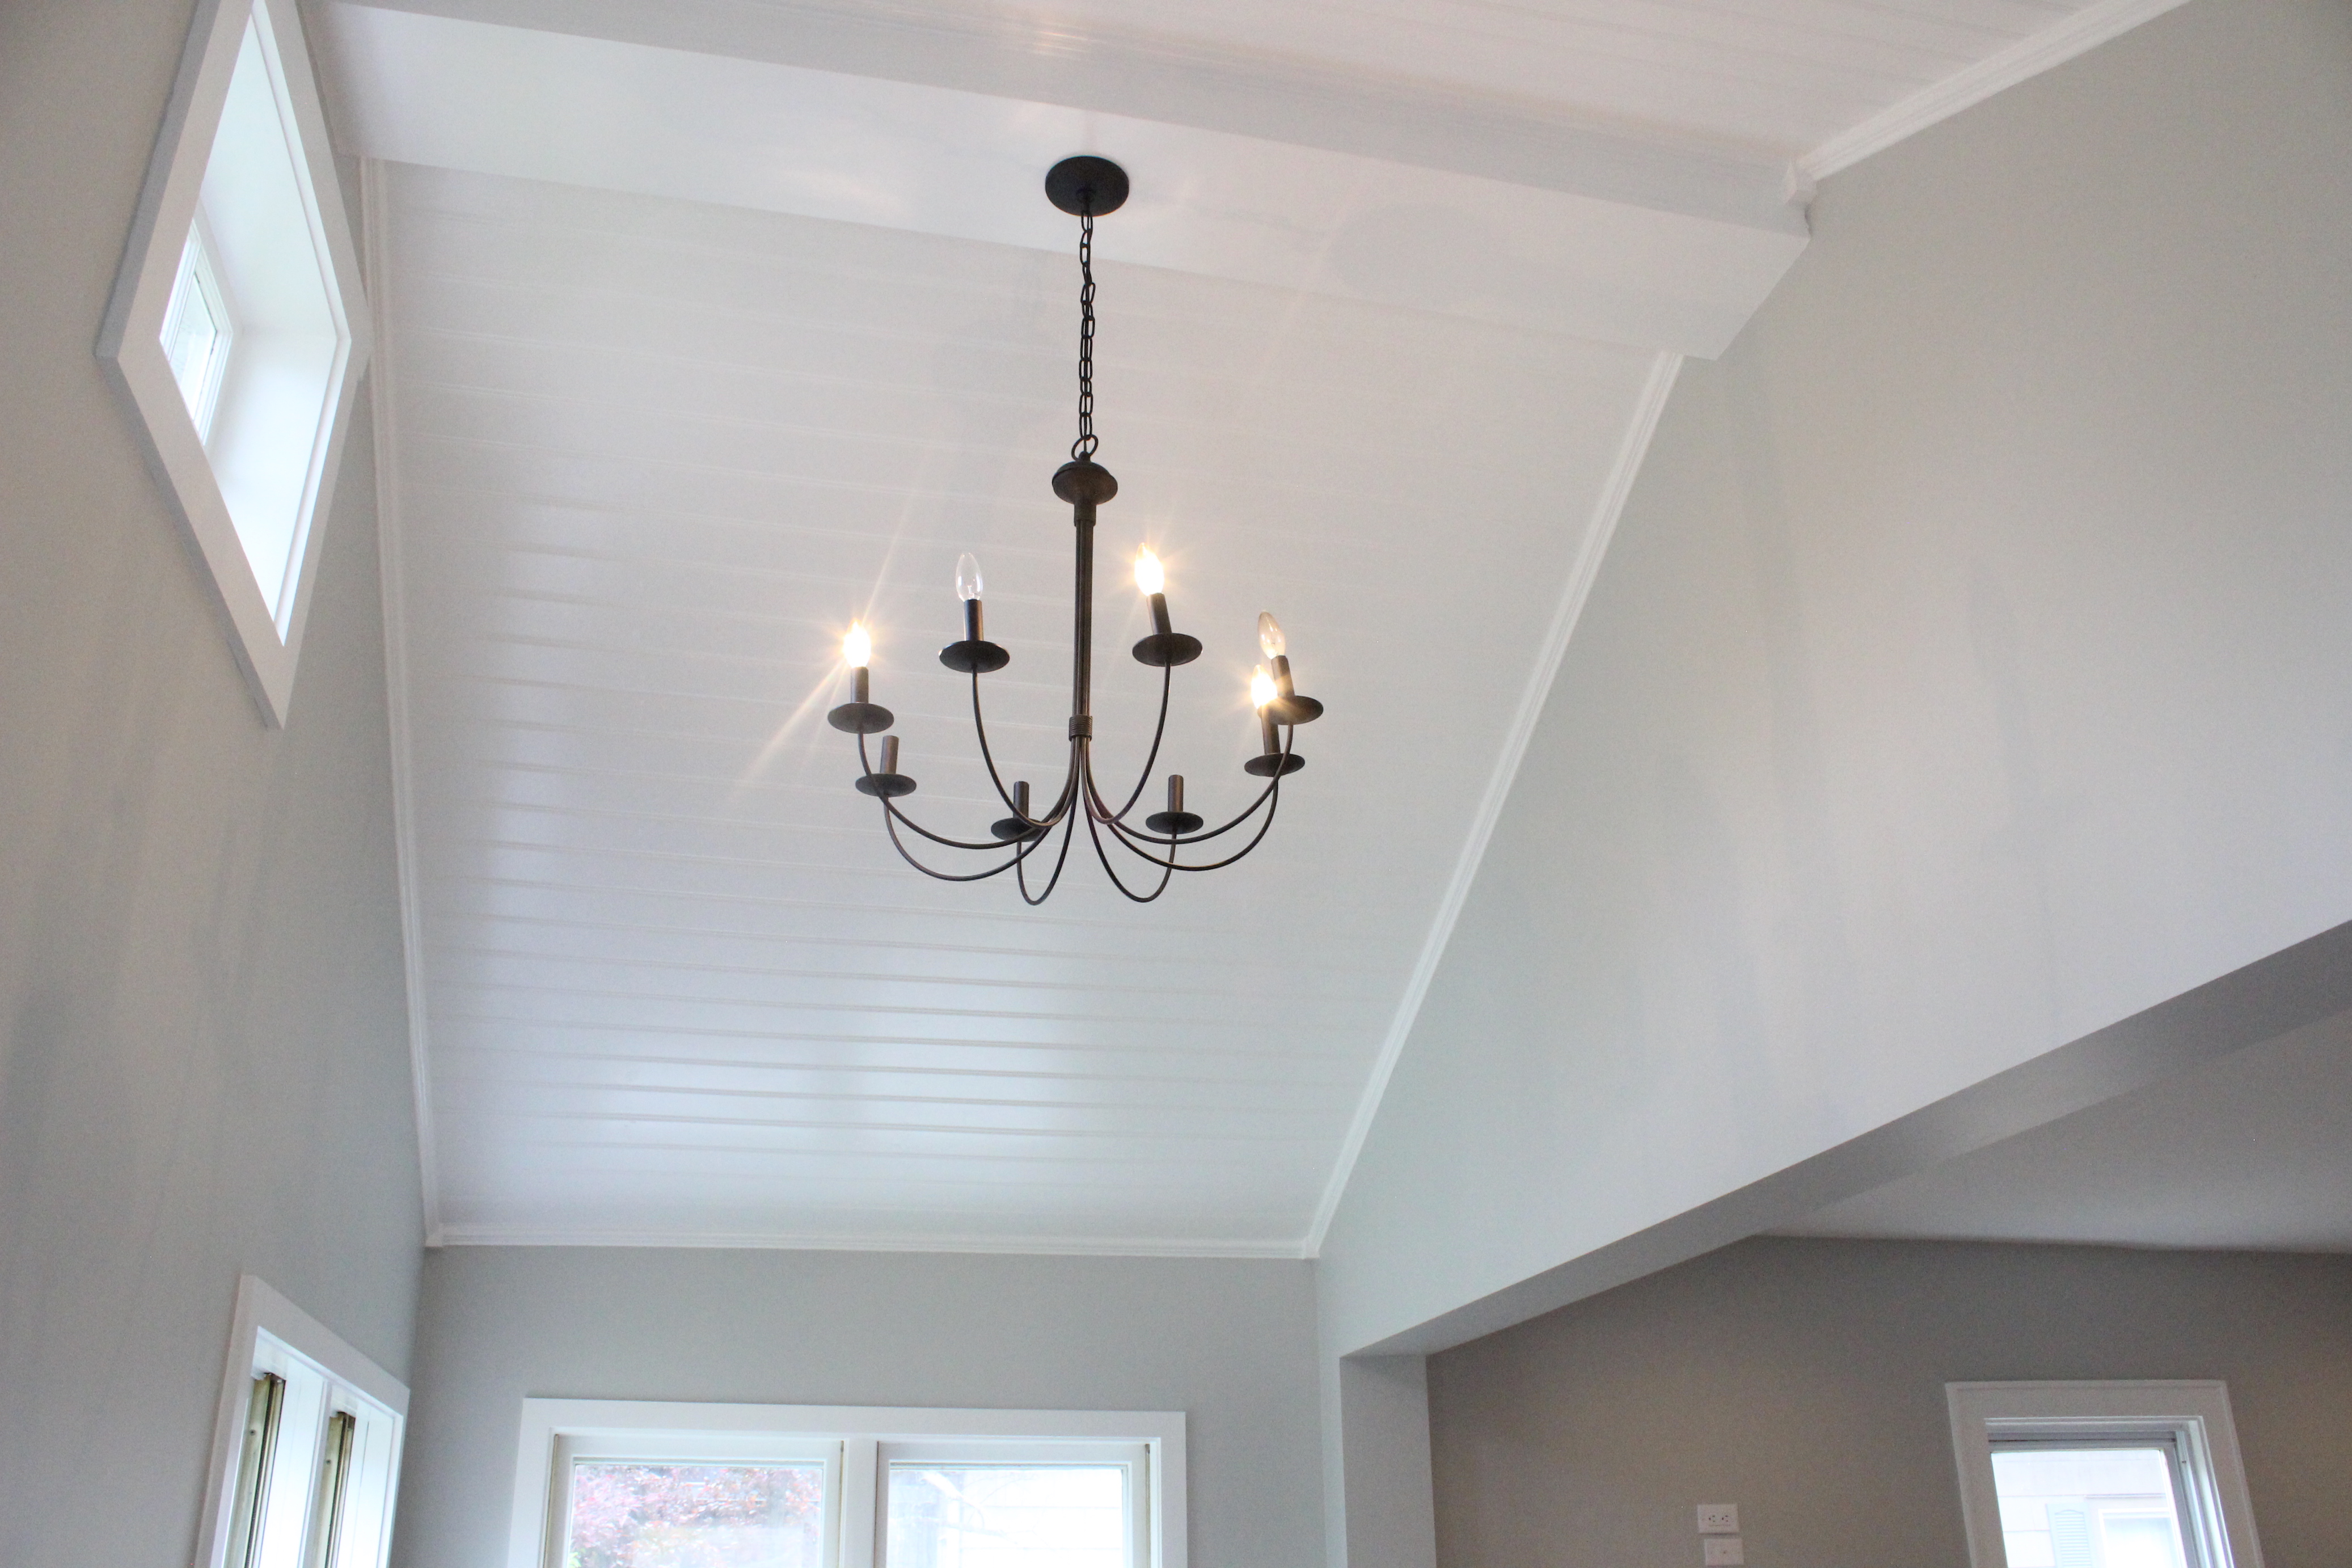
Moving inside, here was the old front room (it used to be a front porch).

img_4571

And now after opening up the ceiling to create a cathedral ceiling with beadboard, a new chandelier, drywall, paint, stain and more:

front room with window
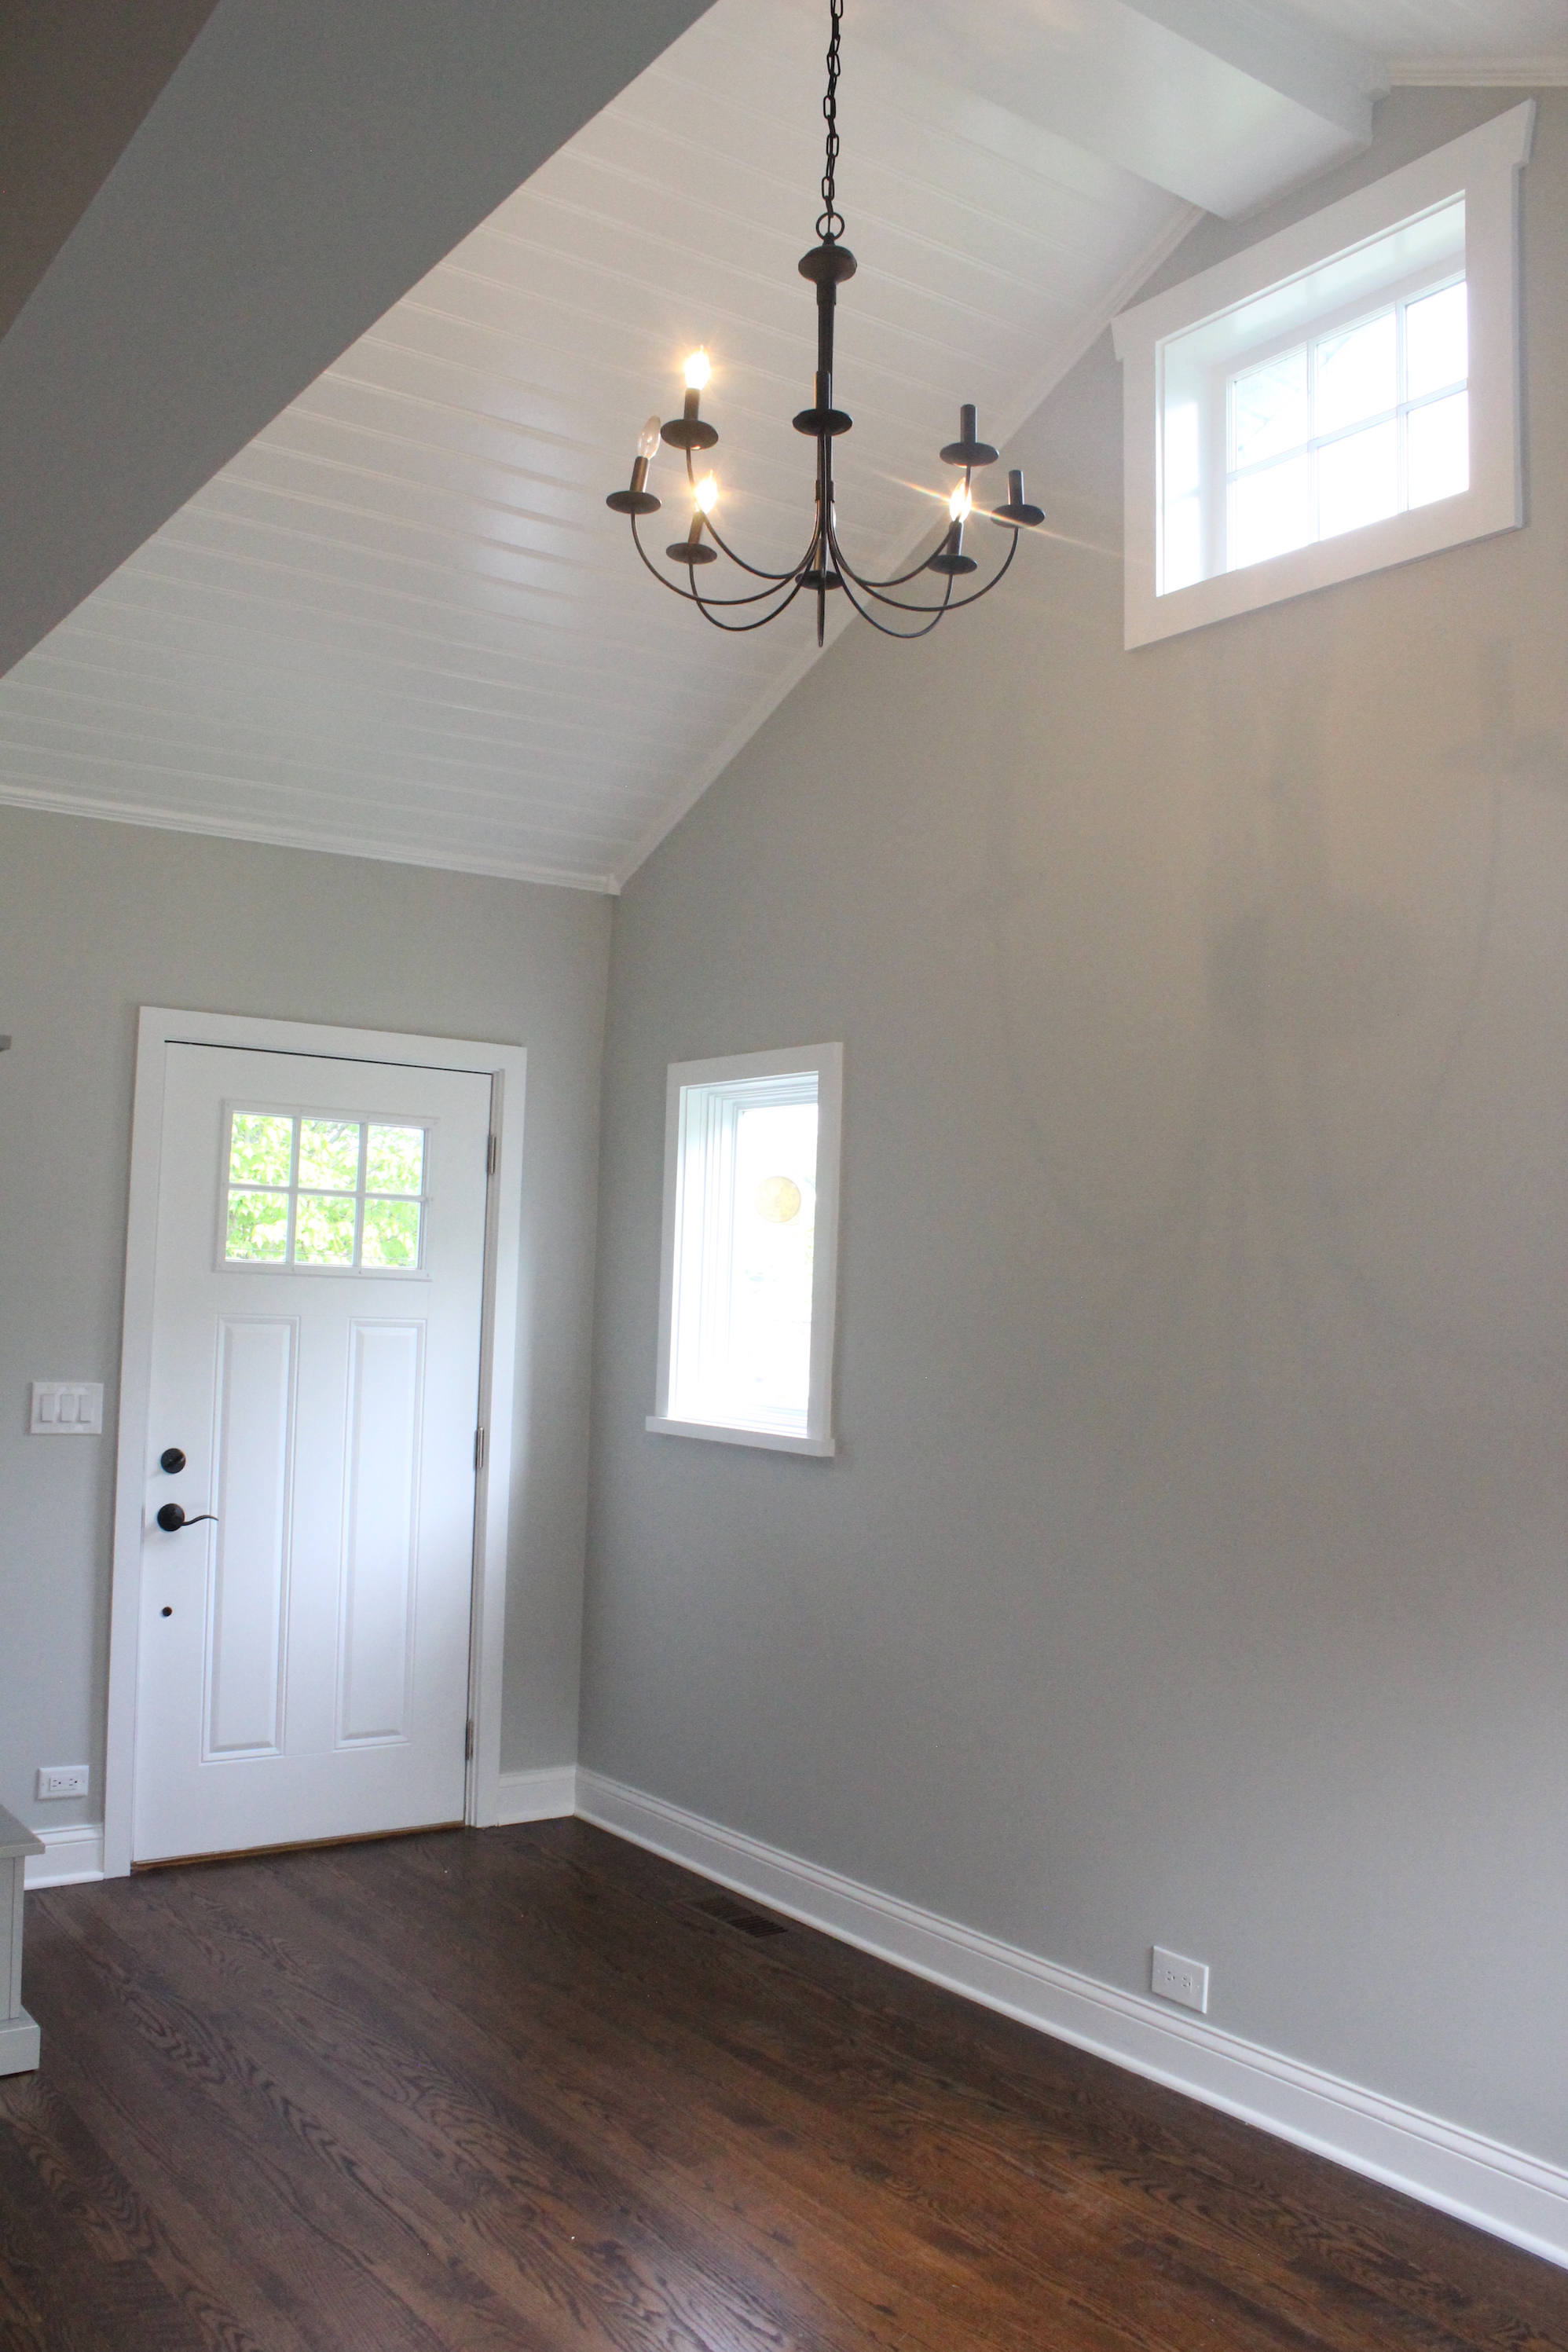
Unrecognizable, right?

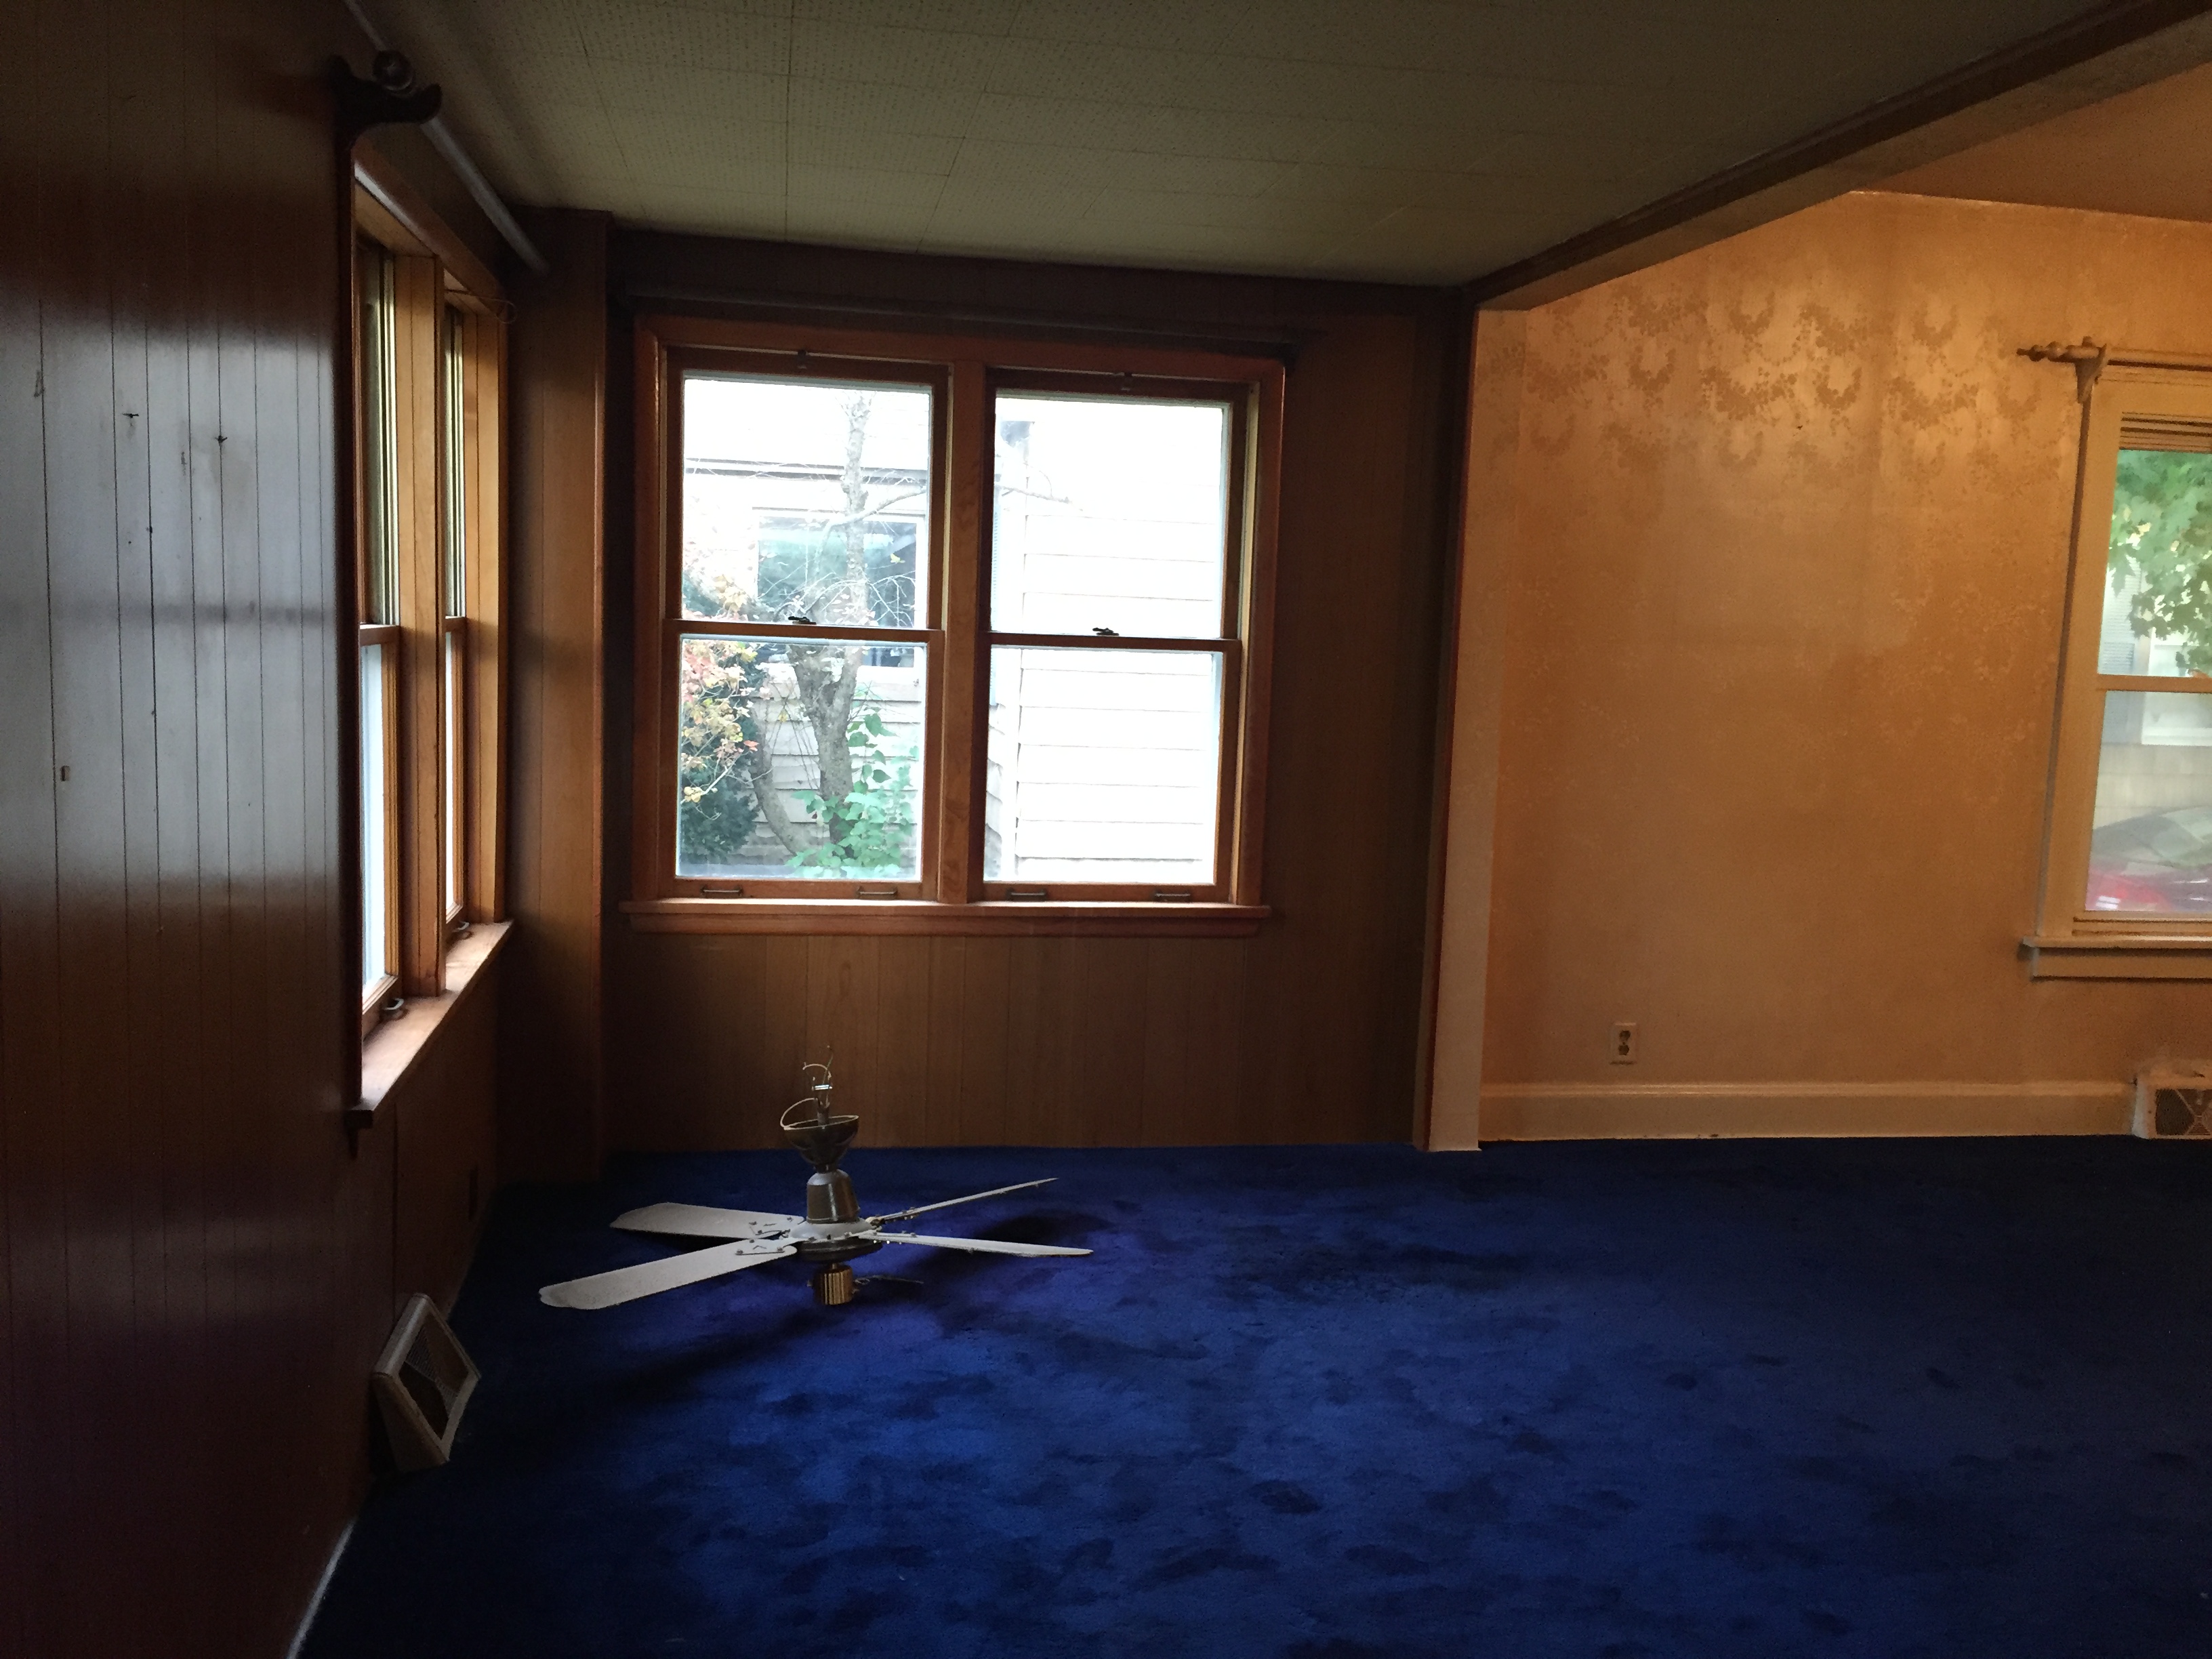
Another before shot:

img_4573

And after:

front room

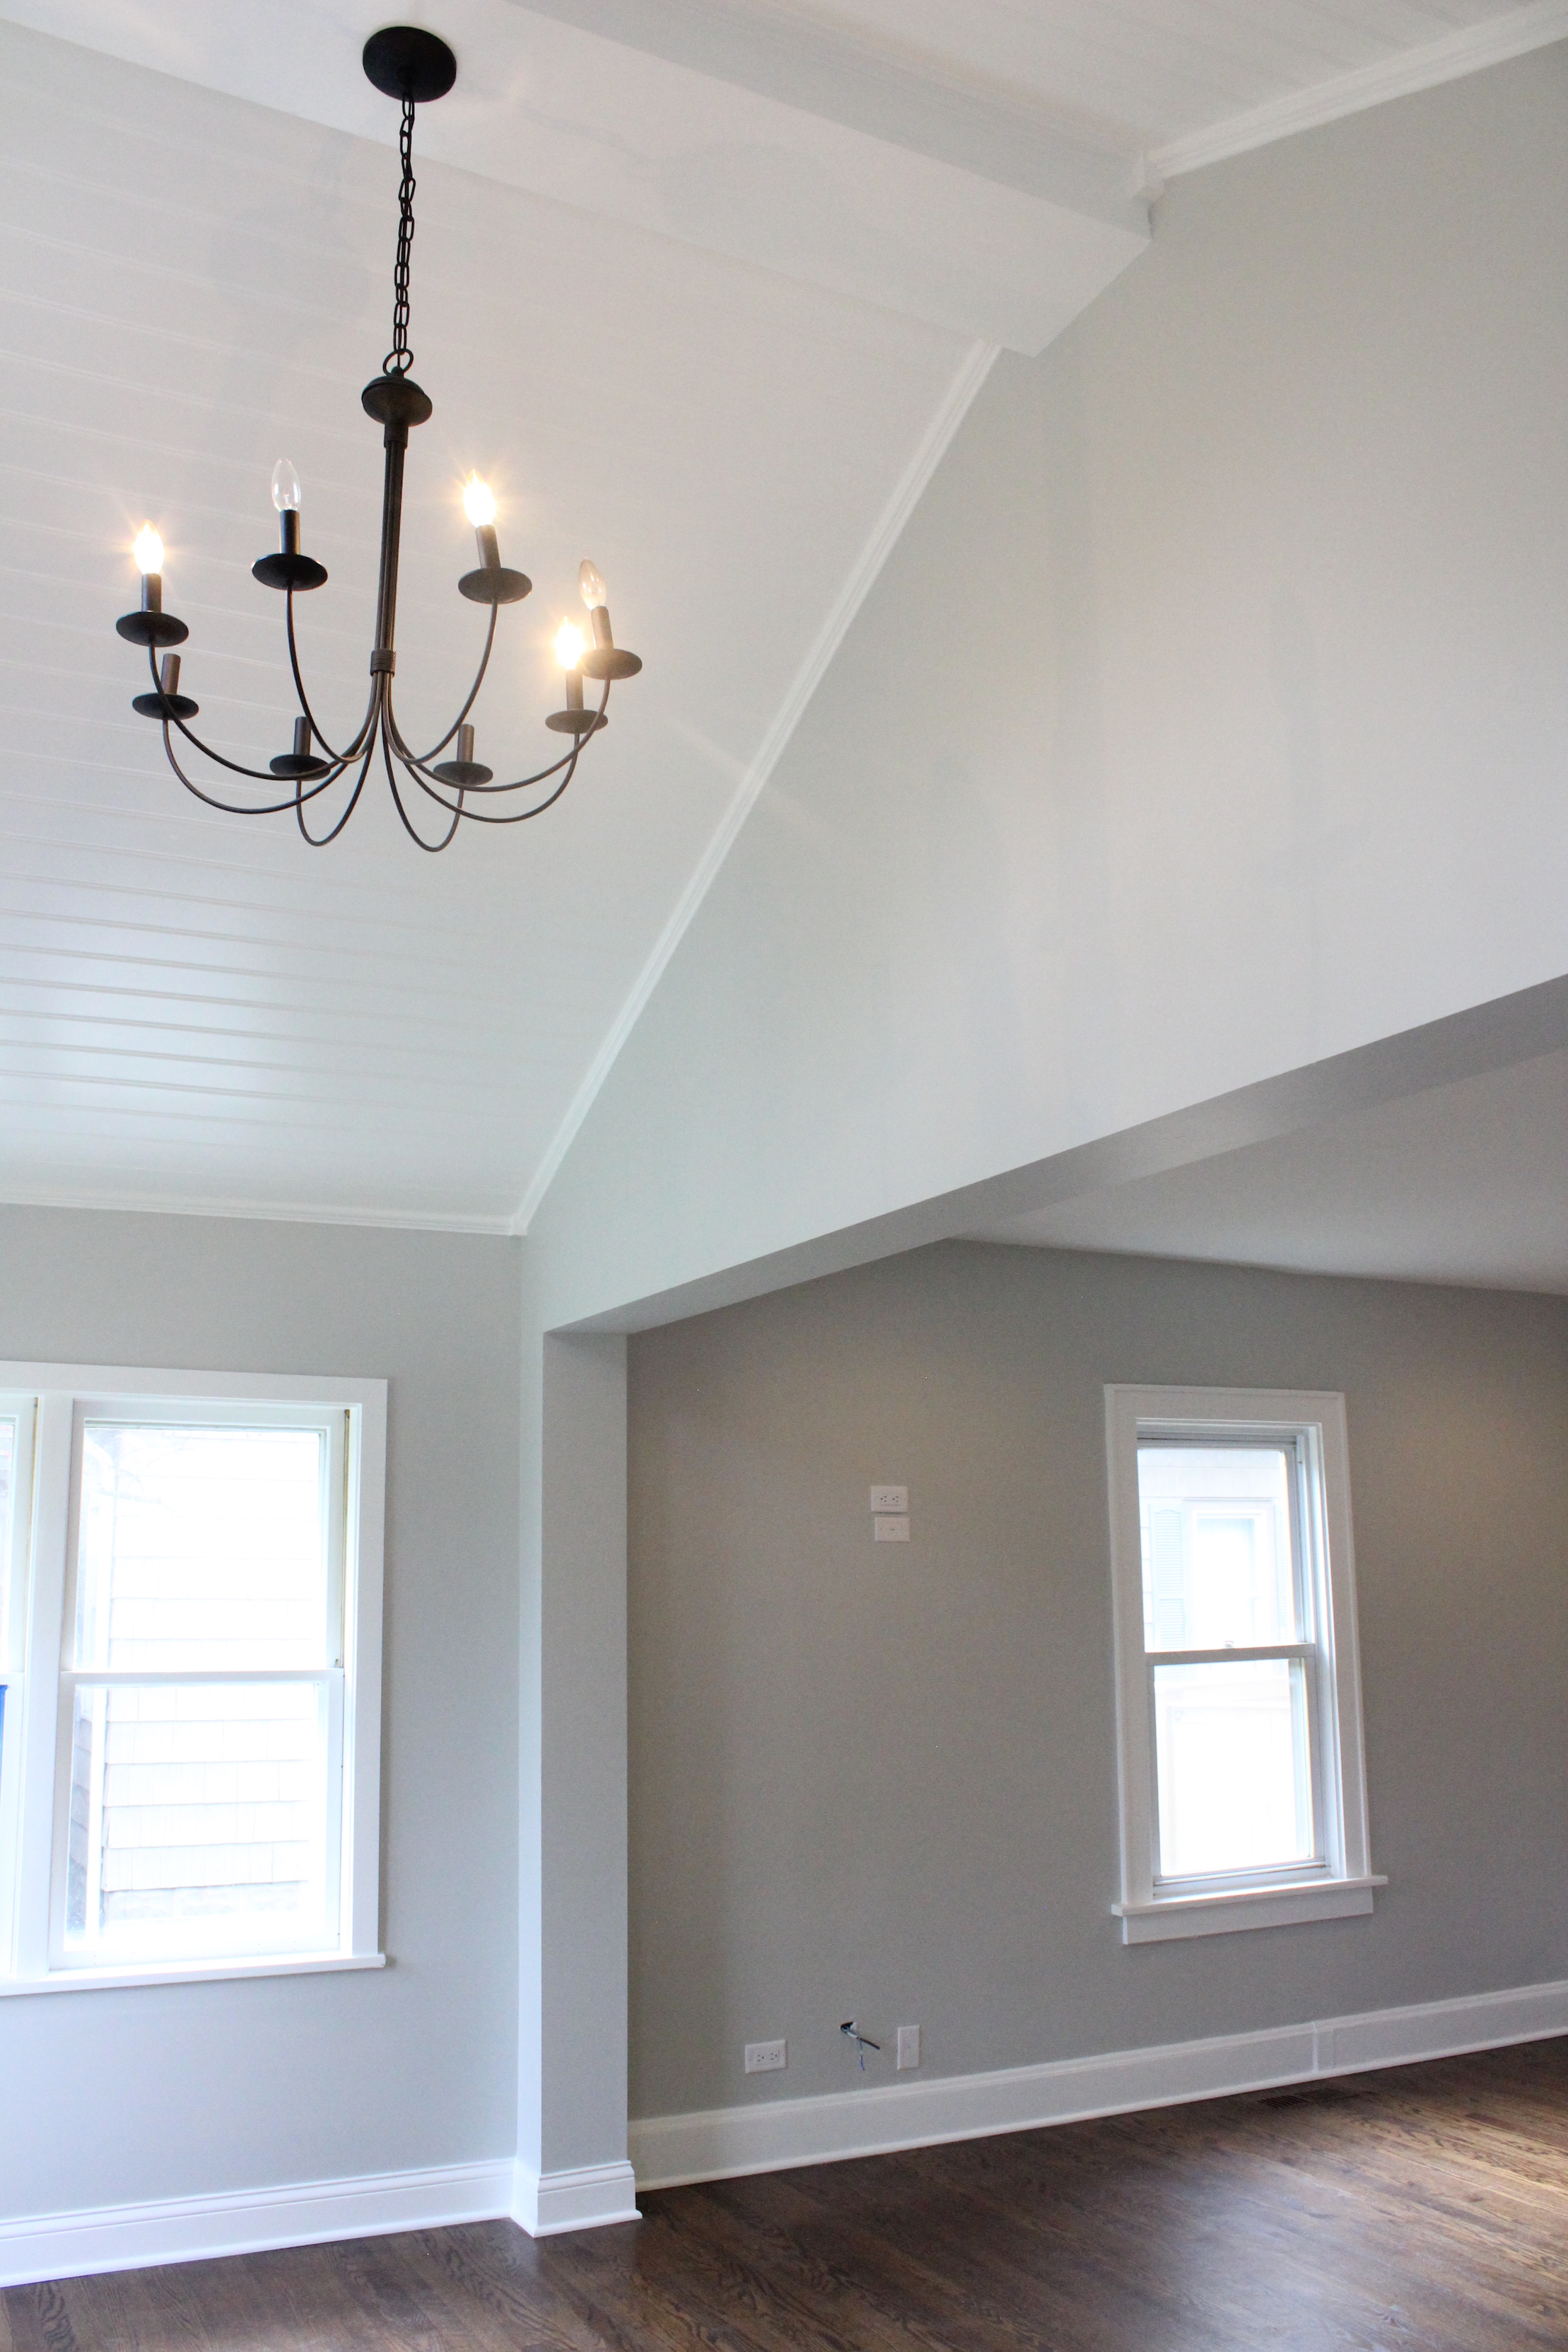
The beadboard ceiling and chandelier is probably my favorite part of the whole house. Such a huge transformation!

ceiling close up

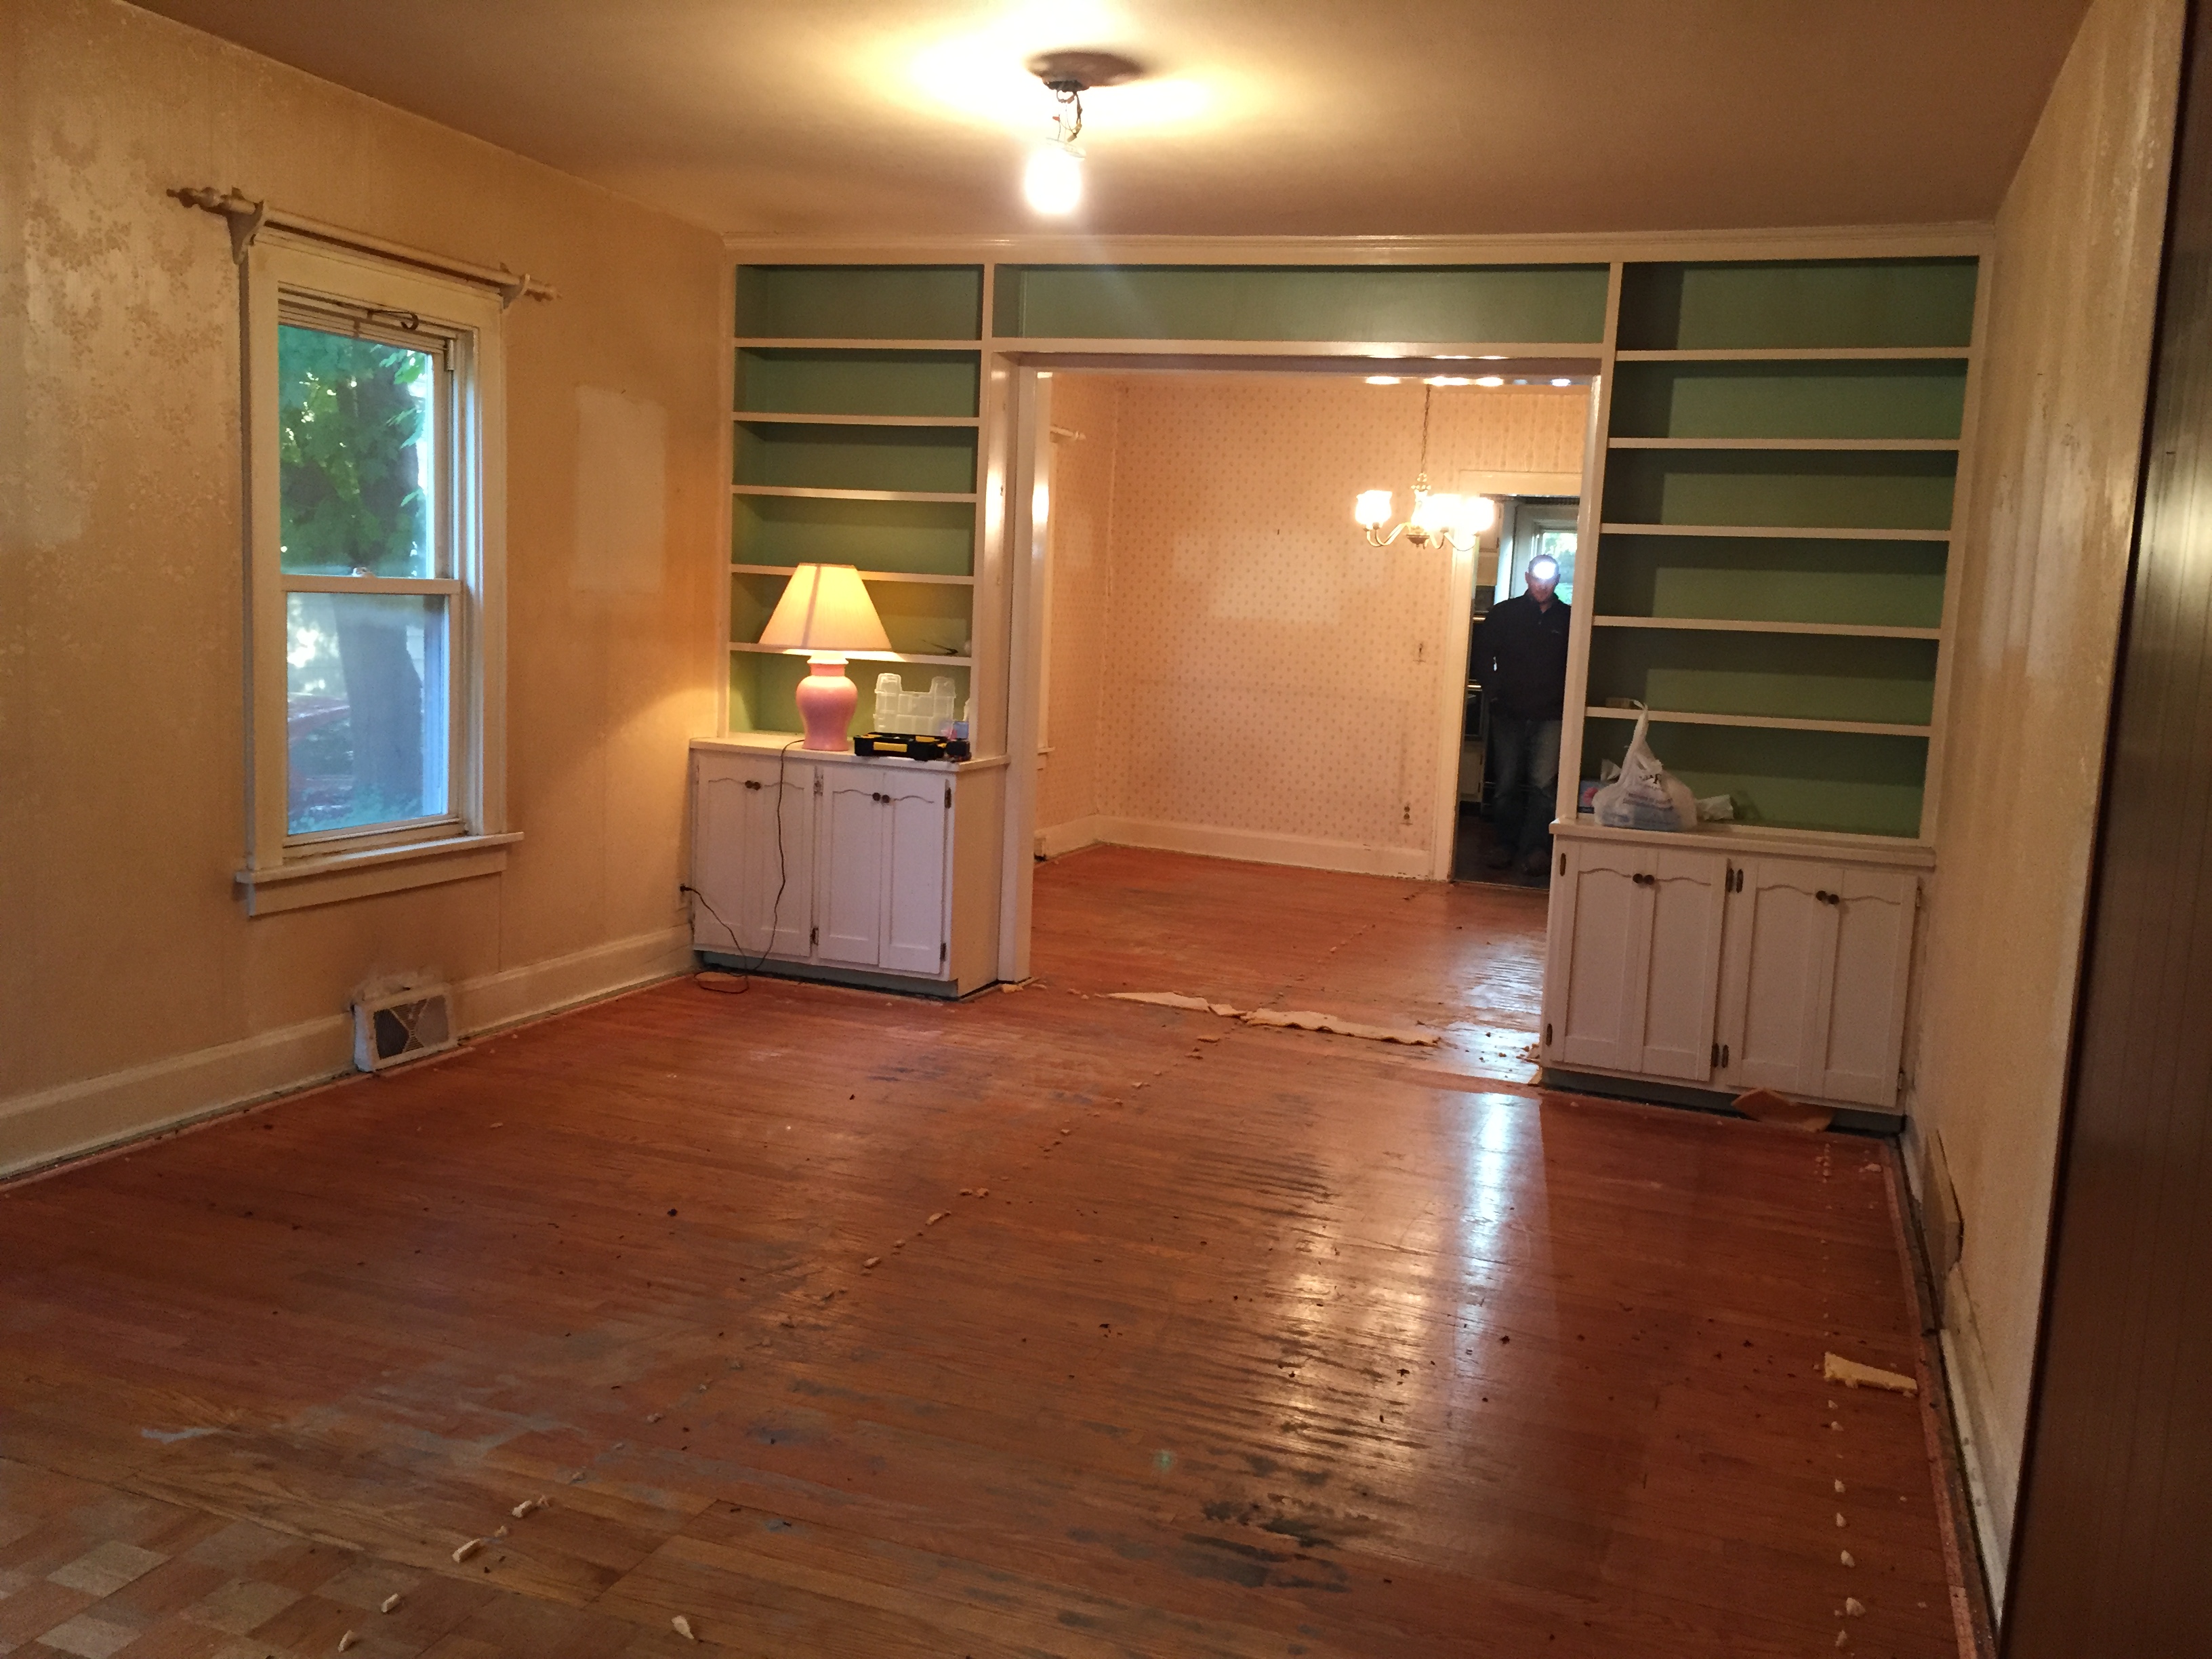
Here was the old living room:

img_4572

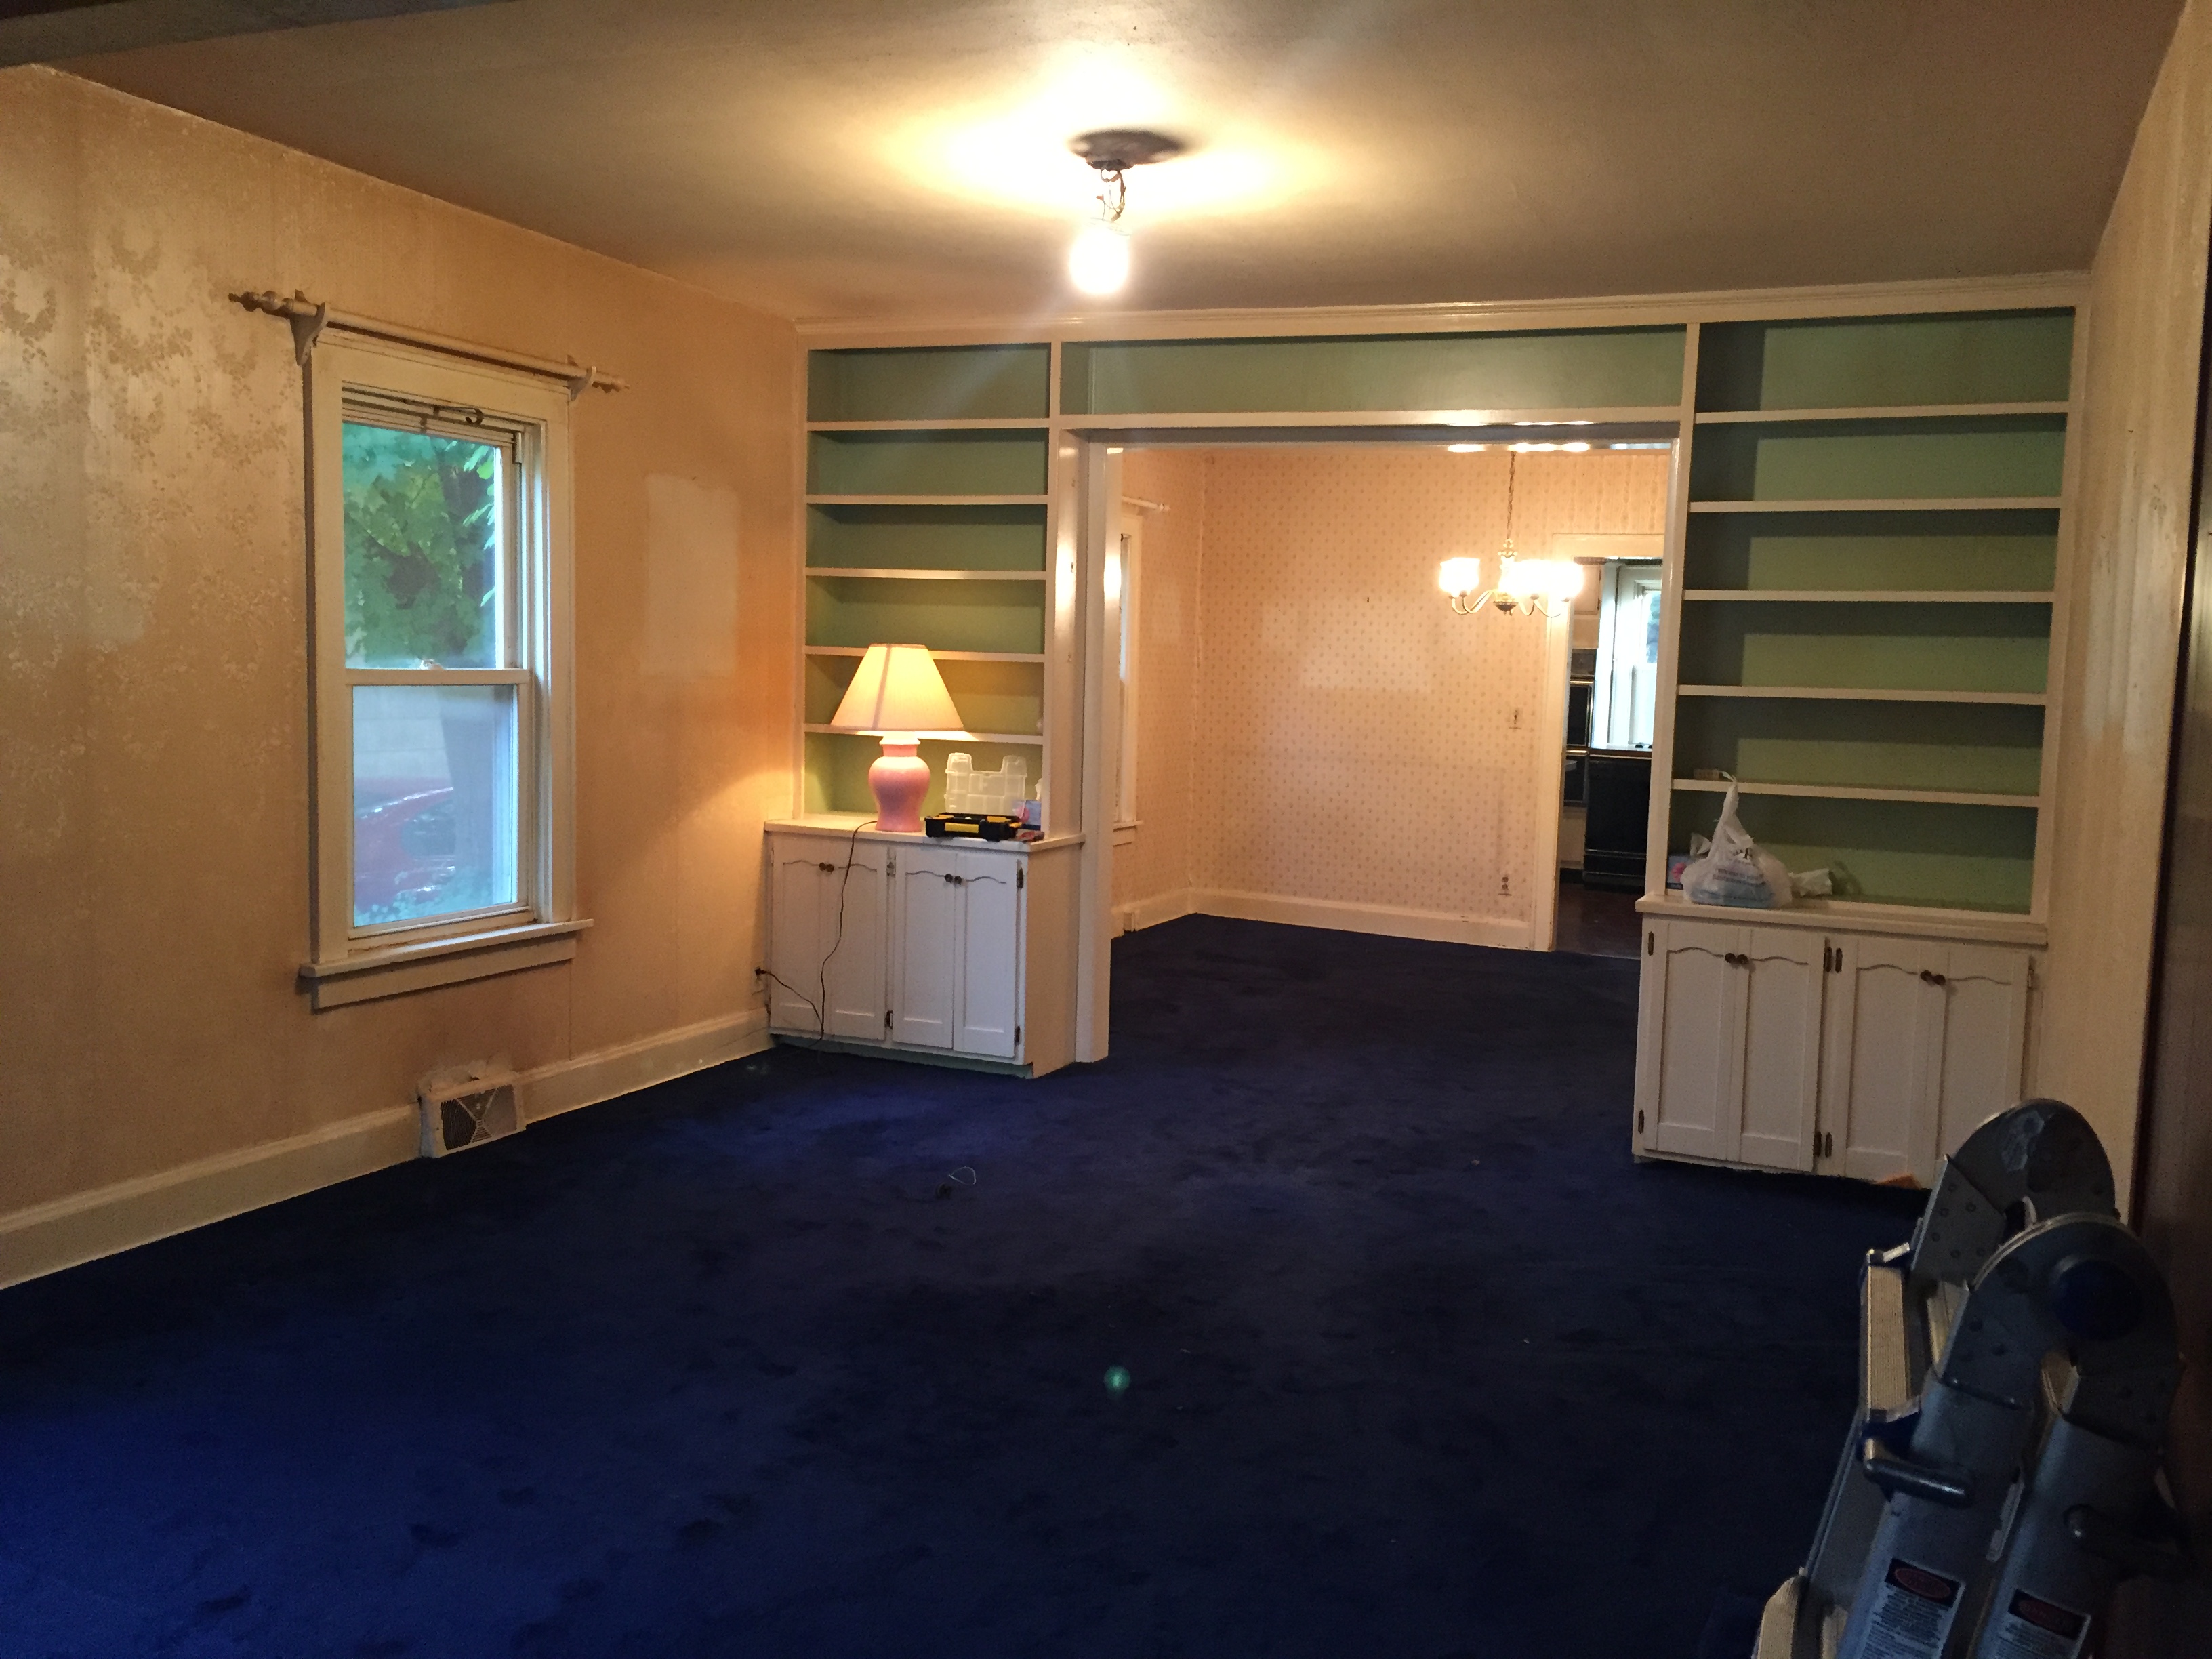
After removing the wallpaper and carpet, painting everything, re-finishing the floors, and installing can lights, we have a beautiful living room:

IMG_6108

The built-ins give so much character, and they cleaned up so well with fresh paint (Chantilly Lace by Benjamin Moore)!

IMG_6111Here was the old dining room:img_4575

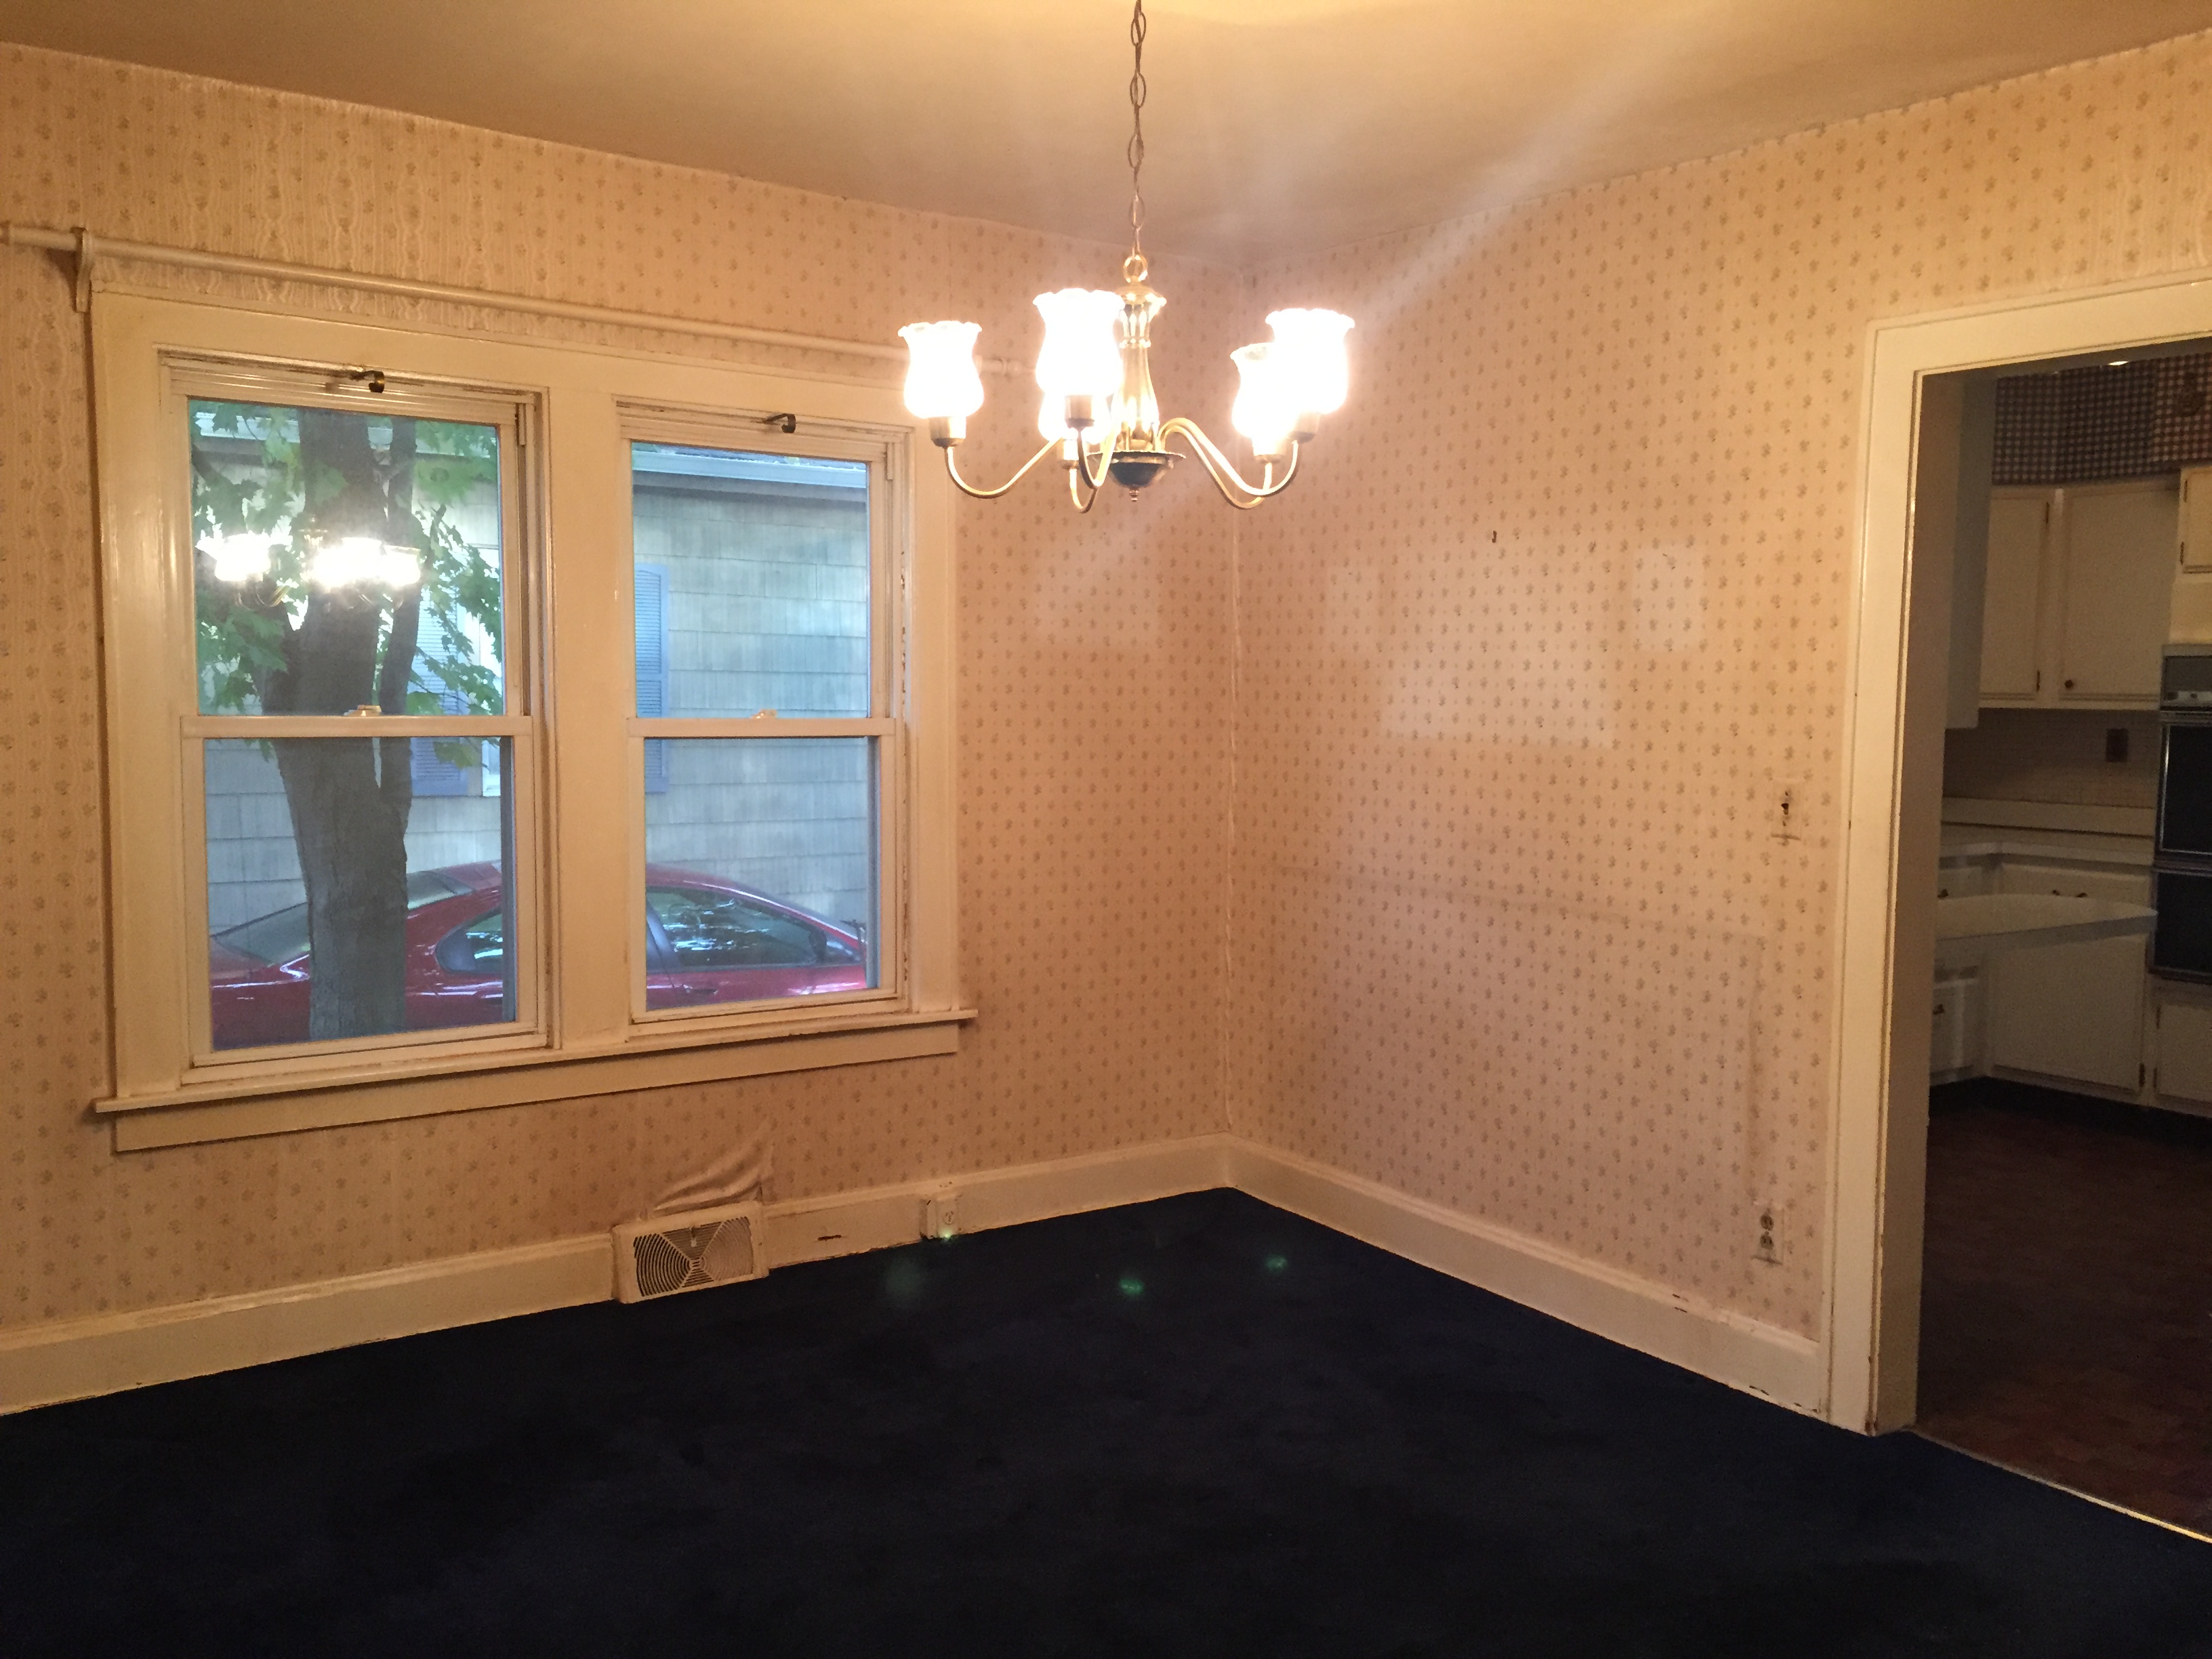
Here’s the same view after we opened up a wall to the kitchen, stripped off the wallpaper and carpet, installed a new light, and of course fresh paint and floor stain:

IMG_6117The paint color on the whole first floor is Gray Owl by Benjamin Moore— my favorite warm, medium gray.

Here’s a look back through to the front of the house from the dining room.

IMG_6115

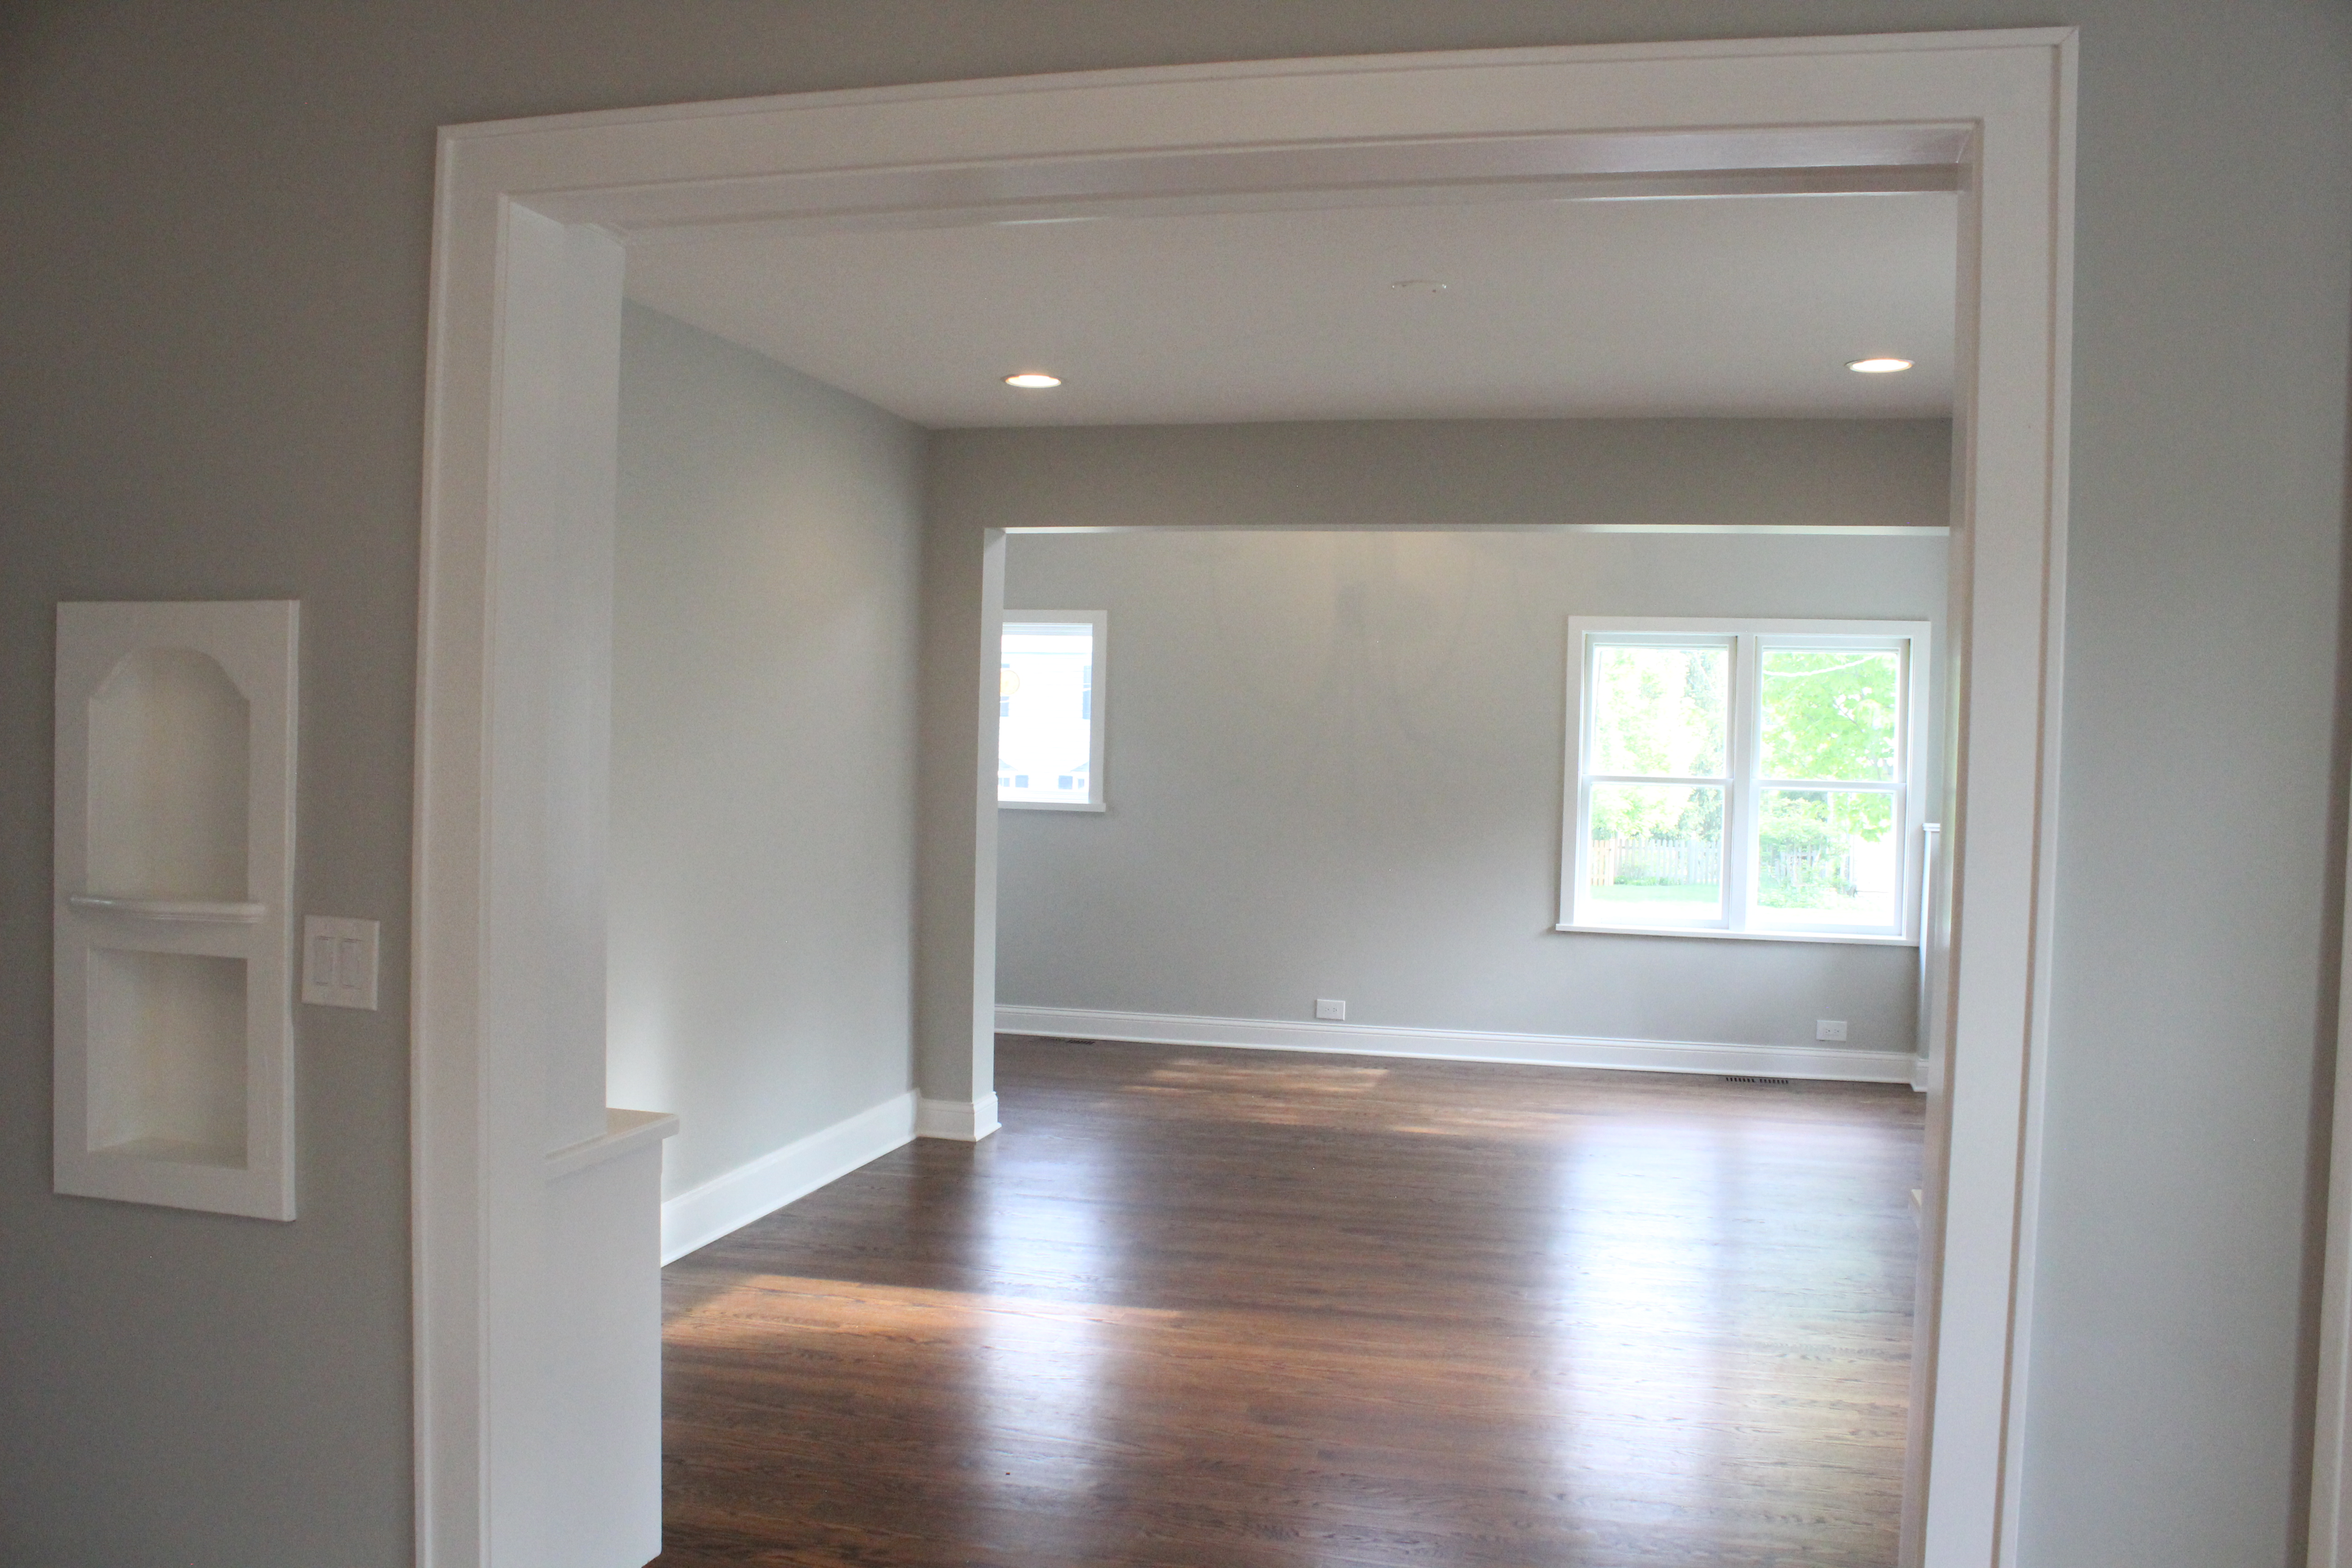
We kept as much of the home’s original character as possible, including that little niche on the left in the above photo, and this cabinet:

cabinet

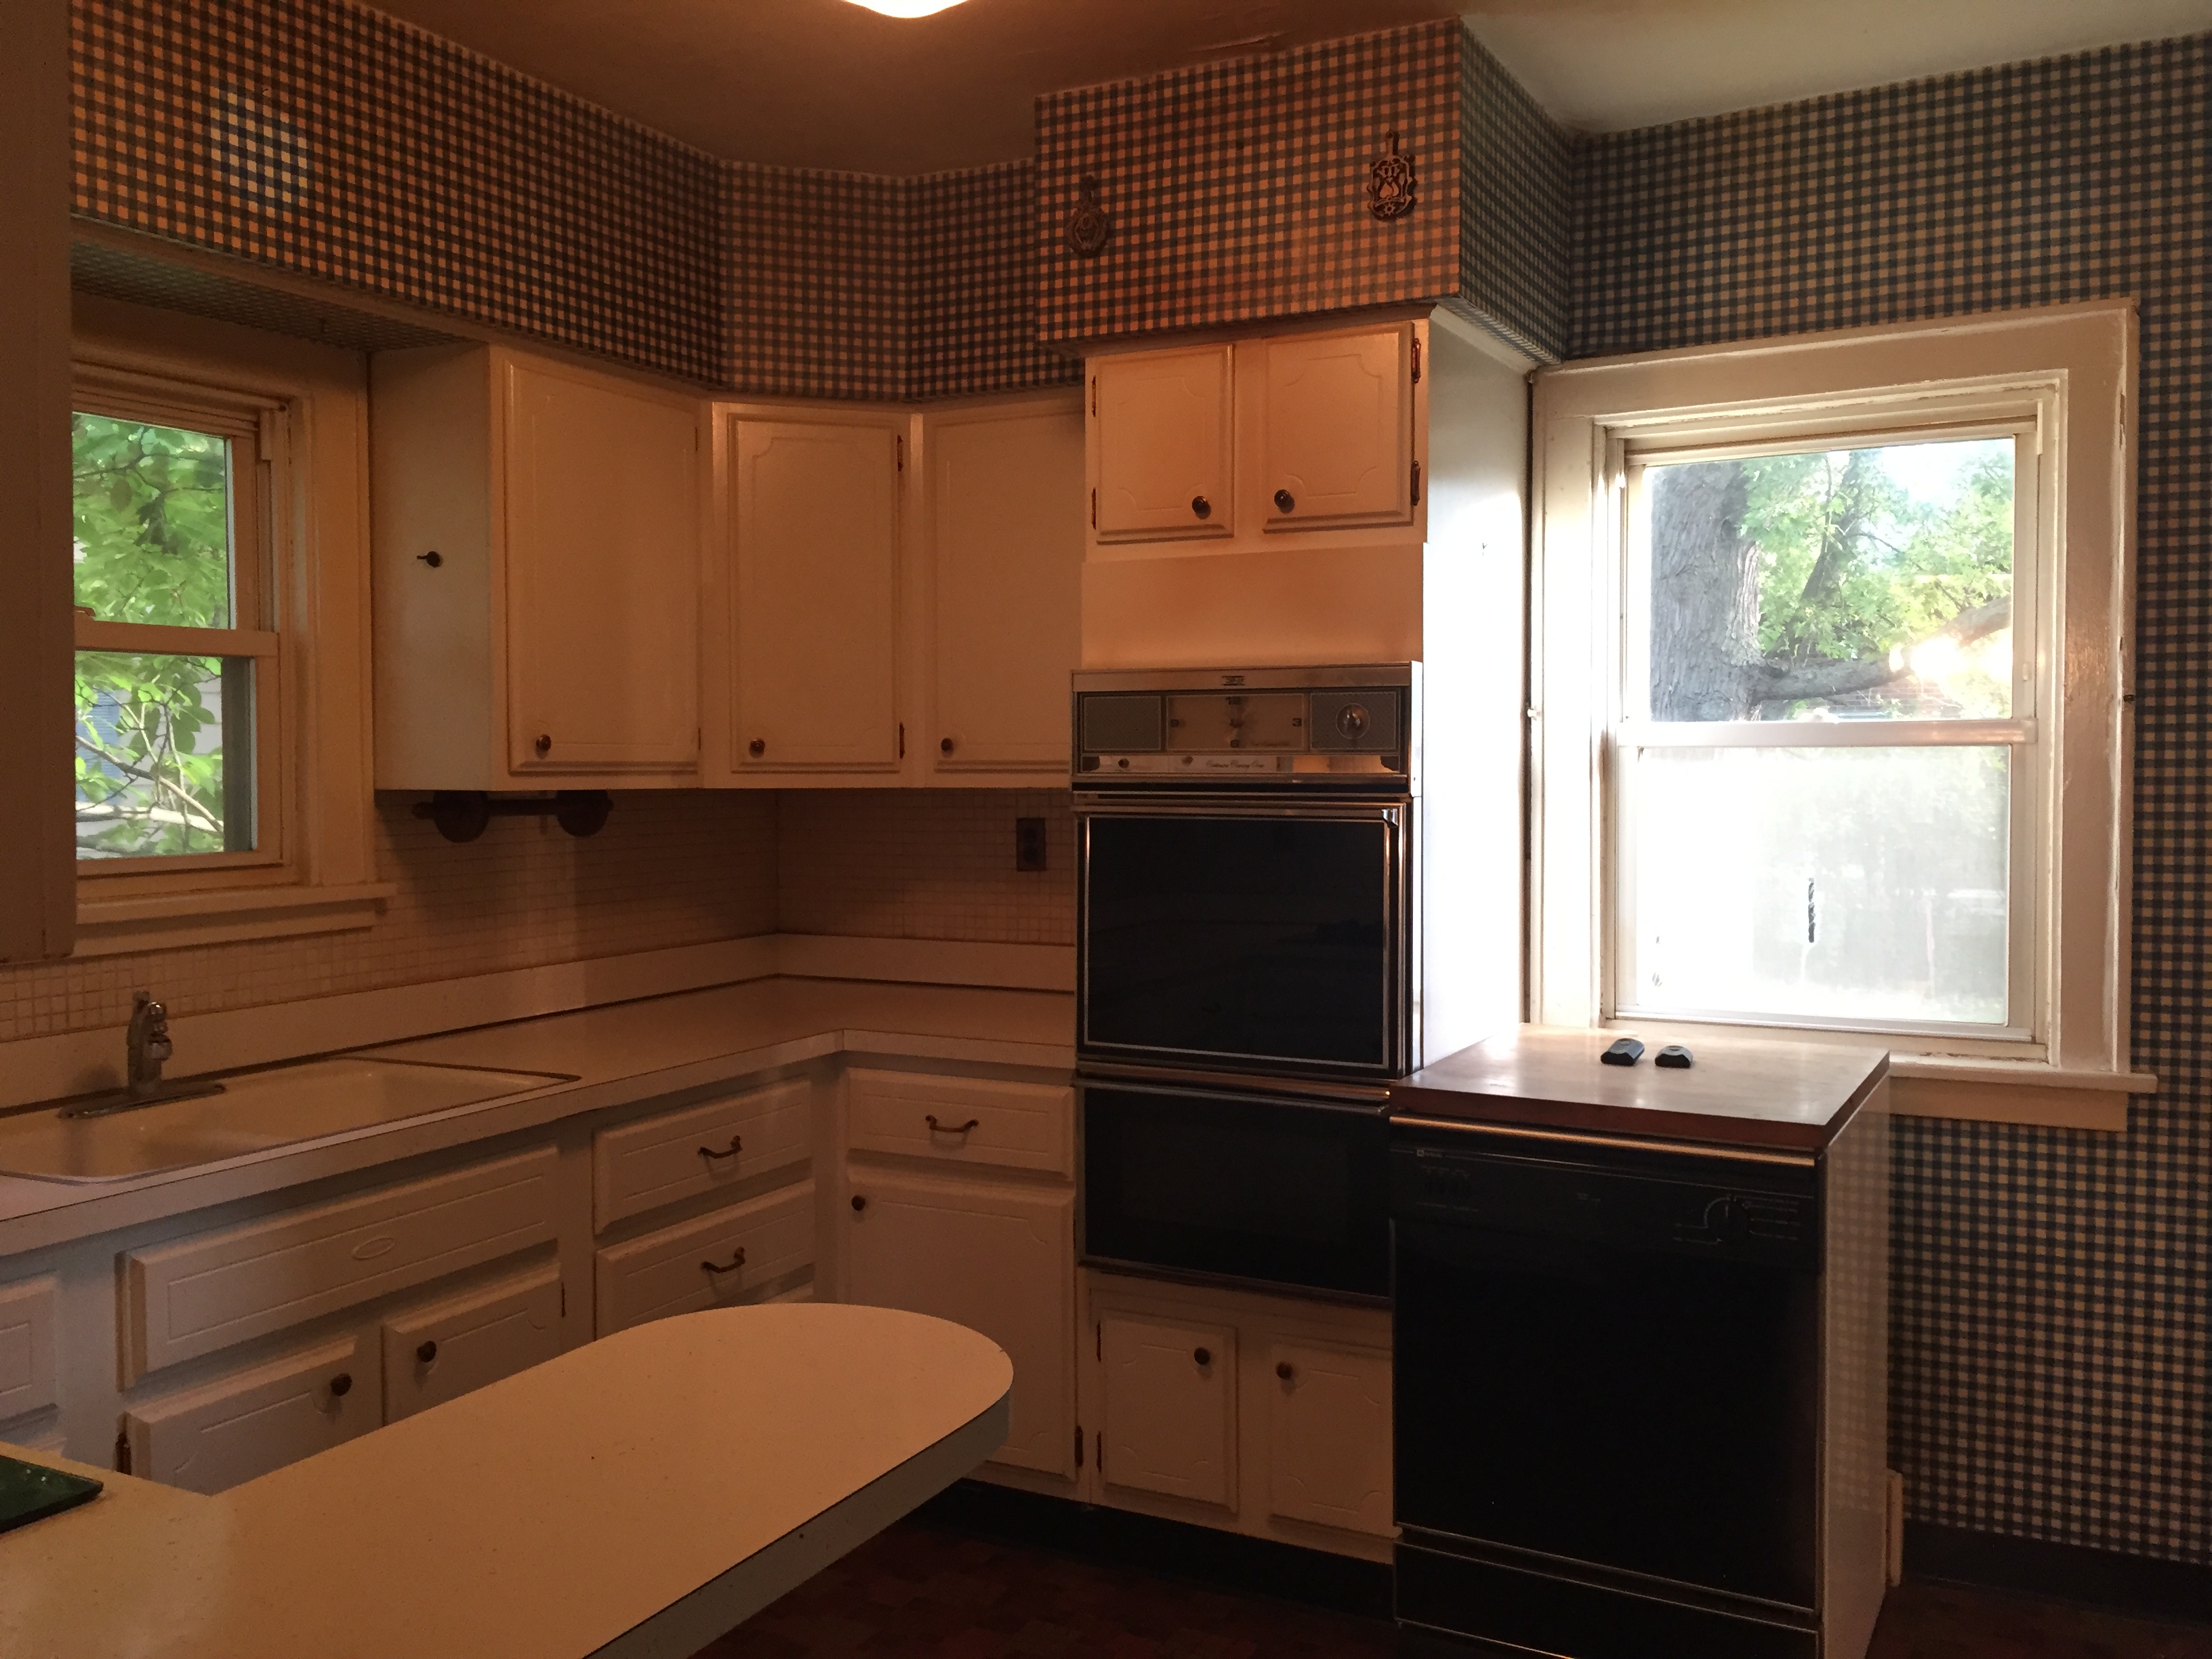
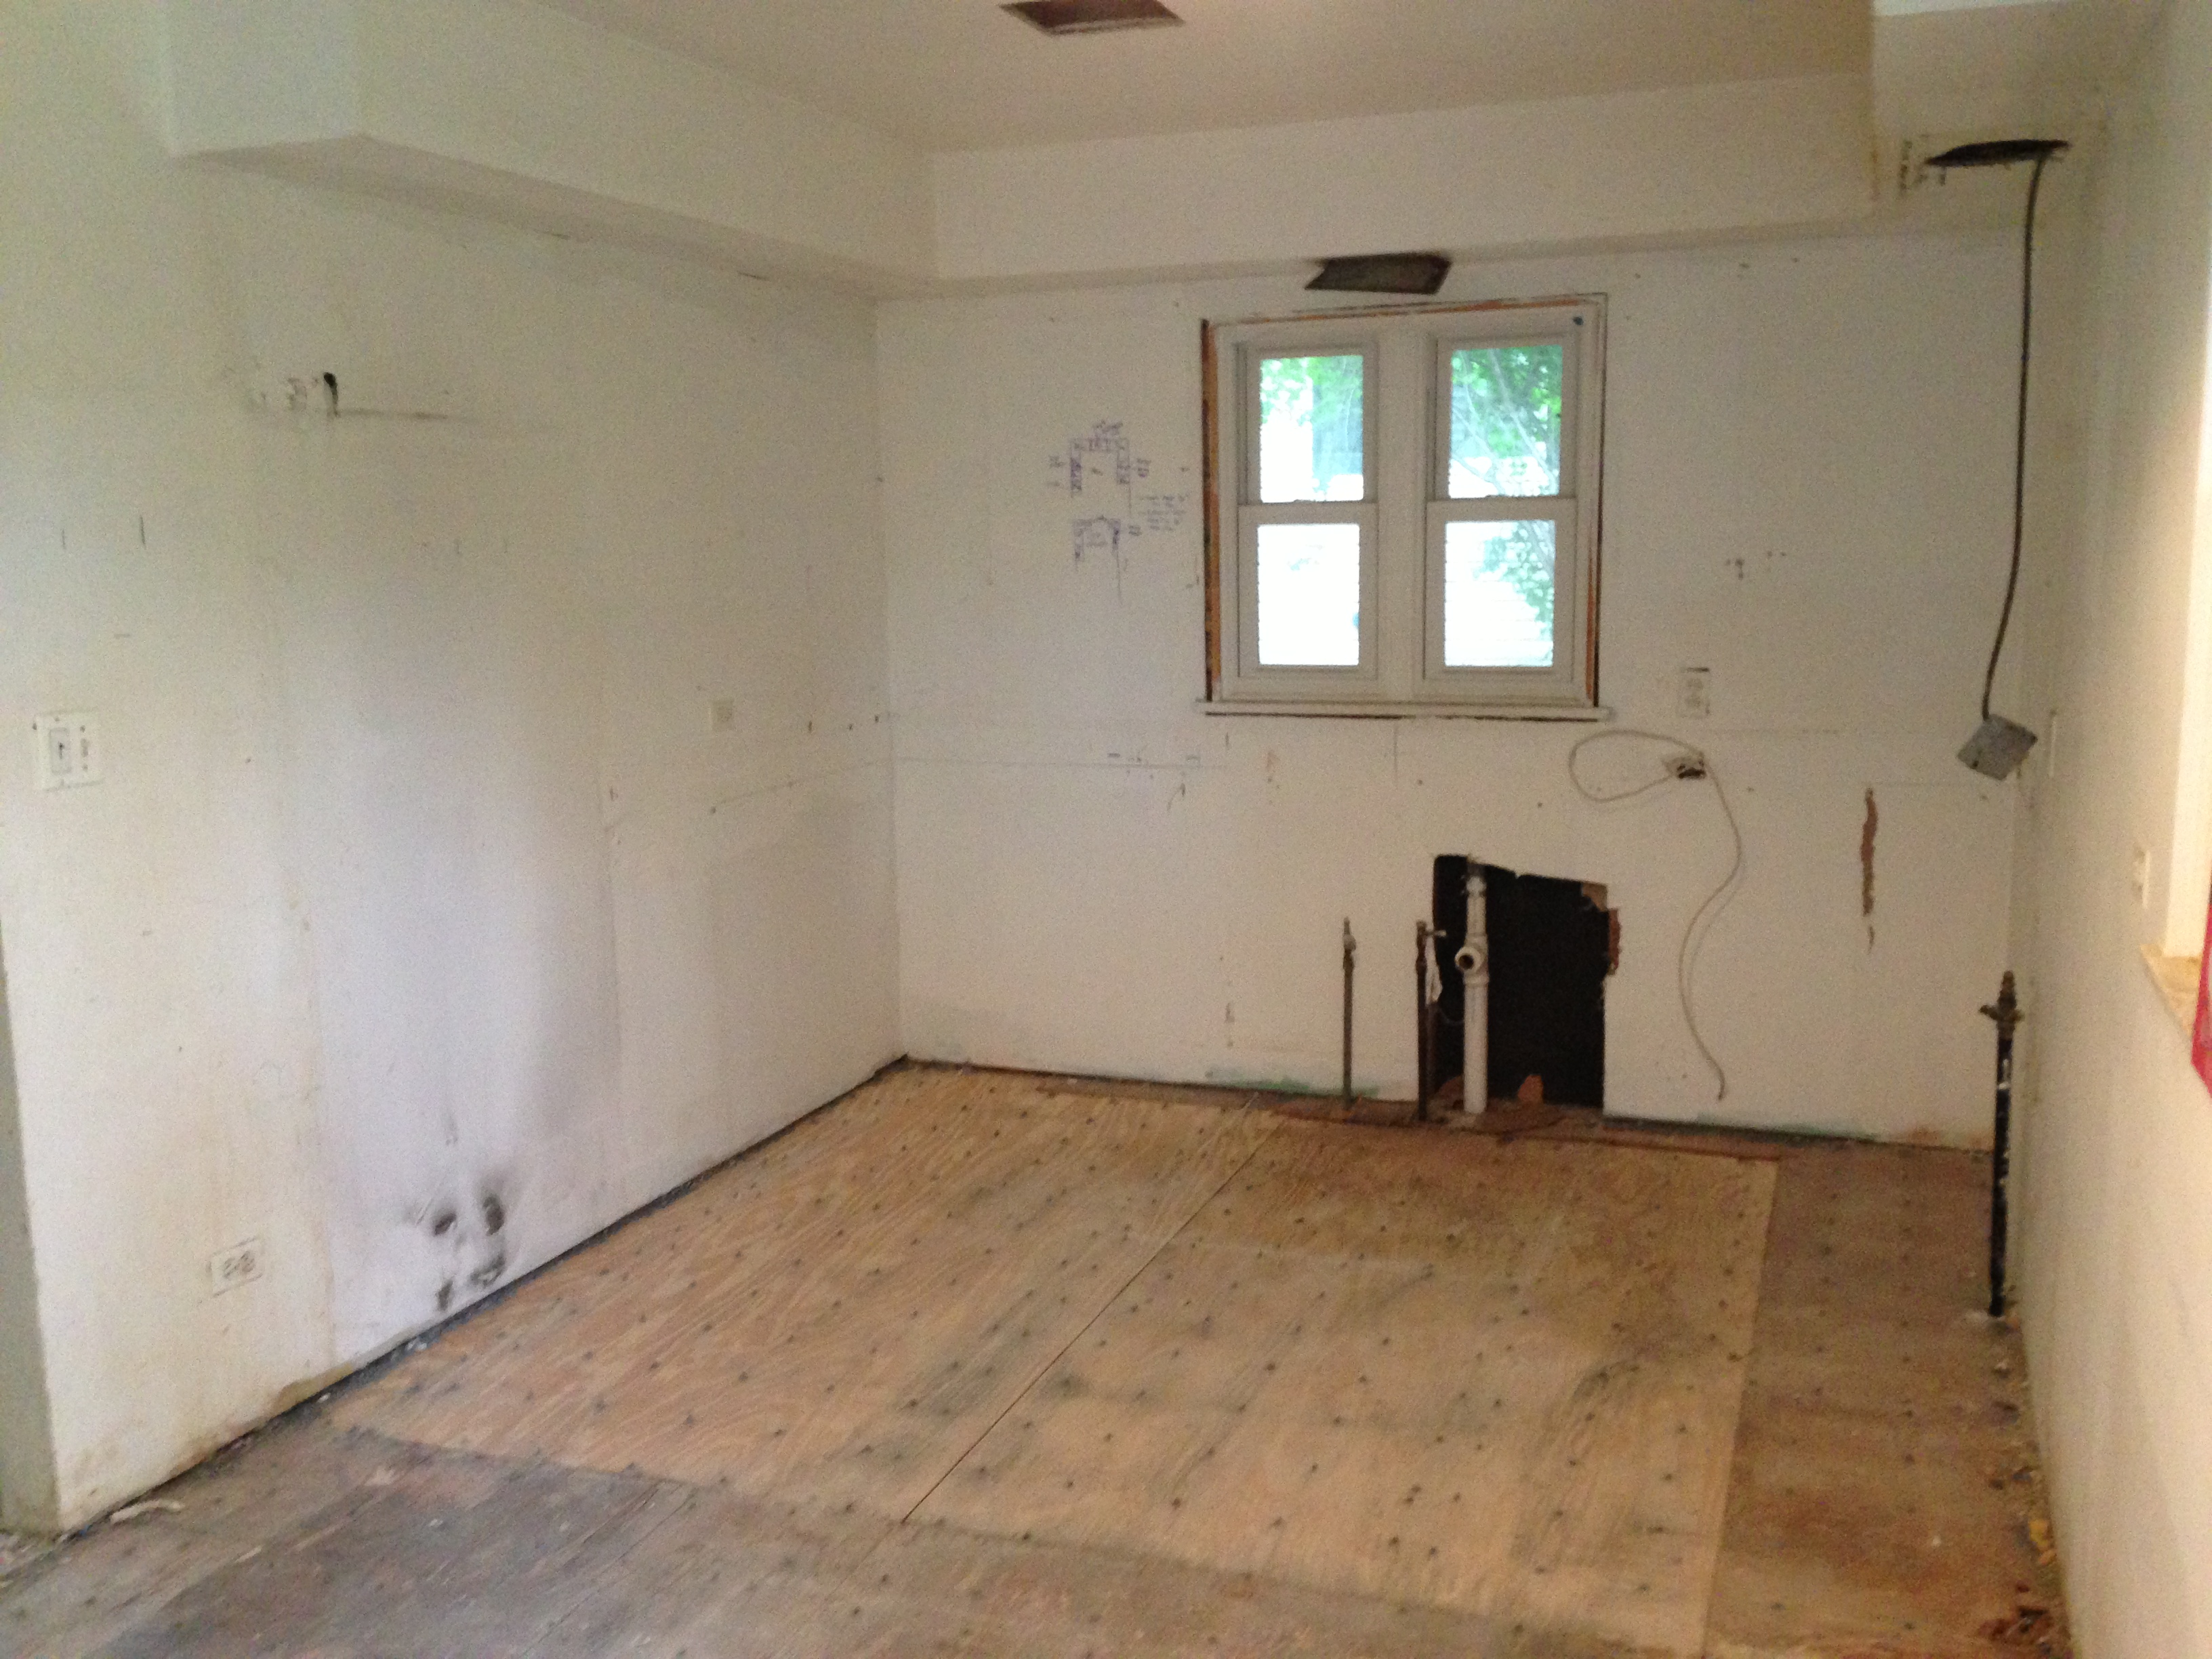
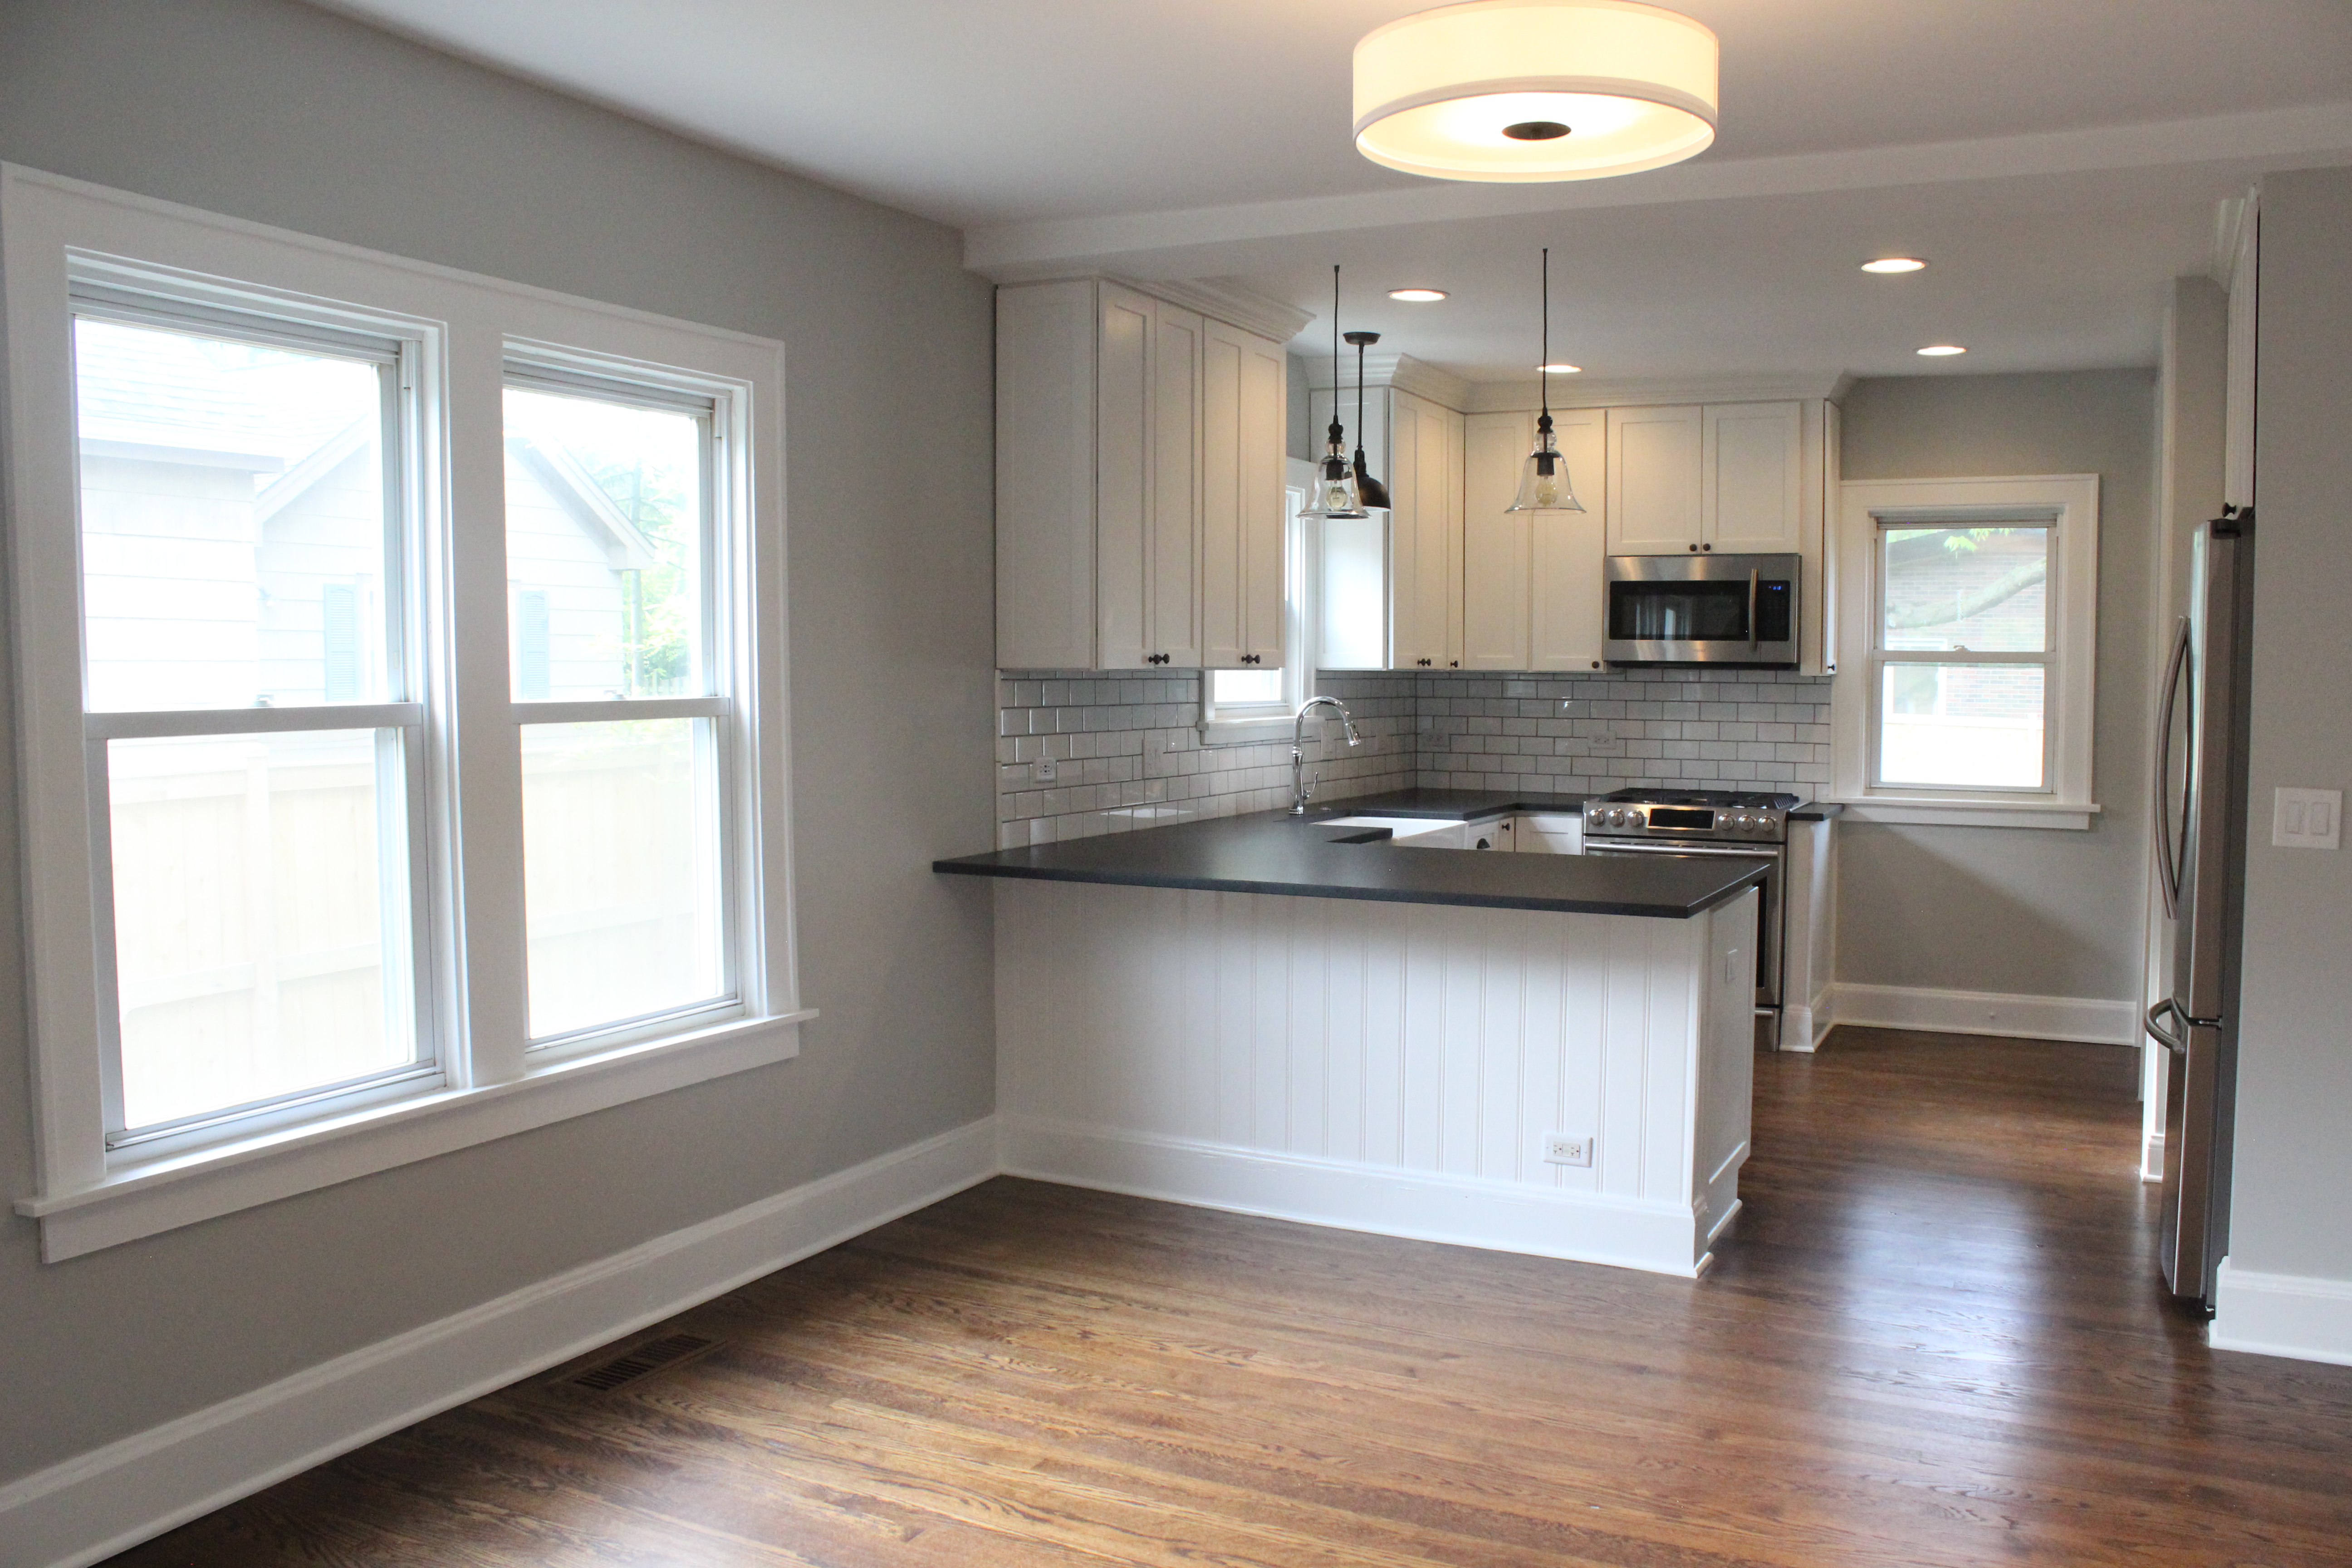
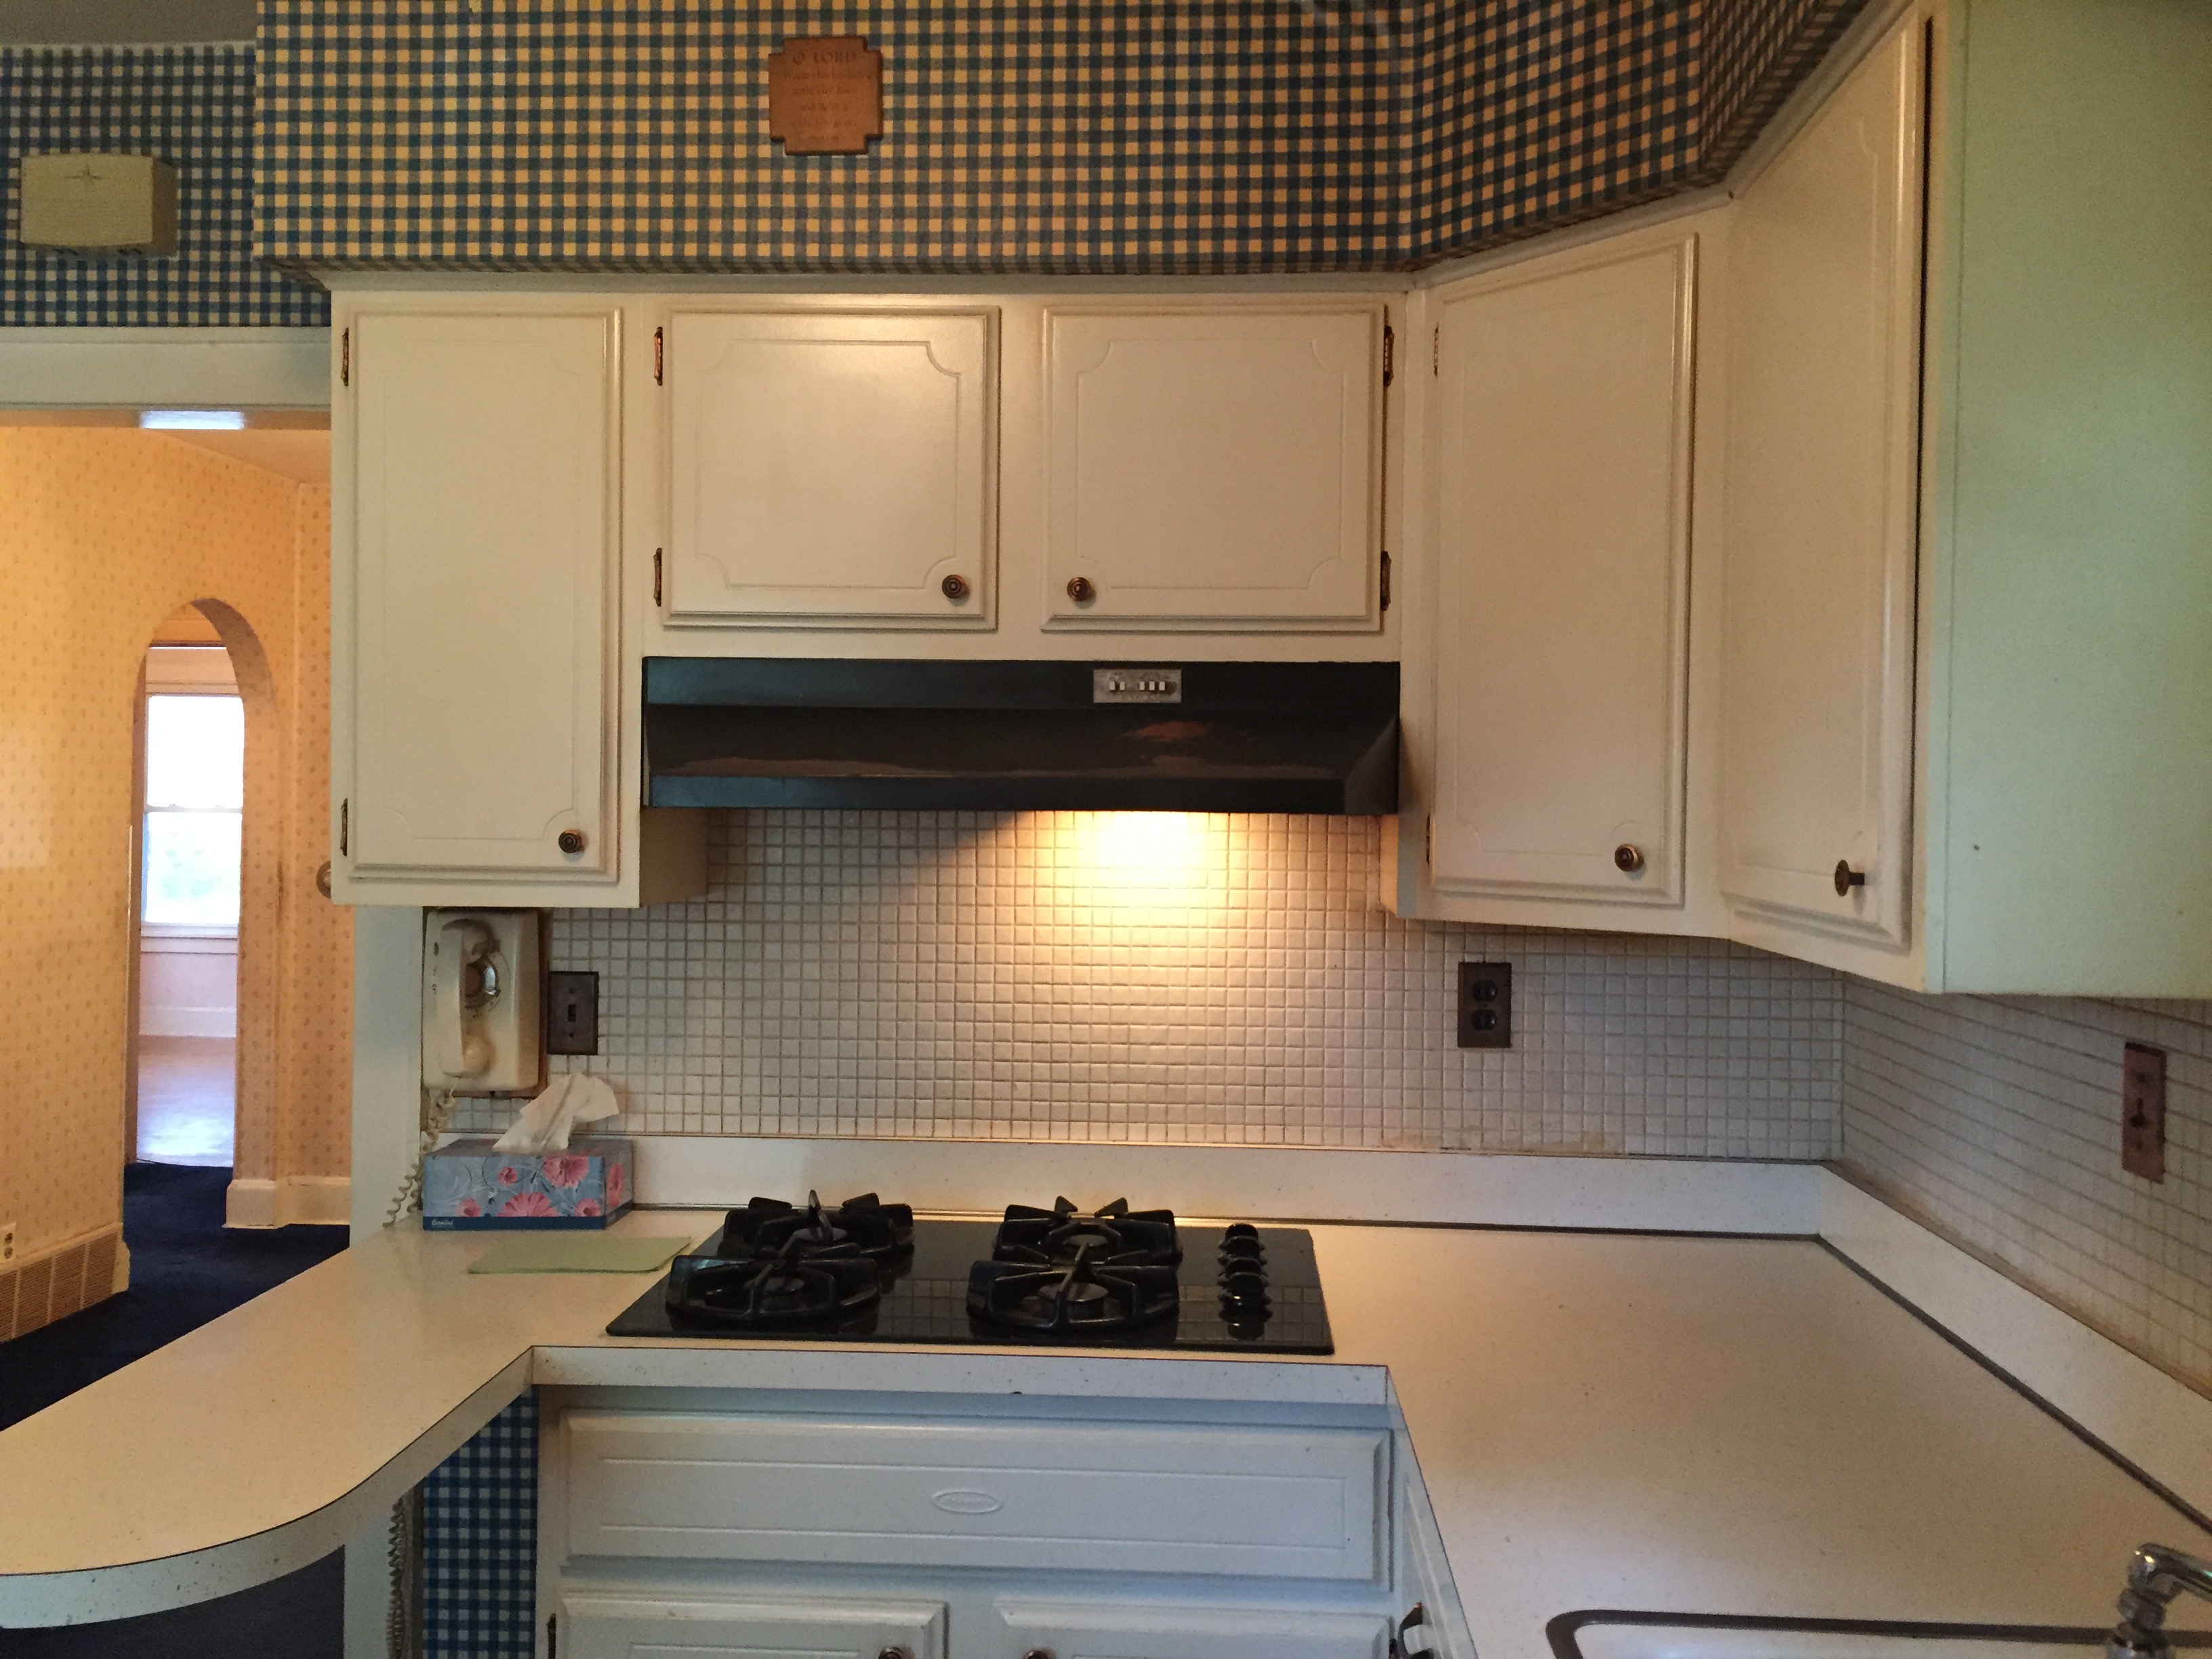
Here’s a look at the old kitchen:

img_4566

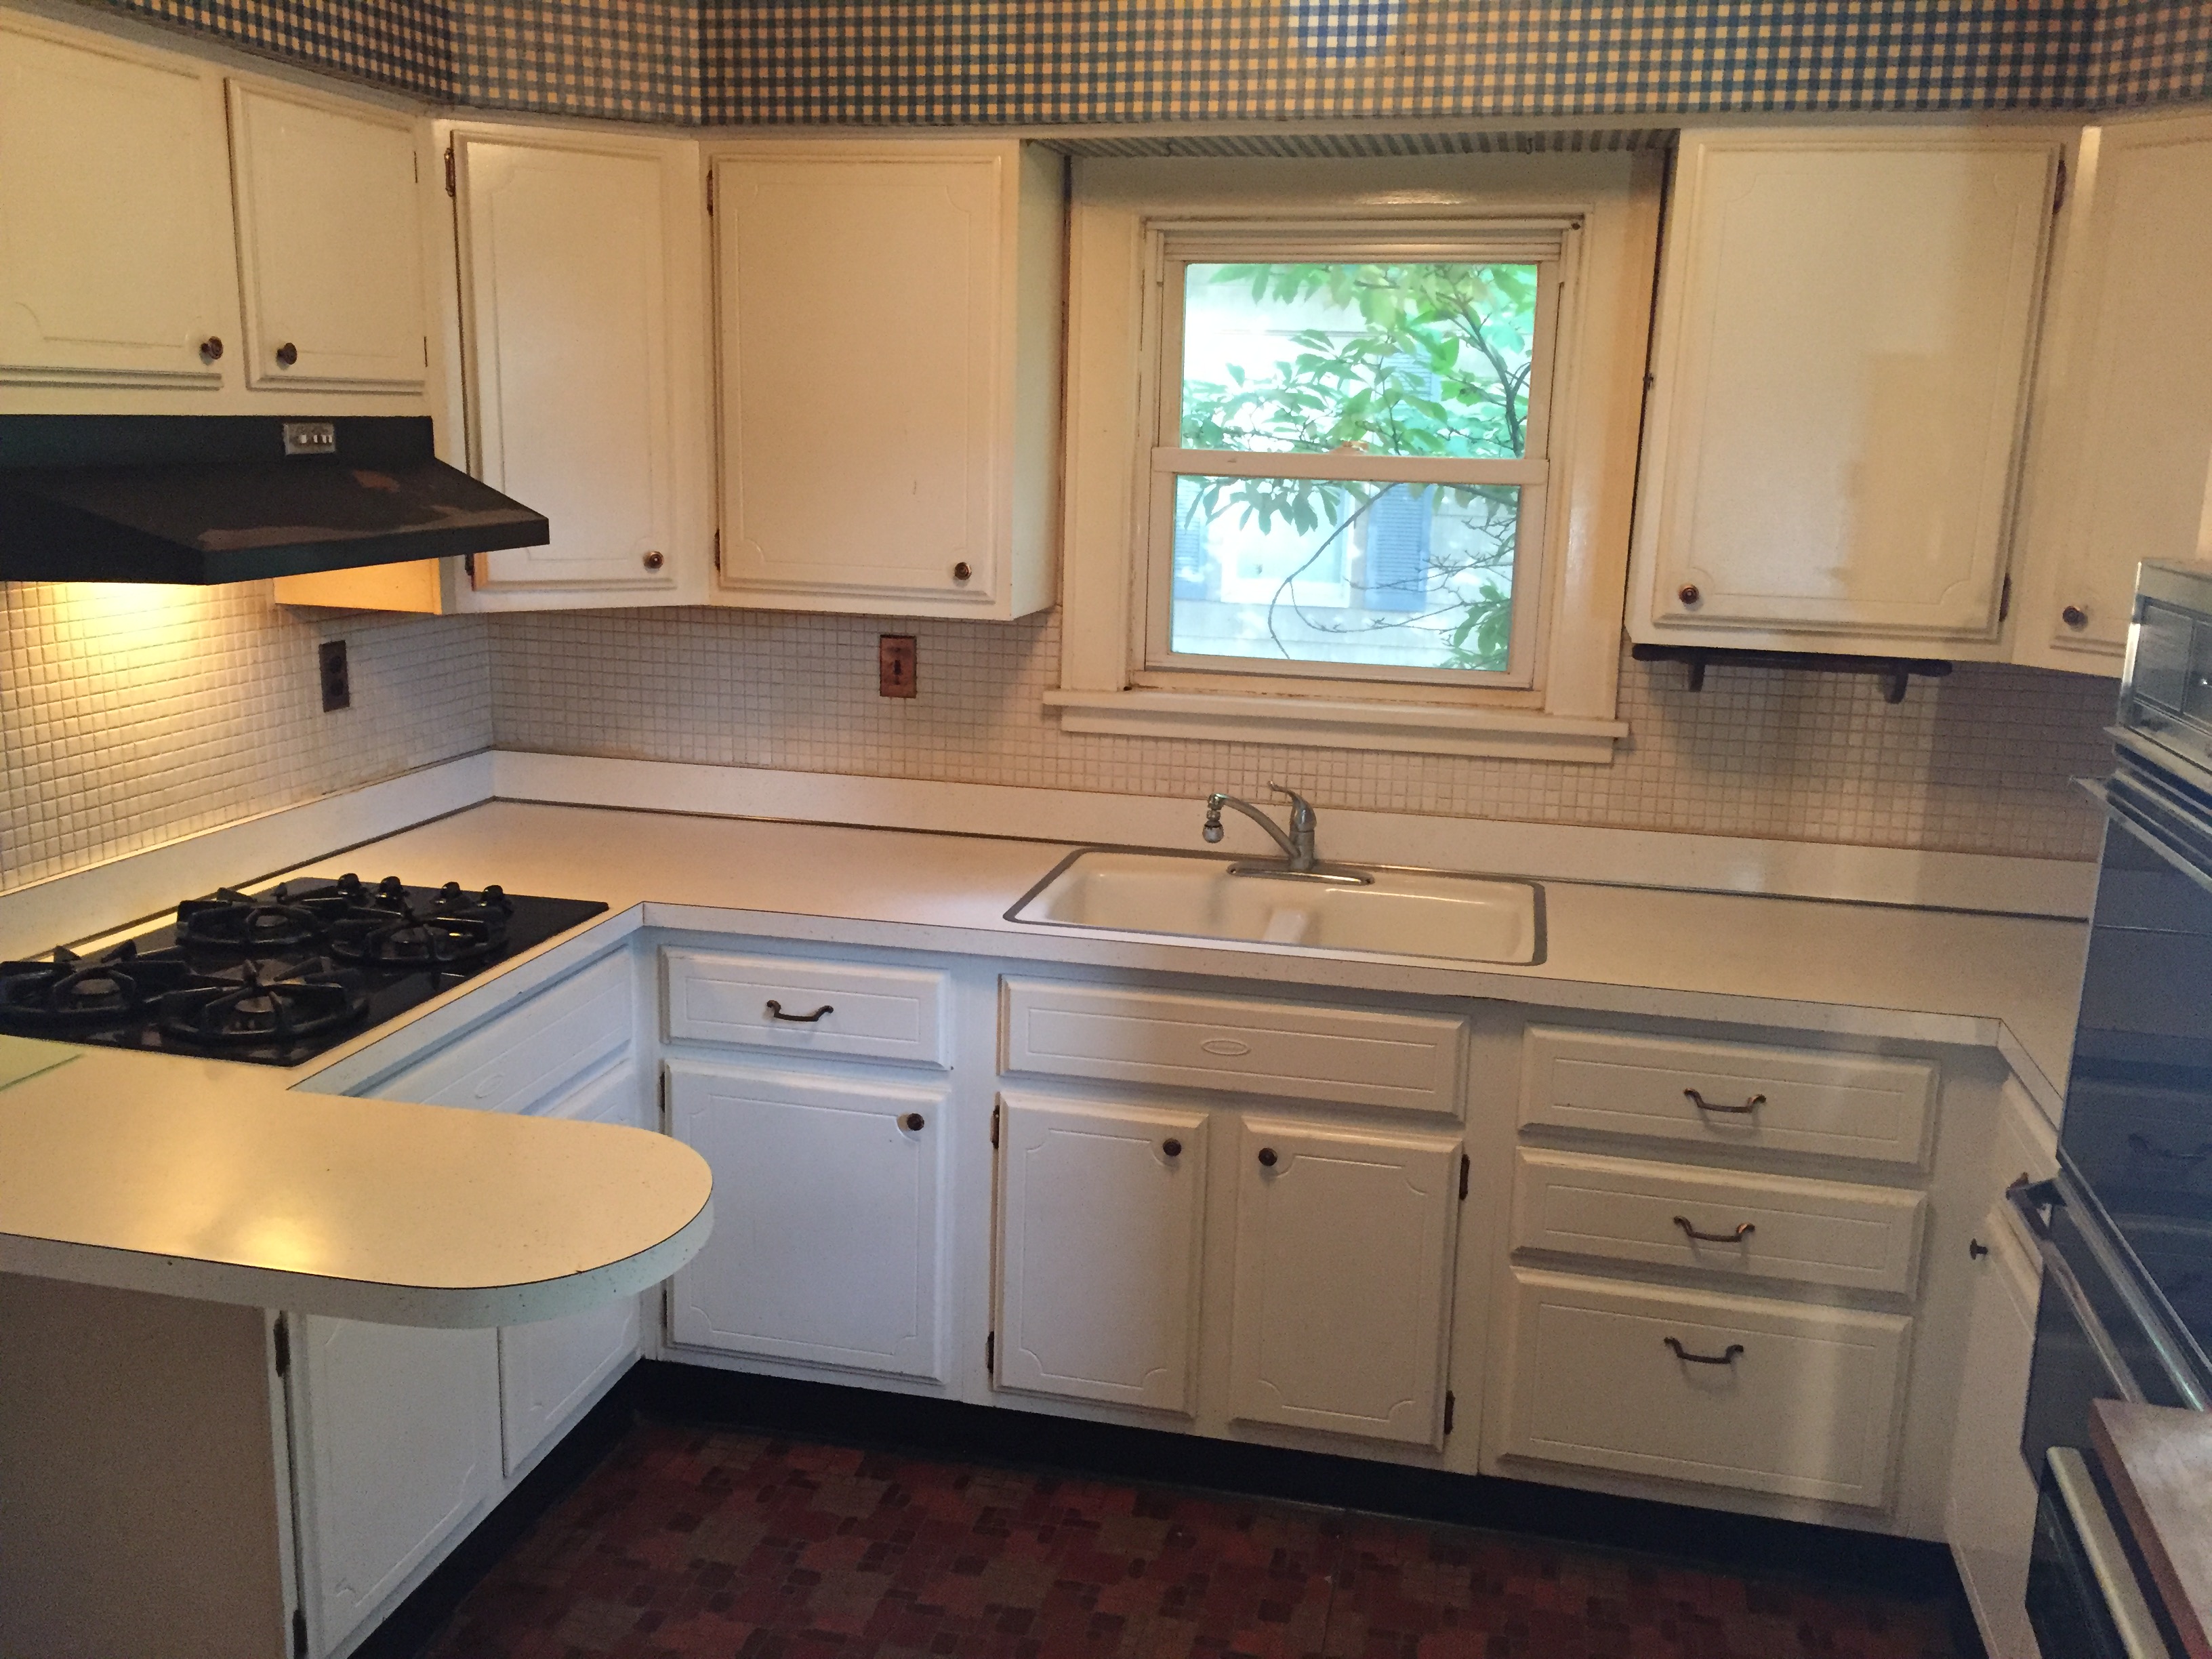
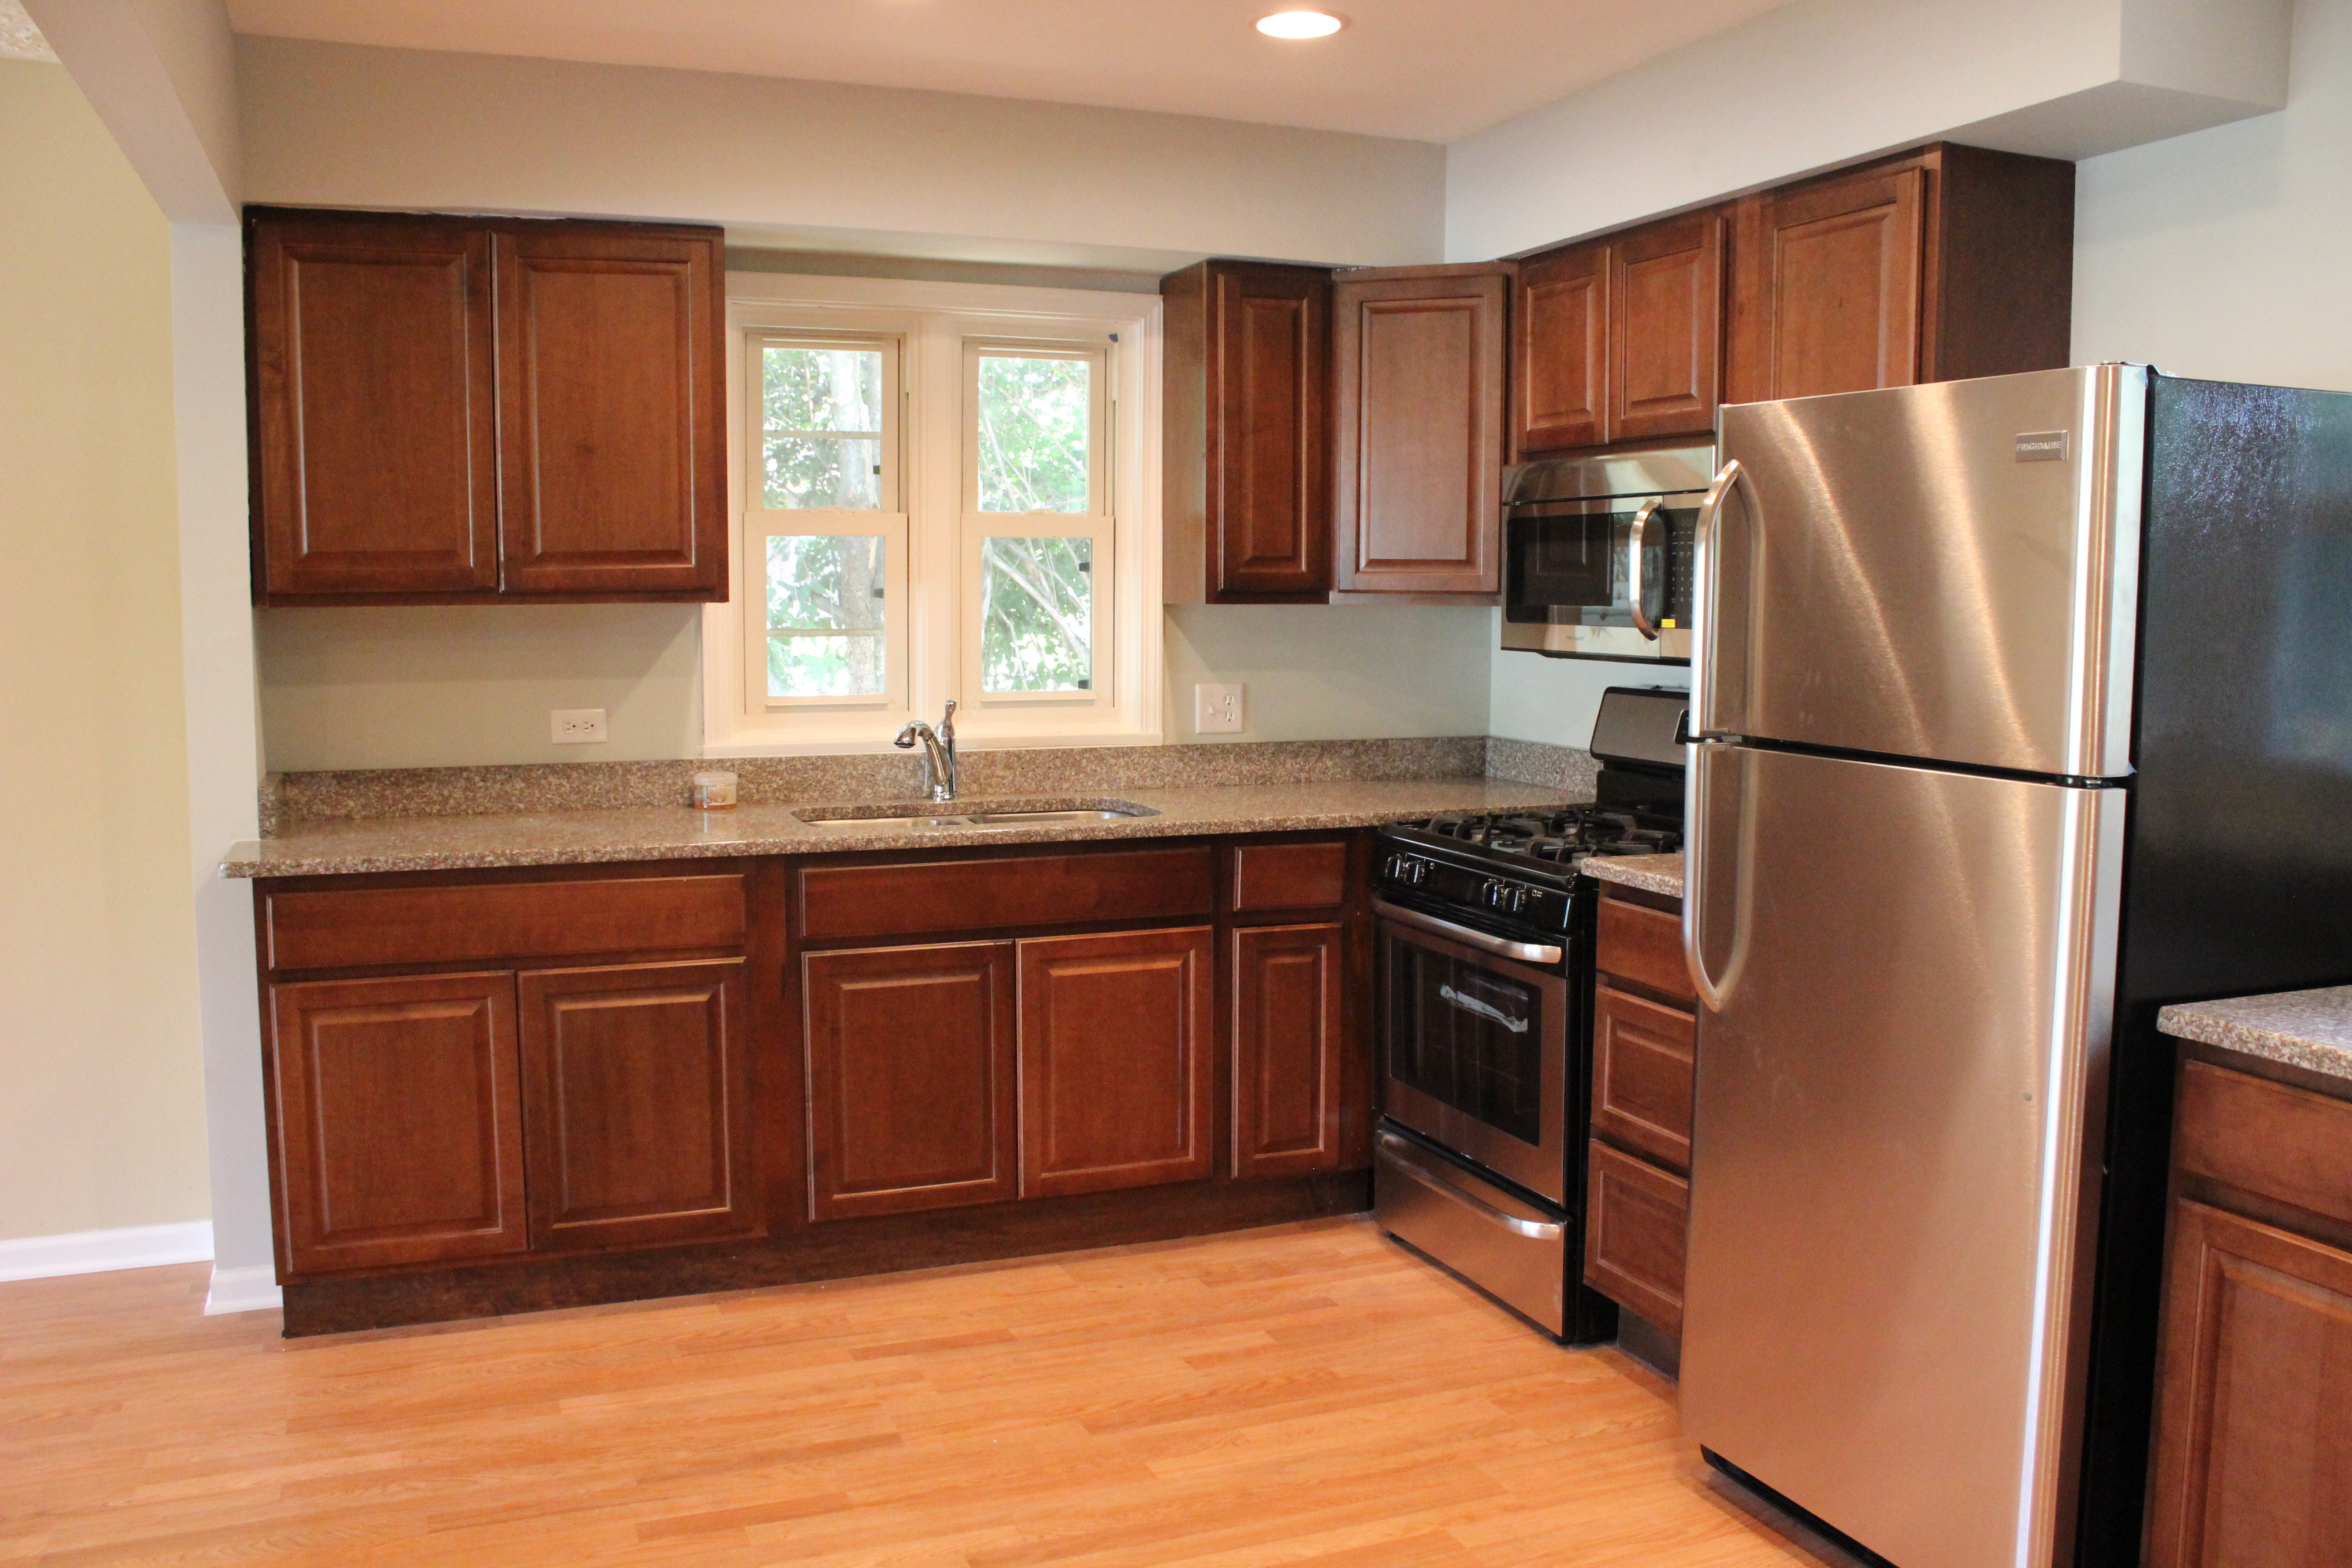
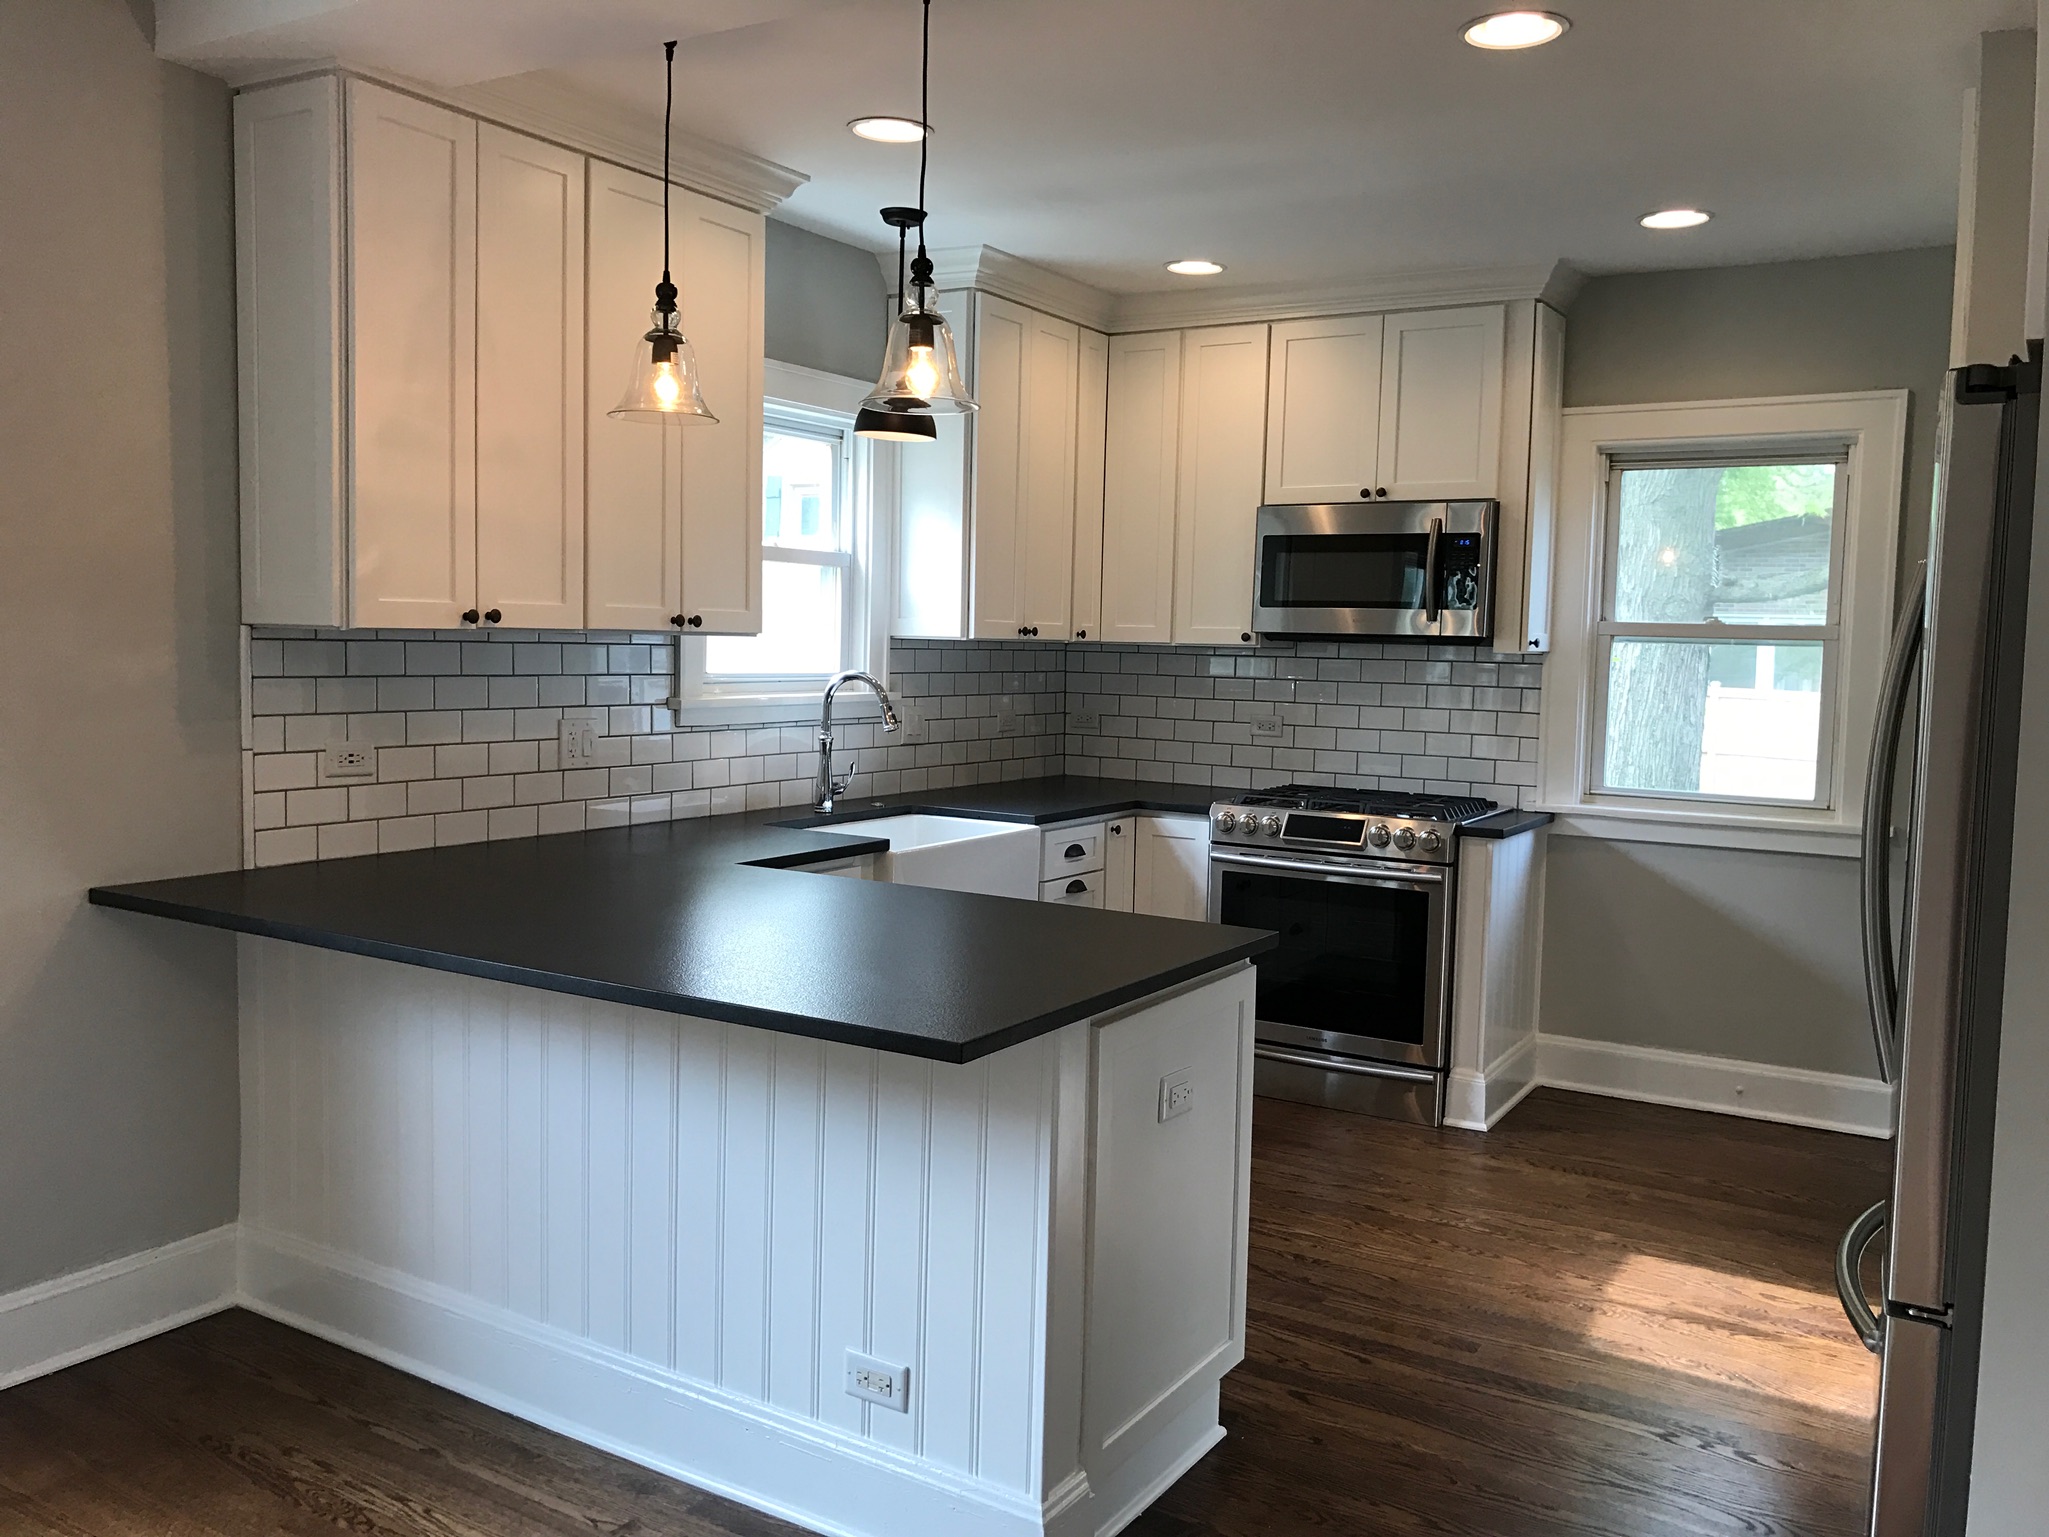
And now after new white shaker-style cabinets by Shrock, leathered black granite countertops, stainless steel appliances, new Kohler chrome faucet, new lighting, a farmhouse sink, oil rubbed bronze cup pulls, and a white subway tile backsplash:

IMG_0539

The view of the fridge side before:

img_4569

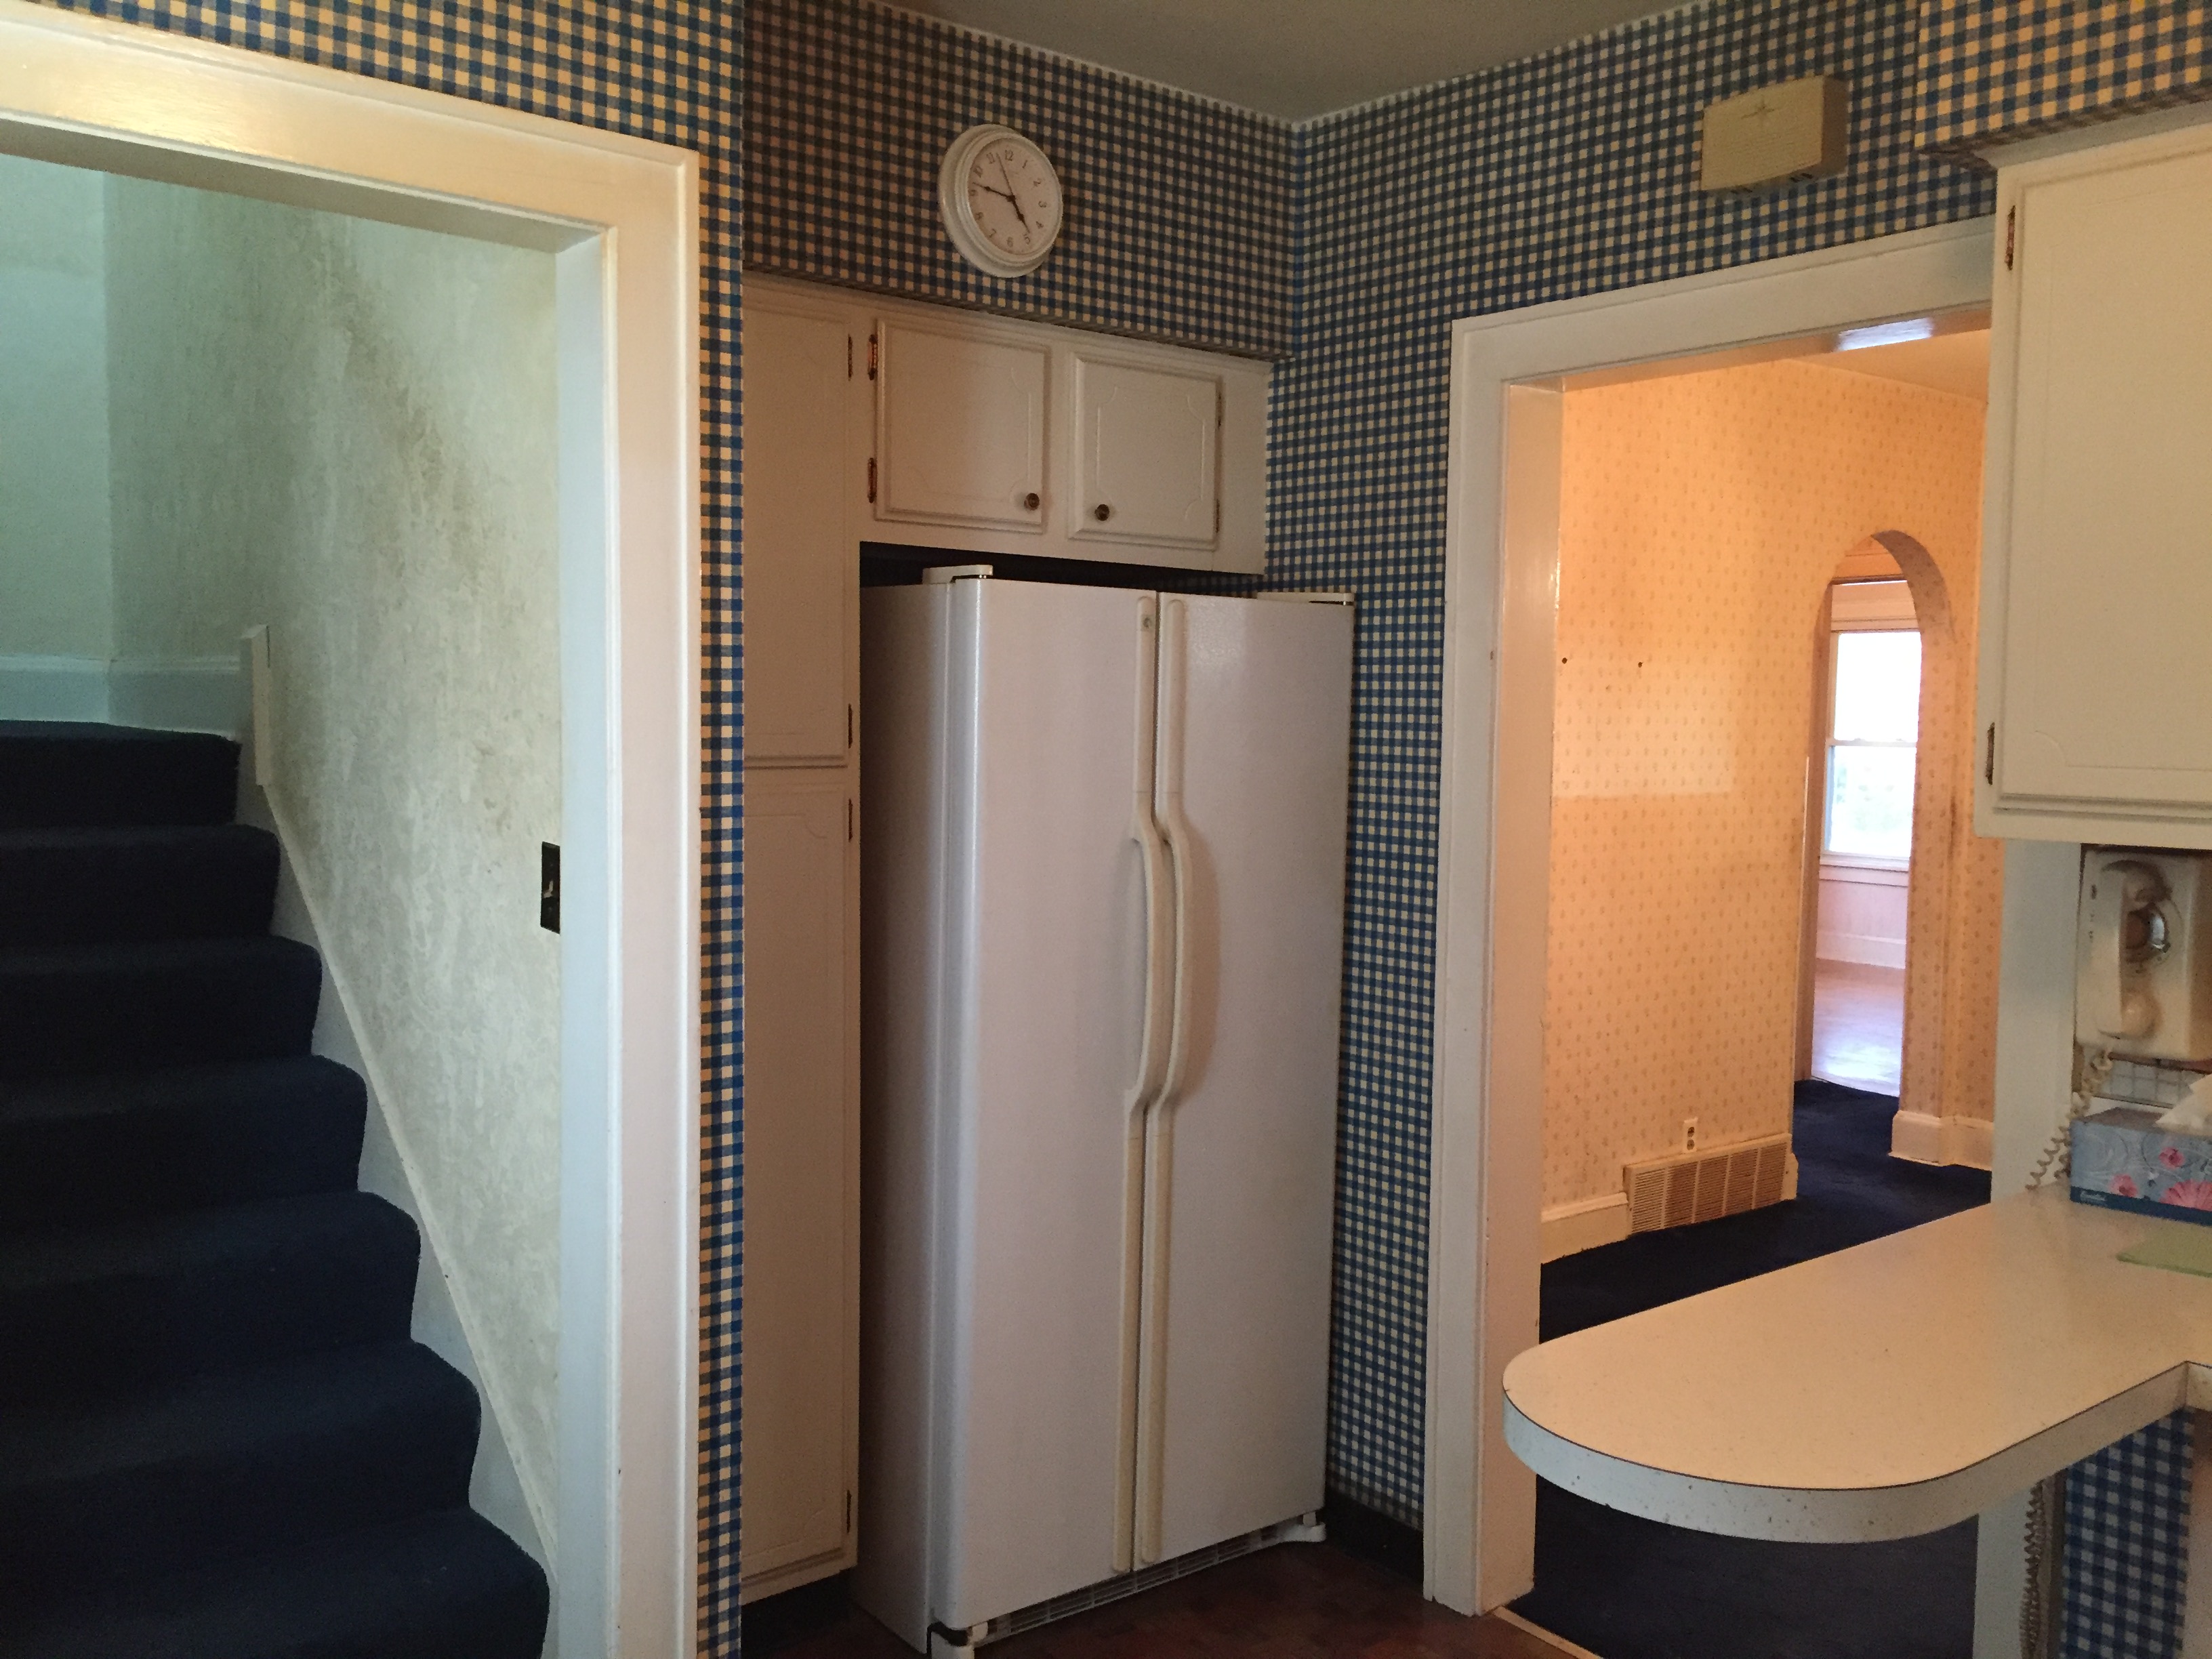
And now with a built out pantry and Samsung french door refrigerator:

fridge

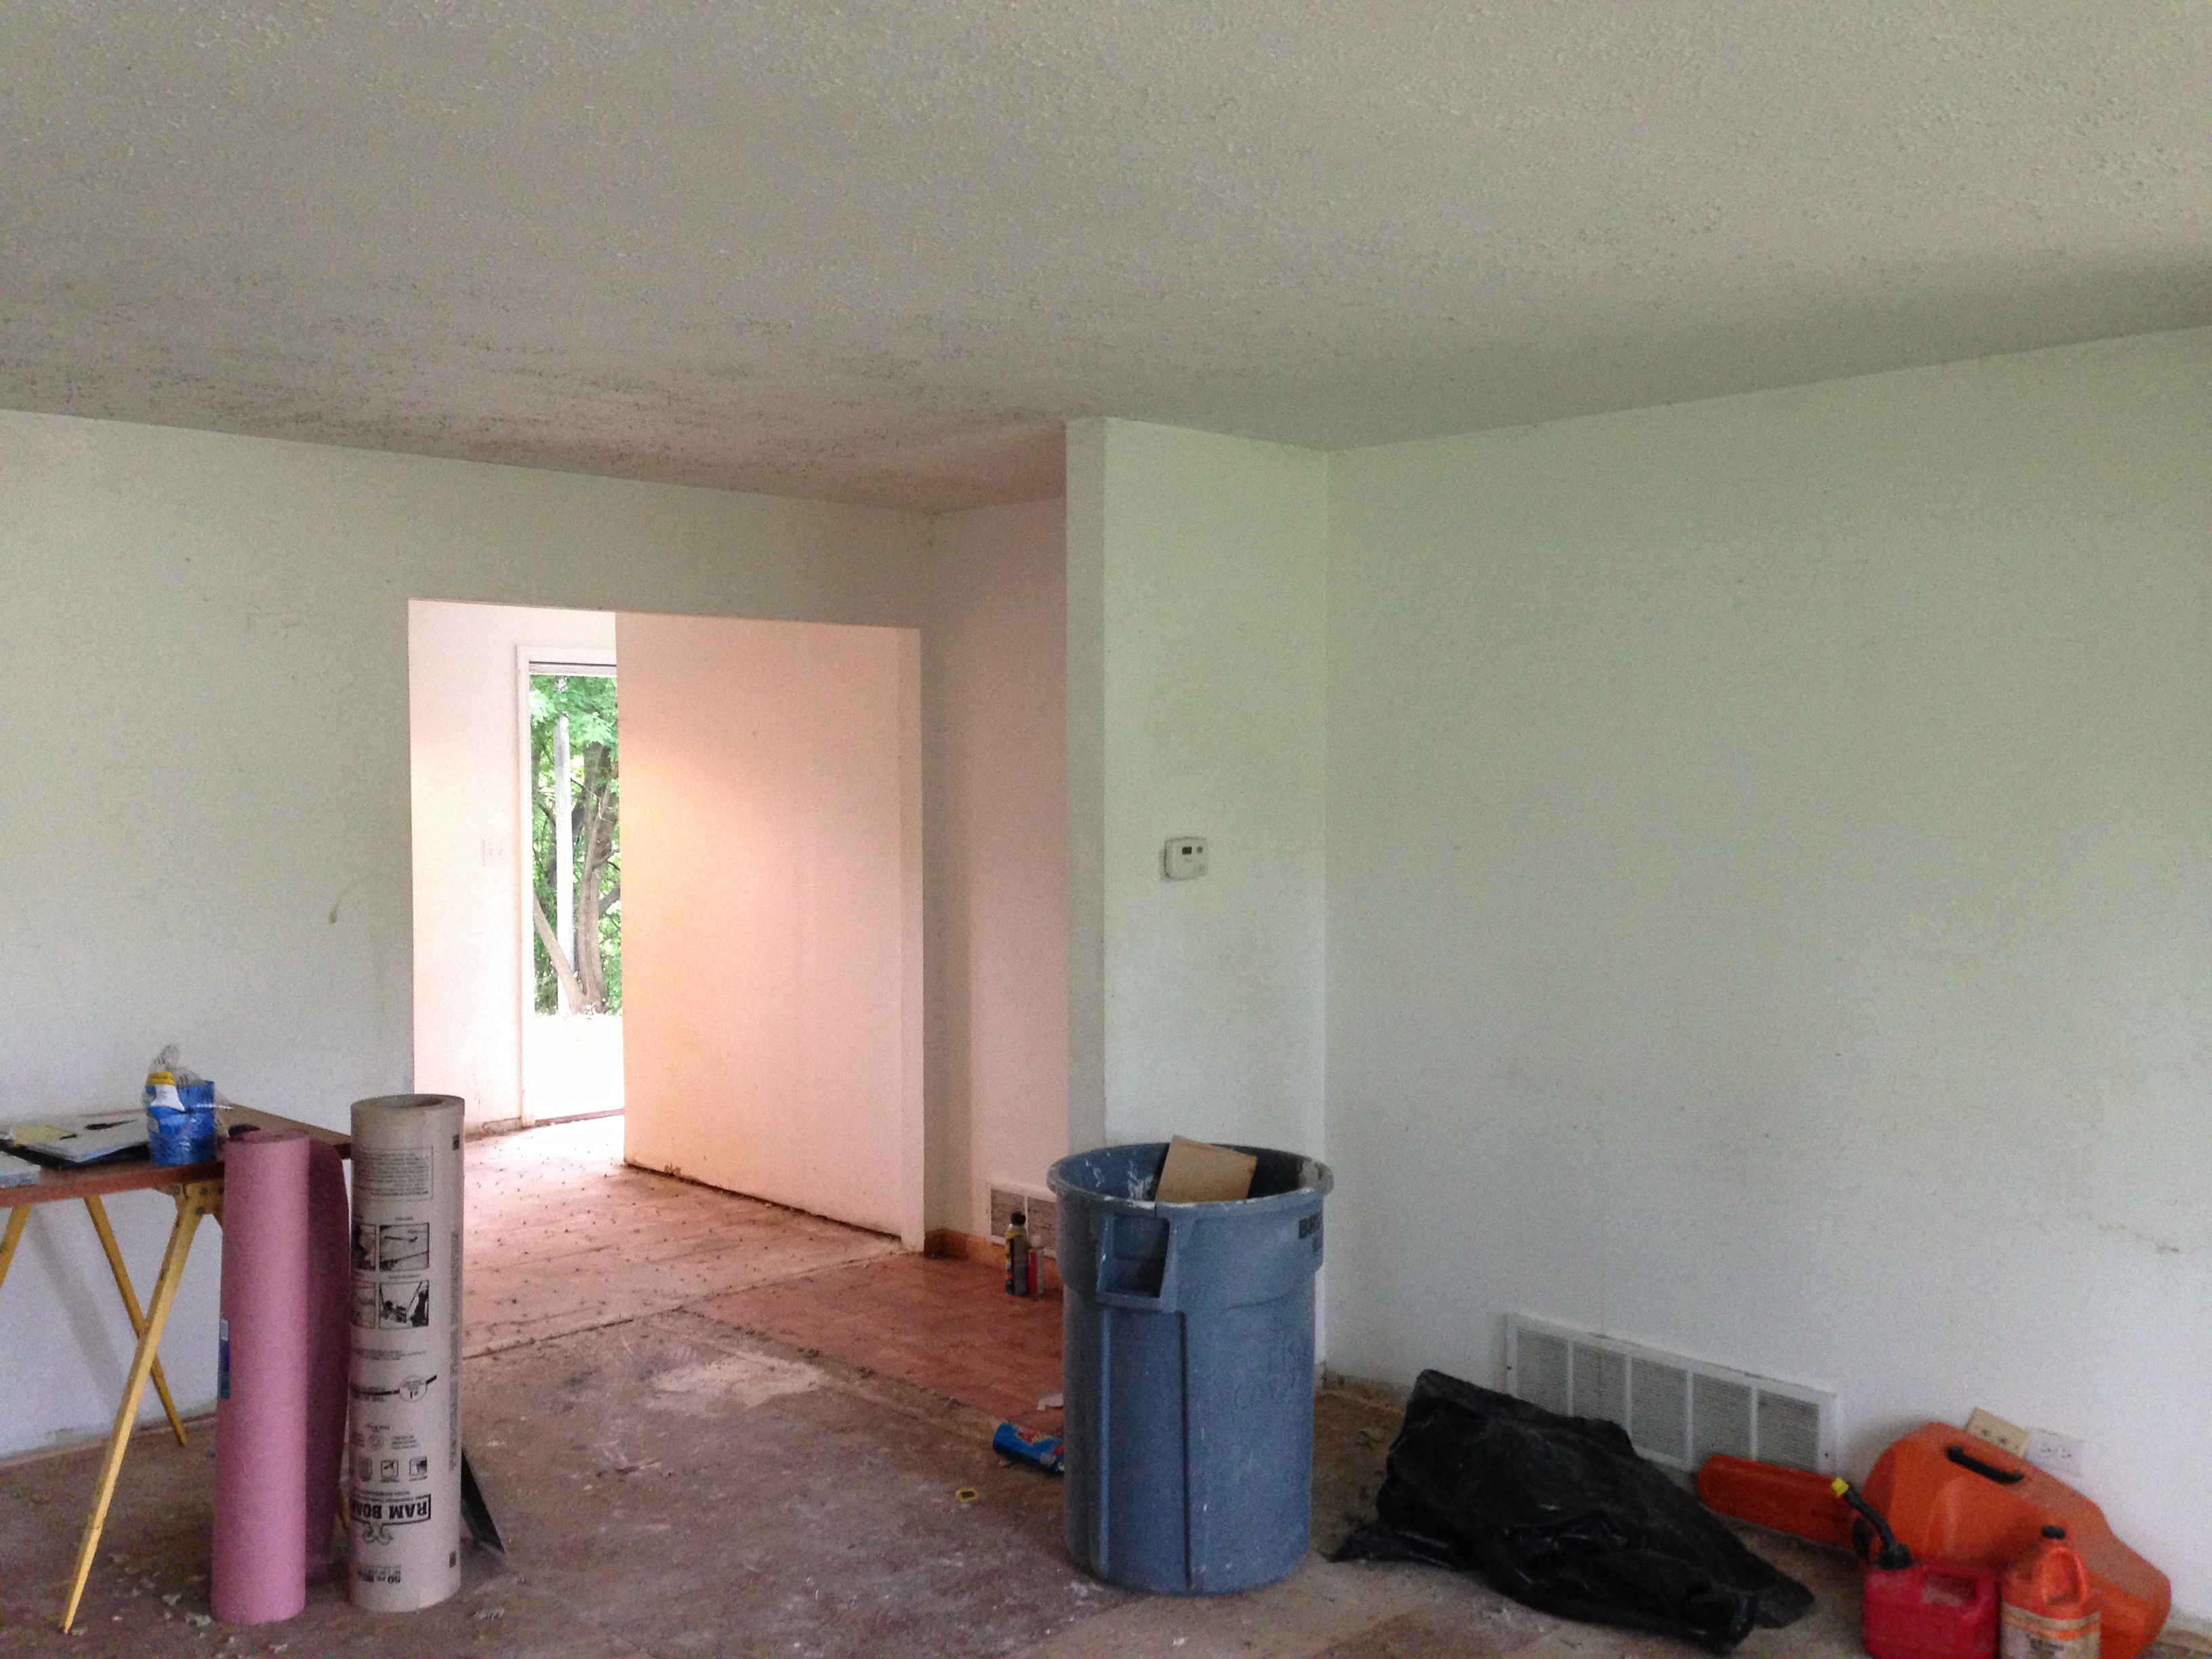
Opening up the wall to create an island peninsula made the world of difference. Here was the before:
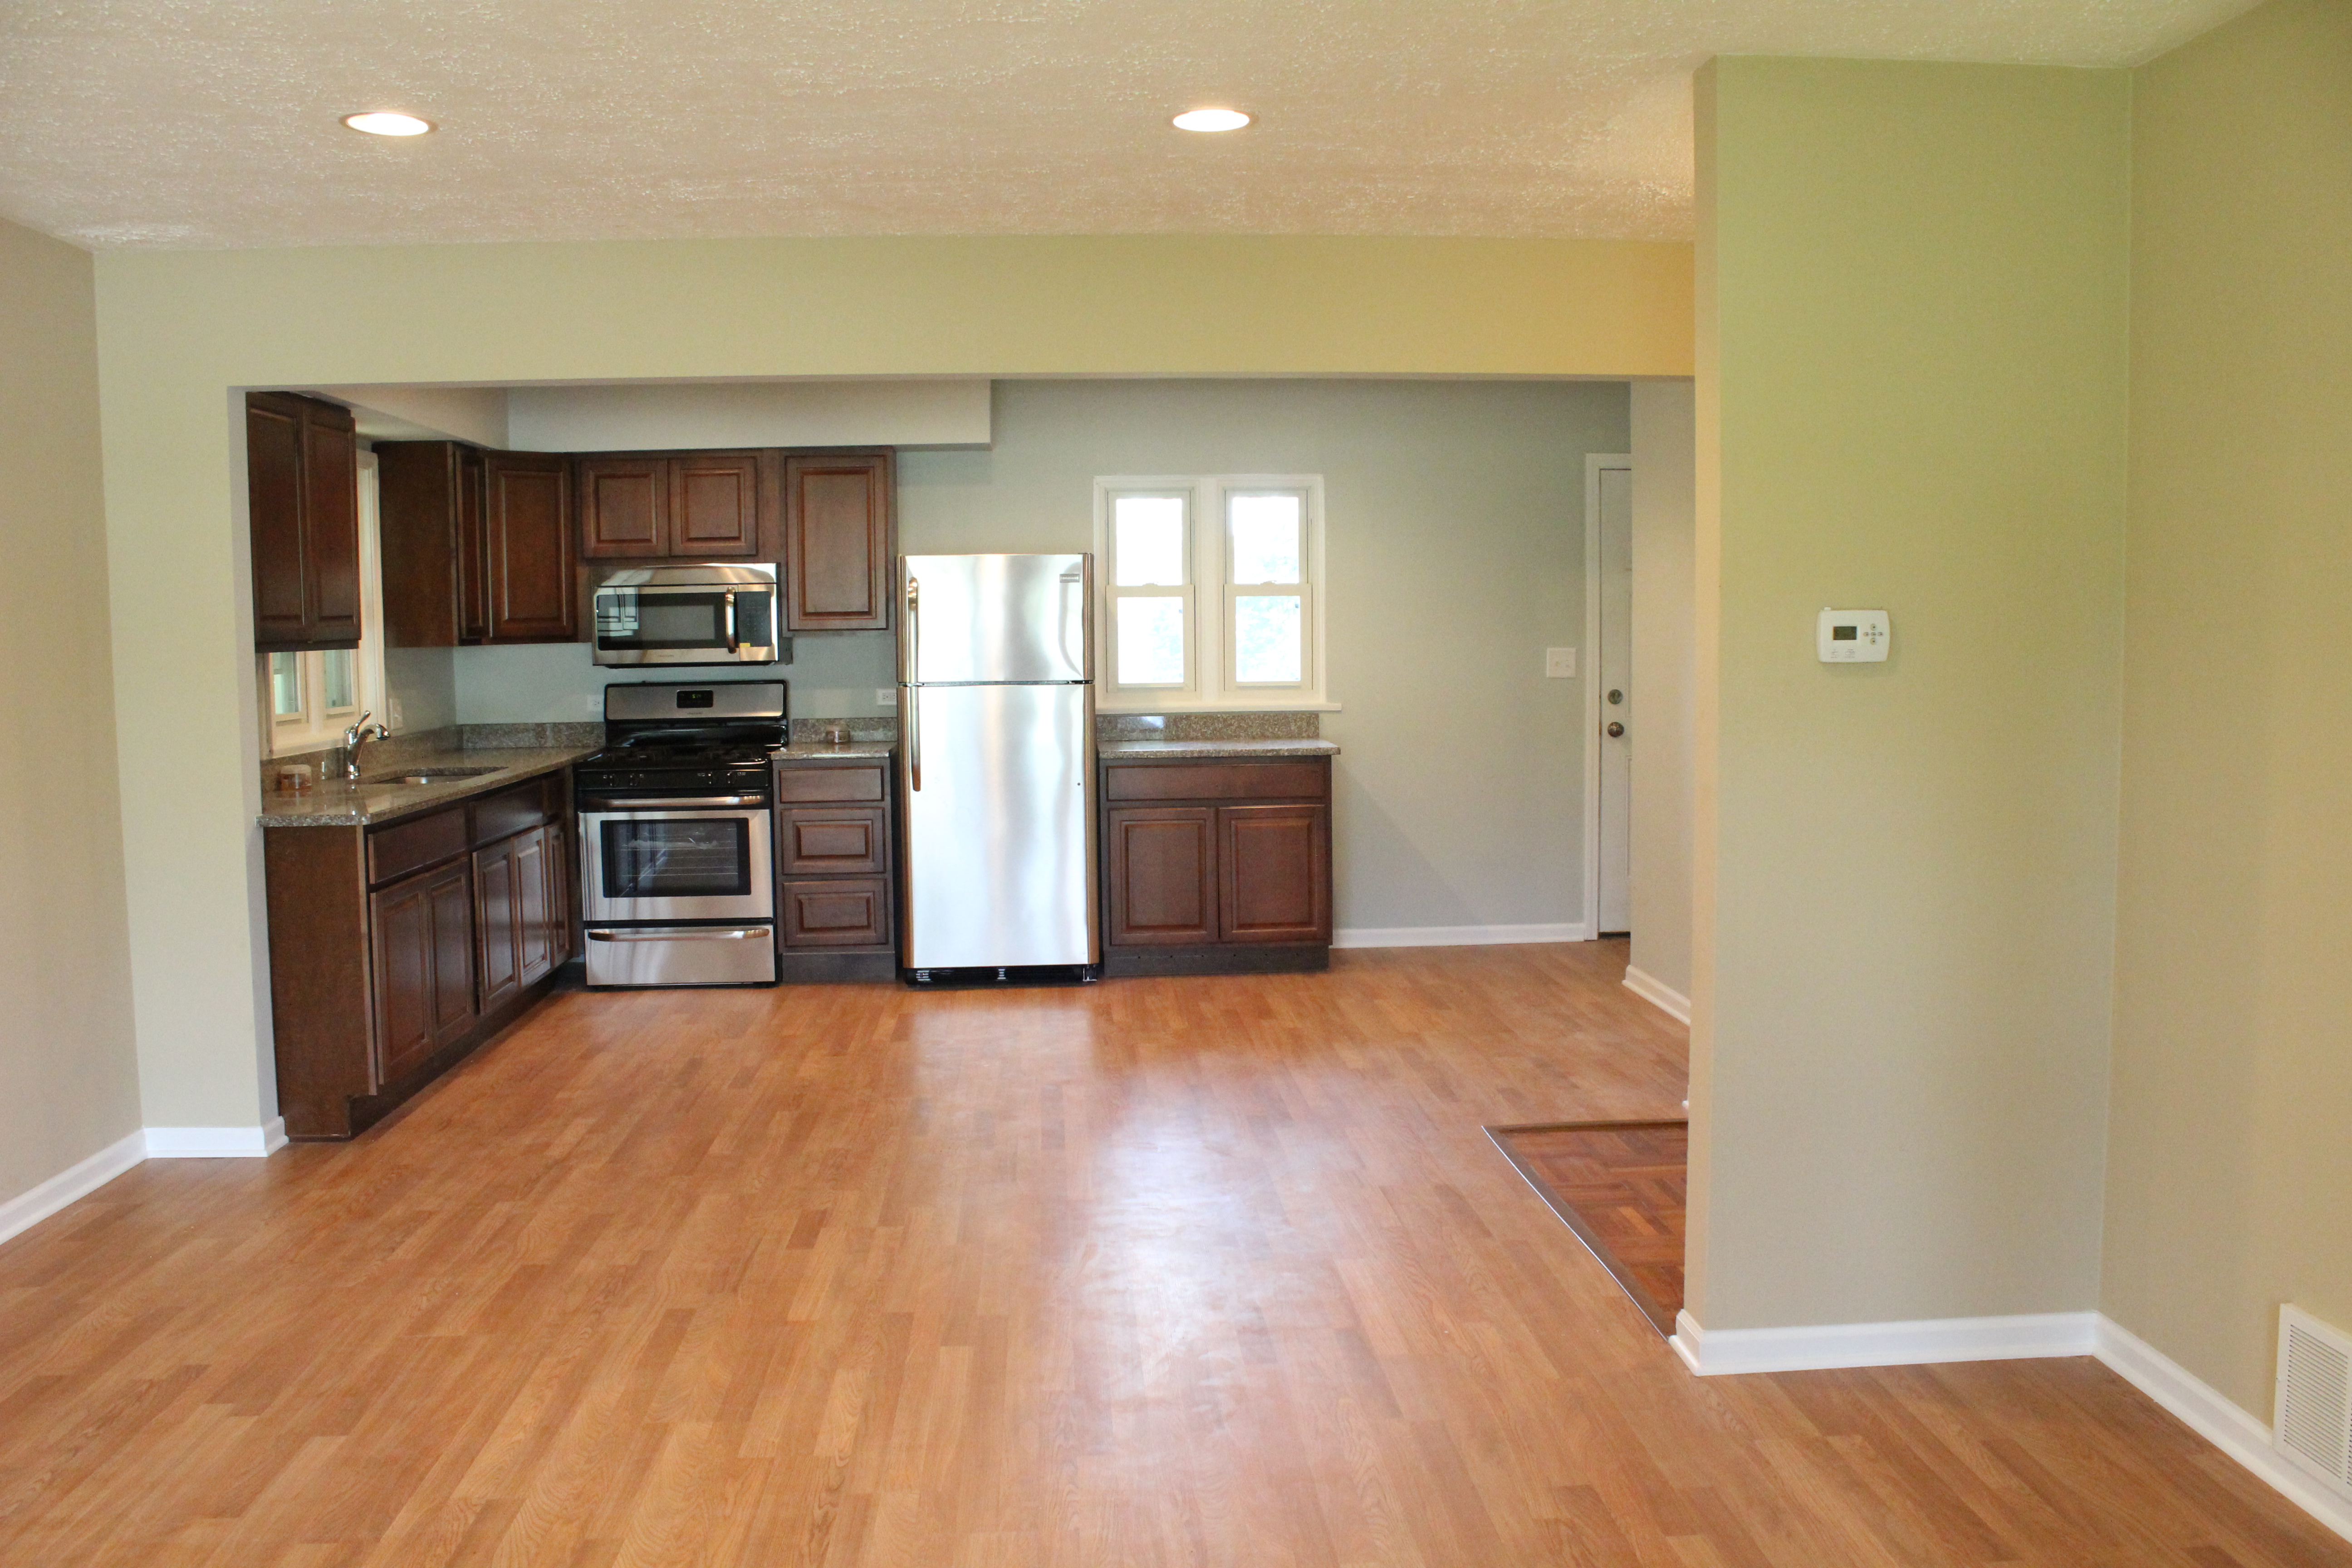
img_4570

And after:

IMG_6127

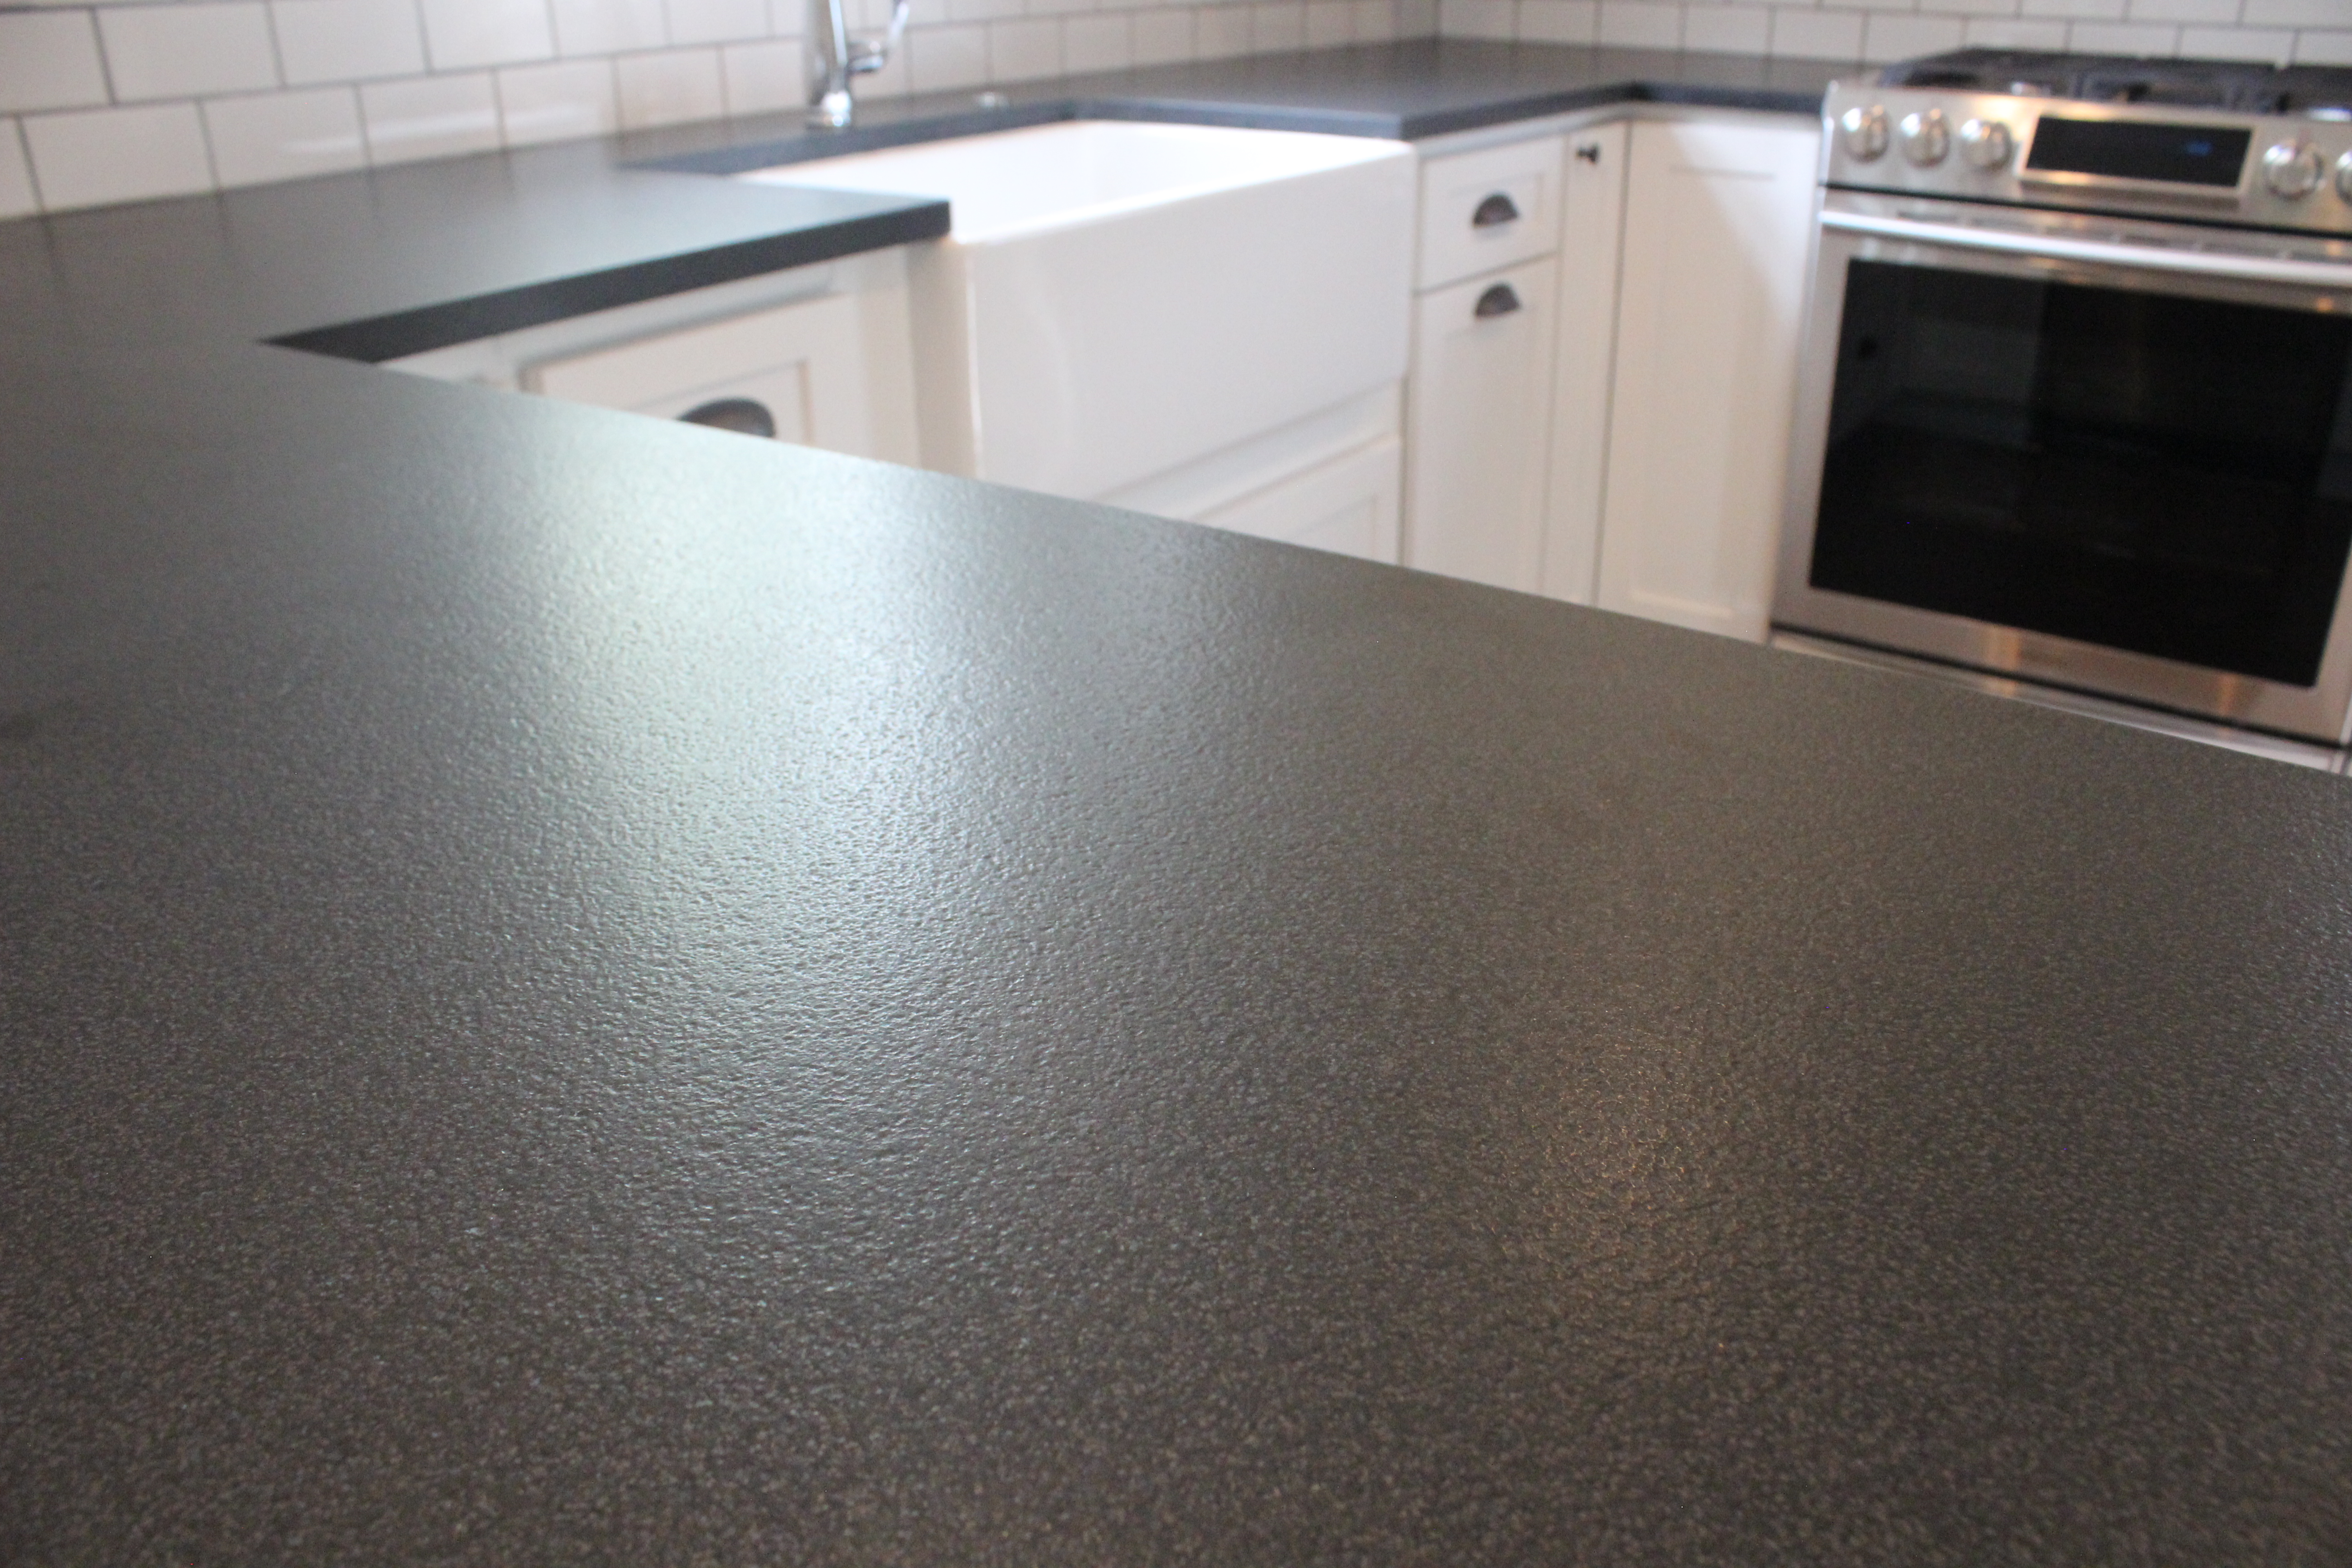
Here’s a close up of the leathered countertops, they look very cool:

IMG_6122

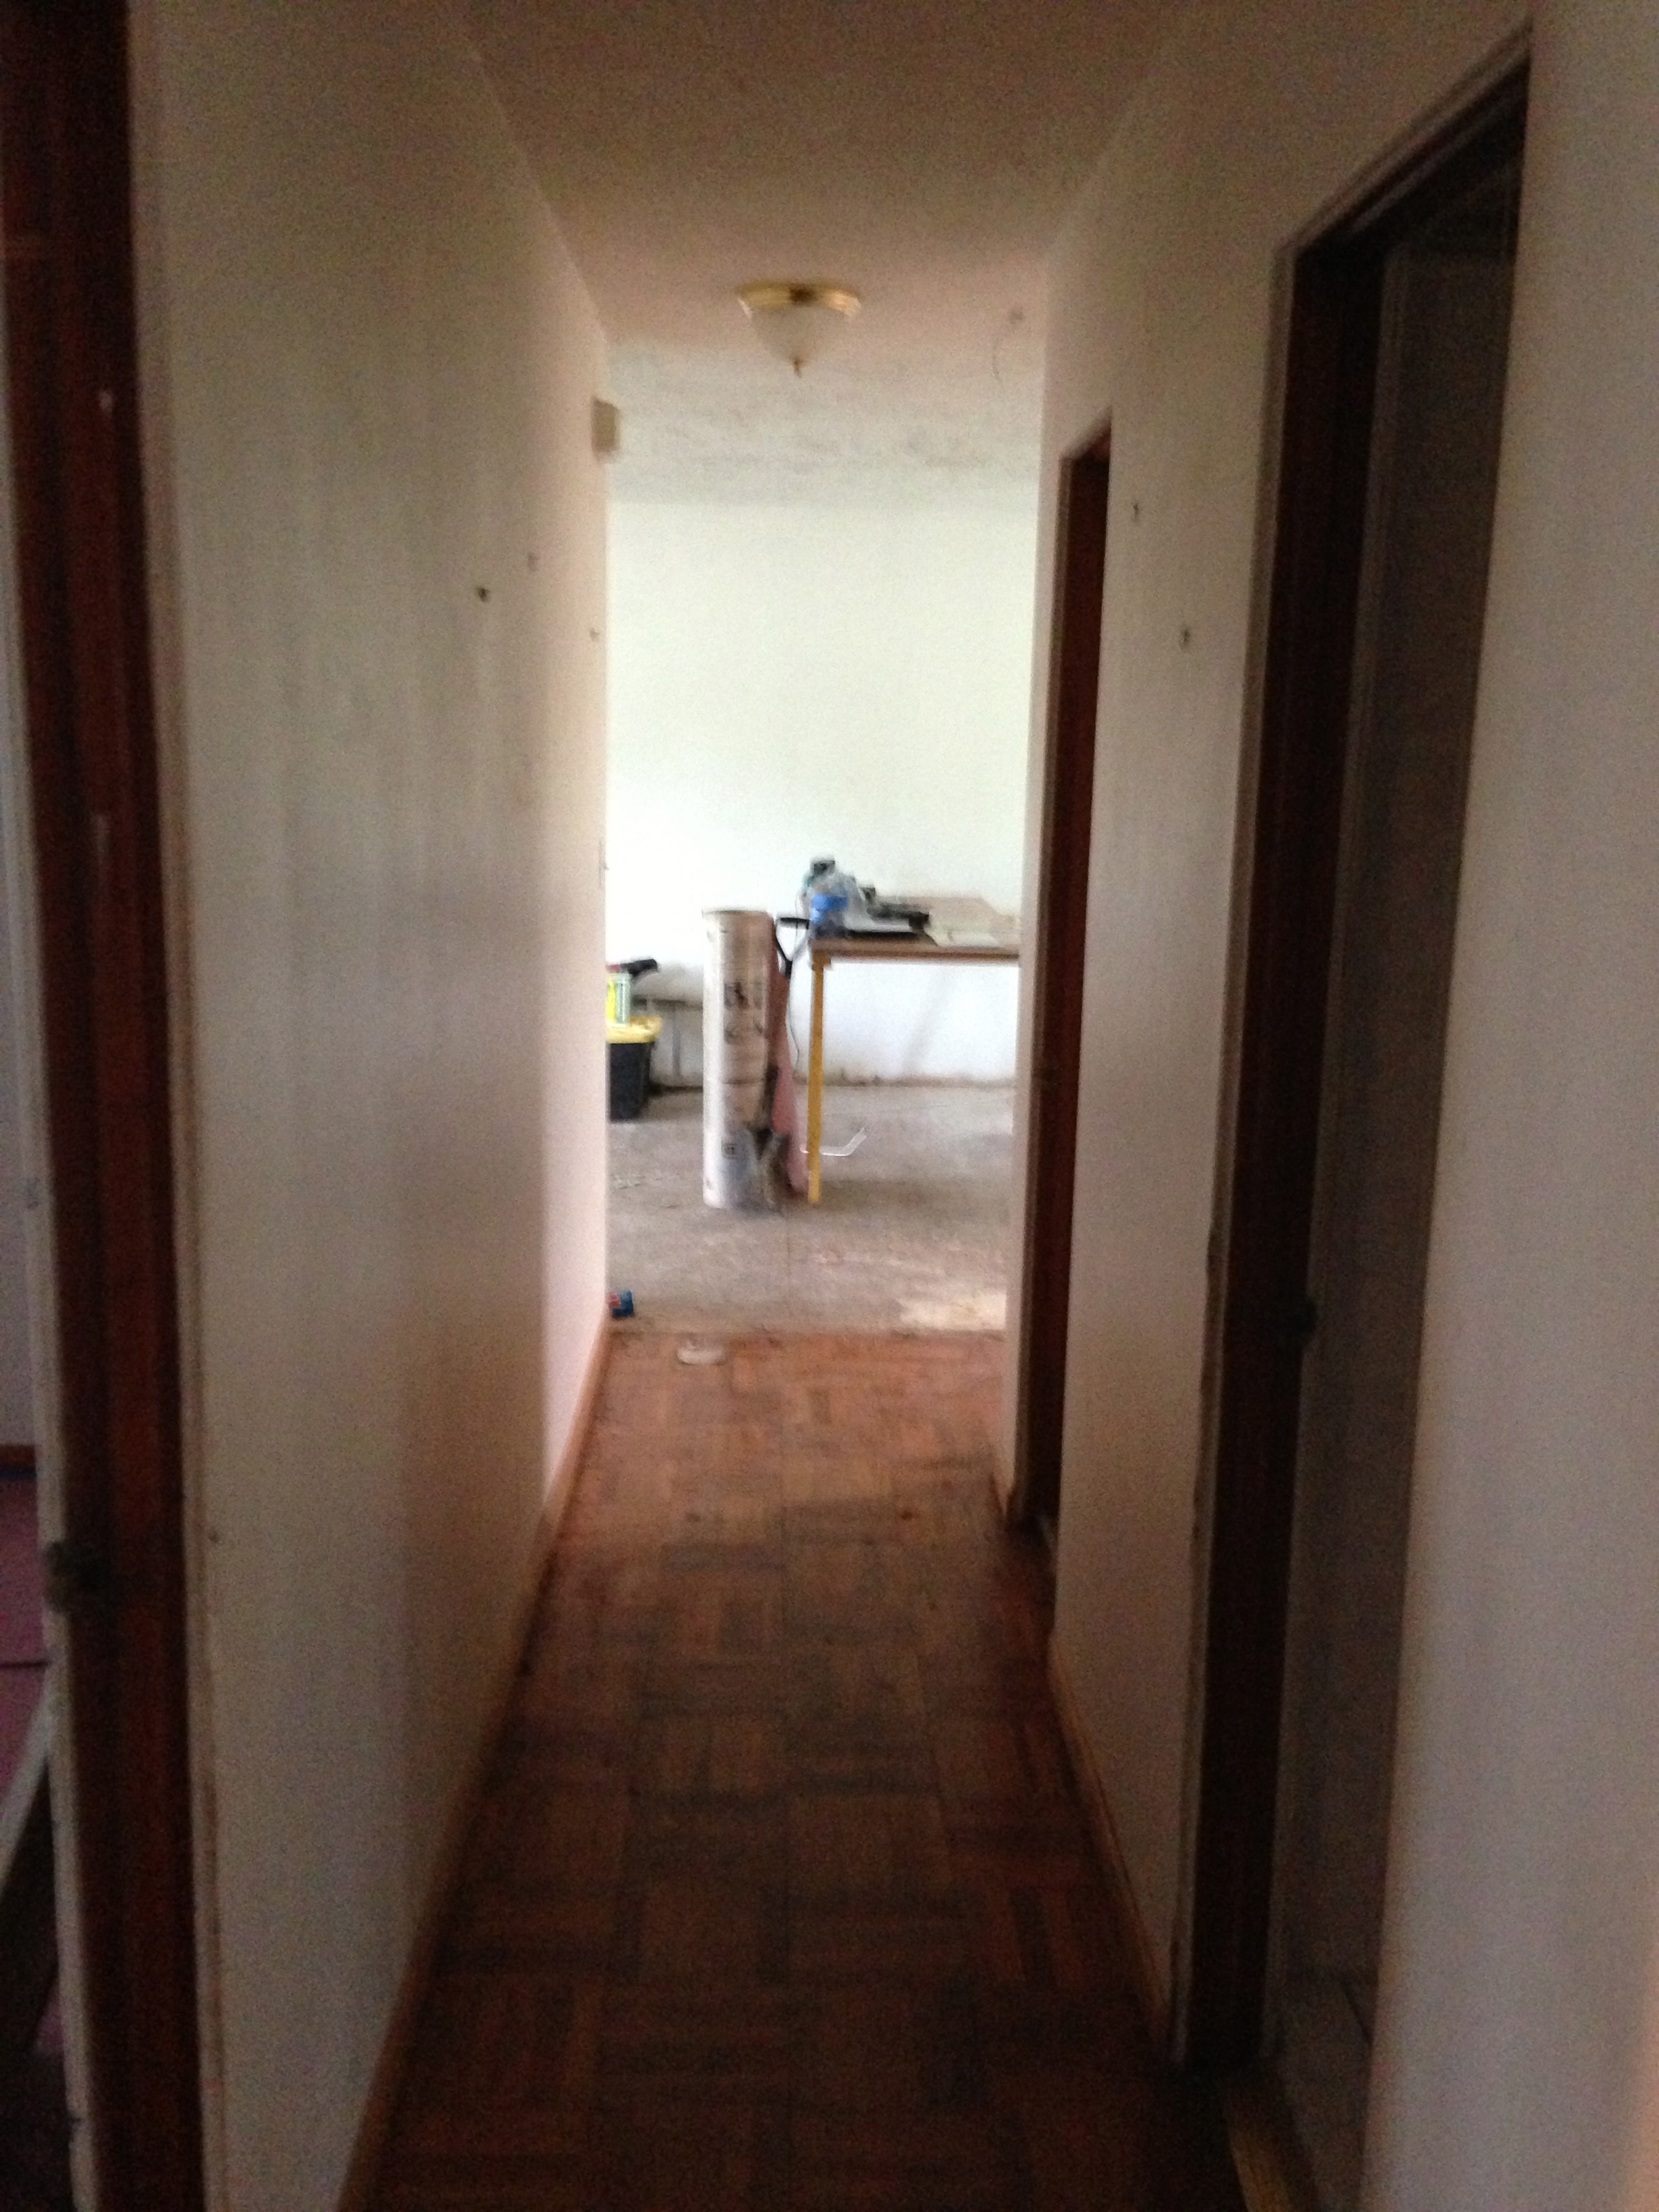
This was the old archway leading to 2 bedrooms and a bathroom (you can see the marks on the wallpaper from someone smoking in the house for 40 years!)
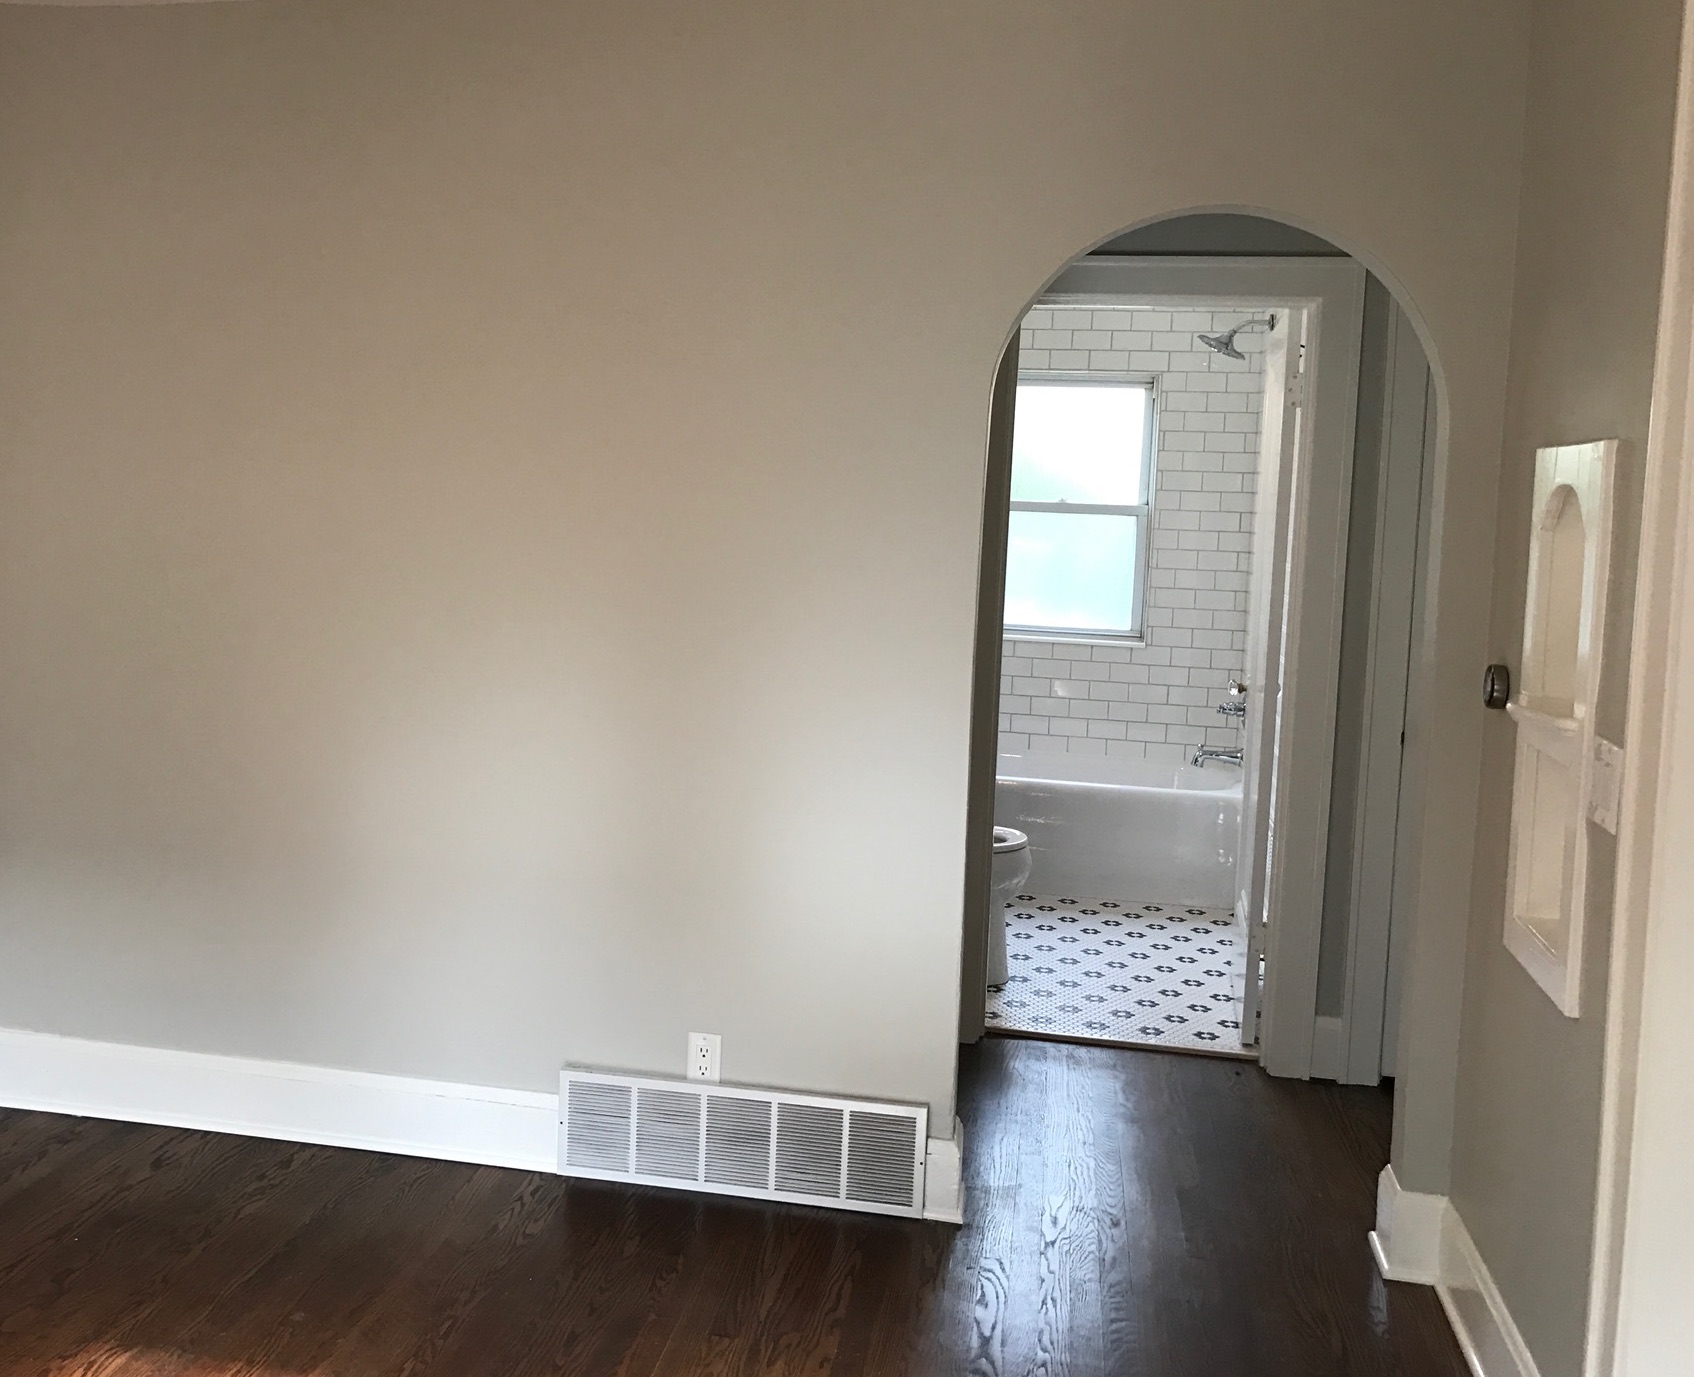
img_4577

And now:

archway

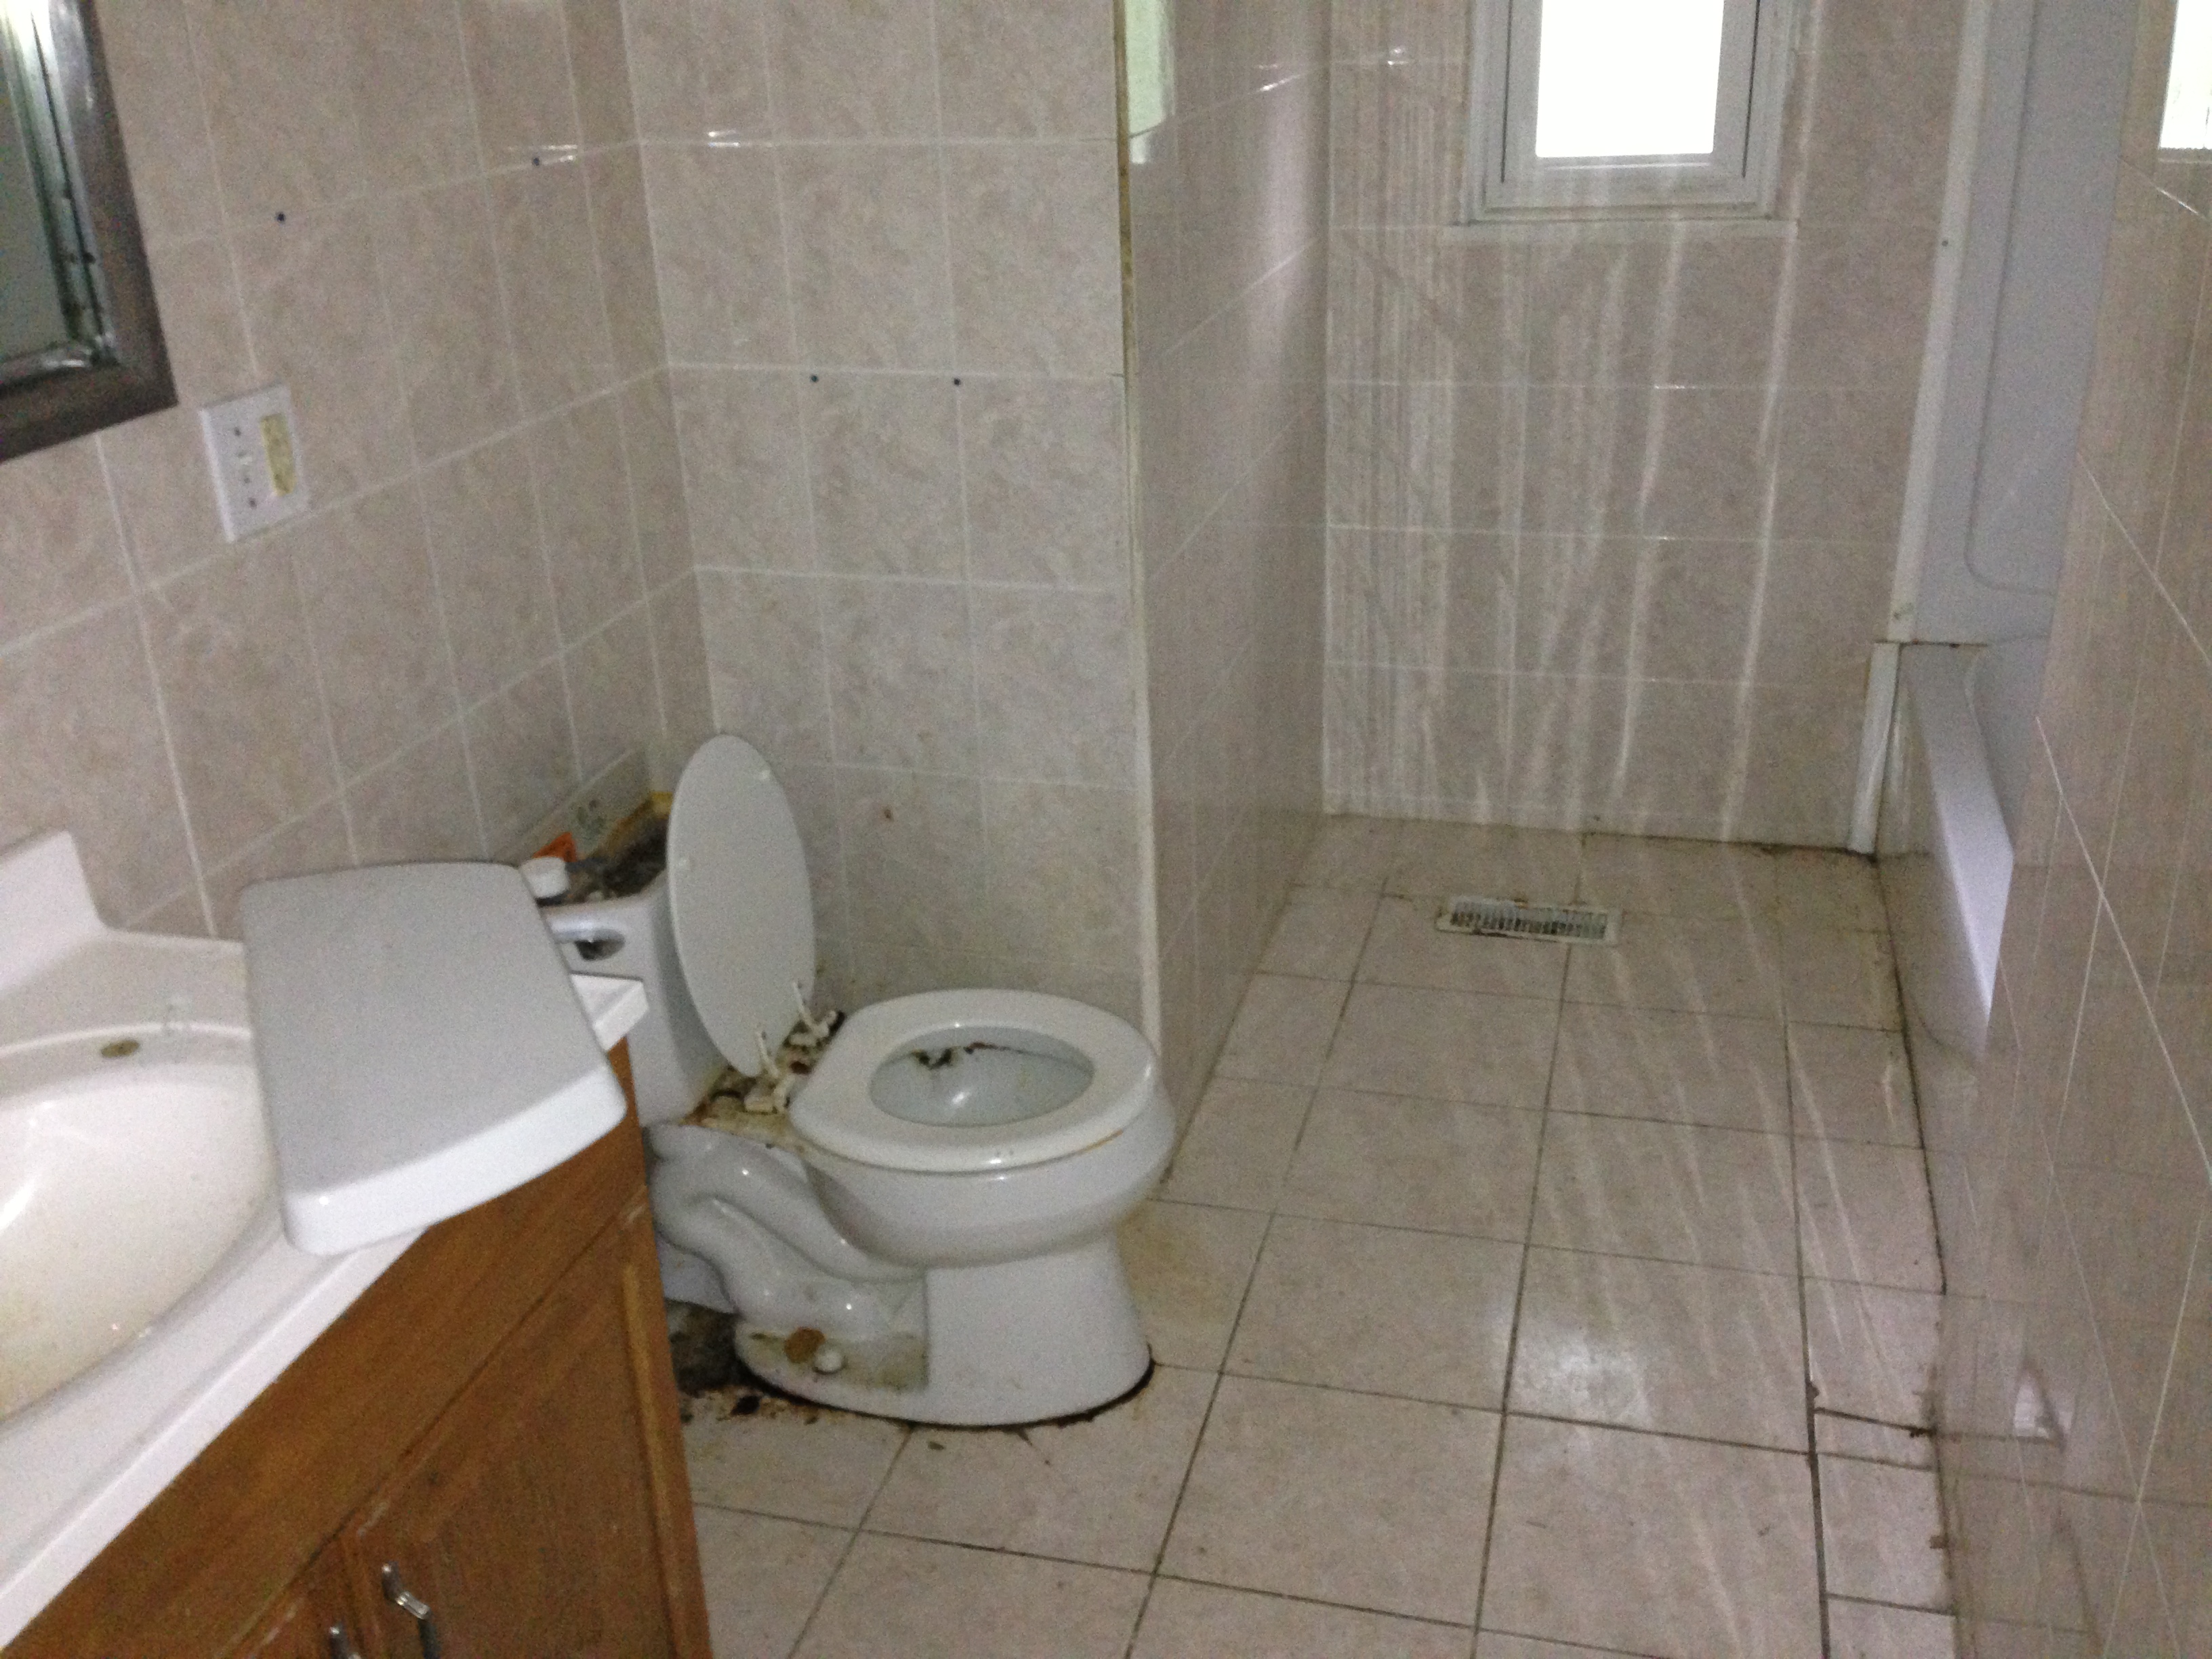
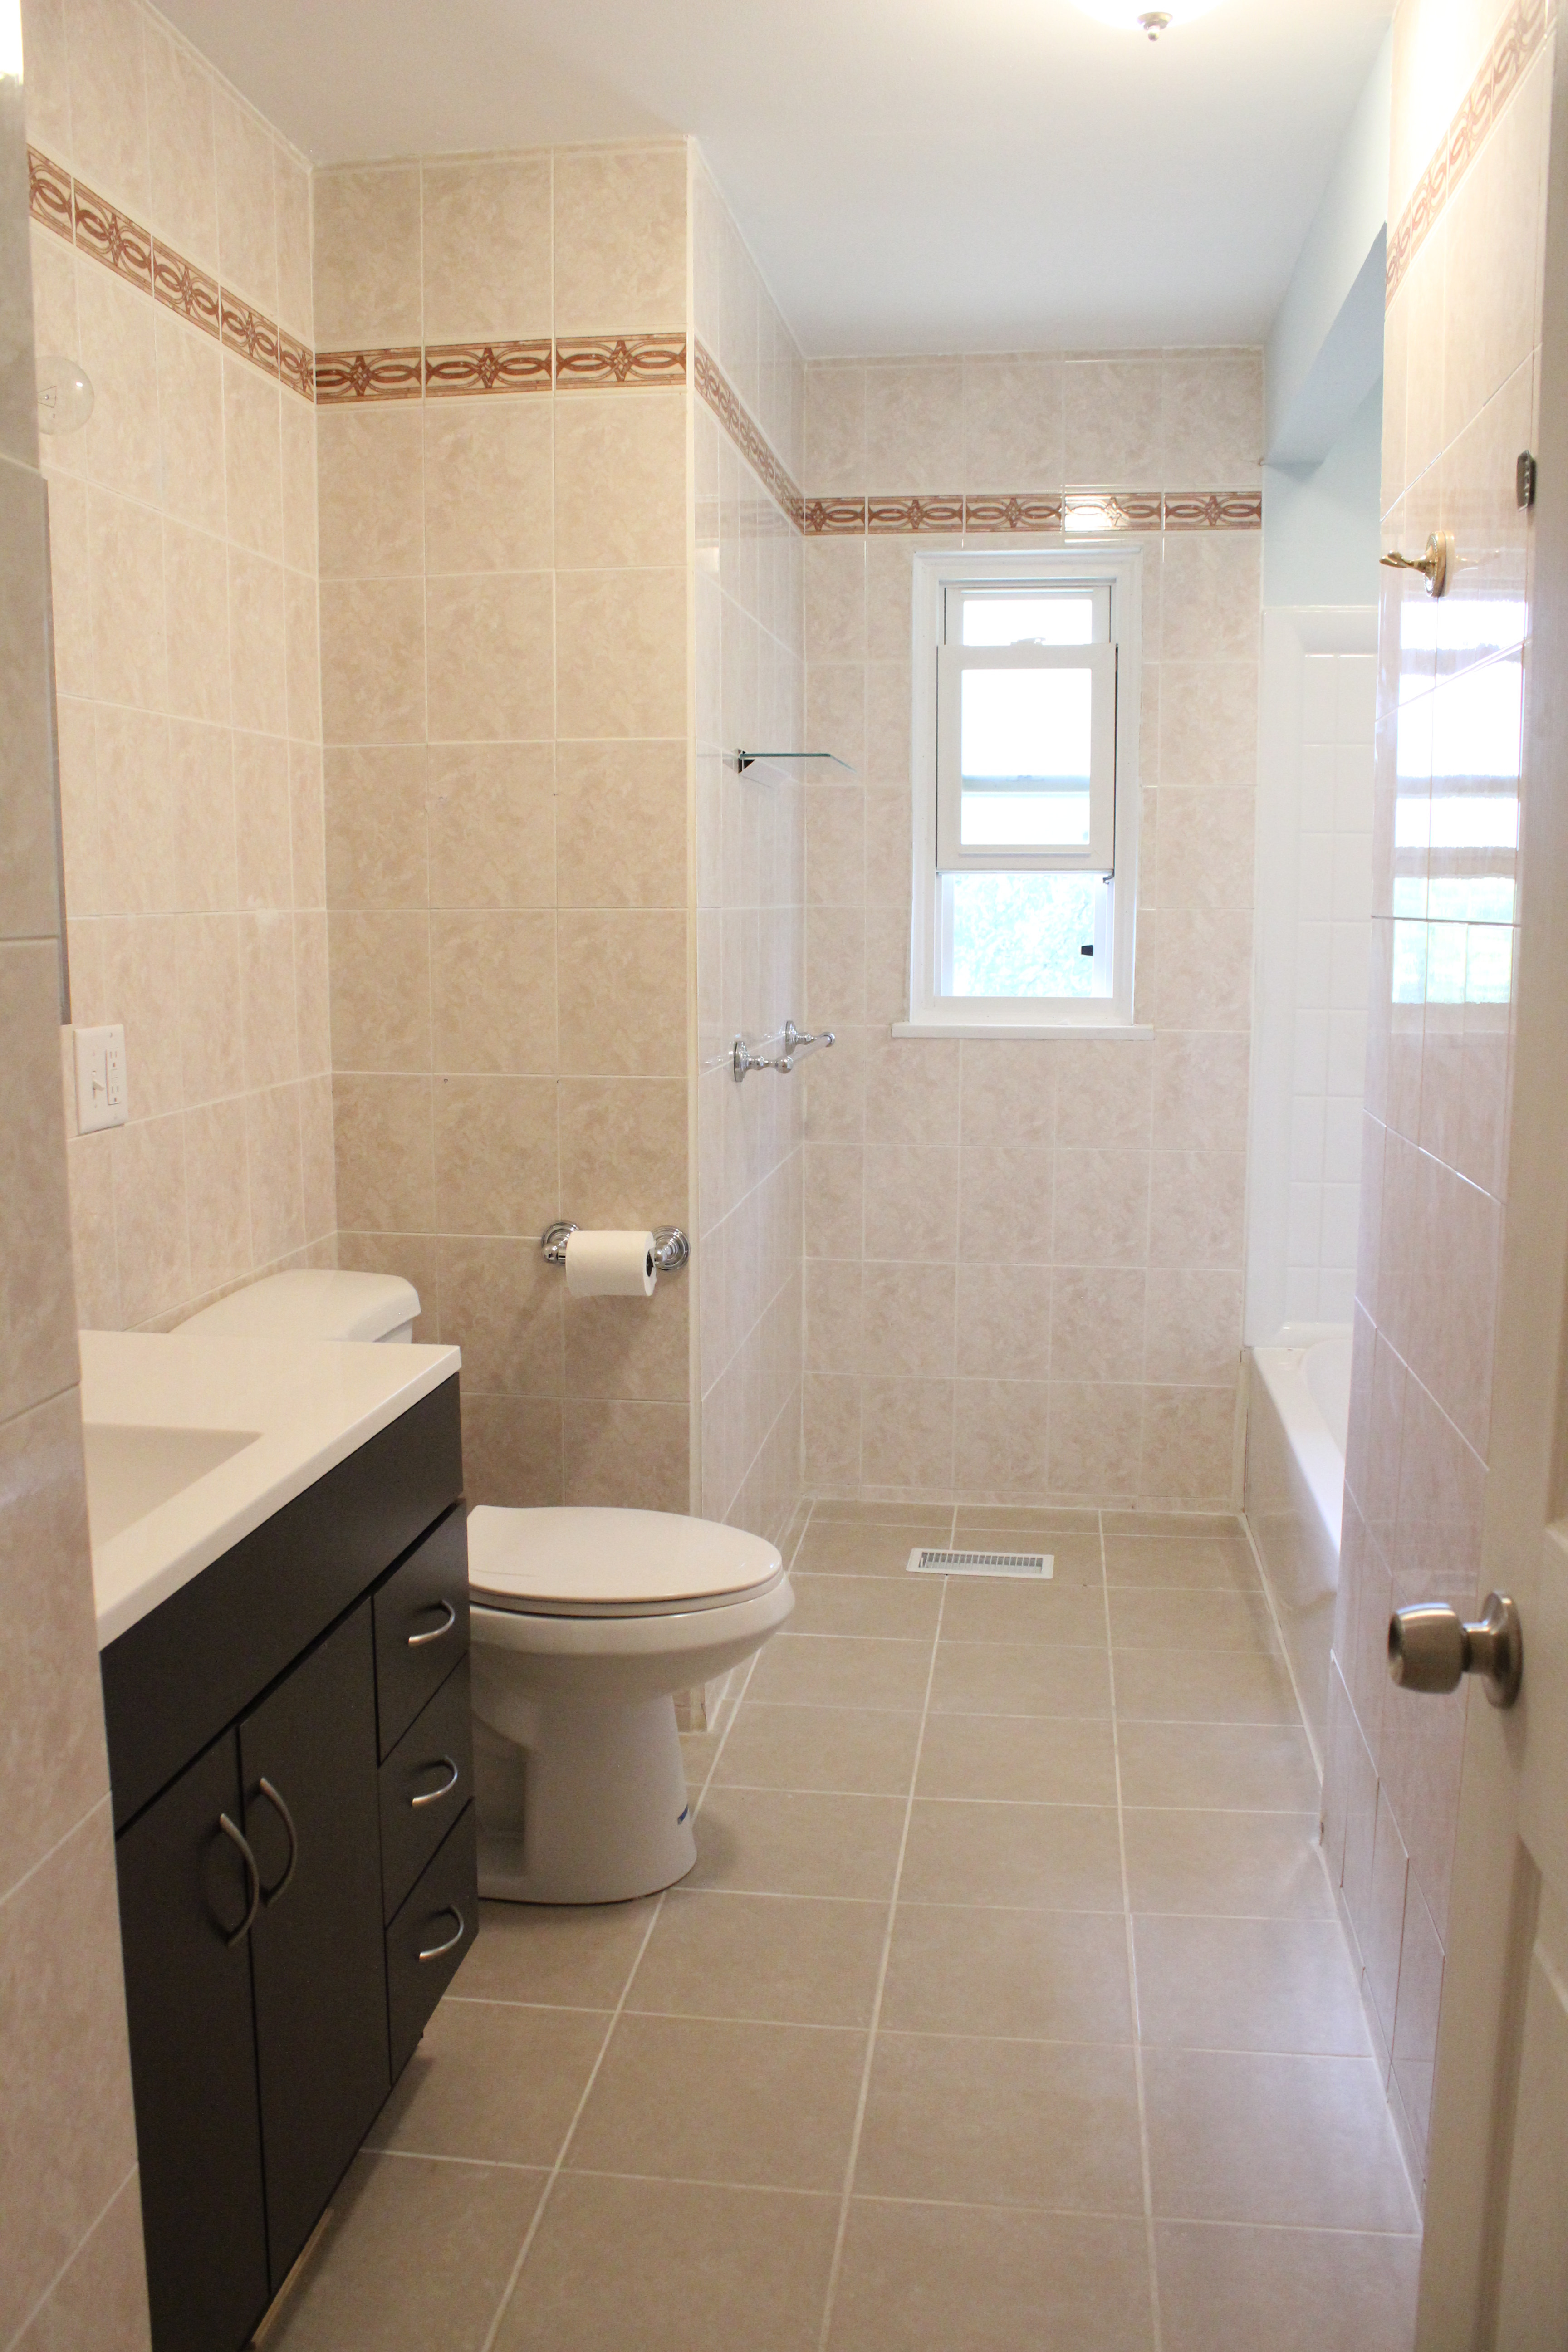
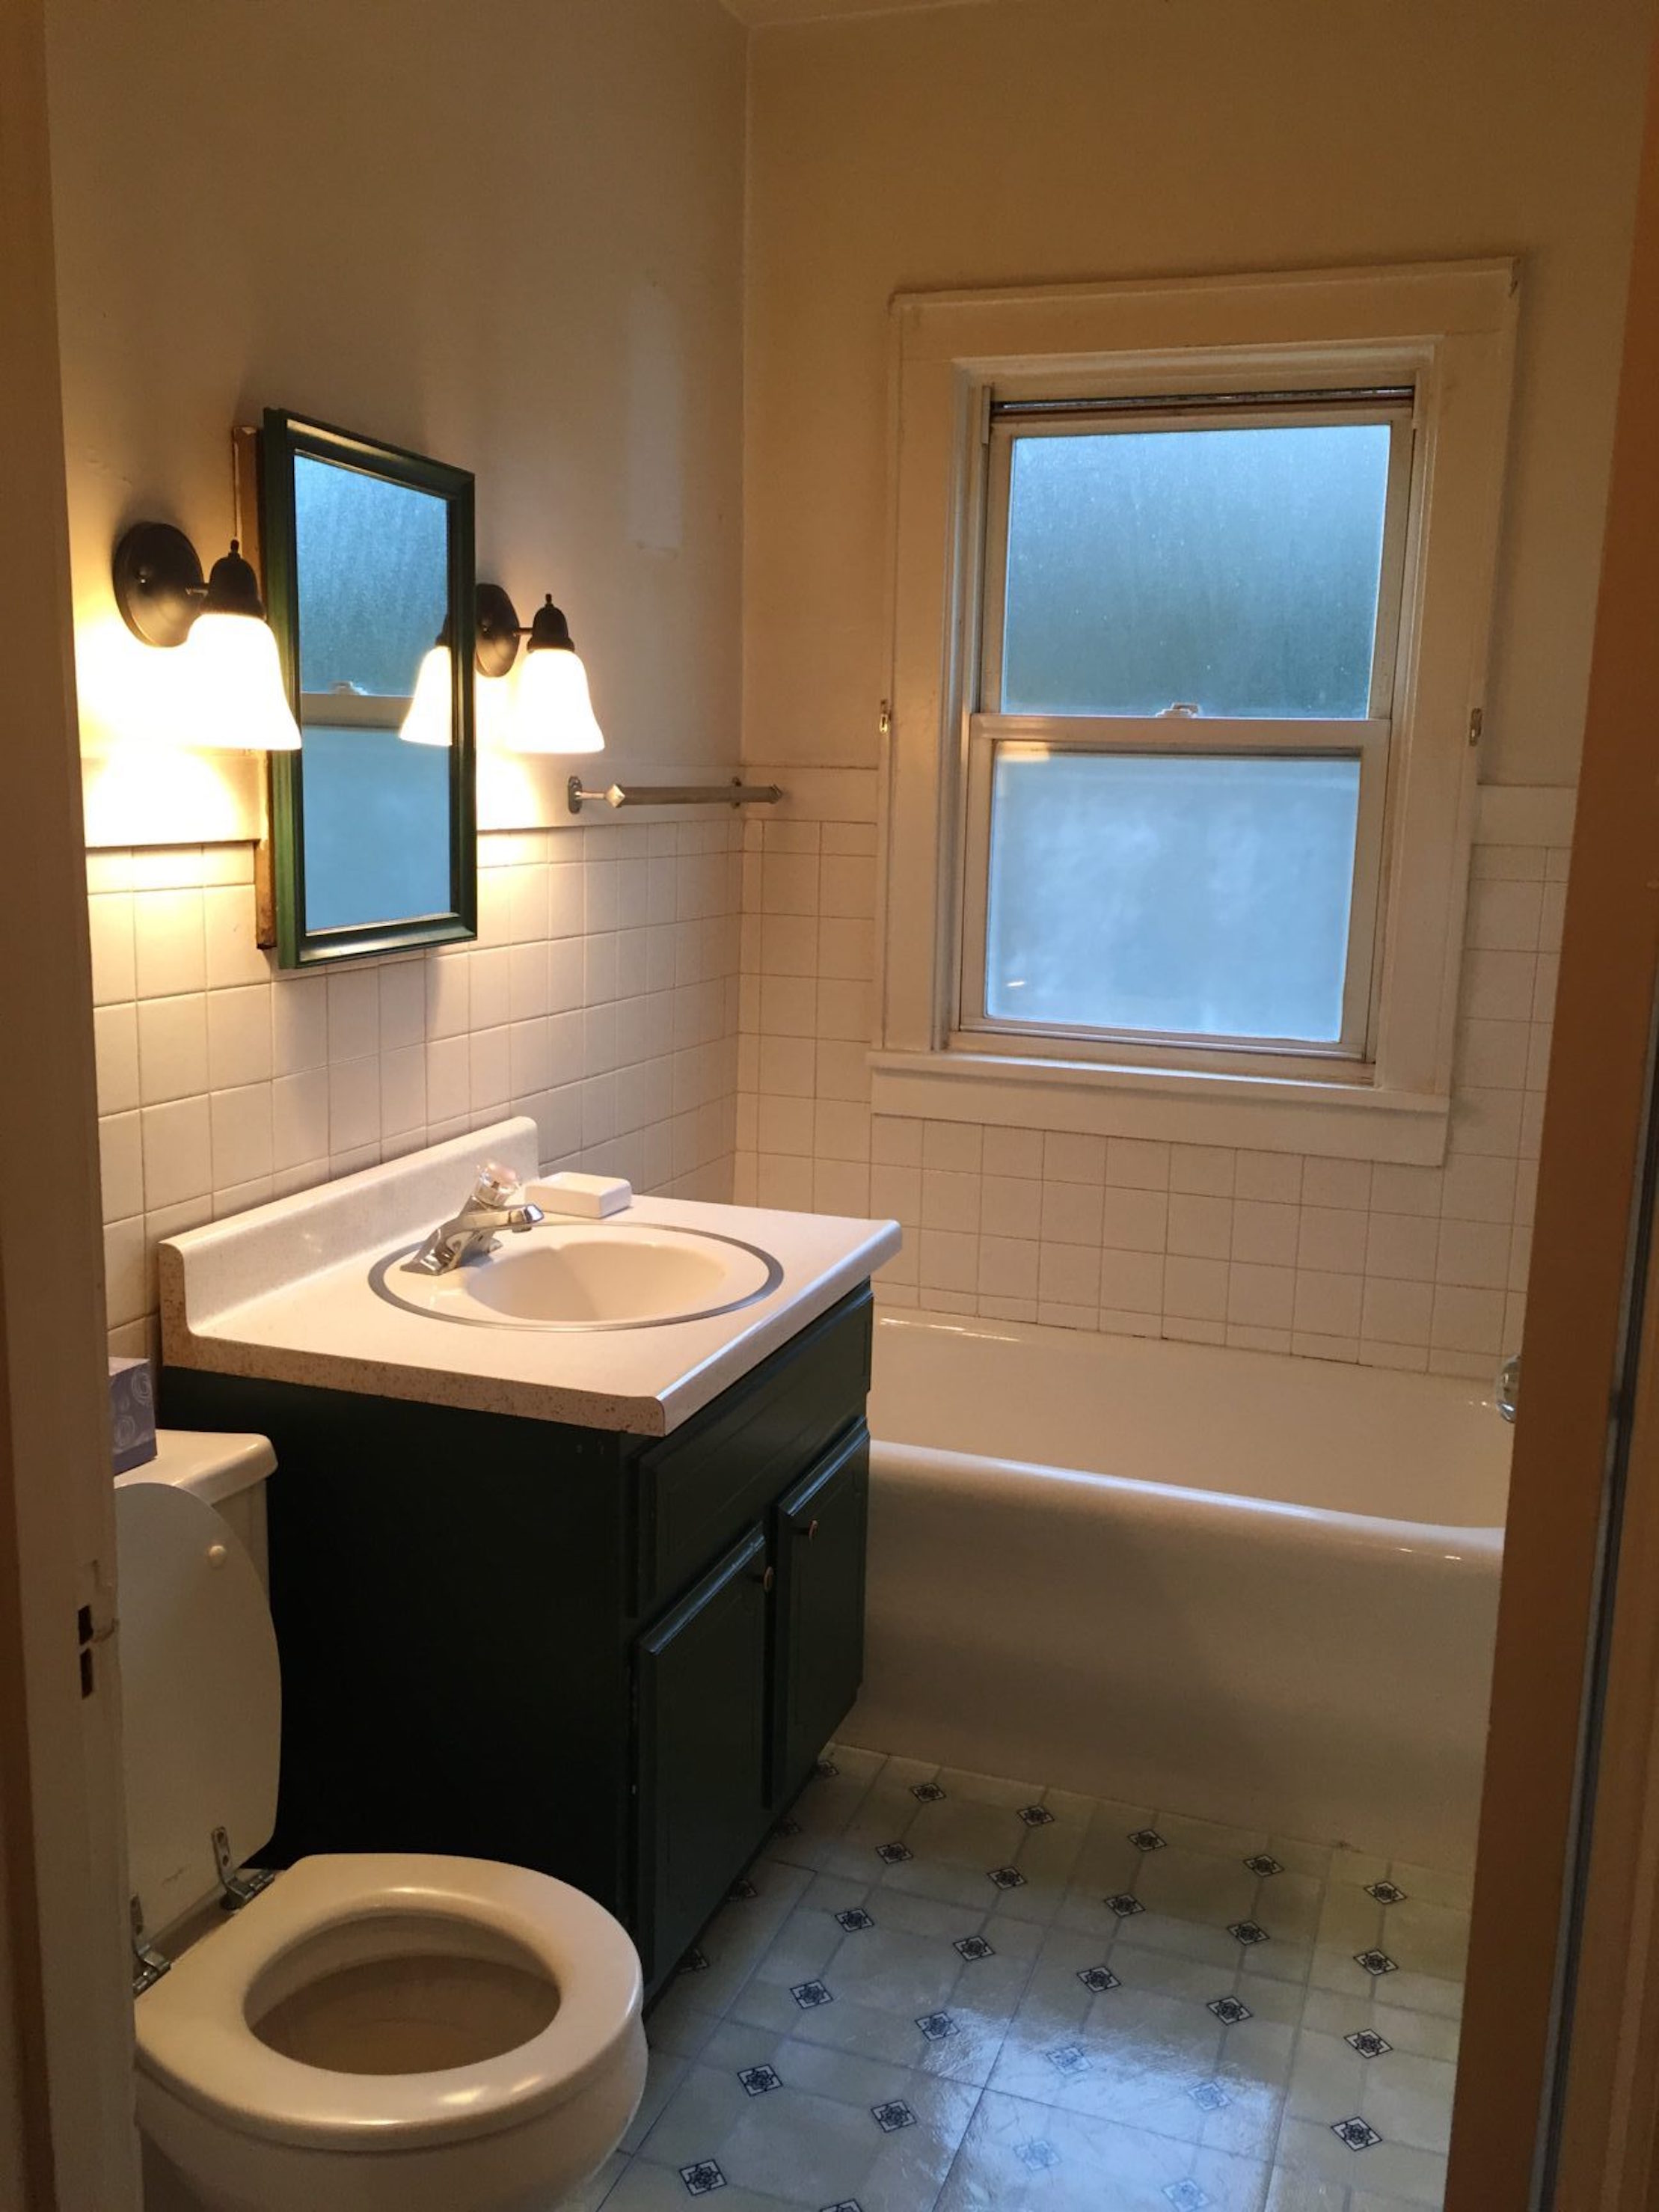
Here was the old bathroom:

old bathroom

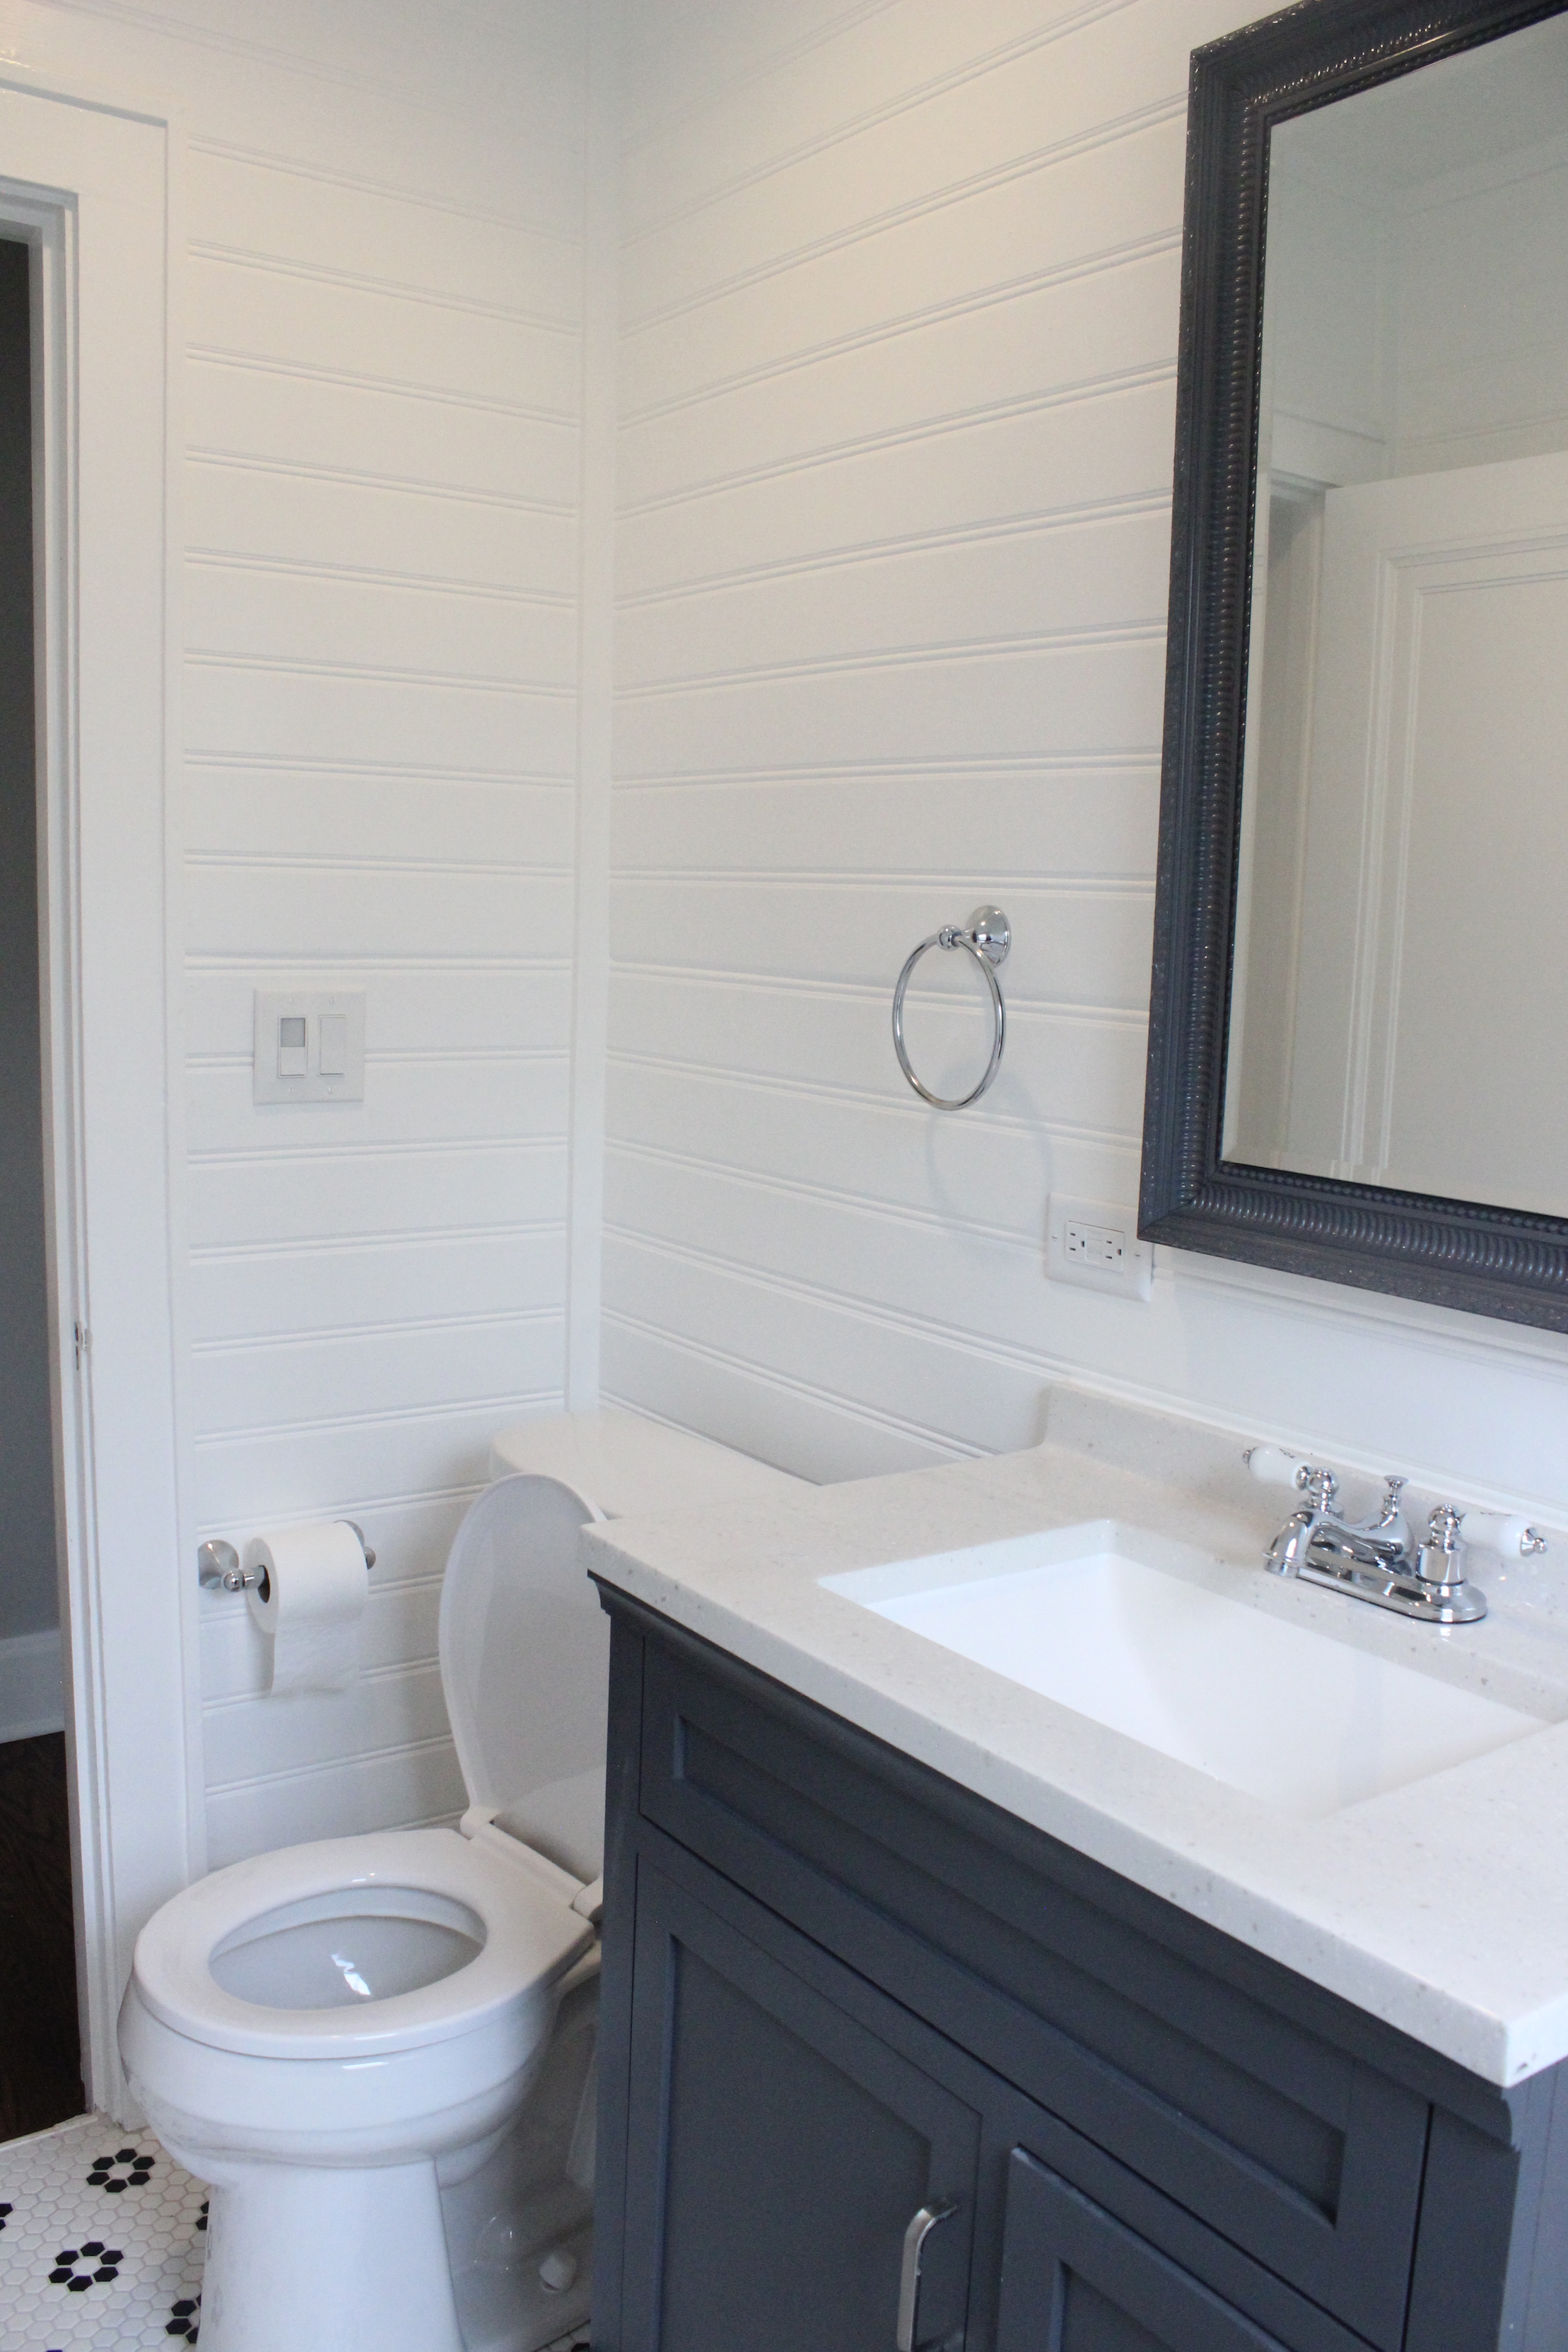
And now after a new subway tiled shower, gray vanity, vanity light, toilet, chrome fixtures, tub reglazing and more:

new bathroom

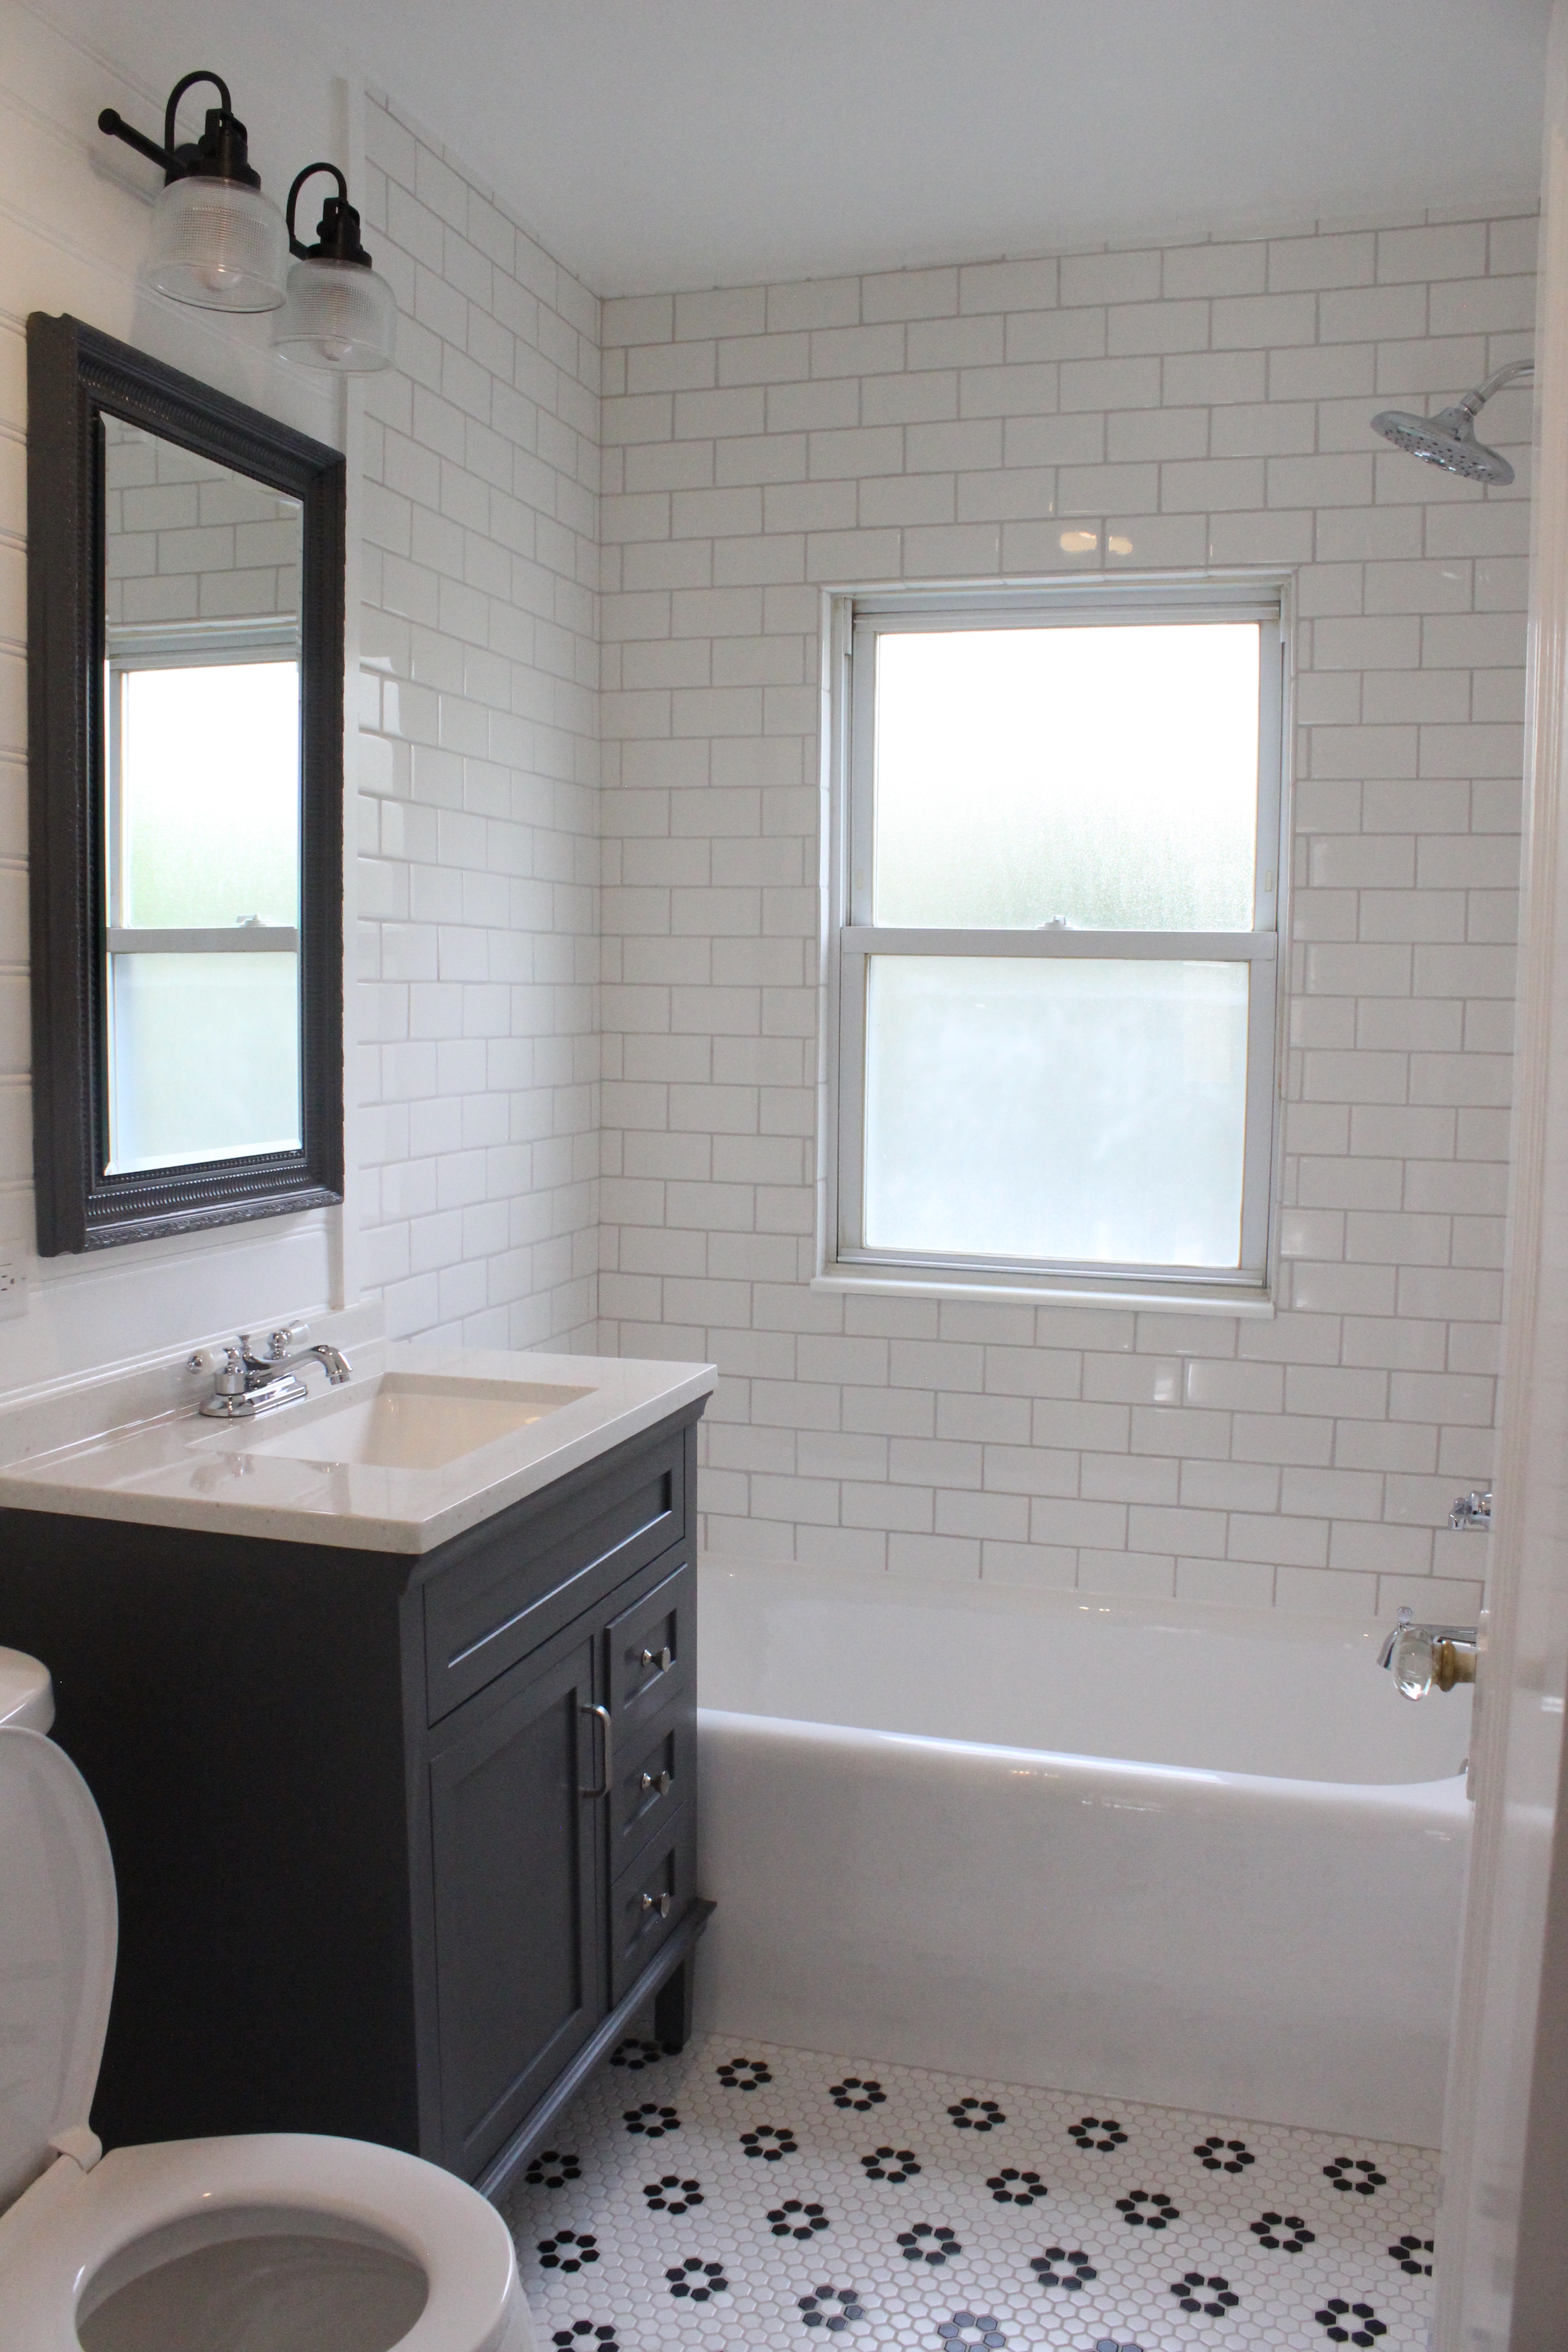
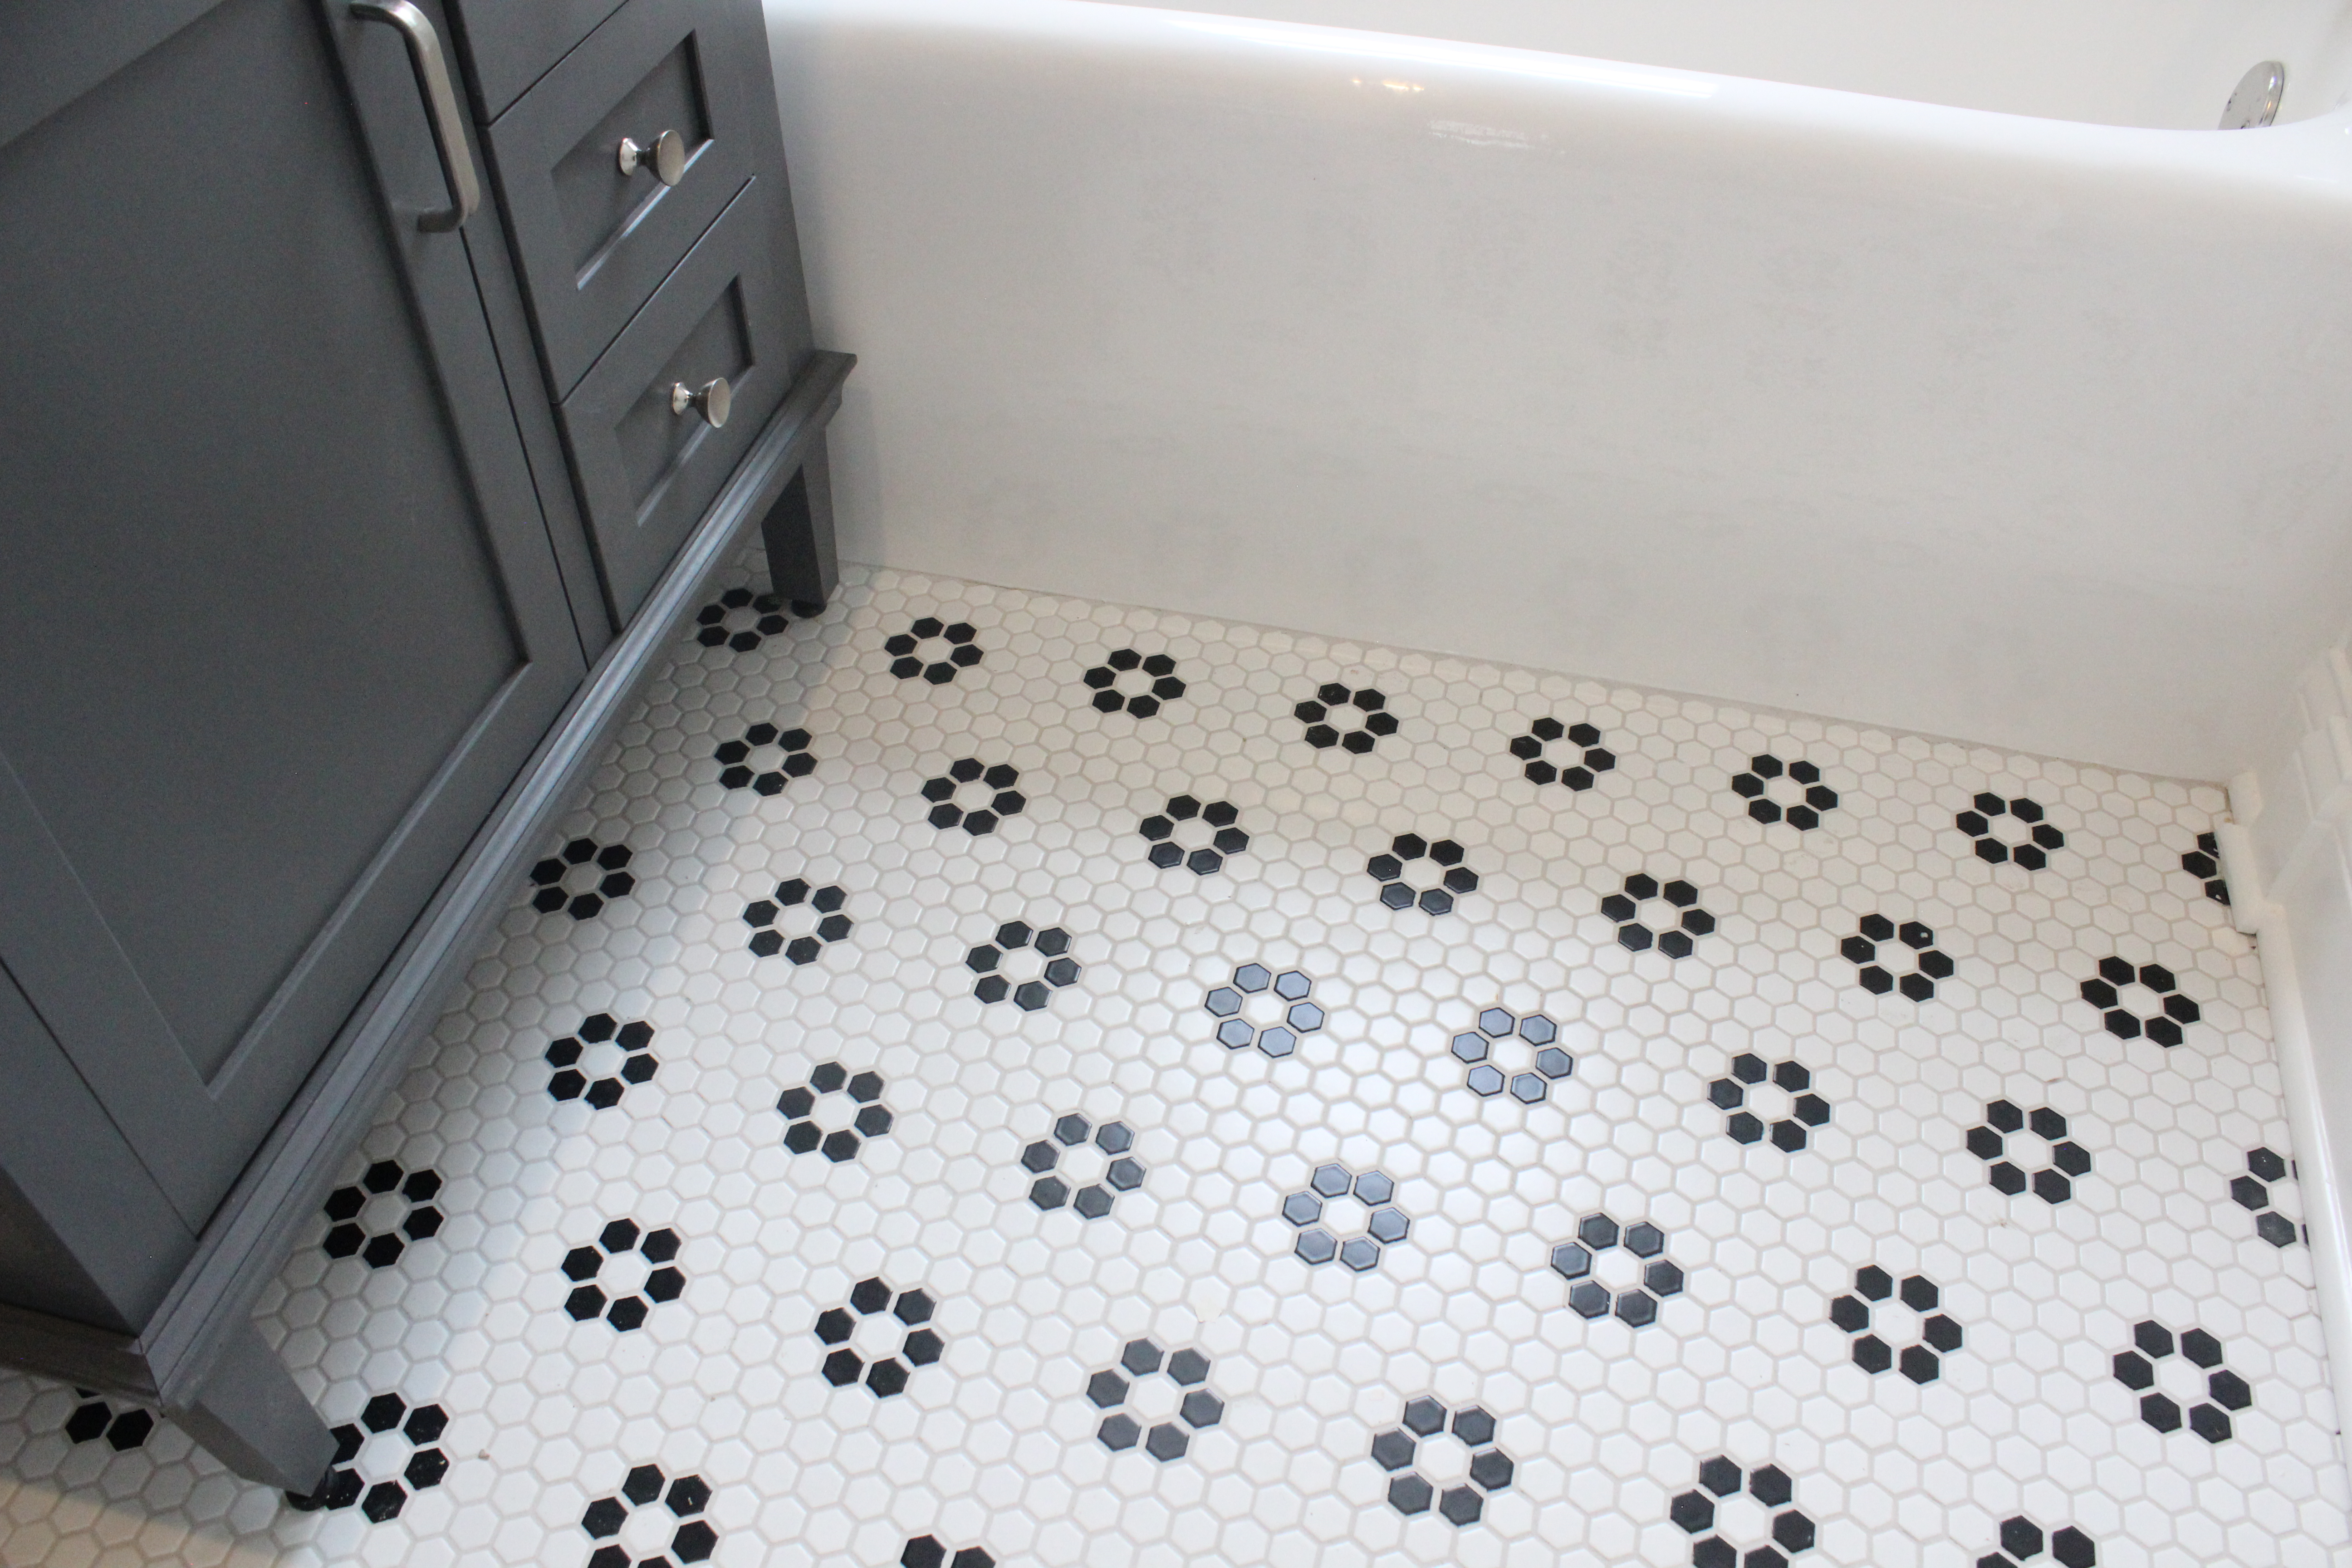
The vintage style hexagon flower tile from Home Depot is one of my favorite parts of the house:

IMG_6132

We installed white shiplap on the walls:

bathroom shiplap

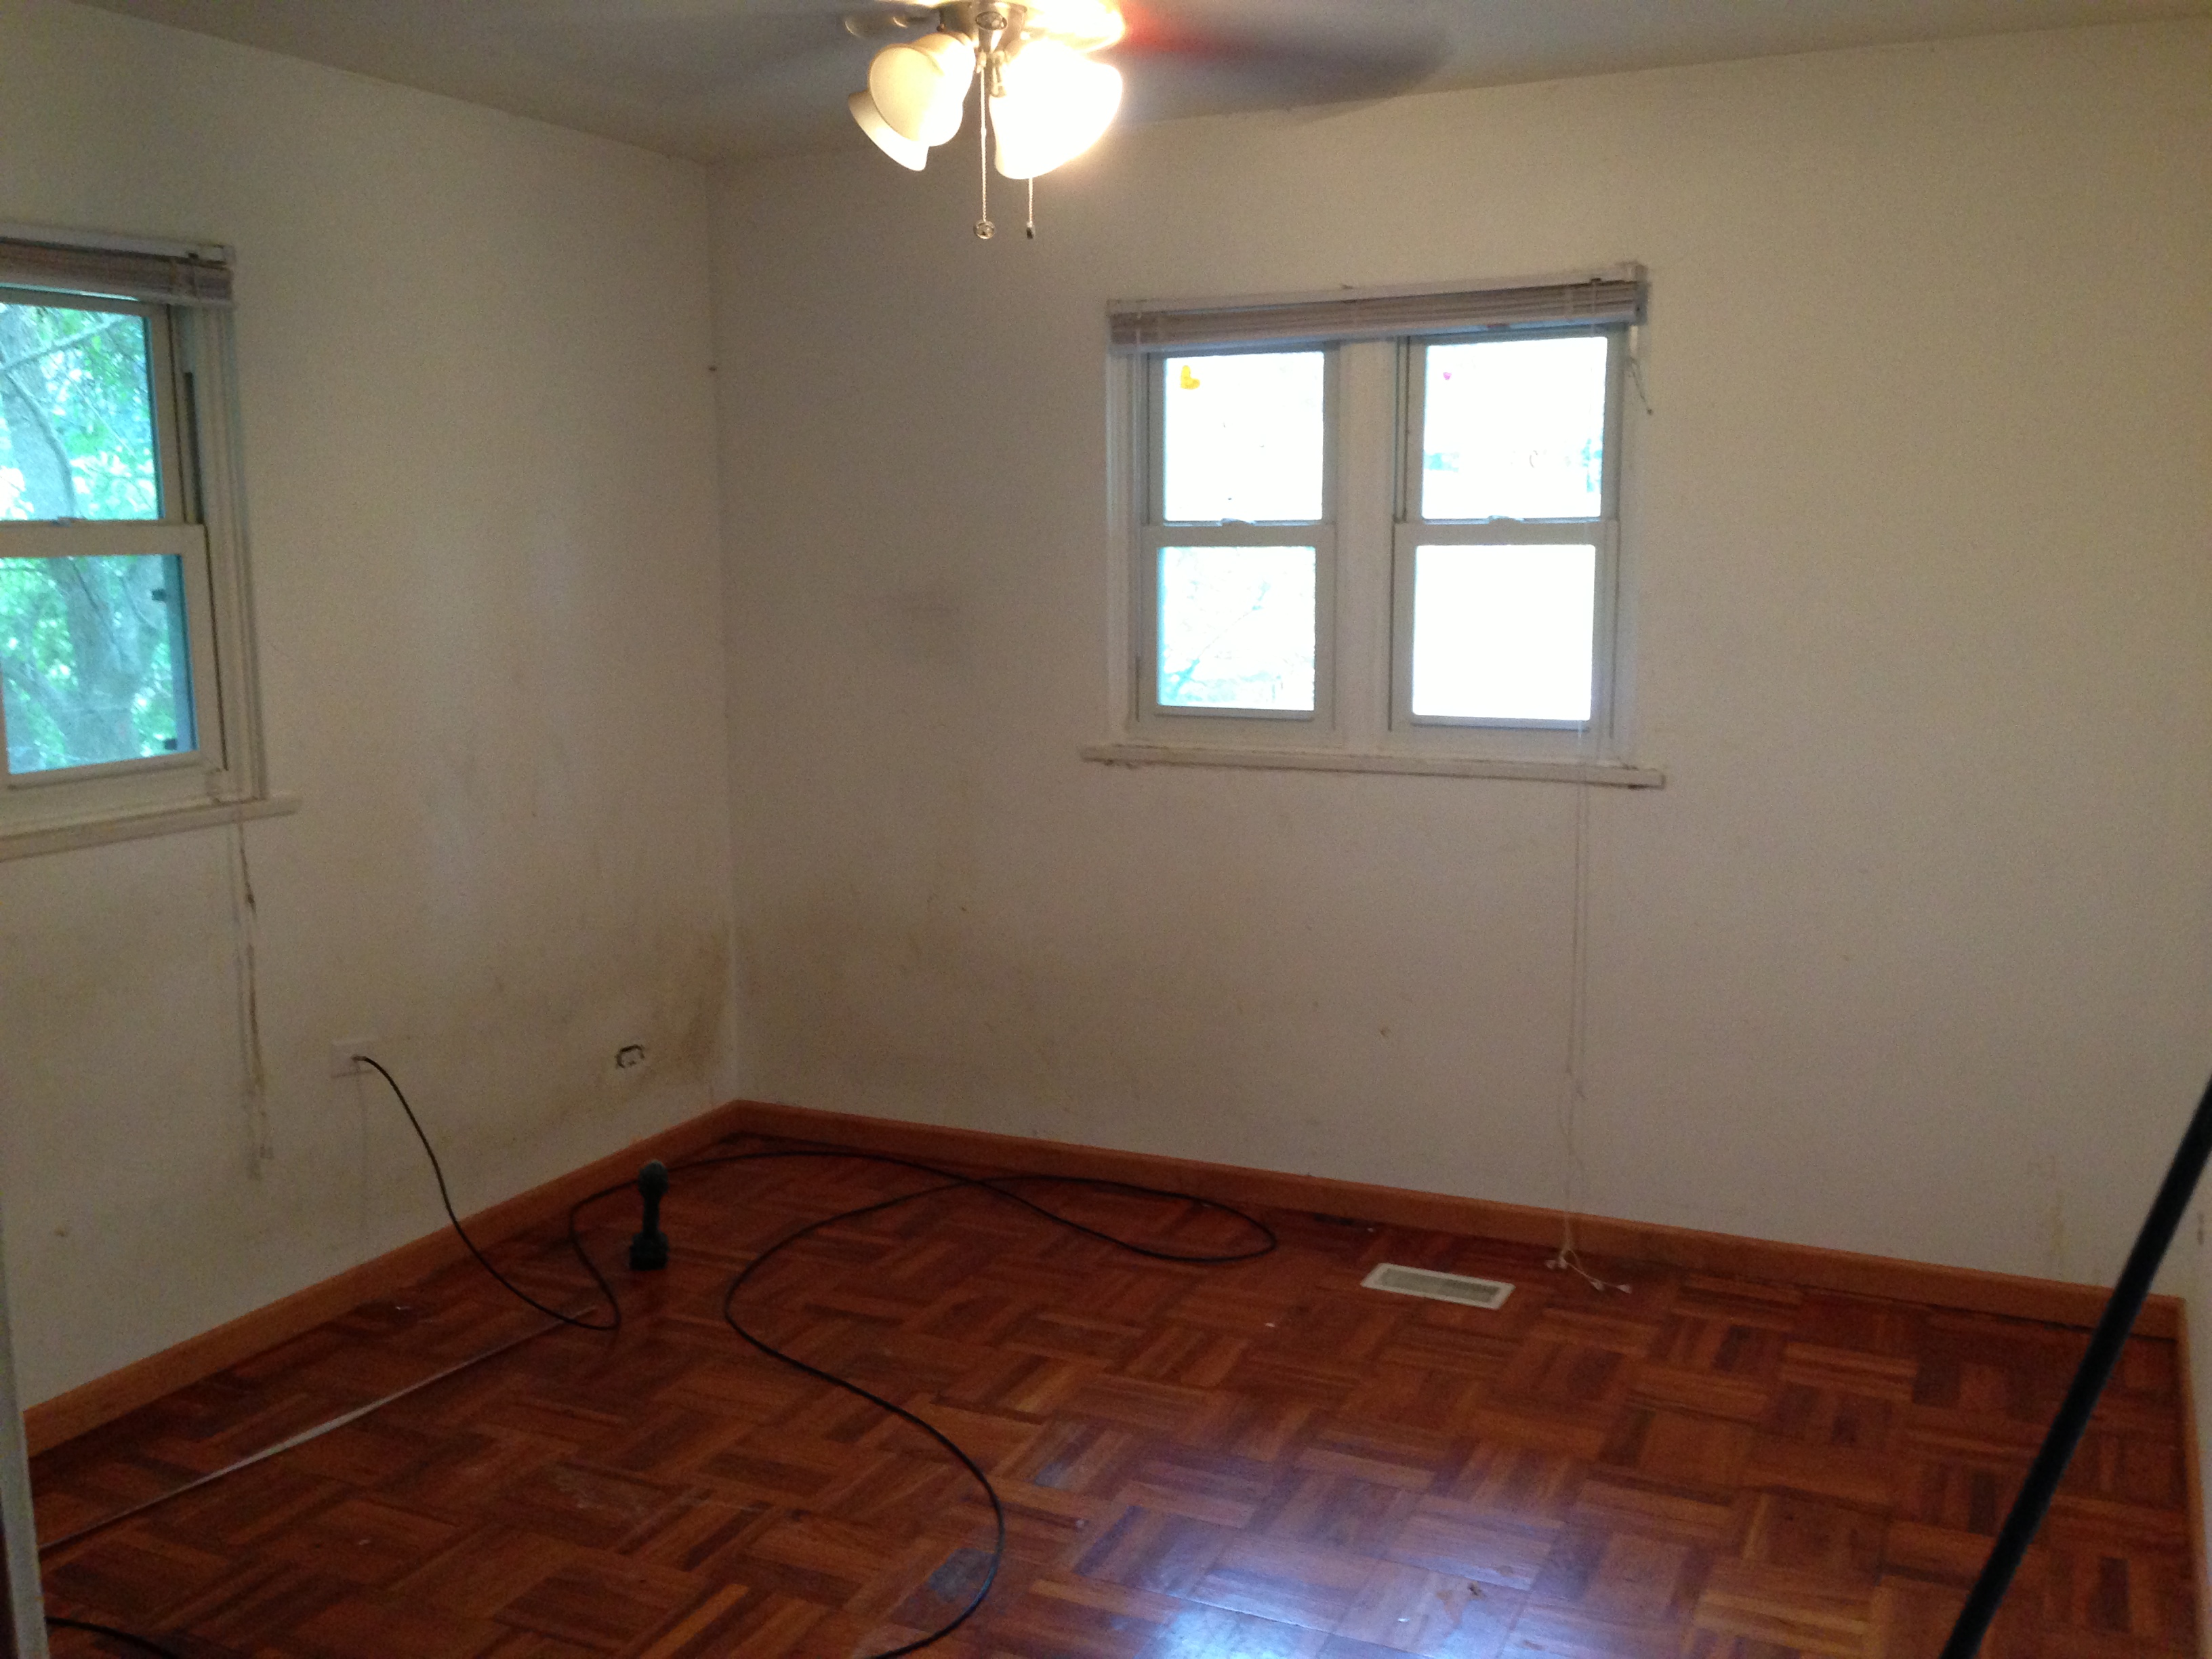
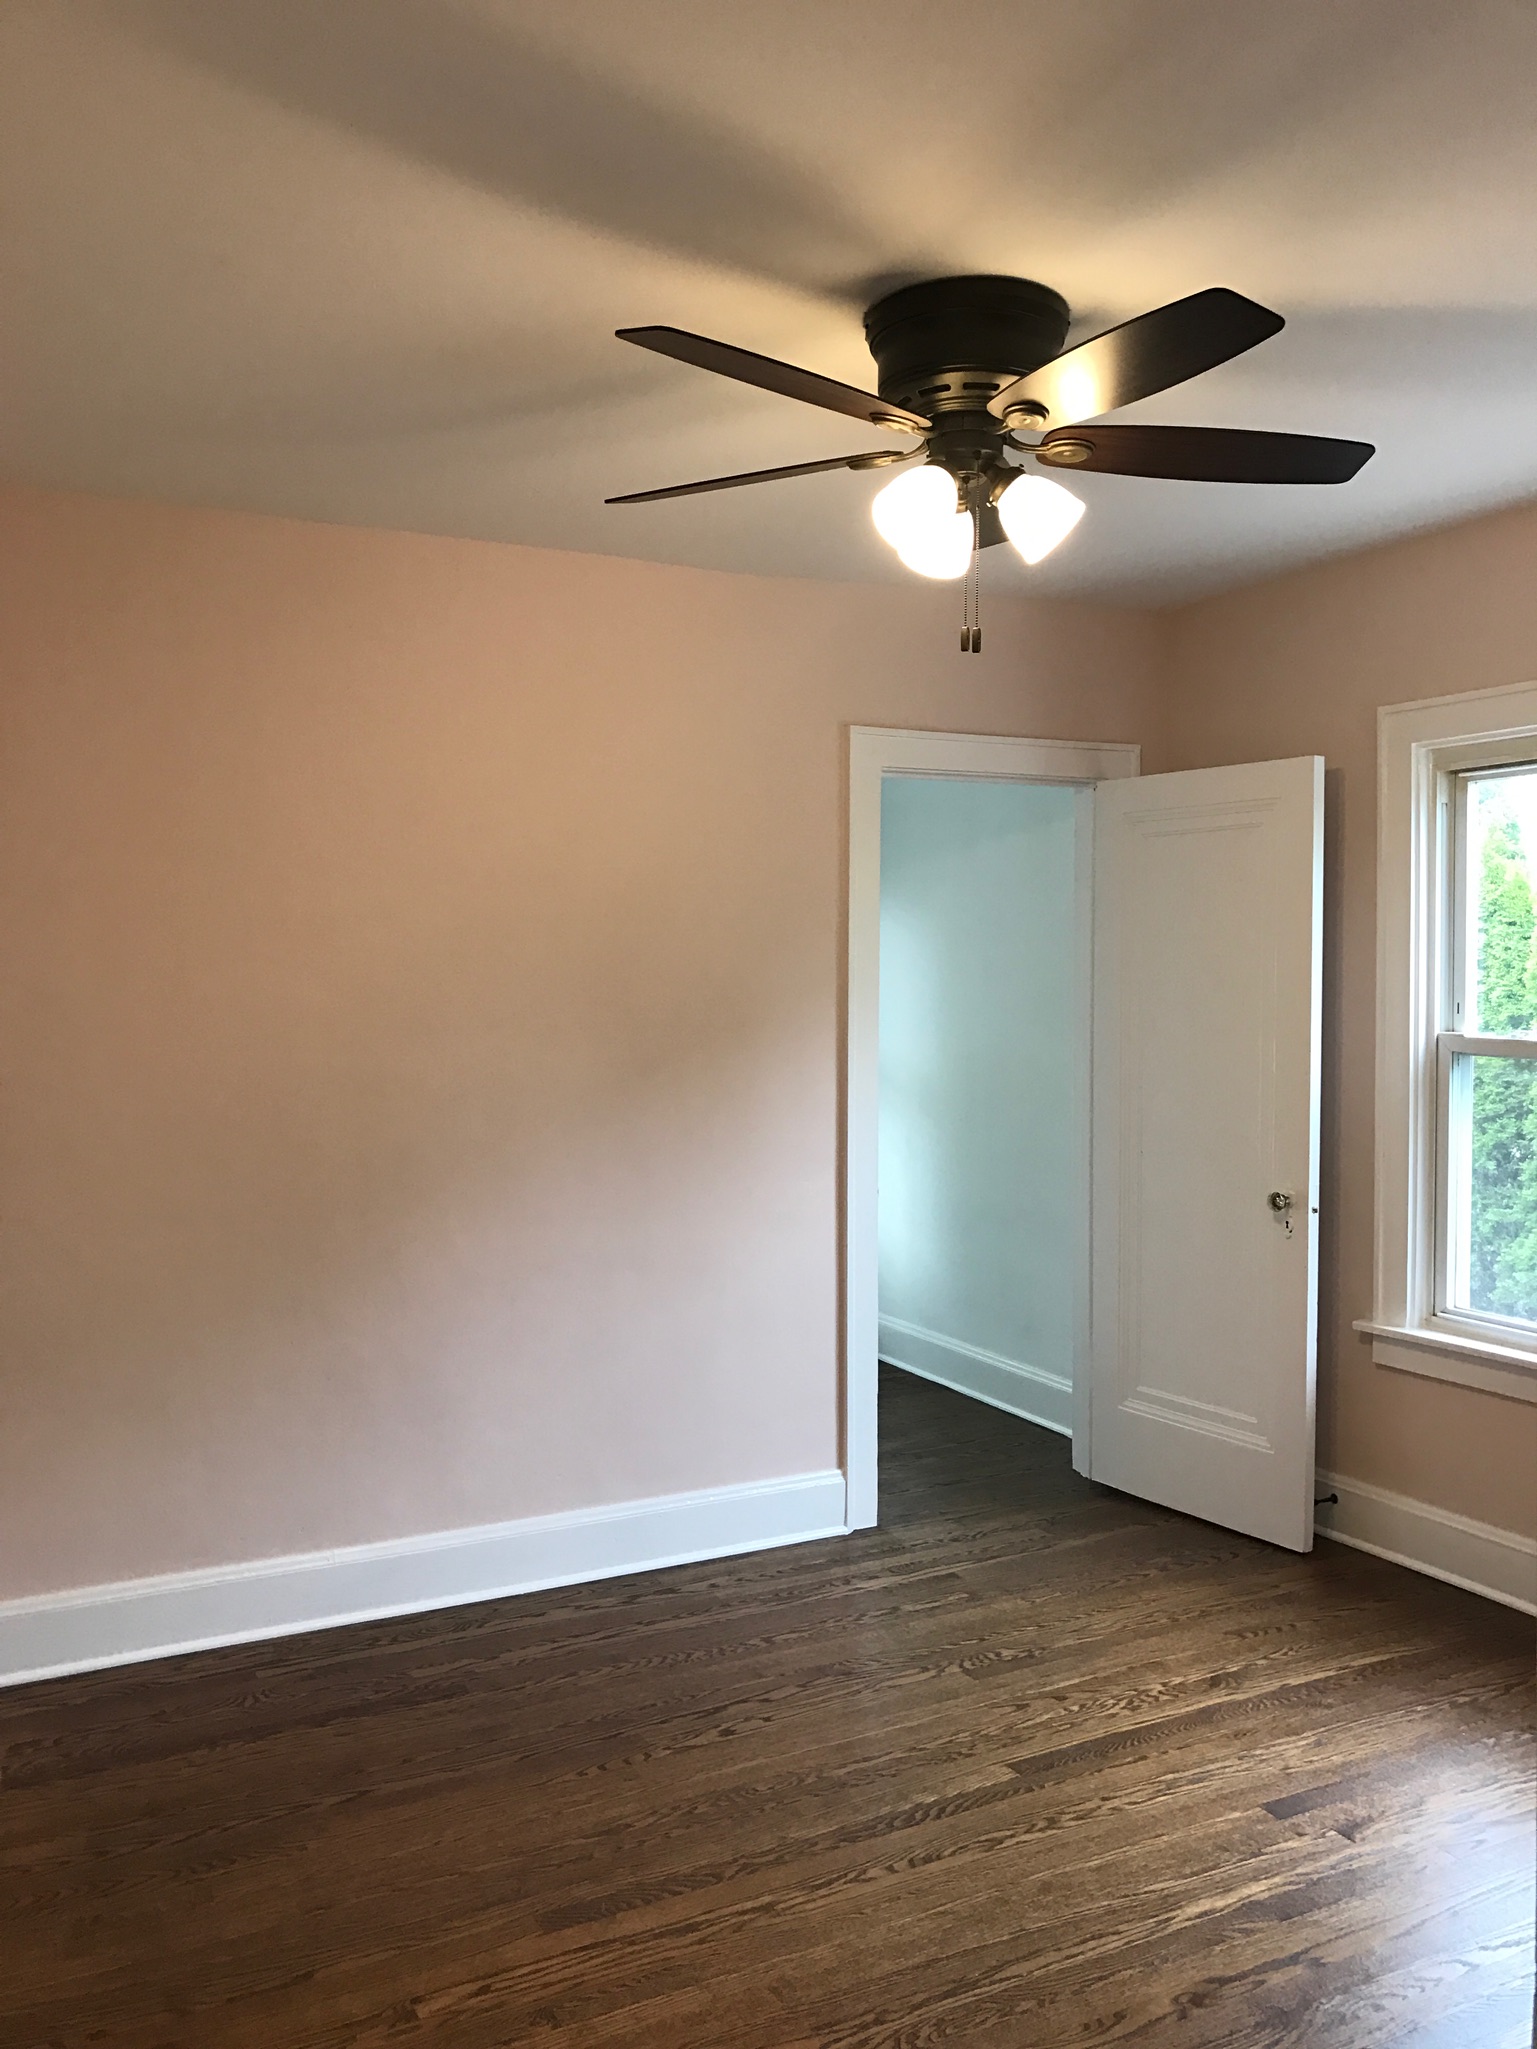
Here was one of the bedrooms before:

old reese room

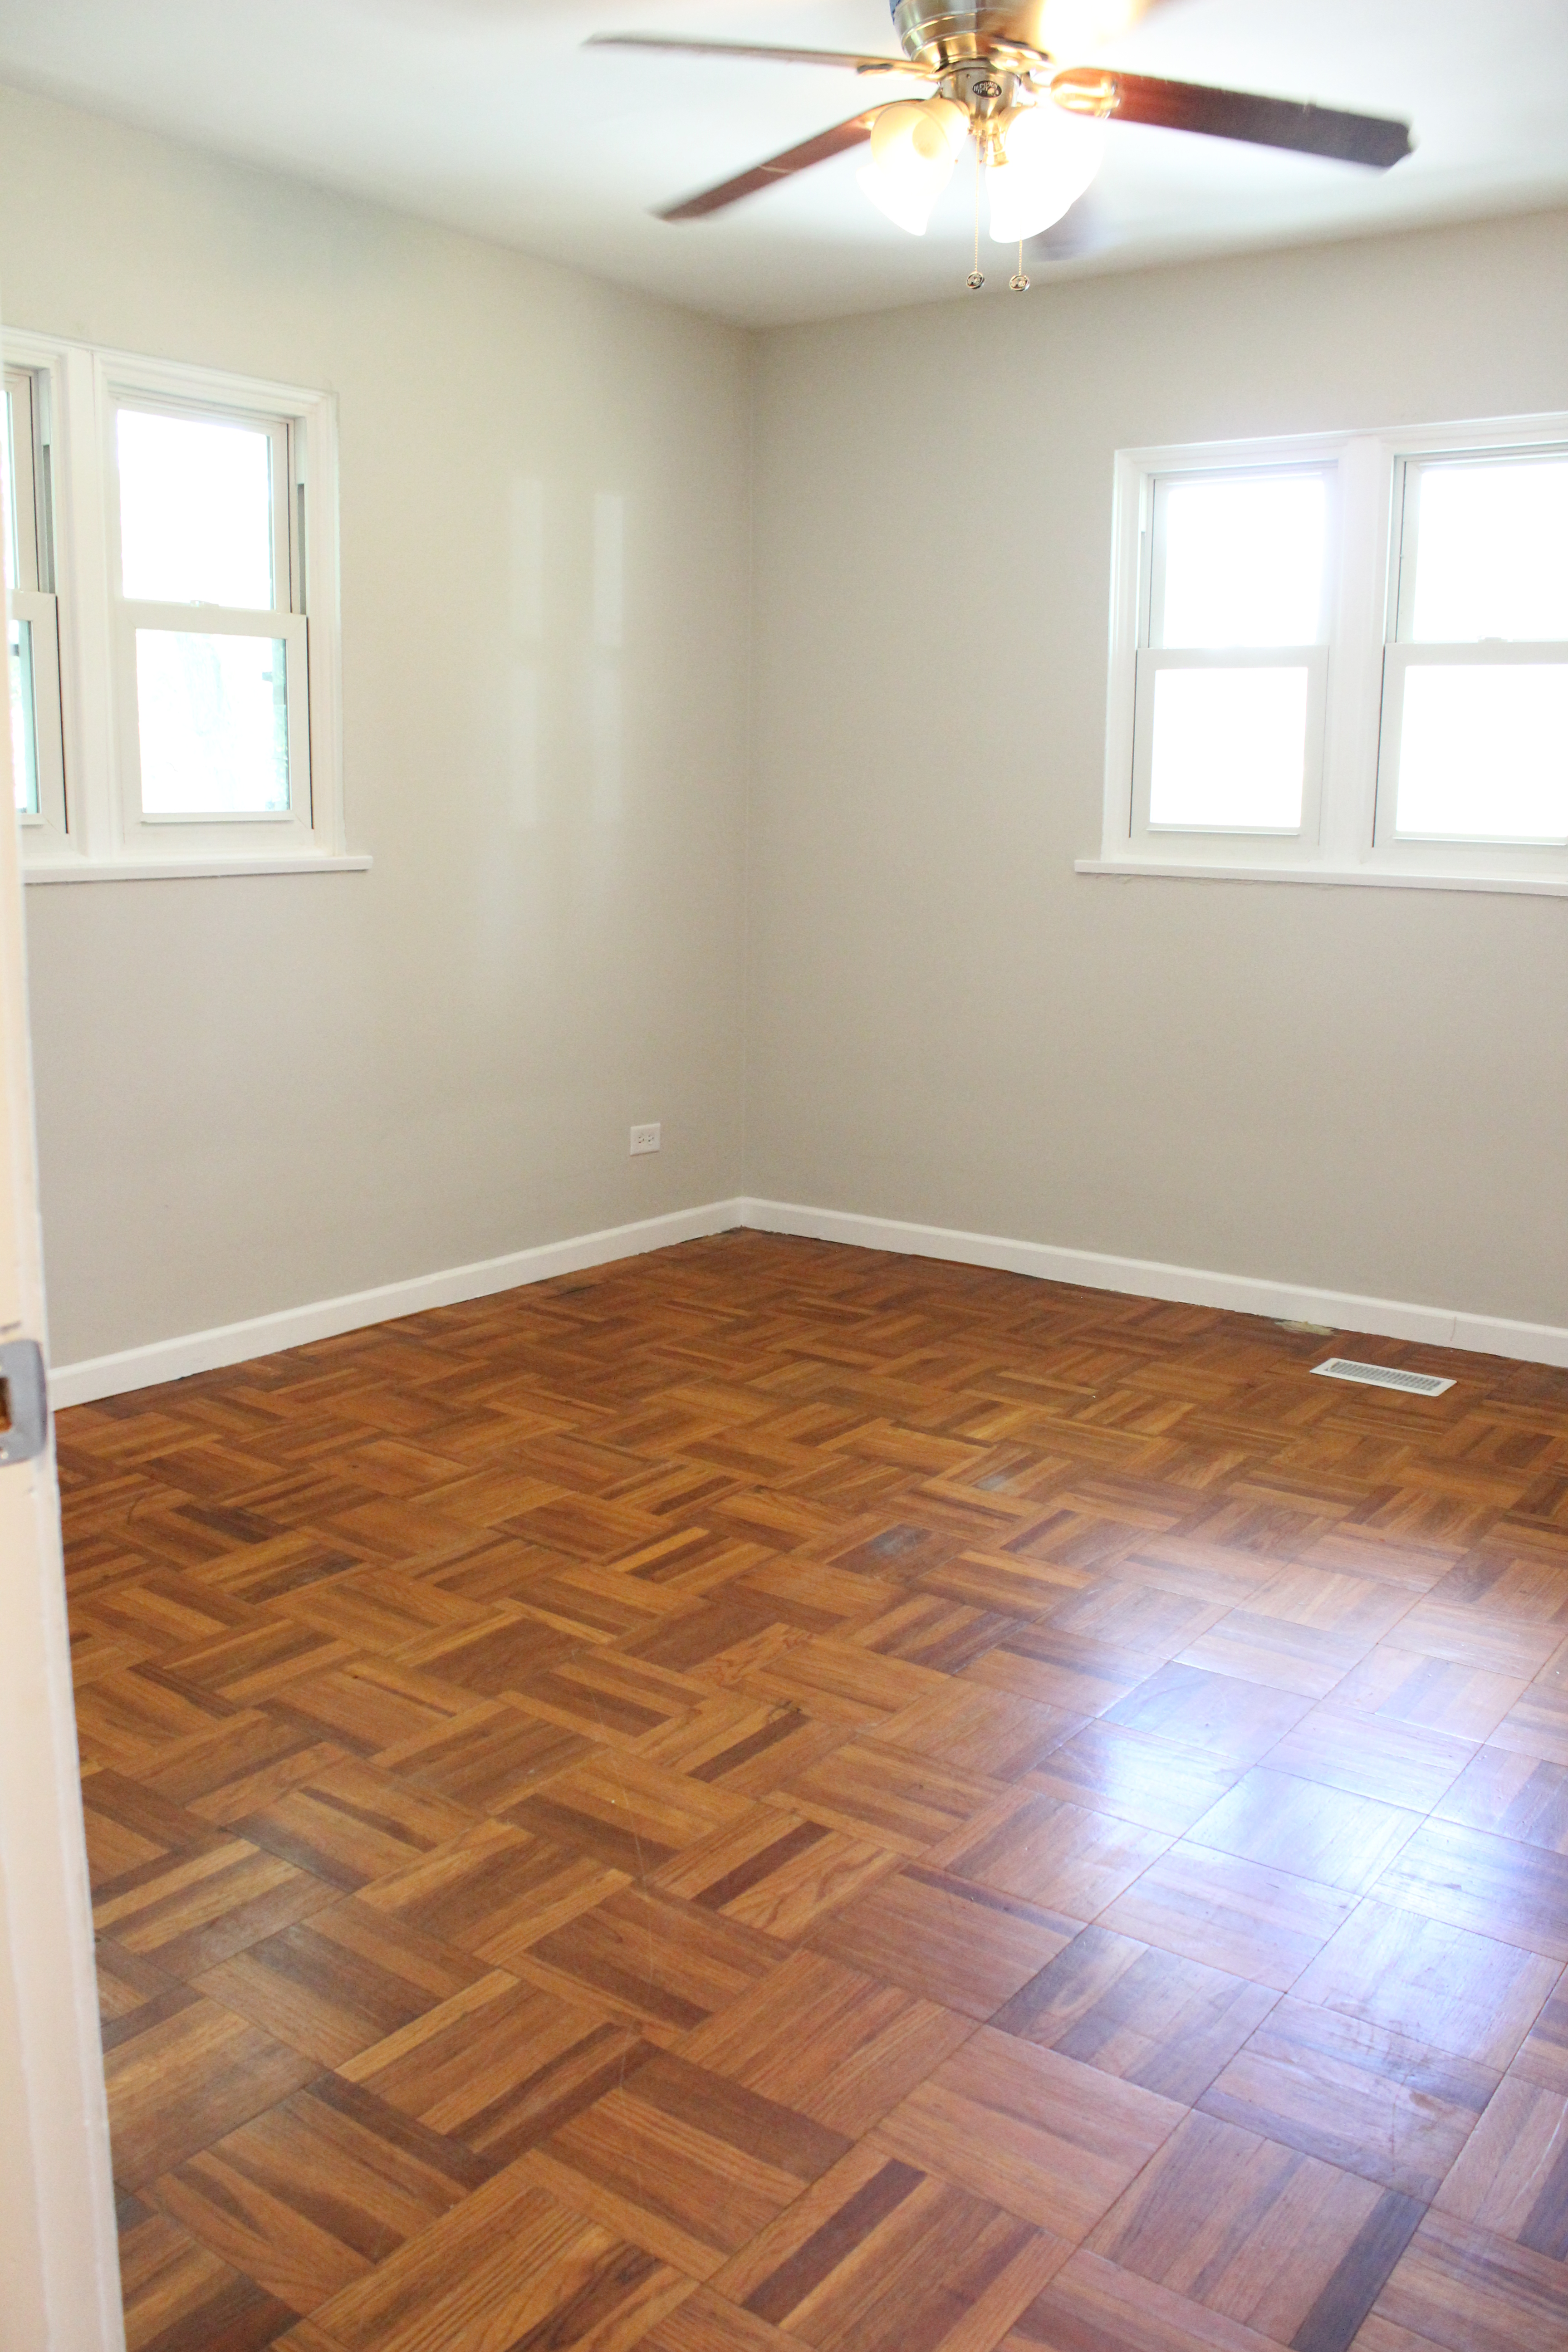
And now with a new bronze ceiling fan, floors refinished and paint (Faint Coral by Sherwin Williams):

IMG_0477

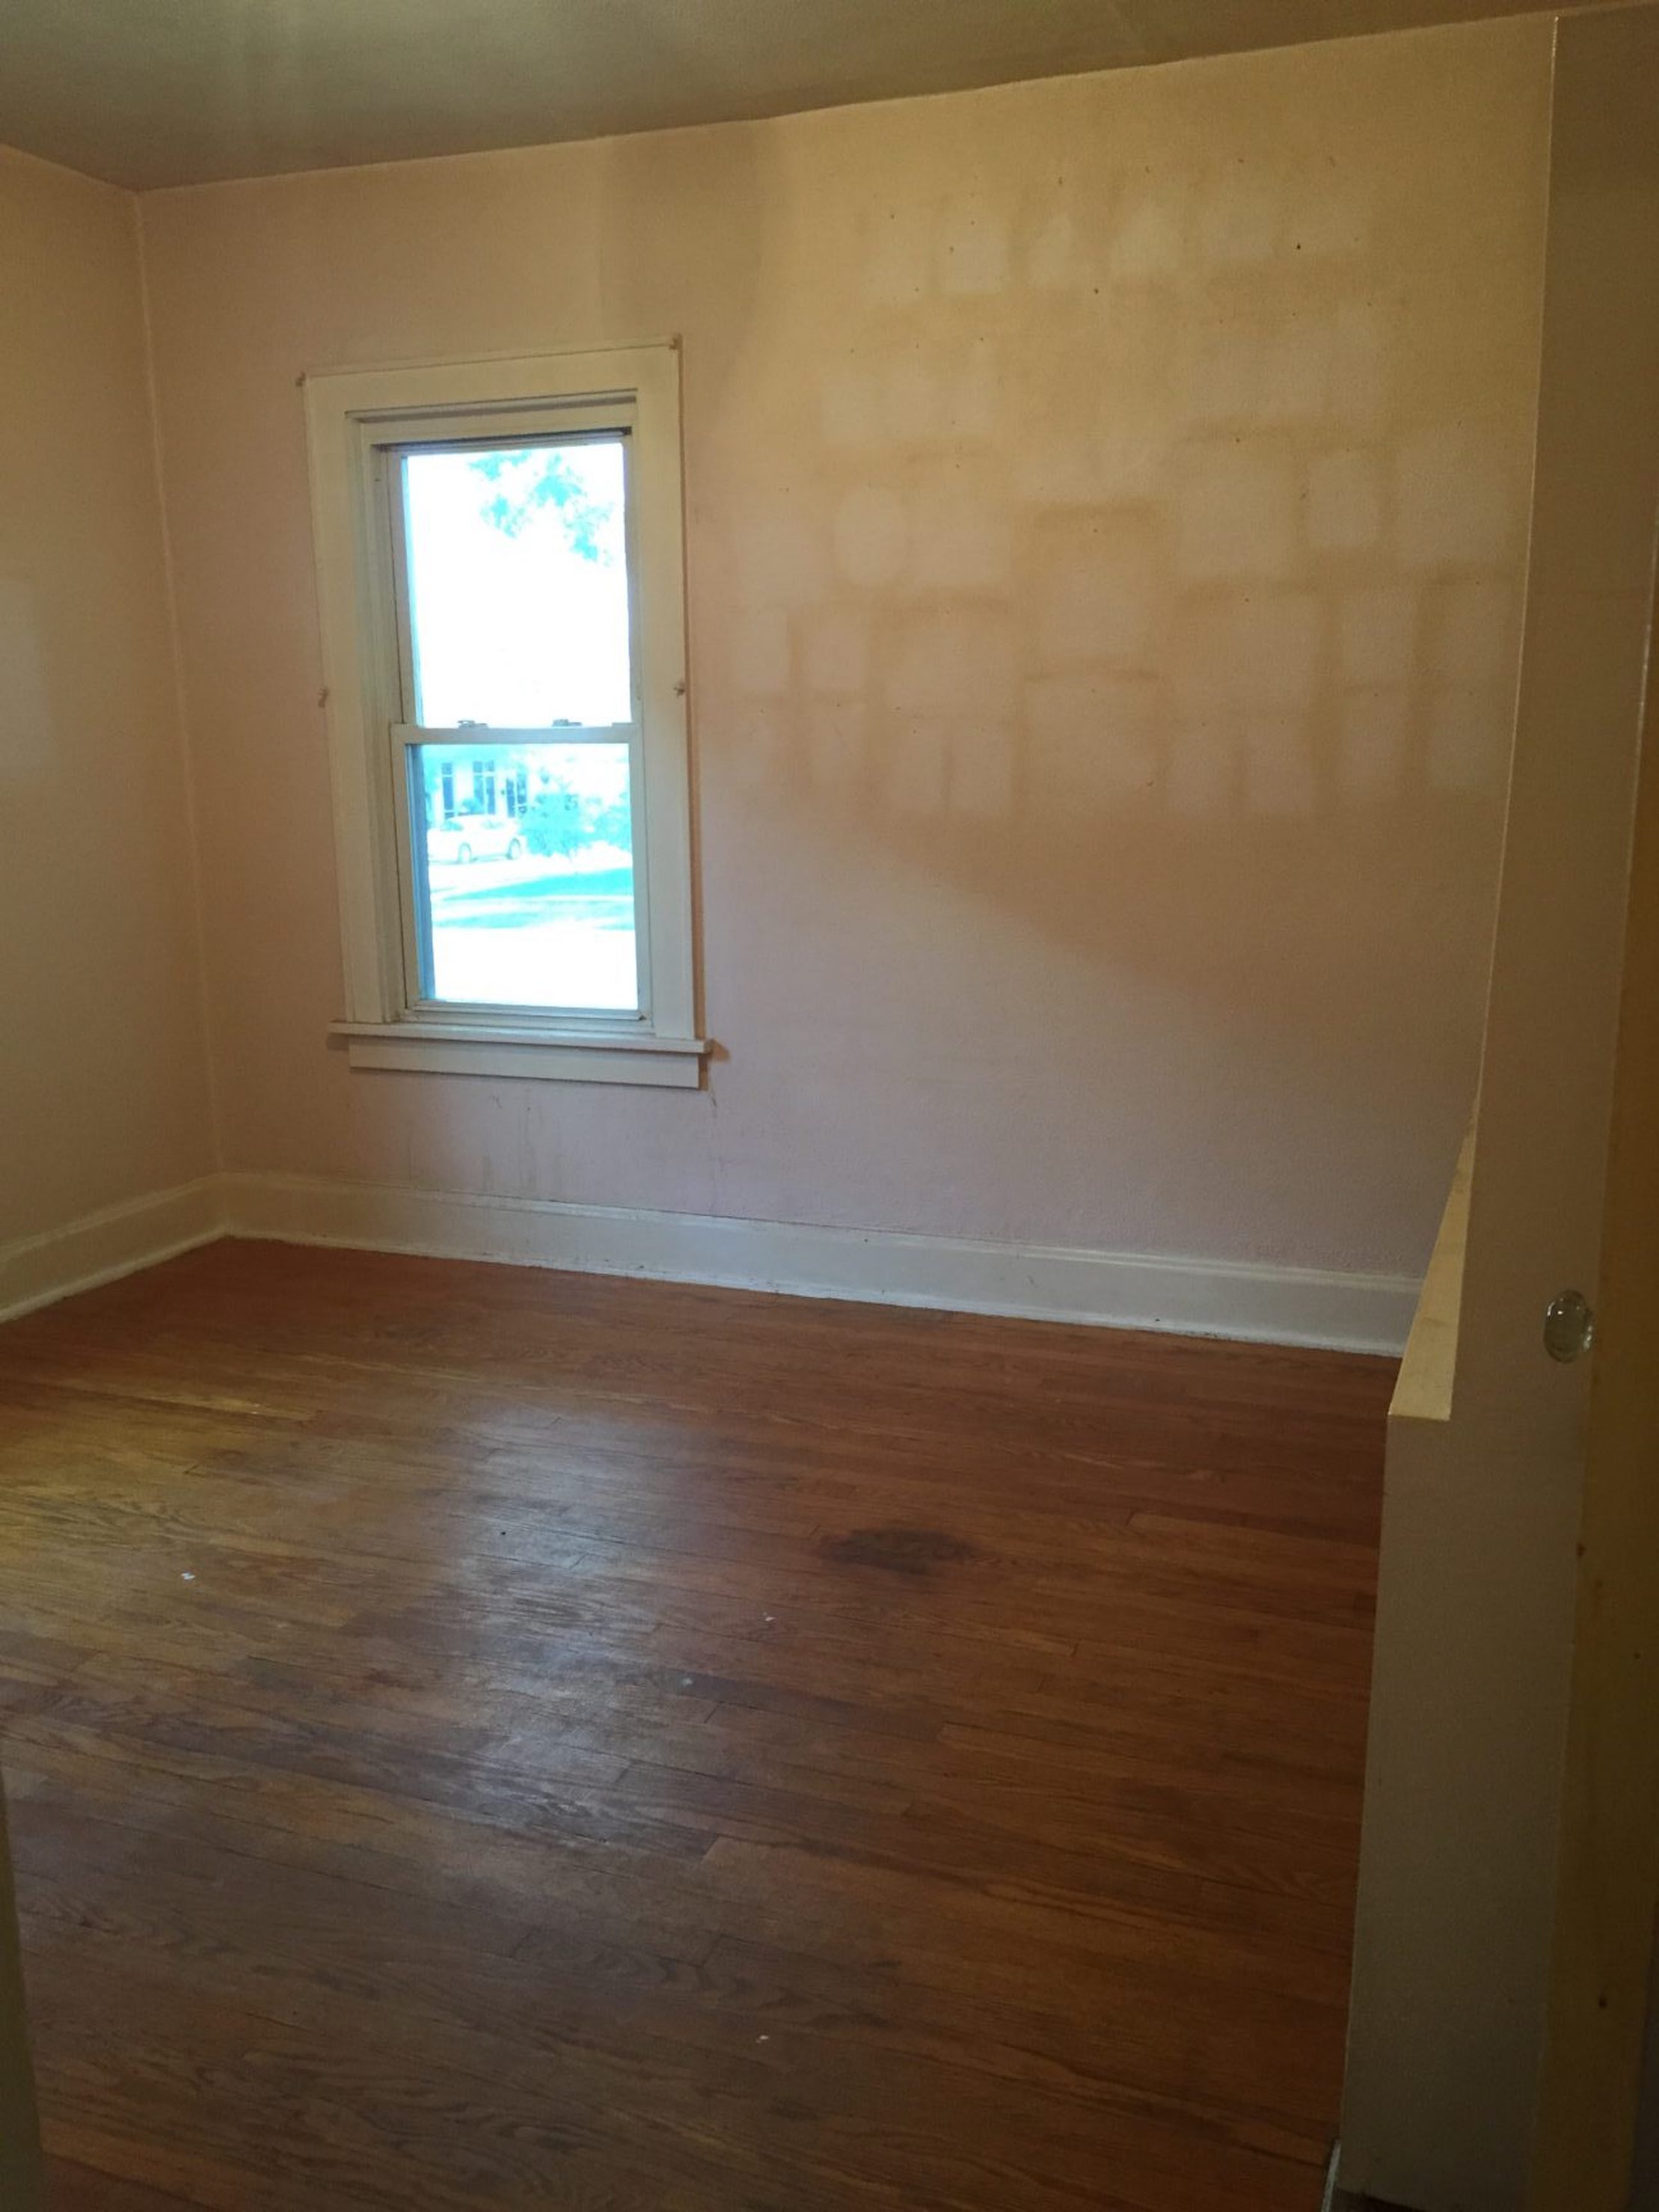
The 2nd bedroom before:

old fynn room

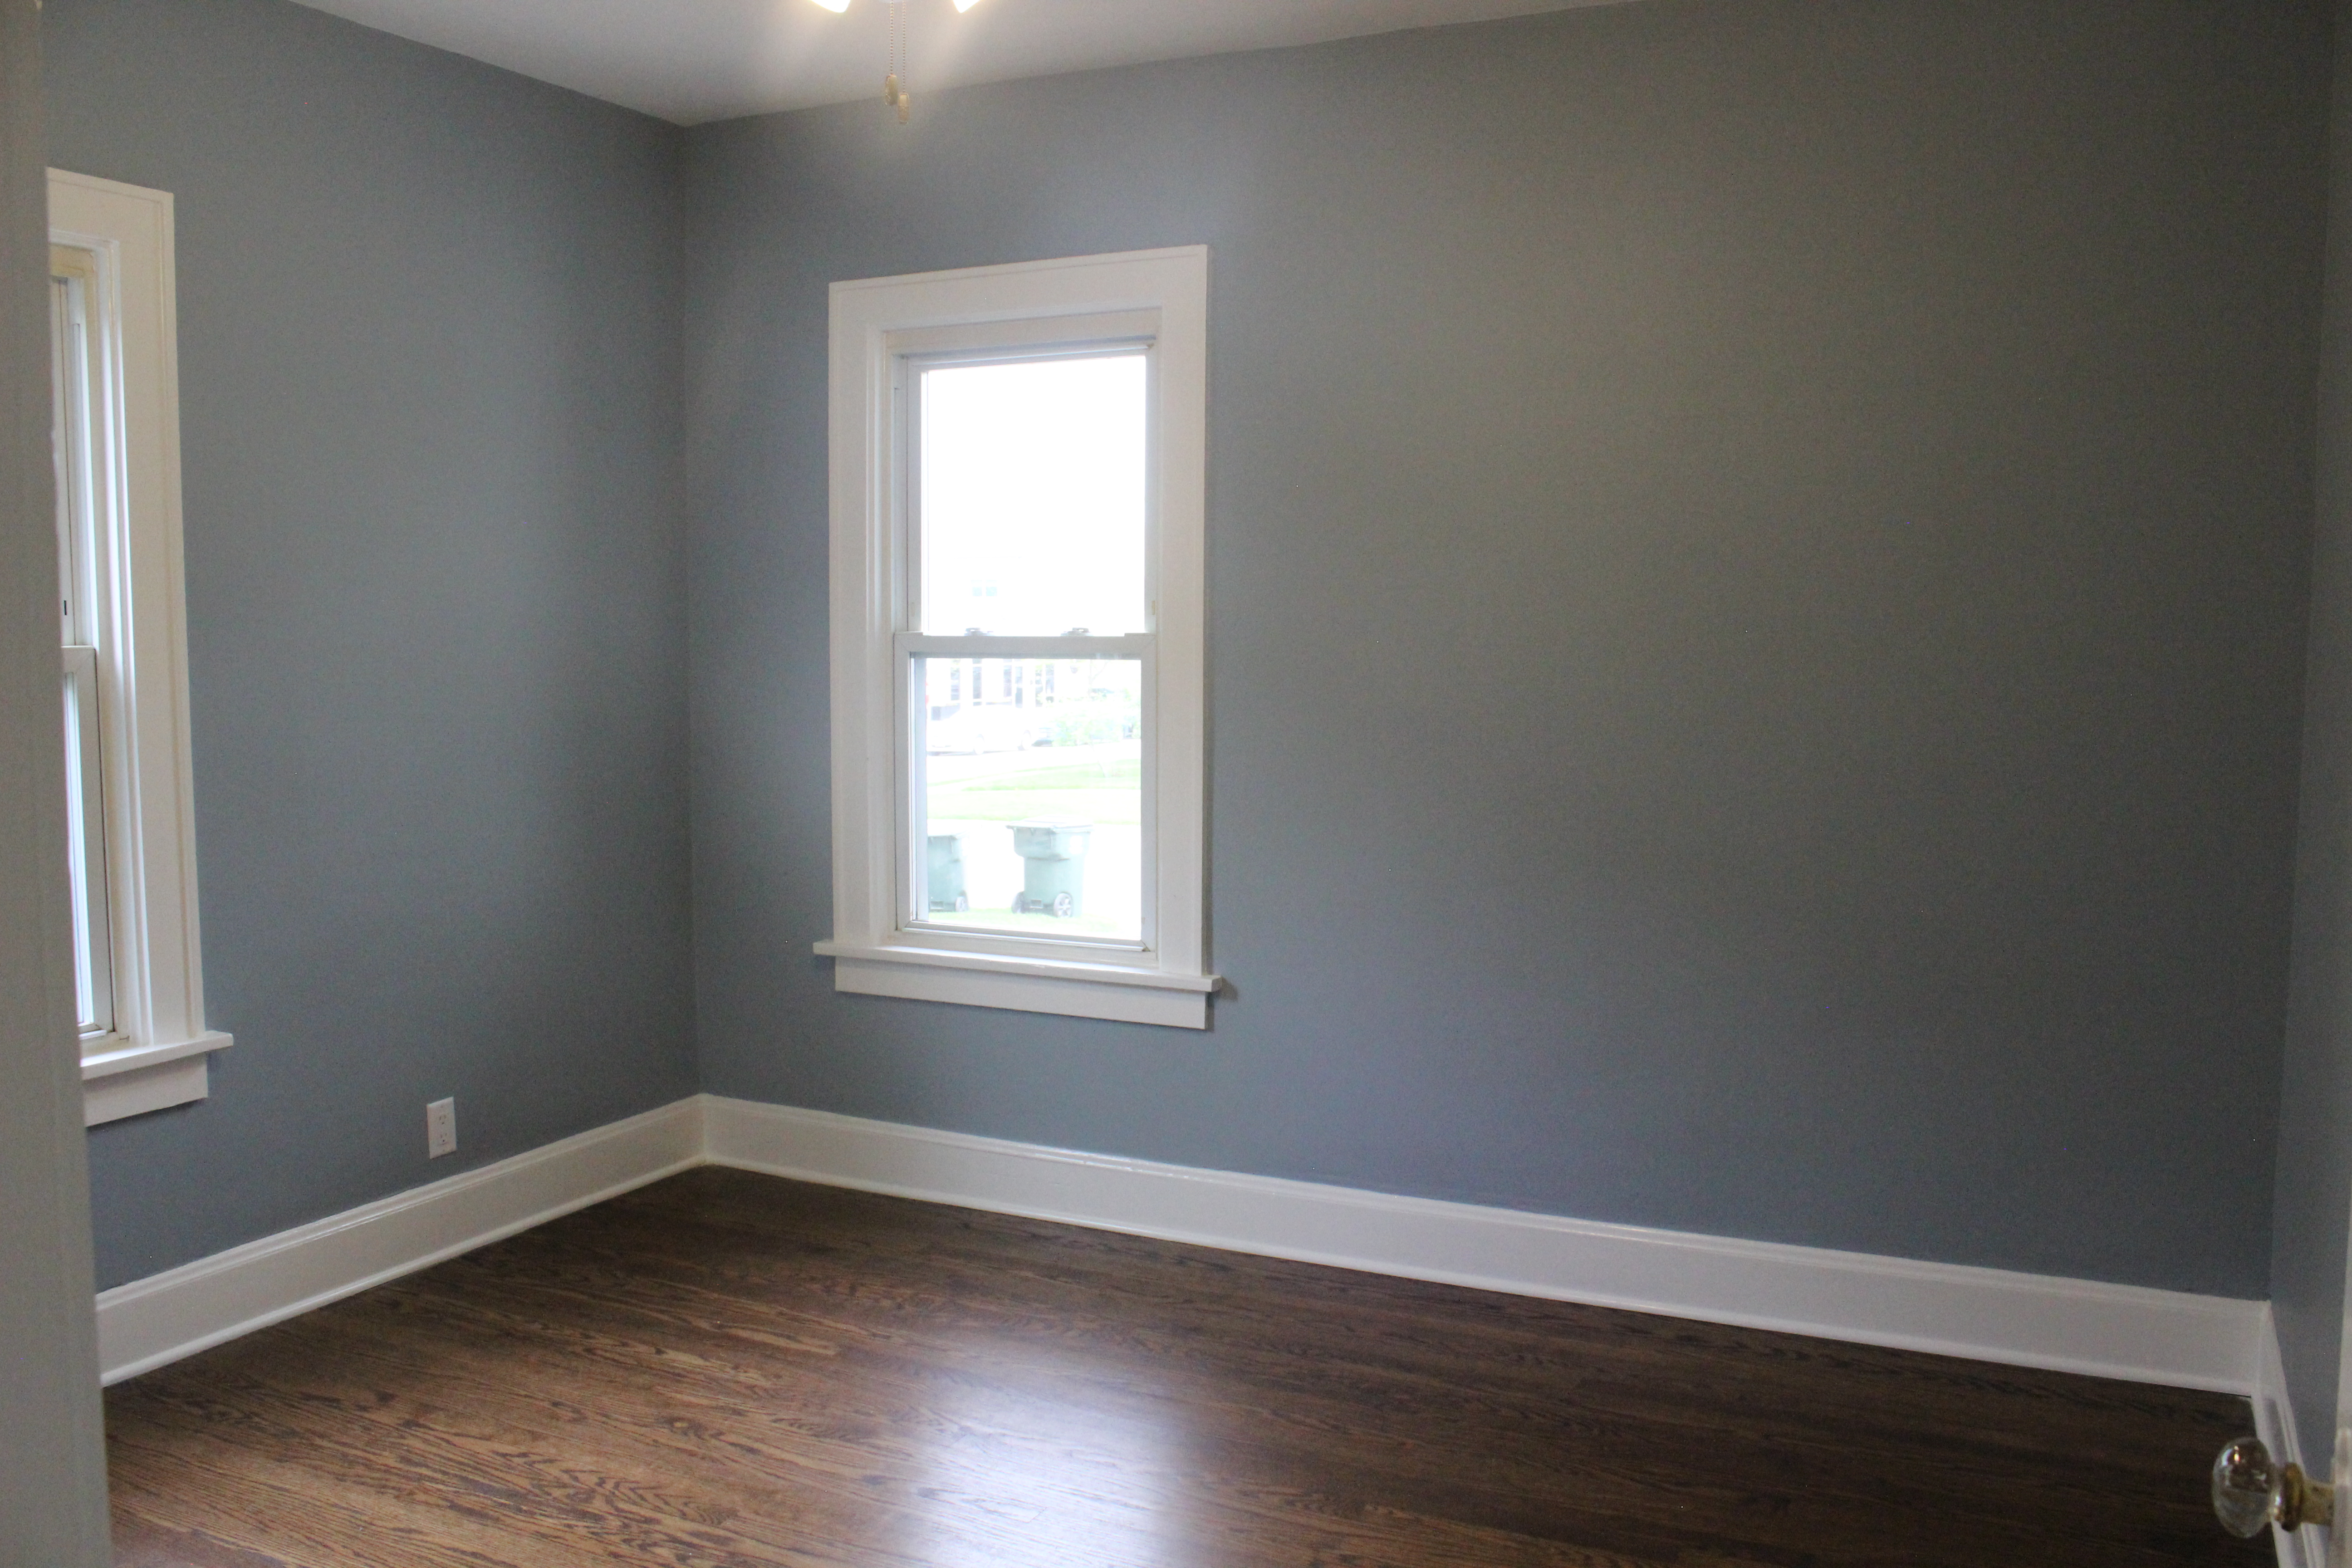
And now (paint is Nimbus Gray by Benjamin Moore):

IMG_6135

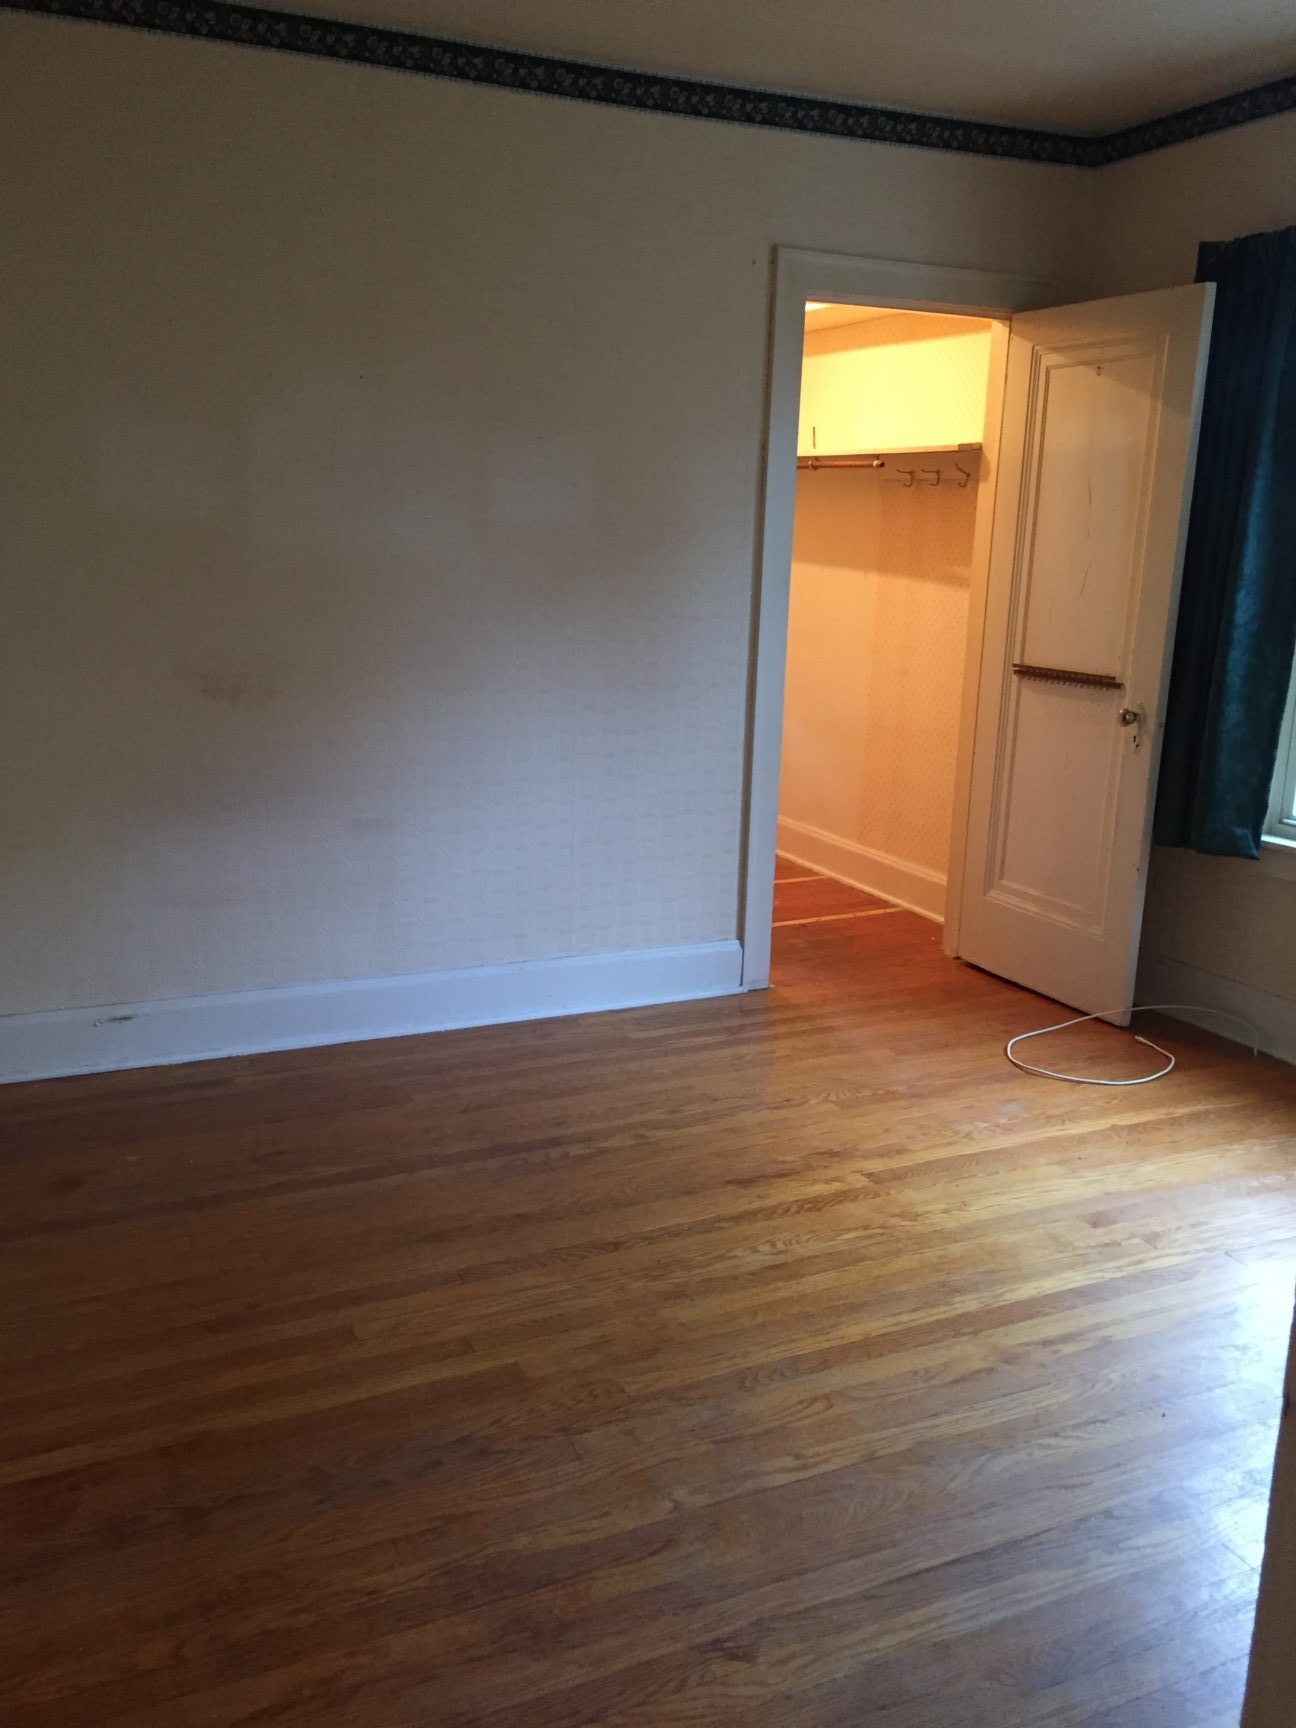
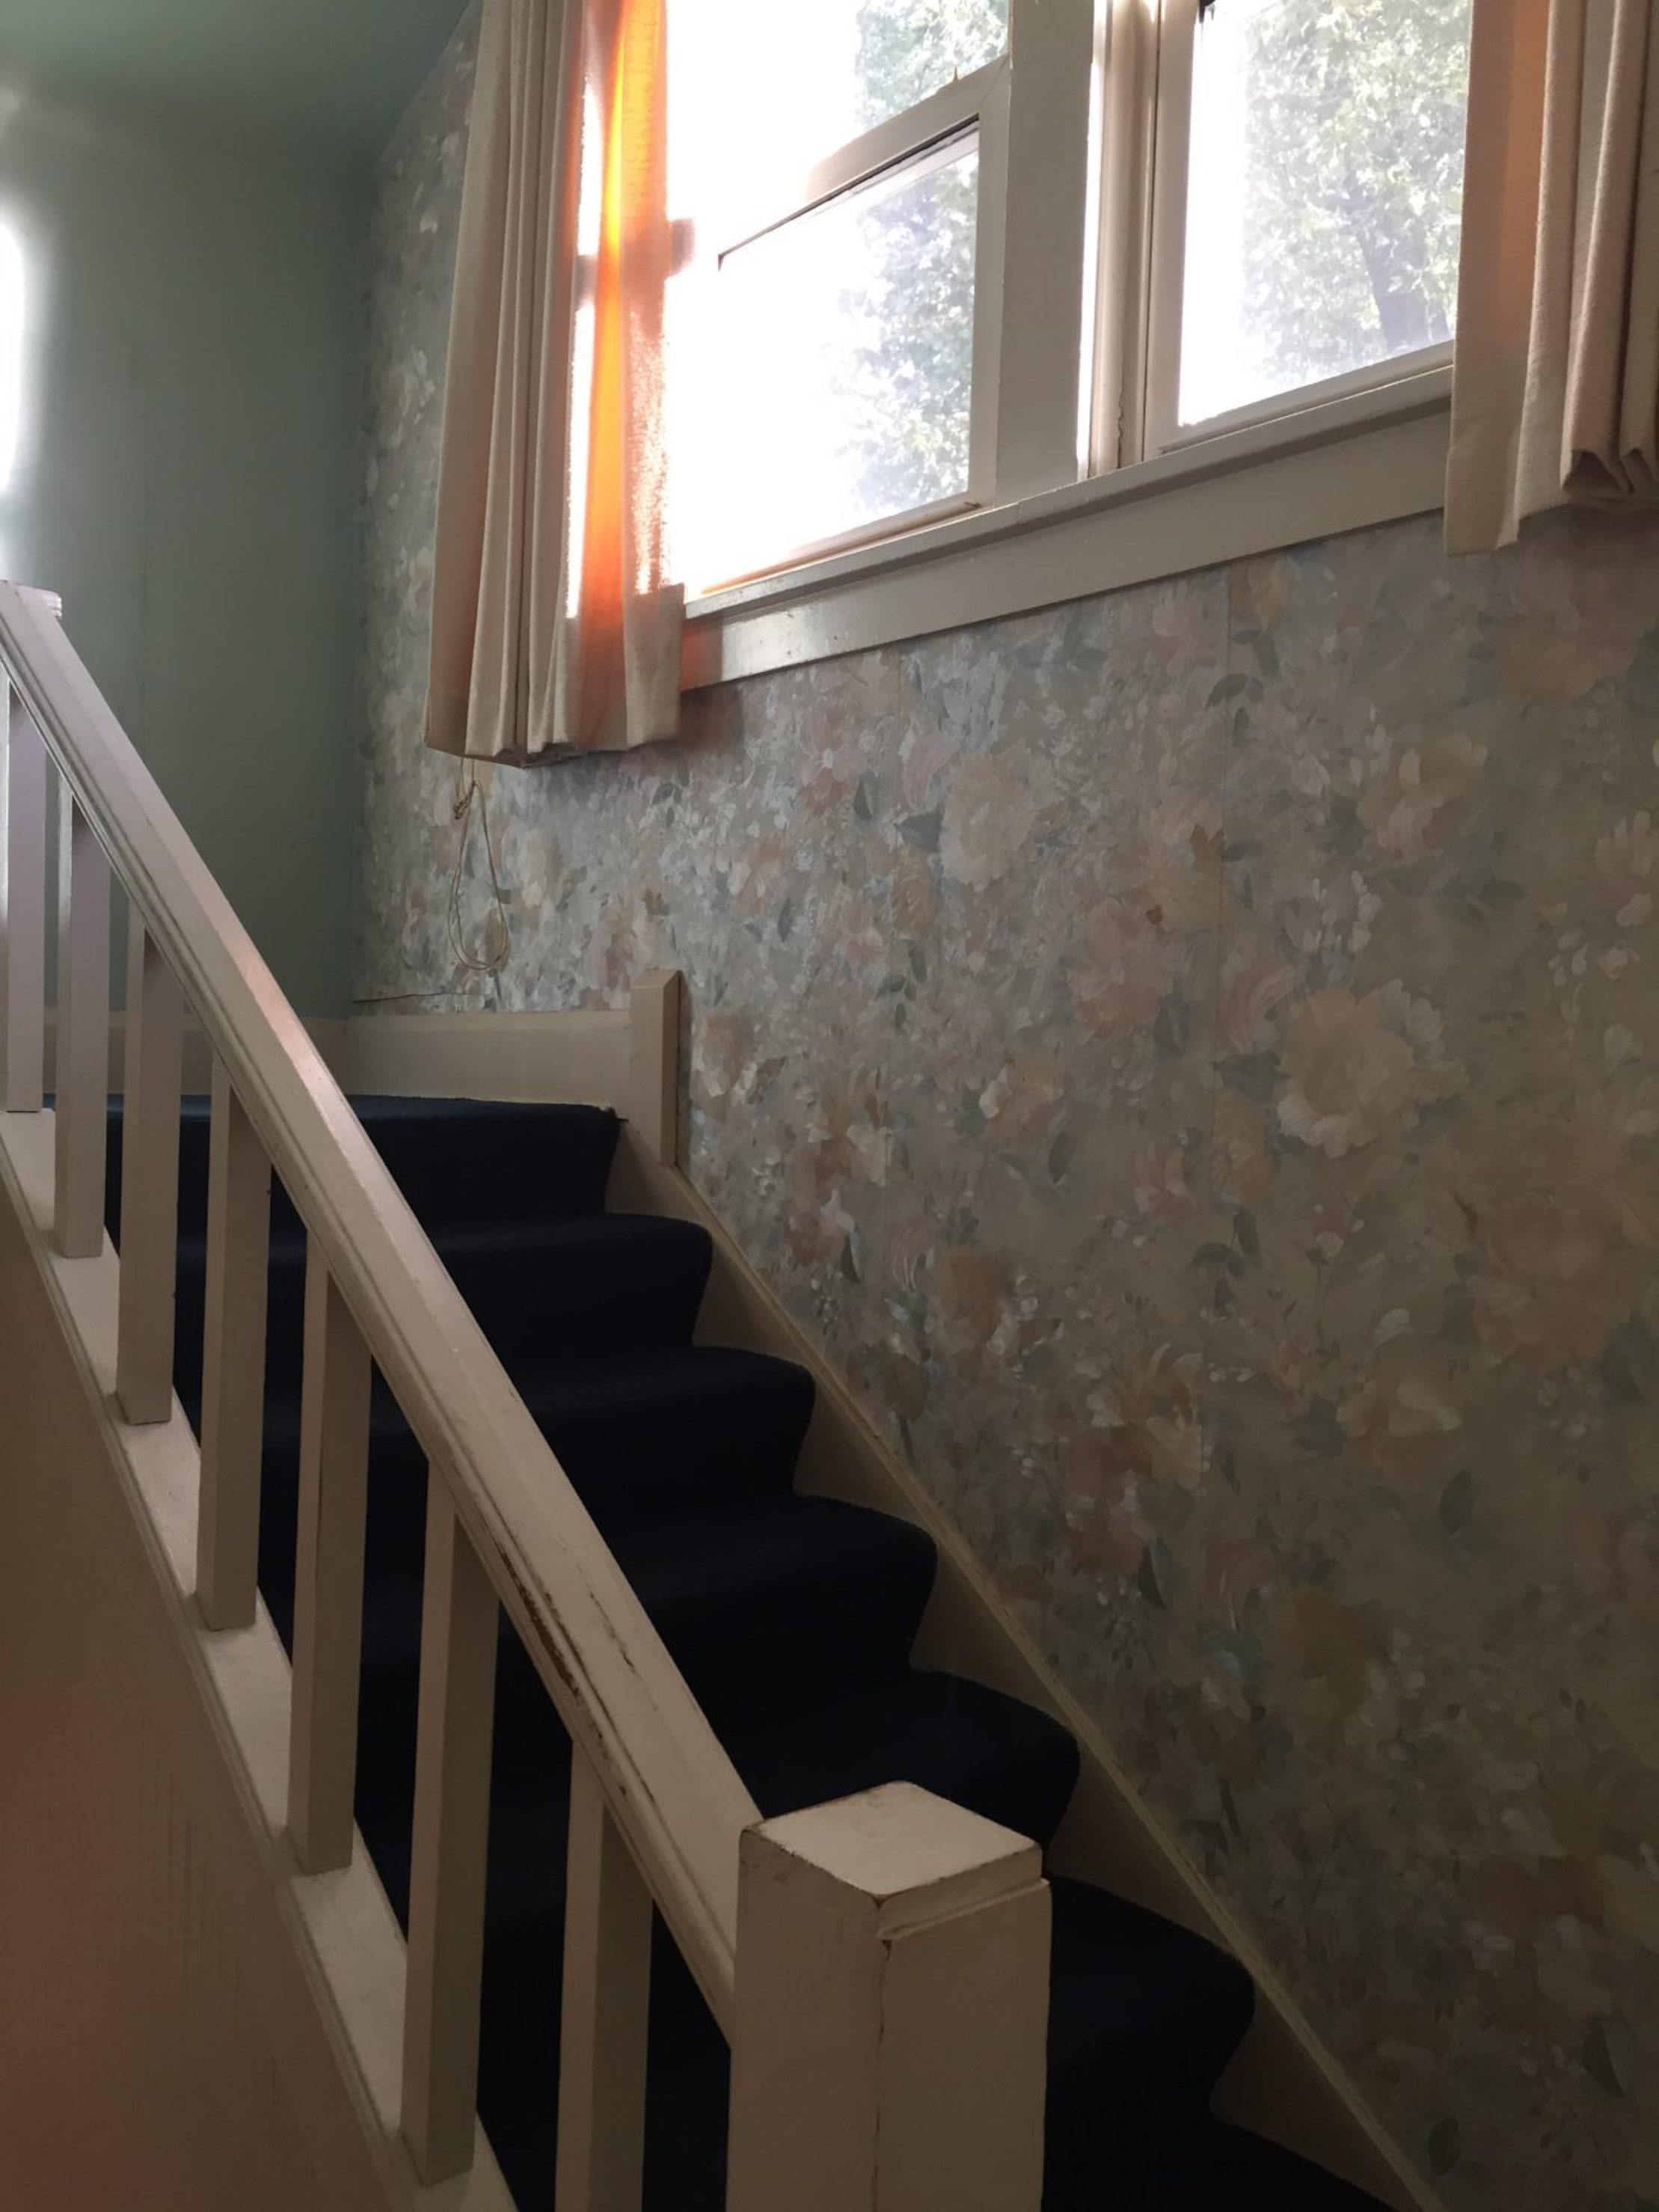
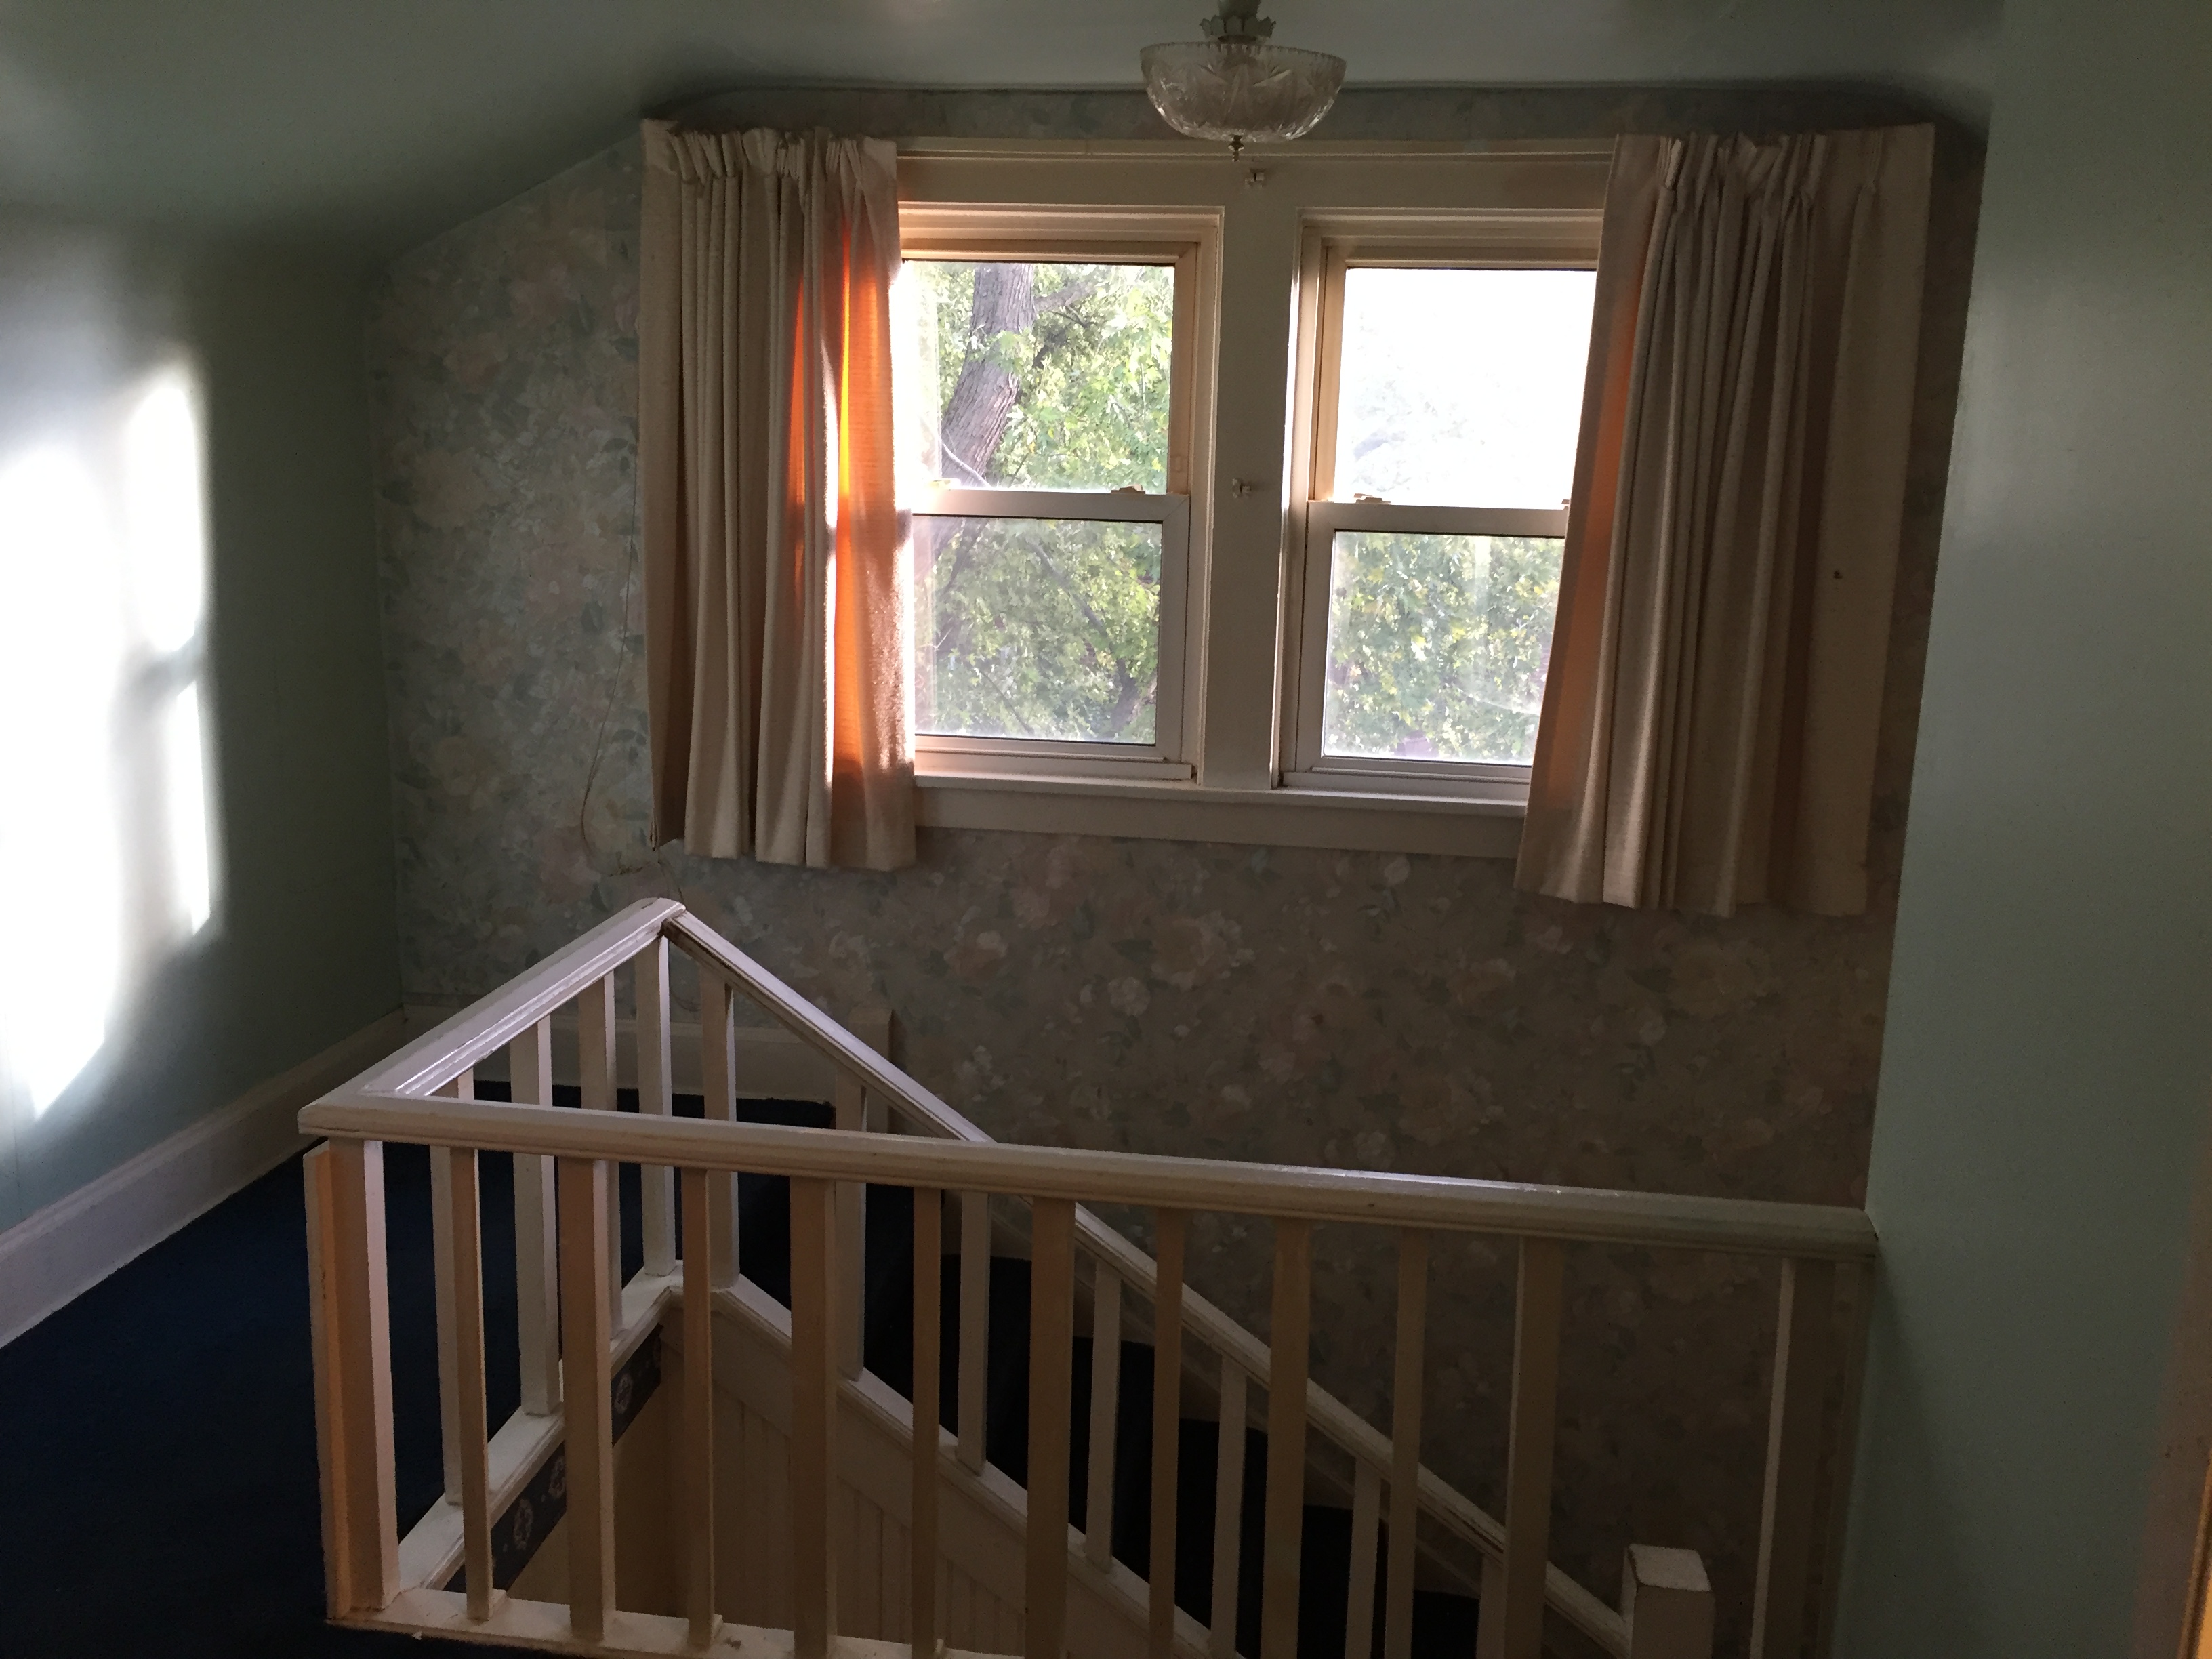
Here was the old view of the stairs leading up to the 2nd floor:

old stairs

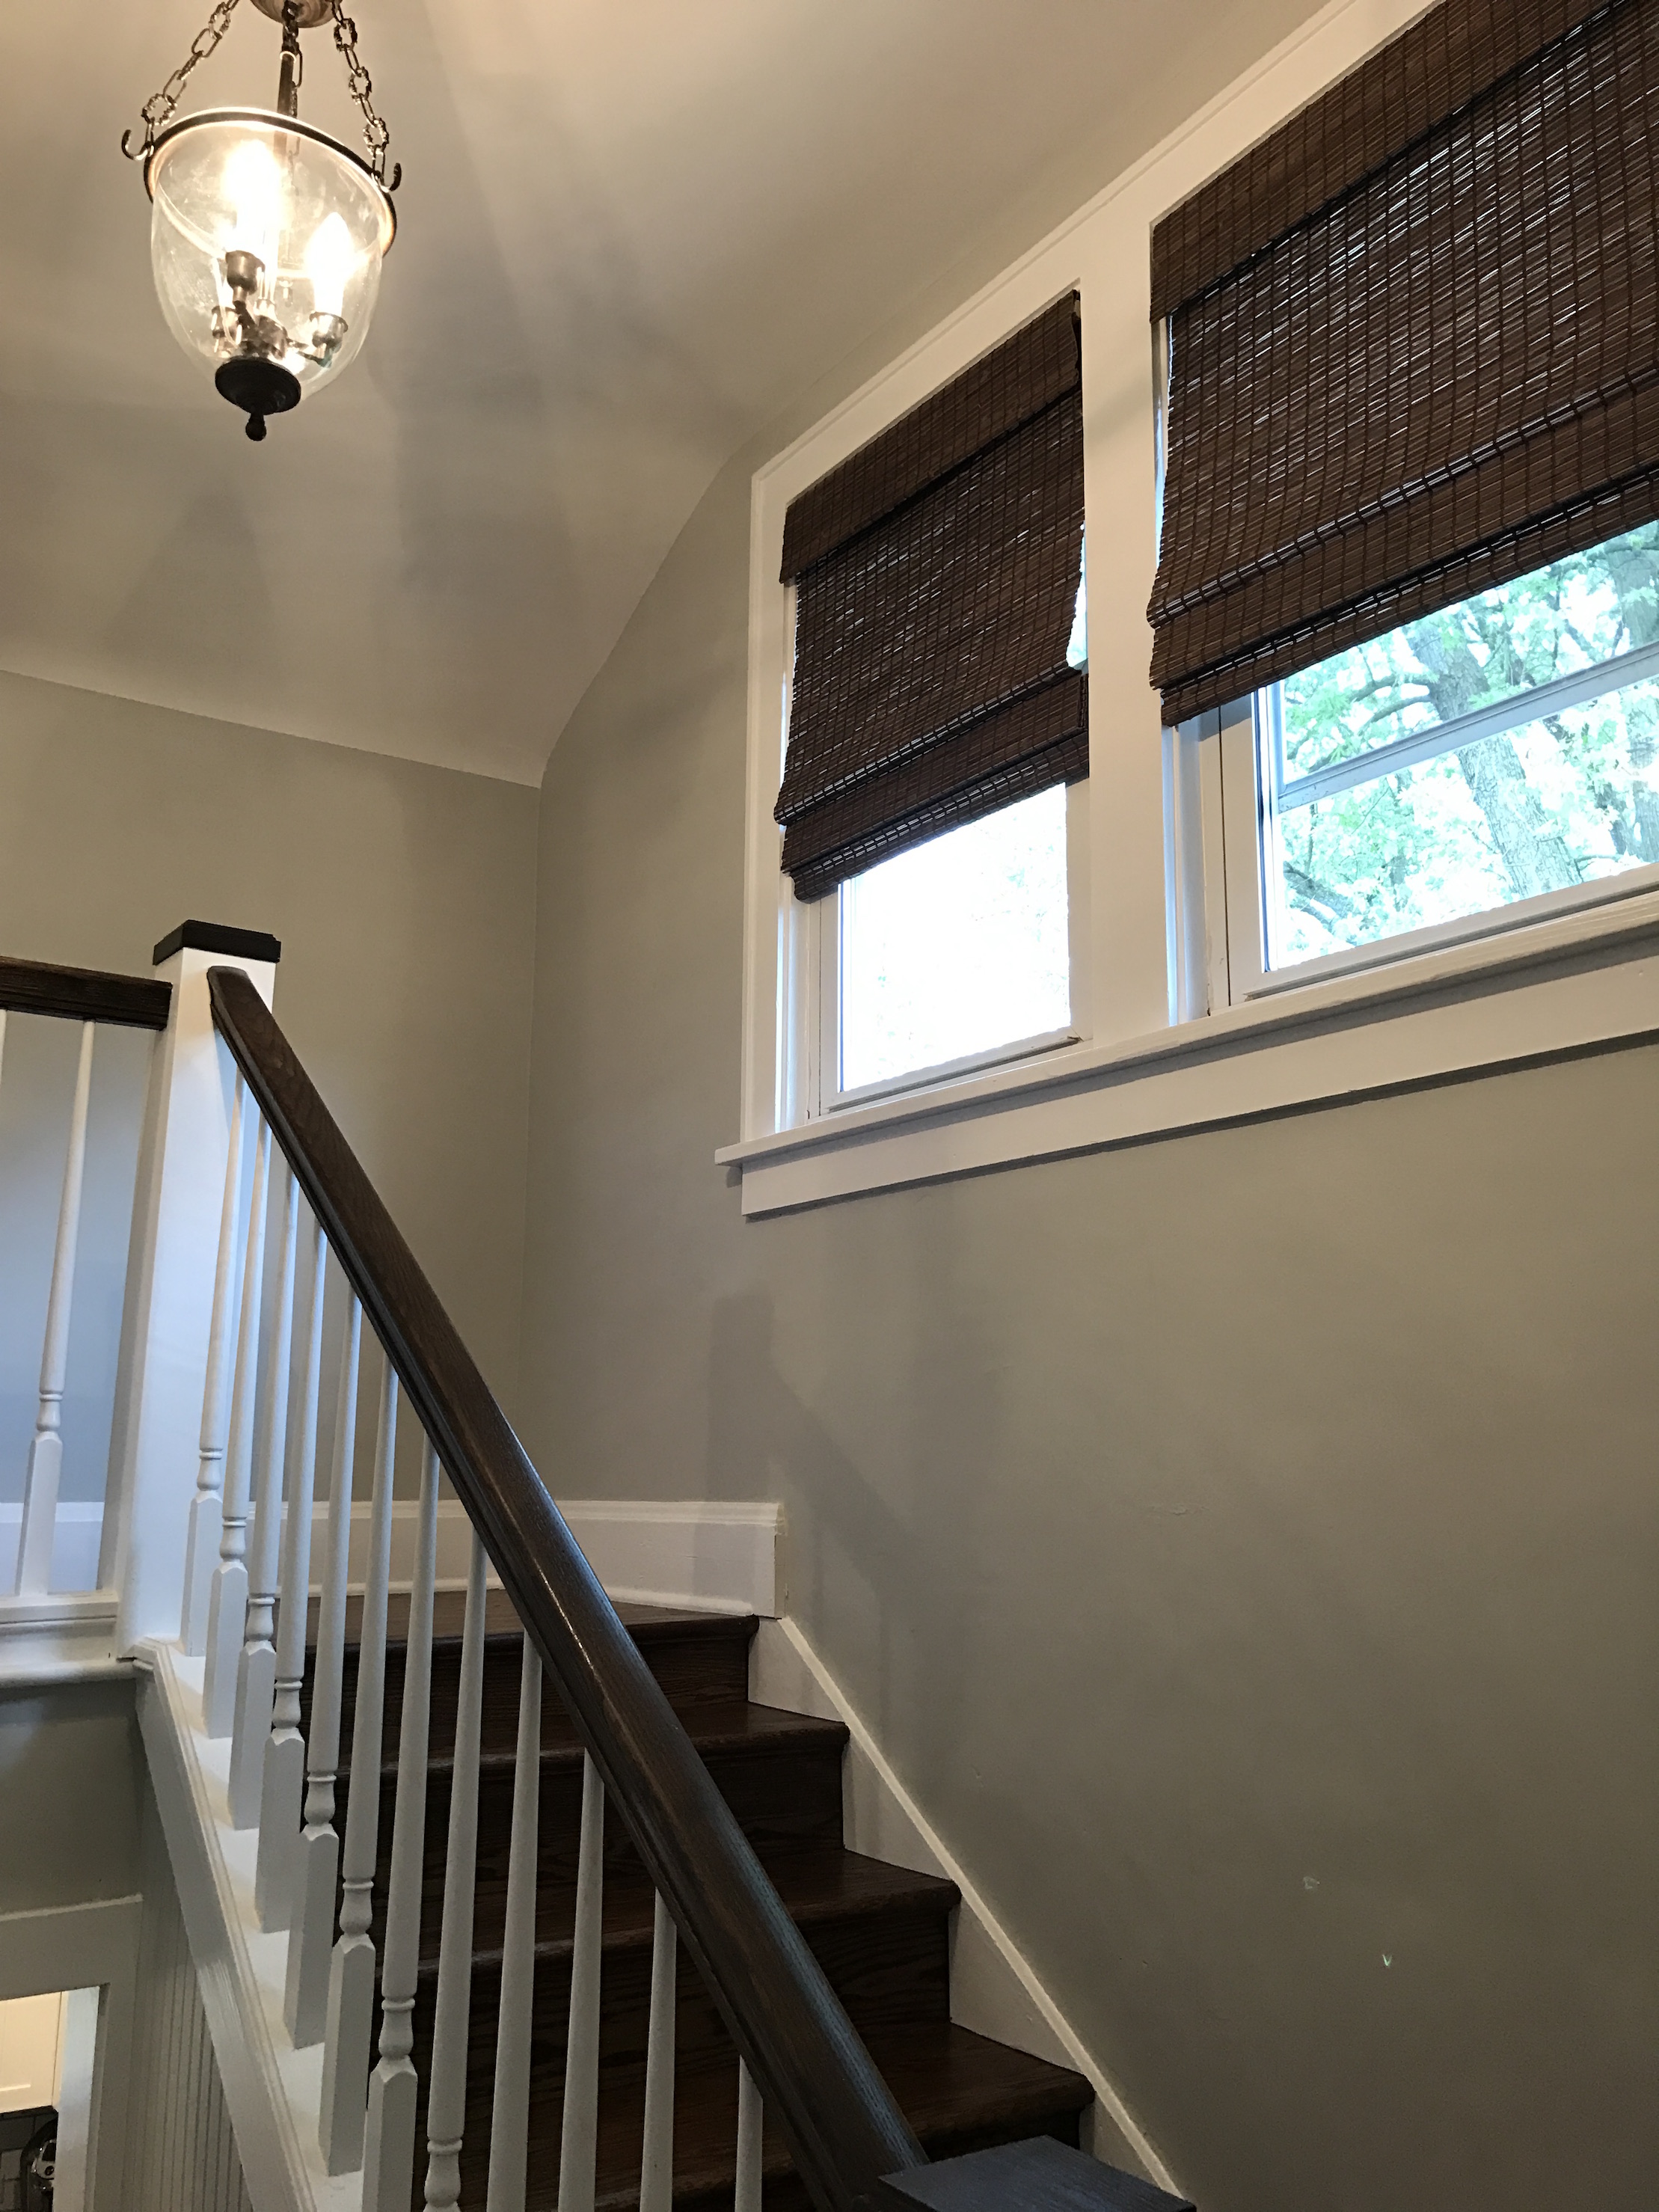
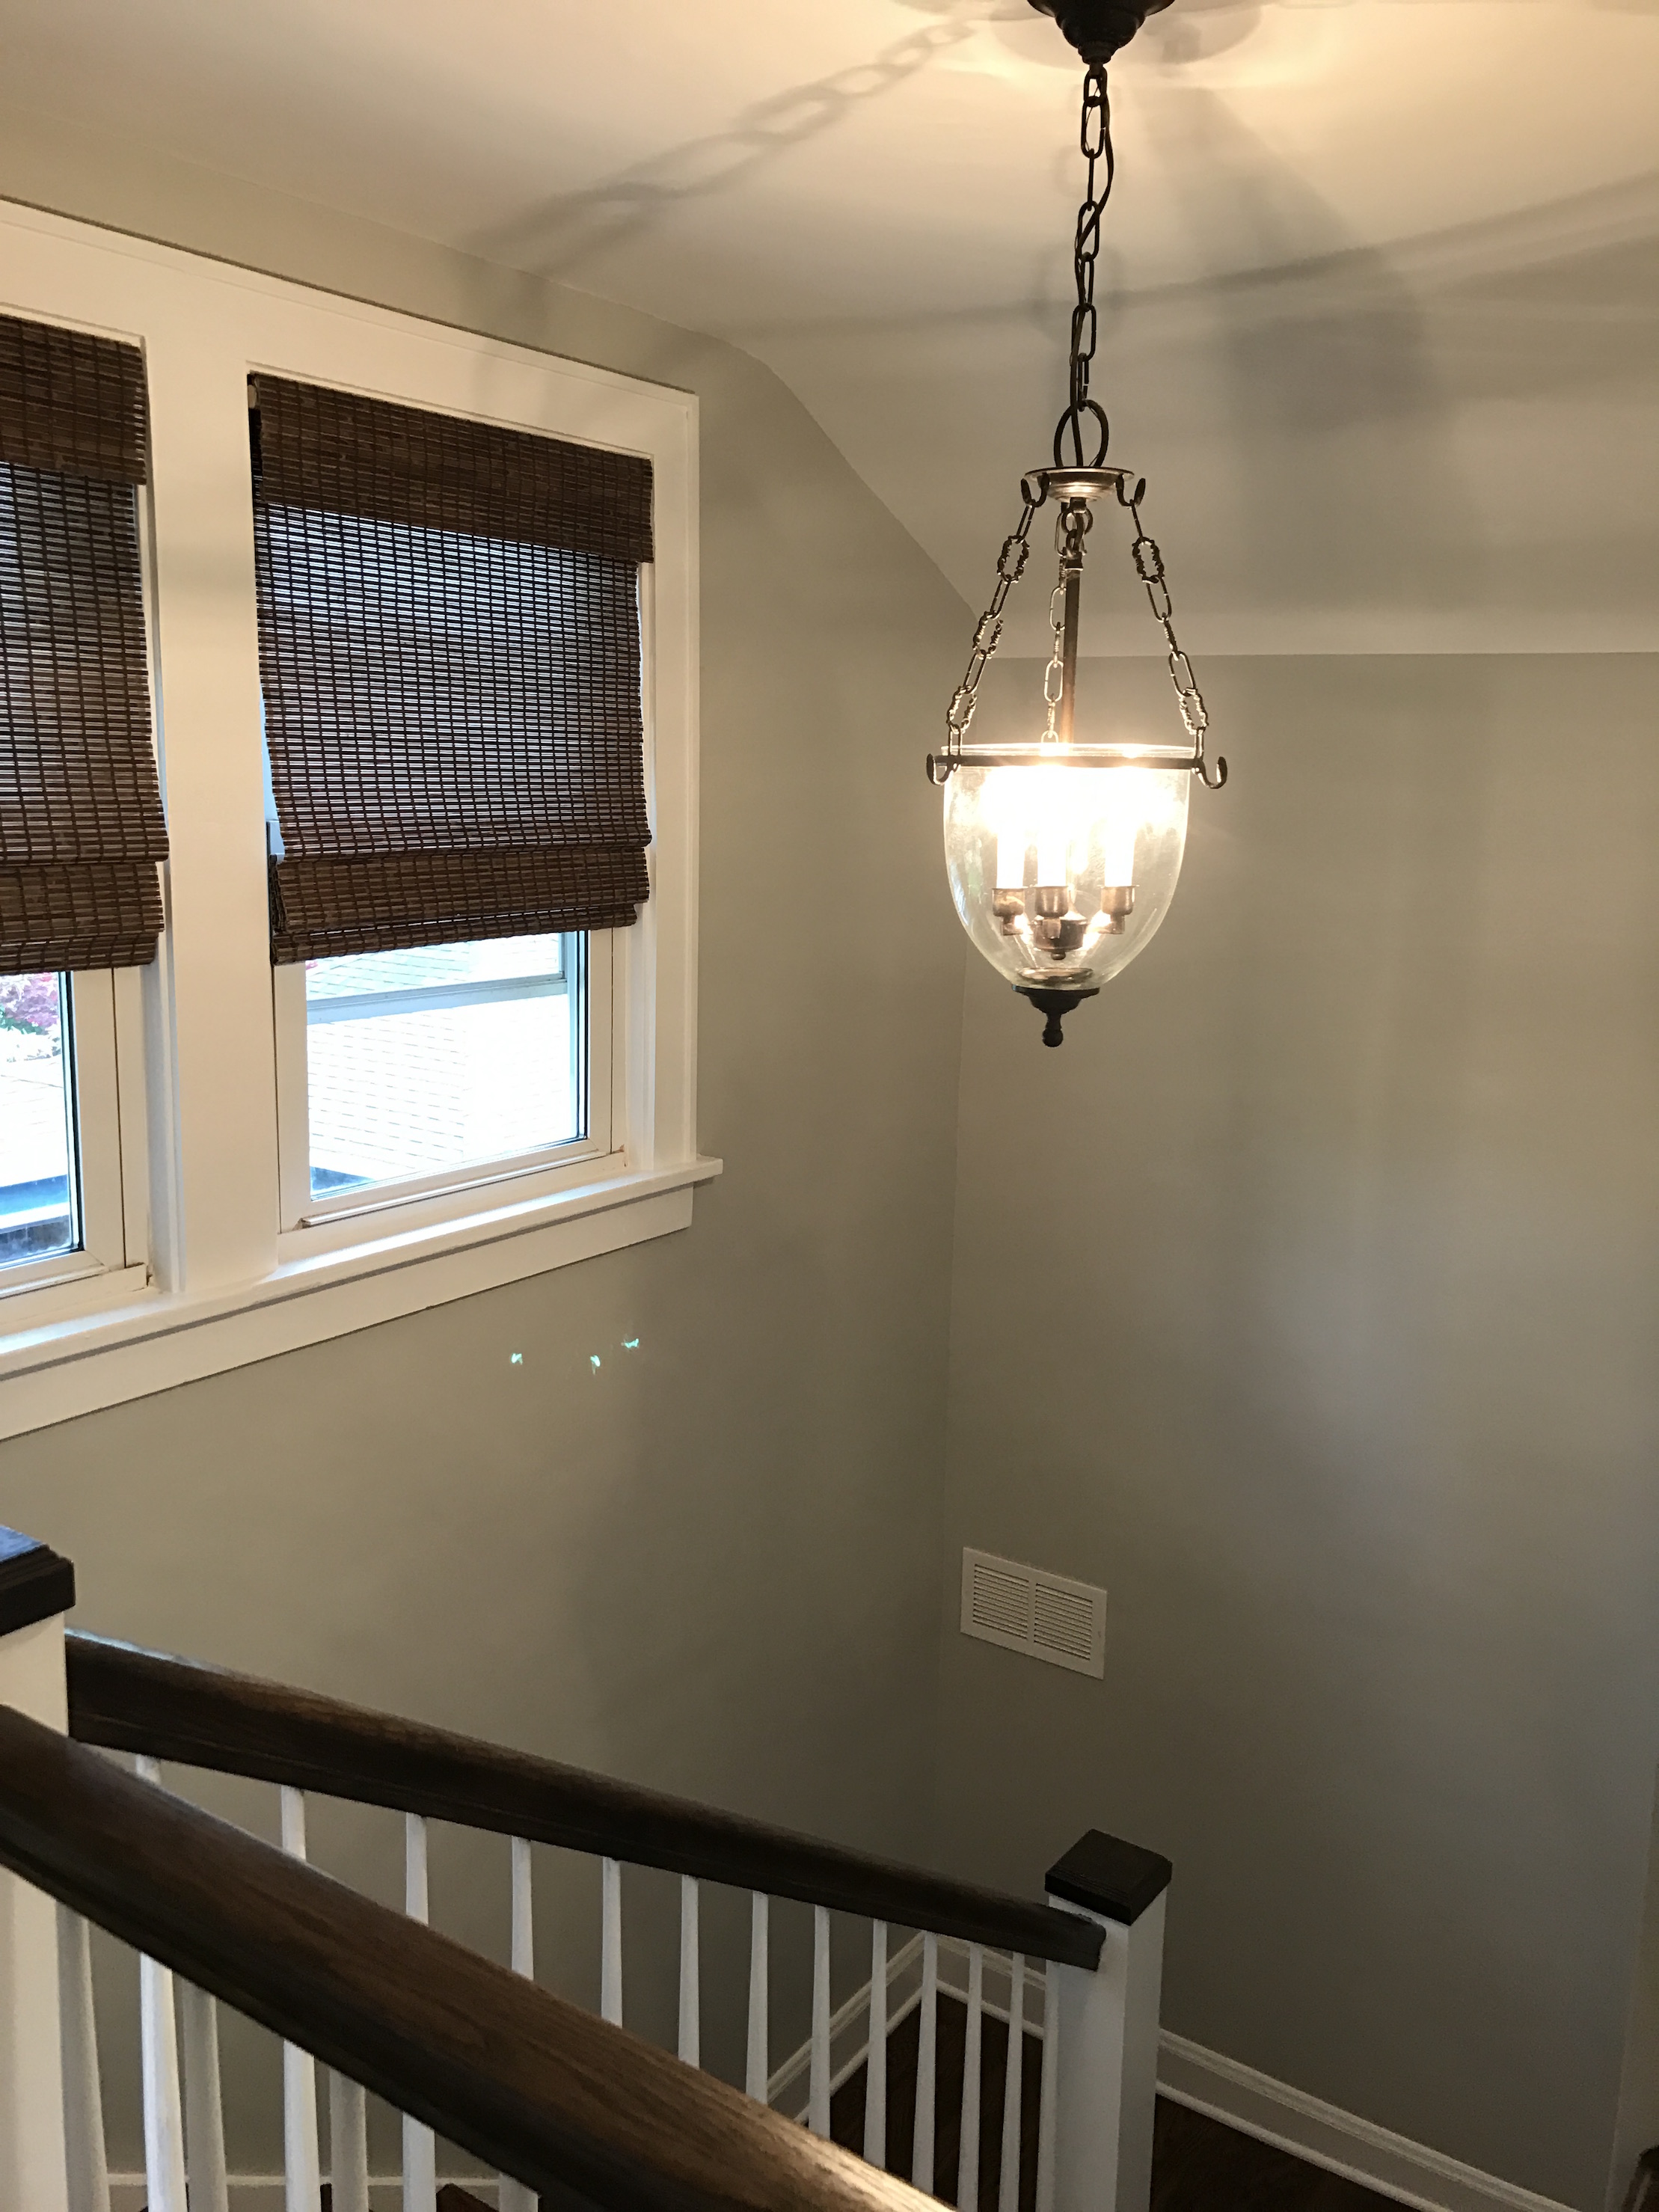
And now after new railings, paint, stain, a new chandelier, and roman shades:

stairs going up

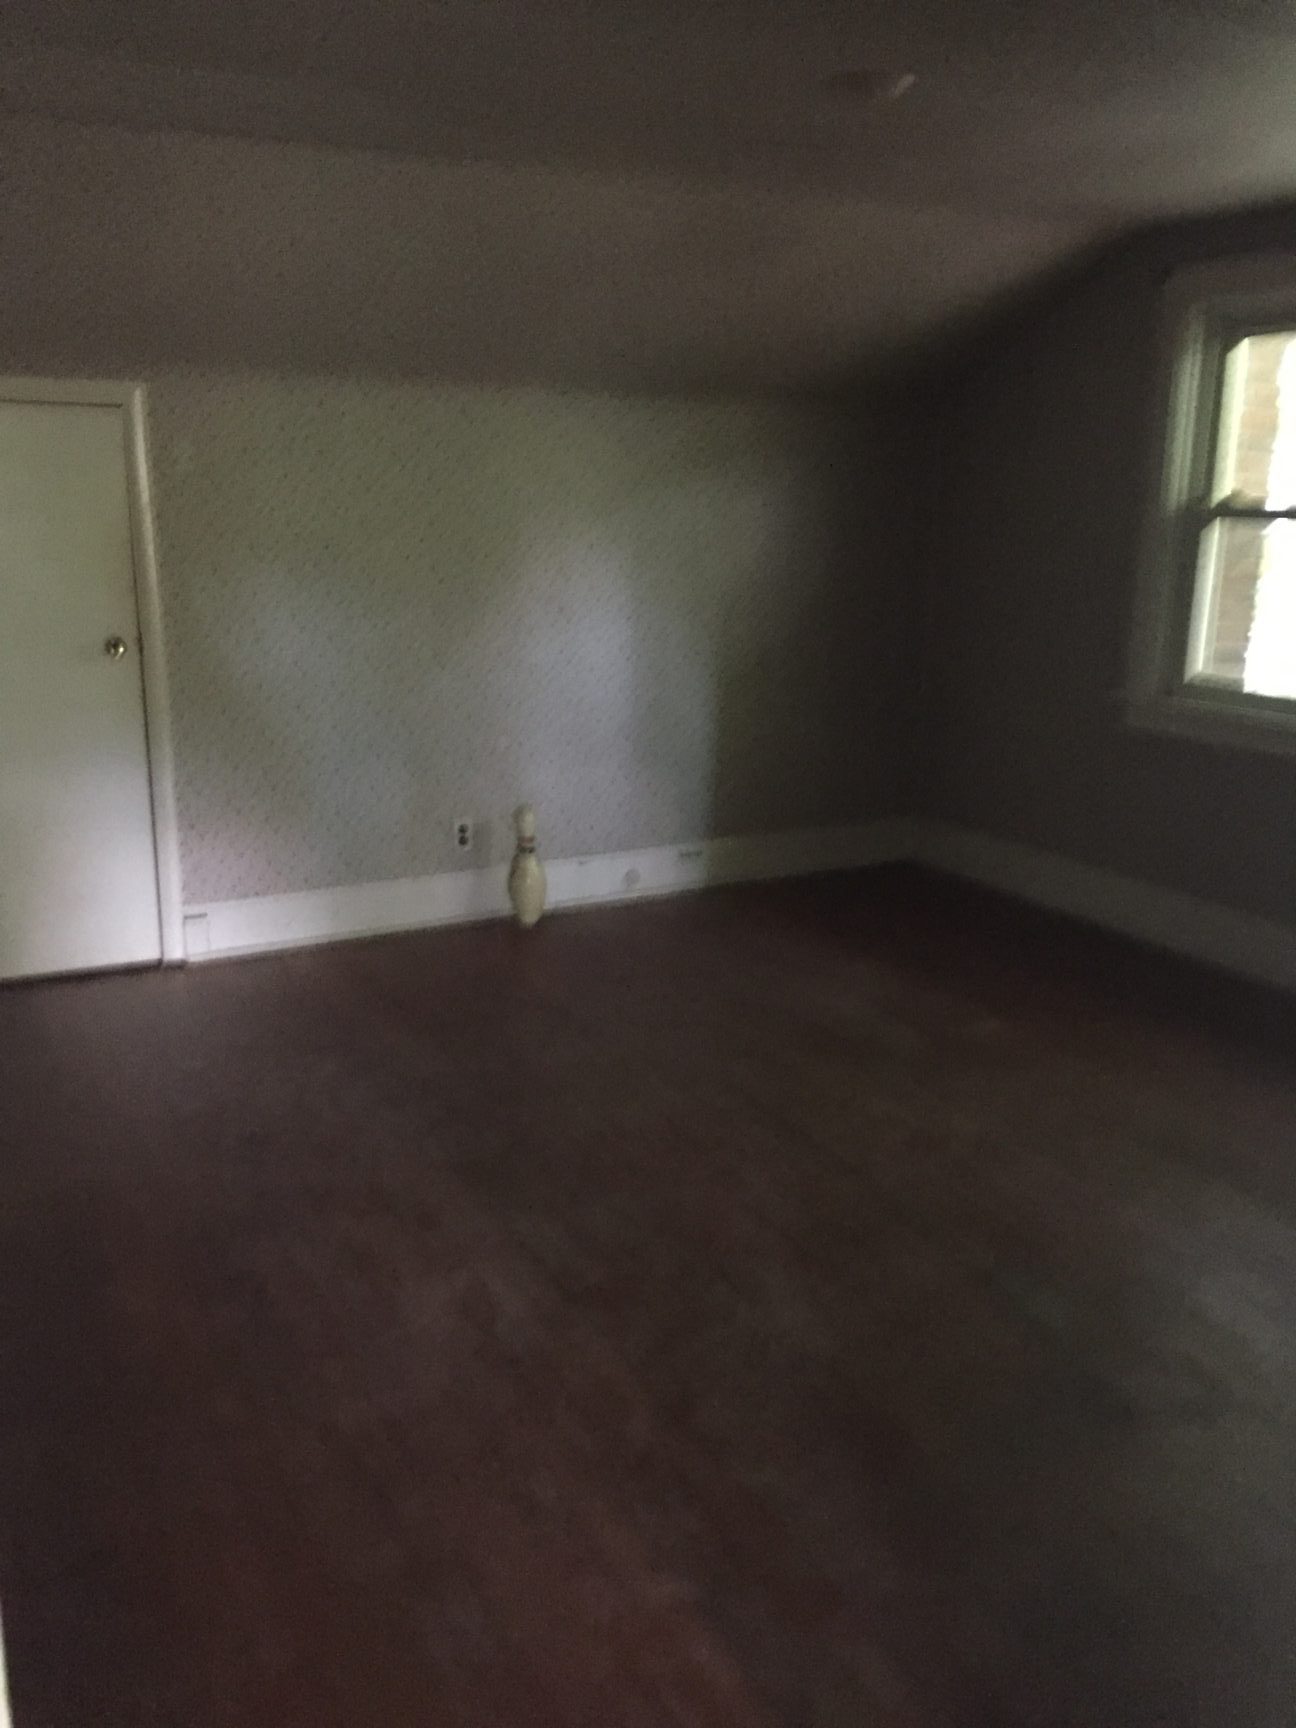
Here’s a view from the top of the stairs before:

img_4585

And now:

stairs looking down

We totally changed the layout upstairs. It used to be 2 small bedrooms and a TINY powder room.

old bedroom
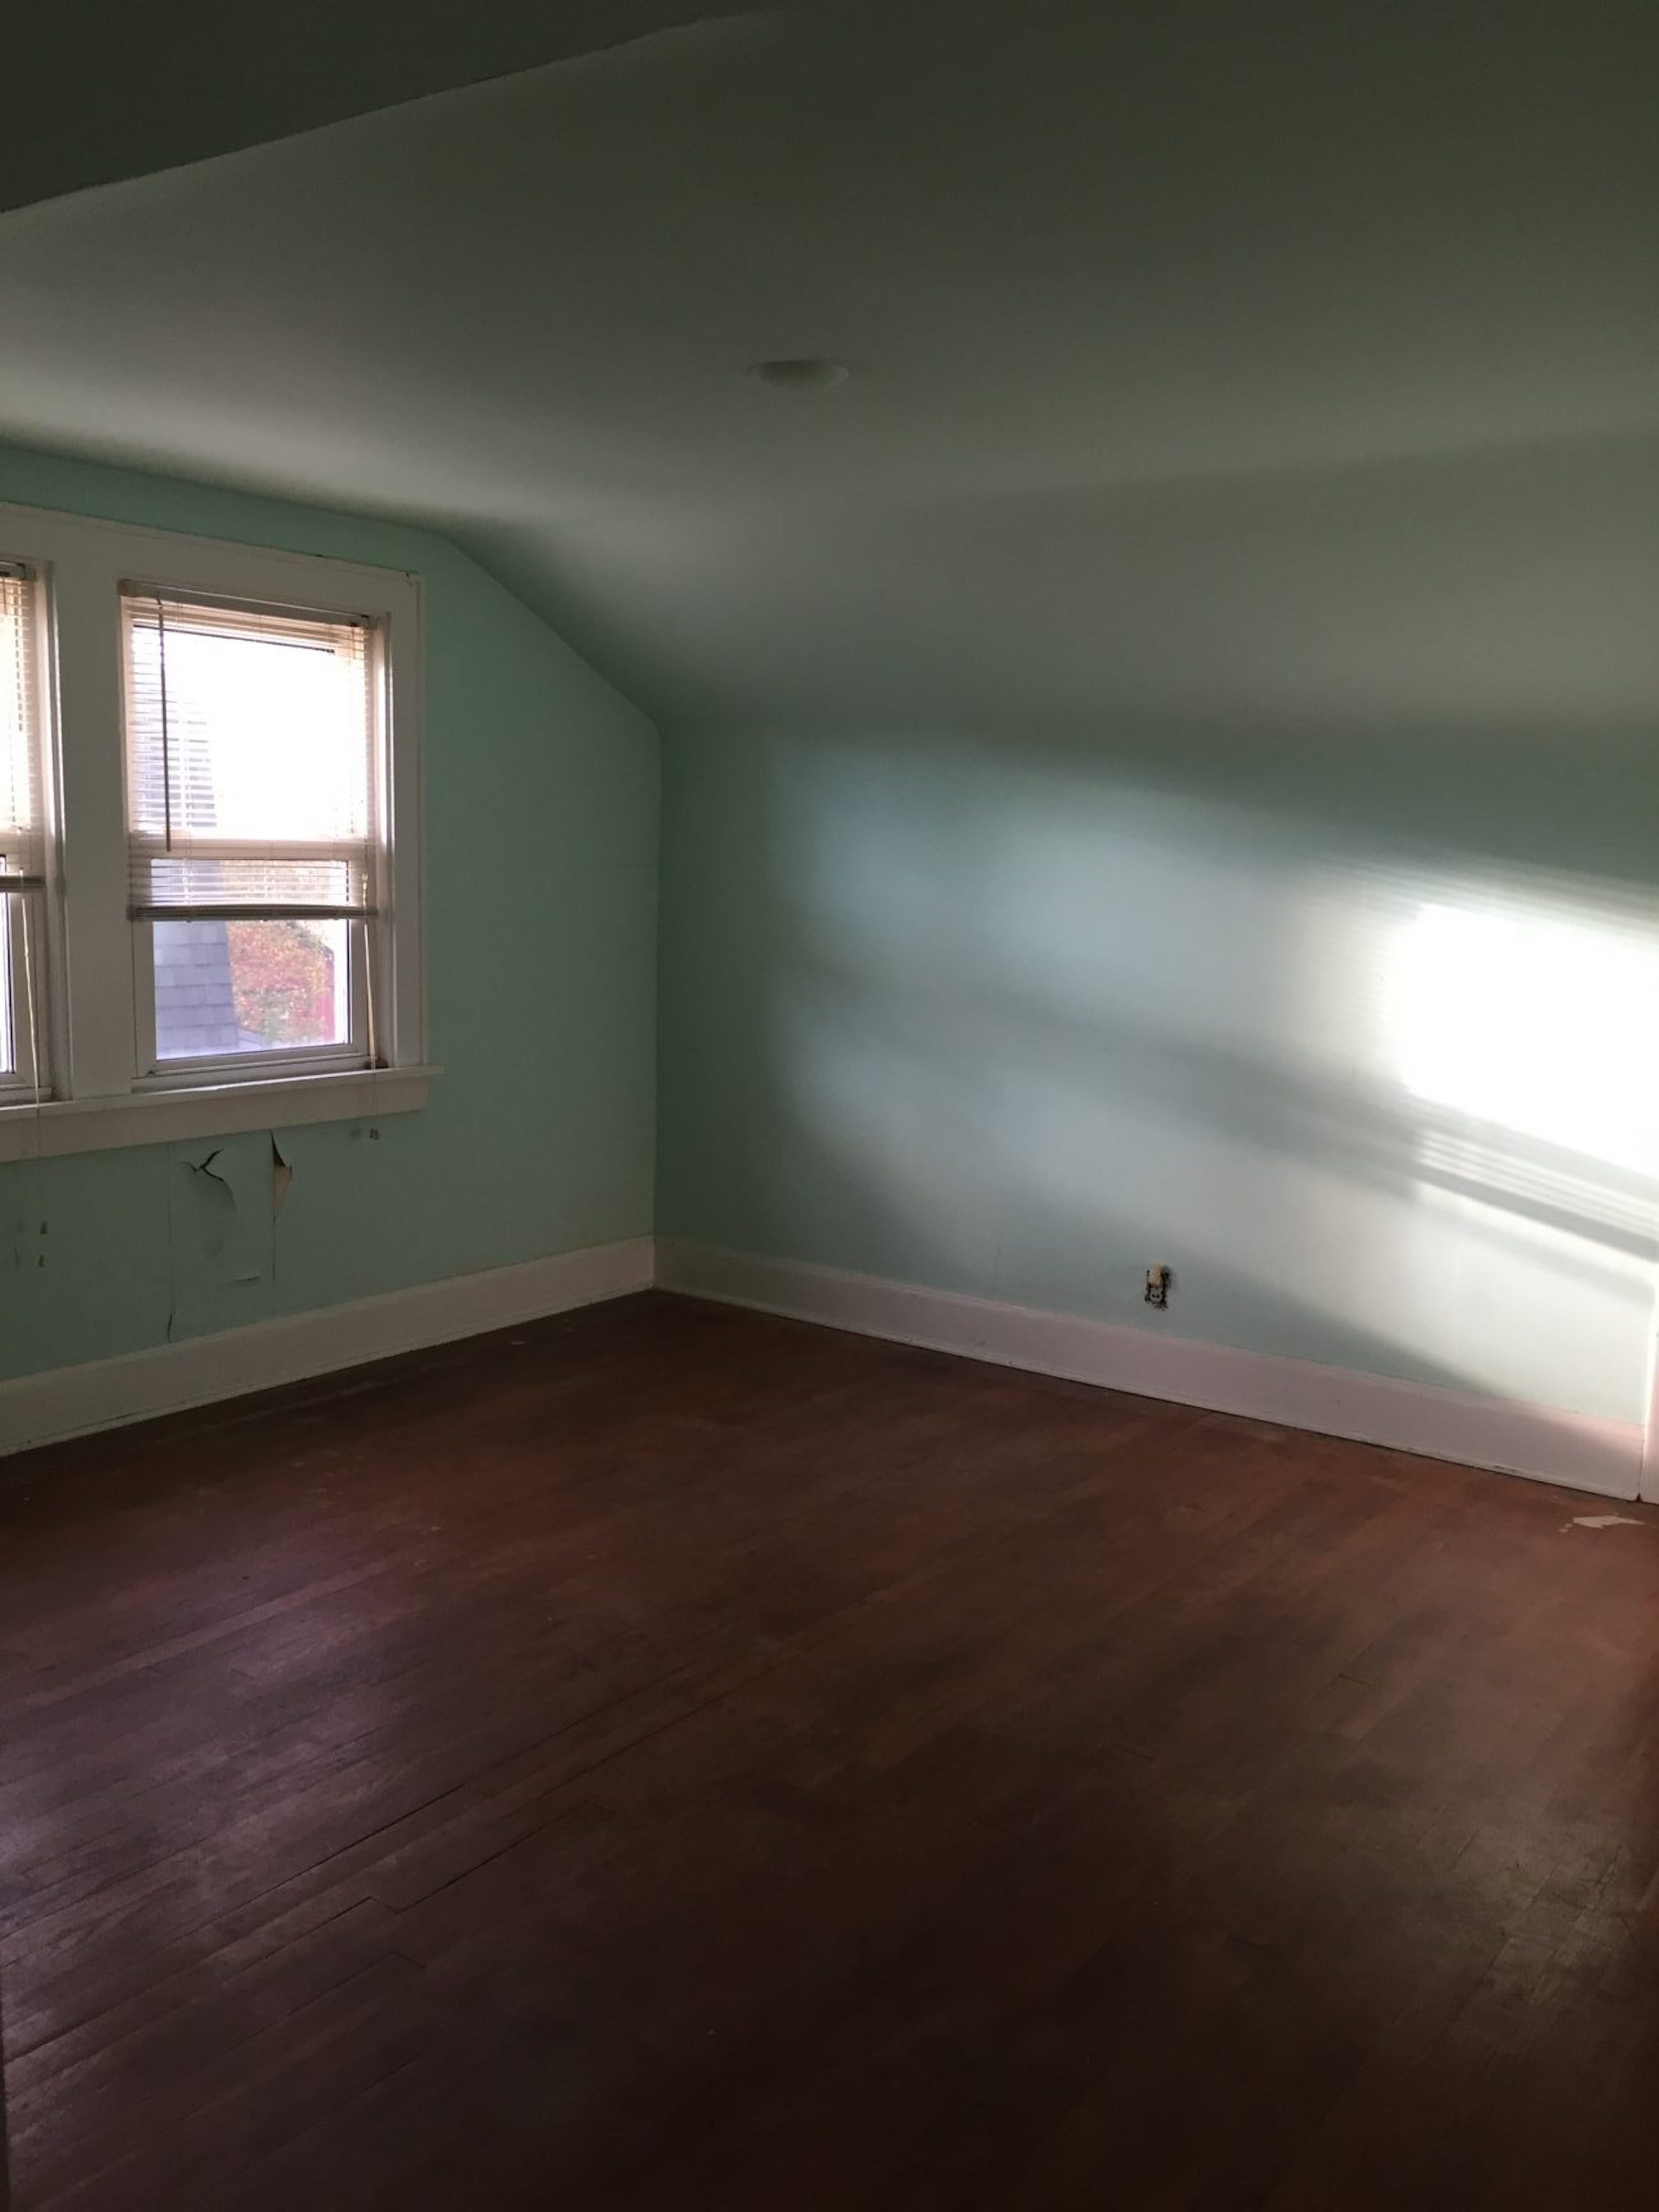
We changed it into one big master bedroom, walk in closet and master bath.

IMG_0505
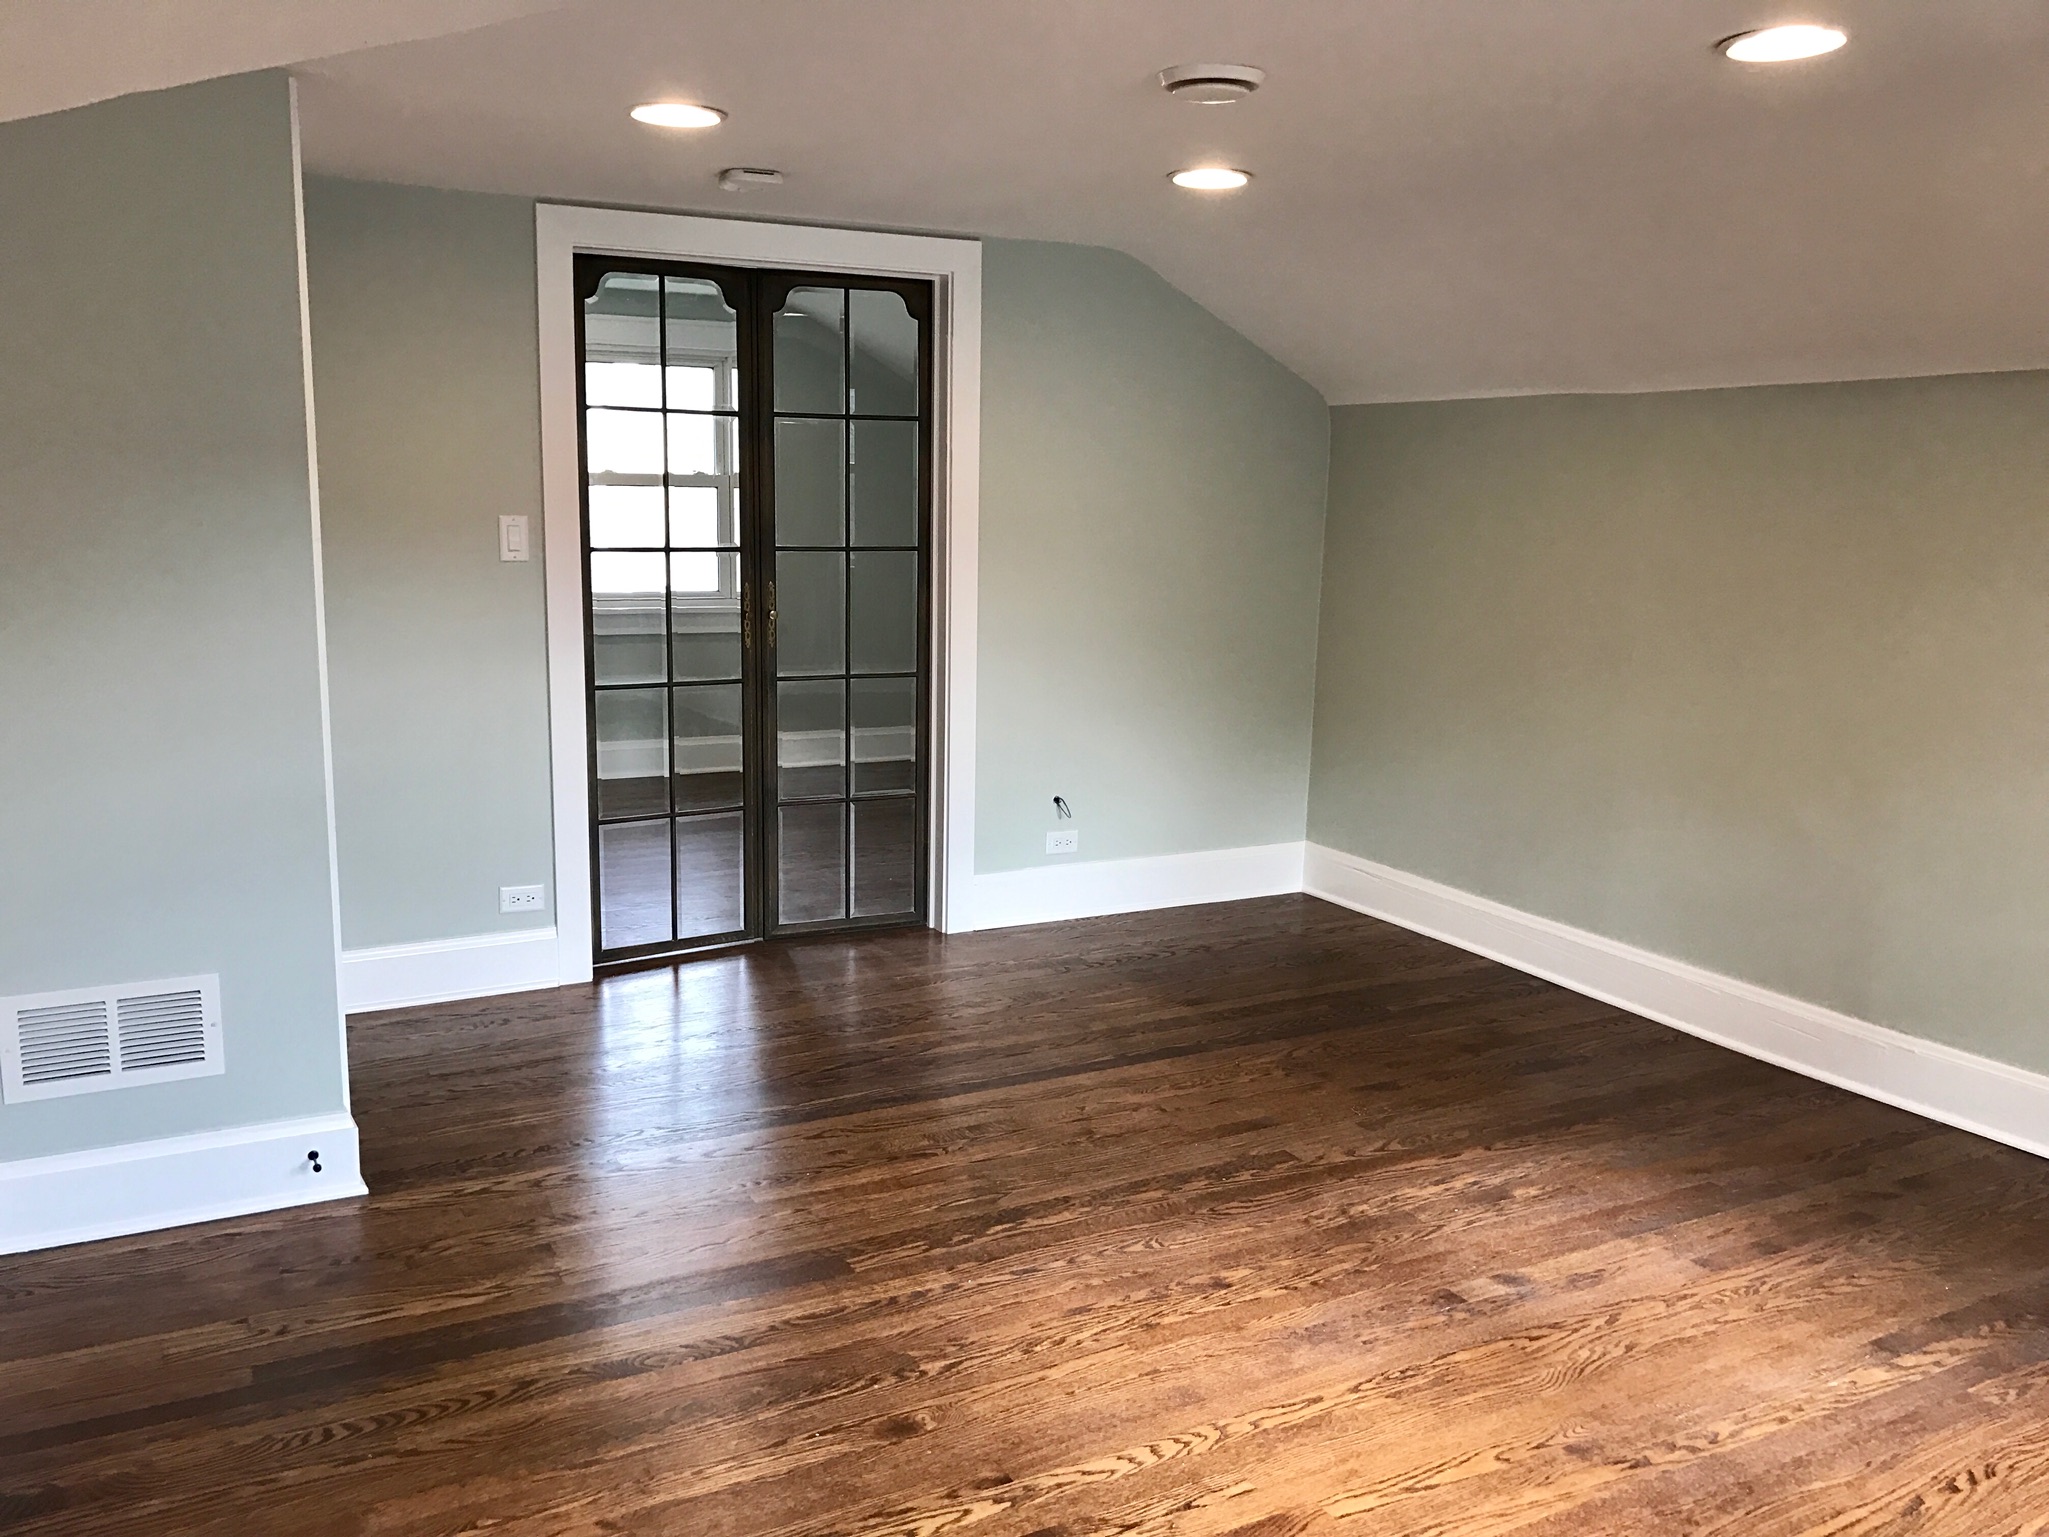
Aren’t those doors leading to the walk-in closet AMAZING? The homeowners found them at a salvage shop.

Here’s a view of the opposite side of the master bedroom:

IMG_0502

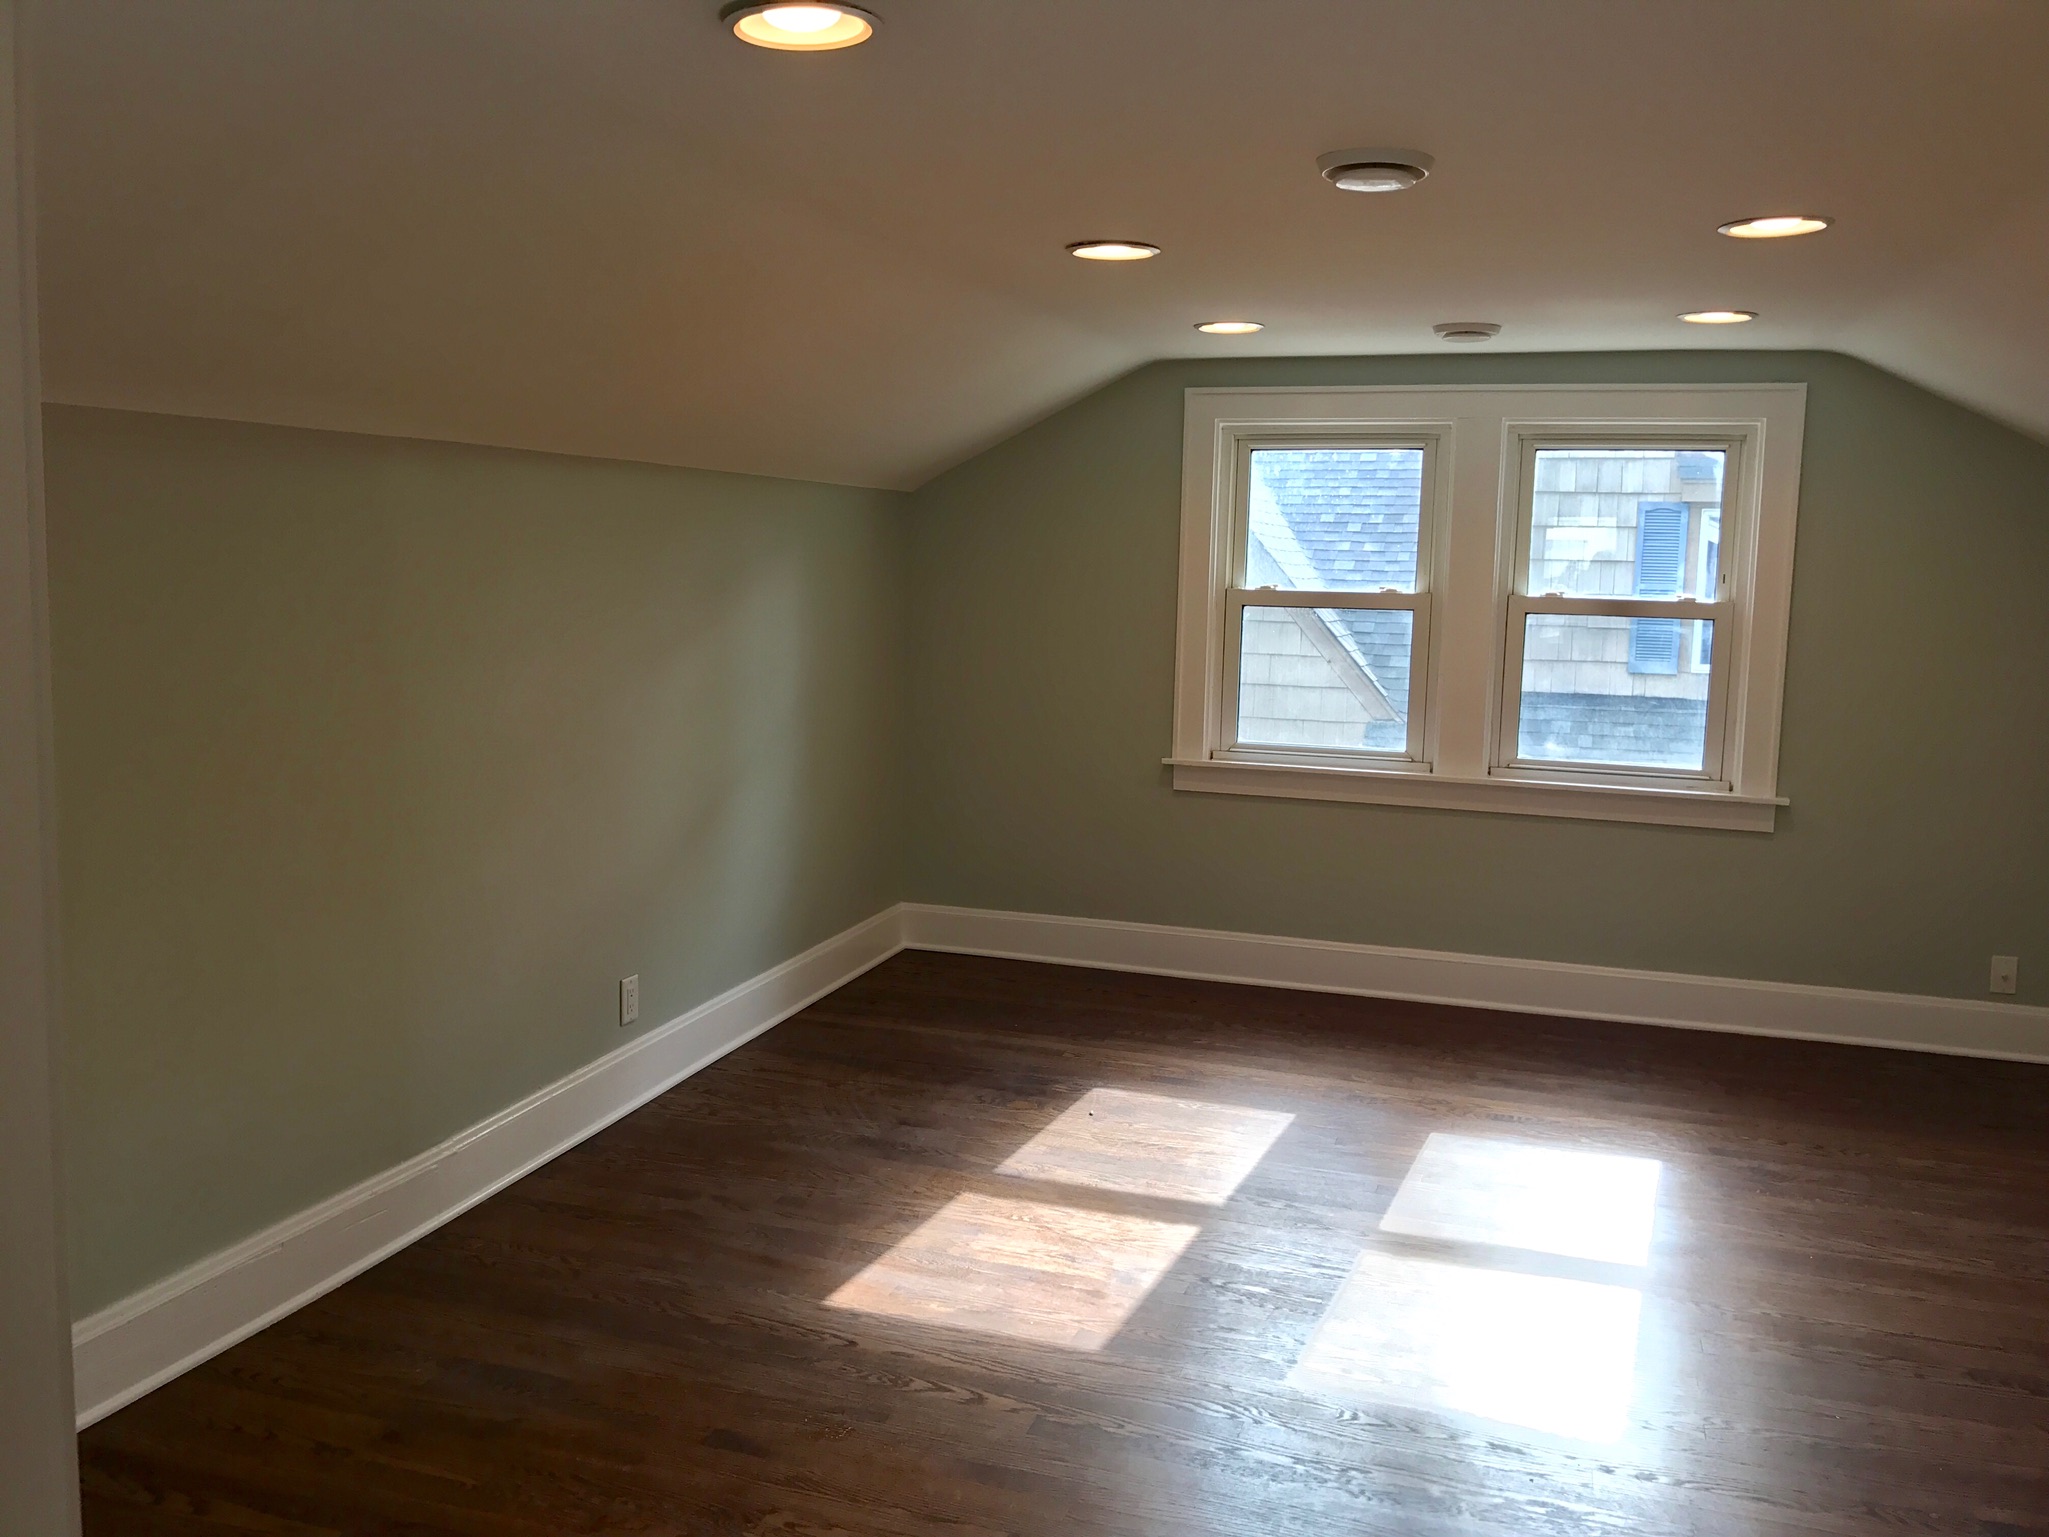
We added recessed lighting, re-finished the floors, and painted the walls Sea Salt by Sherwin Williams.

Here was the old upstairs powder room:

IMG_4588-1-e1477515532858

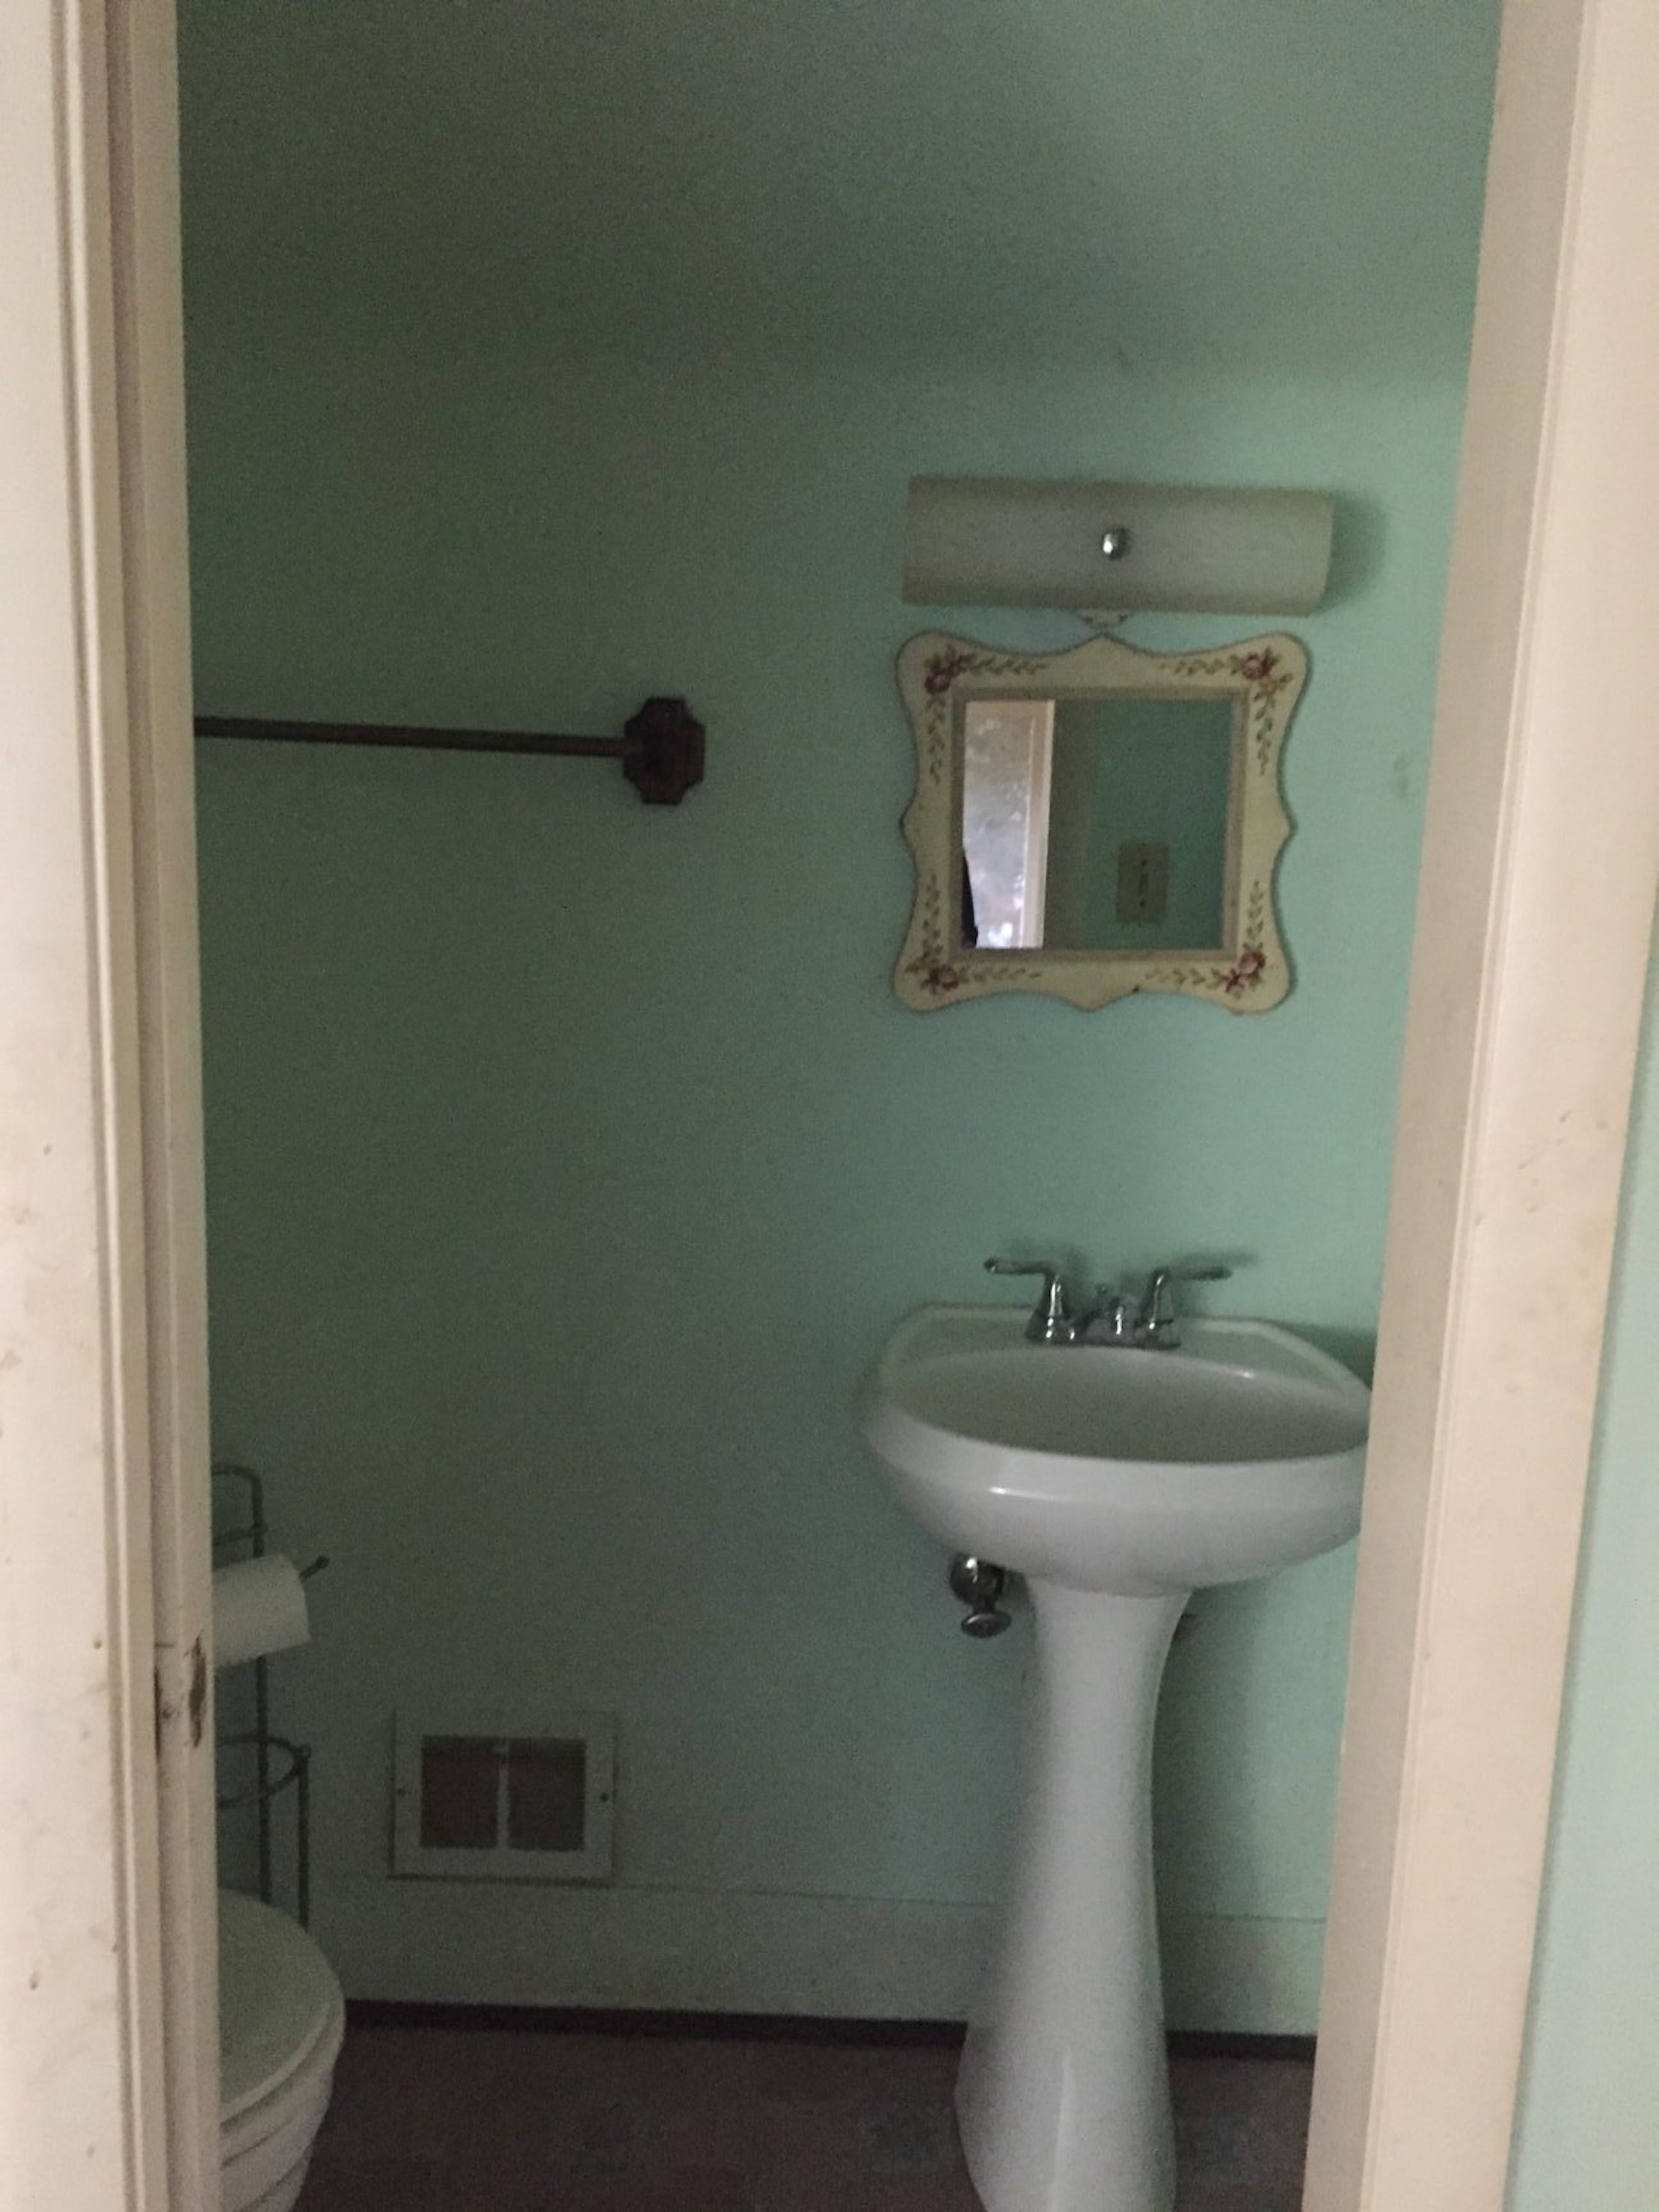
We gutted this and built out a whole new master bathroom with a marble tile shower, Kohler Brushed bronze fixtures, antique gold mirror, marble top white vanity, chrome globe sconces and more:

IMG_0492

IMG_0497

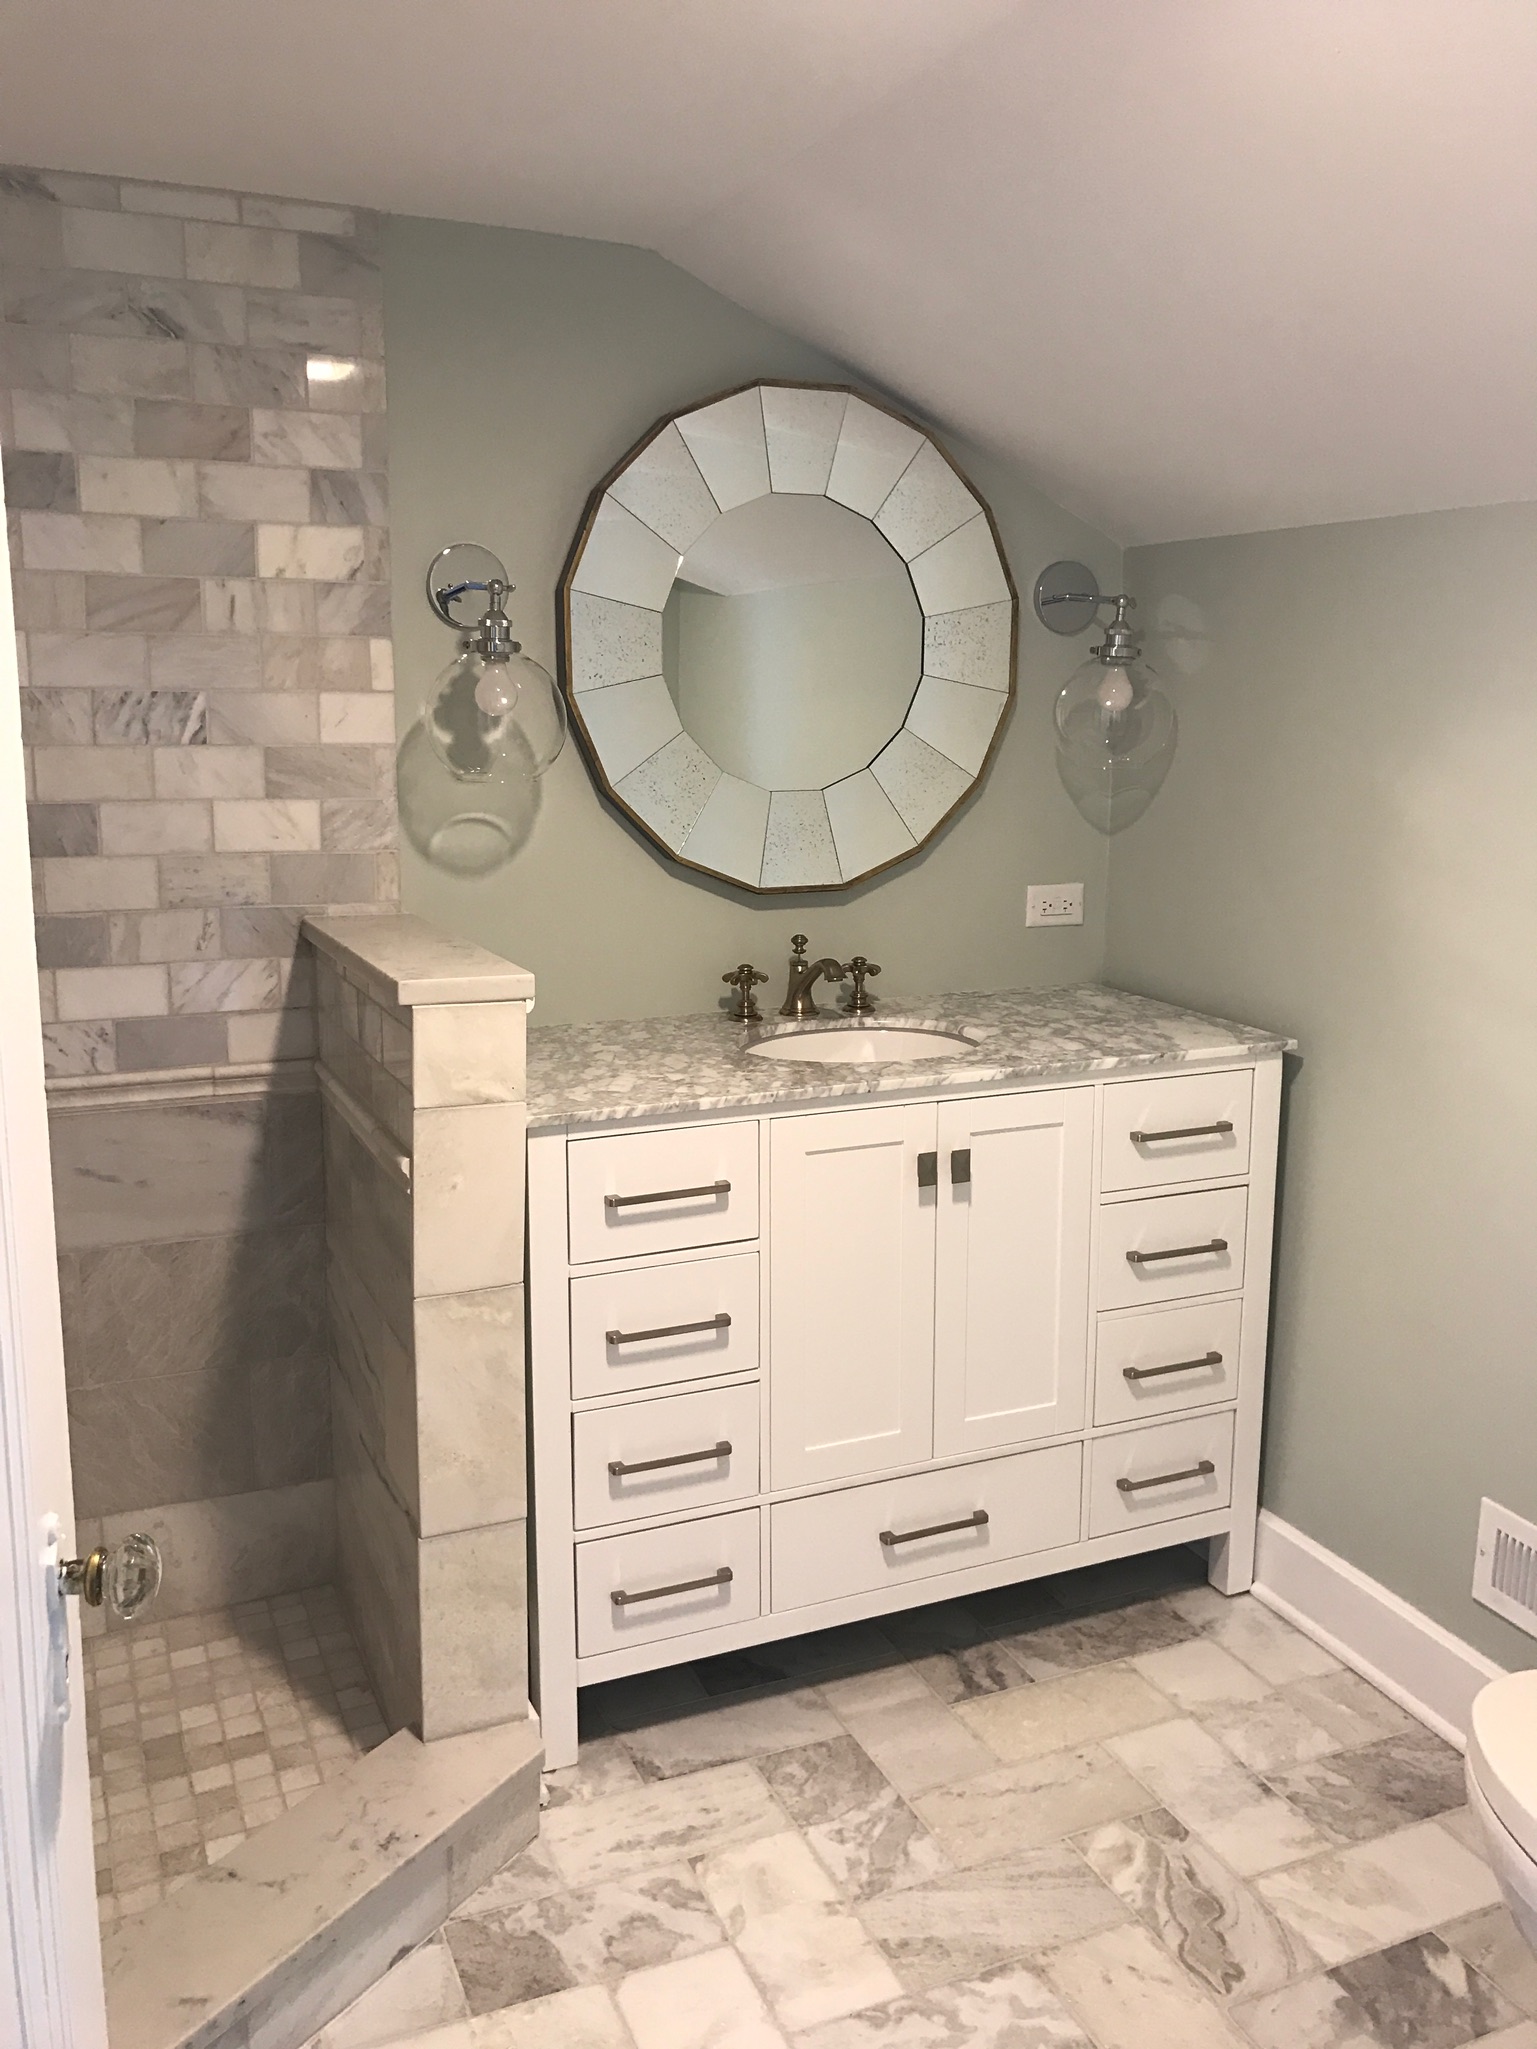
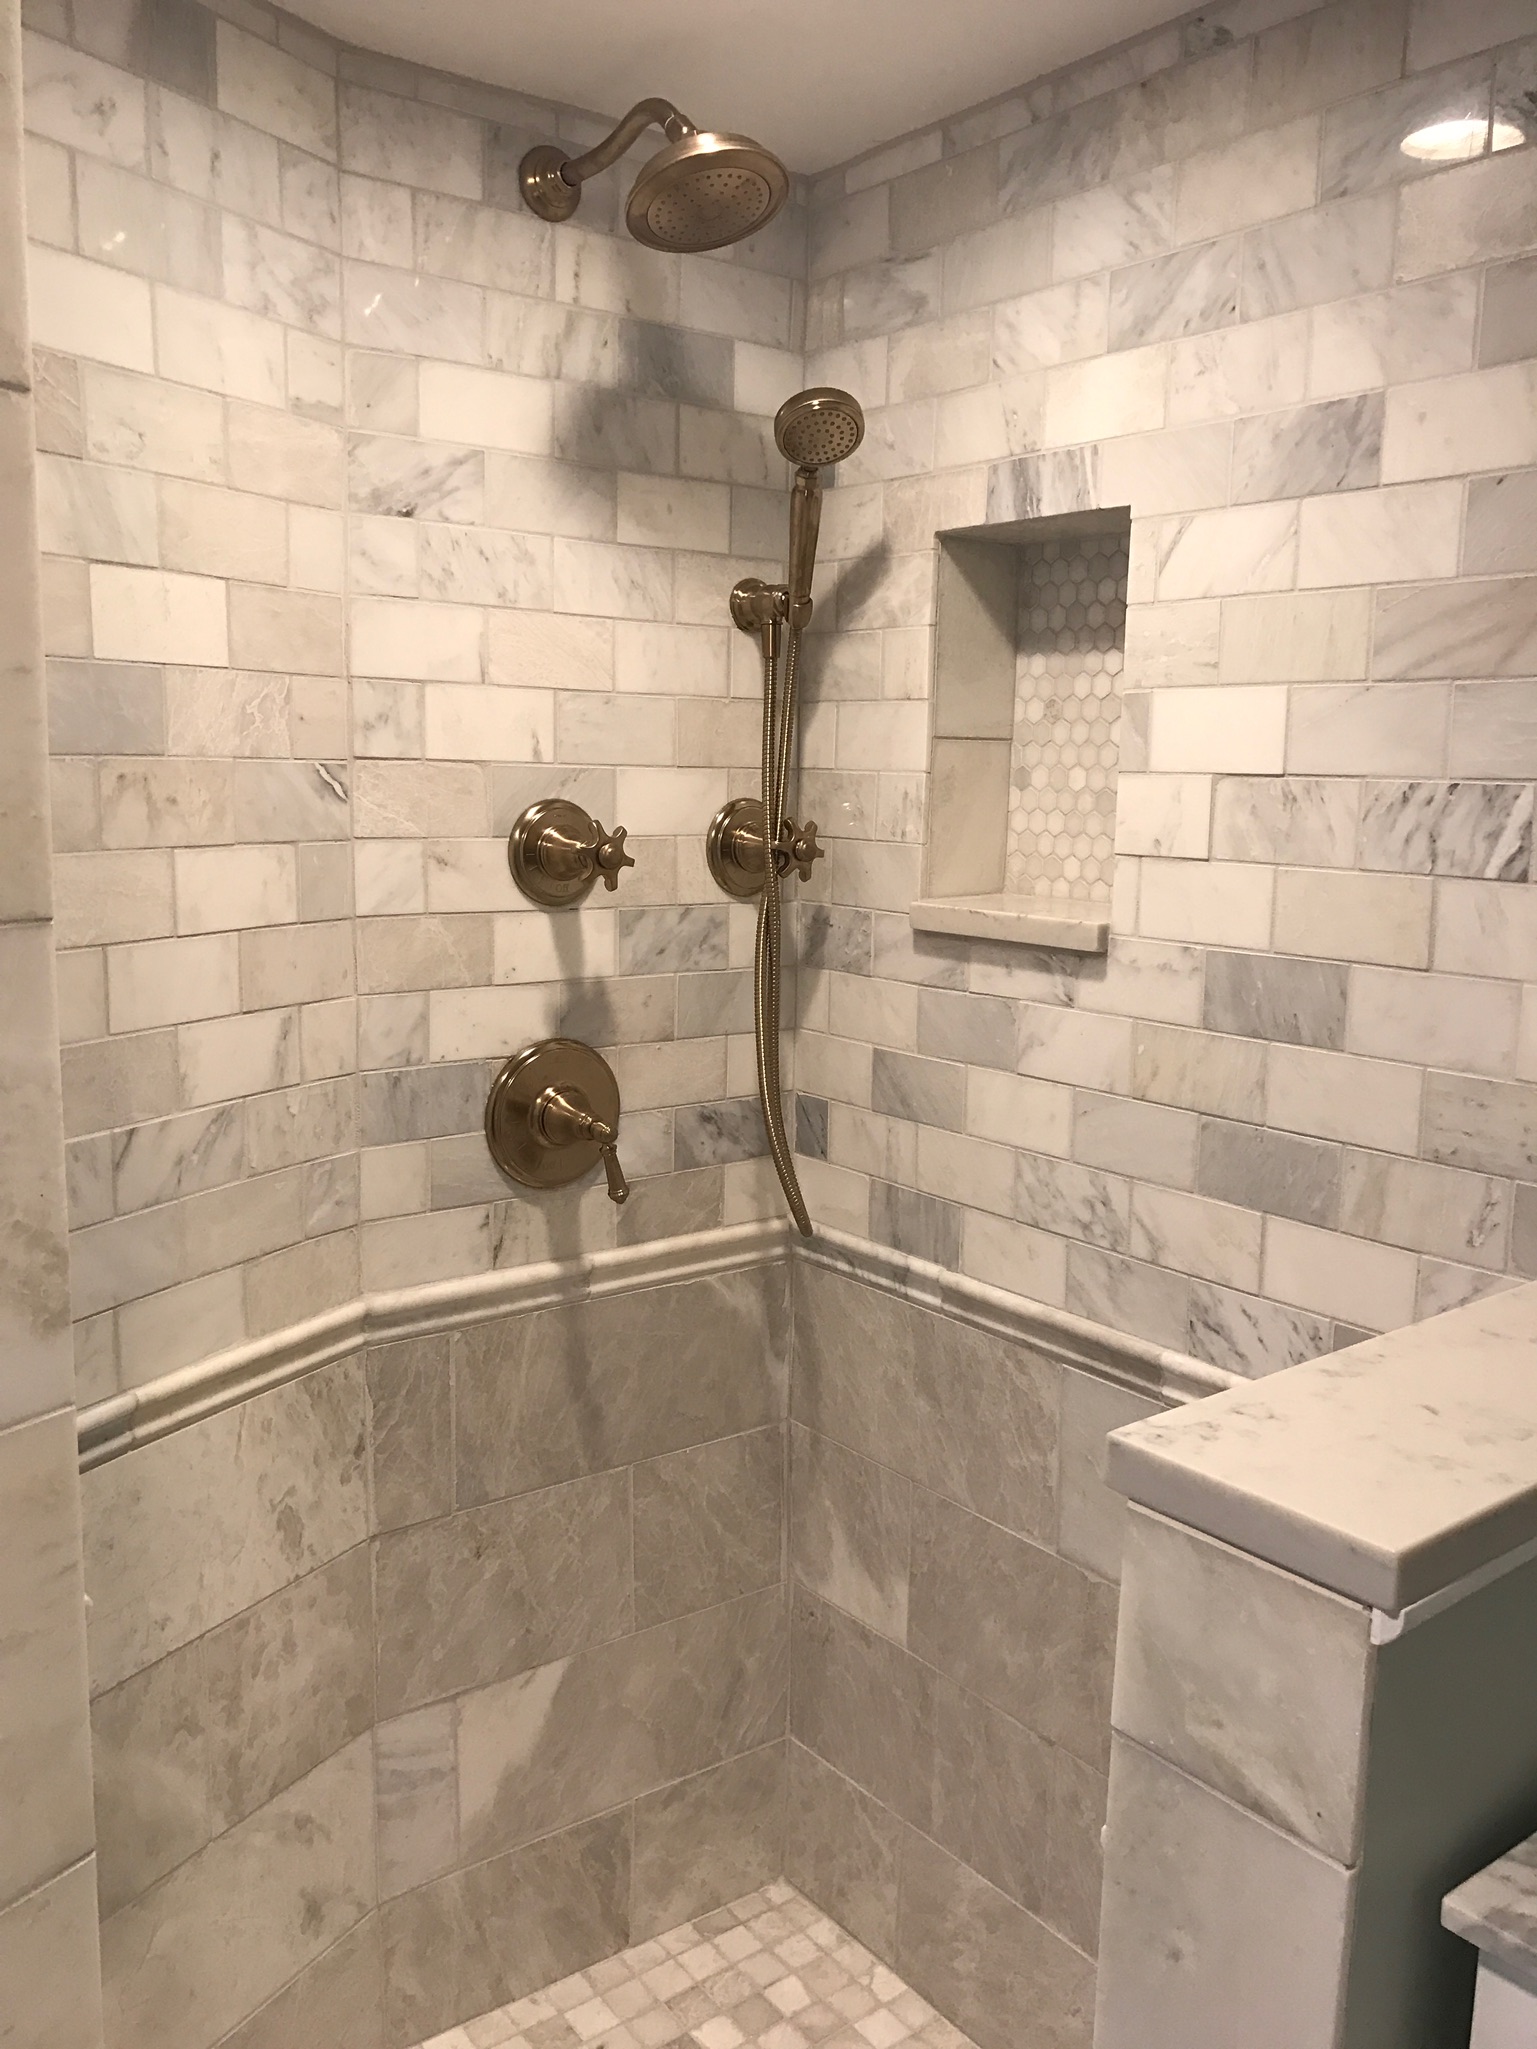
(The glass shower doors went in after I took these pics).

I really love how the whole upstairs is their master retreat.

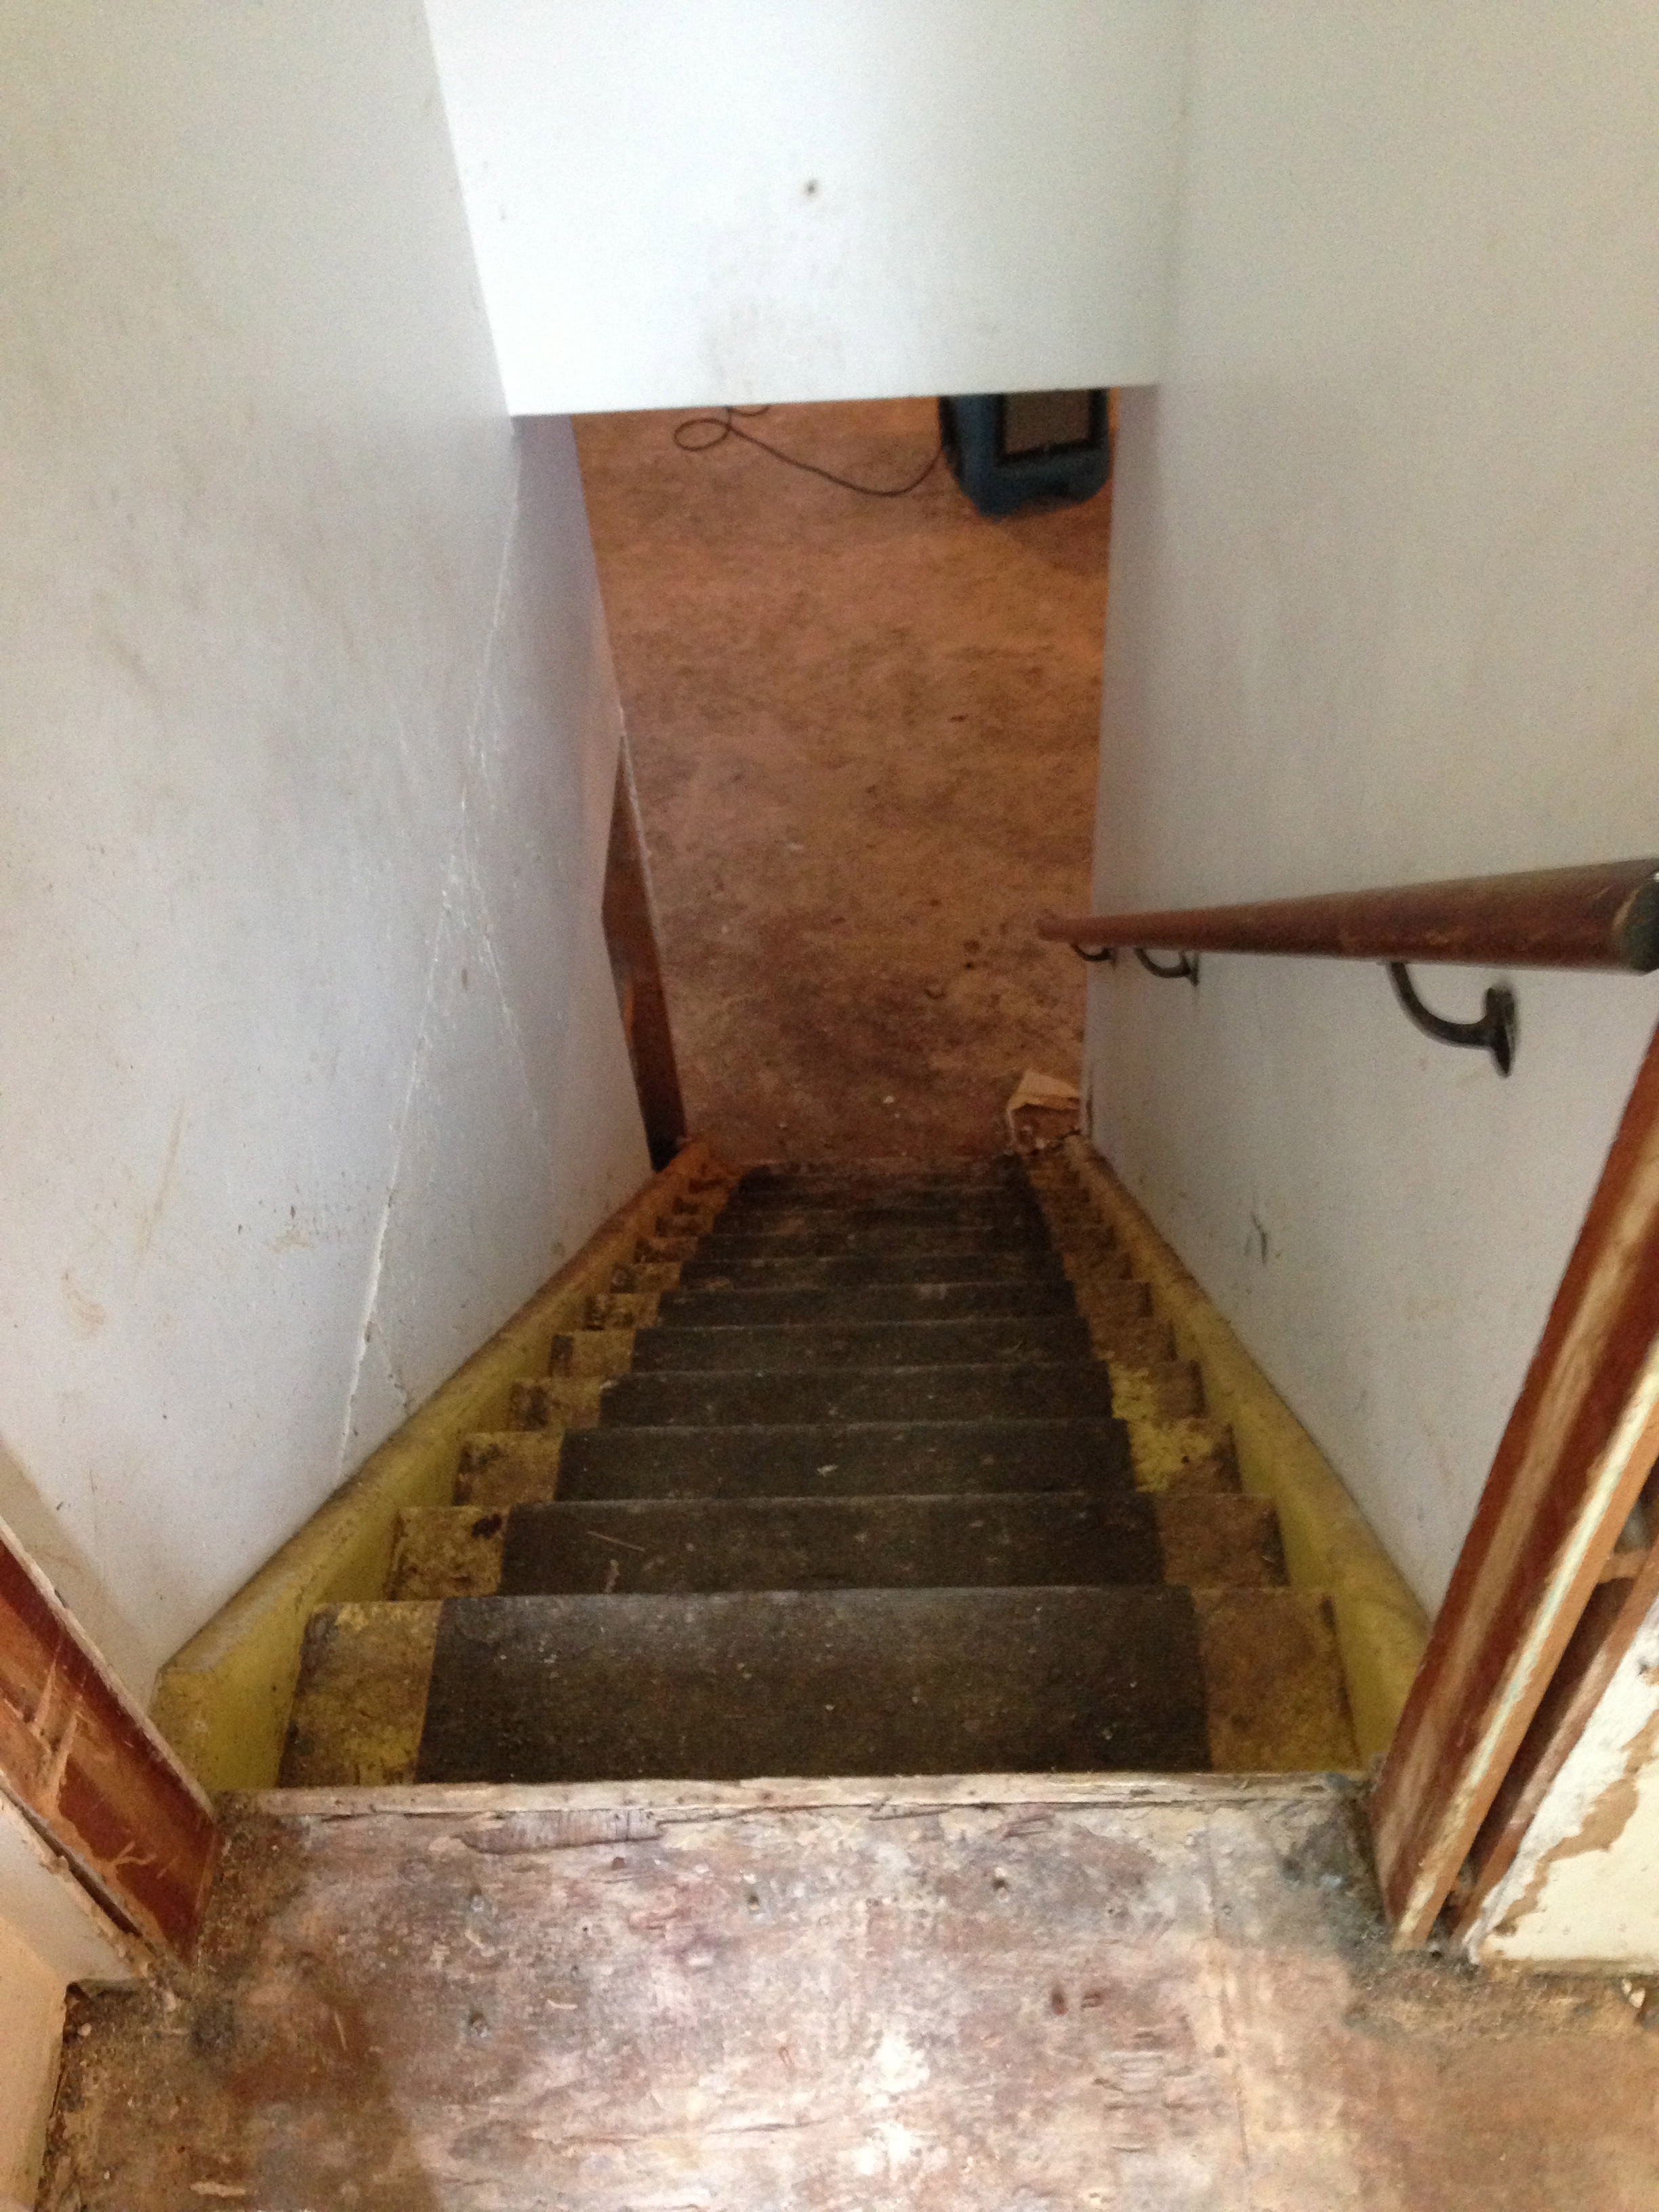
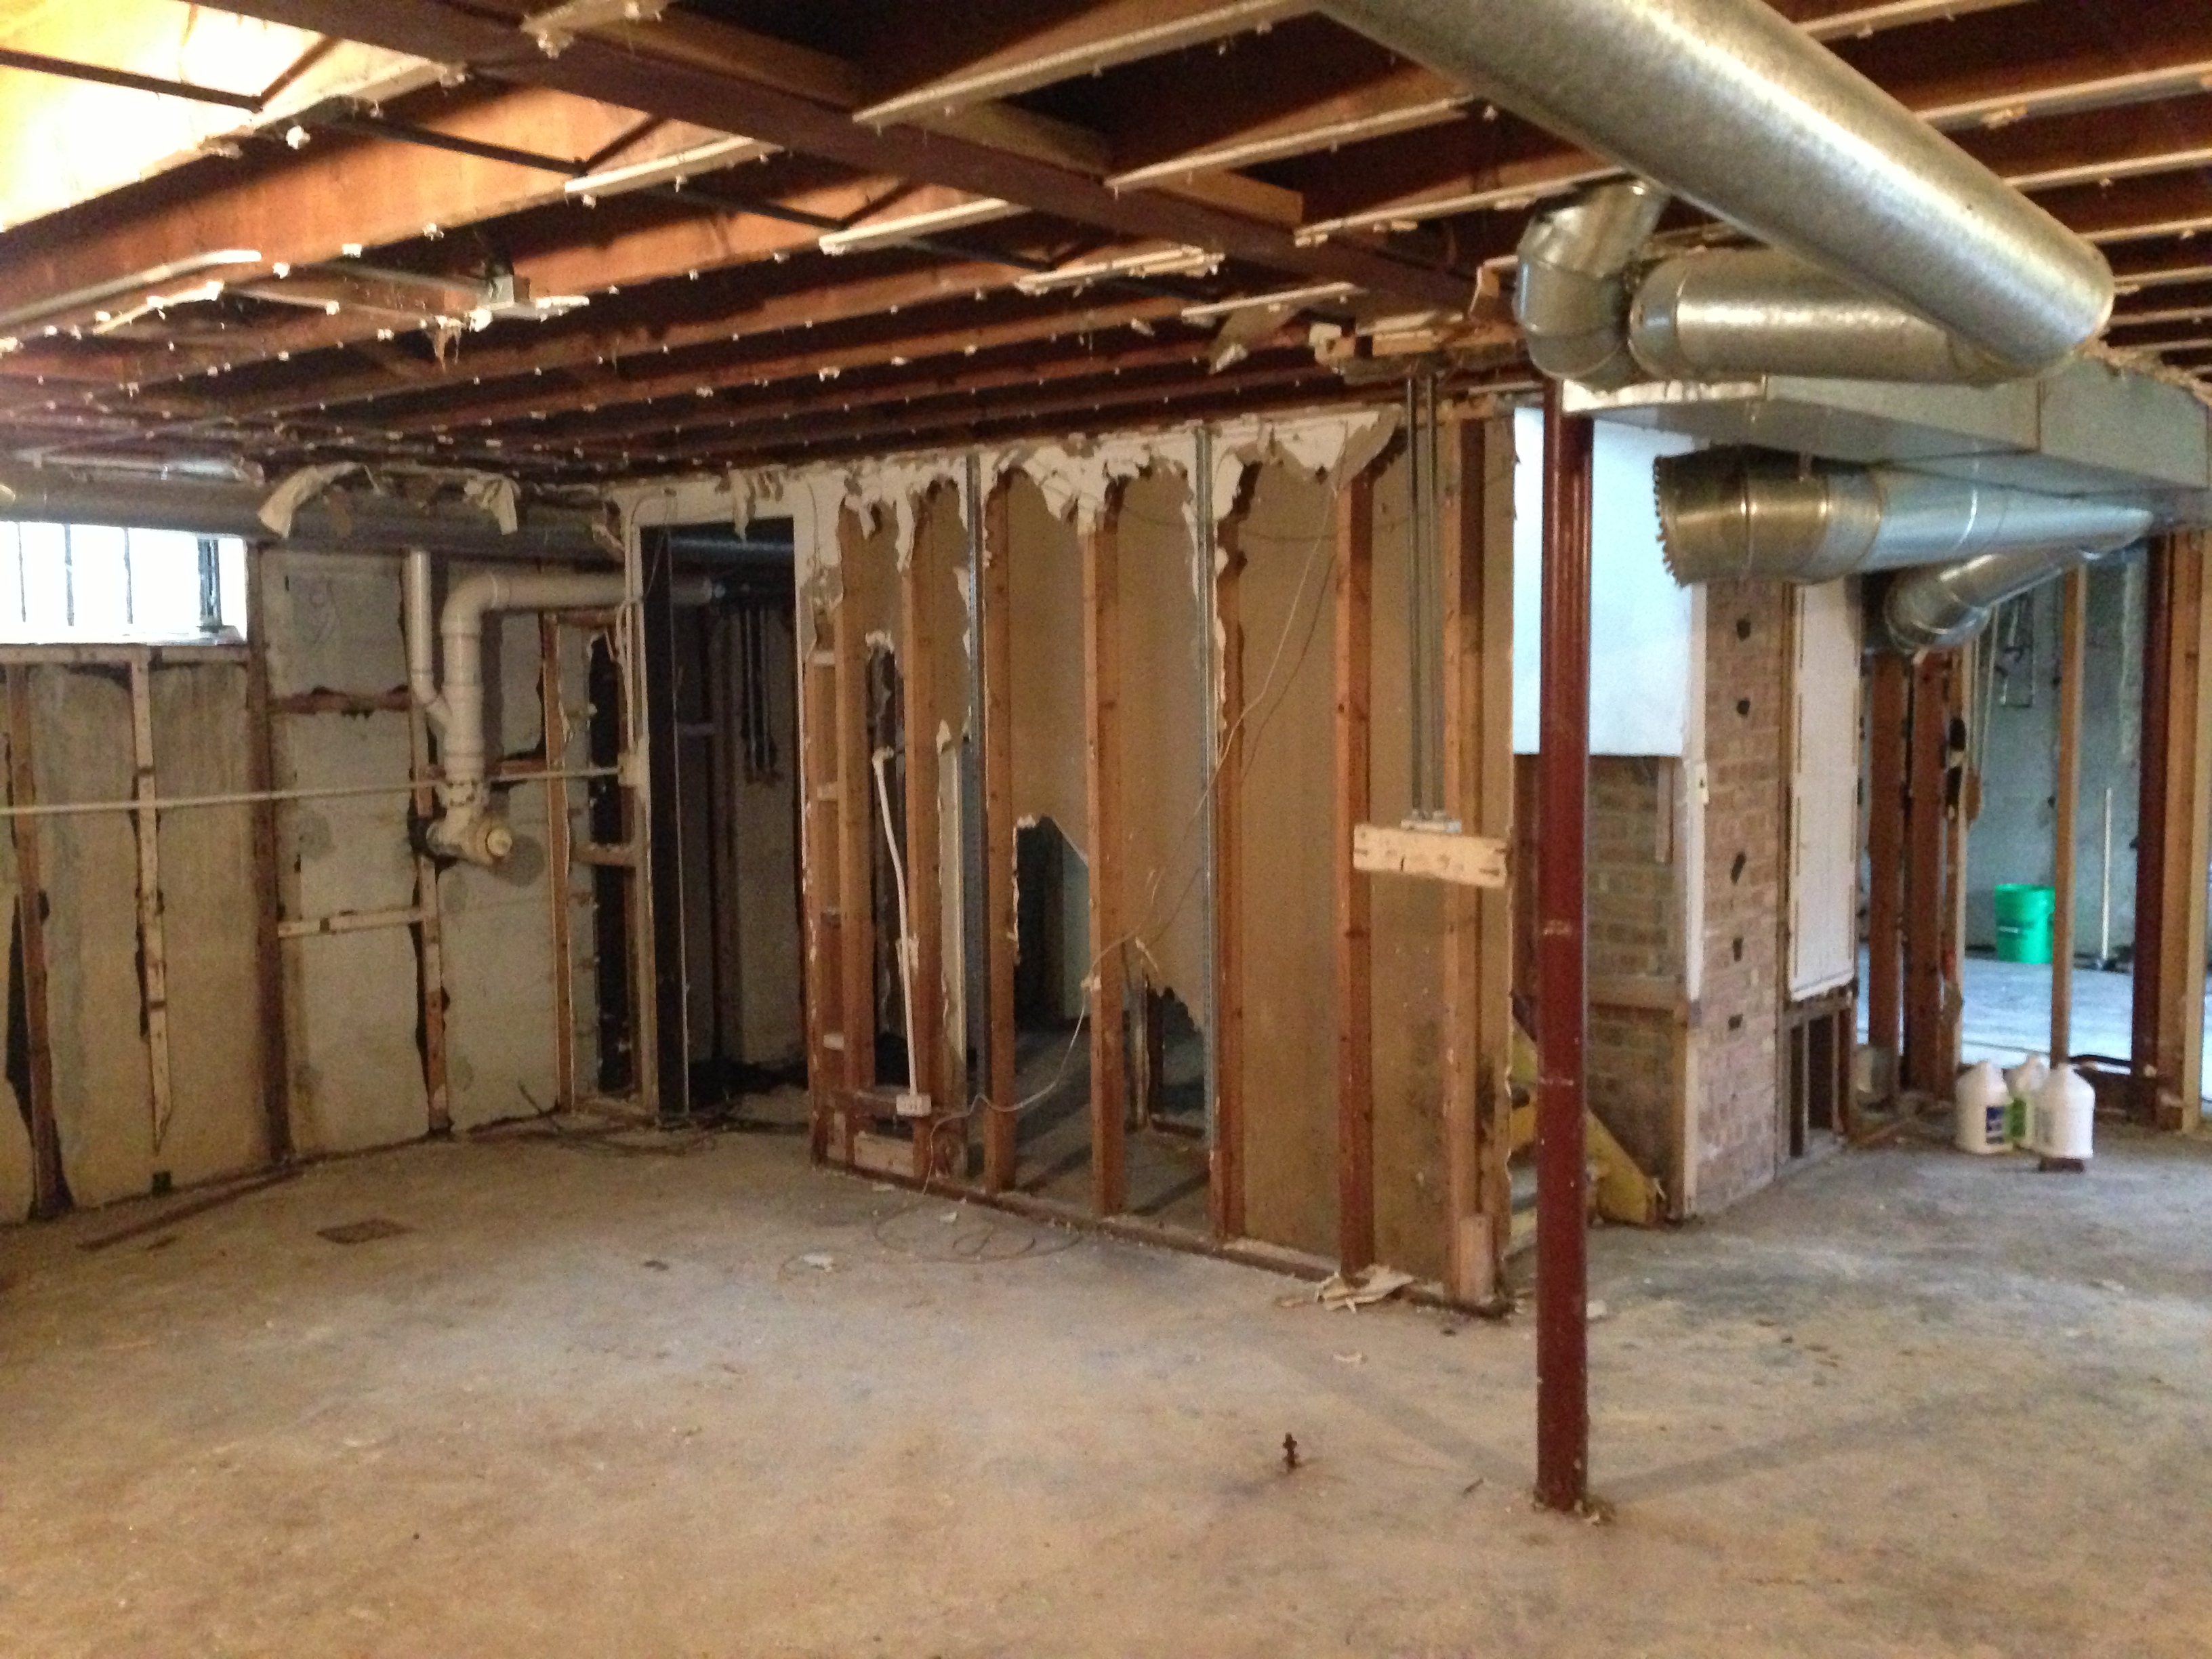
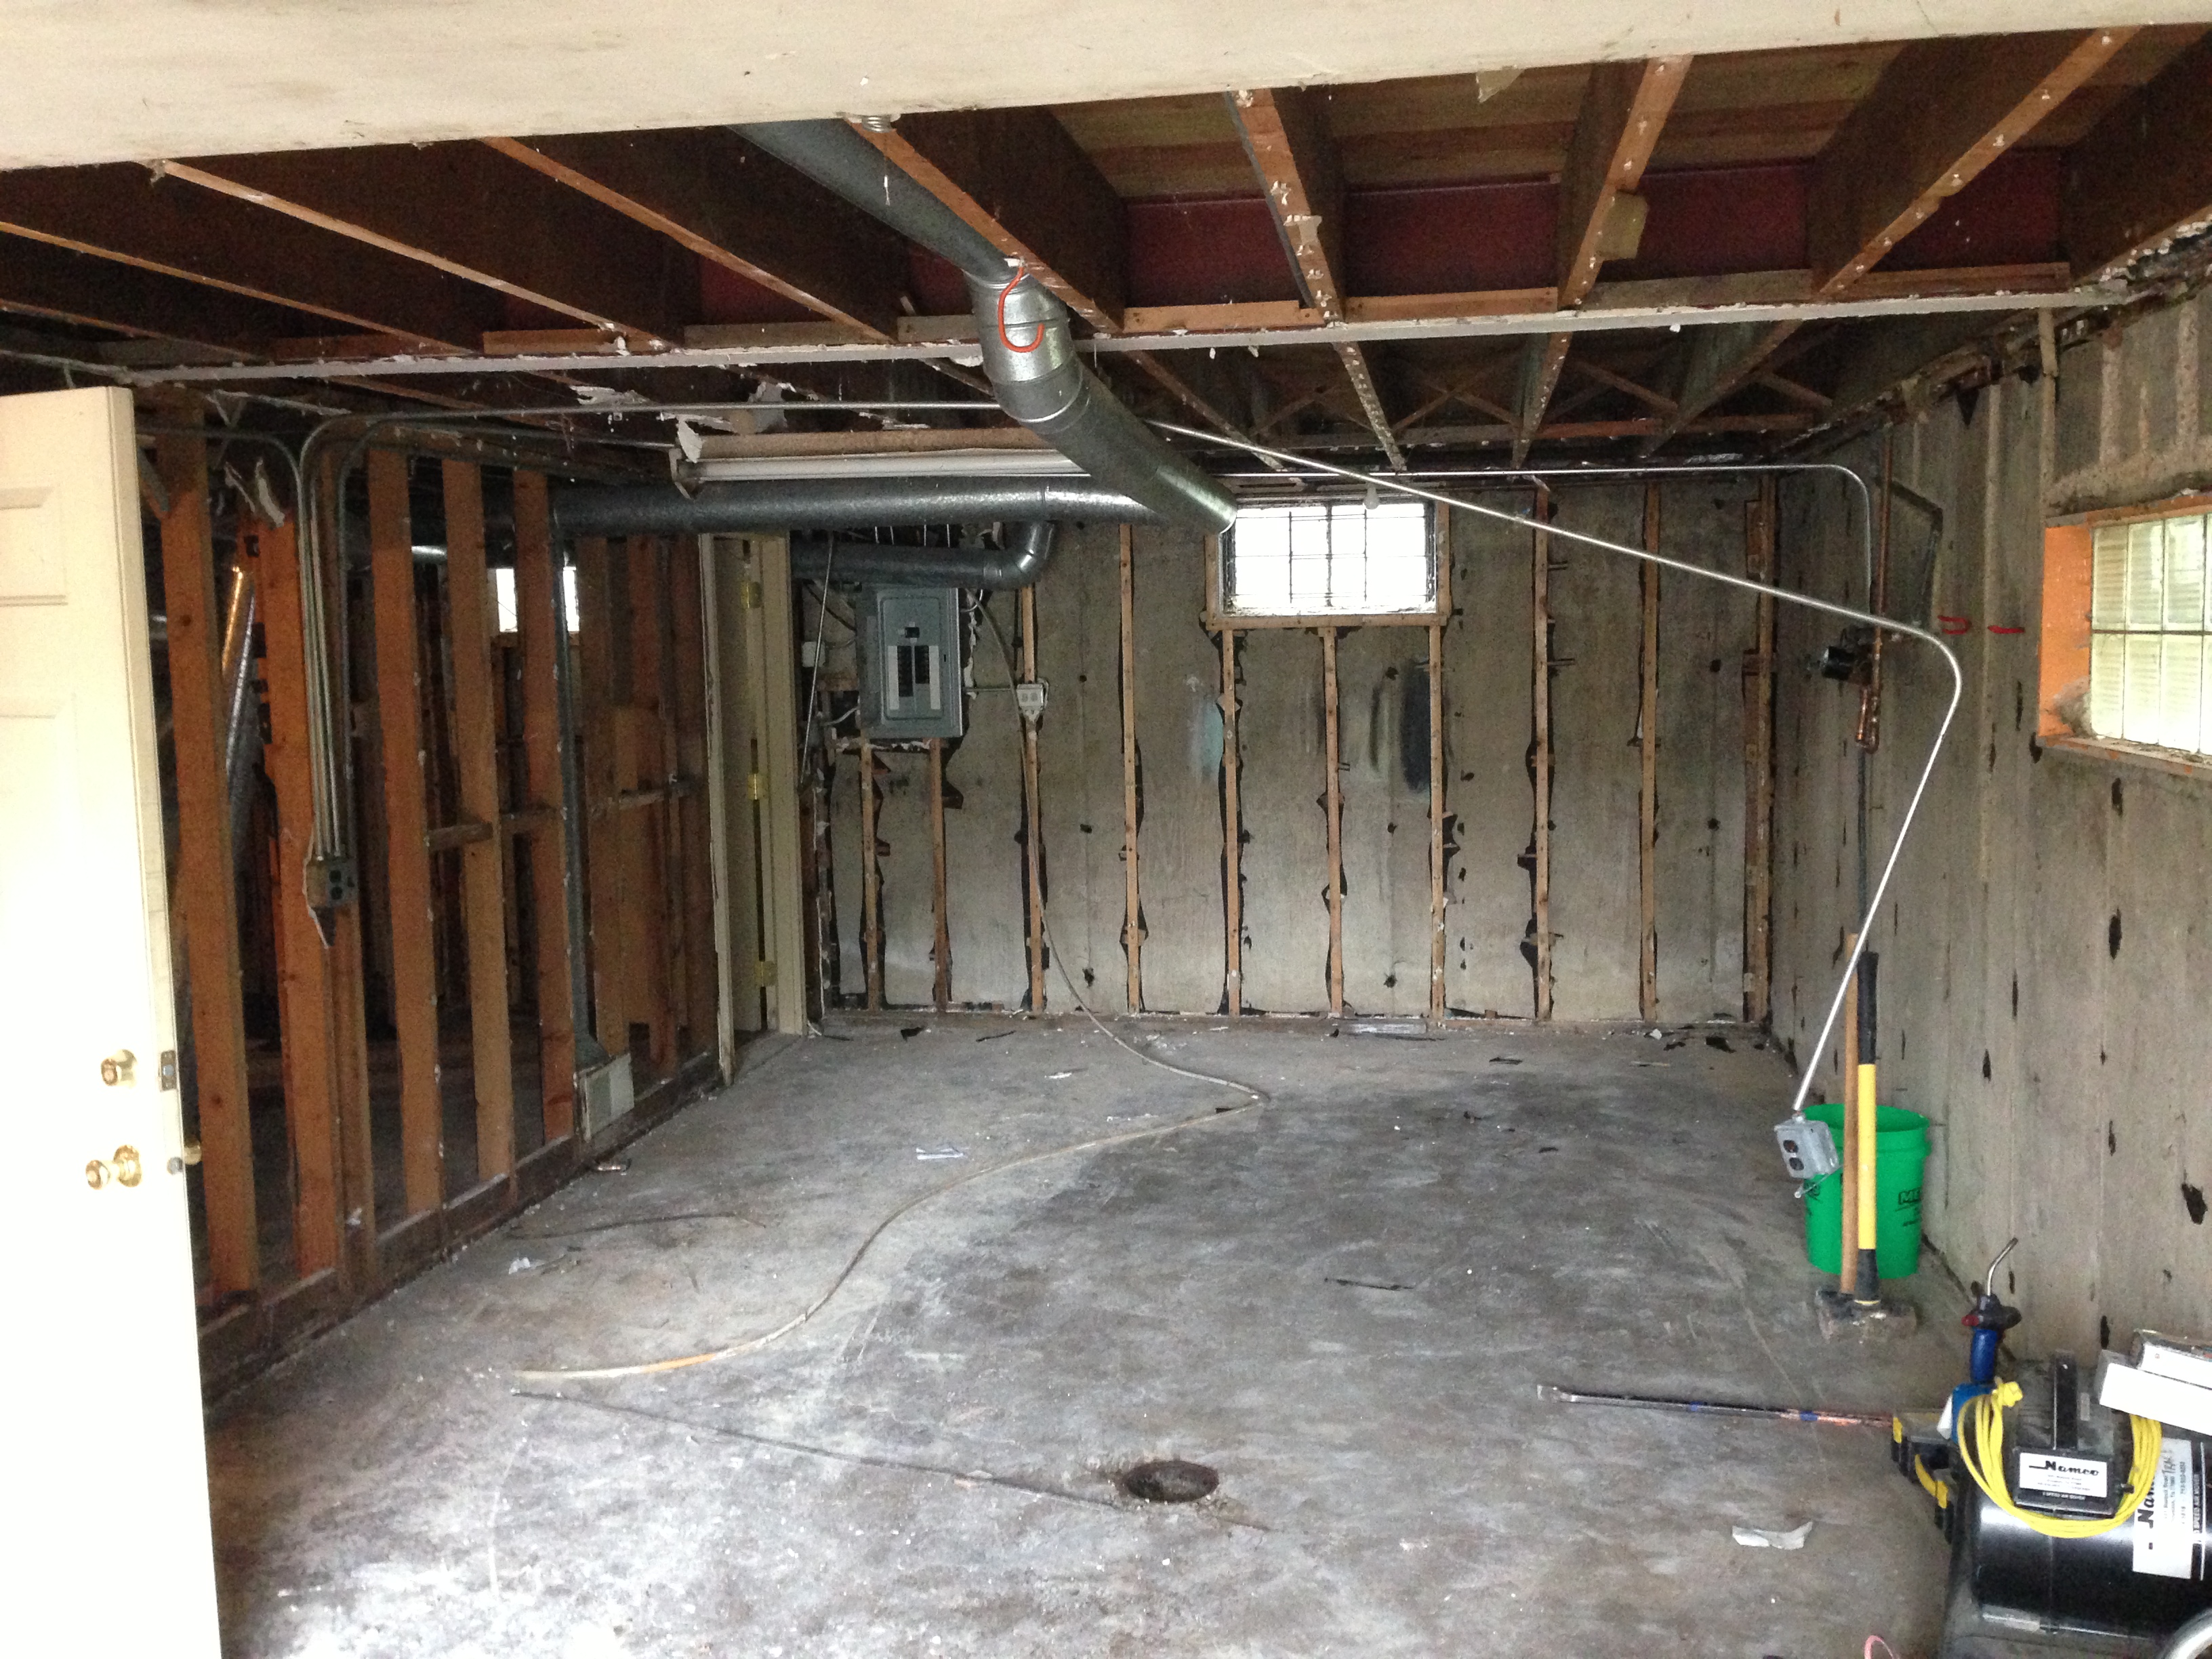
Moving down to the basement, it was straight out of the 1970’s with wood paneling and a drop ceiling.

img_4561

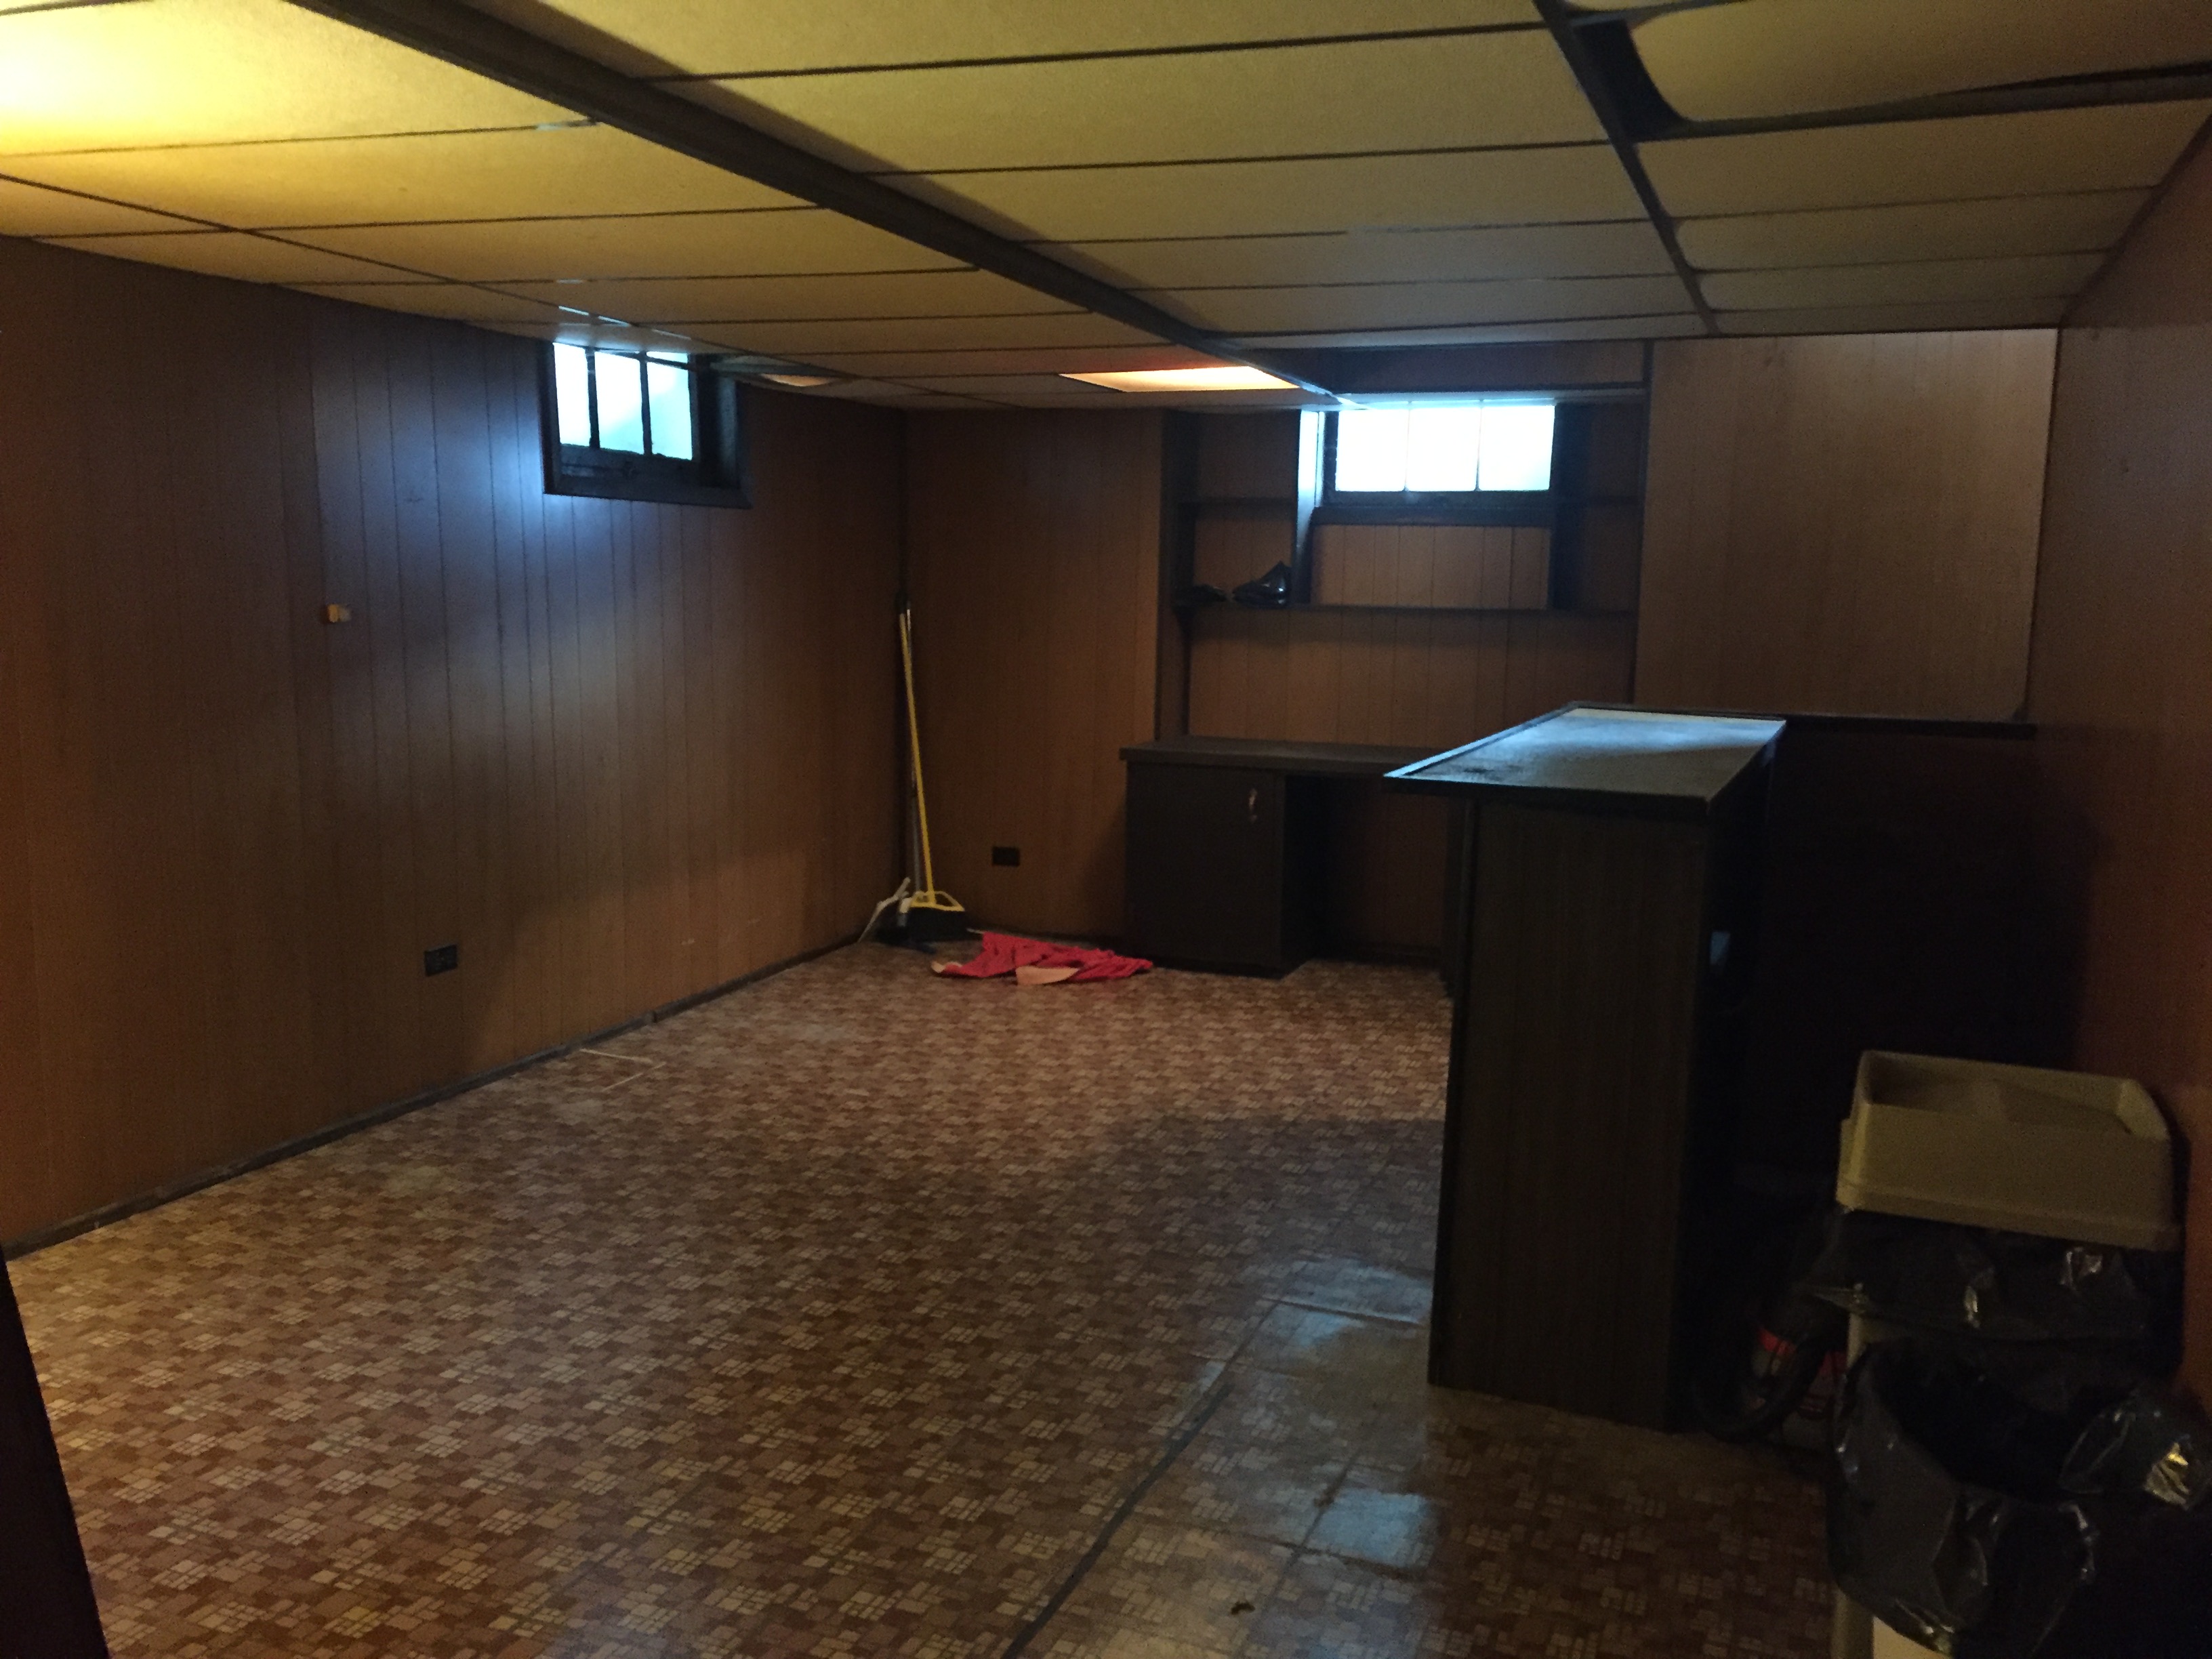
We completely demo’d this out, and found some major structural issues that took a lot of extra work. But in the end it turned out beautiful:IMG_0507

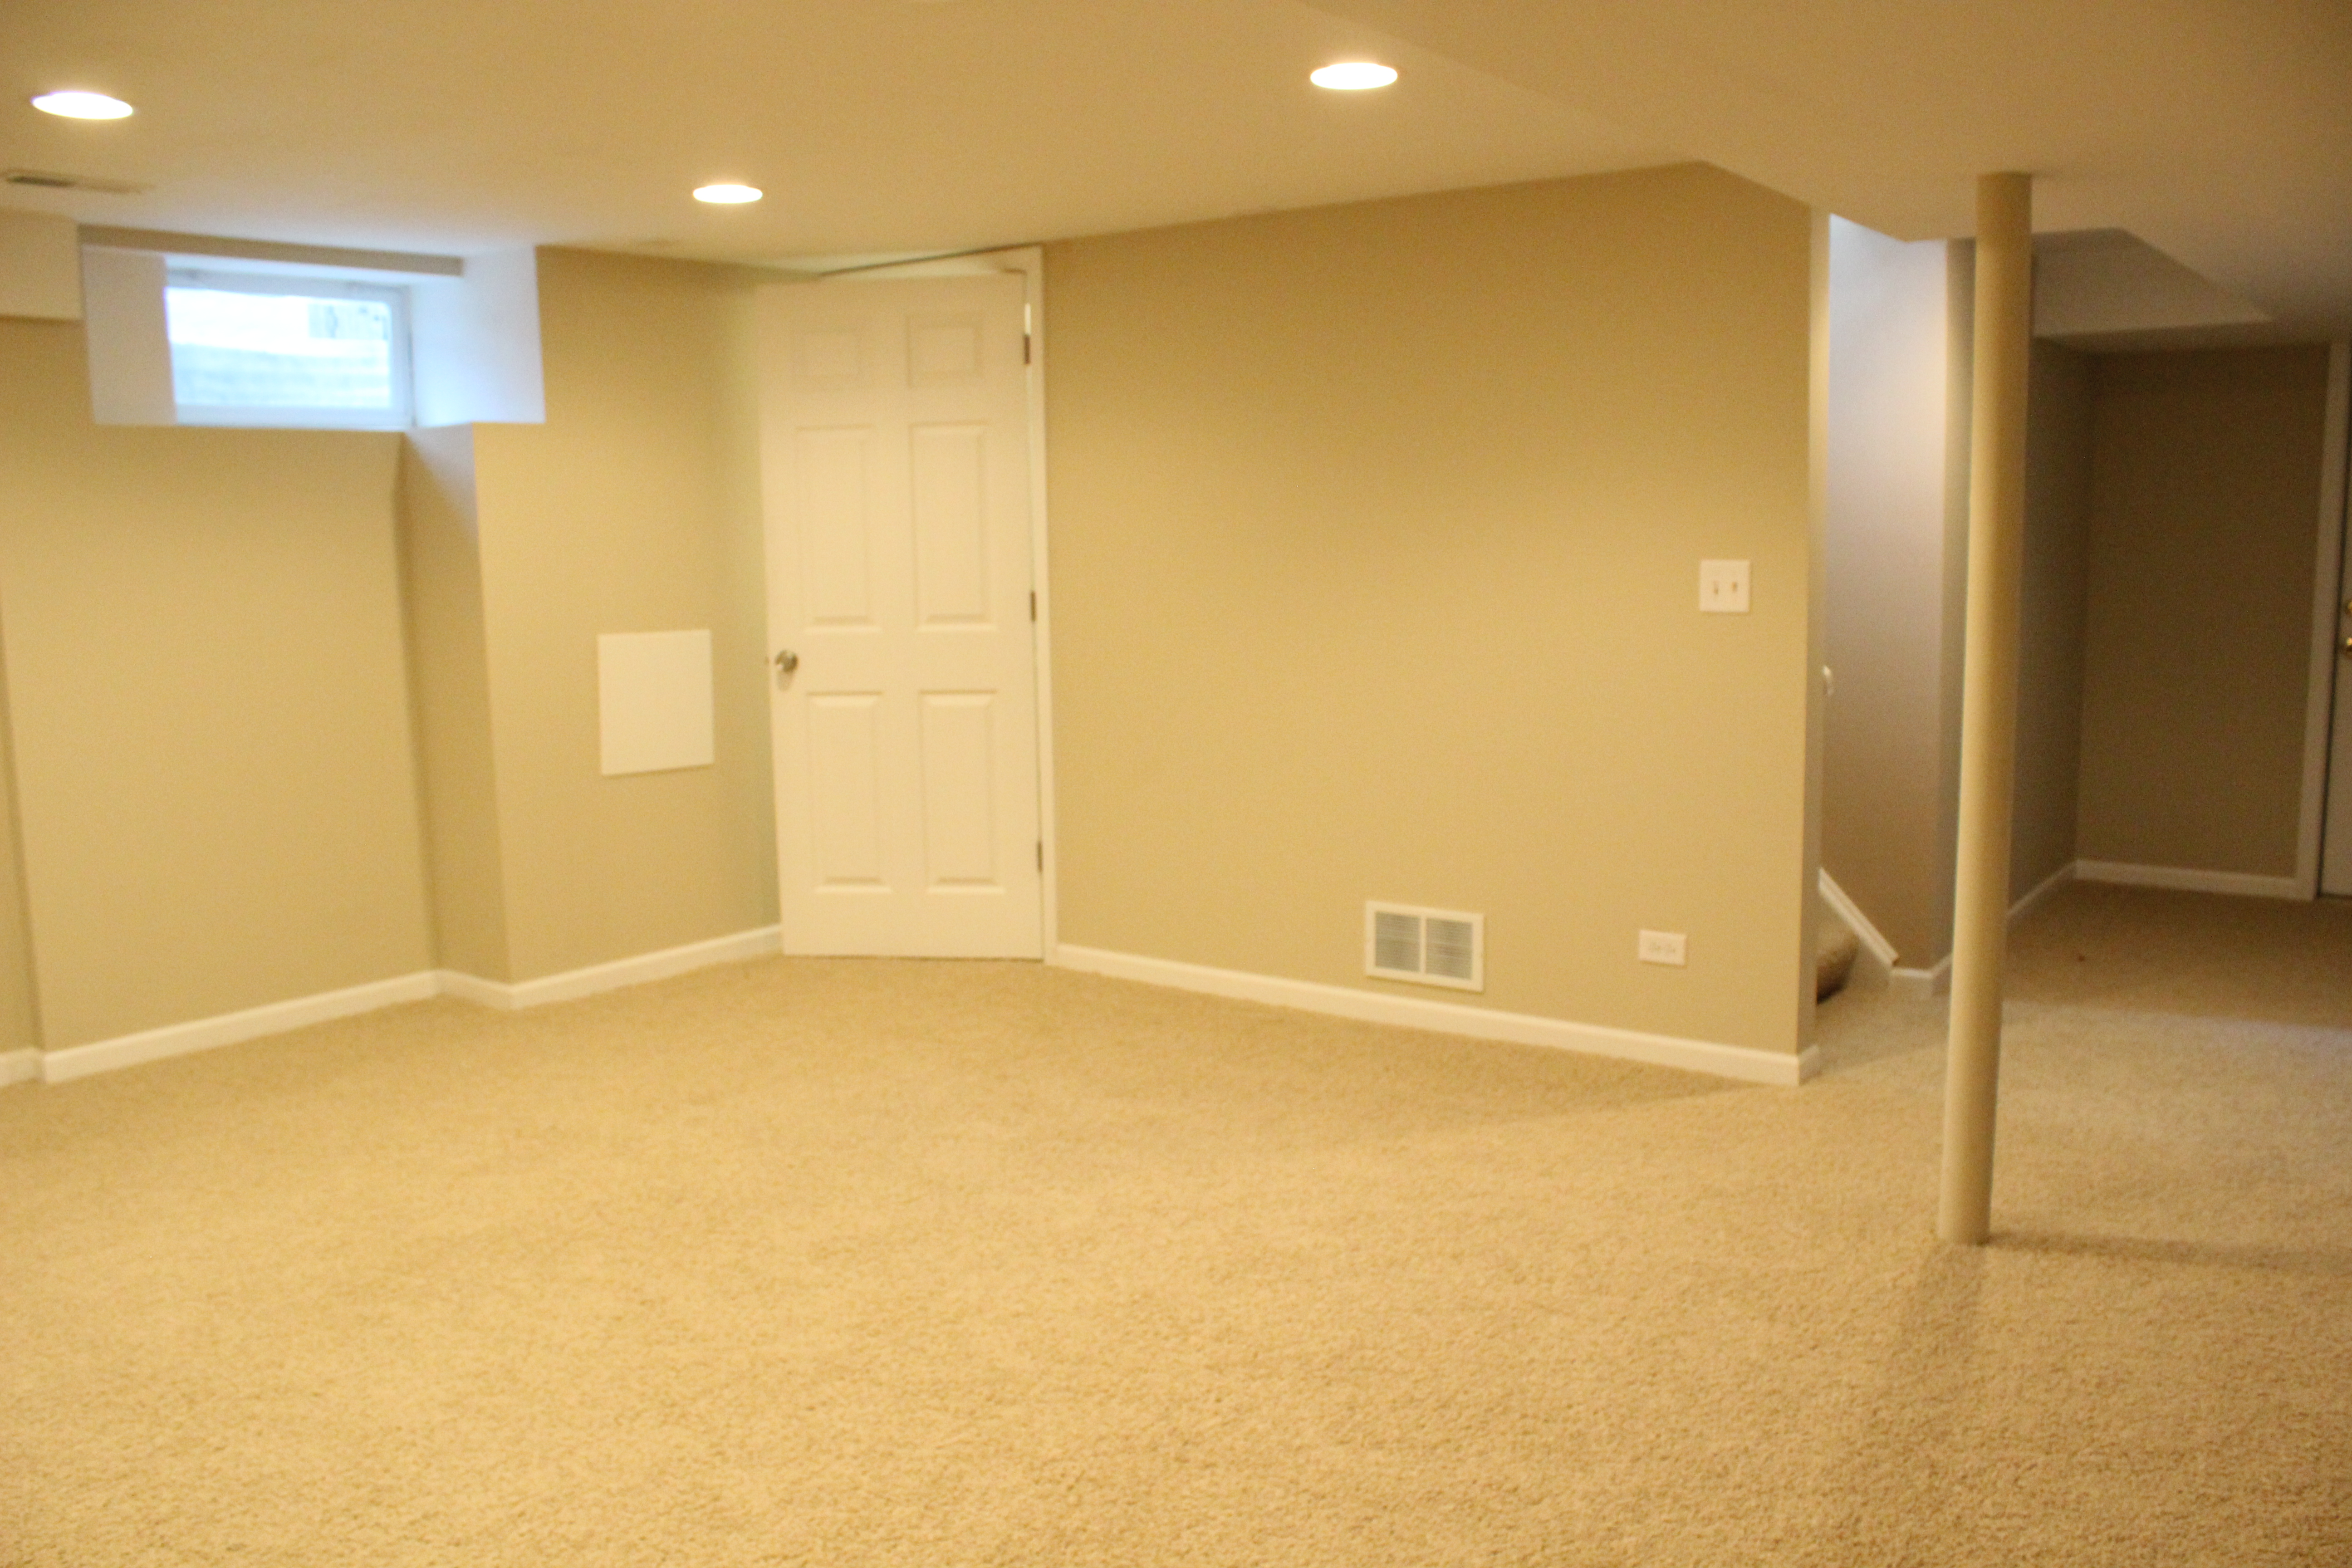
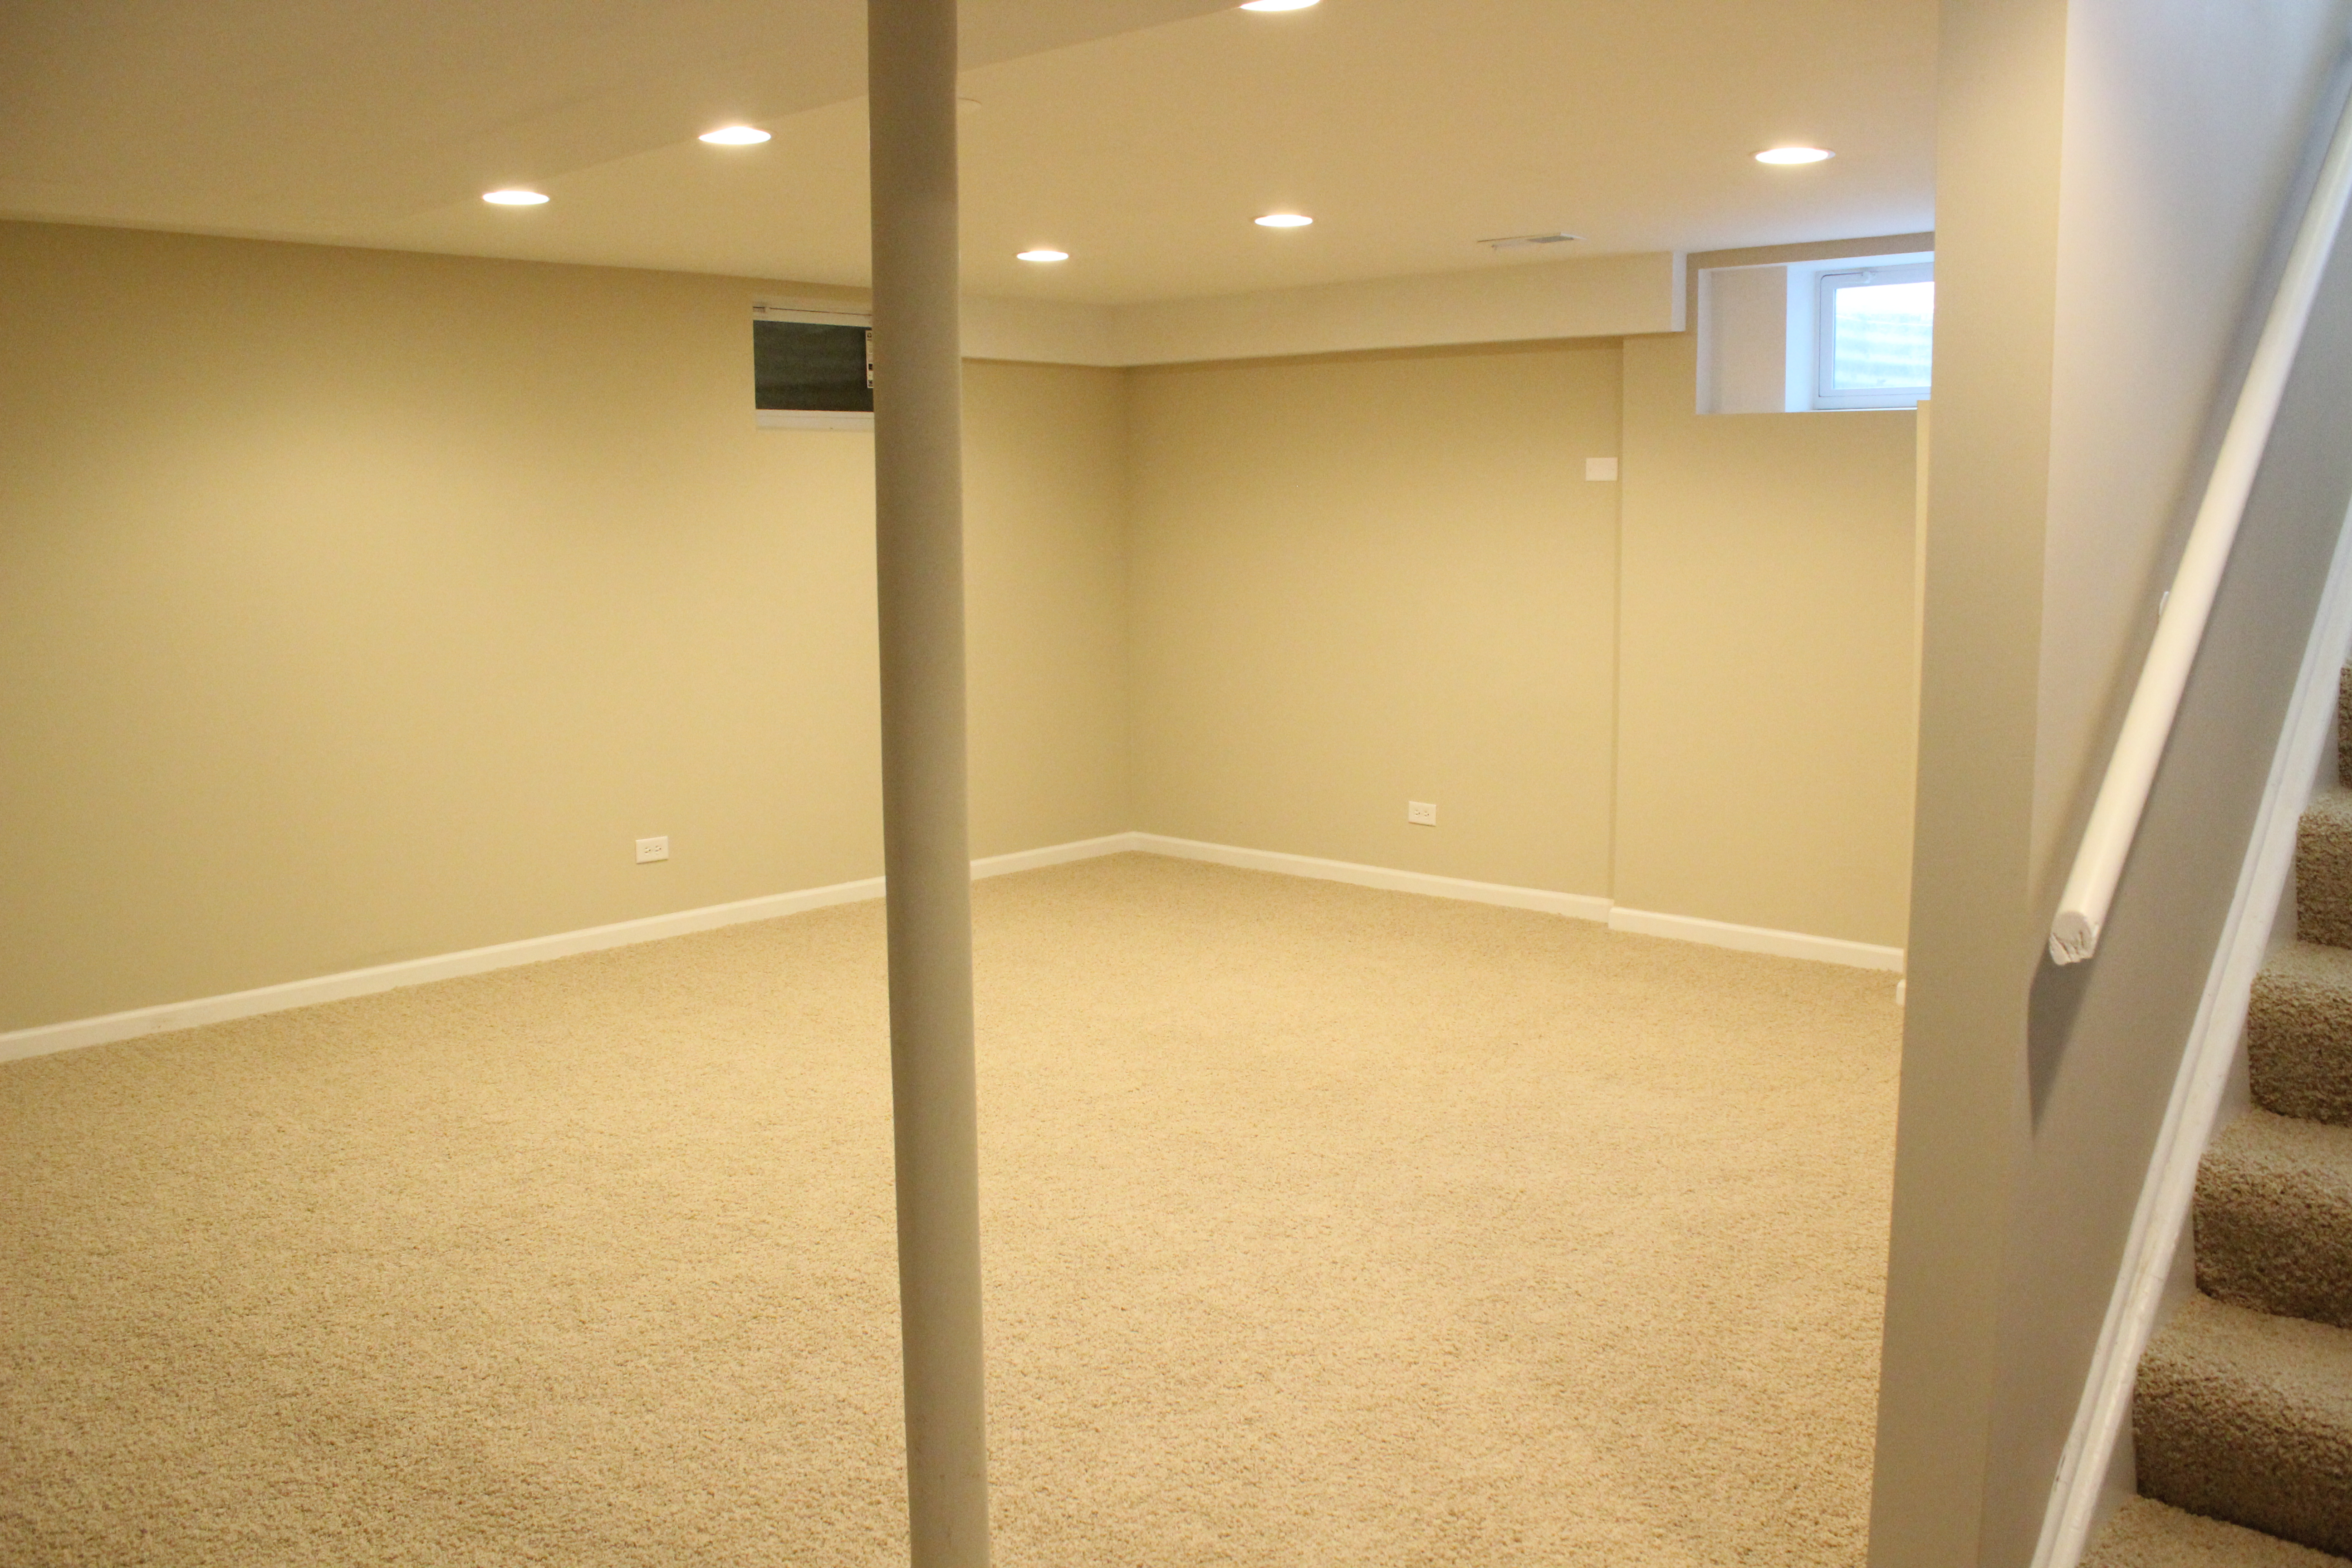
The wall color is Agreeable Gray by Sherwin Williams. Here’s the view of the other side before:
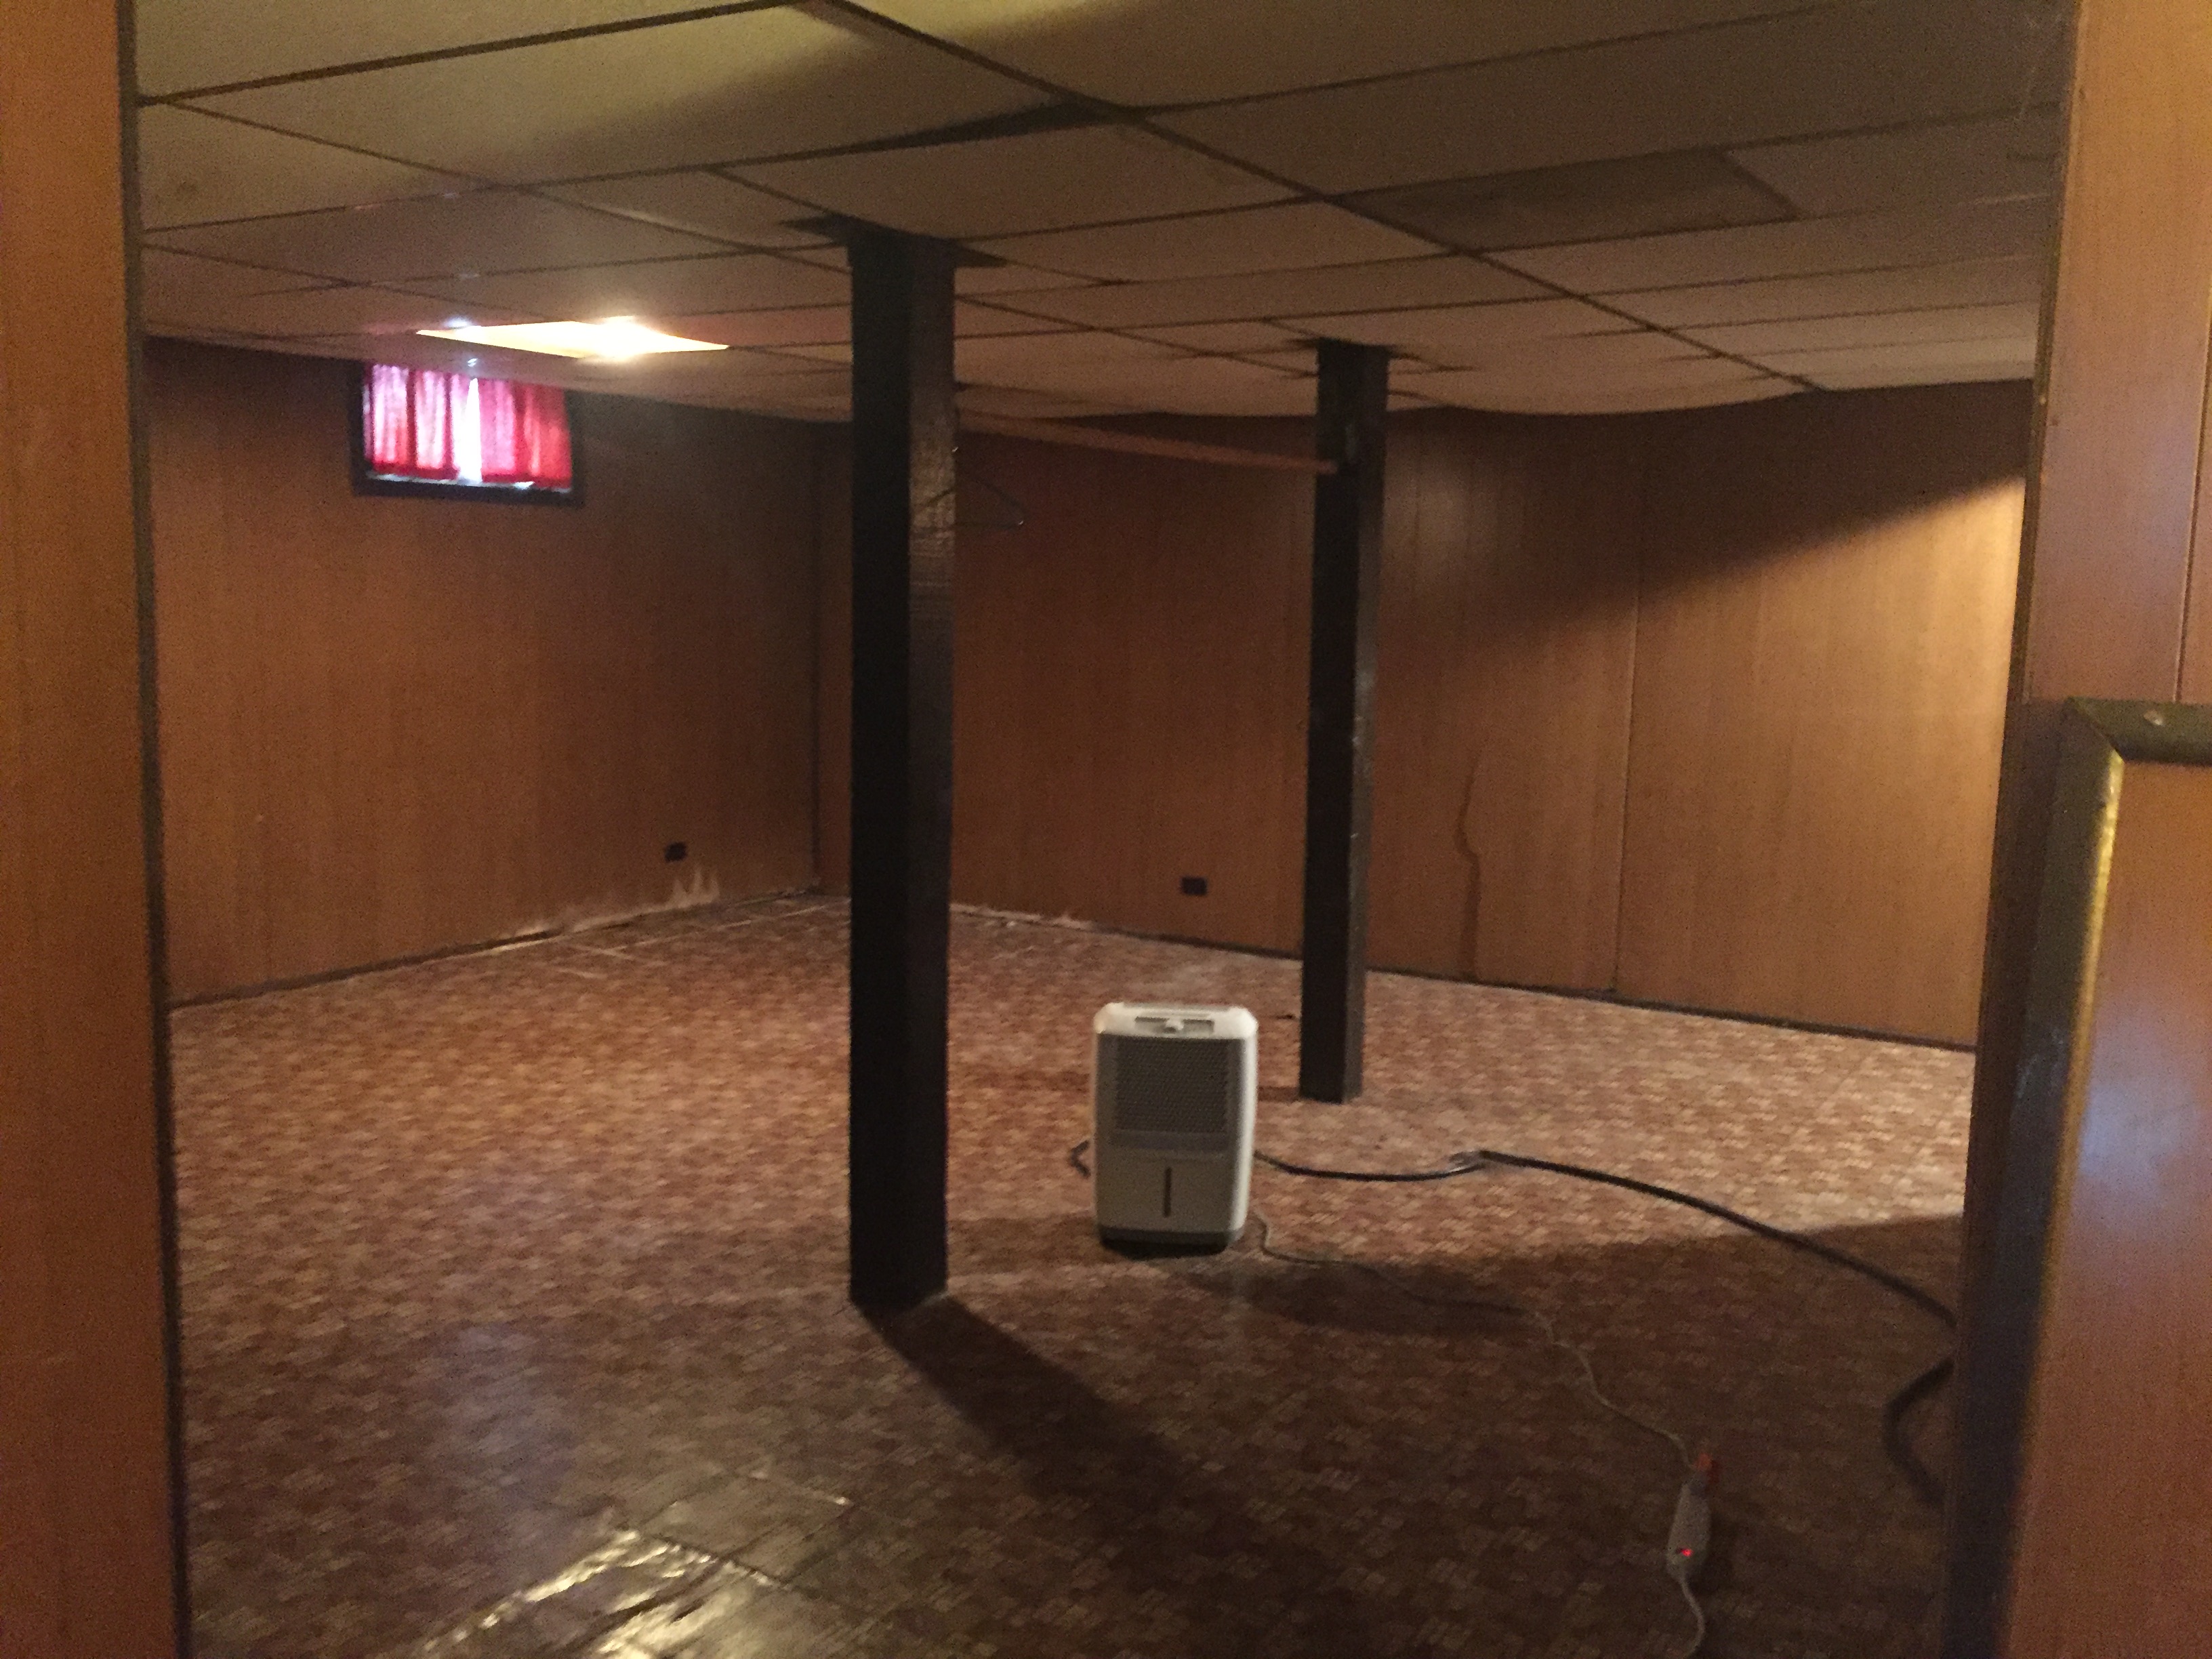
img_4558

And now:

IMG_6137

The cubbies are Ikea Kallax, like we have in our playroom. The homeowners have that area set up as a playroom with toys and a chalkboard on the little wall on the left.

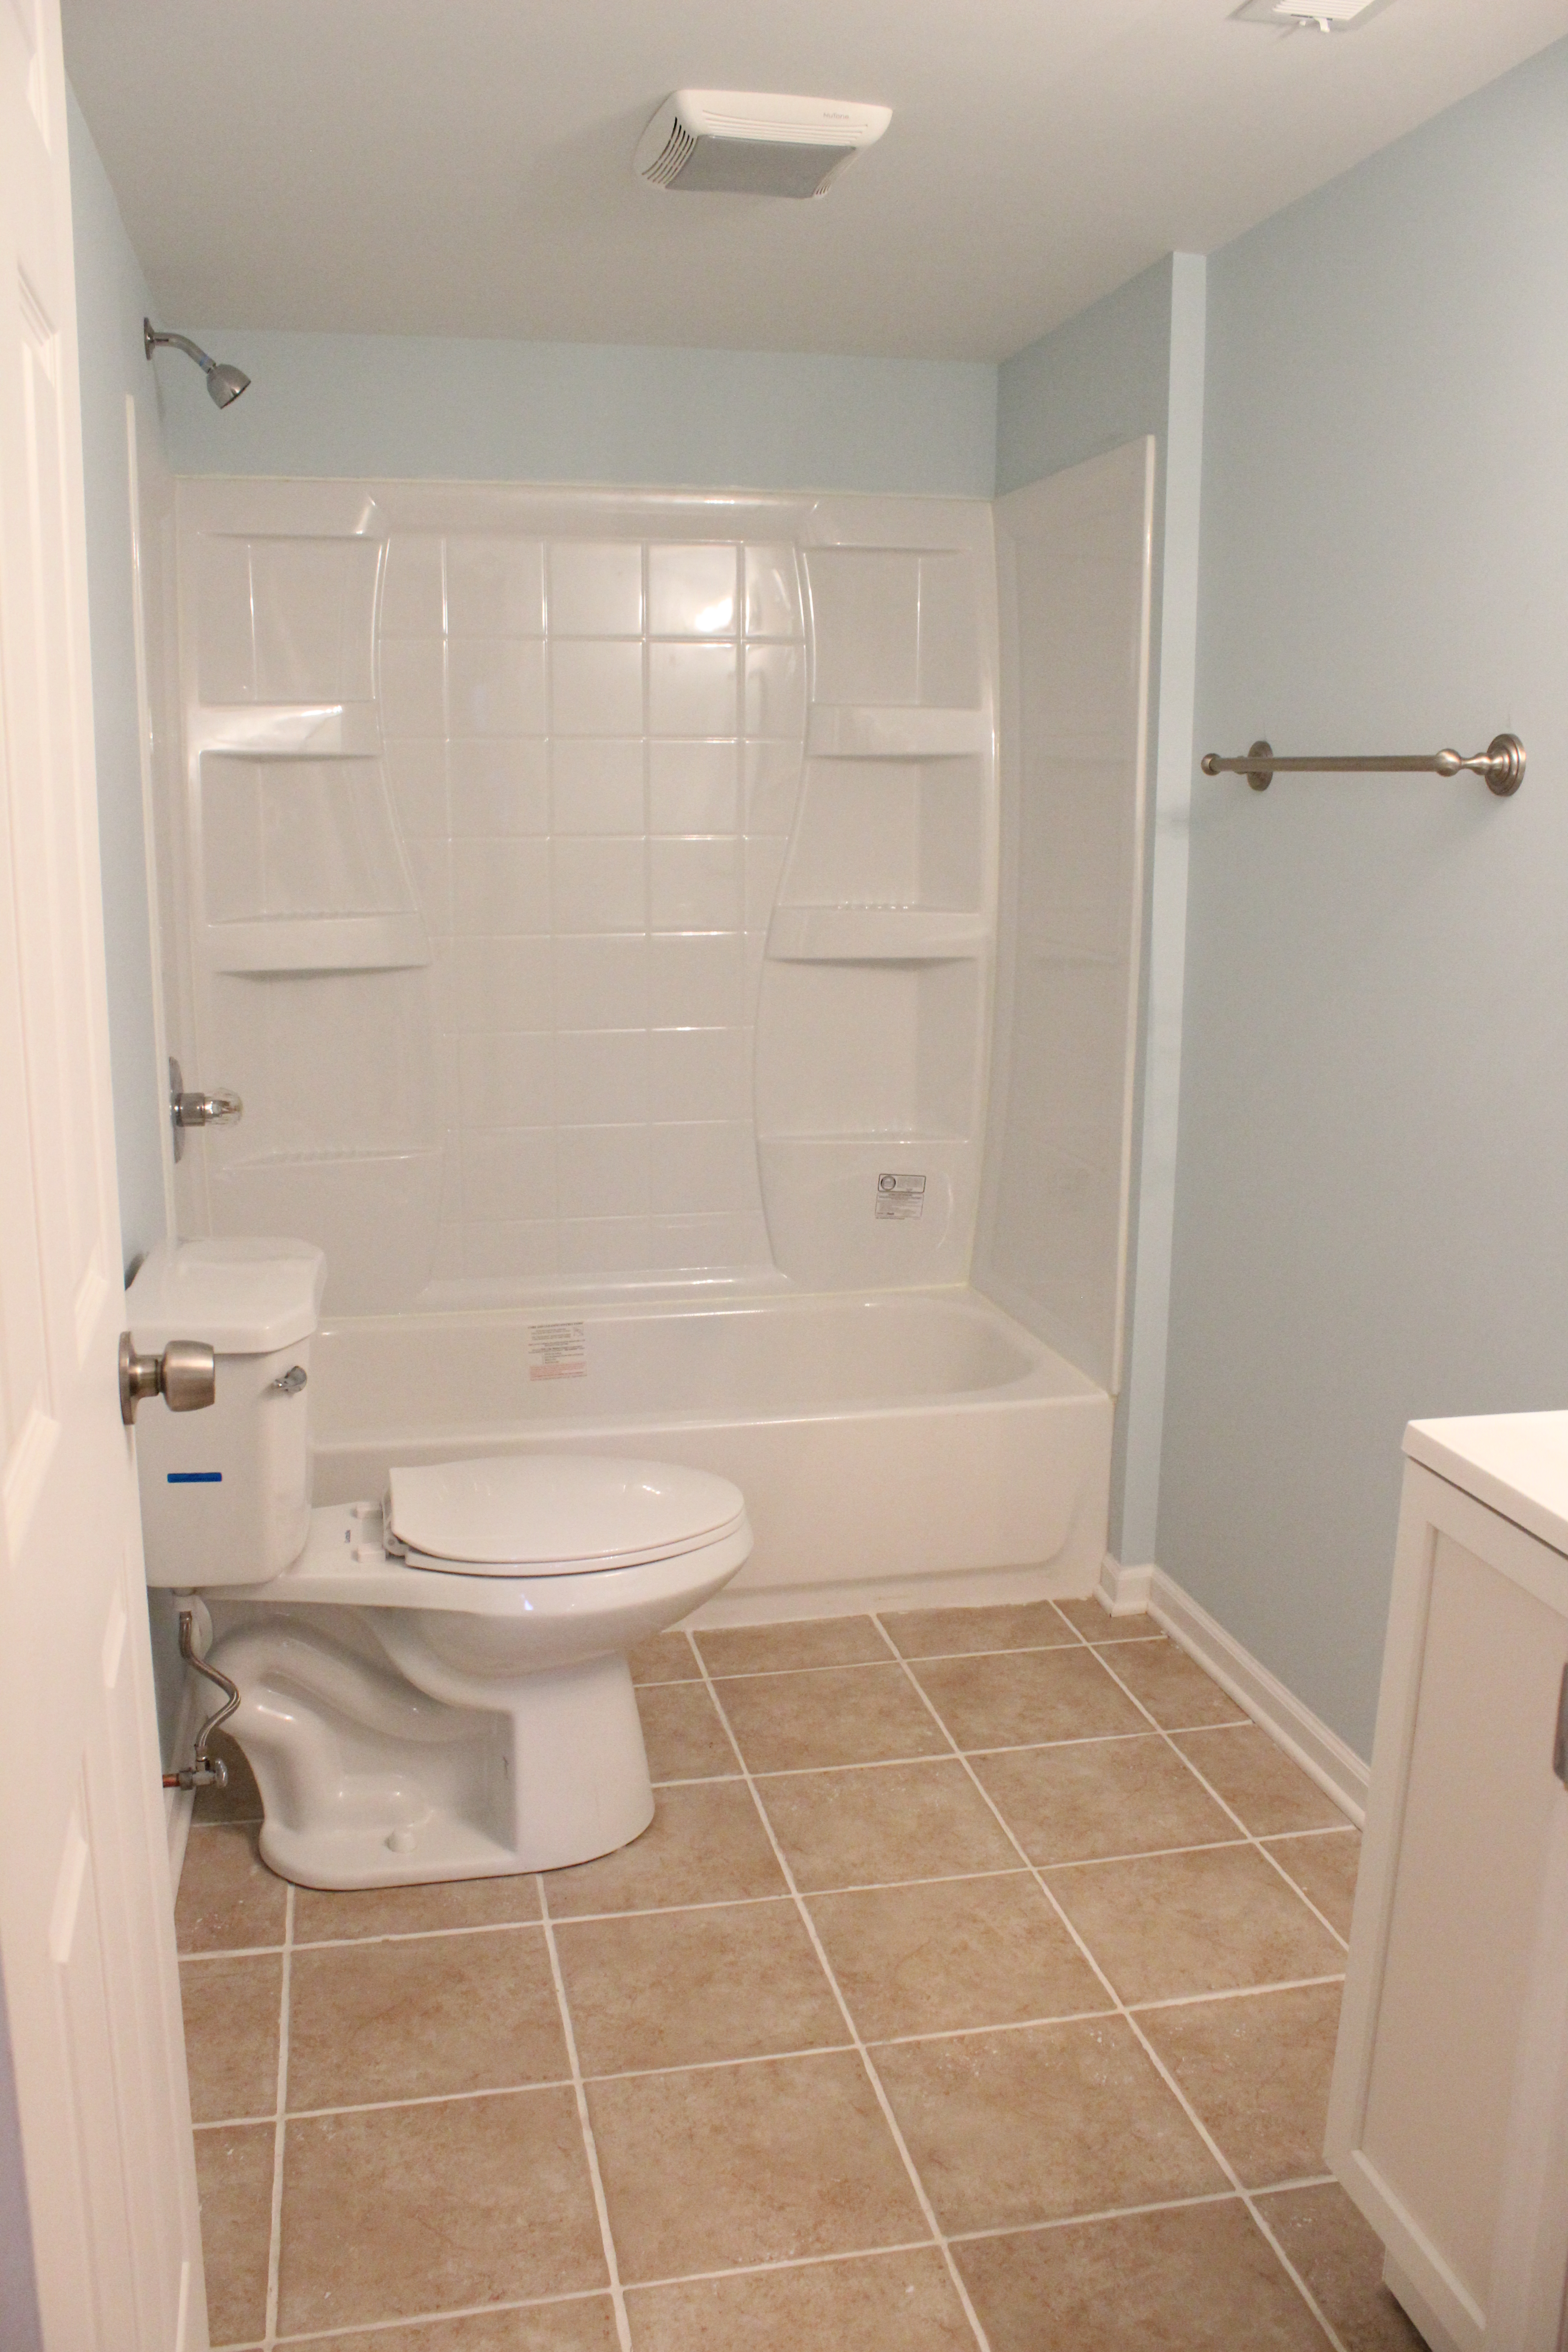
This was the old basement bathroom:

IMG_4559-e1477515727663

And now:

IMG_0509

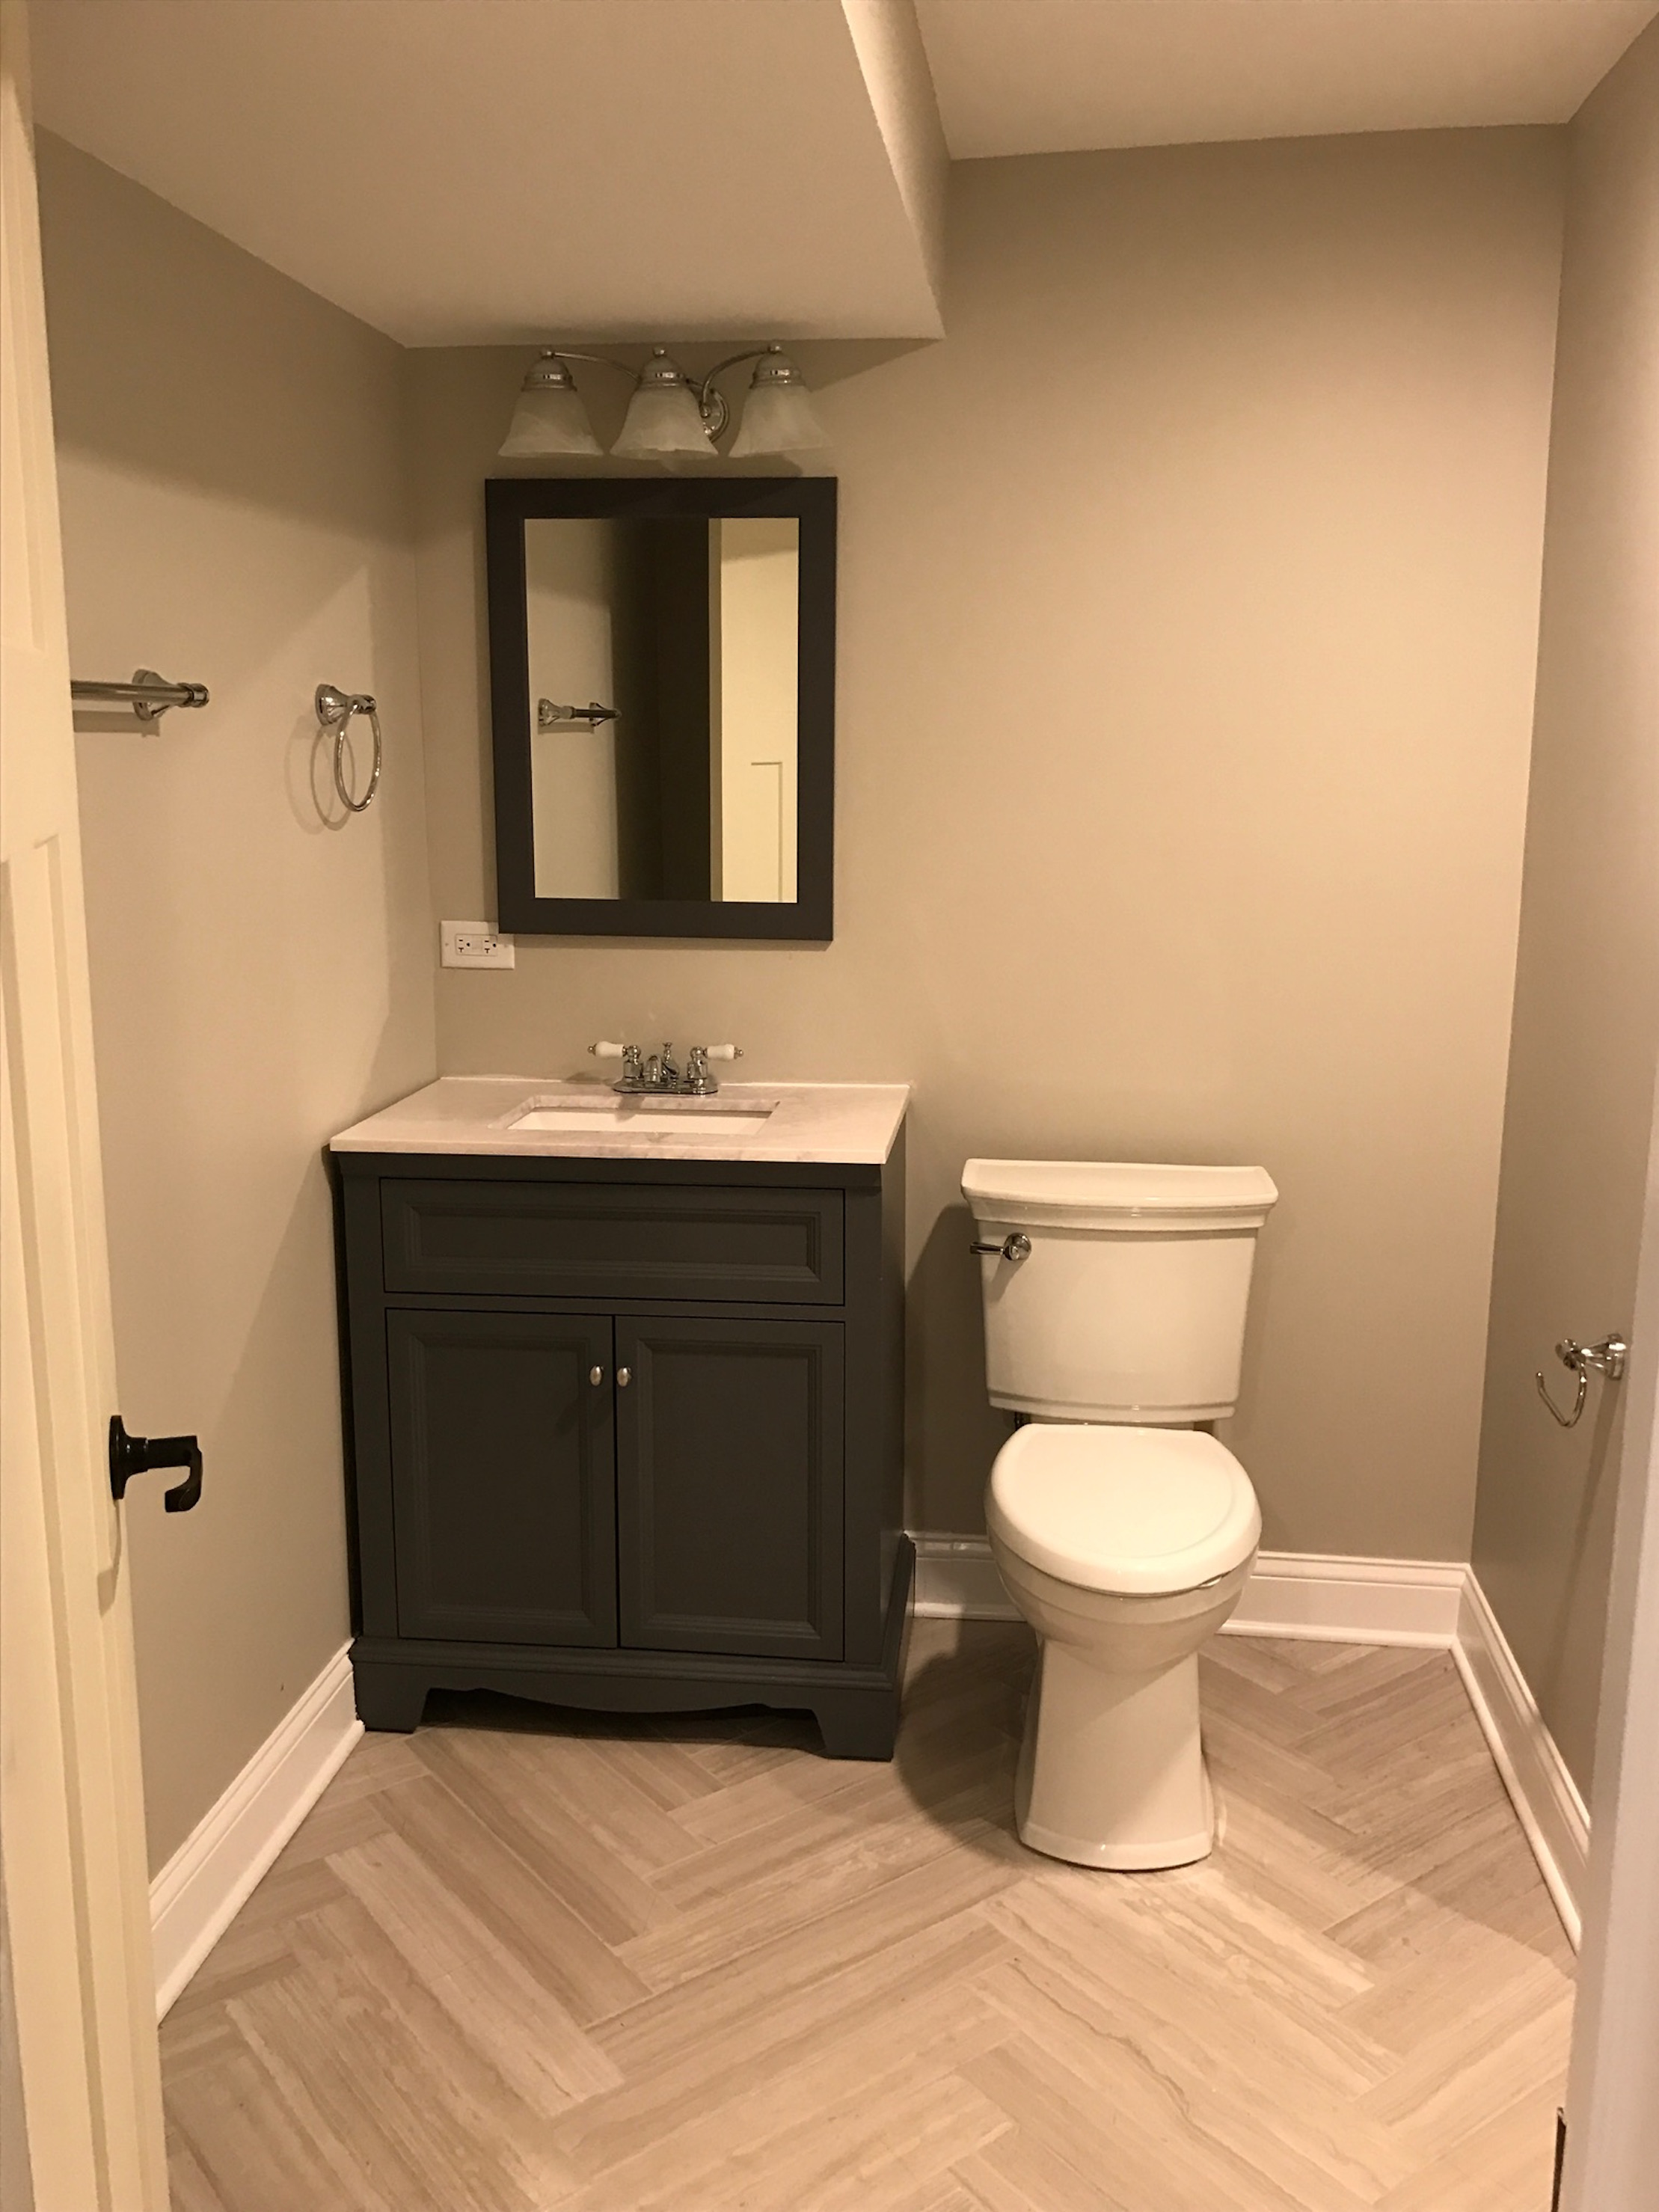
I just love the floor tile that we laid in a herringbone pattern.

We had space for a large shower and did a dark gray and white stripe pattern with chrome fixtures:

IMG_0511

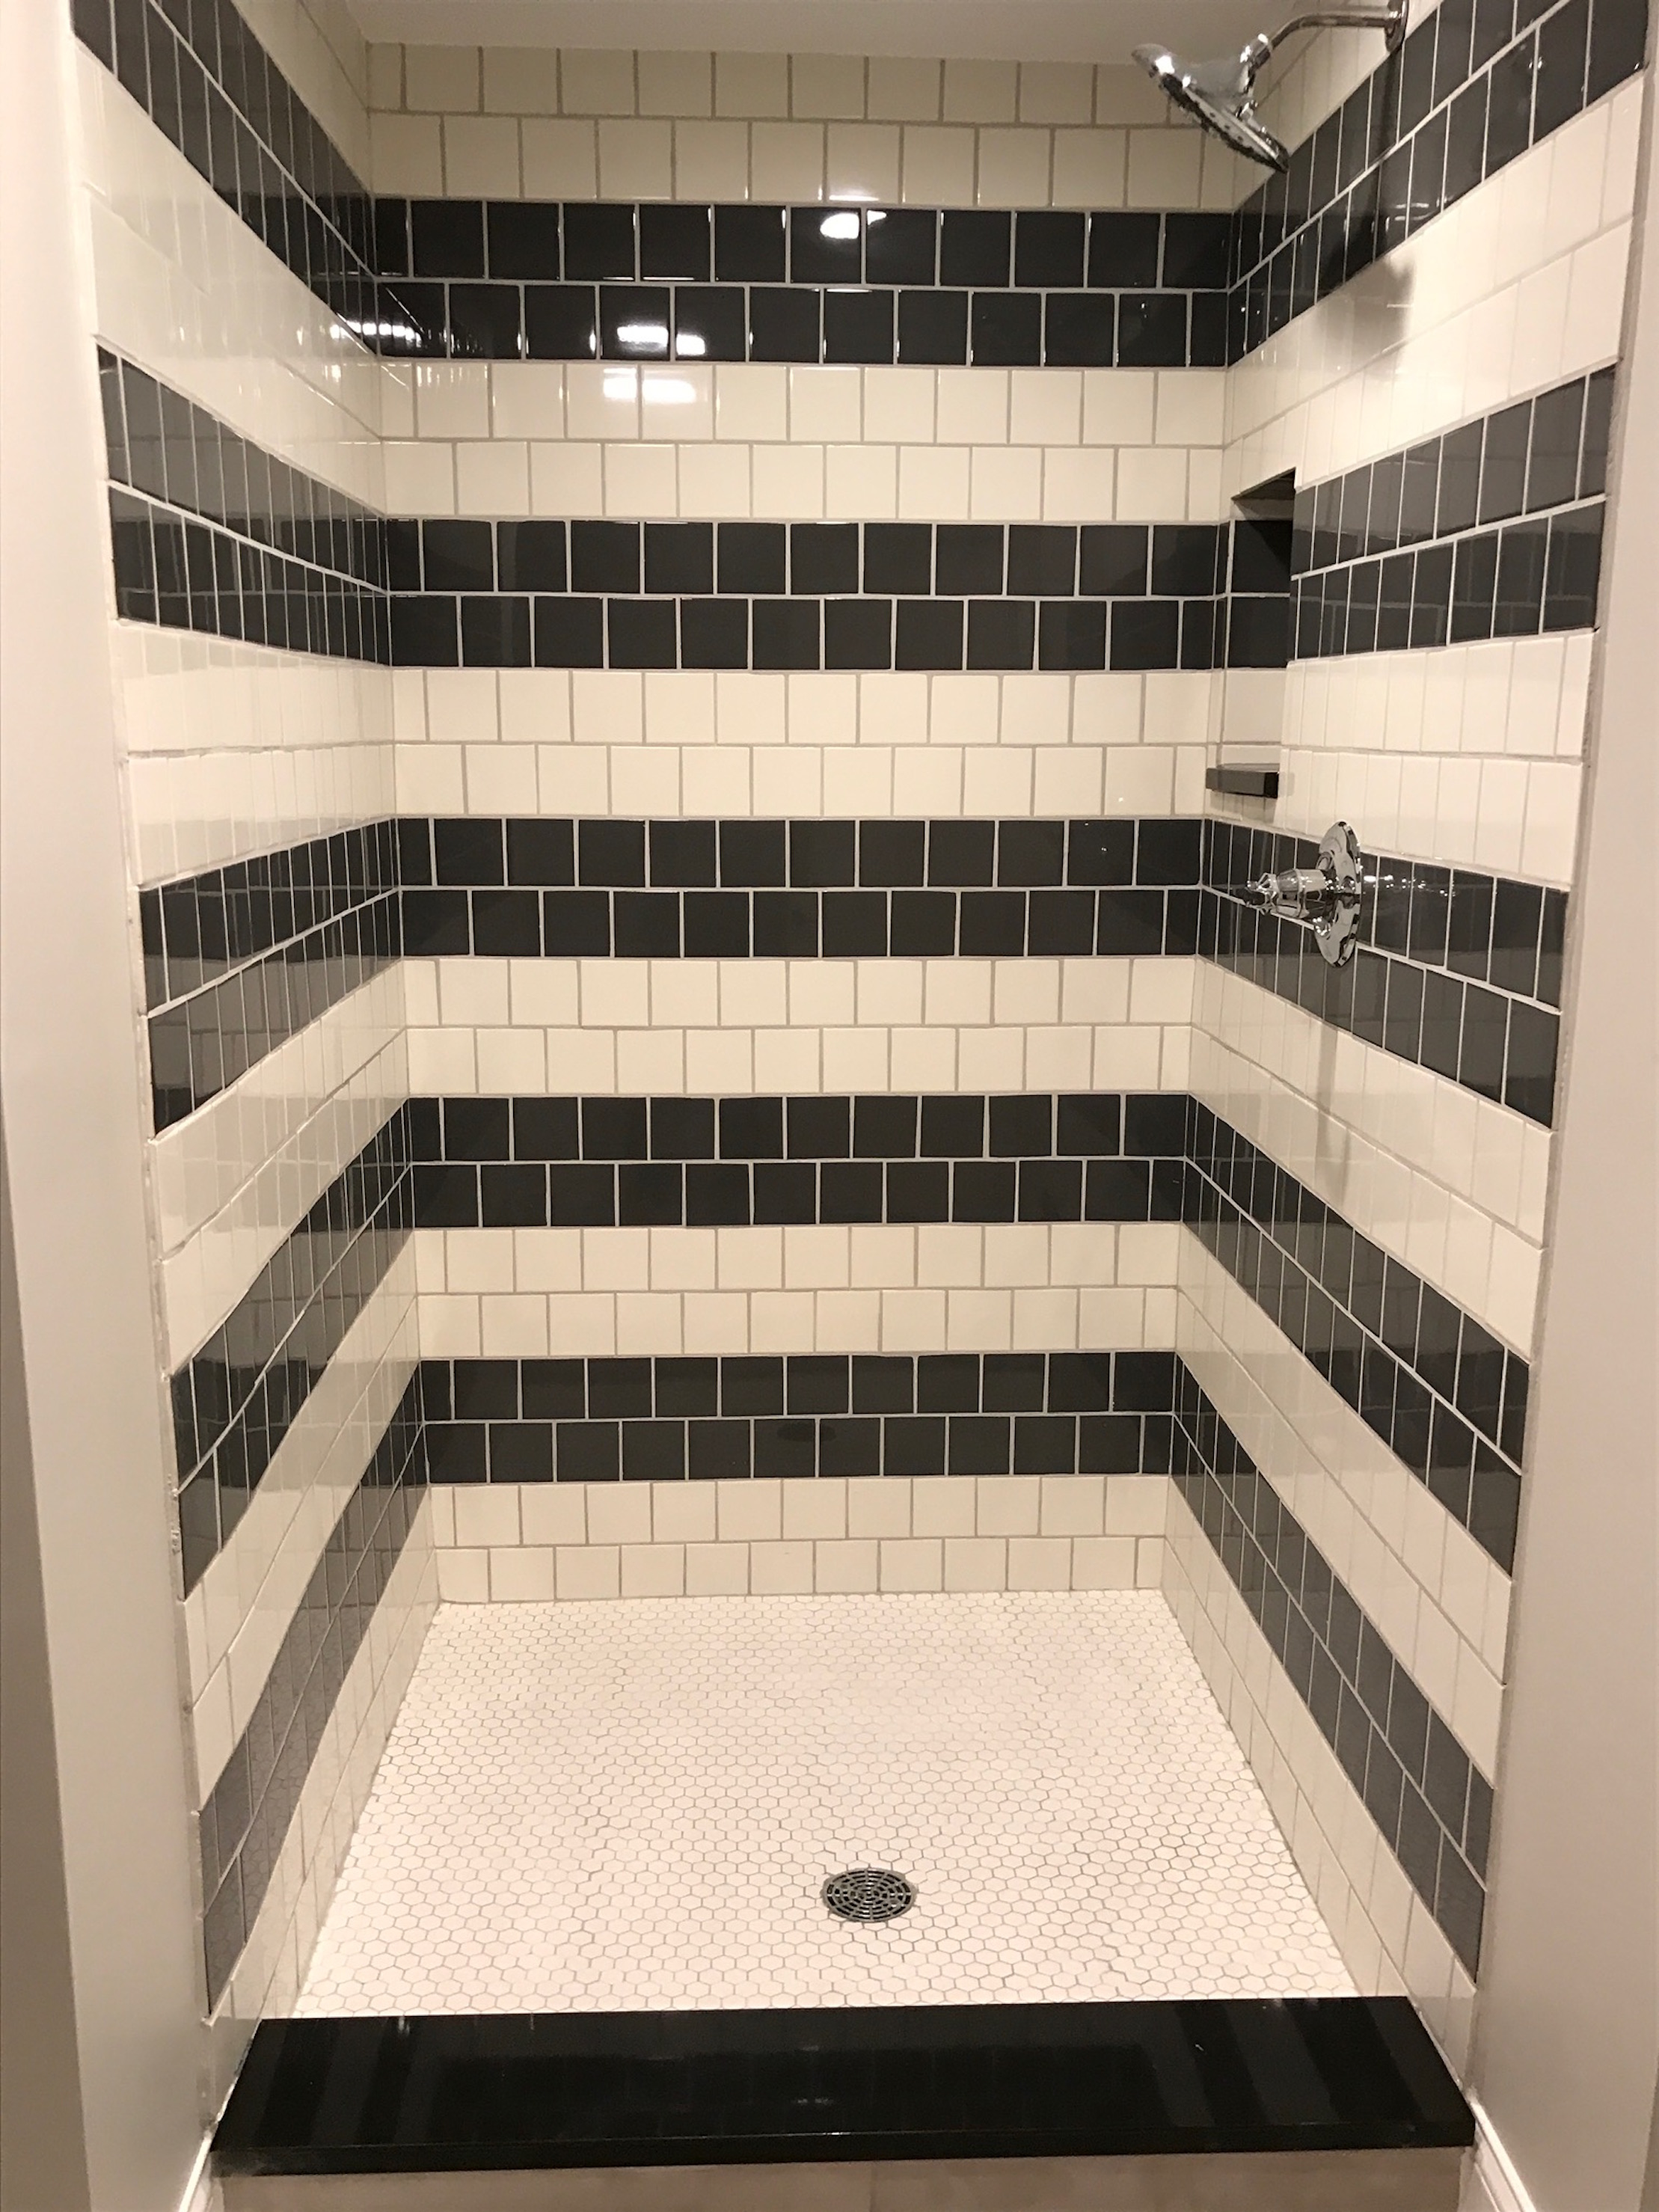
(Again the shower doors weren’t on yet)

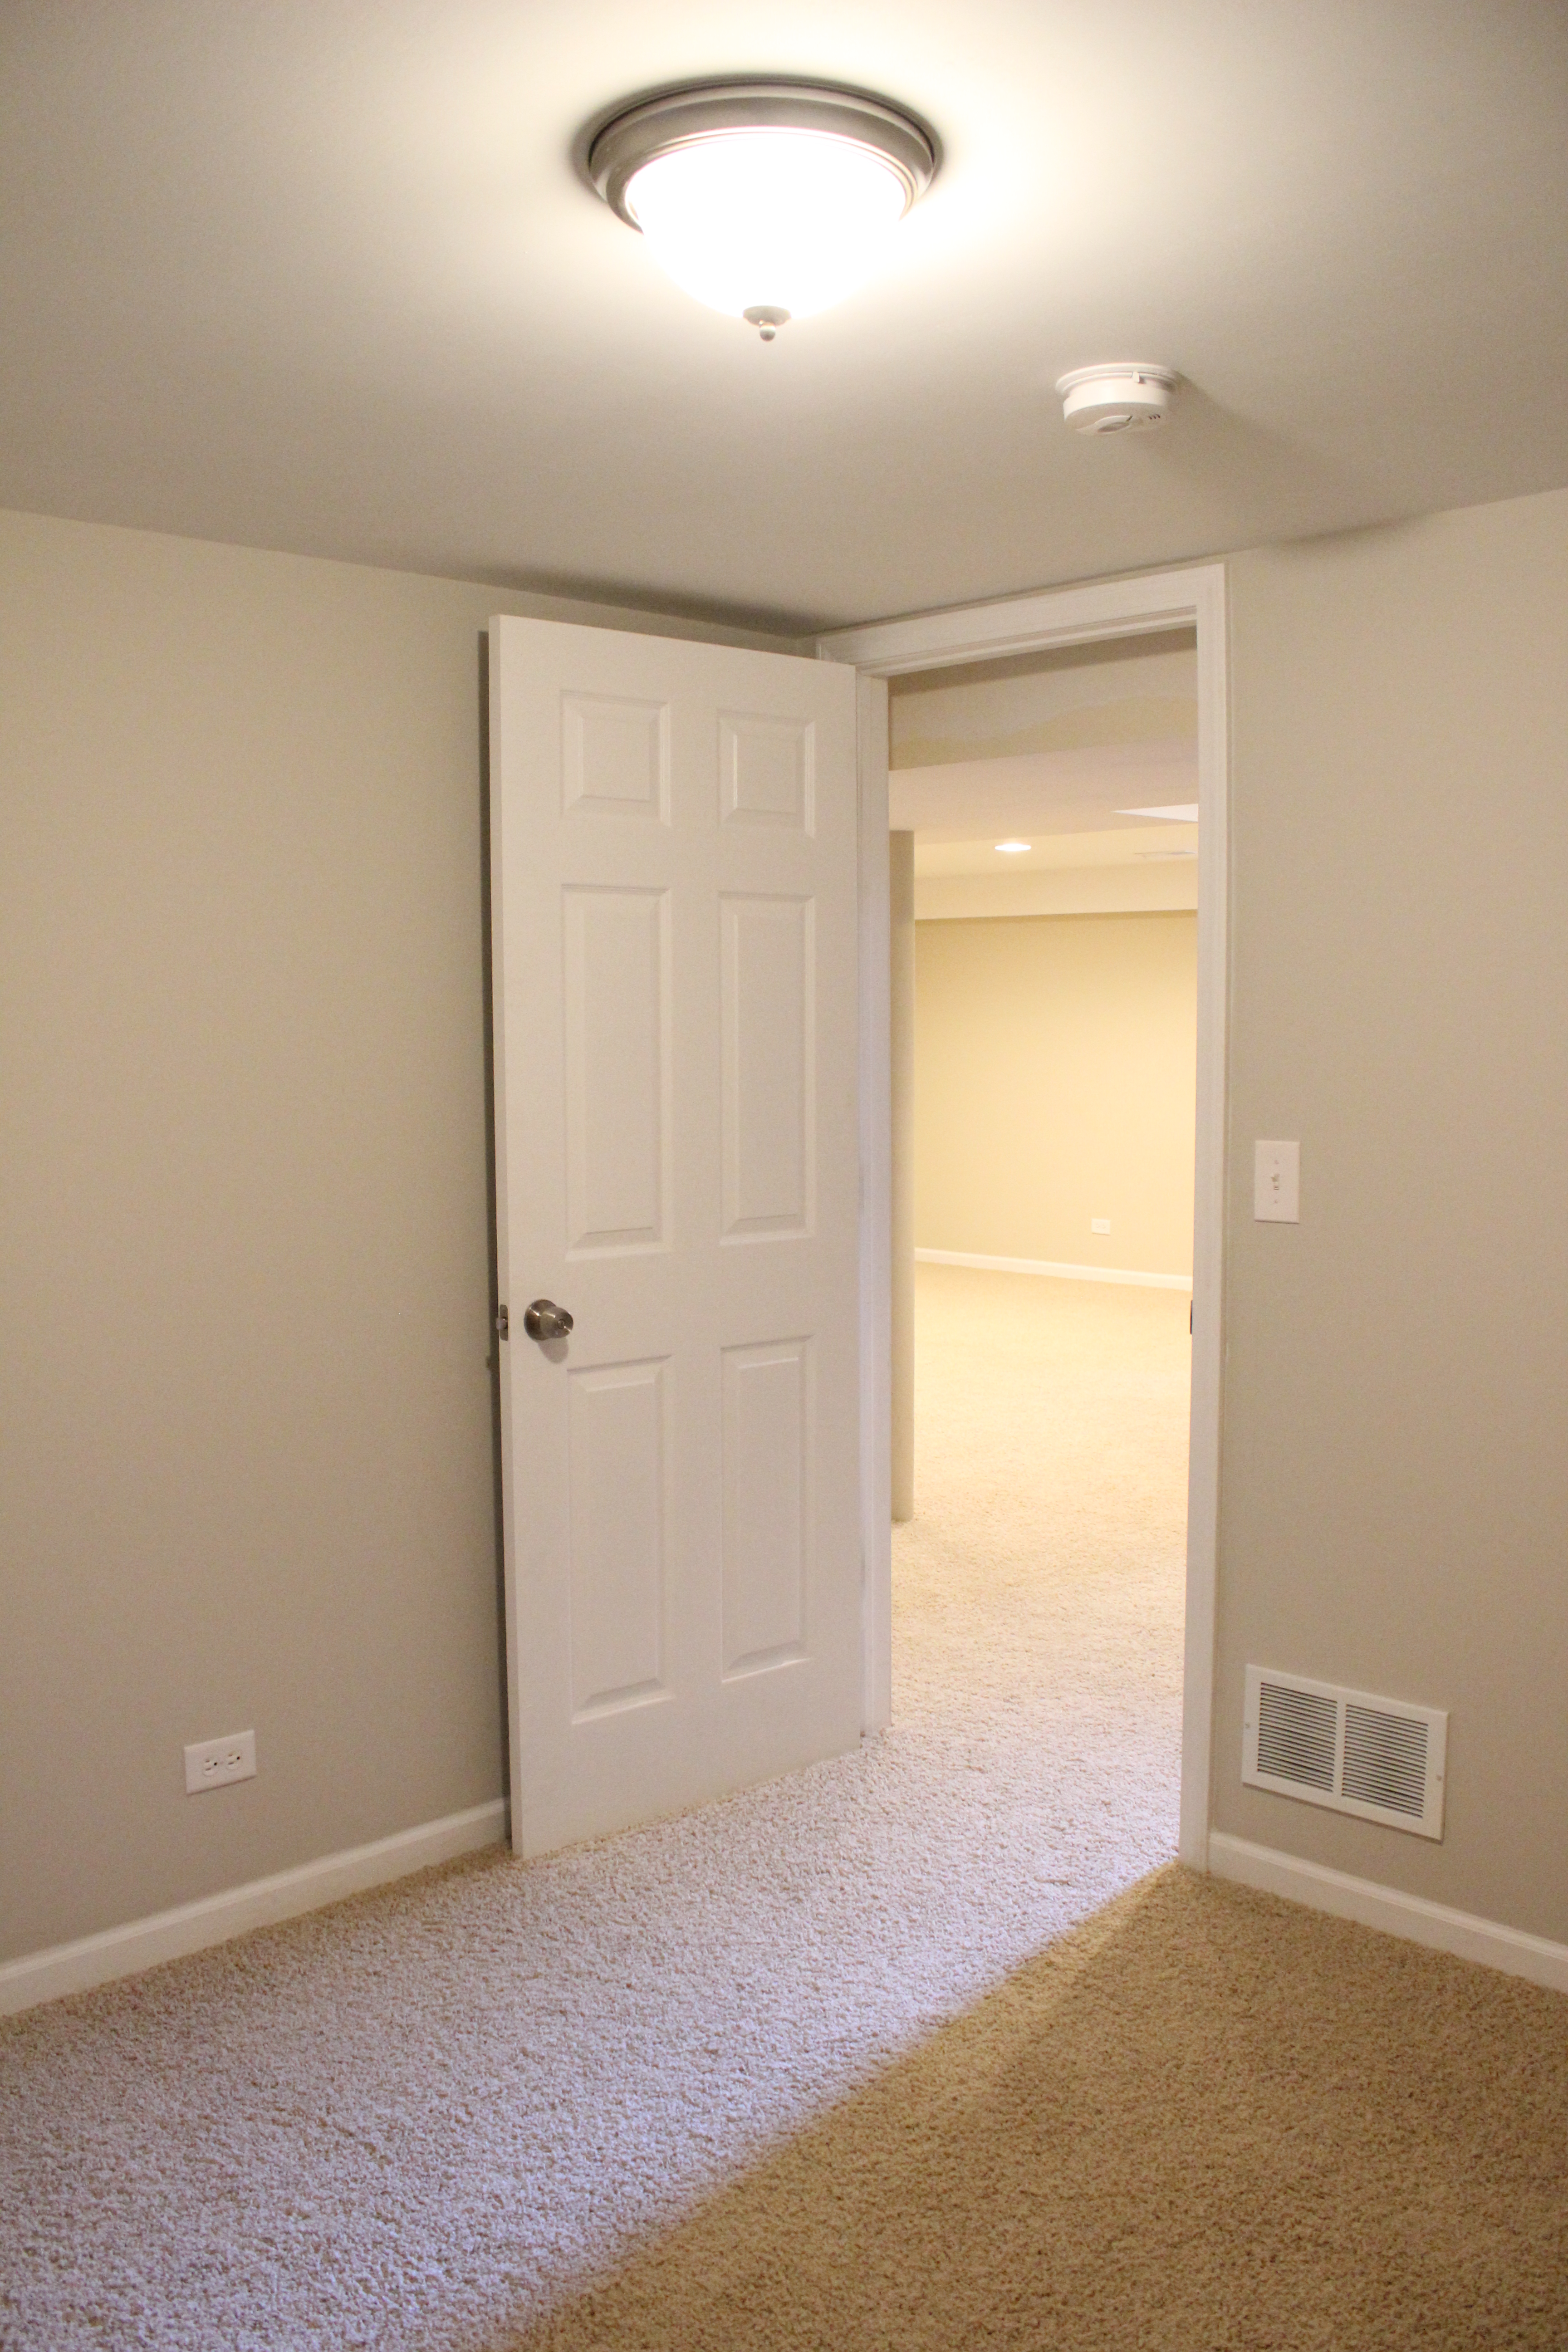
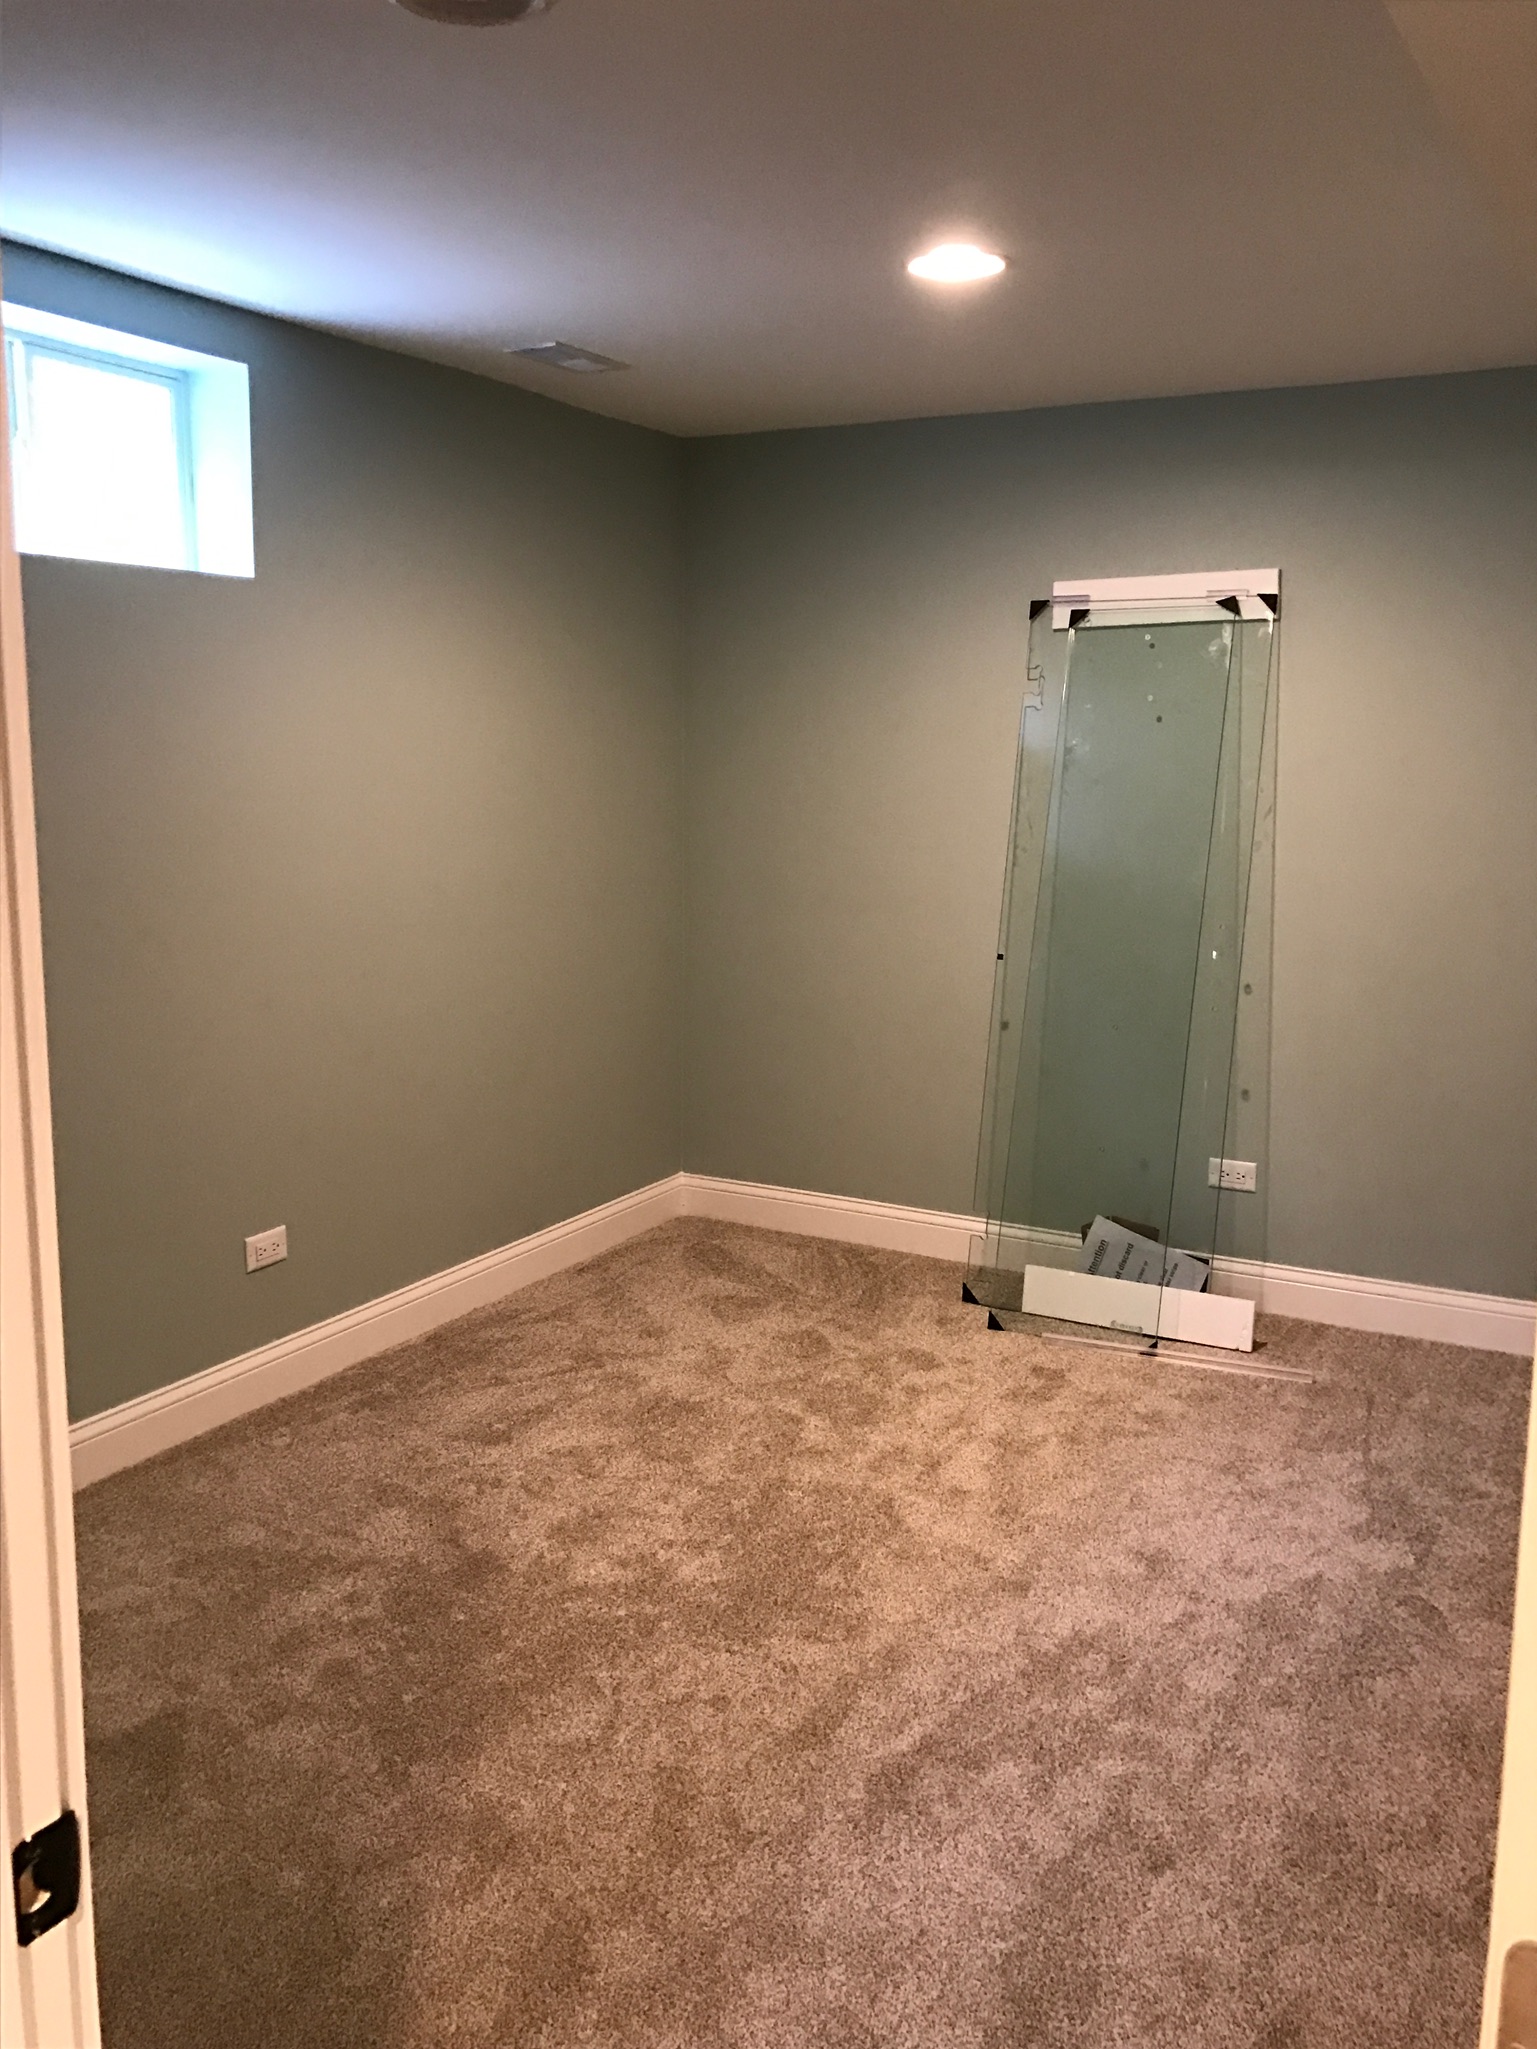
We also created a bedroom in the basement (wall color is Palladian Blue by Benjamin Moore):

IMG_0529 (1)

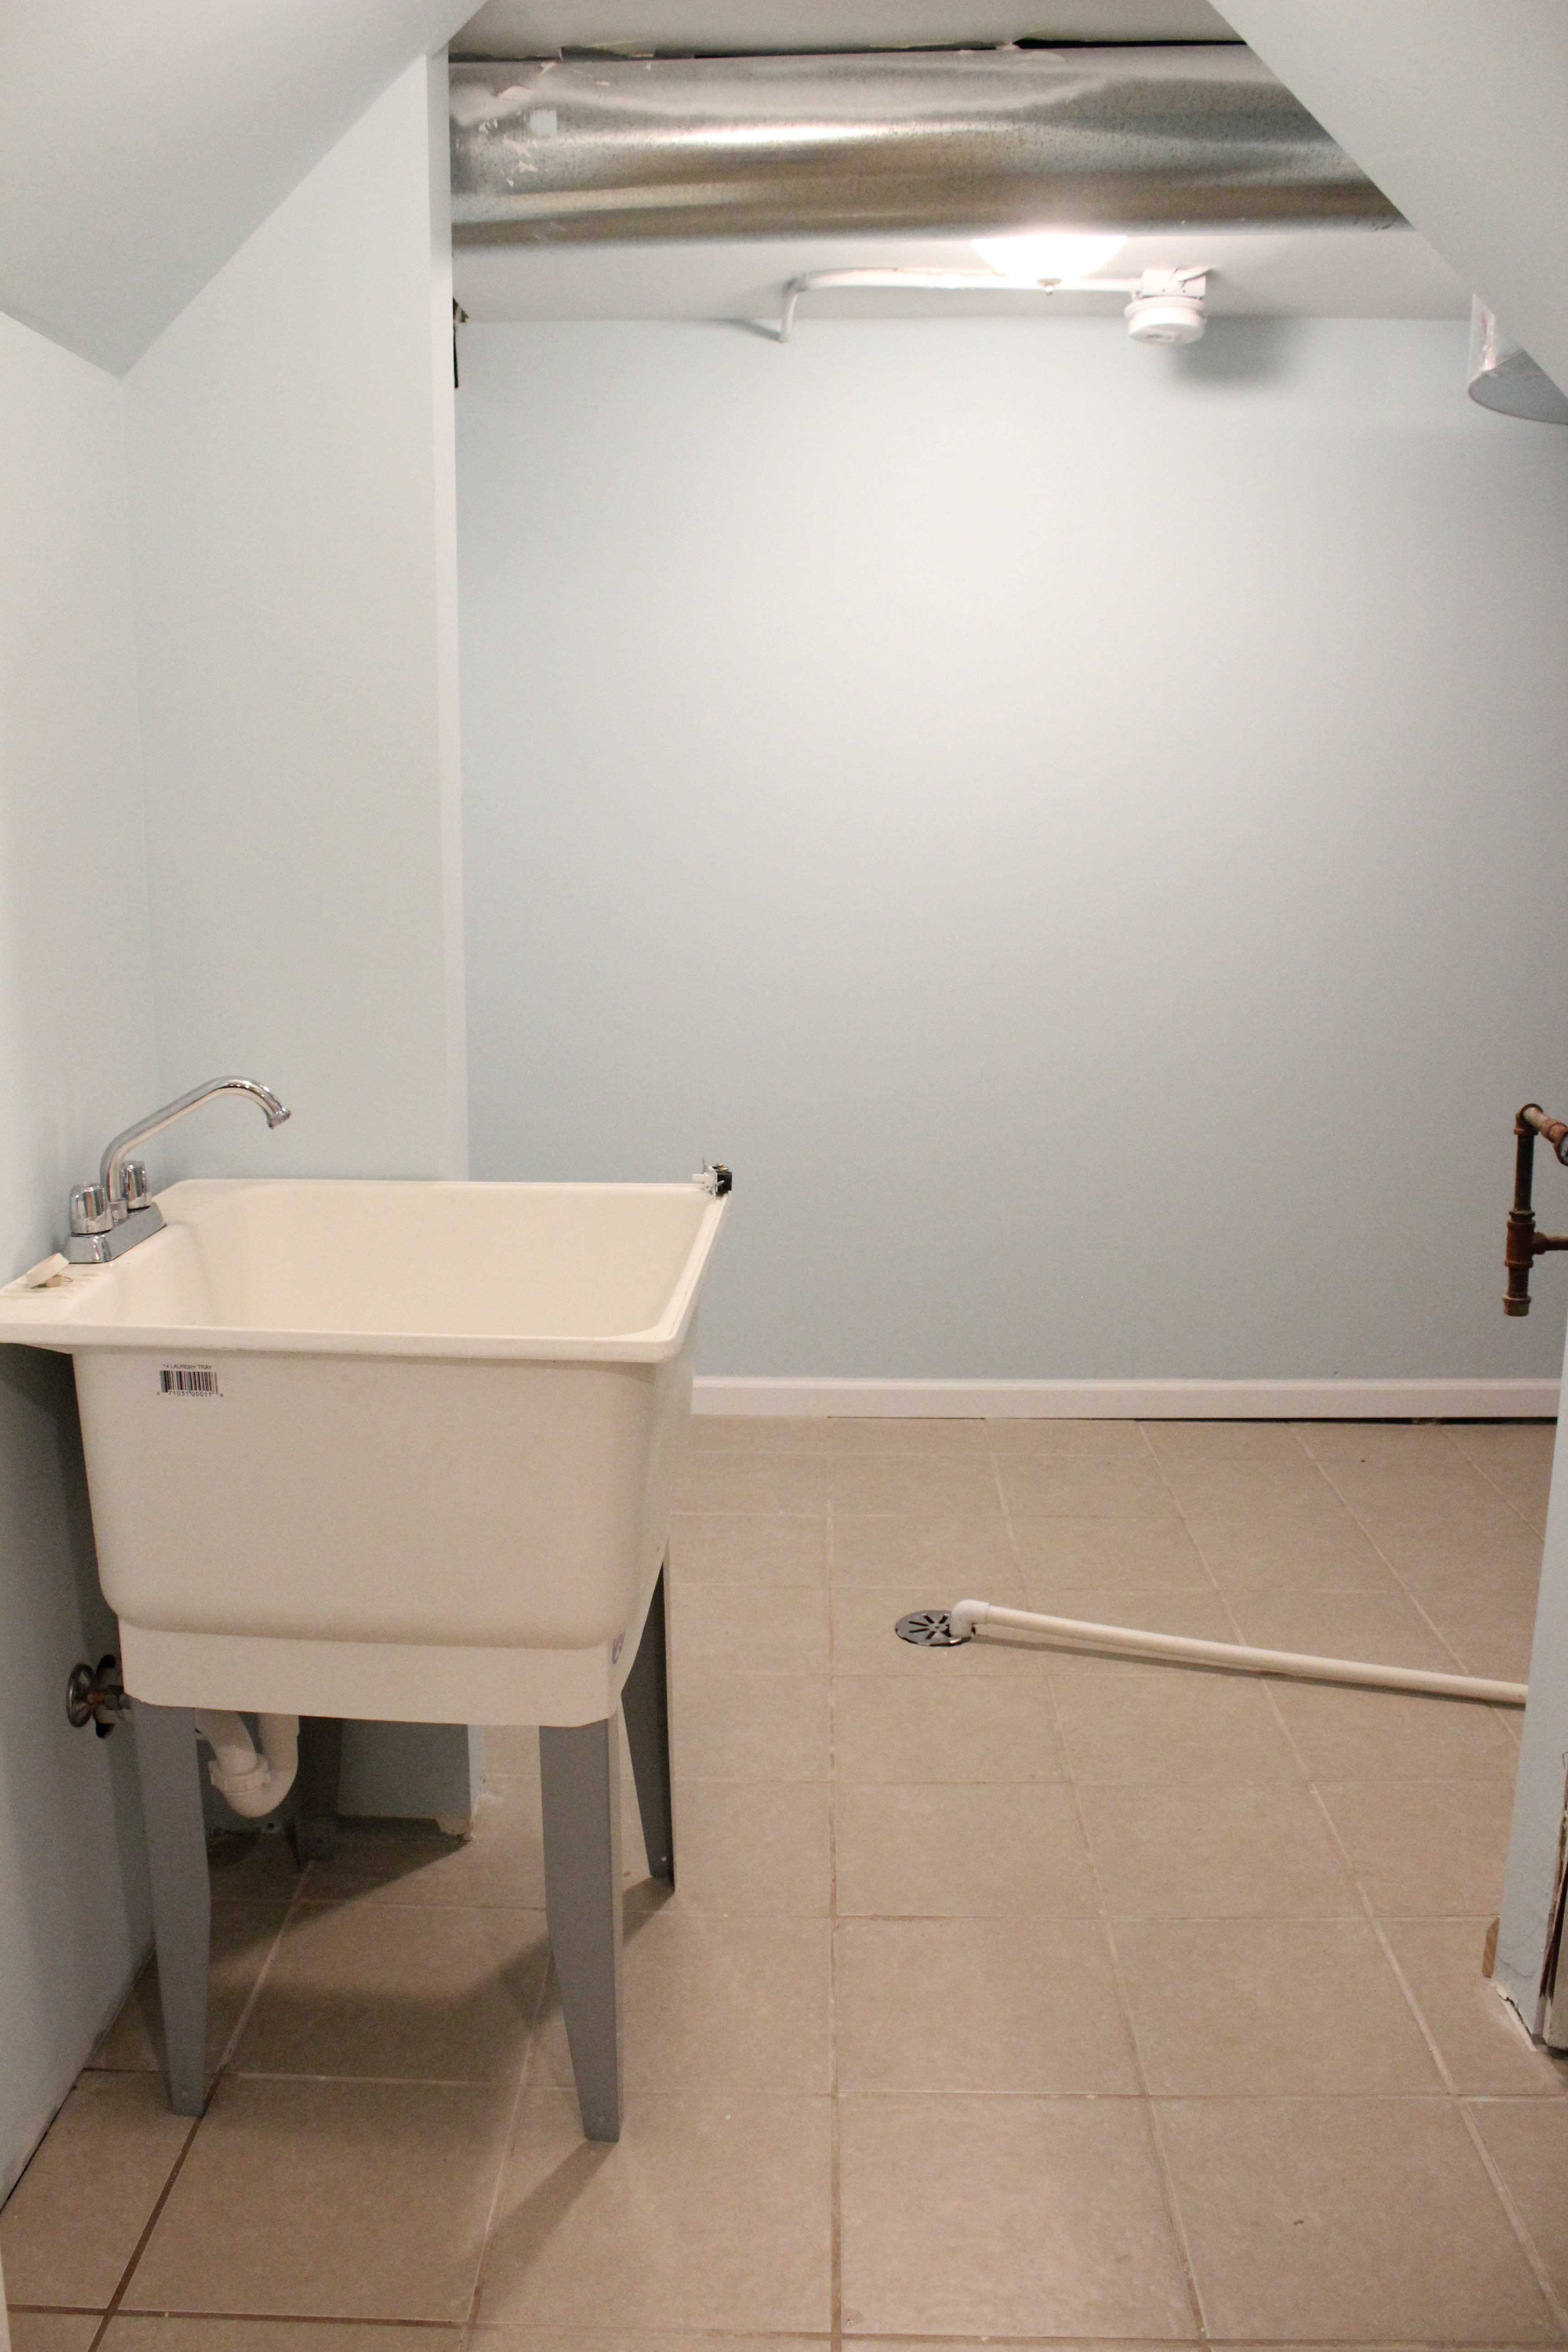
Lastly, we created a laundry room in the basement, and used the Ikea Kallax cubbies for storage again:

That concludes the tour! It was a huge undertaking and a ton of work, but it turned out even better than we imagined. And unlike other flip/rental properties we have renovated, we actually get to enjoy this one AFTER it’s finished because our friends live there. Win, win!

If you’d like to see some of the other properties we have “flipped,” find our rental property renovation here and another “flip” we did 4 years ago here.

Tour Our New Flip

26 Oct

Last Friday we closed on a 1931 Montgomery Ward home that we are going to bring back to life and sell. Woo-hoo. Another flip! This home has so much charm and potential, and we actually used to live across the street, so we know firsthand how great the neighborhood is.

Here is the front of the house, which actually needs very little work. img_4539

We love the paint color so will just touch it up where needed.

img_4540

That bonzai-looking tree will go and we will freshen up the landscaping in the front. The house also needs a completely new roof.

We need to make the driveway wider with fresh asphalt because right now there is a weird hedge row and wood patio that blocks more than half of the garage. img_4552

The garage is actually quite nice, you just can’t get to it right now.

img_4547

Here’s the backyard which we are going to fence in to provide some privacy from the neighbors.

img_4554-2

We will add a paver patio and lots of landscaping, similar to this drawing our landscape designer friend drew up for us.

landscape-drawing


Here’s a couple more pics of the backyard and back of the house. It’s a small lot (about 1/4 acre) but is very typical for this neighborhood.

img_4548

img_4550

Moving inside, here is the front room which used to be a front porch.

img_4573

img_4591

We are going to remove the wood paneling, drop ceiling, front closet, and then open up the ceiling to a cathedral ceiling with beadboard and maybe some rustic beams. It will look so different and open it up a lot!

img_4571

In the living room, we have to do some electrical to get the light on the switch (it was just a fan on a pull cord), remove the wallpaper and carpet, paint everything, stain the floors, and clean up the built ins. I absolutely love the built ins!

img_4572

If you saw on Instagram, we already ripped out the carpet and it already looks SO much better.

img_4613

There’s parquet flooring under the front porch area so we will need to lay hardwoods there and then stain it all a nice rich brown color.

Here’s the dining room which needs a new light fixture, wallpaper stripped off, paint and floors stained. img_4575

The kitchen is in the back of the house and needs a lot of work. We actually plan to re-use most of the cabinet boxes and re-make the doors, remove the soffit and then add glass-fronted cabinets where the soffits used to be. We did this in our first house and it looked great.

img_4566

We plan to take out the wall above the current stove to open it up to the rest of the house, and add a bar height top. img_4570

We will take out the wall ovens and add a slide-in range with a microhood instead.

img_4568

The cabinets will be painted a fresh coat of white, and of course all new stainless steel appliances, granite countertops, backsplash, sink, hardware and fixtures.

The fridge is on this wall, and we will build out the pantry cabinets deeper to line up with the wall.

img_4569

There’s two bedrooms and a bathroom on the first floor, which you get to by this charming archway.

img_4577

The bathroom will basically get a full gut with new tile, vanity, toilet, fixtures, and more. We also need to add a shower head since this is only a bathtub right now.

img_4579

Here are the two bedrooms on the first floor which actually have large closets.

img_4581

img_4582

As you can see in that photo, the previous owners smoked in the house for 40 years(!), and so all the wallpaper is stained with smoke. Surprisingly it doesn’t smell too bad, but we are of course stripping all the wallpaper and painting everything fresh and new.

The stairs to go up to the 2nd floor are off the kitchen and they lead up to 2 more bedrooms and a powder room.

img_4584

The railings aren’t up to code so those will get re-built and then we will remove the carpet, wallpaper and then paint the walls and stain the floors.

img_4585

Our current thinking is to make the entire upstairs a master suite with a large closet and bathroom. So ripping out the wall between the two bedrooms and extending the current powder room which is teeny tiny.

img_4589

img_4590

img_4588

Lastly is the basement which is straight out of the 1970’s.

img_4561

img_4558

There’s also a full bathroom down here.

img_4559

We have some foundation and waterproofing issues to deal with in the basement, so are in the process of tearing out all the paneling, floors and dropped ceilings.

That concludes the tour. It’s a ton of work, but we know it will look stunning when we are done with it in a few months.

If you want to see some of the other properties we have “flipped,” the home we renovated last summer and made into a rental property was pretty similar here. And here is another flip we did 3 years ago.

Flip: SOLD!

21 Sep

Back in June, I showed you through the “flip” we purchased. We successfully fixed it up from top to bottom over the summer and yesterday we closed it- woo-hoo! It actually pre-sold during demo which meant we didn’t even have to put it up for sale. Our agent took some interested buyers through it during construction explaining what it would look like once it was done, and they agreed to buy it.

It was a great arrangement, though they did request to change a few things to their preference. Though we still picked out all the colors and finishes.

So on with the finished tour!

Here was the front exterior before.

IMG_1453

And after new soffits, gutters, landscaping, window and door paint, and a new front path, here is the after.IMG_3439The grass seed hadn’t grown through the straw matting we laid on the side of the path and house just yet, but it’s quite an improvement.

Here was the garage before.

IMG_1525And after a new door, light, soffits, gutters, and a re-surfaced retaining wall, here it is now.

IMG_3438

Moving inside to the living room. Here is the before:

IMG_1518

And after some paint, trim, lights and new floors:

IMG_3415

IMG_3416

The kitchen before (it was already demo’d in this photo):

IMG_1515

And after:IMG_3418The buyers wanted the wall between the kitchen and living room removed. And didn’t want a dishwasher for a reason I will never understand.

Before view from living room to kitchen:

IMG_1519After:

IMG_3417

Outside the back door, Ben built a beautiful new deck.

IMG_3434Here was the view of the back before:

IMG_1454And after:

IMG_3437

Back inside, here is the upstairs bathroom before:

IMG_1512And after a new toilet, vanity, tub, sink, floor tile and fixtures:

IMG_3433

The three upstairs bedrooms just got new paint and trim.

Before:IMG_1508After:

IMG_3422Hallway before:

IMG_1510After:

IMG_3421

Here were the scary stairs down to the basement before:

IMG_1517

And now:

IMG_3424

And the biggest transformation of all is the basement. What looked like this before:

IMG_1530

Is now this:

IMG_3425

IMG_3426

We also added 2 all new bedrooms, a bathroom and a laundry room.

IMG_3428

IMG_3430

IMG_3431

That concludes the tour.

Now, we can focus our time, attention, and a little bit of profit into getting our own place ready for the baby! Kitchen reno is starting in the next week or two, so stay tuned.

Adventures in House Flipping

6 Jun

You might notice a slight slow down in progress around 12 Oaks as we have a new project underway– a flip! Ben has actually done a dozen of these over the last 4 years, but over the last year or so it has been hard to find them. Foreclosures were getting bought up by big hedgefunds who would come in way above asking just to make big quotas. So we were happy to finally get another one for the right price.

We closed on it Memorial Day weekend, and so far have pretty much gutted it inside and cleared the property of dead and overgrown trees outside. We plan to have it 100% complete by mid-July. So a quick timeline to get a lot done as you will see.

Here is the front of the house. We will be landscaping and replacing the gutters, soffits and facia.

IMG_1453

We will be adding a new garage door, re-surfacting the retaining wall (seen on the left), and adding a new light.

IMG_1525

Here’s the back of the house. We are building a deck back here and have already cleared out the dead and too-close-to-the-house trees.

IMG_1454

It has a nice little private backyard.

IMG_1533

Here is the living room off the front of the house. We will be adding can lights in the ceiling, new paint and carpet.IMG_1518

Another view of the living room looking toward the kitchen.IMG_1519

The kitchen was a complete gut and we didn’t get a chance to take a picture of it before. But just imagine some nasty old cabinets, vinyl flooring and no appliances.IMG_1515

The kitchen will get new cabinets, stainless steel appliances, granite countertops, and floating laminate flooring that looks like wood.

Right now this is the only bathroom in the house. It will get a new vanity, lights, tile flooring, tub surround and toilet. Can you believe the toilet is almost rotted right through the floor? Gross!

IMG_1512

This is the hallway with the 3 bedrooms off of it. Paint, trim, new doors and new lights in here. We plan to keep the floors in here and the 3 bedrooms.IMG_1510

Here is one of the bedrooms, and they all look pretty similar. They will each get new lights, trim, doors and paint.IMG_1508

Off the kitchen are stairs down to the basement.IMG_1517

We are going to completely finish the basement, adding 2 bedrooms, a living room and laundry room. Pretty much a blank slate down here now.

IMG_1530

And here is the inside of the garage which will get insulated, drywalled and painted.

IMG_1526

Who wants to move in? No one? Hopefully this place is unrecognizable in another 6 weeks. We will share some after pics when it’s all done!

%d bloggers like this: