Archive | Bedrooms RSS feed for this section

5 Years Later (What’s Changed)

24 Oct

Today marks 5 years since we closed on 12 Oaks, so I thought we should recap everything we’ve been able to accomplish since October 2012.

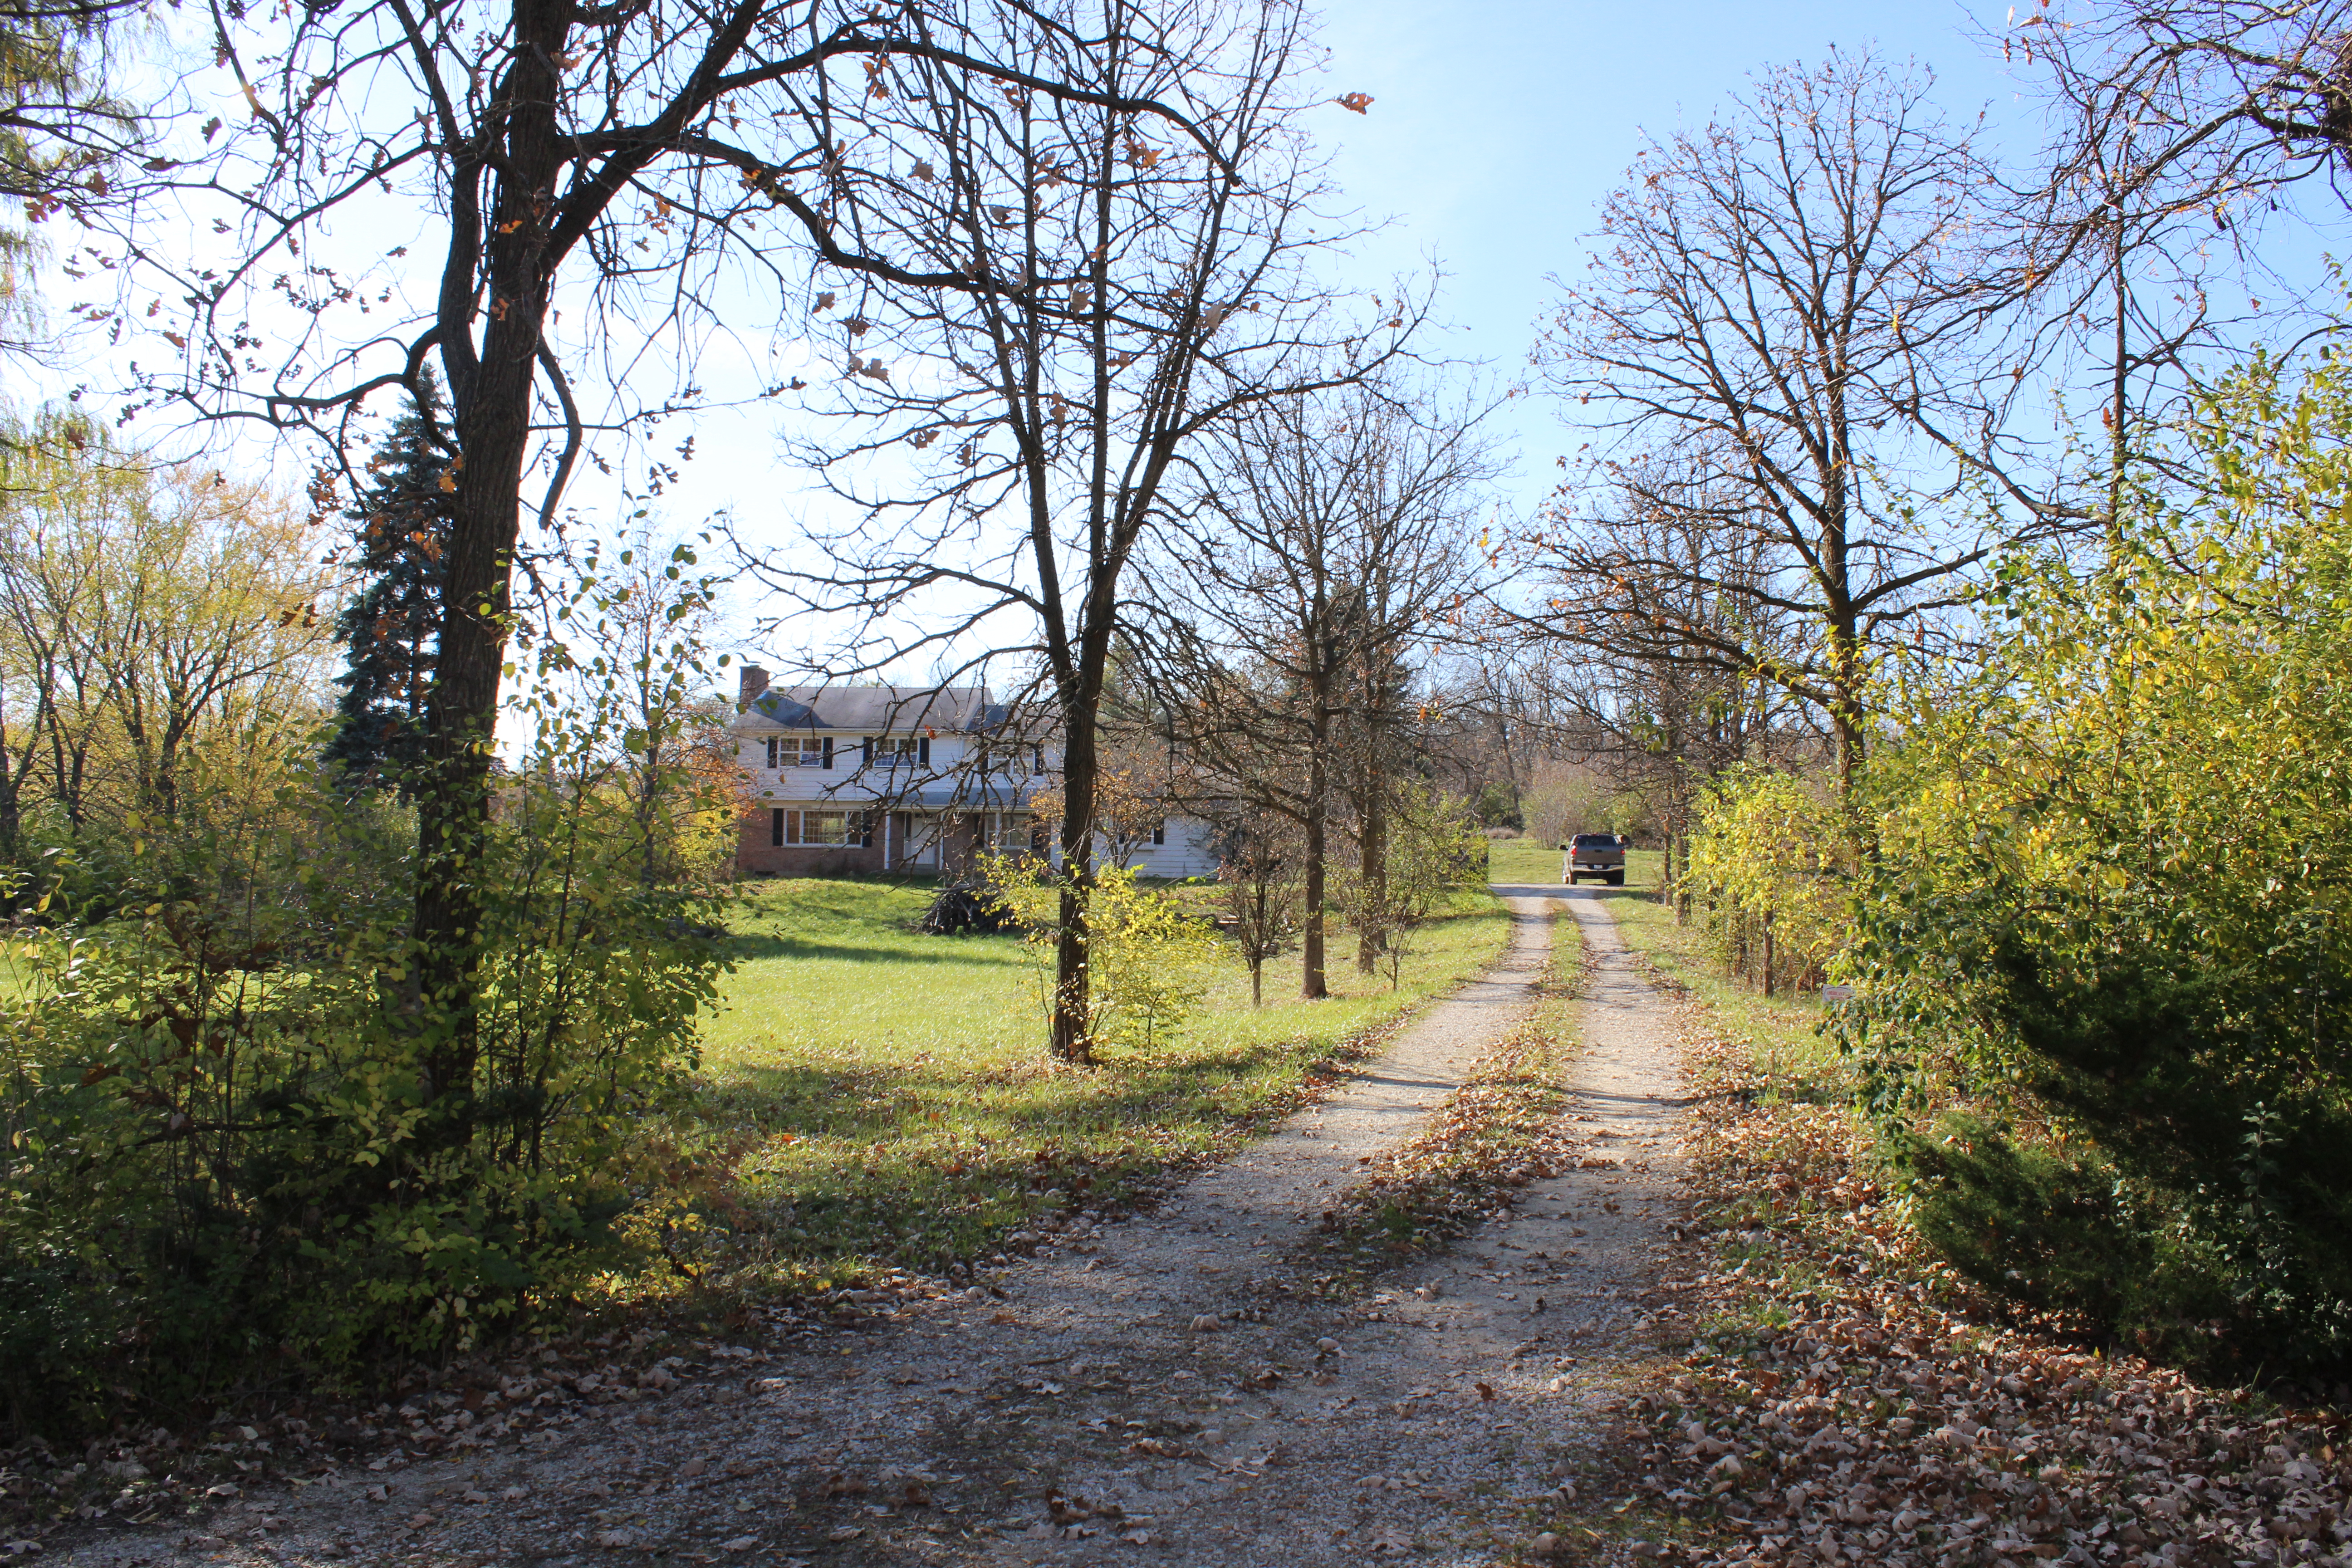
Here we go, starting with the driveway which was just gravel and so overgrown.

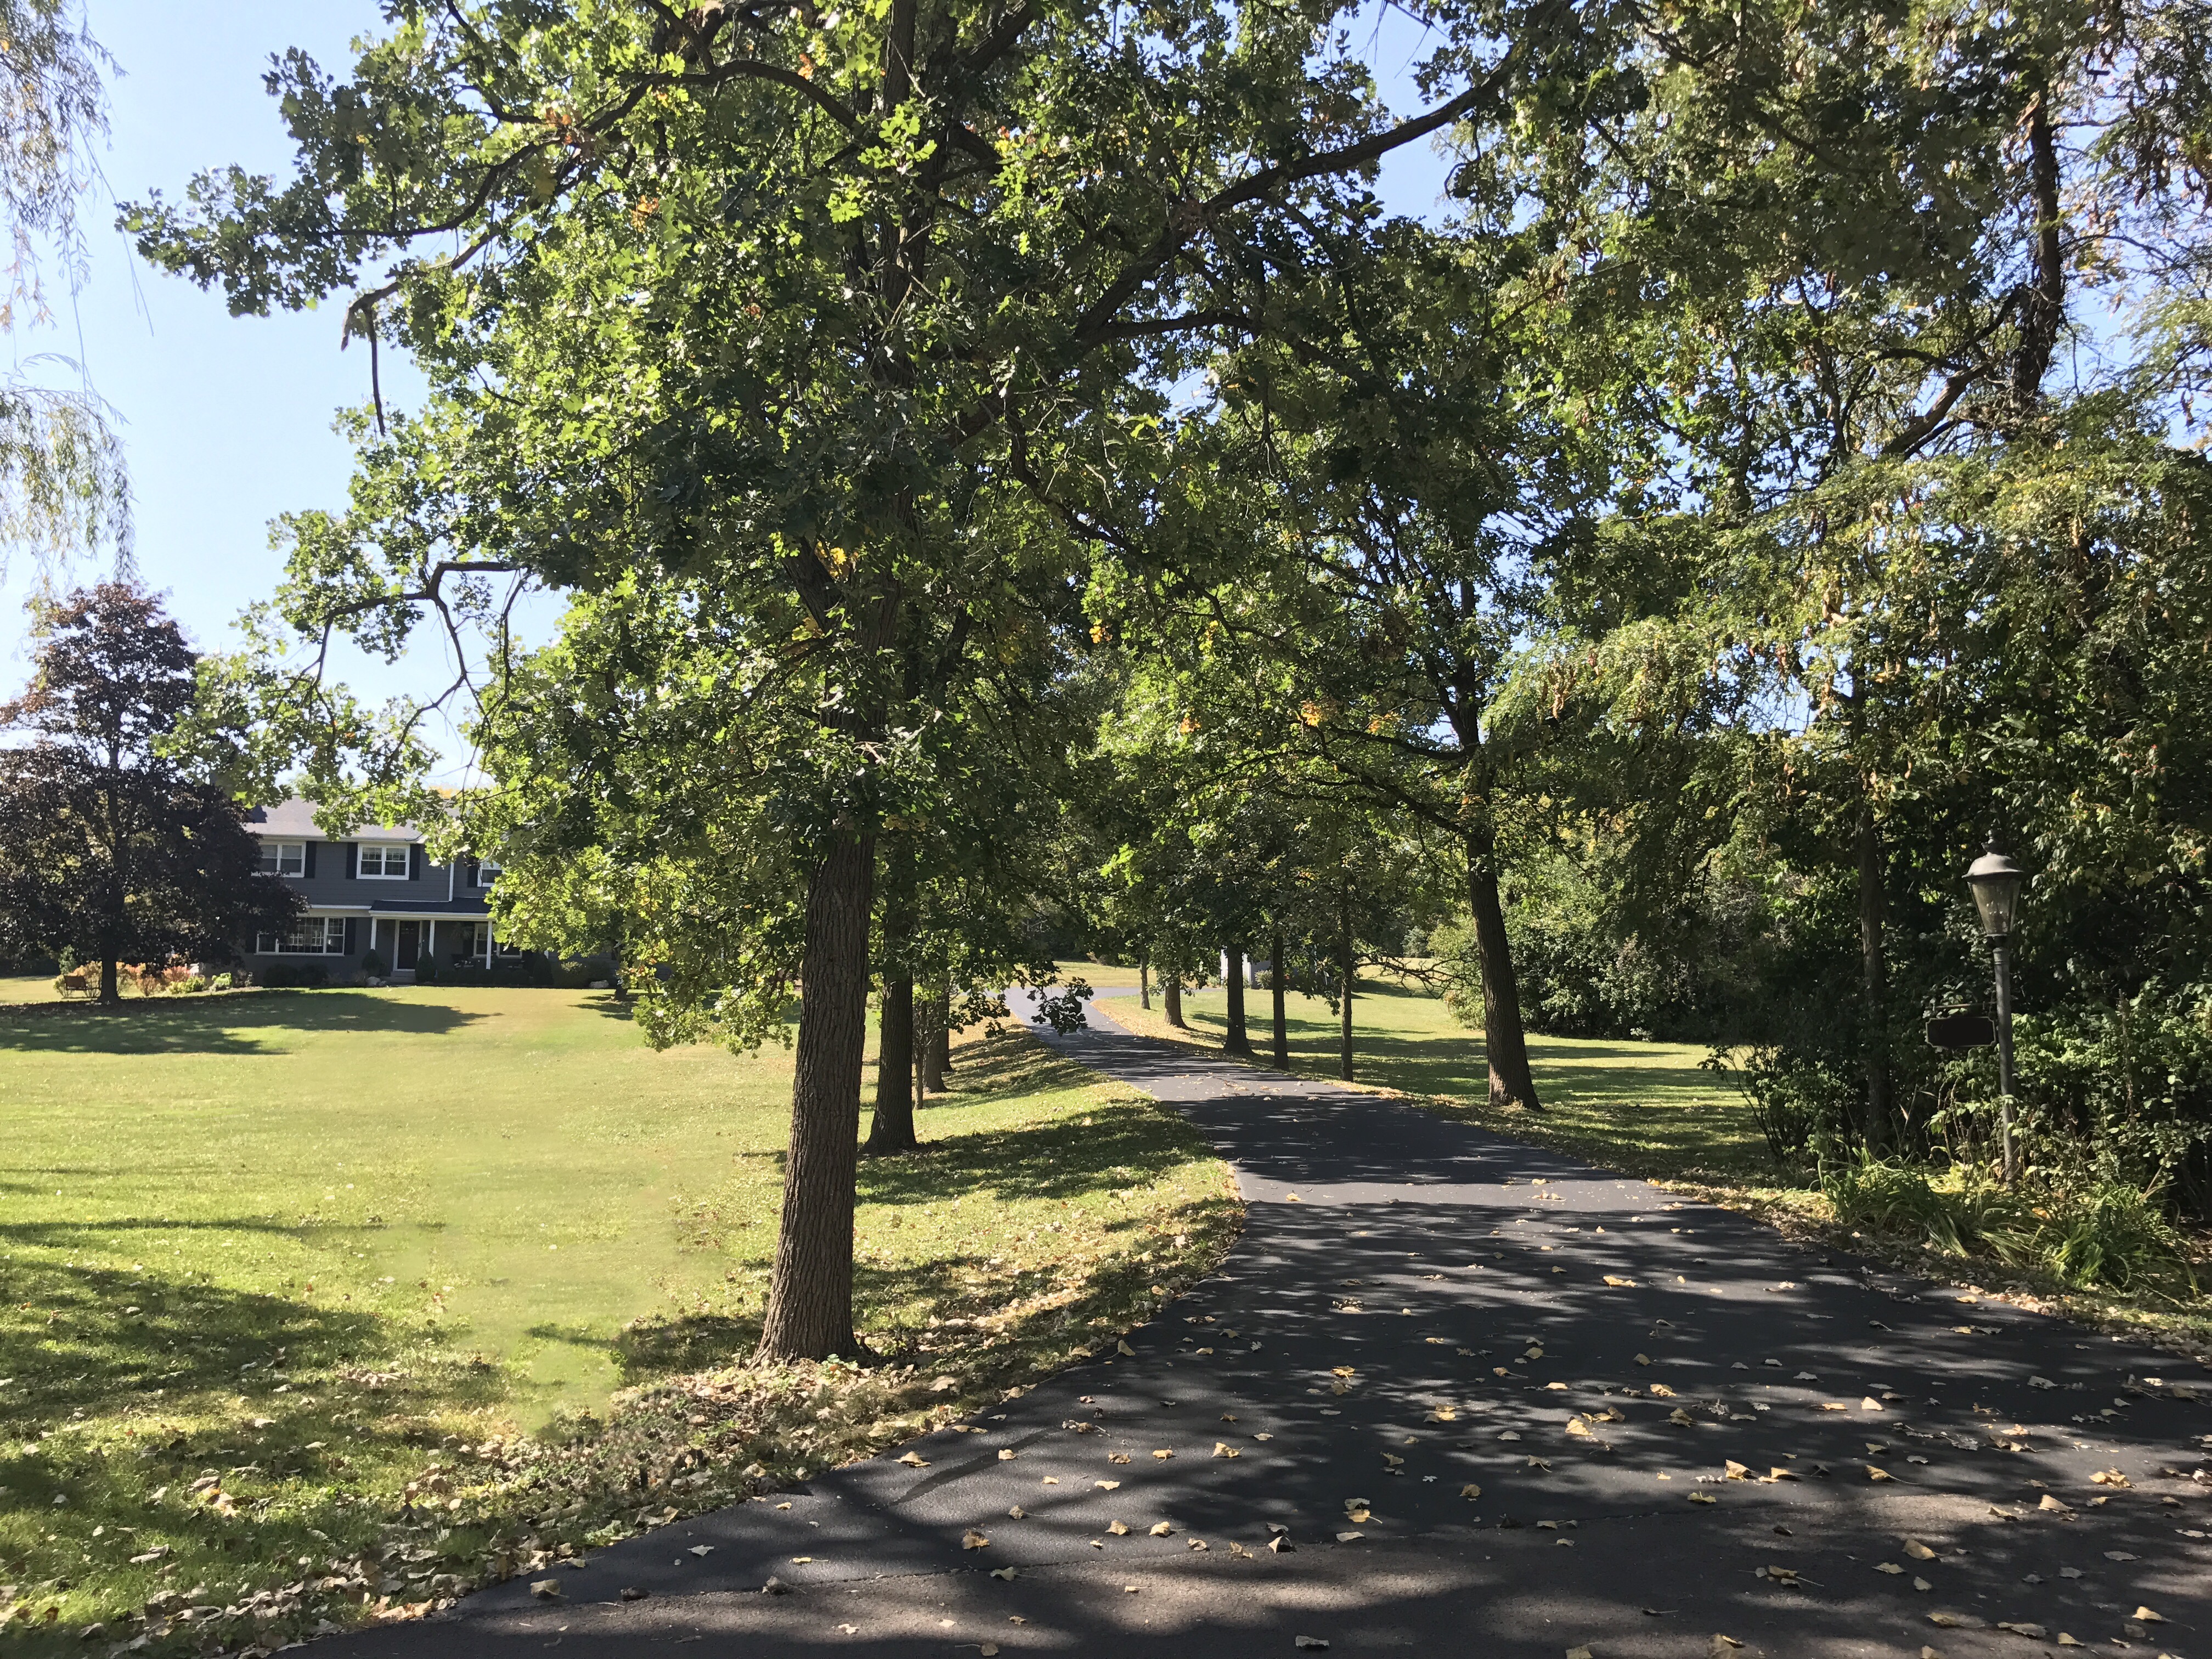
Here is the same view now:

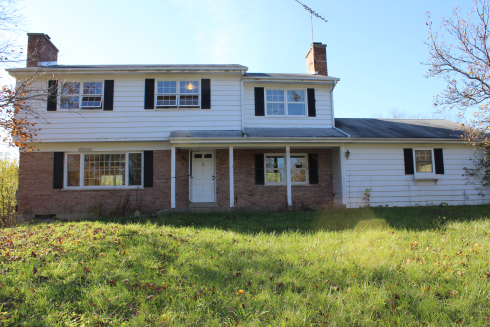
The front of the house was in need of some major TLC. Overgrown weeds, old broken windows, chipped paint, etc., etc.

Front Oaks Exterior Before

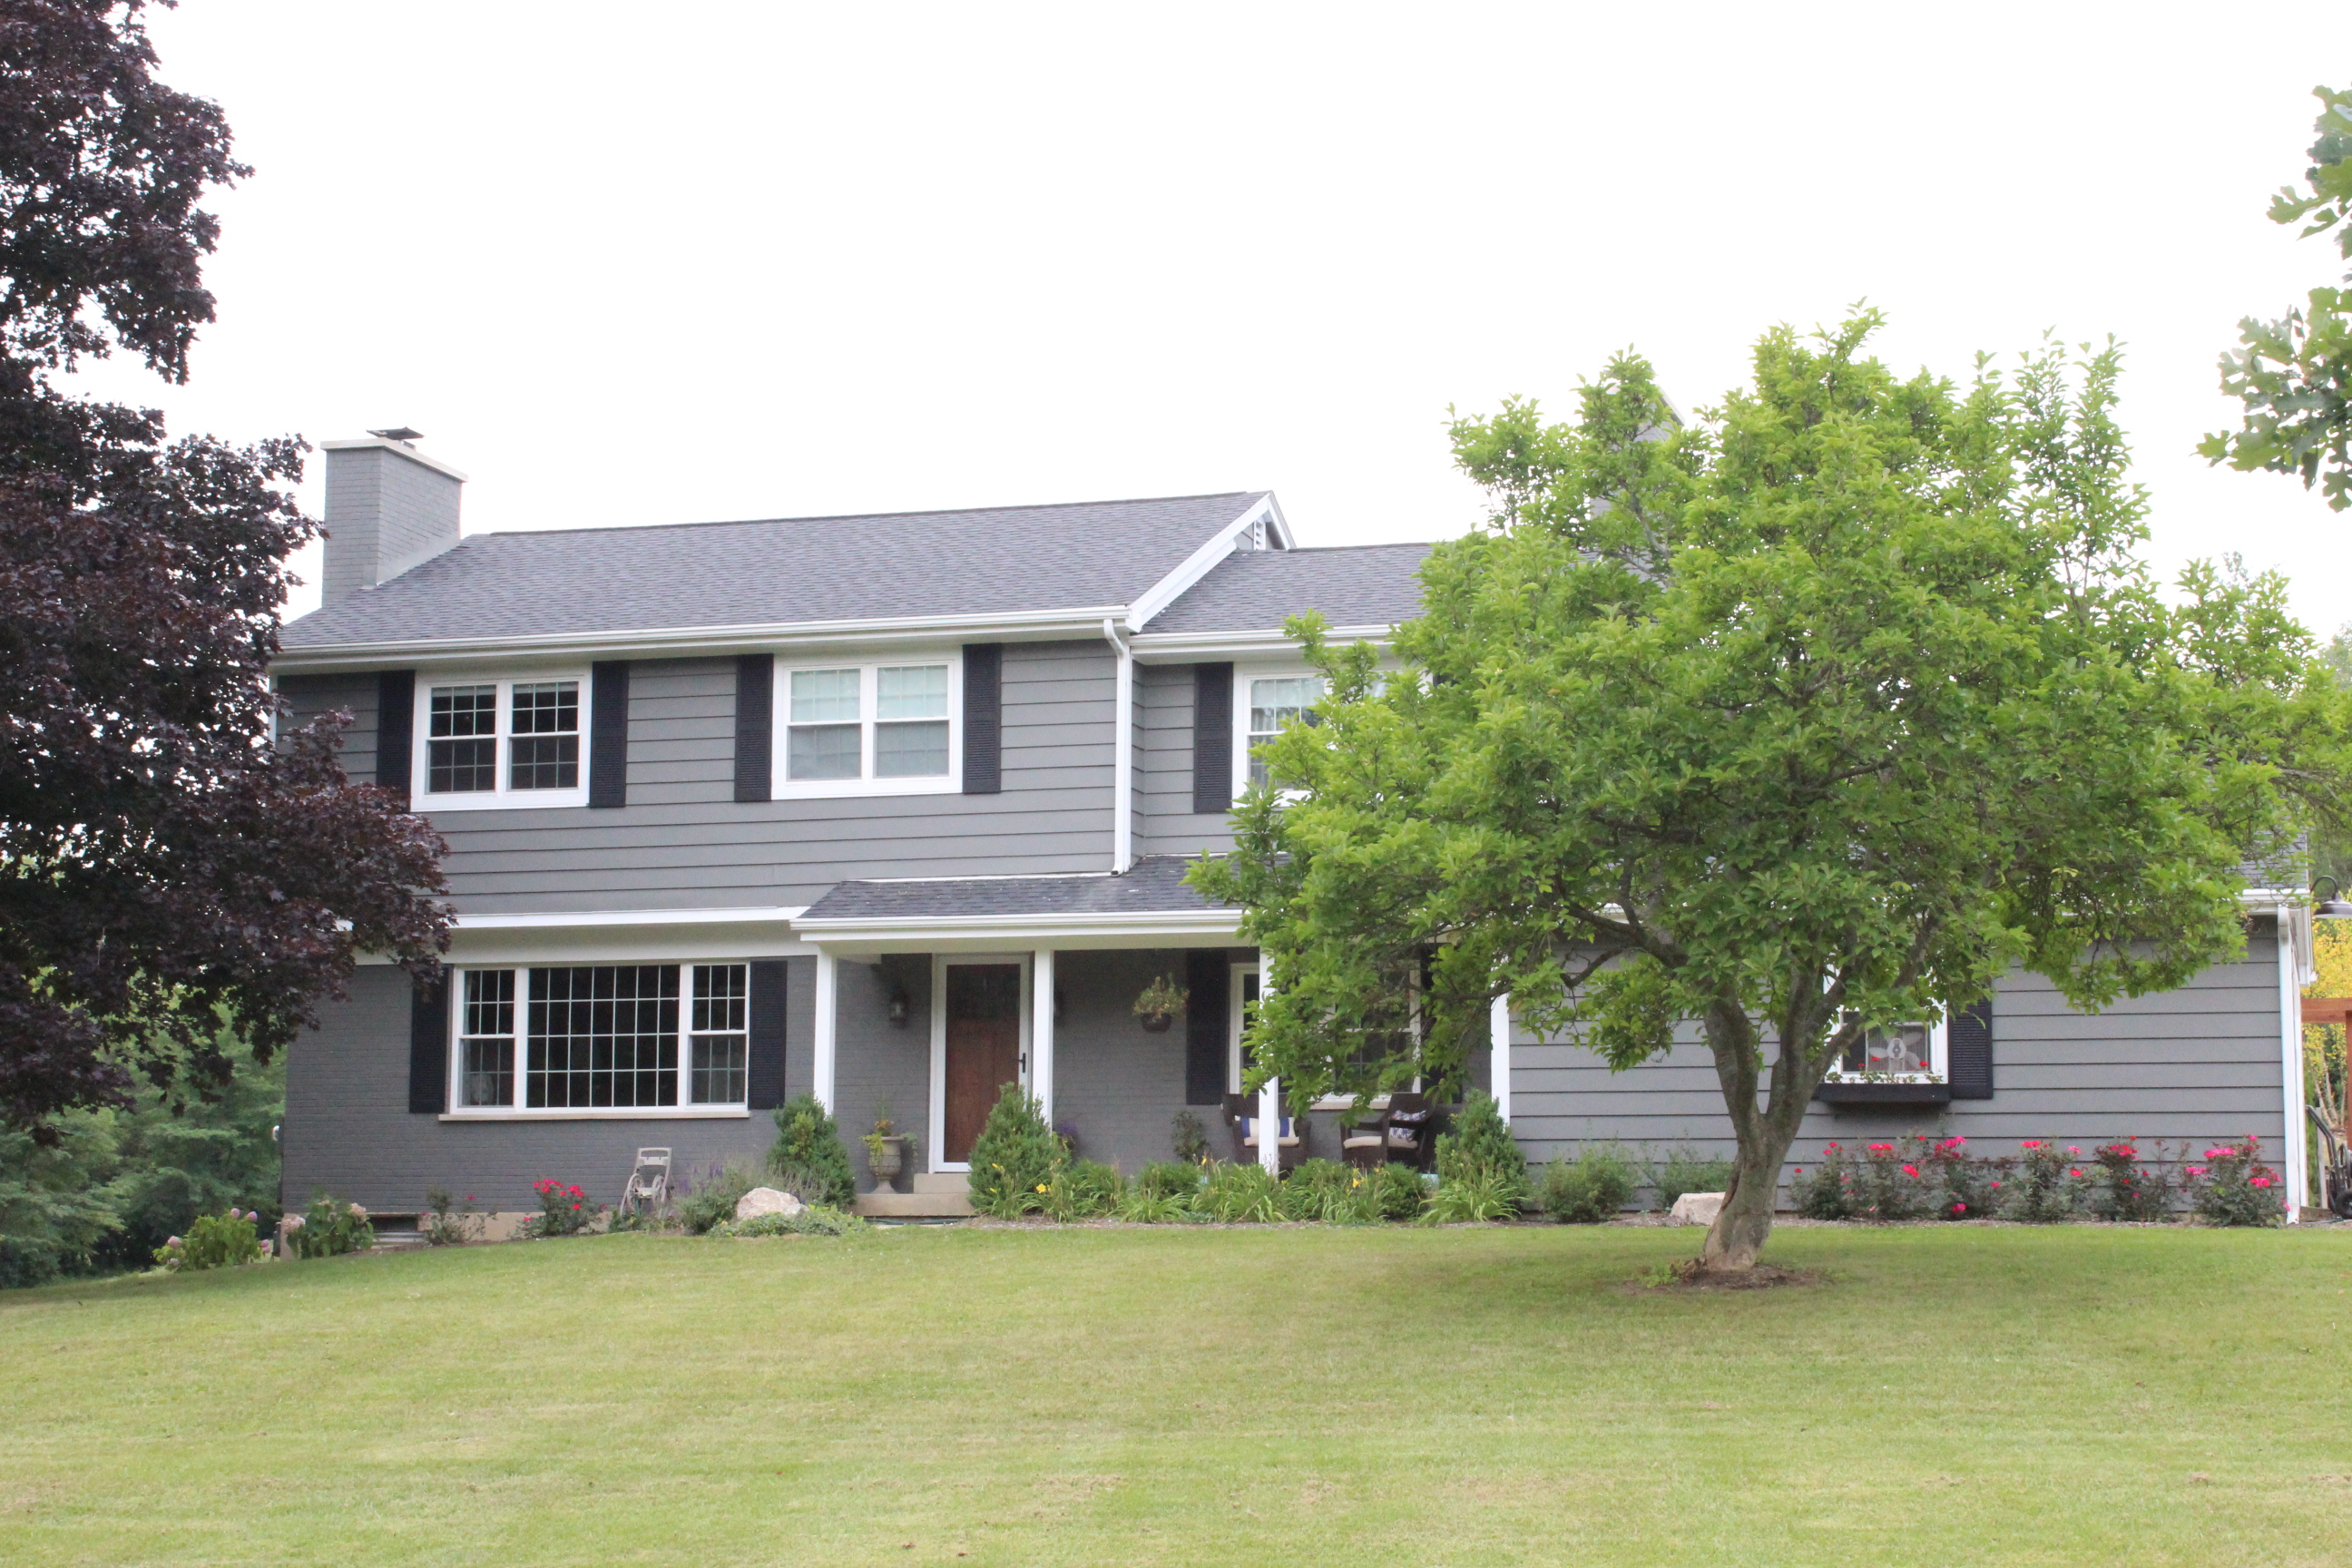
After A TON of work including a new roof, windows, landscaping, door, and paint, here she is now:

IMG_4813

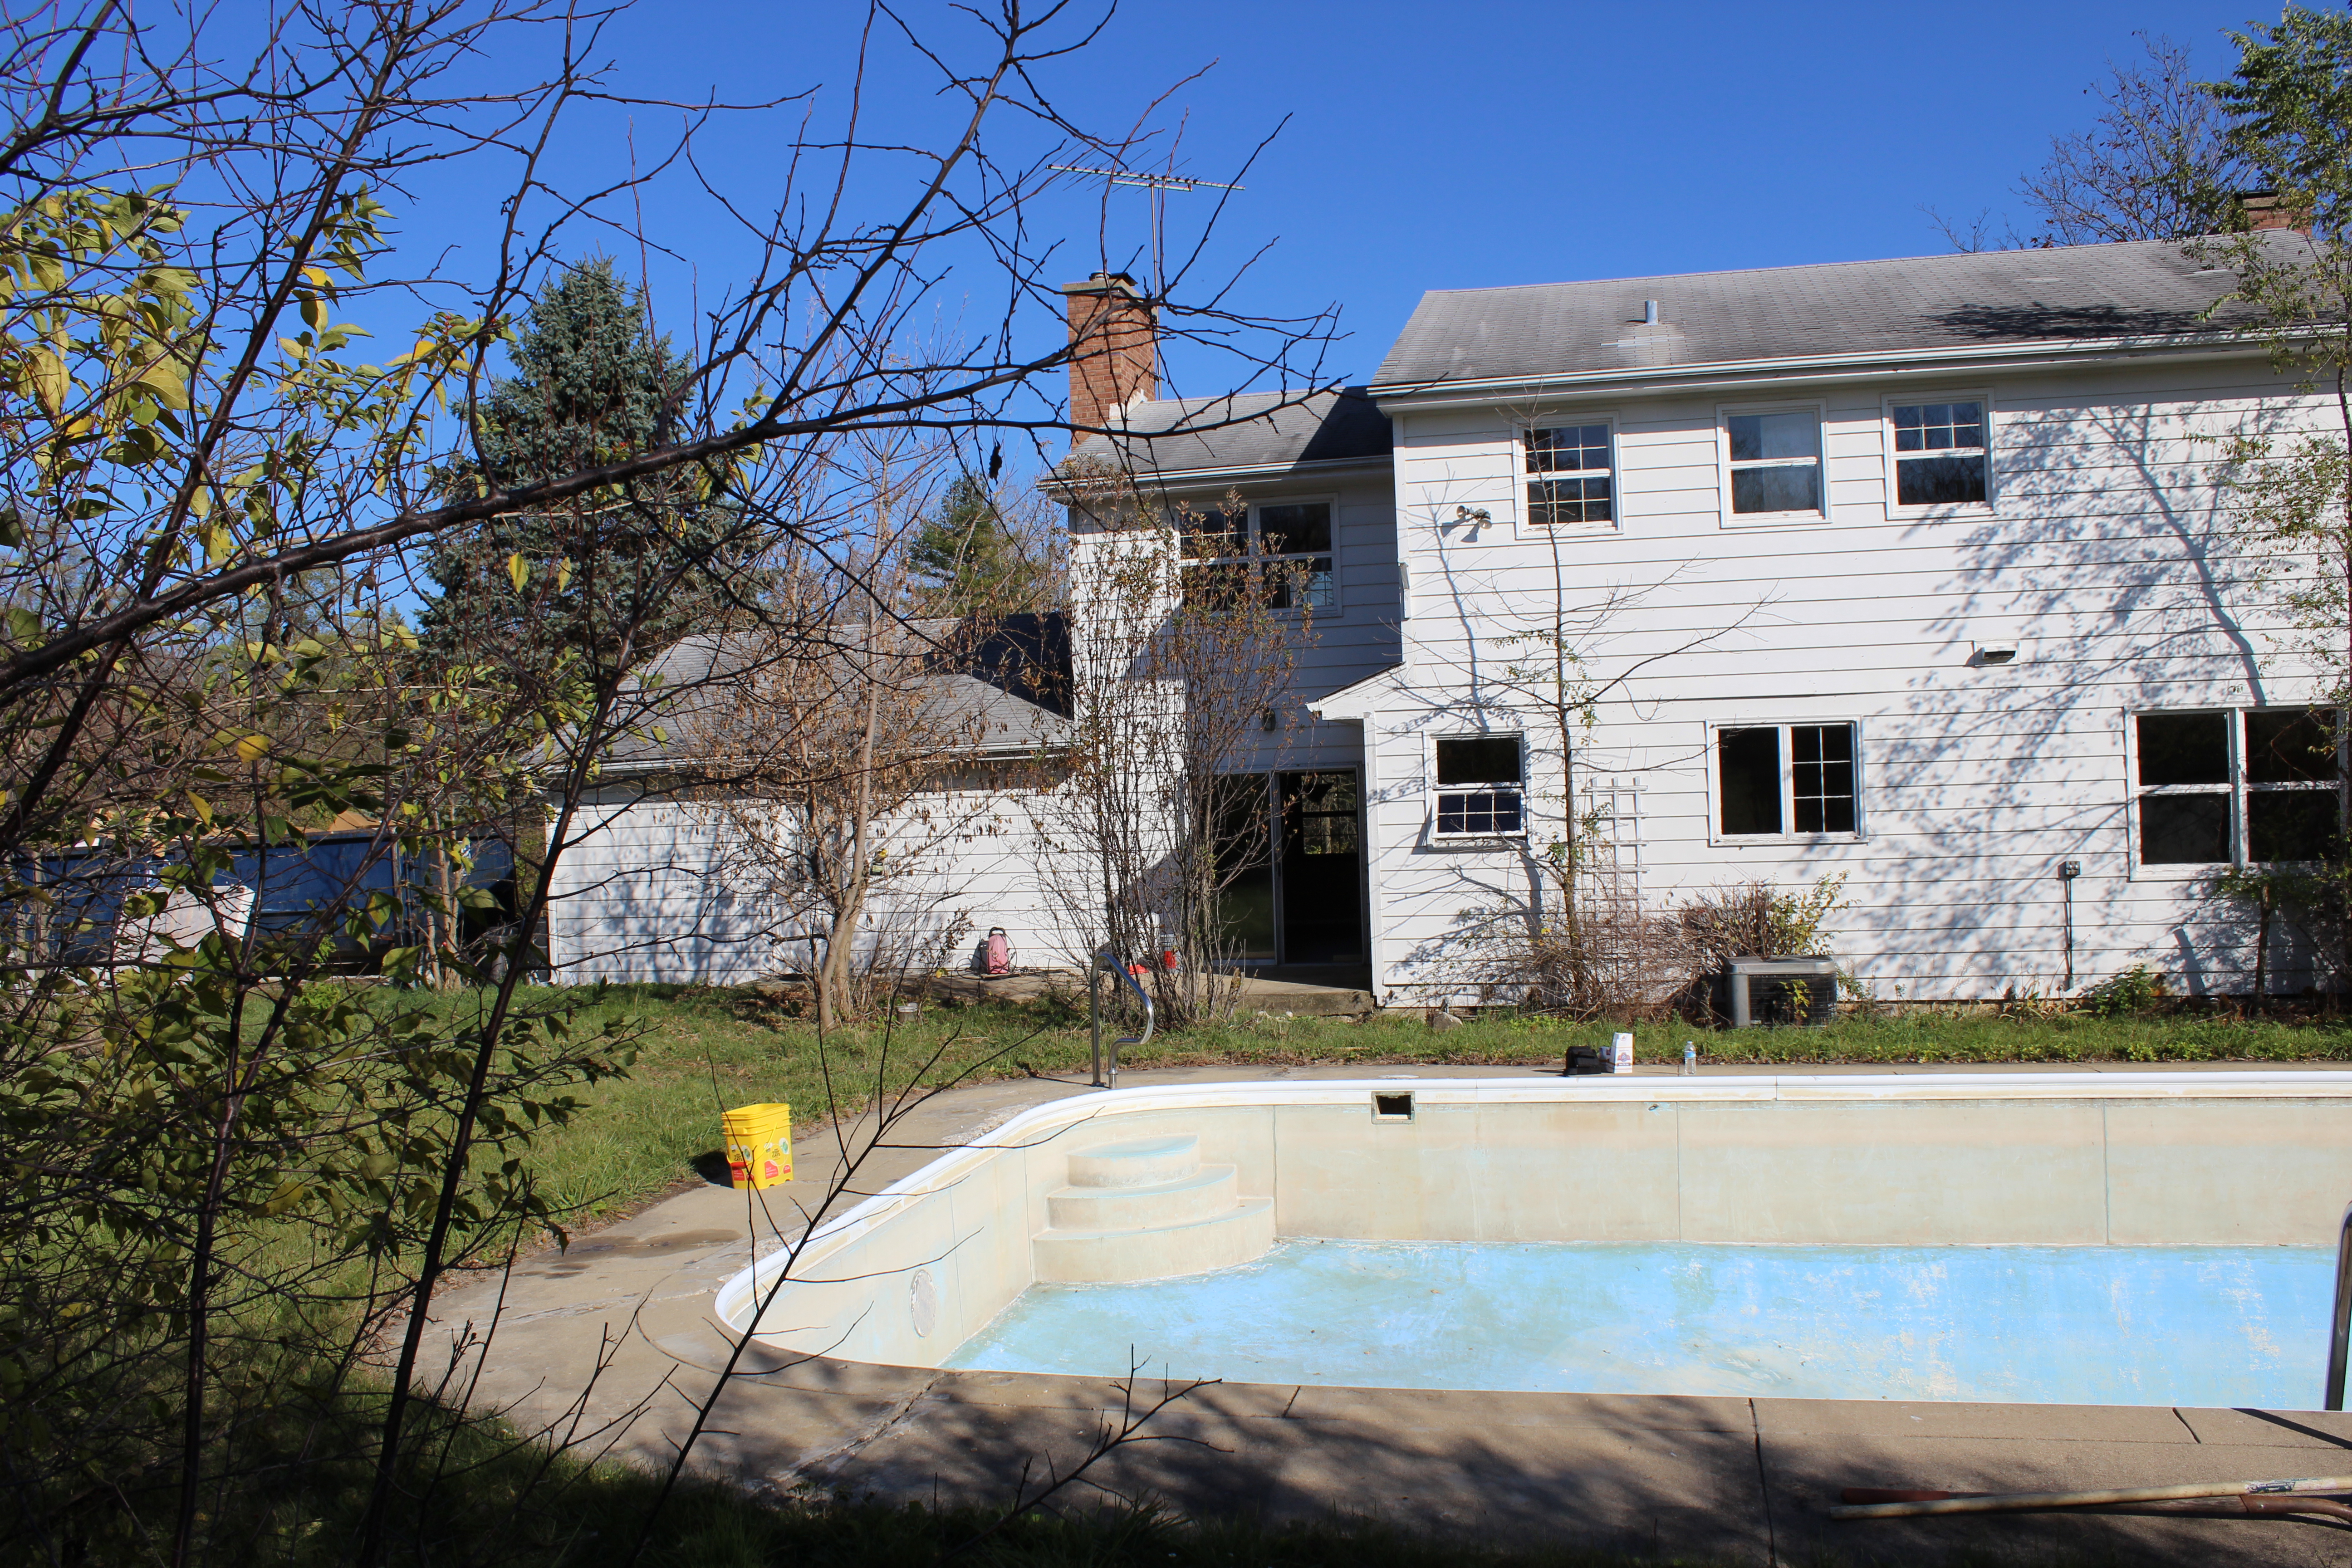
Moving to the back of the house and pool, we had this mess:

12 Oaks Before 387

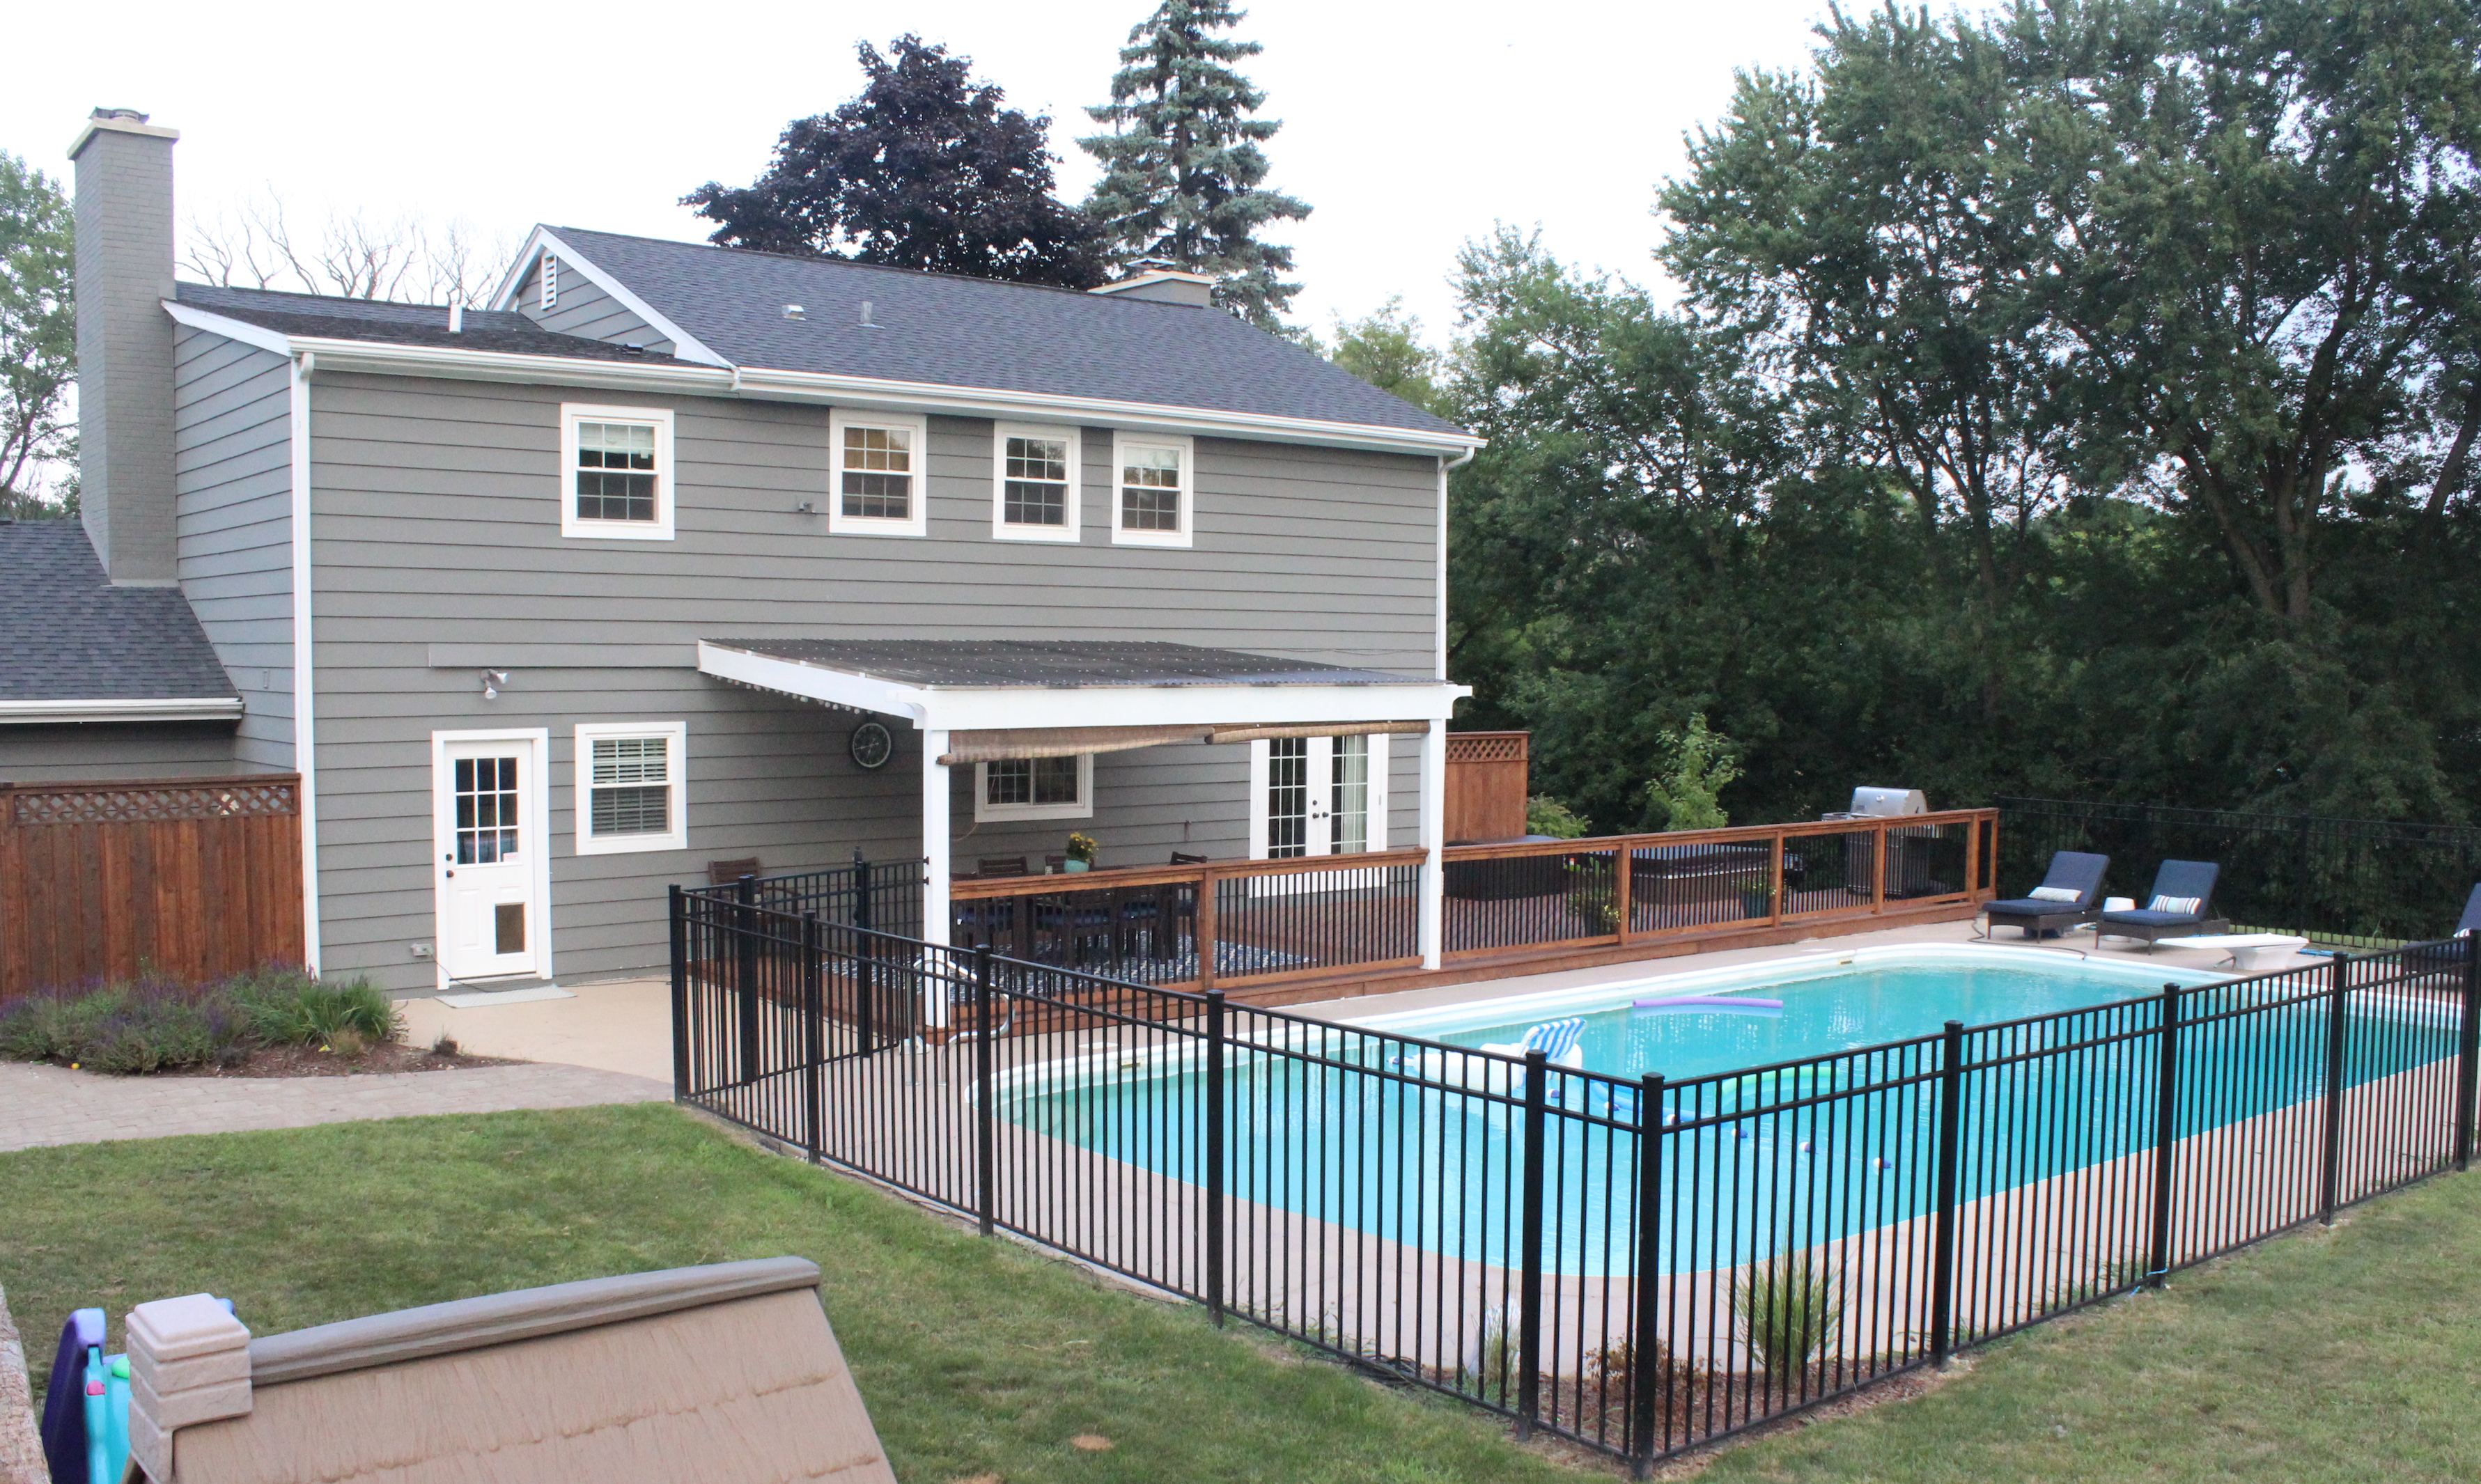
And now after a deck, pergola, small addition (left side of the pergola), pool fence, garbage enclosure, landscaping, etc. (More on the backyard transformation here.)

IMG_5890

Here was the entryway/stairs 5 years ago:

12 Oaks Before 156

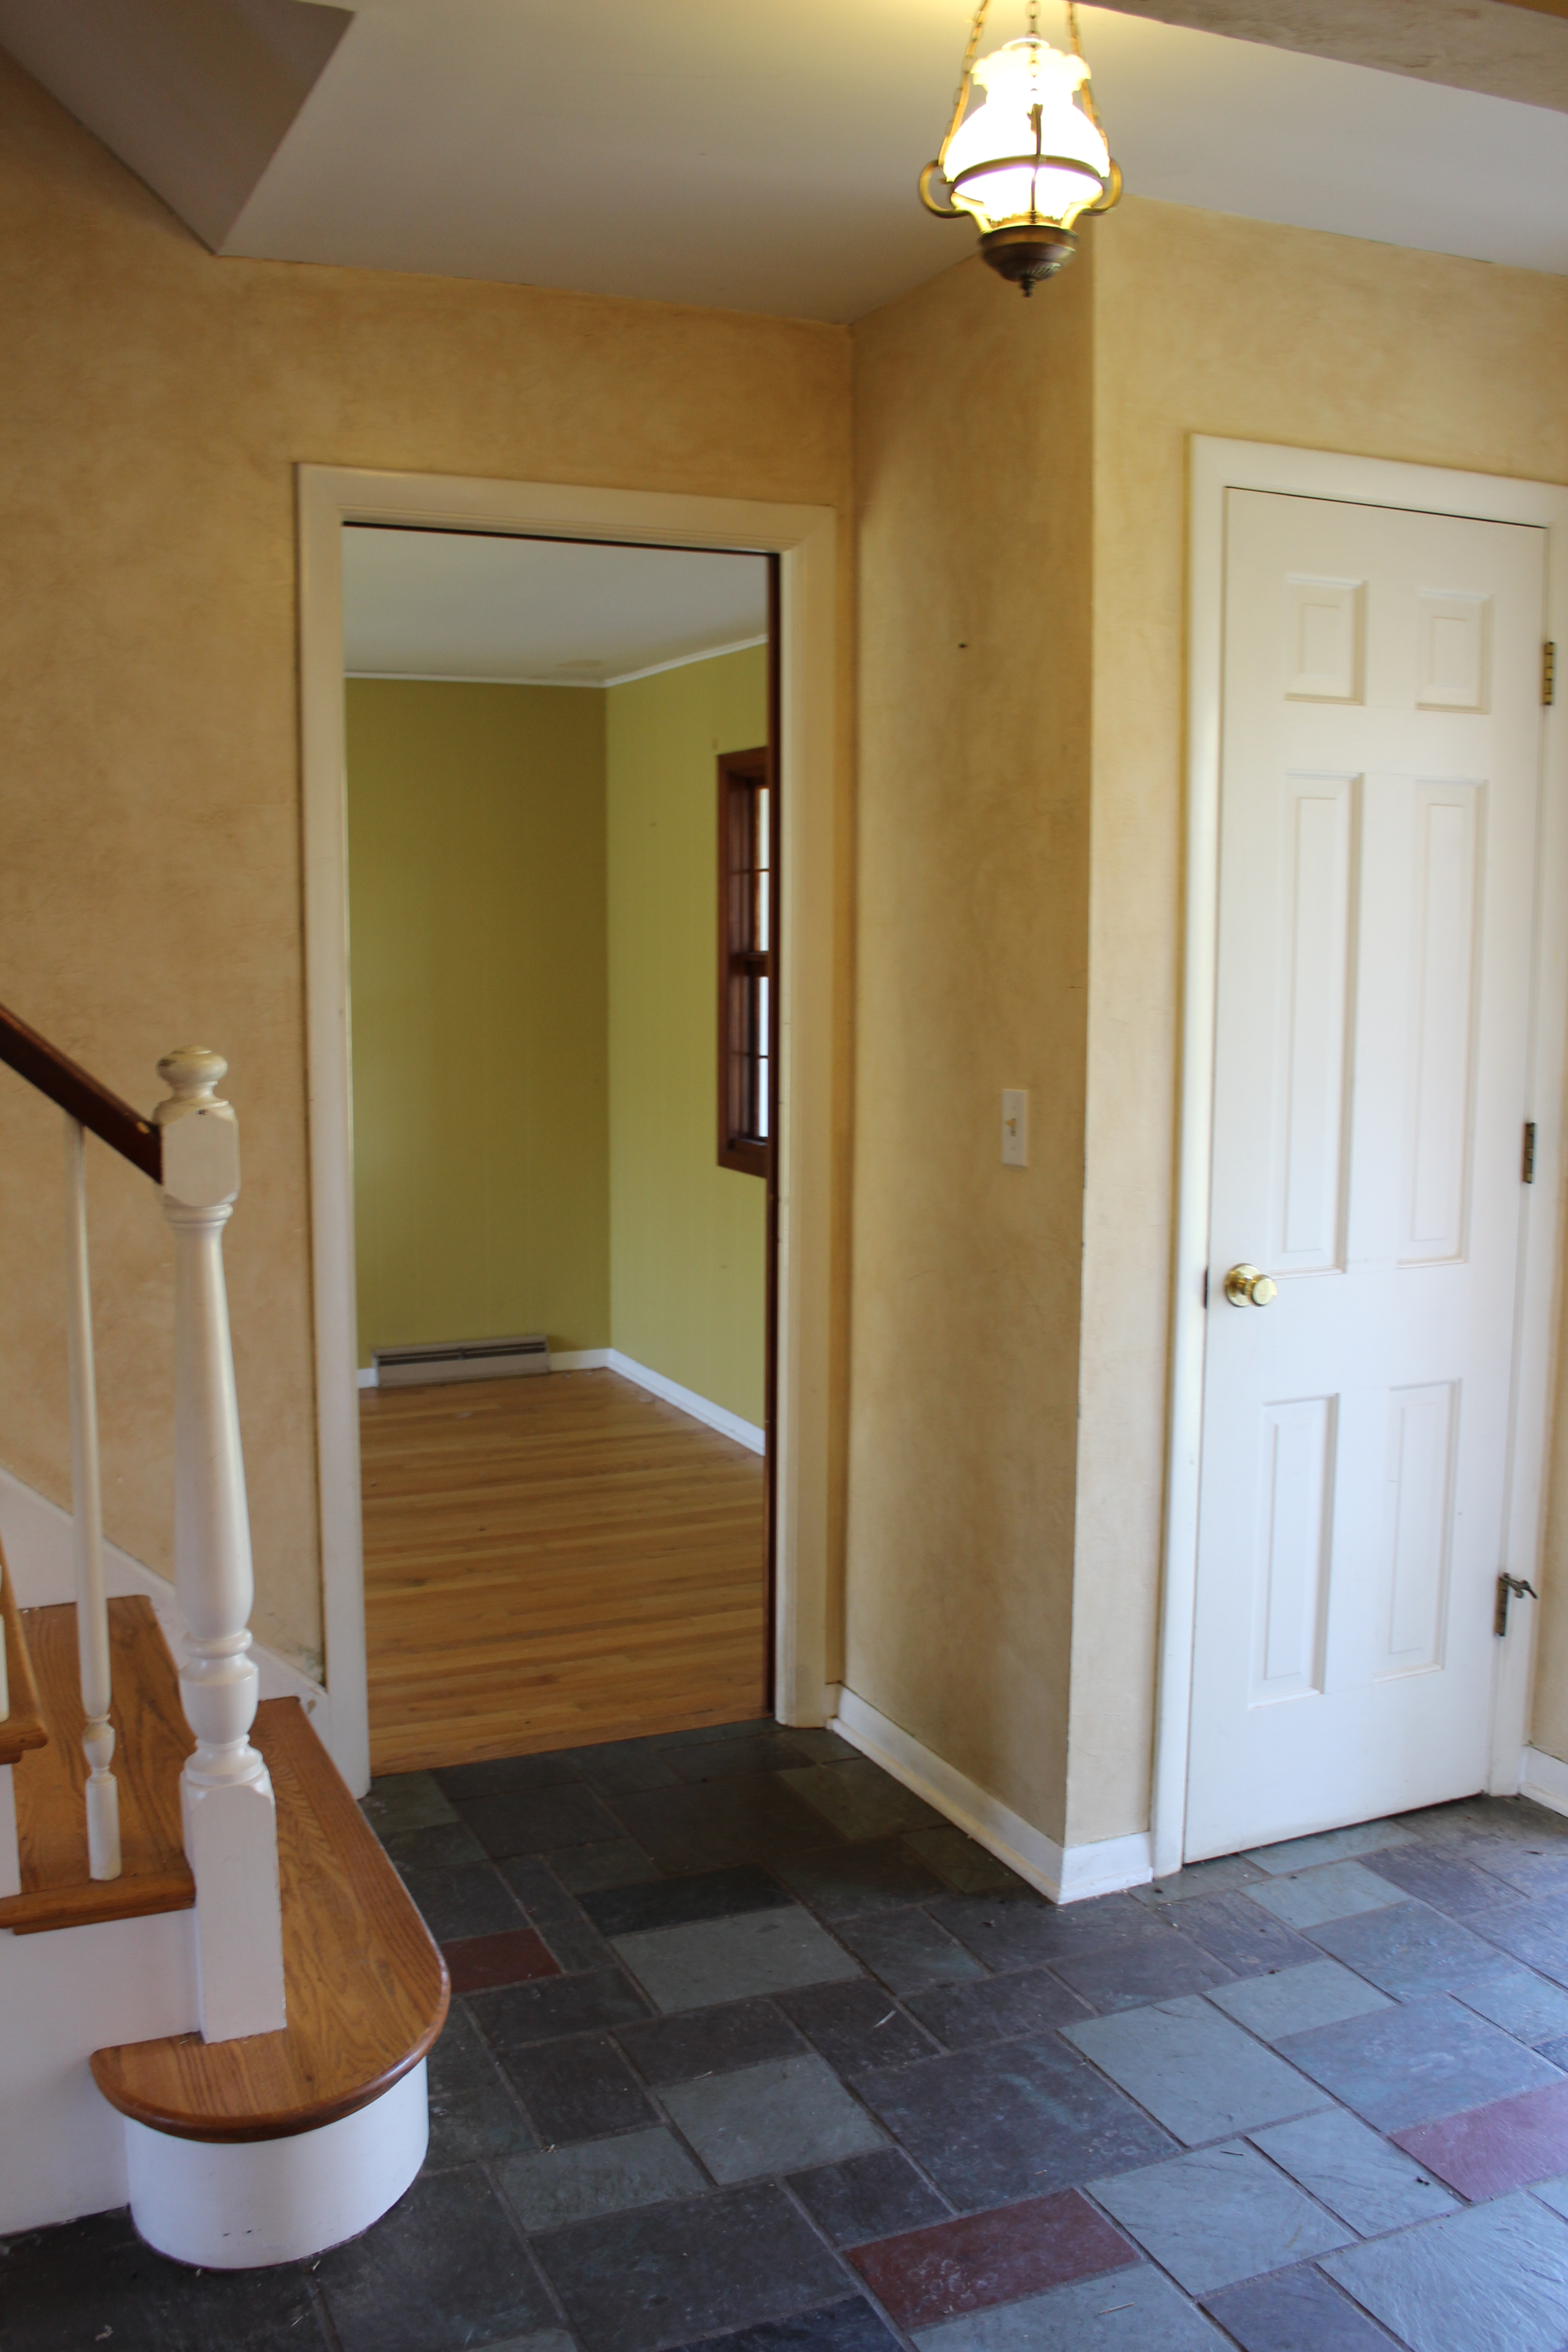
And now after removing the closet, putting in french doors to the now playroom, new hardwood floors, stain, paint, etc.:

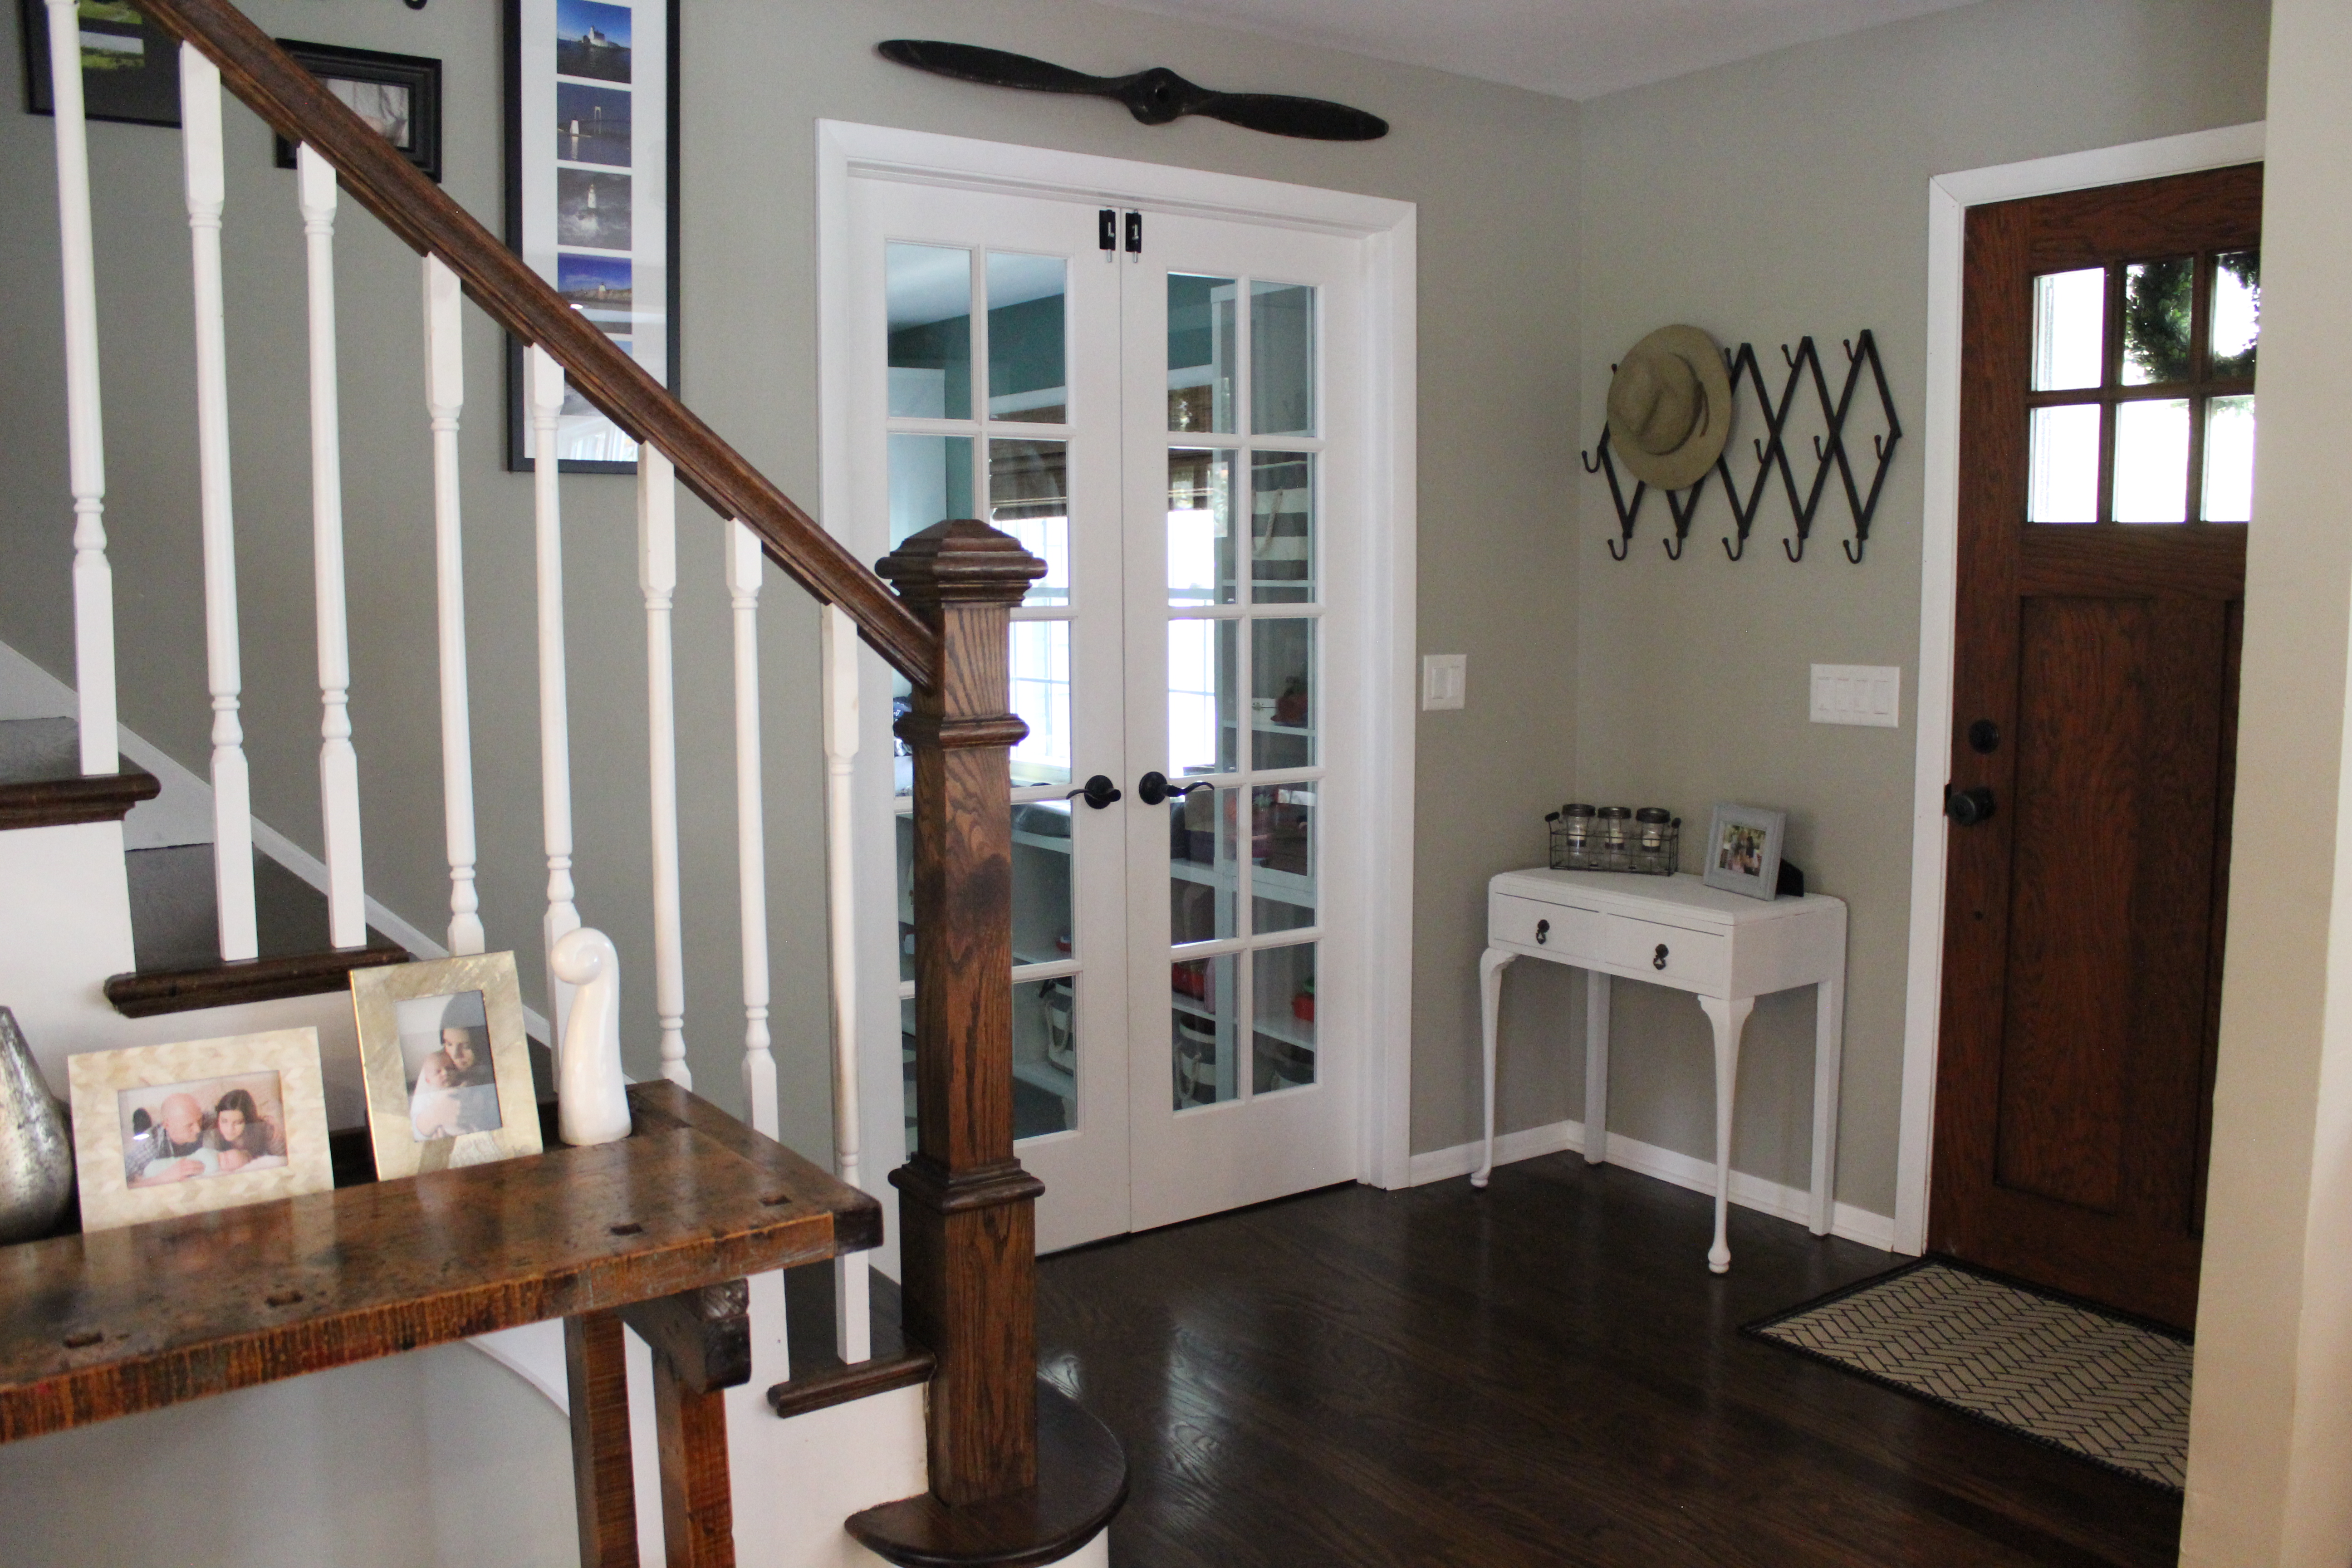
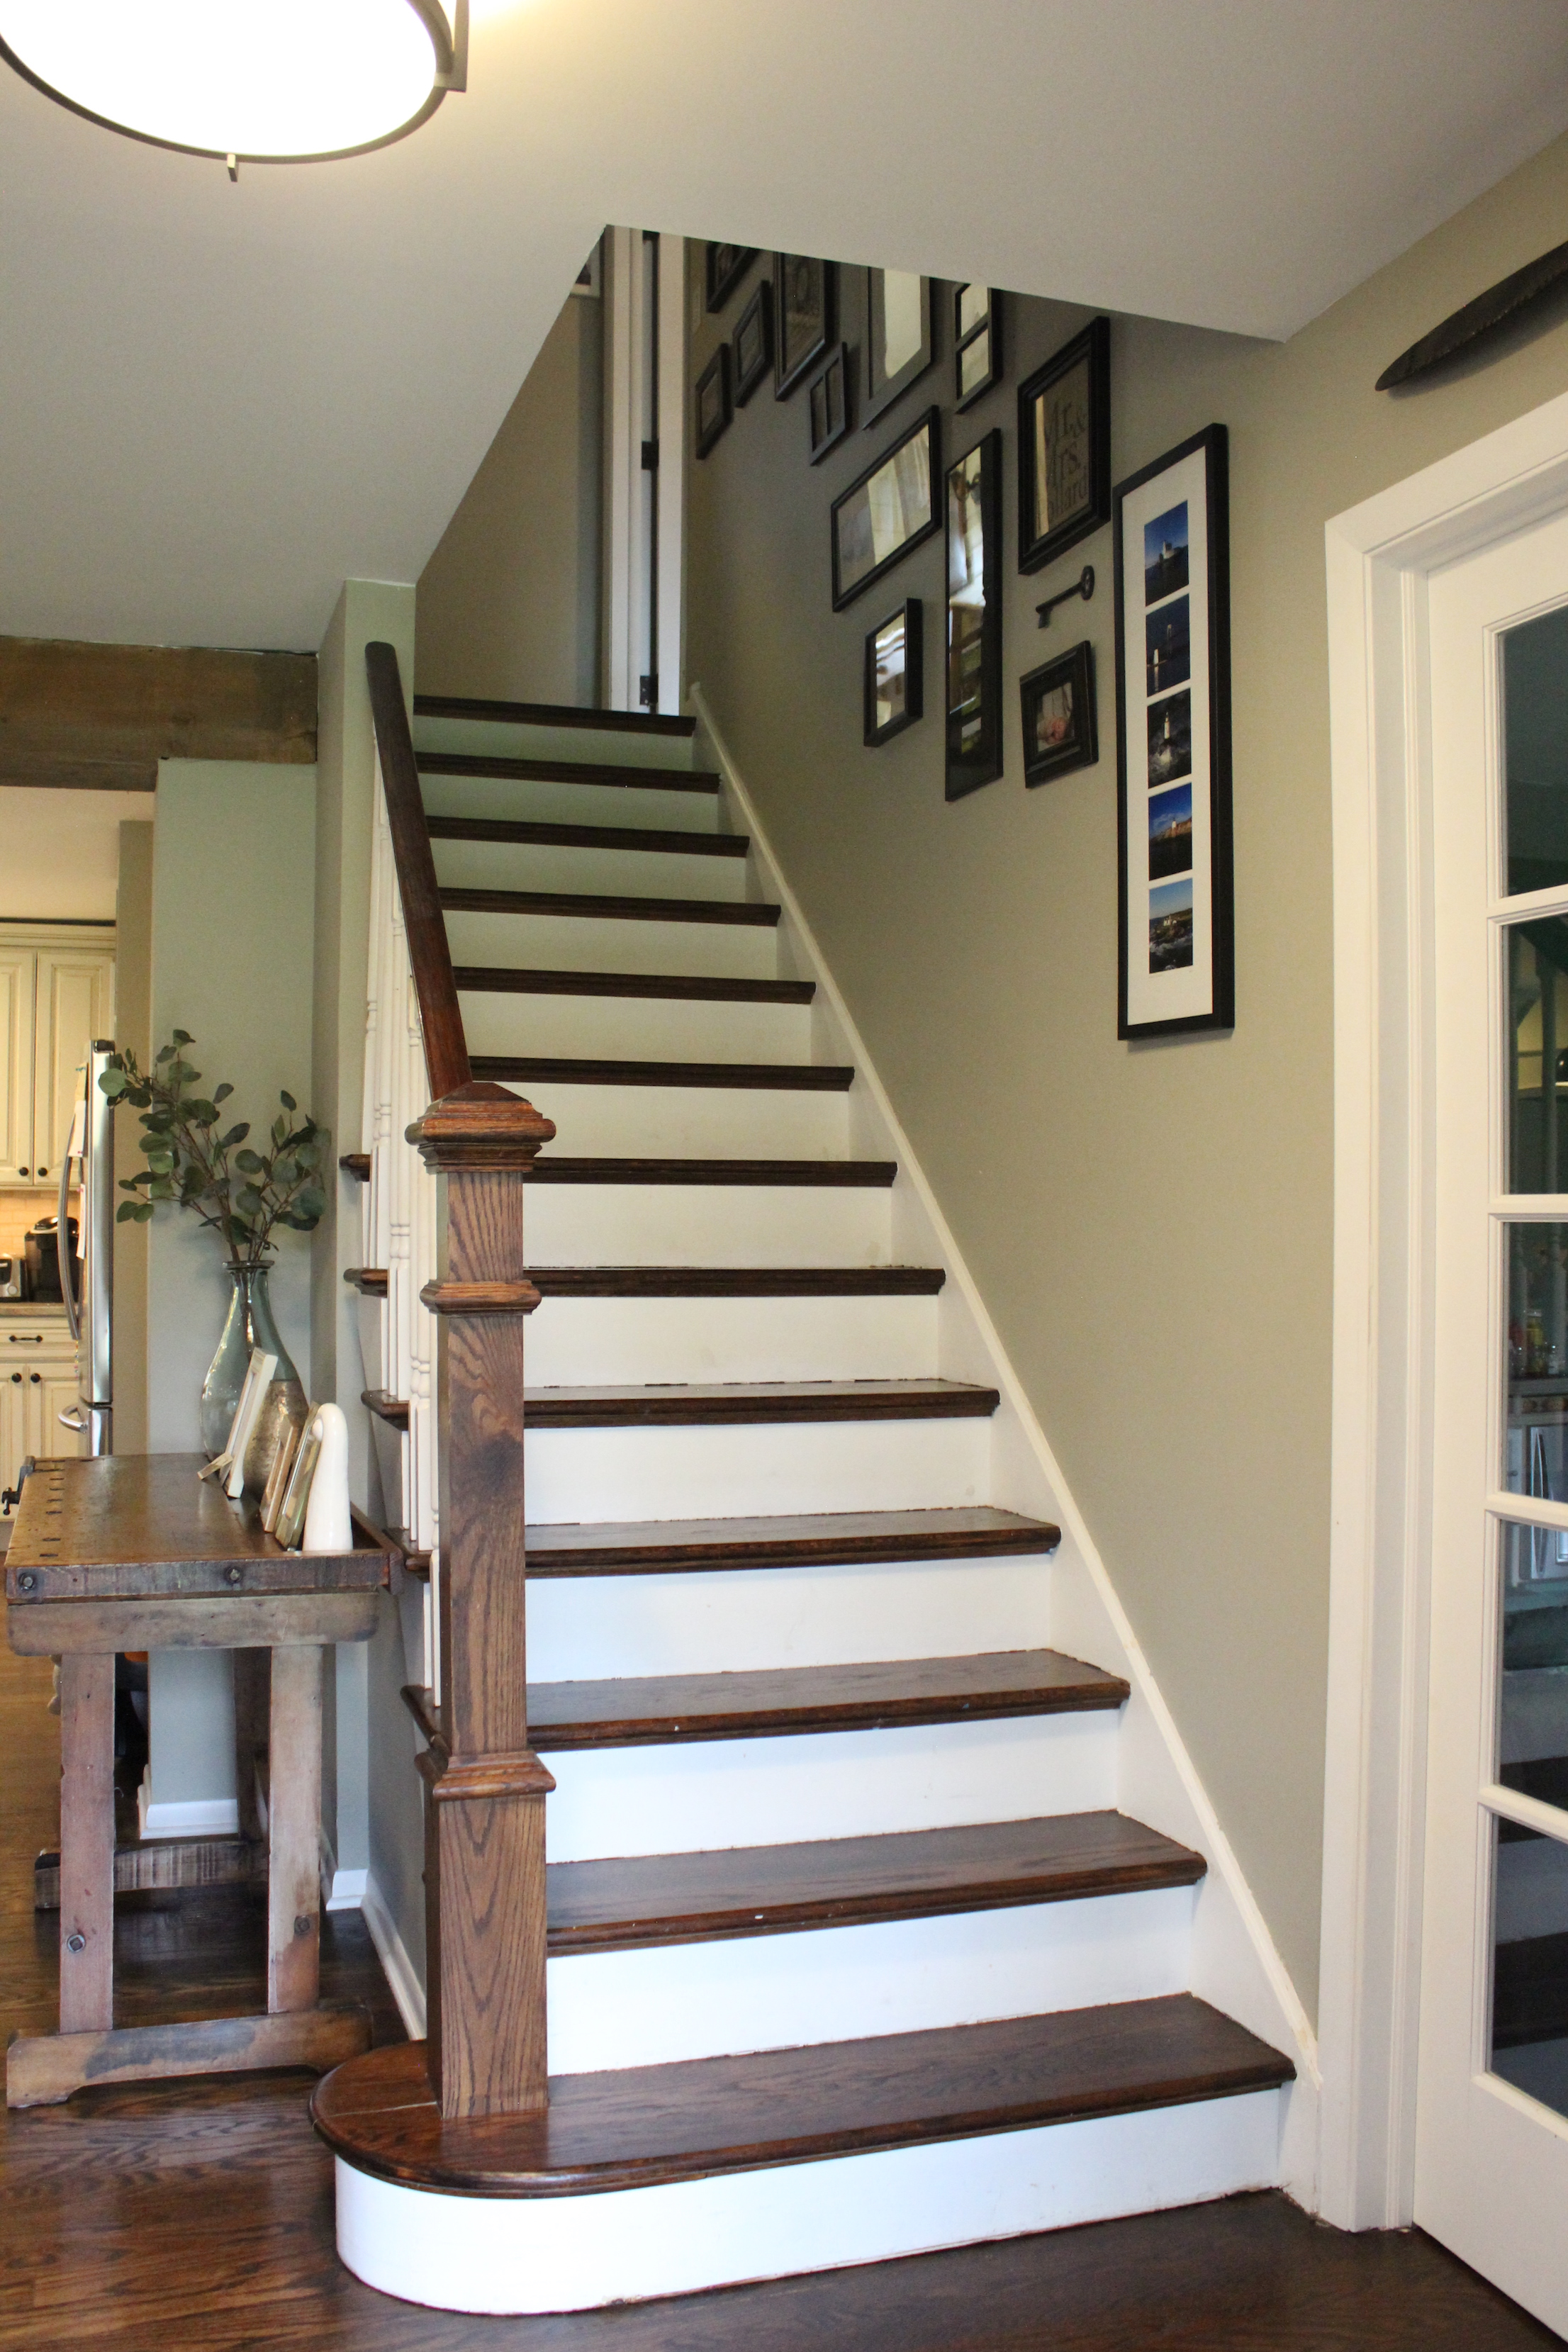
See more about our stair and entryway makeover here.

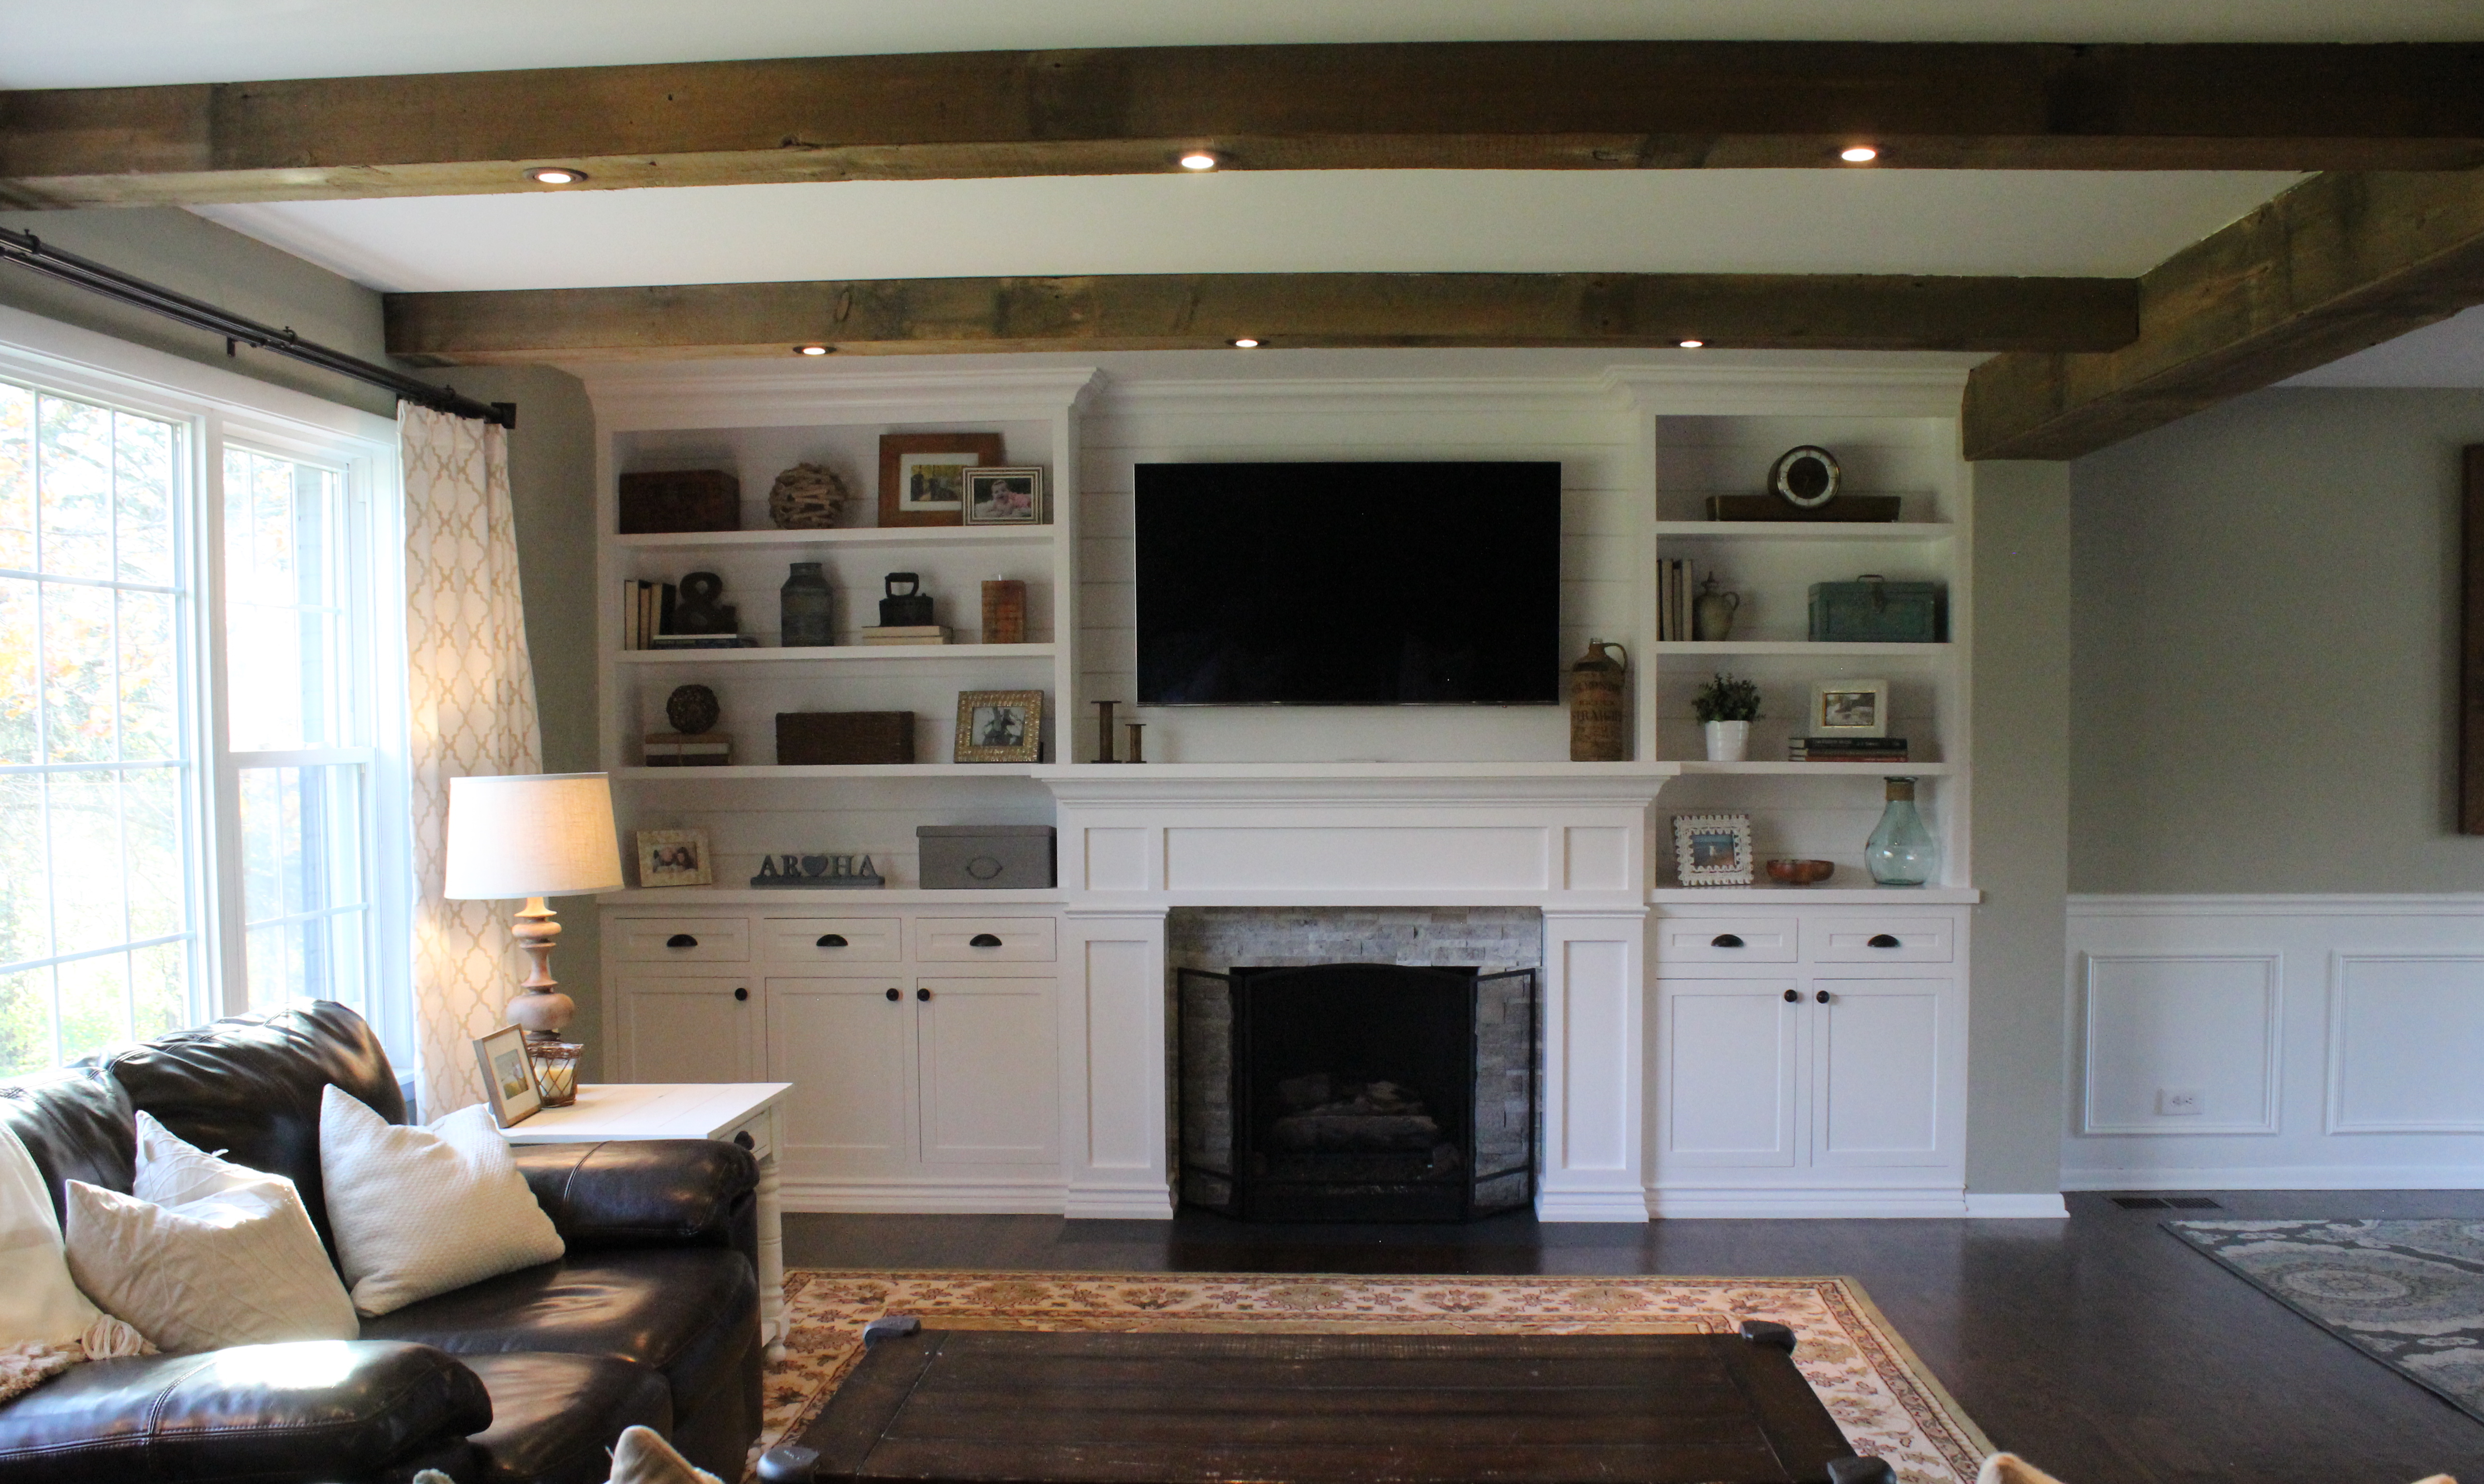
Here was the living room 5 years ago which was closed off from the kitchen:

Living Room on Closing Day

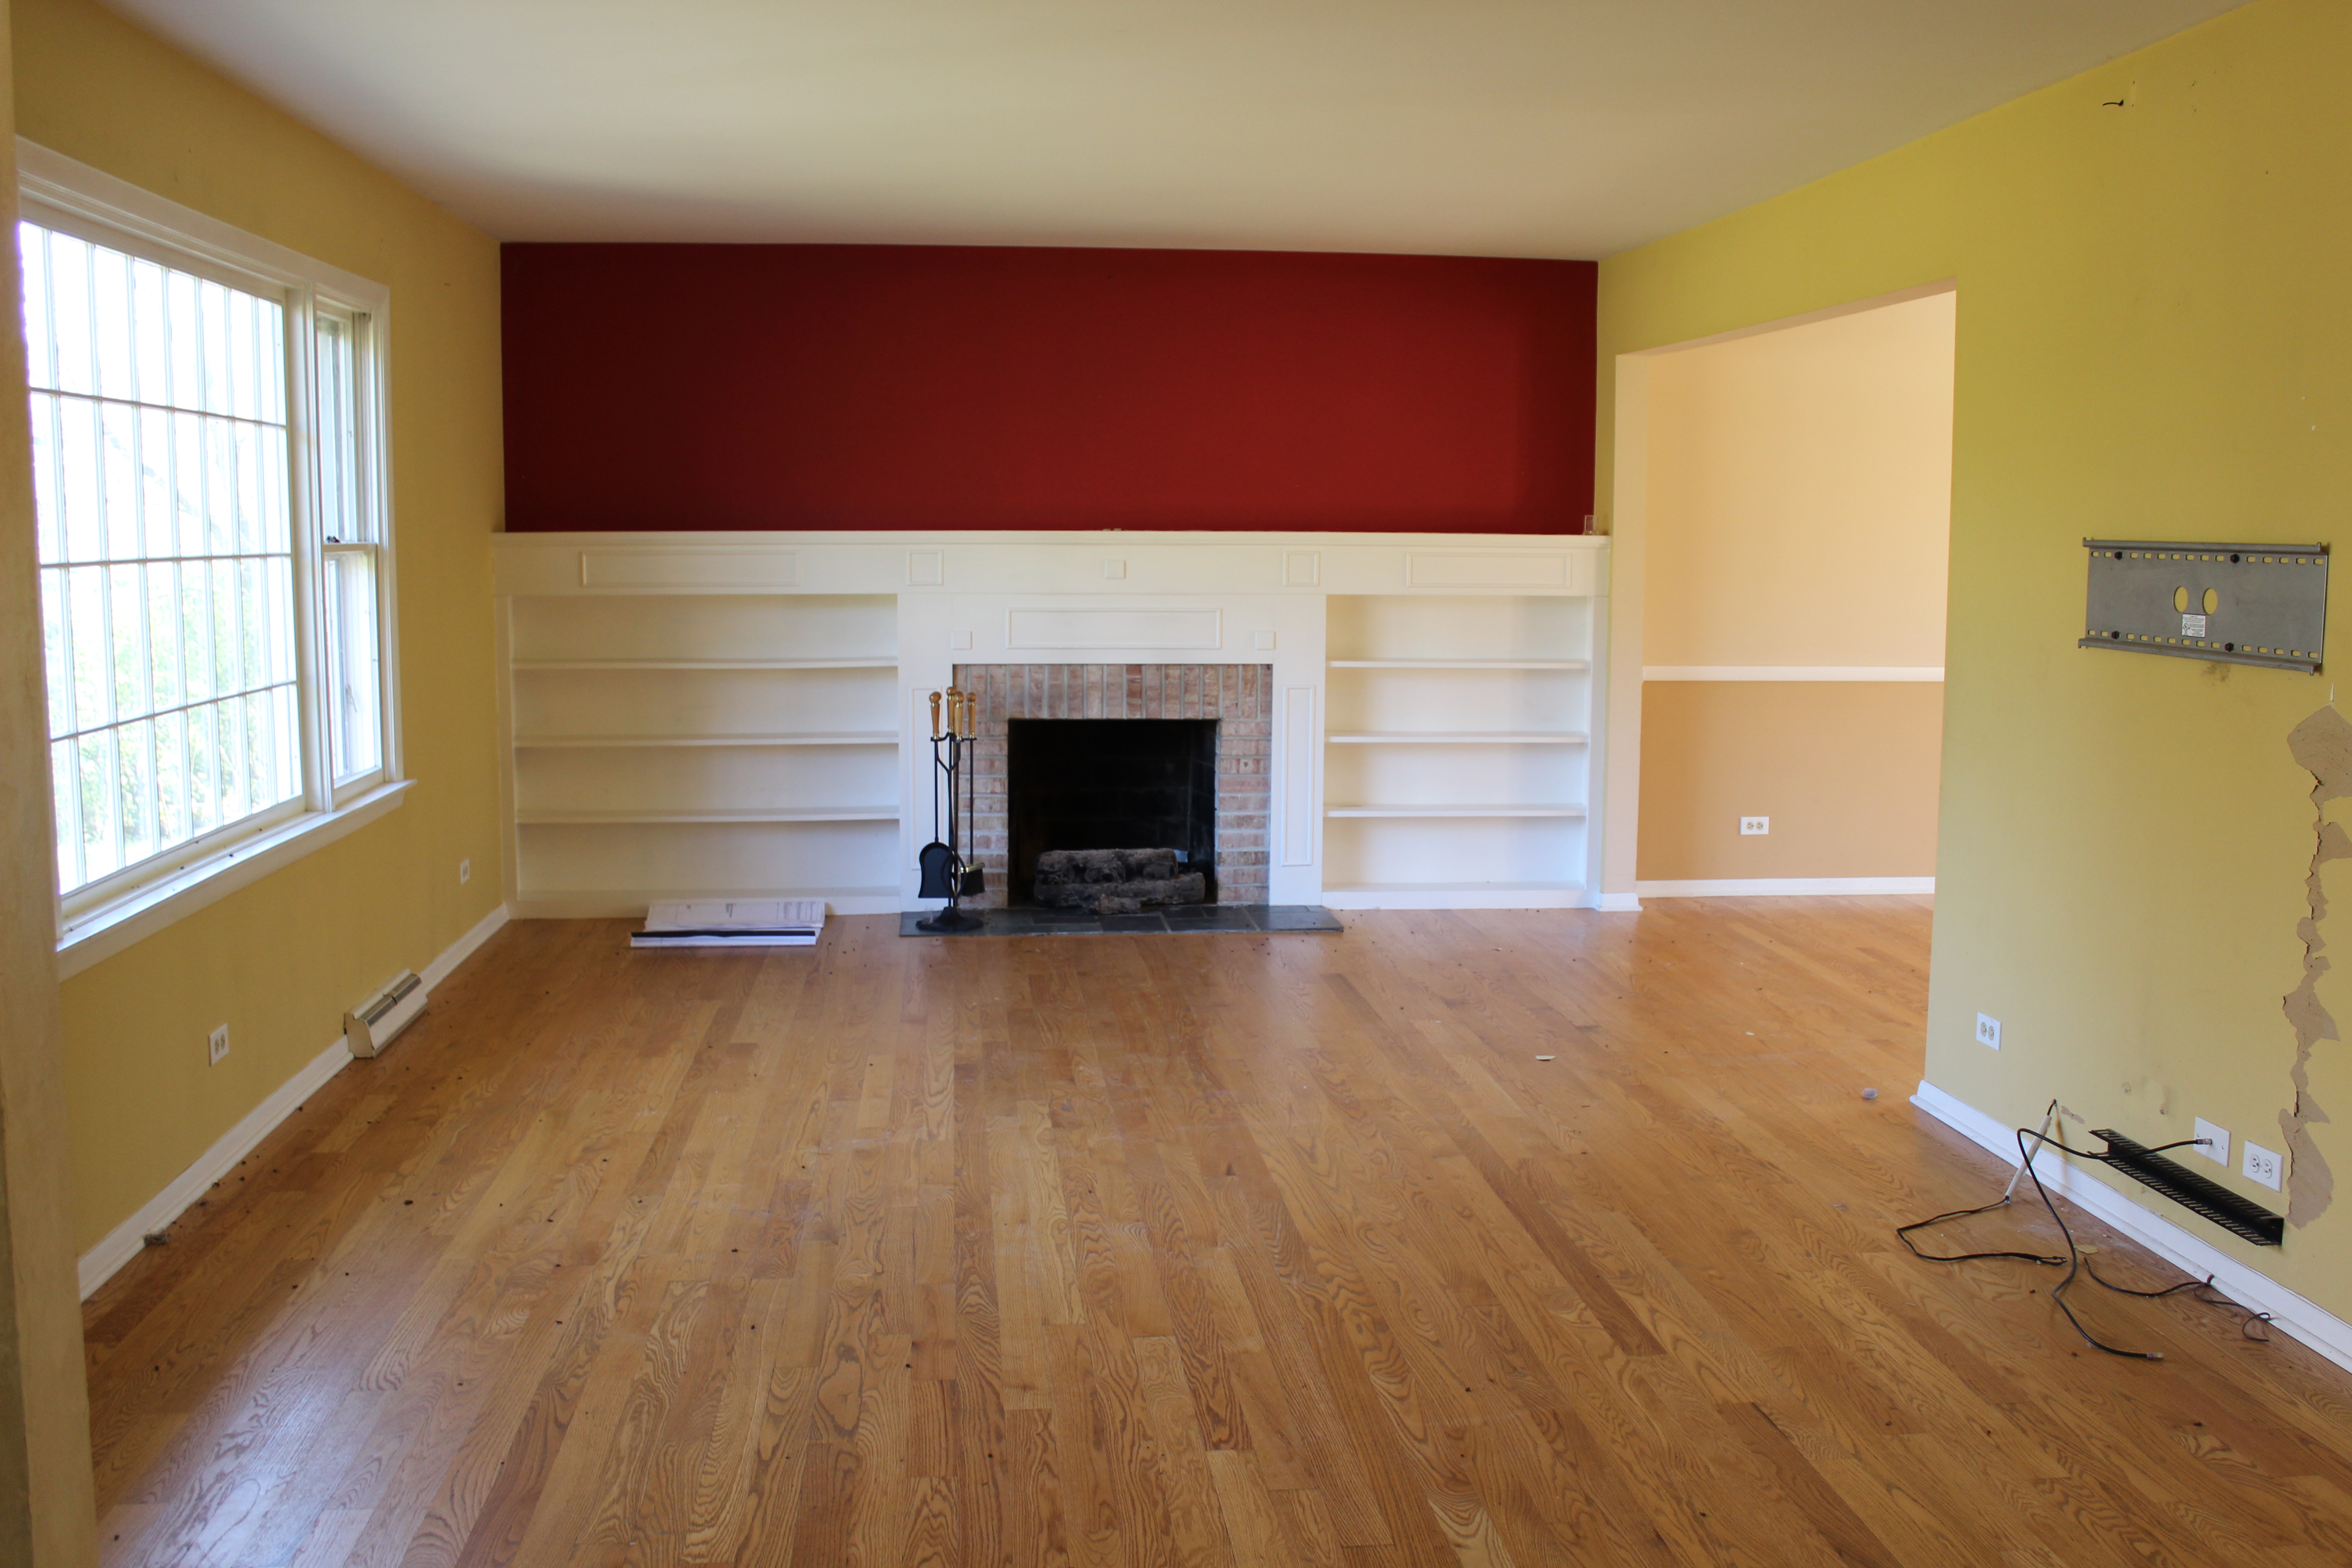
And now its all one big open space with barn wood beams, new built ins, and more:

living-room-new

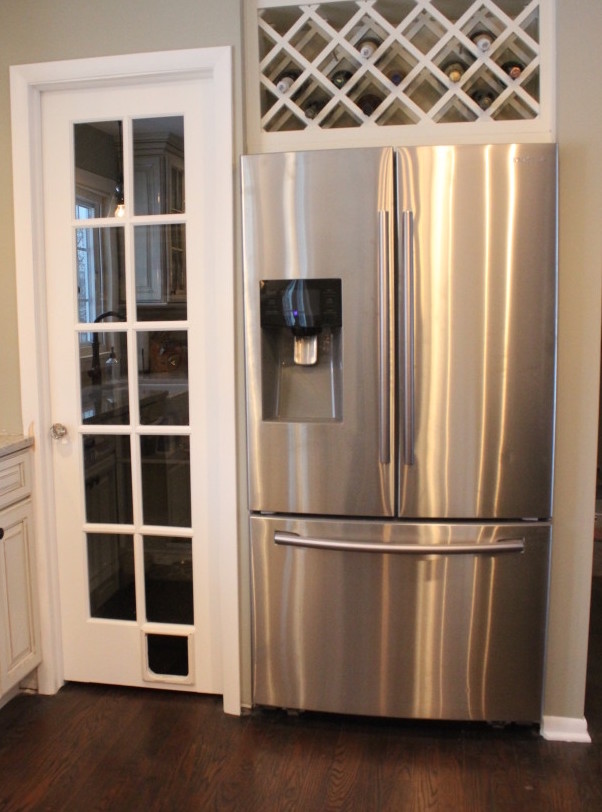
Here was the kitchen 5 years ago:

Kitchen

And here it is now after a full gut and kitchen remodel:img_6052

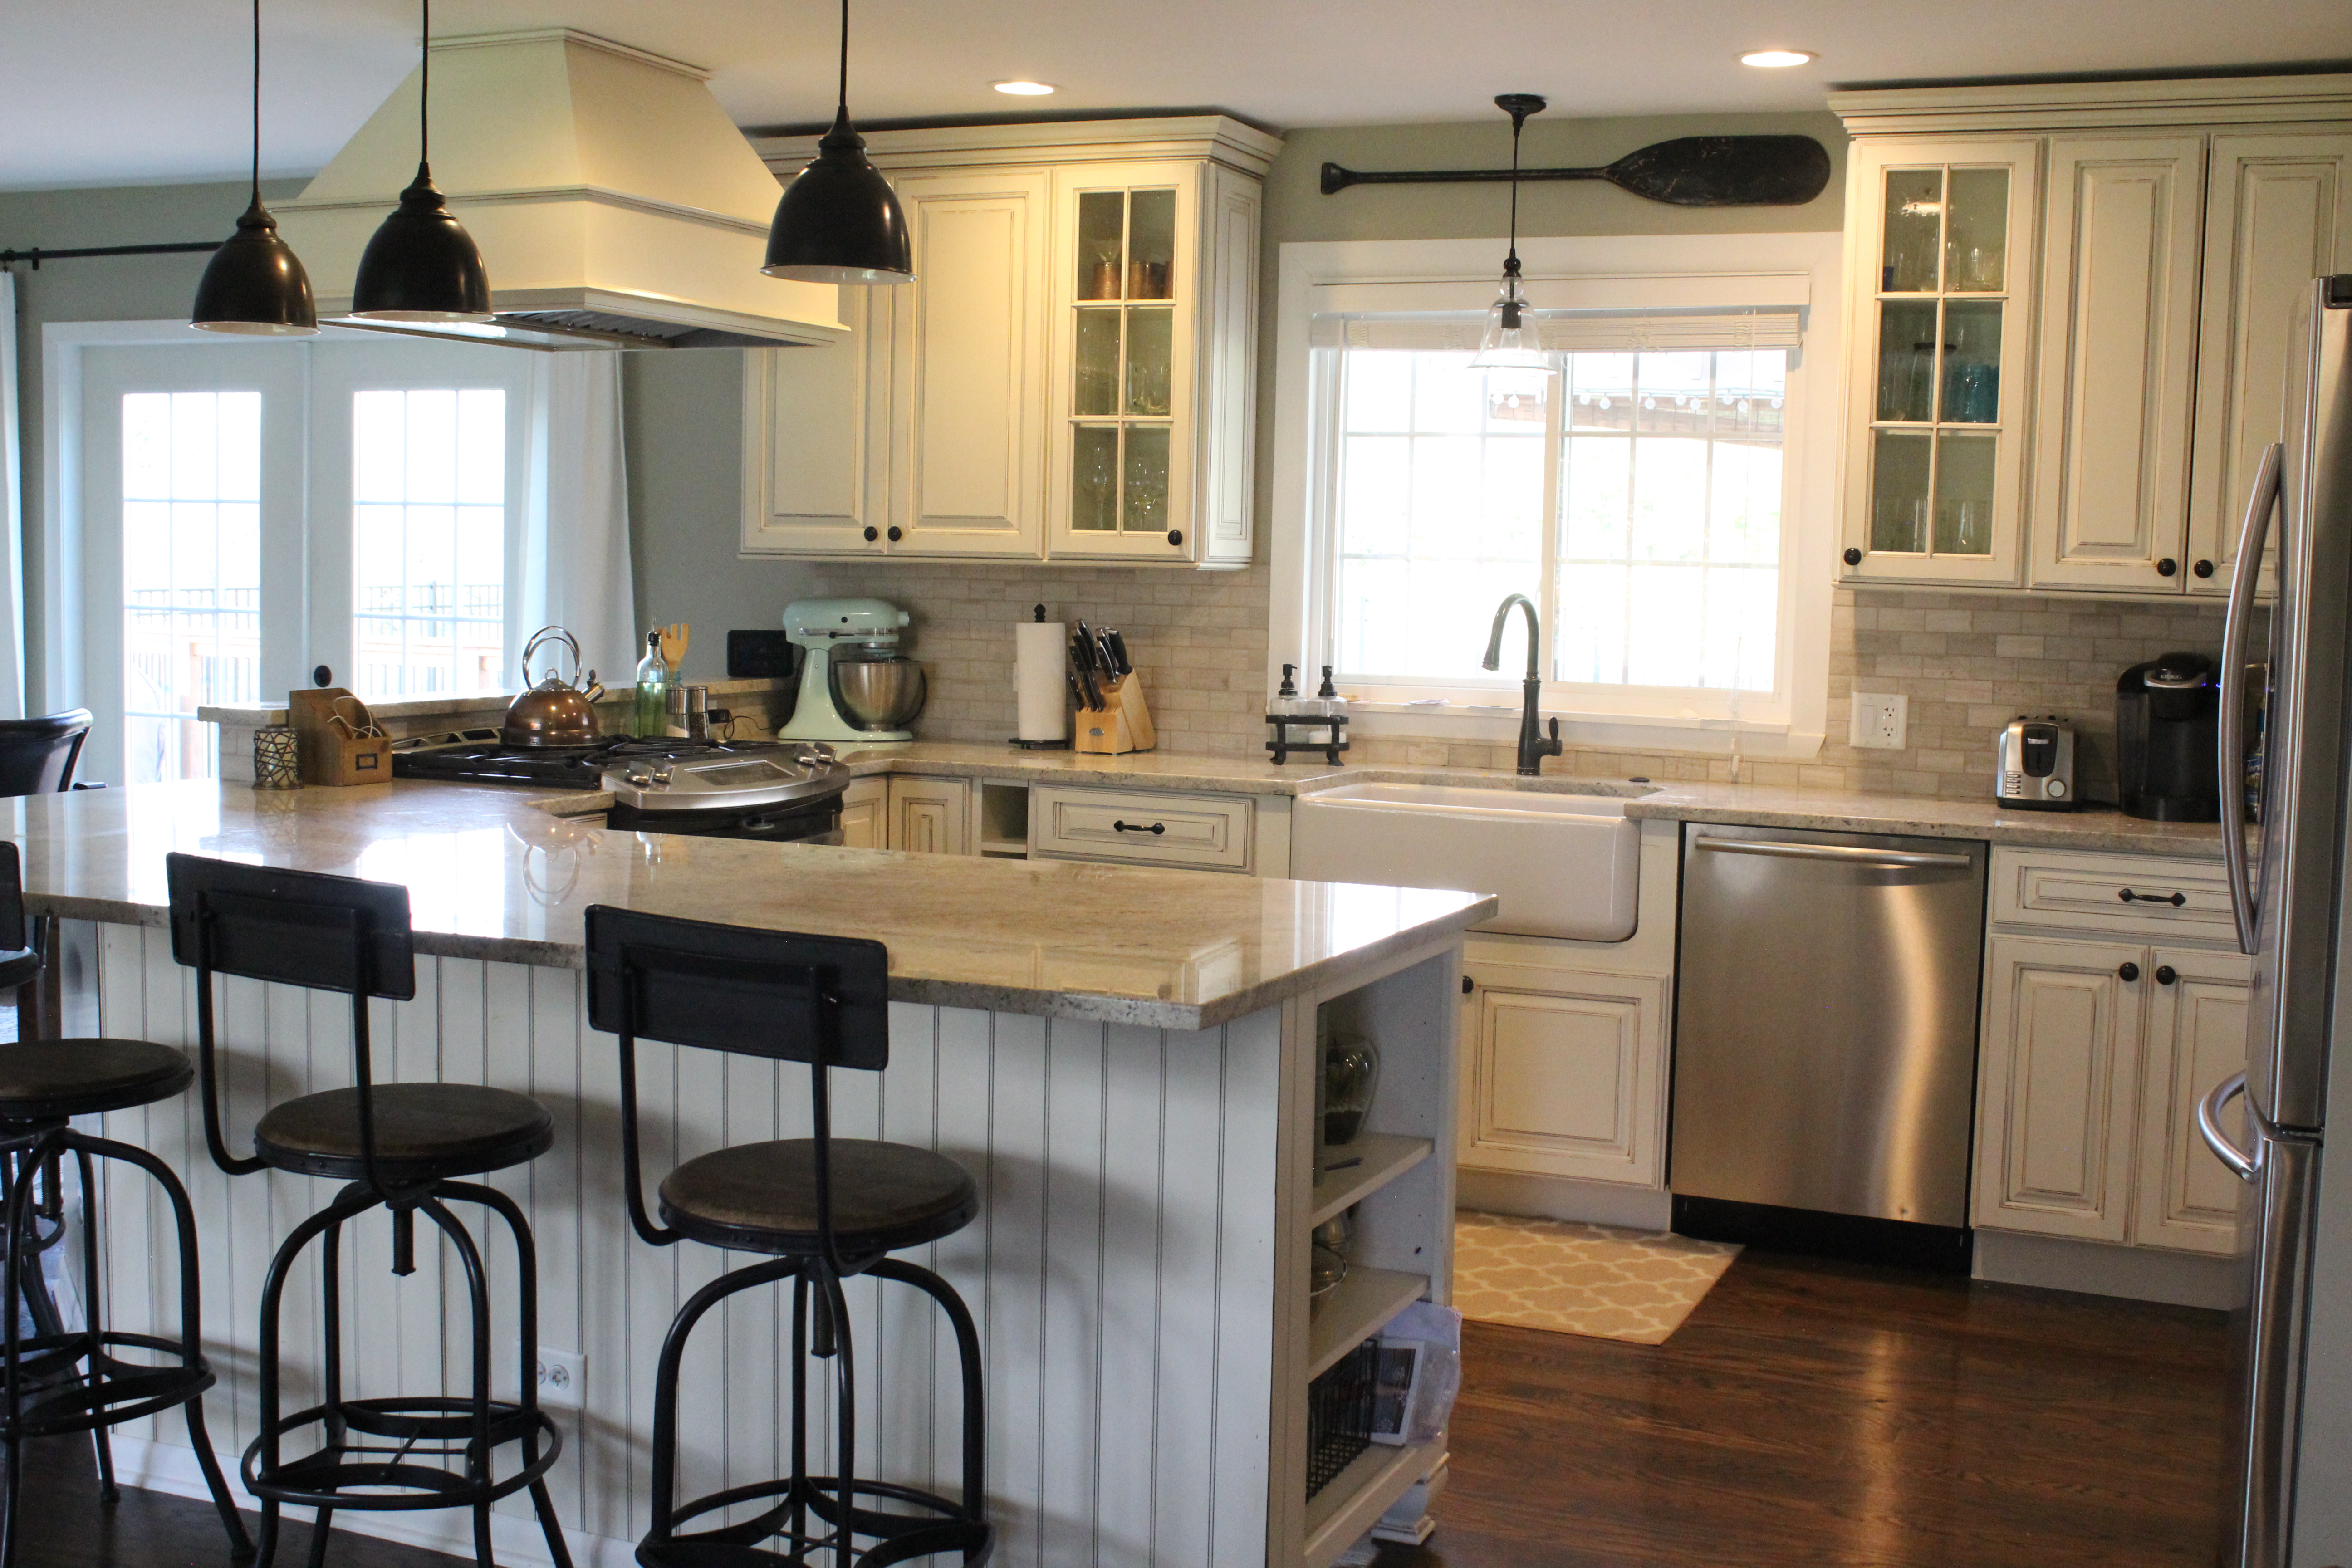
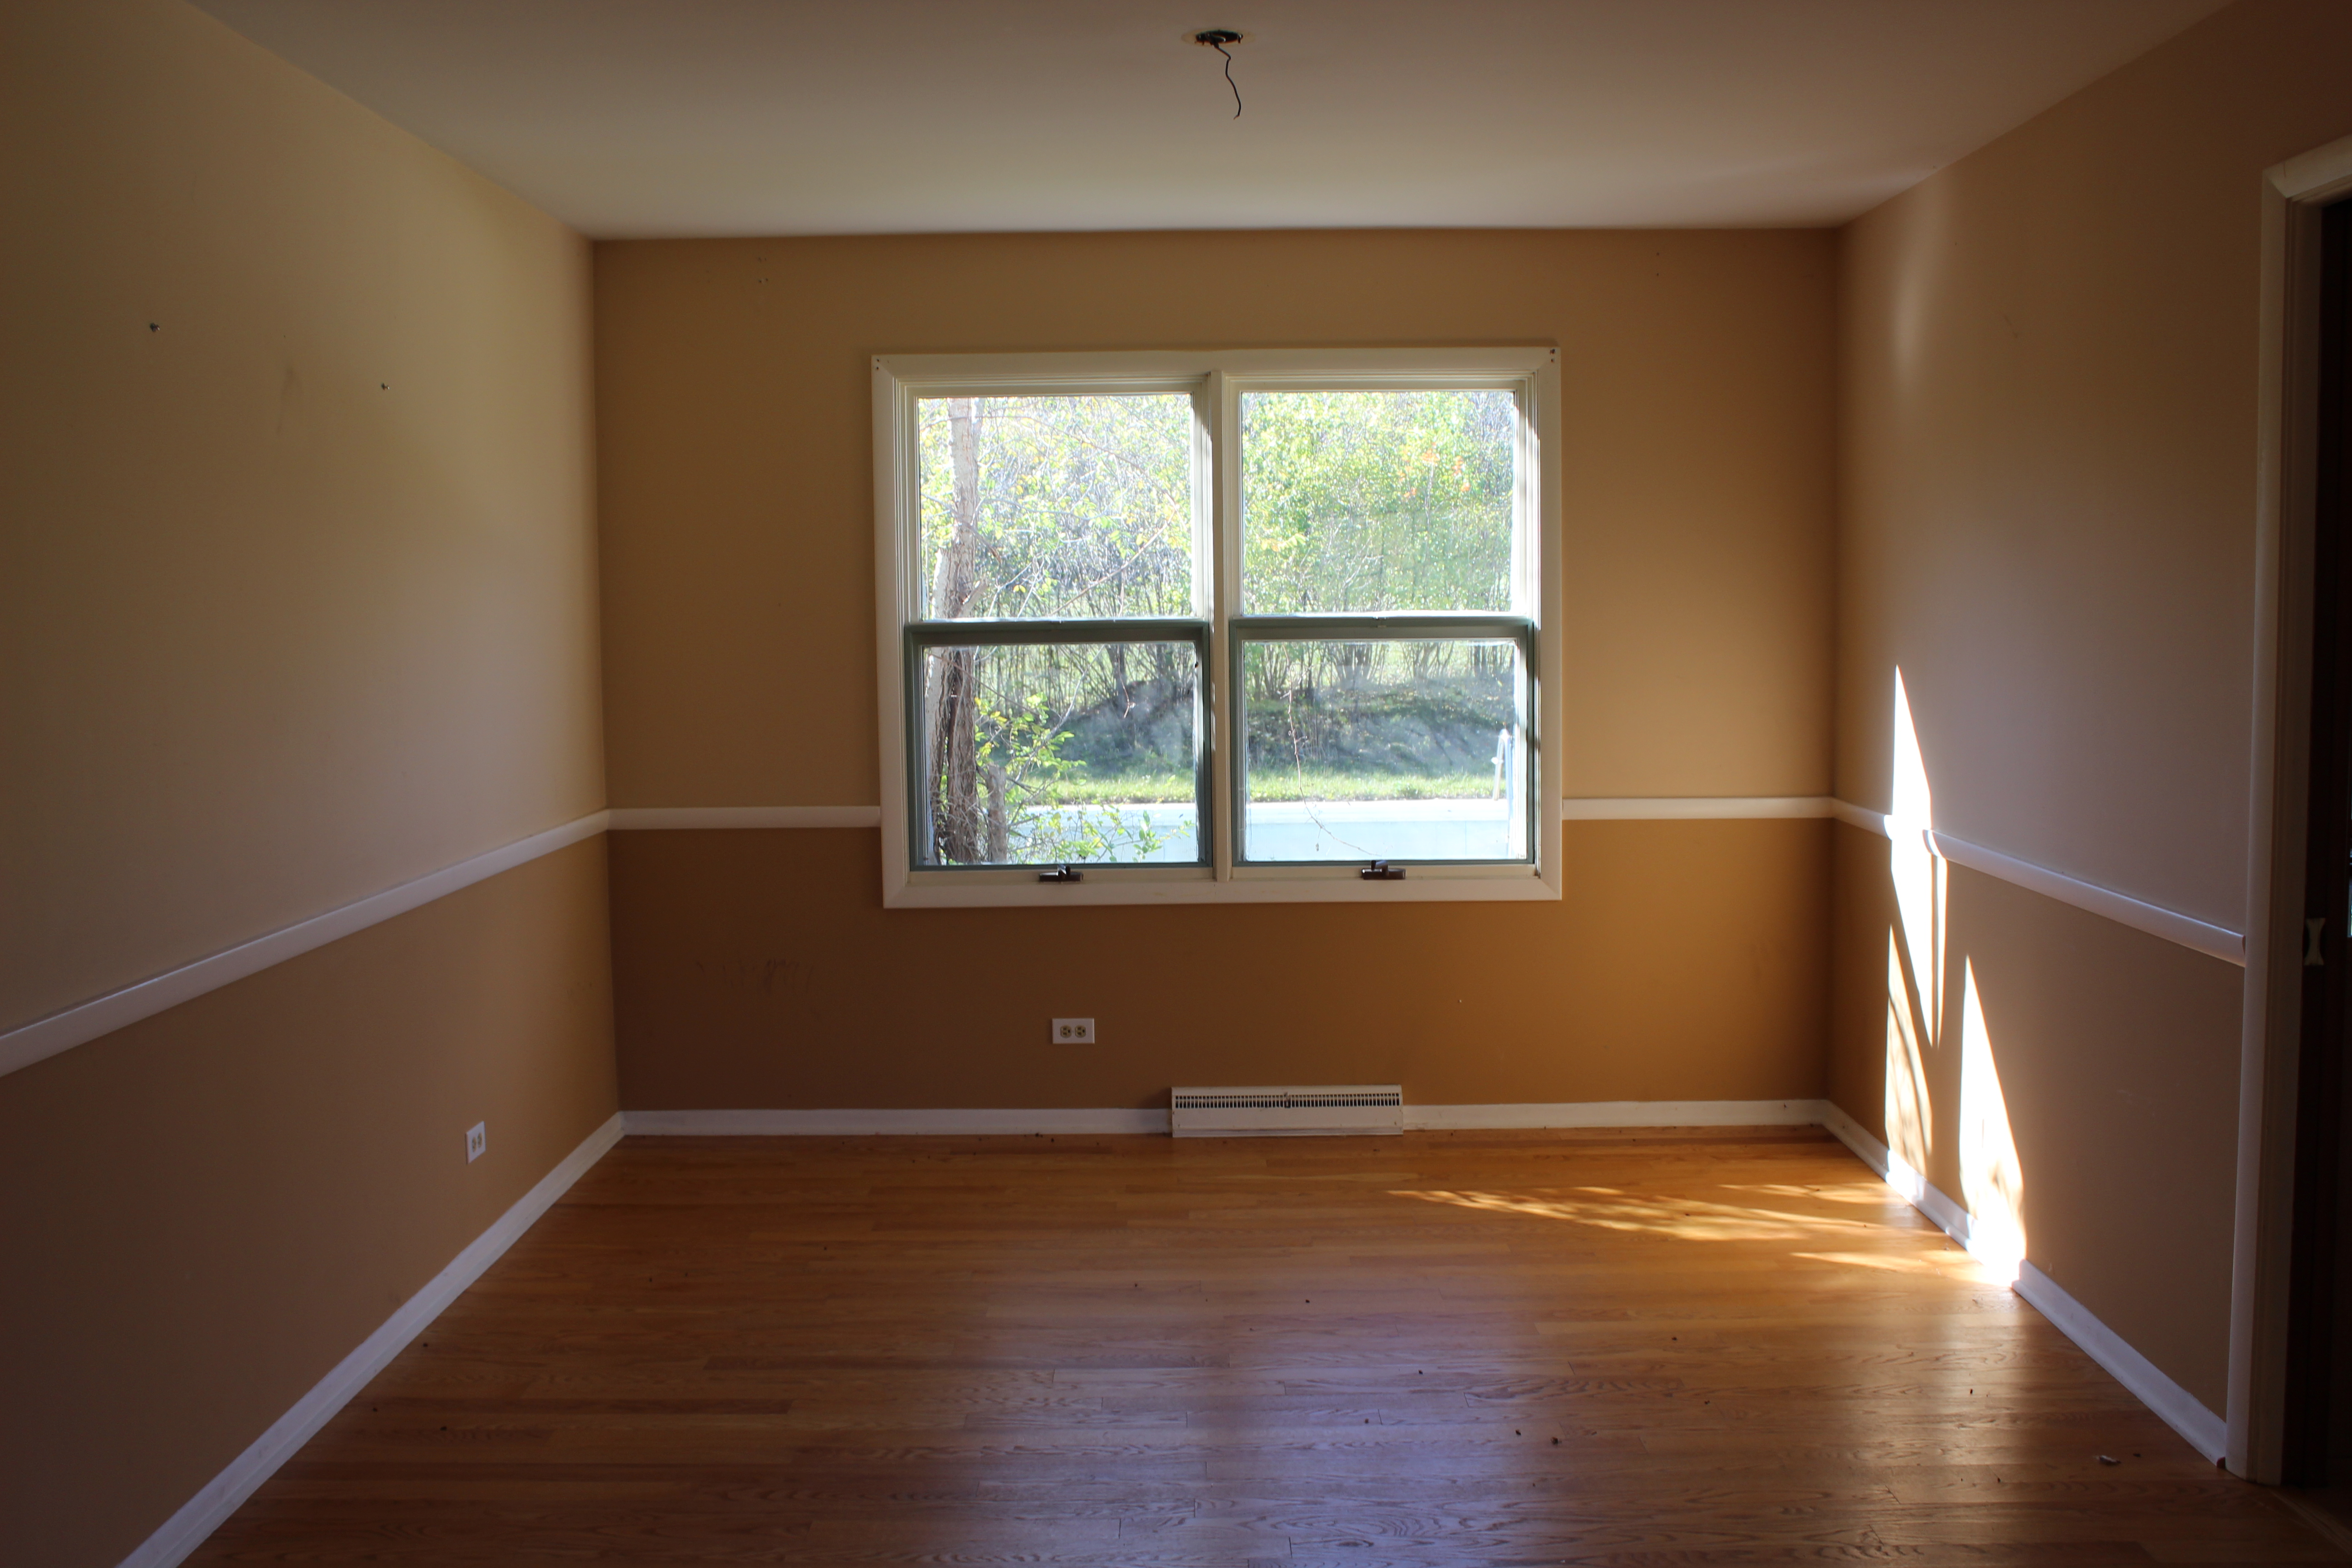
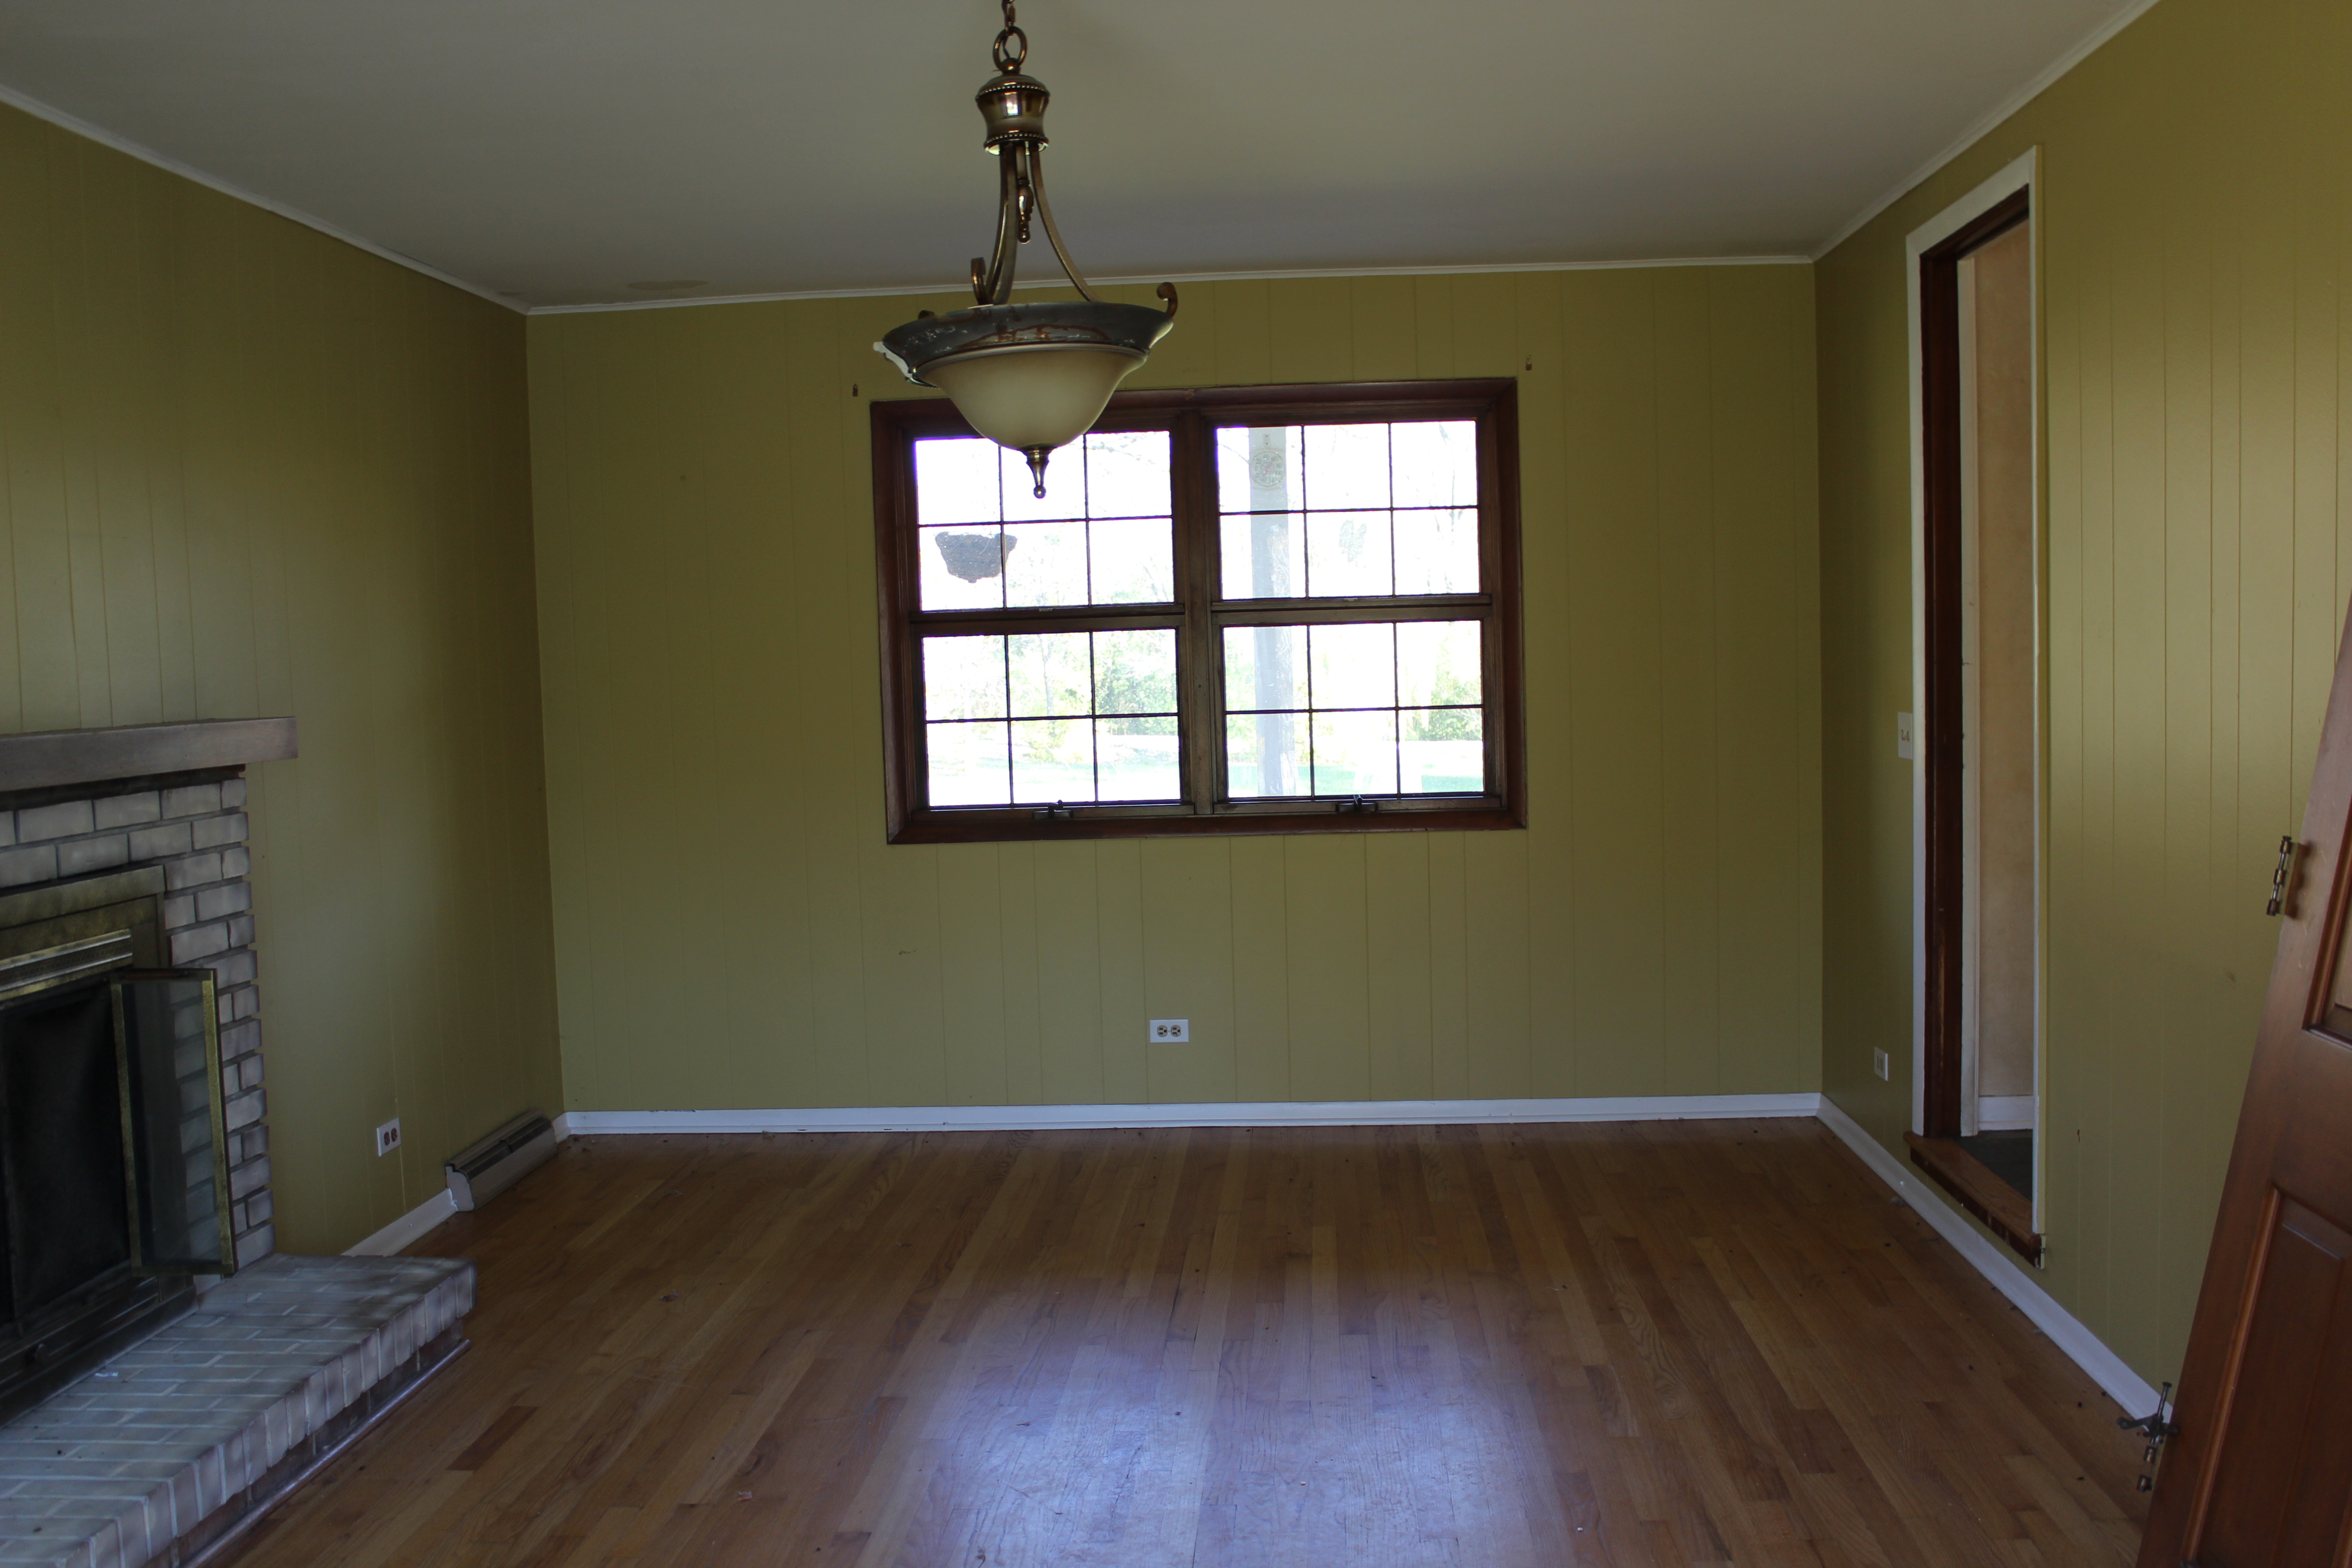
This was the dining room before:

12 Oaks Before 137

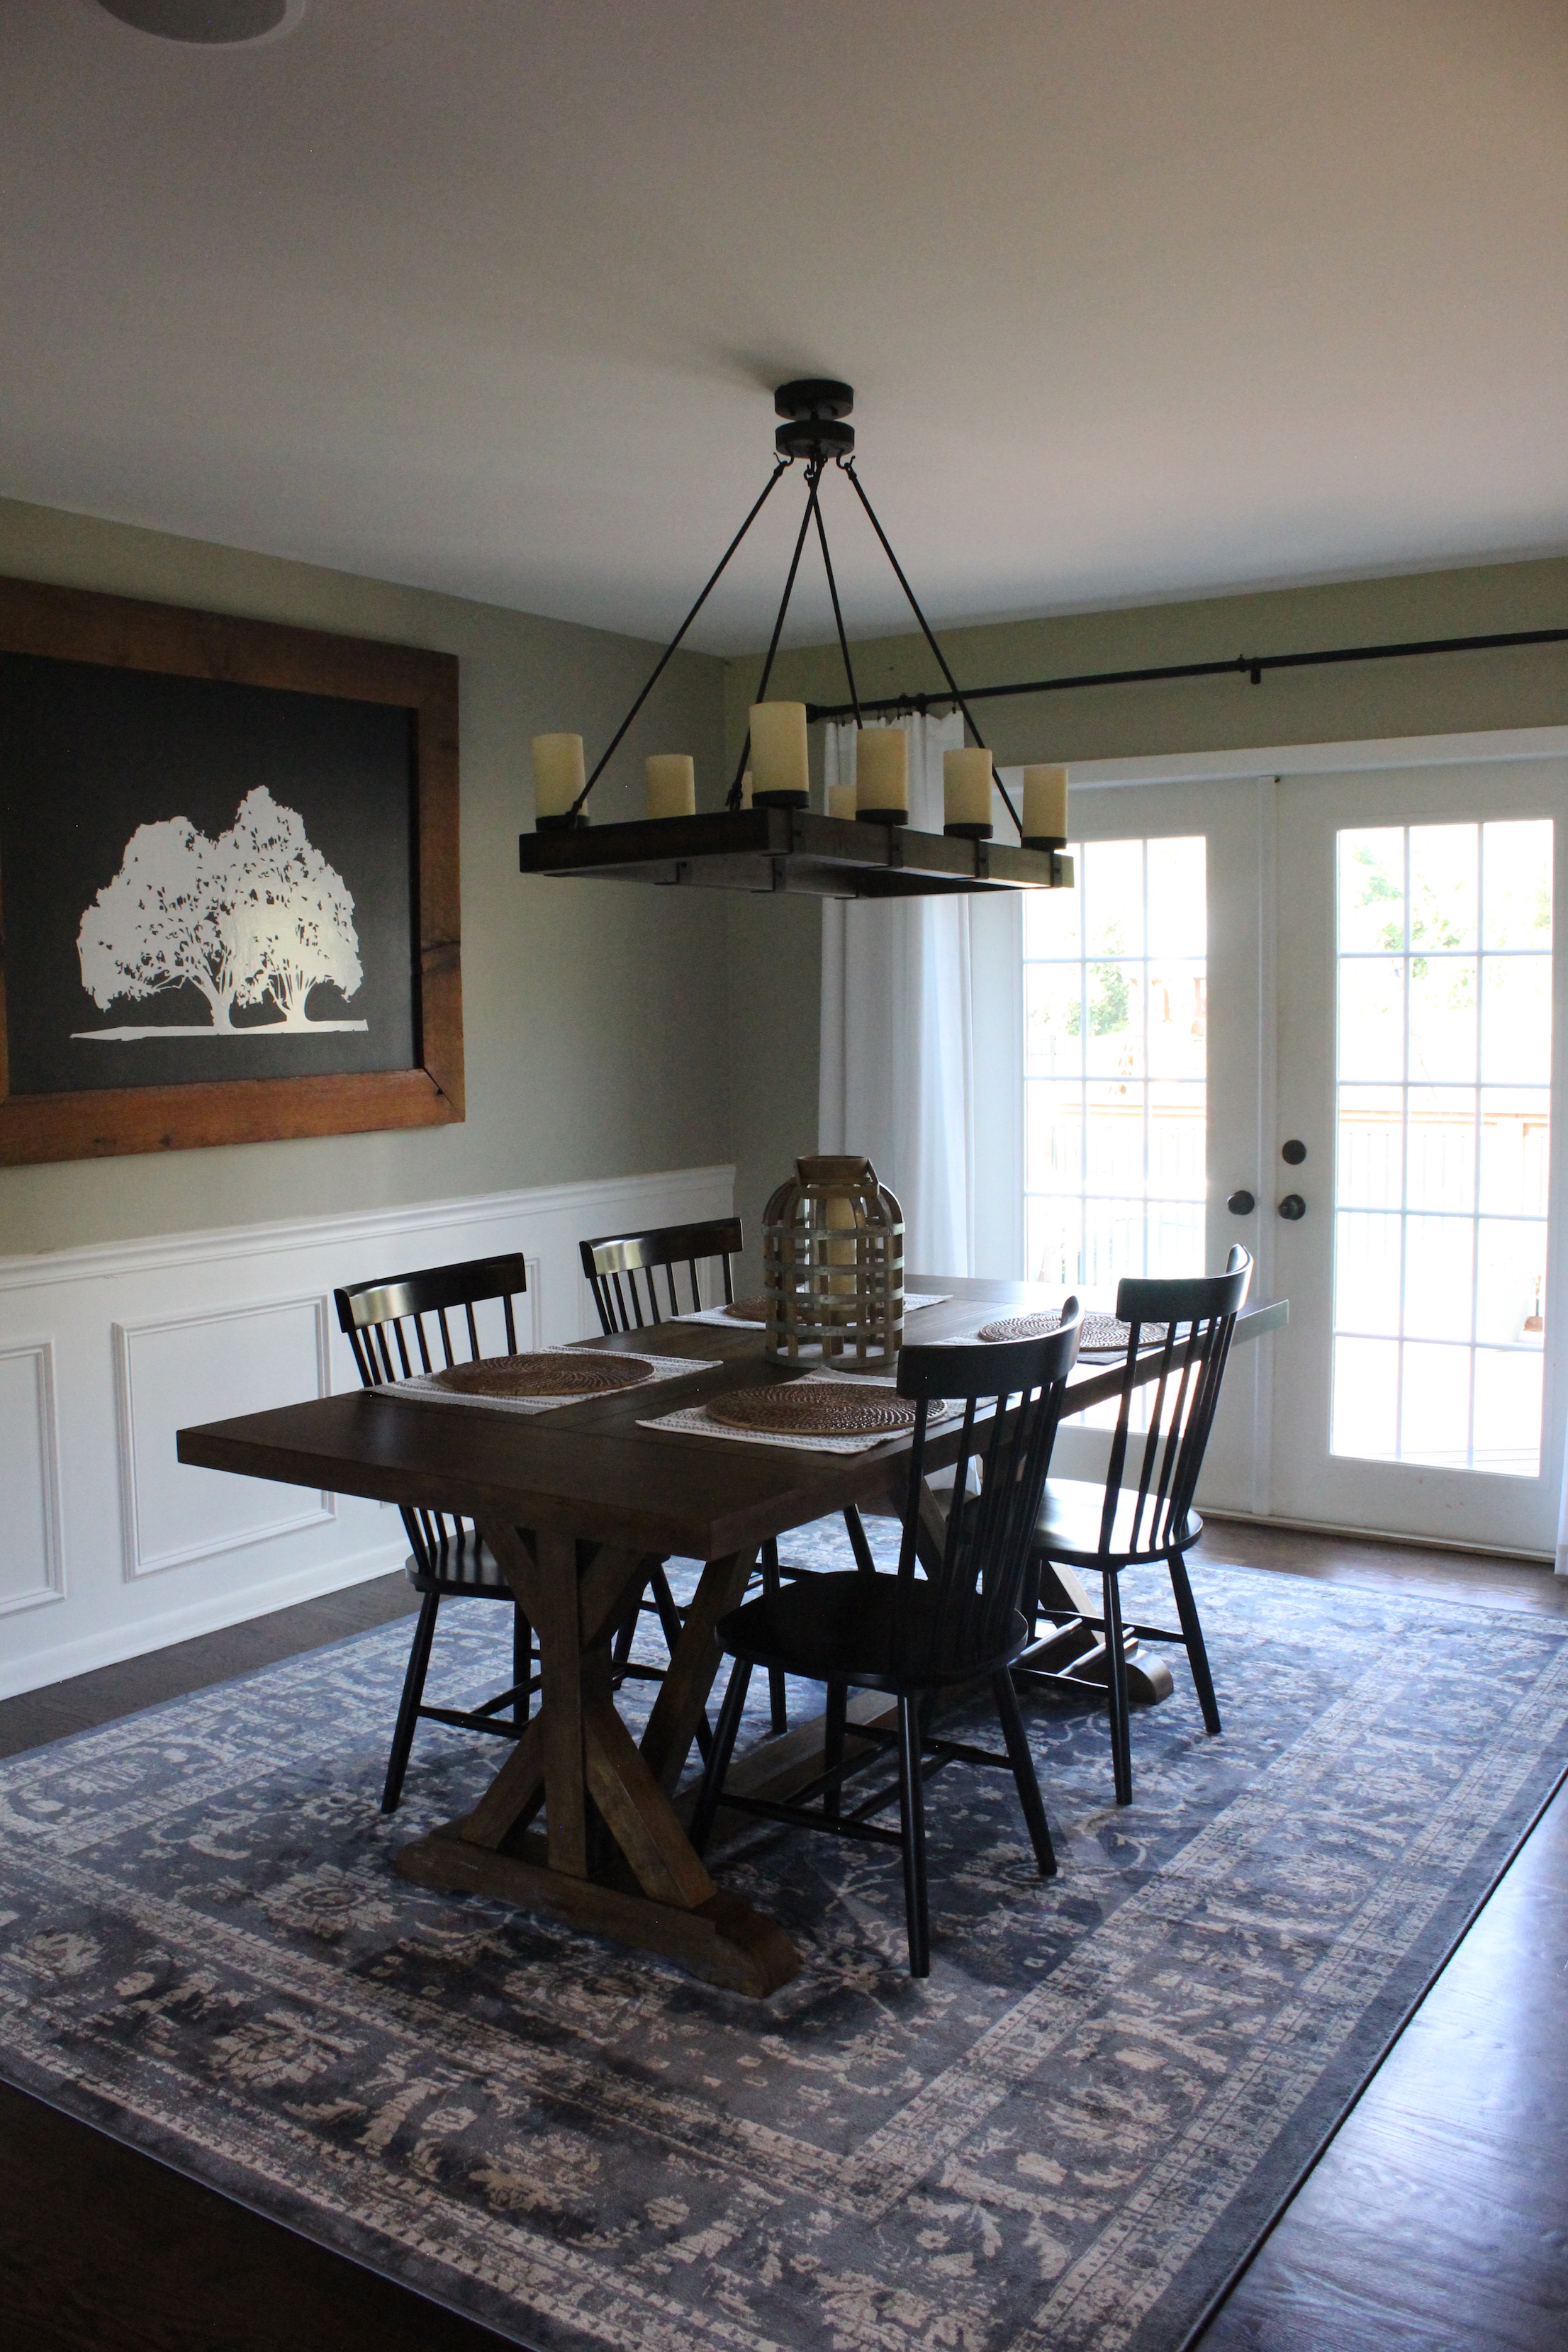
And now after opening it up to the kitchen, installing french doors to the deck, new stain, paint, lighting, etc.:

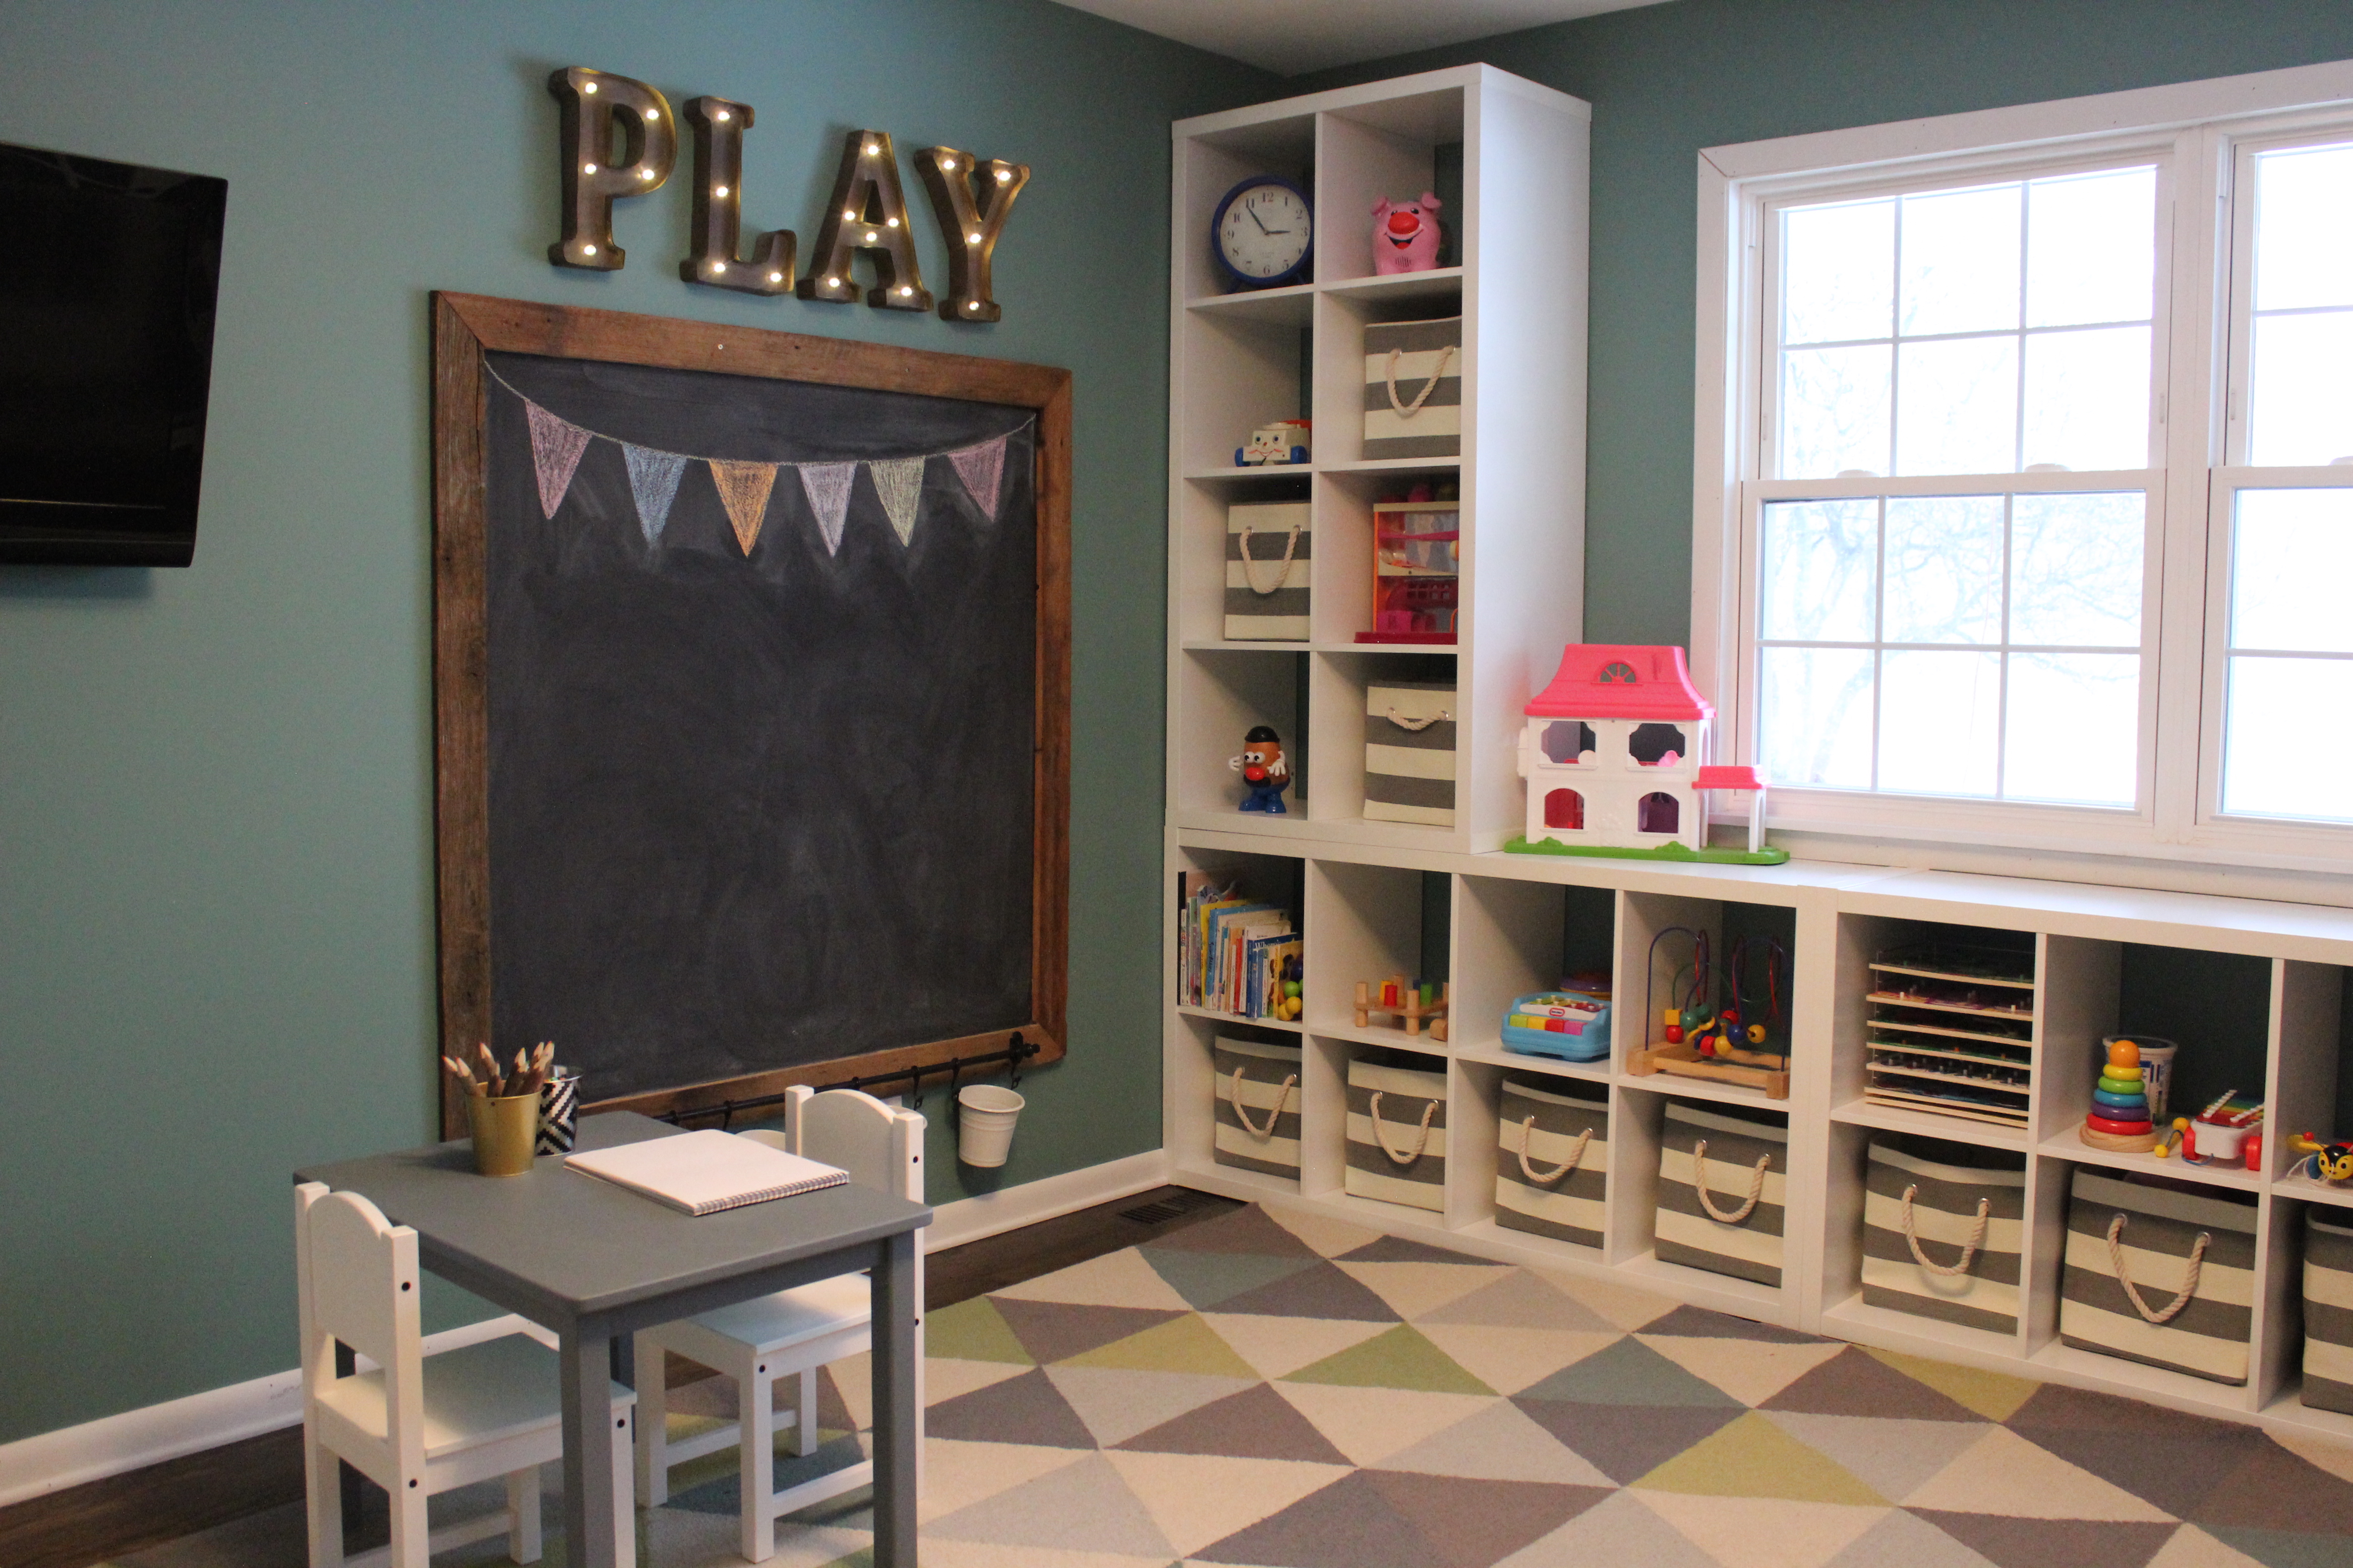
There was a weird den on the other side of the stairs:

We turned it into a fun & functional playroom:

right corner good

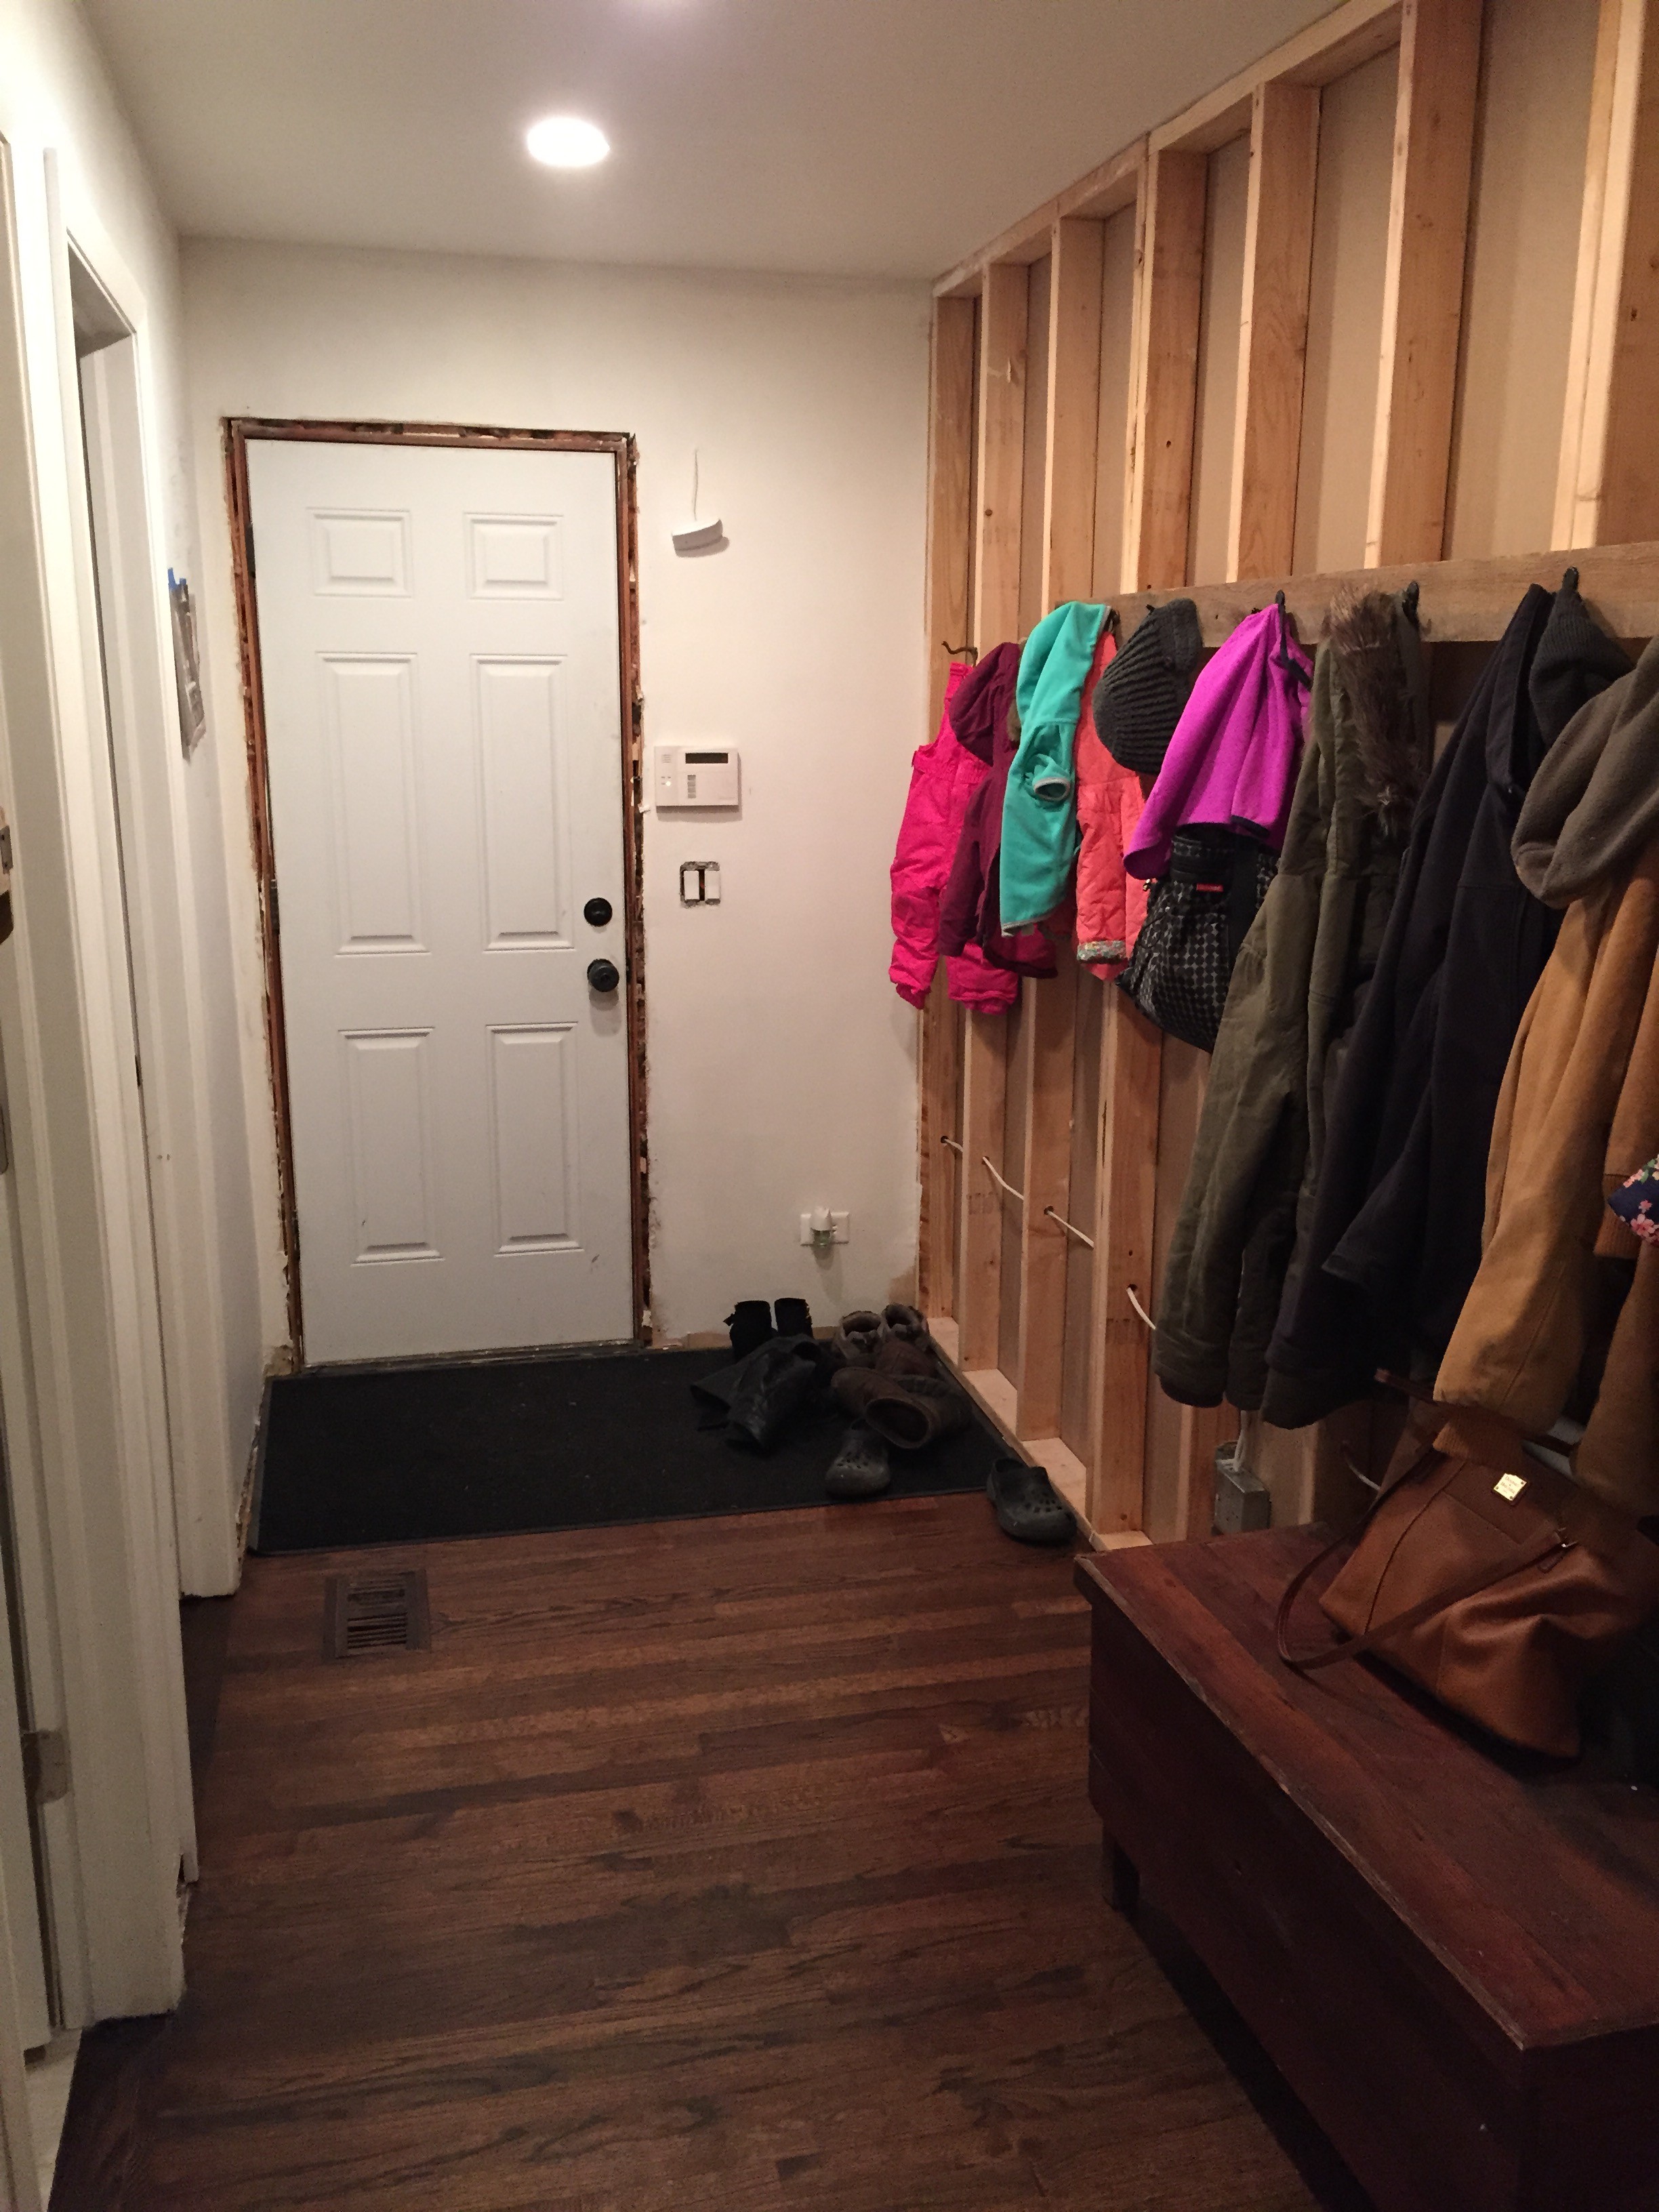
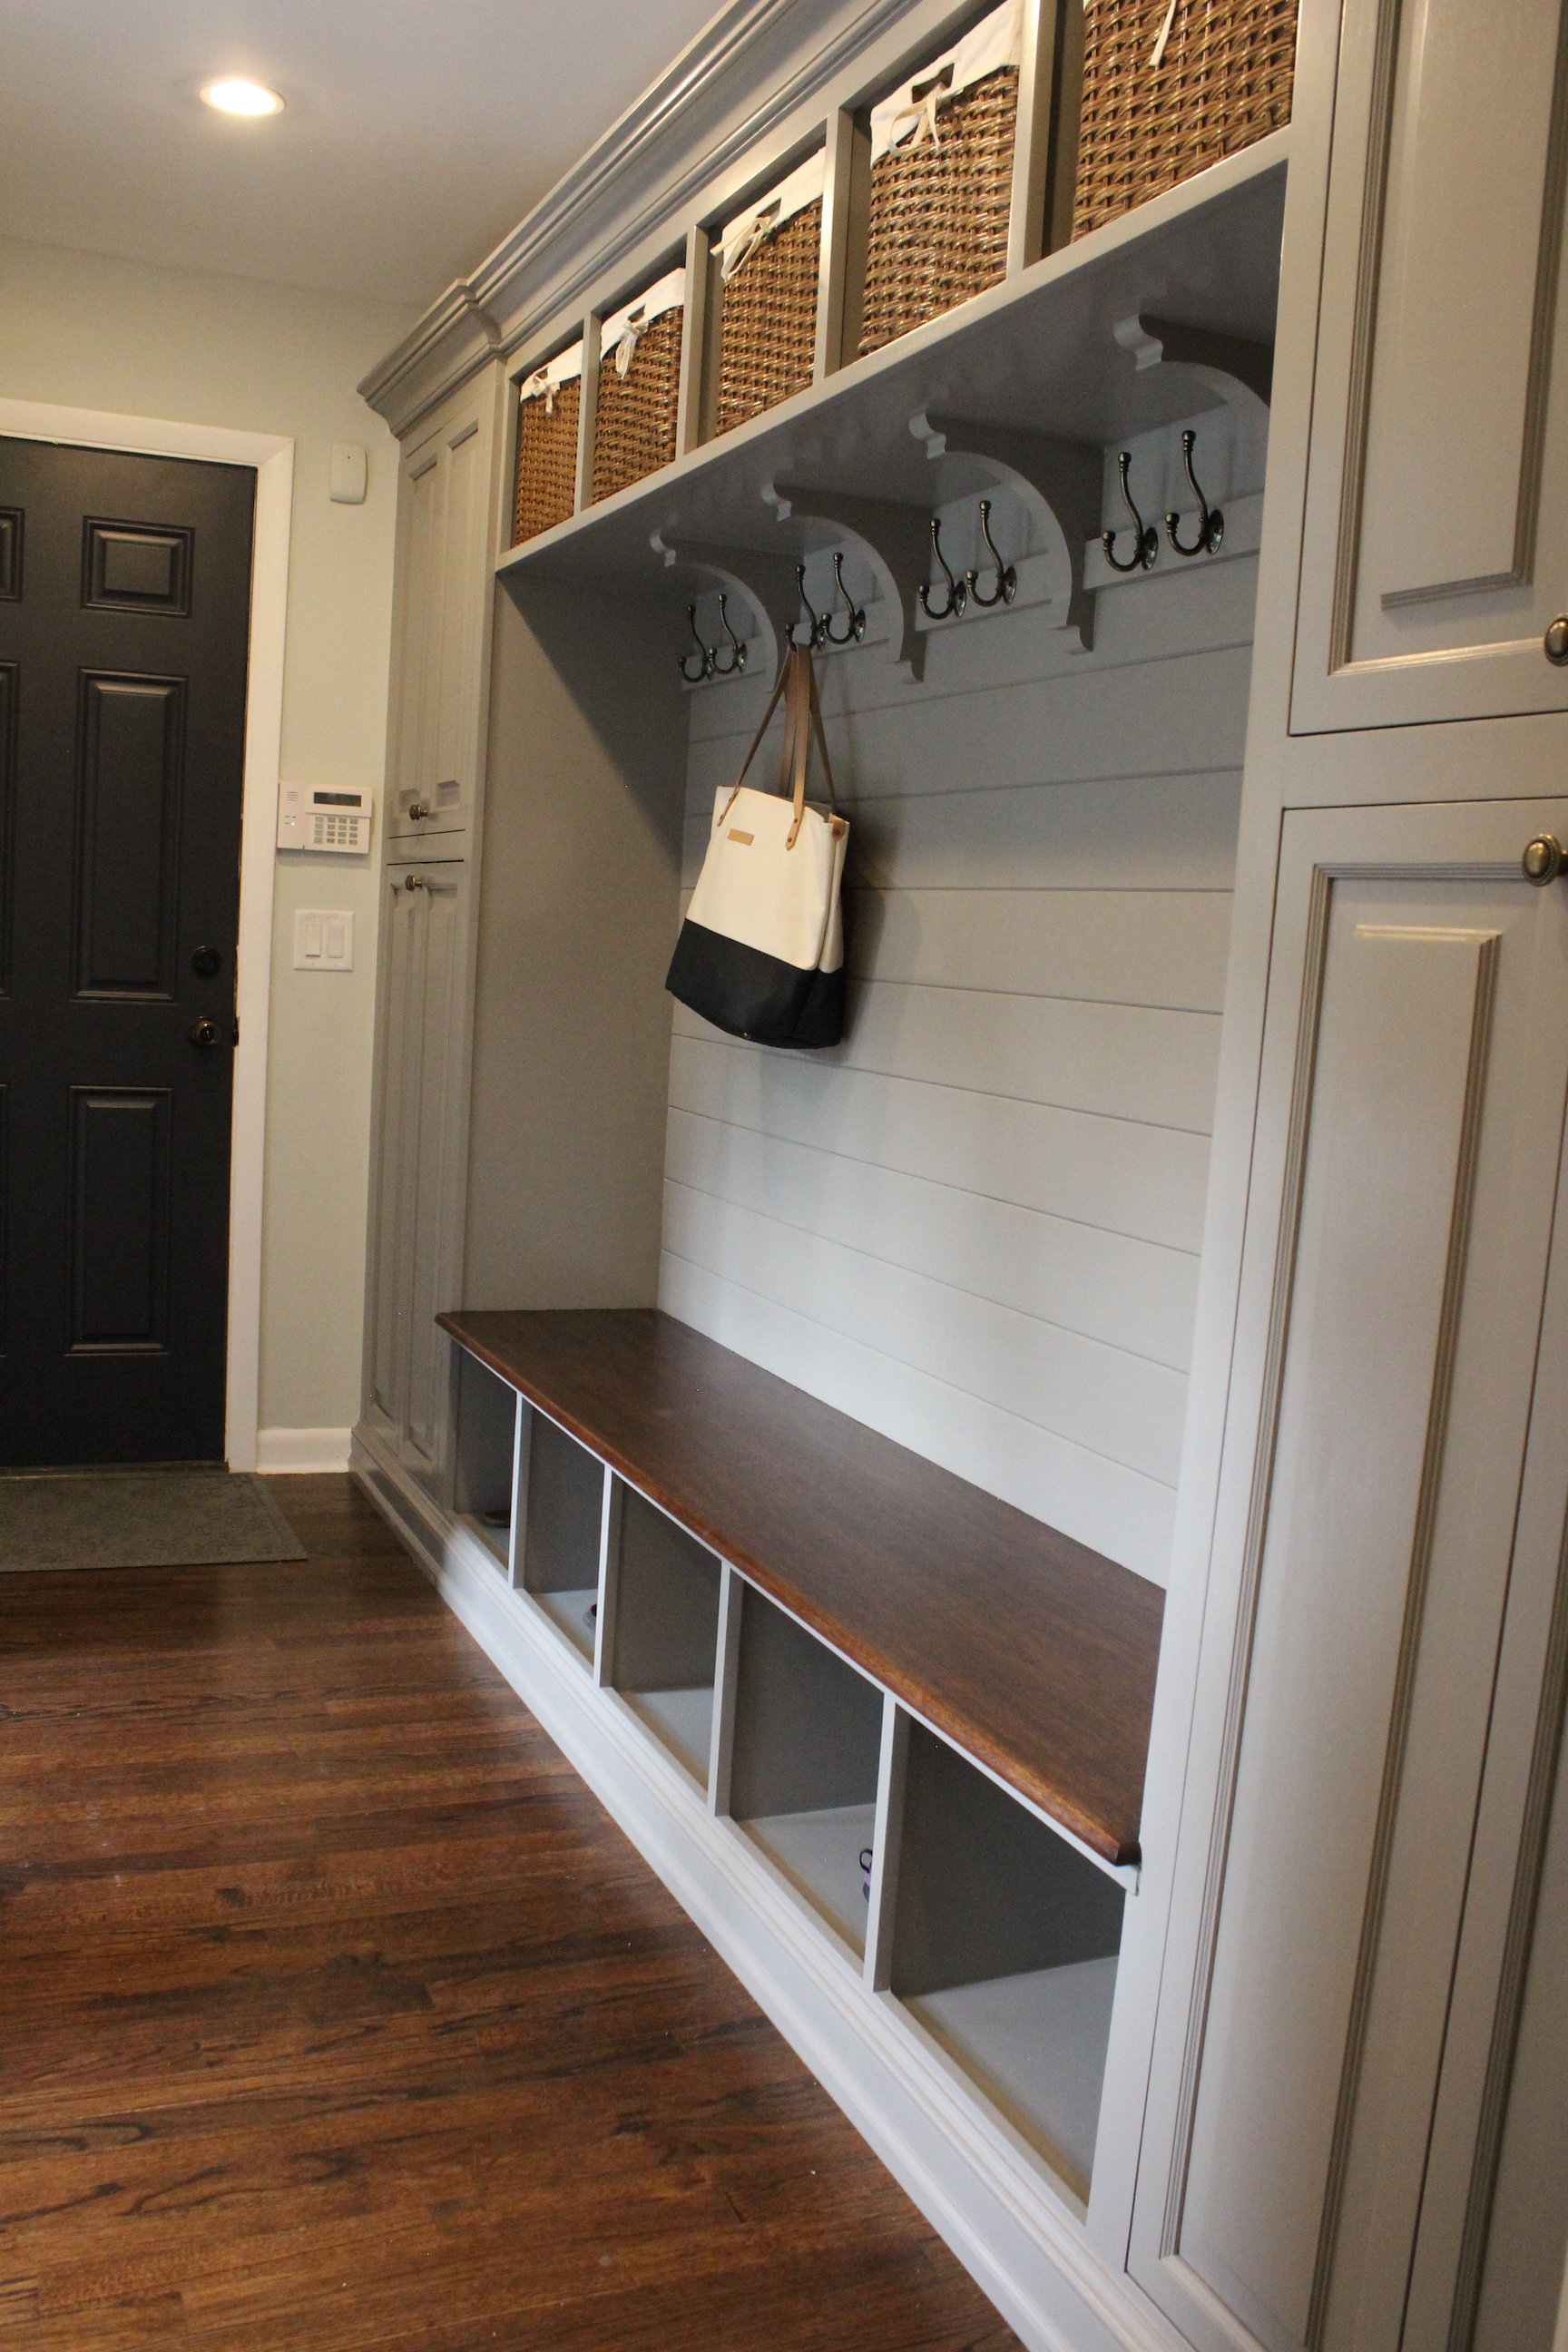
And built a mudroom on the other side of the playroom off of the garage:

mudroom-whole-view

There used to be a powder room/laundry room combo on the first floor:

We incorporated that space into the kitchen and walk-in pantry:

And then built a separate powder room and laundry room as part of the addition:

(There’s a cameo by our new kitten, Simon!)

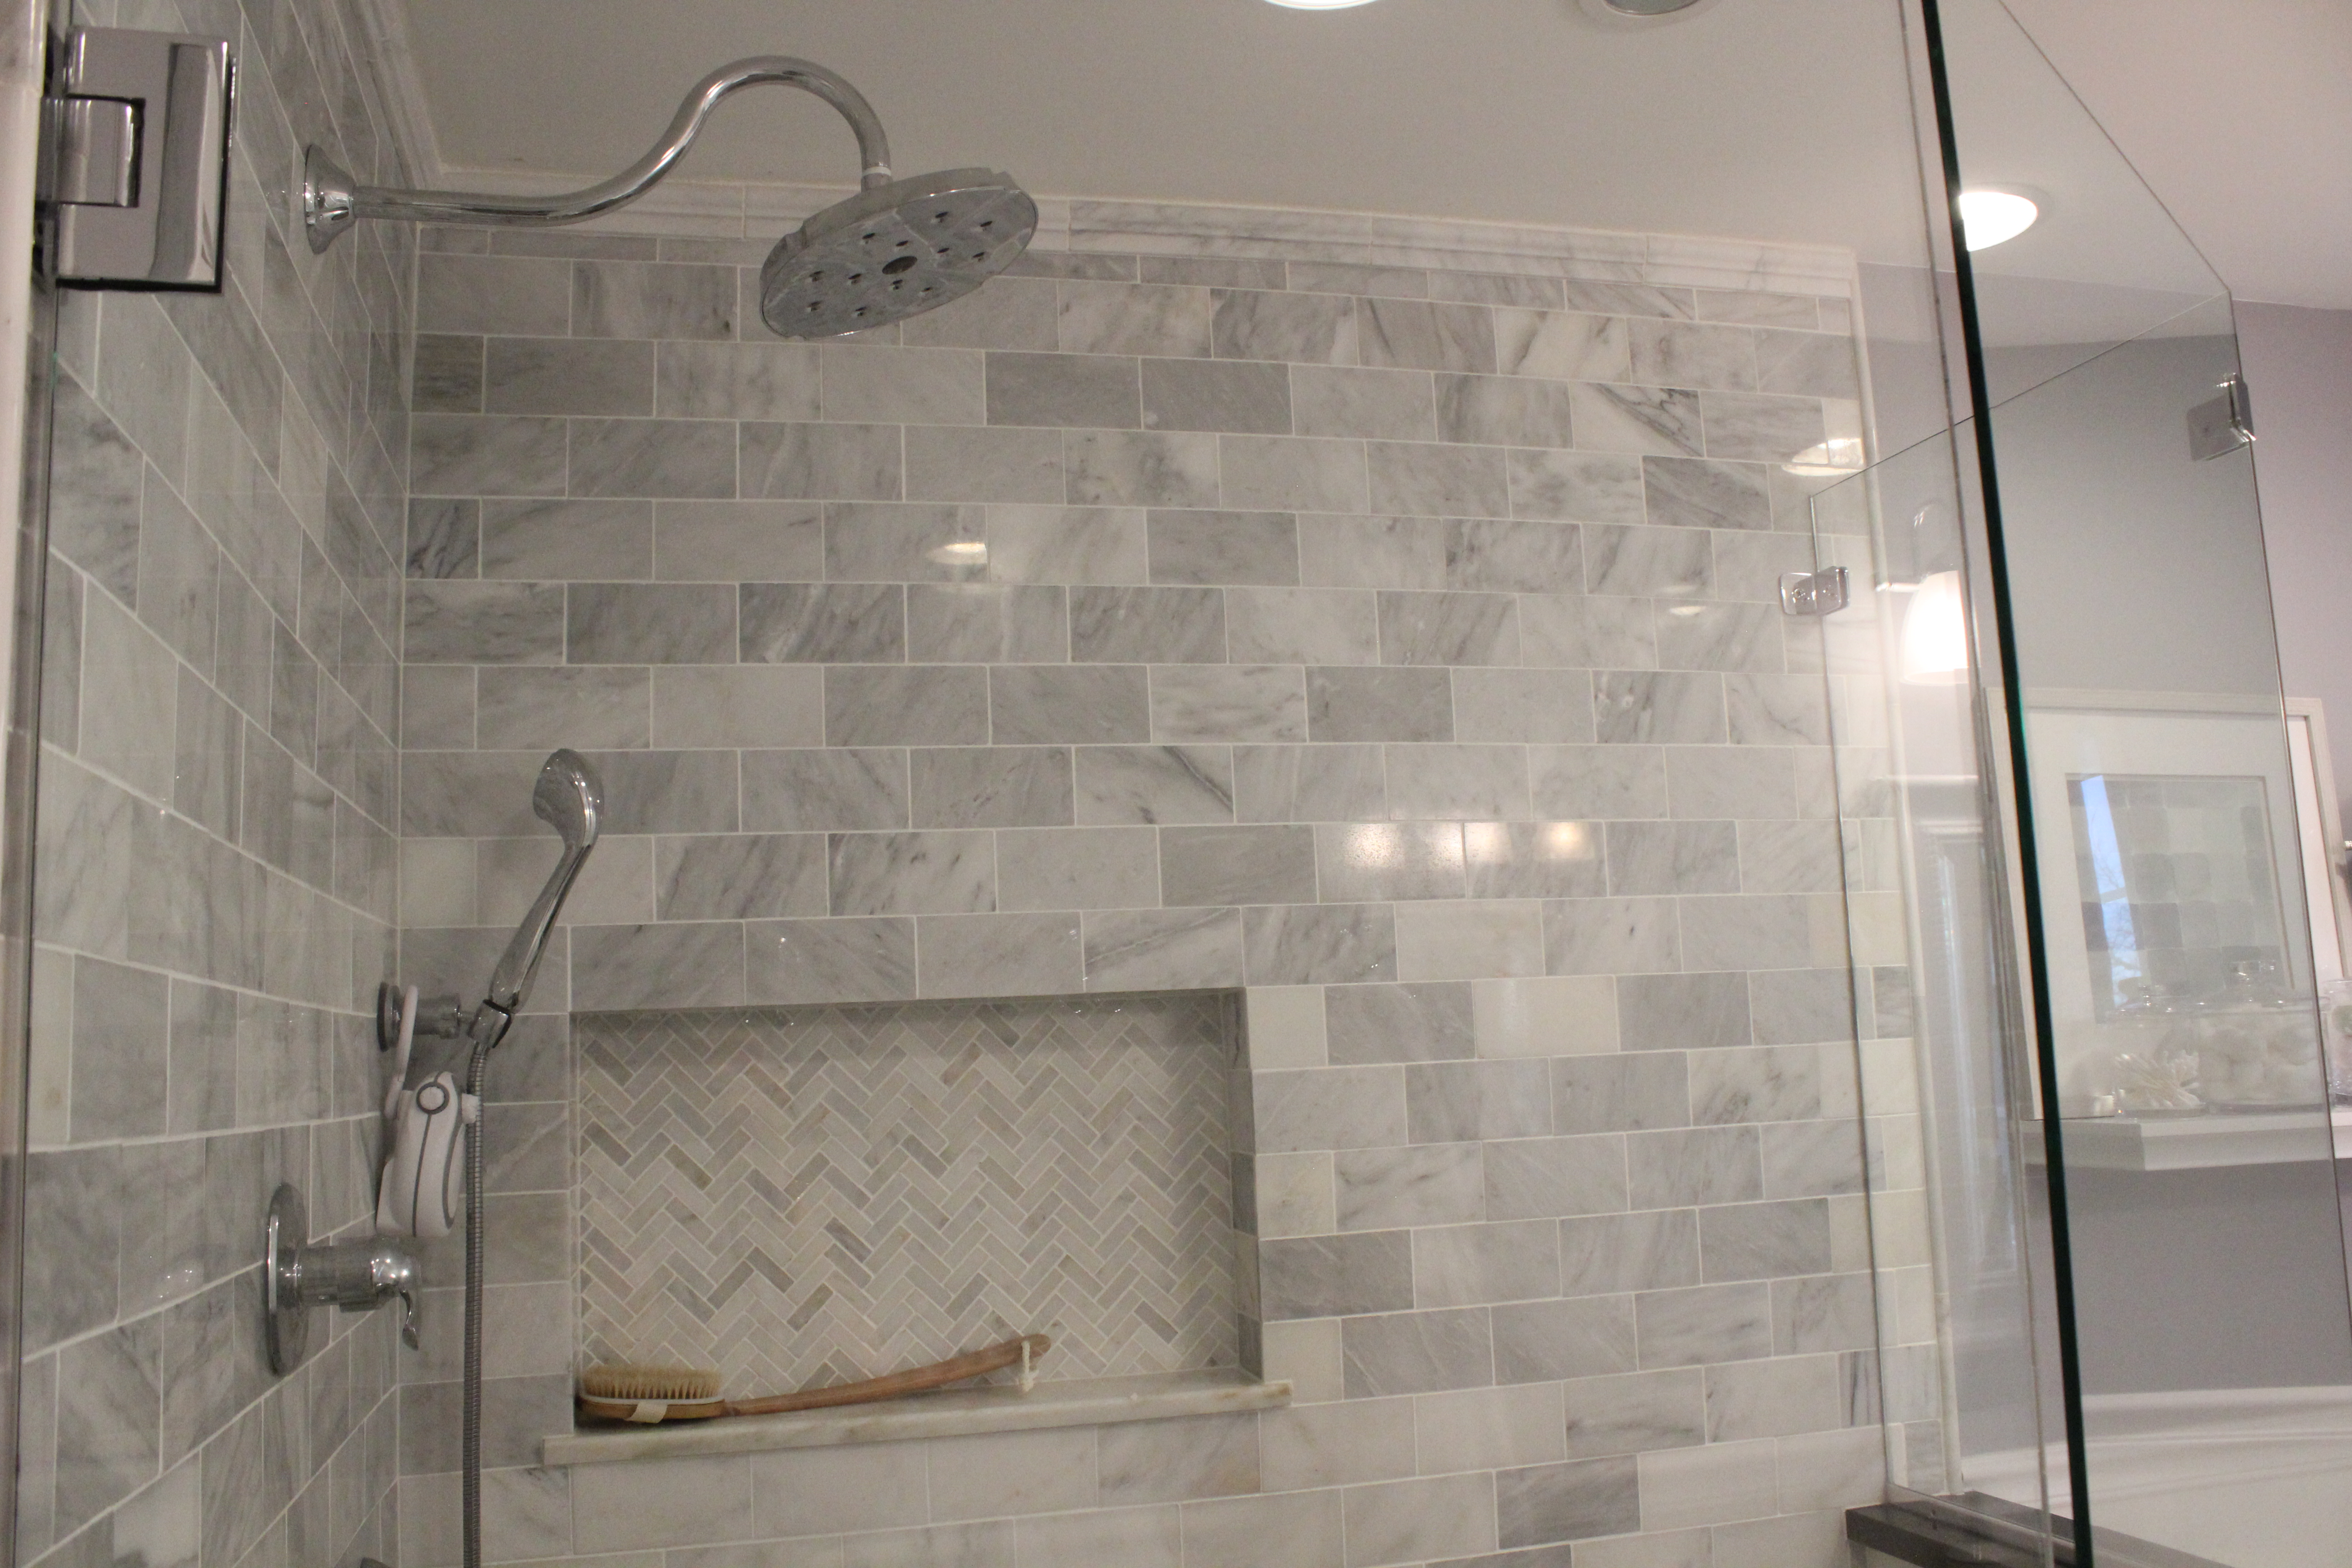
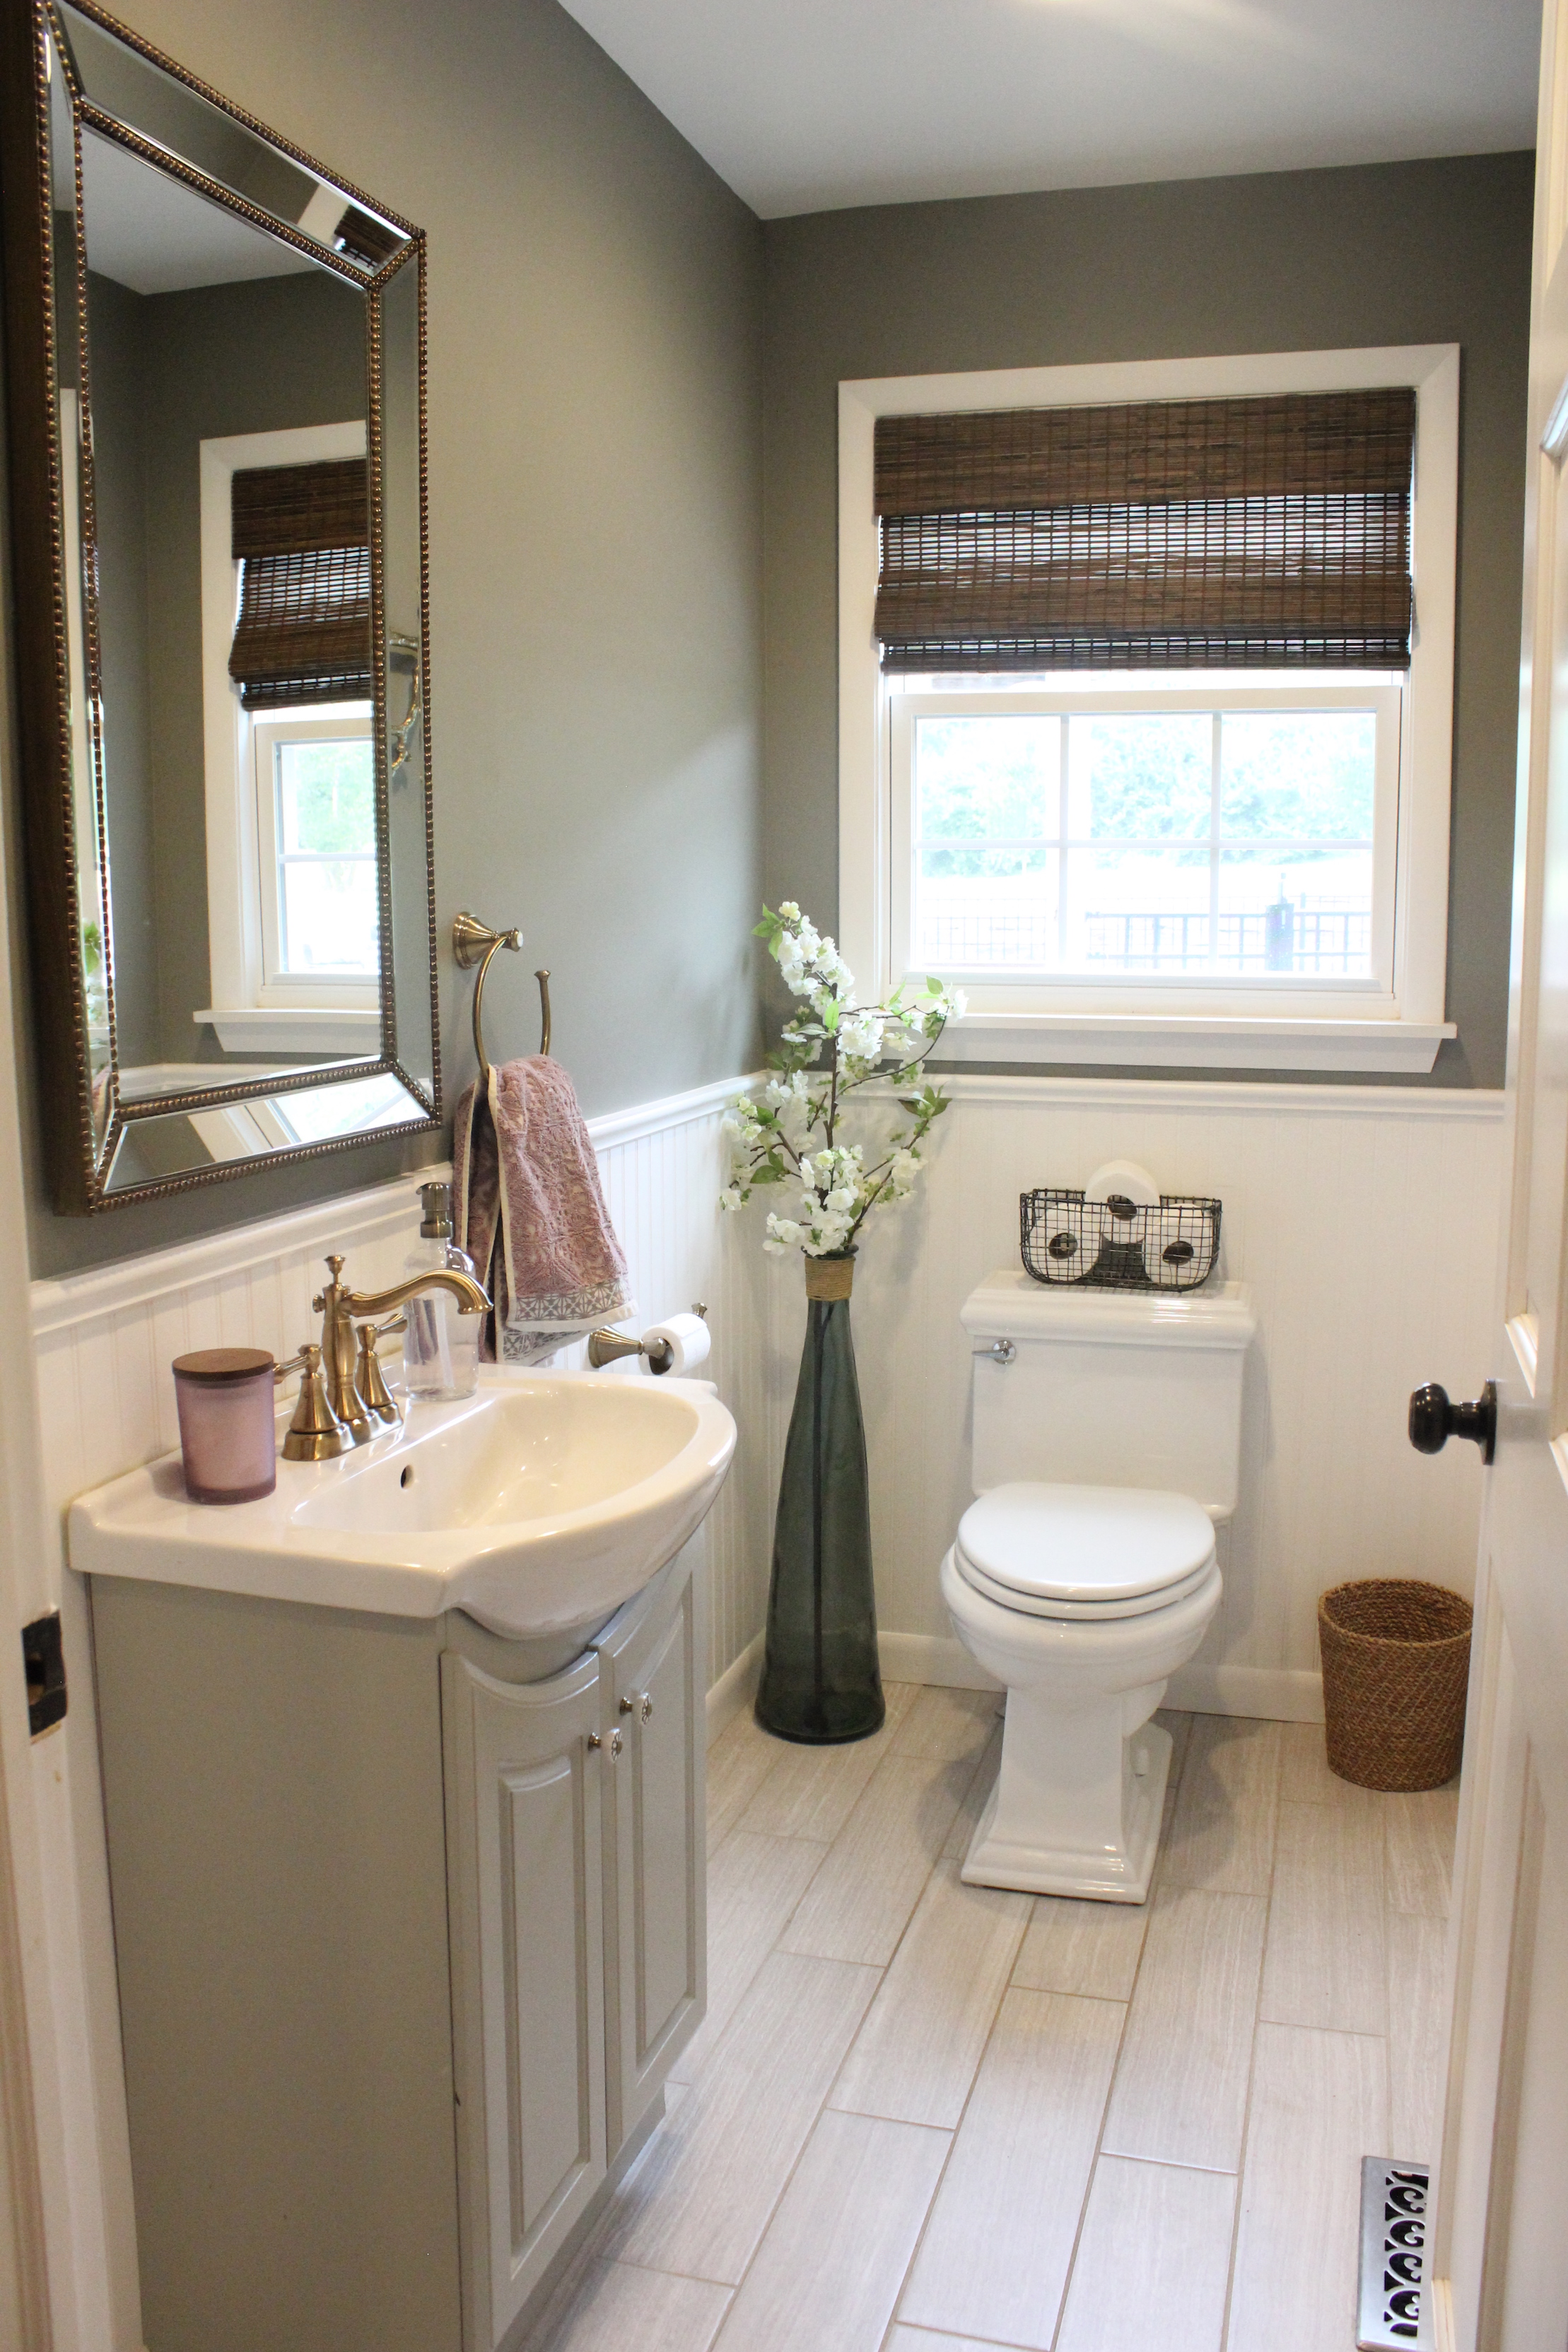
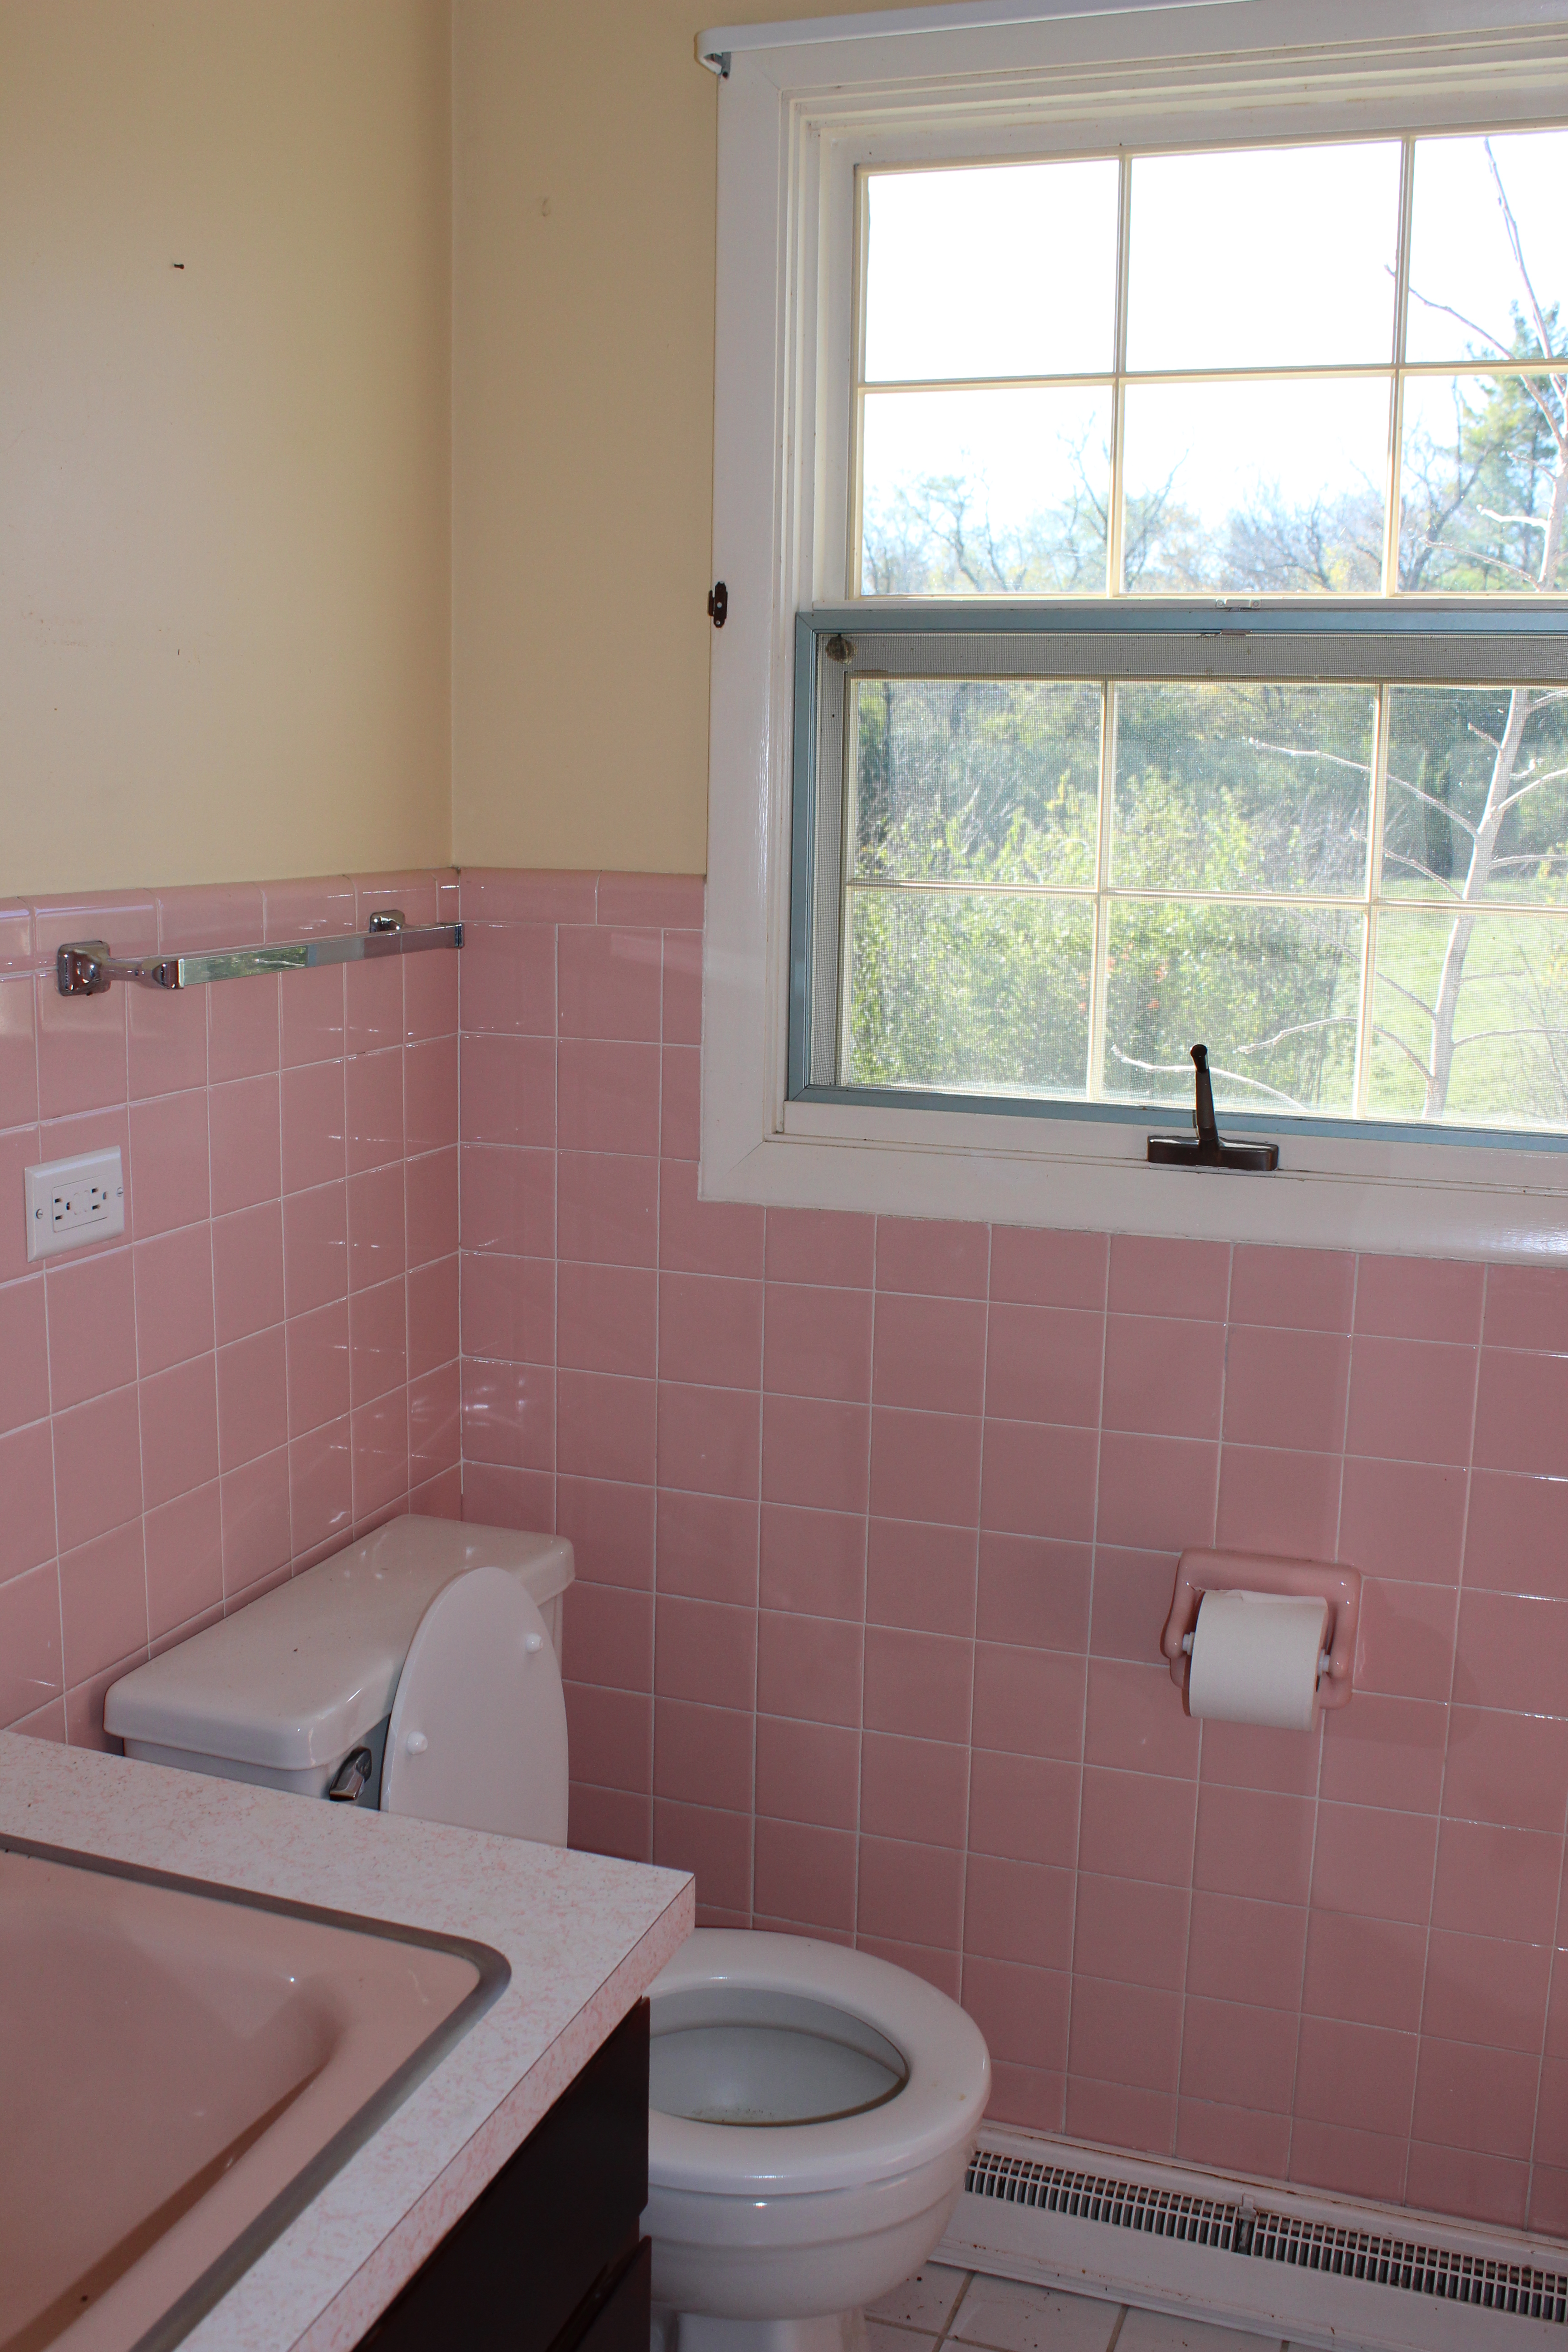
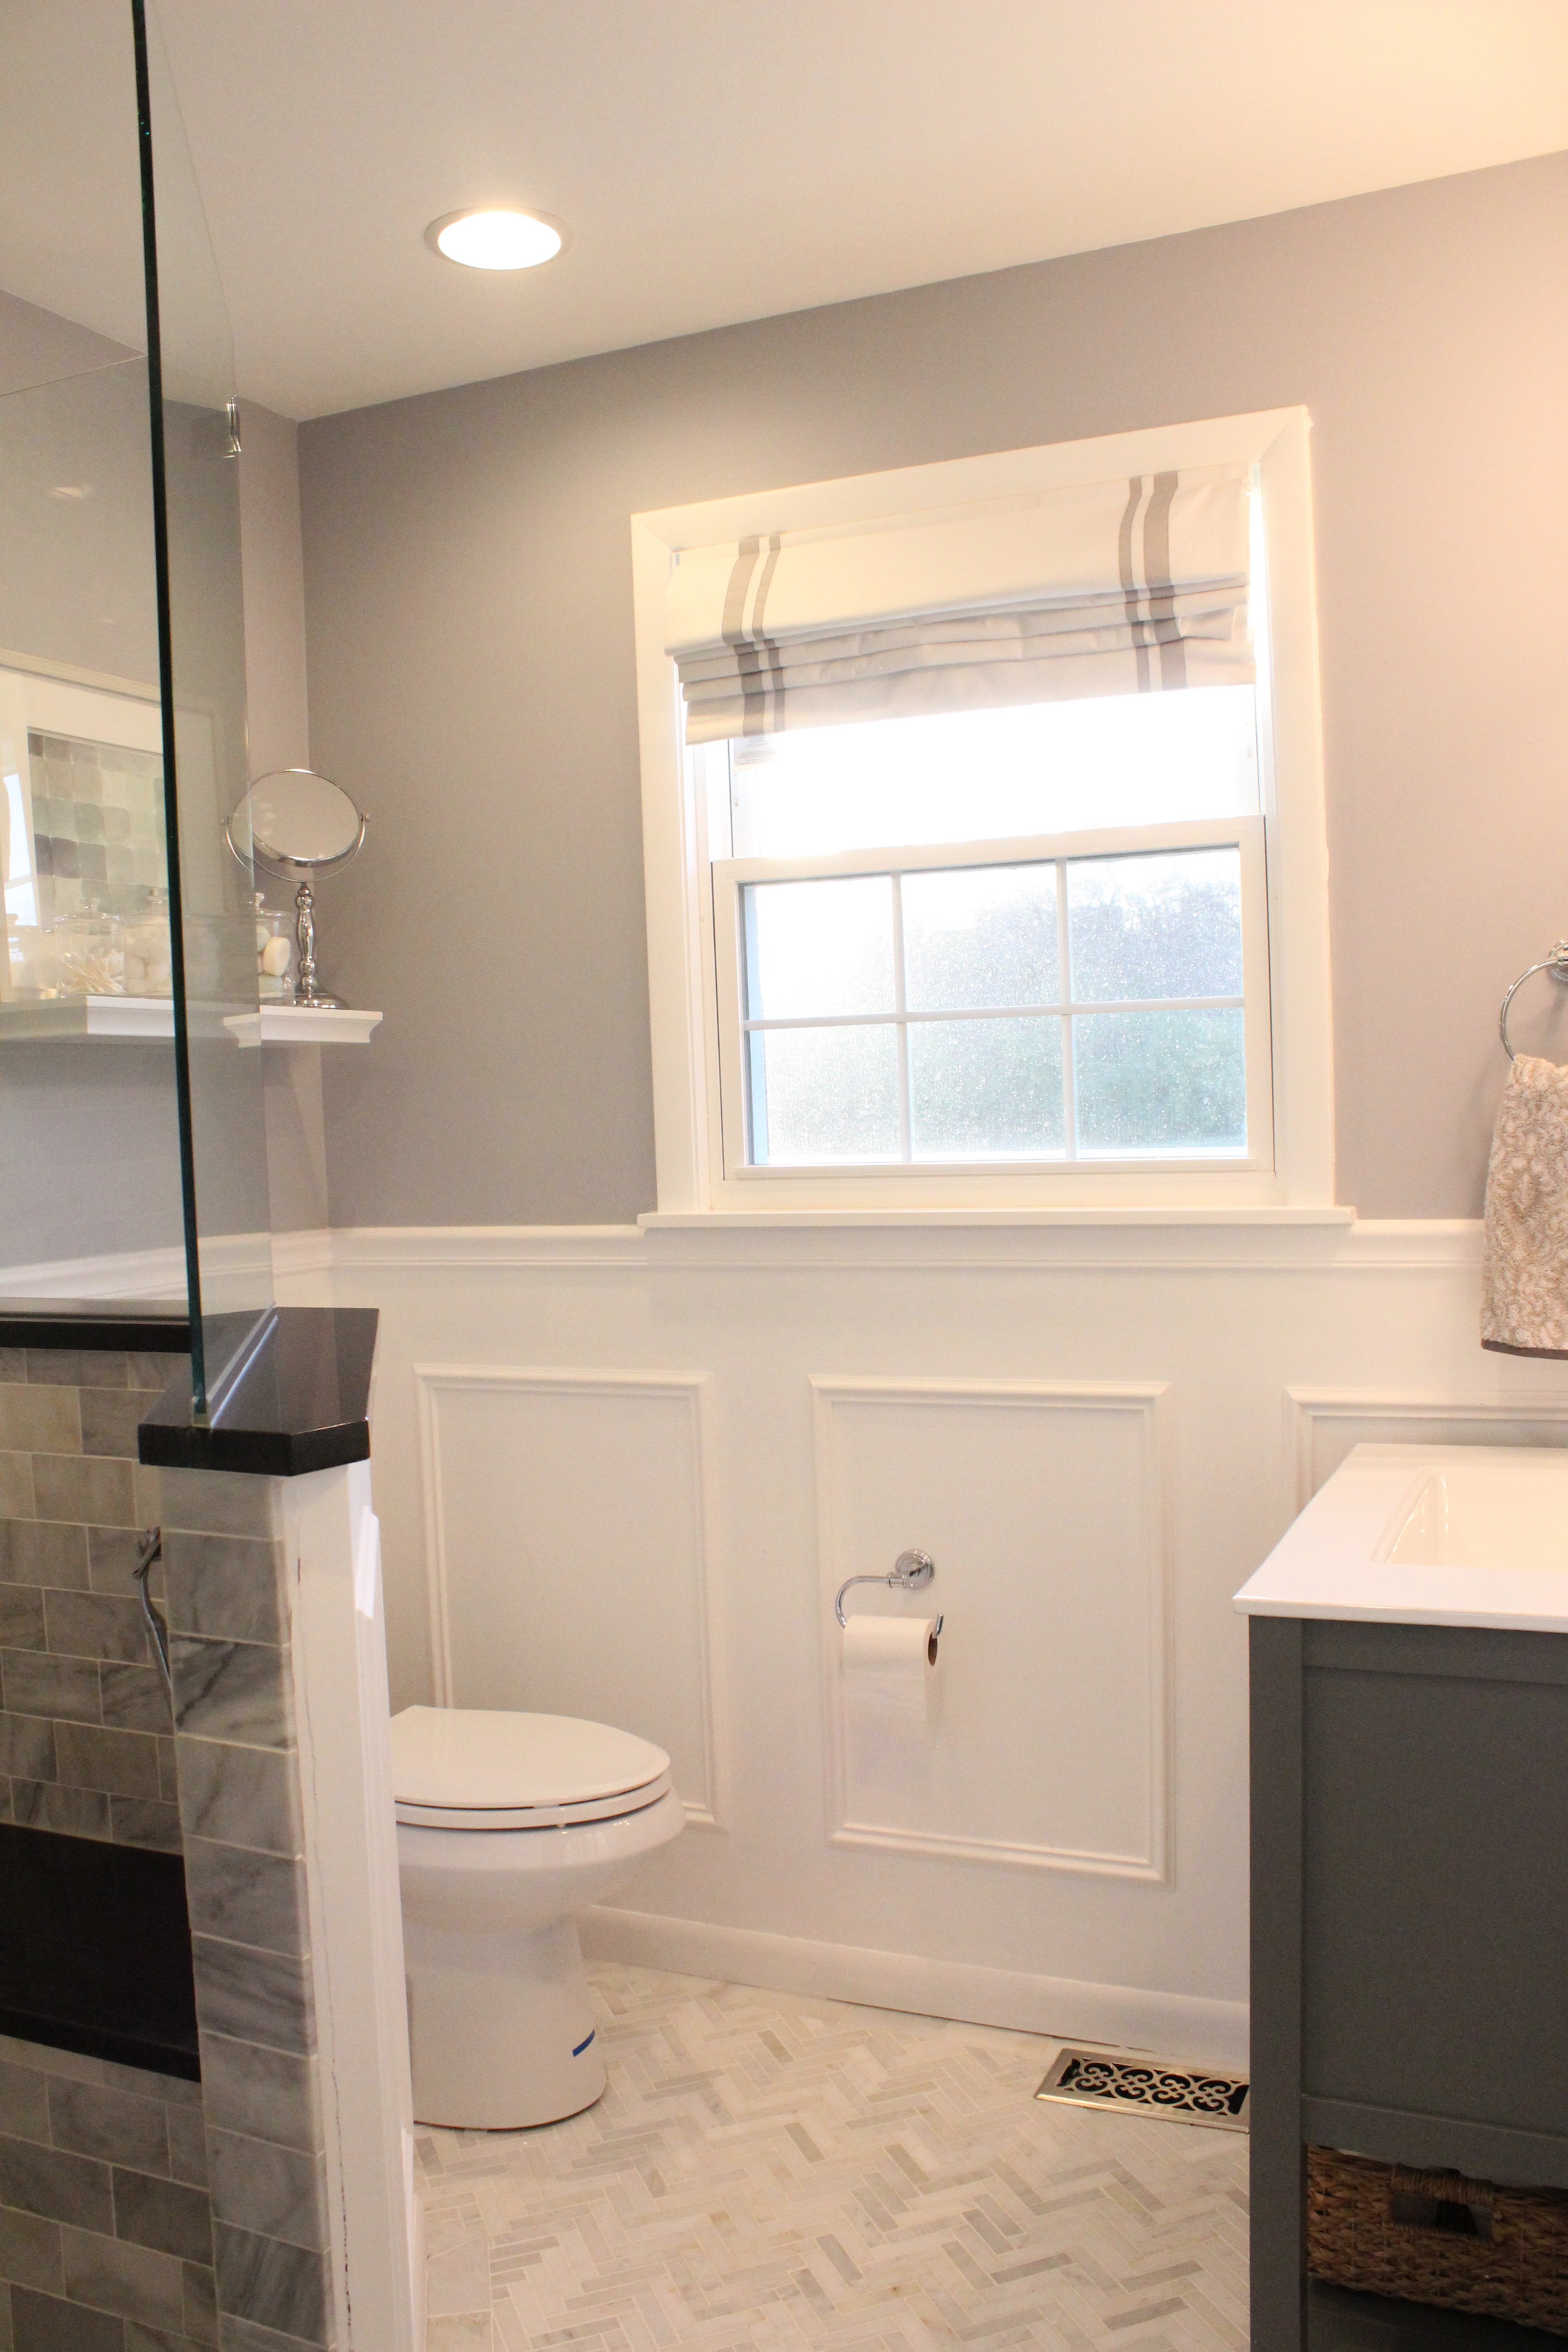
Moving upstairs, we have the old guest bathroom:

Pink bathroom before

Which turned into what I affectionately call the “Pinterest bathroom,” after it got really popular on there, ha! (See more after pictures/sources of the bathroom here.)

IMG_2632

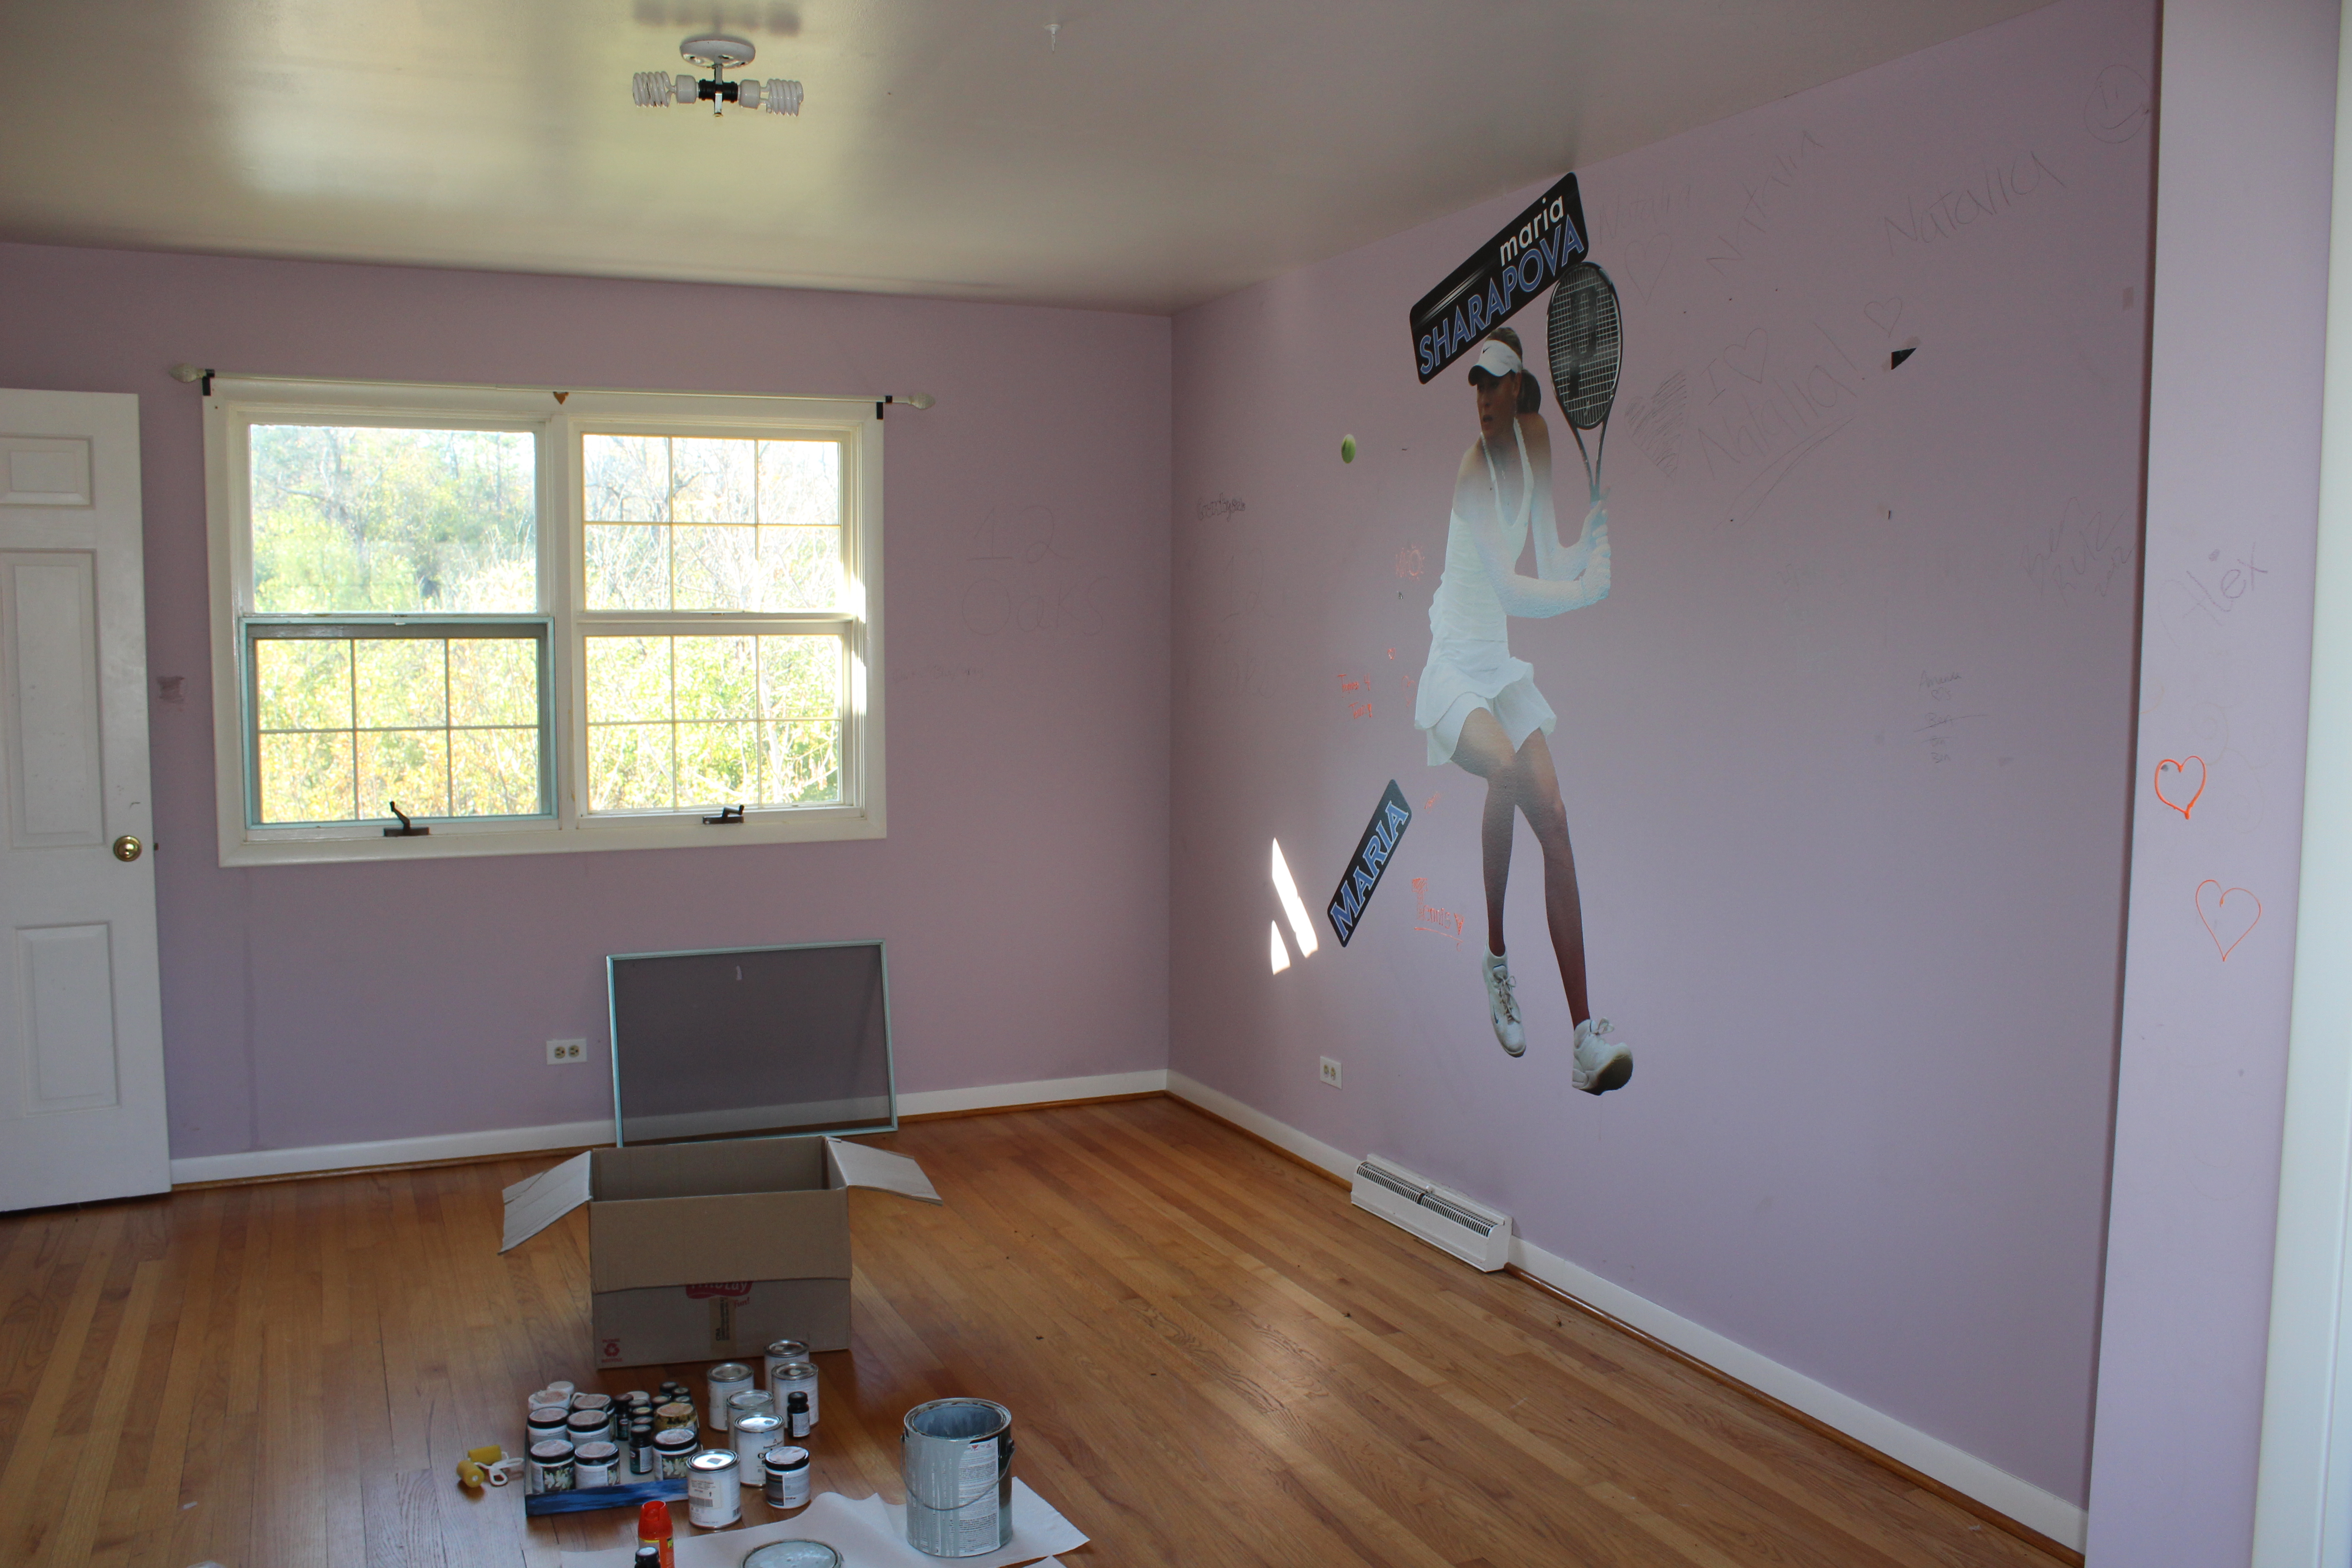
This was what our master bedroom looked like 5 years ago (Go Maria Sharapova! lol)
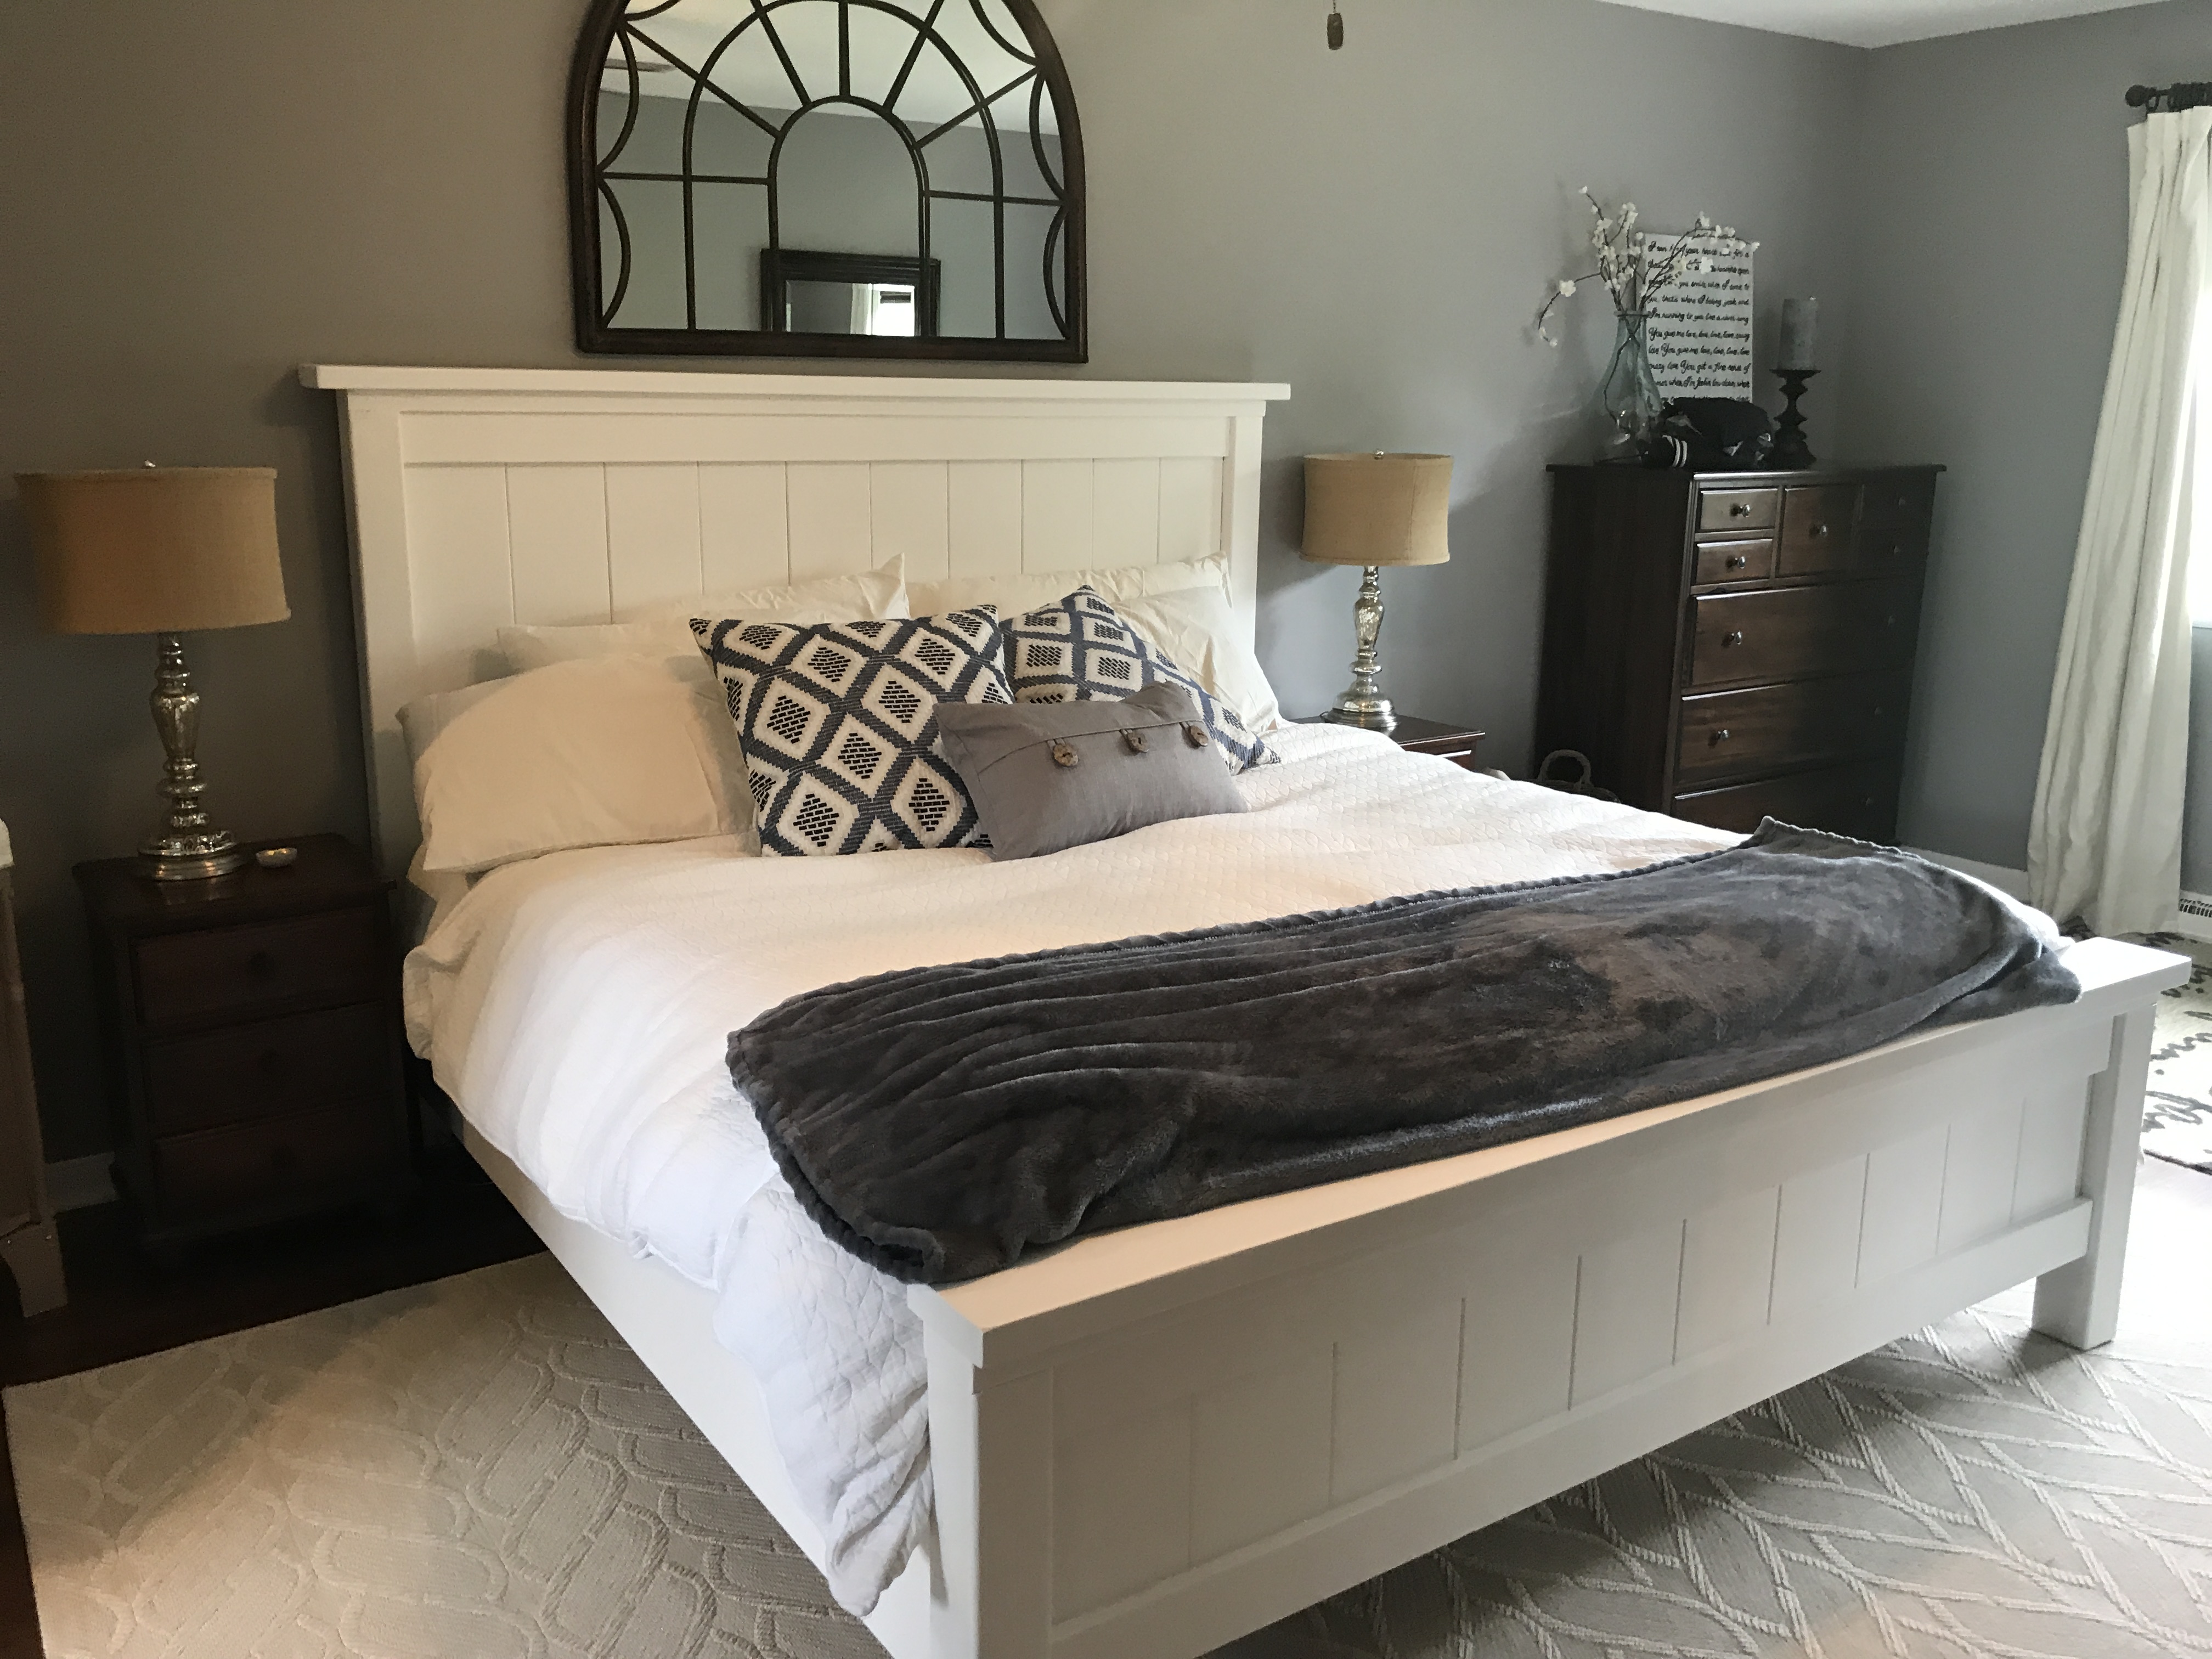
And here it is now:

Connected to our master is the upstairs part of the addition which includes a new walk-in closet and master bathroom:

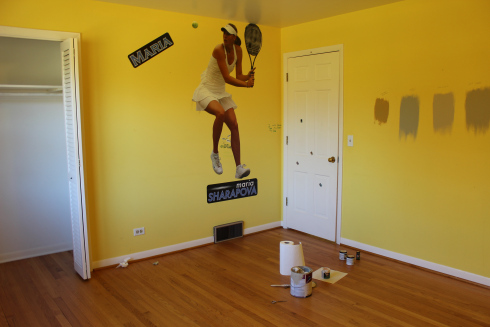
There was another Sharapova bedroom 5 years ago:

Spare Bed 1 Before

This turned into our nursery:

IMG_4281

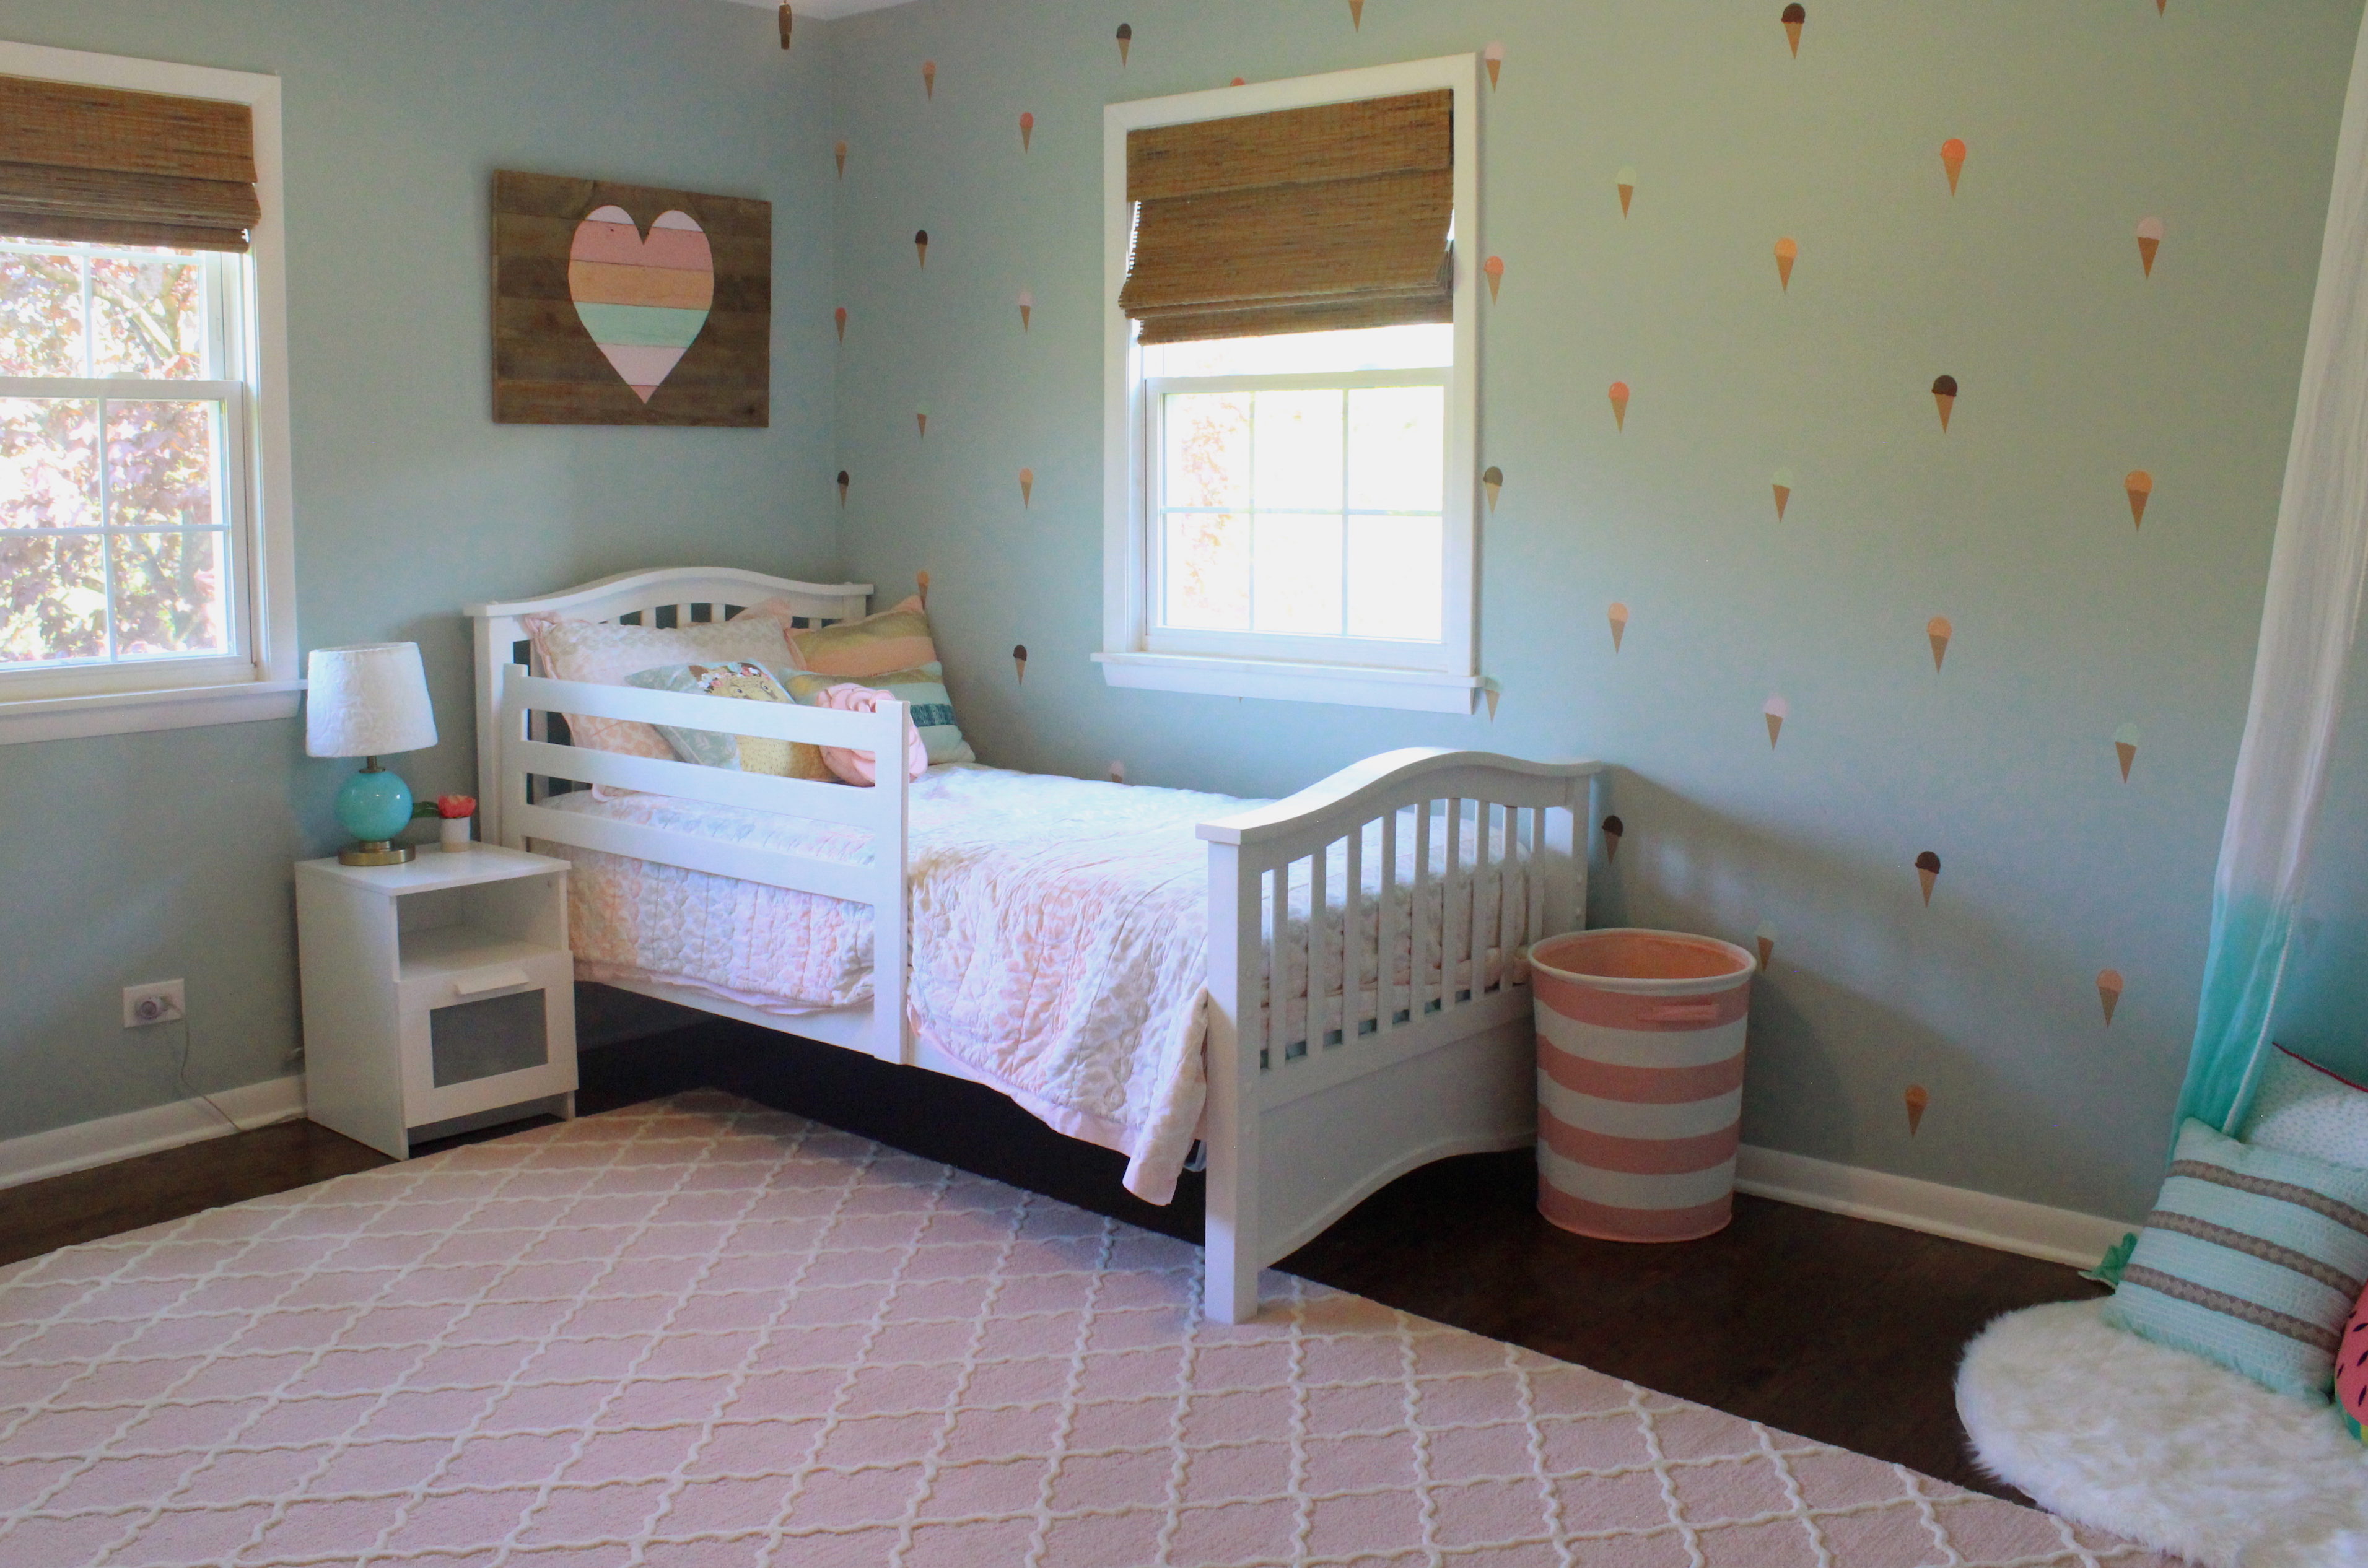
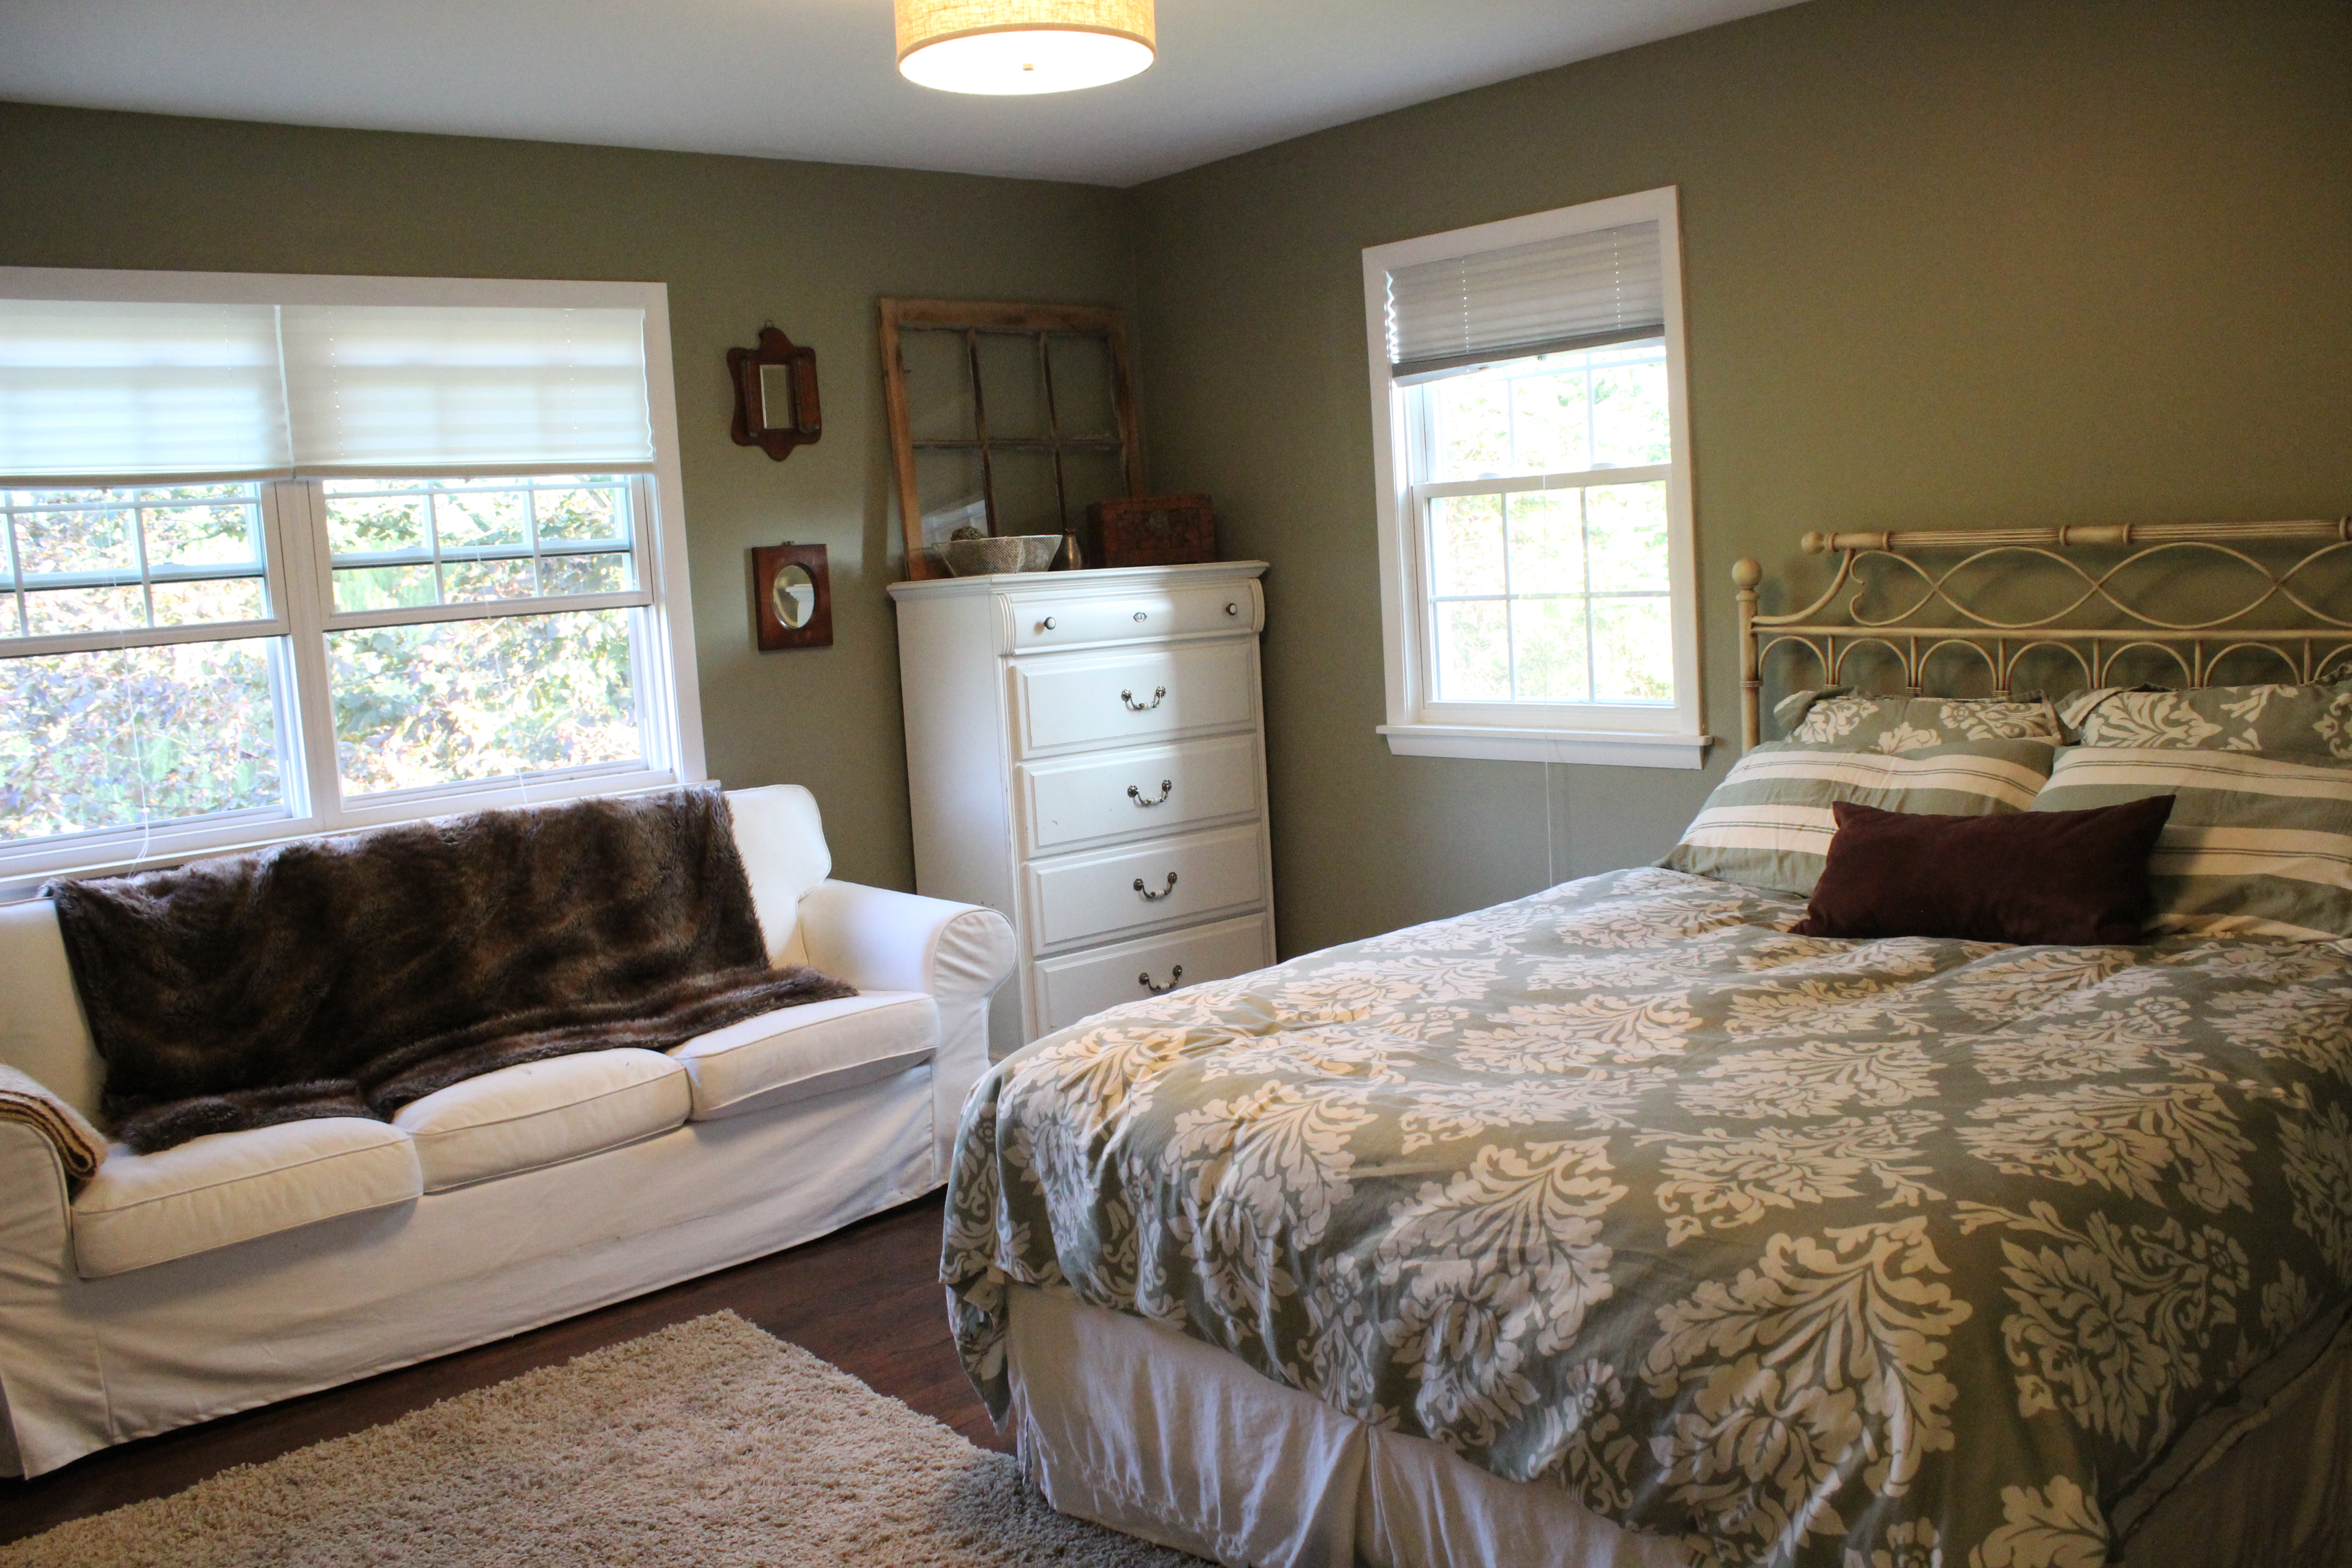
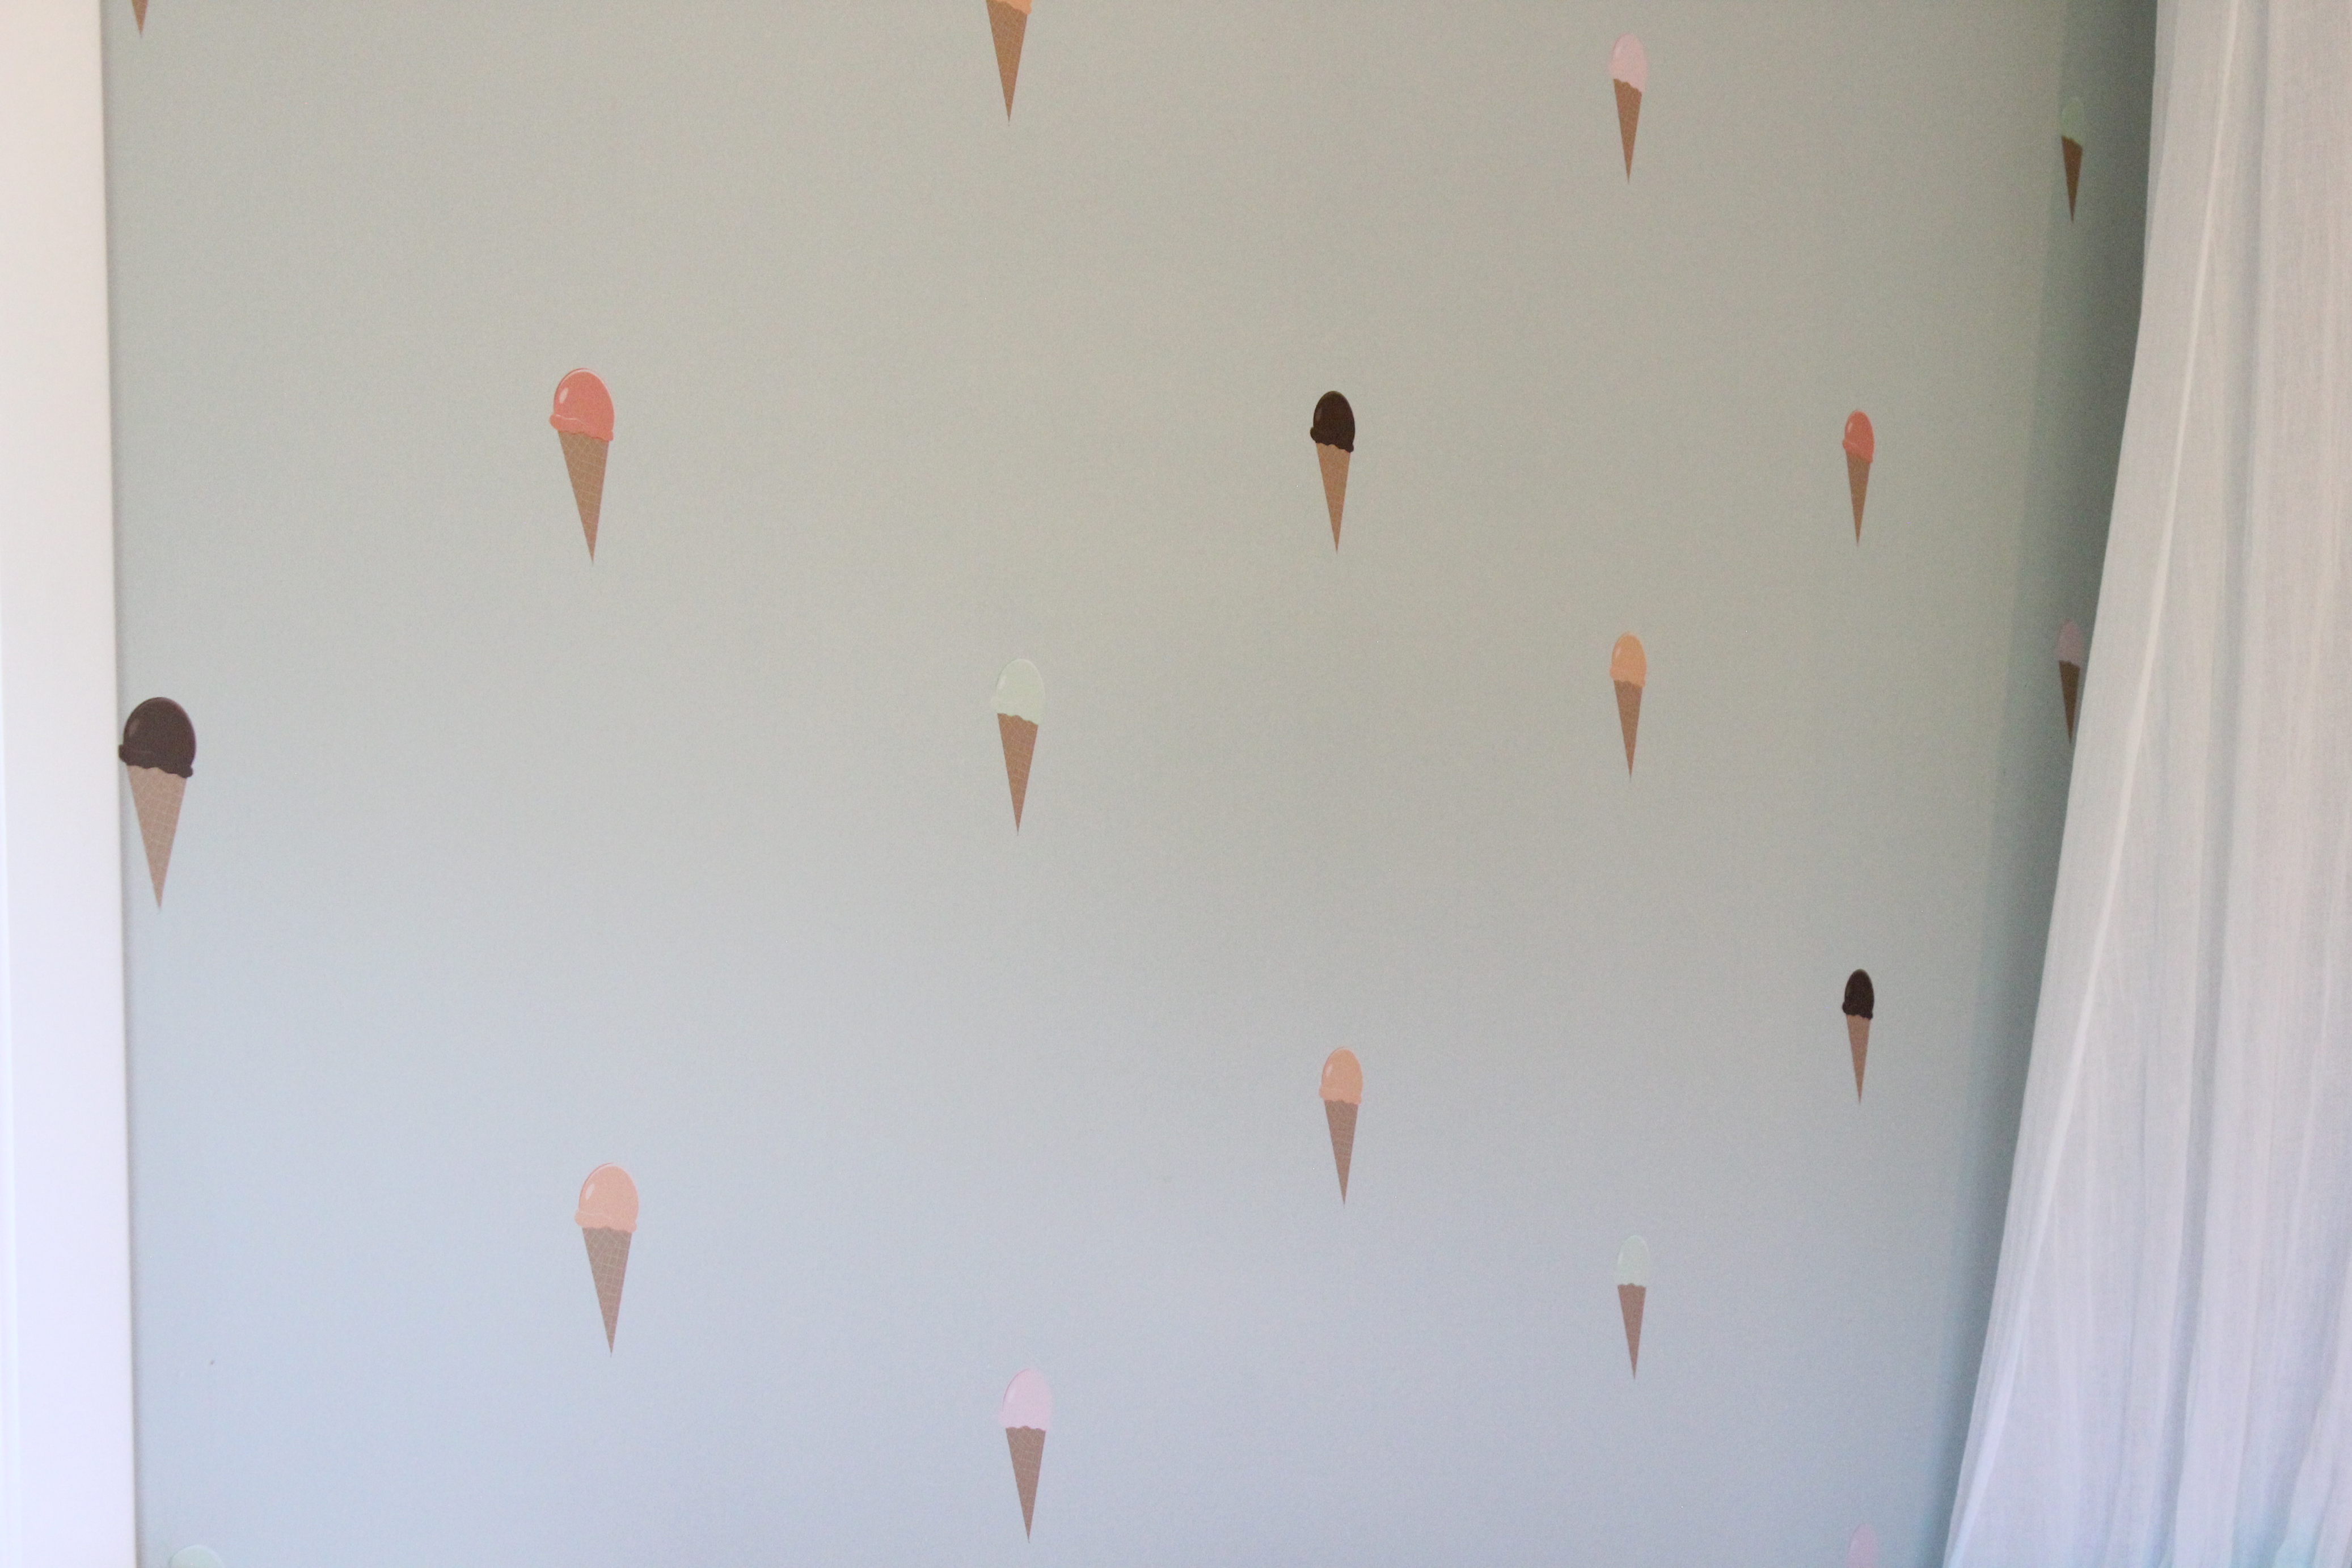
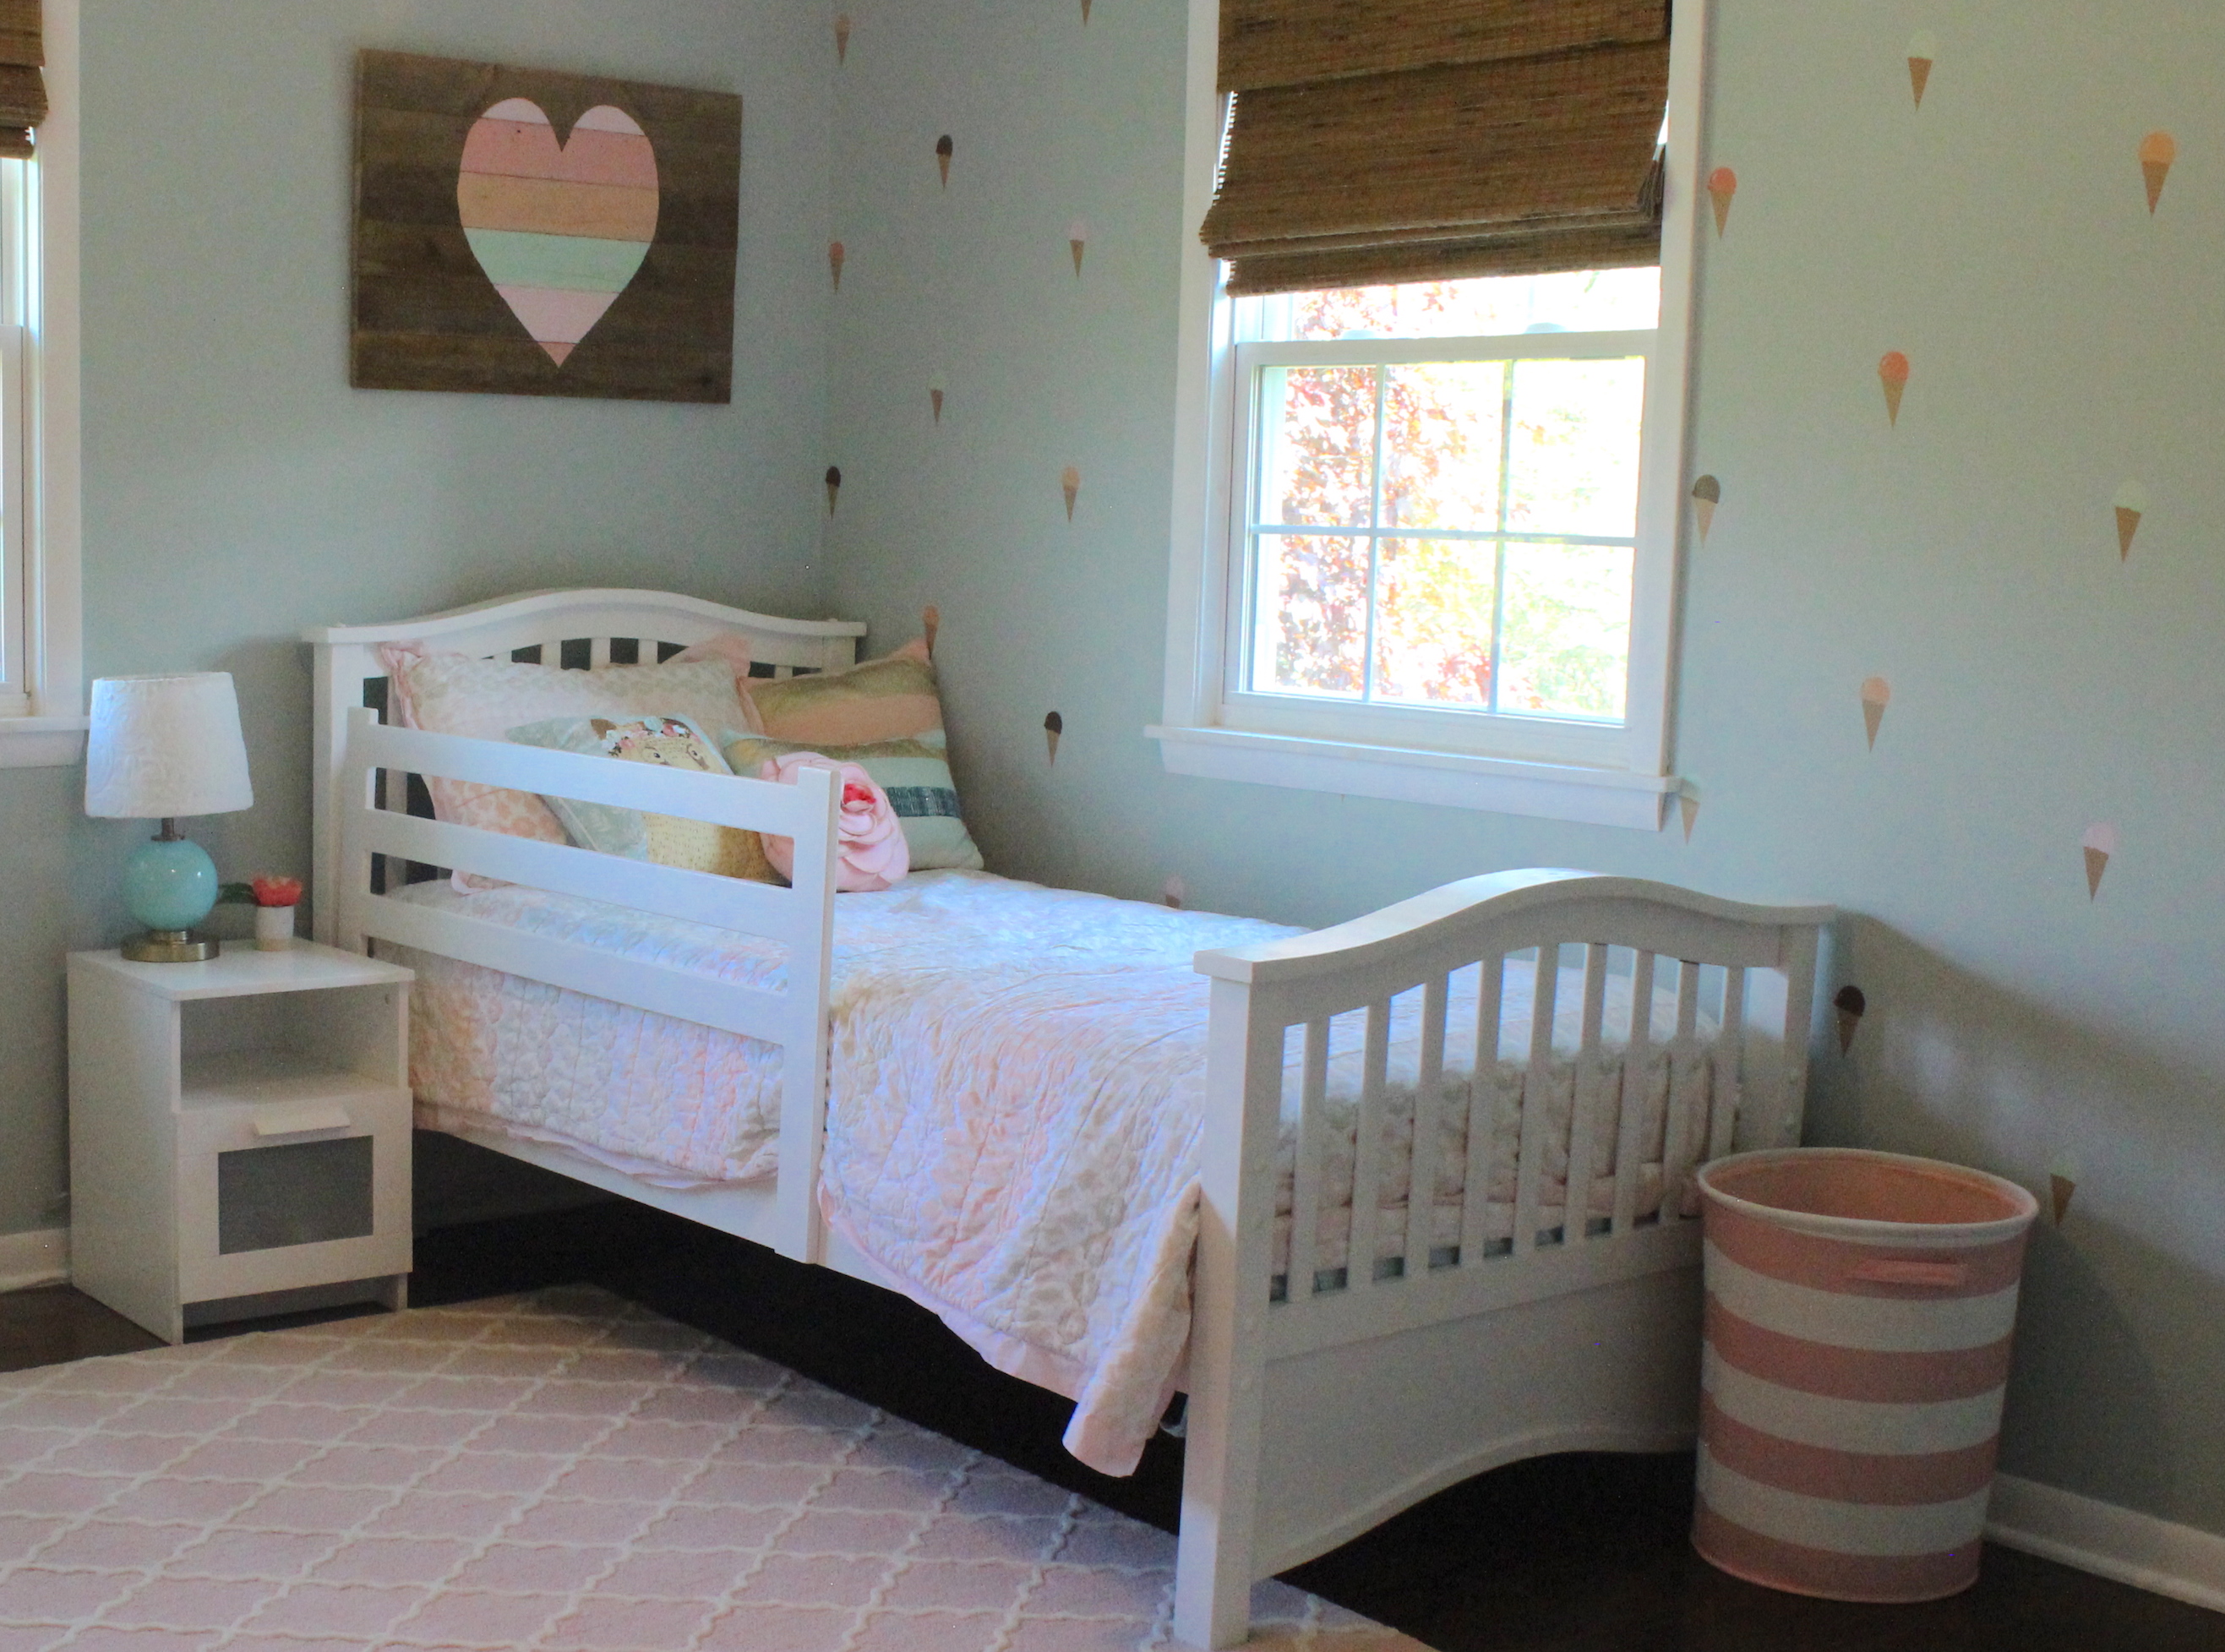
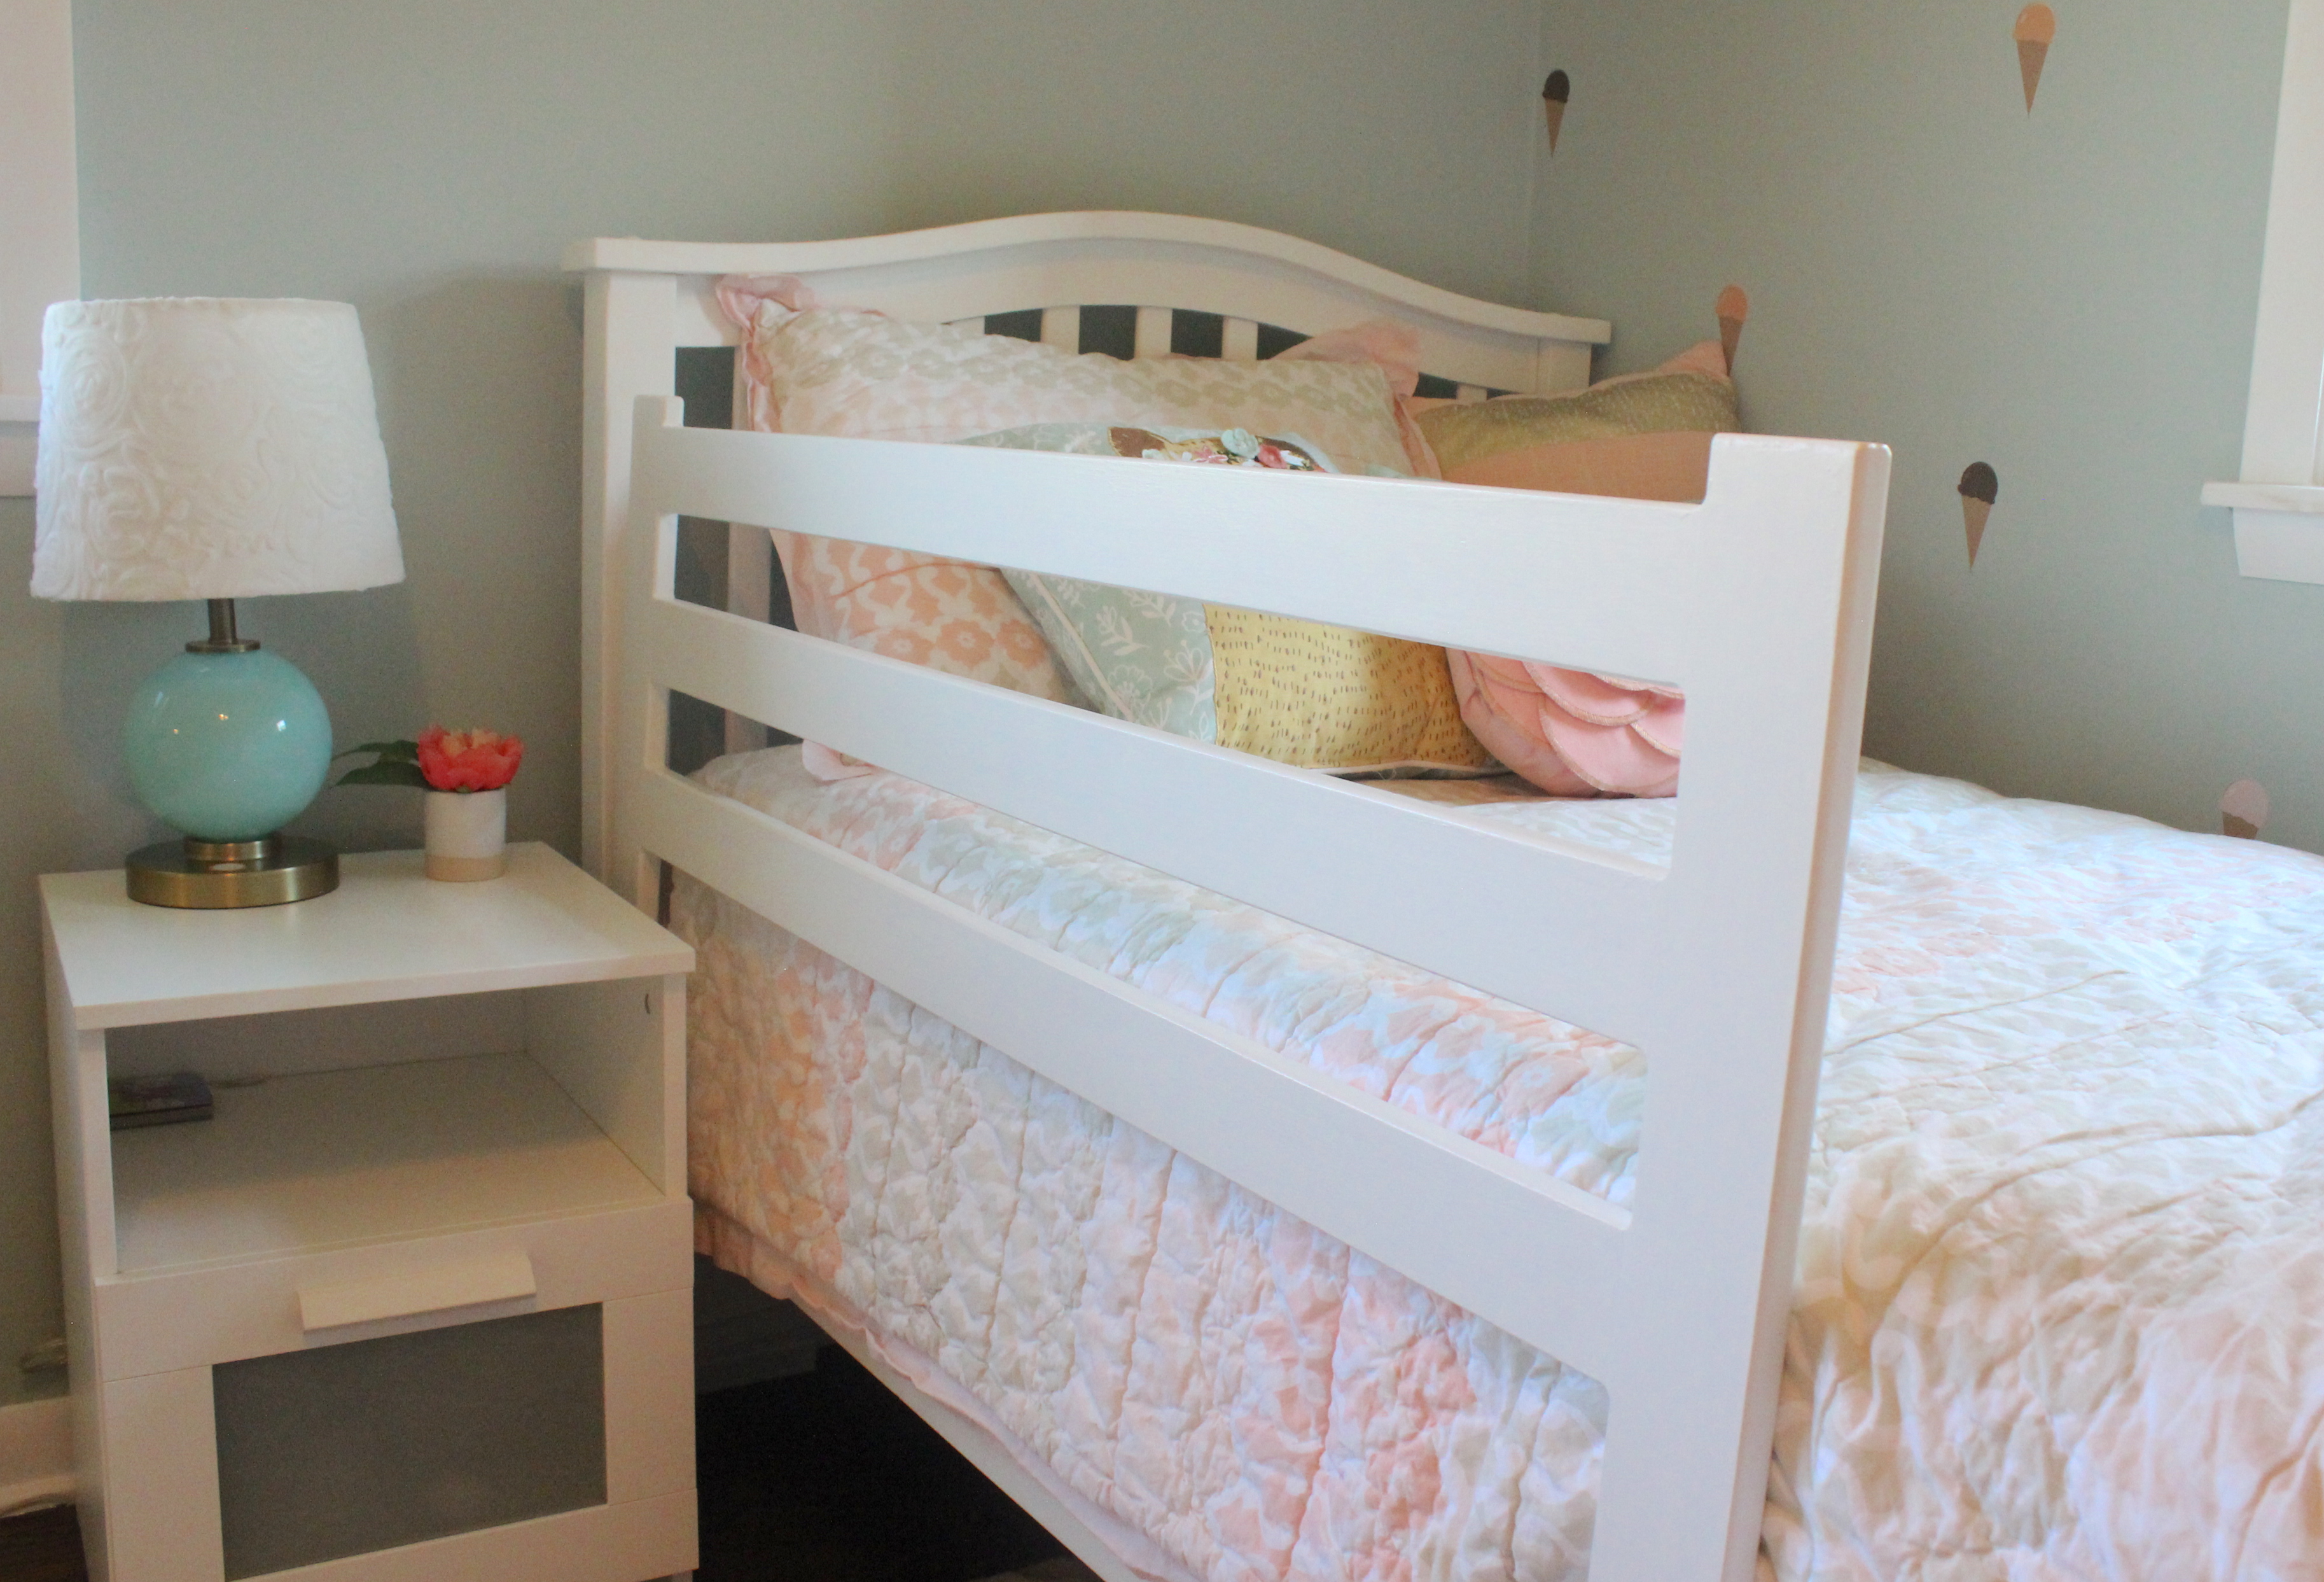
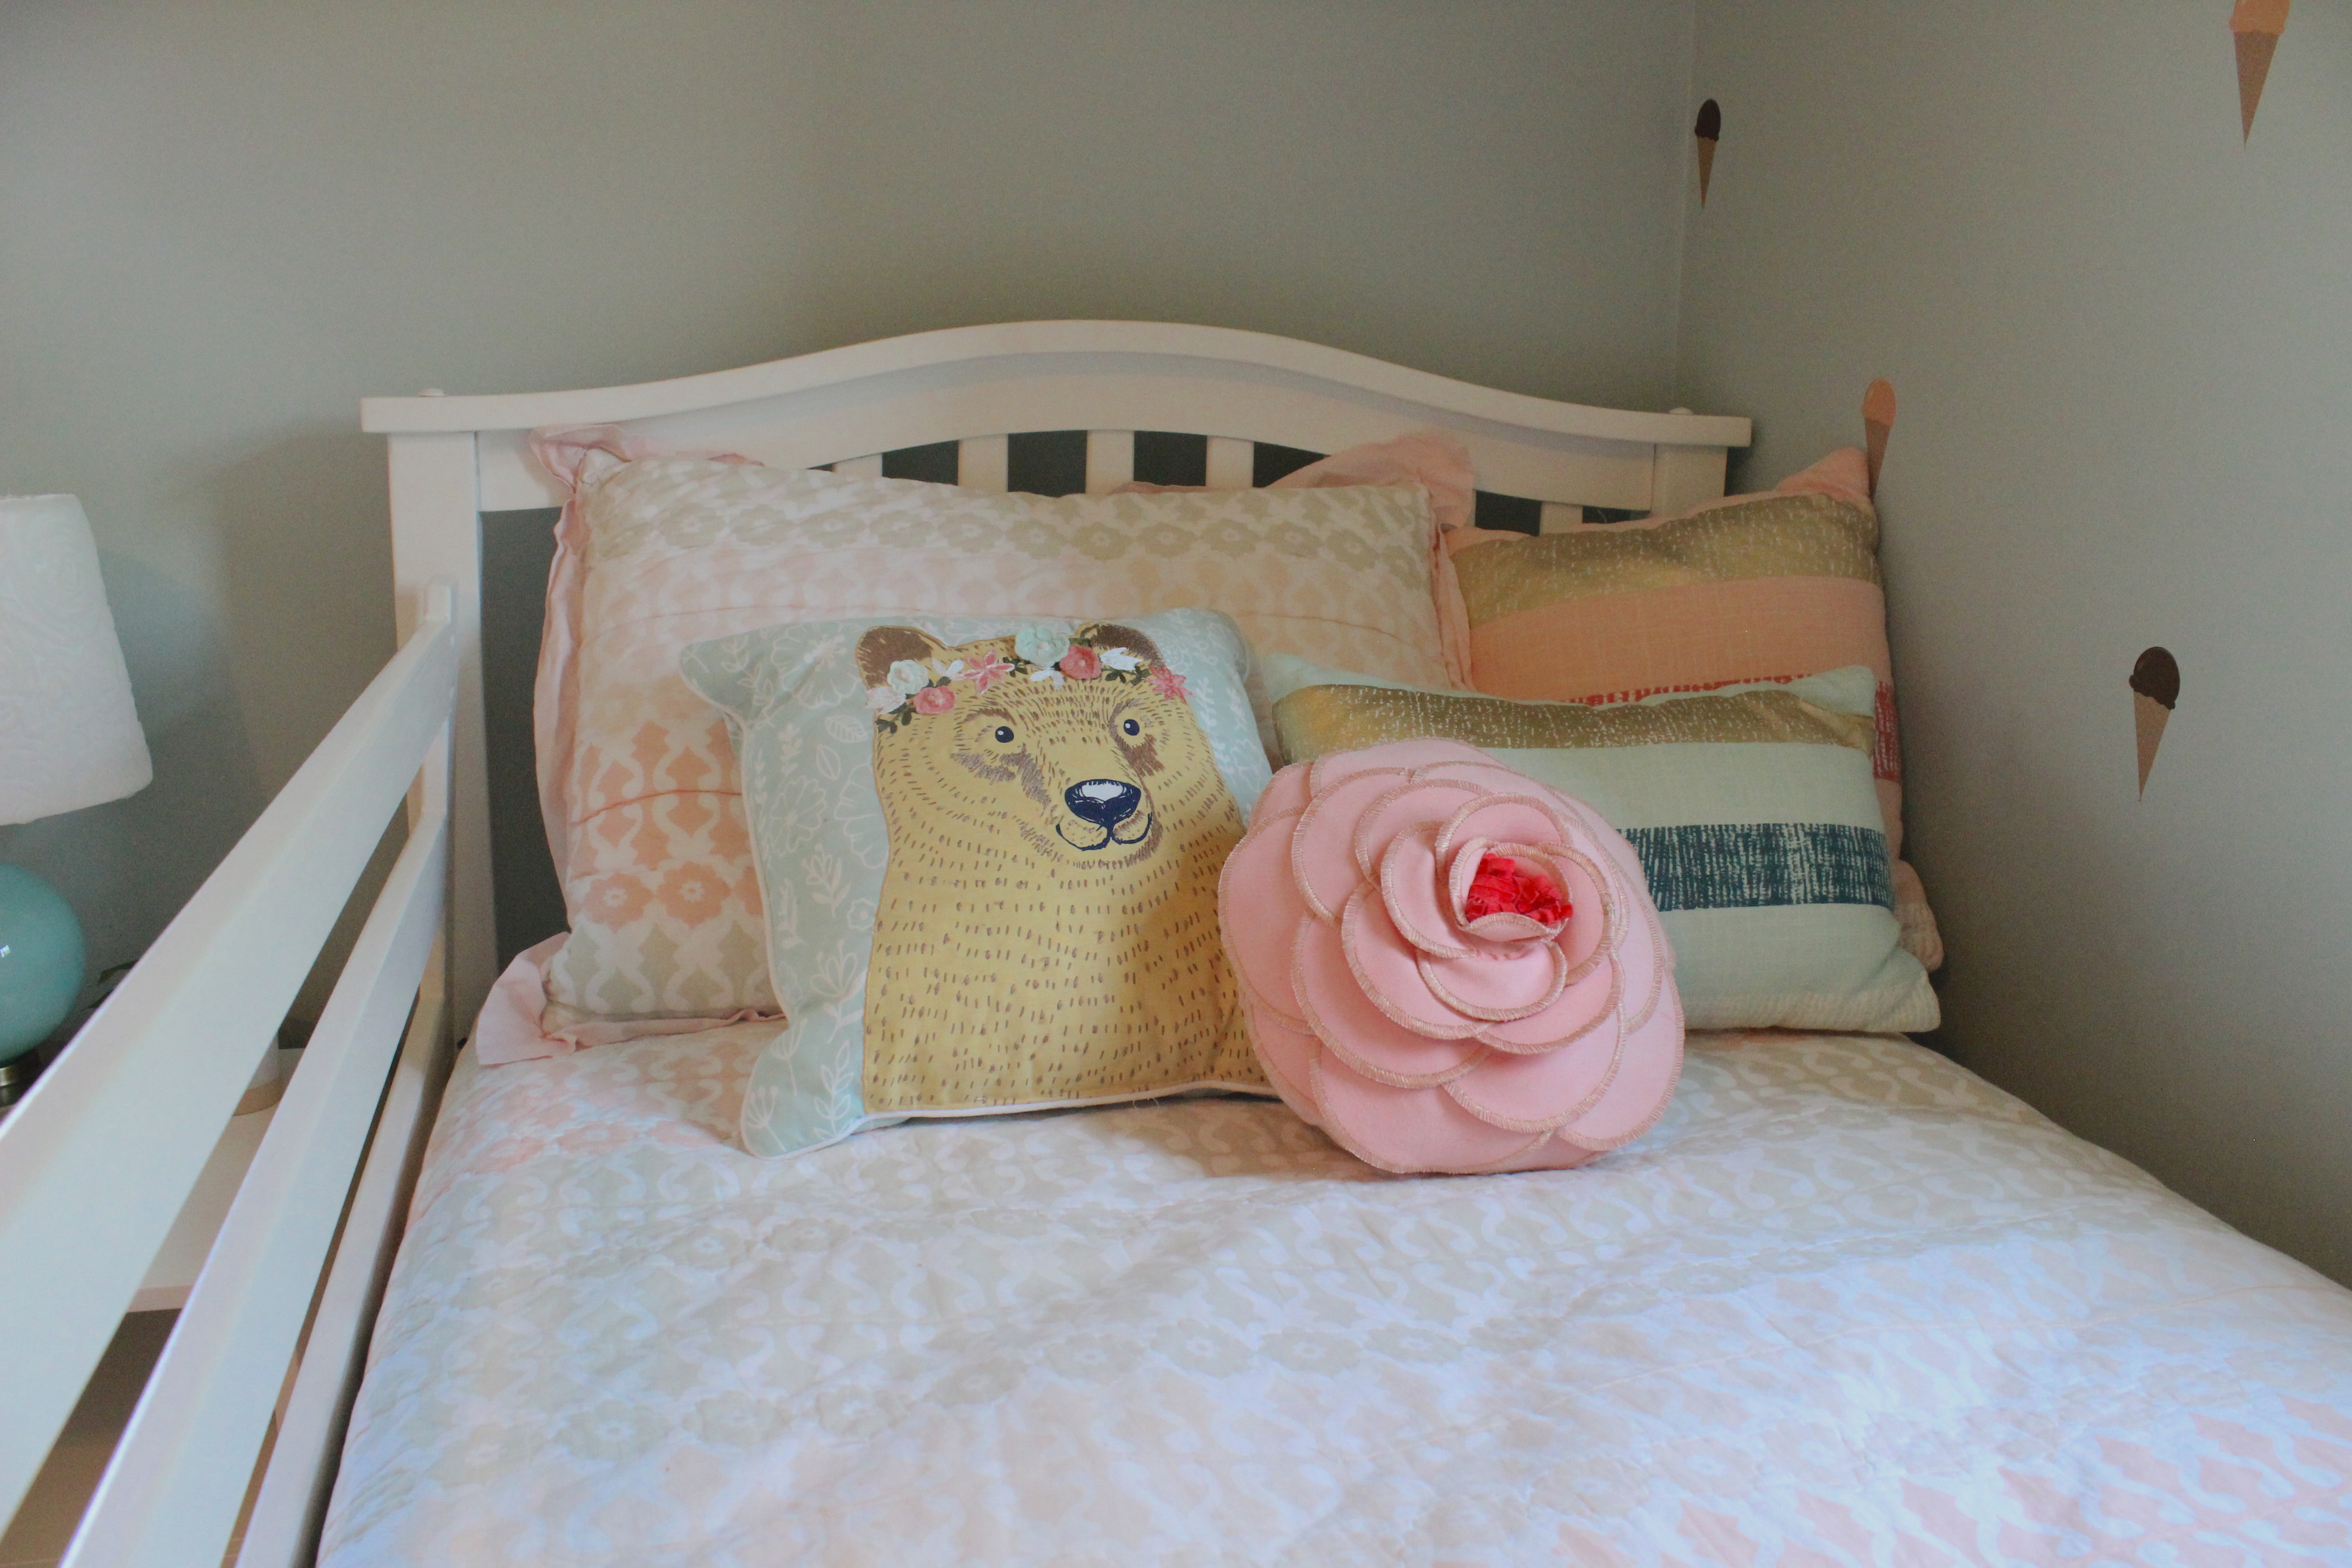
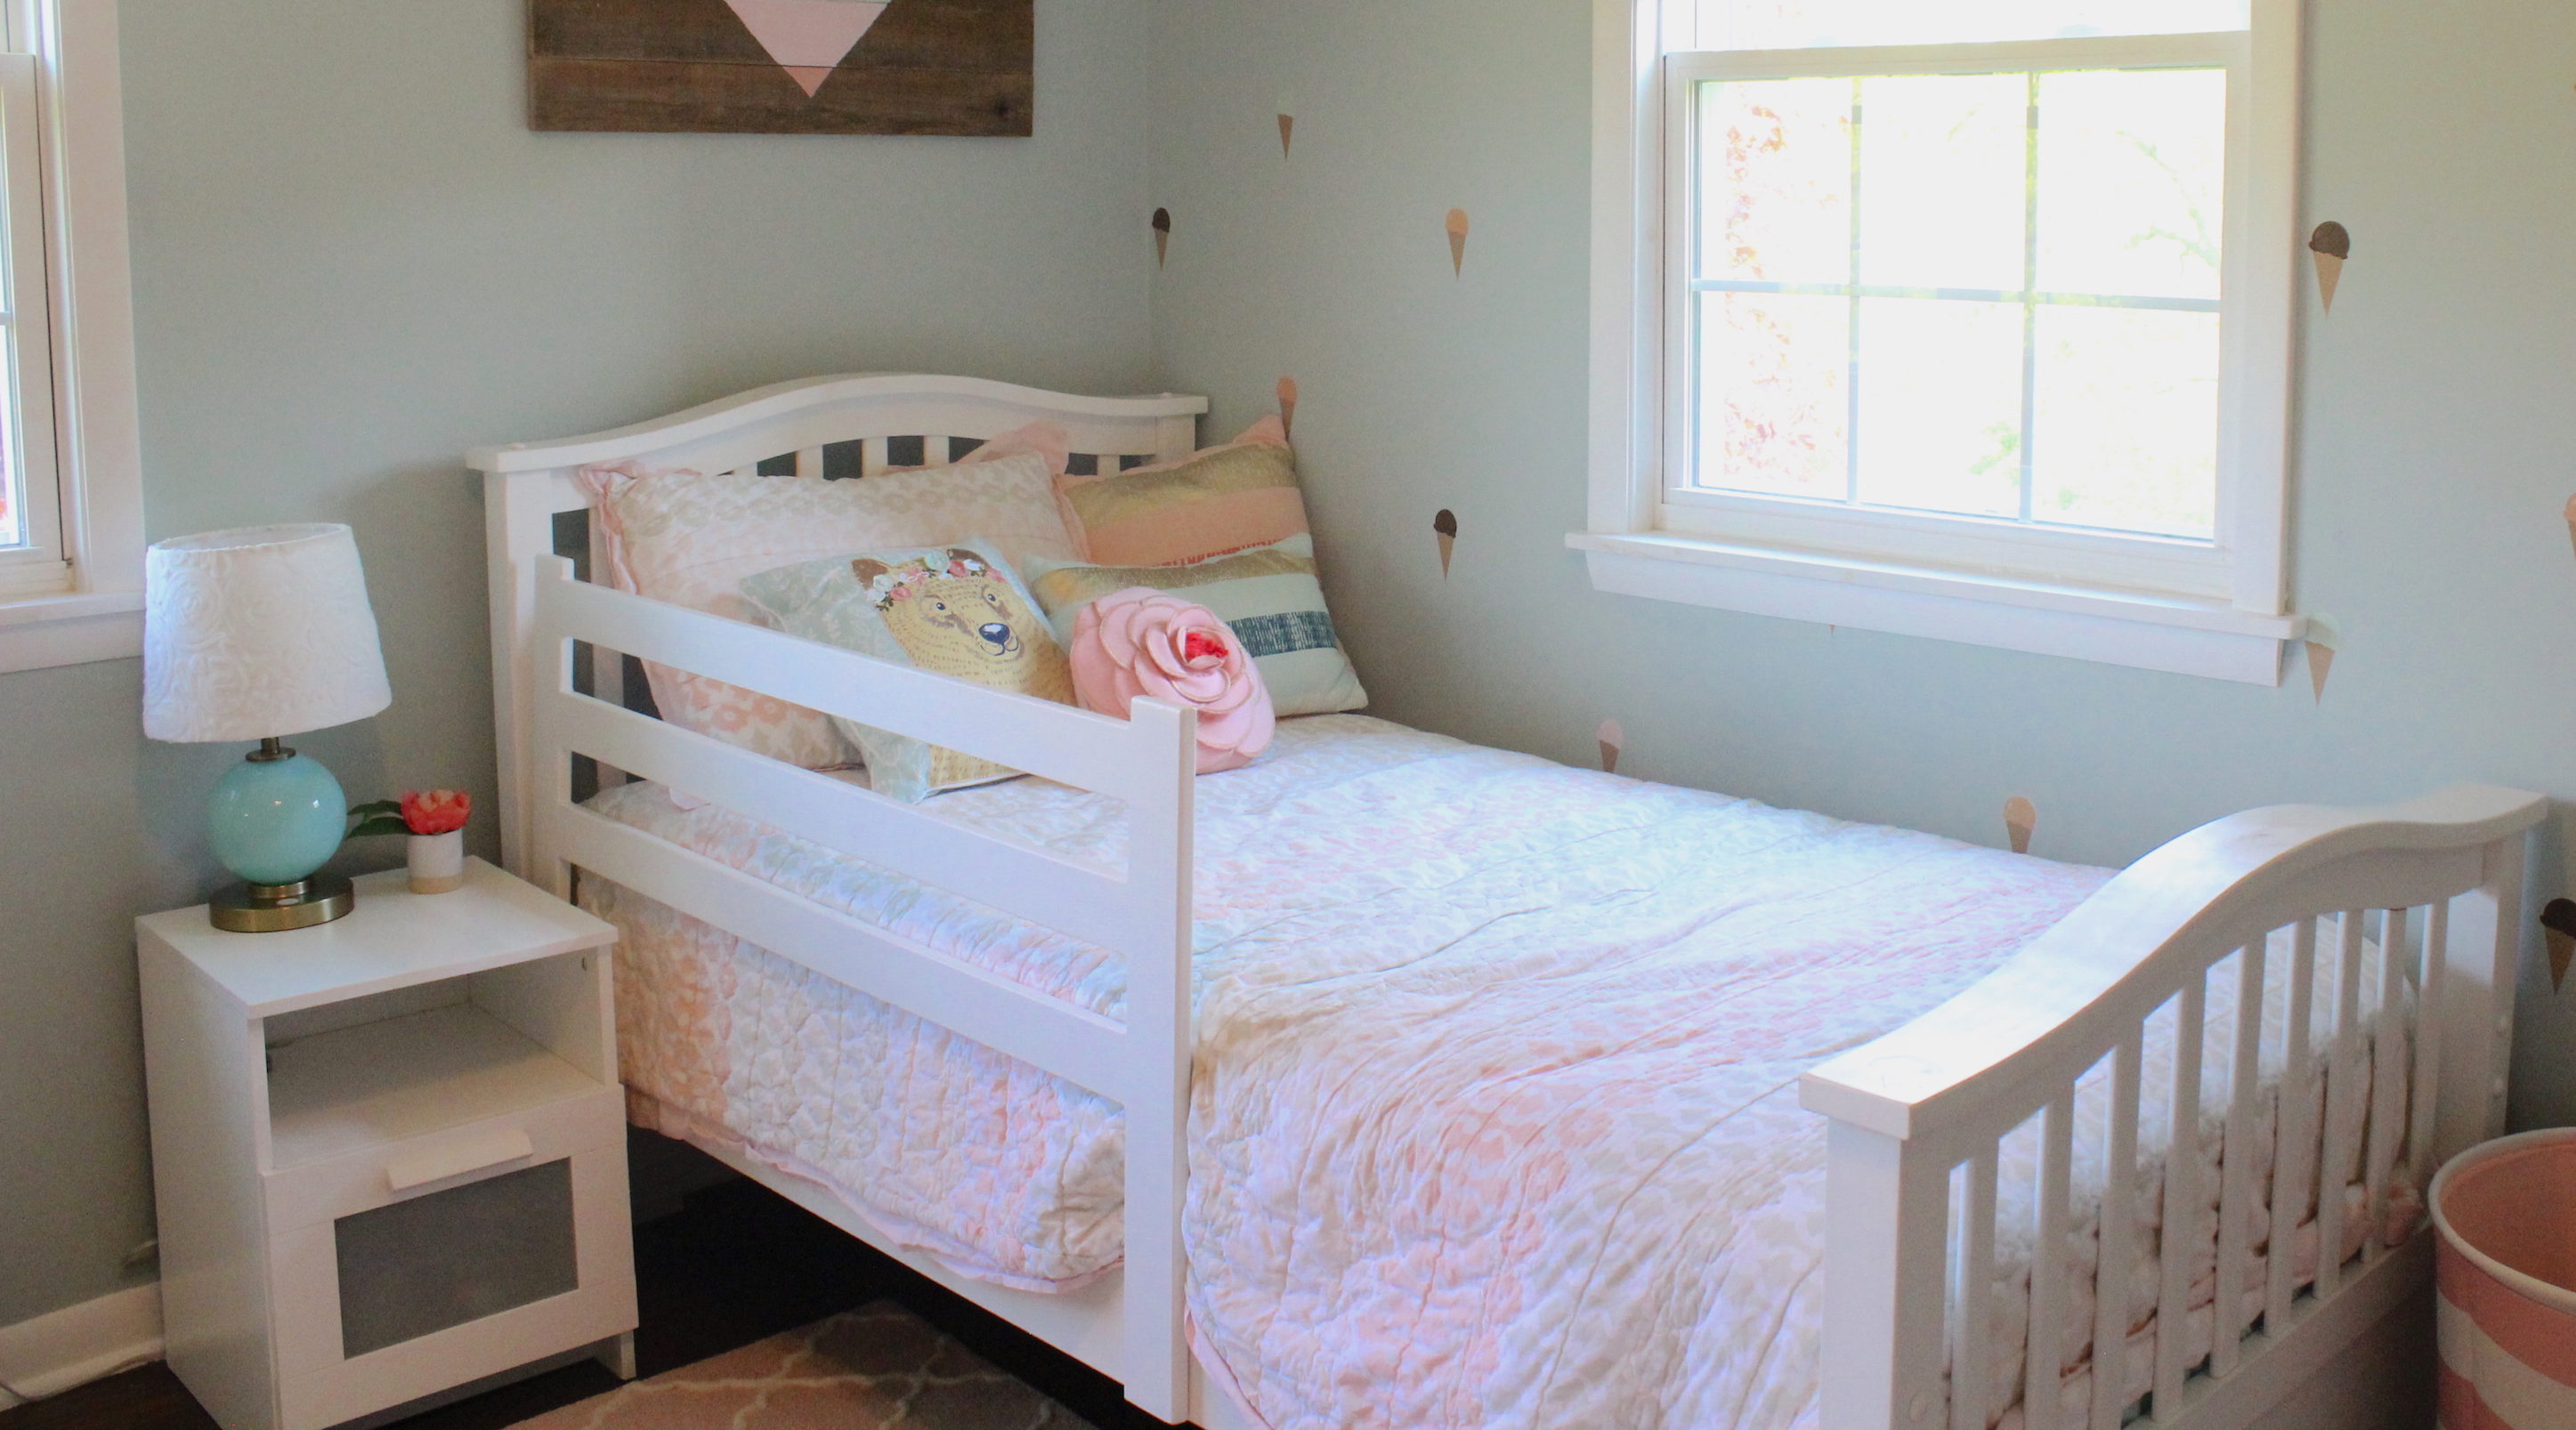
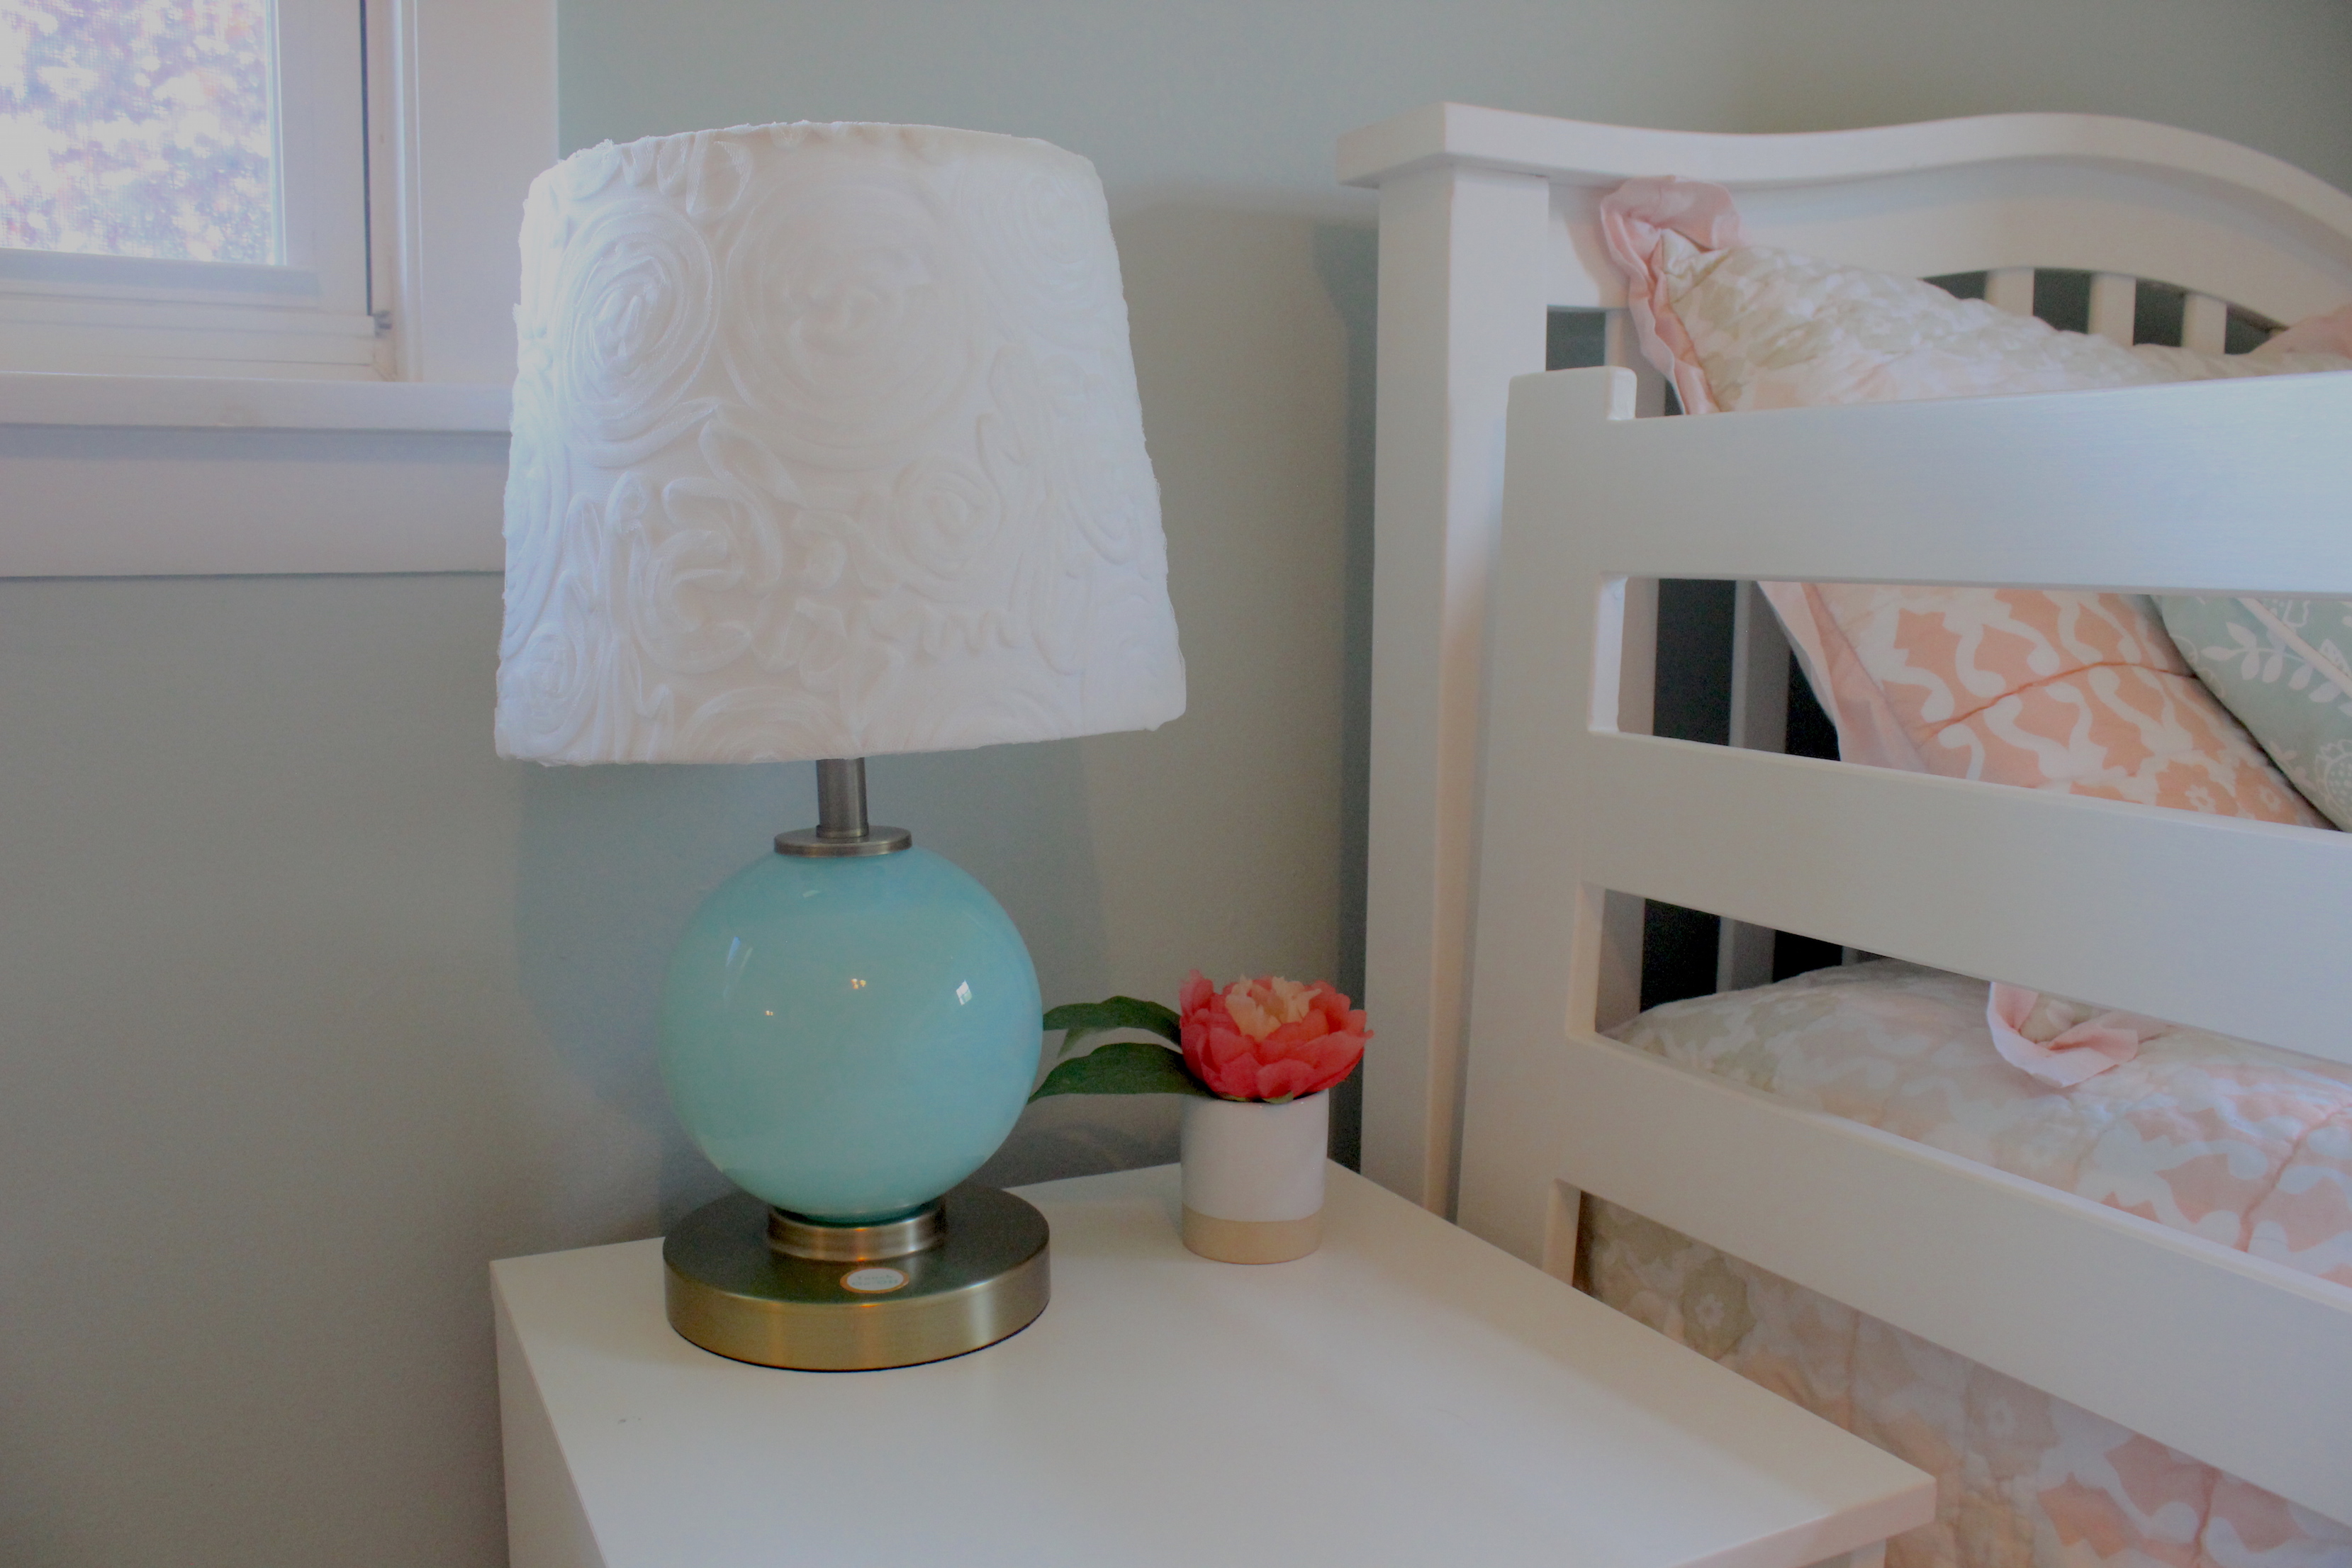
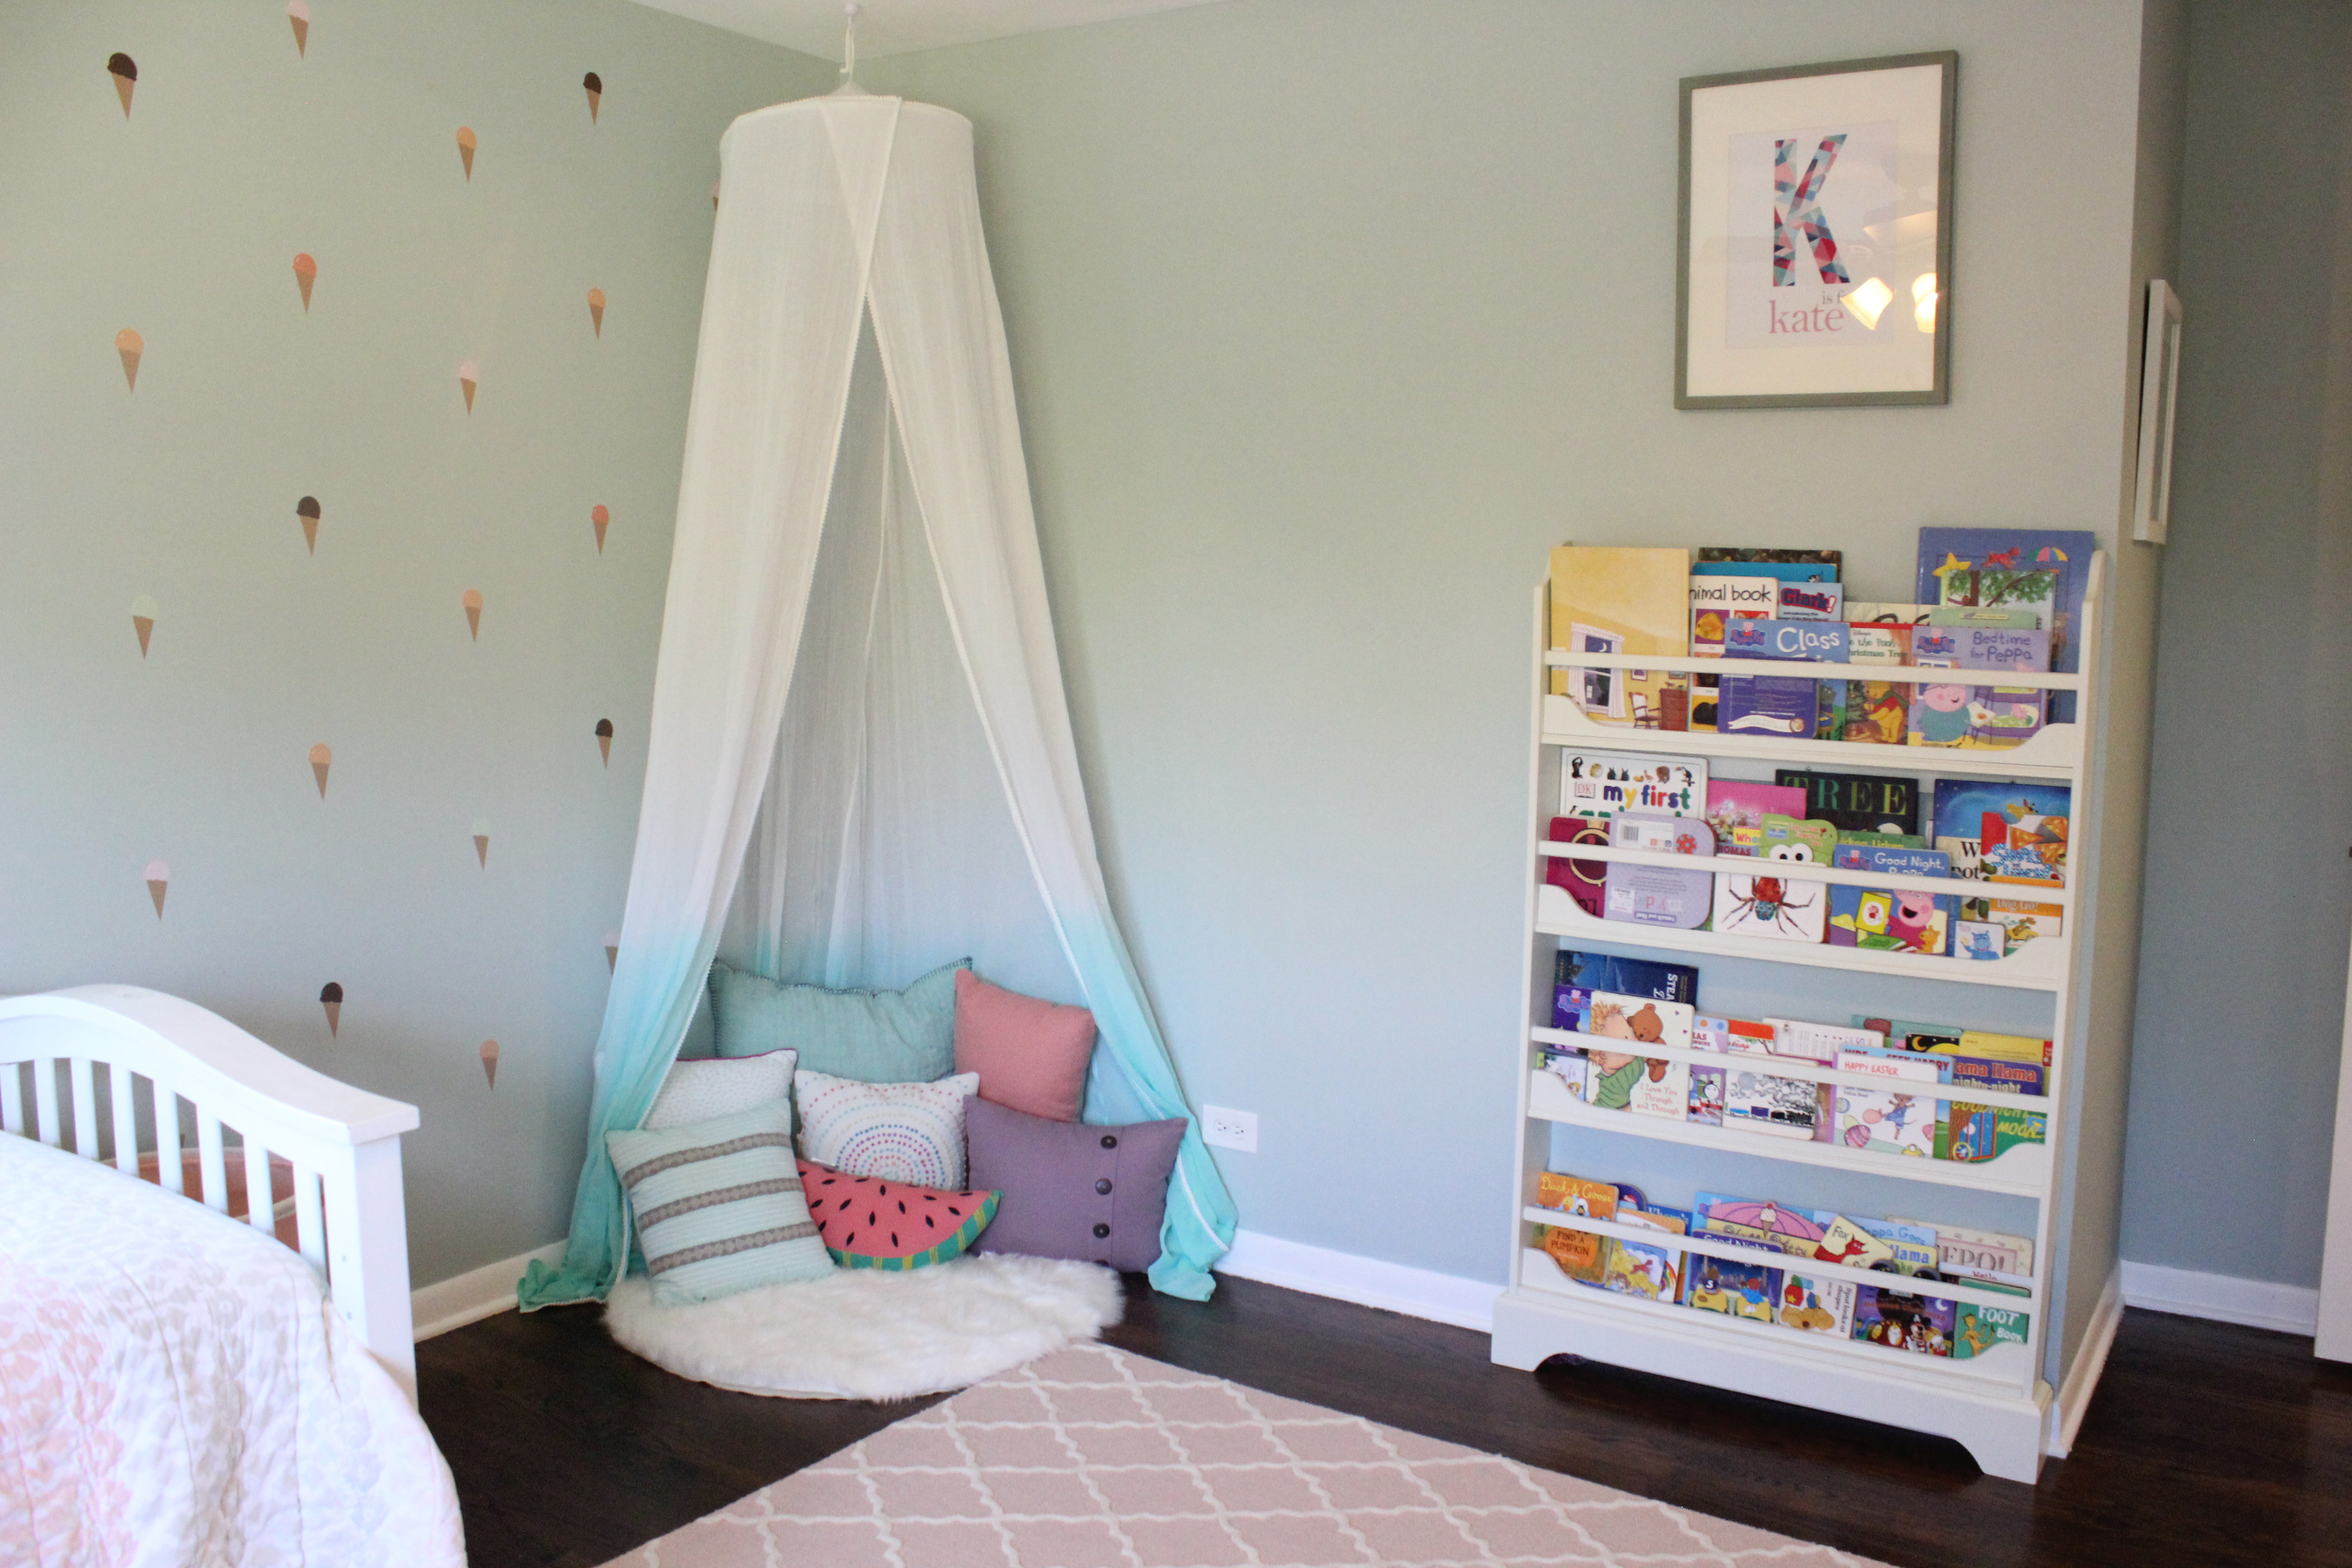
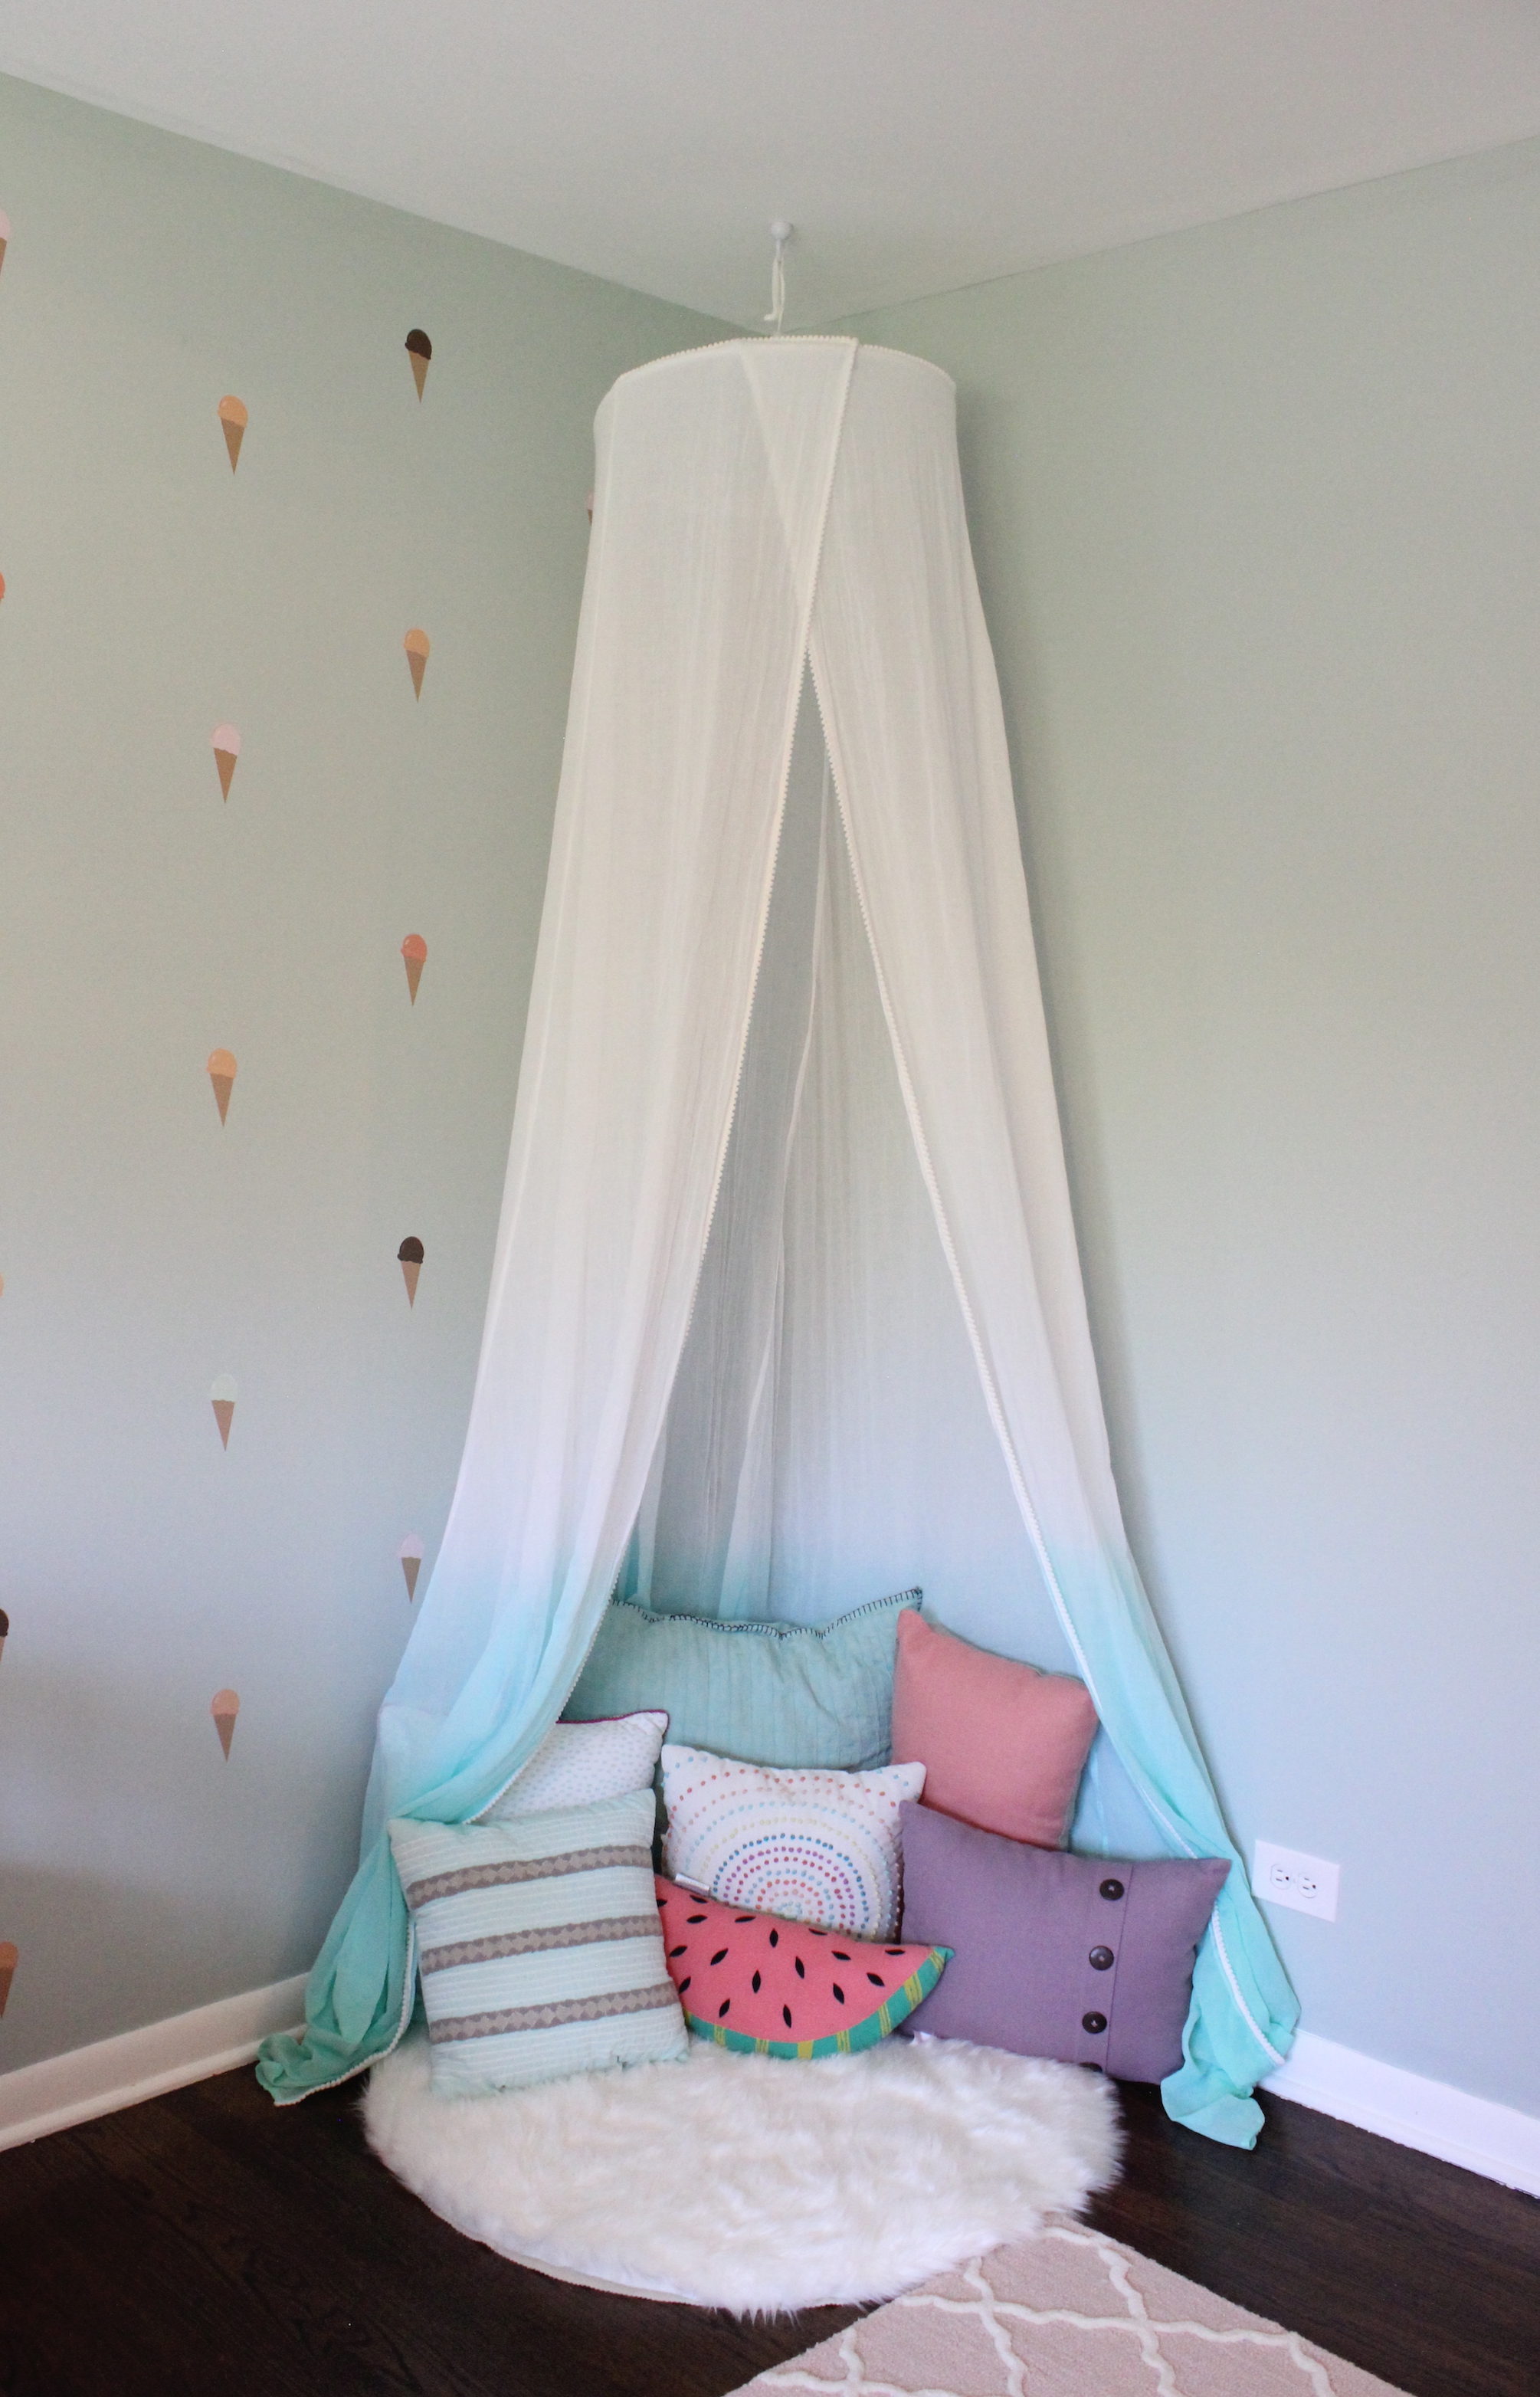
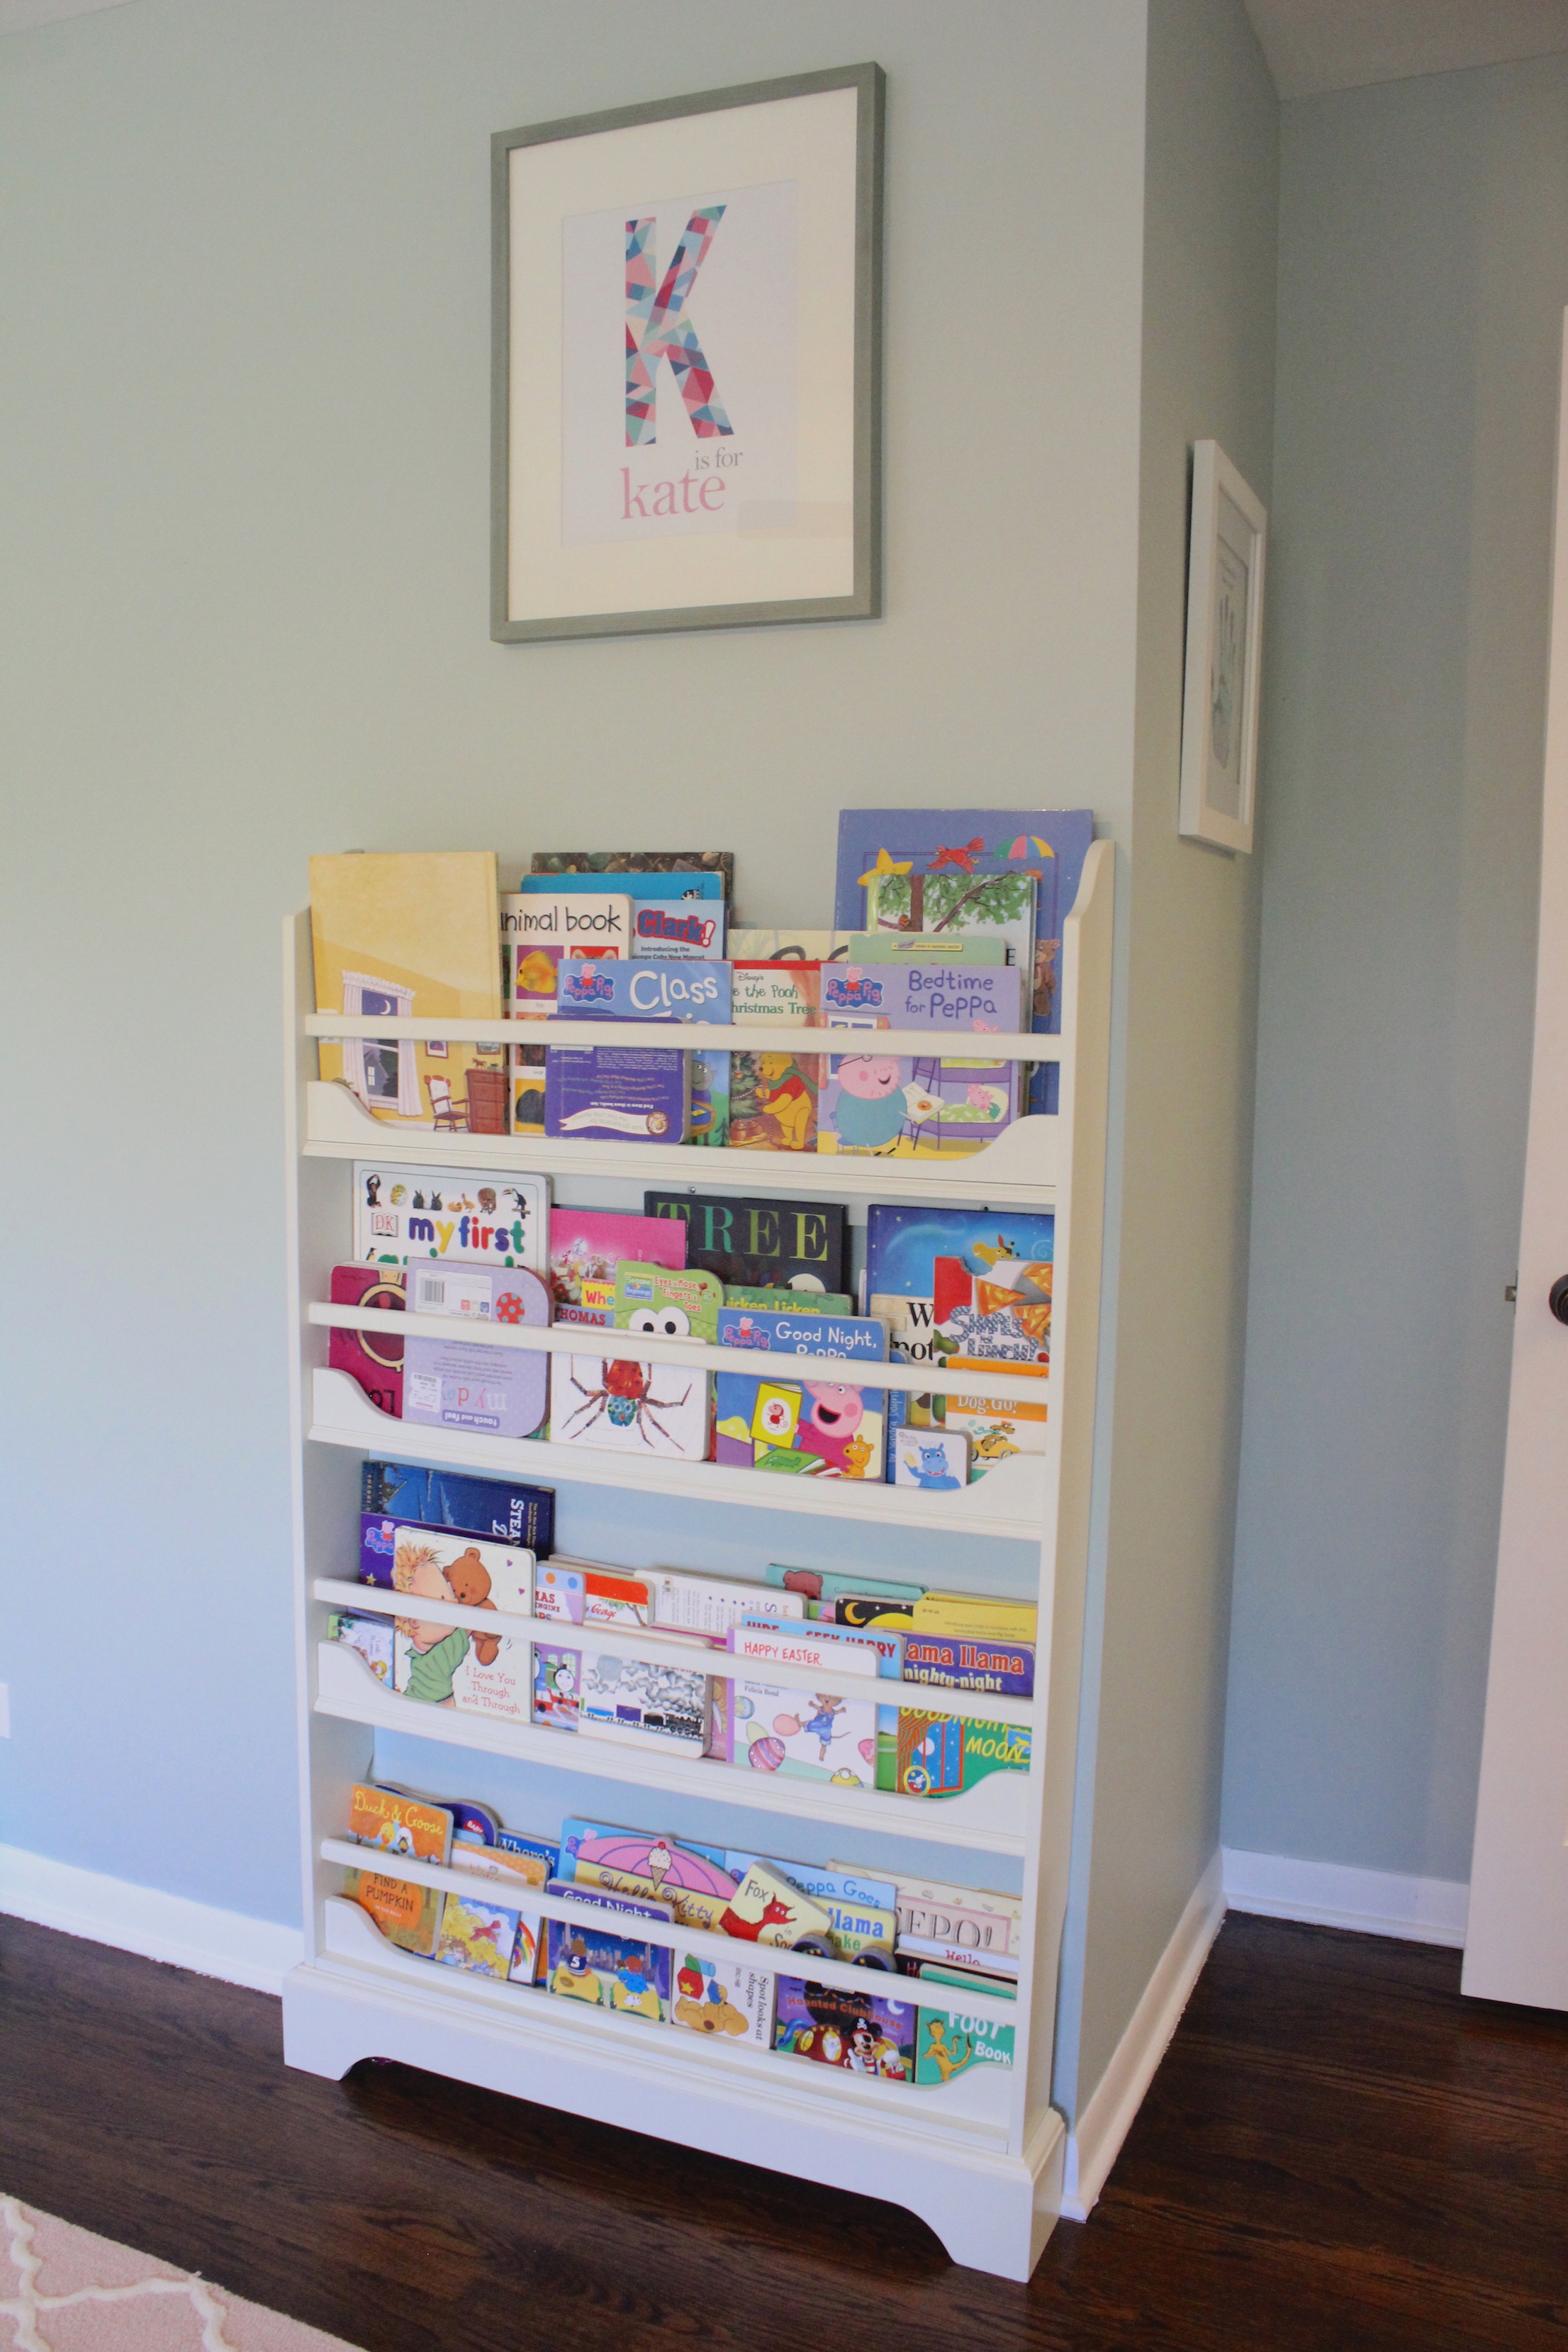
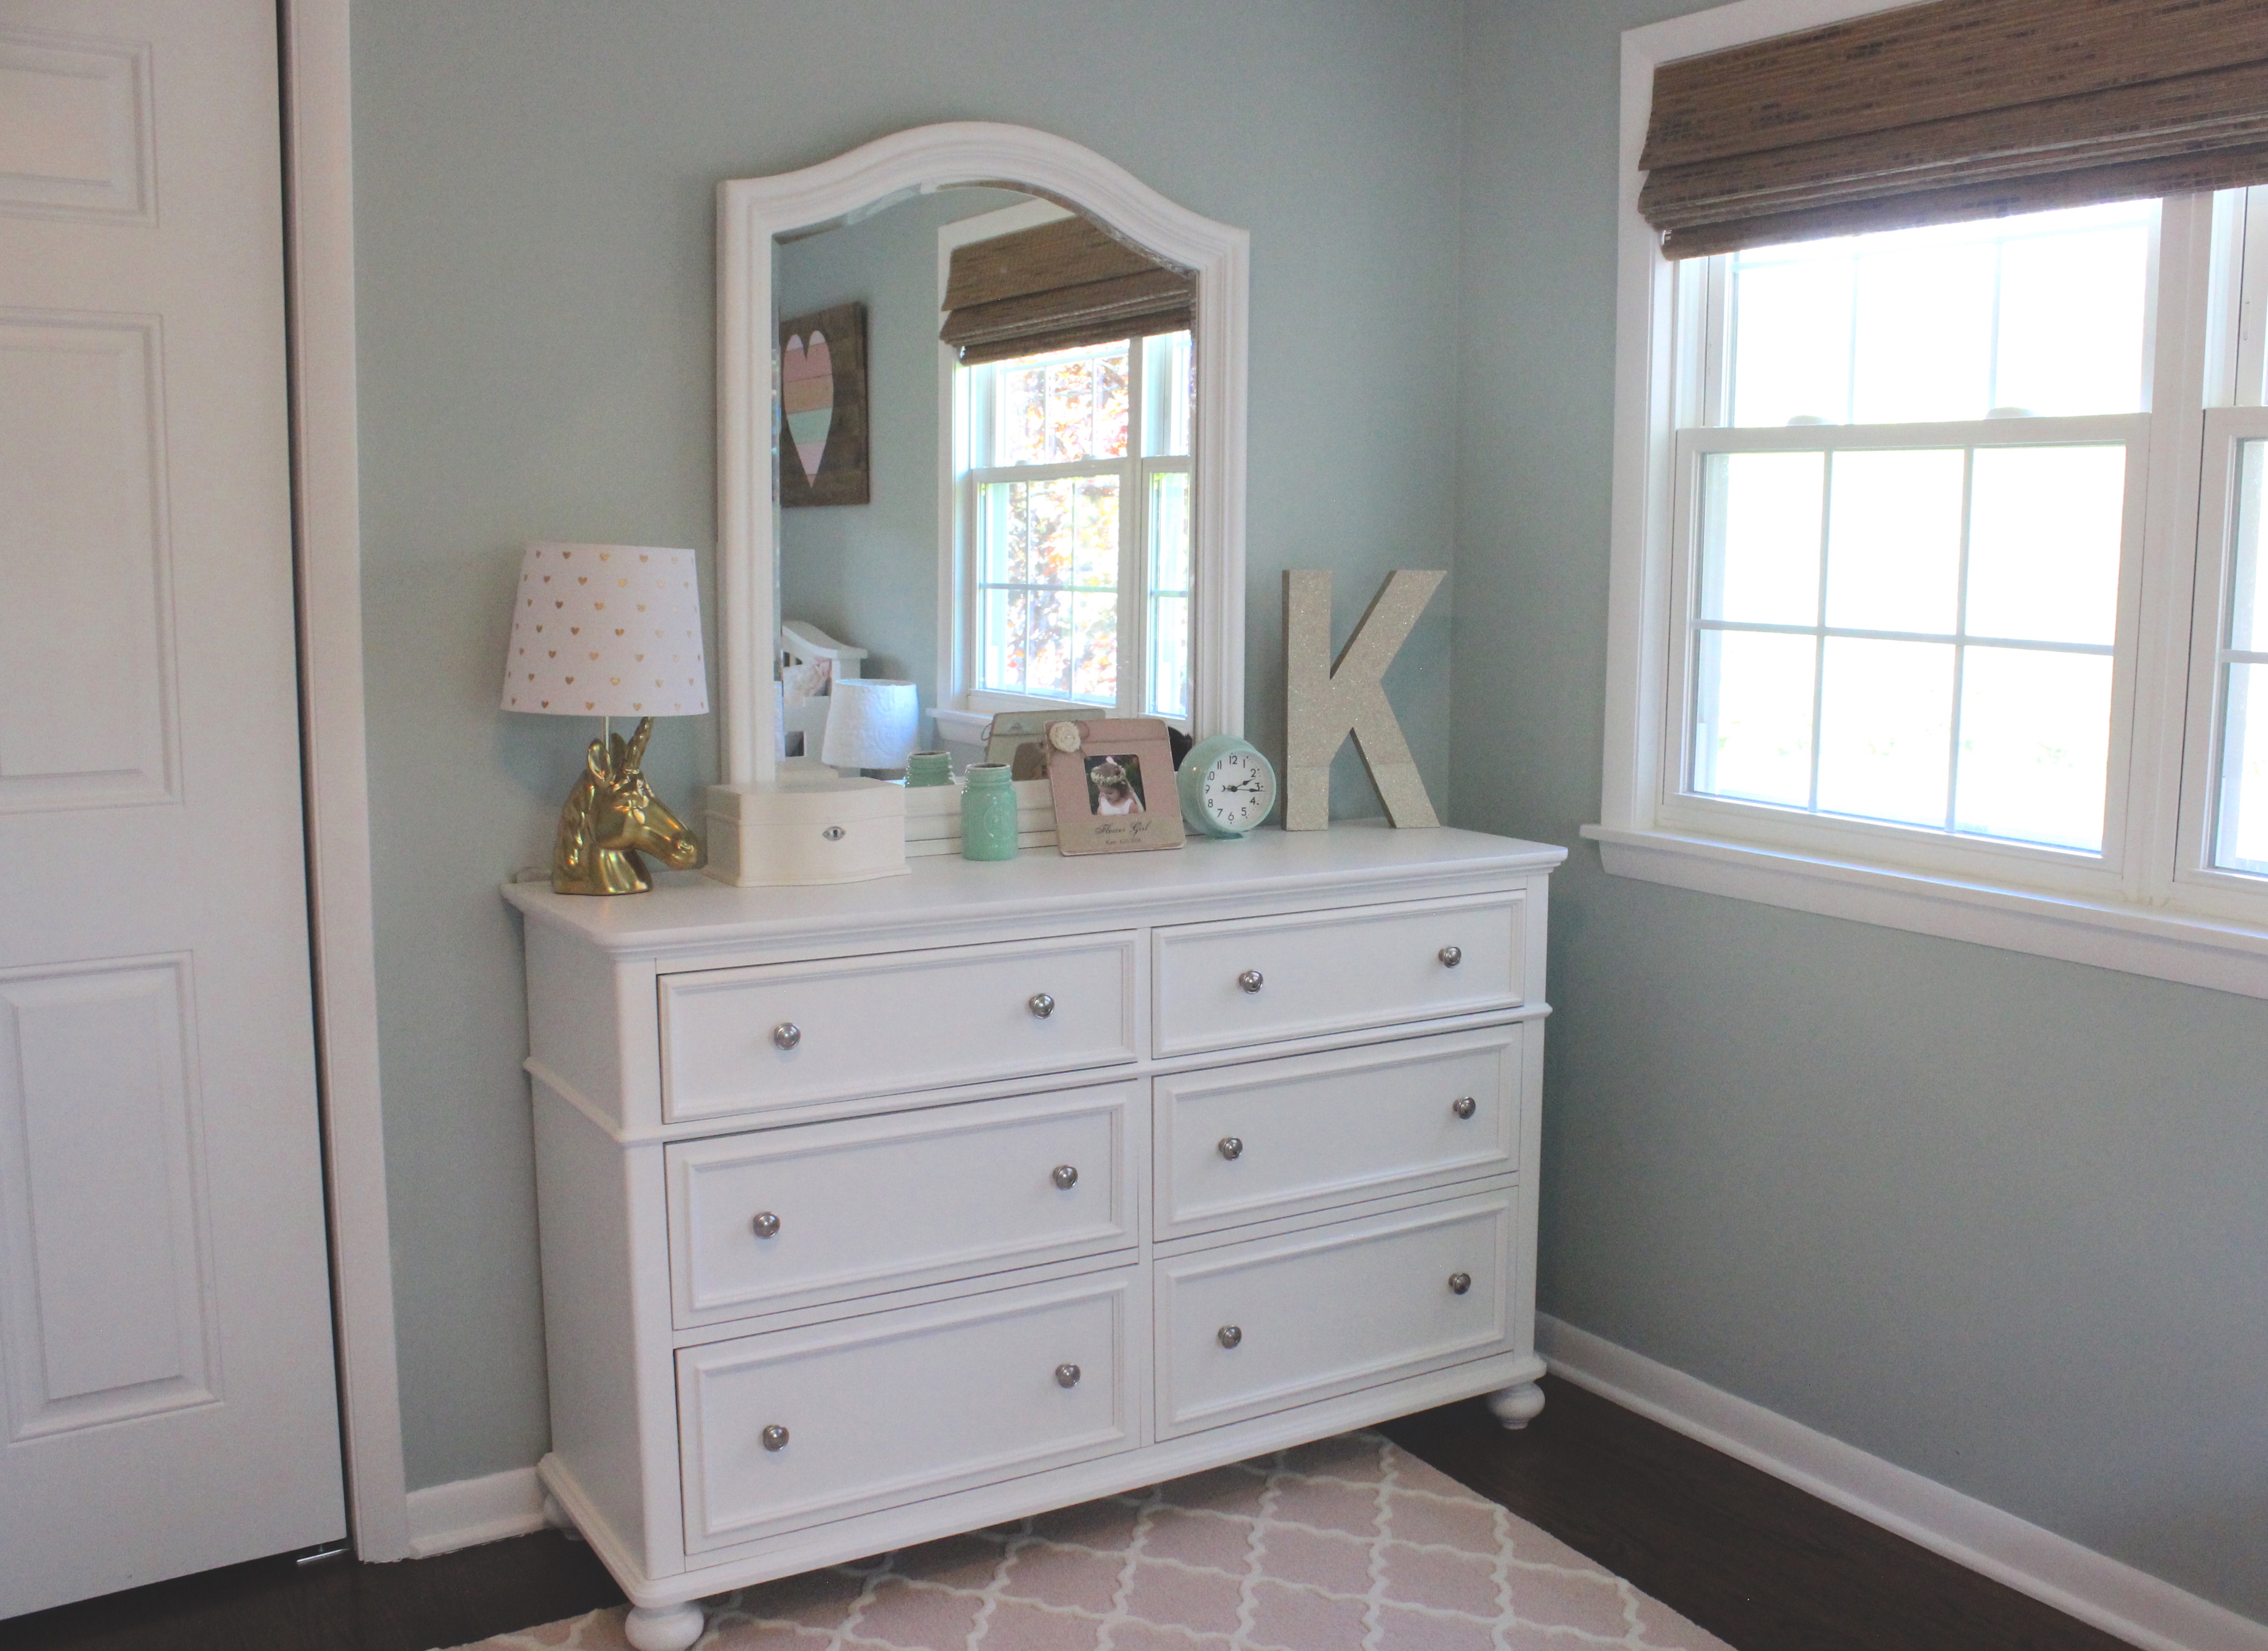
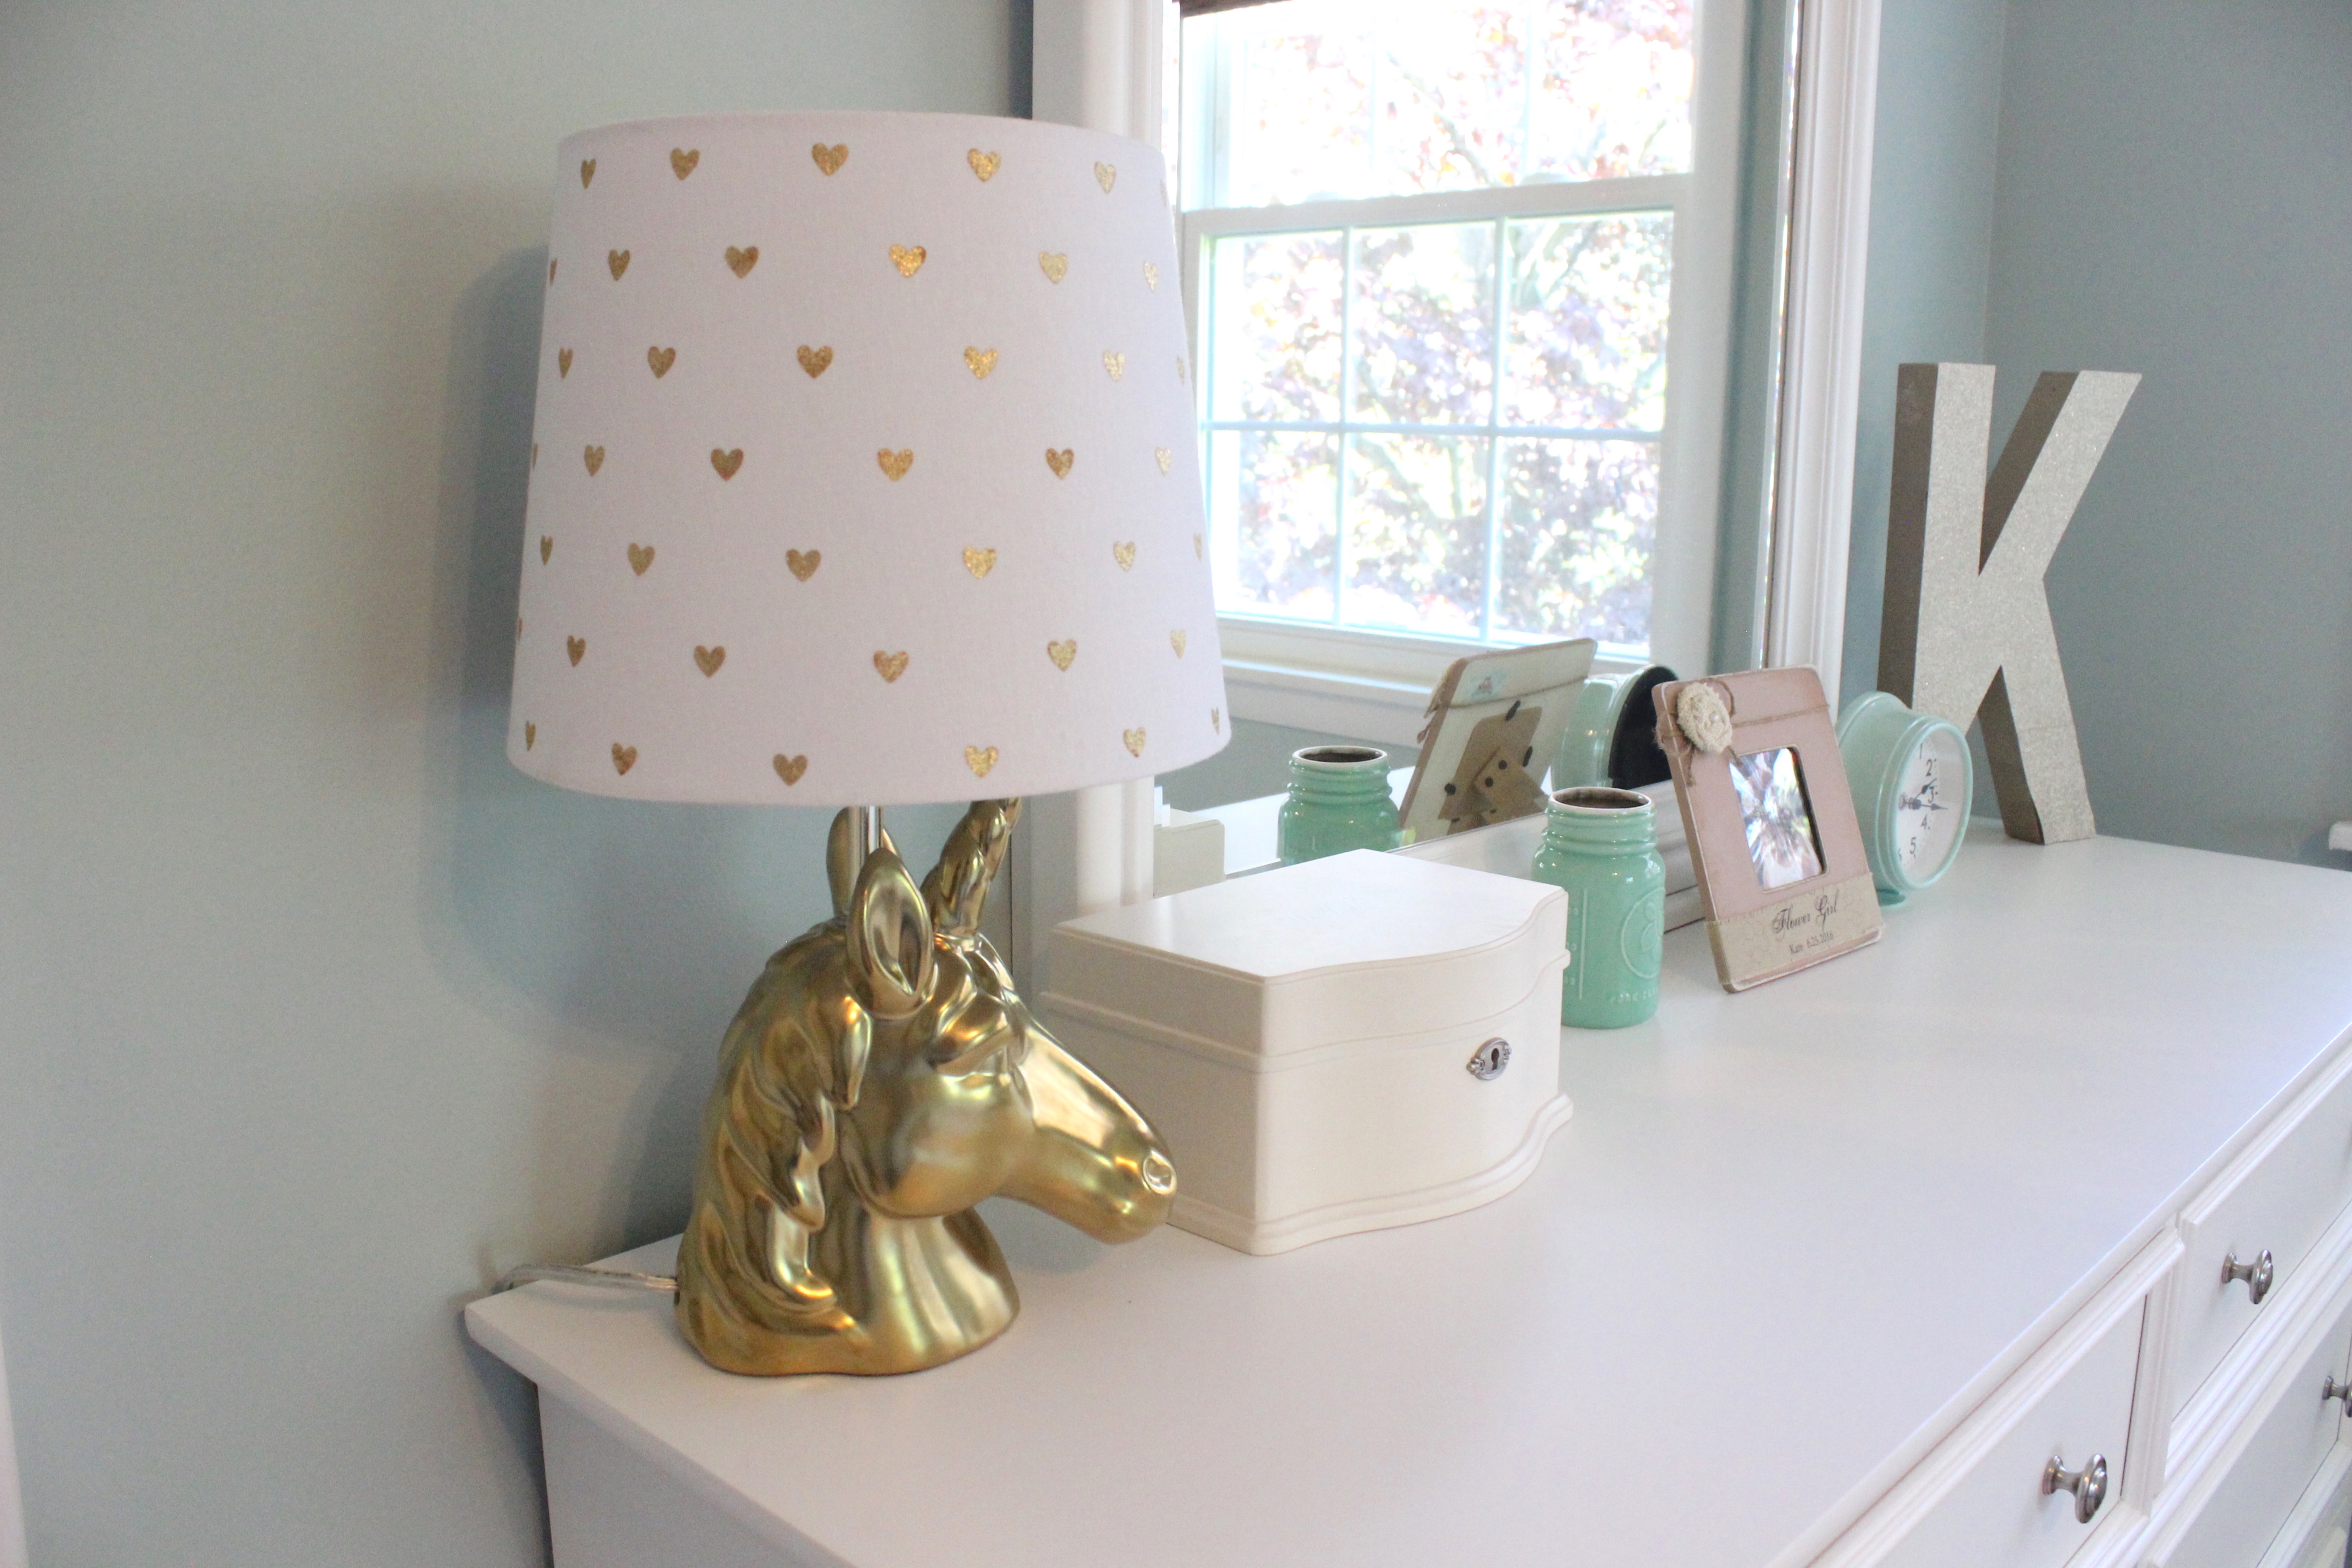
Another upstairs bedroom 5 years ago:

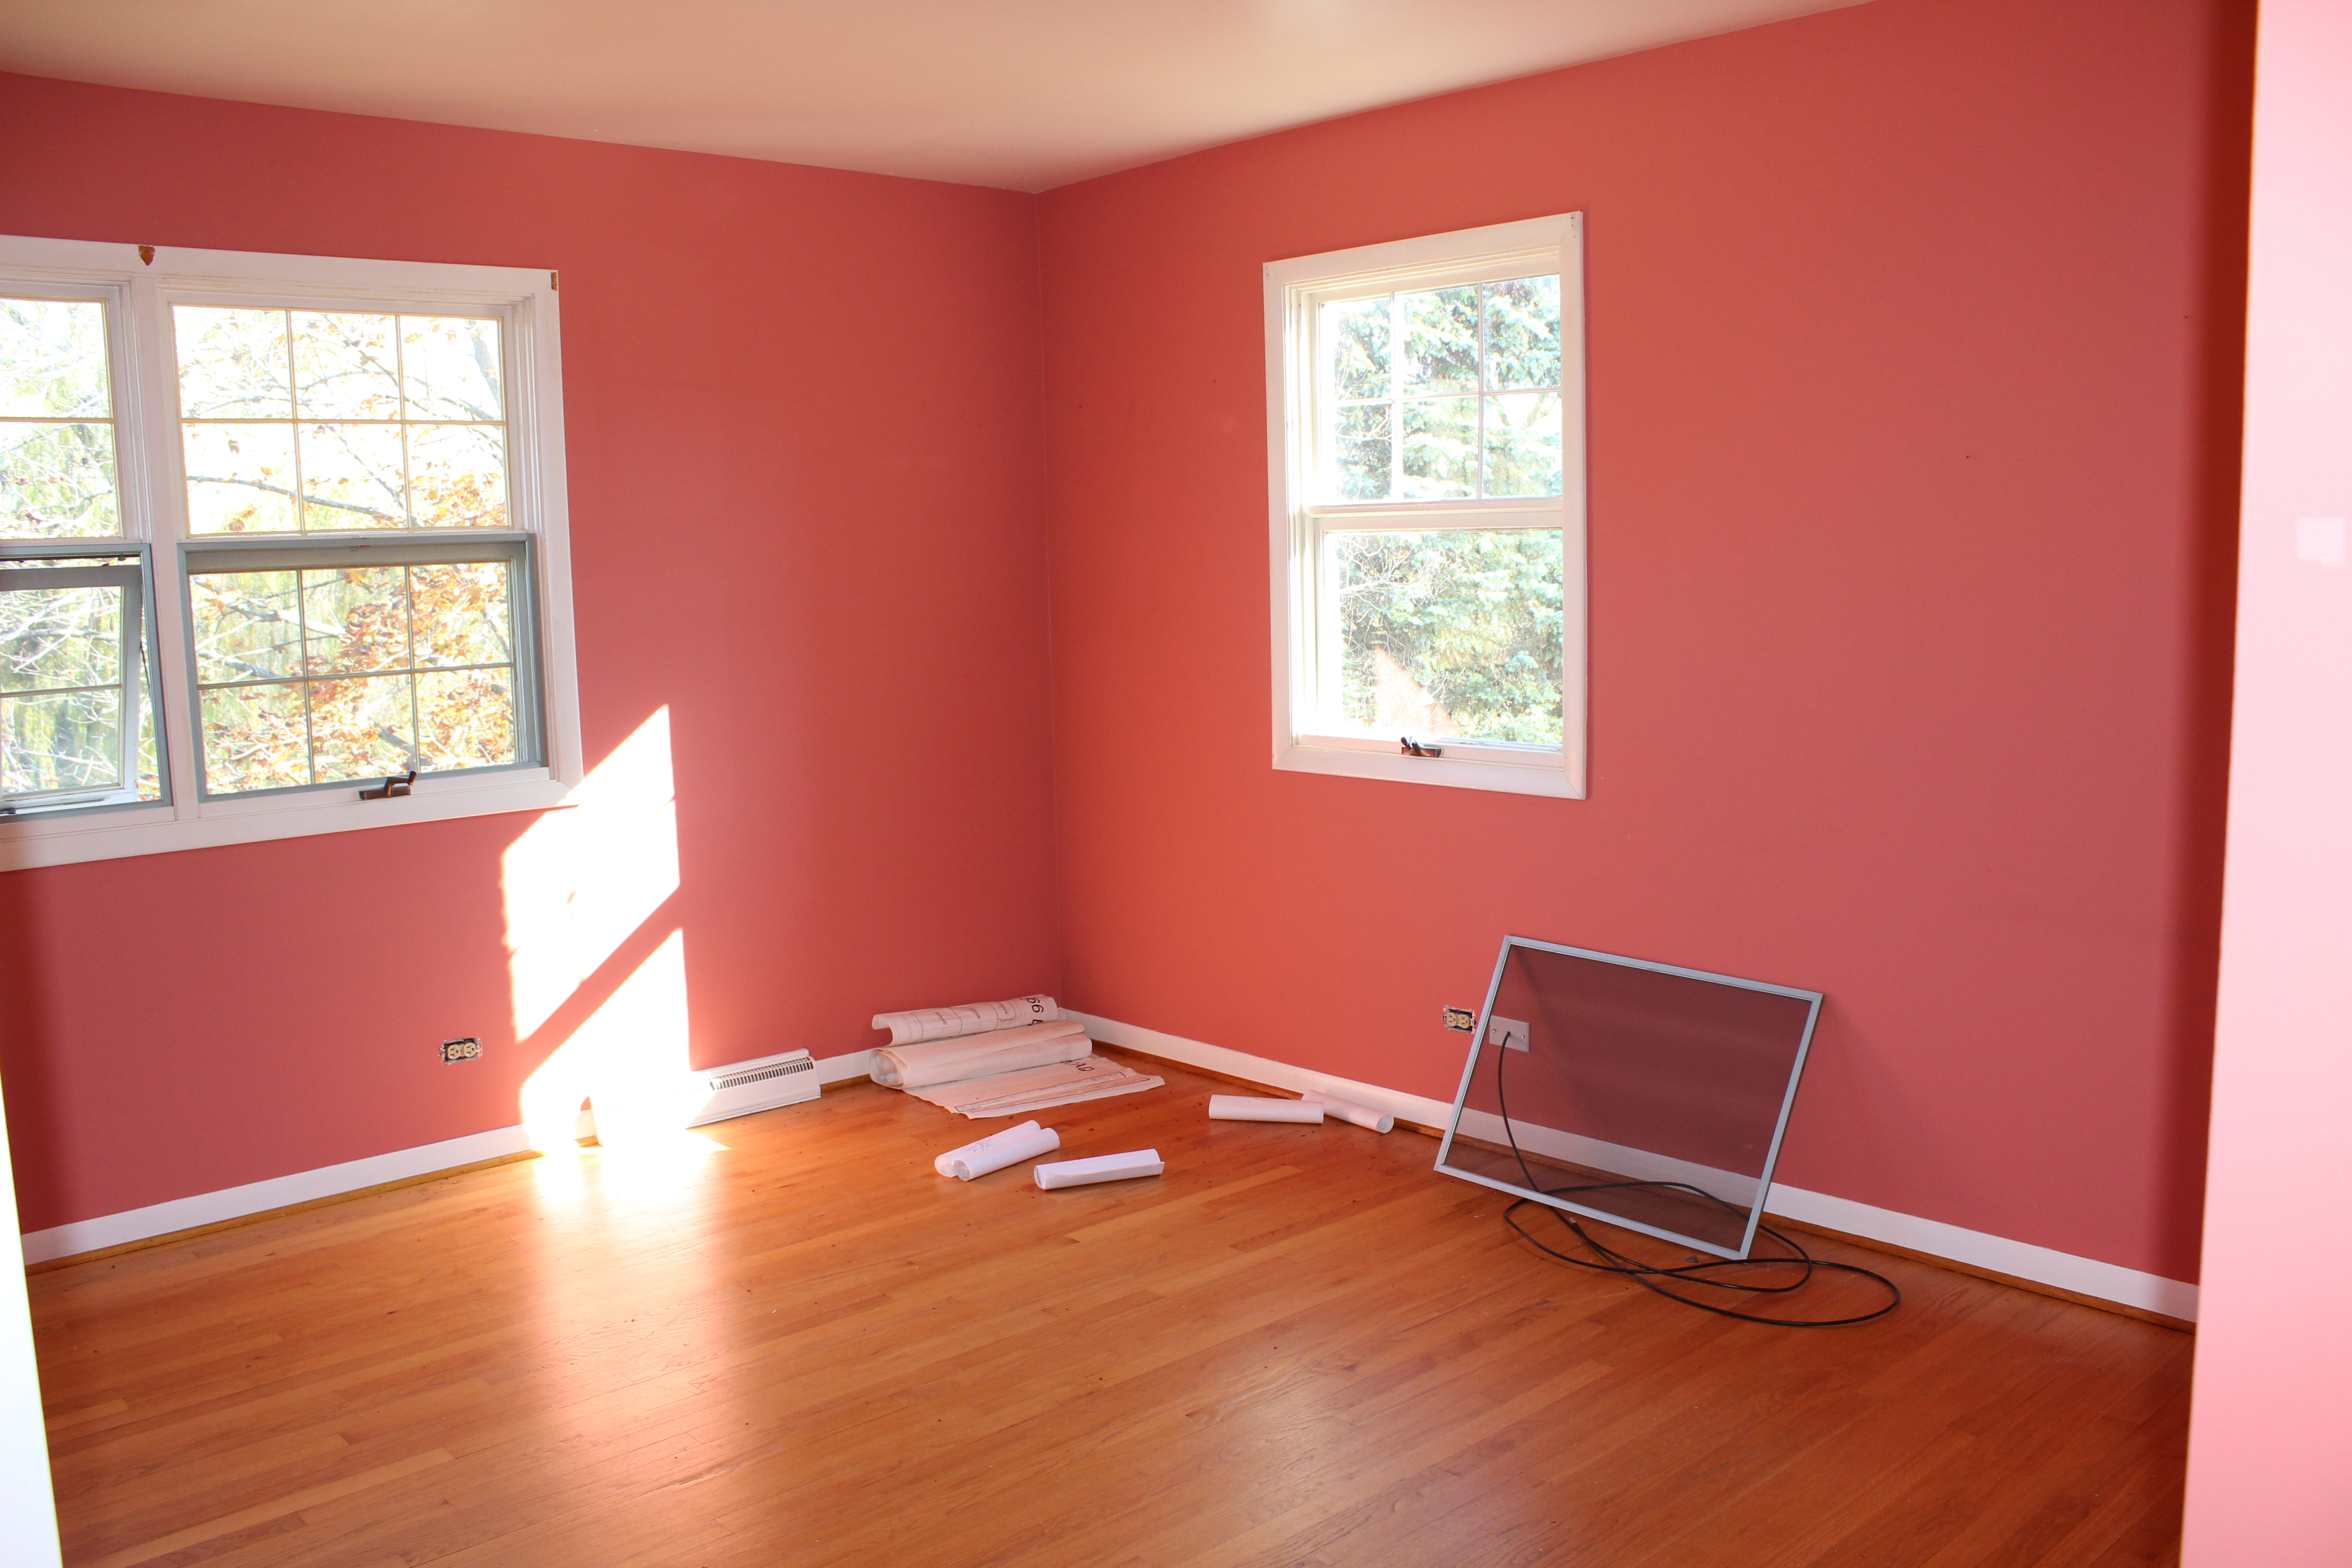
Is now our daughter’s “big girl” room:

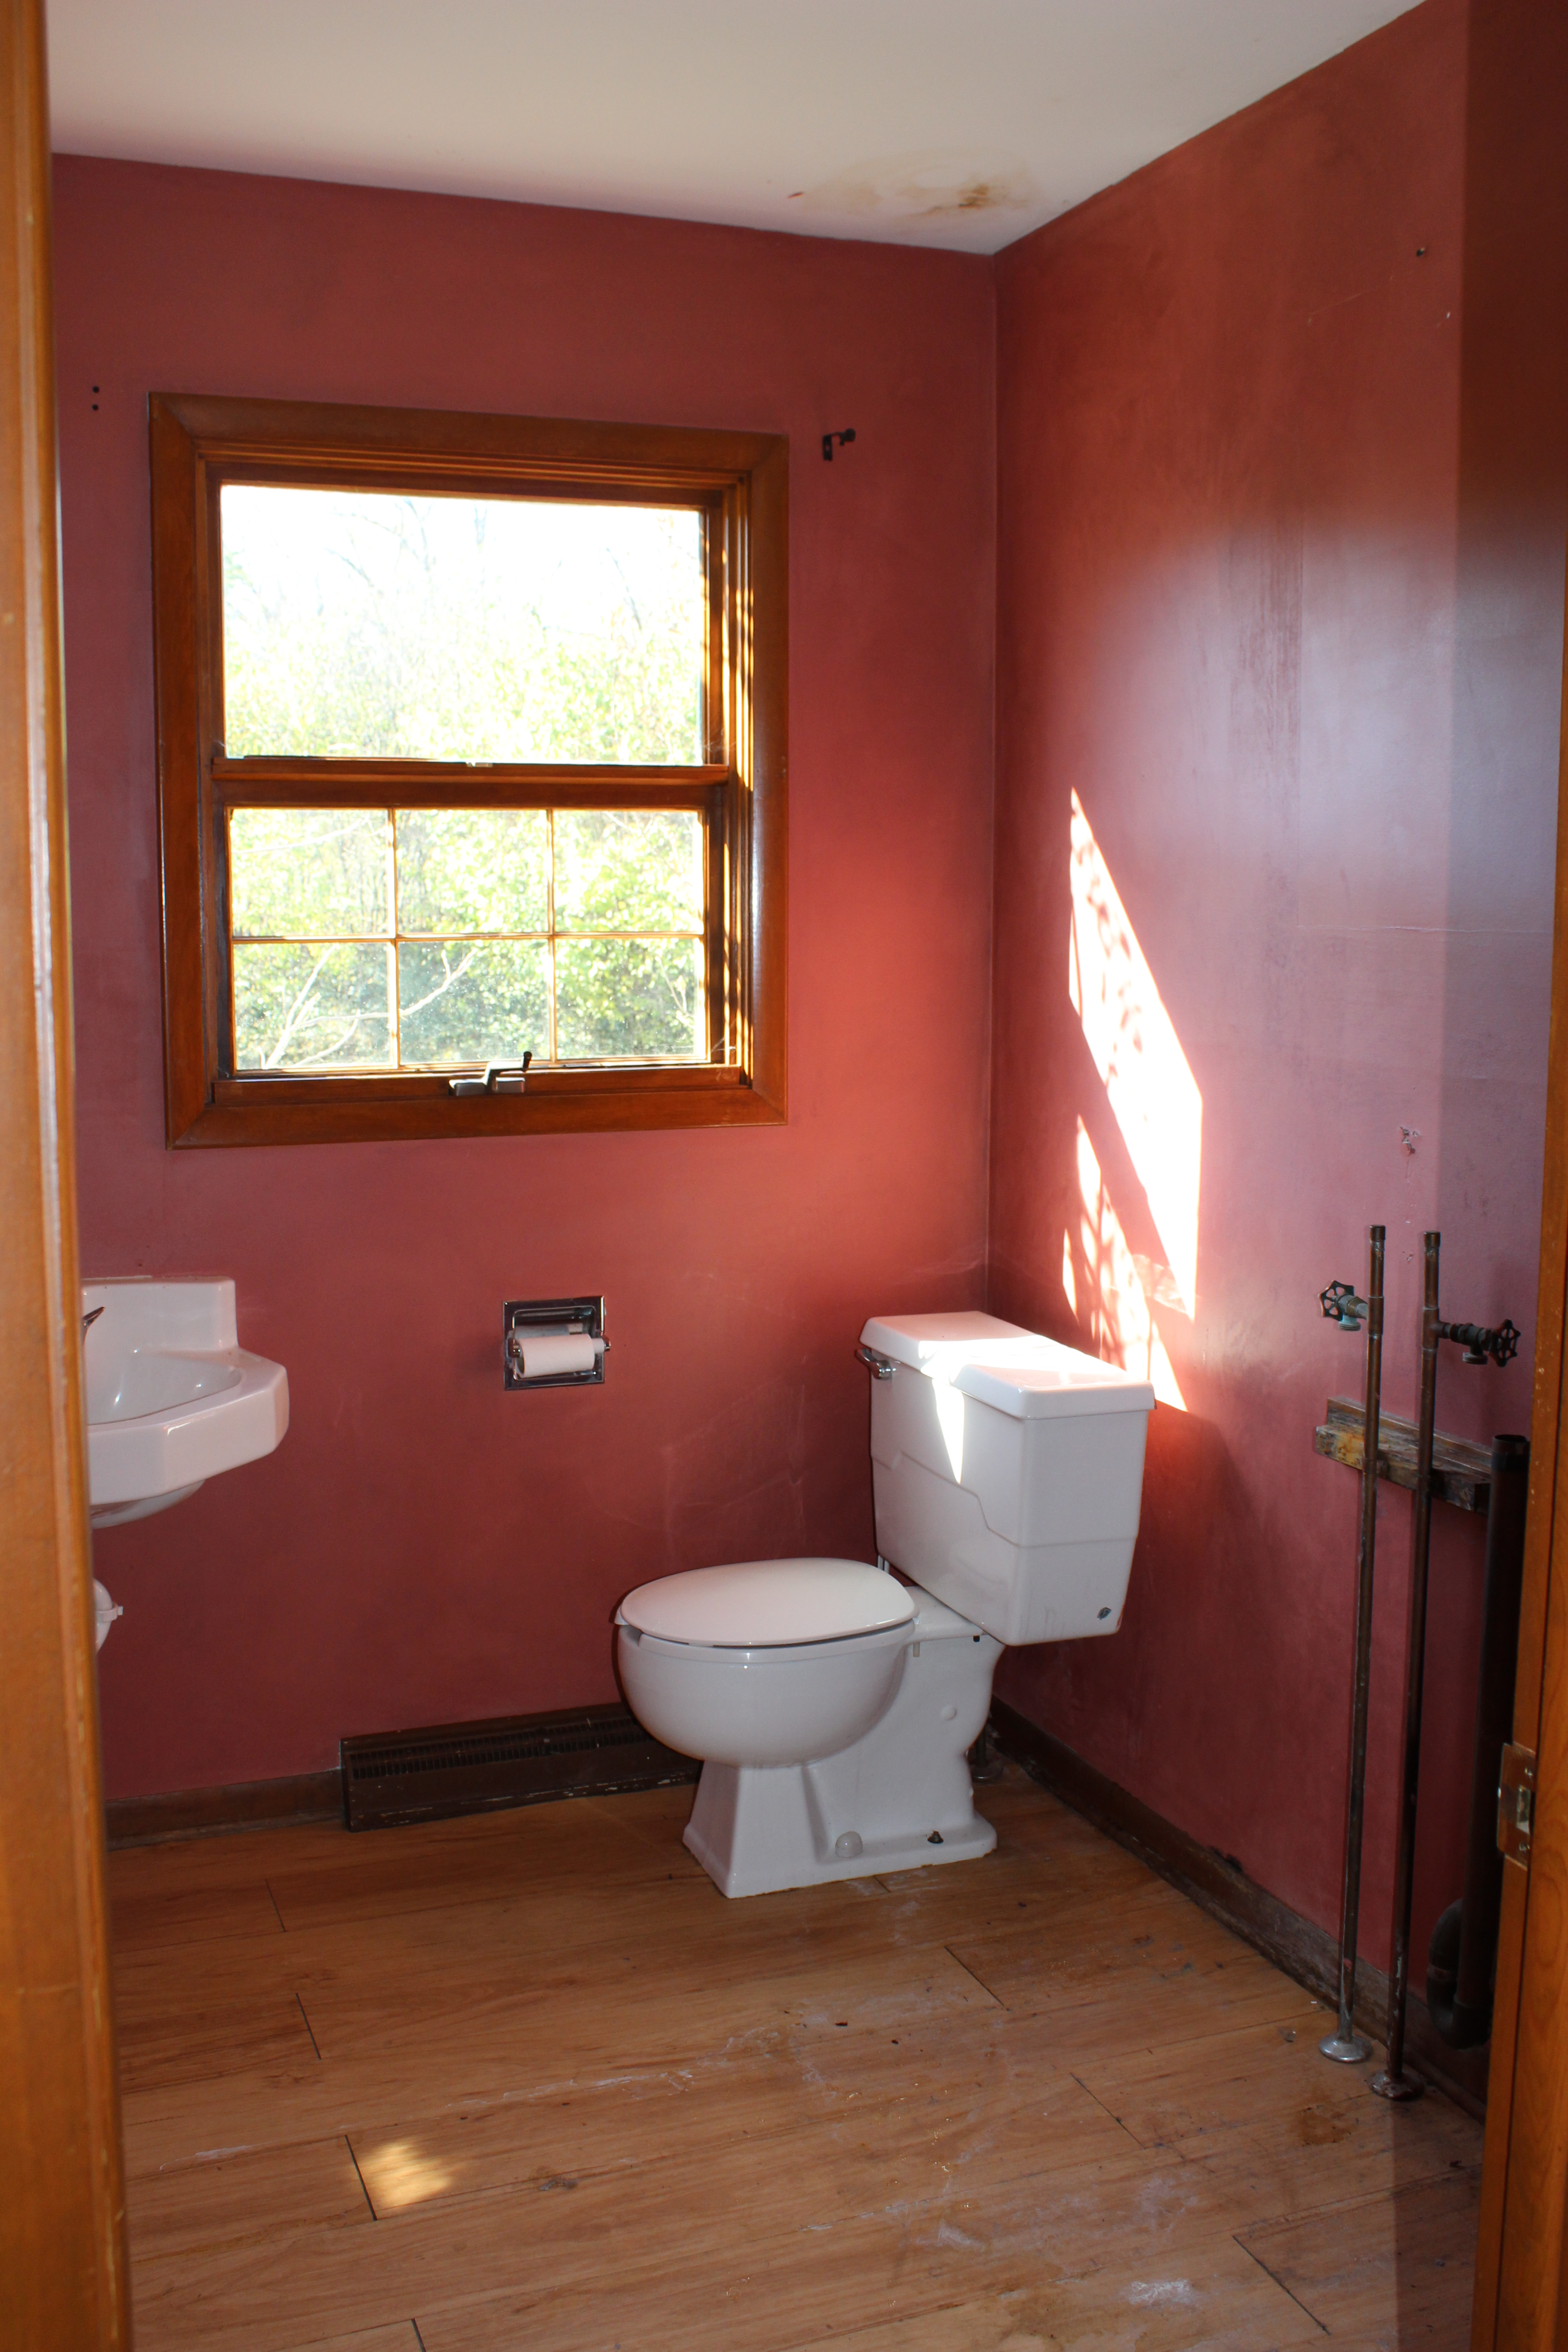
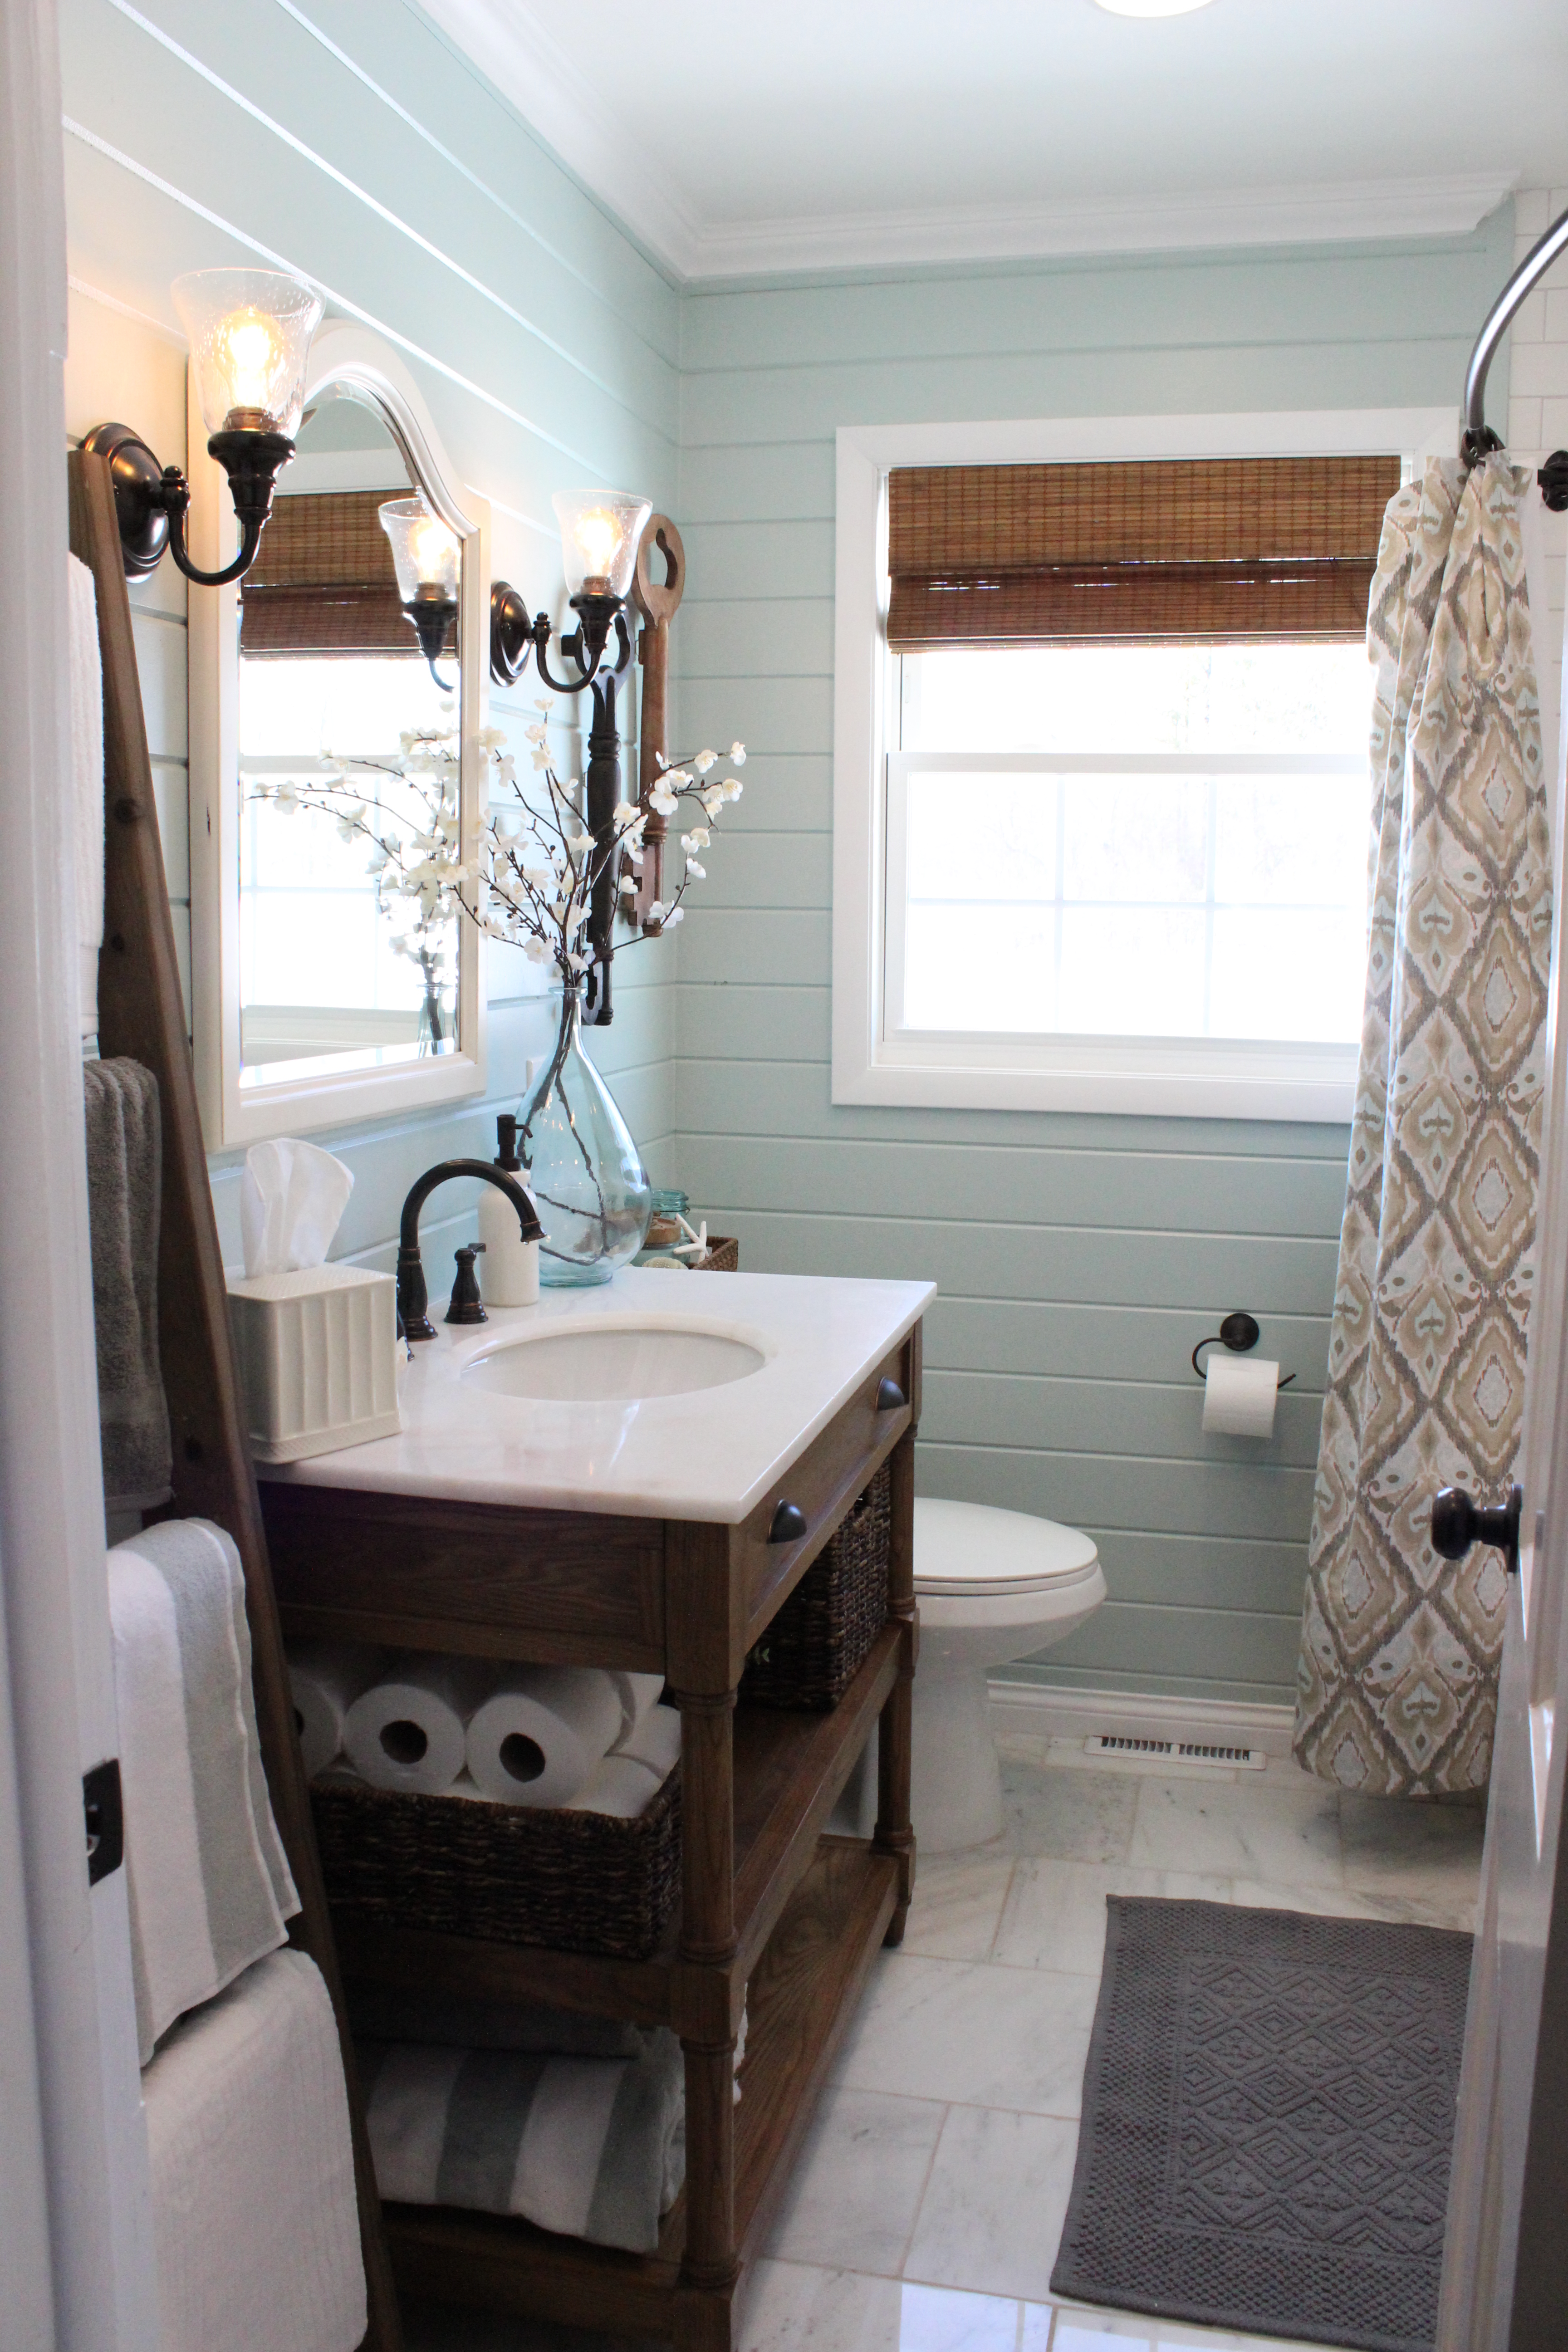
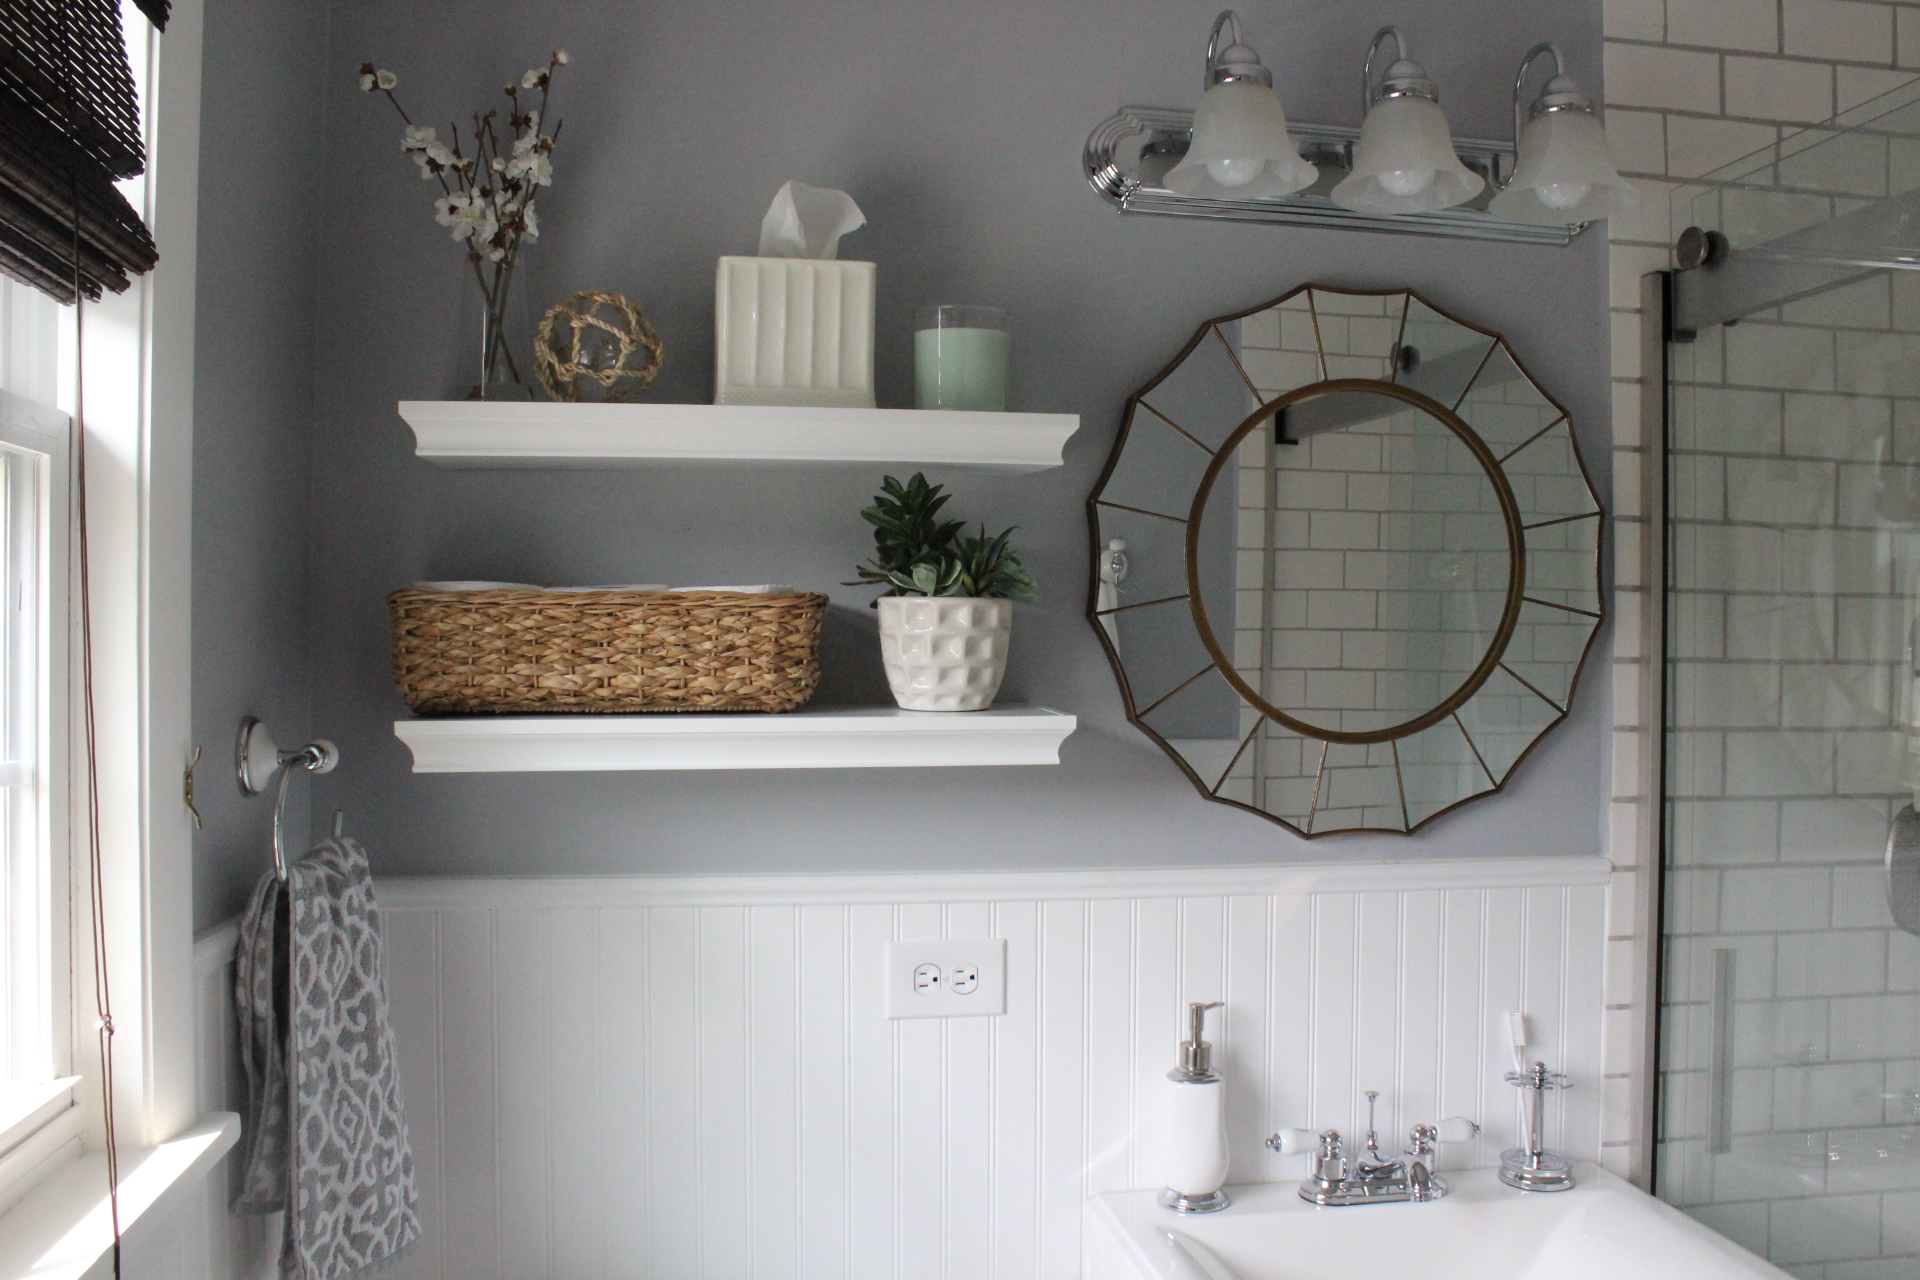
The former master bathroom, which is now a guest bathroom, looked like this 5 years ago:

Master Bathroom

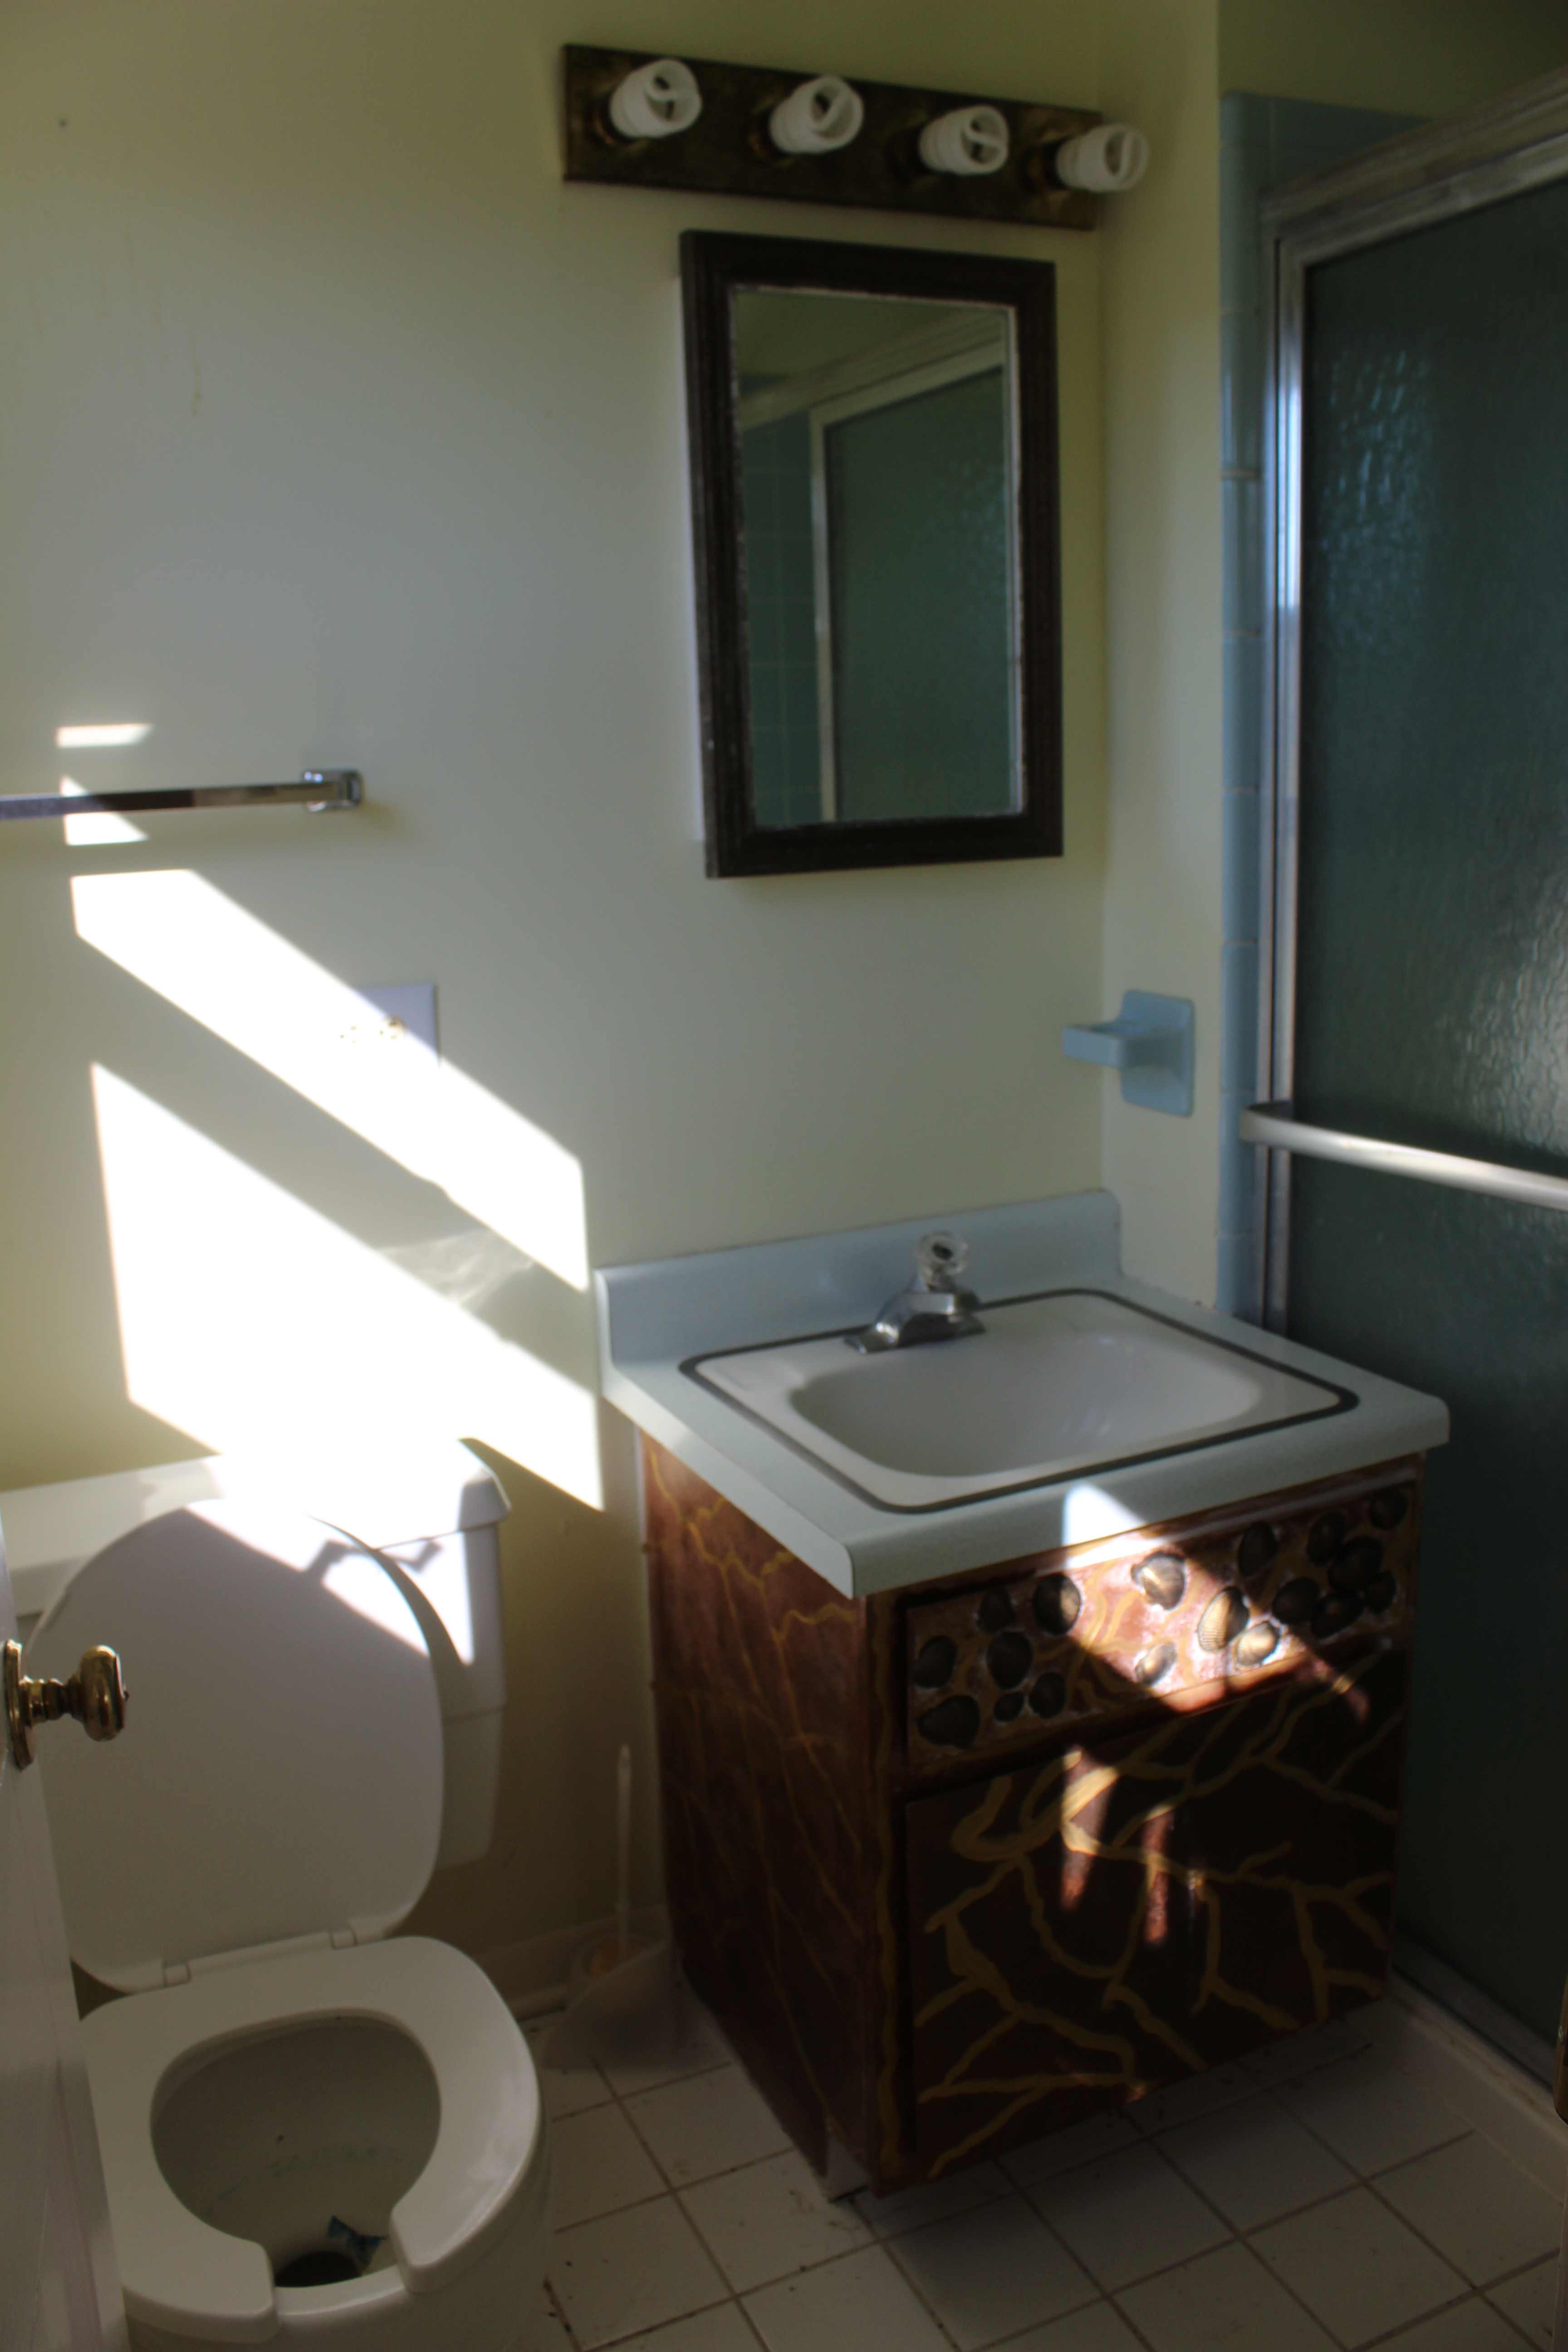
And here is the renovated guest bath now:

IMG_5533

Lastly, here is our current guest room, which admittedly is a catch-all for old furniture. I will re-do it hopefully soon.

Whew! I’m super proud of all we’ve been able to accomplish at our home over the past 5 years, not to mention the 3 flips/income property houses we also renovated during that time, plus welcoming 2 amazing kiddos!

There’s still plenty left on our to-do list, particularly on the outside/pool area, the garage, basement, and maybe even building a barn. Thanks for following along on our journey!

SaveSave

SaveSaveSaveSaveSaveSaveSaveSaveSaveSave

SaveSaveSaveSave

SaveSaveSaveSave

SaveSaveSaveSave

SaveSave

SaveSaveSaveSave

SaveSave

SaveSave

SaveSave

Kate’s Big Girl Room

23 May

A few months ago we moved Kate from her nursery into her new big girl room. Here is a look at the finished space!

Here’s a throwback to the room when we bought it:

We turned it into an office and then spare bedroom until now.

My inspiration/color palette for the room started from these ice cream cone decals which we put on one wall.

The walls were painted a light teal color called Raindance from Benjamin Moore. Kate enjoyed helping!

We of course got her a “big girl” bed which is a twin mattress from Mattress Firm and then we found the bed itself off Cragistlist for $50.

We DIY’d the side guardrail based off of this Pottery Barn Kids one. We put brackets on the bottom that slide over the side, so it can be easily removed.

The quilt is from Pottery Barn Kids, and the accent pillows are from Target’s Pillowfort line.

The nightstand was a hand-me-down from some friends, and the lamp is also from Target’s Pillowfort line.

I love that it is touch sensor so Kate can easily turn it on and off.

We DIY’d the heart art above the bed using old barnwood and then painting on the stripes using colors drawn from the ice cream cones. It was super easy; Kate loves it and always says that Mommy made it for her and that hearts mean love.

On the other side of the room is a sweet, little reading nook with a narrow bookshelf (similar here) and a dip-dyed canopy from Target.

I got a faux sheep skin for under the canopy from Etsy and then filled it with pillows. The watermelon pillow is from Land of Nod and the others are from Target and World Market.

The last side of the room has her dresser (from Walter E Smithe) and closet.

On top of the dresser is a gold unicorn lamp (from Target) that we use as a toddler “alarm clock.” We put a green light bulb in it and put it on a timer to turn on at 6:30 am every morning. So she knows she can’t get out of bed until the “green light comes on.” It works surprisingly well!

Lastly, here is a close up of the rug we got from Pottery Barn. It is the Addison Rug (8 x 10) in Blush. I just love the combo of the blue walls and pink rug.

I’ve really enjoyed doing kids spaces in our home and this one was especially fun. Kate absolutely loves her new big girl room and has no problem giving her old nursery to her baby brother arriving in roughly 10 weeks!

Cutting the Clutter | KonMari Method

28 Jan

Have you heard of the KonMari method of de-cluttering and organizing? It is based off the book The Life Changing Magic of Tidying Up by Japanese tidying expert Marie Kondo. I read the book over the holidays and it has totally changed my mindset about the things I keep in my home. The two biggest lessons for me were 1) Only keep things that truly bring me joy, and 2) Get rid of the things that have served their purpose. Oh, and her folding method. That in itself is pretty life changing!

51H8x07Fd7L

After reading the book, I was able to purge about twenty 40-gallon trash bags of clothes and household items. It was about 50-75% of my clothing, several bags of kitchen items, Christmas decorations, and much more. Her advice is to take each item in your hands and ask yourself “Does this bring me joy?” So if it doesn’t fit correctly, or is broken, or you never really liked it or used it, it goes. If you are like me, you might have guilt getting rid of something that was a gift or that you have a sentimental tie to. Marie Kondo says in this instance that you need to thank the item for serving it’s purpose, and let it go. It sounds silly, but it actually works. For example, I was holding onto a dress I wore to my high school graduation. It has served its purpose A LONG TIME AGO. Bridesmaid dresses? They have served their purpose. Time to let go. Or a Christmas card from a family member? It served its purpose and brought me joy when I received it. Now I can discard it.

I wasn’t planning on blogging about this endeavor, so don’t have many photos, but here is a before/after of my dresser. As you can see it was overflowing with clothes, and I would have to dig to find what I was looking for. Don’t judge.

IMG_0875

After discarding and using the KonMari folding method, it now looks like this. Yes, that is bare space!

FullSizeRender (2)

IMG_1109
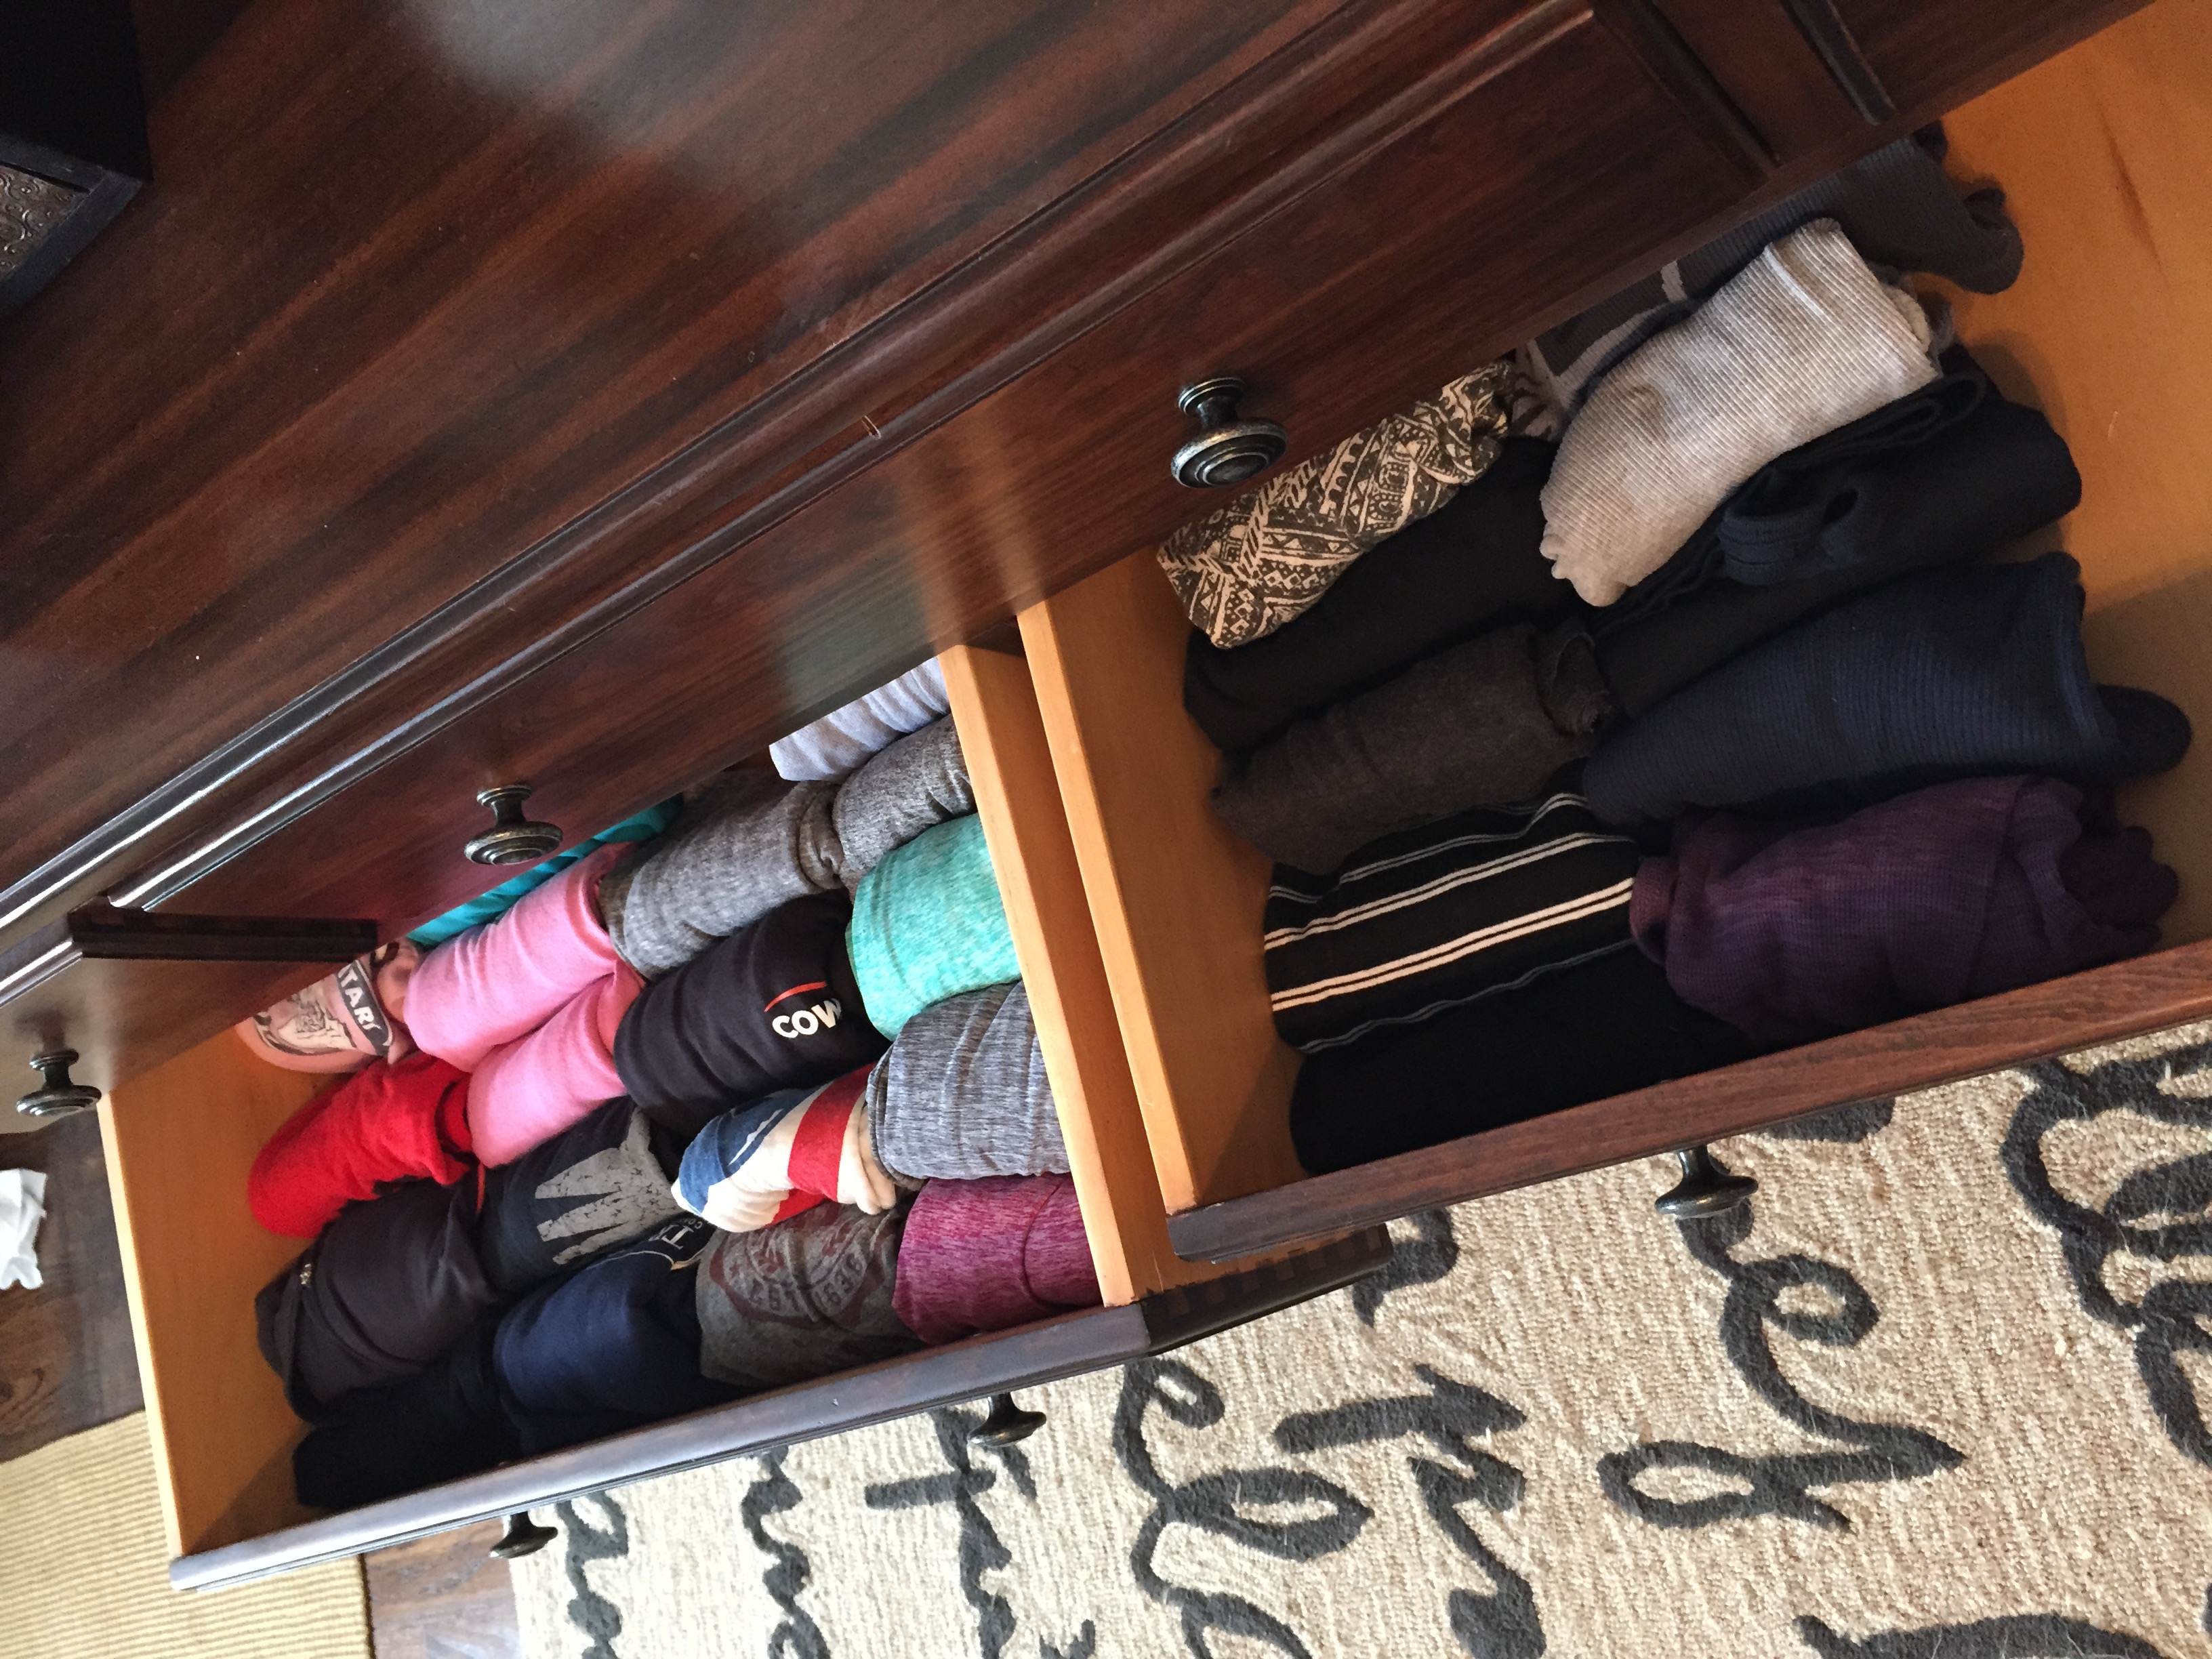
The great thing about this folding method is that everything stands upright so you get to see all of your clothes at first glance. No digging around to find things, and nothing gets buried at the bottom that you never use.

Here’s a video of Marie Kondo demonstrating the method:

By purging and folding this way, it makes getting dressed in the morning a lot easier. I don’t have to stand there thinking about what I want to wear since everything in my closet and drawers I love and want to wear. I just grab and go.

I was worried I wouldn’t be able to keep up with the folding and revert back to my old ways, but it has been a month now, and they still look just as good as they did on the first day. I don’t think I will ever go back.

Another thing that helped me purge was choosing where I was going to donate my things beforehand. I chose a women’s charity and confirmed what items they accept and don’t accept. So then as I was going through everything, I thought of my items serving another family in need. Much better than not being used and cluttering up my house (and life).

Bottom line, I’m a big fan of the book and method and highly recommend it to everyone! Let me know if you have read it and what you thought.

How We Did in 2015 + Goals for 2016

13 Jan

Each year we set out a list of the things we want to accomplish on the house. Here’s how we did with our 2015 goals…

  1. Finish master bathroom and closet and move in to our new master. Done (mostly). We moved into the new master bedroom early in 2015 and I shared the master bathroom reveal here. We also had custom closet shelves built out and now the only thing left to do is paint them. Hope to share soon!
  2. carrera marble showerBuild out a playroom, including adding a wall and covering up a fireplace. Done! I just shared the playroom reveal this week. It is my favorite.
  3. right corner goodBuild mudroom cabinets on the opposite side of the new playroom wall. We started the cabinets, but it’s nowhere near complete. At least the mudroom is semi-functional right now. Put this one on the top of the list for 2016.
  4. IMG_0676Renovate the final bathroom upstairs. Done! You can see the full reveal here.
  5. IMG_5533Add window boxes to the front of the house. No progress made here. This may have to wait.
  6. Landscape back yard. Some progress was made here, but it is nowhere near done. I will share some photos come spring.
  7. Finish pergola on the back deck. Done! I still need to share photos of this. We love it. Again, I will share some photos in spring.
  8. Build a fire pit. Nope. We have some adirondack chairs around a fire ring, but we really want to build one in with stone. Add it to 2016!

Overall not too shabby, considering we also spent 3 months renovating an entire income property.

For 2016 our goals are to:

  1. Finish the mudroom.
  2. Paint master bedroom closet.
  3. Finish the pool fence and re-stain the deck.
  4. Install pavers around the pool.
  5. Update the living room built-ins.
  6. Finish the shed.
  7. Build a fire pit.
  8. Create a big girl room for Kate.

By the end of 2016, we will be nearly finished with major updates to the house. So exciting!

P.S. I just launched an Instagram account for the blog. Find us at 12oaksblog for progress and reveal photos!