Archive | Bedrooms RSS feed for this section

Income Property Reveal

1 Oct

We’re officially landlords! We put the finishing touches on our rental property this week and have tenants moving in today. We are SO pleased with how the home turned out and thankfully had an easy time finding good tenants.

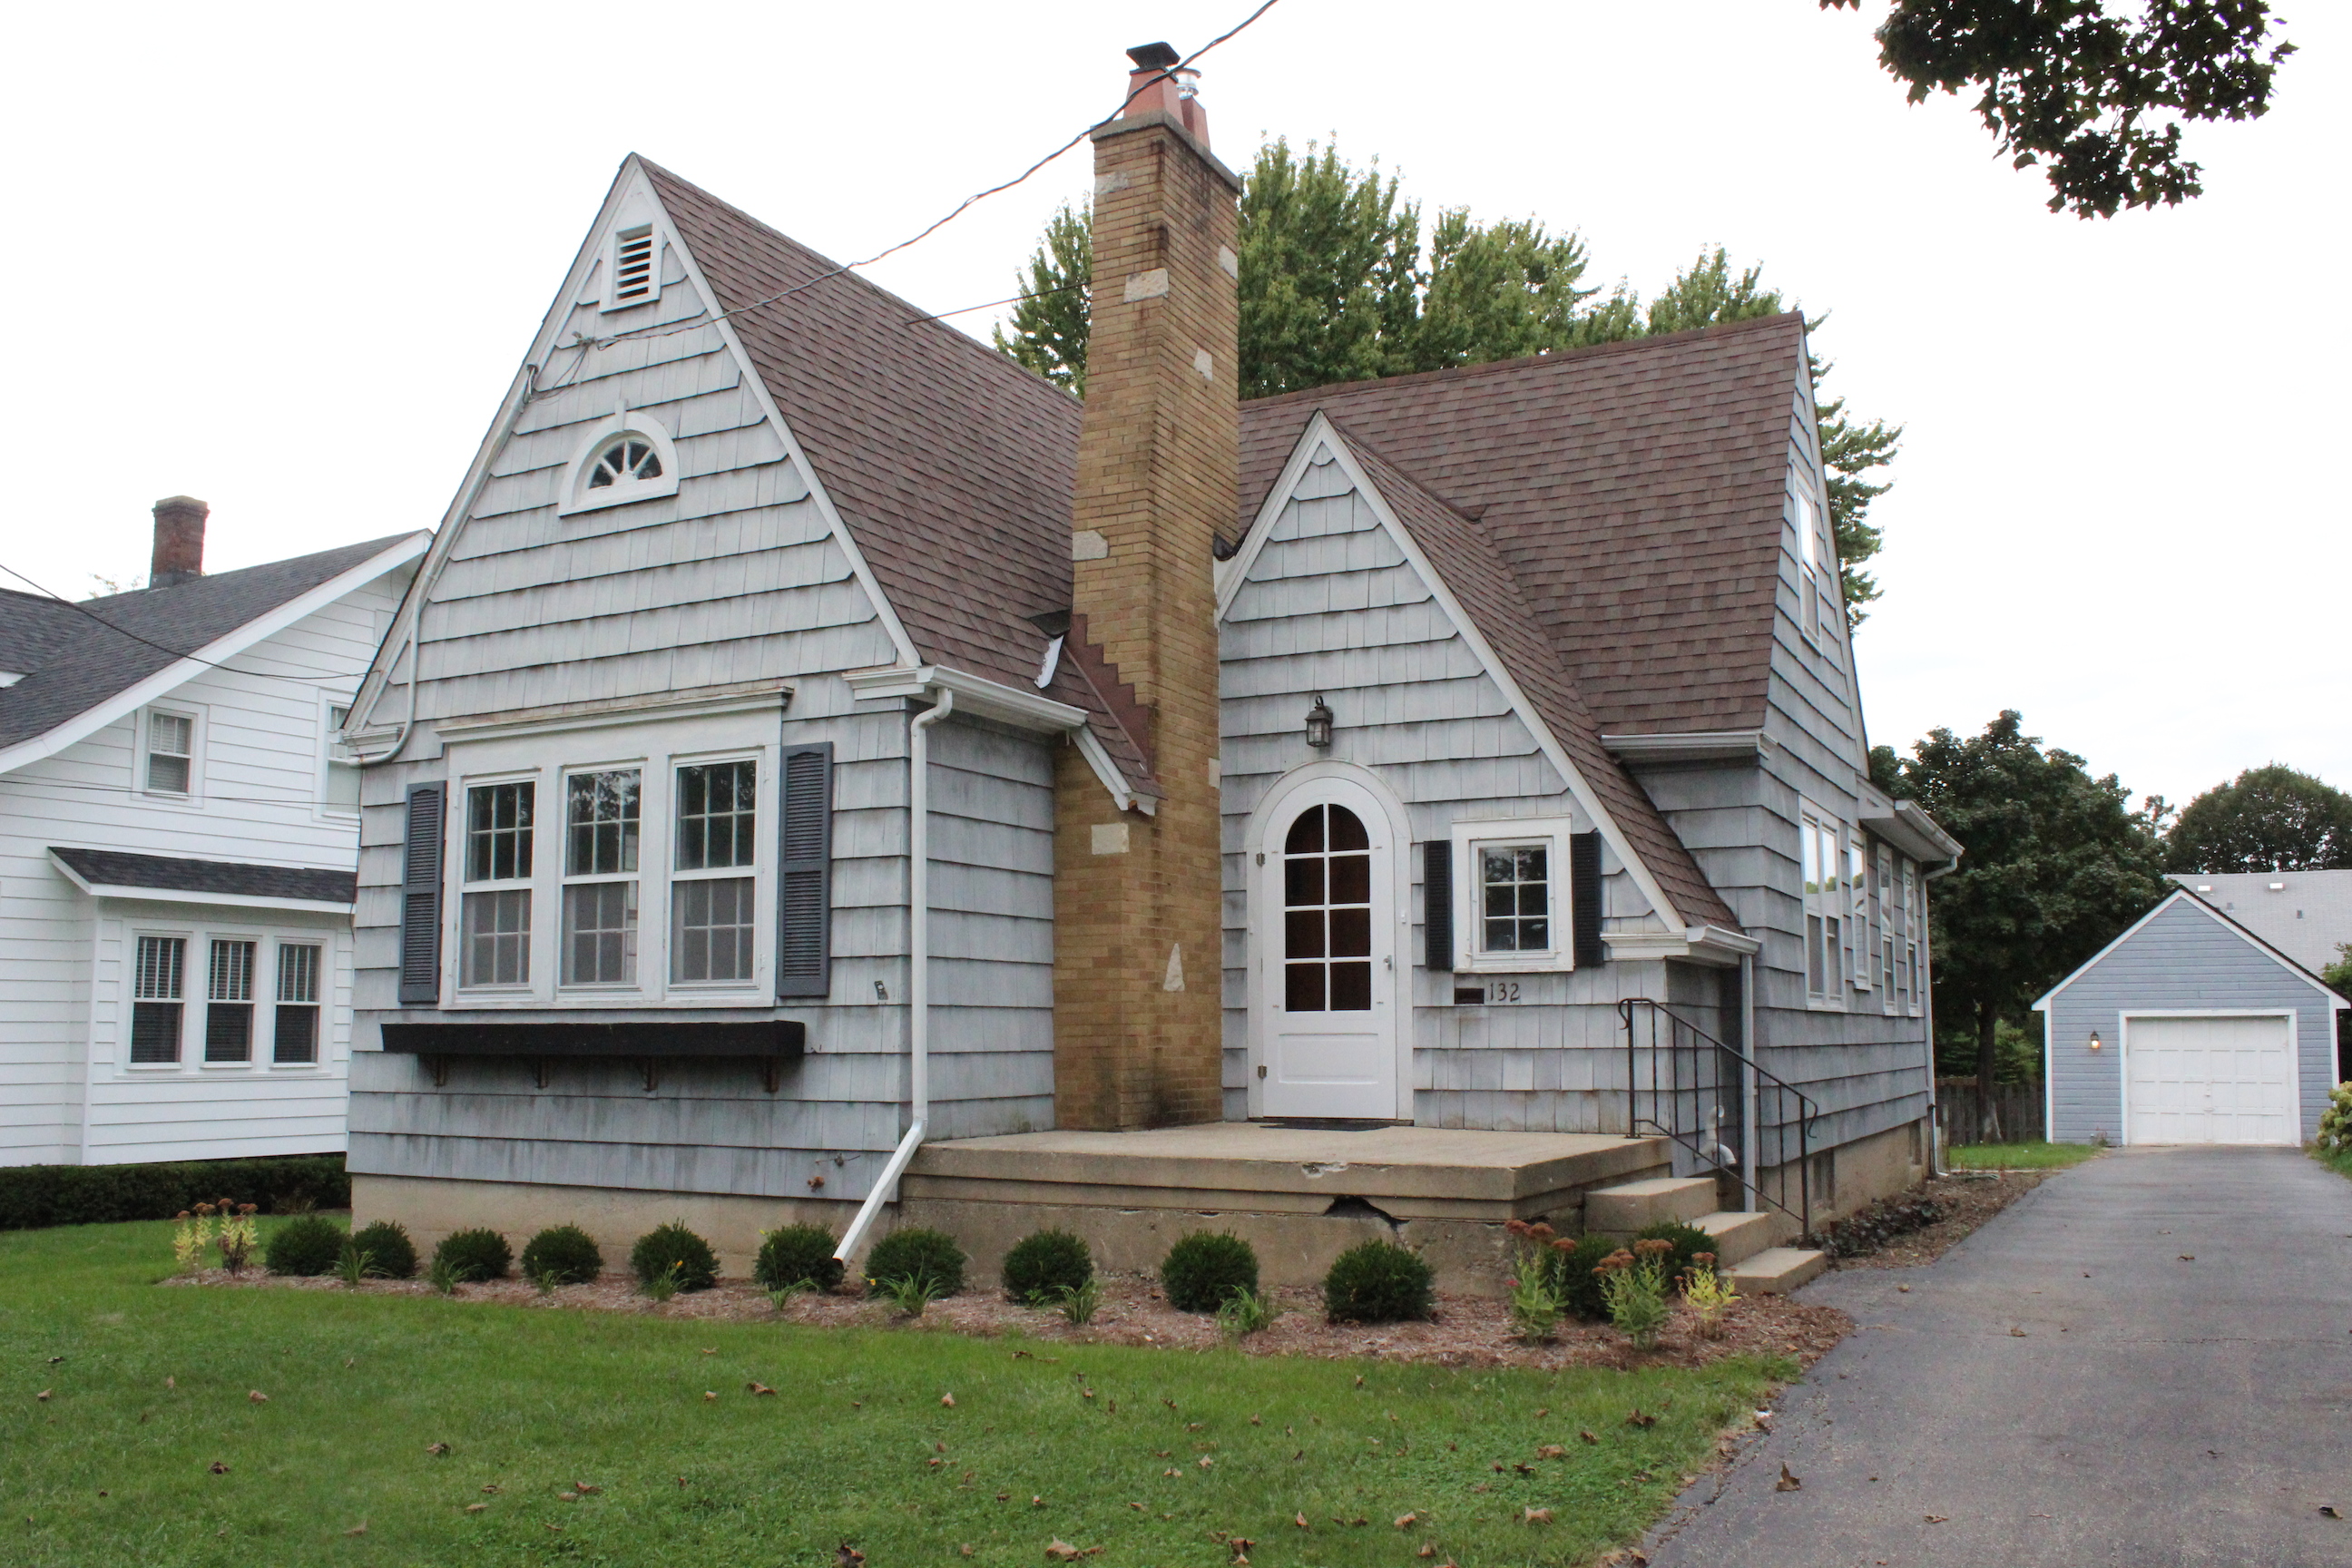
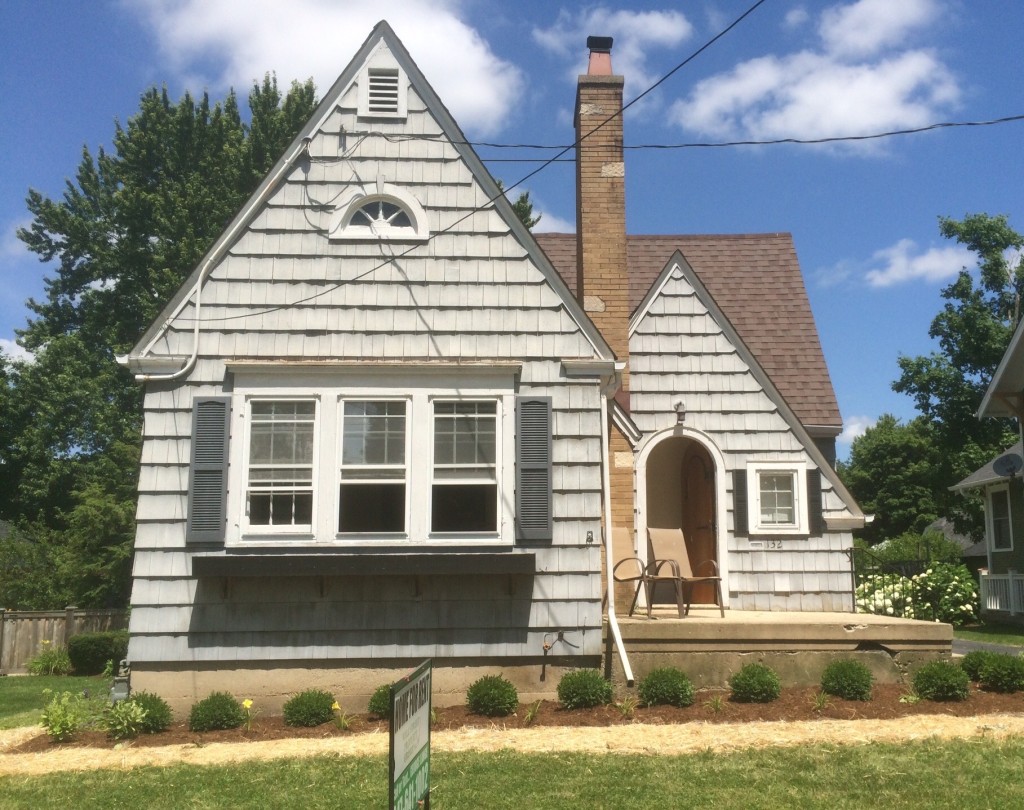
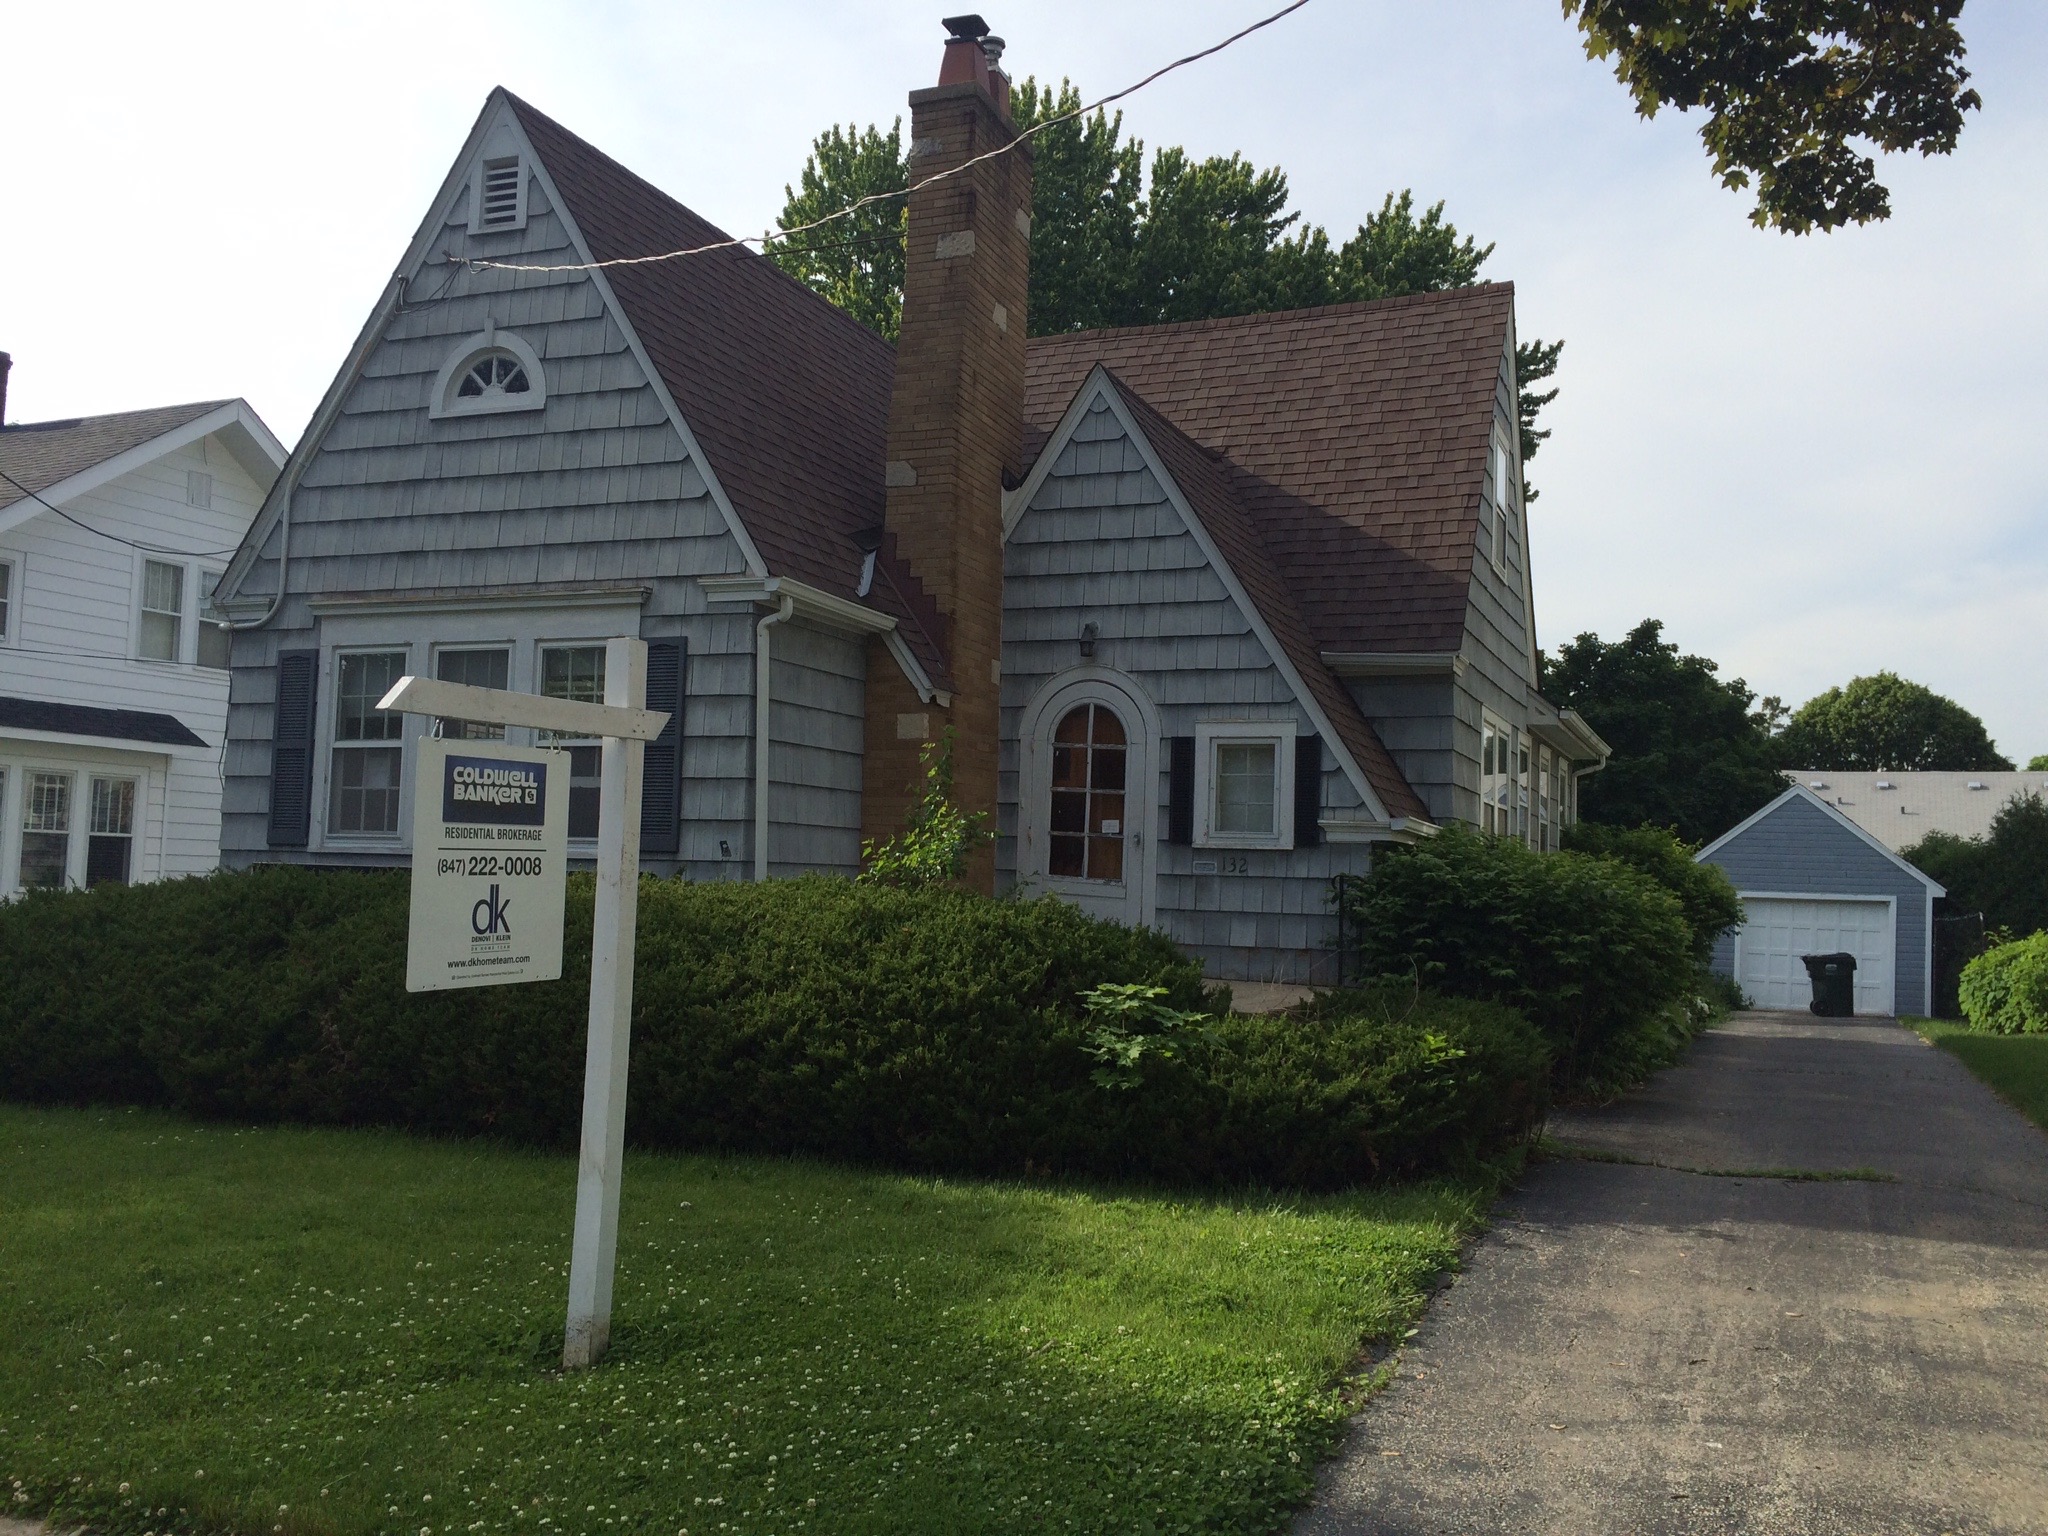
Here is a before look at the front exterior of the home:

IMG_6935

And now it looks like this:

IMG_5535 resized

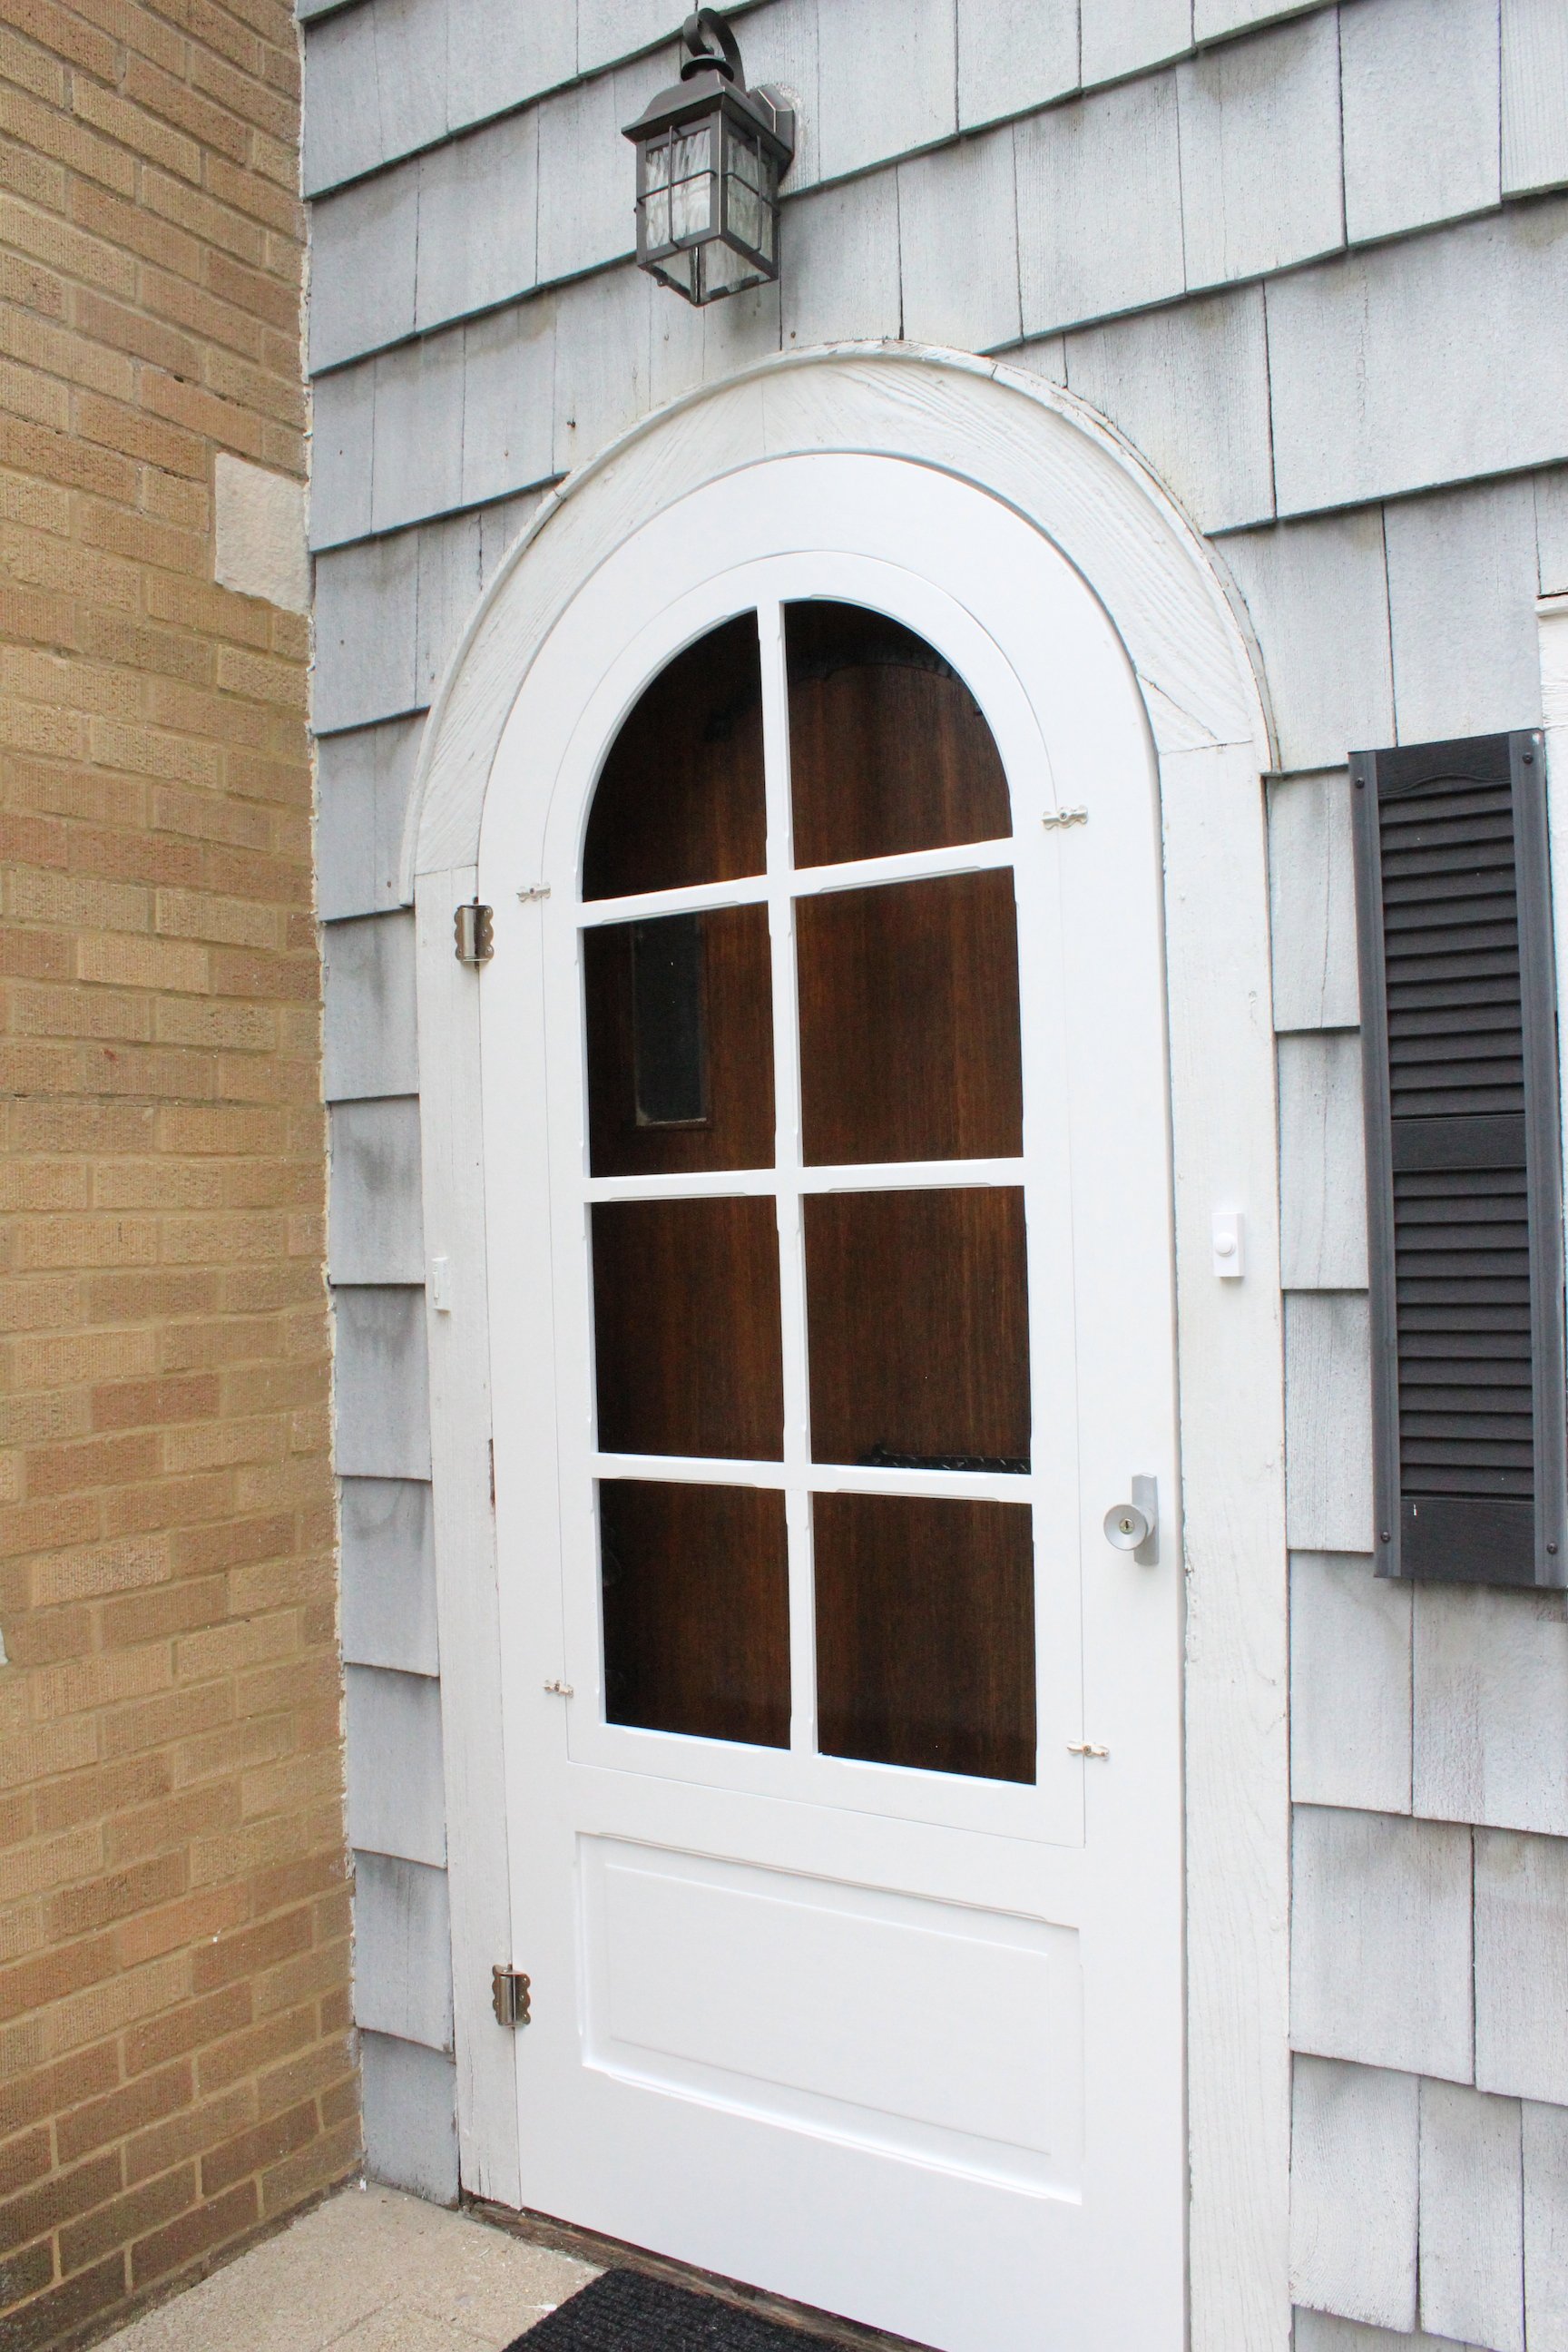
Admittedly, not much of a transformation, but we did rip out all the overgrown bushes and plant some boxwoods and other plants. We also replaced the light over the front door, had a new screen door custom built, and stained the front door.

IMG_5536 resized

The home desperately needs an exterior paint job, which is on our radar for next year.

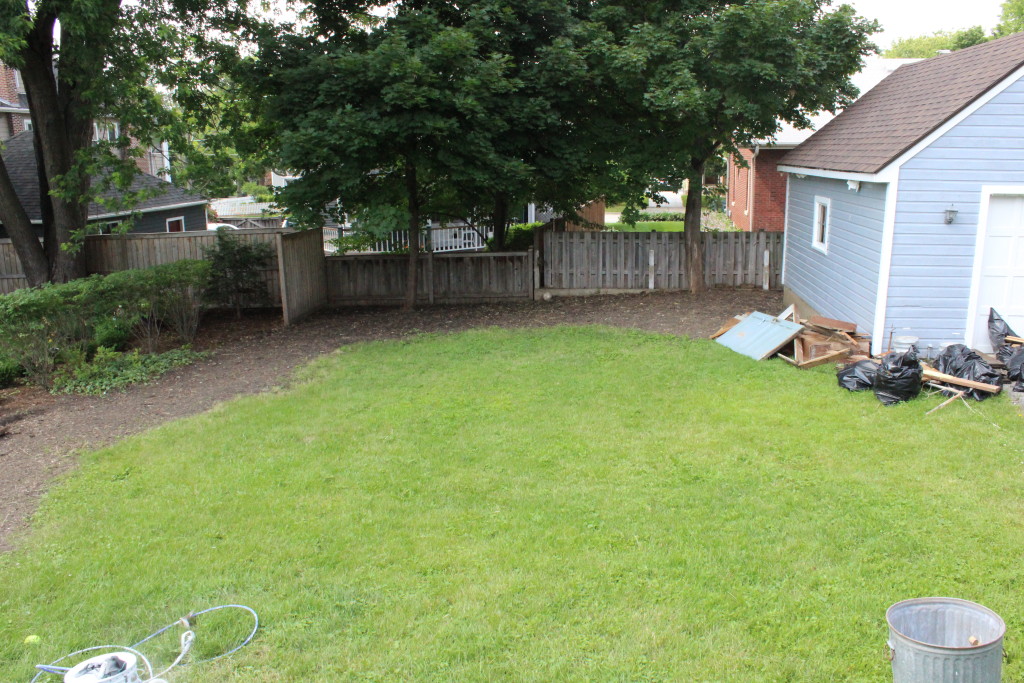
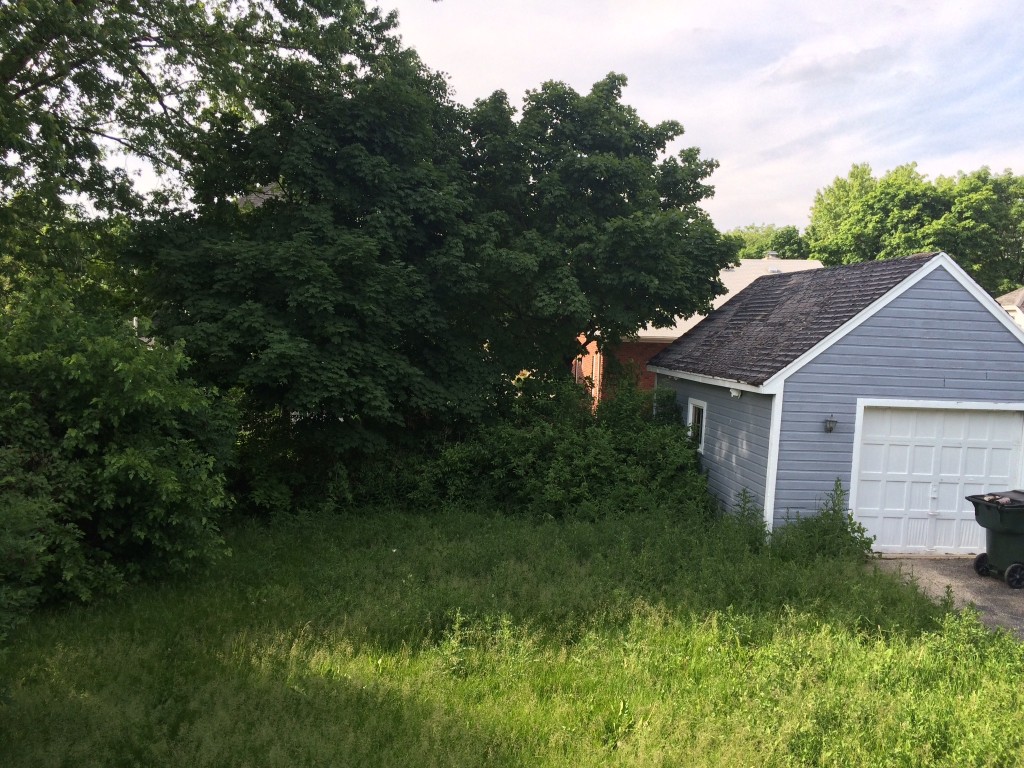
The back yard was also very overgrown and there was a hole in the garage roof.

IMG_6941

After replacing the garage roof and ripping out those bushes, it looks like this:

IMG_5538

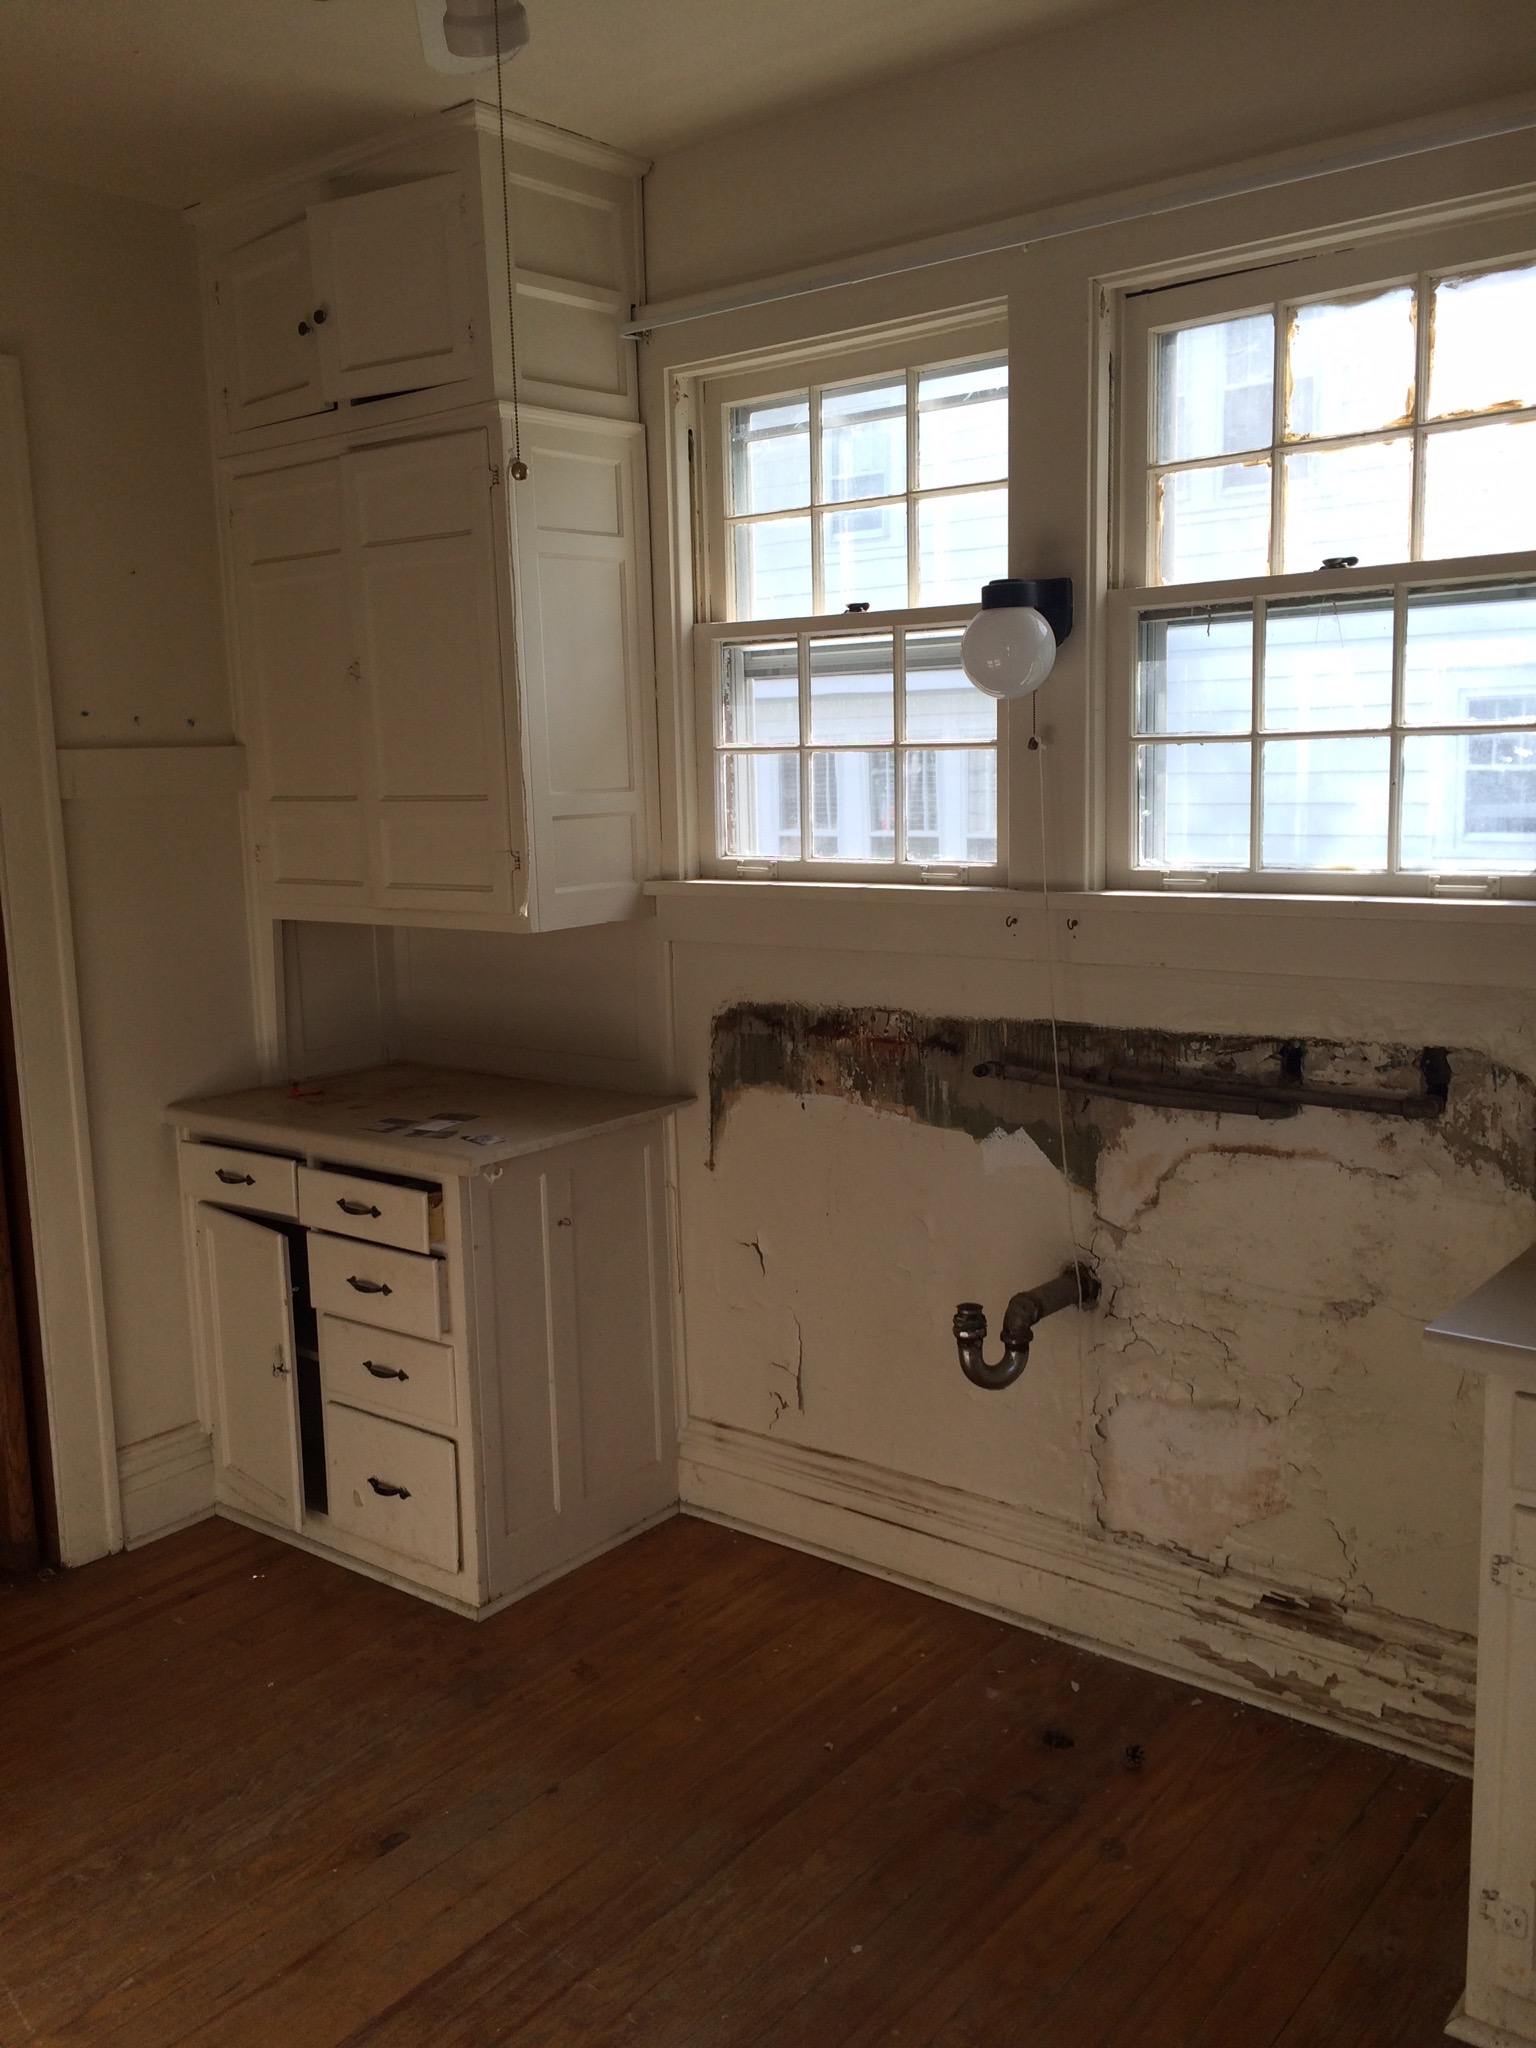
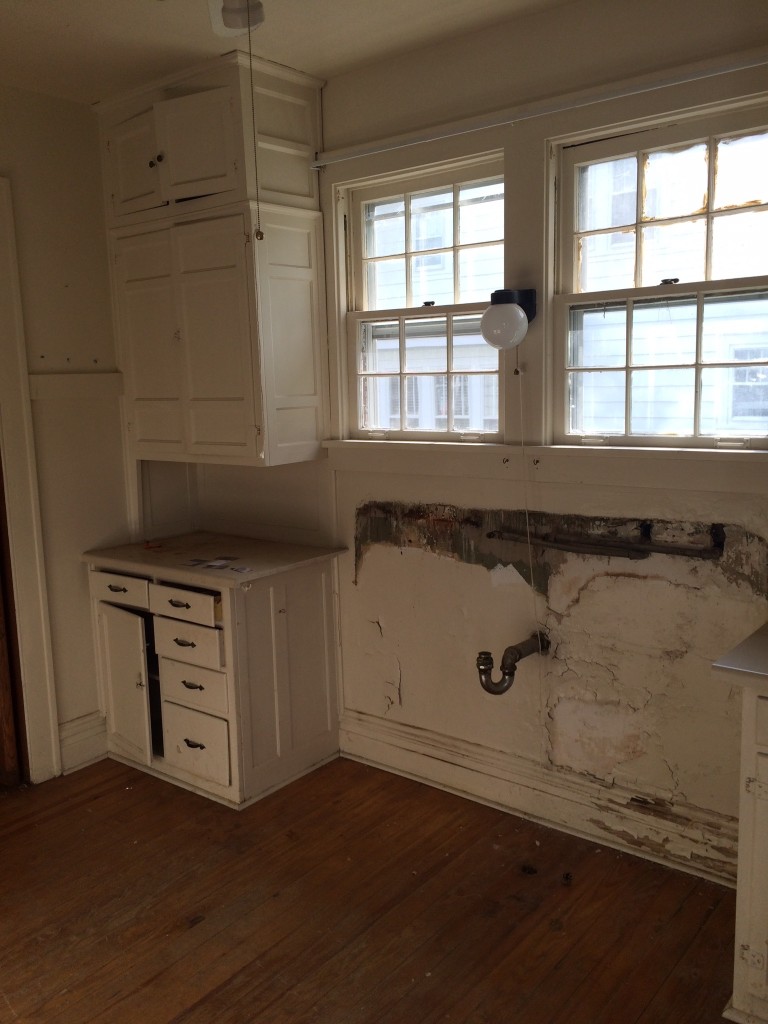
Moving inside is where the big transformation happened. The kitchen looked like this before:

IMG_6942

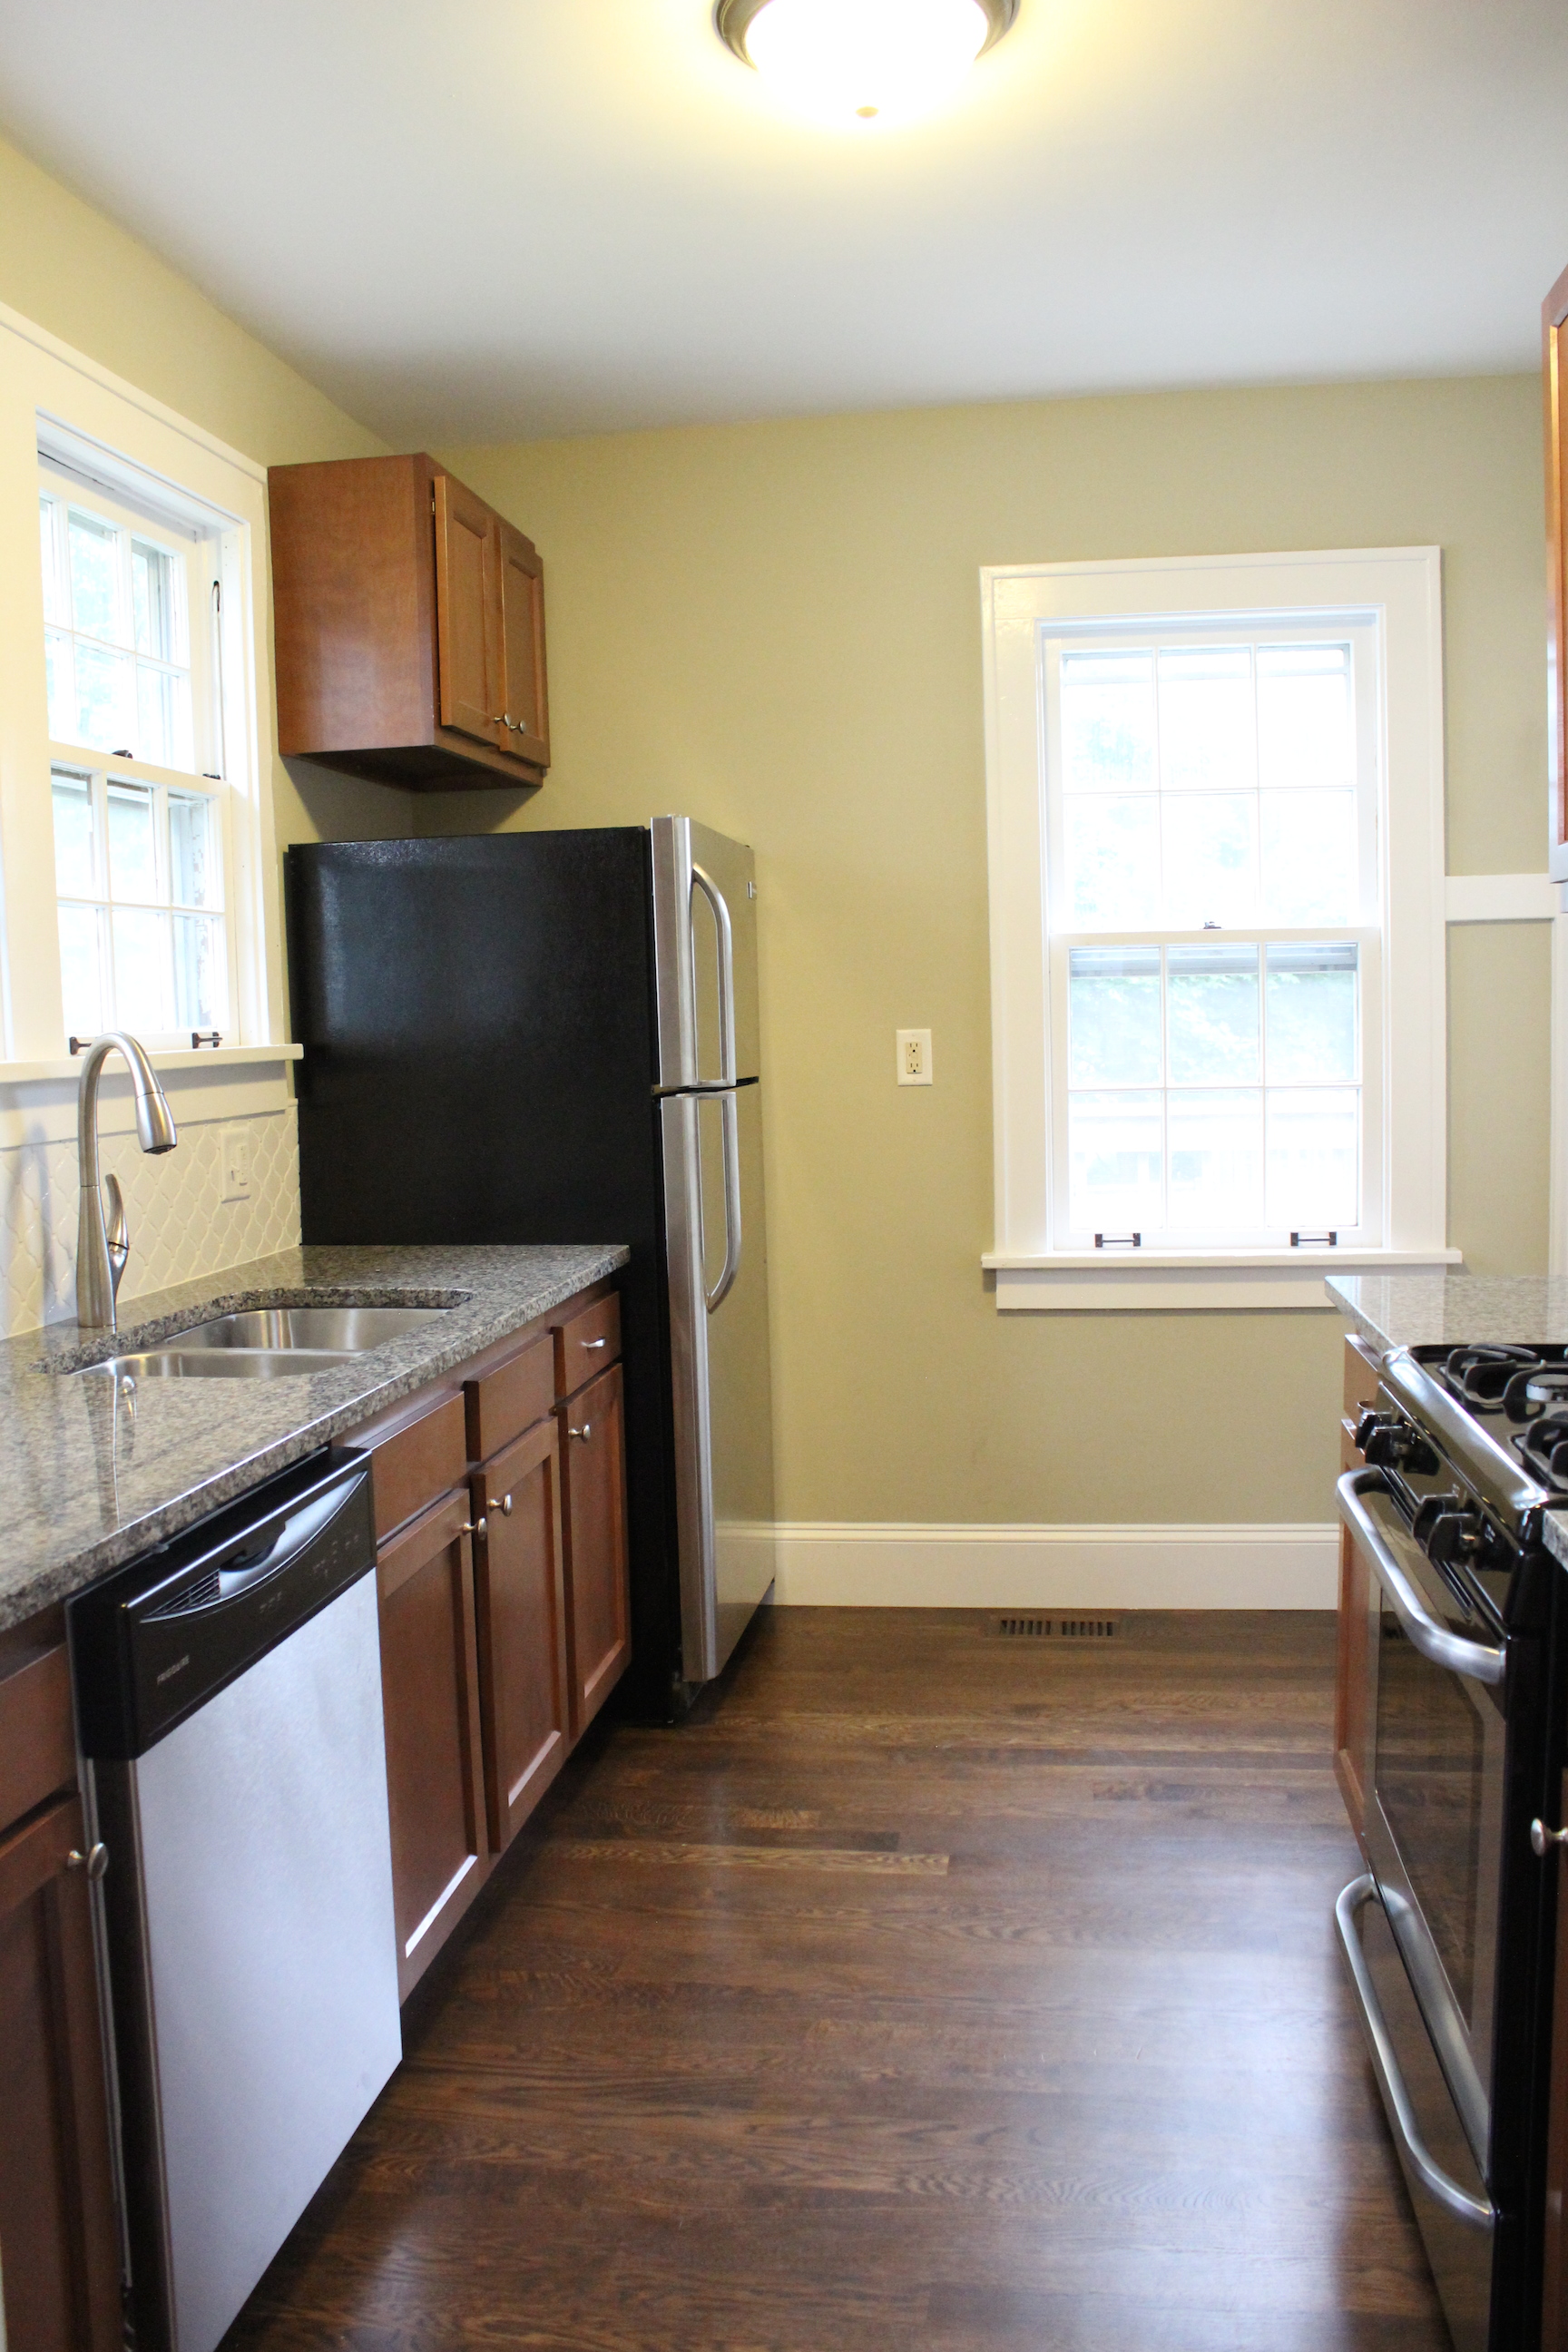
And now after new stainless steel appliances, cabinets, granite countertops, arabesque tile backsplash, new hardwood floors, paint (Analytical Gray by Sherwin Williams), lighting and more:

IMG_5542

Here’s the other side of the kitchen.


And view from the dining room.

IMG_5545

Here was the dining room before:


IMG_6954

And now after new paint (Gray Owl by Benjamin Moore), crown molding, lighting, hardwood floors, baseboards, and more:

IMG_5546

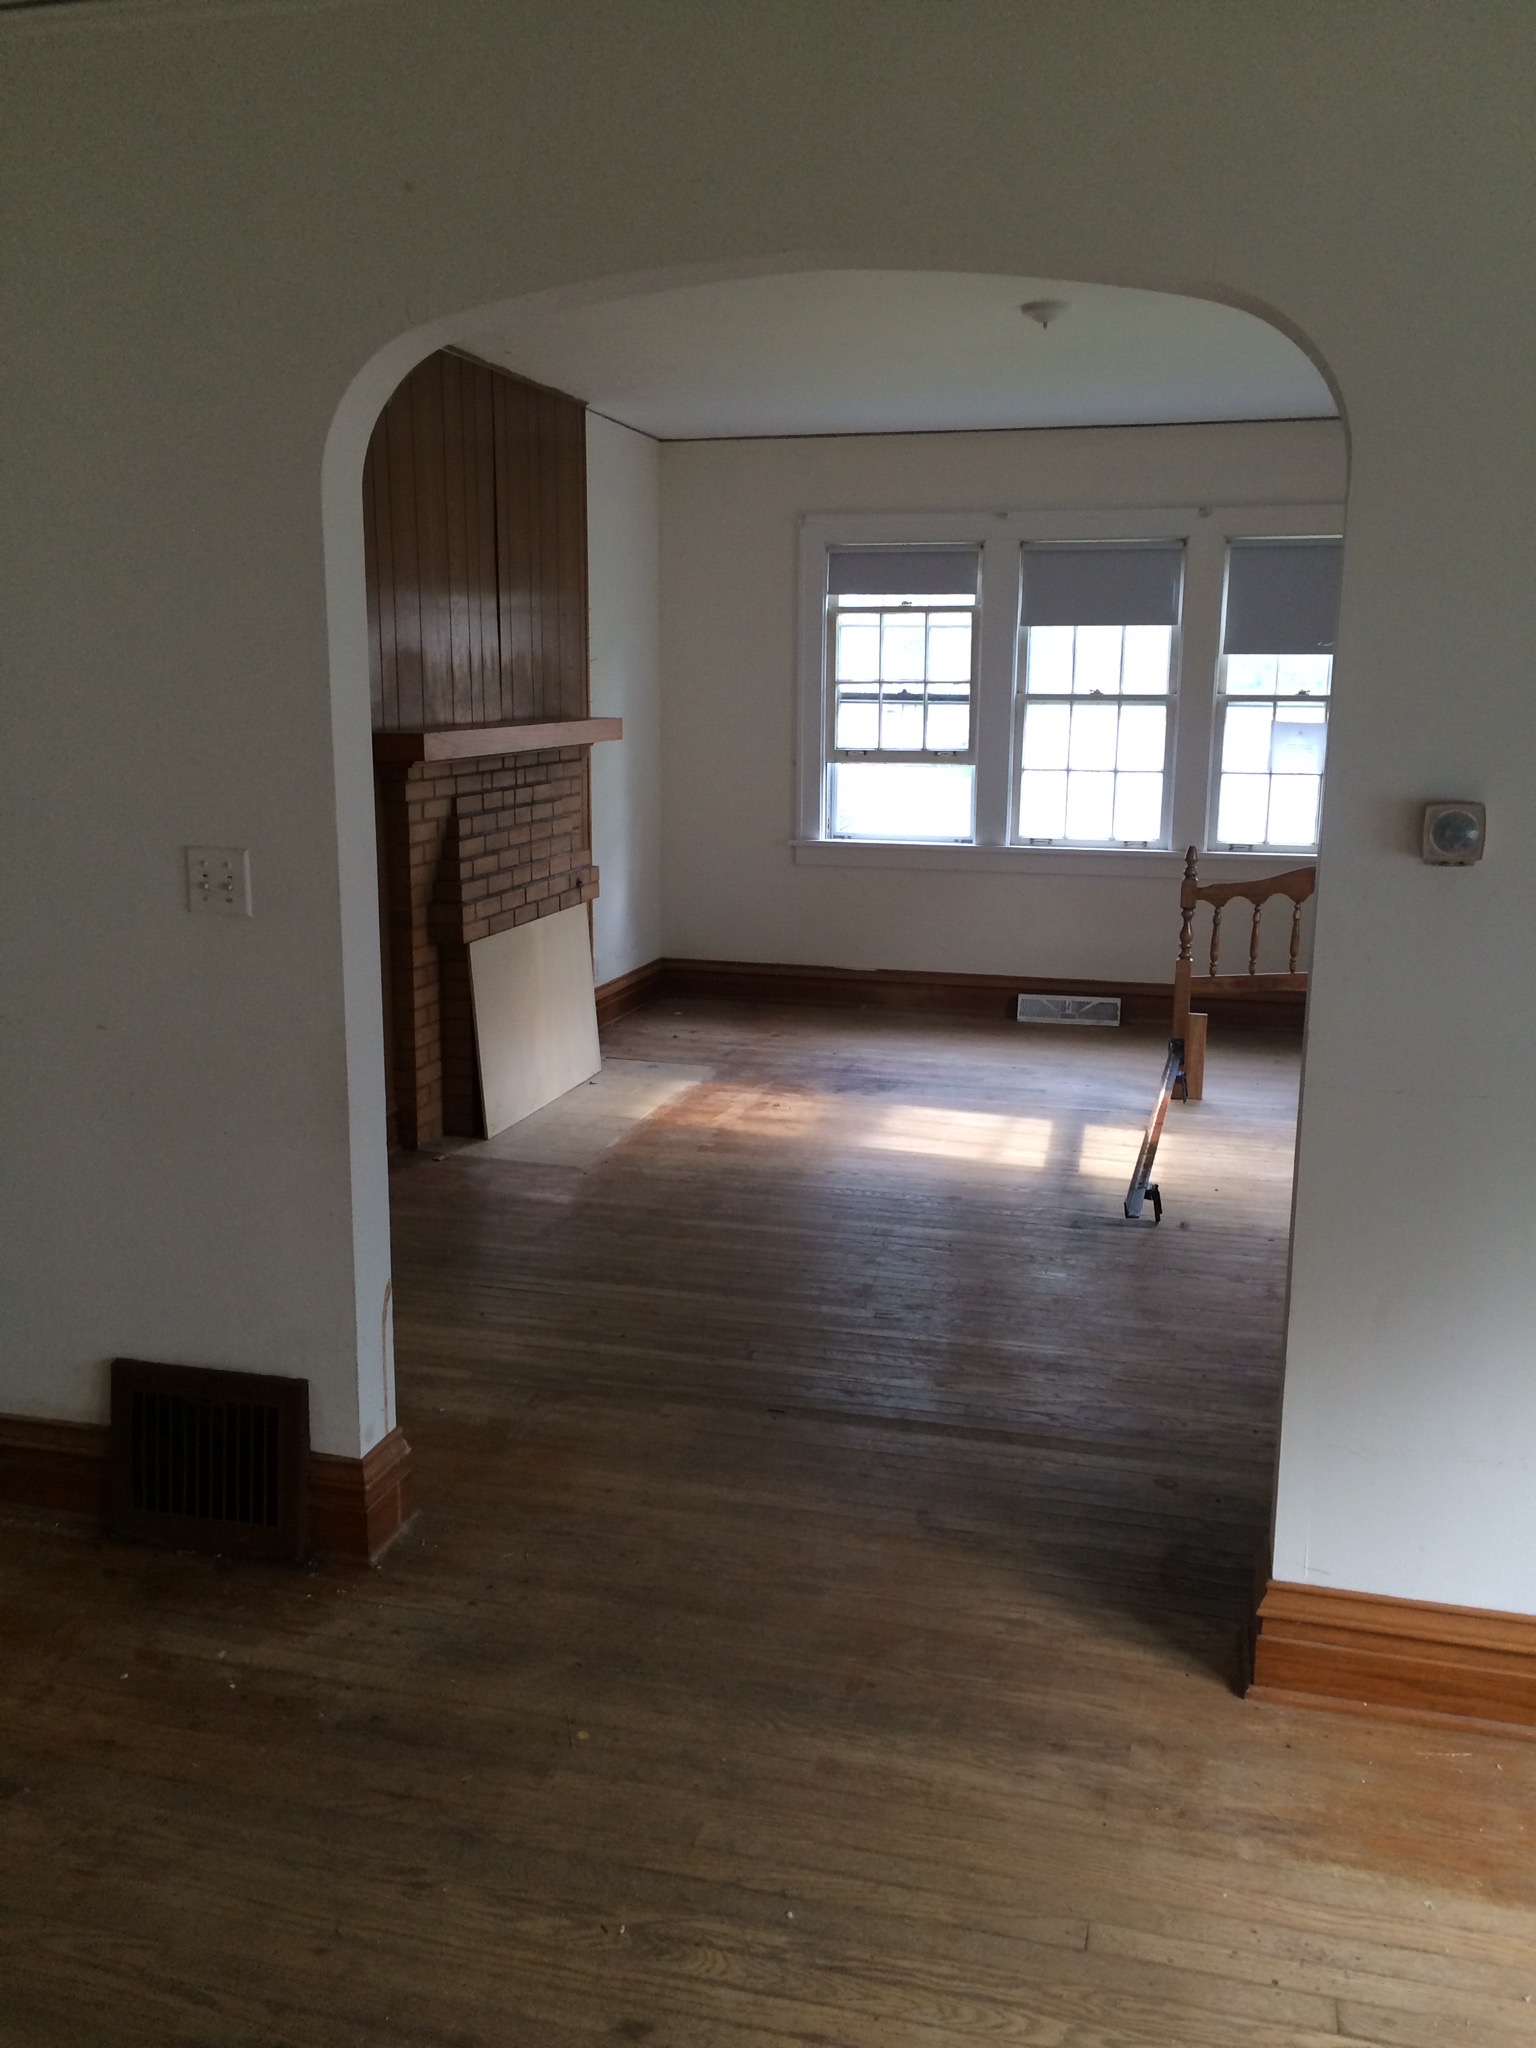
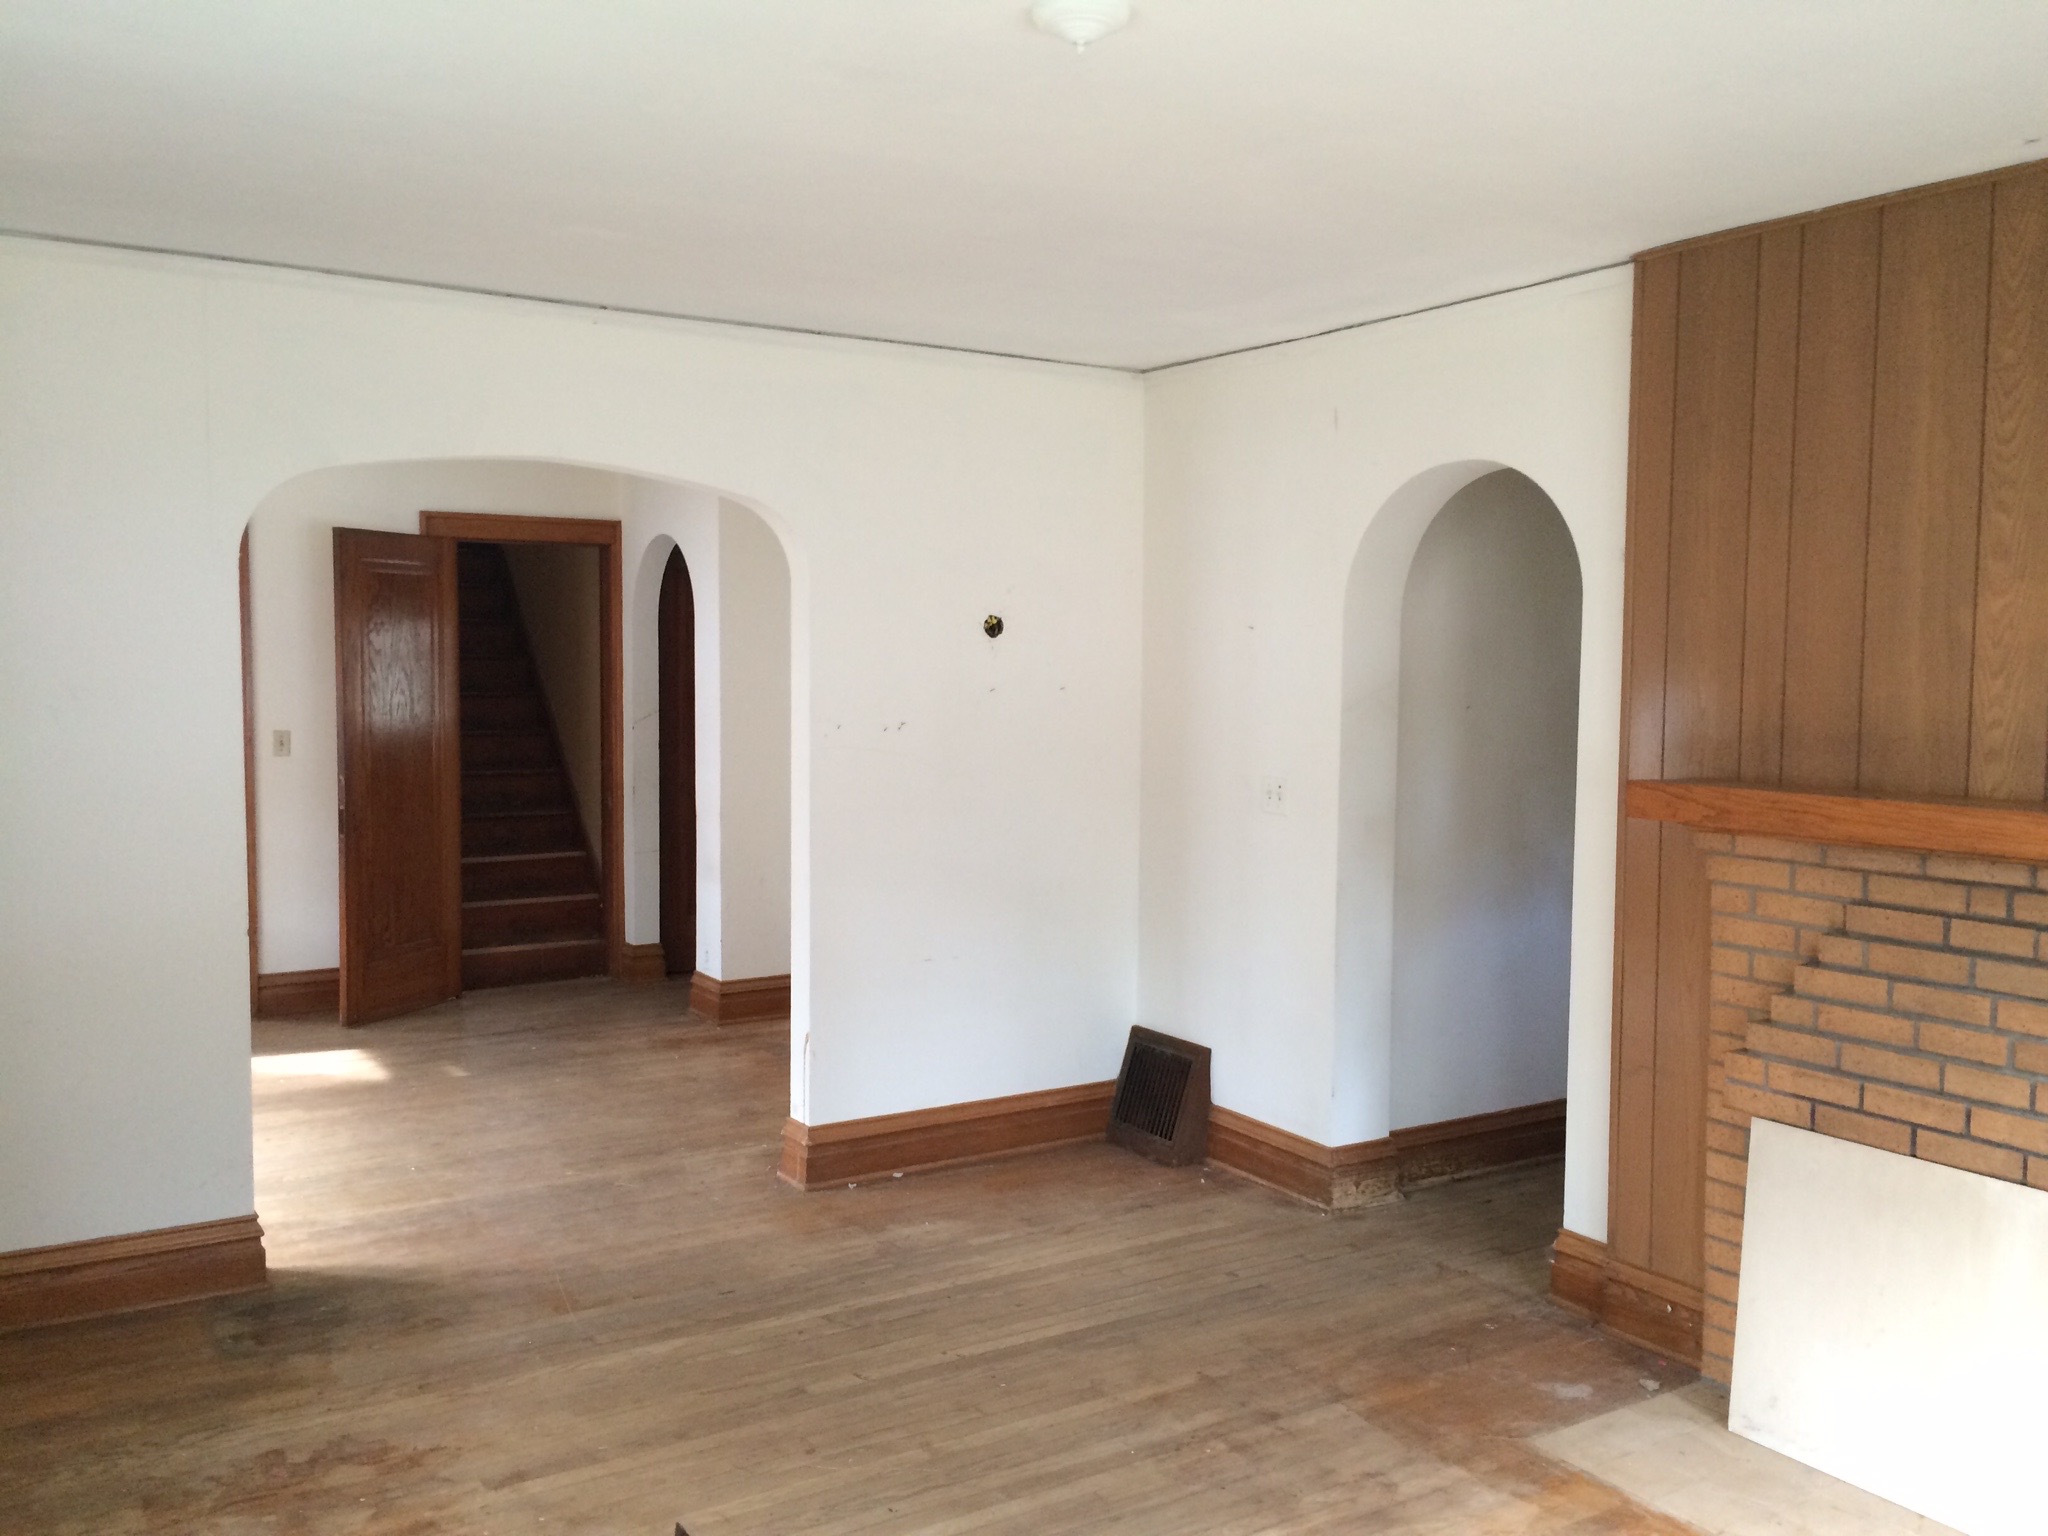
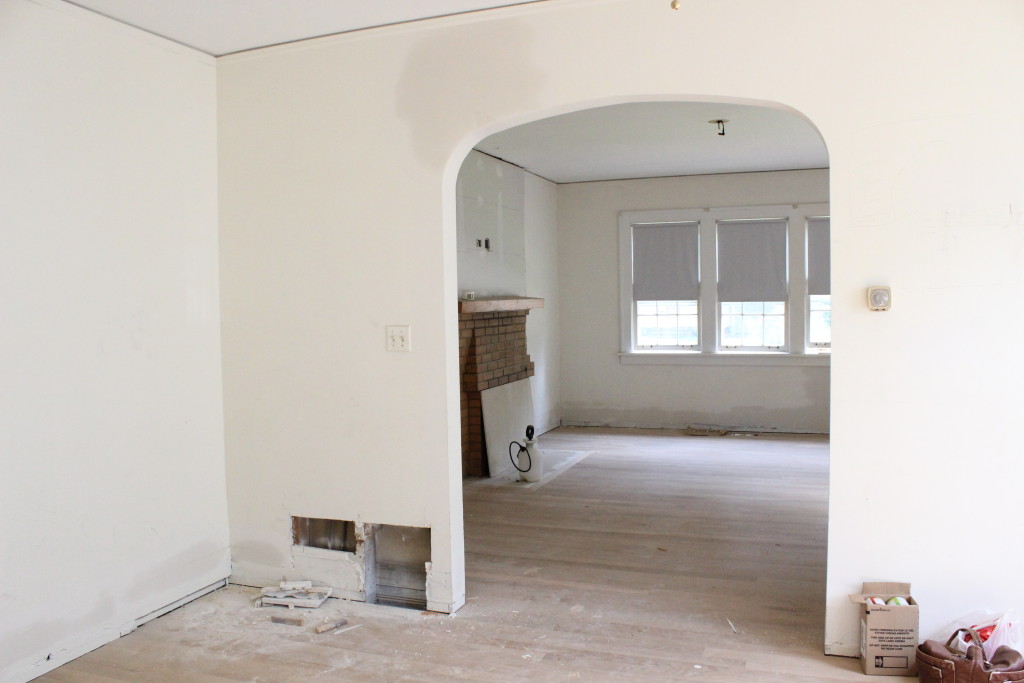
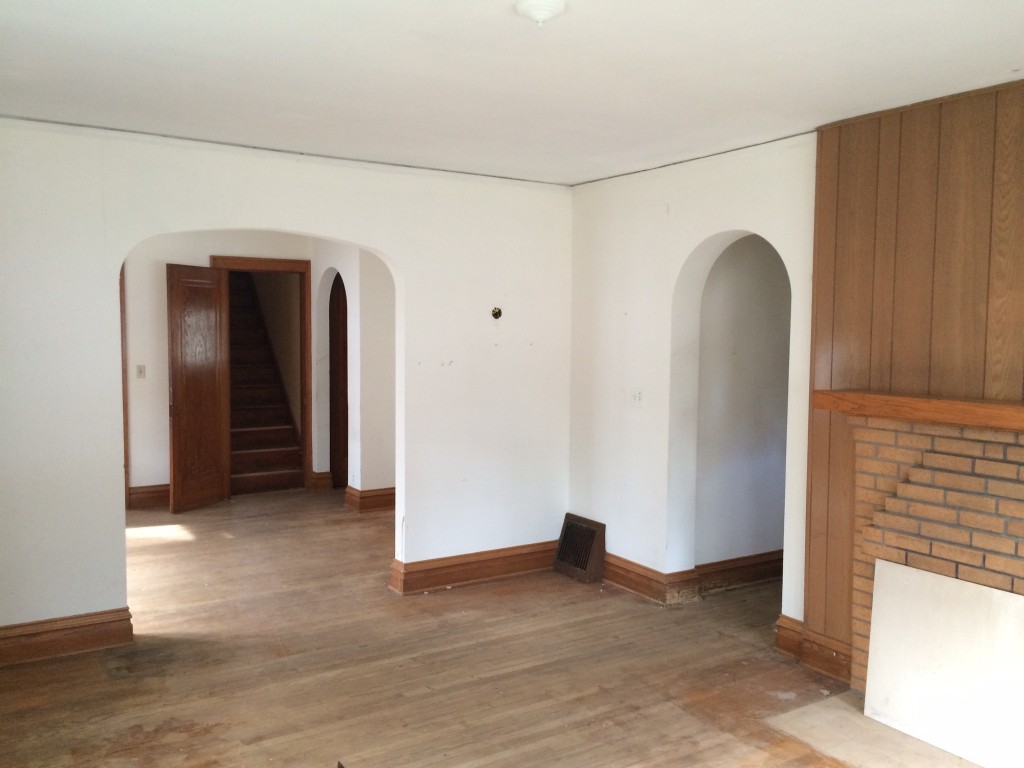
The other side of the dining room looking into the living room used to look like this:

IMG_6957

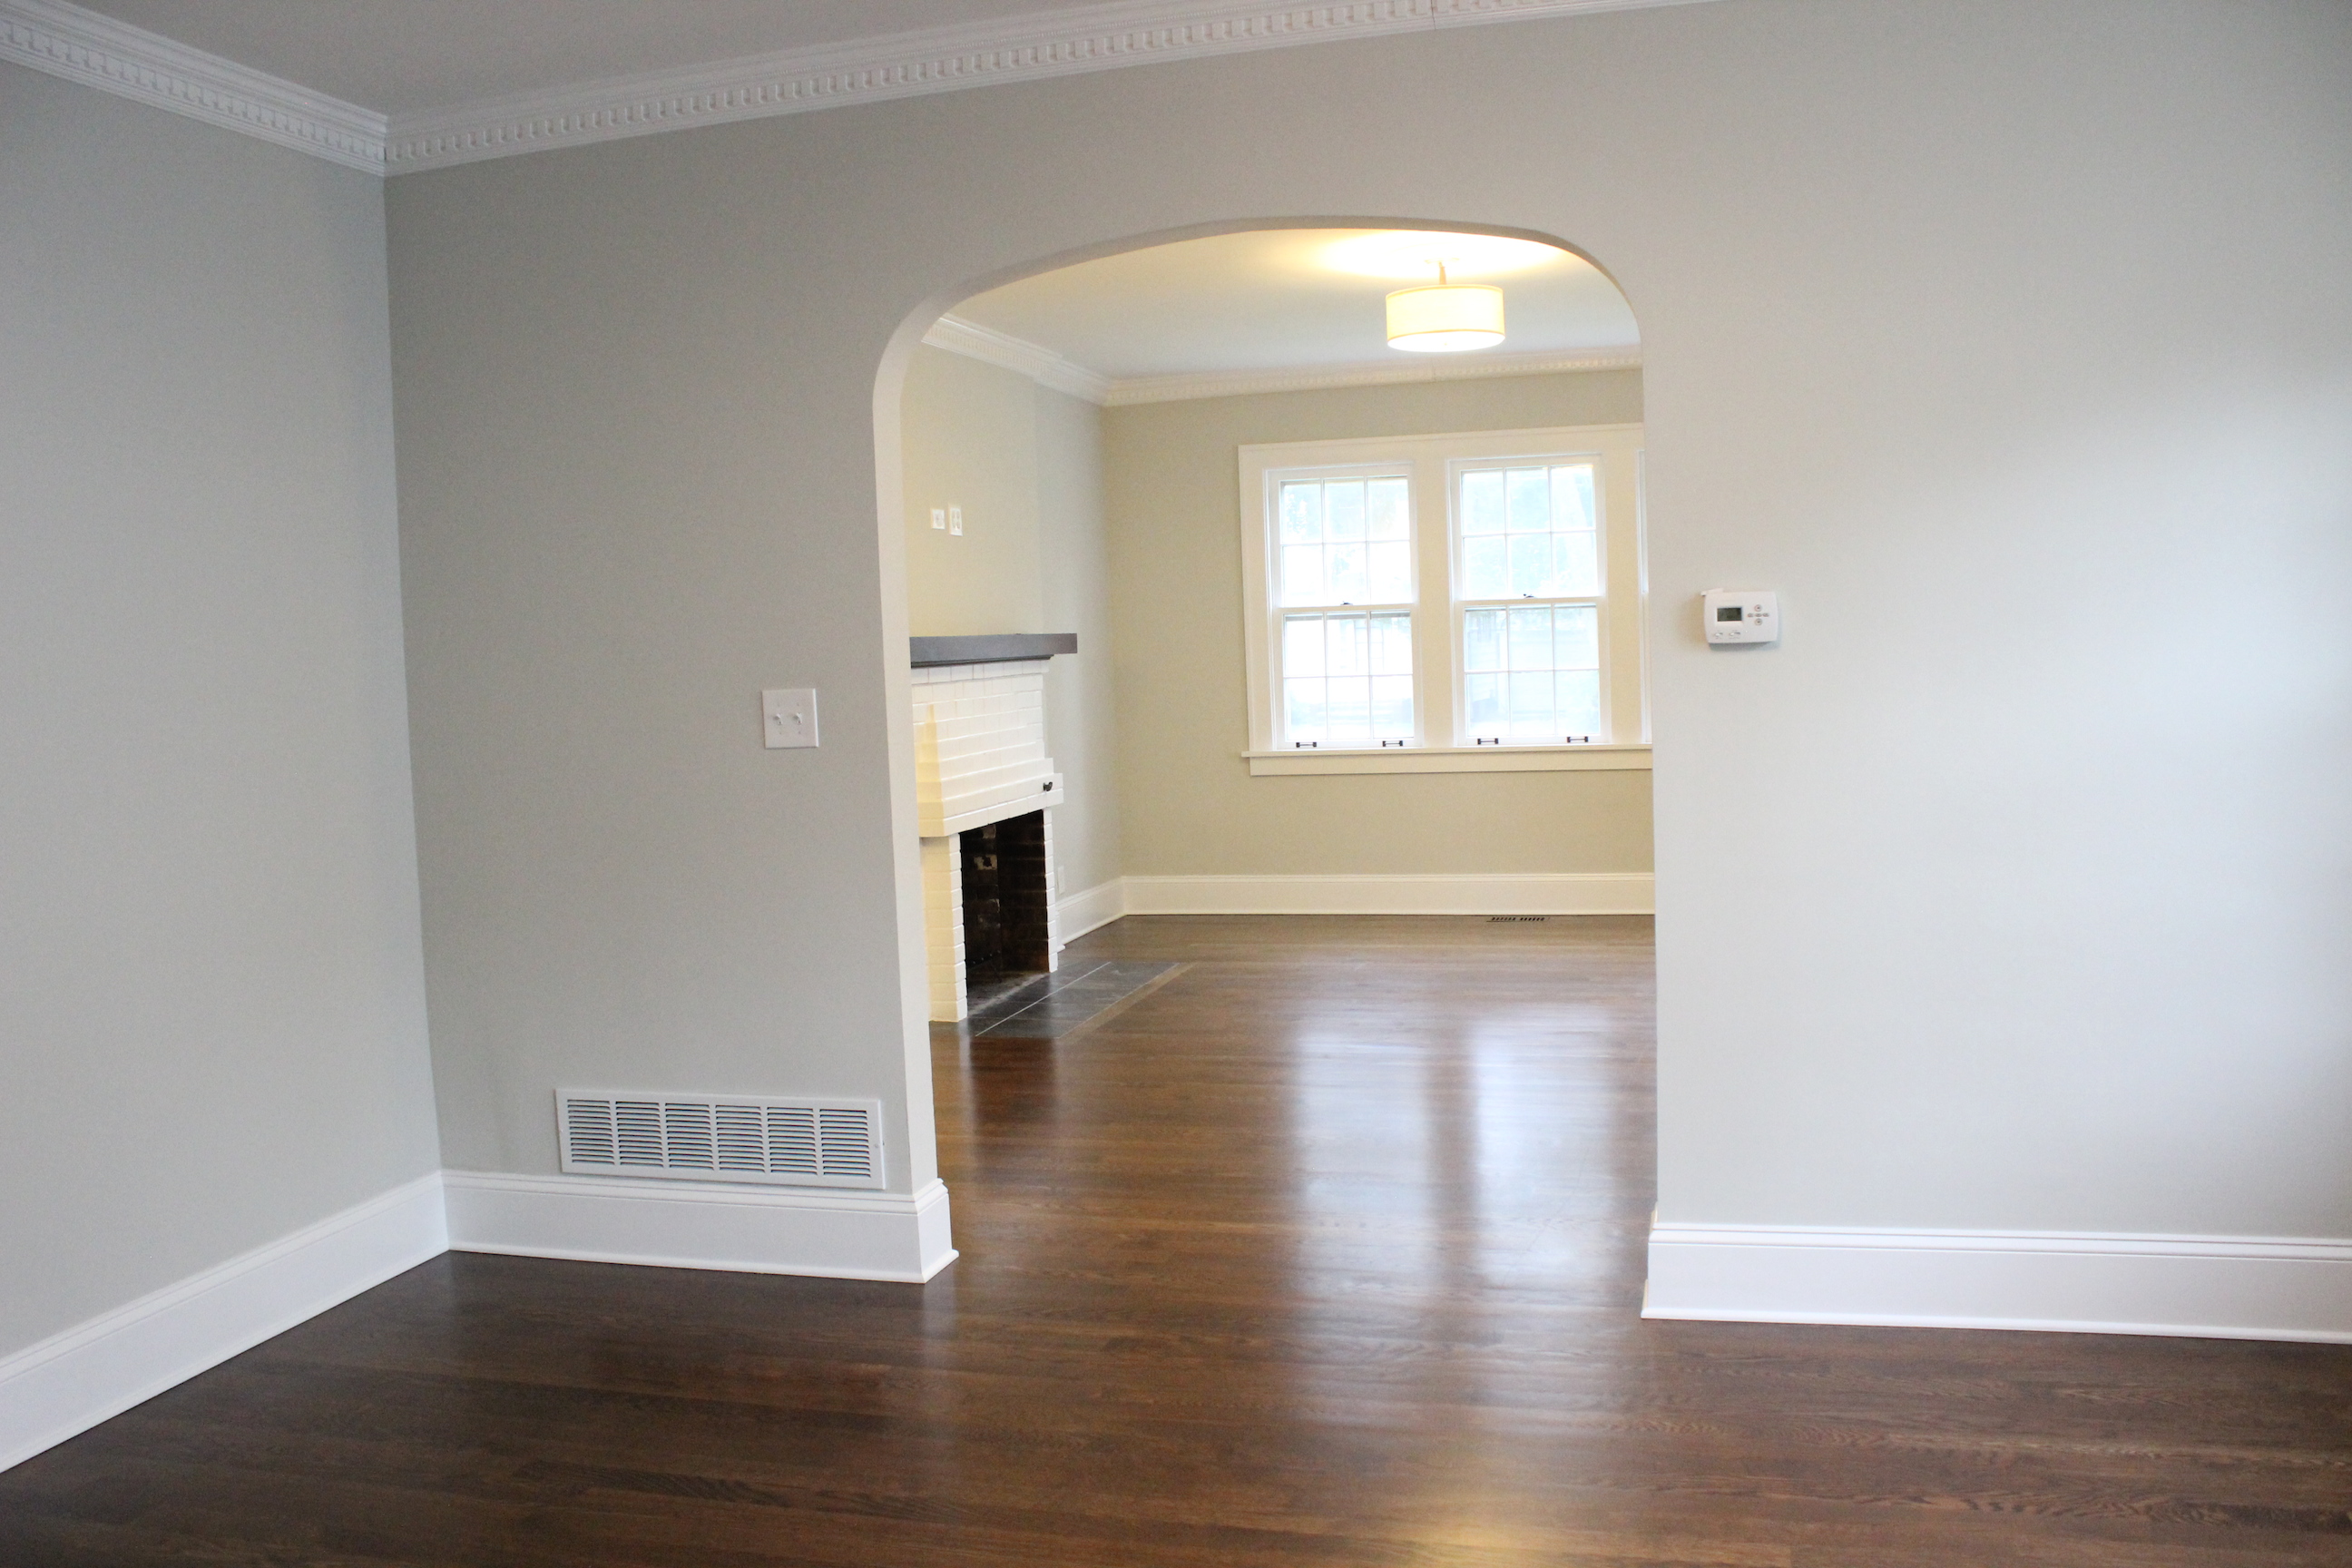
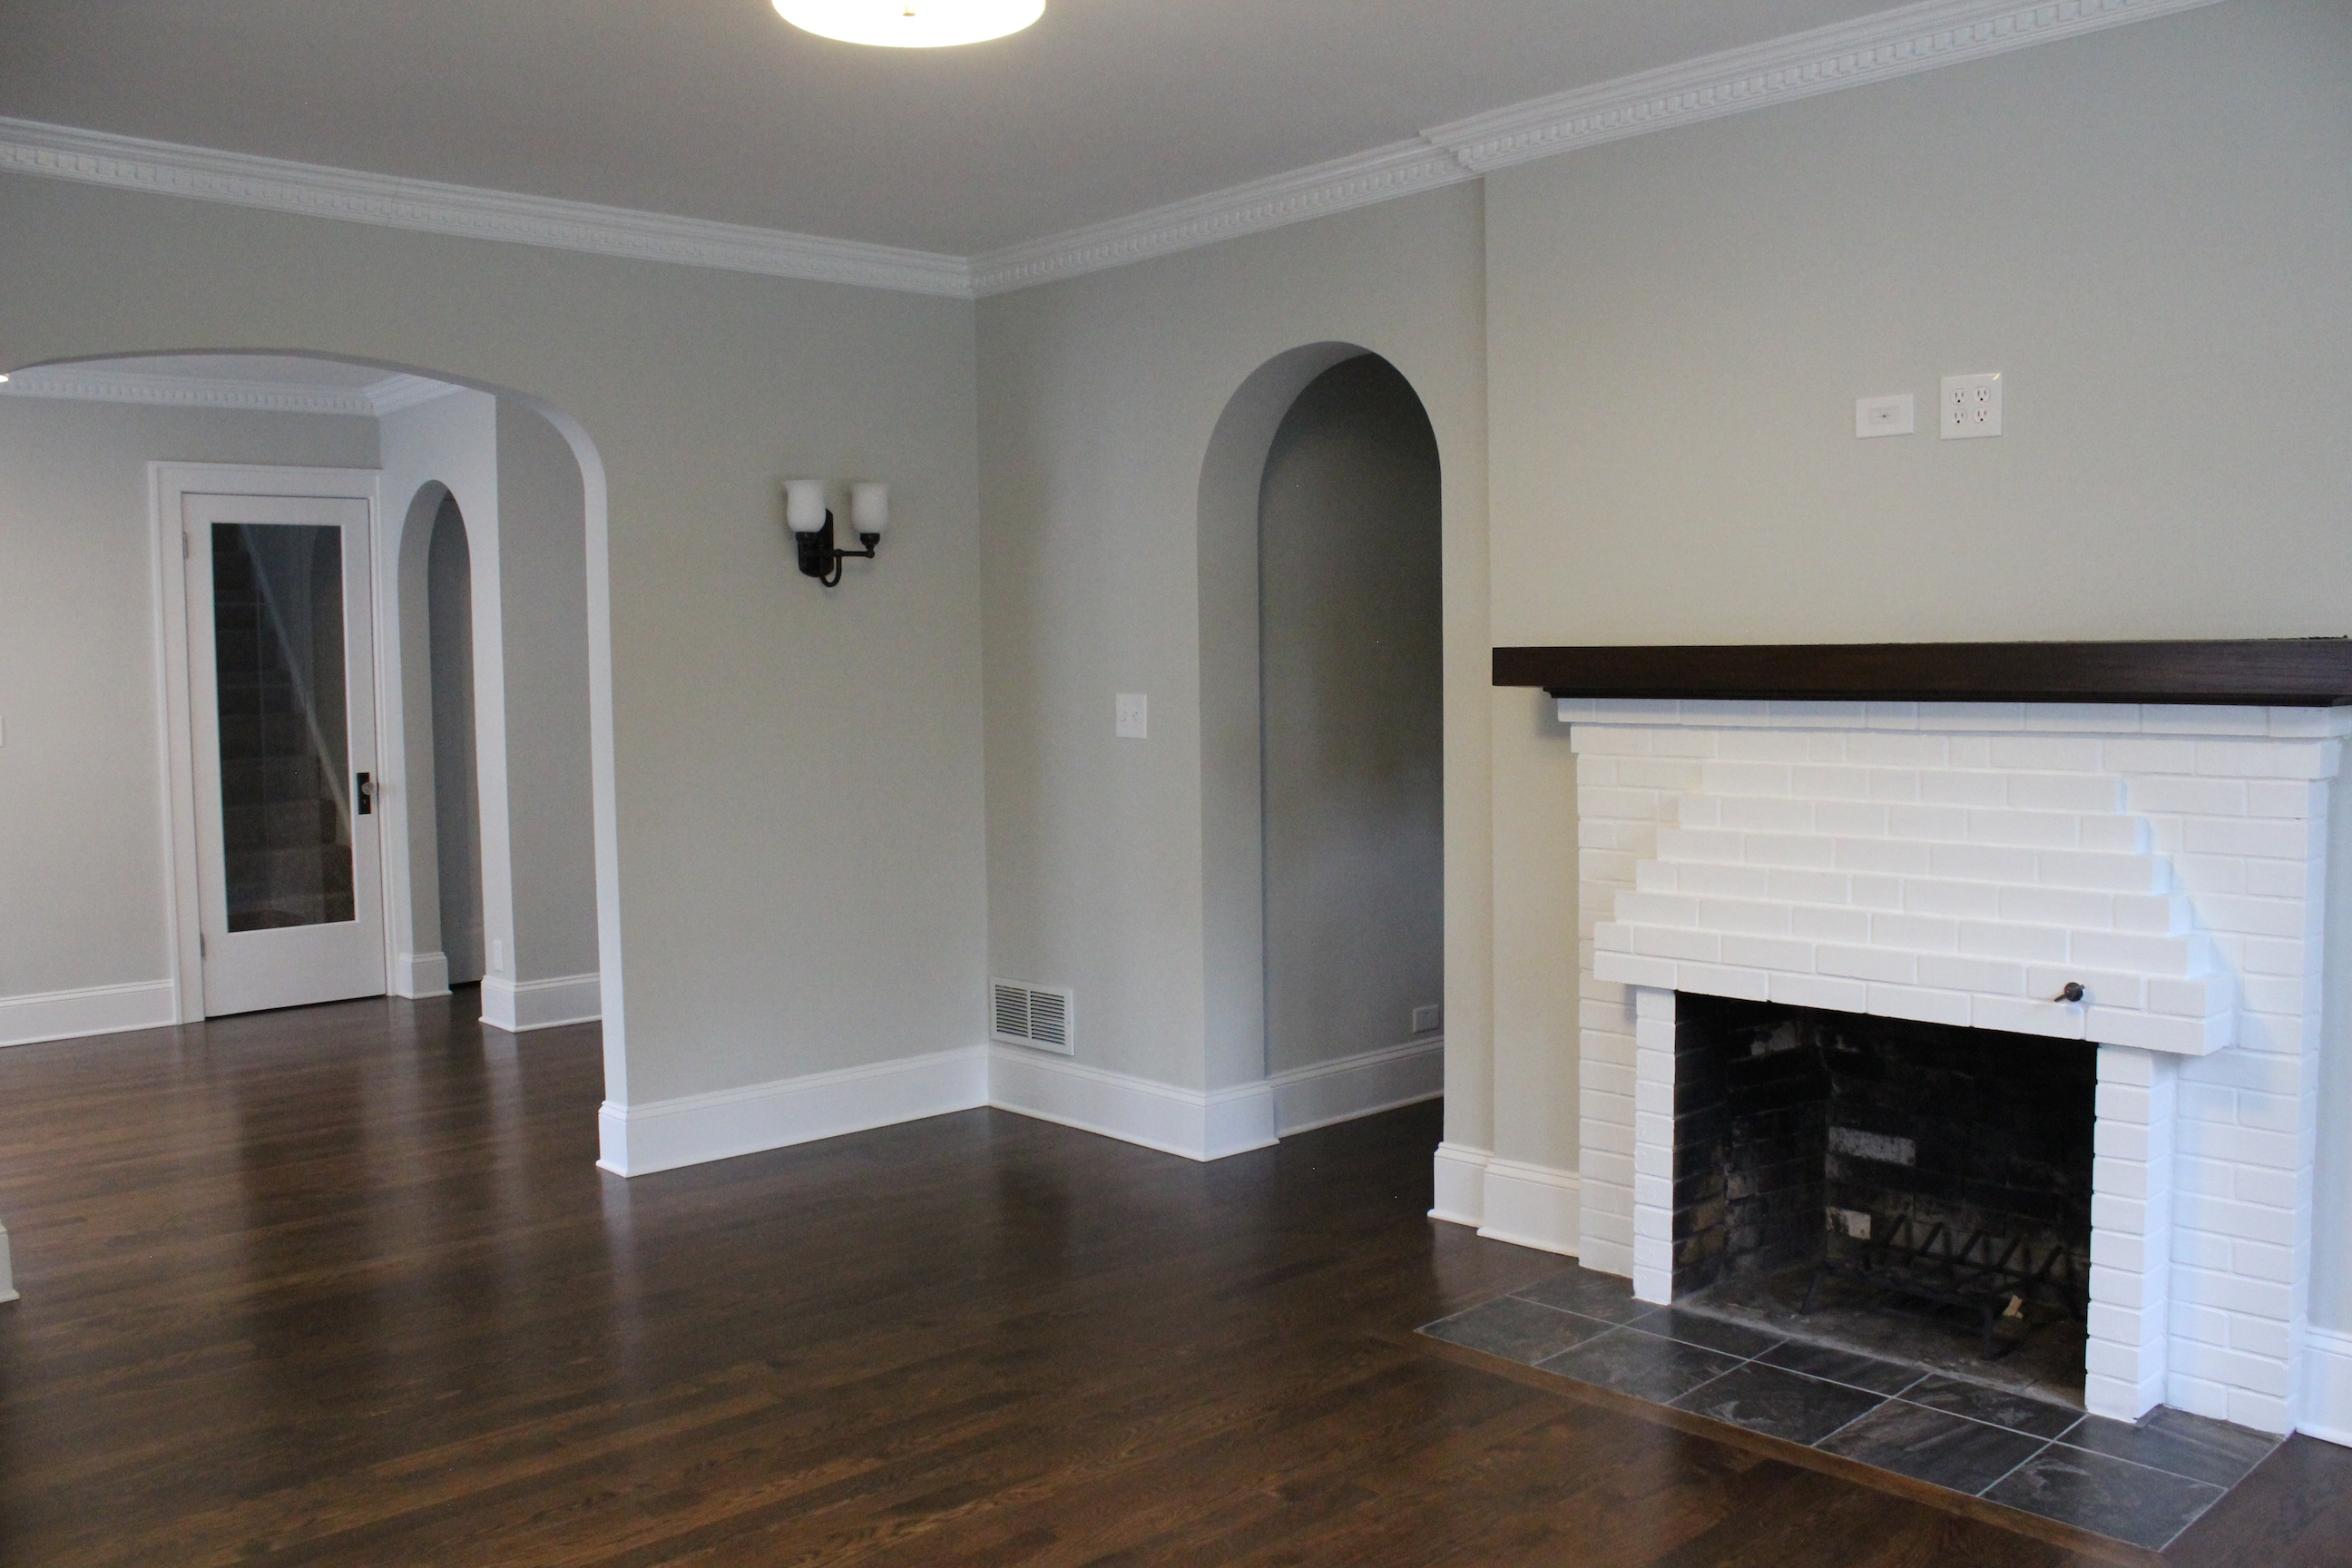
And now:

IMG_5547

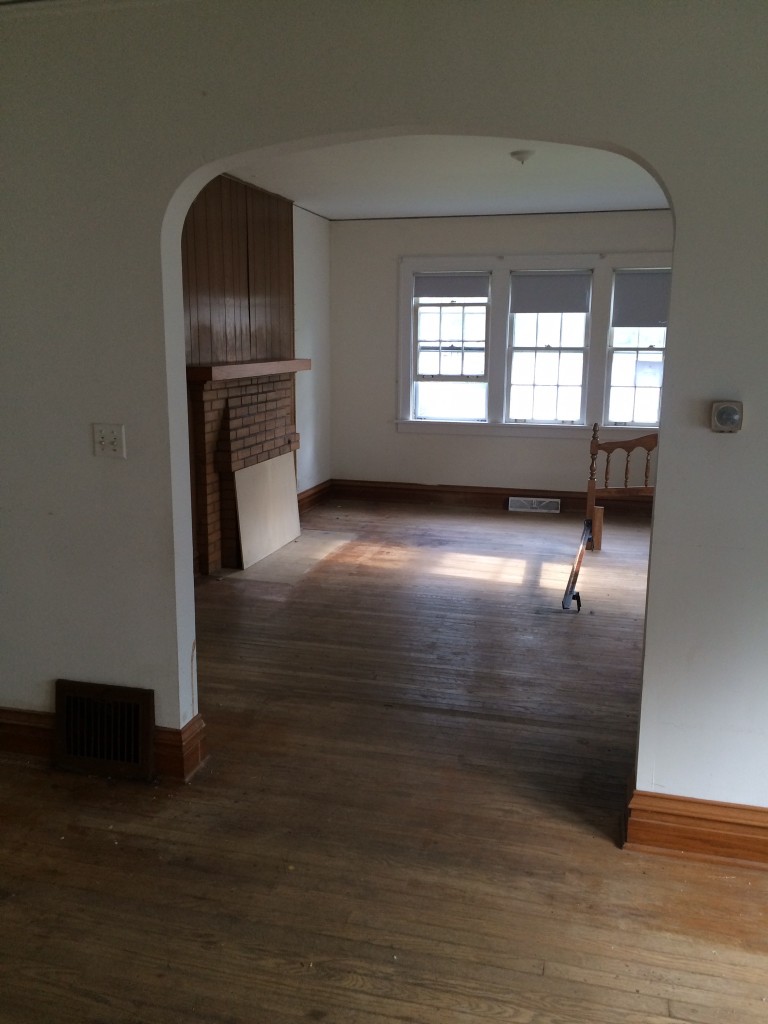
Into the living room, it used to look like this:

IMG_6952

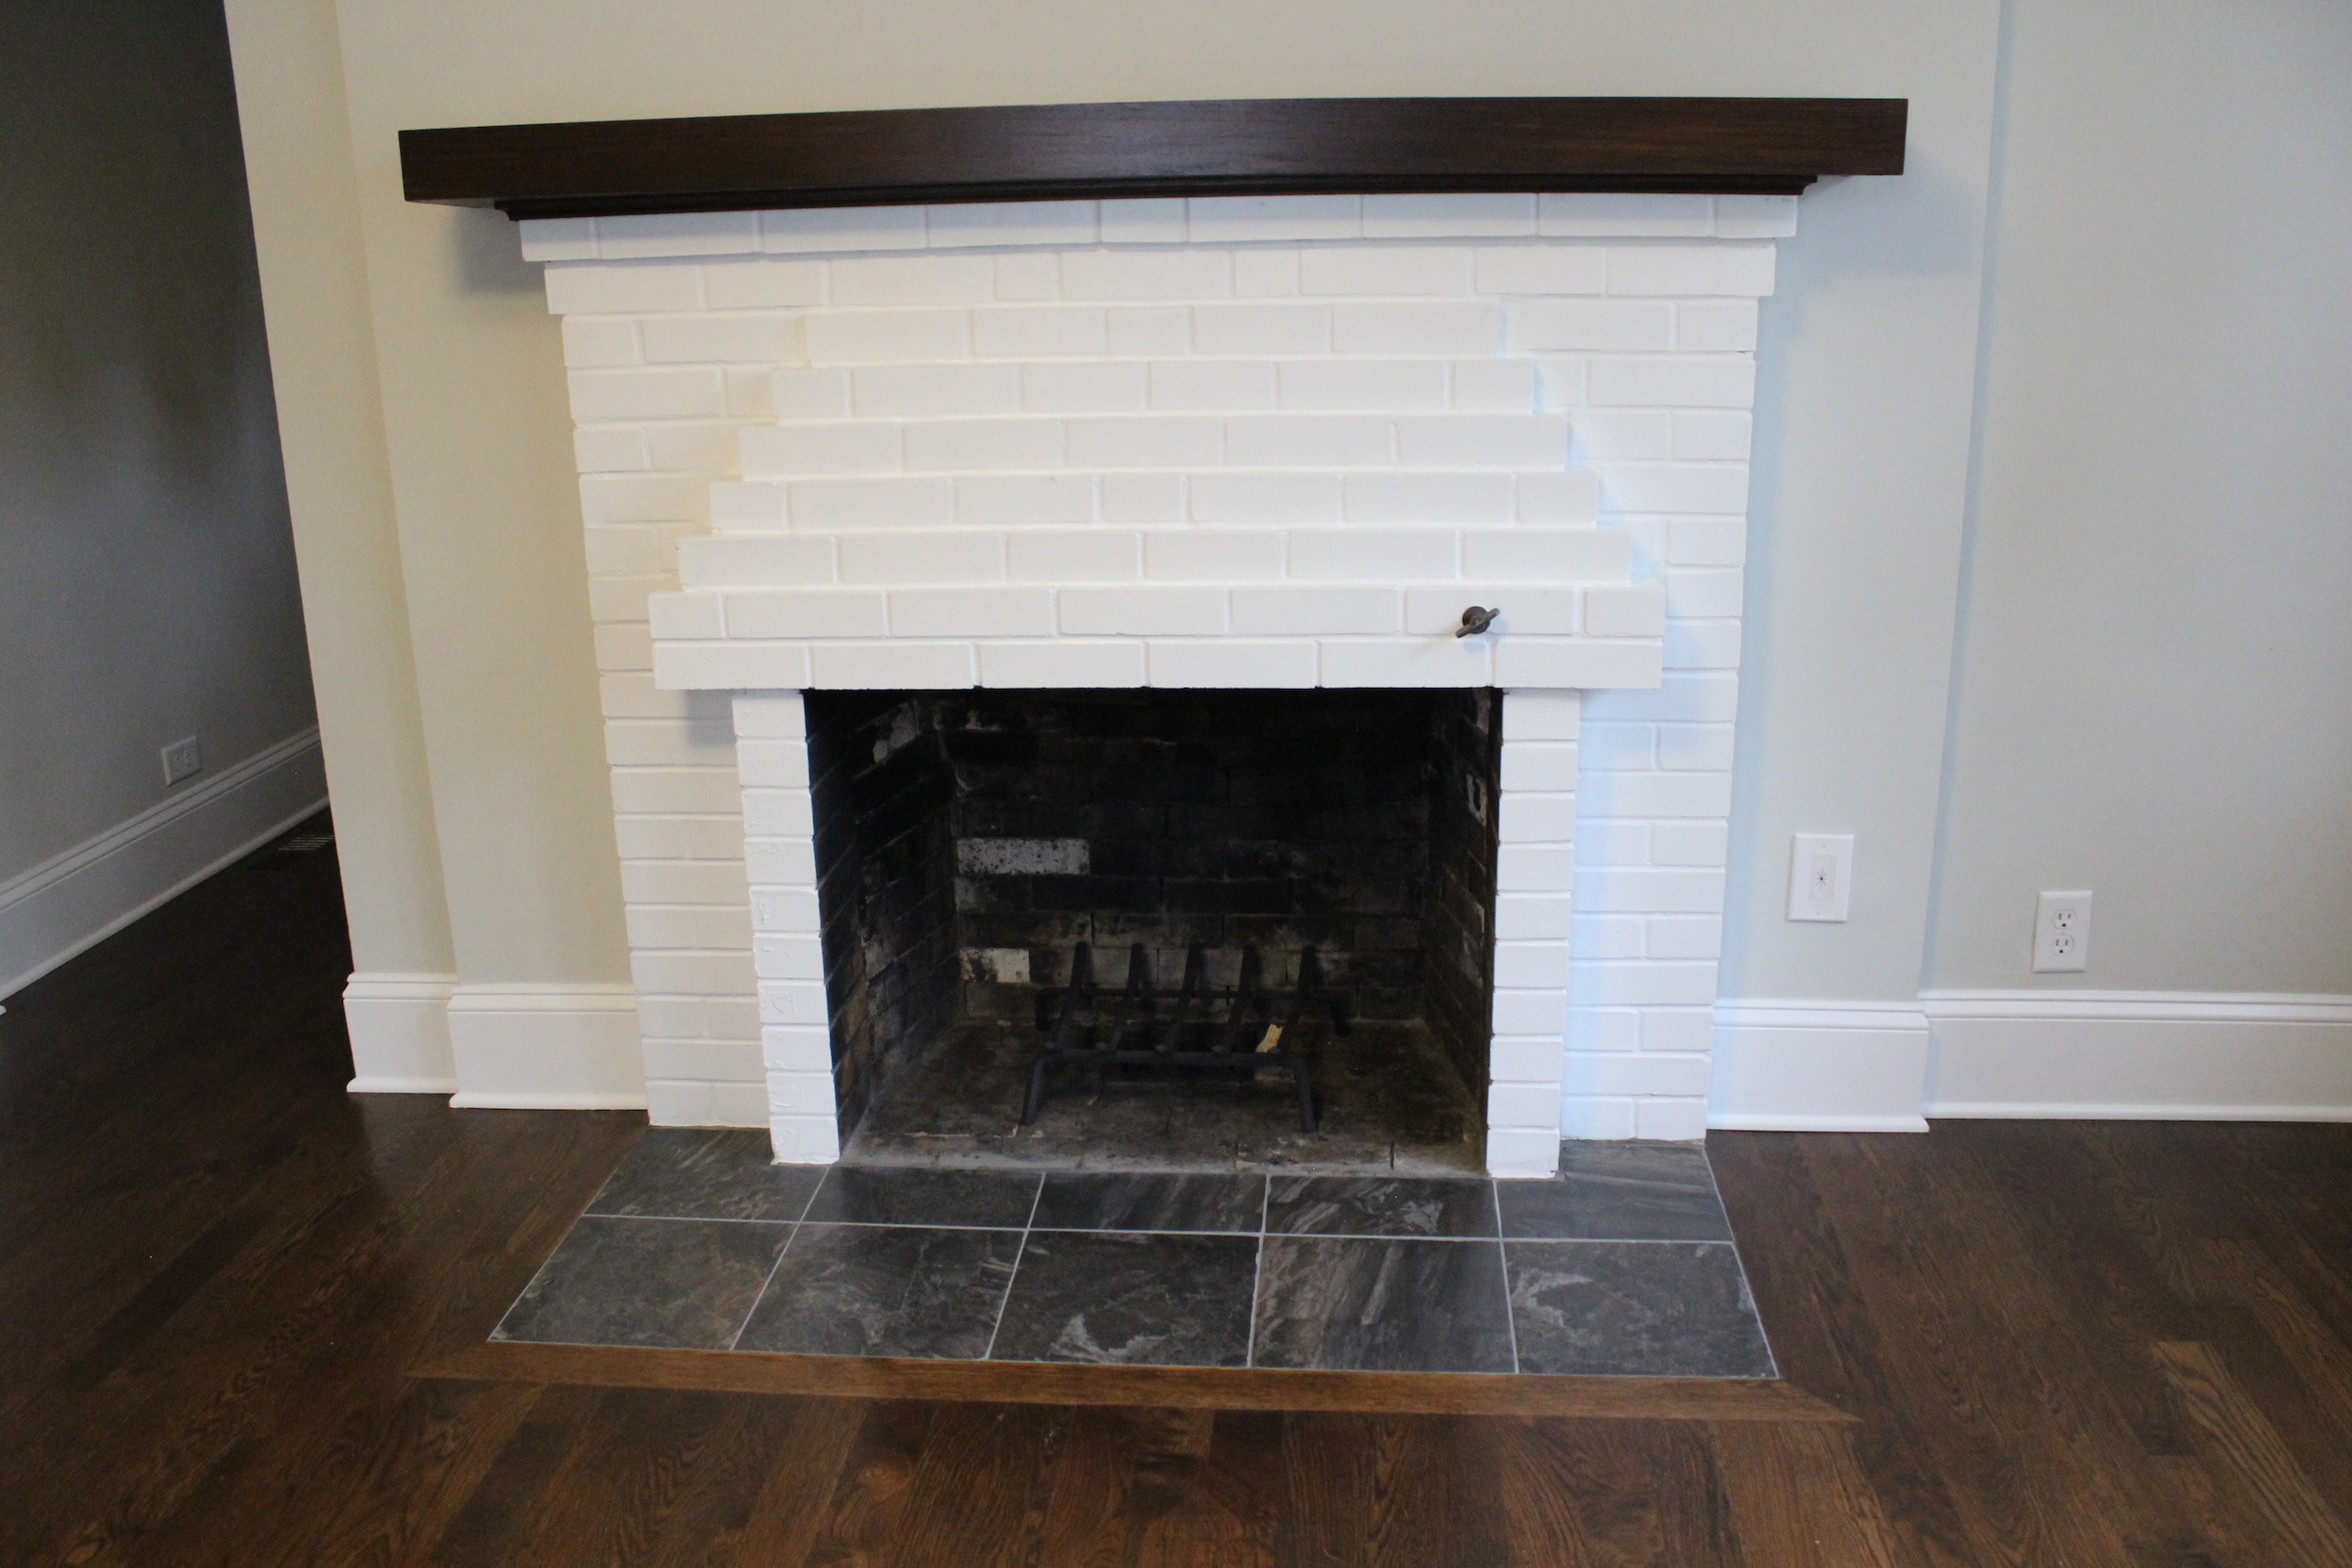
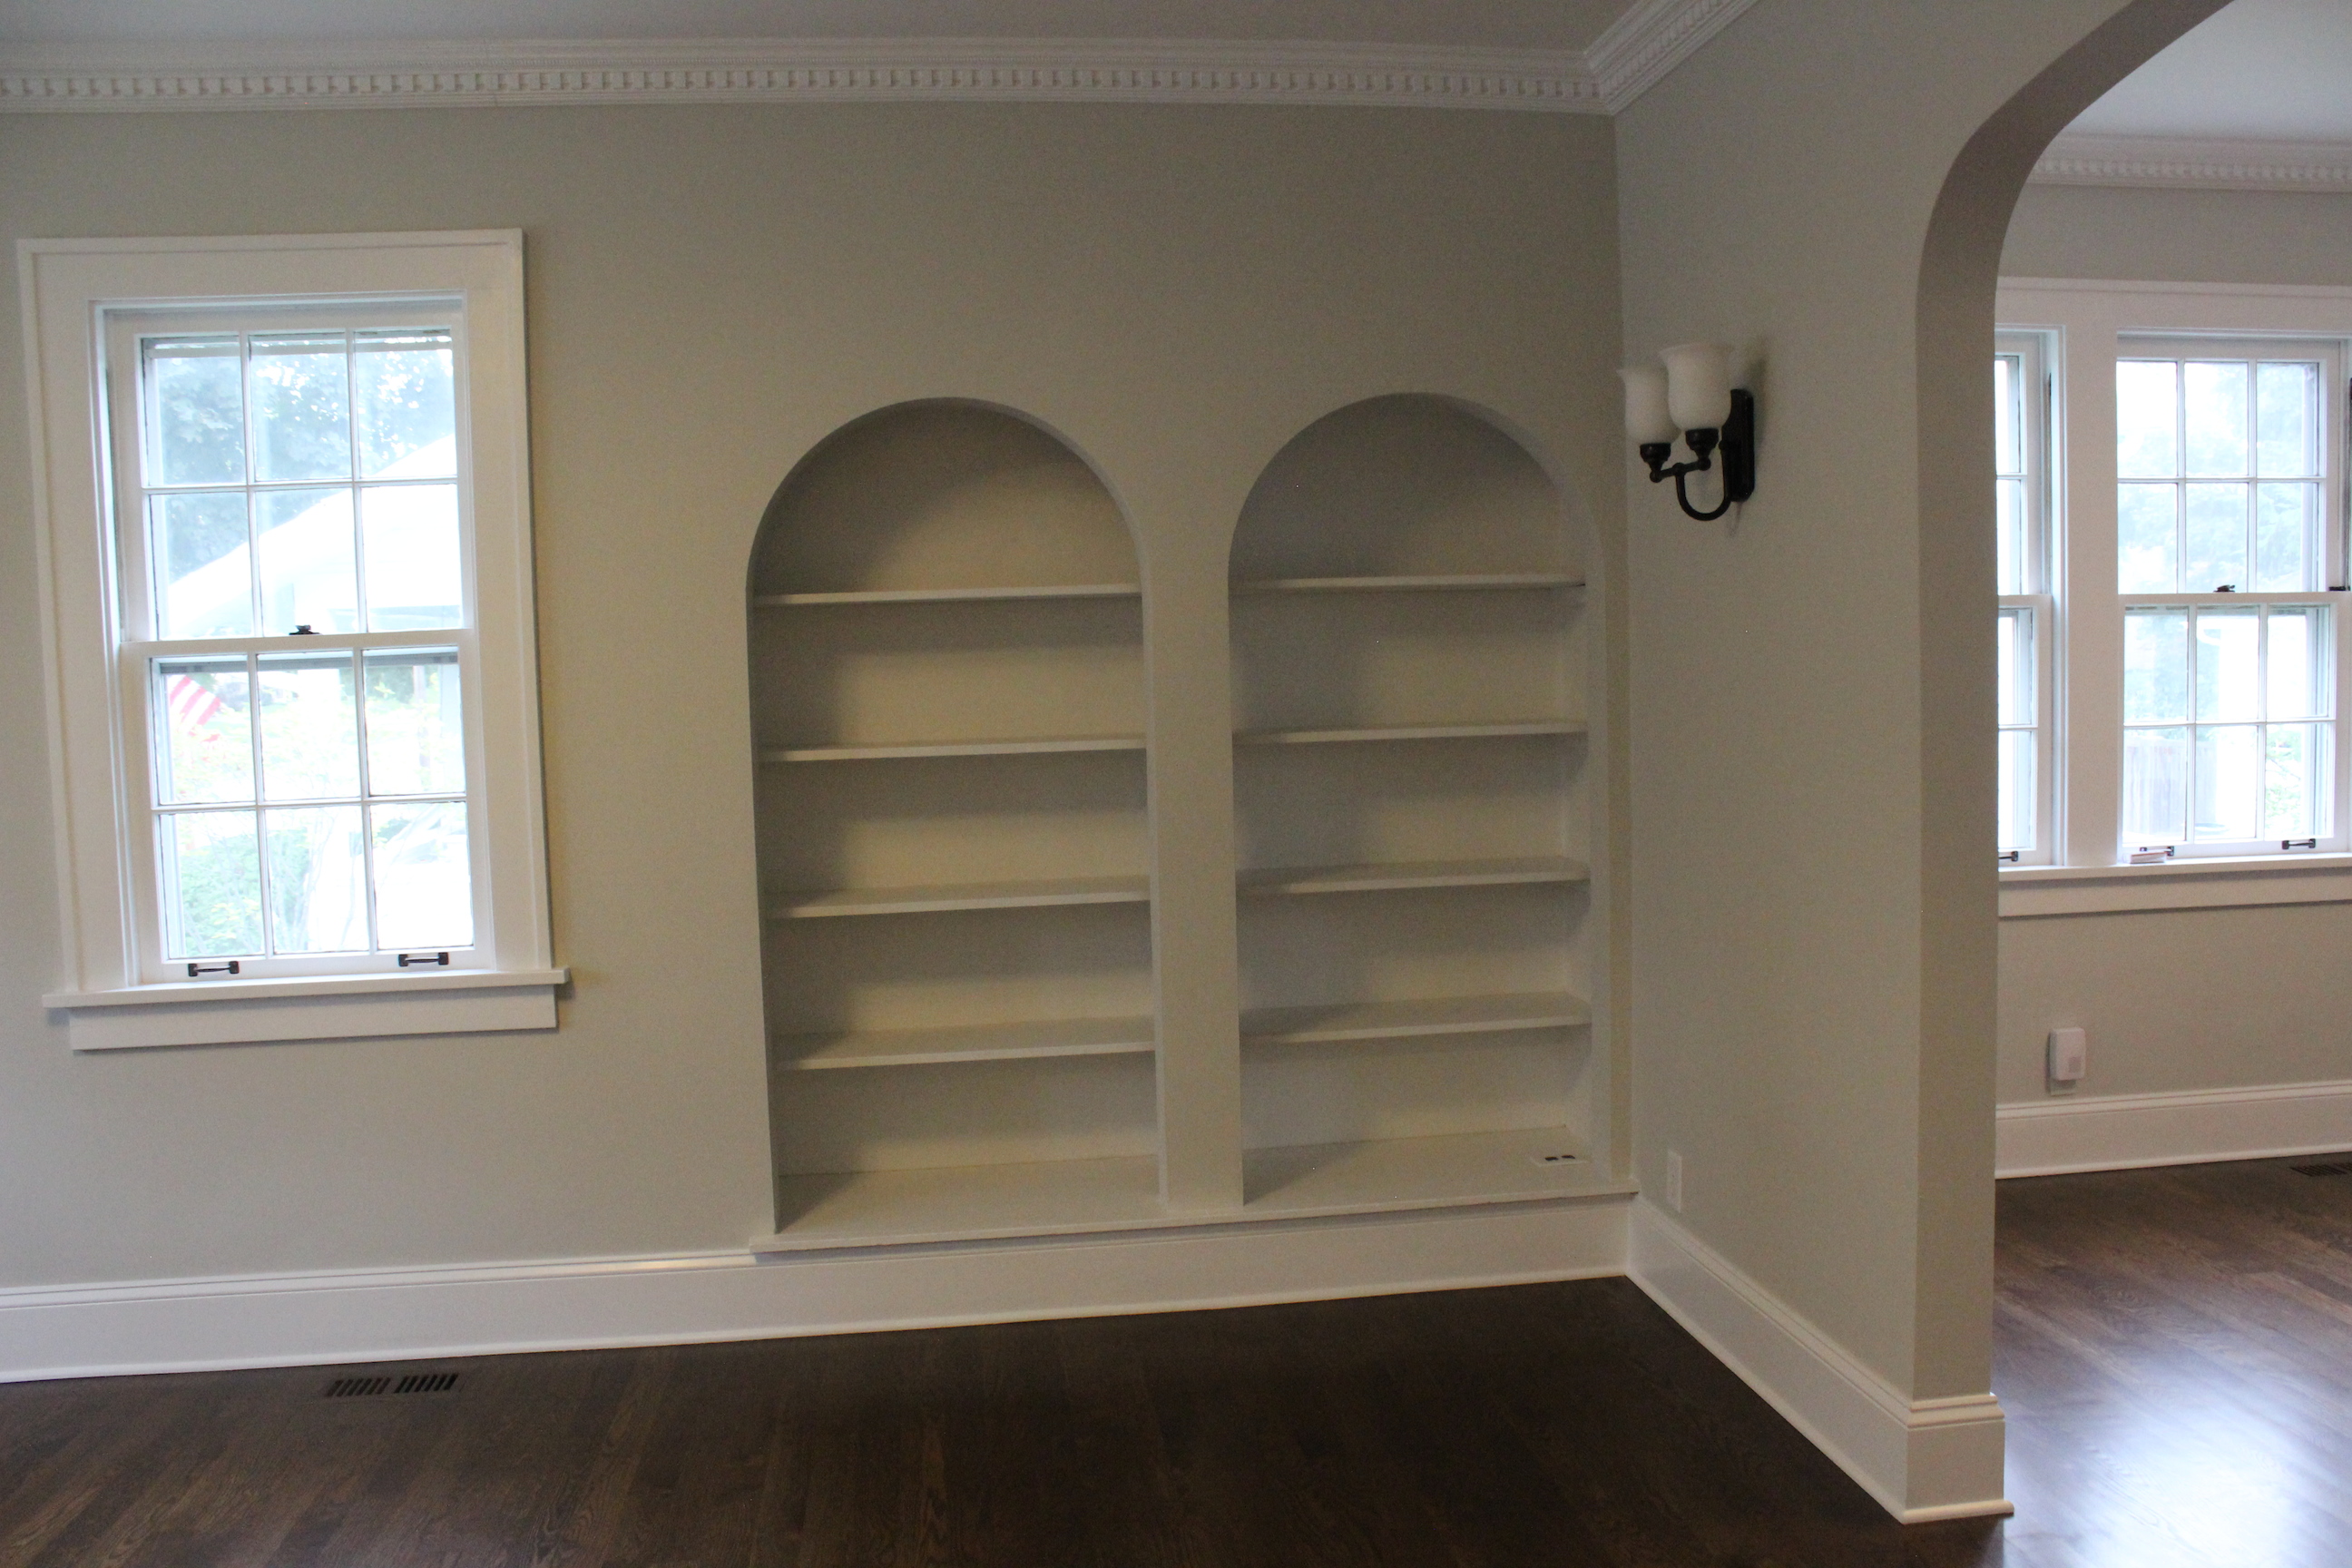
We updated the fireplace, added sconces (from Home Depot), an overhead drum light, and continued the paint, crown, baseboards and new floors.

IMG_5548

For the fireplace, we replaced the paneling with new drywall, painted the brick white, stained the mantle, and updated the tile on the hearth.

IMG_5549

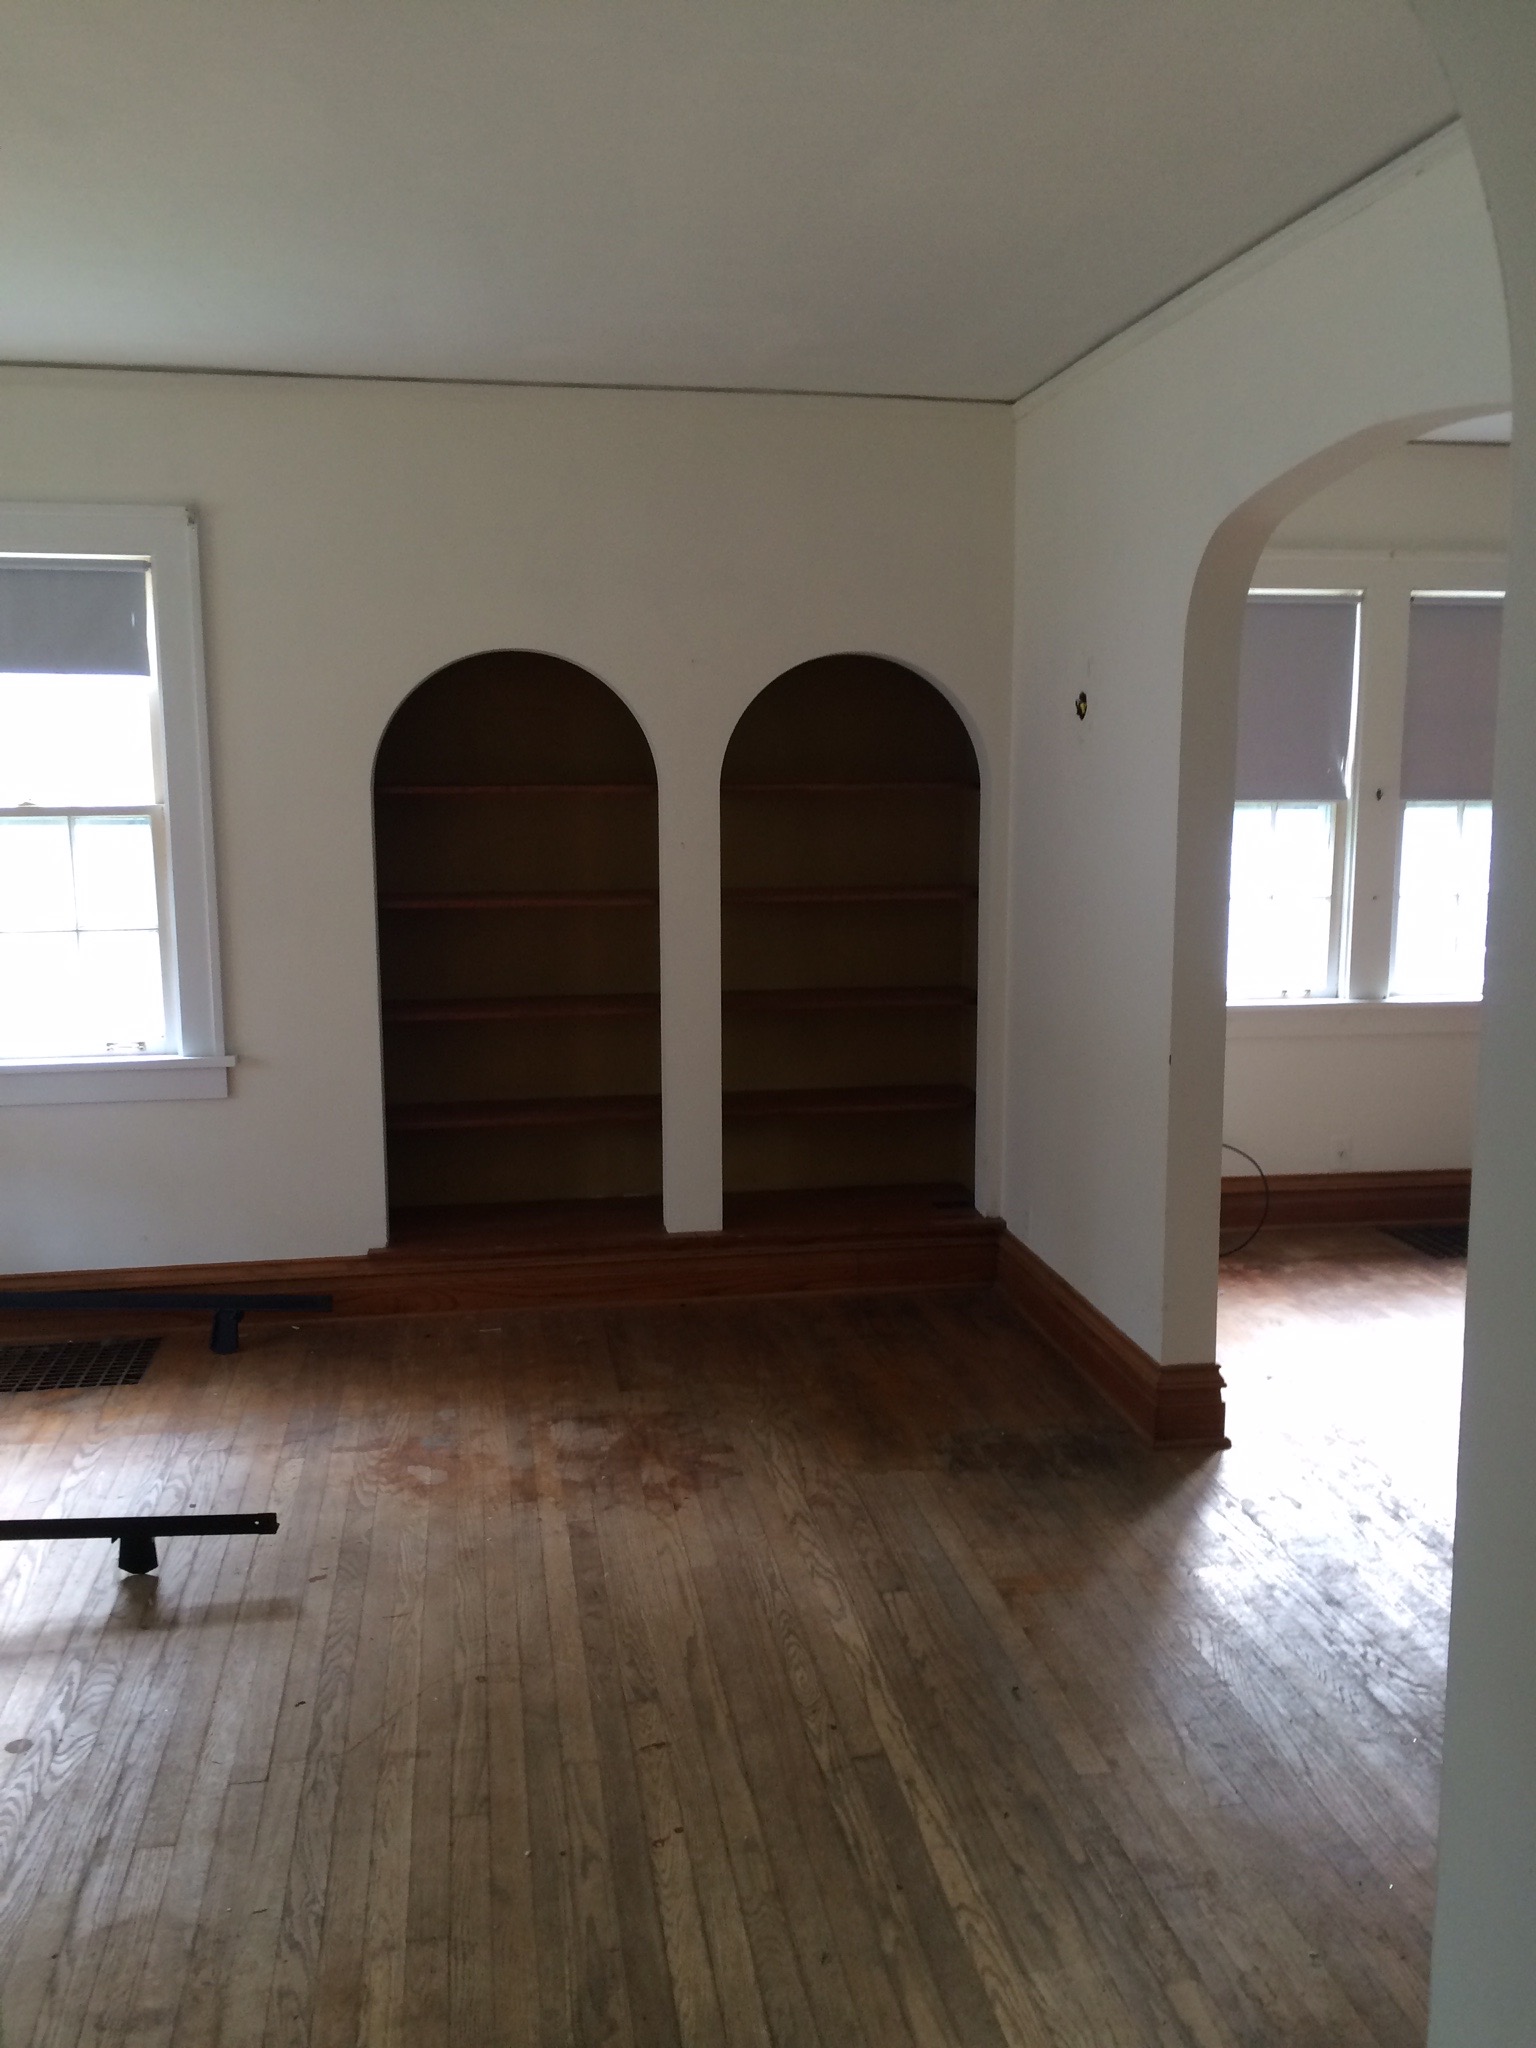
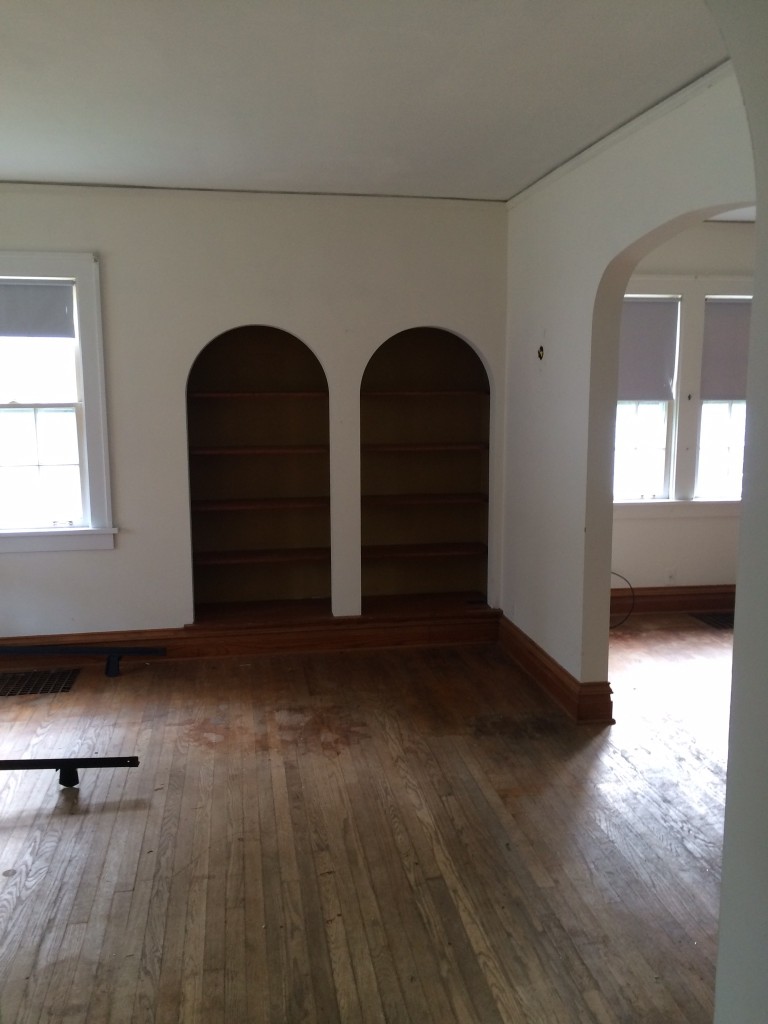
The other side of the living room looked like this.

IMG_6951

And now:

IMG_5551

I just love all the arches throughout the home.

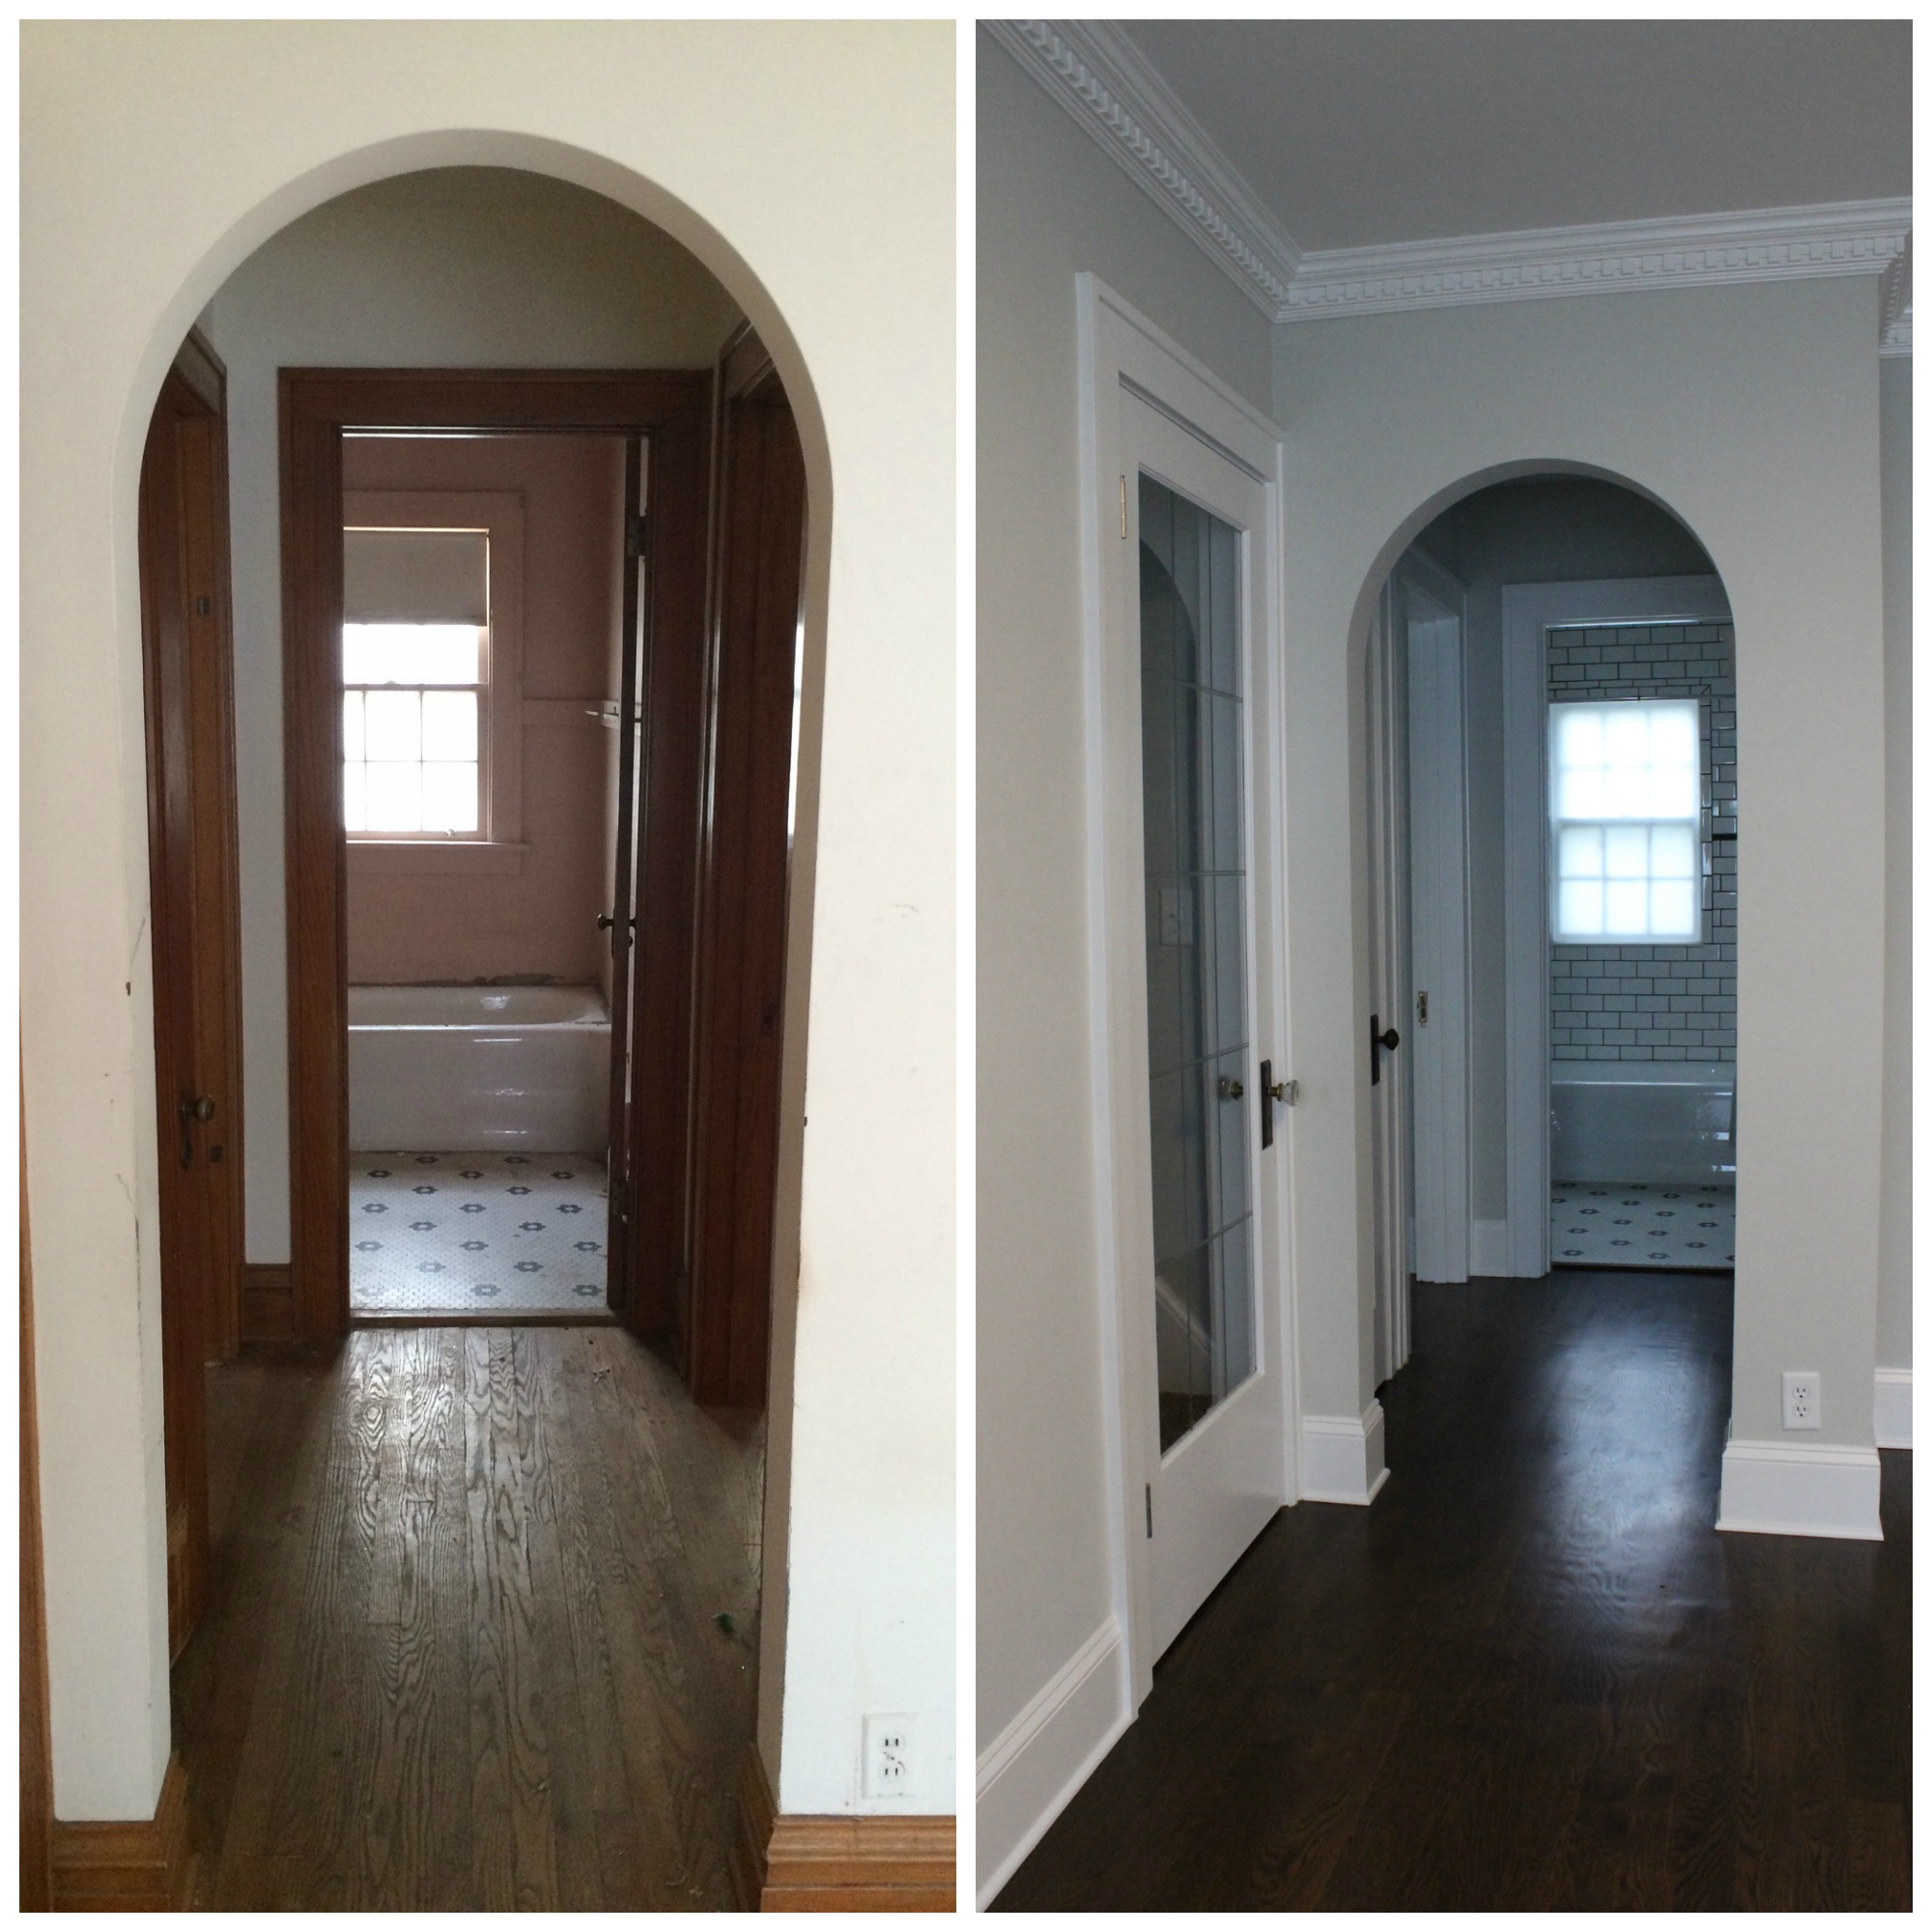
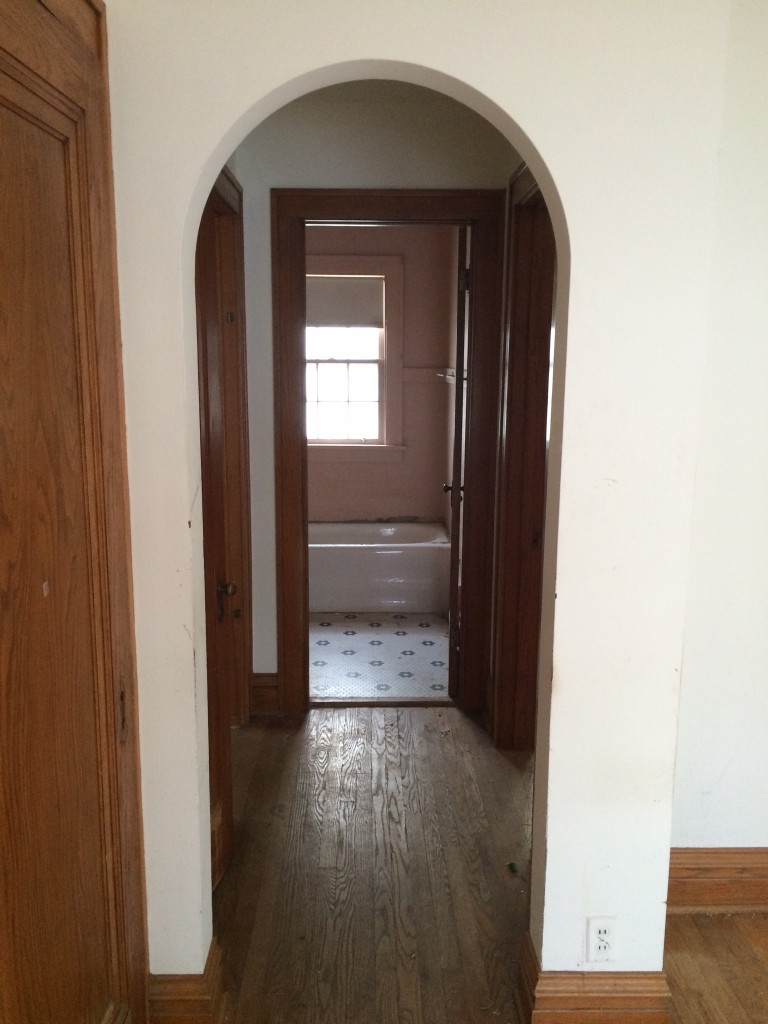
Here’s a before & after of the hallway leading to the bathroom and bedrooms:

hallway Coolidge

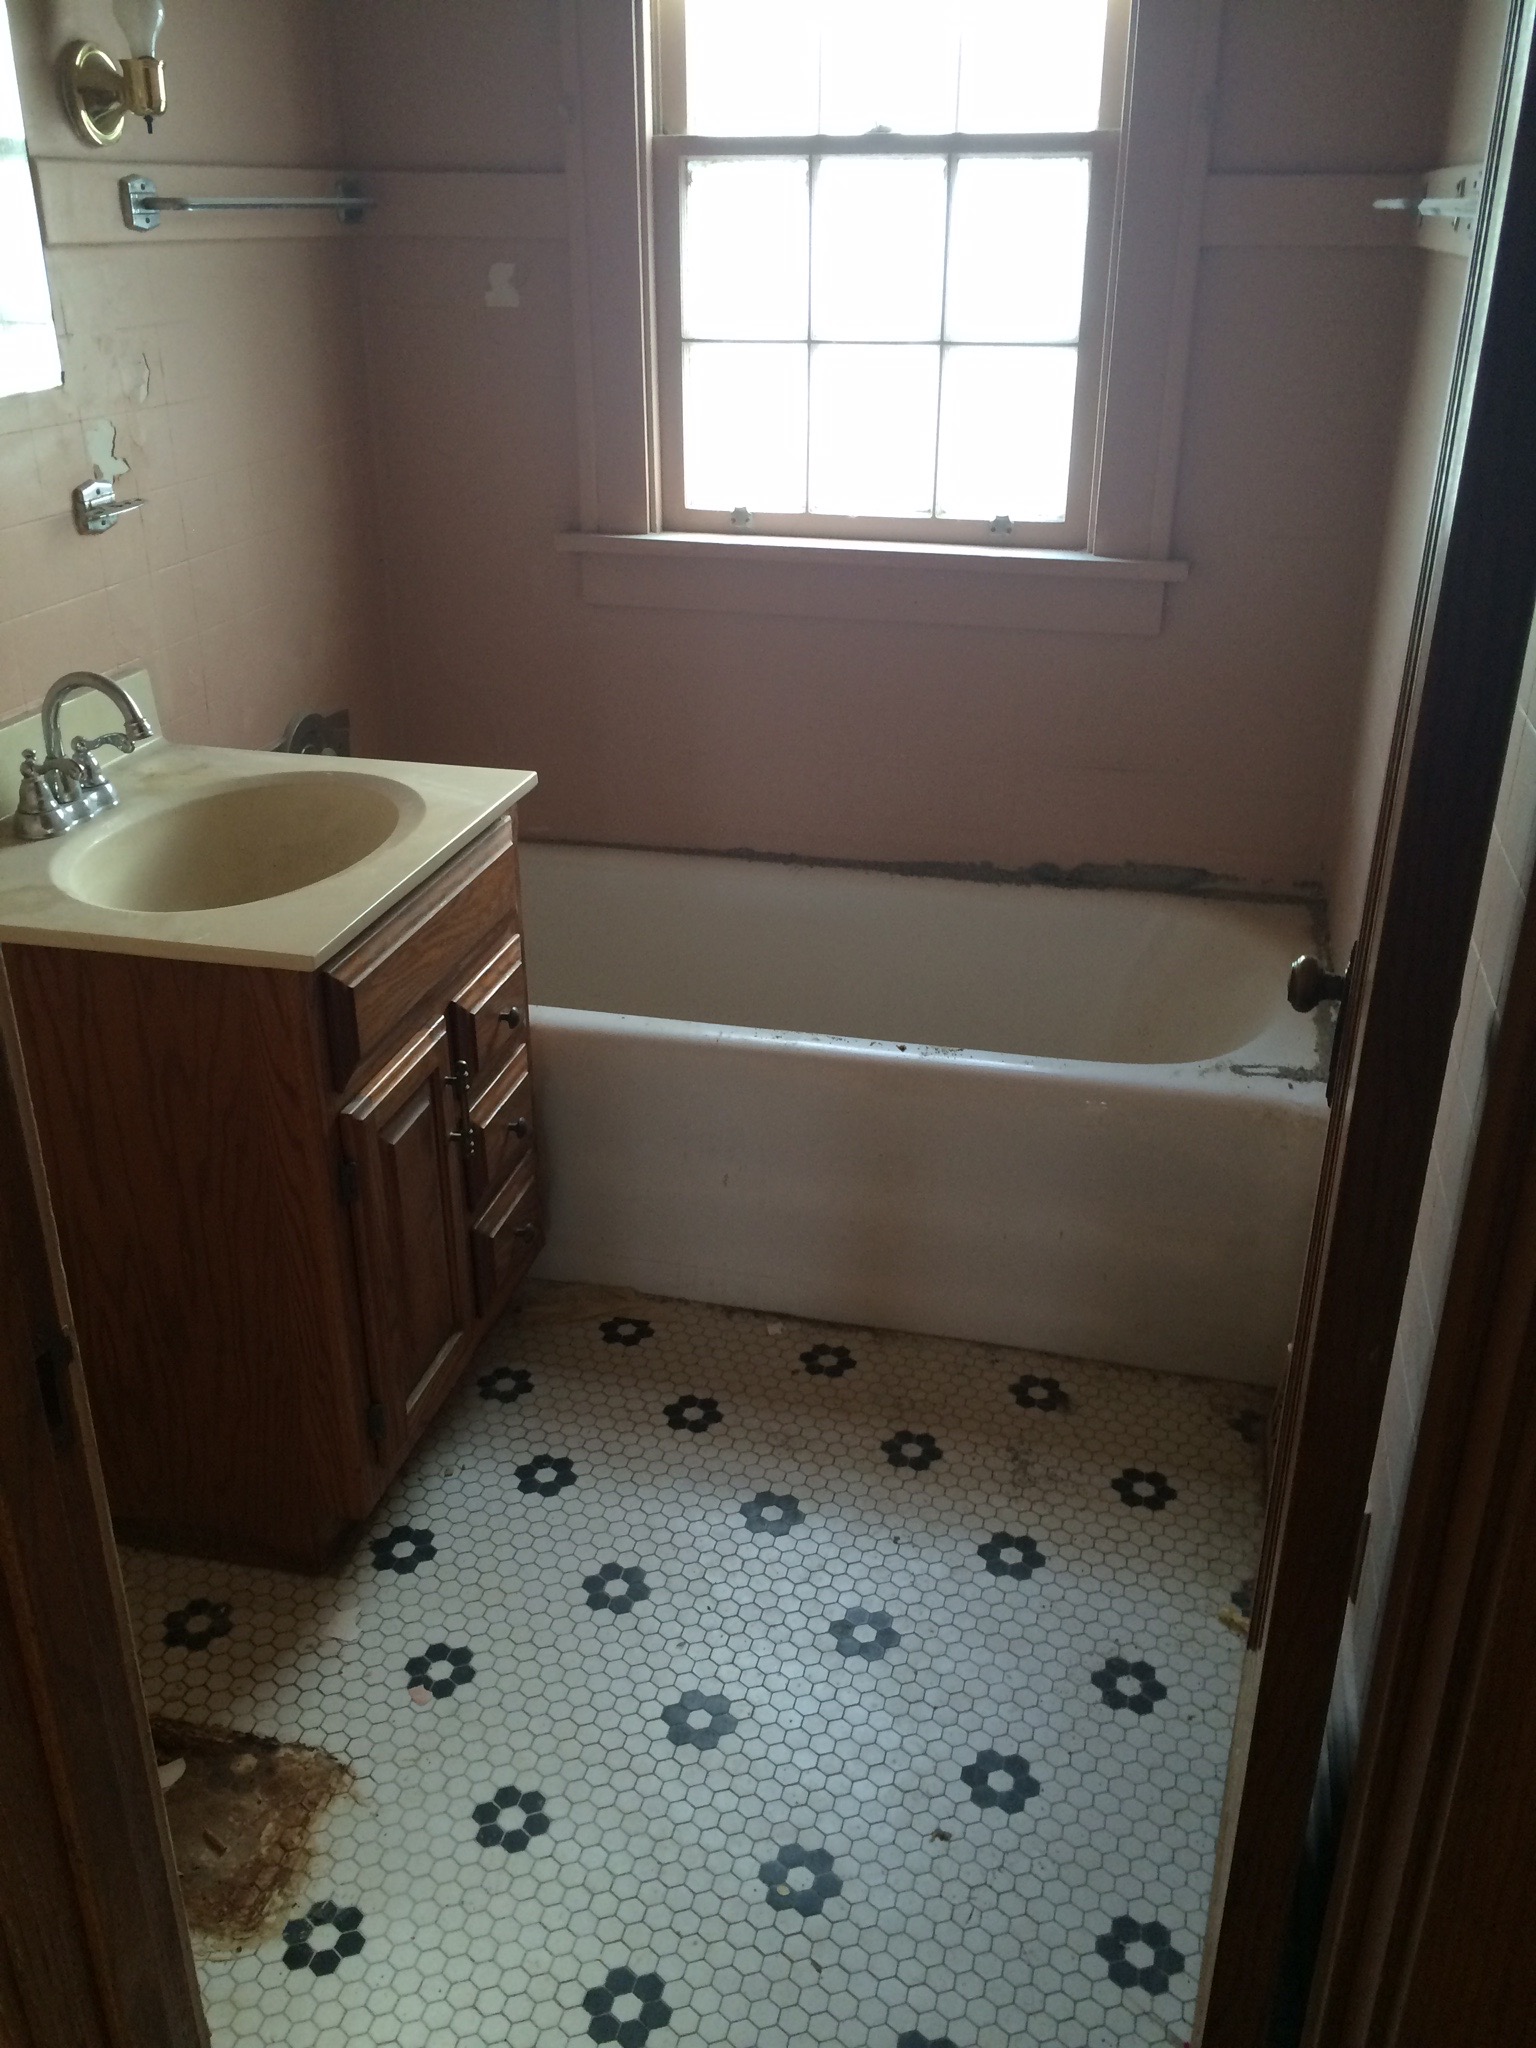
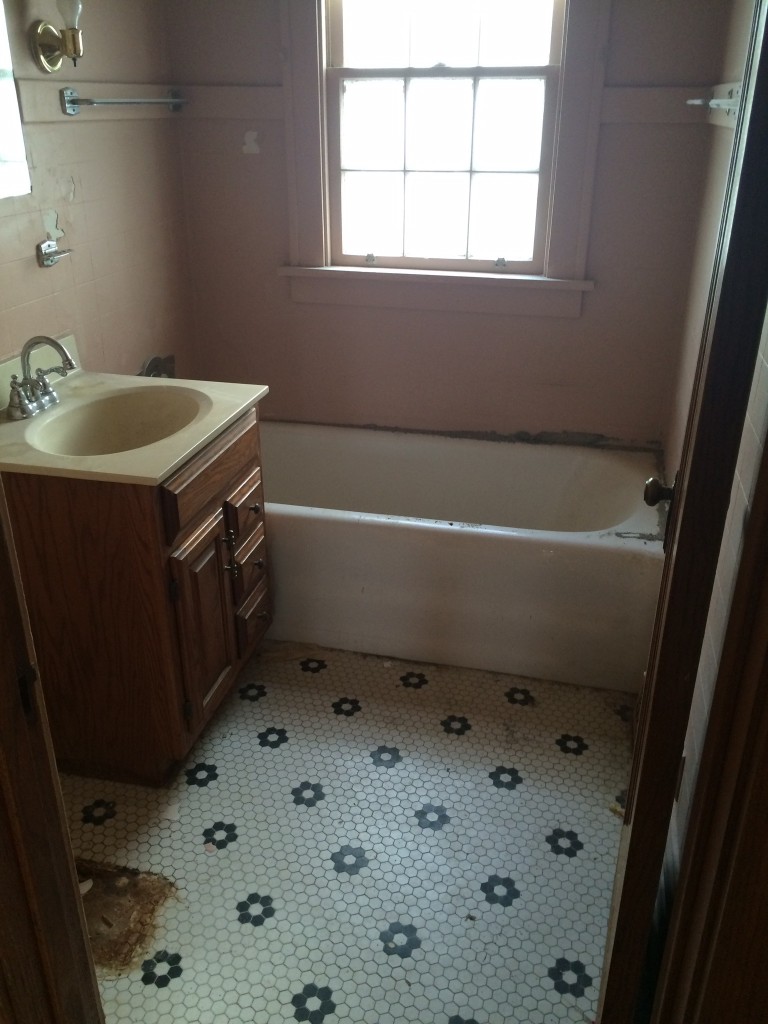
The bathroom looked like this before:

IMG_6946

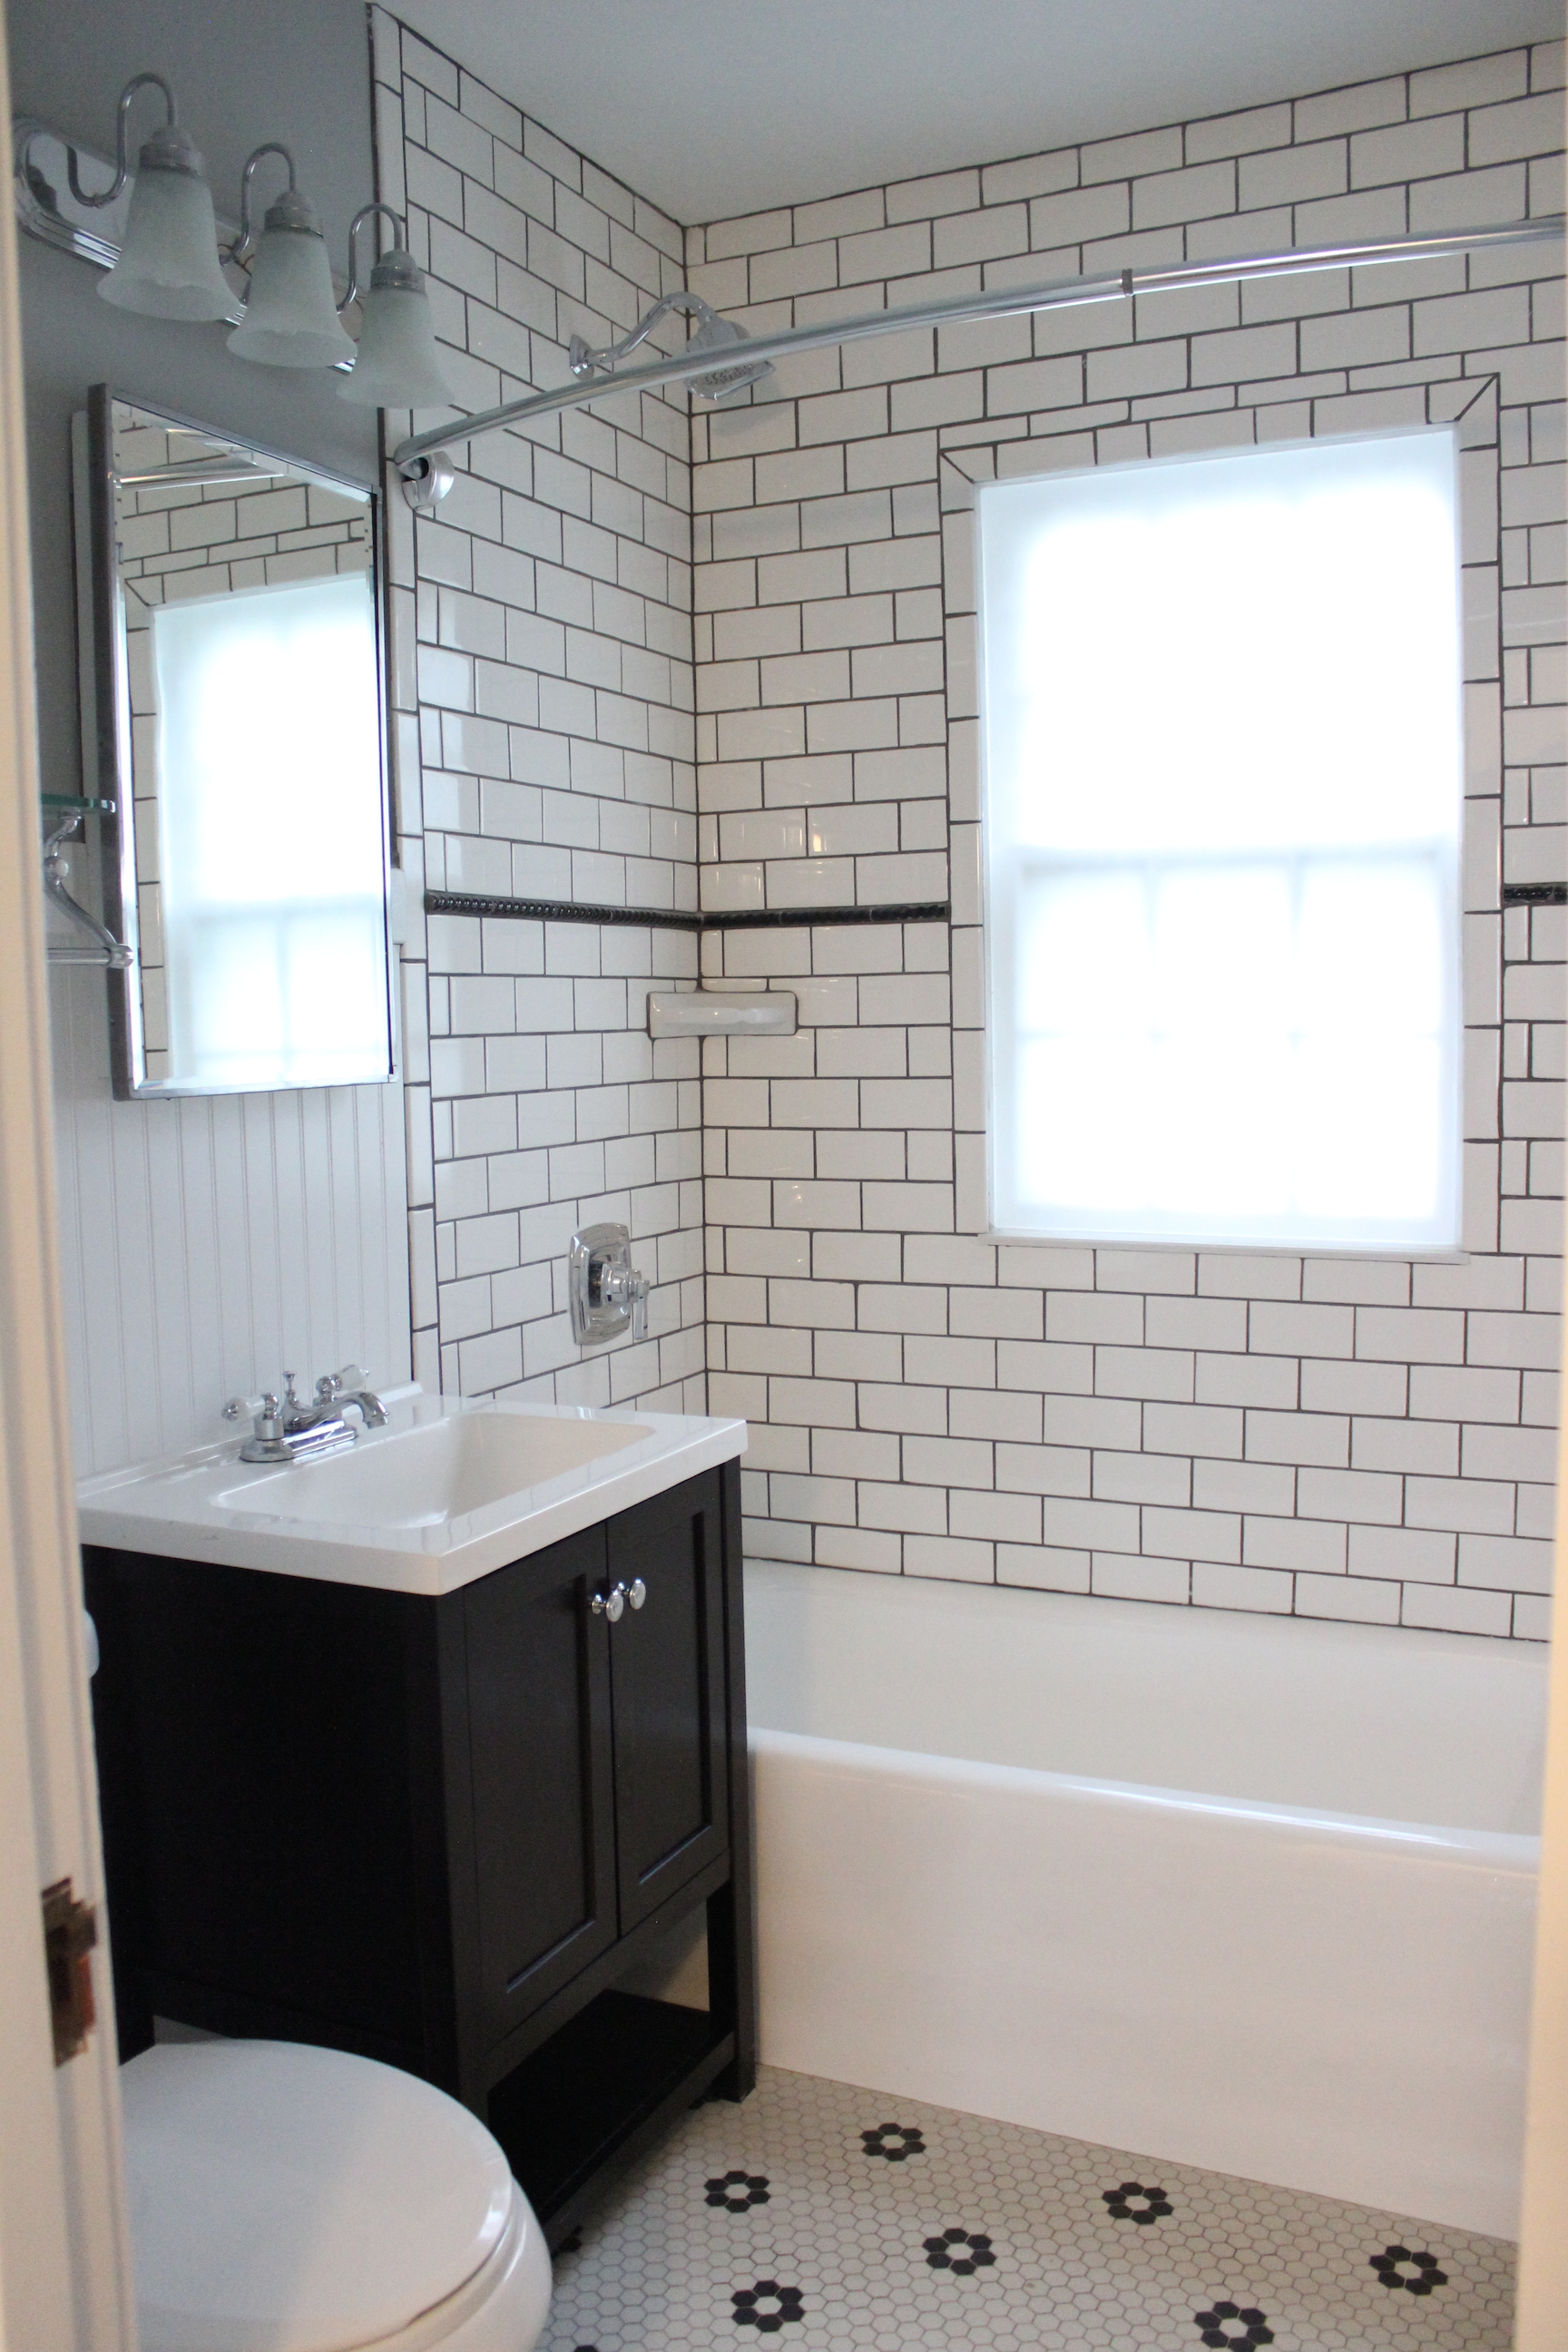
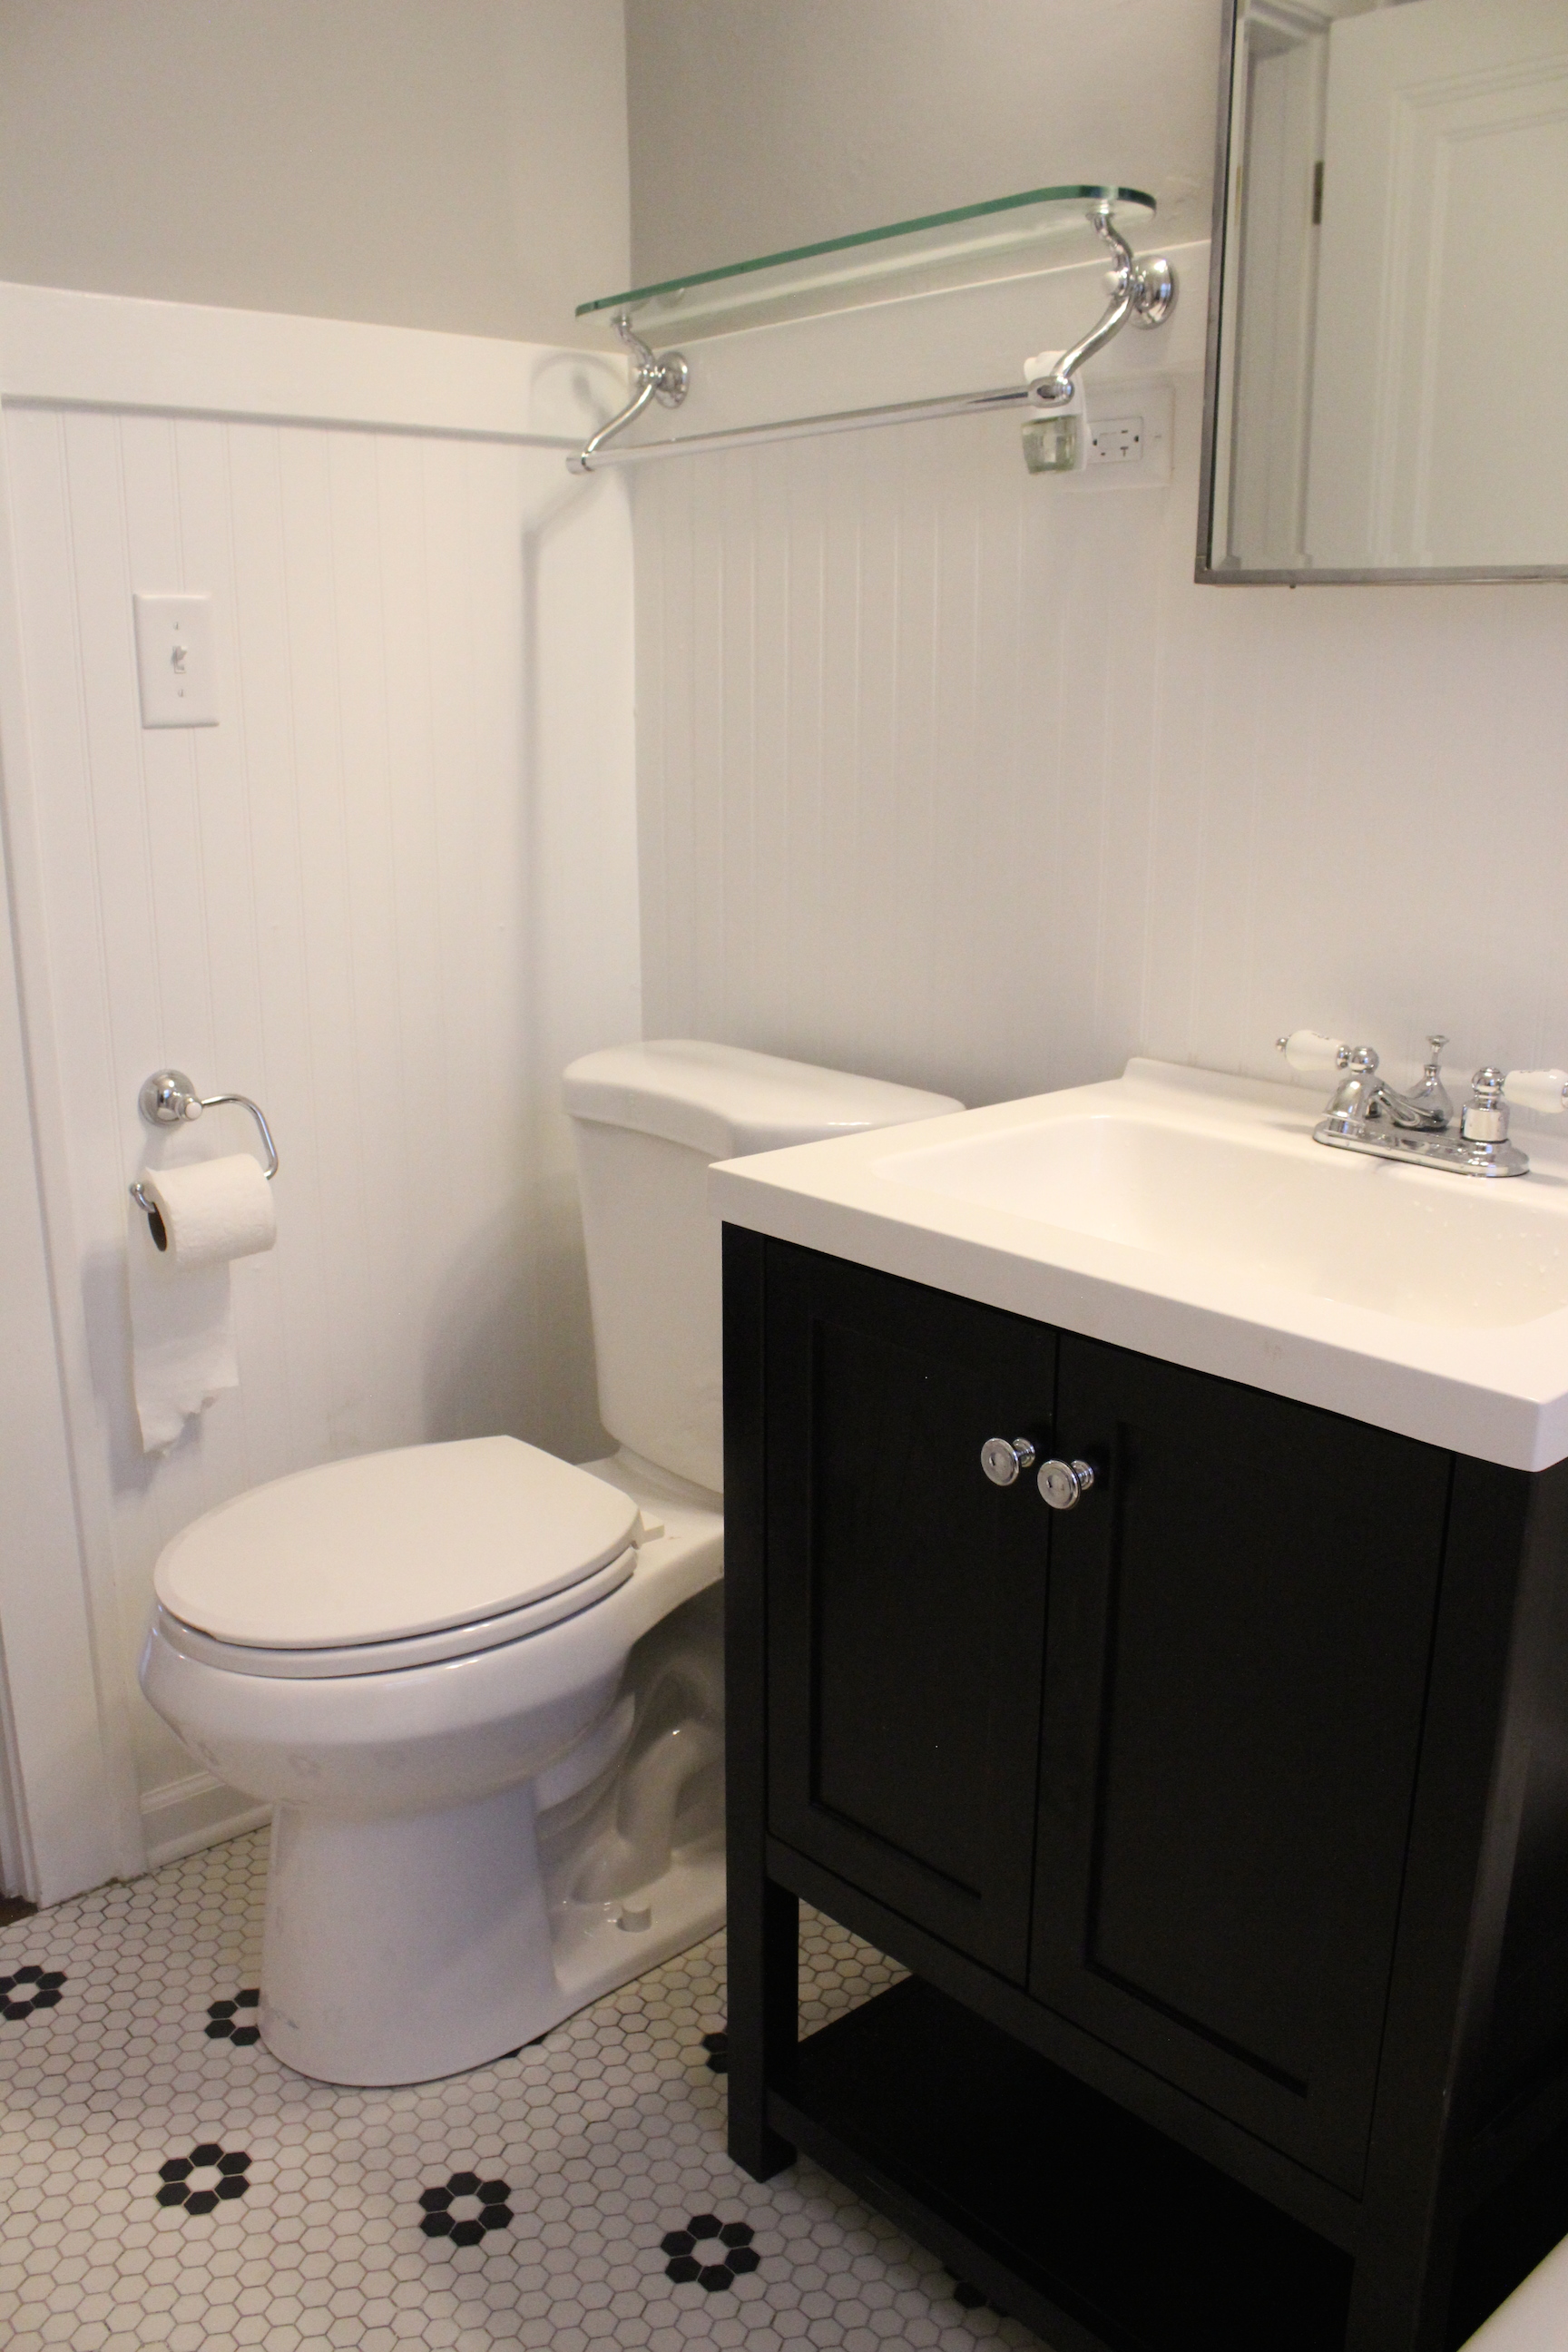
And now after adding a subway tiled shower, refinishing the bathtub, adding a new black vanity (from Home Depot), toilet, lighting, beadboard, and more:

IMG_5554

We were able to save the vintage floor tile, which fits the home perfectly. Here’s a look at the other side of the bathroom.

IMG_5555

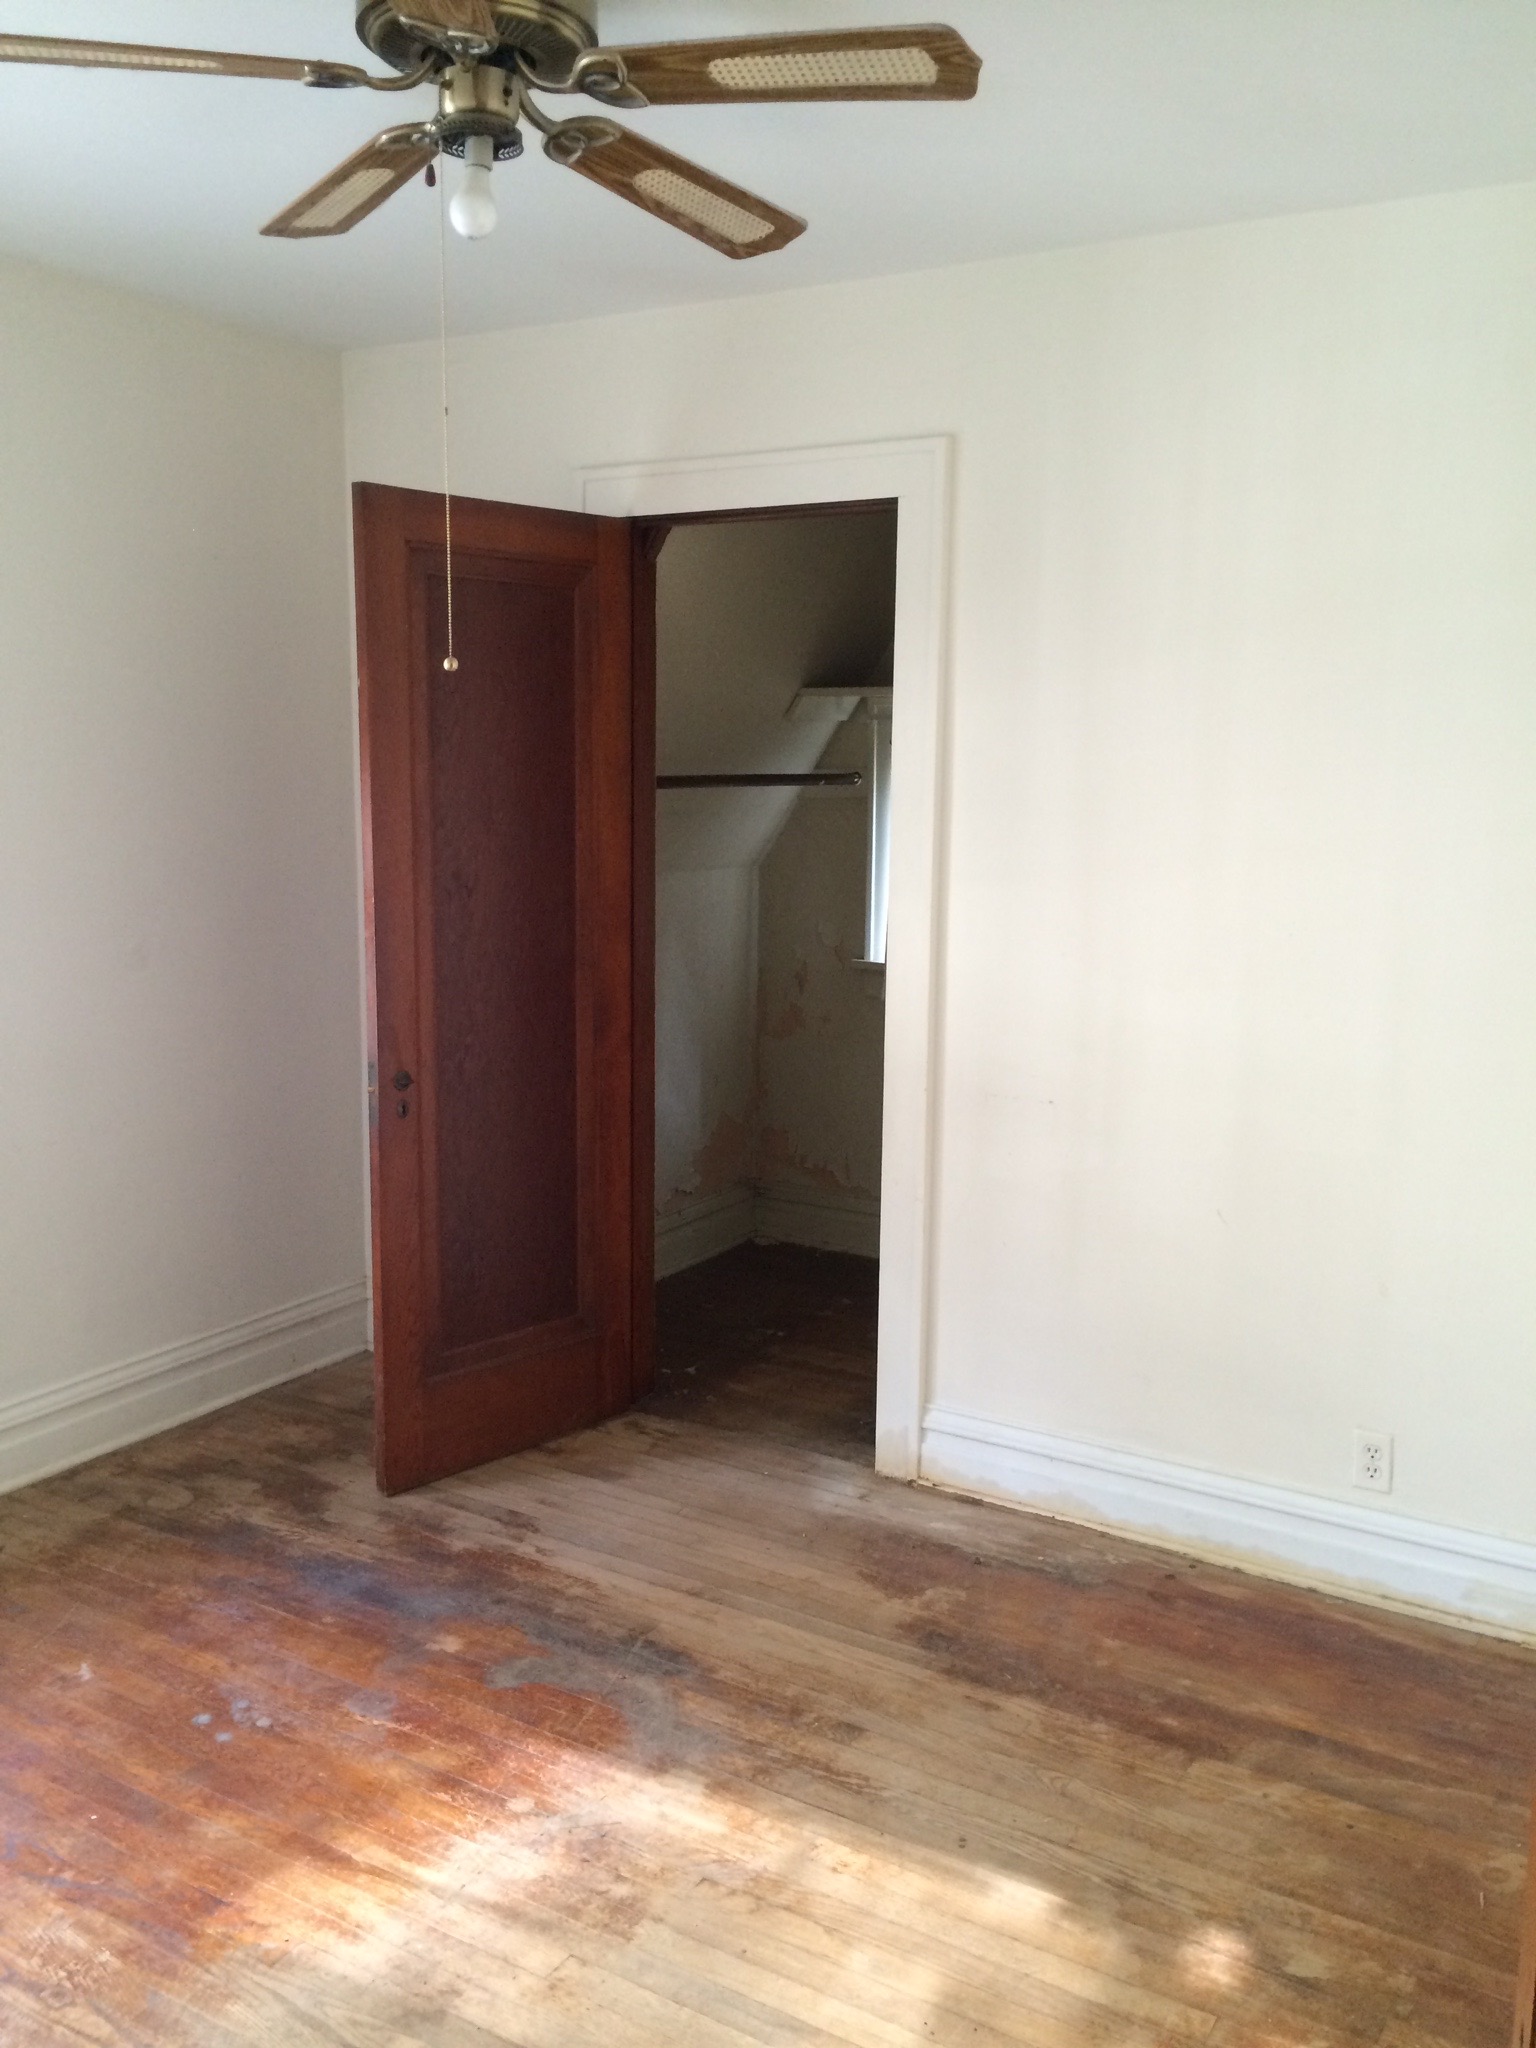
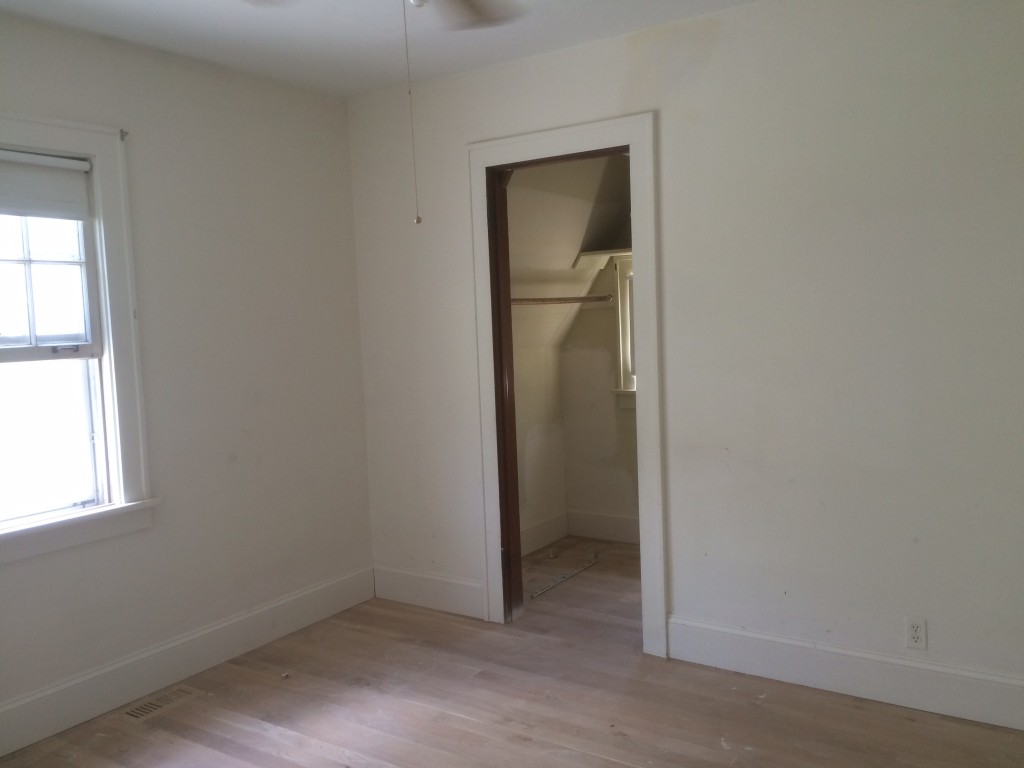
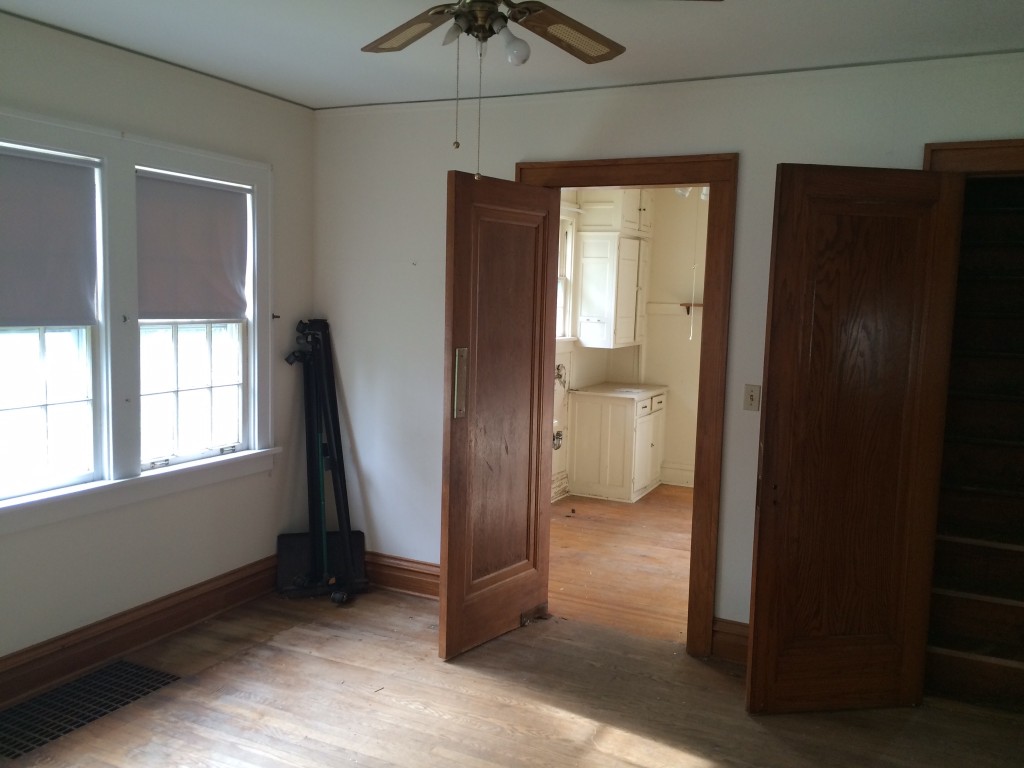
The two bedrooms looked like this before:

IMG_6949

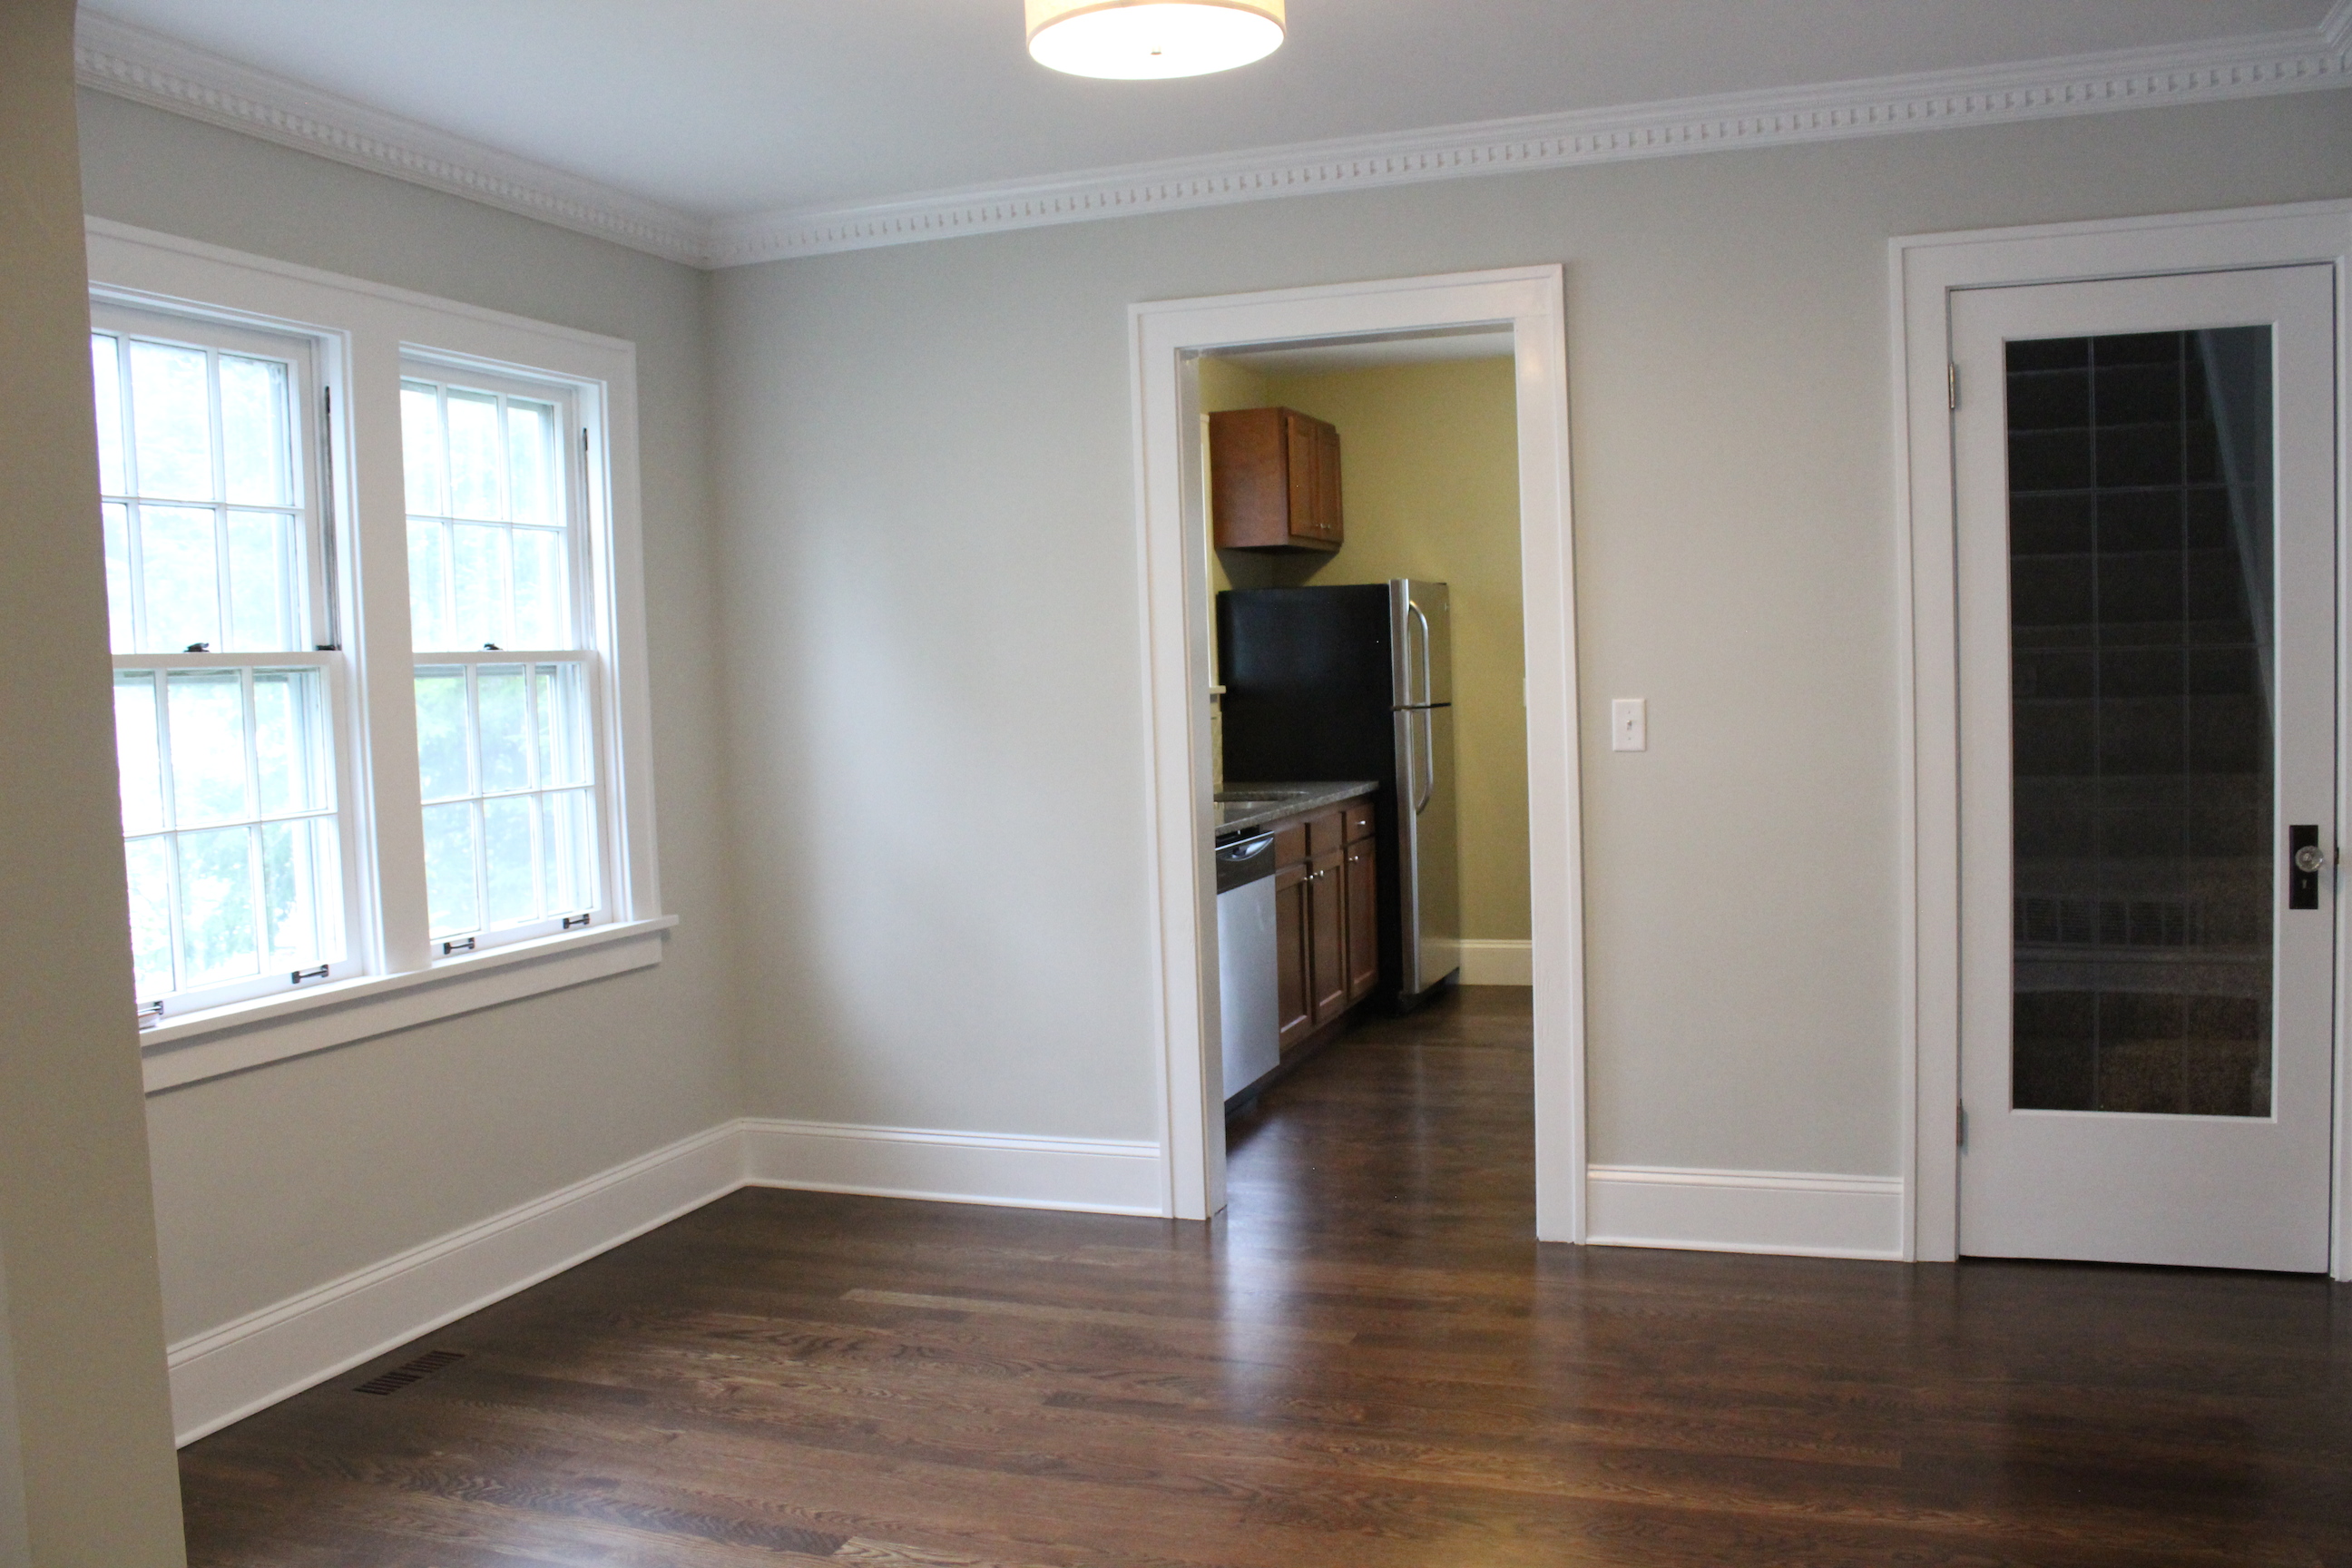
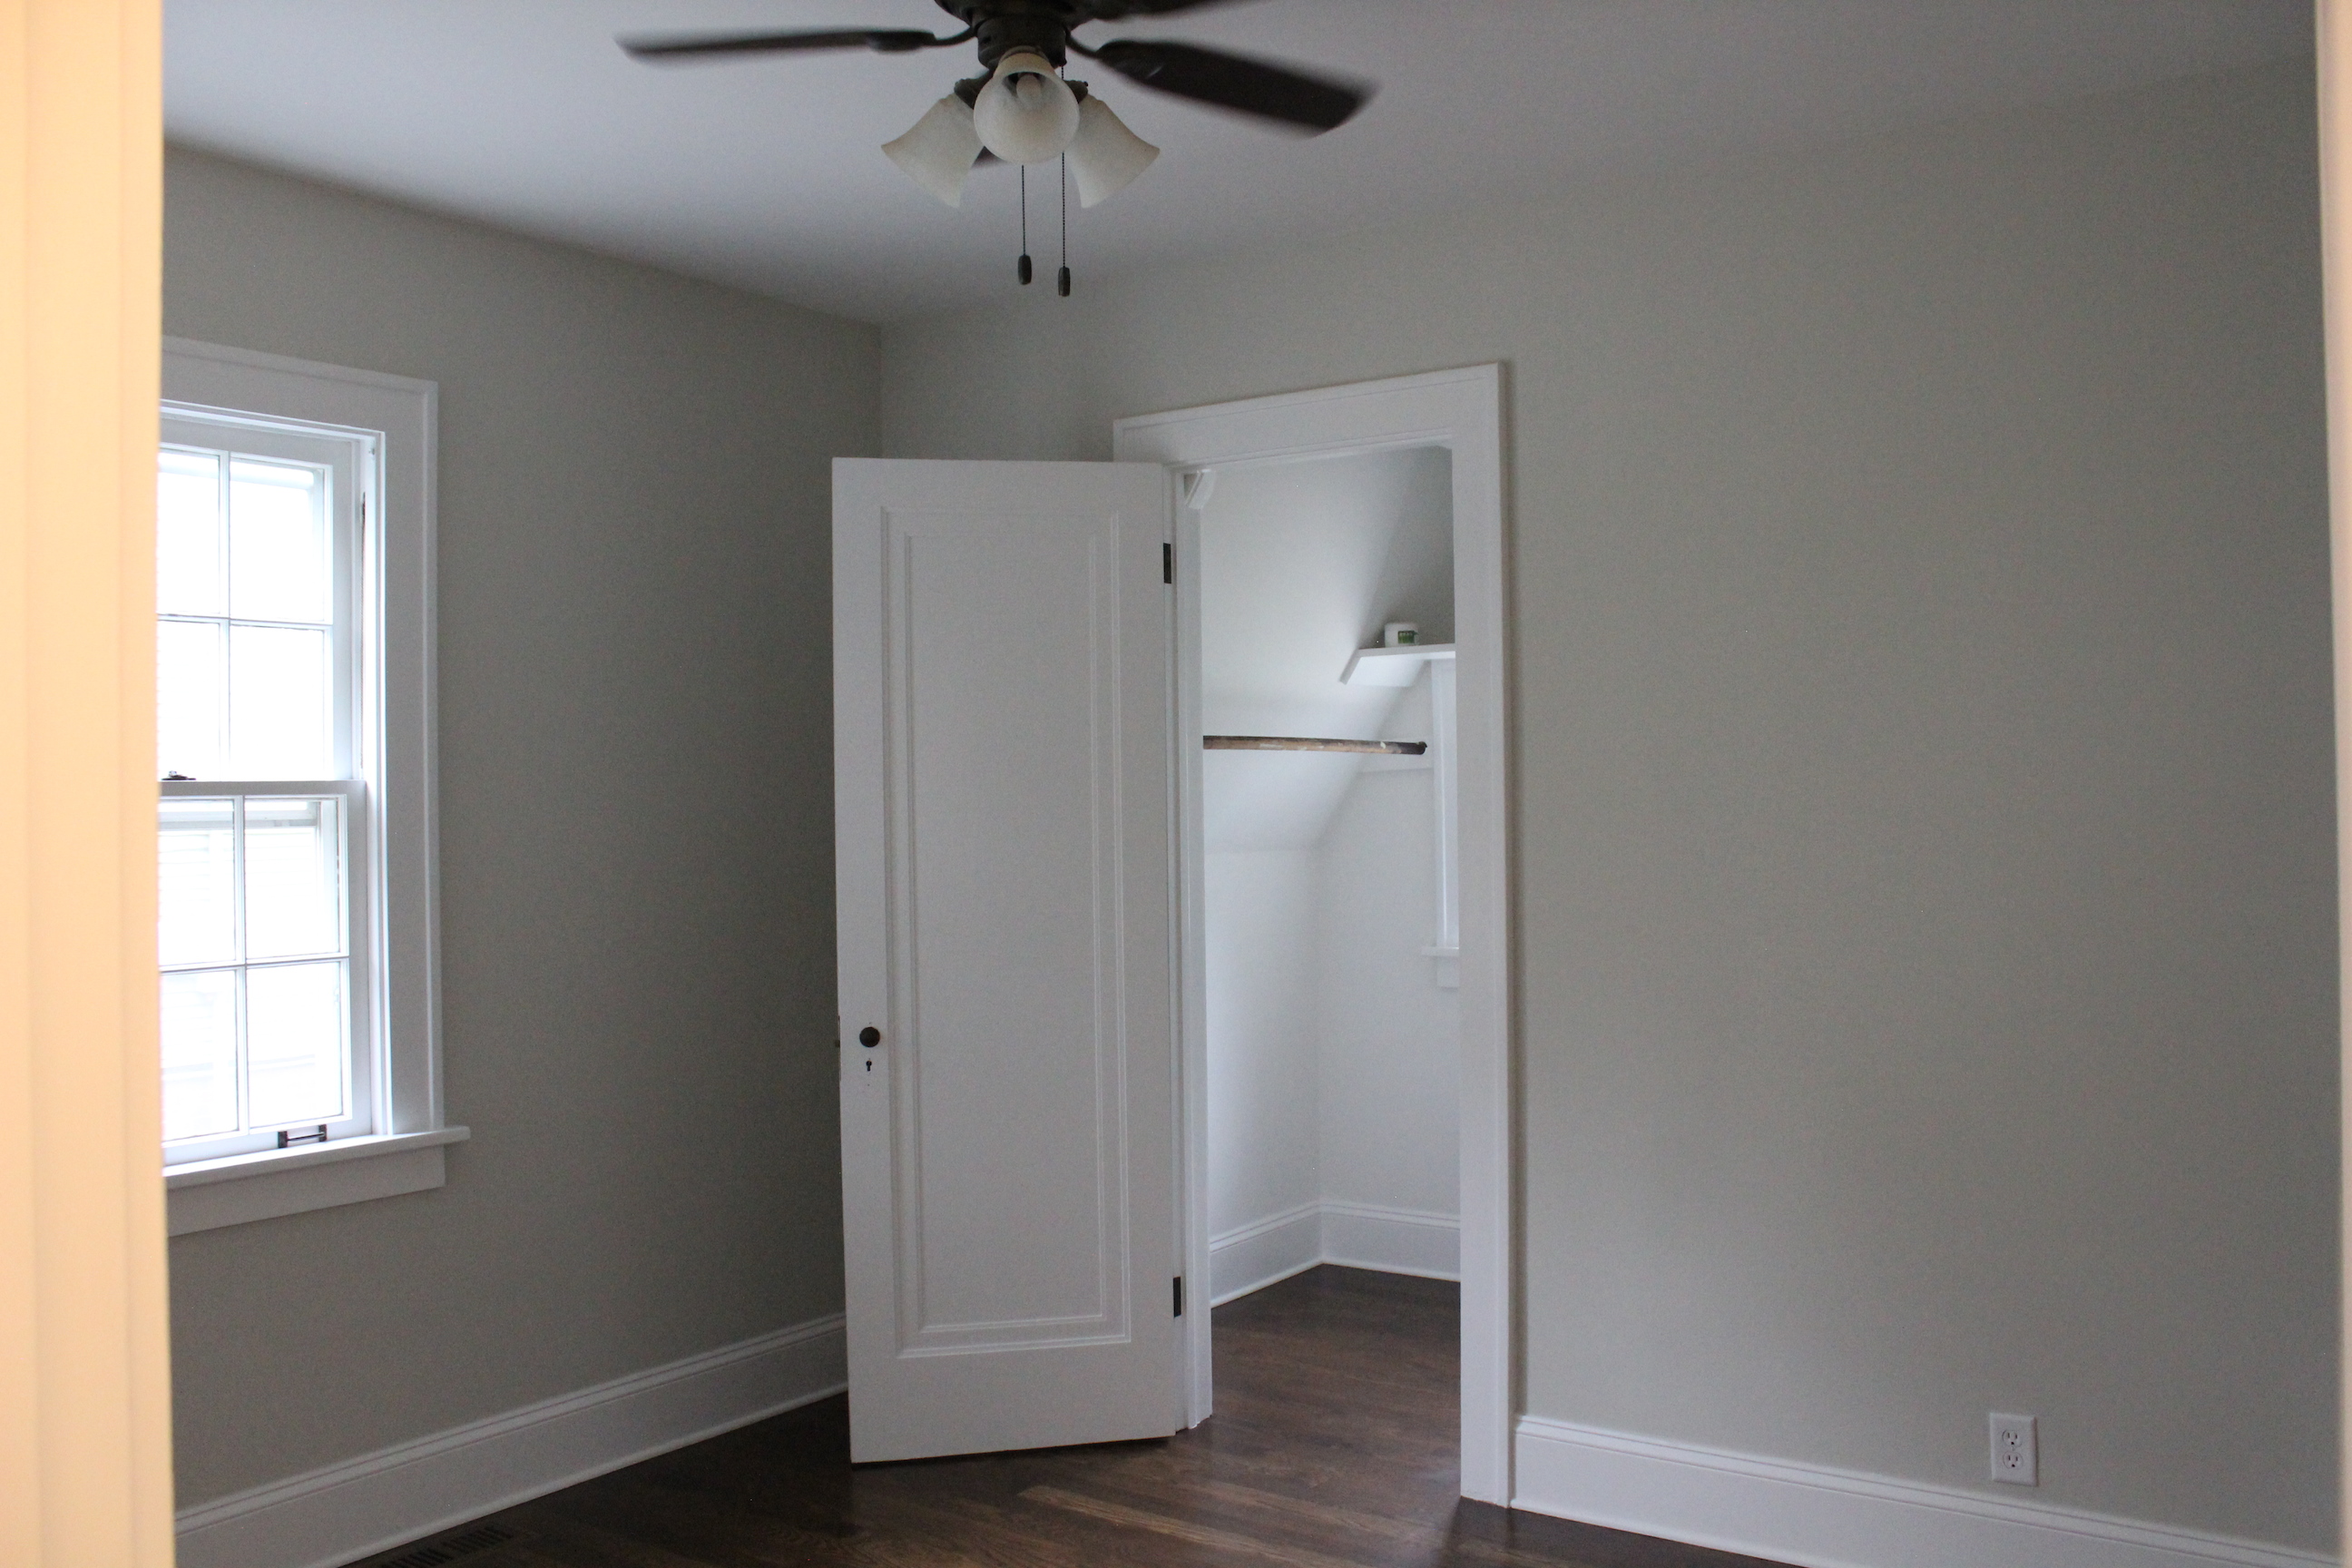
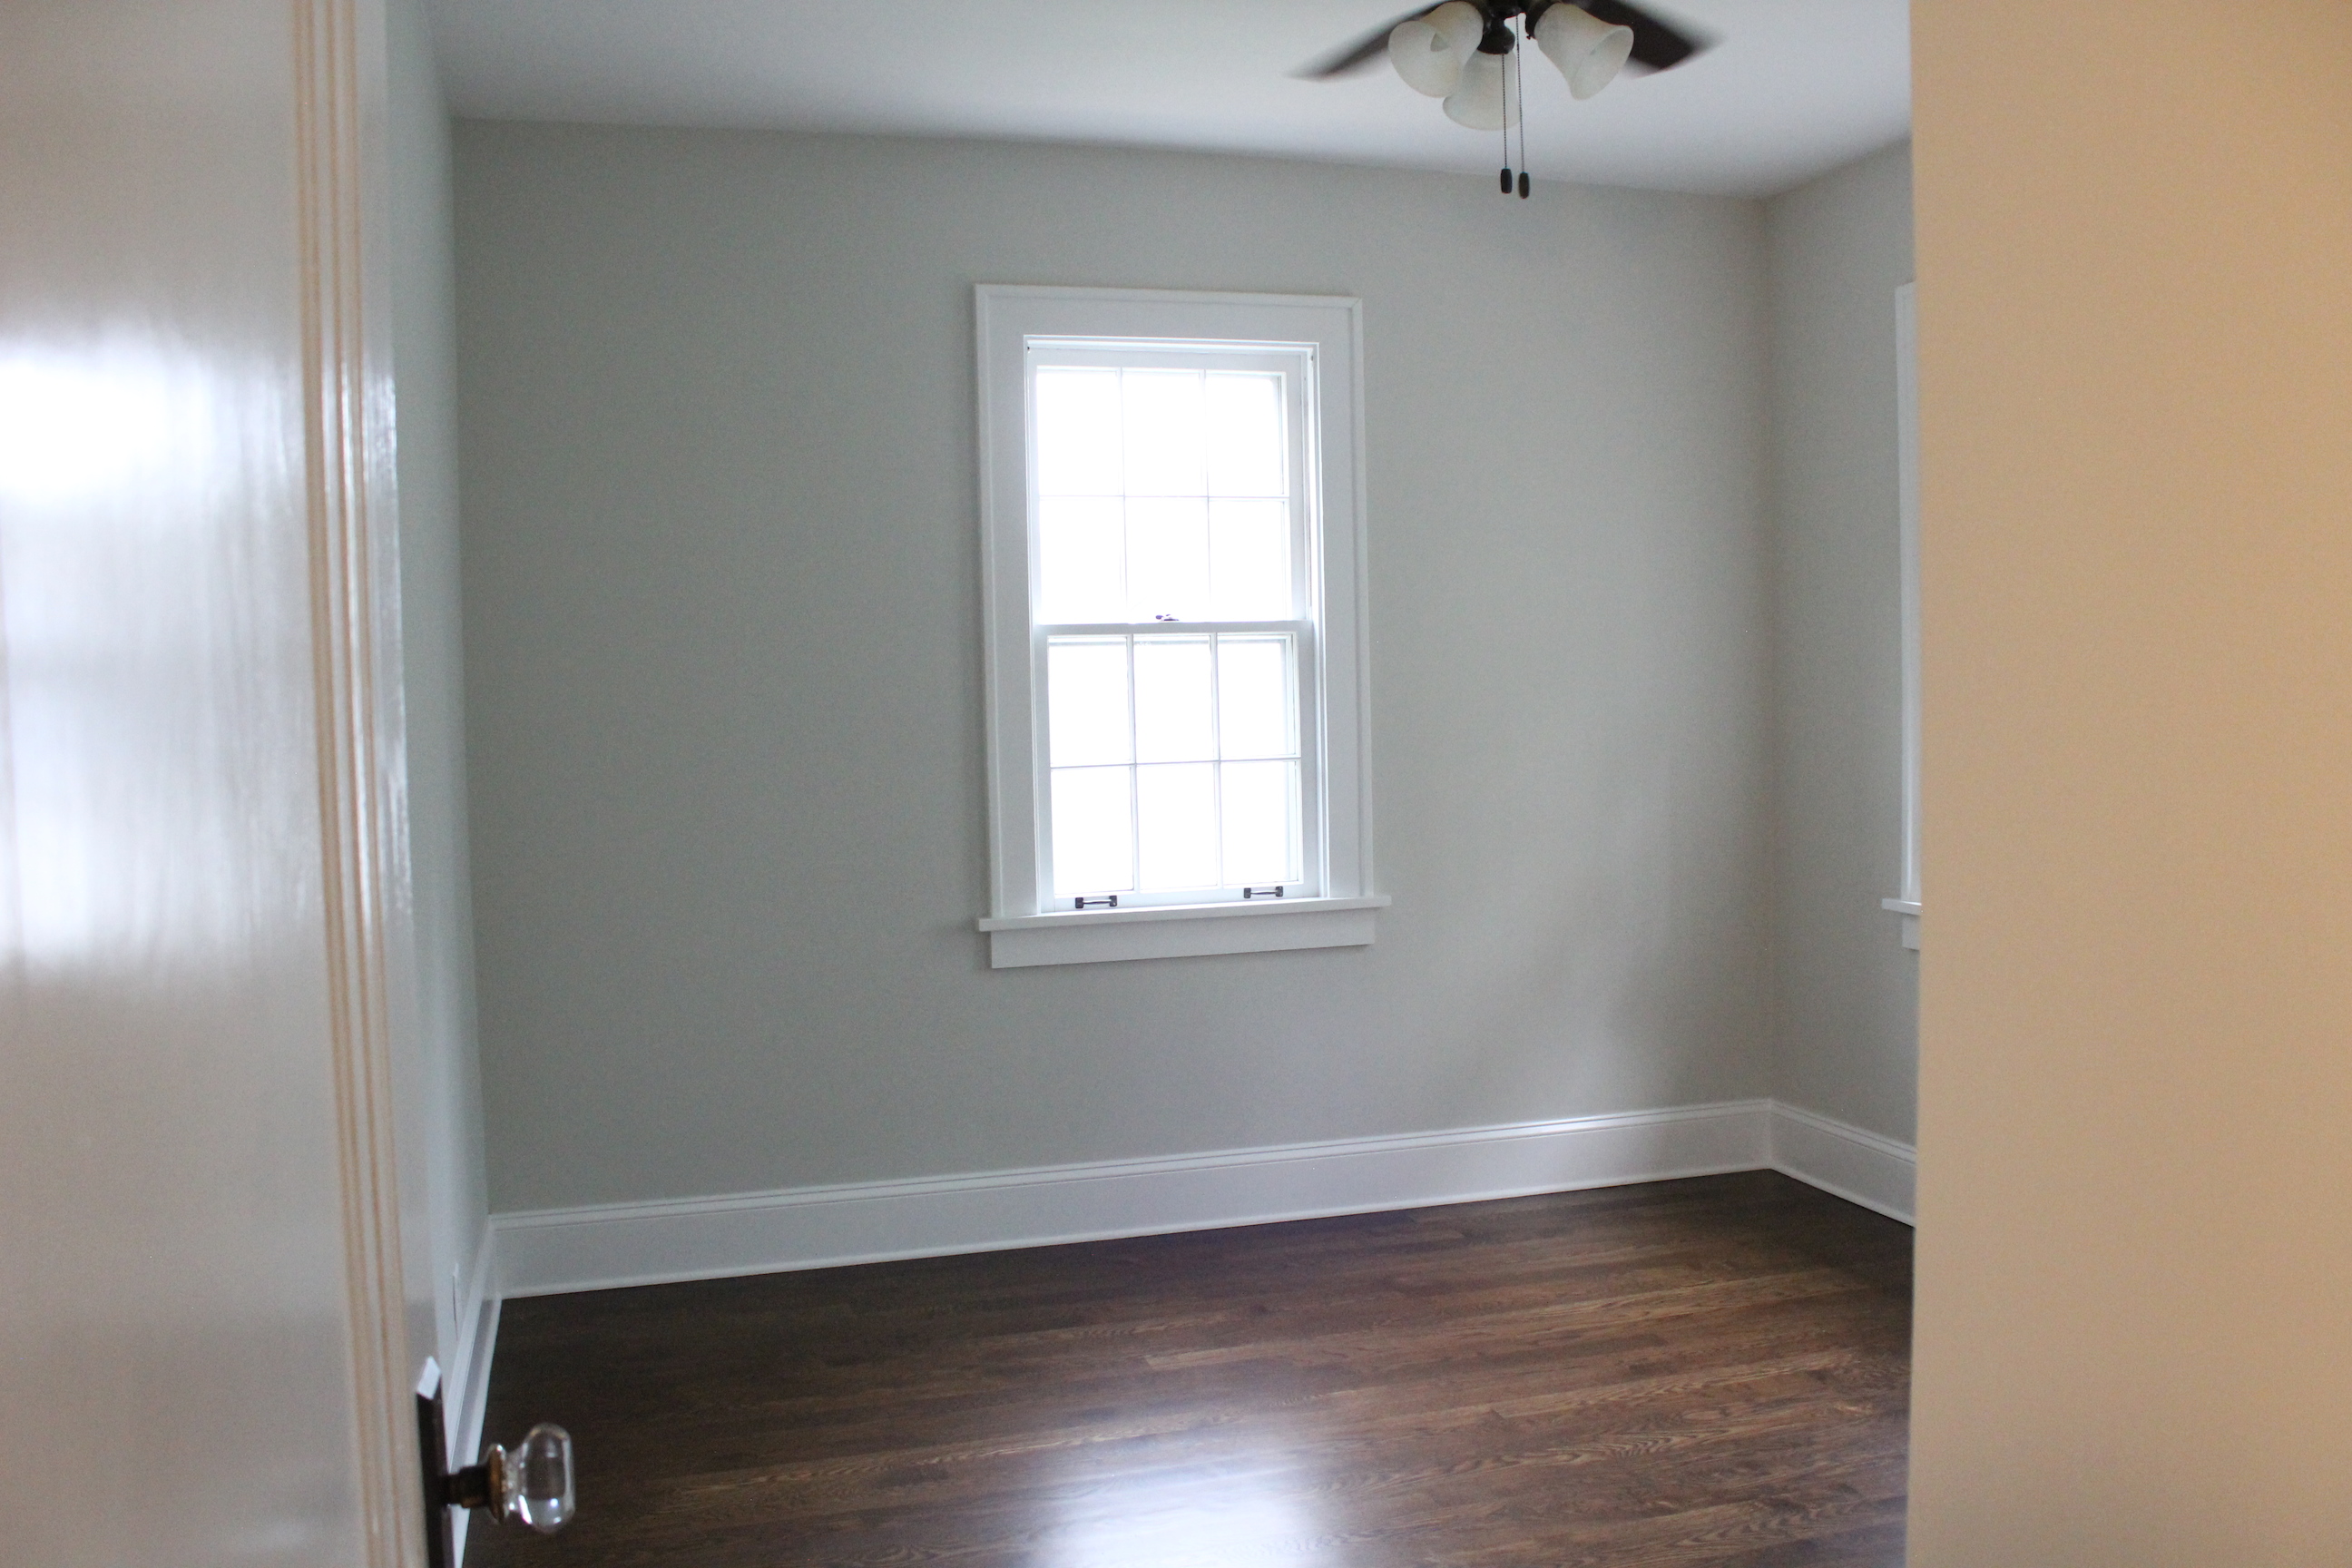
And now with new ceiling fans, paint, baseboards and hardwood floors:

IMG_5557

IMG_5558

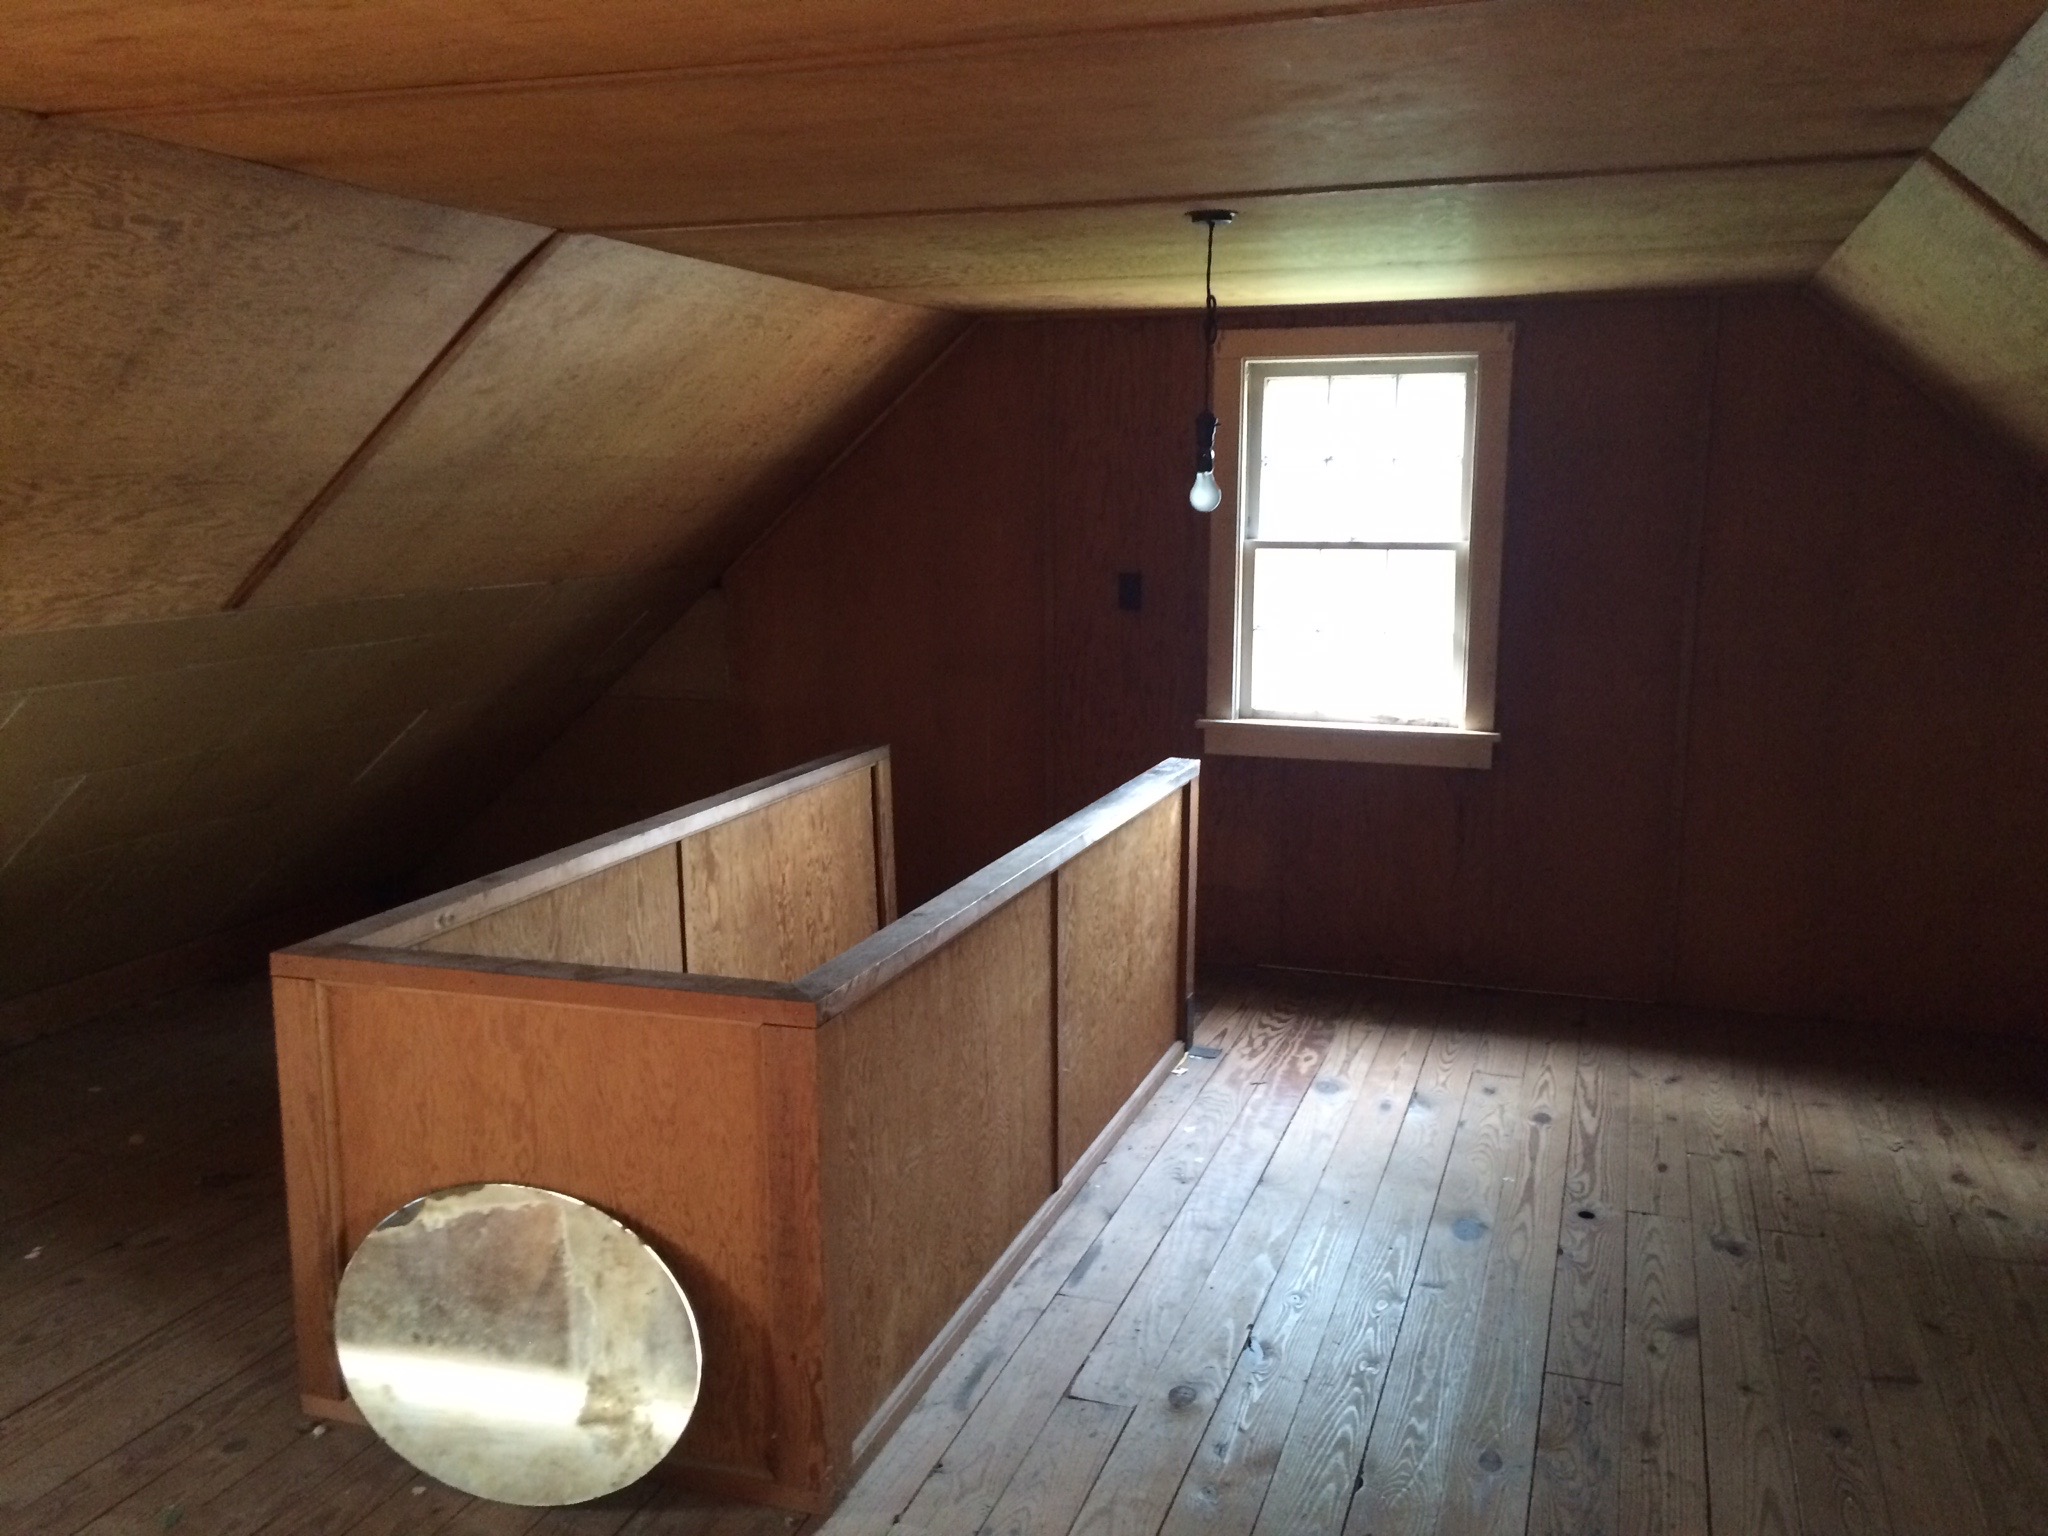
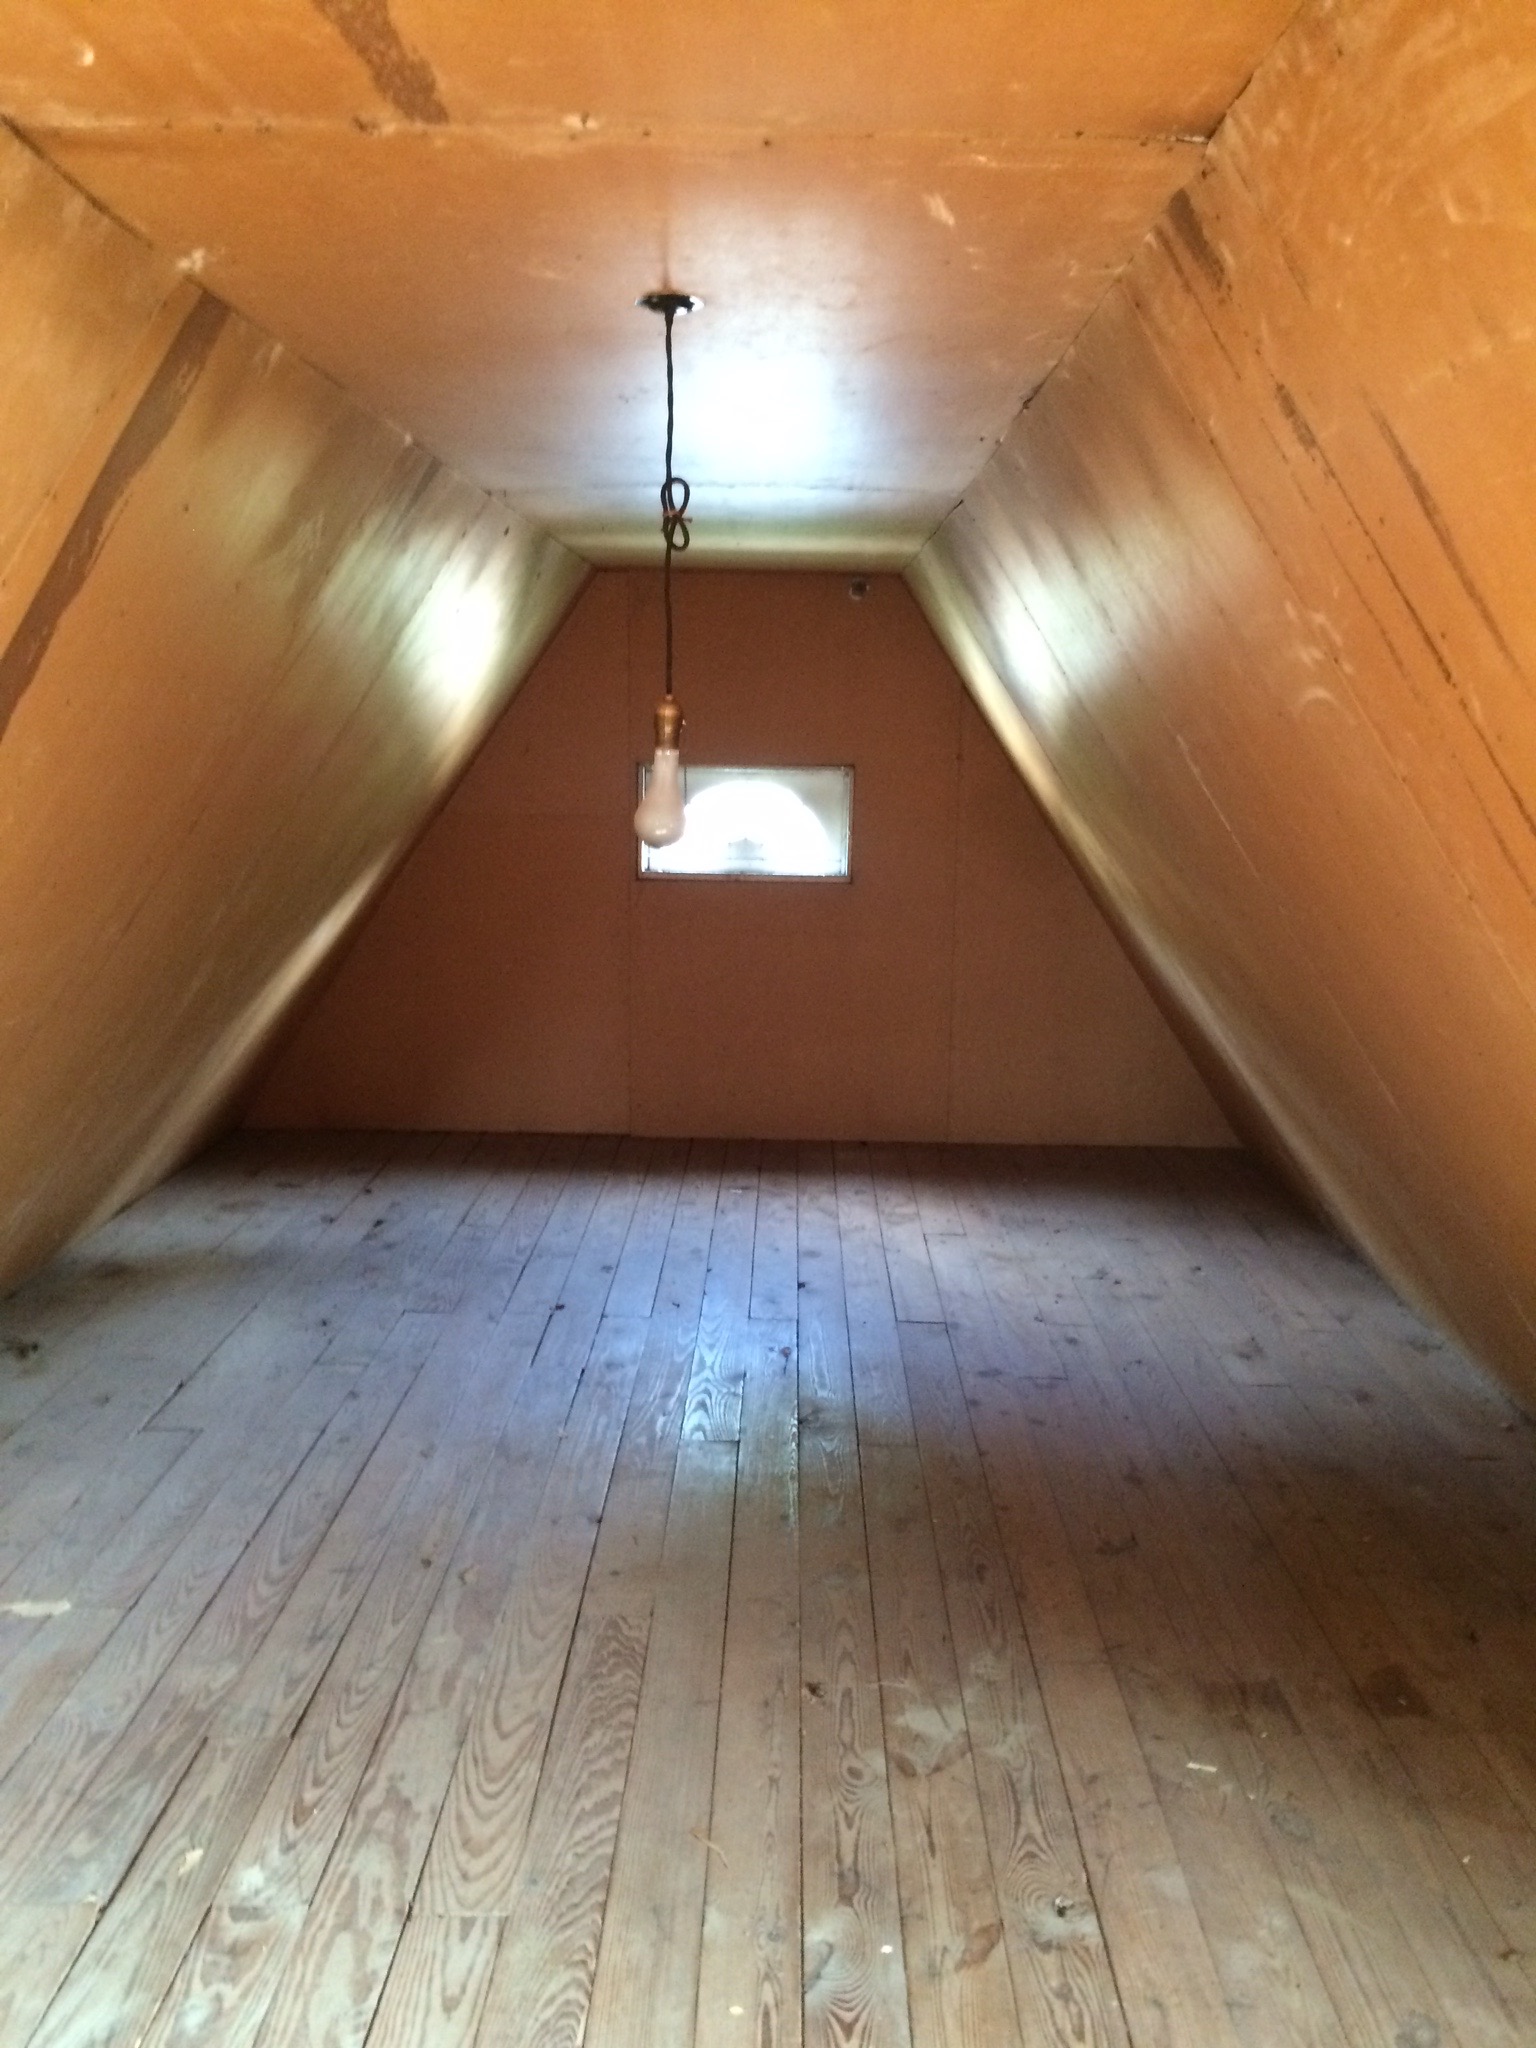
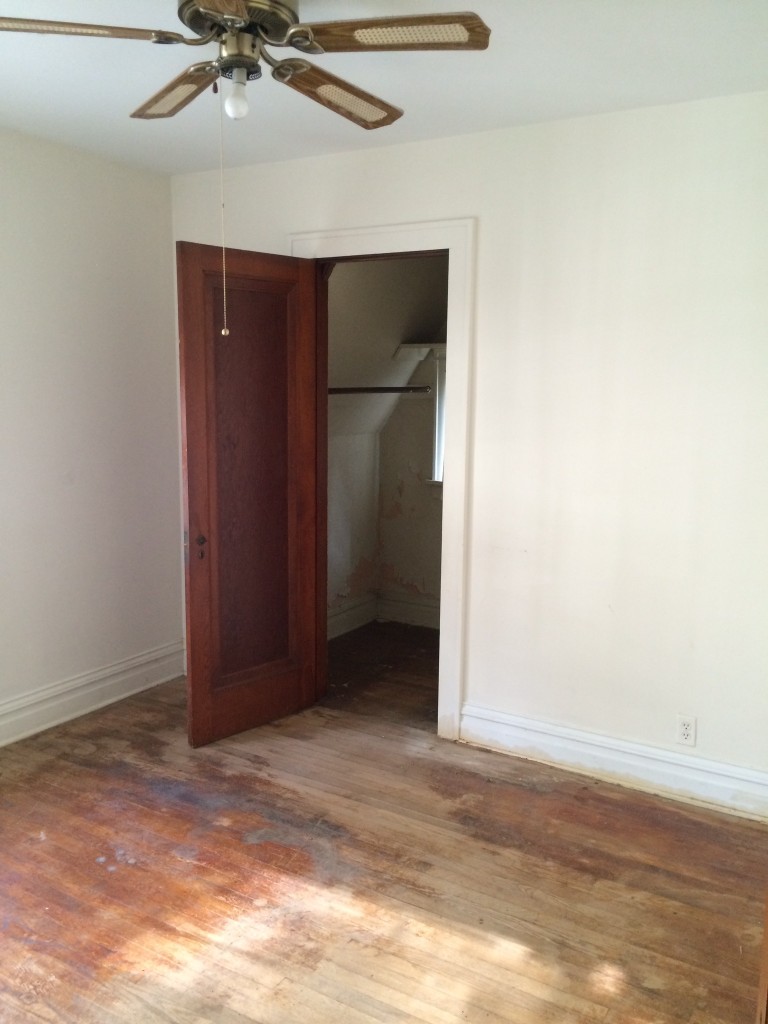
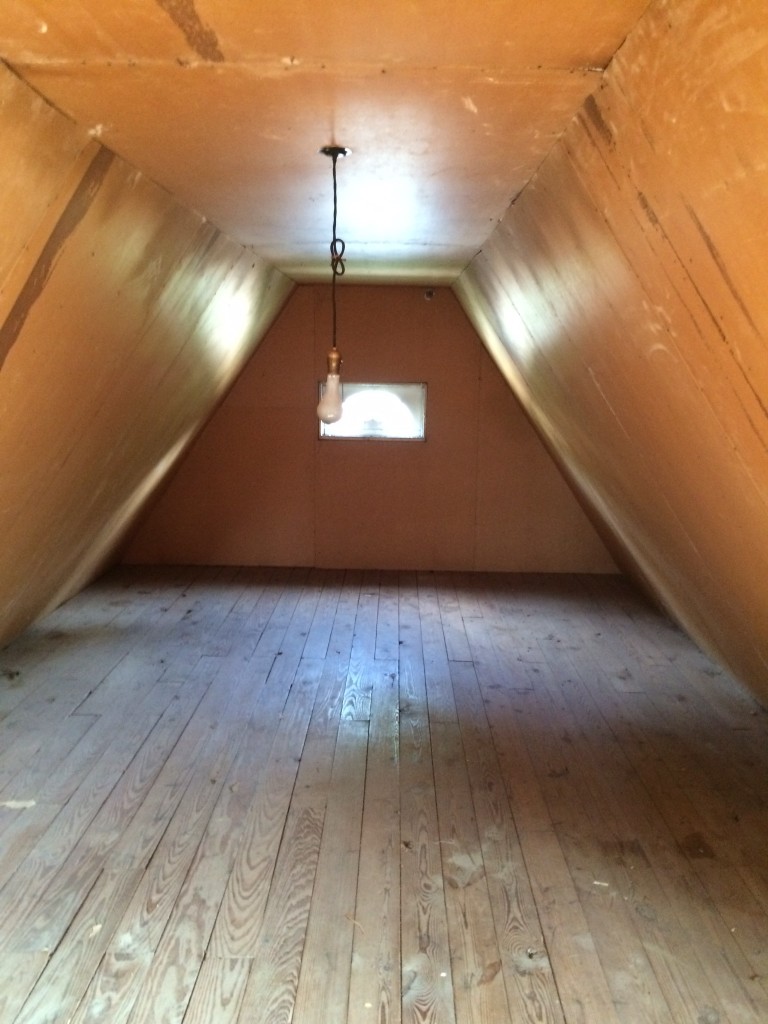
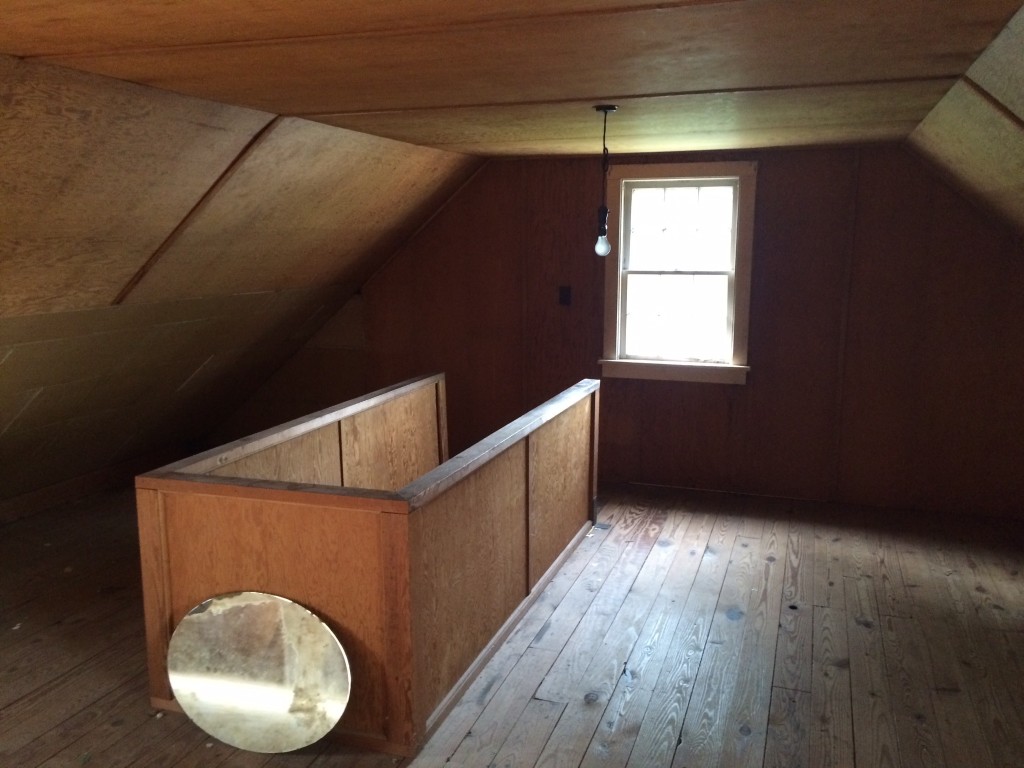
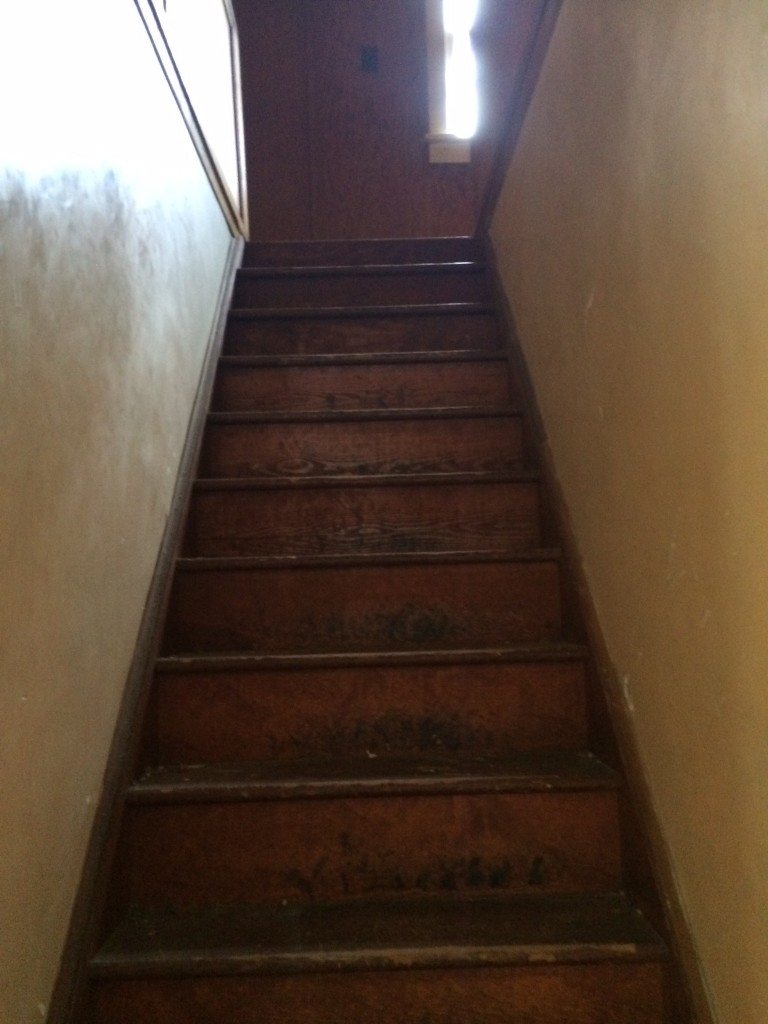
Upstairs used to be unfinished:

IMG_6944

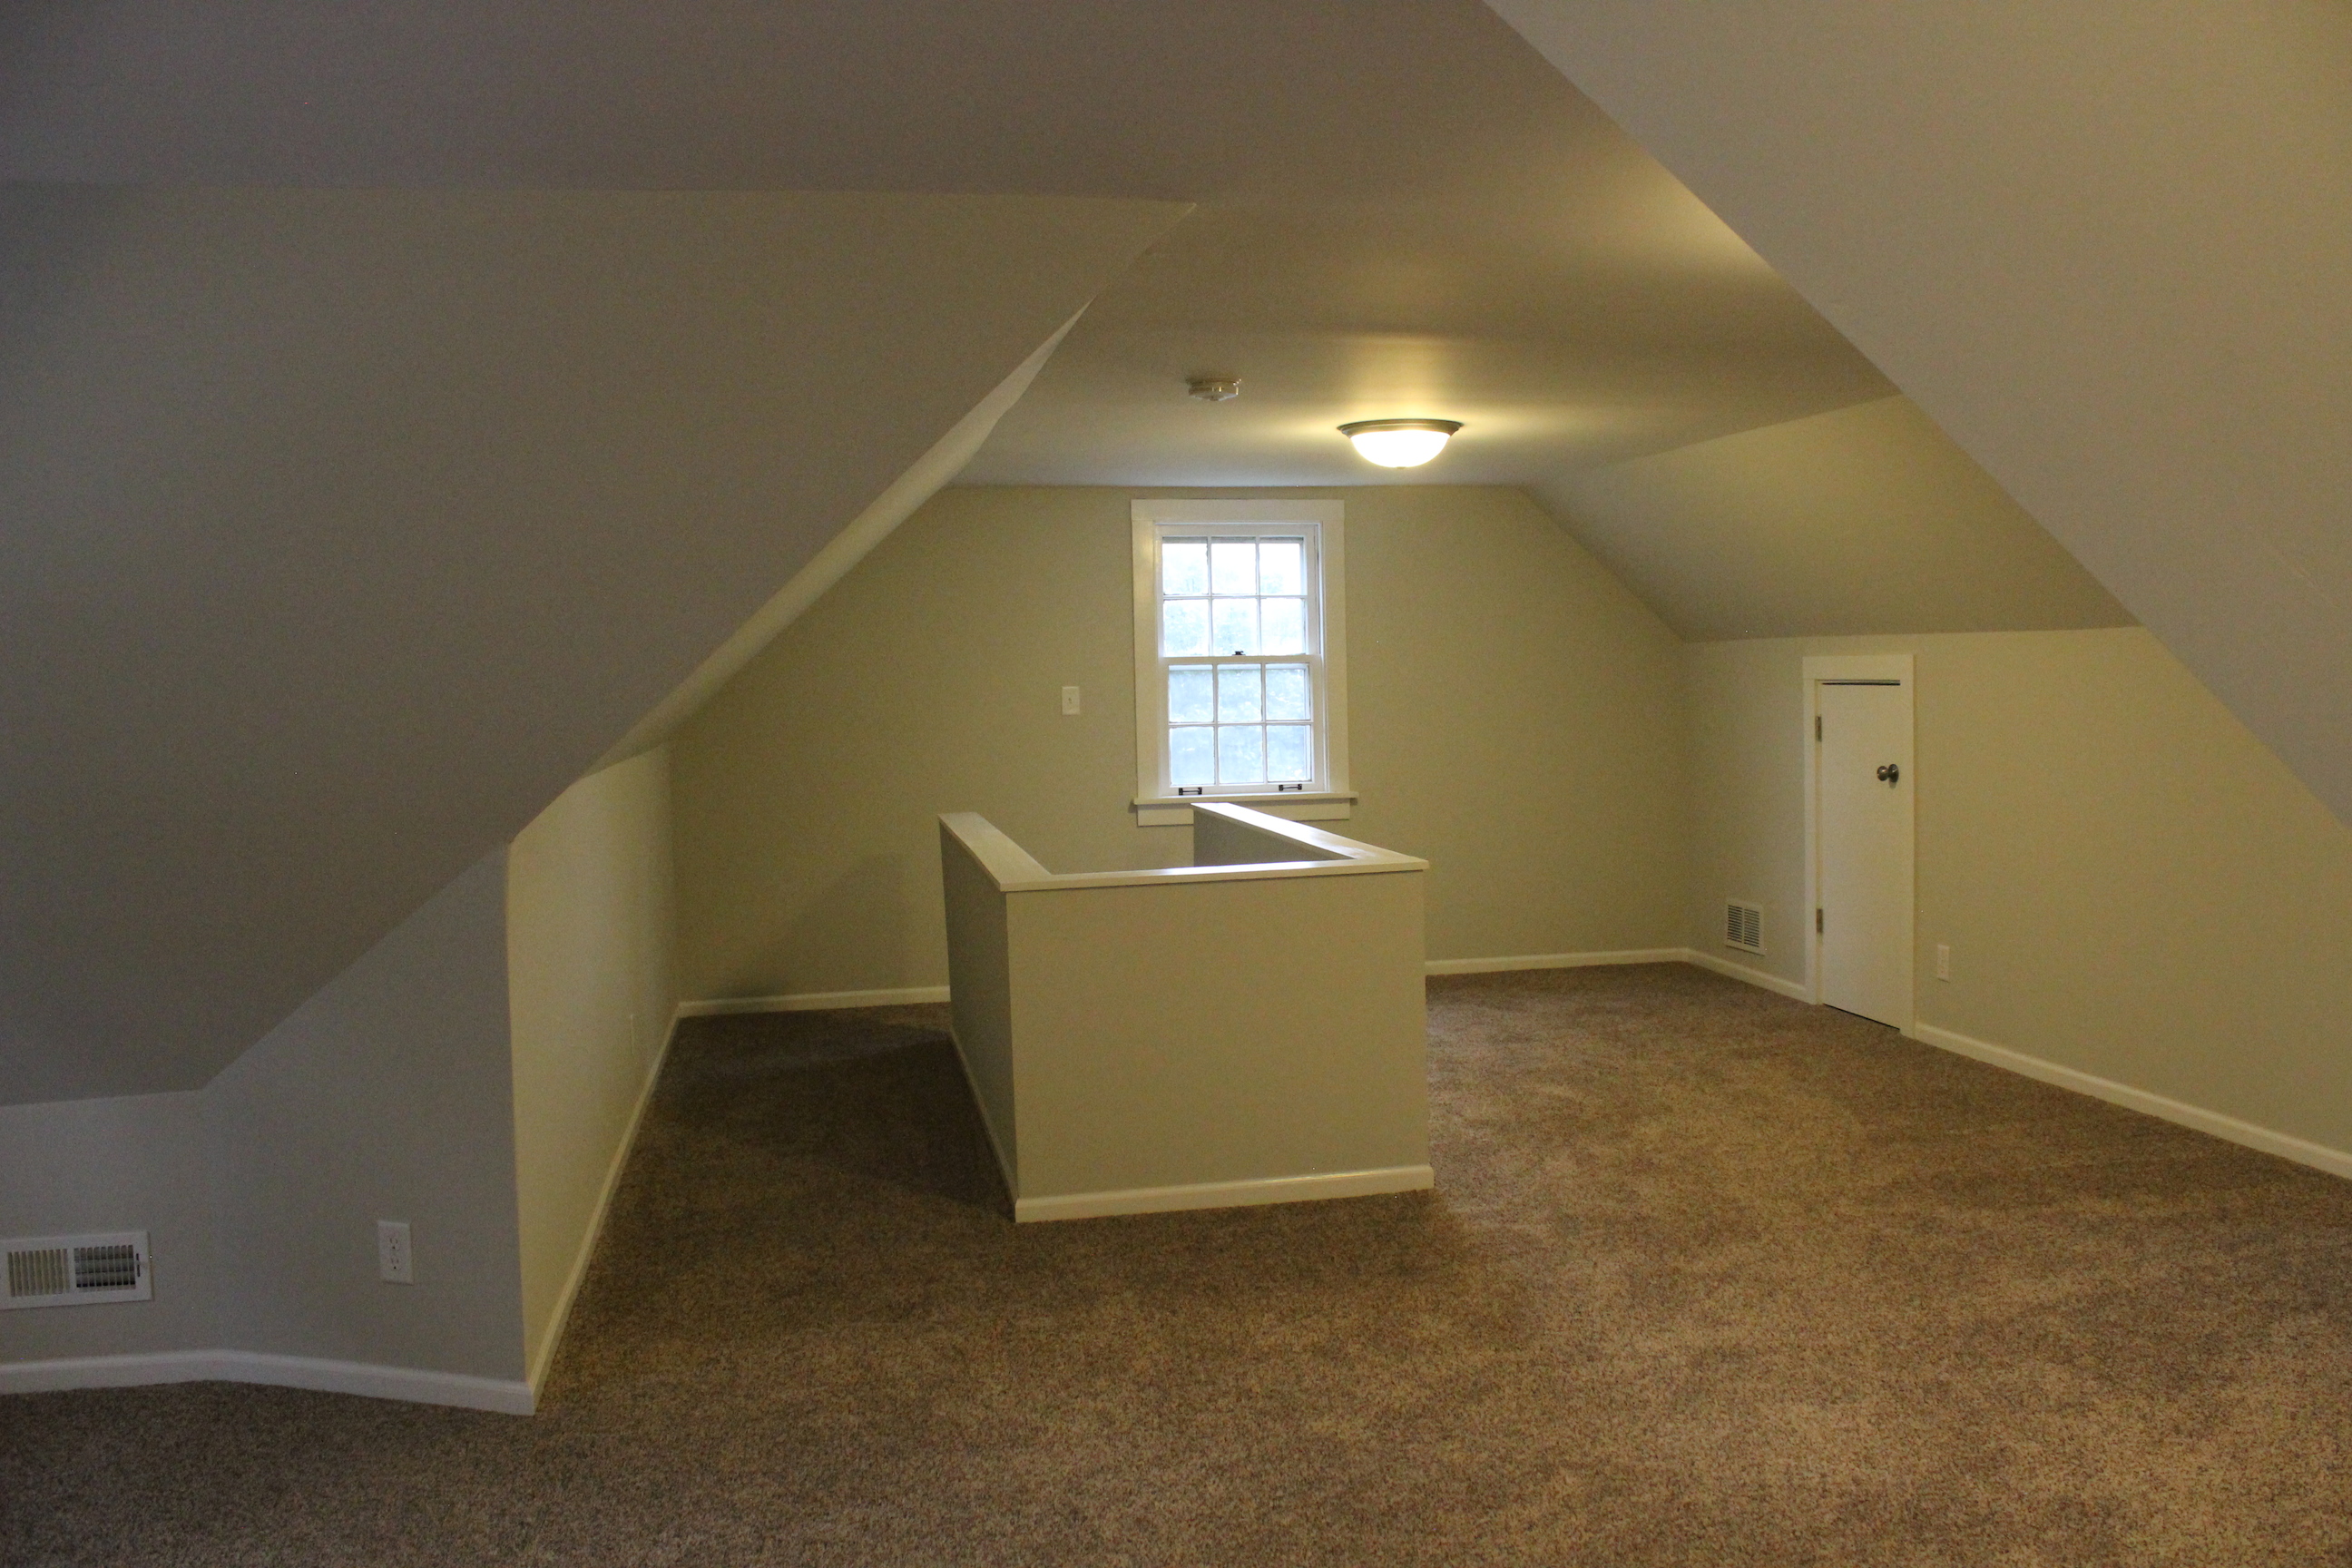
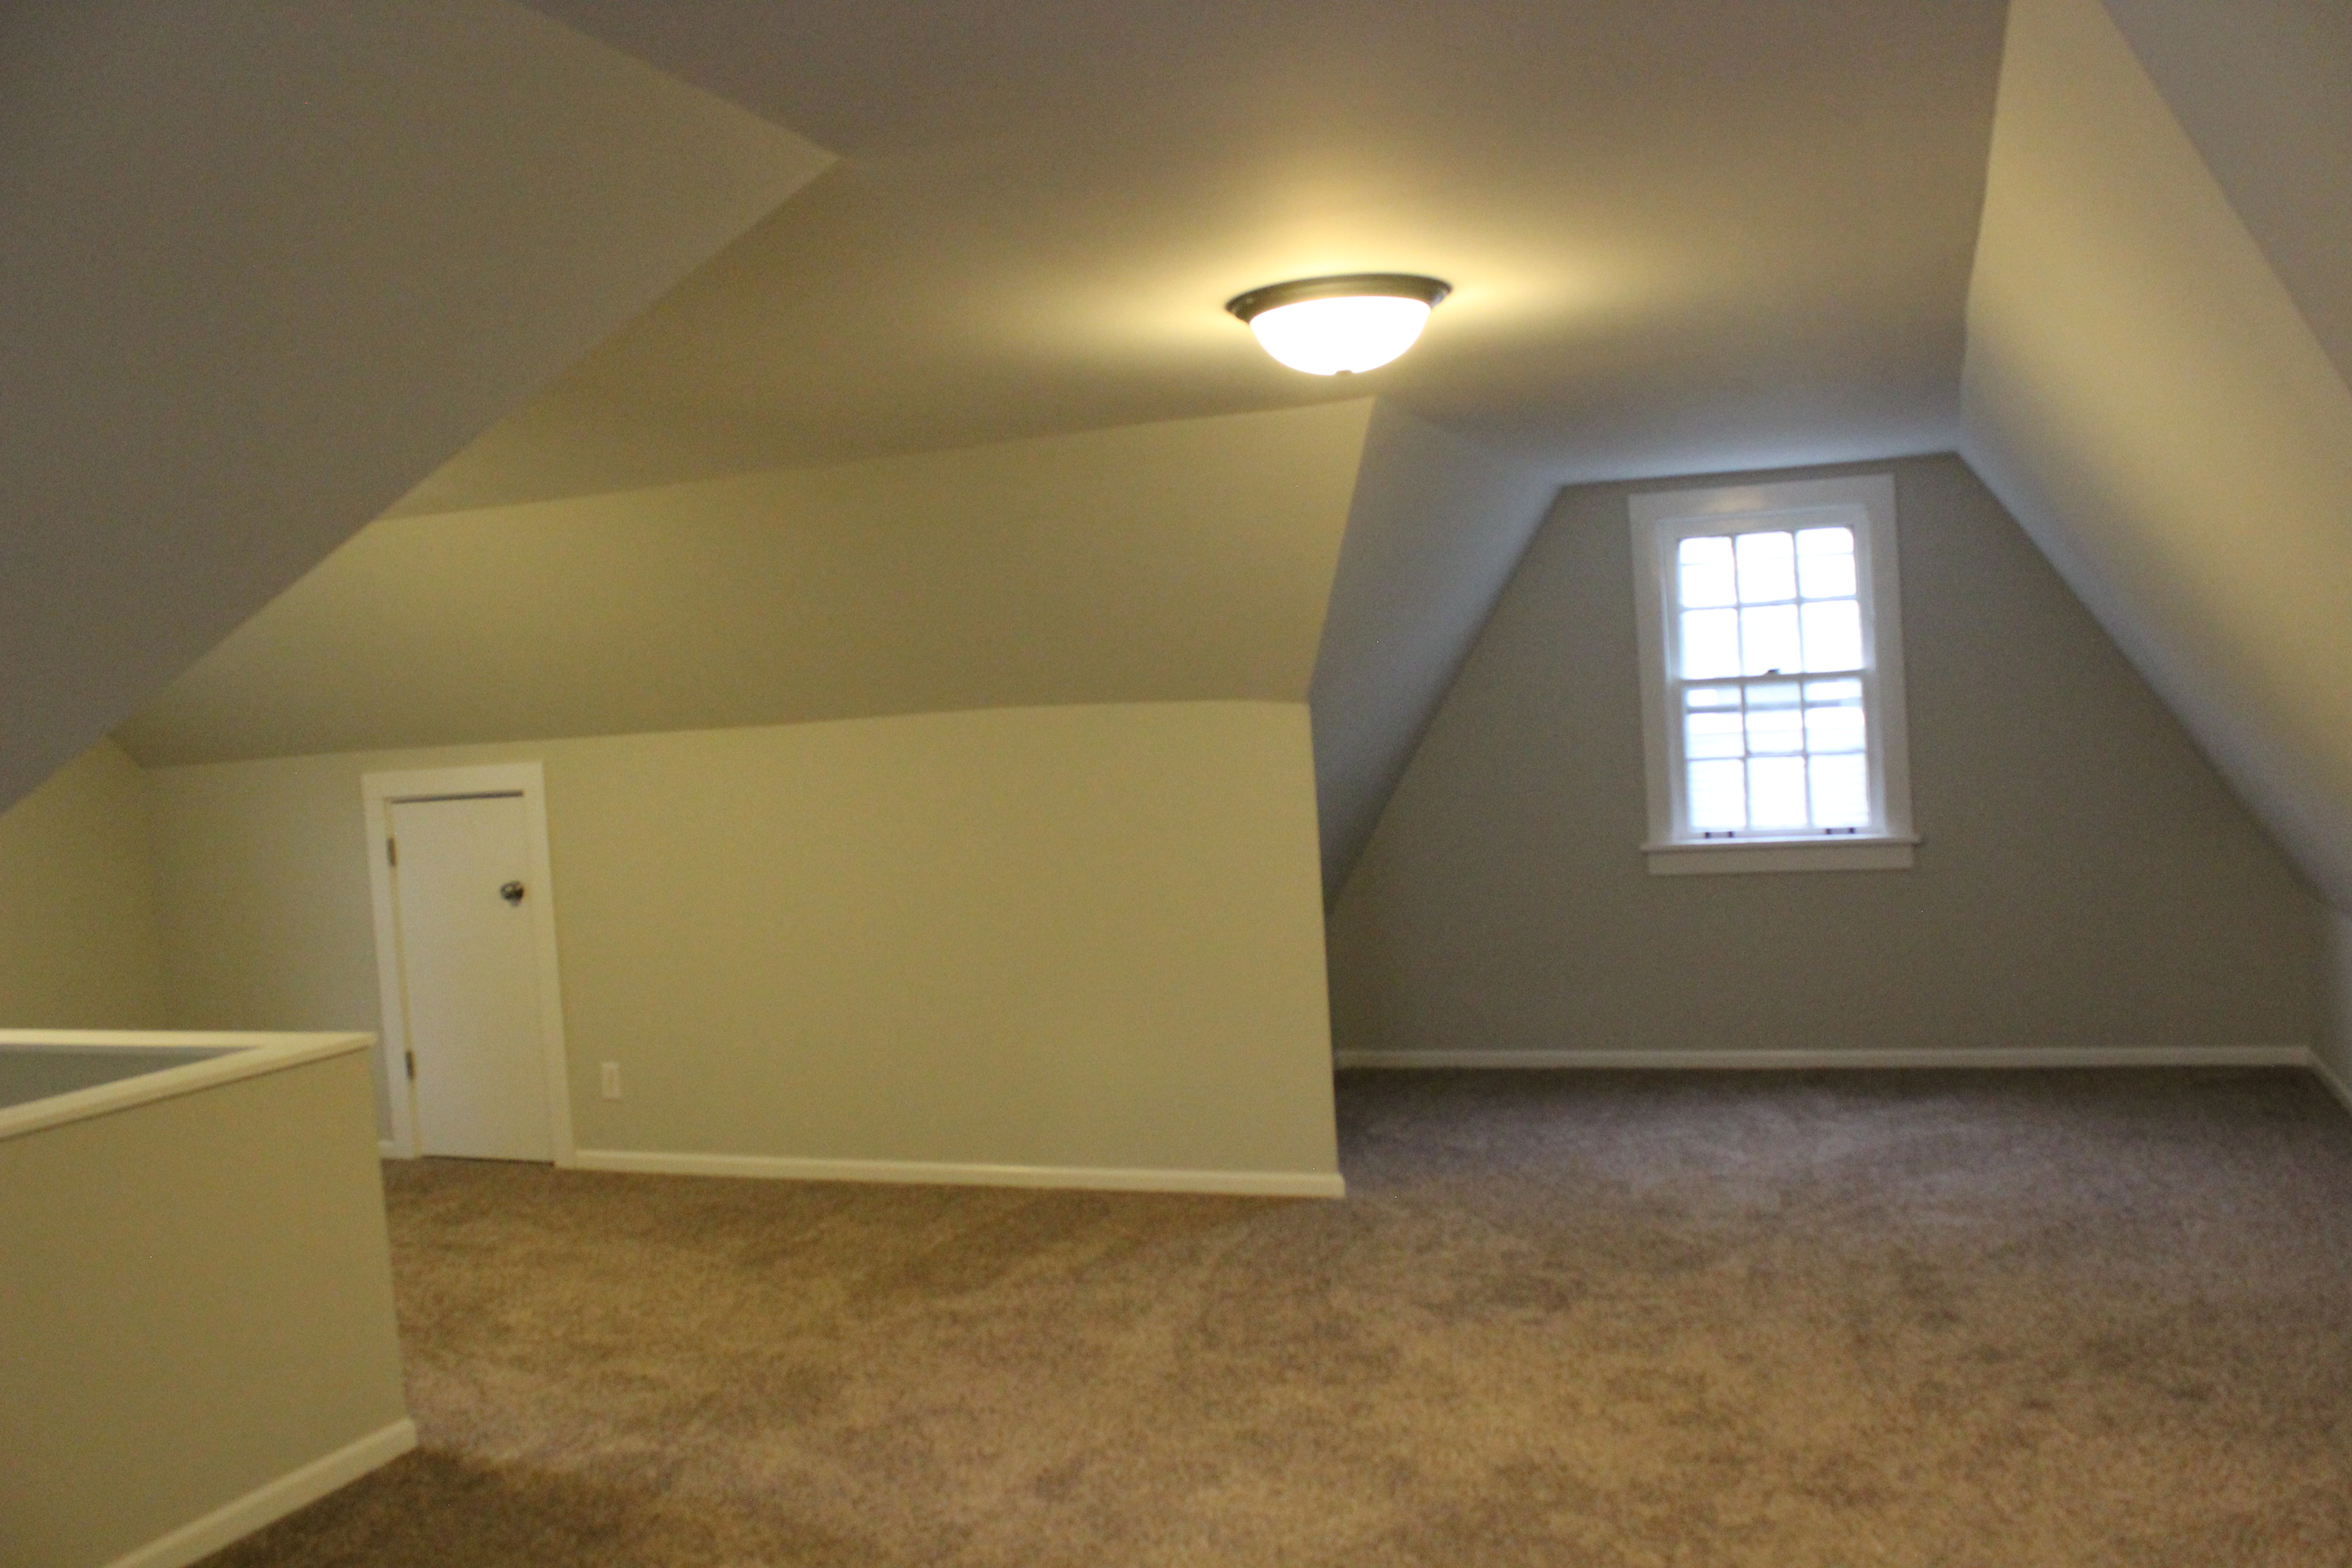
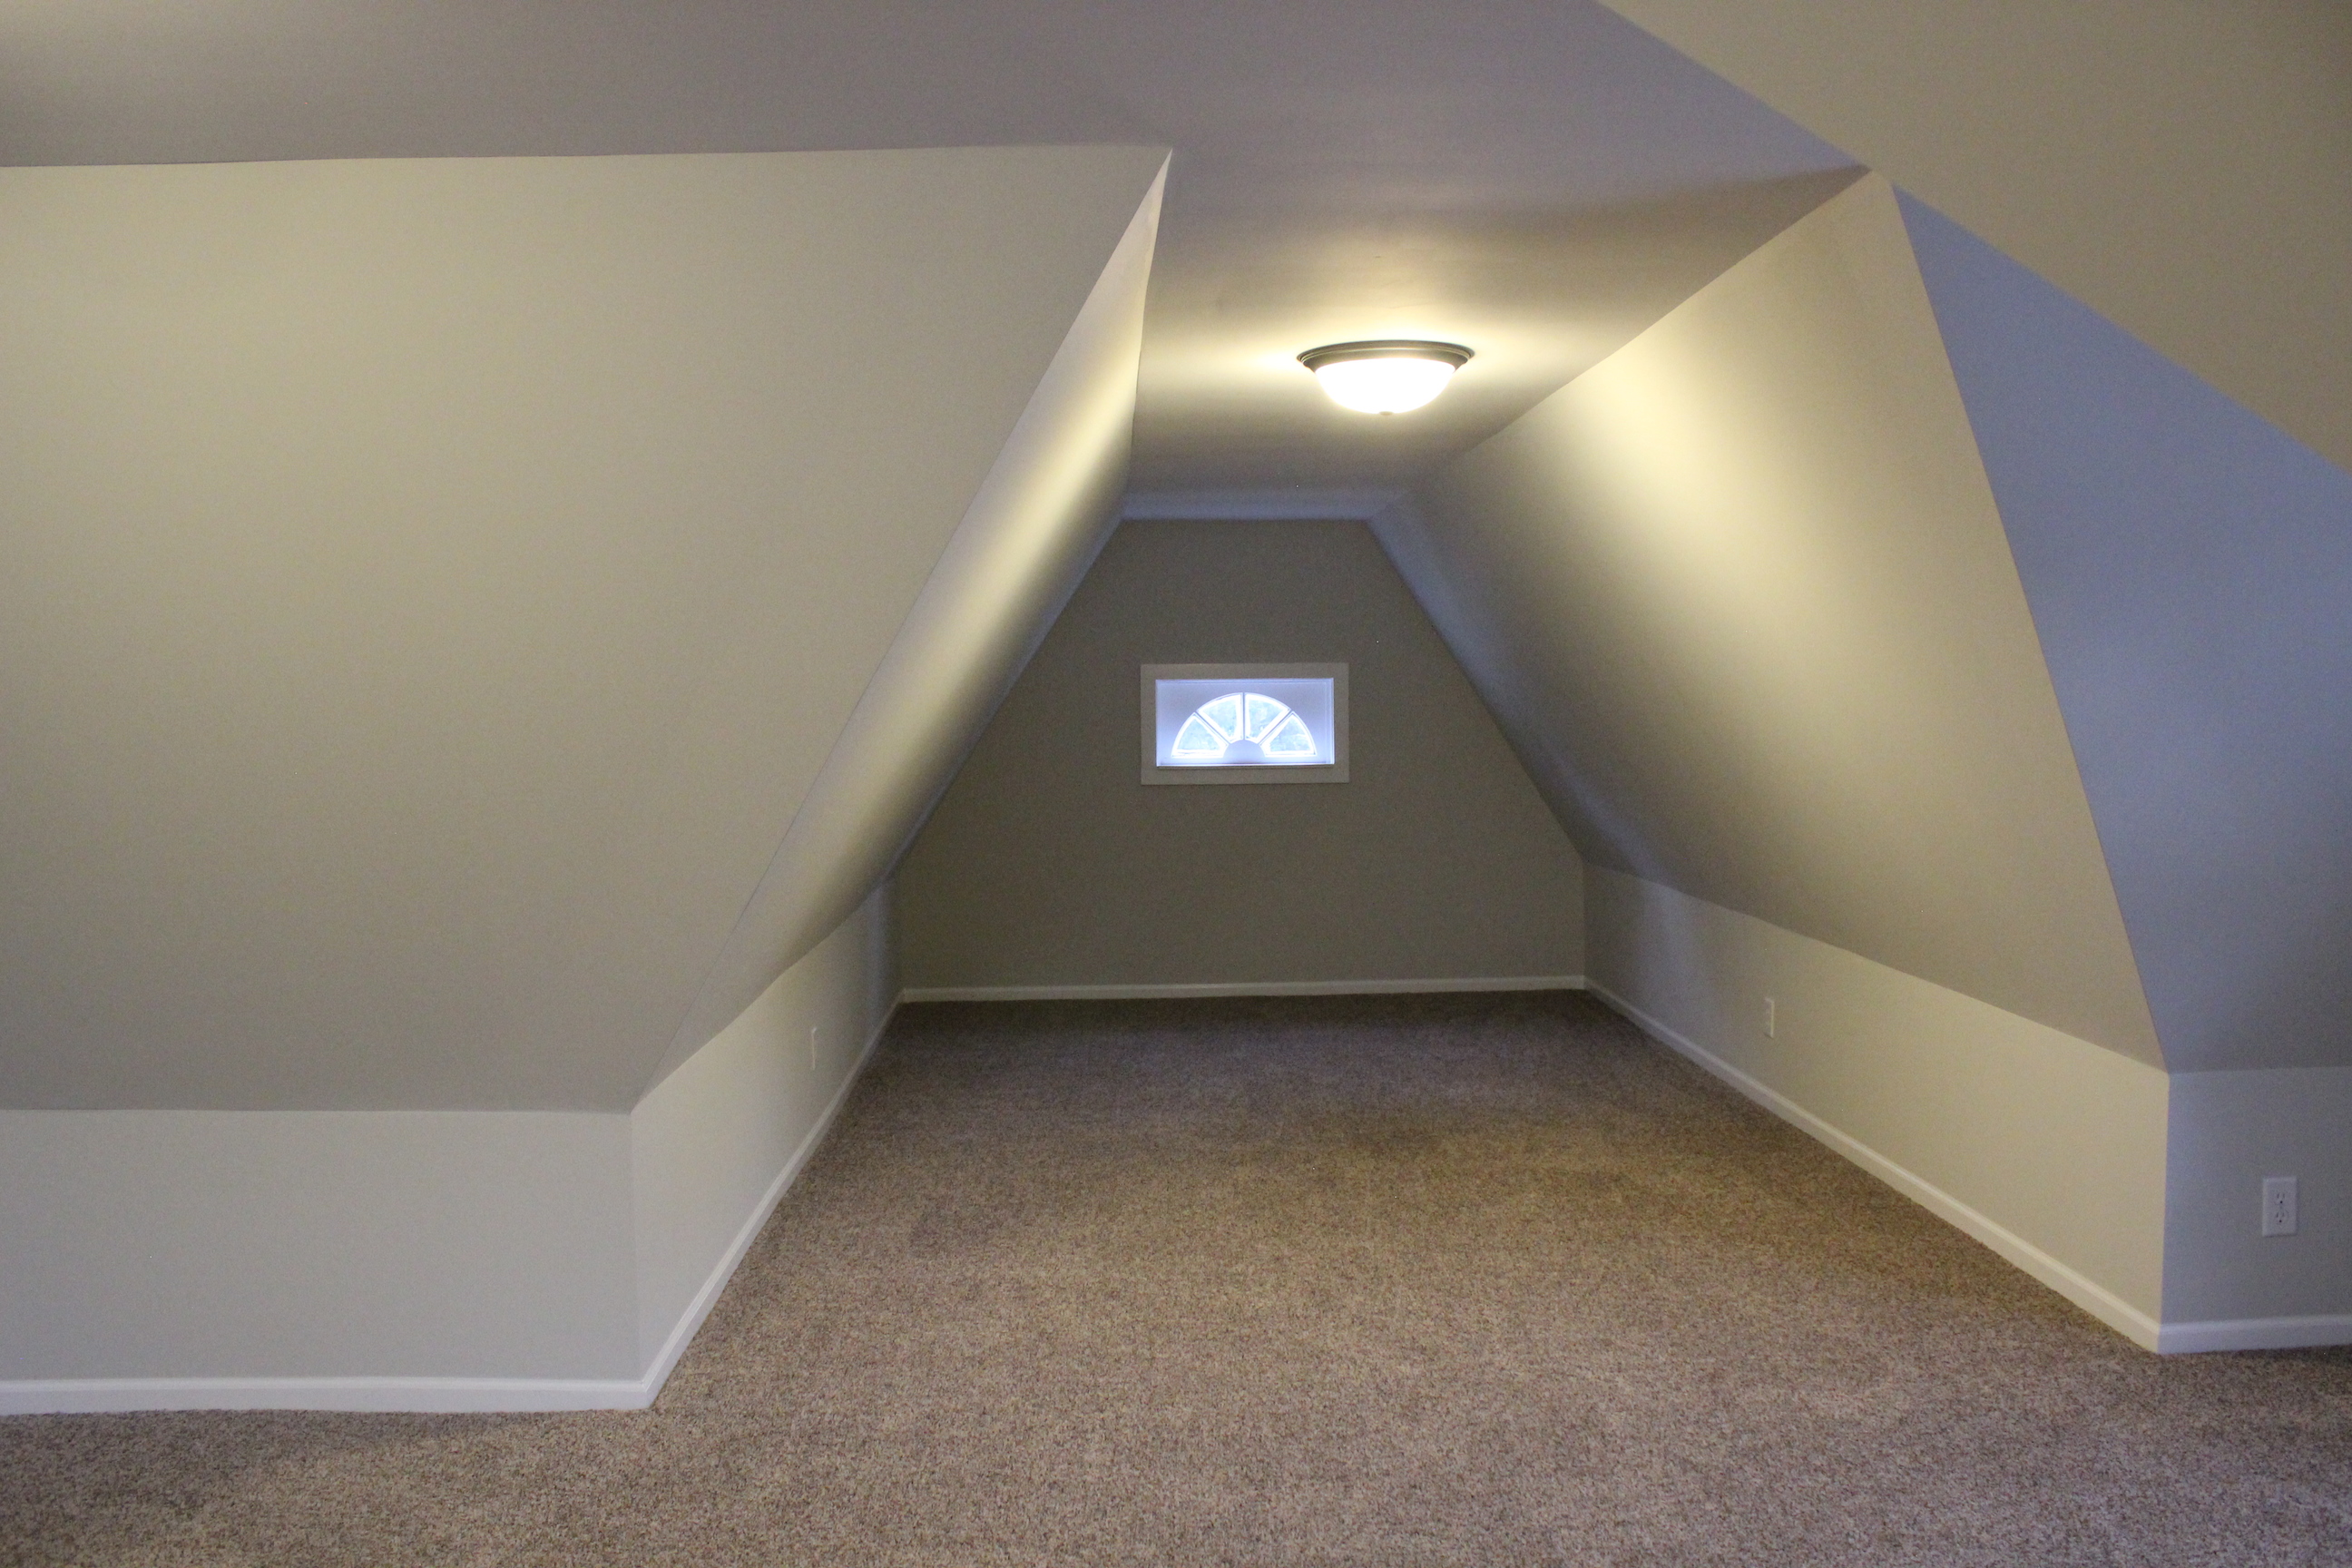
We made it into a 3rd bedroom or bonus space by adding new lighting, HVAC, carpet, paint (Gray Owl as well), baseboards, and more.

IMG_5563


IMG_5564

It is a huge space and nearly doubles the square footage of the home.

Before:

IMG_6943

After:

IMG_5562


We absolutely loved bringing this old home back to life and look forward to having this income property for many, many years to come.

Update on the Rental

15 Jul

There has been lots of progress on the rental property over the past three weeks and one major setback. I’ll get to that.

Starting out front, we ripped out all of the overgrown bushes, planted boxwoods and day lilies and laid mulch. The plants are still small but should grow in nicely to cover the foundation.

FullSizeRender

The back looks totally different with the bushes ripped out. The yard almost doubled in size. We laid grass seed so it will just be all lawn back here. The neighbor is going to continue his fence so that will be nice too. The garage roof is new as well. It had huge holes in it.

IMG_5501

Moving inside is where our big setback occurred. It broke our hearts (and pocketbook), but we had to replace all of the hardwood floors due to pet odor/stains from the previous owner. We learned from neighbors that the previous owner had 30 cats! We had to replace all of the baseboards throughout the house as well. But it had to be done, and now no smell!

Here are the new red oak floors in the living room and dining room. Ben is finishing up the baseboards in here and then the walls and trim will get painted and floors stained.

IMG_5508

Here is one of the bedrooms with the new baseboards installed. We went with a chunky baseboard to keep with the style of the home.
IMG_7108

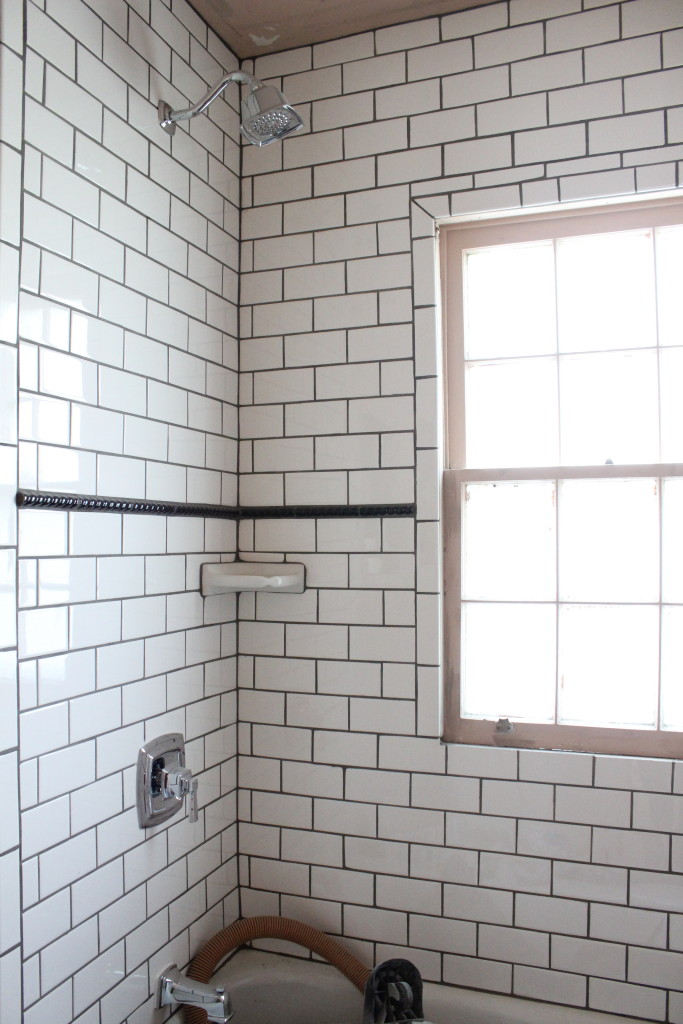
In the bathroom we ran the plumbing to add an overhead shower (it was only a bathtub before), installed new chrome fixtures, and tiled the shower with white subway tile, a black rope pencil tile and dark gray grout.

IMG_5503

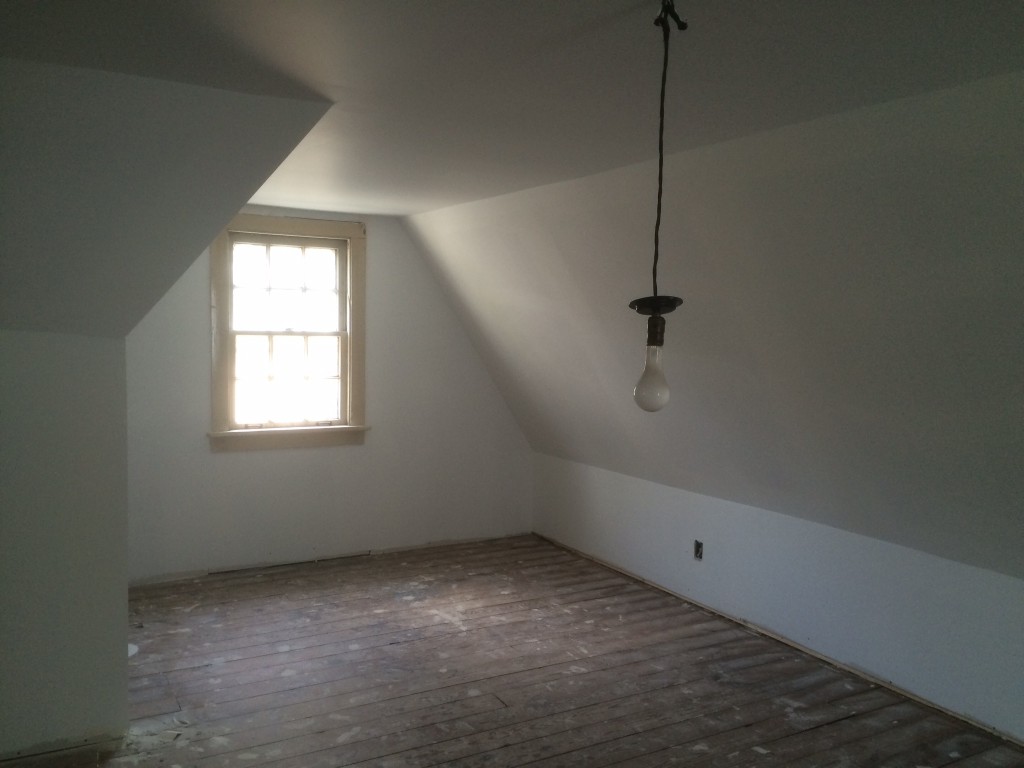
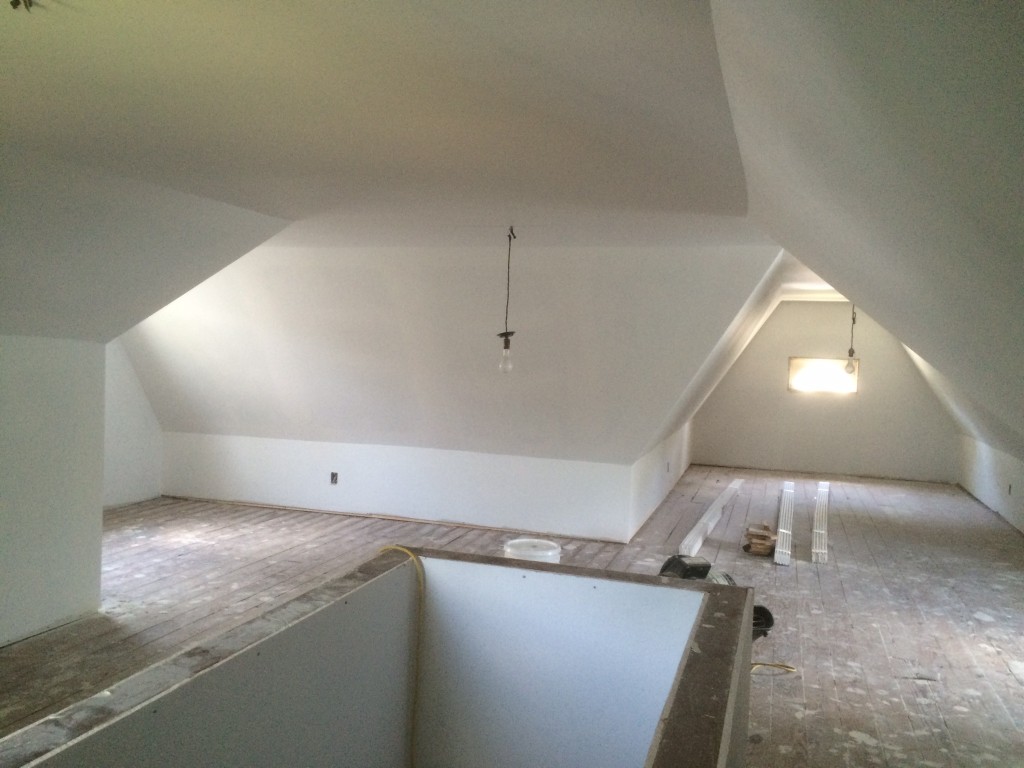
Upstairs looks totally different! We added new electrical and HVAC, framing, drywall and a primer coat of paint. It’s going to be a really nice space up there.
IMG_7105

IMG_7106

This week kitchen cabinets are going in and painting continues. With having to replace the floors and baseboards, our Aug 1 deadline is shot. But we’ve had more than a dozen calls and stop bys from people interested, so we shouldn’t have a problem renting regardless of the school year.
In case you missed the before tour, you can see all the before photos here.

Our New Income Property

23 Jun

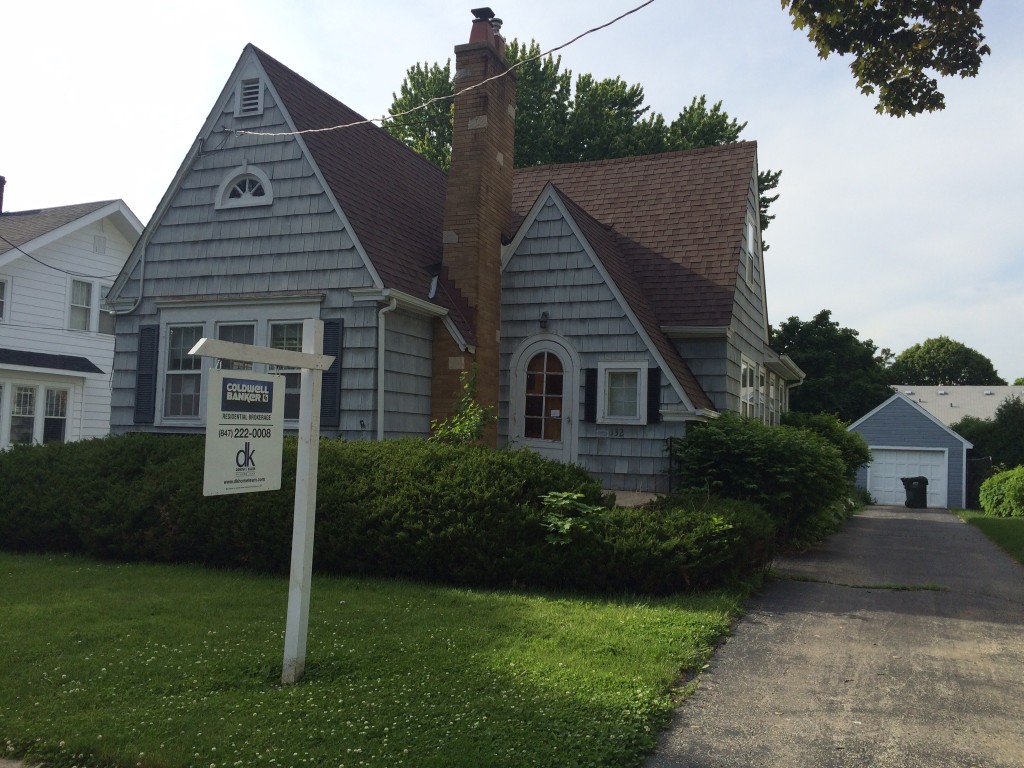
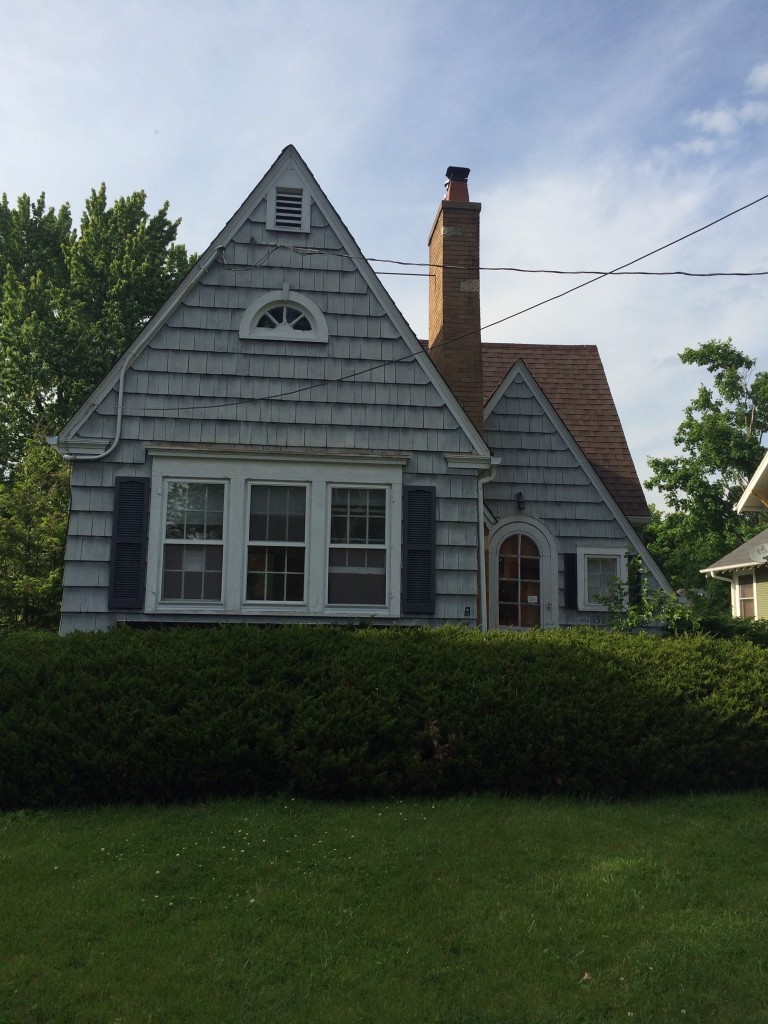
We have a brand new project to share— a new fixer upper that we plan to keep and rent out long term. It’s a 1930’s bungalow with 2 bedrooms and 1 bathroom.
IMG_6935

It needs a complete renovation but has good bones and a lot of charm. It’s in a great neighborhood: terrific schools, walking distance to town and train. Another house for rent in the neighborhood received 38 applications, so we’re hoping it will be easy to find some great tenants.

Here is the grand tour of before photos and our plans to bring it back to life!

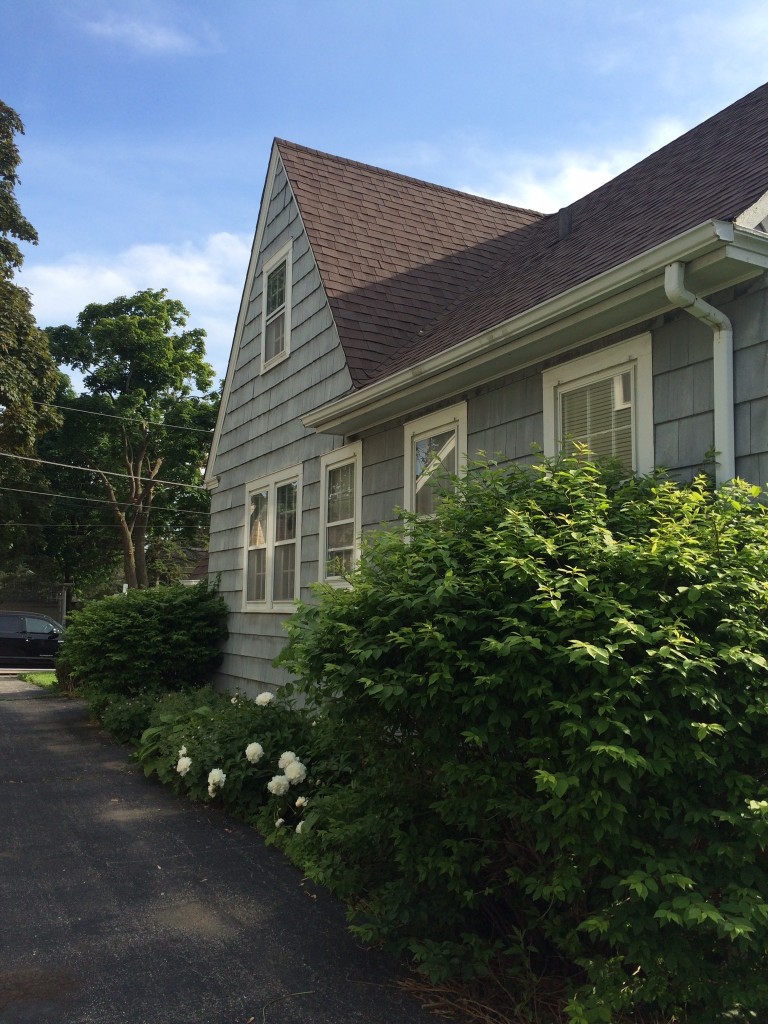
We don’t plan to do too much to the exterior for now, just clean it up and do some landscaping. We will be ripping out these overgrown bushes, replacing the front door light, mailbox and are having a new screen door made as it’s rotten.
IMG_6936

The side of the house just needs some landscaping. Everything is really overgrown.IMG_6940

We’re ripping out all of the overgrown bushes in the backyard and the garage needs a new roof and garage door. IMG_6941We will be putting a whole new kitchen in, with new cabinets, stainless steel appliances and granite countertops.
IMG_6942Here is the dining room which will be getting new paint and lighting. There are wood floors throughout the house which will be getting re-finished.

IMG_6954The living room will also see fresh paint and re-finished floors. The fireplace will get a cheap upgrade. We plan to paint the brick white, stain the mantel, remove the paneling and re-tile the hearth.

IMG_6957

IMG_6952

IMG_6951Here’s the hallway that leads to the bedrooms and bathroom.
IMG_6956In the bathroom, we will be tiling the shower and adding a shower head since it is only a bathtub right now. We will also be adding a new vanity, medicine cabinet, lighting and toilet. We plan to salvage the vintage floor tile, it’s in pretty good condition and goes perfectly with the house.

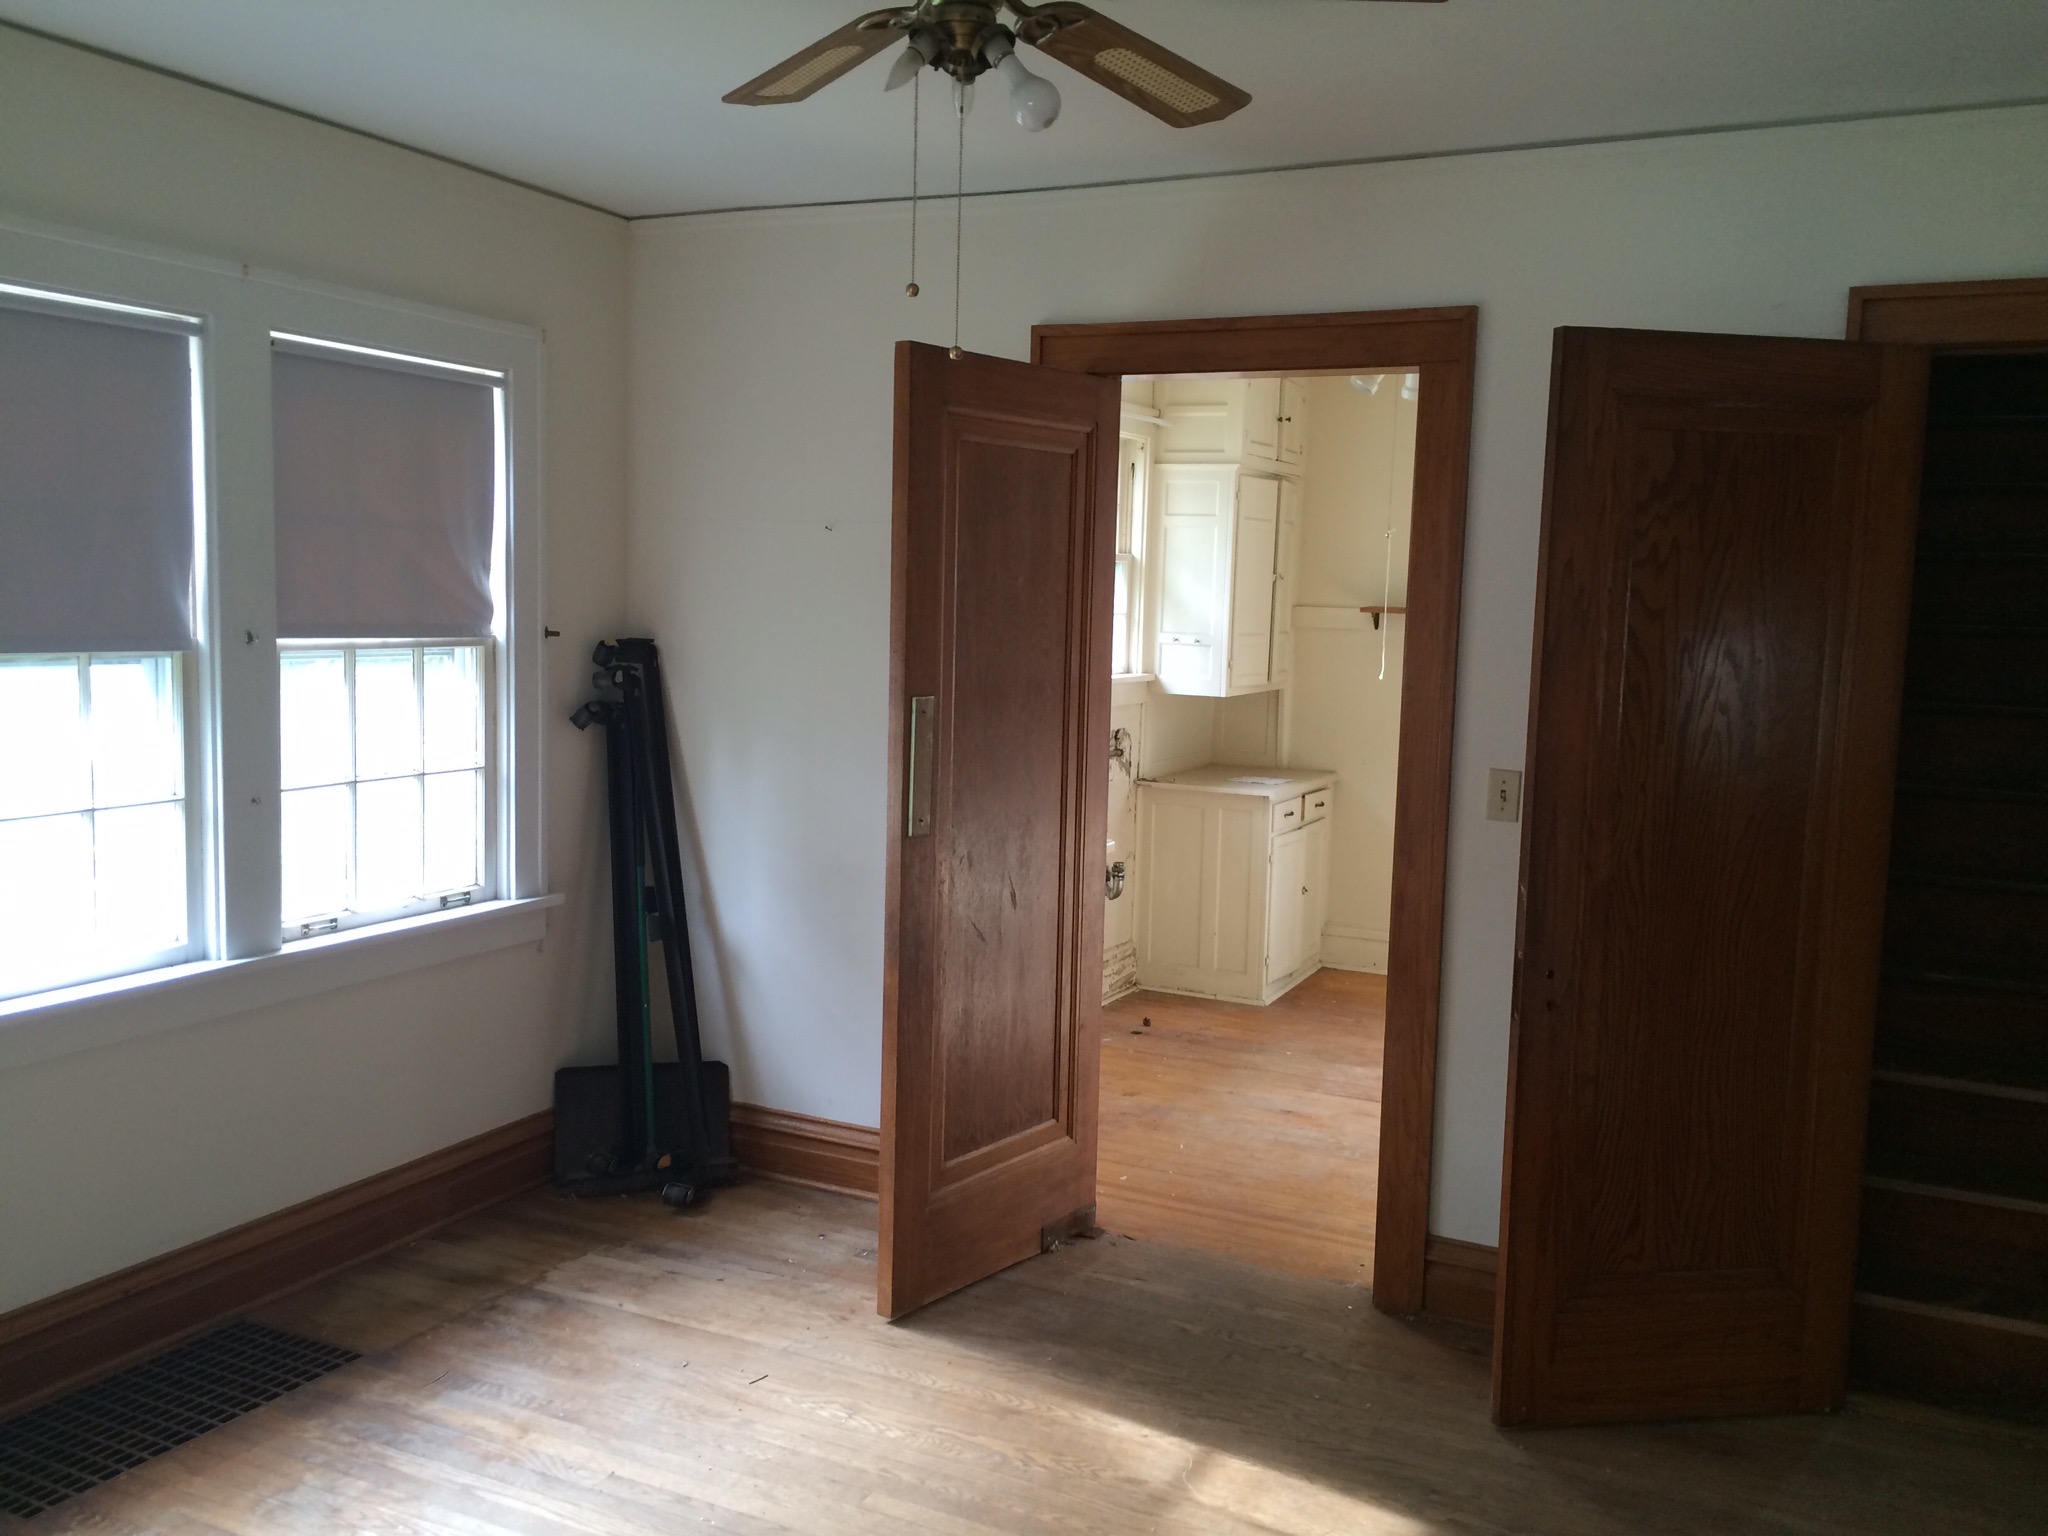
IMG_6946The two bedrooms are pretty similar and will be getting fresh paint, ceiling fans and re-finished floors.

IMG_6949

Upstairs will see a big transformation with new carpet, drywall, electric outlets, lighting, paint and HVAC. This will basically double the square footage of the house and can serve as another bedroom, living space or play room.

IMG_6943

IMG_6944

IMG_6955Lots of work, but it should be amazing when it is complete. We plan to get it finished and up for rent before the school year begins, so less than two months. I’ll try to share progress as we go!

Master Bathroom: Ready for Tile

12 Dec

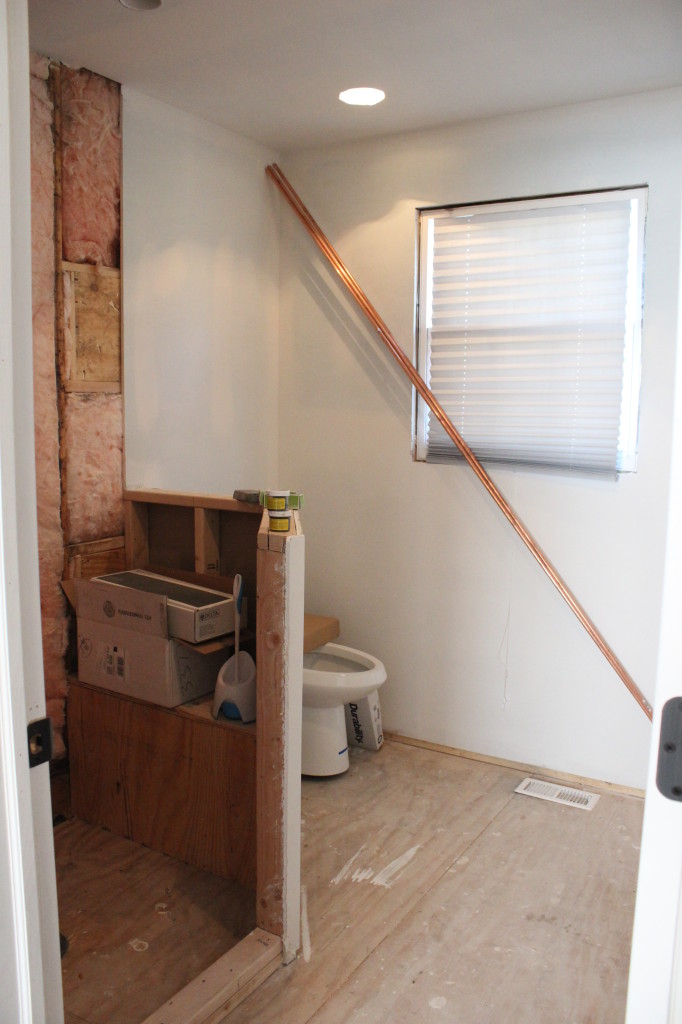
Lots of progress and planning has been made on our future Master Bath over the last couple of months and now we’re all set to start tiling! The last time I showed you the room it was looking like this:

New Zealand 1038And now:

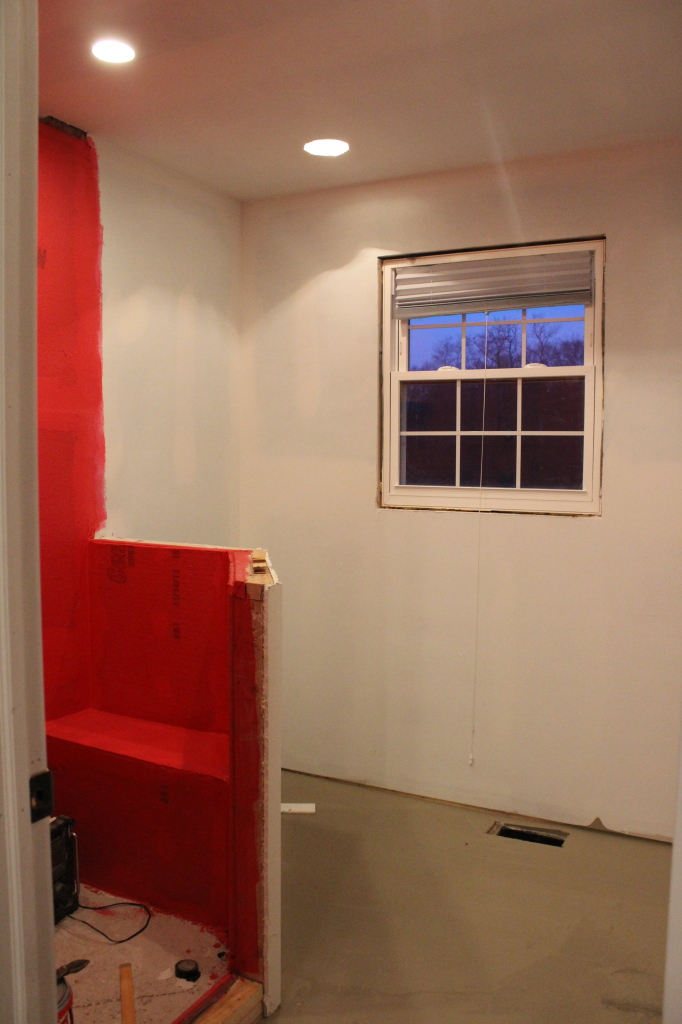
IMG_5213

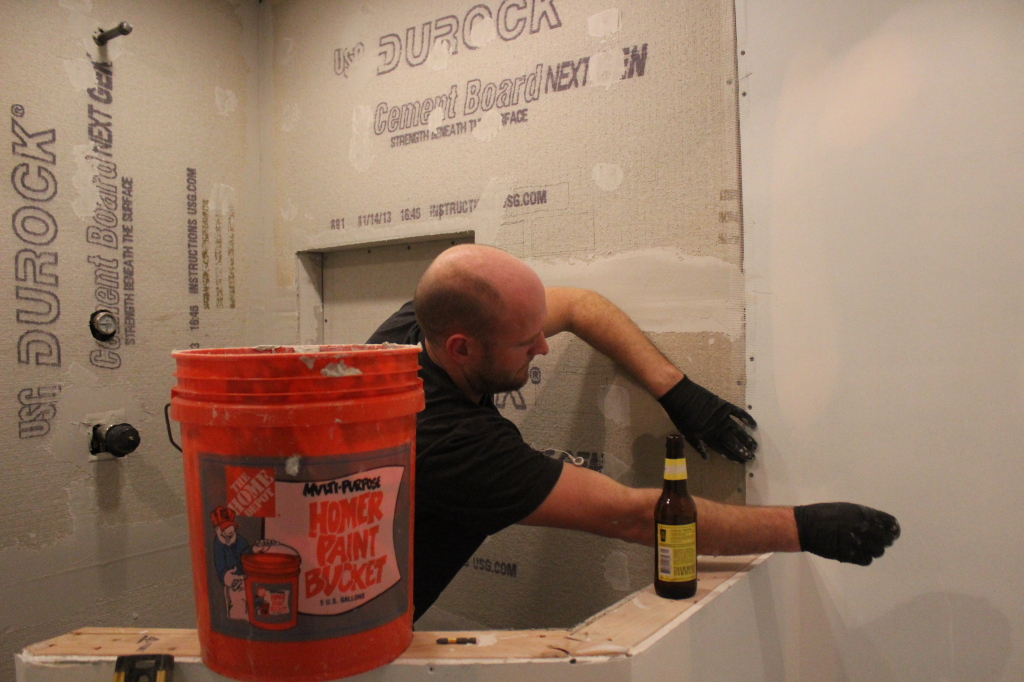
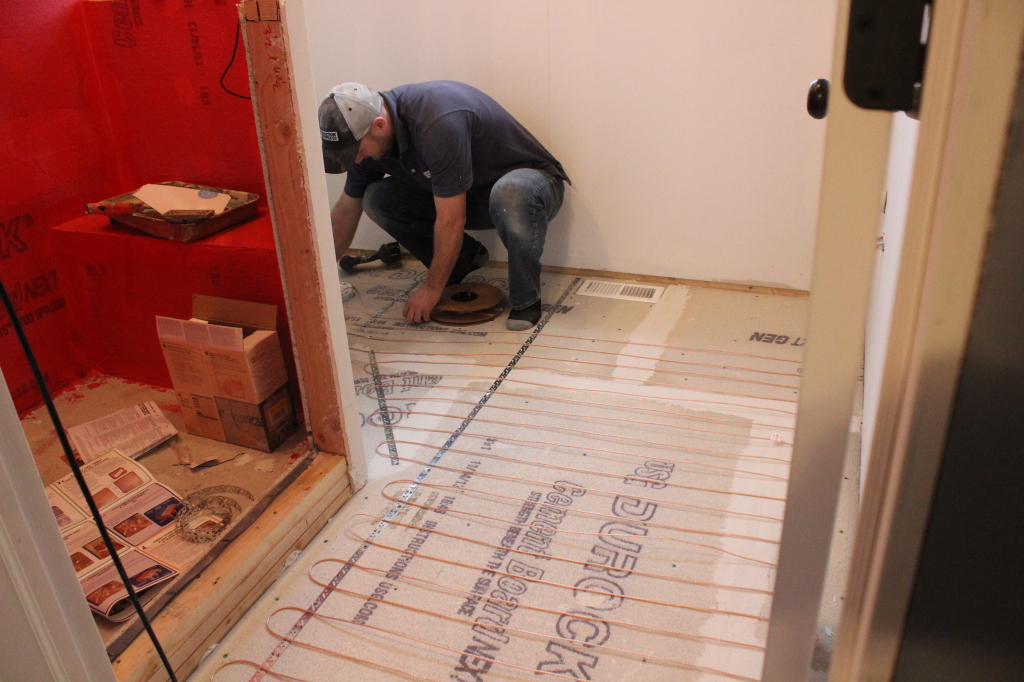
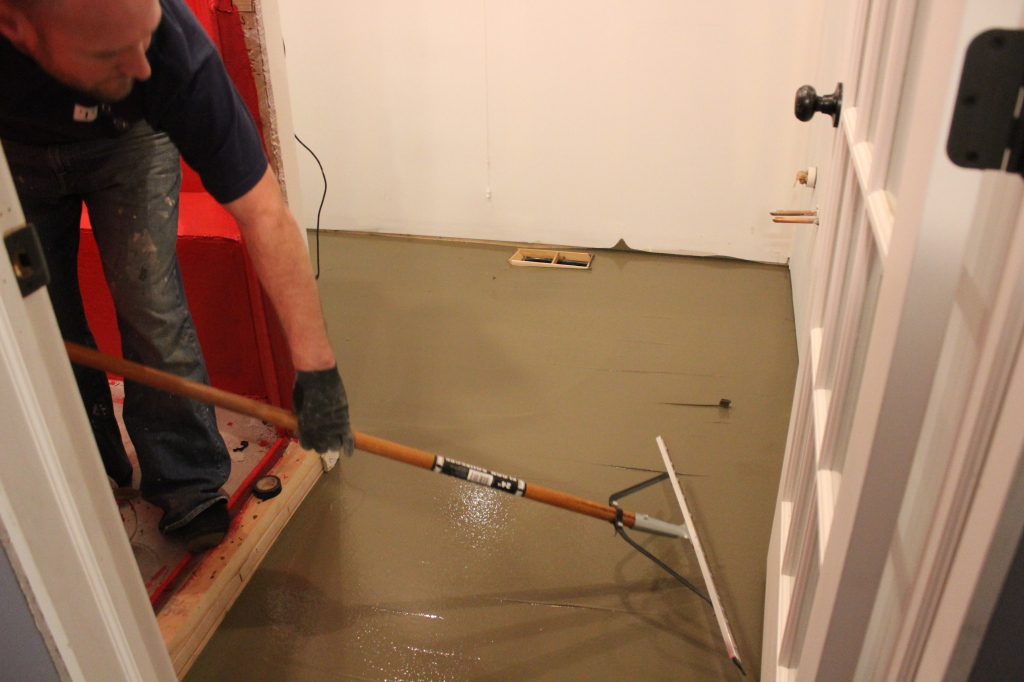
Ok it doesn’t look like much, but Ben laid all the Durock cement board on the floor and shower walls, laid the underfloor heating, poured the shower base, waterproofed the shower walls with RedGard, and poured self leveling underlayment on the floors.

IMG_5000

IMG_5205

IMG_5212

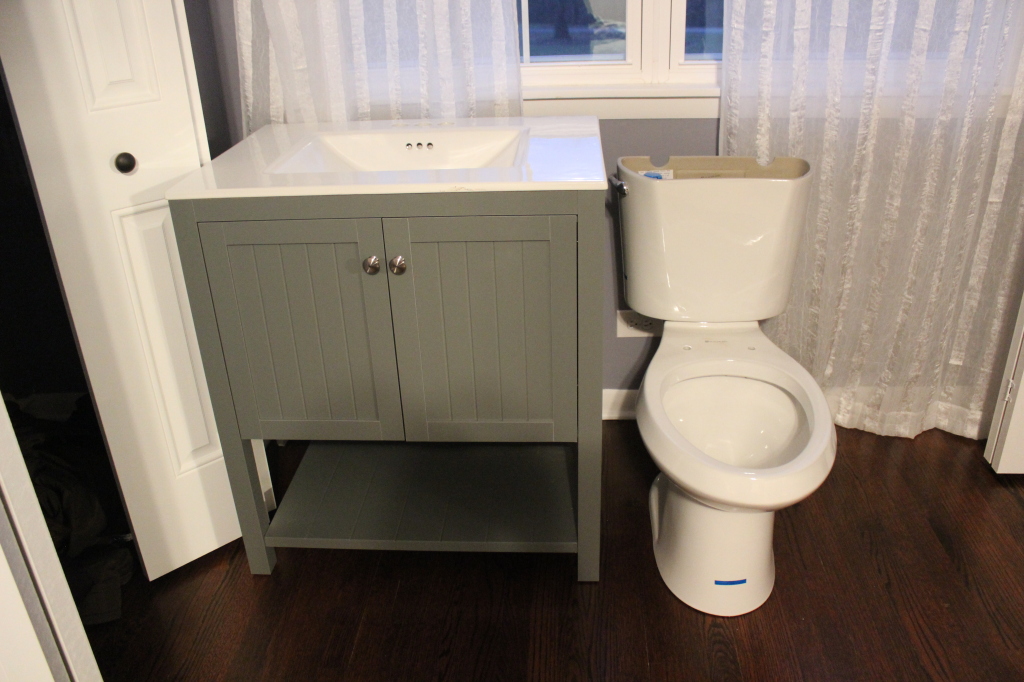
We also purchased a vanity and all the tile. The vanity is the Cranbury by Home Decorators from Home Depot.

IMG_5214

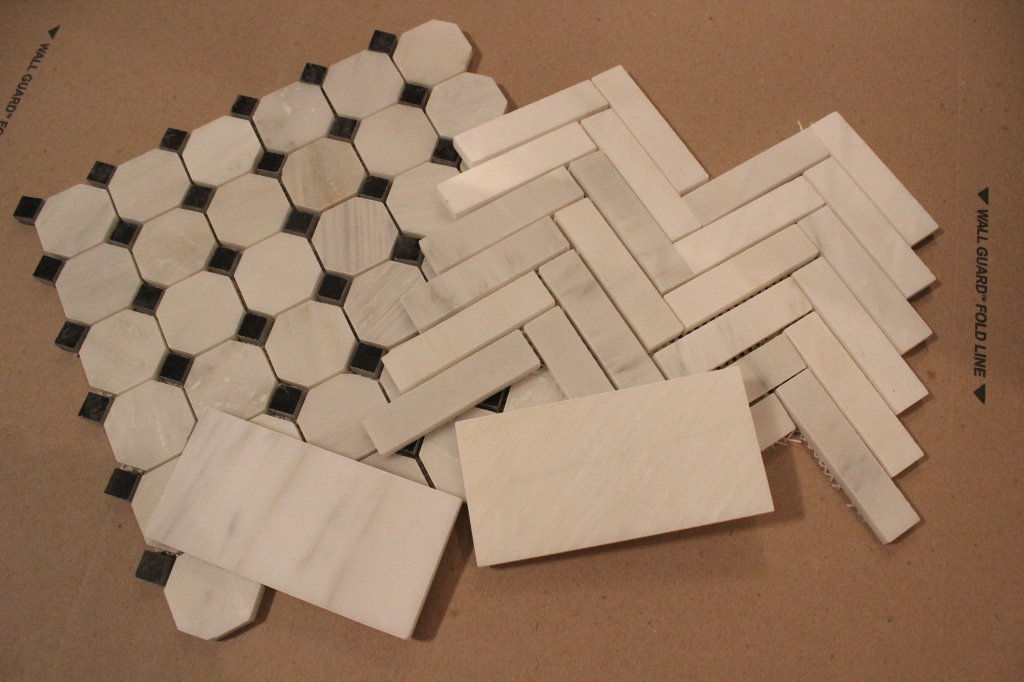
All the tile is Carrera Marble and was purchased from The Tile Shop and Floor & Decor. Here’s a peek at it:

IMG_5216

Our original goal was to be in the new Master by the end of the year. That might be a little overzealous at this point, but it should be pretty close.