Archive | Kitchen RSS feed for this section

Income Property Reveal

1 Oct

We’re officially landlords! We put the finishing touches on our rental property this week and have tenants moving in today. We are SO pleased with how the home turned out and thankfully had an easy time finding good tenants.

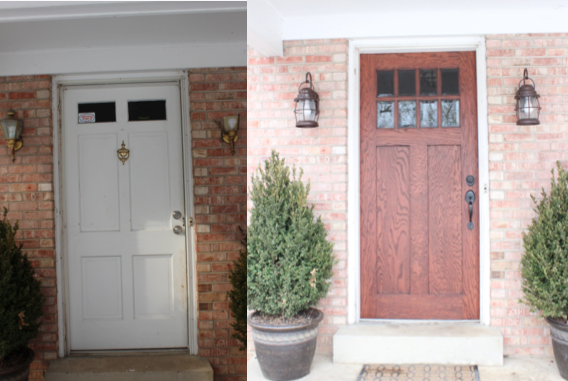
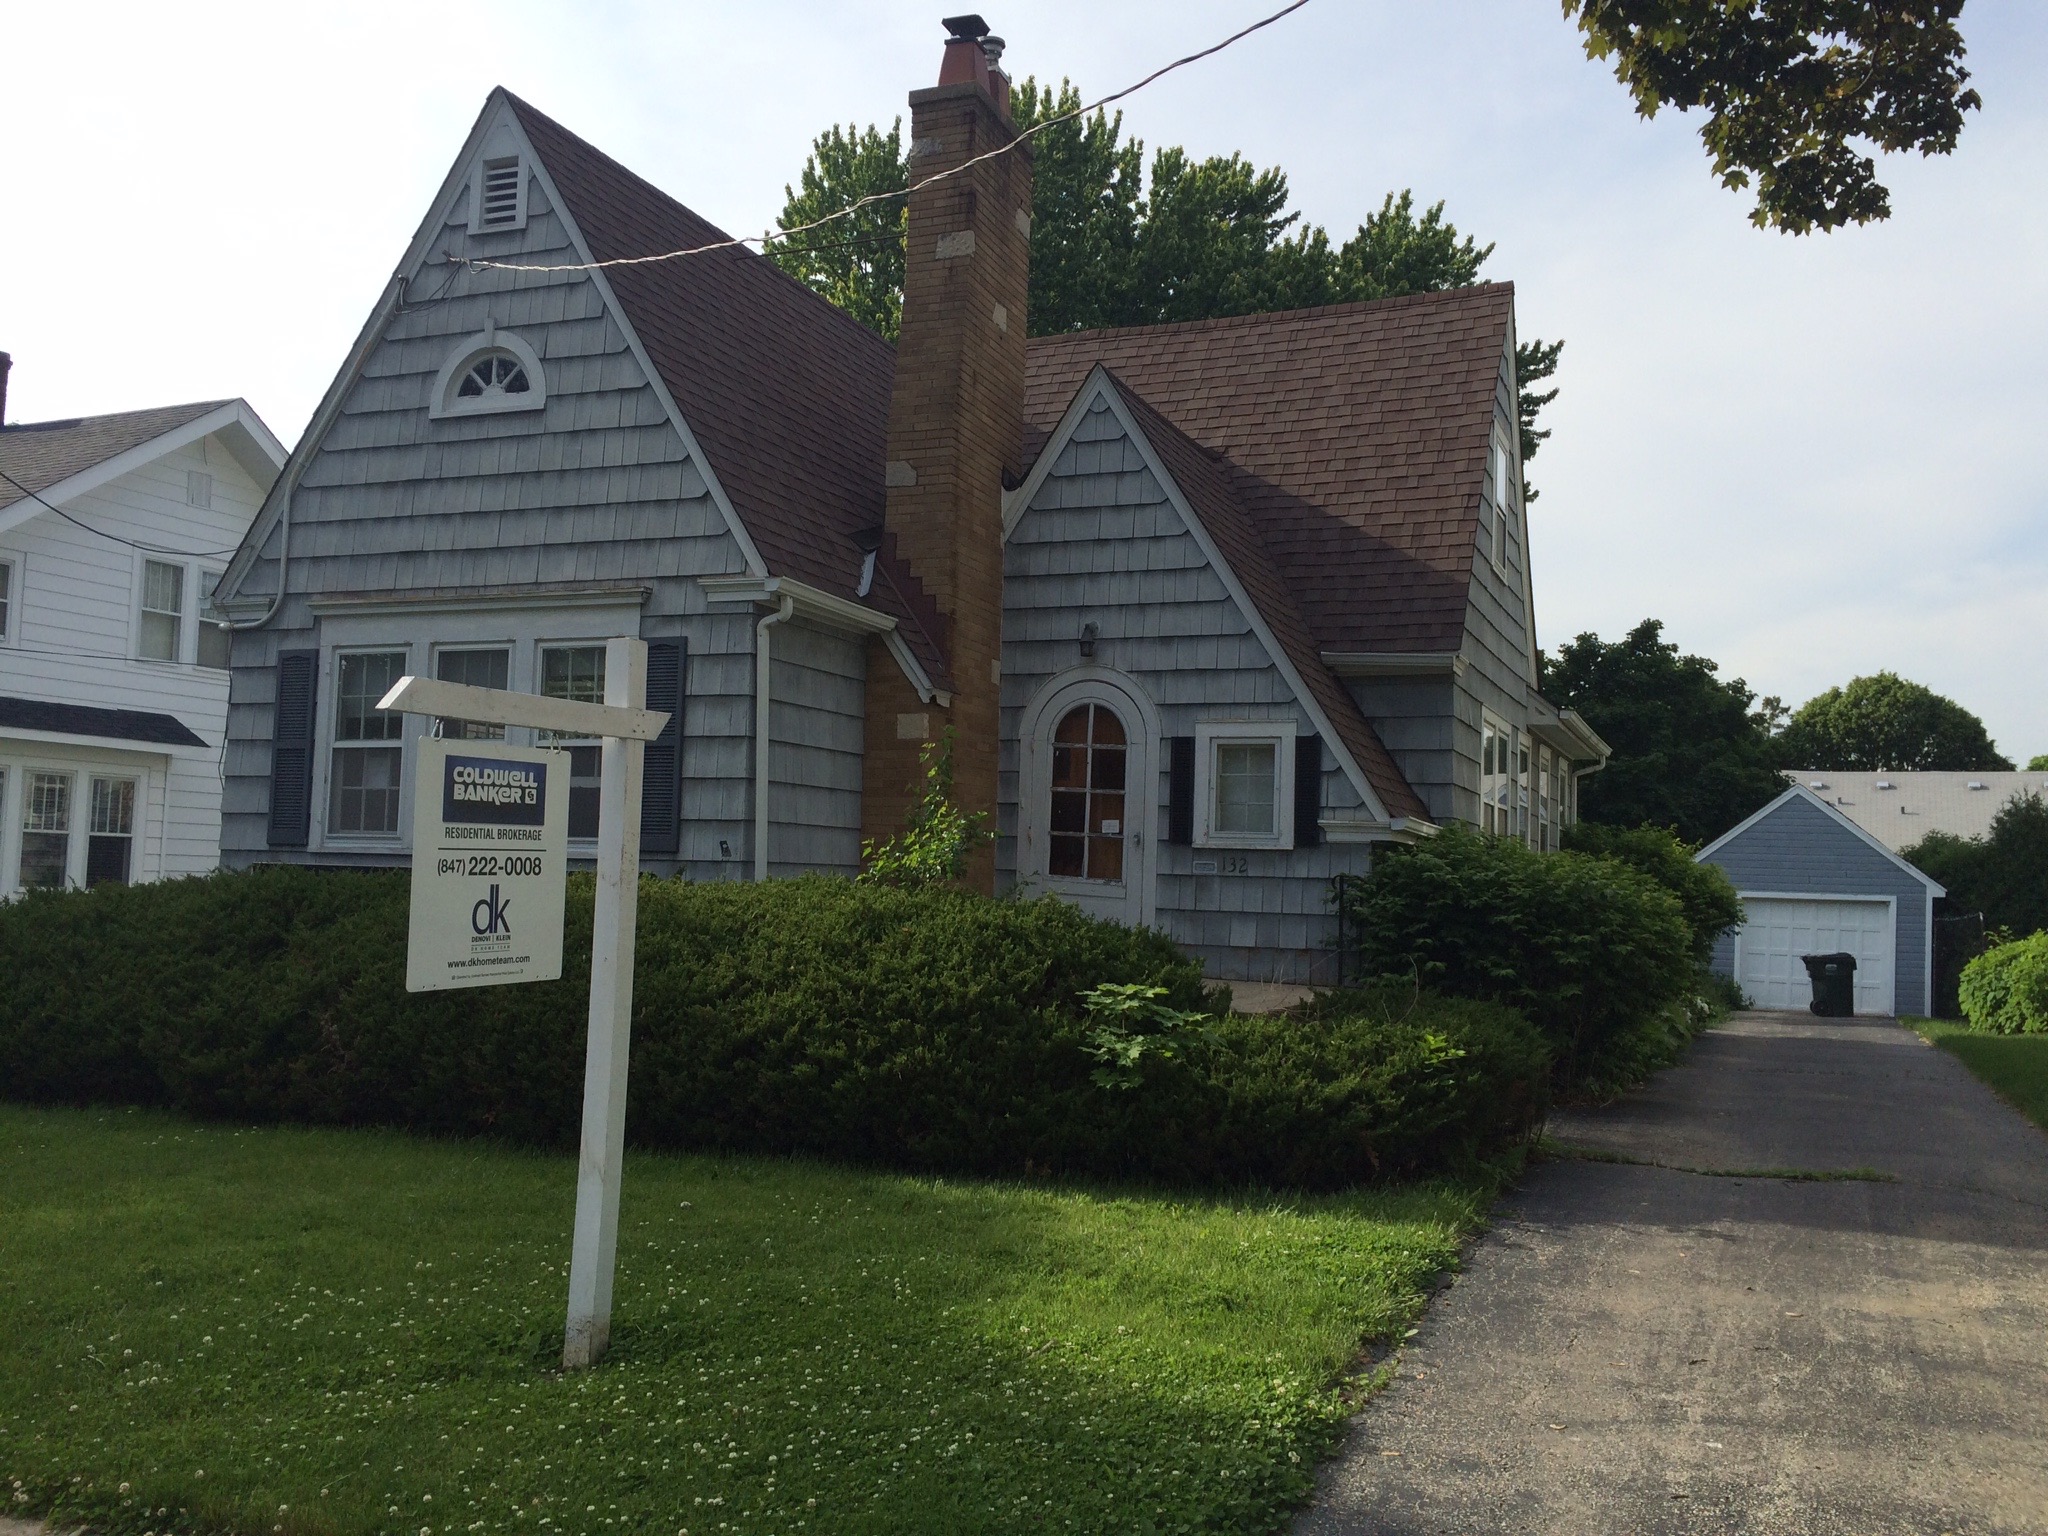
Here is a before look at the front exterior of the home:

IMG_6935

And now it looks like this:

IMG_5535 resized

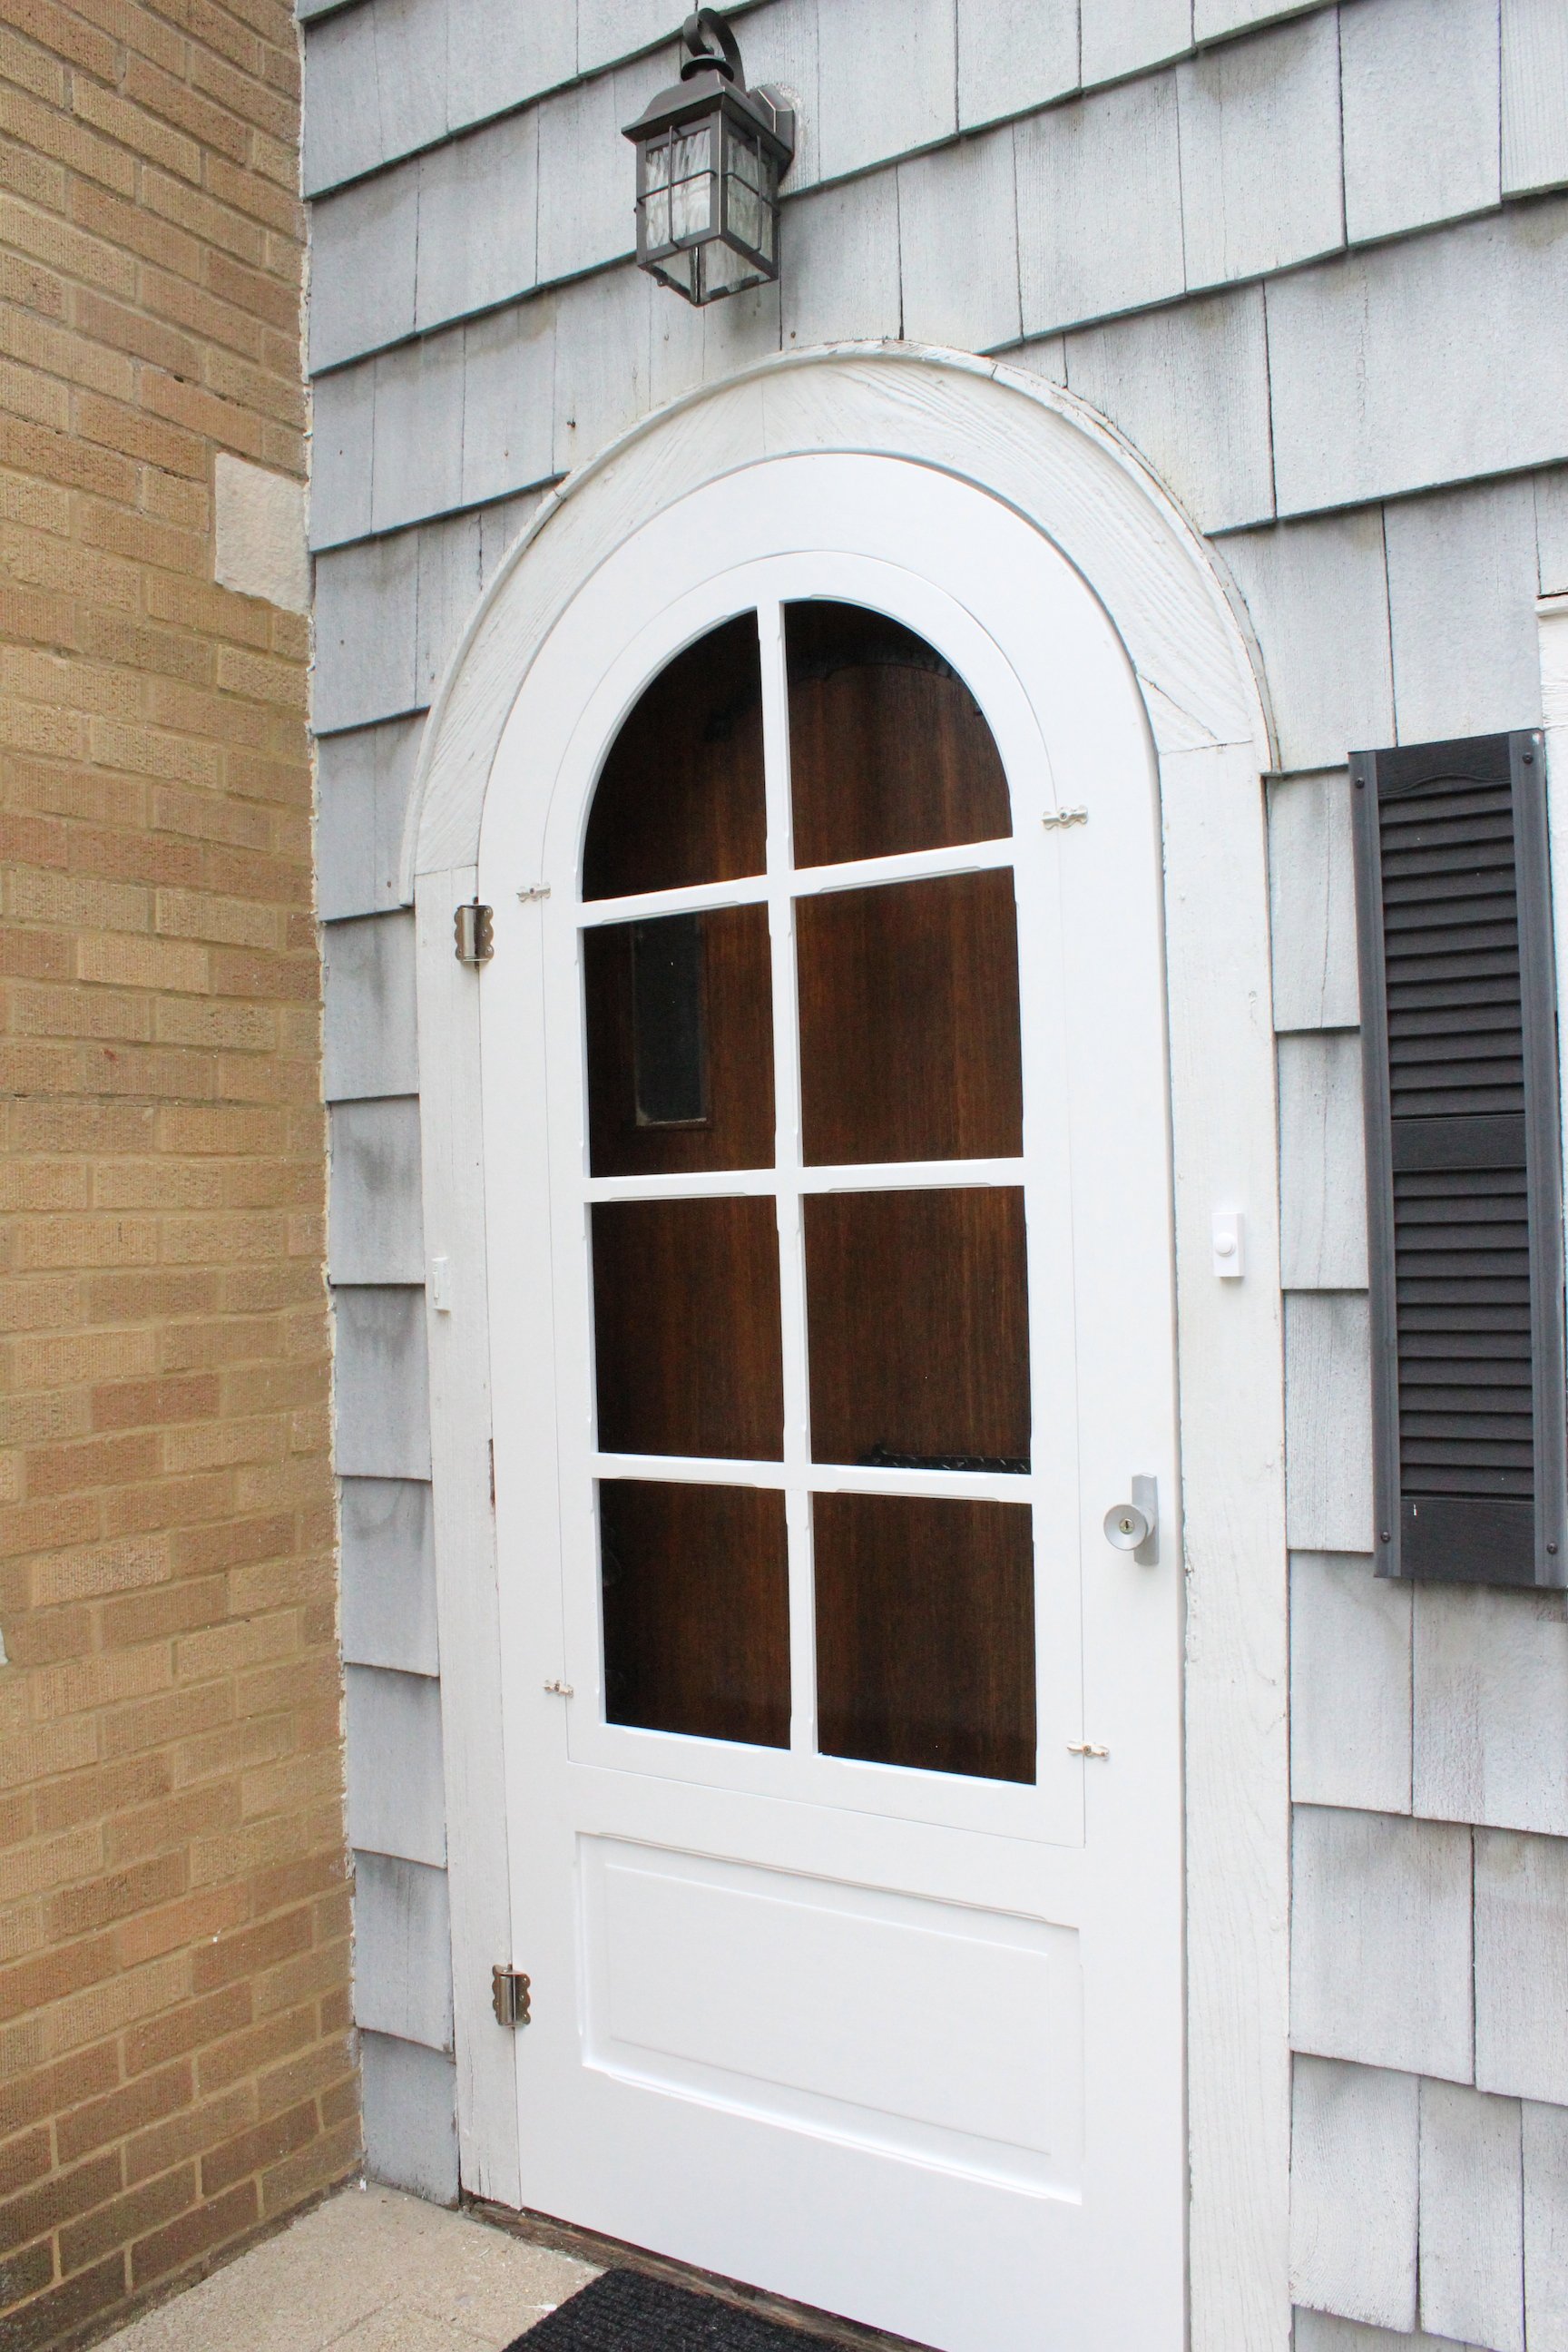
Admittedly, not much of a transformation, but we did rip out all the overgrown bushes and plant some boxwoods and other plants. We also replaced the light over the front door, had a new screen door custom built, and stained the front door.

IMG_5536 resized

The home desperately needs an exterior paint job, which is on our radar for next year.

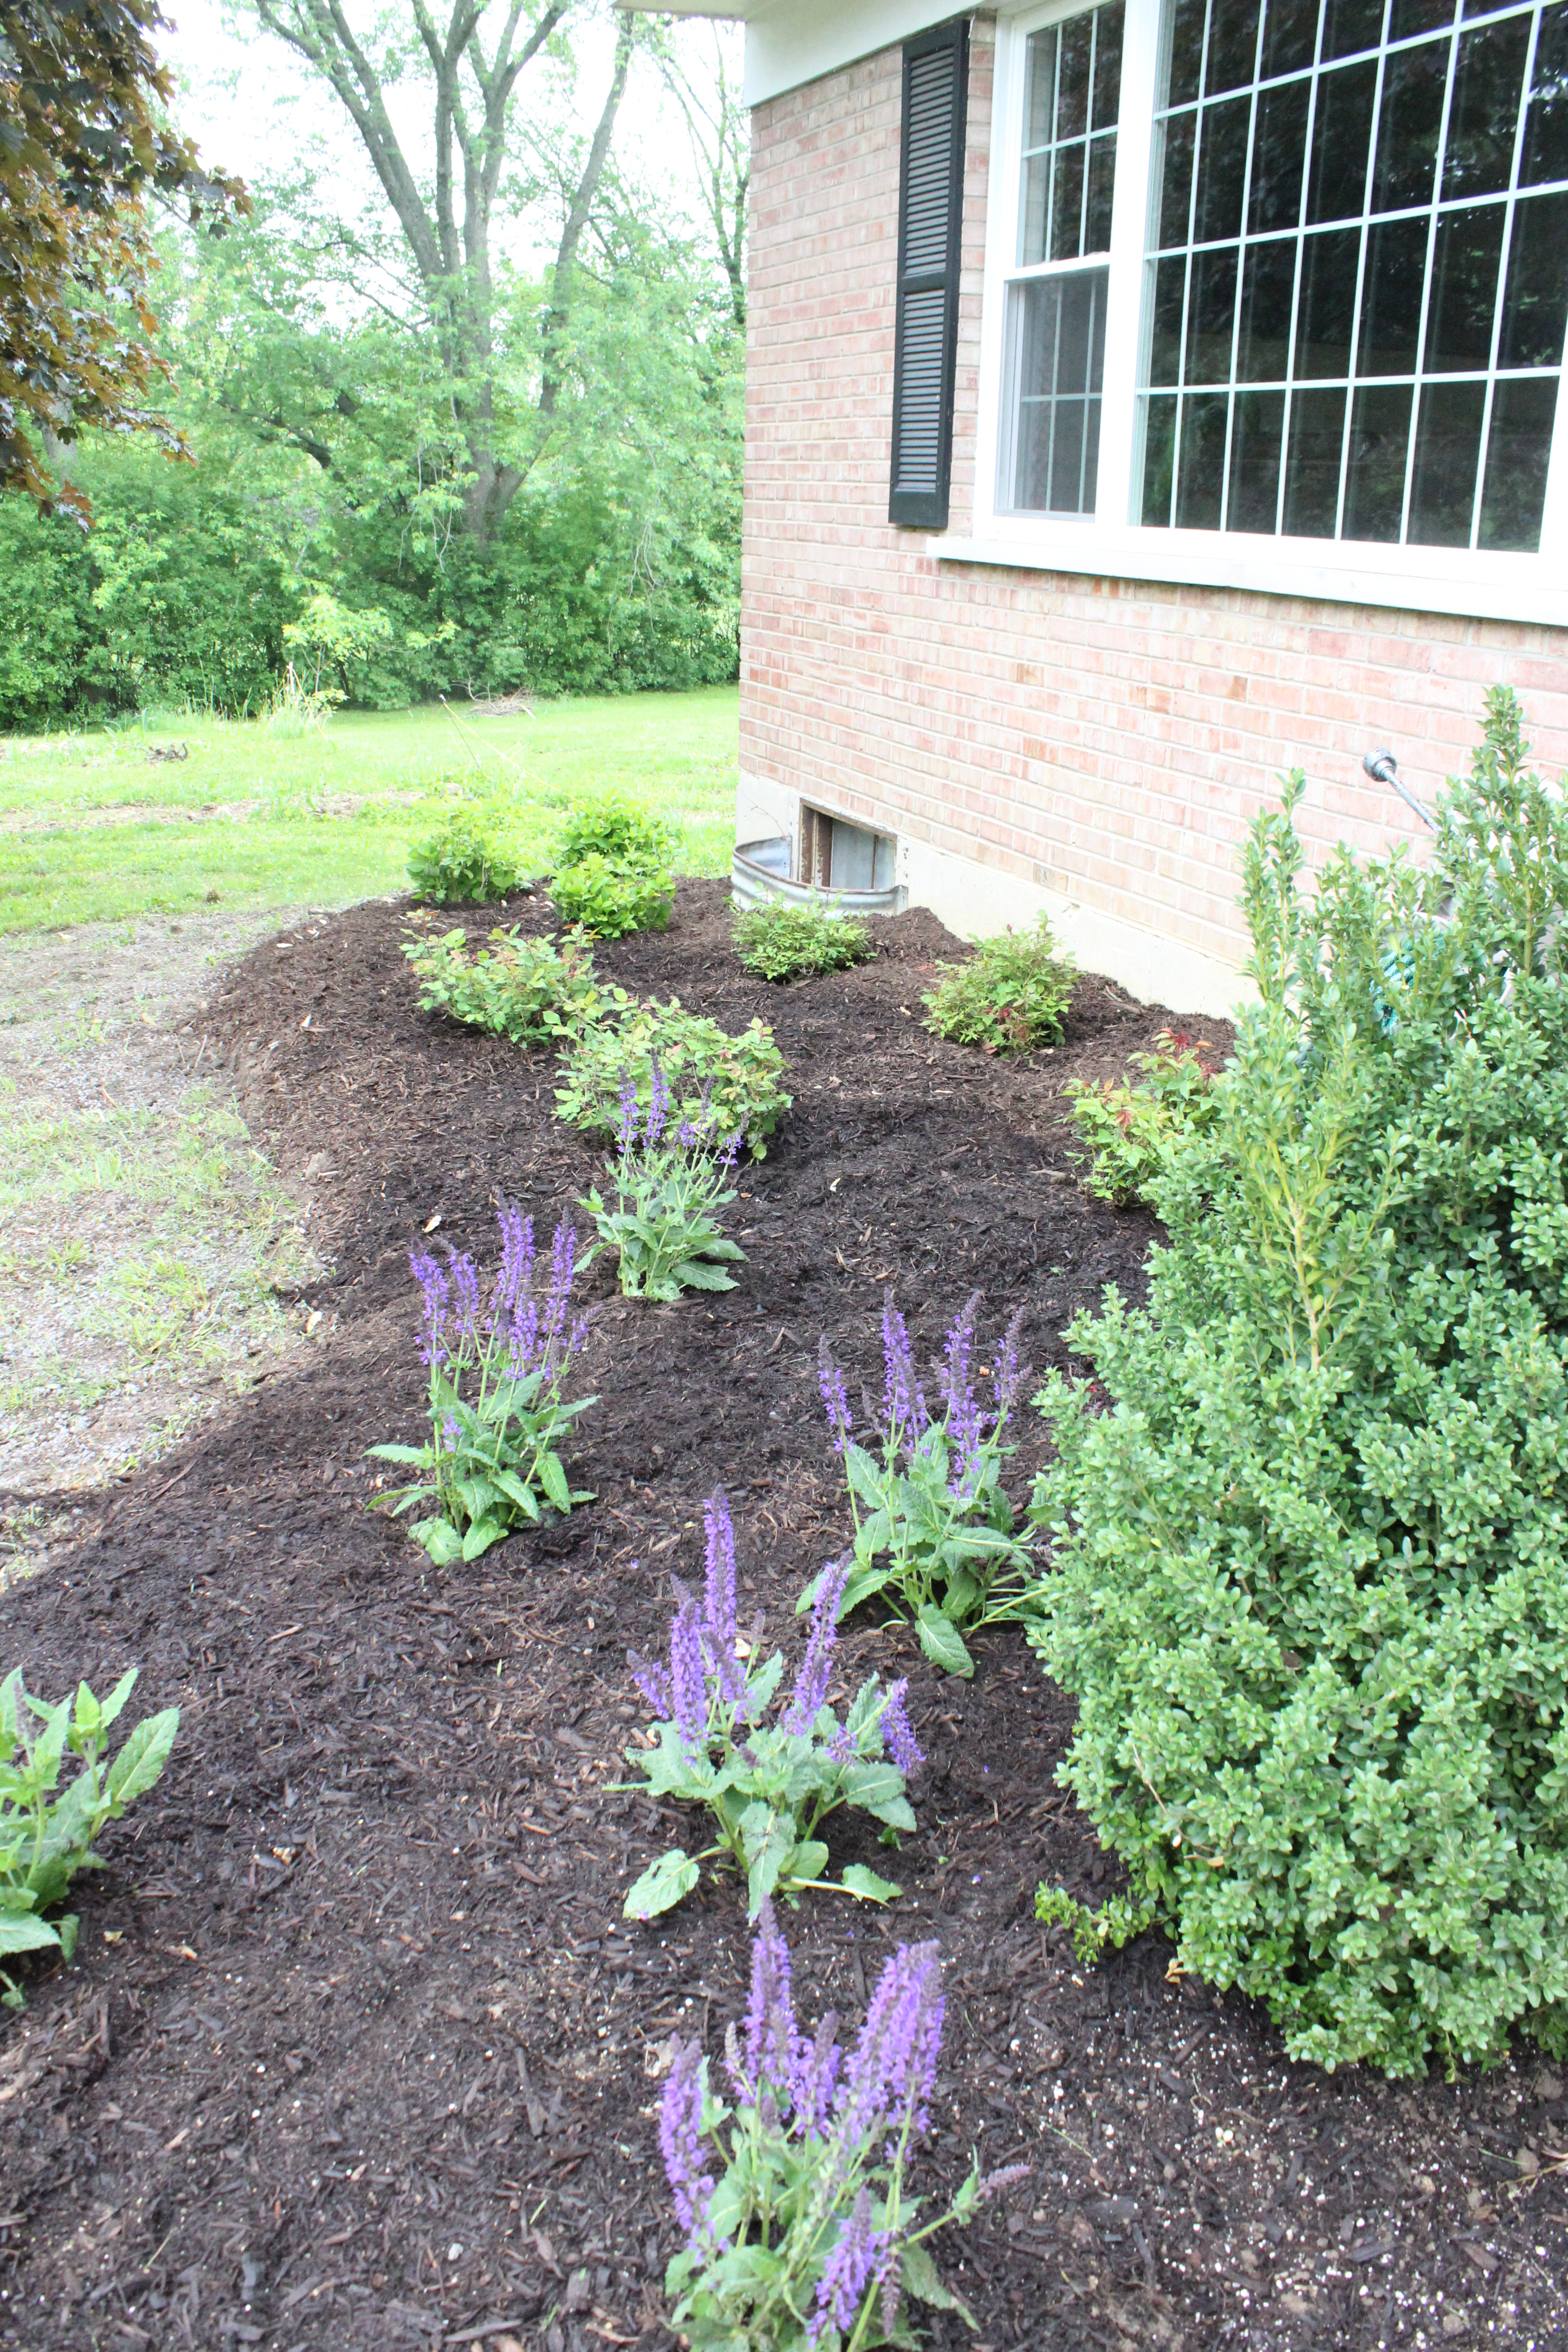
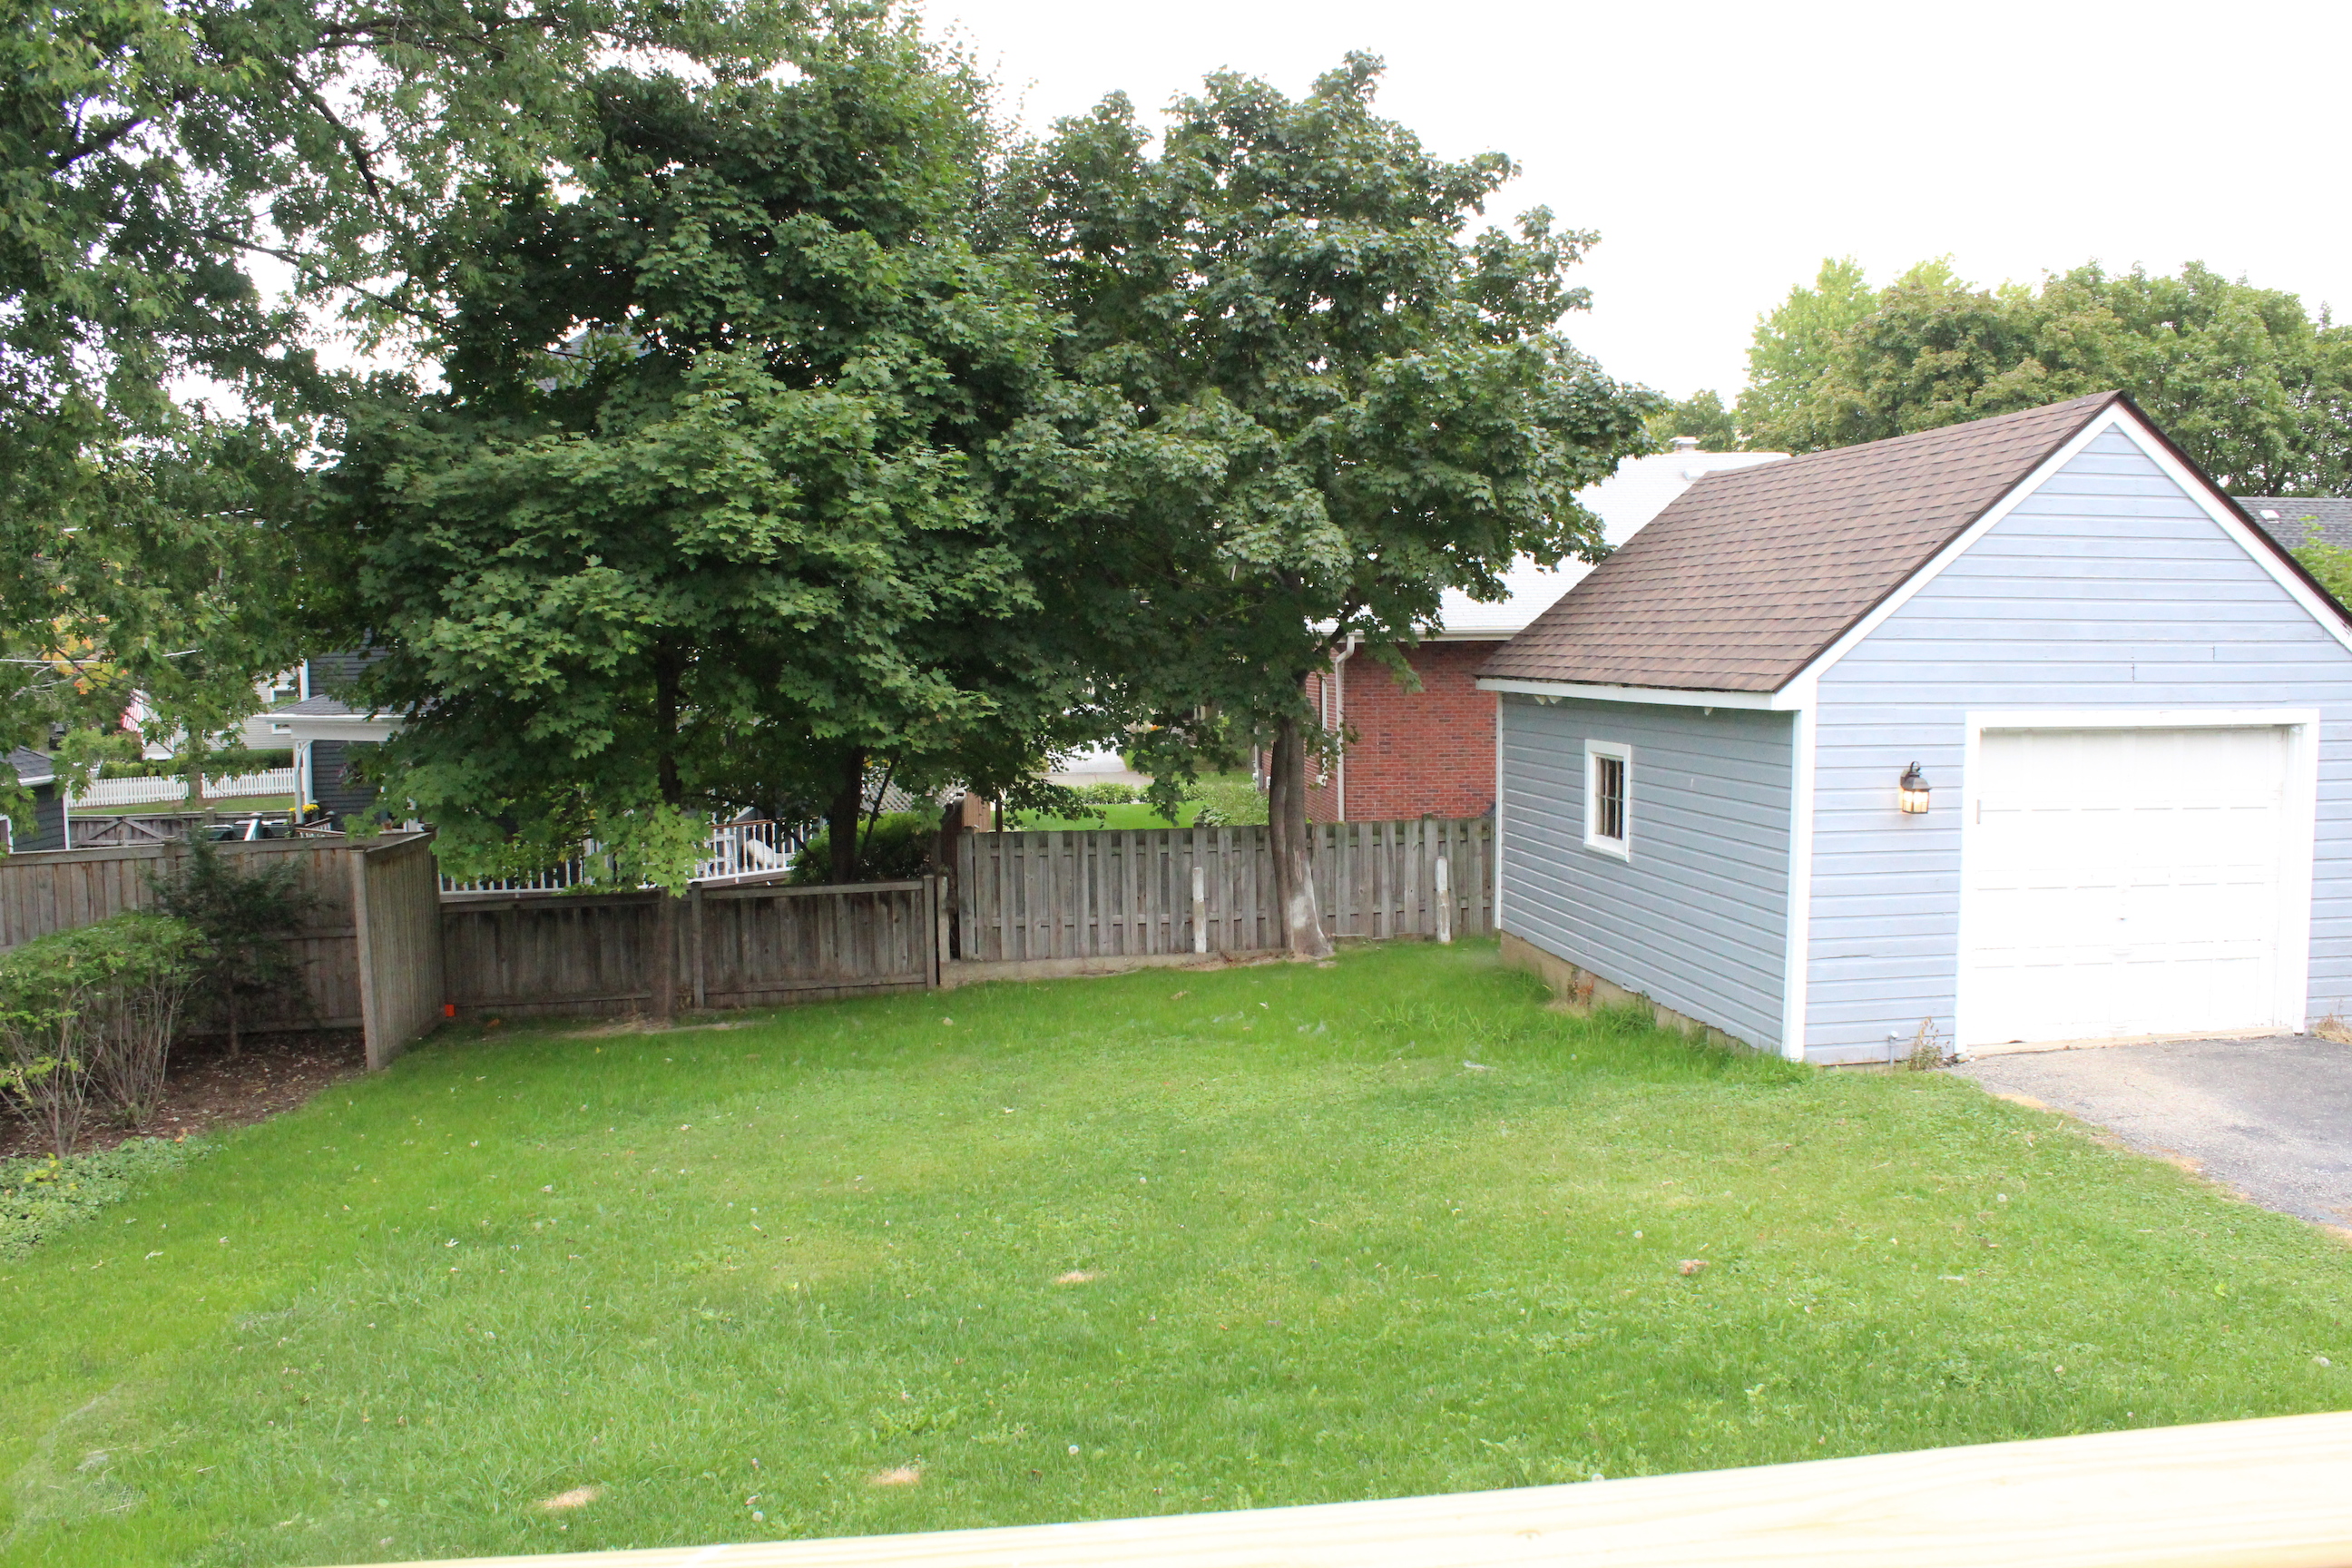
The back yard was also very overgrown and there was a hole in the garage roof.

IMG_6941

After replacing the garage roof and ripping out those bushes, it looks like this:

IMG_5538

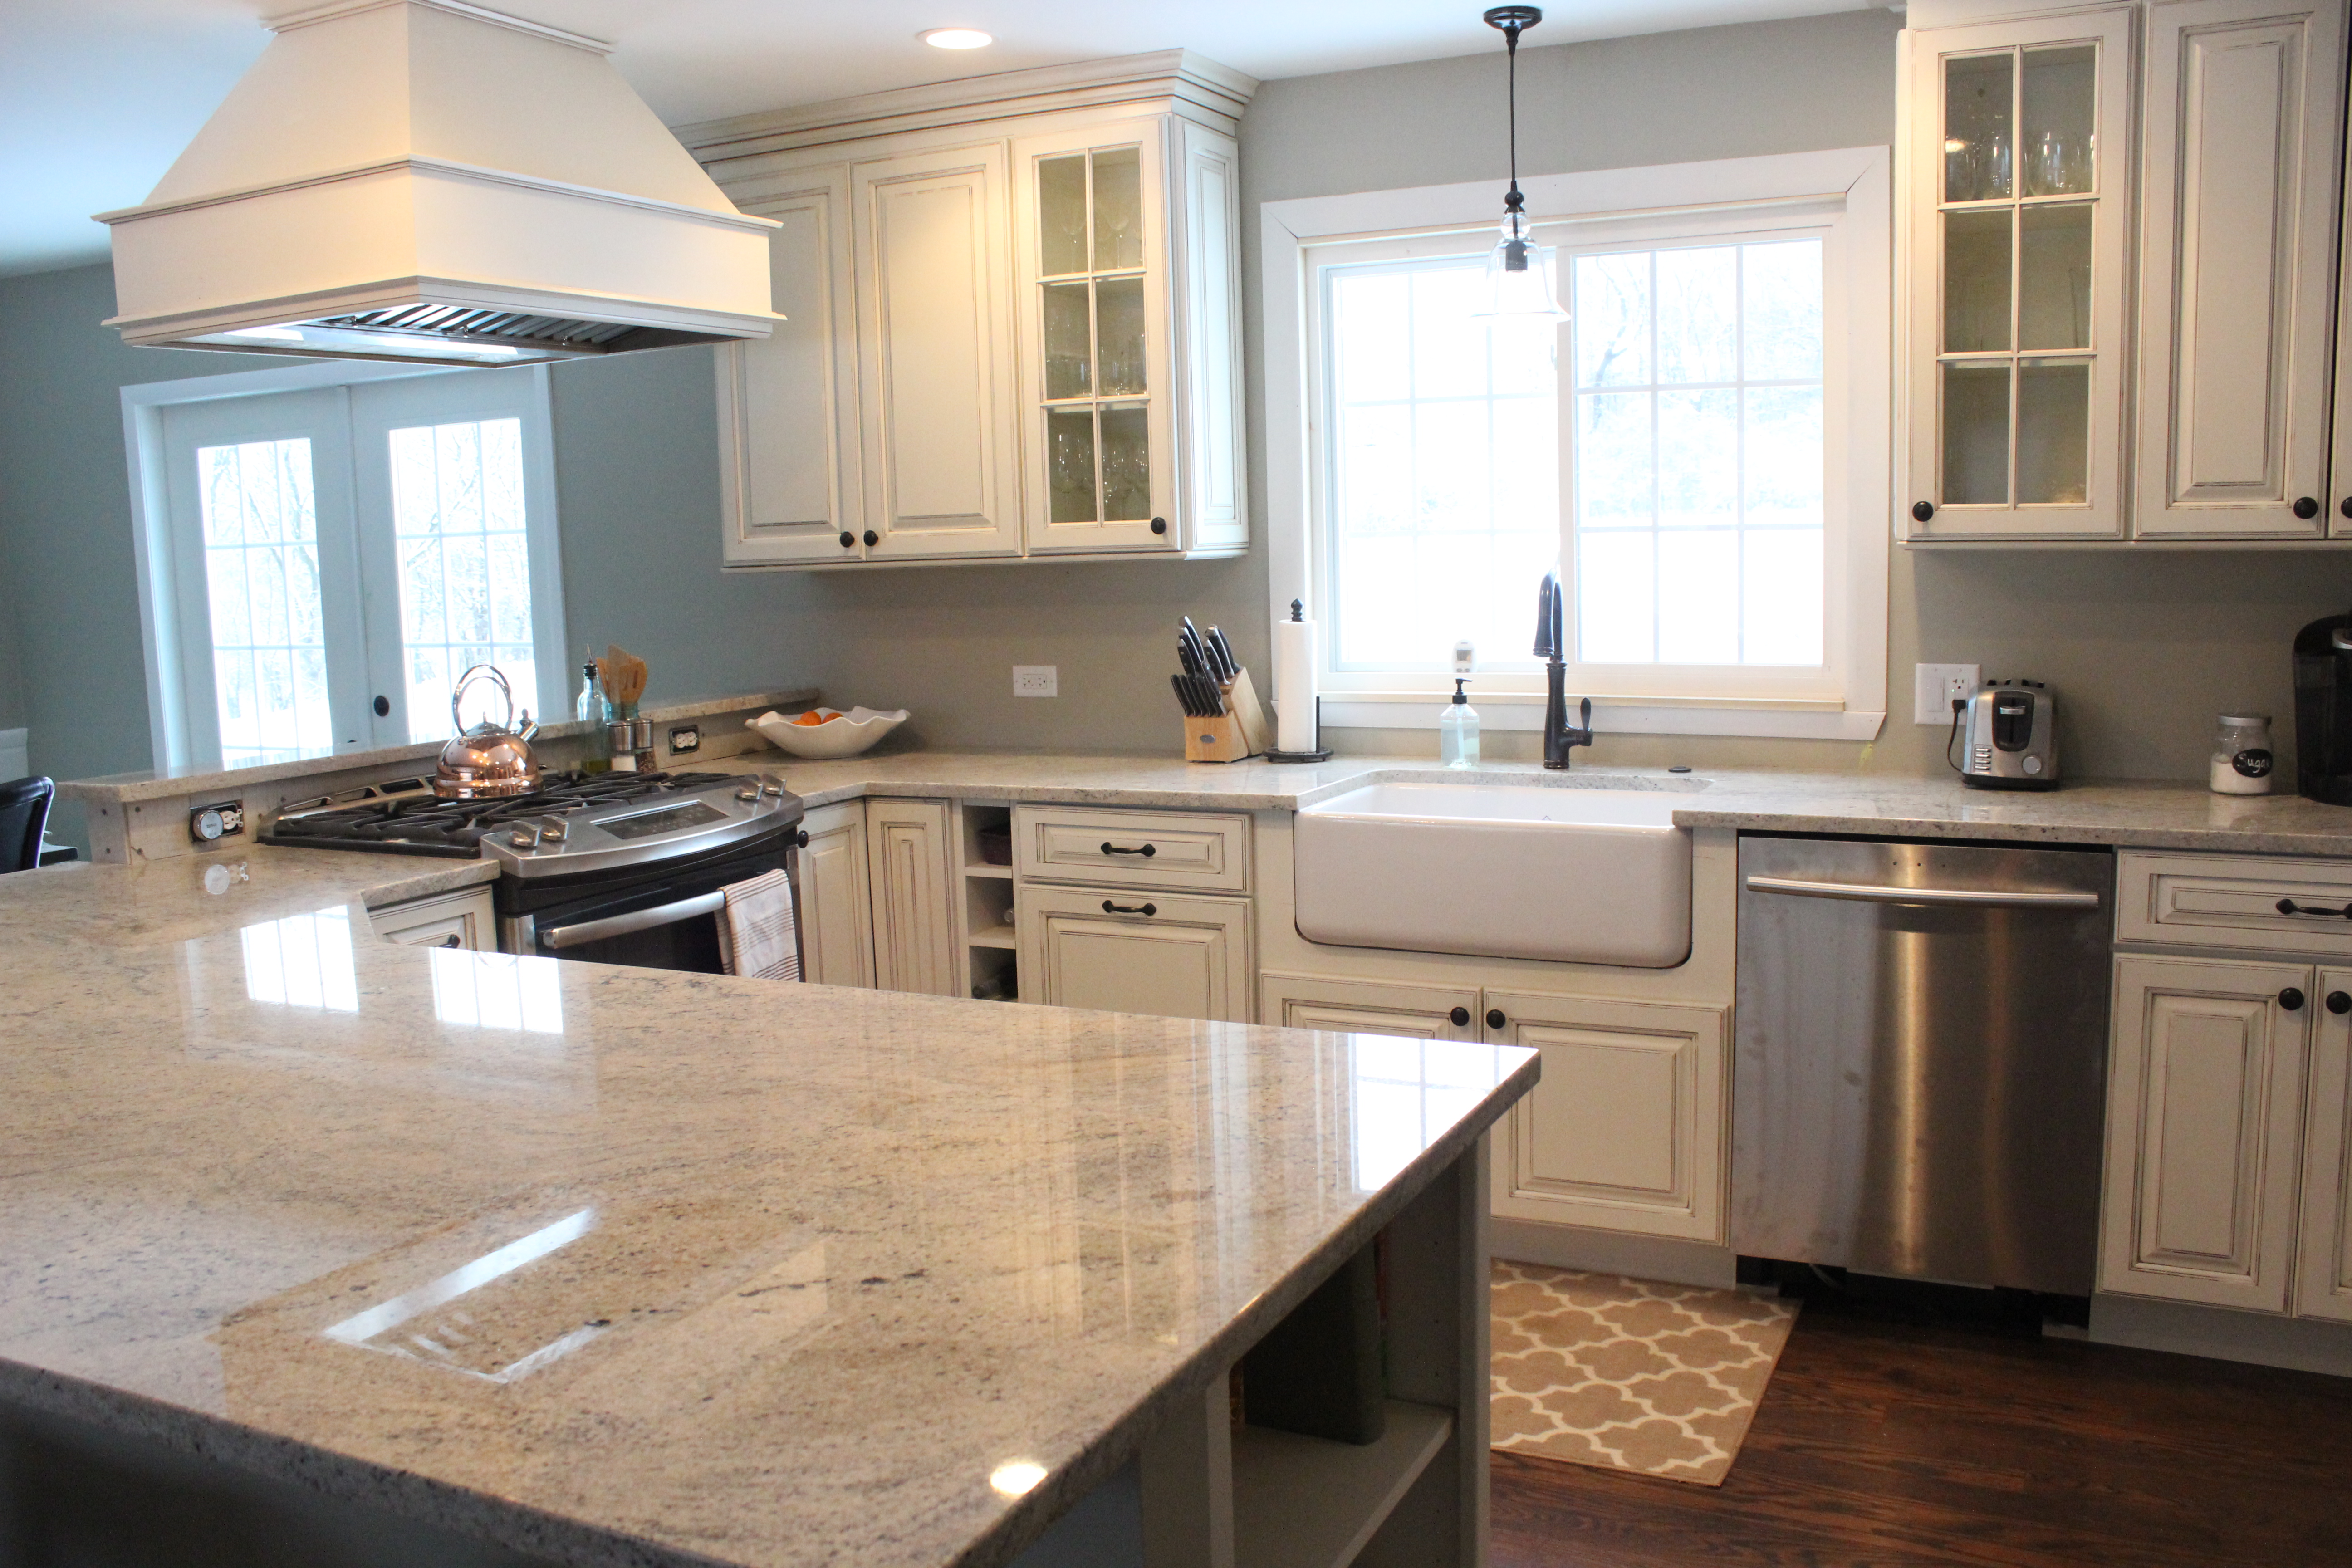
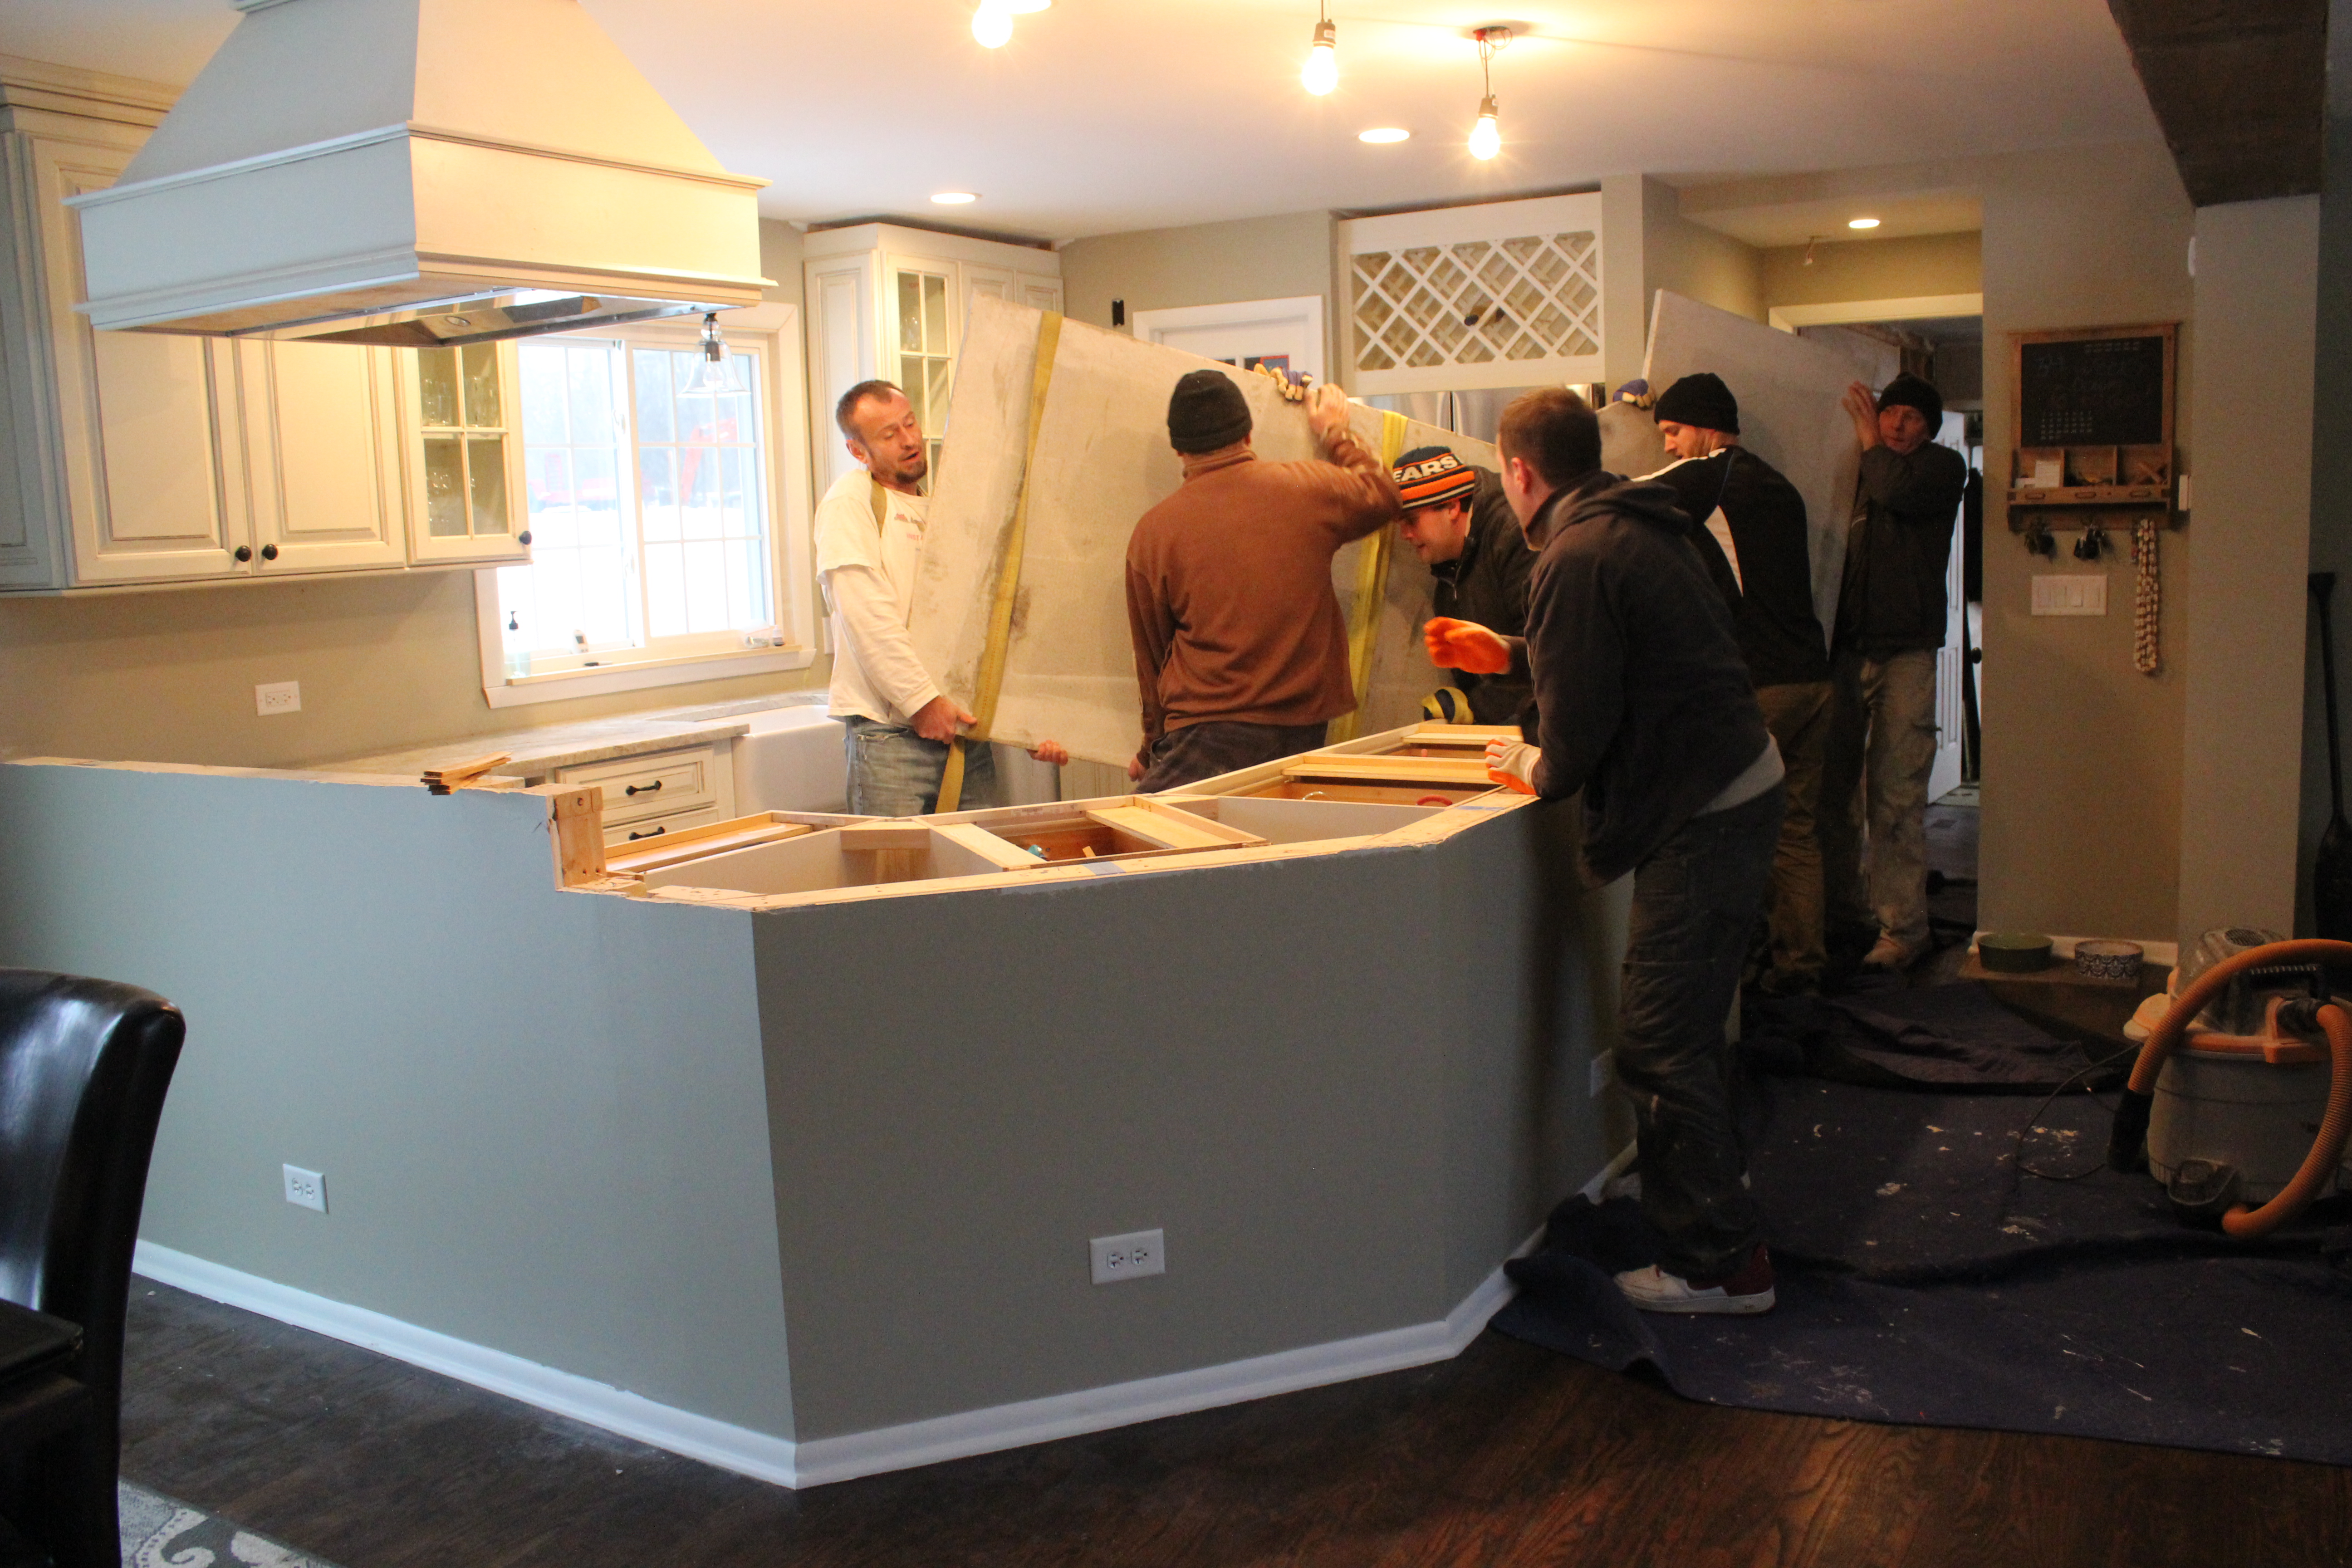
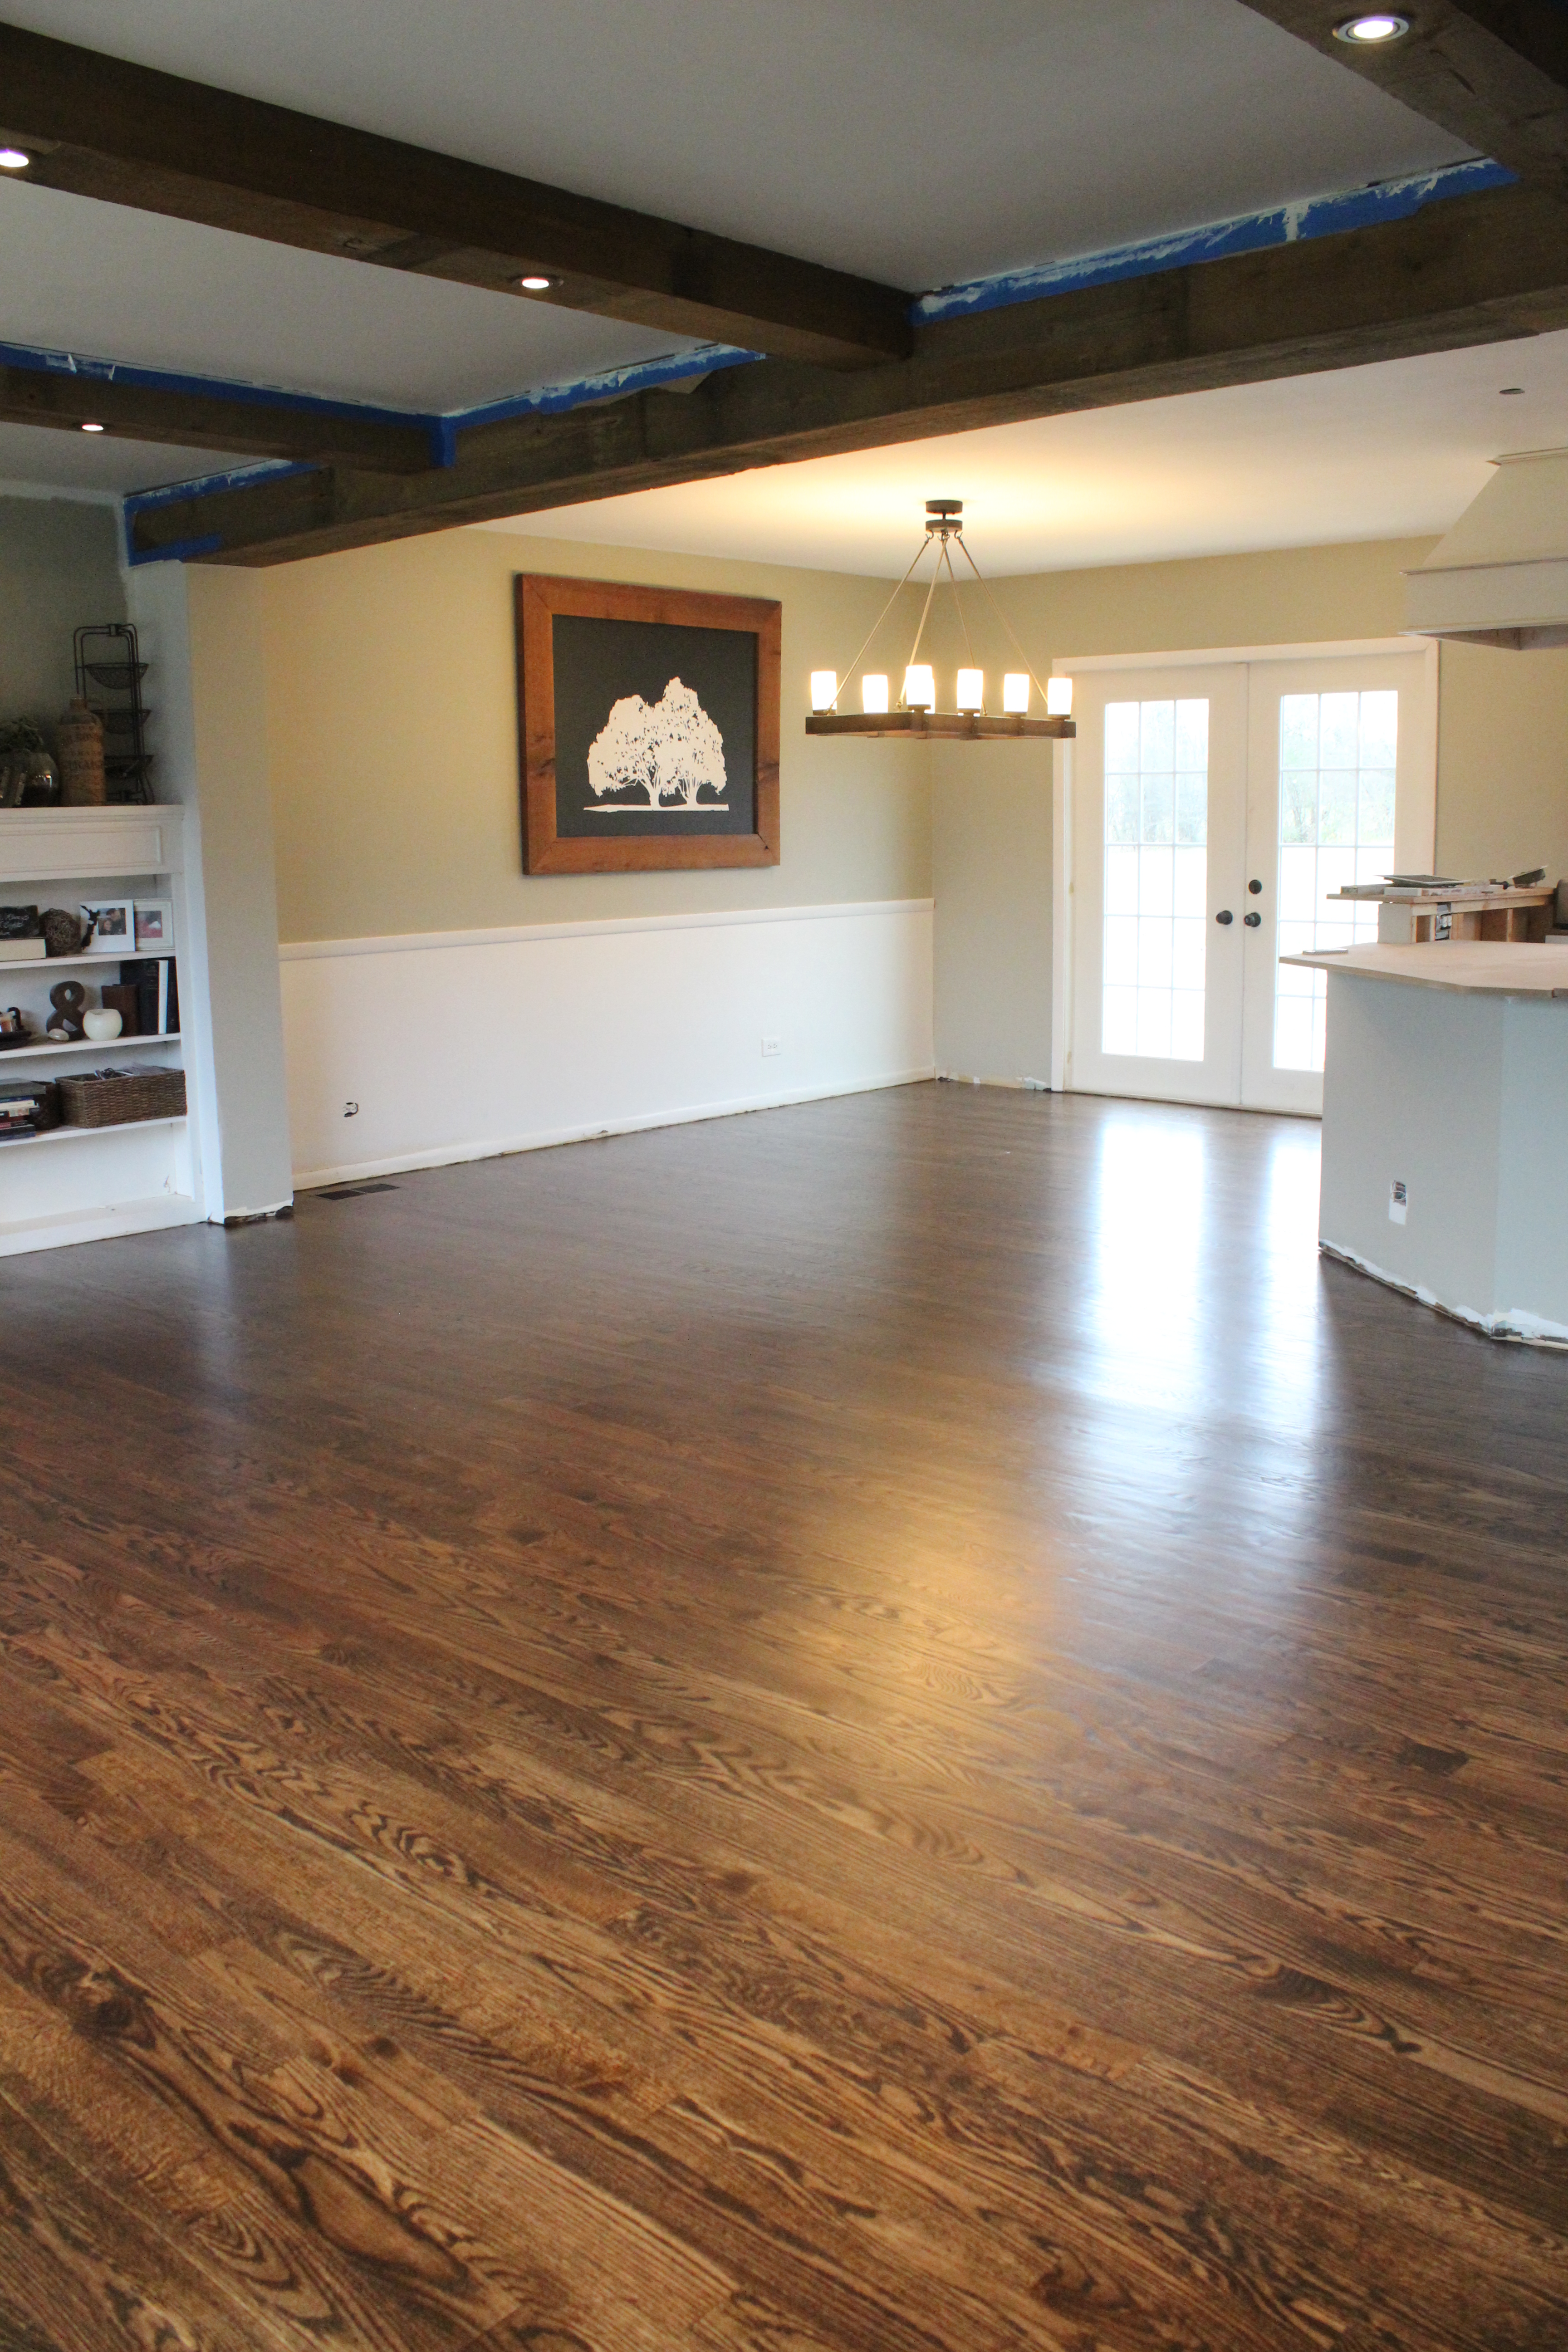
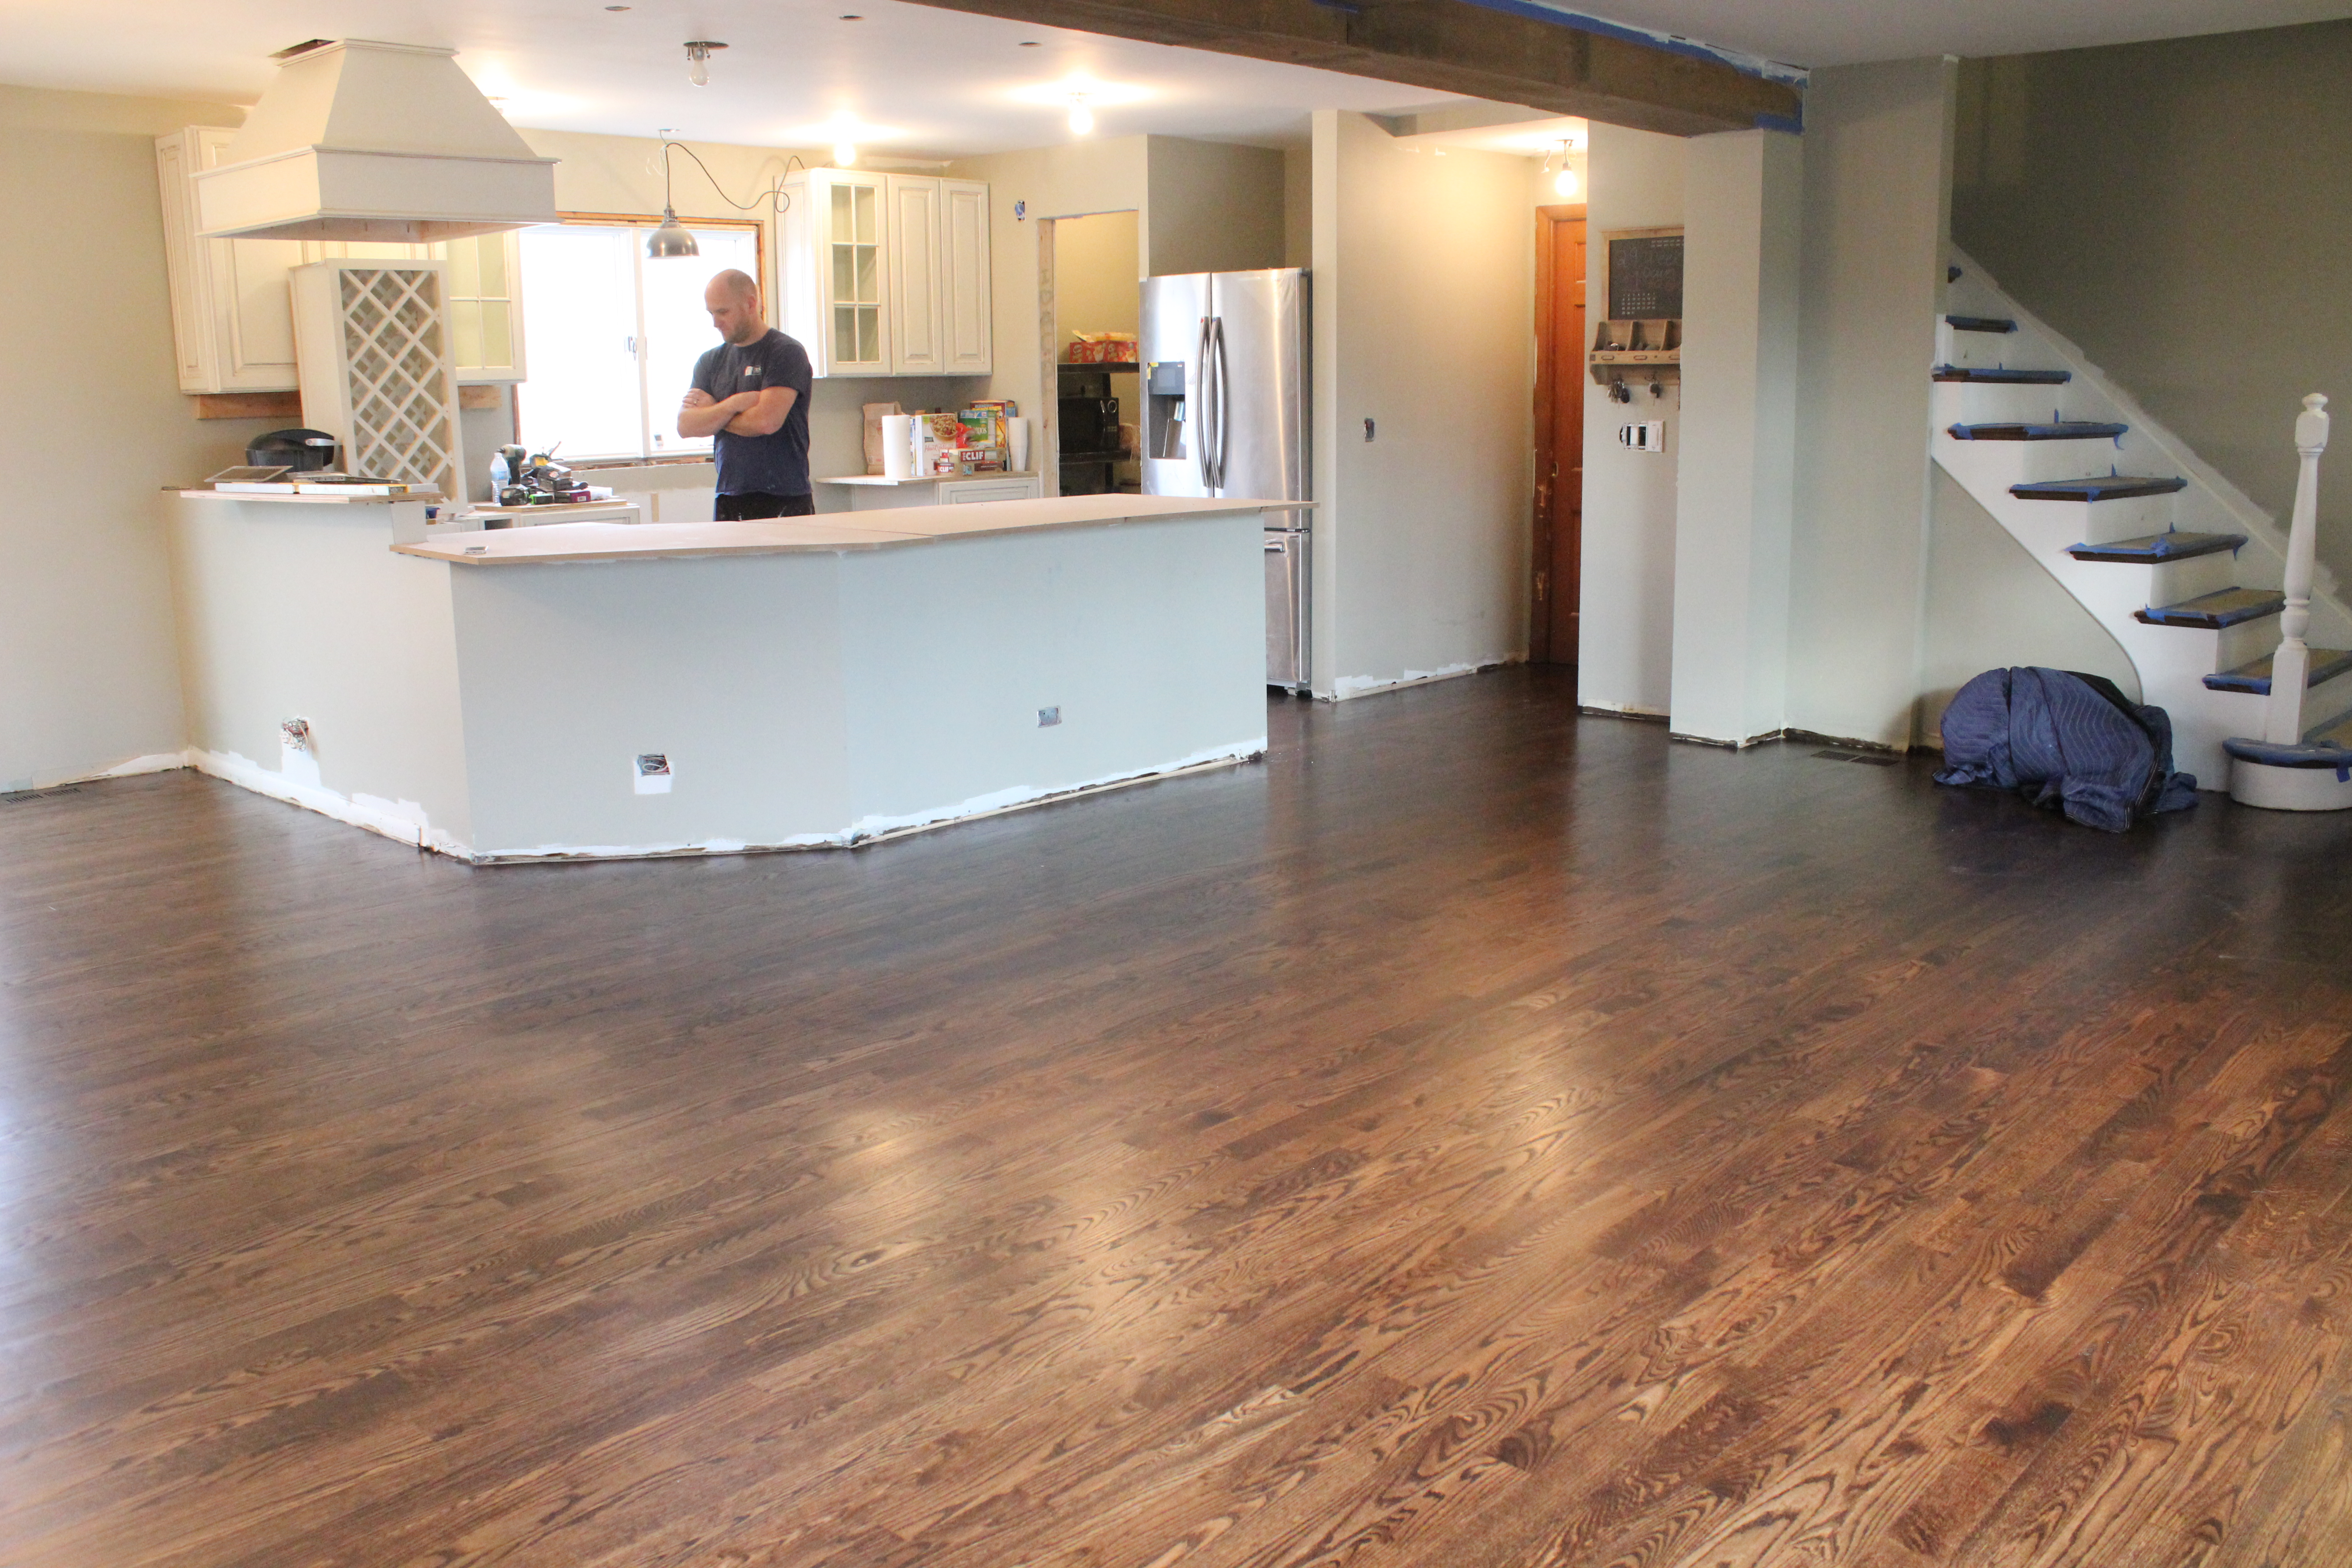
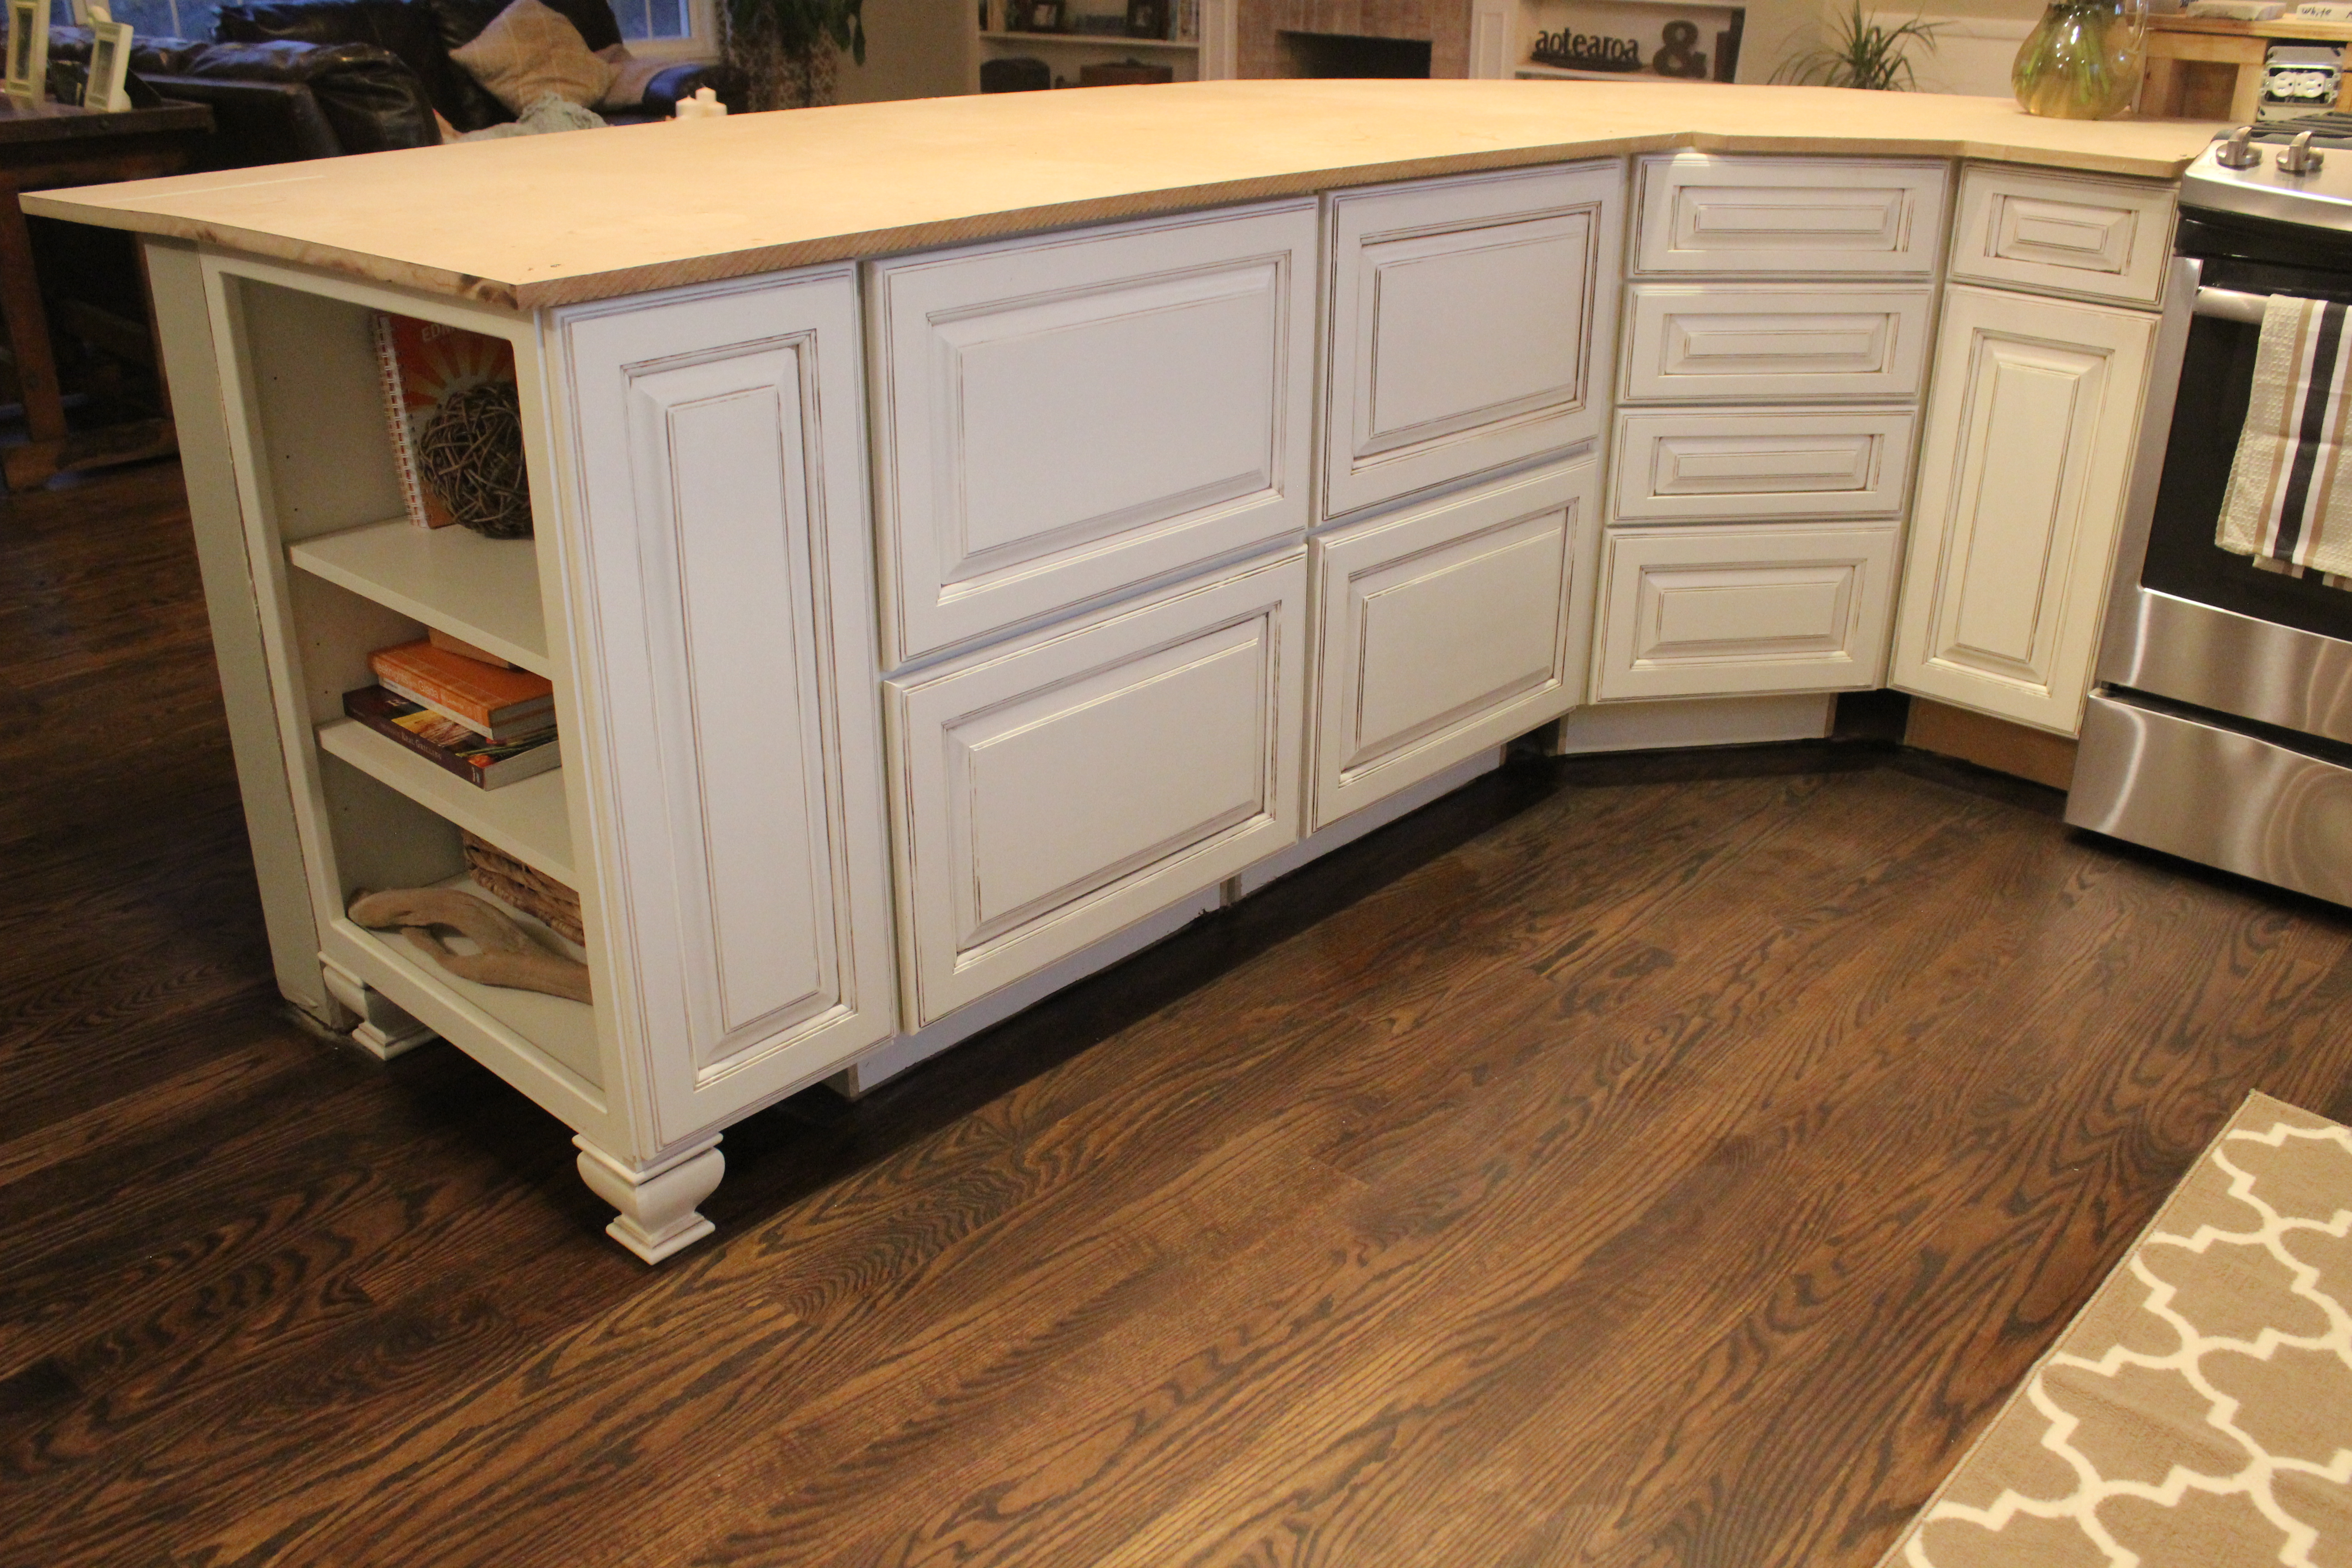
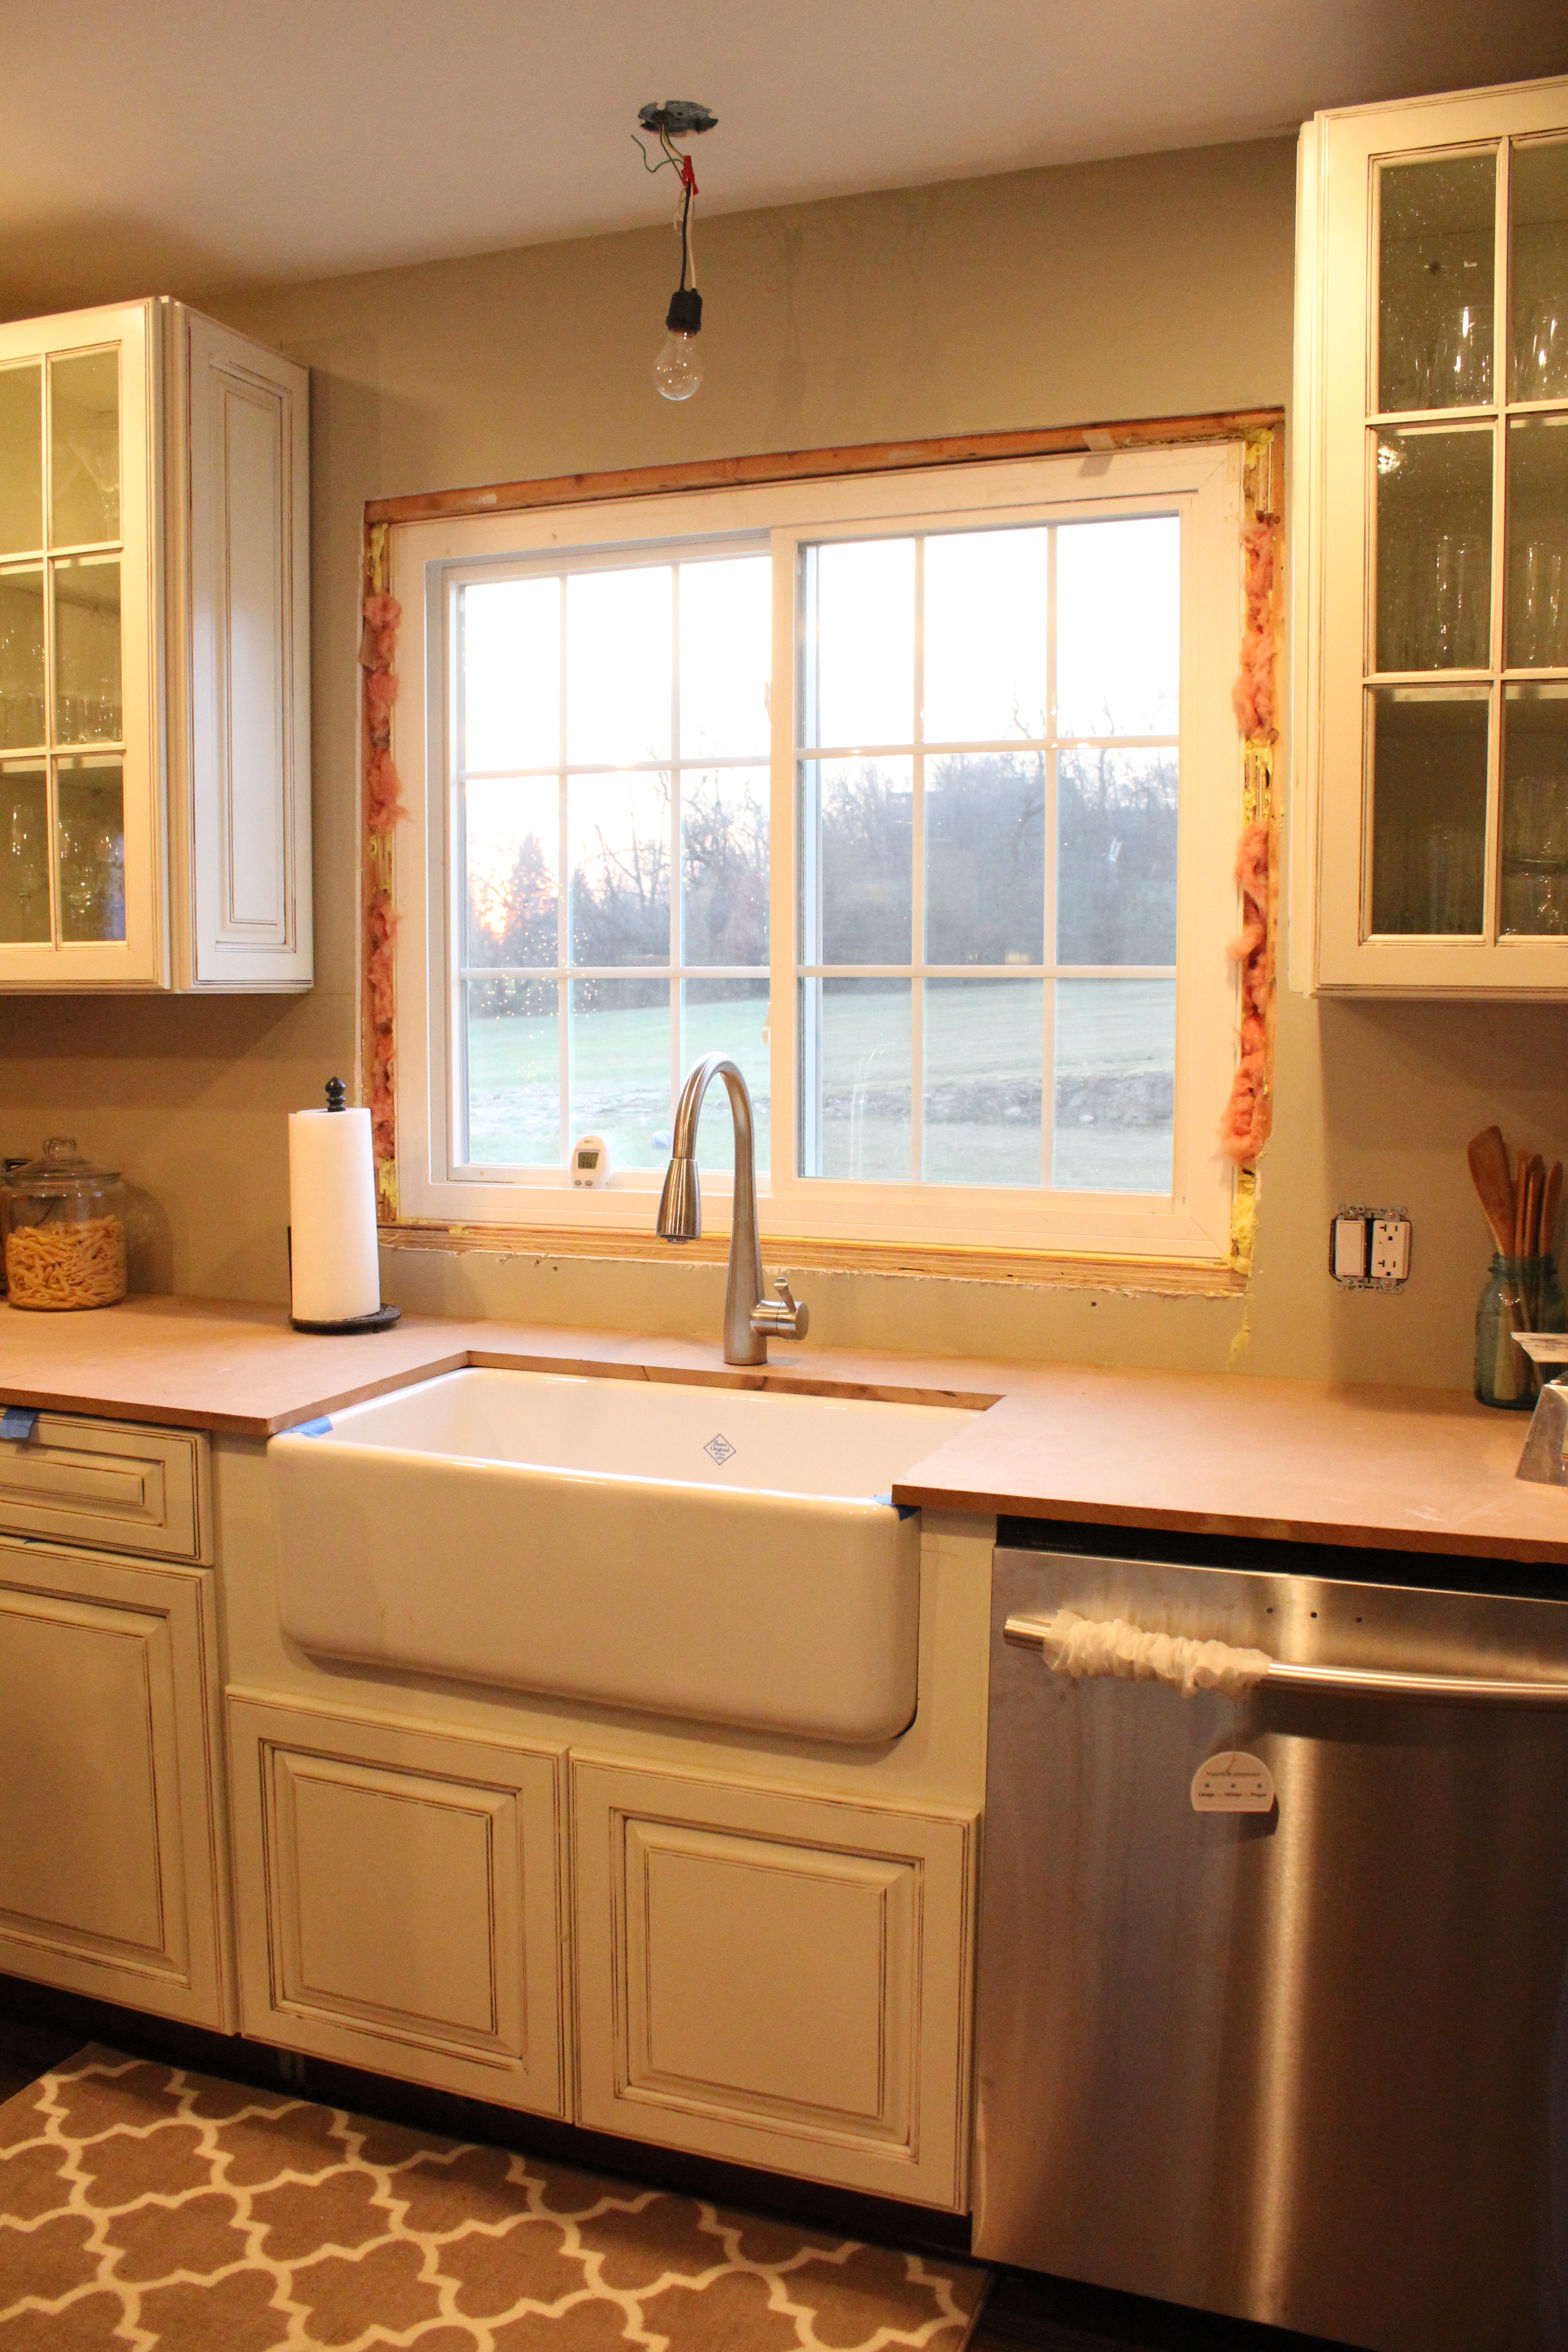
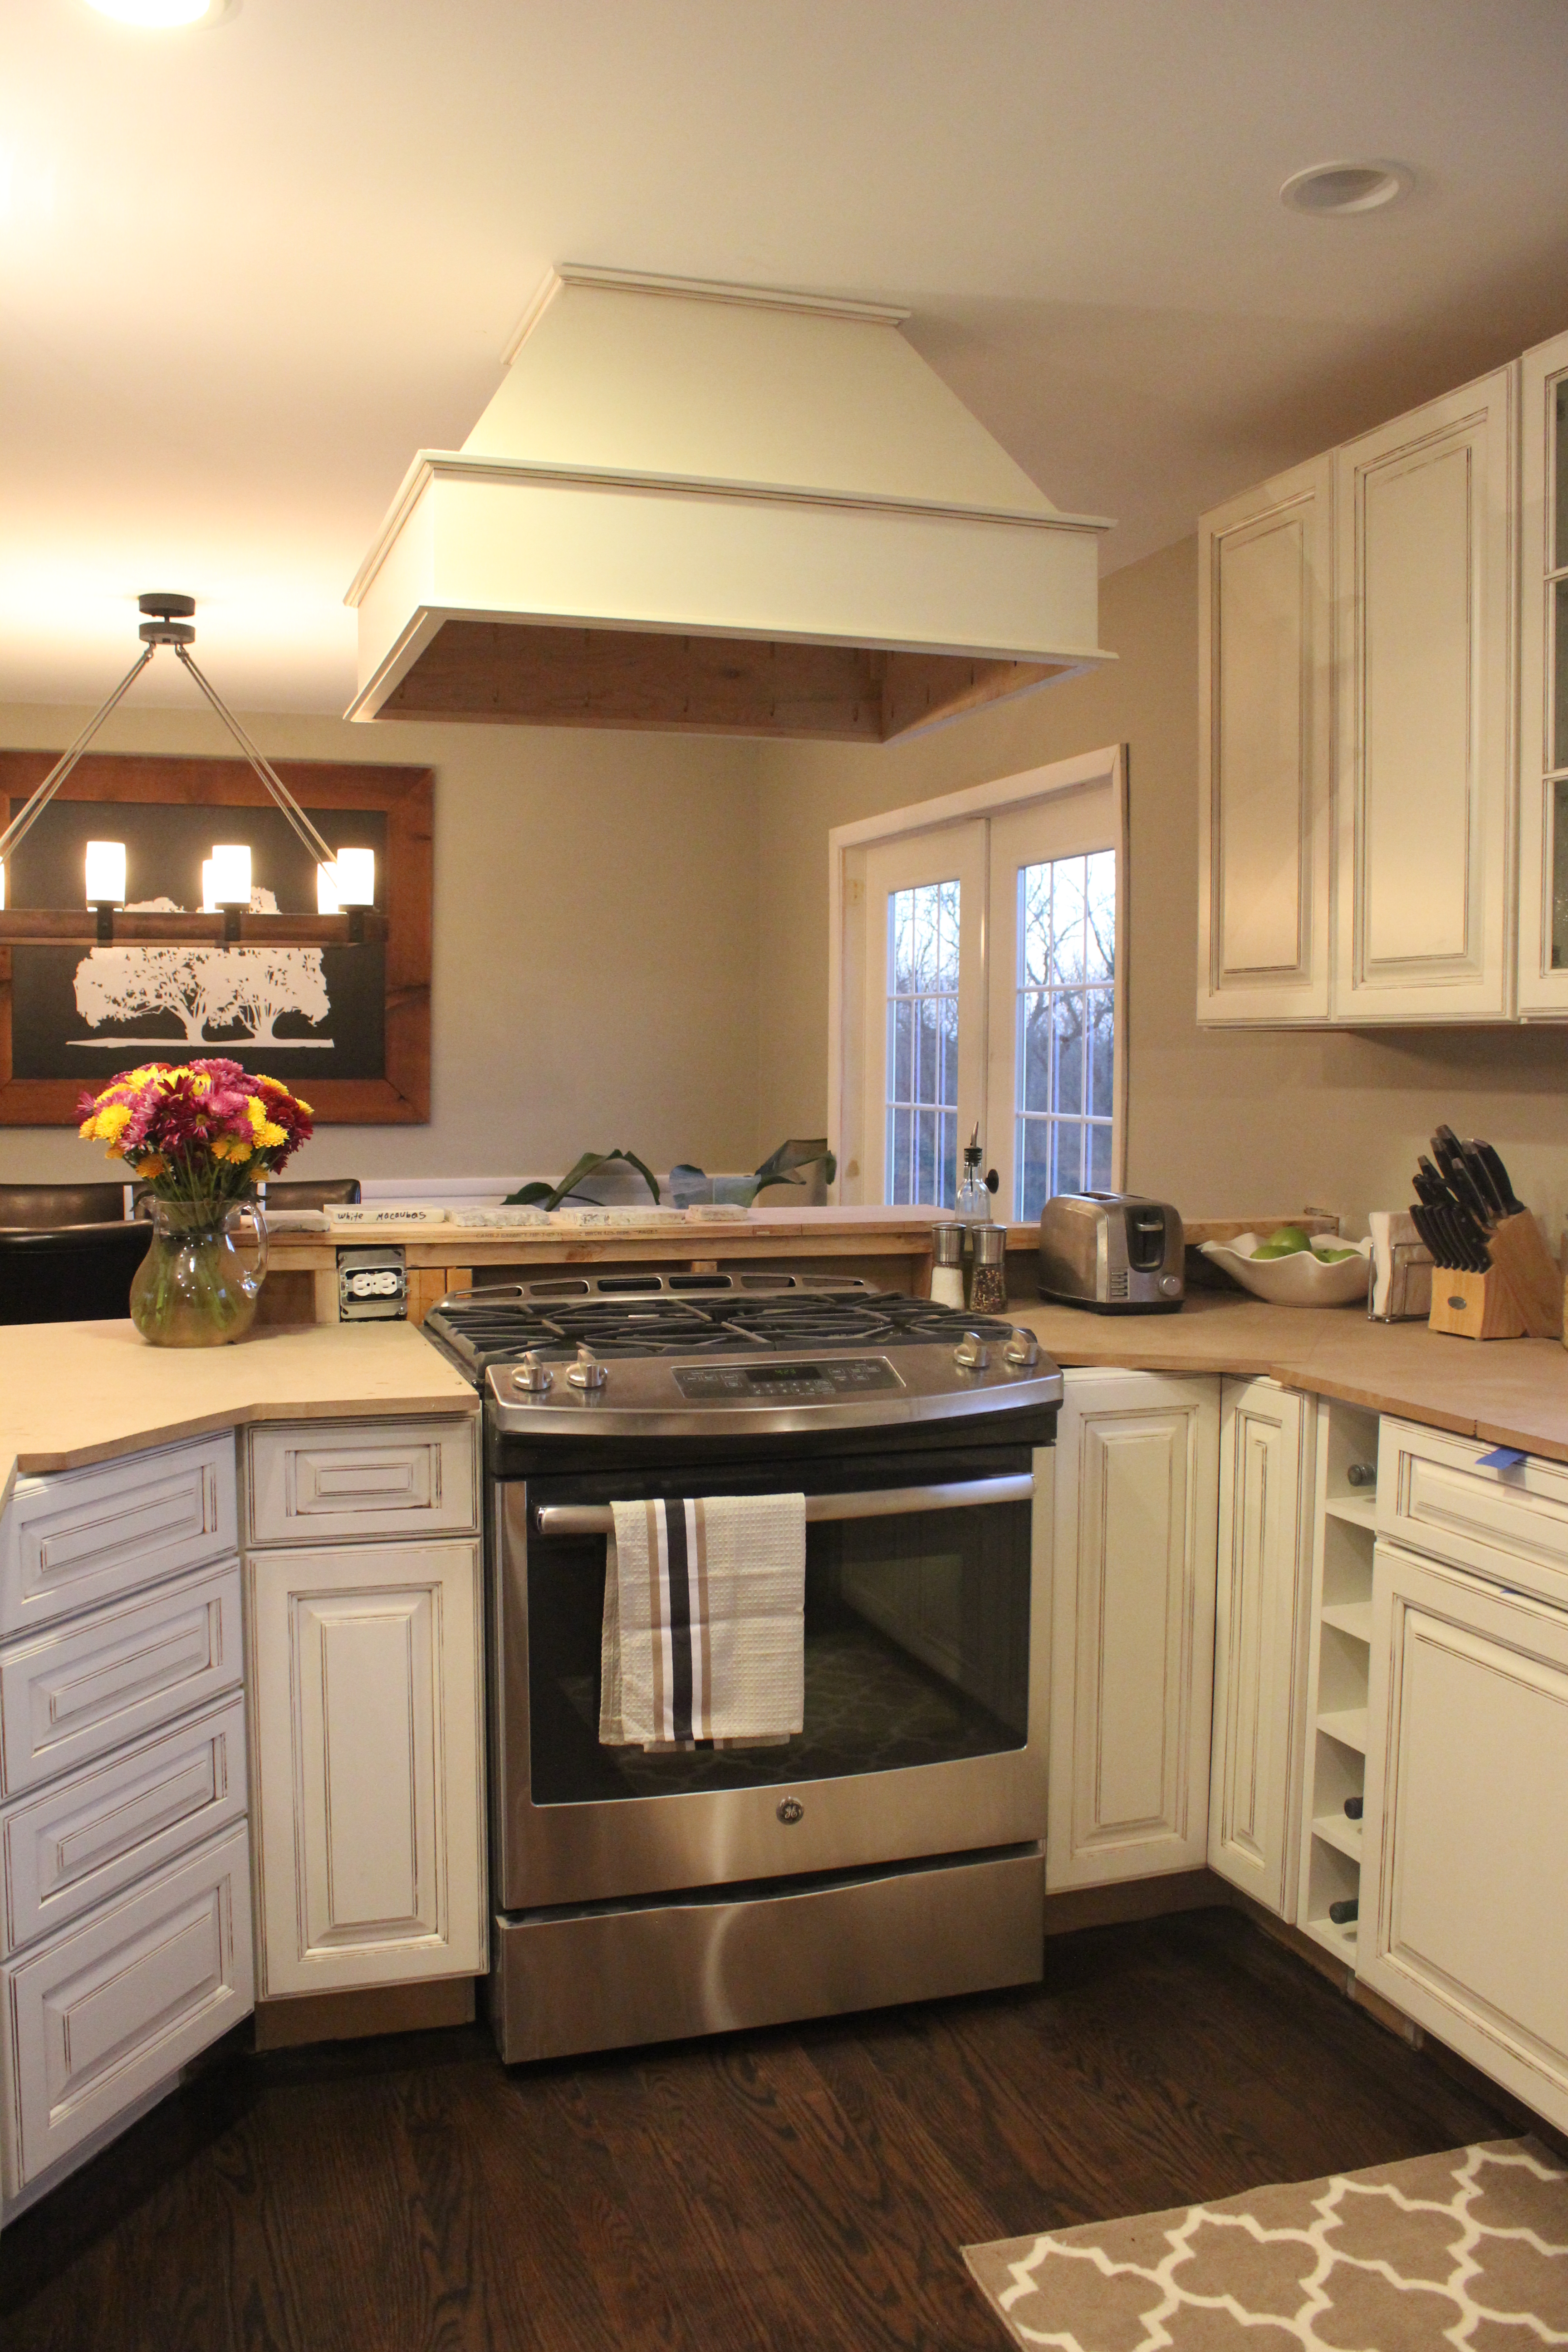
Moving inside is where the big transformation happened. The kitchen looked like this before:

IMG_6942

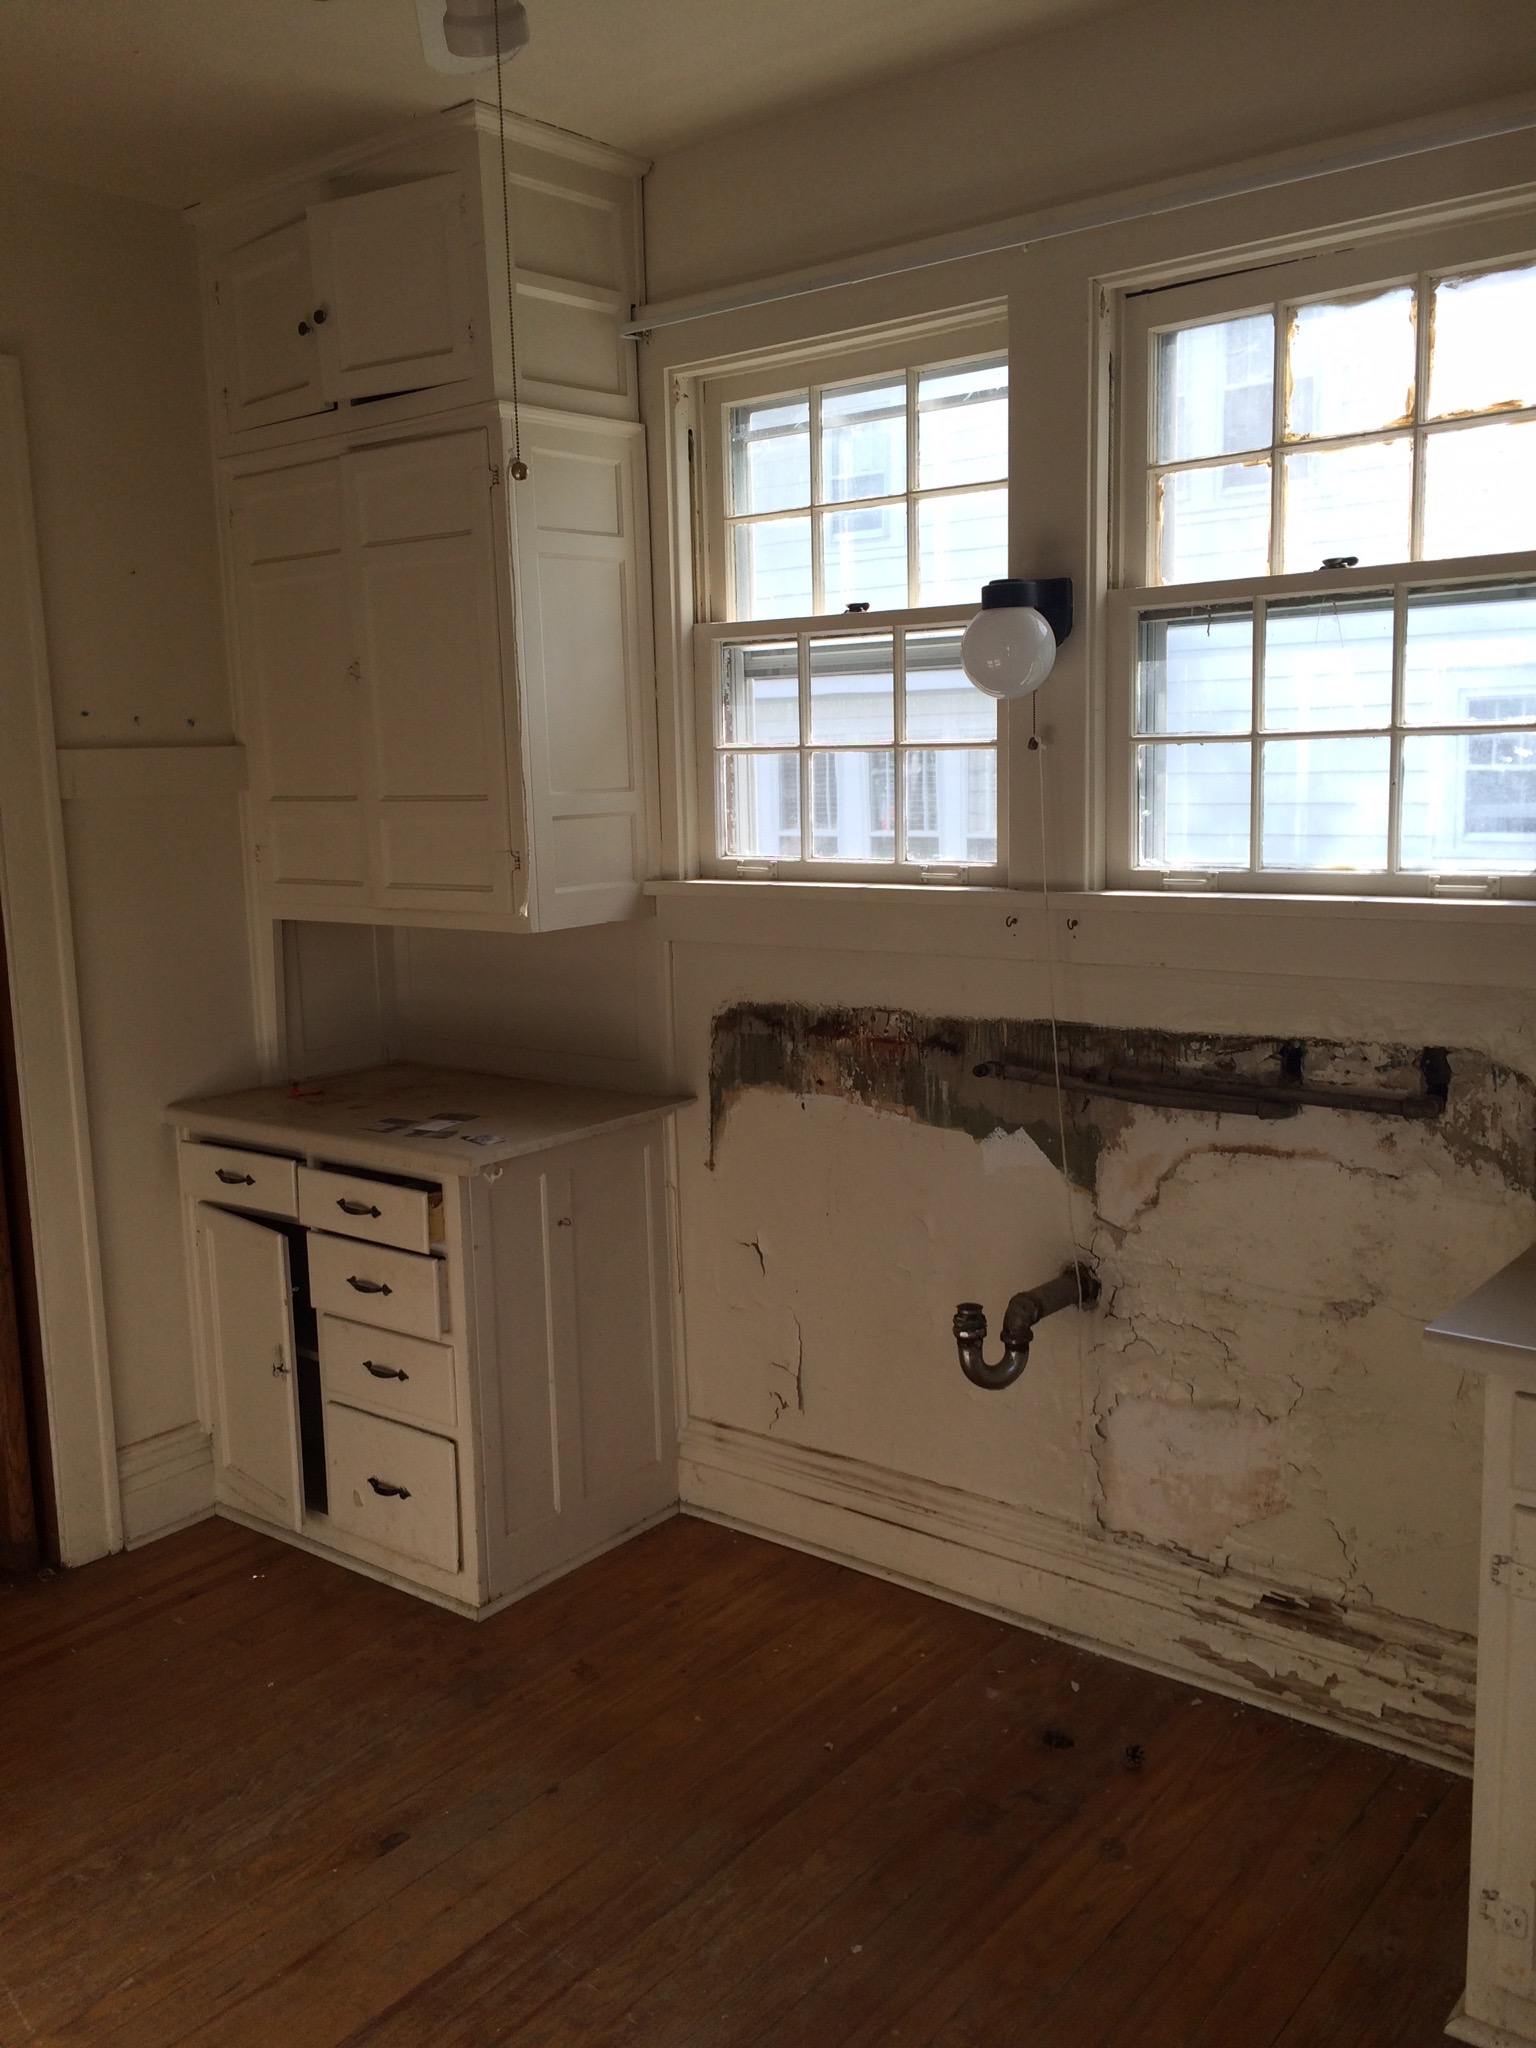
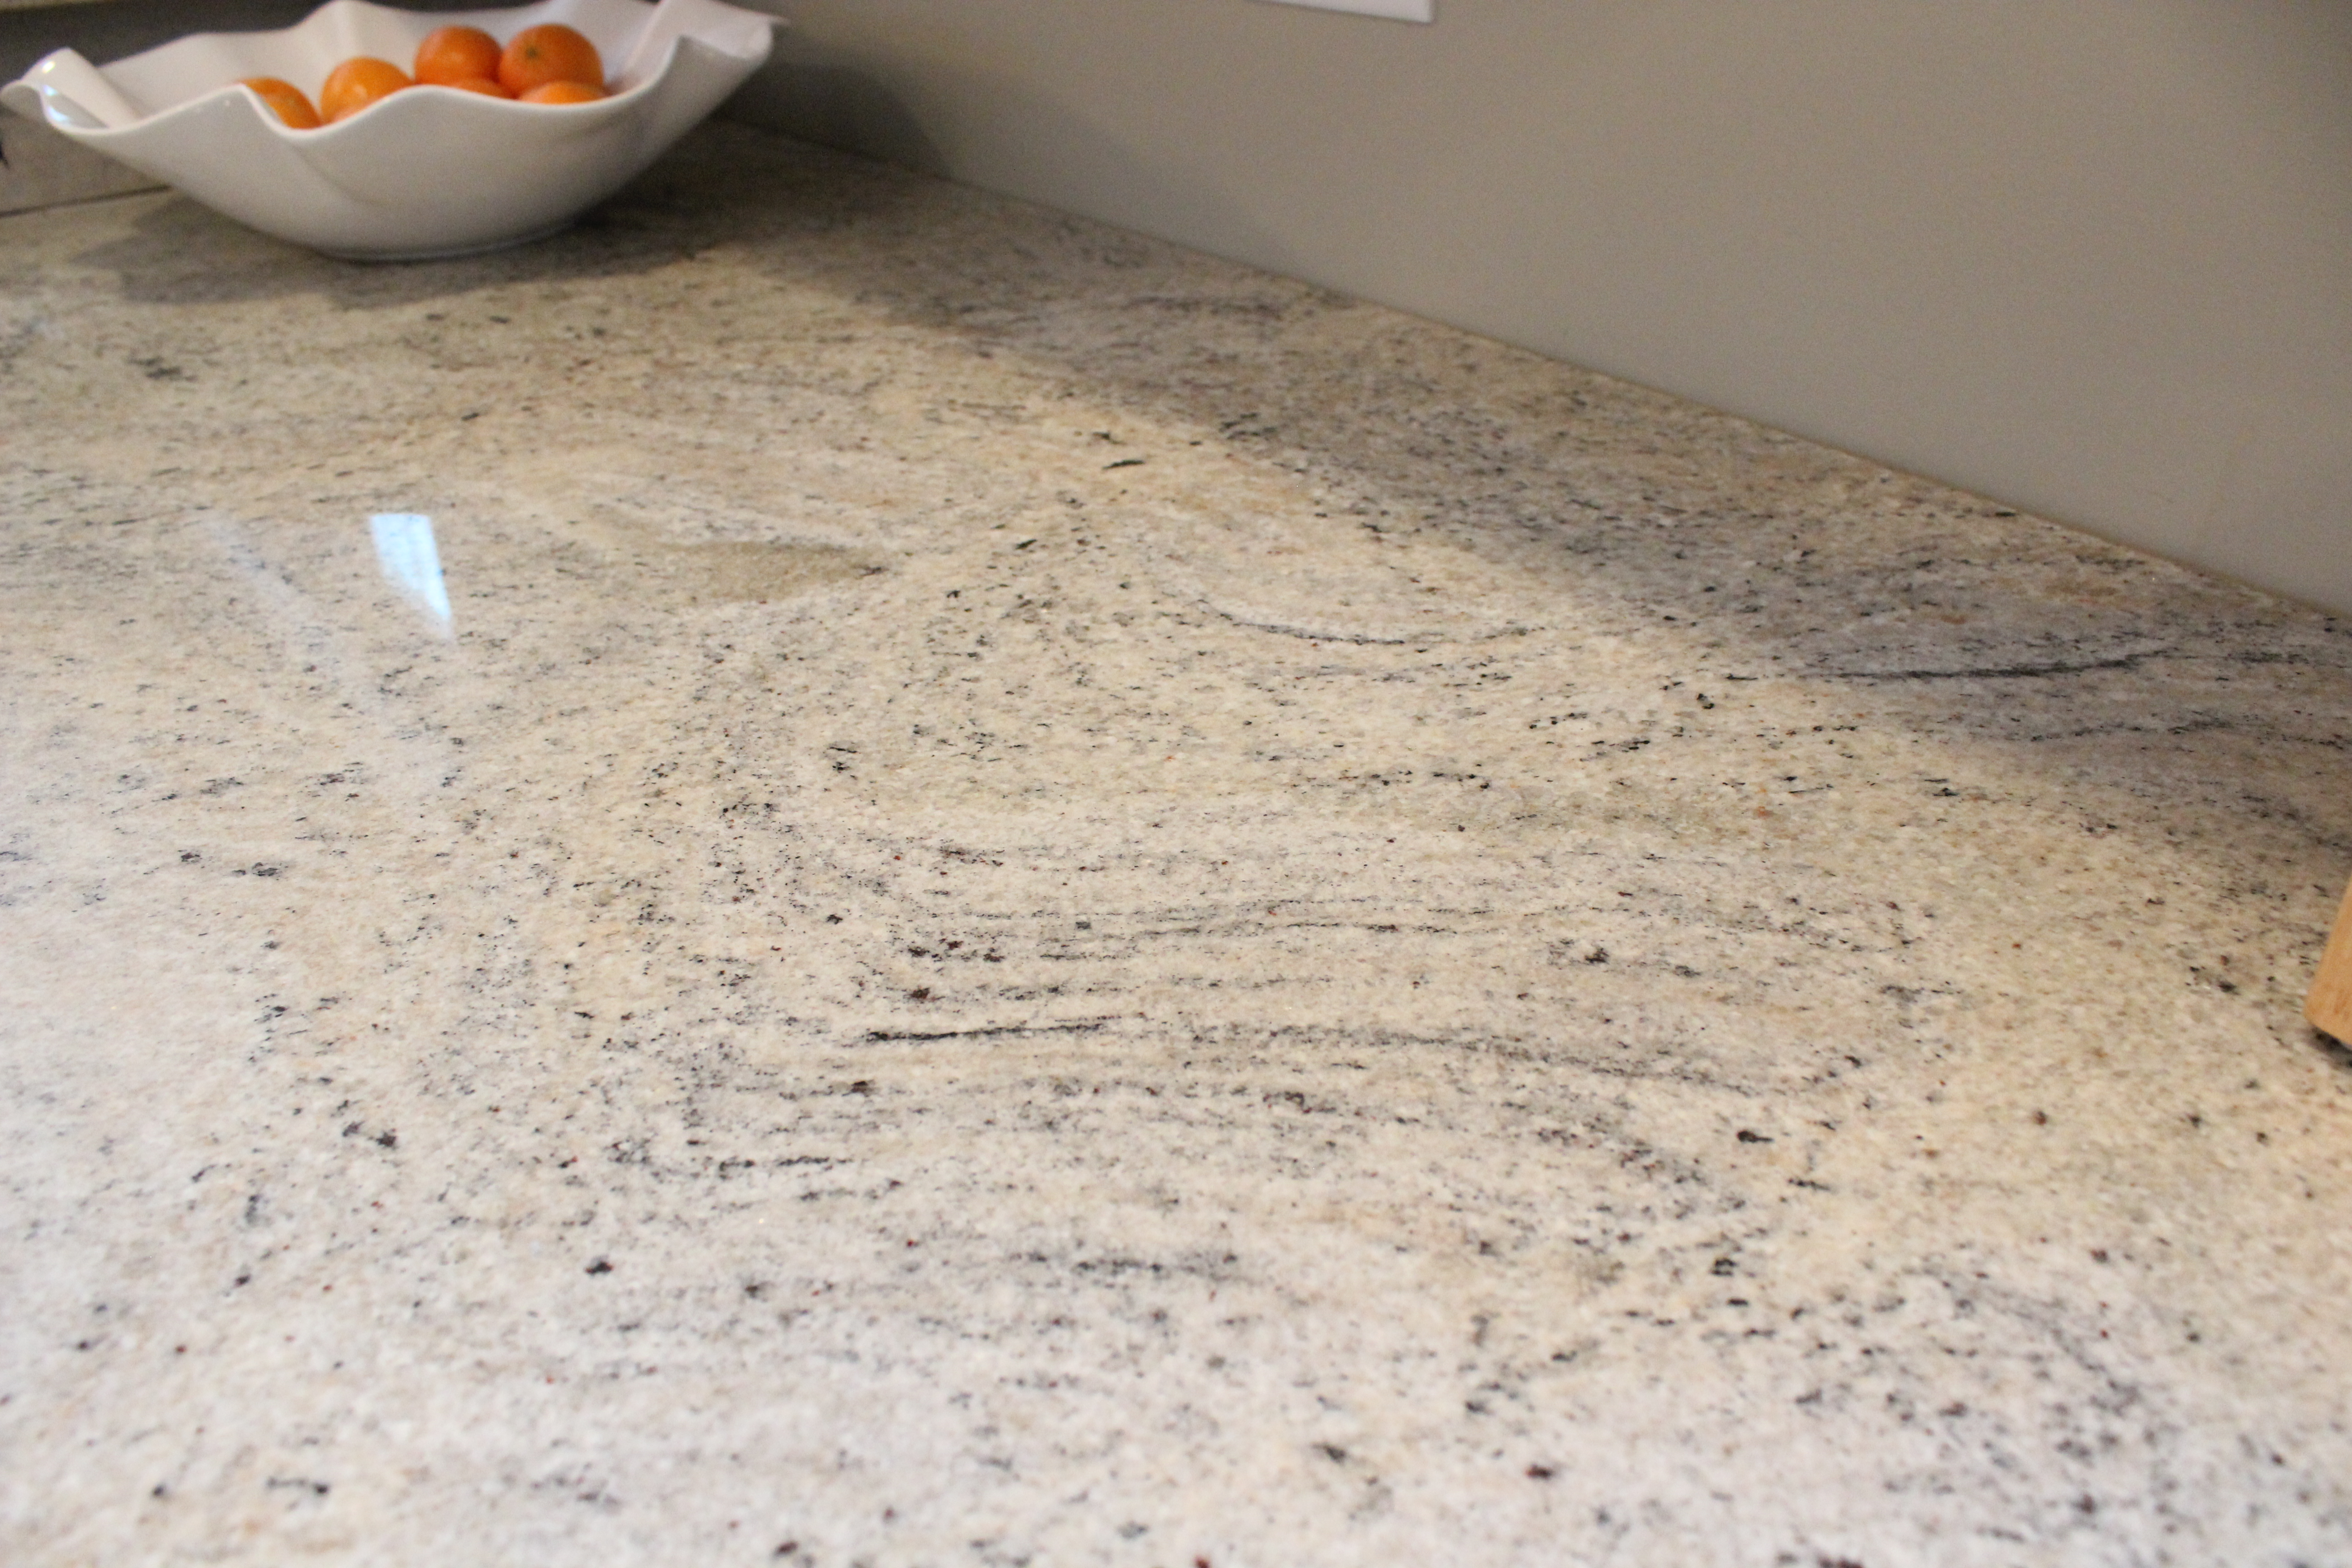
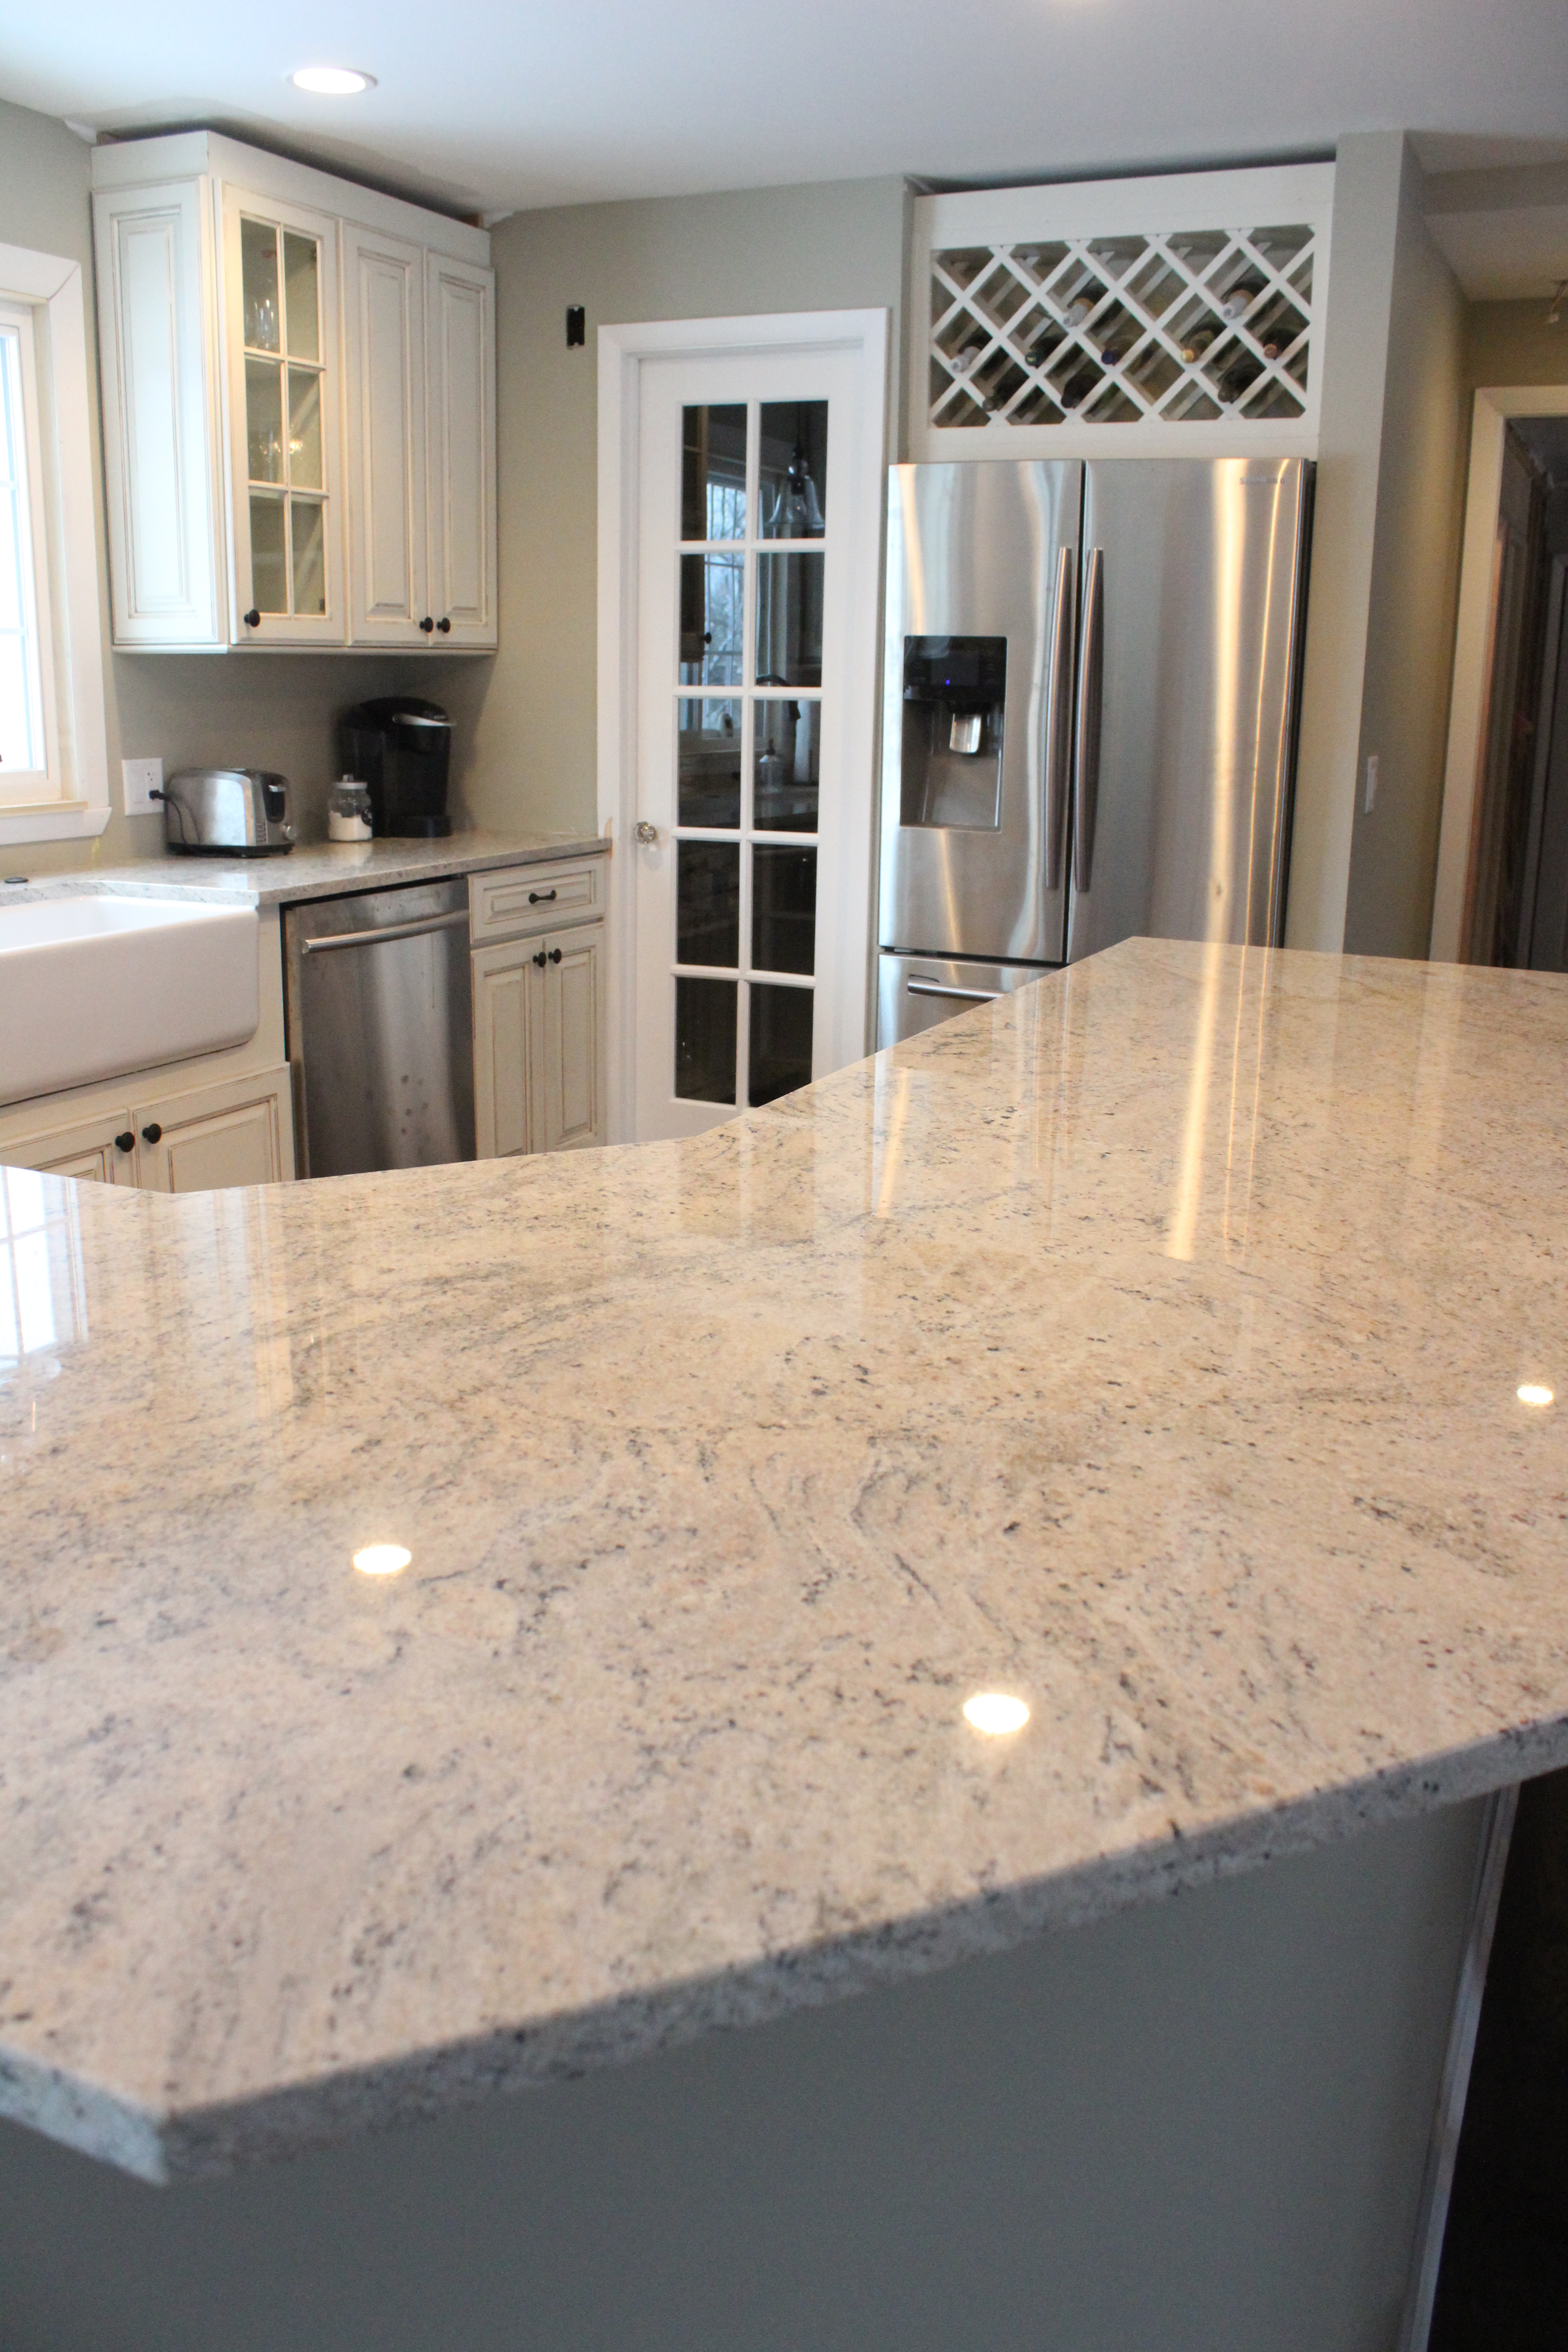
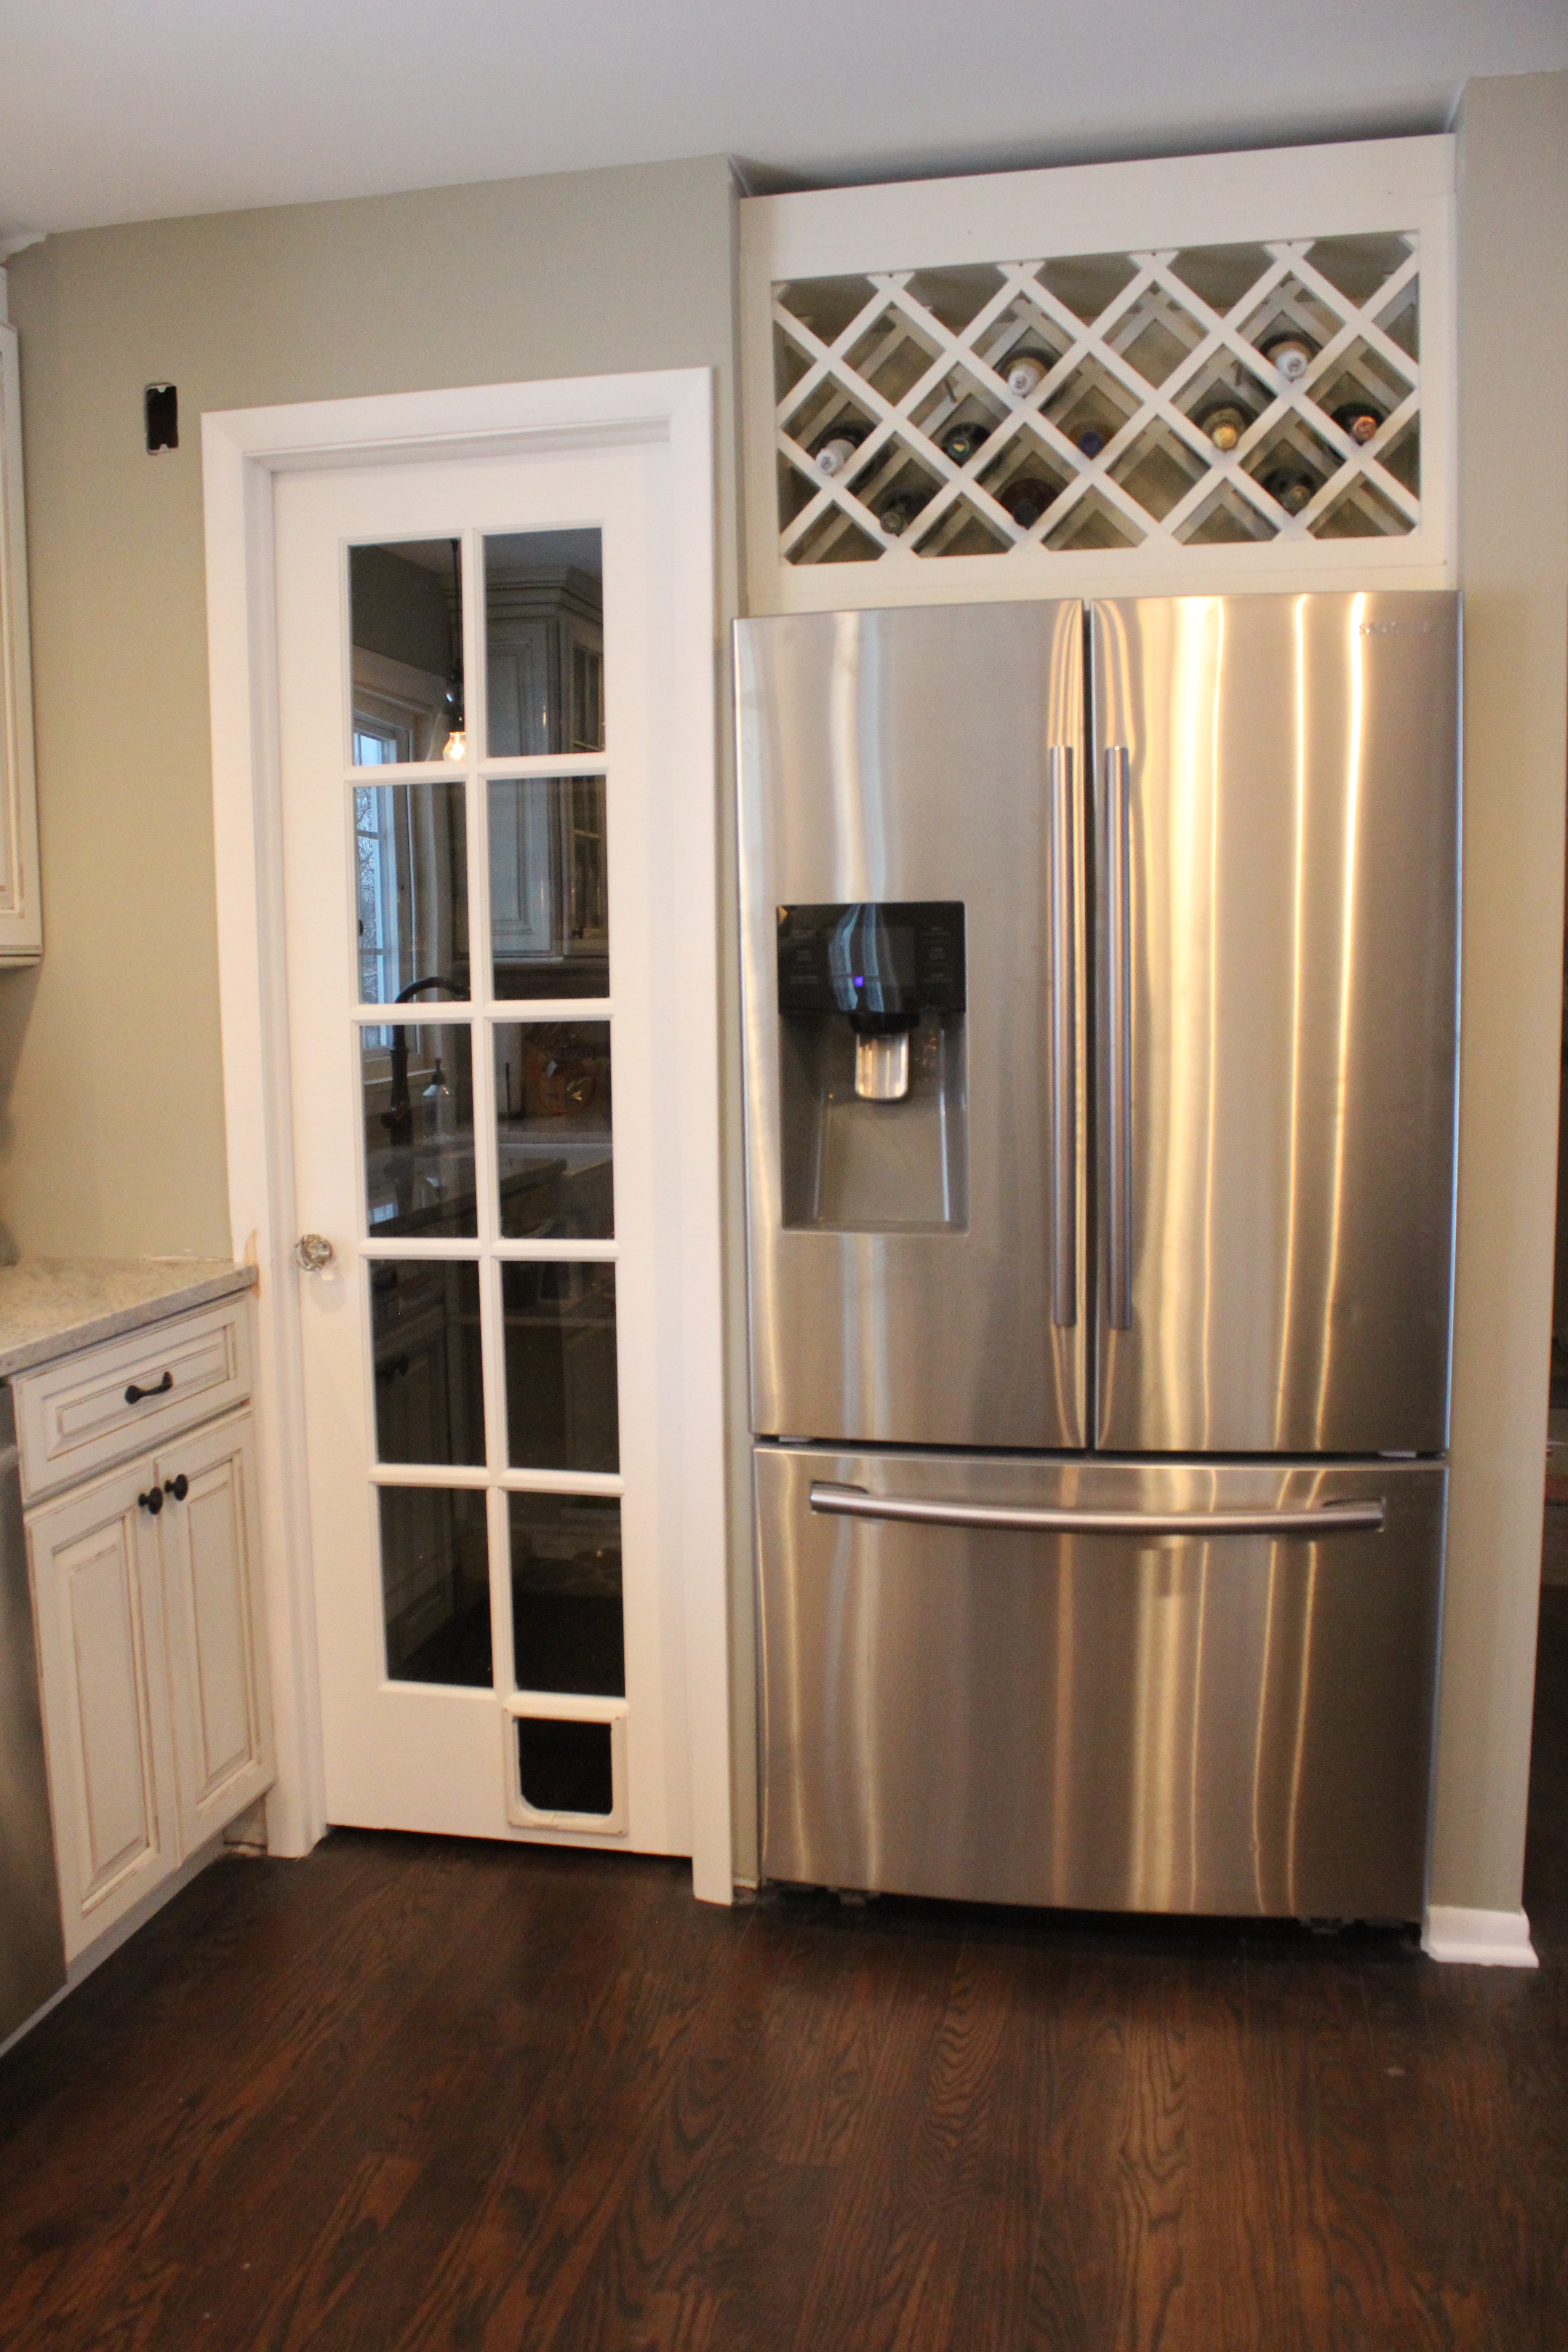
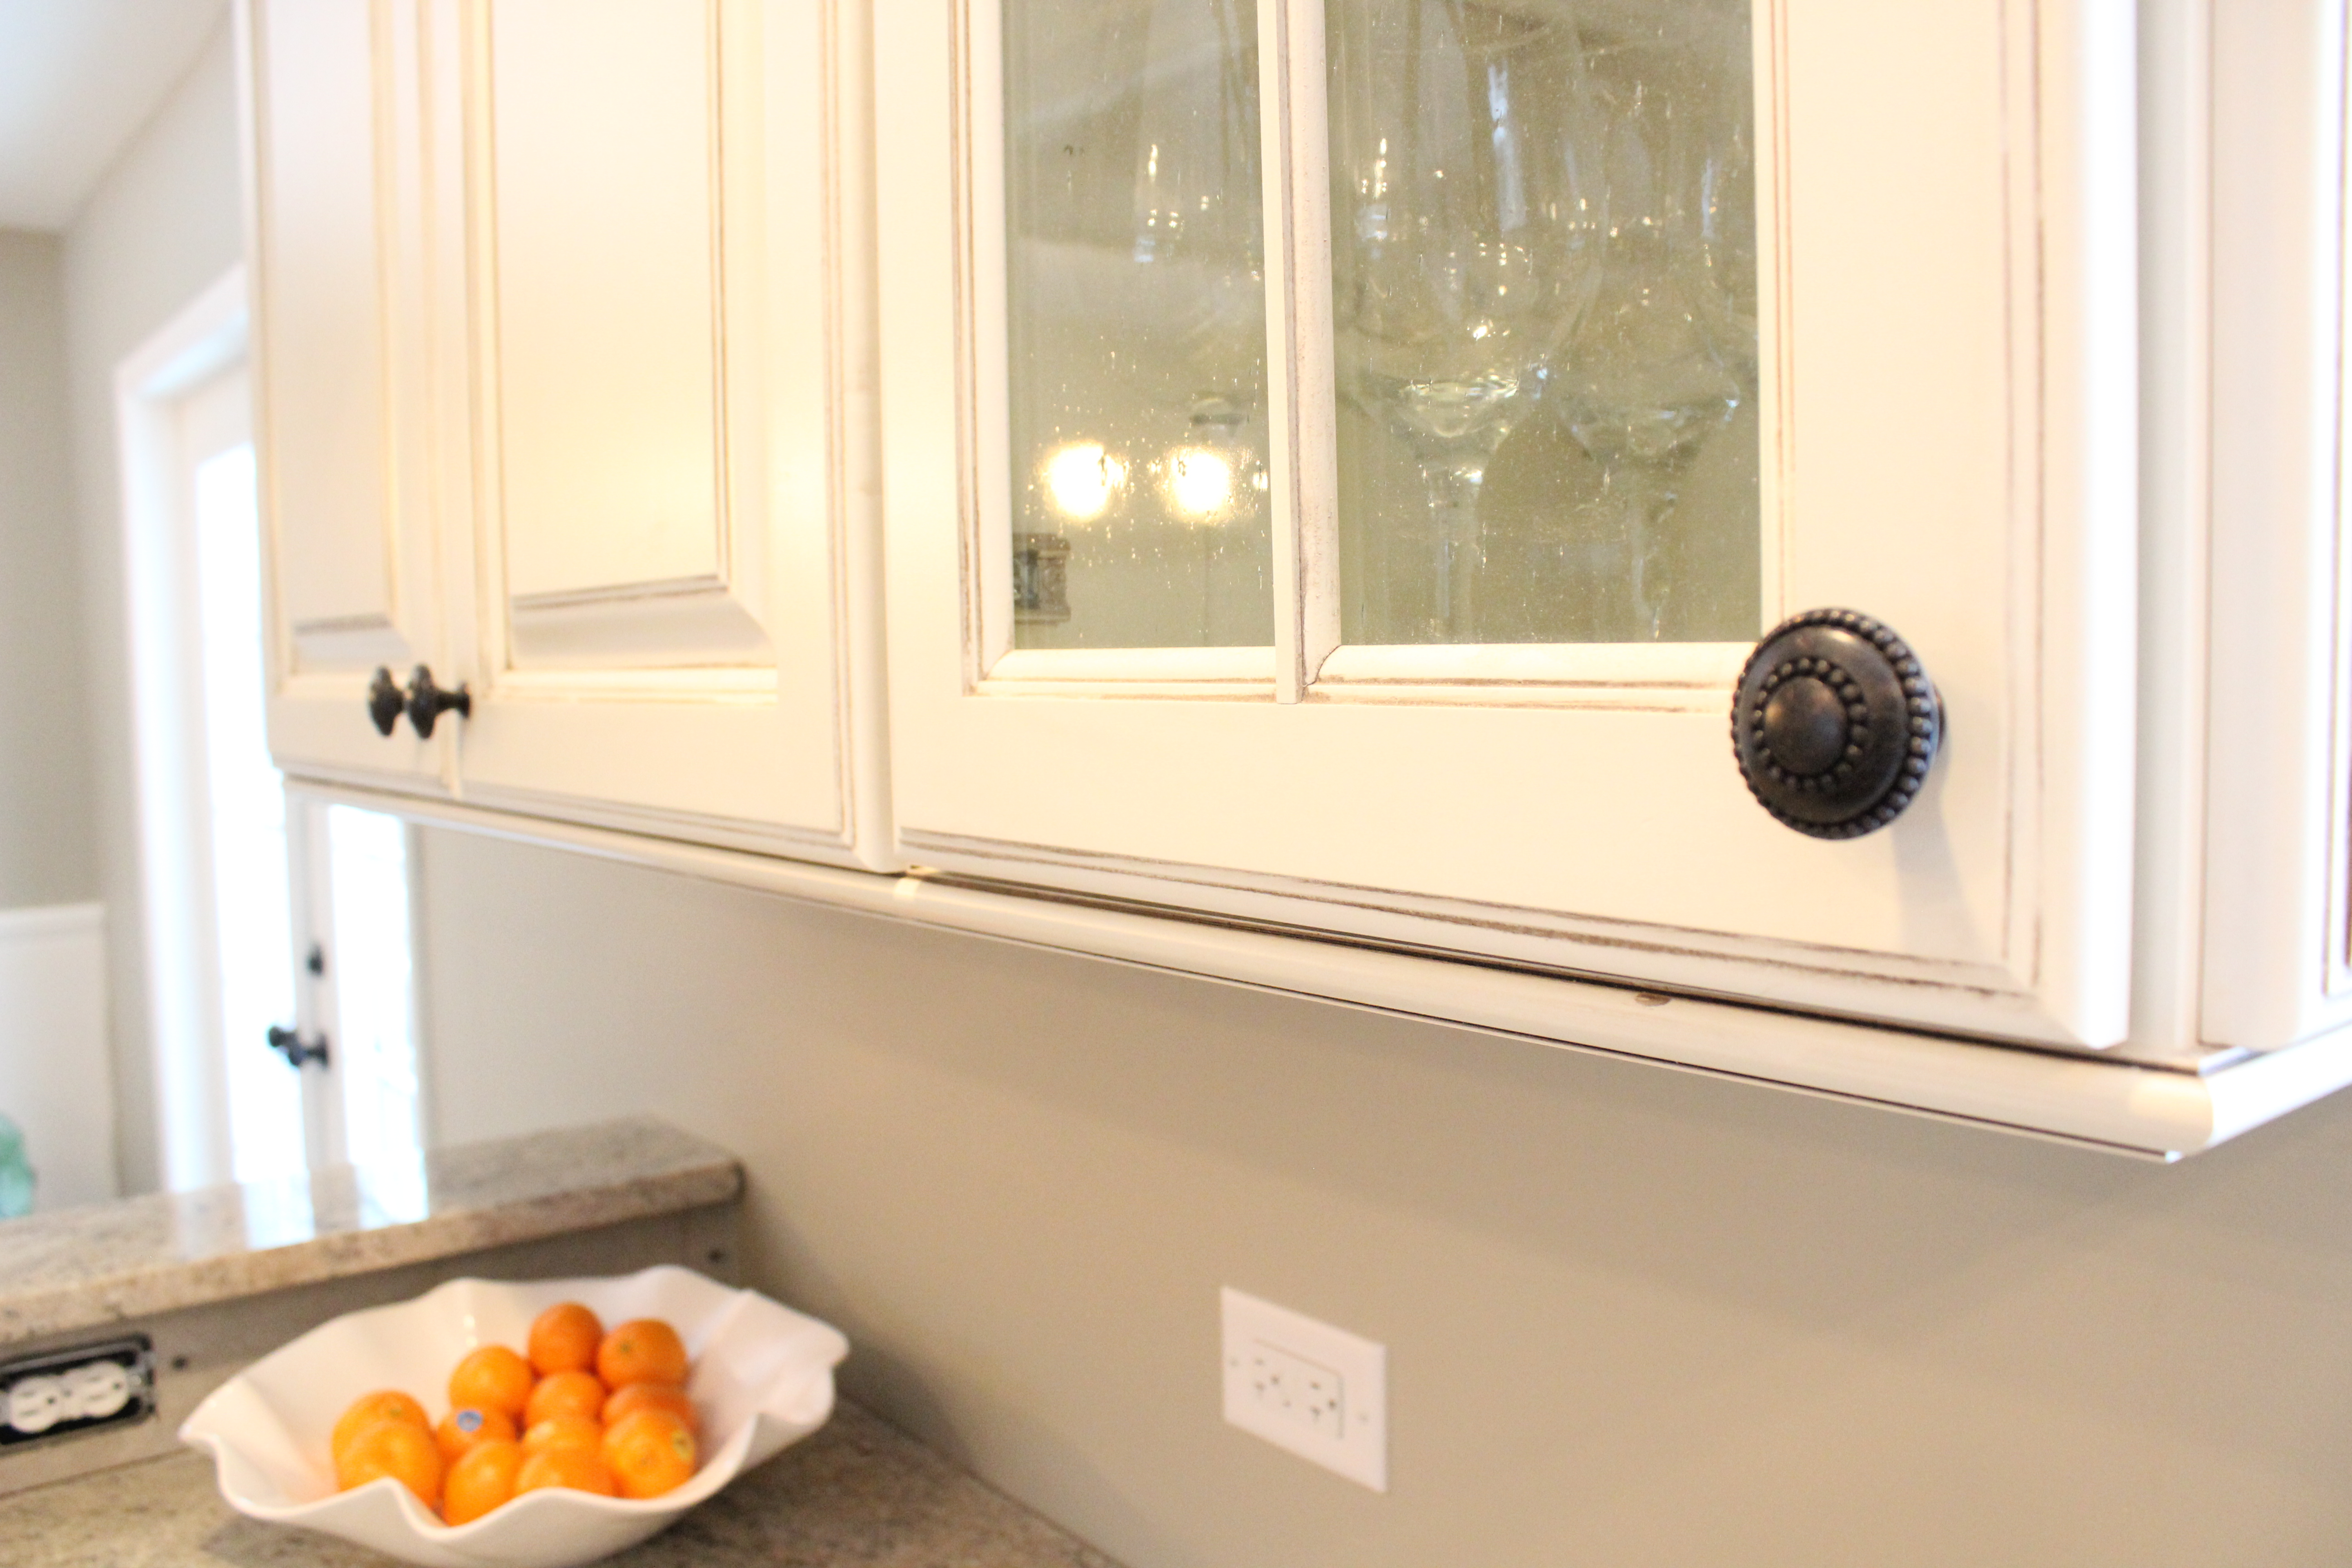
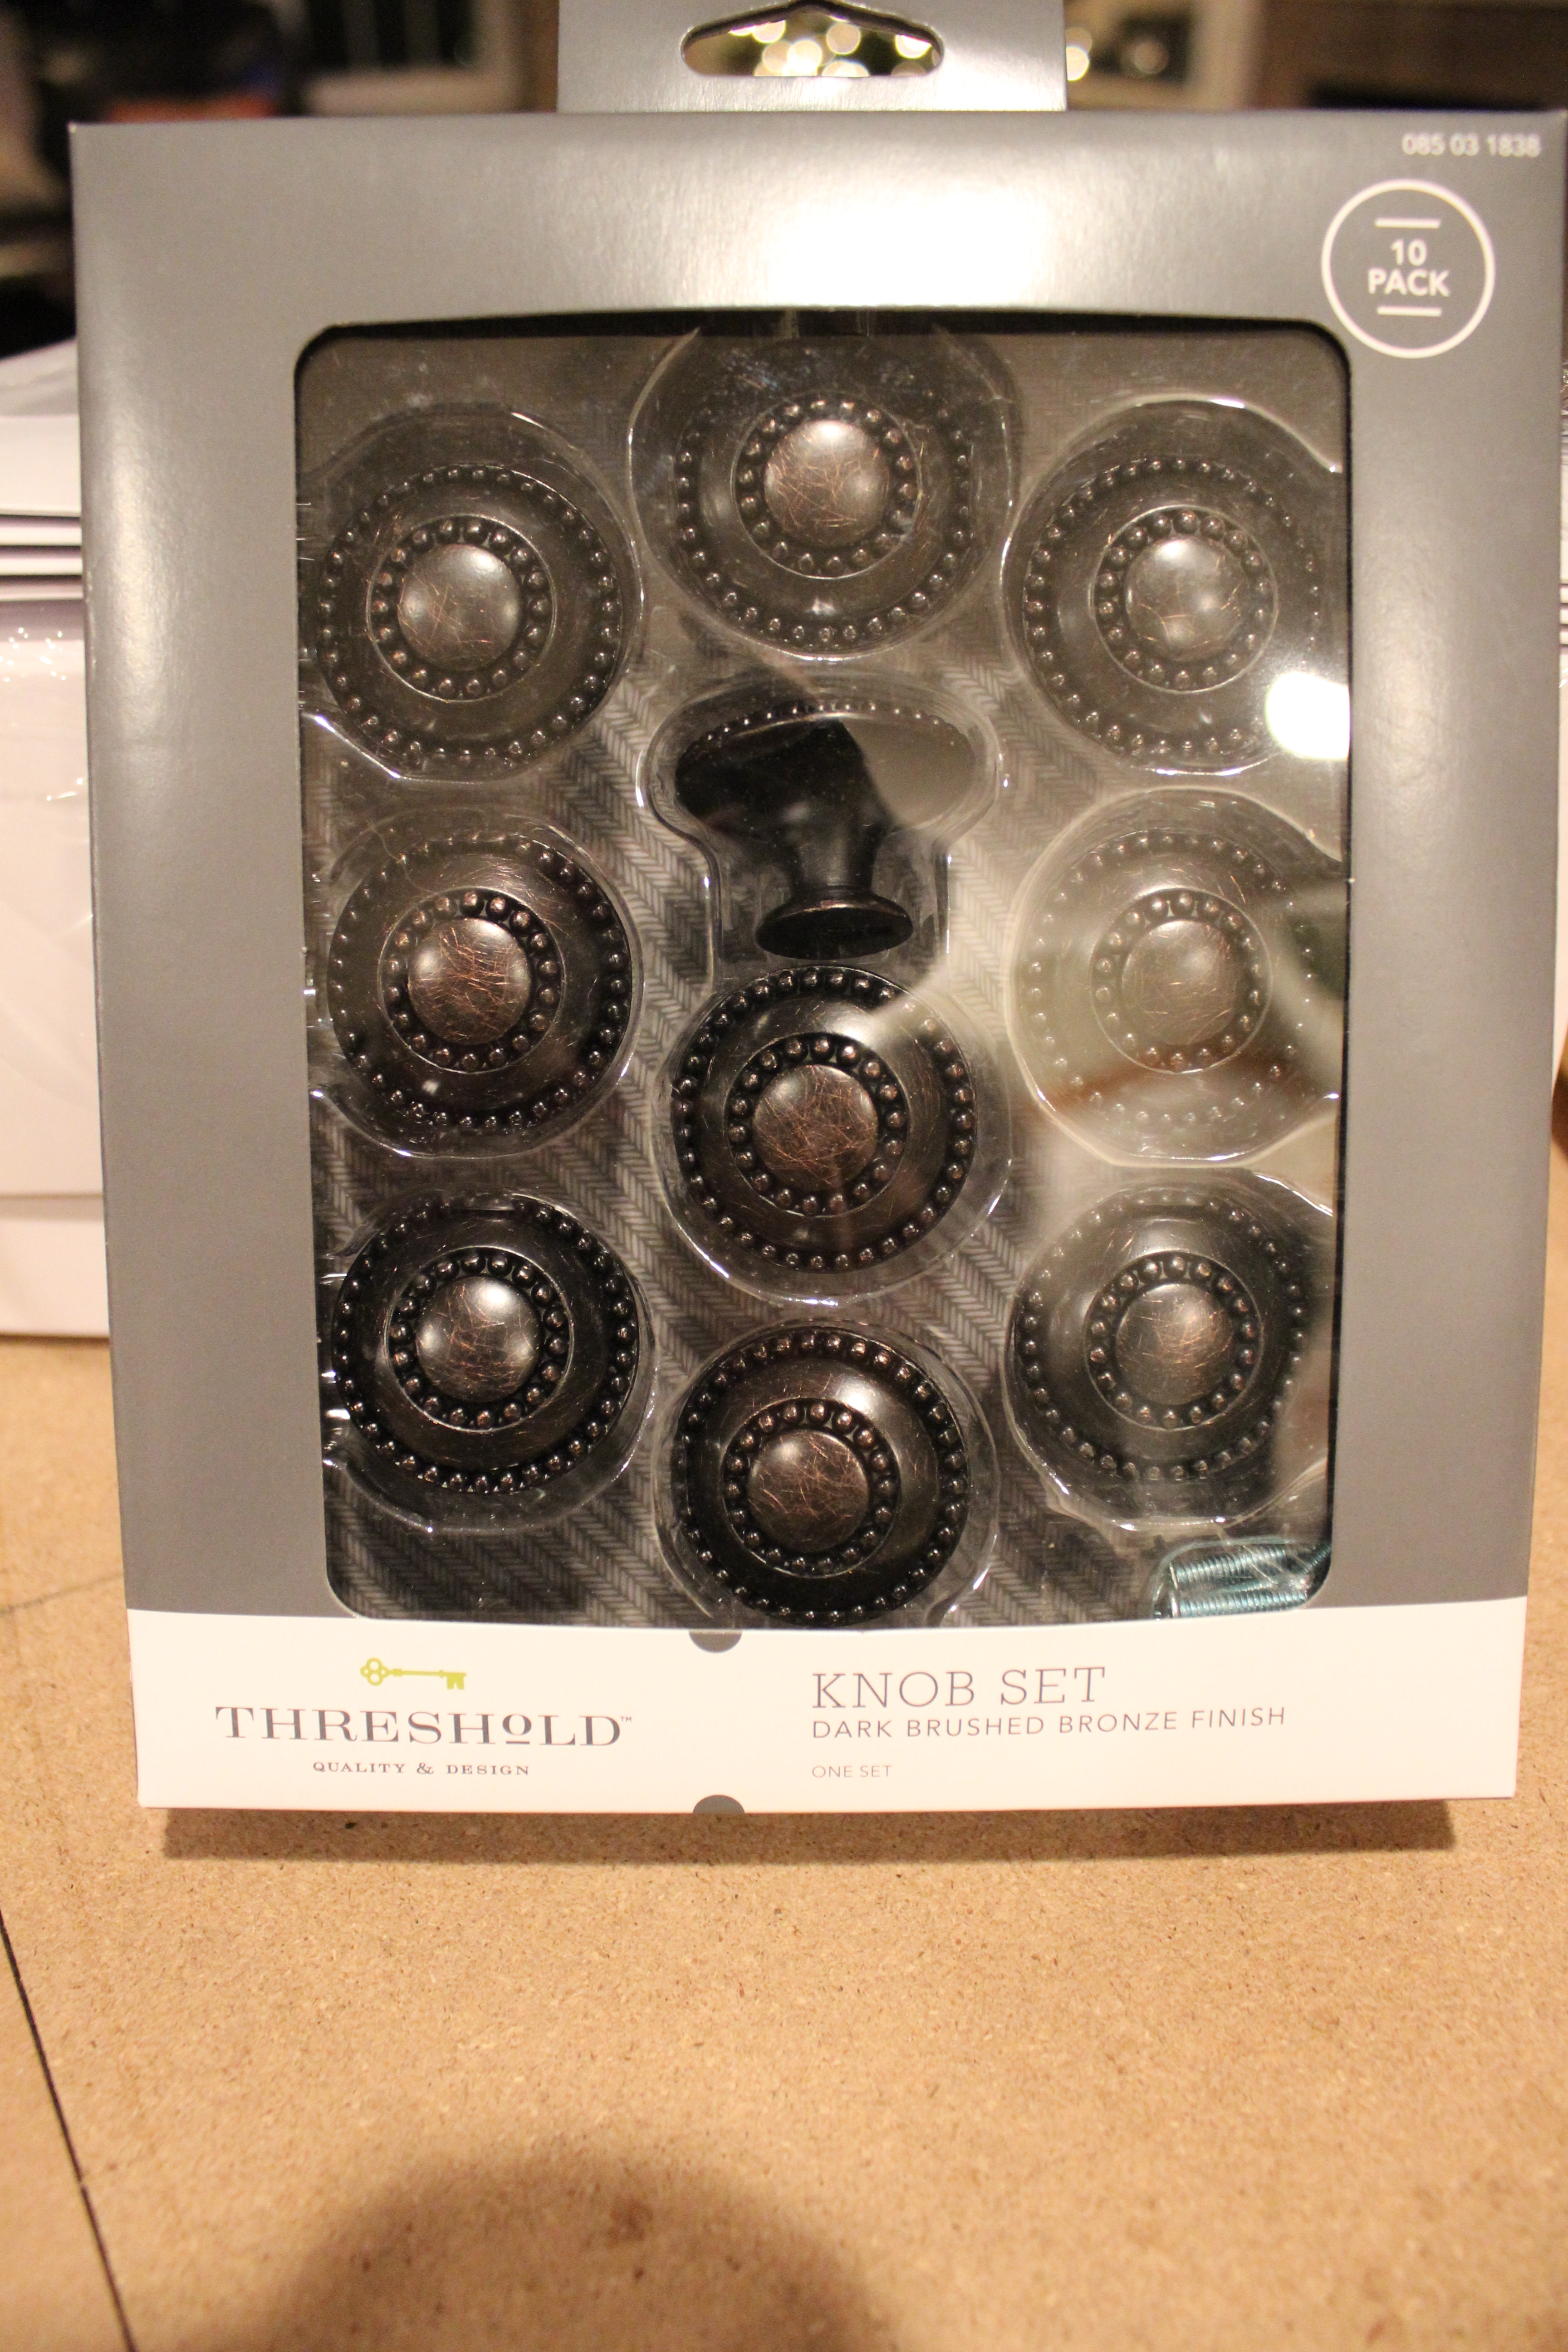
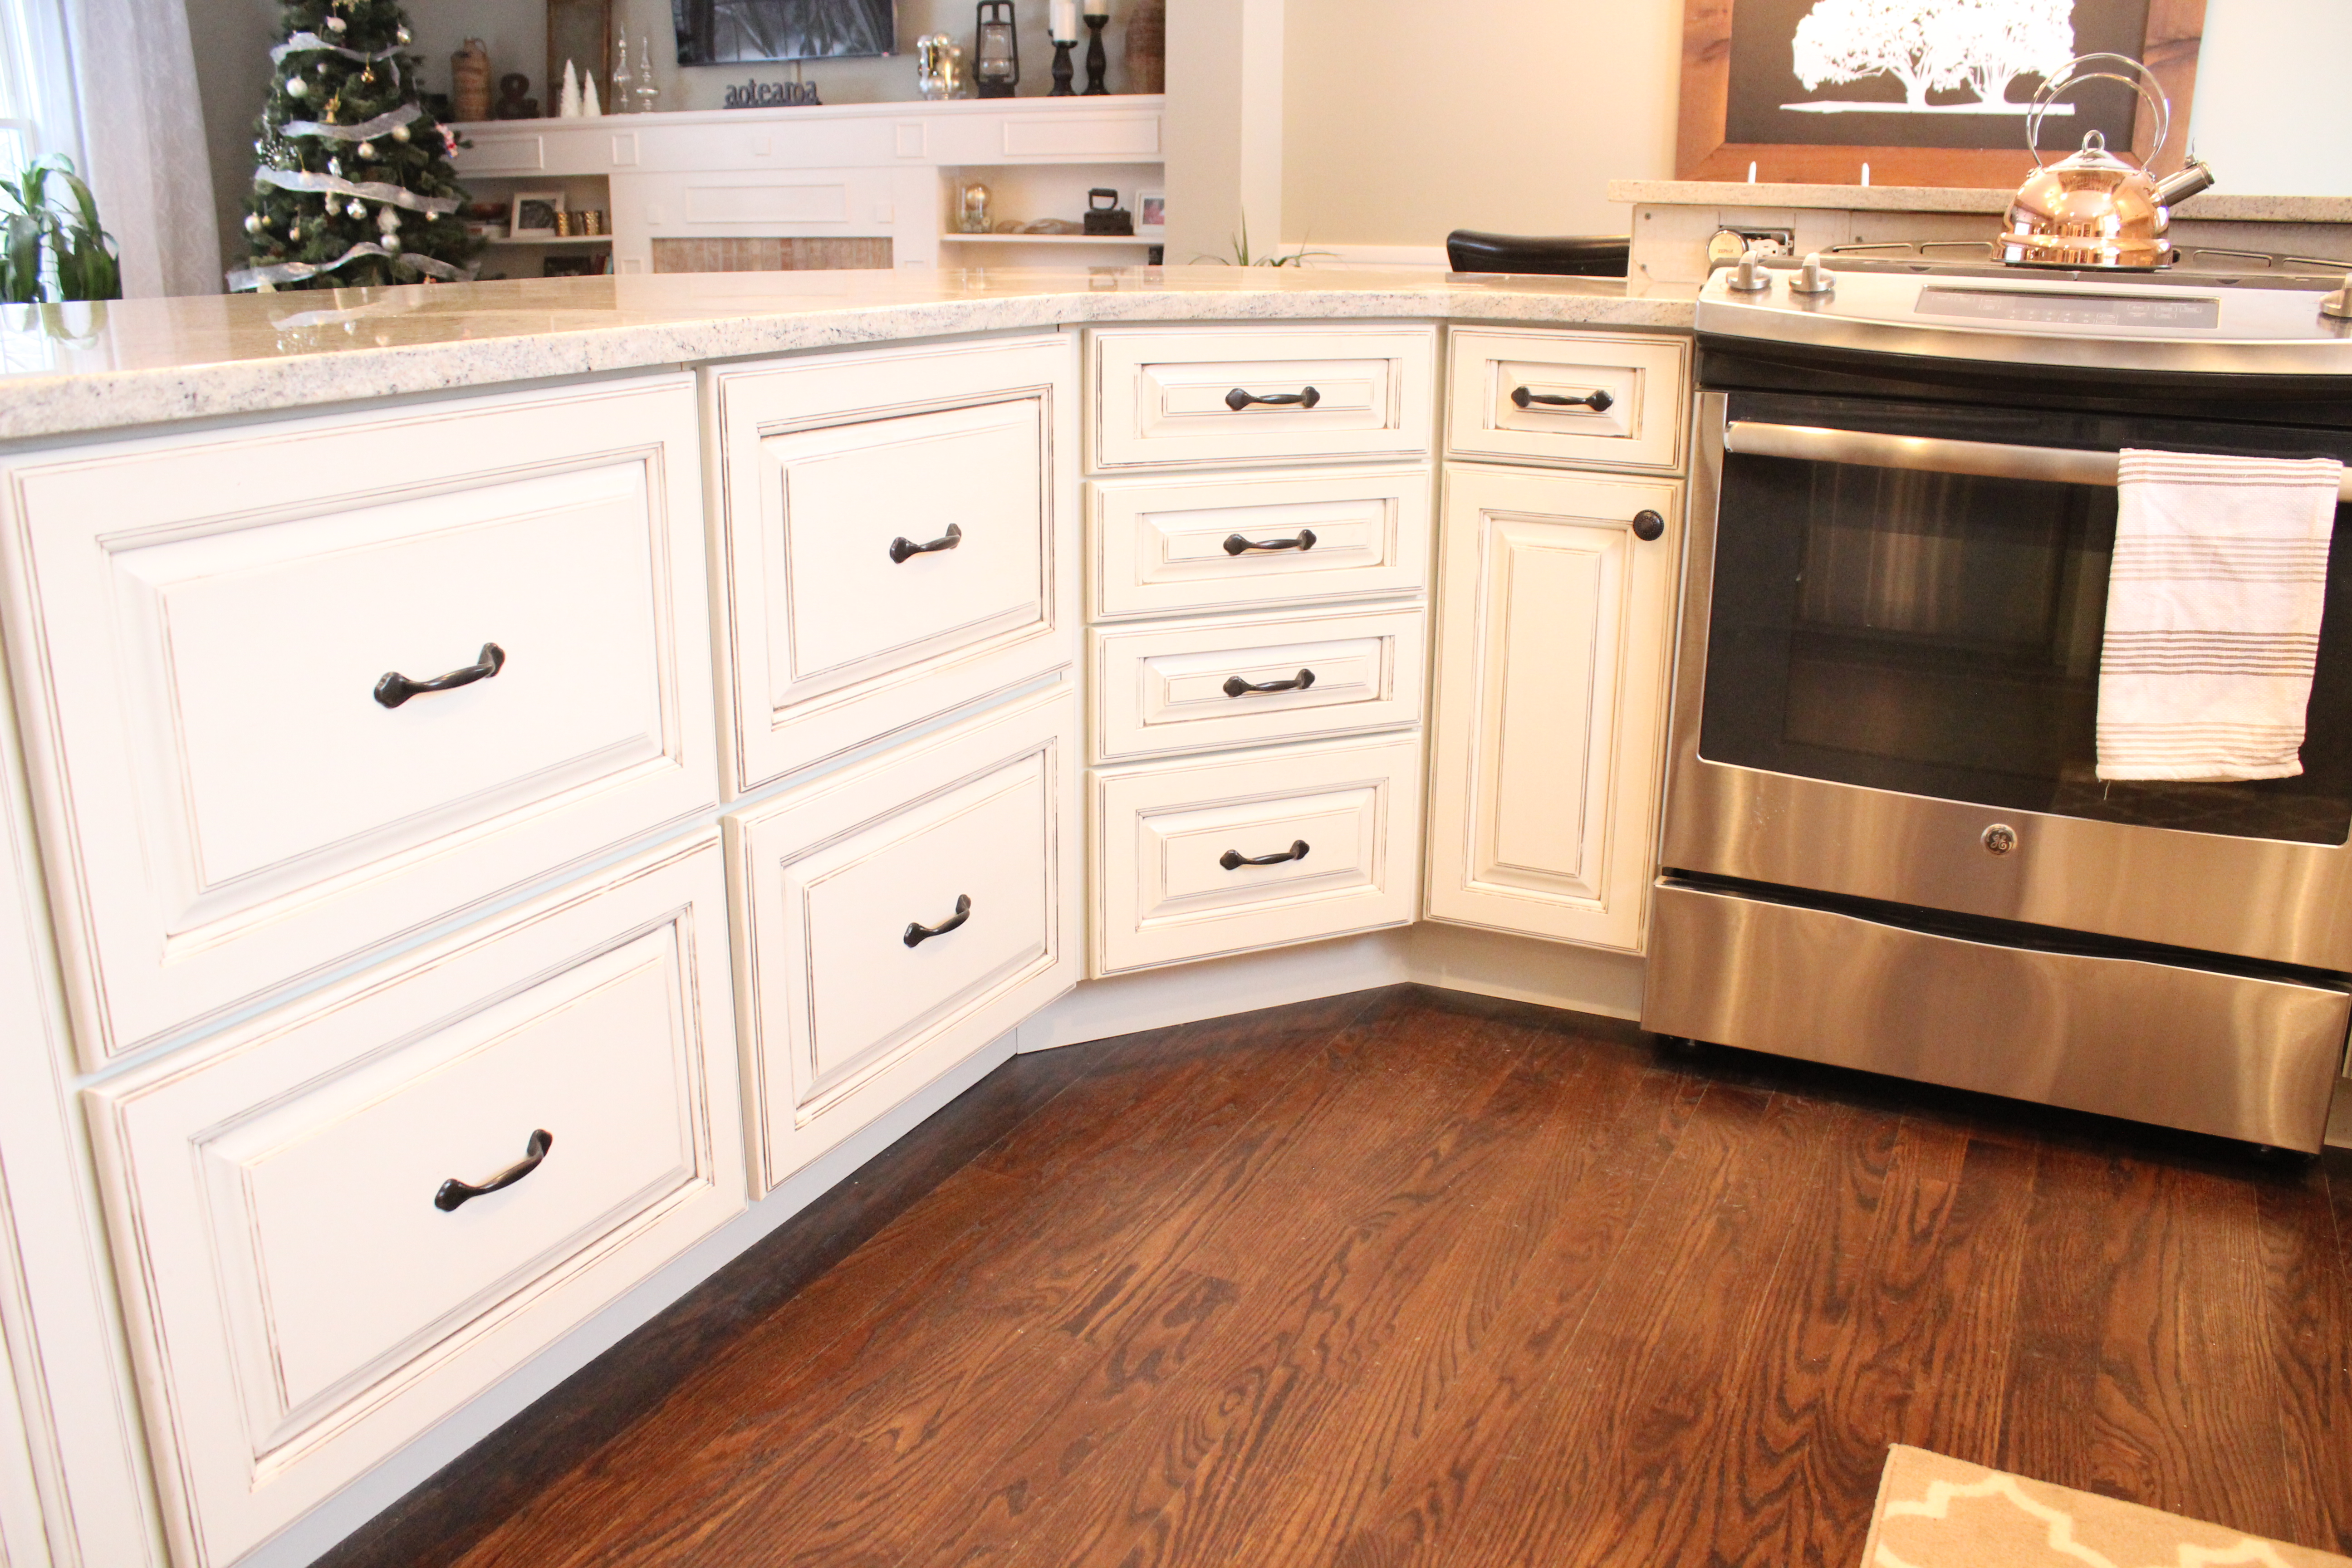
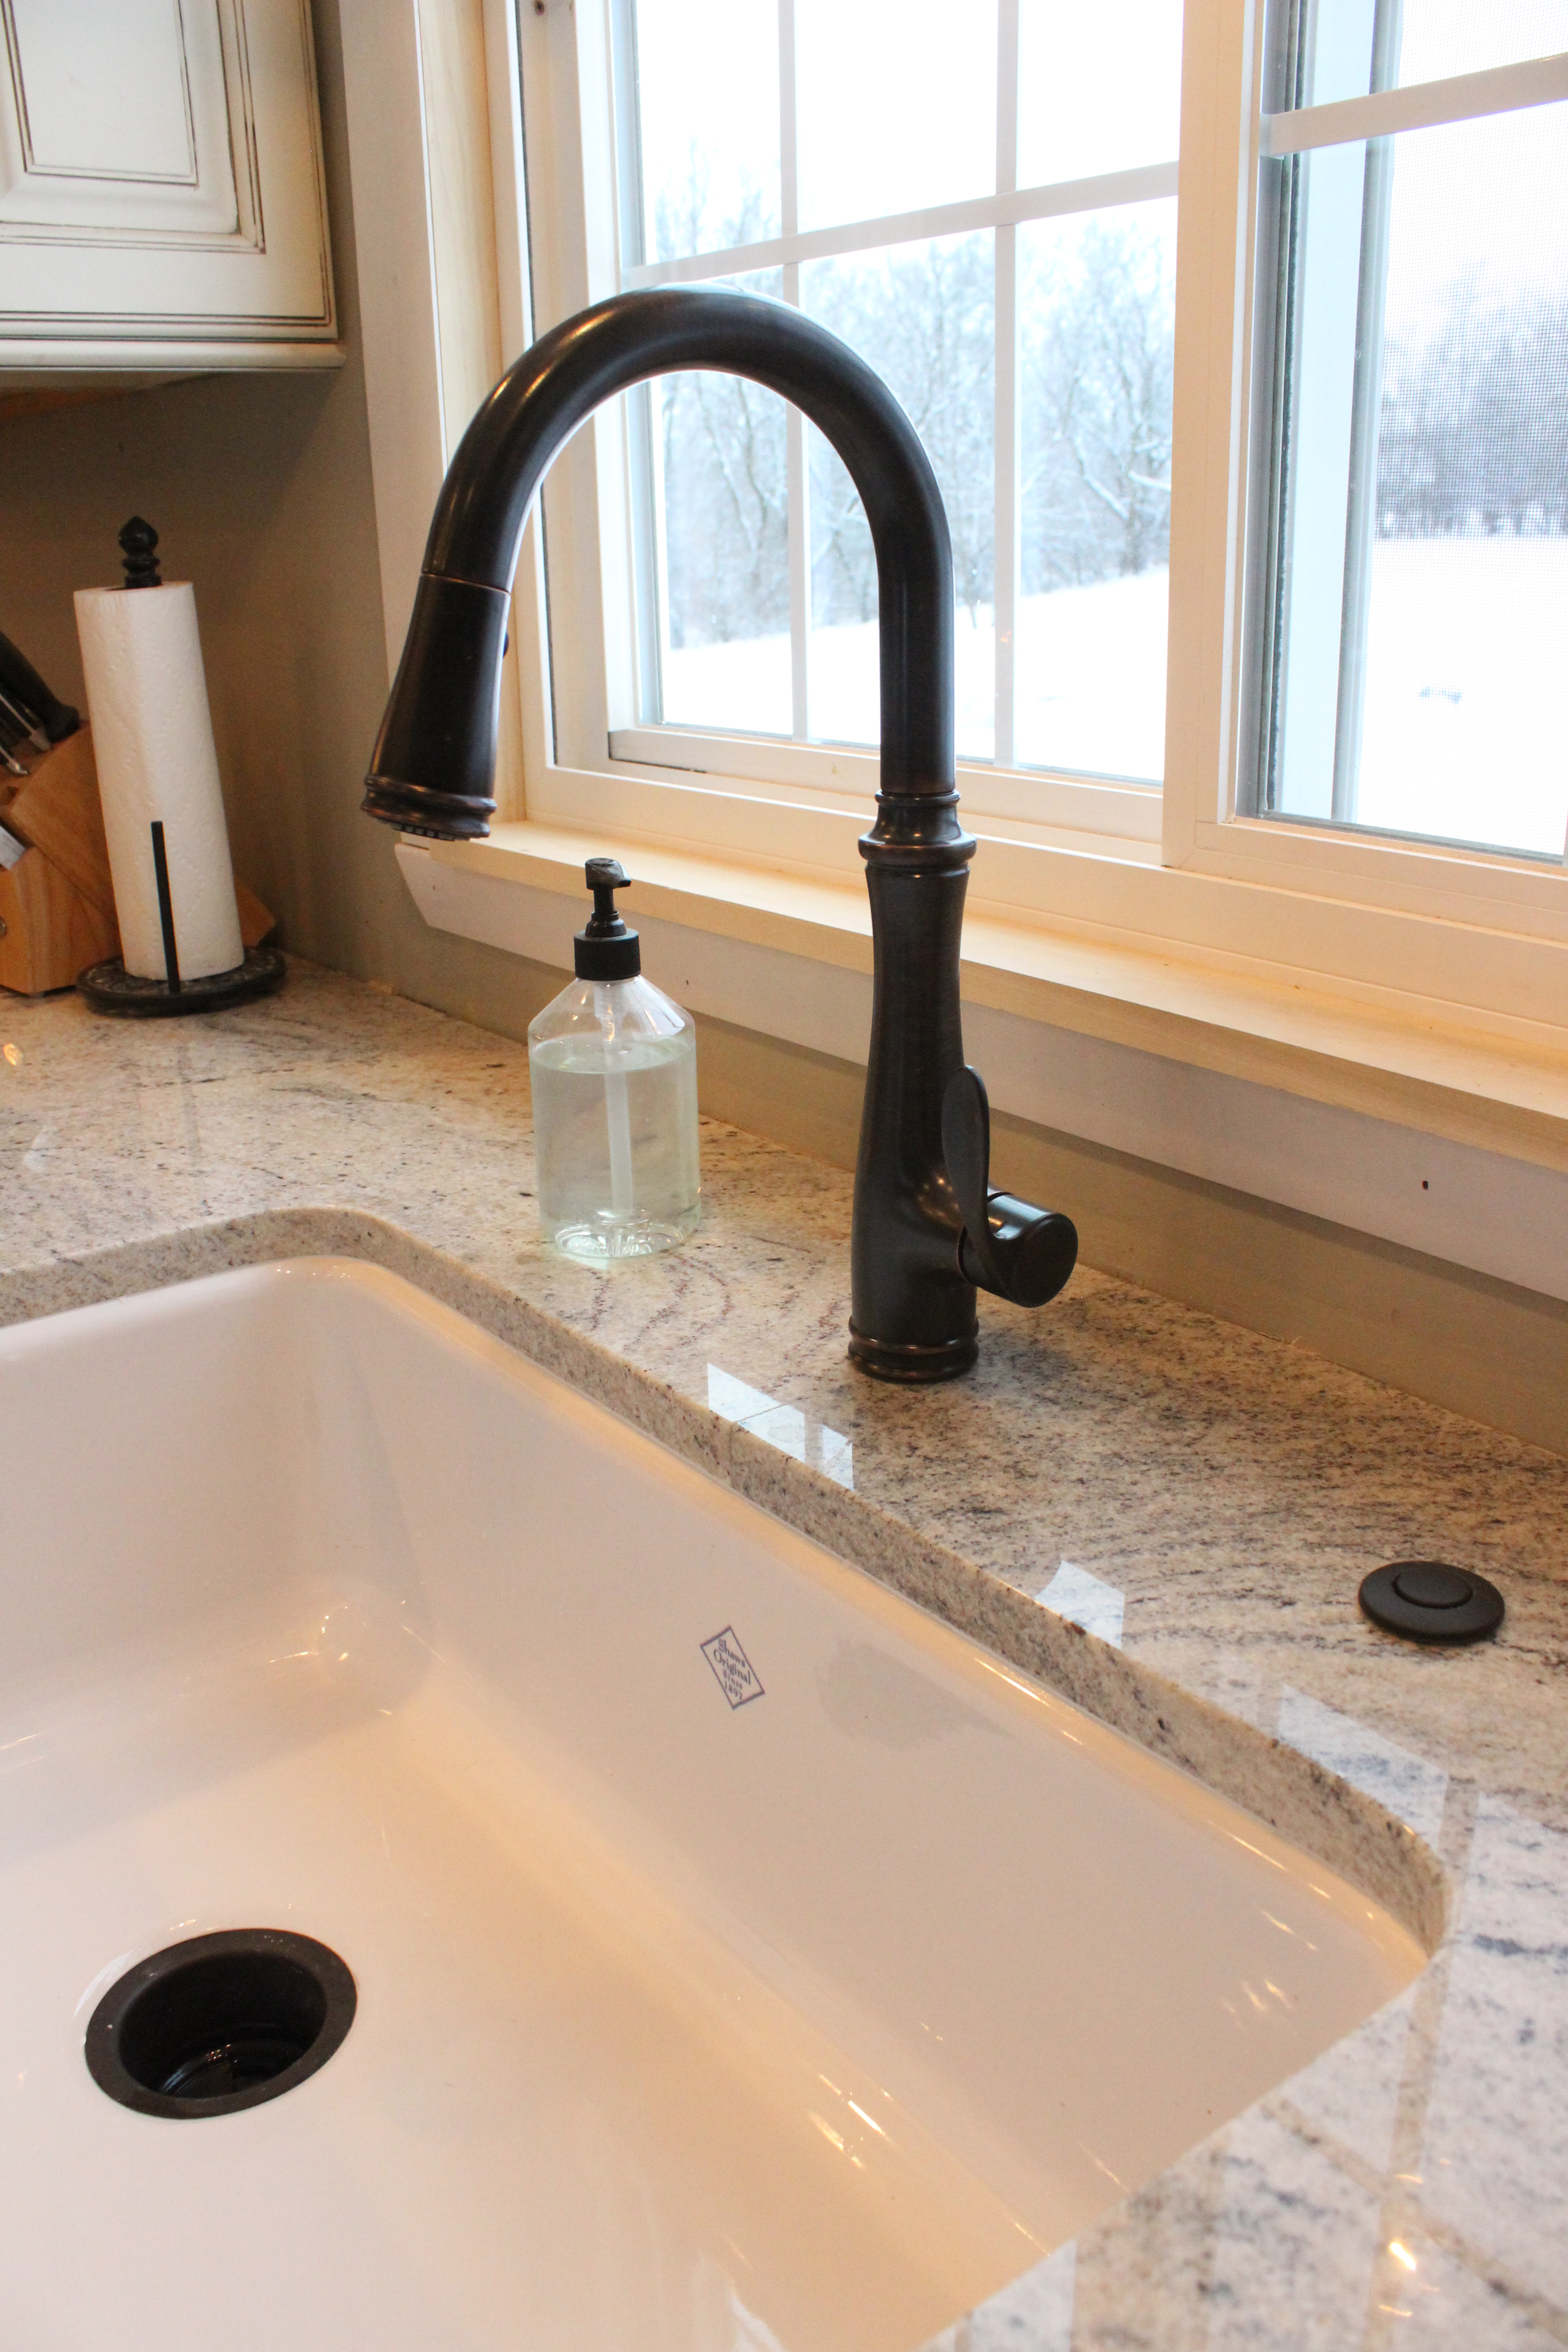
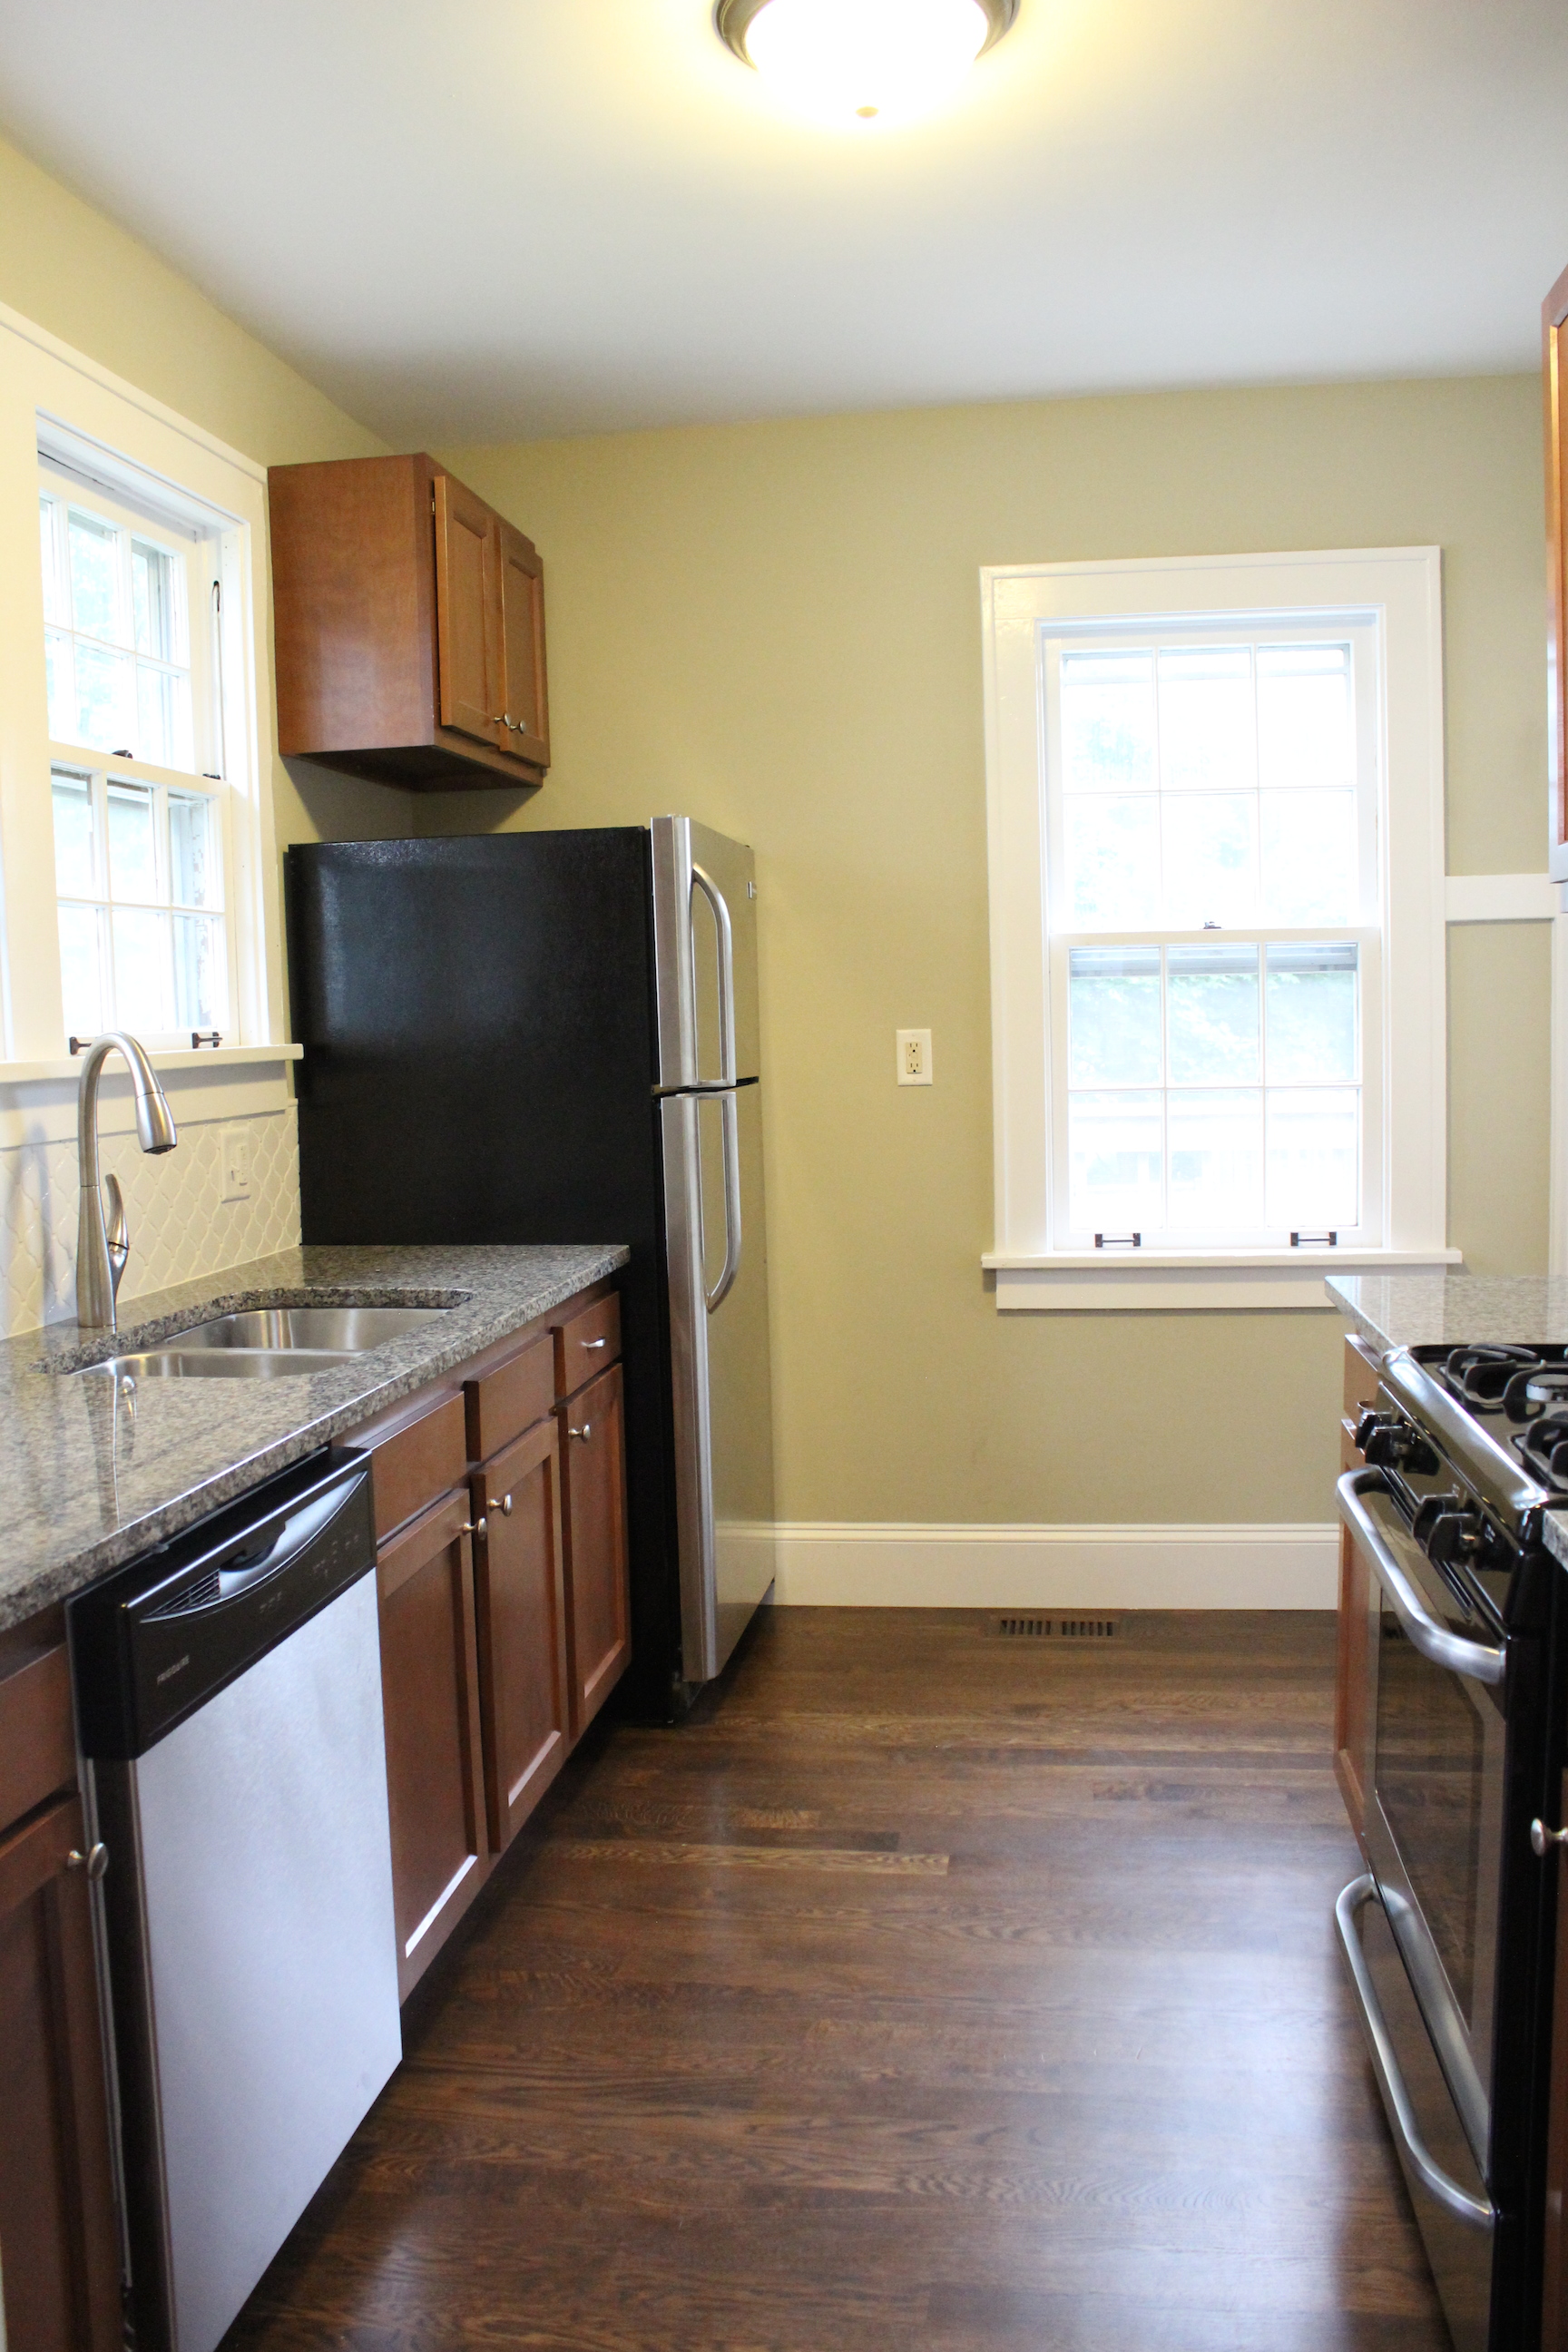
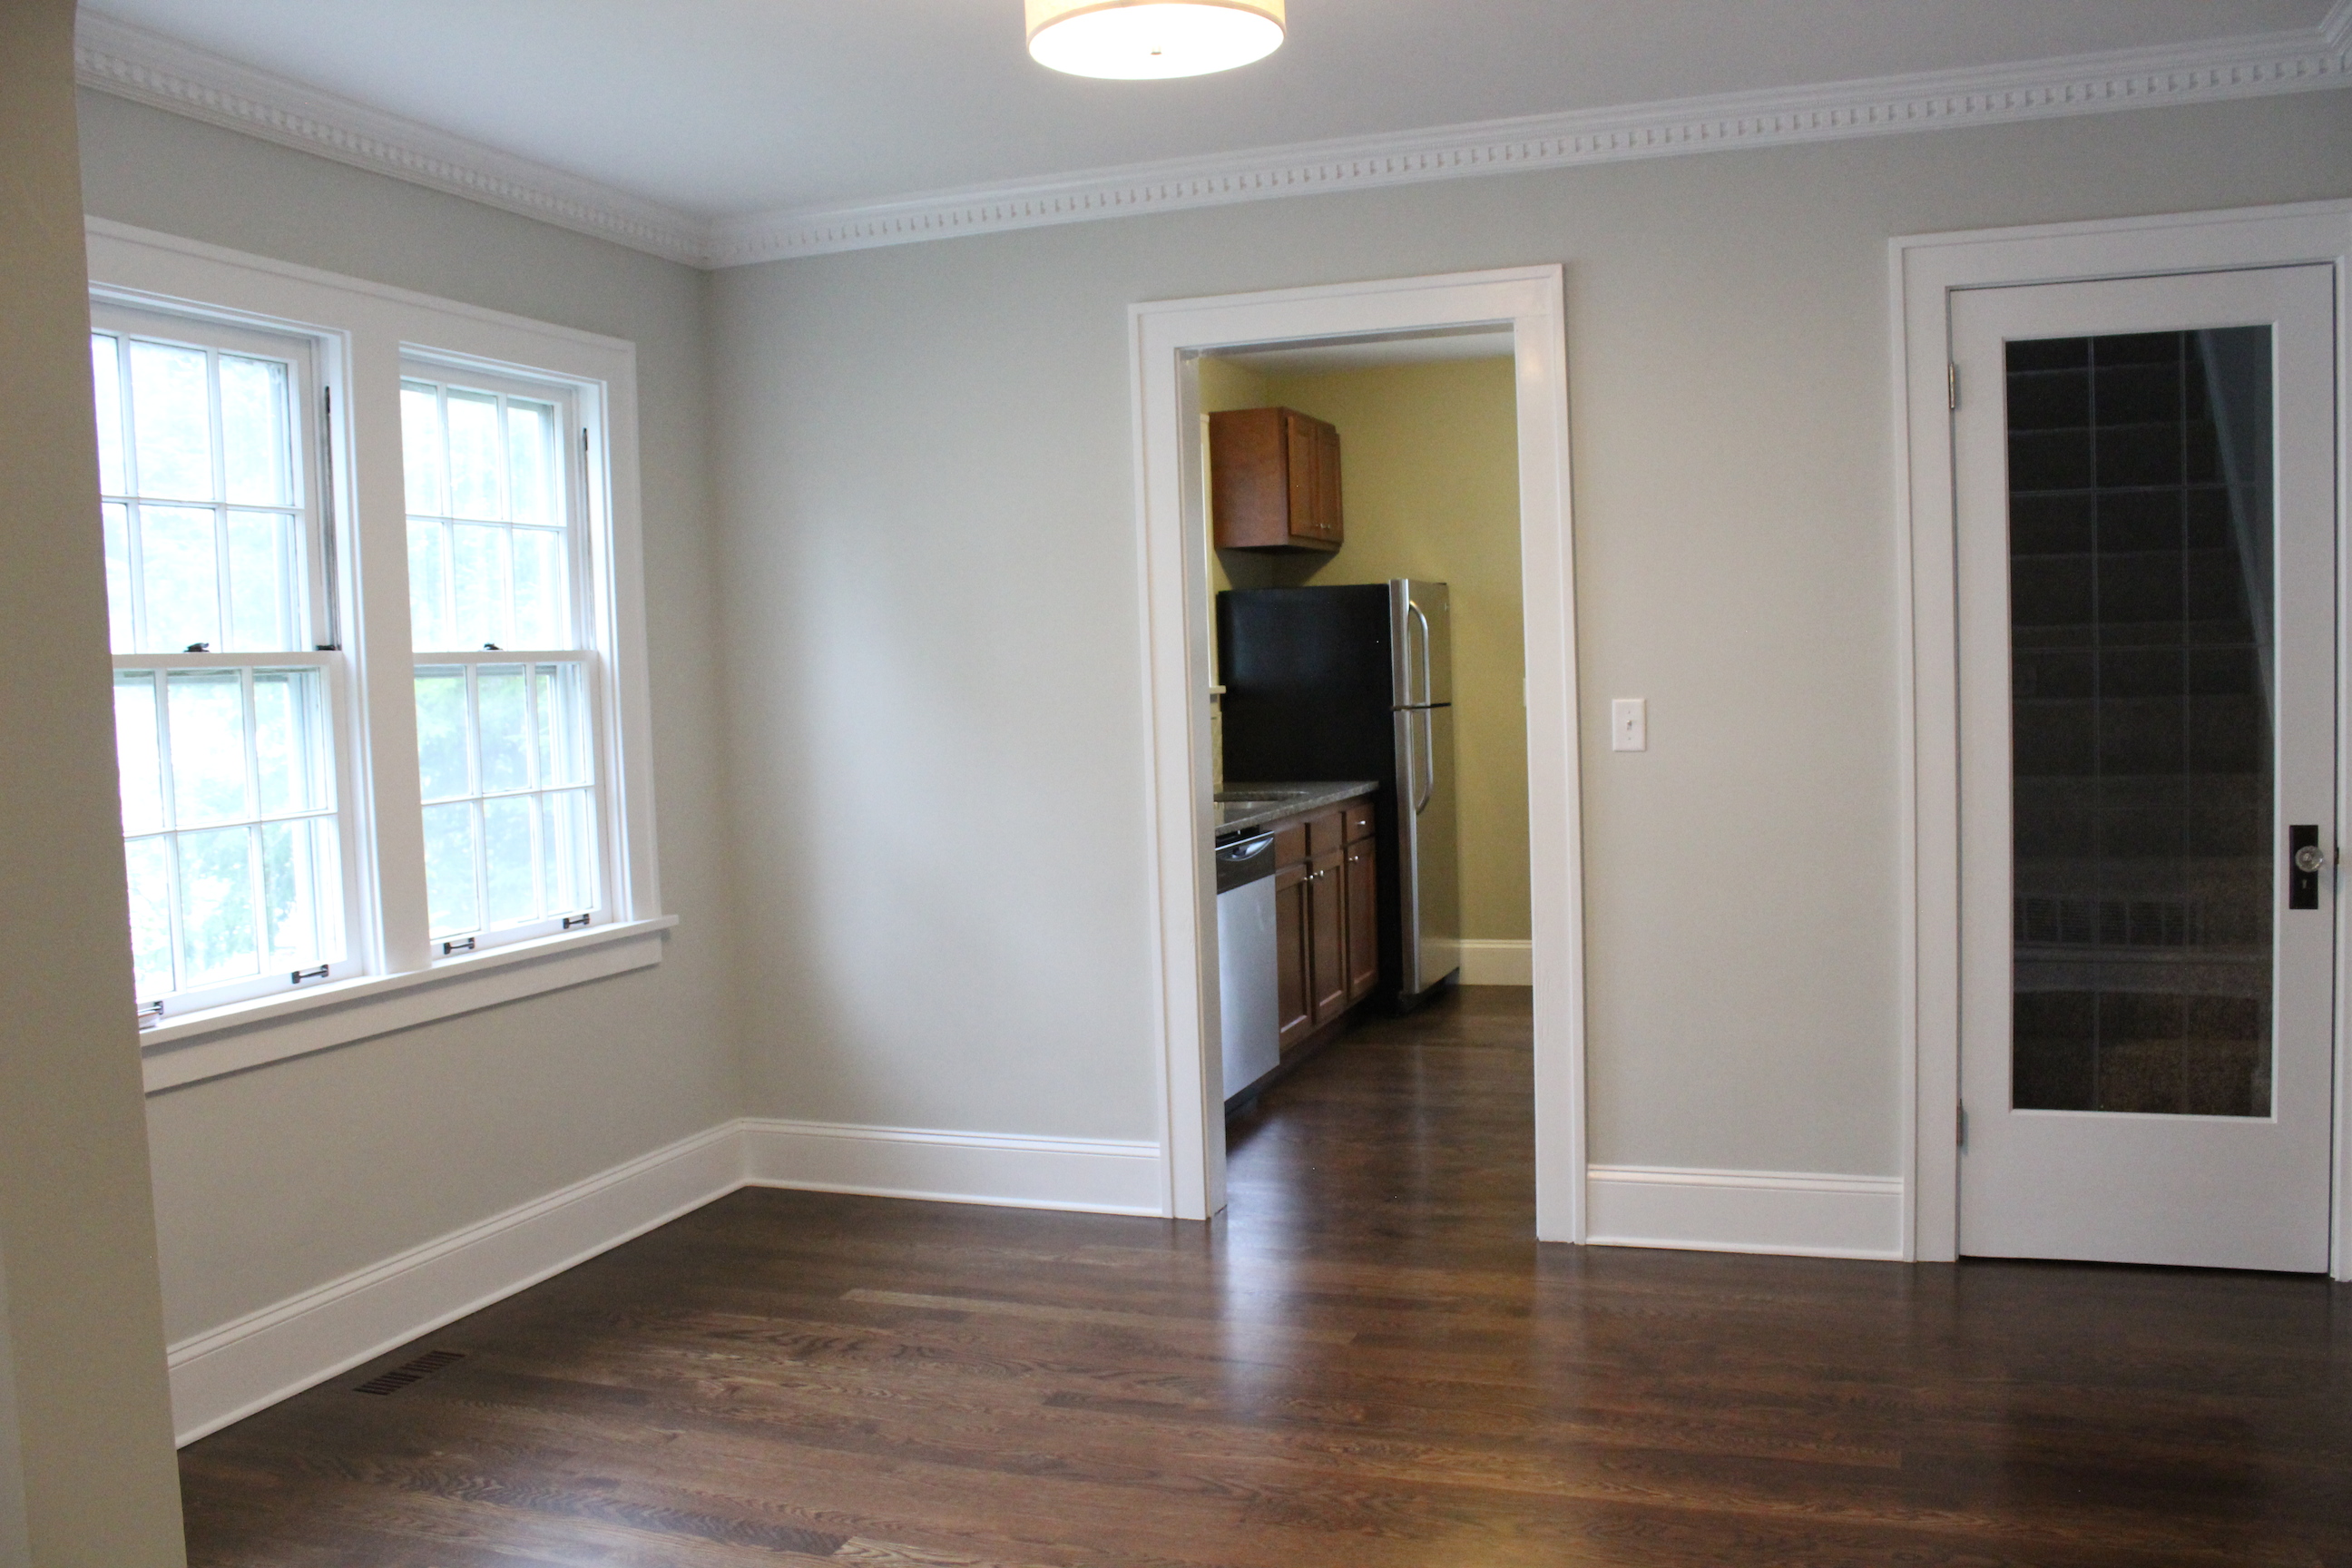
And now after new stainless steel appliances, cabinets, granite countertops, arabesque tile backsplash, new hardwood floors, paint (Analytical Gray by Sherwin Williams), lighting and more:

IMG_5542

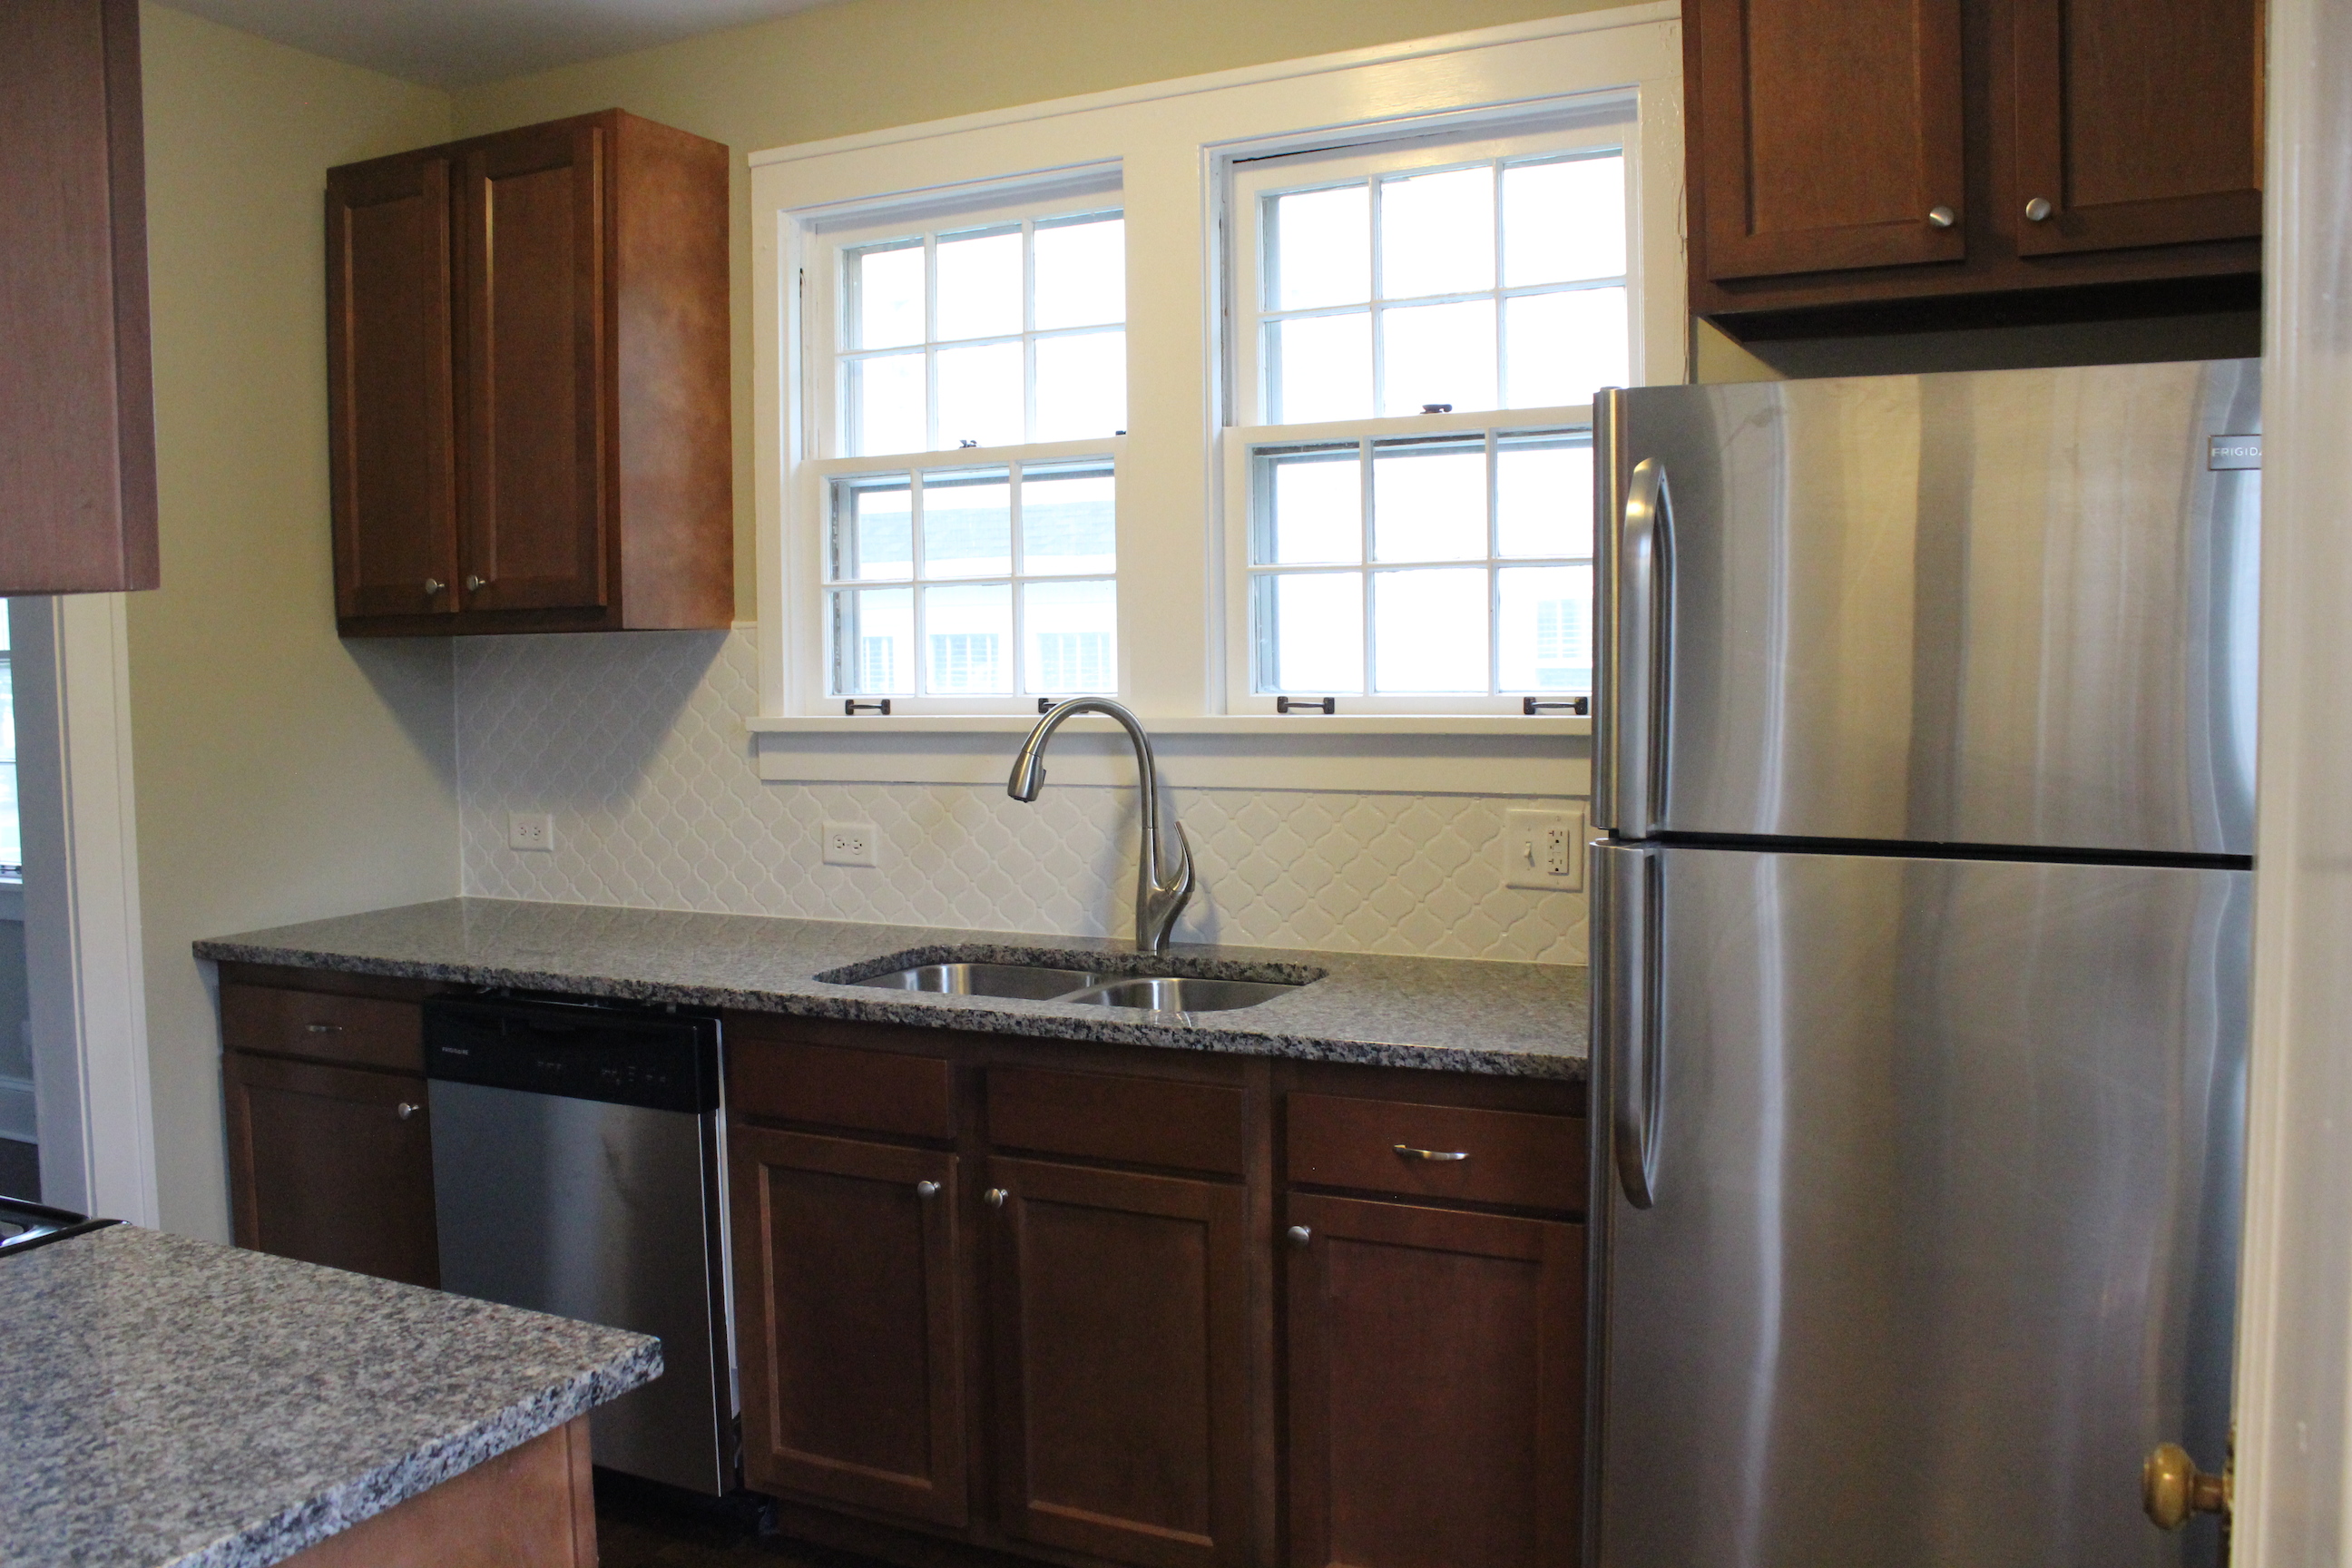
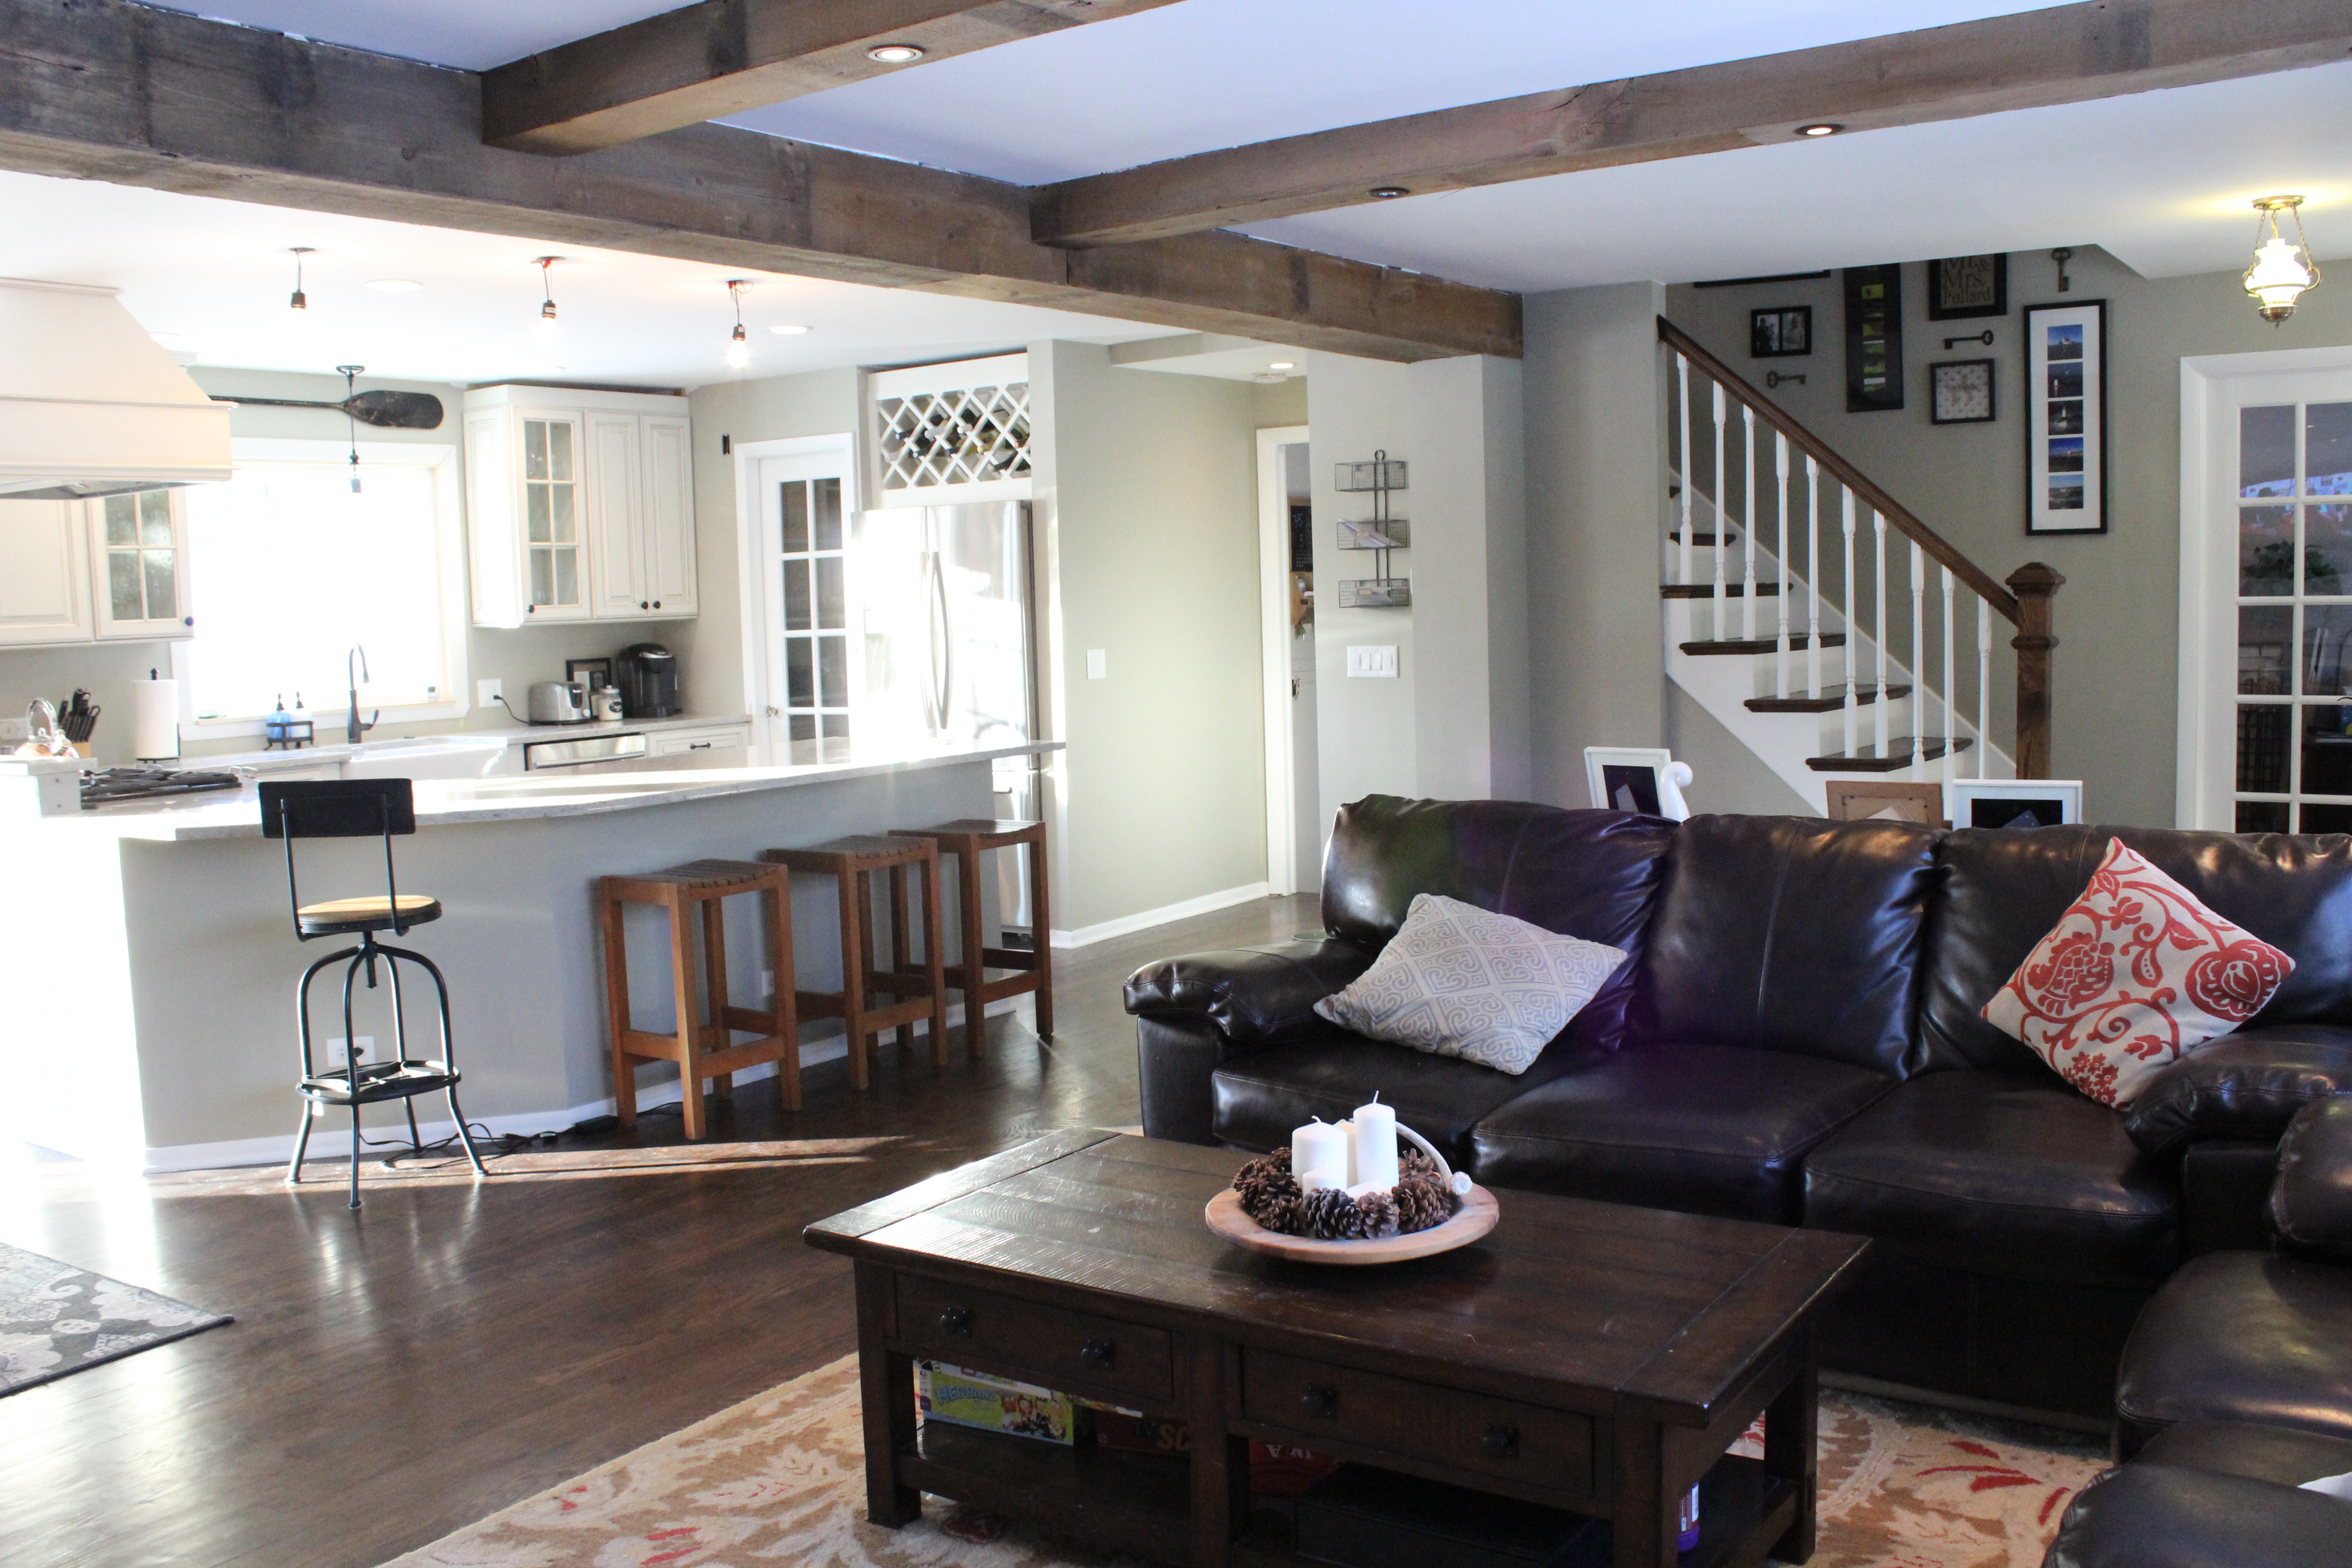
Here’s the other side of the kitchen.


And view from the dining room.

IMG_5545

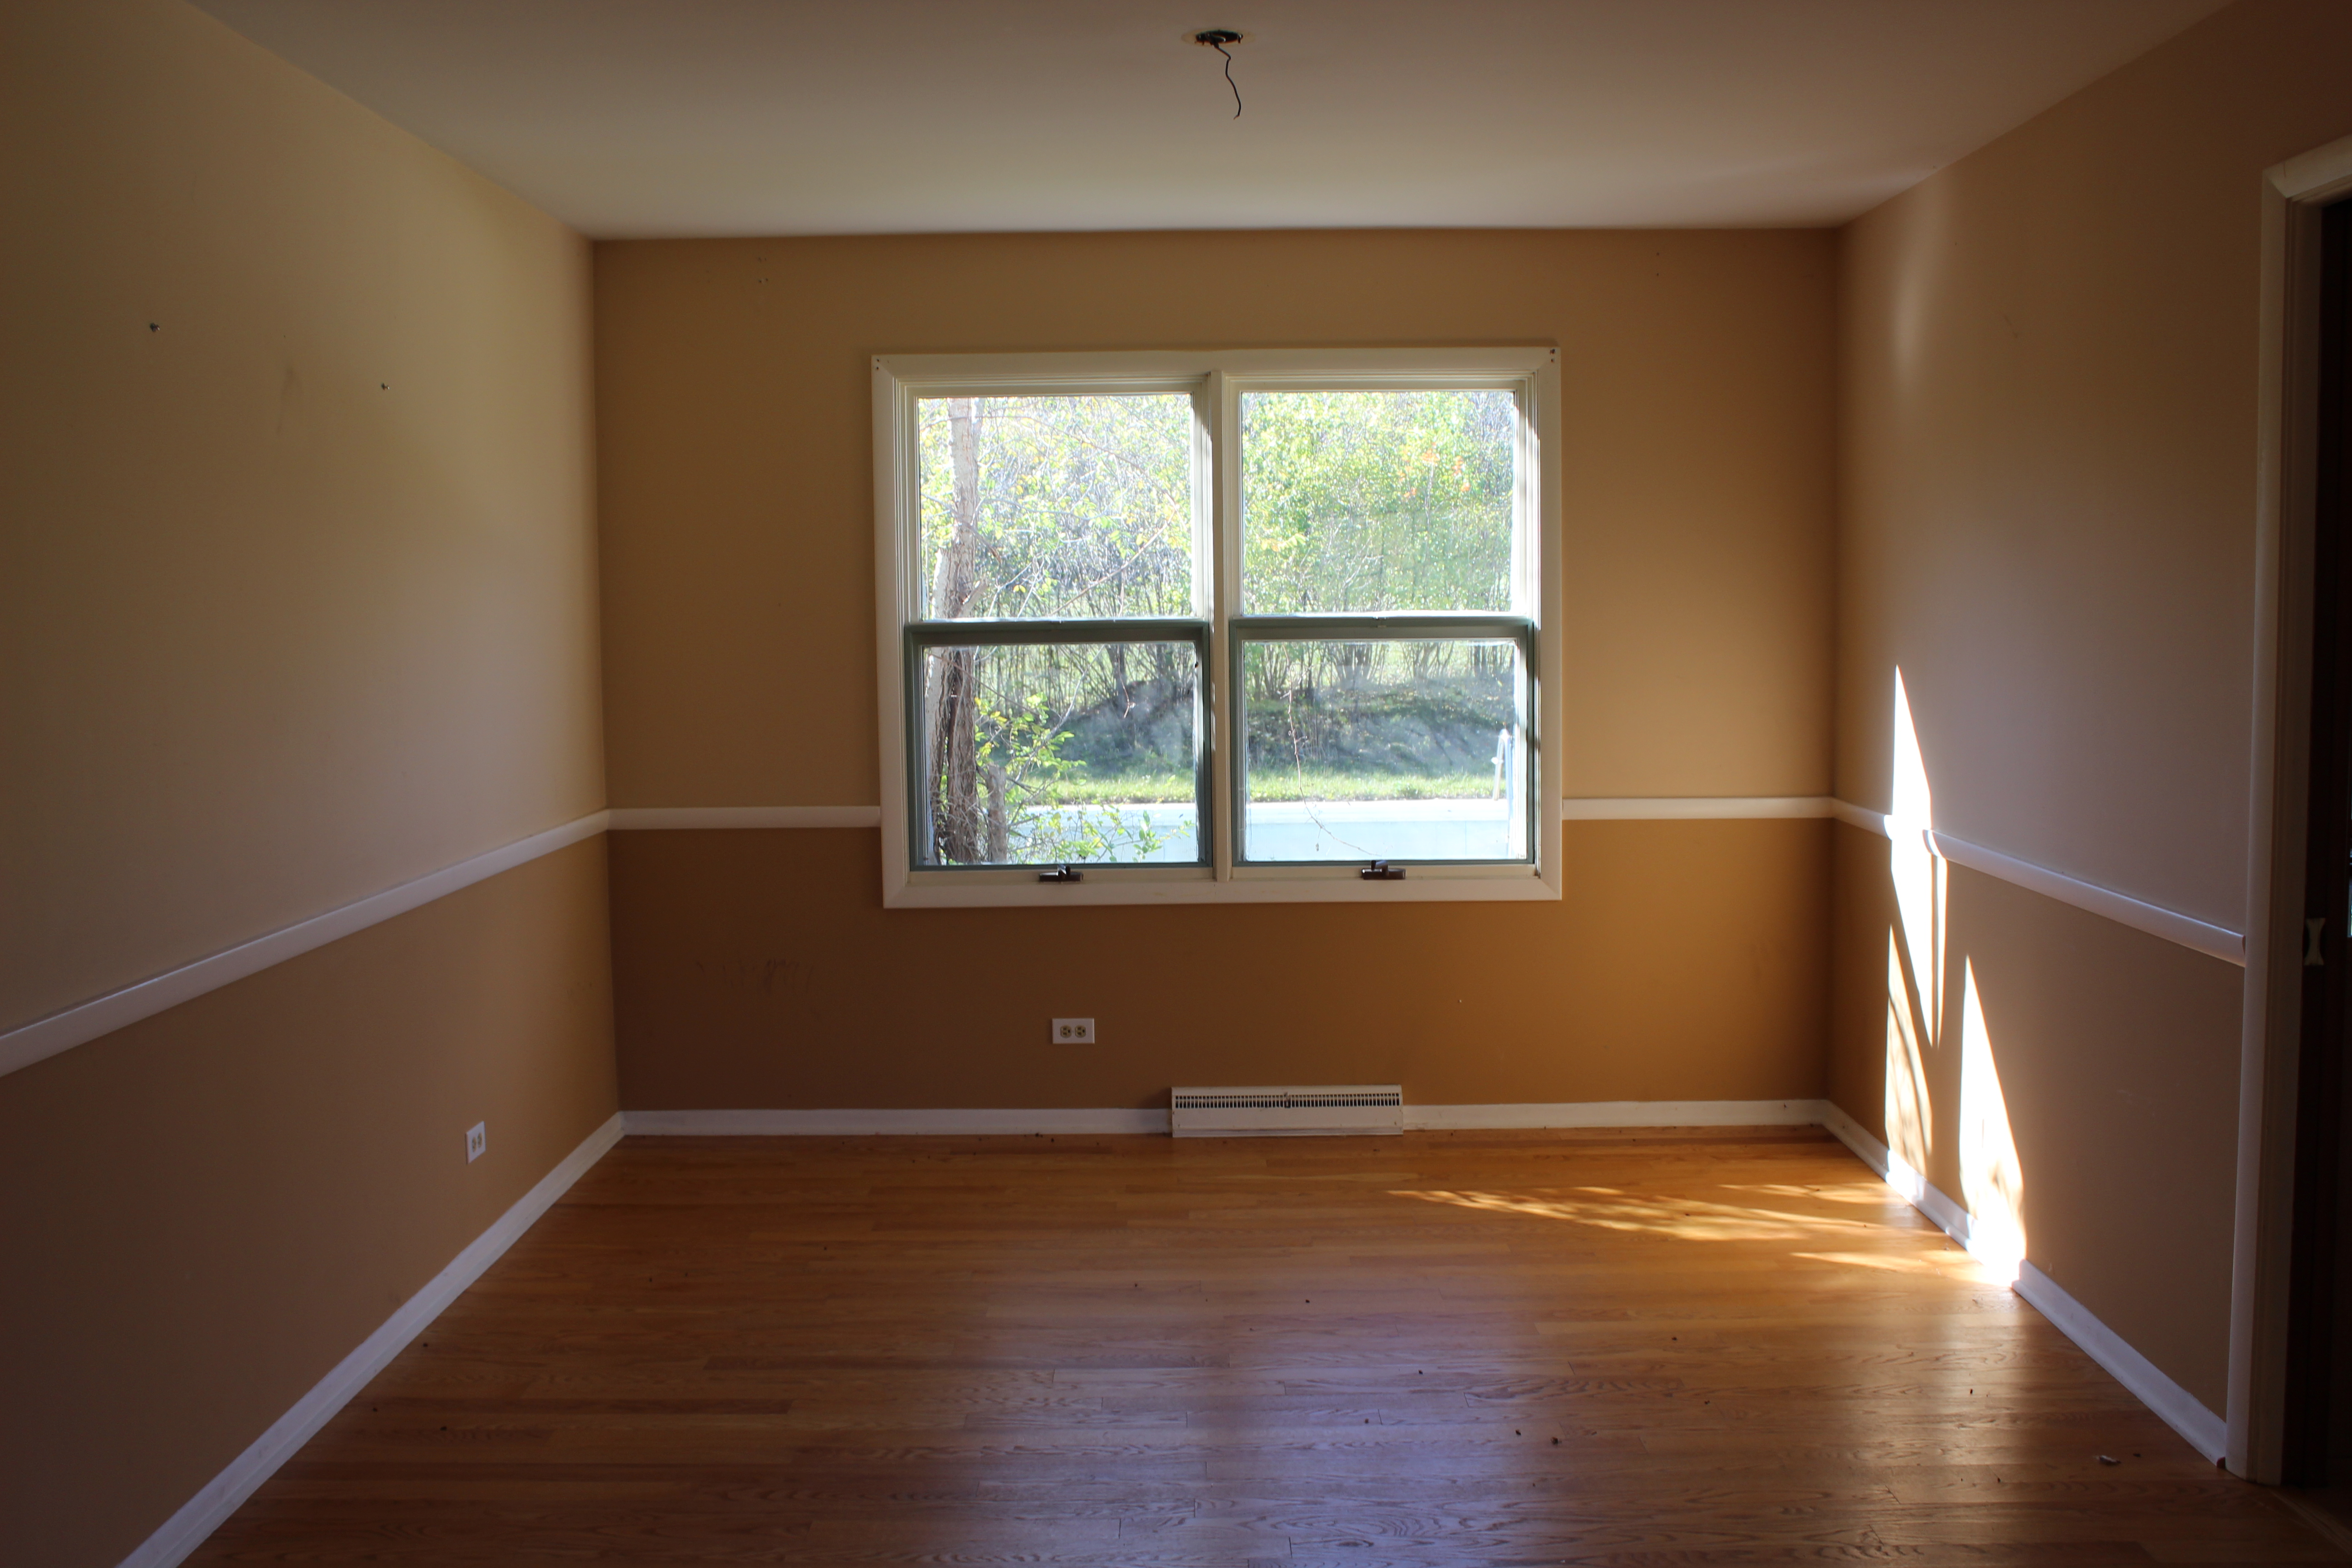
Here was the dining room before:


IMG_6954

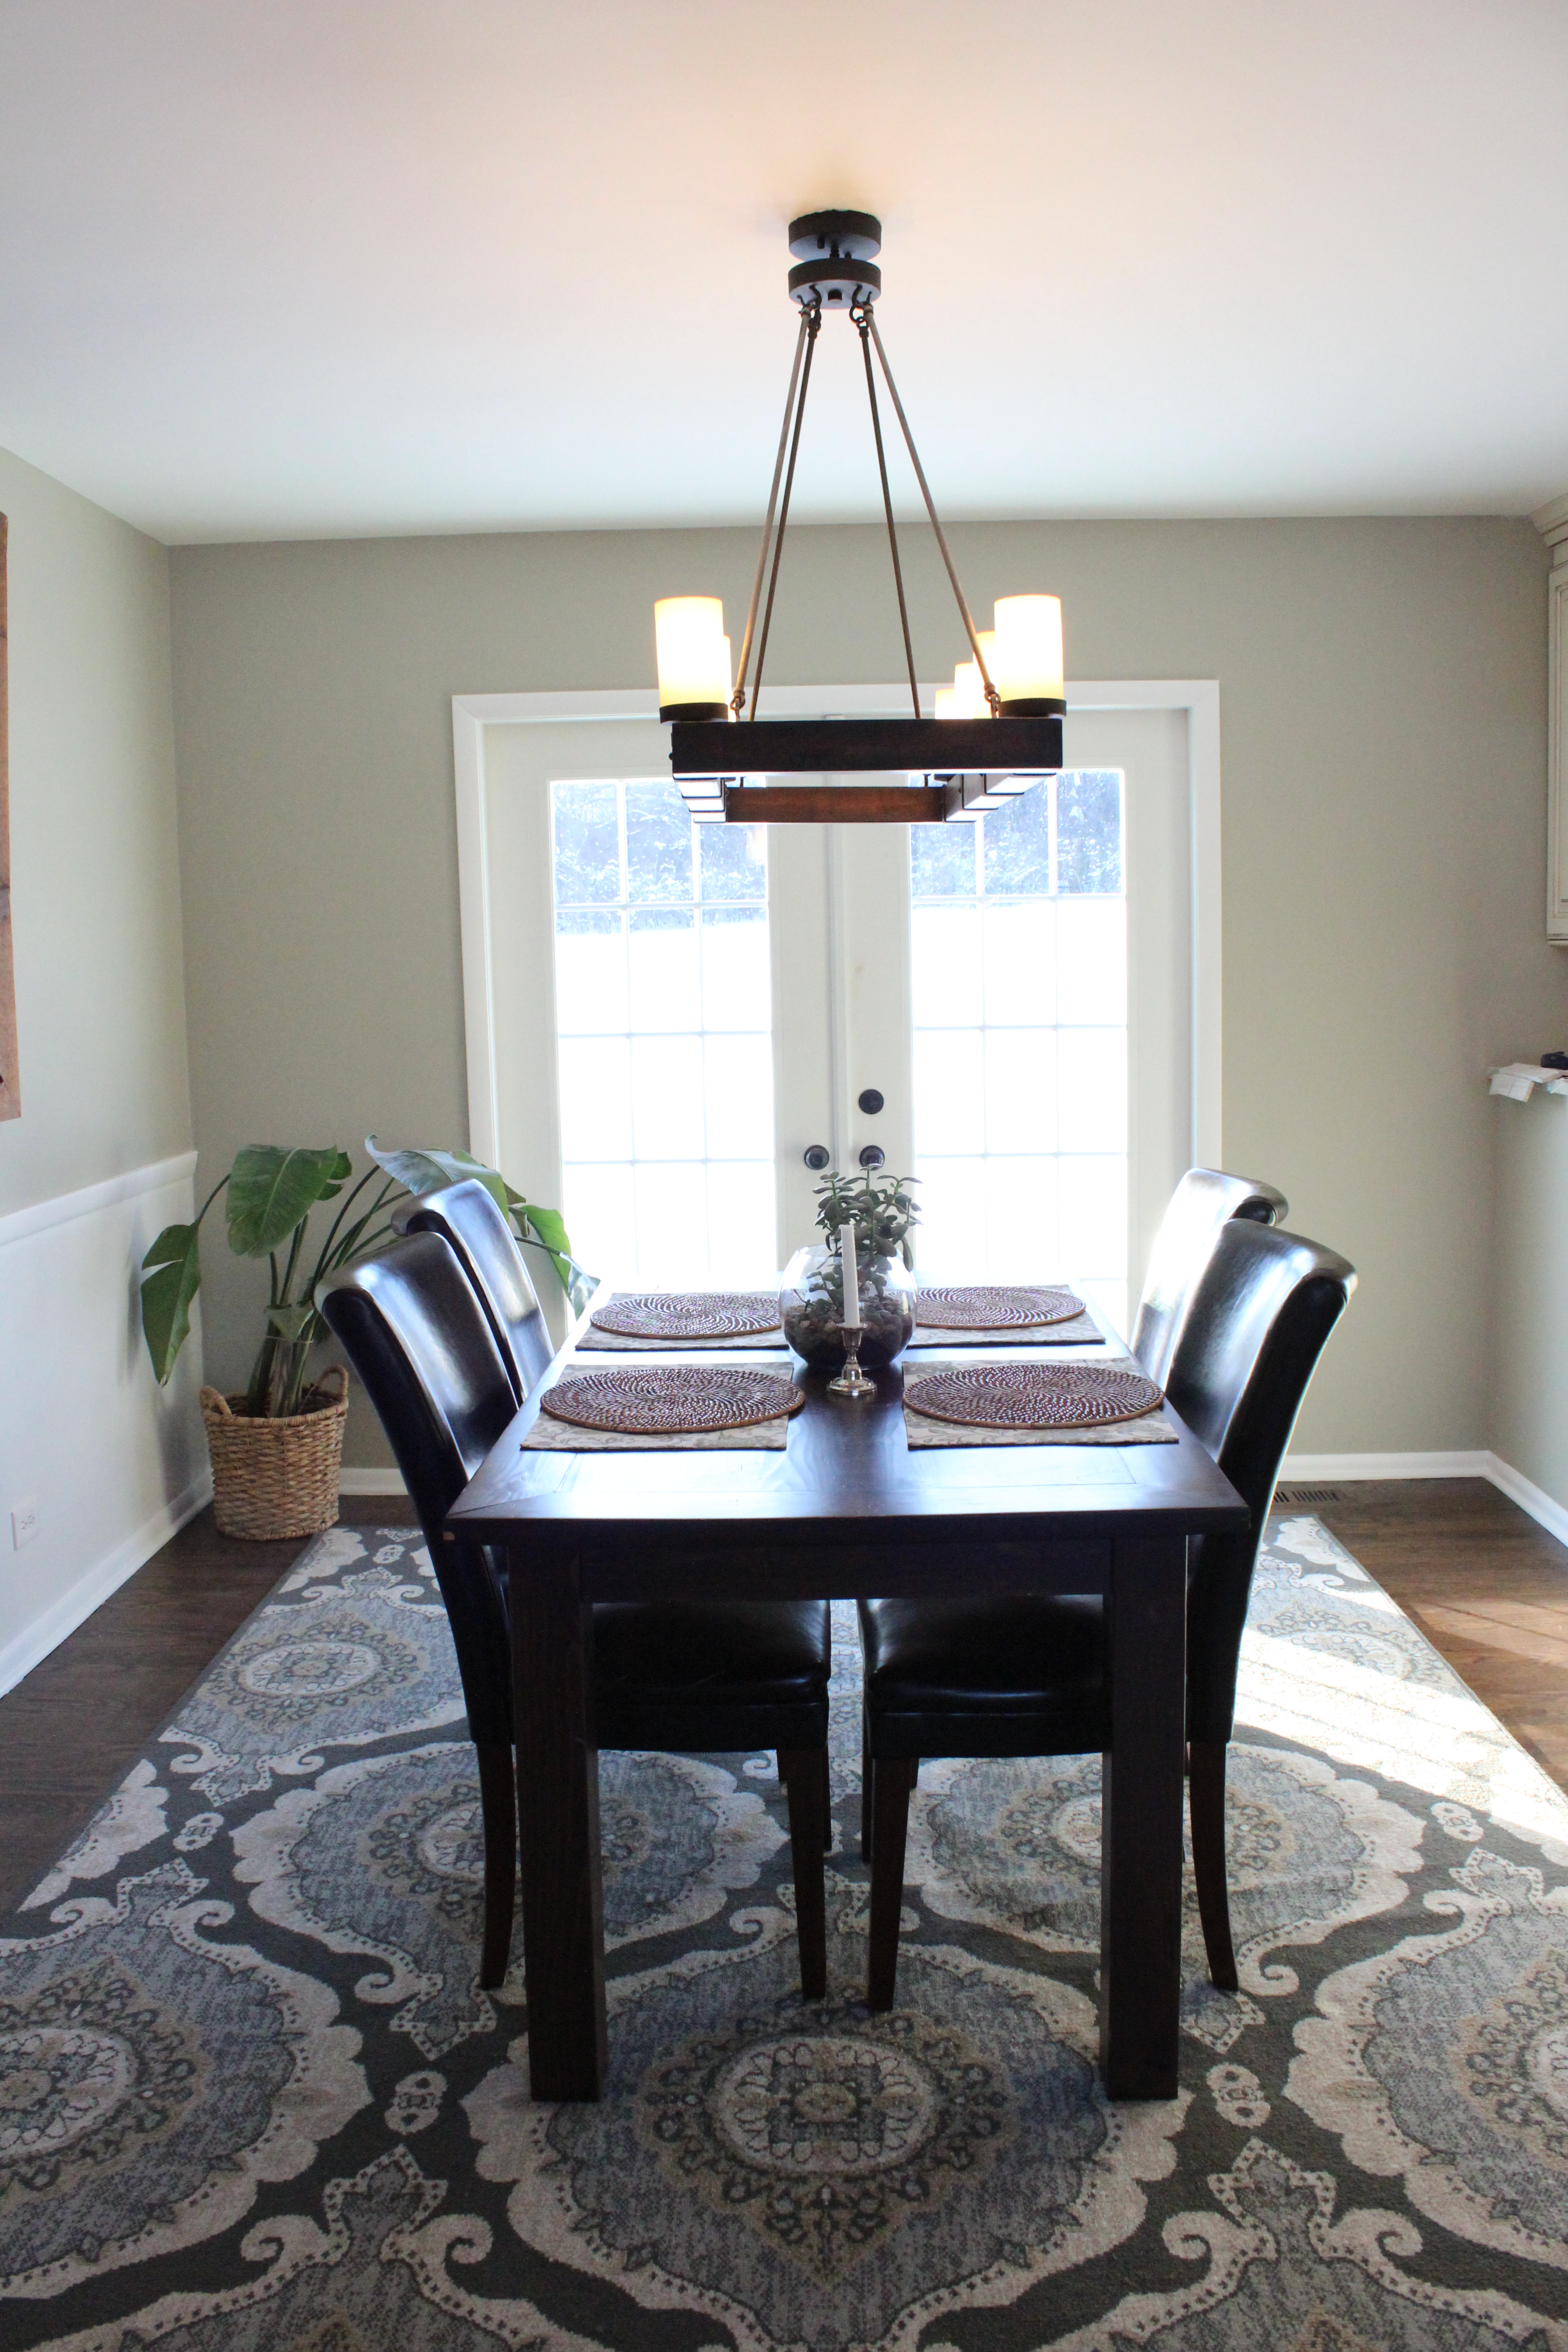
And now after new paint (Gray Owl by Benjamin Moore), crown molding, lighting, hardwood floors, baseboards, and more:

IMG_5546

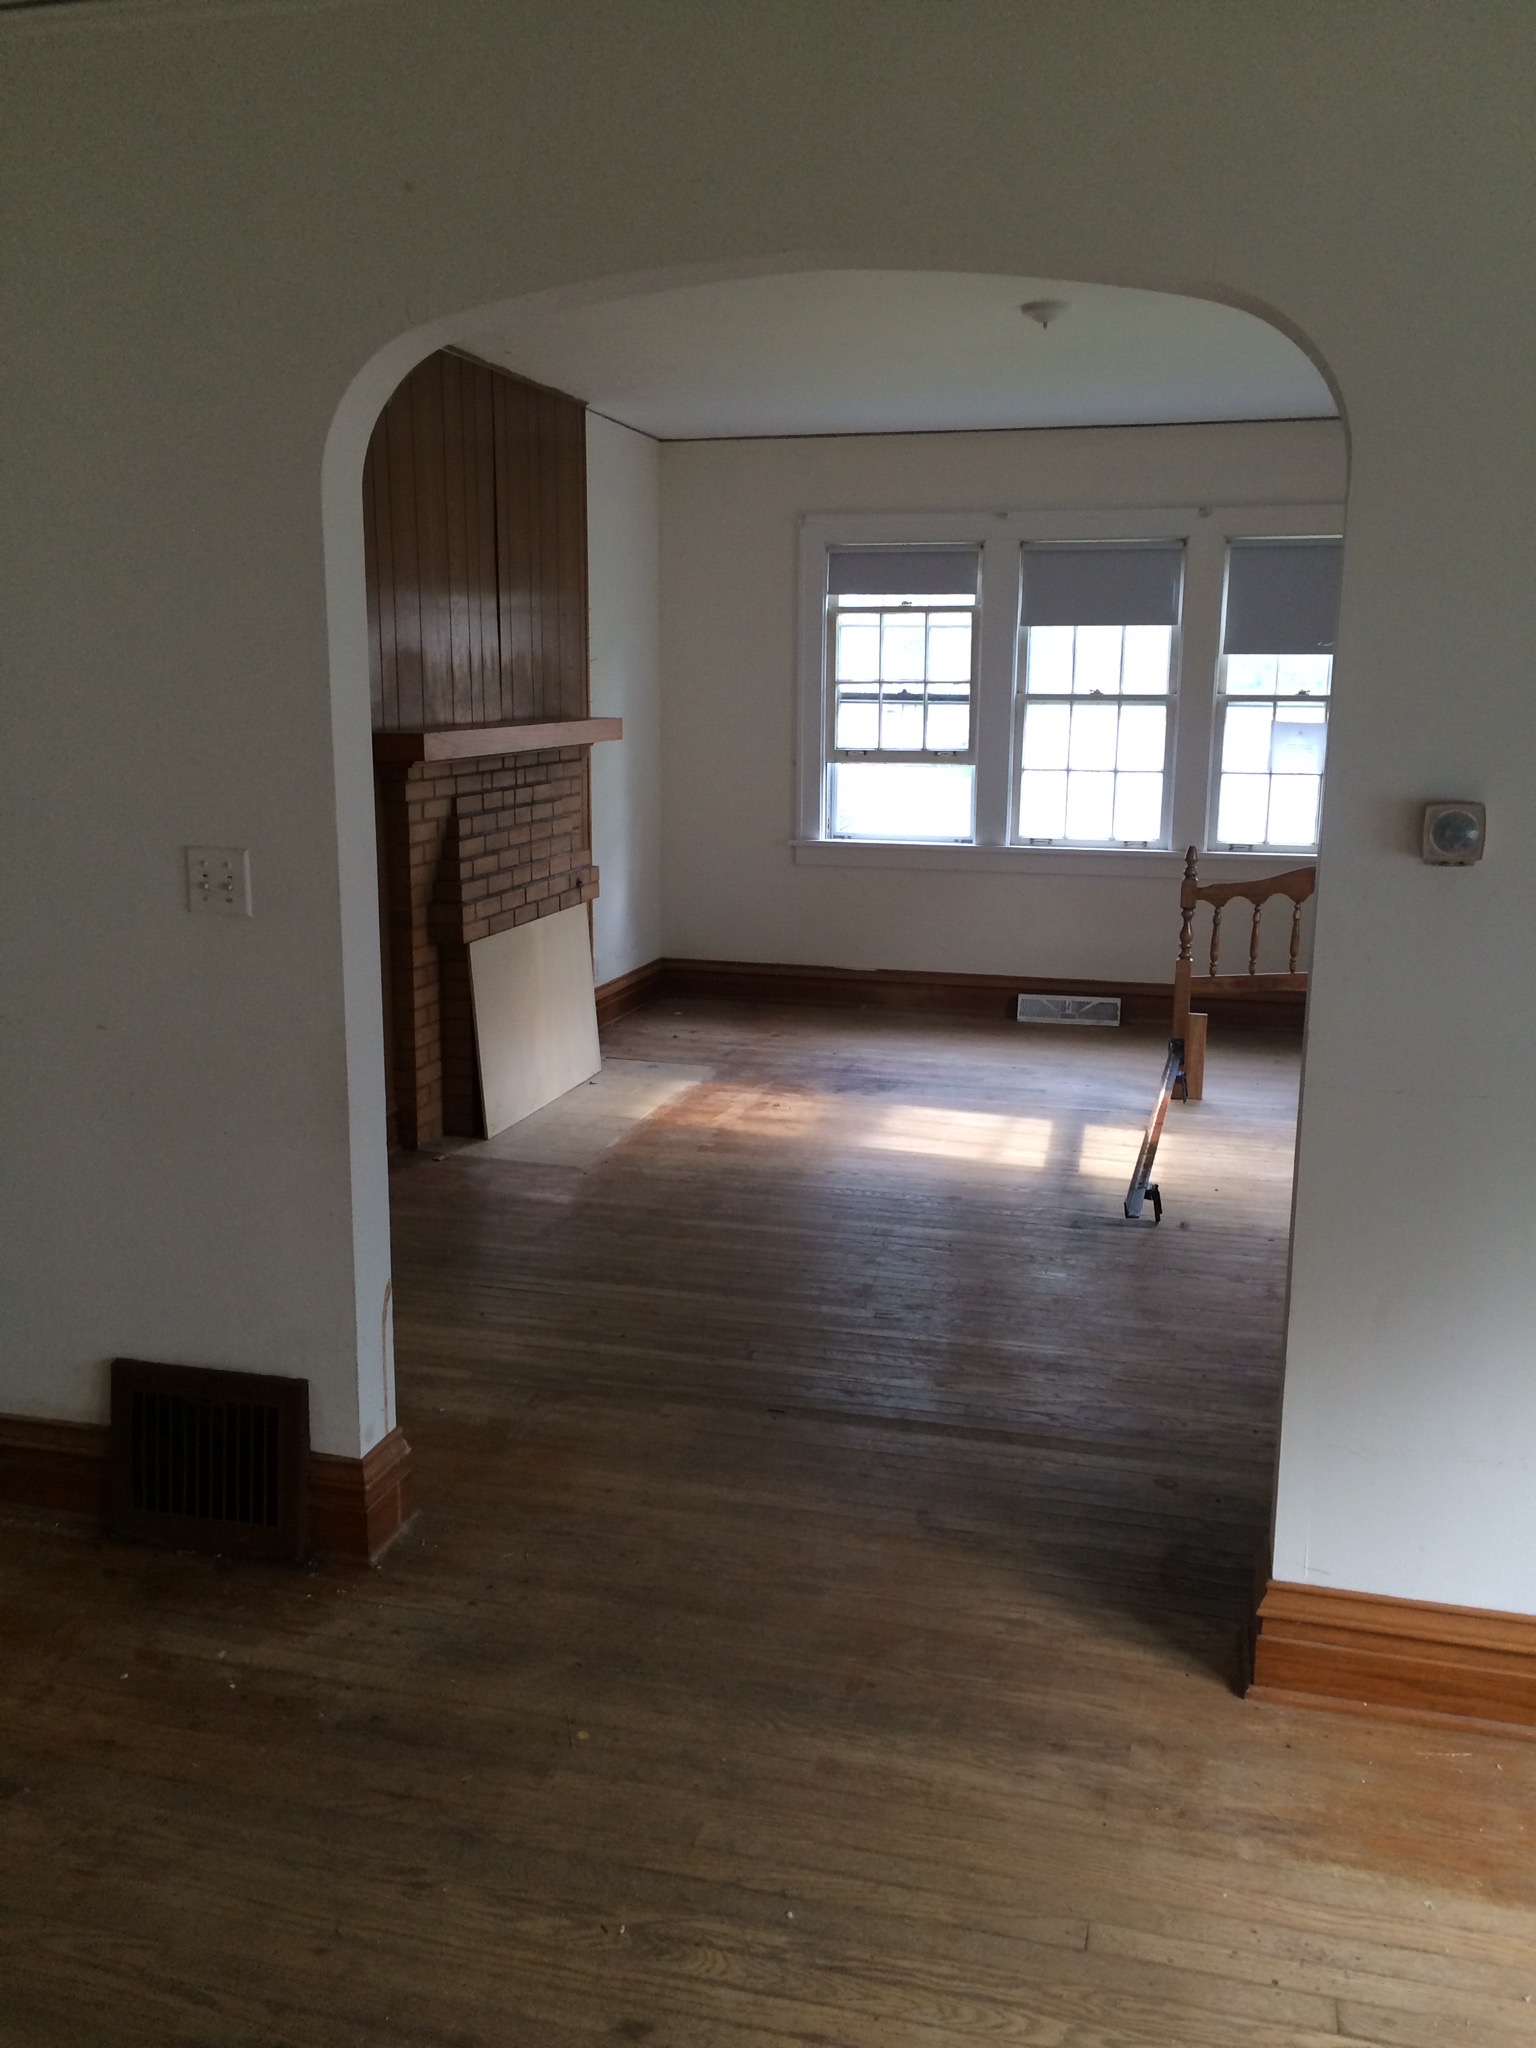
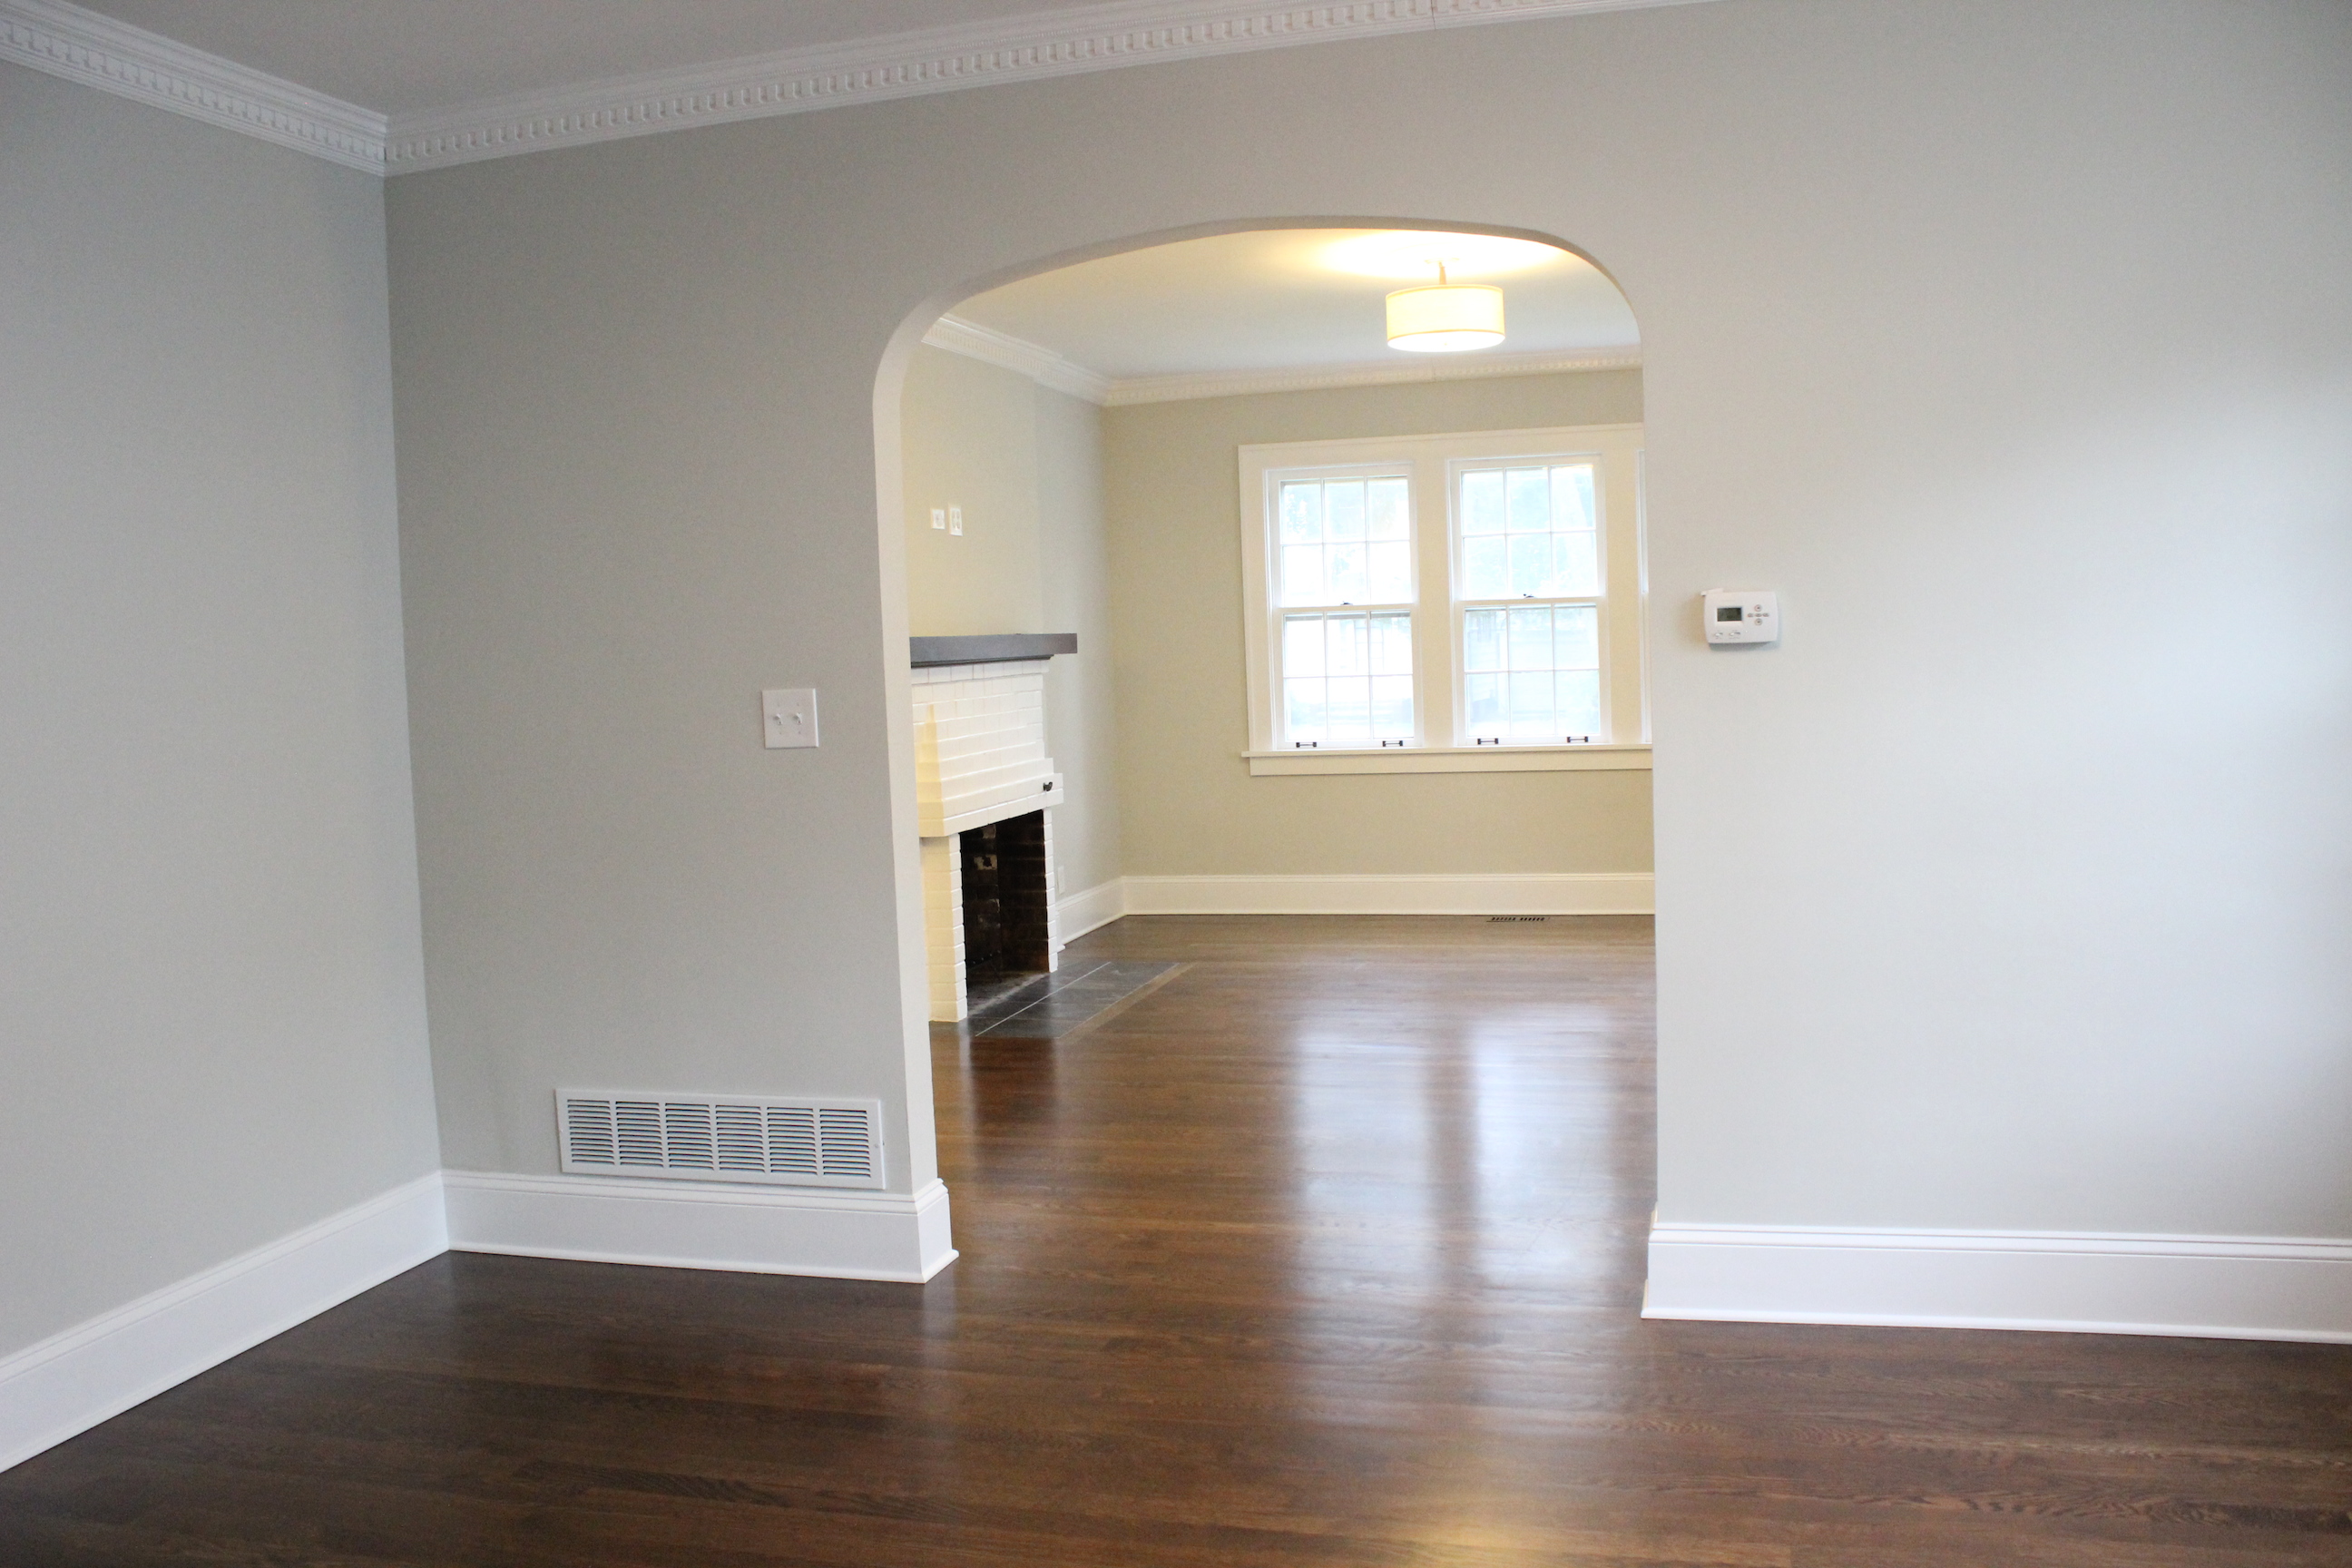
The other side of the dining room looking into the living room used to look like this:

IMG_6957

And now:

IMG_5547

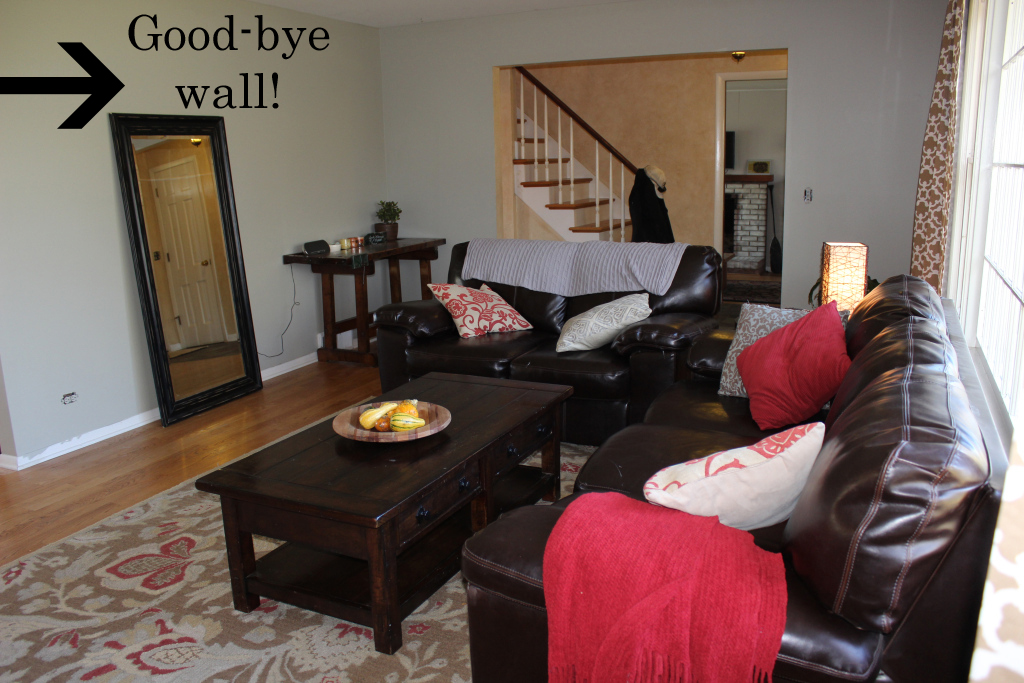
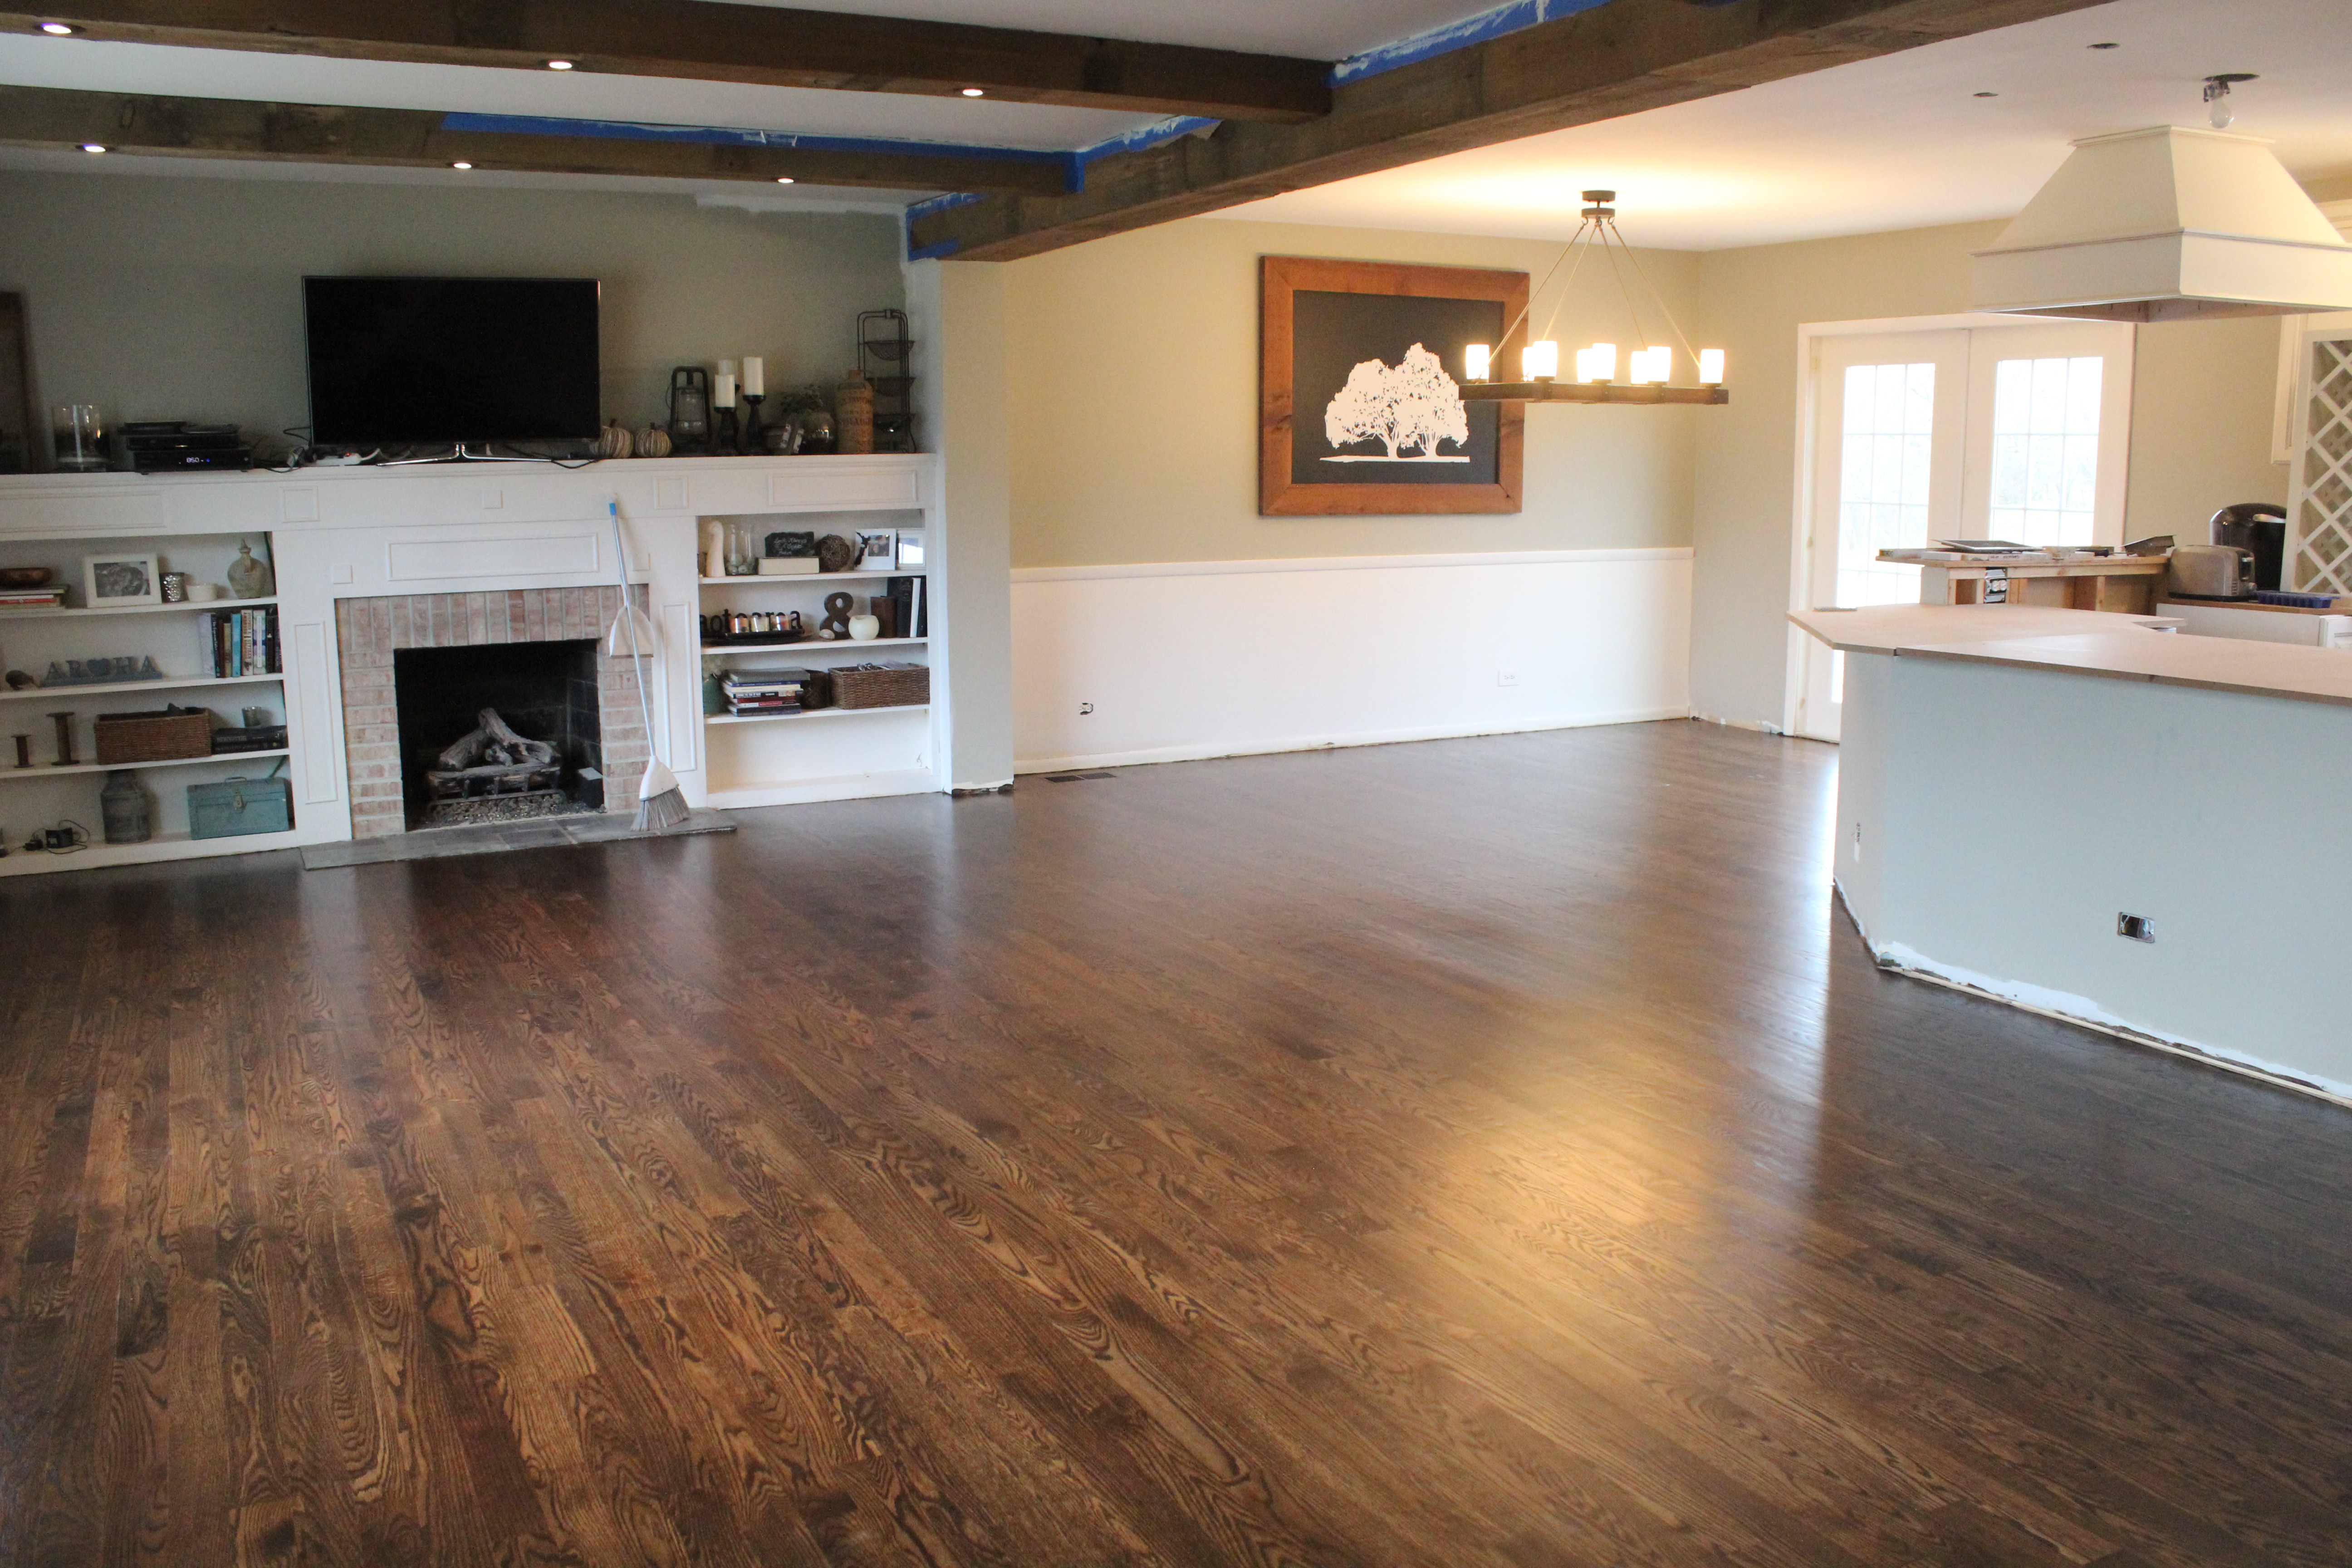
Into the living room, it used to look like this:

IMG_6952

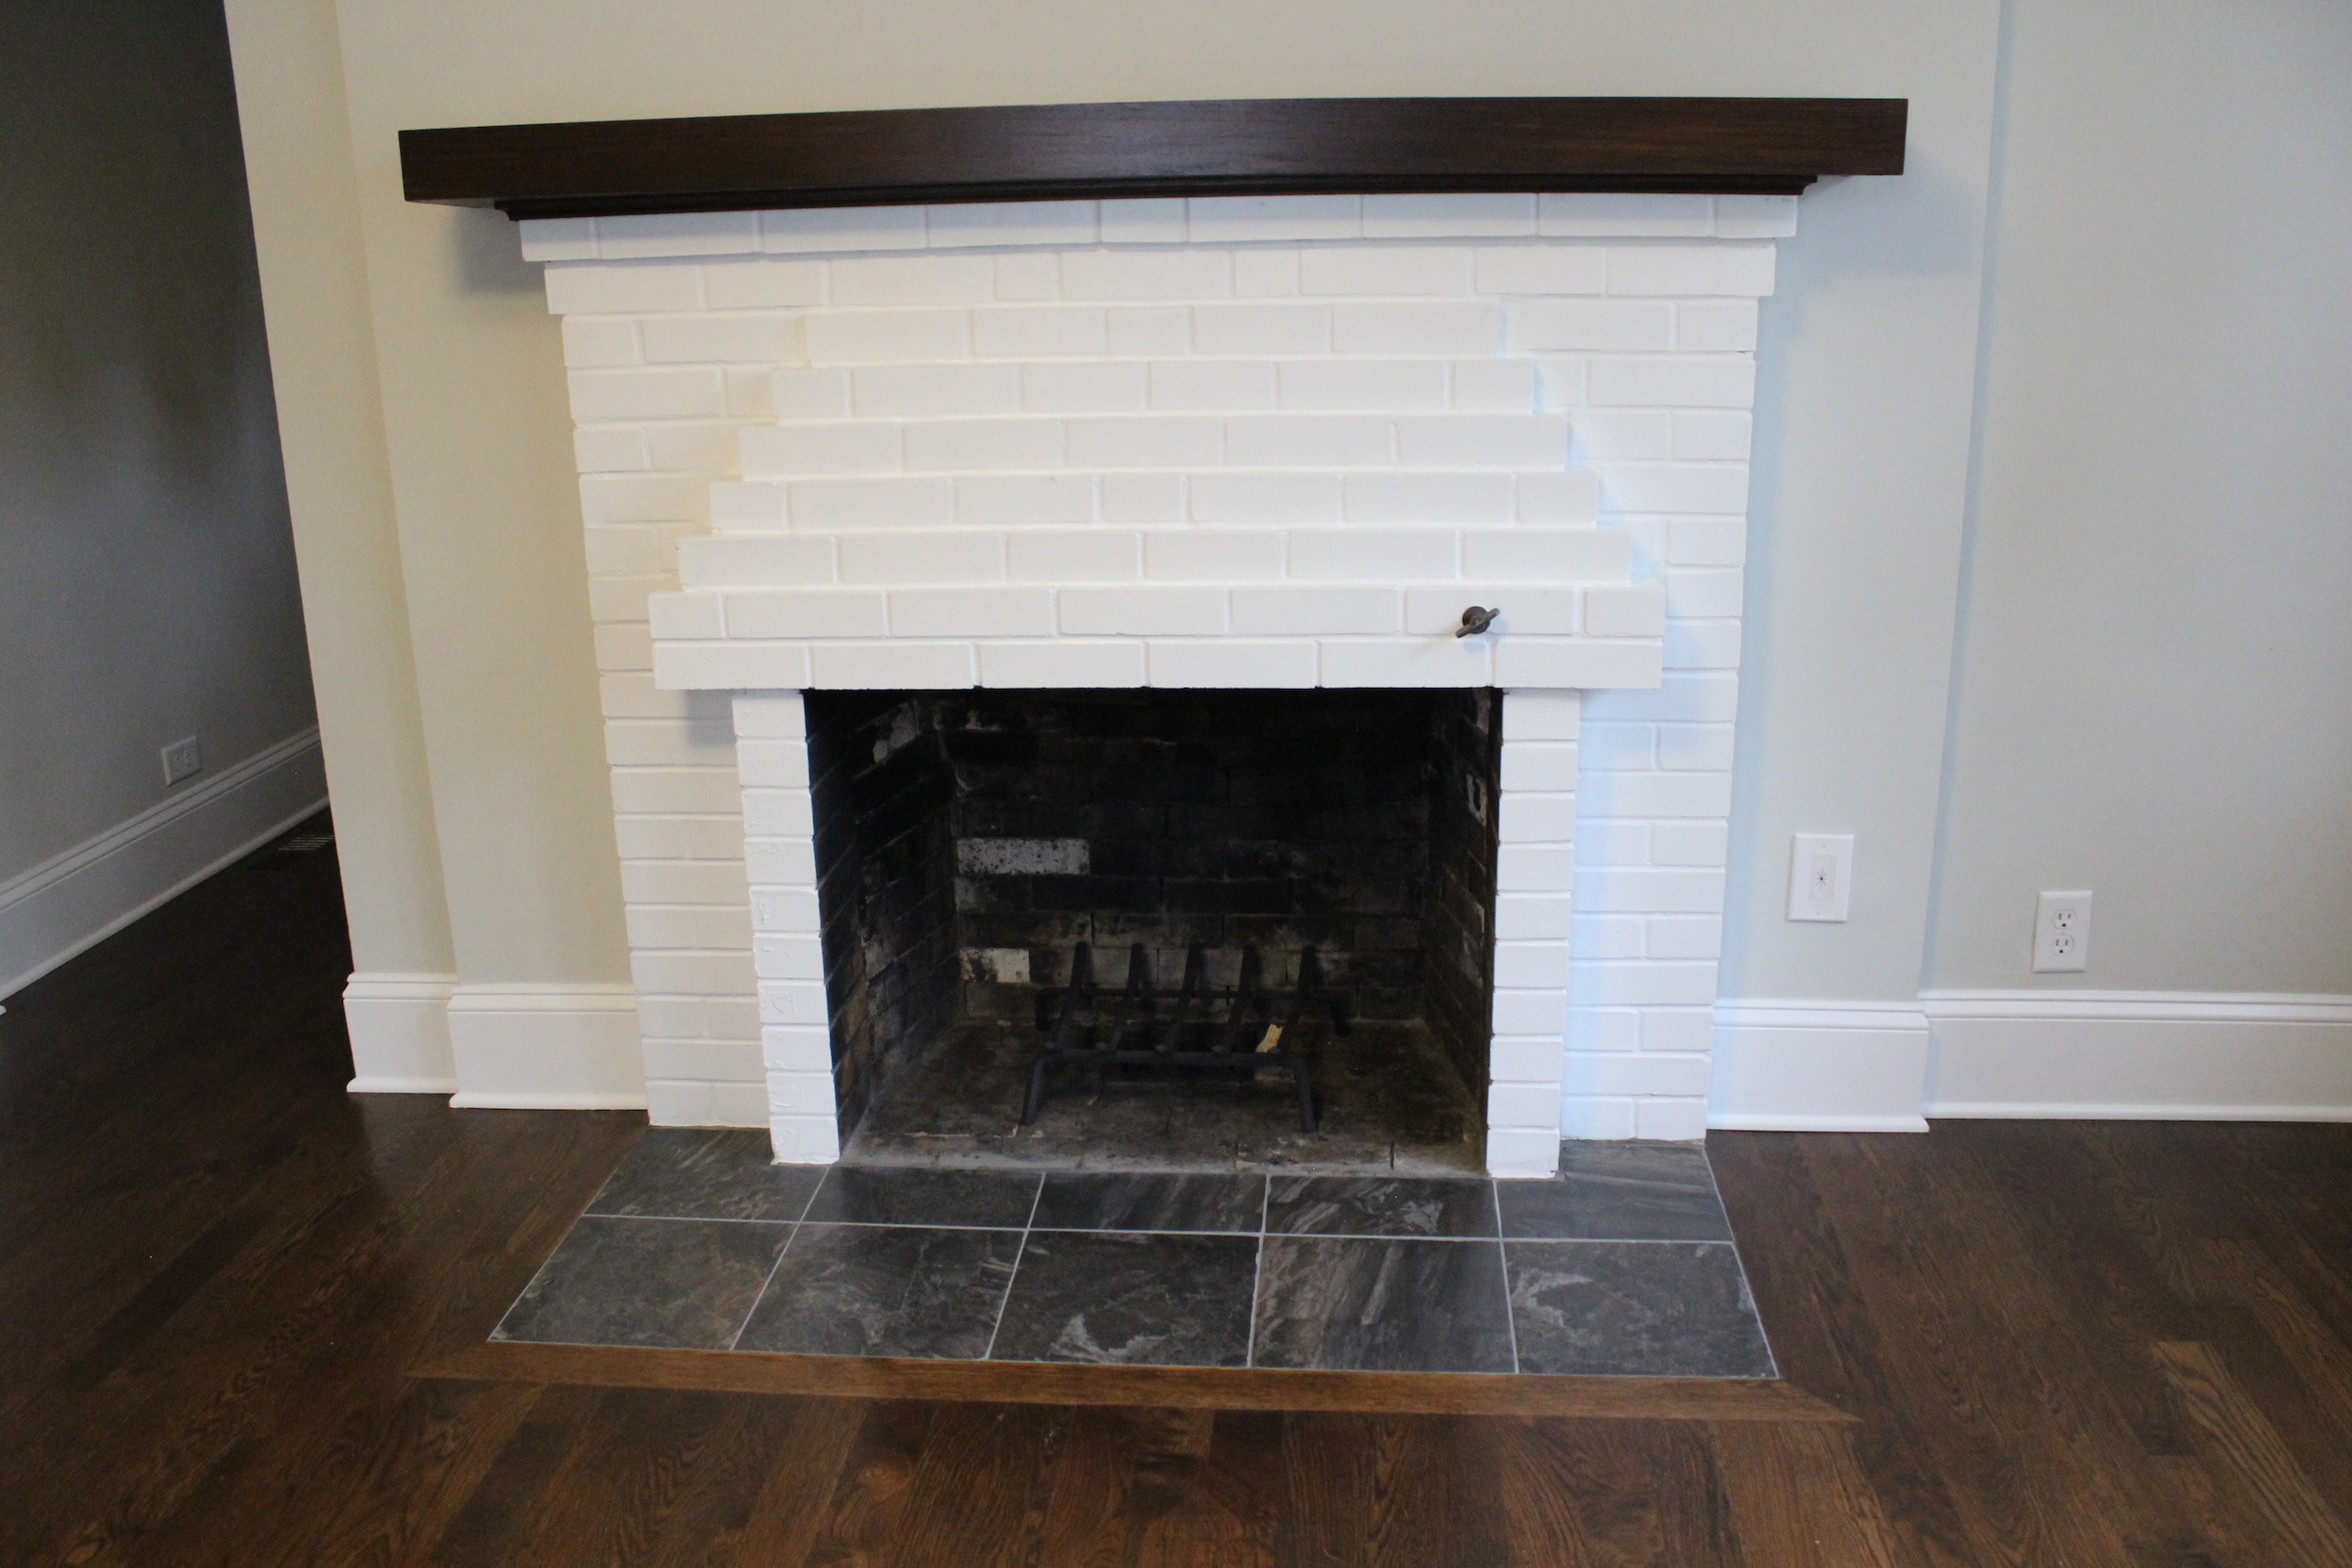
We updated the fireplace, added sconces (from Home Depot), an overhead drum light, and continued the paint, crown, baseboards and new floors.

IMG_5548

For the fireplace, we replaced the paneling with new drywall, painted the brick white, stained the mantle, and updated the tile on the hearth.

IMG_5549

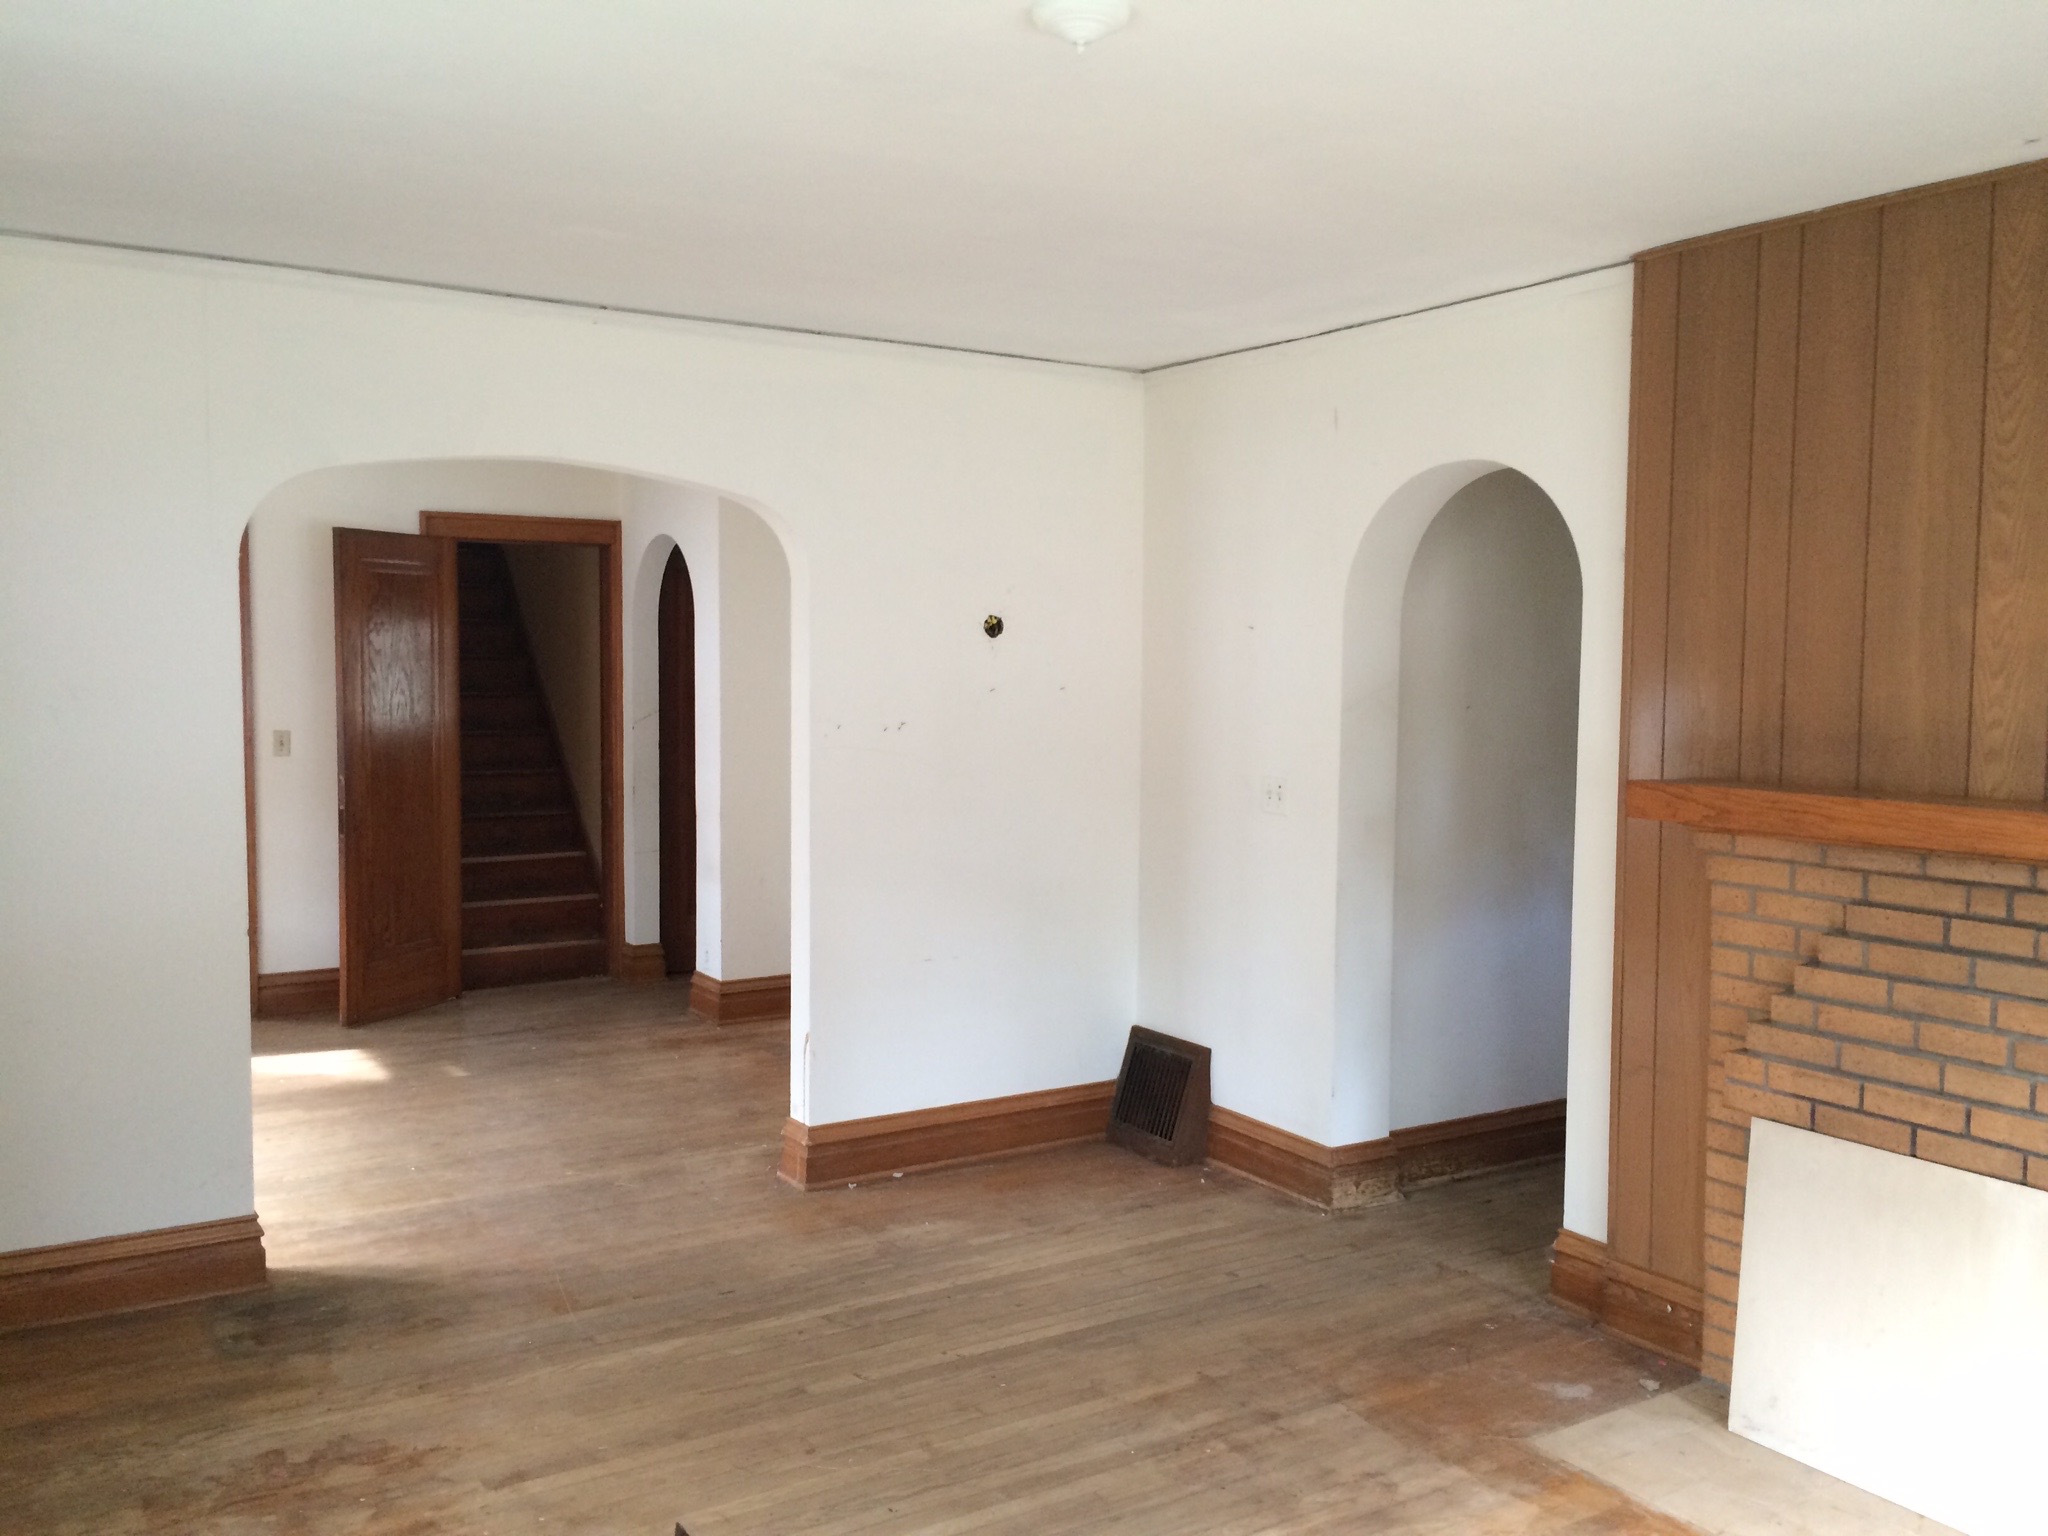
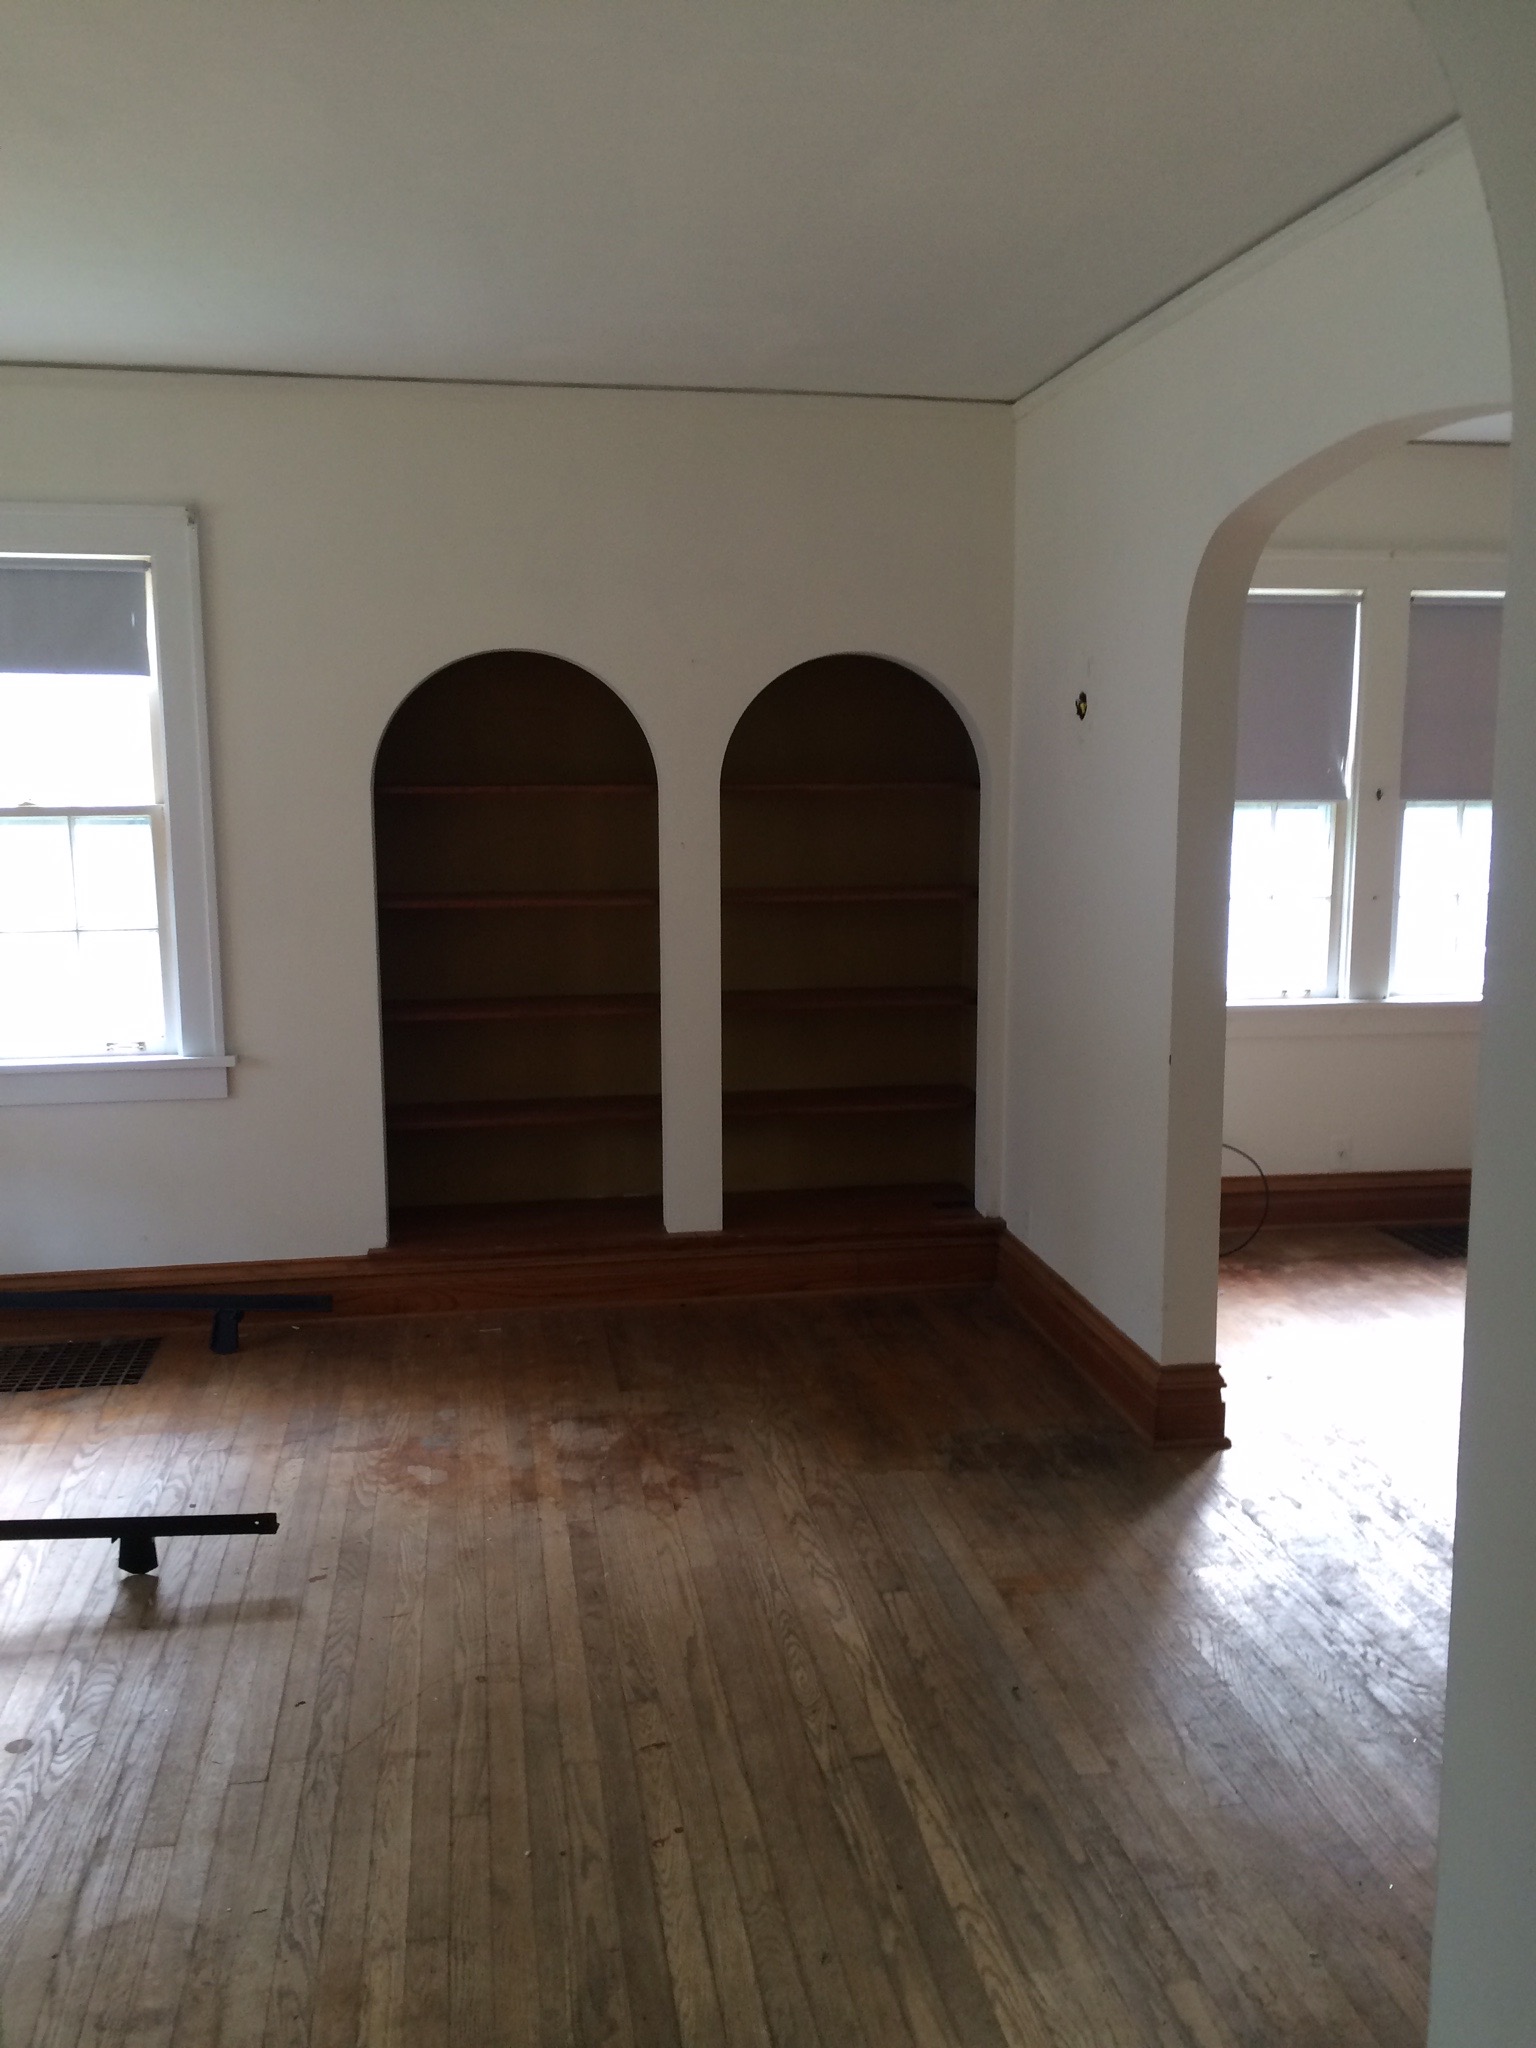
The other side of the living room looked like this.

IMG_6951

And now:

IMG_5551

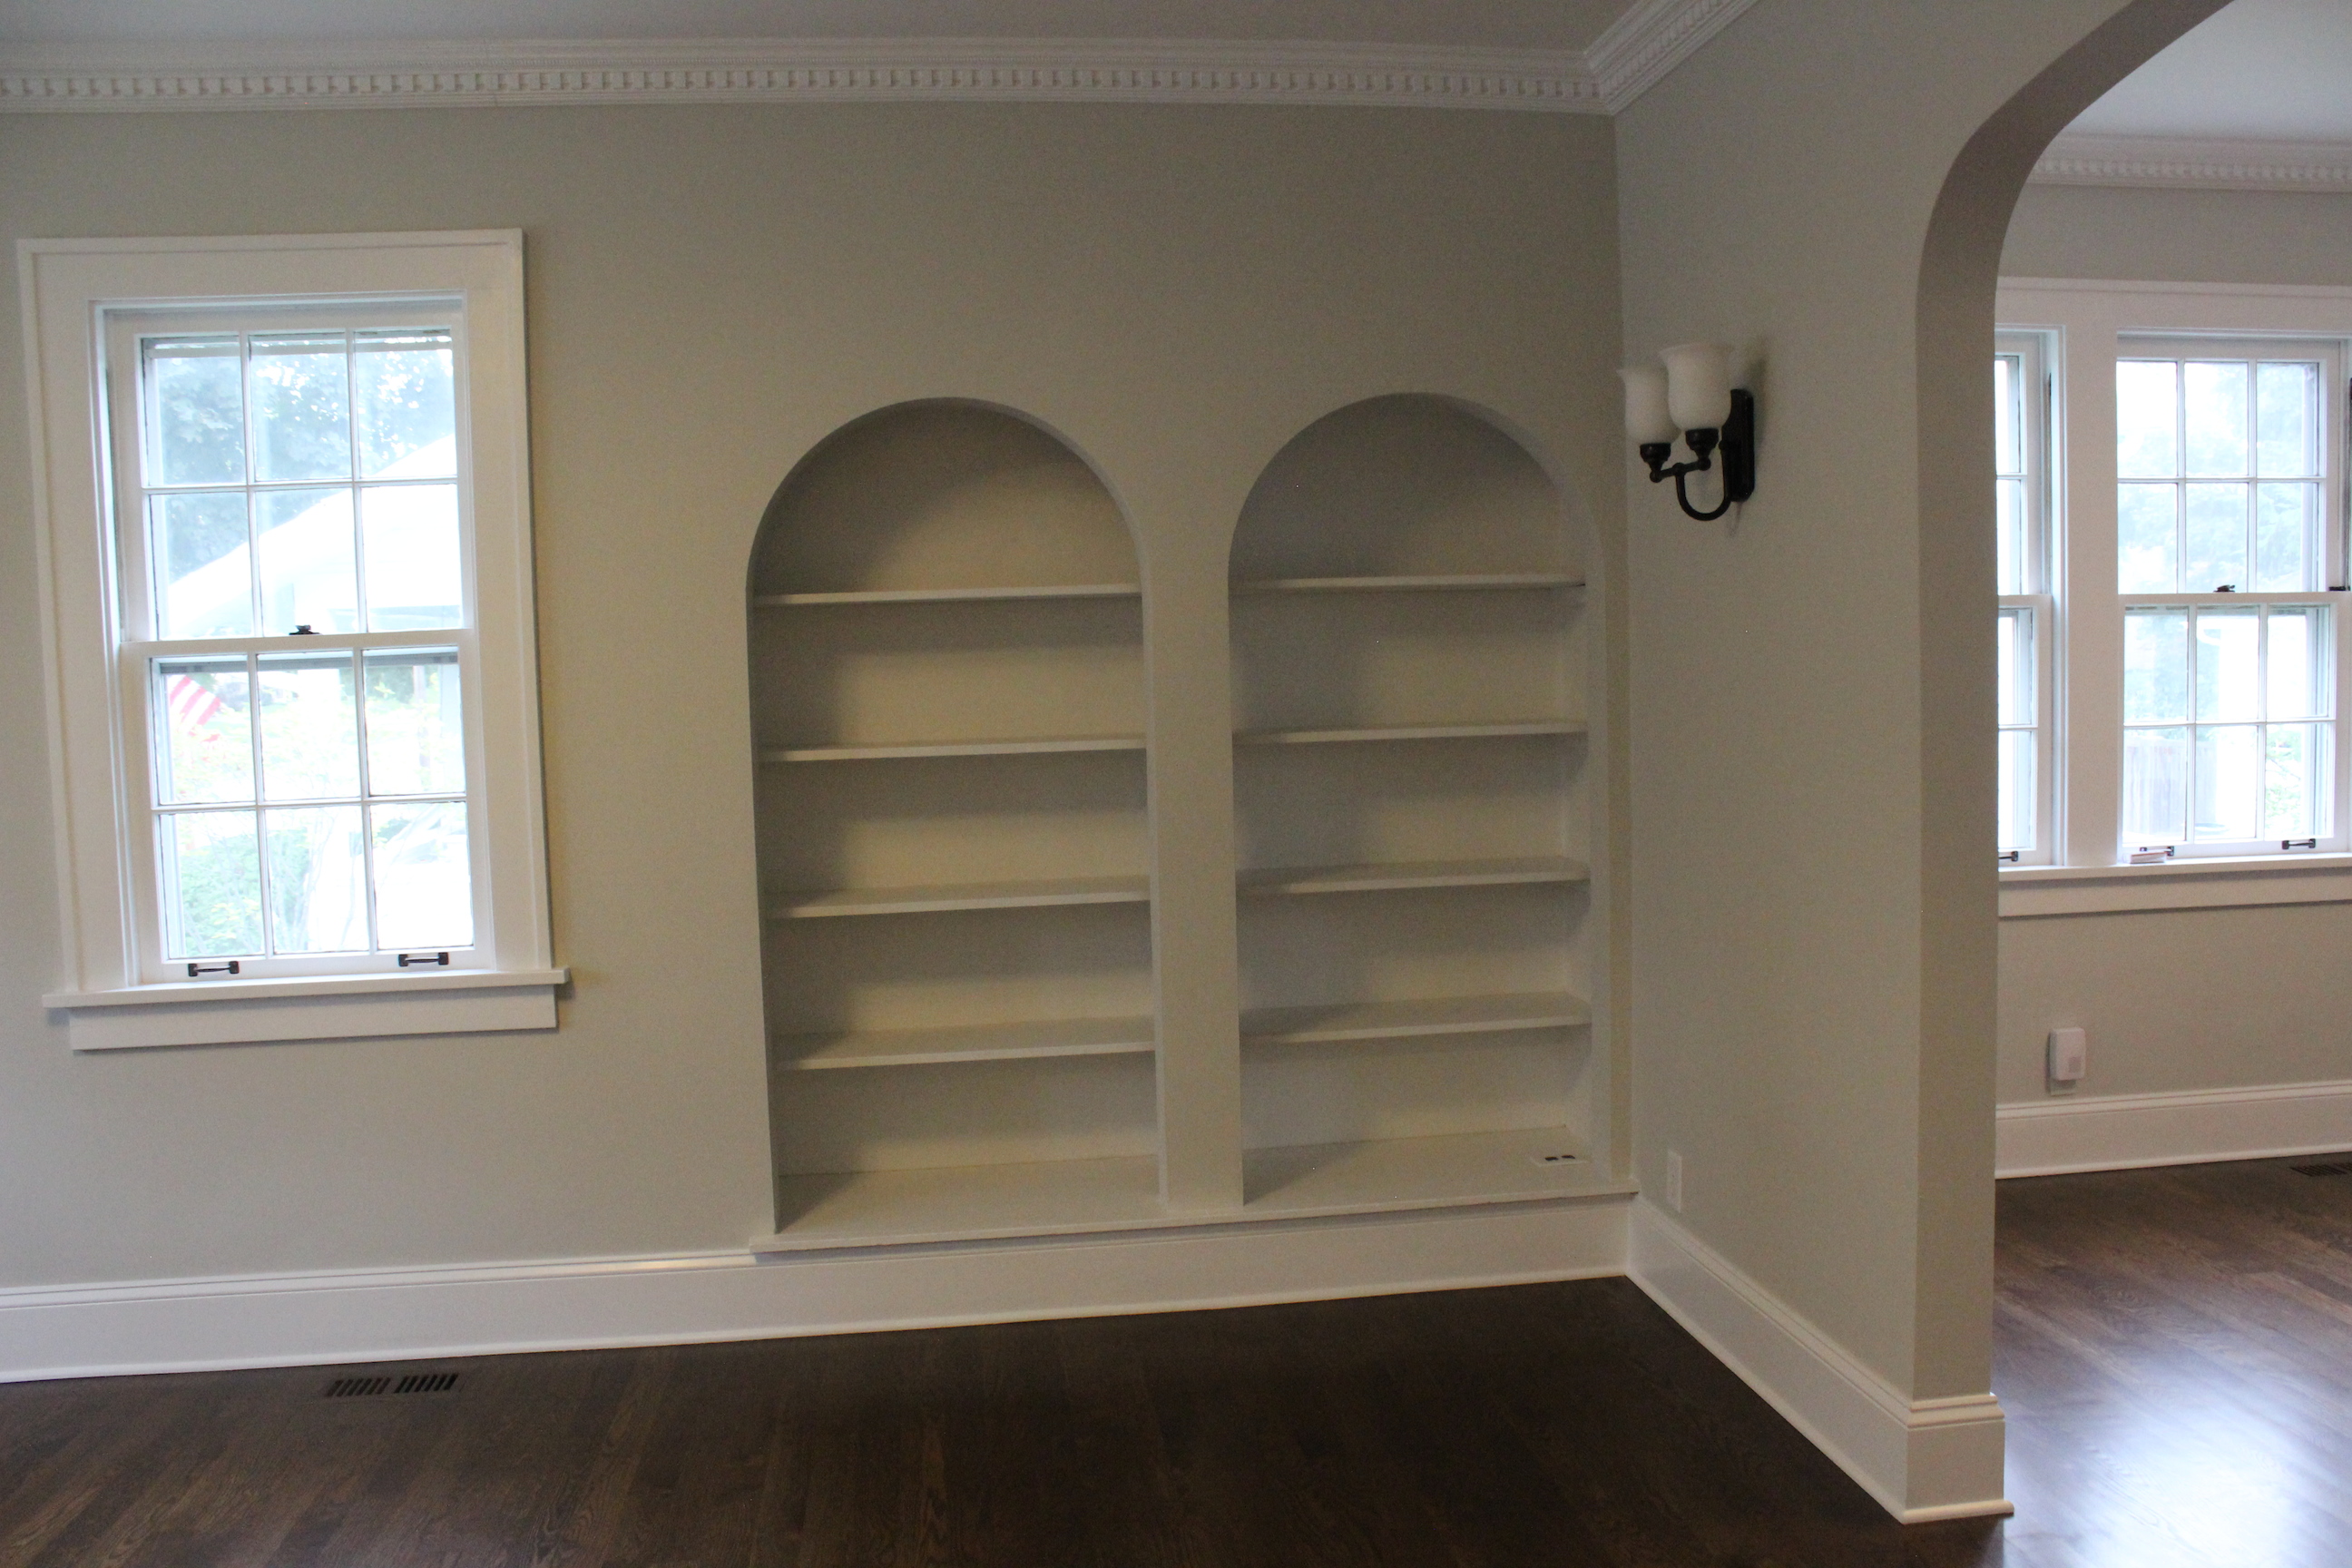
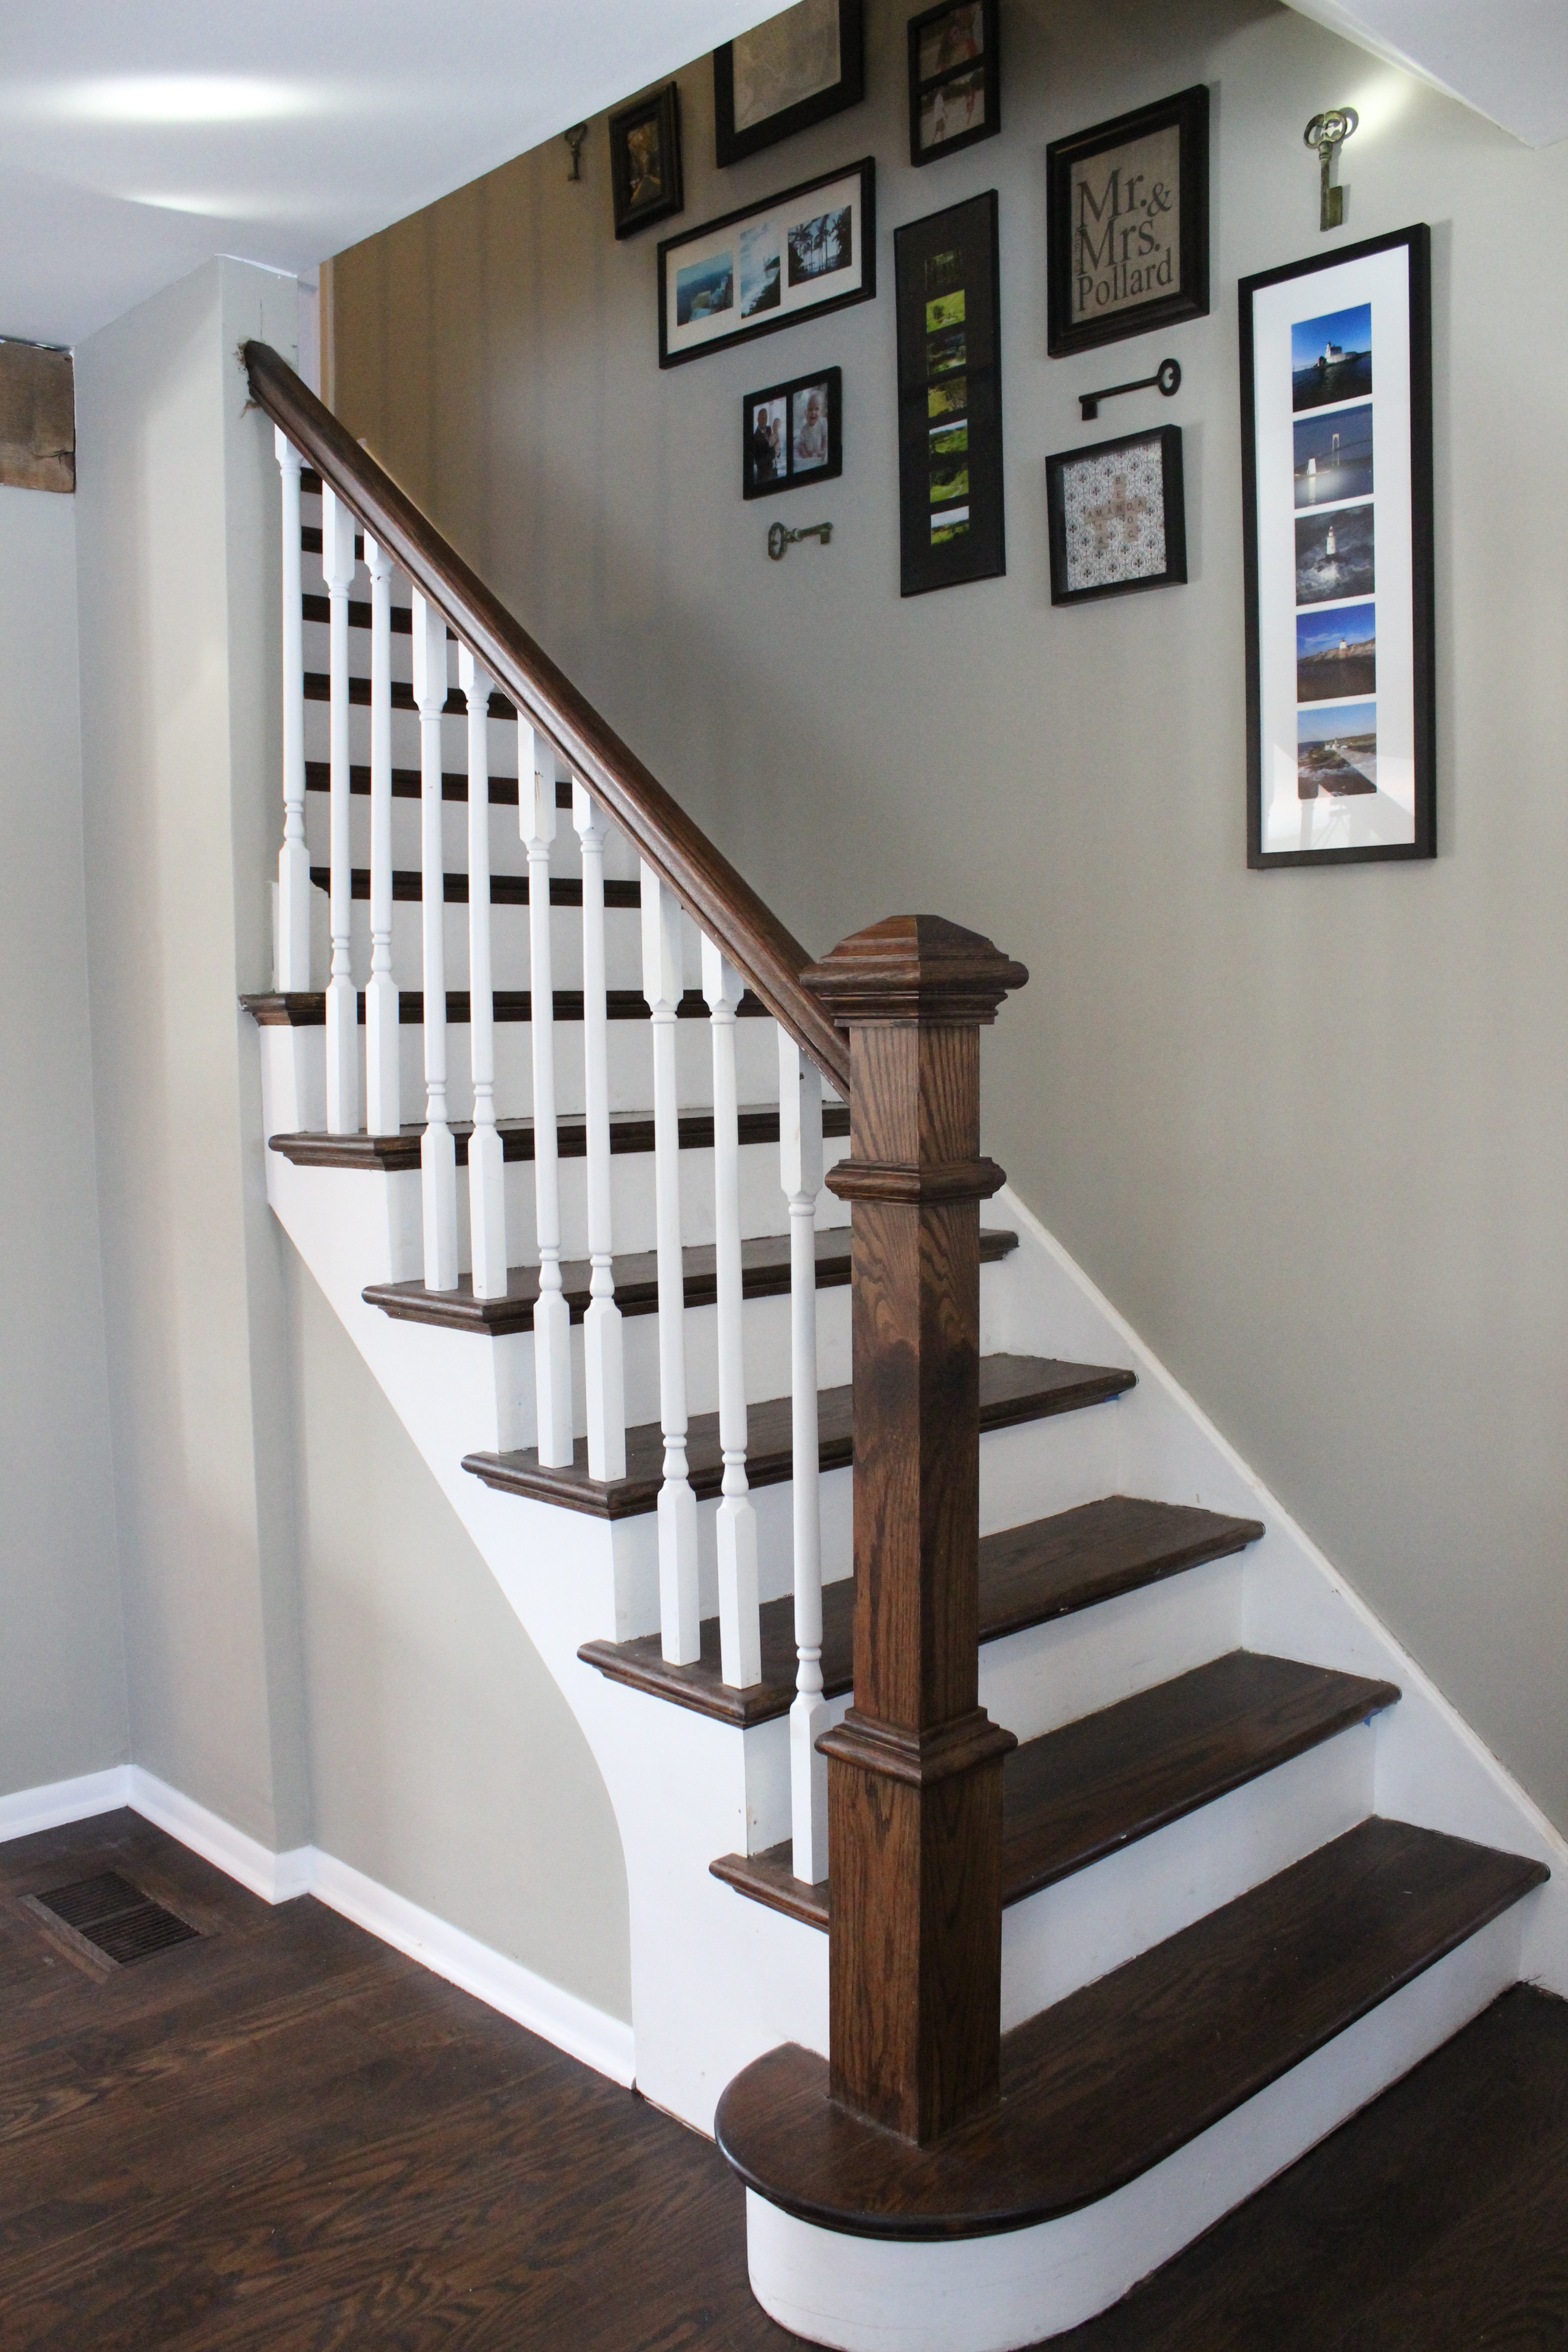
I just love all the arches throughout the home.

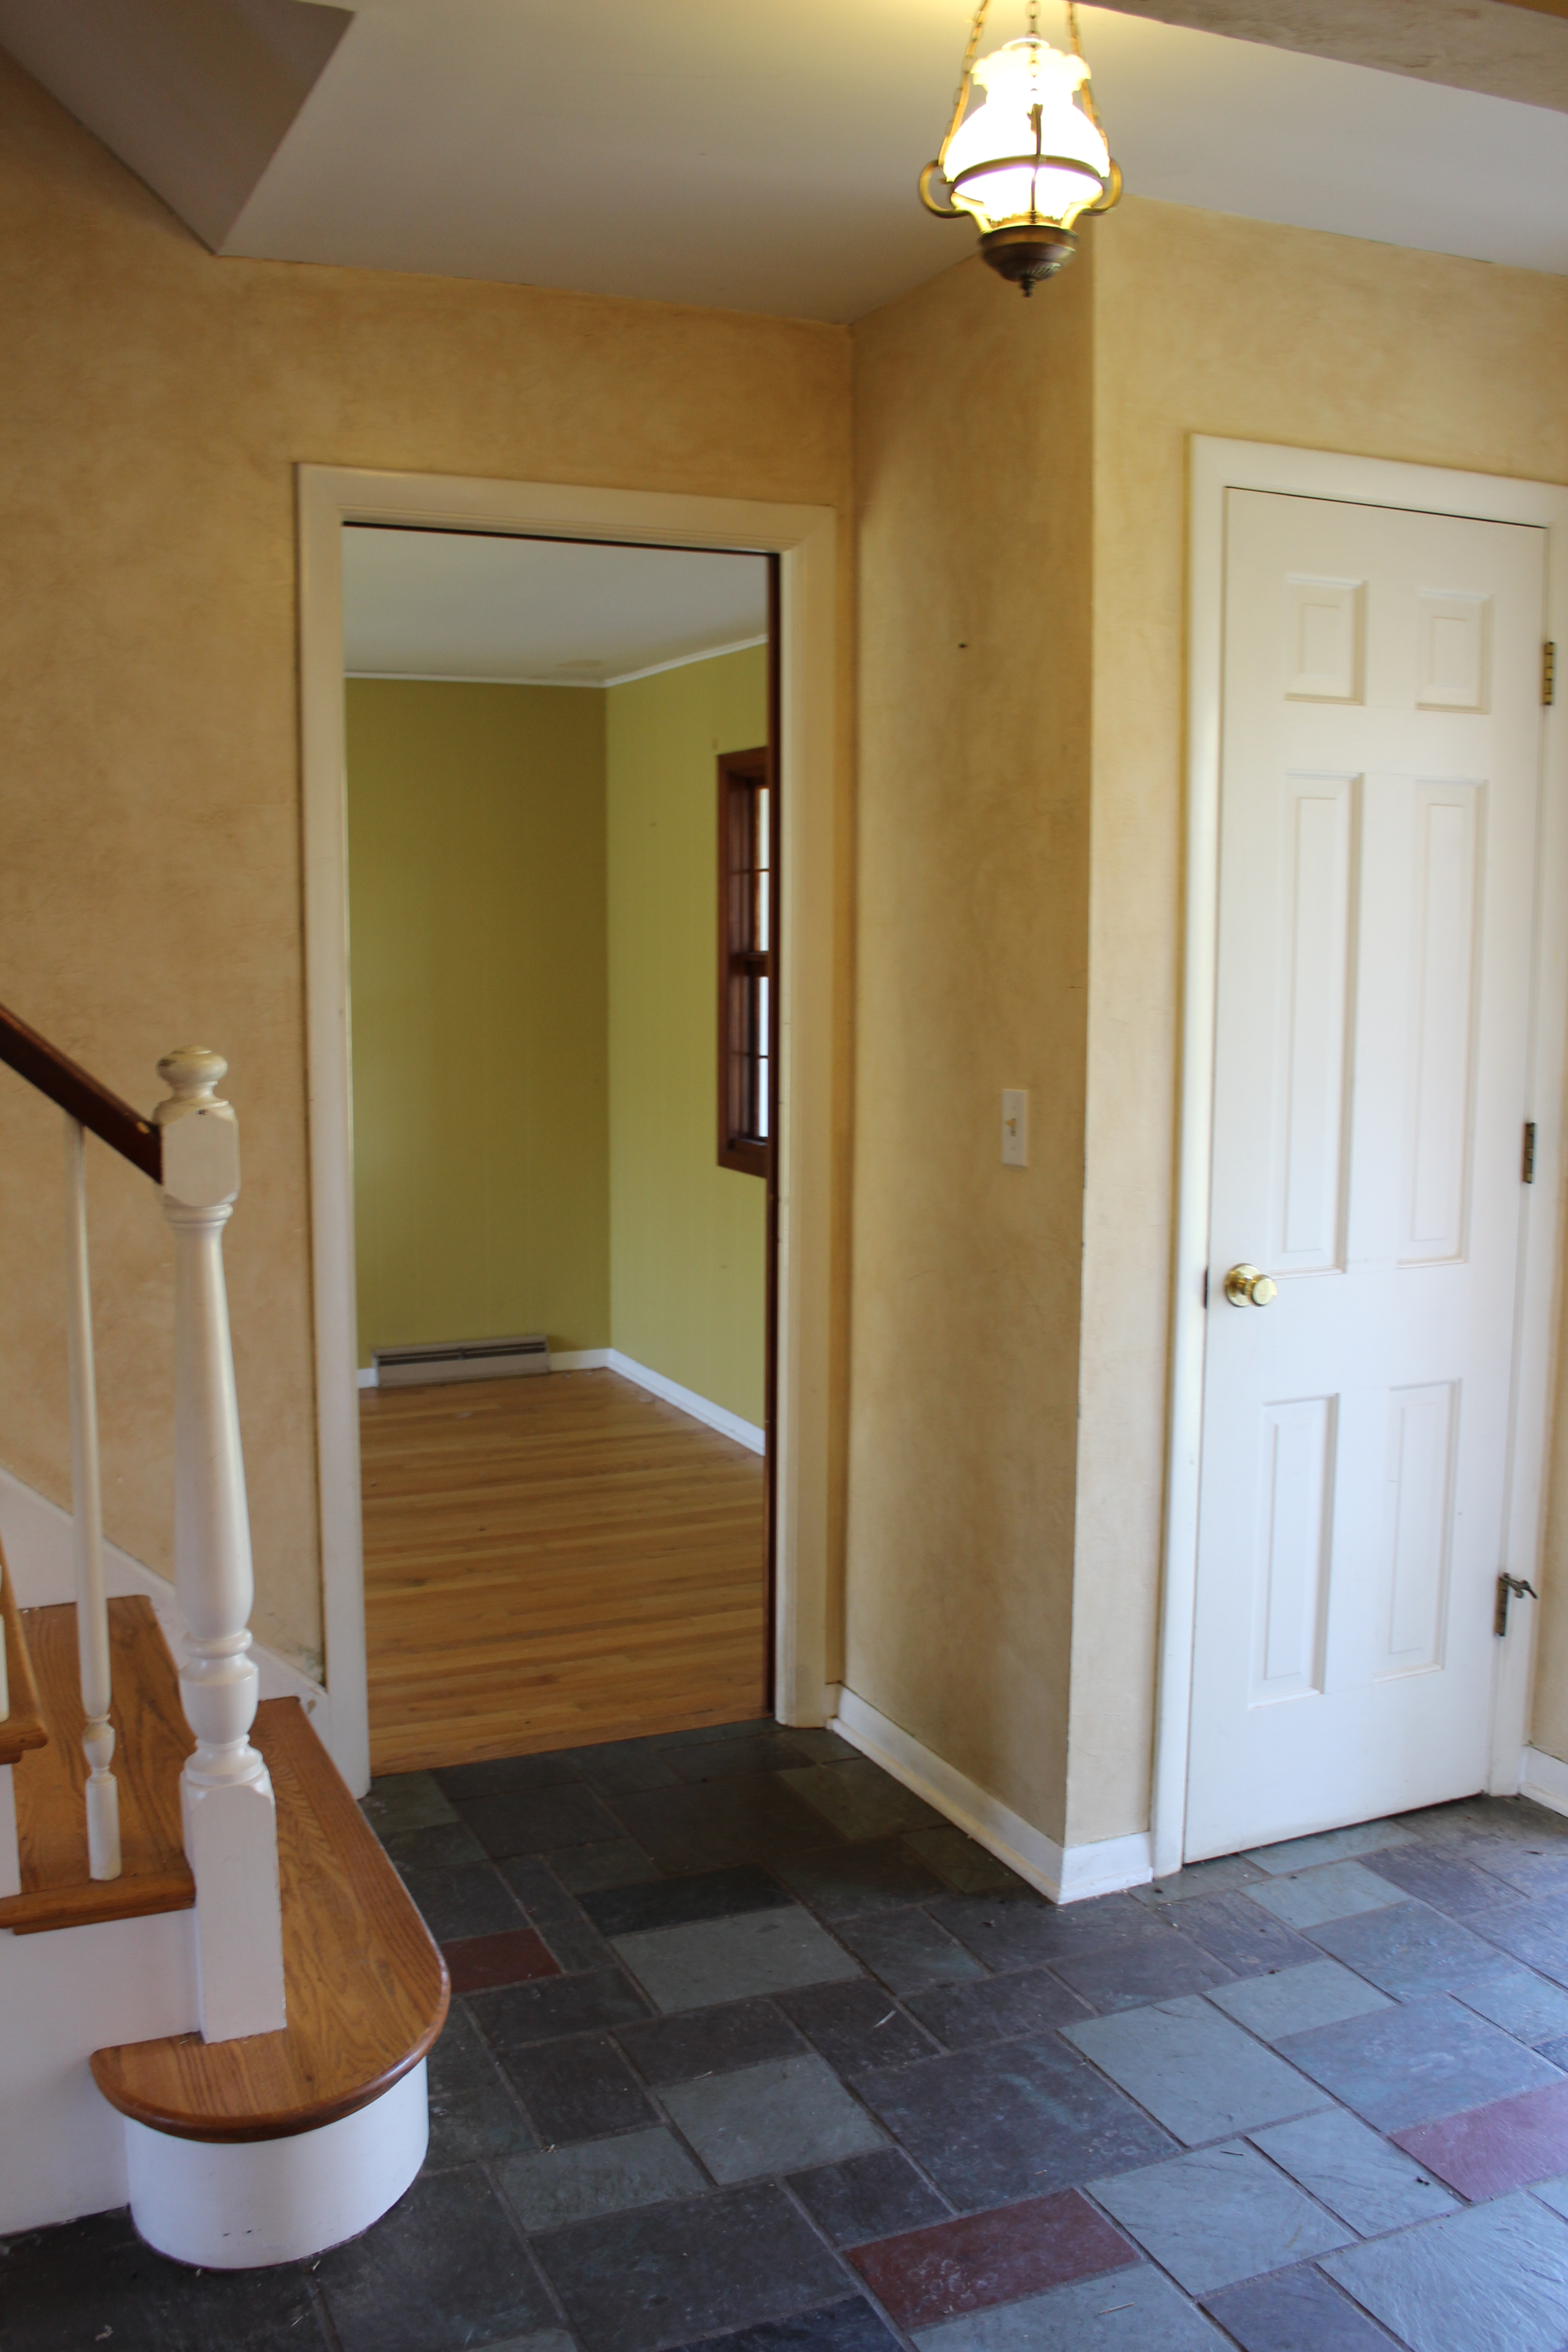
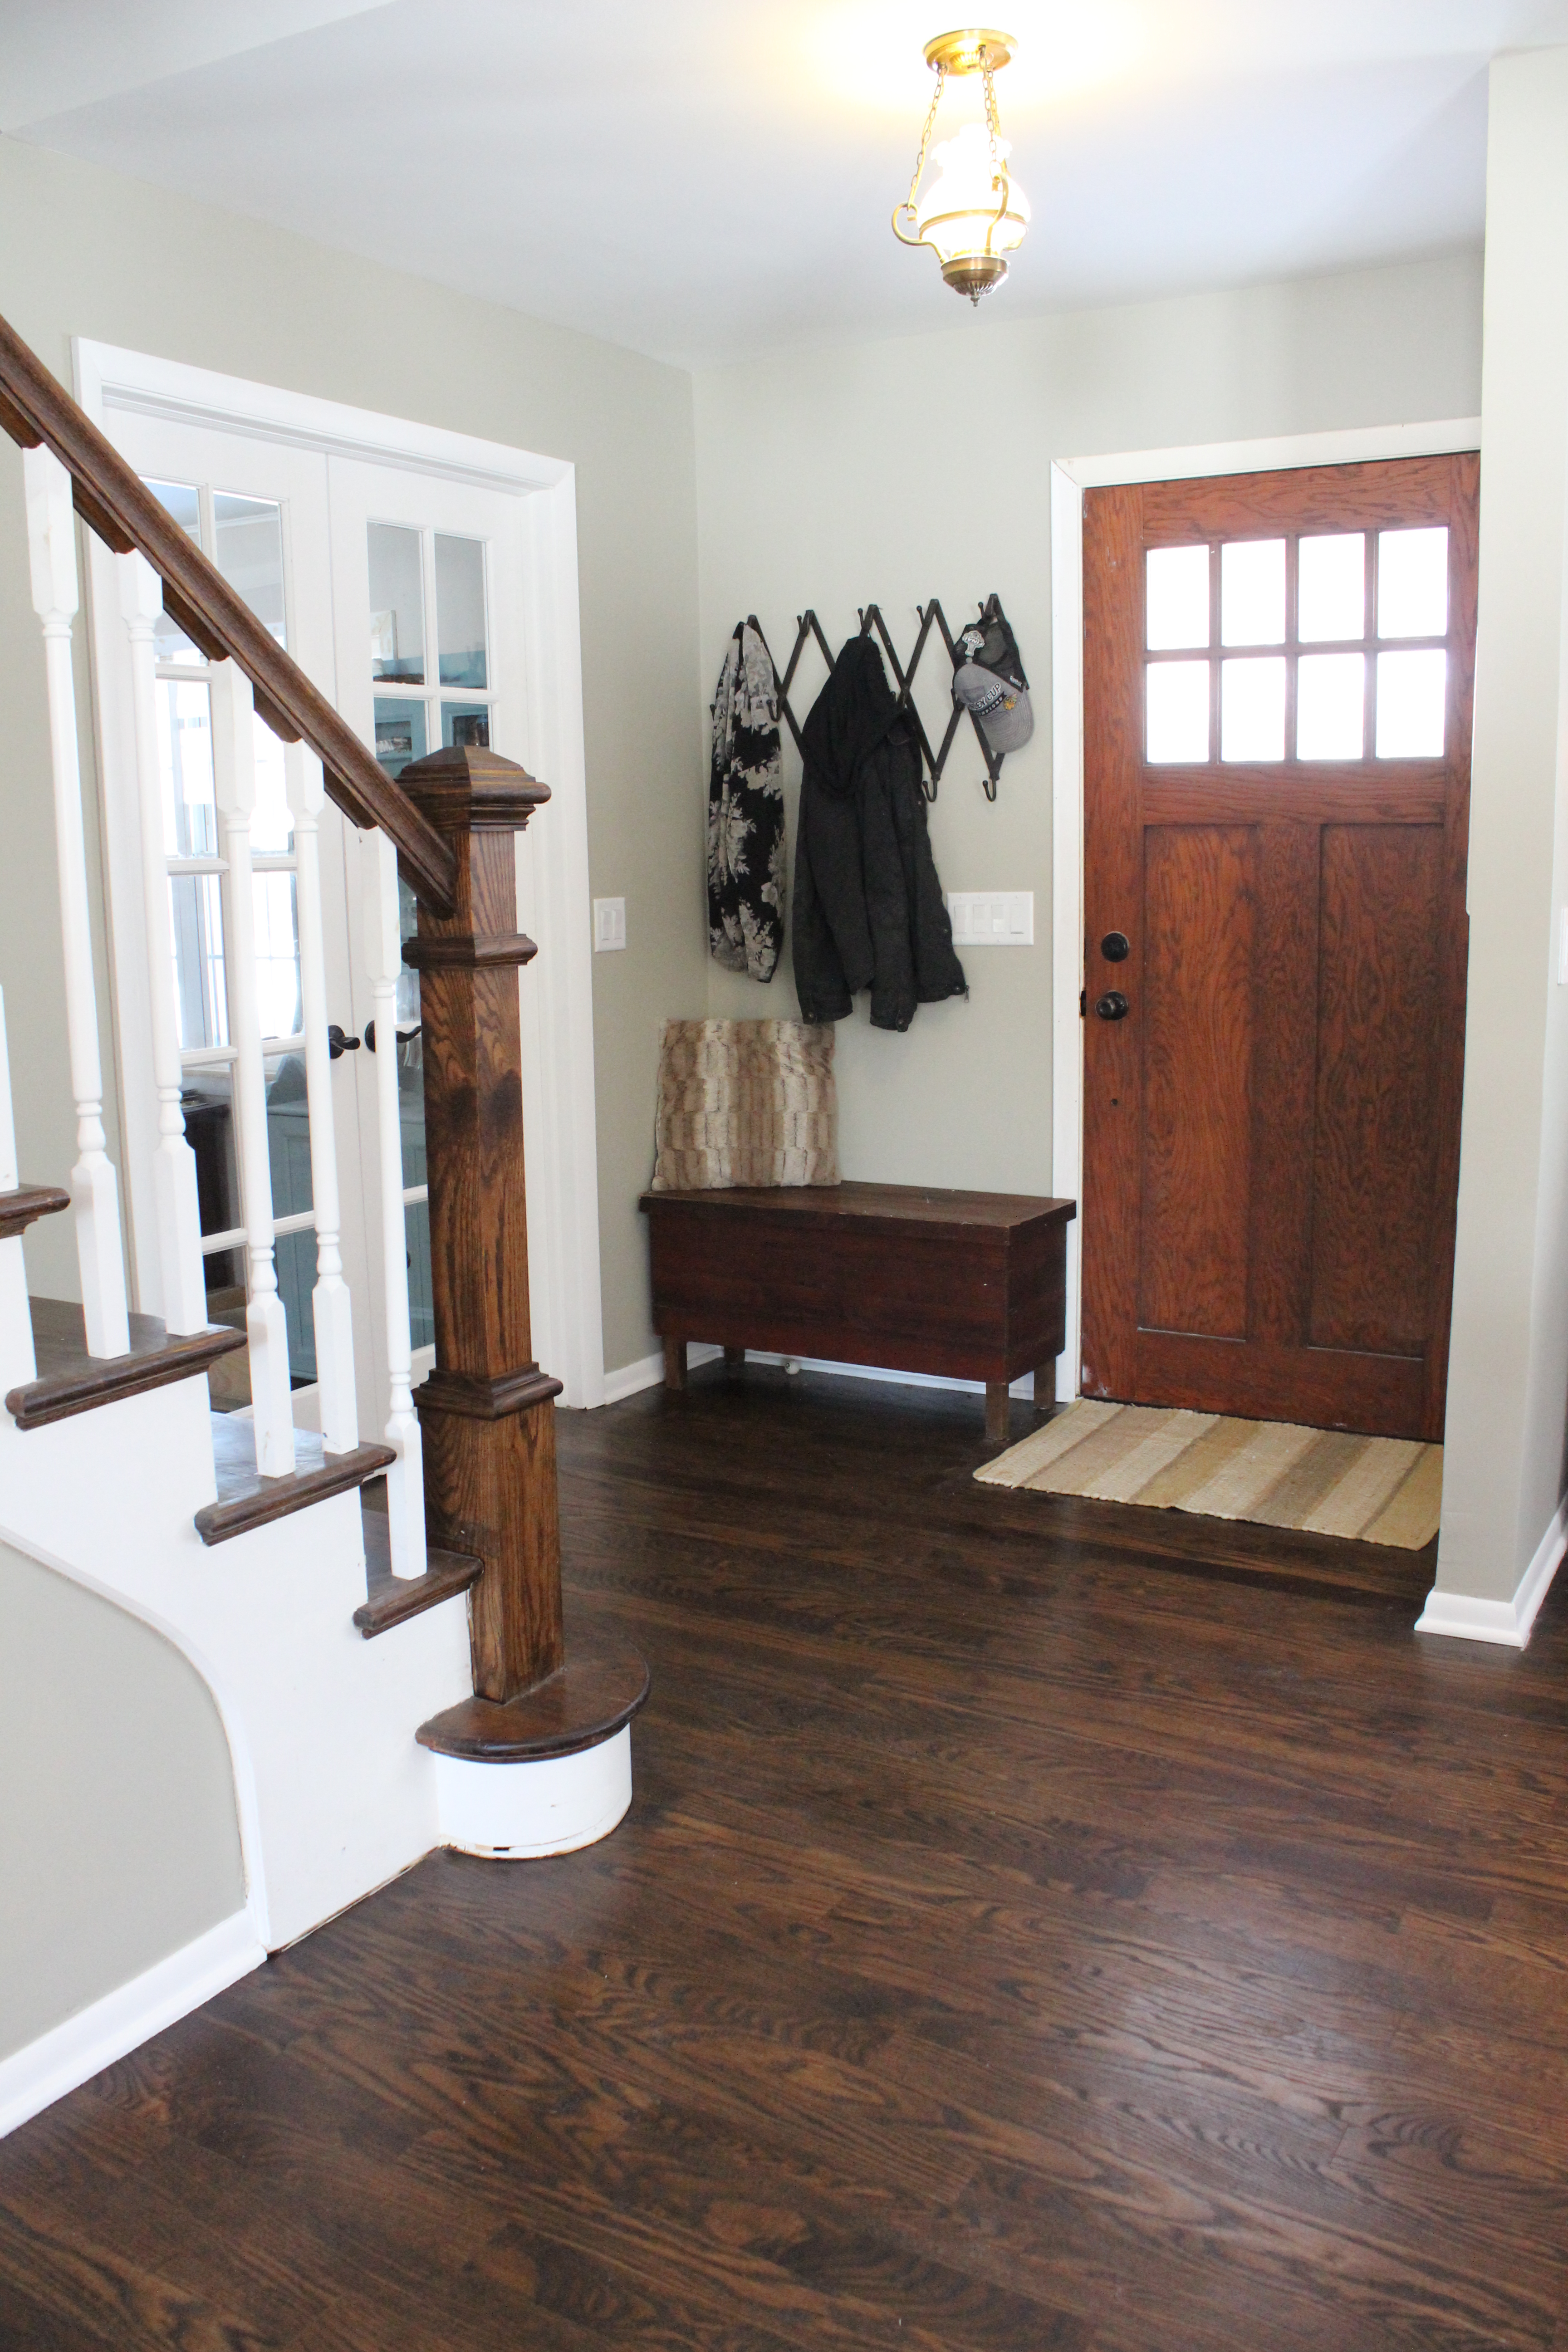
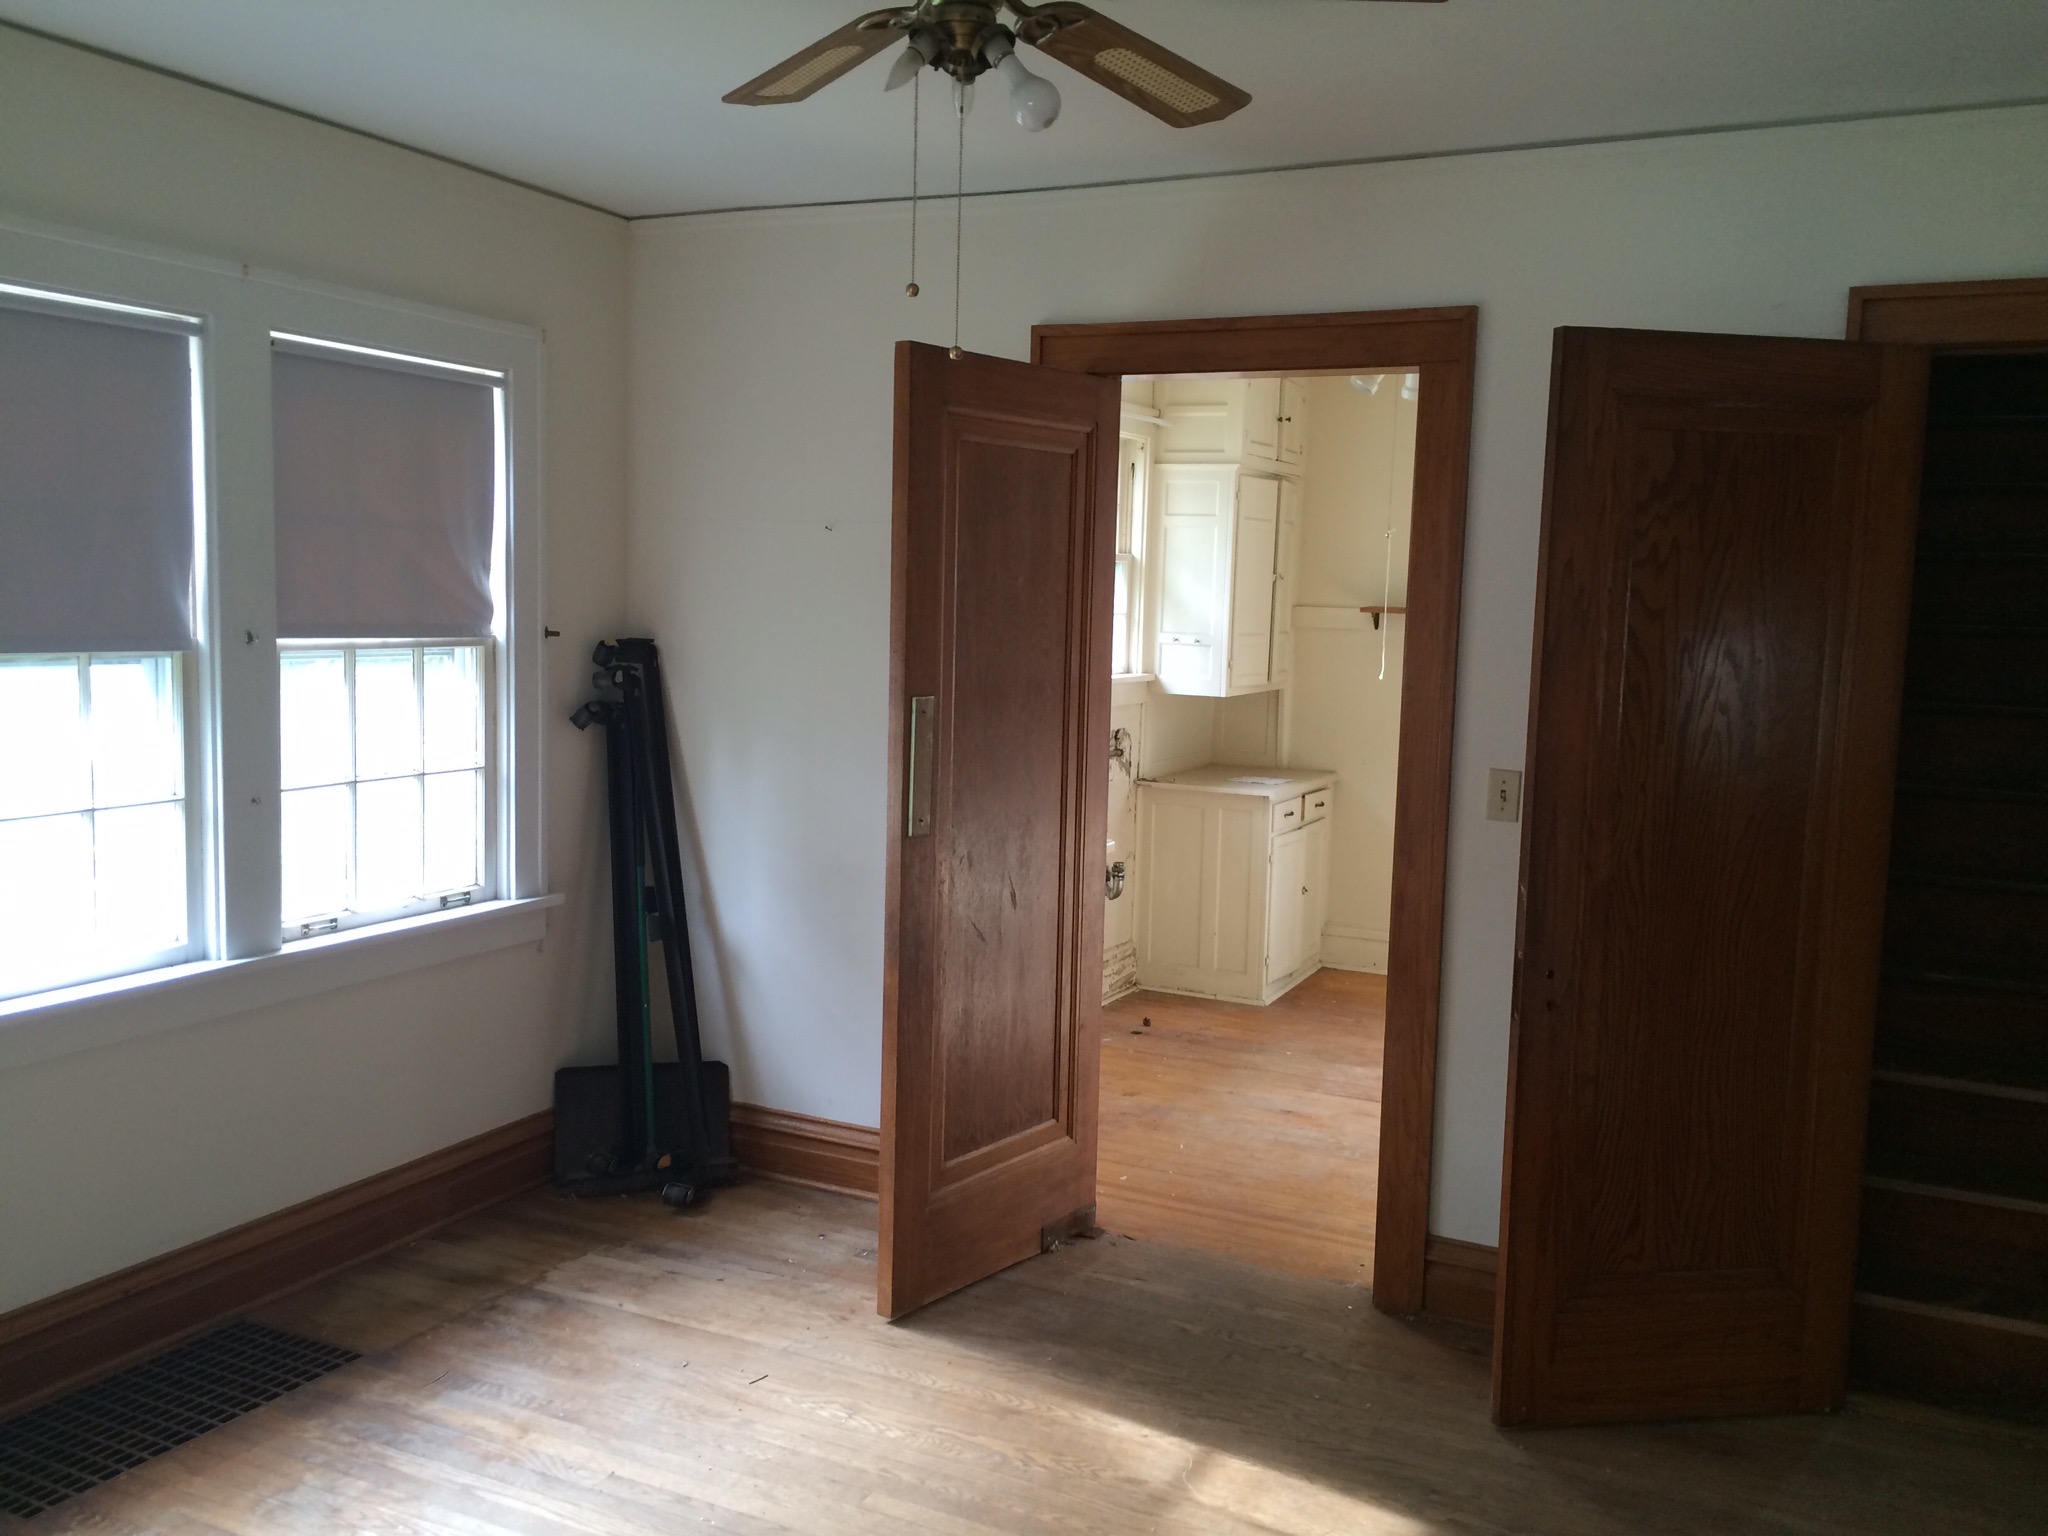
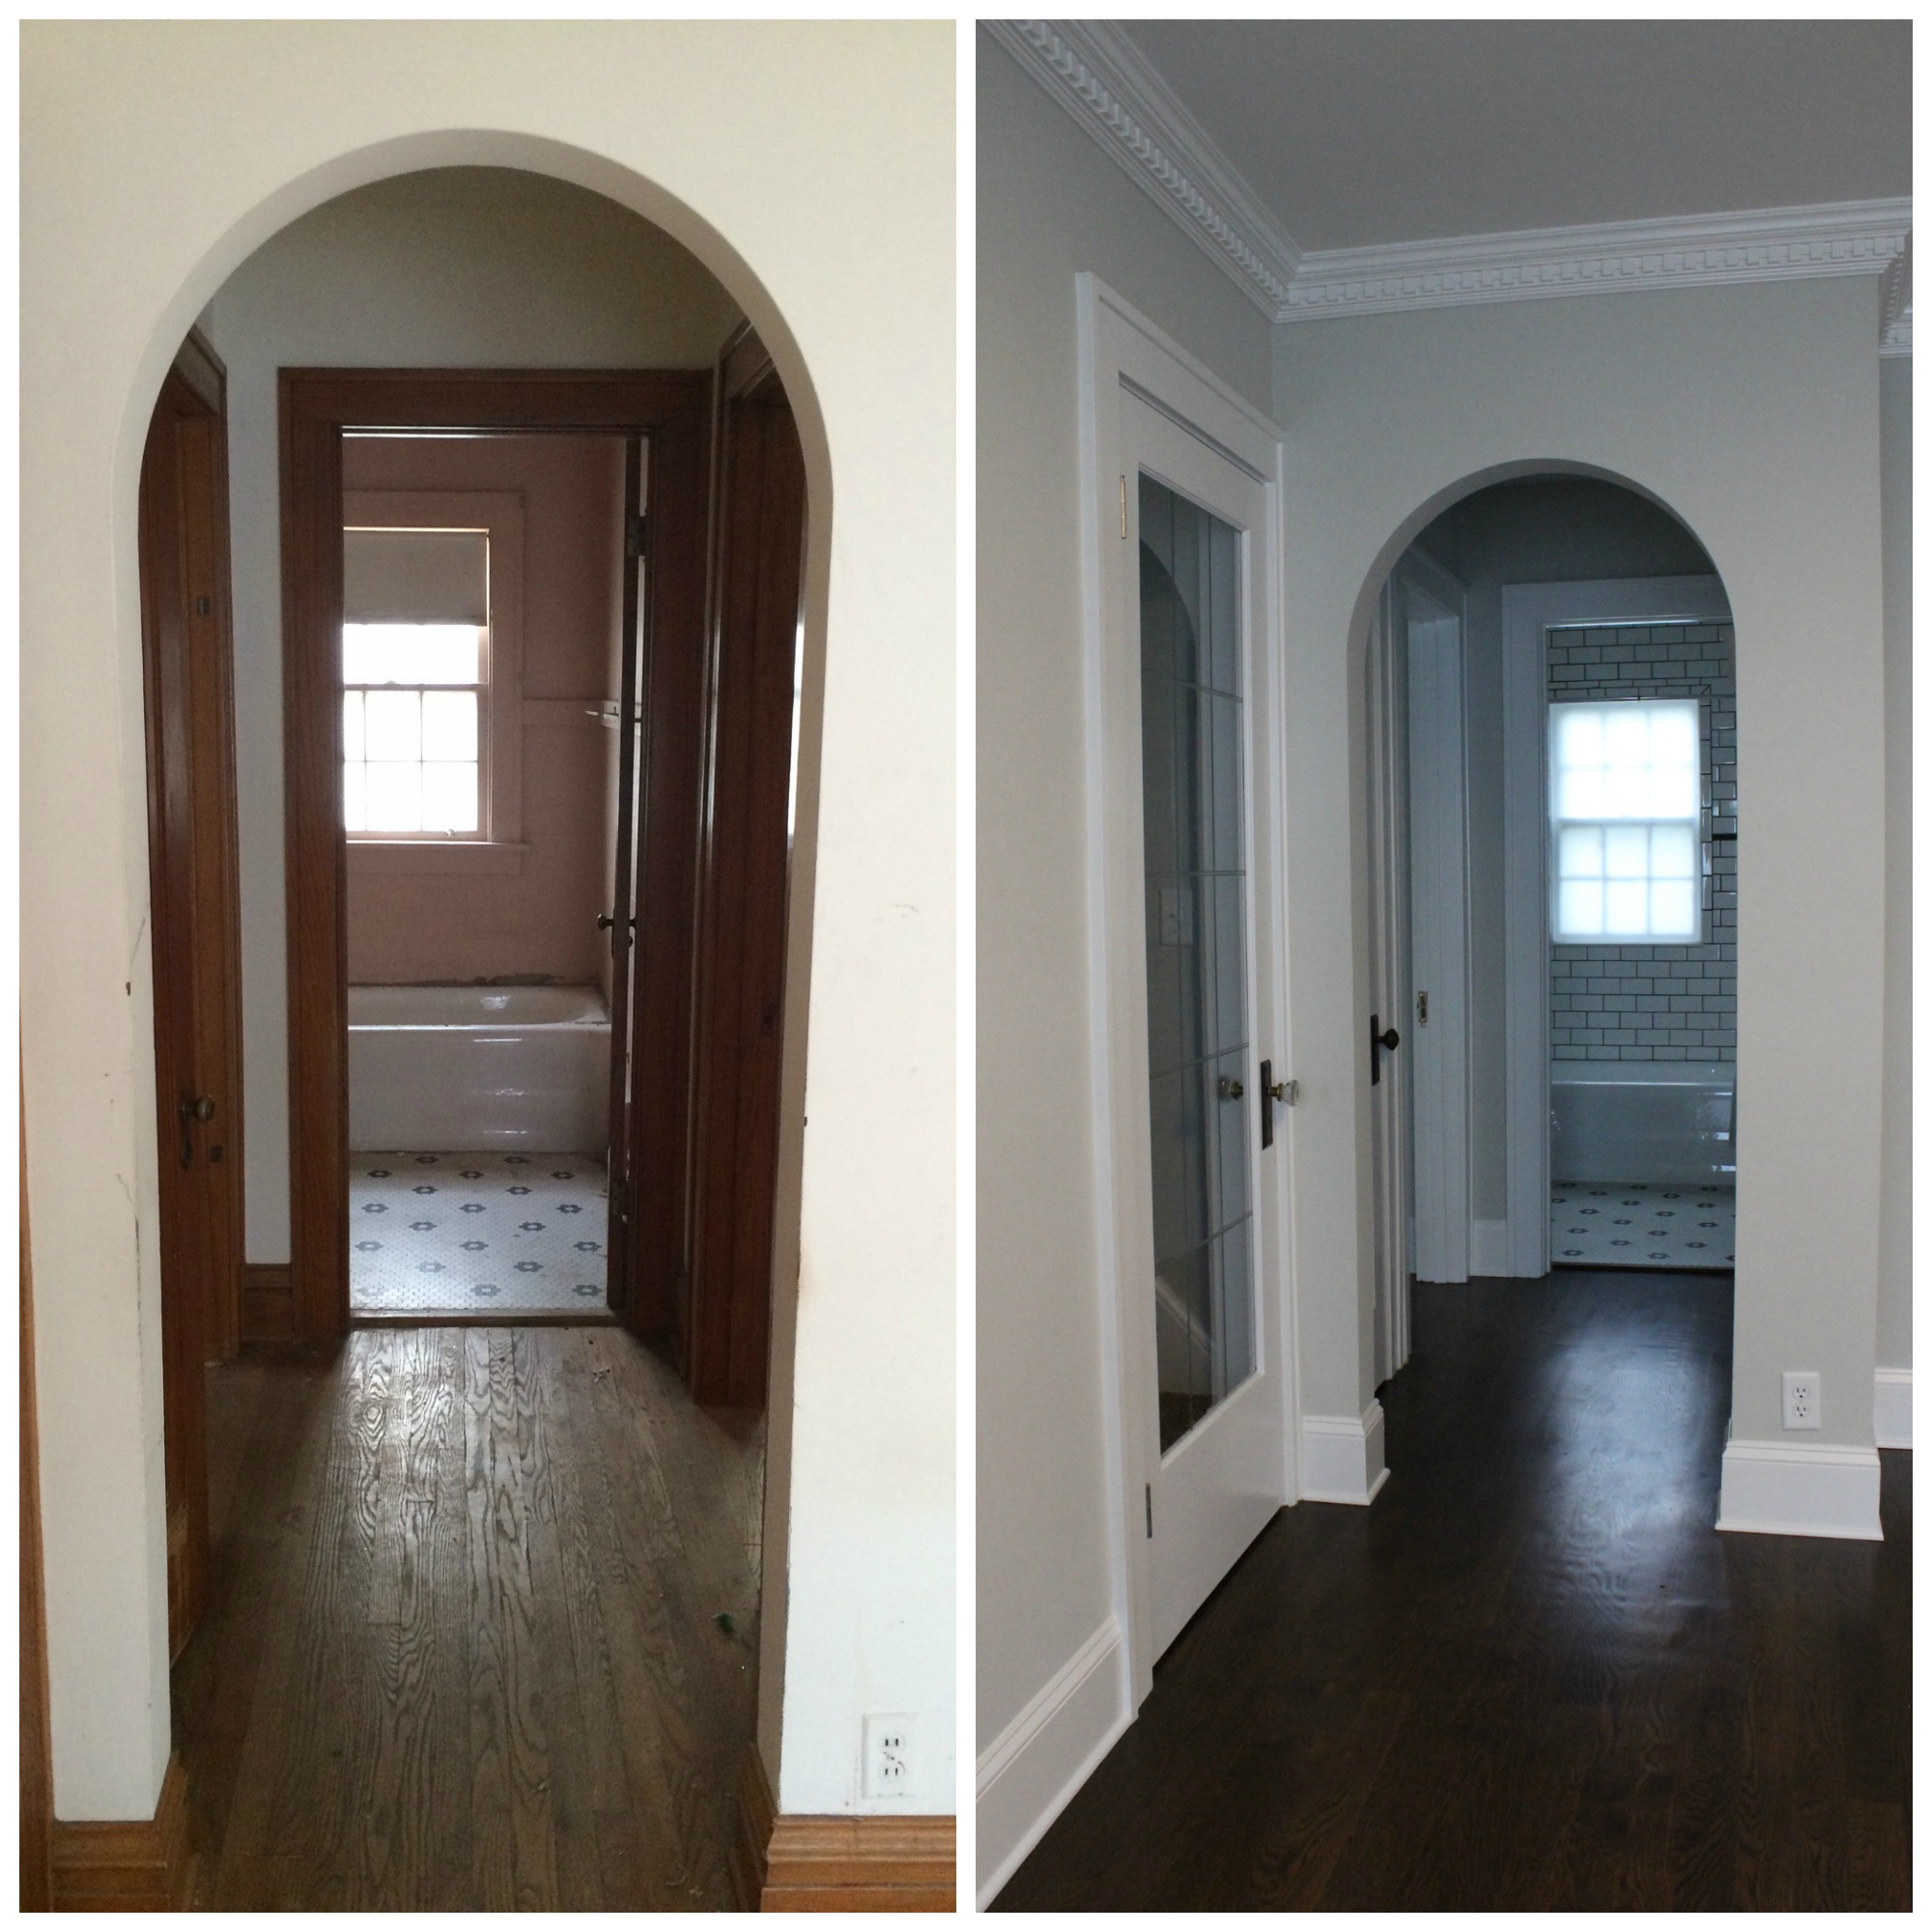
Here’s a before & after of the hallway leading to the bathroom and bedrooms:

hallway Coolidge

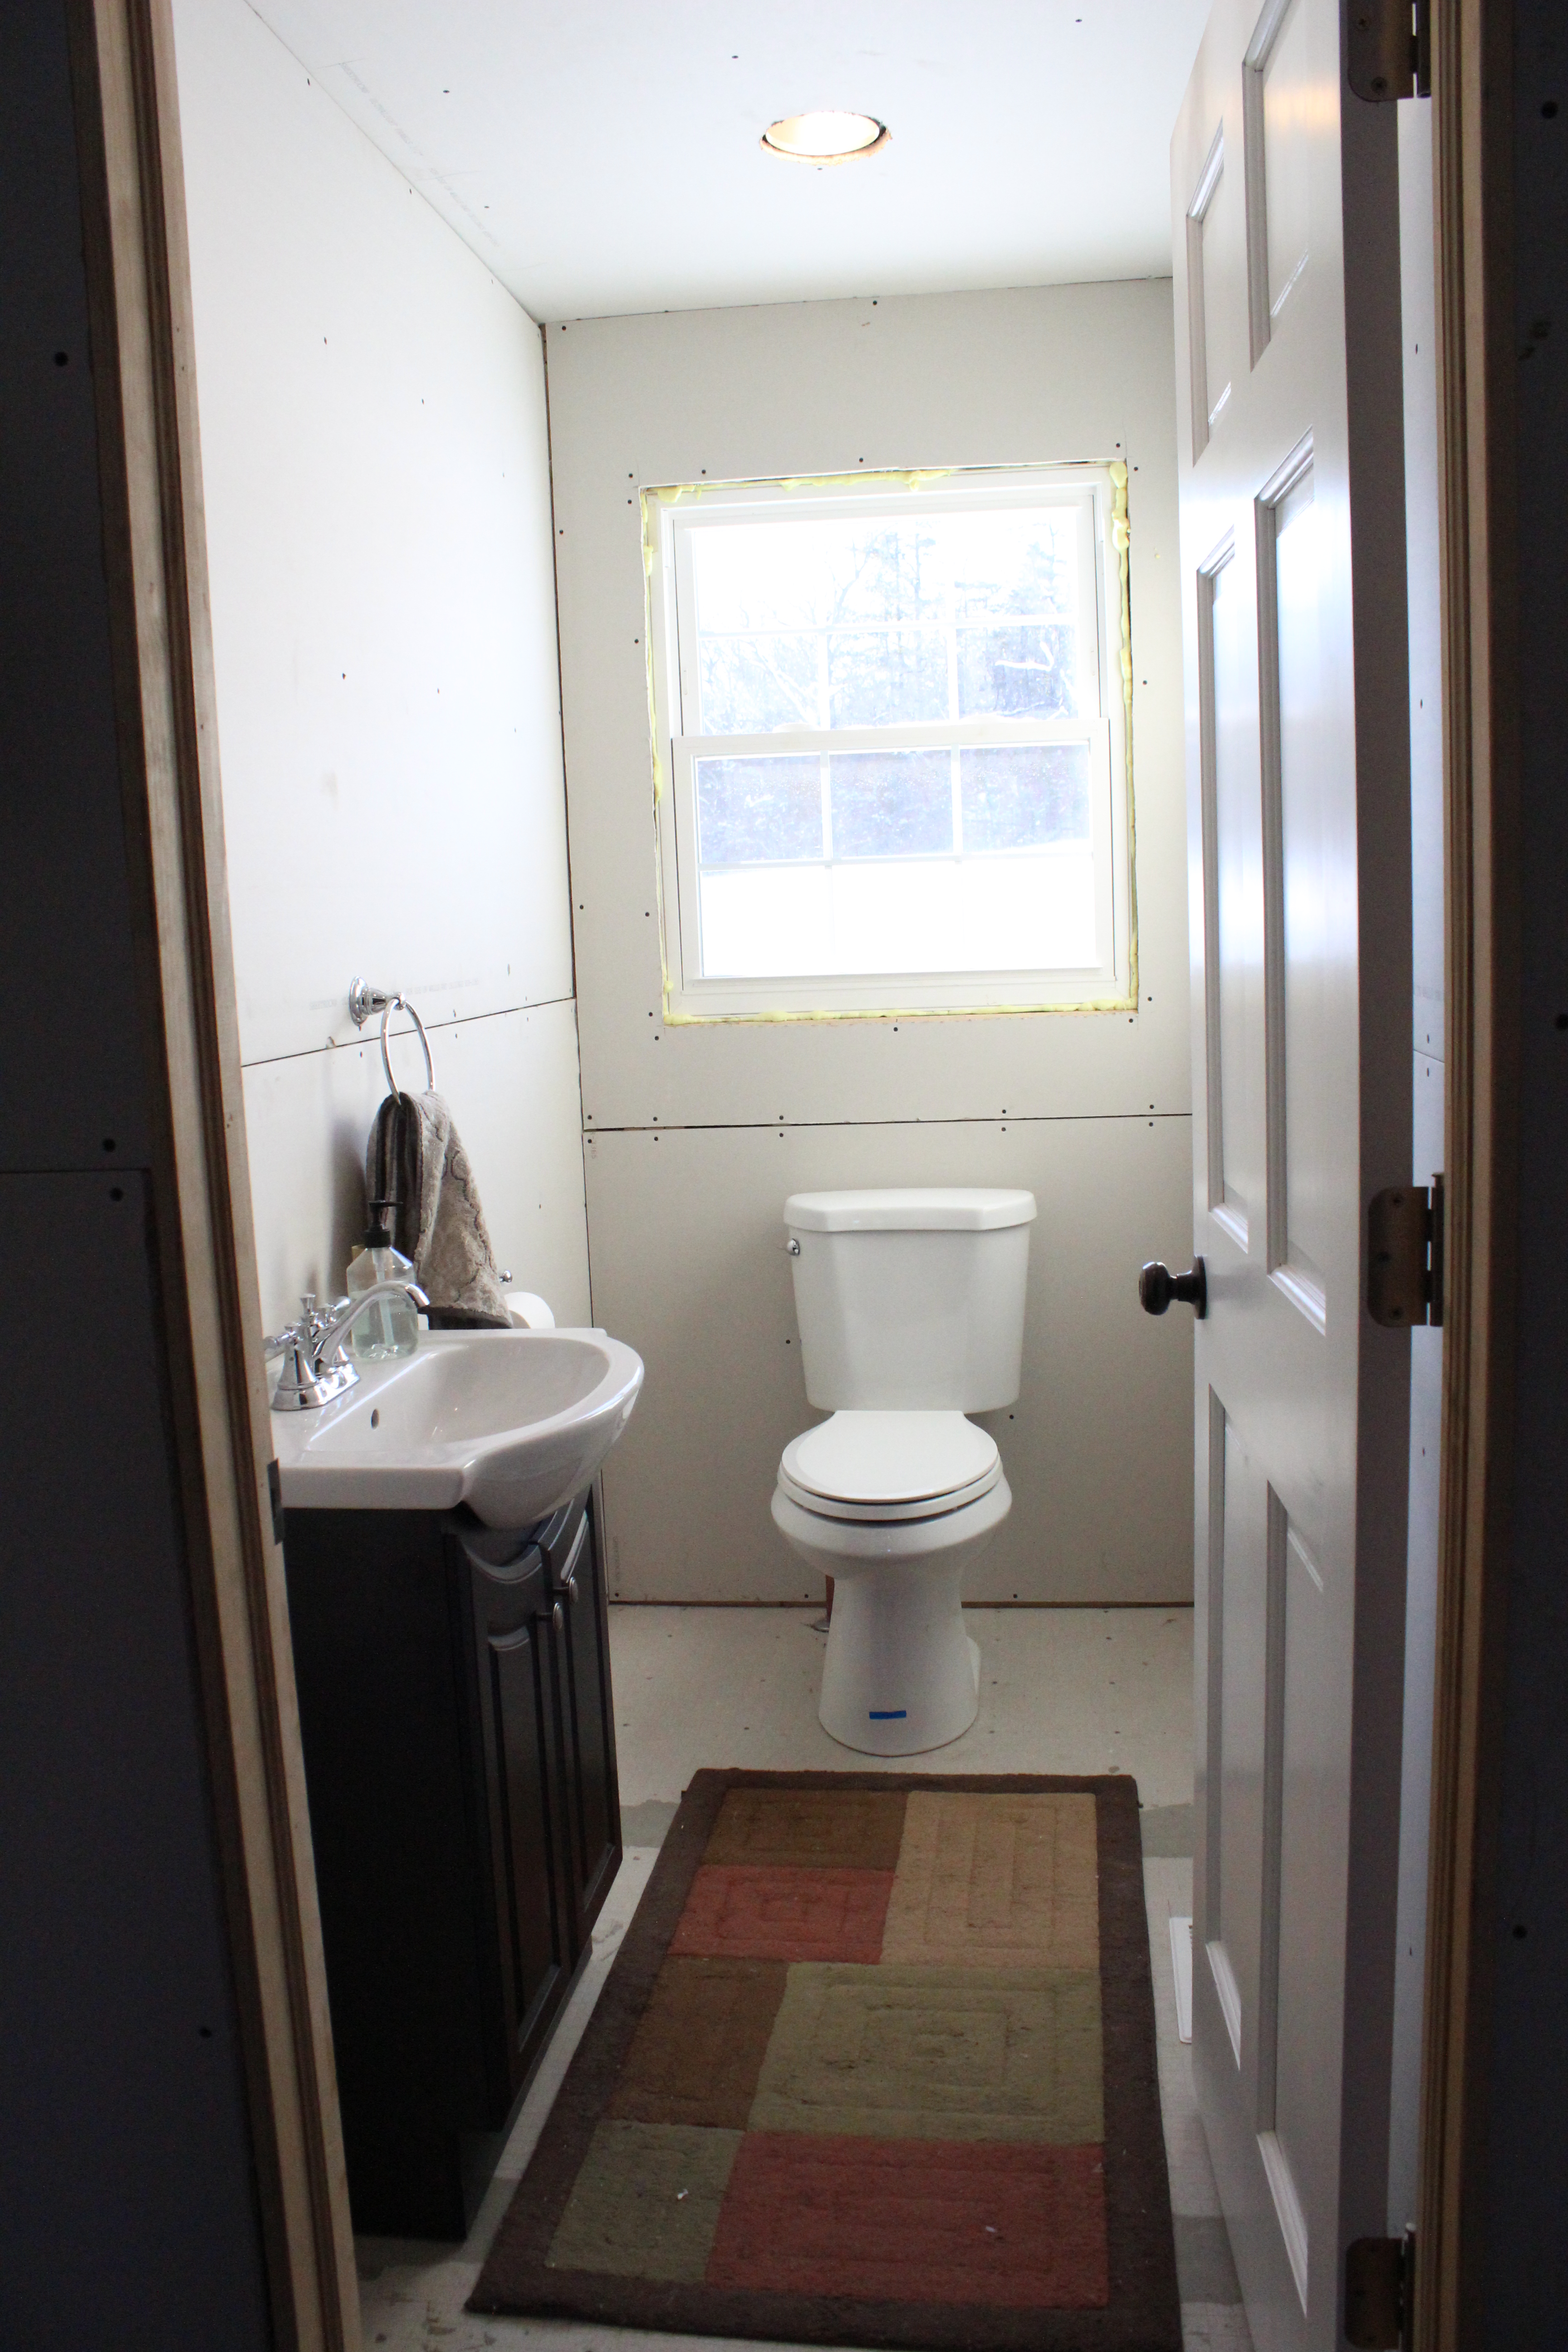
The bathroom looked like this before:

IMG_6946

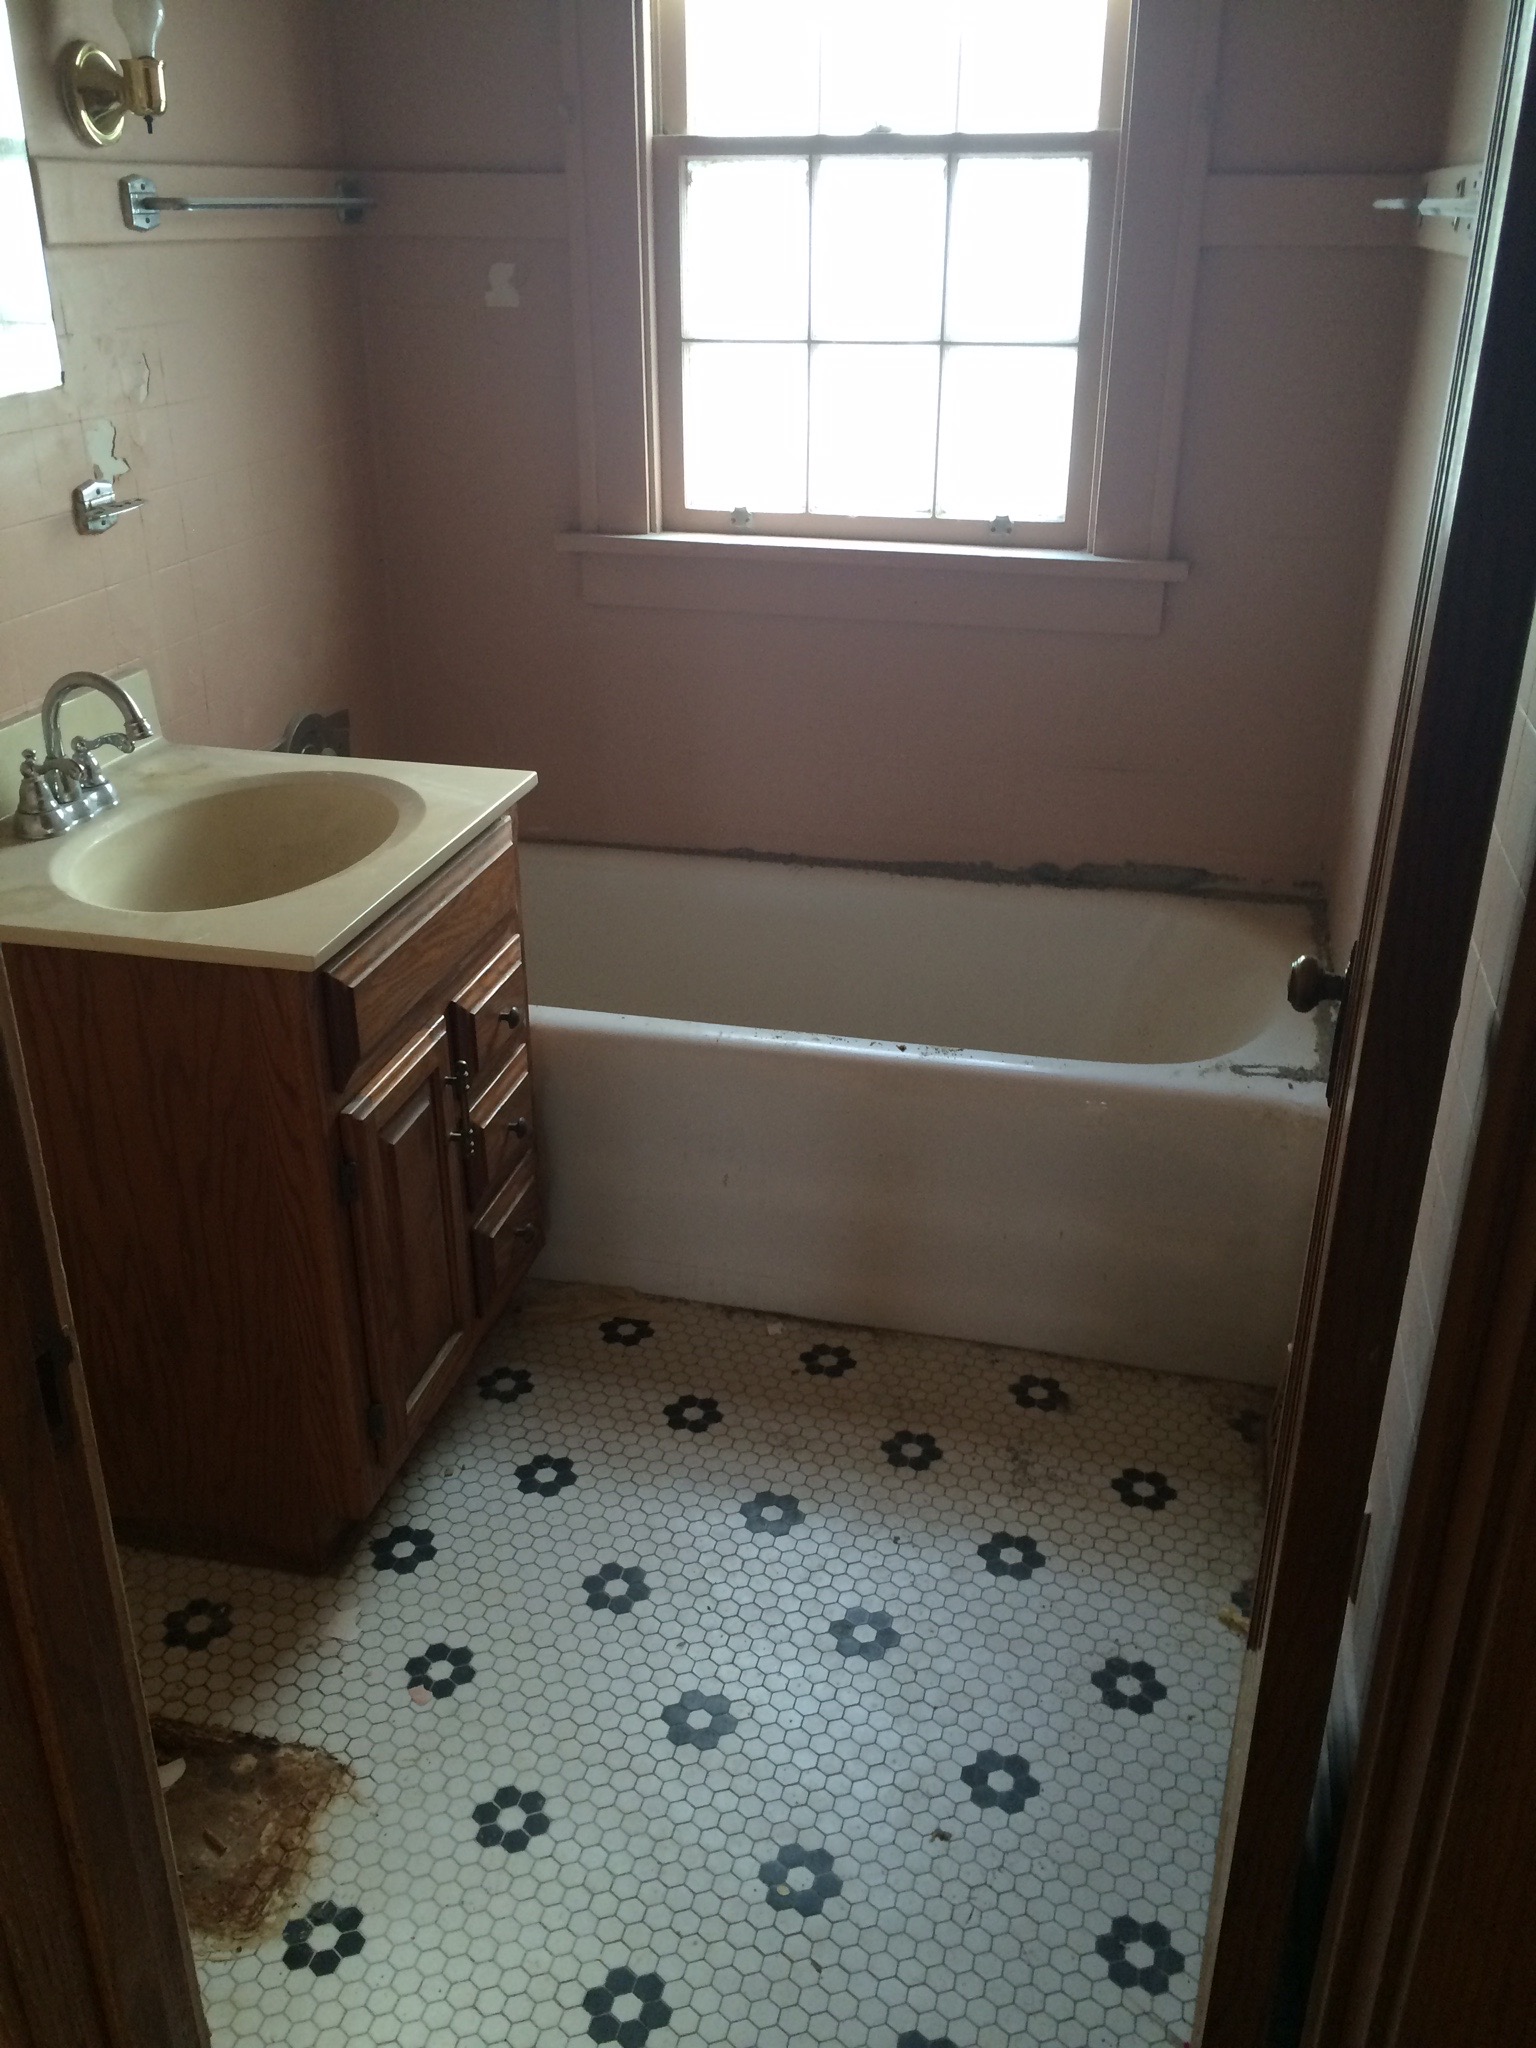
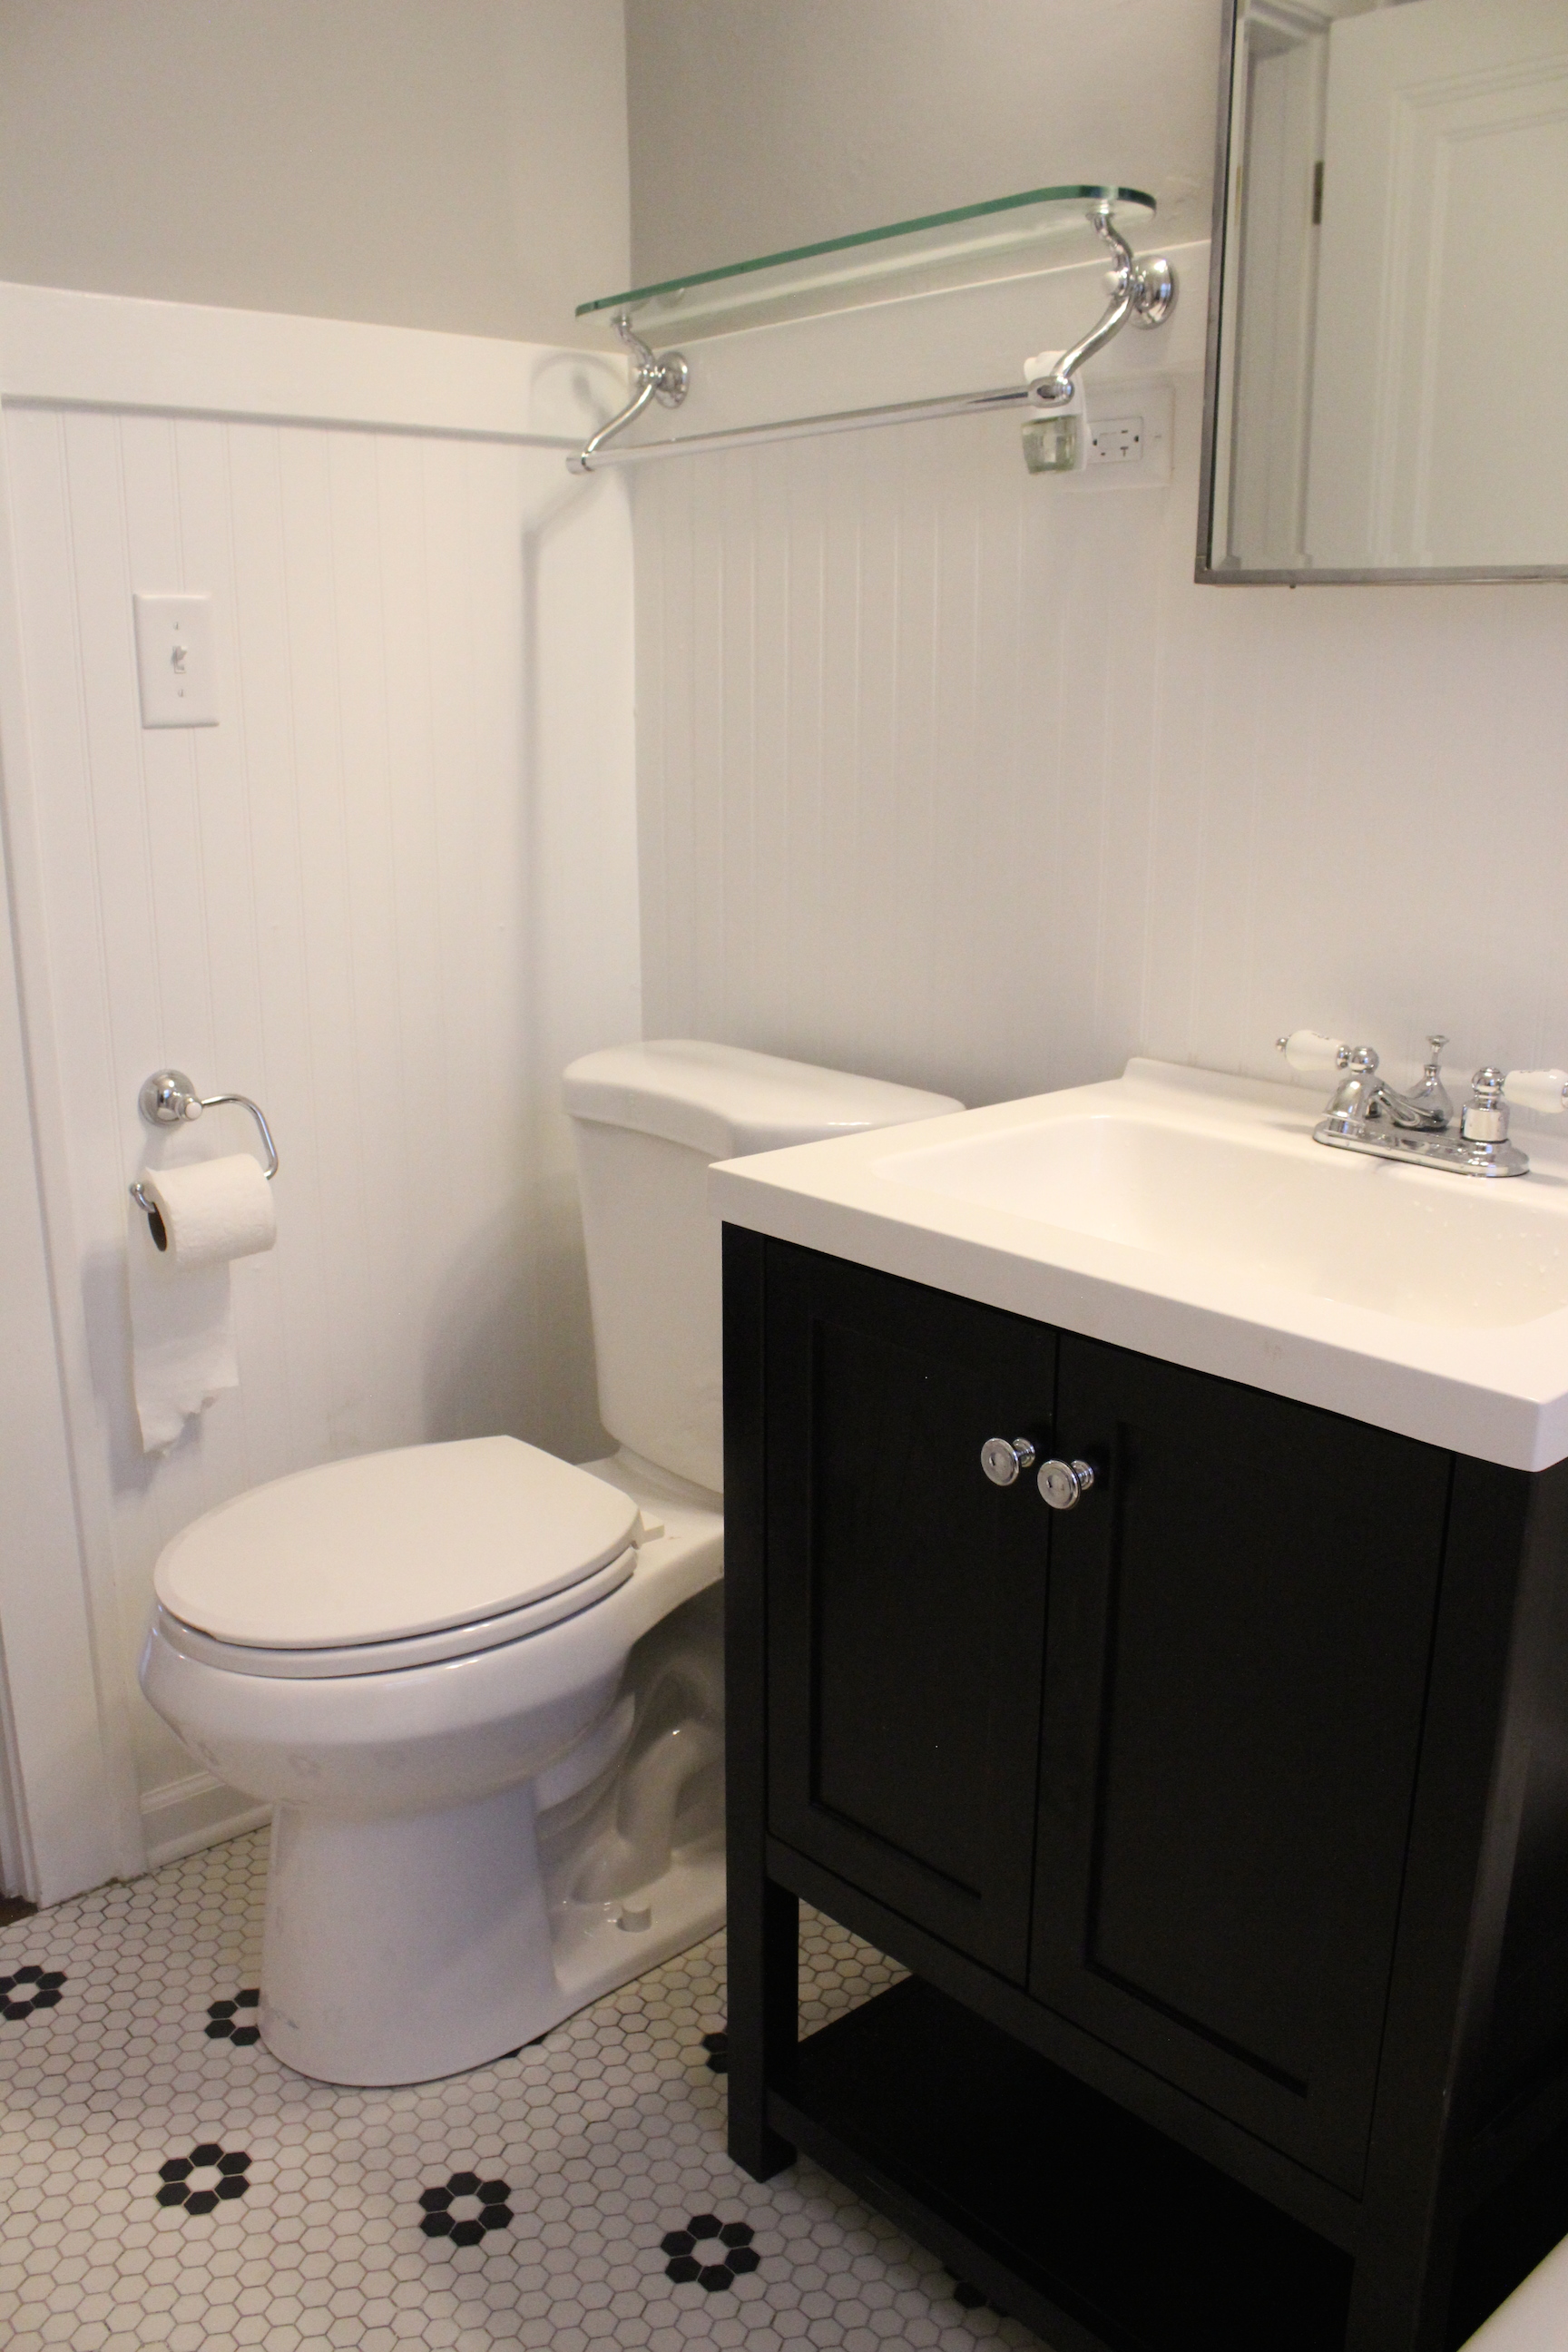
And now after adding a subway tiled shower, refinishing the bathtub, adding a new black vanity (from Home Depot), toilet, lighting, beadboard, and more:

IMG_5554

We were able to save the vintage floor tile, which fits the home perfectly. Here’s a look at the other side of the bathroom.

IMG_5555

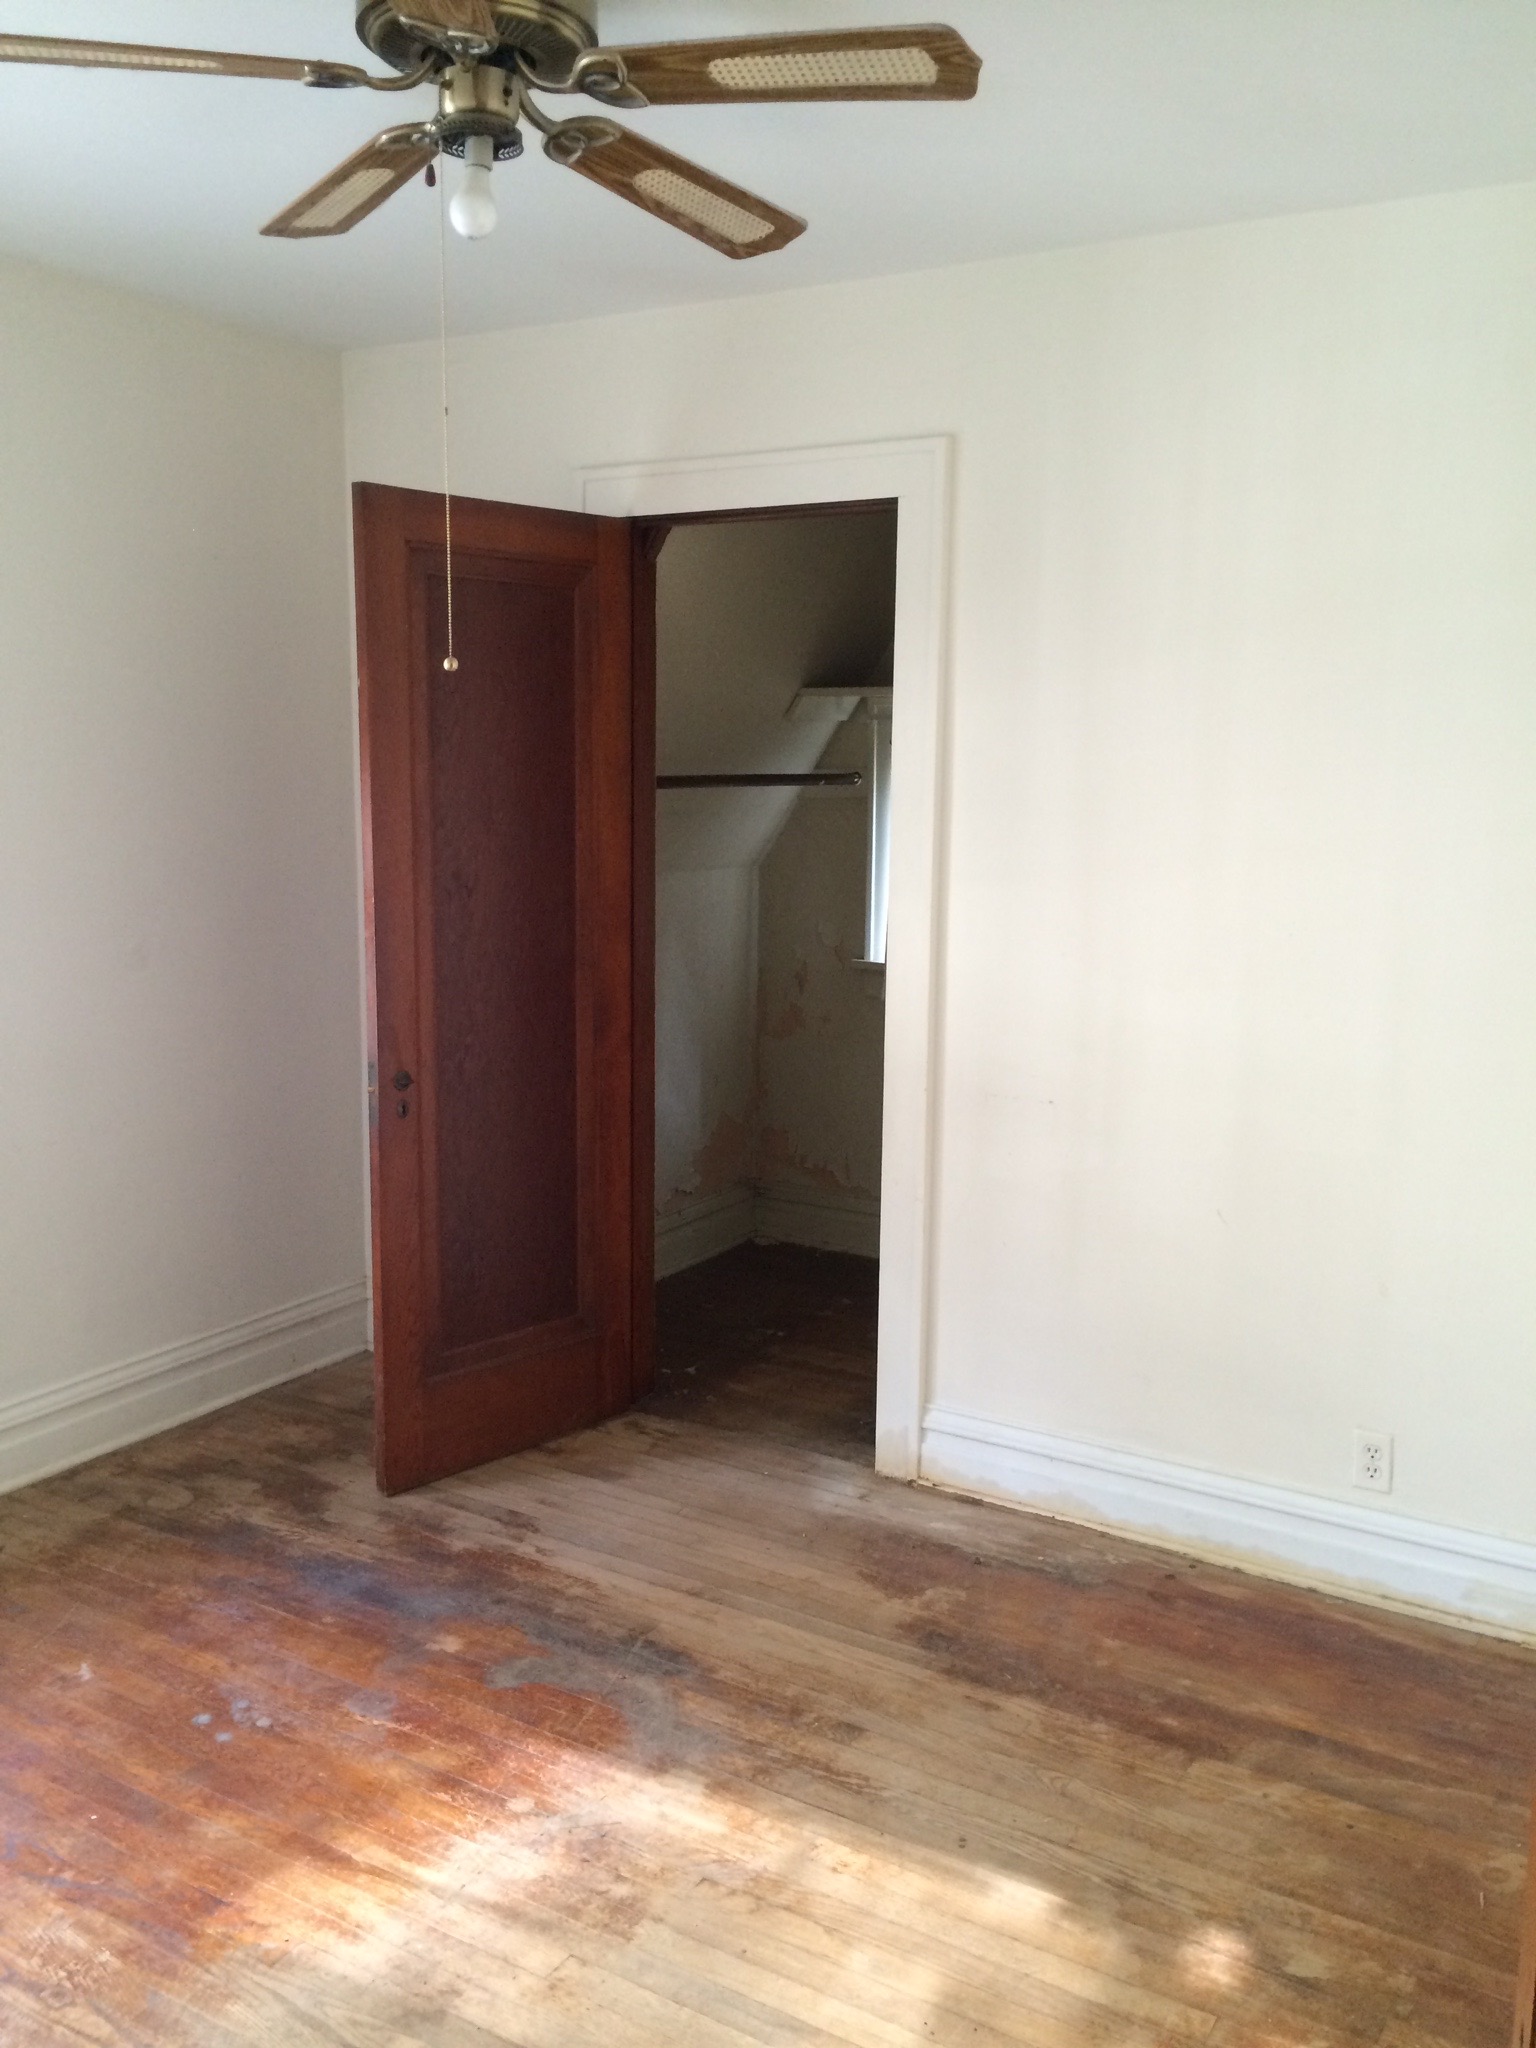
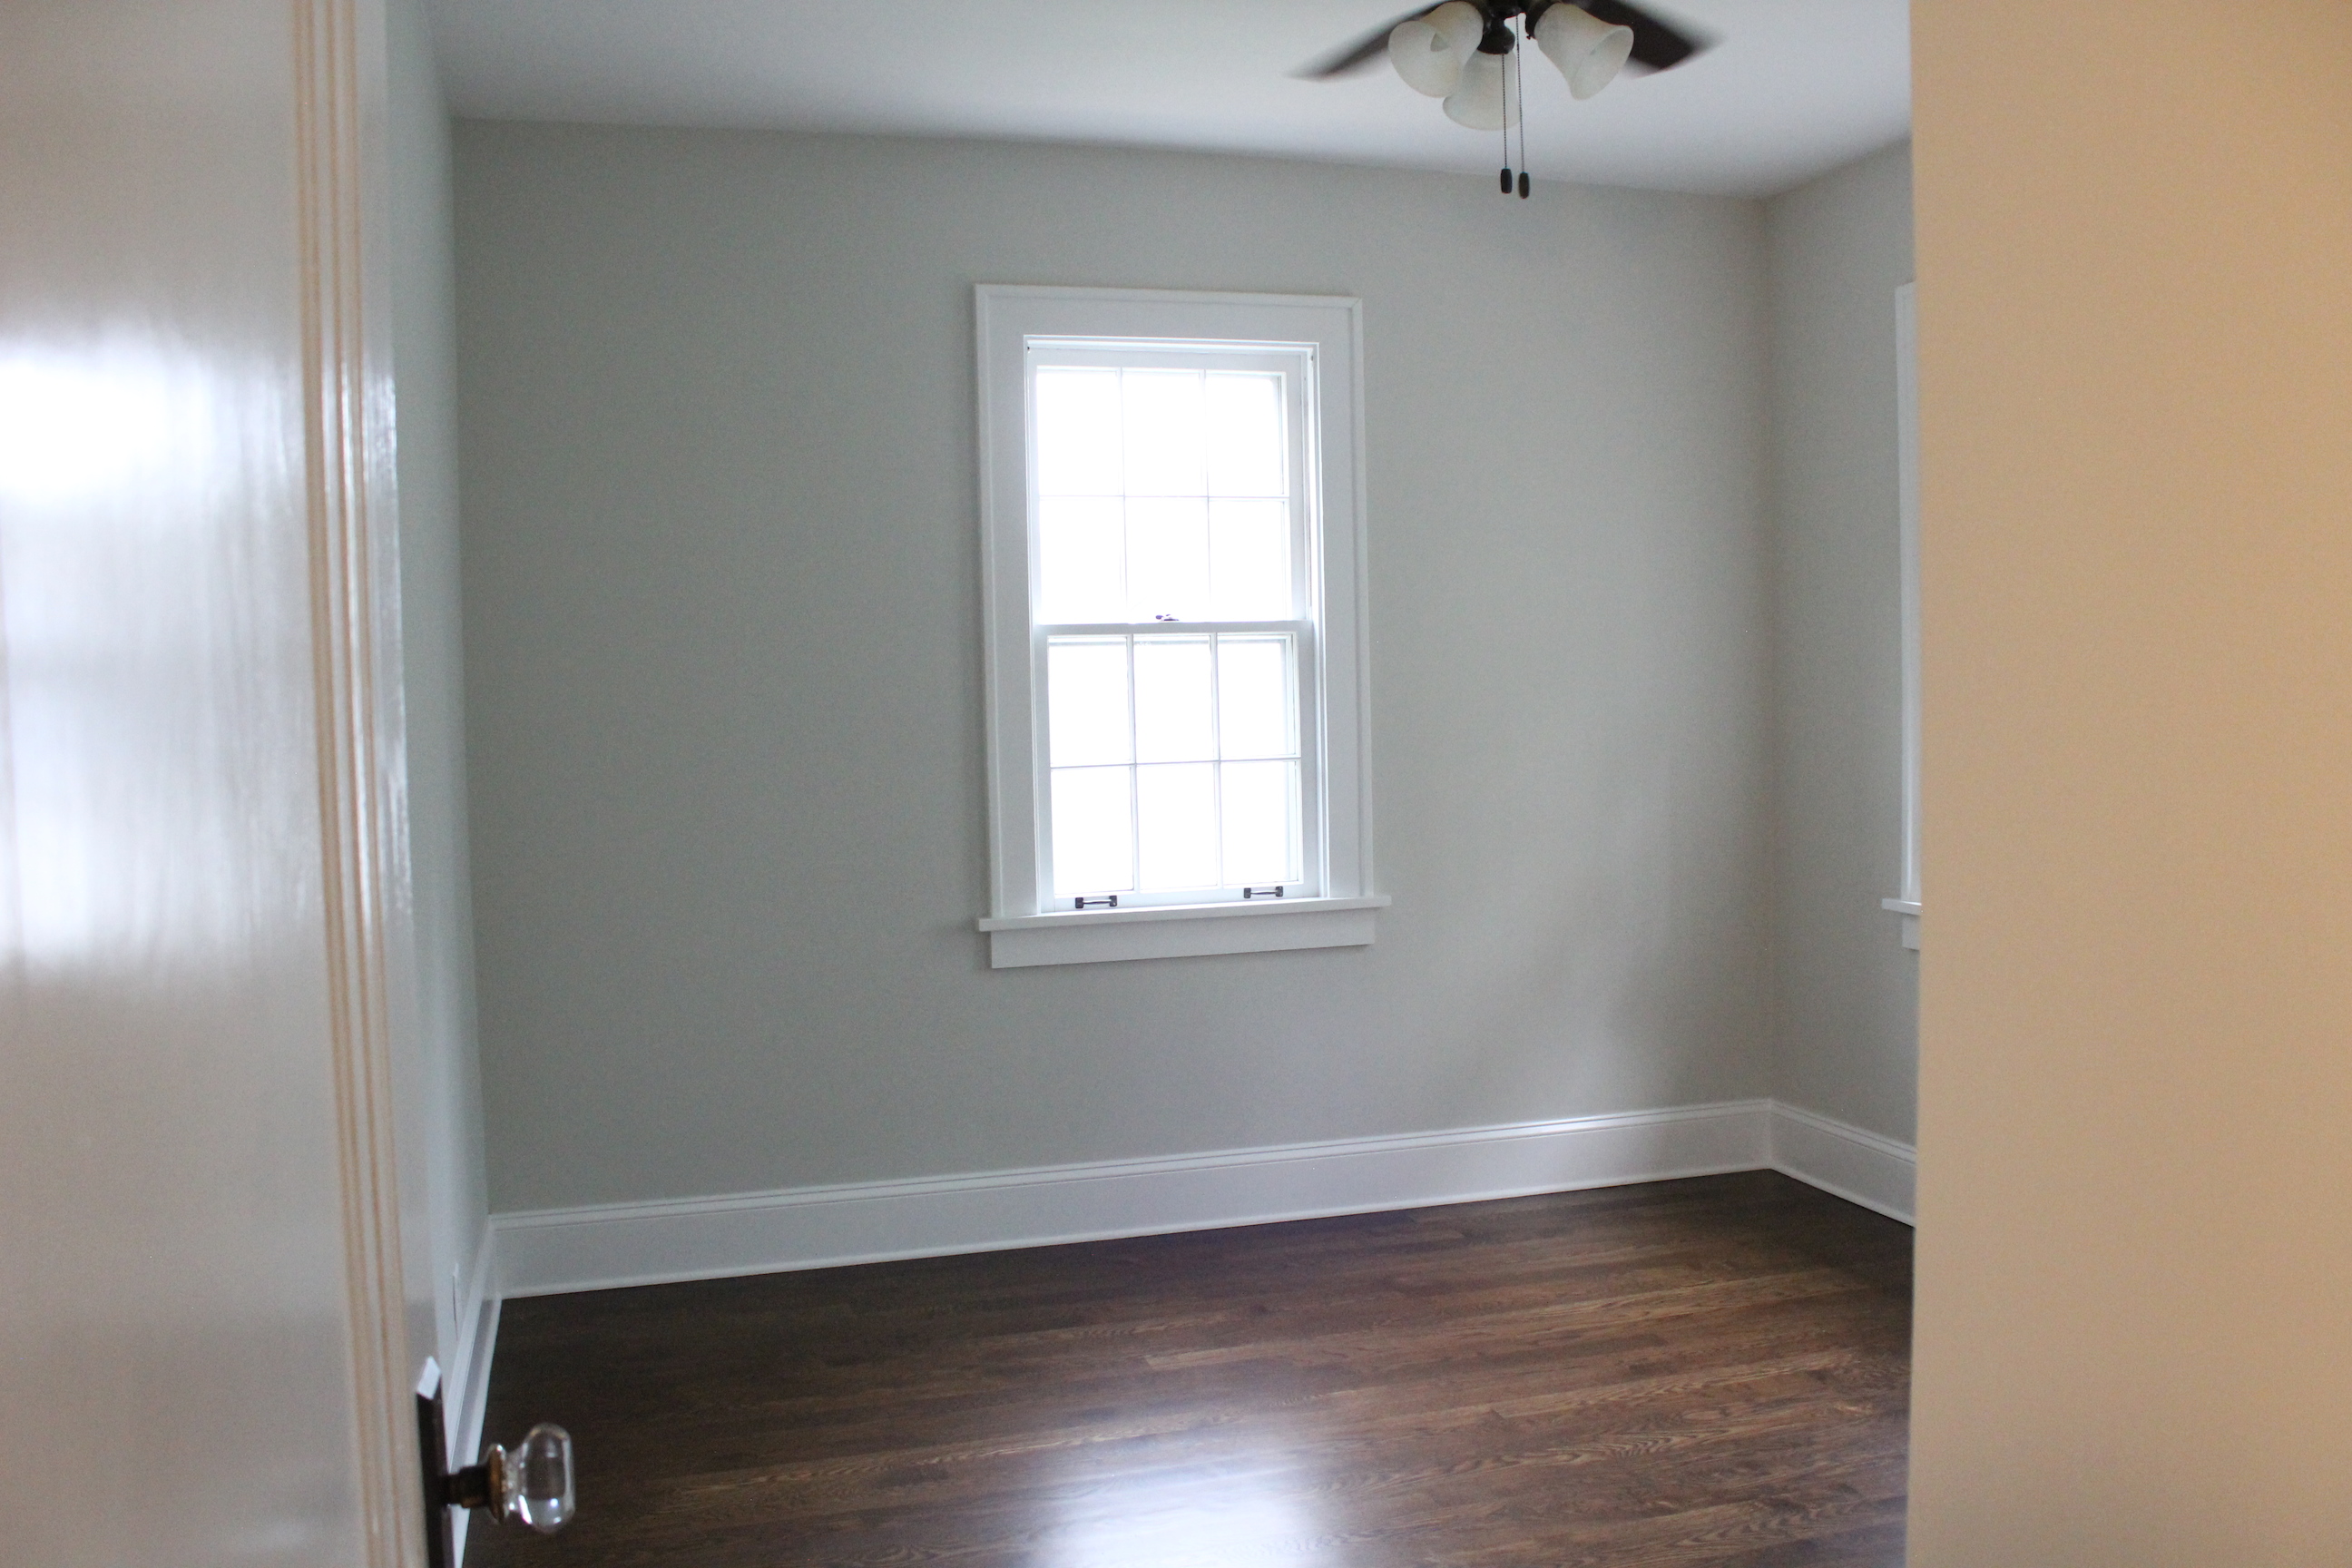
The two bedrooms looked like this before:

IMG_6949

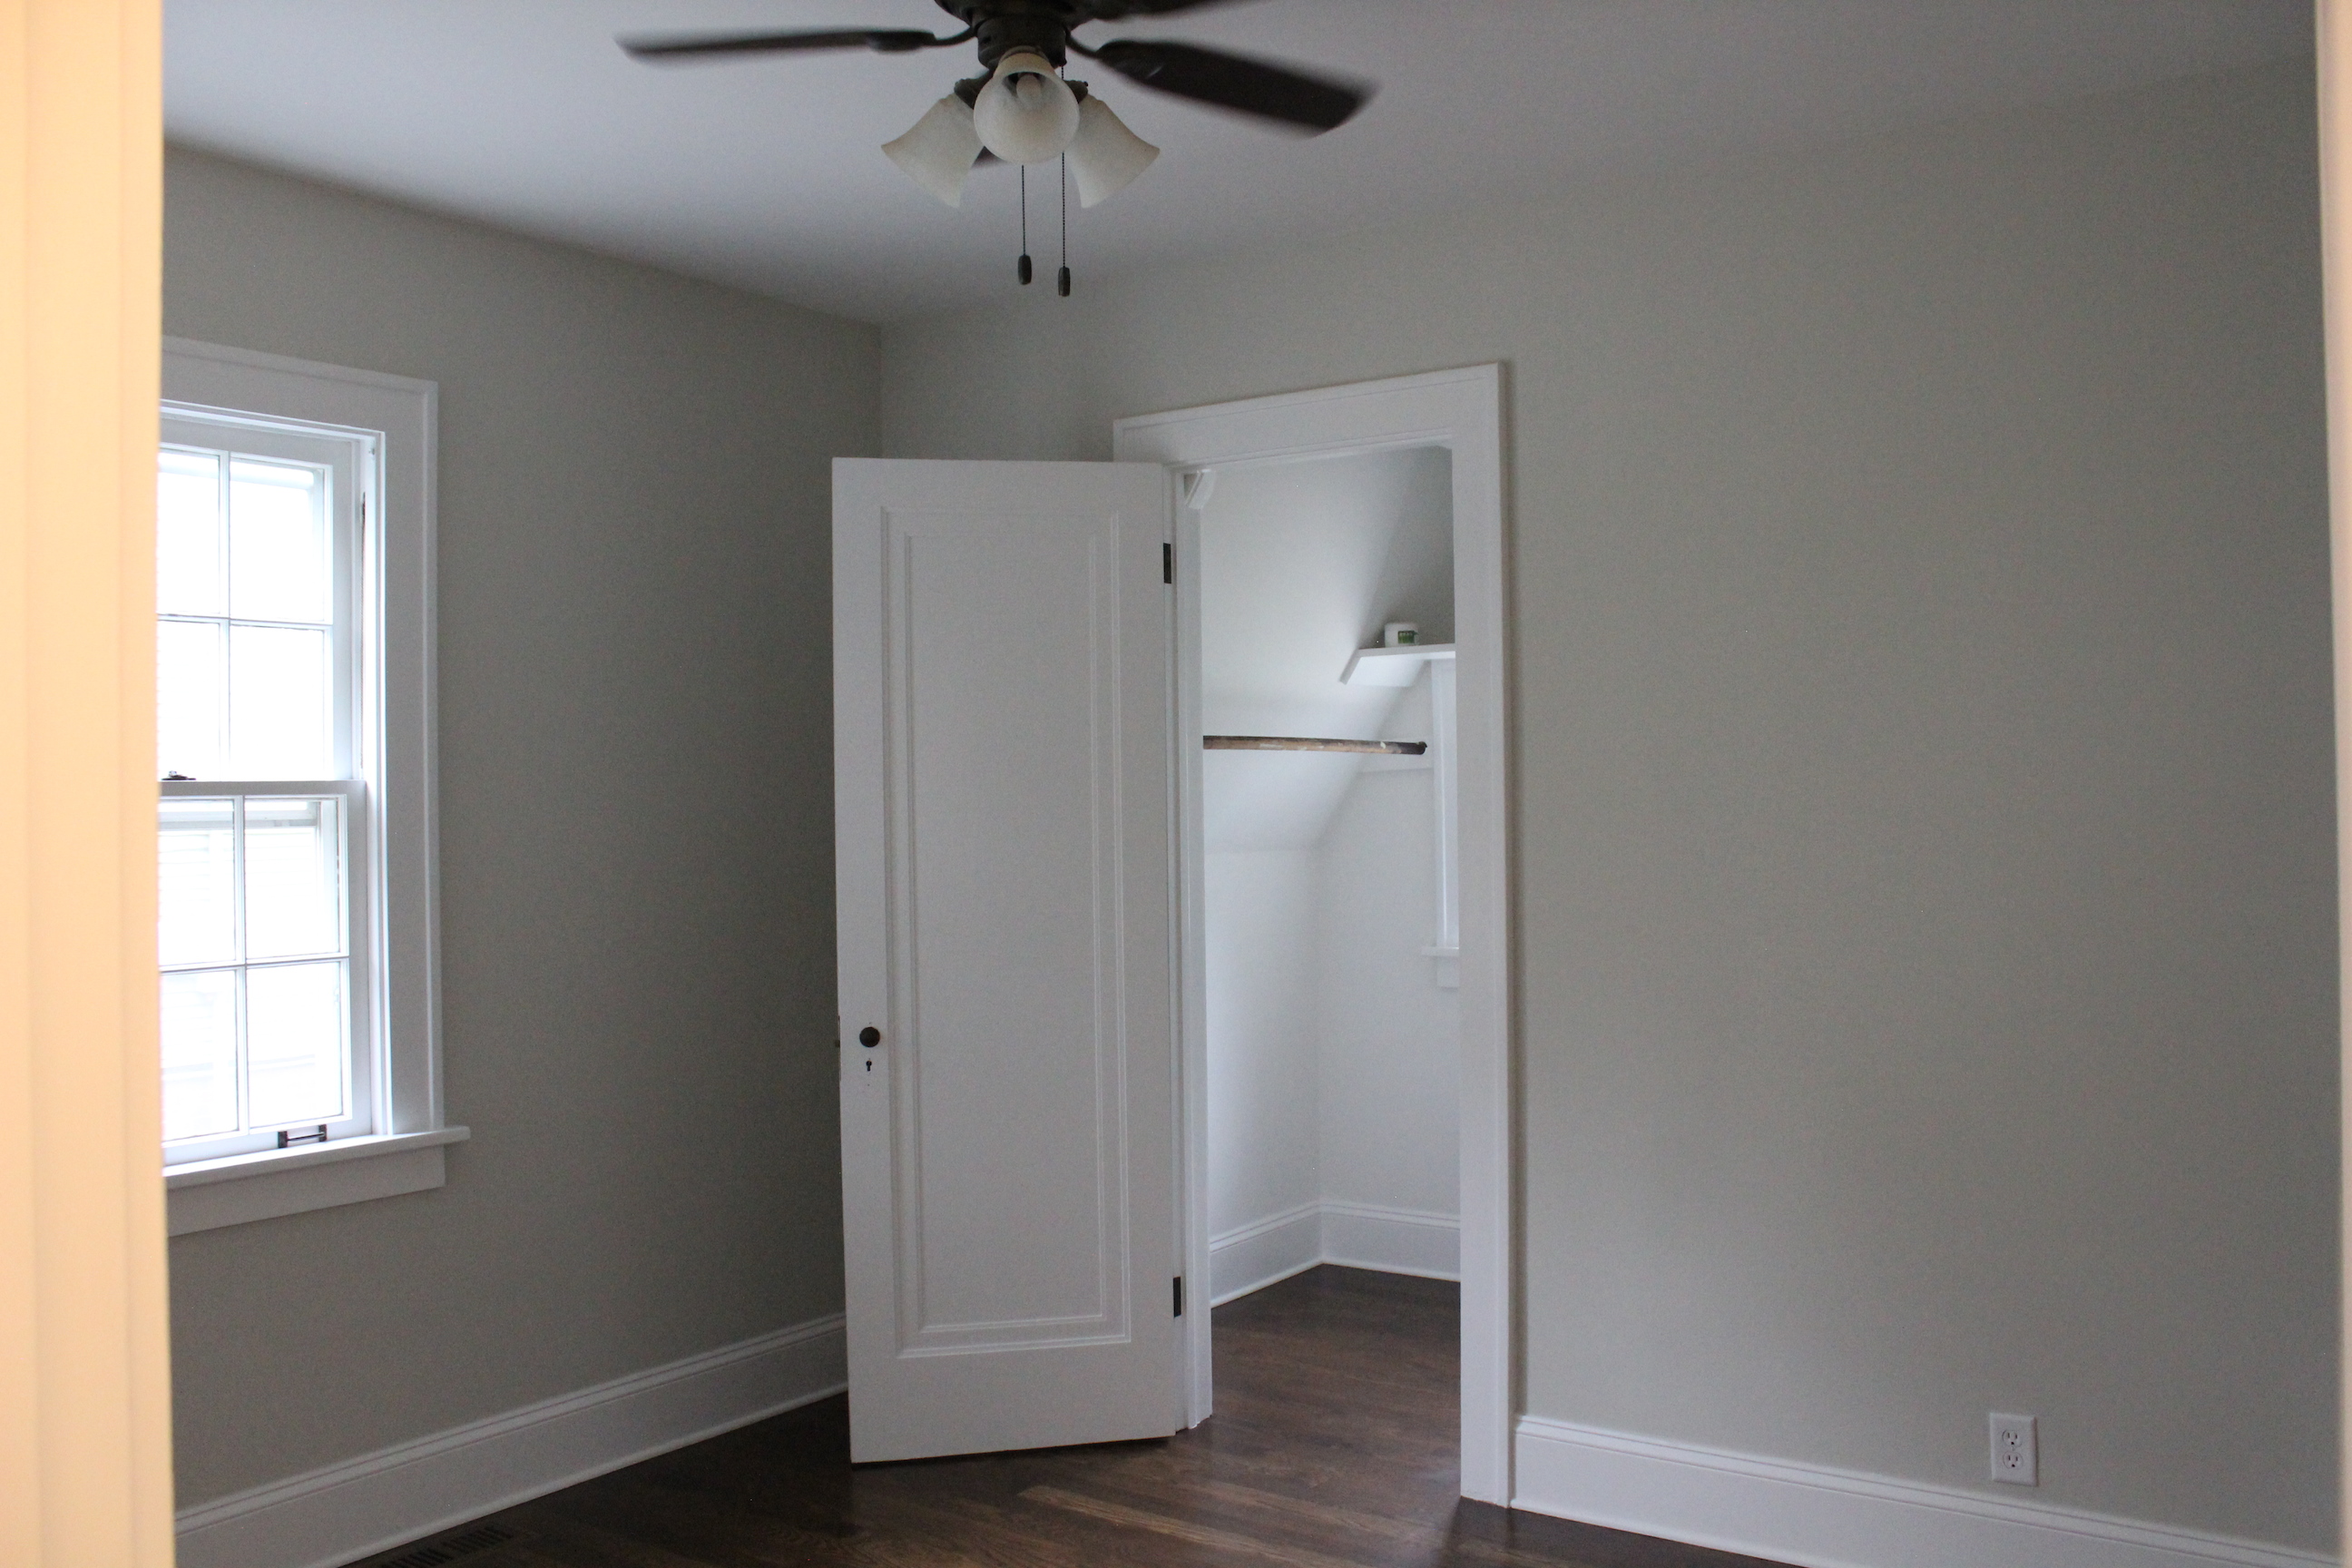
And now with new ceiling fans, paint, baseboards and hardwood floors:

IMG_5557

IMG_5558

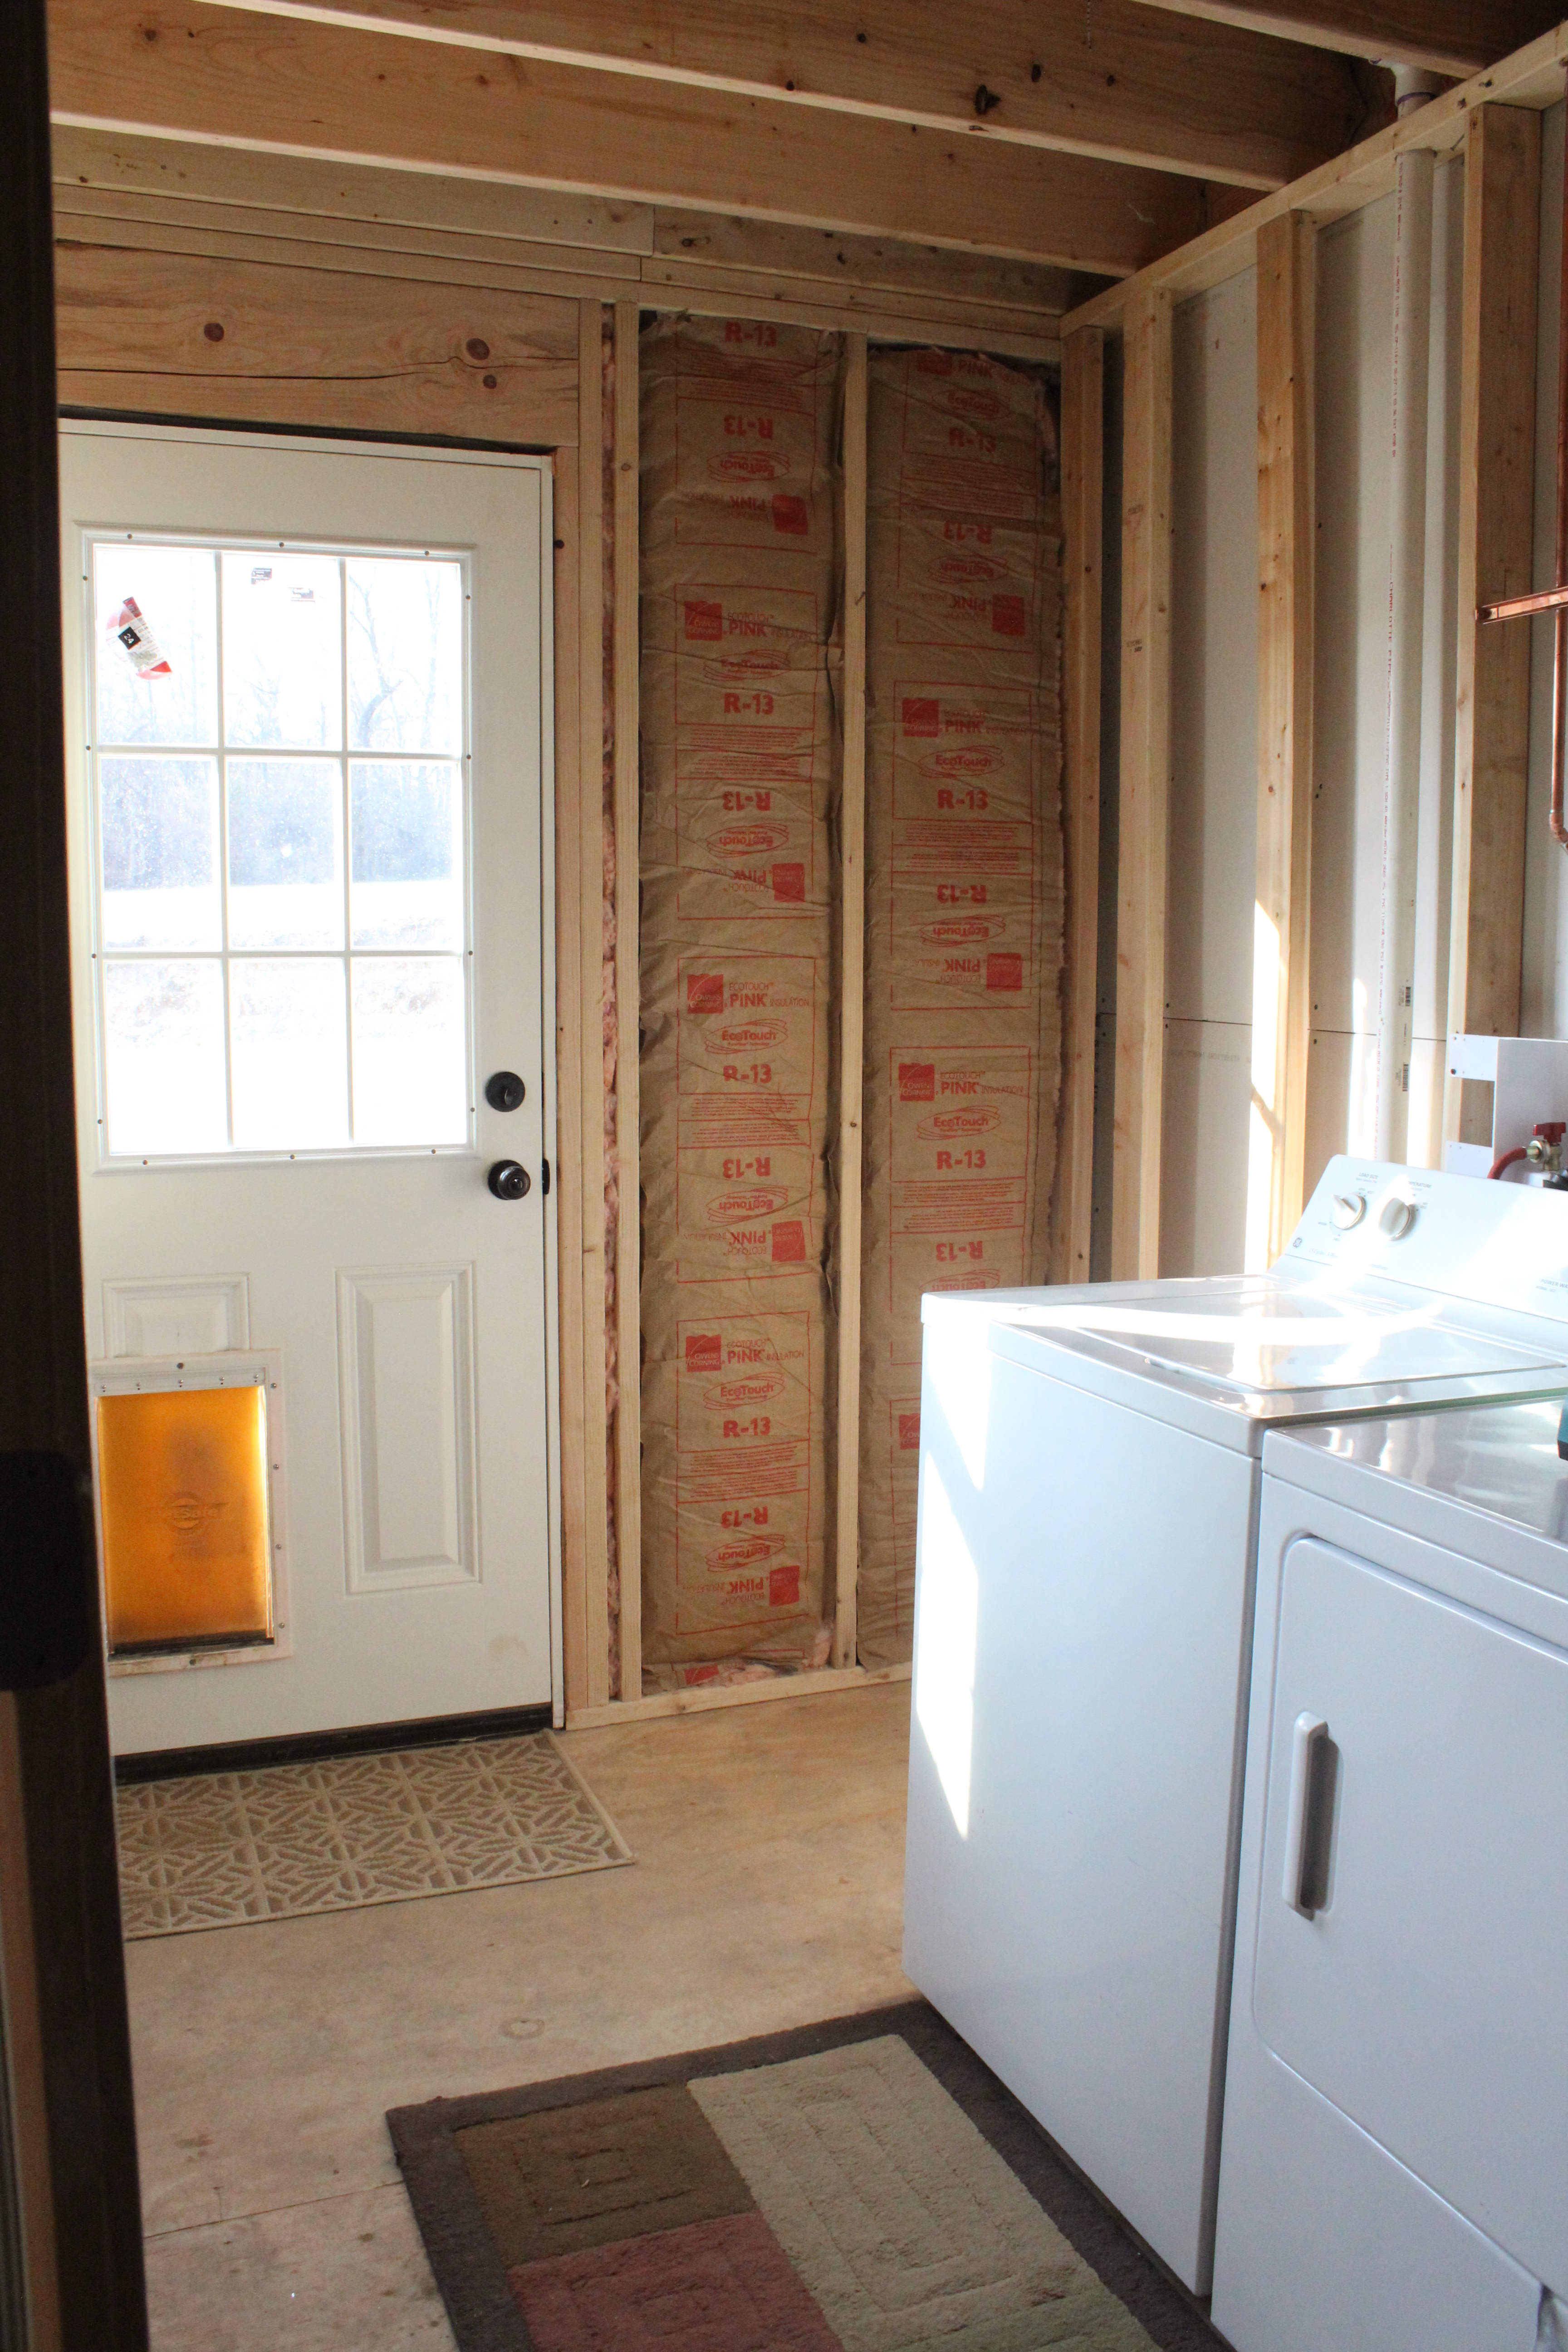
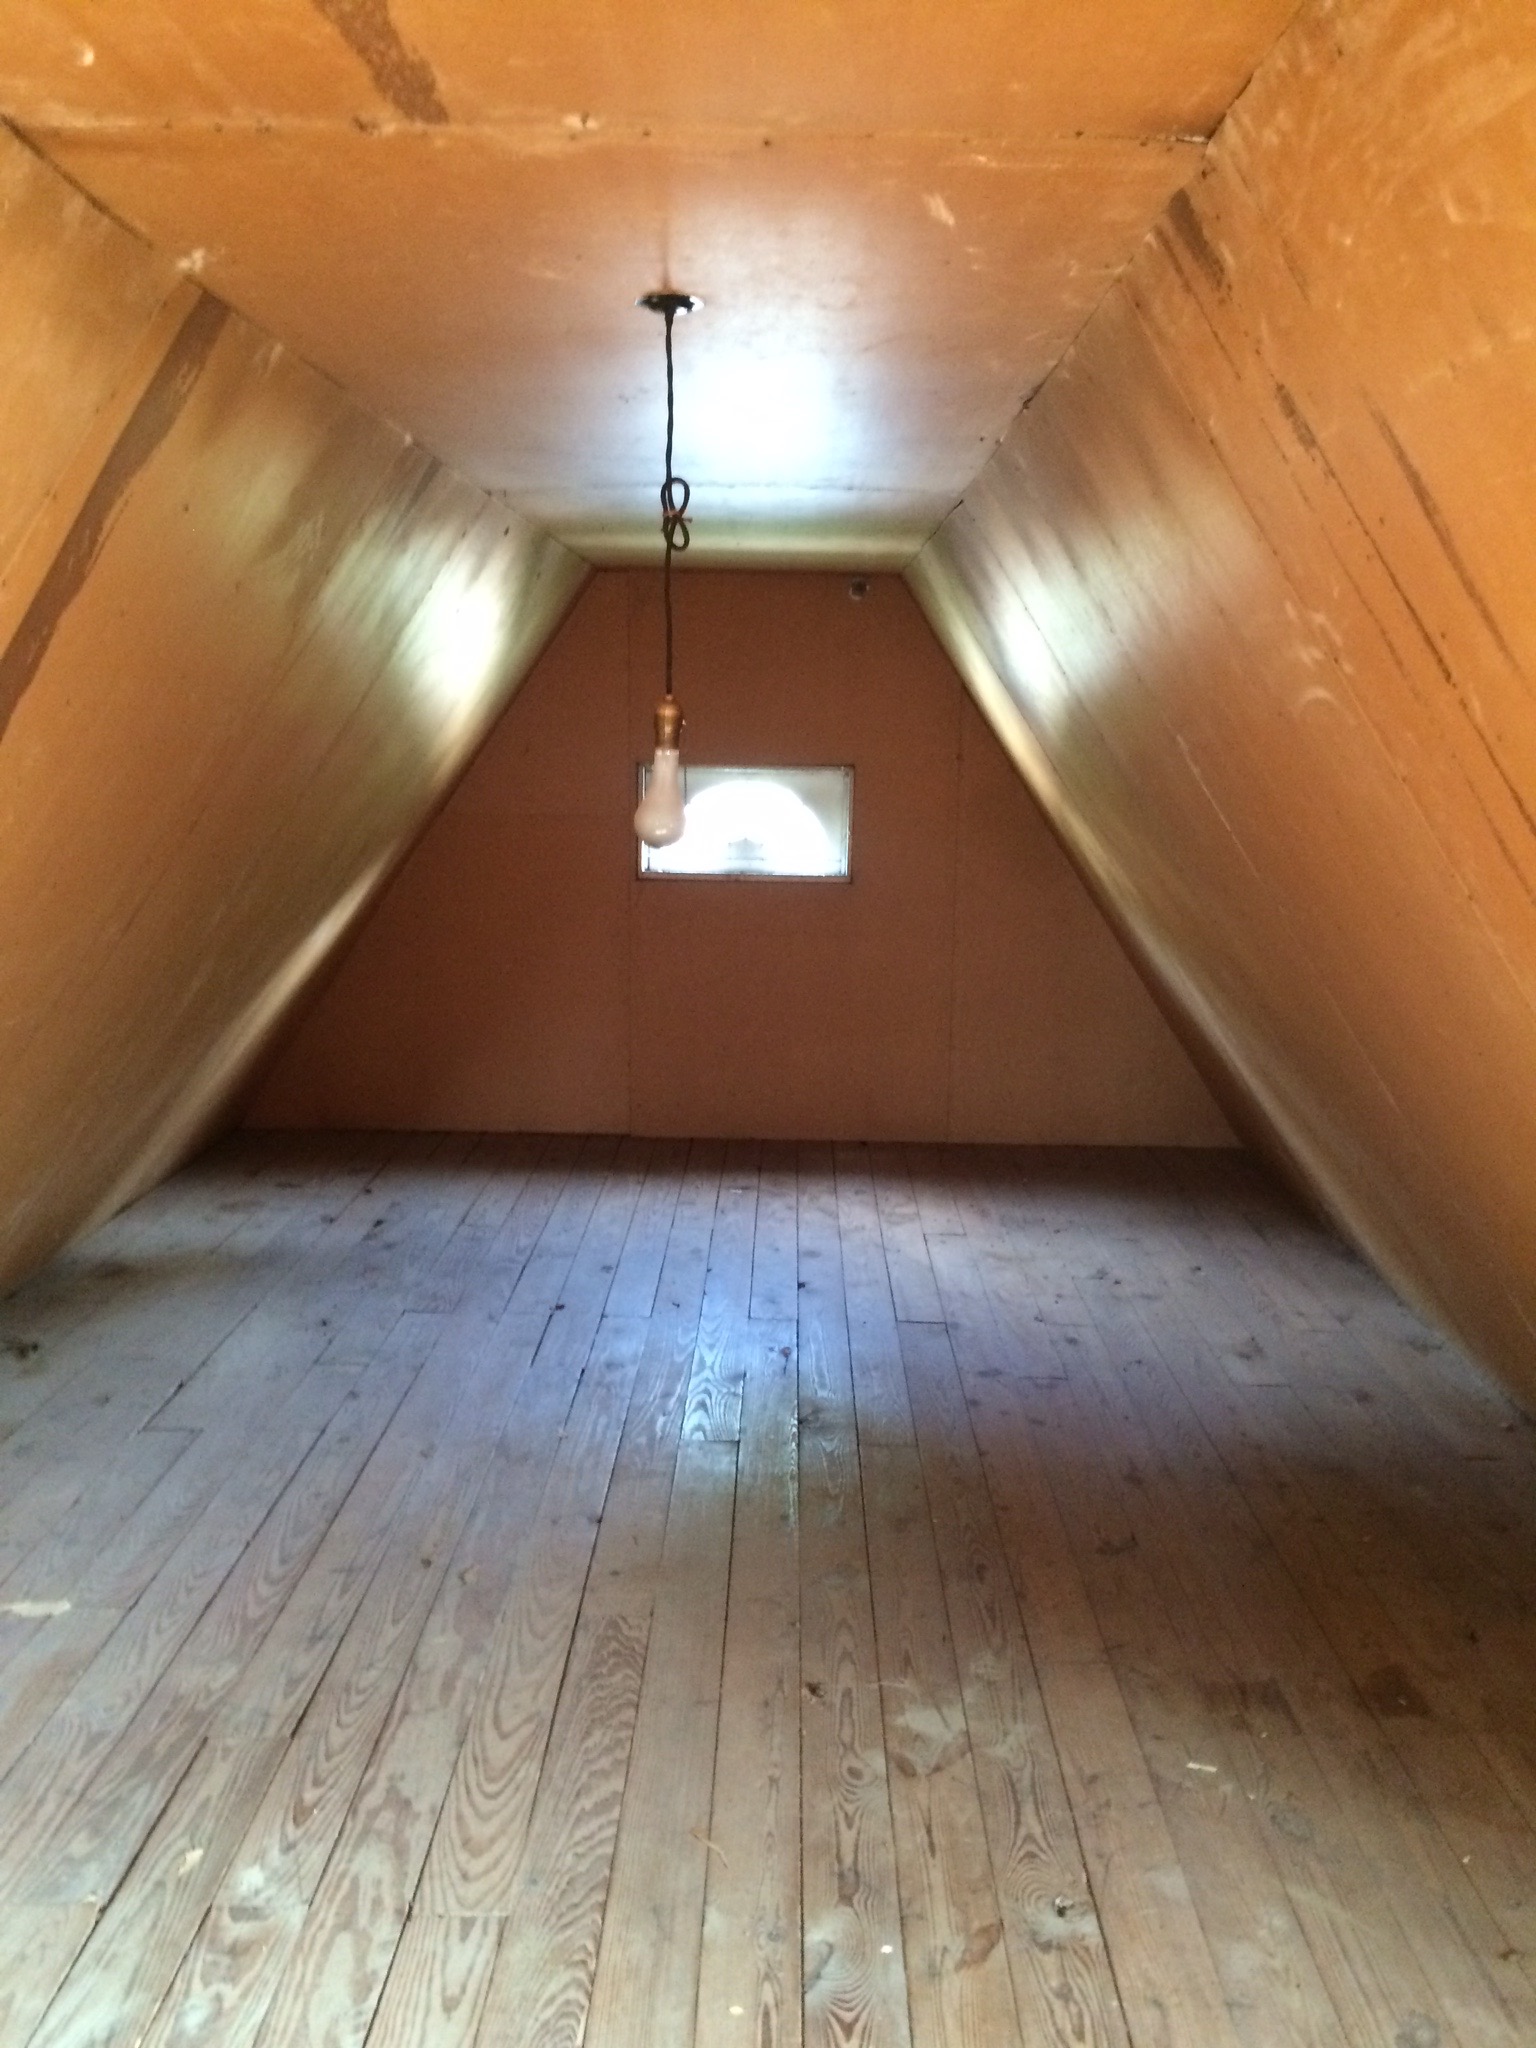
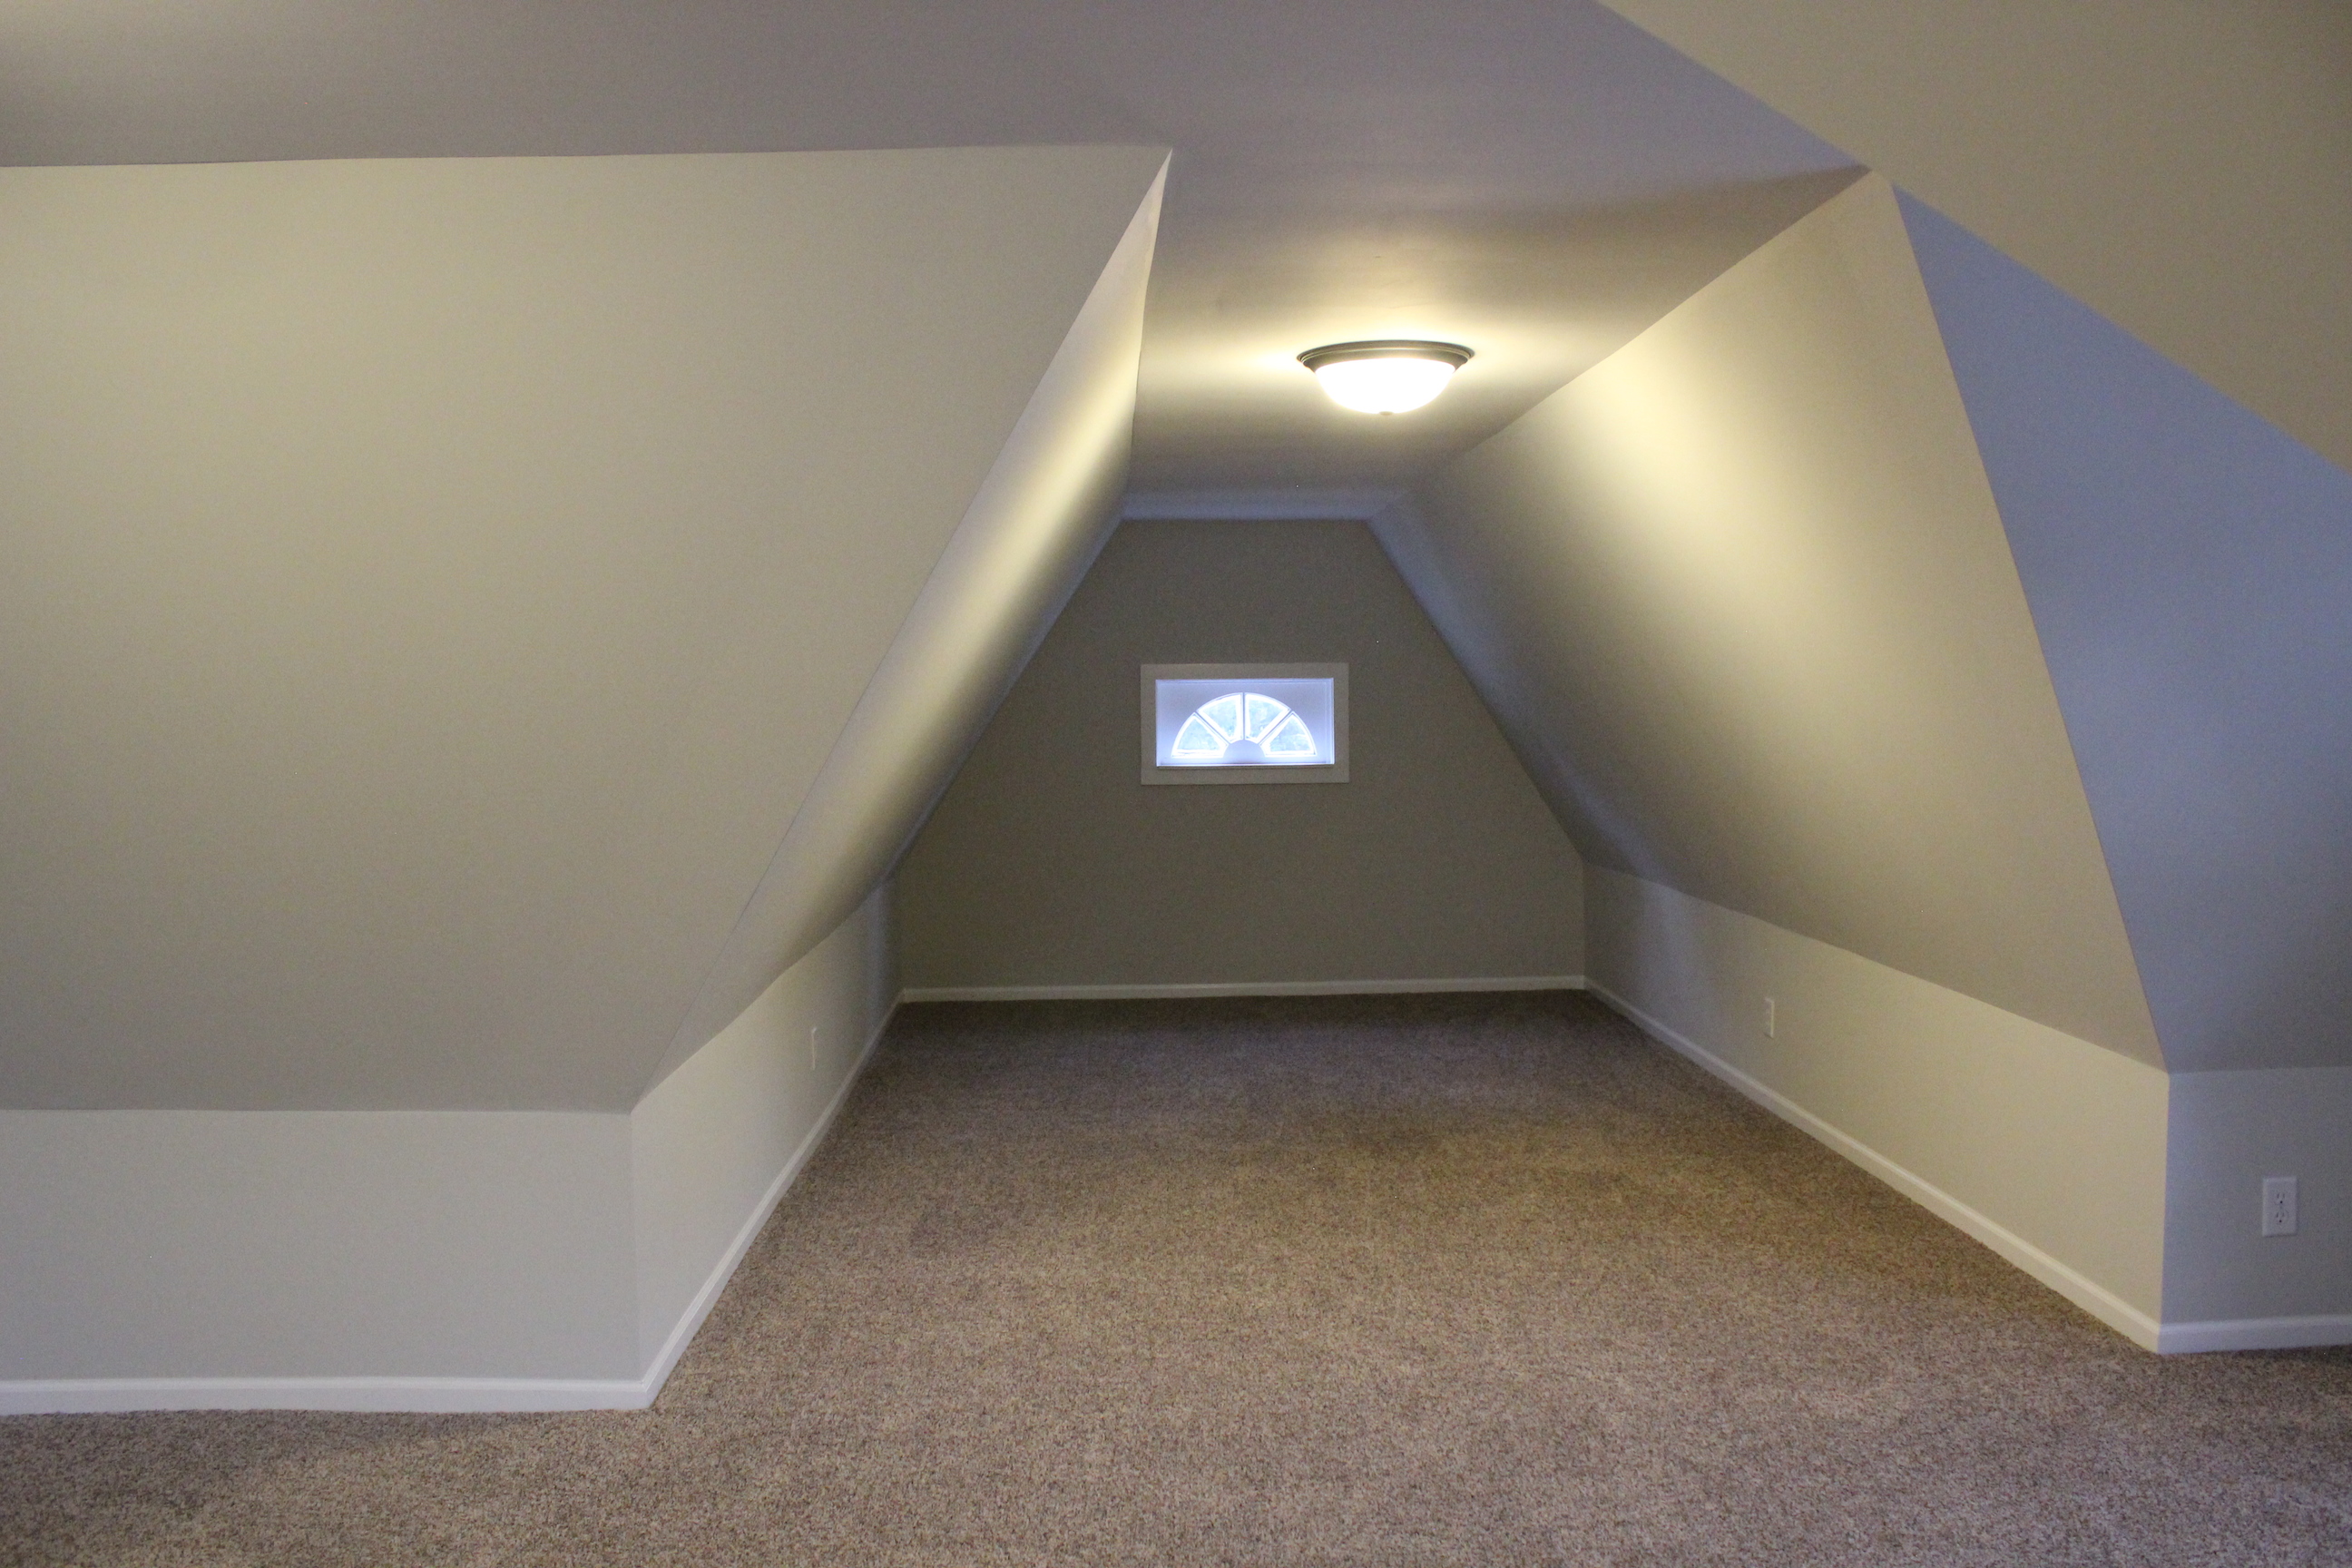
Upstairs used to be unfinished:

IMG_6944

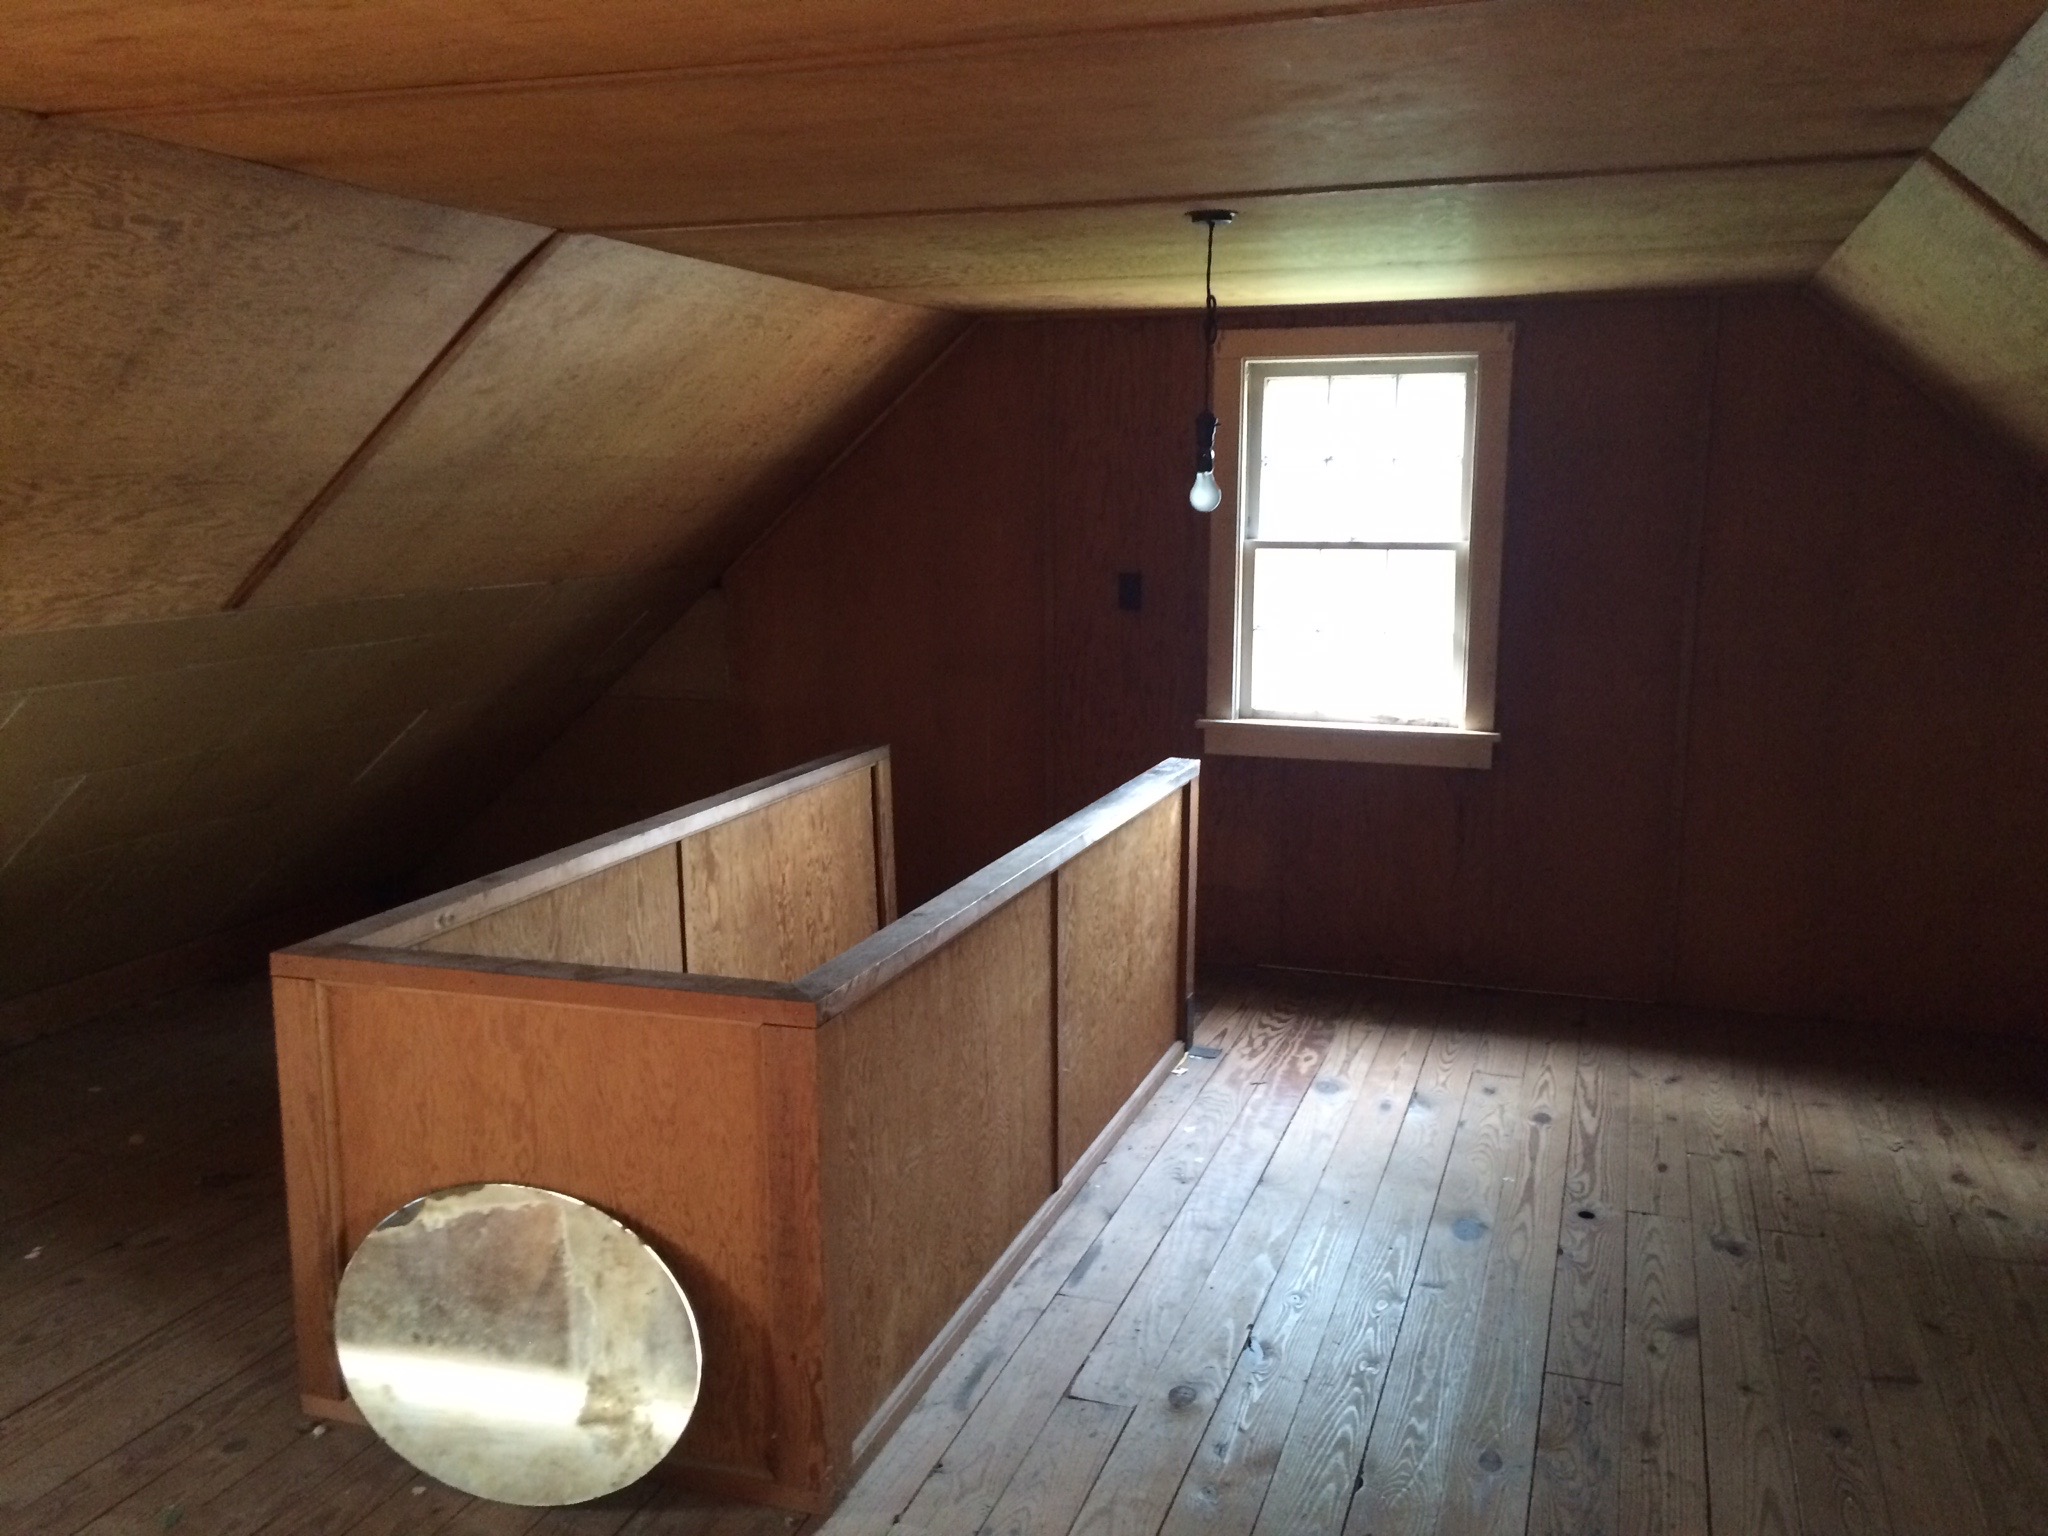
We made it into a 3rd bedroom or bonus space by adding new lighting, HVAC, carpet, paint (Gray Owl as well), baseboards, and more.

IMG_5563


IMG_5564

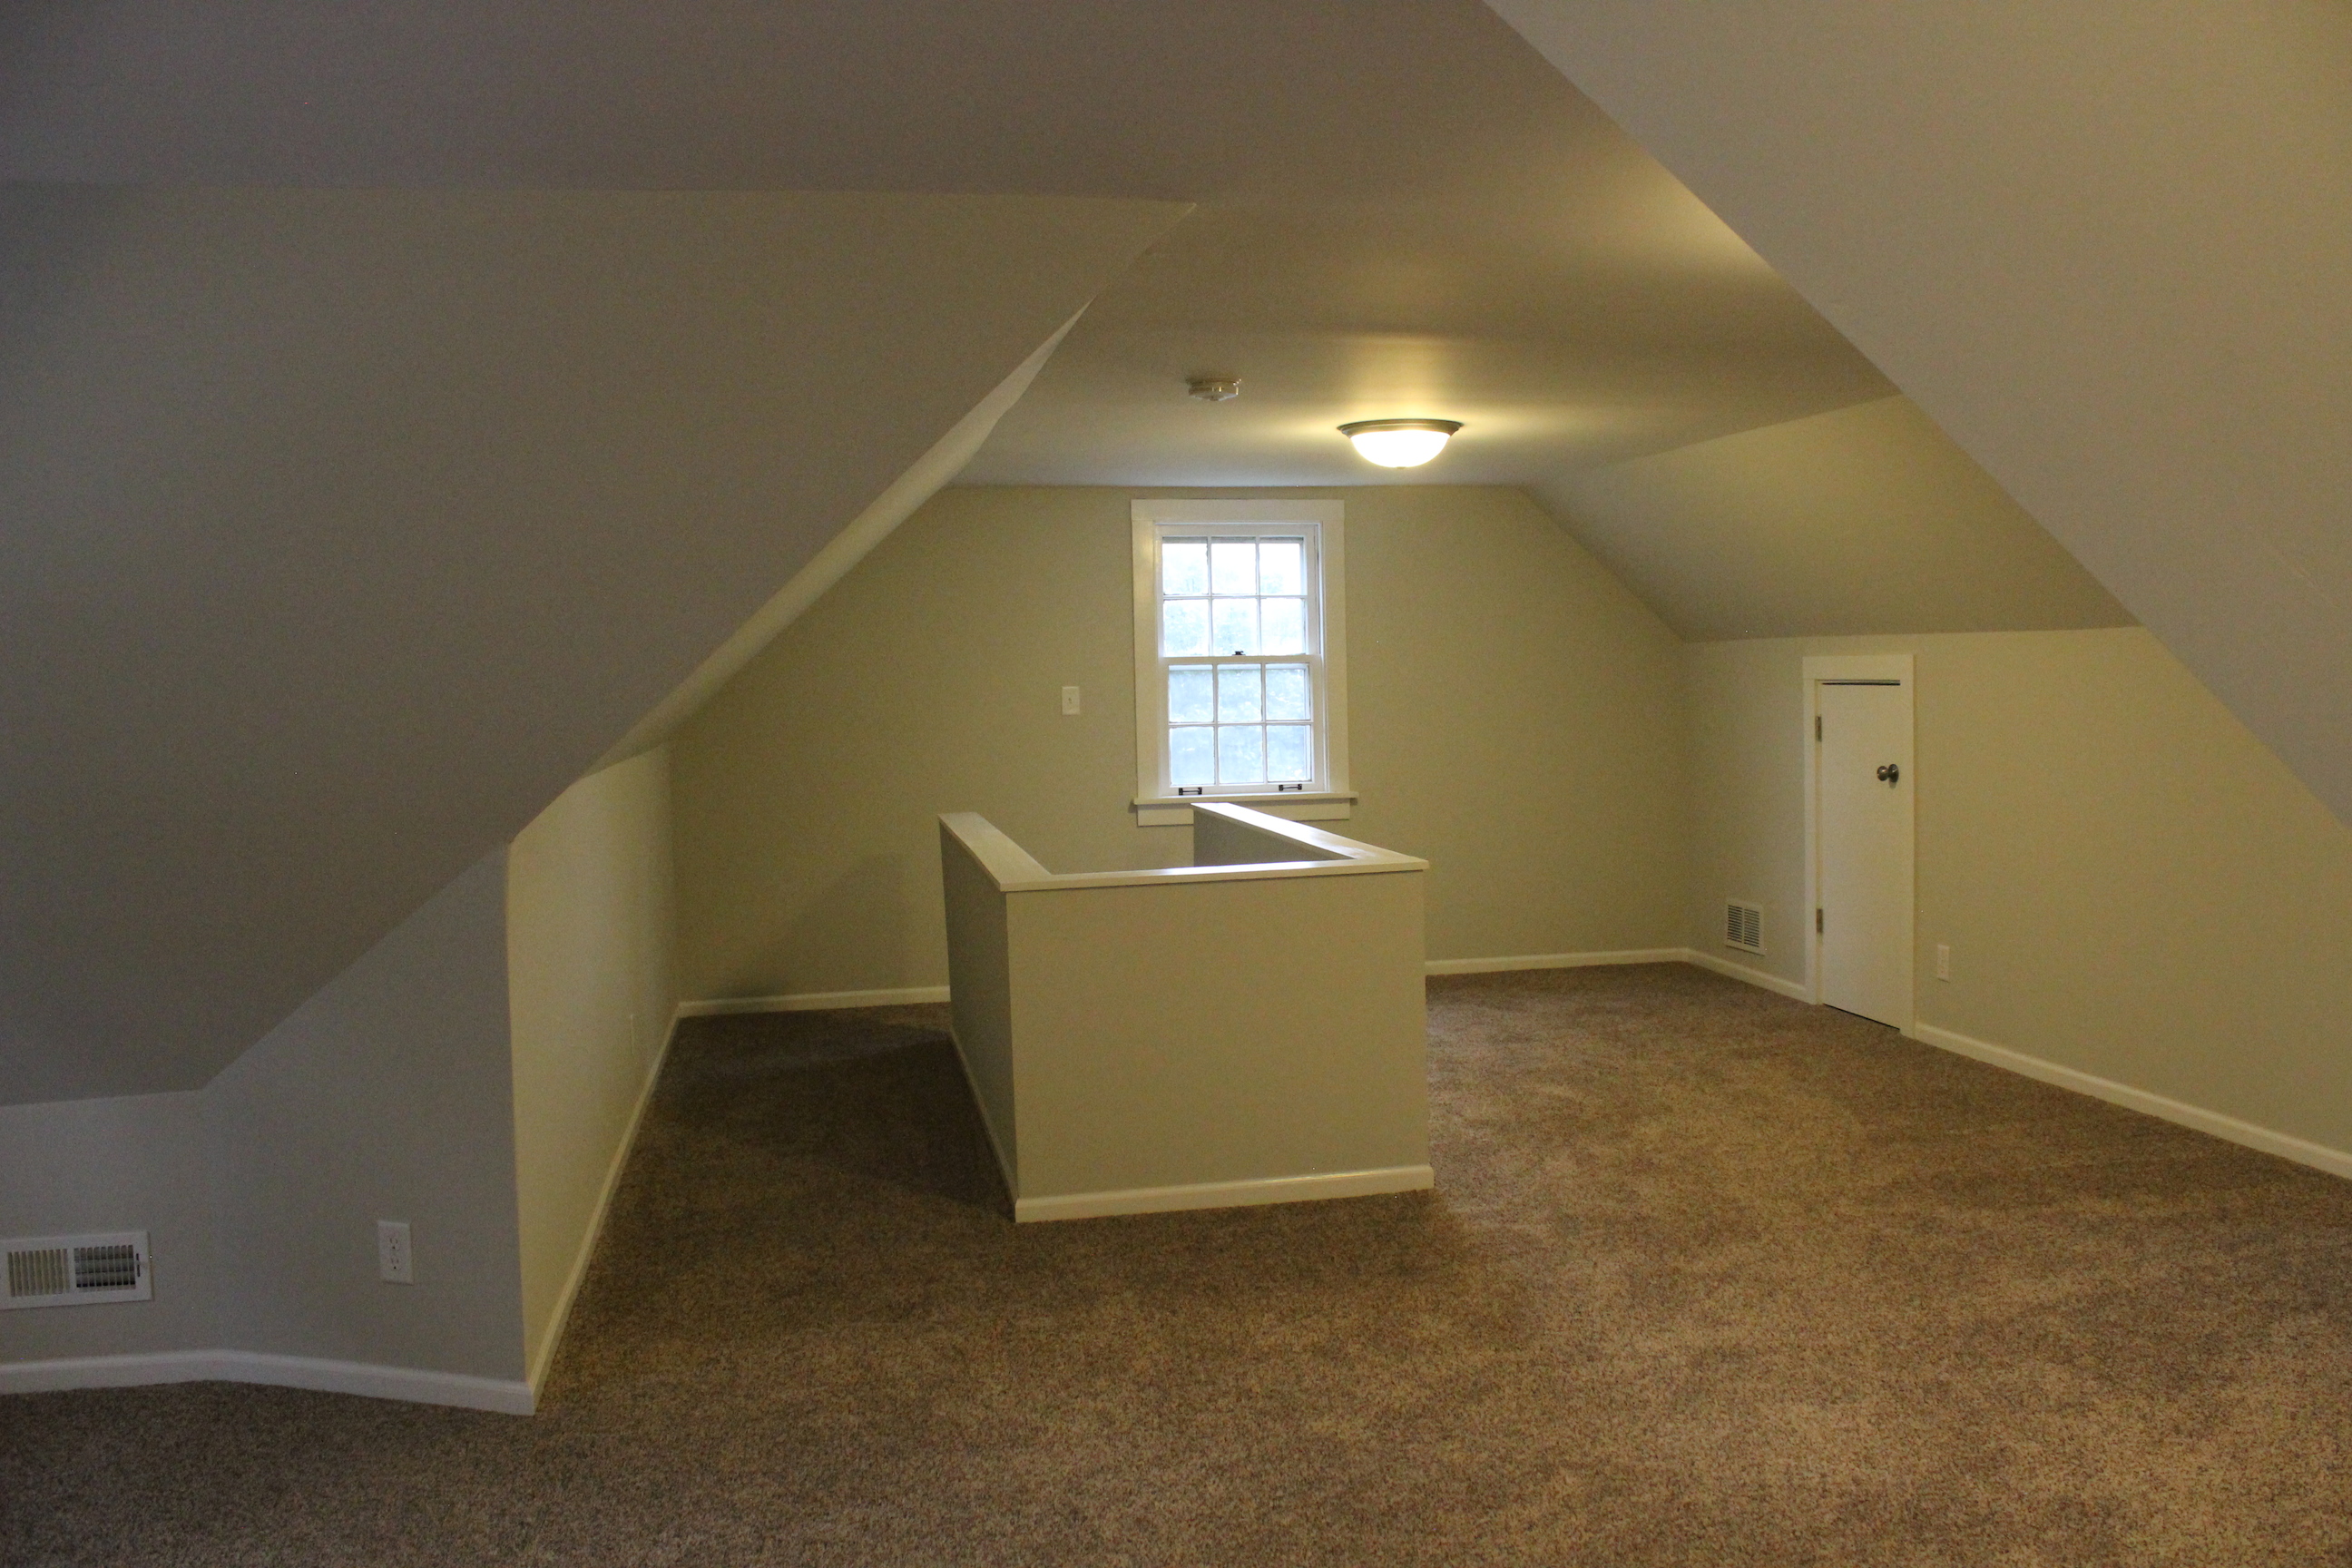
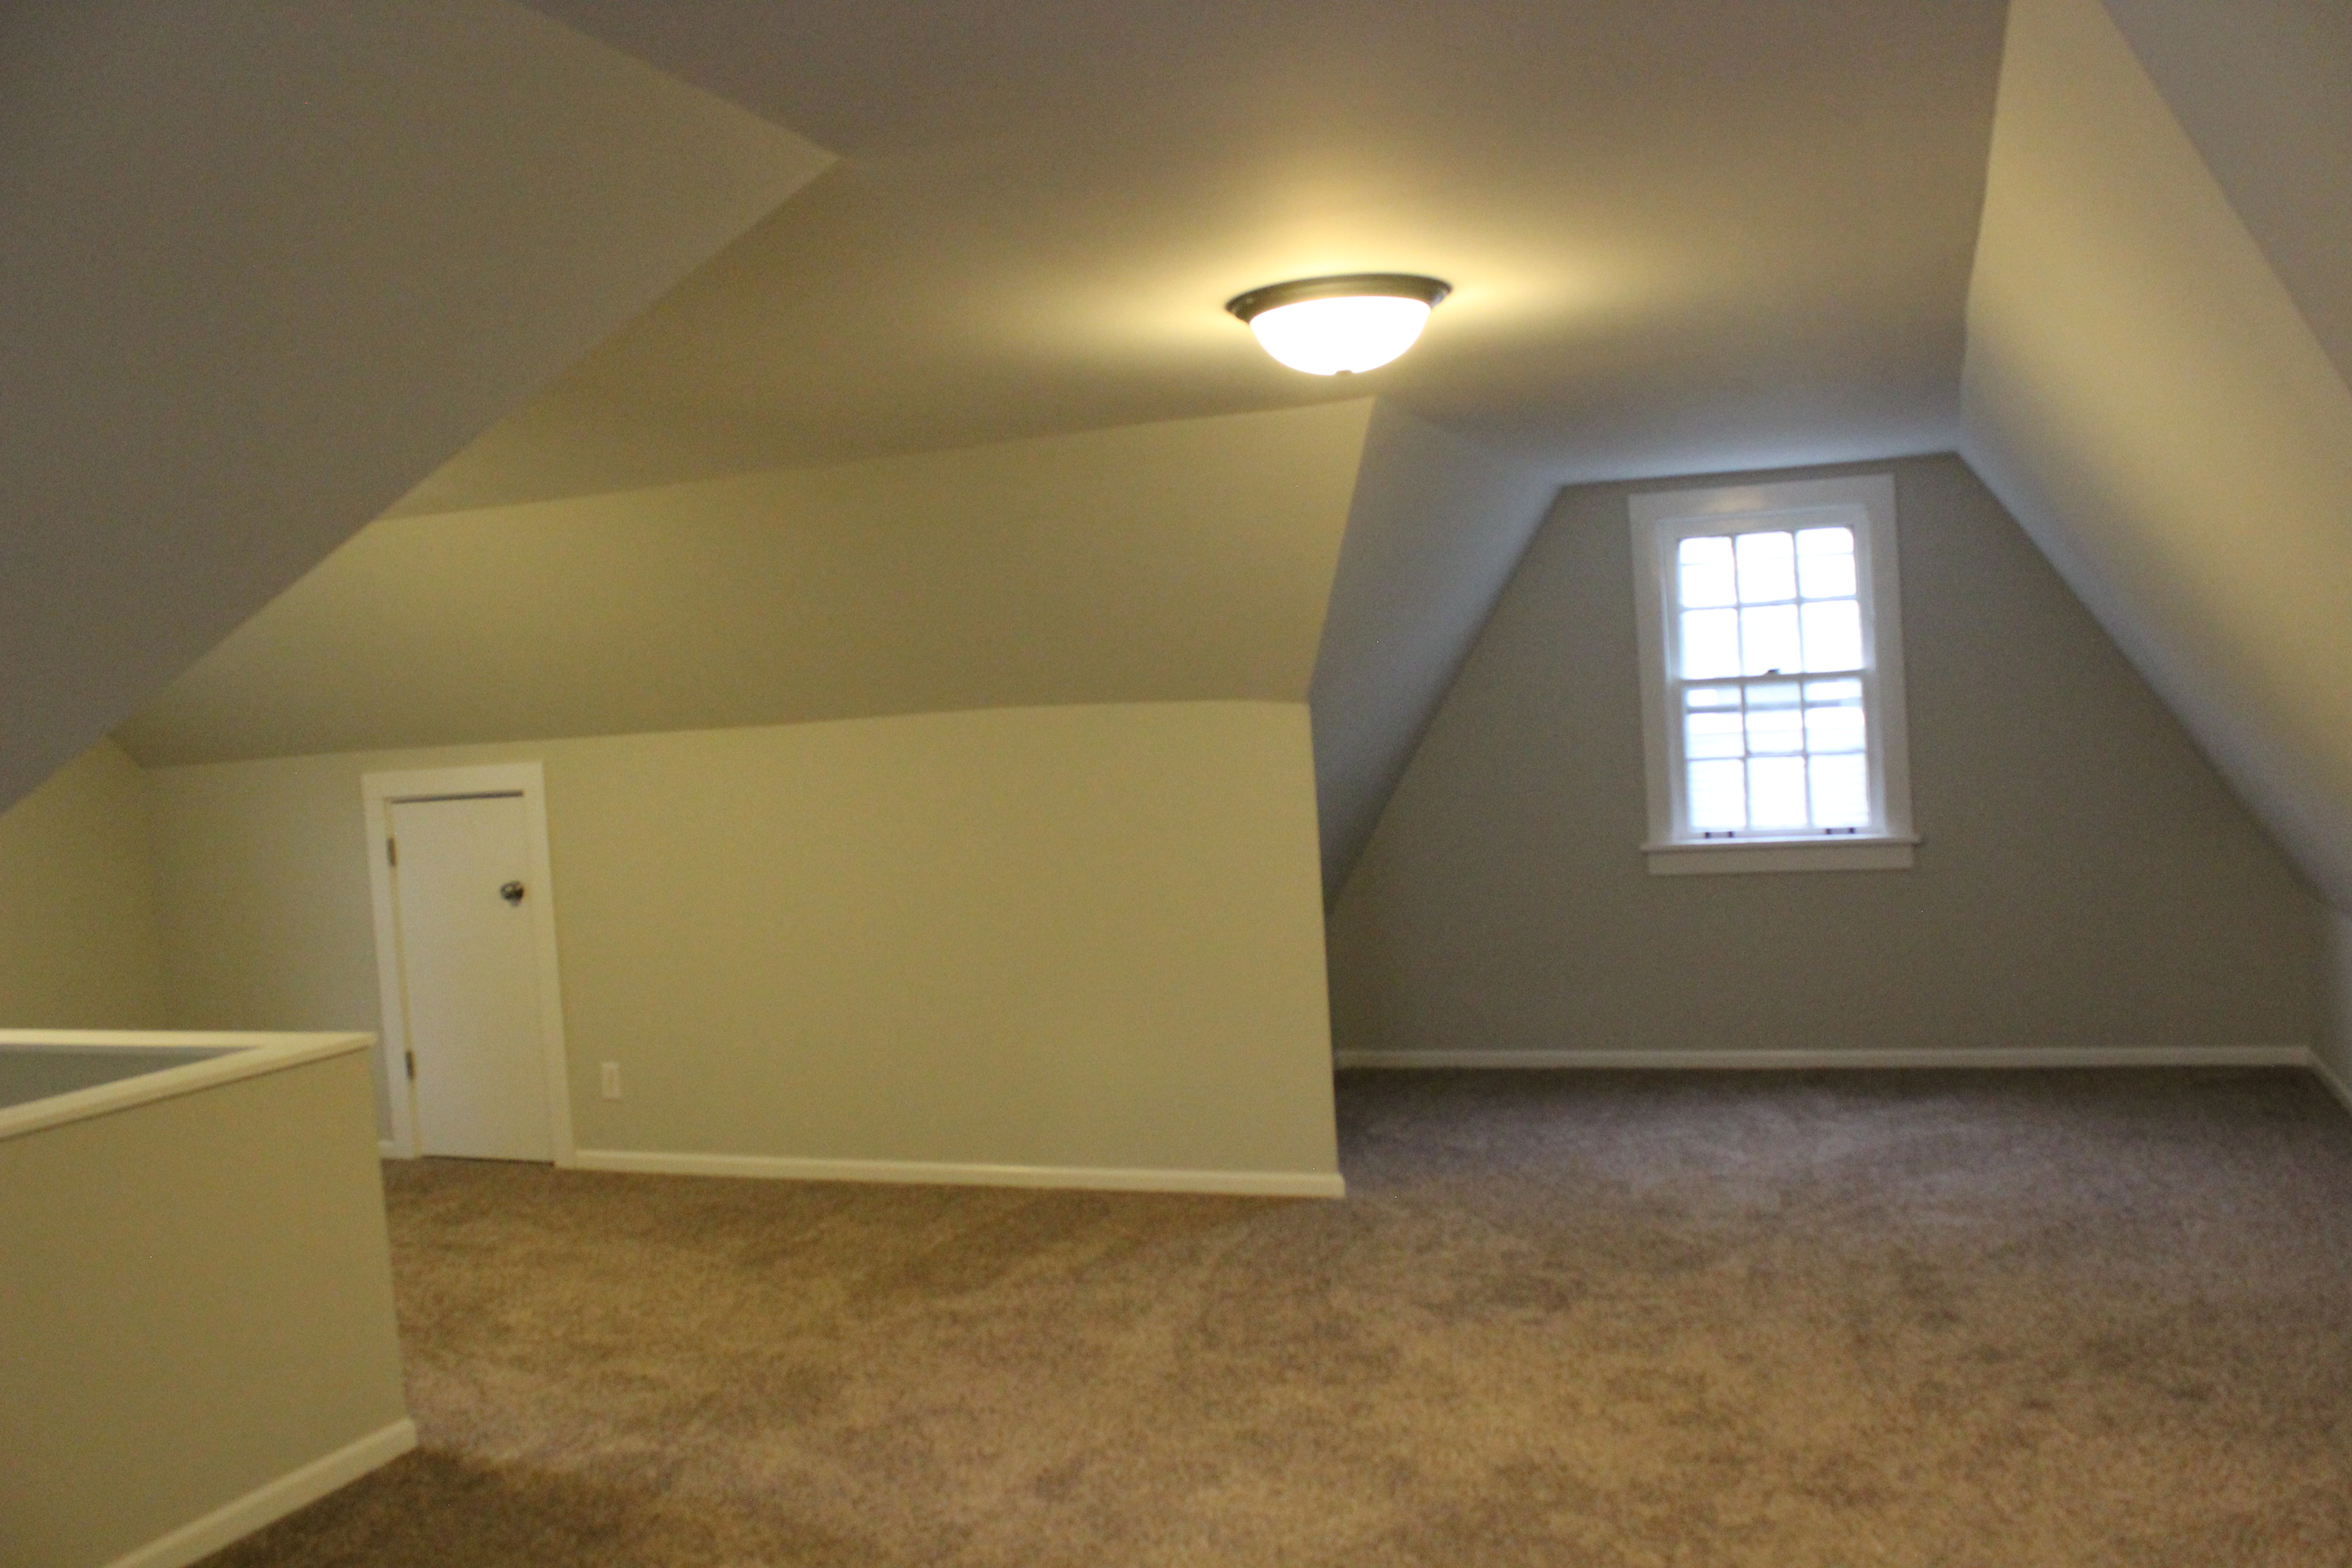
It is a huge space and nearly doubles the square footage of the home.

Before:

IMG_6943

After:

IMG_5562


We absolutely loved bringing this old home back to life and look forward to having this income property for many, many years to come.

Home Goals: How We Did & 2014 Goals

8 Jan

2013 was a year of pretty big changes at 12 Oaks. I posted our goals for the year here and I’m happy to report we got most of what we set out to do done! Here’s the checklist on how much we accomplished.

1) Put in Upstairs Hall Bathroom. Check! We completely gutted and re-did the bathroom. It is one of my favorite spaces in the house and has turned out to be quite the Pinterest sensation, lol. Full tour here.

IMG_2631

2) Re-locate laundry and renovate first floor powder room. Check! Sort of. What was once the laundry and powder room is now our pantry and part of our kitchen. The new first floor powder room isn’t done, but it is functional (sink and toilet working), and we have a new laundry room.

IMG_4191

IMG_4193

3) Take down a wall to create open floor plan. Oh yeah! It feels like a whole new house since we did this.

Here was the before:

living room wall removed

And here is a similar view now.

IMG_4210

4) Renovating the kitchen. Check! Just a few minor tweaks left, but this was the biggest transformation yet.

Before:

Kitchen

And now:

IMG_4128

5) New windows. We’re on a roll, another check.

IMG_2891

6) Renovate Master Bathroom. Ok, this didn’t happen. BUT, our master is now moving and the addition is built so a new master bathroom is started.

IMG_4197

7)  Get the pool up and running. It took until the end of summer but we got another check!

IMG_3396

8) Build a deck and/or patio around pool along with landscaping around it and the rest of the property. No check. We designed the deck, poured the footings and bought the materials but it got too cold to build. We did landscape the front of the house though.

IMG_3186

9) Add french doors off of the dining room. Check! Love these.

Before:

12 Oaks Before 137

After:

IMG_4212

10) Paint the house and install new front door. No paint, but we did get a new front door.

Screen Shot 2013-02-17 at 11.32.36 AM

11) Update fireplace in the den. No progress. This is going on the list for 2014.

12) Add shadowbox molding in dining room and stairs. Not yet. Though our stairs did get a nice makeover.

IMG_4189

13) Put in can lights in living room. Check! We put in dimmable can lights in the barn wood beams we installed.

IMG_4214

14) Add hardwood floors in the entry way. Check! Our floors are all one material and color- love them so much.

Before:

12 Oaks Before 156

After:

IMG_4182

Phew! We were busy. It was a lot of work, but the house totally feels like ours now. I doubt we can keep up this pace in 2014, especially with our little one arriving in a few weeks, but there is still lots to accomplish.

Our 2014 home goals are to:

1) Build deck out back

2) Install retaining wall and landscape back yard

3) Replace rotten trim and paint the house

4) Finish addition upstairs (master bathroom and closet)

5) Finish addition downstairs (powder room and laundry room)

6) Makeover the office/playroom, including a fireplace re-do

7) Blacktop driveway

8) Relocate master bedroom

9) Update living room built-ins

10) Build a dining room table from native New Zealand wood

11) Build out basement storage

All with an infant. Think it can be done?

Kitchen Renovation Part IV: Almost Done!

22 Dec

We are getting dangerously close to calling the big kitchen renovation complete! Yesterday they installed the granite— which took us weeks and weeks to find. We both said it feels too nice to be ours.

IMG_4128

Here’s a close up.

IMG_4135

It’s probably the lightest granite we could find and had more movement than typical granite, more like a marble or quartzite. It is called Cielo Merfil and we got it at a local shop called Damar Stone. Then we hired a fabricator that Ben uses at work to install it.

Since the peninsula piece is almost a full slab of granite, it took 8 guys (plus Ben got in there) to carry it in.

IMG_4117I heard a few Polish swear words as this was being hoisted in. I’m sure they just loved me snapping pics of them.

IMG_4119But yeah it is beautiful. We are really happy we went with this stuff. And it was under budget! The two quartzites we priced out (White Macaubus and Madre Perla) would have been $3,000+ more.

IMG_4127But the granite isn’t even my favorite part of the new kitchen. It’s the walk-in pantry.

IMG_4091Hello storage! Ben built these with white melamine shelves from Menards. So far, we really like having the microwave in here and out of the way.

IMG_4138The pantry door is also on a jam switch so the light turns on when you open it. I love the glass door knob we added to it.

Also new in here is the cabinet hardware.

IMG_4131The knobs are from Target of all places. They come in a pack of 10 for $30.

IMG_4106Then we picked simple drawer pulls that were the same bronze color from Home Depot.

IMG_4132

Continuing on the oil rubbed bronze theme is our new Kohler faucet.

IMG_4137And that little button on the right is connected to our garbage disposal. I never knew those existed but it’s pretty neat.

Above the sink is a glass bell jar pendant from Pottery Barn. We plan to add an edison bulb like in our bathroom.

IMG_4130

The range hood fan is also in and is really powerful.

IMG_4133We’re getting a piece of stainless to fill out the rest of range hood in the back there.

In addition to the hood piece, we have a few more things left on the to-do list:

  • Pick and install a backsplash.
  • Fix the cabinet crown molding. We’re having to take it down because the ceilings aren’t level and it looked crooked.
  • Find and install pendant lights for over the peninsula. We’ve purchased and returned 2 sets so far. One set was too big, the next too small.
  • Install a trim piece around the sink.
  • Do some final paint touch ups.

So close!

Lots more going on at the house too with the addition, nursery and stairs/entry way that I will be updating you on soon.

And while we decided to keep our Christmas decorations simple this year, our tree turned out really nice. Our old artificial one burned out, so we bought a new Martha Stewart one from Home Depot. It was the best one we could find for the price (under $200). There are little pinecones in it and several different types of branches. My color scheme this year is metallics: gold, silver and bronze.

IMG_4151It is so pretty and cozy at night with the fireplace on. Love Christmas time!

IMG_4160

Kitchen Renovation Part III: Floors, Farmhouse Sink & Window

1 Dec

We’ve been back in the house just over a week since the floors were re-finished. They turned out amazing!

Here is how it looked before we moved our furniture back in.

IMG_4031The stain color is Spiced Brown by DuraSeal.

IMG_4032We are super happy with how they turned out. It was totally worth hiring this job out, staining floors is extremely difficult. We tried in our last house and it ended BAD including a burned down trash can (staining rags can and will spontaneously combust).

IMG_4033

IMG_4036

We also changed out our wall registers with these wood floor ones which they stained in place. They blend in beautifully. Also a little tip is to spray paint the duct work flat black so that you don’t see the the shiny silver ductwork through your registers.IMG_4035The color also looks great with the new cabinets.IMG_4059Next up, Ben installed the new kitchen window (from Studio 41 to match the rest of our windows).IMG_4041Here it is along with our new Rohl farmhouse sink. We had this same one in our old house and loved it so much!

IMG_4066That faucet is a stand in (leftover from one of Ben’s job sites) until we get our countertops installed. We also plan to run the backsplash all the way up and around the window, so there is no casing yet.

Ben also installed the pantry door (including a cat door so Mia can eat her food without Doc stealing it every day) and he is actually working on shelving it out as we speak.

IMG_4051So there is still a lot to do in here, but it is completely functional (minus the dishwasher which isn’t hooked up yet).

IMG_4050

The plumber also fitted out our new addition so the laundry is now all hooked up!

IMG_4060We’re hoping to get the kitchen and downstairs addition finalized in the next 4 weeks. Which would give us about 5 weeks before baby arrives.

Now off to decorate the Christmas tree and bake cookies. I’ll be sure to share it on the blog!