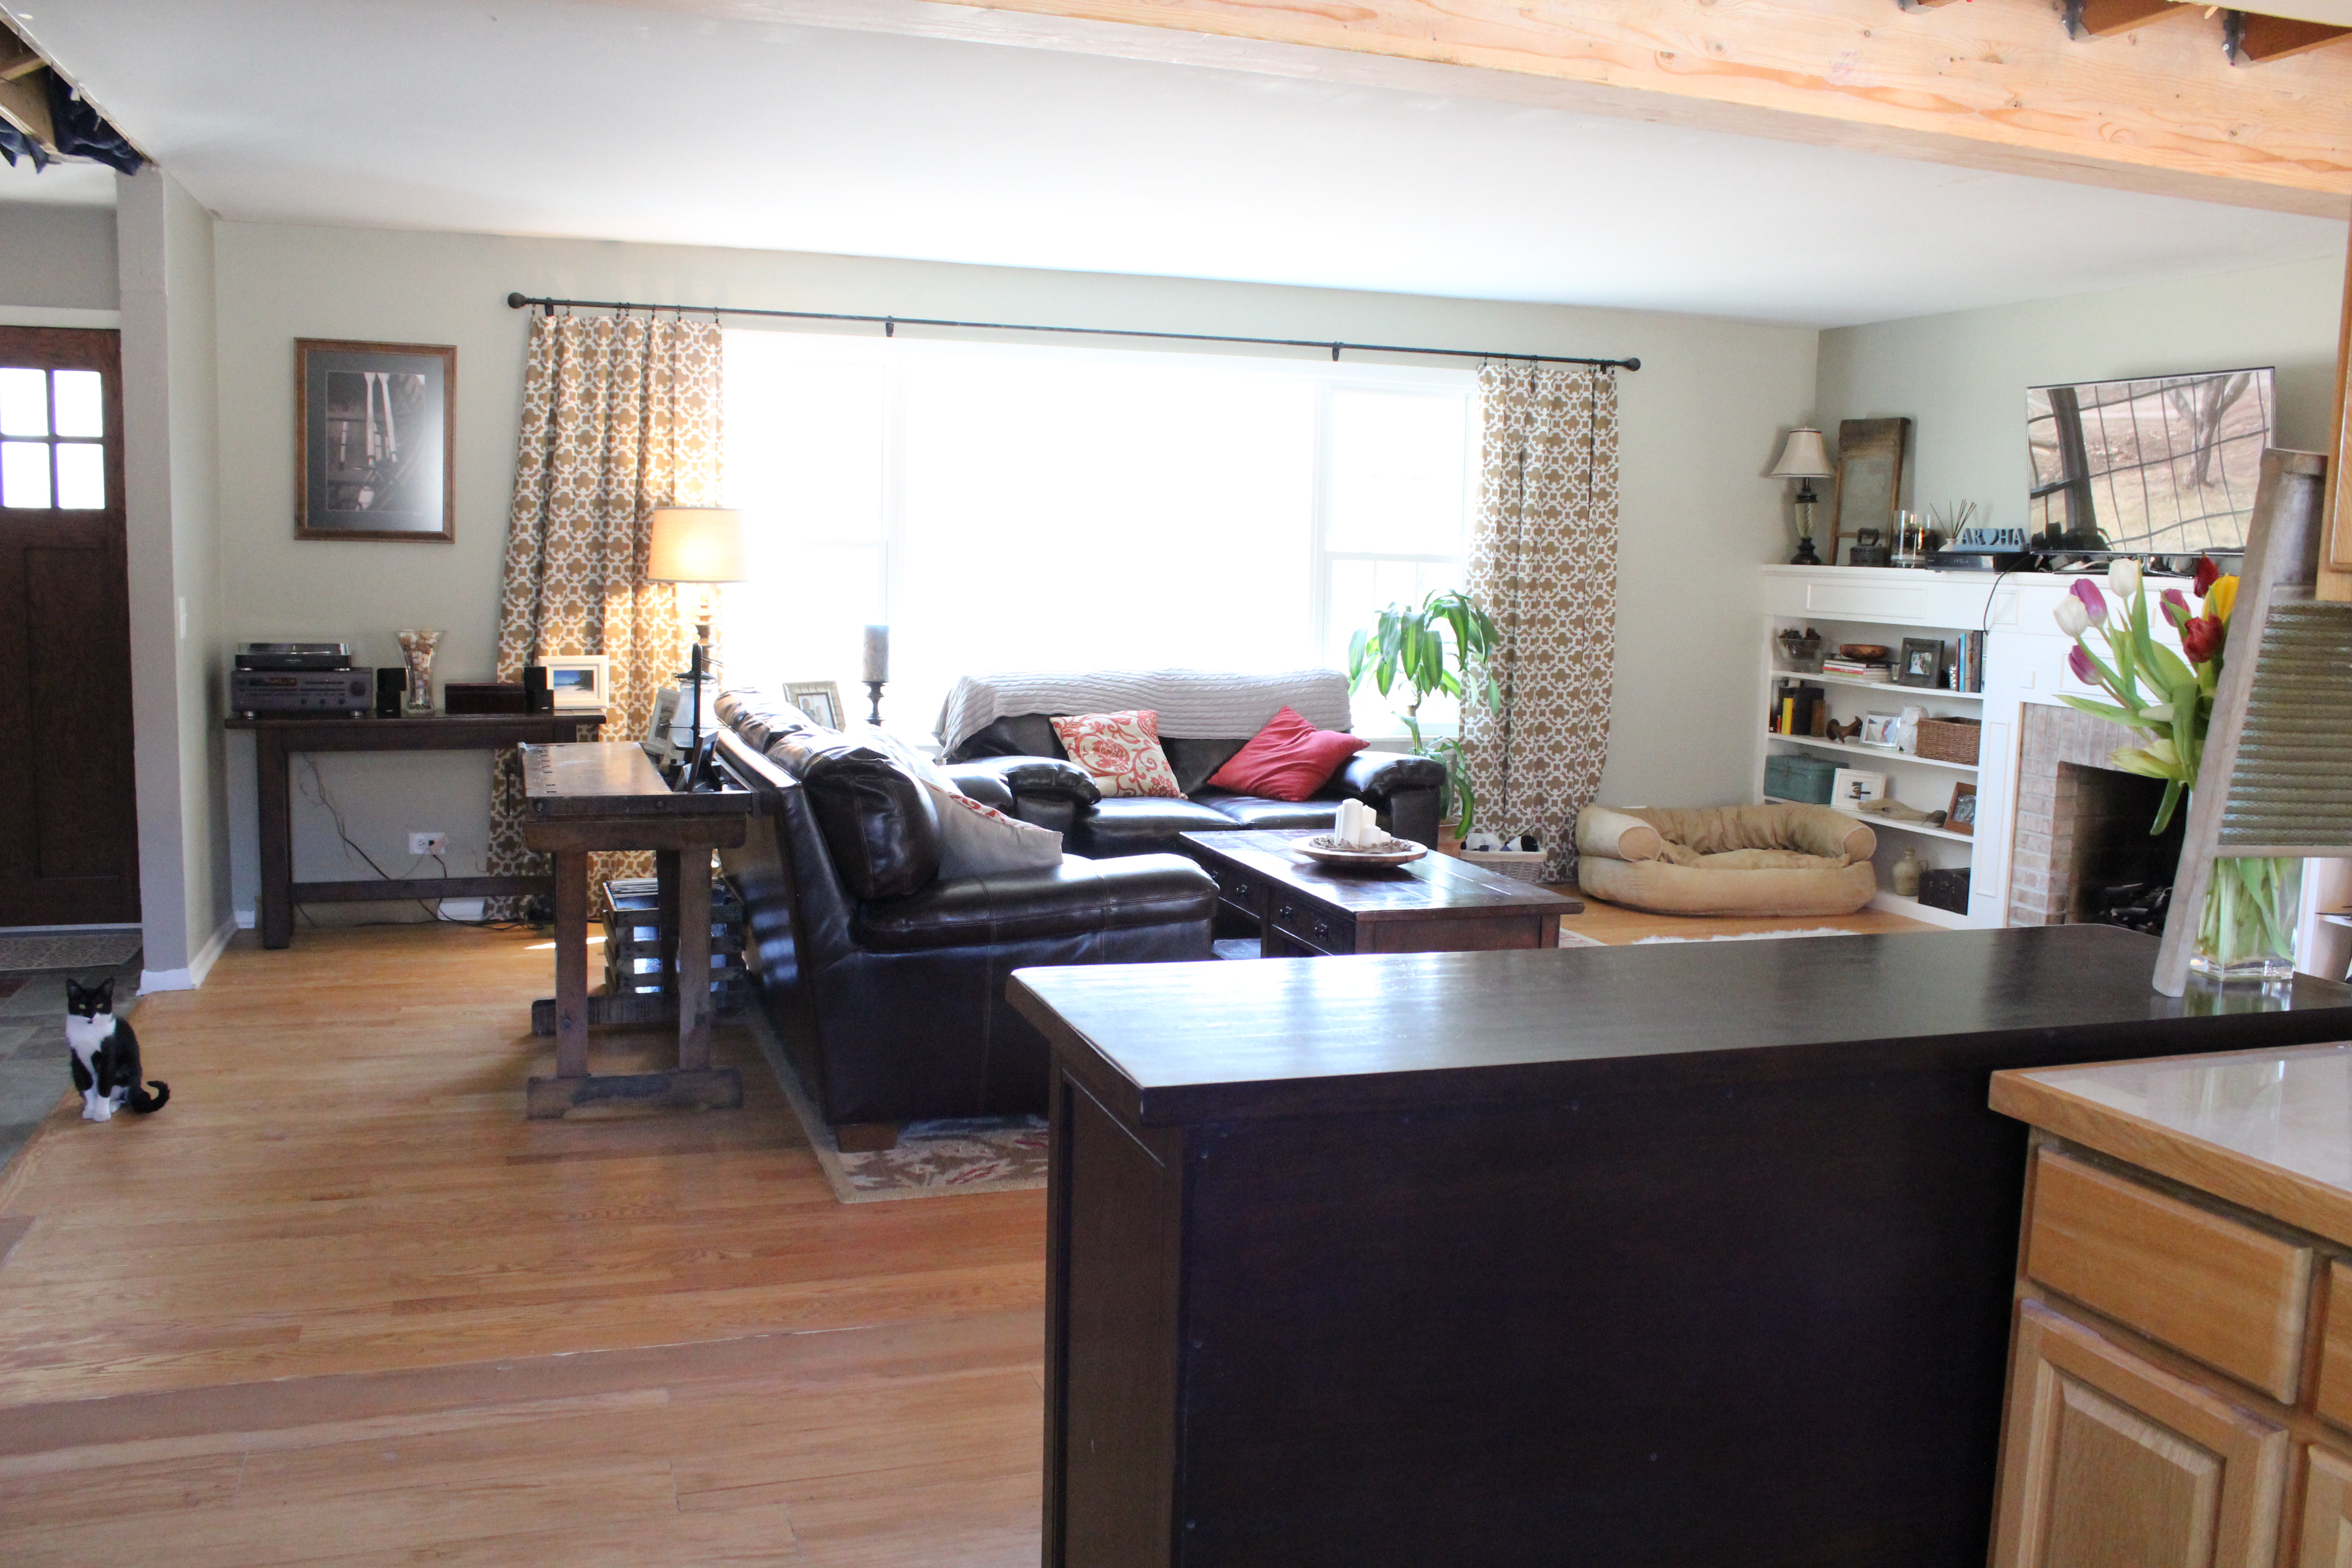
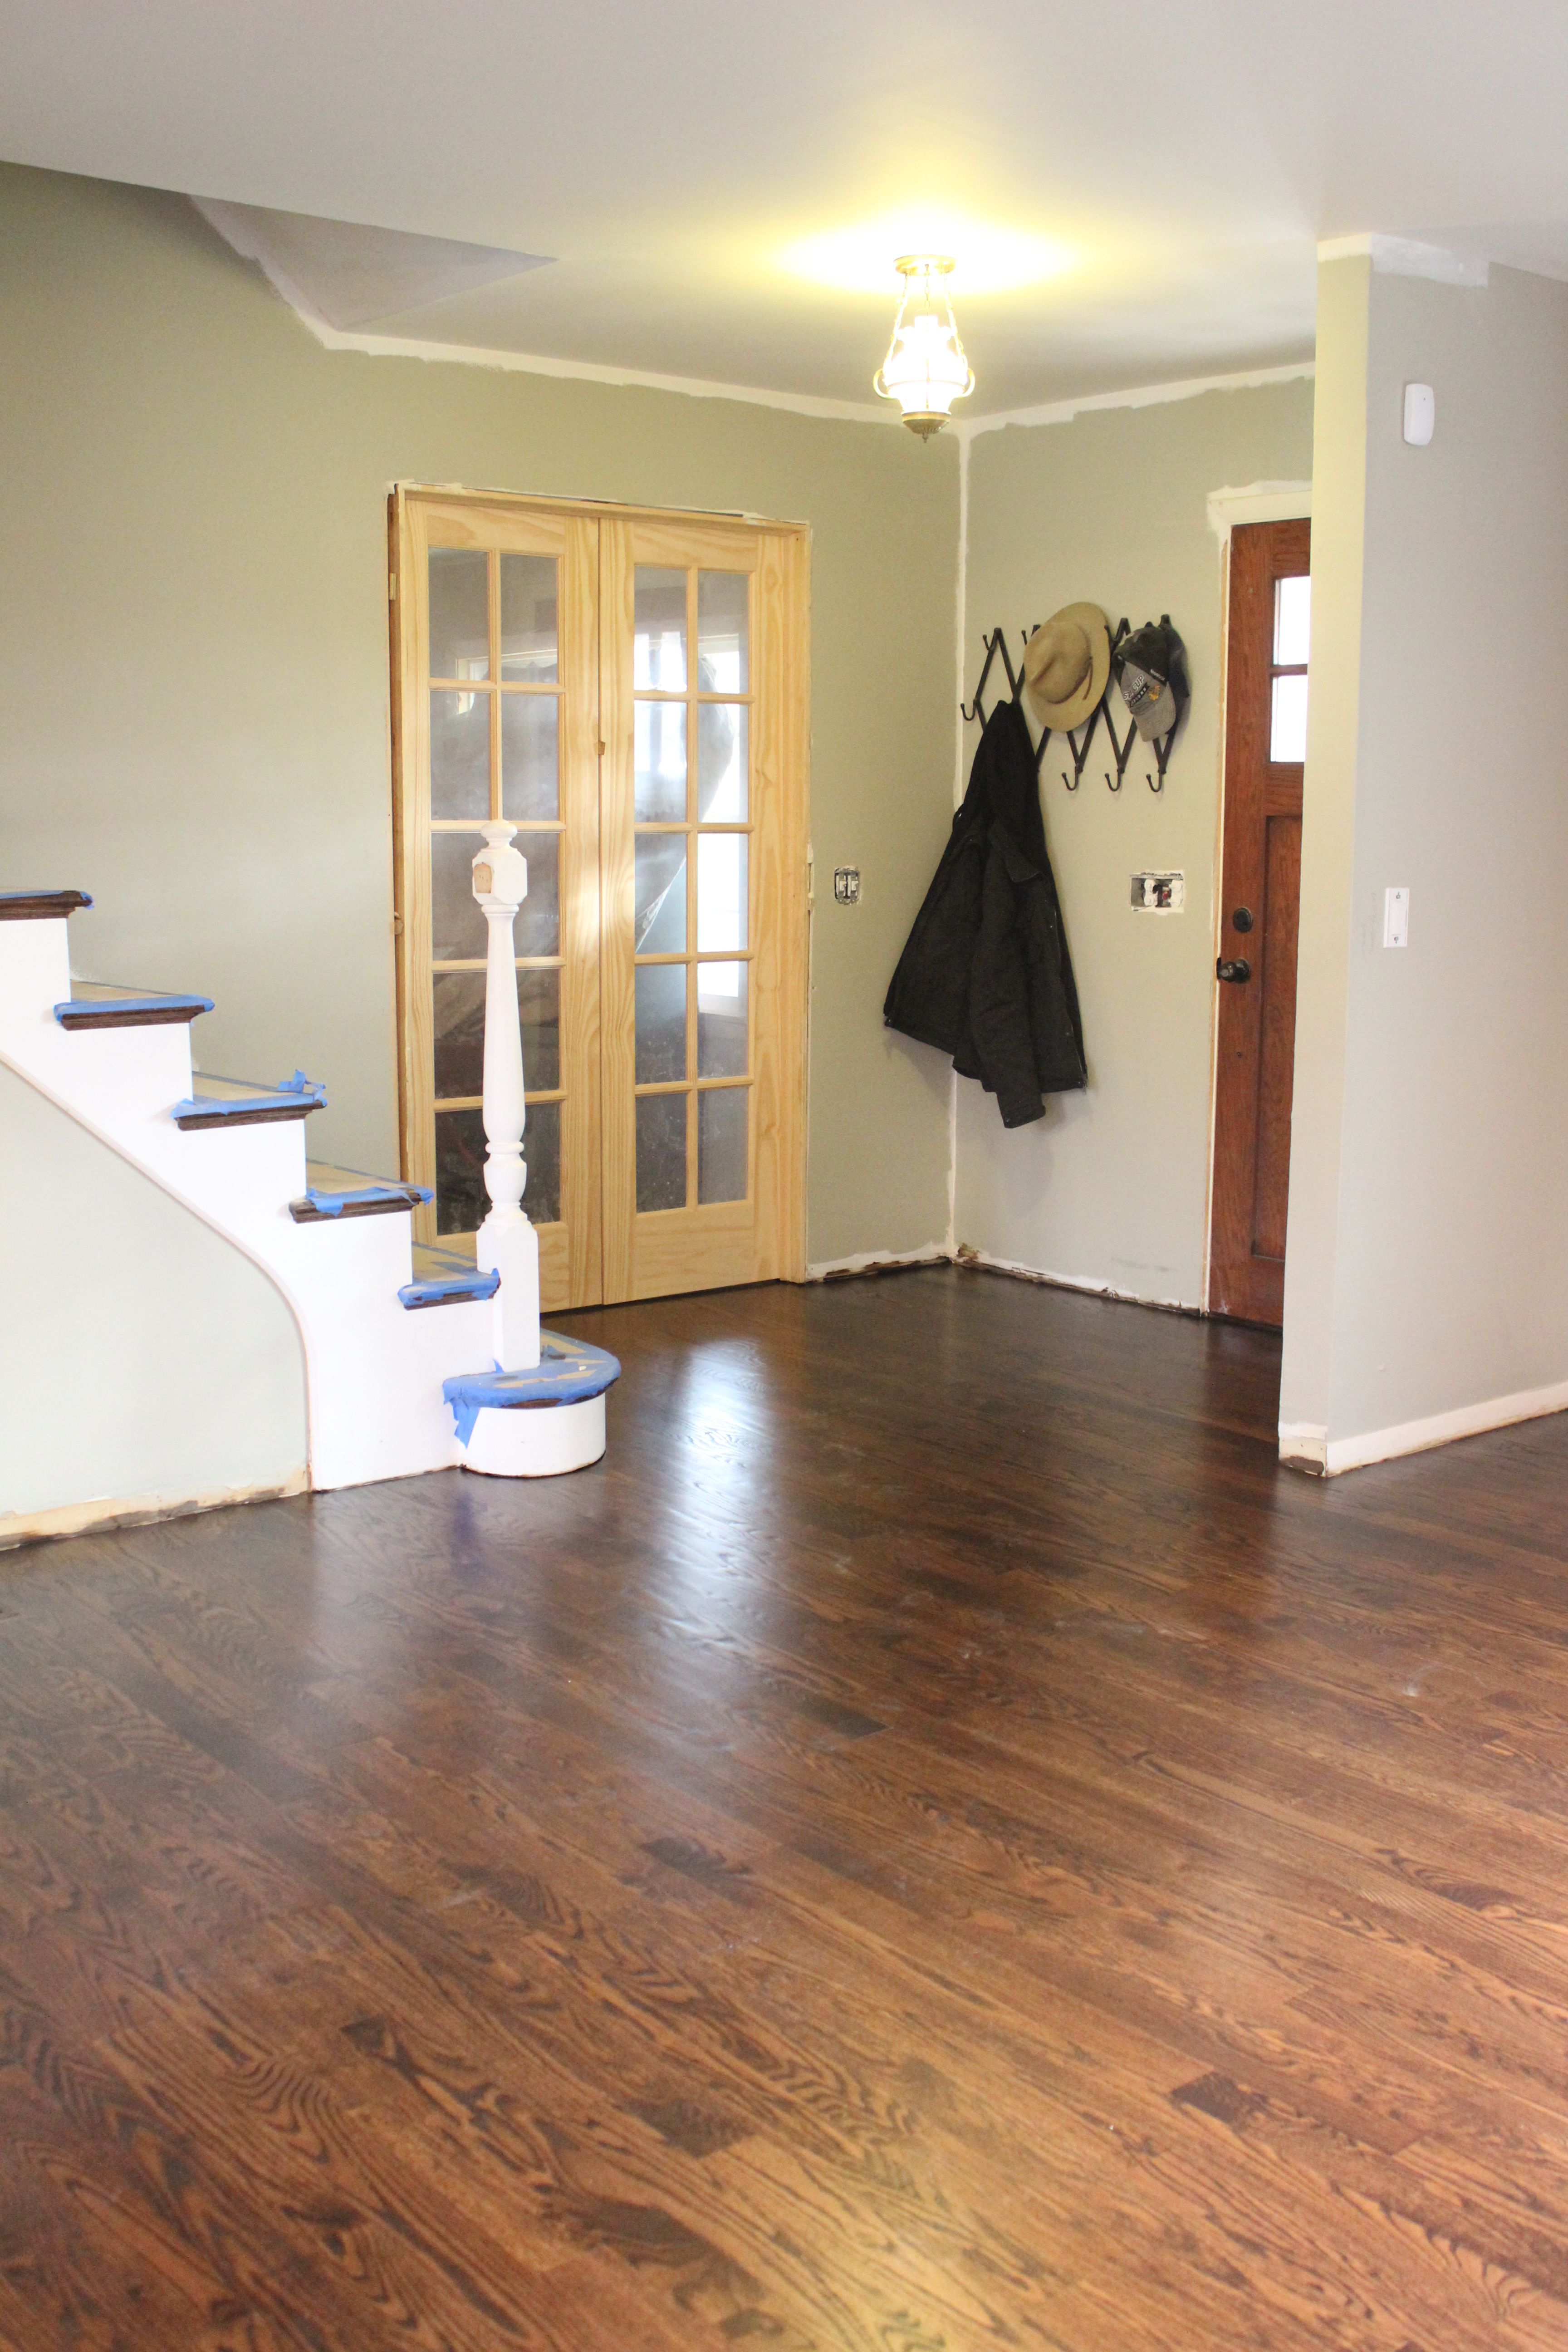
We’ve been back in the house just over a week since the floors were re-finished. They turned out amazing!
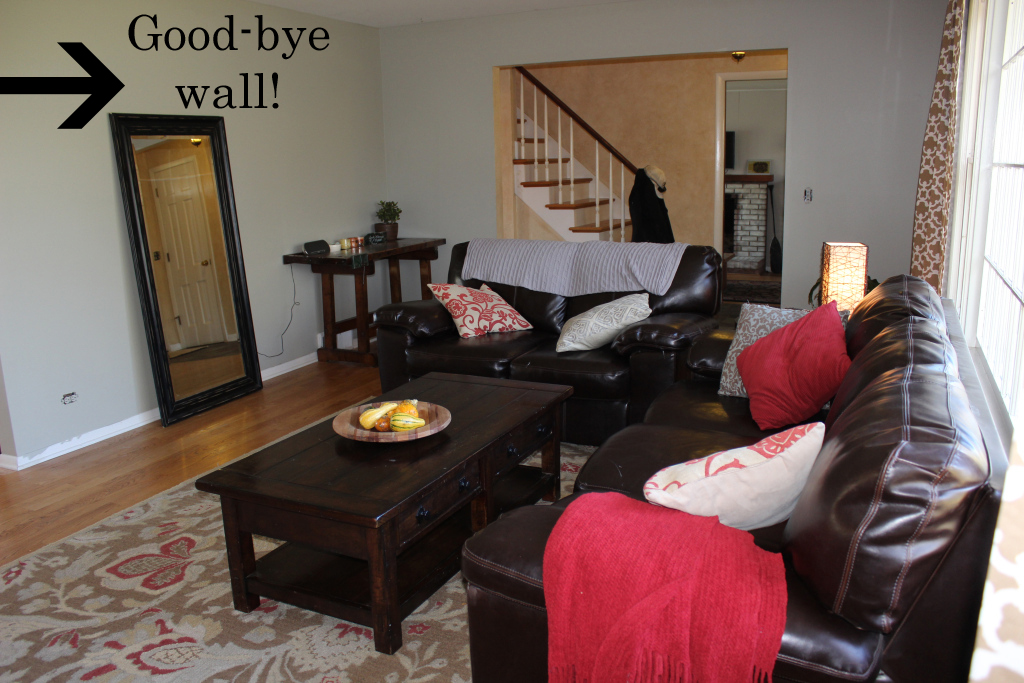
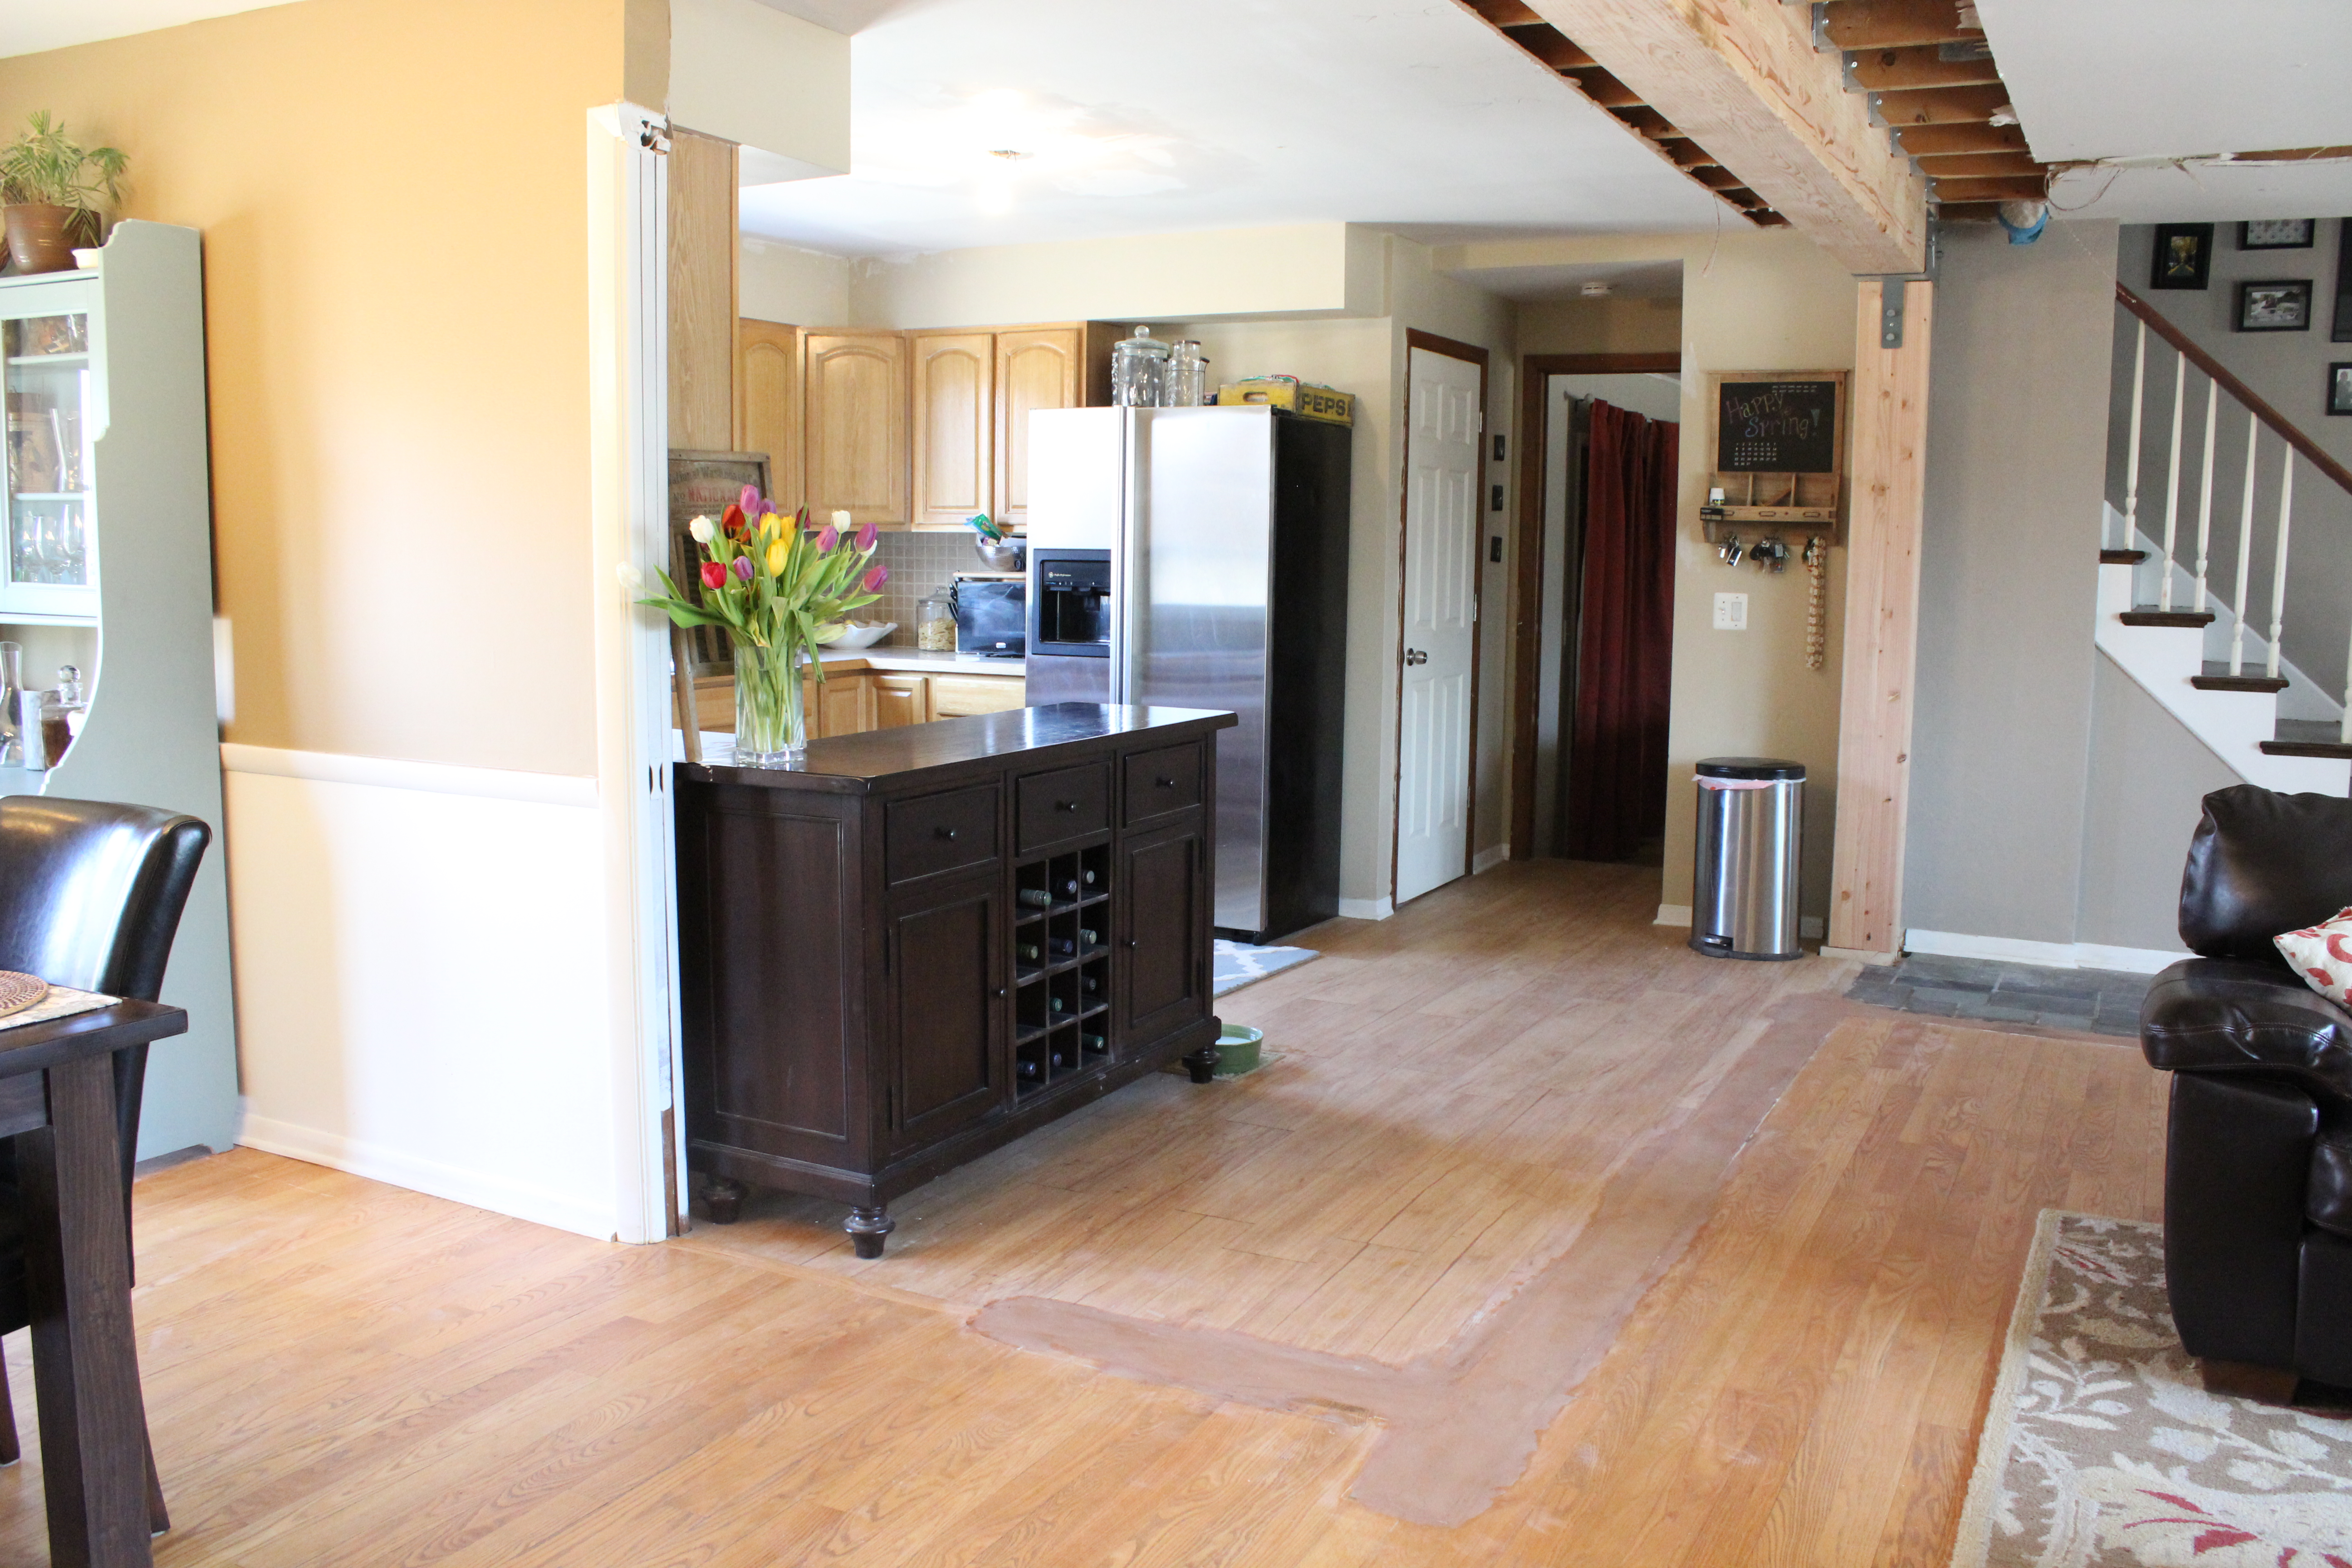
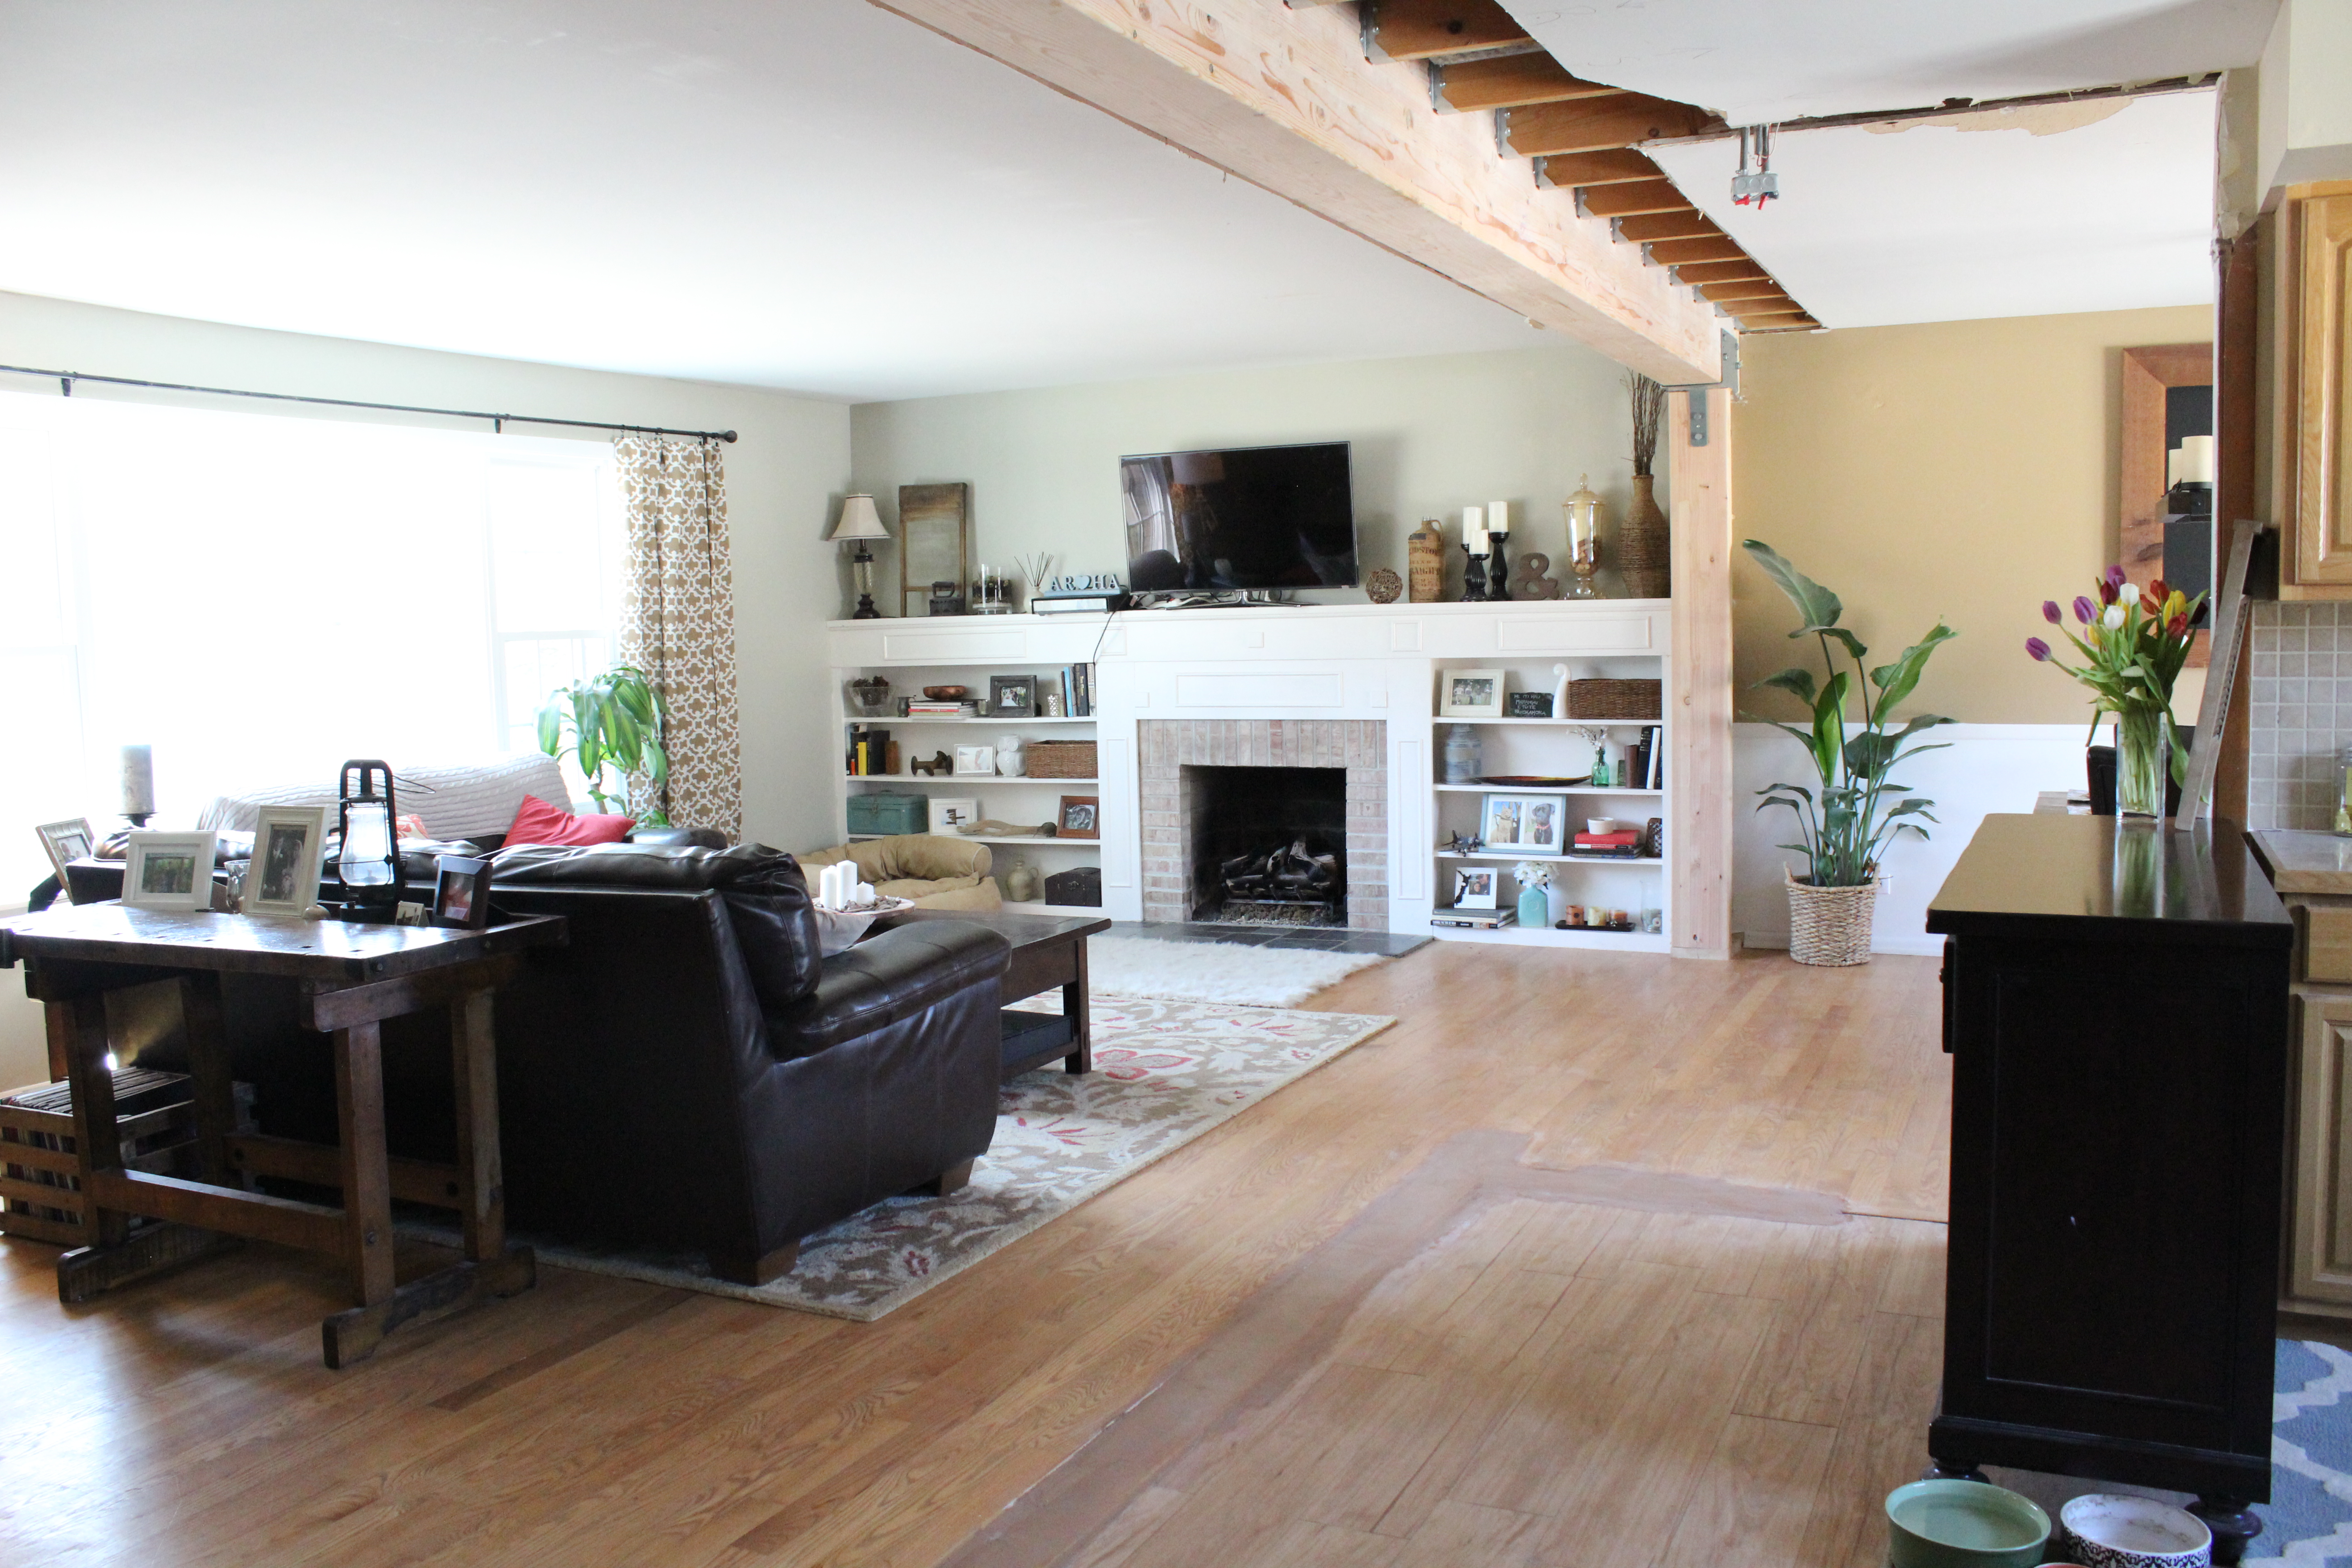
Here is how it looked before we moved our furniture back in.
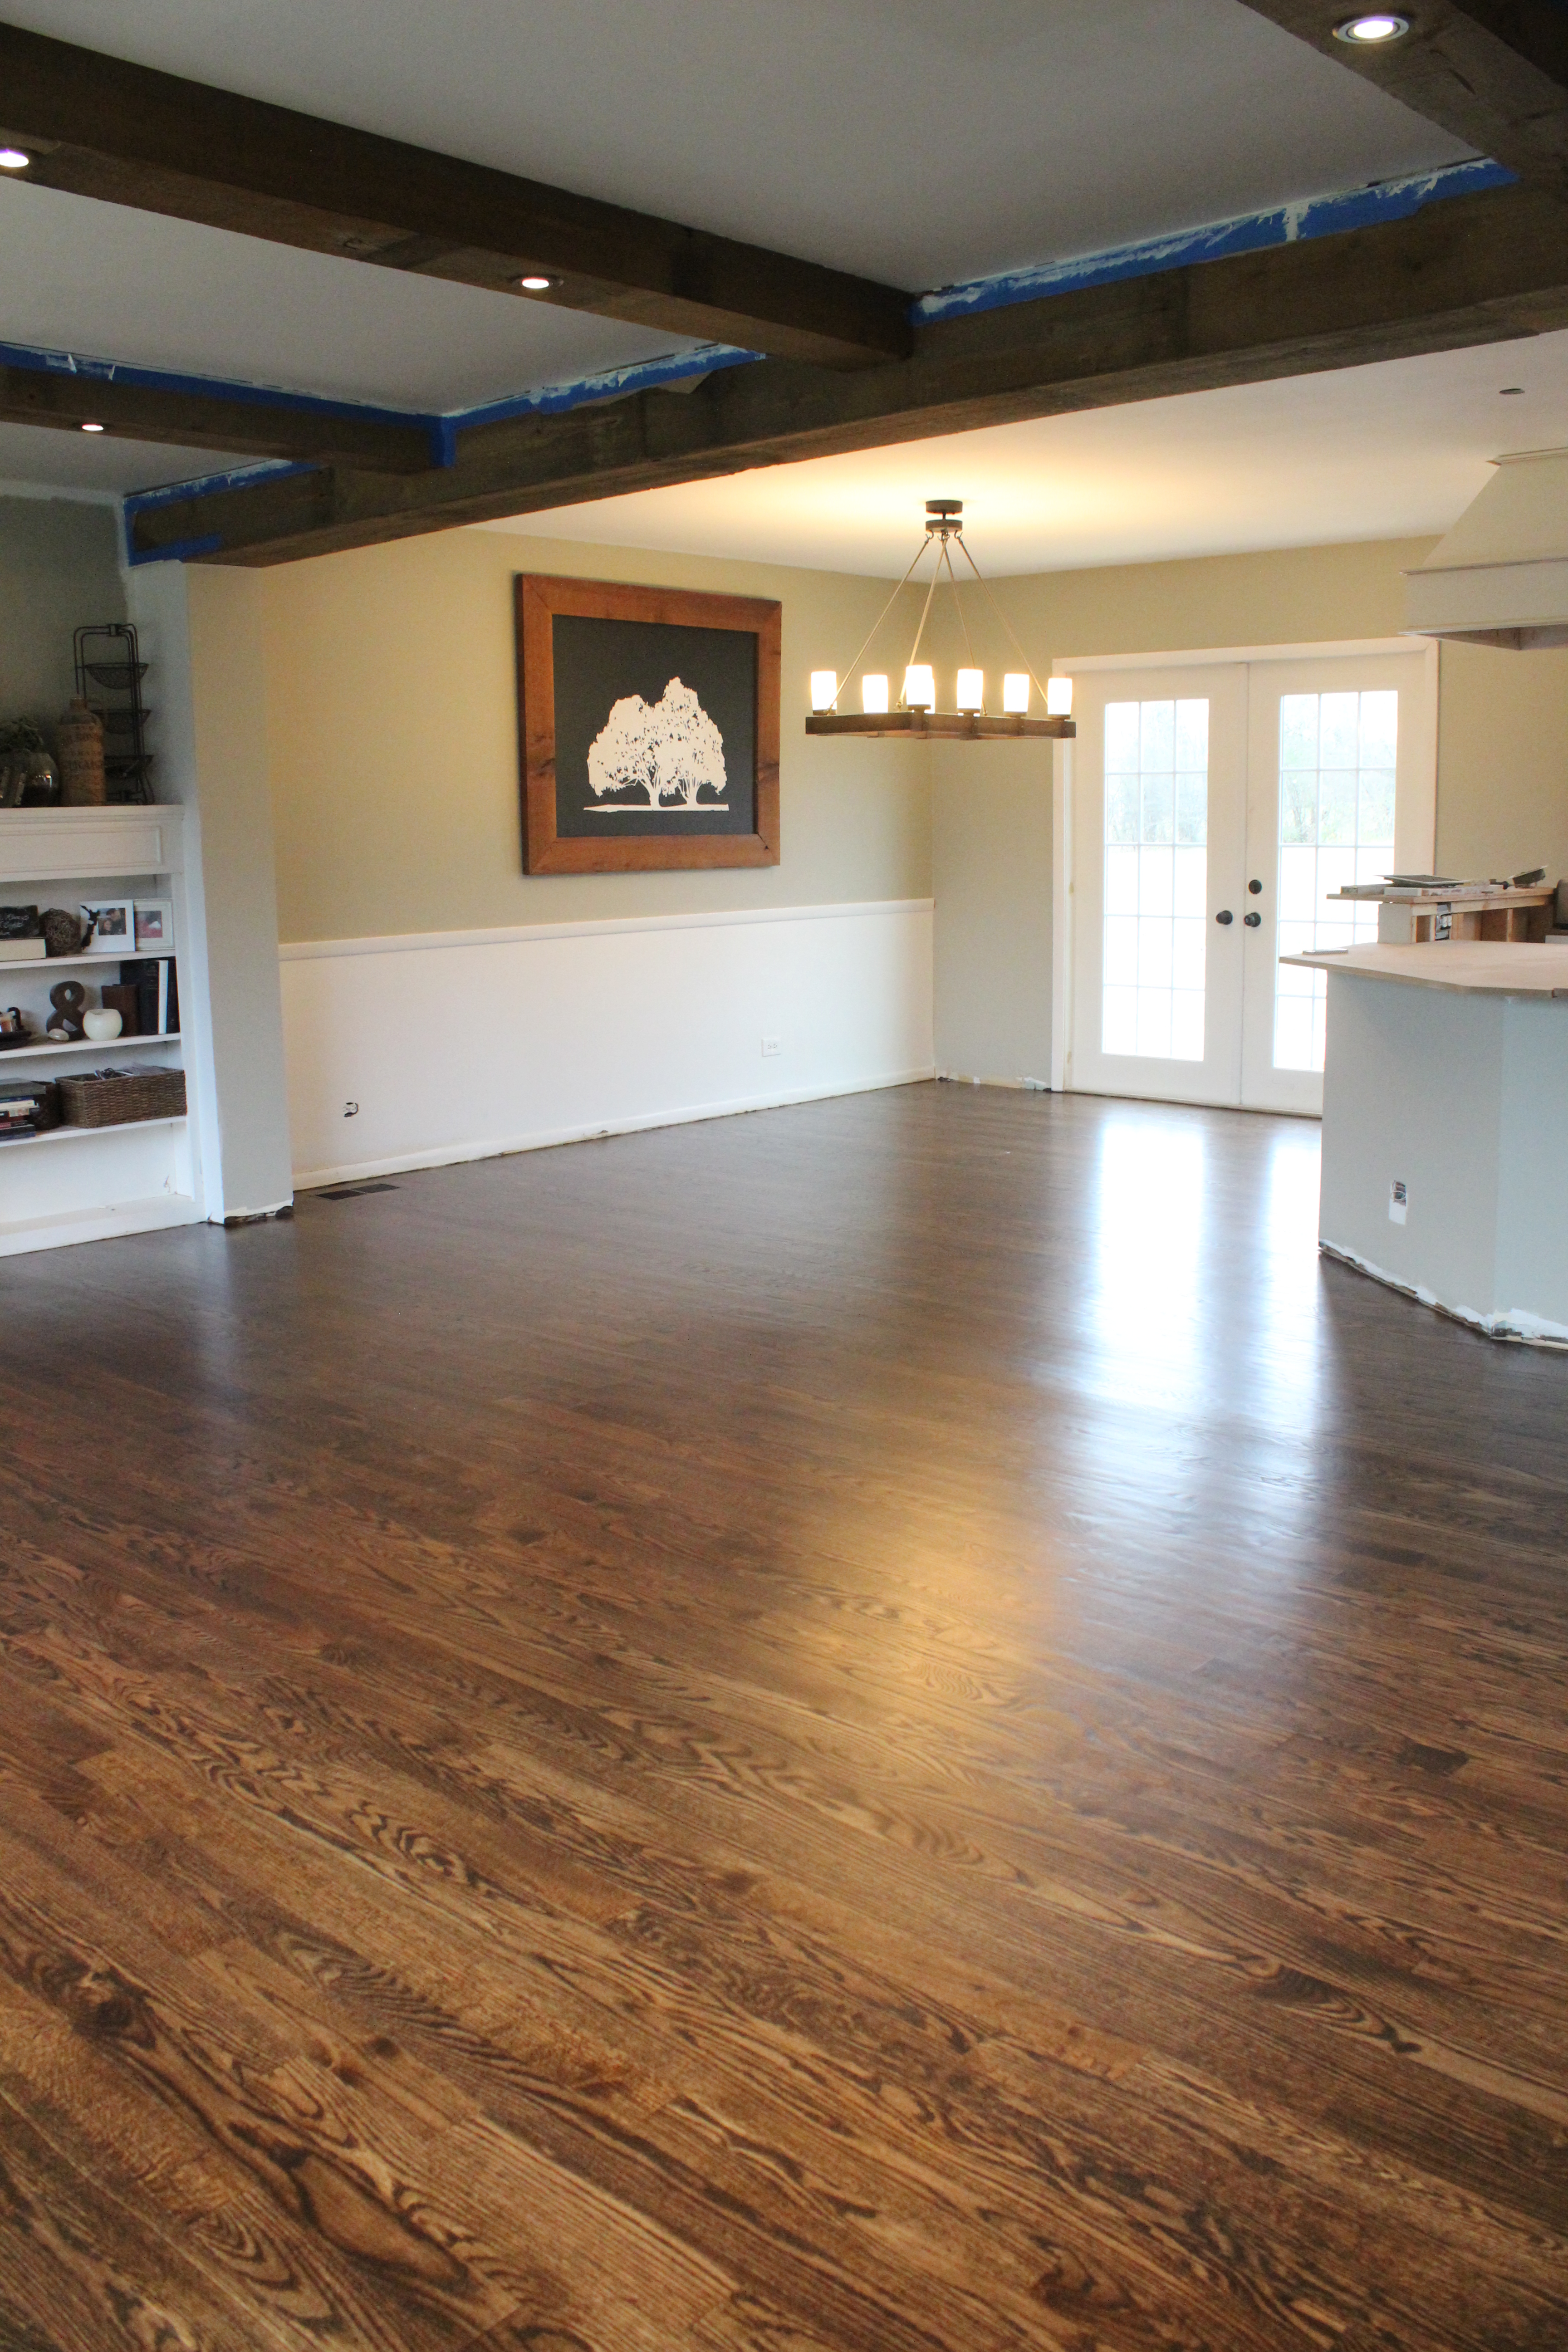
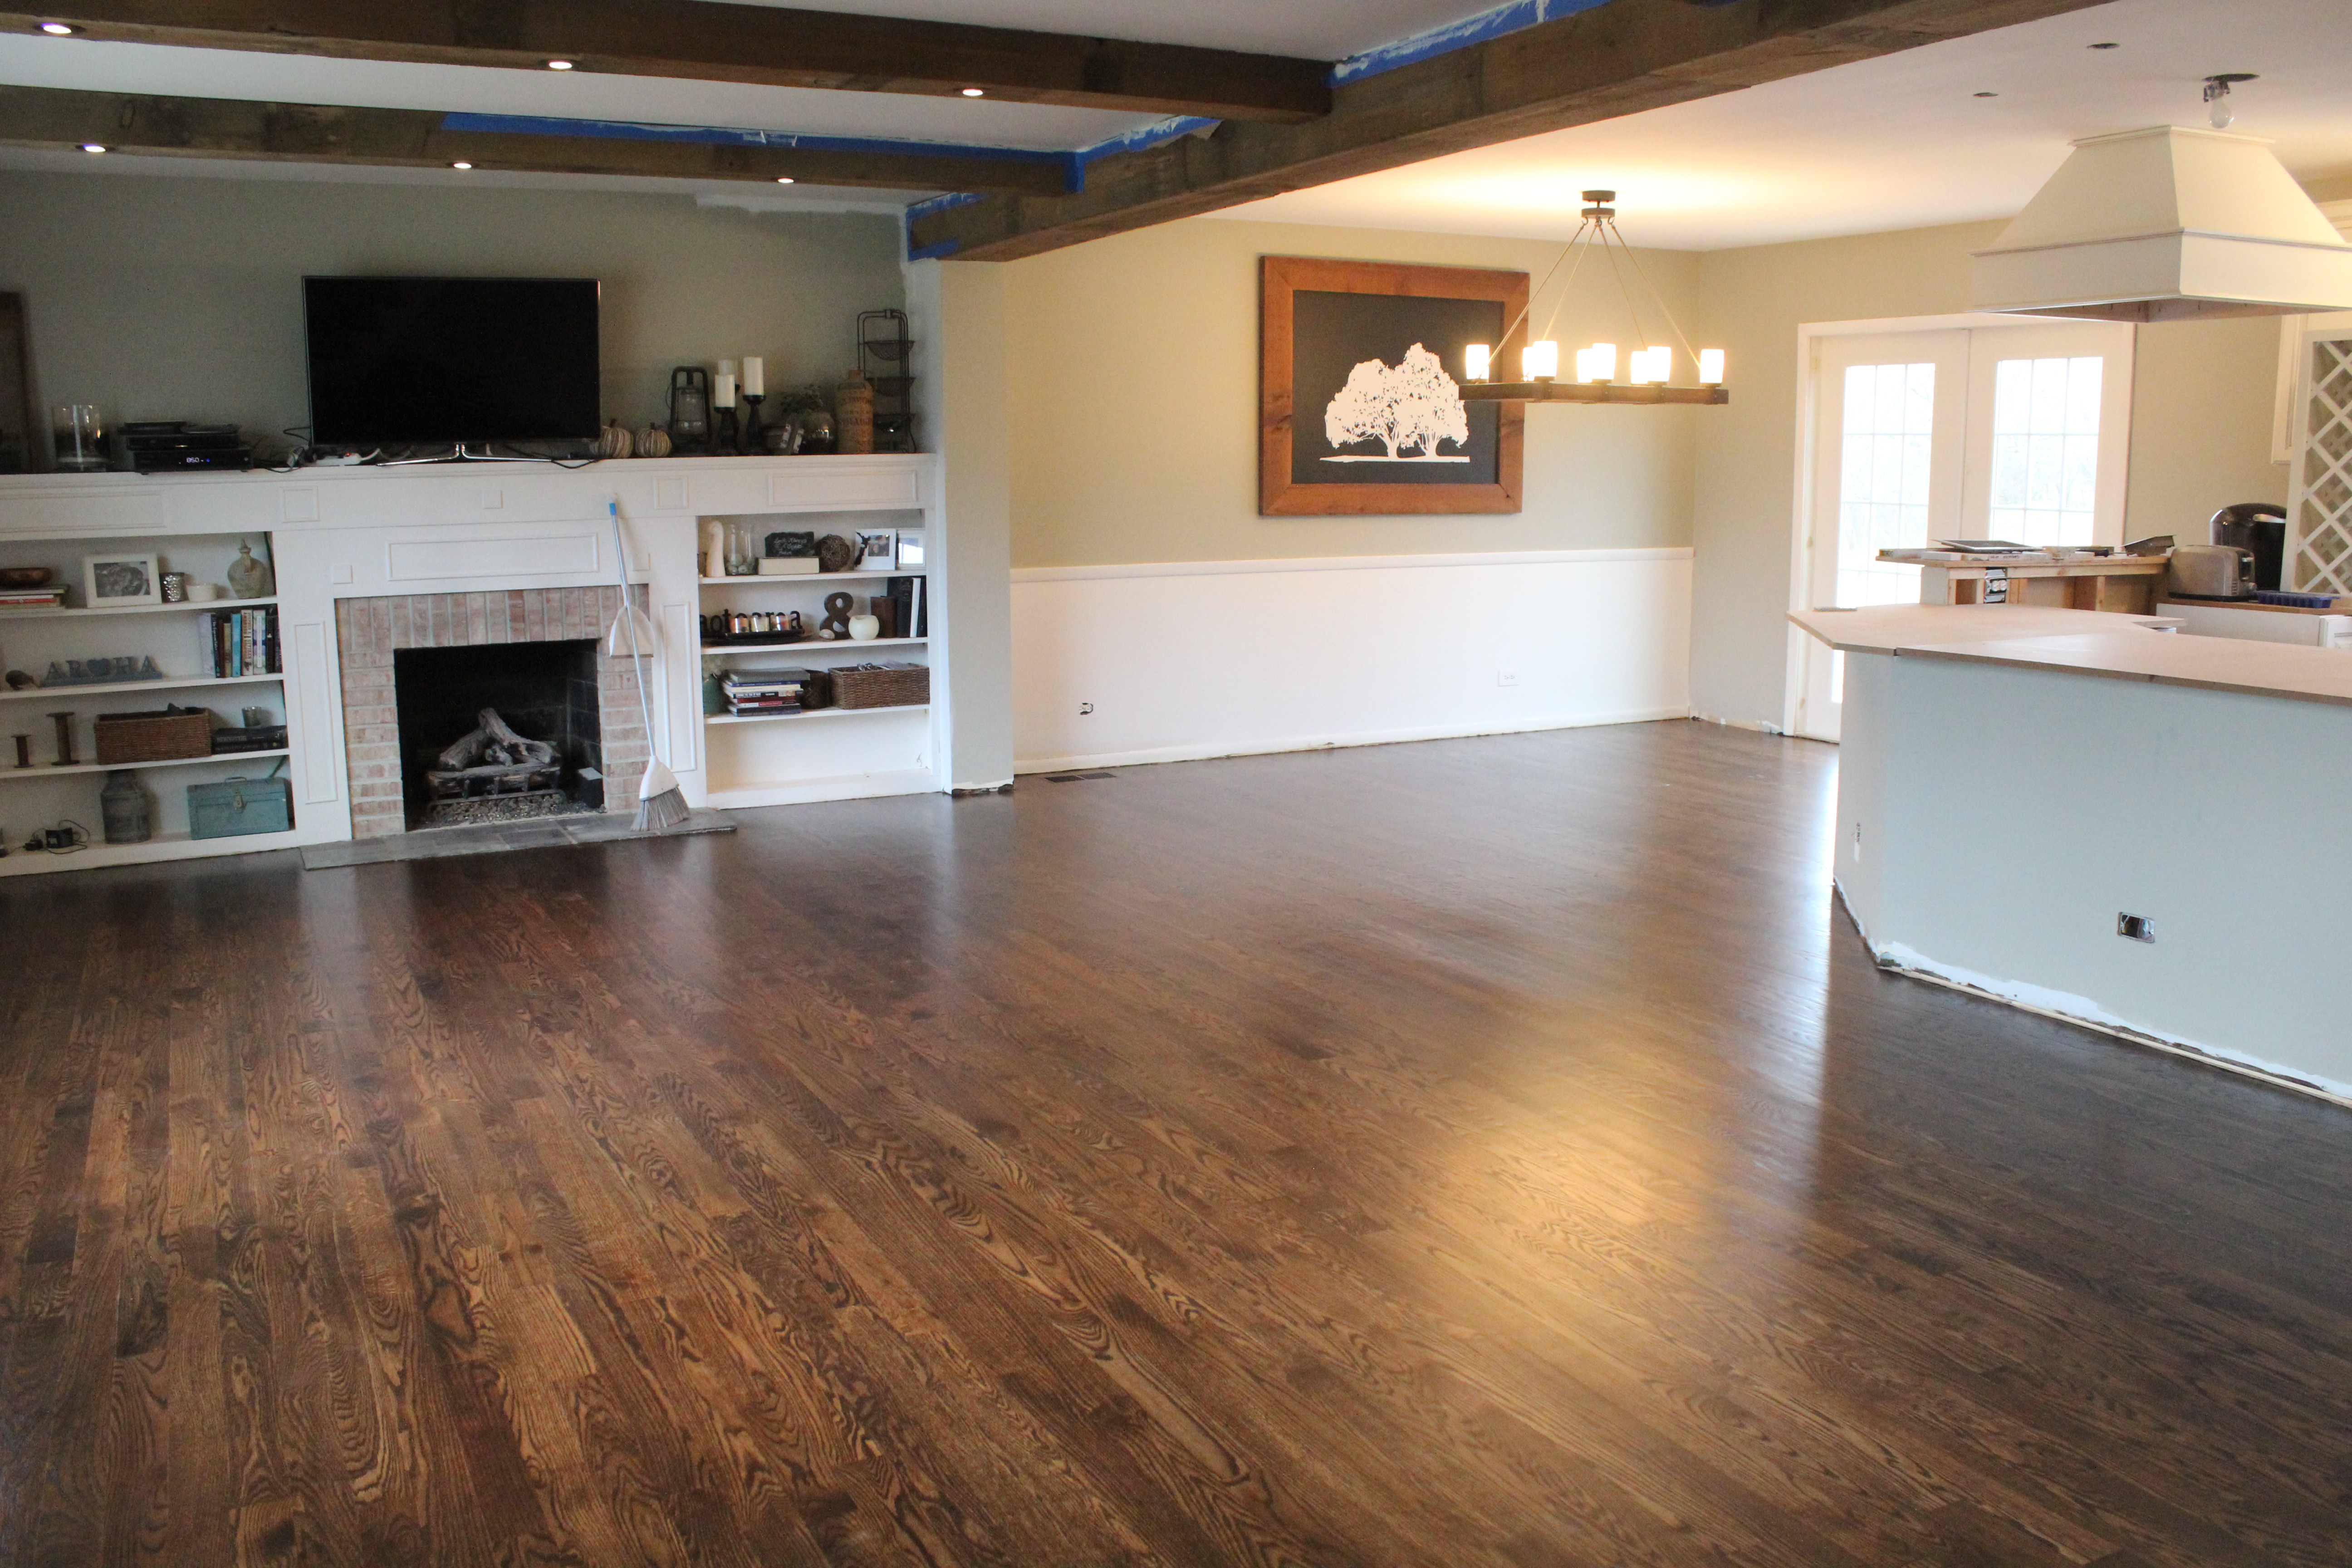 The stain color is Spiced Brown by DuraSeal.
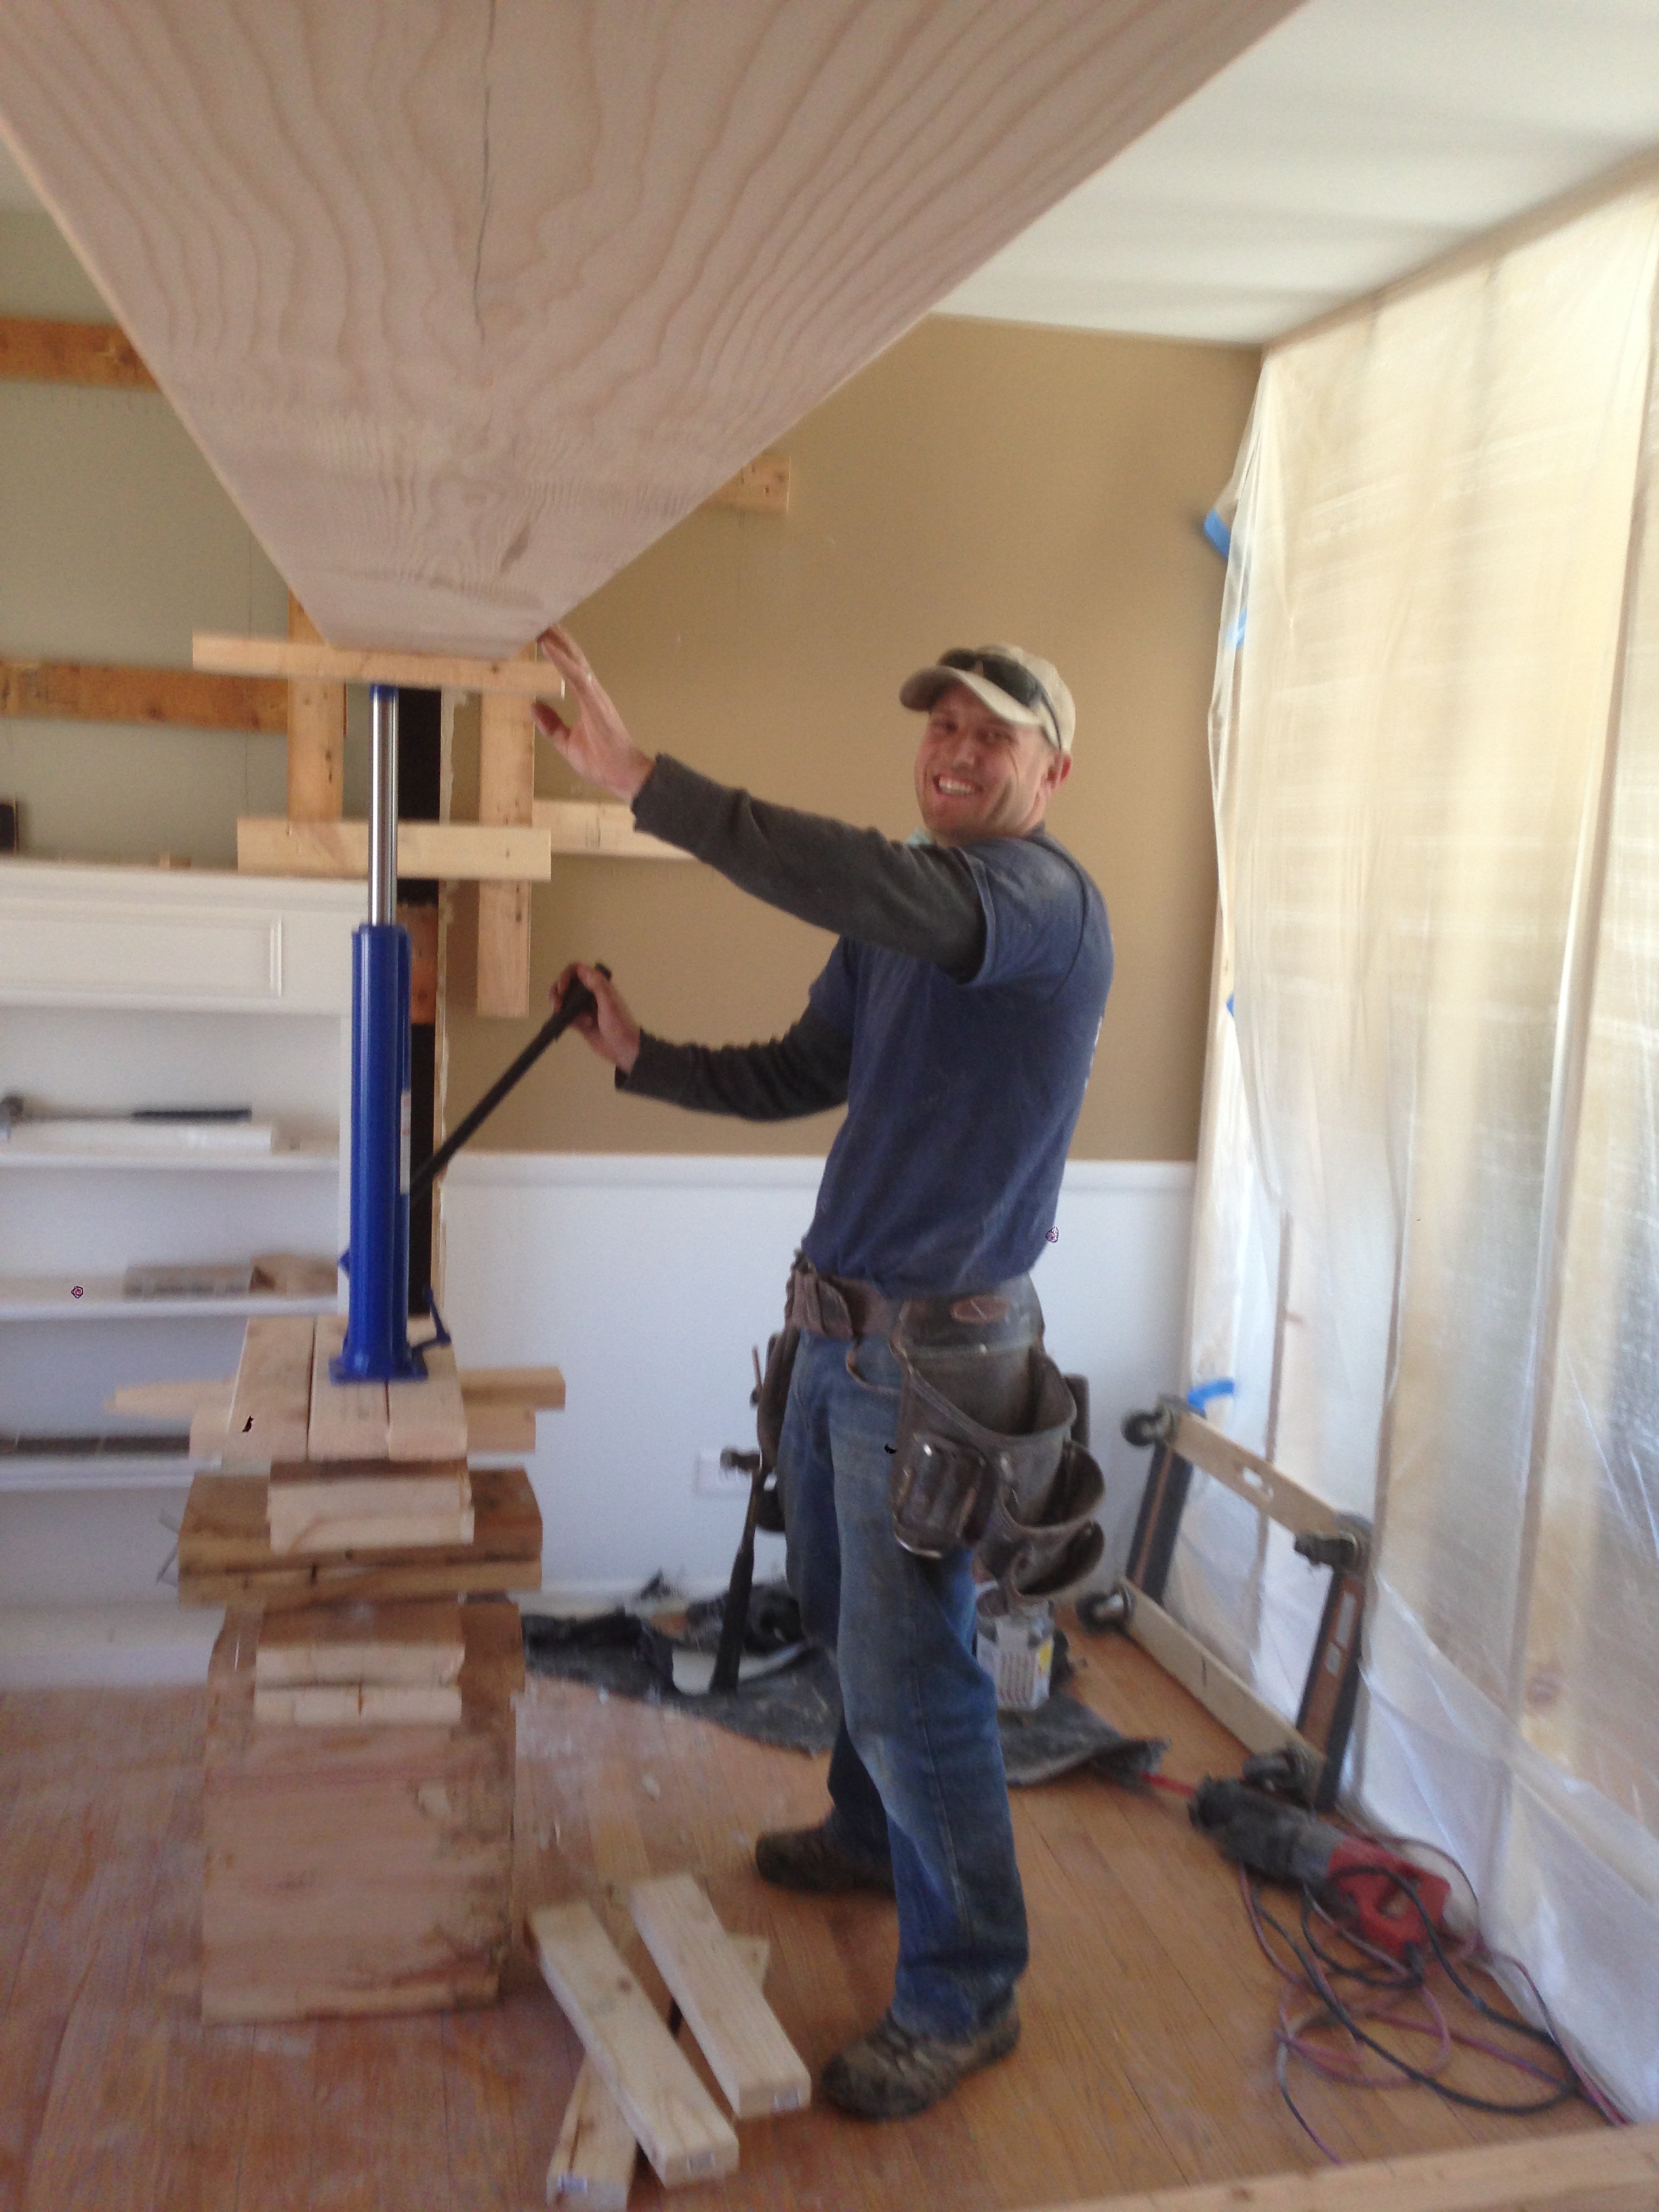
 We are super happy with how they turned out. It was totally worth hiring this job out, staining floors is extremely difficult. We tried in our last house and it ended BAD including a burned down trash can (staining rags can and will spontaneously combust).
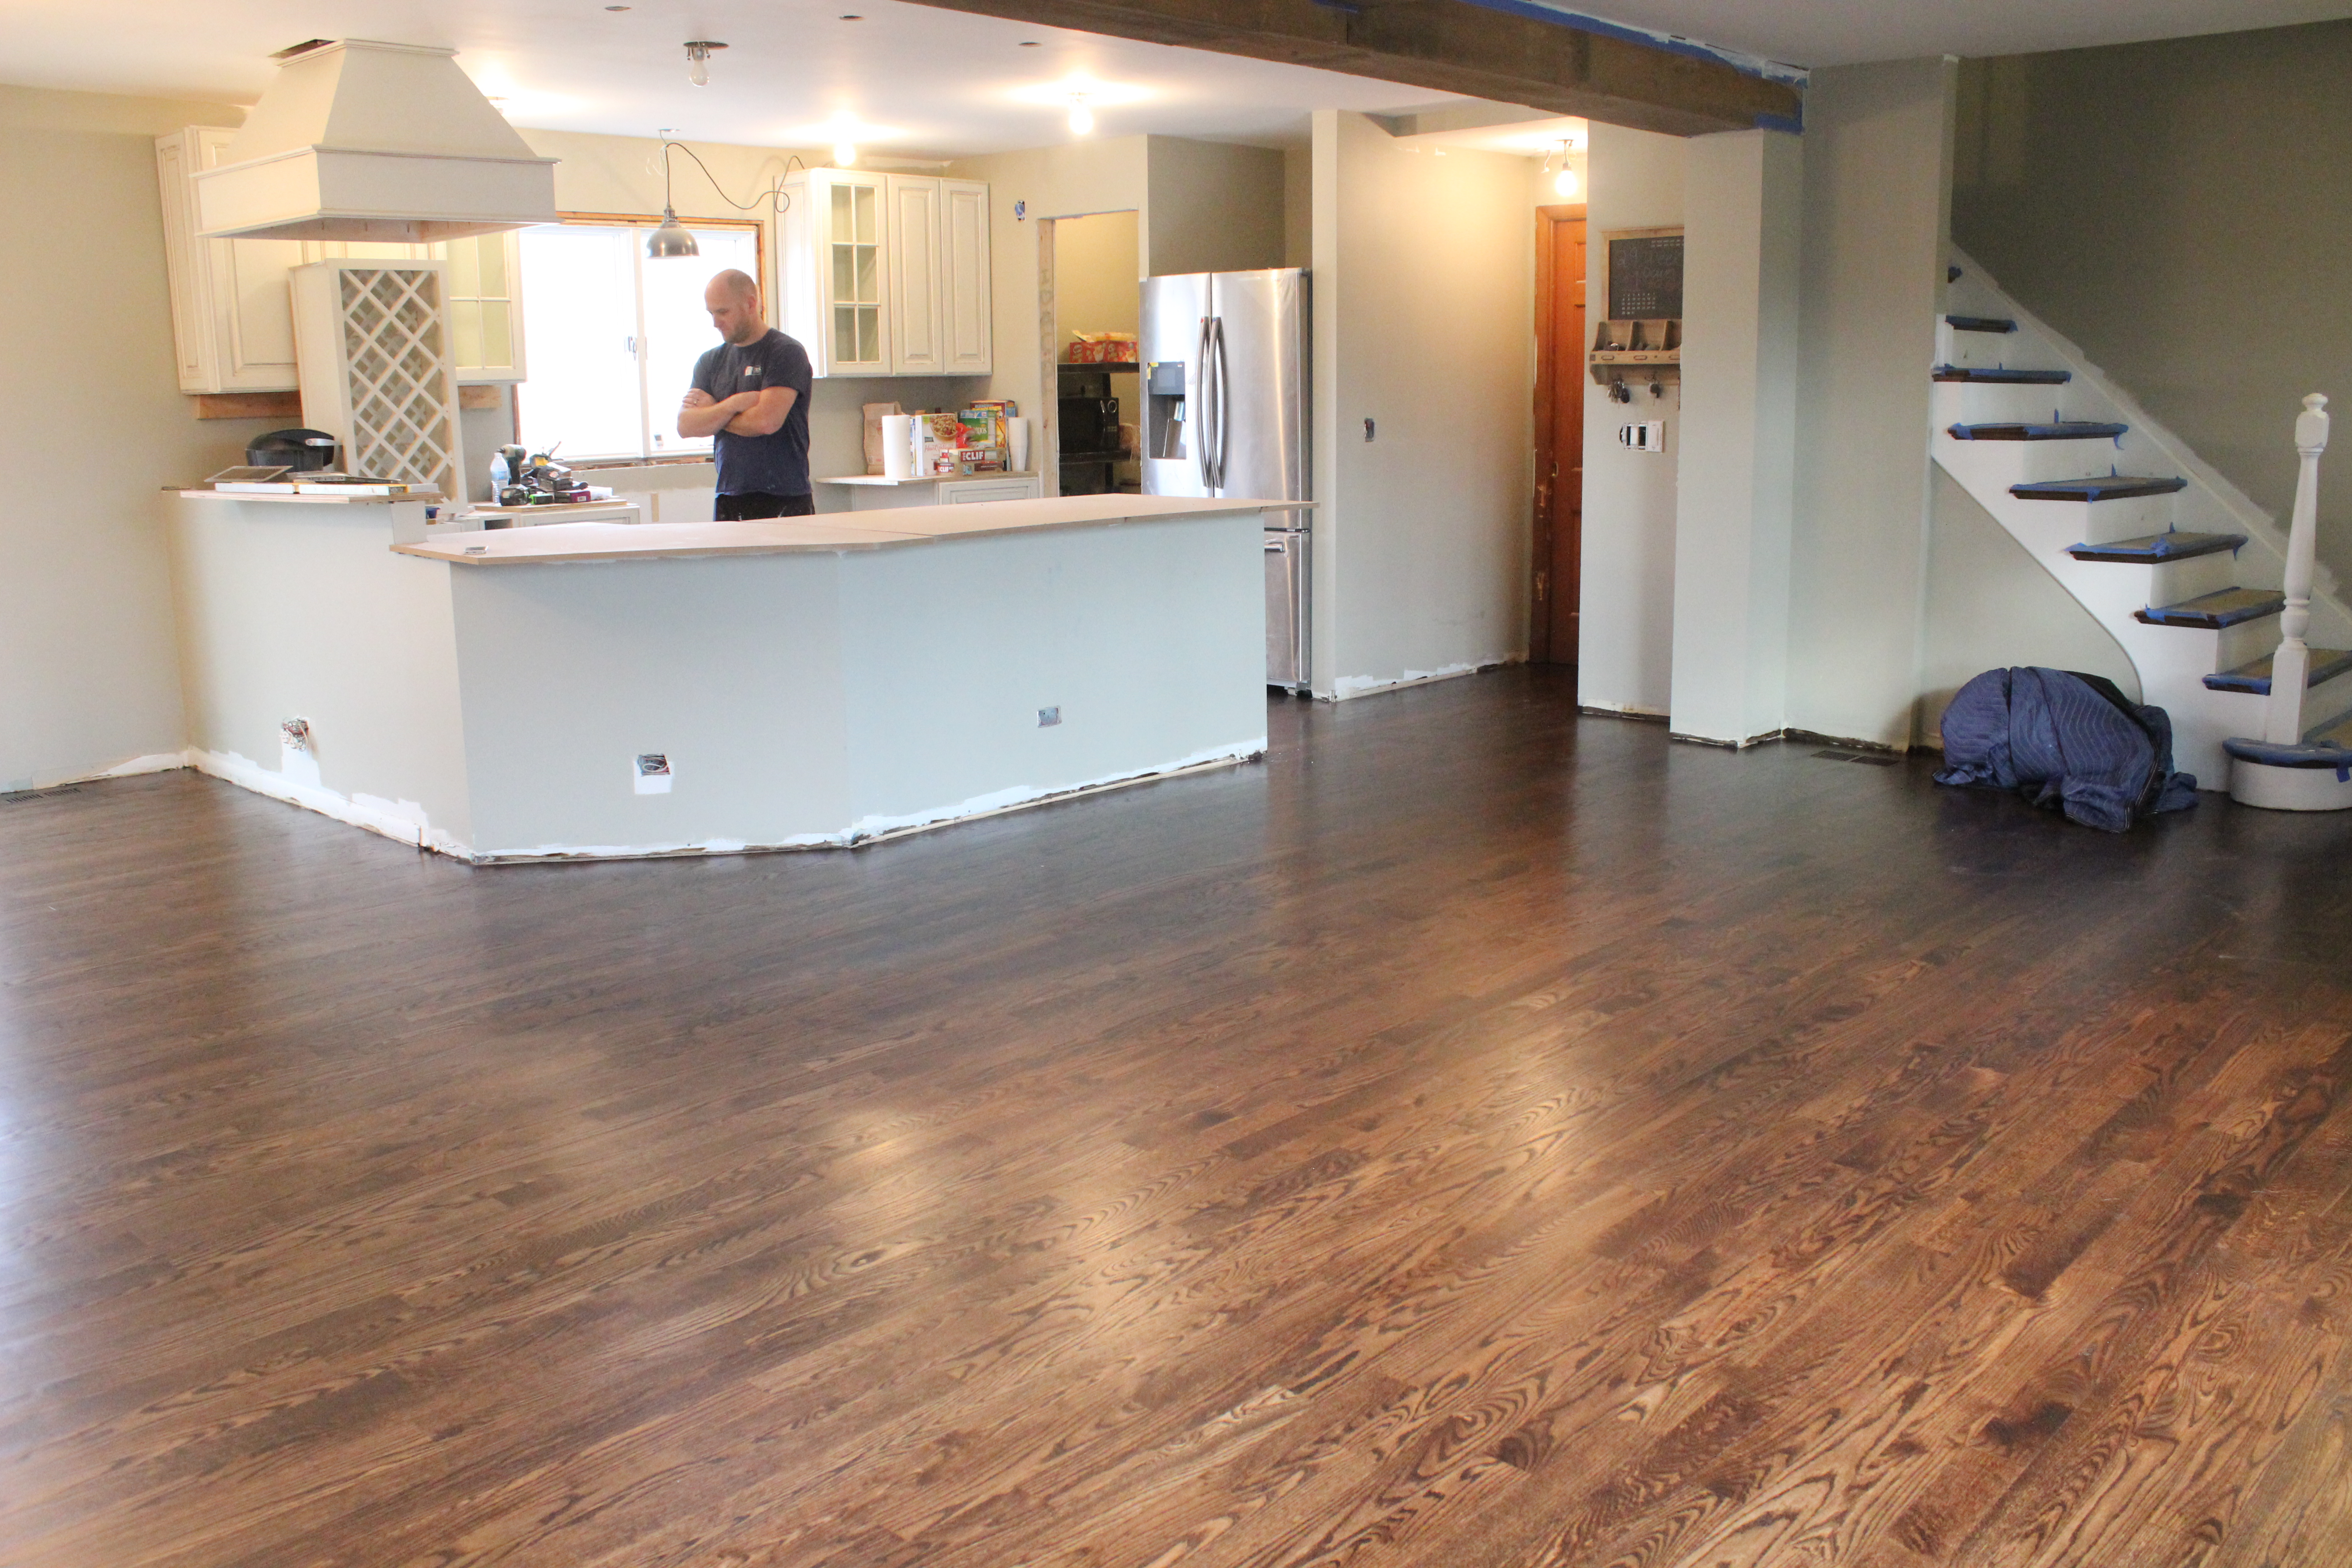
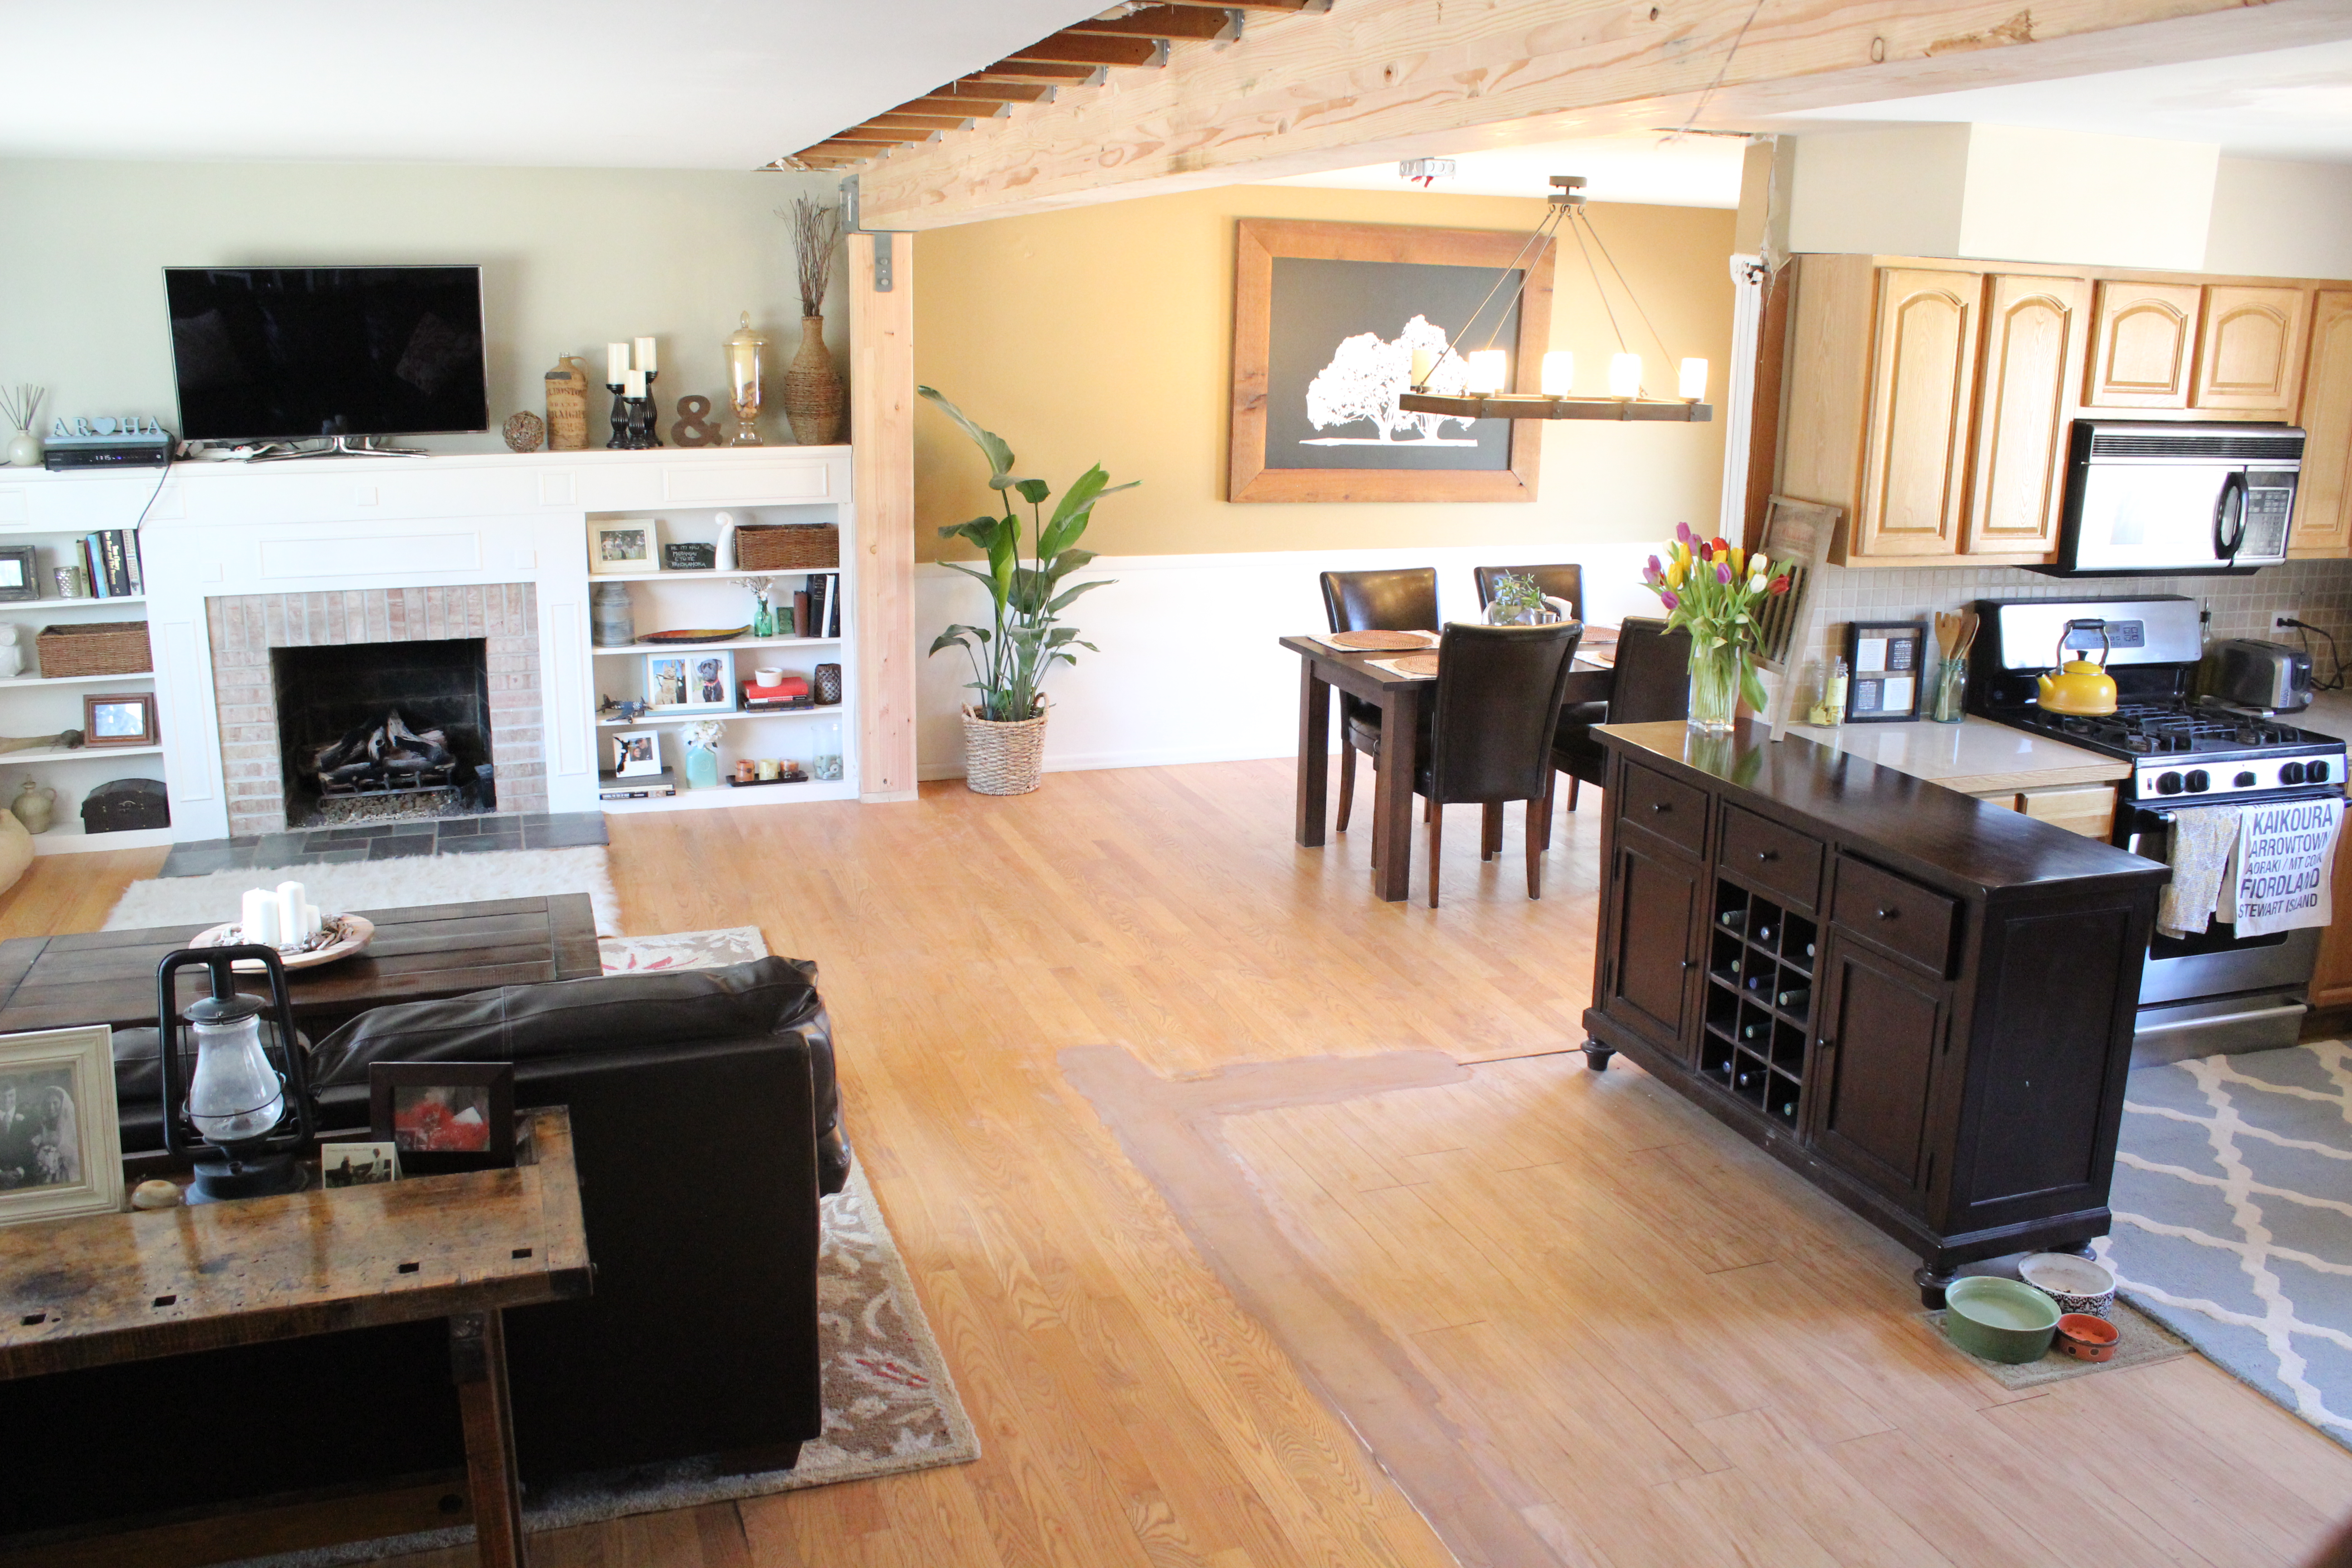
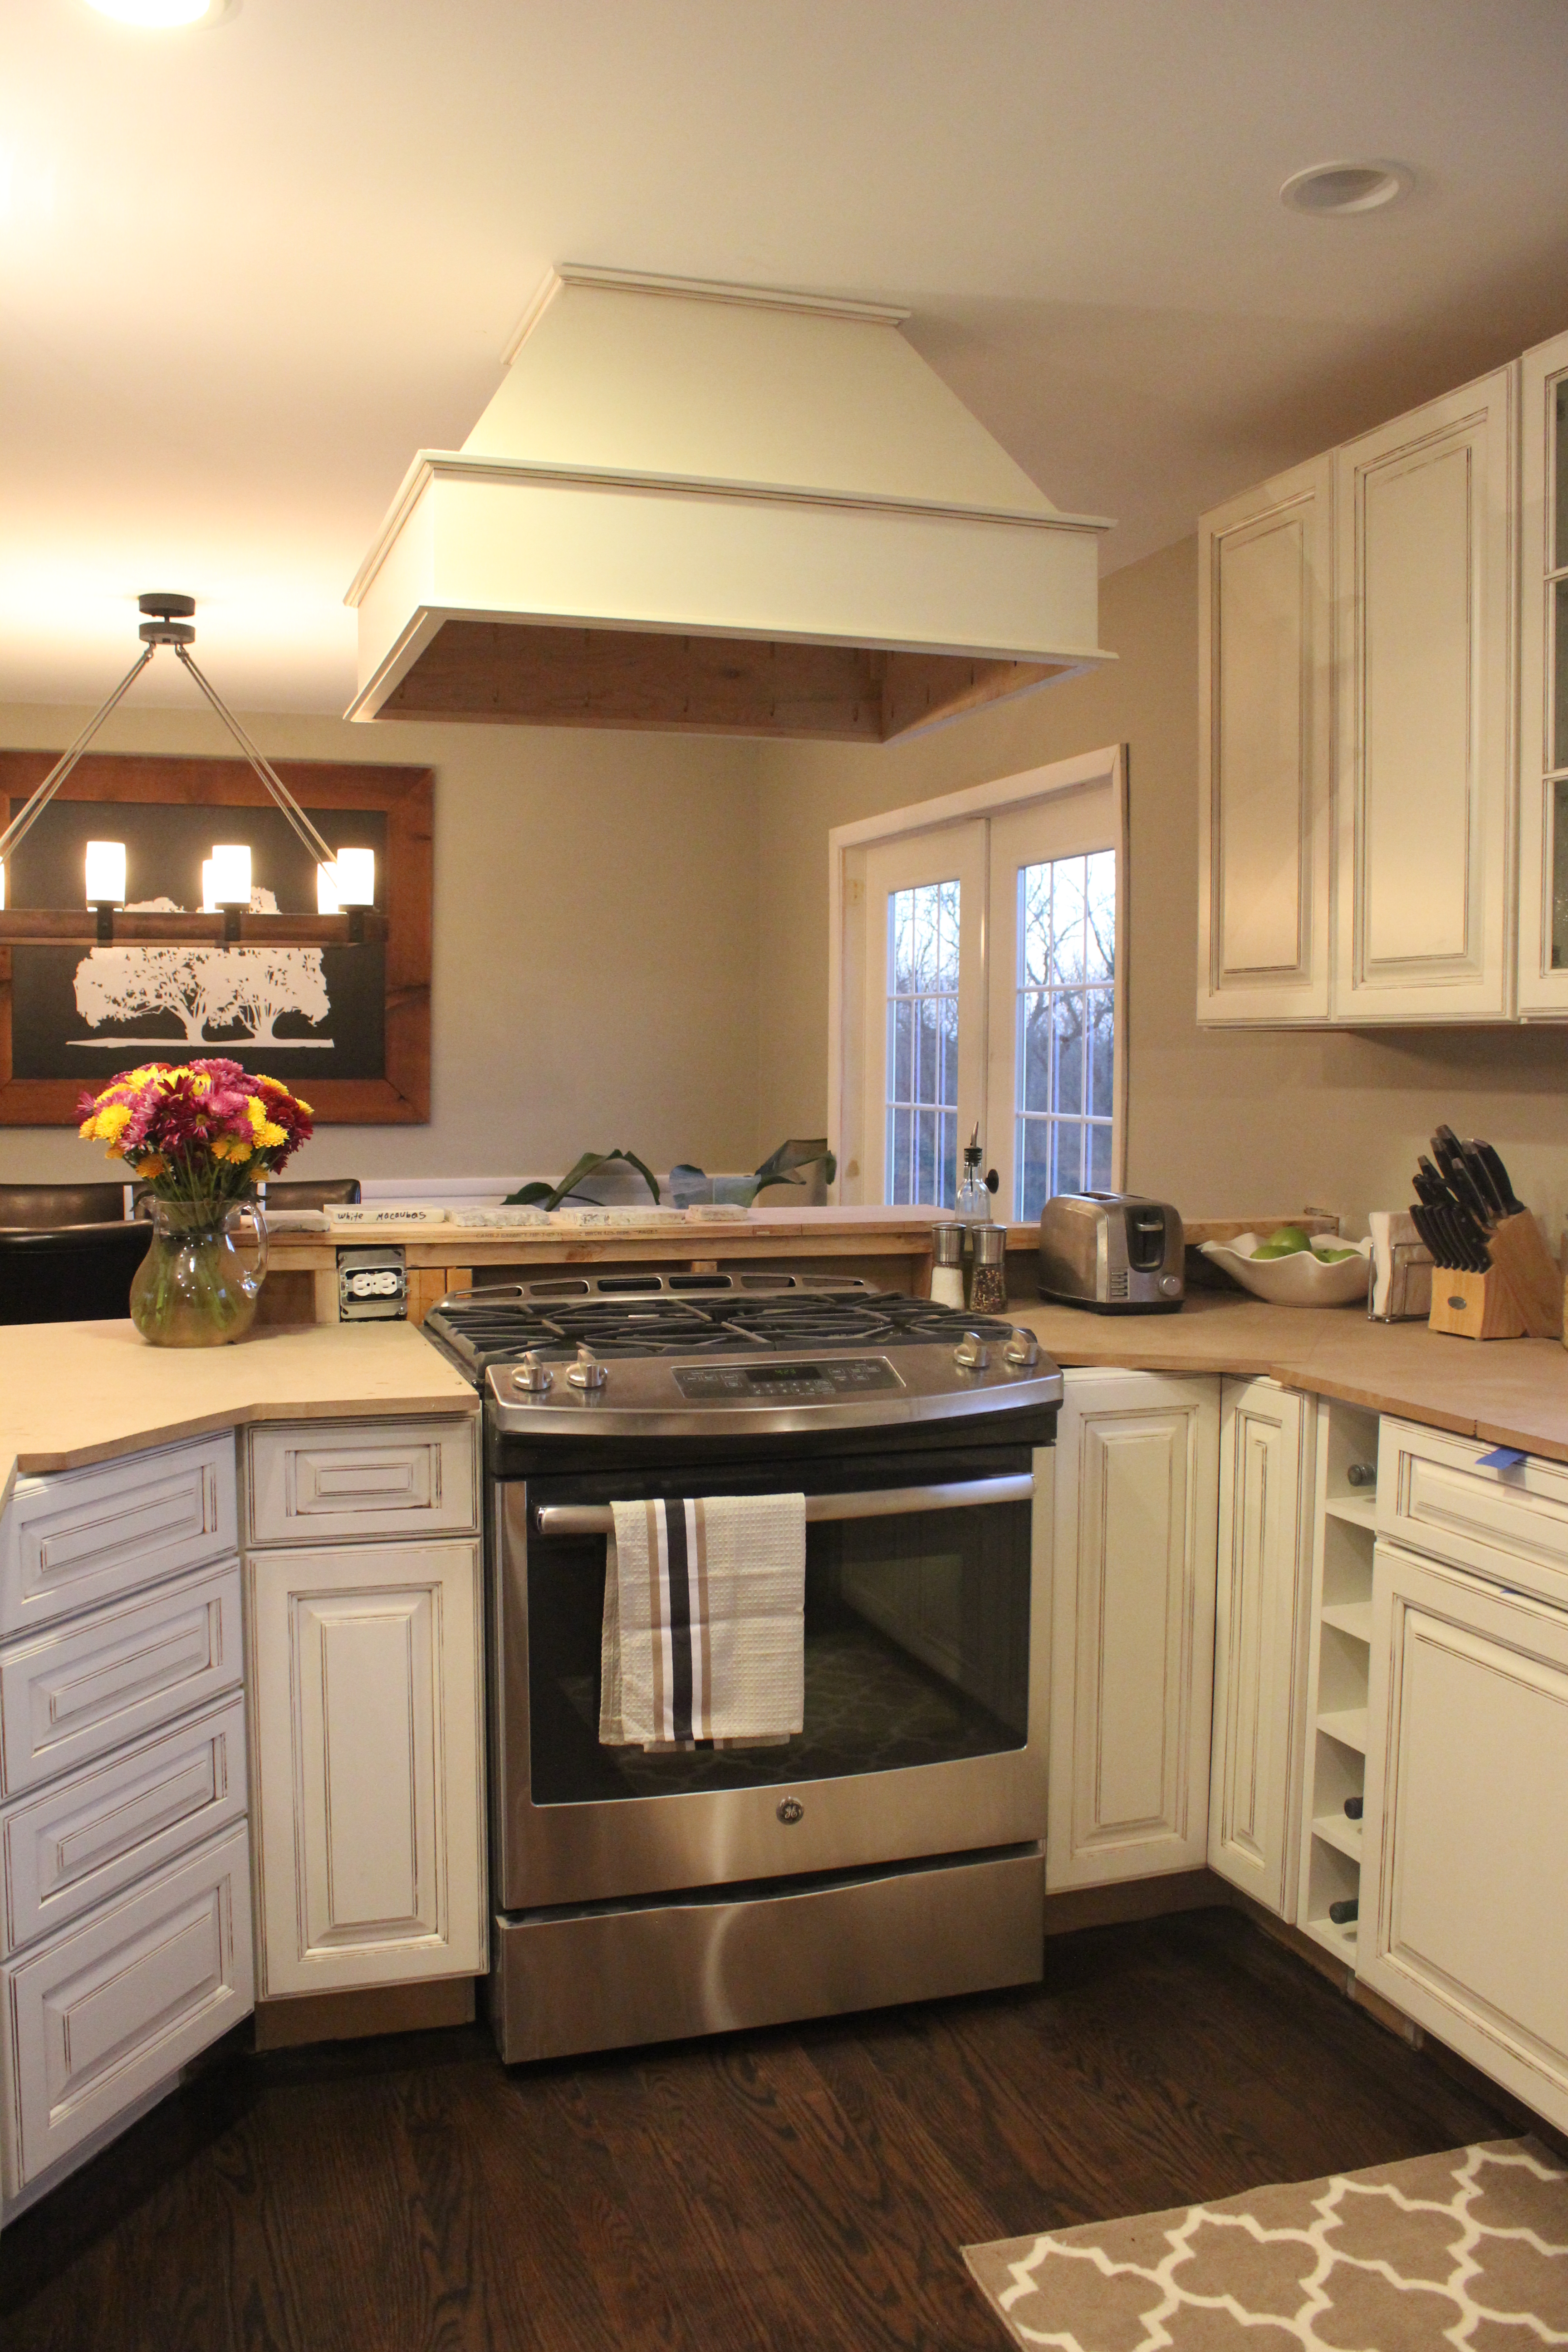
We also changed out our wall registers with these wood floor ones which they stained in place. They blend in beautifully. Also a little tip is to spray paint the duct work flat black so that you don’t see the the shiny silver ductwork through your registers.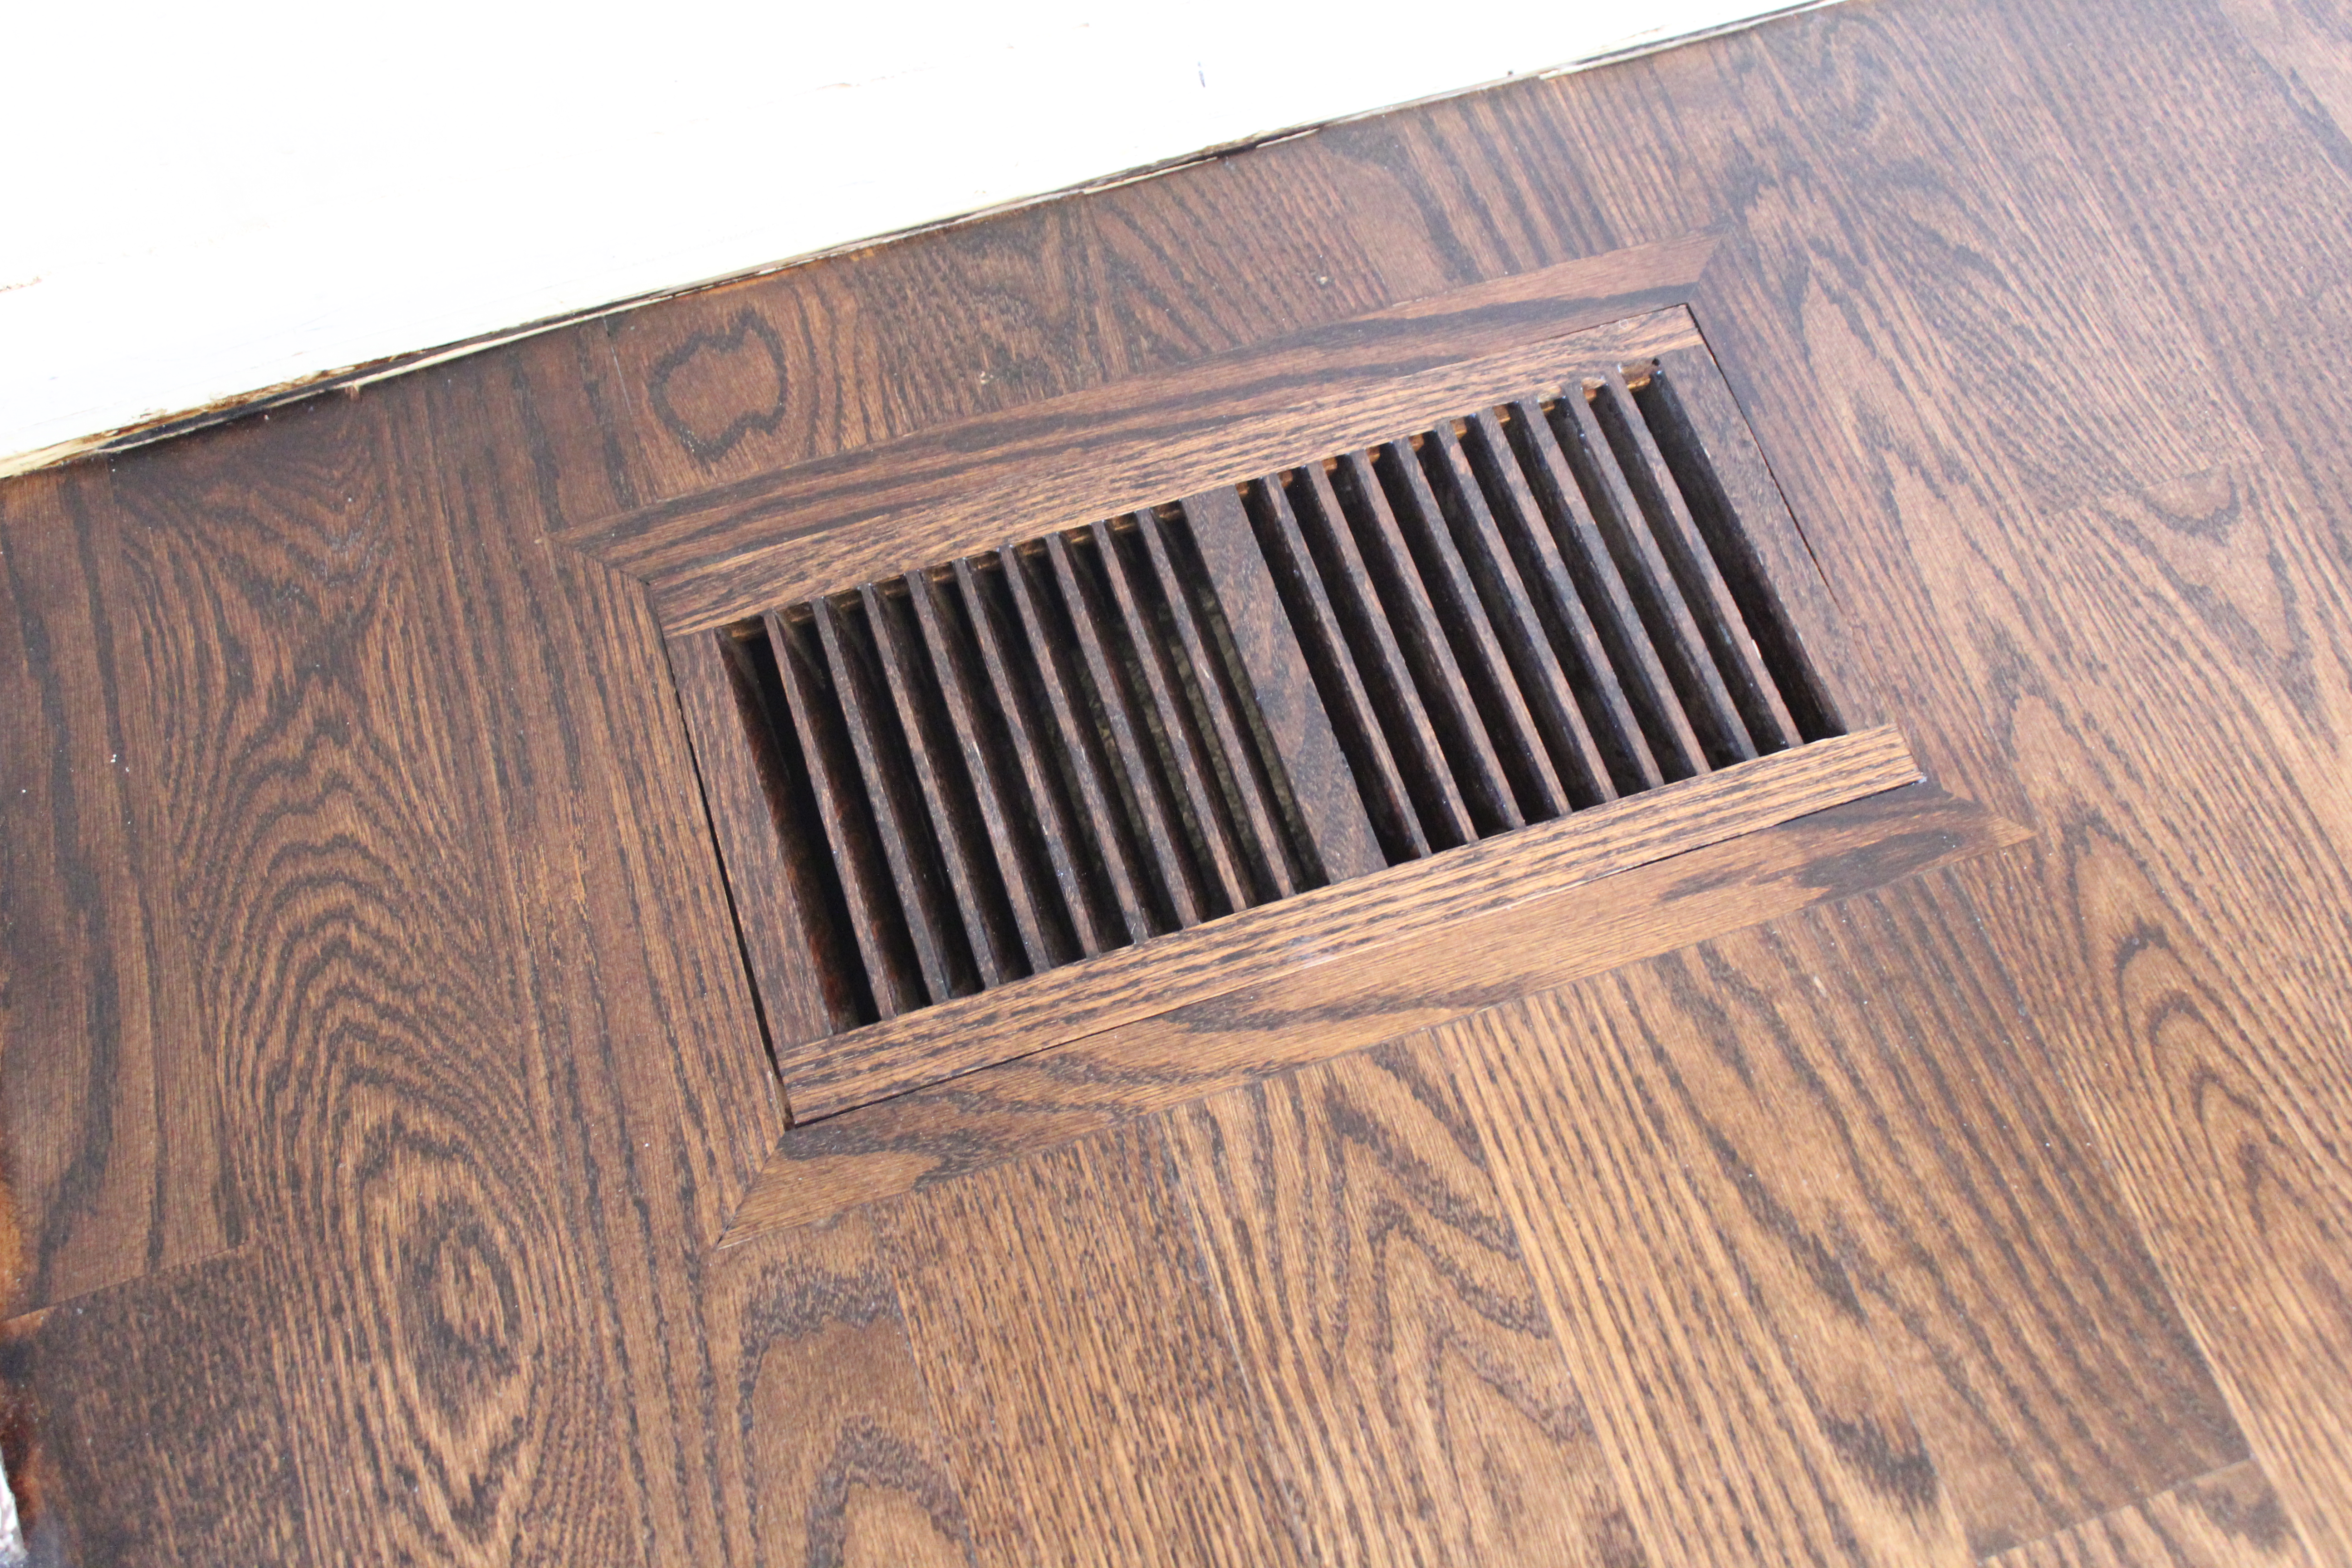 The color also looks great with the new cabinets.
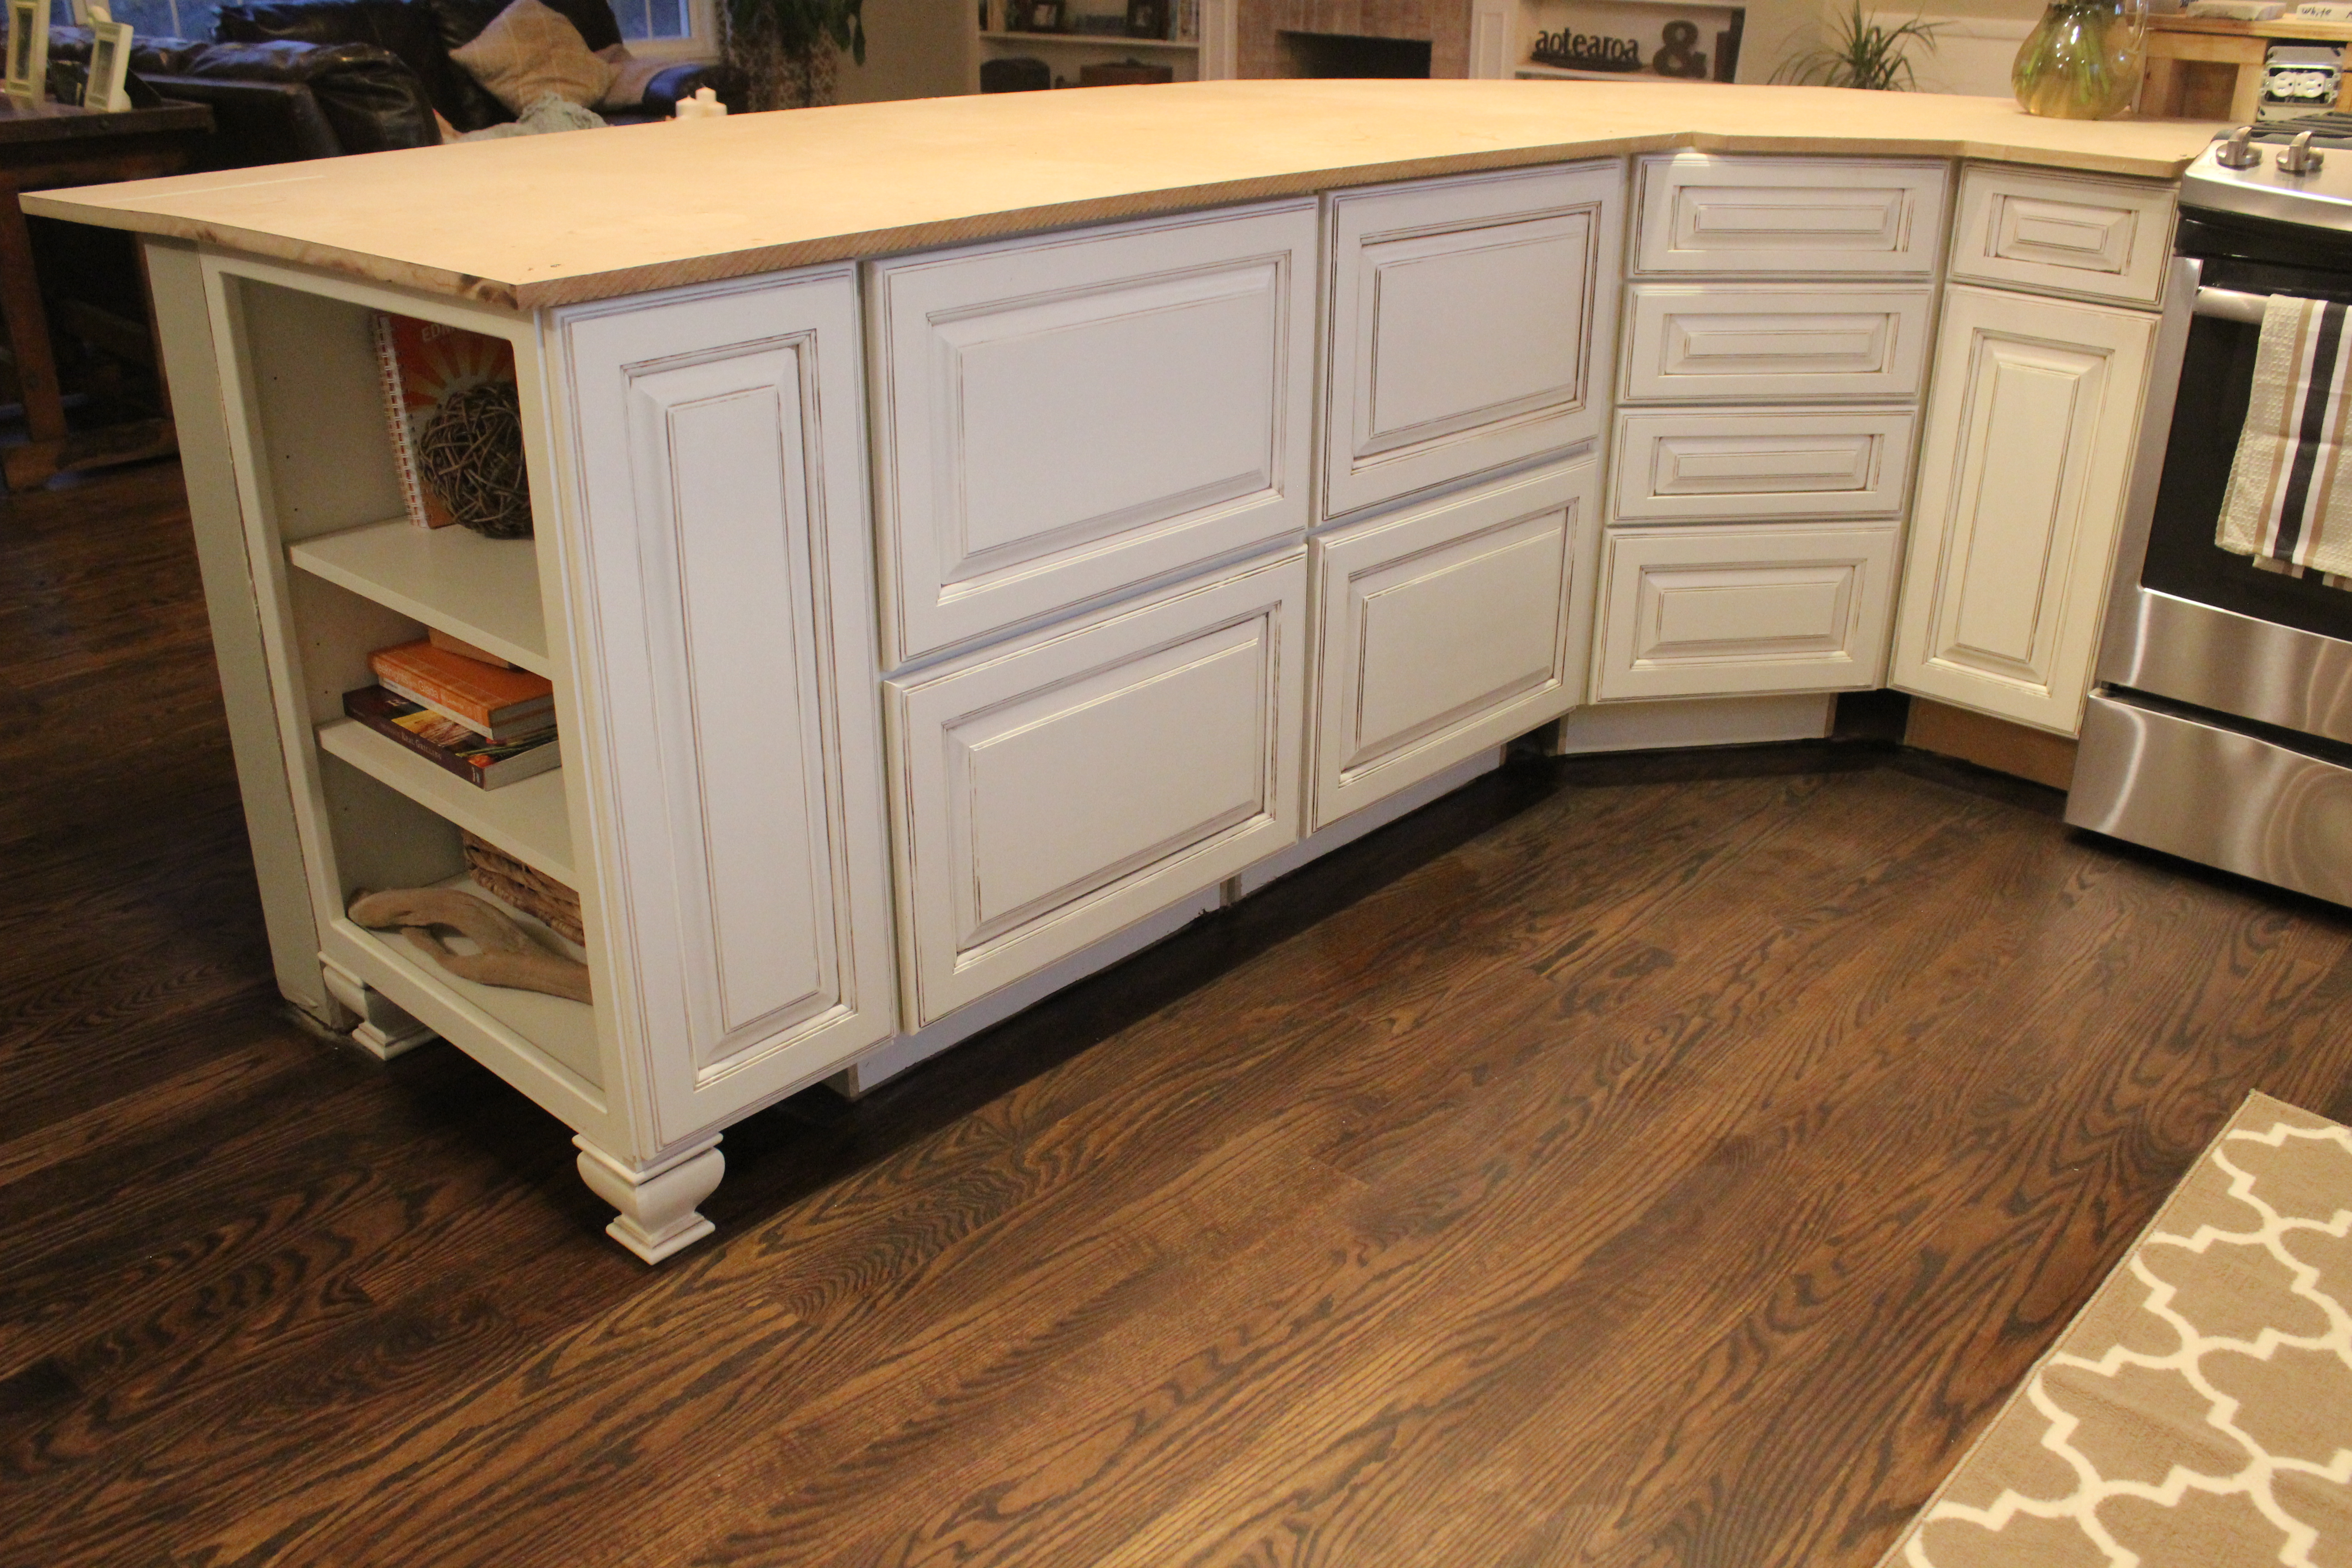 Next up, Ben installed the new kitchen window (from Studio 41 to match the rest of our windows).
 Here it is along with our new Rohl farmhouse sink. We had this same one in our old house and loved it so much!
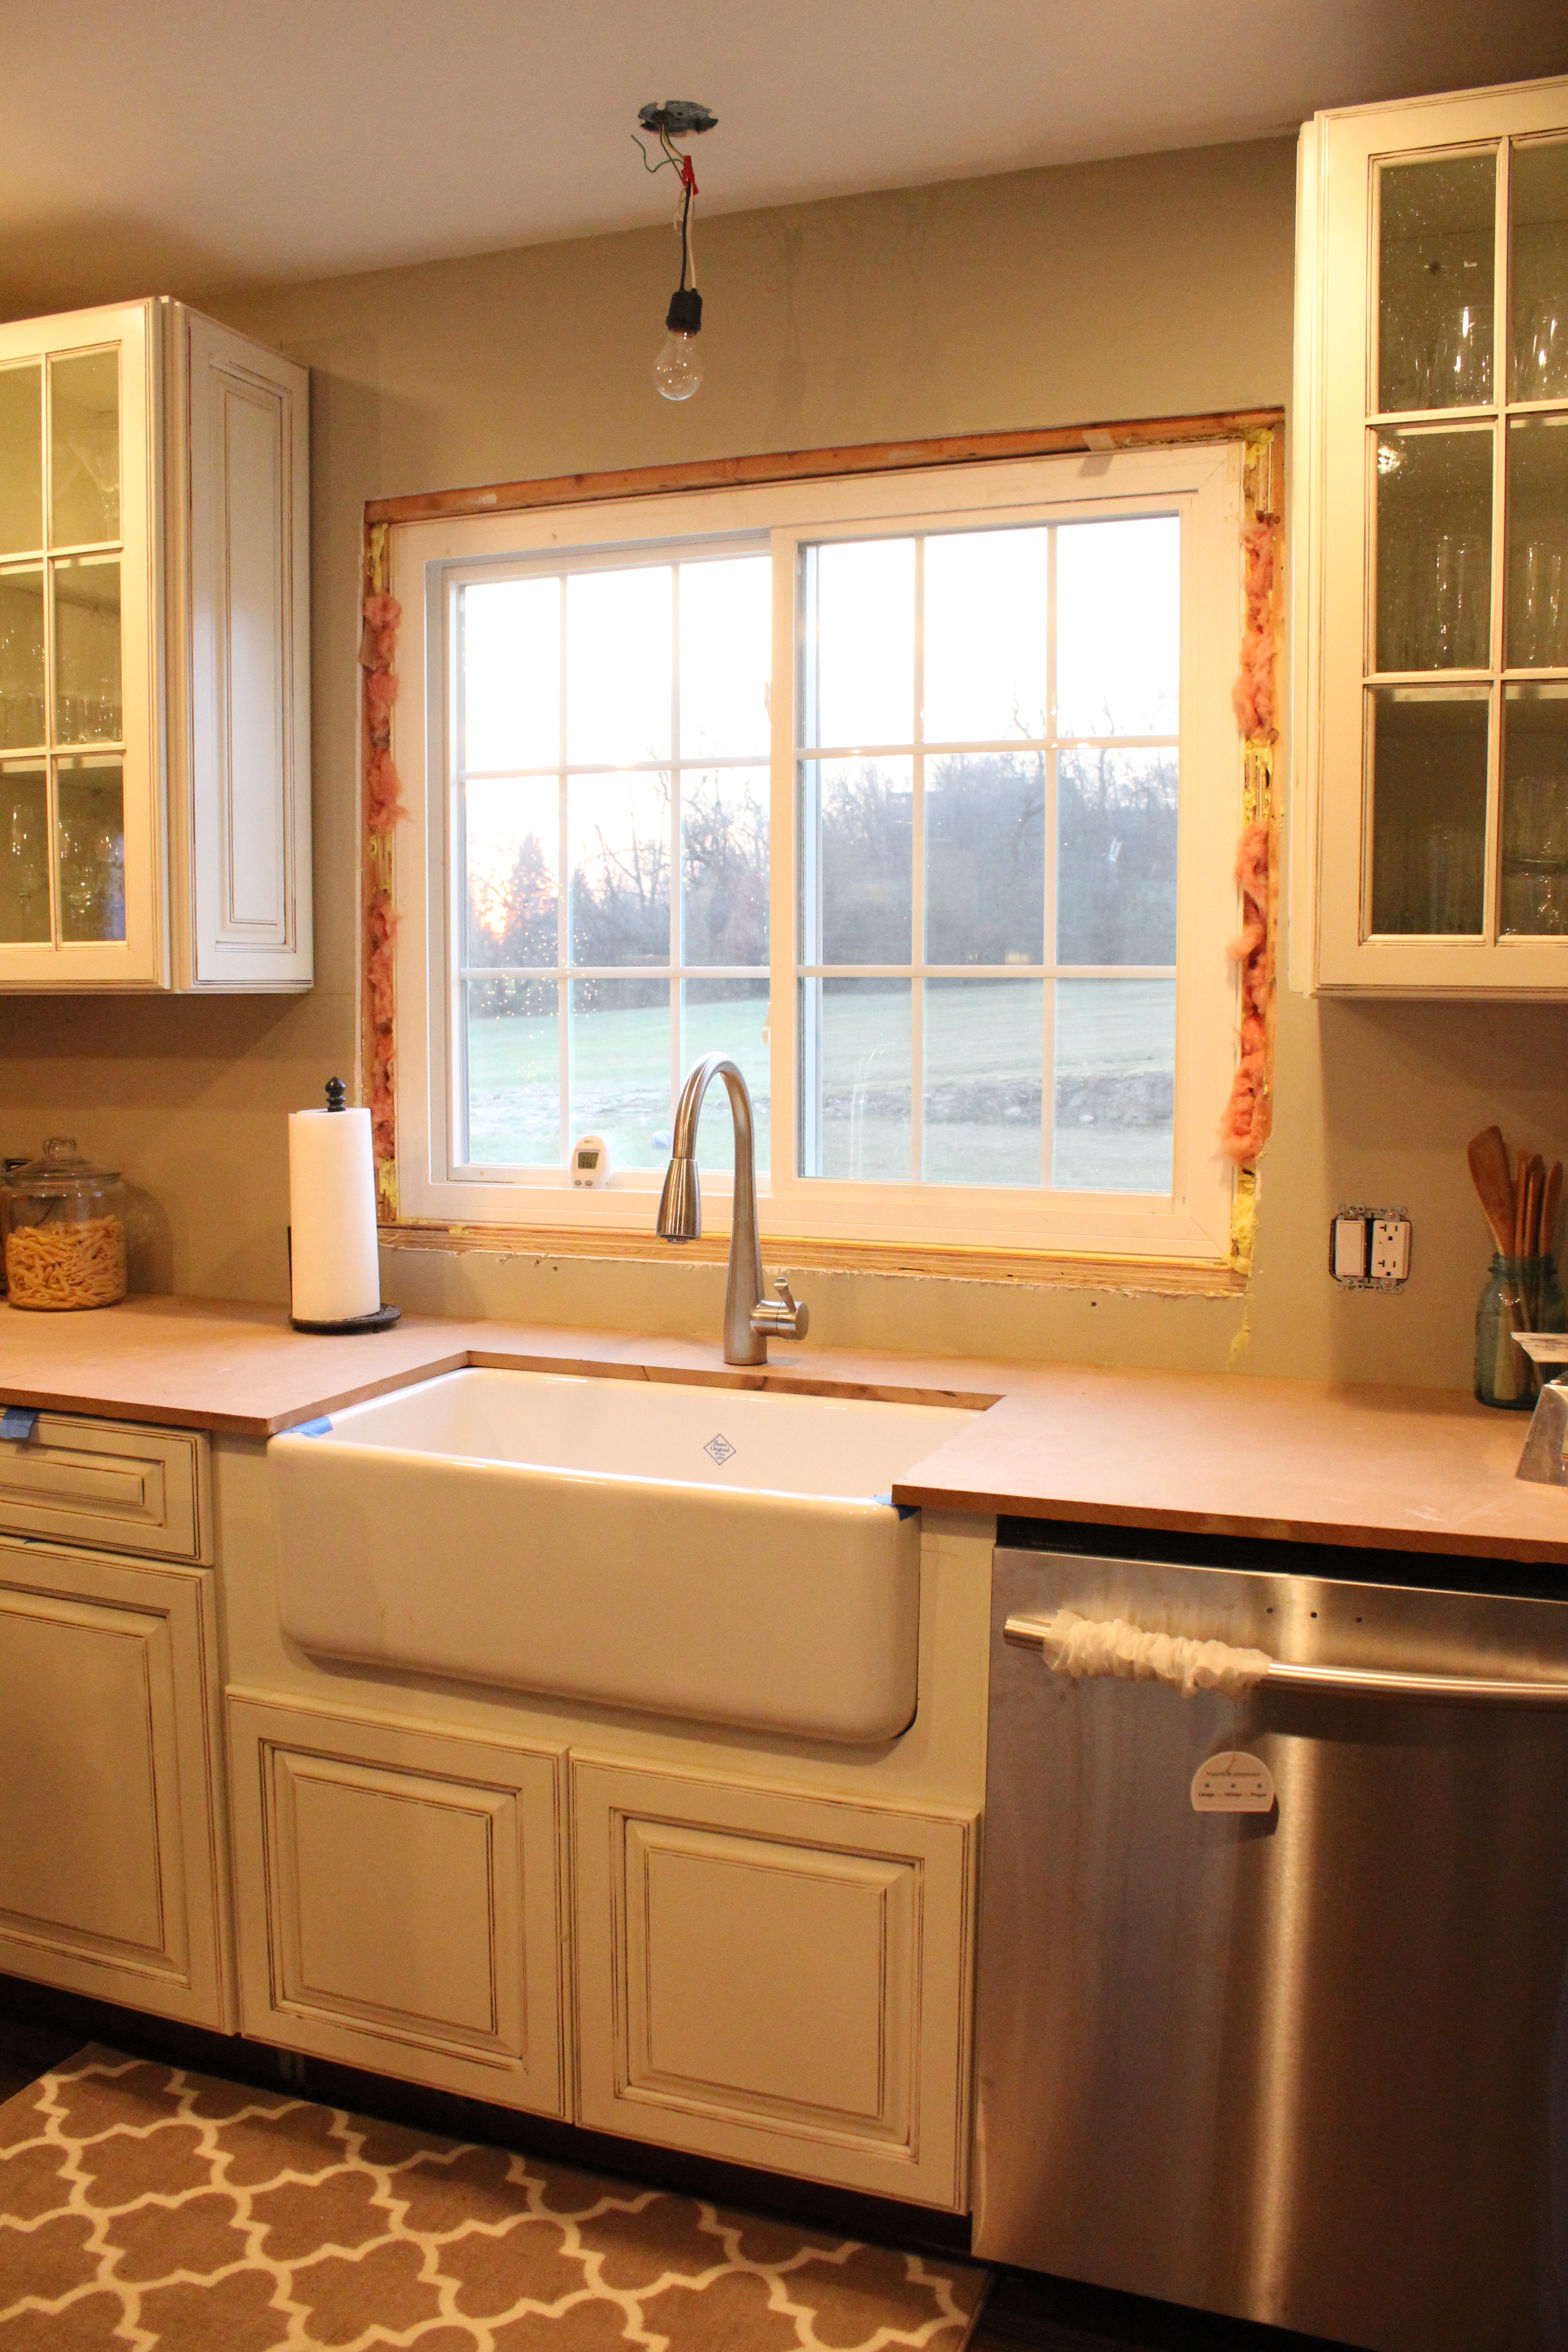 That faucet is a stand in (leftover from one of Ben’s job sites) until we get our countertops installed. We also plan to run the backsplash all the way up and around the window, so there is no casing yet.
Ben also installed the pantry door (including a cat door so Mia can eat her food without Doc stealing it every day) and he is actually working on shelving it out as we speak.
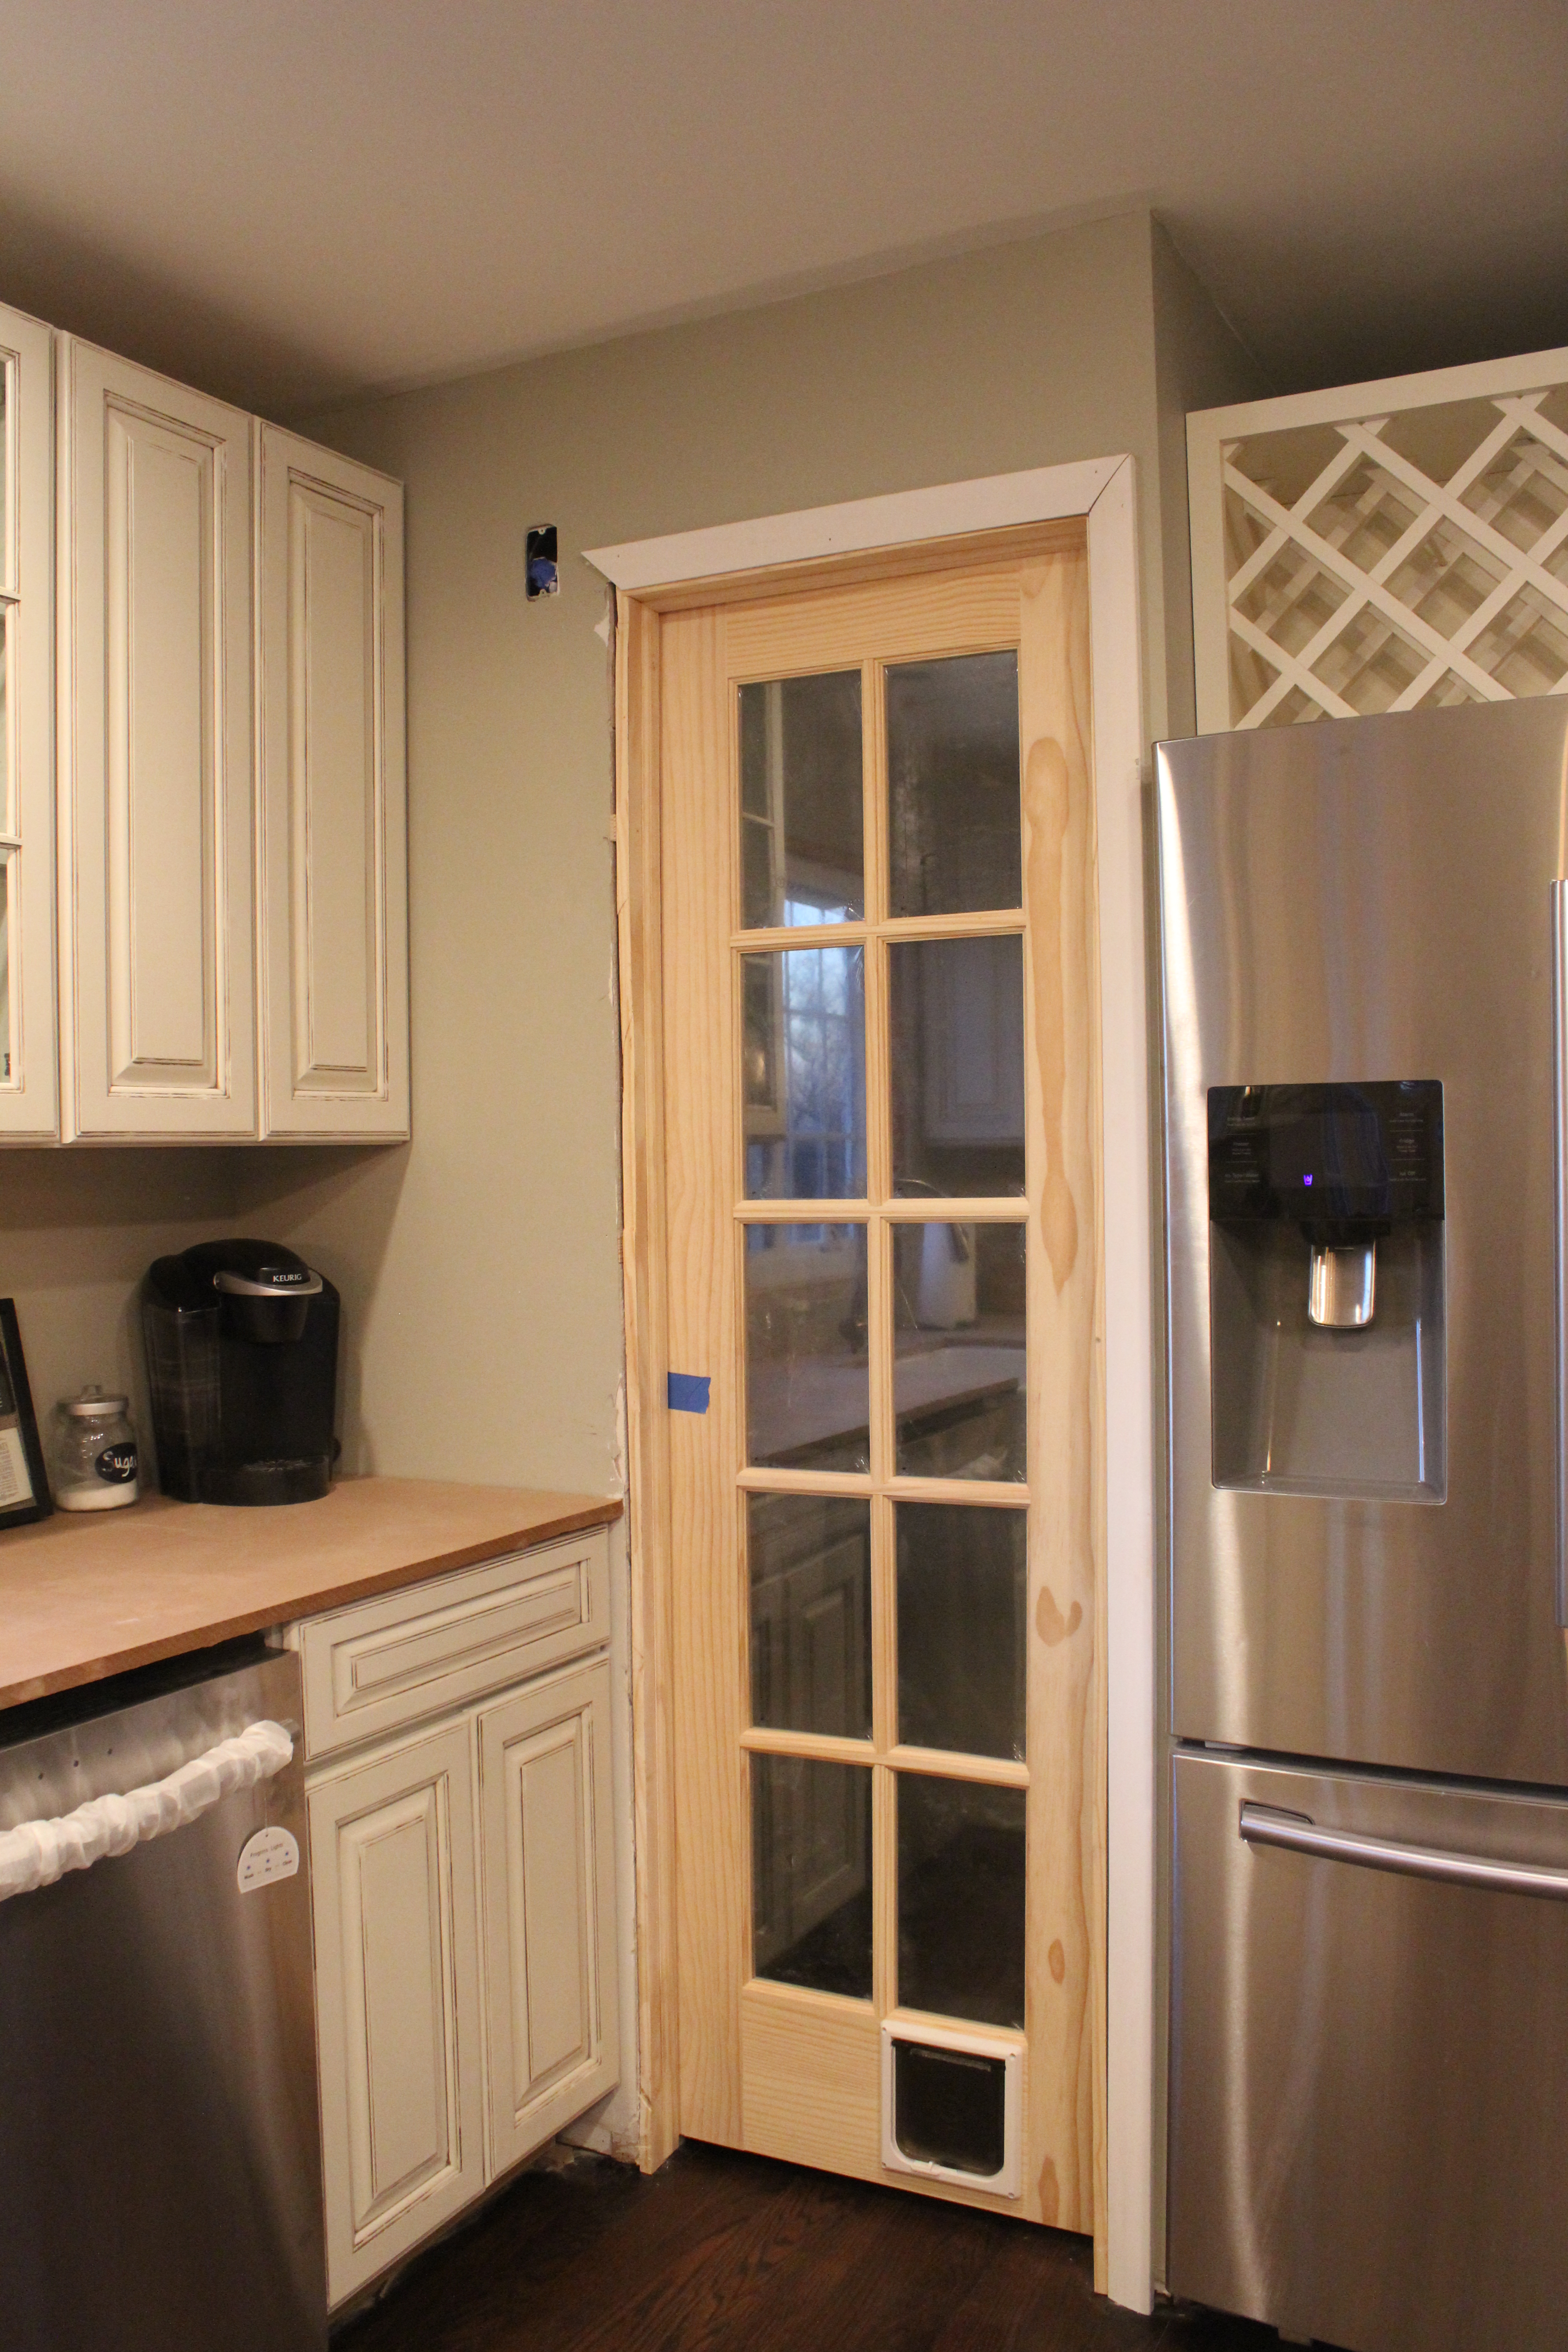 So there is still a lot to do in here, but it is completely functional (minus the dishwasher which isn’t hooked up yet).
The plumber also fitted out our new addition so the laundry is now all hooked up!
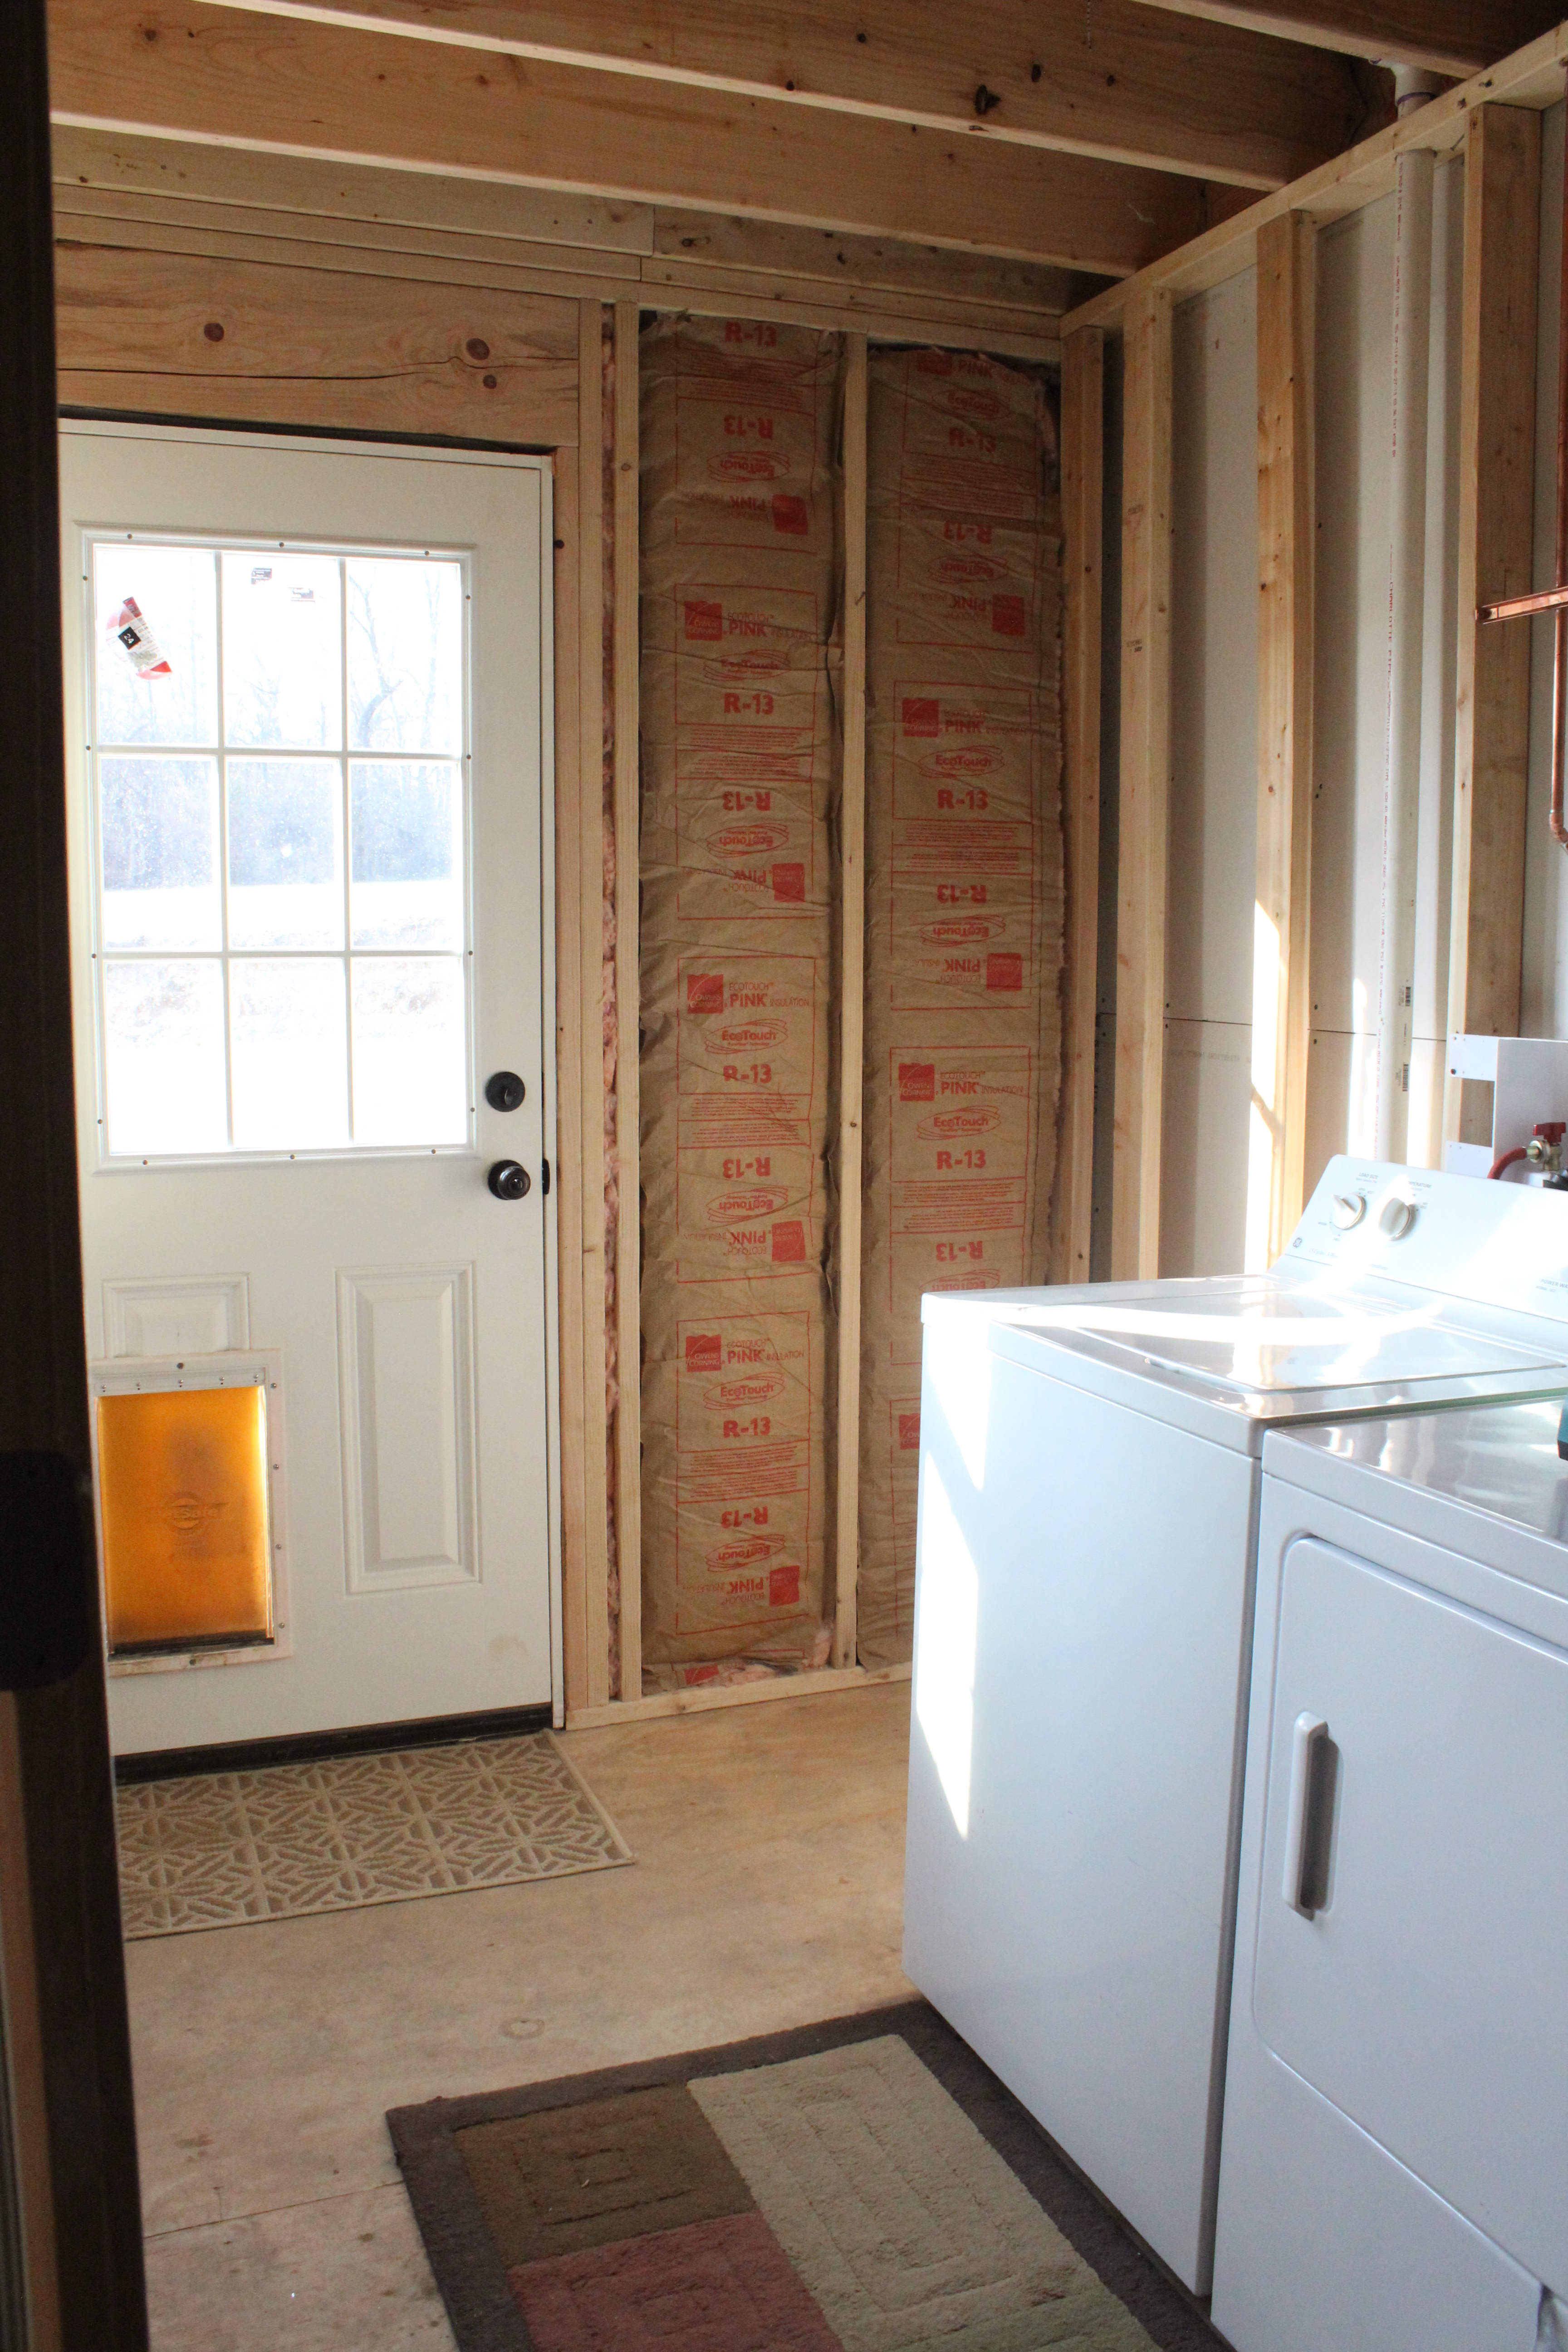 We’re hoping to get the kitchen and downstairs addition finalized in the next 4 weeks. Which would give us about 5 weeks before baby arrives.
Now off to decorate the Christmas tree and bake cookies. I’ll be sure to share it on the blog!