Archive | Exterior RSS feed for this section

Flip: SOLD!

21 Sep

Back in June, I showed you through the “flip” we purchased. We successfully fixed it up from top to bottom over the summer and yesterday we closed it- woo-hoo! It actually pre-sold during demo which meant we didn’t even have to put it up for sale. Our agent took some interested buyers through it during construction explaining what it would look like once it was done, and they agreed to buy it.

It was a great arrangement, though they did request to change a few things to their preference. Though we still picked out all the colors and finishes.

So on with the finished tour!

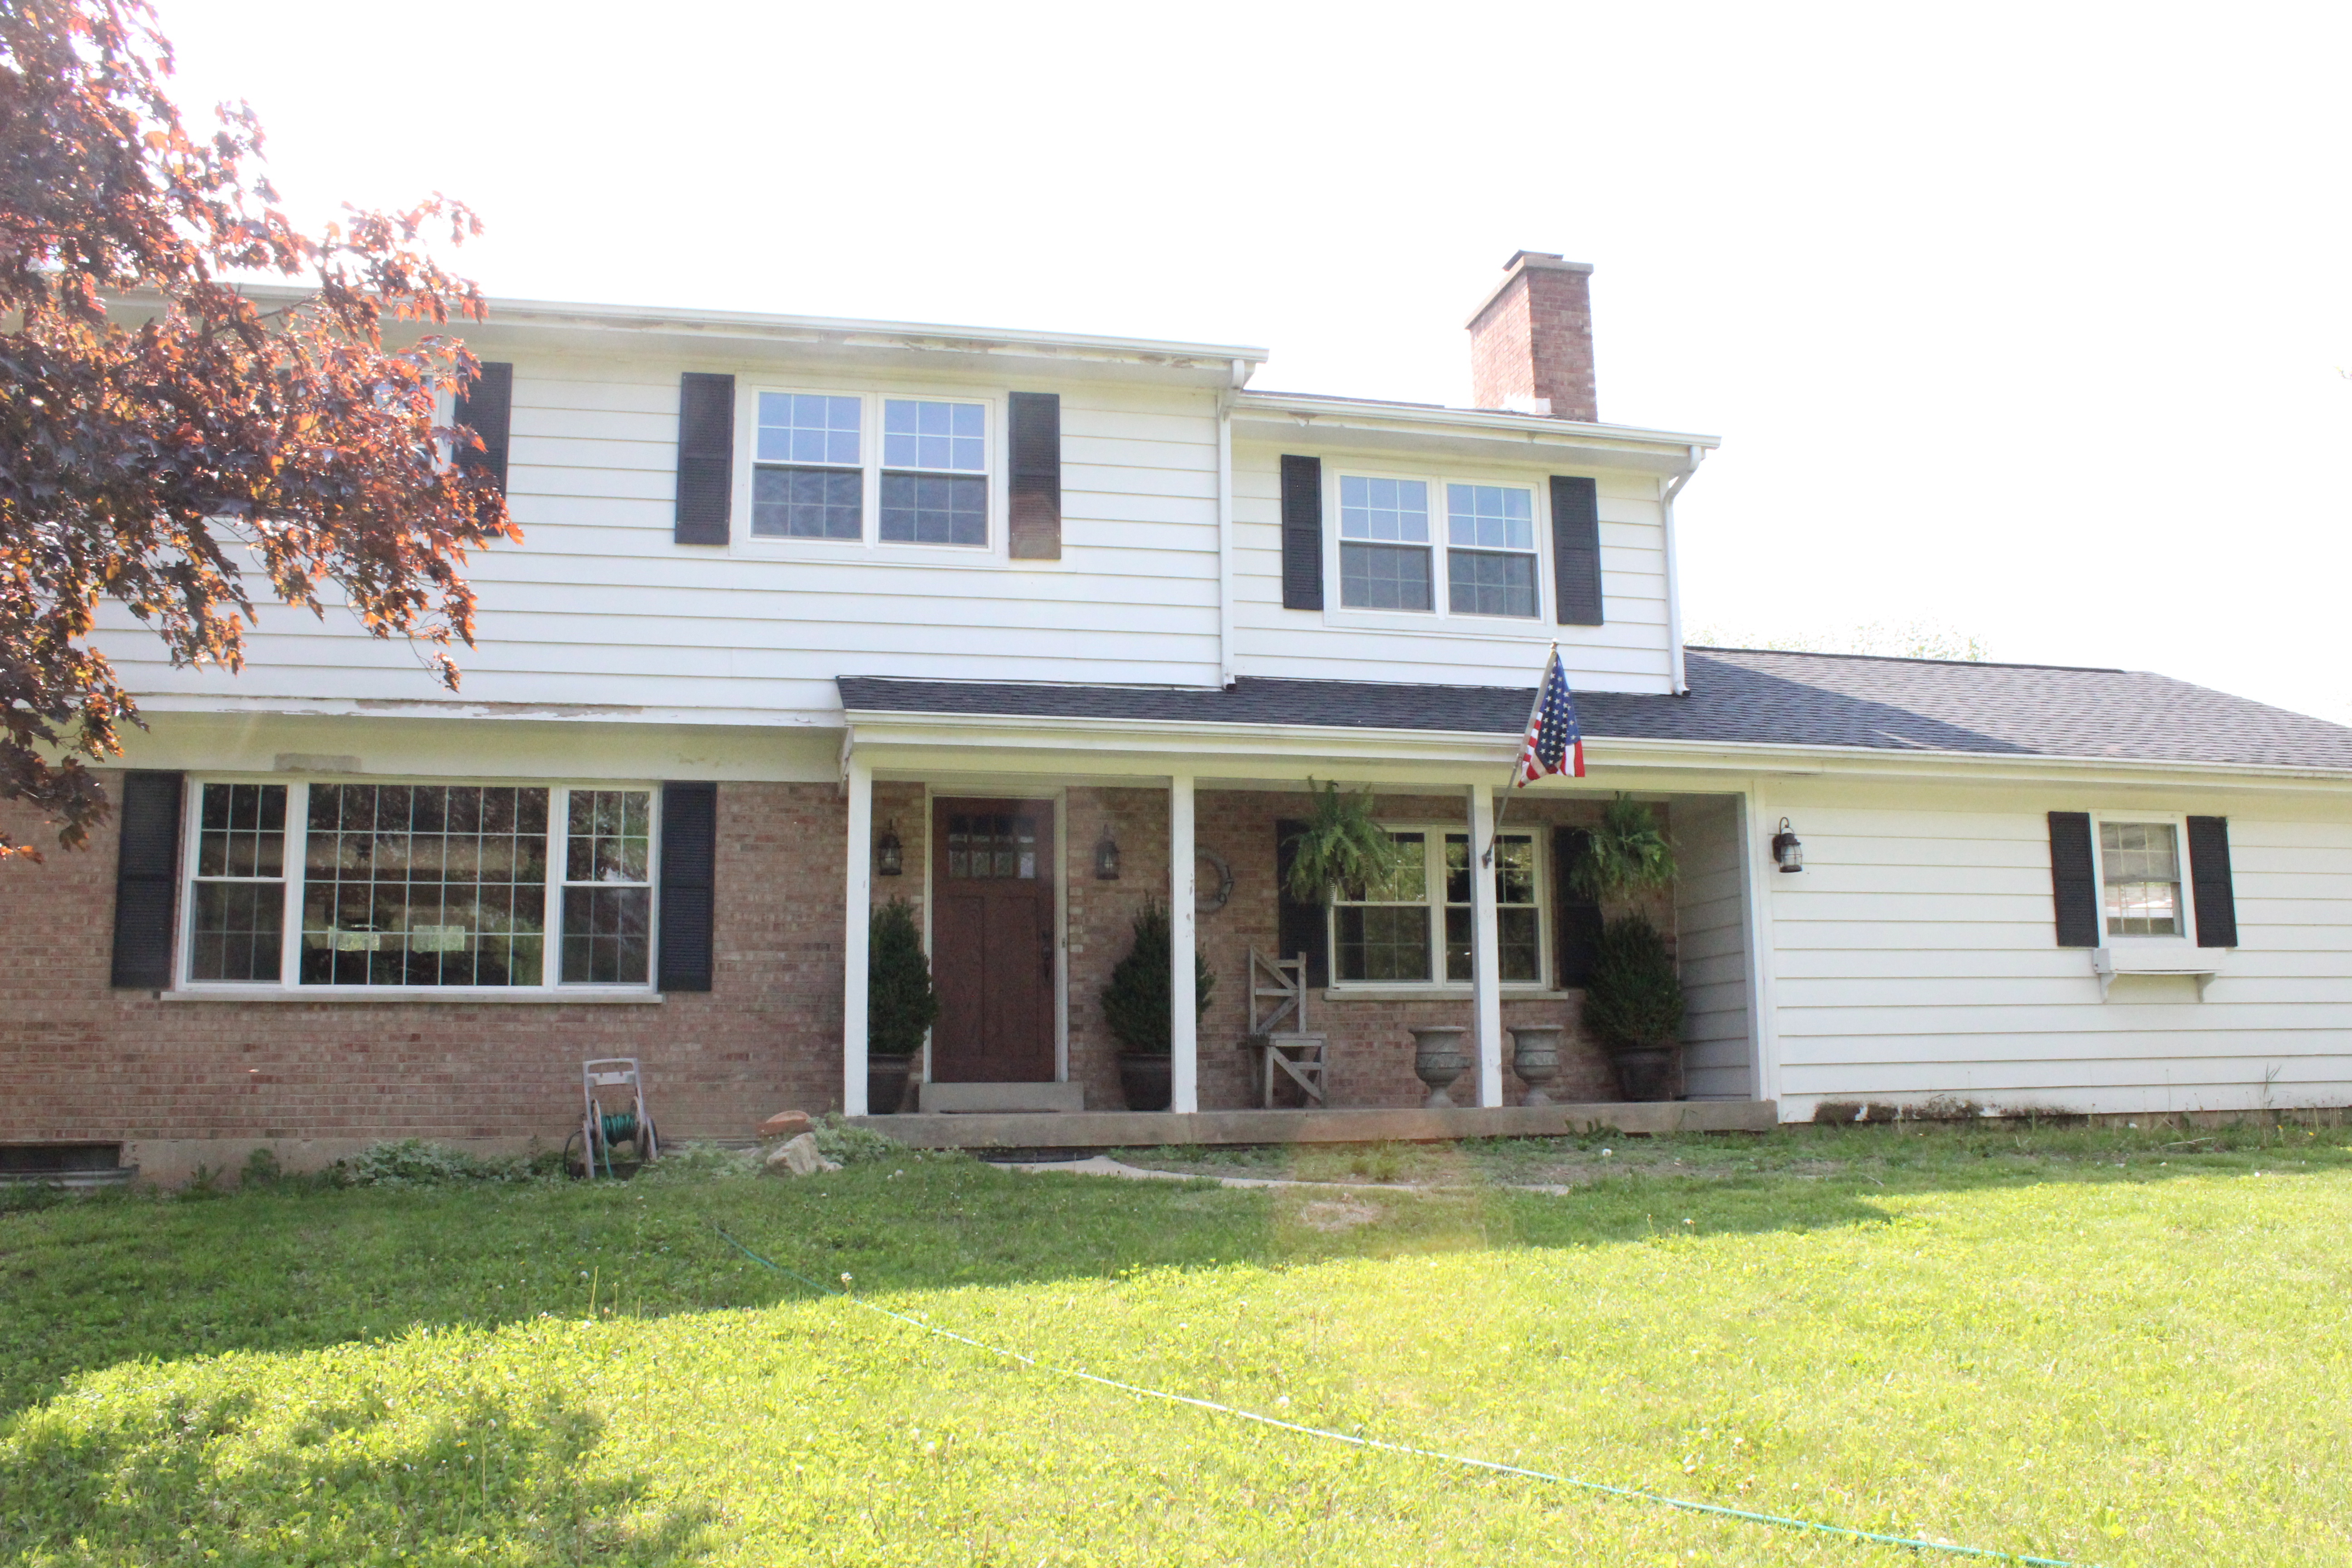
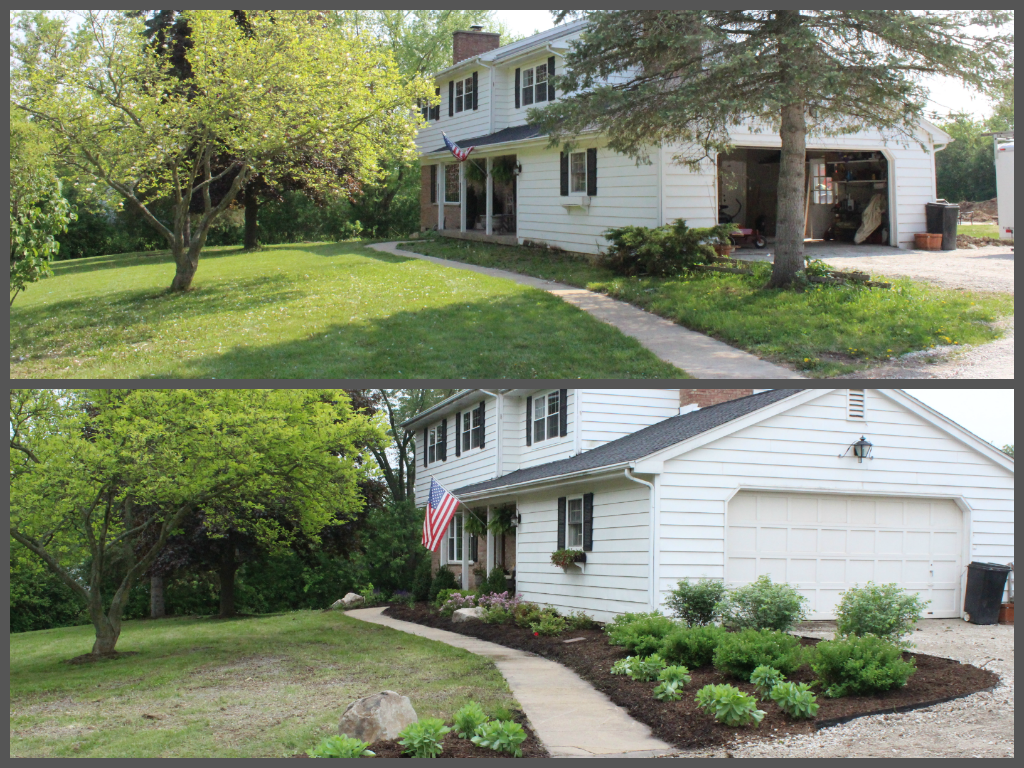
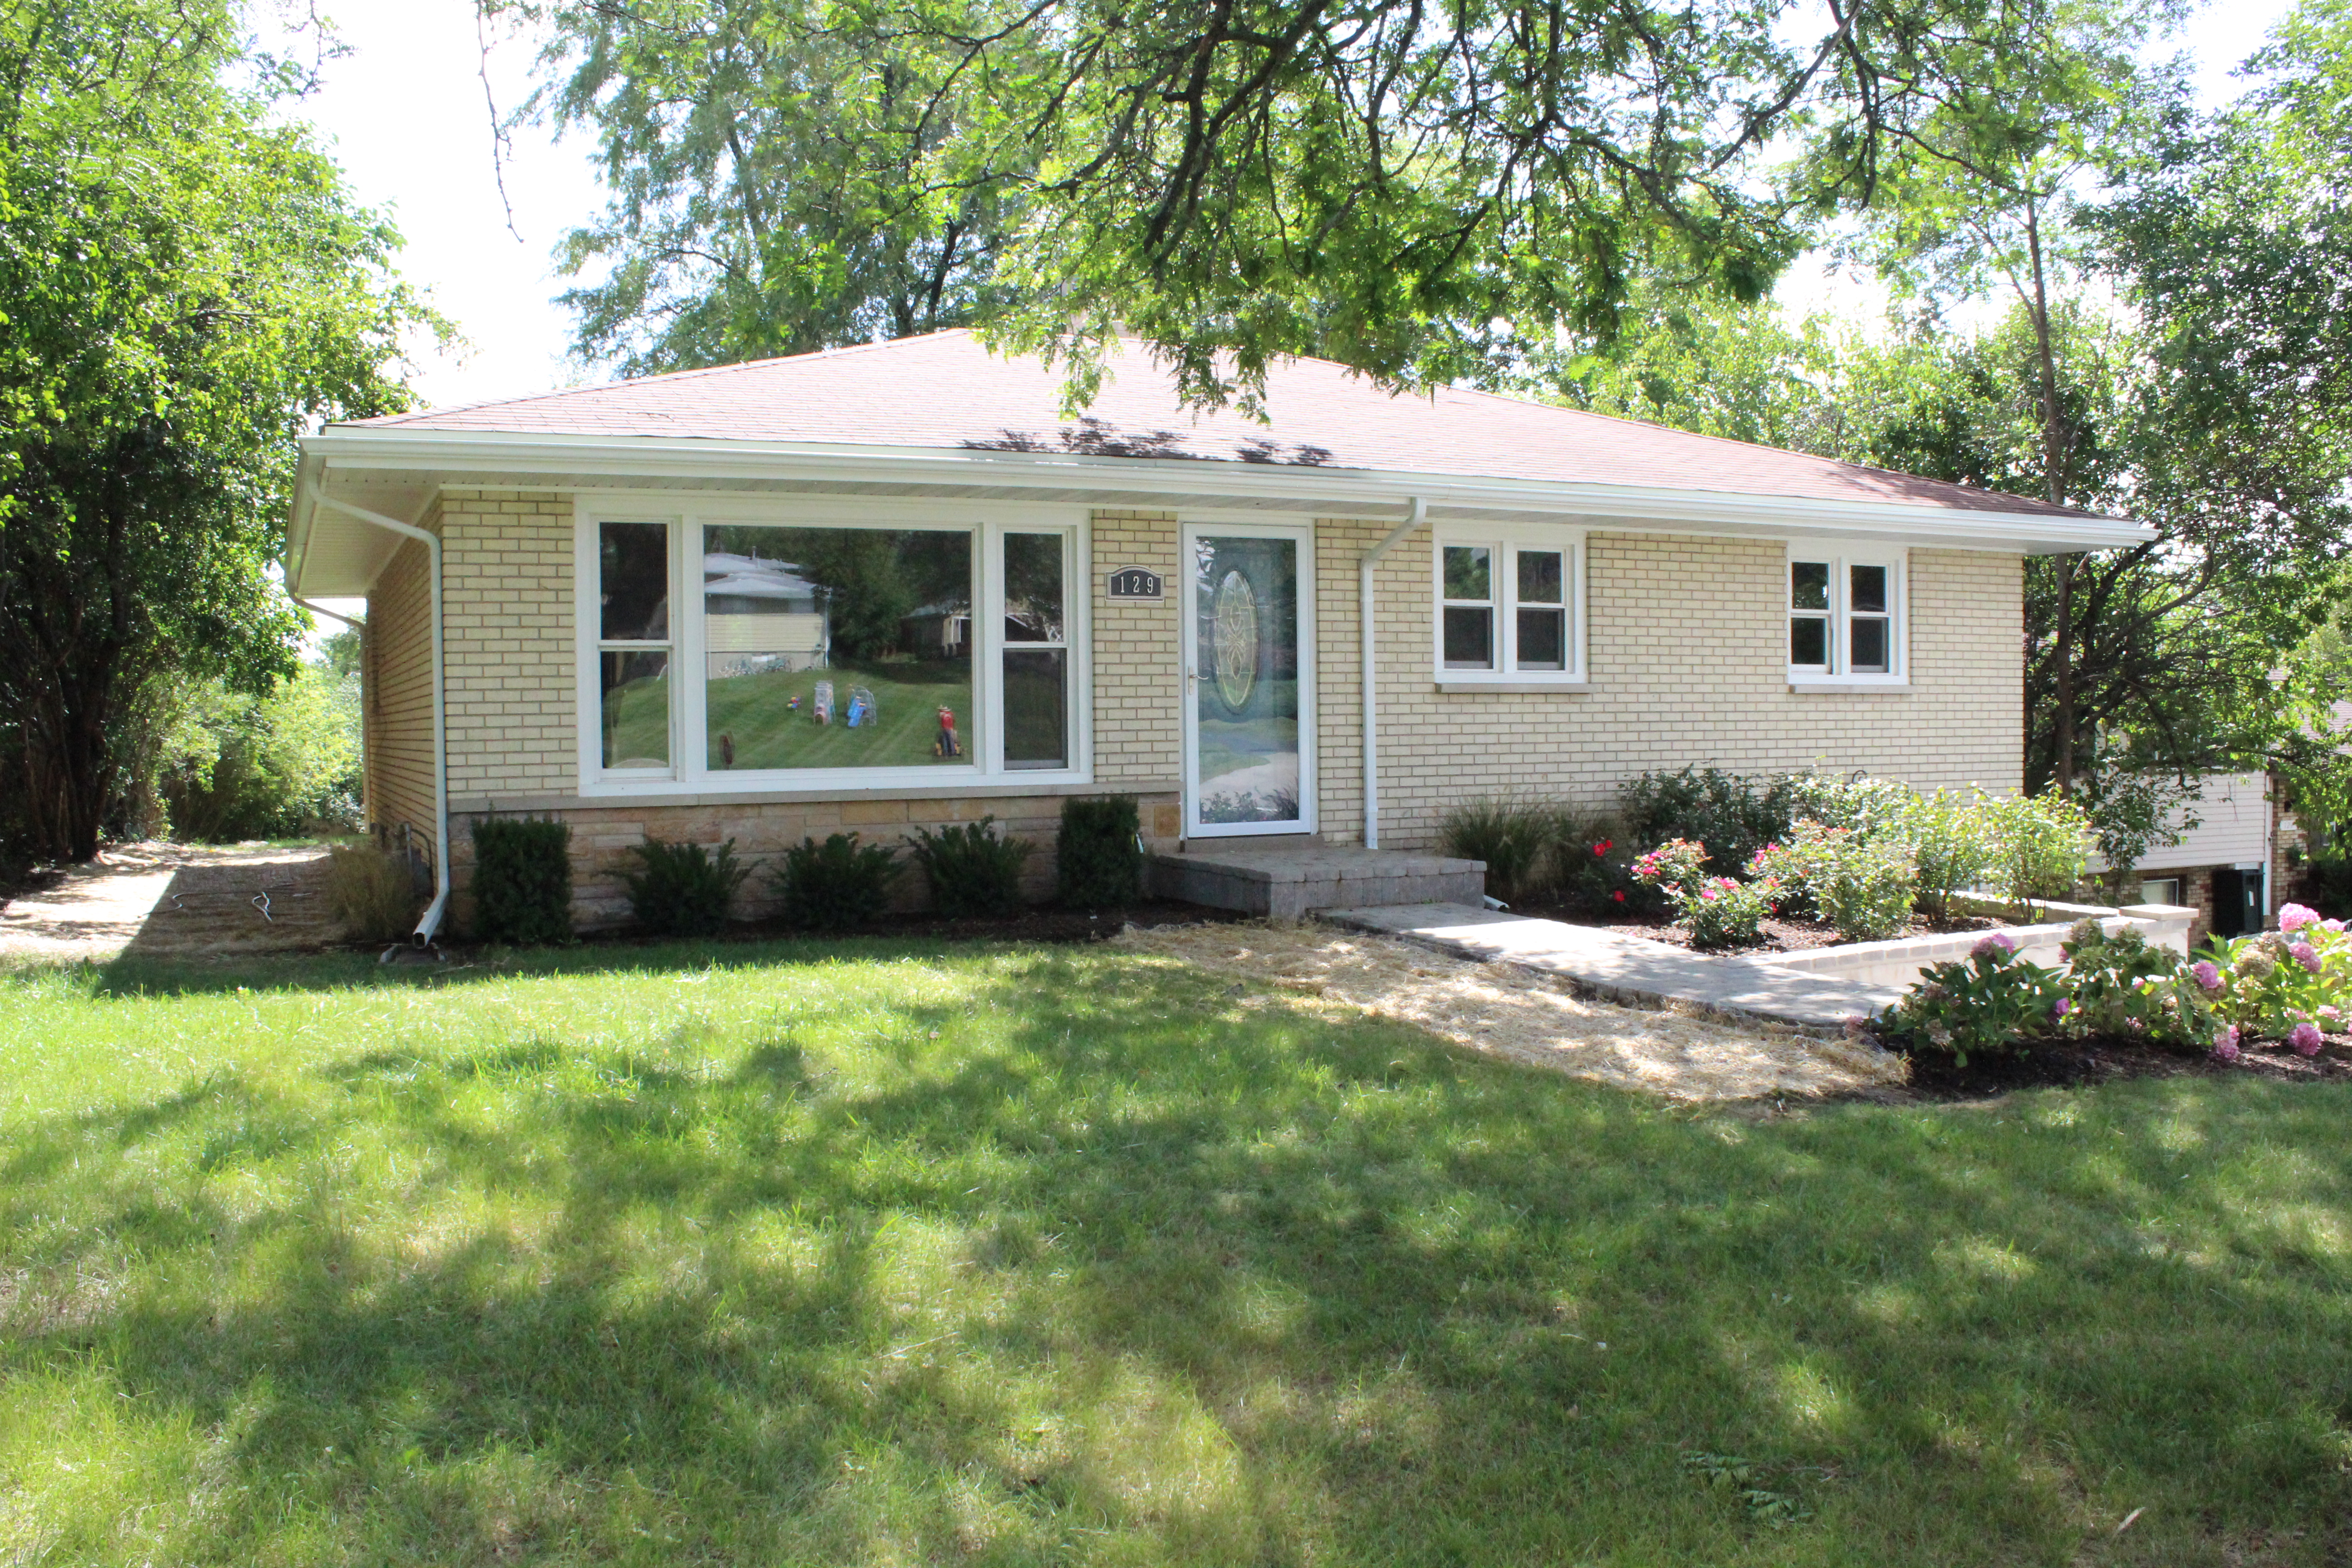
Here was the front exterior before.

IMG_1453

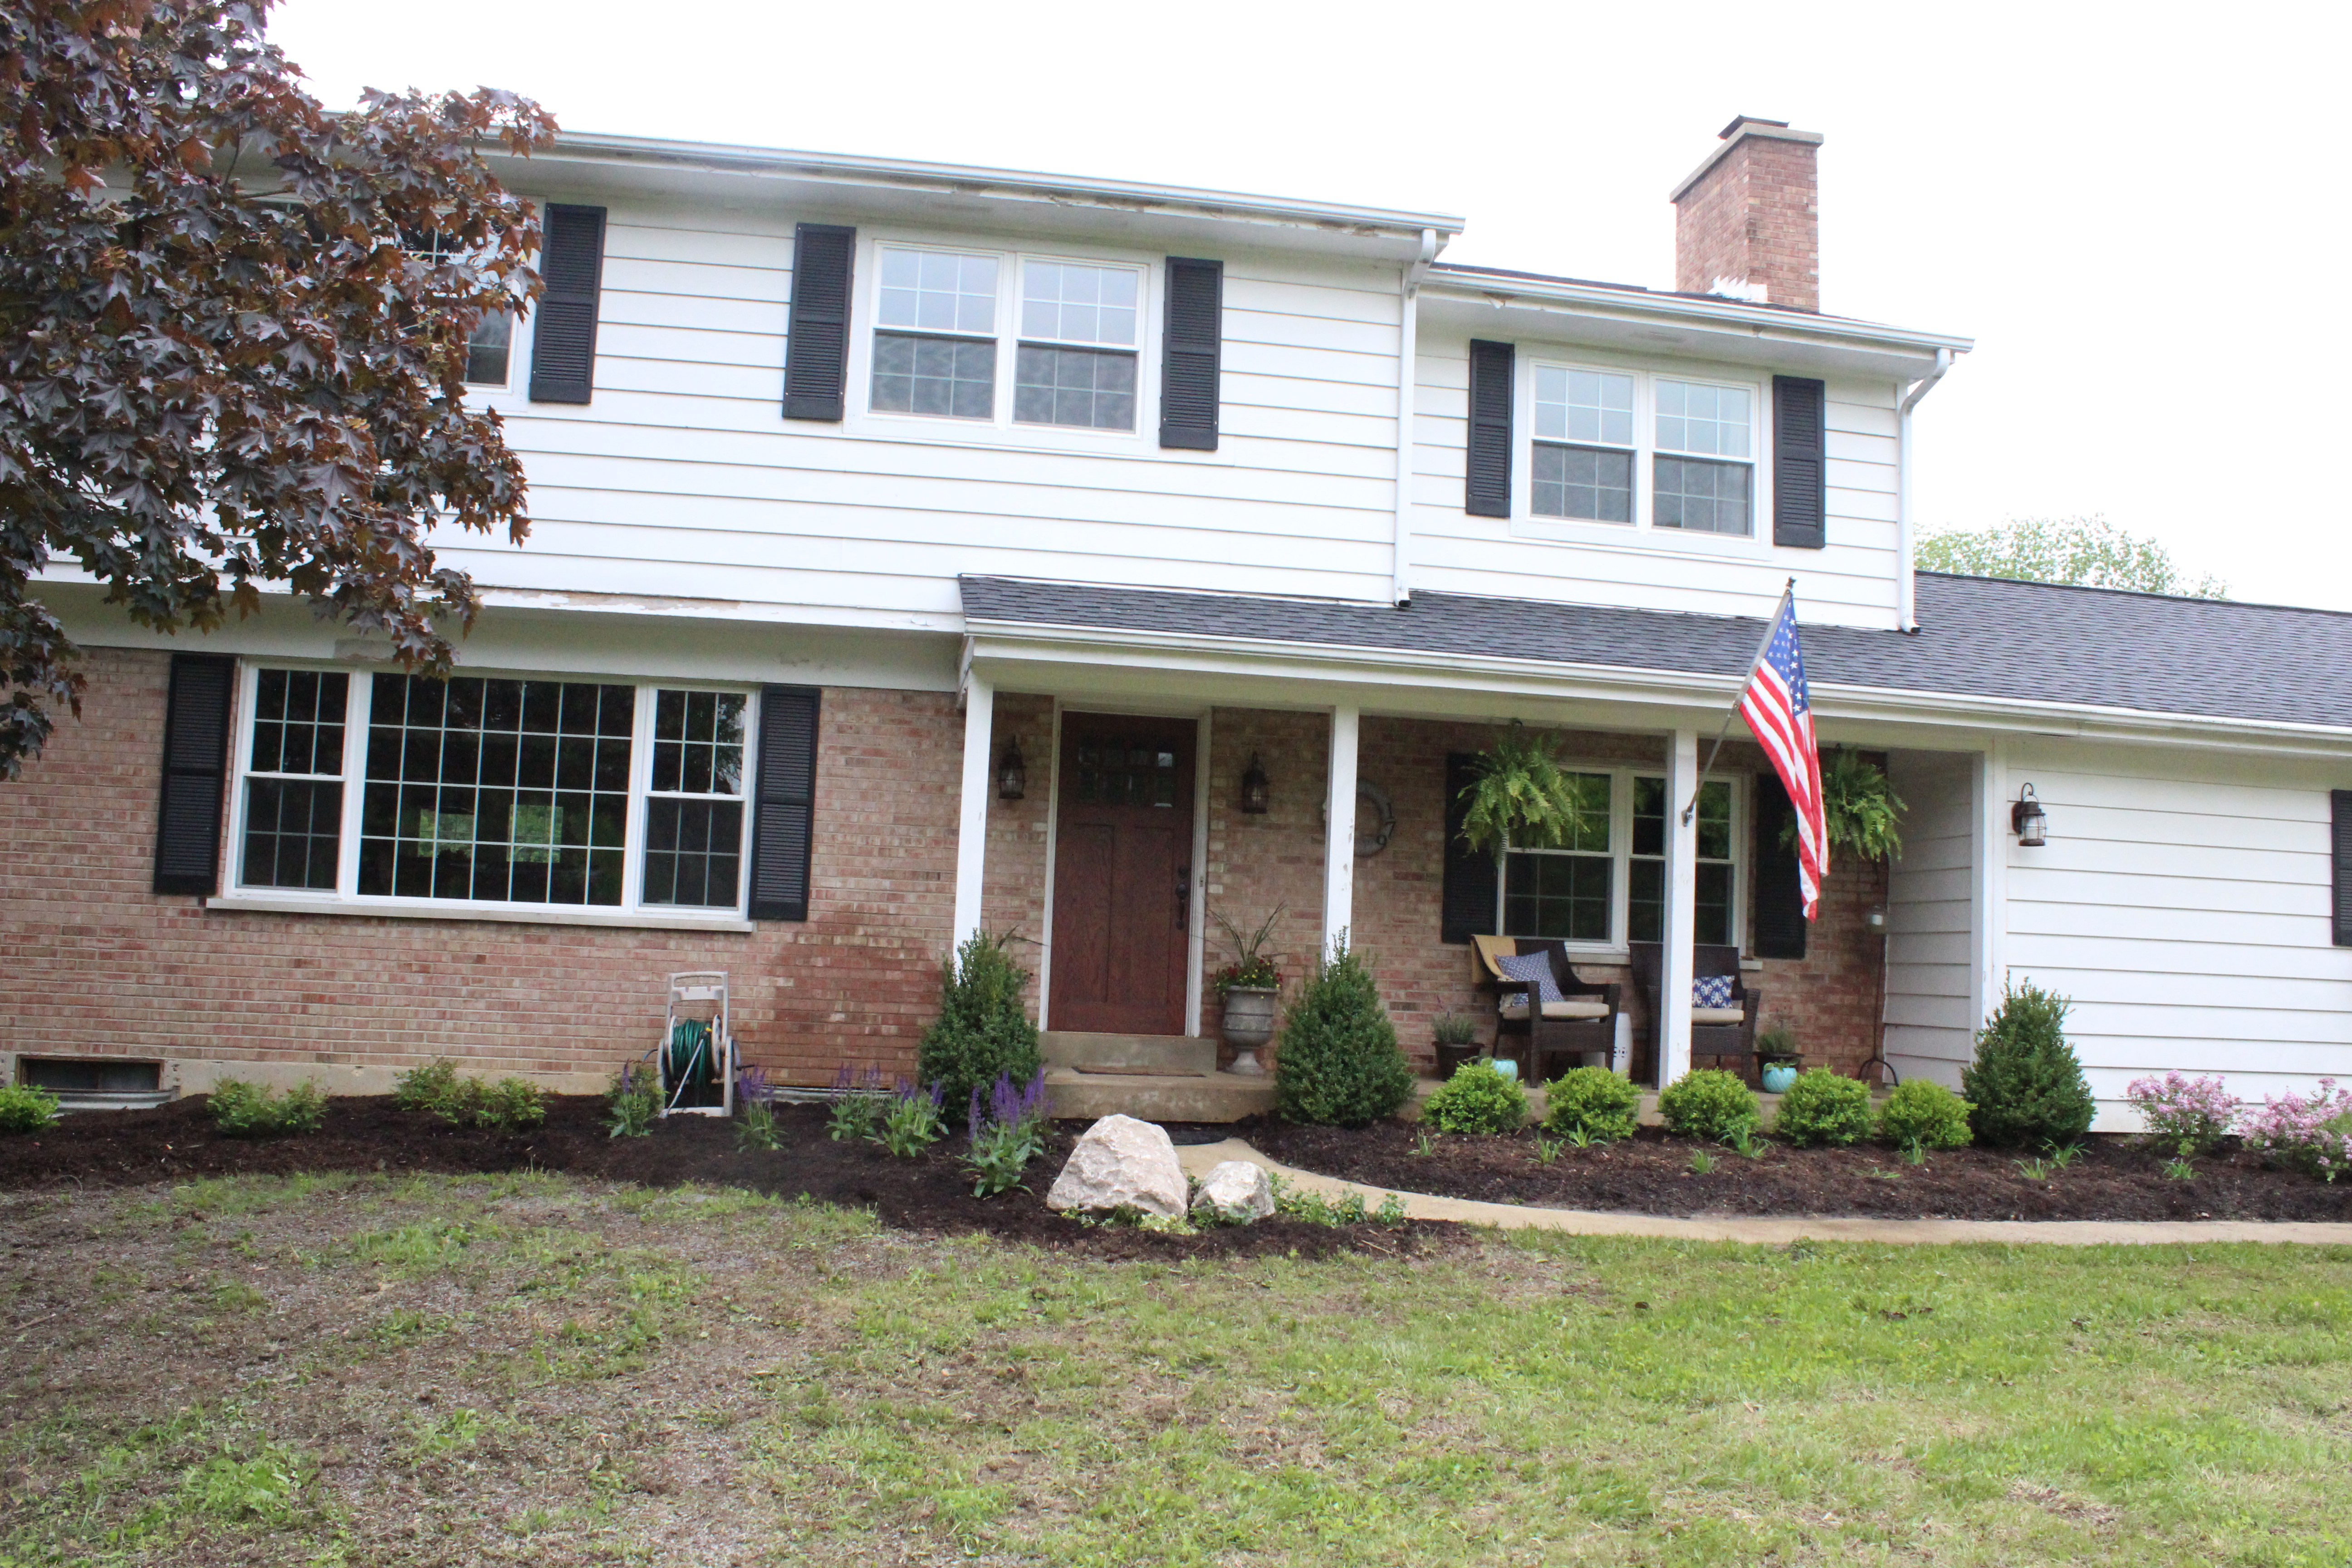
And after new soffits, gutters, landscaping, window and door paint, and a new front path, here is the after.IMG_3439The grass seed hadn’t grown through the straw matting we laid on the side of the path and house just yet, but it’s quite an improvement.
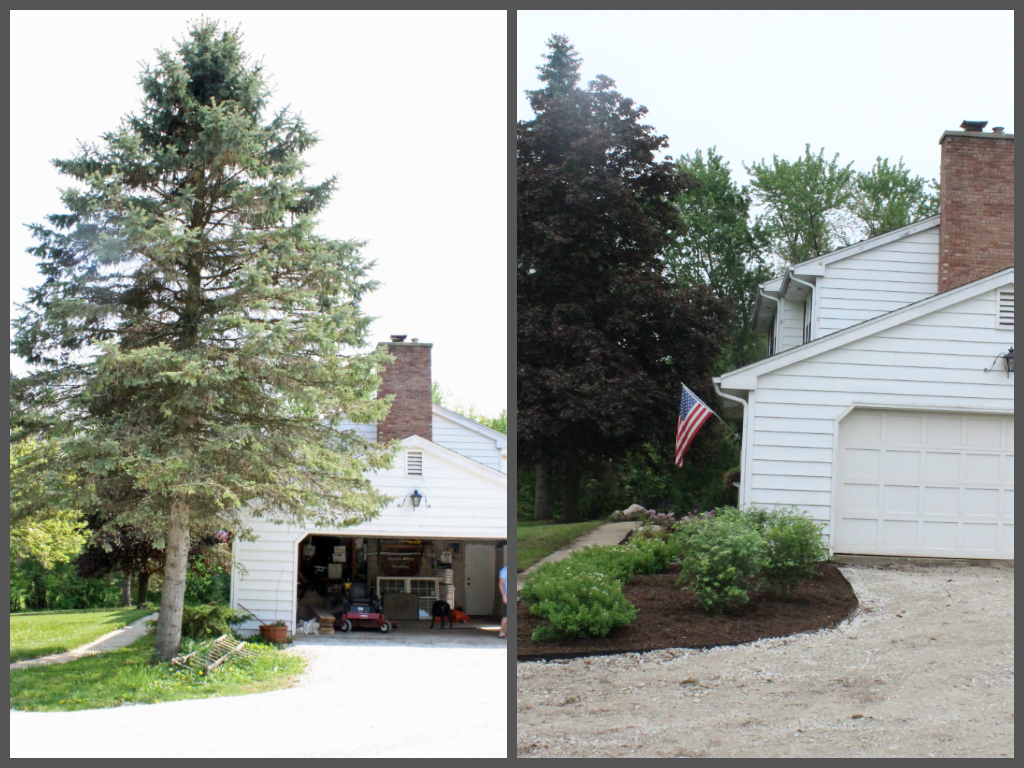
Here was the garage before.
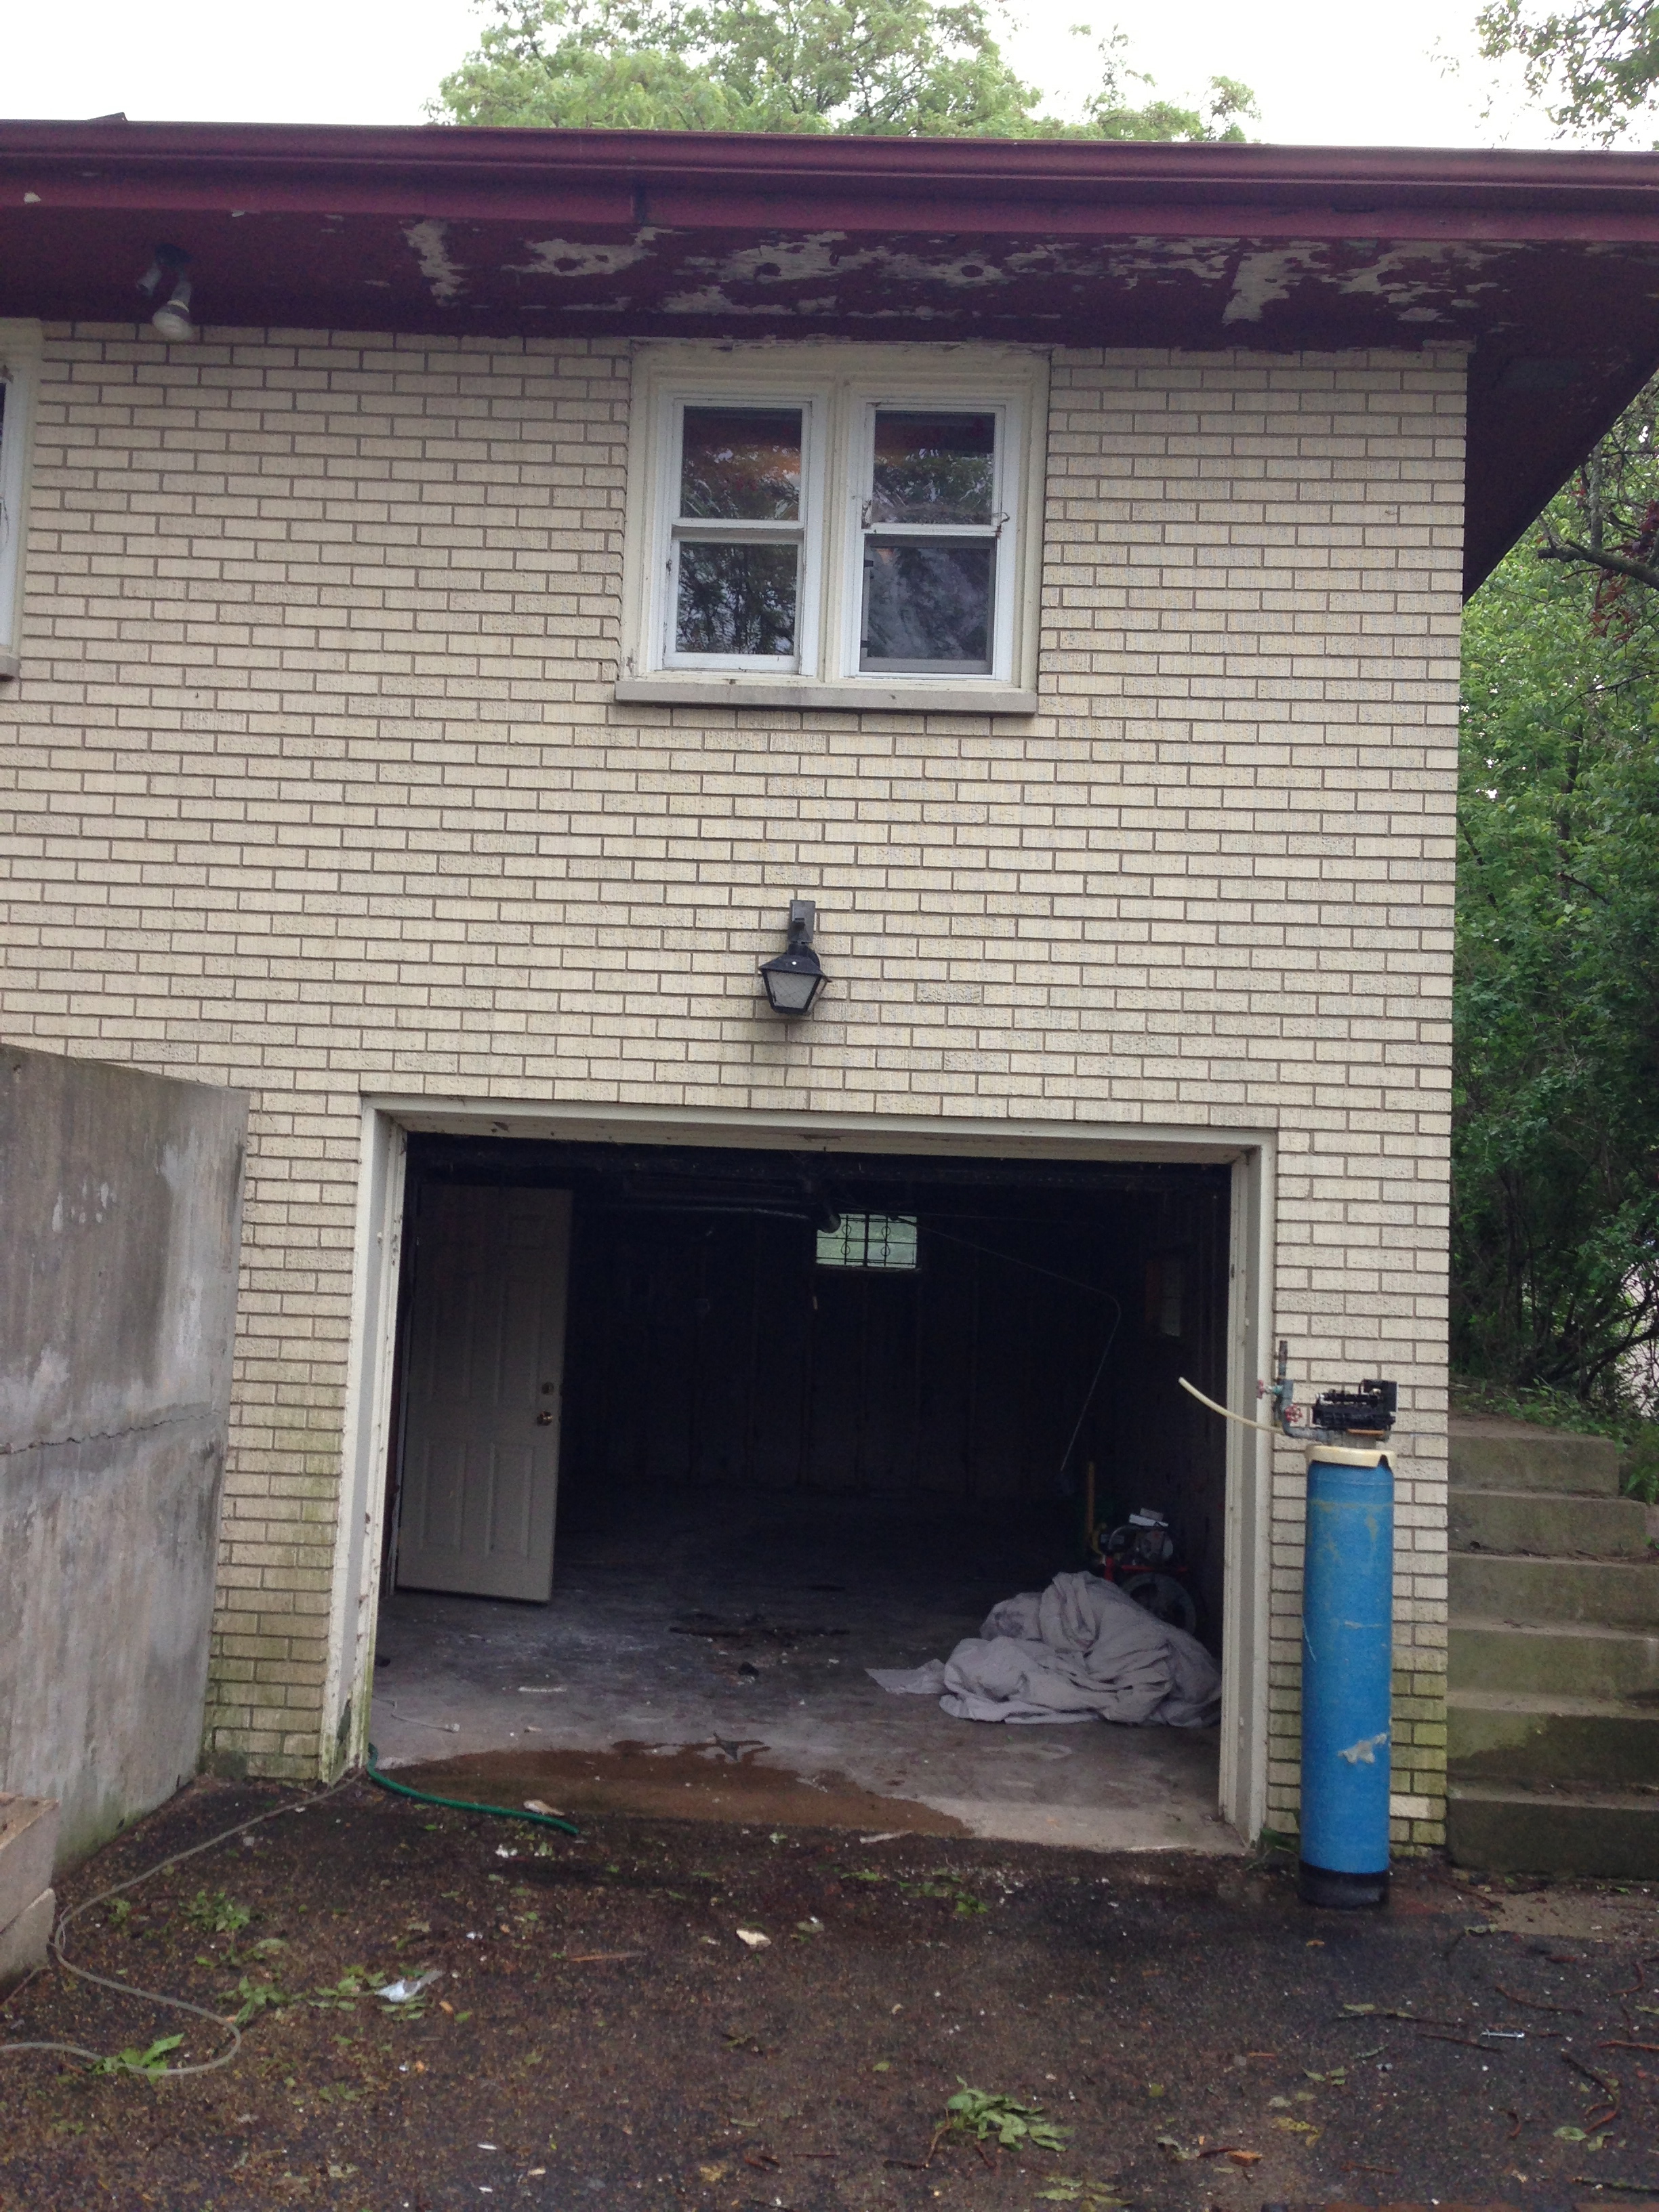
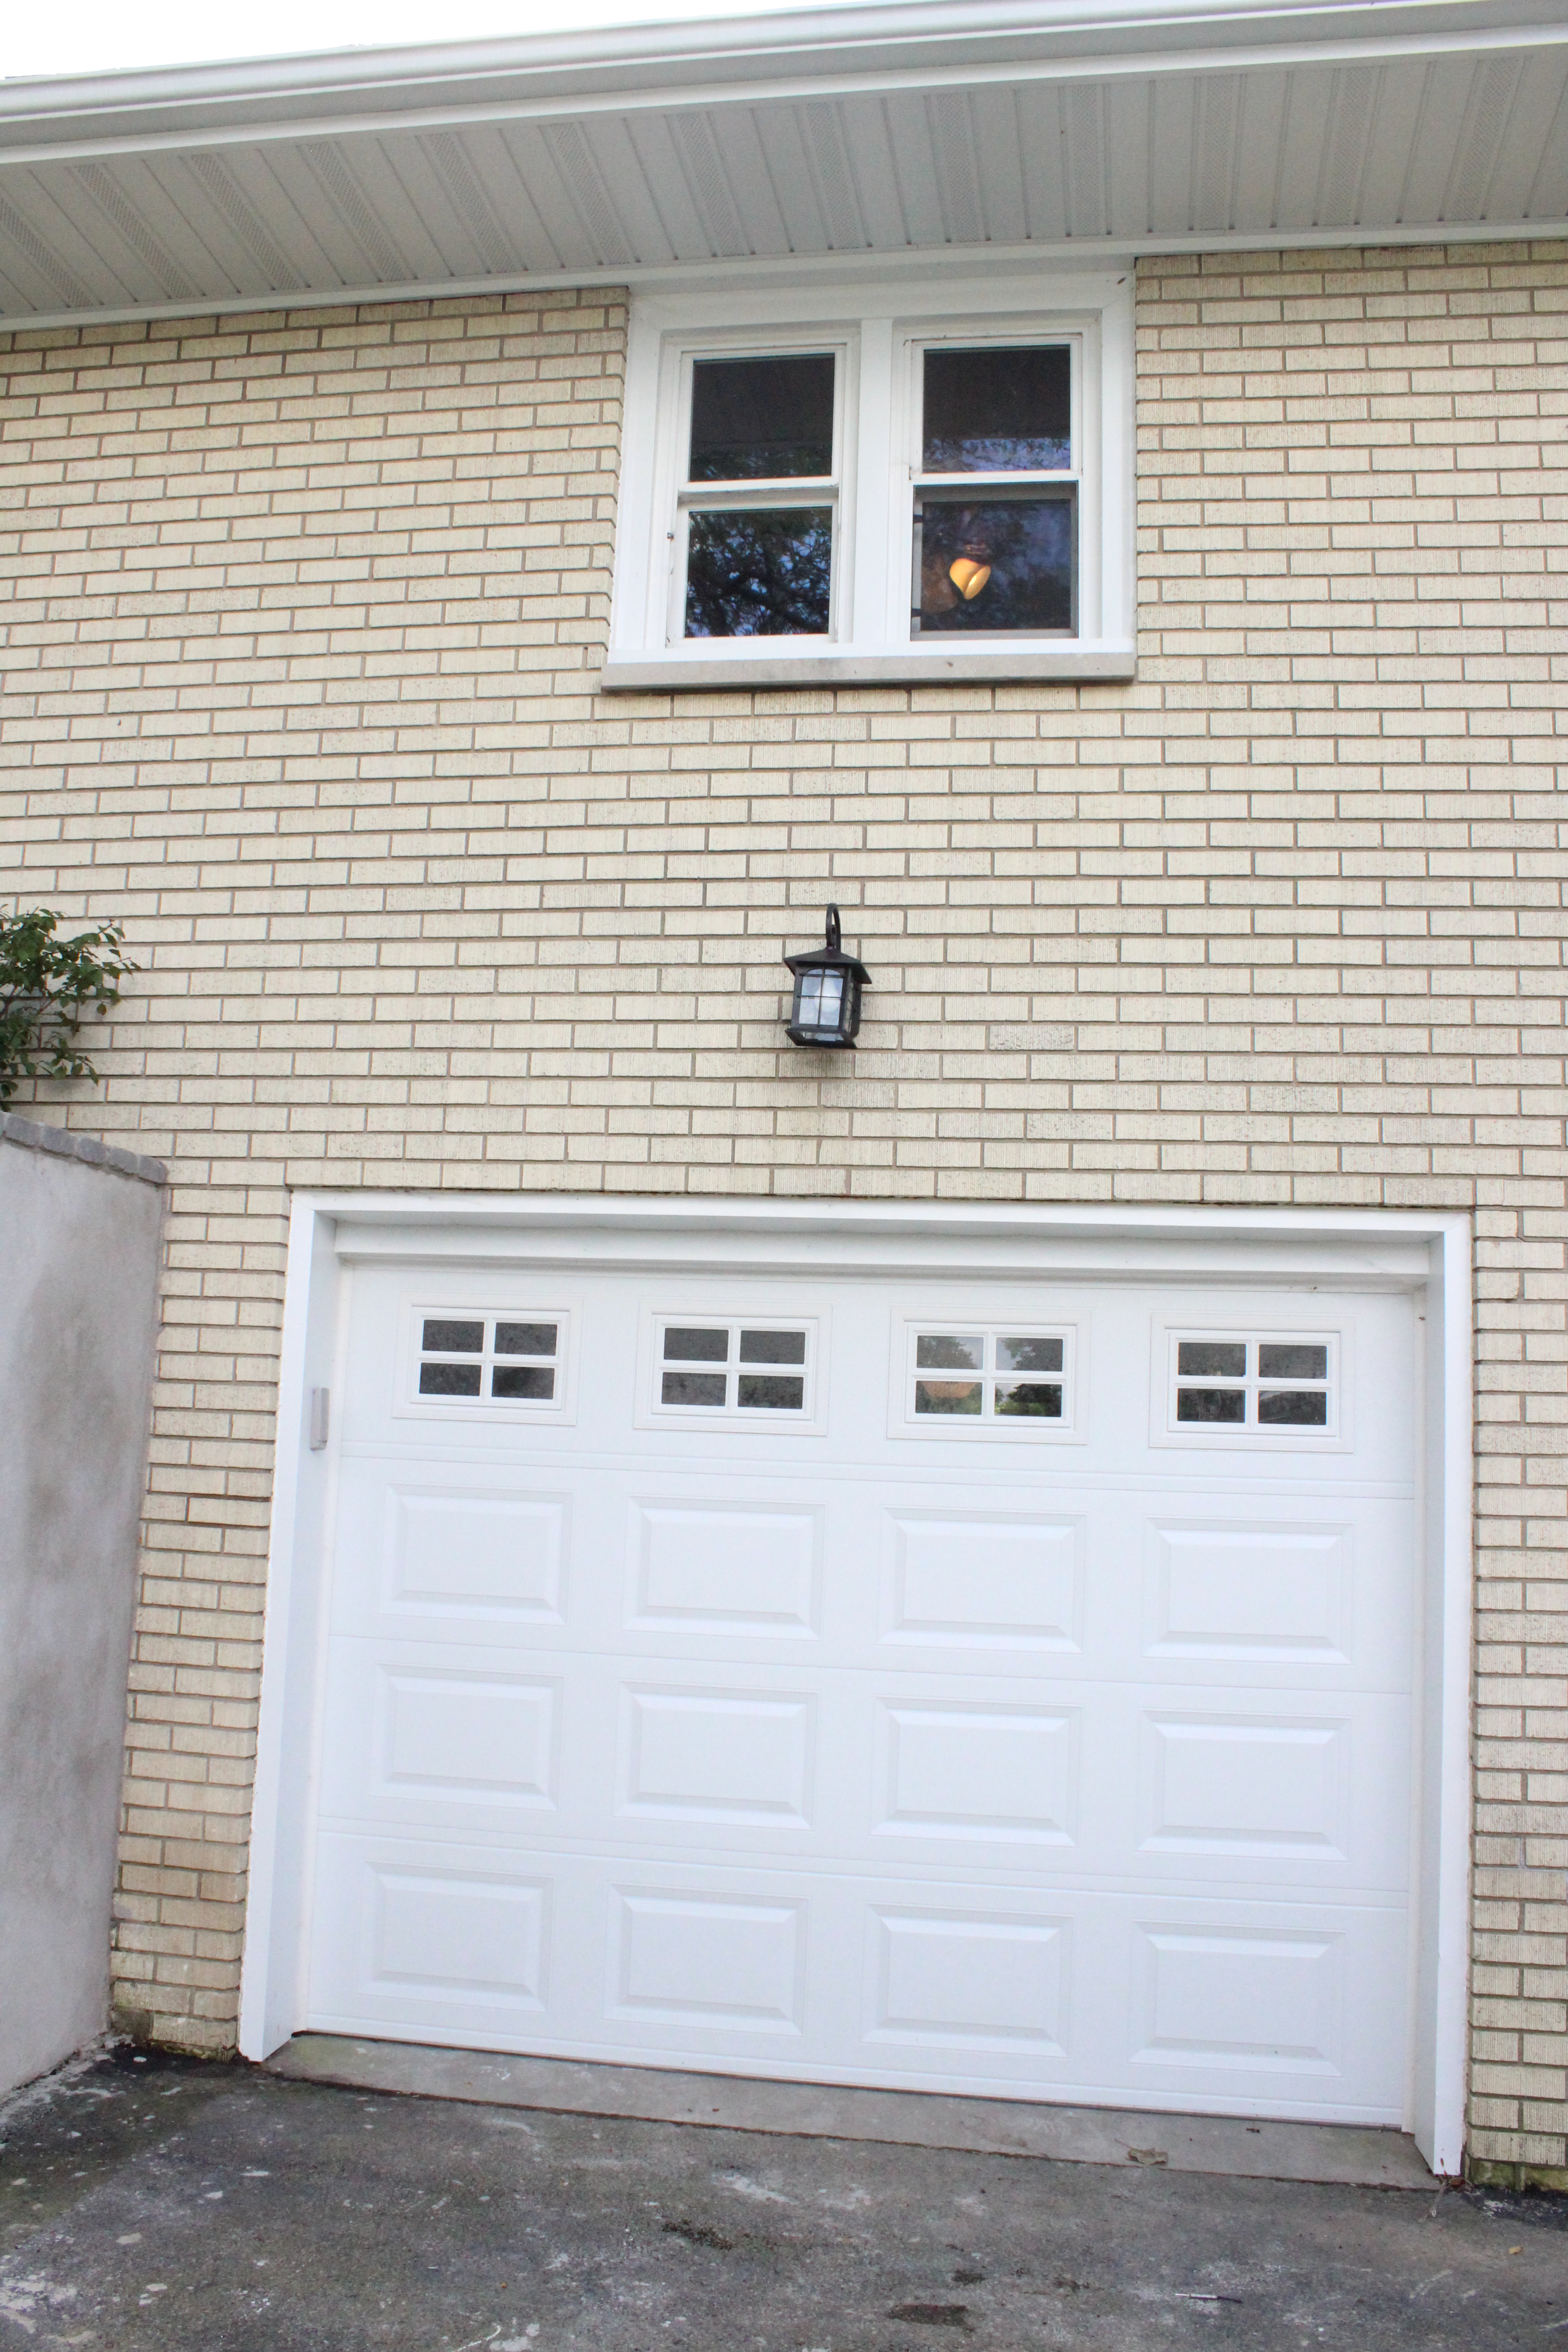
IMG_1525And after a new door, light, soffits, gutters, and a re-surfaced retaining wall, here it is now.

IMG_3438

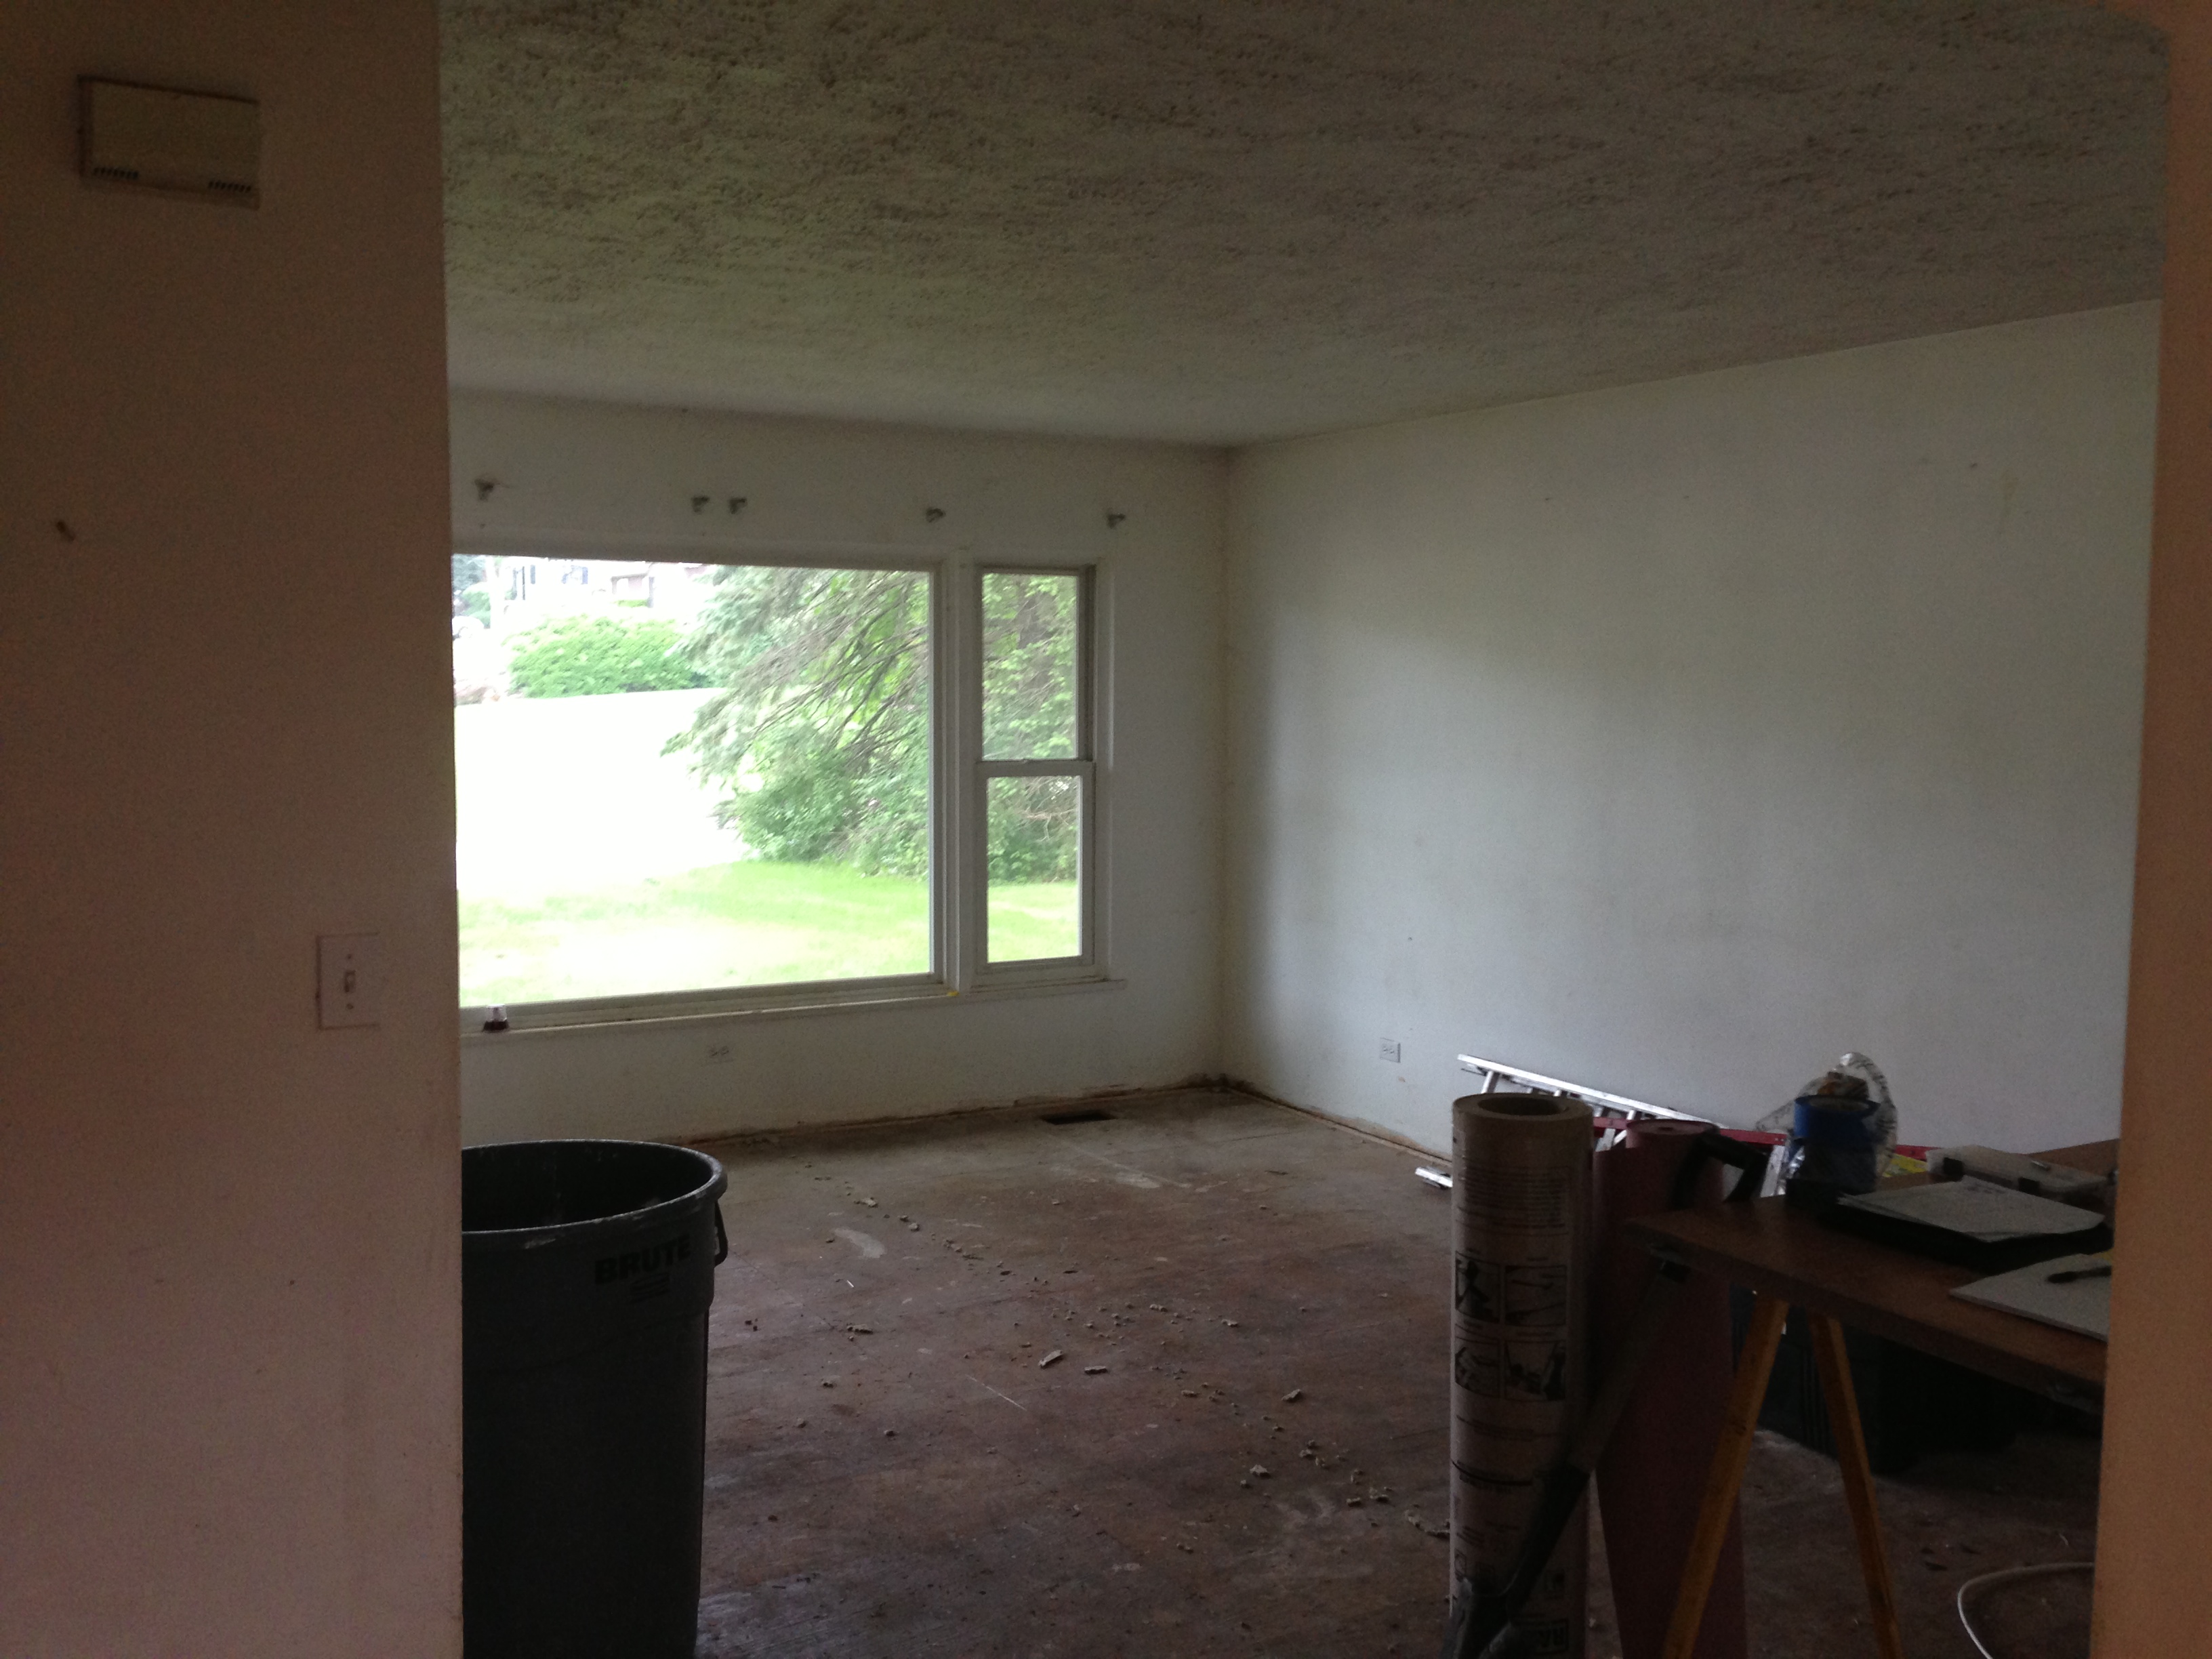
Moving inside to the living room. Here is the before:

IMG_1518

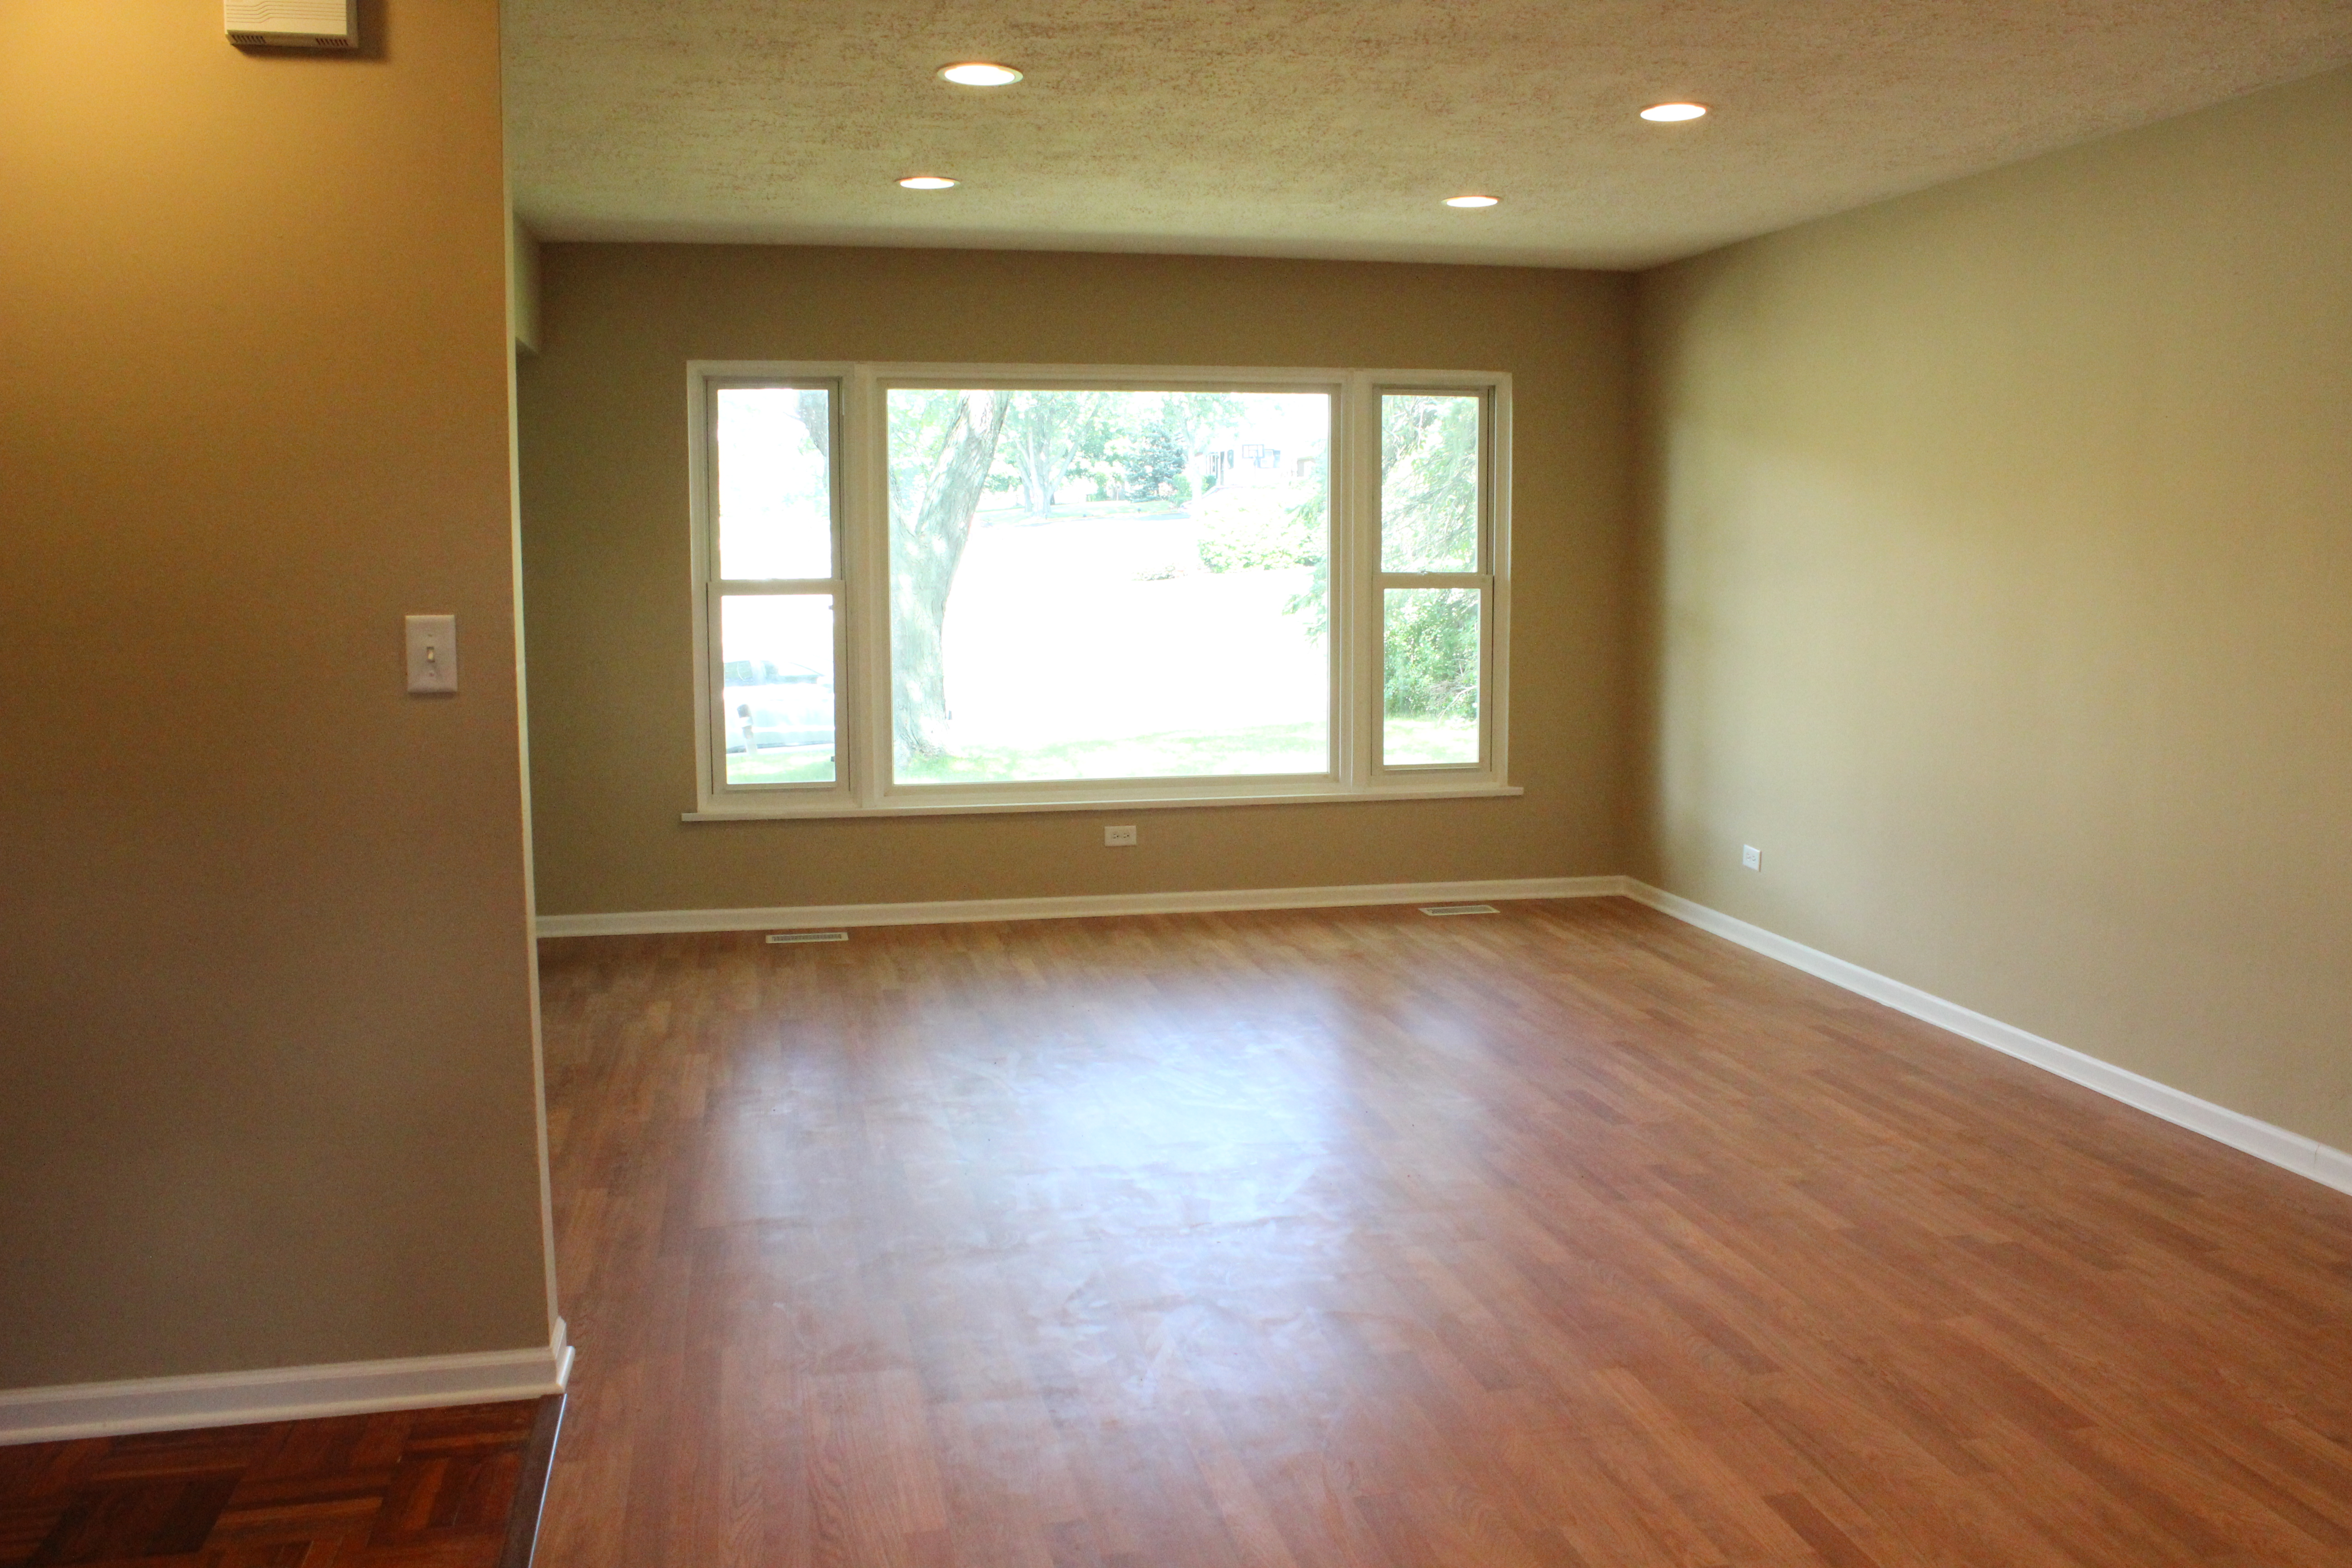
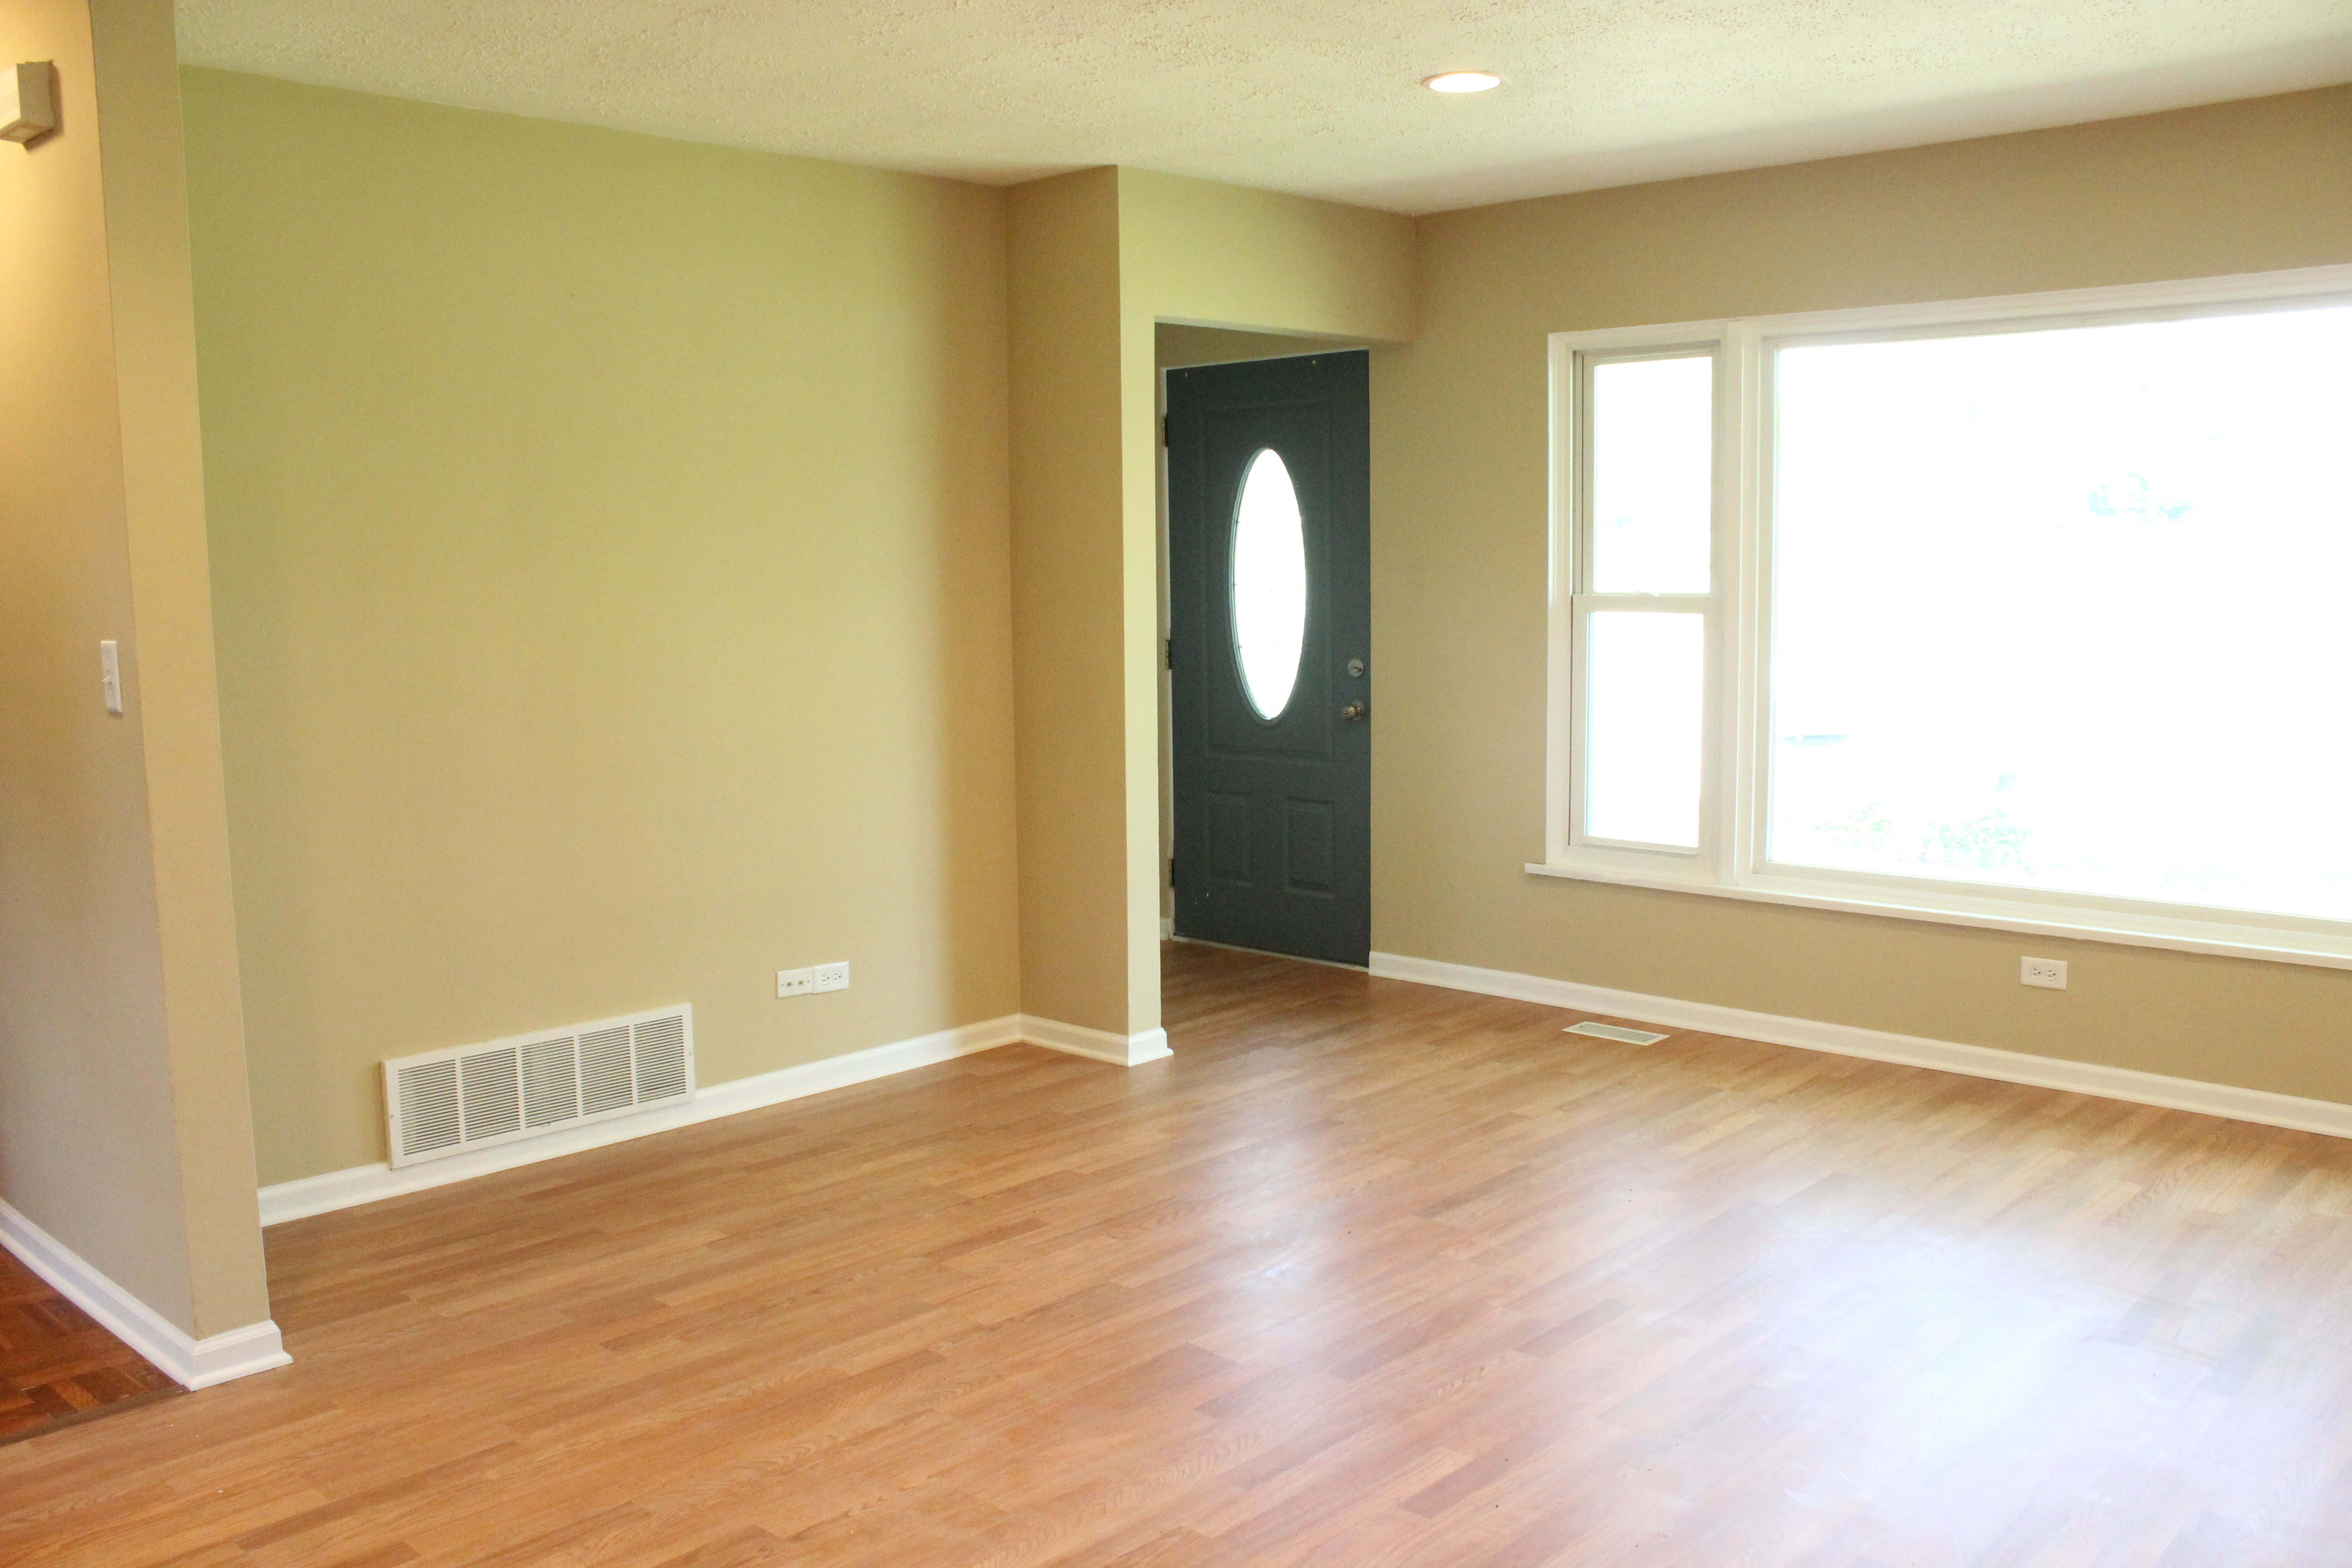
And after some paint, trim, lights and new floors:

IMG_3415

IMG_3416

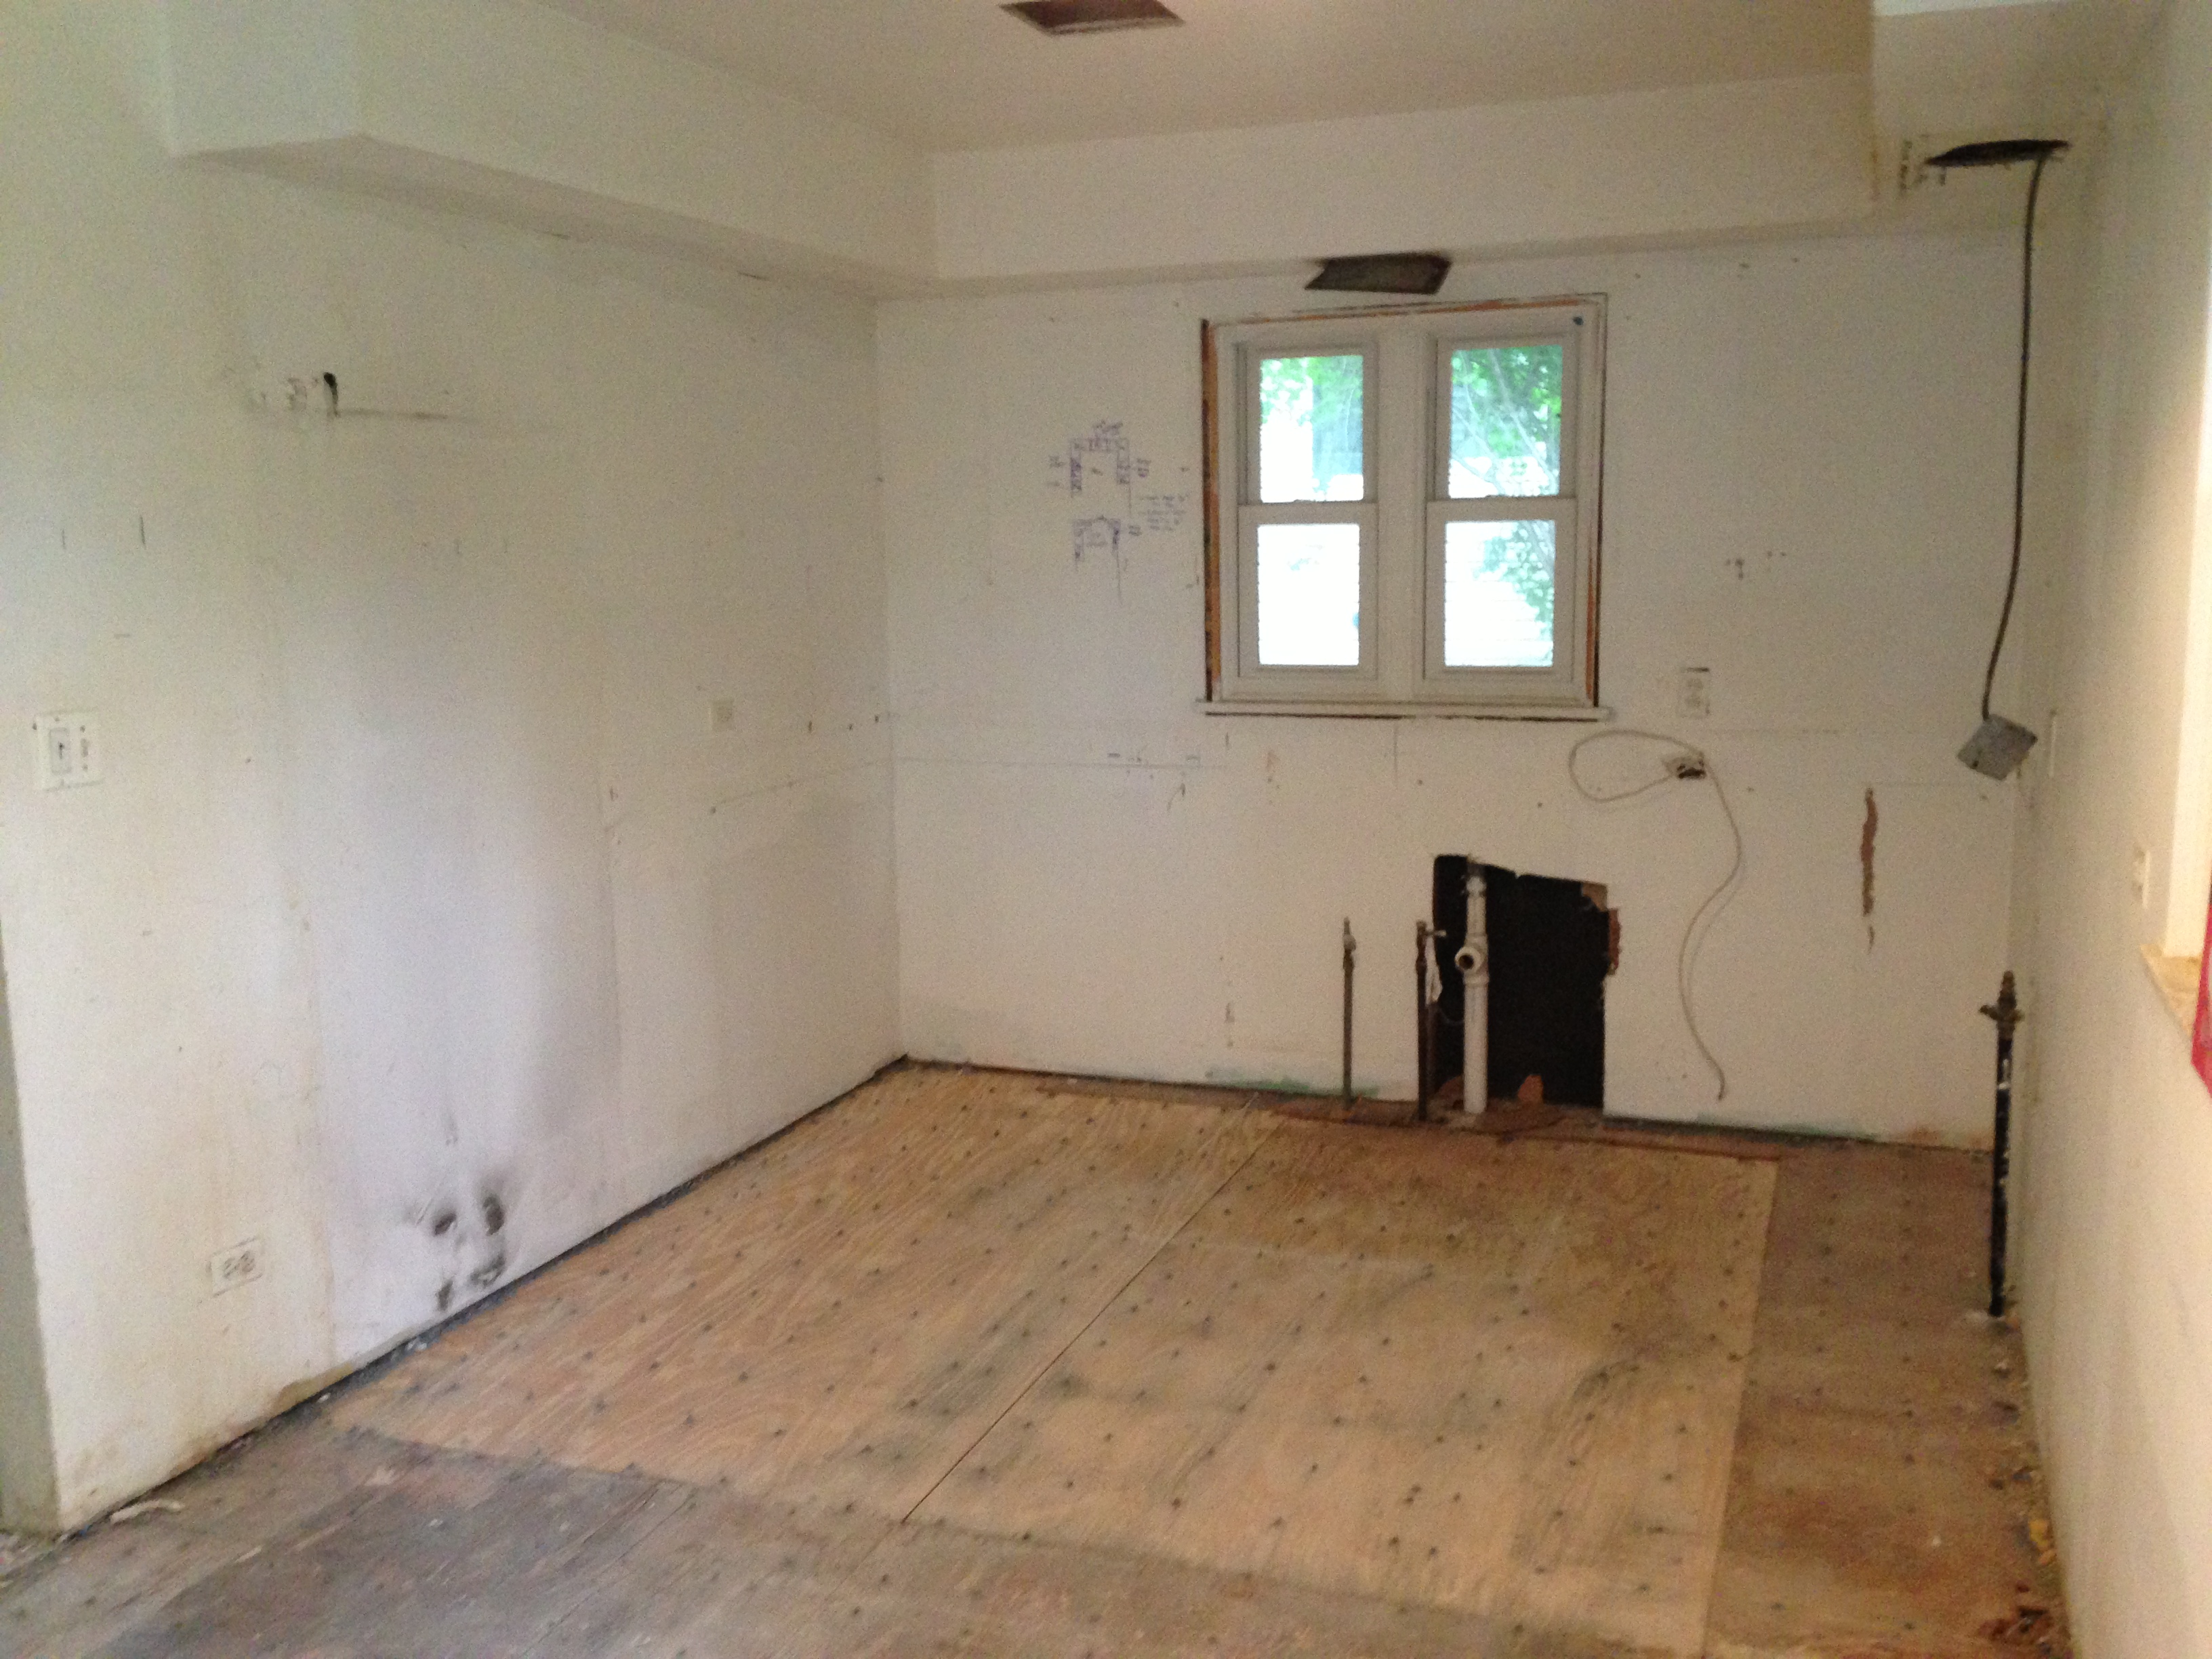
The kitchen before (it was already demo’d in this photo):

IMG_1515

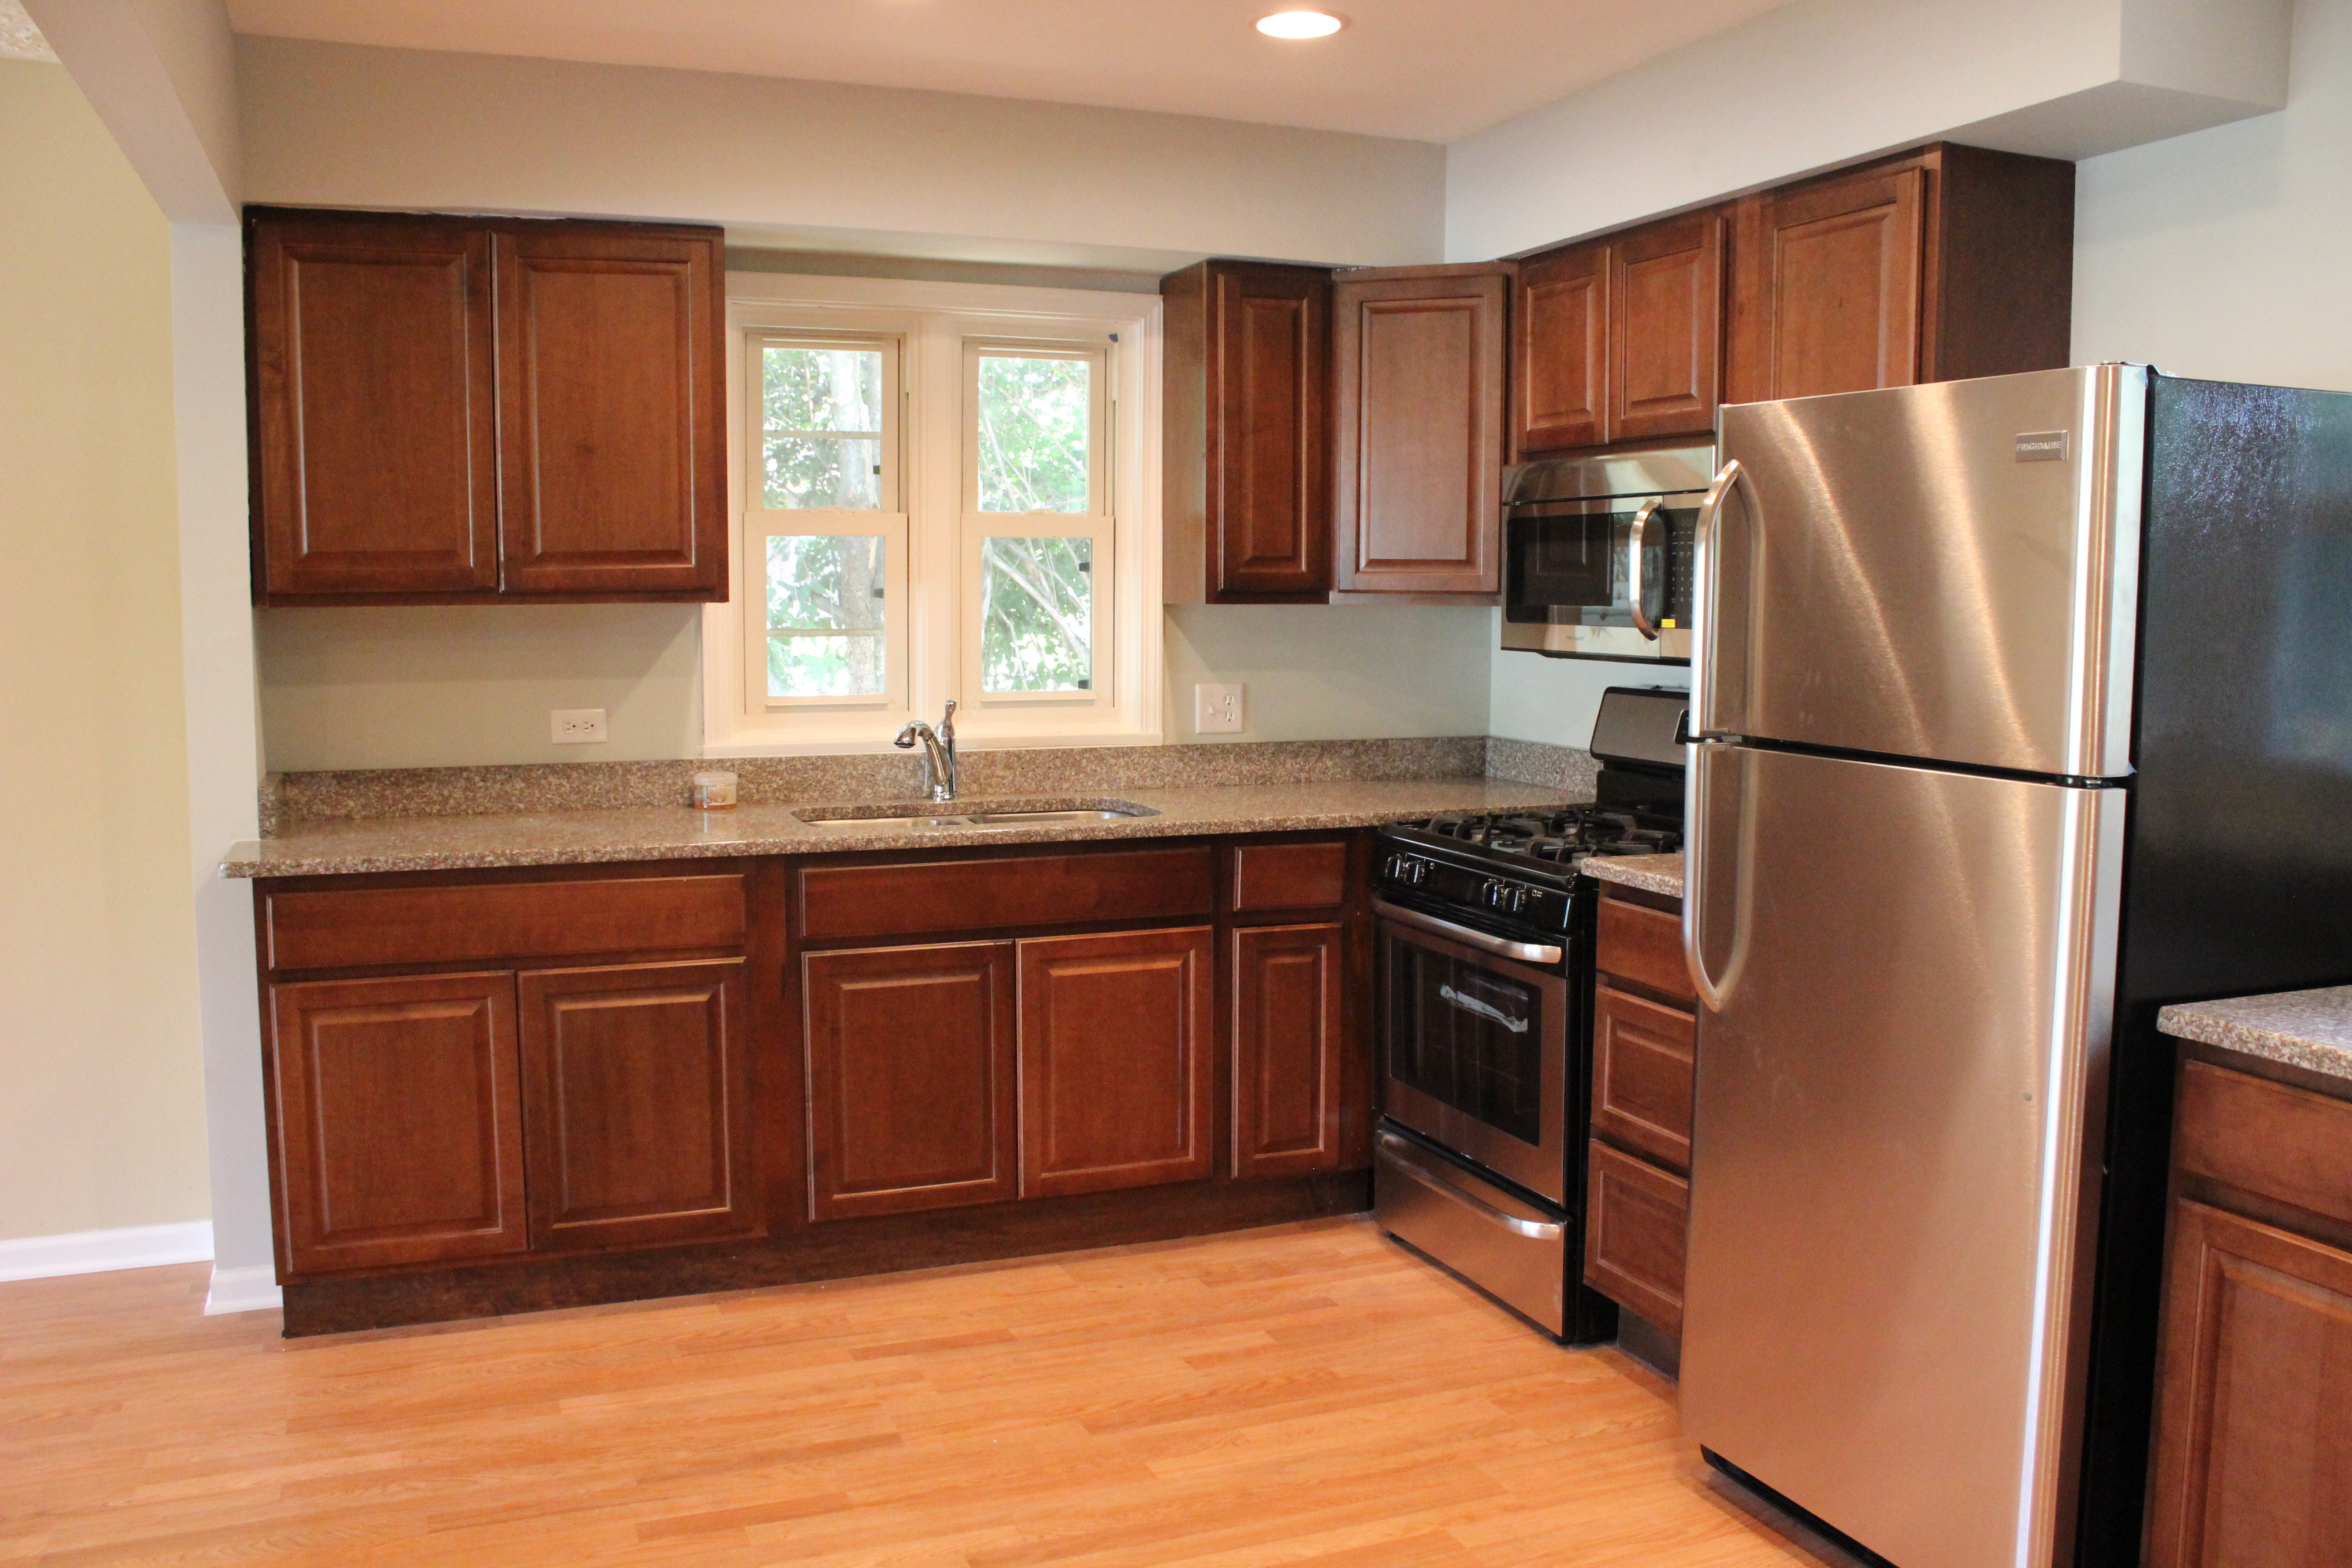
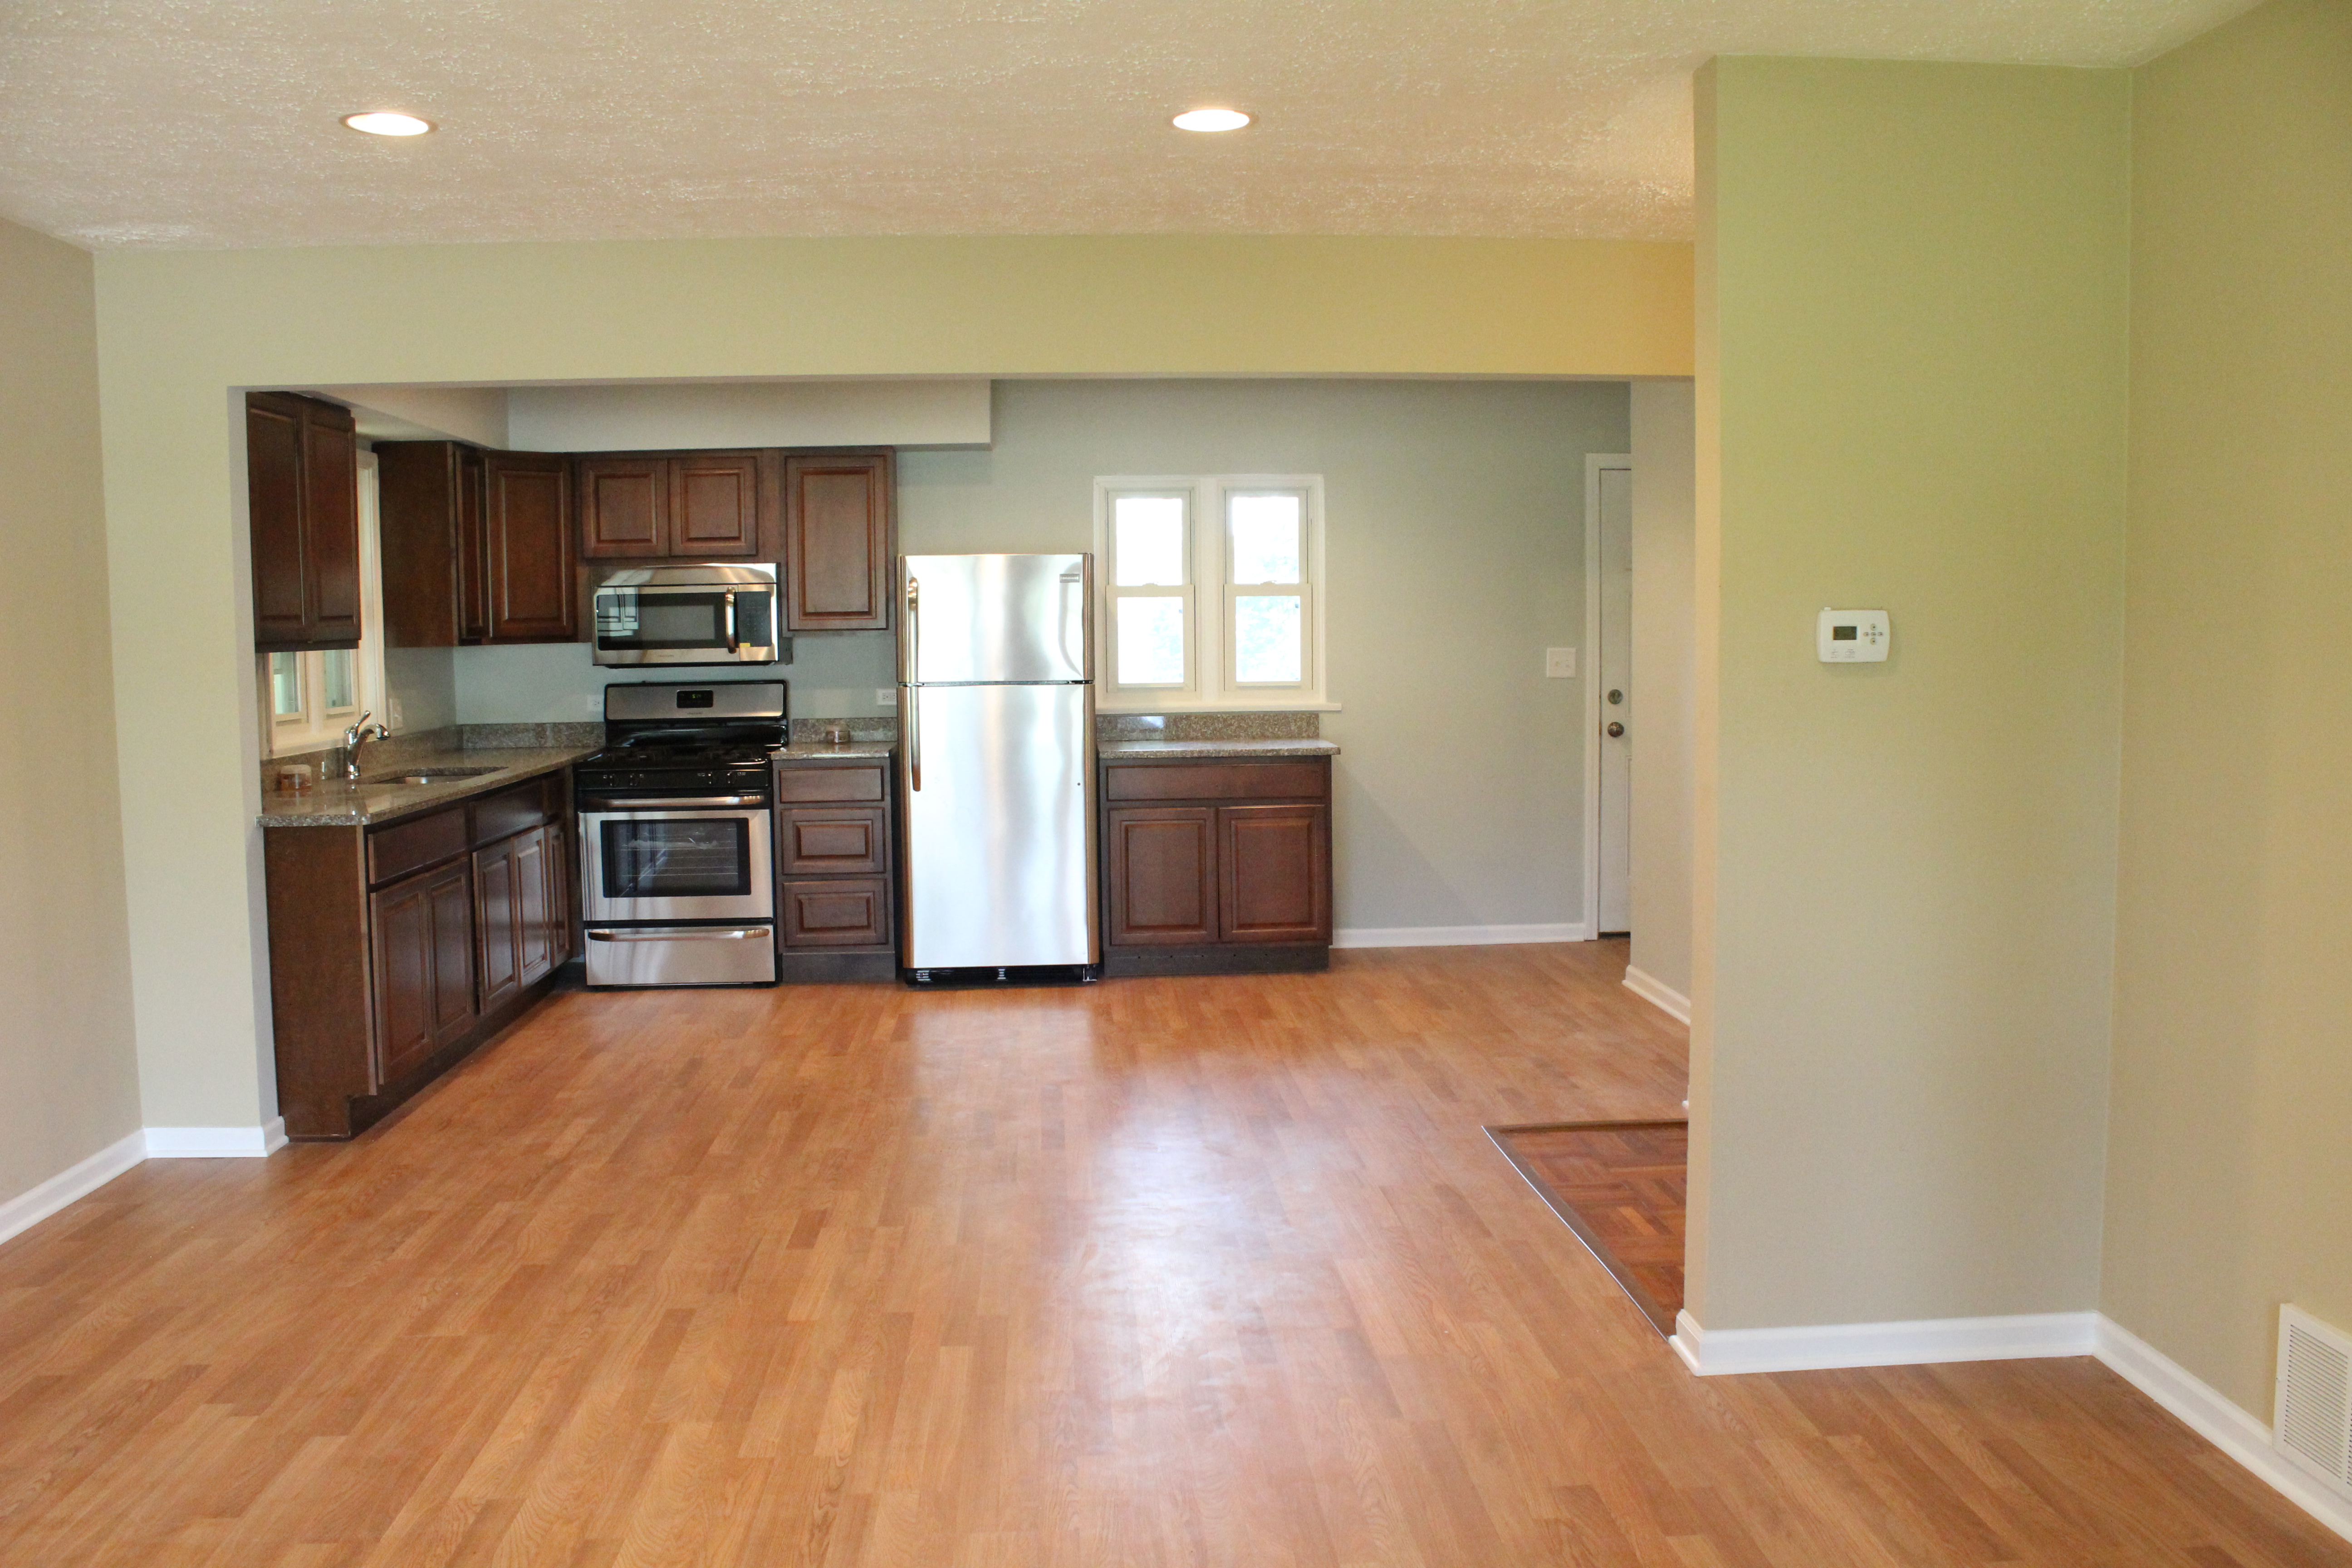
And after:IMG_3418The buyers wanted the wall between the kitchen and living room removed. And didn’t want a dishwasher for a reason I will never understand.

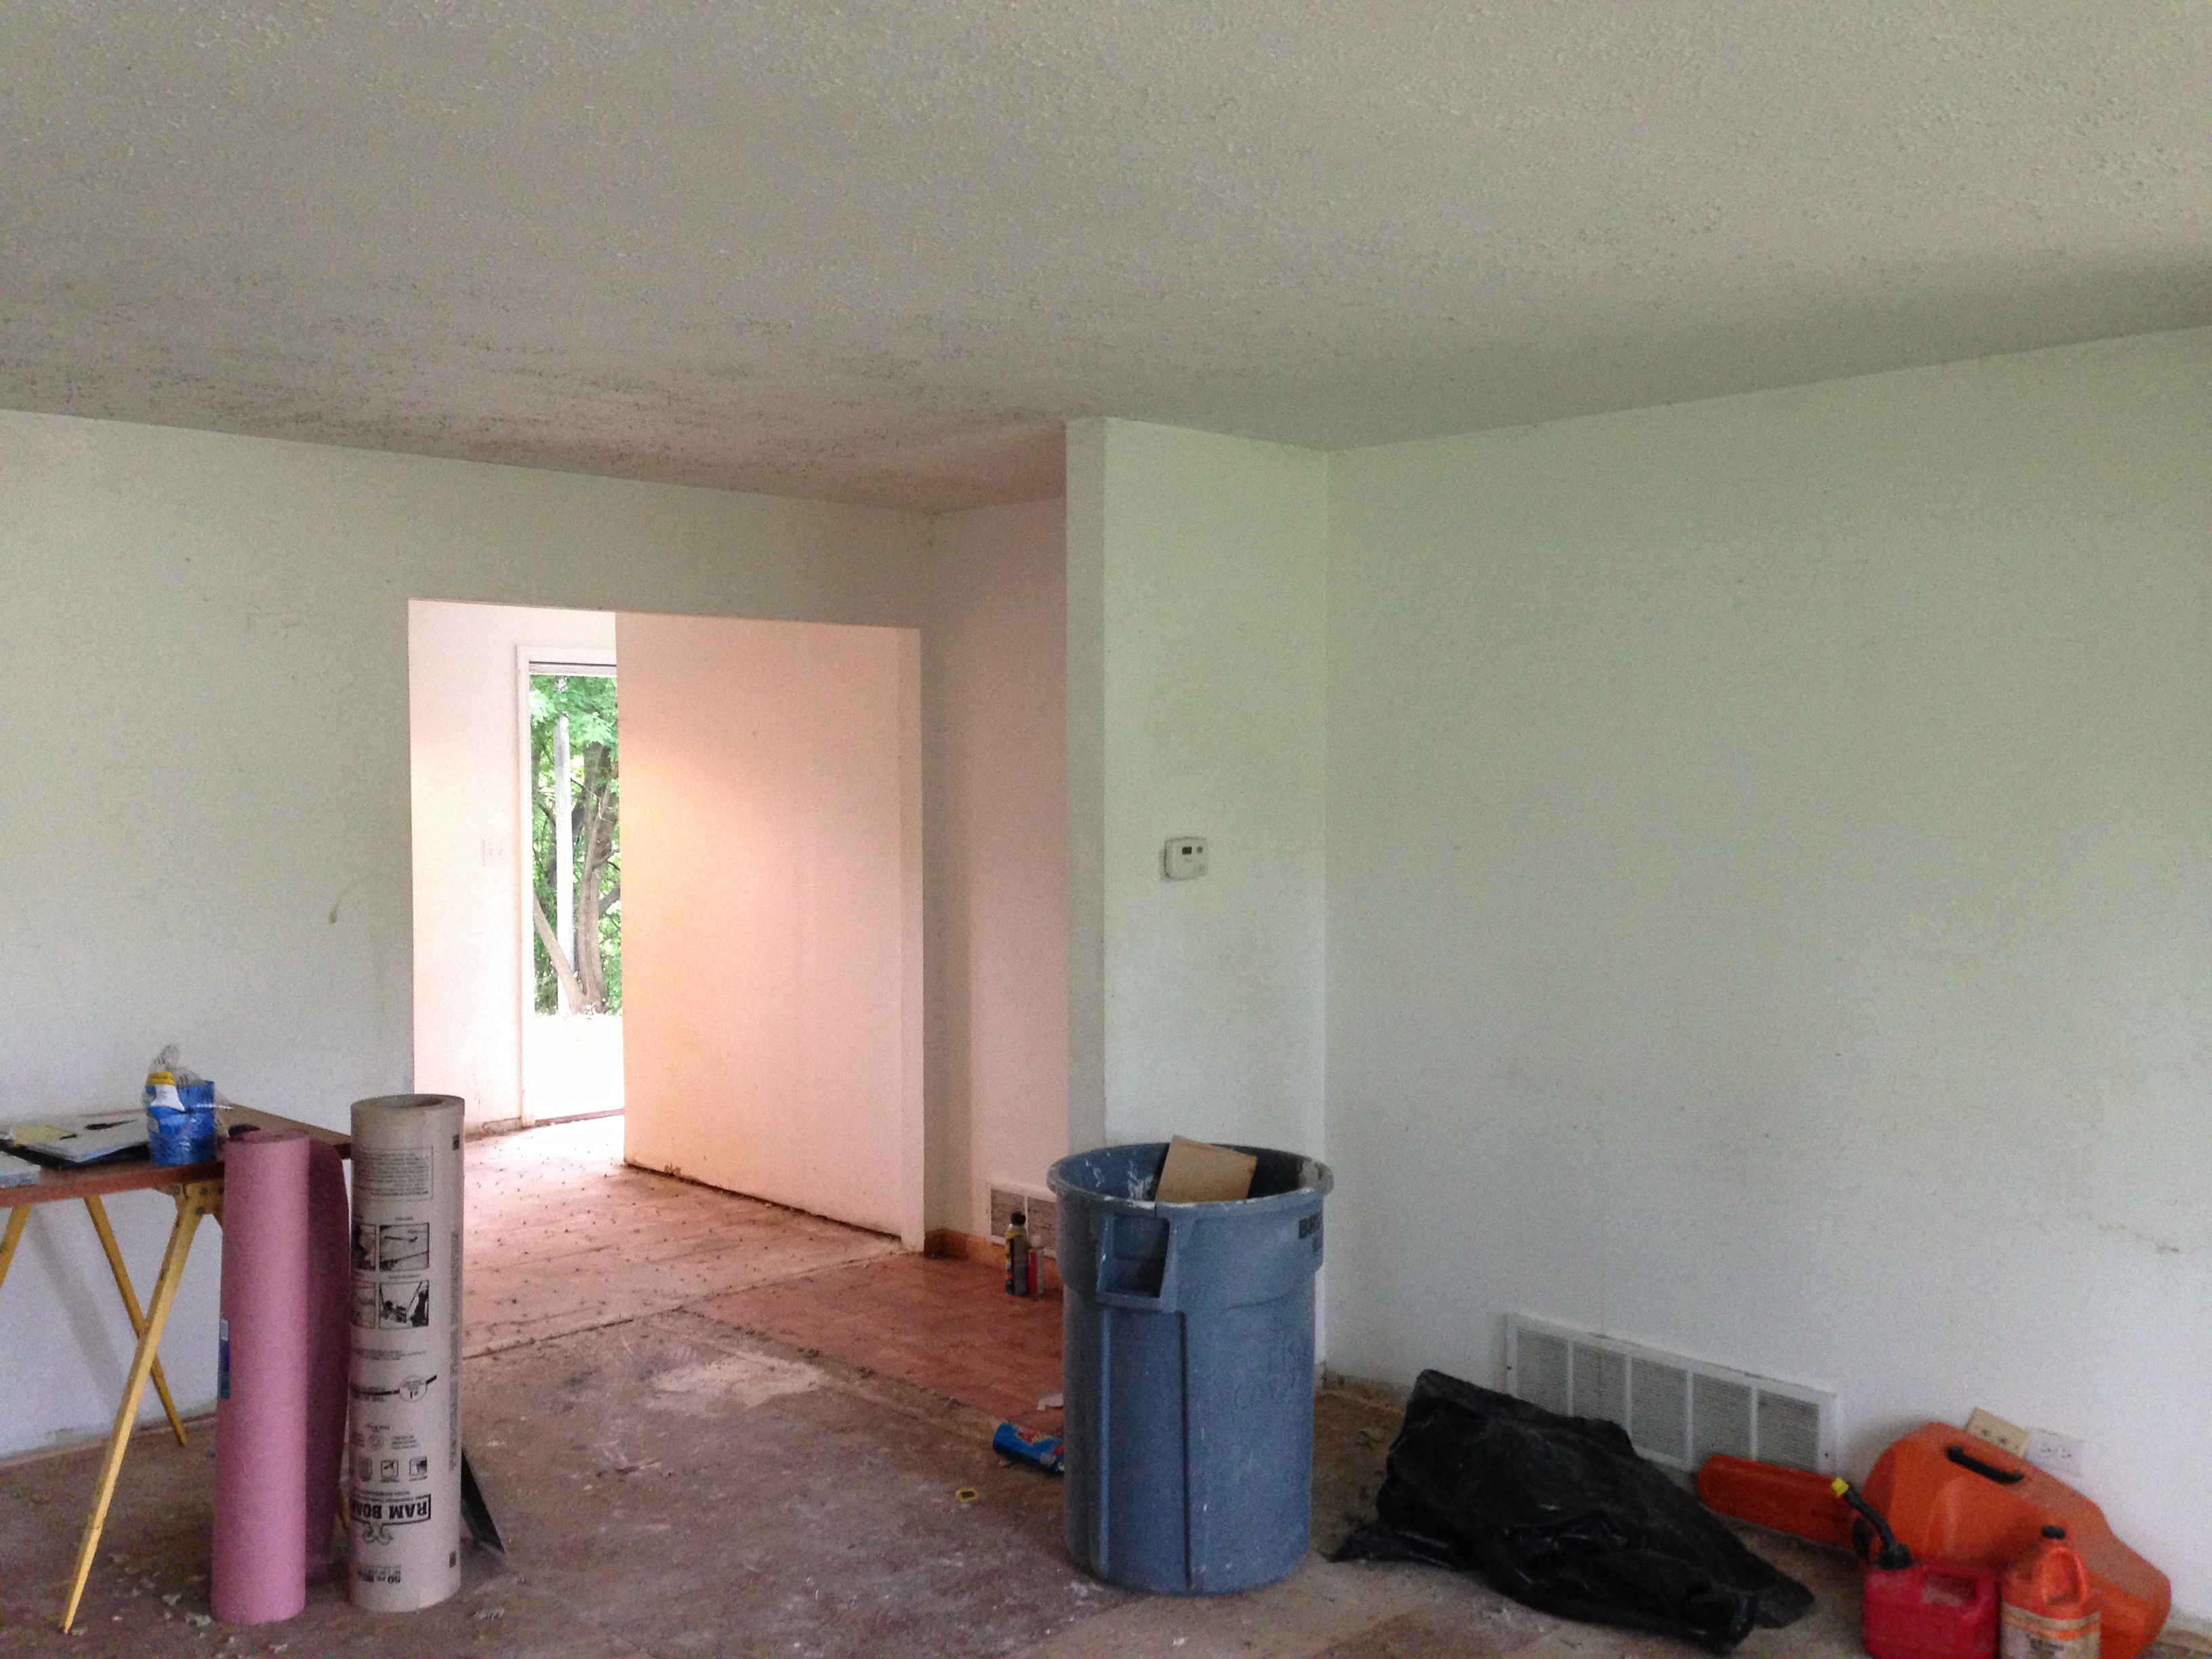
Before view from living room to kitchen:

IMG_1519After:

IMG_3417

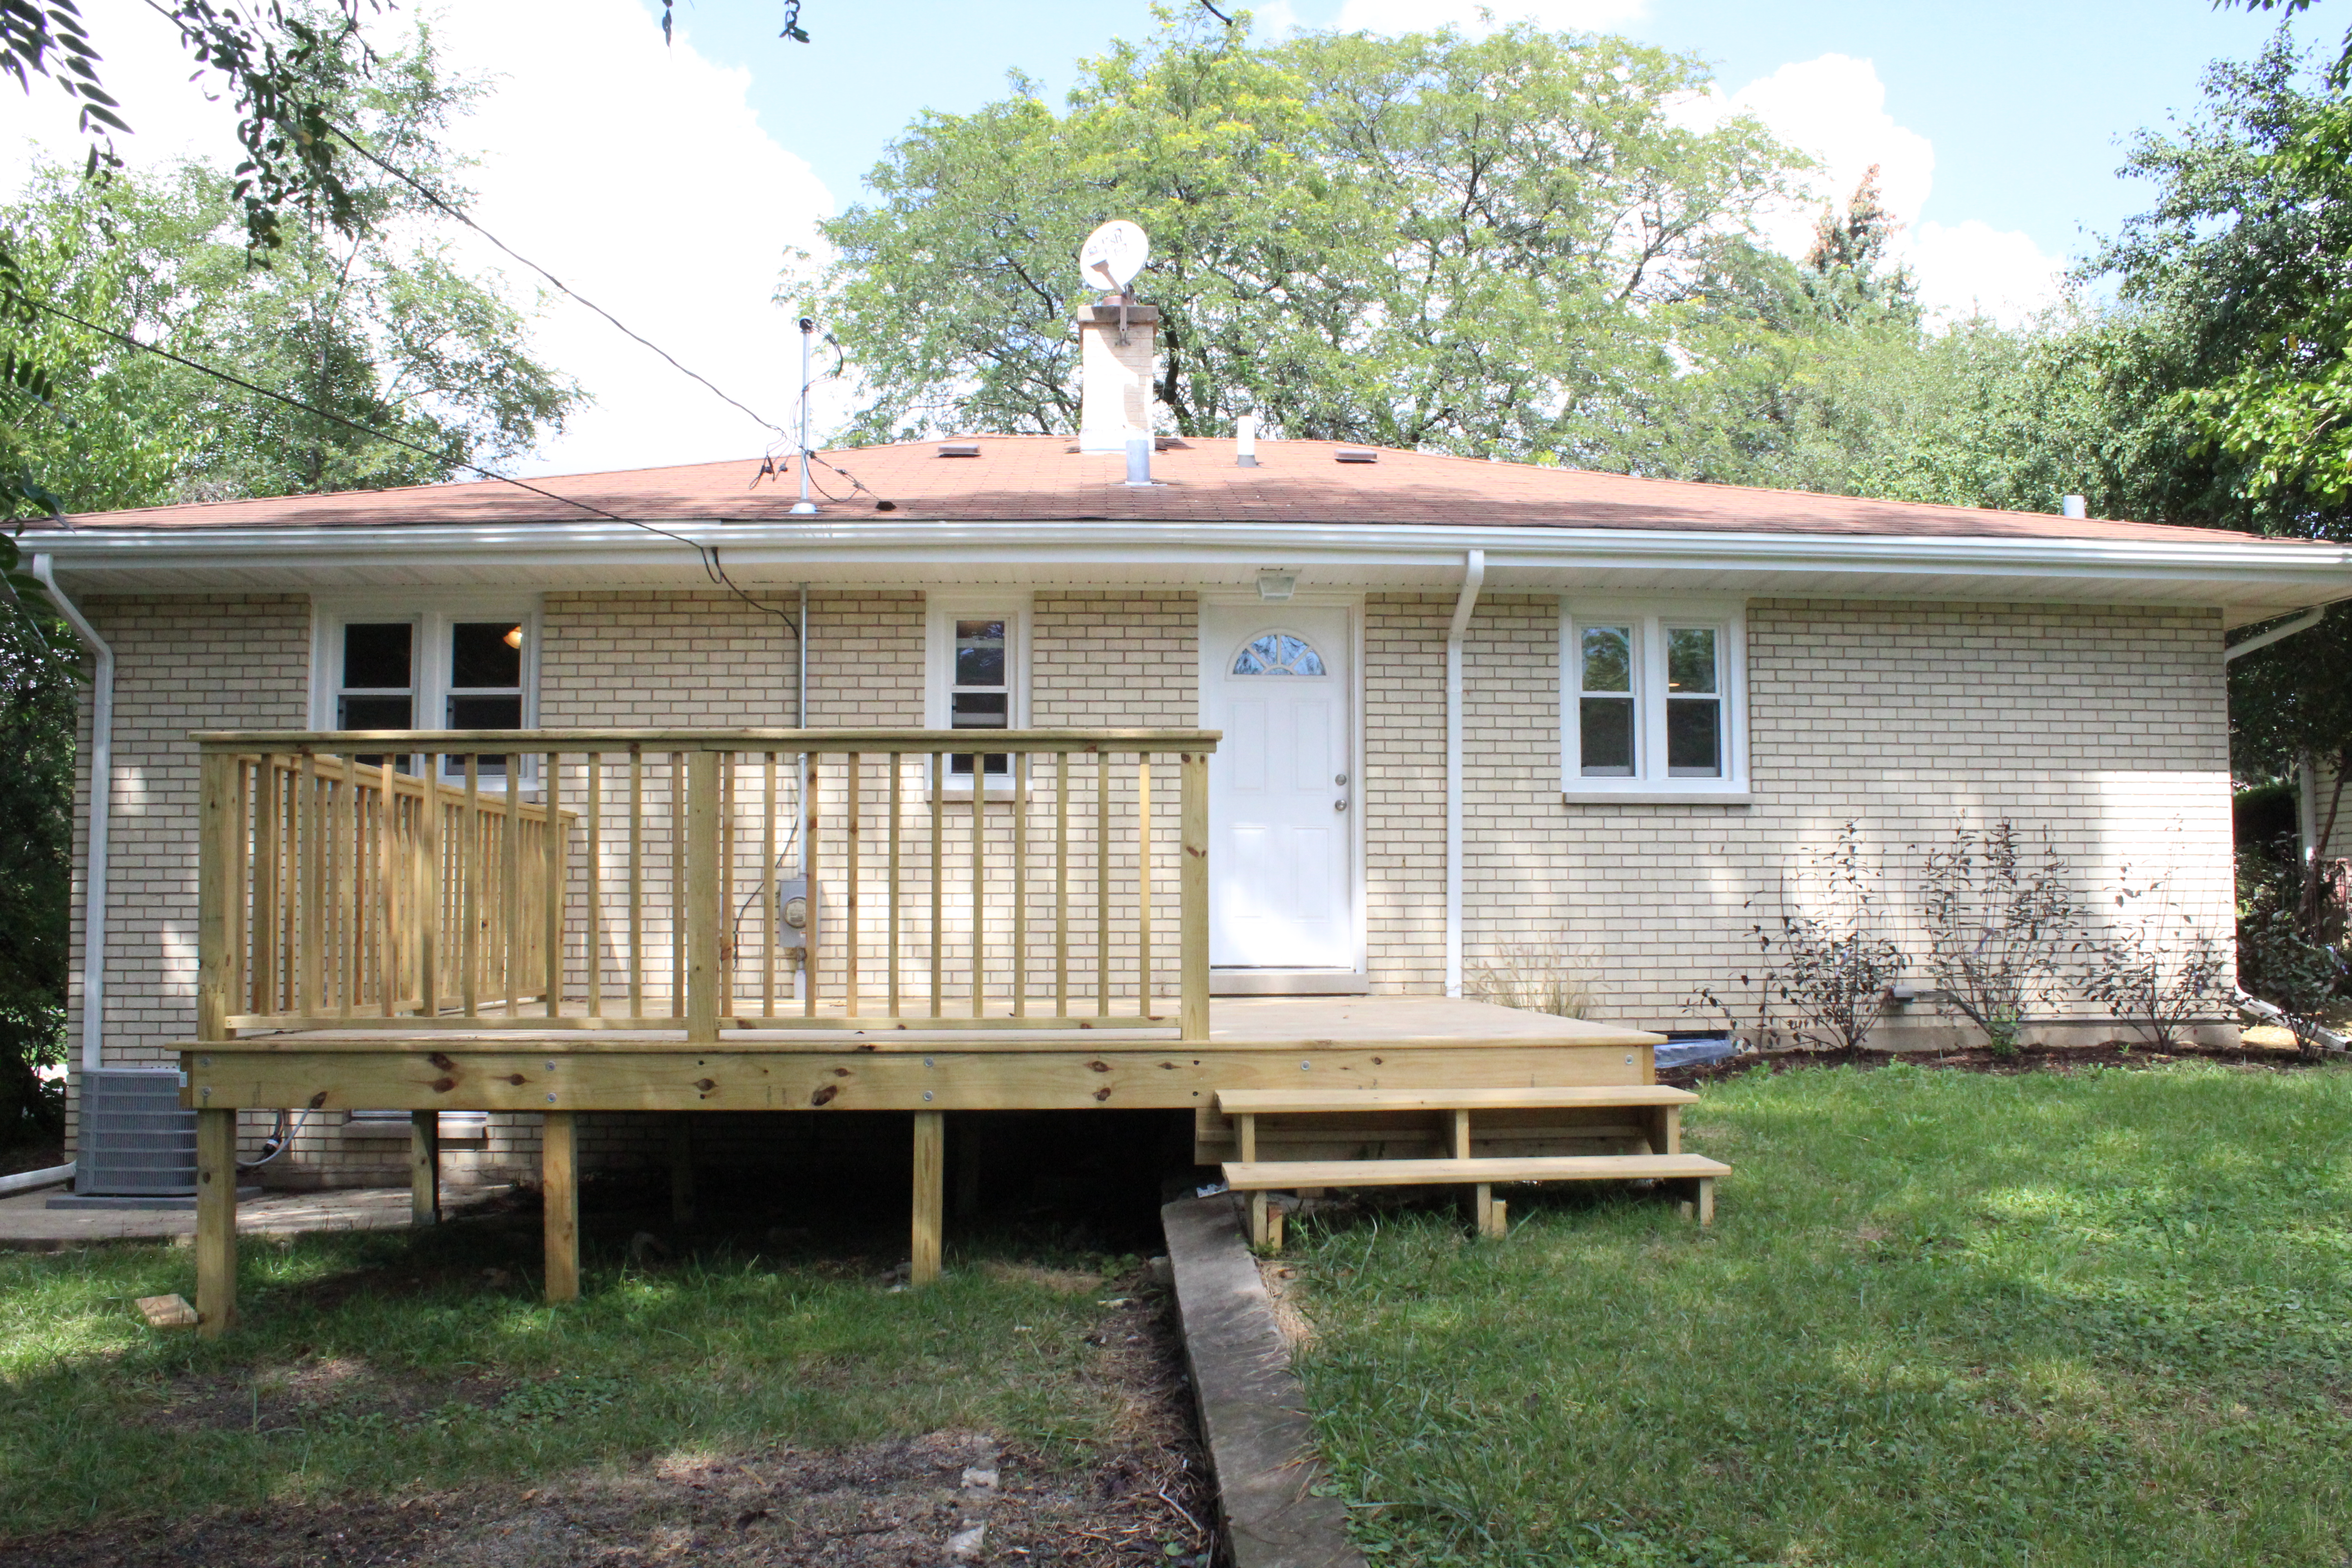
Outside the back door, Ben built a beautiful new deck.
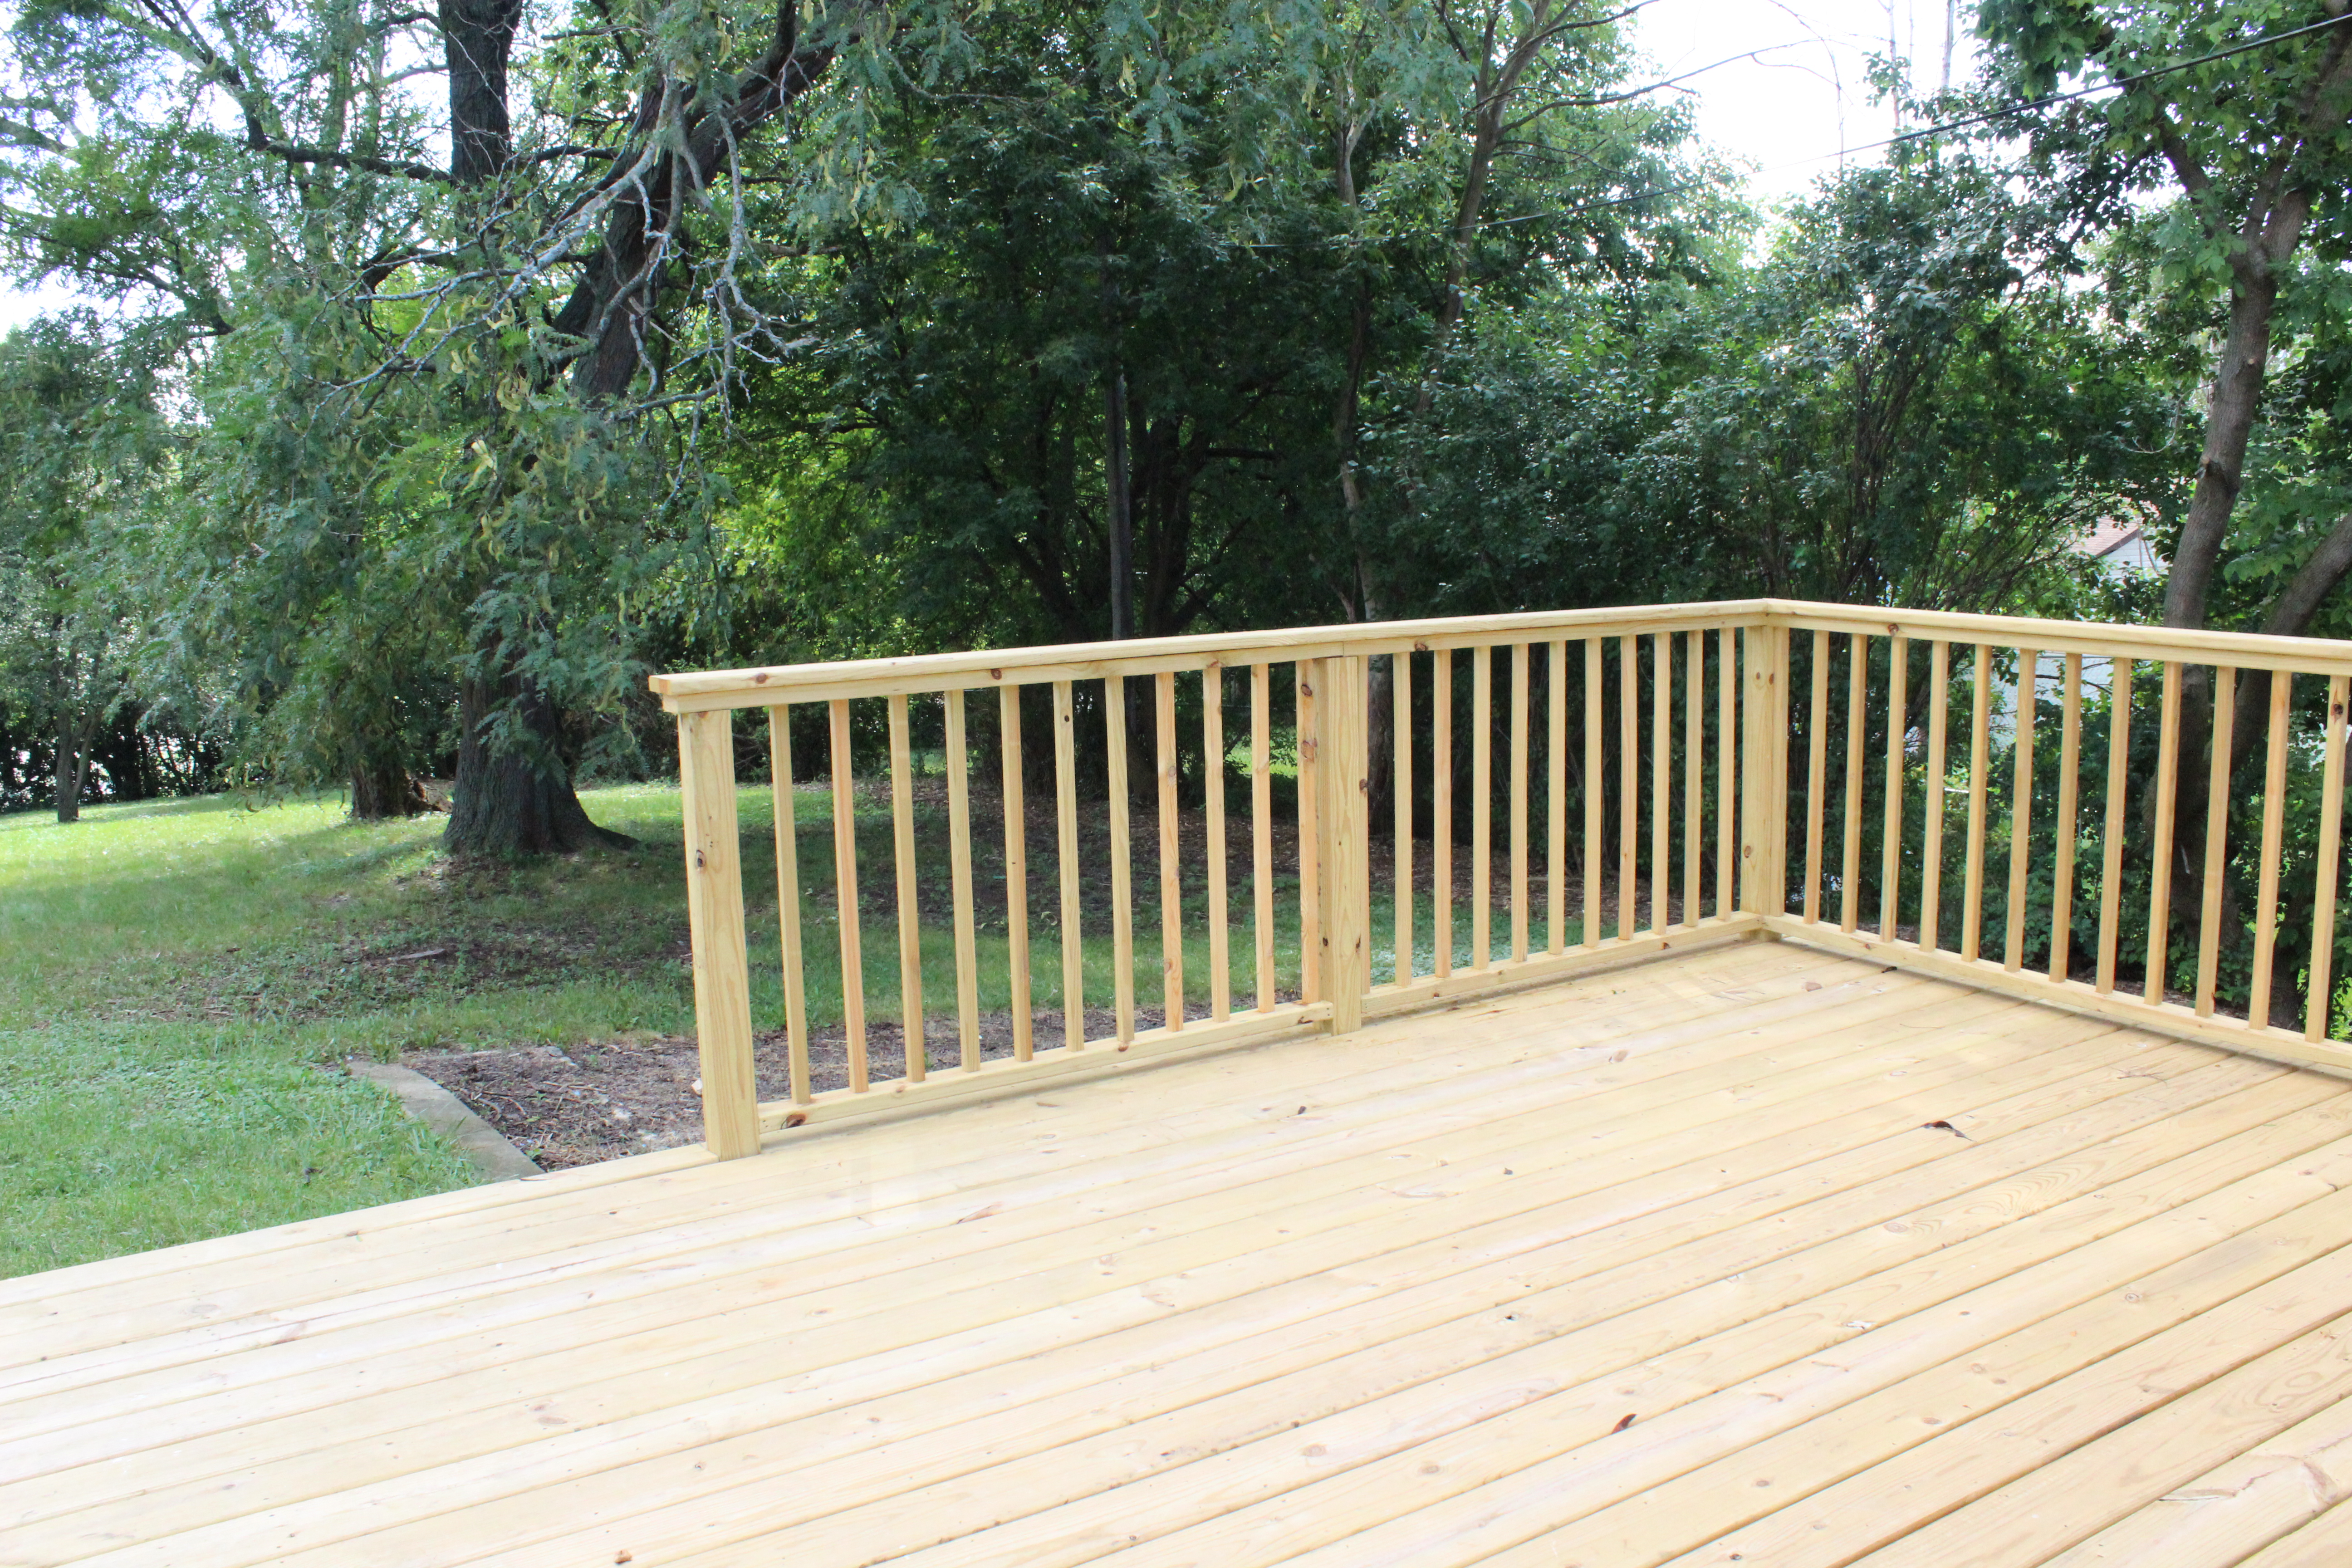
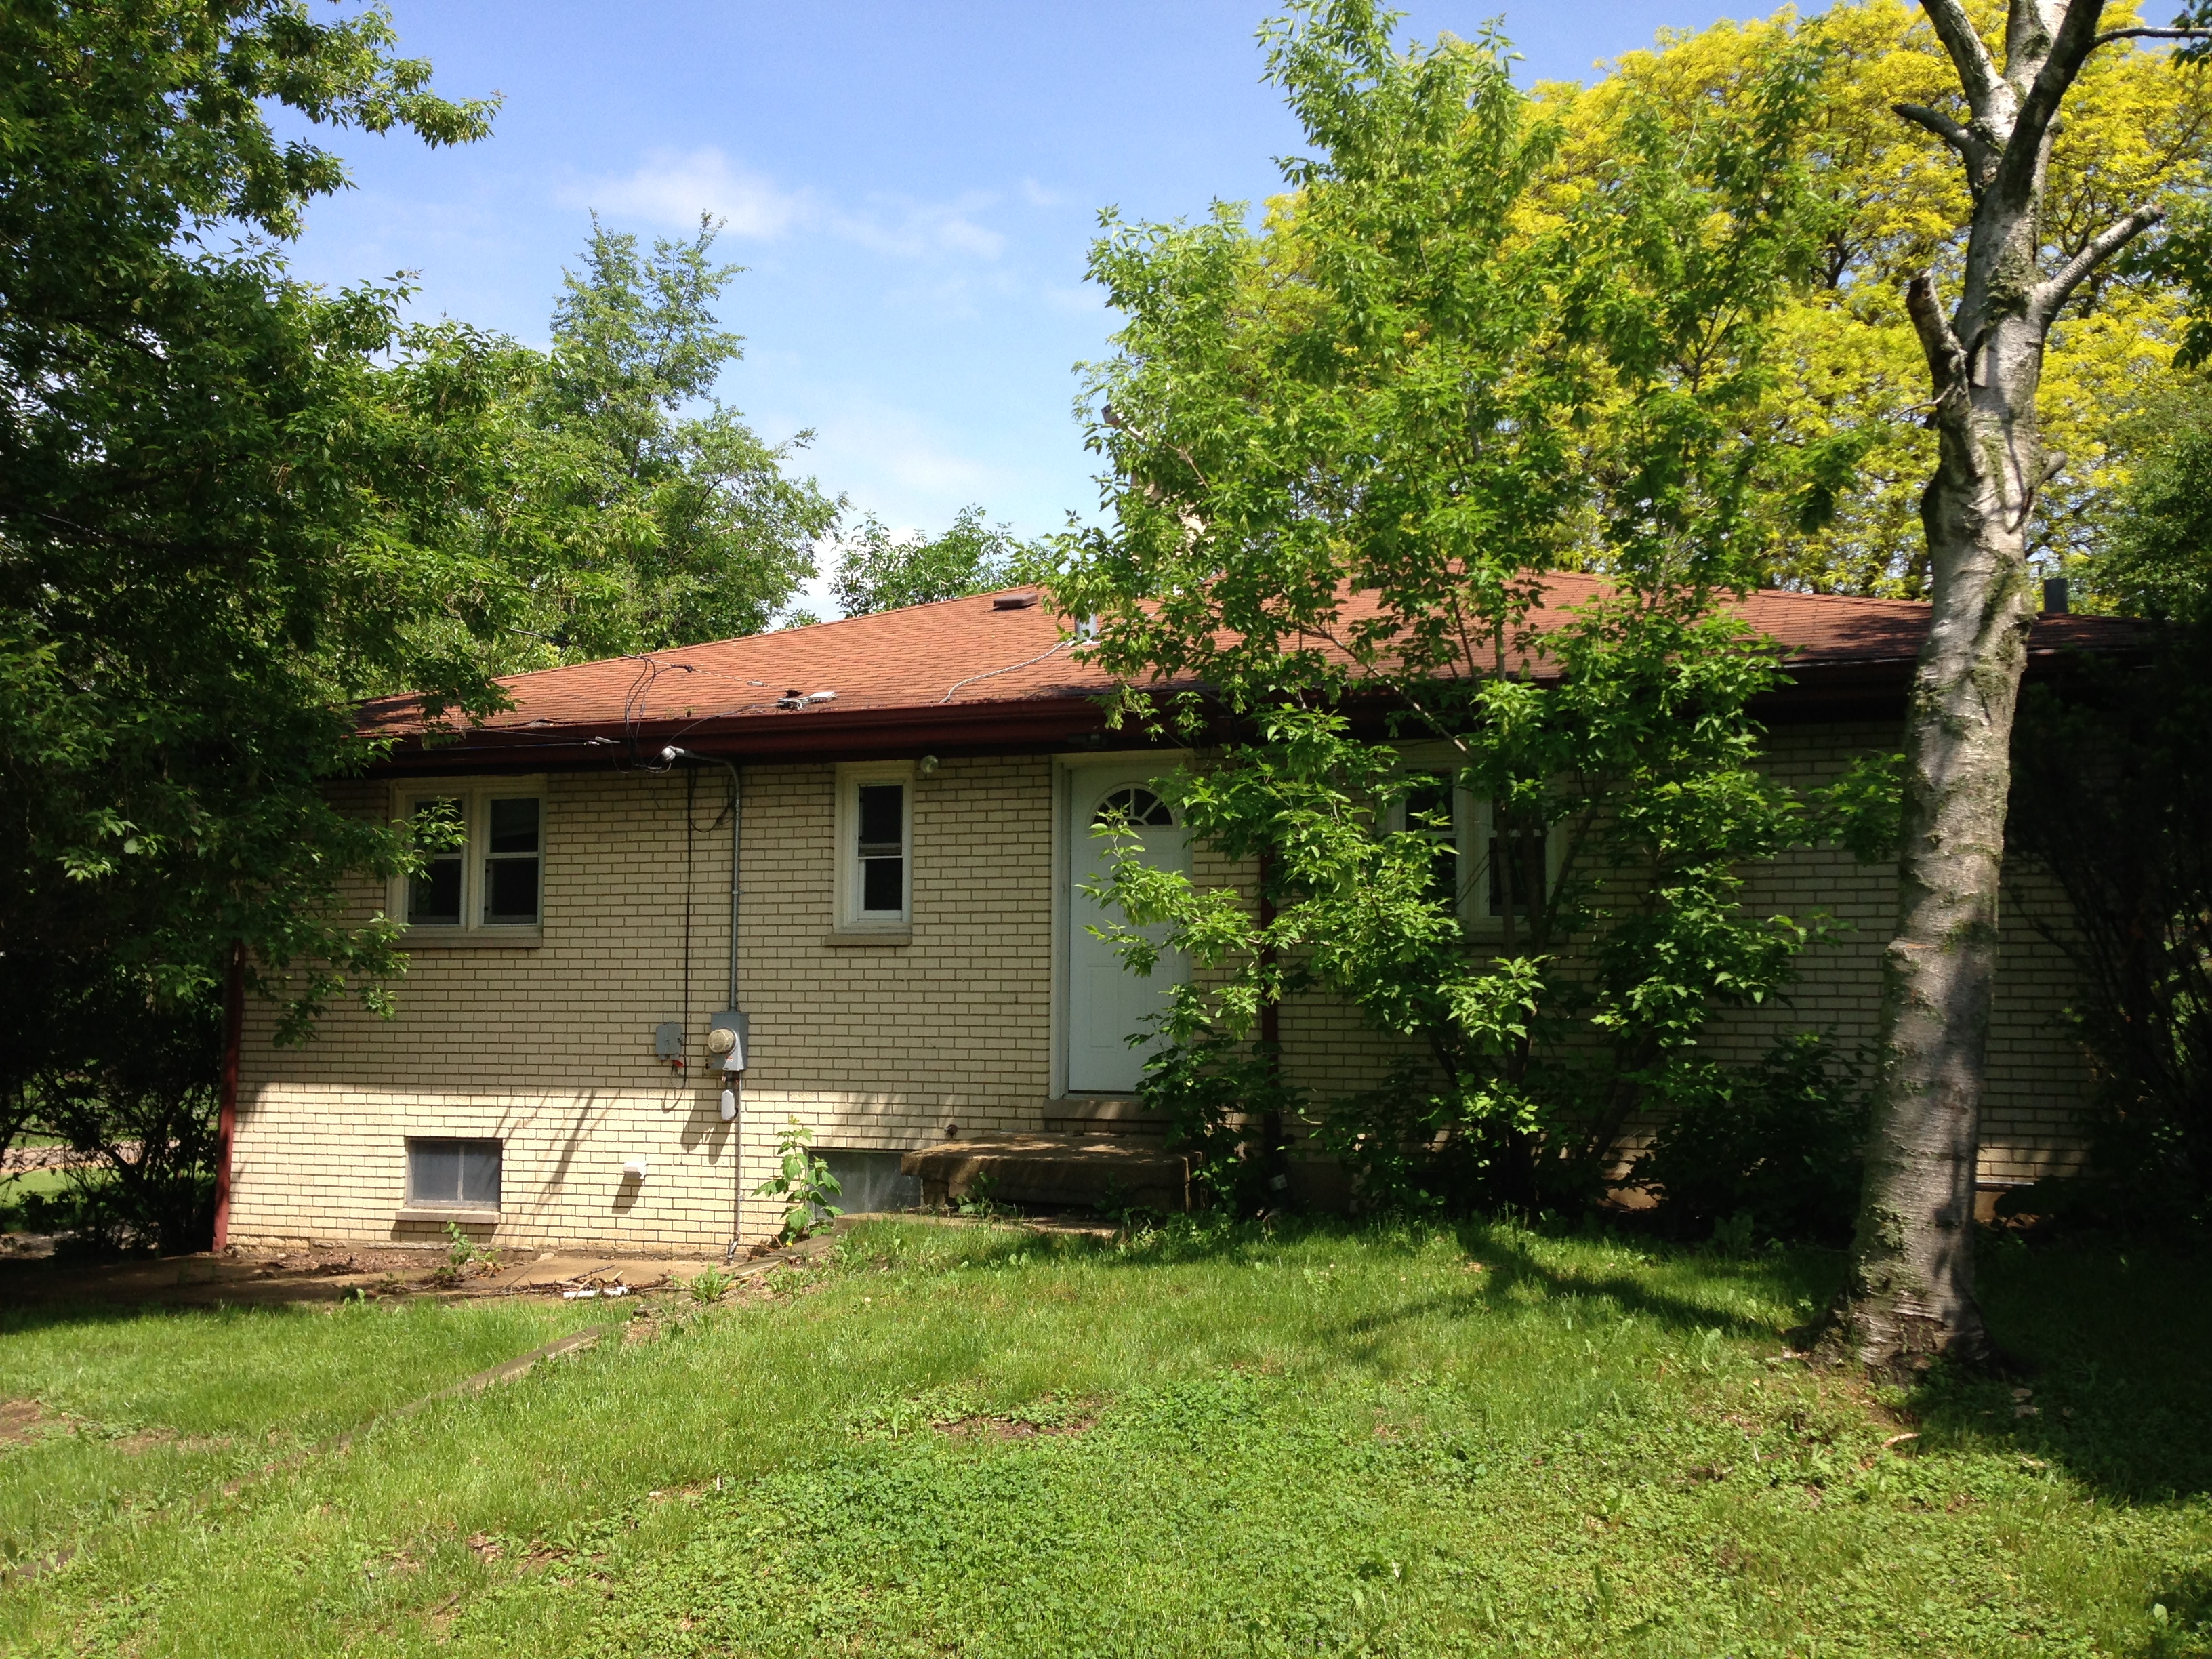
IMG_3434Here was the view of the back before:

IMG_1454And after:

IMG_3437

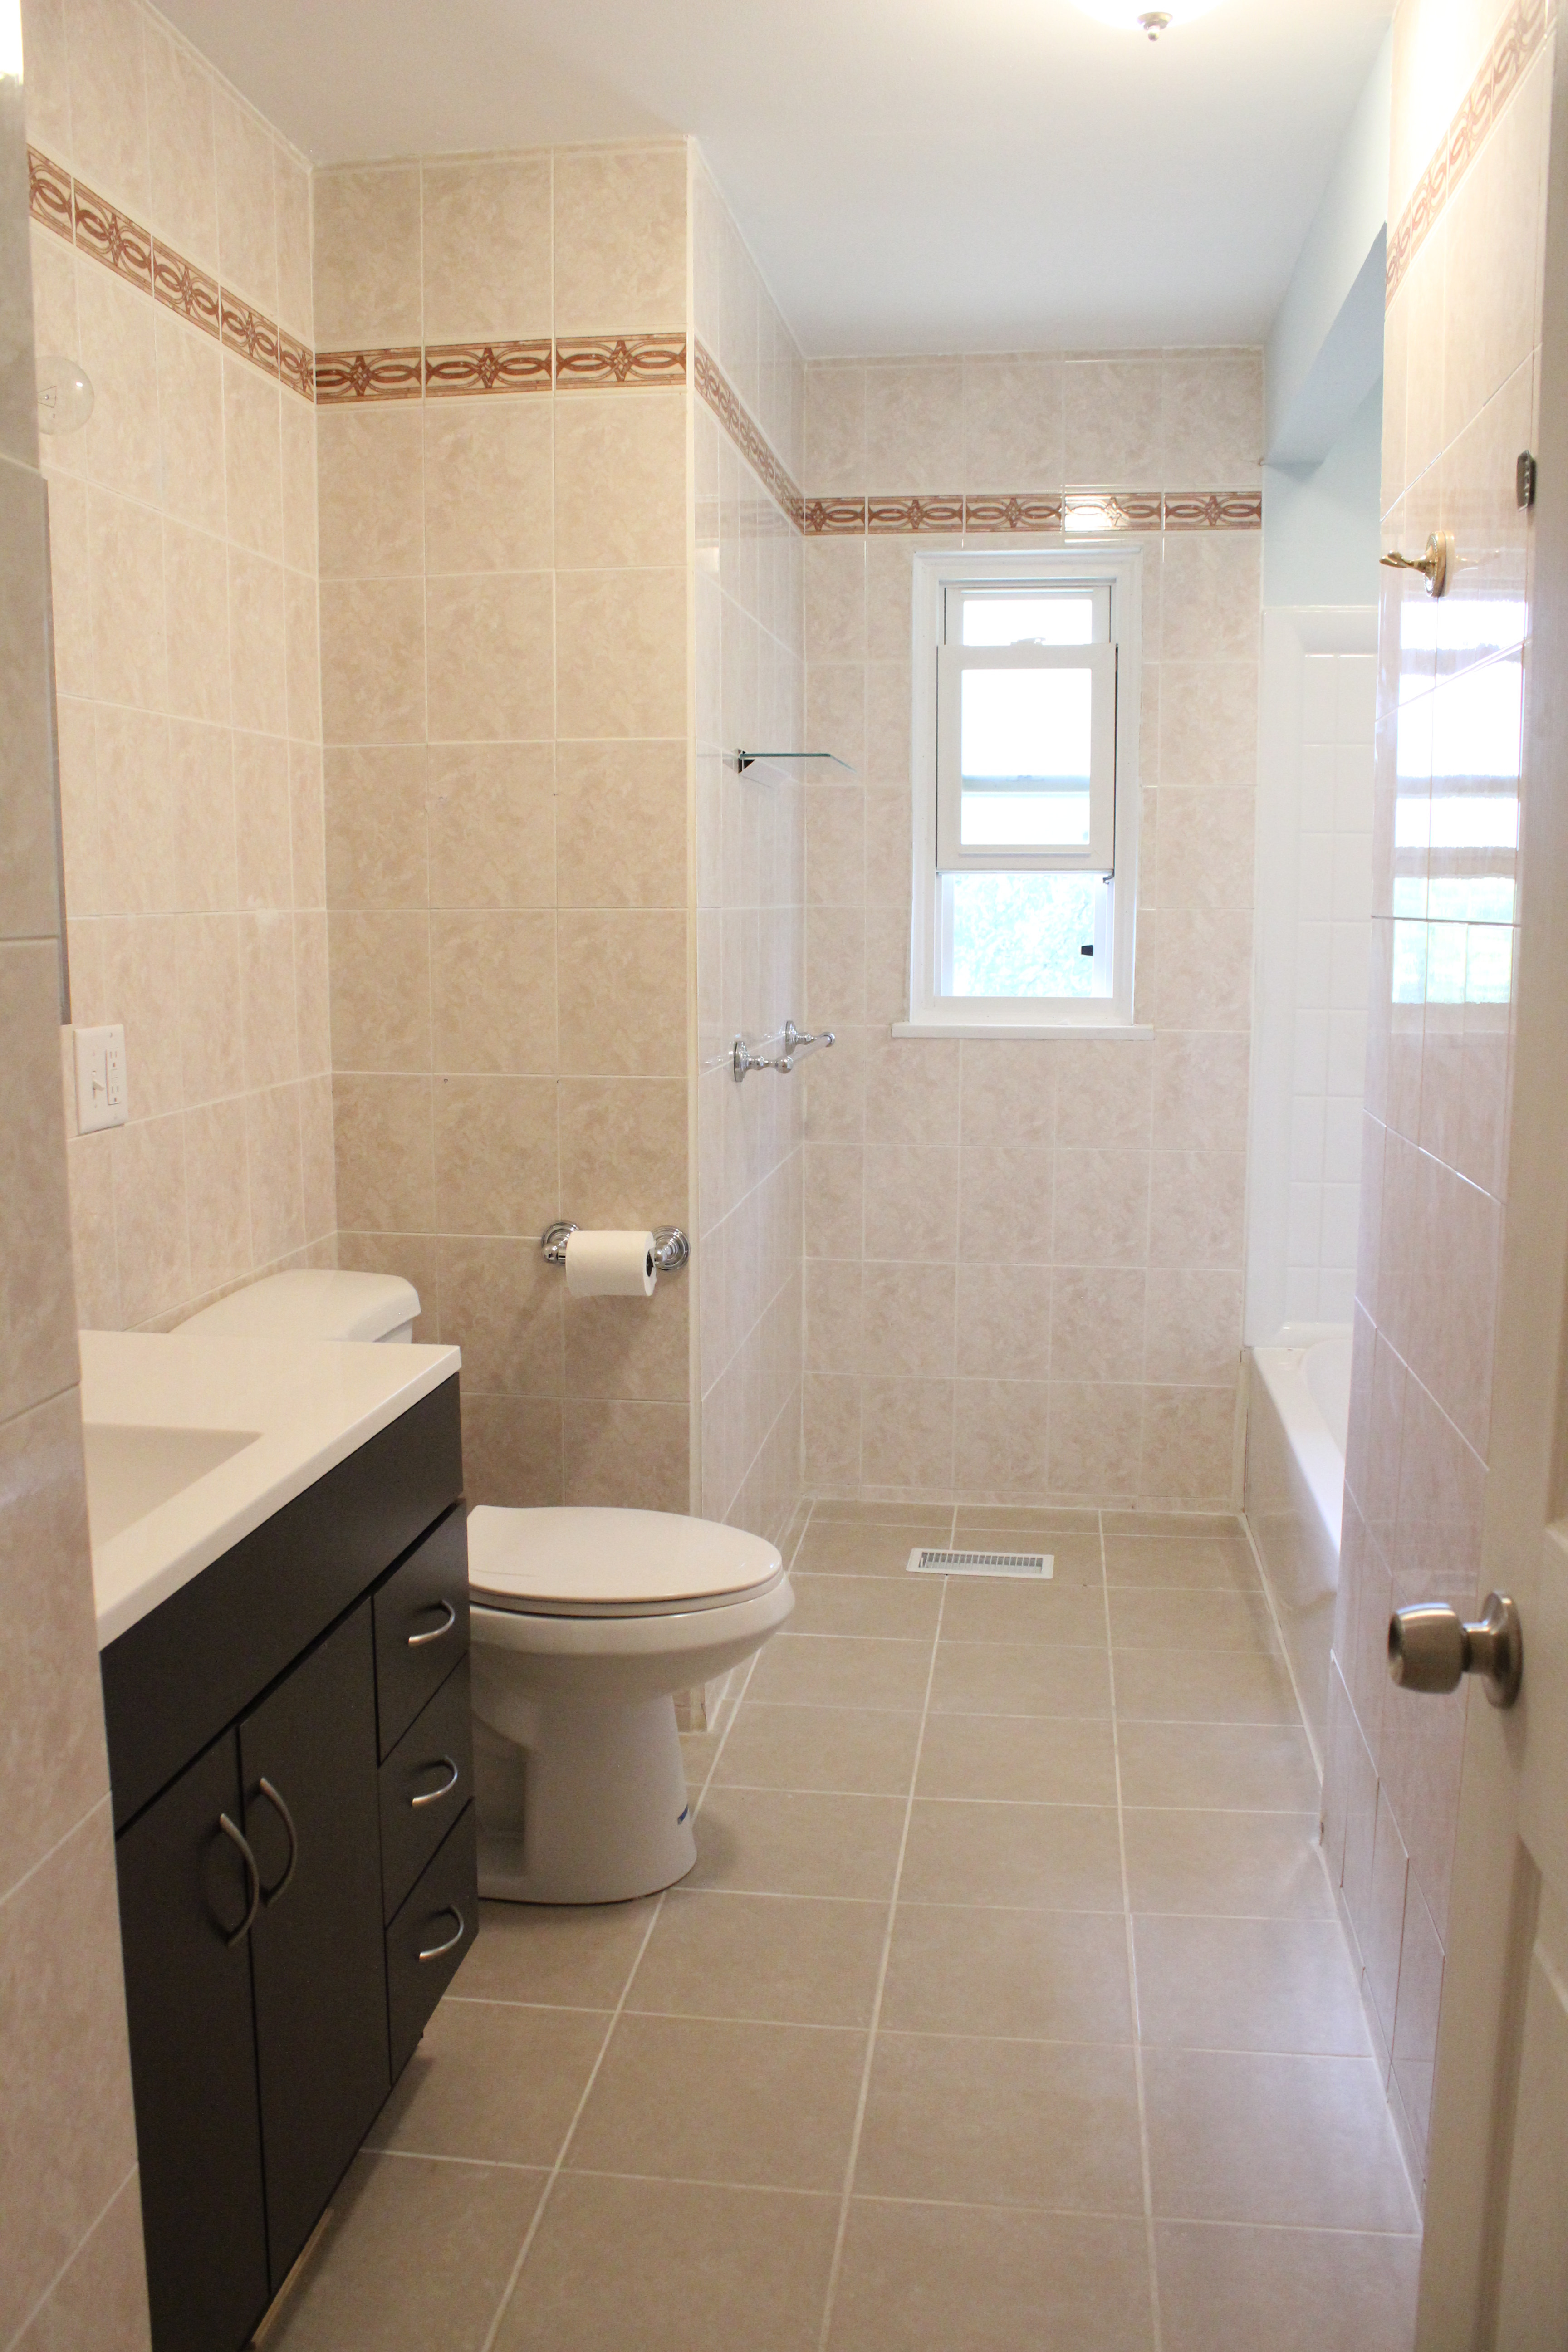
Back inside, here is the upstairs bathroom before:
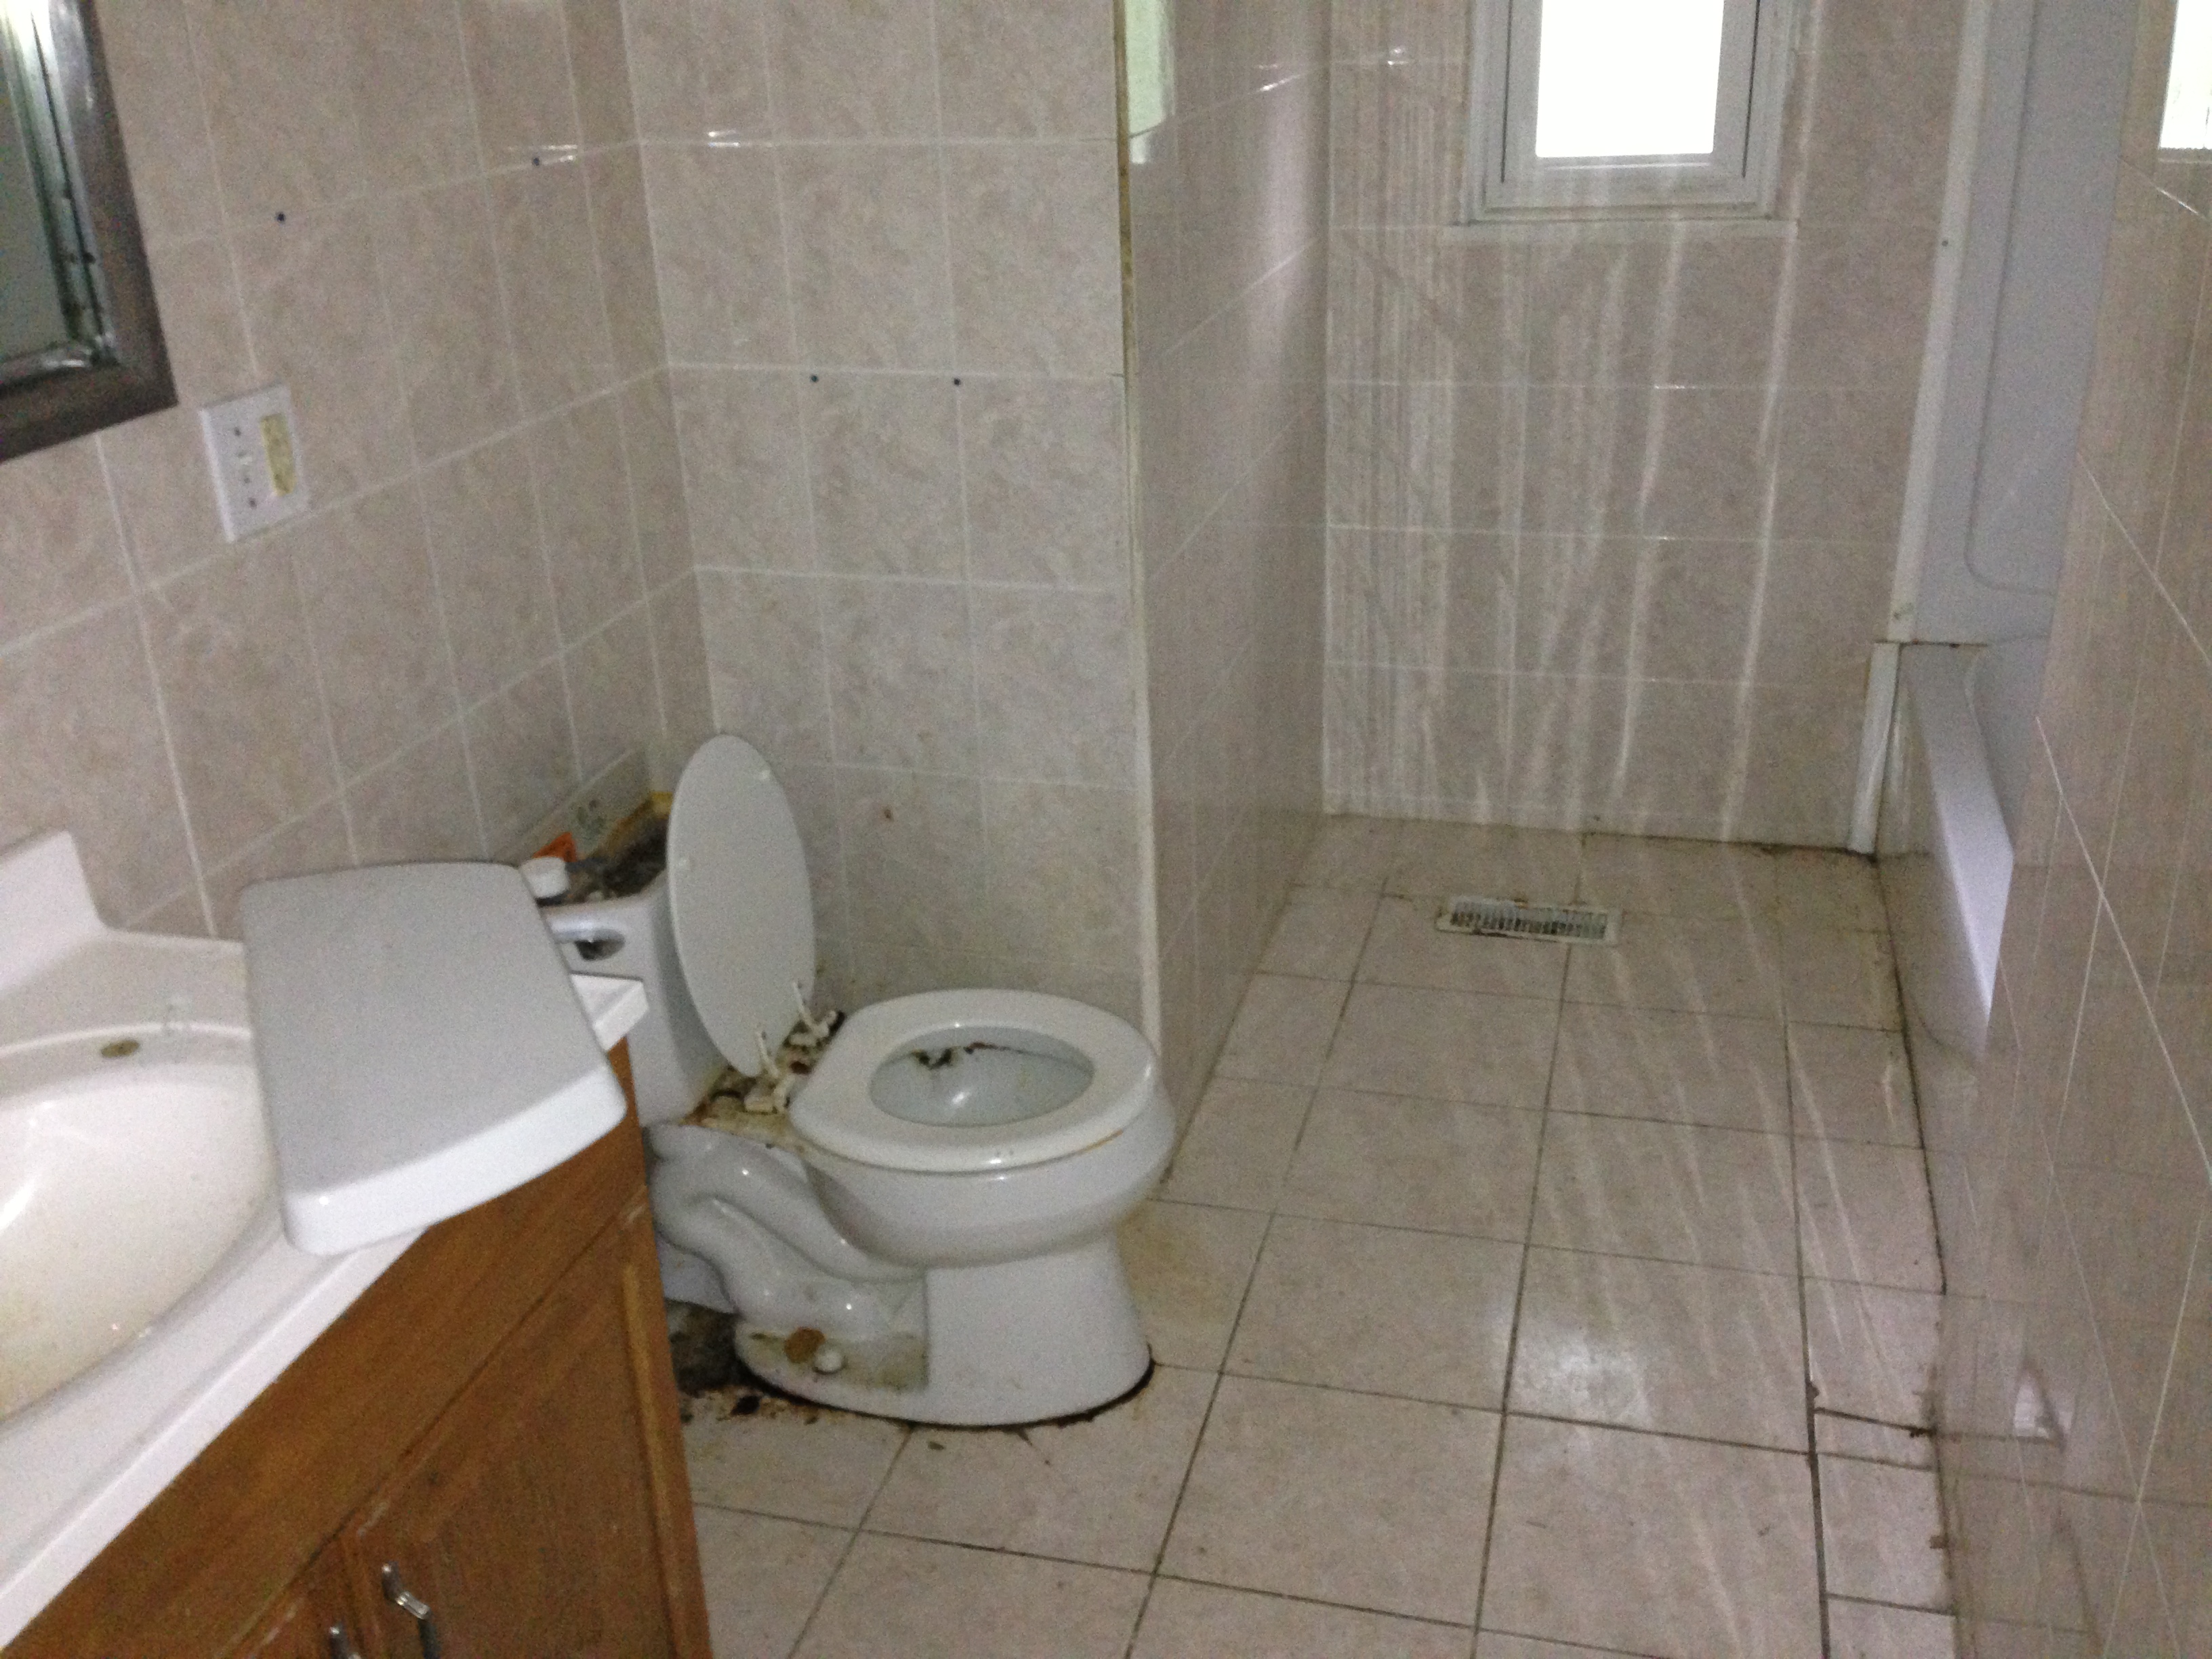
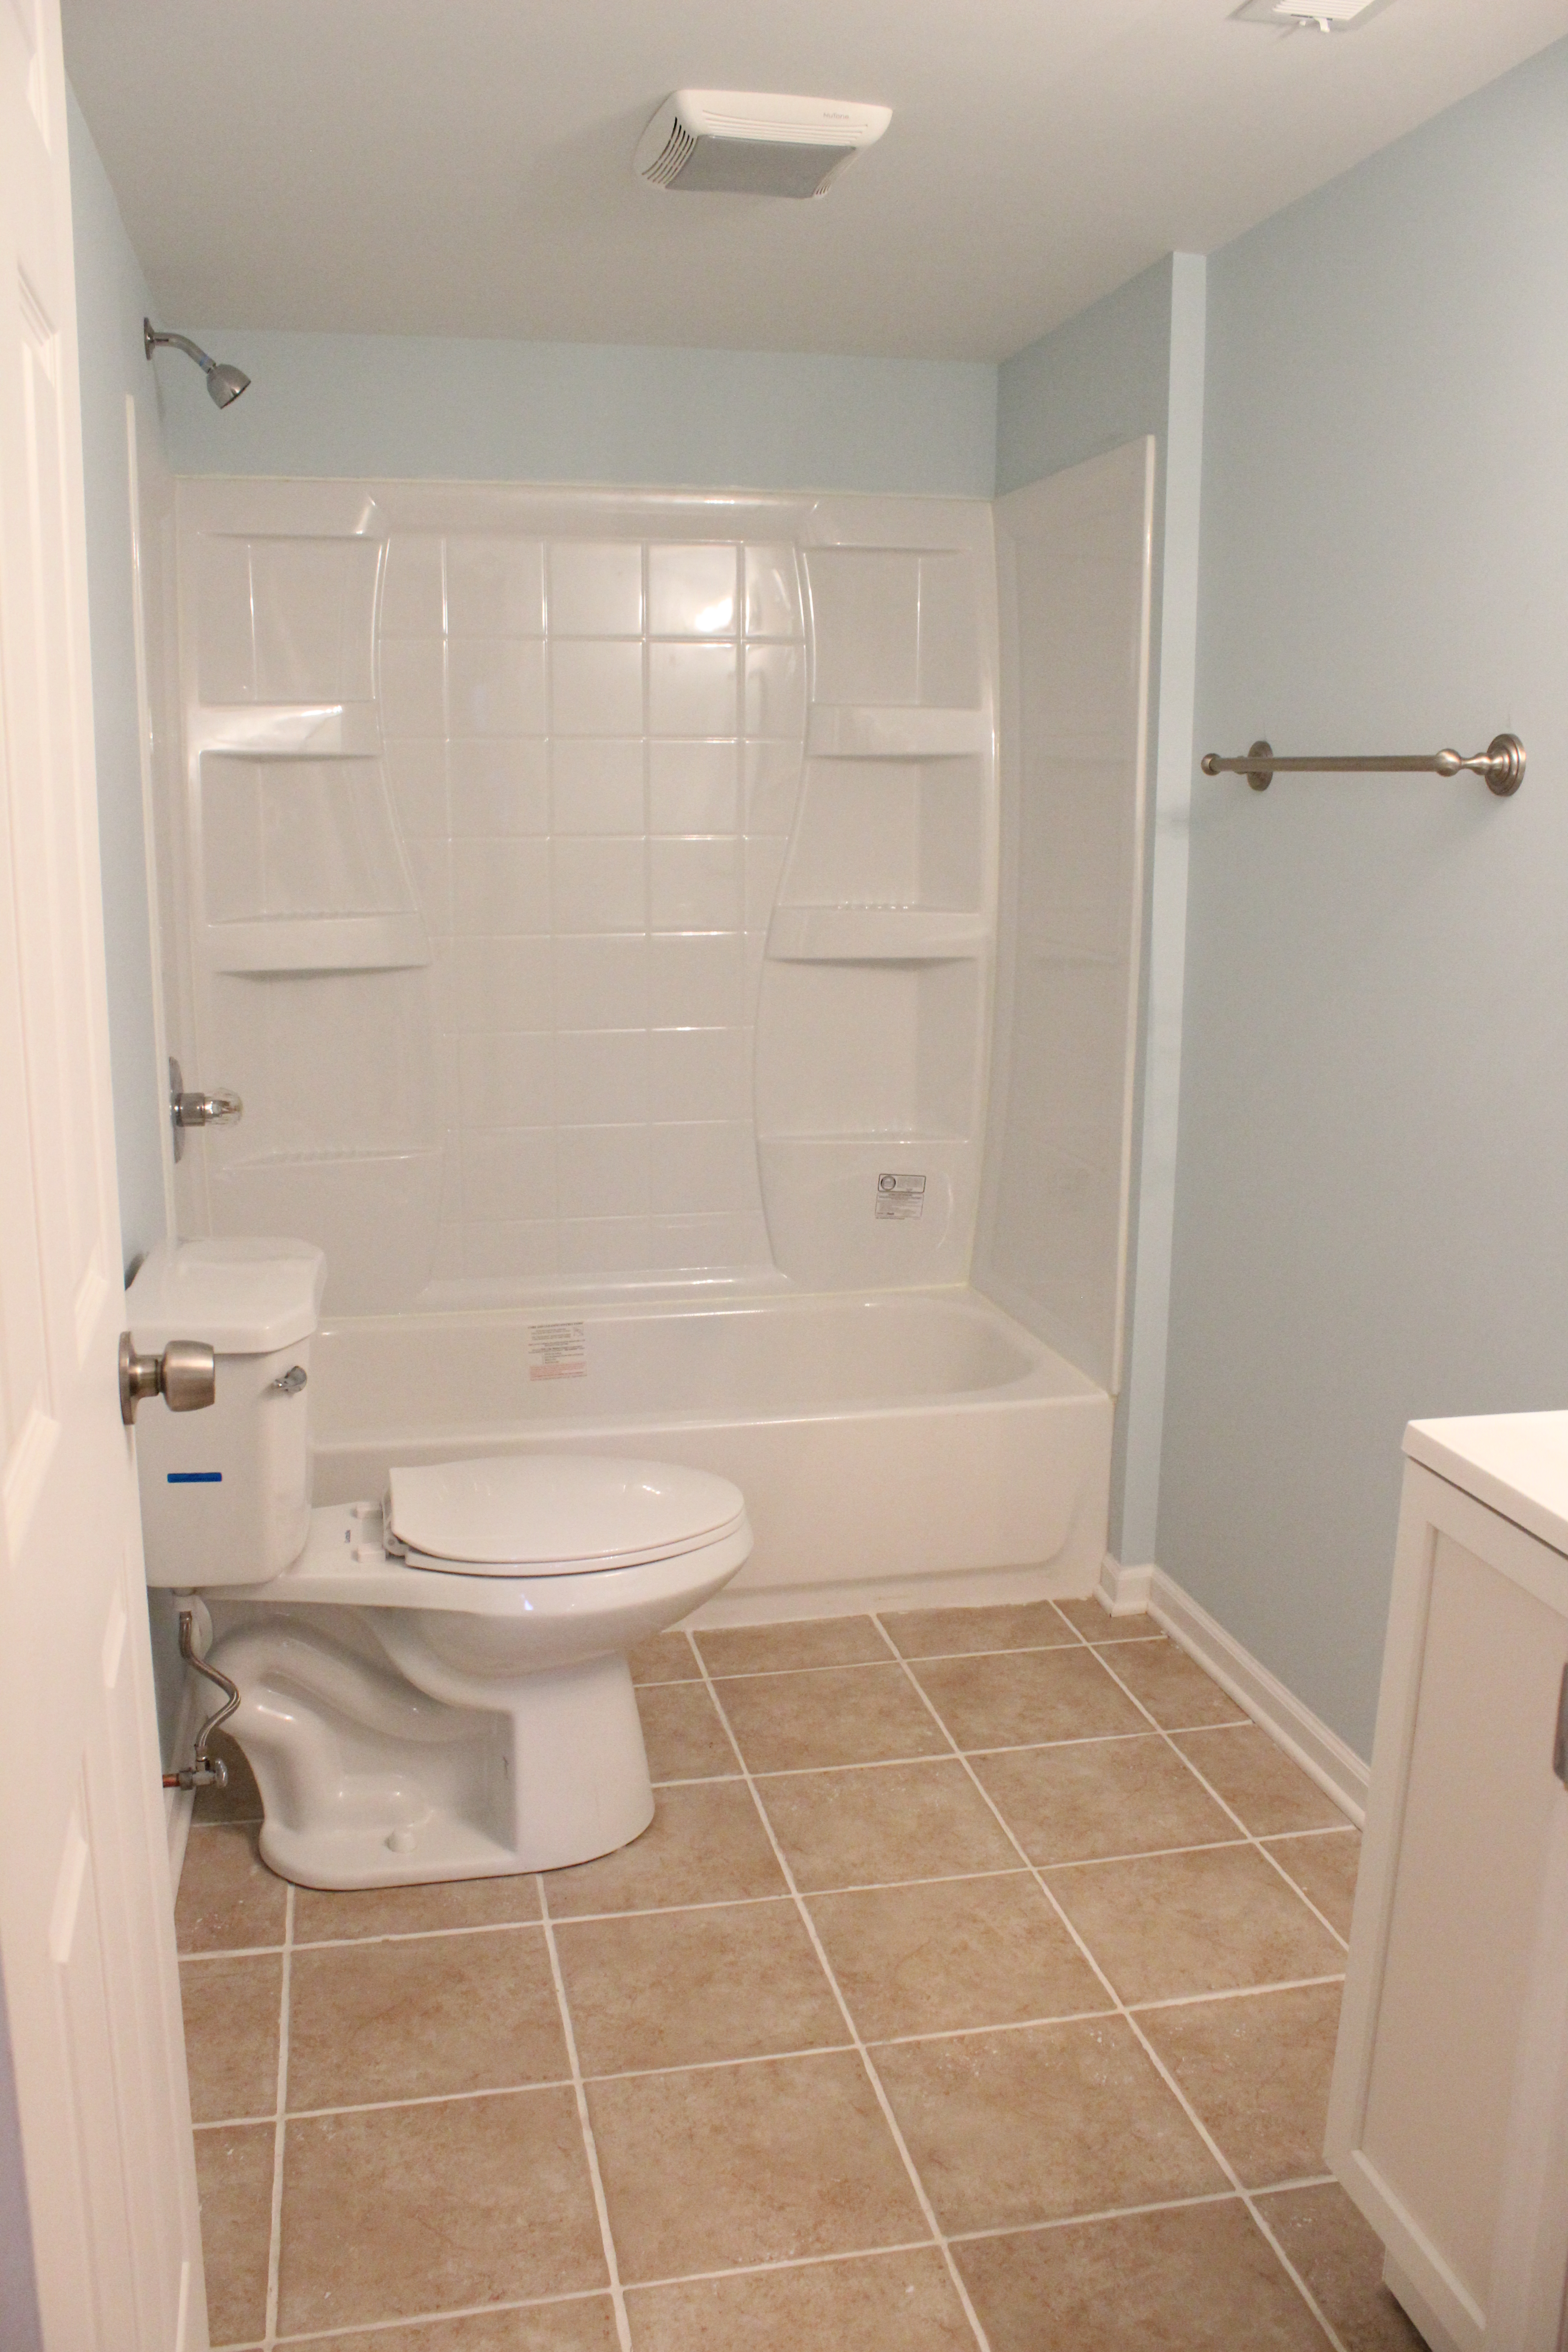
IMG_1512And after a new toilet, vanity, tub, sink, floor tile and fixtures:

IMG_3433

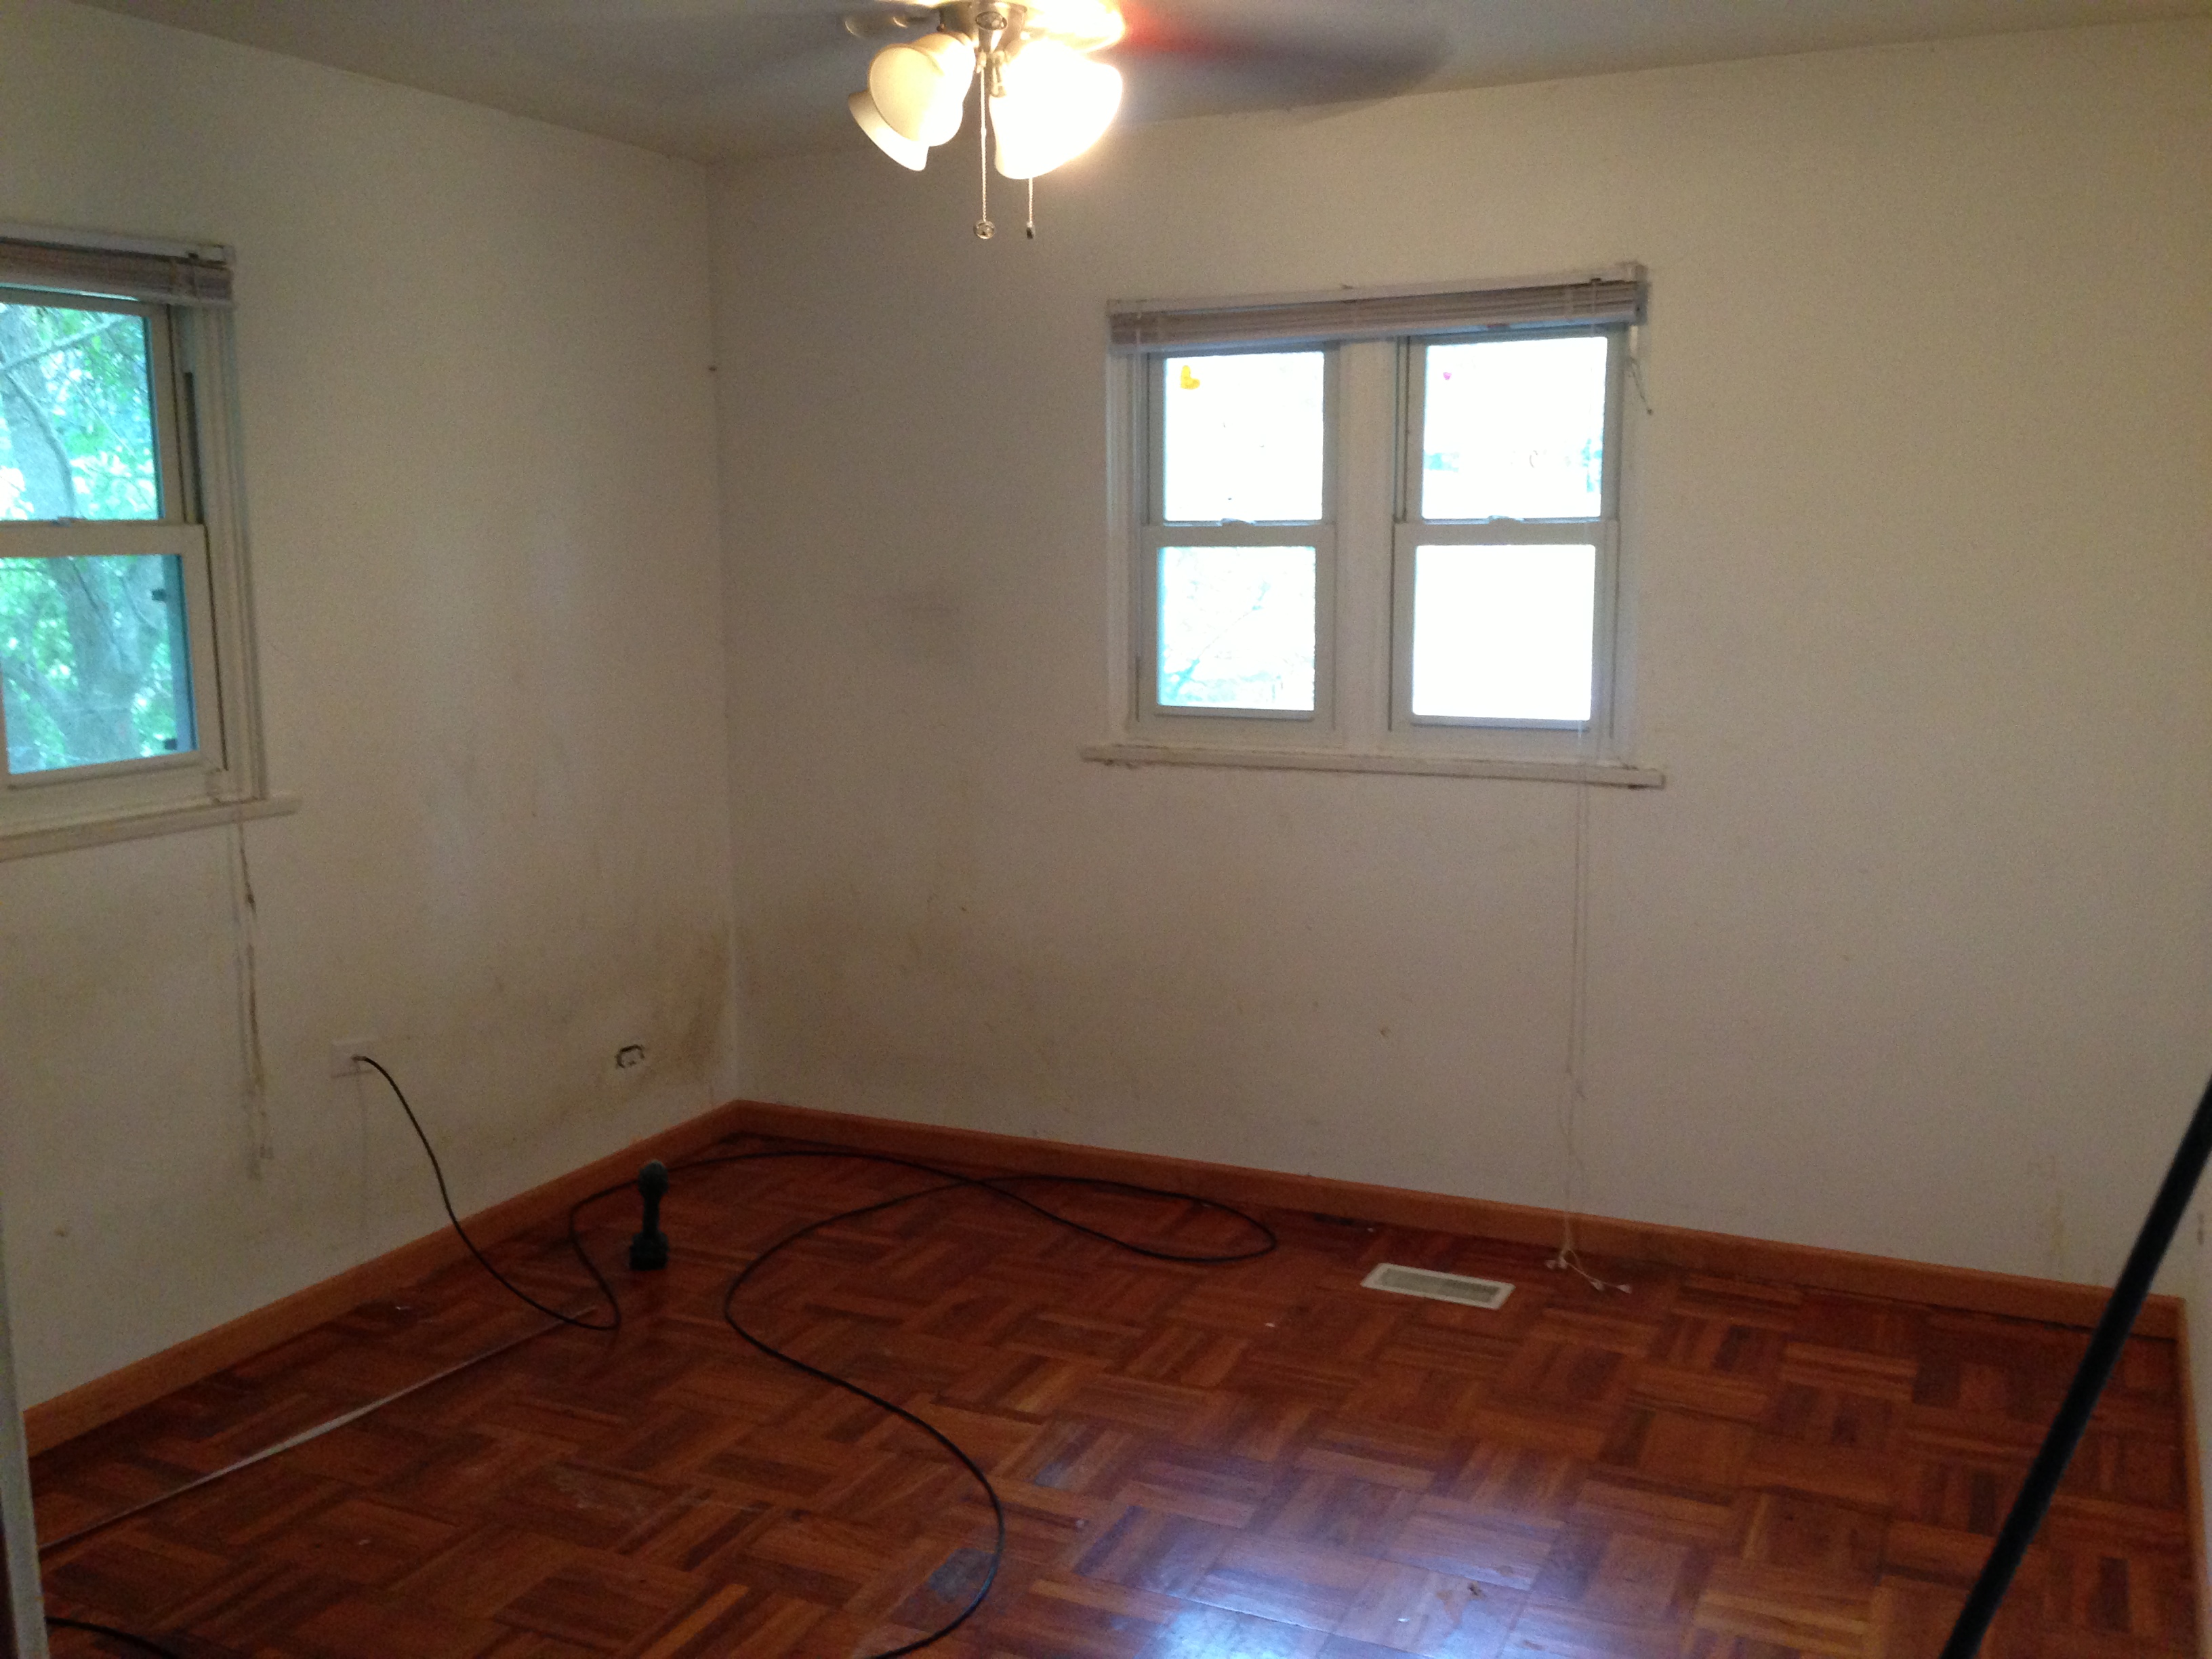
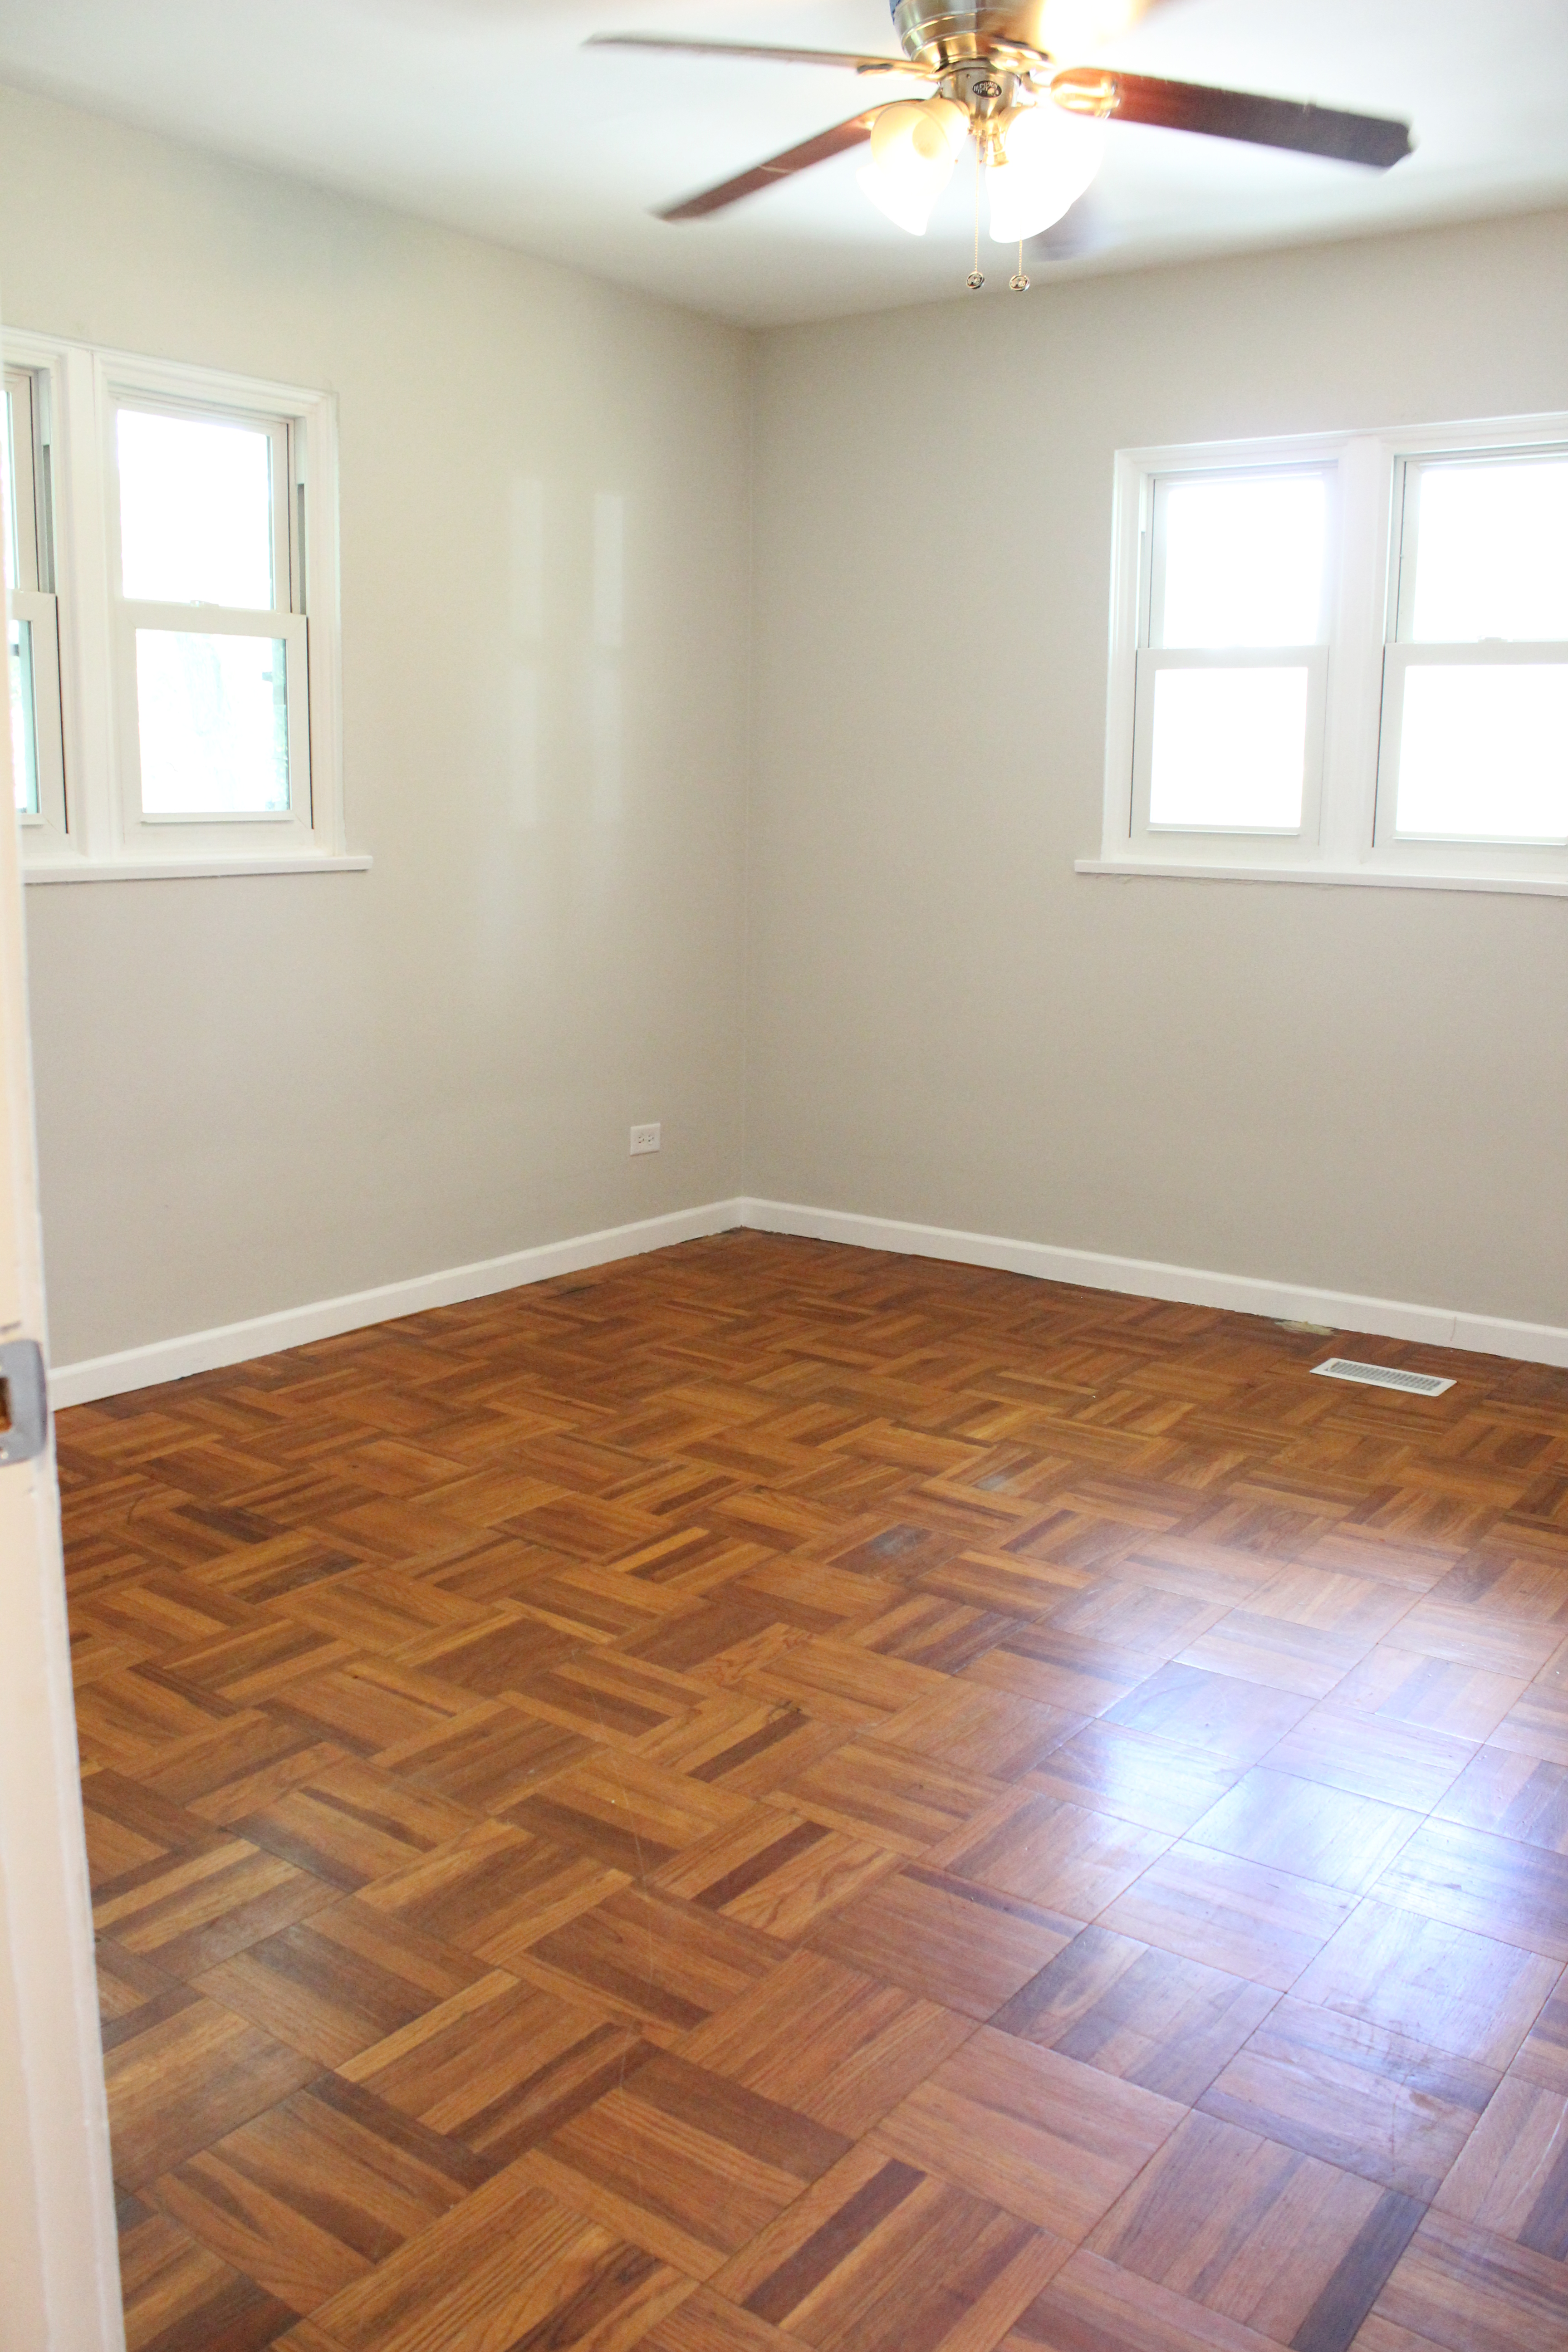
The three upstairs bedrooms just got new paint and trim.

Before:IMG_1508After:

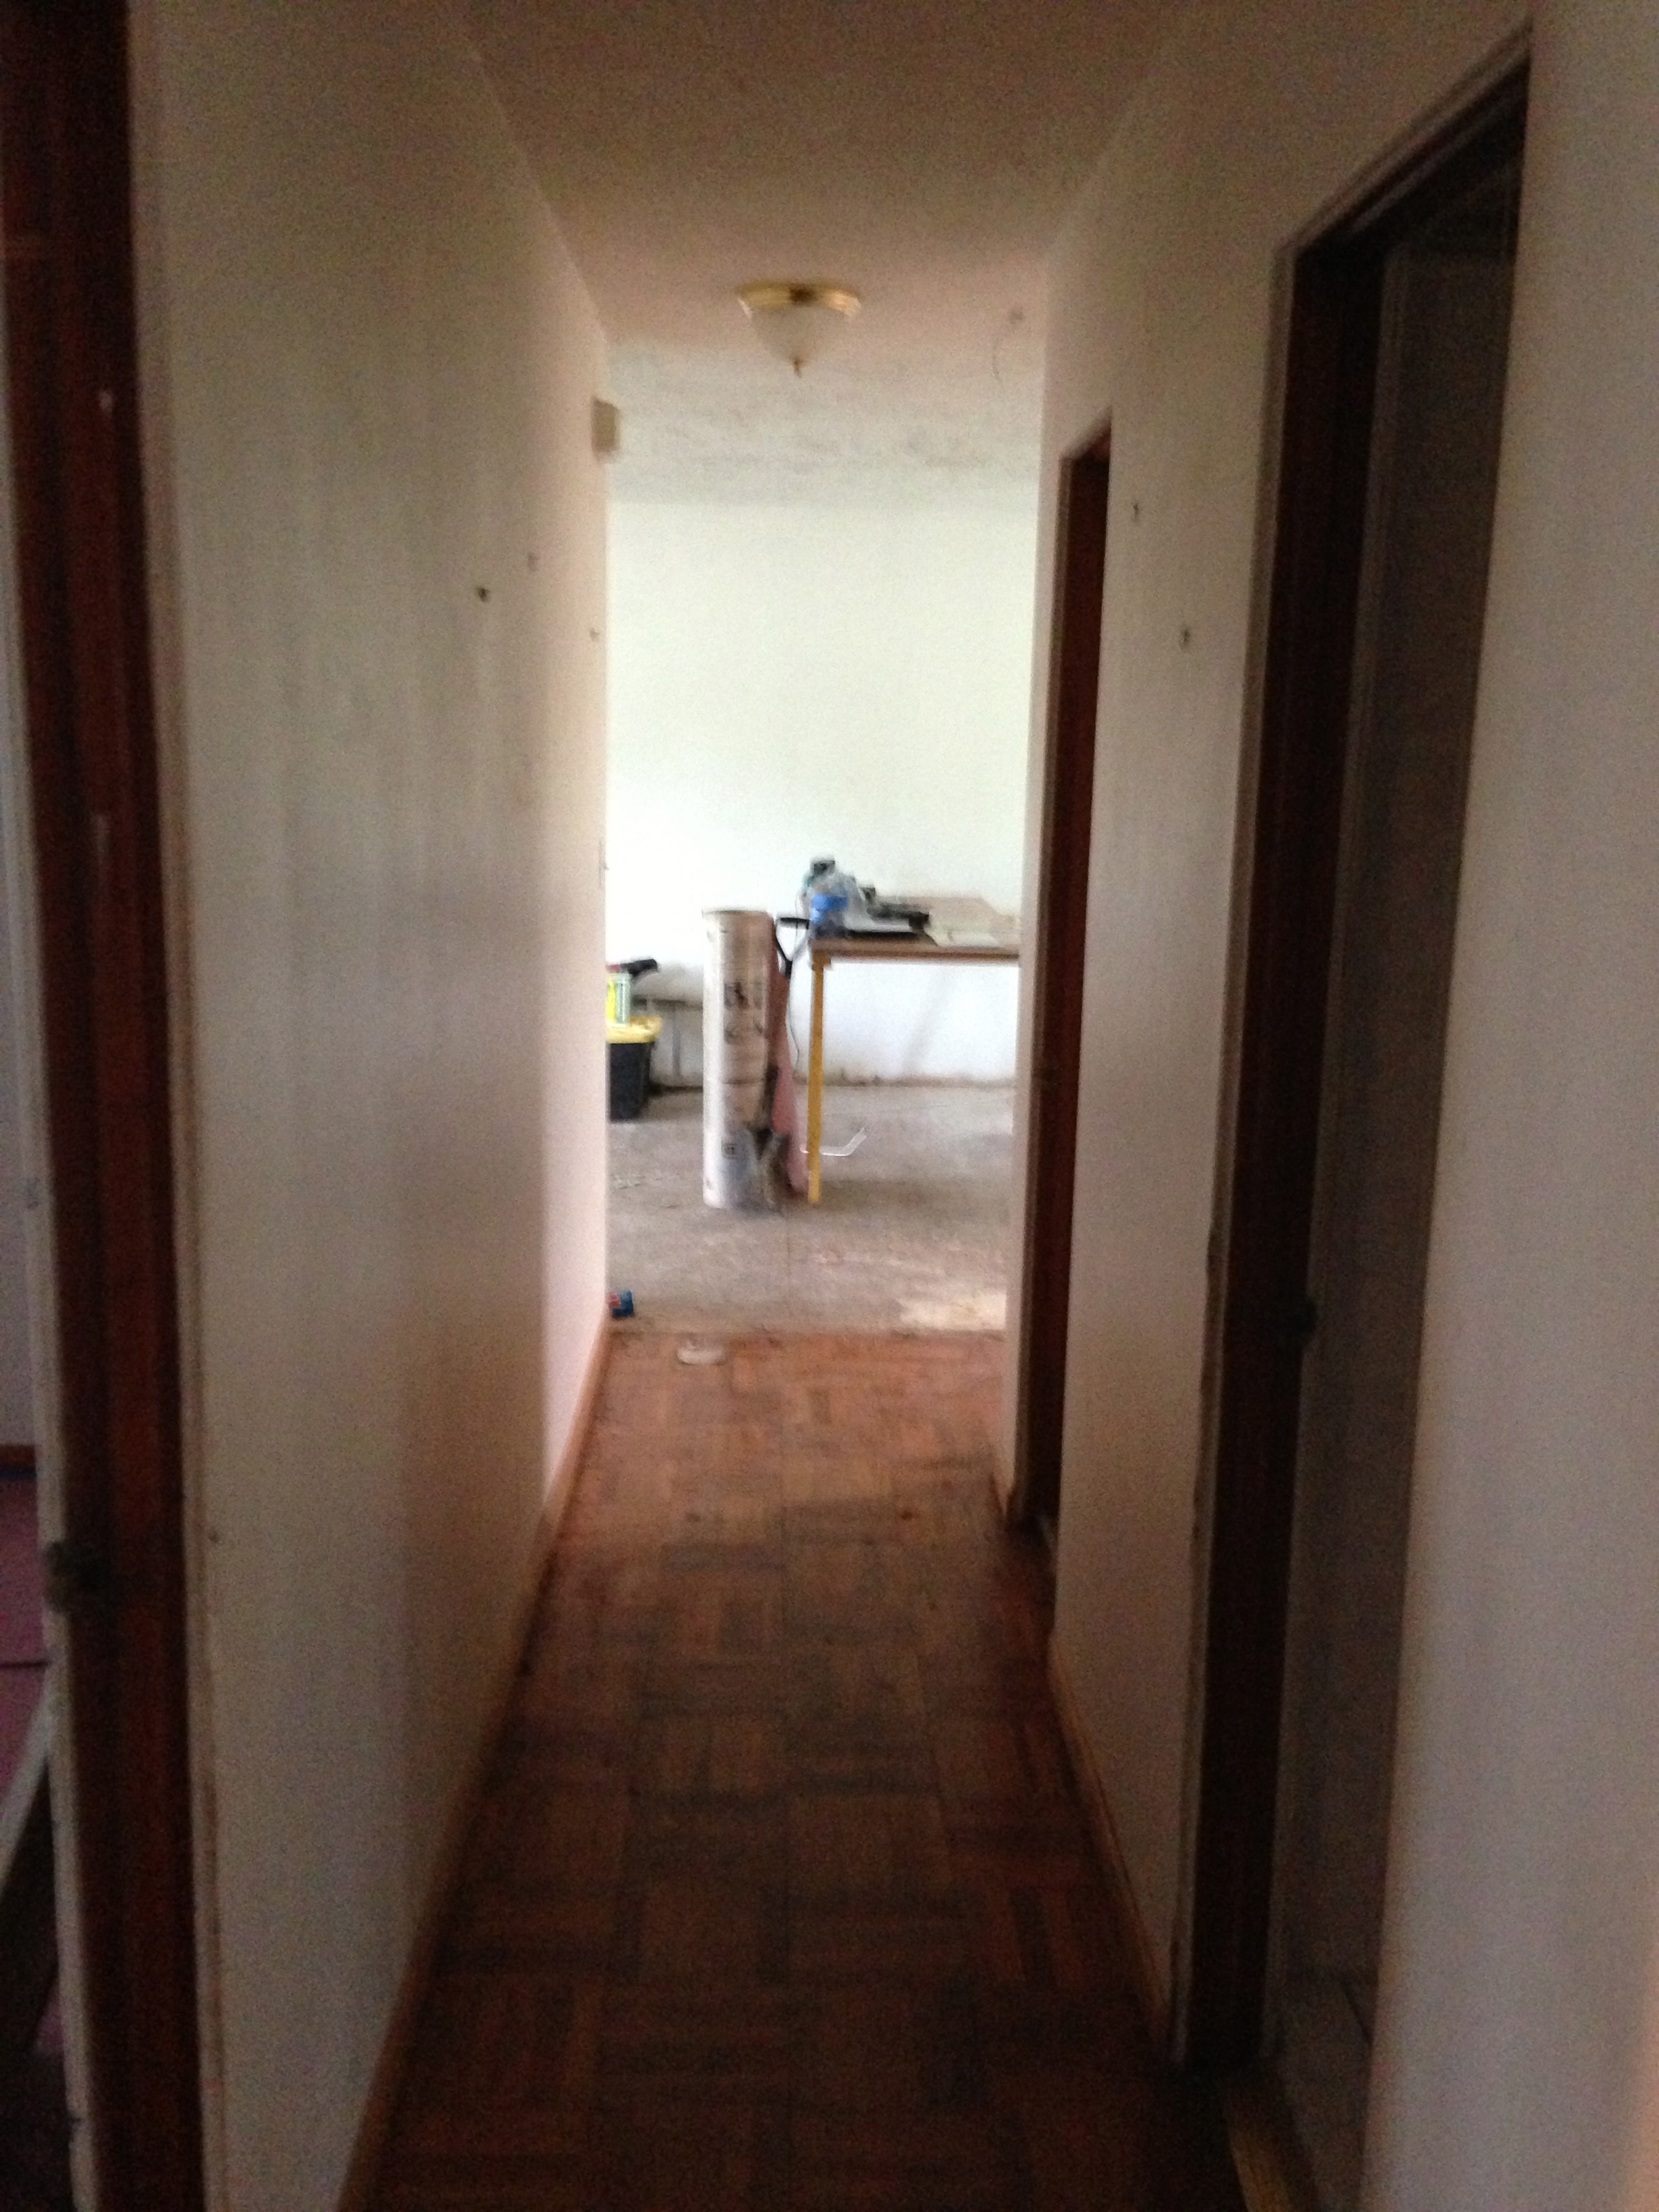
IMG_3422Hallway before:

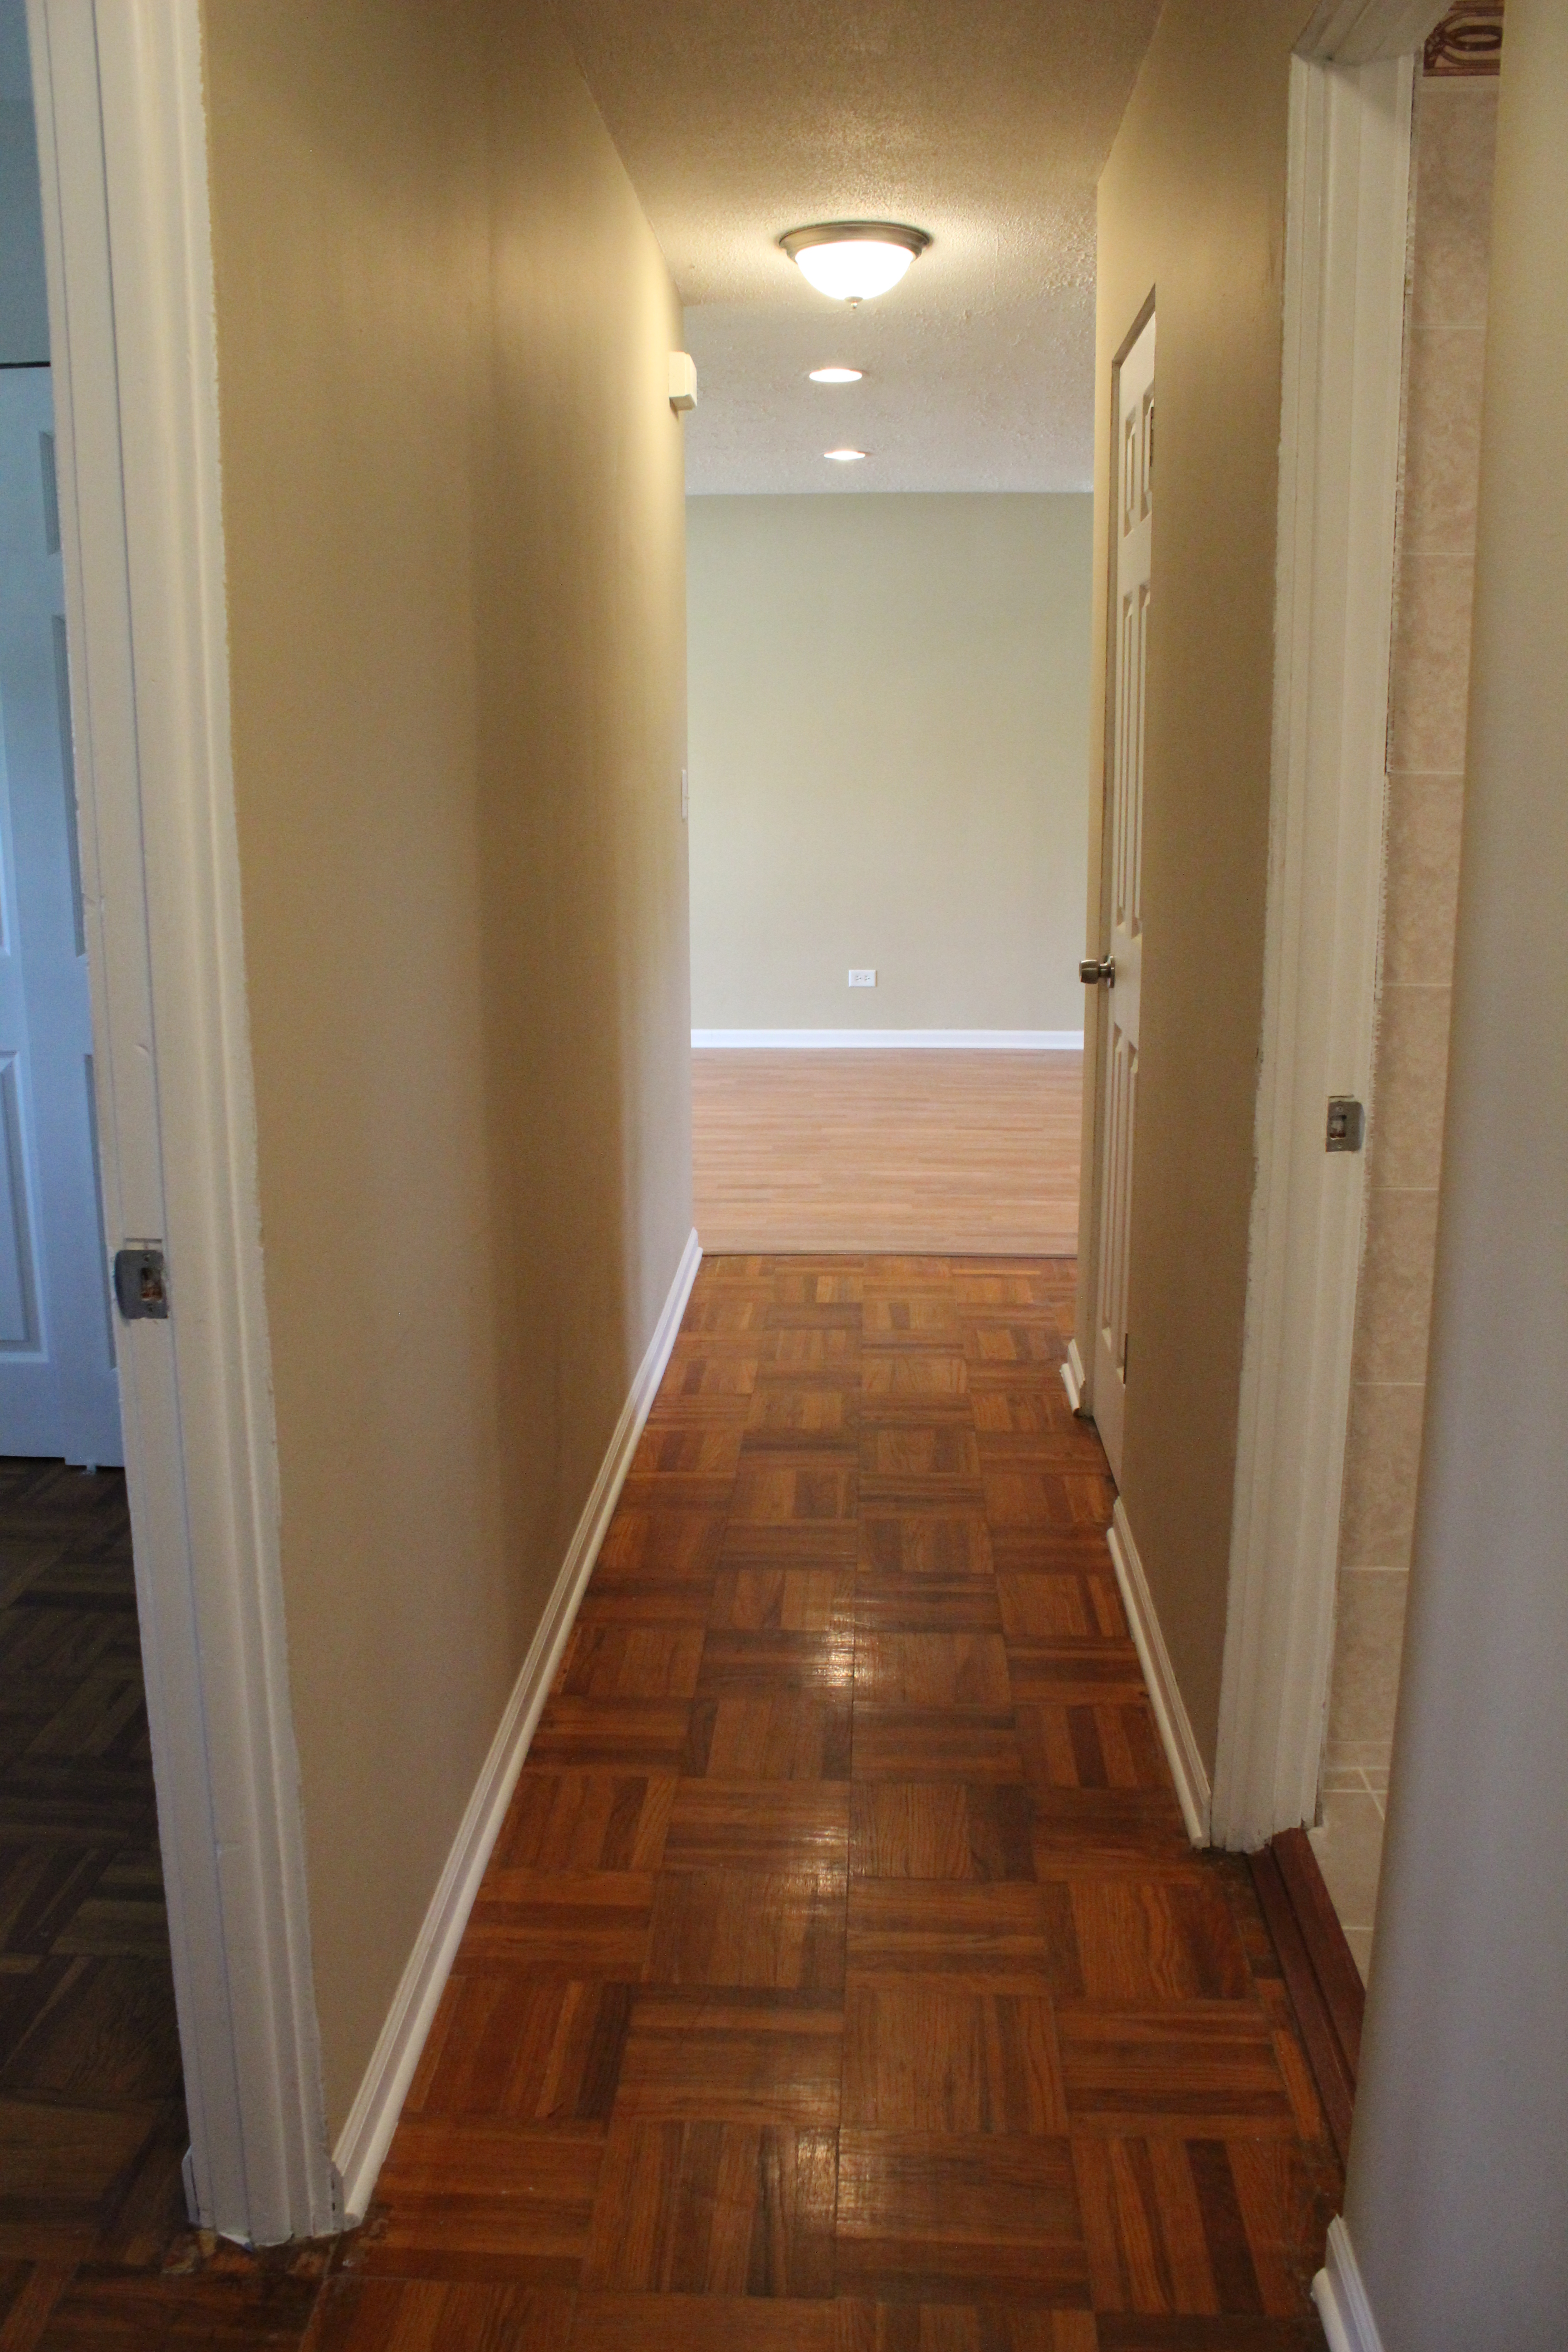
IMG_1510After:

IMG_3421

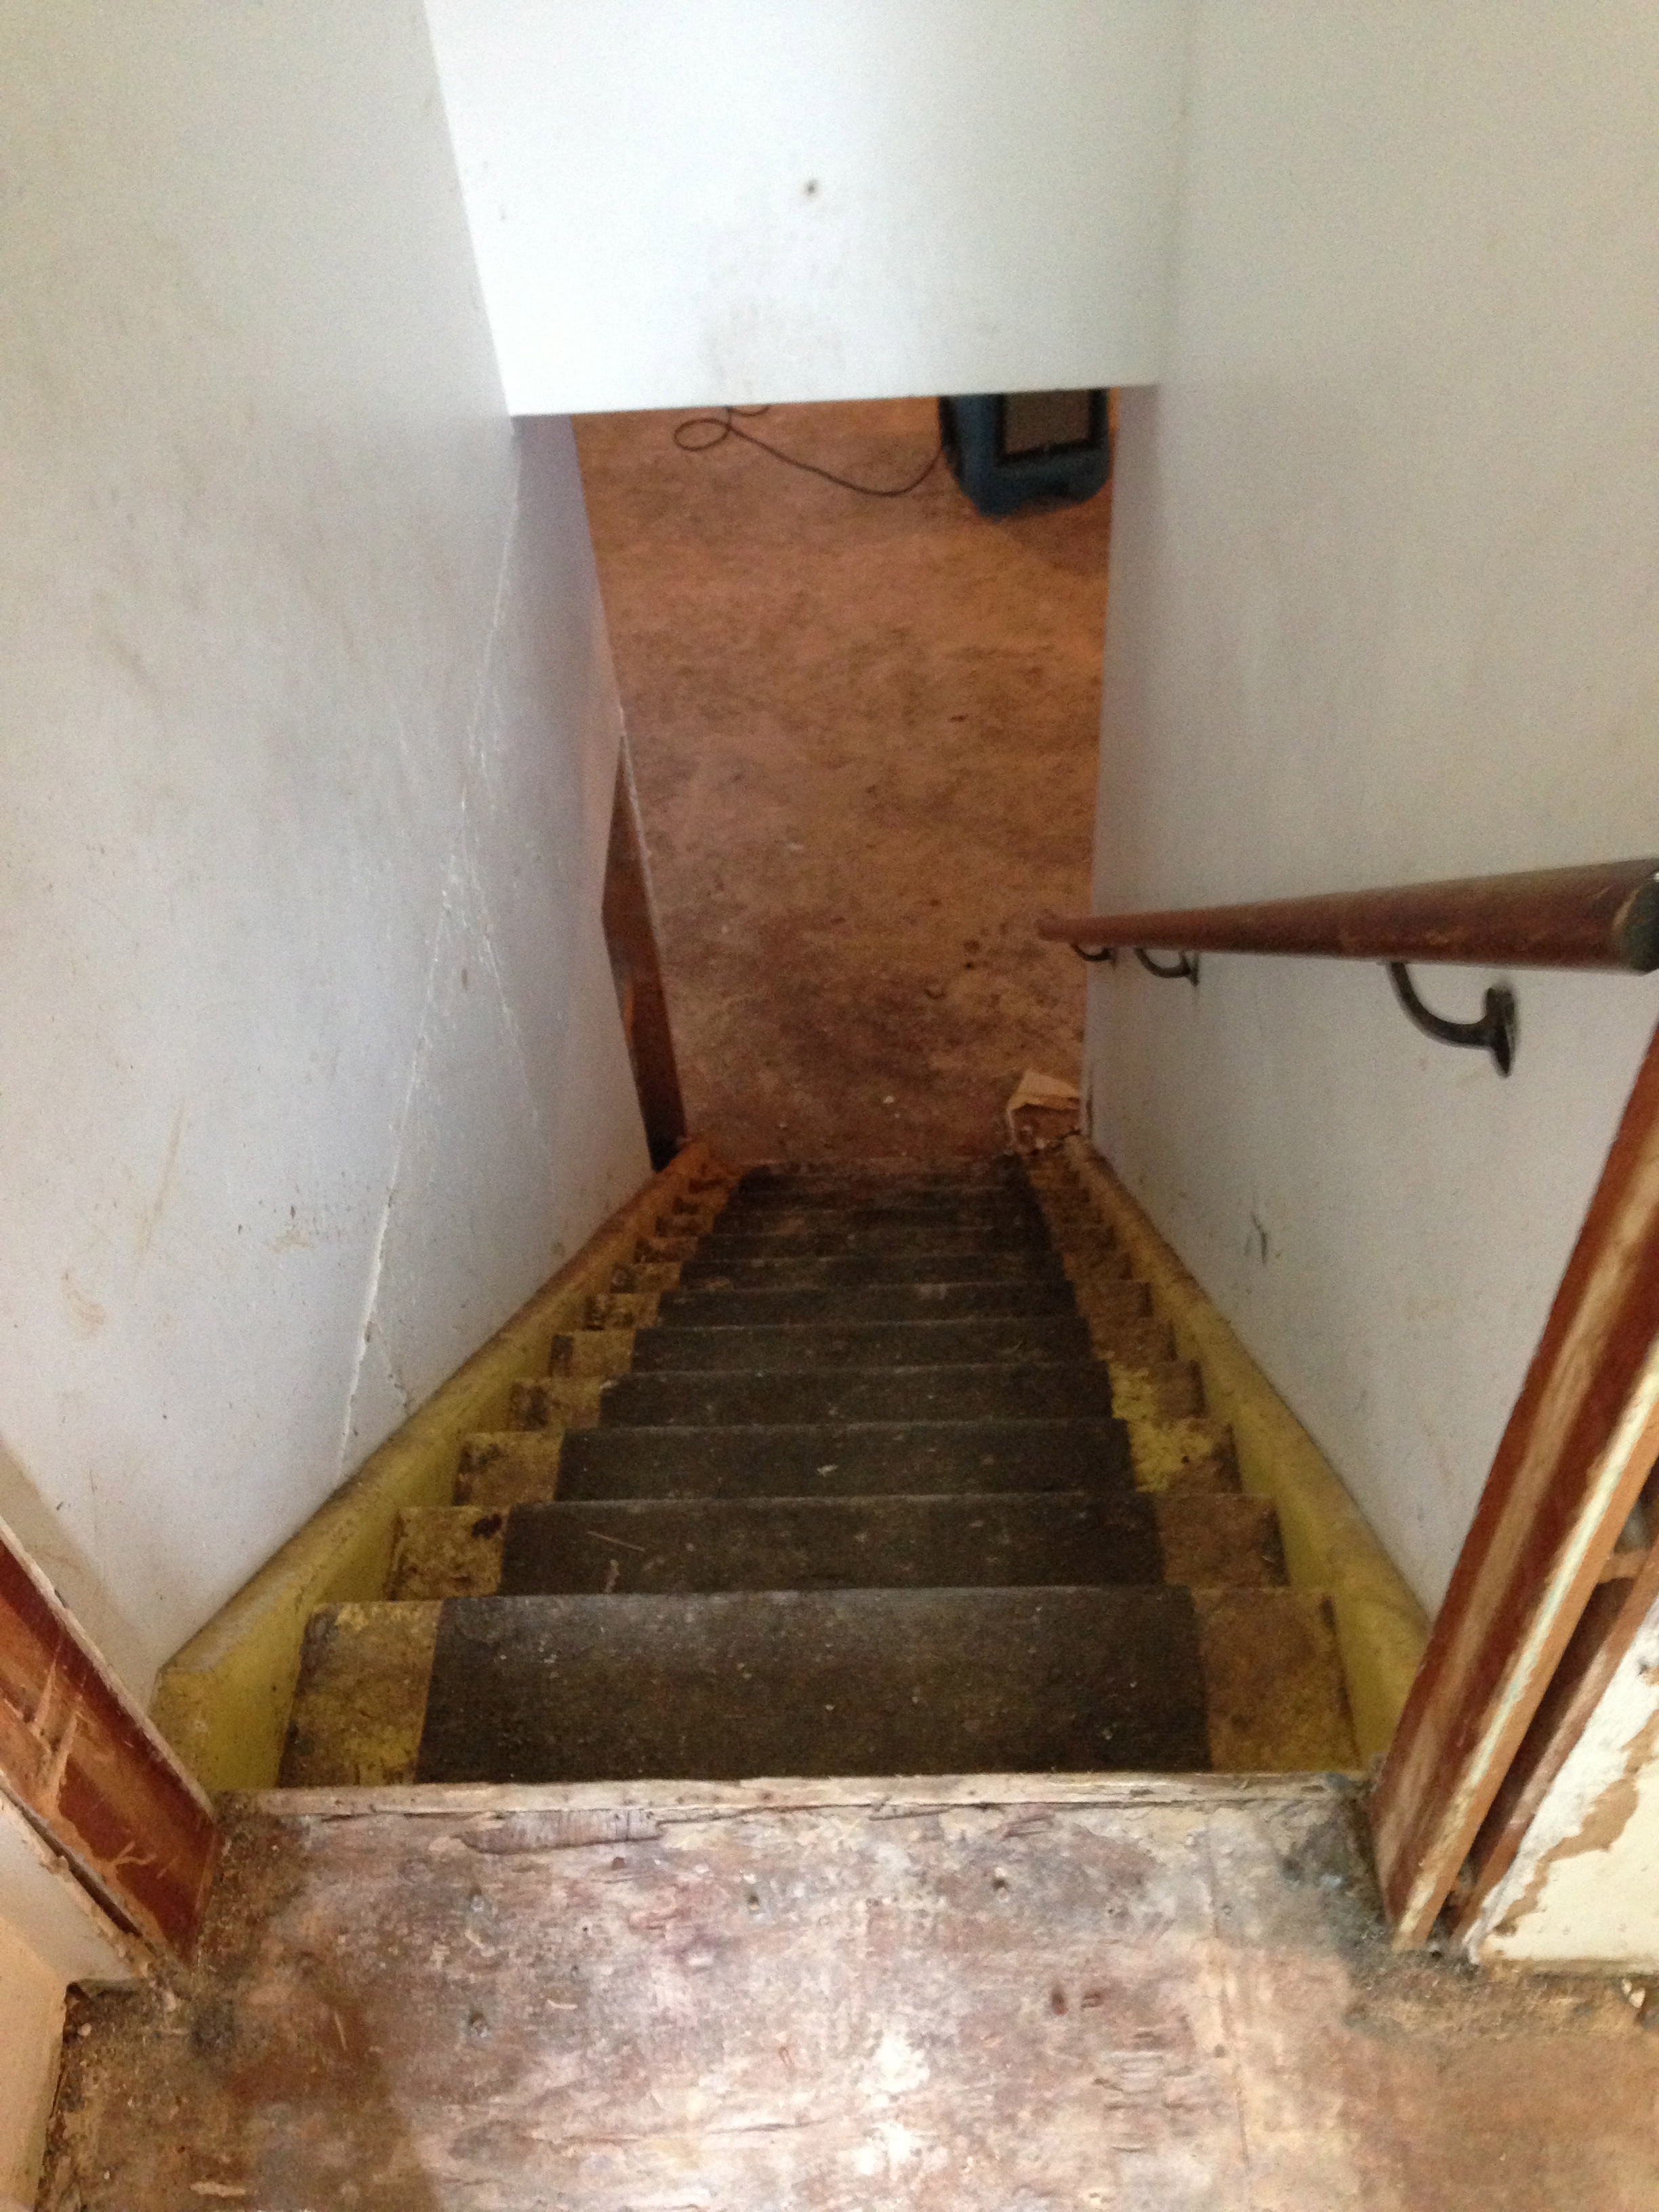
Here were the scary stairs down to the basement before:

IMG_1517

And now:

IMG_3424

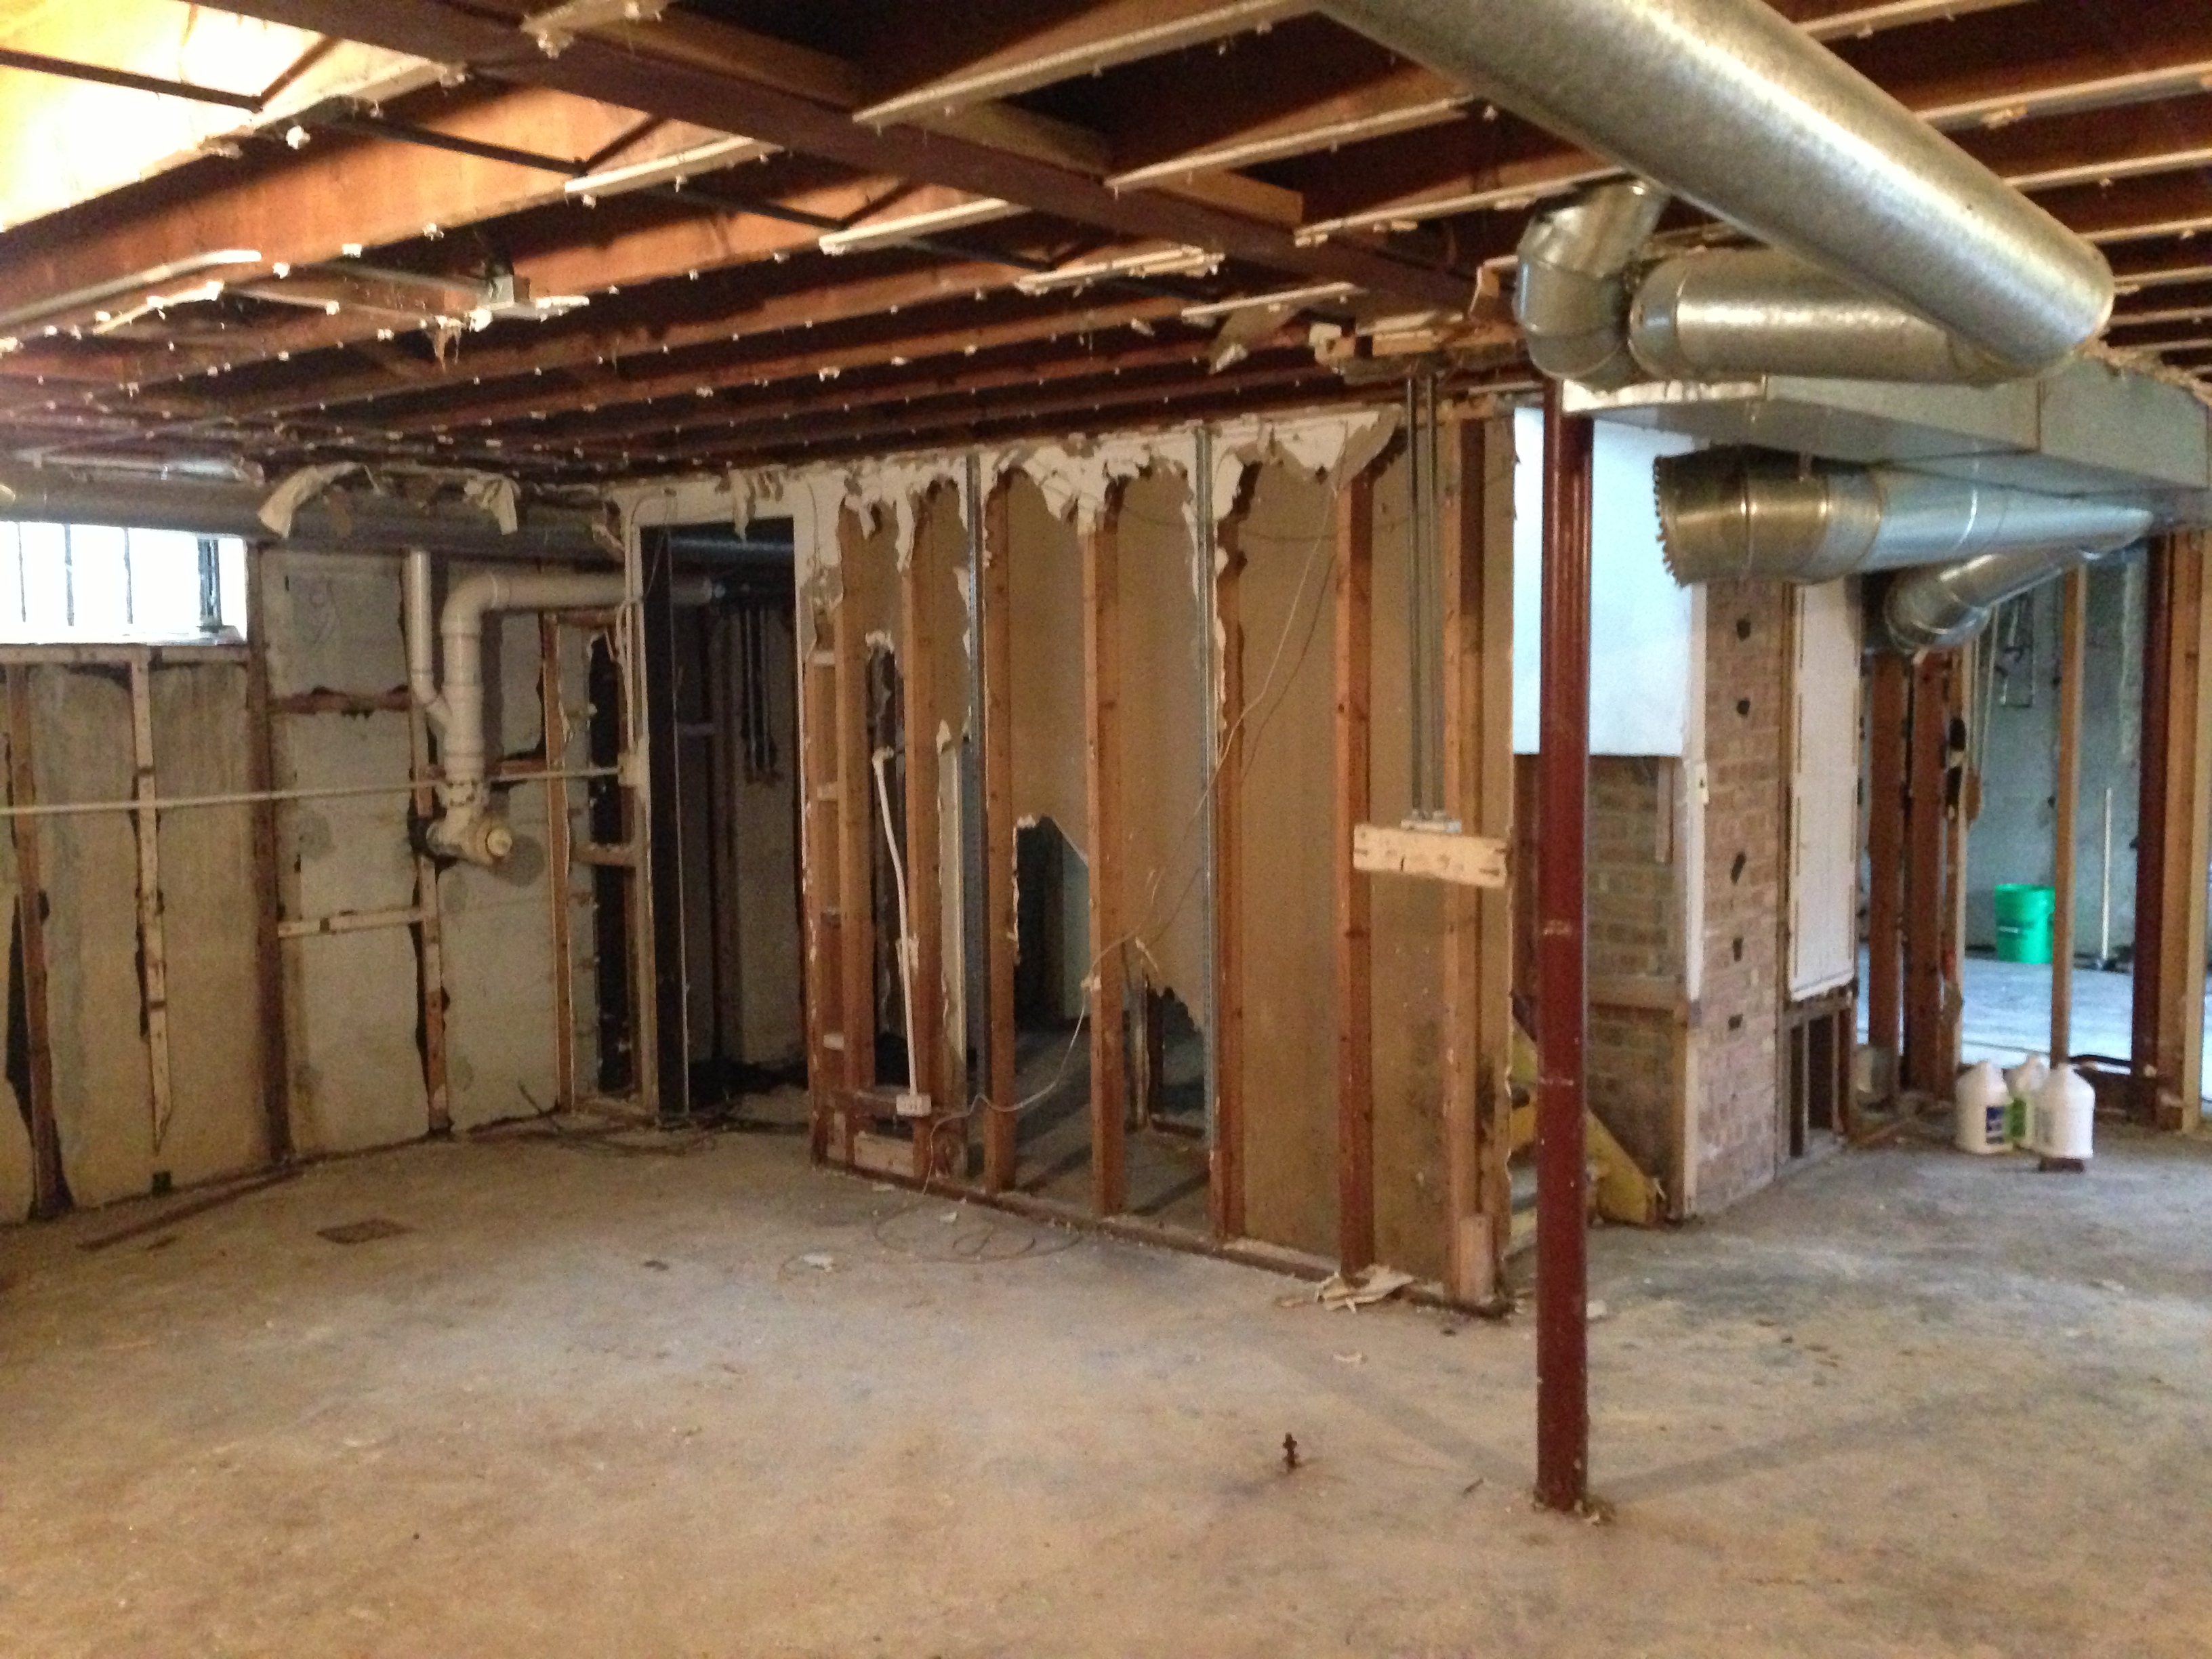
And the biggest transformation of all is the basement. What looked like this before:

IMG_1530

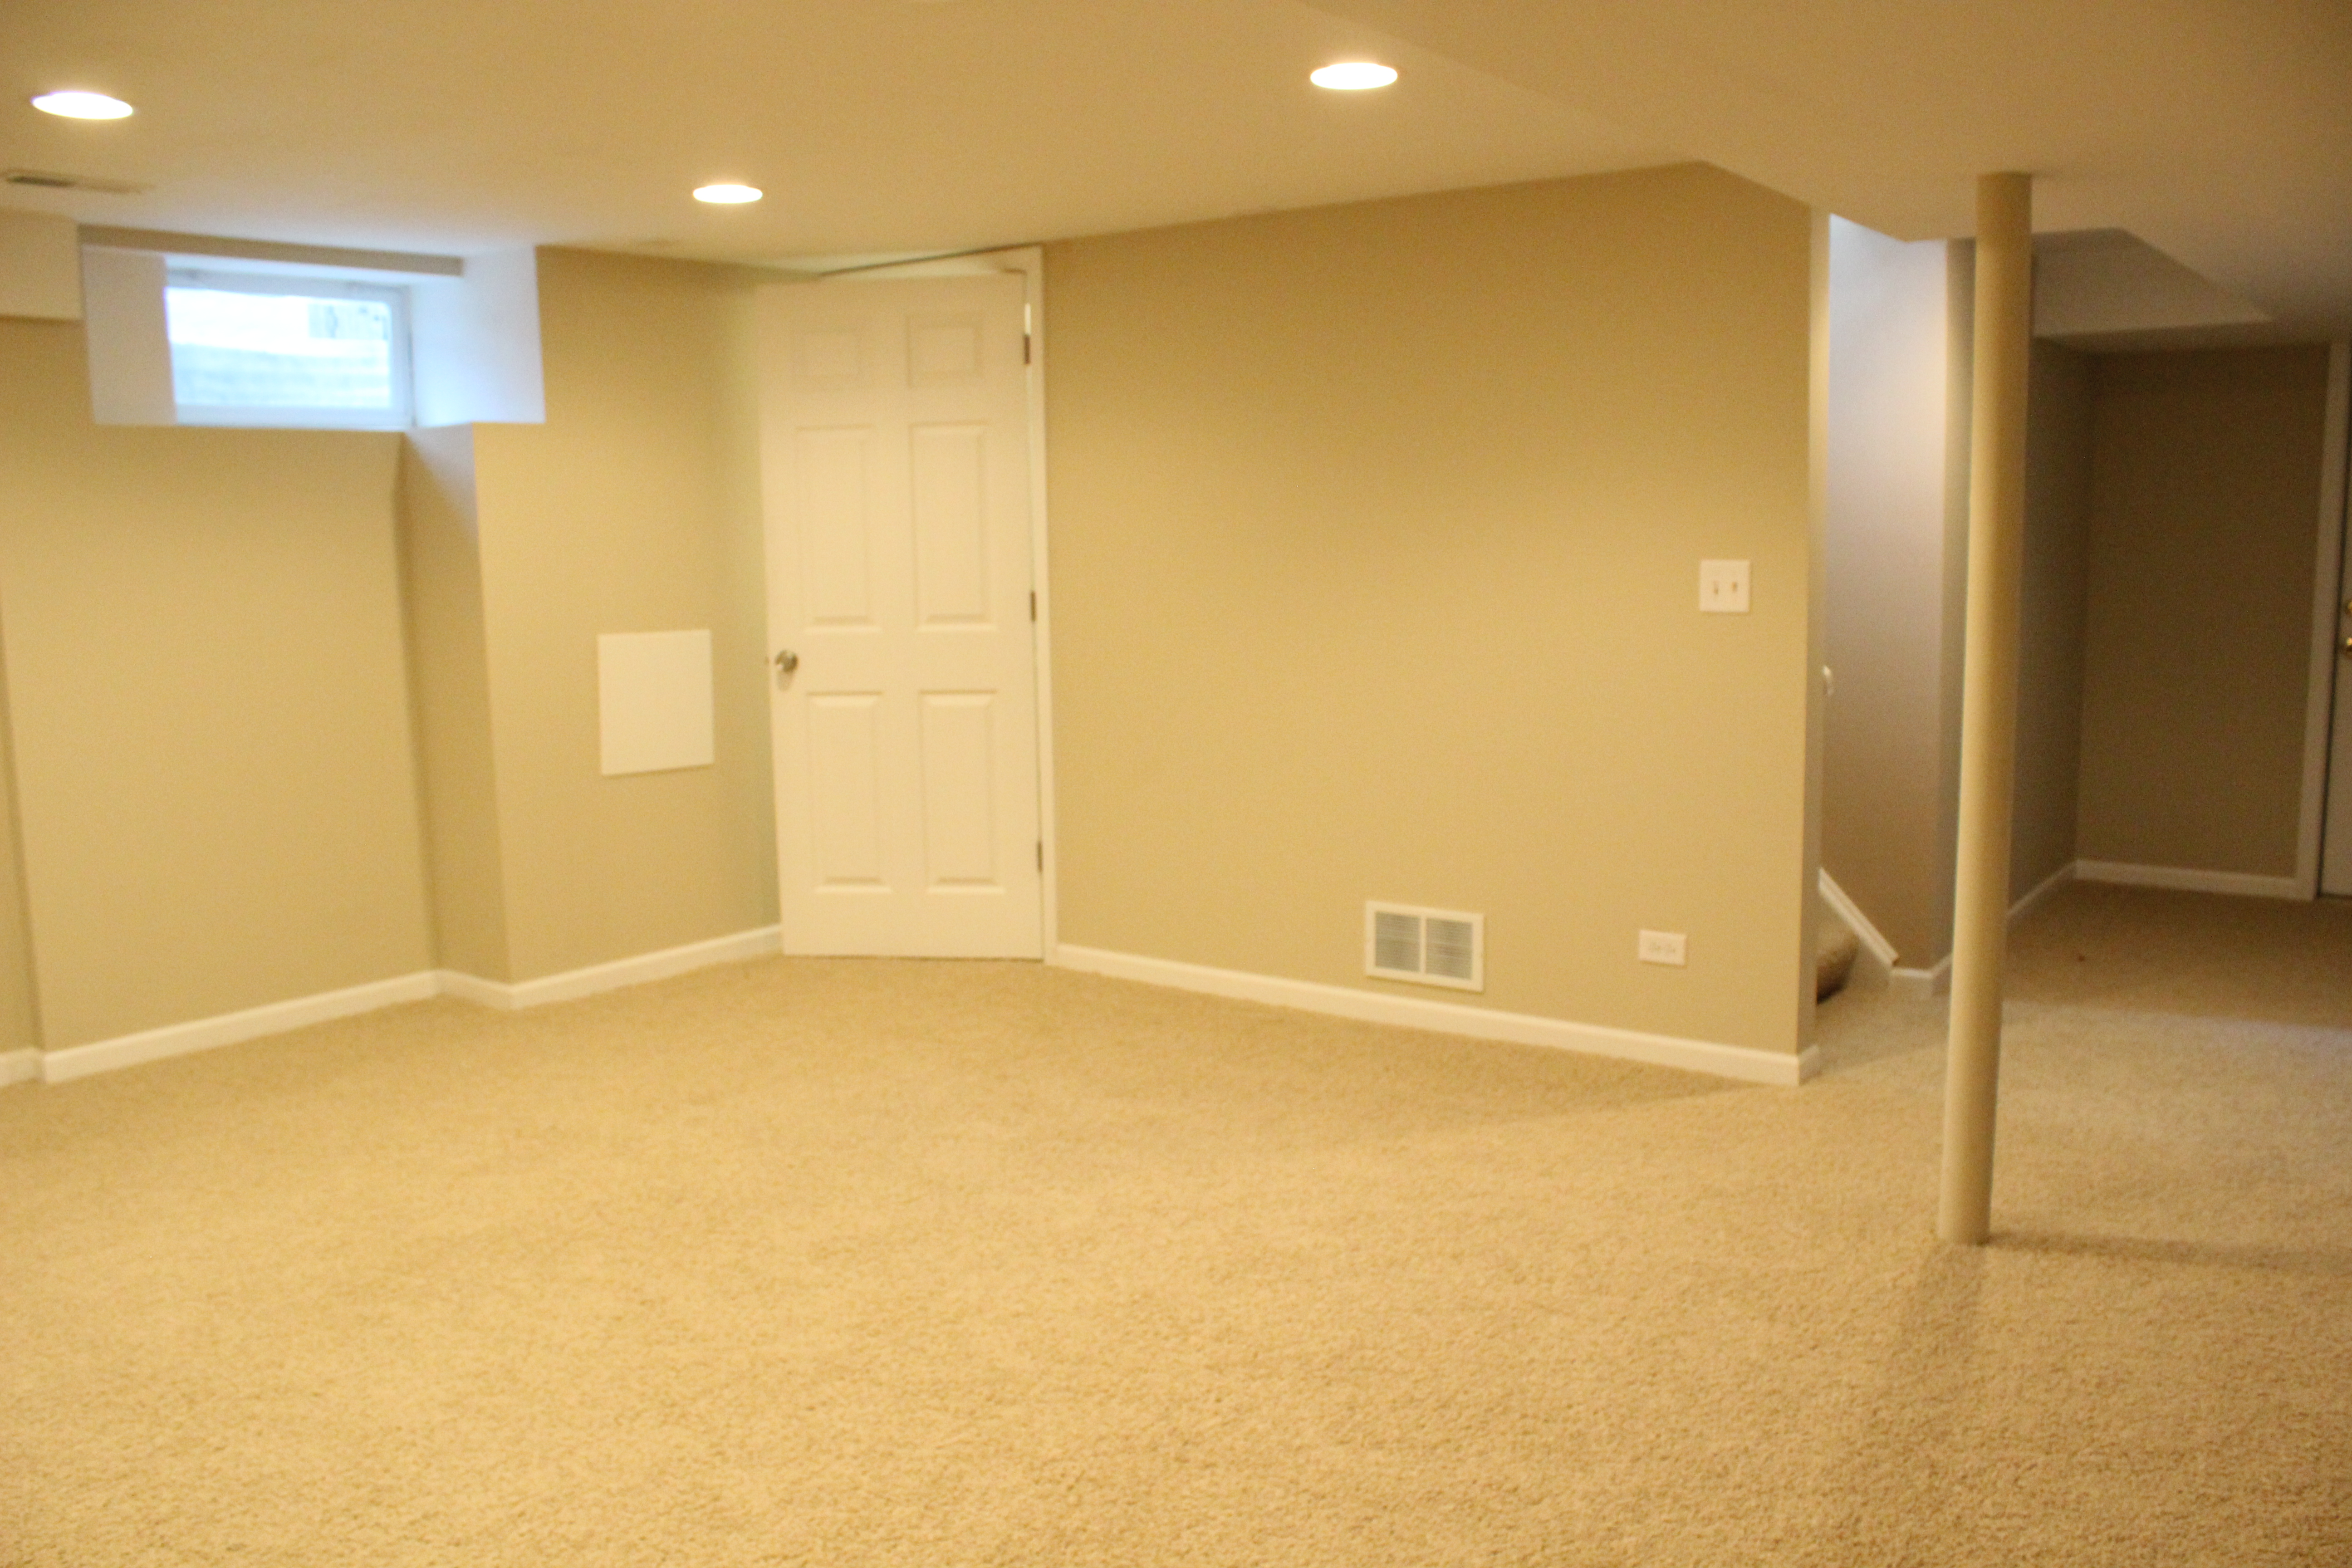
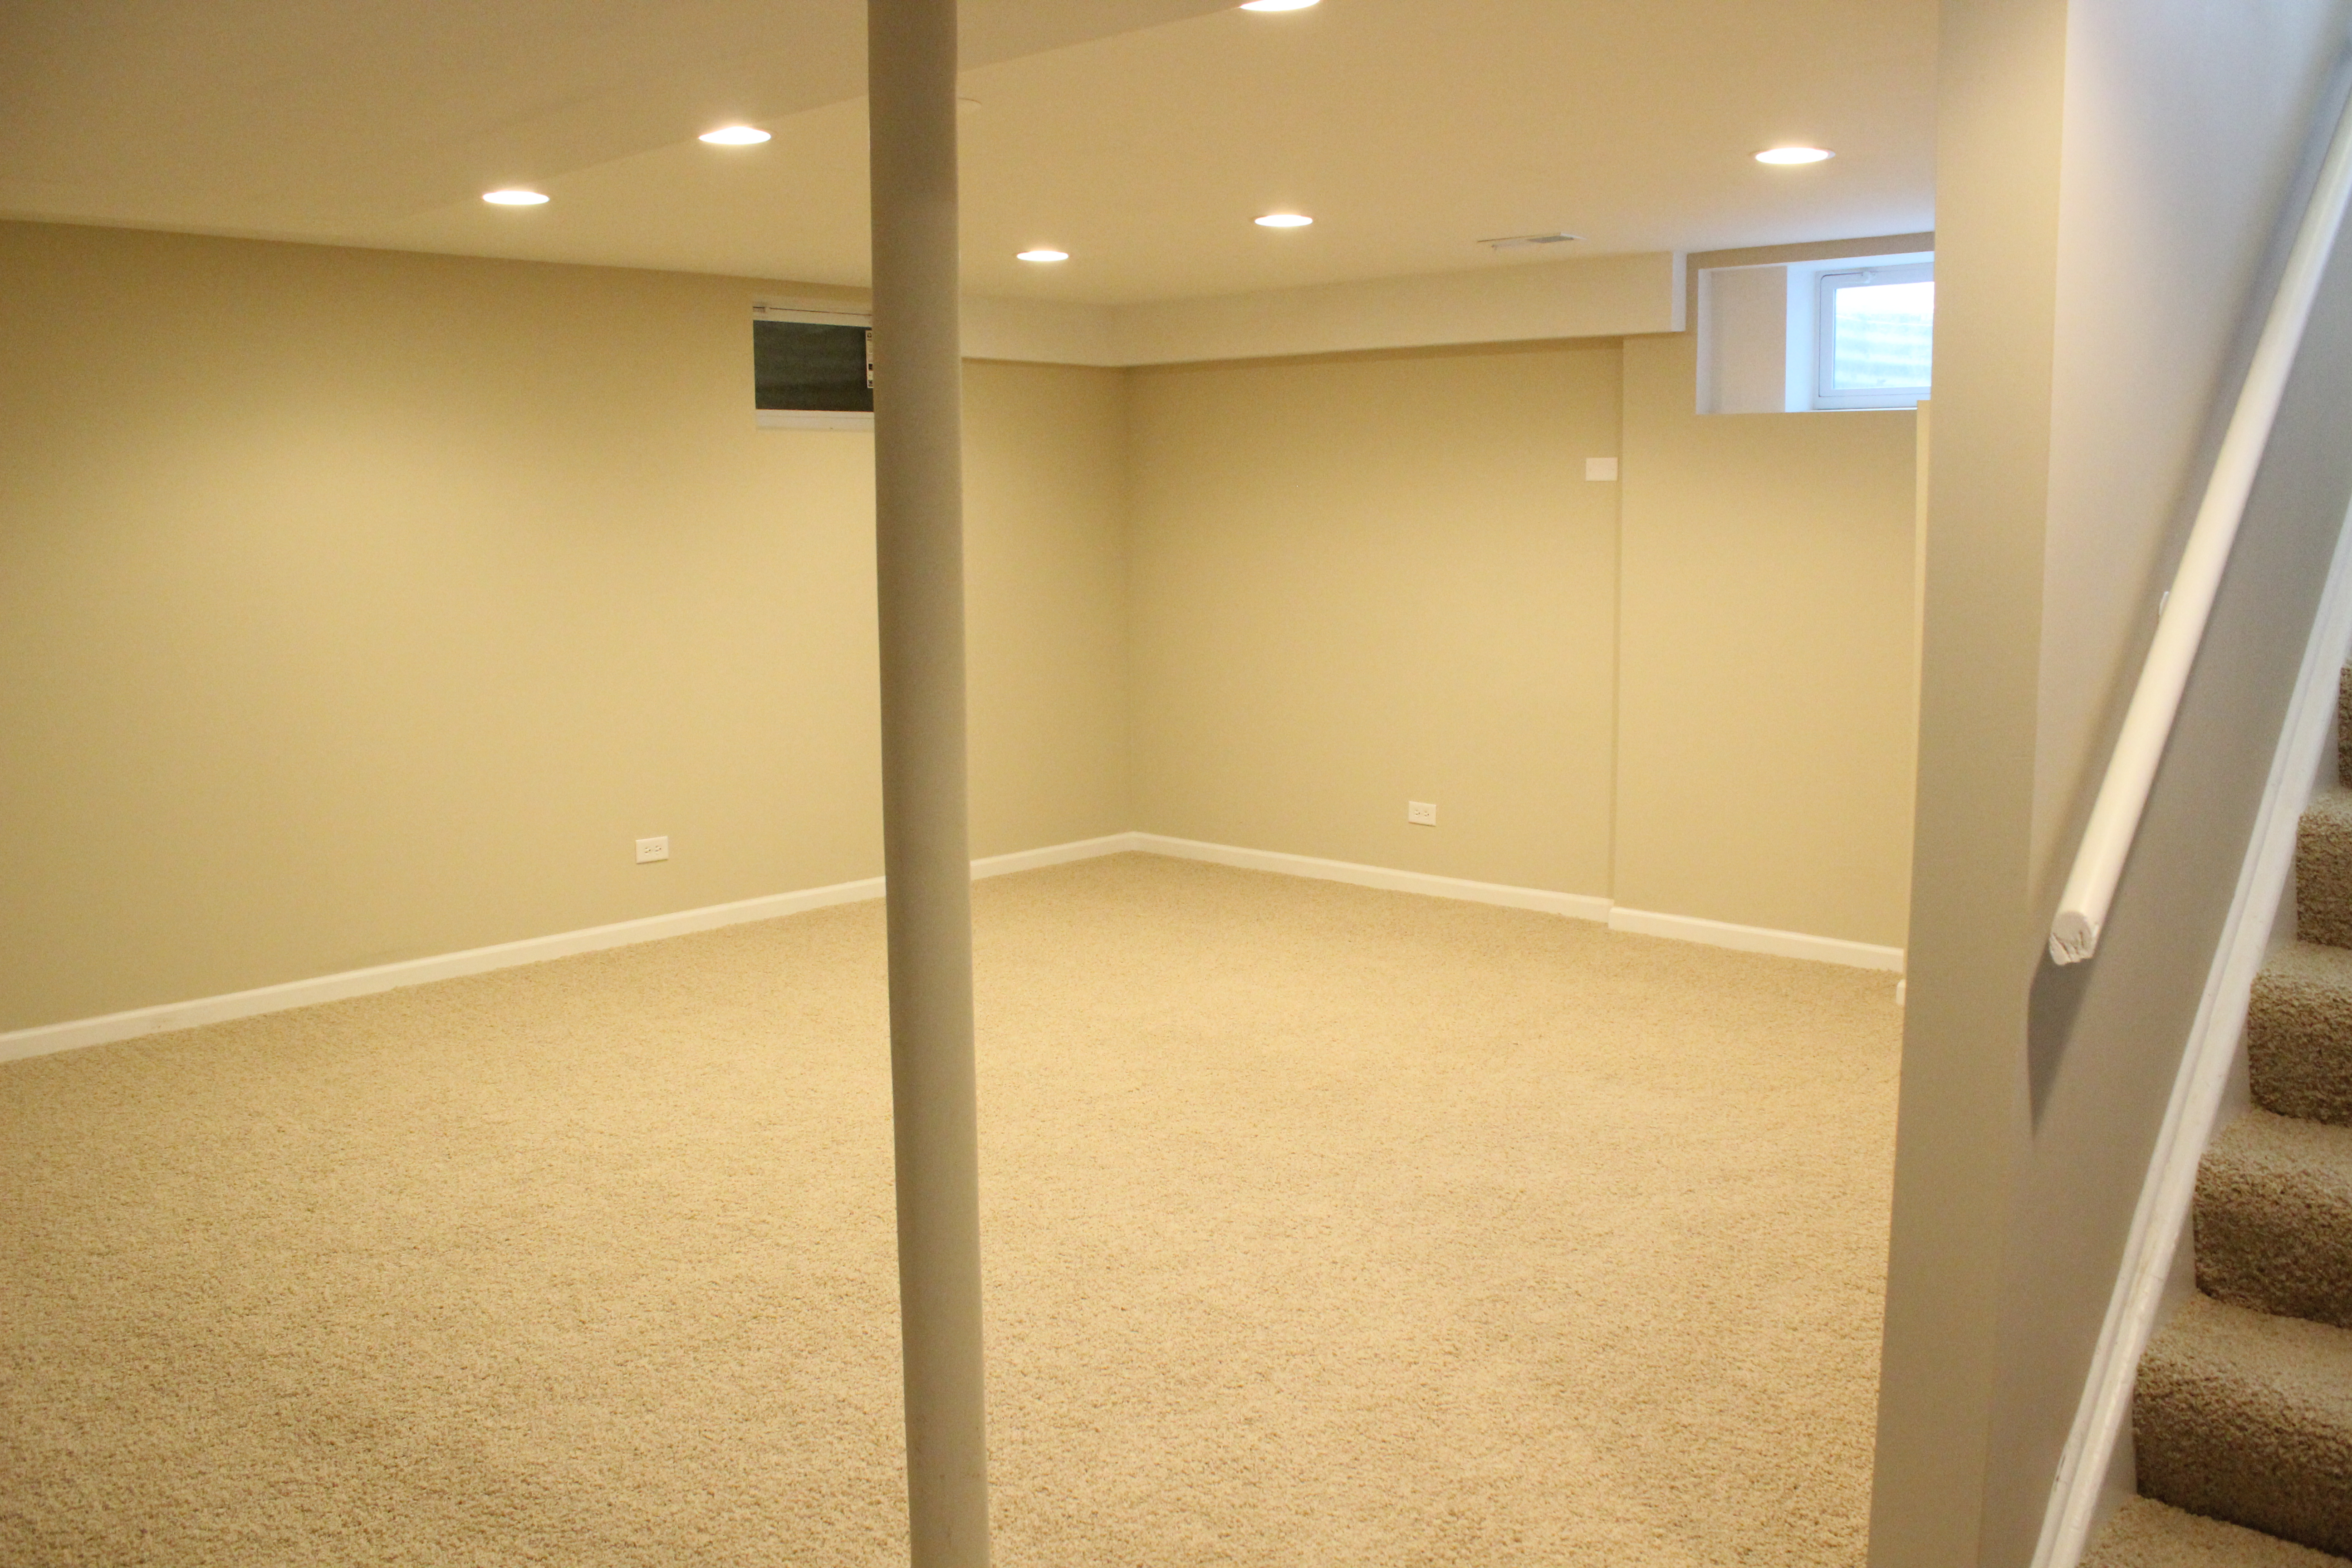
Is now this:

IMG_3425

IMG_3426

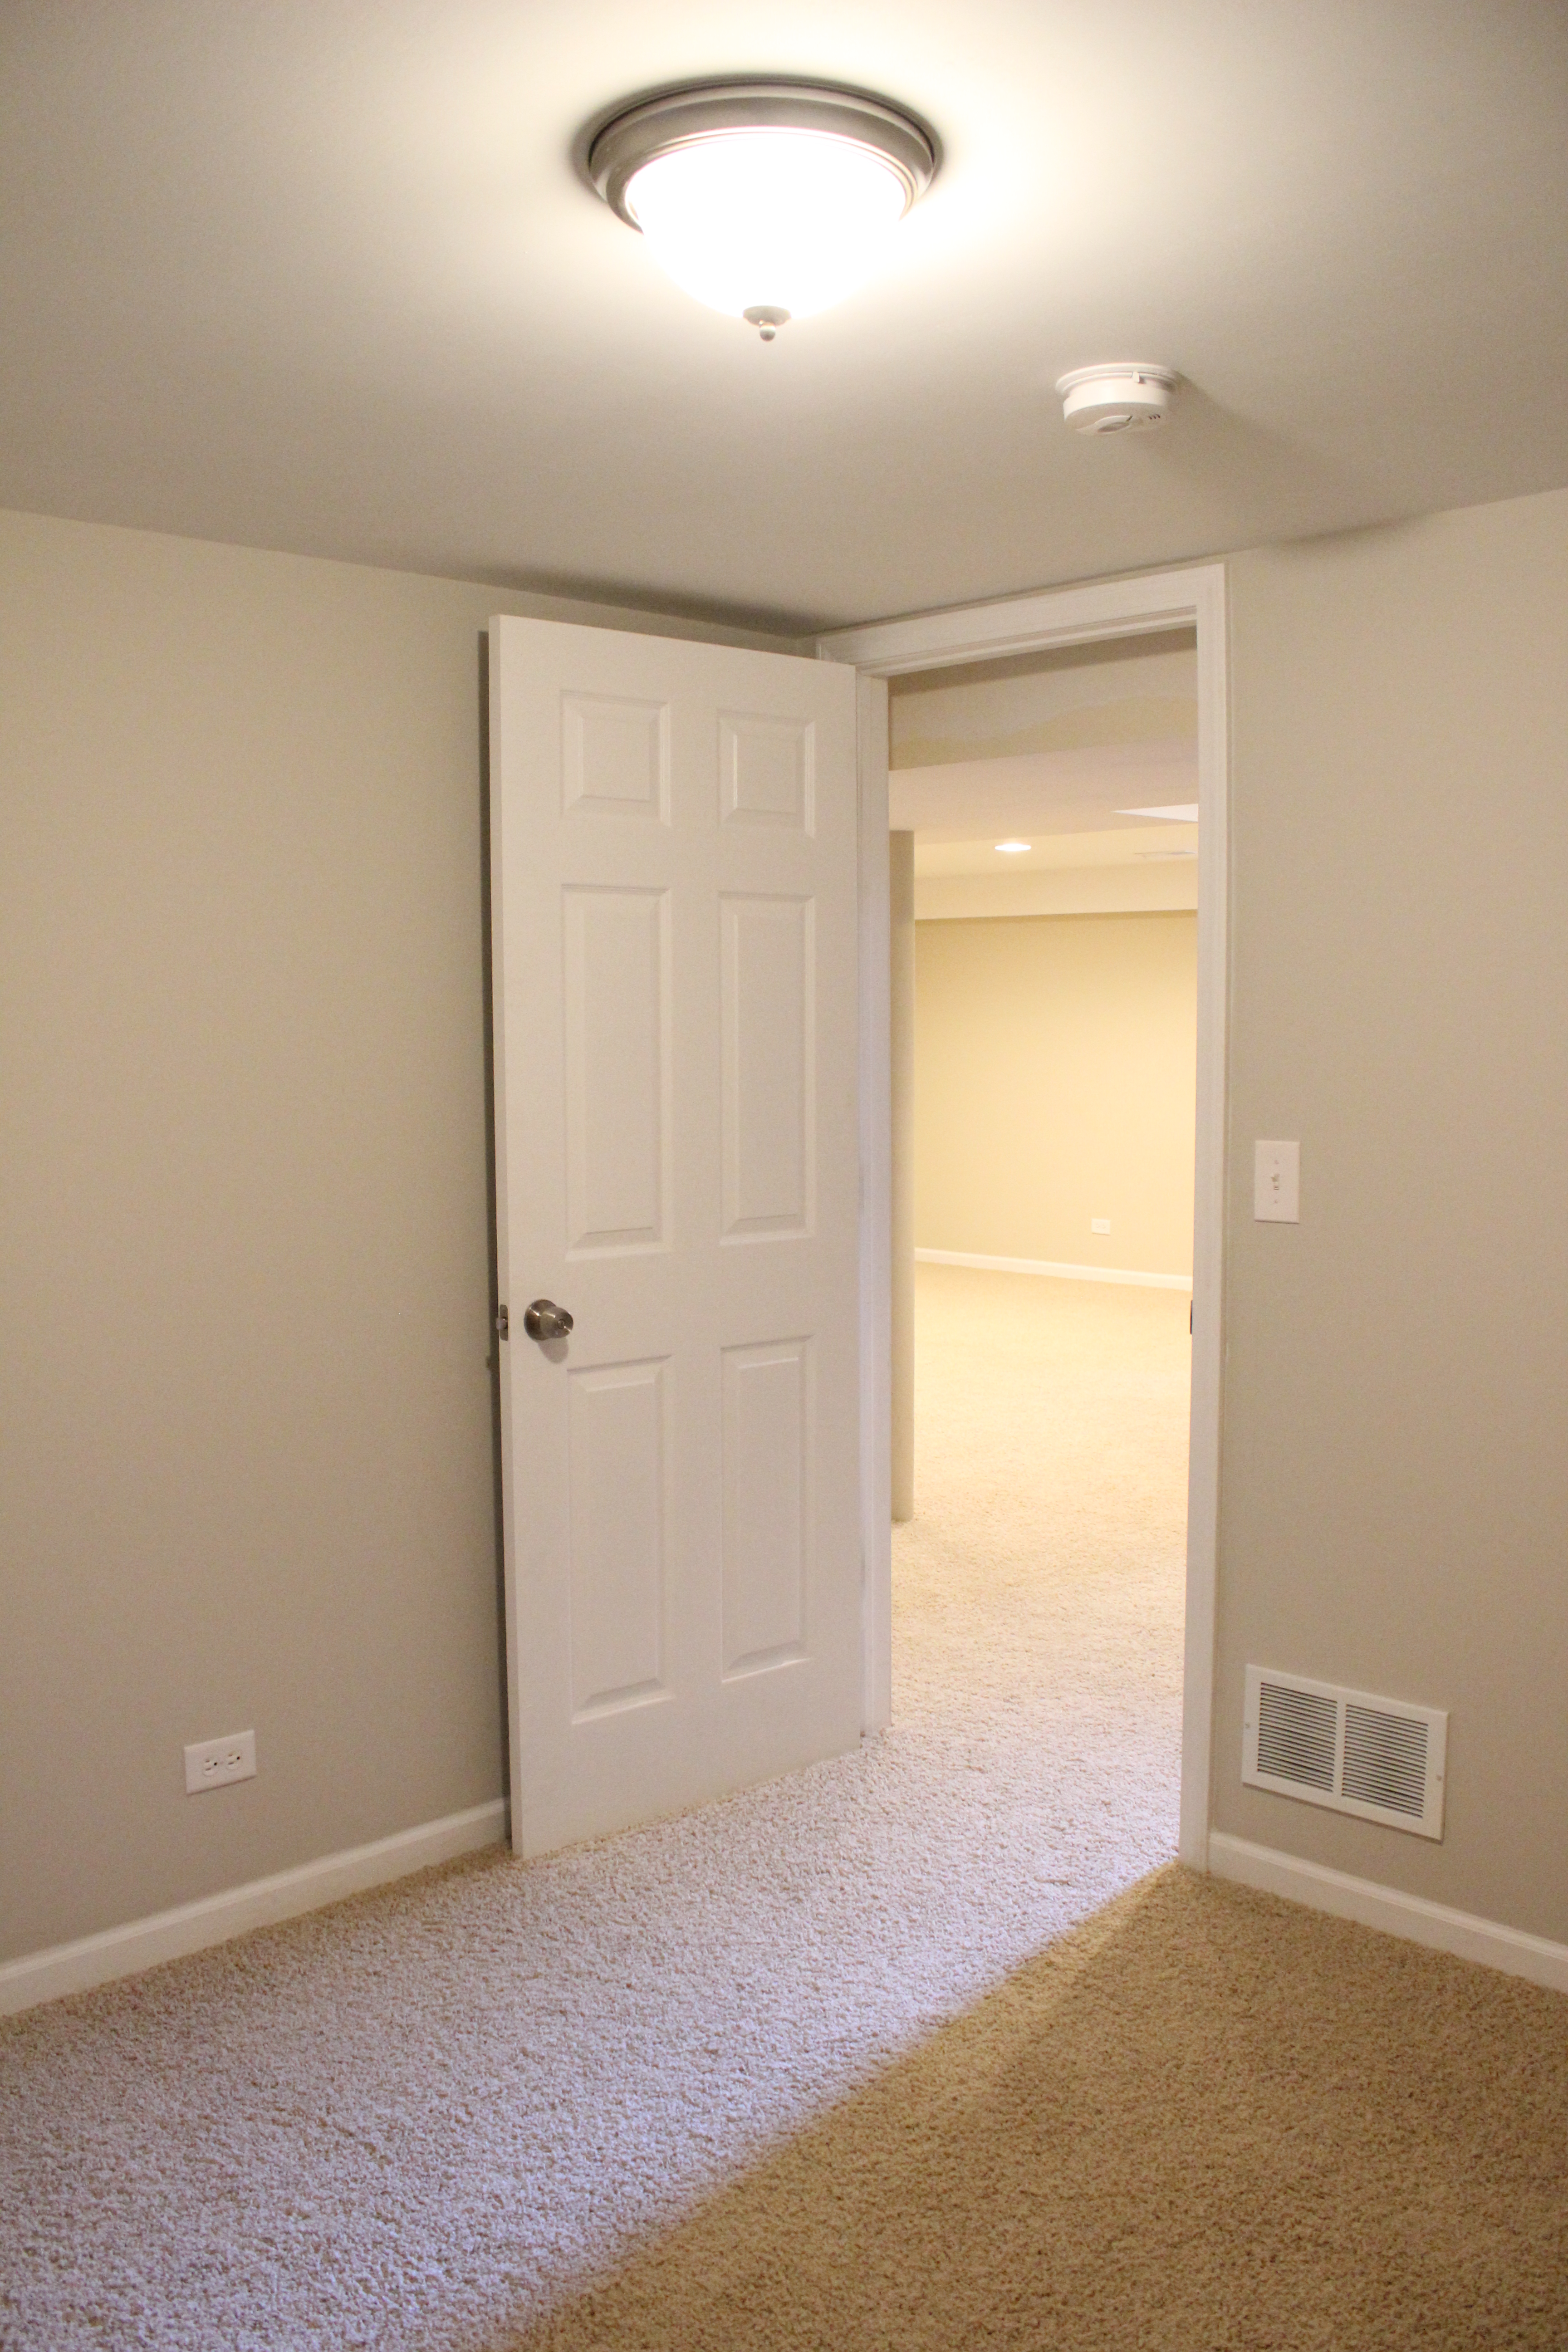
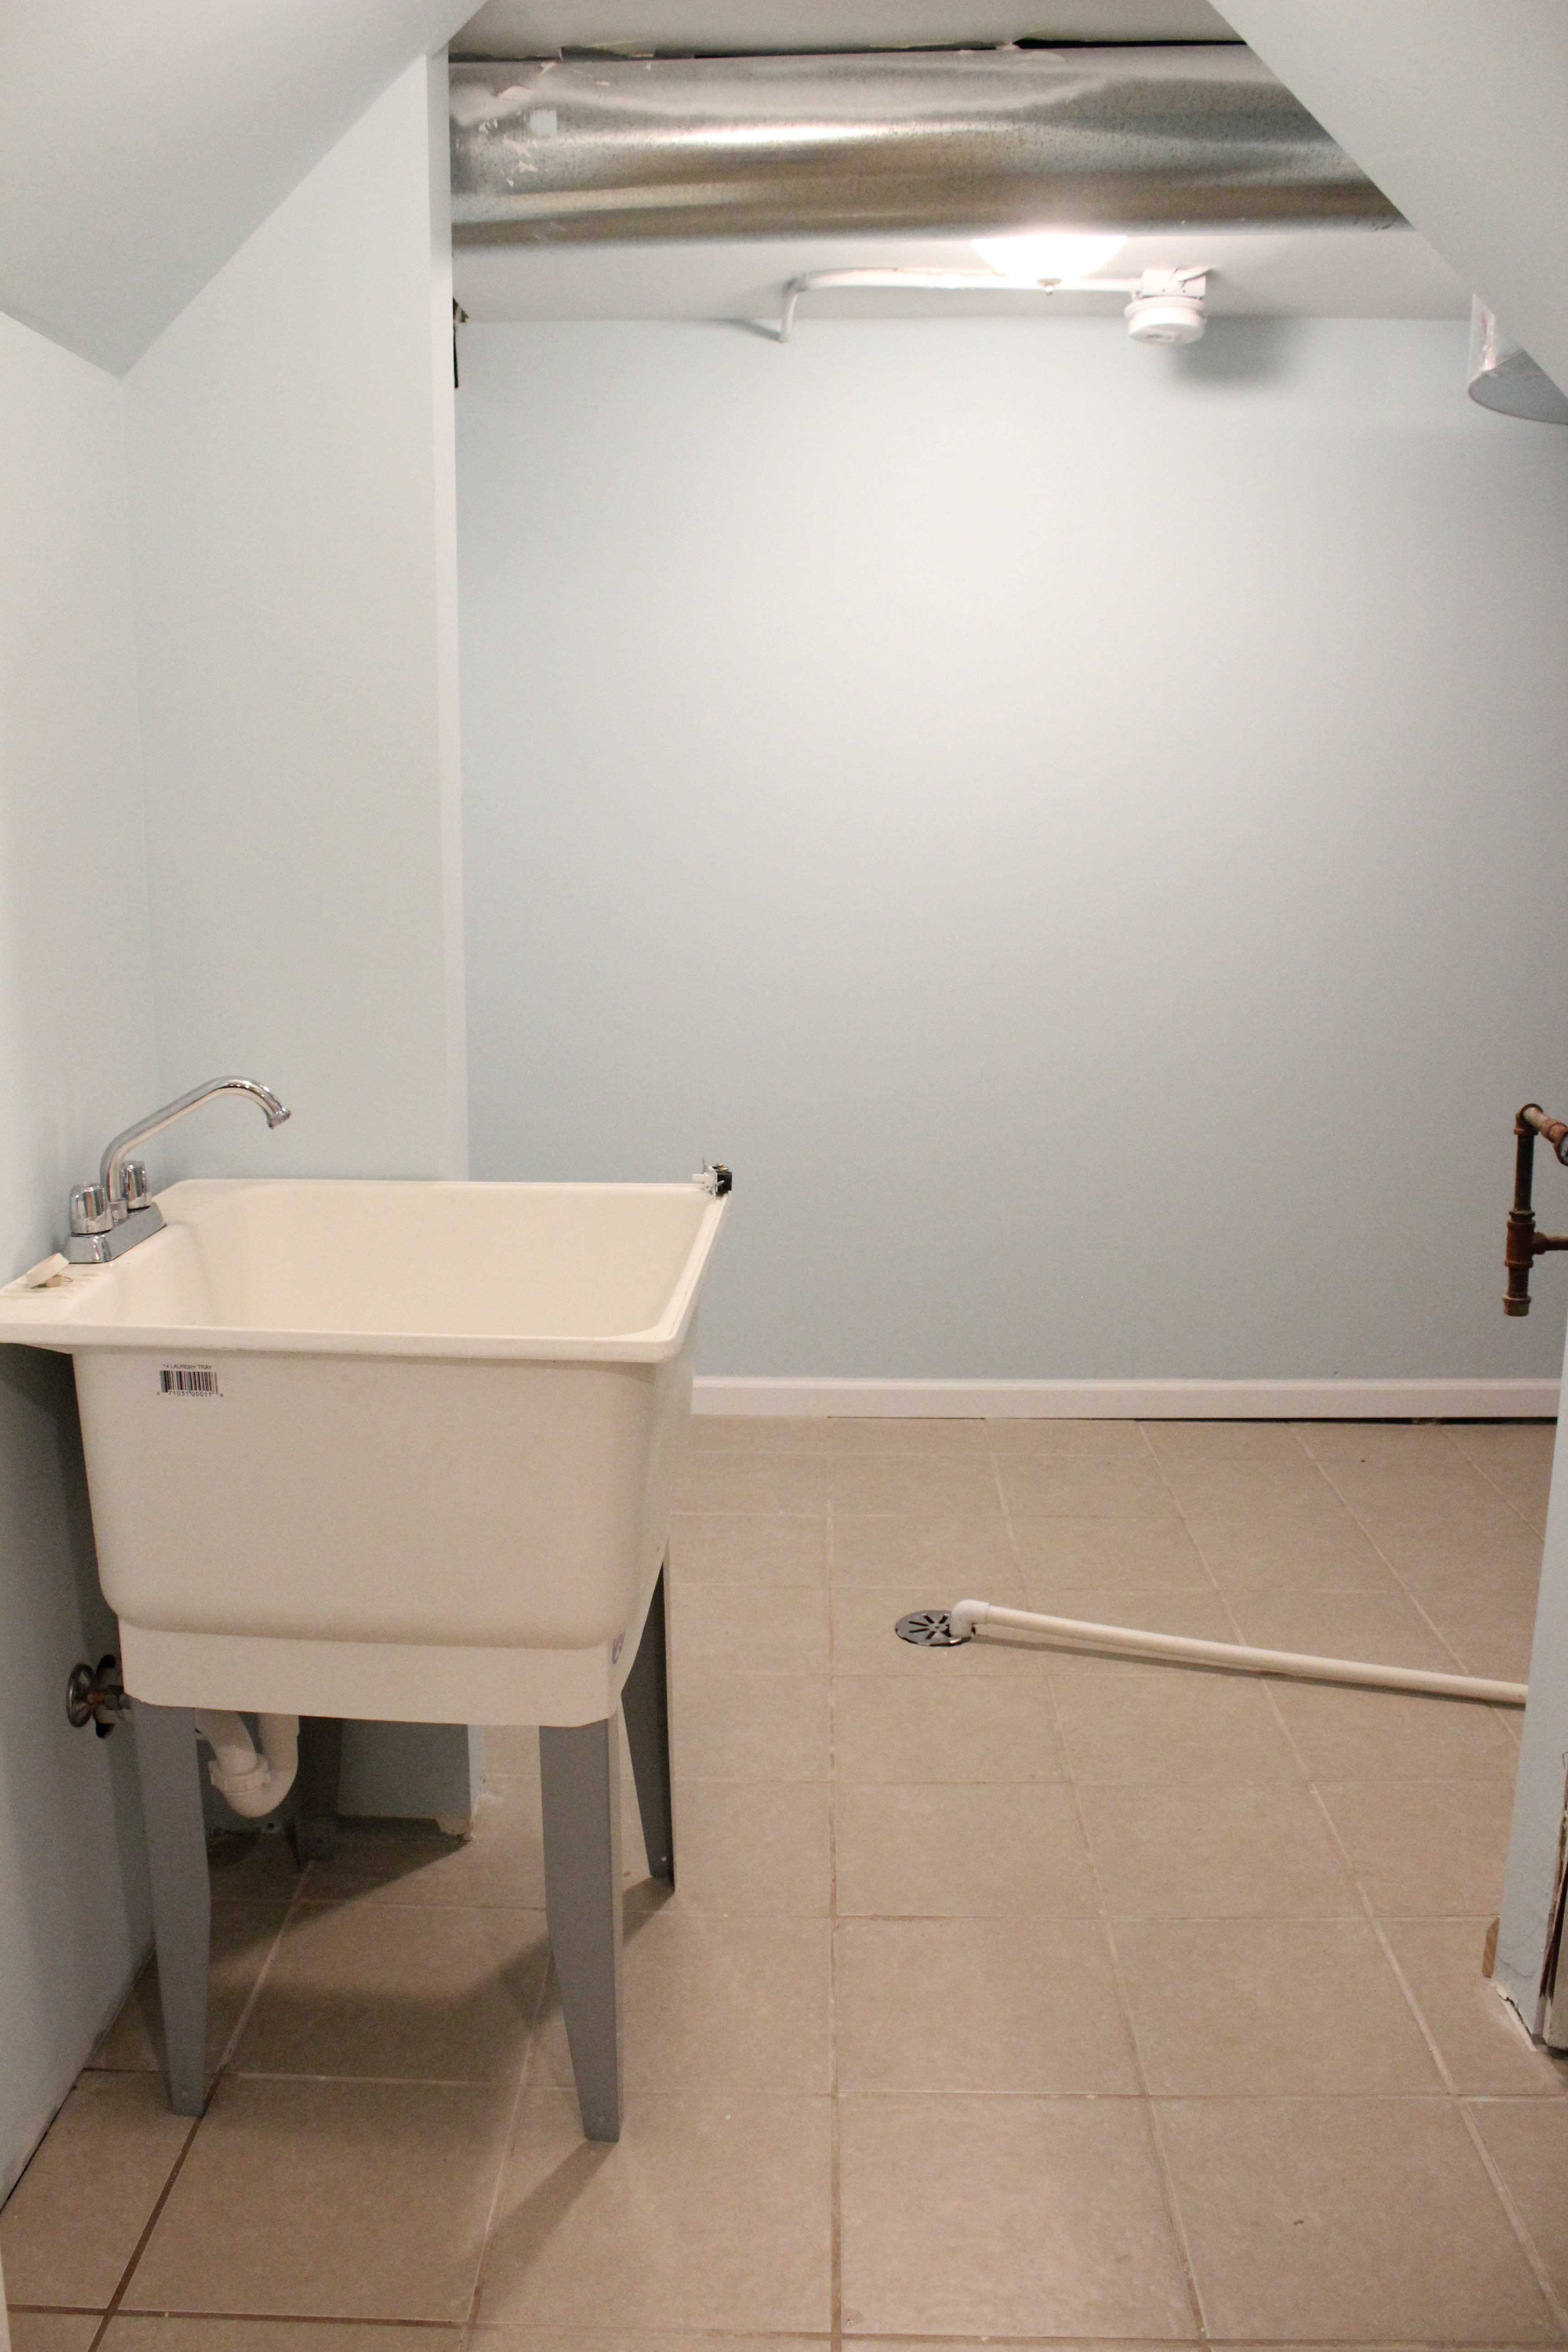
We also added 2 all new bedrooms, a bathroom and a laundry room.

IMG_3428

IMG_3430

IMG_3431

That concludes the tour.

Now, we can focus our time, attention, and a little bit of profit into getting our own place ready for the baby! Kitchen reno is starting in the next week or two, so stay tuned.

And The Pool is FINALLY Open

29 Aug

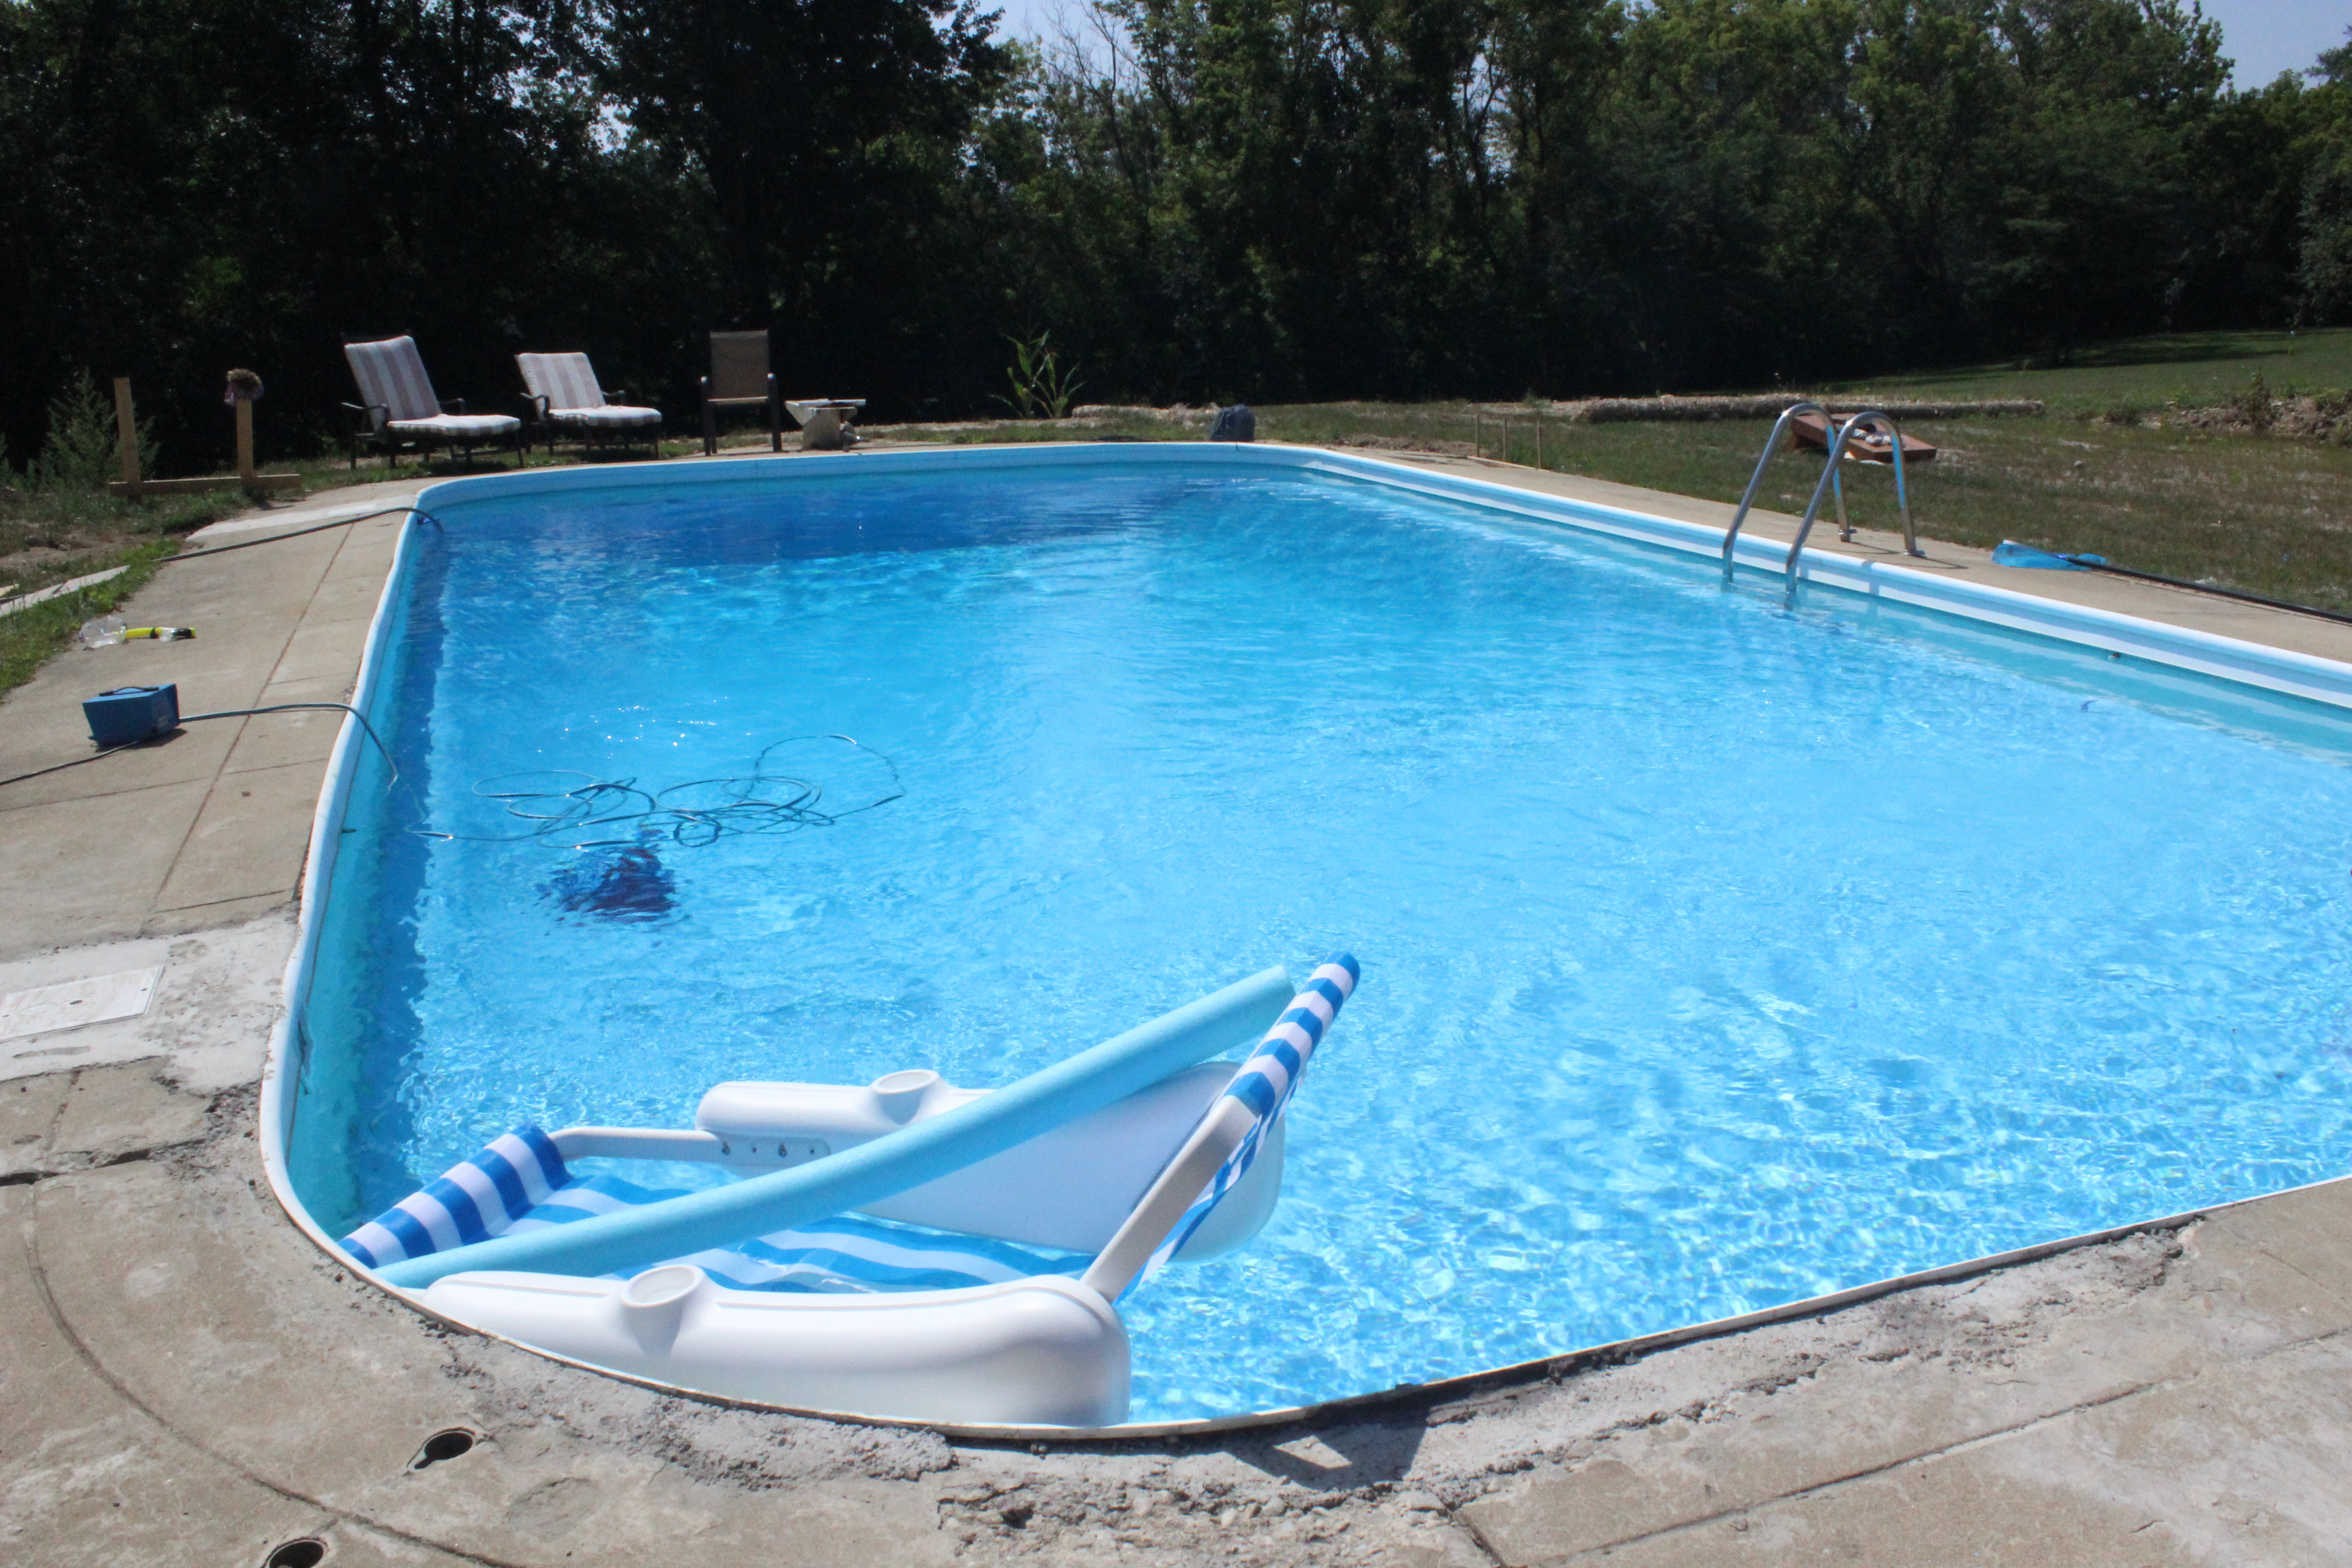
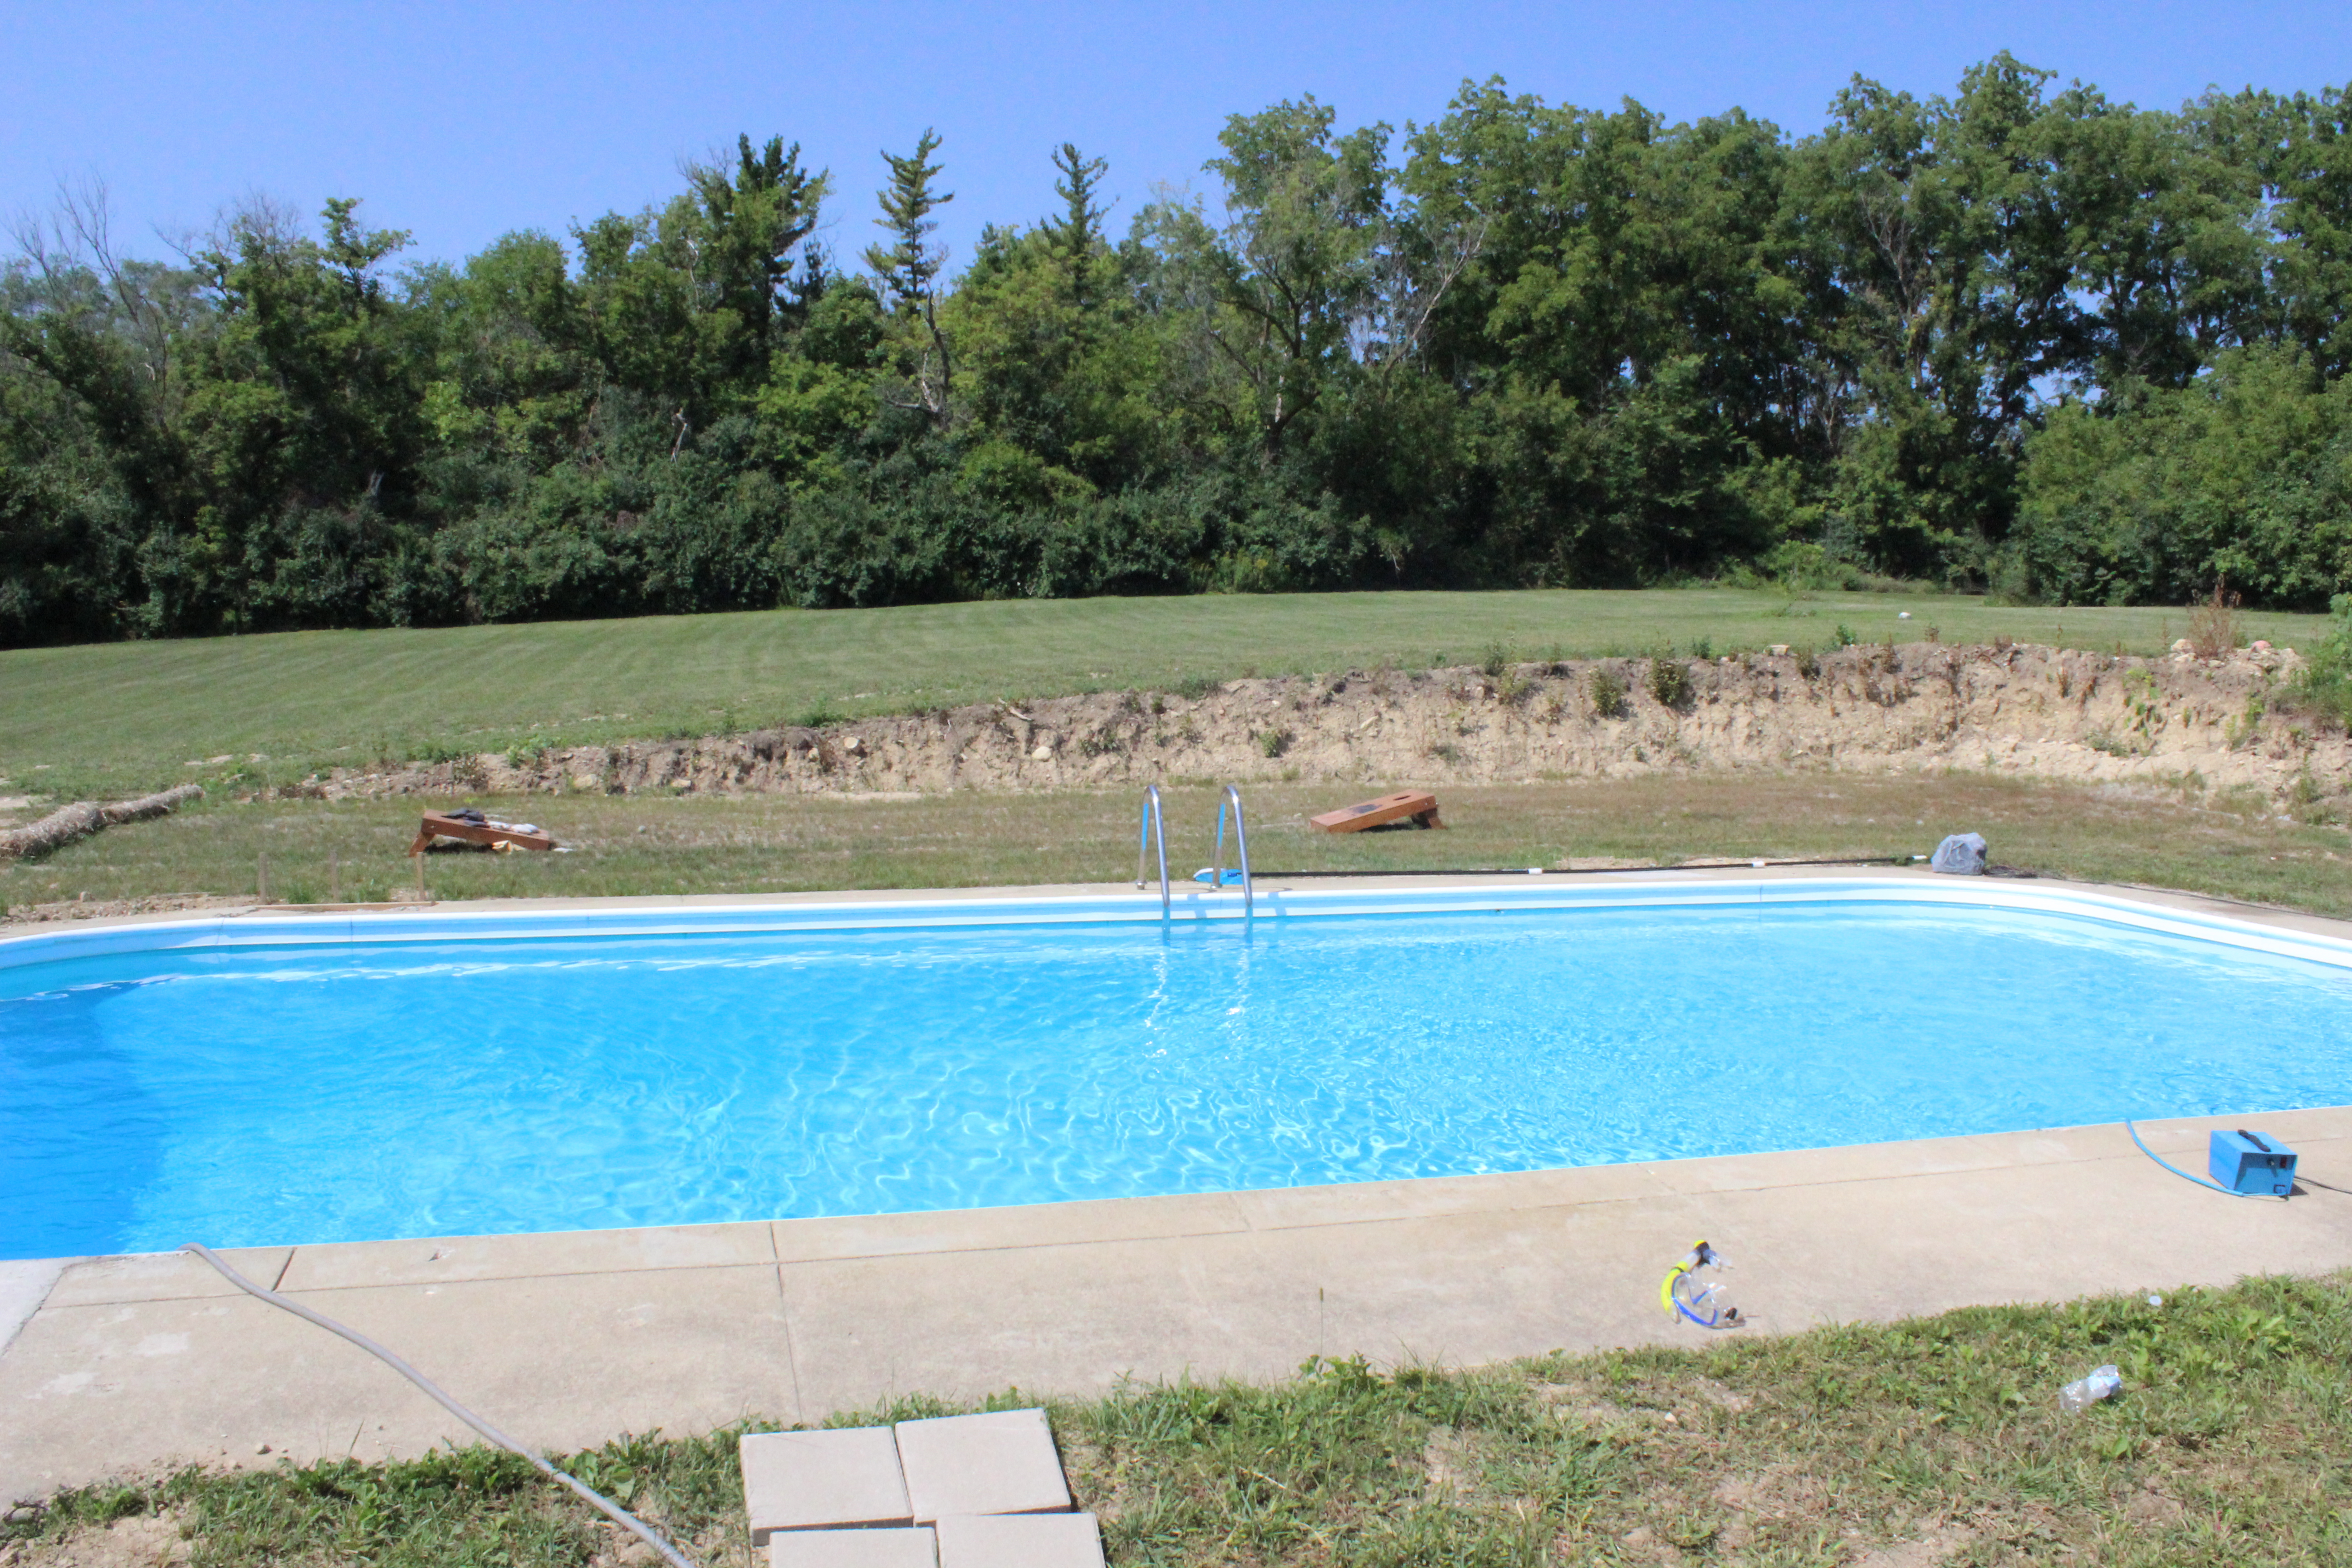
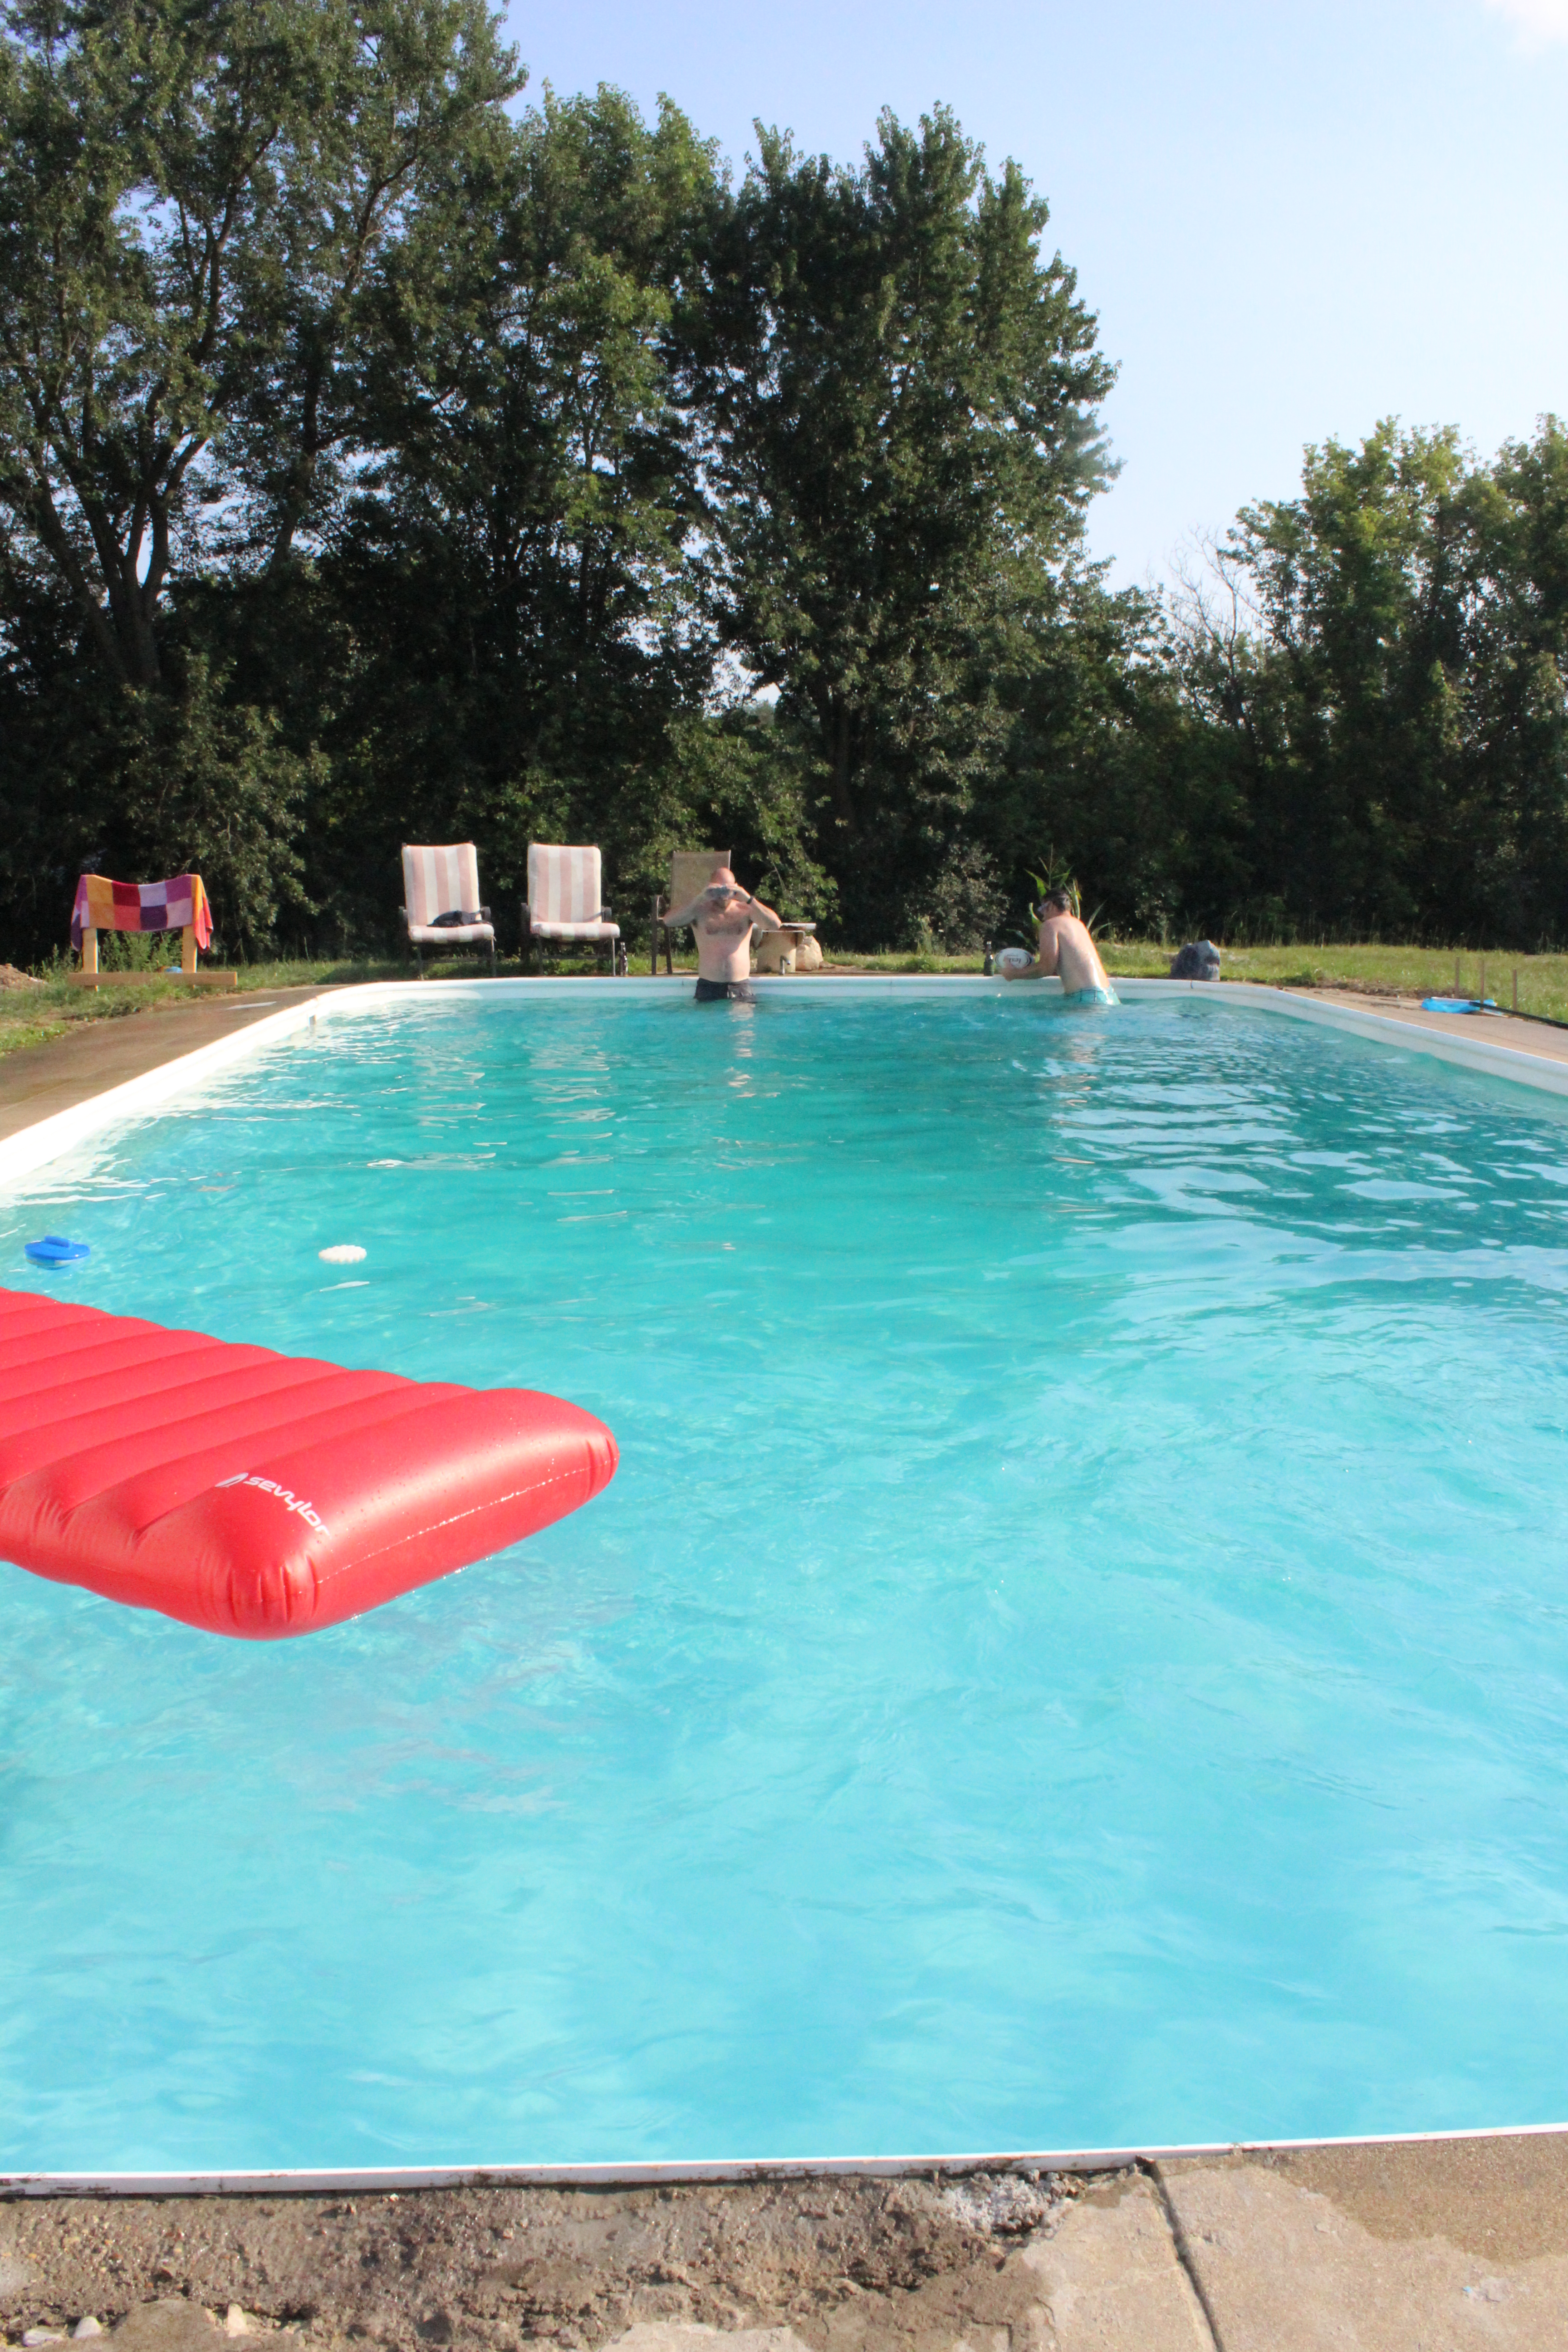
While most people are getting ready to close their pools for the year, we just opened ours. Better late than never right?

IMG_3410

It’s not much to look at now but a lot of work went into just getting it functional. There actually is still a small leak somewhere but hey we are using it in the meantime while we can.

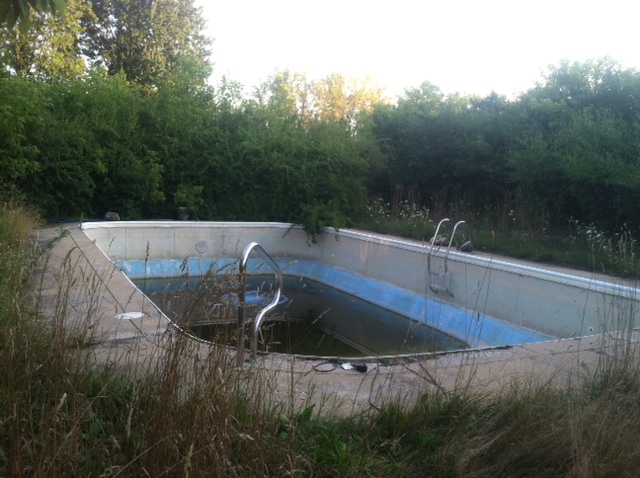
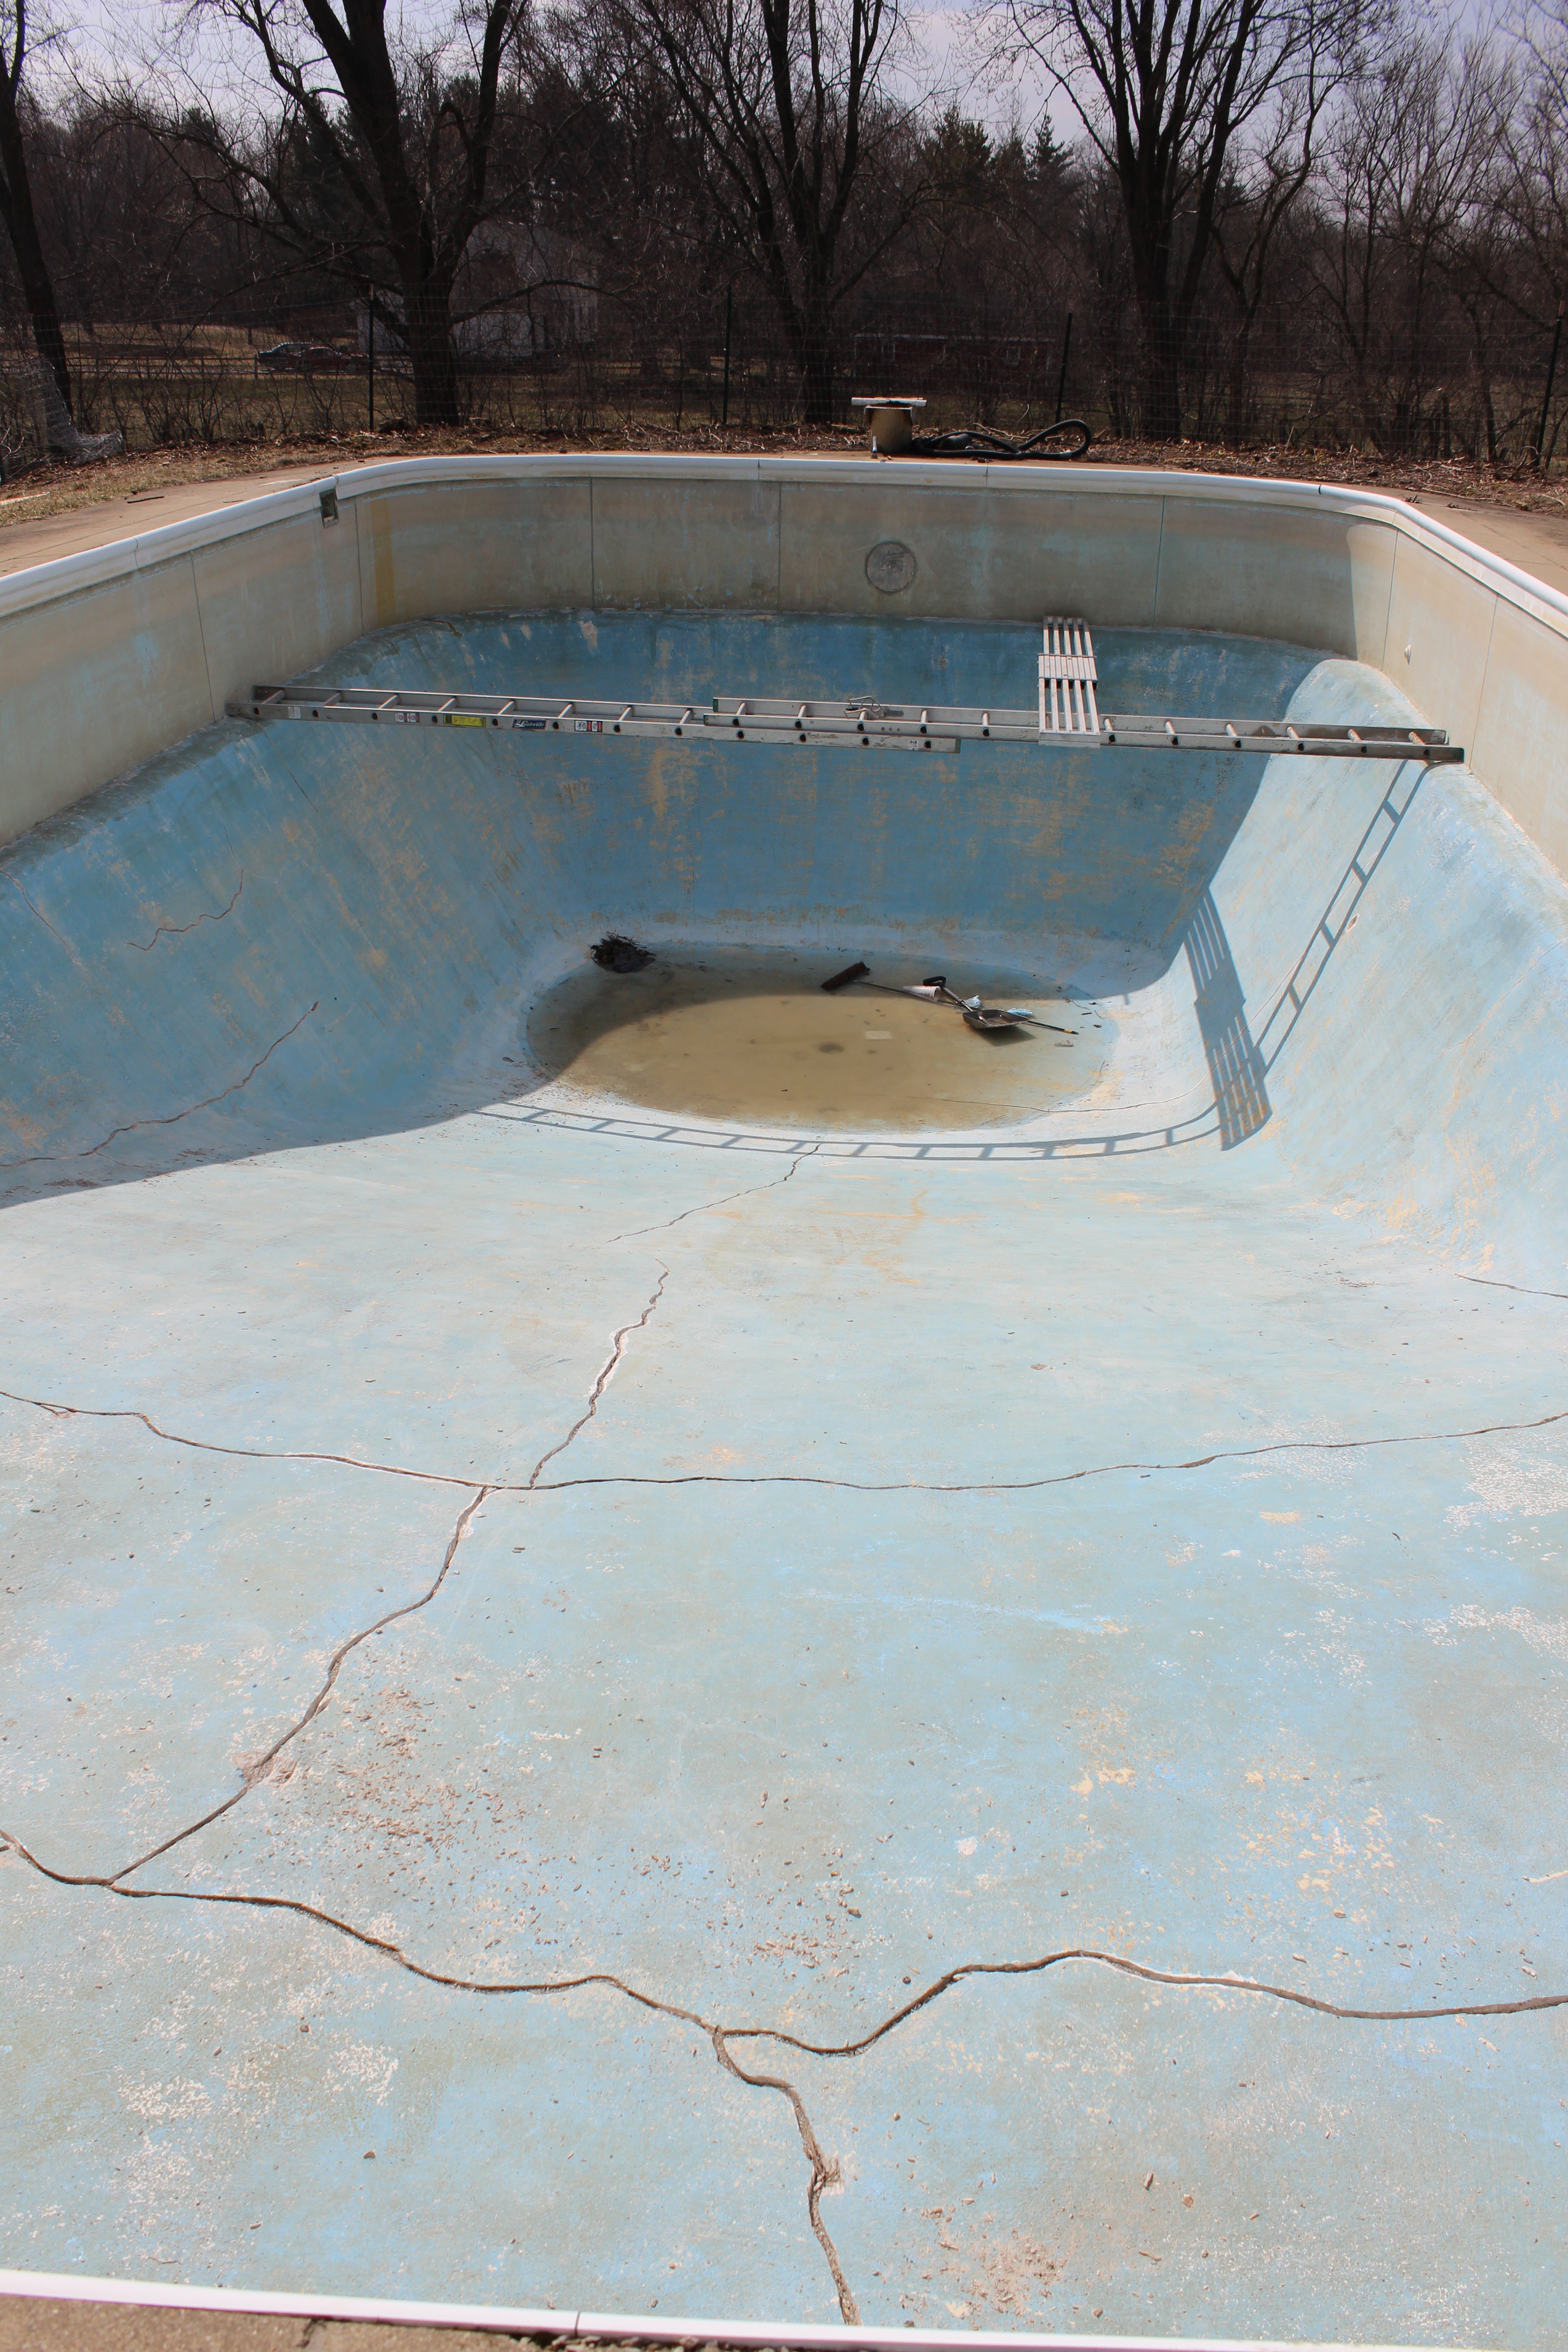
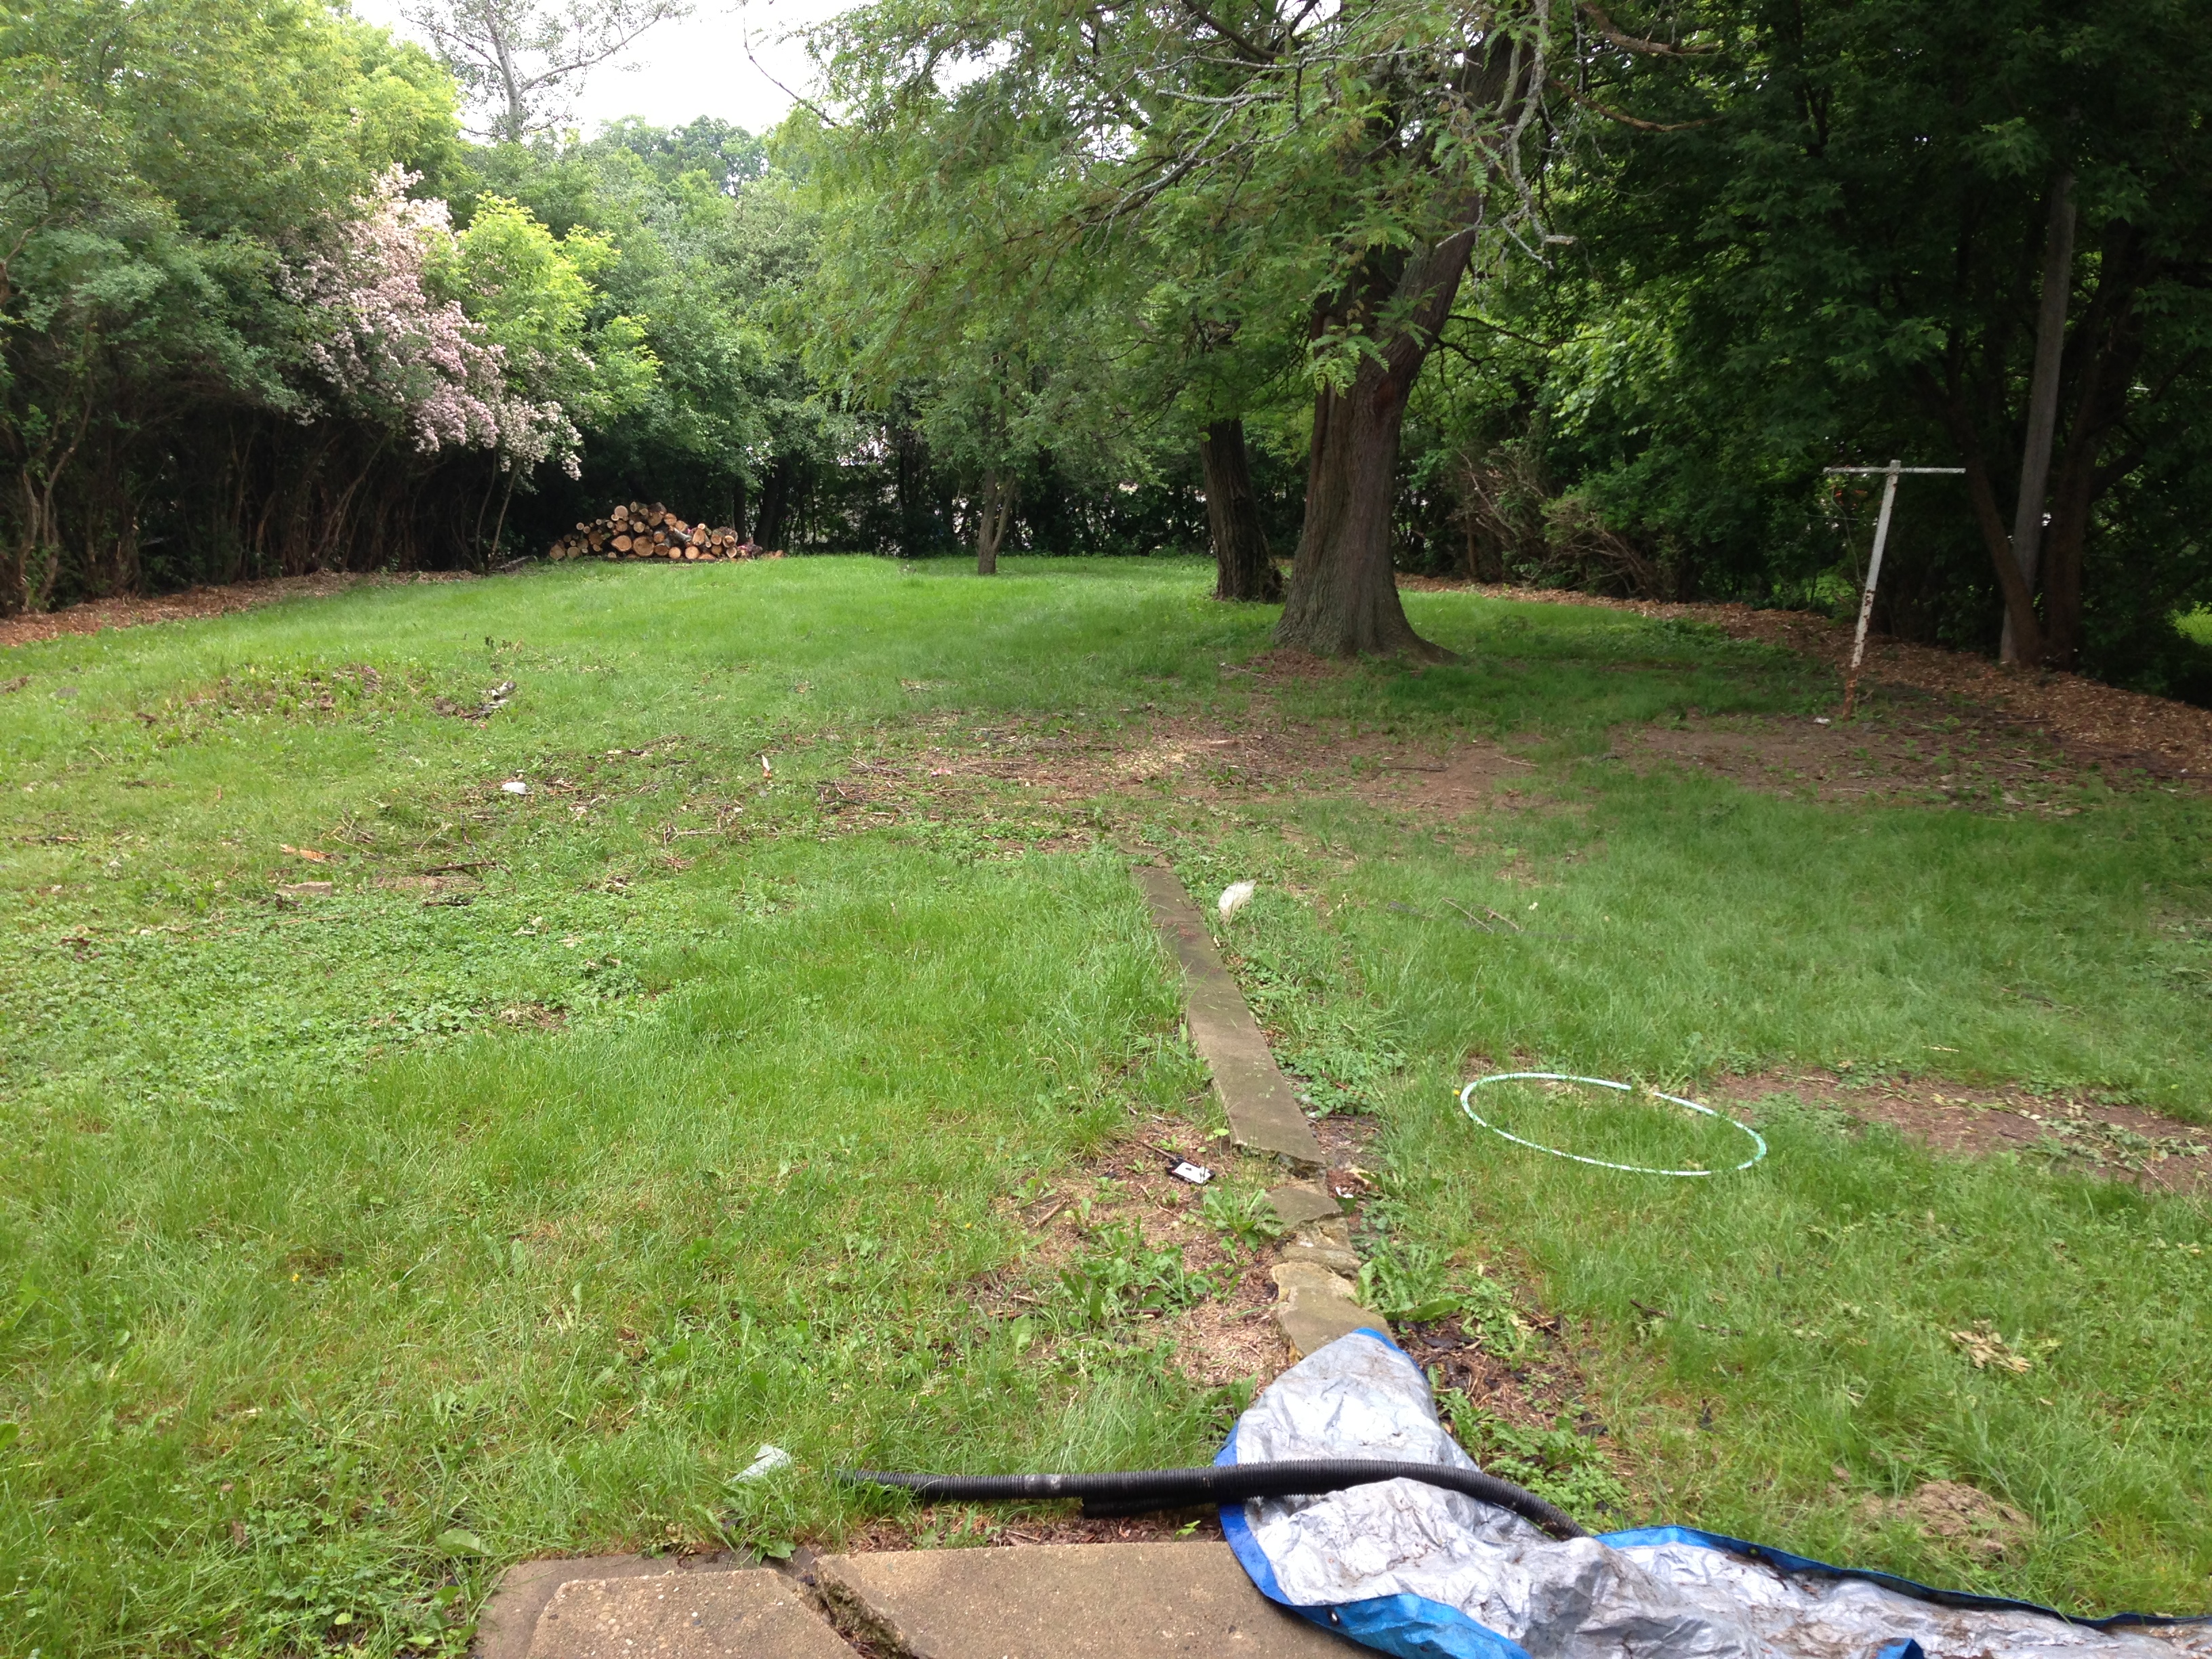
Here is what it looked like before we moved in.

photo 3-12

In addition to cutting back all the weeds and brush, we dug back the bank so you still have some yard on the other side of the pool. It’s a great place for bags.

IMG_3408

We are going to add a retaining wall probably made out of railroad ties. Eventually, we think the corner would be a good spot for a fire pit.

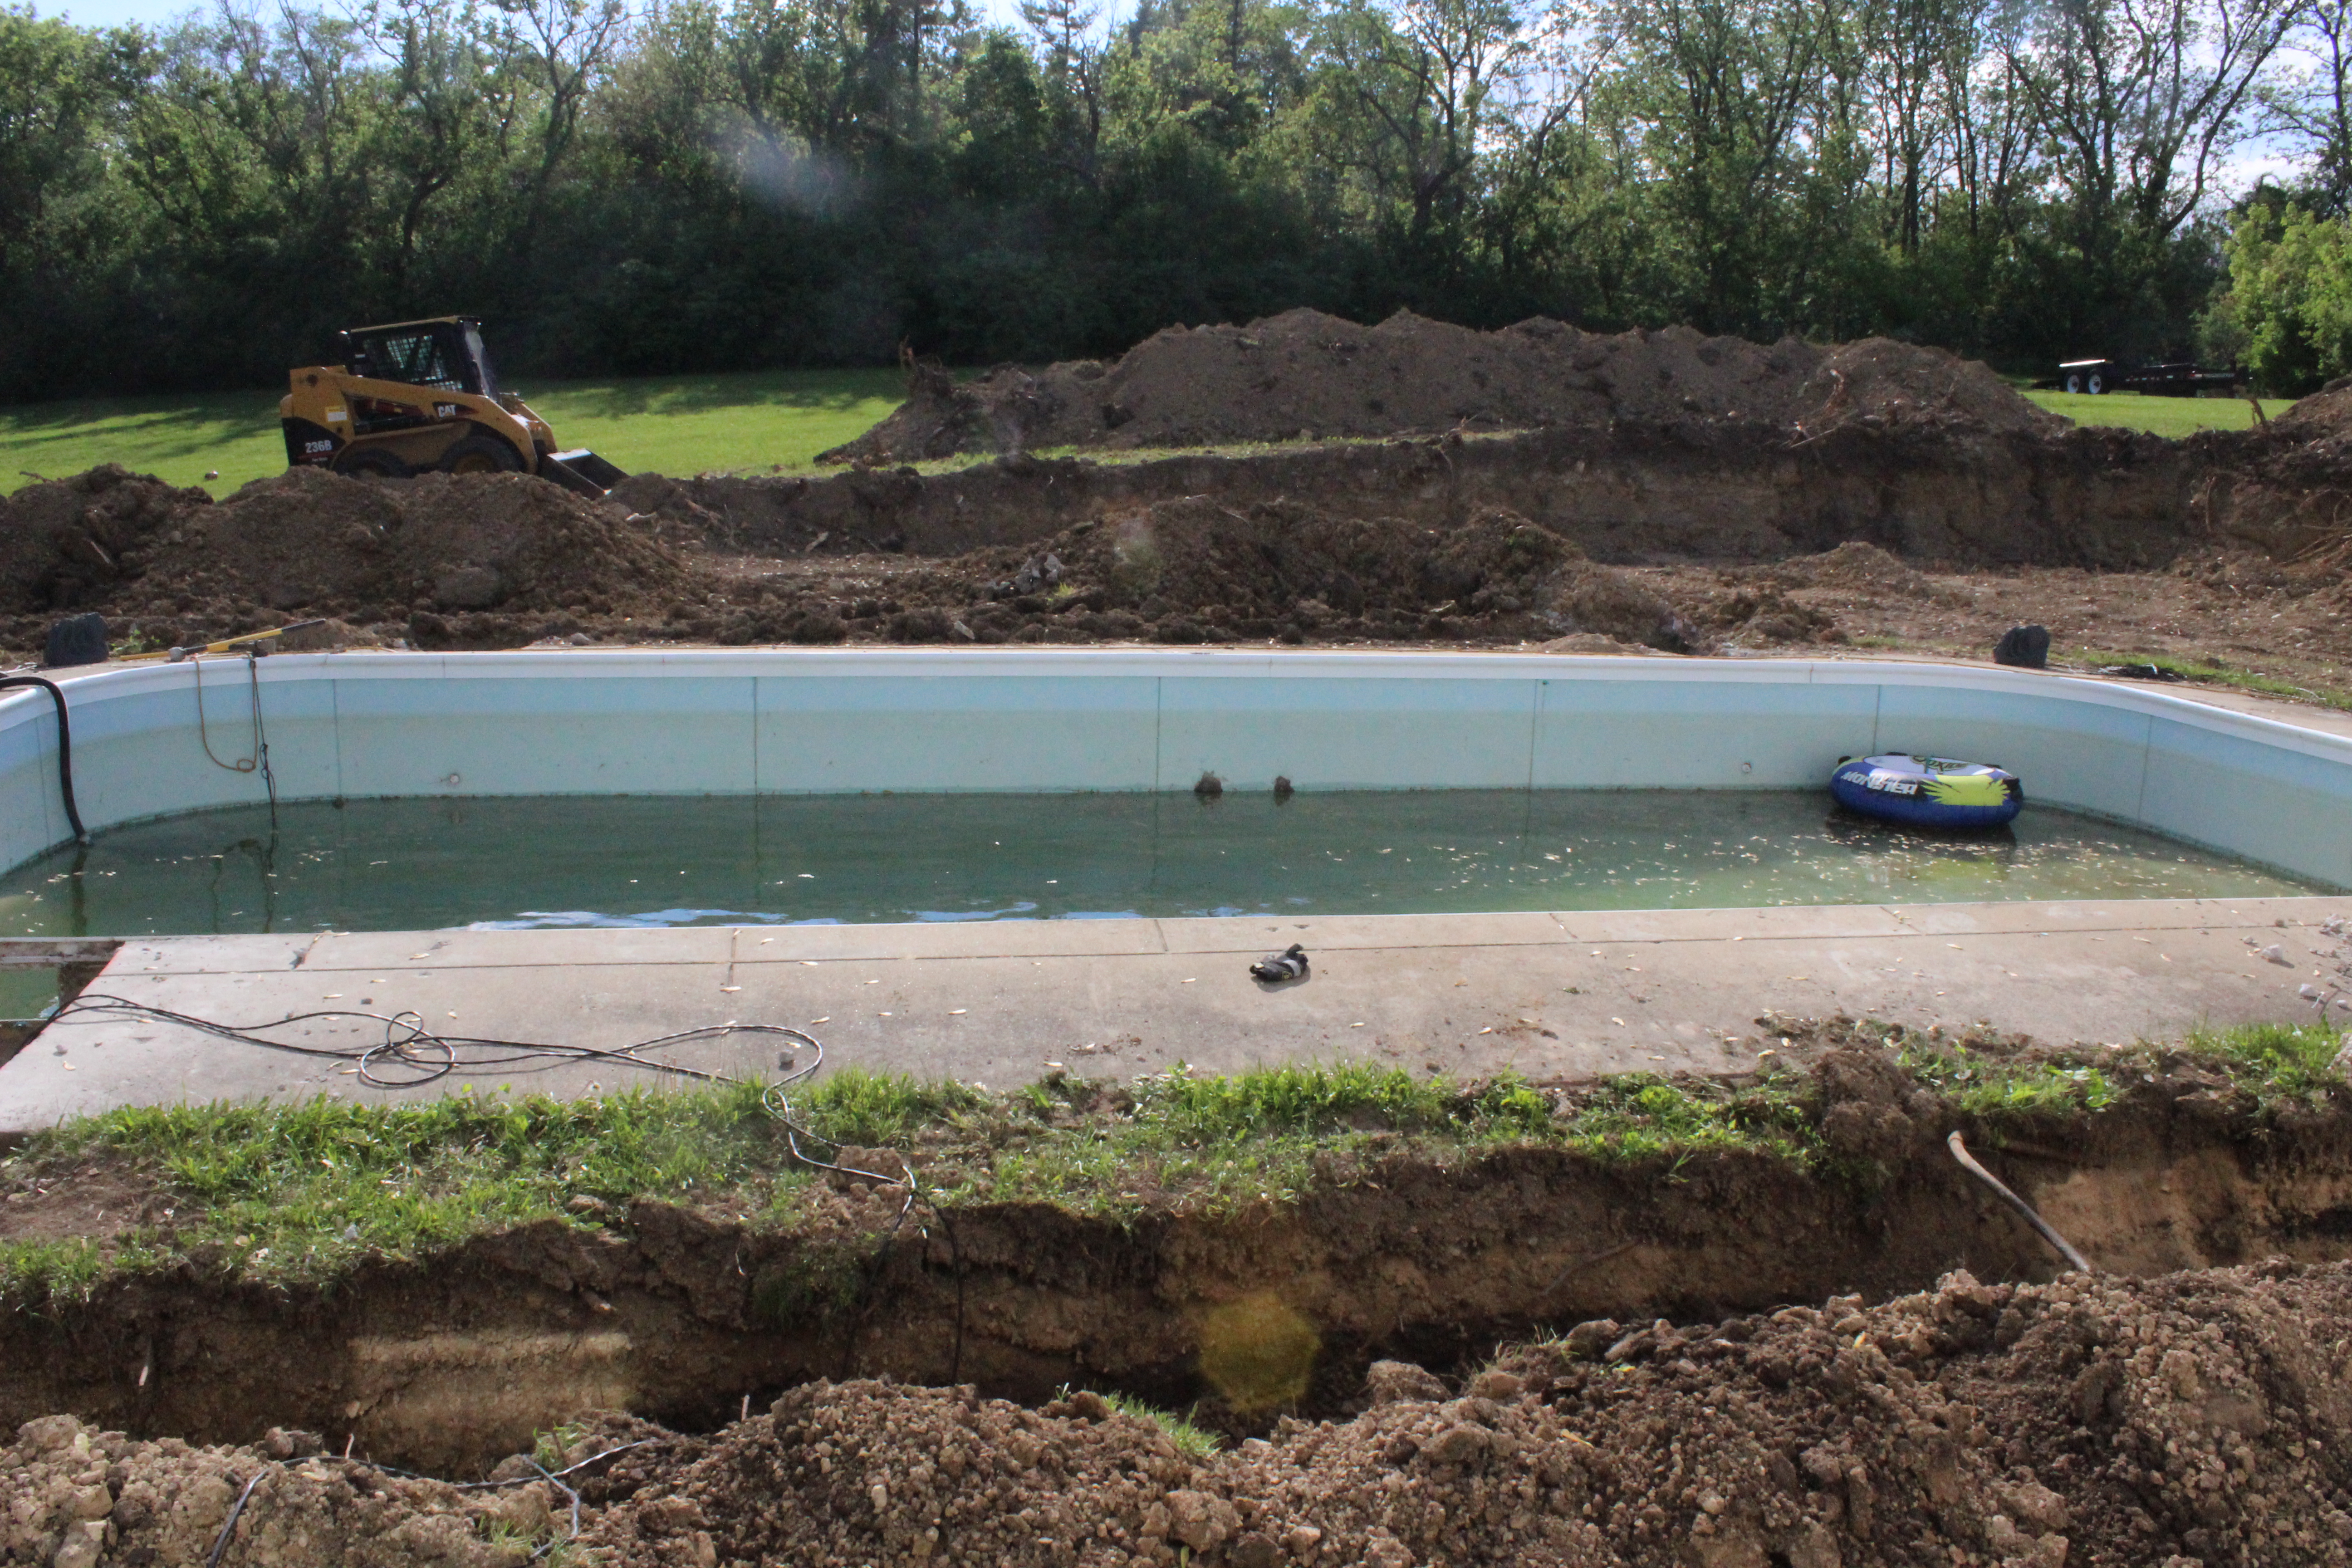
I think the last time I showed you the pool it looked like this.

IMG_3128That was when we were digging up and replacing all the plumbing lines and skimmer baskets.

Since the pool wouldn’t hold water we also had to grind out all the cracks and patch them.IMG_2868

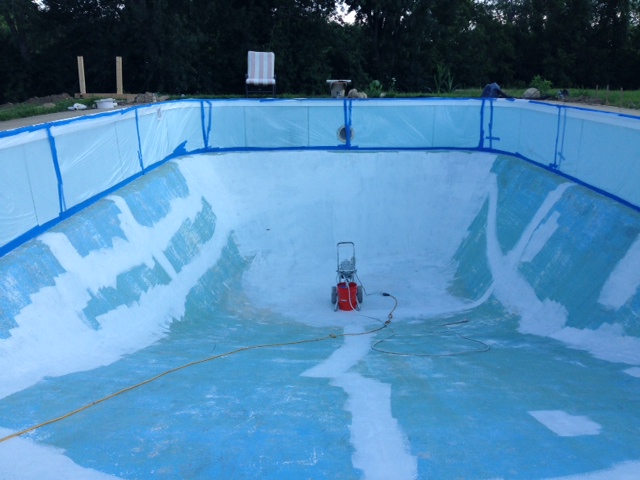
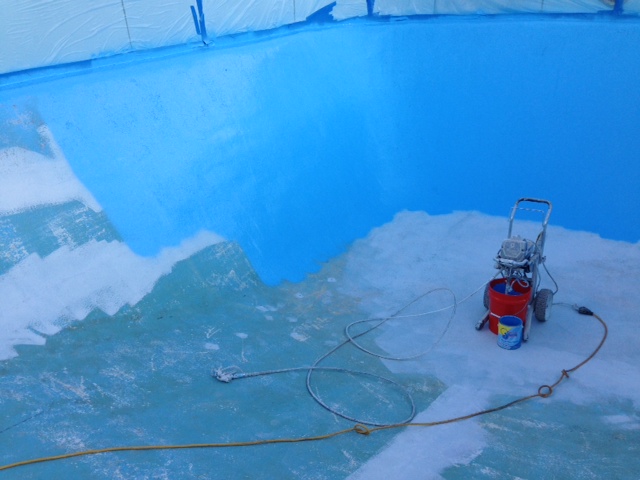
Then came priming and painting the concrete bottom (color: pool blue) and acid washing the fiberglass sides.

photo 3-14

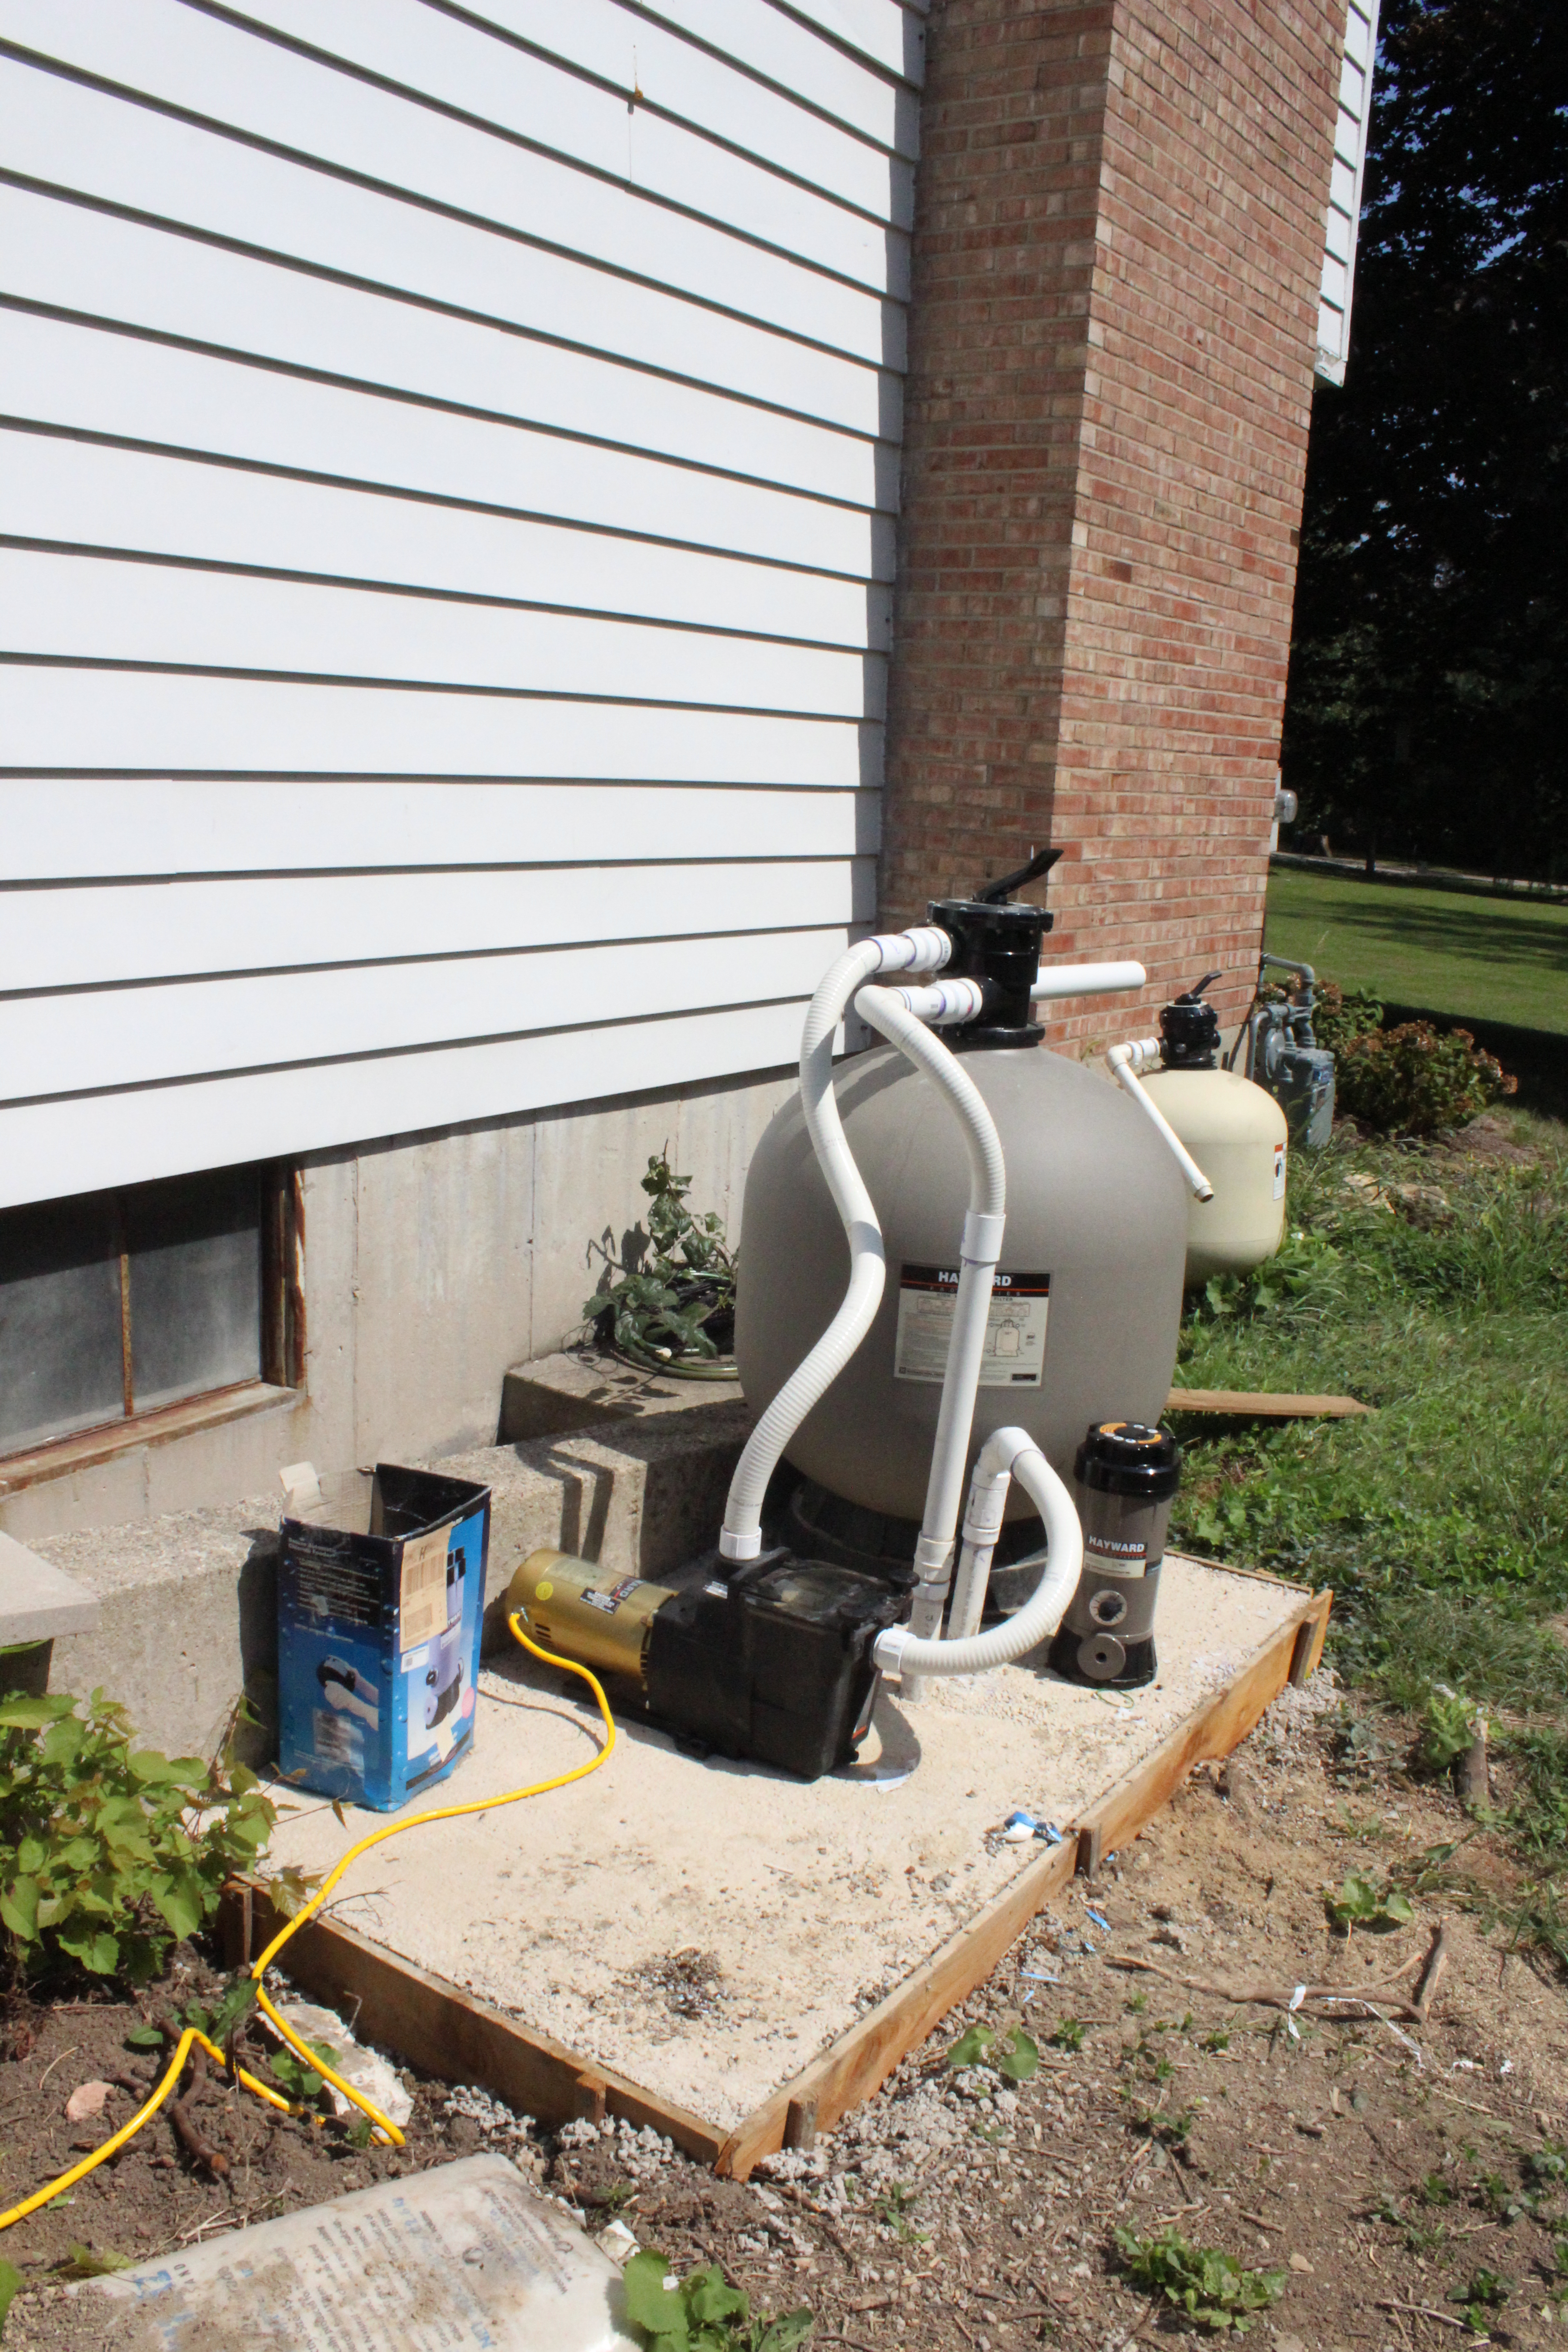
photo 1-16Plus, all new equipment.

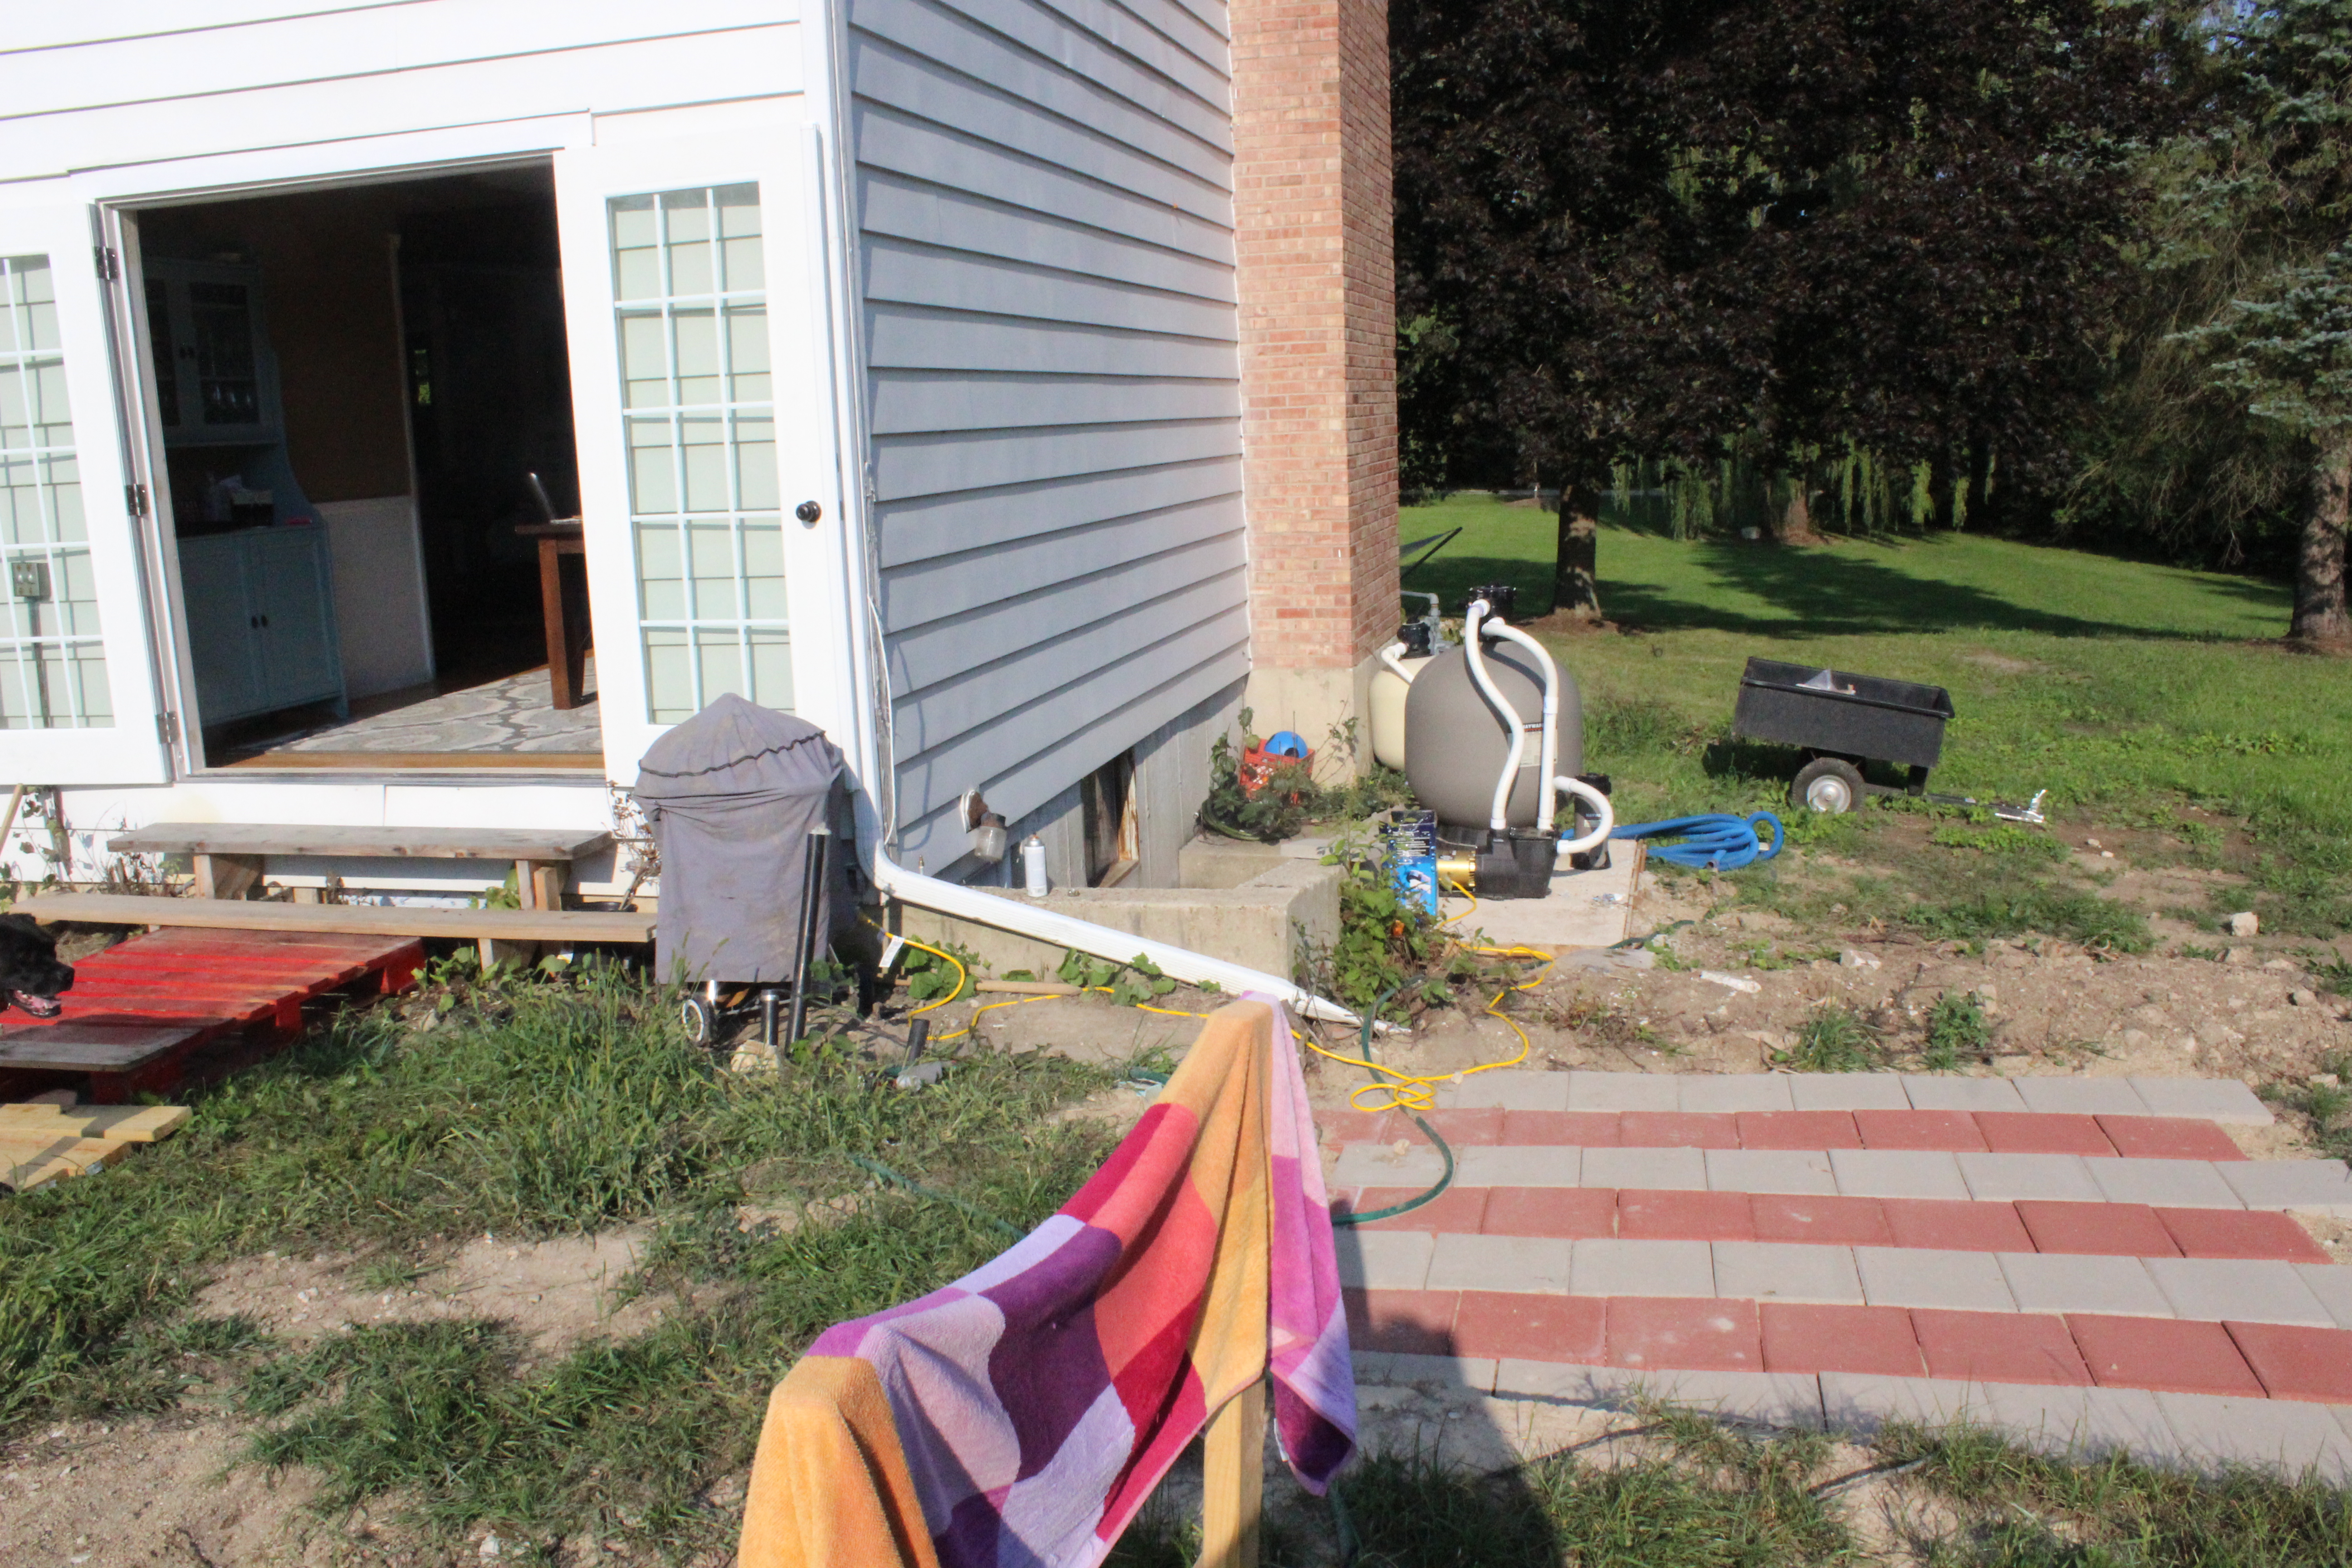
IMG_3411We also dug out the pad where the hot tub will go. It just needs to be moved from the other side of the house but we’re waiting to borrow a machine to help lift it.

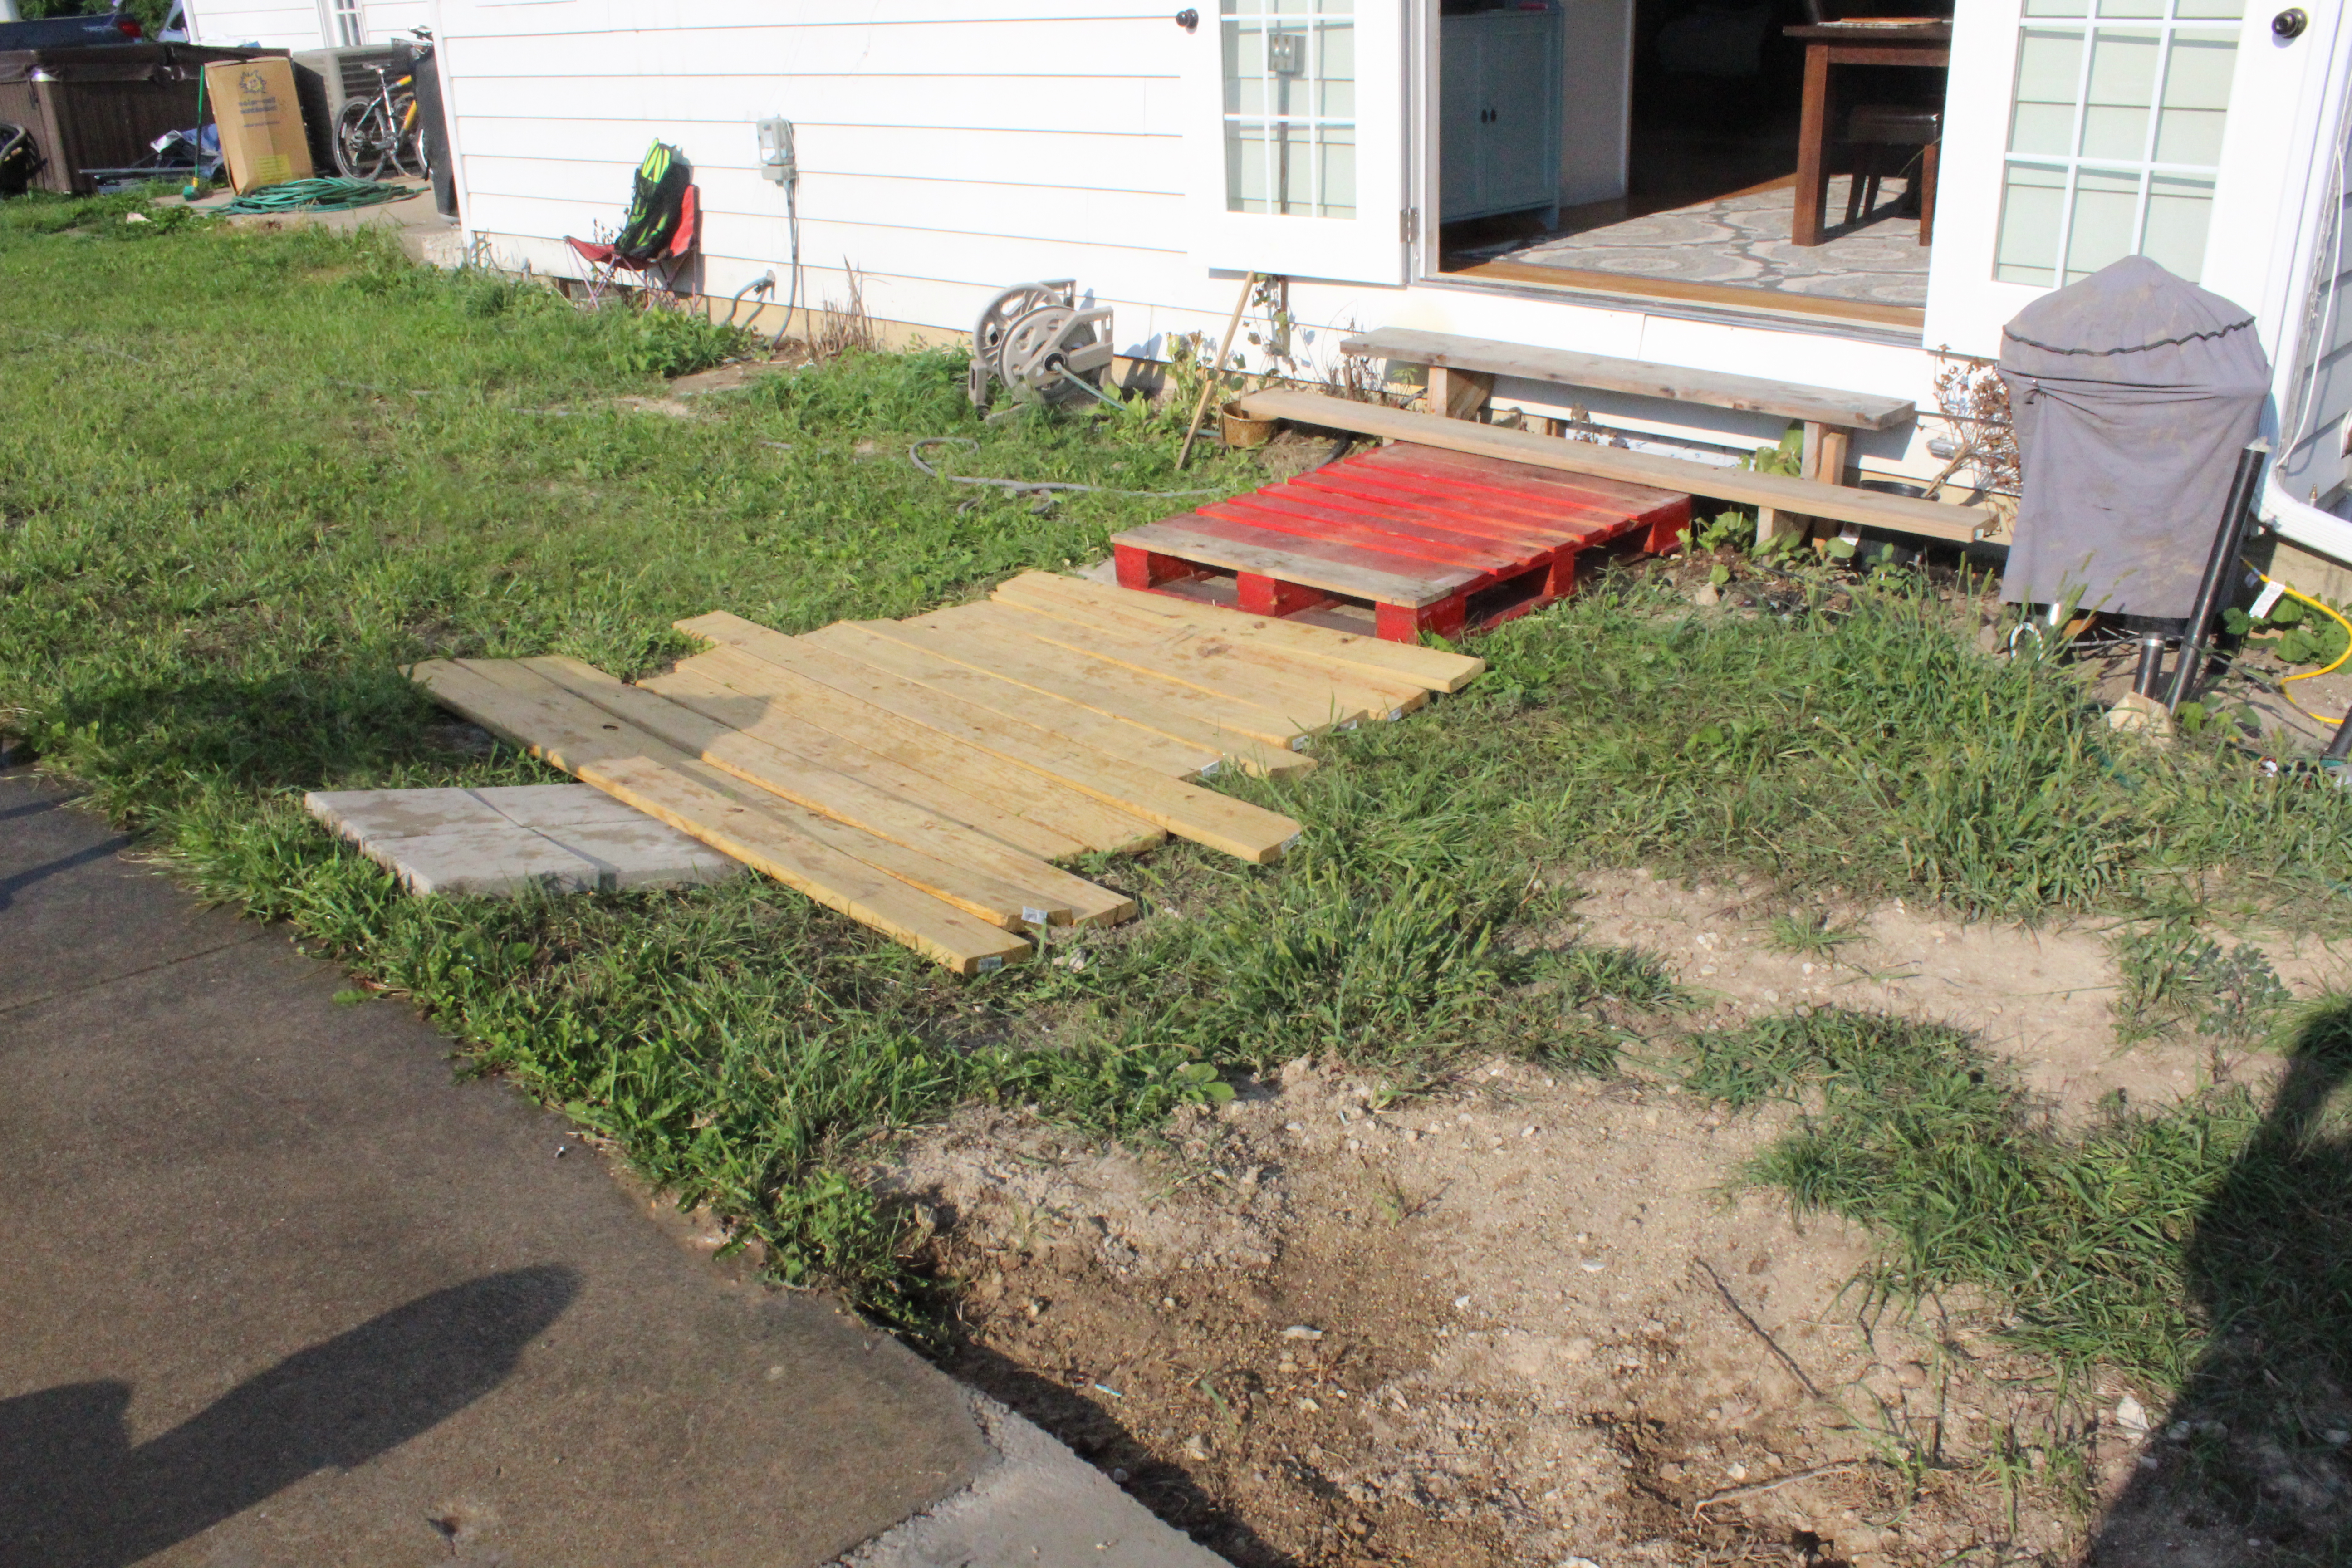
IMG_3402We have the plans and all the material for the deck, so that is next on the agenda. For now we have this great little boardwalk that leads out to the pool.

IMG_3400But hey it works and we’ve been having a lot of fun in the pool. Can’t imagine how awesome it is going to be with the deck and everything else in place.

I bet you can guess where we will be this Labor Day weekend. Have a good one!

IMG_3396


Adventures in House Flipping

6 Jun

You might notice a slight slow down in progress around 12 Oaks as we have a new project underway– a flip! Ben has actually done a dozen of these over the last 4 years, but over the last year or so it has been hard to find them. Foreclosures were getting bought up by big hedgefunds who would come in way above asking just to make big quotas. So we were happy to finally get another one for the right price.

We closed on it Memorial Day weekend, and so far have pretty much gutted it inside and cleared the property of dead and overgrown trees outside. We plan to have it 100% complete by mid-July. So a quick timeline to get a lot done as you will see.

Here is the front of the house. We will be landscaping and replacing the gutters, soffits and facia.

IMG_1453

We will be adding a new garage door, re-surfacting the retaining wall (seen on the left), and adding a new light.

IMG_1525

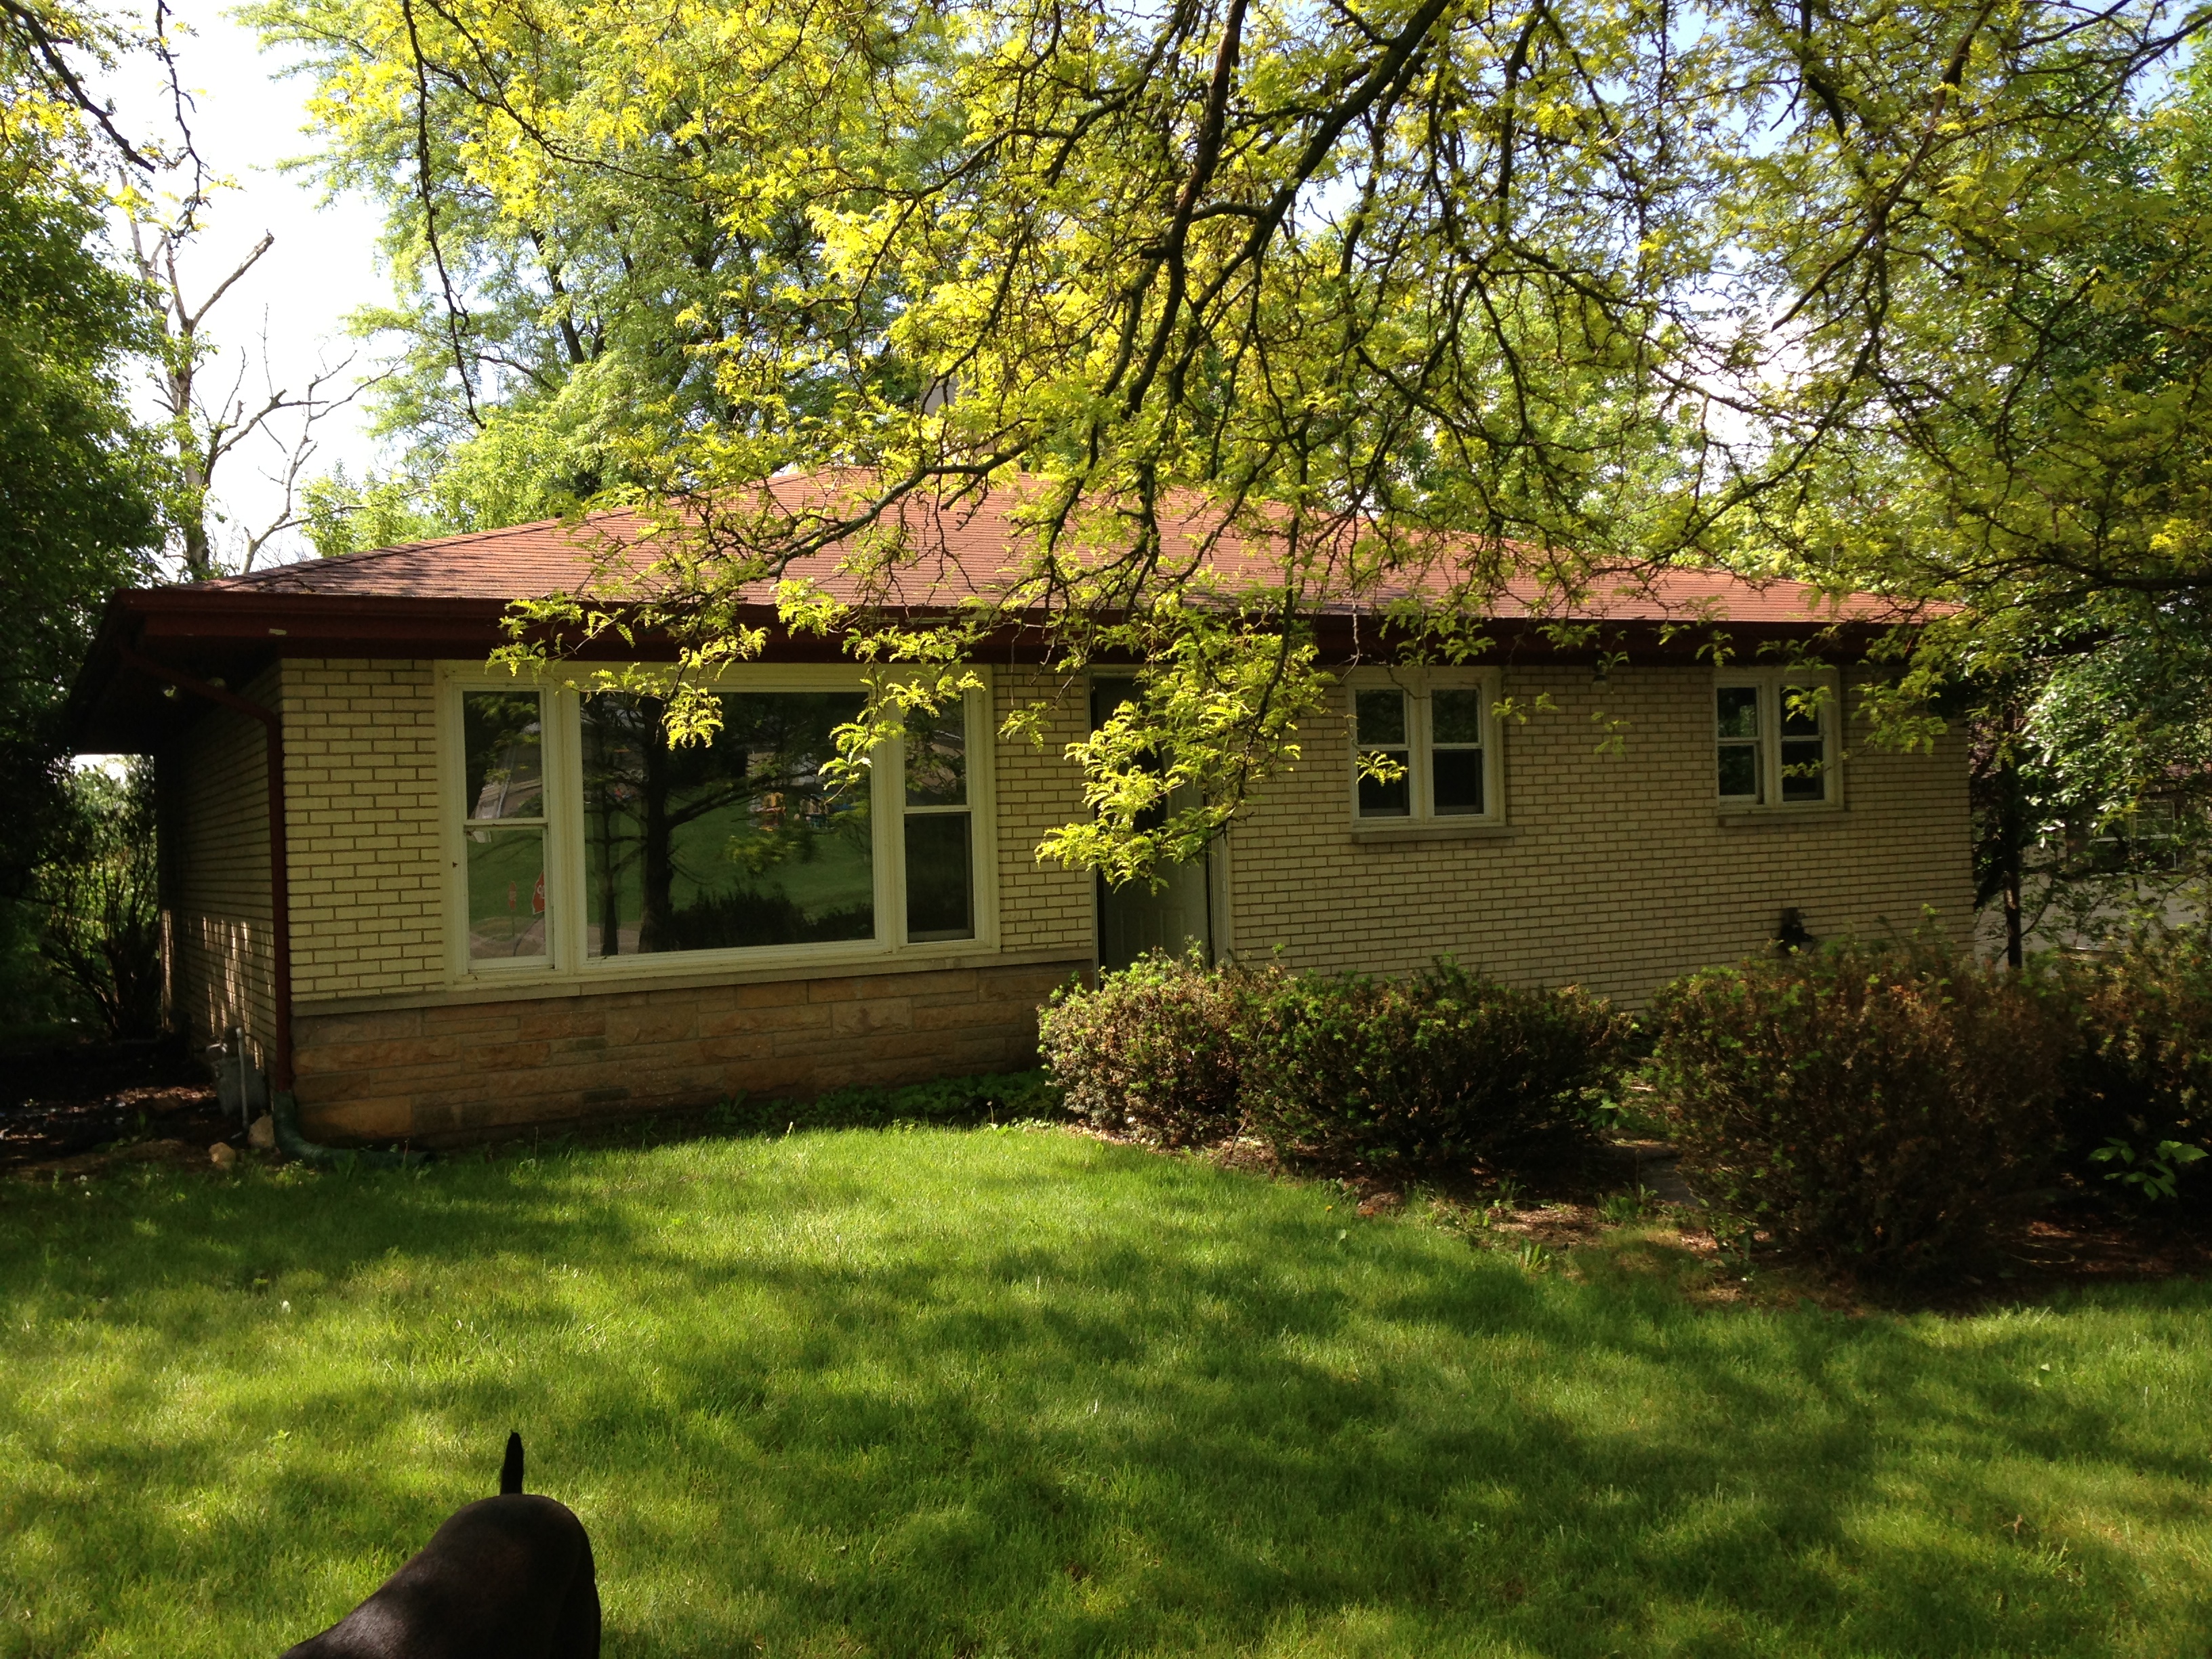
Here’s the back of the house. We are building a deck back here and have already cleared out the dead and too-close-to-the-house trees.

IMG_1454

It has a nice little private backyard.

IMG_1533

Here is the living room off the front of the house. We will be adding can lights in the ceiling, new paint and carpet.IMG_1518

Another view of the living room looking toward the kitchen.IMG_1519

The kitchen was a complete gut and we didn’t get a chance to take a picture of it before. But just imagine some nasty old cabinets, vinyl flooring and no appliances.IMG_1515

The kitchen will get new cabinets, stainless steel appliances, granite countertops, and floating laminate flooring that looks like wood.

Right now this is the only bathroom in the house. It will get a new vanity, lights, tile flooring, tub surround and toilet. Can you believe the toilet is almost rotted right through the floor? Gross!

IMG_1512

This is the hallway with the 3 bedrooms off of it. Paint, trim, new doors and new lights in here. We plan to keep the floors in here and the 3 bedrooms.IMG_1510

Here is one of the bedrooms, and they all look pretty similar. They will each get new lights, trim, doors and paint.IMG_1508

Off the kitchen are stairs down to the basement.IMG_1517

We are going to completely finish the basement, adding 2 bedrooms, a living room and laundry room. Pretty much a blank slate down here now.

IMG_1530

And here is the inside of the garage which will get insulated, drywalled and painted.
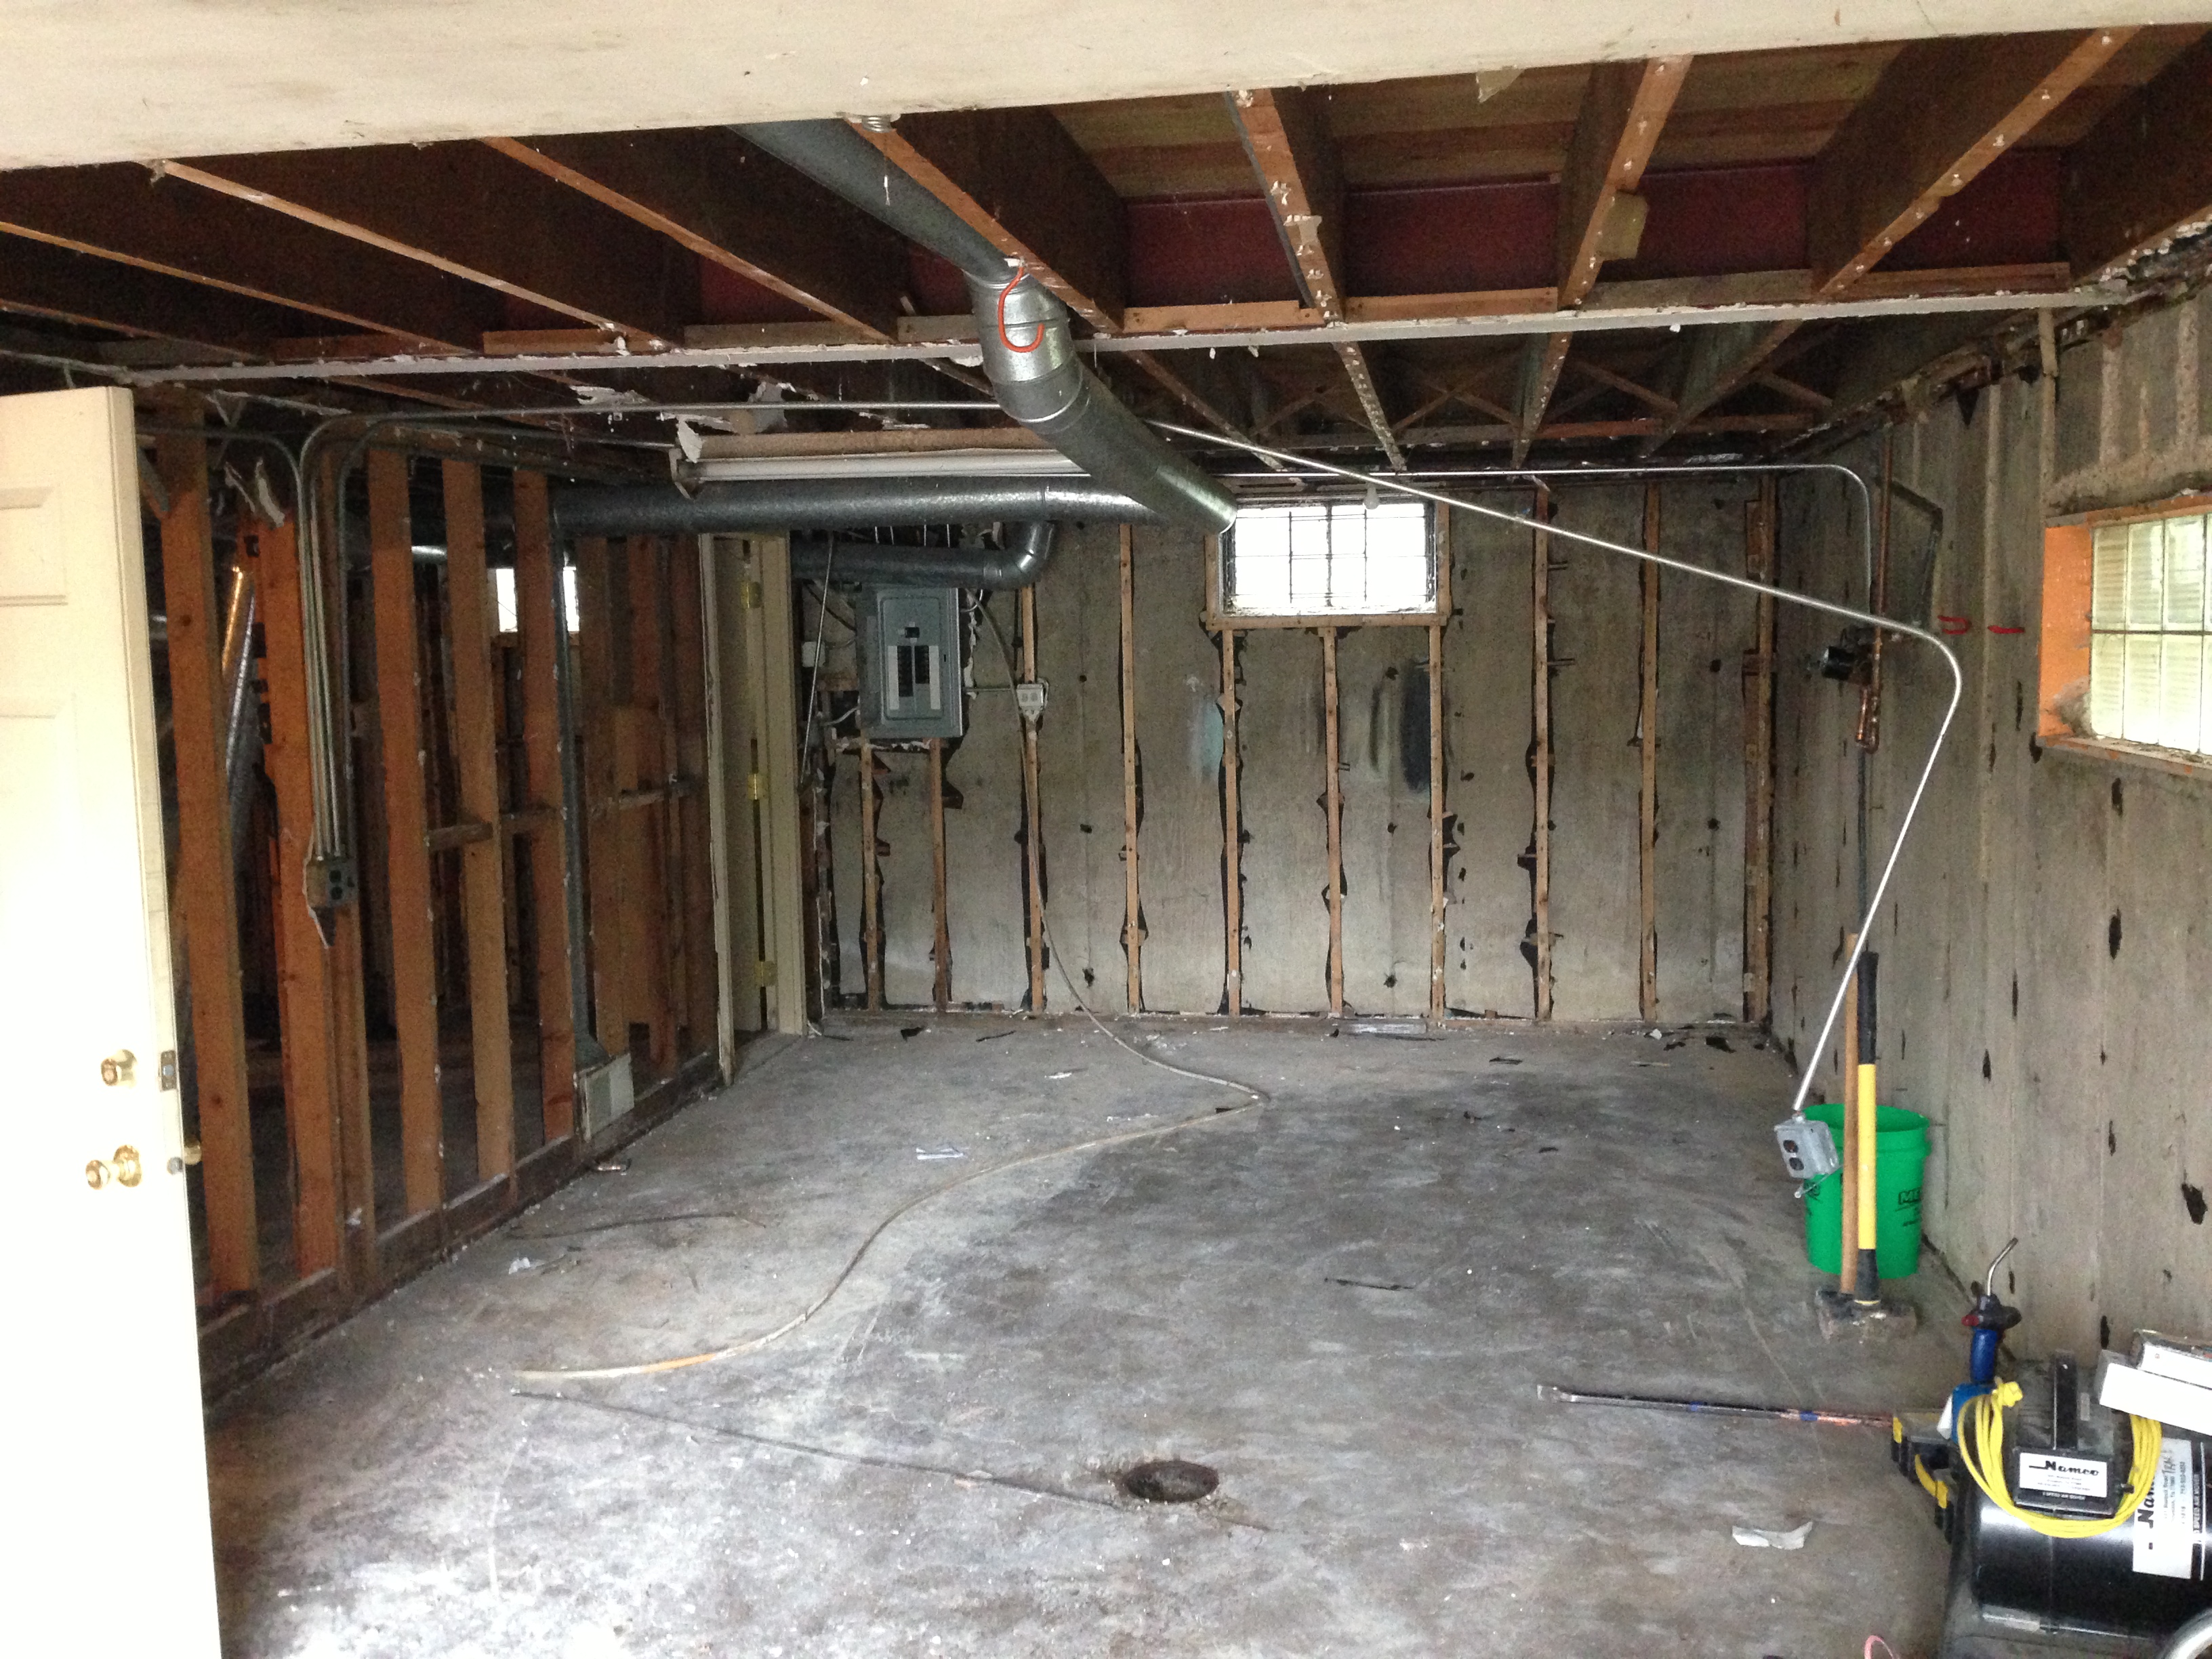
IMG_1526

Who wants to move in? No one? Hopefully this place is unrecognizable in another 6 weeks. We will share some after pics when it’s all done!

Front Yard Makeover

27 May

Hope everyone had a great Memorial Day weekend! Ben and I took advantage of the long weekend by landscaping our front walkway. This included a whopping 105 plants, three 450 lb. boulders and 2 dump trailers full of mulch. You can see how it took us most of the weekend. But hey its fun to play in the dirt. Plus I read on a sign once: “Gardening: cheaper than therapy.”
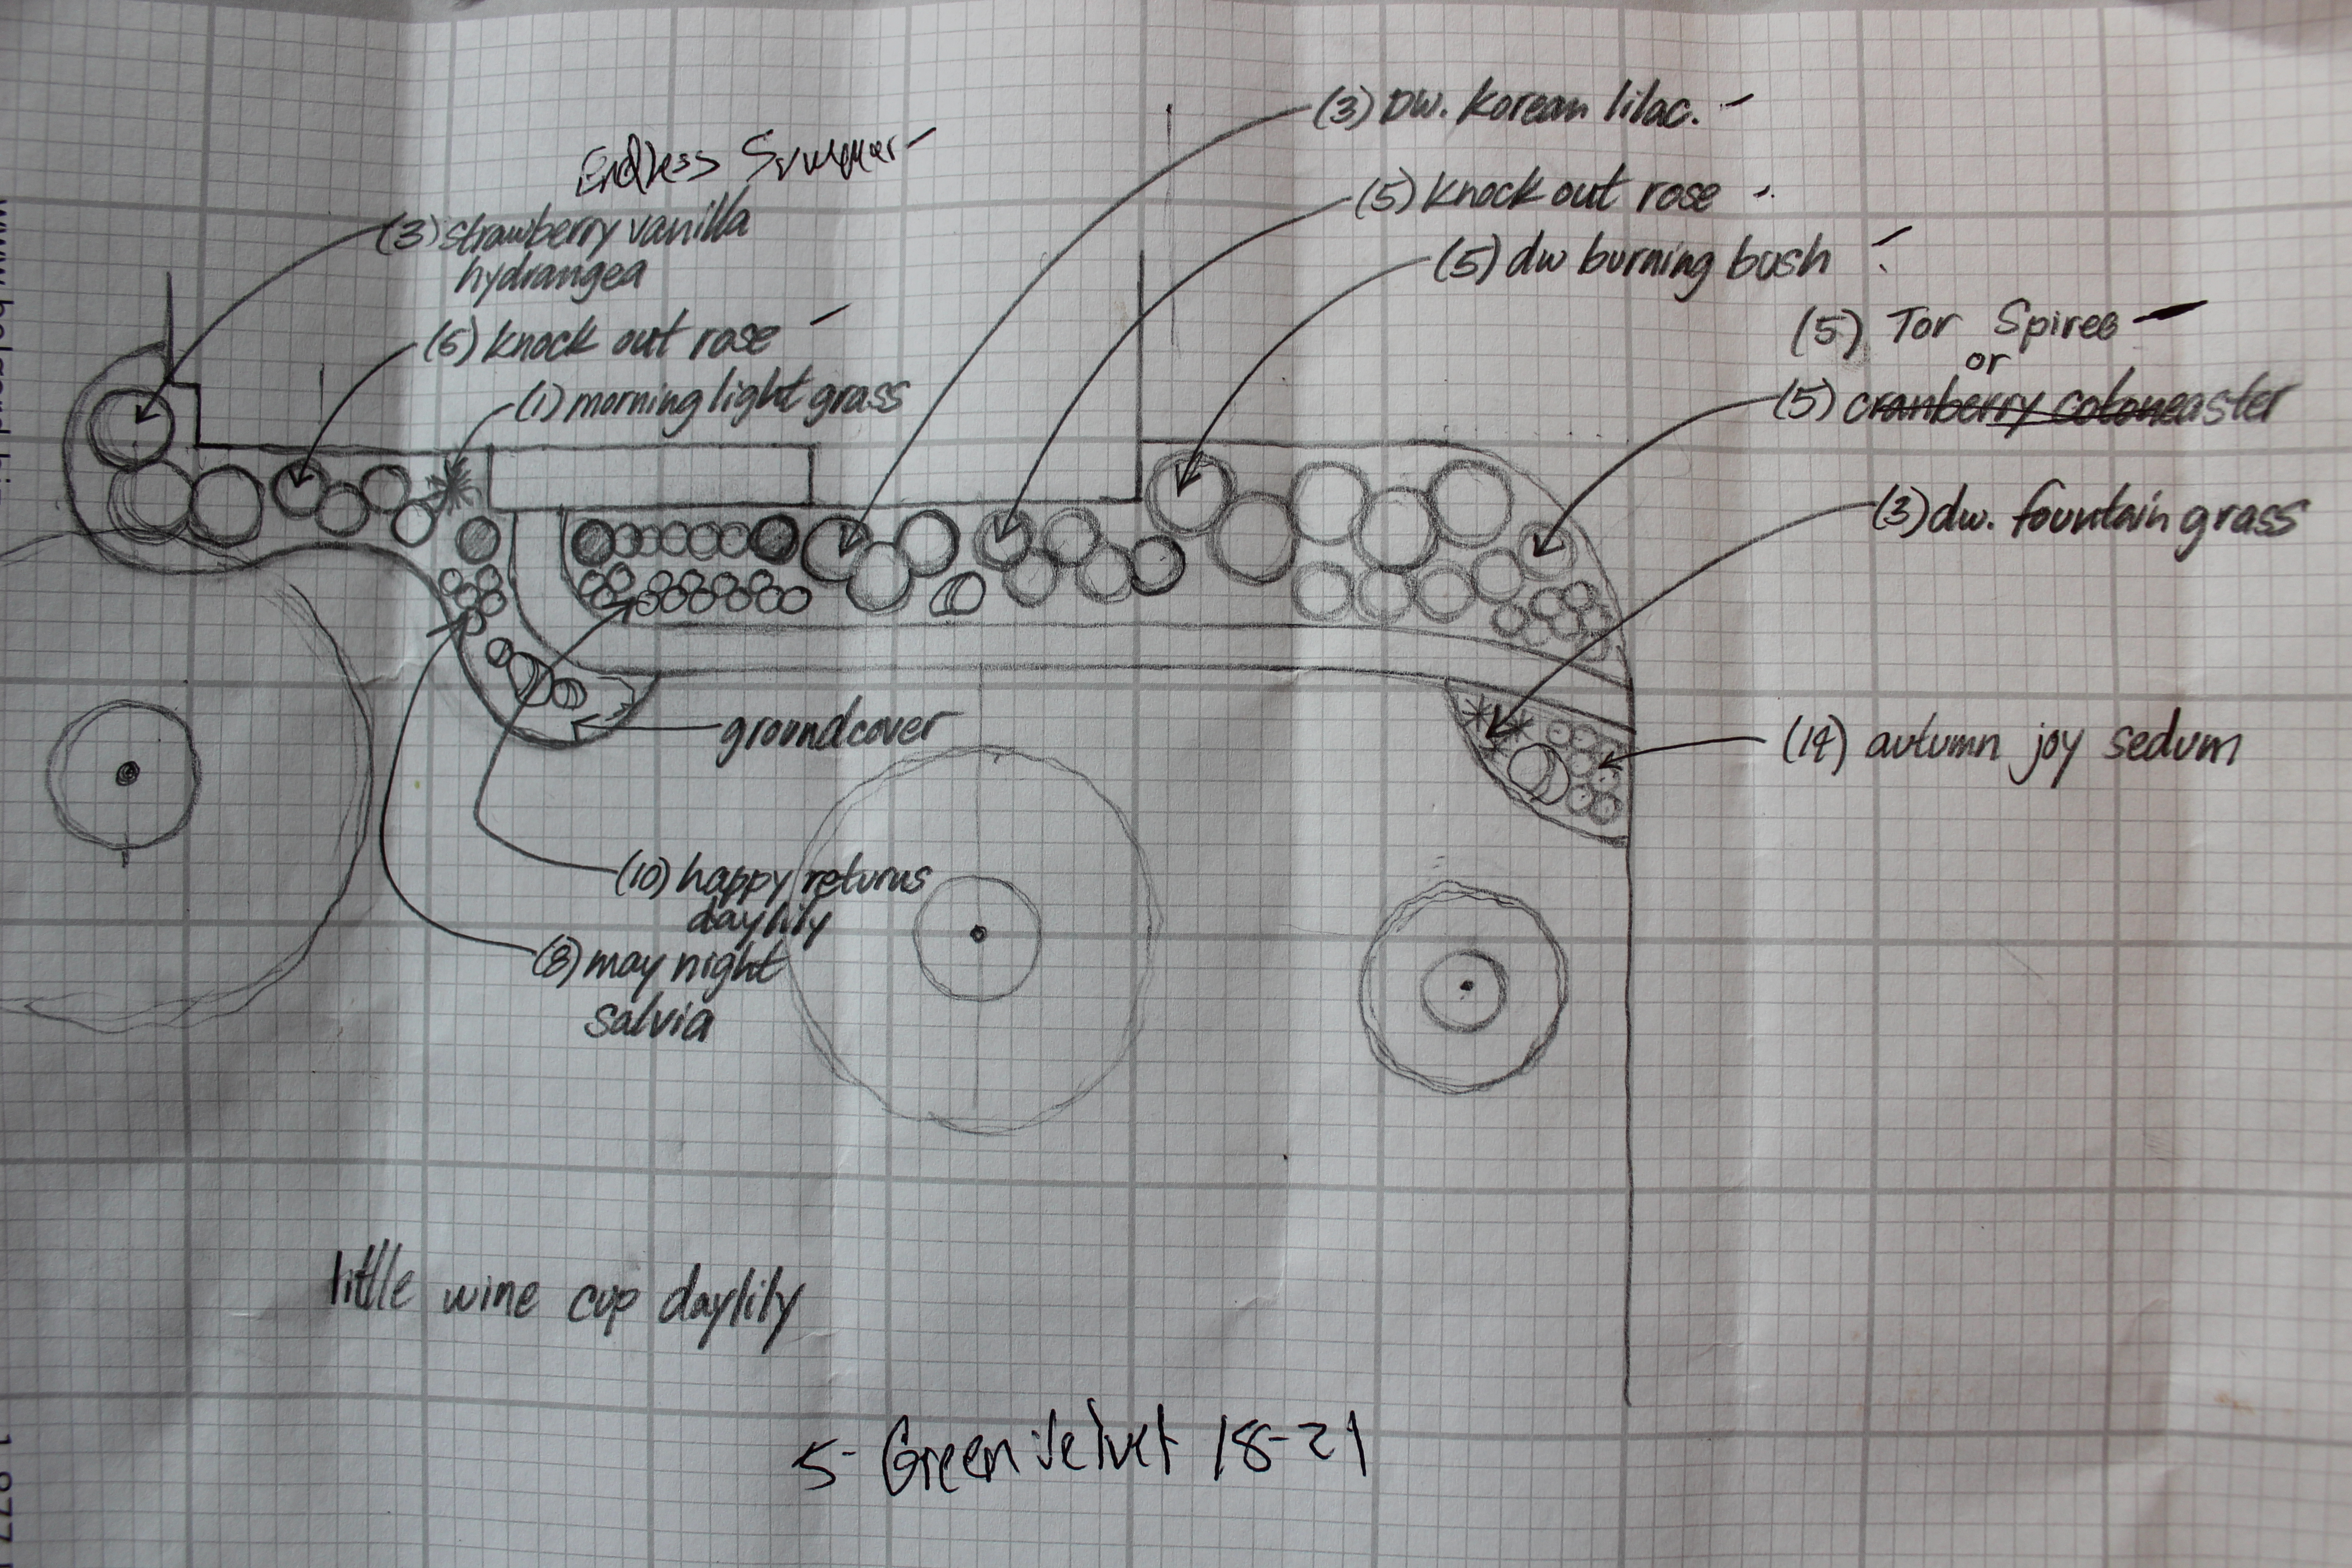
We were fortunate enough to have a landscape architect friend draw us out a beautiful plan. The plan is half the battle and extremely important, so we were very grateful to have it. It gave us the confidence going in knowing what we were planting would look great and all the plants would thrive in their conditions.

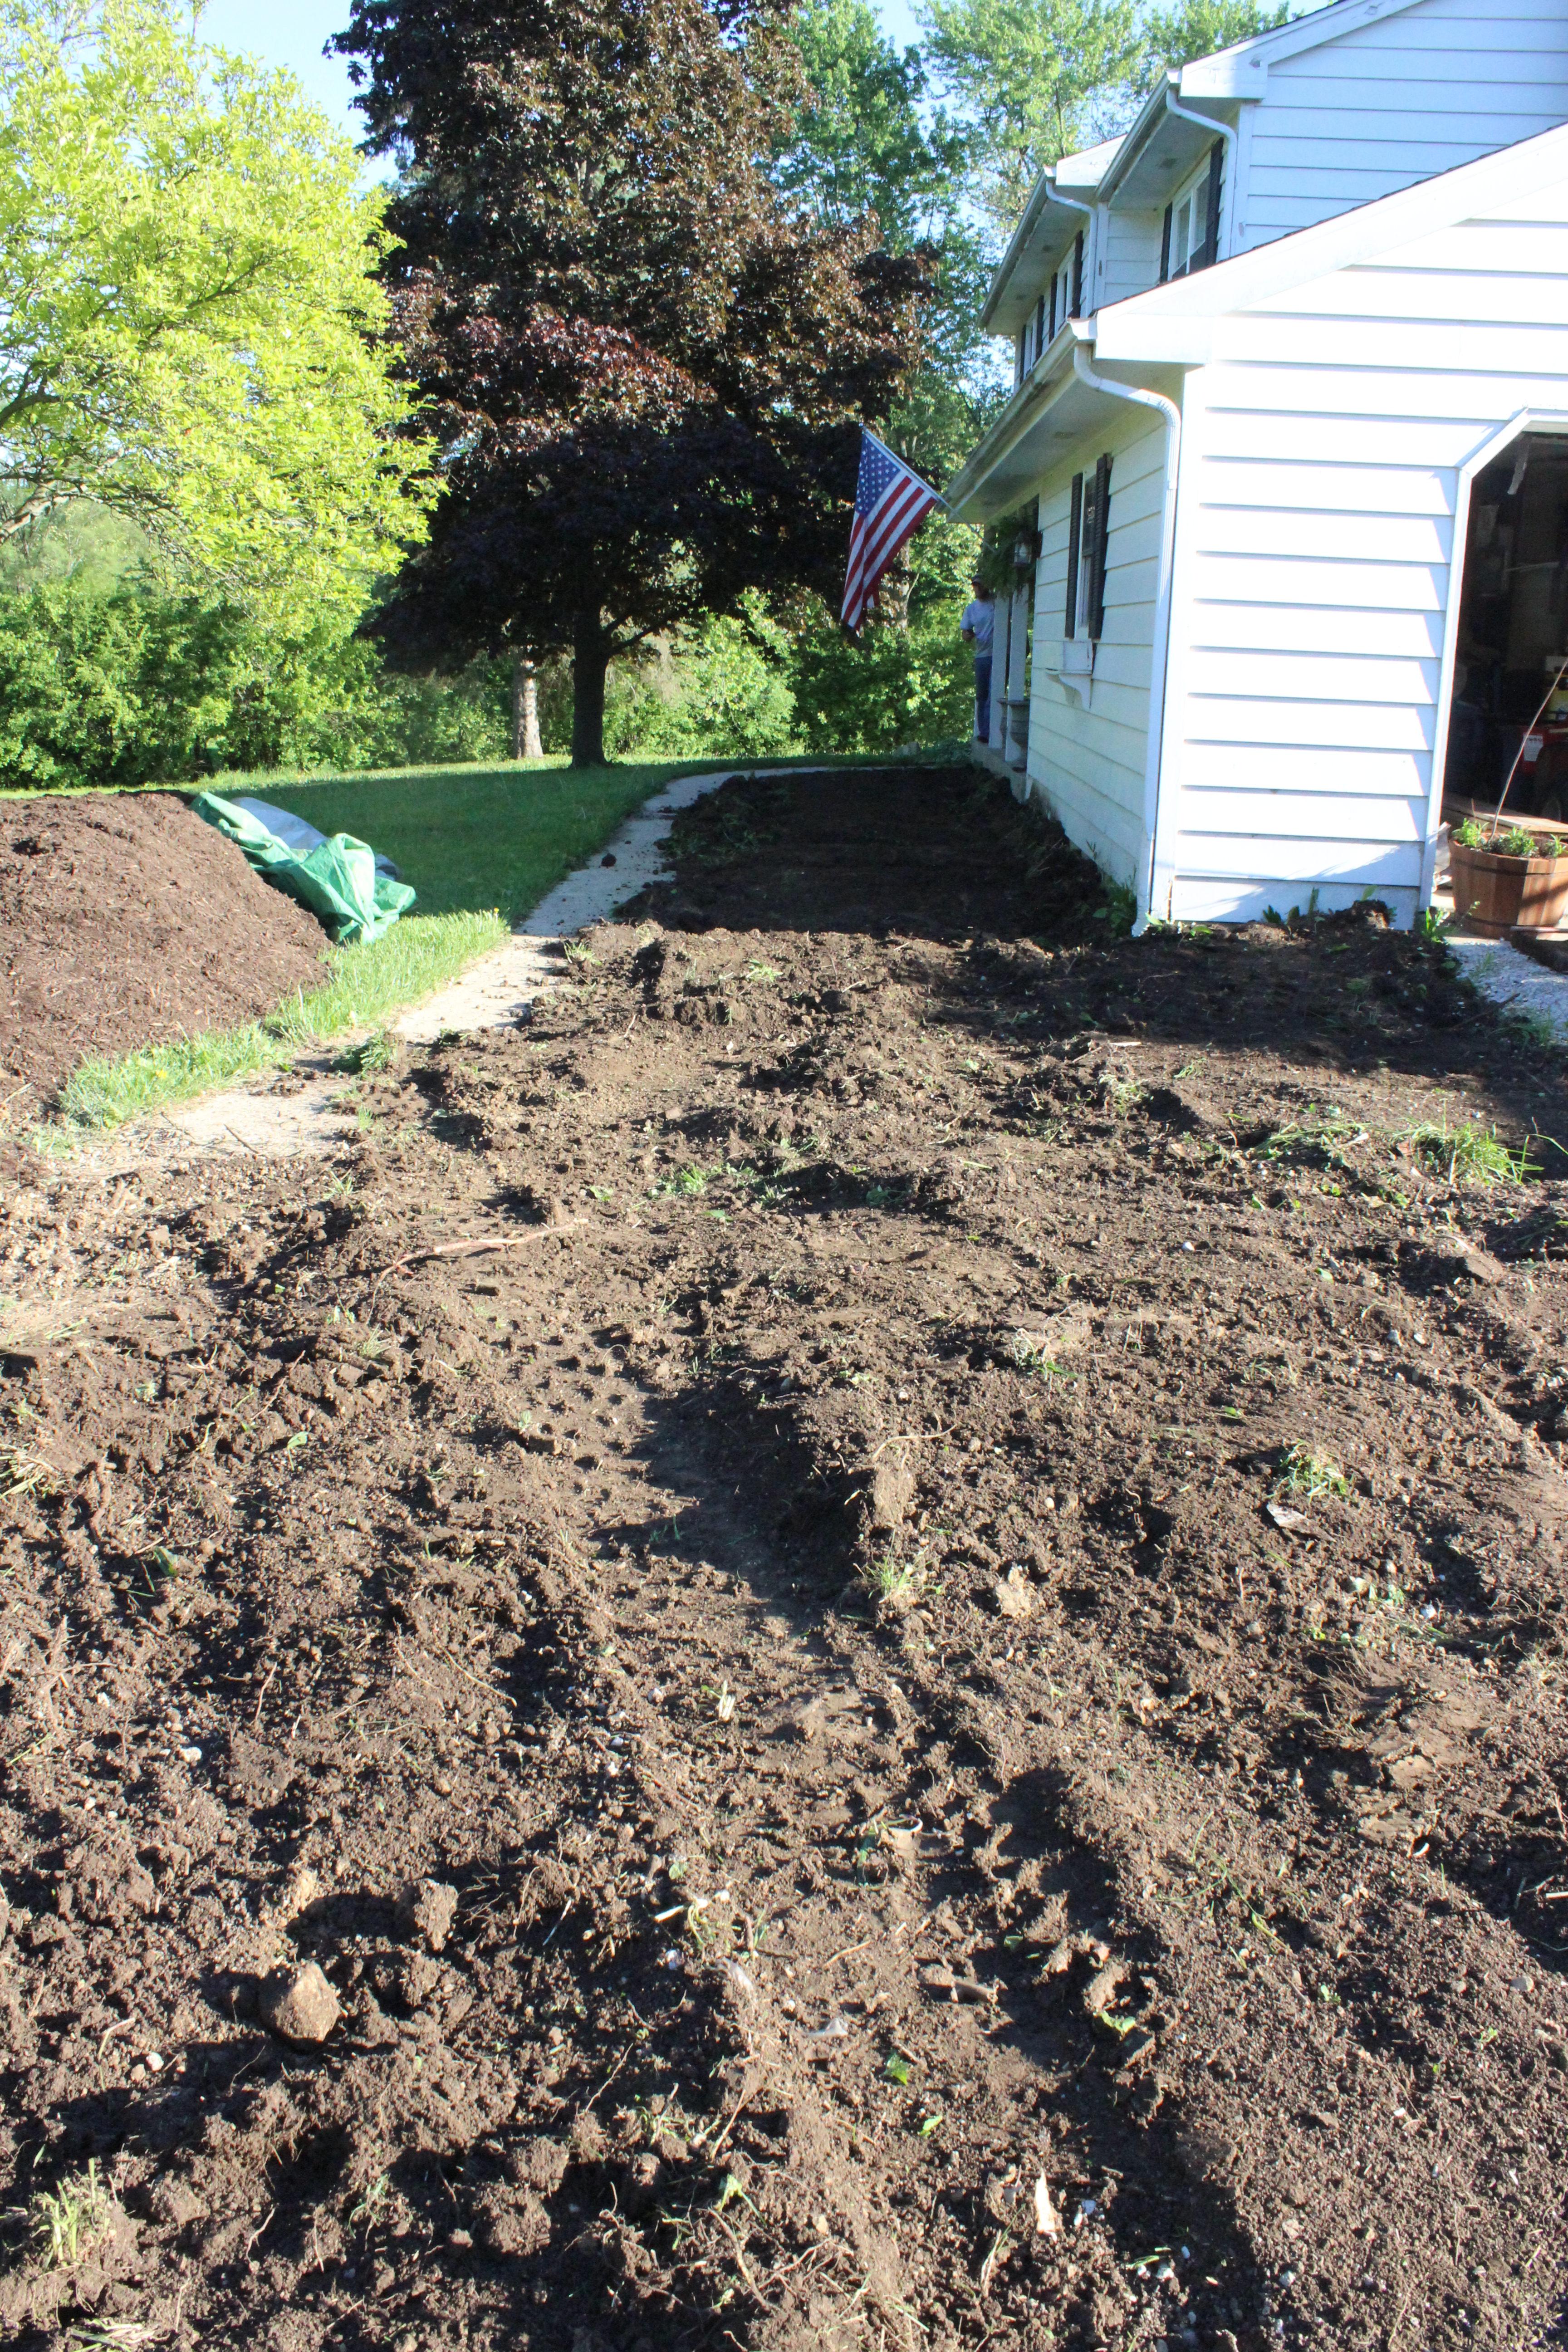
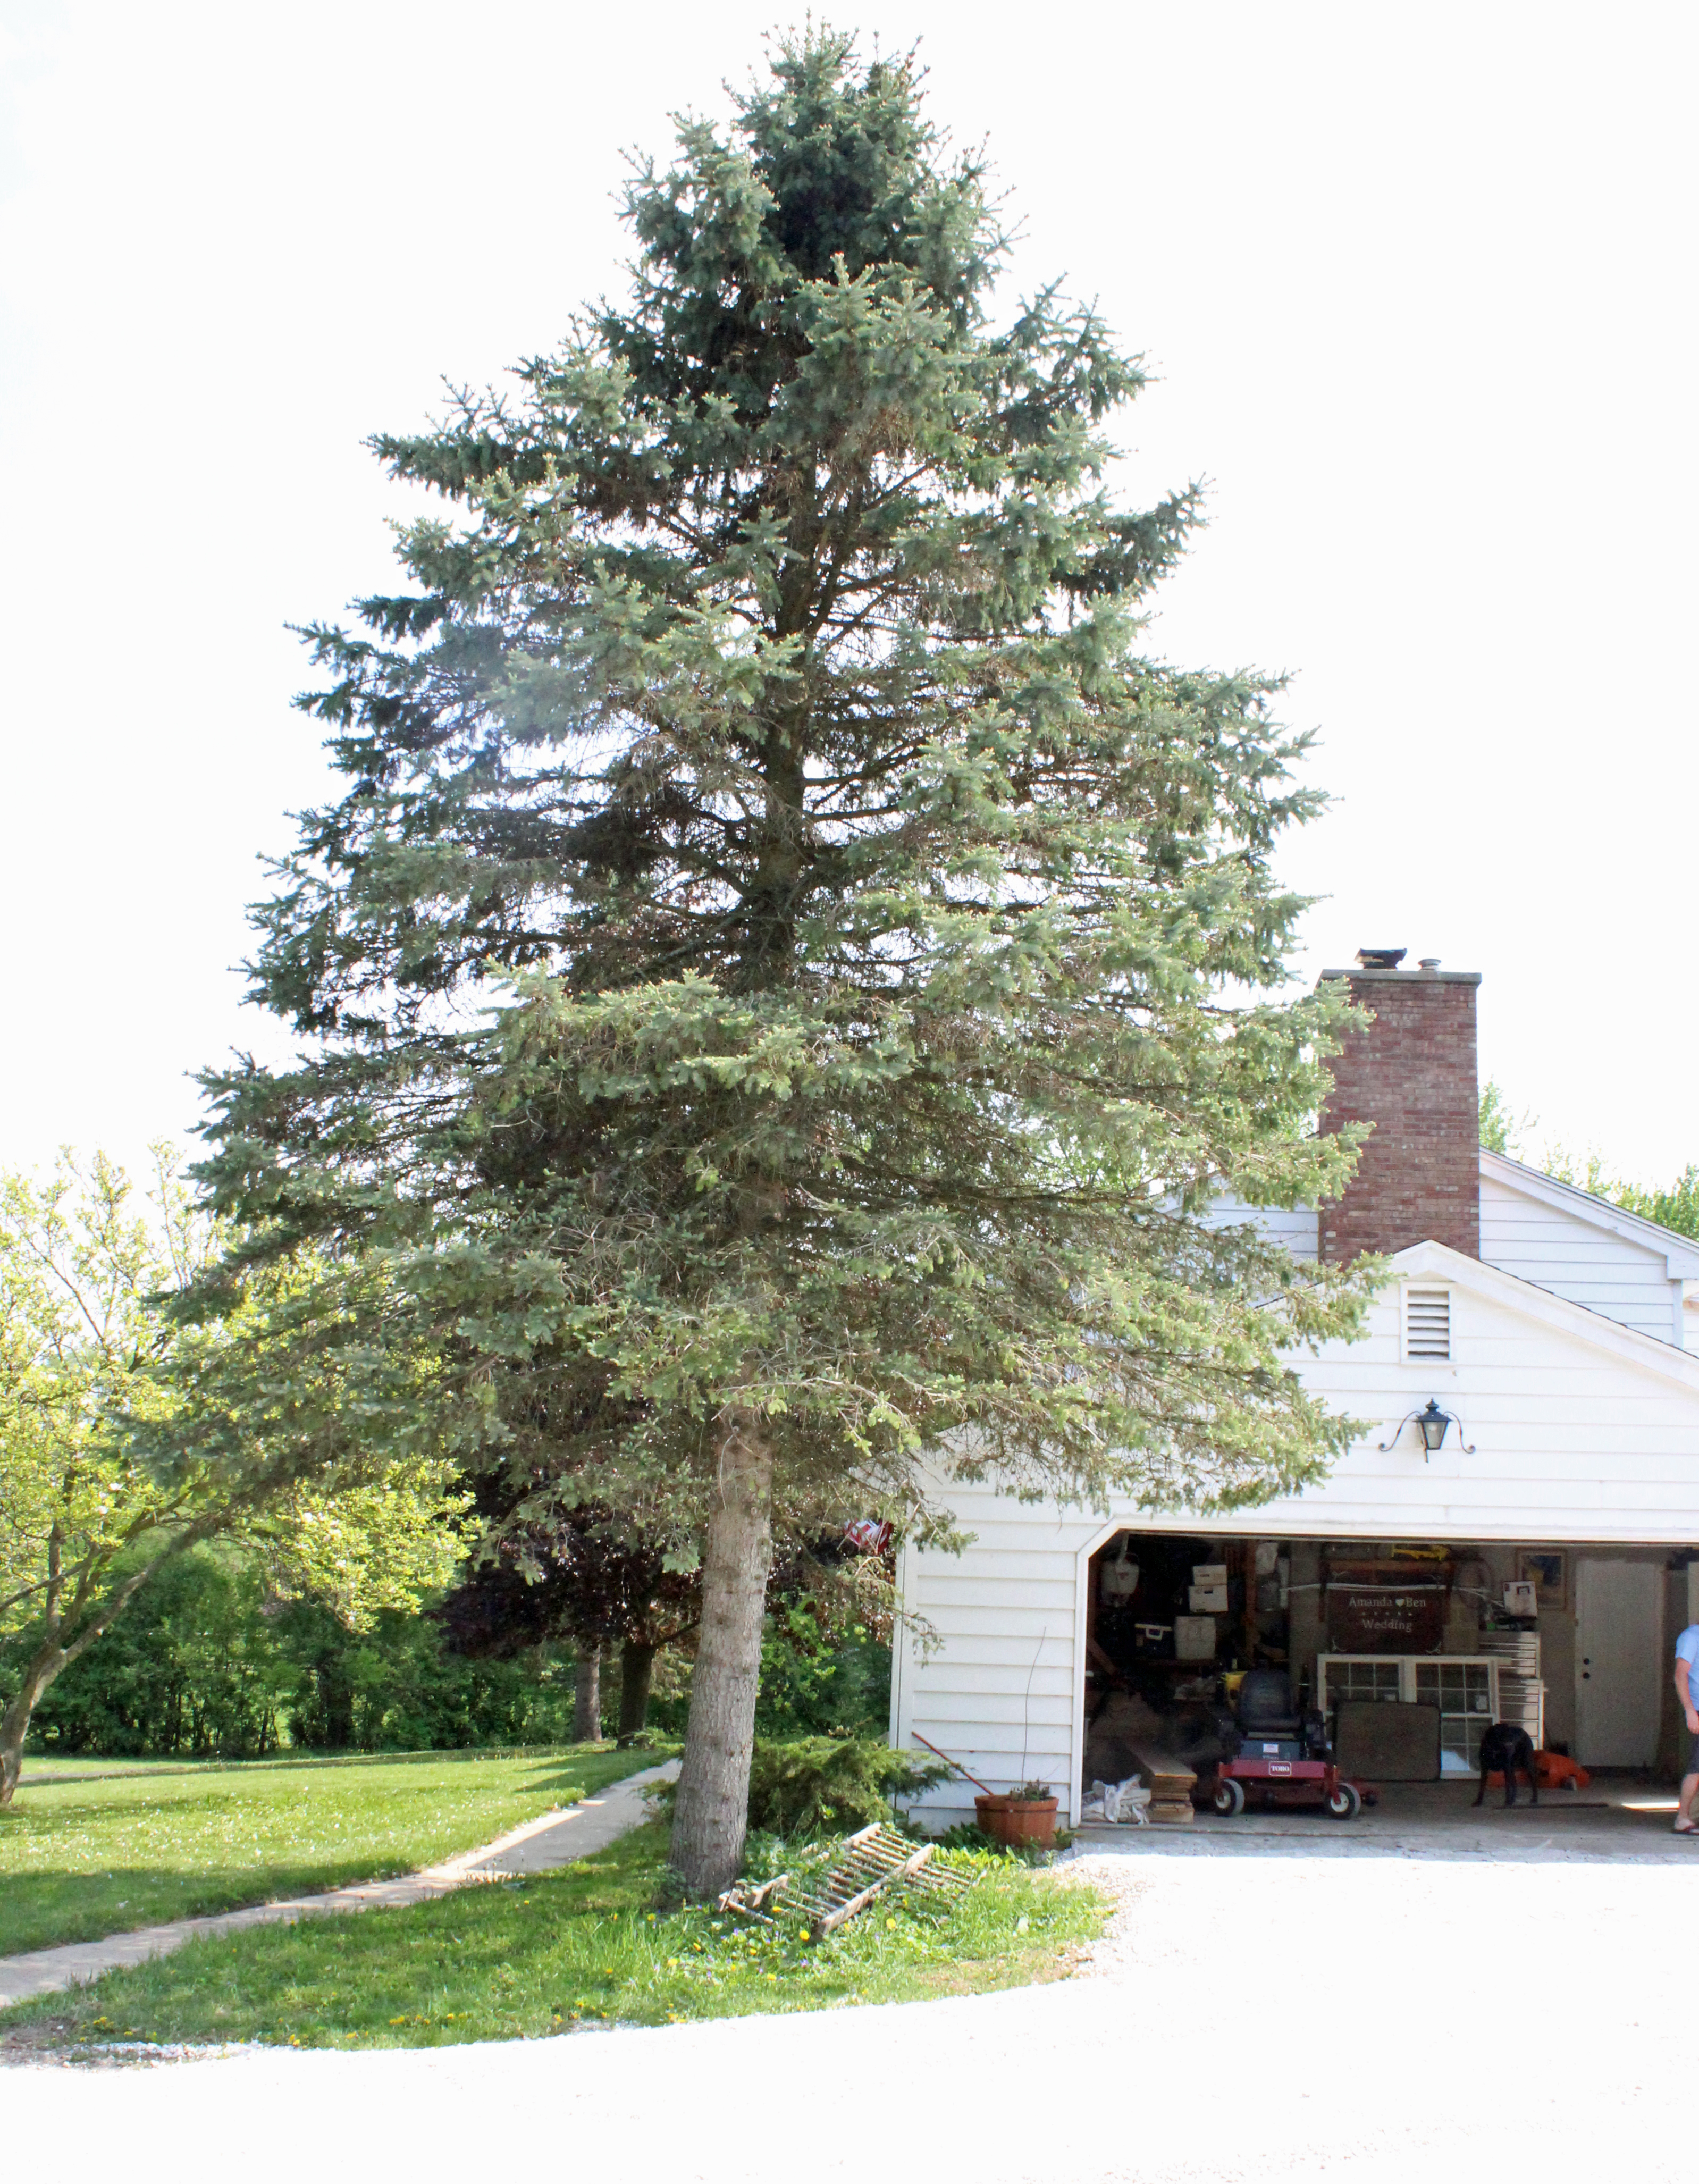
IMG_3151To get ready for the plantings, first we had to cut down the ugly spruce tree that was growing too close to the house.

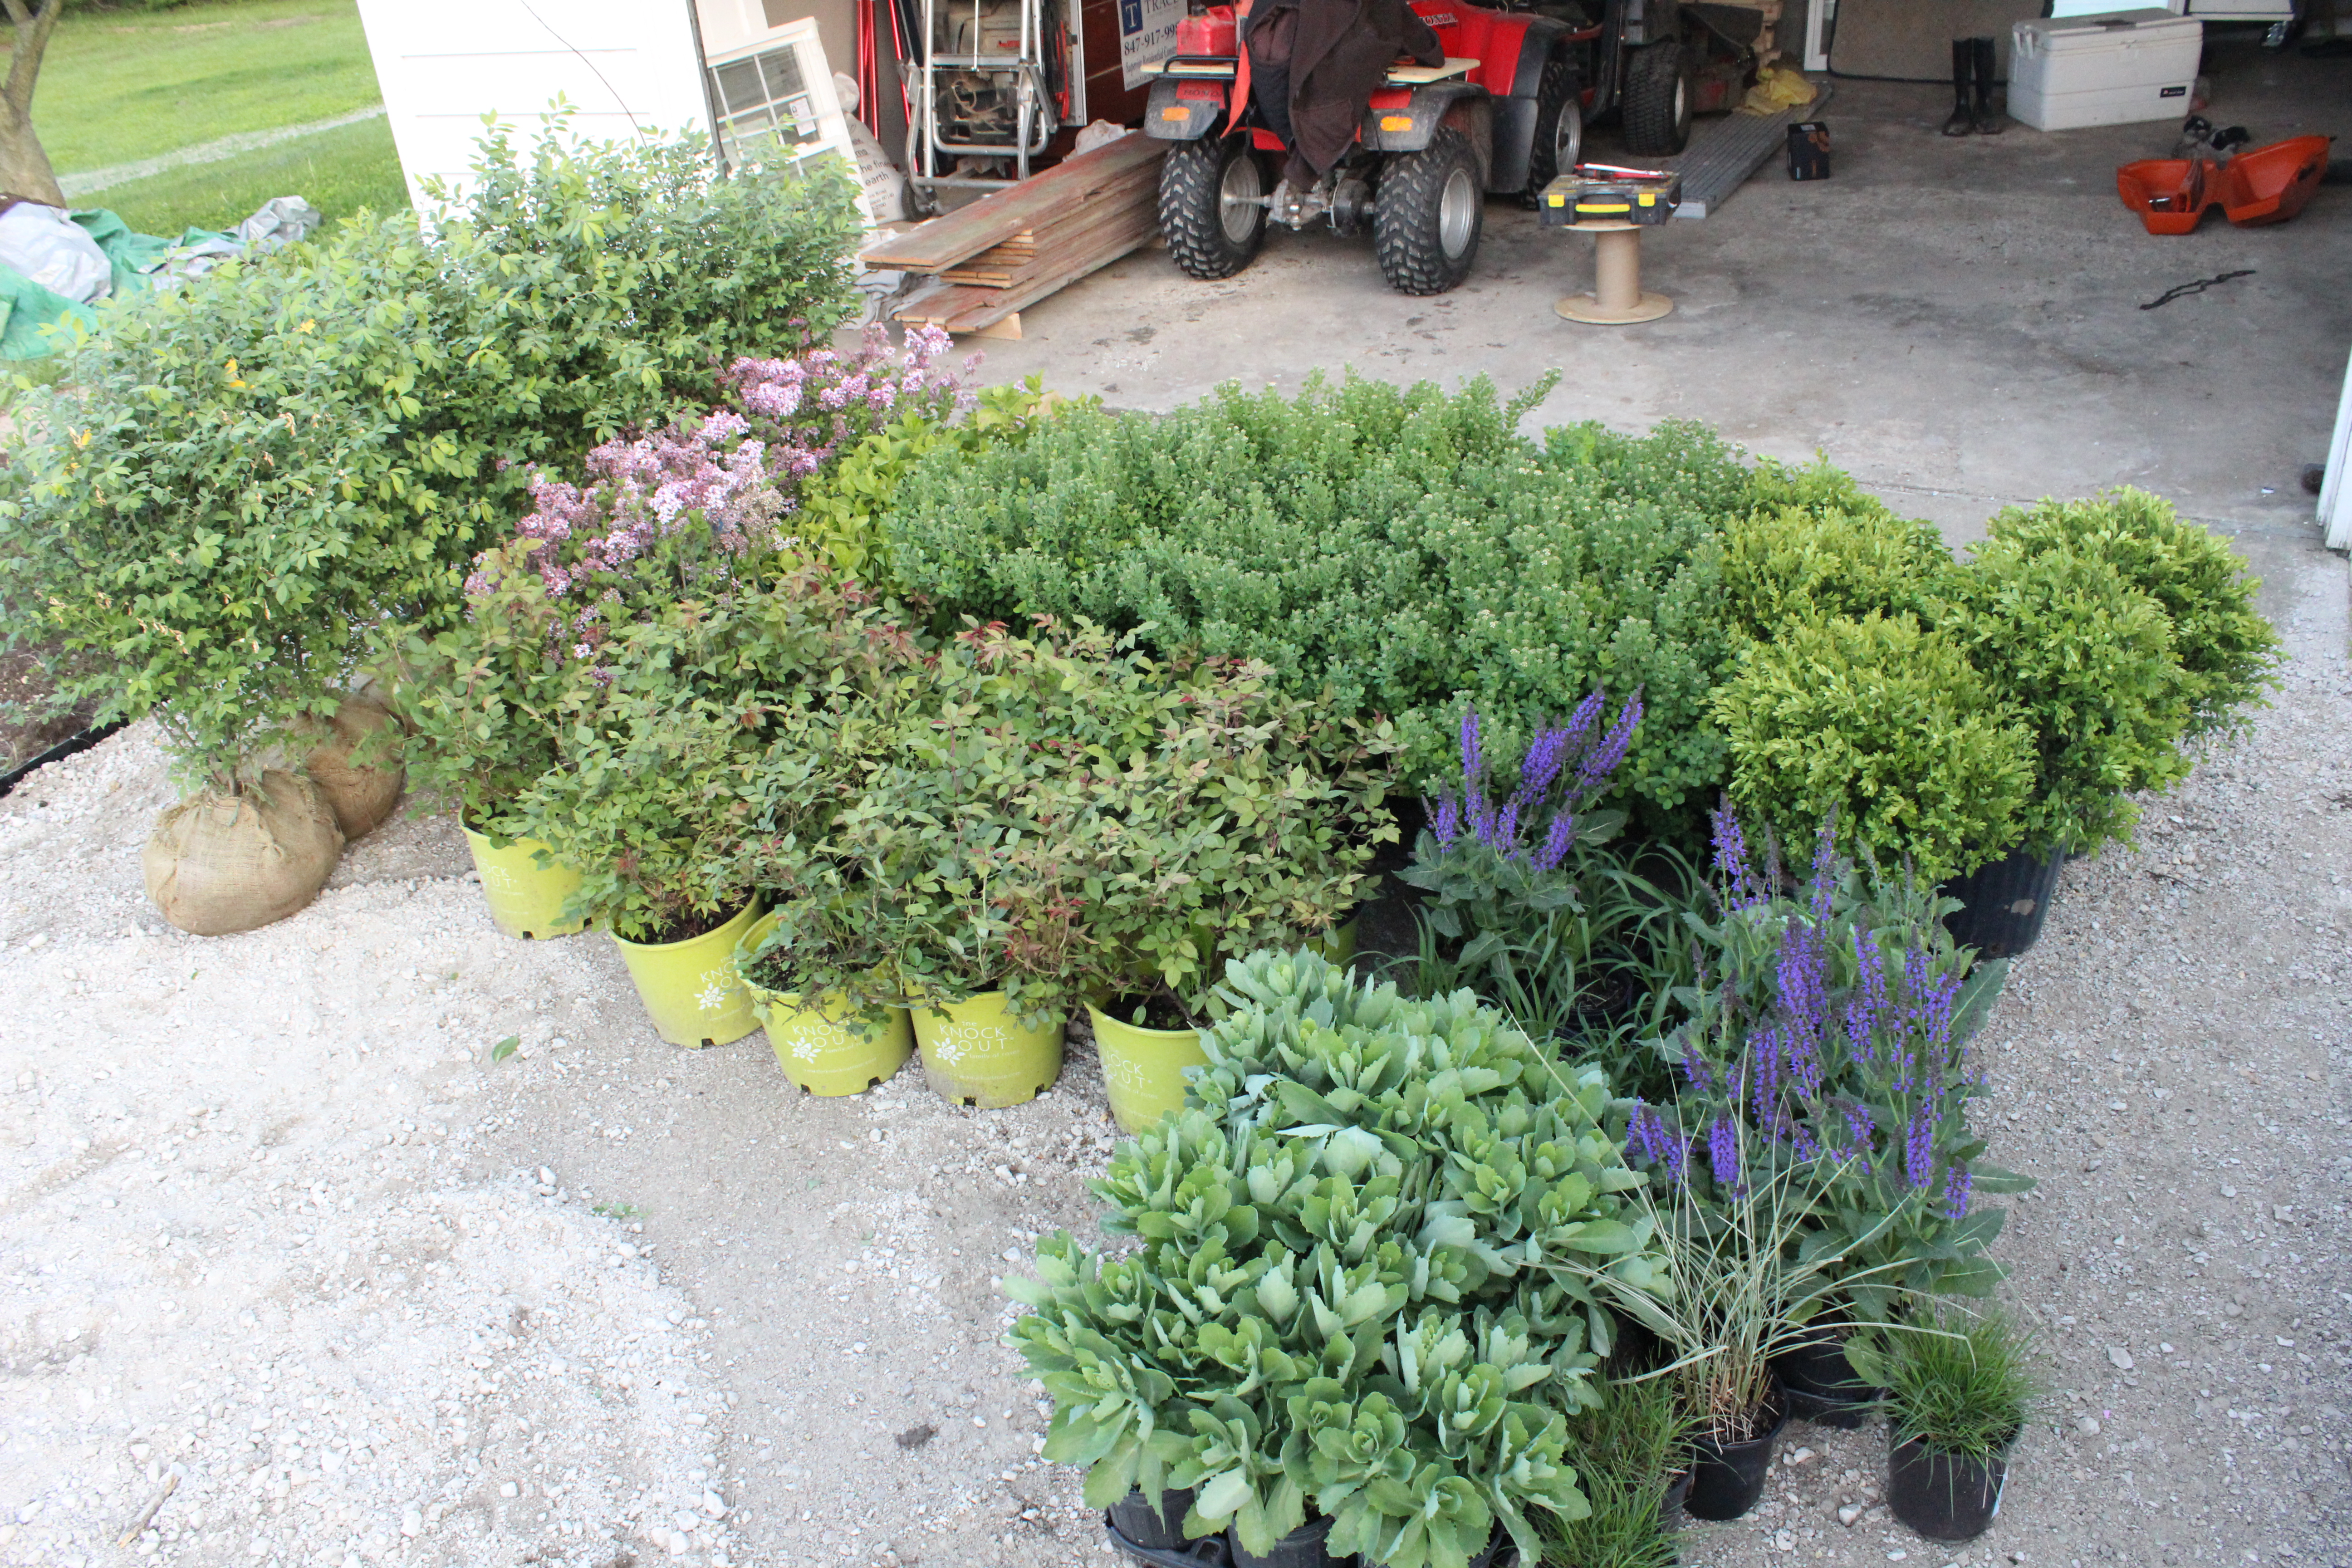
old treeThen we had to dig up and overturn all the garden beds. We rented a rotary tiller from Home Depot (3 hours for $40) to break it up and make it easier to dig. IMG_3144We got all the plantings at a wholesale nursery less than a mile away from our place. Which was good because it took 2 trips to get them home. Here they all are piled up in the driveway.

IMG_3147And now some before and afters!

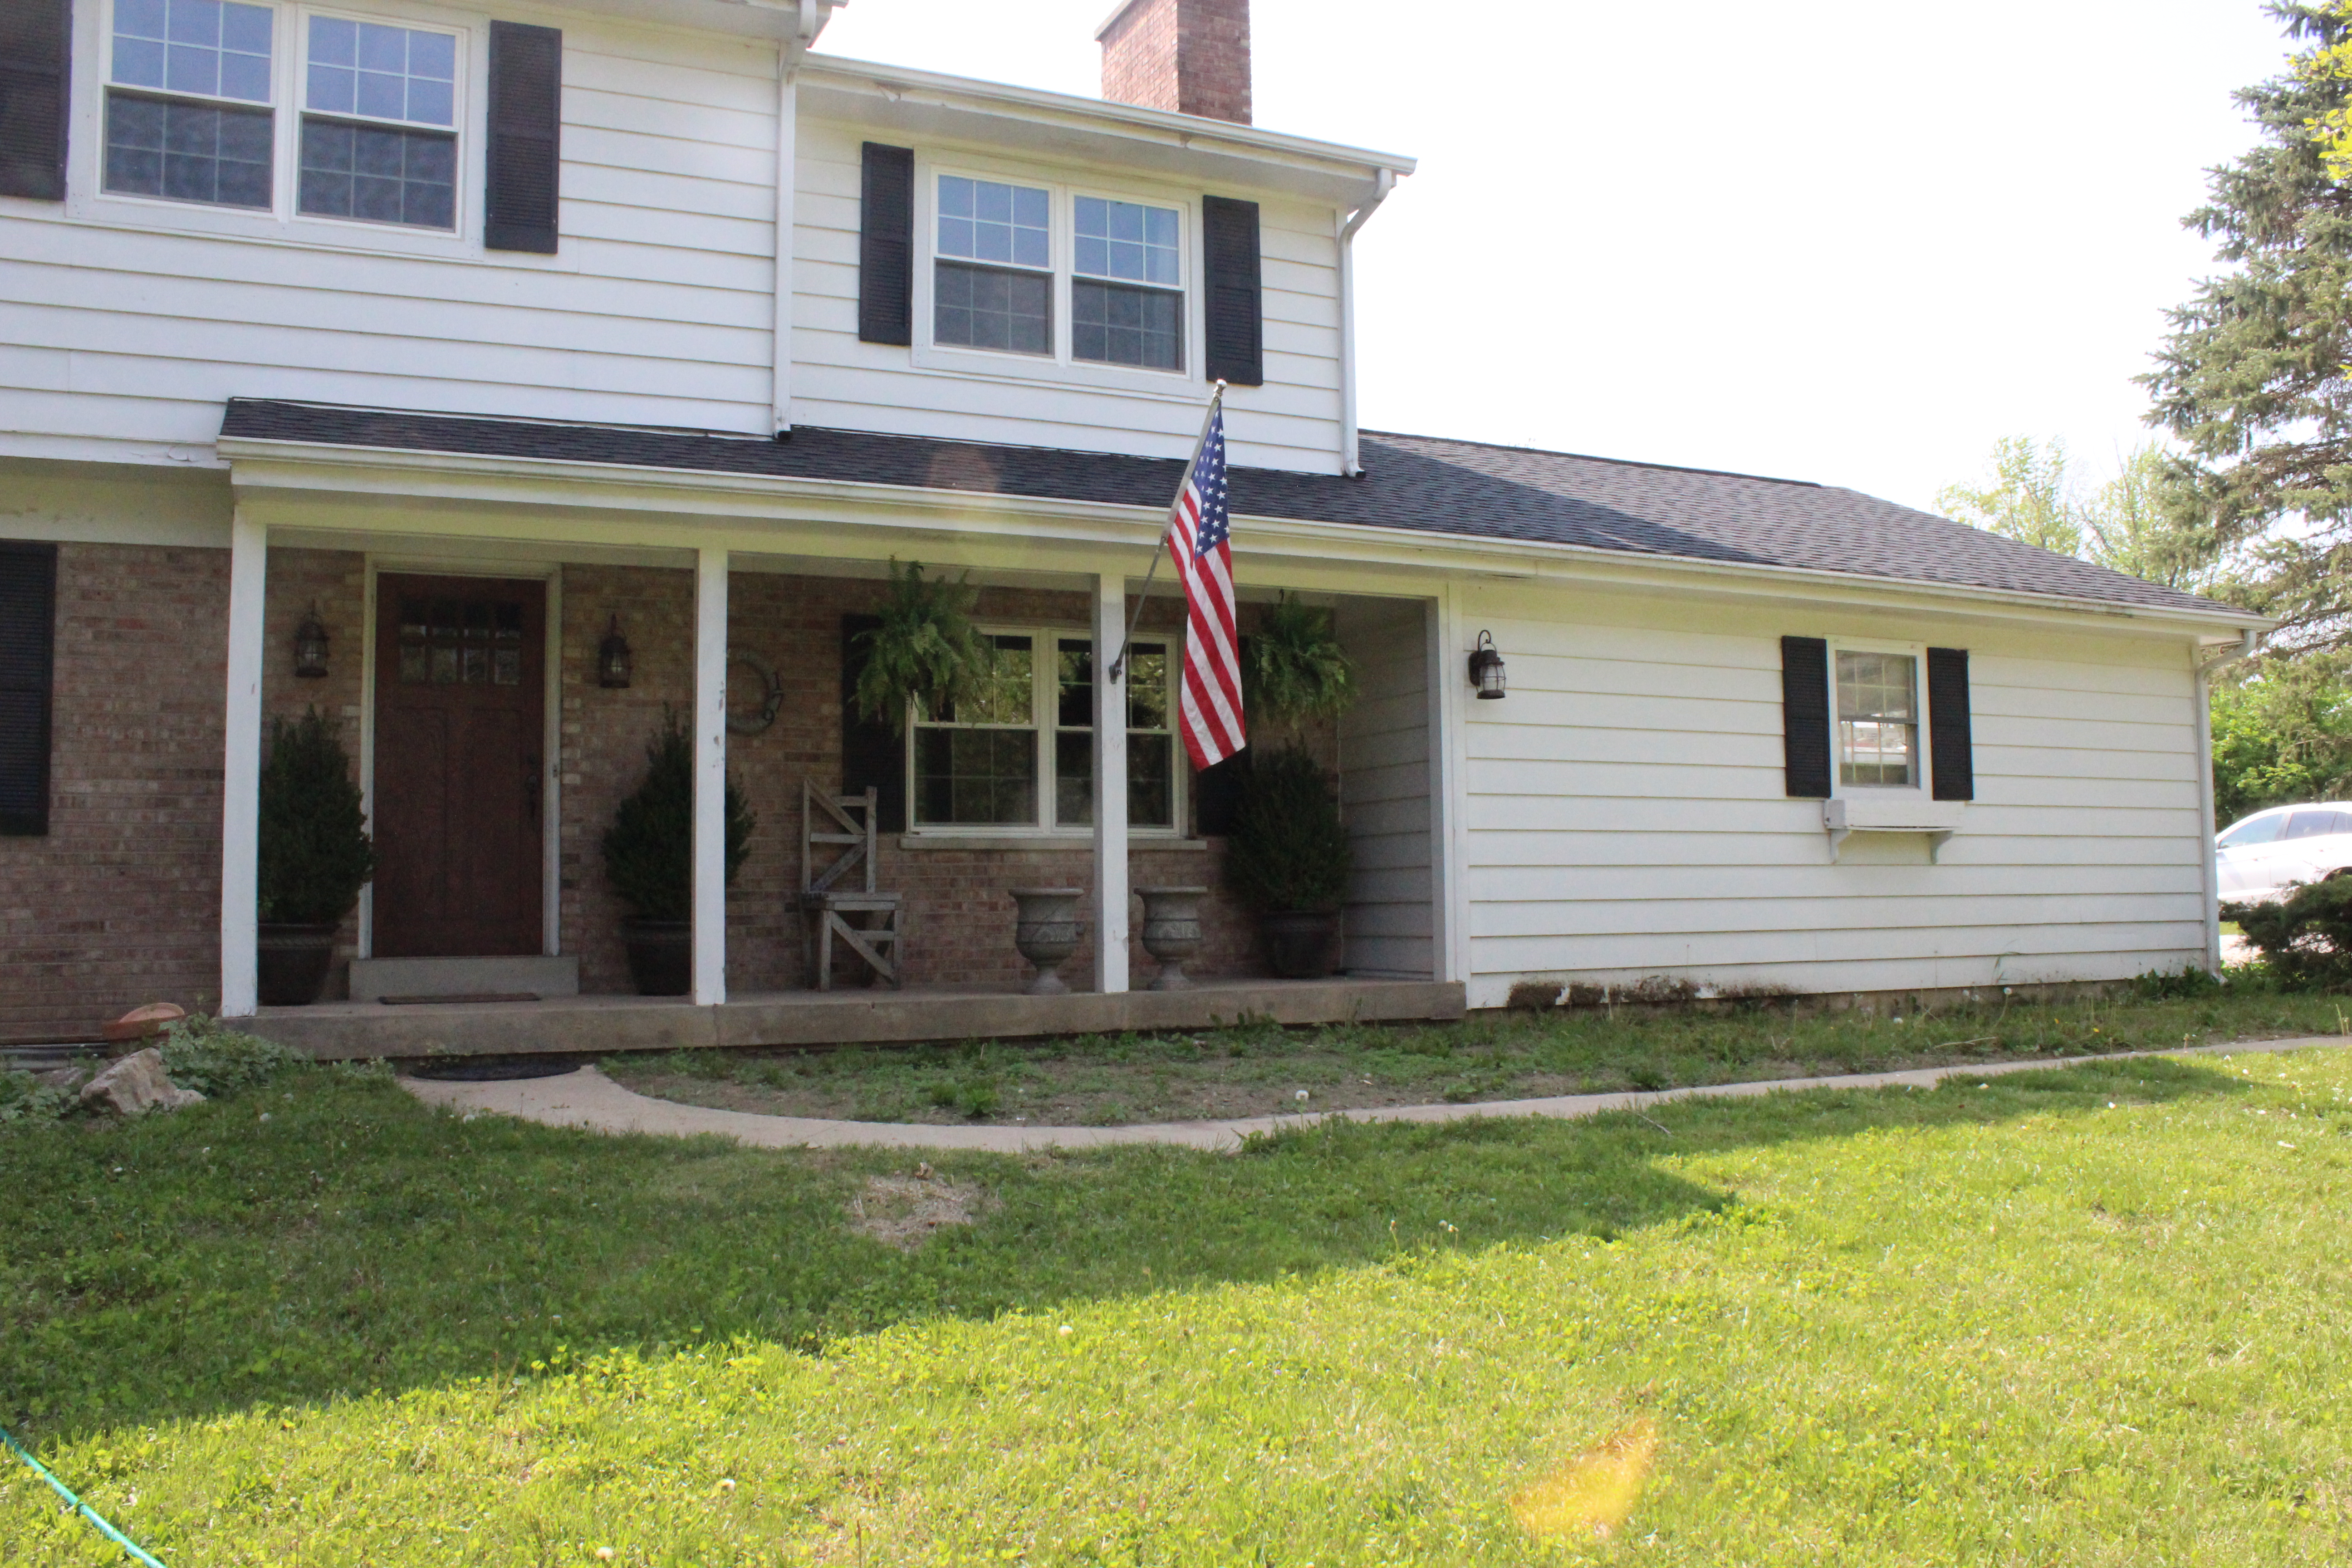
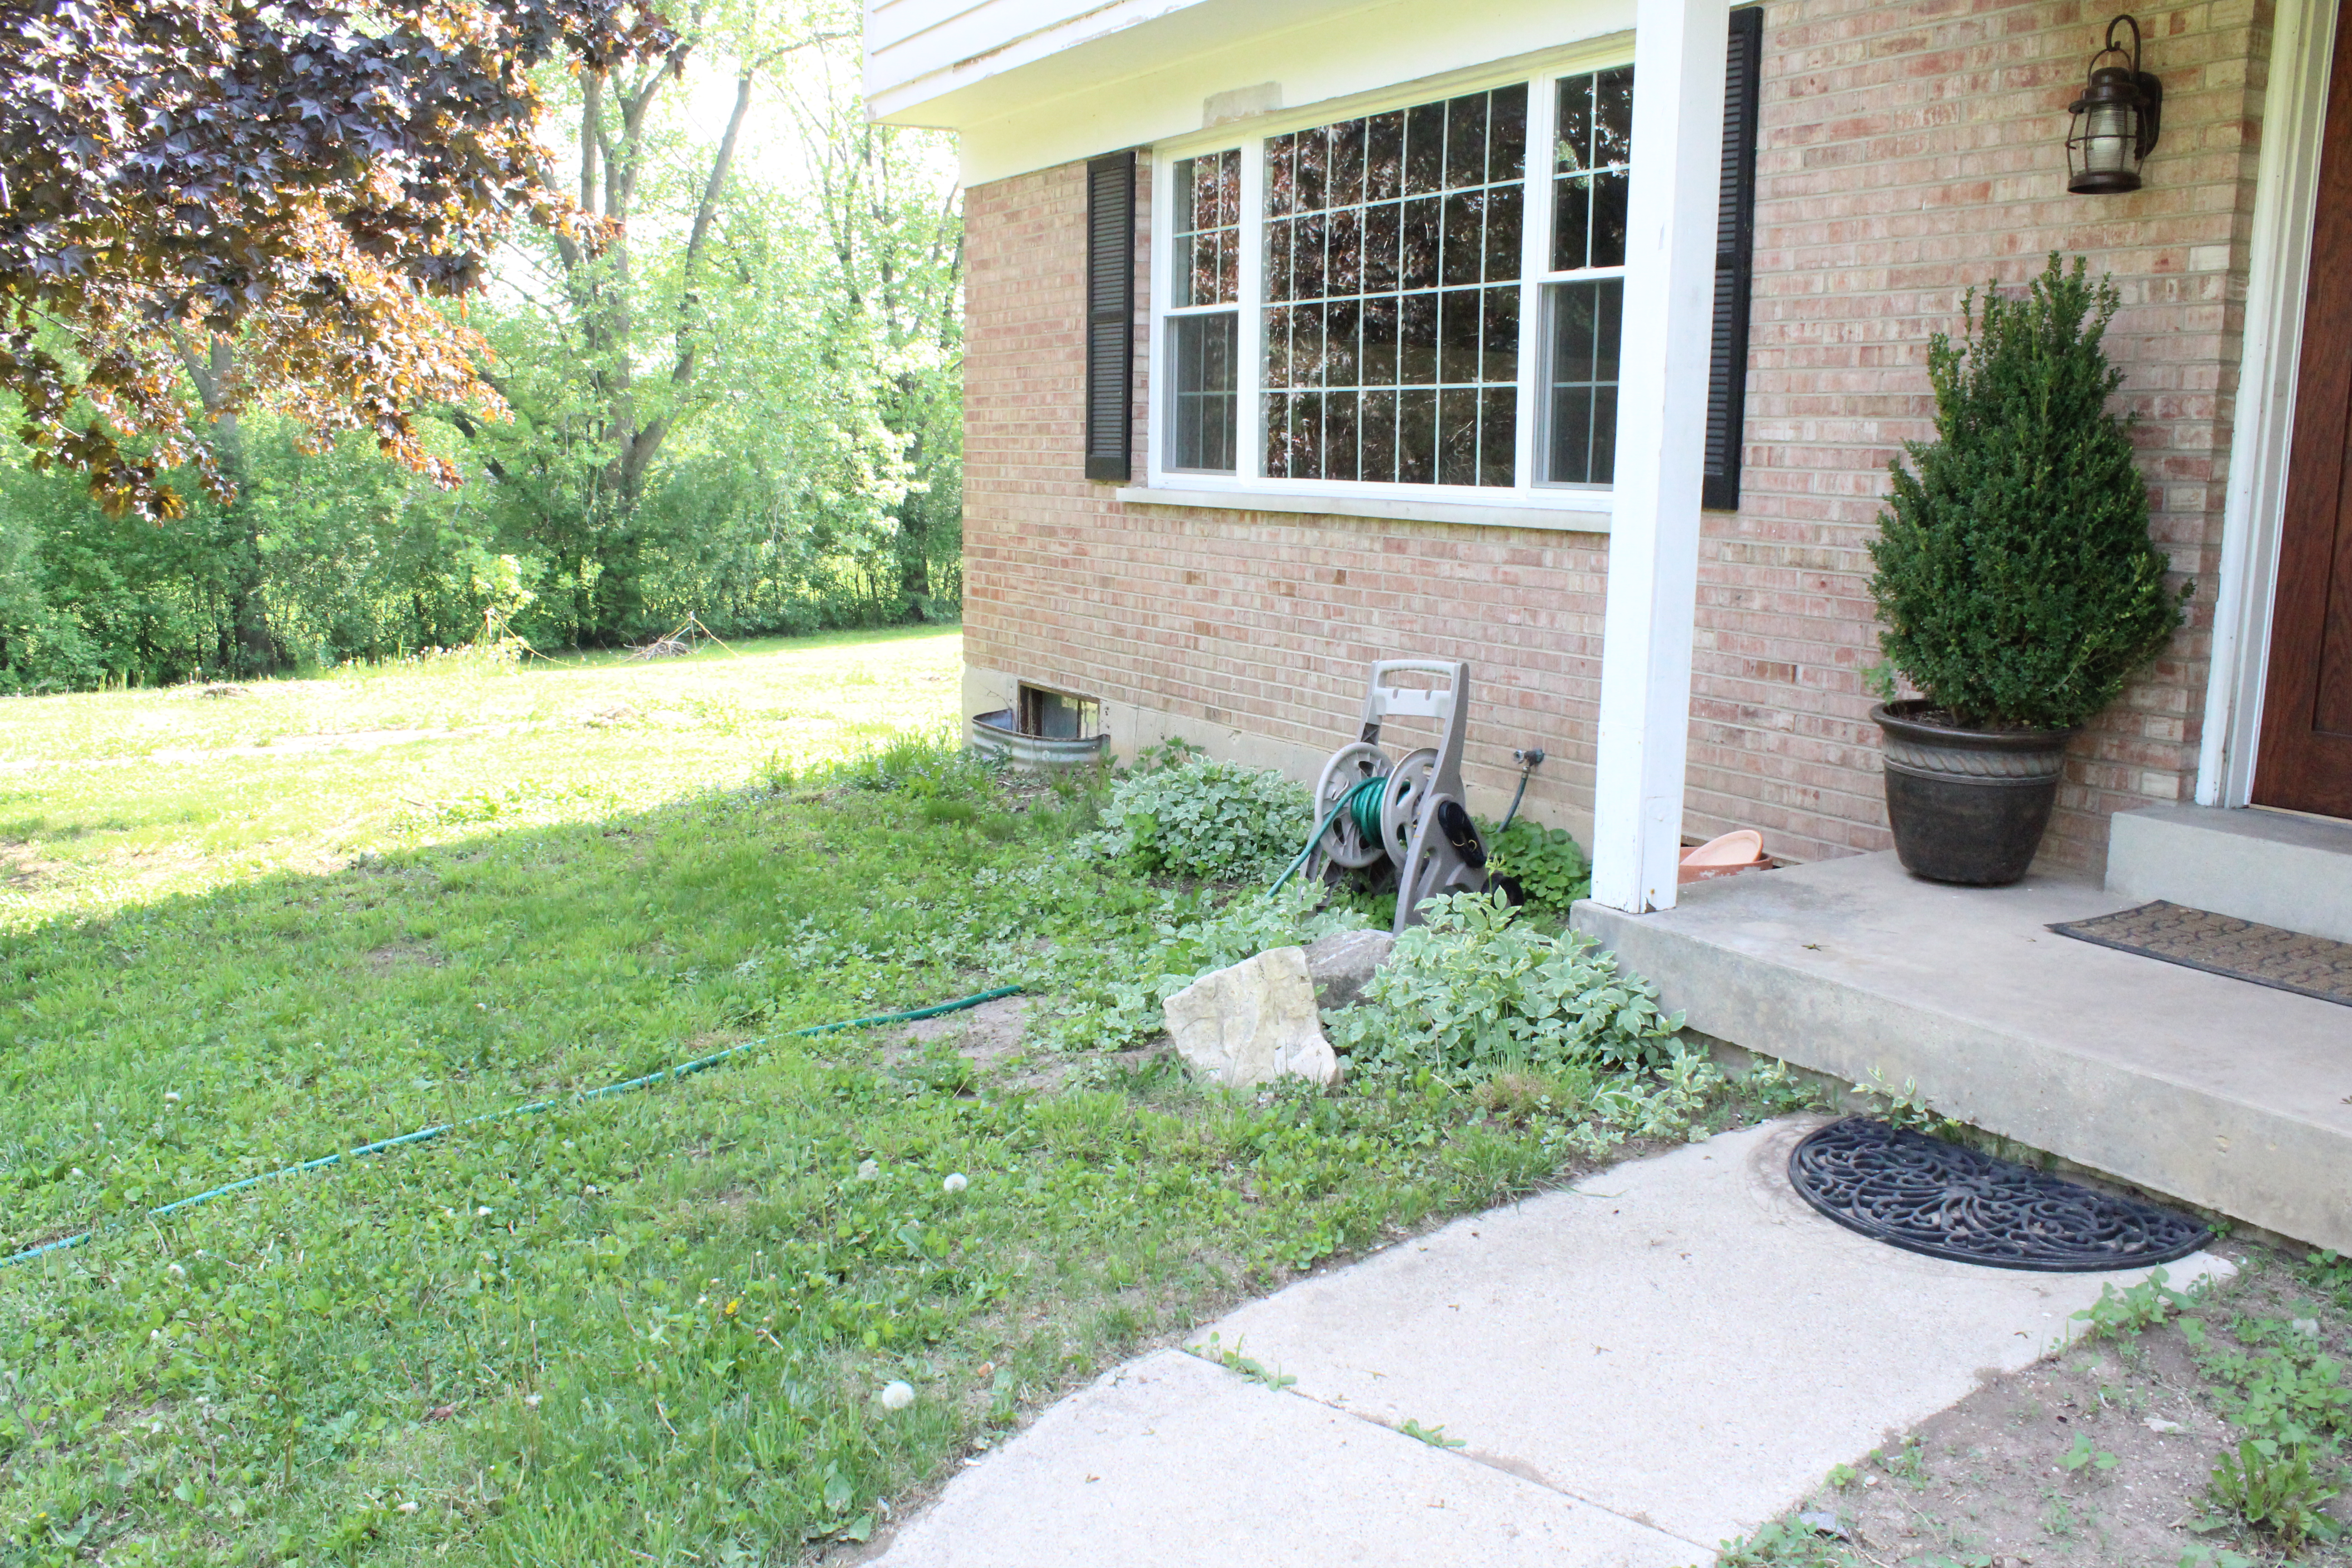
Before:

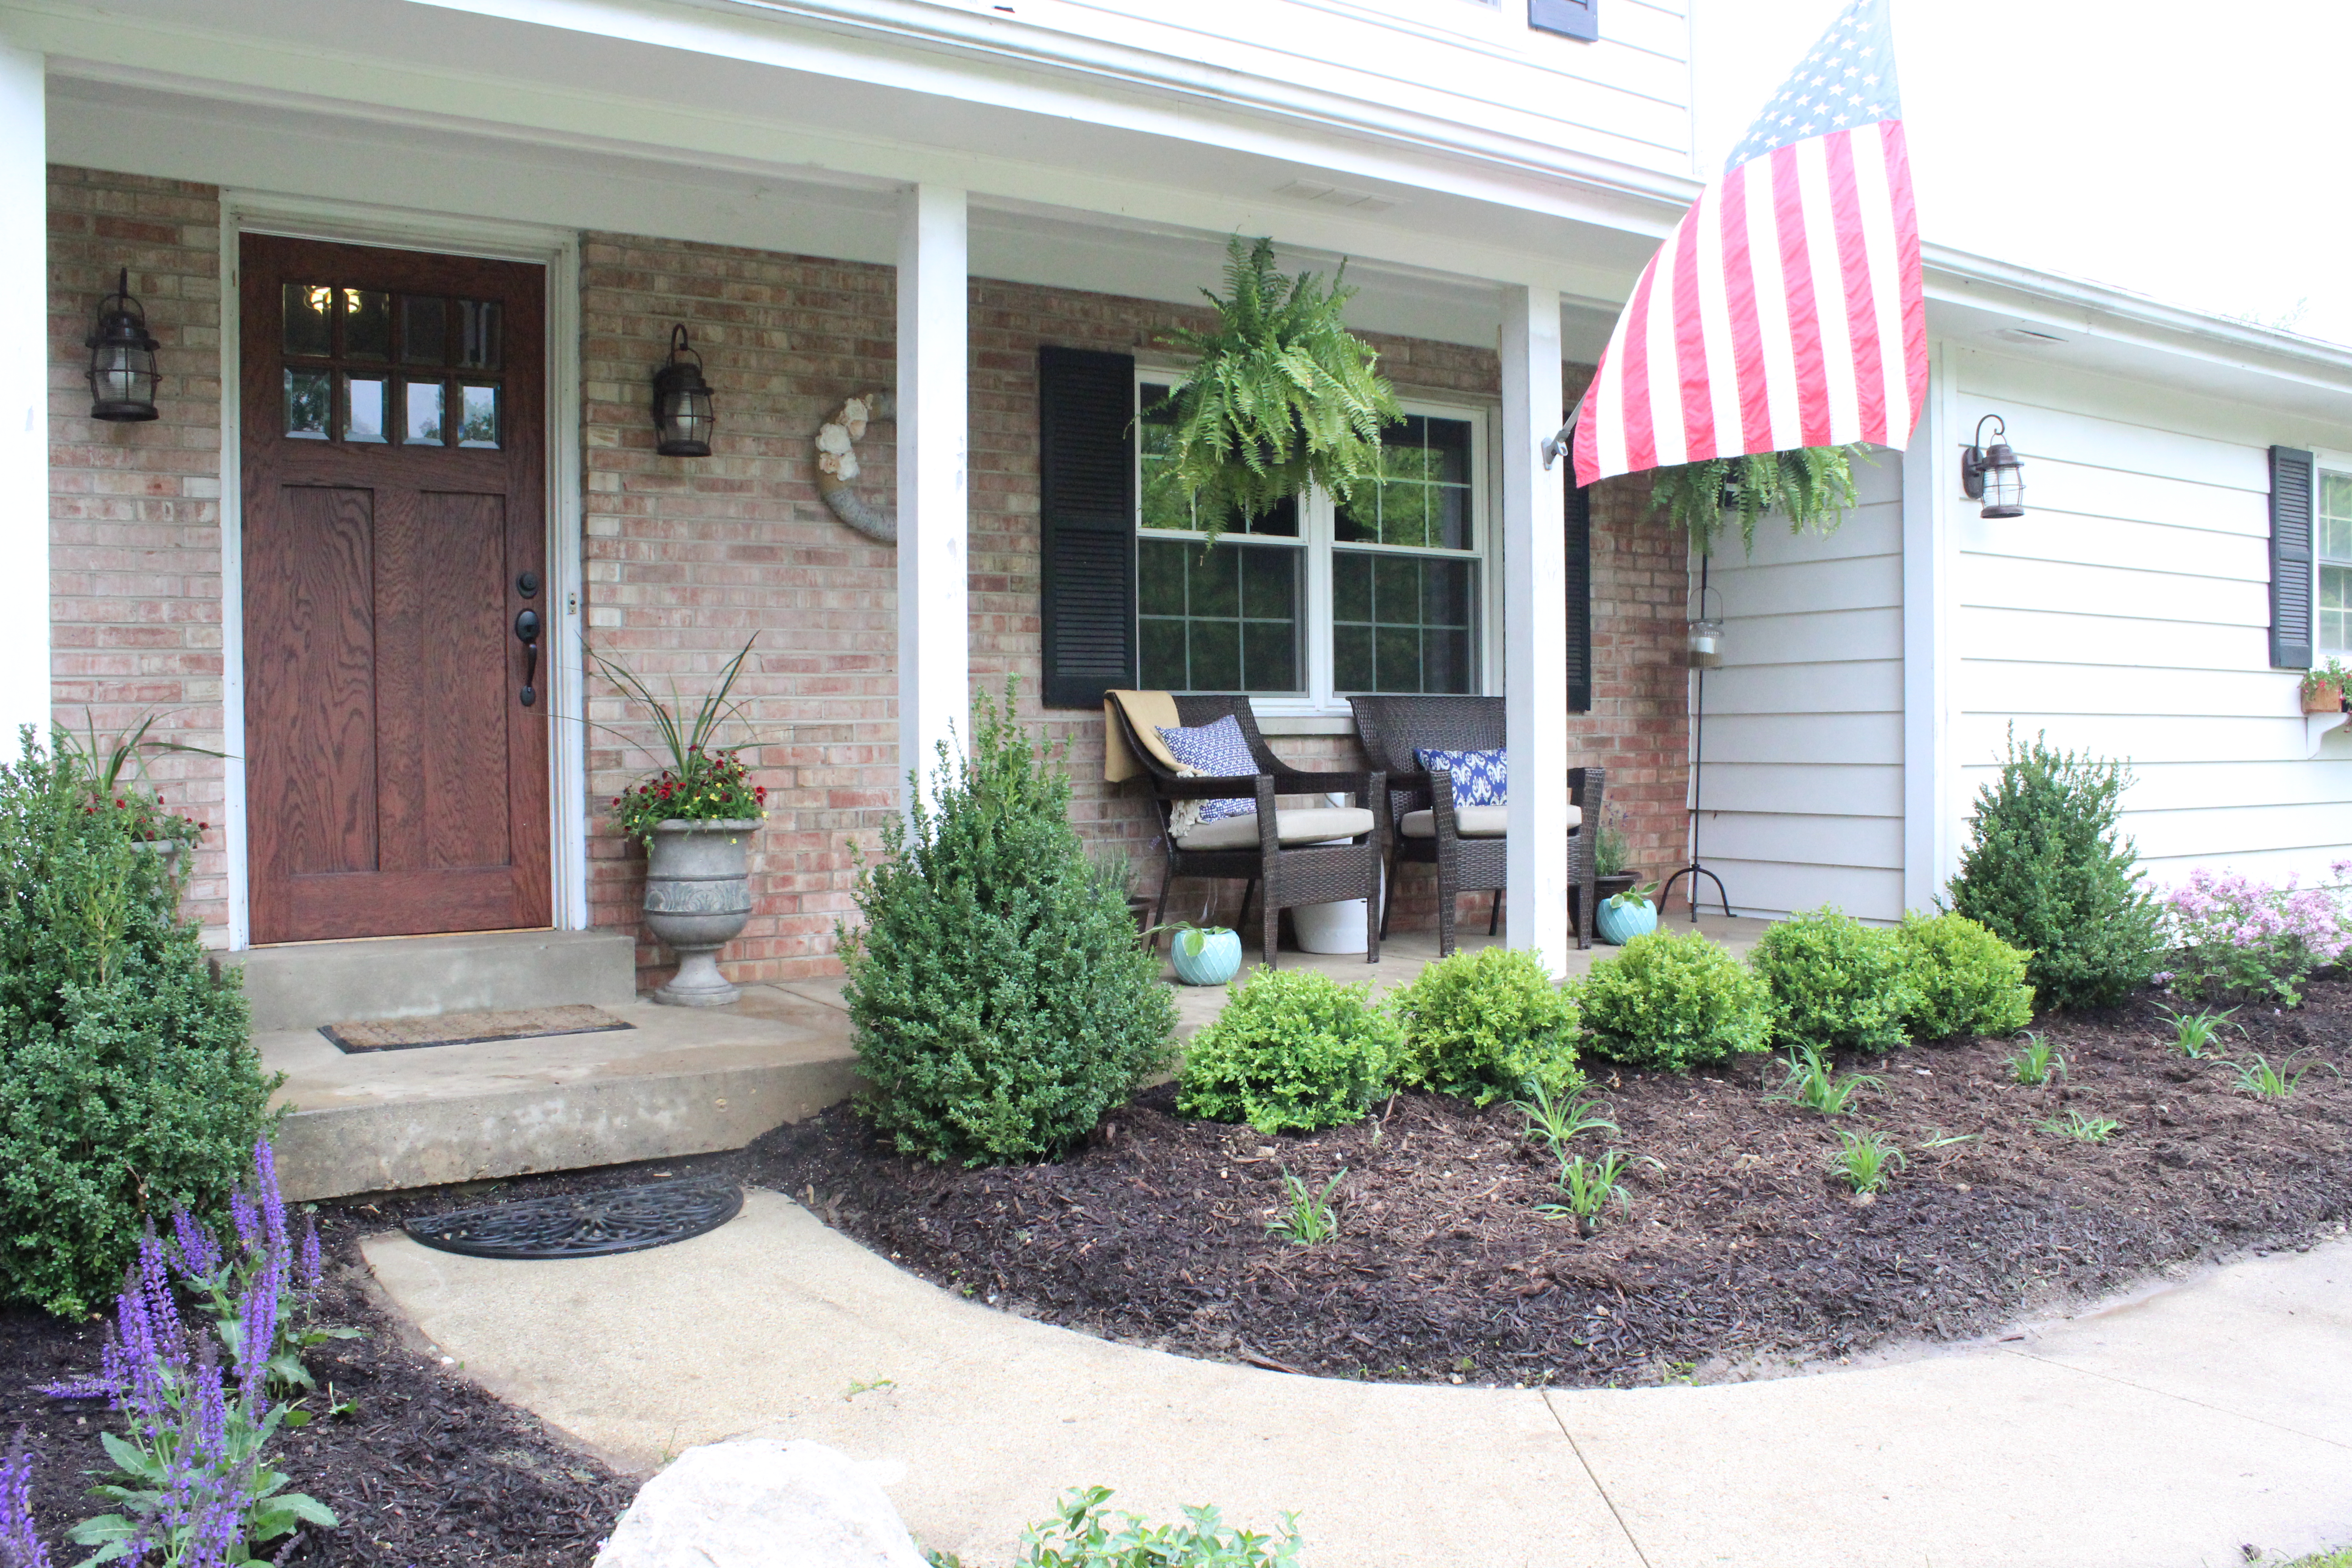
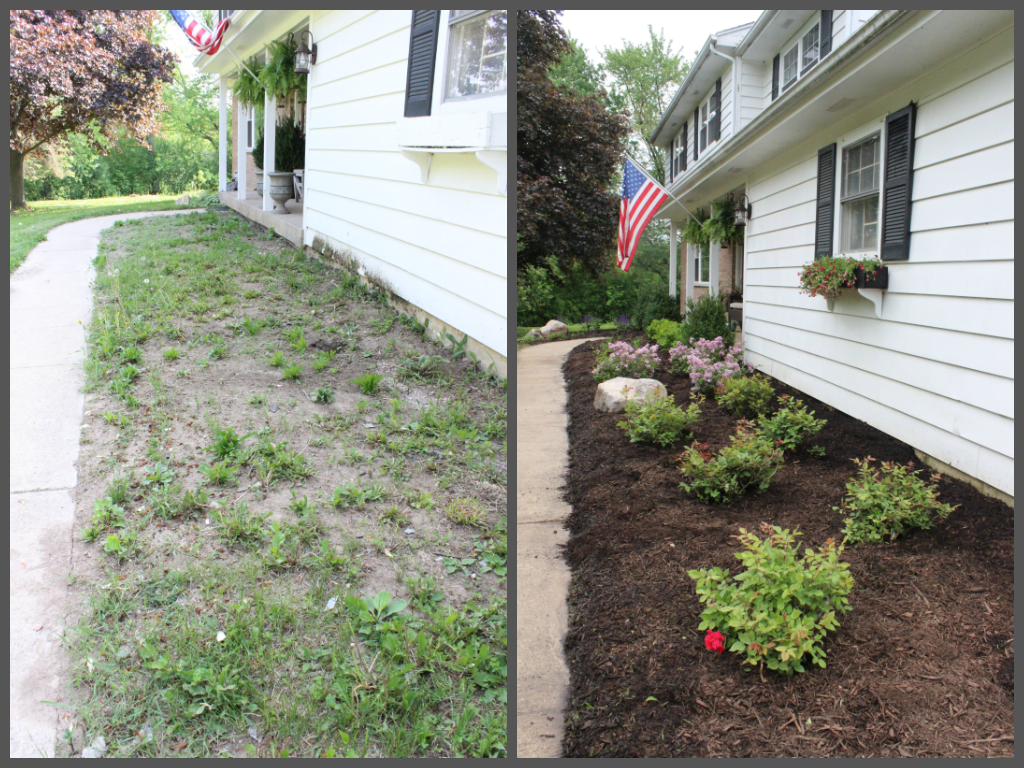
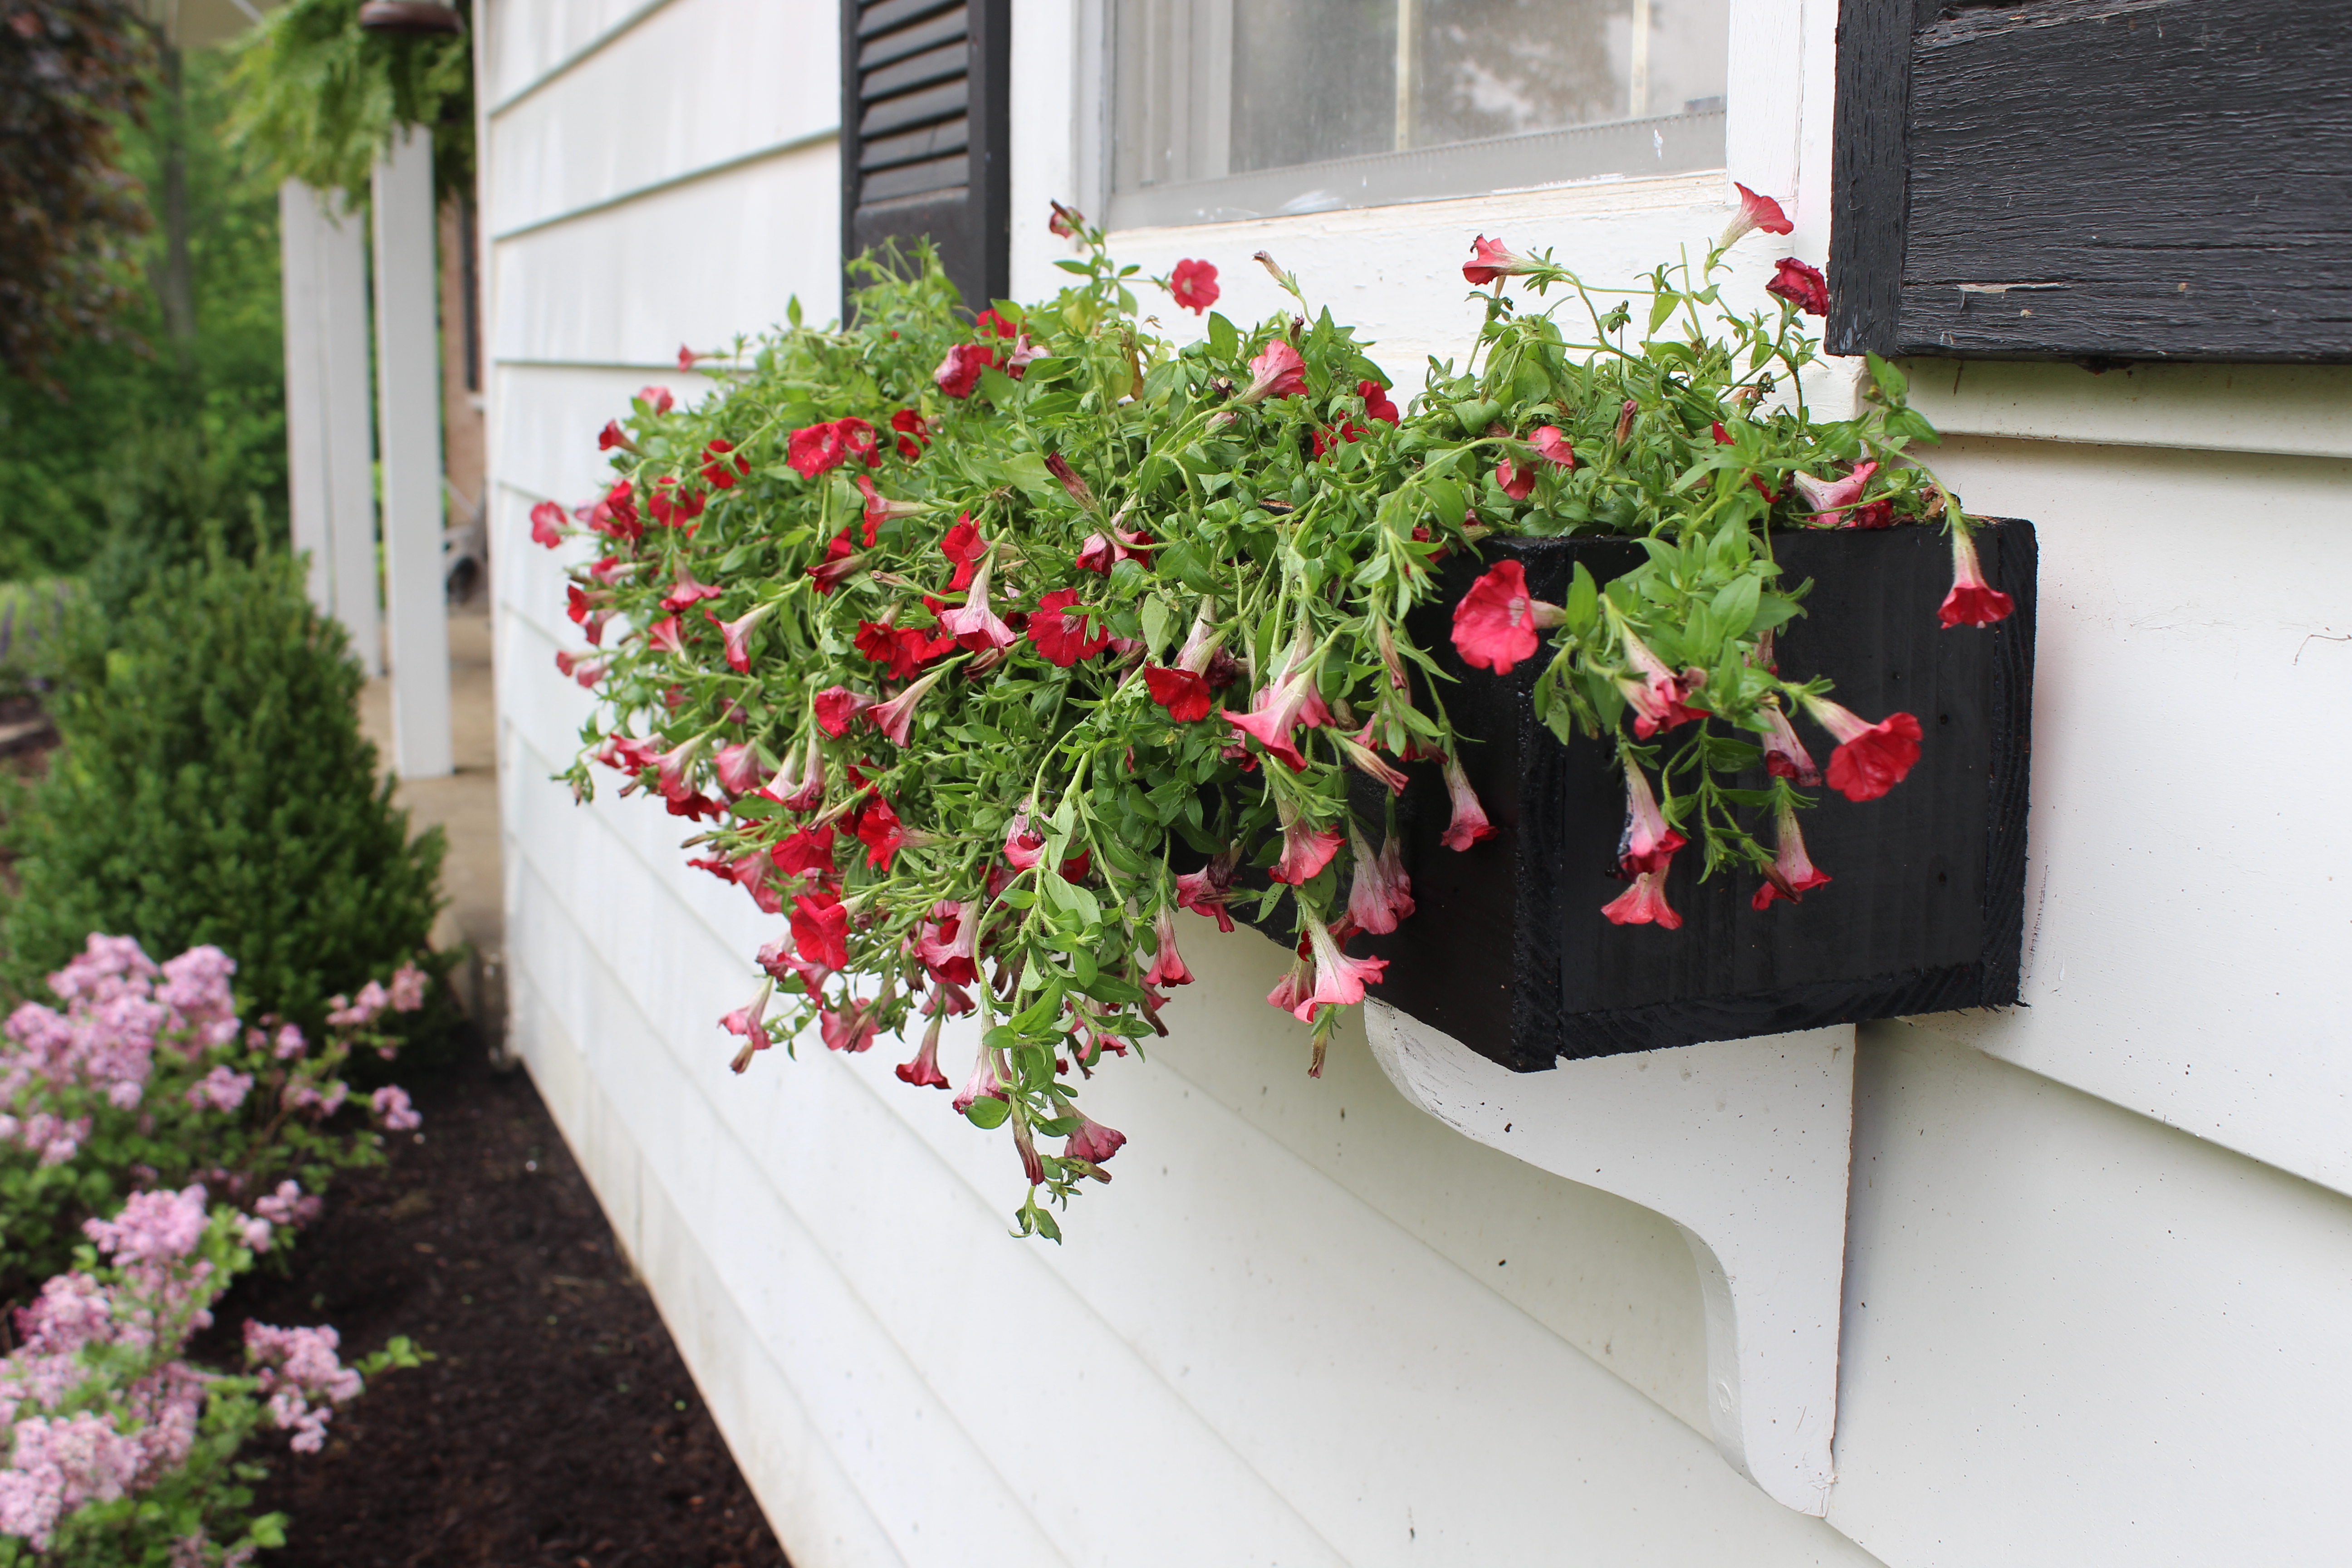
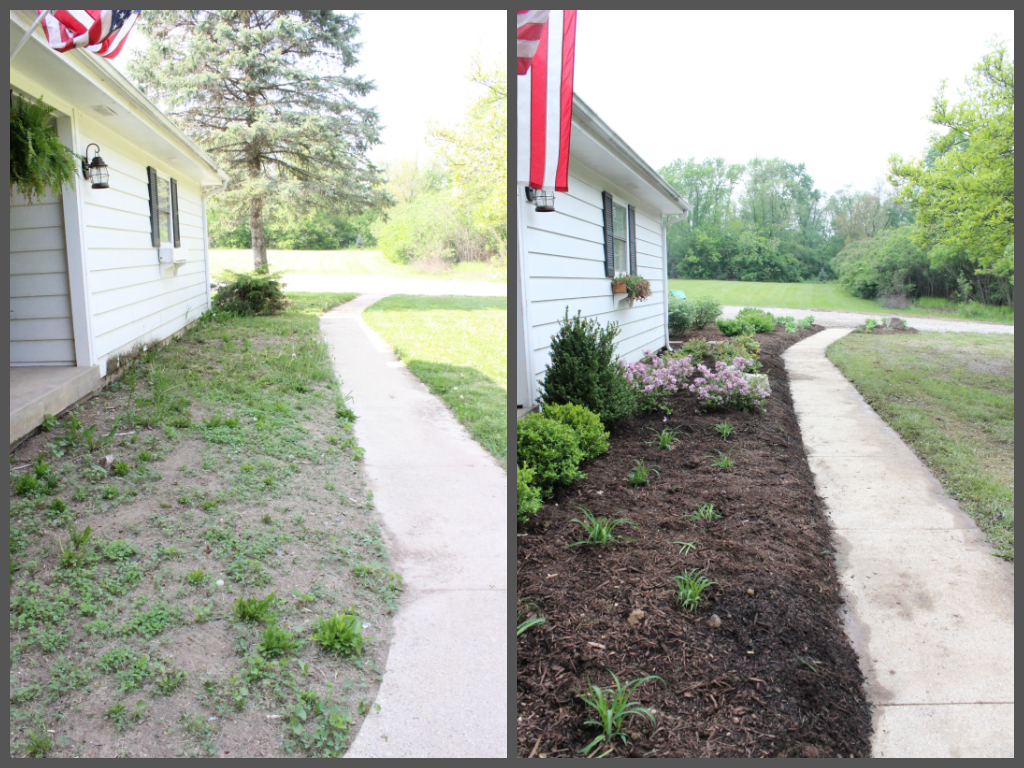
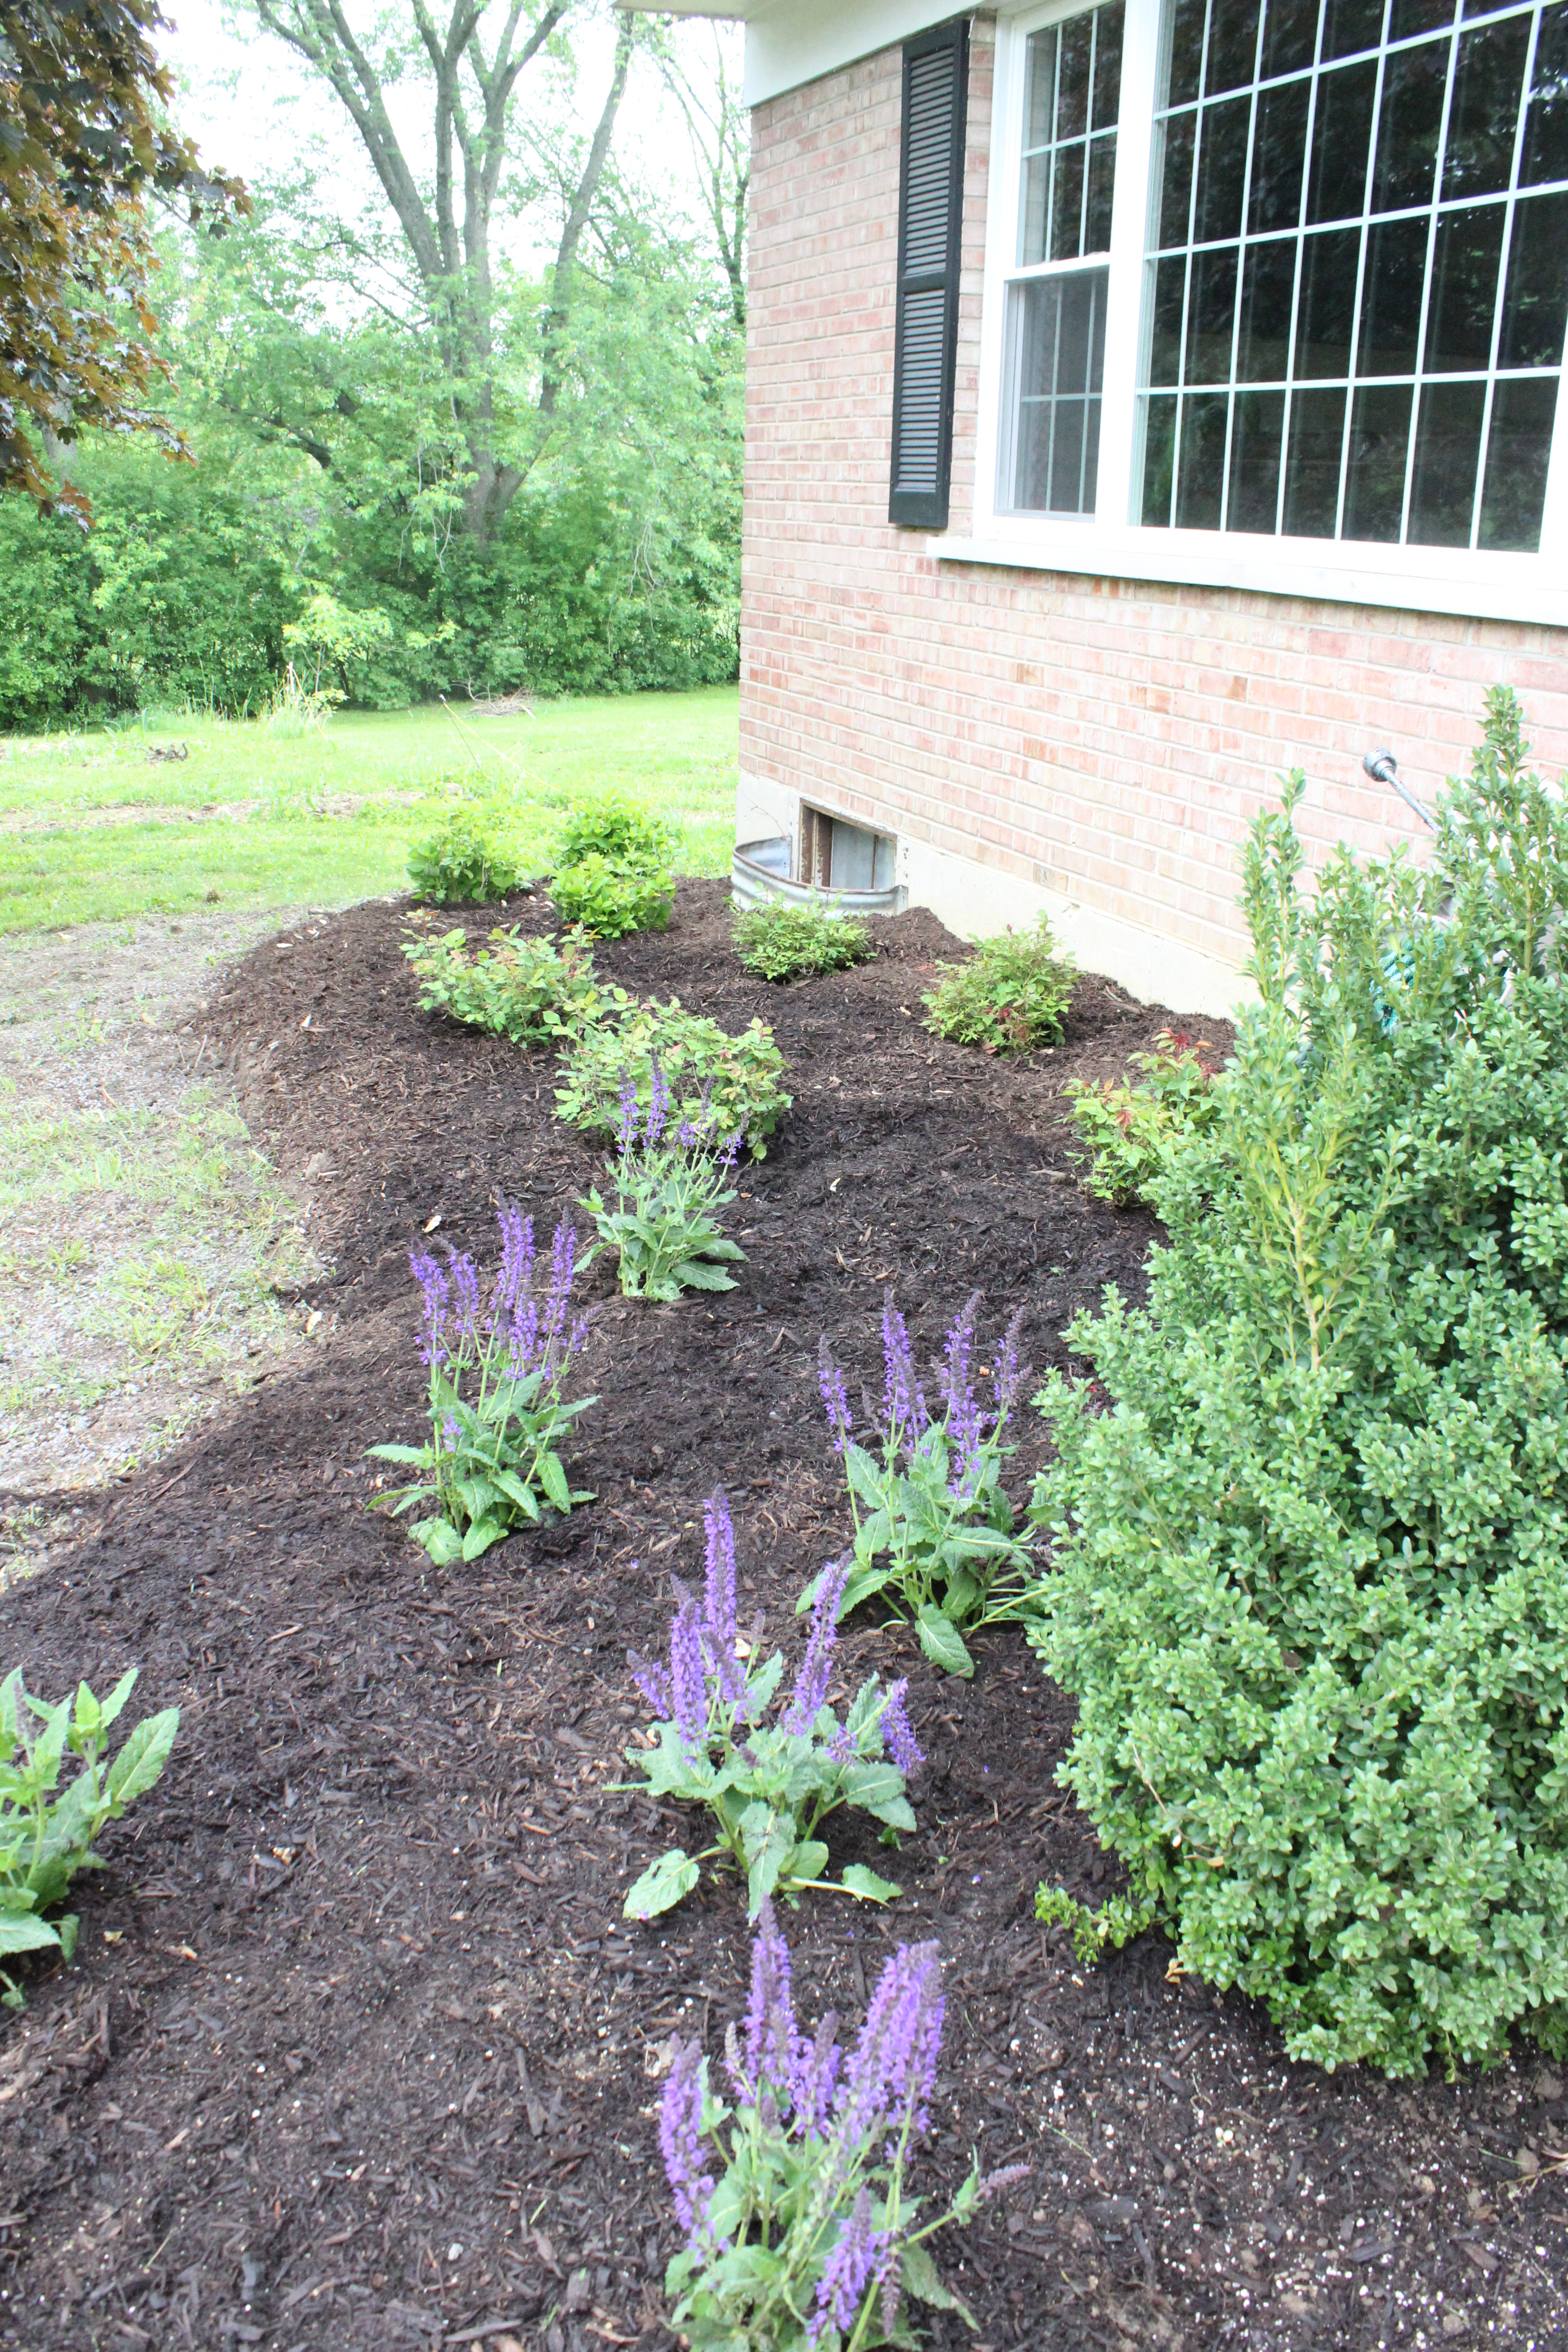
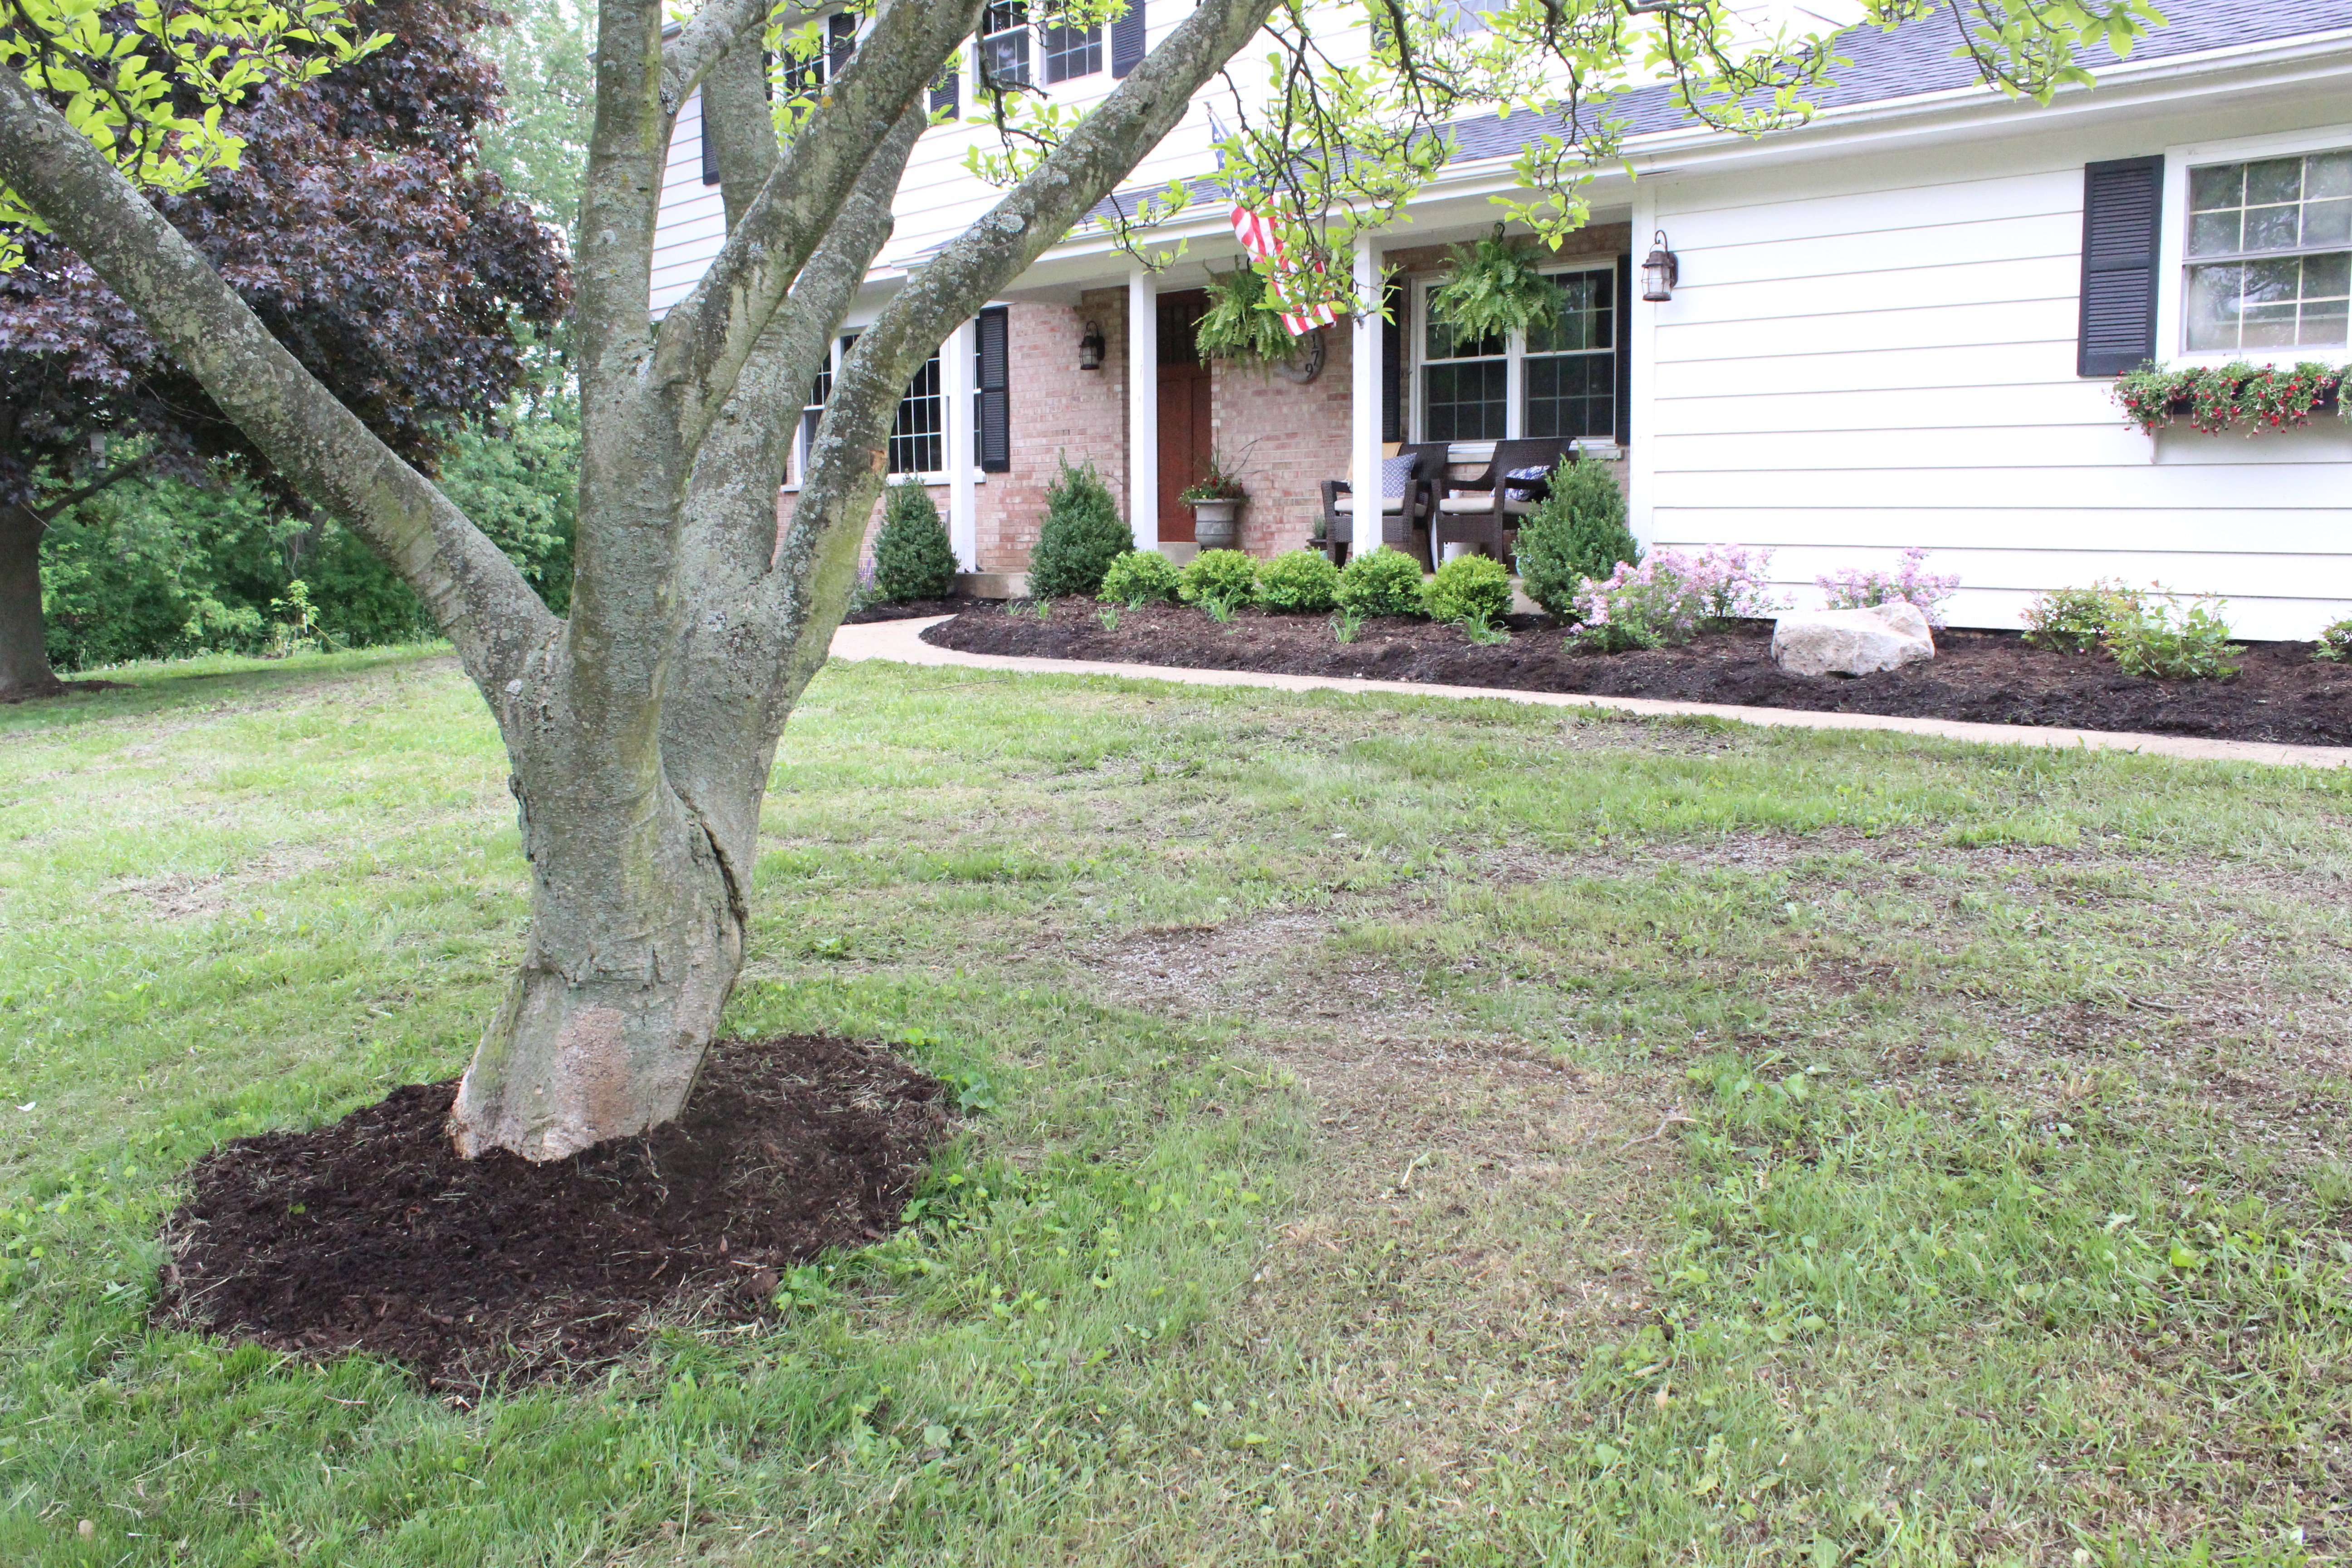
IMG_3087After:IMG_3178Seen above are cone boxwoods flanking the front door and 5 smaller boxwoods, which will create a hedge. In front of those are a bunch of happy returns day lilies which will bloom yellow.landscaping 2Above are 6 knockout rose bushes and behind the boulder are 3 korean lilacs. We also made a new window box and filled it with trailing Calibrachoa.

IMG_3192Before/After of the path looking towards the driveway:landscaping1Before from farther back:IMG_3085

After:IMG_3176The grass got pretty torn up while we were working on everything but we spread seed and it should look good in no time!

Before/After:landscaping3Before/After:landscaping4In the area above by the garage are burning bushes (which go red in the fall) in the back, then top spirea in the middle (they have a white bloom) and then a bunch of autumn joy sedum (bloom pink) in the front and on the opposite side of the walkway.

Before:IMG_3083After:

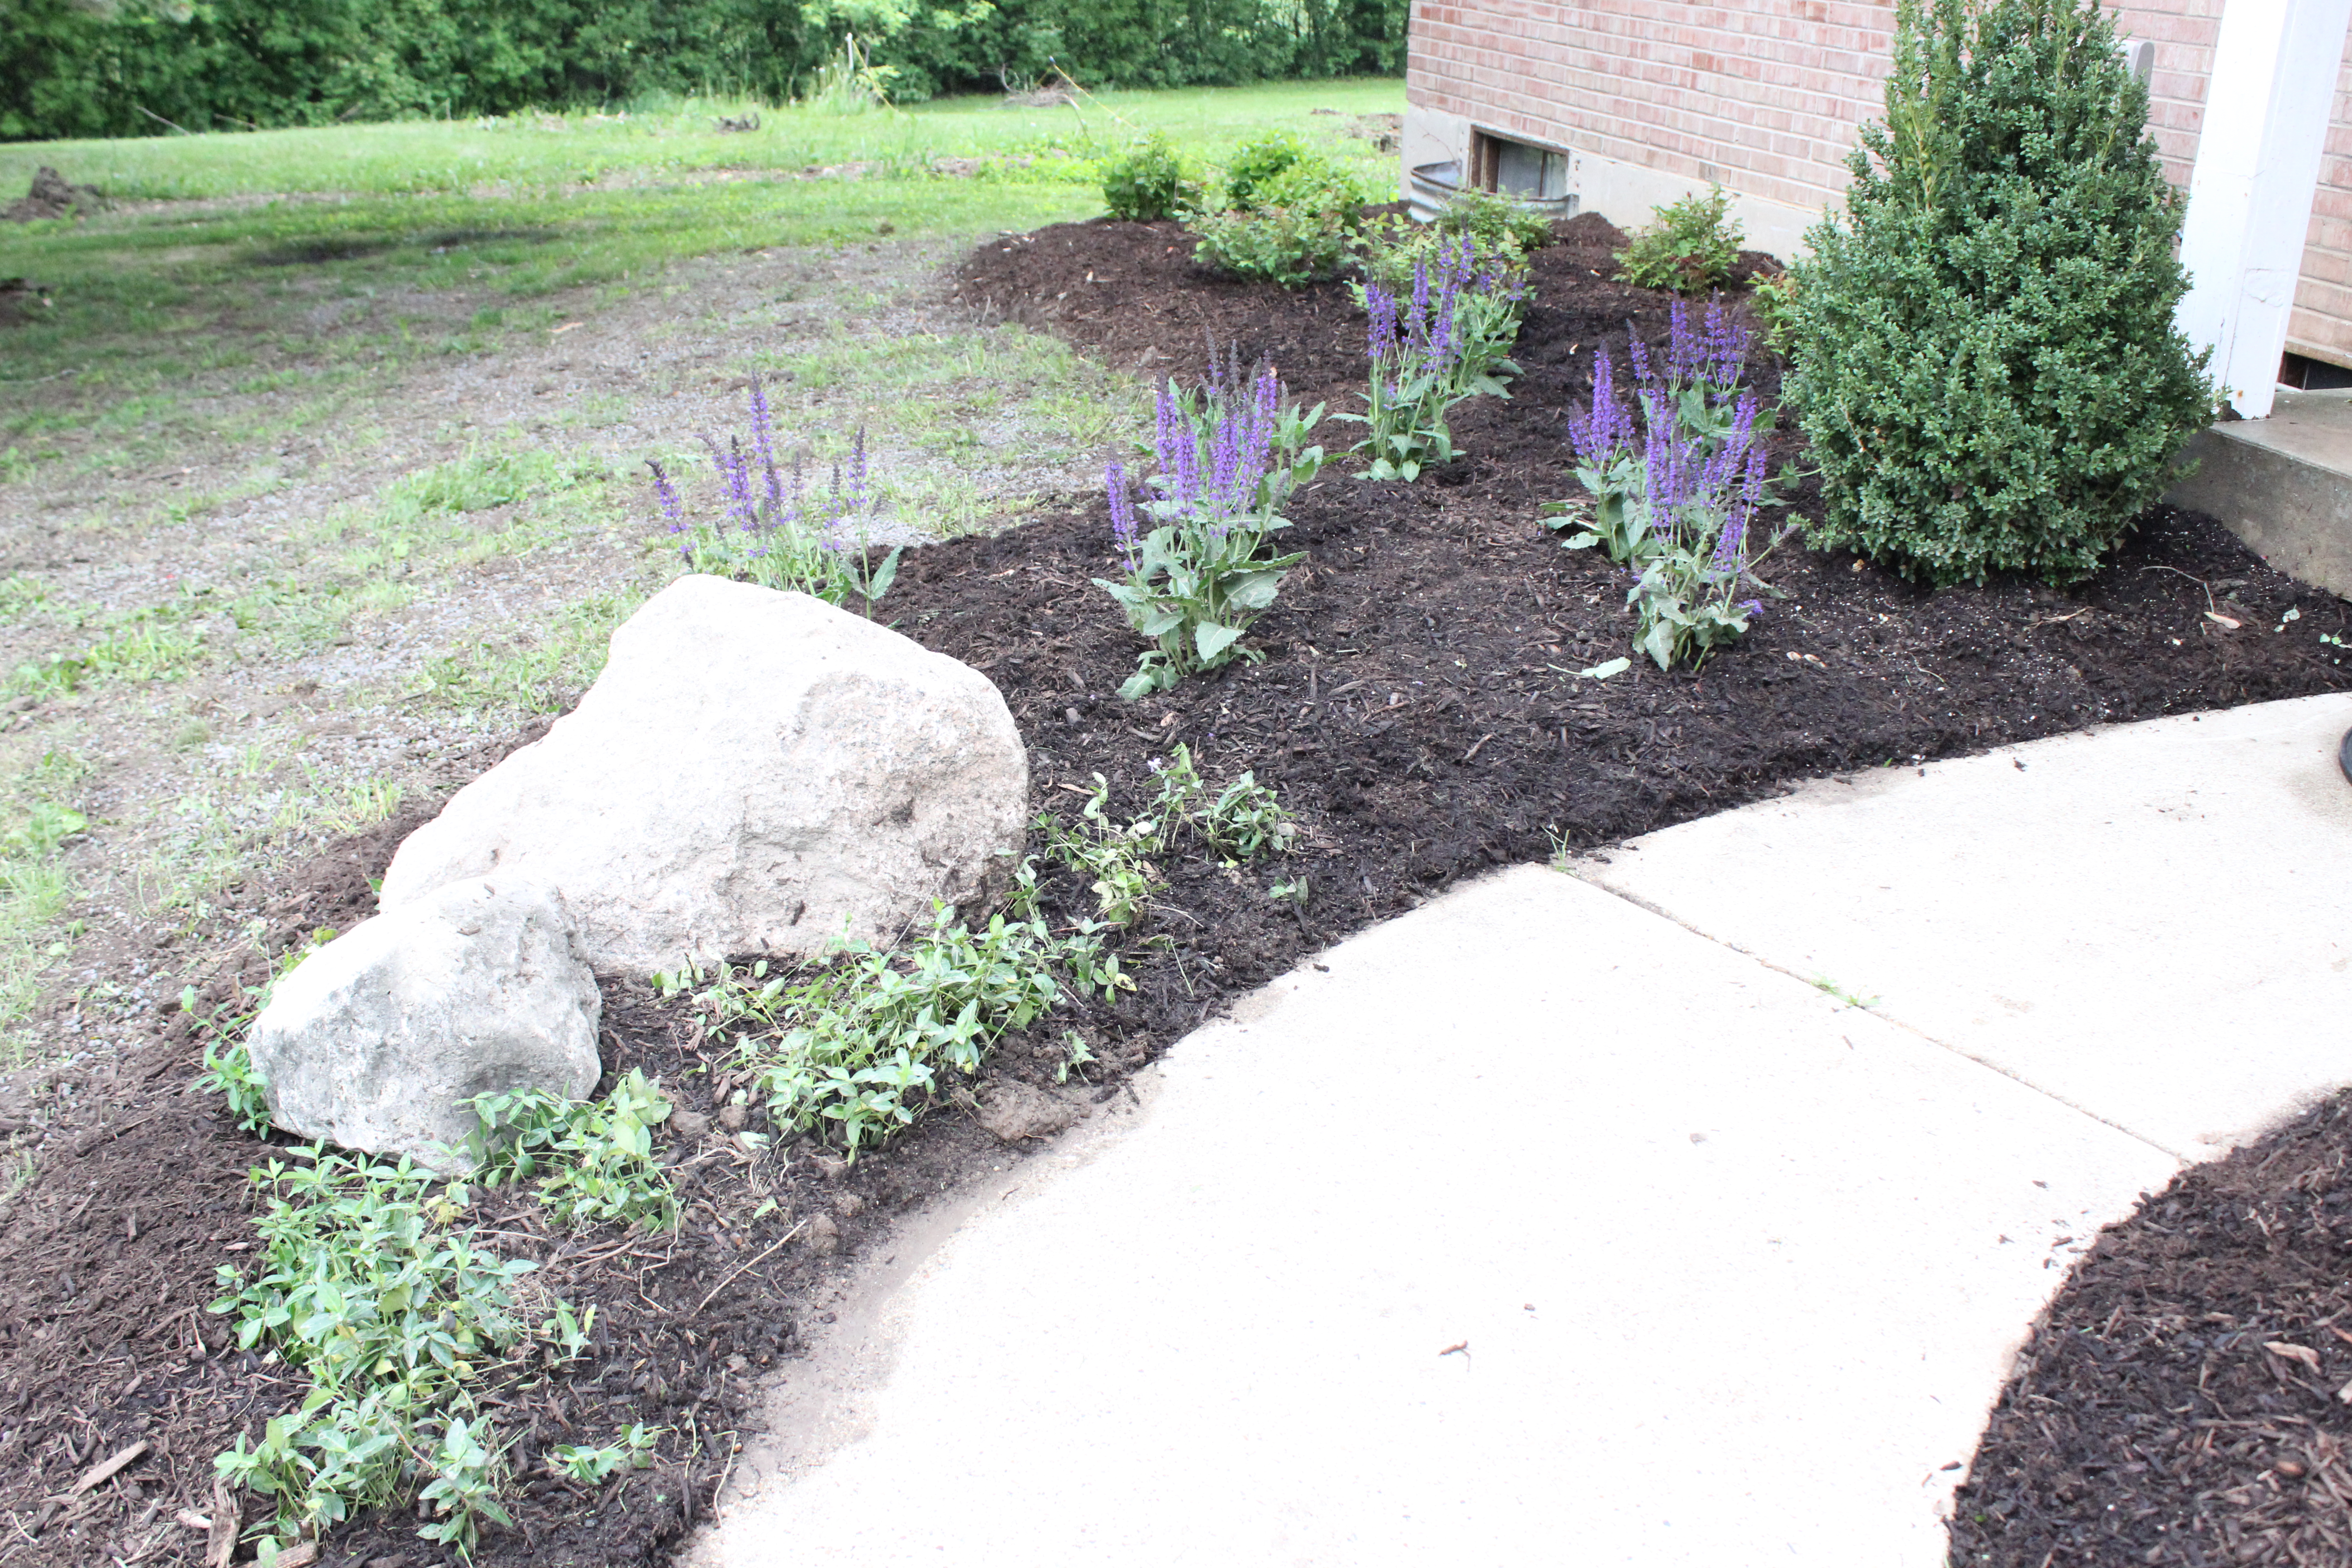
IMG_3186The purple flowers above are May Night Salvias, more knockout roses behind those and then 3 hydrangeas on the corner.

IMG_3222Around the boulders above we transplanted a ground cover called vinca.

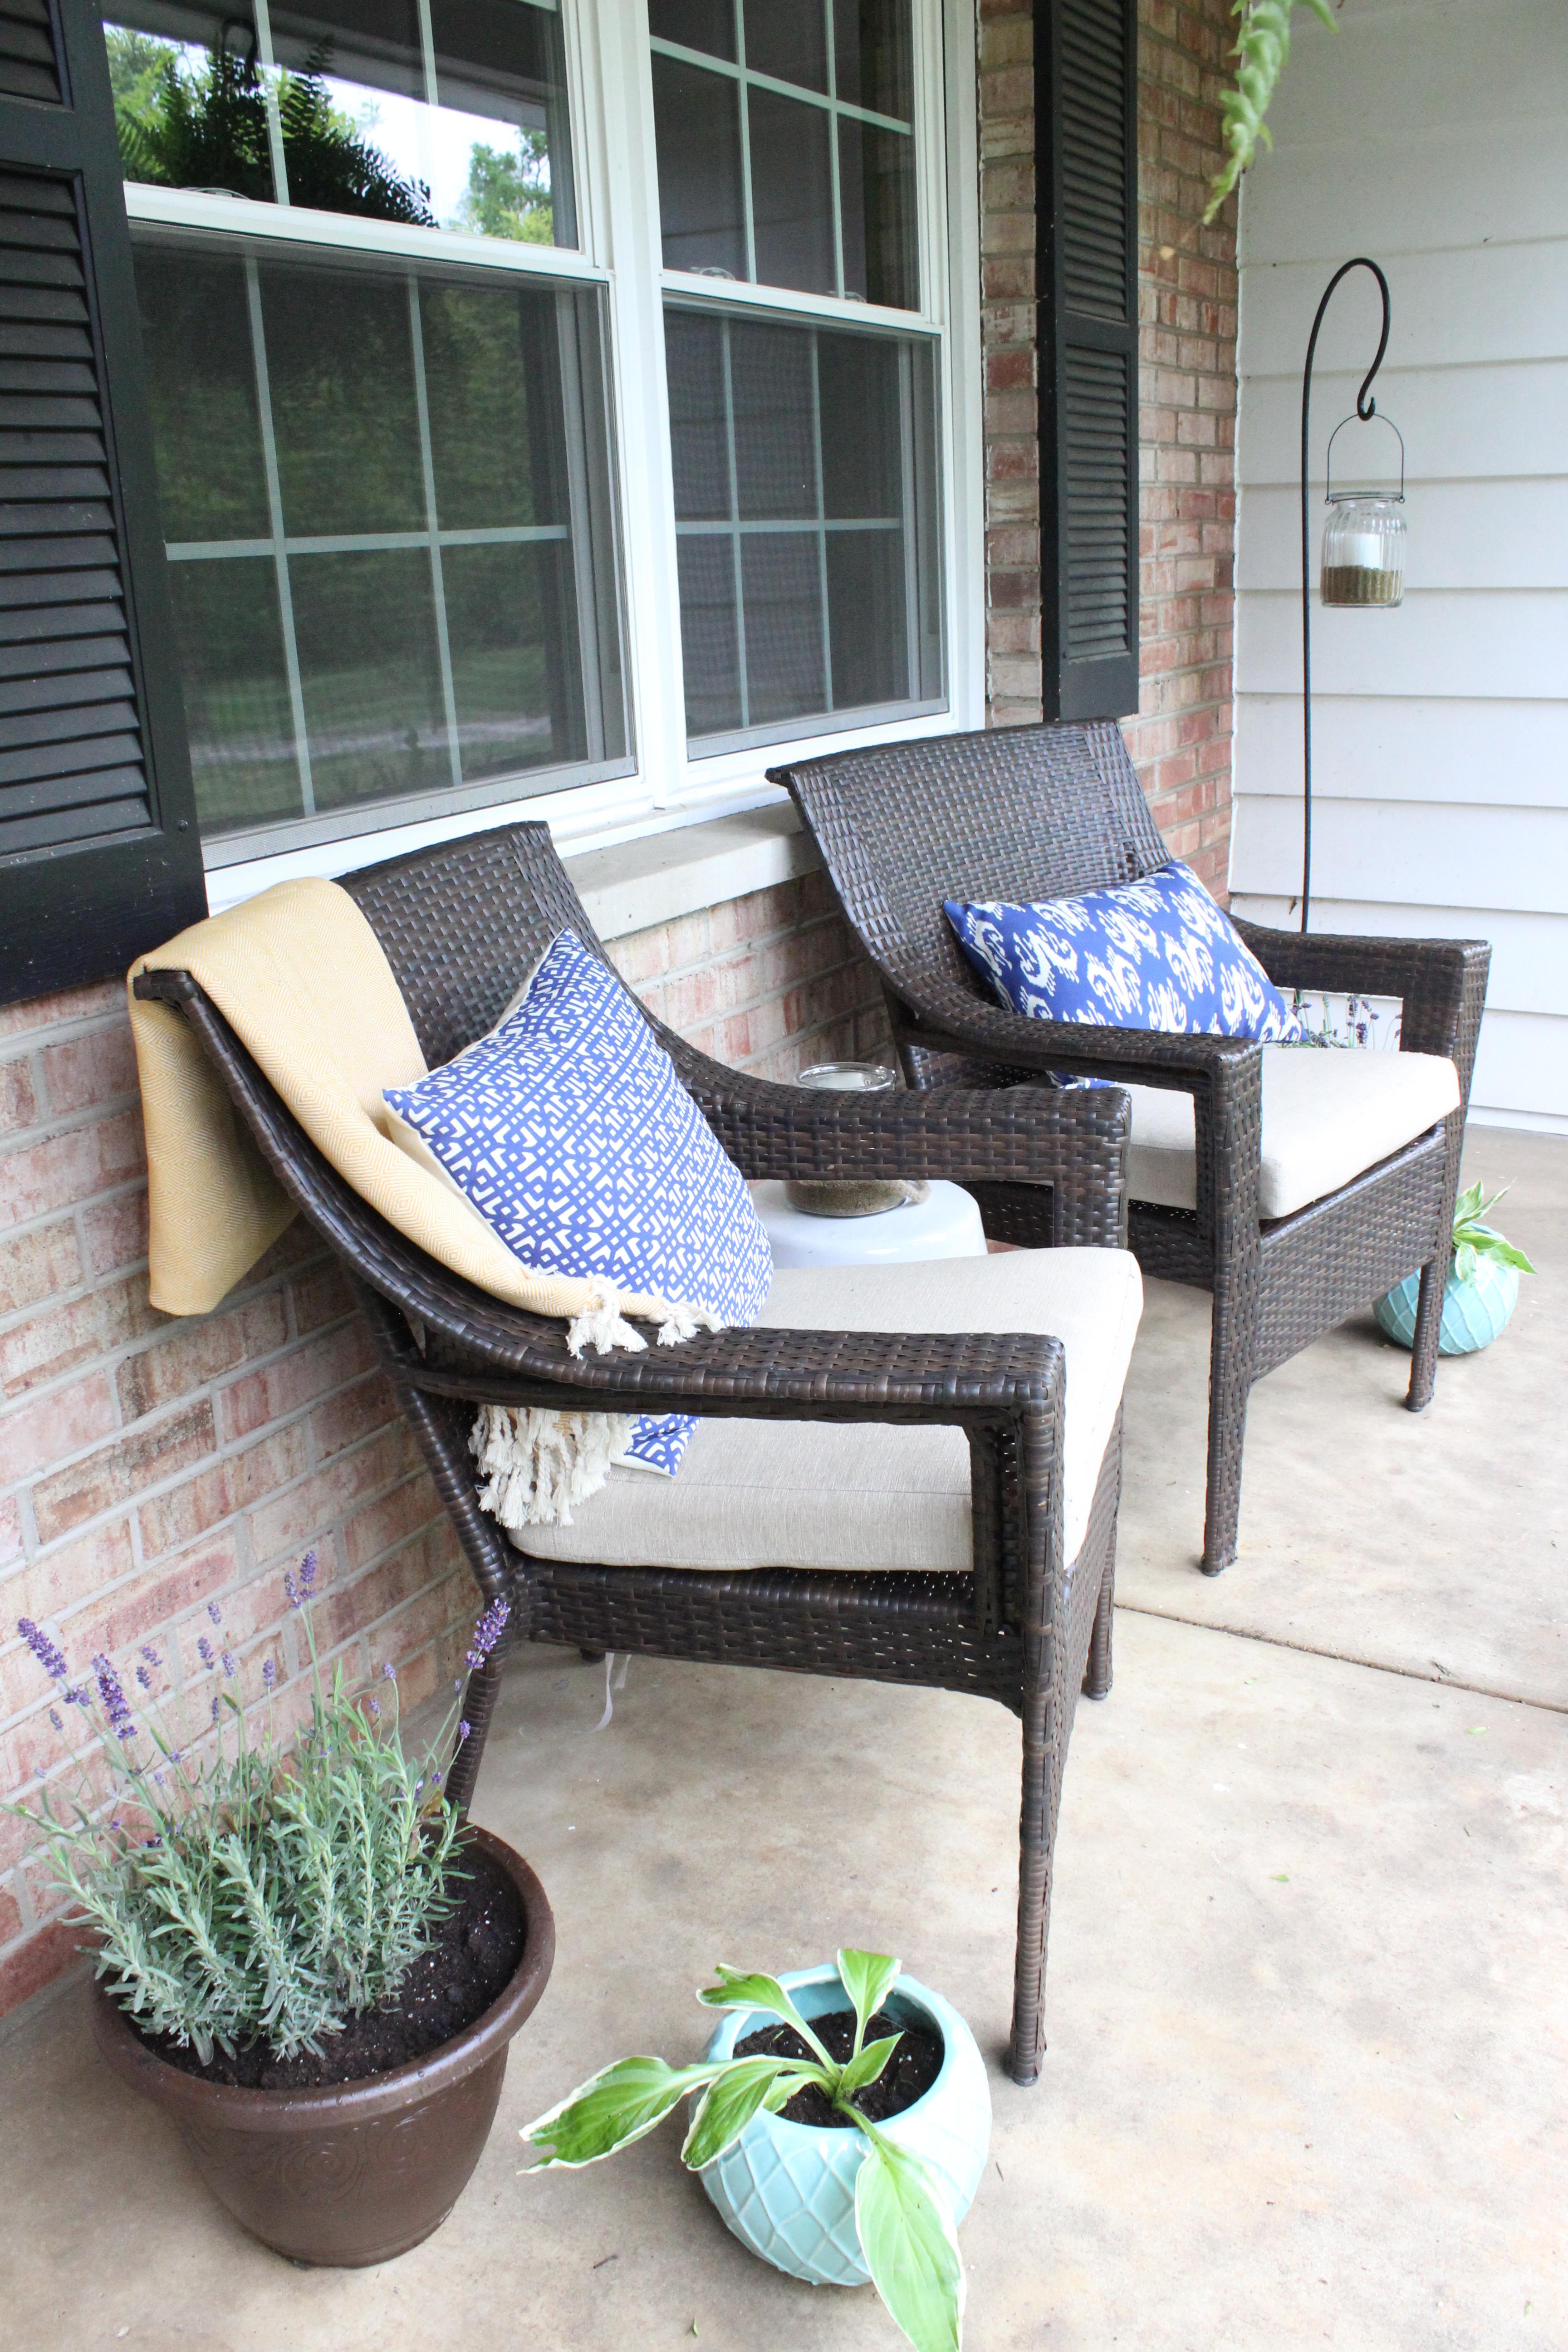
To go along with our beautiful new landscaping, I picked up a couple of wicker chairs at Target and a garden stool from Home Goods. The pillows we already had from World Market last year. In the pots are lavenders (smell so nice) and some hostas we transplanted.

IMG_3180

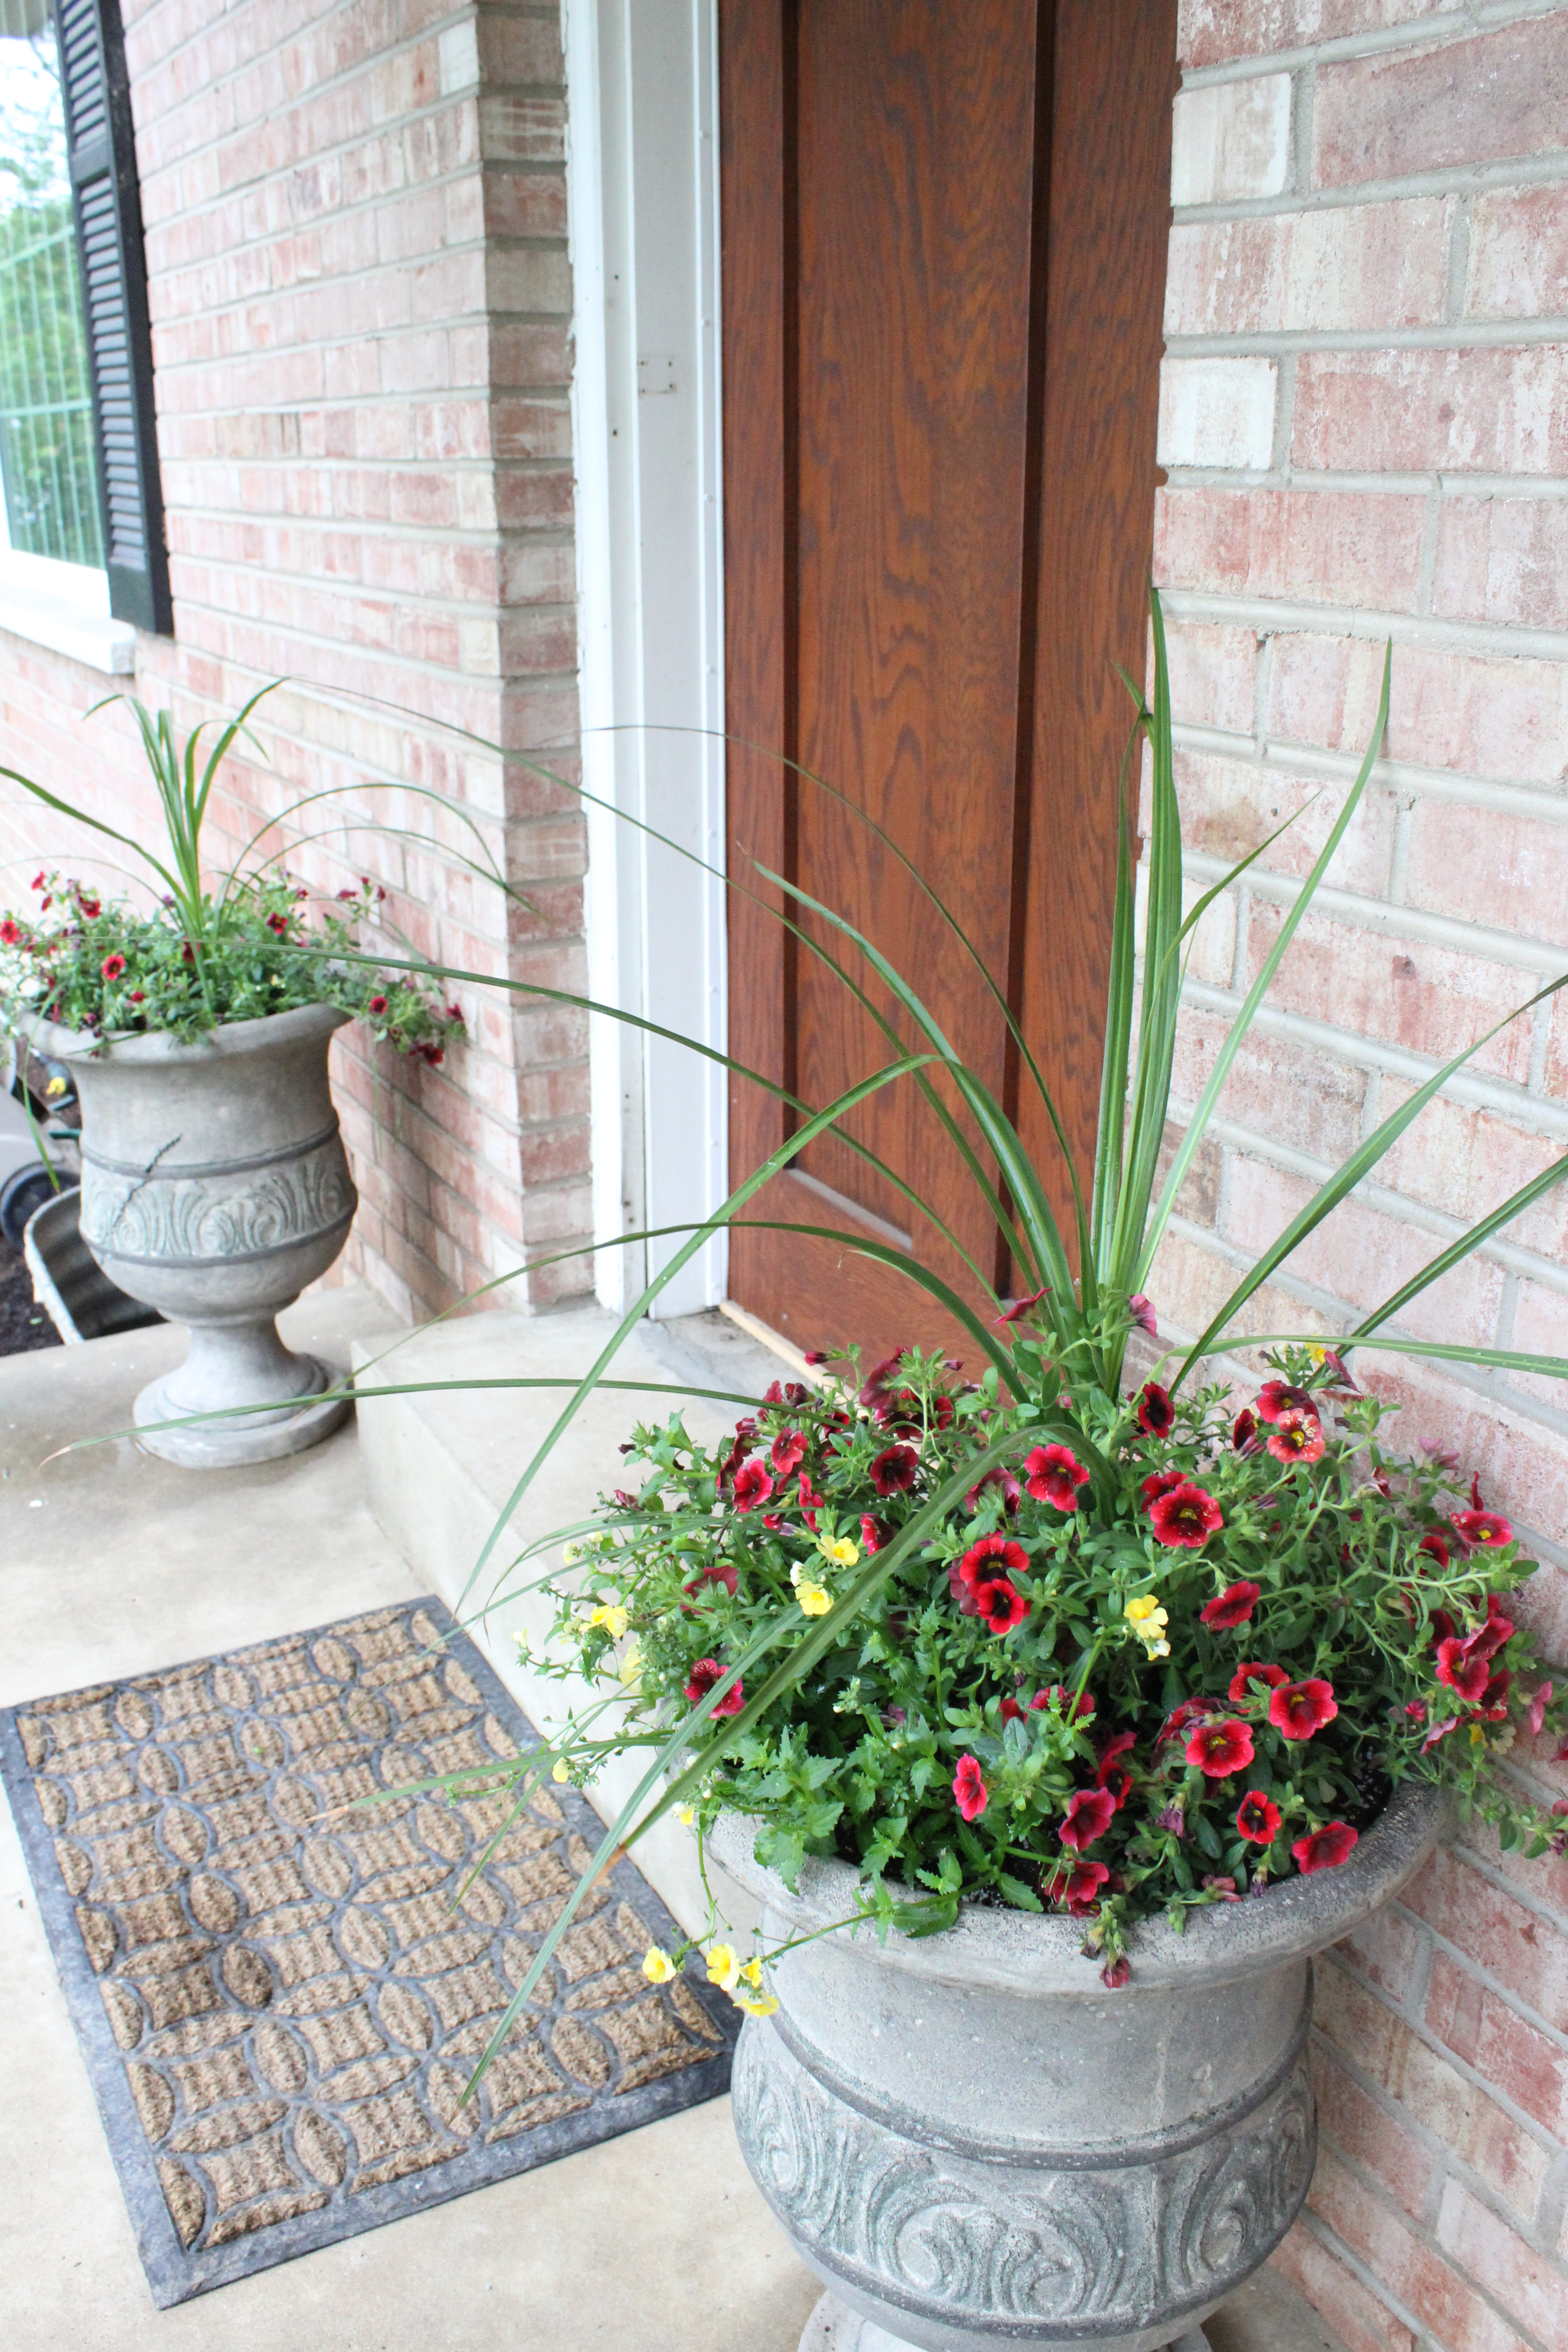
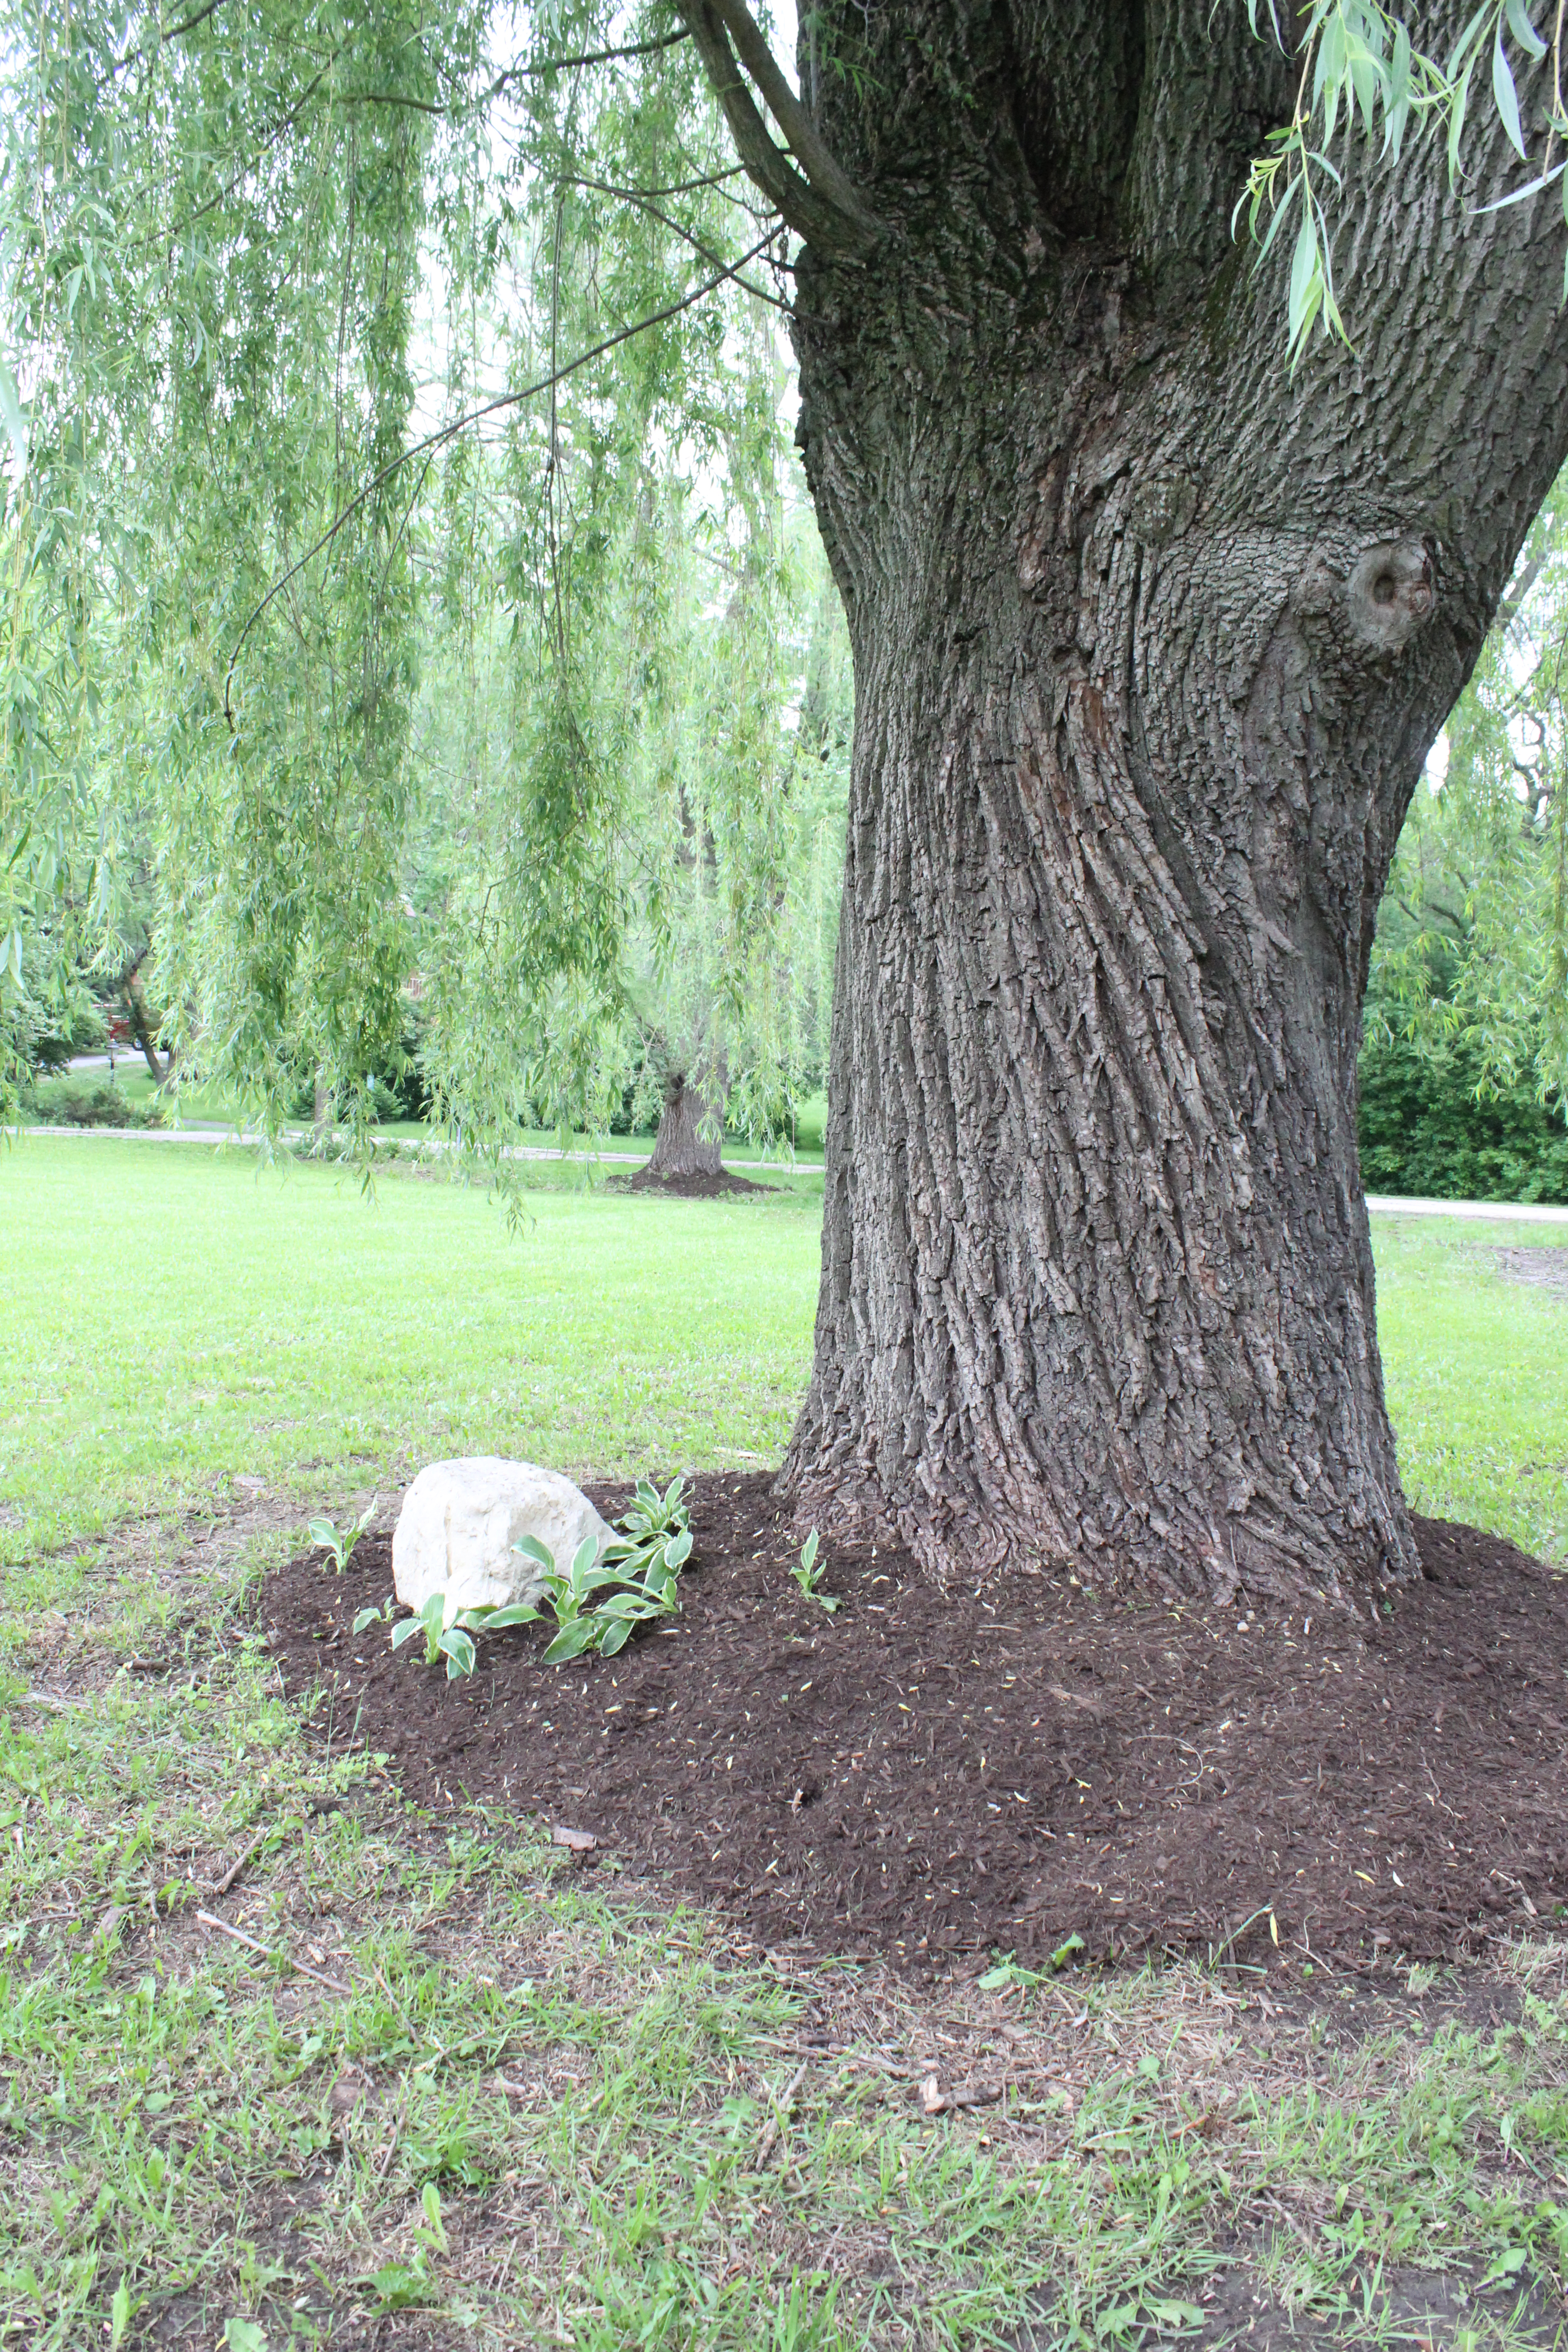
We also planted some flowers in urns we already had. These were pre-made arrangements which we just transferred over, and for only $15/piece, it was cheaper than buying individuals and making our own.IMG_3221We used the extra mulch to put around all of the trees in the front, which makes everything look a lot tidier.IMG_3213

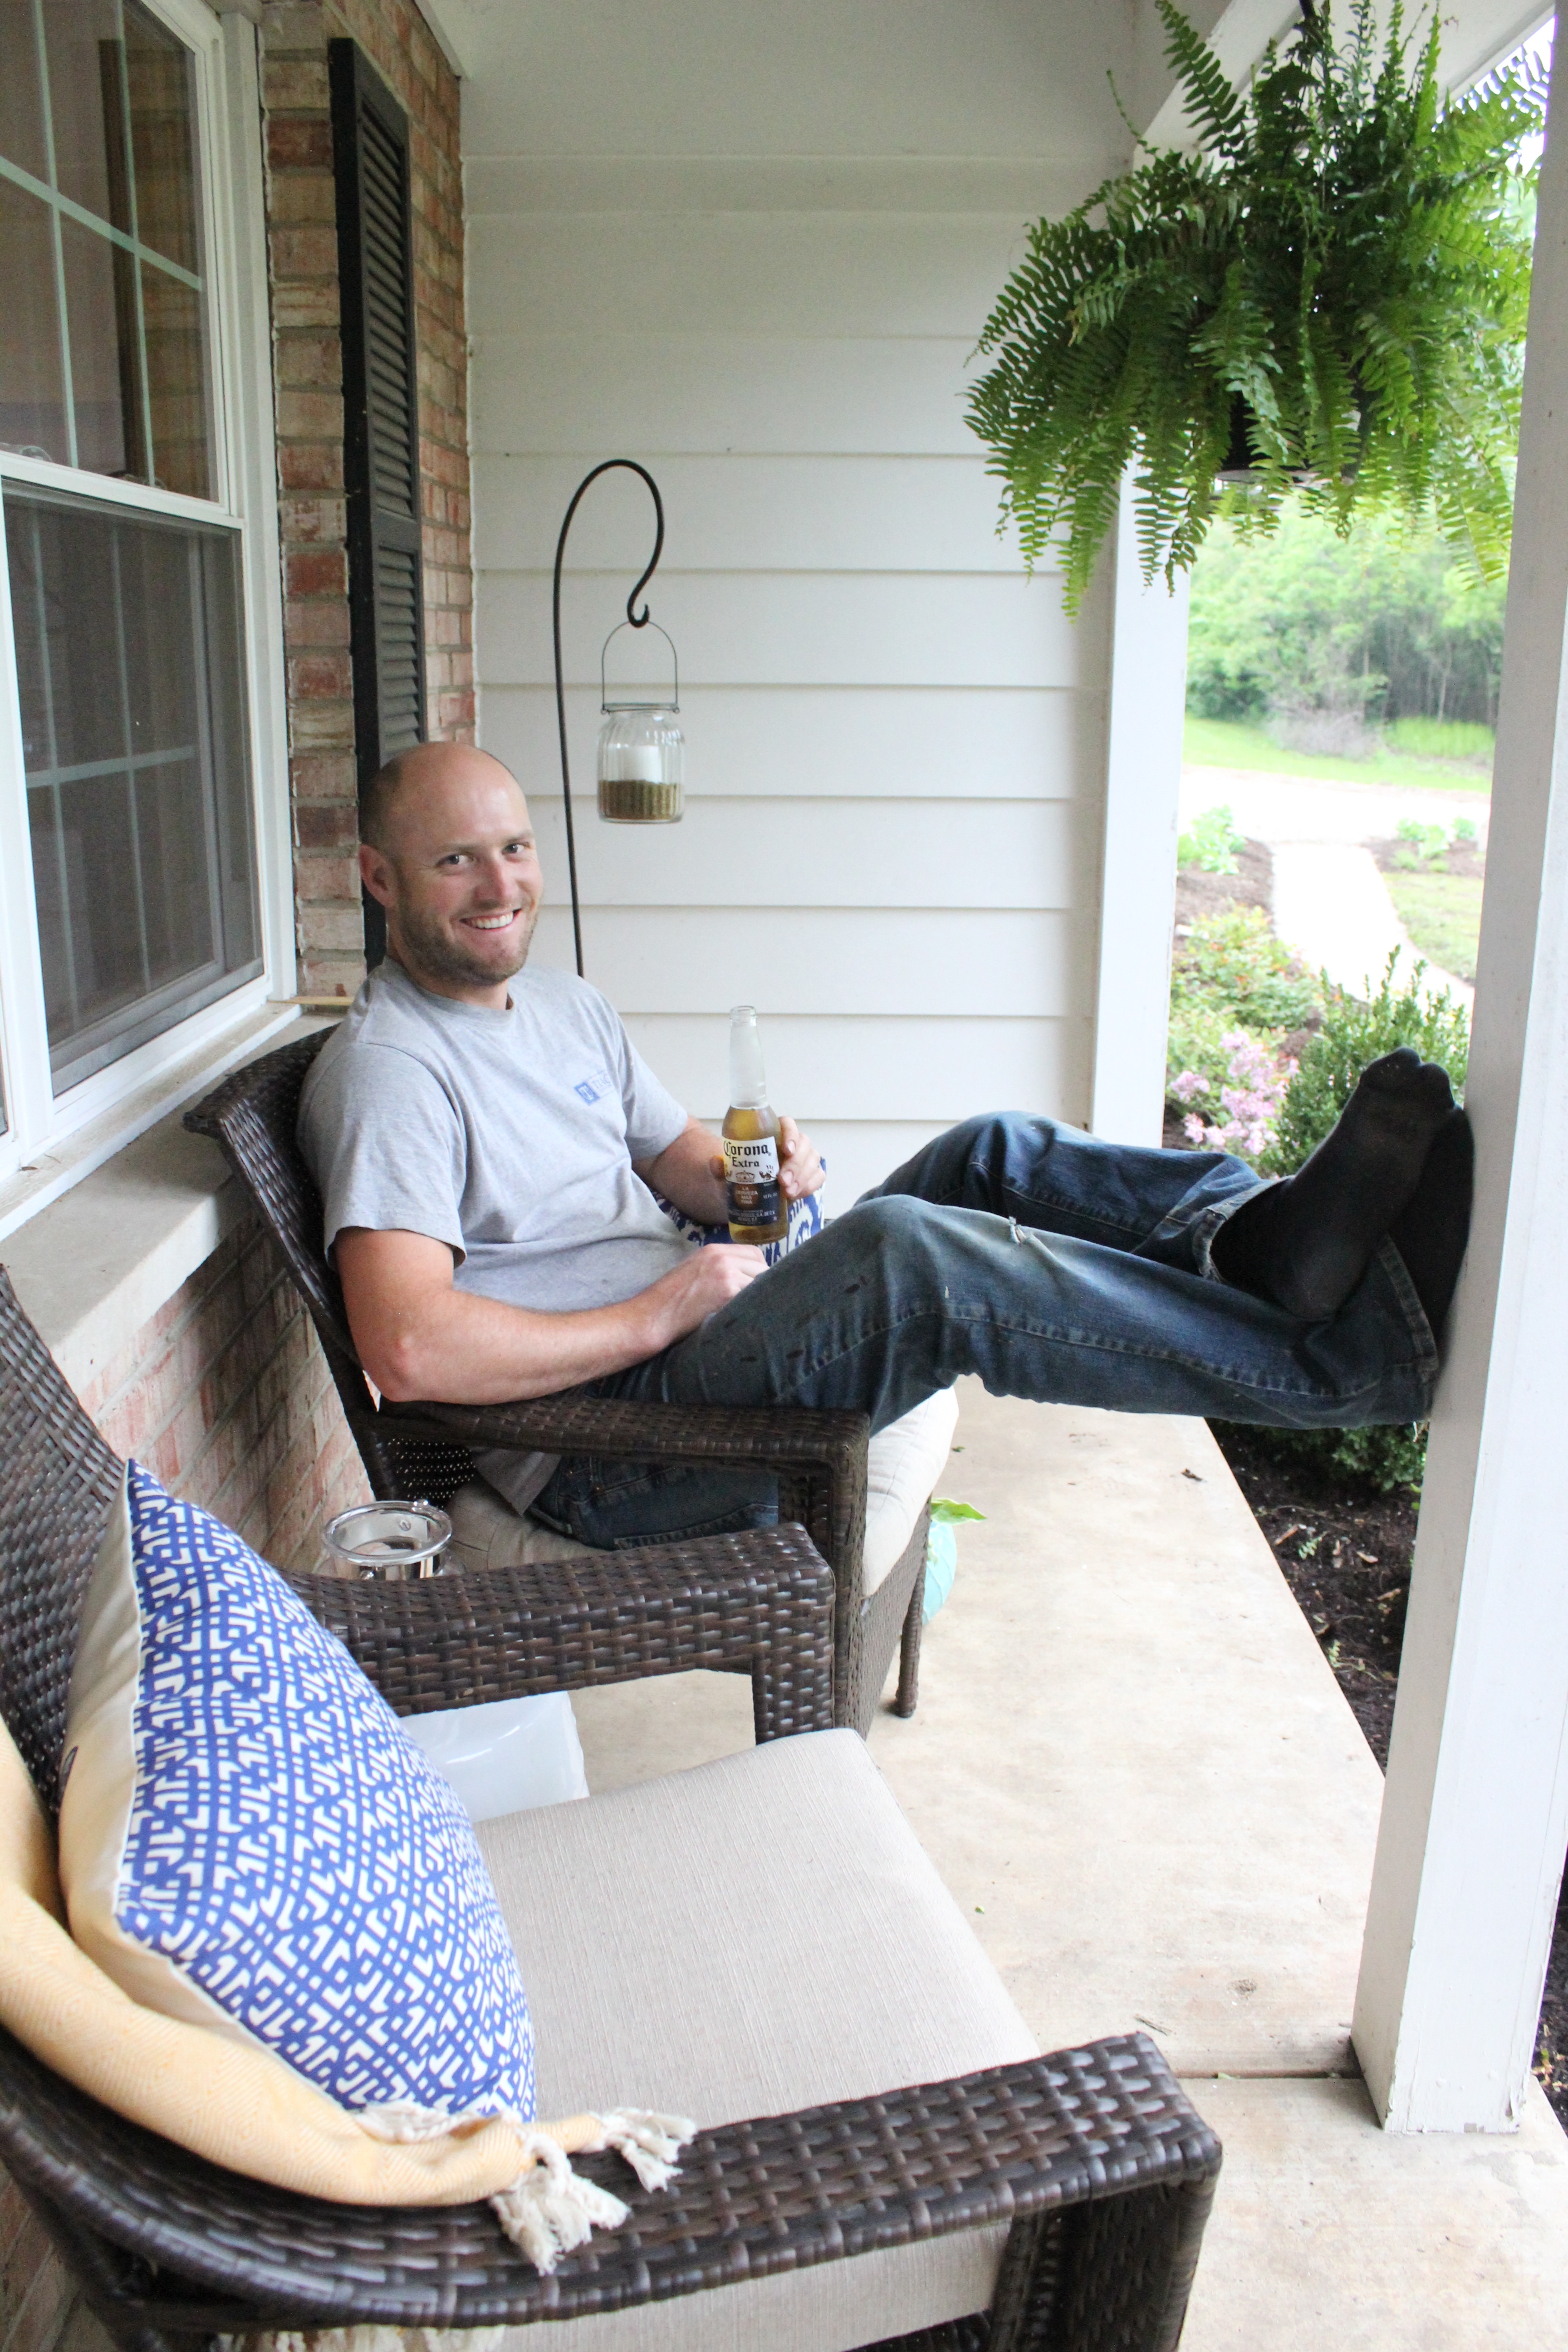
IMG_3209While our backyard is still under disarray, we plan to spend quite a bit of time out here. Exhibit A: Ben relaxing with a cold beer after a weekend of labor.

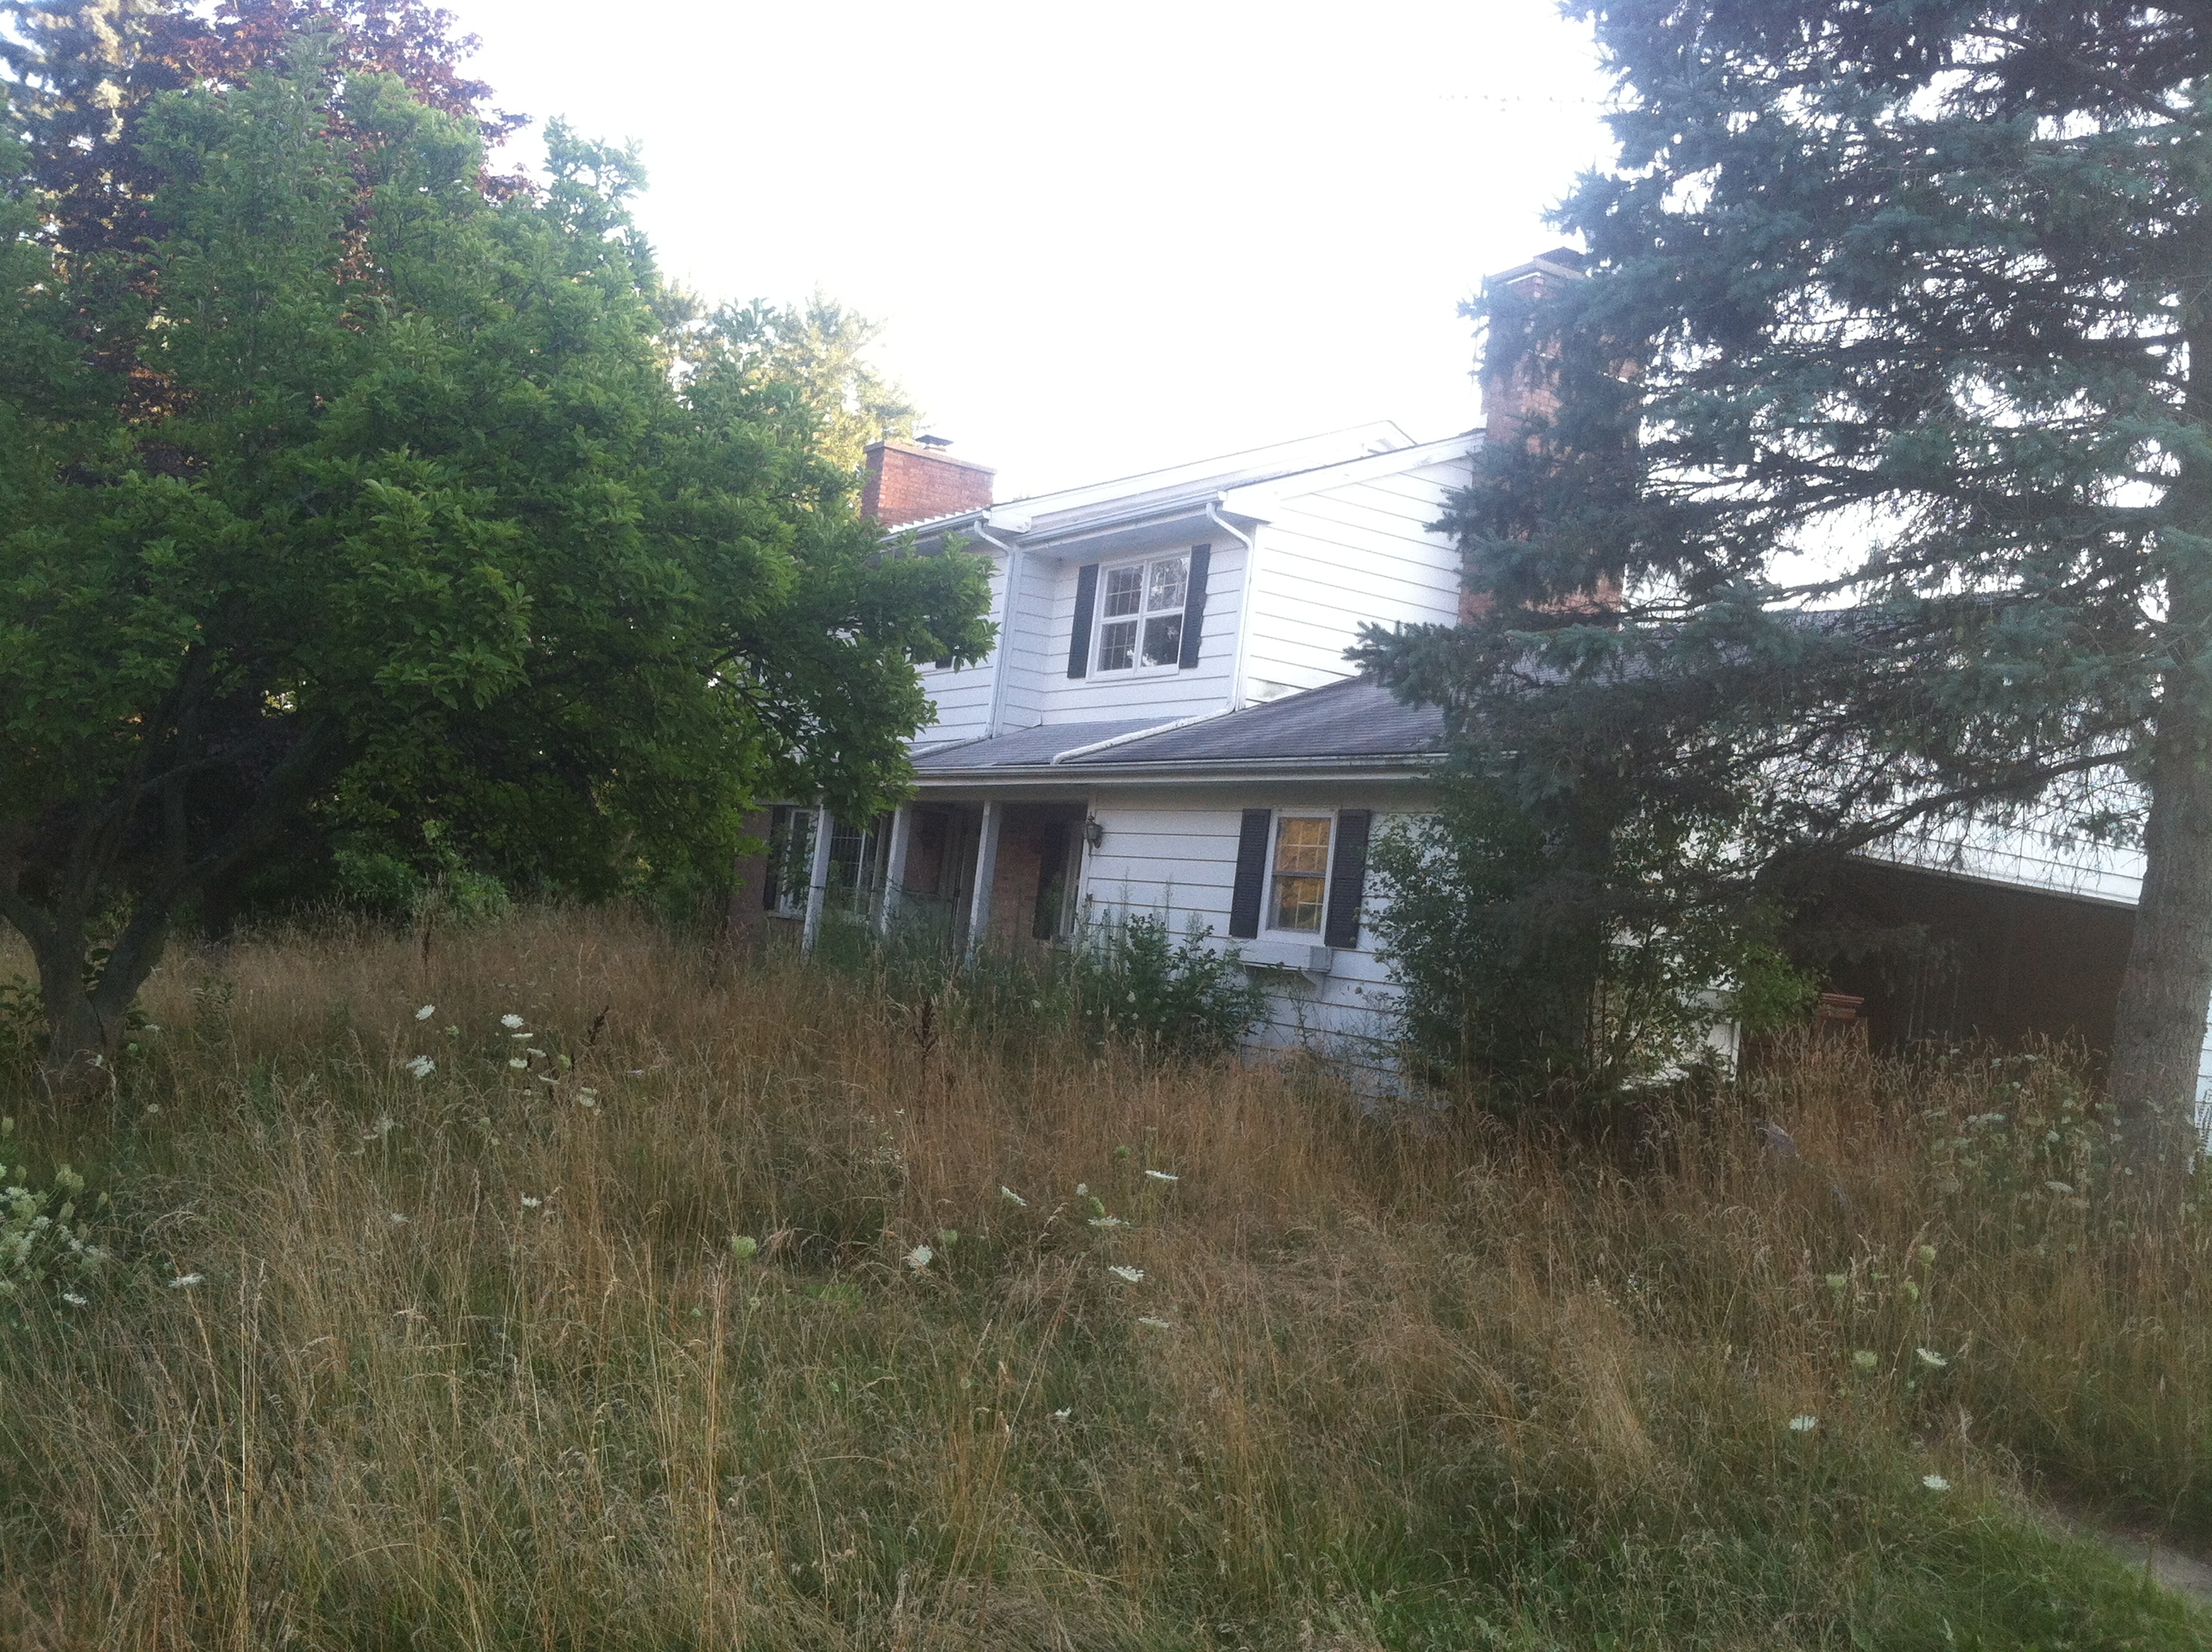
IMG_3225And just for kicks, here is flash back of the house when it was overtaken by weeds when we bought it. Crazy!

photo-133