Kate’s Sprinkle-Themed 2nd Birthday Party

24 Feb

Over the weekend we threw Kate a sprinkle-themed birthday party to celebrate her turning 2! I had so much fun planning her “Cute as a Button” 1st Birthday, so when her 2nd birthday was approaching I scoured Pinterest to find another fun theme and fell in love with the sprinkles idea. I figured this would be the last year I would get to pick the theme myself.

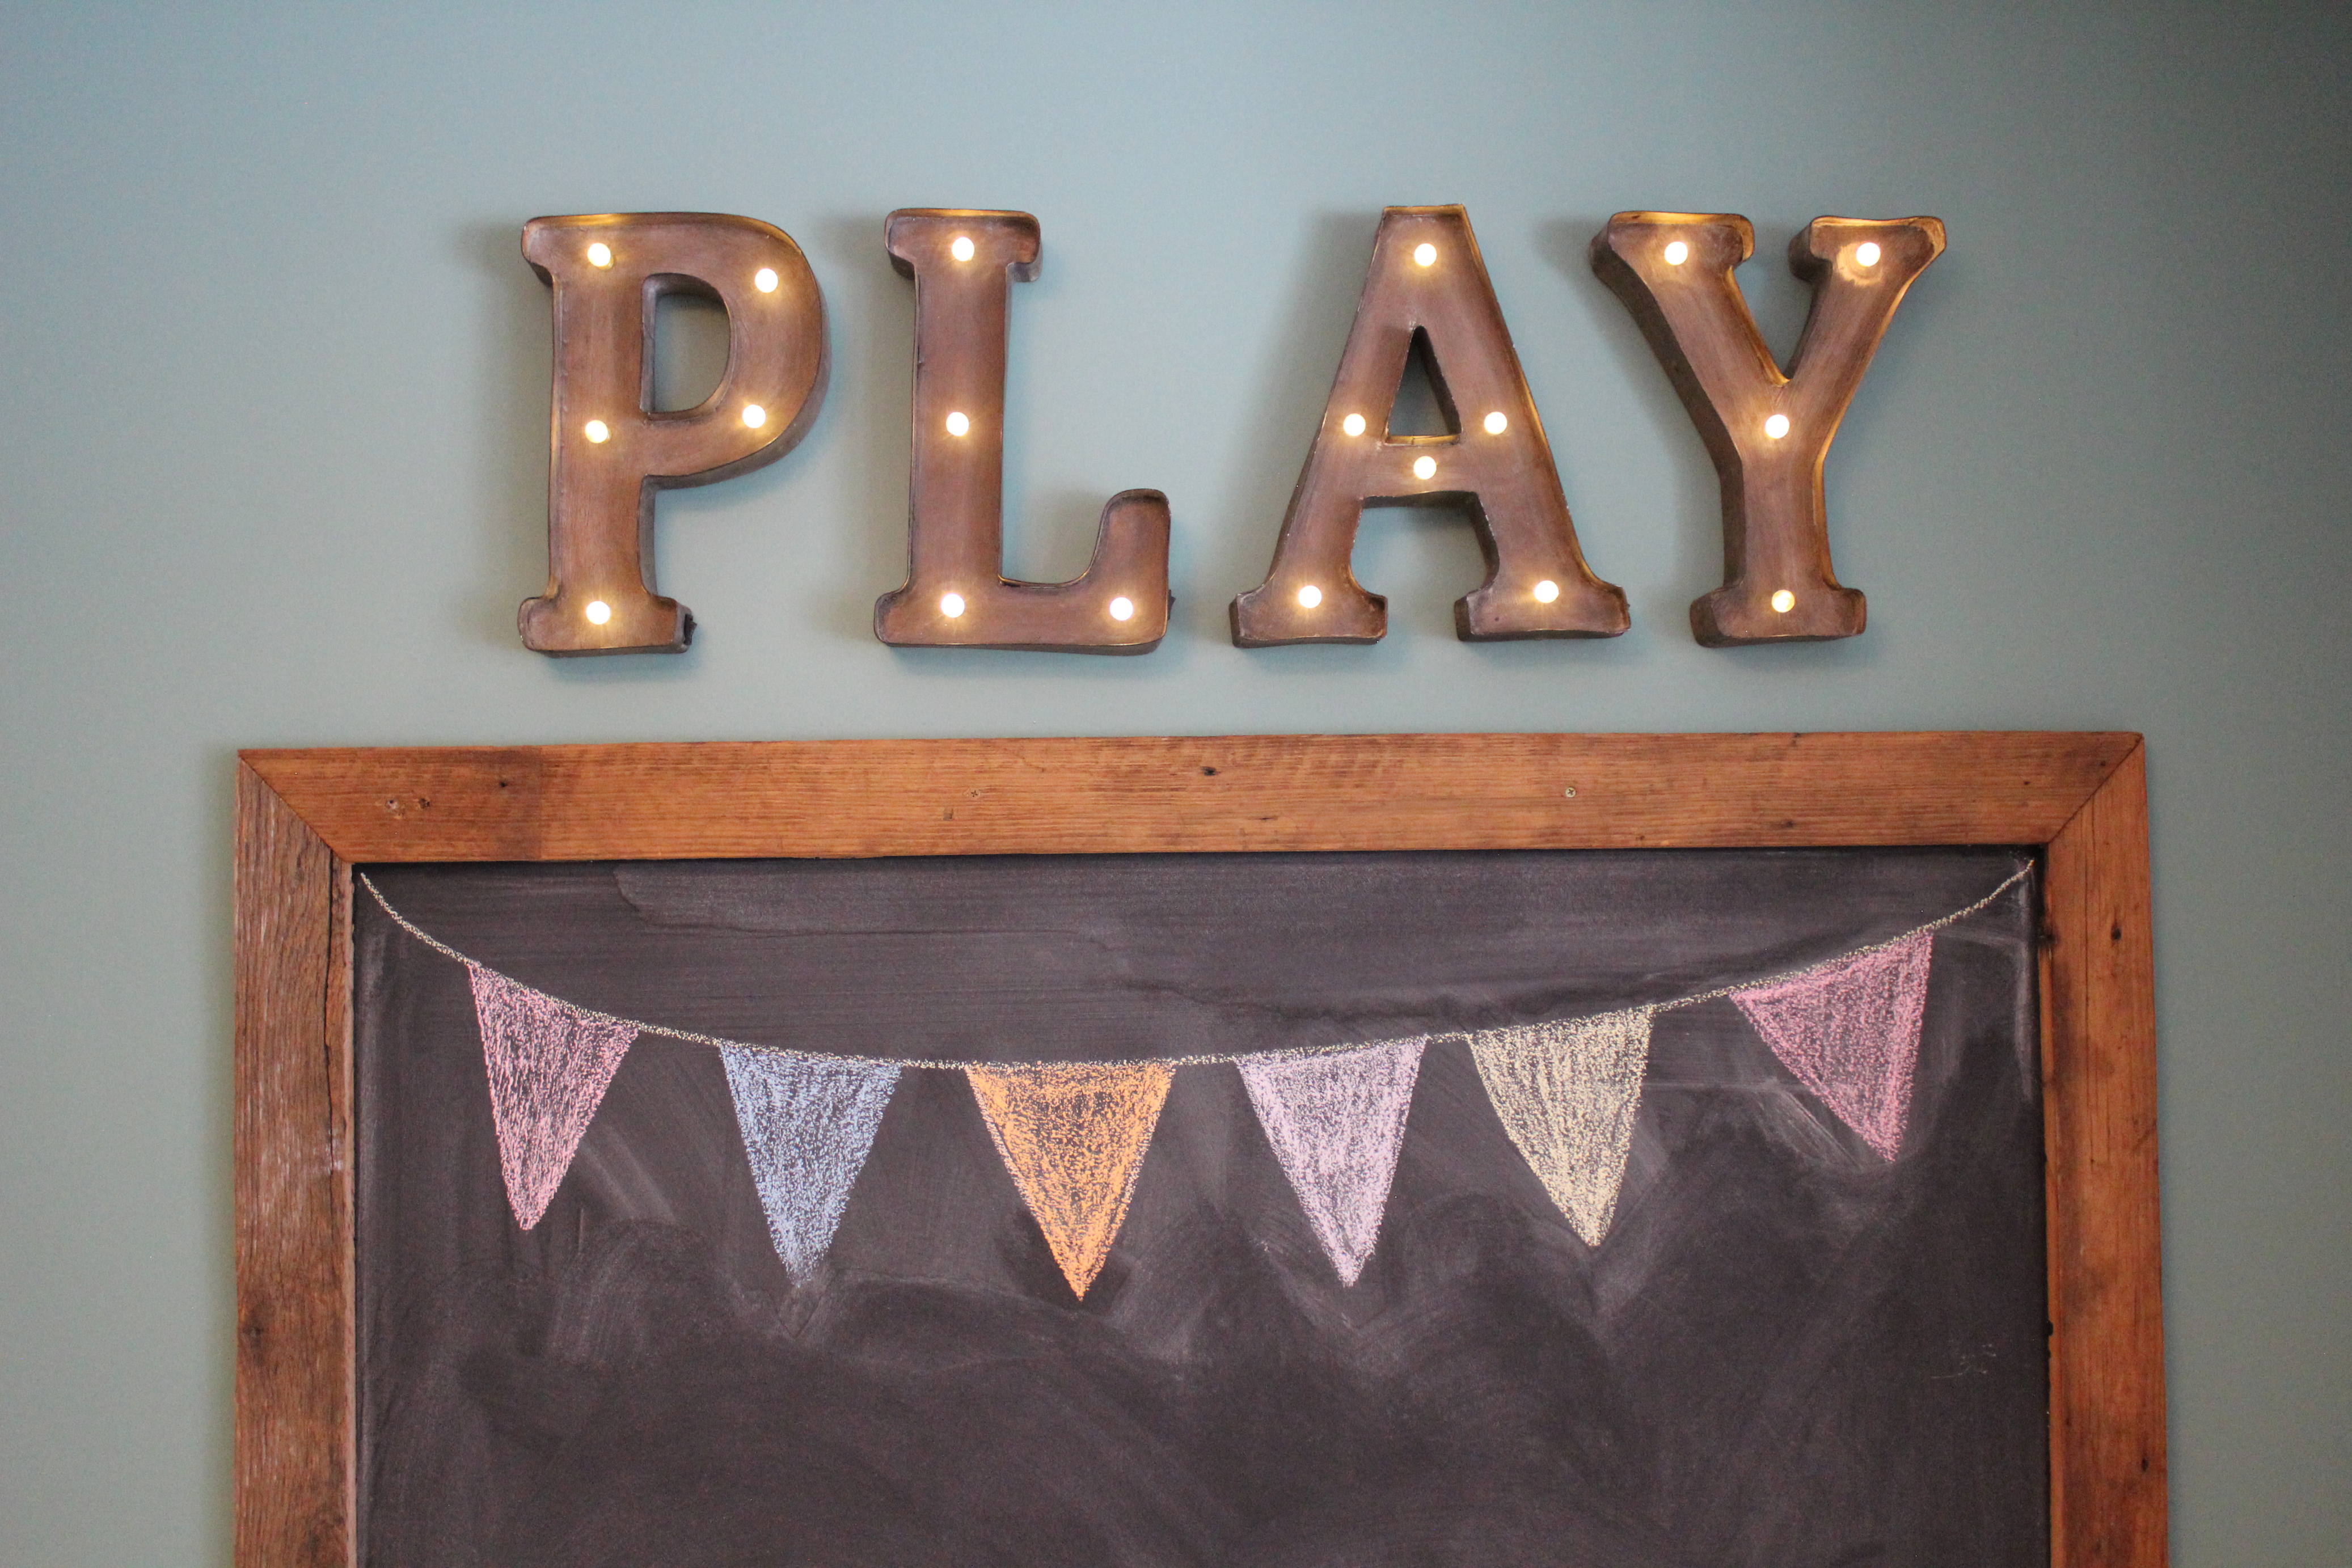
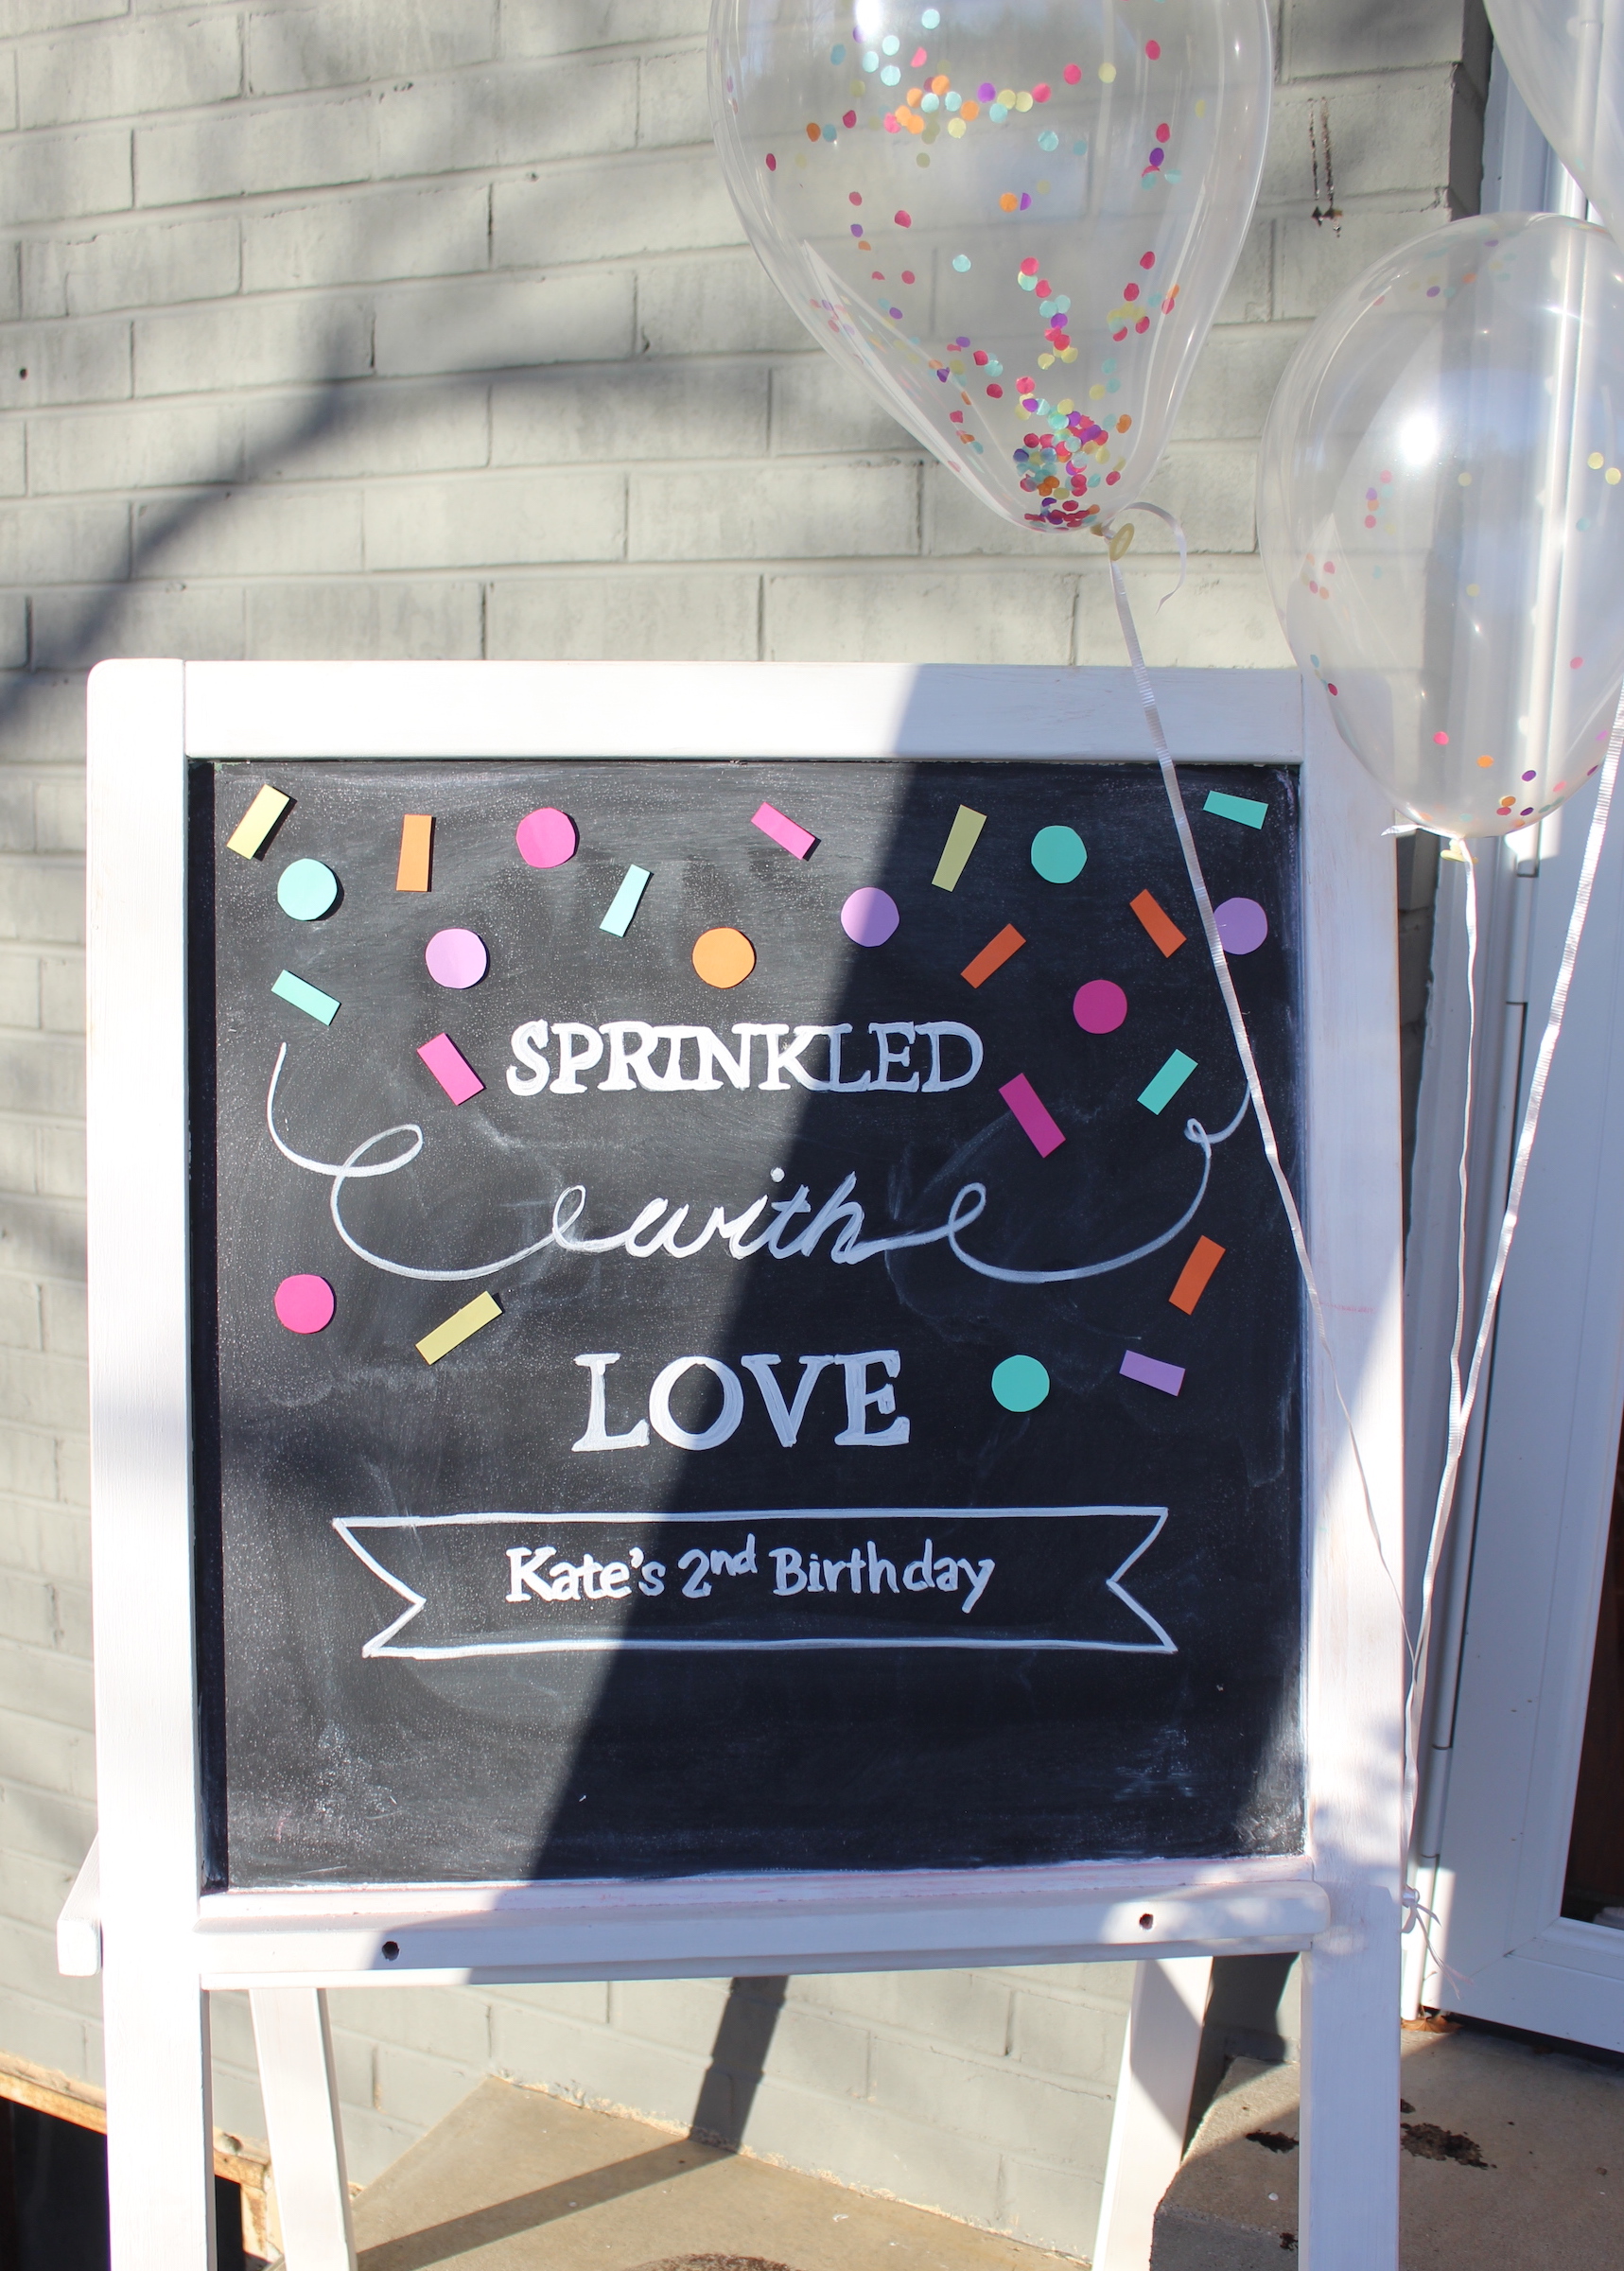
To welcome our guests, I set out this chalkboard at the front door. I used this genius method to transfer the letters, and then taped on some paper sprinkles, and tied on some clear balloons filled with confetti.

chalkboard

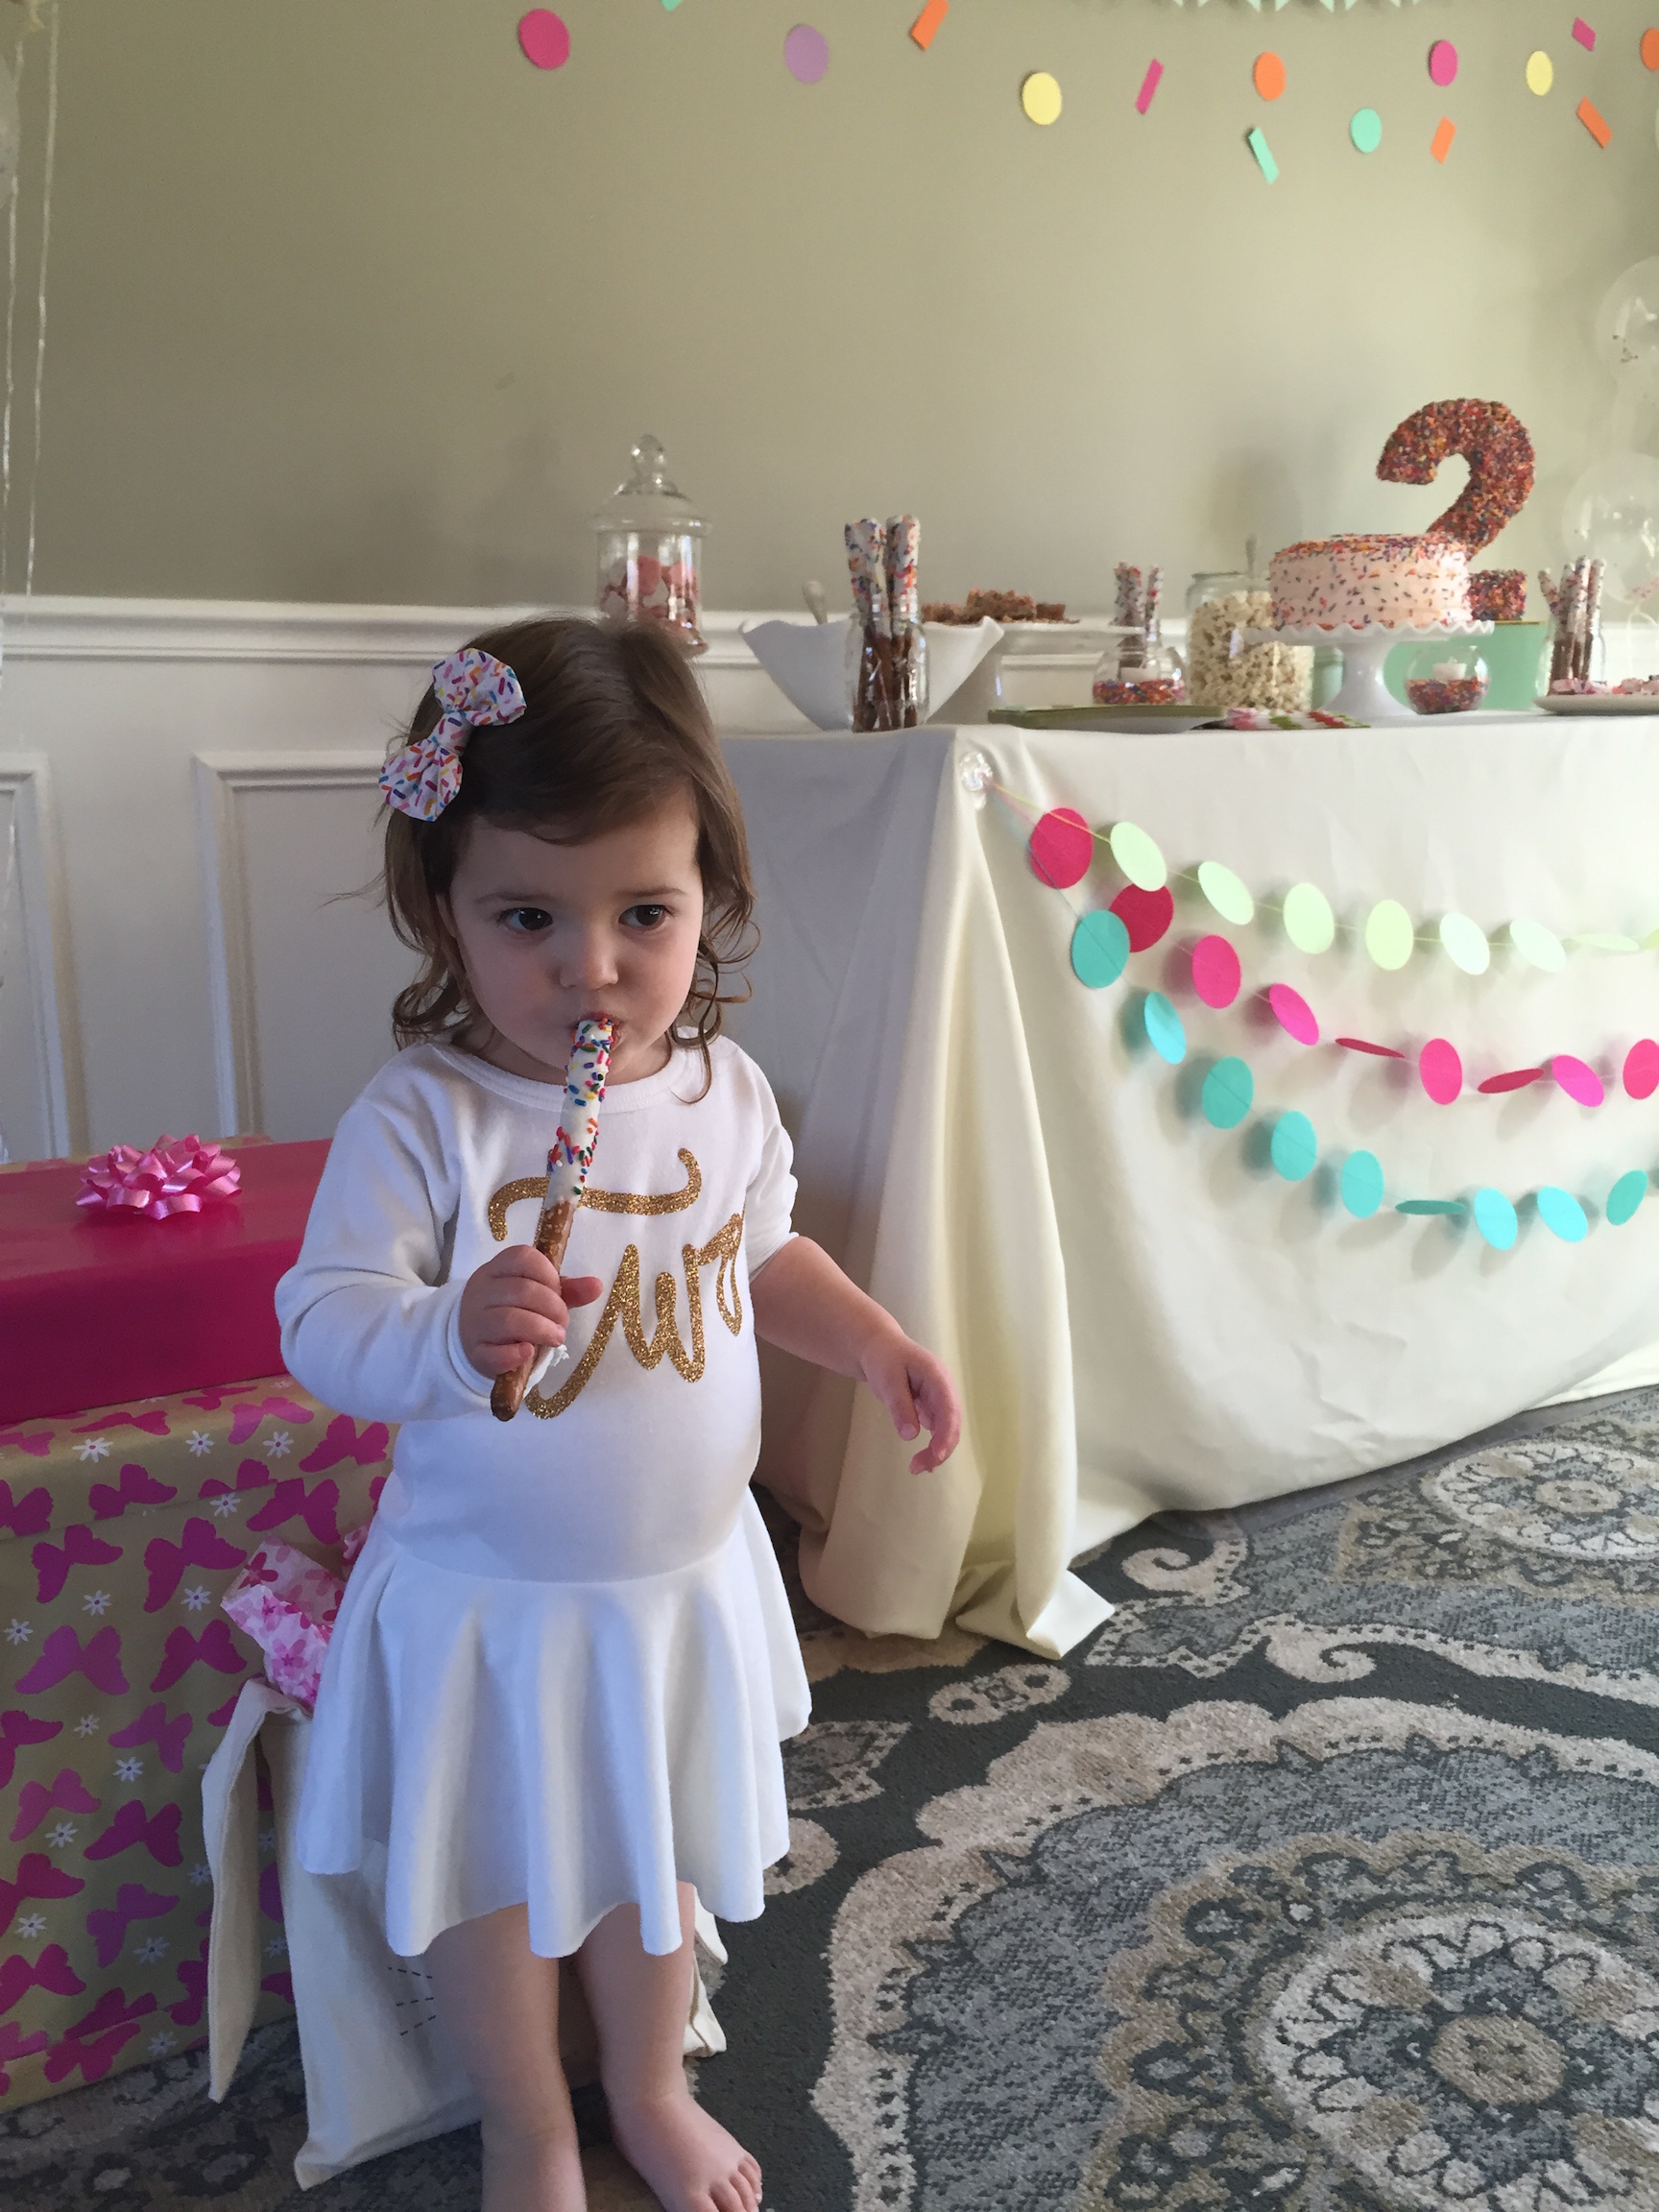
The main focal area was a sweets table covered with tons of sprinkle-covered desserts.

dessert wall

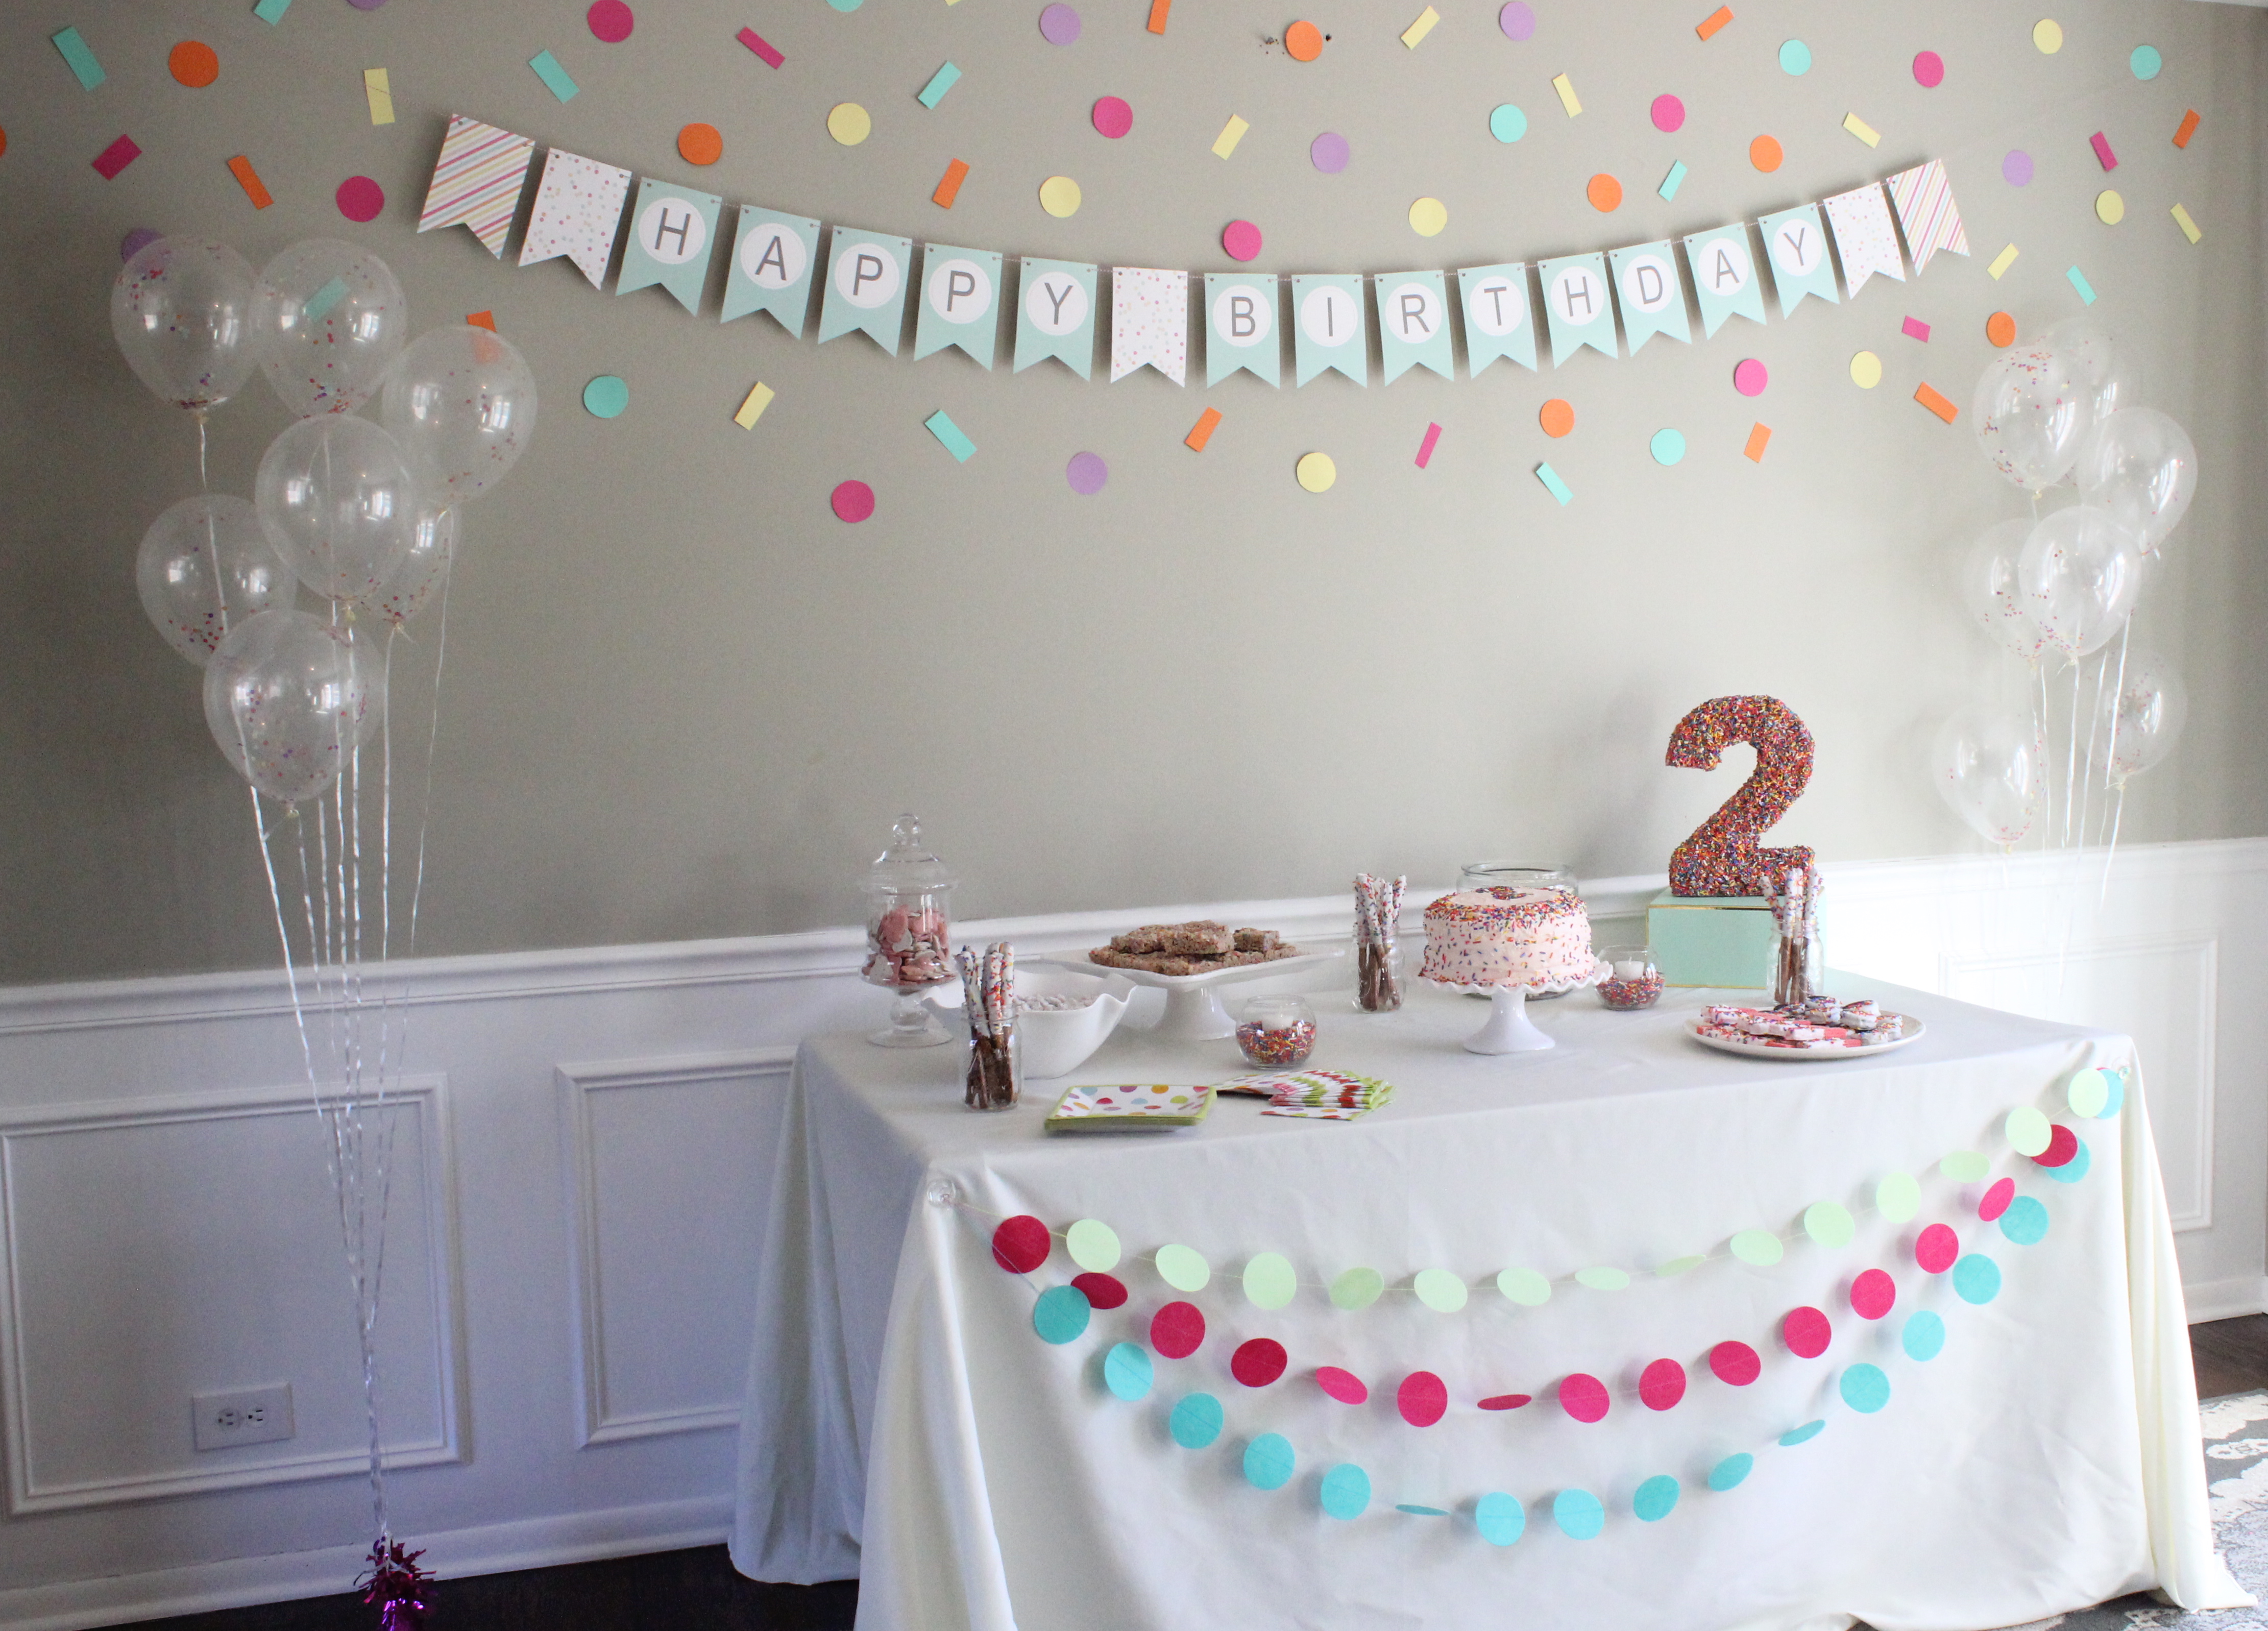
The Happy Birthday banner (which matched her invites and thank-you cards) was from Etsy. The wall sprinkles I just cut out from cardstock and taped on the wall. The circle garlands on the table are from Target.

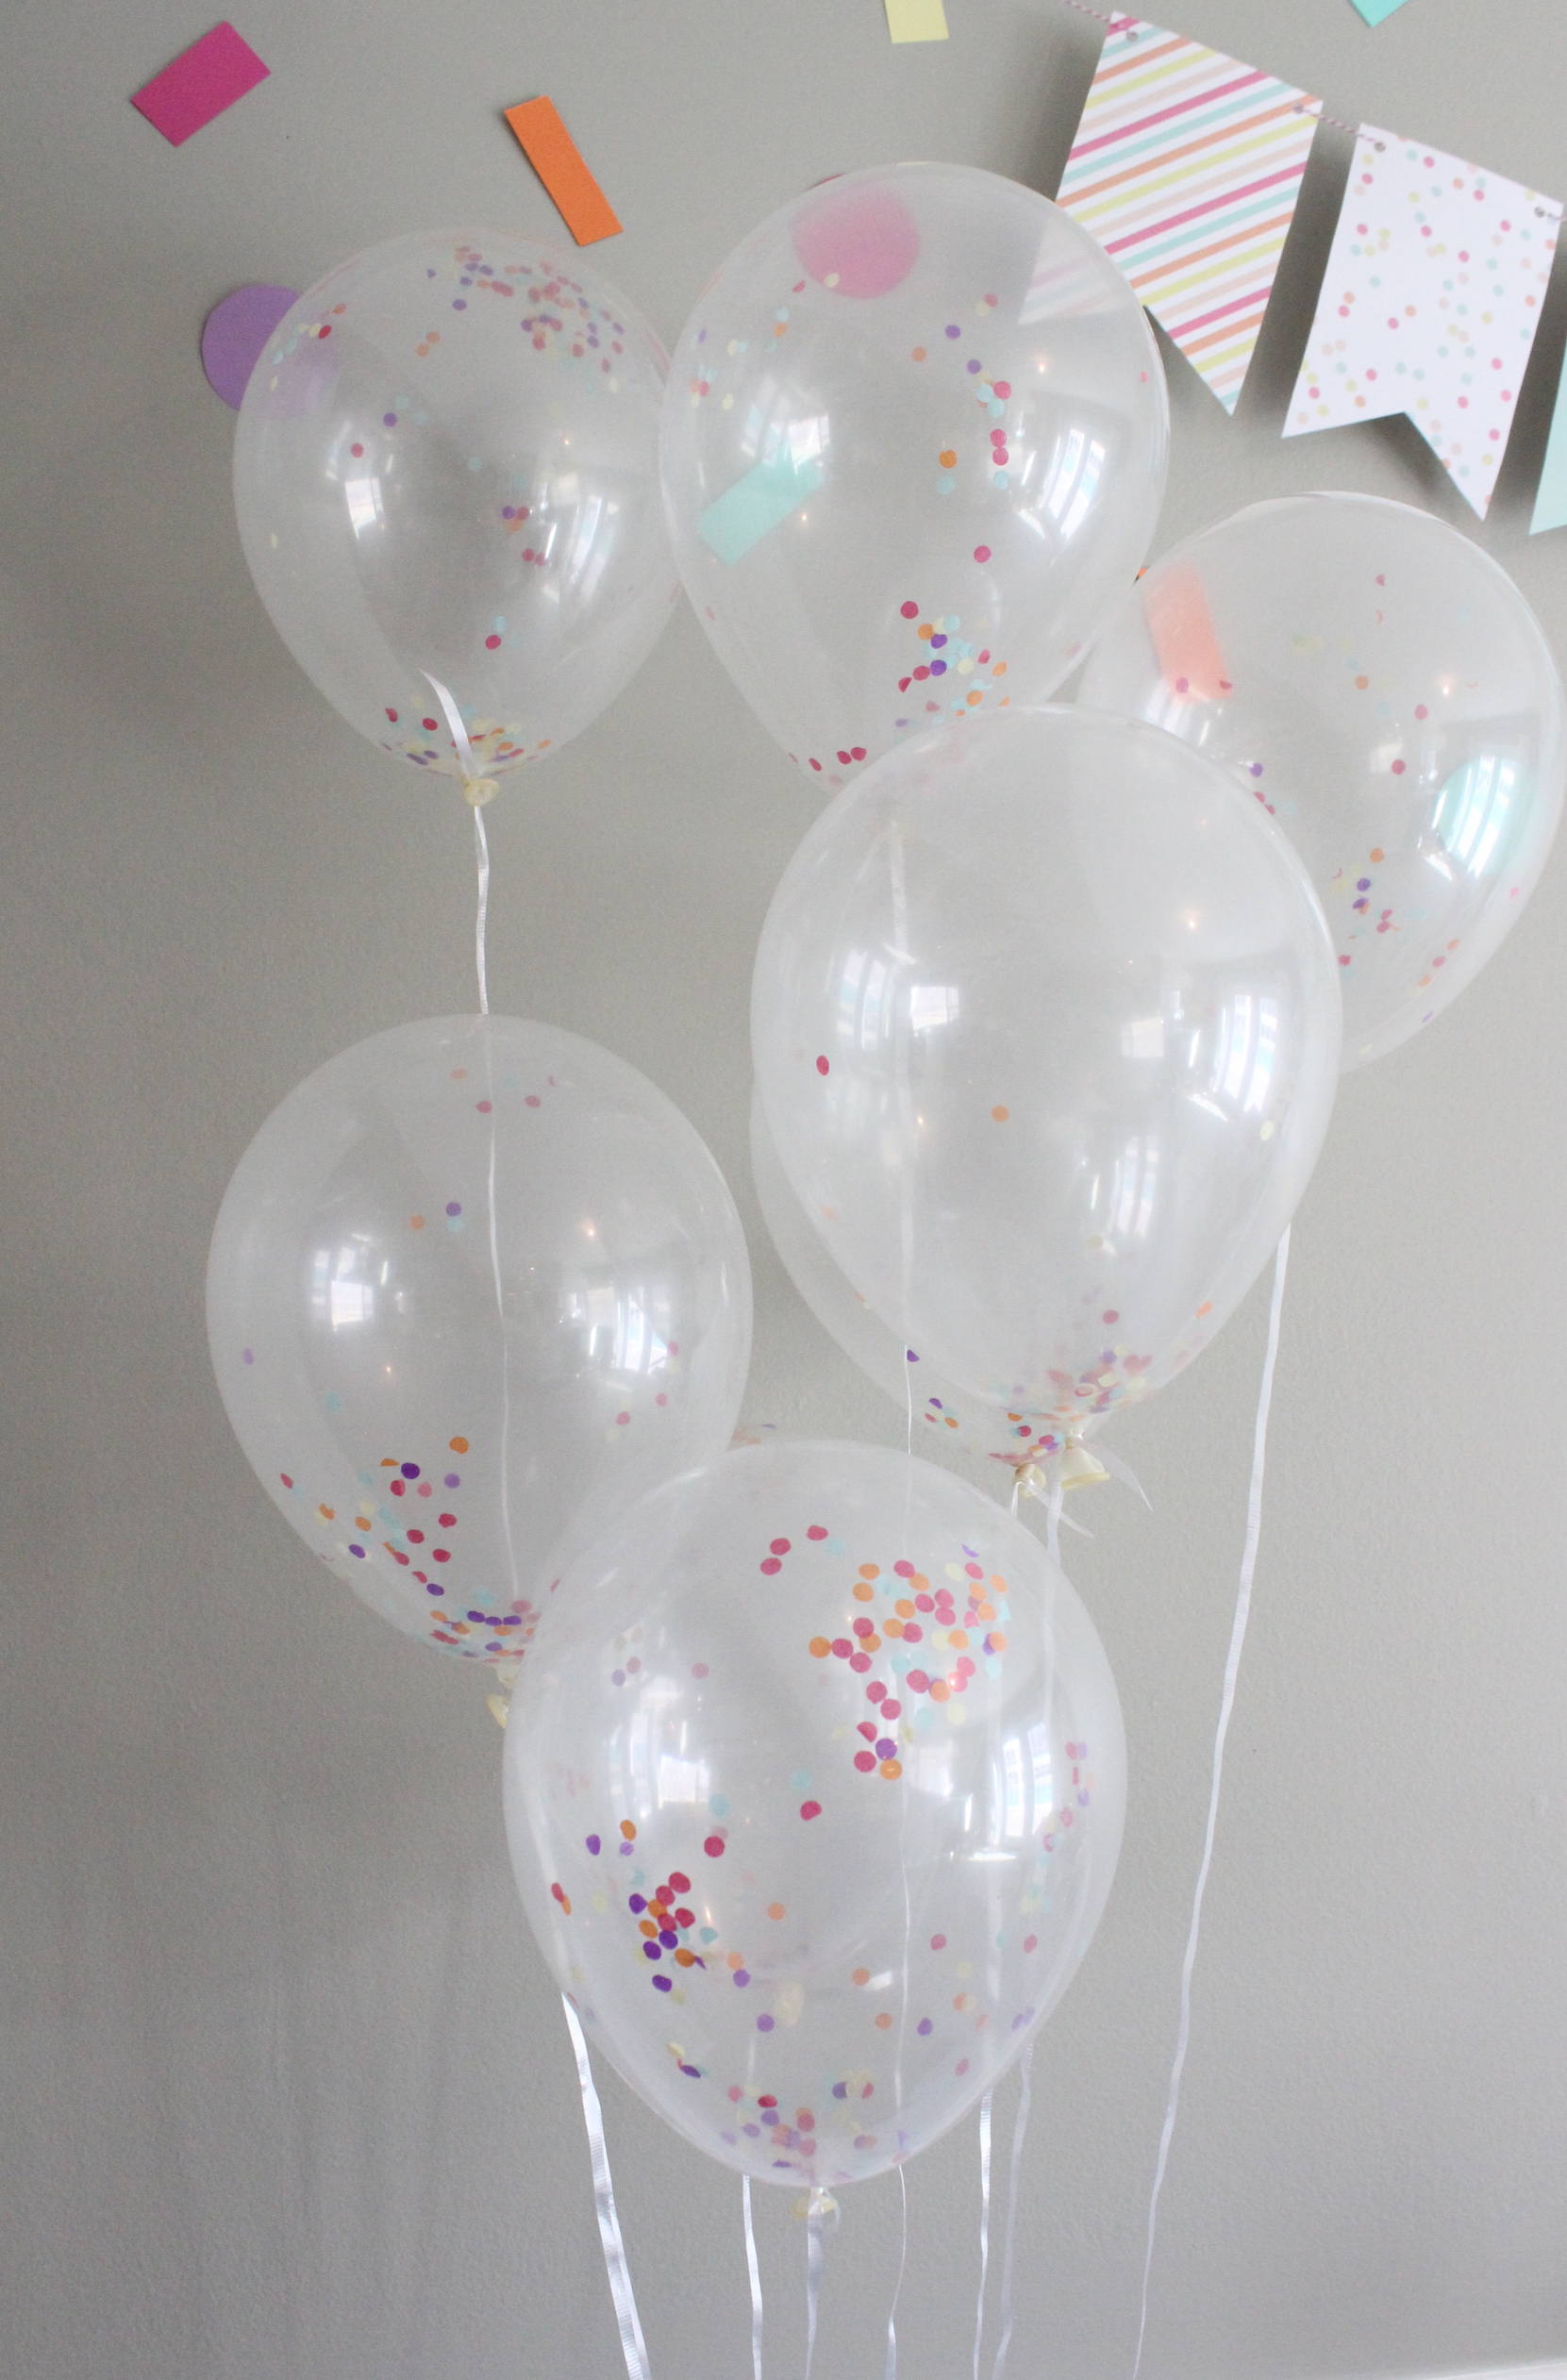
The balloons I filled with homemade confetti I made from punching holes in tissue paper. I buy my own helium tanks from Target so I can do them myself at home the day of the party.

balloons

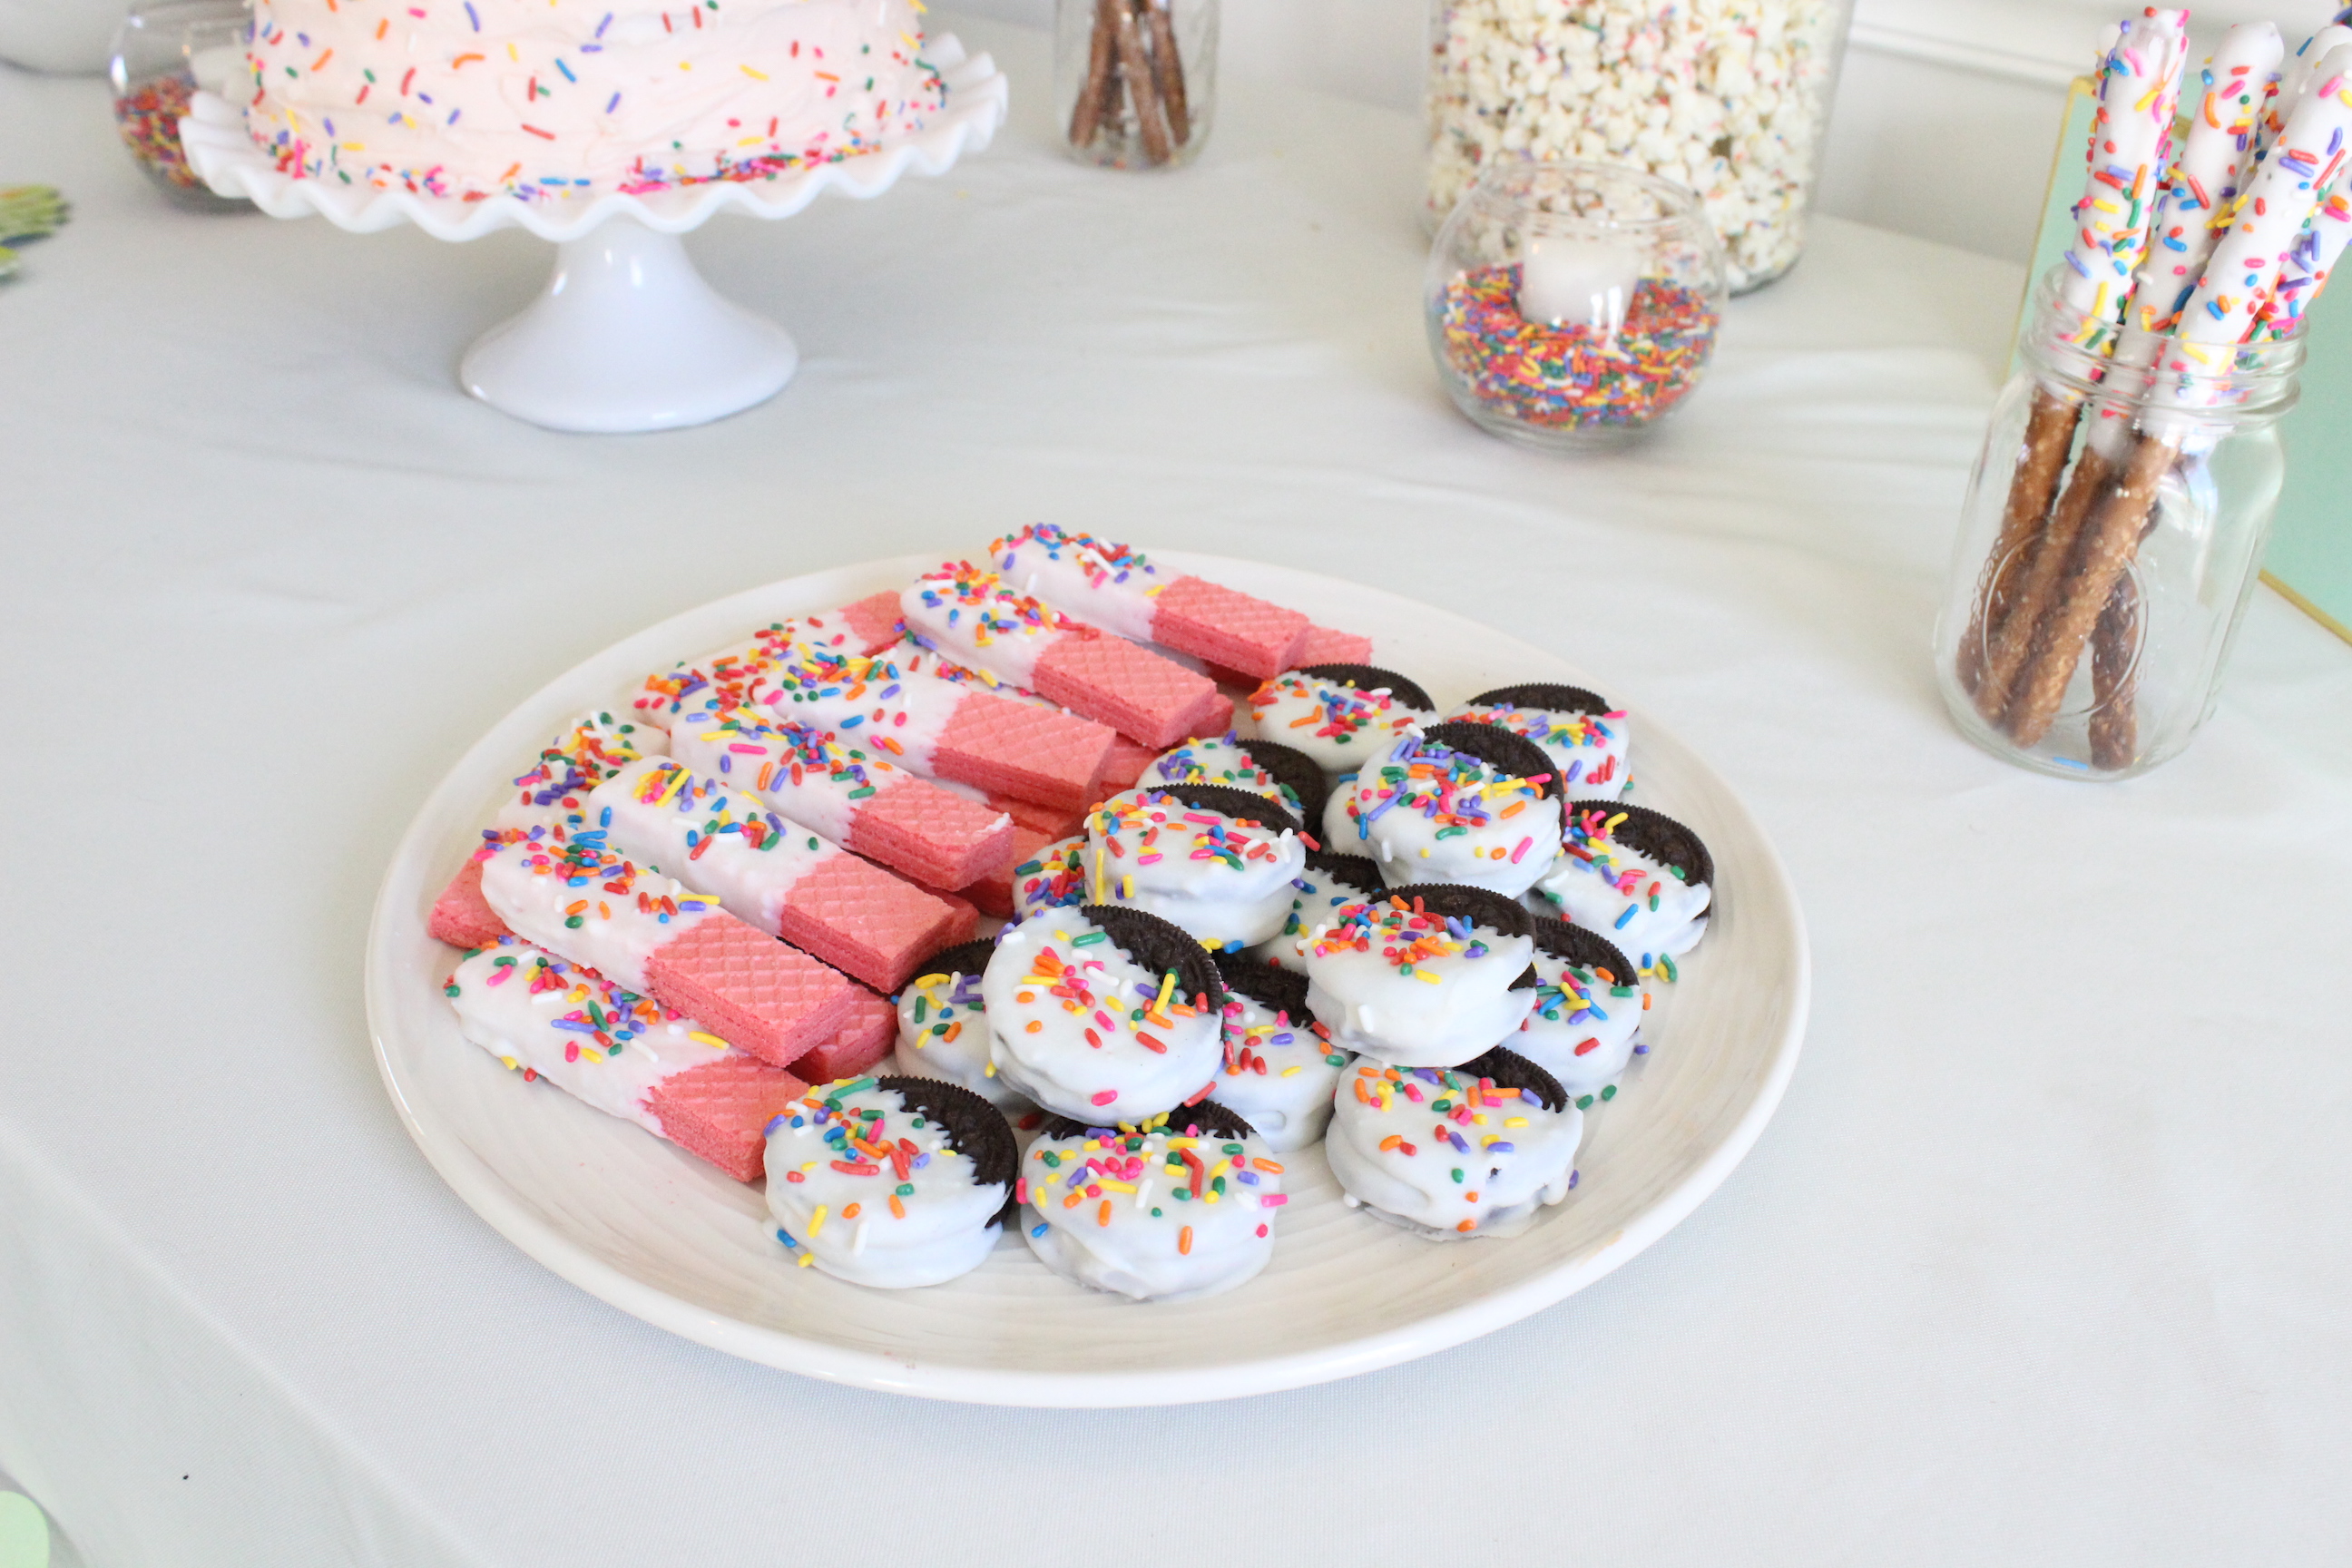
Here’s a closer look at the sweets table.

sweets table

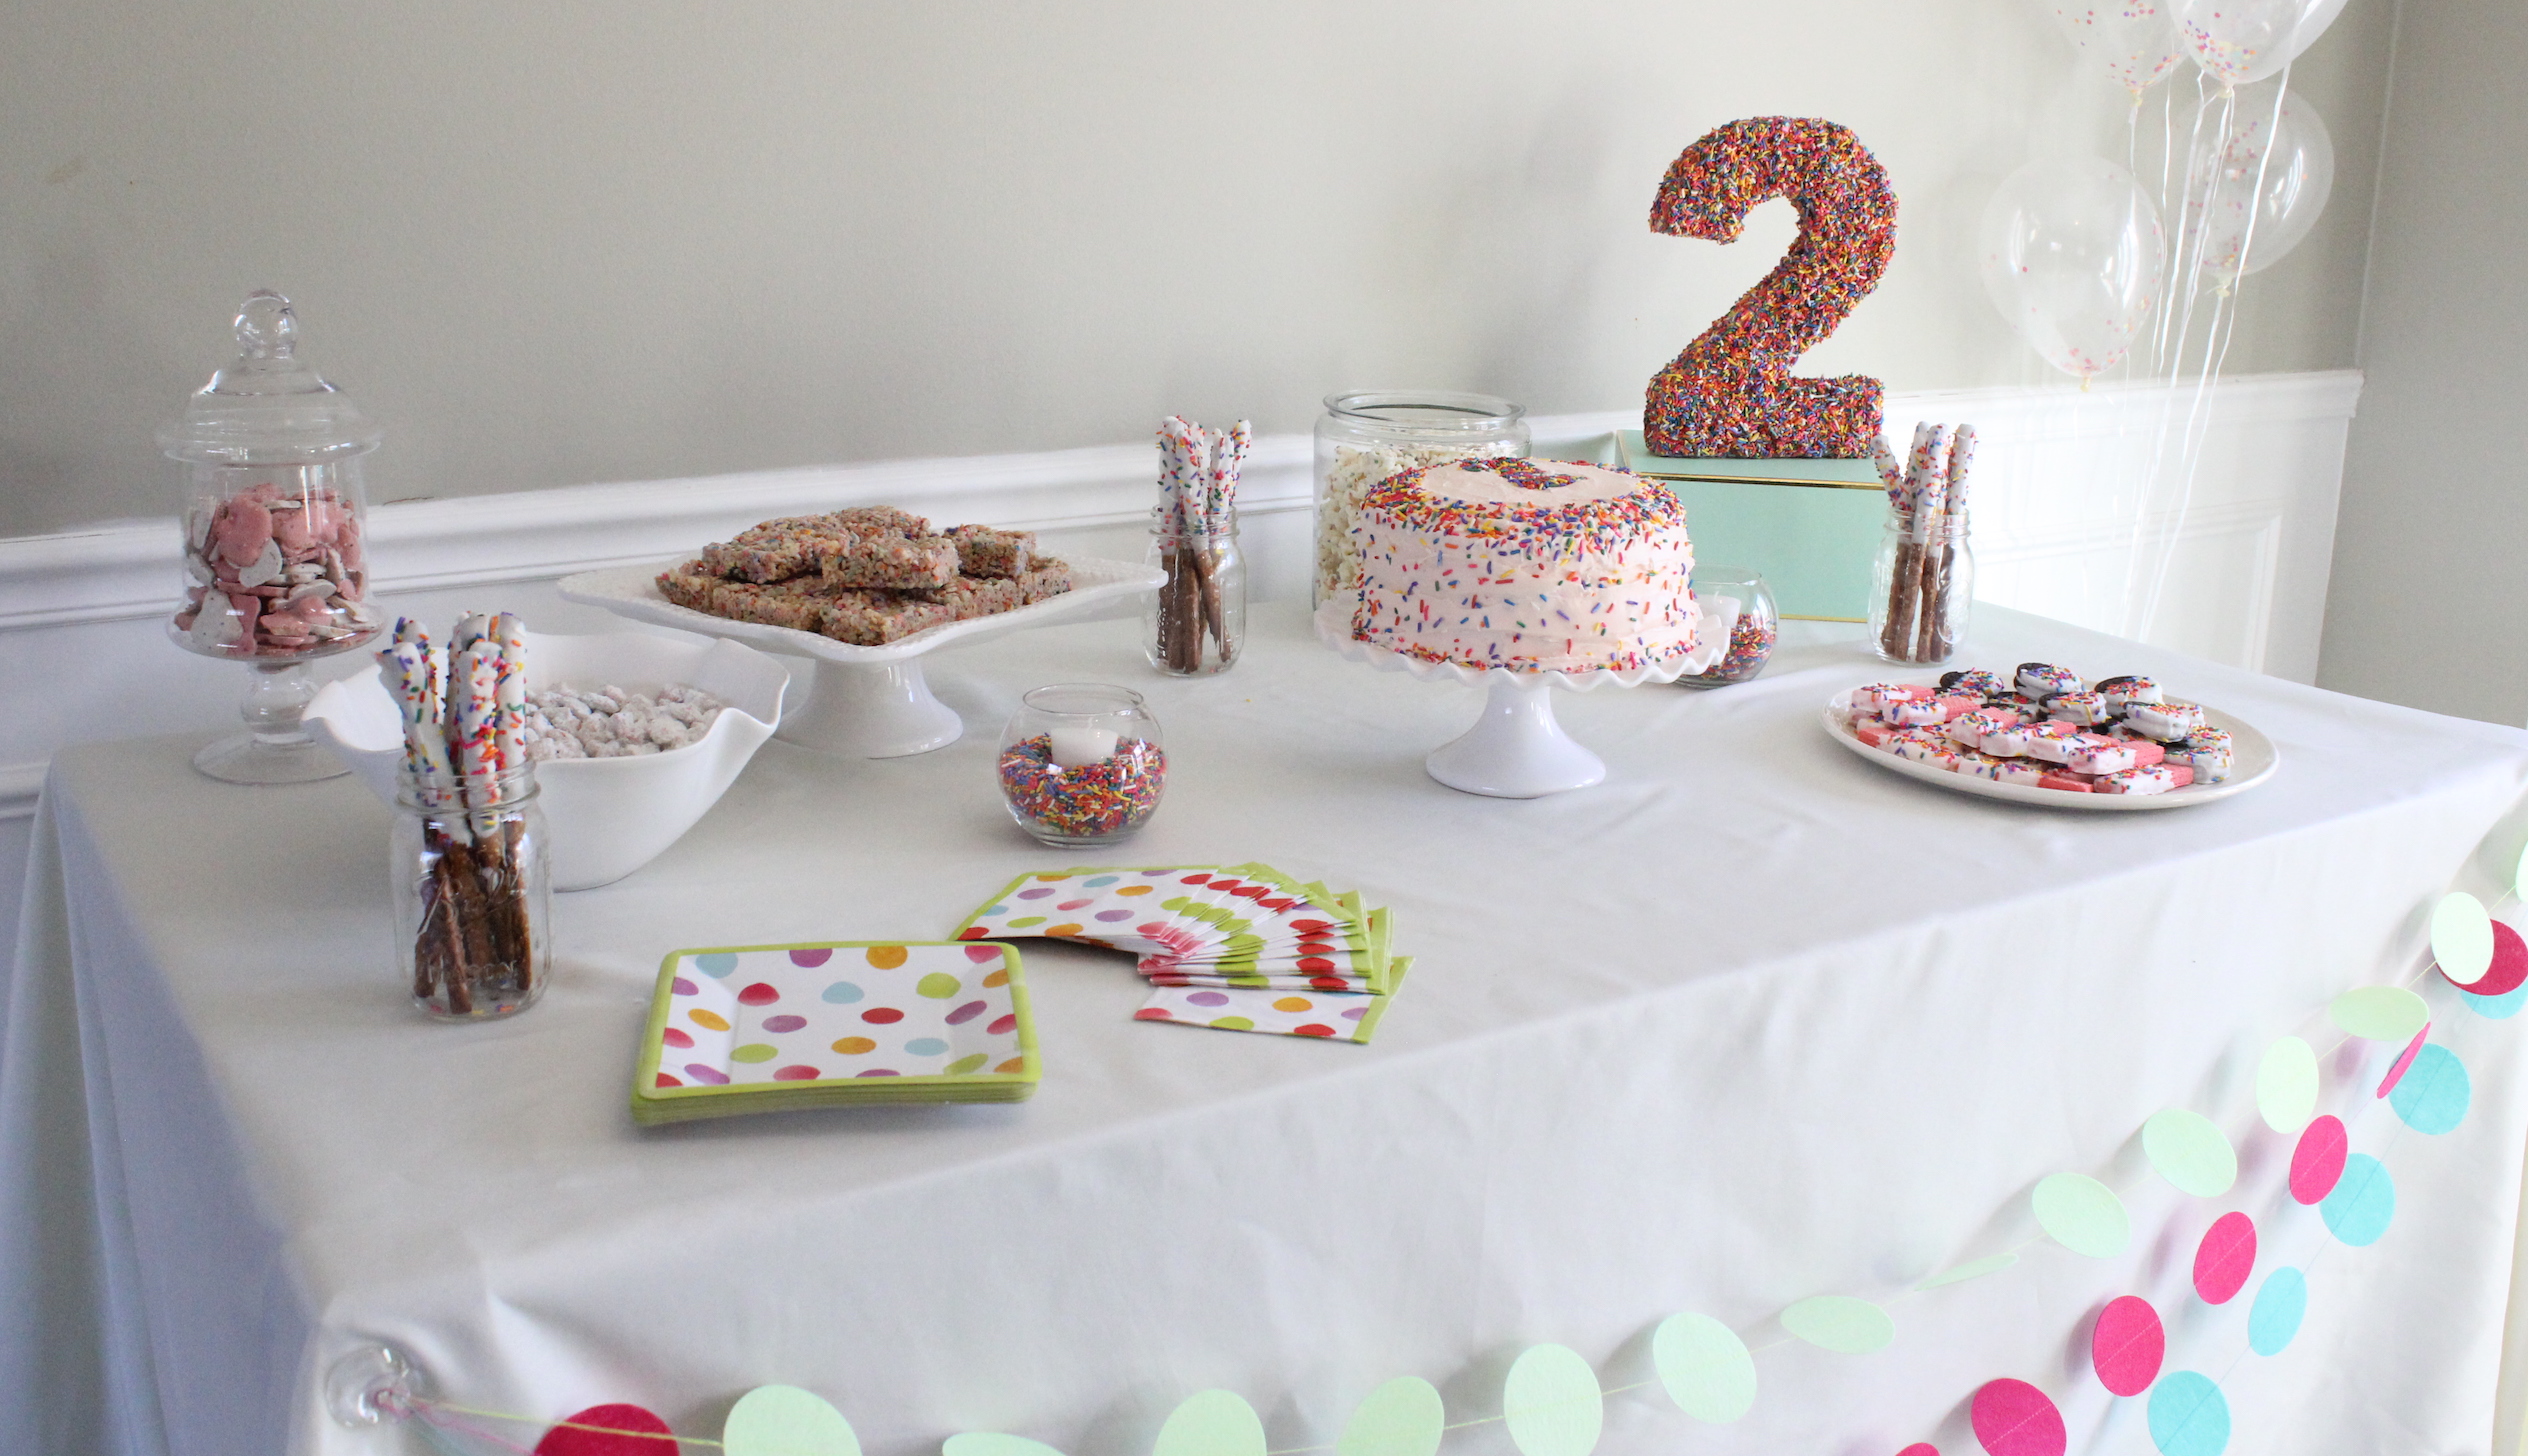
I made this spinkle-covered number 2 for the sweets table by gluing sprinkles onto a paper mache number using mod podge. Here’s the tutorial I used. Warning: It’s messy. I bought these bulk sprinkles off of Amazon- 7 pounds! I ended up using about half of the jar.

sprinkle 2

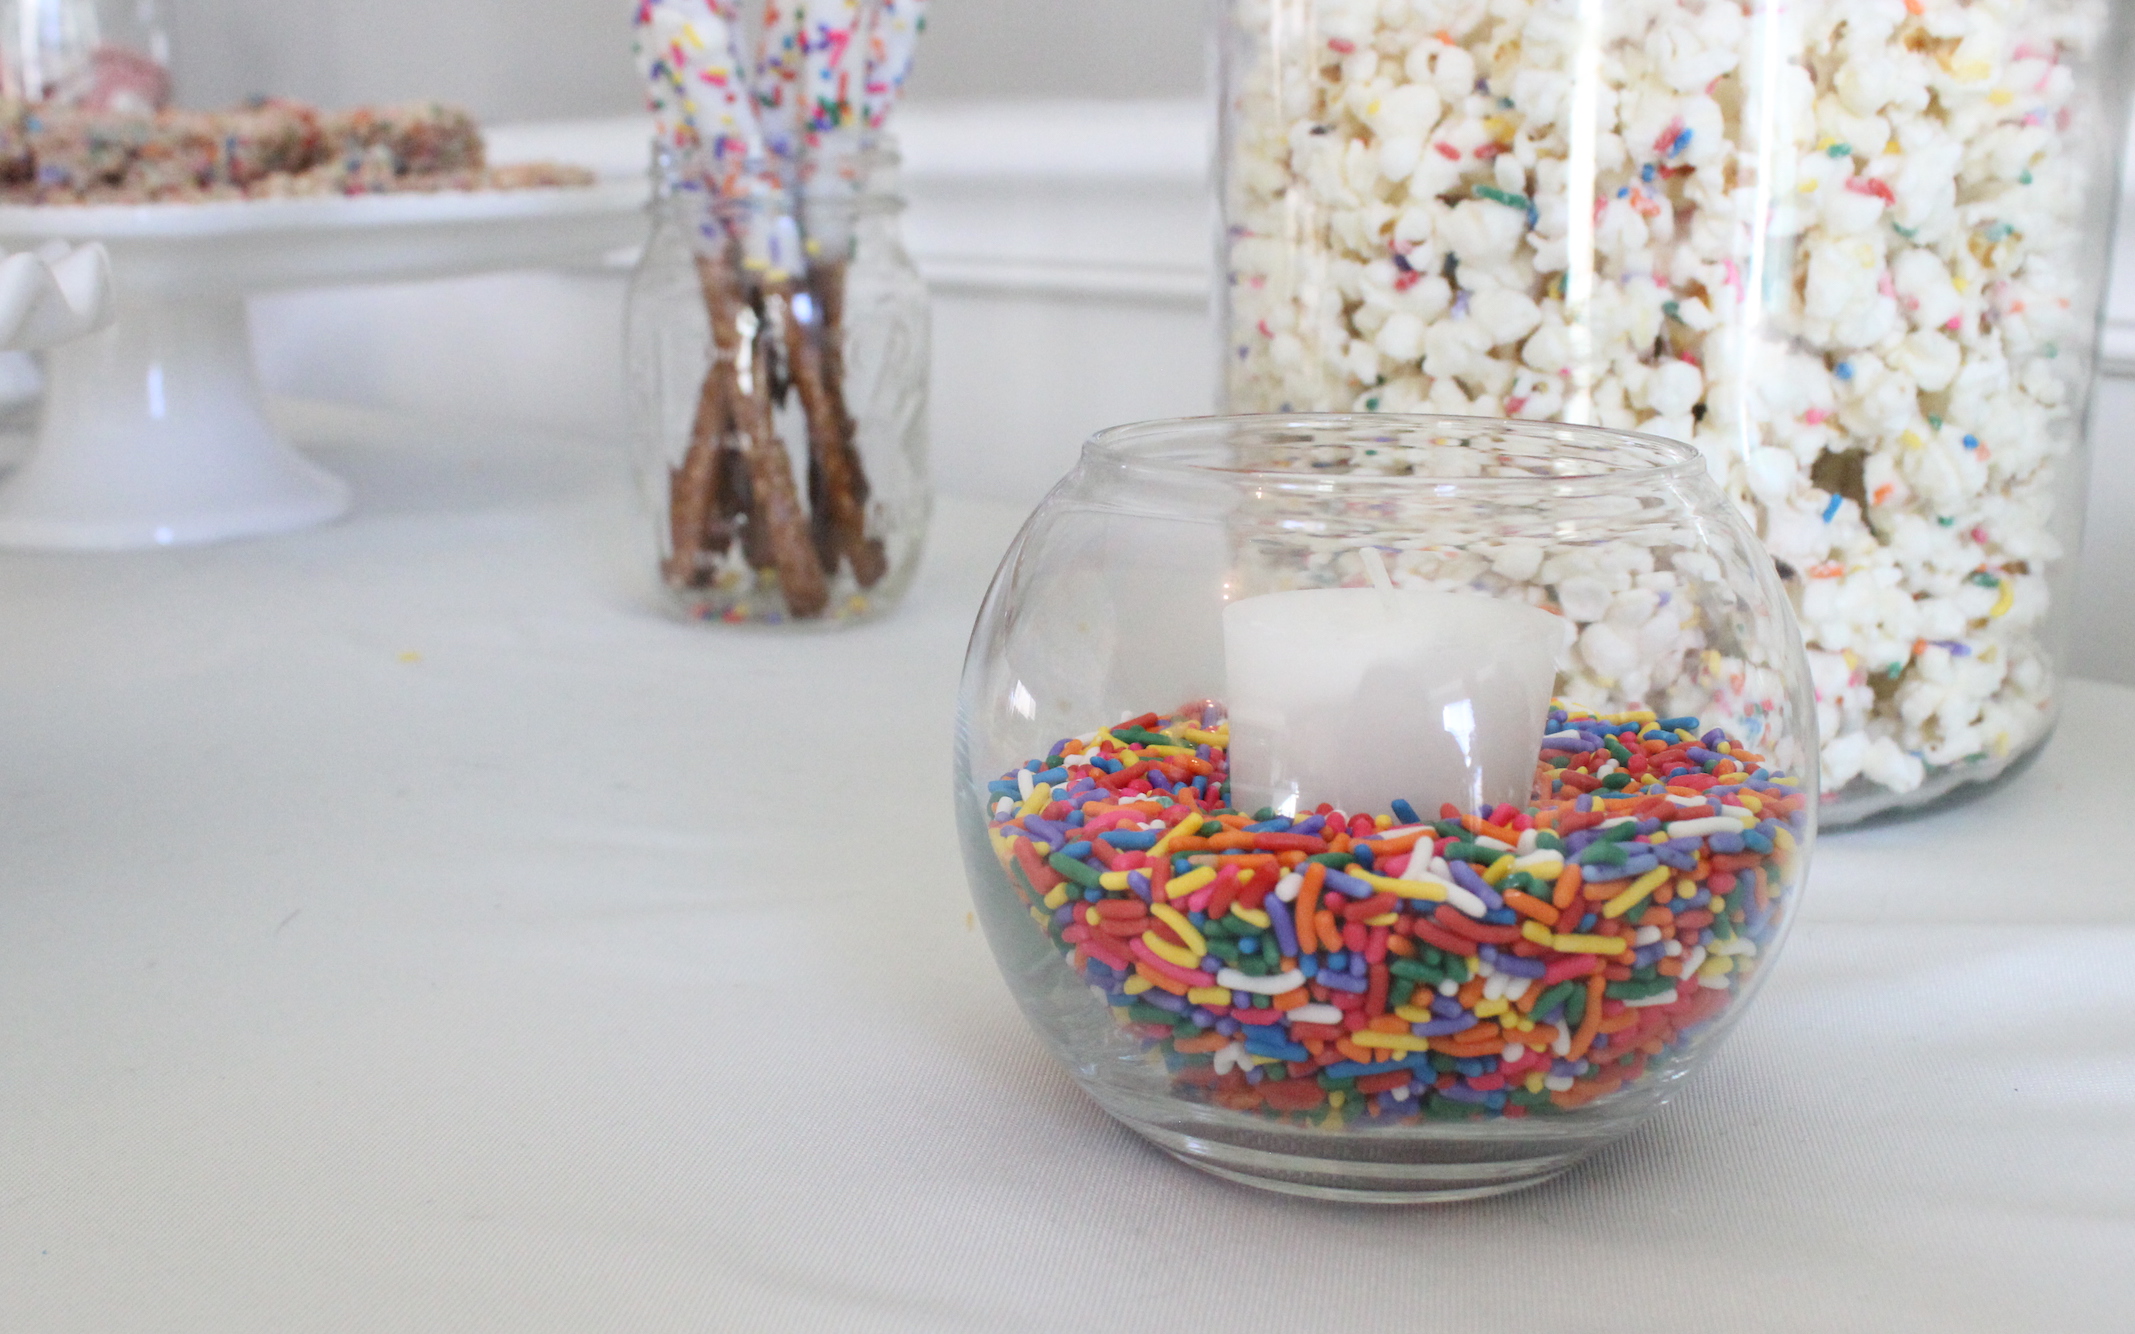
I filled a couple of candle holders with sprinkles for an easy, little touch.

candle

The cake I made myself using 2 boxes of Funfetti cake mix, and then I decorated it with store-bought frosting dyed light pink, and sprinkles. I used a “2” cookie cutter as an outline to make the 2 in the center of the cake. I also learned this genius tip to make sure your cakes stay flat during baking using these.

cake

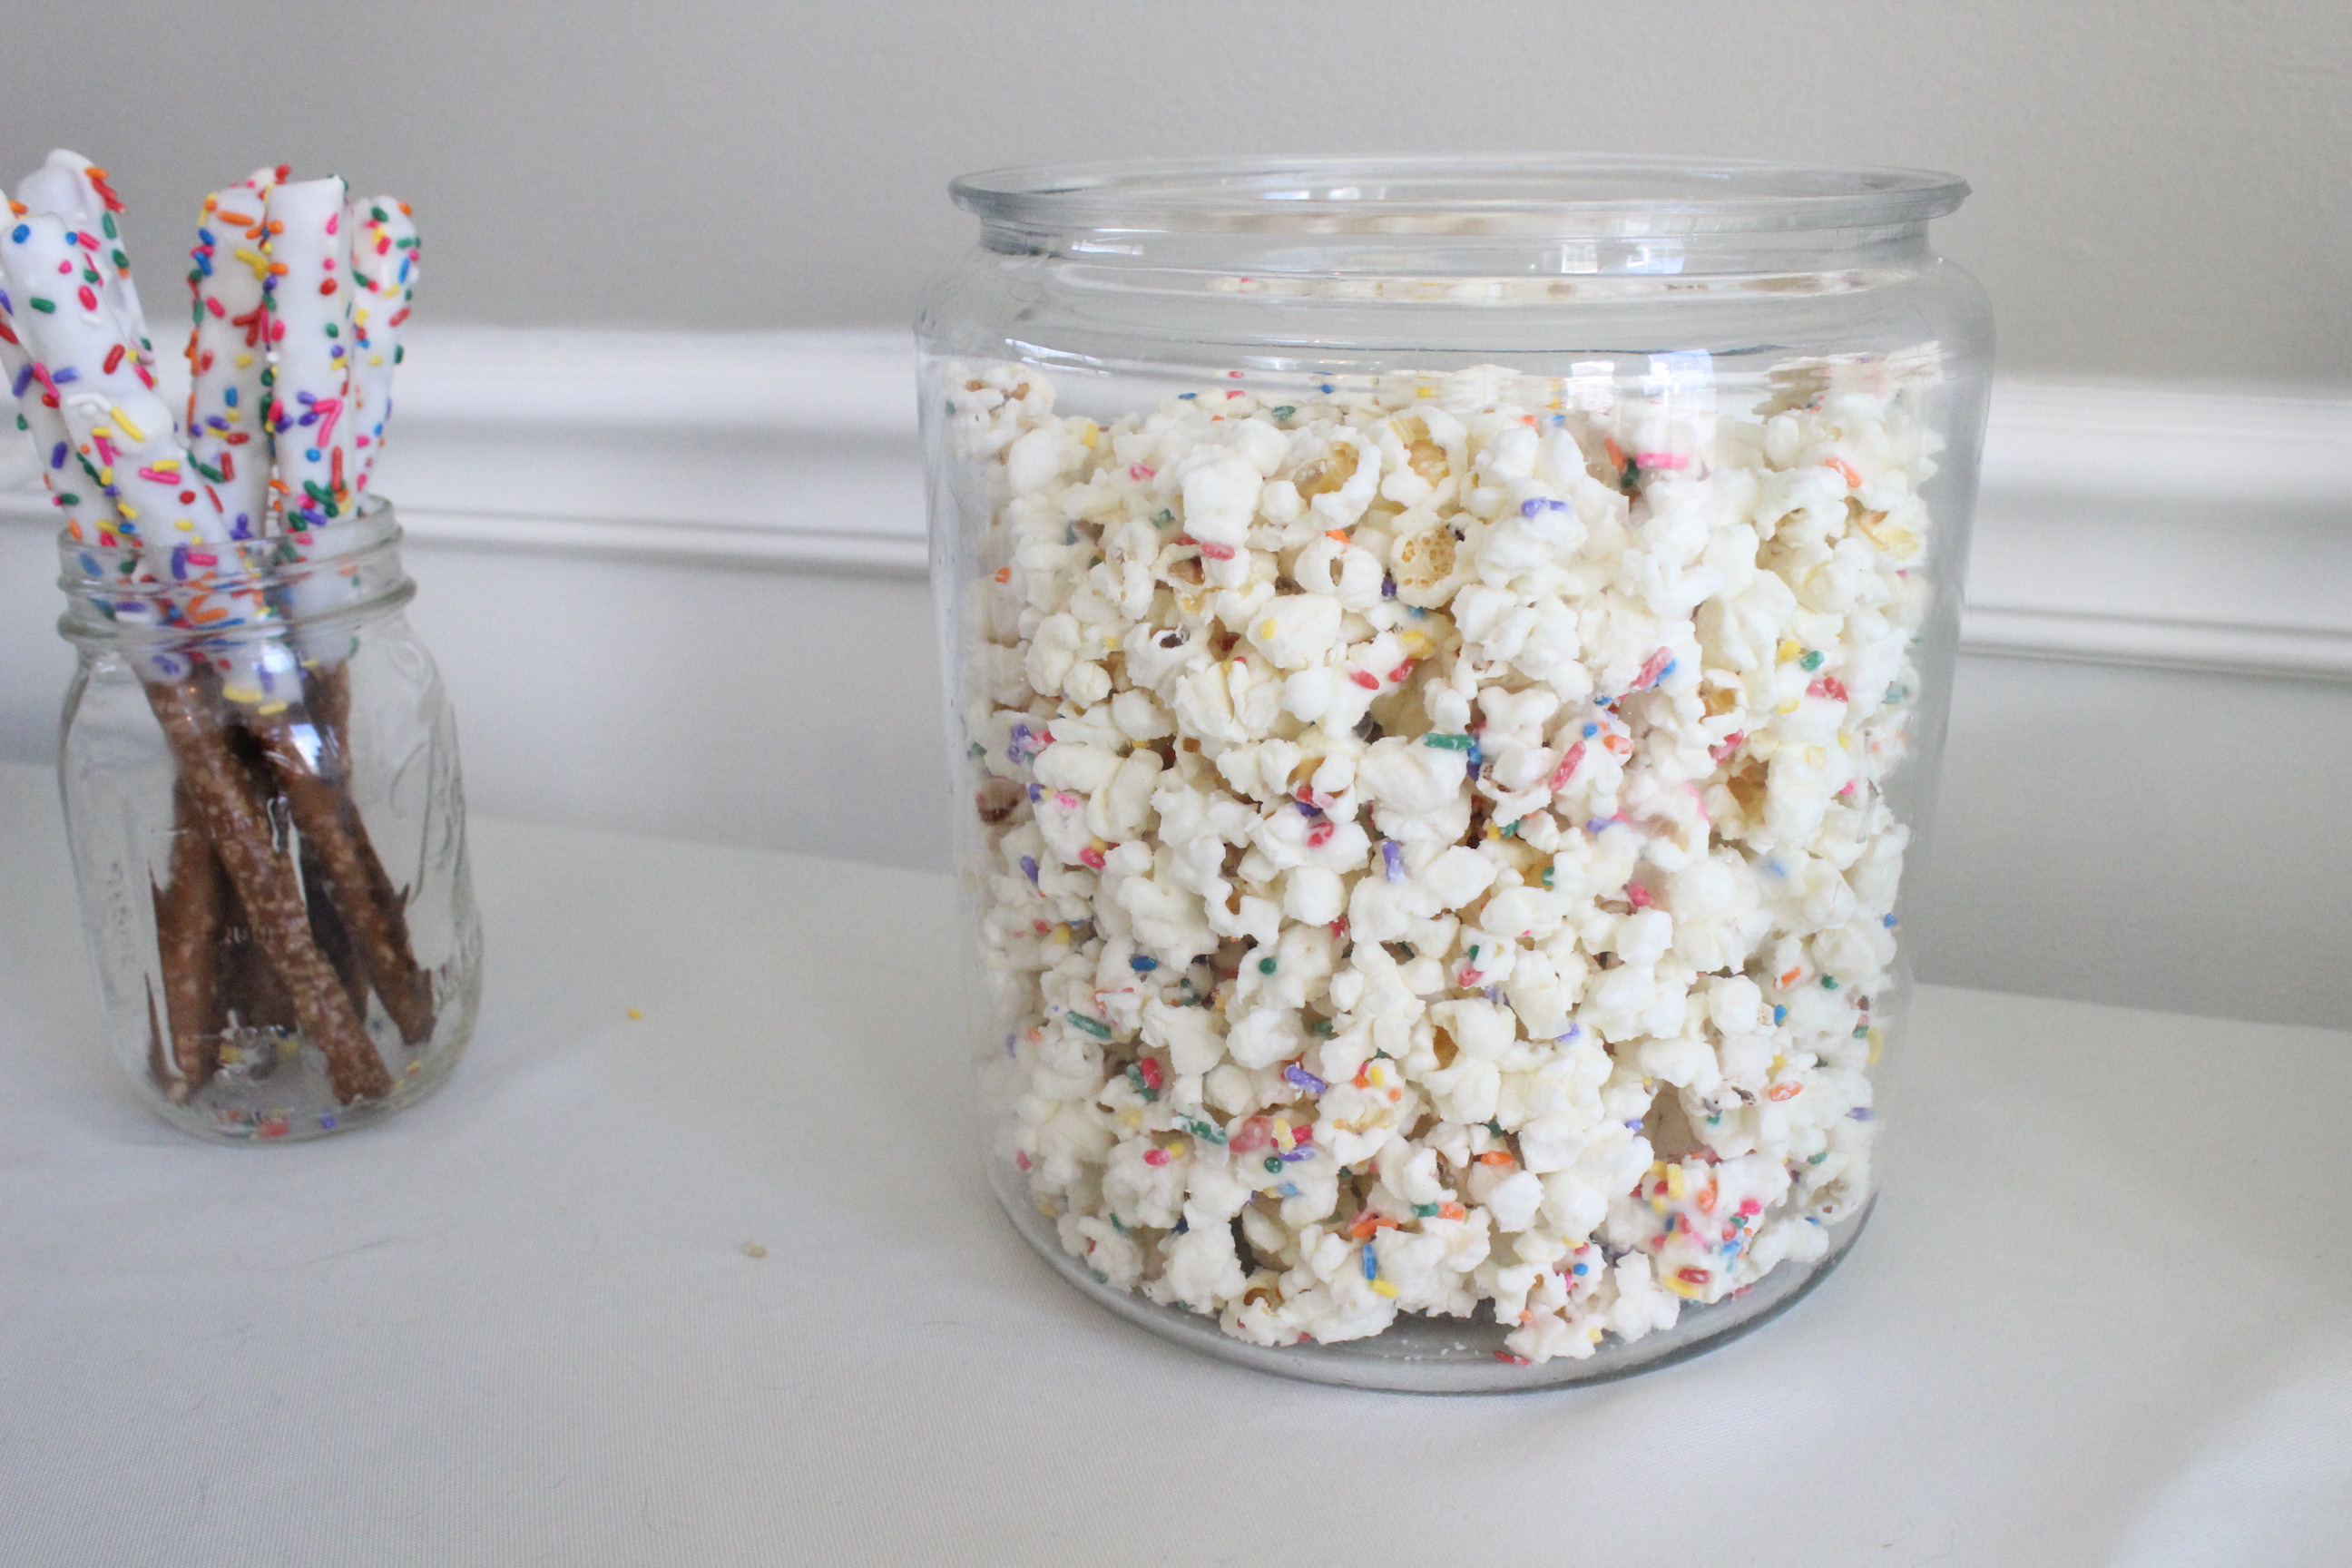
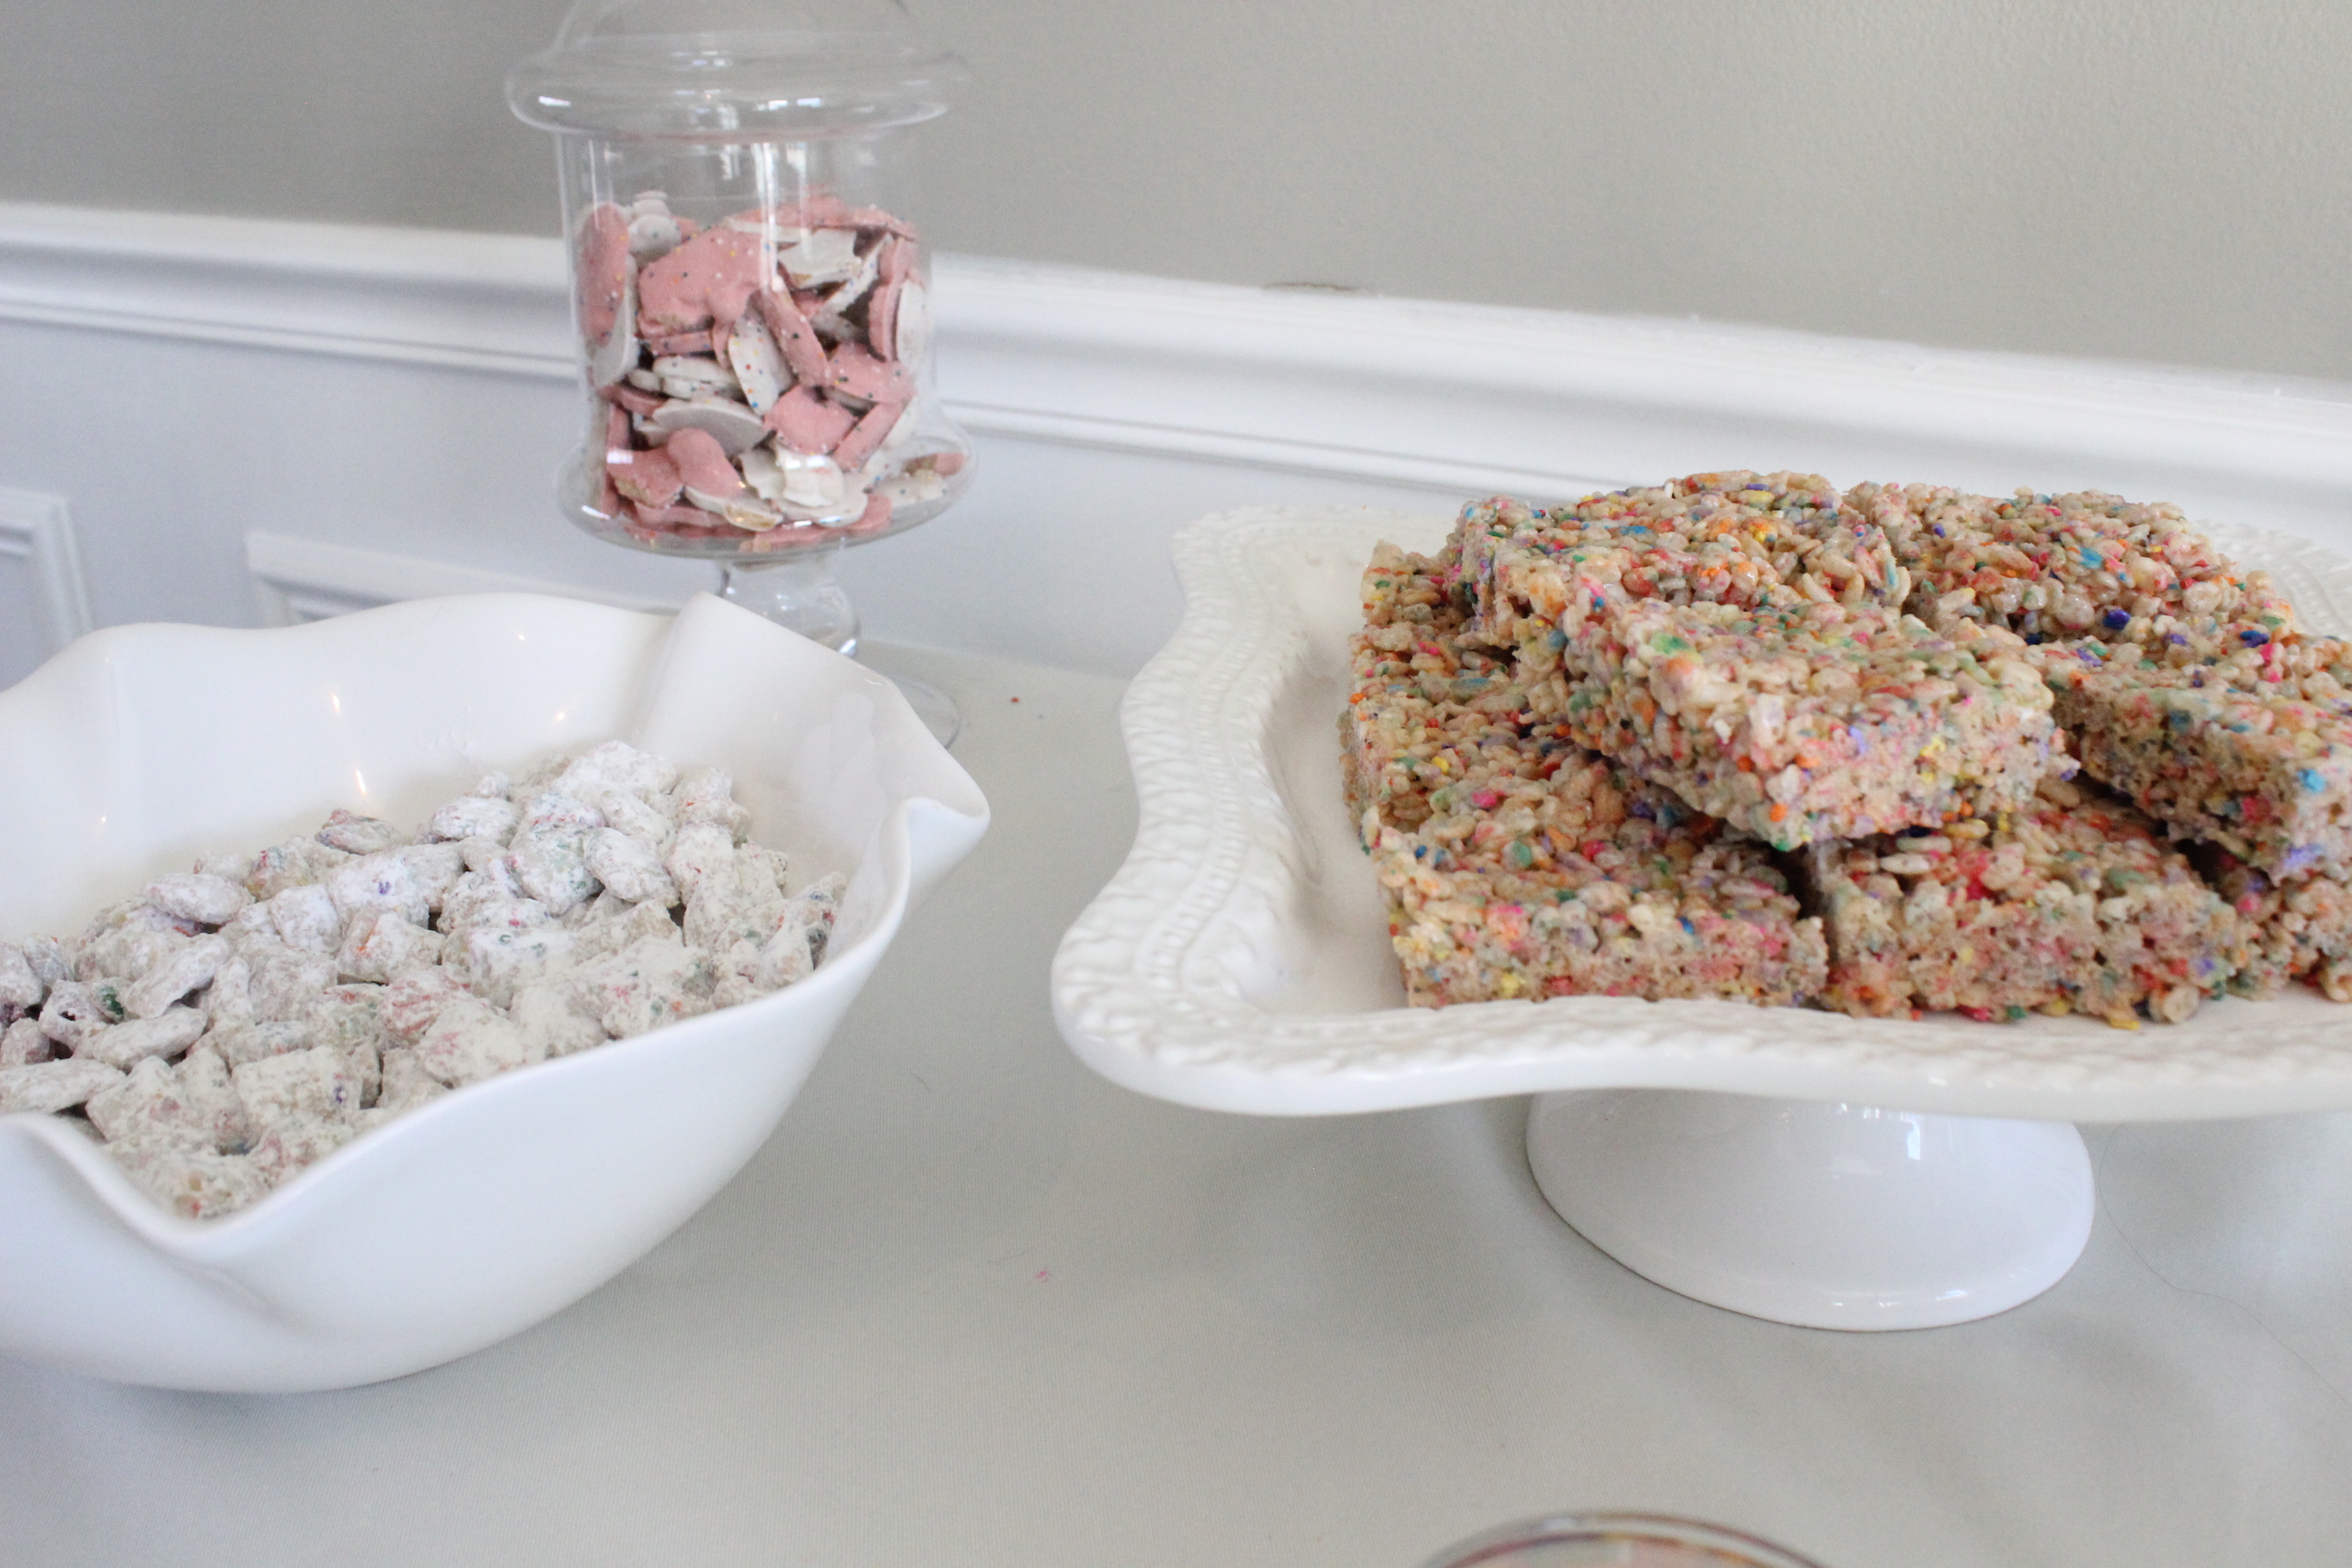
I made cupcake puppy chow, birthday cake batter popcorn (this was so good!), funfetti rice crispy treats, and then I dipped pretzel rods, oreos and strawberry wafers in white chocolate and sprinkles. I used this method of melting the chocolate in the crock pot and it worked like a charm. I also put some animal cookies in a jar.
IMG_5681

puppy chow

oreos

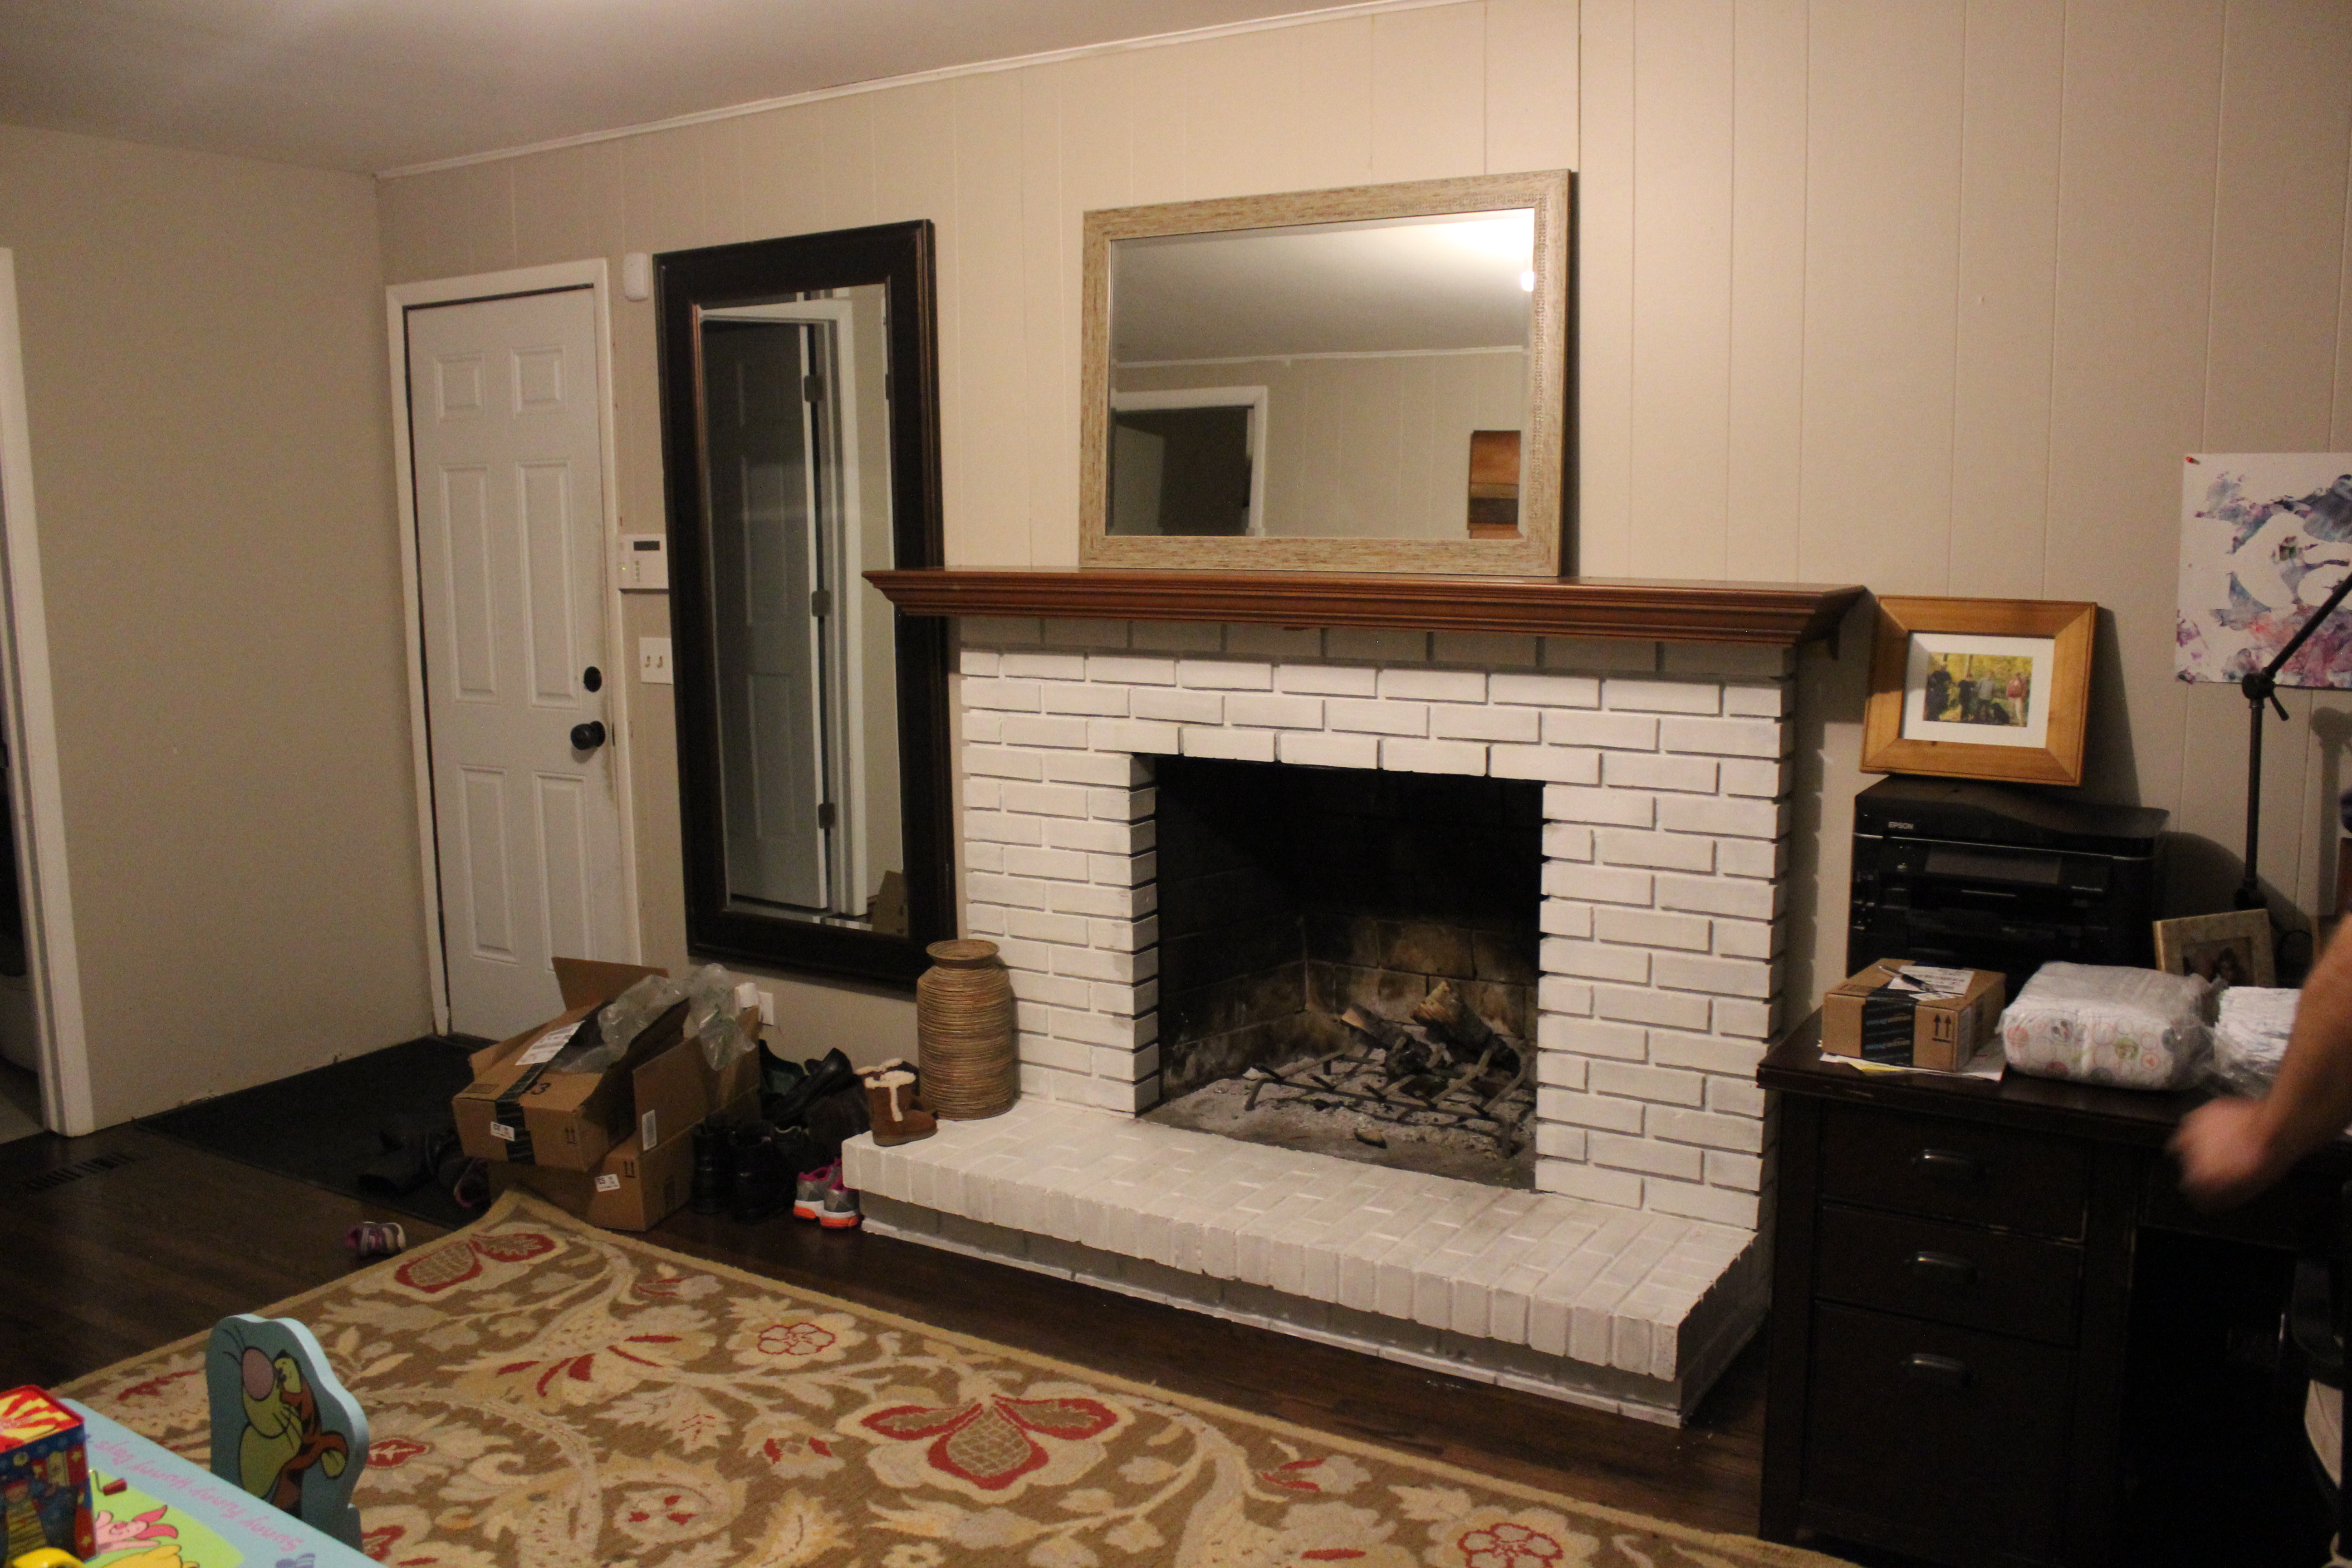
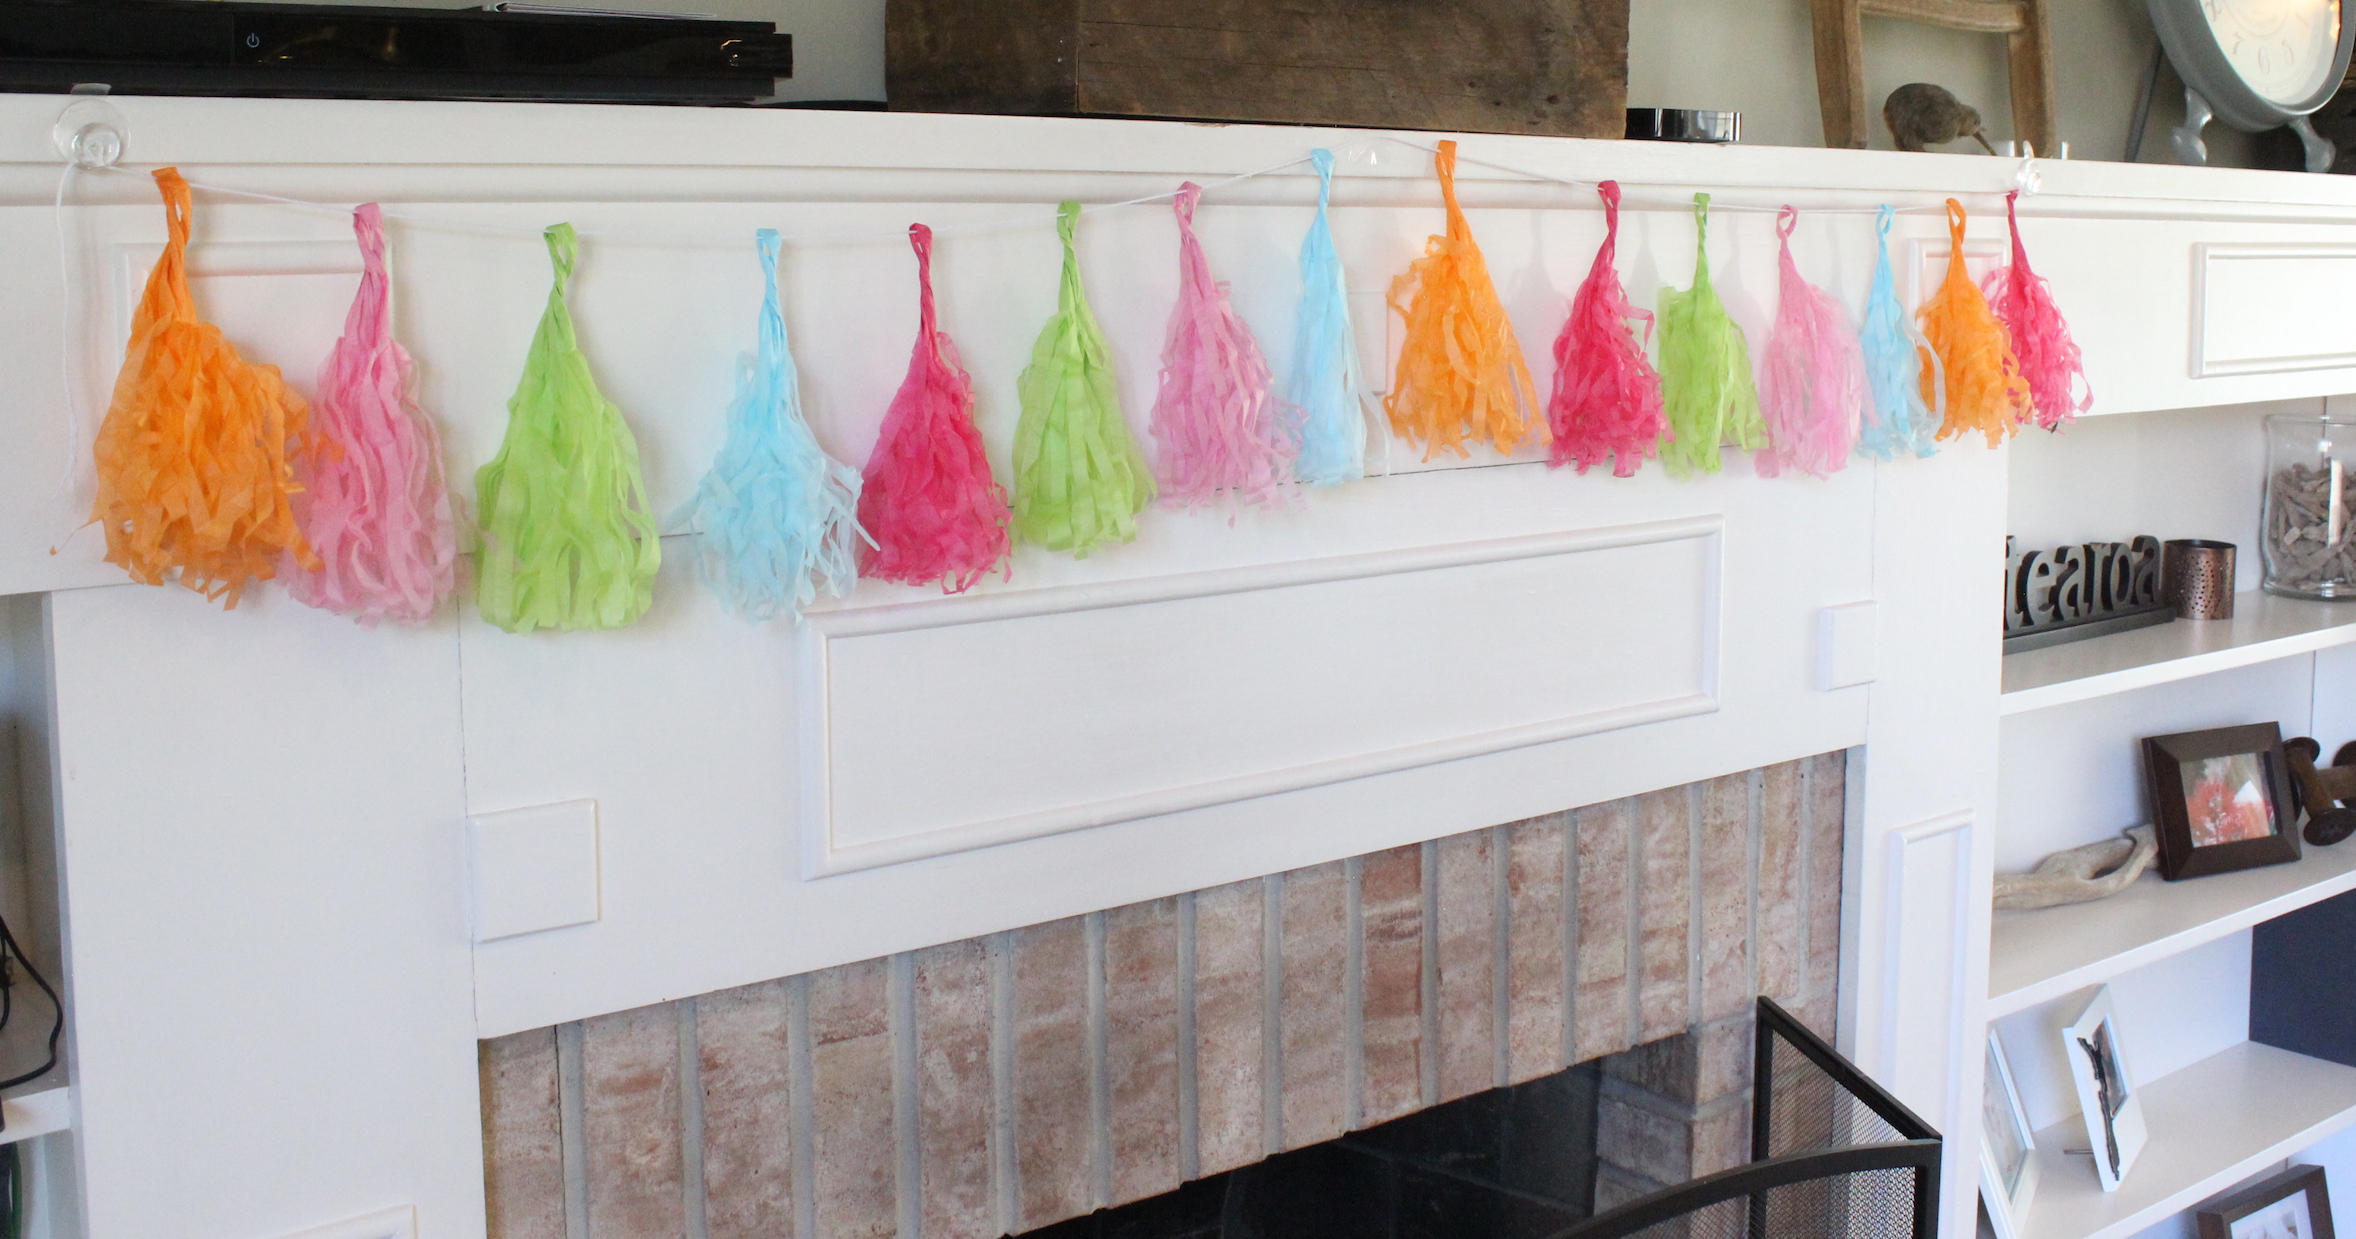
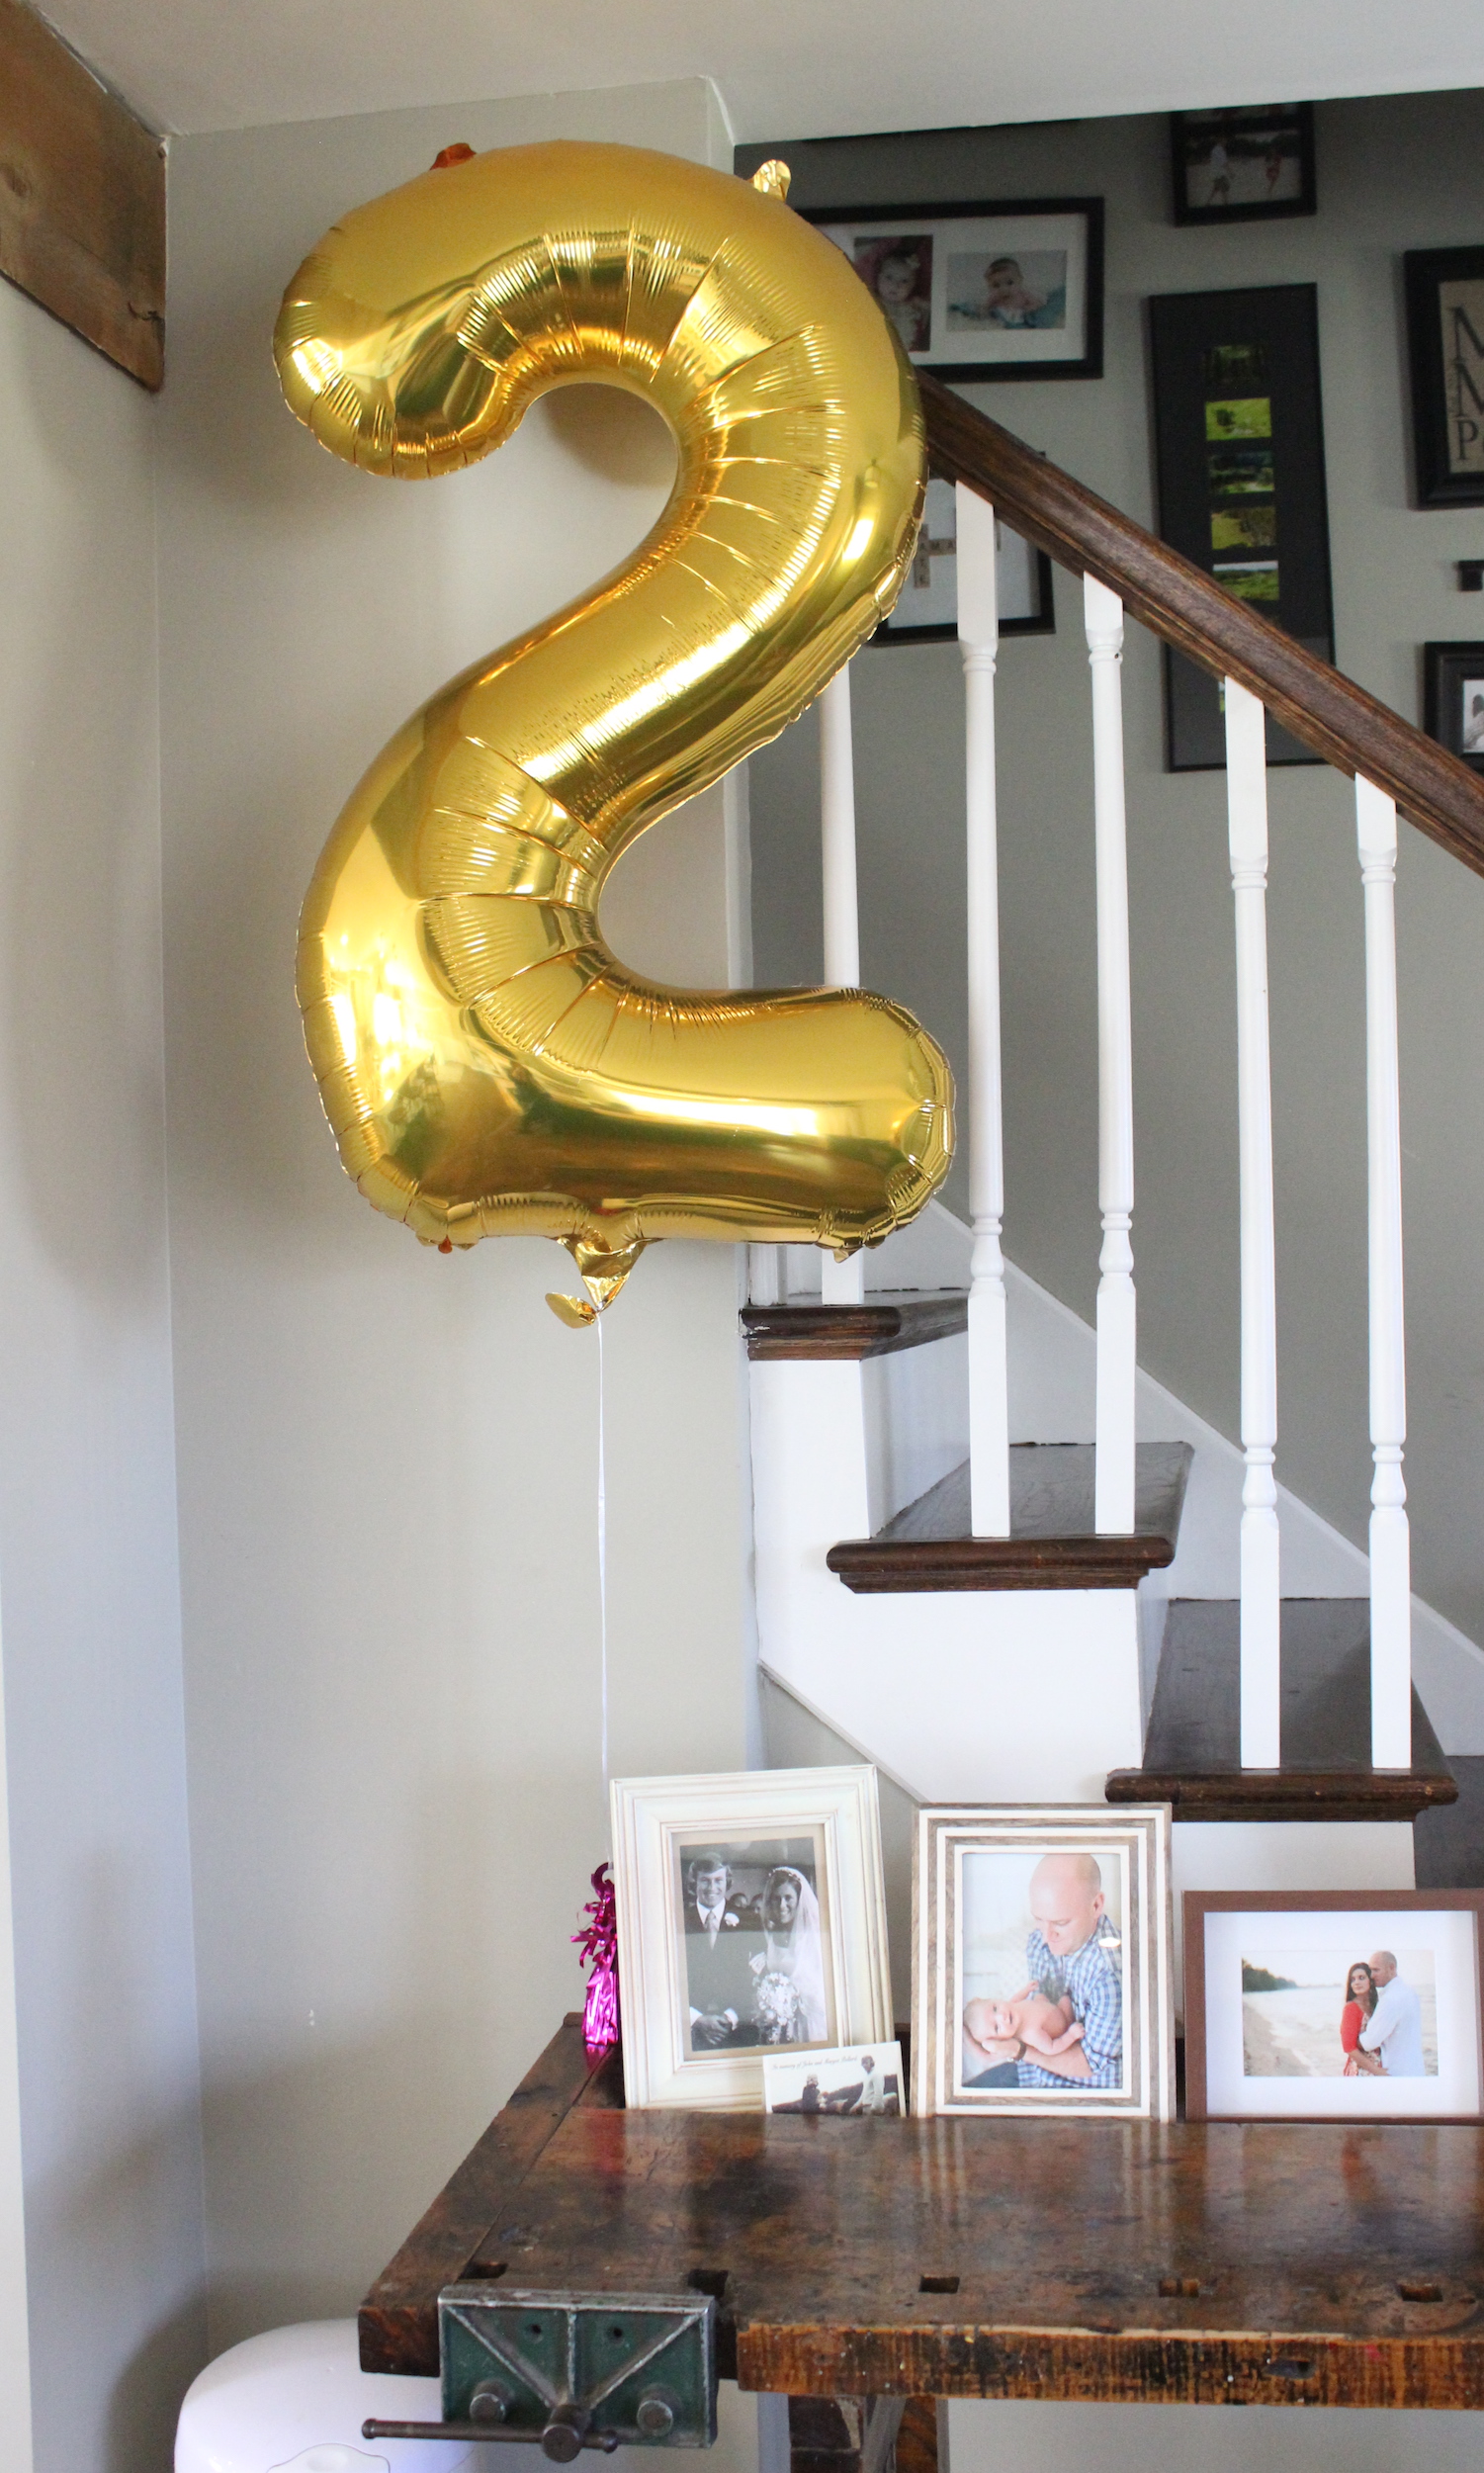
A few other little decorations I had were a tissue paper garland over the fireplace from Target (I combined two colors), and a jumbo gold #2 balloon from Party City. The polka dot paper plates and napkins also came from Party City.

fireplace

jumbo gold

Lastly, I got Kate a cute “two” outfit from Lola and Darla, and a sprinkle hair bow from Etsy. She looked so cute, and good thing she won’t be wearing this dress again, because toddlers and white don’t exactly mix.

kate 2

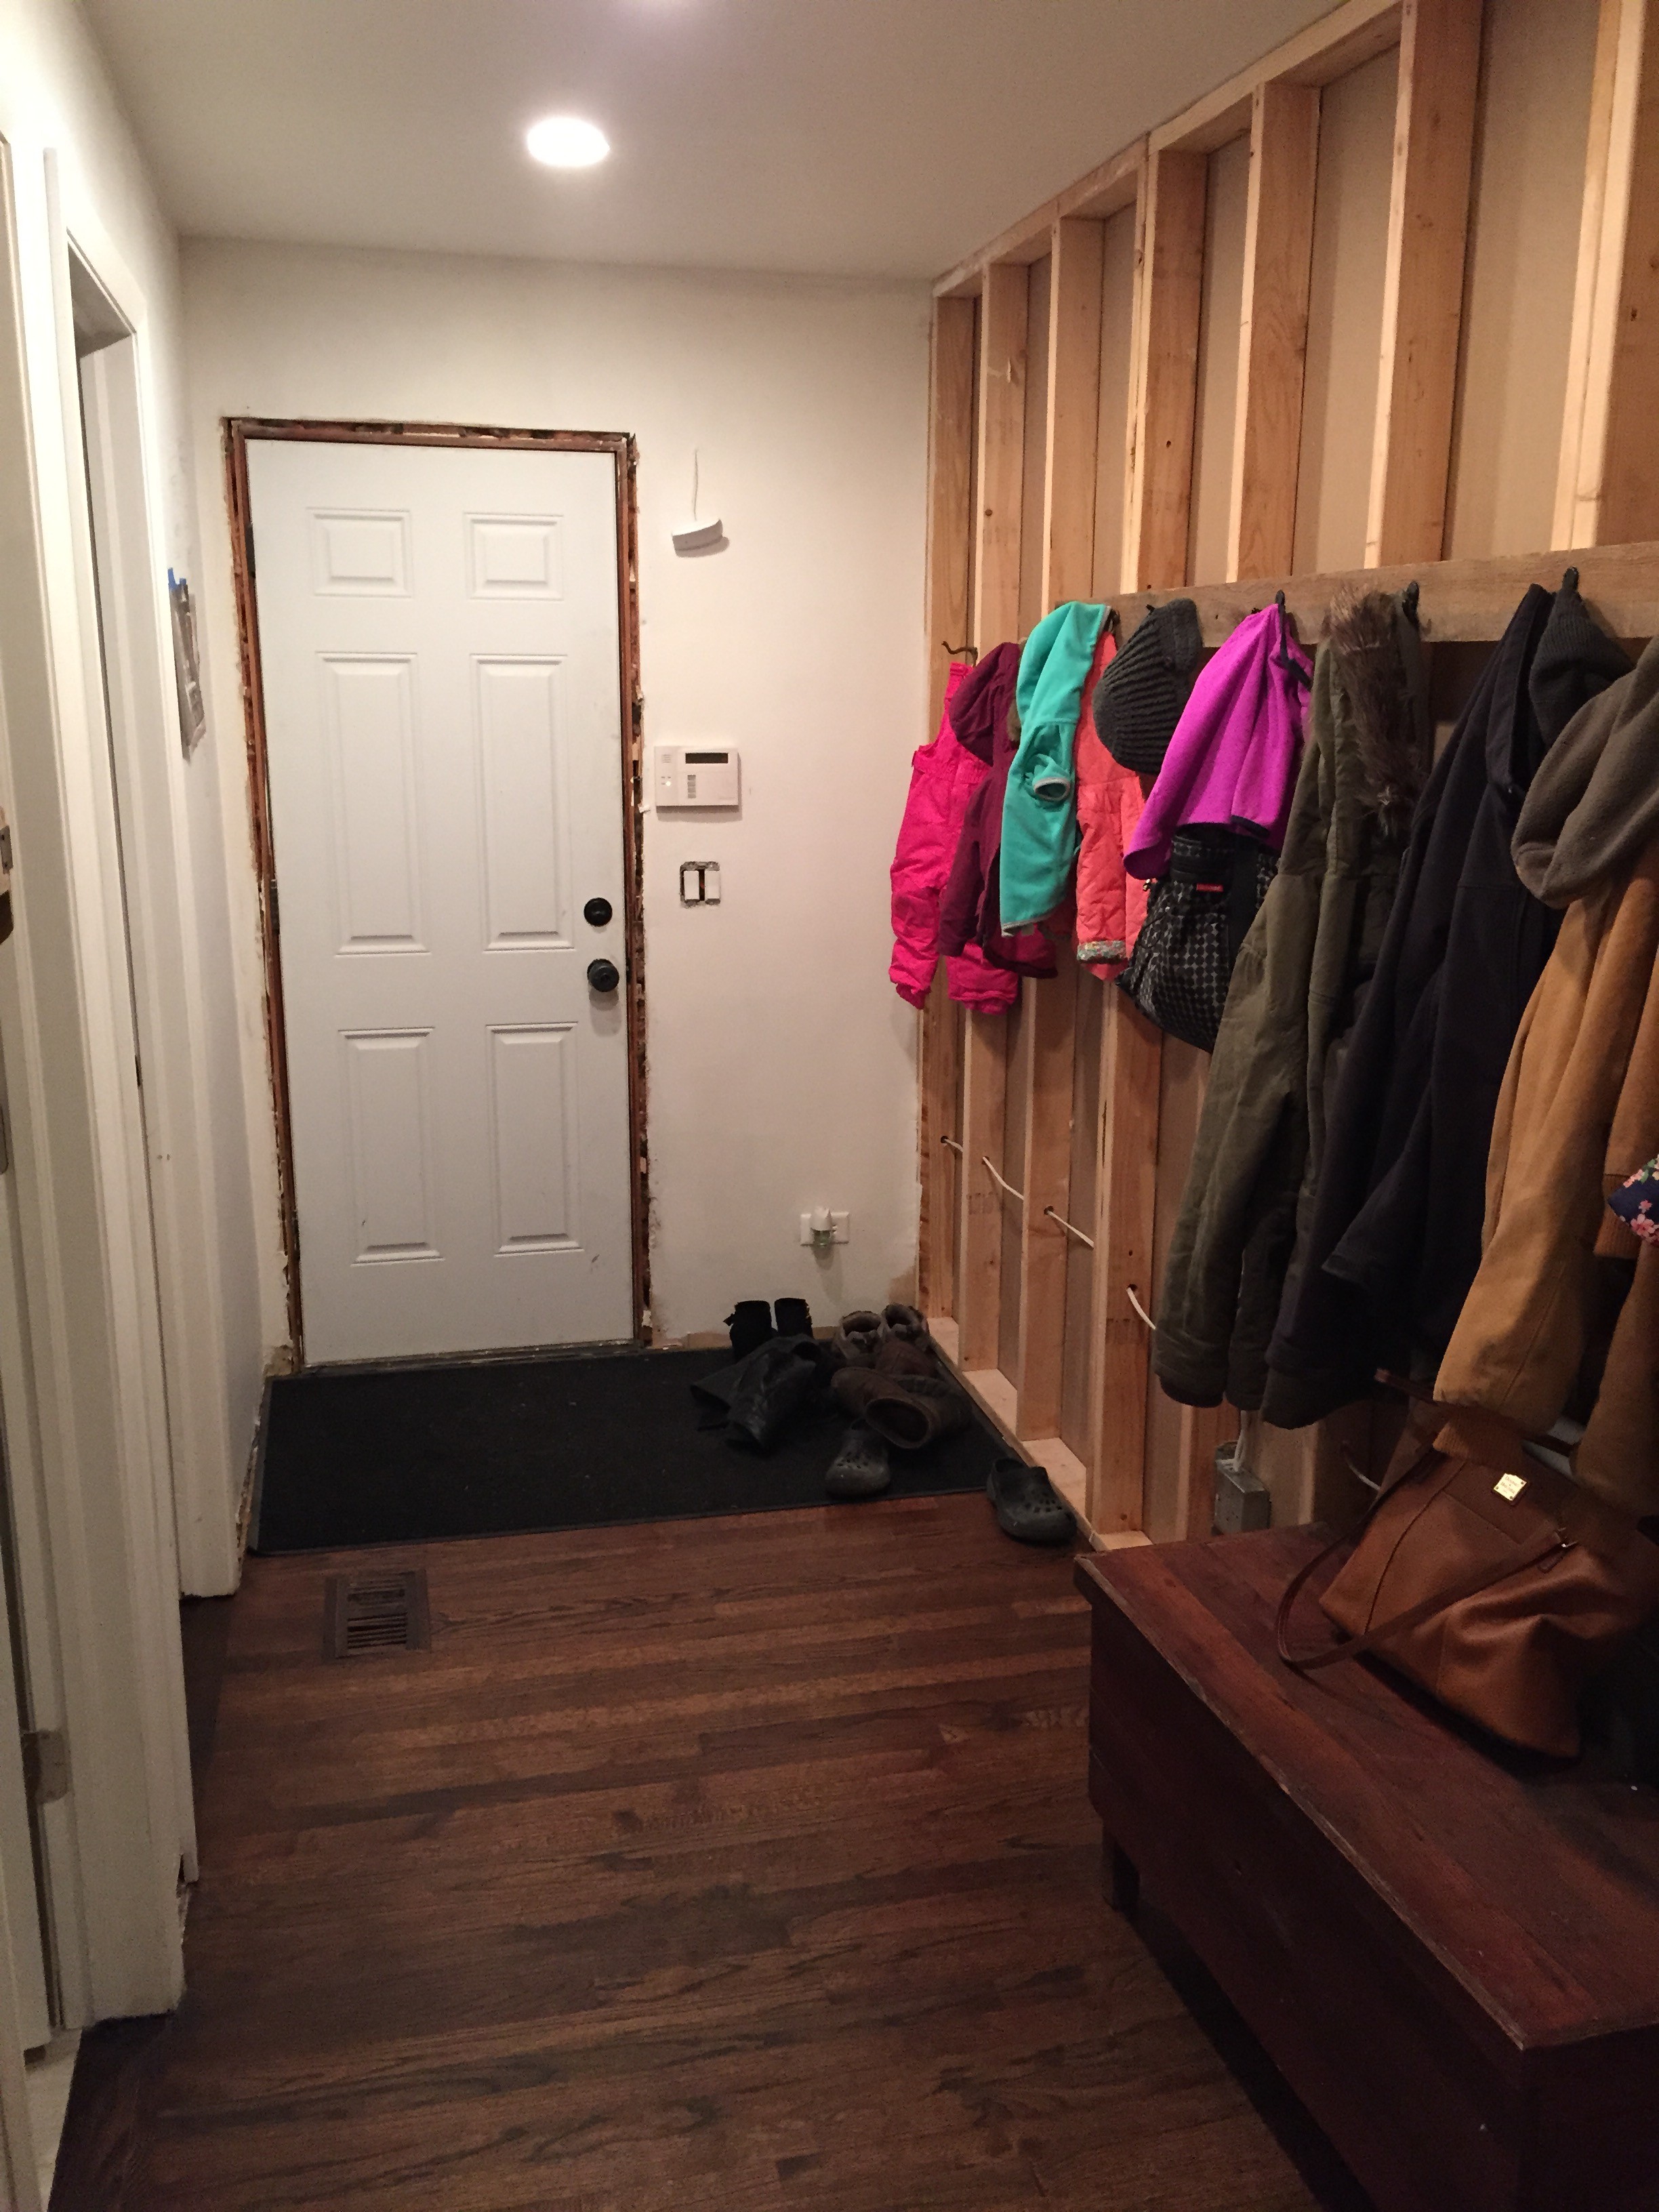
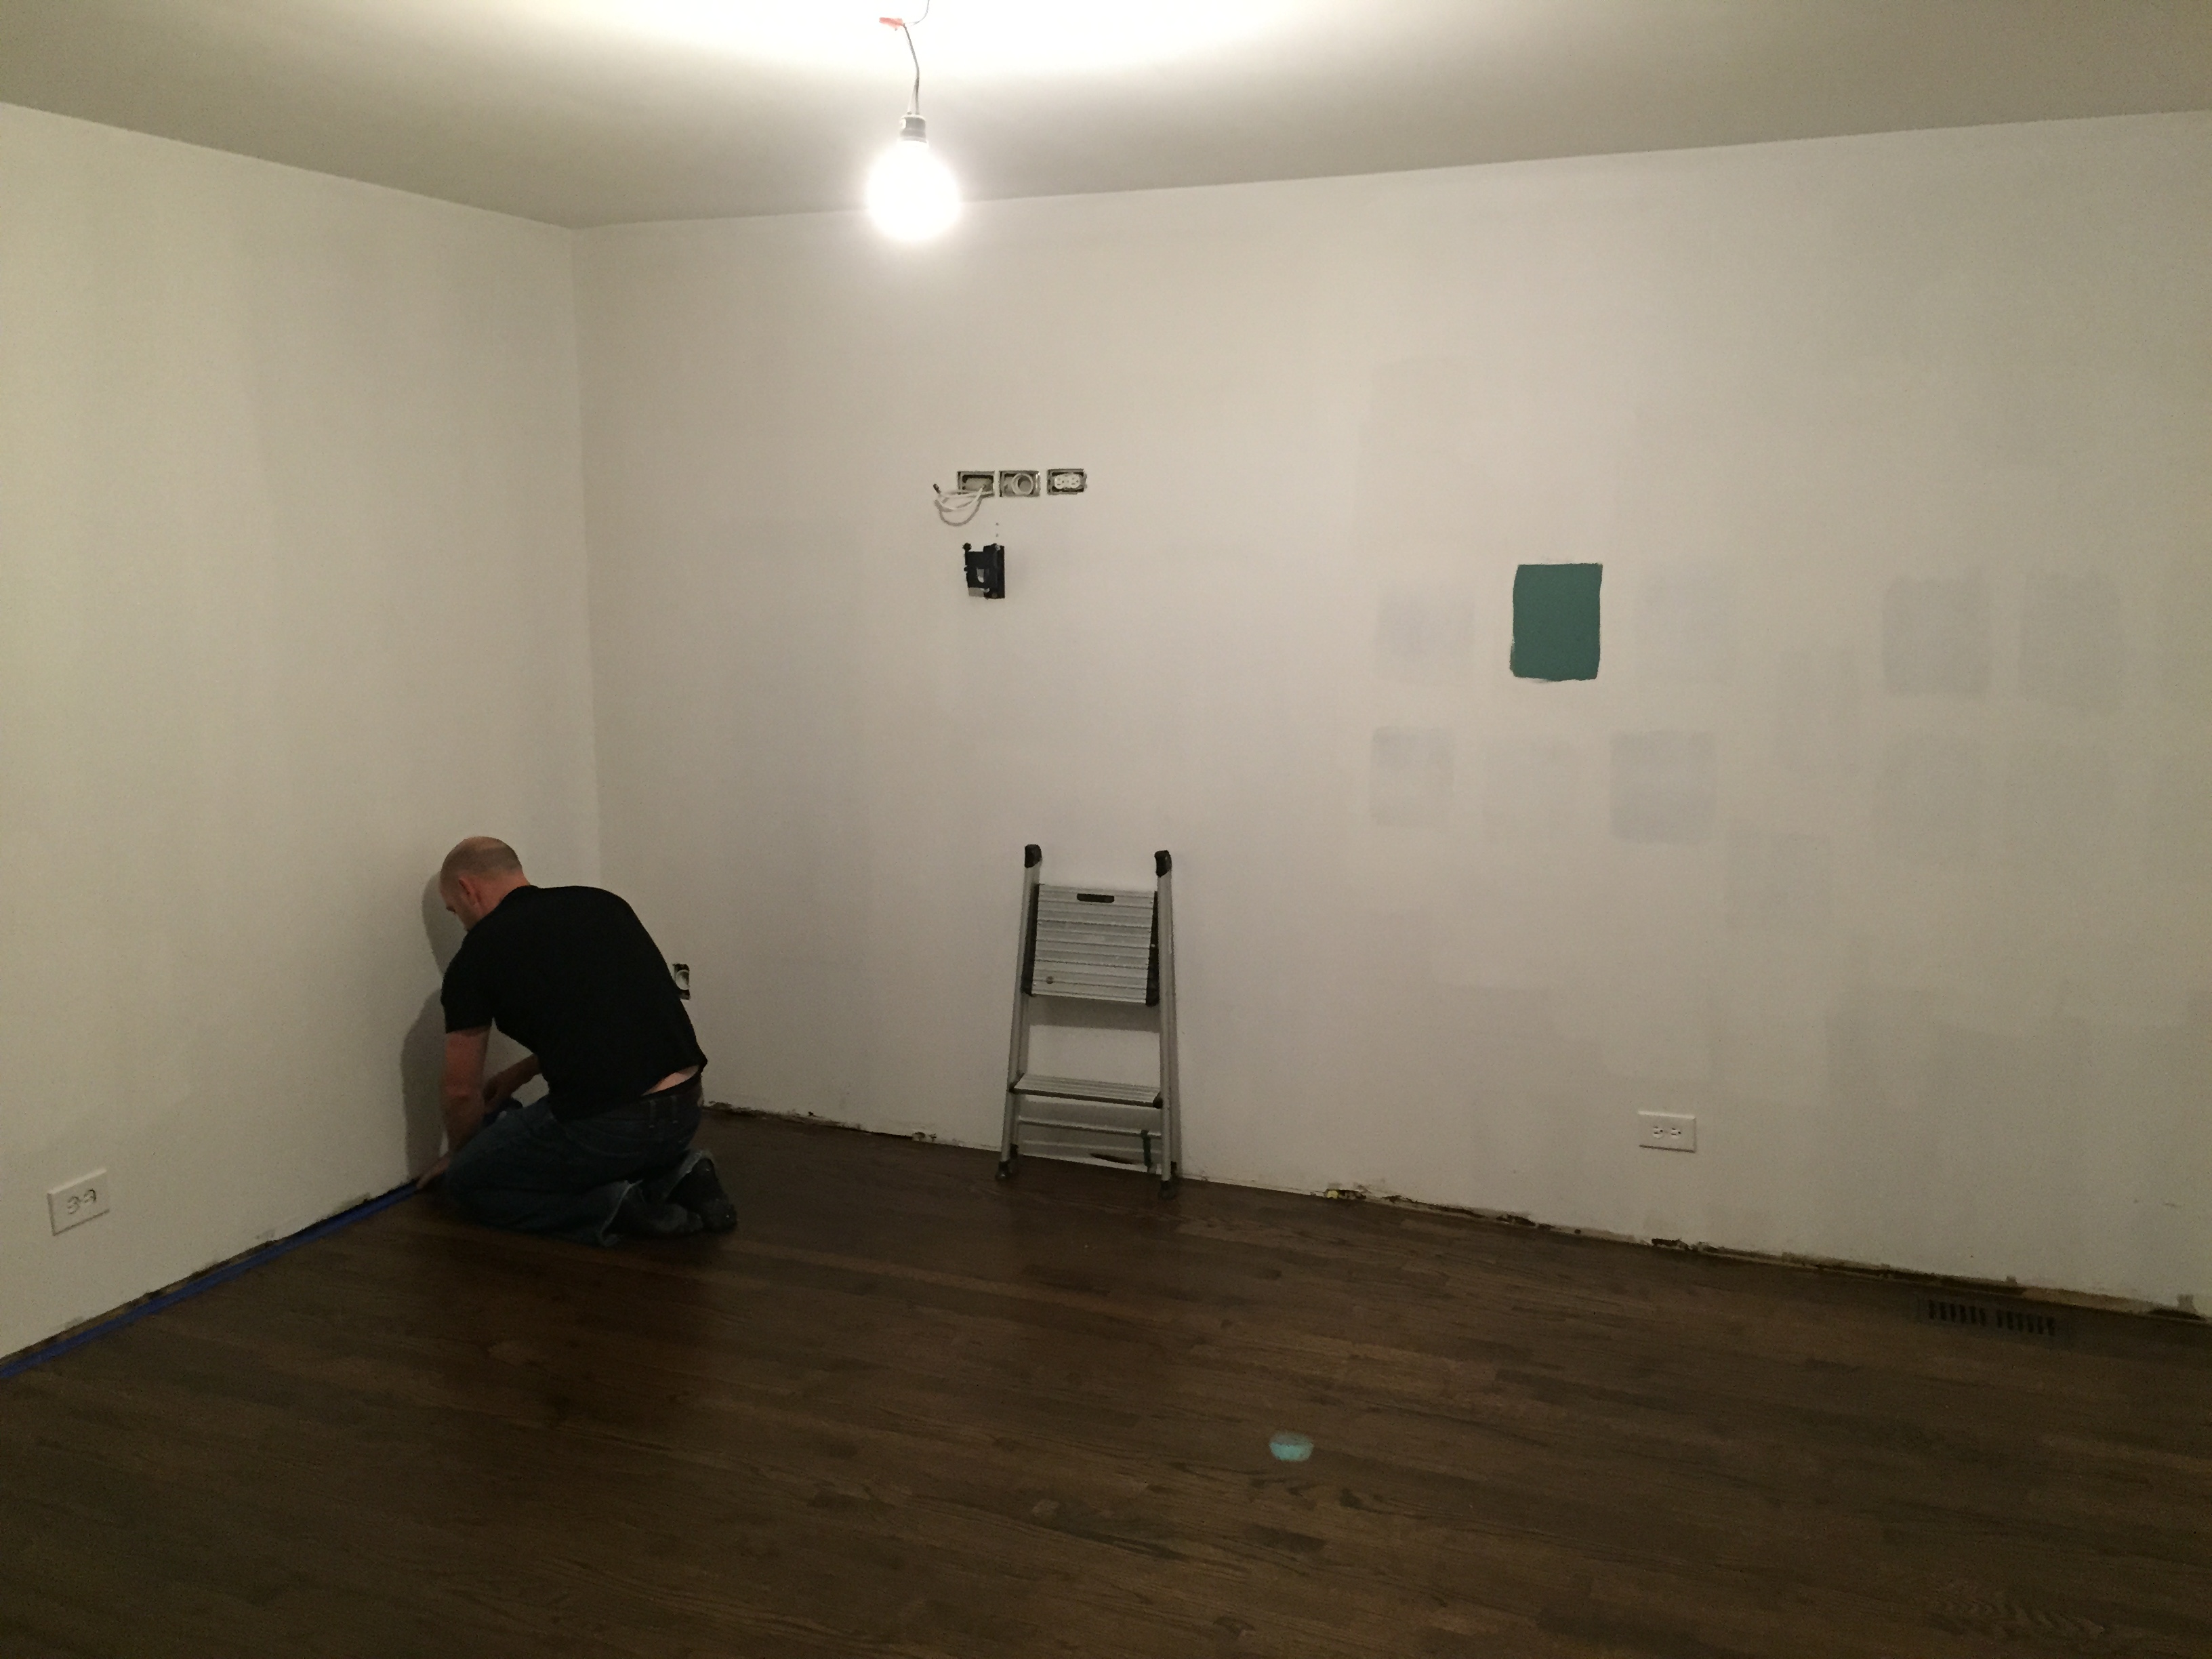
We made some good progress on the mudroom, so I’ll be sharing an update on that soon!

Cutting the Clutter | KonMari Method

28 Jan

Have you heard of the KonMari method of de-cluttering and organizing? It is based off the book The Life Changing Magic of Tidying Up by Japanese tidying expert Marie Kondo. I read the book over the holidays and it has totally changed my mindset about the things I keep in my home. The two biggest lessons for me were 1) Only keep things that truly bring me joy, and 2) Get rid of the things that have served their purpose. Oh, and her folding method. That in itself is pretty life changing!

51H8x07Fd7L

After reading the book, I was able to purge about twenty 40-gallon trash bags of clothes and household items. It was about 50-75% of my clothing, several bags of kitchen items, Christmas decorations, and much more. Her advice is to take each item in your hands and ask yourself “Does this bring me joy?” So if it doesn’t fit correctly, or is broken, or you never really liked it or used it, it goes. If you are like me, you might have guilt getting rid of something that was a gift or that you have a sentimental tie to. Marie Kondo says in this instance that you need to thank the item for serving it’s purpose, and let it go. It sounds silly, but it actually works. For example, I was holding onto a dress I wore to my high school graduation. It has served its purpose A LONG TIME AGO. Bridesmaid dresses? They have served their purpose. Time to let go. Or a Christmas card from a family member? It served its purpose and brought me joy when I received it. Now I can discard it.

I wasn’t planning on blogging about this endeavor, so don’t have many photos, but here is a before/after of my dresser. As you can see it was overflowing with clothes, and I would have to dig to find what I was looking for. Don’t judge.

IMG_0875

After discarding and using the KonMari folding method, it now looks like this. Yes, that is bare space!

FullSizeRender (2)

IMG_1109
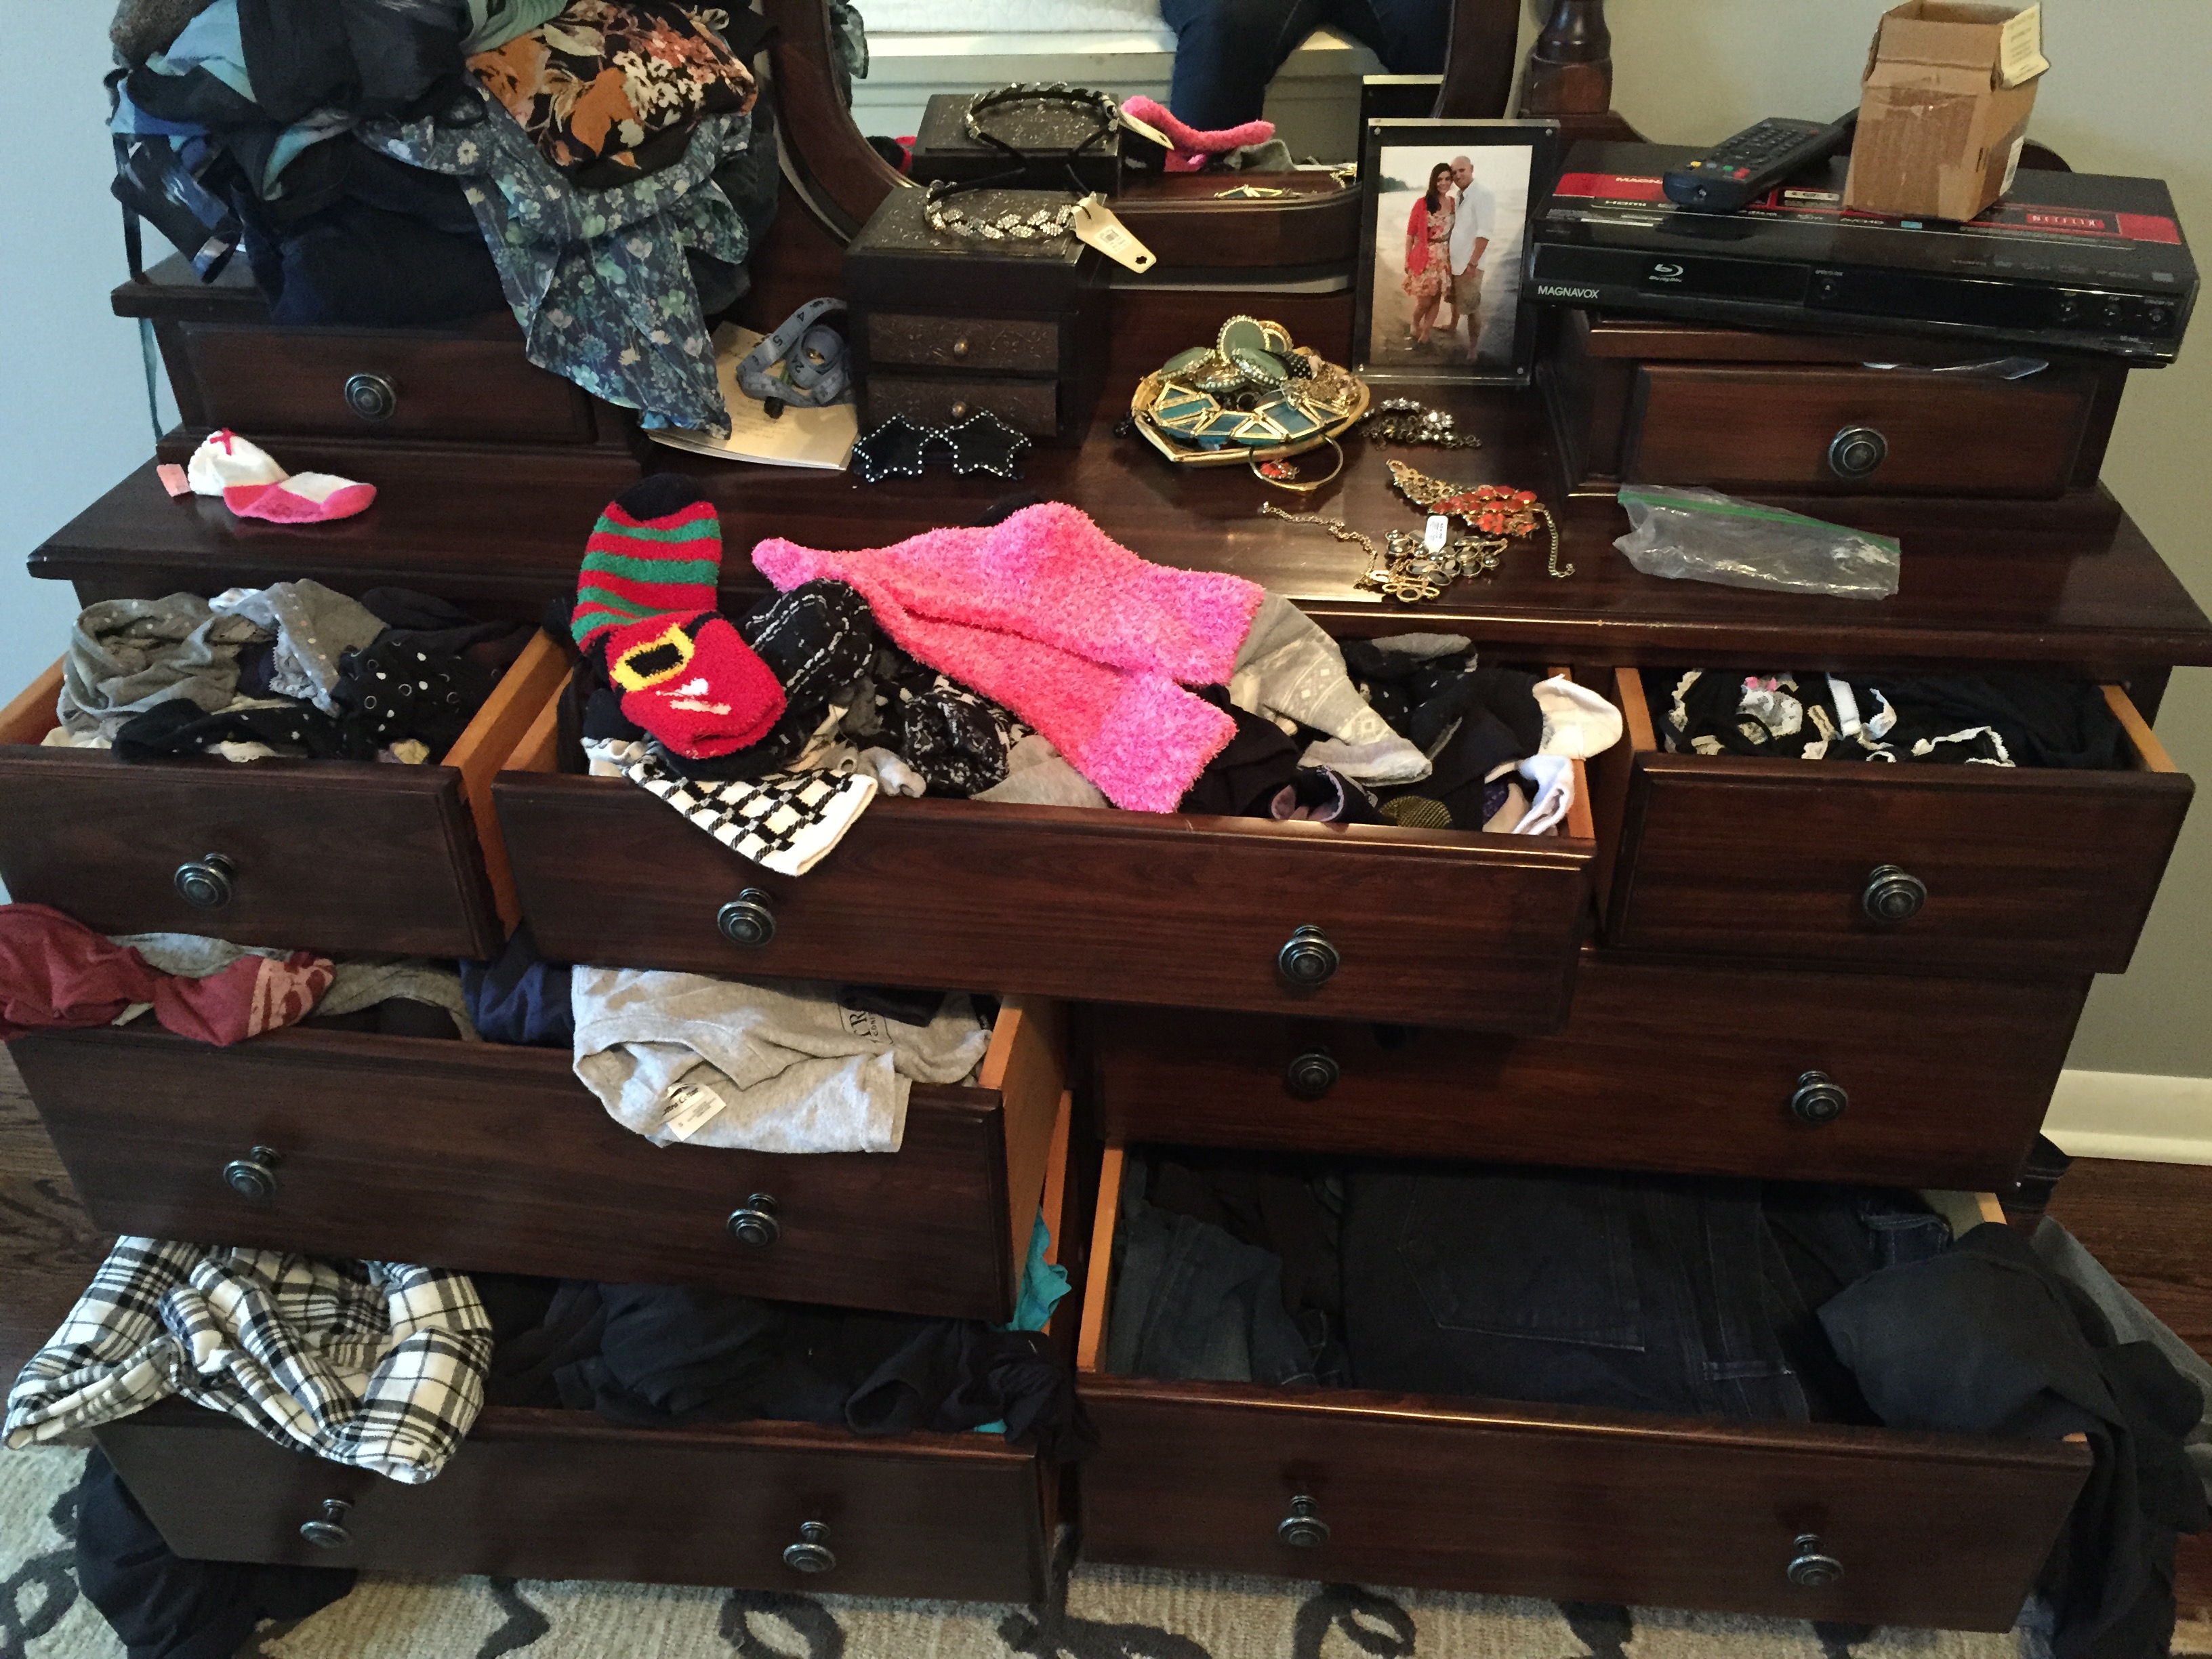
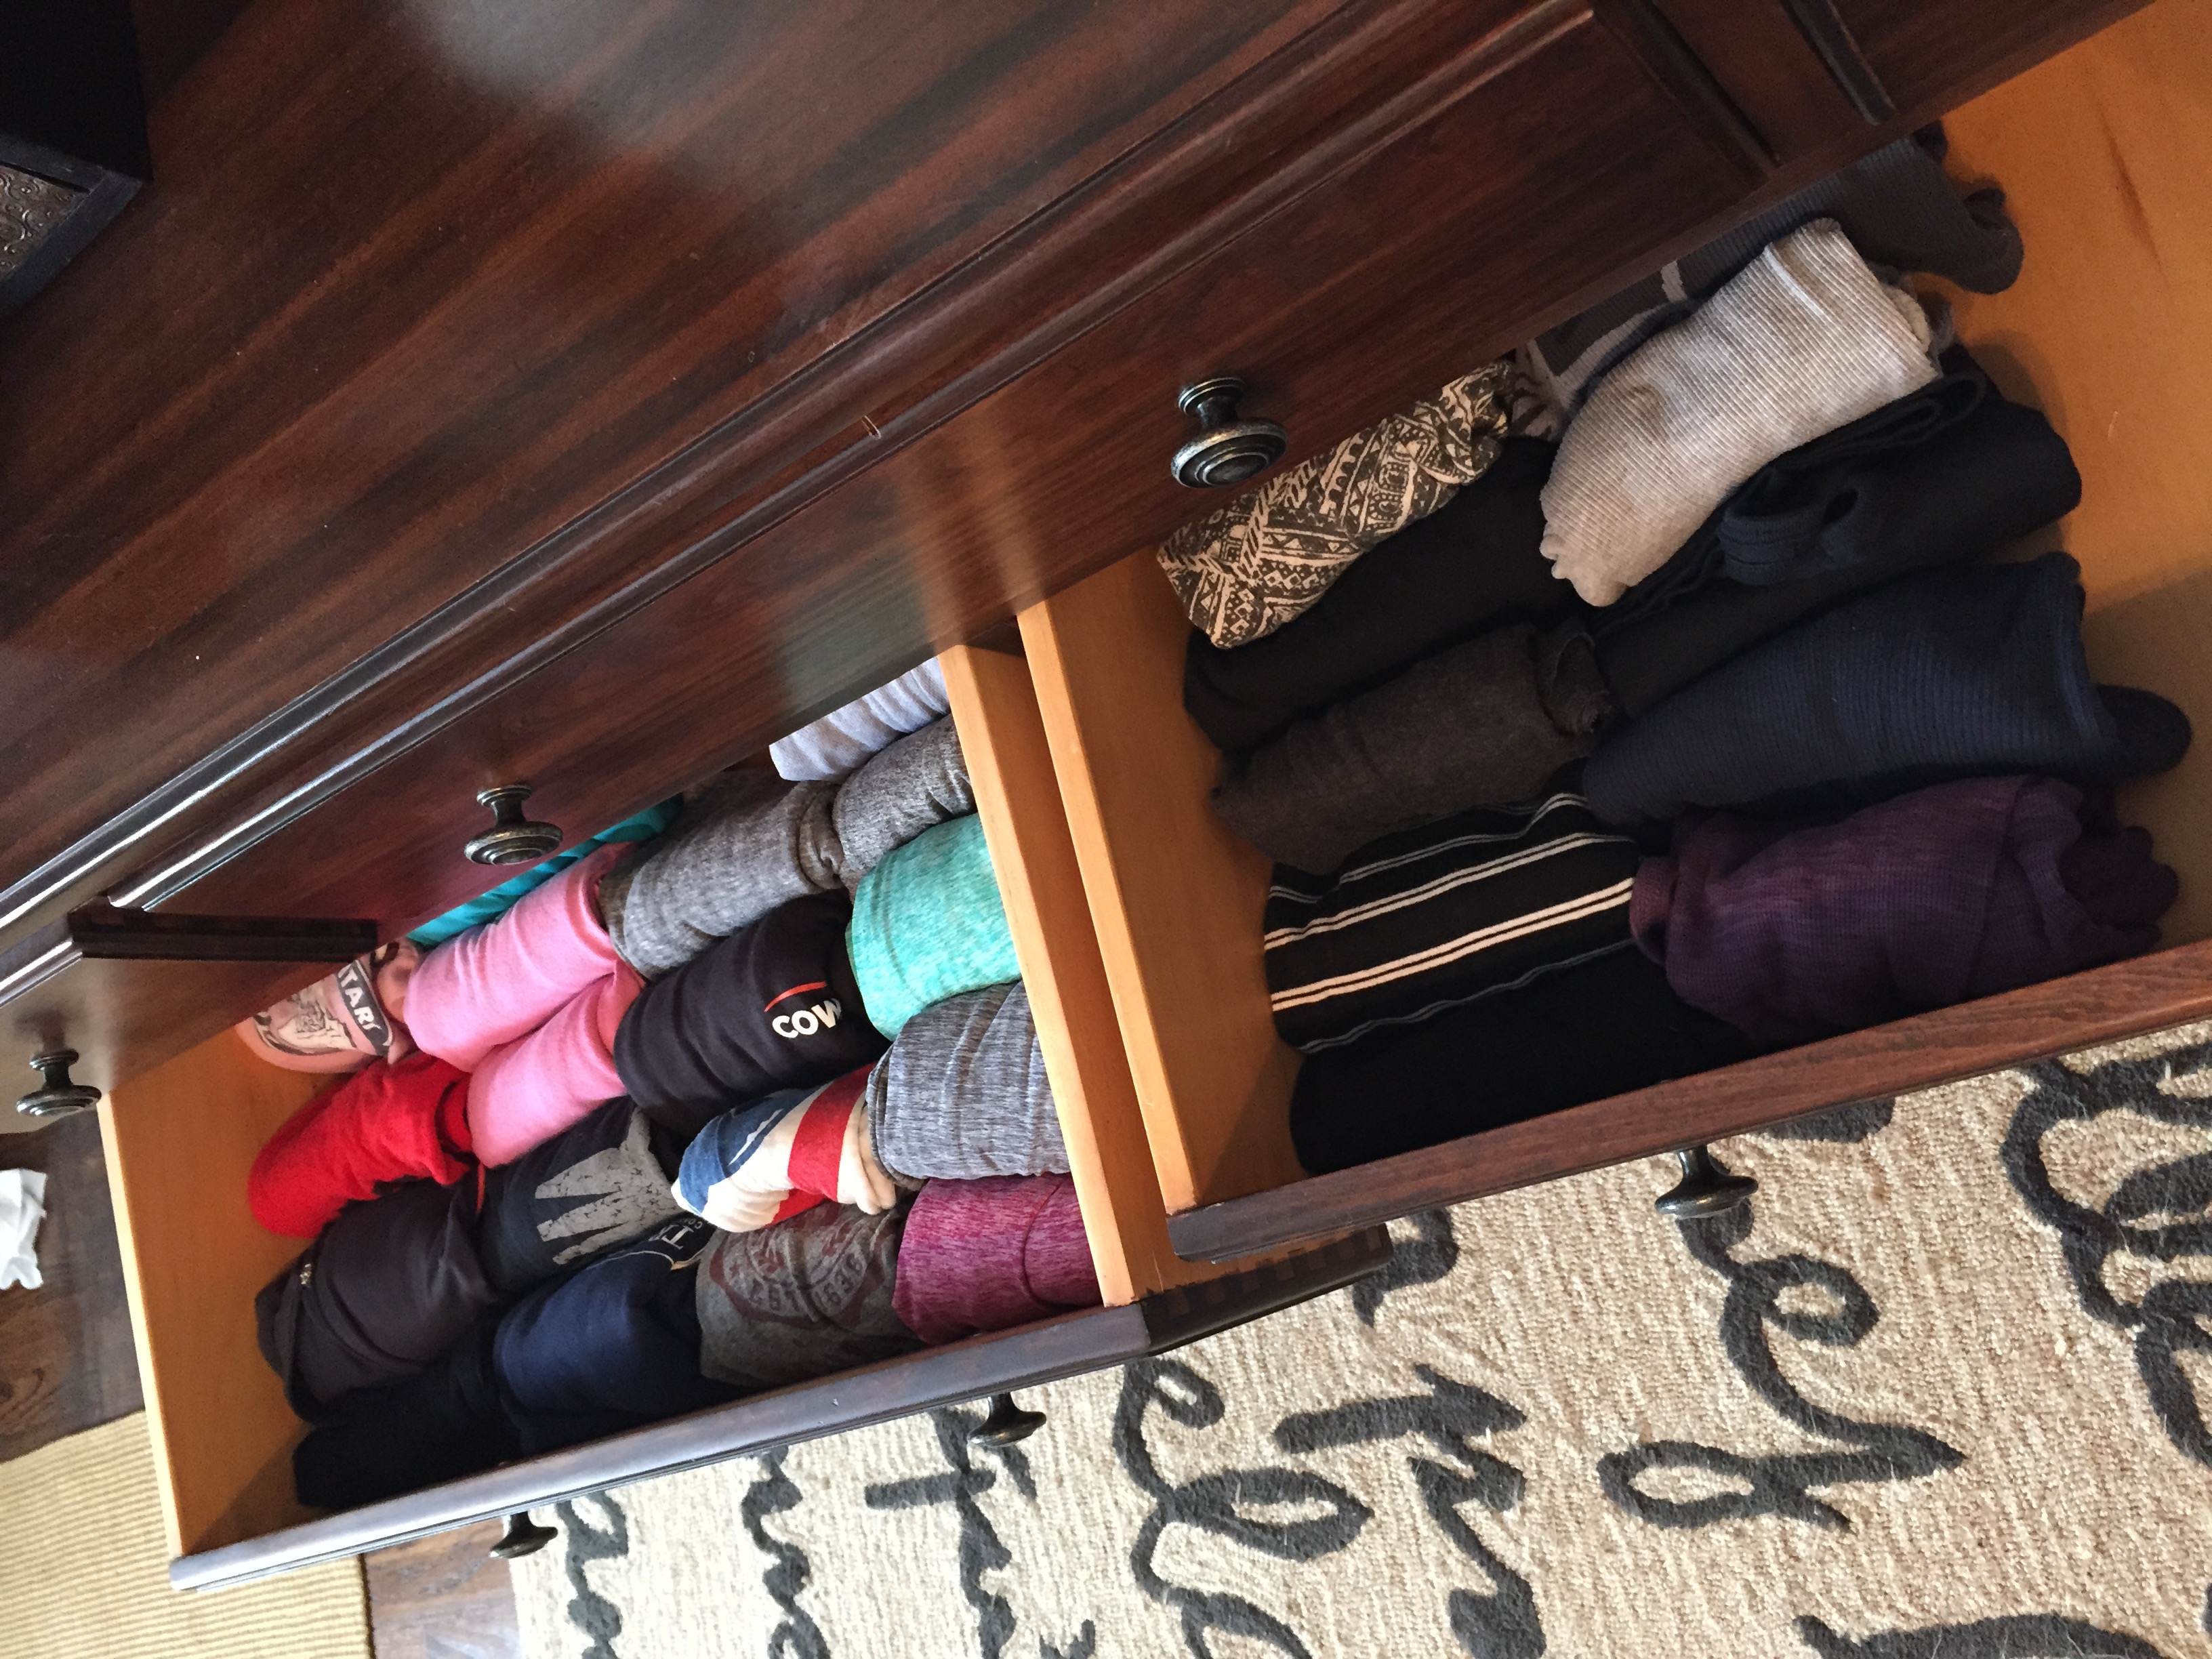
The great thing about this folding method is that everything stands upright so you get to see all of your clothes at first glance. No digging around to find things, and nothing gets buried at the bottom that you never use.

Here’s a video of Marie Kondo demonstrating the method:

By purging and folding this way, it makes getting dressed in the morning a lot easier. I don’t have to stand there thinking about what I want to wear since everything in my closet and drawers I love and want to wear. I just grab and go.

I was worried I wouldn’t be able to keep up with the folding and revert back to my old ways, but it has been a month now, and they still look just as good as they did on the first day. I don’t think I will ever go back.

Another thing that helped me purge was choosing where I was going to donate my things beforehand. I chose a women’s charity and confirmed what items they accept and don’t accept. So then as I was going through everything, I thought of my items serving another family in need. Much better than not being used and cluttering up my house (and life).

Bottom line, I’m a big fan of the book and method and highly recommend it to everyone! Let me know if you have read it and what you thought.

How We Did in 2015 + Goals for 2016

13 Jan

Each year we set out a list of the things we want to accomplish on the house. Here’s how we did with our 2015 goals…

  1. Finish master bathroom and closet and move in to our new master. Done (mostly). We moved into the new master bedroom early in 2015 and I shared the master bathroom reveal here. We also had custom closet shelves built out and now the only thing left to do is paint them. Hope to share soon!
  2. carrera marble showerBuild out a playroom, including adding a wall and covering up a fireplace. Done! I just shared the playroom reveal this week. It is my favorite.
  3. right corner goodBuild mudroom cabinets on the opposite side of the new playroom wall. We started the cabinets, but it’s nowhere near complete. At least the mudroom is semi-functional right now. Put this one on the top of the list for 2016.
  4. IMG_0676Renovate the final bathroom upstairs. Done! You can see the full reveal here.
  5. IMG_5533Add window boxes to the front of the house. No progress made here. This may have to wait.
  6. Landscape back yard. Some progress was made here, but it is nowhere near done. I will share some photos come spring.
  7. Finish pergola on the back deck. Done! I still need to share photos of this. We love it. Again, I will share some photos in spring.
  8. Build a fire pit. Nope. We have some adirondack chairs around a fire ring, but we really want to build one in with stone. Add it to 2016!

Overall not too shabby, considering we also spent 3 months renovating an entire income property.

For 2016 our goals are to:

  1. Finish the mudroom.
  2. Paint master bedroom closet.
  3. Finish the pool fence and re-stain the deck.
  4. Install pavers around the pool.
  5. Update the living room built-ins.
  6. Finish the shed.
  7. Build a fire pit.
  8. Create a big girl room for Kate.

By the end of 2016, we will be nearly finished with major updates to the house. So exciting!

P.S. I just launched an Instagram account for the blog. Find us at 12oaksblog for progress and reveal photos! 

Playroom Reveal

13 Jan

This may be my favorite room ever! I’m so excited to share the finished photos of our new playroom.

As a reminder, here is what the room started as, it was a weird den/office that we hardly used.

IMG_5596

After we built a wall dividing the space into a seperate playroom and mudroom, removed the fireplace, patched and re-stained the hardwood floors, added/moved some electrical, removed the wall paneling and finished the drywall, the room was looking like this.

IMG_0674

Today, it looks like this.

playroom wide good

We painted the walls a dark teal from Benjamin Moore called Shenandoah. It is such a fun color, I love it! We built the chalkboard using reclaimed barn wood that we had leftover from our living room beams.

chalkboard vertical

We just framed a sheet of plywood painted with magnetic and chalkboard paint with the barnwood. The buckets at the bottom hold chalk, an eraser, and magnetic letters. It is the Fintorp system from Ikea.

Above the chalkboard are these marquee letters from Pier 1.

marquee letters

The gold and white striped teepee was Kate’s big present from Santa. “He” got it from Land of Nod. And then we hung these ledges from Target next to it for easy access to books.

teepee vertical

The rug was my inspiration for the room. It is this one from Rugs USA, which I got 80% during a Black Friday sale. I love that is fun and playful, but not too kiddy. It is a great quality rug for the price.

rug

The table was a hand-me-down Winnie the Pooh table that I painted Peak Point by Behr. The chairs are the Sundvik chairs from Ikea.

table vertical

I love these little buckets to hold art supplies that I found in the Target Dollar Spot.

crayon buckets

On the other side of the room is Kate’s play kitchen (a hand-me down), a comfy couch, and Kate’s art projects.

IMG_5619
I got these green and blue throw pillows and blanket from World Market. The couch is the Ektorp from Ikea. It used to live upstairs in a spare bedroom, so we were happy it fit well in this space.

couch good

The art holders are made from more of the leftover reclaimed barn wood. I stuck pushpins through clothespins and pushed them into the wood to hold the art. This way I’ll be able to move them around as needed. I’m still contemplating spray painting the clothespins.

art holder

The wall art is a free printable I found here (it’s available in four colors). Then I just printed it at Office Max and framed it with an Ikea frame.

IMG_5623

On the last wall is a big wall of cubbies to hold all of Kate’s toys. How do they accumulate so much?

right corner good

These are Ikea’s Kallax shelving unit. We put two 8 cubby units and one 4 cubby unit along the bottom, and then two 8 cubby units framing either side of the window.

shelves wide good

To conceal and organize a lot of the toys, I purchased these gray/white striped bins from Land of Nod. I have things like legos, playdoh, stickers and coloring books in them. Honestly, a few up top are empty so we have room to grow into them.

shelf close new

Here’s a look at the room from our foyer. We installed the french doors a couple of years ago after we removed a hall closet that used to be here.

playroom entry way

Finally, here a couple before and after shots. This space is unrecognizable!

I can’t tell you how nice it is to get all of Kate’s toys out of the living room and rest of the house. We’re really enjoying have a dedicated playroom and spend so.much.time in here. Heck, Ben and I find ourselves hanging out in here even when Kate isn’t home or sleeping. Plus, we figure the room can easily turn into a cozy hang out/movie space or office down the line.

I hope to have an update on the mudroom in the next couple of weeks. It never ends….