Archive | Bathrooms RSS feed for this section

Operation New Bathroom Part III- Almost Complete!

23 Feb

The bathroom is now 100% functional and about 90% complete- yahoo!

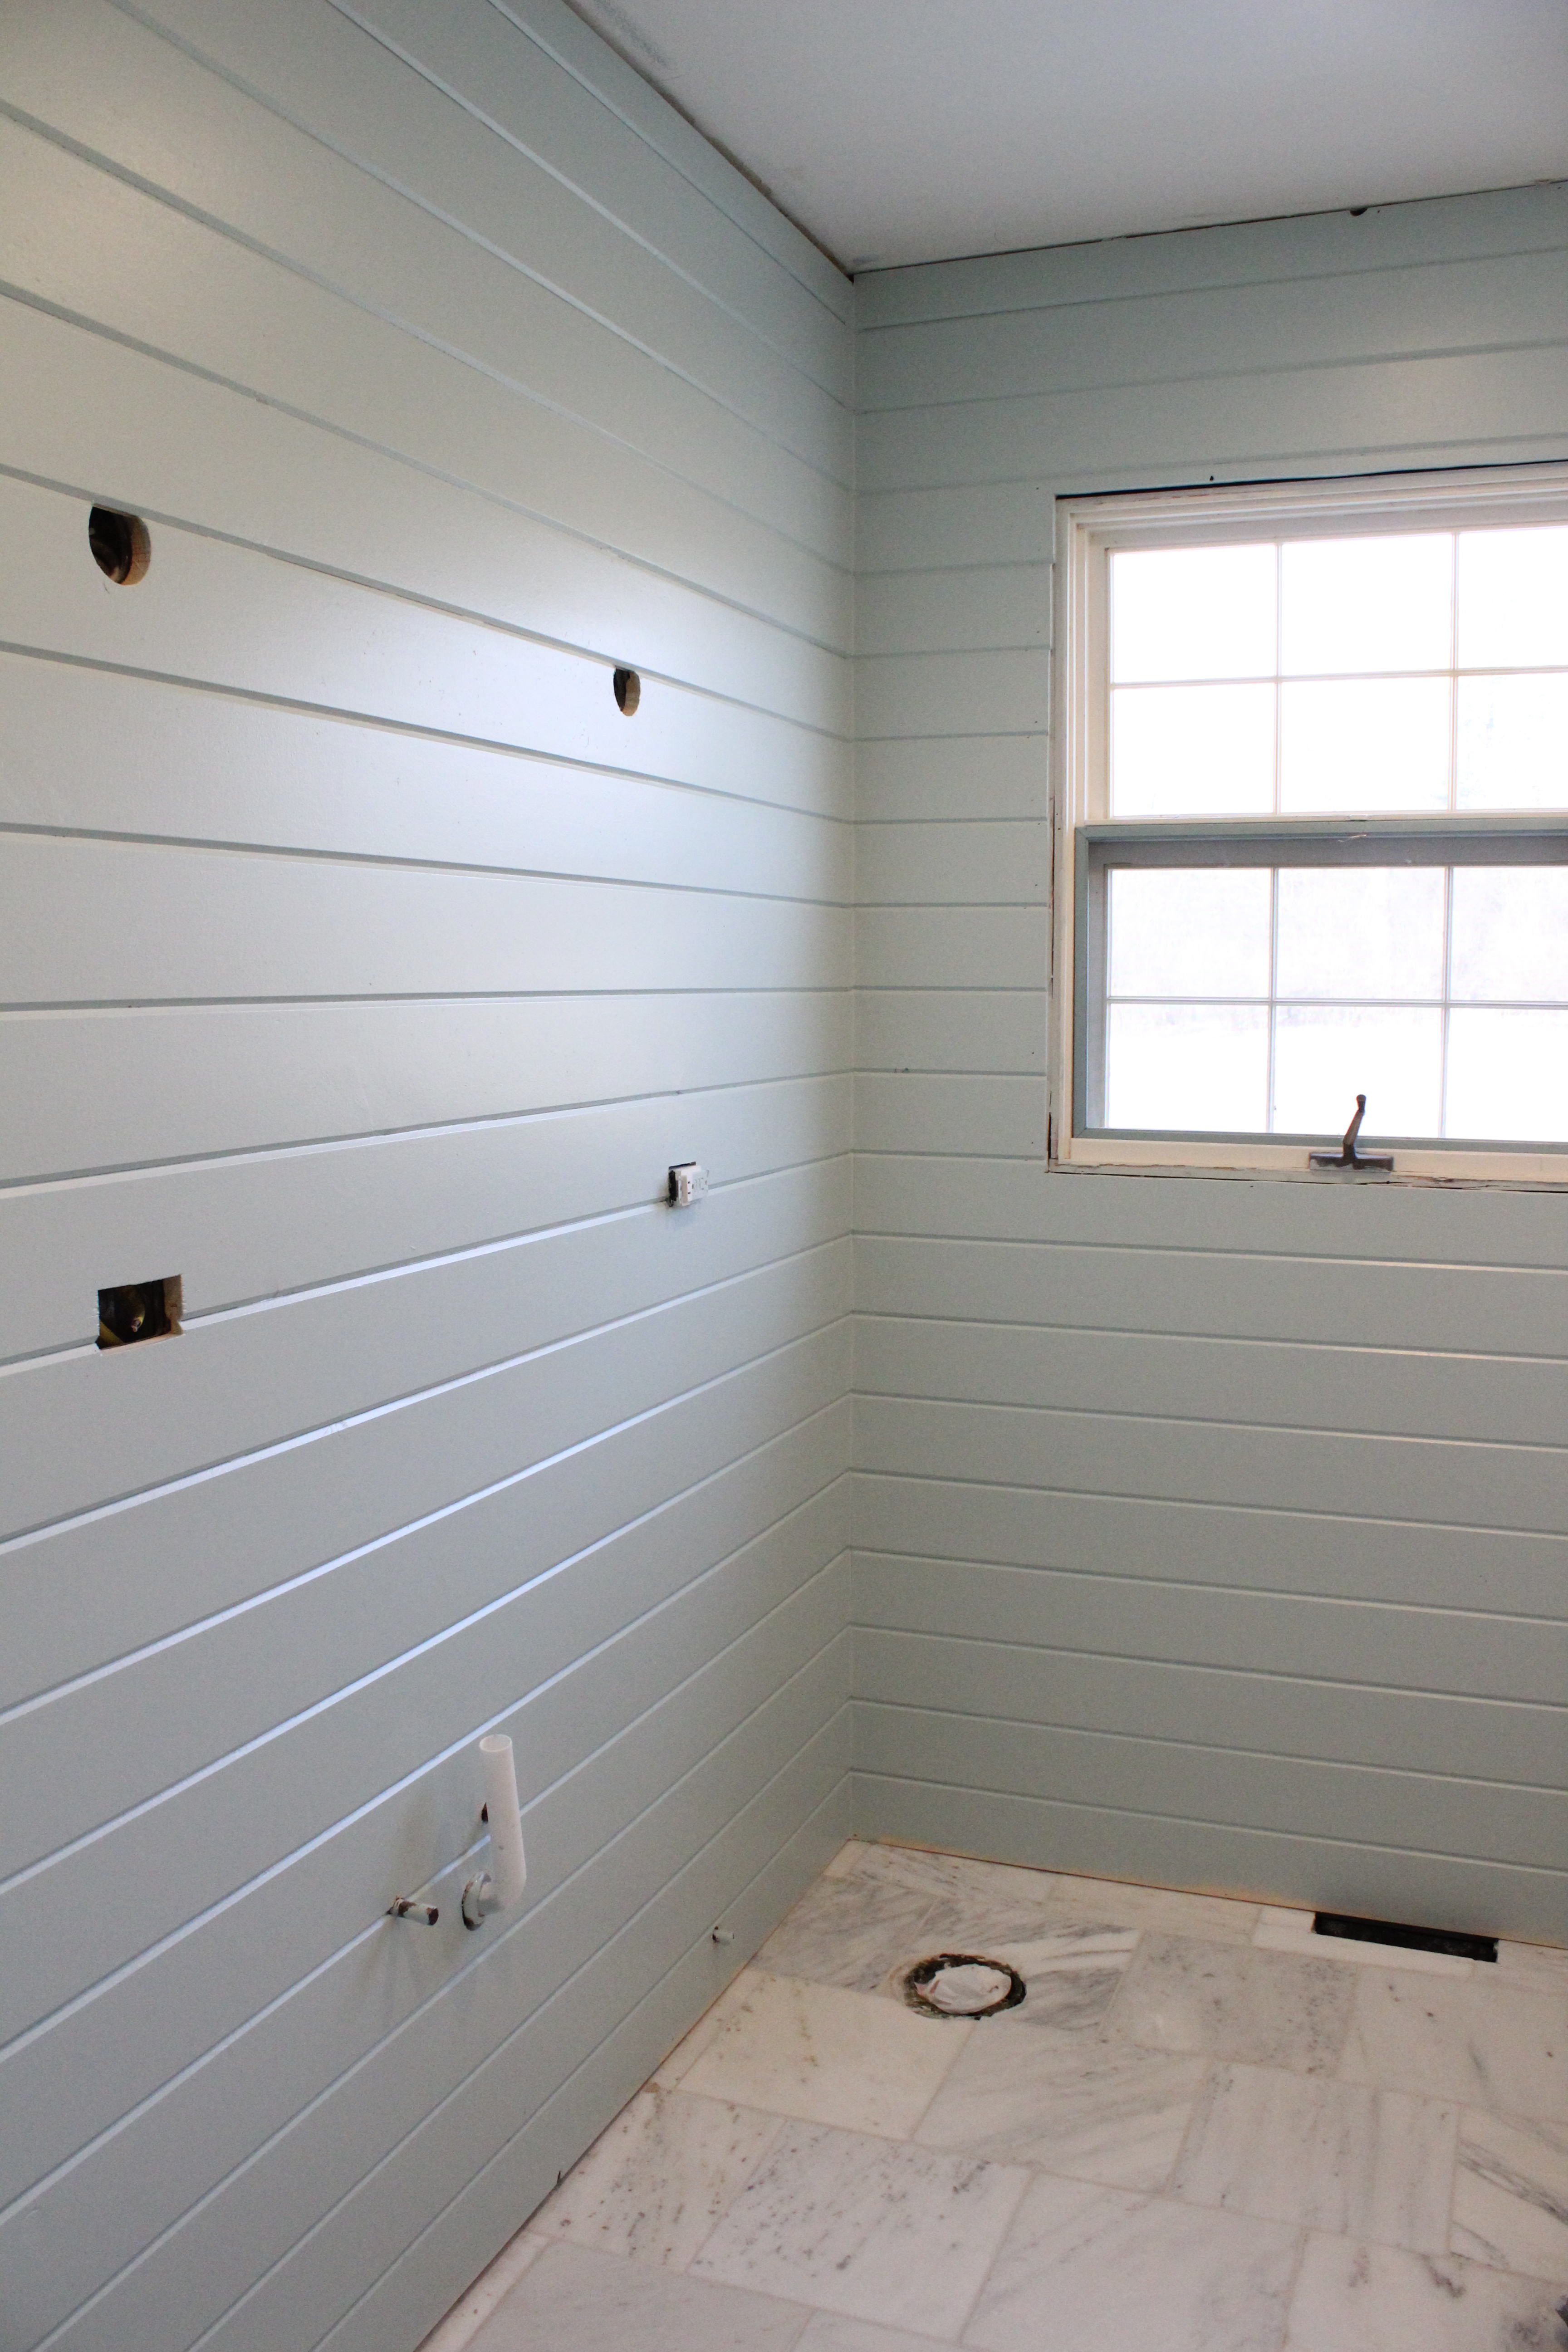
In the past week, it has gone from this.

IMG_2505

To this.

IMG_2516

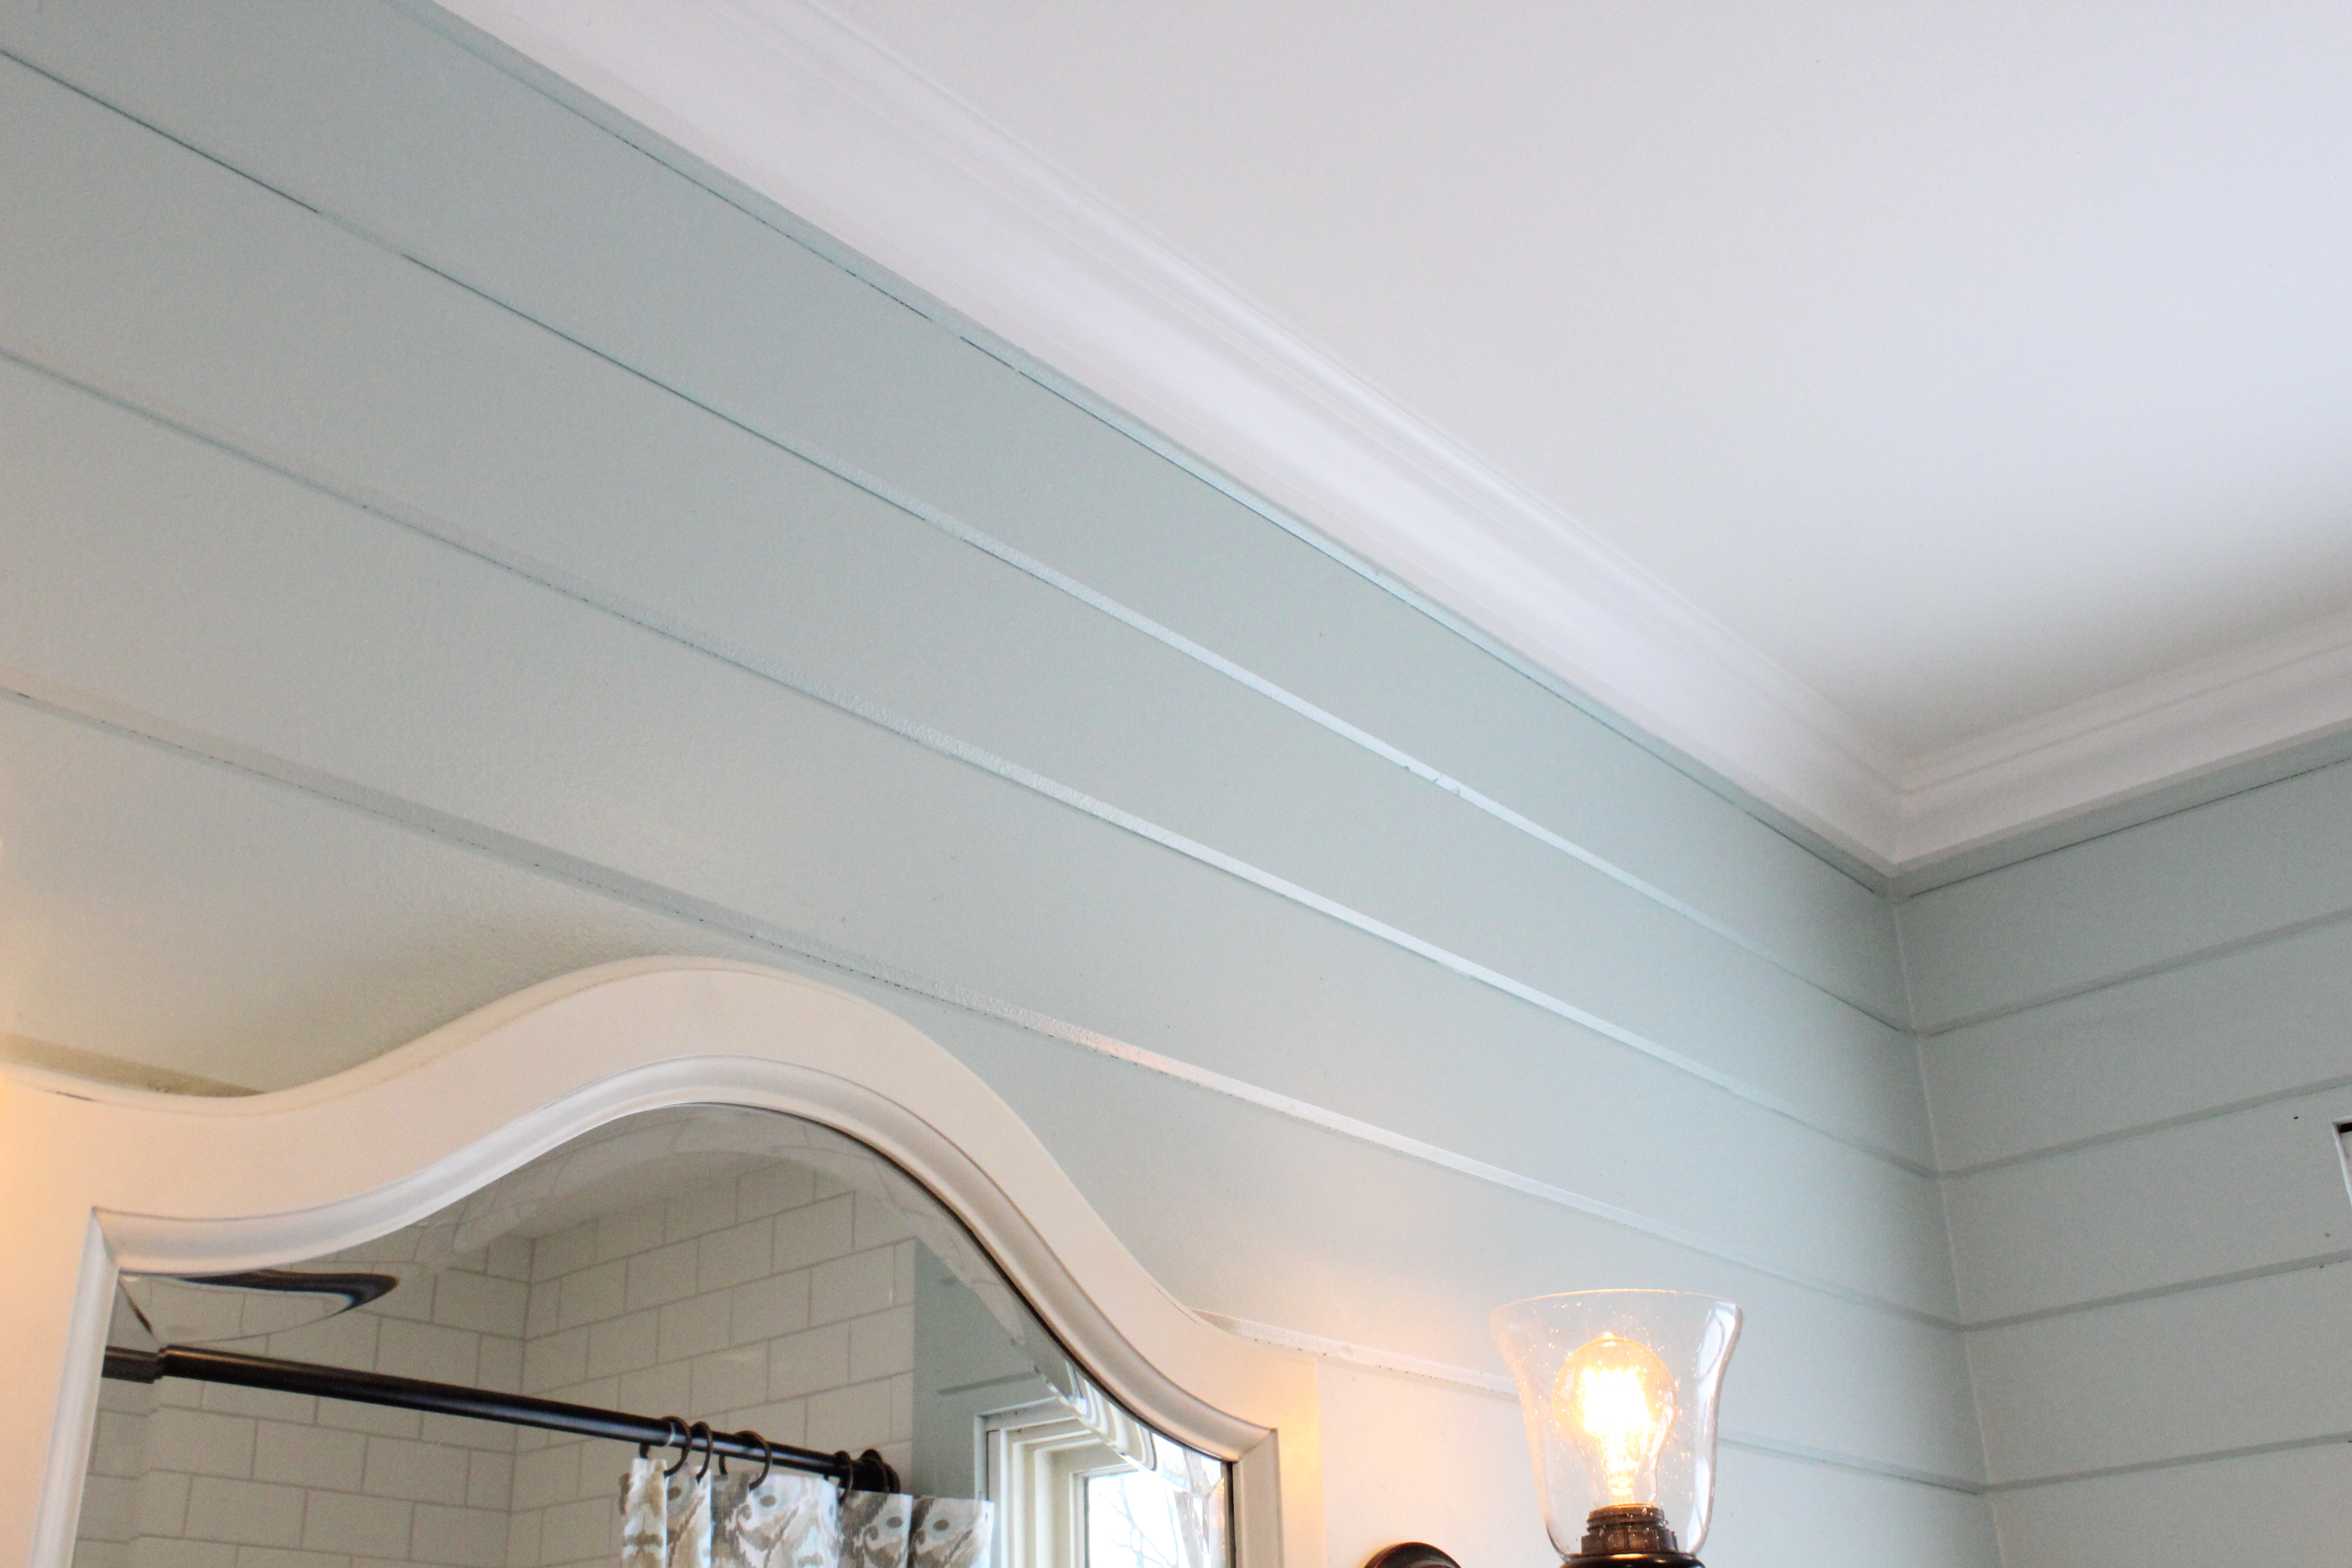
Ben painted and patched the ceiling and added crown molding…

IMG_2526

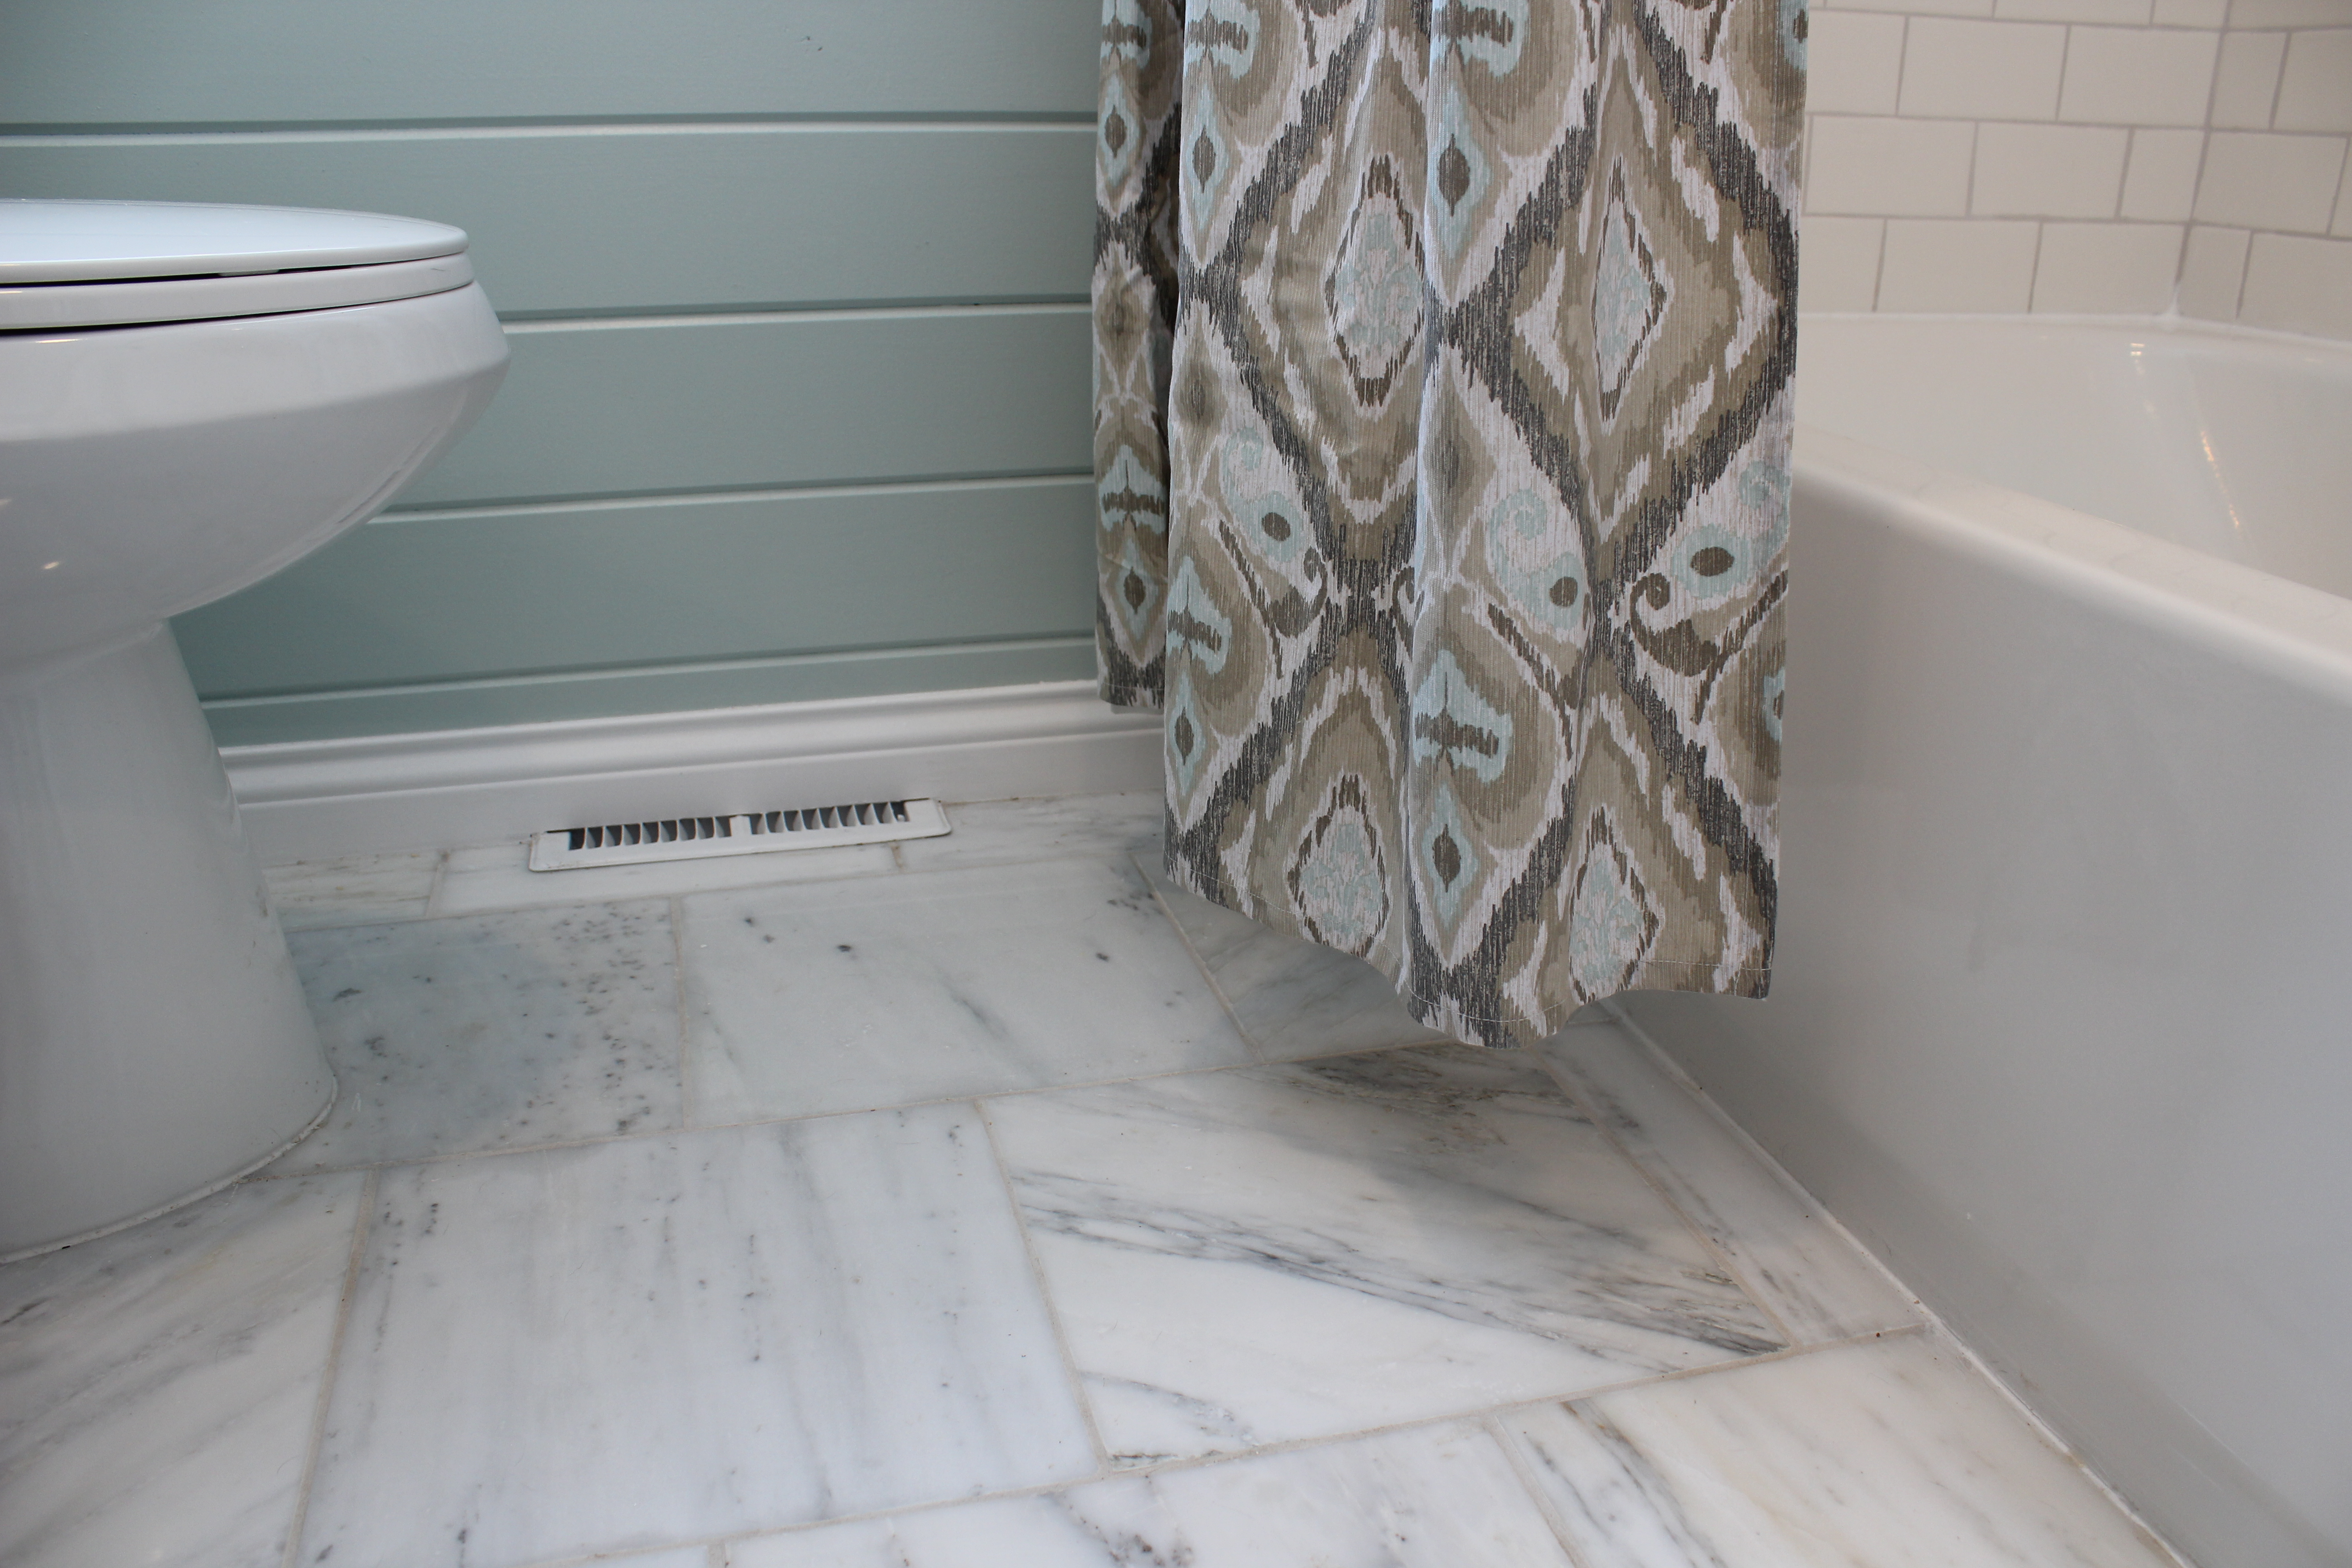
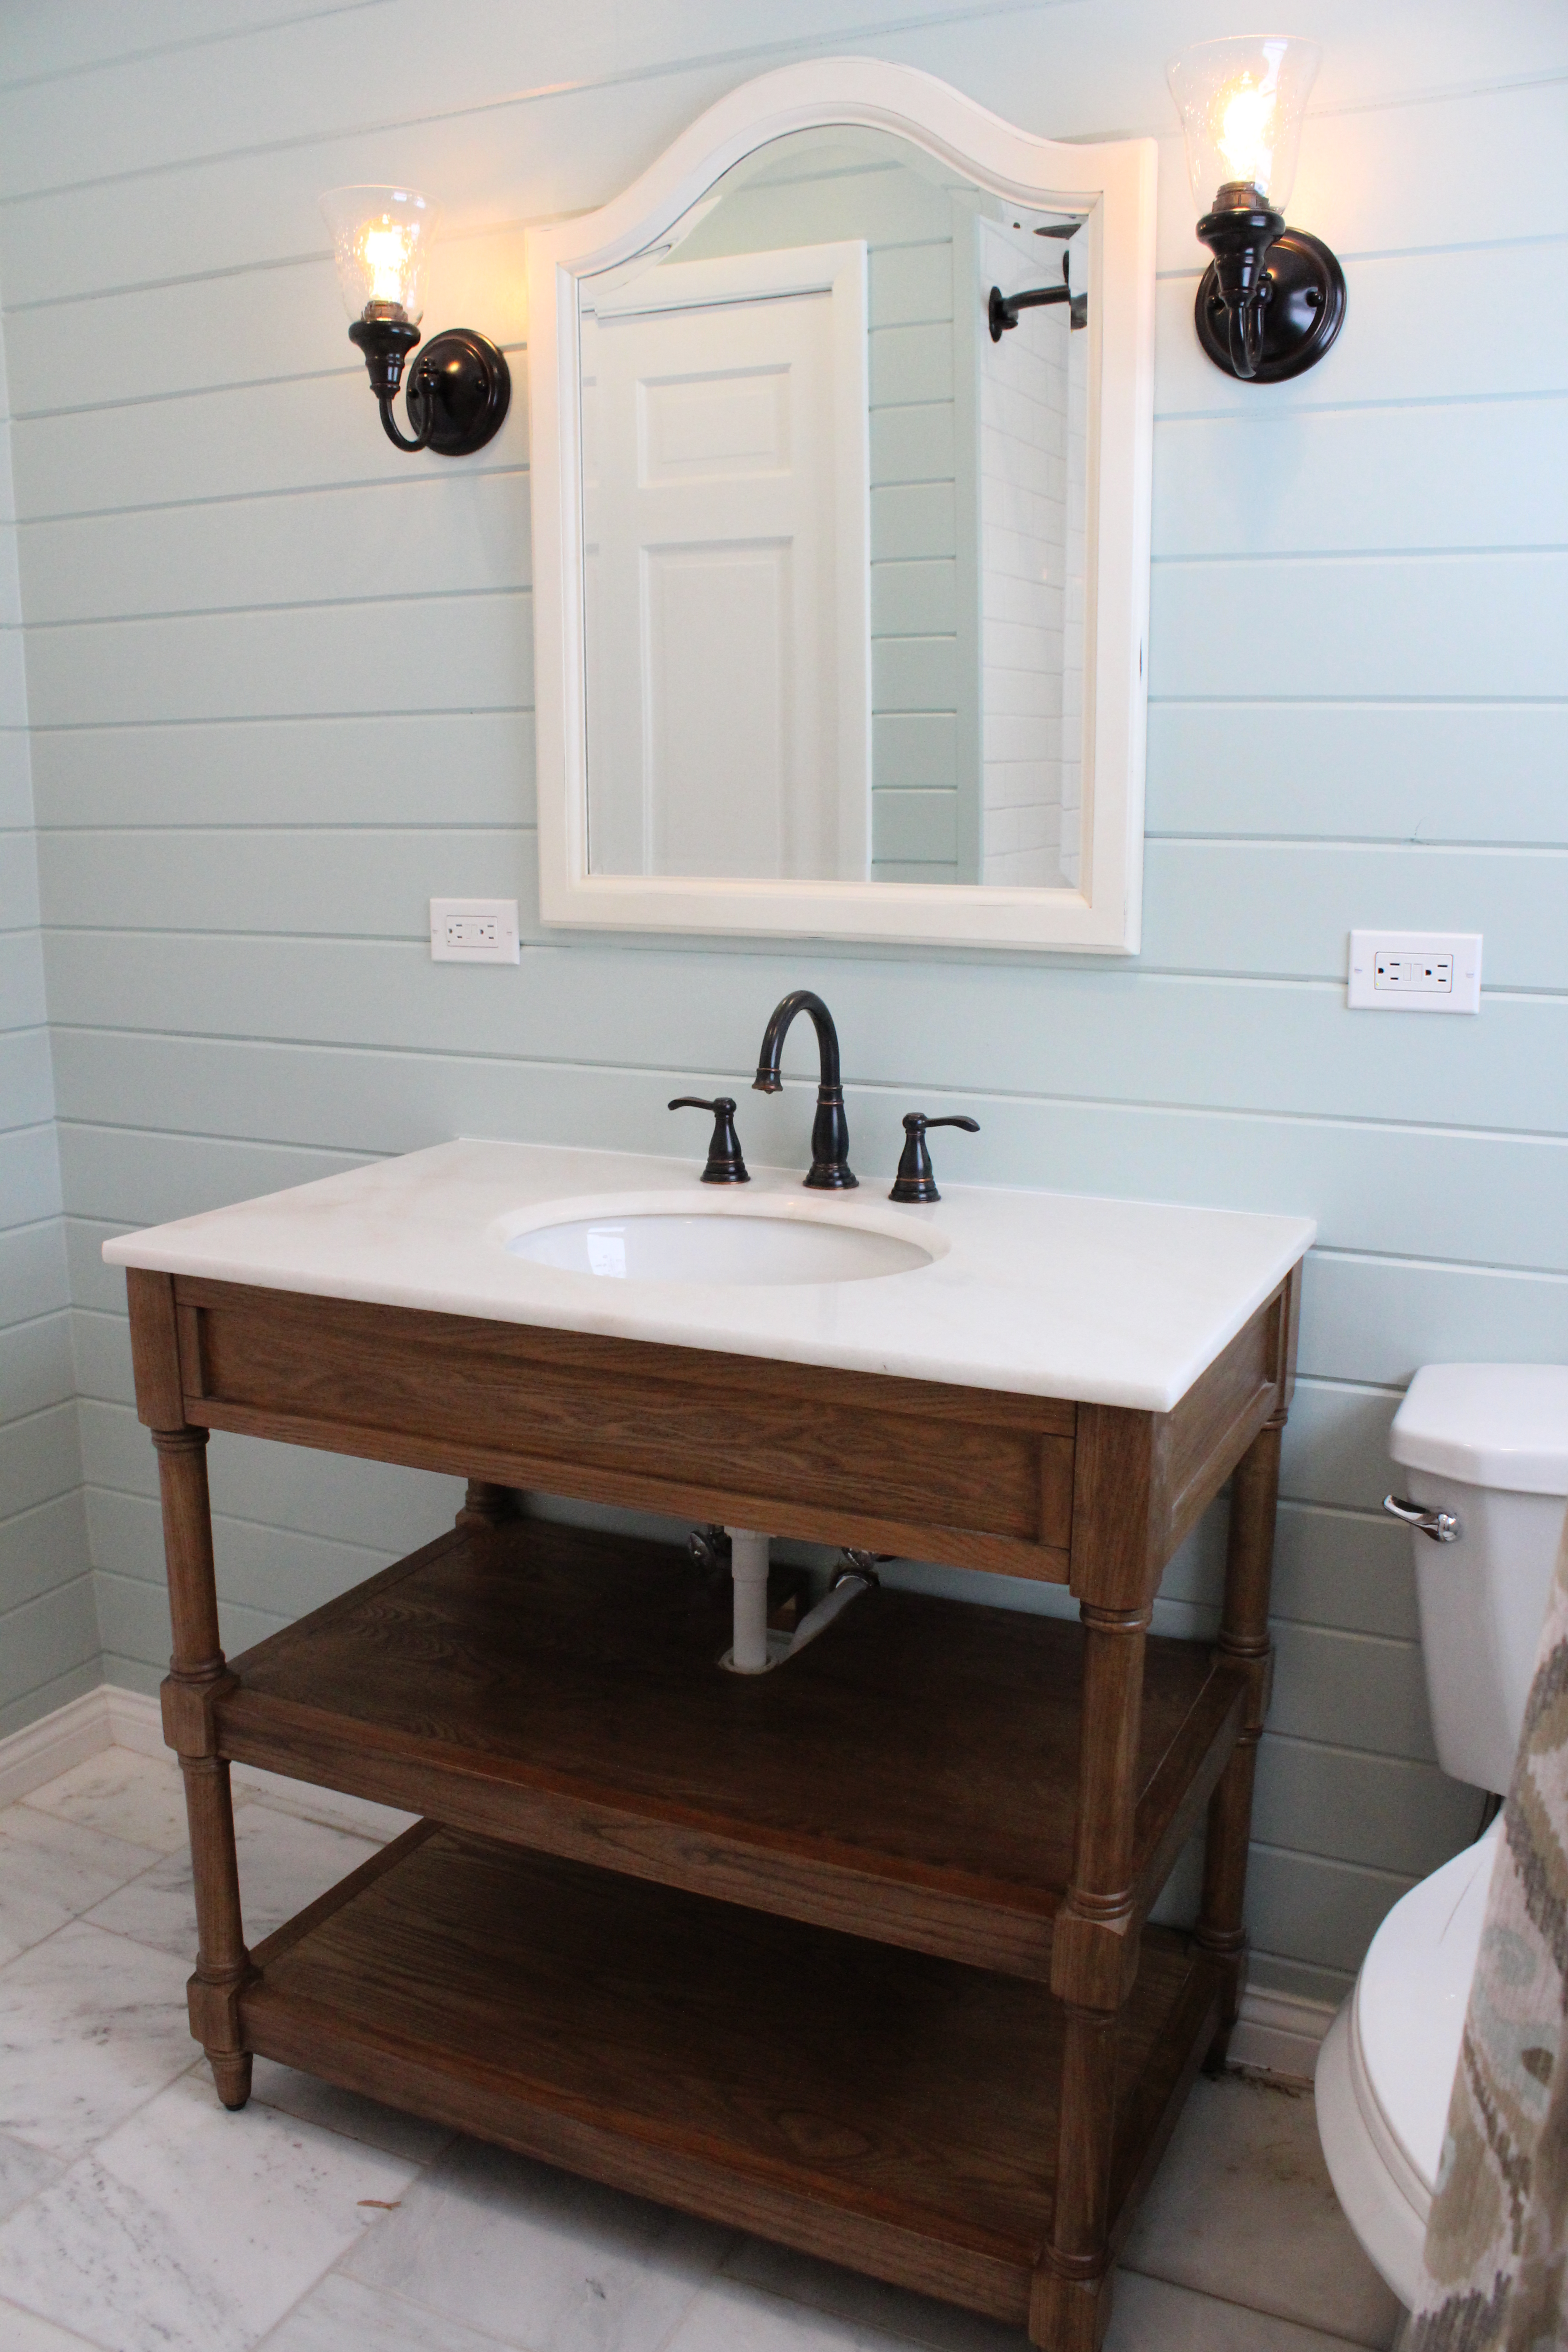
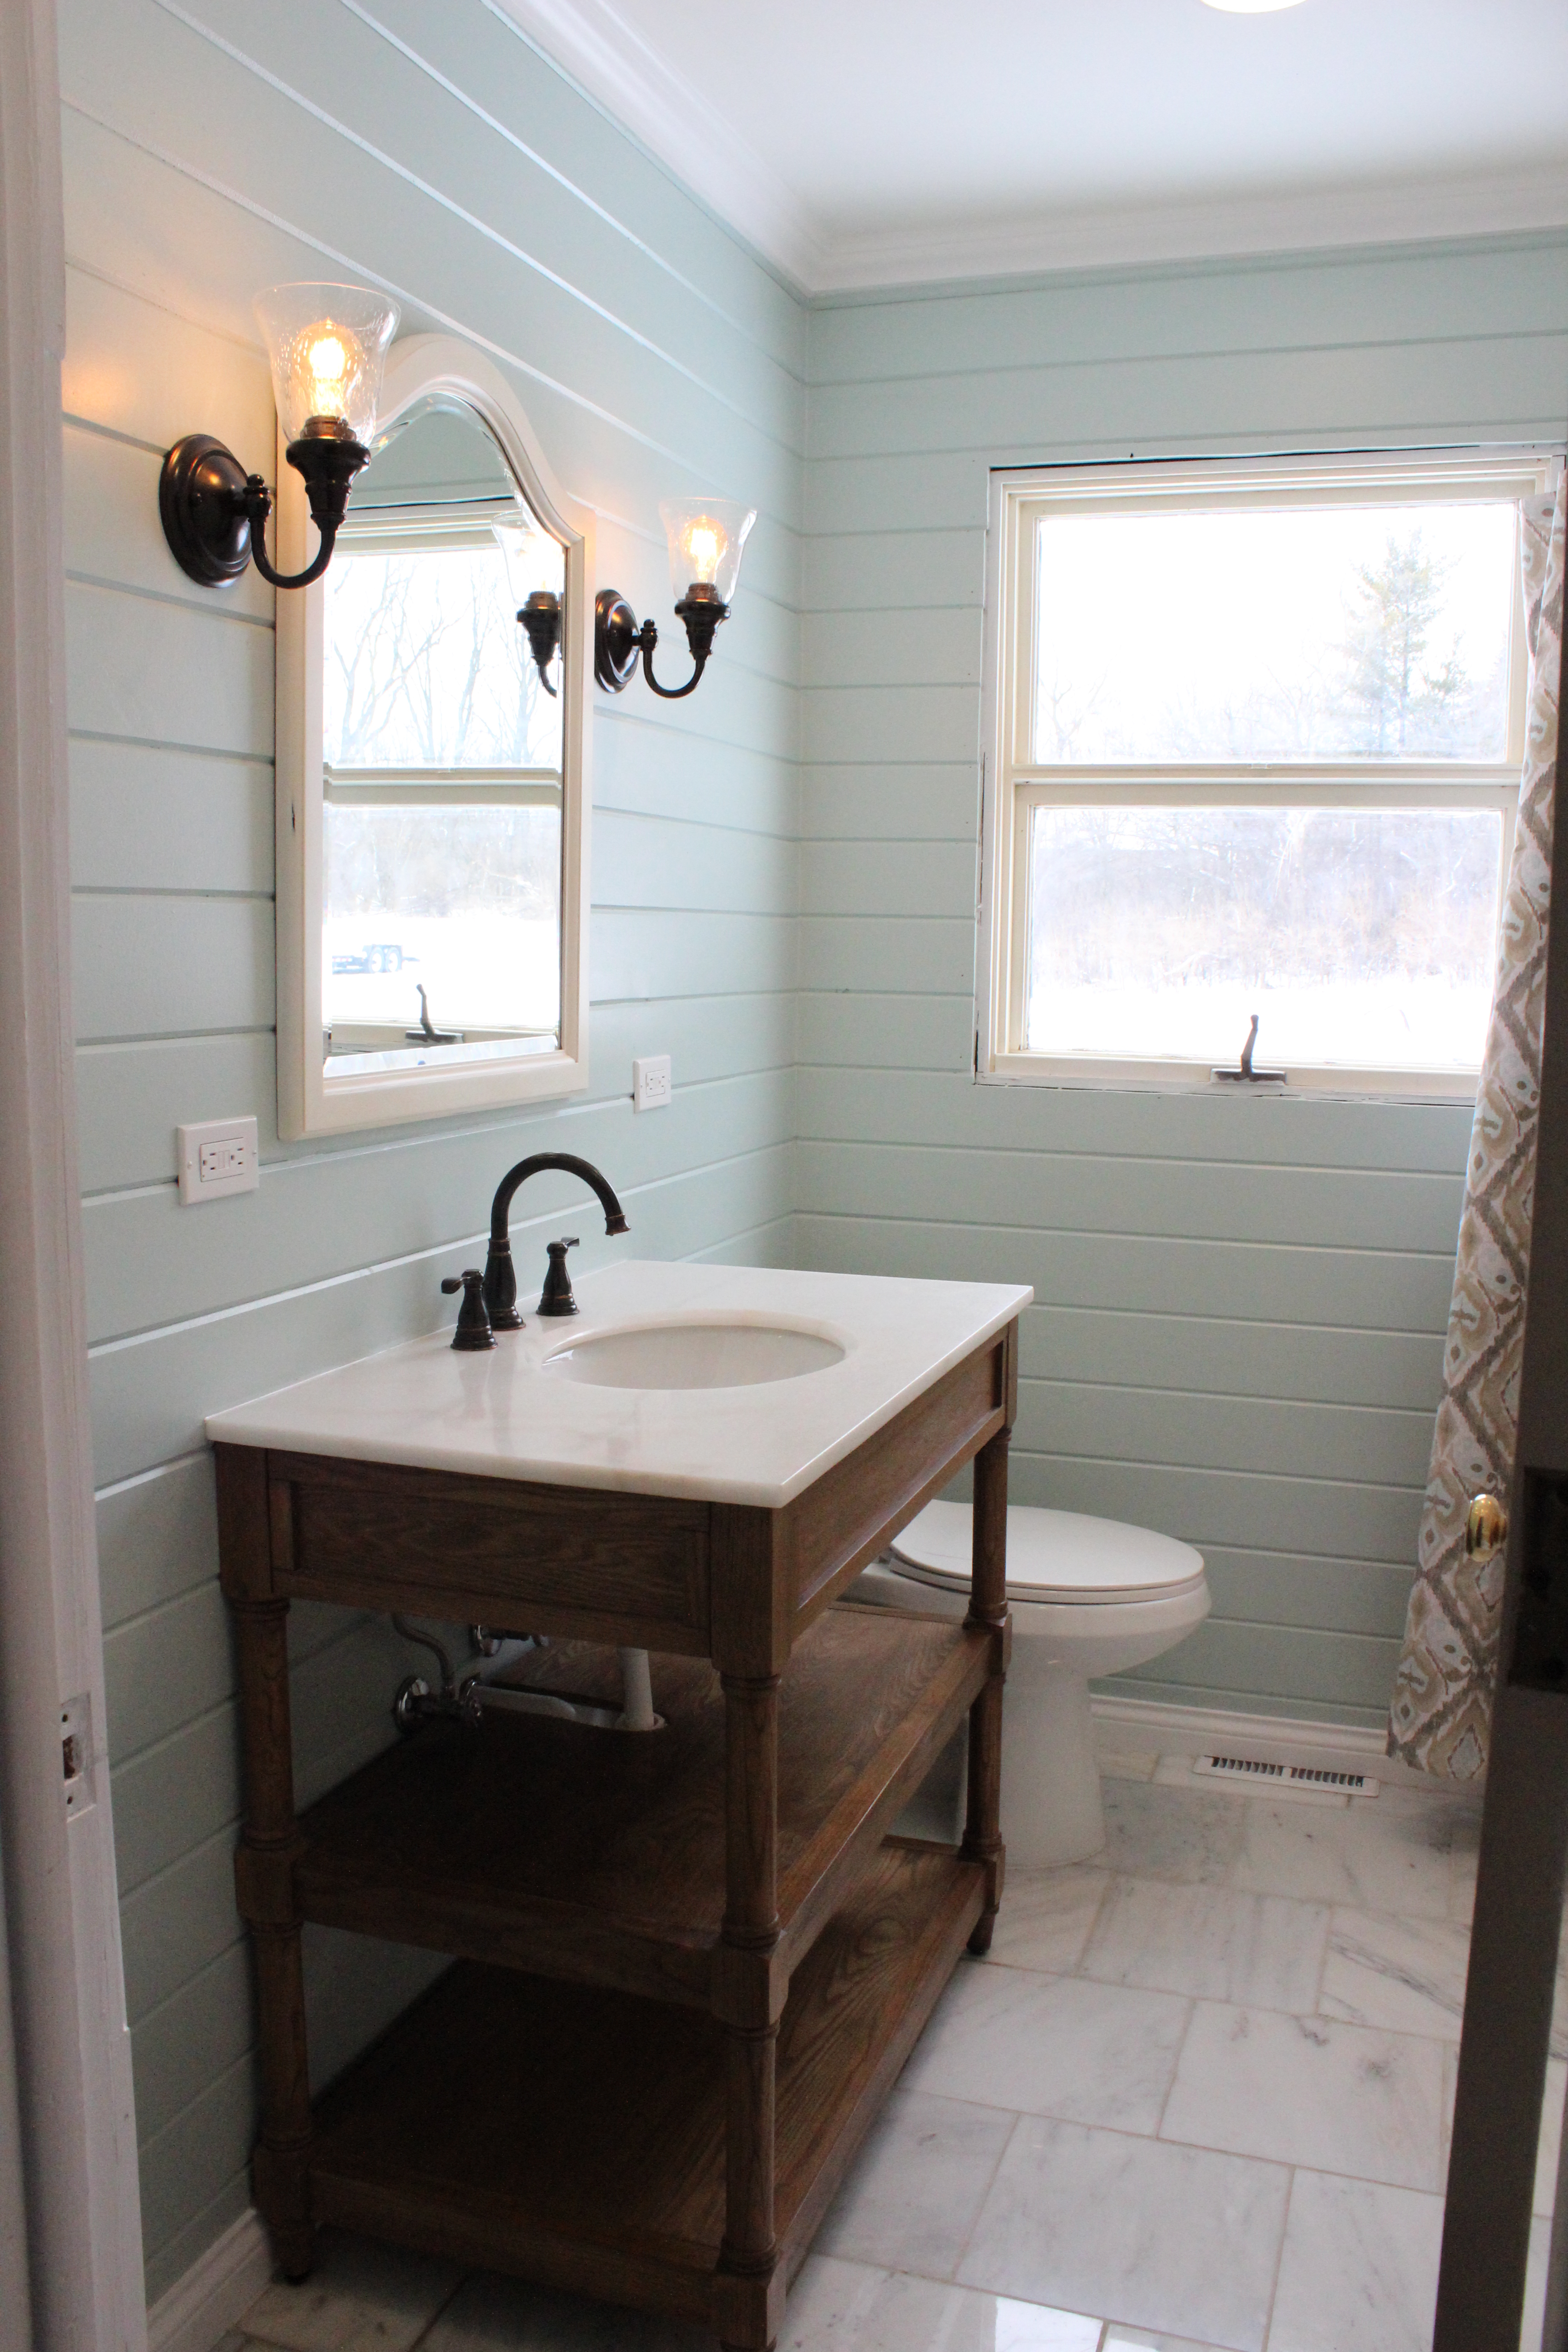
Installed the base boards….IMG_2534Installed the vanity and mirror (both from Home Depot/Home Decorators)…IMG_2546

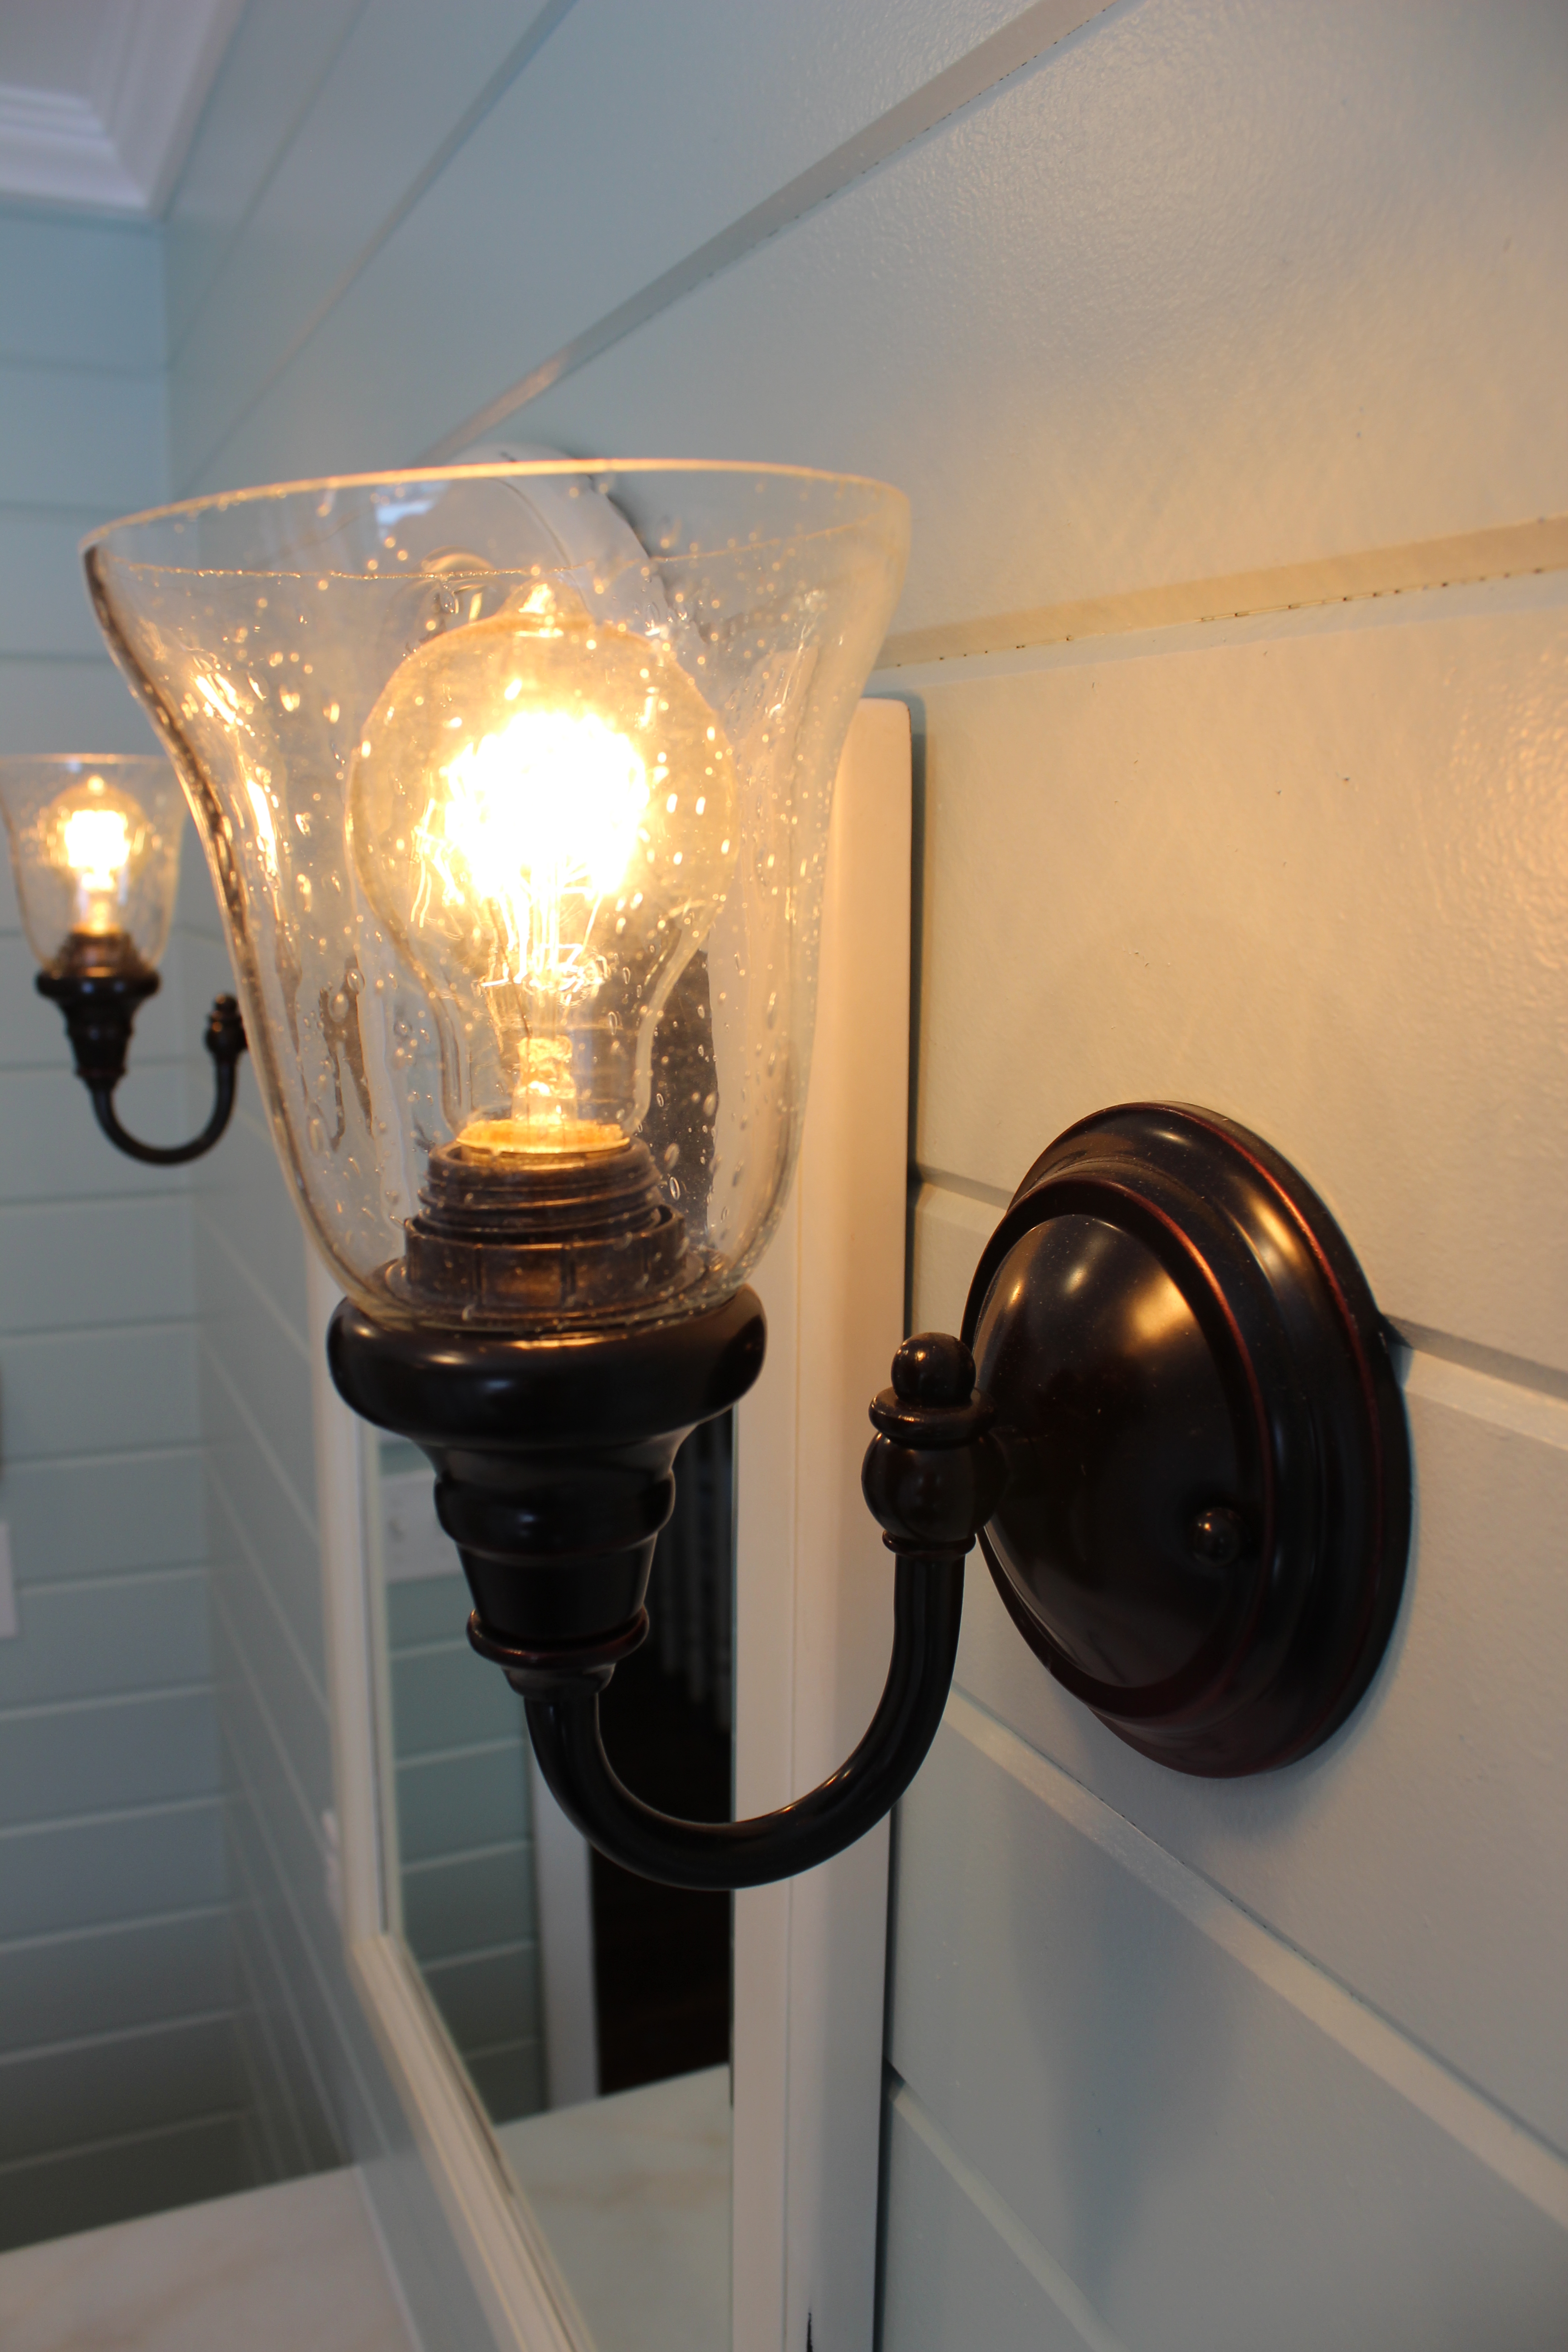
Installed the sconces (from Lowe’s). We used Edison style light bulbs from Home Depot. Aren’t they so cool?

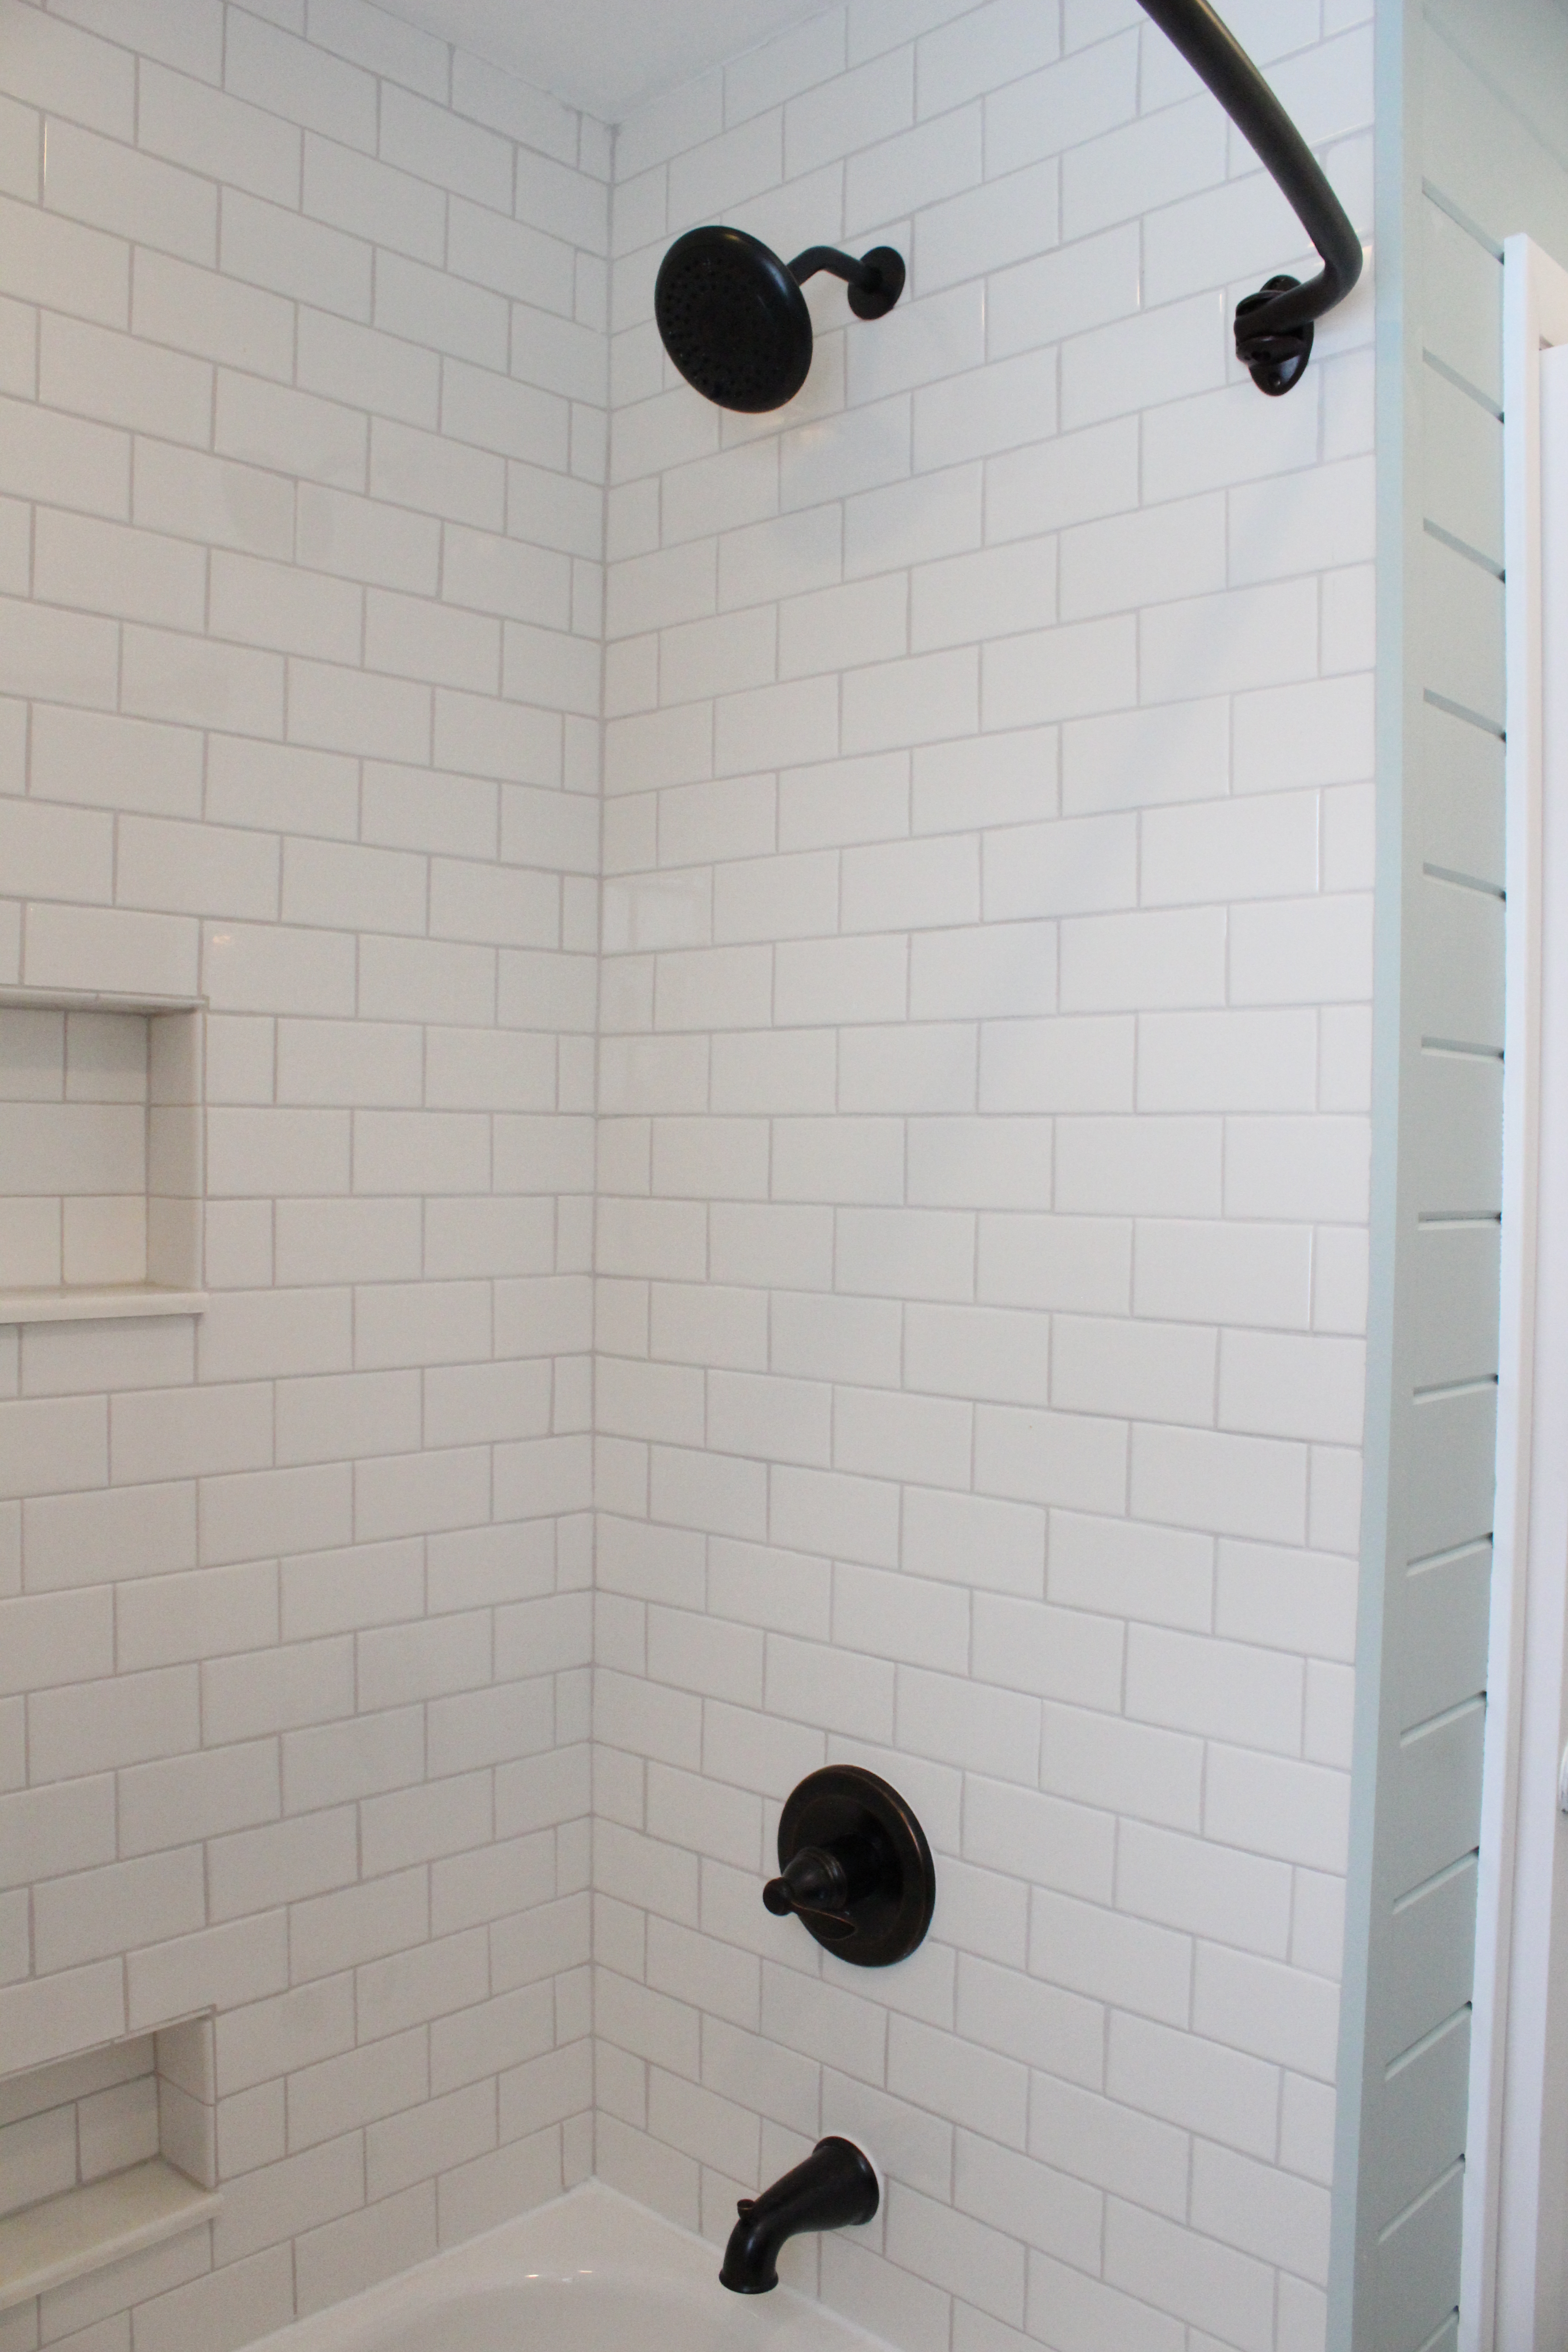
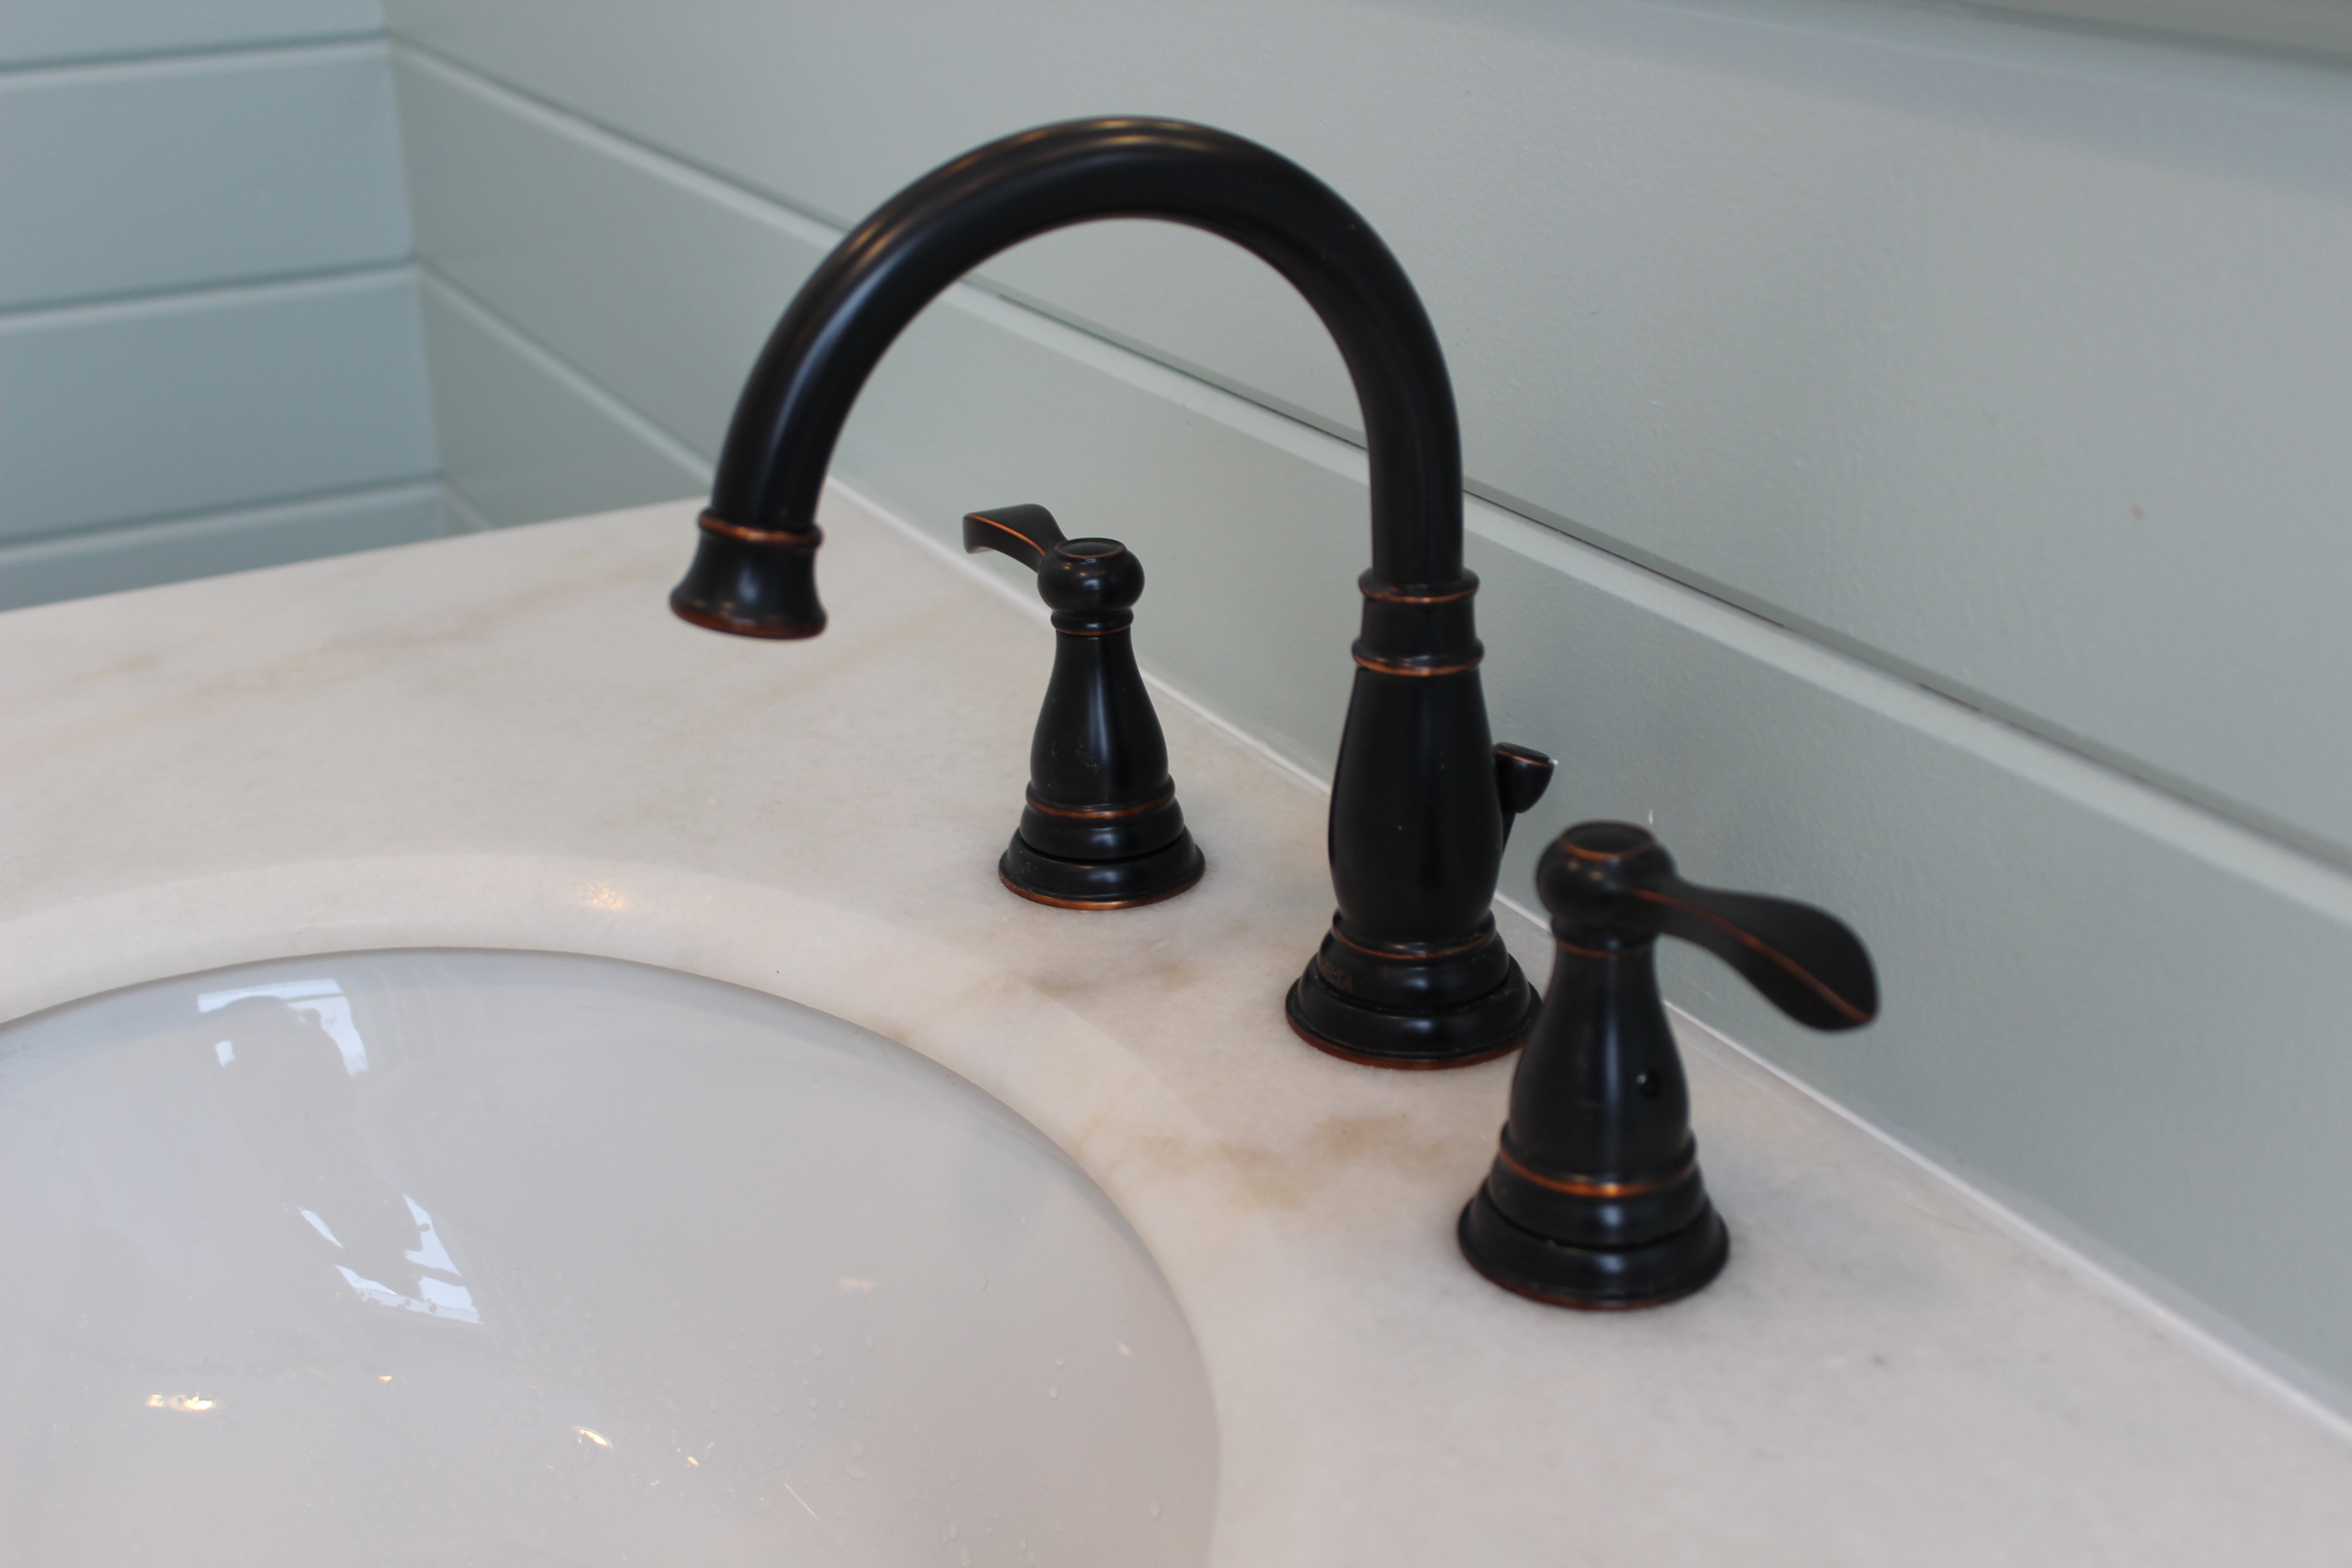
IMG_2537Installed the oil rubbed bronze sink and shower fixtures (all Delta)…

IMG_2540

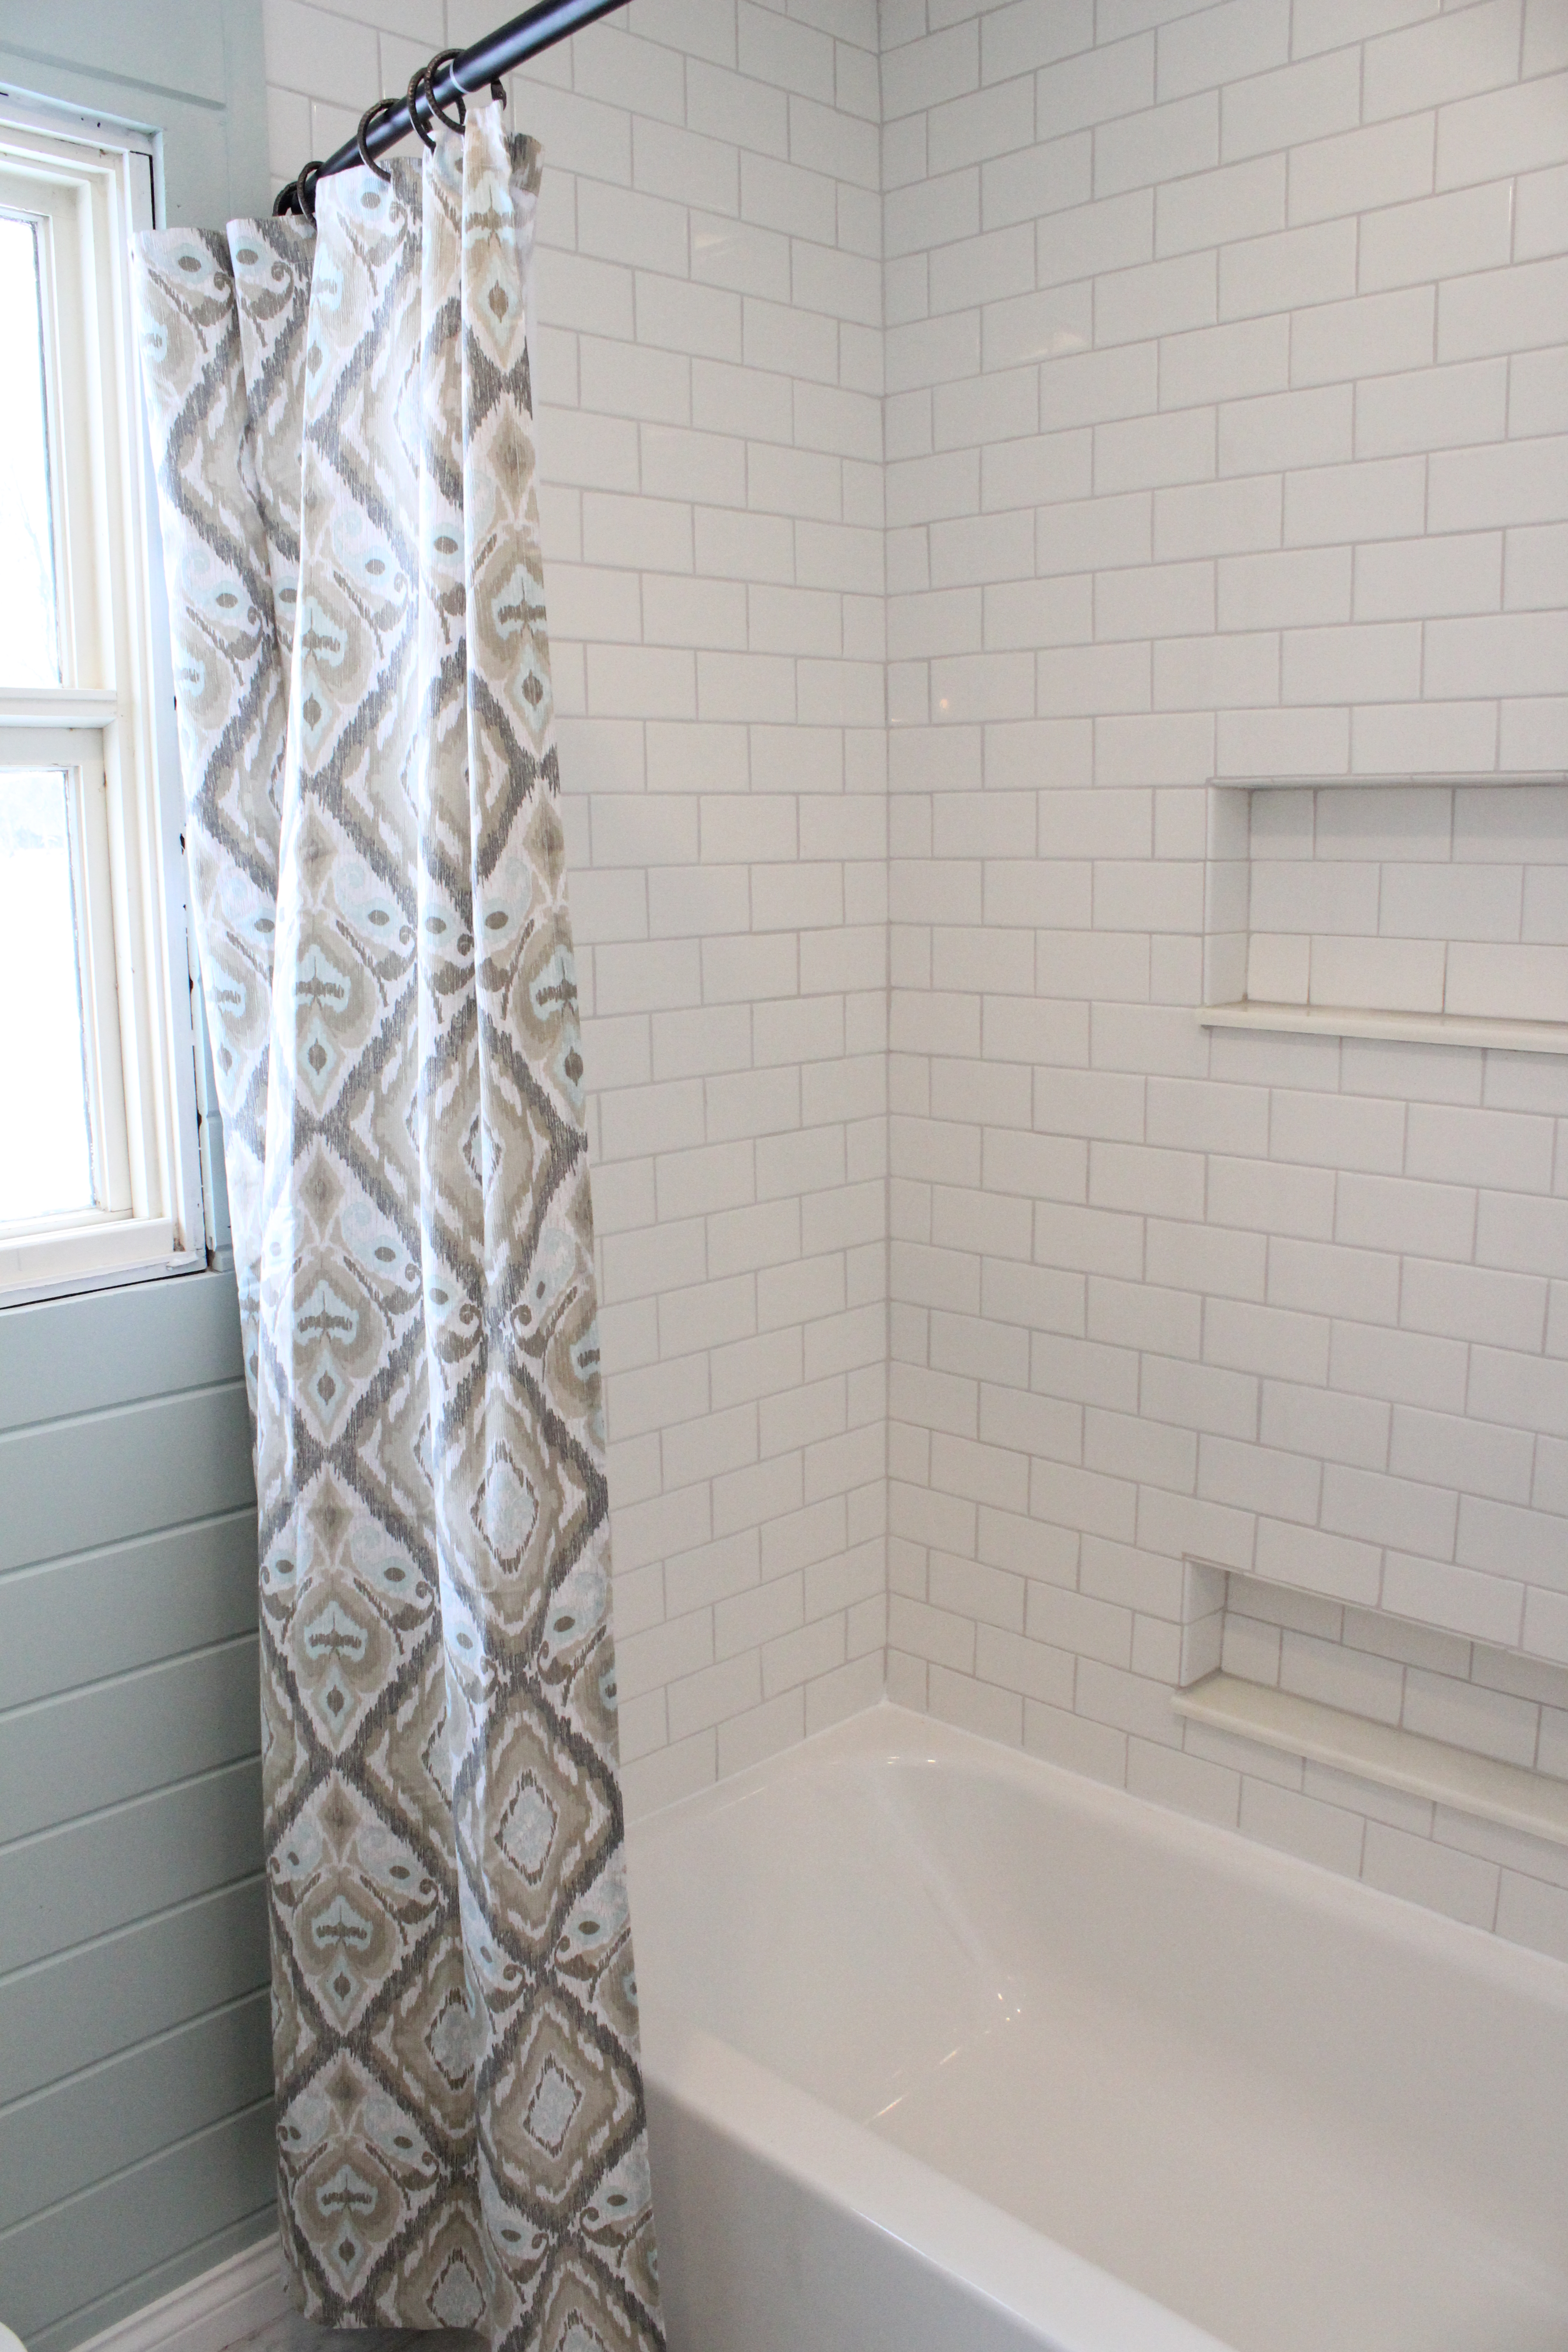
IMG_2524And hung the curved shower rod and shower curtain (from Kohls)…

IMG_2523As you can see it’s pretty much complete. Here’s what’s left on the agenda before we can put a fork in it:

  • Install a new window and window casing (coming Tuesday)
  • Switch out door hardware
  • Build vintage-looking ladder to hold towels
  • Decorate walls and open shelving on vanity
  • Install toilet paper holder and towel bar
  • Hang window shade

Very exciting! Now off to go bowling with some friends in the city. Hope everyone is having a great weekend!

Operation New Bathroom Part II

18 Feb

It’s been a few weeks since I updated you on the guest bathroom, so here it goes….

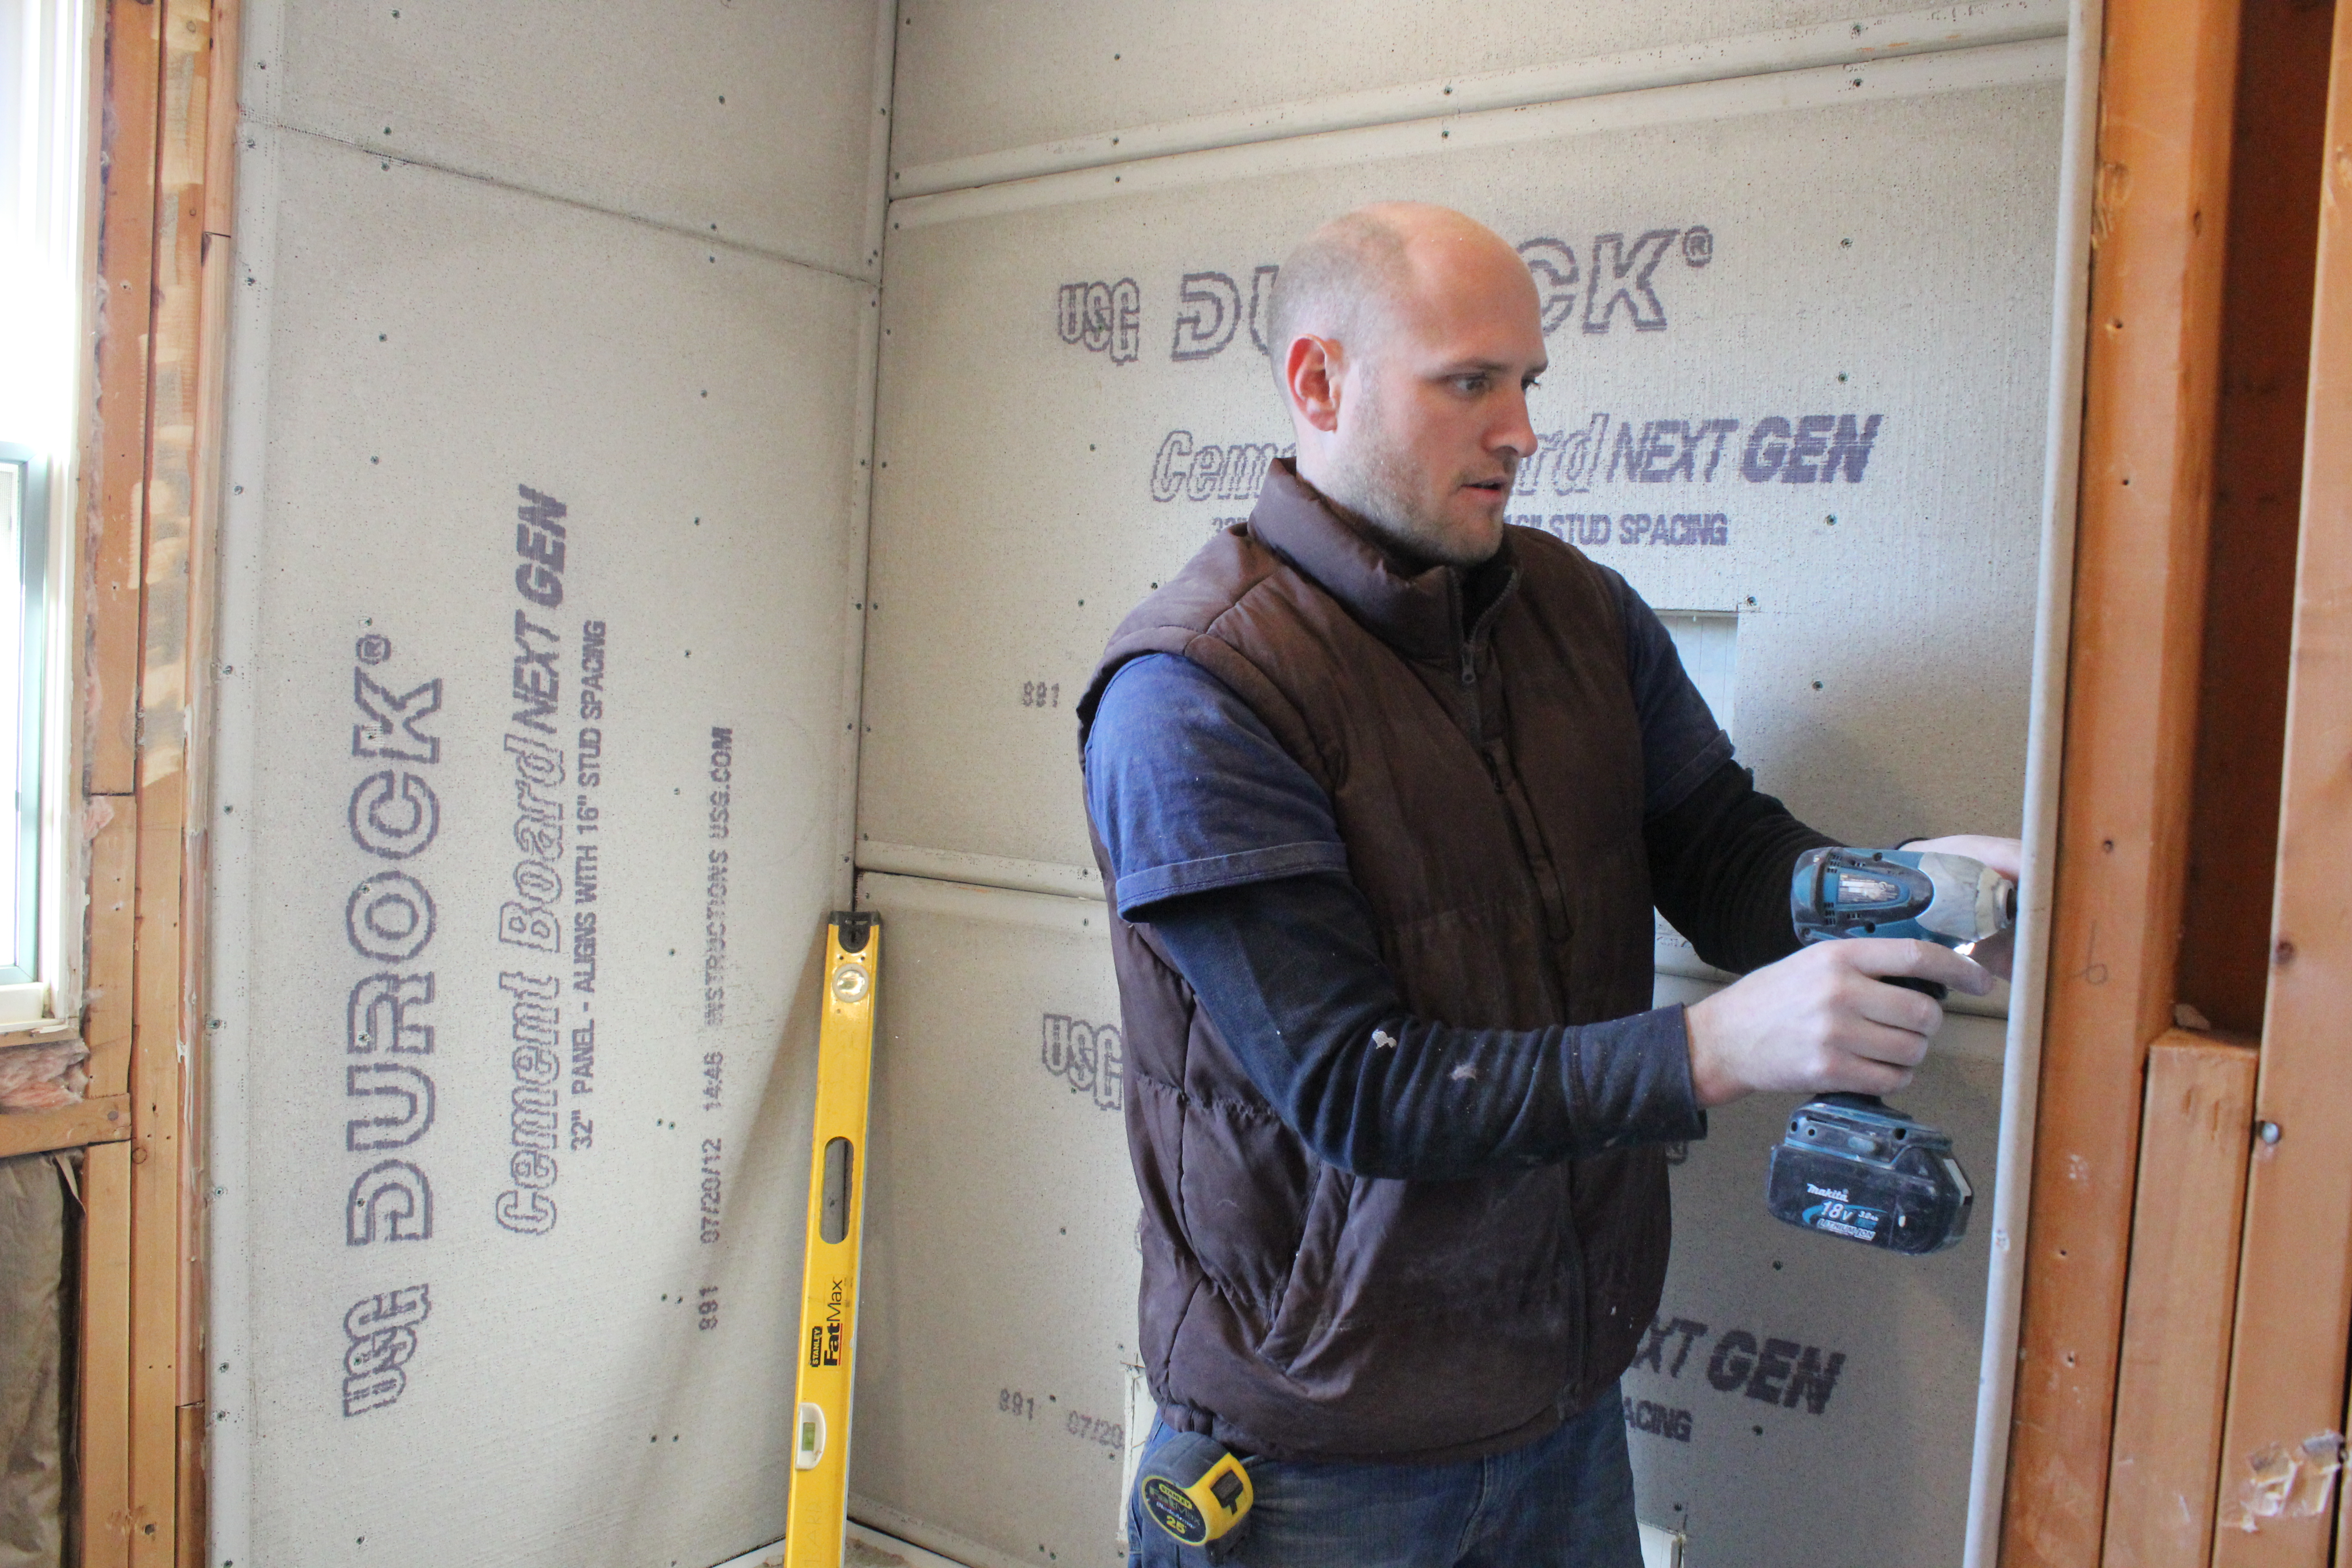
When I last left off we had hung drywall, tile backer, installed lights and then put in the underfloor heating.

IMG_2282

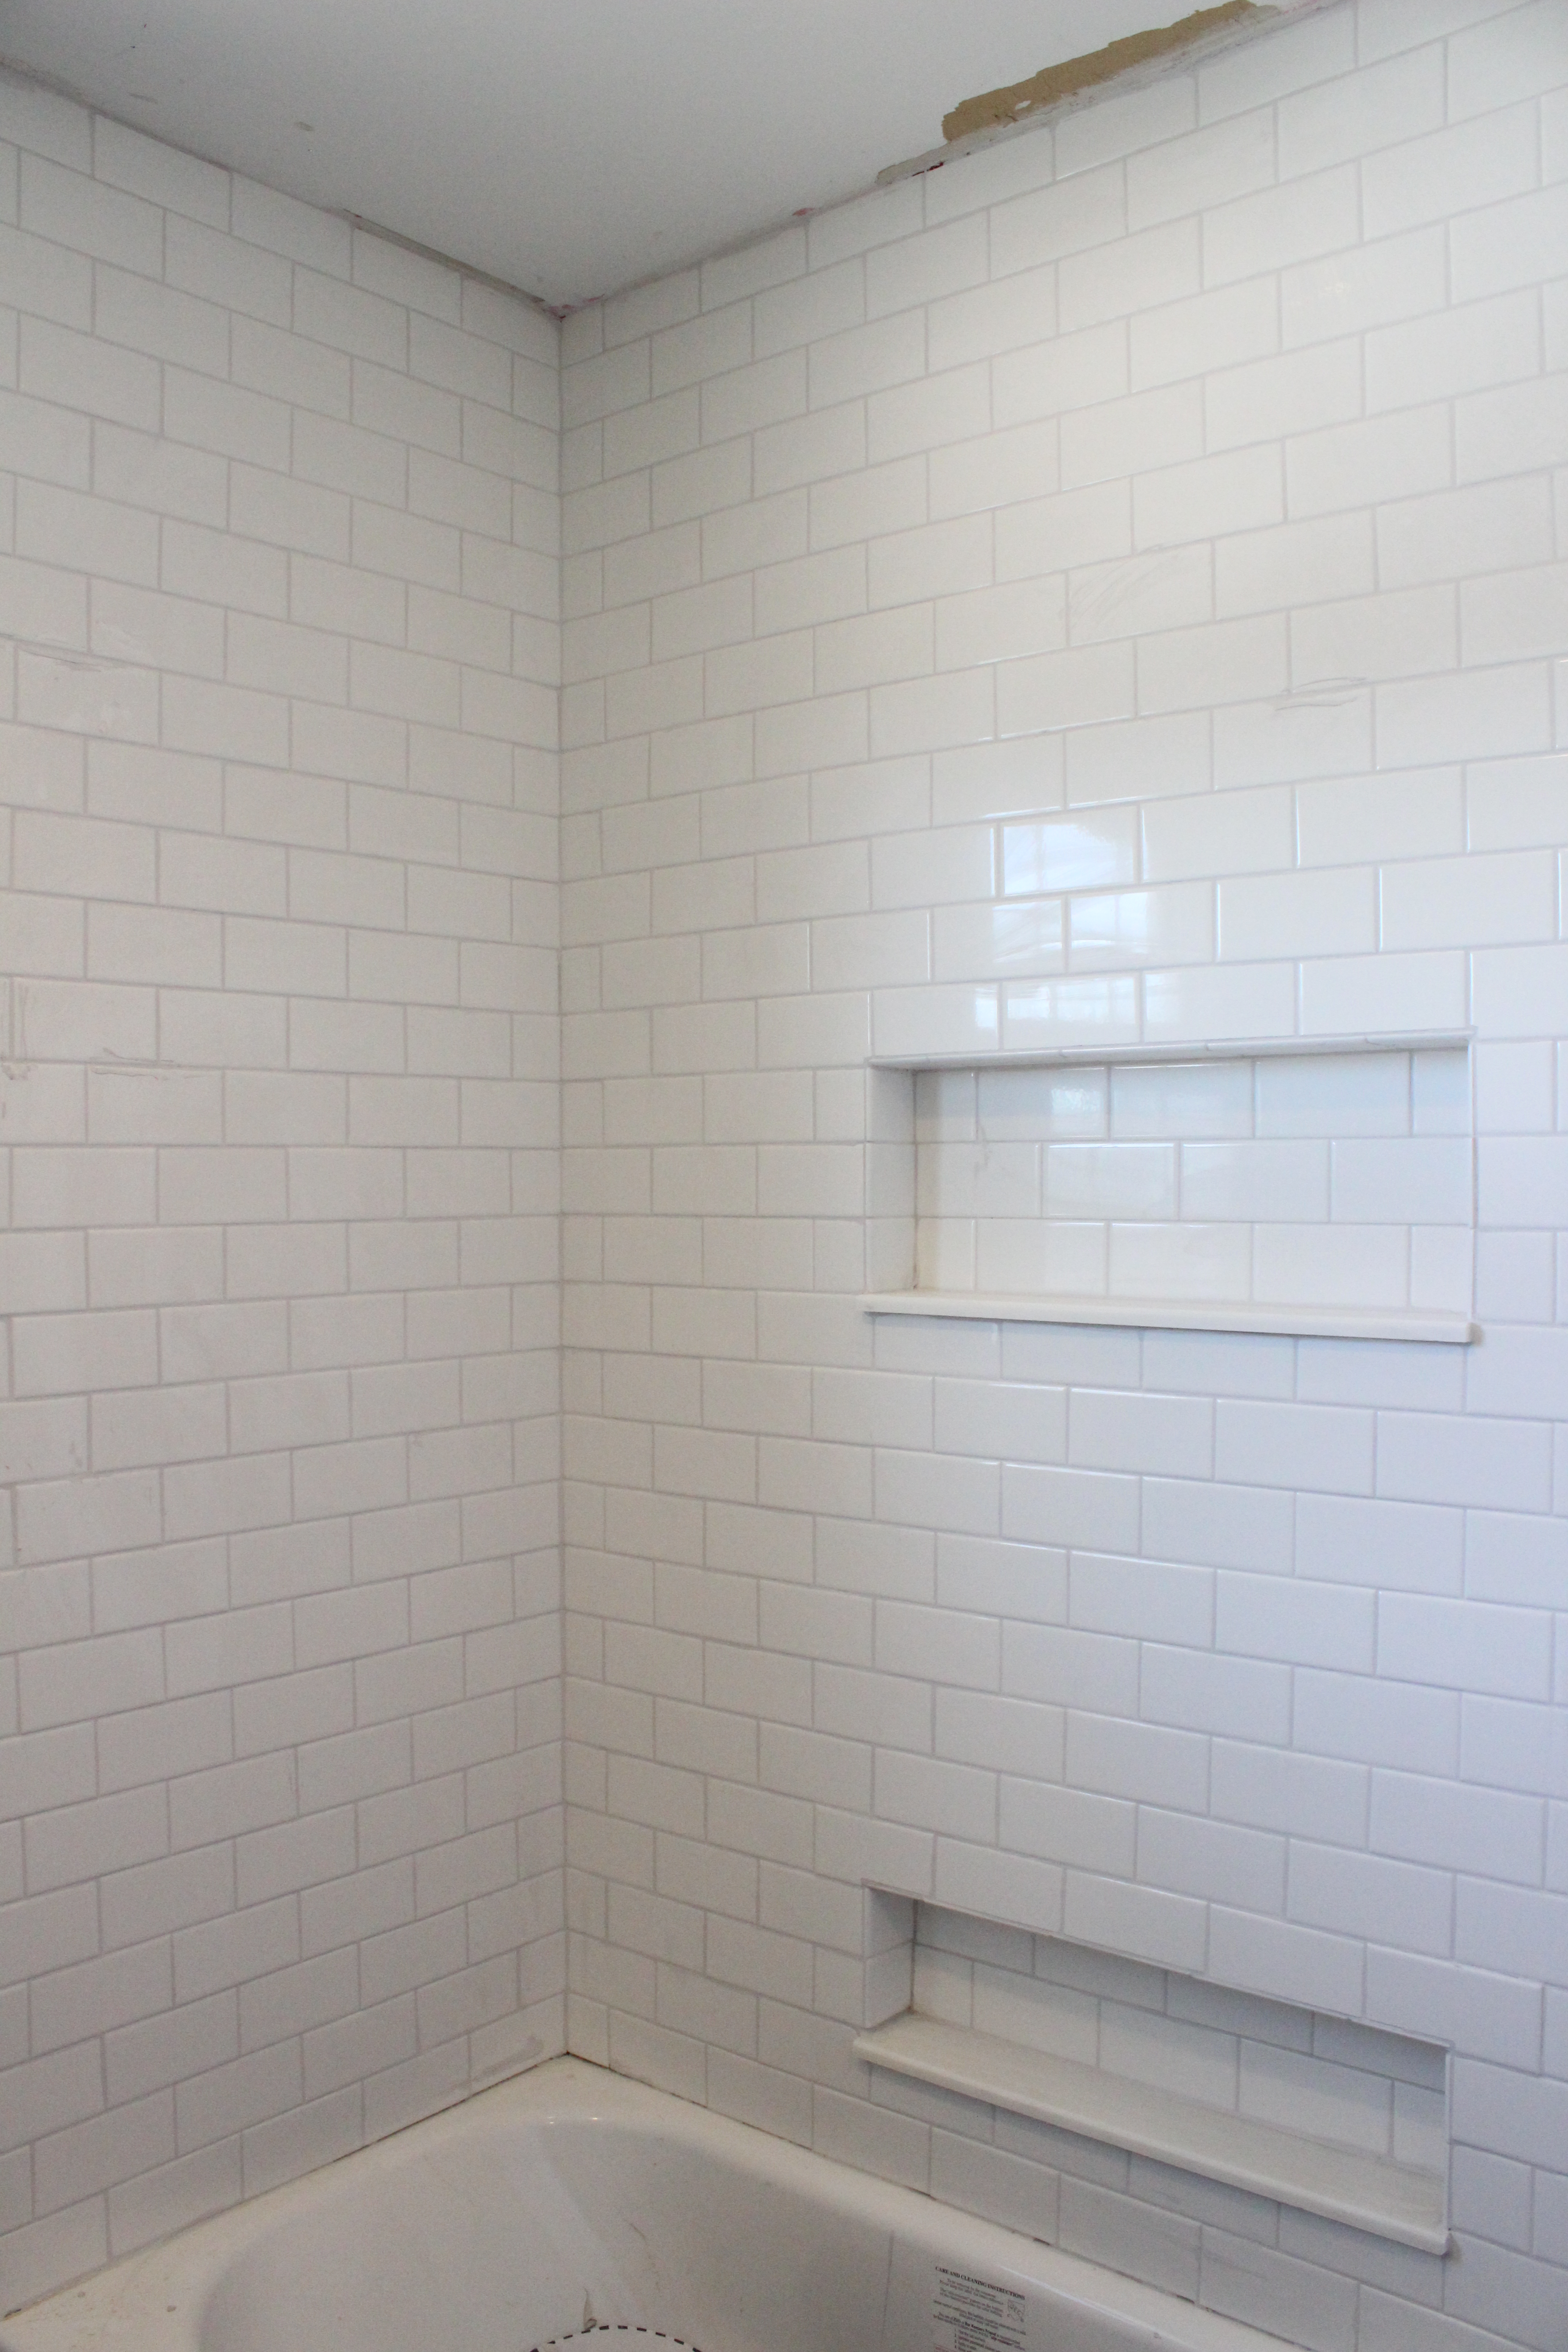
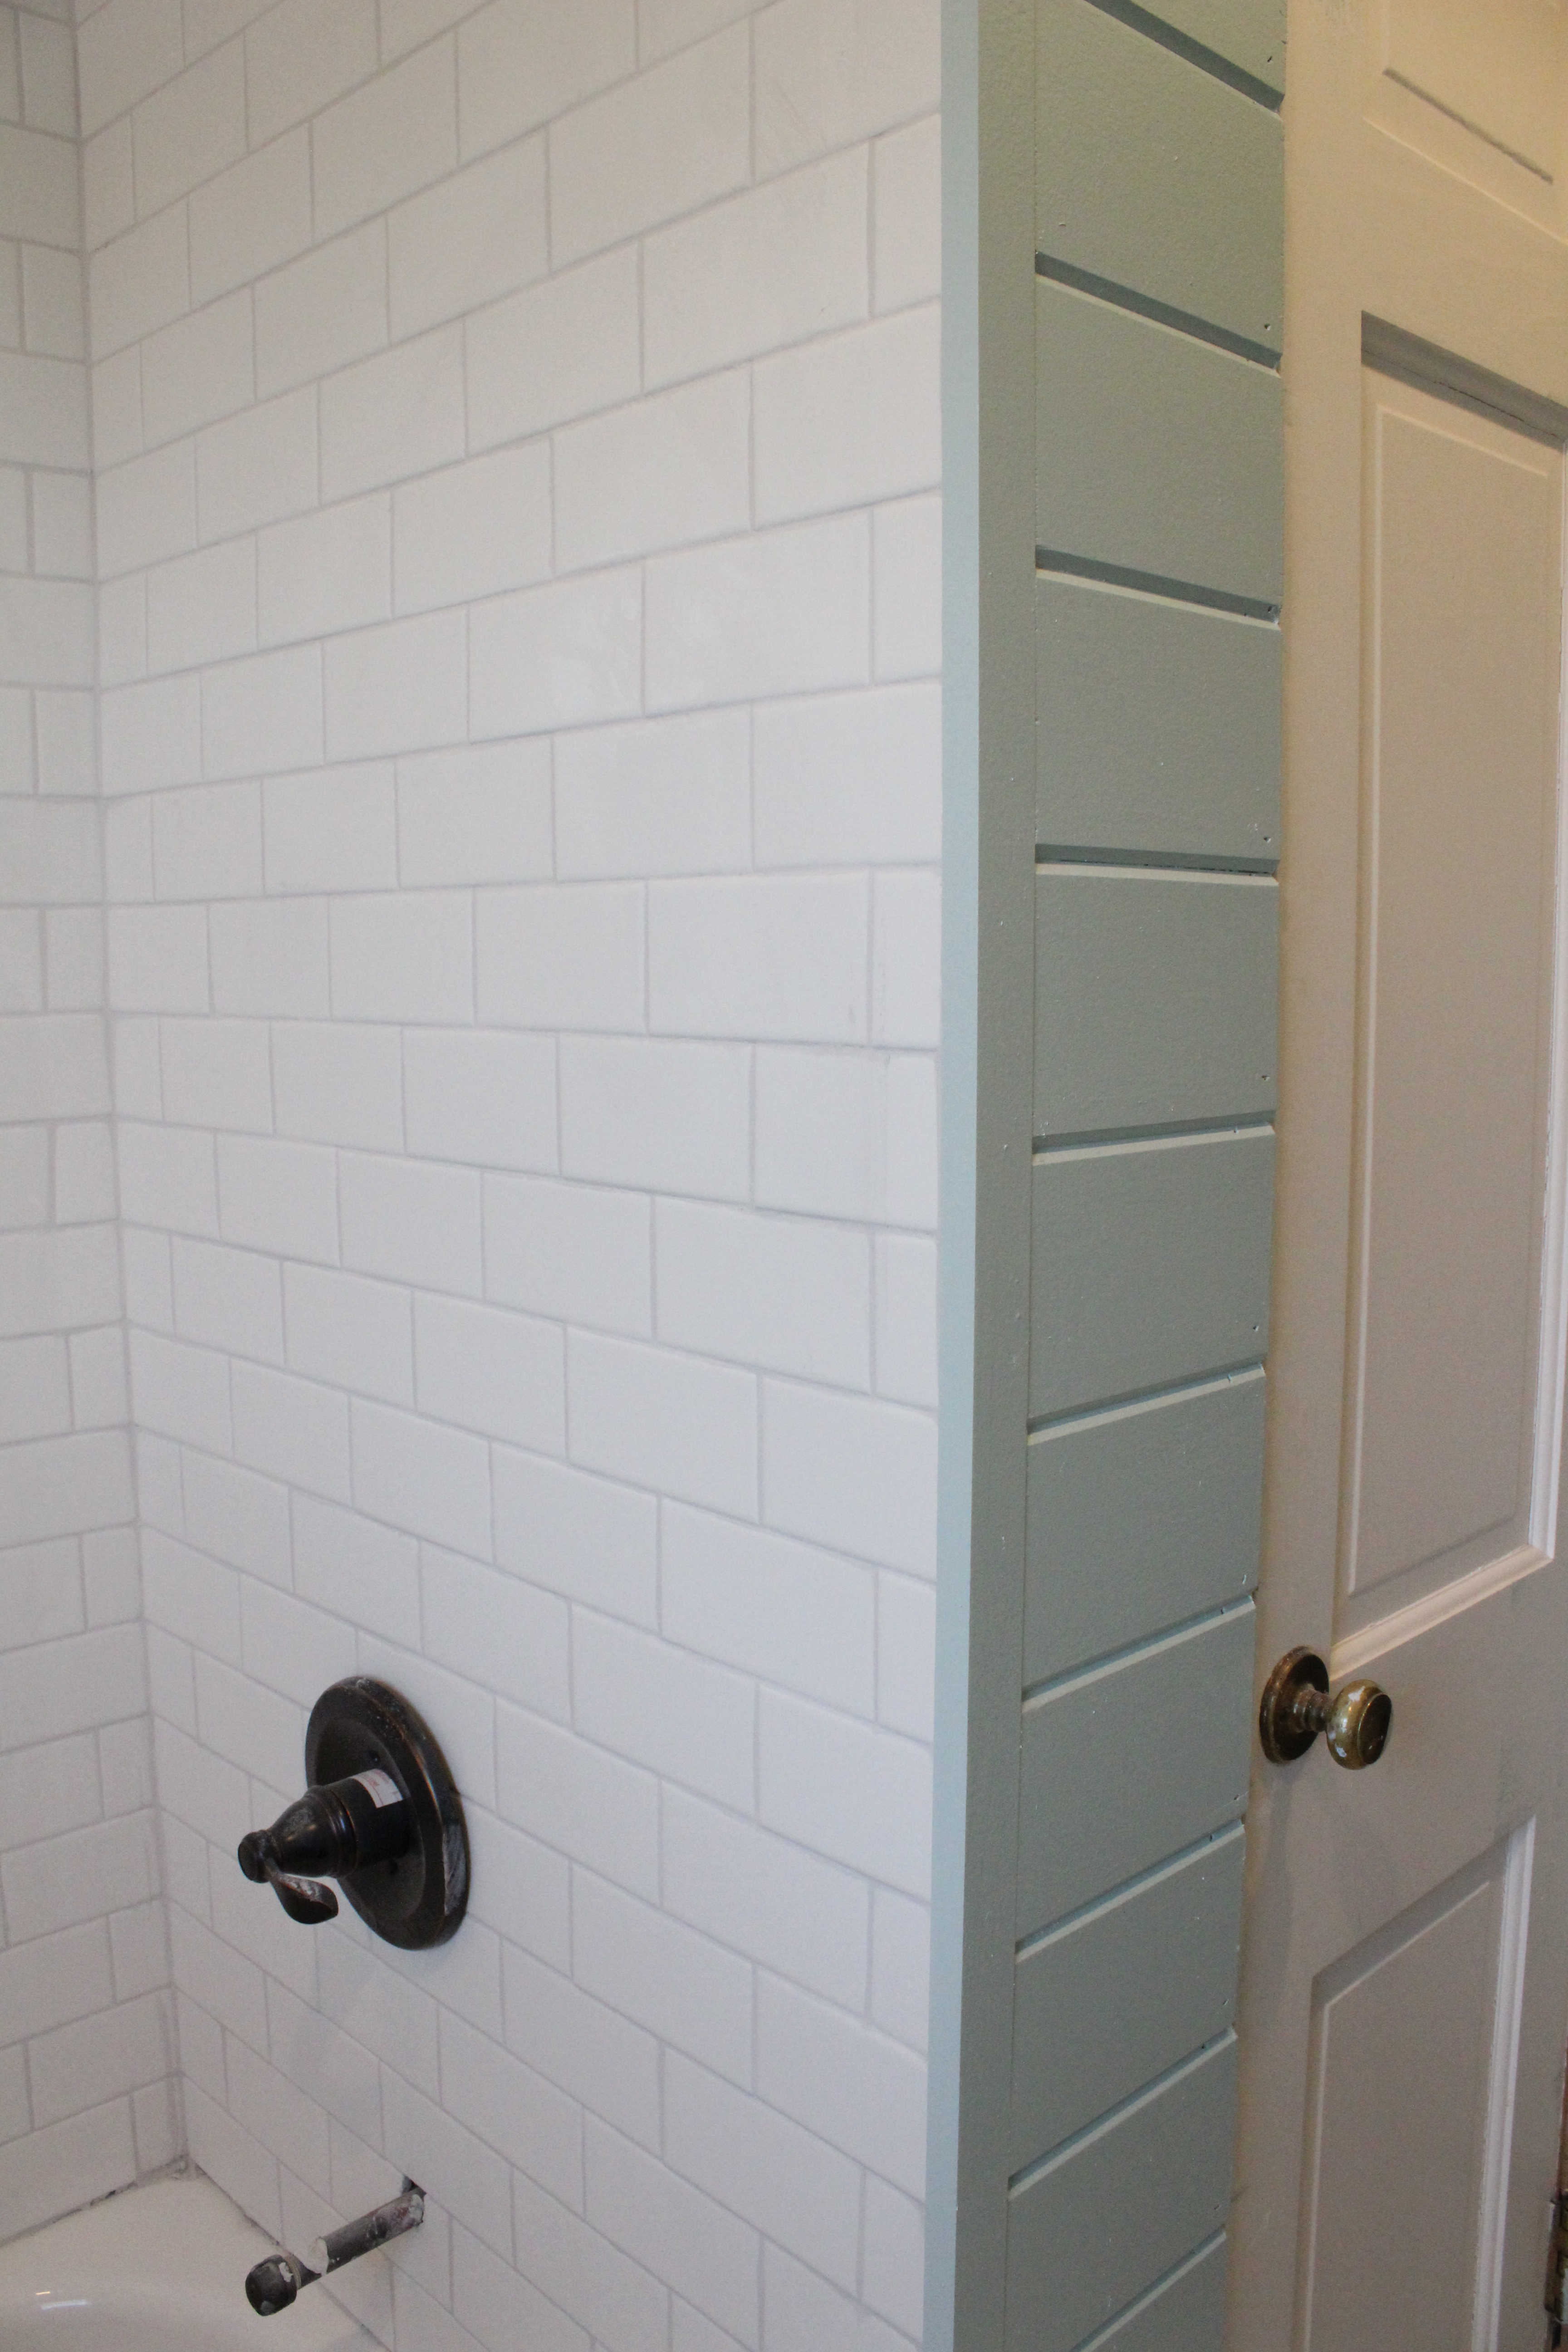
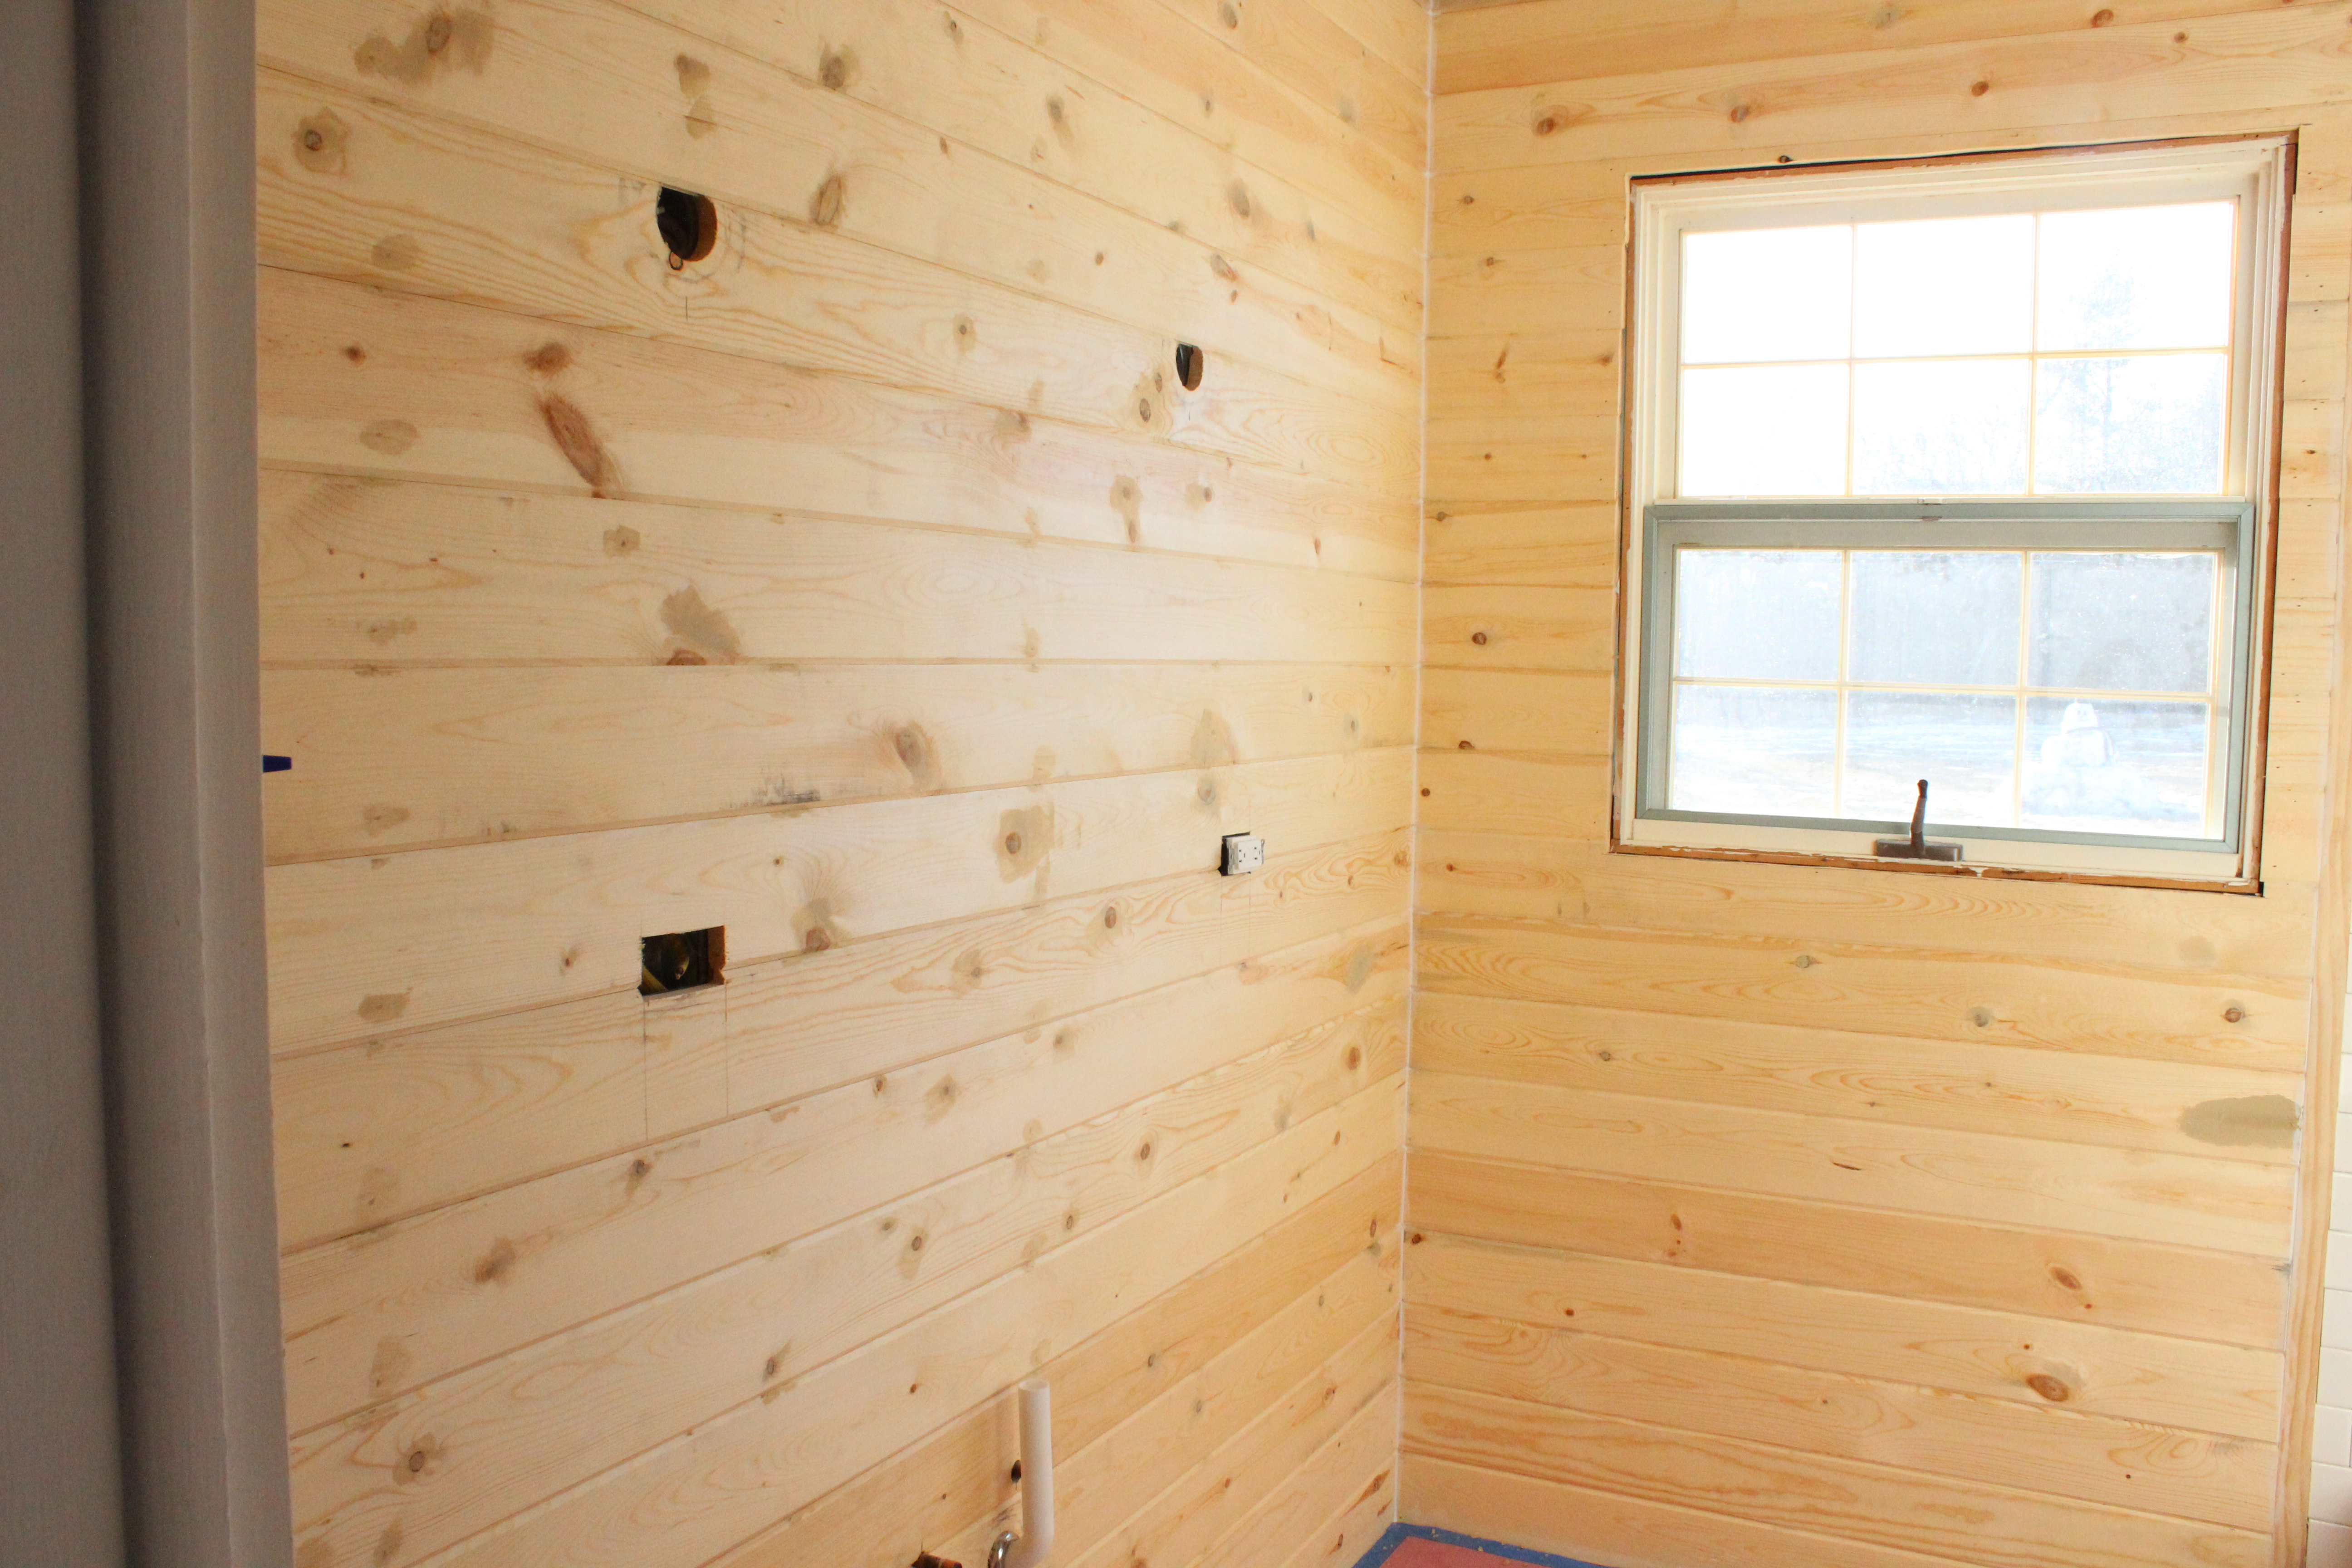
We now have all the tile laid and grouted and the wood wall planks hung, primed and painted.

Here’s what things are looking like as of this morning.

IMG_2505

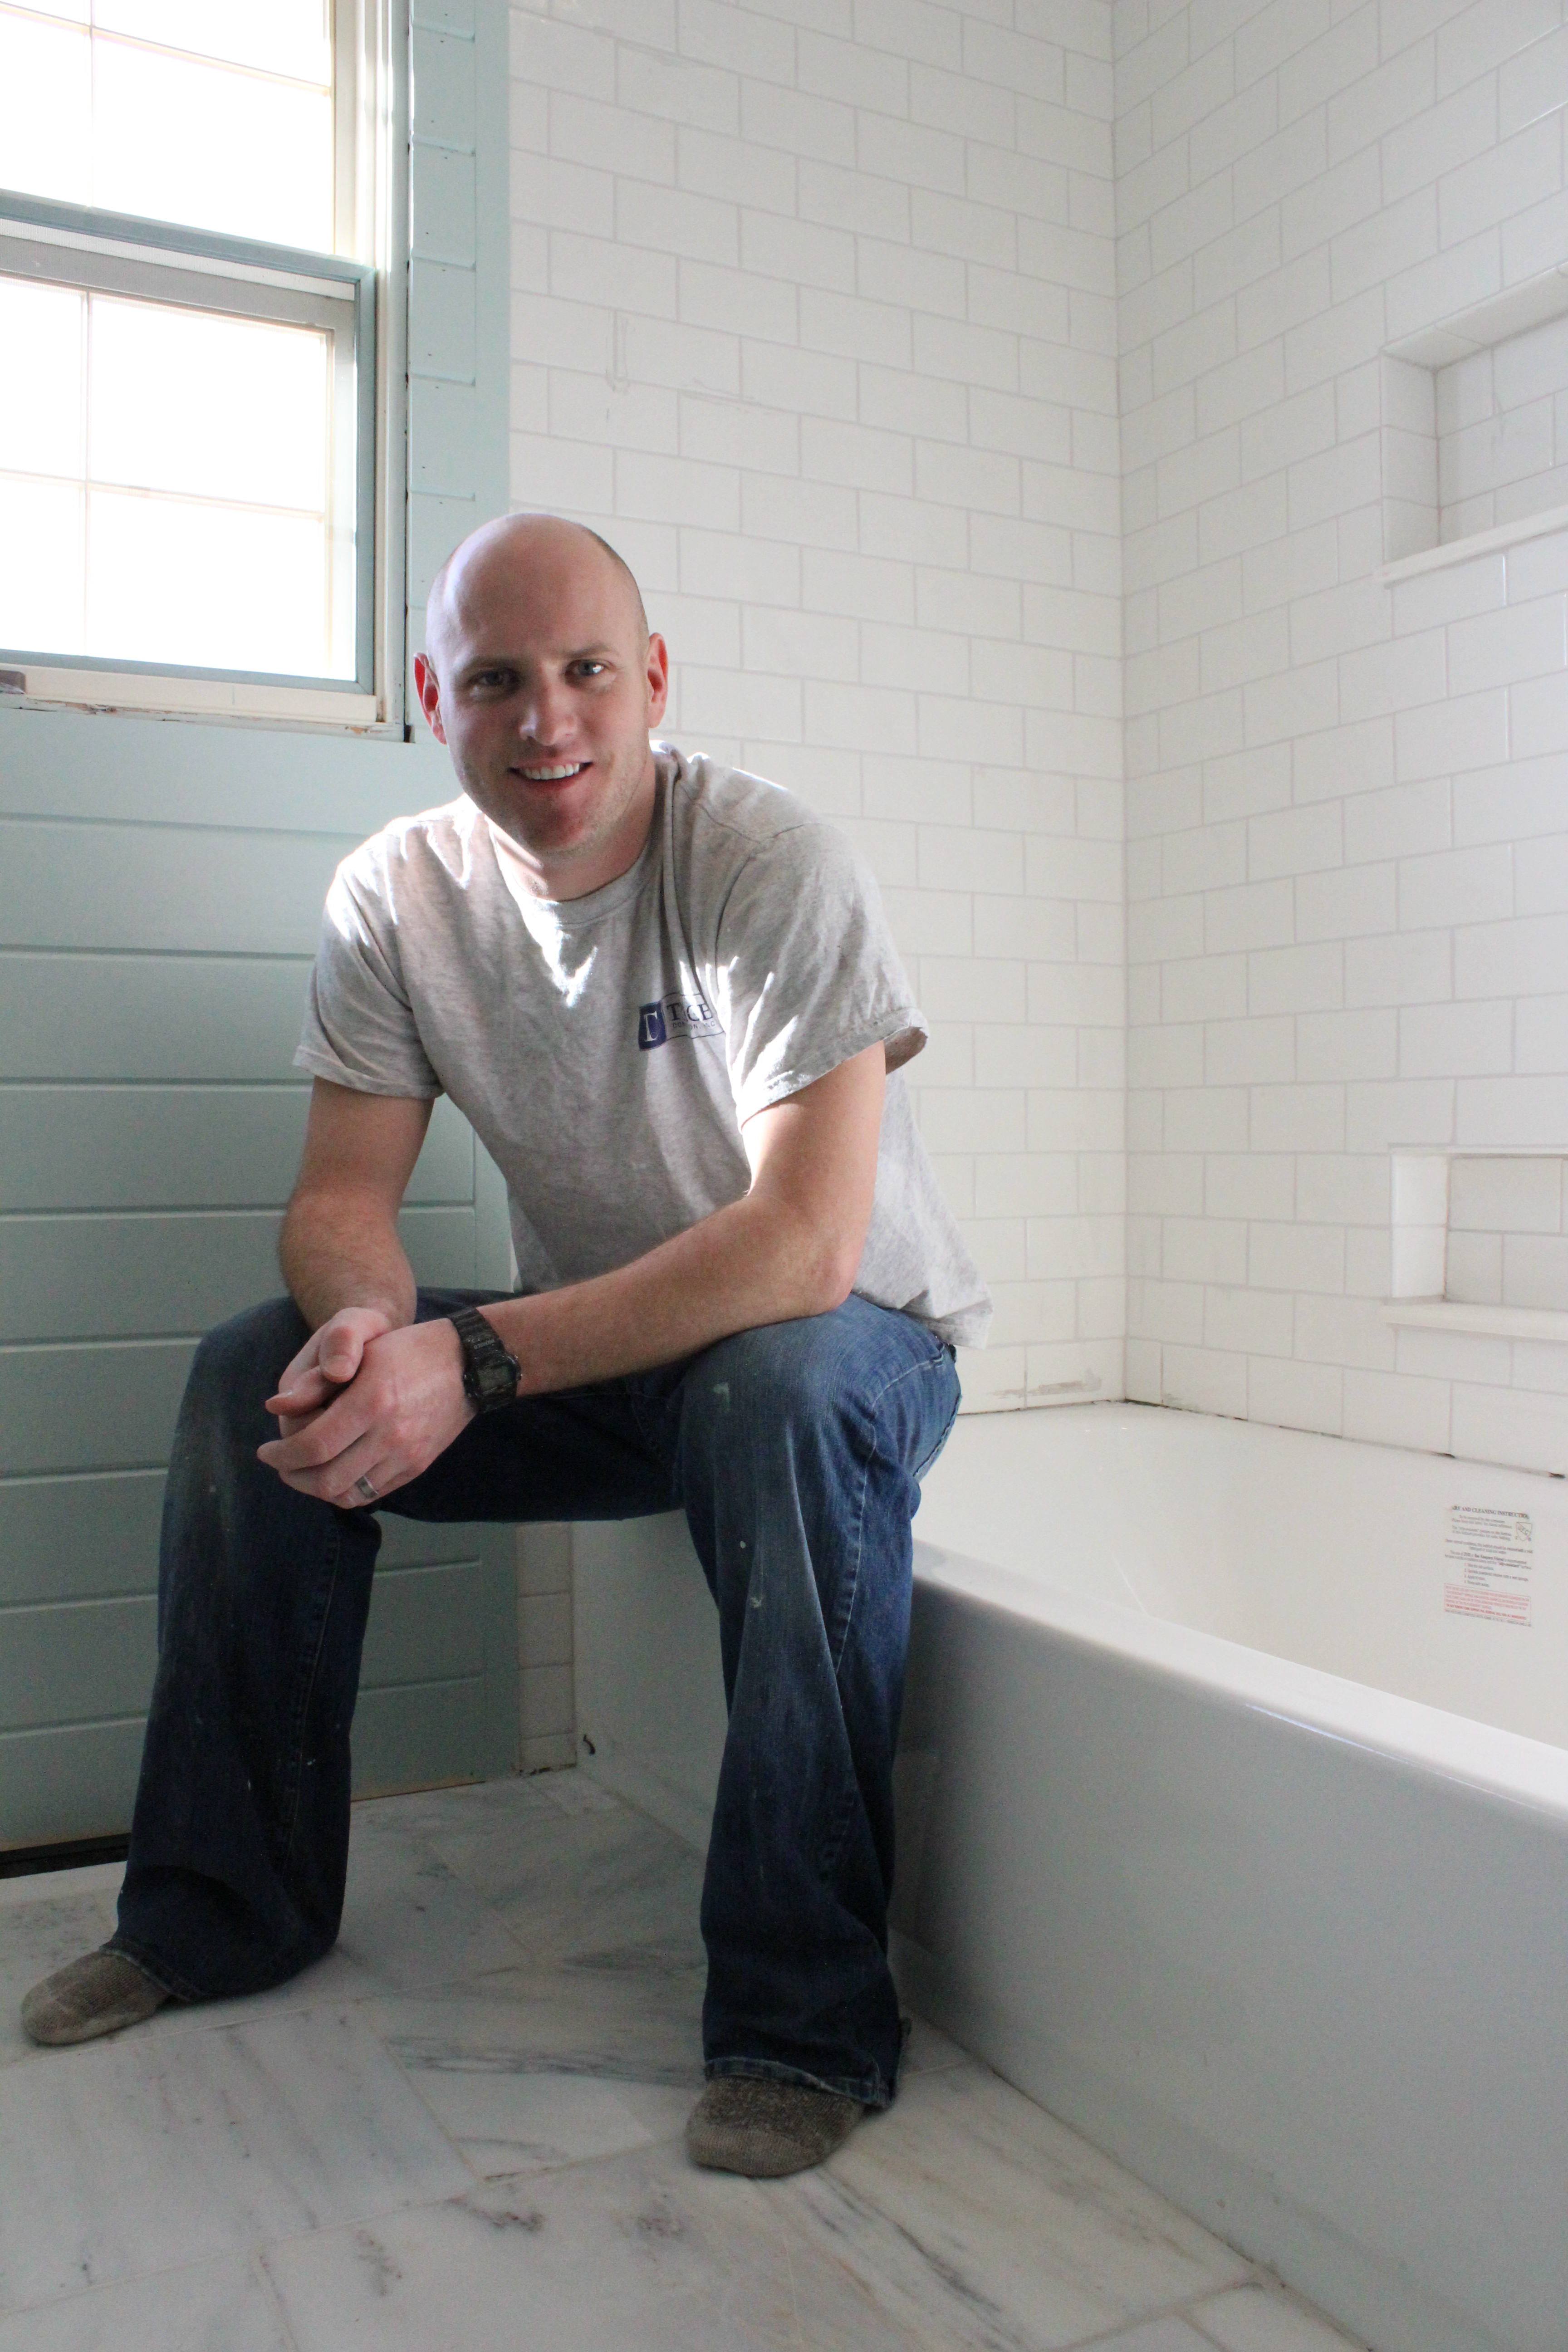
The wall color is Palladian Blue by Benjamin Moore. We went with the classic white subway tile in the shower. The grout color for both the shower and floor is Frost by MapeiIMG_2506

IMG_2486

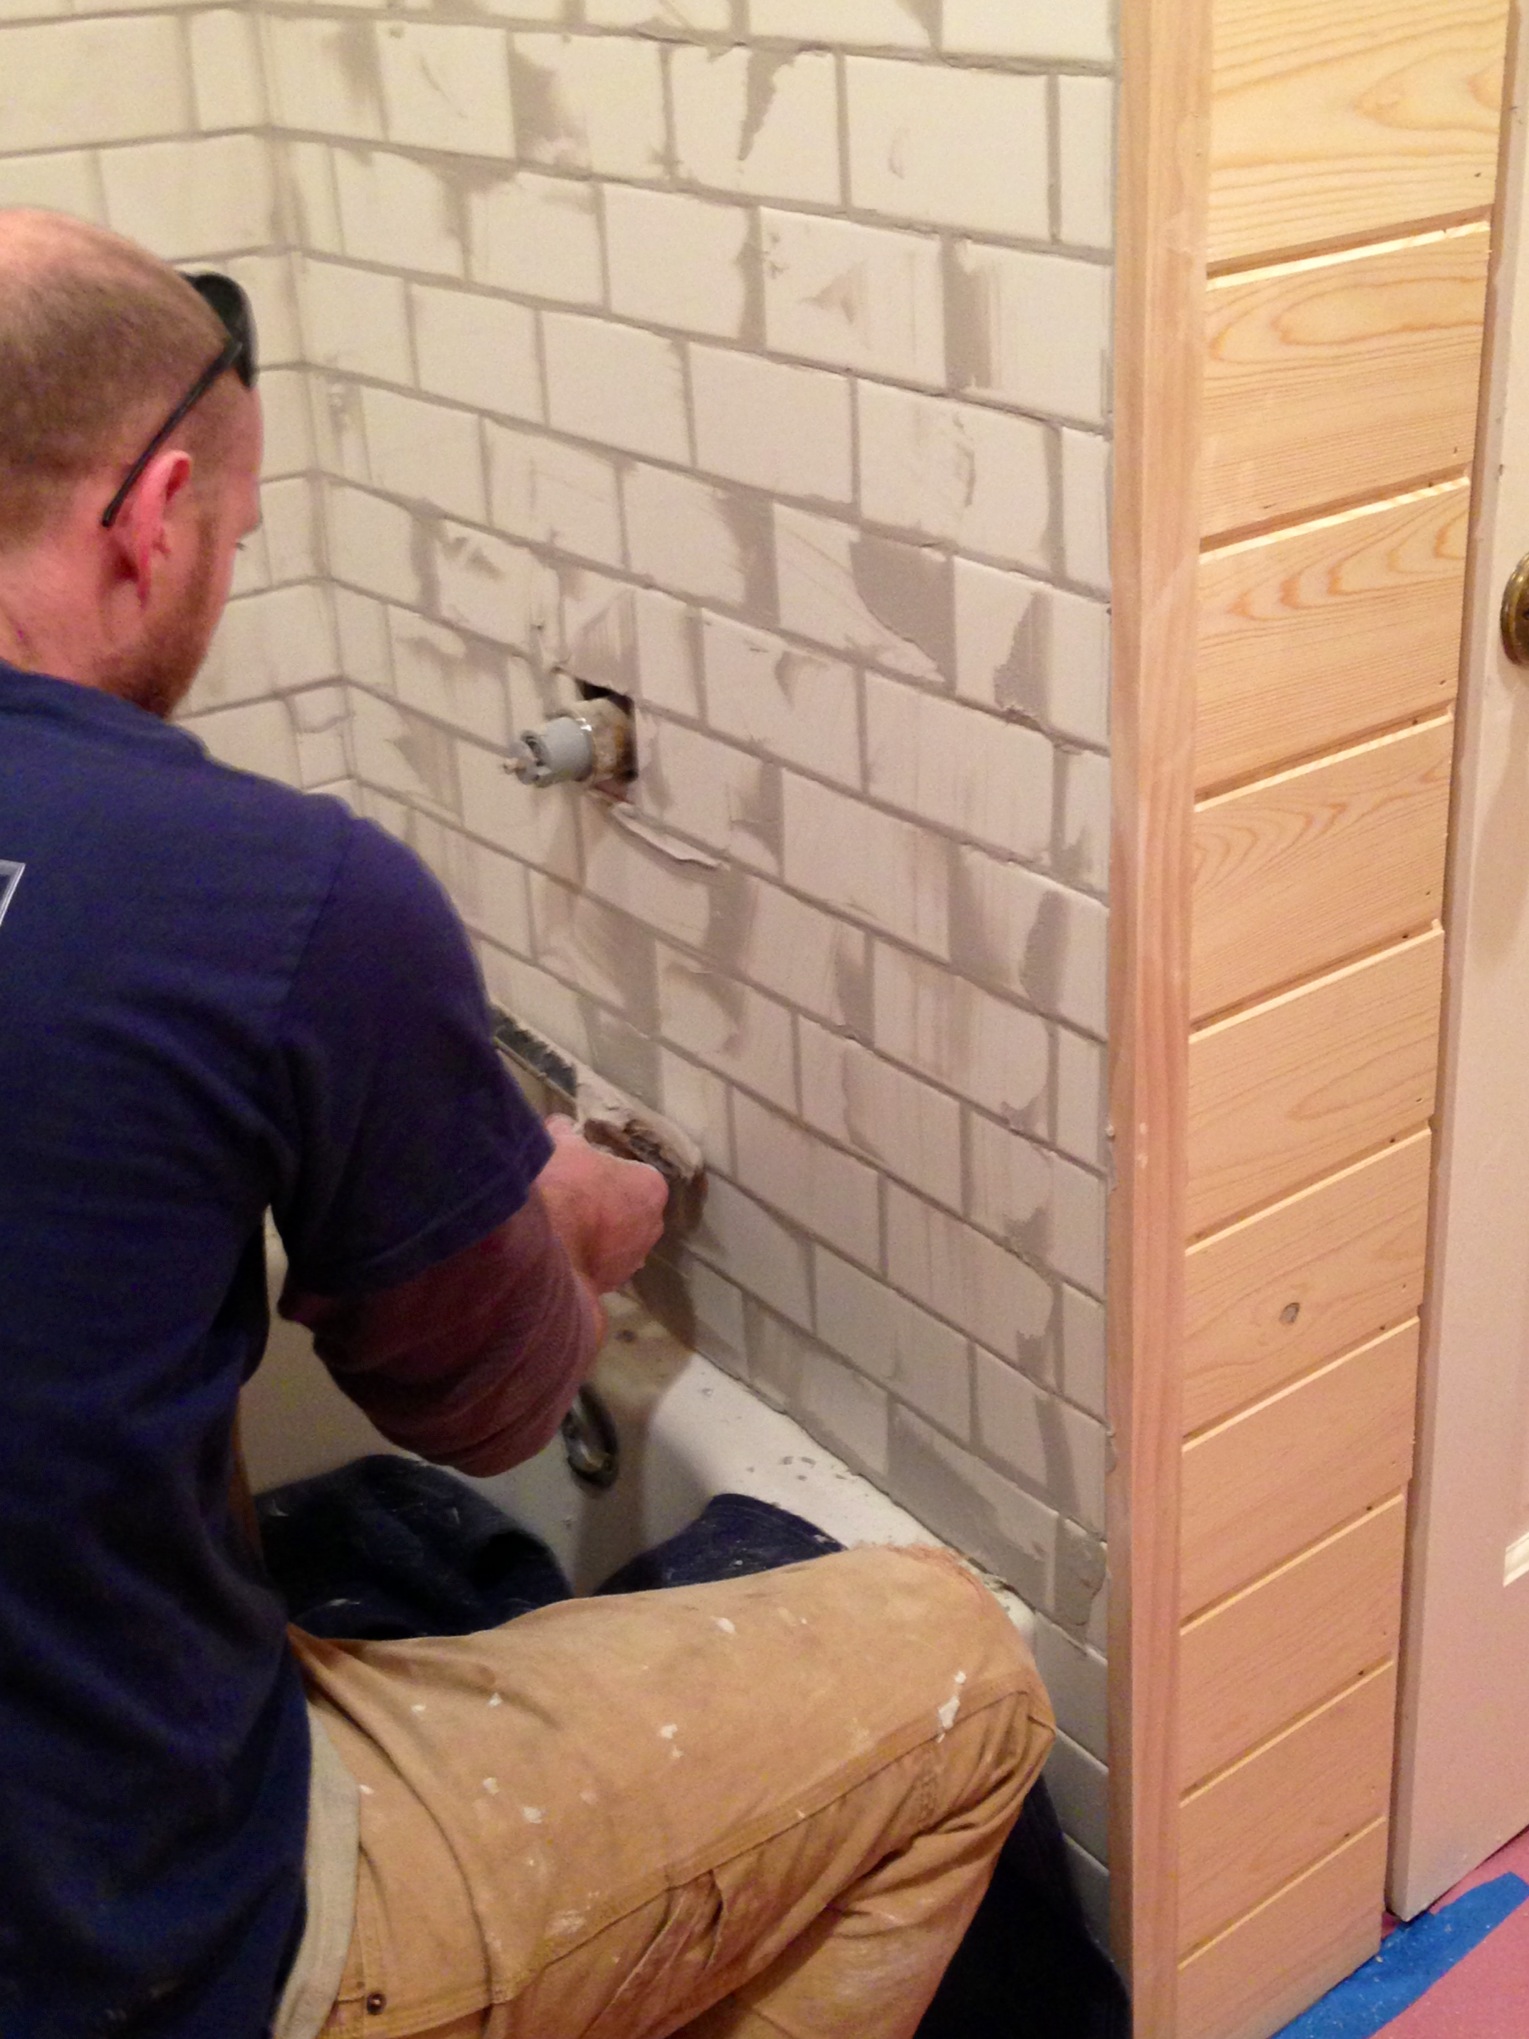
Didn’t Ben do an amazing job on that tile work? He laid it all himself and I helped grout, which was a lot easier than I had imagined. Just mix, trowel into all the crevices, and then wipe the excess away with a big sponge. Just watch out for any air bubbles. Seriously, if I can do it, you can do it.

photo-94

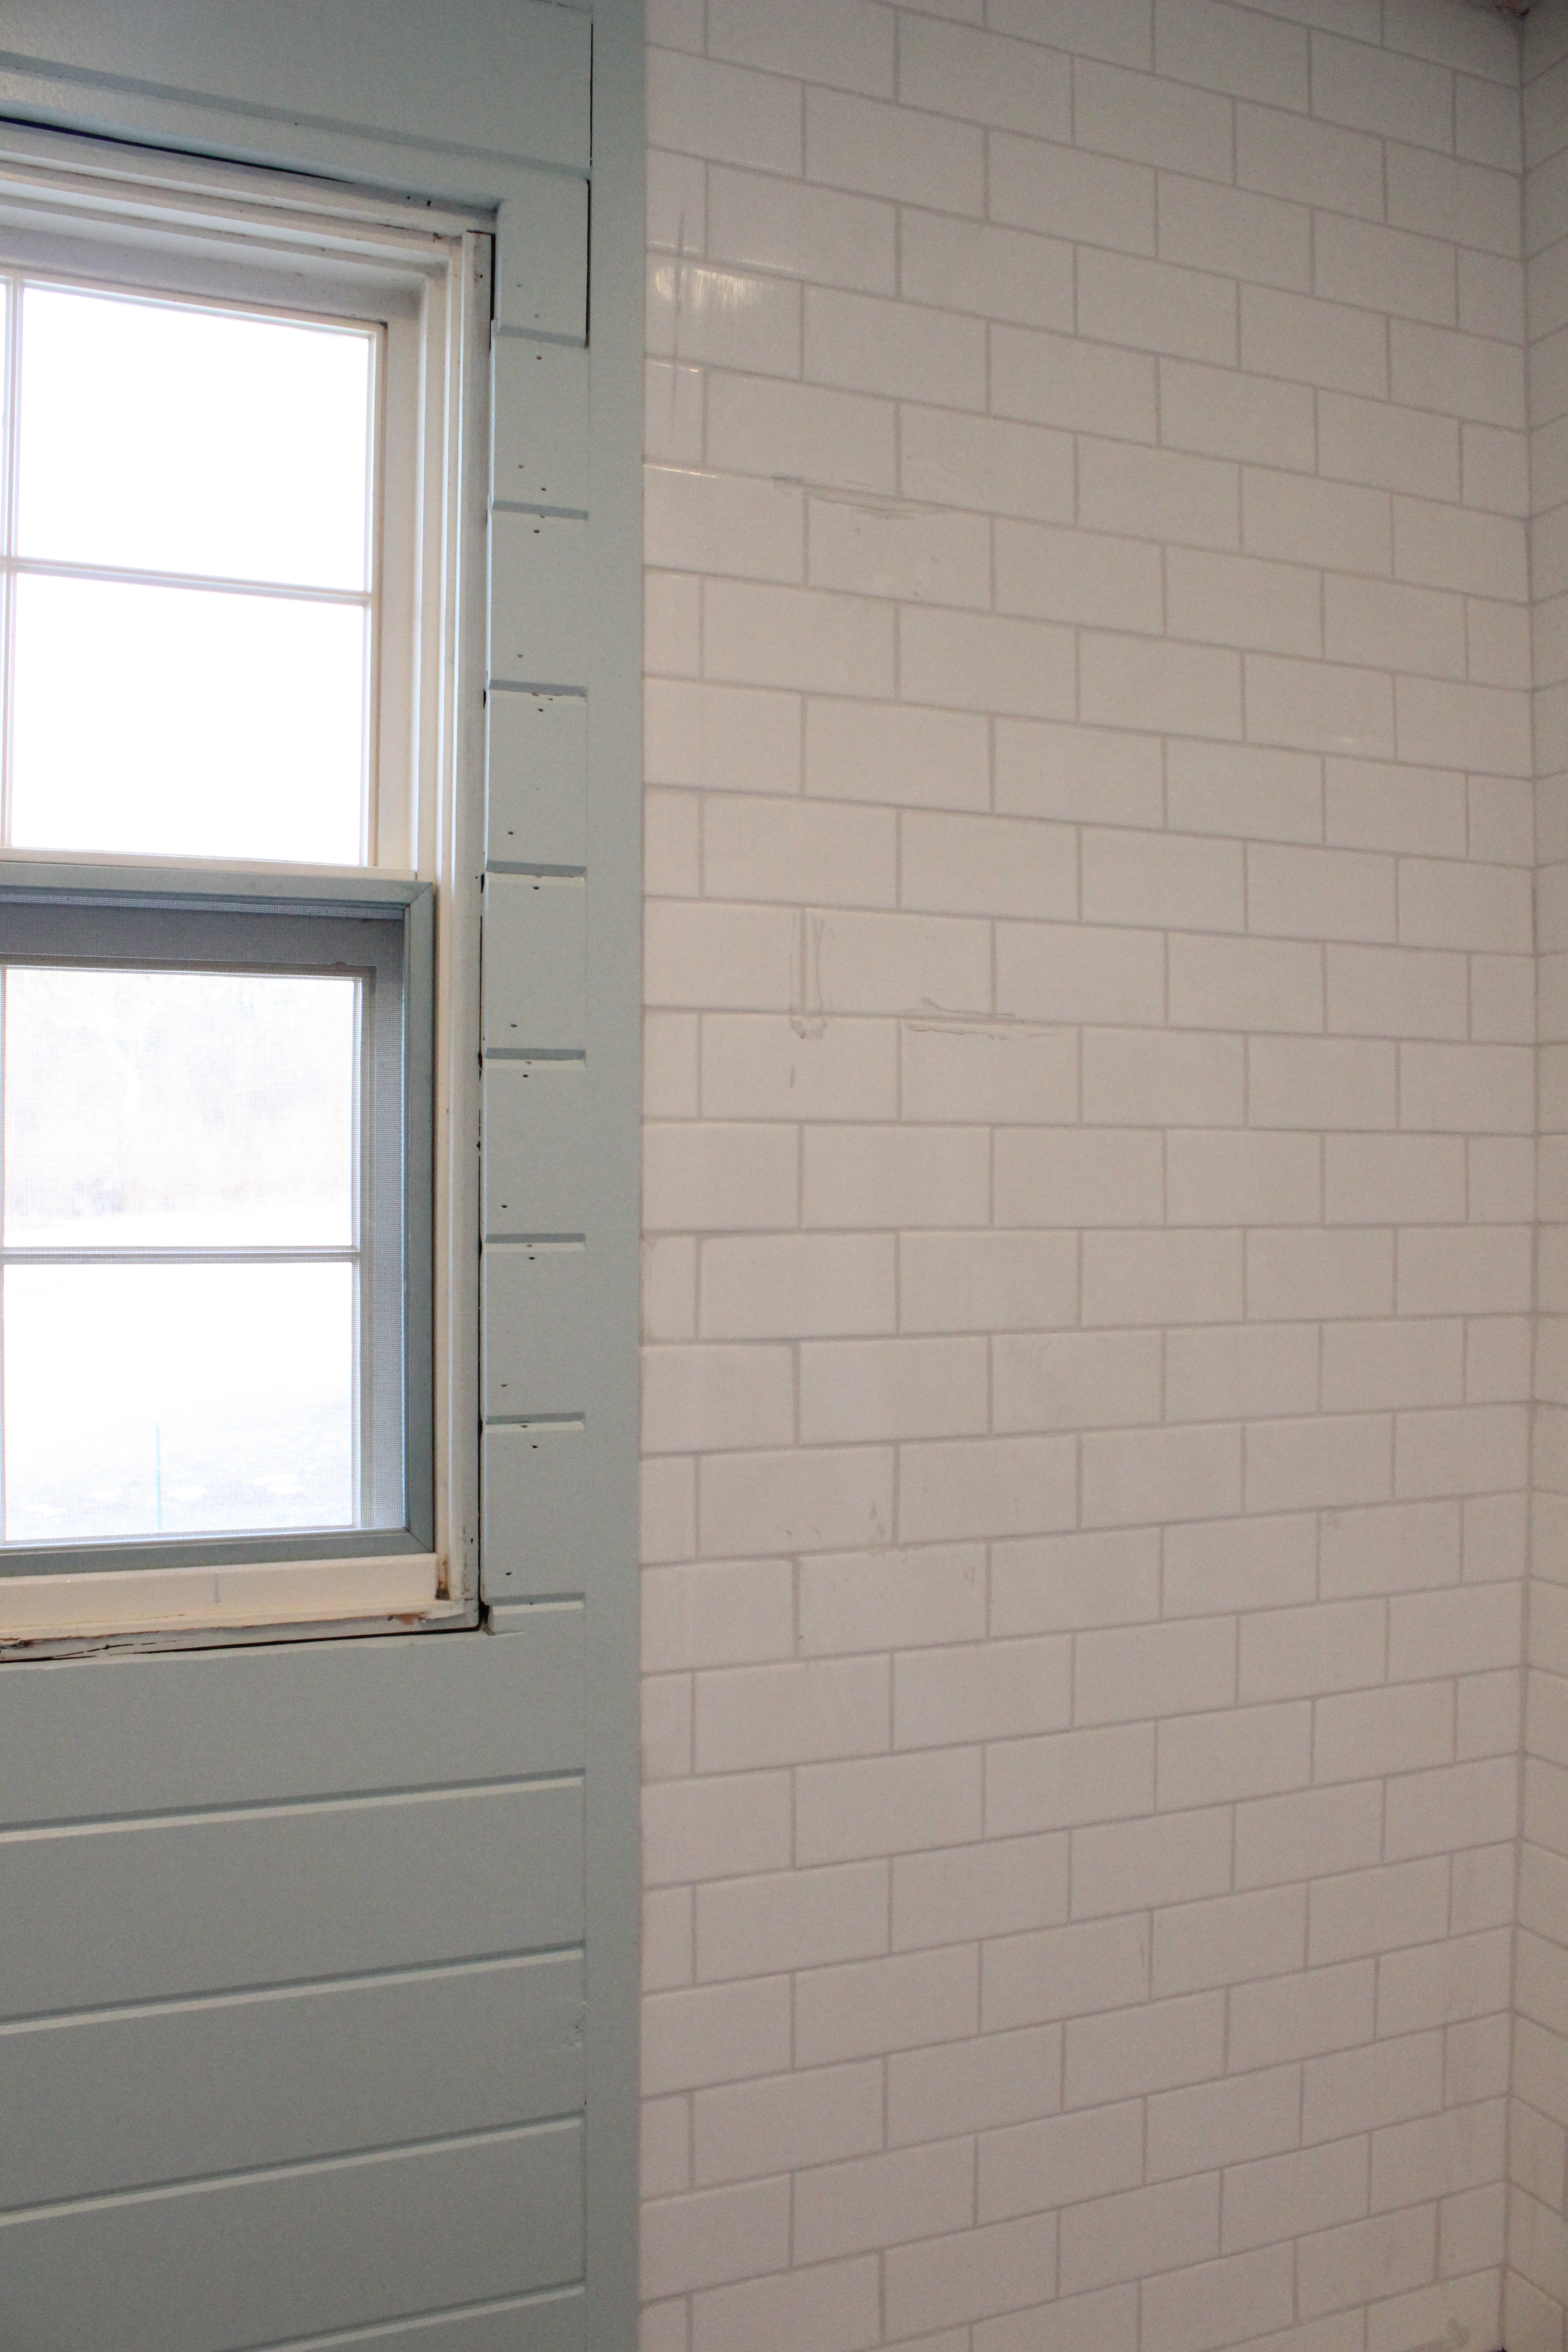
Ben installed all the tongue and groove wood on the walls and we painted it over the weekend. He also installed that 1″x 1″ in piece of wood where the wood and tile butt together (seen above). Genius, I tell ya.IMG_2507

Here’s a look at the room before paint. Quite the difference a coat of paint makes!IMG_2458

We’re really happy with the way it’s coming together!

IMG_2502

Next up: baseboard, crown molding, patching and painting the ceiling, and then installing the toilet, vanity and sconces. Almost there!

Toasty Toes, More Paint, New Lights & A Furry Rug

2 Feb

While I was in Las Vegas for work this past week, my darling husband installed the underfloor heat in the bathroom and finished painting the 2nd spare bedroom.

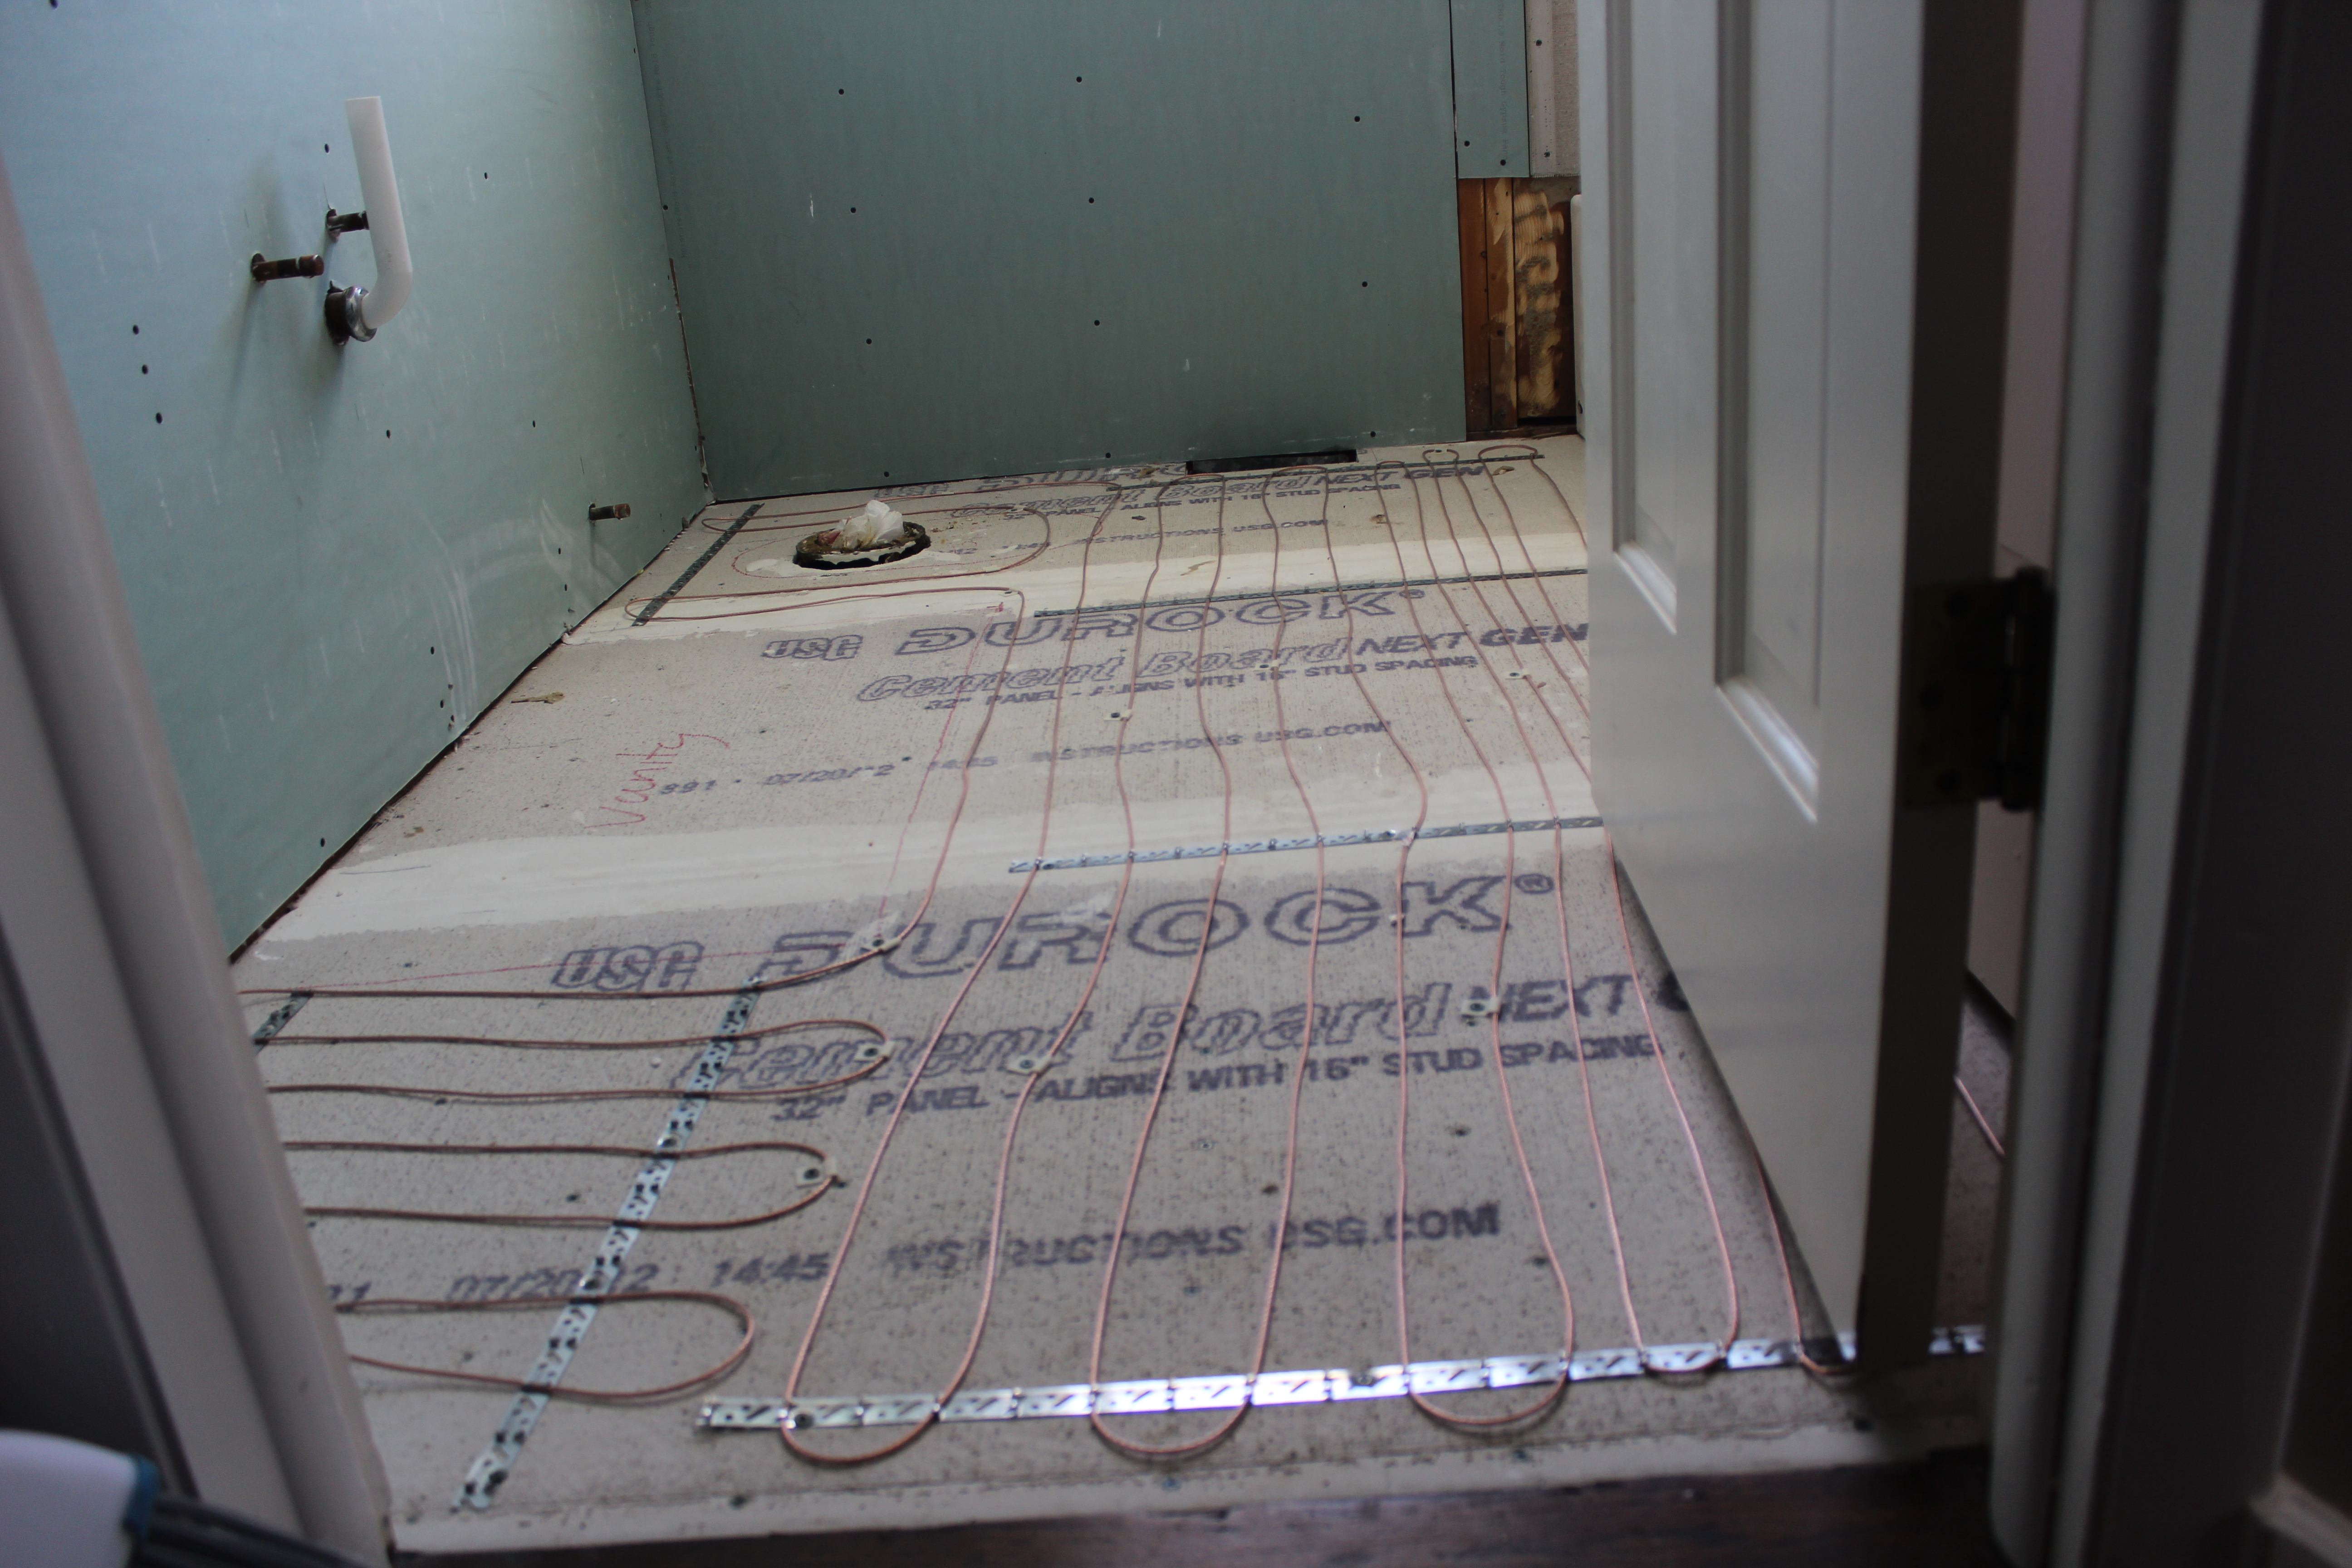
He said the underfloor heating was really easy to install. First, he laid down the cables in a “S” pattern. You can see in the photo there are little steel straps that you weave the cables through.
IMG_2282

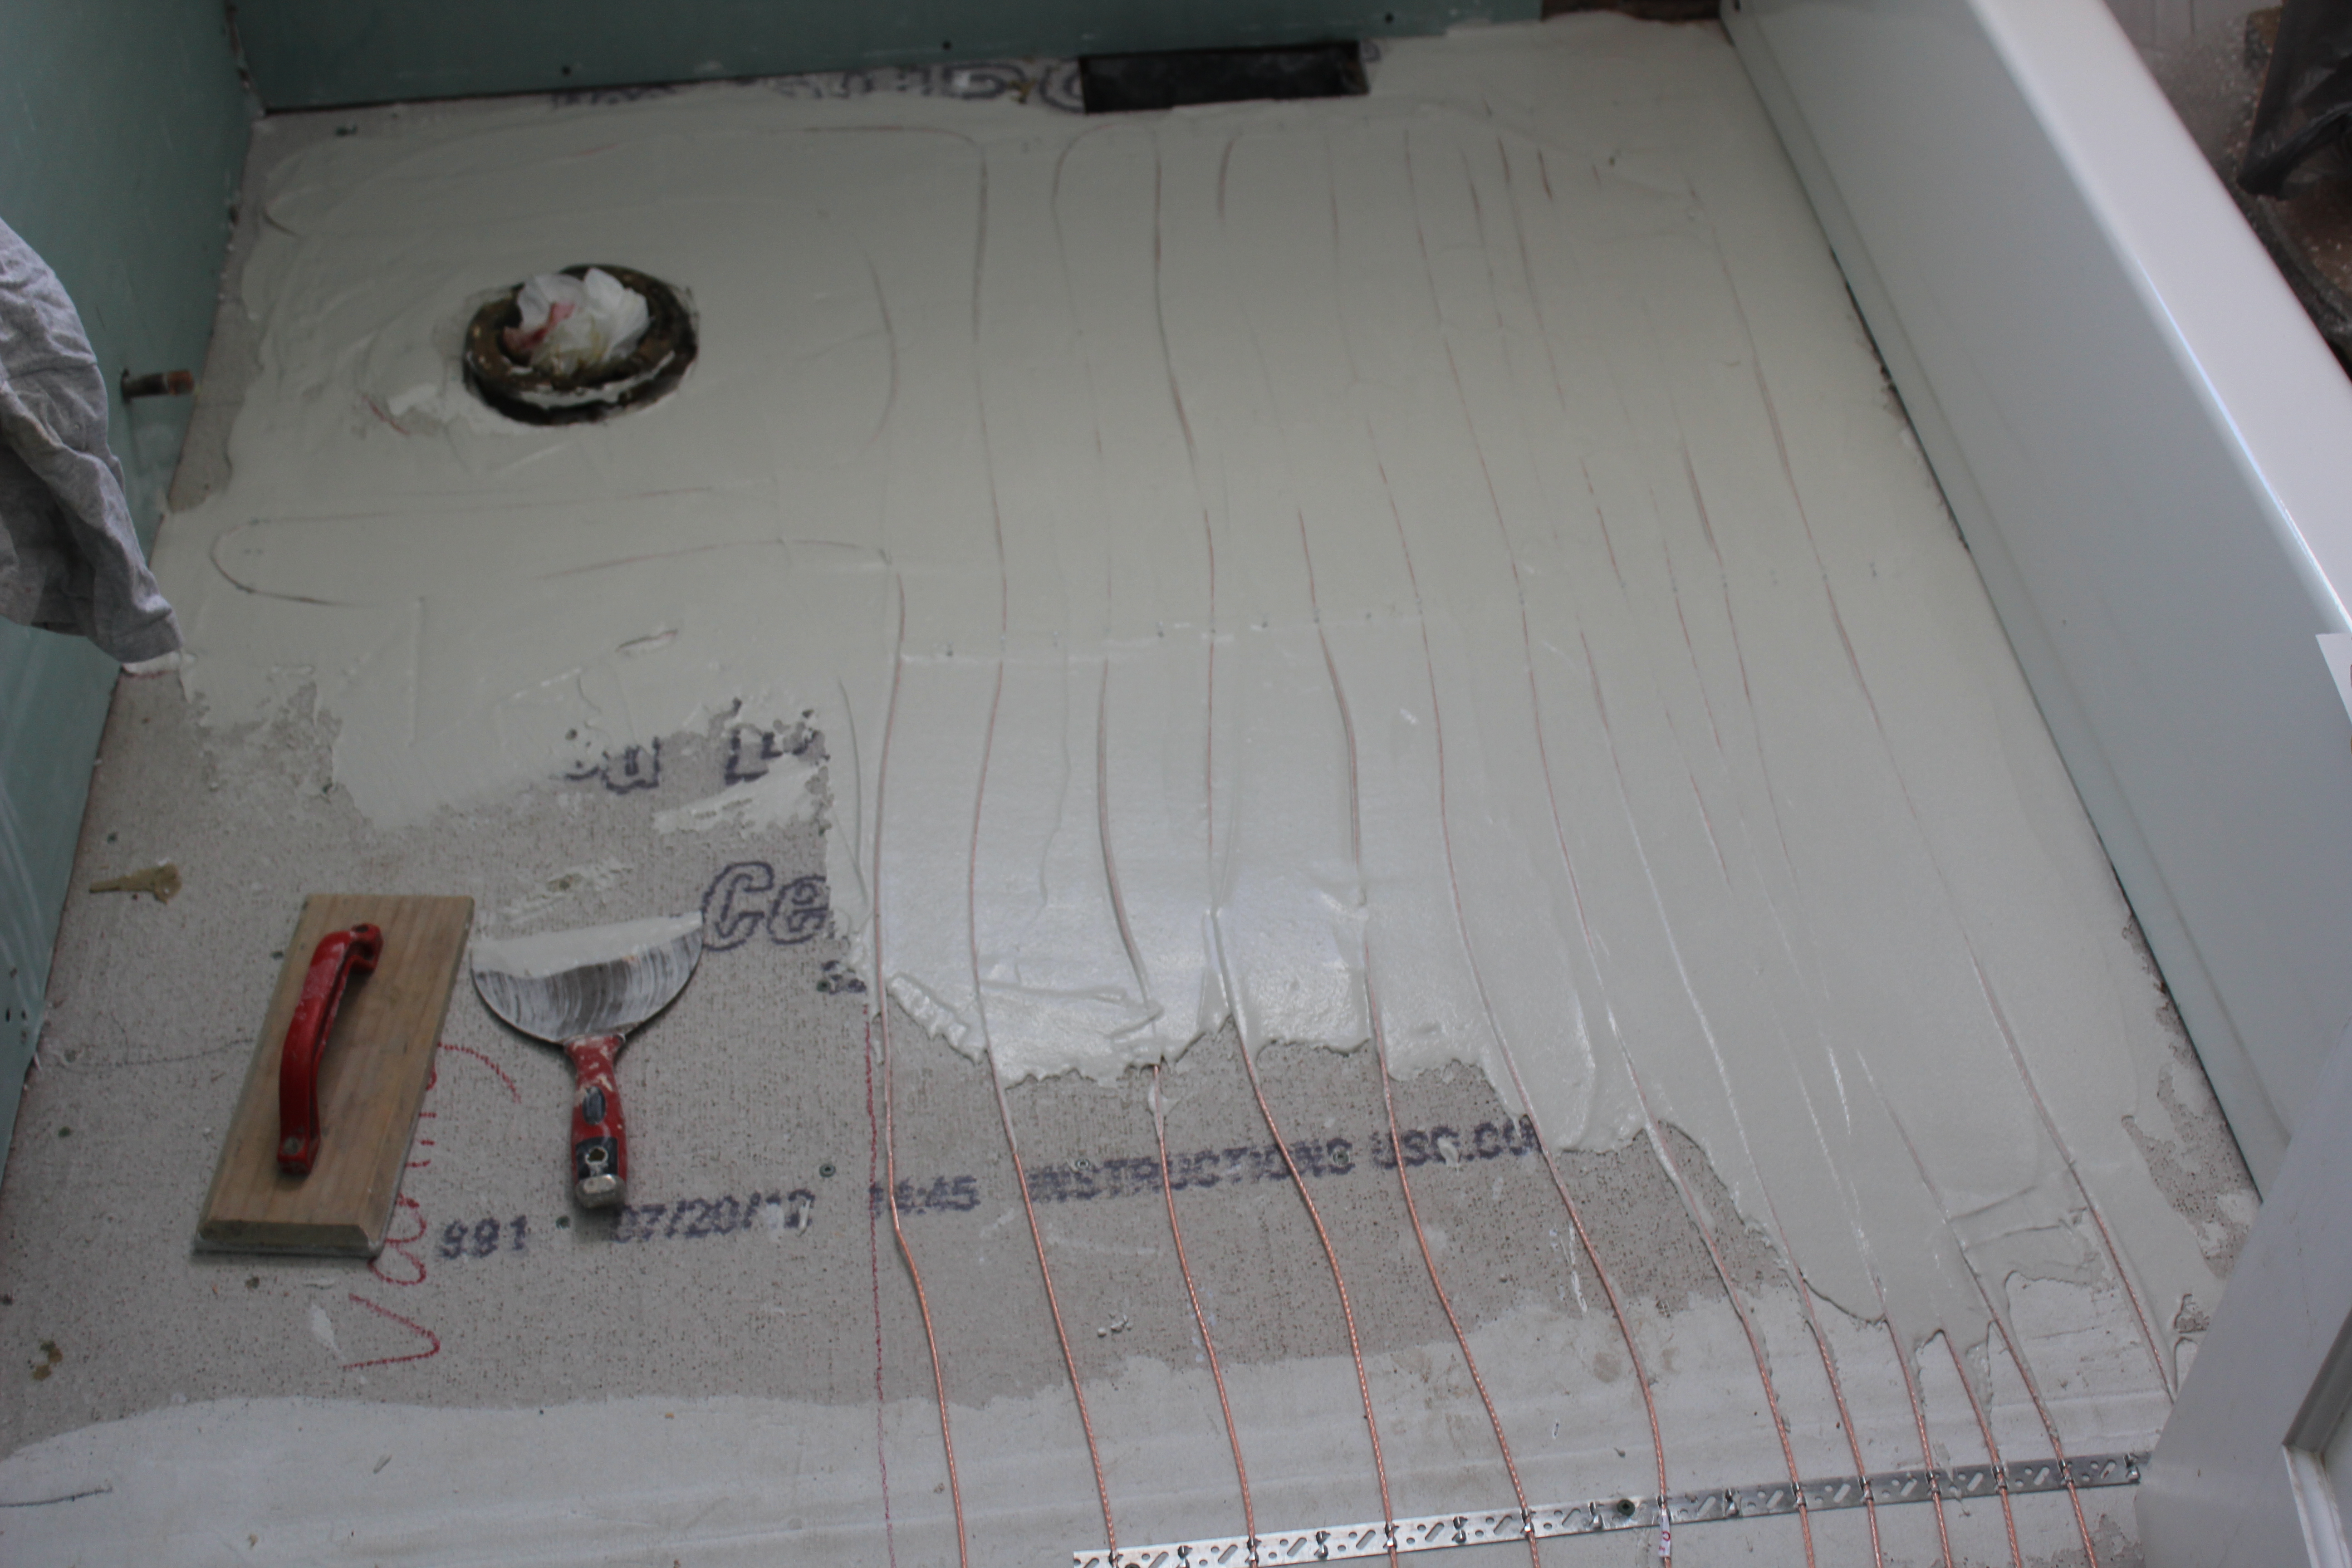
Next, he applied a coat of thinset over everything to keep it in place and prep for tile.
IMG_2288I’m traveling for work again this coming week so maybe I’ll come home this time and see some tile down (hint, hint Ben ;)).

And here is the 2nd spare bedroom with its final coat of paint. I ended up tweaking it a bit from the first coat, toning it down a little by adding about 15% of some grayish paint we had to the original color.

IMG_2289

As you can see, we are using it as a staging area/workshop for the bathroom right now, but I can’t wait to get it all set up!

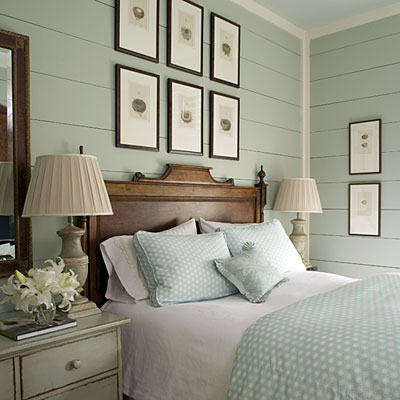
See that wood in the picture above? We are going to use that to plank the walls in the bathroom. I’ve always loved this look and am so excited to get to do it in here. Here is one of my inspiration images:

Found here: http://www.southernliving.com/home-garden/decorating/bedroom-walls-00417000070400/page10.html

Found here.

We also had a bunch of items show up in the mail this week, including a new light fixture for the office.

It’s a 3-bulb semi-flush light from Wayfair for $99. Simple and clean. IMG_2334

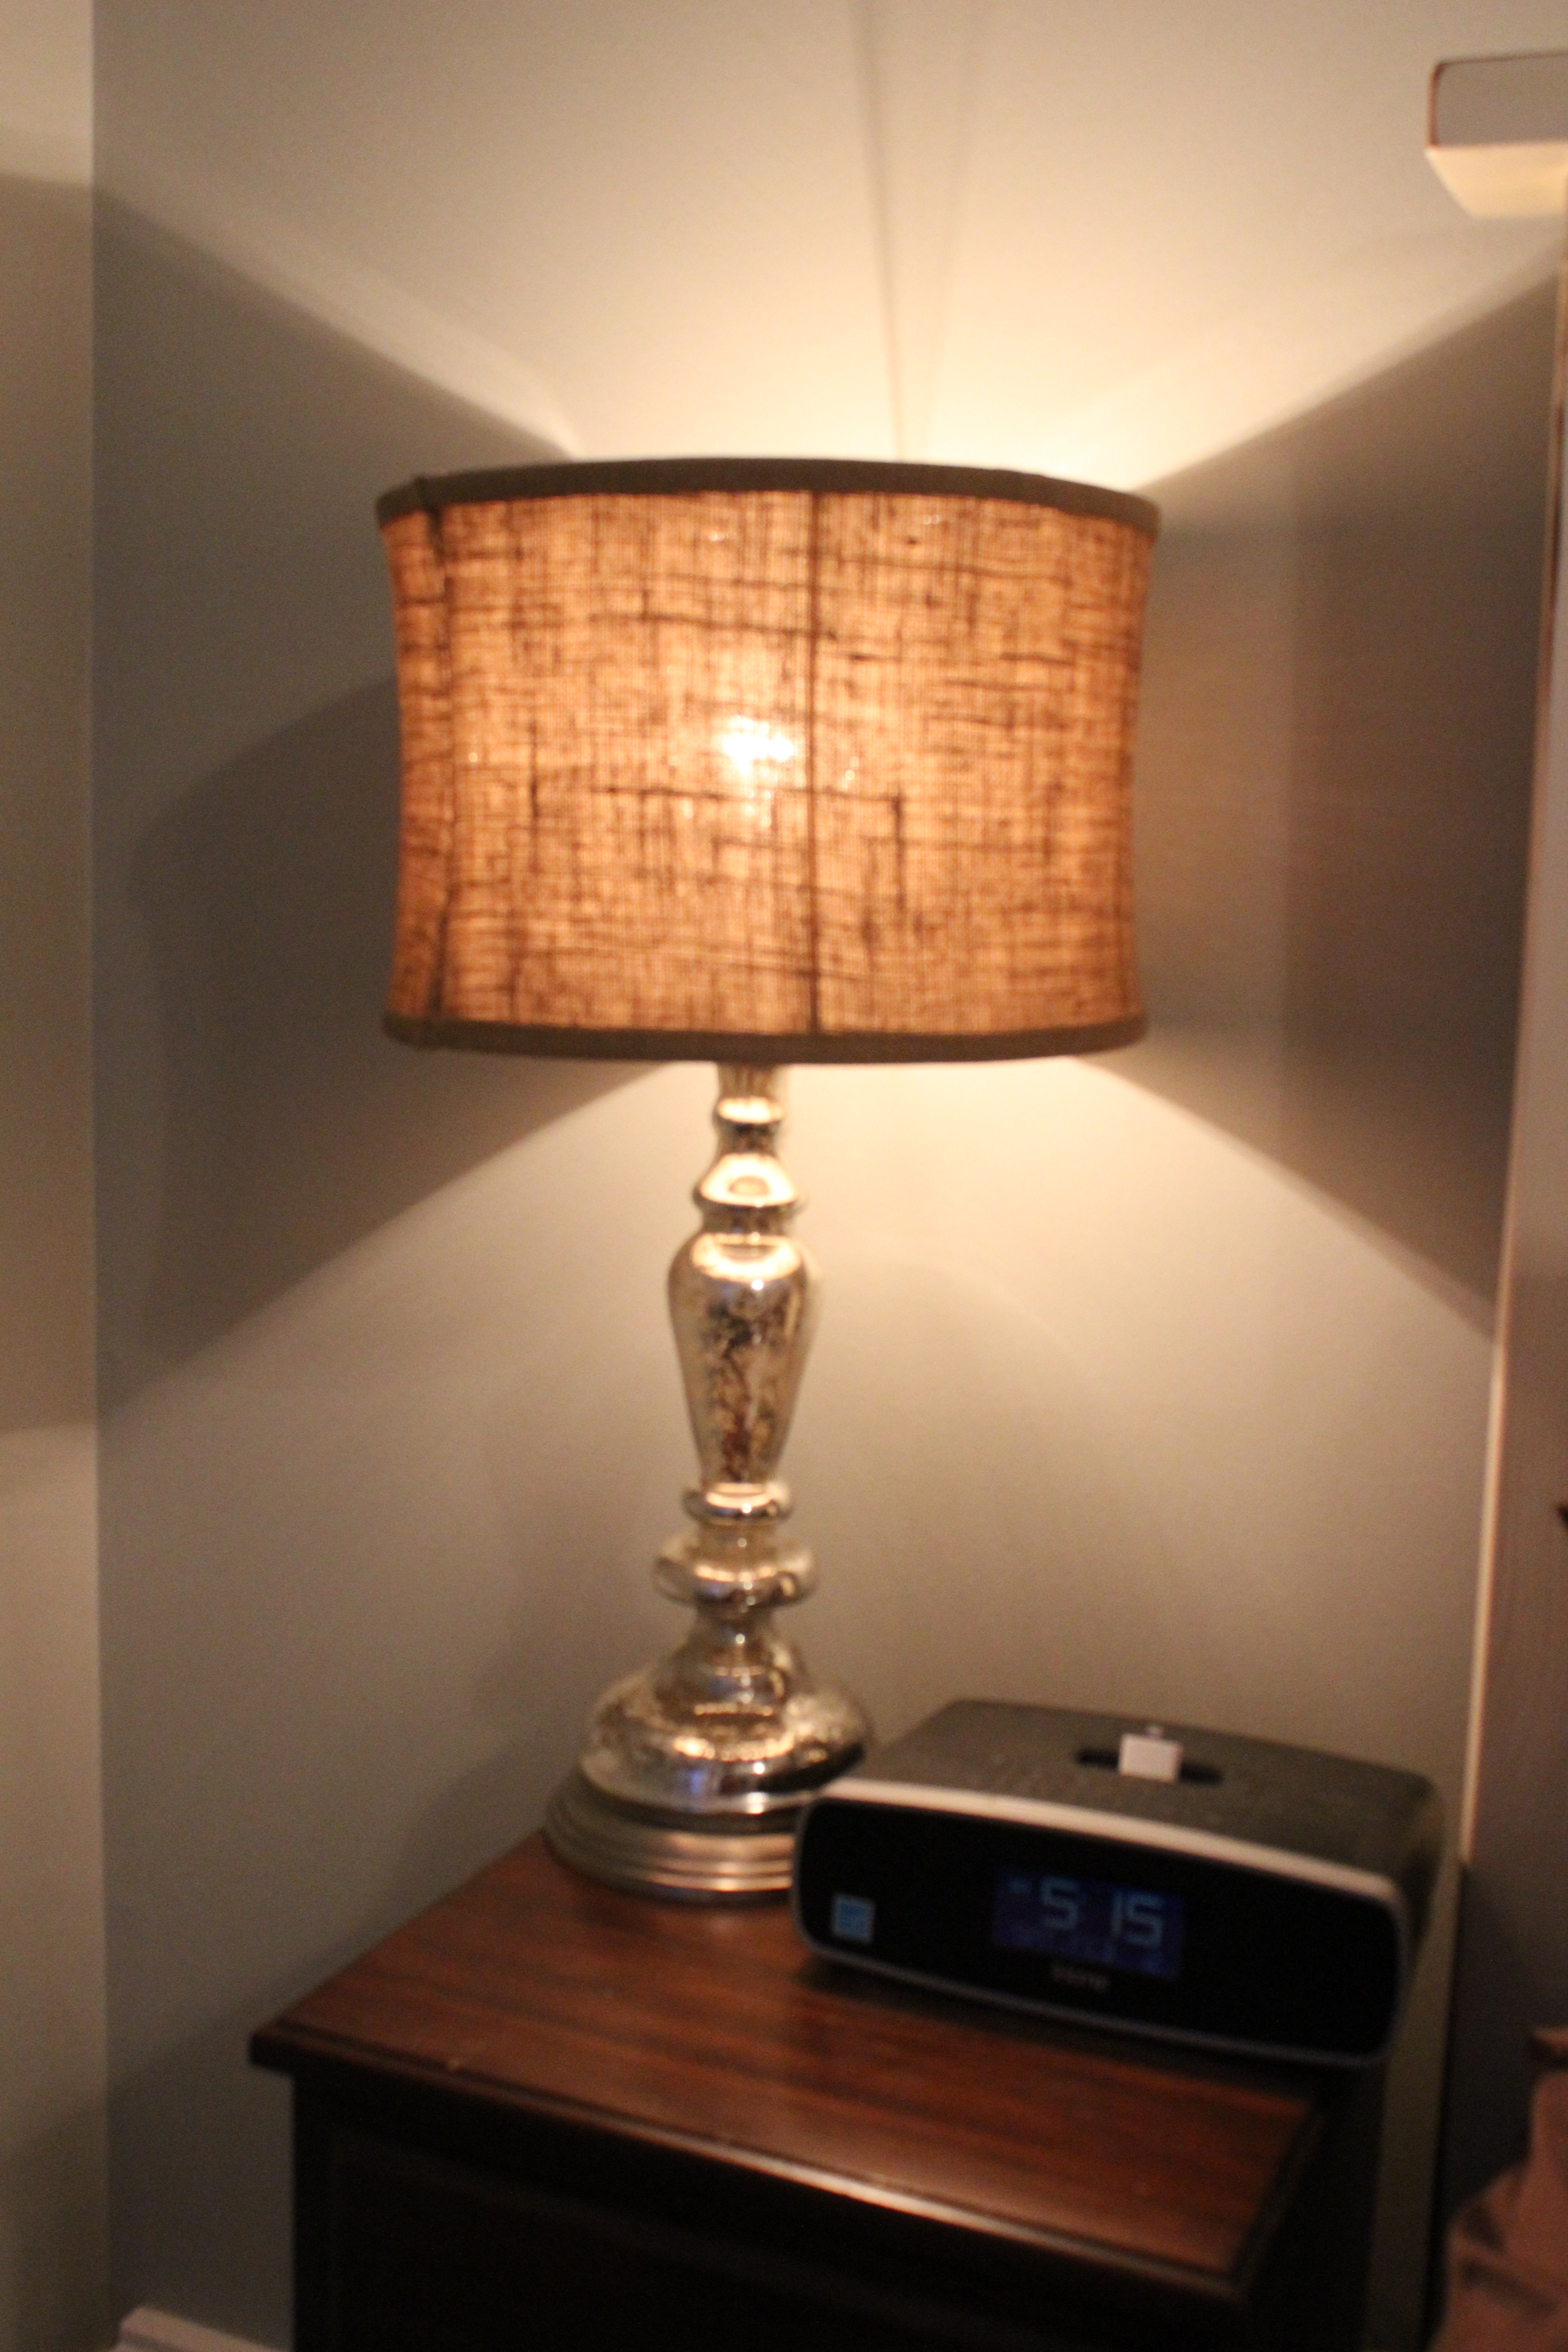
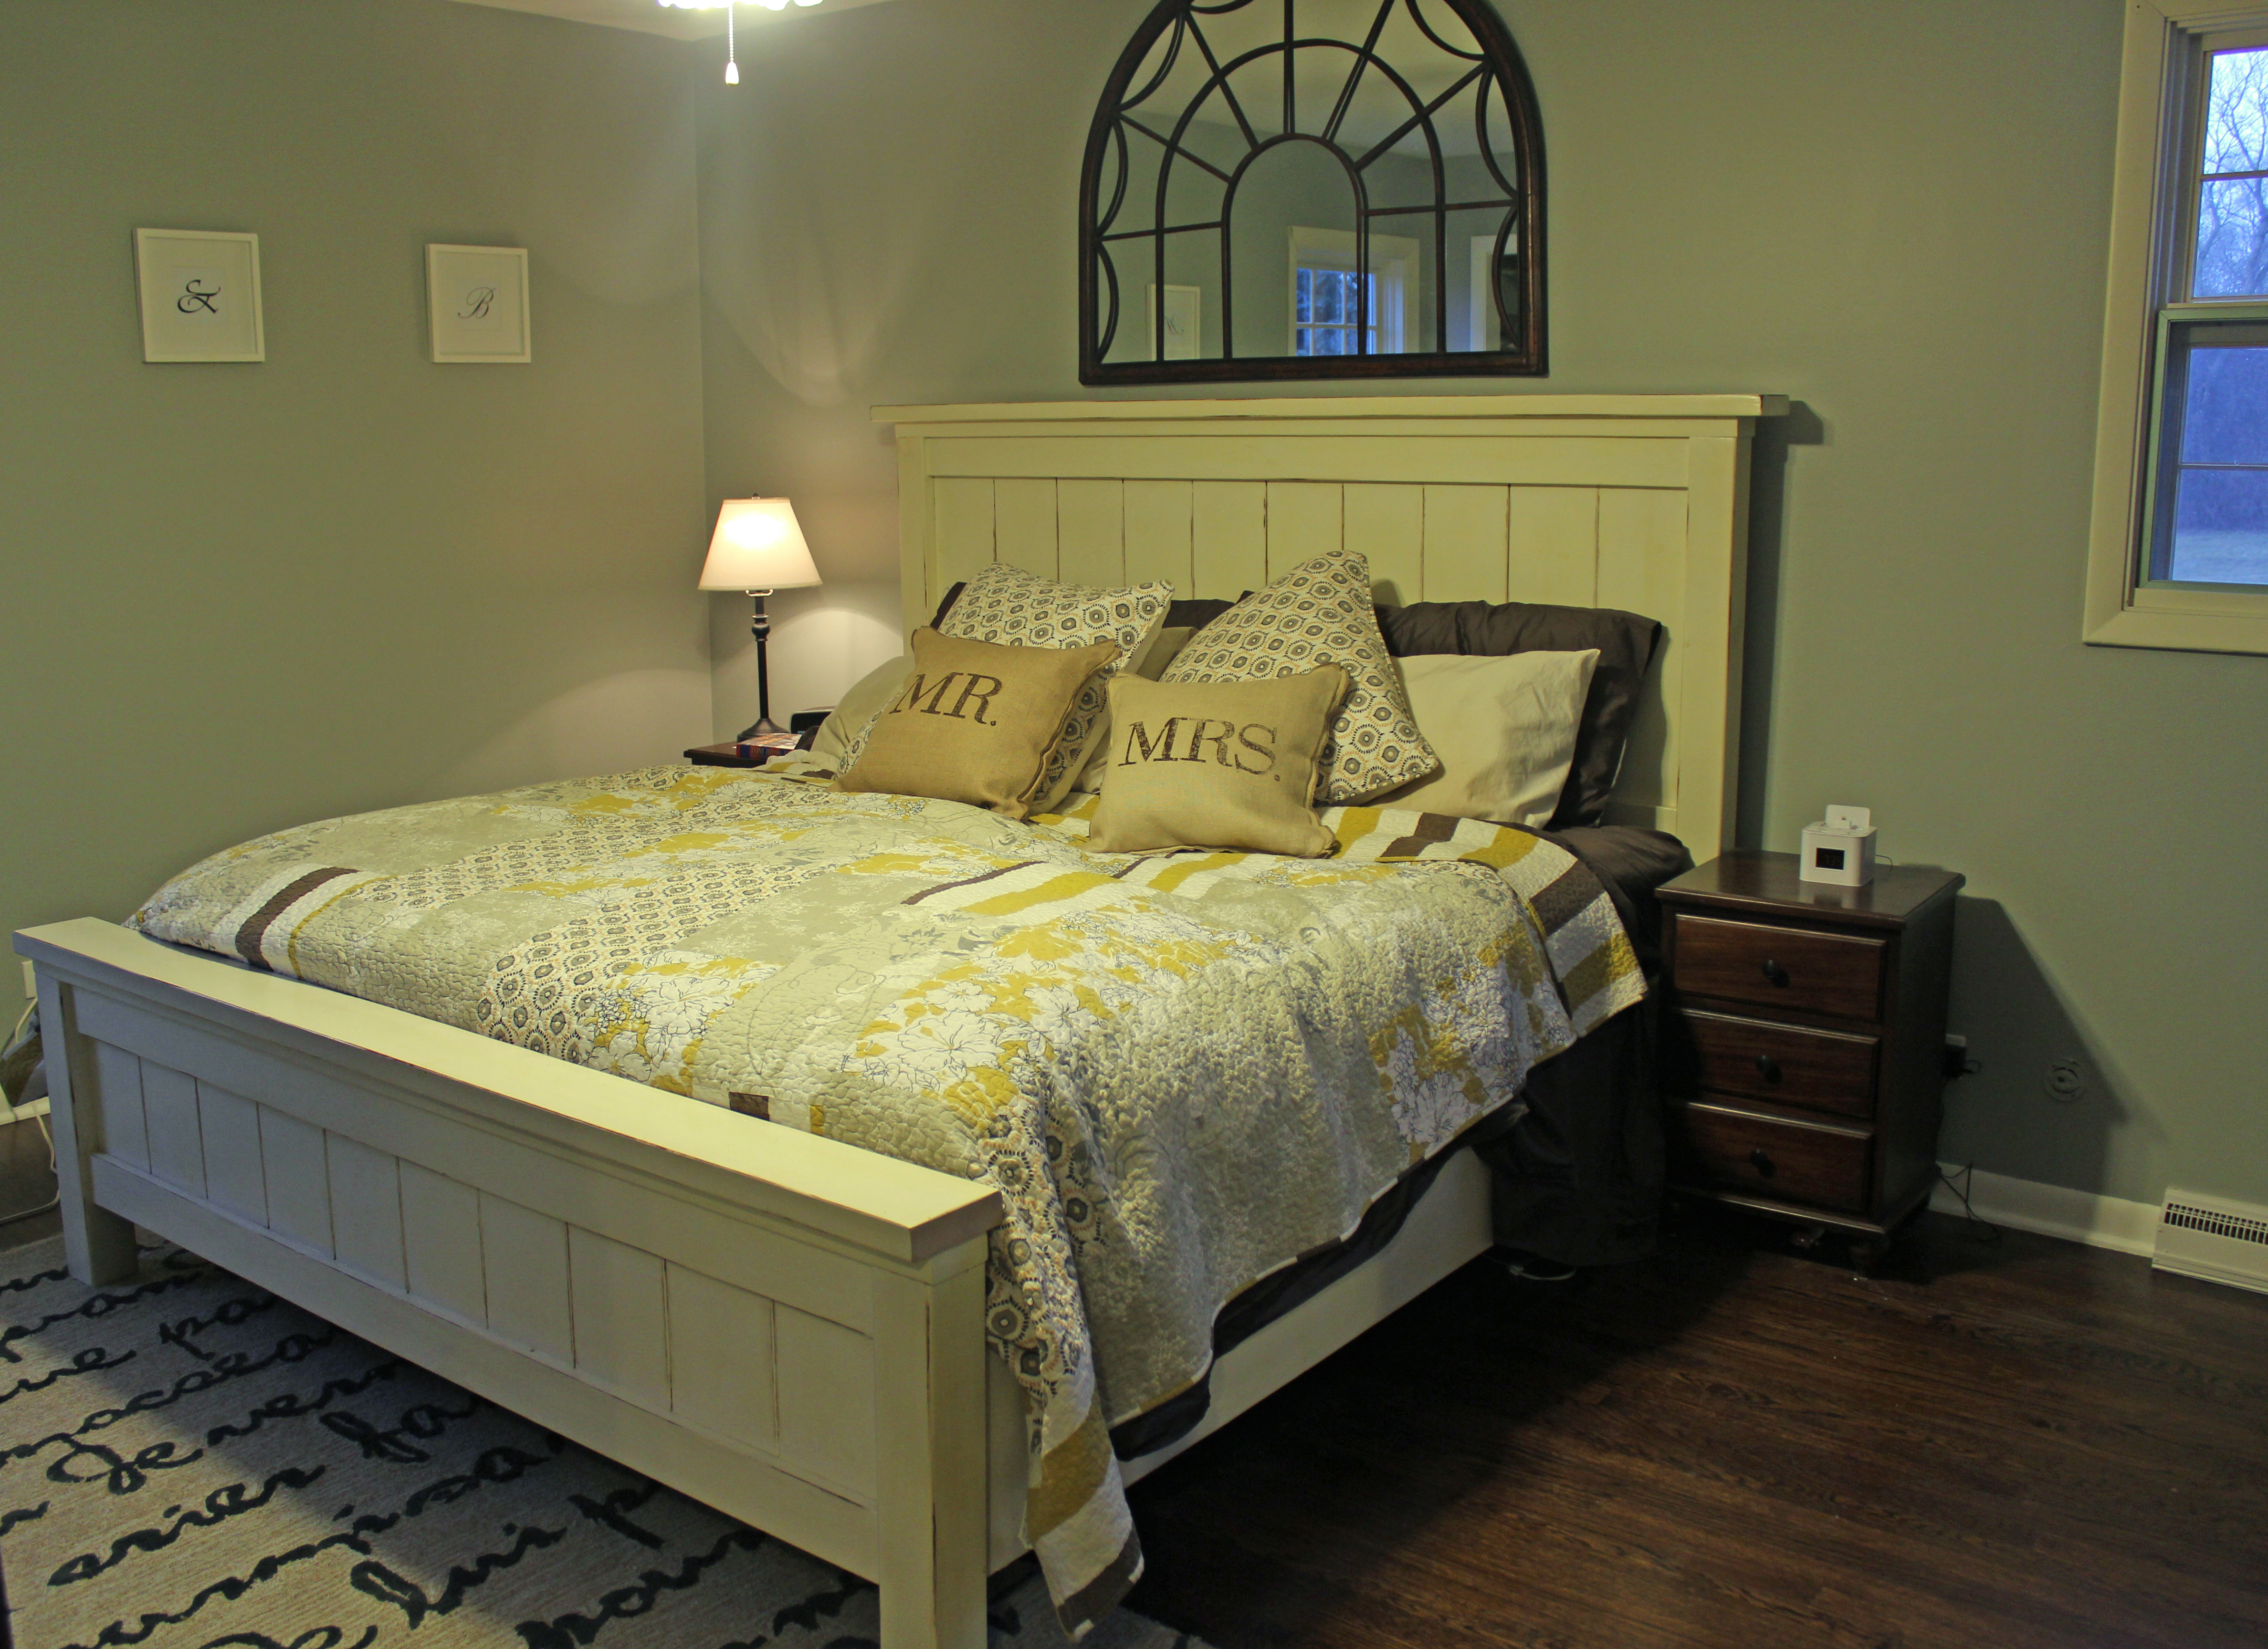
But my favorite is our new bedroom lamps! They are from Pottery Barn and are more than I would have liked to pay except we had a leftover gift card from our wedding, so they weren’t too bad.
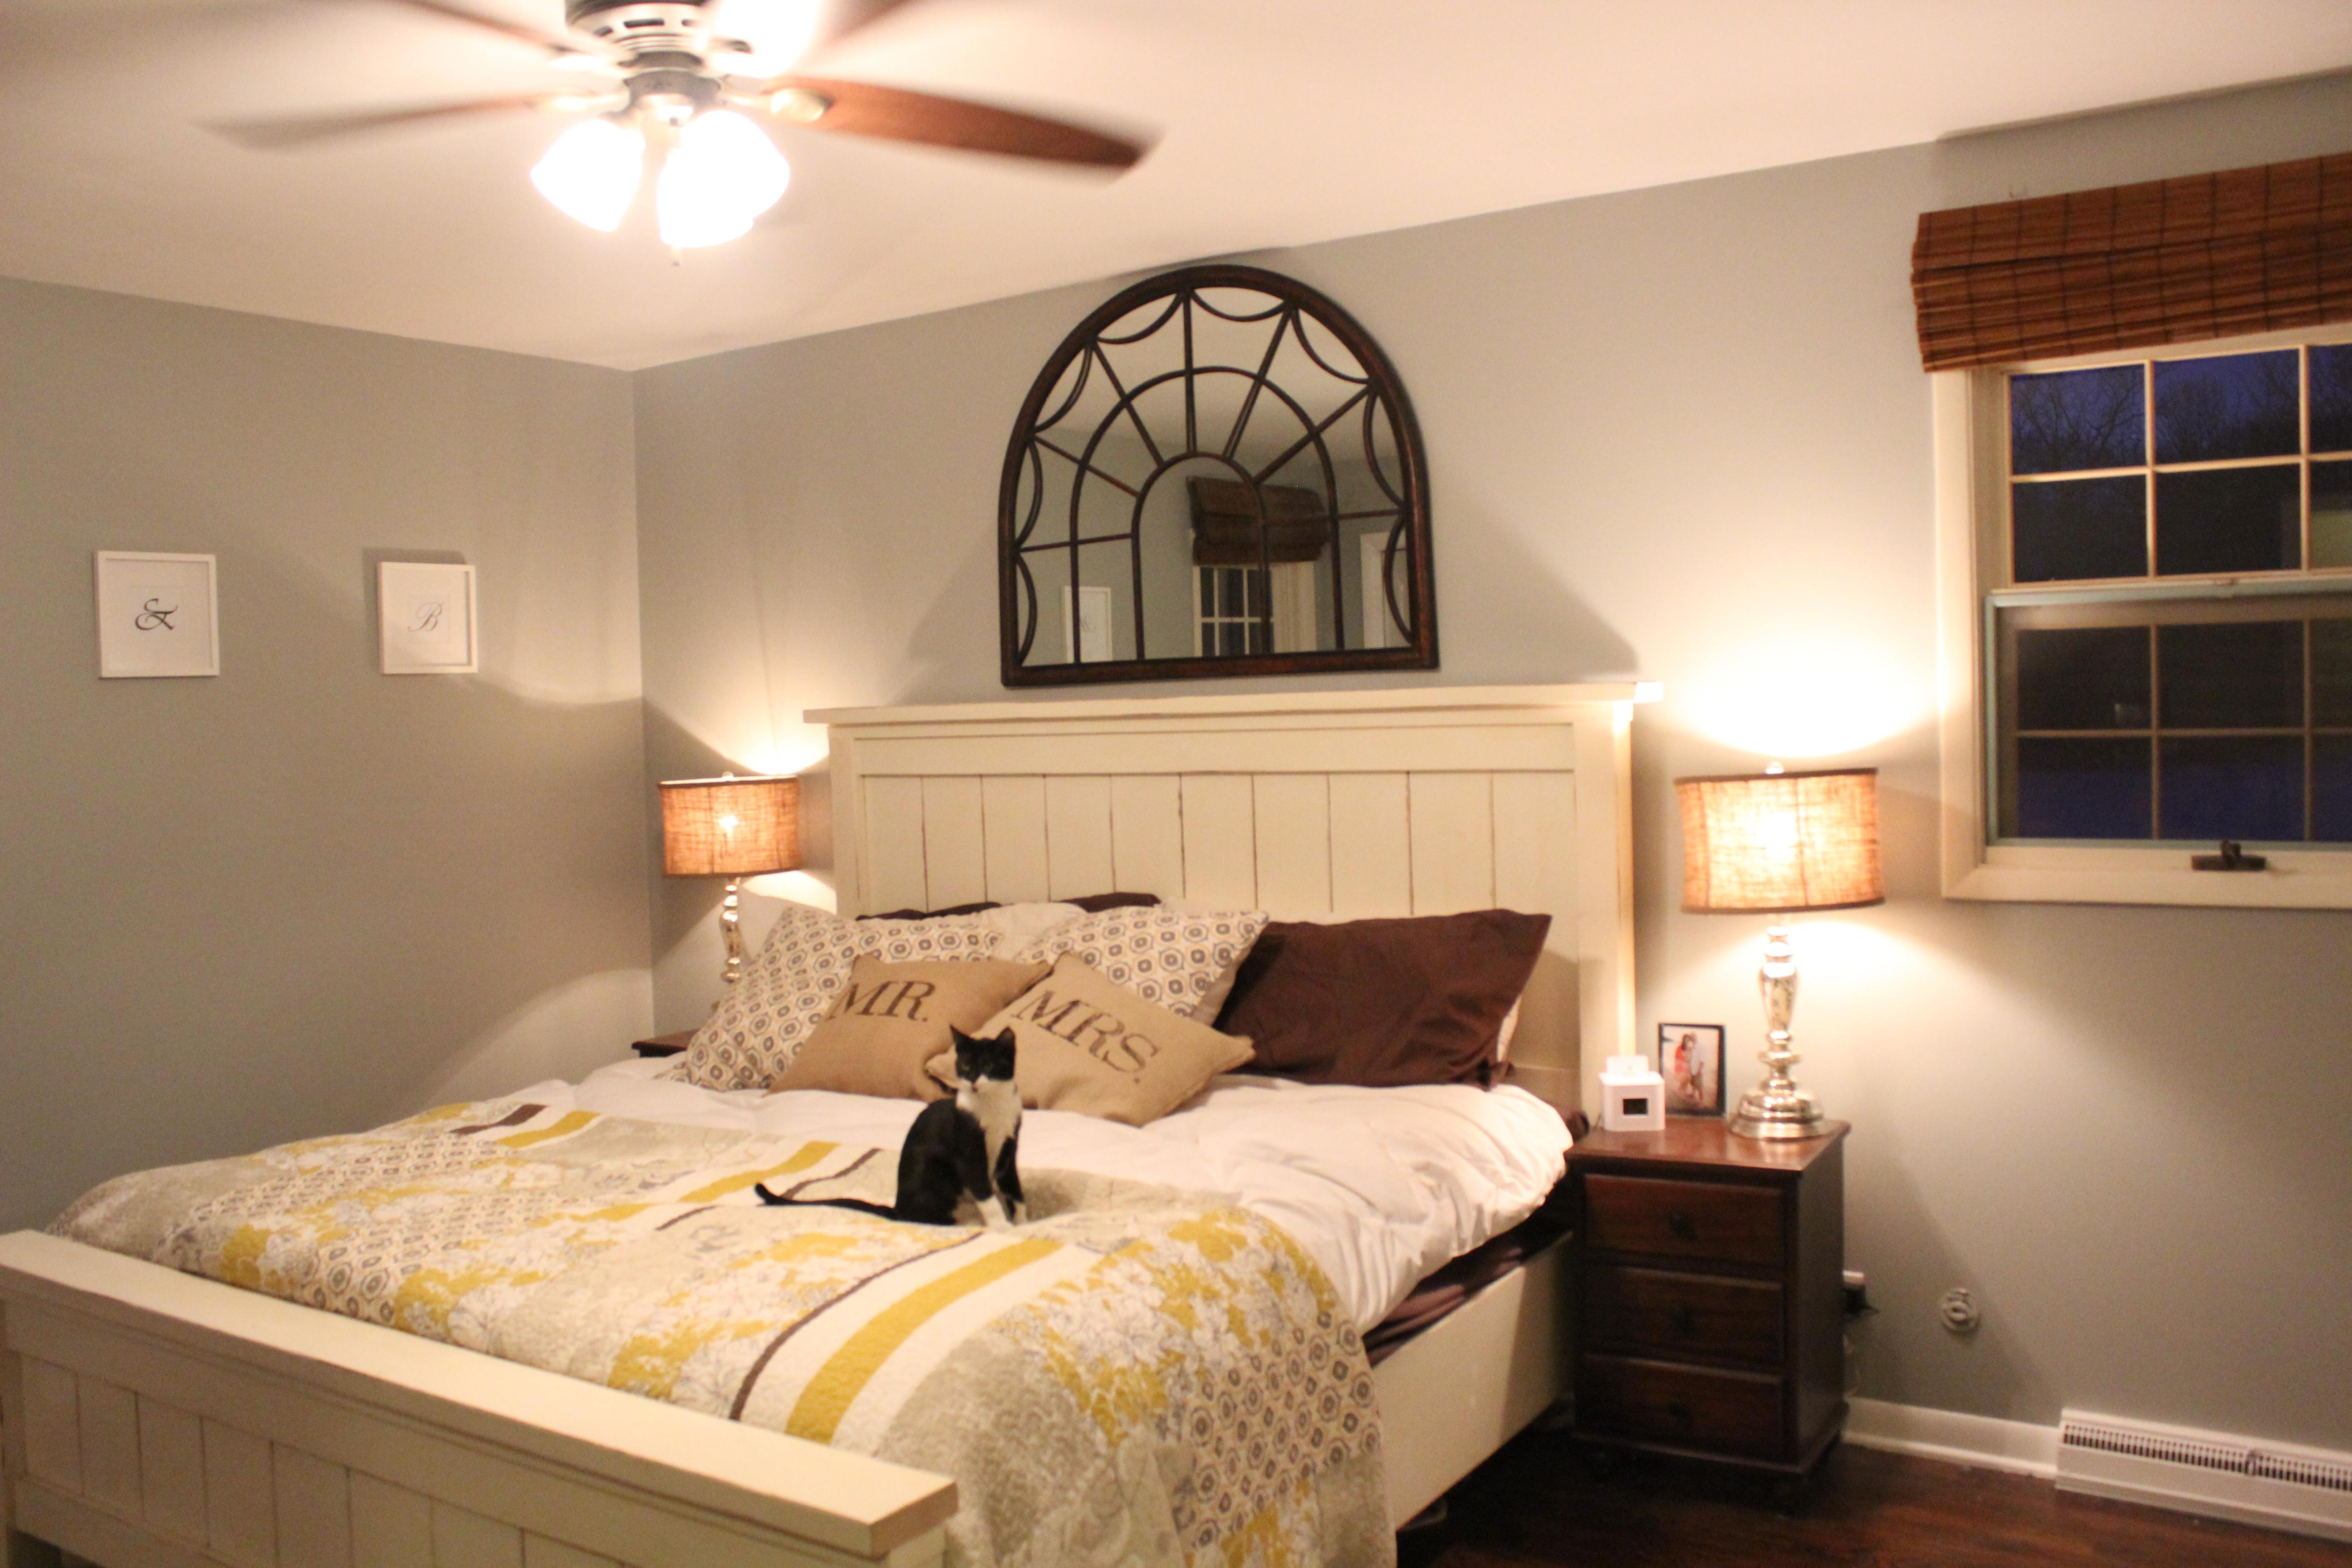
IMG_2355They are nice and big and make a major impact in the room. The base is mercury glass and the shade is burlap. I wouldn’t have thought those two things would go well together, but they totally do.
IMG_2343

Here’s the room before so you can see what I mean about the big impact.
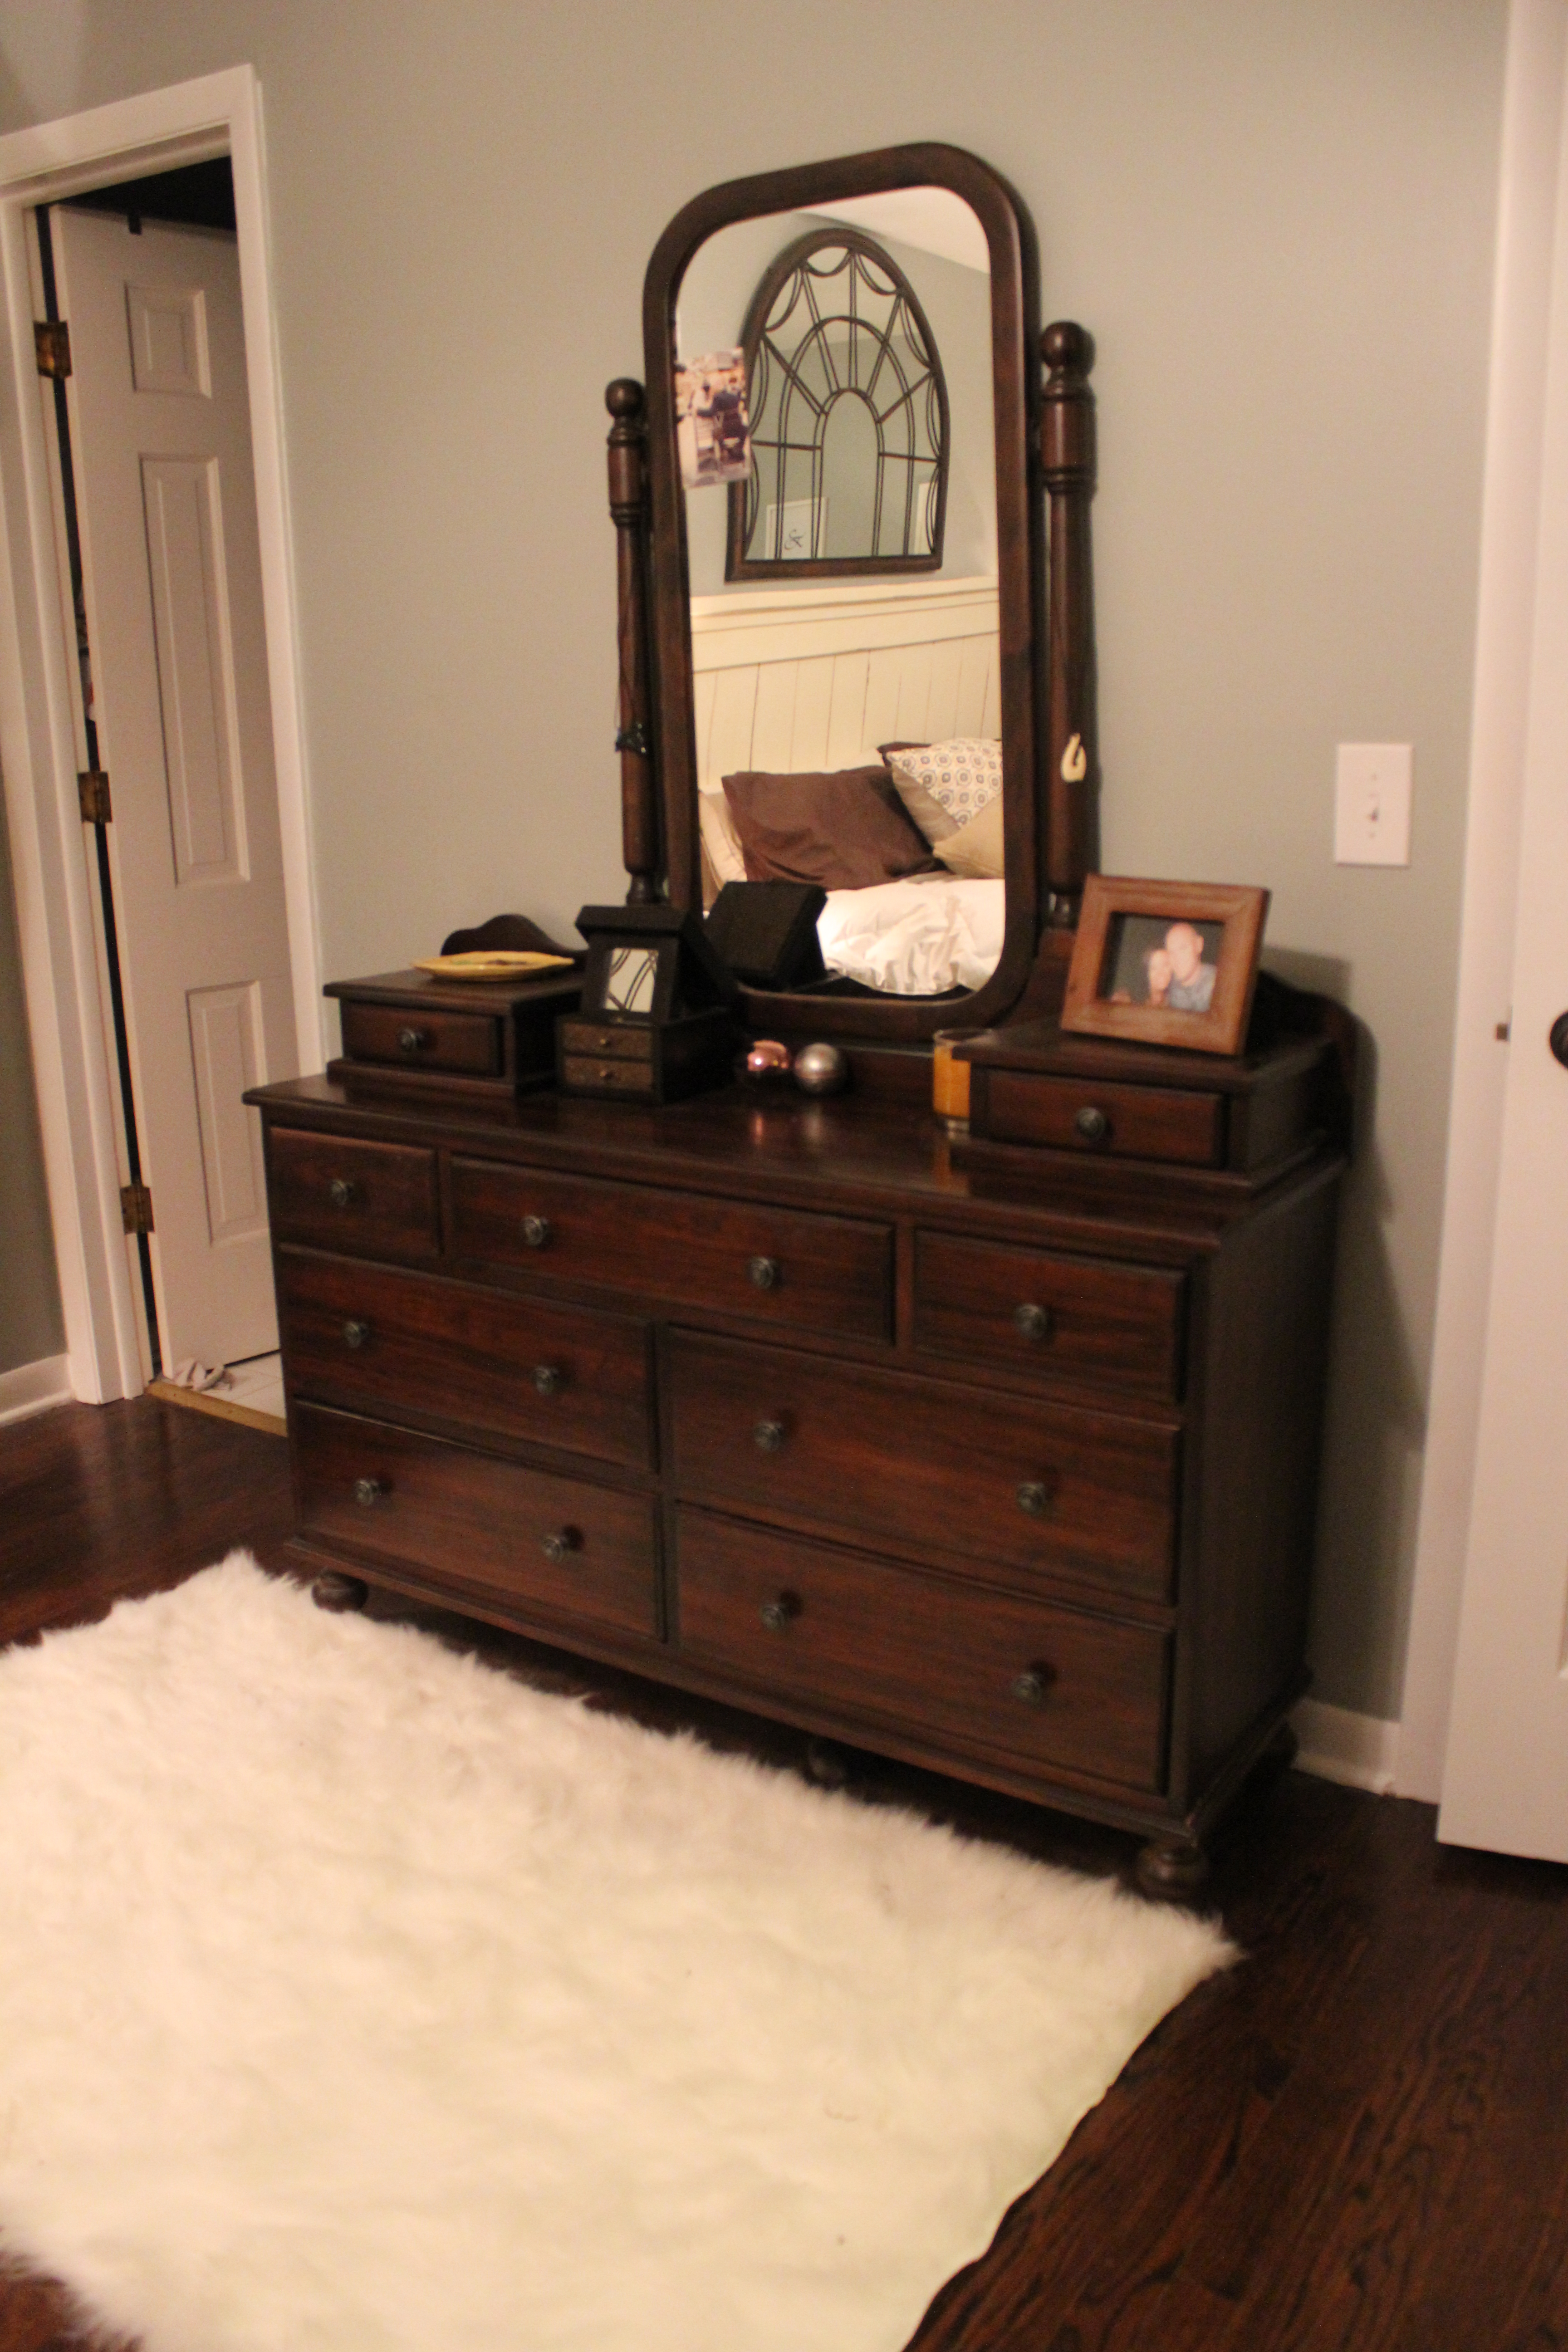
MasterThe final tweak this week (I’m a poet) is a faux sheepskin rug that was intended to go in front of the fire but it didn’t look right with our other area rug so ended up in our bedroom.
IMG_2352

I think it works great in here and helps balance out the dark wood furniture and floors. Plus it’s soooo comfy. Doc loves it.

That’s it for now. Tomorrow we are having some friends over to watch the Super Bowl and I am attempting to make chili for the first time. And make these cute little strawberry footballs. Wish me luck…I’ll need it.

Strawberry footballs

Found here.

Operation New Bathroom Part I

19 Jan

IMG_2180

We’ve got some great momentum going in the renovation of our upstairs guest bathroom. Not without a unforeseen setback, but I’ll get to that in a minute.

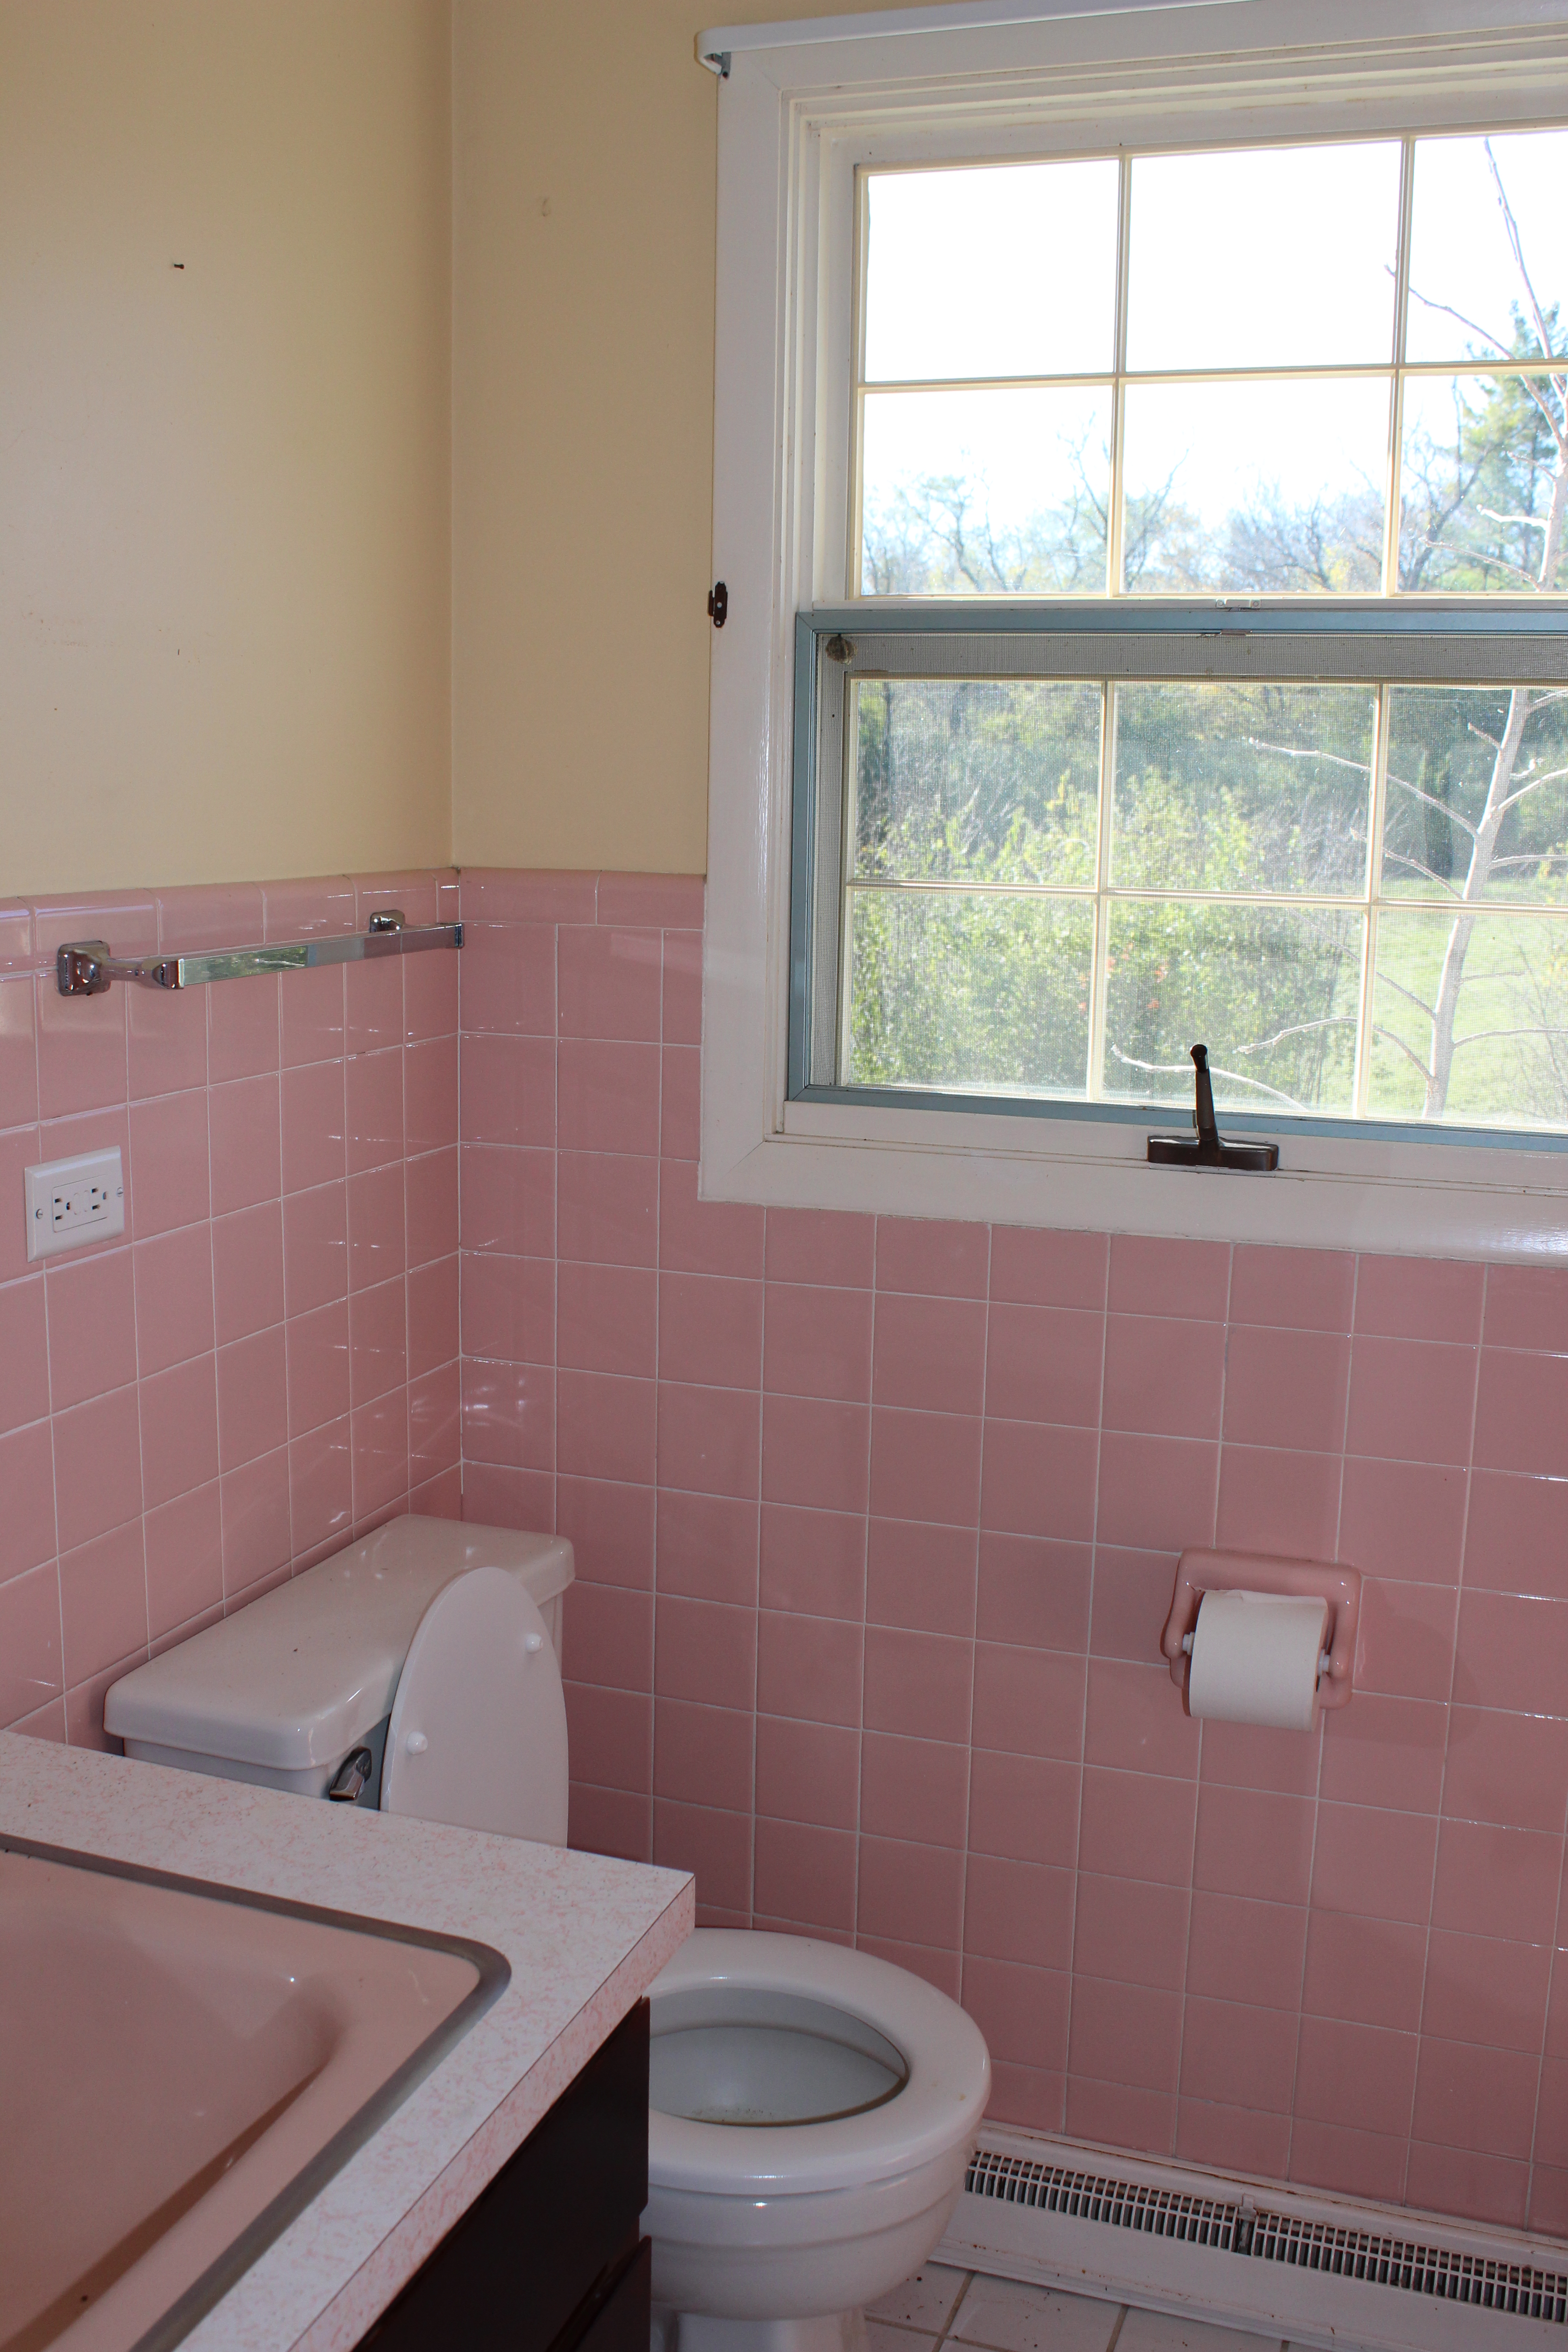
Just to catch everyone up, here is what the bathroom looked like when we moved in.

Due to a leaking tub, we demo’d it completely pretty quickly and then it sat like that for a while.

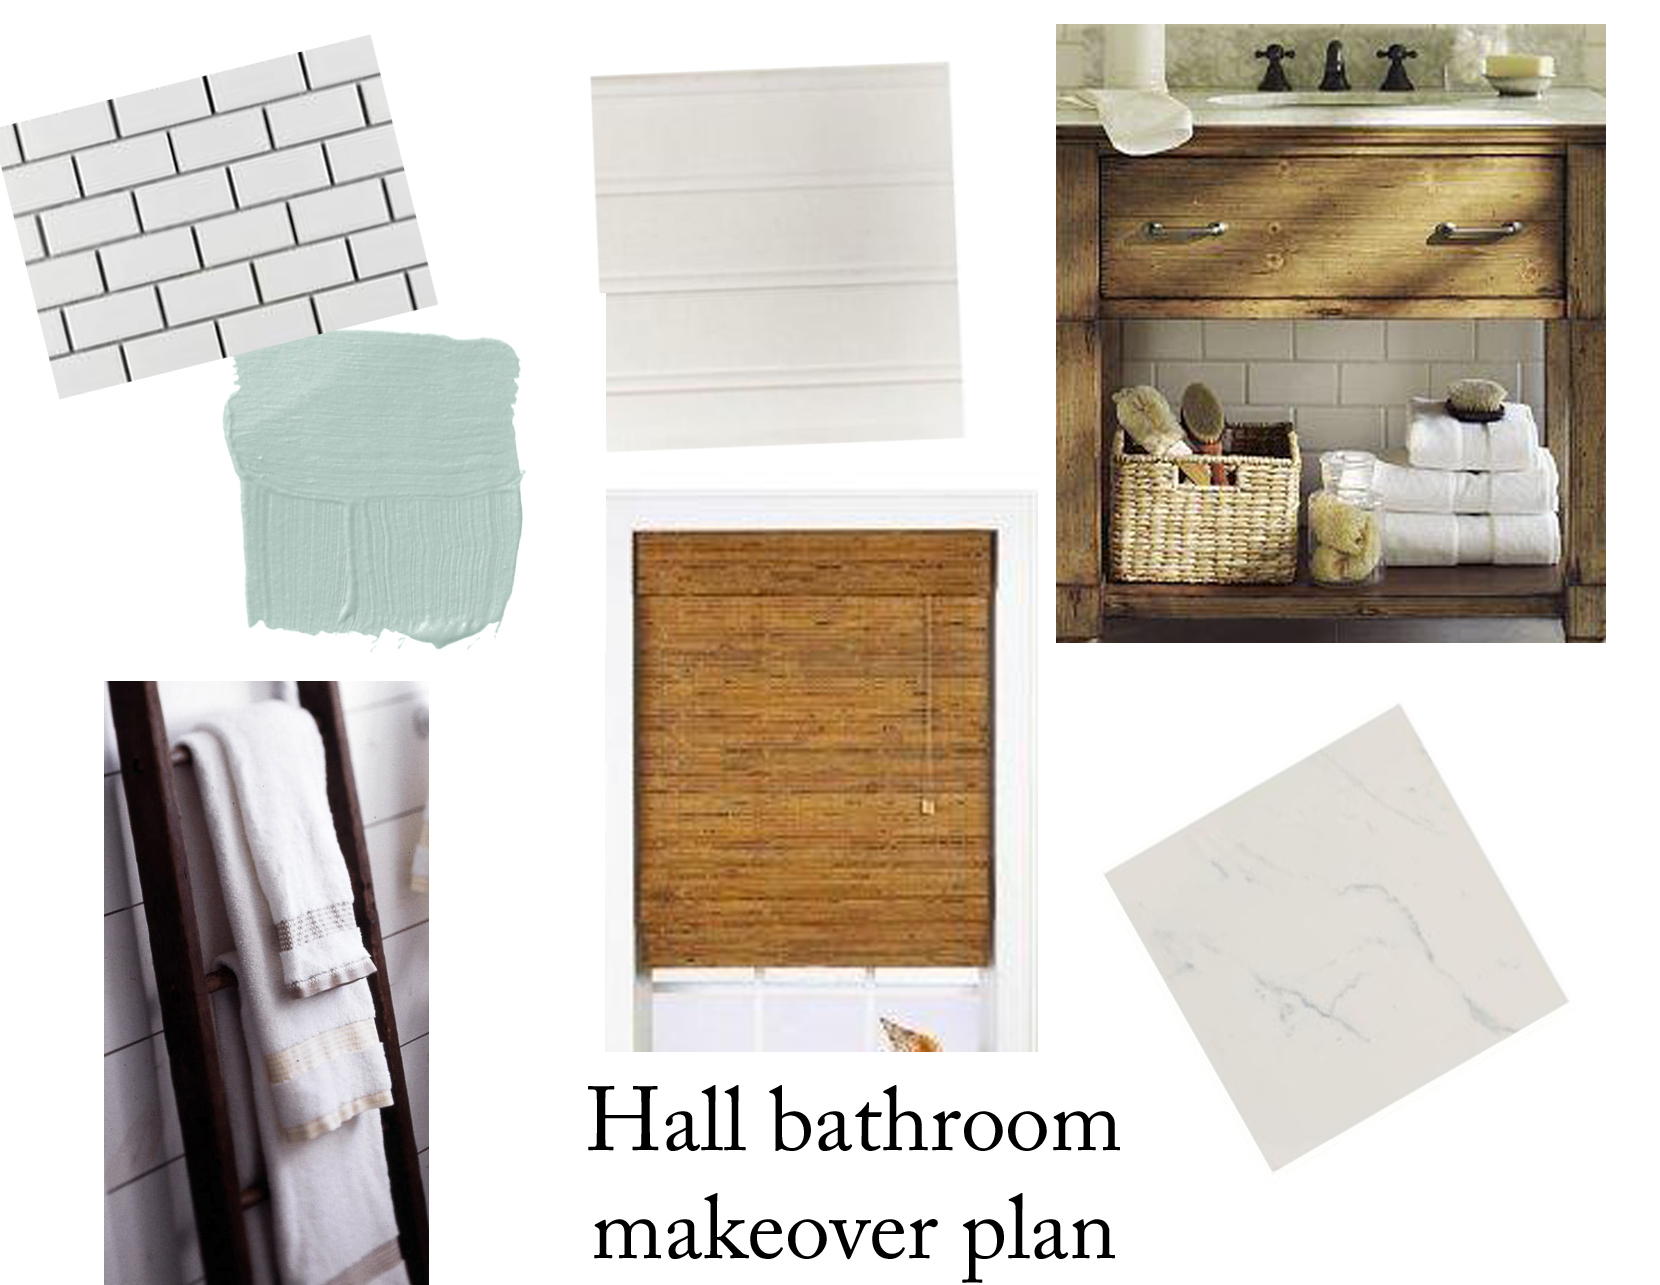
I created a mood board of what I want this bathroom to look like.hall bathroom mood board_edited-1

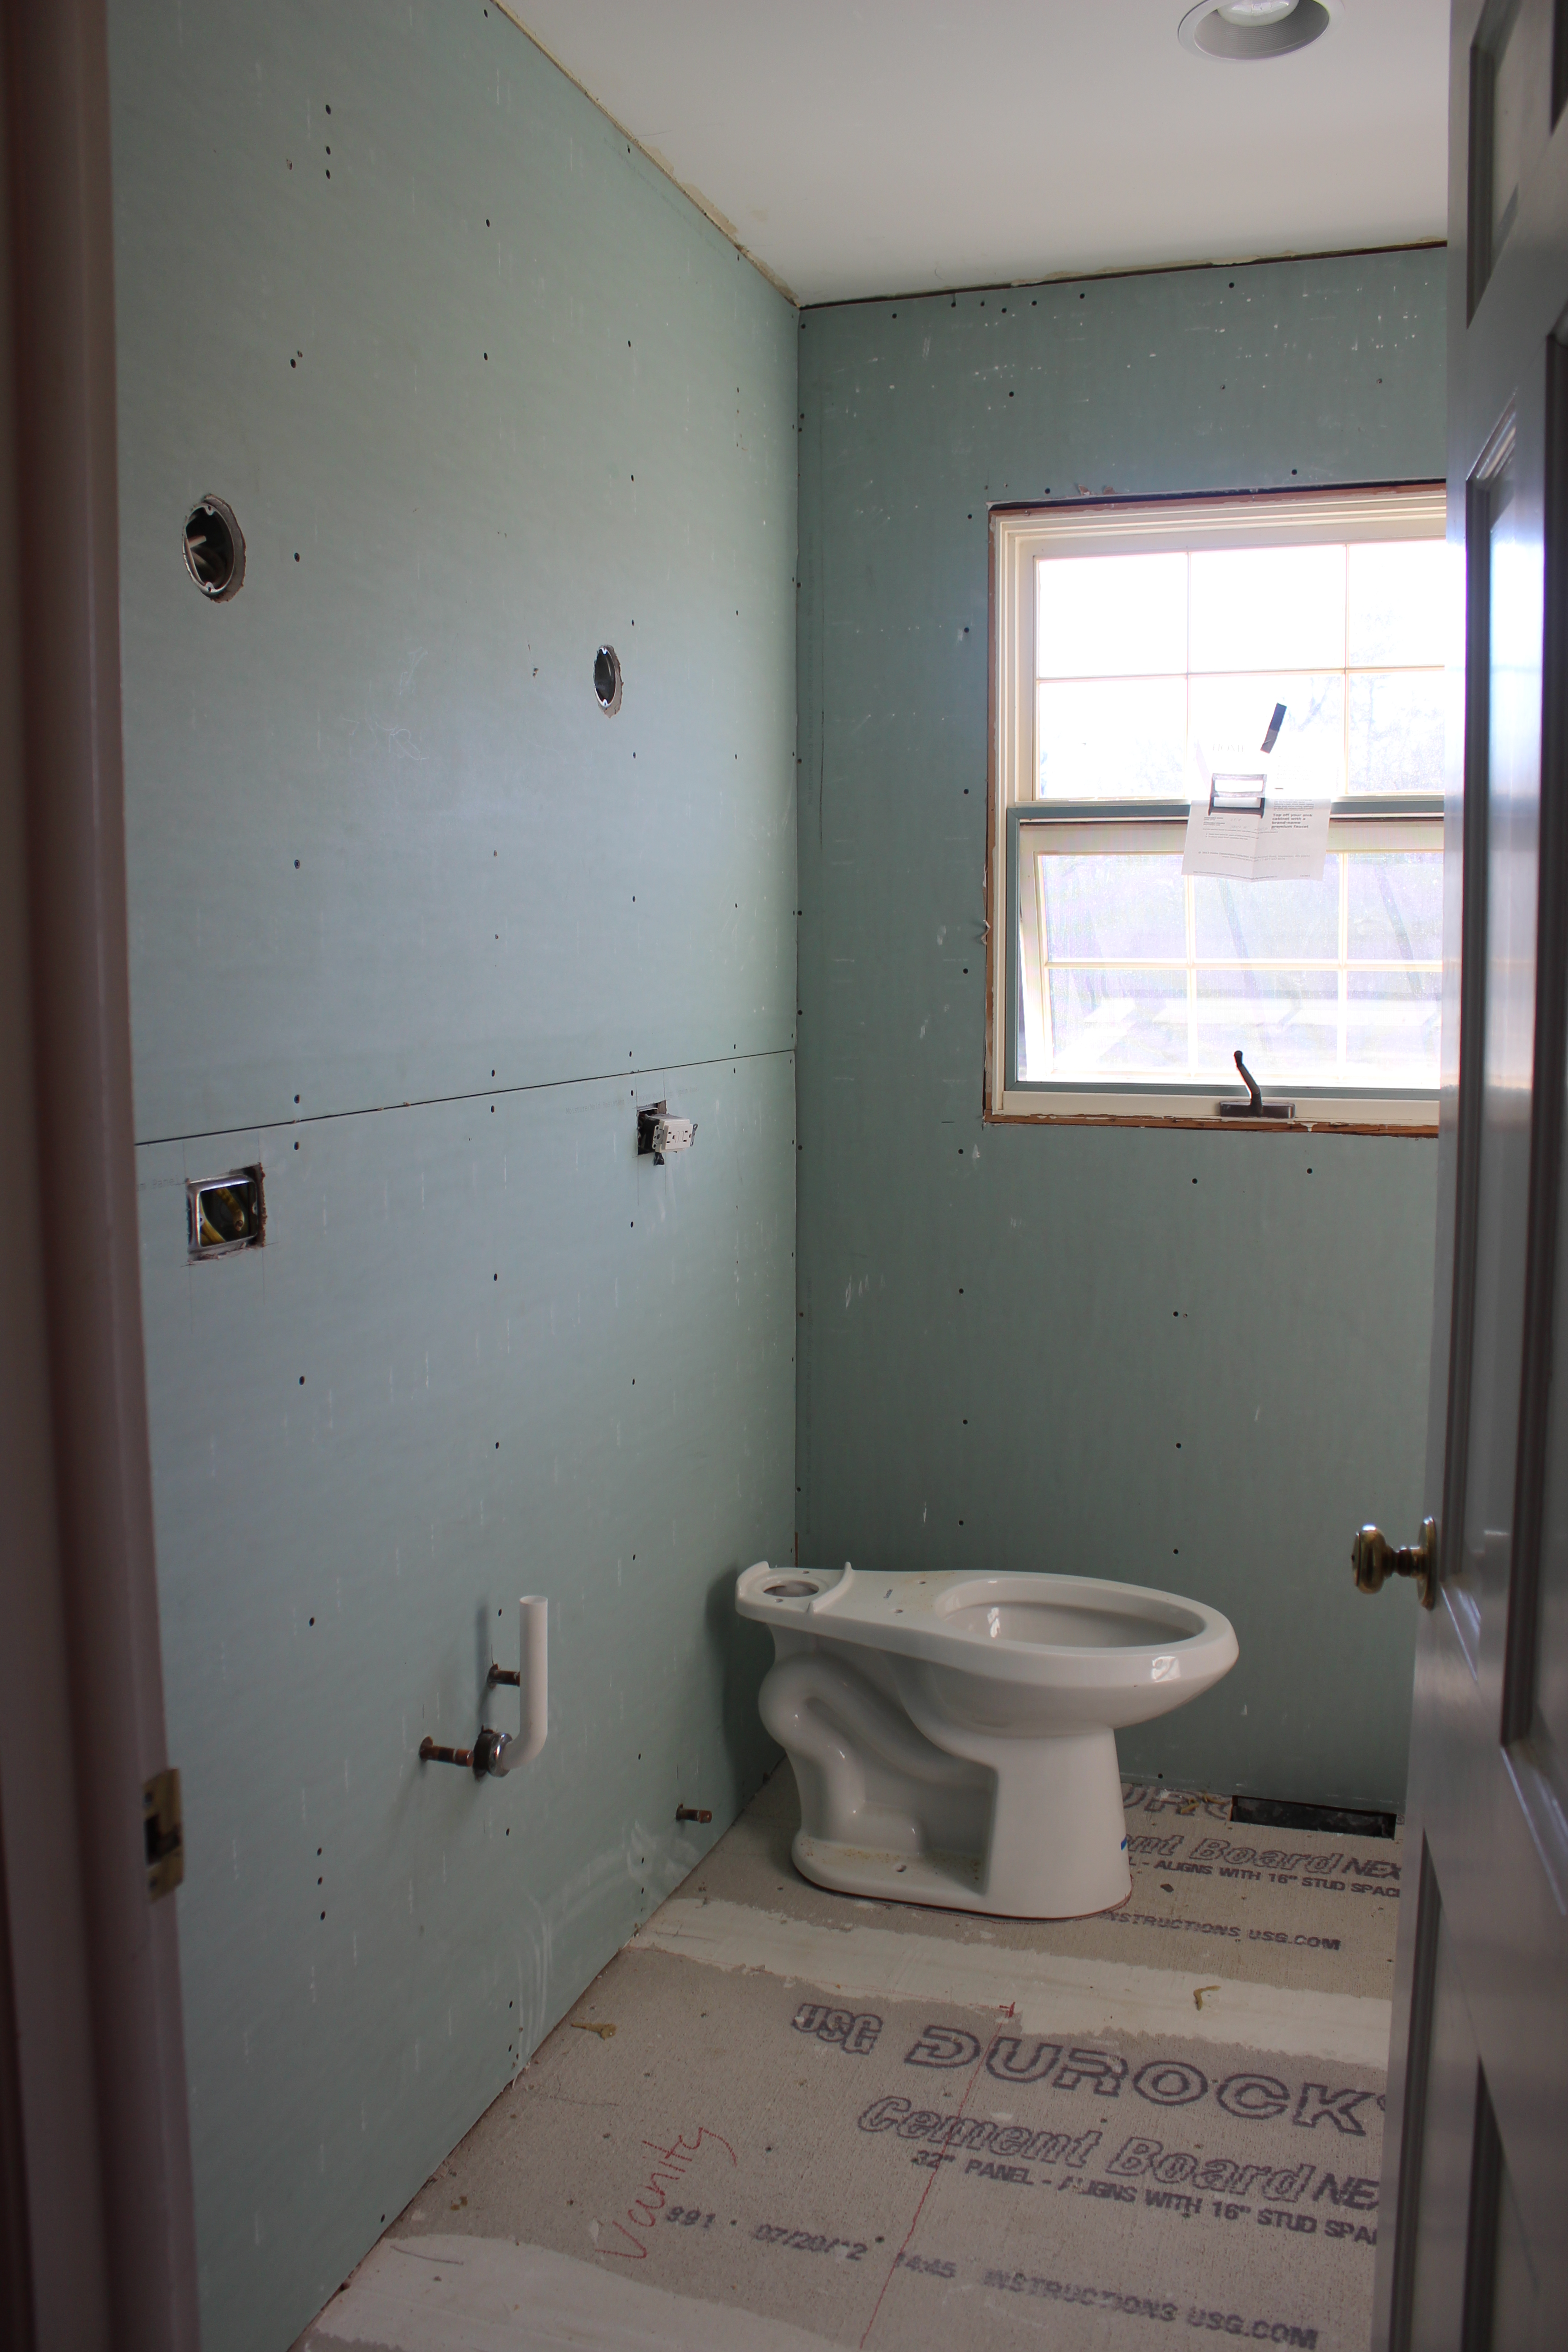
So here’s what she’s looking like as of today with drywall (the mold-resistant kind from USG), tile backer, electrical and plumbing.

IMG_2181

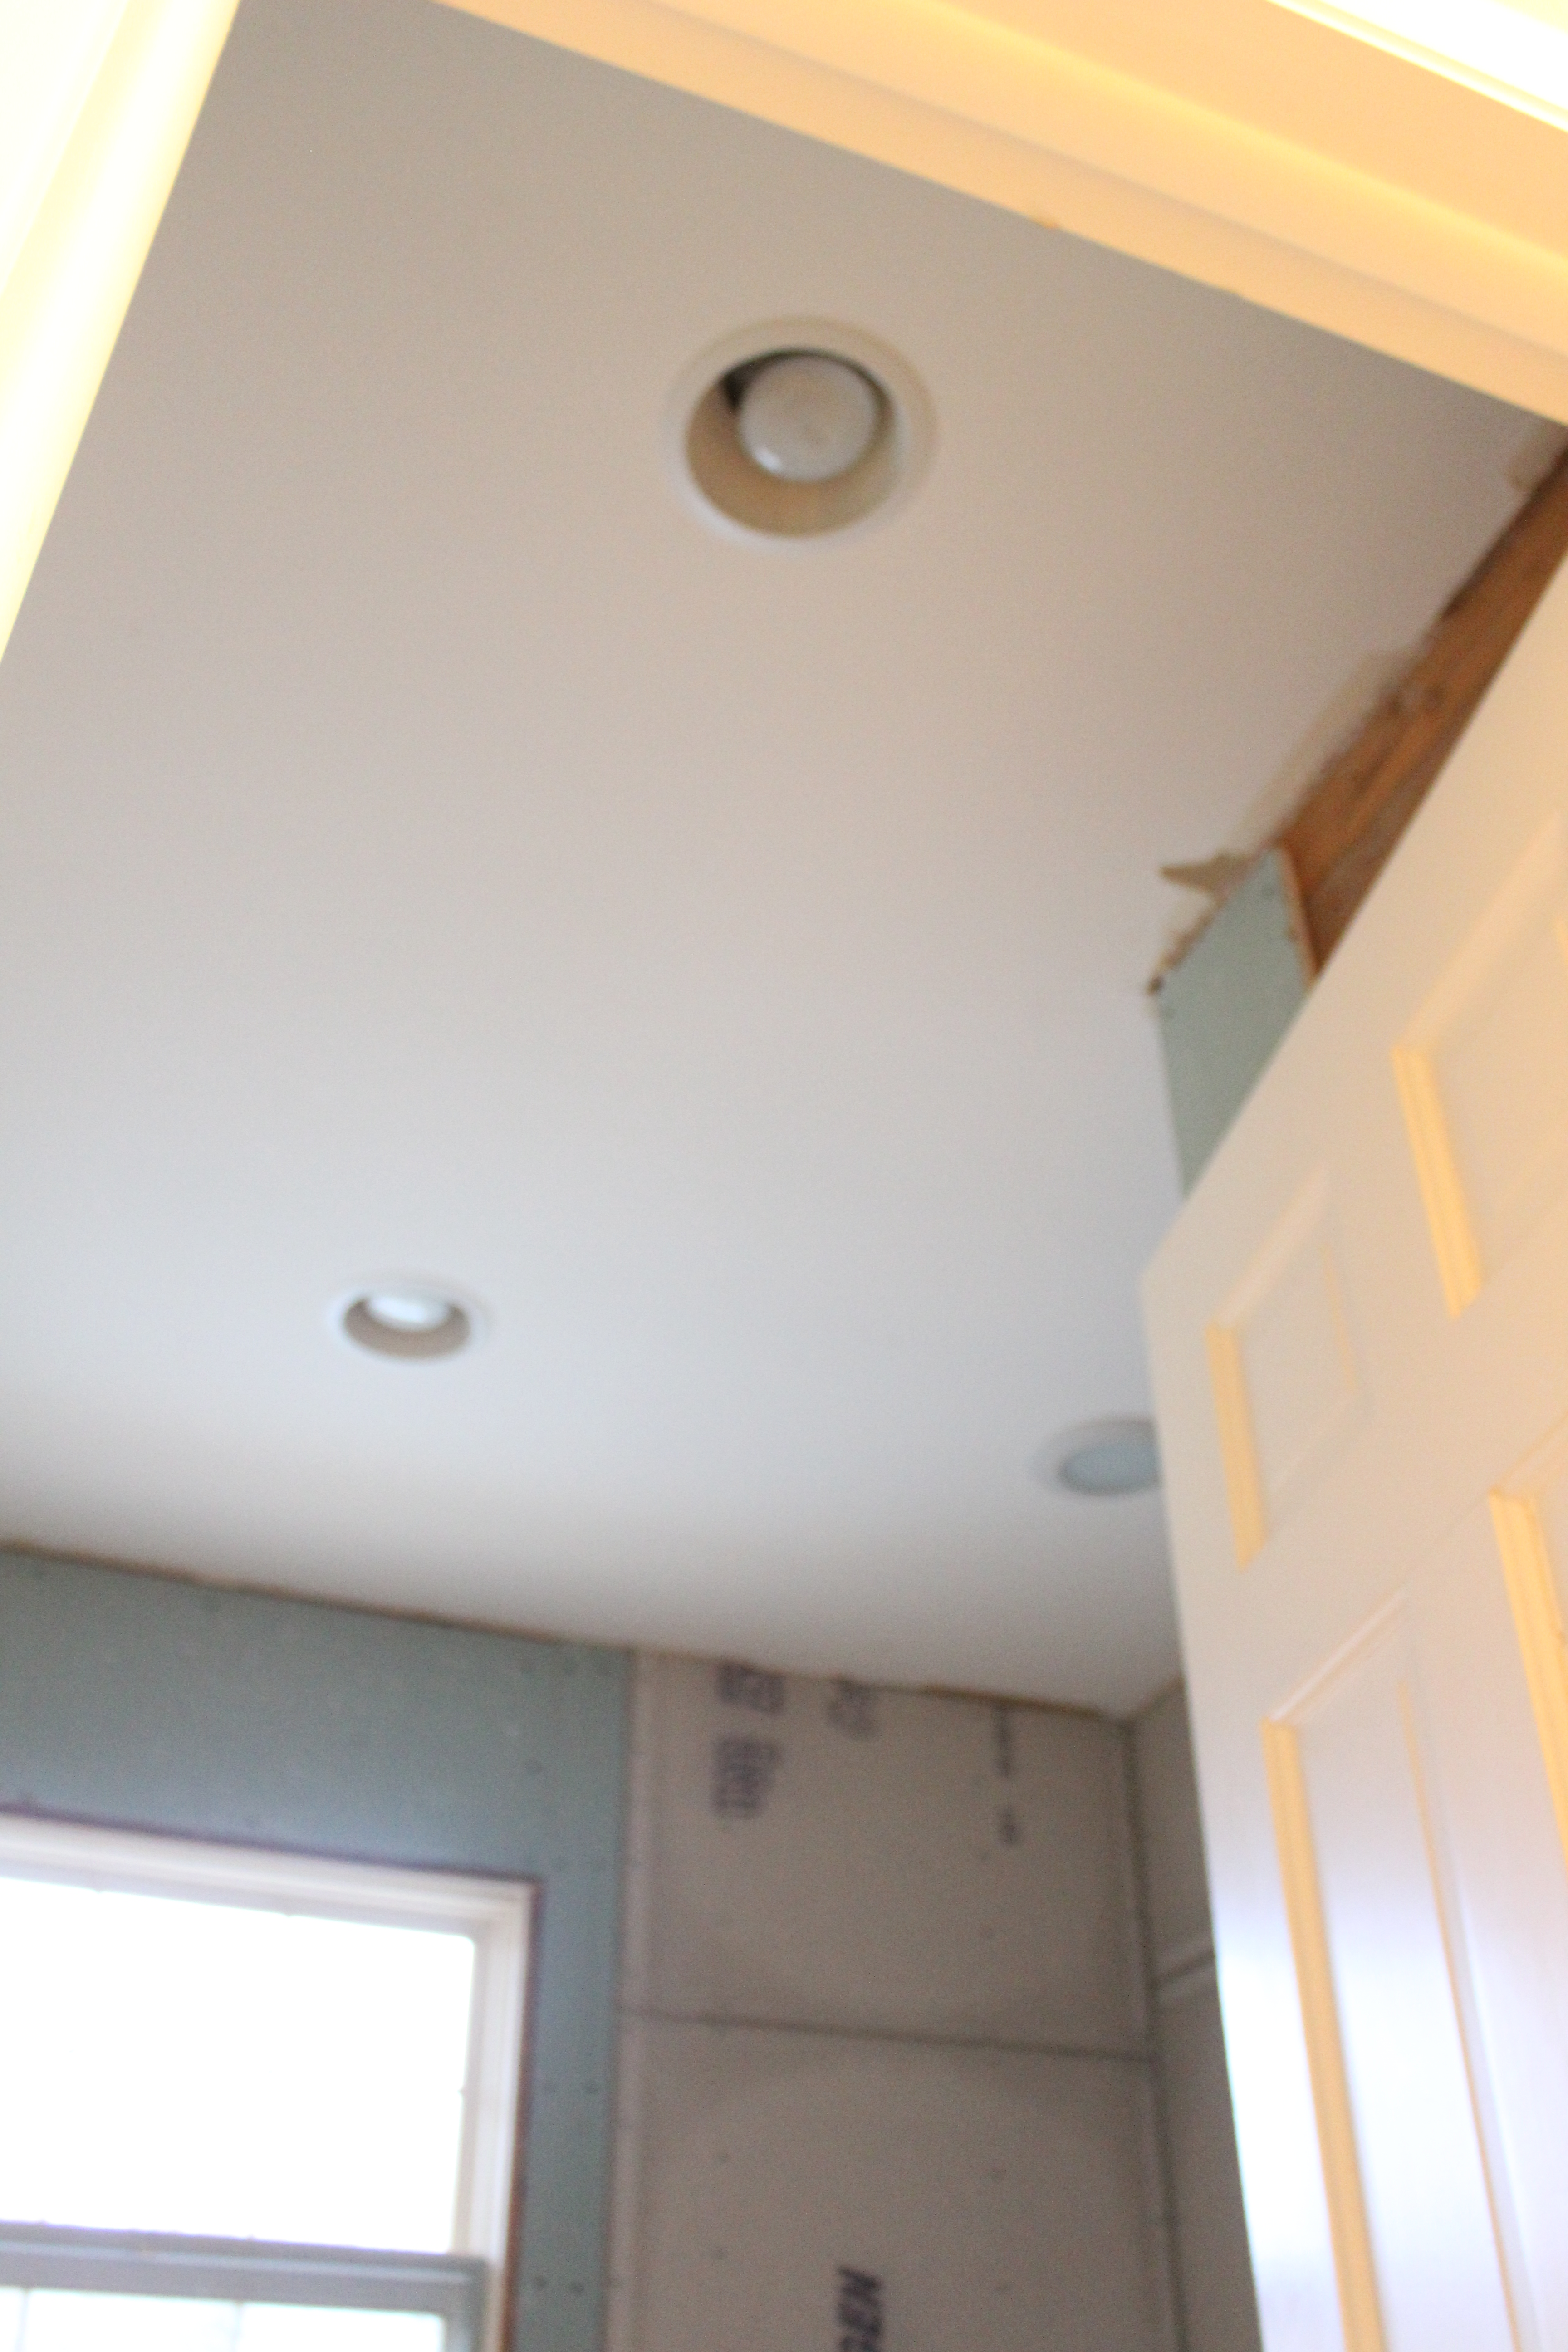
We had the electrician come in to wire for sconces which will go above the vanity and put in can lights and a fan.IMG_2200

You might be asking, “what fan?” It’s actually built in to one of those can lights. Cool, right? I’m not a big fan of the look of bathroom fans so when I saw this one at Menards, I was sold. It just blends right in.

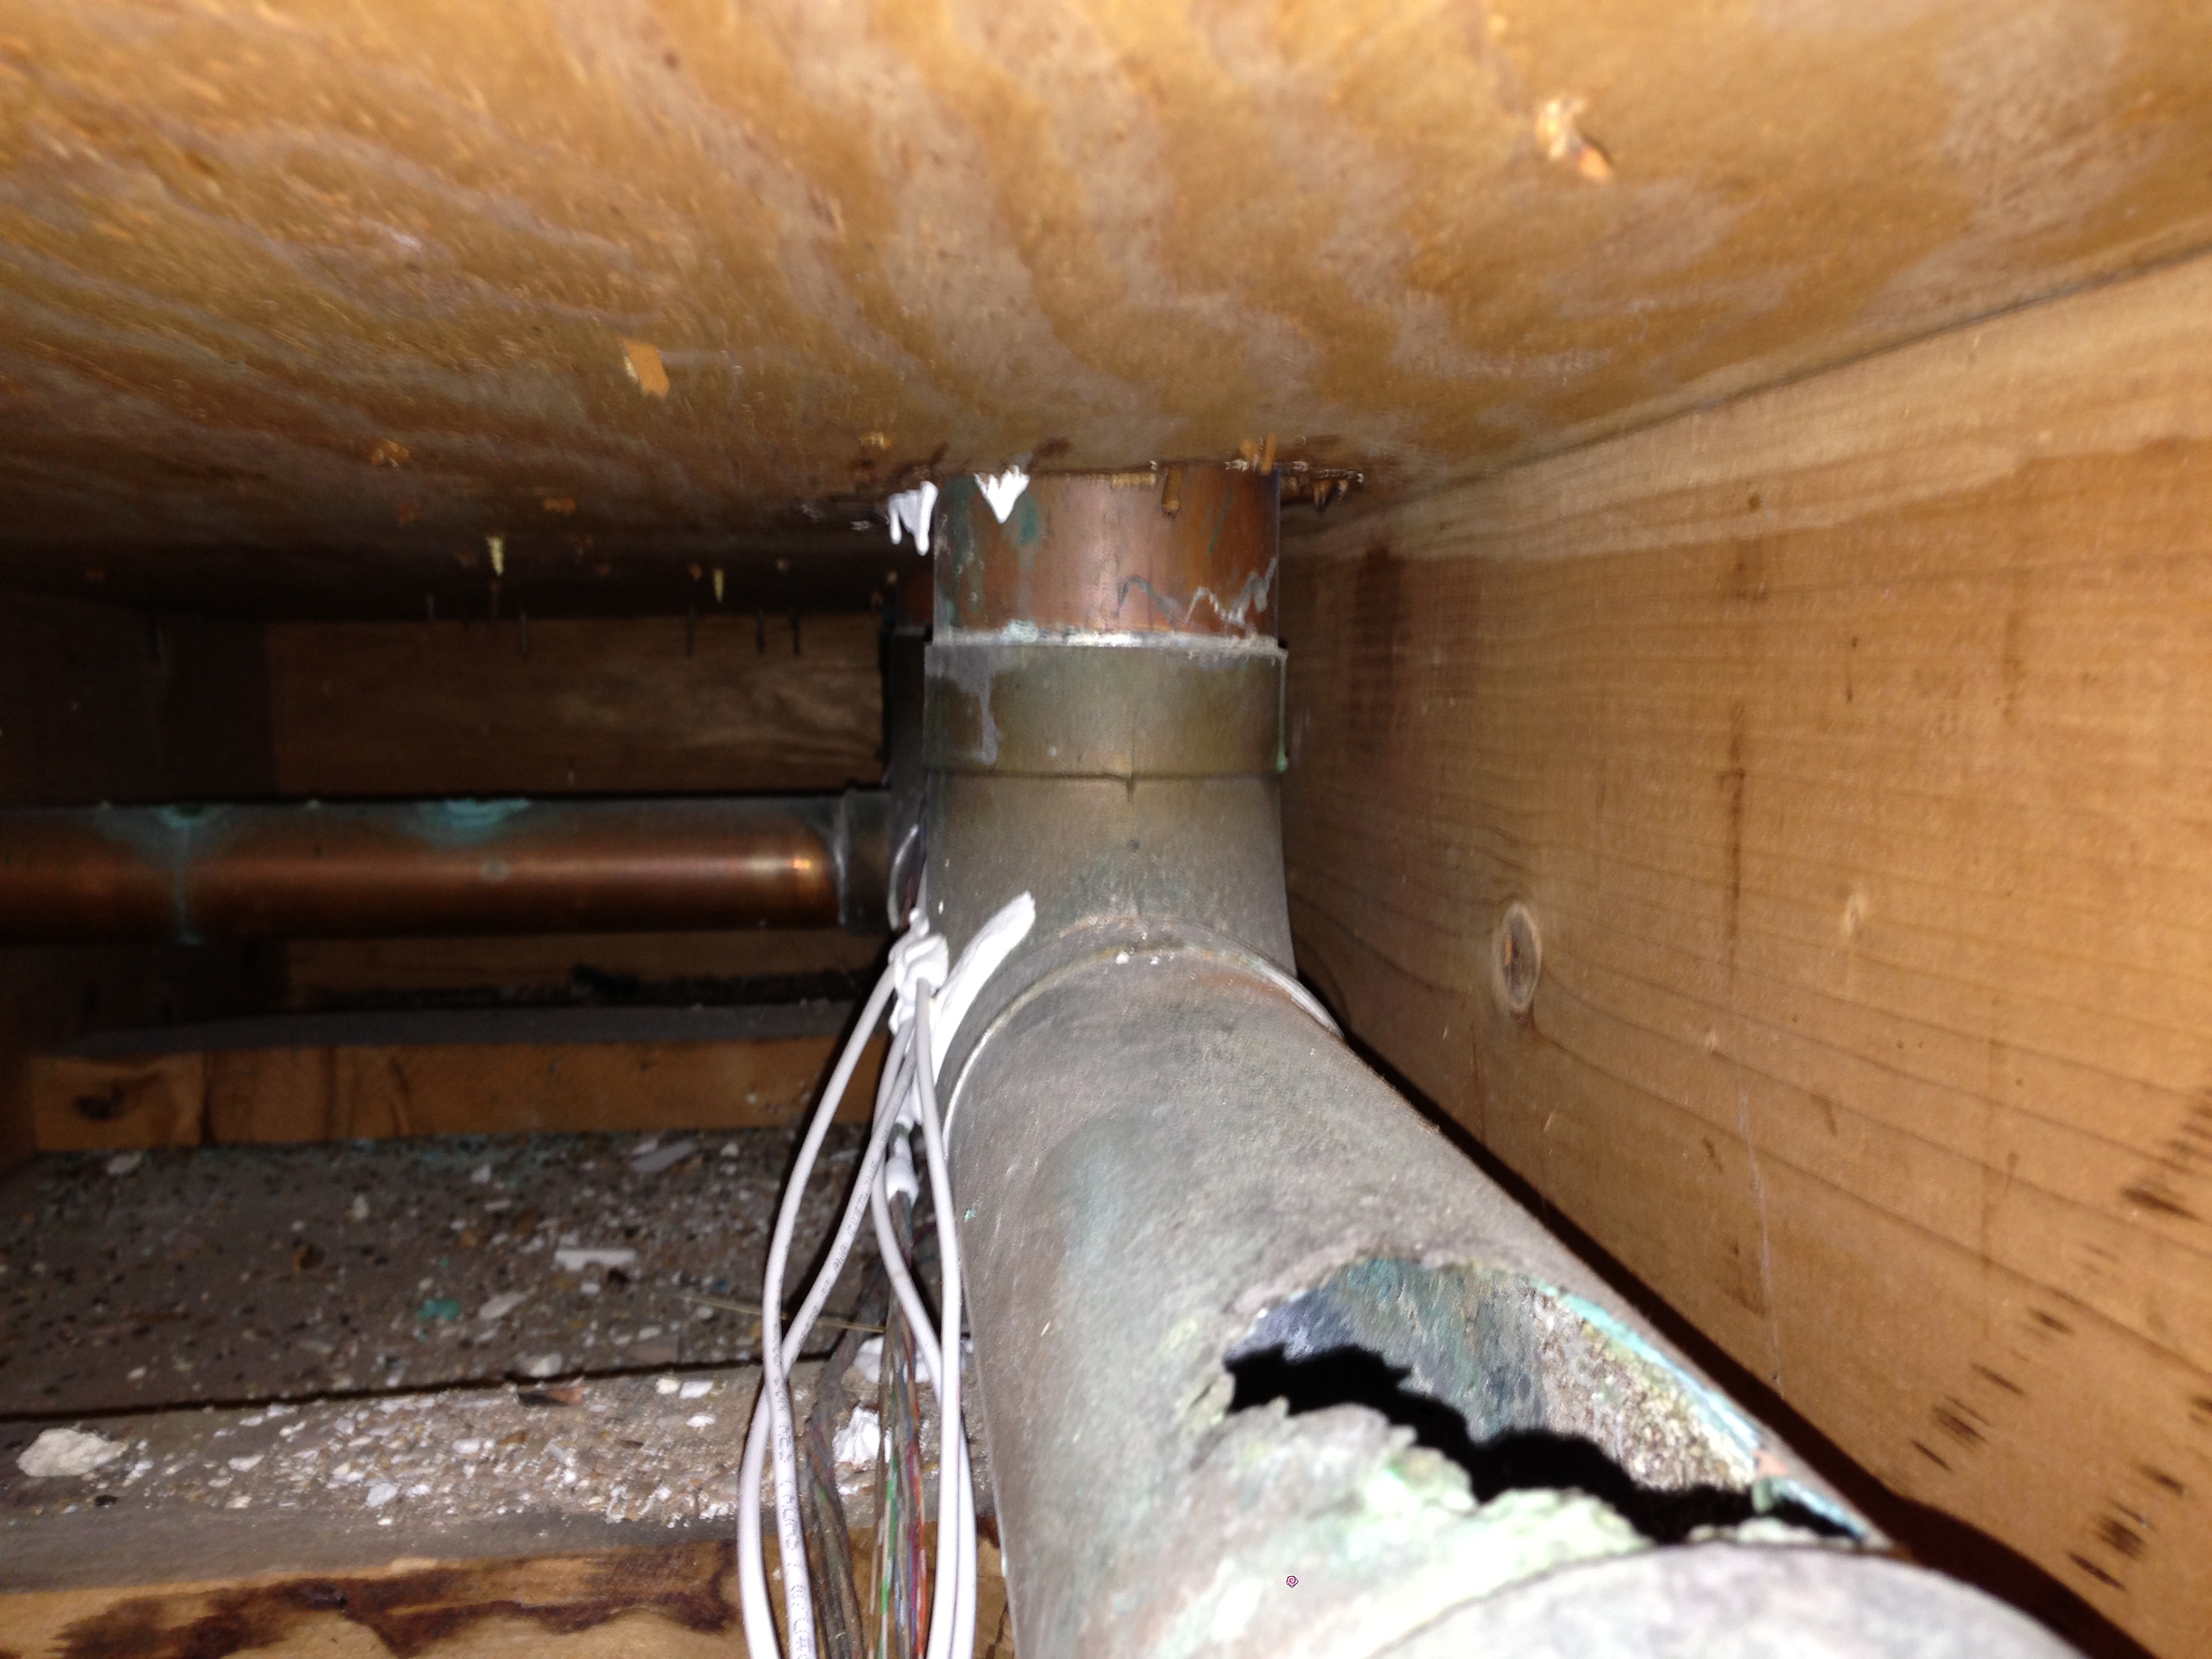
Everything was rolling along nicely, until Ben found this.

photo-79Yep, our copper pipes were corroded. Both the waste line (seen here) and the vent pipes. Luckily that huge hole was on the top of the pipe so no sewage could get out.

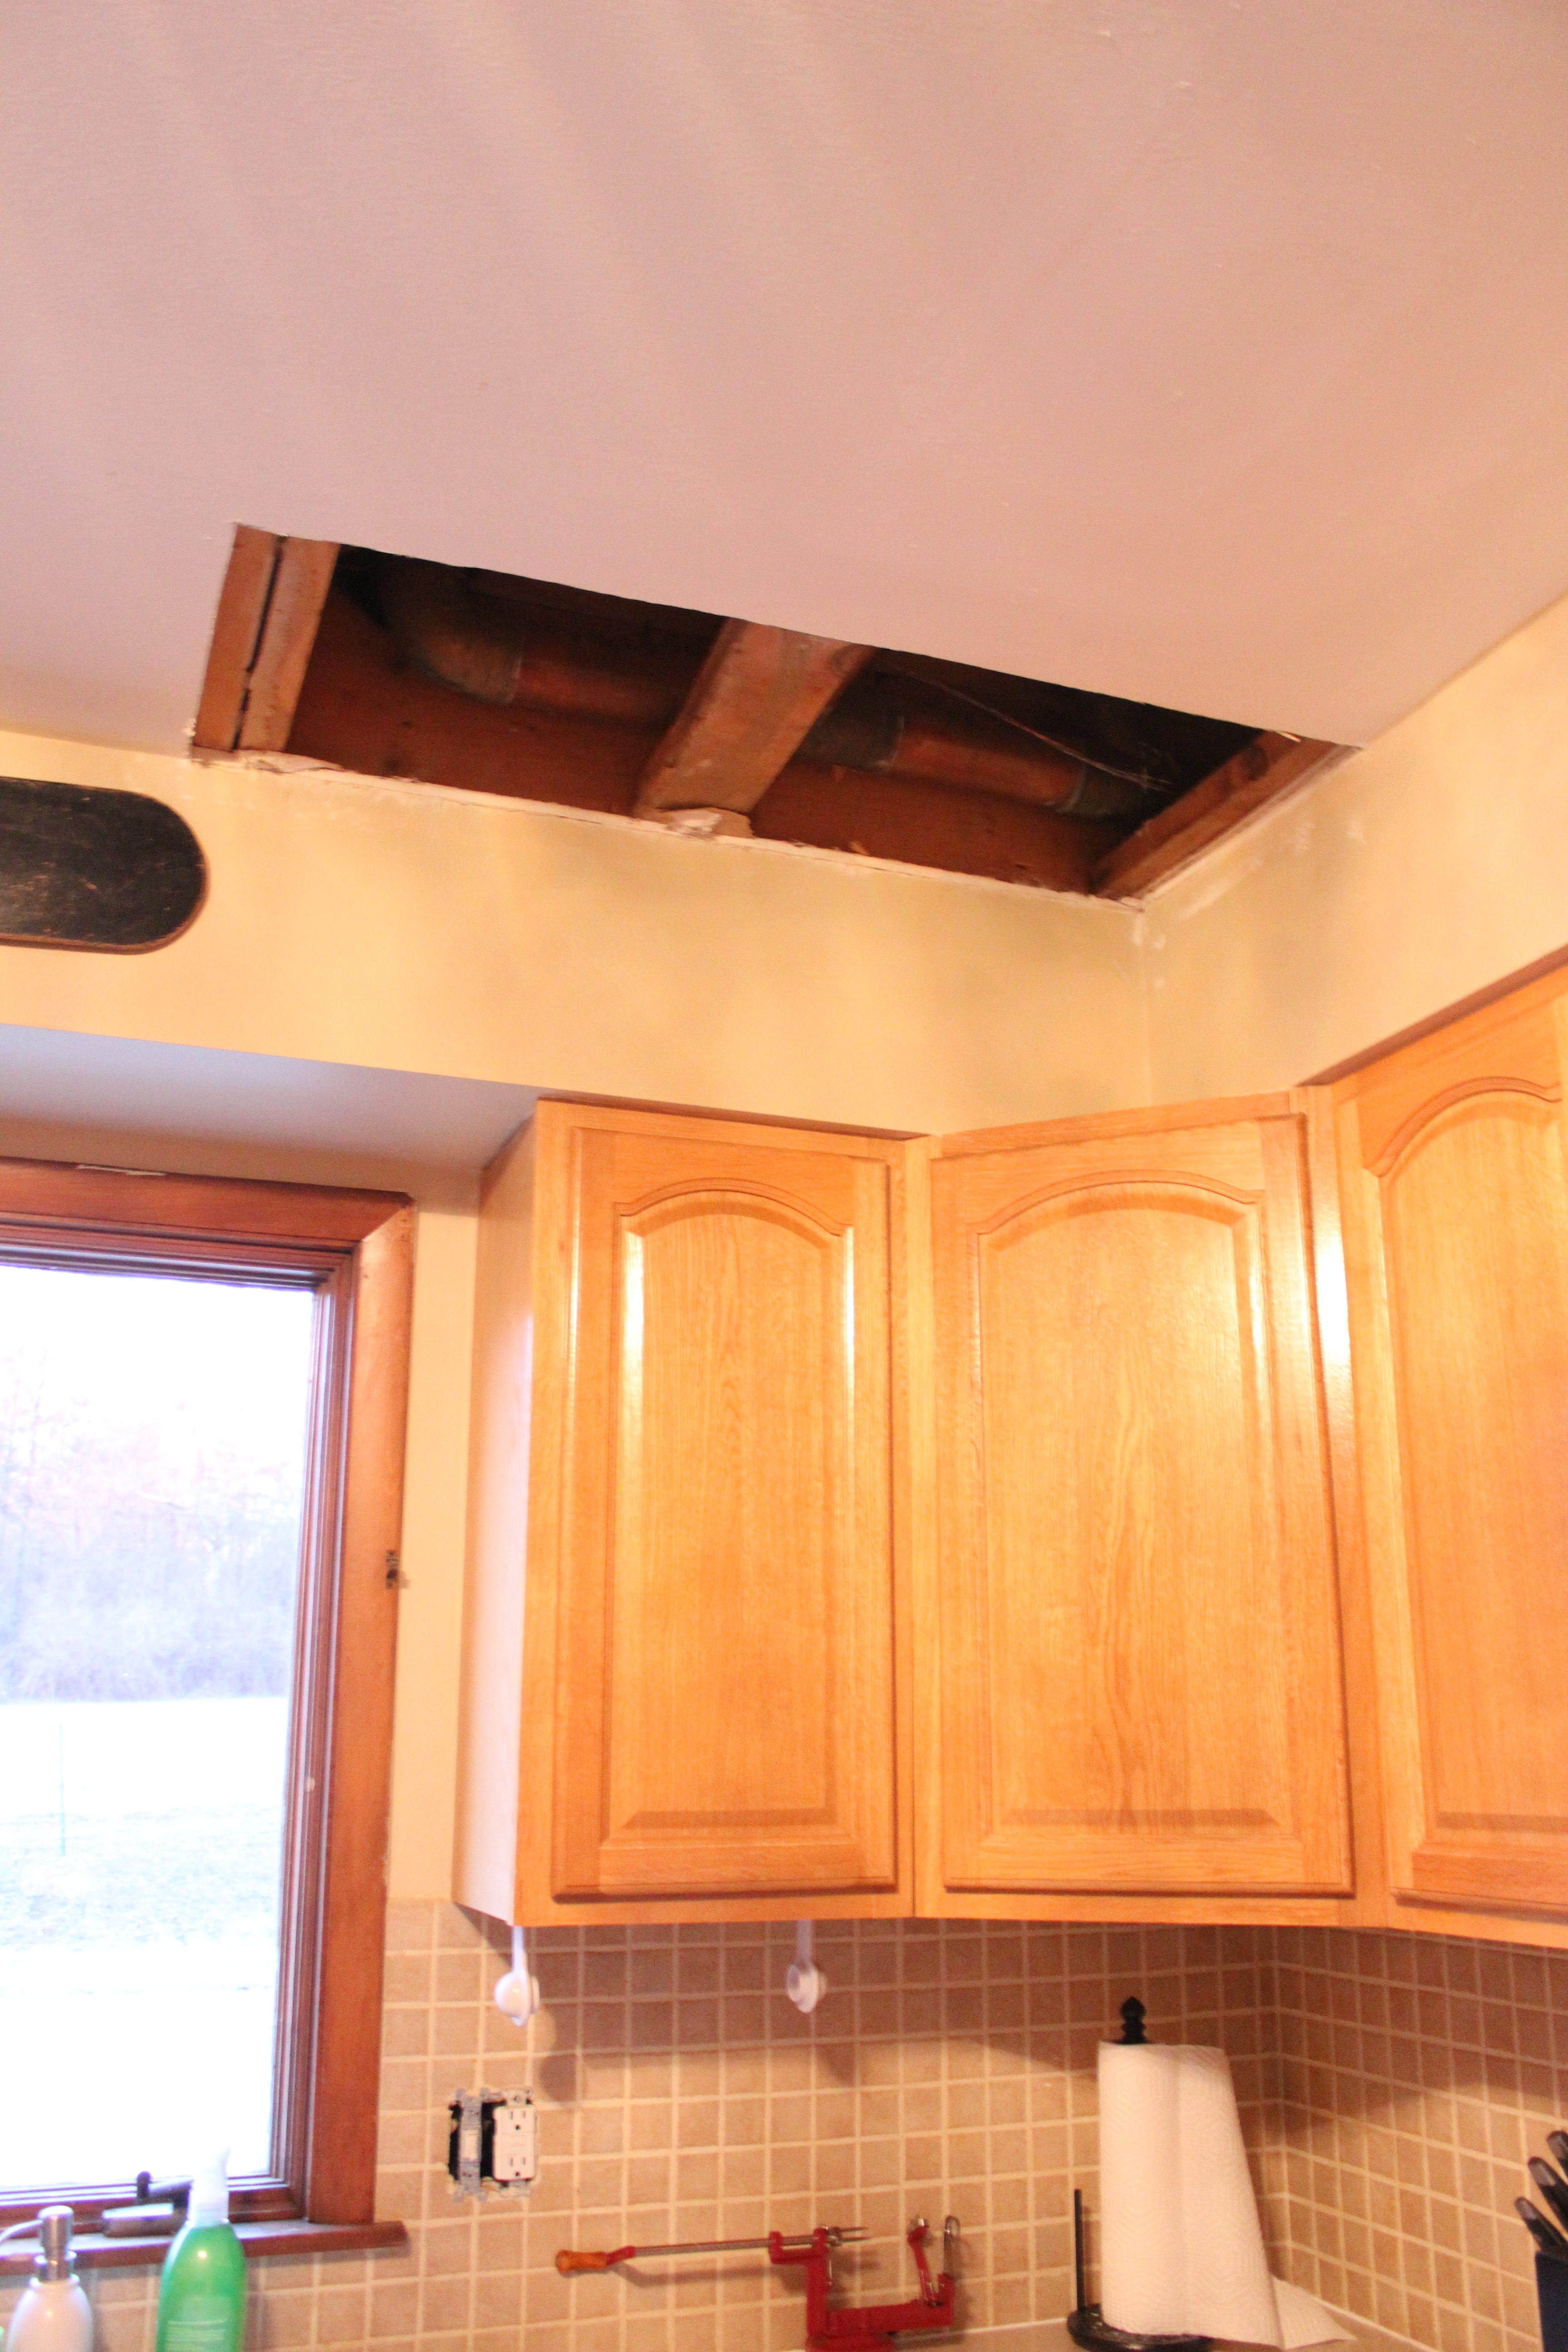
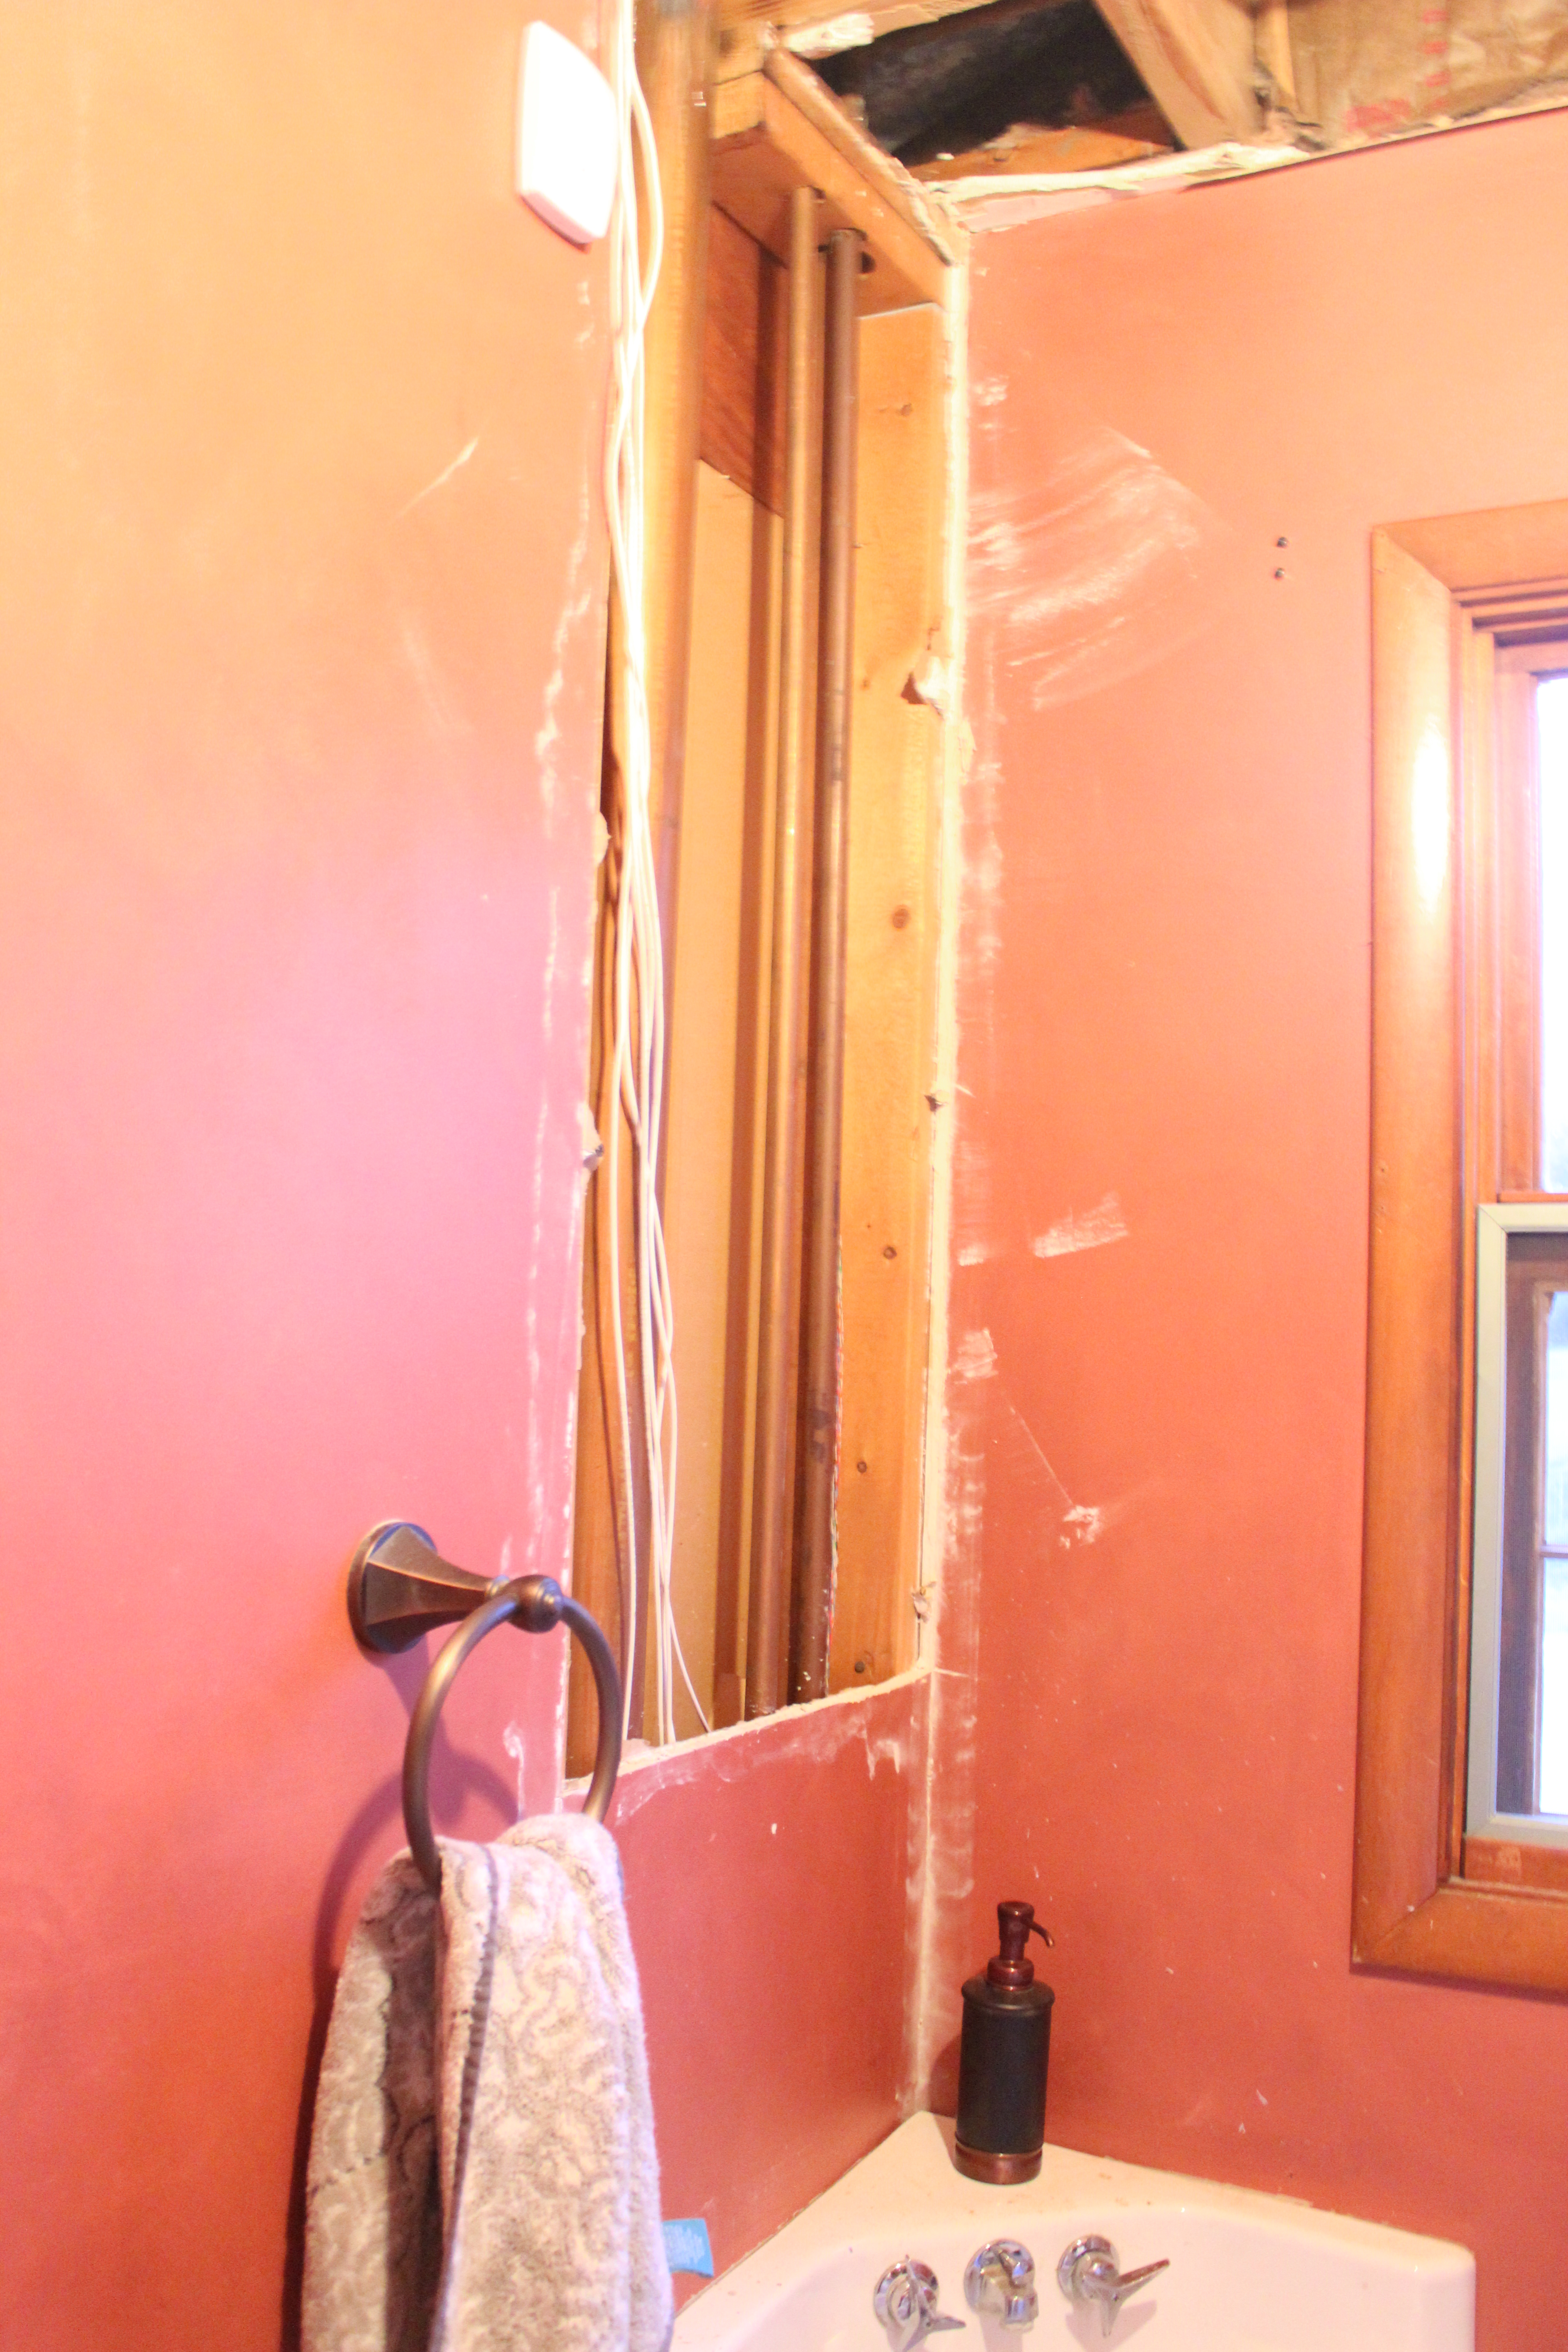
To fix the pipes Ben tells me he needs to rip out a huge hole in the downstairs bathroom wall and kitchen ceiling. I was thrilled!

But actually it wasn’t bad and he had it all done and cleaned up in a few hours. But we do have some remaining holes in those rooms.

IMG_2190

IMG_2192

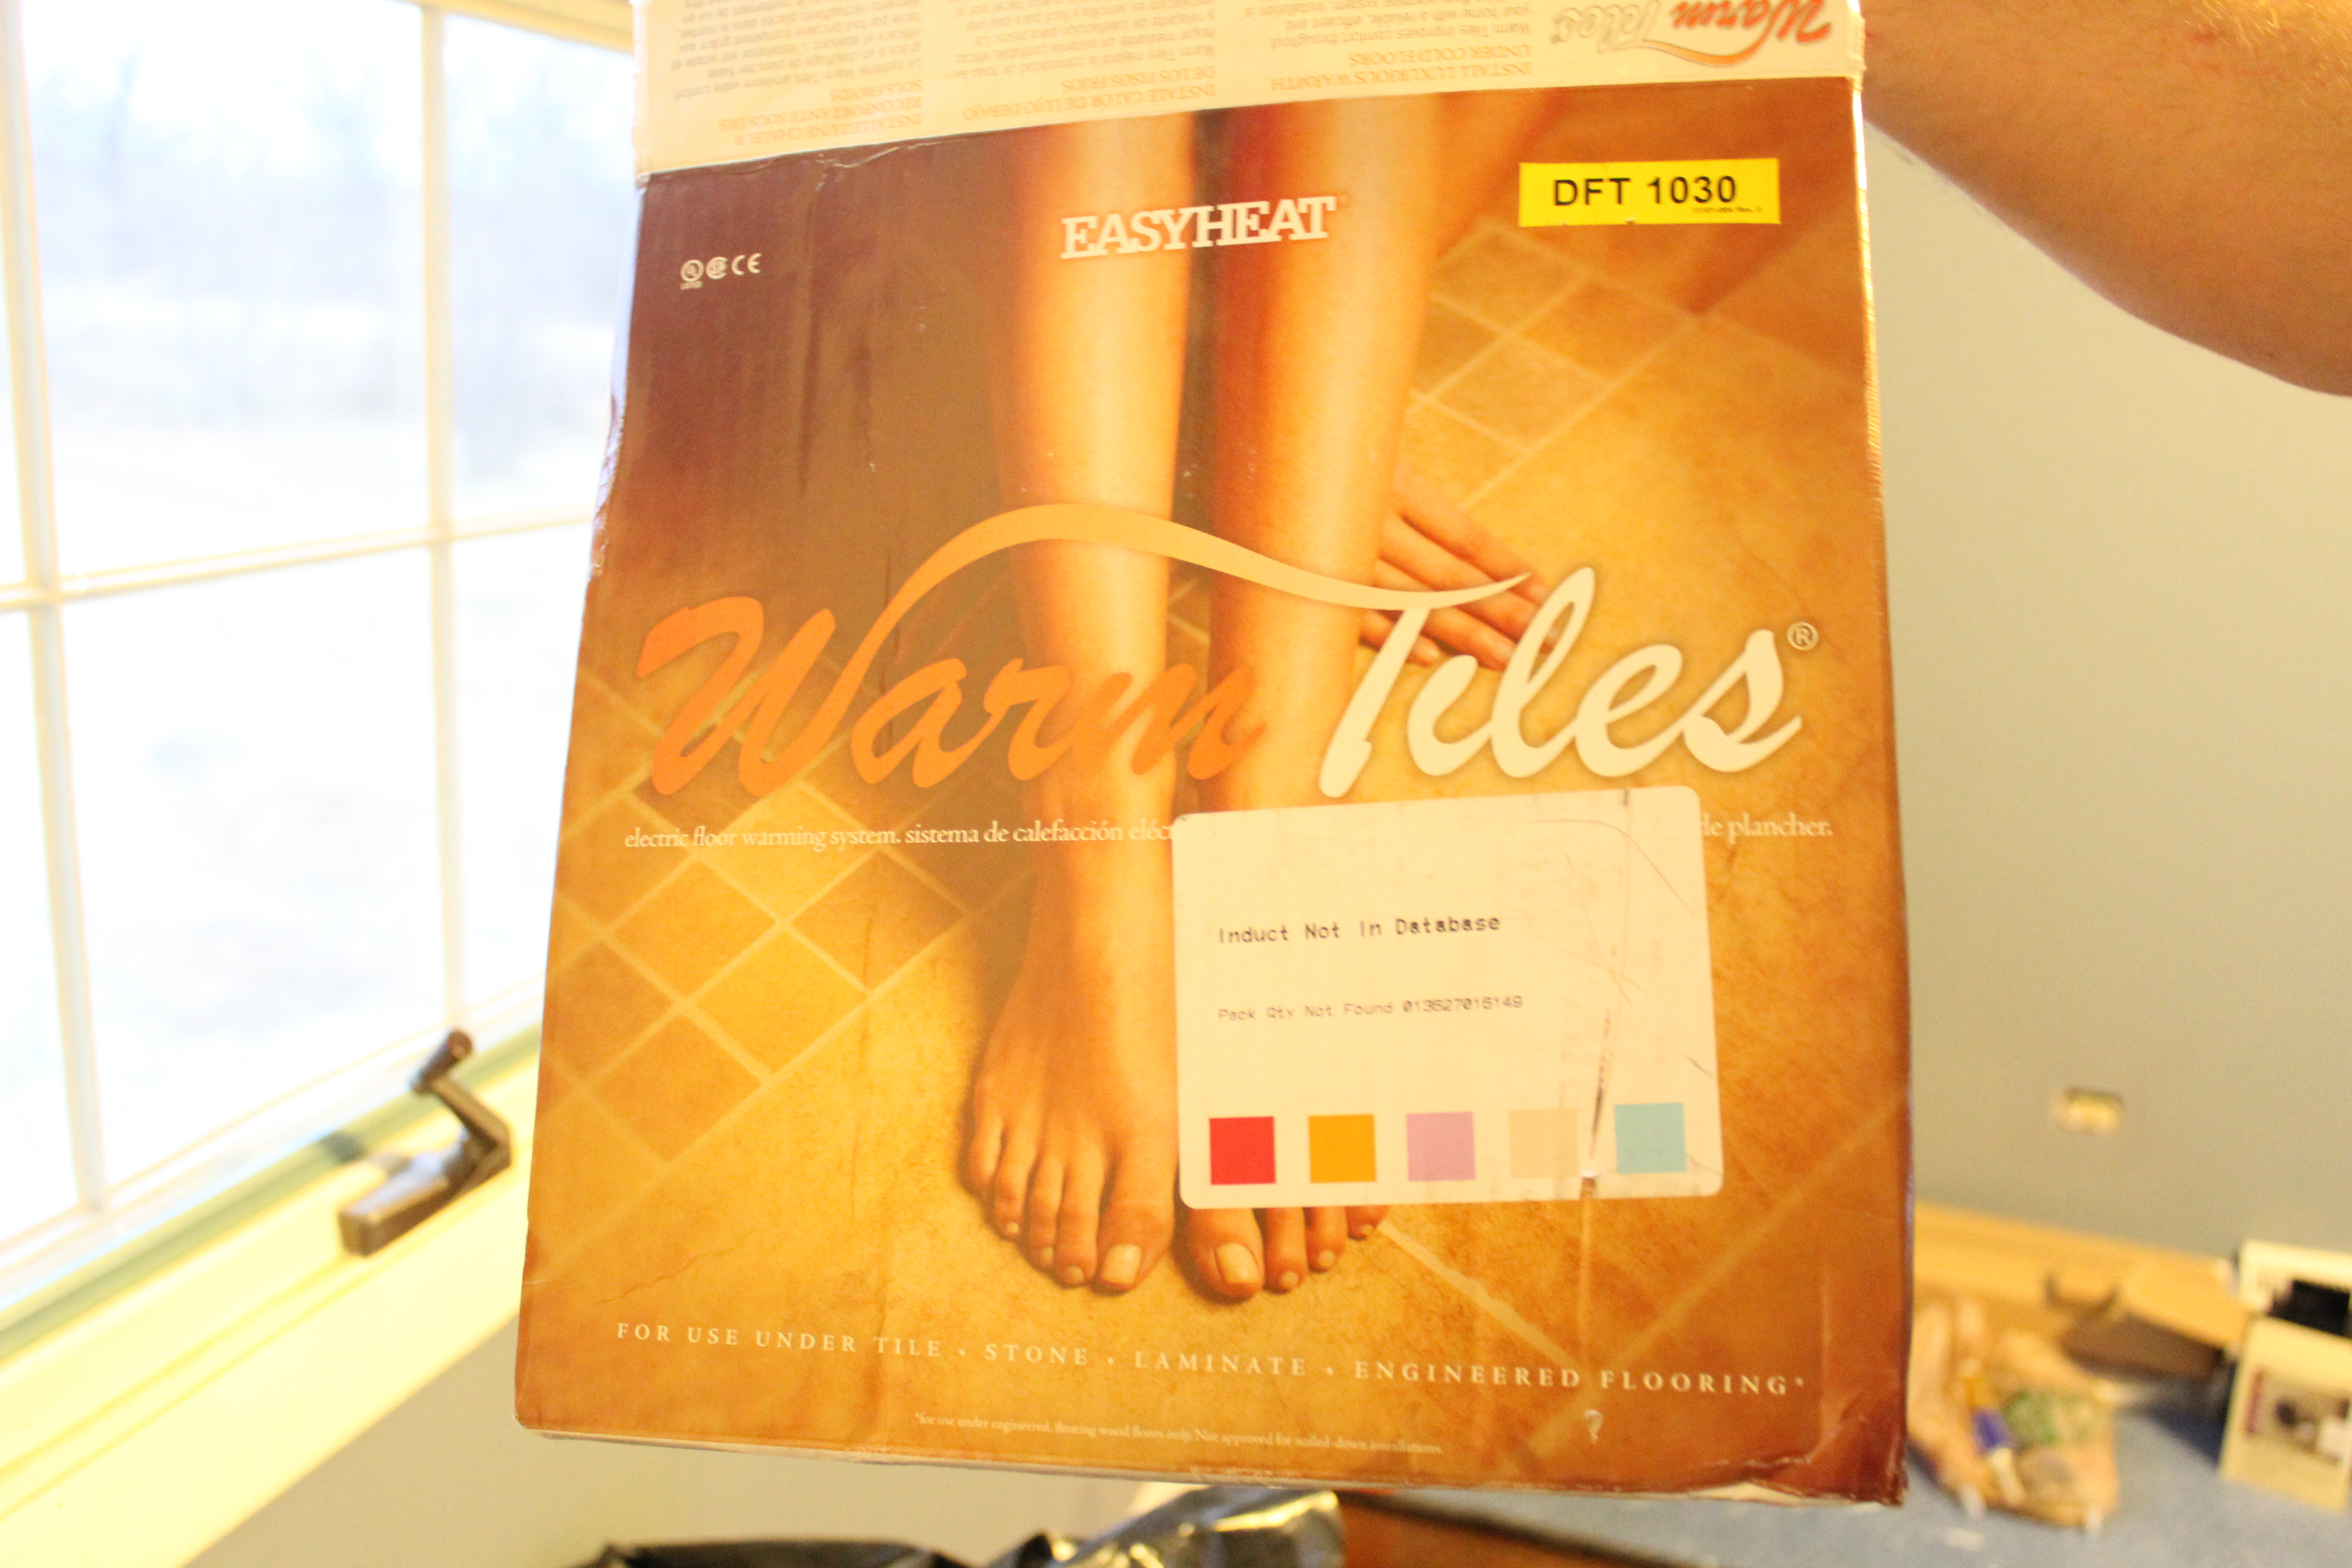
Next up in the bathroom will be underfloor heating and then tile. We debated the underfloor heating but all our guests absolutely loved it in the last house (and we did too). We found a good deal on the size we needed which was only $99 from Menards. That doesn’t include the thermostat, but that shouldn’t be too much online. IMG_2202We’d like to do a tutorial of how to lay this stuff, so stay tuned for that.

Hope everyone has a good weekend! It’s a long one for me because of Martin Luther King, Jr. Day on Monday so I am pumped.