Archive | Uncategorized RSS feed for this section

Mudroom Reveal!

13 Sep

The mudroom is finally complete, and it’s as functional as it is beautiful.

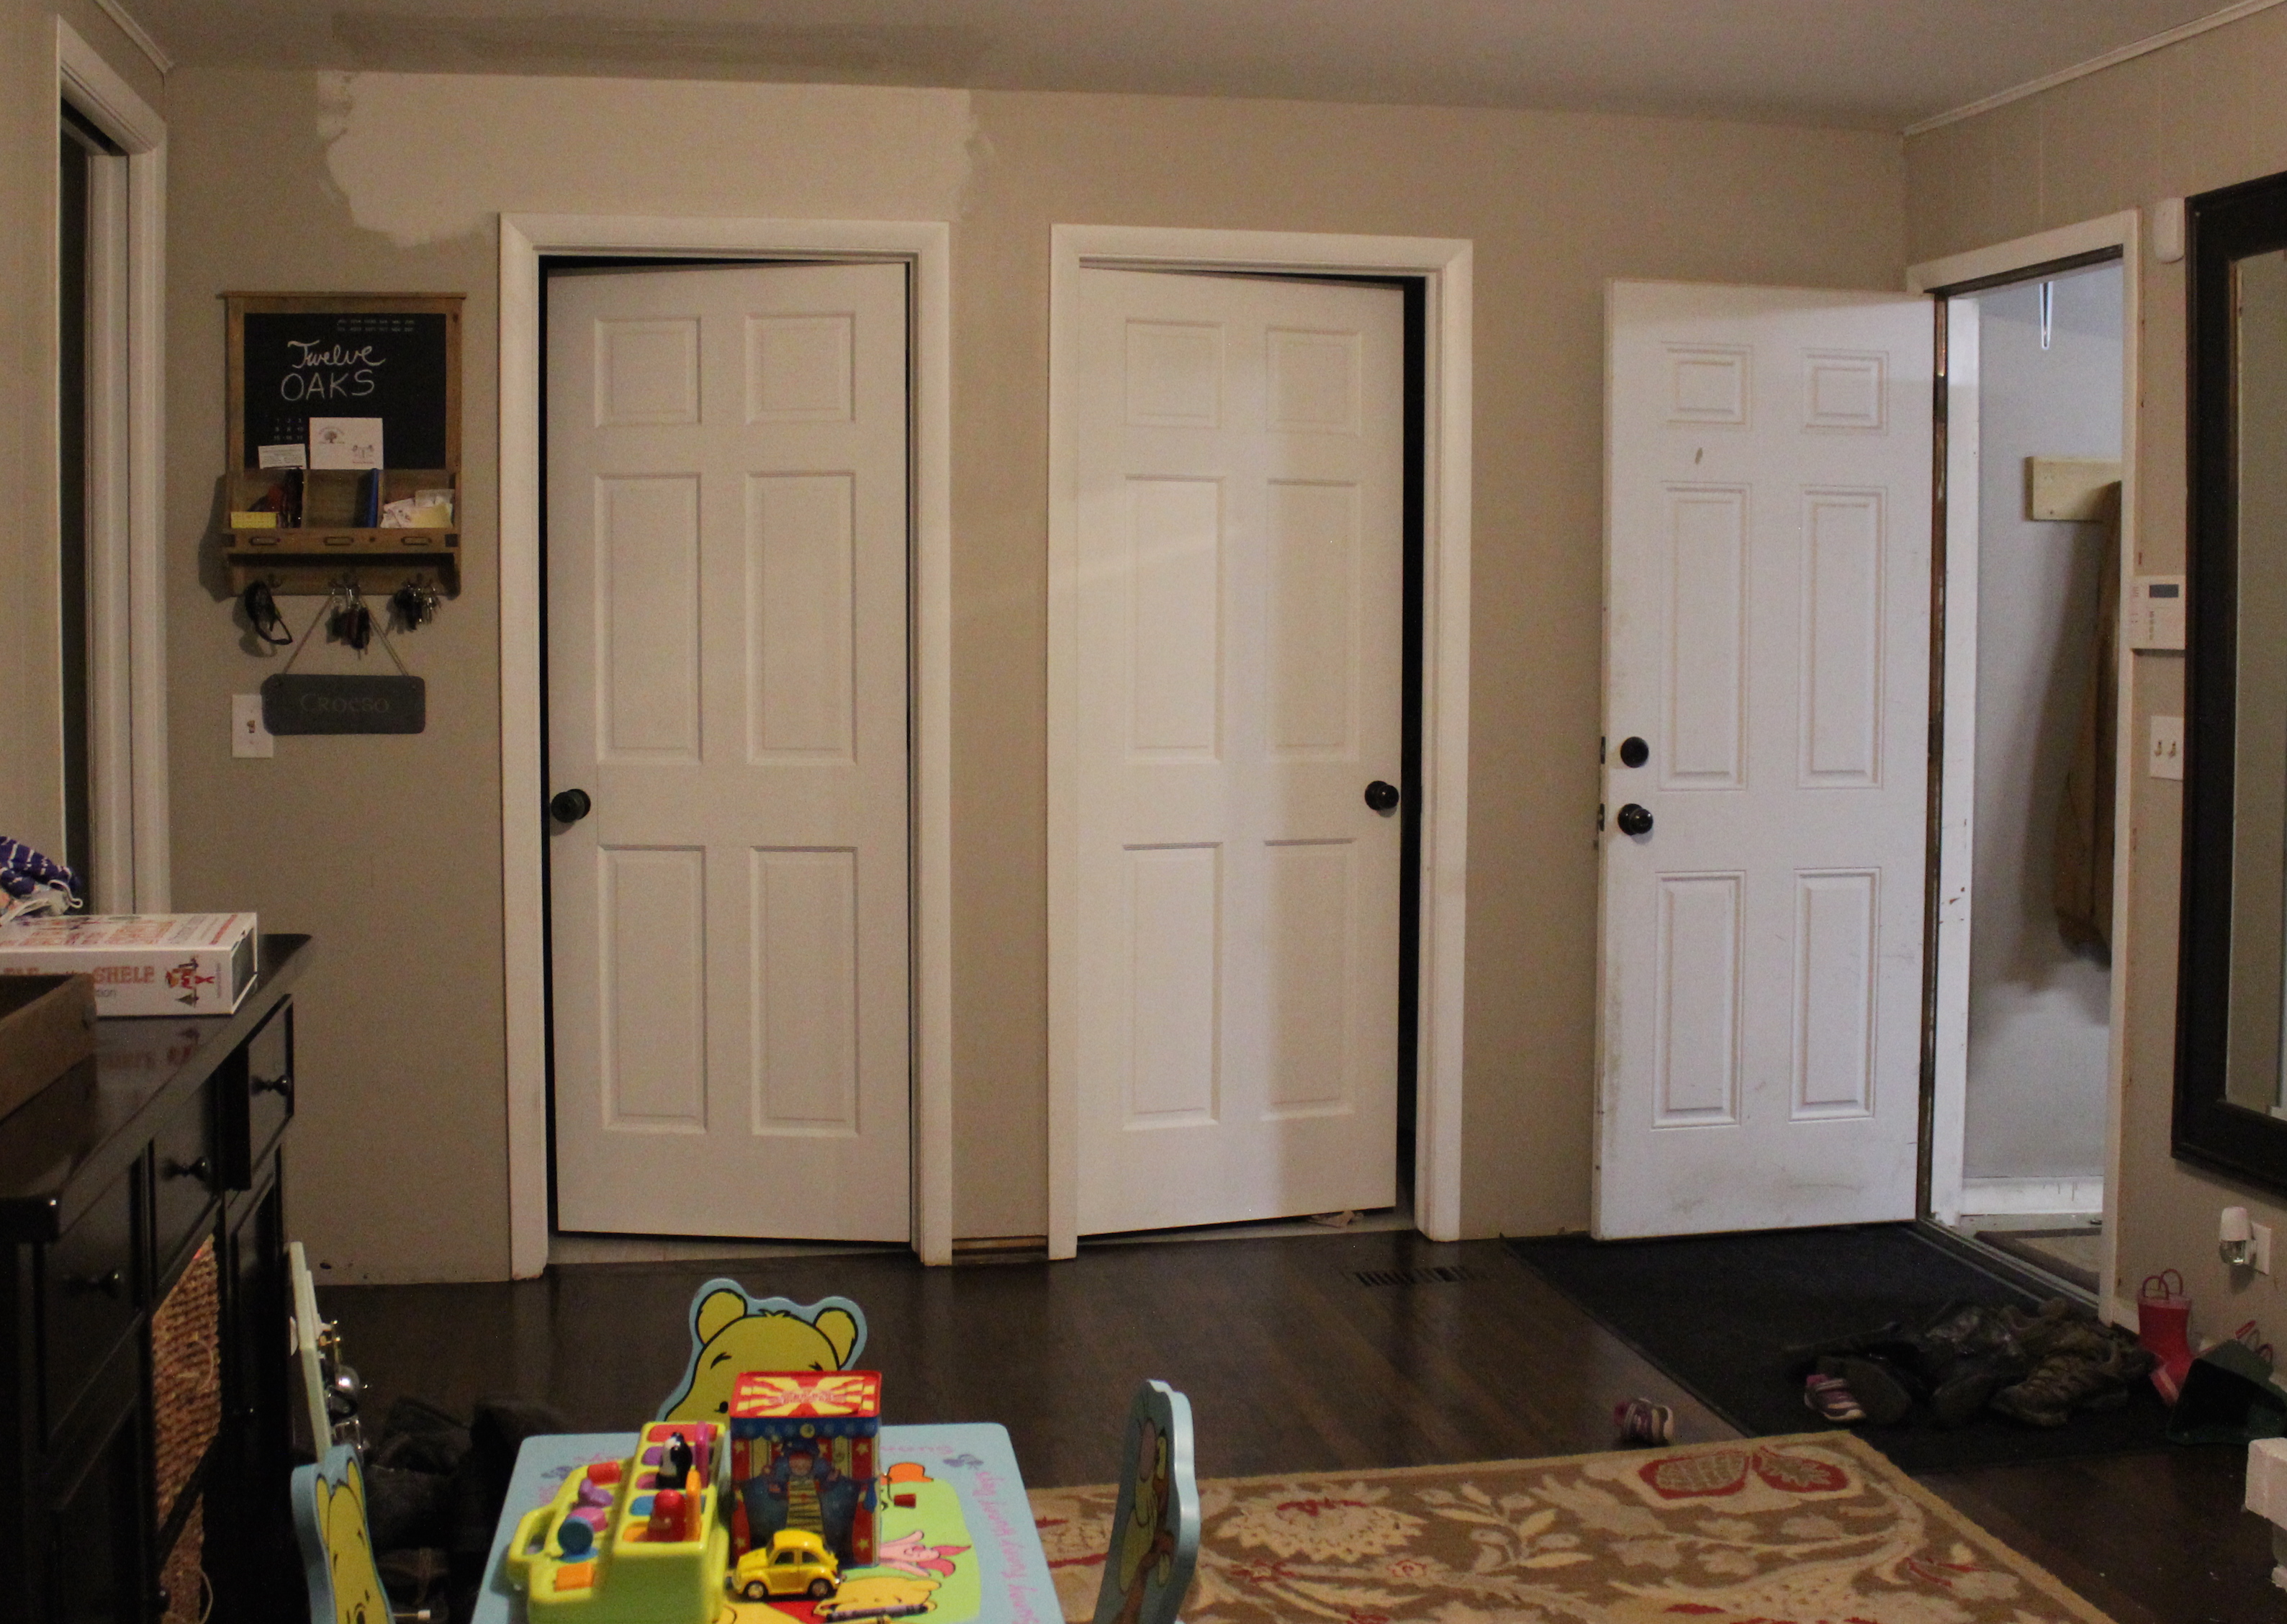
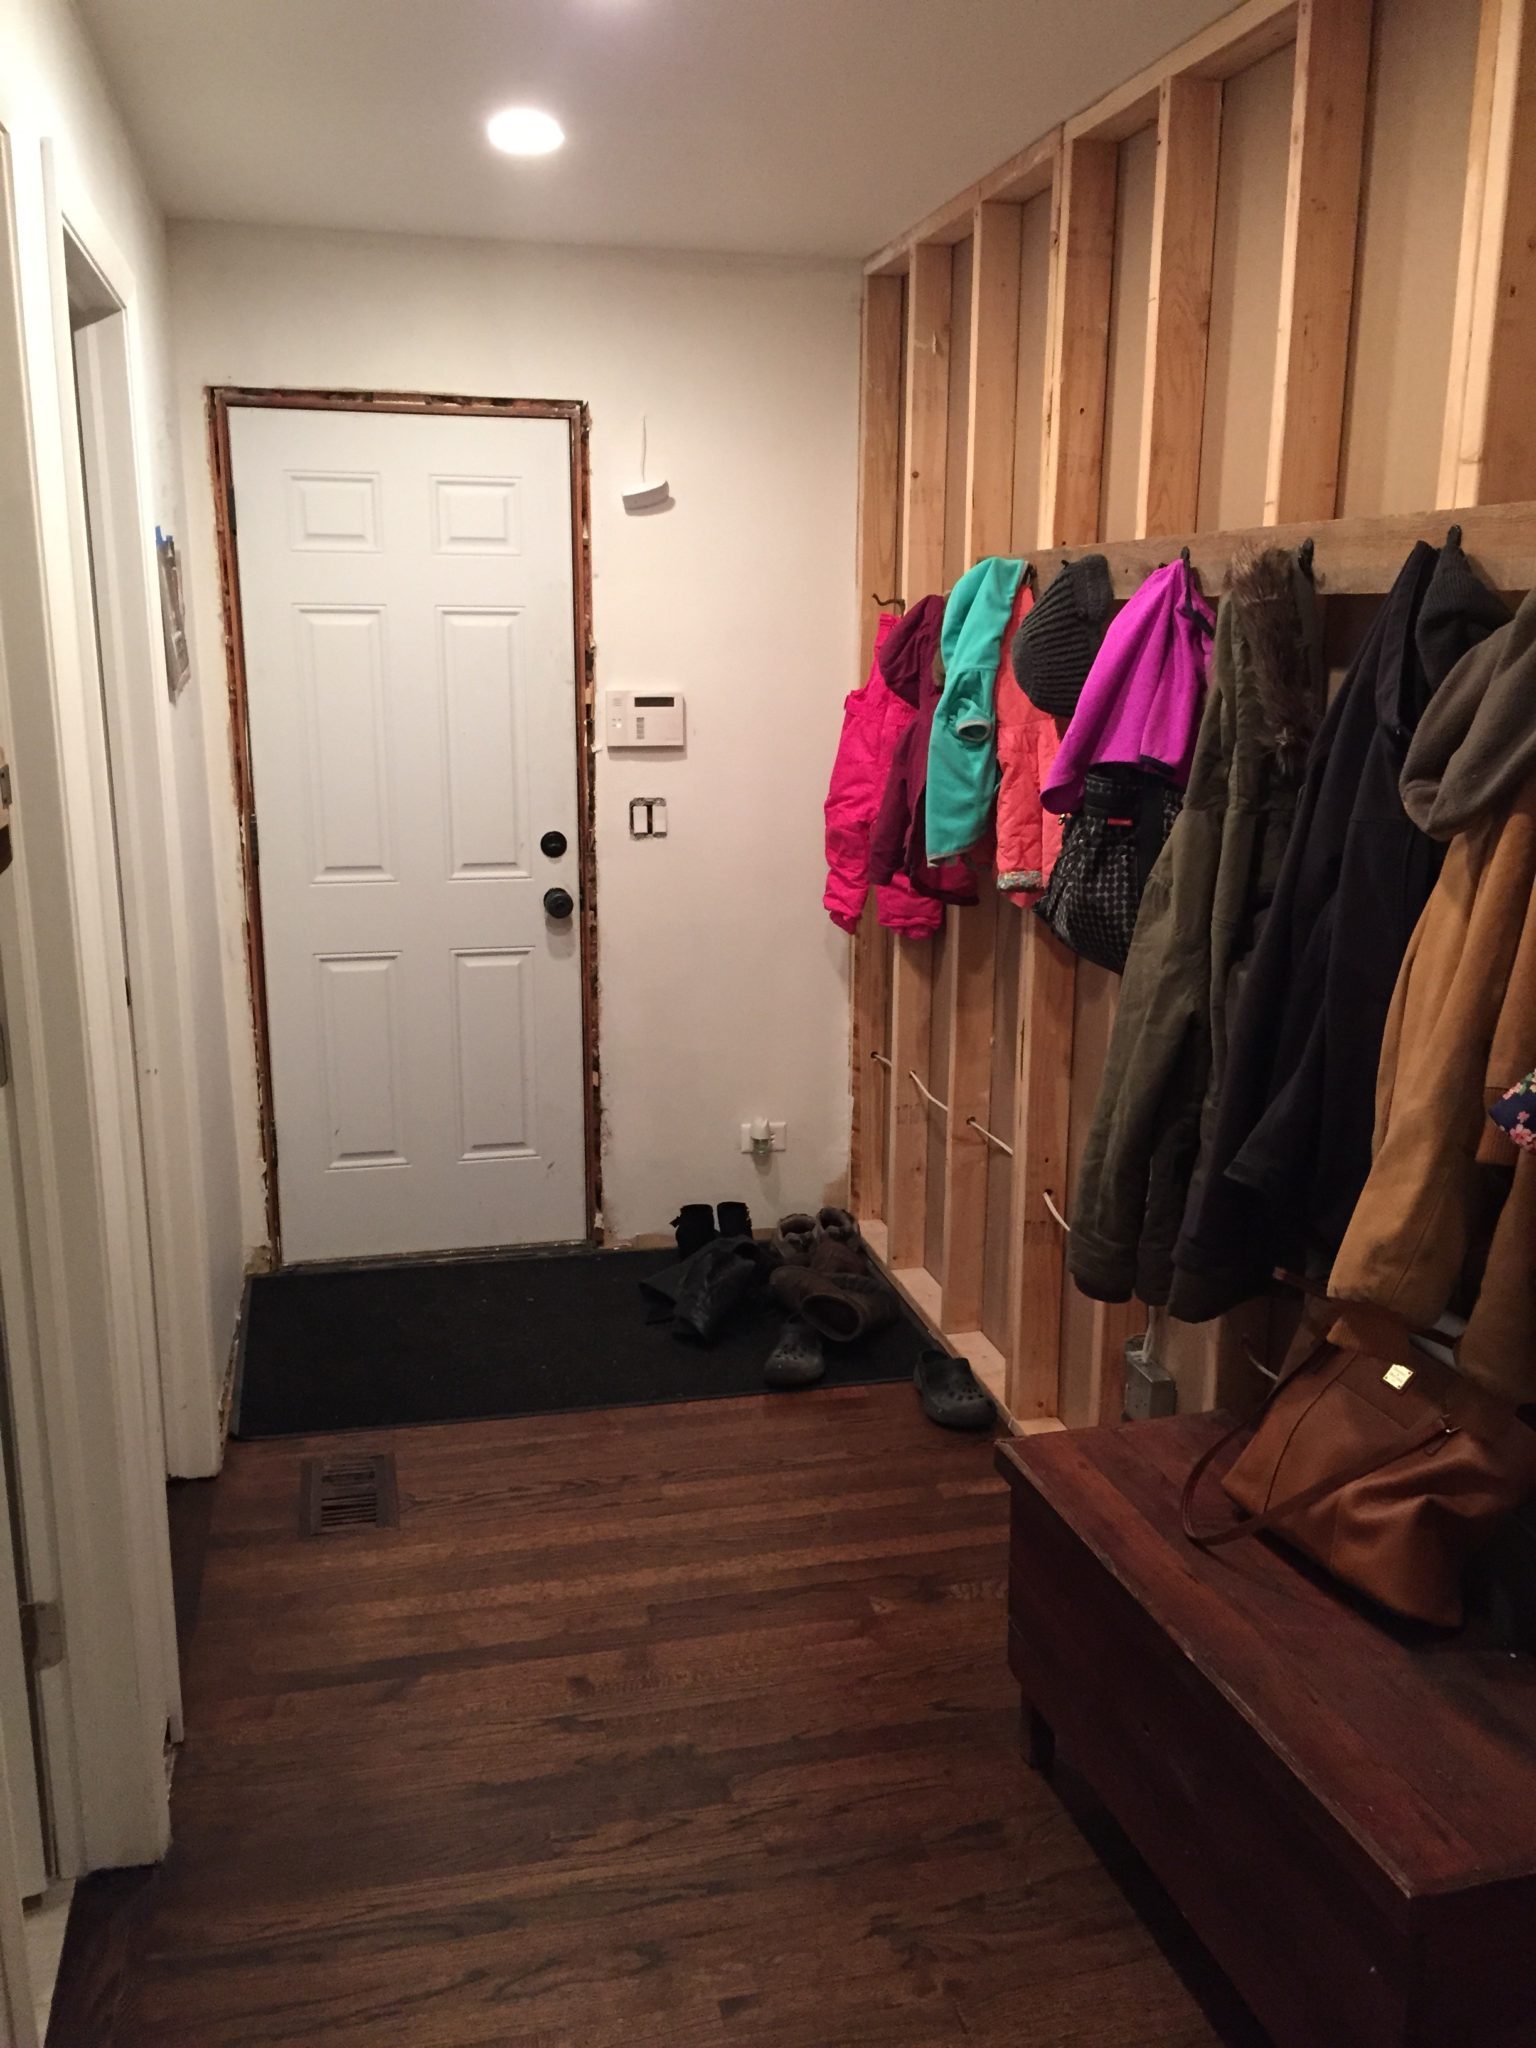
Before I share the finished photos, here’s a look back at what it used to be. It was all one open room that served as a mostly unused den/office:

IMG_5599

Then we added a wall and divided it into a playroom on one side and mudroom on the other.

IMG_5602

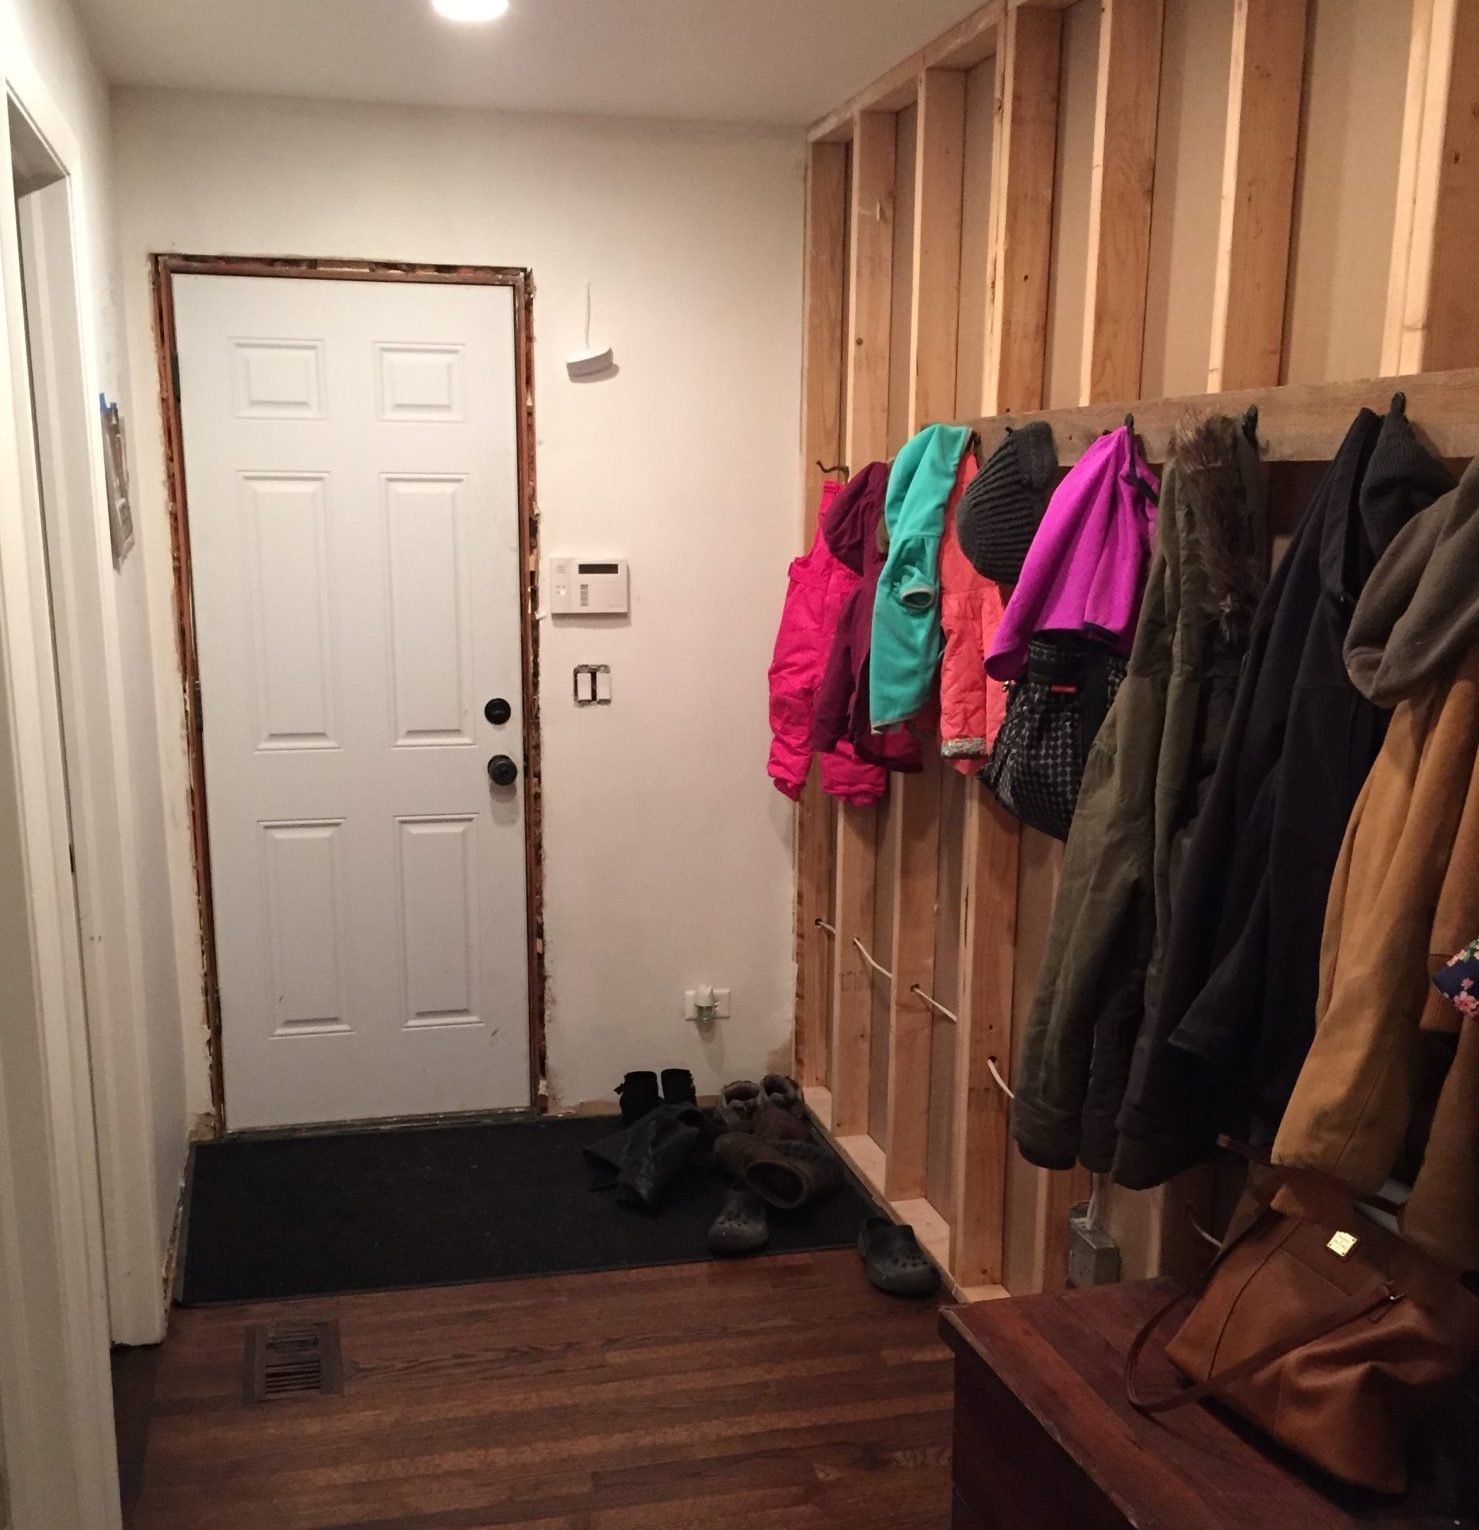
We hung some temporary coat hooks for a little while:

IMG_0676

And then most recently, I shared this progress photo:

mudroom vertical 2

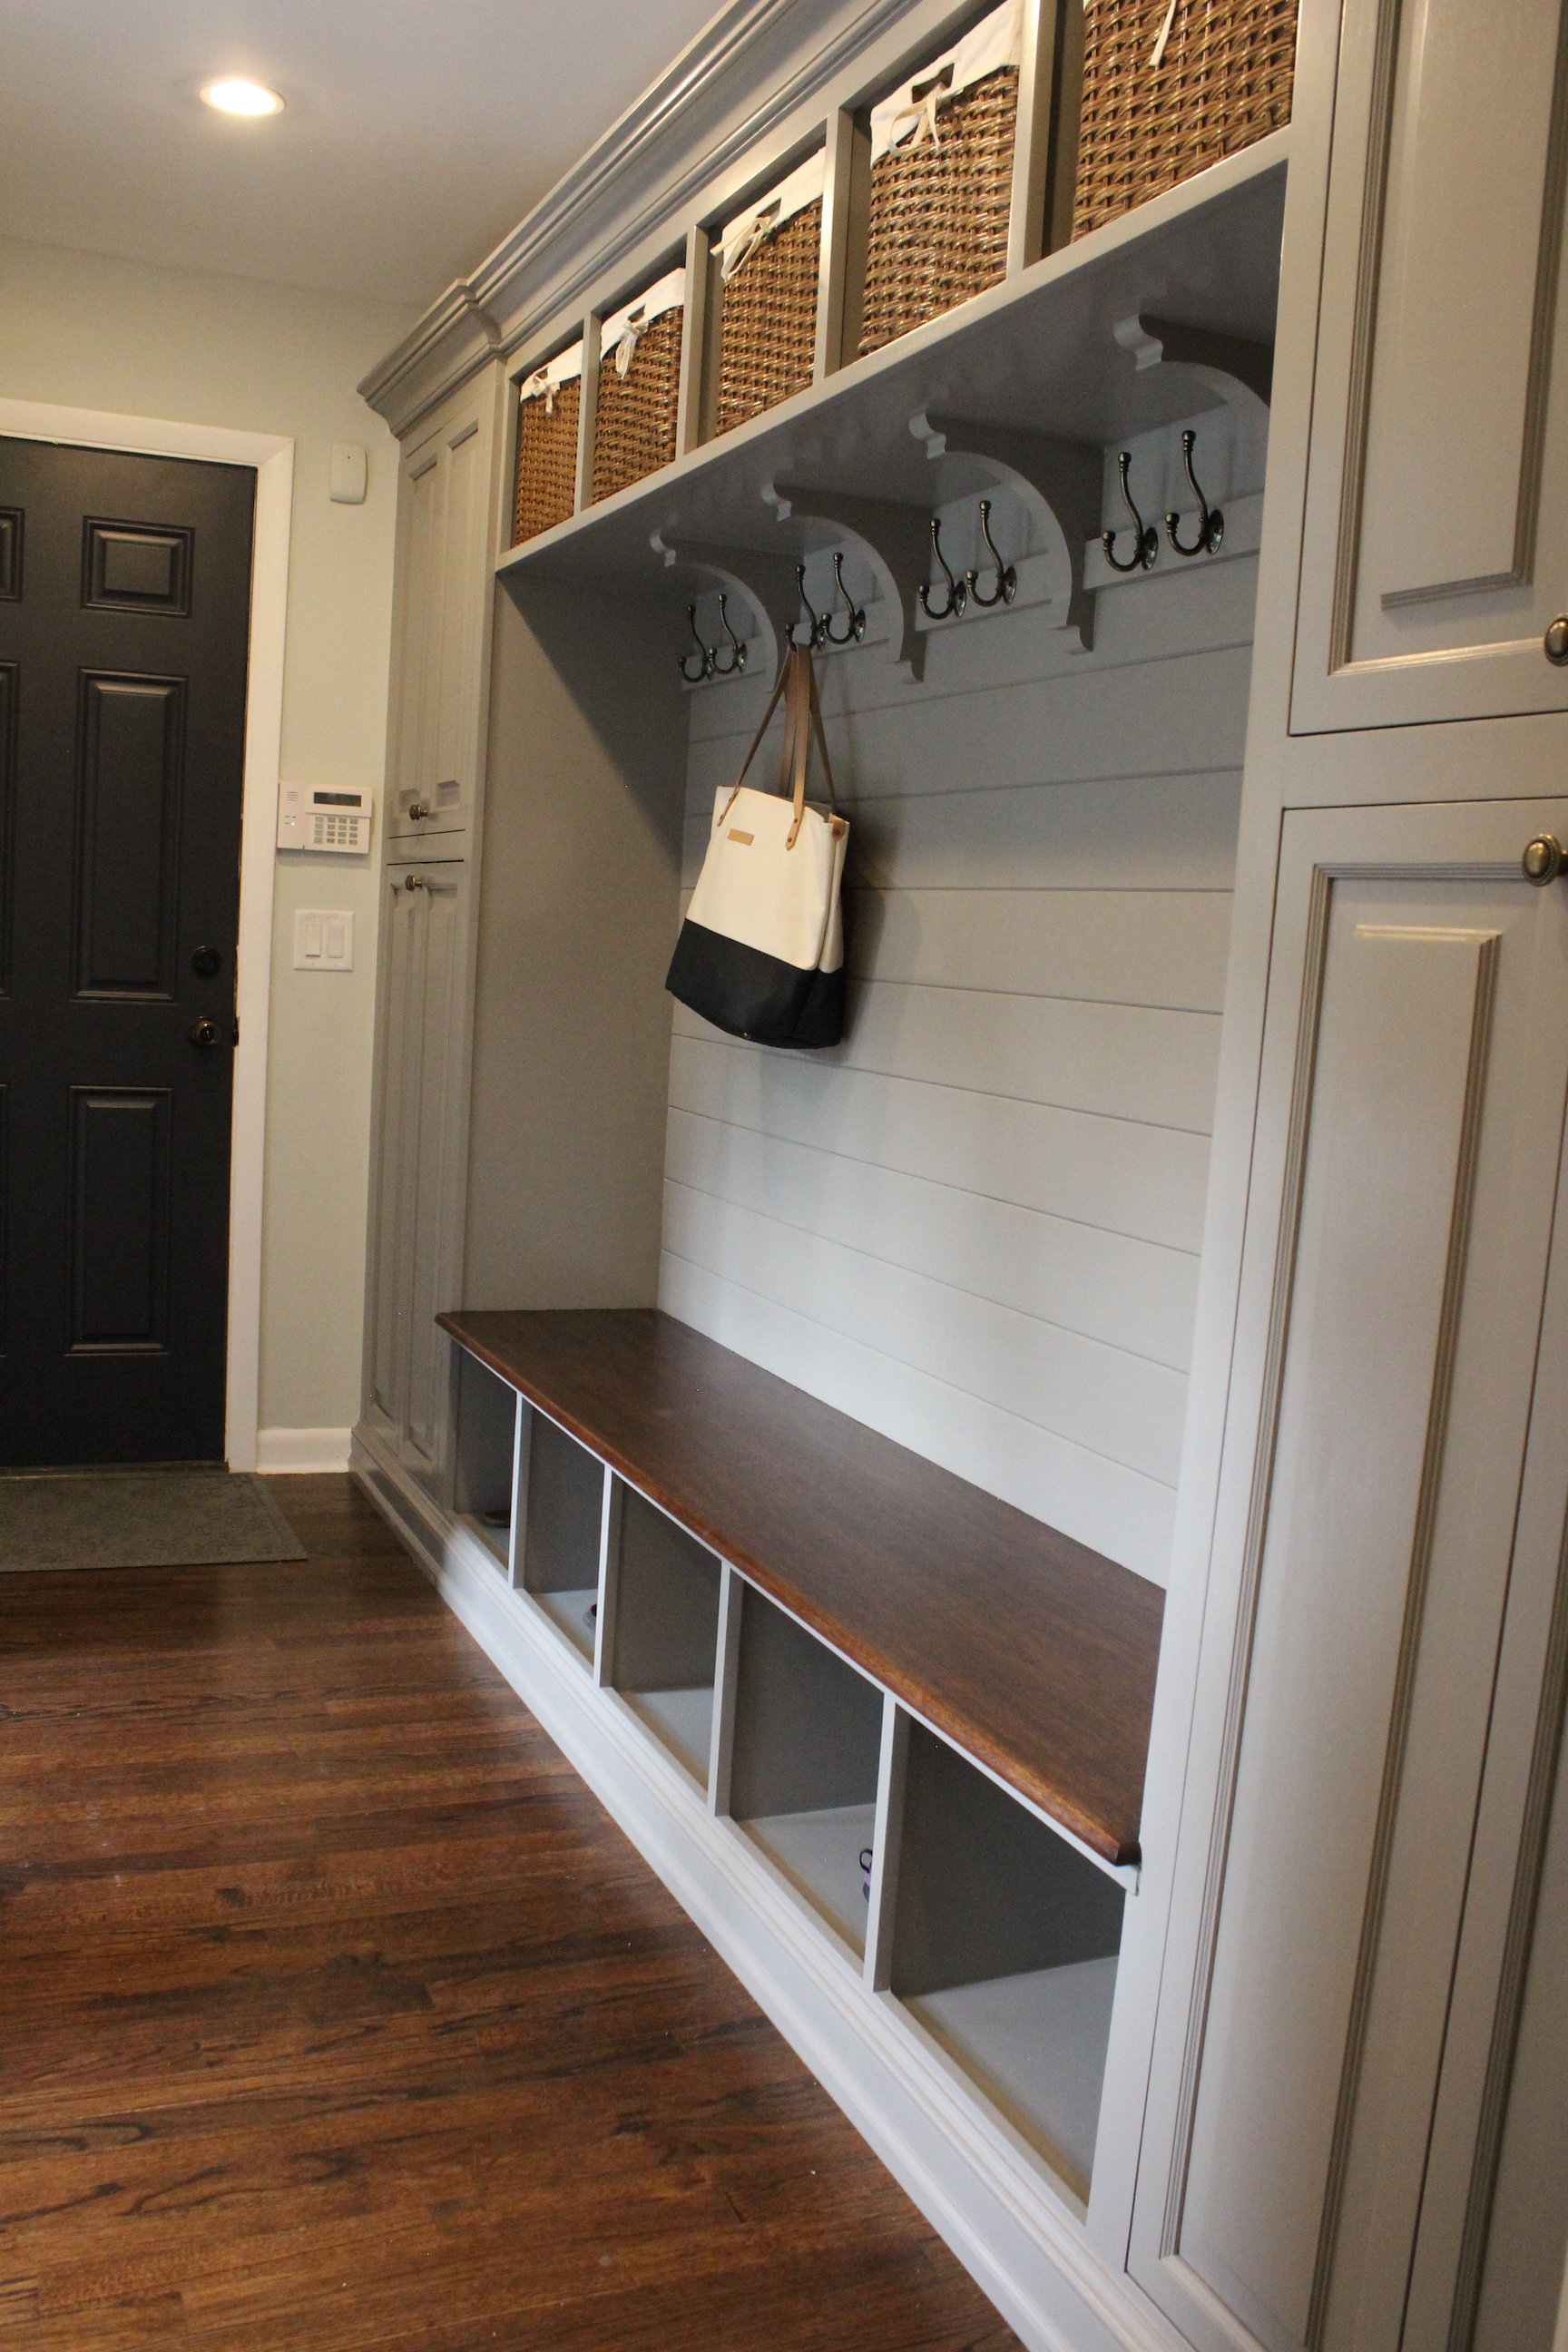
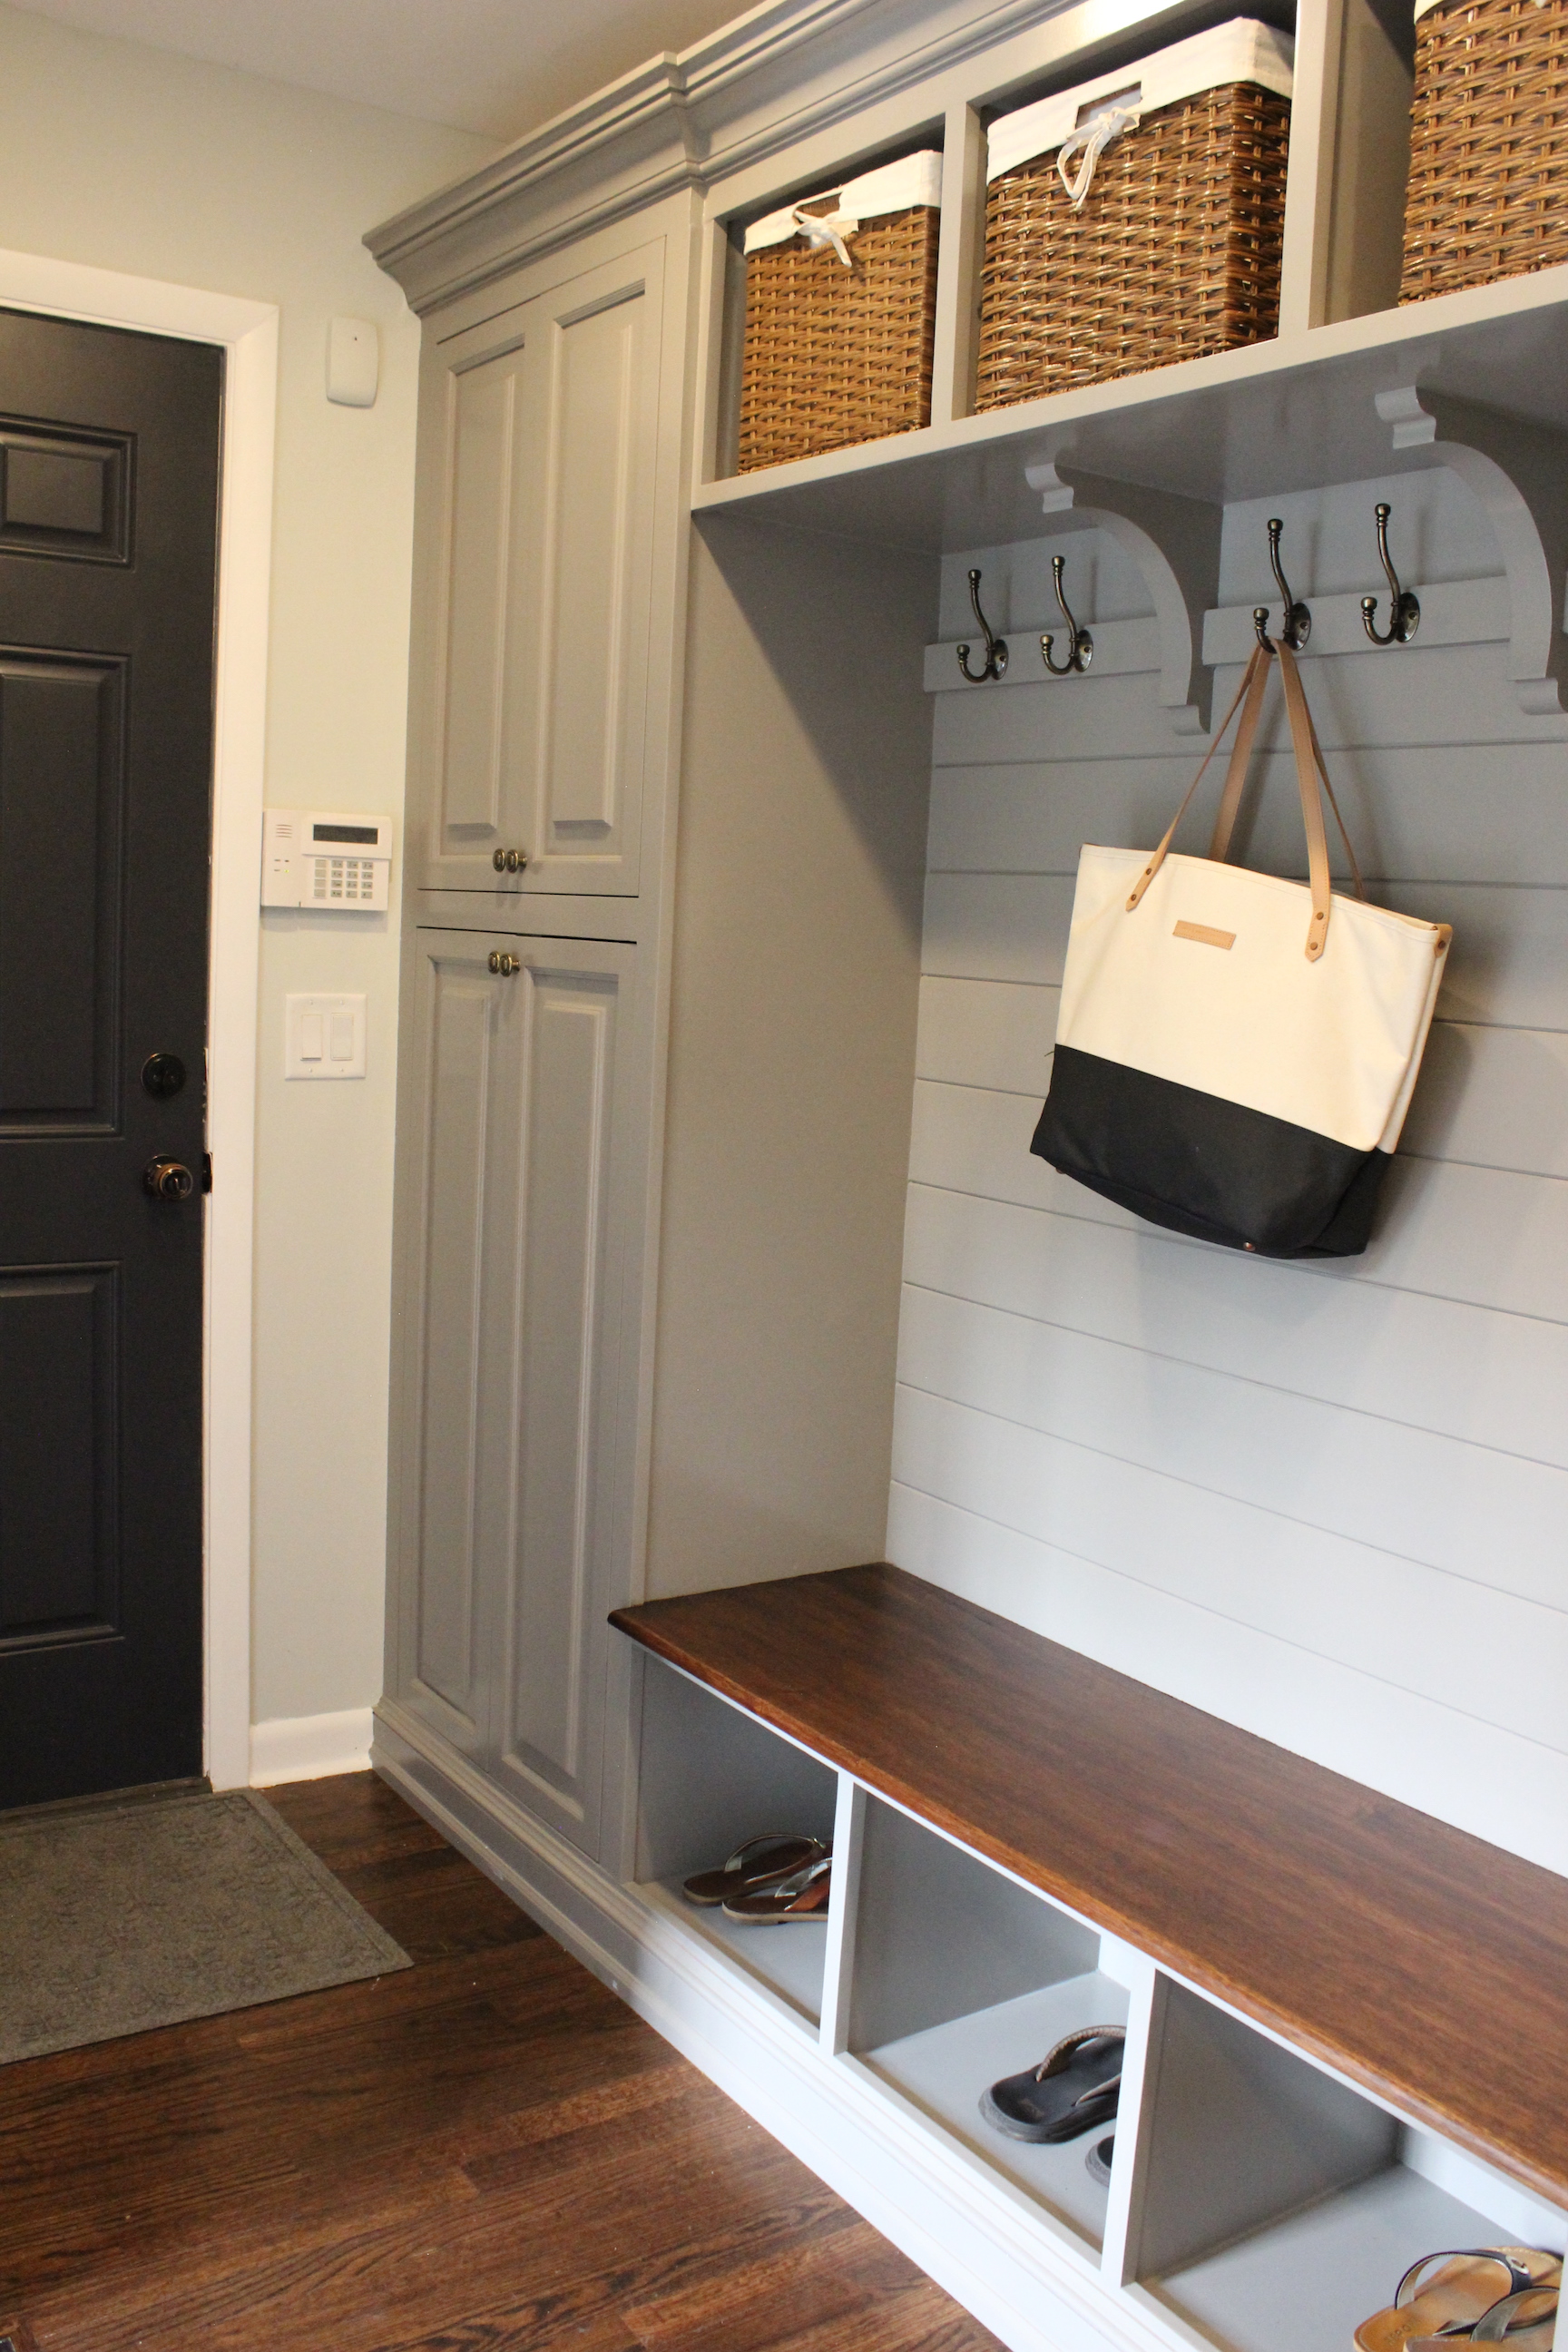
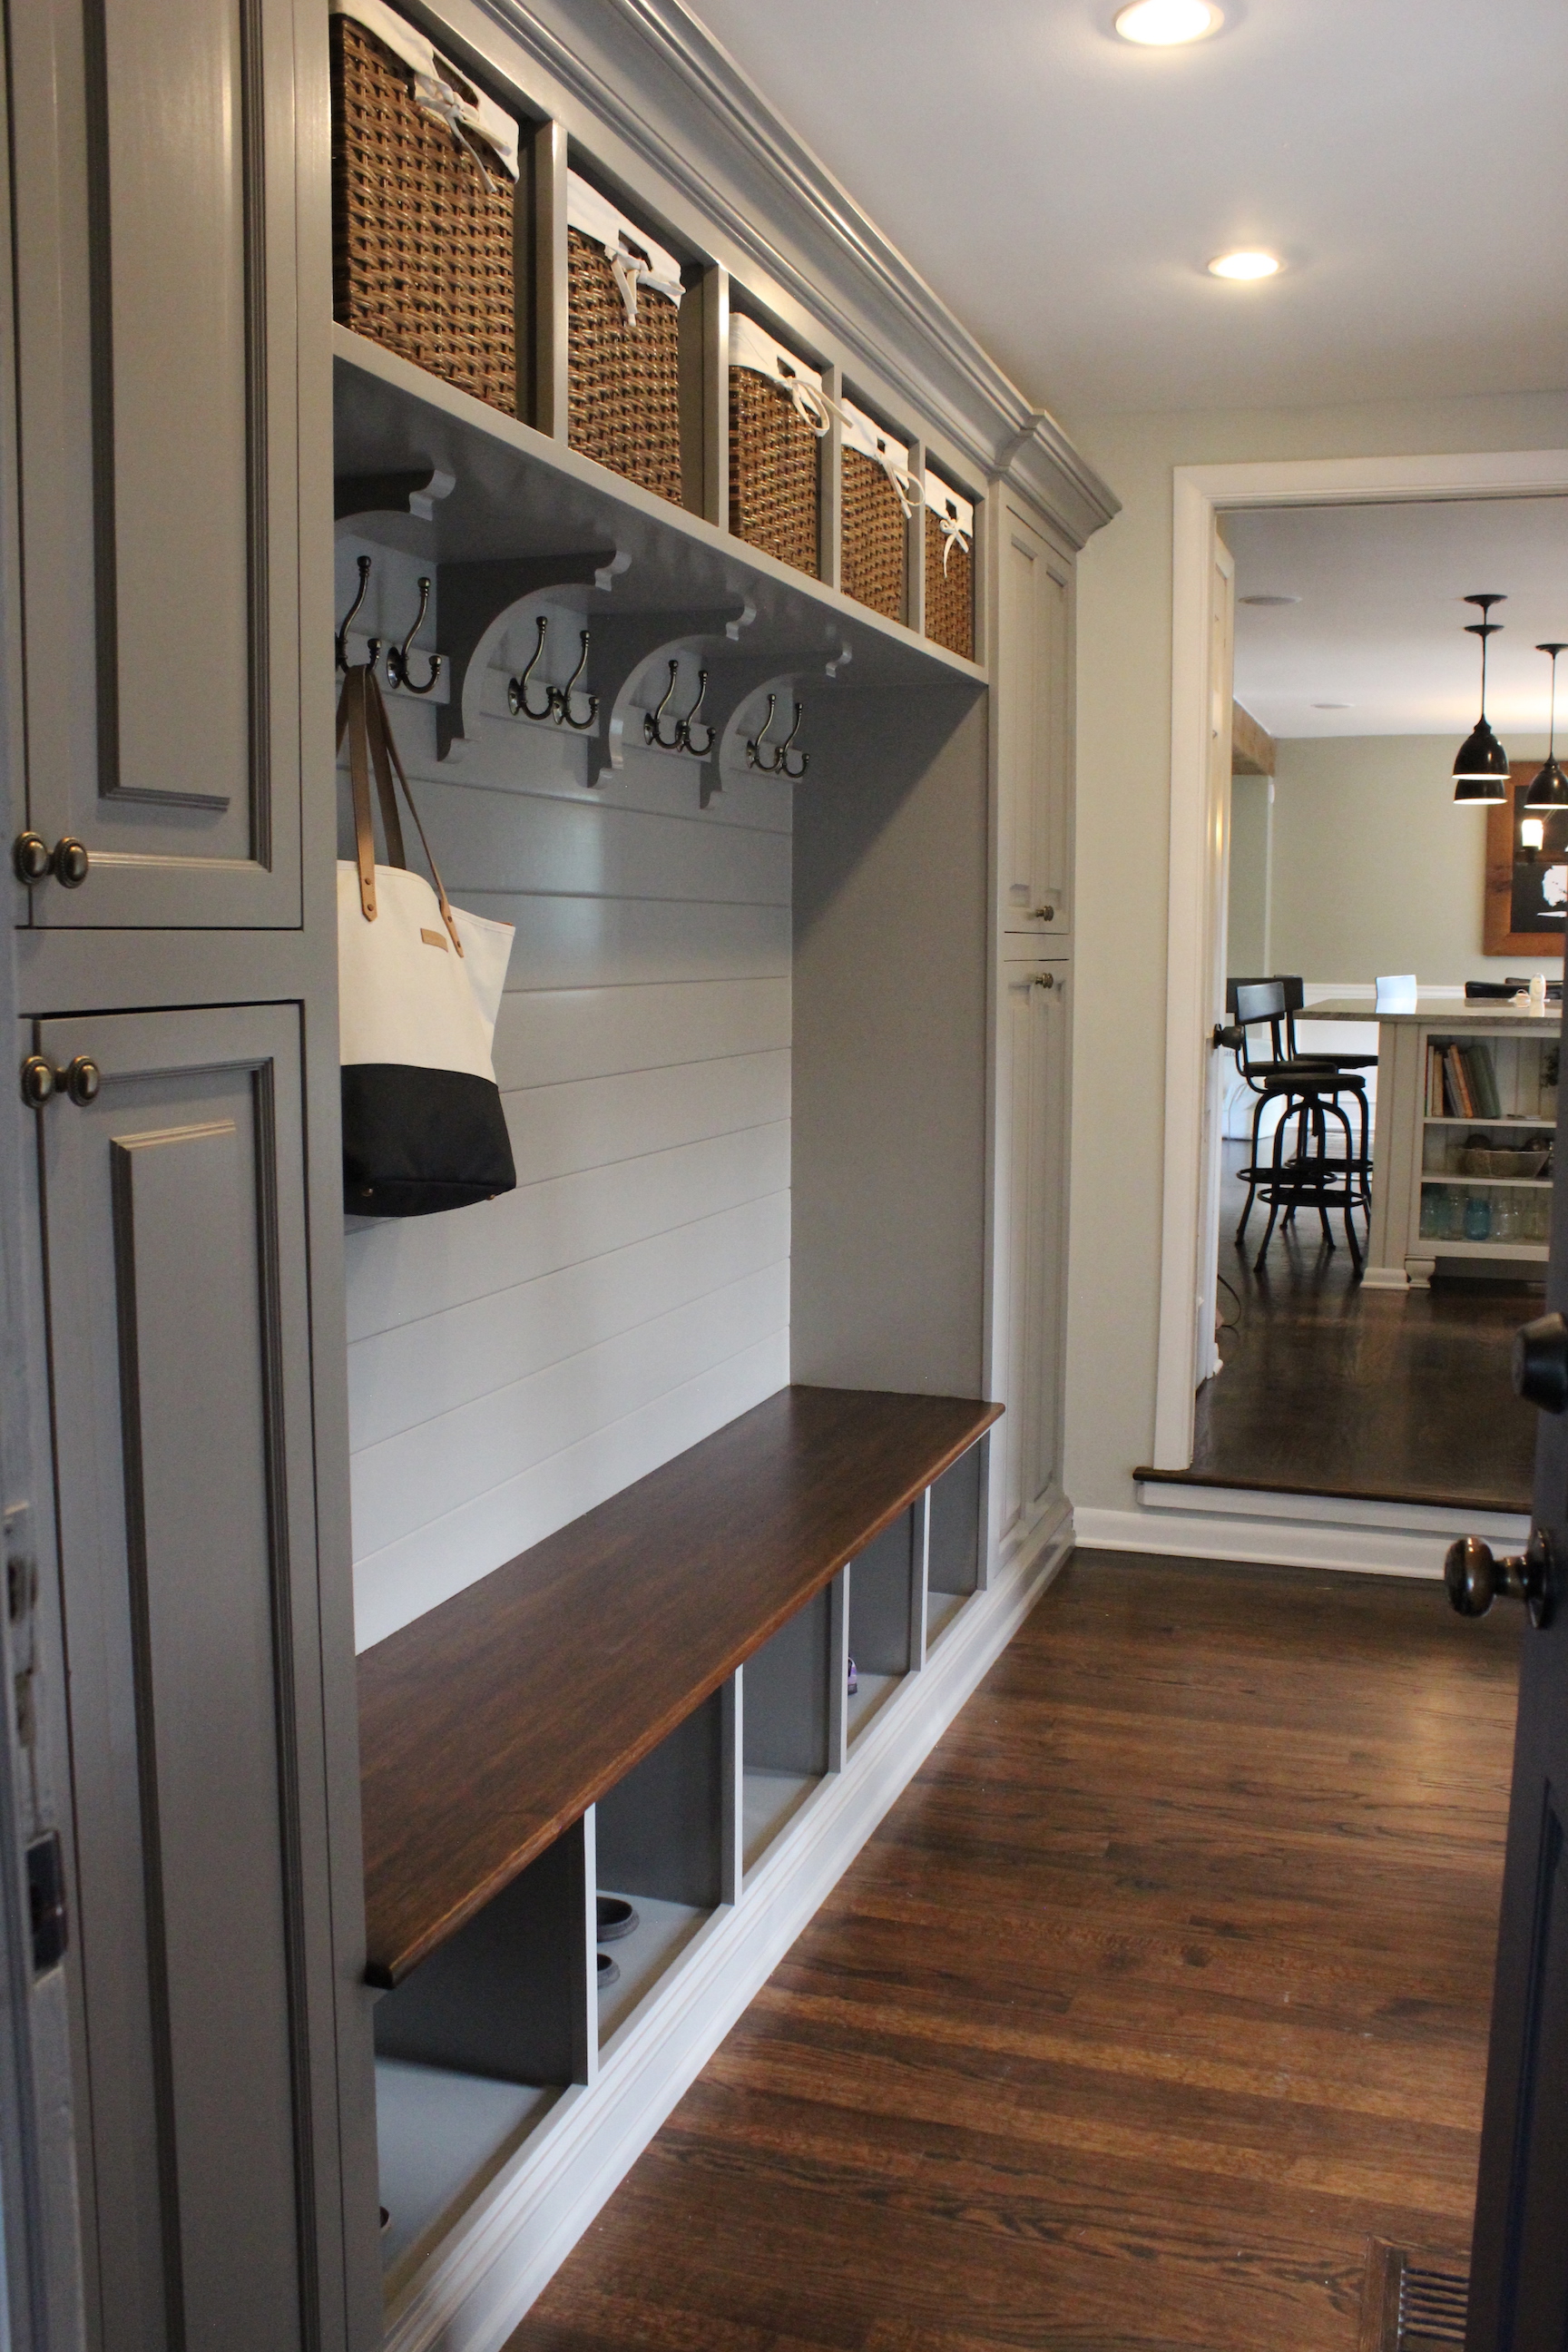
And now, here is the finished mudroom:

mudroom-whole-view

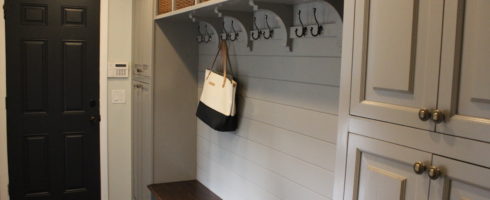
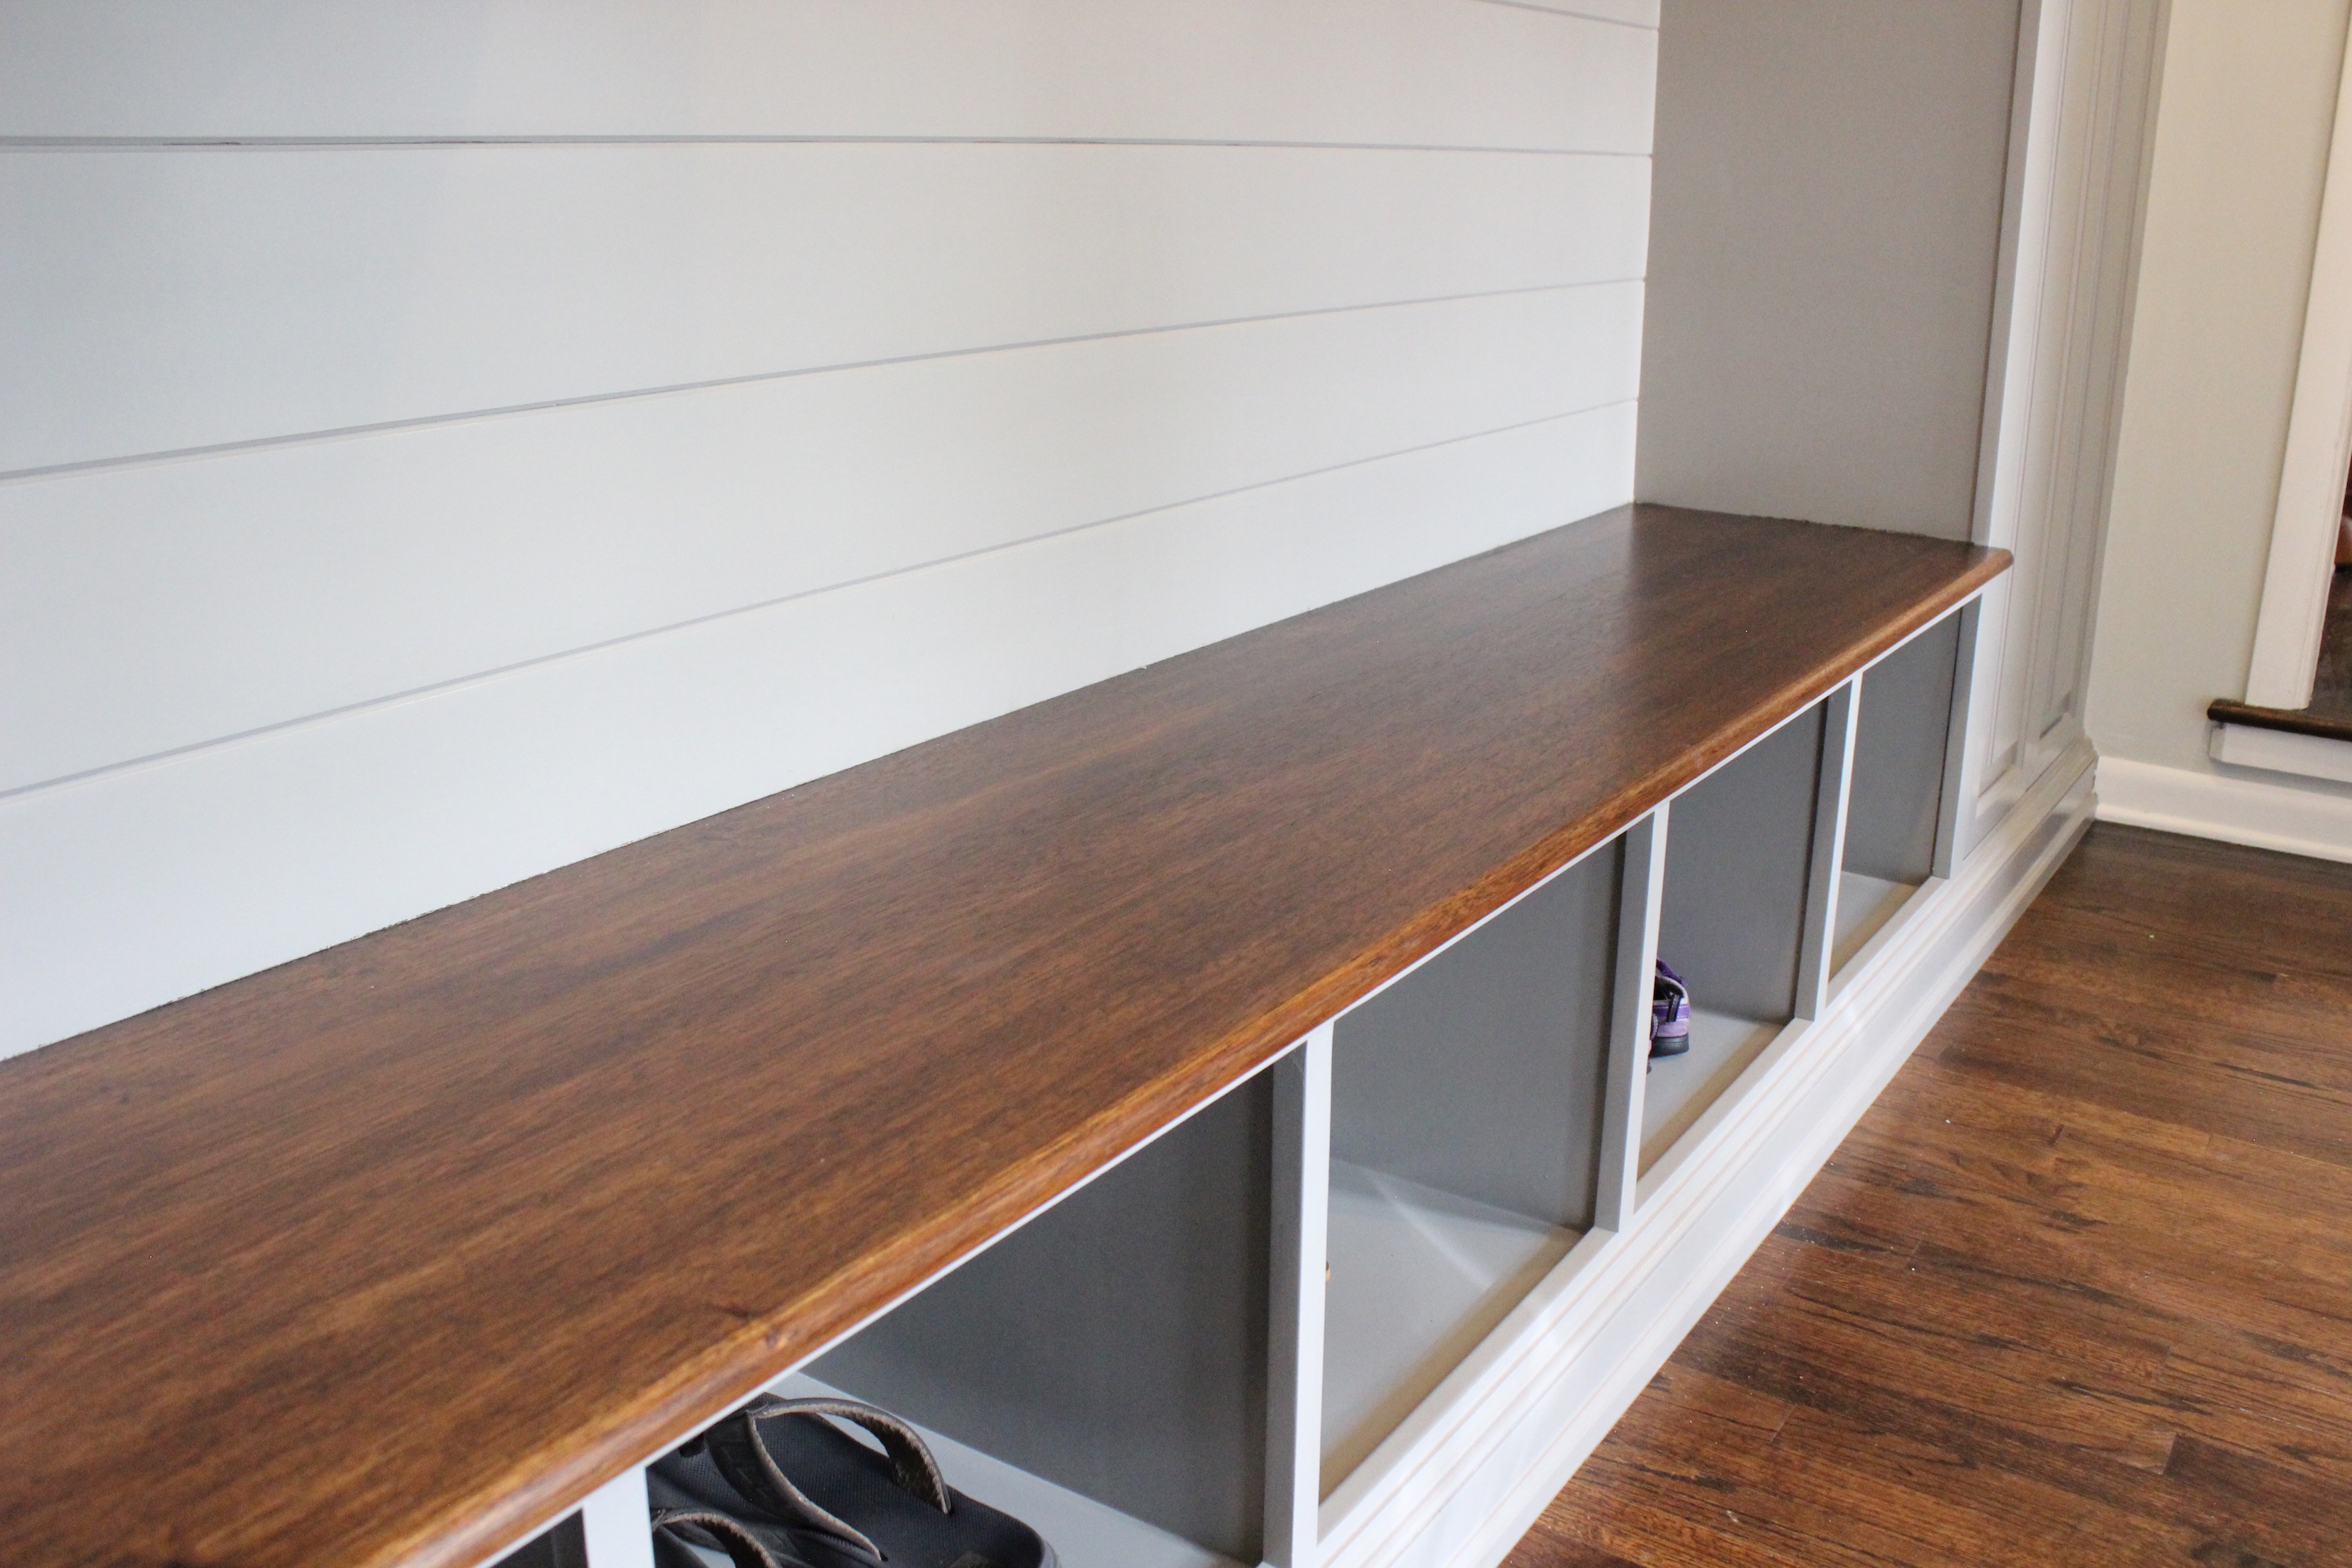
We painted the cabinets Galveston Gray by Benjamin Moore, and stained the Mahogany seat Dark Walnut by Minwax. It turned out stunning!

mudroom-bench

We also painted the back door Abyss by Benjamin Moore, which is a really dark navy color.

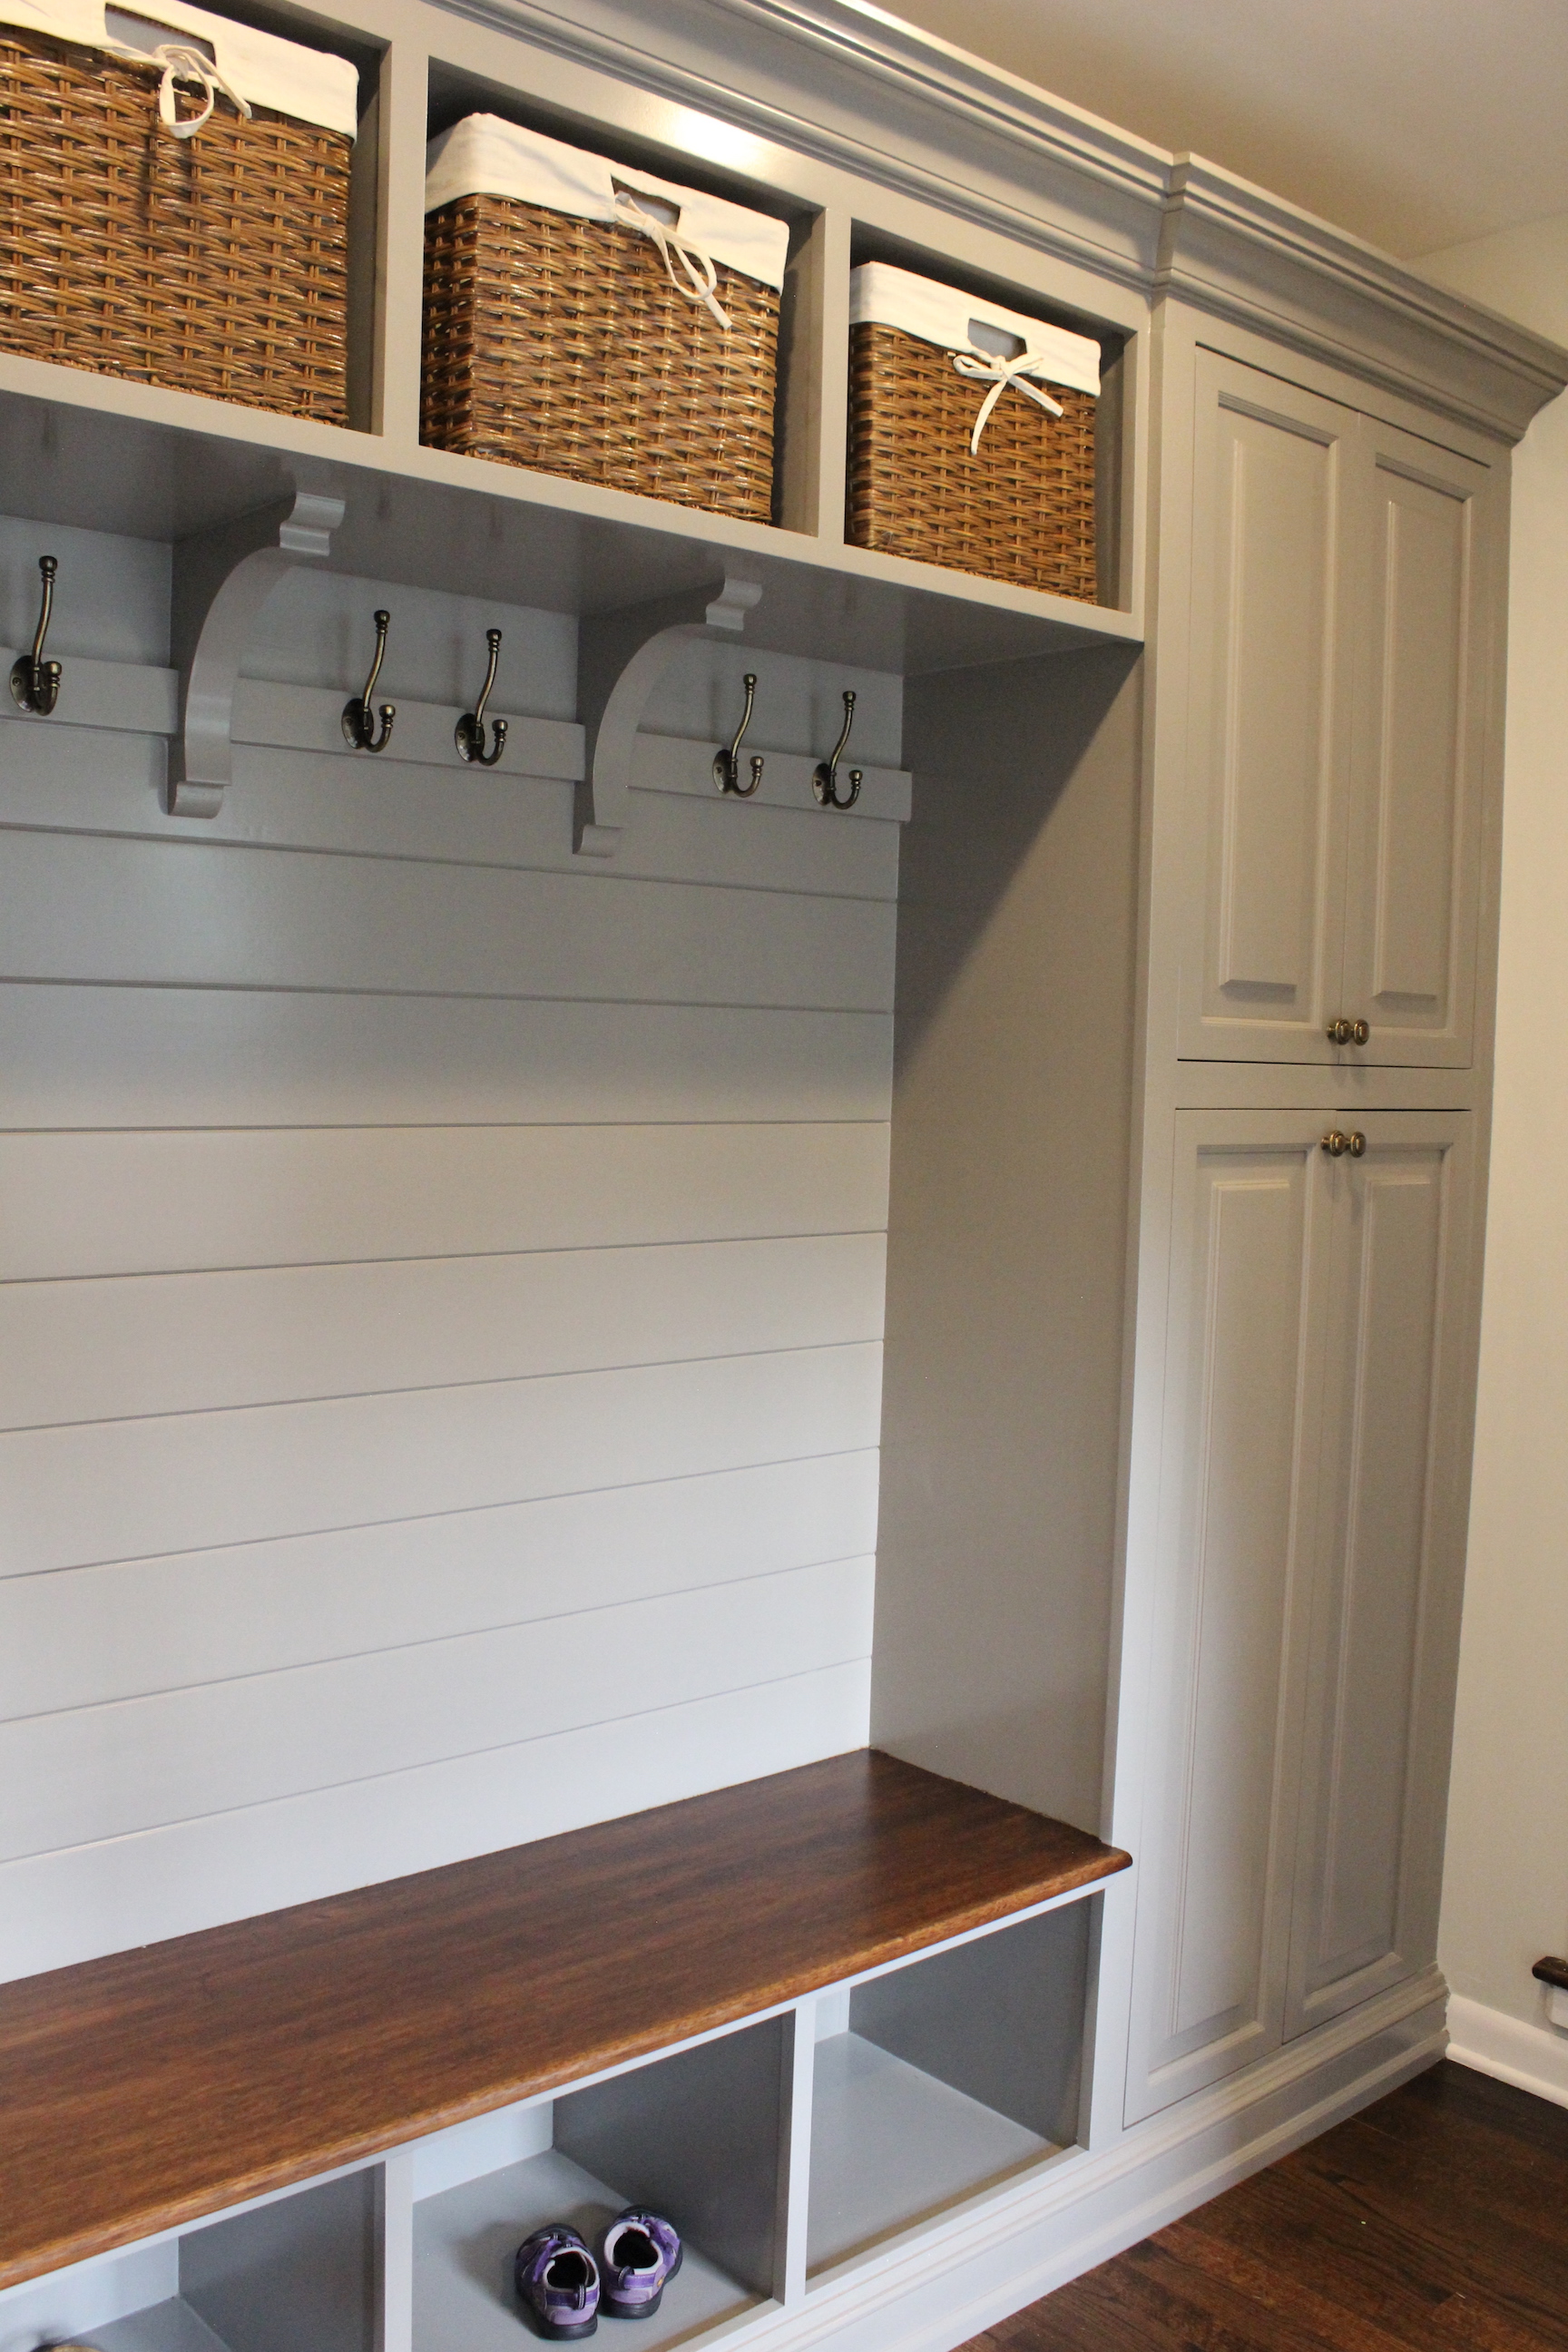
The upper cubbies have lined wicker baskets from Target and they hold hats, gloves, scarves, umbrellas and more. mudroom-baskets
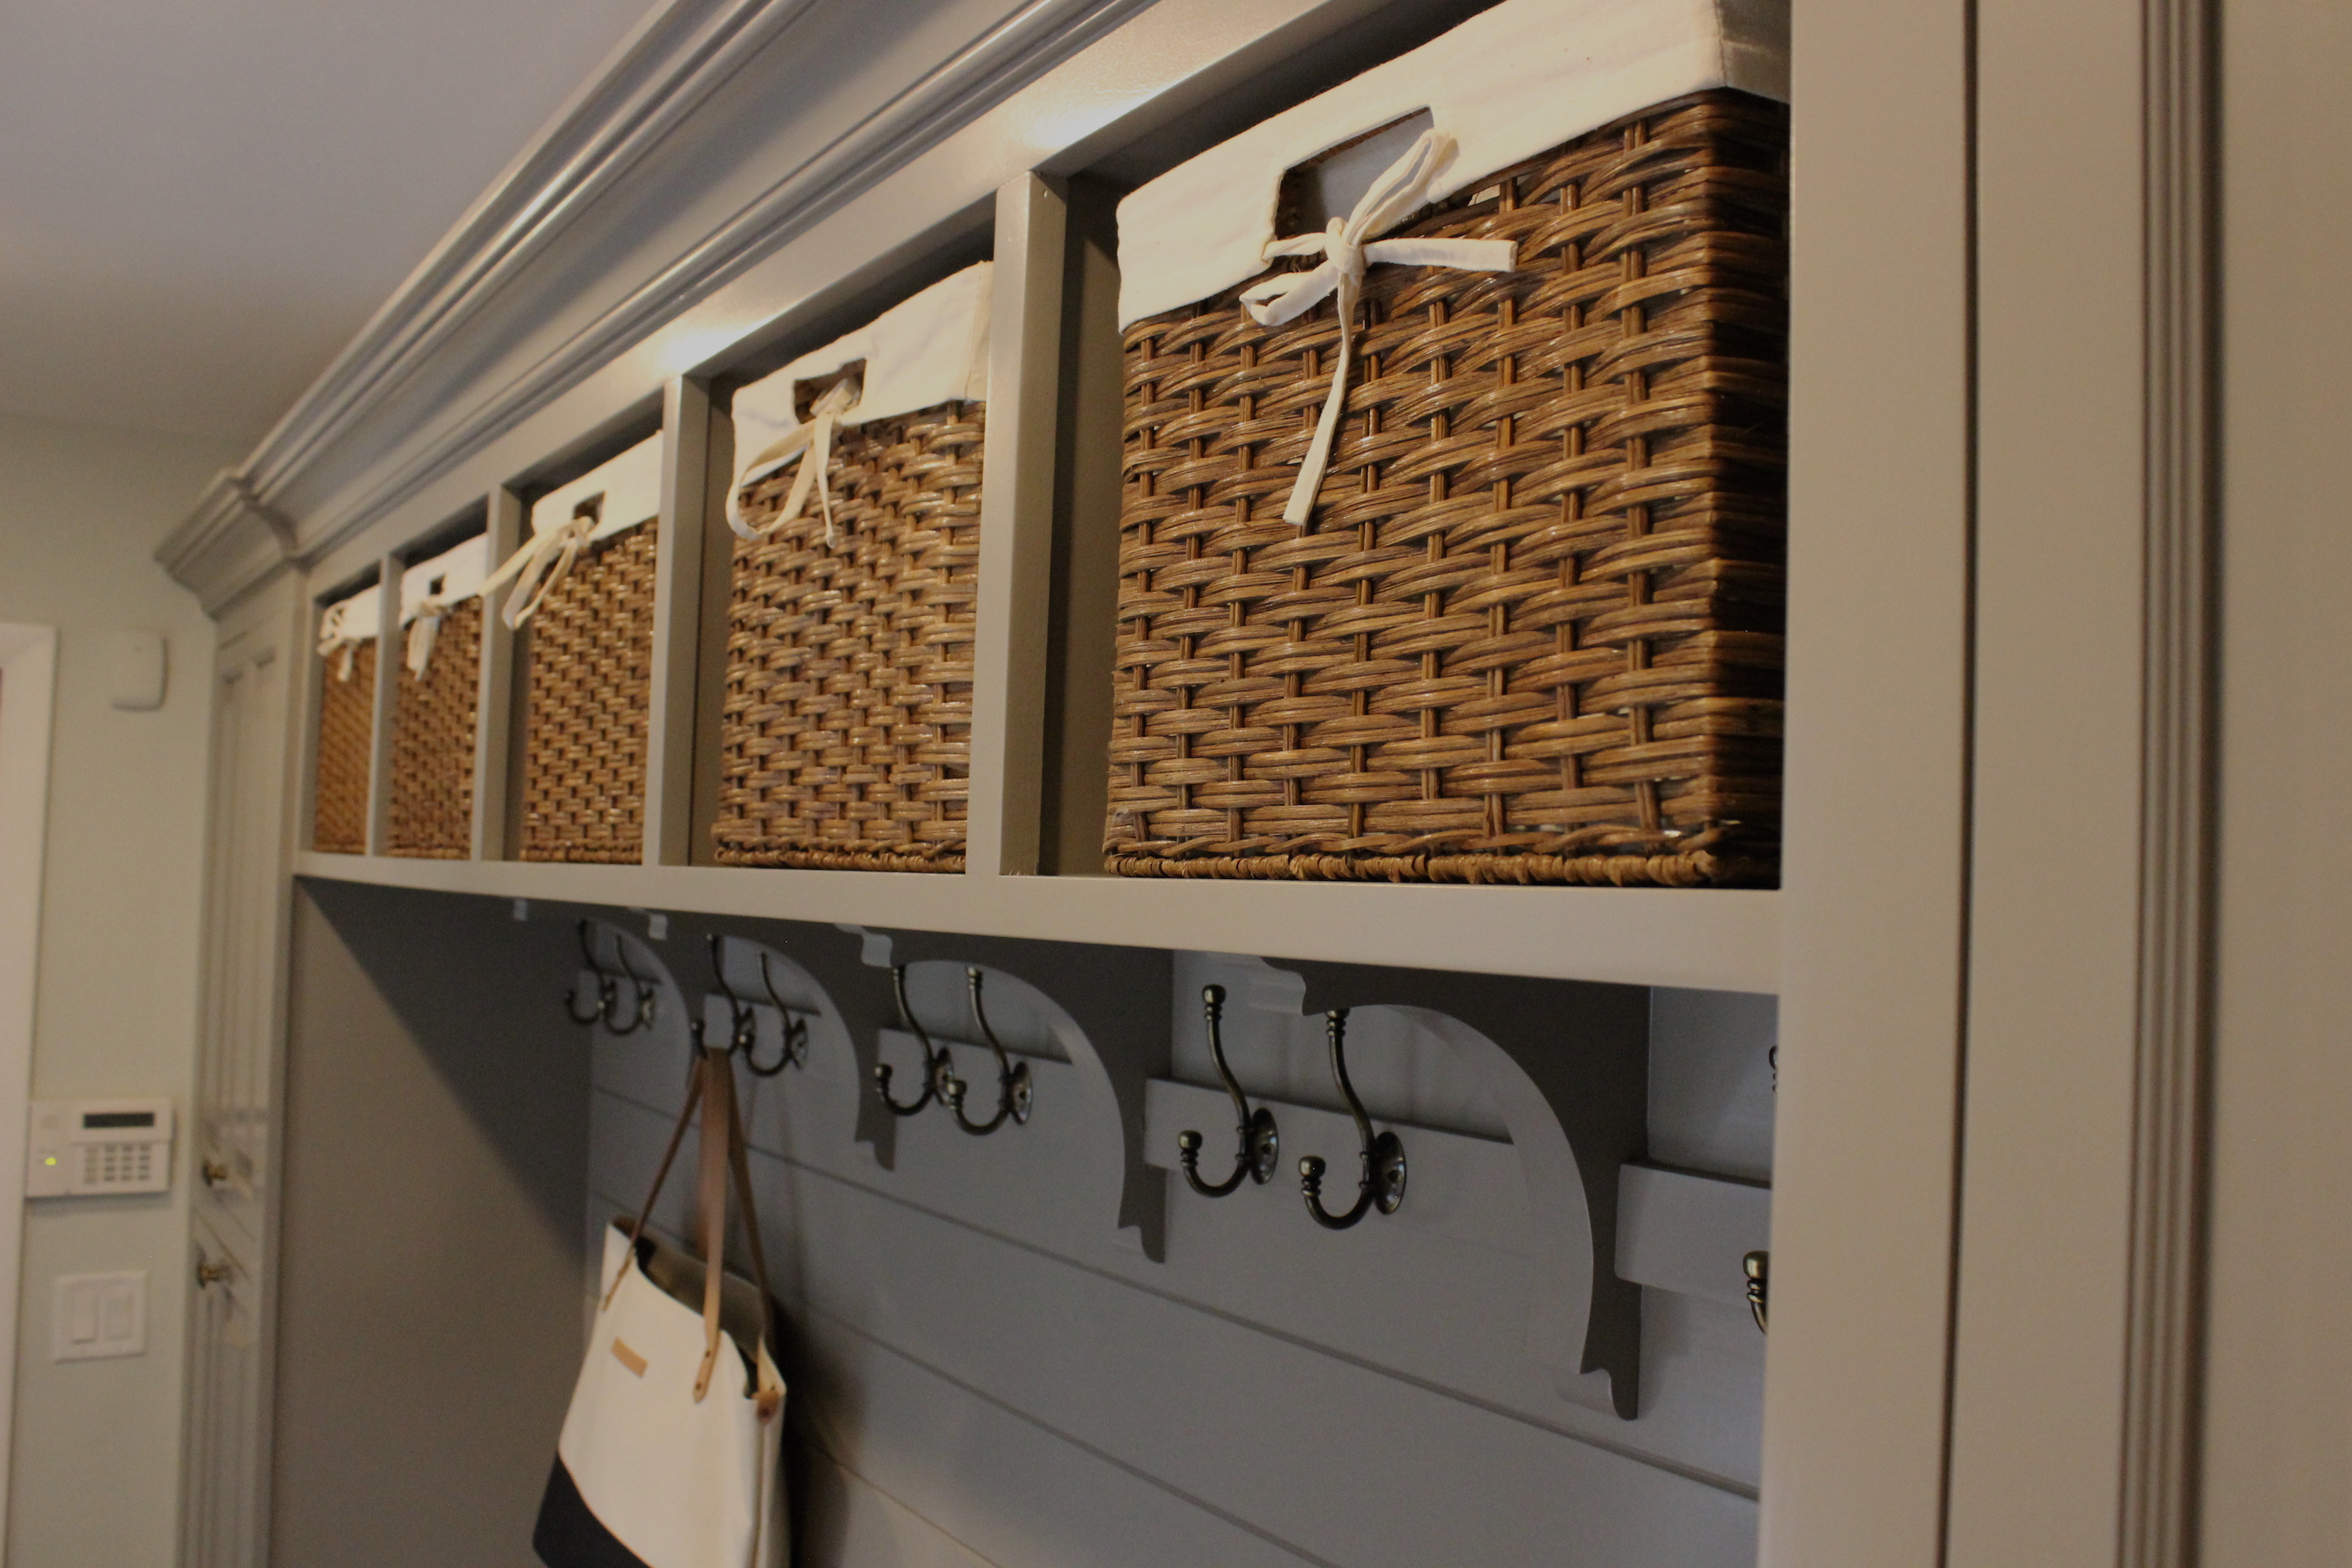
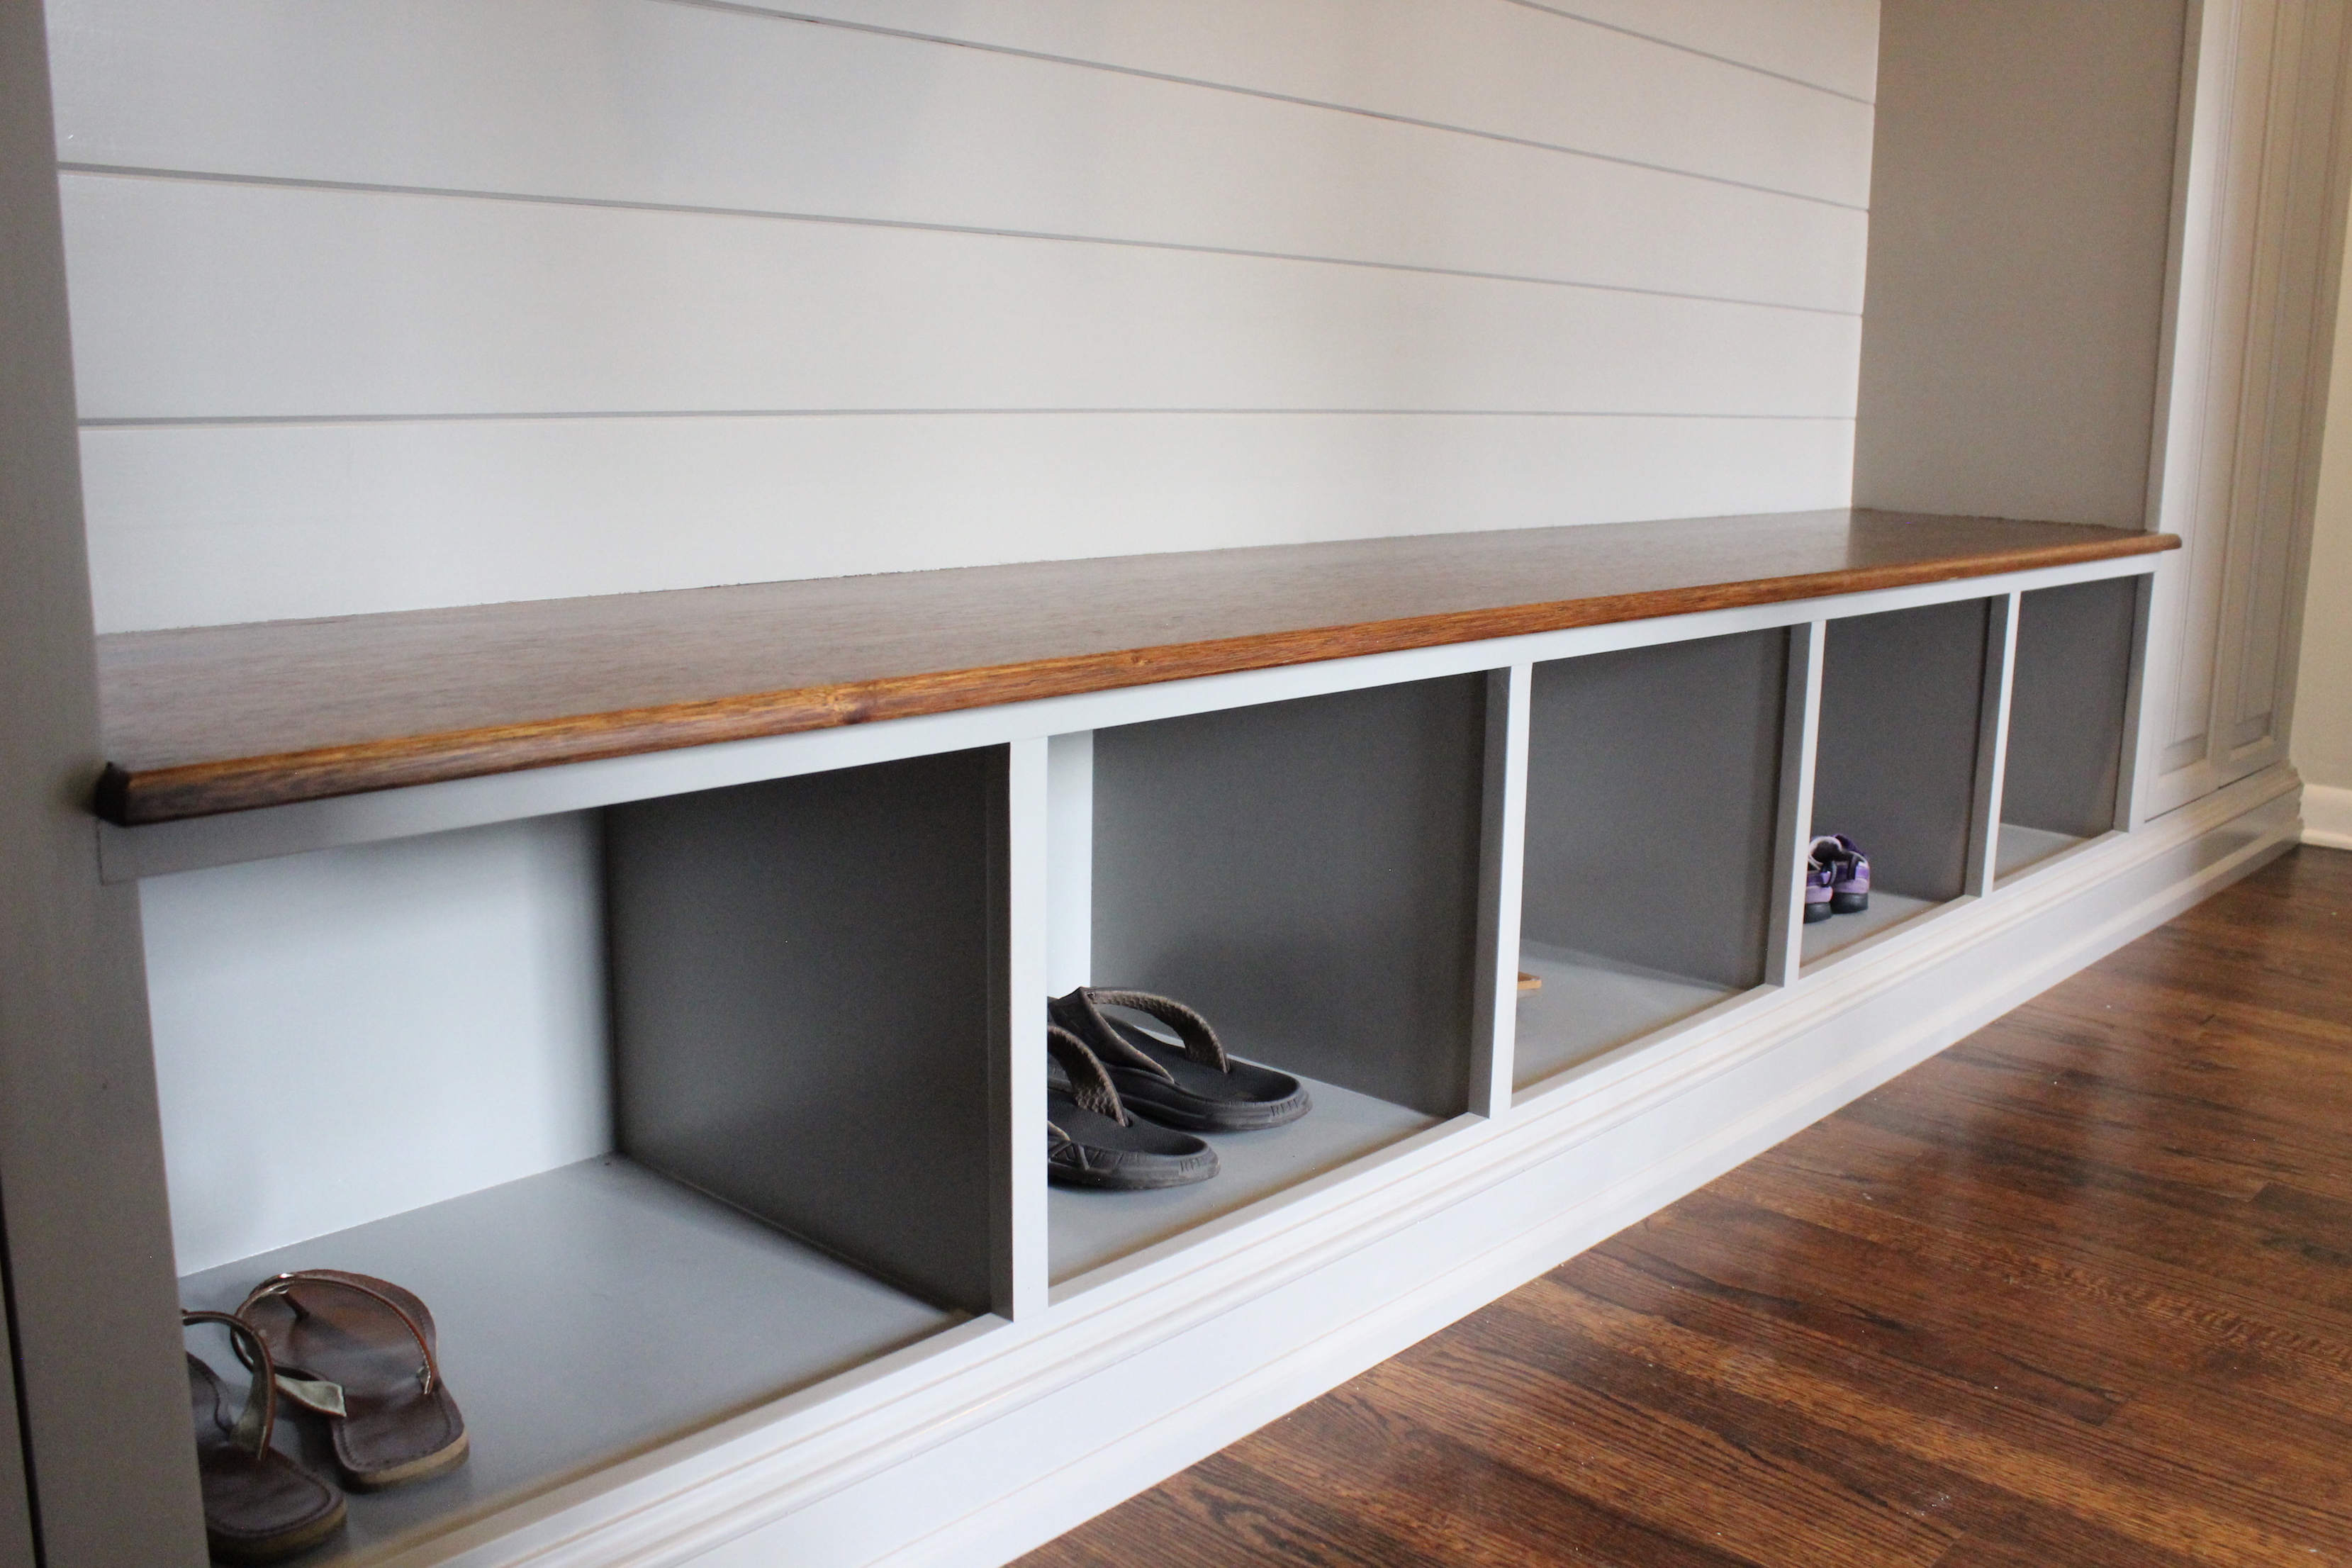
The bottom cubbies we decided to keep open so that it is easy to kick off your shoes and keep things tidy.

mudroom-cubbies

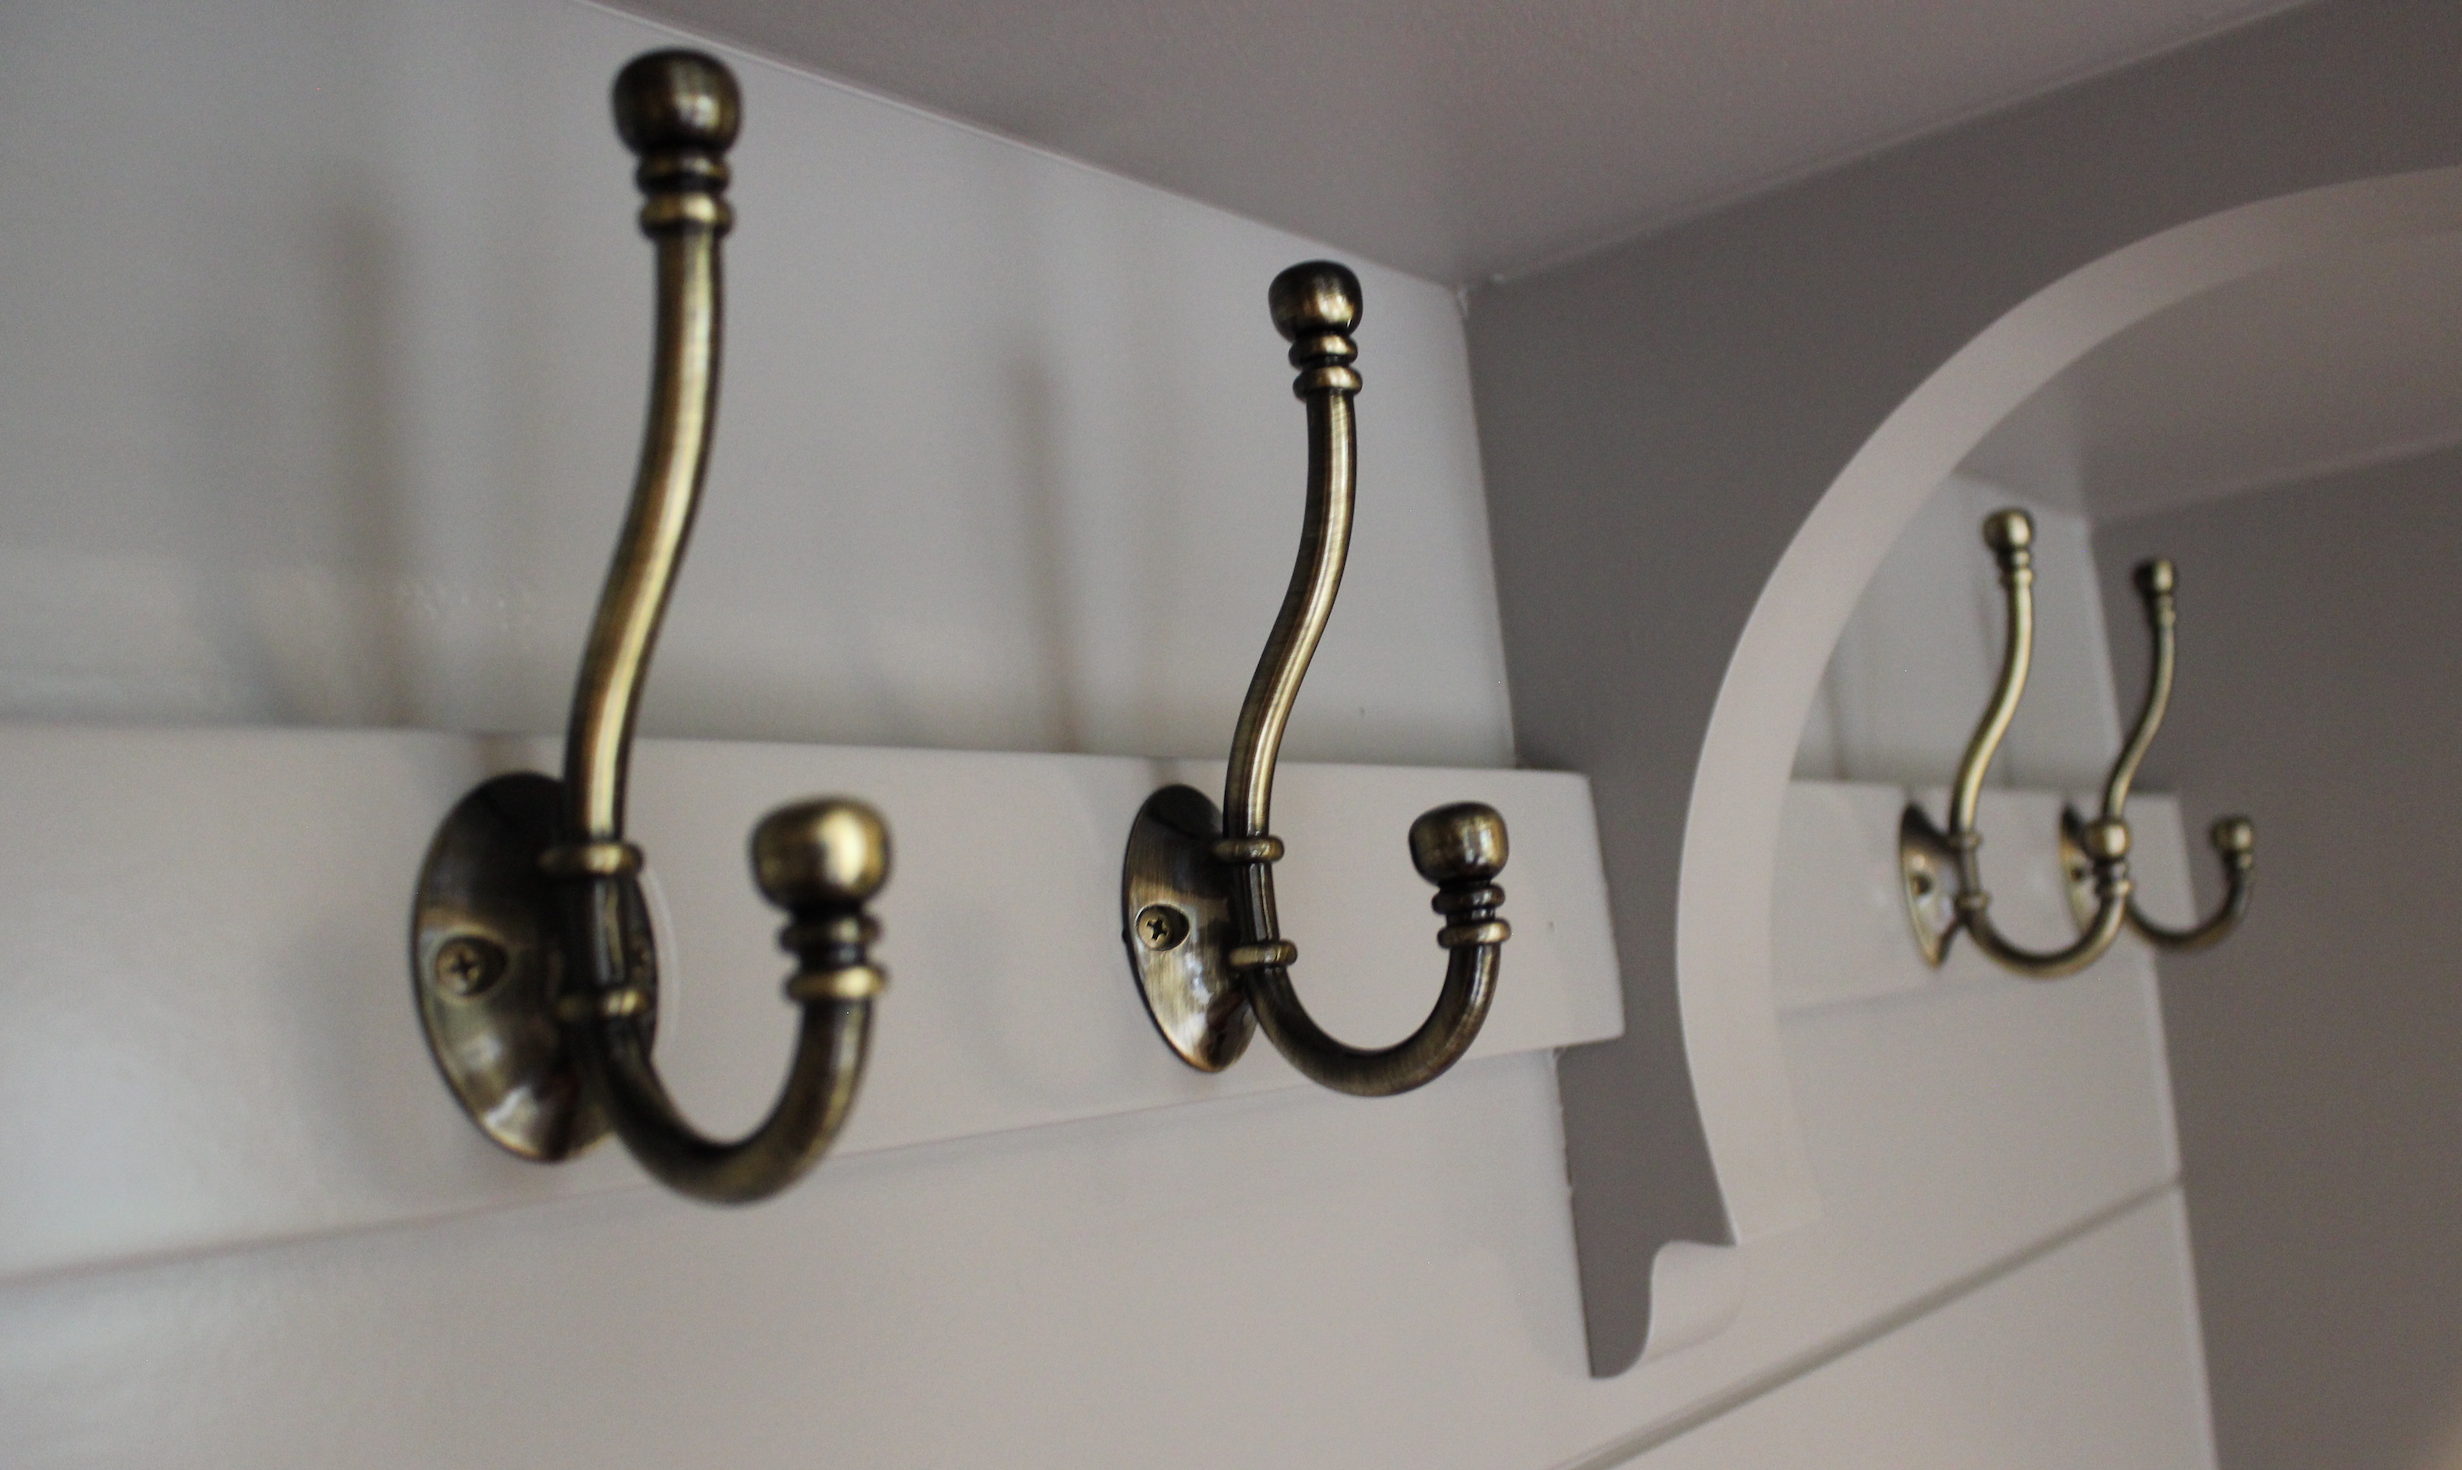
We installed these corbels from Home Depot and these brass hooks from Amazon.

mudroom-hooks

The cabinets on each side give us a ton of great storage.

mudroom-left-side

We filled the lower cabinet by the back door with shoe shelves:

mudroom-shoe-shelf

mudroom-right-side

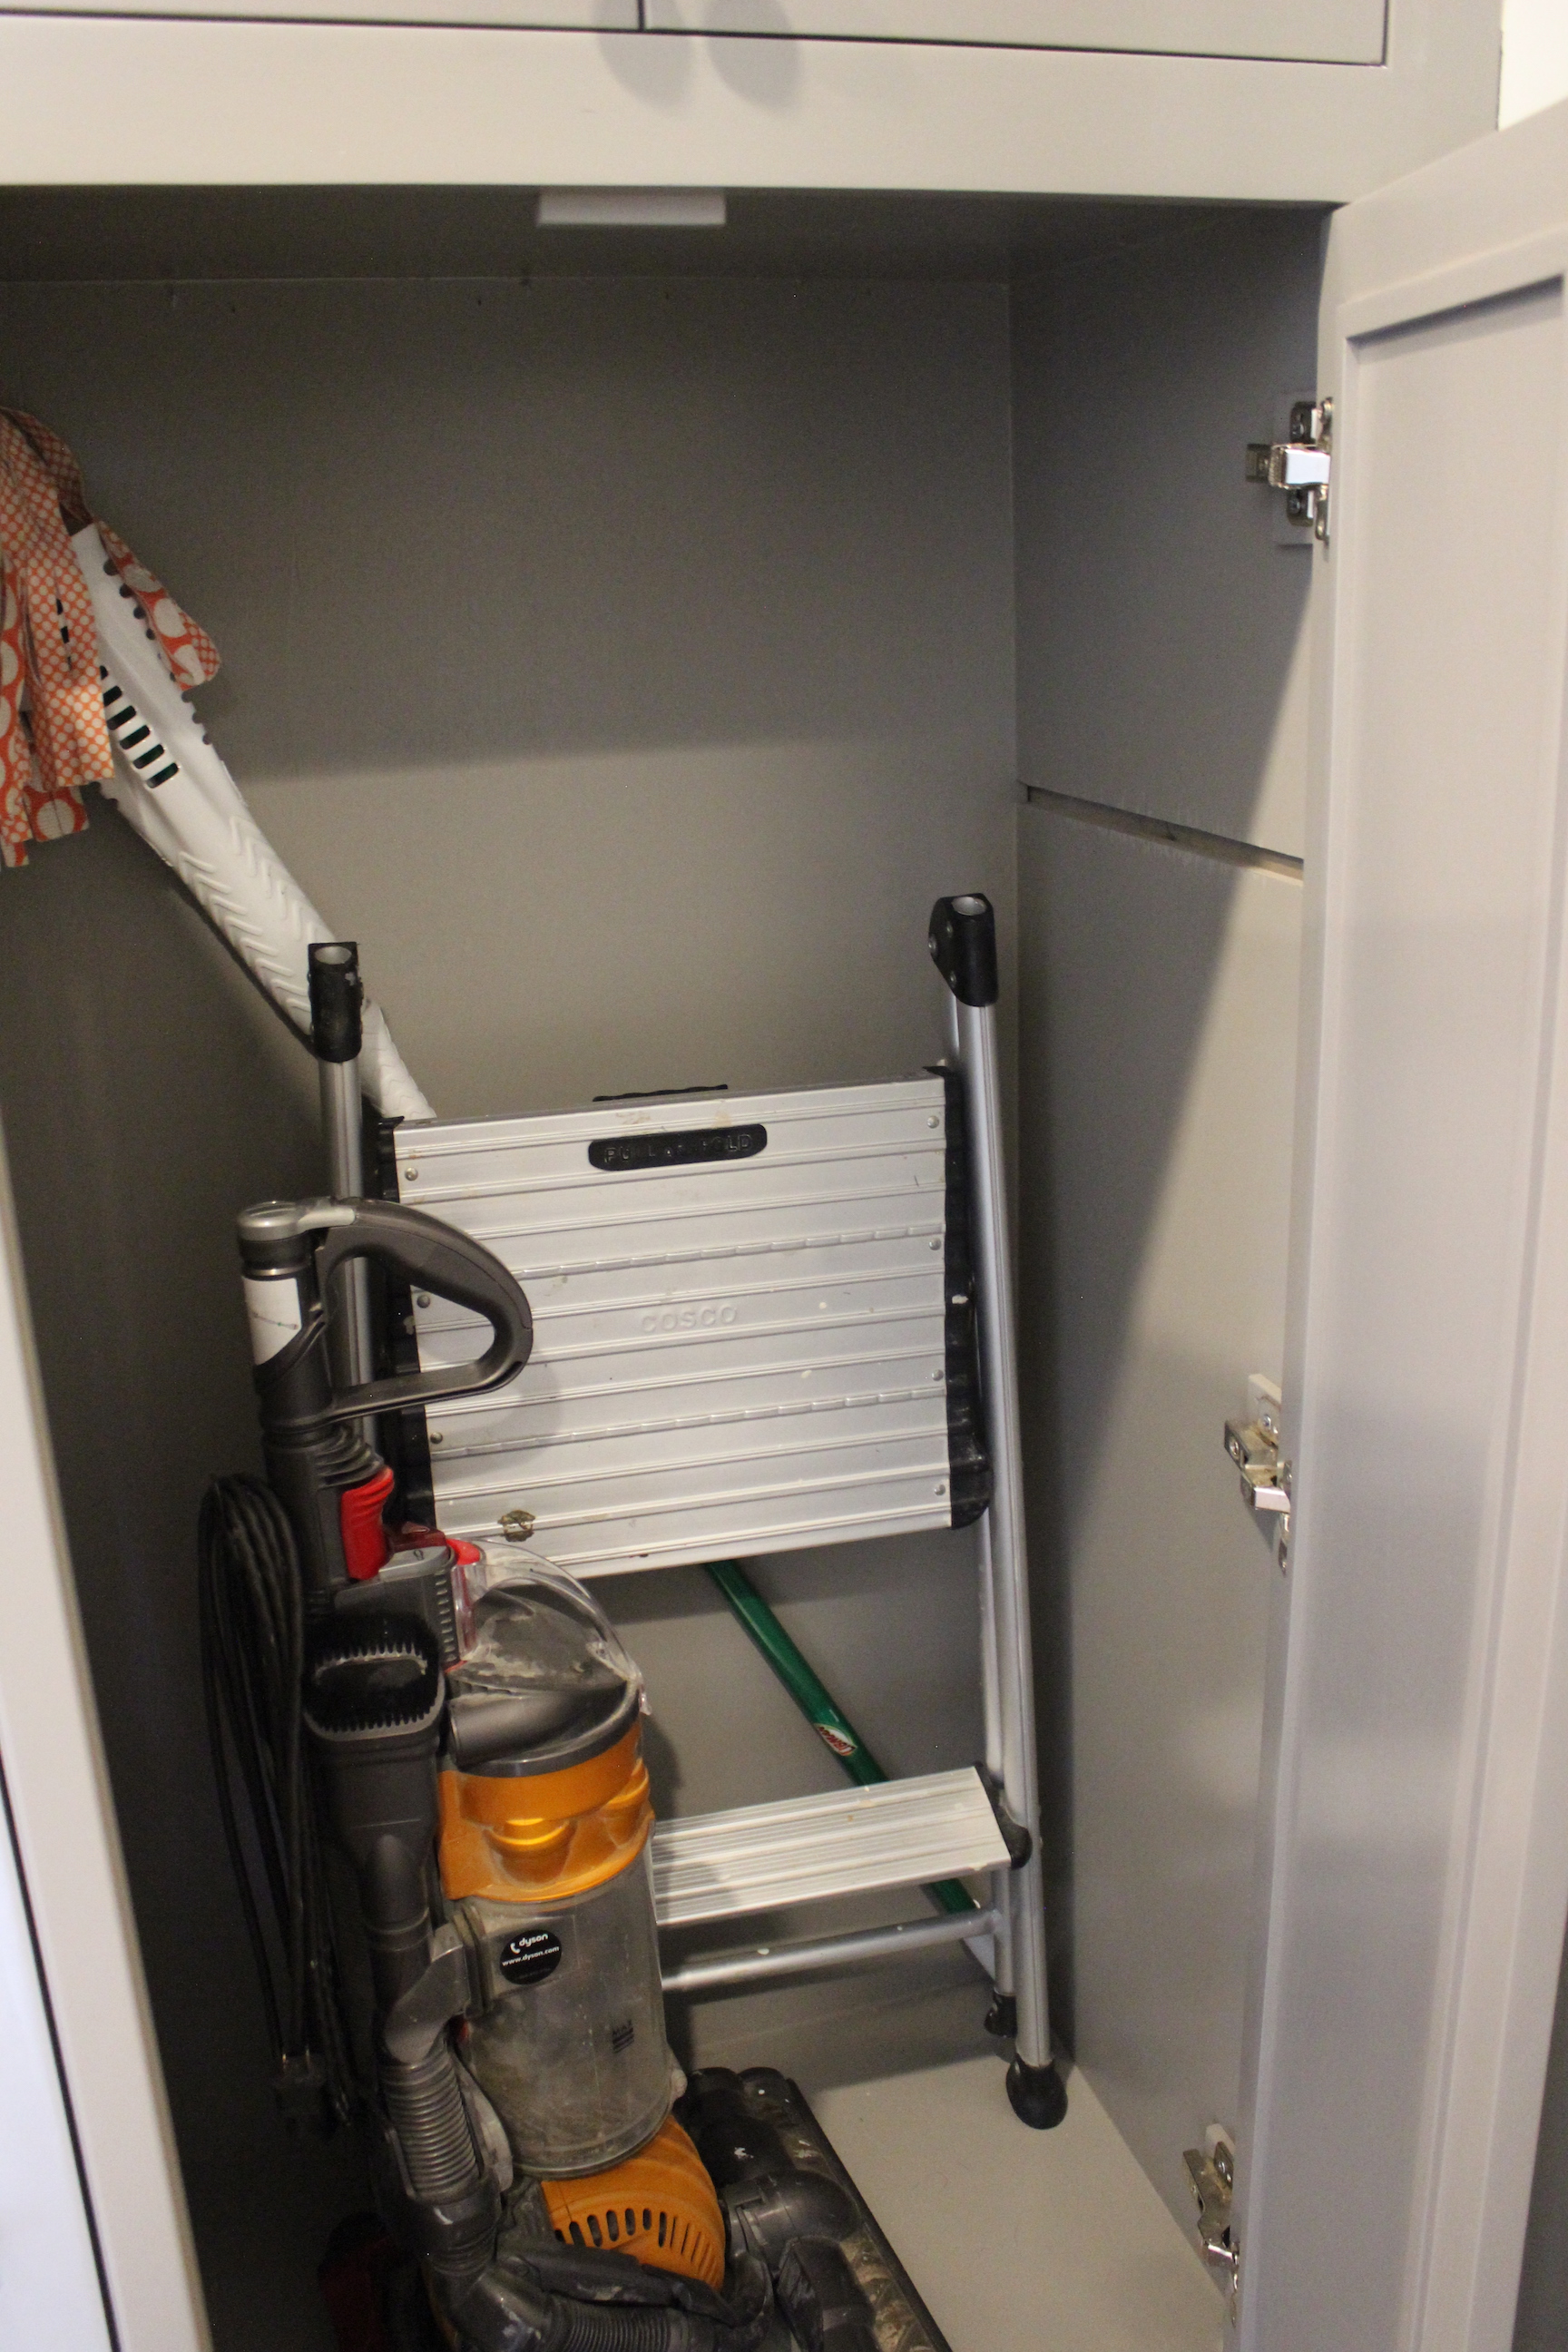
The other lower cabinet holds our vacuum, mop and step ladder:

mudroom-vacuum-cabinet

And then the upper cabinets hold mail, sunglasses, paper towels and more. And we have empty room to hold even more.

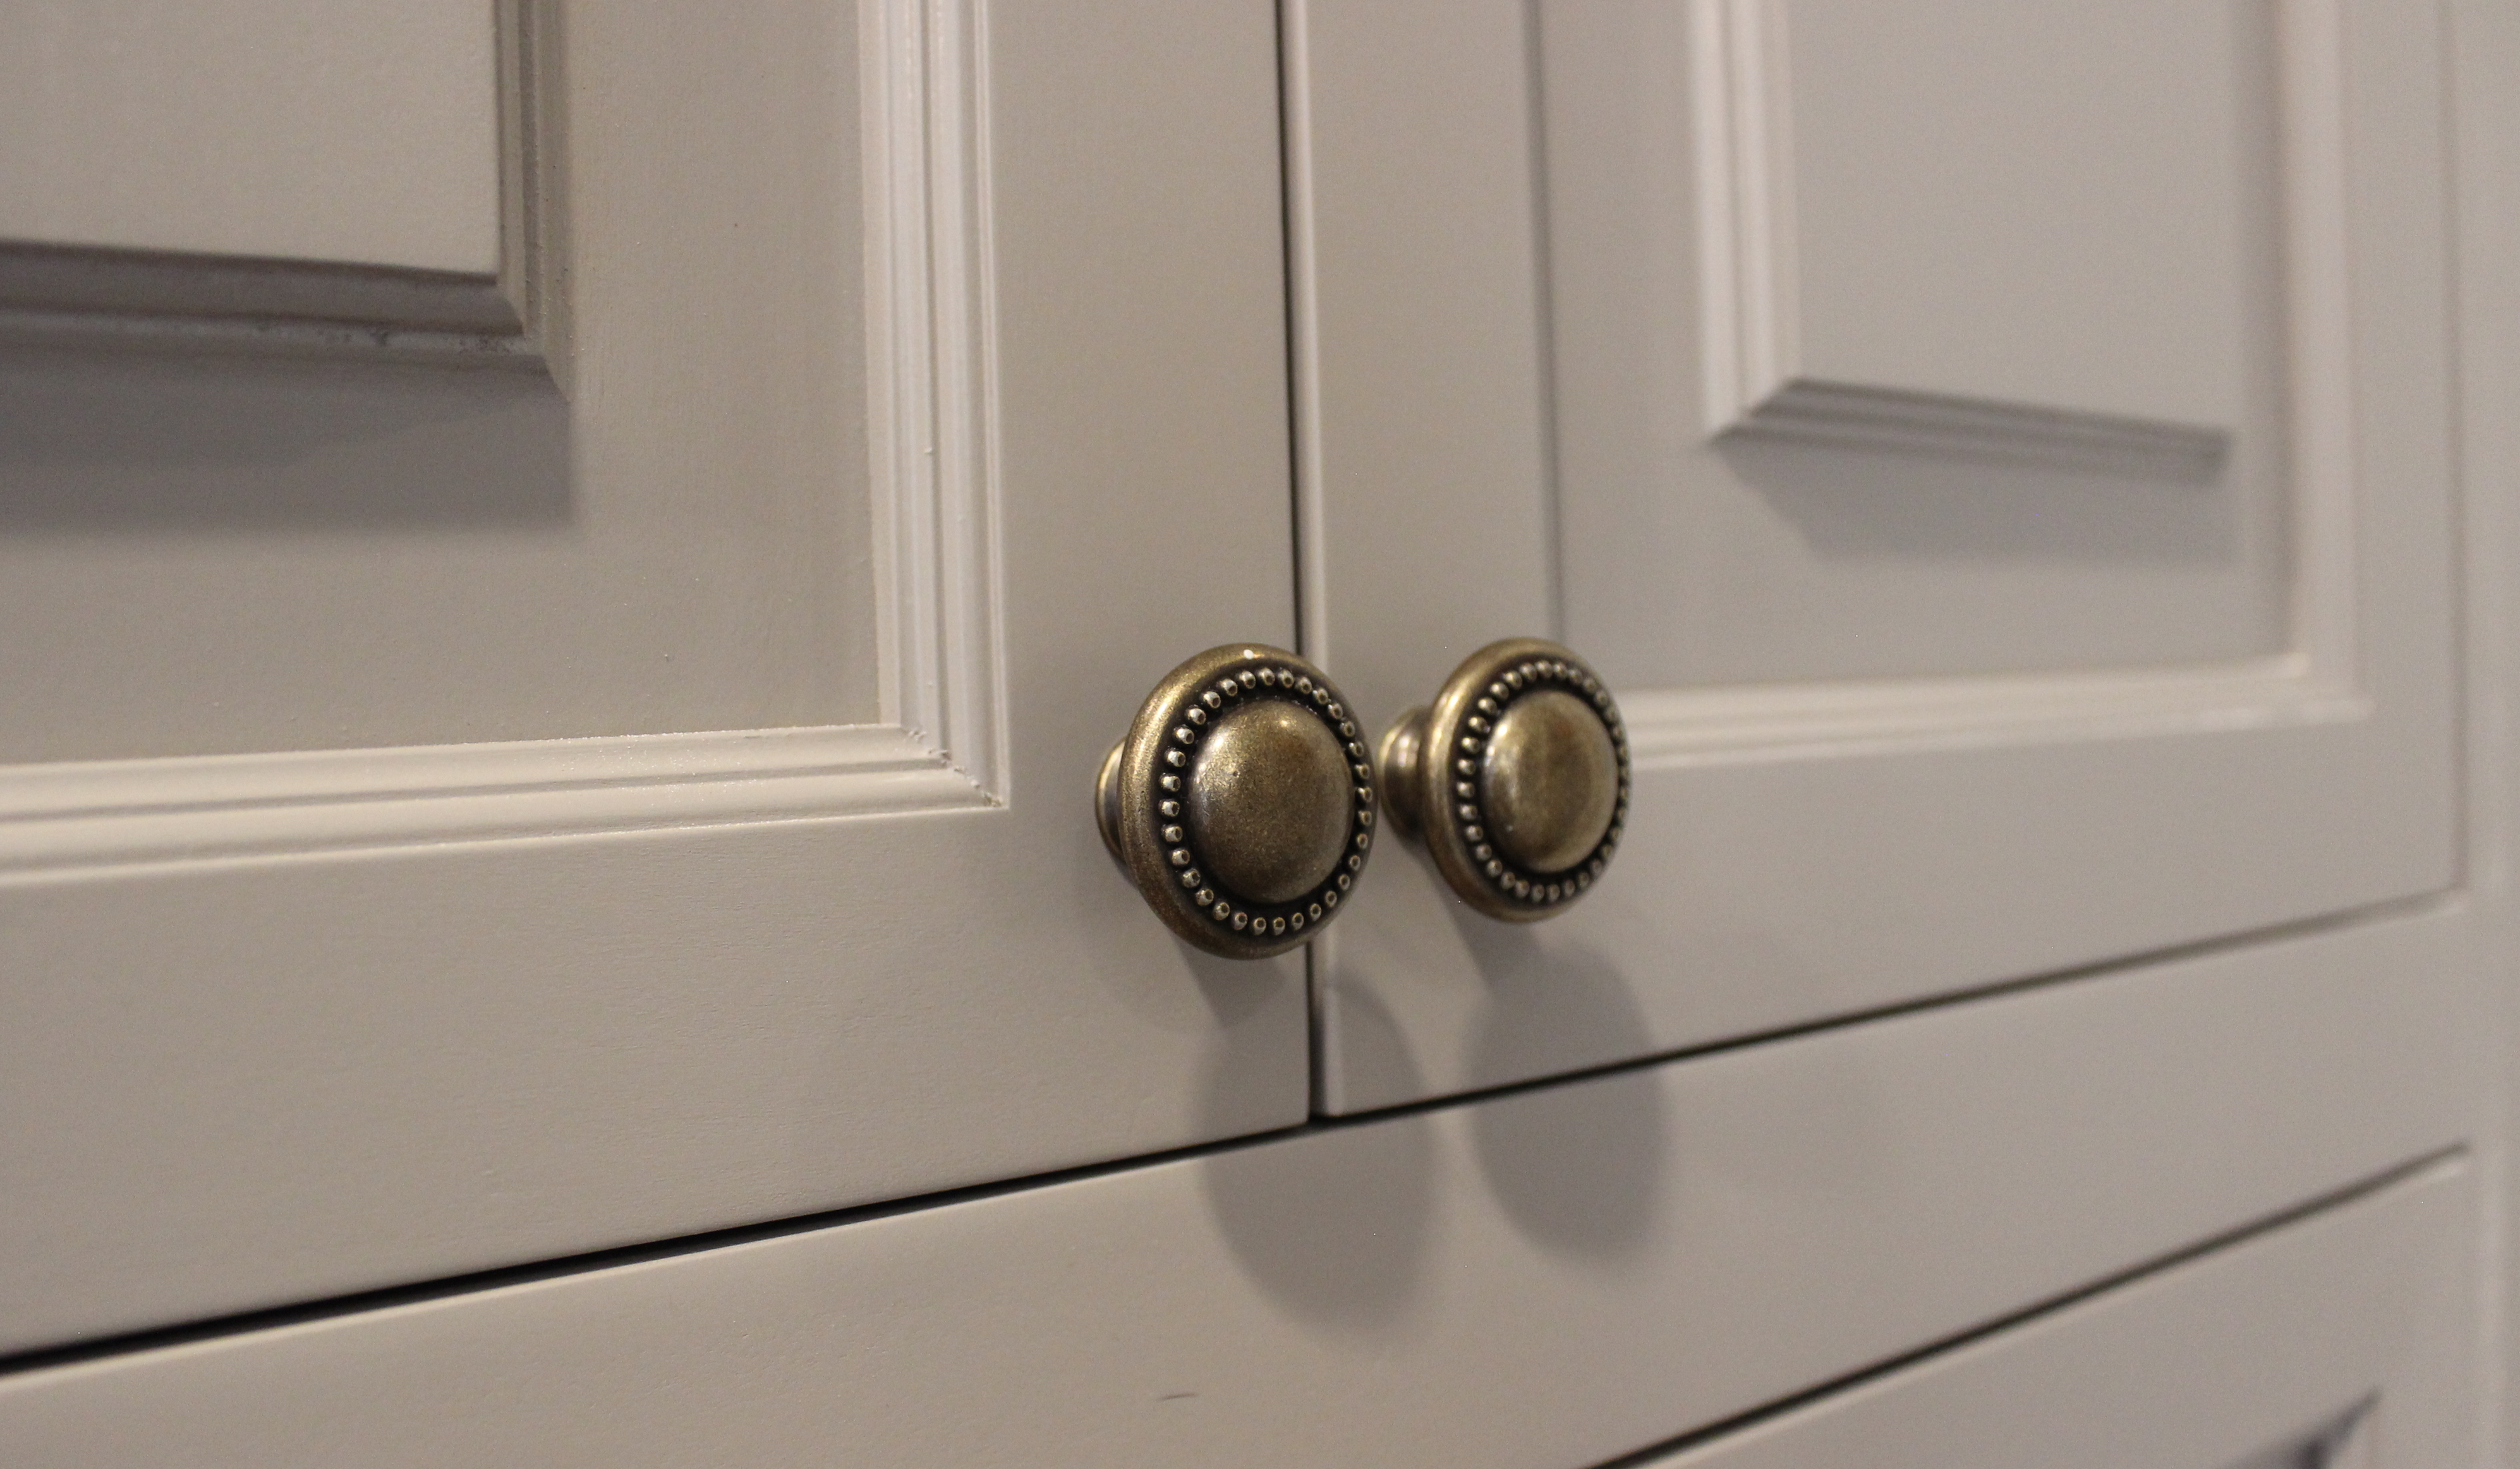
The knobs on the cabinets are these beaded antique brass knobs from ATG.

close-up-knobs

Lastly, here’s a view of it from the garage, showing how it leads into the kitchen.

mudroom-toward-kitchen

We really love it and are so happy with how it turned out! Now, onto the living room built ins which we recently ripped out.

Mudroom Update

18 Jul

The last time I showed you the mudroom and shared our plans for the room it was looking like this:

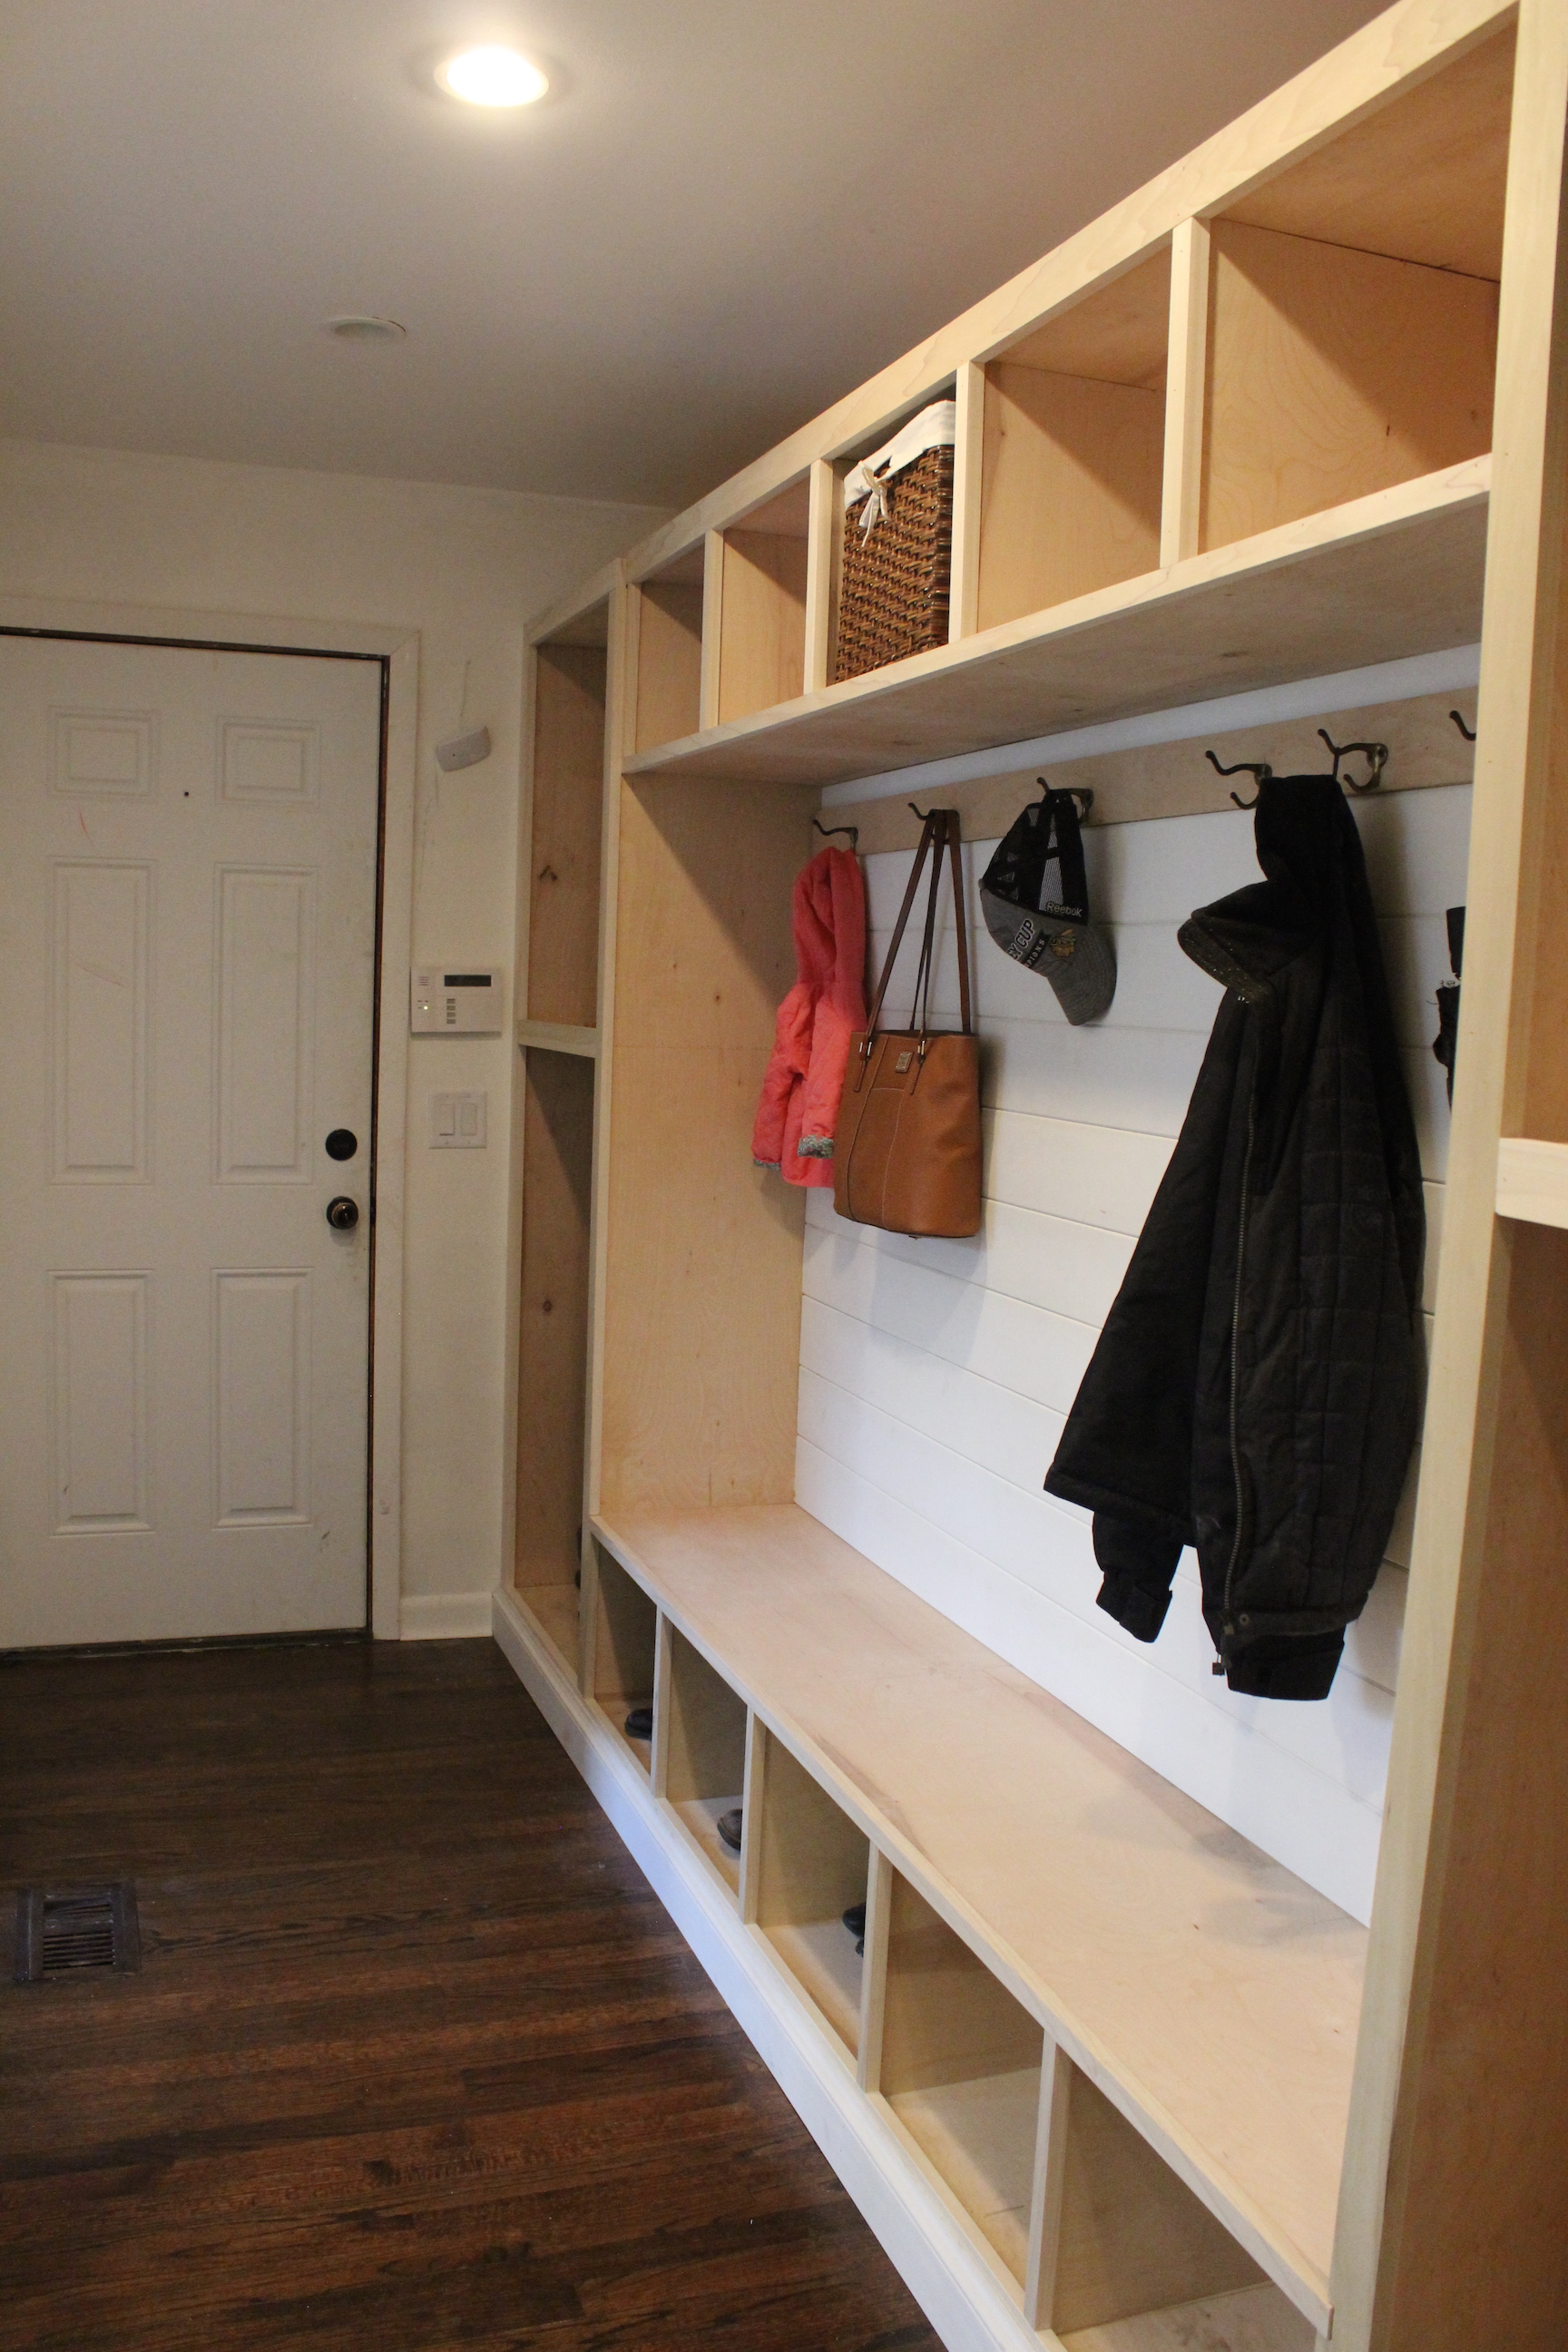
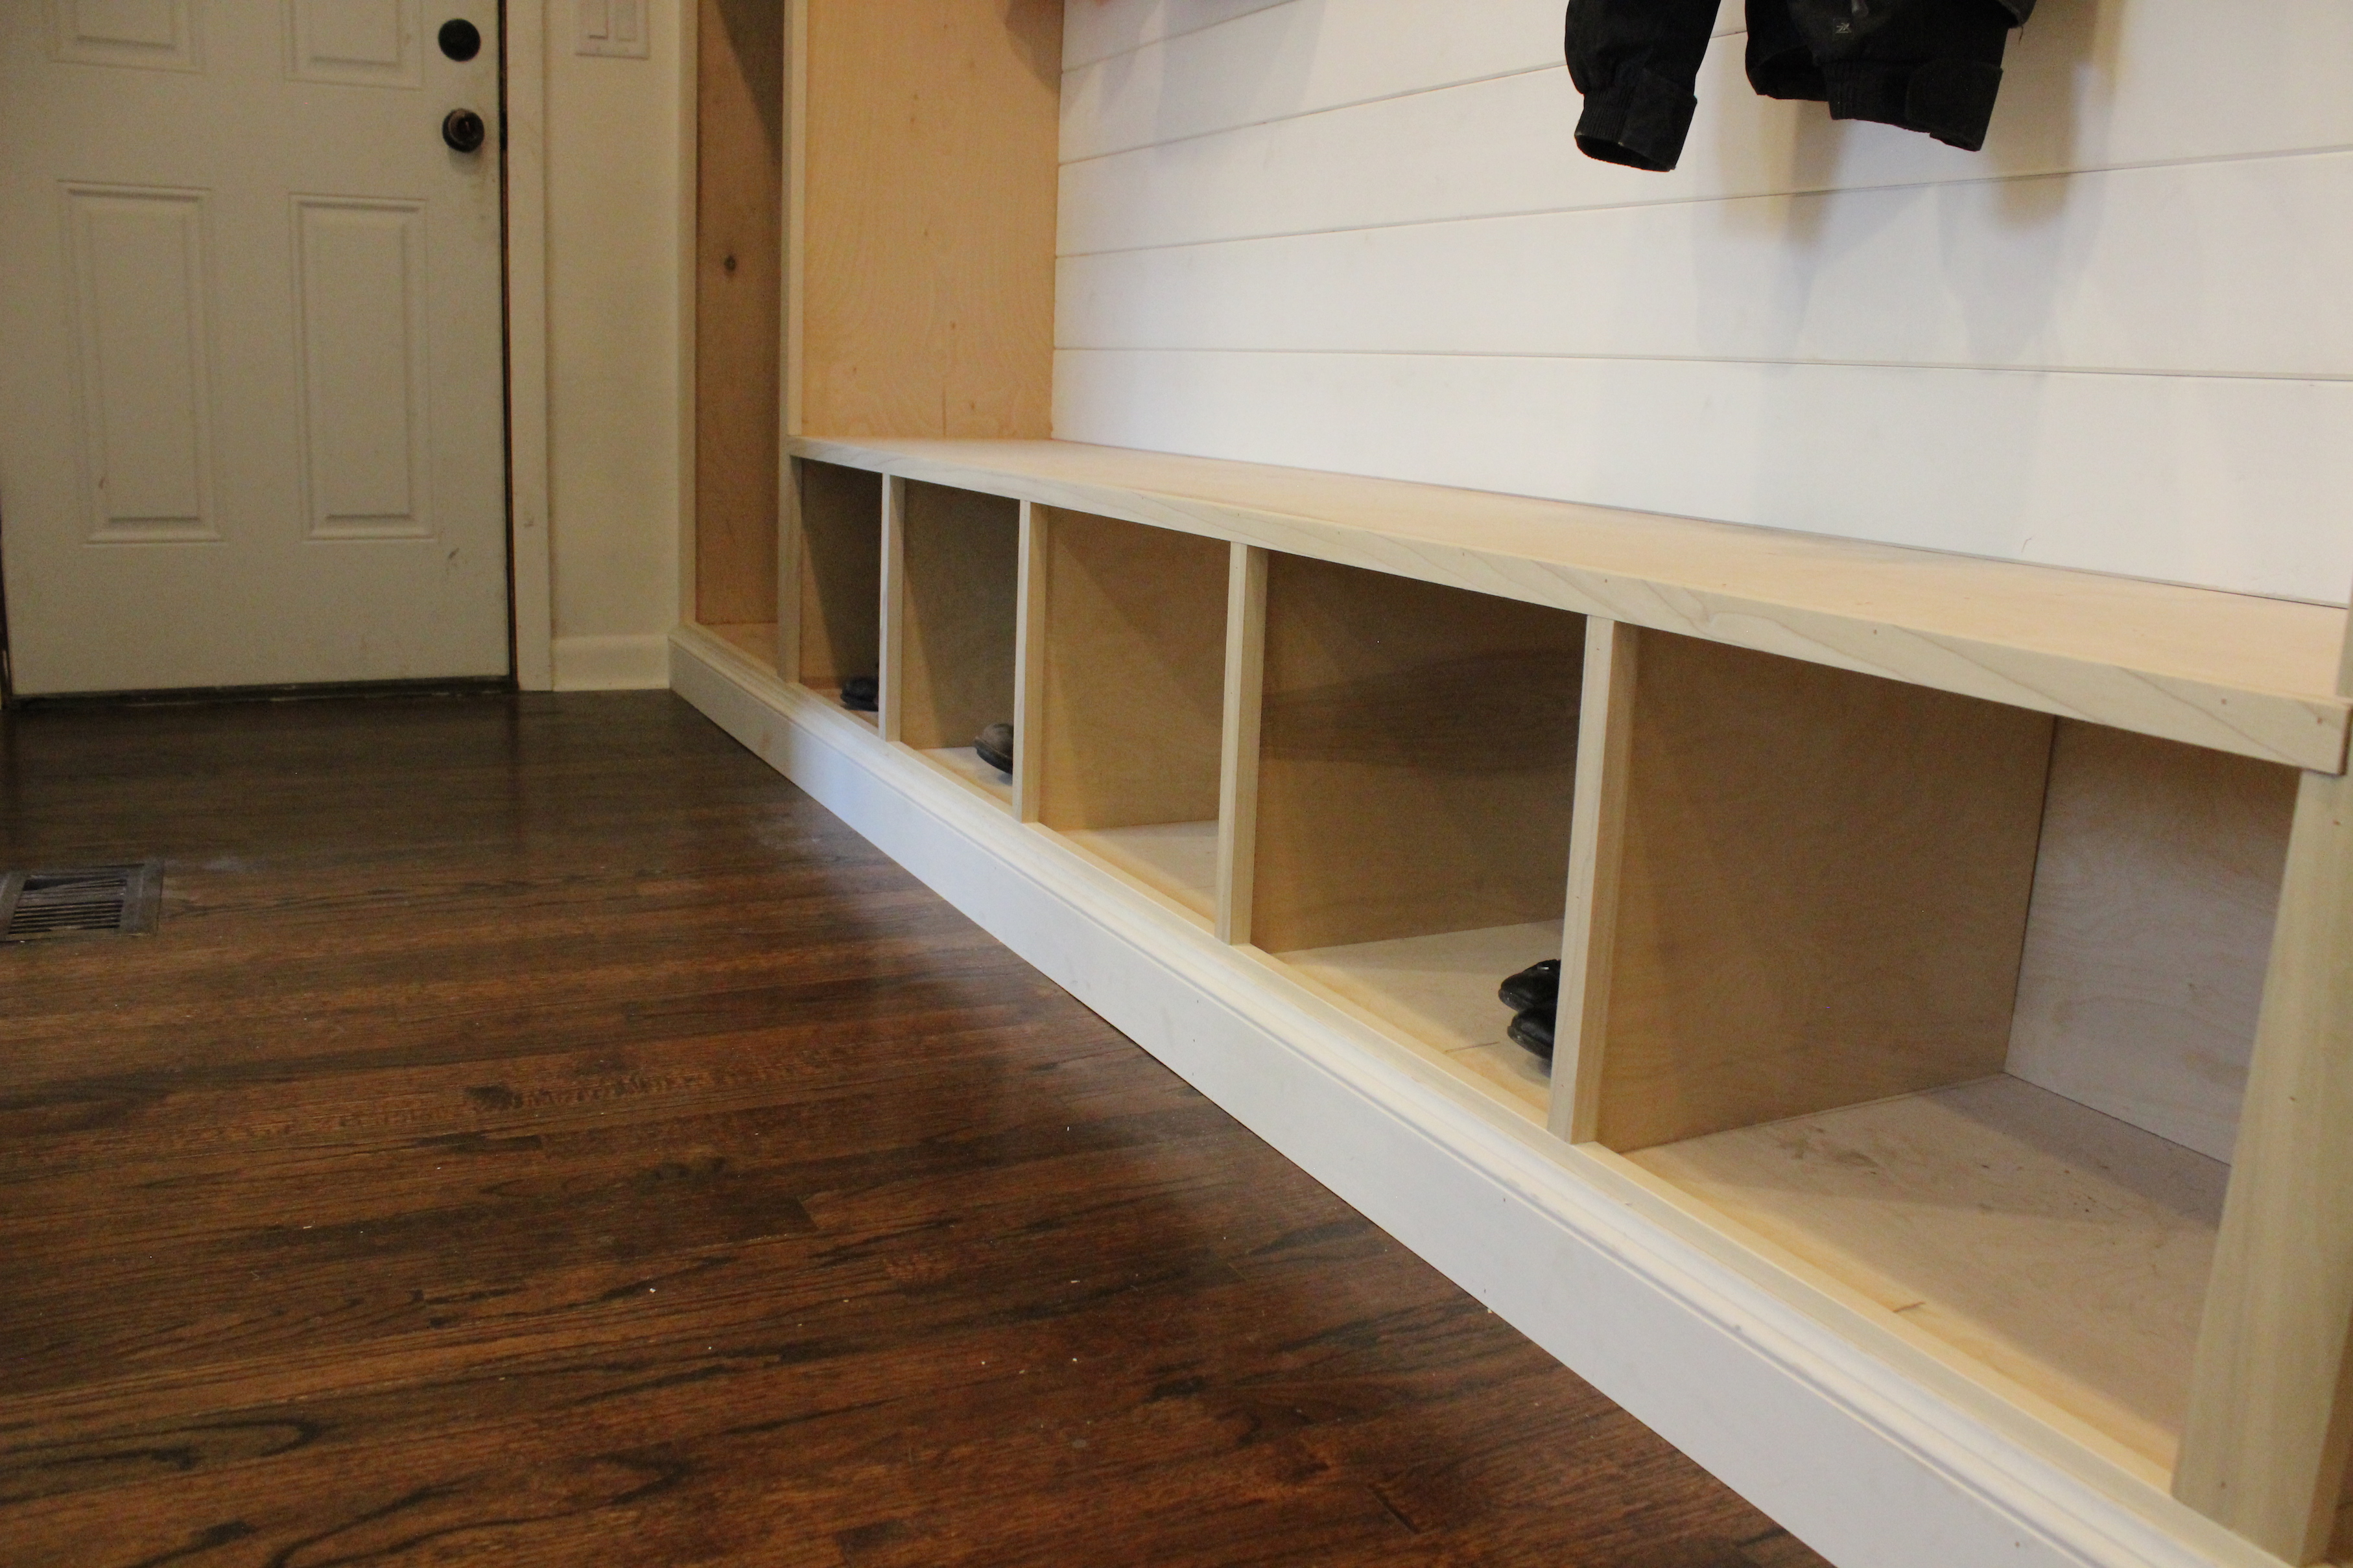
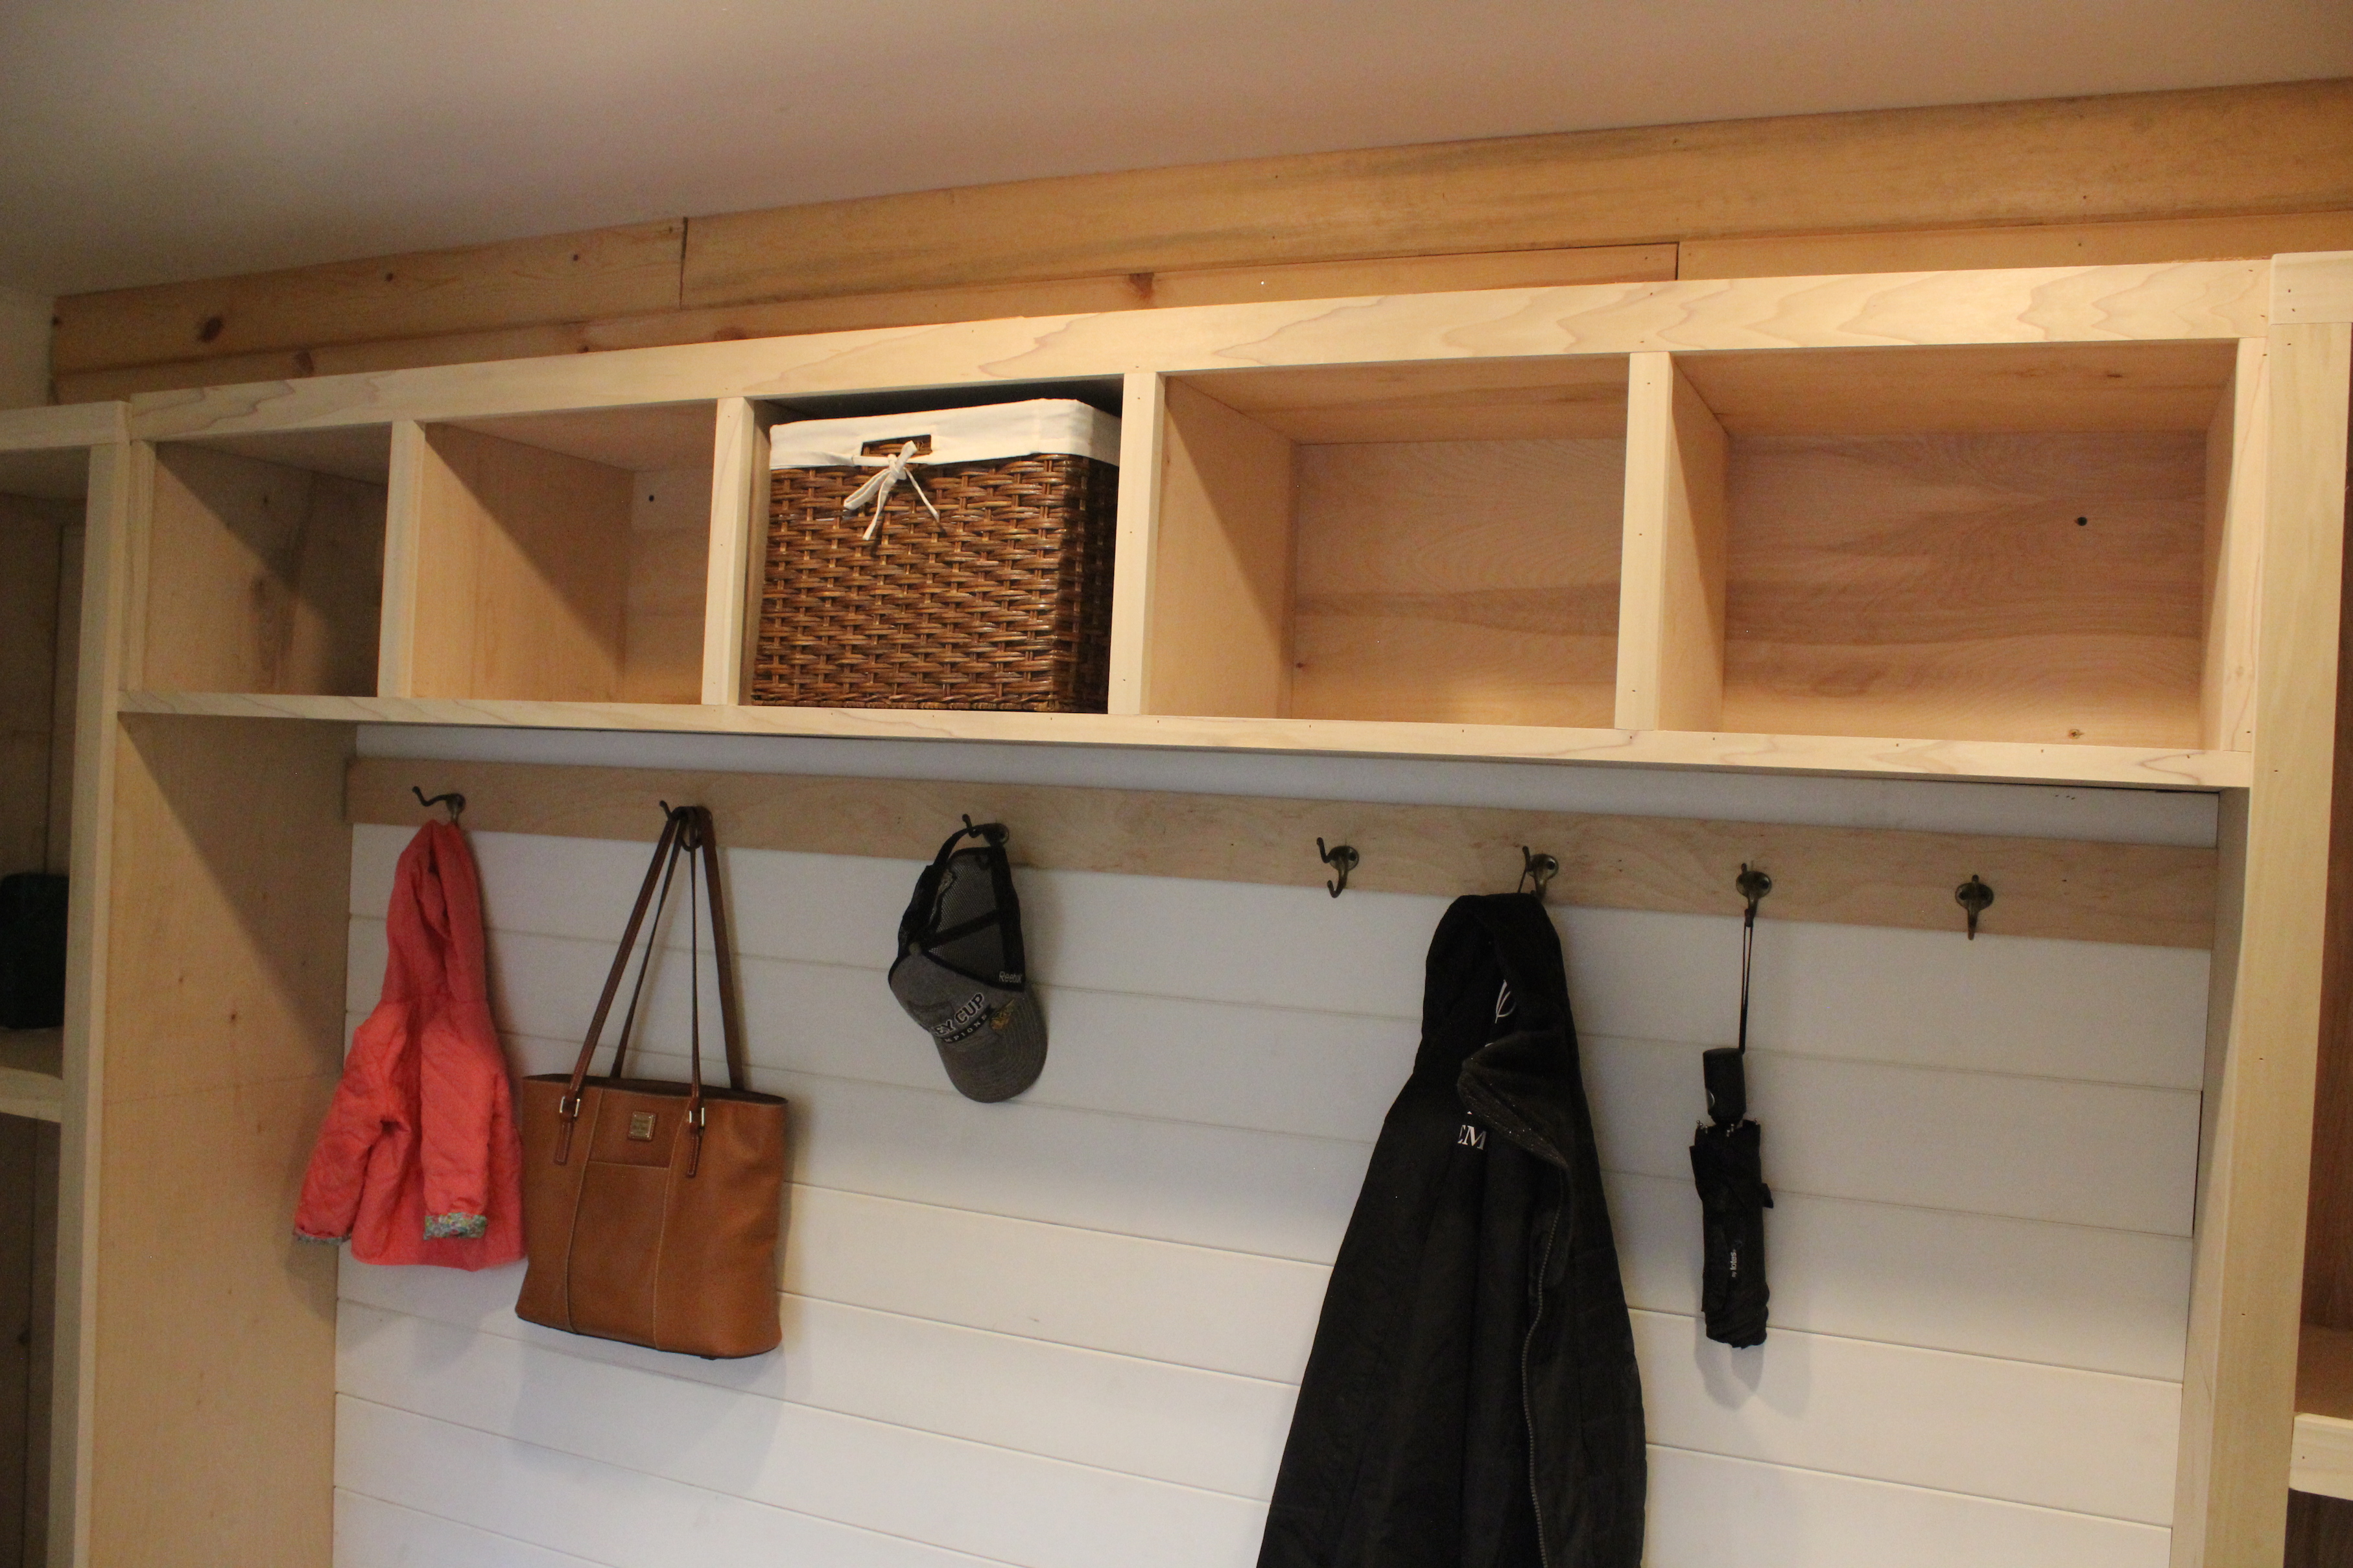
Here is what the mudroom is looking like now:

mudroom vertical 2

mudroom bottom

mudroom top

Lots of progress and it is totally functional, but we still have a lot to finish including:

  • Make and install doors on the end cabinets
  • Add crown molding
  • Get baskets for the top cubbies (bottom ones will remain empty for easy access to shoes)
  • Get hooks— I’m thinking brass ones like this.
  • Install and stain the seat, made from 1x6s.
  • Paint the mudroom cabinets a medium gray color like Coventry Gray.
  • Paint back door a dark gray or black color like Wrought Iron.
  • Paint the rest of the room, probably a light gray like Gray Owl.

We’re hoping to have everything done in the next few weeks. Can’t wait!

Cutting the Clutter | KonMari Method

28 Jan

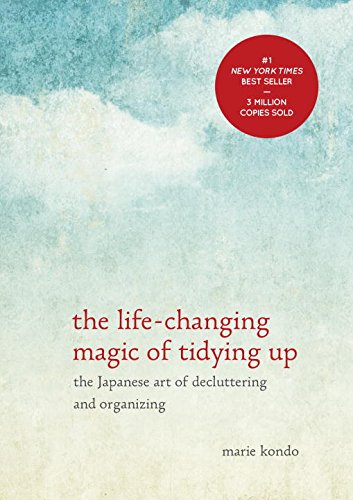
Have you heard of the KonMari method of de-cluttering and organizing? It is based off the book The Life Changing Magic of Tidying Up by Japanese tidying expert Marie Kondo. I read the book over the holidays and it has totally changed my mindset about the things I keep in my home. The two biggest lessons for me were 1) Only keep things that truly bring me joy, and 2) Get rid of the things that have served their purpose. Oh, and her folding method. That in itself is pretty life changing!

51H8x07Fd7L

After reading the book, I was able to purge about twenty 40-gallon trash bags of clothes and household items. It was about 50-75% of my clothing, several bags of kitchen items, Christmas decorations, and much more. Her advice is to take each item in your hands and ask yourself “Does this bring me joy?” So if it doesn’t fit correctly, or is broken, or you never really liked it or used it, it goes. If you are like me, you might have guilt getting rid of something that was a gift or that you have a sentimental tie to. Marie Kondo says in this instance that you need to thank the item for serving it’s purpose, and let it go. It sounds silly, but it actually works. For example, I was holding onto a dress I wore to my high school graduation. It has served its purpose A LONG TIME AGO. Bridesmaid dresses? They have served their purpose. Time to let go. Or a Christmas card from a family member? It served its purpose and brought me joy when I received it. Now I can discard it.

I wasn’t planning on blogging about this endeavor, so don’t have many photos, but here is a before/after of my dresser. As you can see it was overflowing with clothes, and I would have to dig to find what I was looking for. Don’t judge.

IMG_0875

After discarding and using the KonMari folding method, it now looks like this. Yes, that is bare space!

FullSizeRender (2)

IMG_1109The great thing about this folding method is that everything stands upright so you get to see all of your clothes at first glance. No digging around to find things, and nothing gets buried at the bottom that you never use.
Here’s a video of Marie Kondo demonstrating the method:

By purging and folding this way, it makes getting dressed in the morning a lot easier. I don’t have to stand there thinking about what I want to wear since everything in my closet and drawers I love and want to wear. I just grab and go.

I was worried I wouldn’t be able to keep up with the folding and revert back to my old ways, but it has been a month now, and they still look just as good as they did on the first day. I don’t think I will ever go back.

Another thing that helped me purge was choosing where I was going to donate my things beforehand. I chose a women’s charity and confirmed what items they accept and don’t accept. So then as I was going through everything, I thought of my items serving another family in need. Much better than not being used and cluttering up my house (and life).

Bottom line, I’m a big fan of the book and method and highly recommend it to everyone! Let me know if you have read it and what you thought.

Cute as a Button 1st Birthday Party

26 Feb

We celebrated Kate’s 1st birthday with a “Cute as a Button” themed party over the weekend. It turned out even better than I had hoped! Here’s a look at the decorations.

IMG_5469

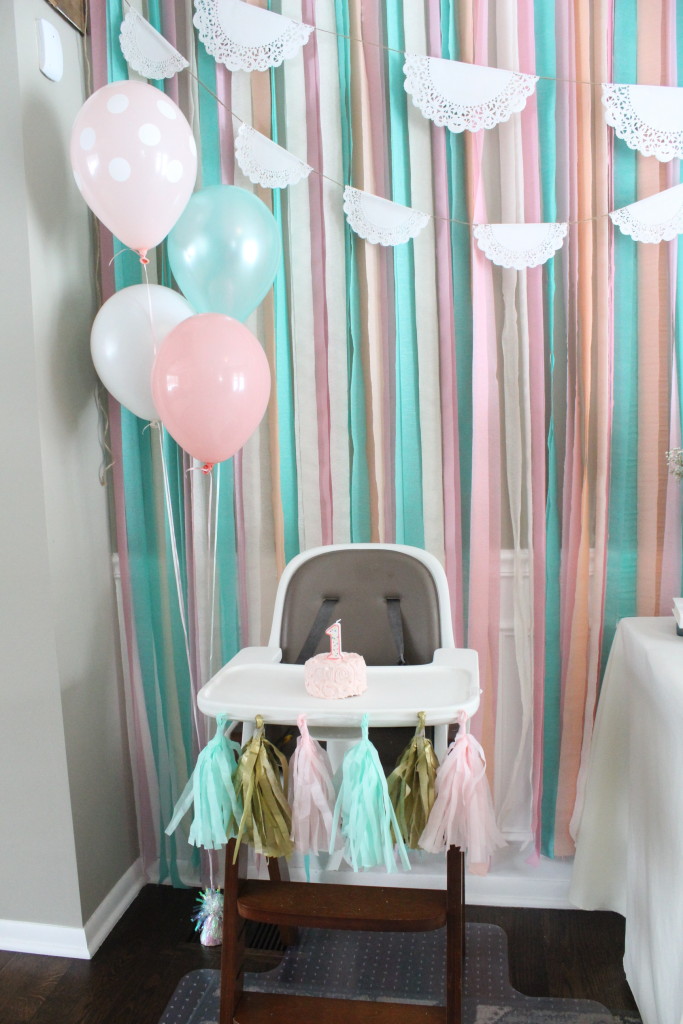
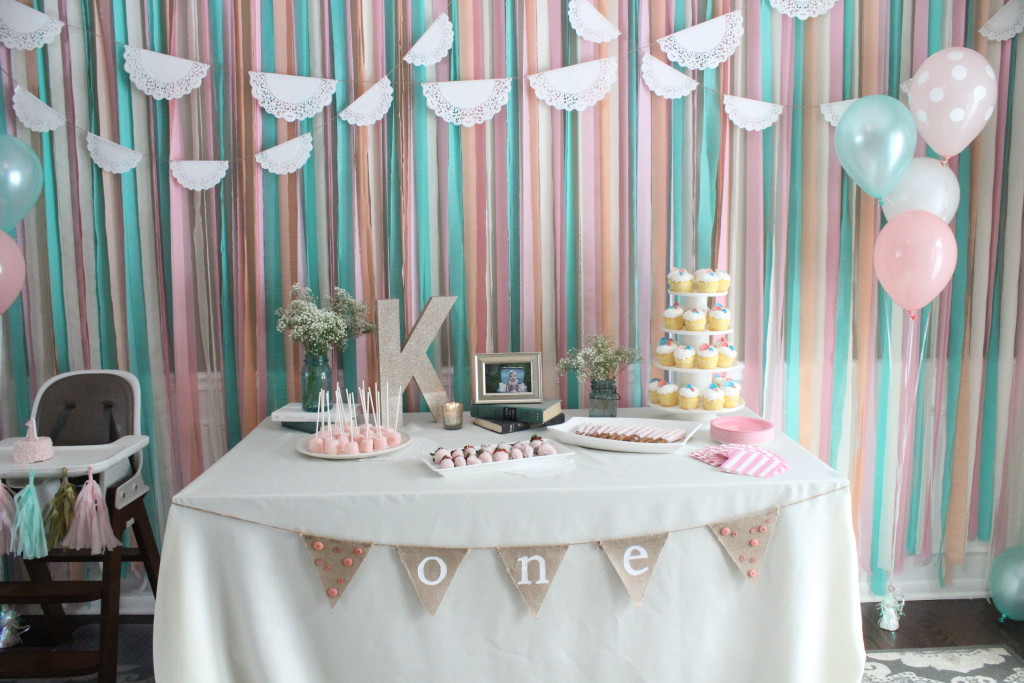
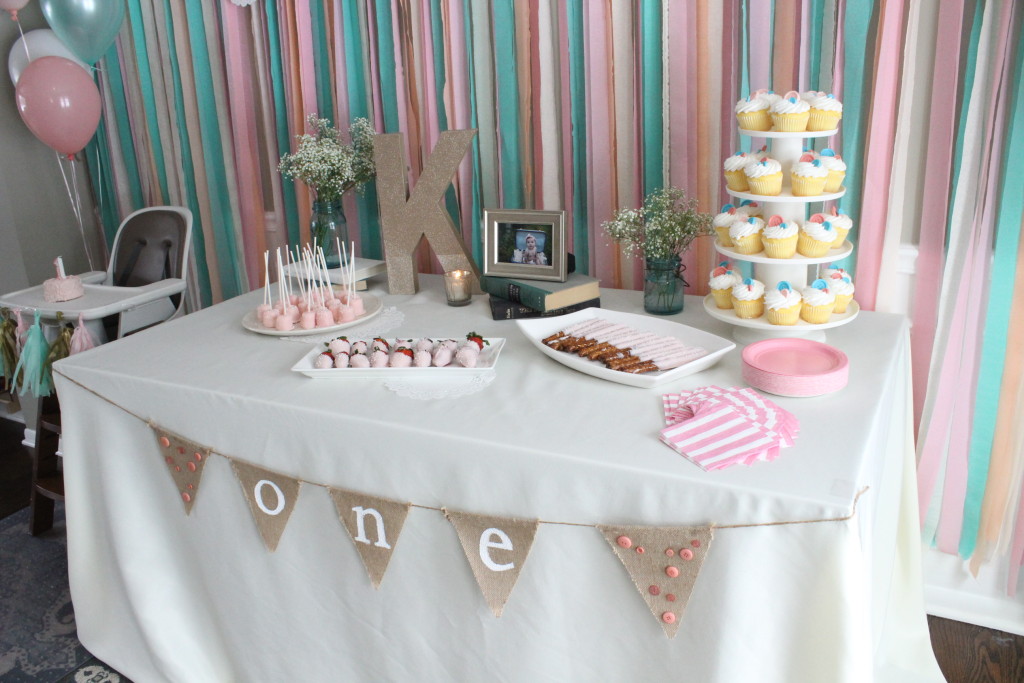
The main feature was the streamer backdrop. At 15+ feet wide, it was a labor of love. To make it, I followed this tutorial and used about 16 rolls of streamers in peach, pink, ivory and seafoam green from PartyPro.com. The doily garland that drapes in front of the streamers is made from two different sized paper doilies that are folded over and glued onto twine. Hanging on the front of the table is a burlap bunting which we painted “one” on and added pink buttons on the side pieces.

IMG_5468

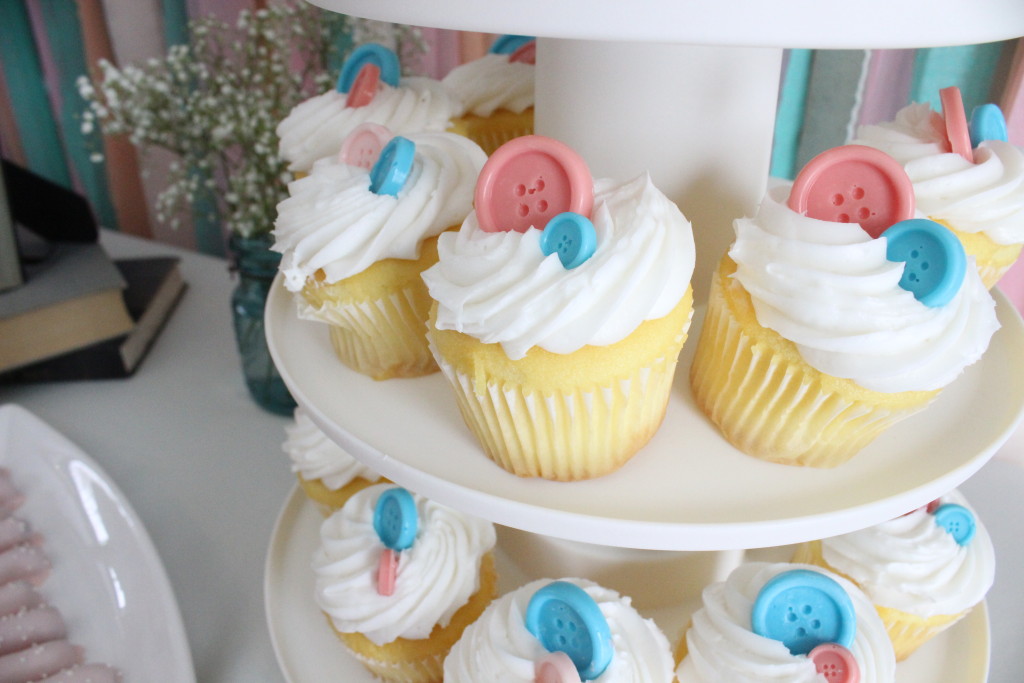
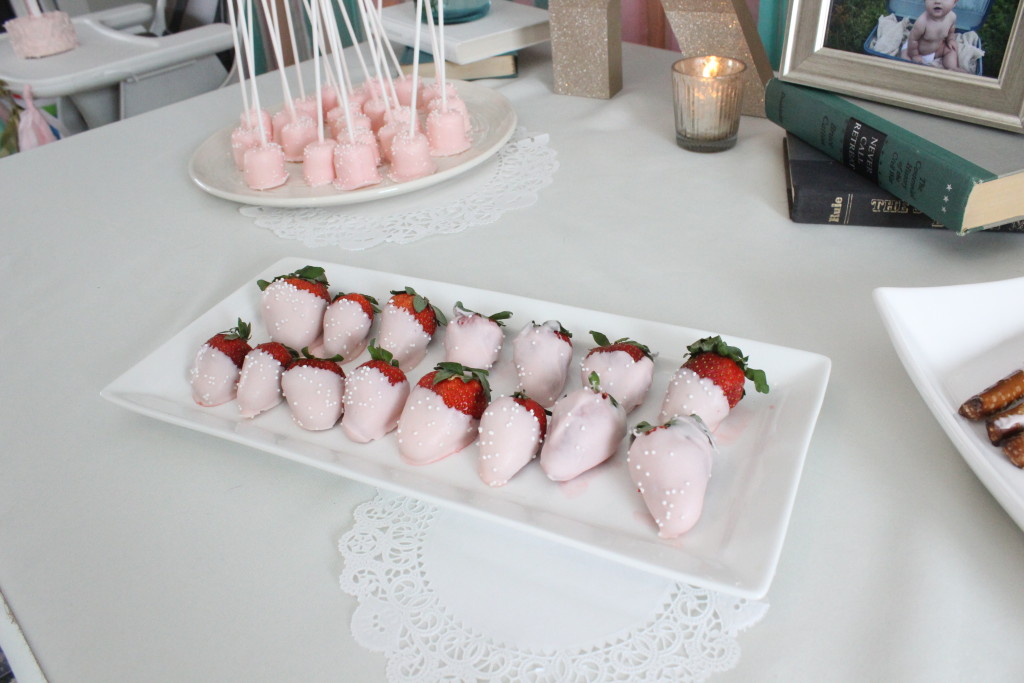
On the “sweets” table was two bunches of baby’s breath in light blue mason jars, a cardboard “K” decorated with glittery paper, a framed picture of Kate, some books, a candle, homemade pink chocolate-dipped marshmallows, strawberries and pretzels, plates, napkins (from Target), and grocery store bought cupcakes decorated with homemade candy buttons.

IMG_5359

The candy buttons I made using Wilton’s Candy Melt and this button candy mold. Everyone asked if they were real buttons.

IMG_5358

I made a tissue paper tassel garland for her high chair using this tutorial.

IMG_5361

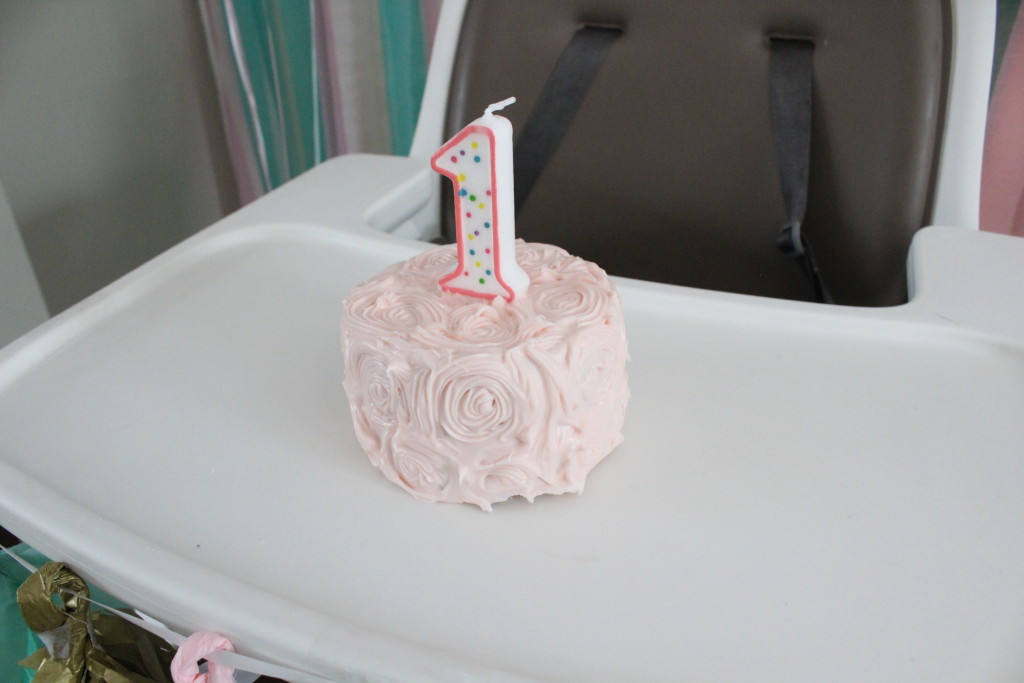
Her smash cake I made using this tutorial. The rose decoration was surprisingly easy, you just make circles!

IMG_5466

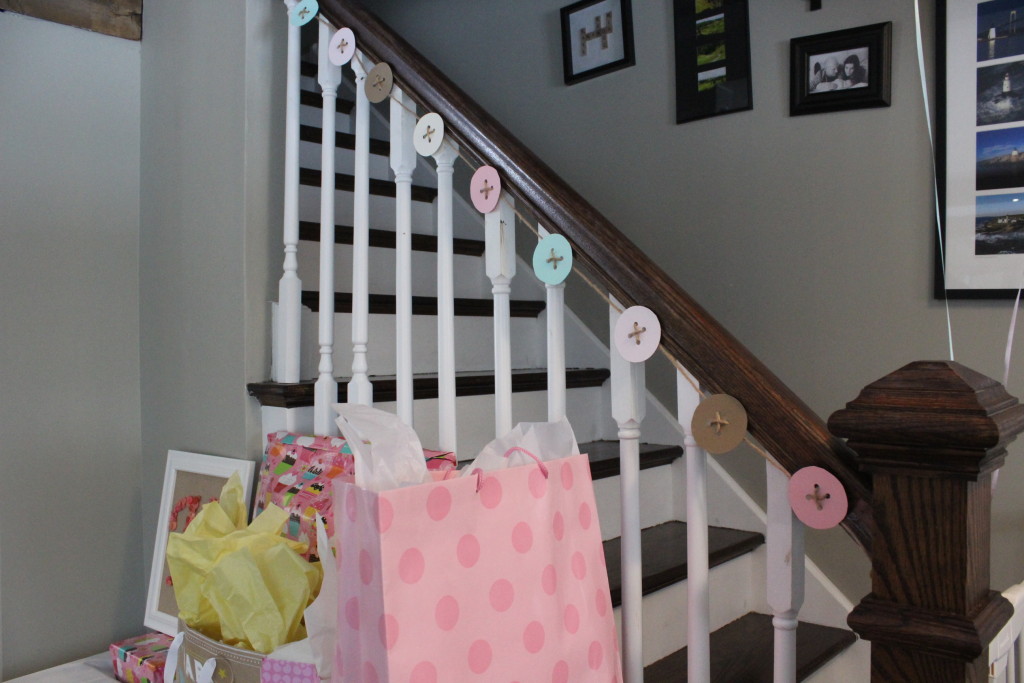
I made this button garland by cutting out circles from scrapbook paper and punching out four holes in the middle. Then I strung twine through each of the holes and together.

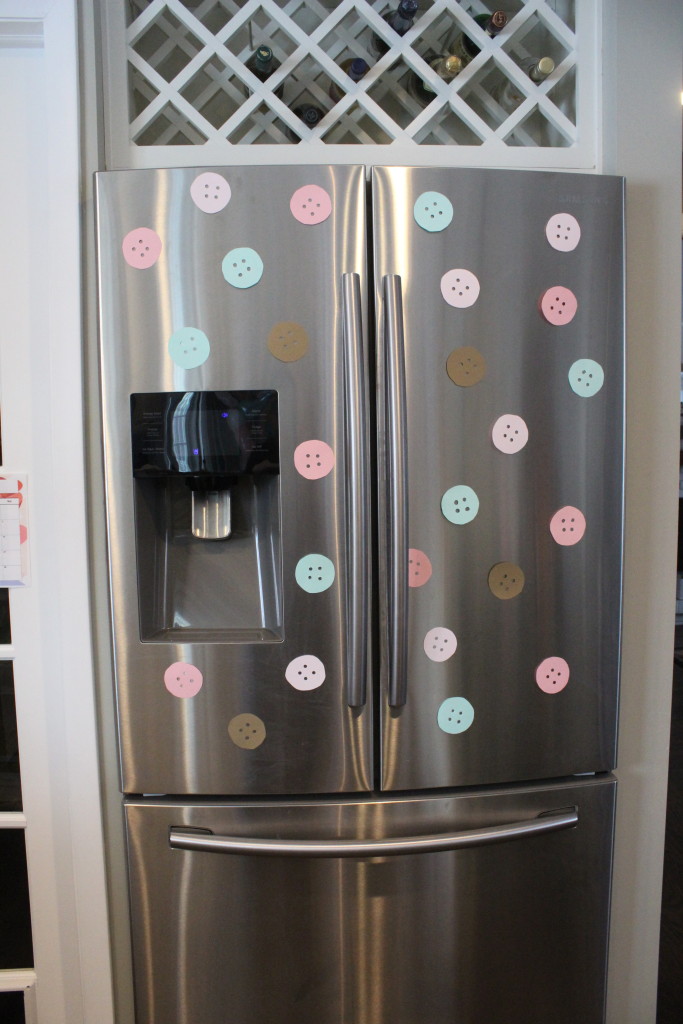
IMG_5470We made far too many paper buttons, so I stuck them to the fridge, too.

IMG_5368

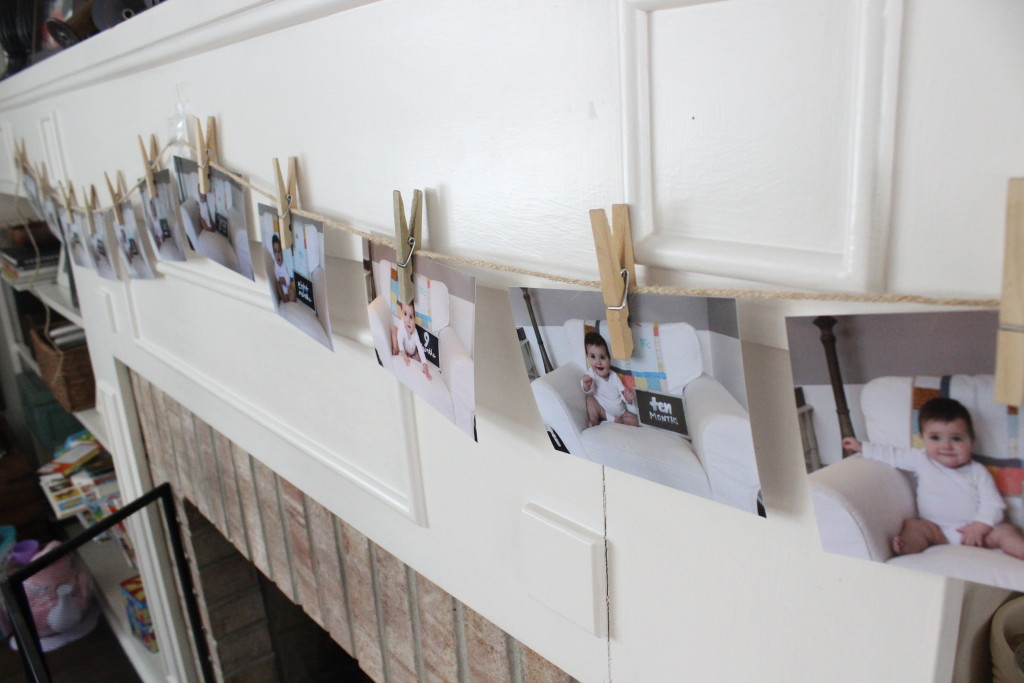
I also strung up her monthly photos above the fireplace using twine and clothespins.

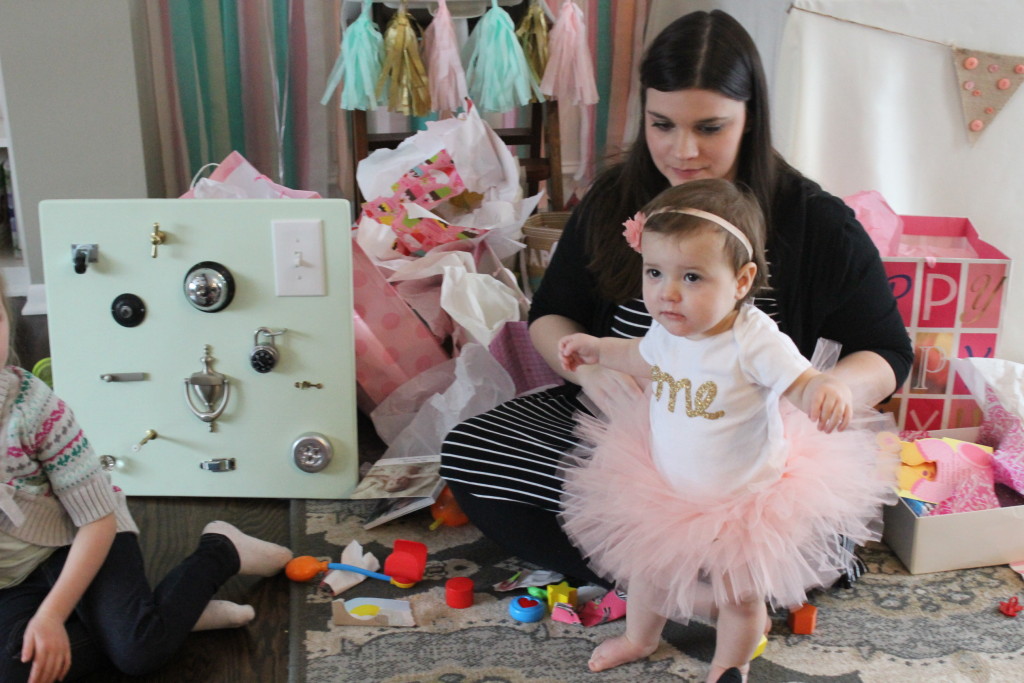
IMG_5364For Kate’s special birthday outfit I purchased this gold glitter “one” onesie and this peachy-pink tutu and headband, all from Etsy. She looked so adorable.

IMG_5465

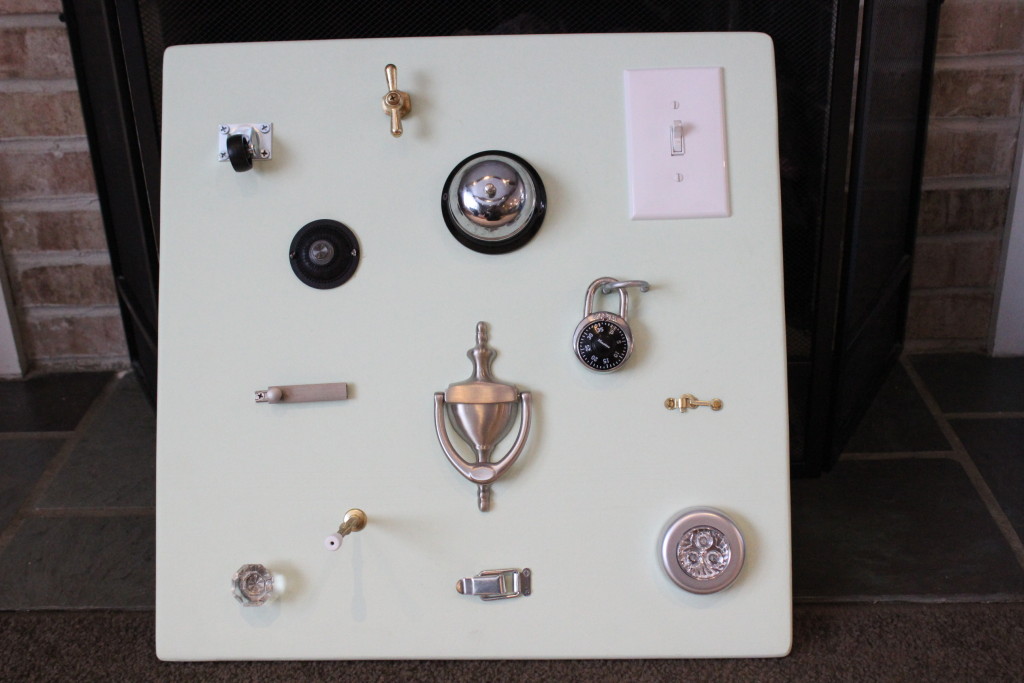
You can see the busy board that we made for her in that photo. It has all kinds of fun trinkets on it including a desk bell, a light switch, a door knocker, an LED tap light, a door stop, a door bell, a few different types of locks, and a couple other misc items. So far, the bell is the big draw. I also made her a personalized board book with photos of her family members like this one.

Here’s a closer look at the busy board.

IMG_5472

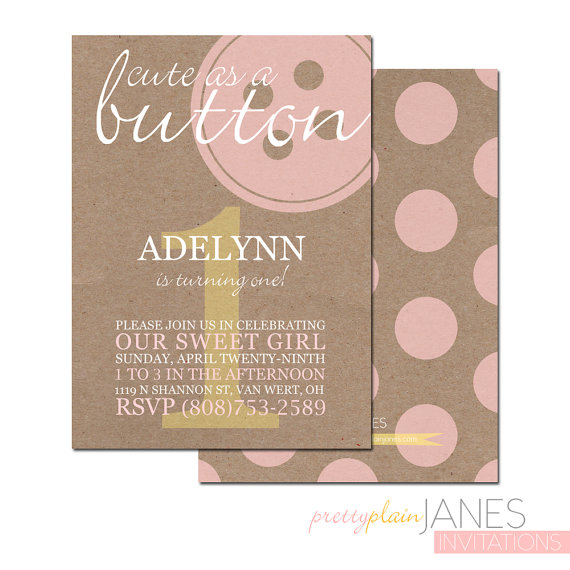
And lastly, here are the “Cute as a button” invitations that I ordered from Etsy.

invitations

The party was a huge success and I am so sad it’s over. I loved planning and working on everything for my special girl. She’s not going to remember it, but I know I always will.