Archive | Uncategorized RSS feed for this section

Home Goals: How We Did & Goals for 2015

10 Jan

2014 was a year of major changes at 12 Oaks, most of which were on the exterior of our home. I shared our goals for the year in this blog post and I’m happy to report we got most of them done! Here’s the checklist on how much we accomplished.

Our 2014 home goals were to:

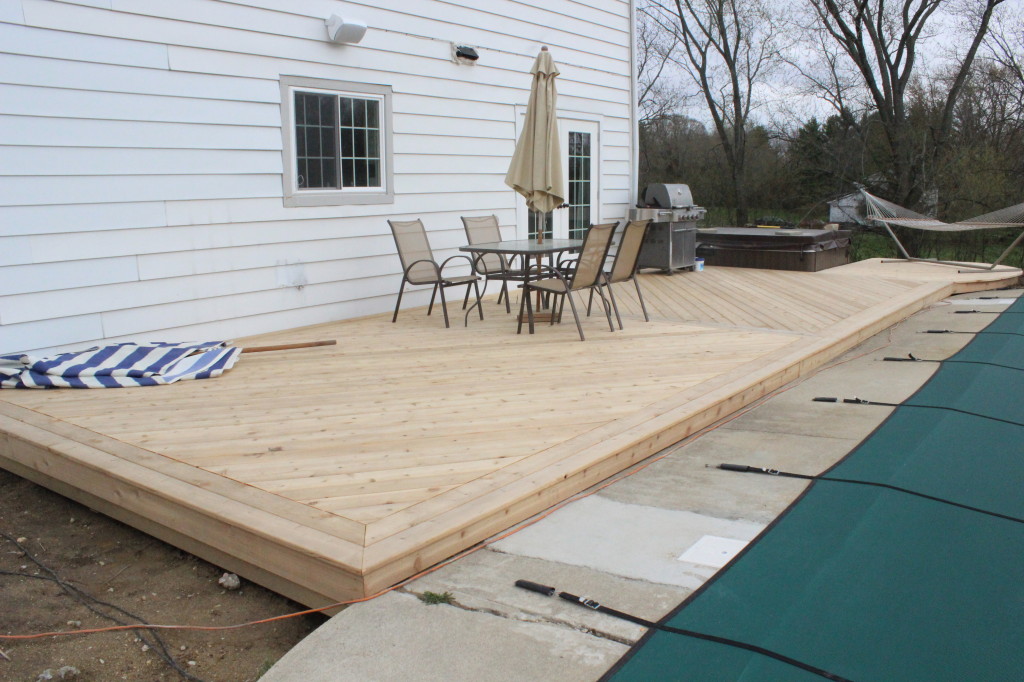
1) Build deck out back. Done! You can read about the building of the deck here. It has since been stained and a pergola is in progress.

IMG_4614

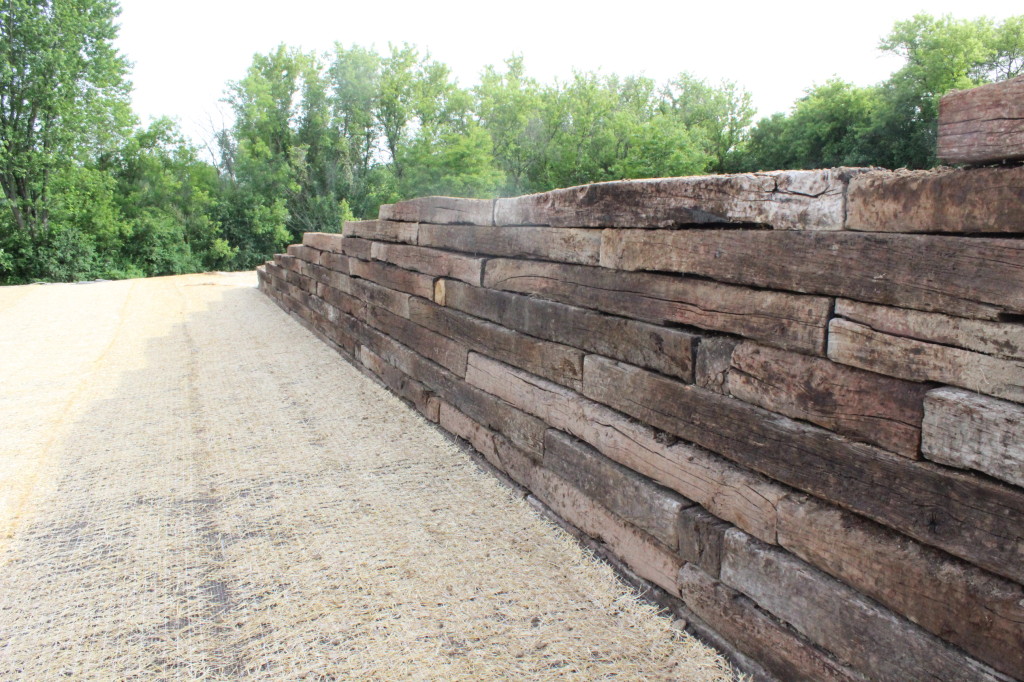
2) Install retaining wall and landscape back yard. Retaining wall is complete and we did some landscaping. Still lots more to do though.

IMG_4695

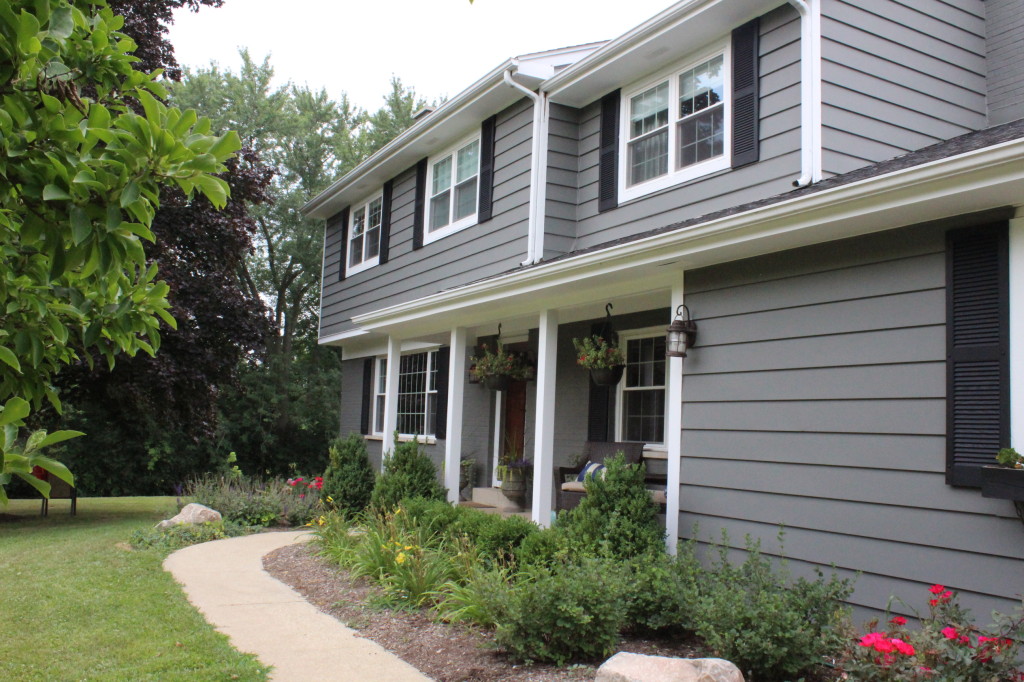
3) Replace rotten trim and paint the house. Done! A major game changer. You can read about that here.

IMG_4817

4) Finish addition upstairs (master bathroom and closet). This is about 80% there and should be done by the end of January. I’ll have an update on it soon.

New Zealand 1035

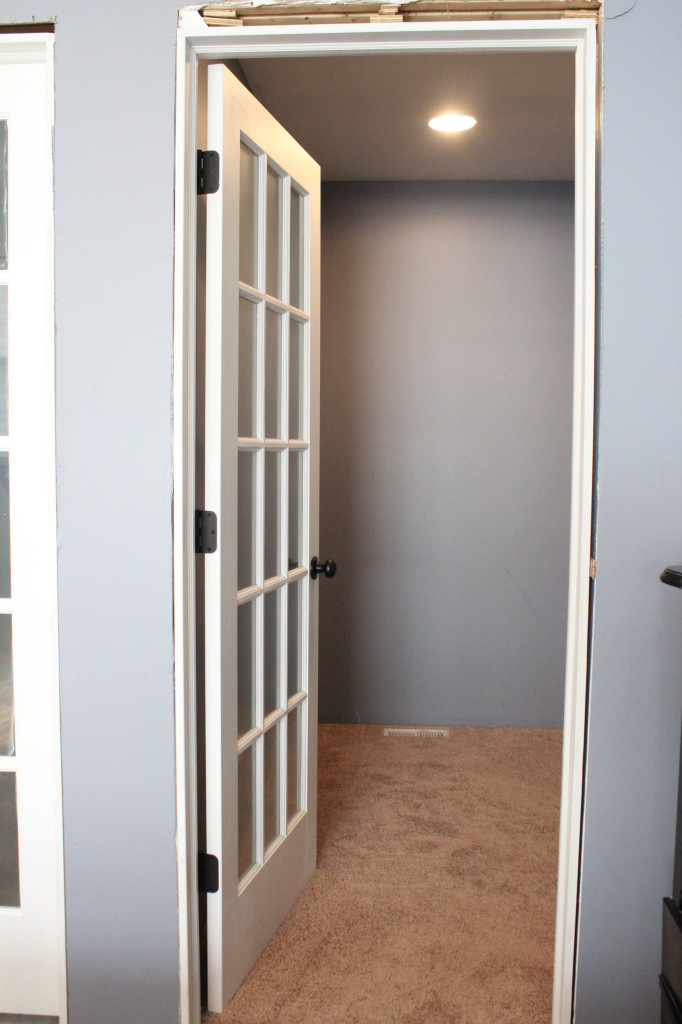
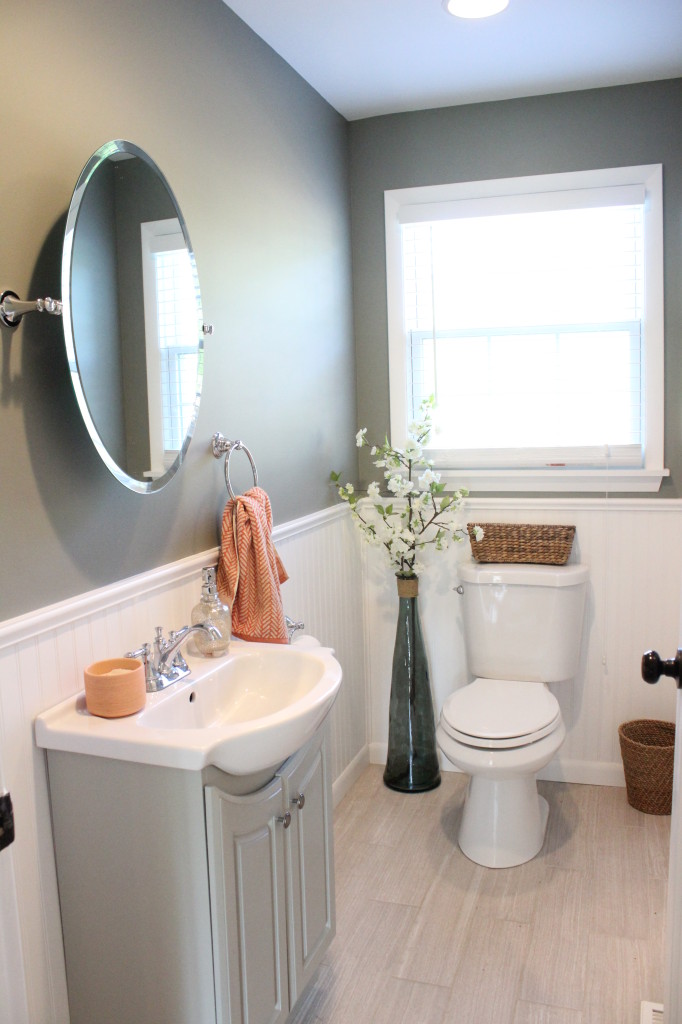
5) Finish addition downstairs (powder room and laundry room). Done! You can read about both rooms here.

New Zealand 1028

6) Makeover the office/playroom, including a fireplace re-do. Didn’t get to this. We painted the fireplace but have since decided to cover it up since the room is going to be a playroom and it takes up too much room and is a hazard. This is at the top of our list for 2015 after the master bathroom/closet.

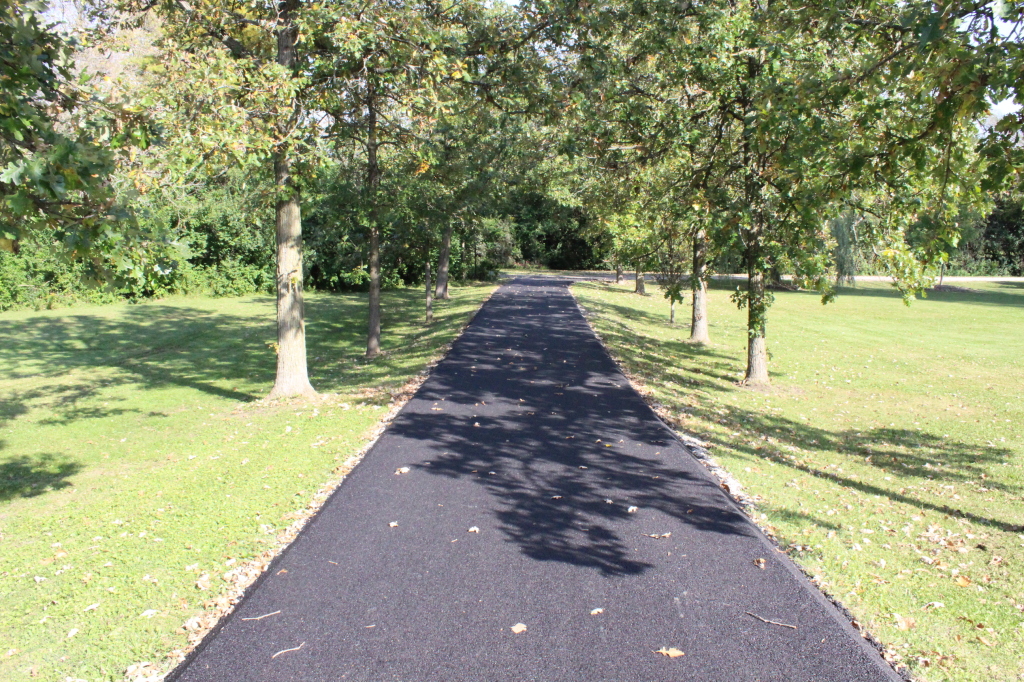
7) Blacktop driveway. Done! So nice. You can read about the driveway here.

IMG_4933

8) Relocate master bedroom. We should be in the new master by the end of the month. Can’t wait!

9) Update living room built-ins. No progress made unfortunately.

10) Build a dining room table from native New Zealand wood. Nope.

11) Build out basement storage. Done! Ben built out new shelving down there. It needs organizing again though….

Overall pretty good considering we were also raising an infant.

For 2015 our goals are to:

  1. Finish master bathroom and closet and move in to our new master.
  2. Build out a playroom, including adding a wall and covering up a fireplace.
  3. Build mudroom cabinets on the opposite side of the new playroom wall.
  4. Renovate the final bathroom upstairs.
  5. Add window boxes to the front of the house.
  6. Landscape back yard.
  7. Finish pergola on the back deck.
  8. Build a fire pit.
Goodbye Mud, Hello Deck

1 May

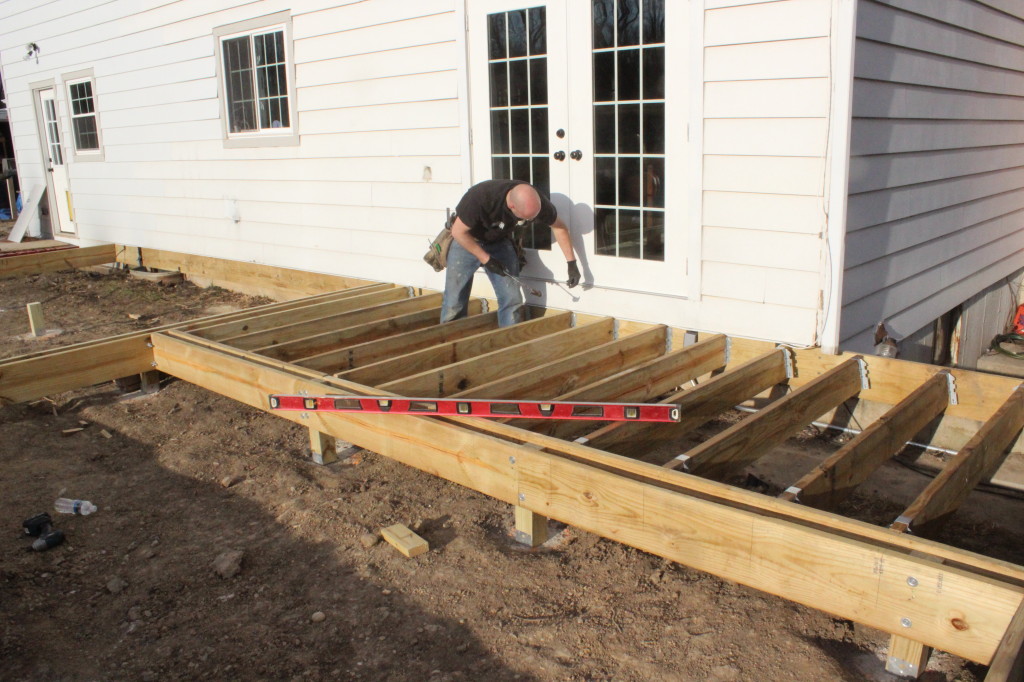
We’re proud to report our back deck is finally built! This project actually began late last fall. We bought the cedar timber during a sale, and poured the footings then. It got too cold to build, so as soon as we got some decent weather, Ben was out there framing it up.

IMG_4535

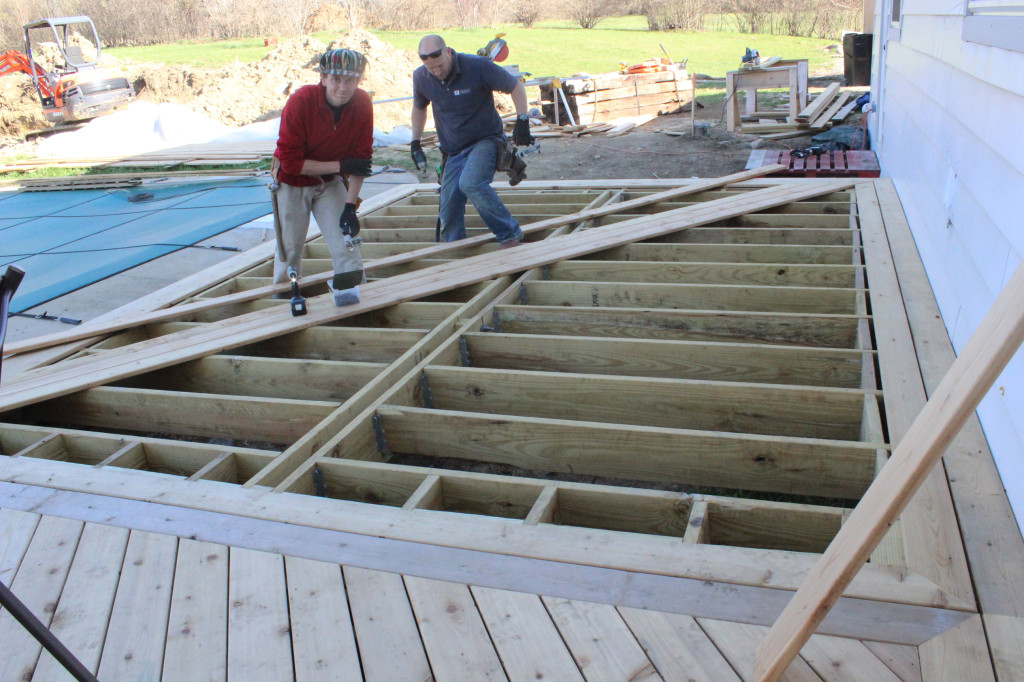
He did the majority of the work himself over several weekends and nights, but he also traded some old furniture to a sub-contractor for 2 days work on the deck. It worked out great. Here are the guys finishing up this last weekend.
deck peter

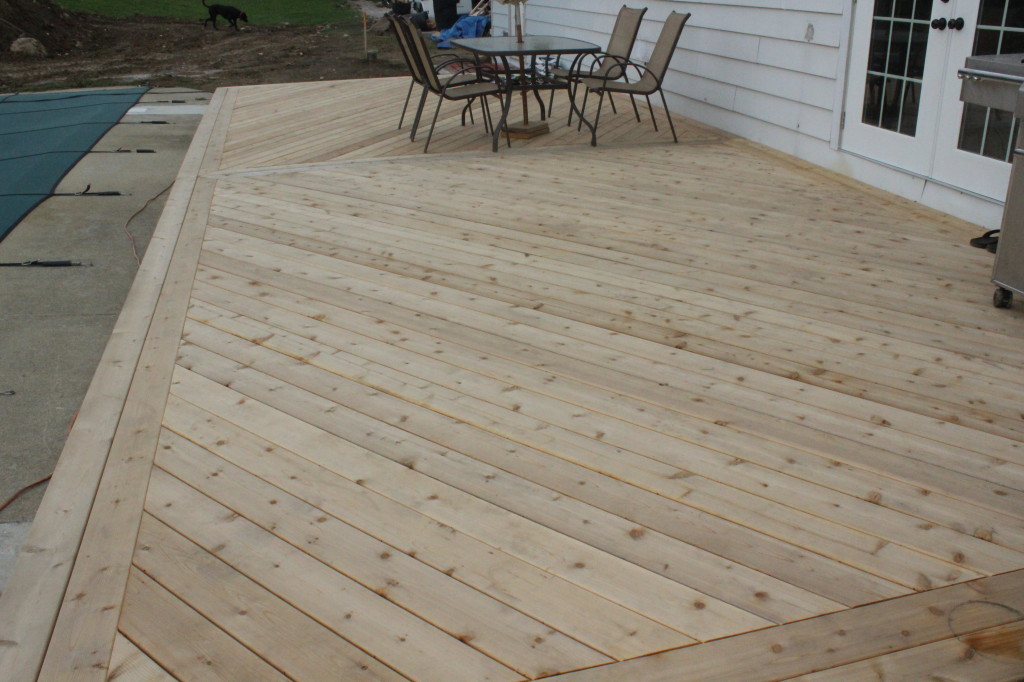
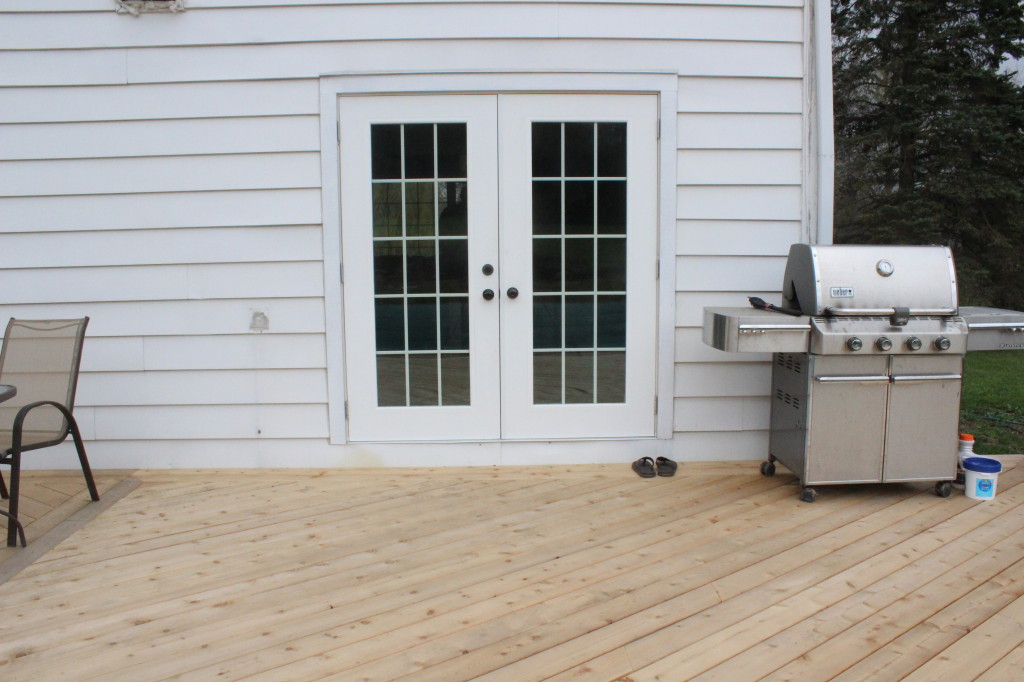
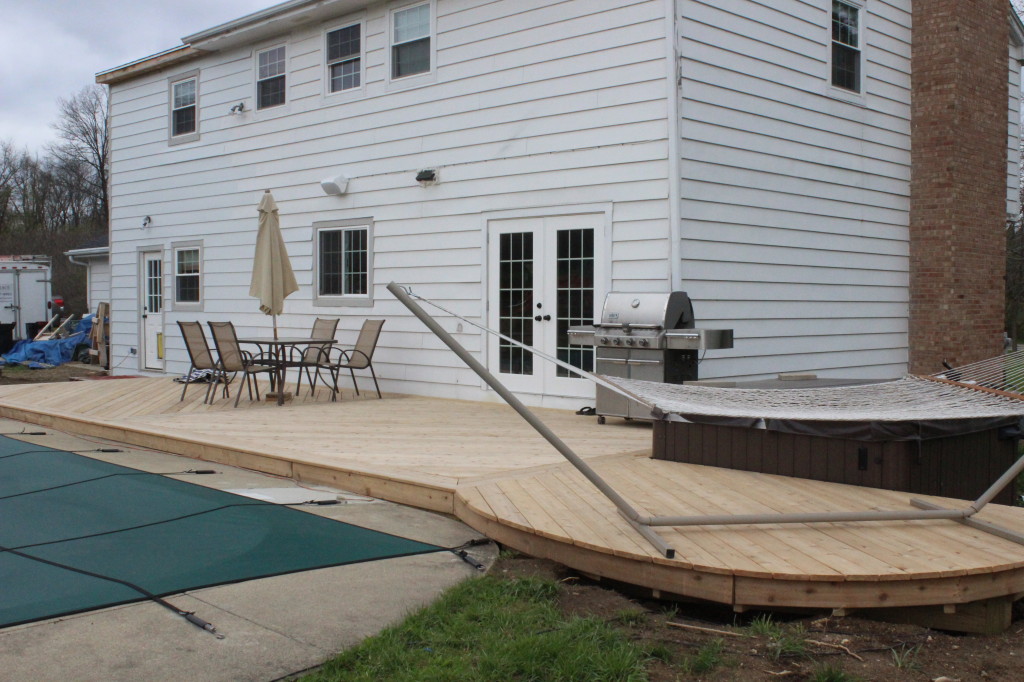
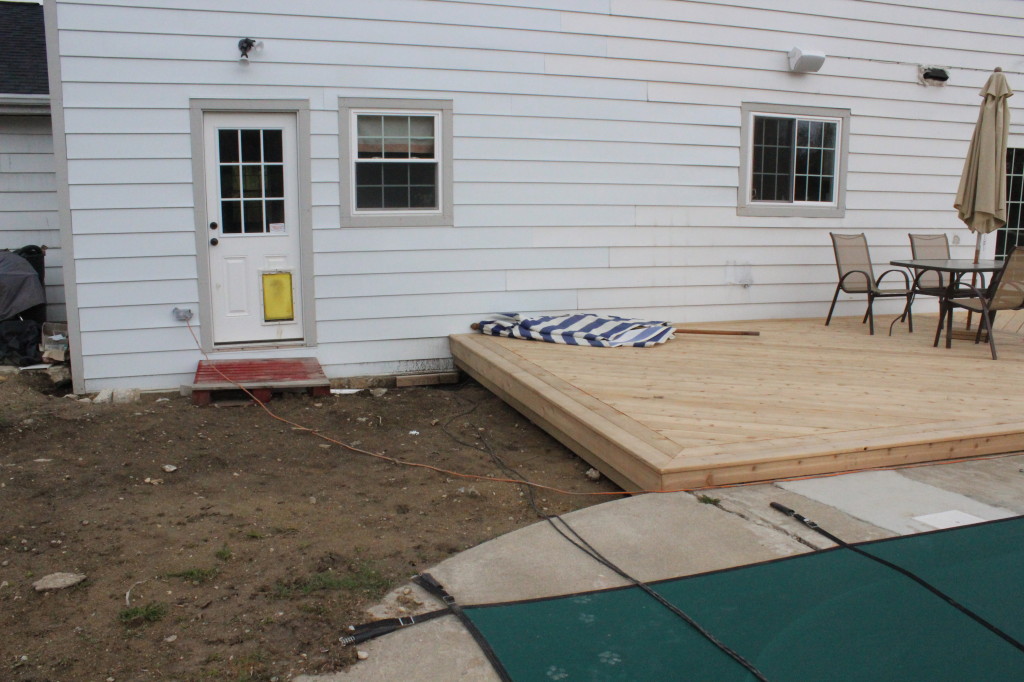
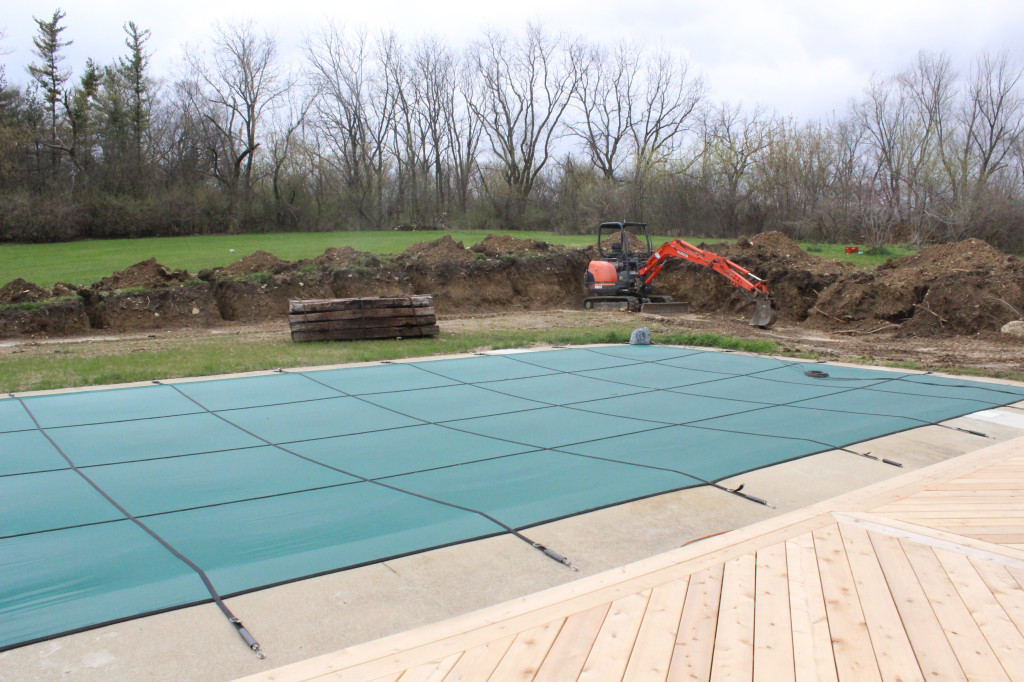
We still need to stain it and move out our good patio furniture, but here it is all built. That’s our hot tub (which we moved from our old house) in the corner.

IMG_4614

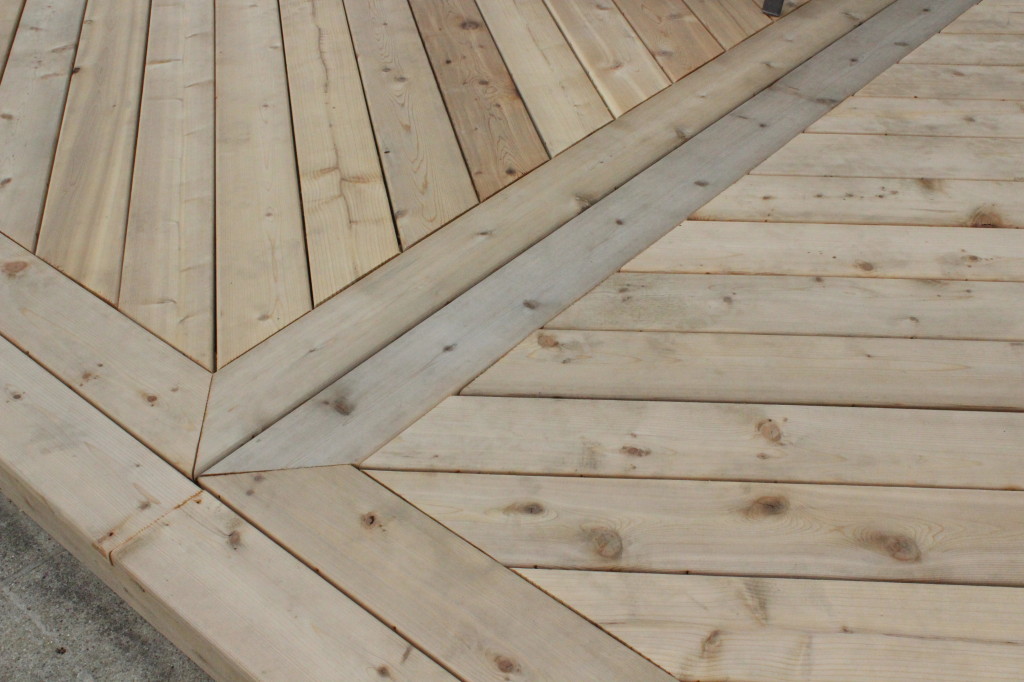
I absolutely love how the boards run opposite directions and meet in the middle, almost like a herringbone (all Ben’s idea).

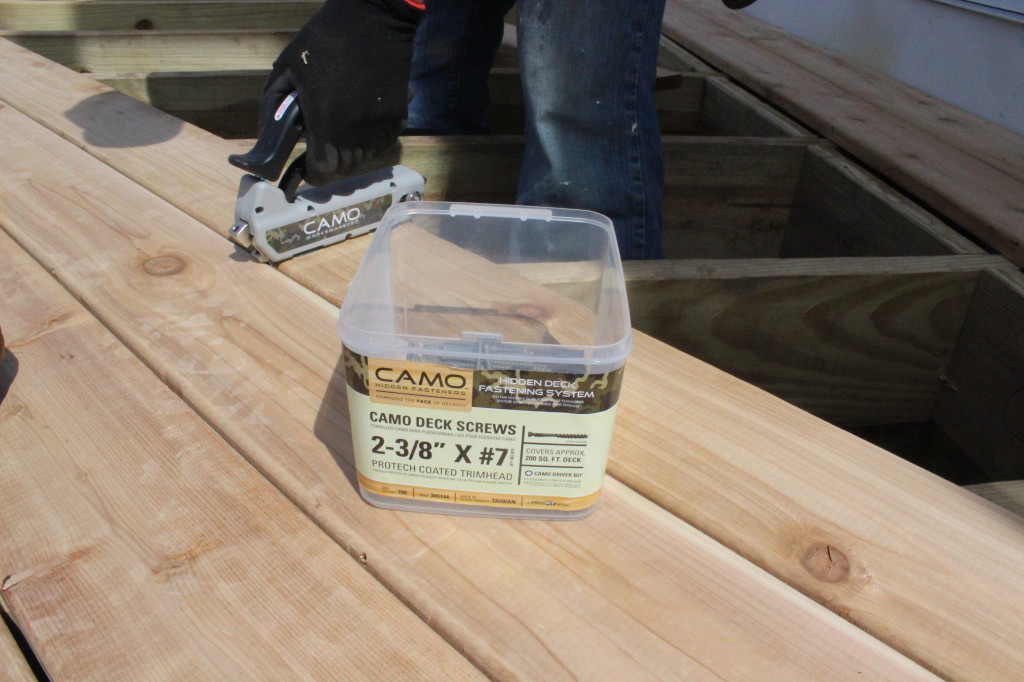
IMG_4609Ben used a hidden fastener system, called CAMO, which made hiding the screws much easier.

IMG_4586

The CAMO tool spaces the boards evenly and then guides the screws into the joists. You can see a video of how it works here. The tool itself is less than $40, however the screws that you have to use with it can get a bit pricey.

IMG_4612

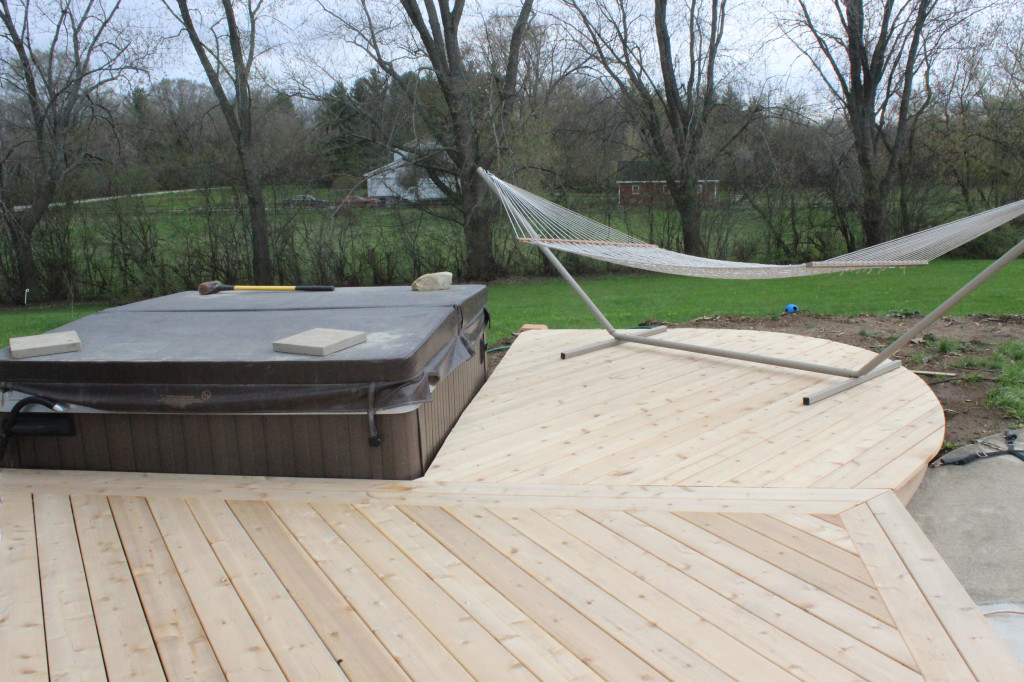
Here is a closer view of the hot tub area. Our cover broke so don’t mind the weights holding it down for now. And the hammock will be moved somewhere else.

deck hot tubIt is so nice to be able to walk out onto this…

IMG_4618

Instead of this….

old deck

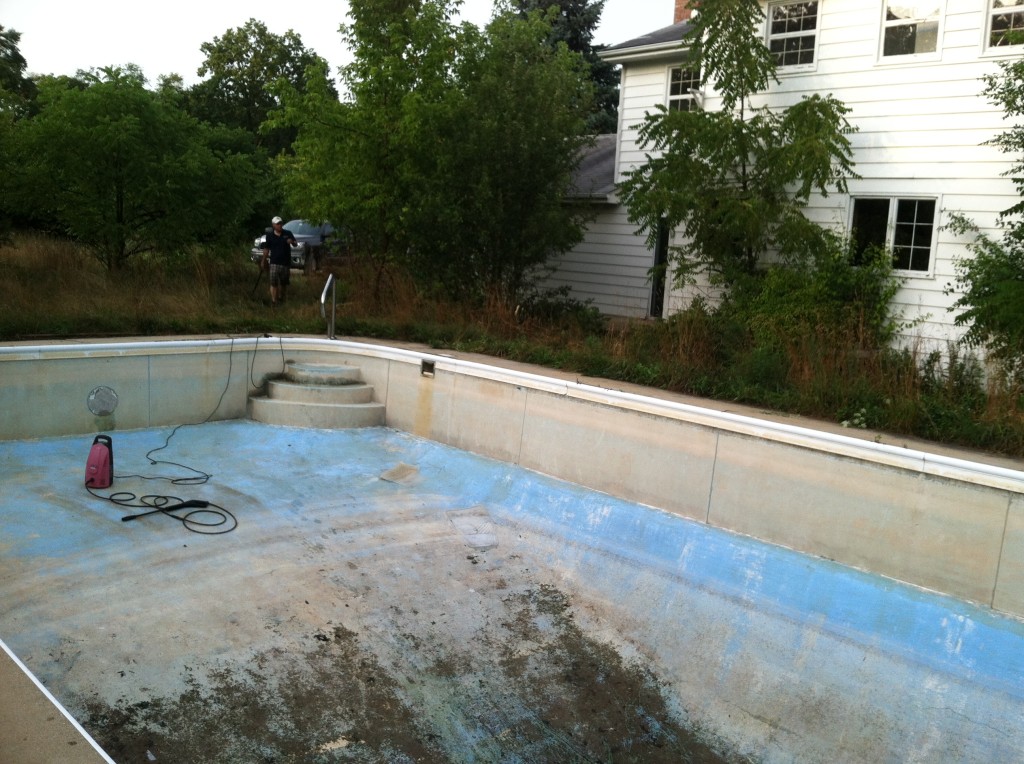
While there is still plenty to do out here, it is quite a change from this when we bought the place.

photo-155

Here is a similar view now.

IMG_4611

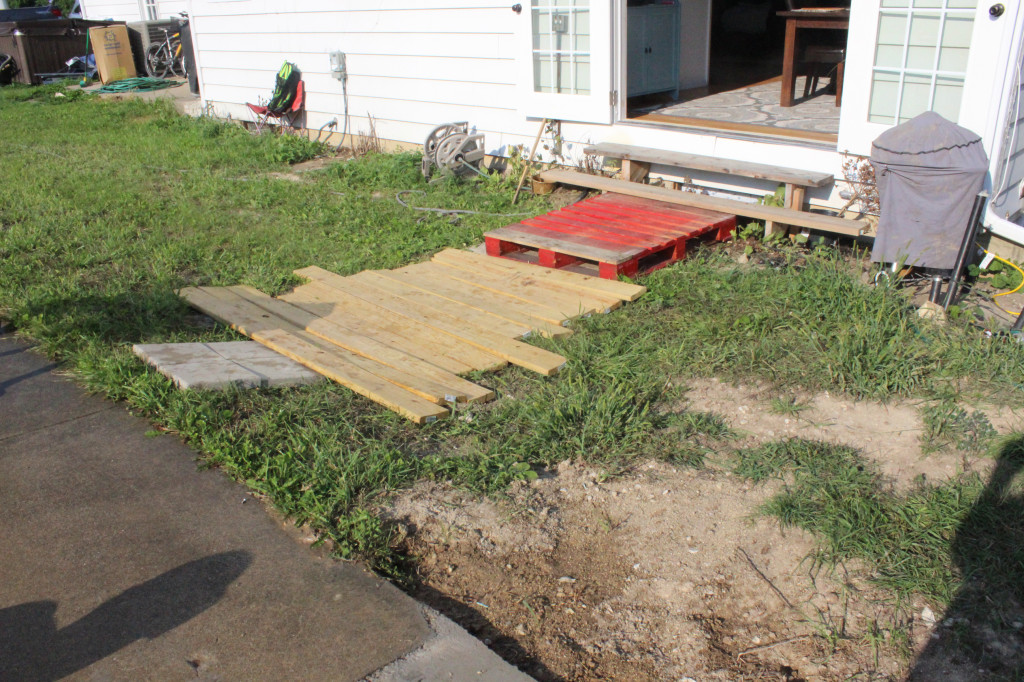
In addition to staining the deck, next up is laying some pavers outside the new laundry room door here. We didn’t continue the deck all the way because the doors were at different levels.

IMG_4613And also building a retaining wall here out of railway ties. And of course laying grass.

retaining wallCan’t wait to fully enjoy this area this summer! Pool party anyone?

DIY Reclaimed Barn Wood Beams

8 Jul

Hope everyone had a wonderful 4th of July weekend! We had a great time camping up in northern Michigan and visiting Mackinac Island–a stunning island in Lake Huron that only allows two modes of transportation: horse-drawn carriages and bikes.

PicFrame

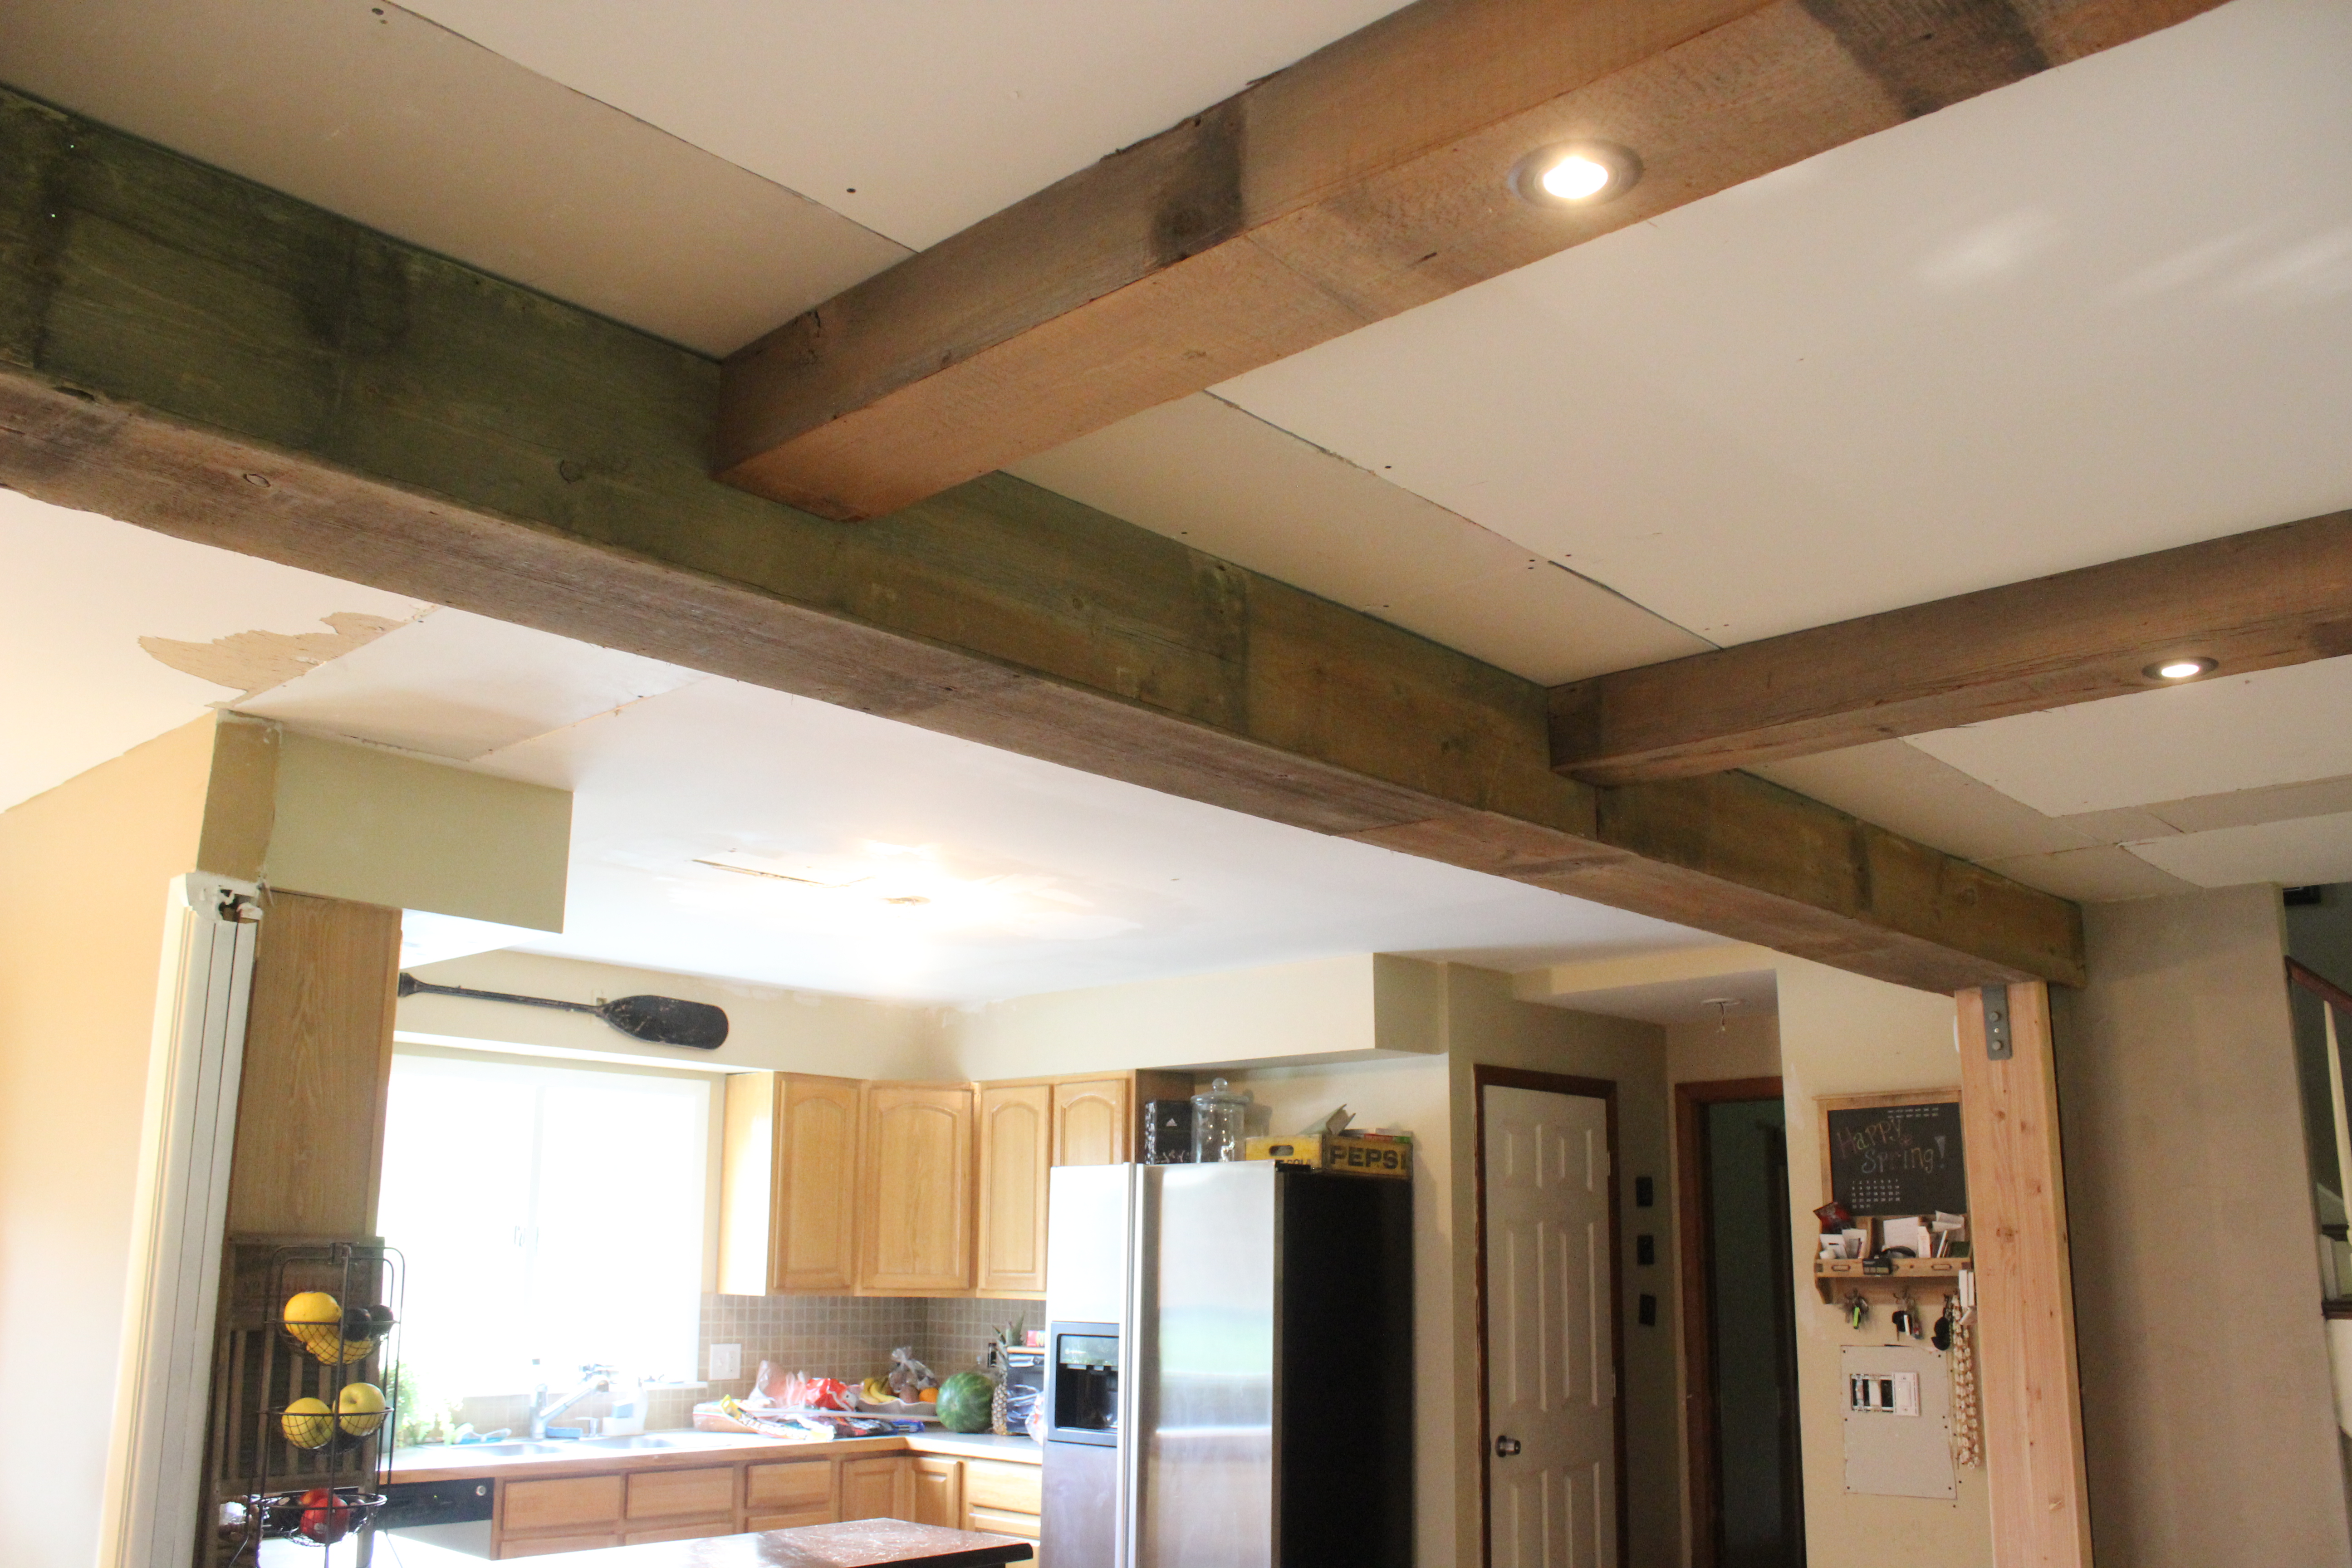
But on to today’s project. If you are new here, we removed the wall between our kitchen and living room. Because it was a structural wall, we had to install a 1,200 pound, 26 foot long, 8.5″ wide and 18″ deep beam to hold up the house. It sat exposed for a couple months while we searched craigslist for barn wood to wrap the beam.

IMG_2805

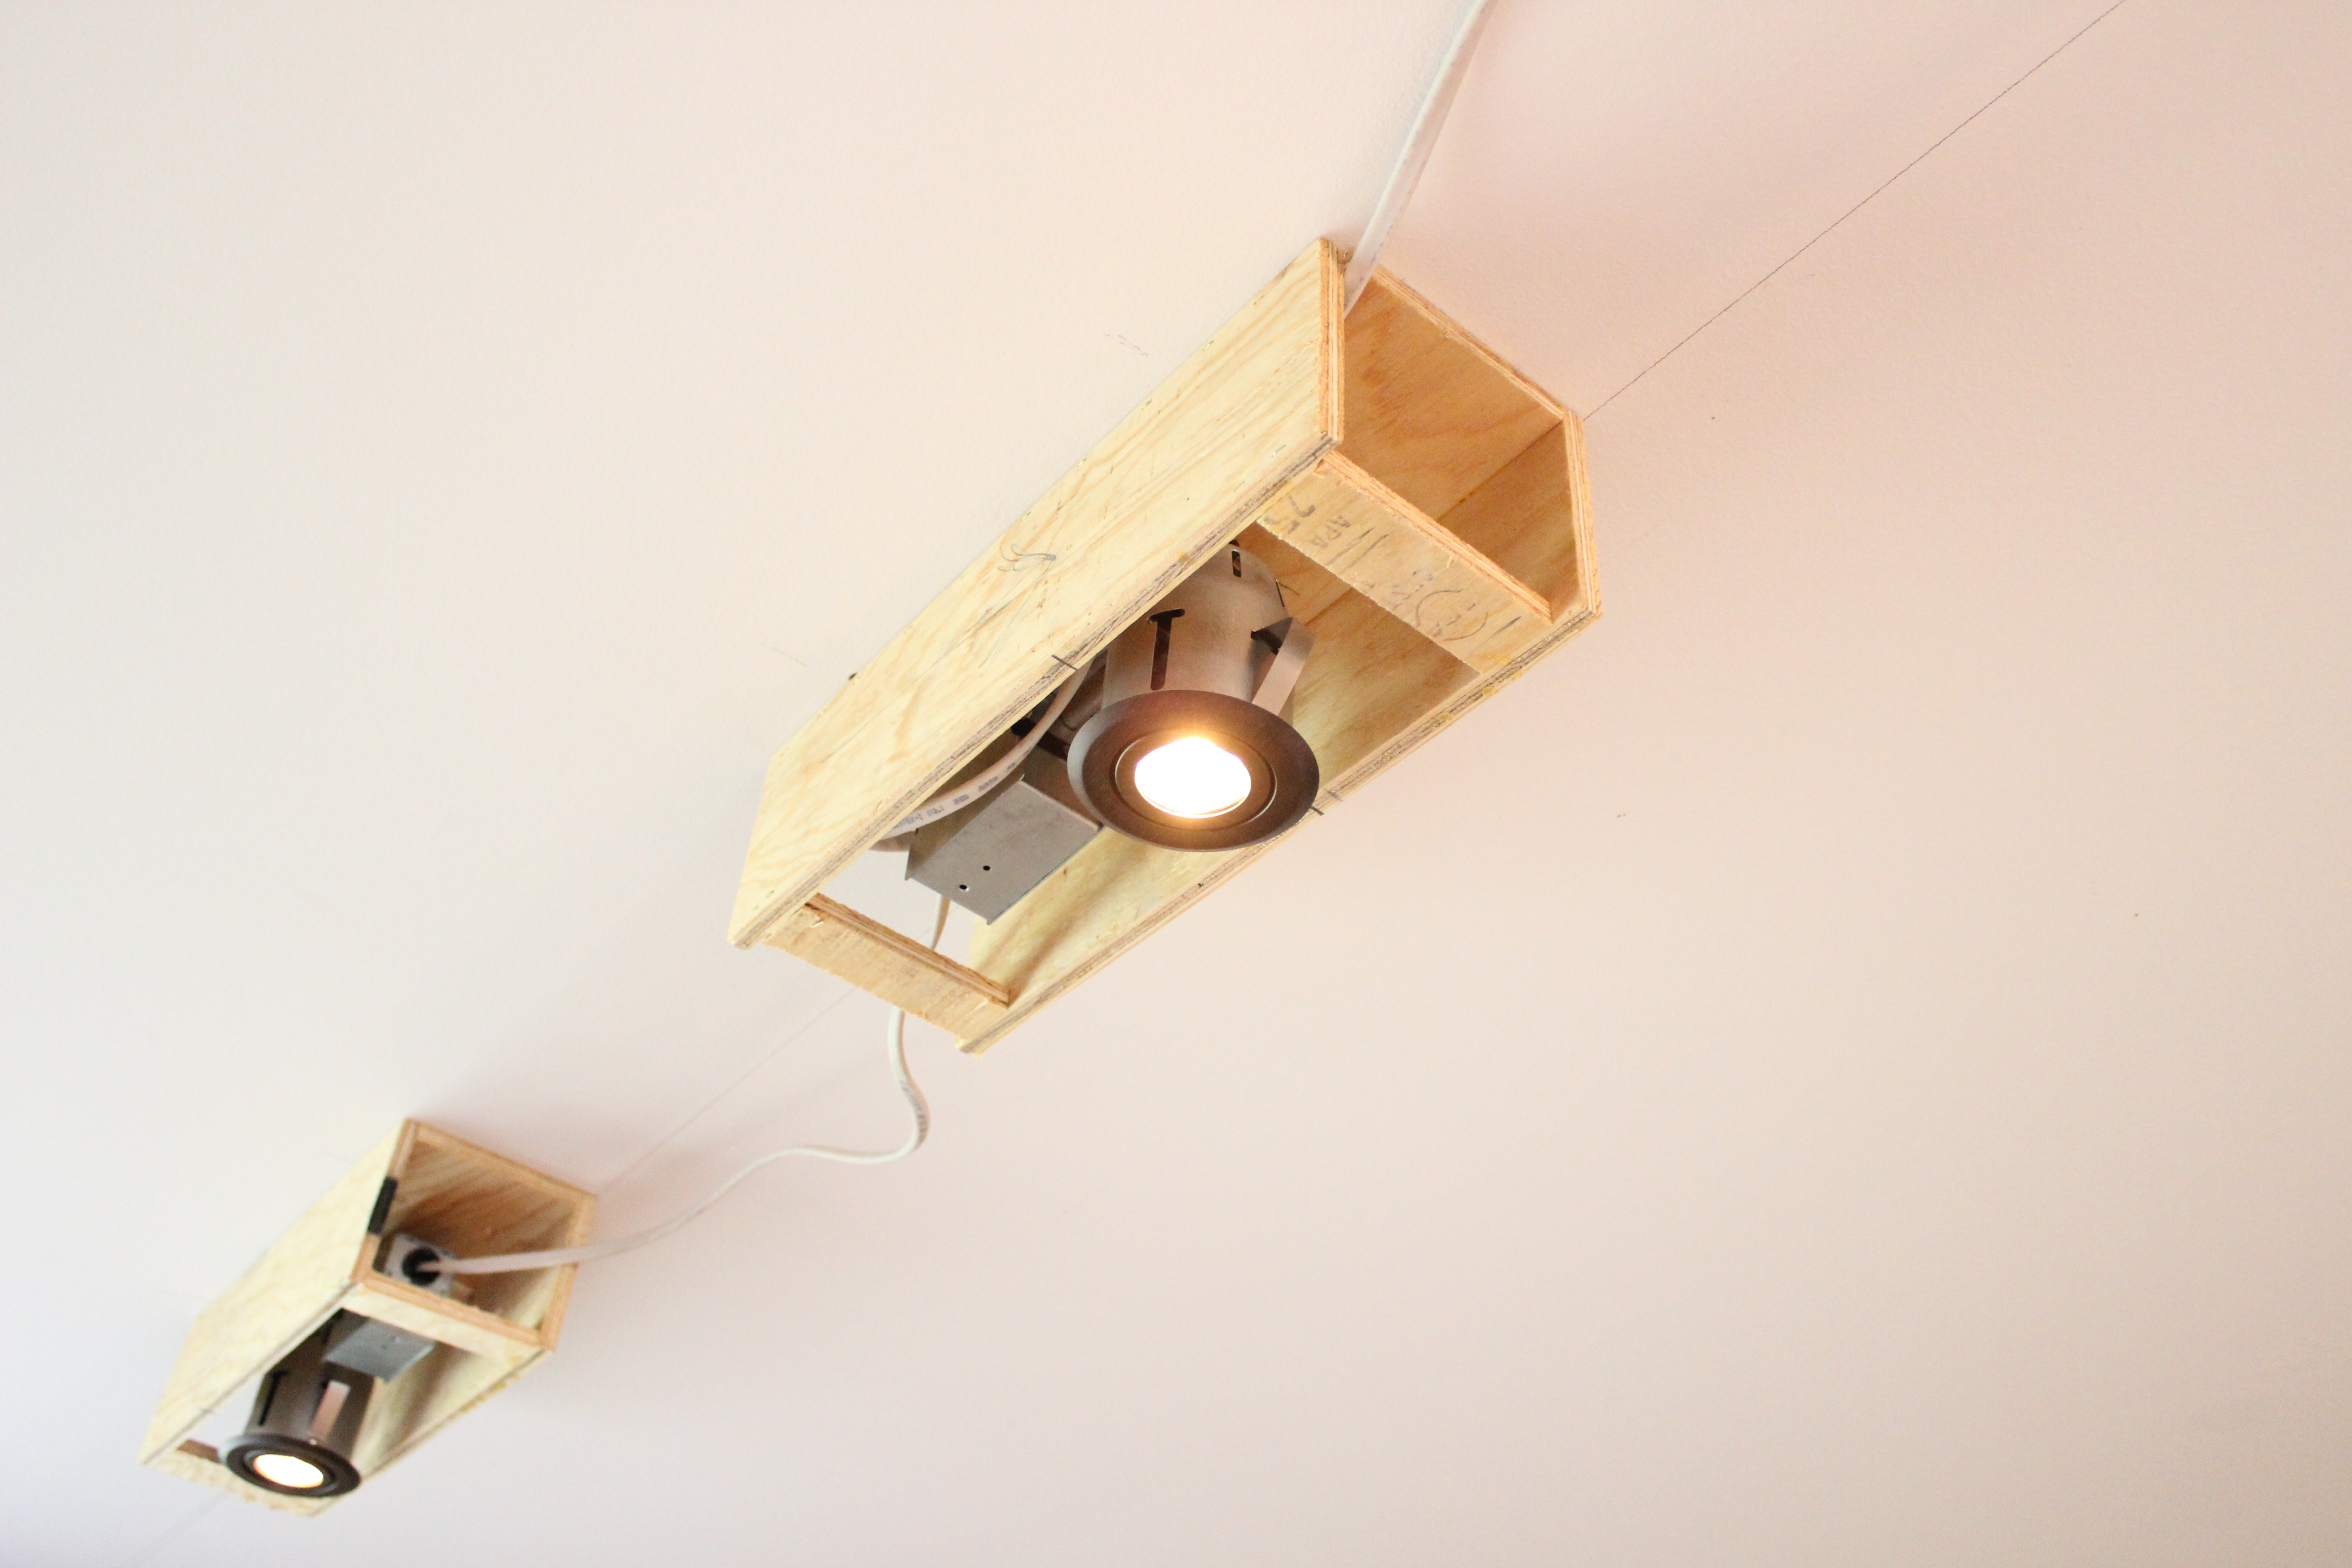
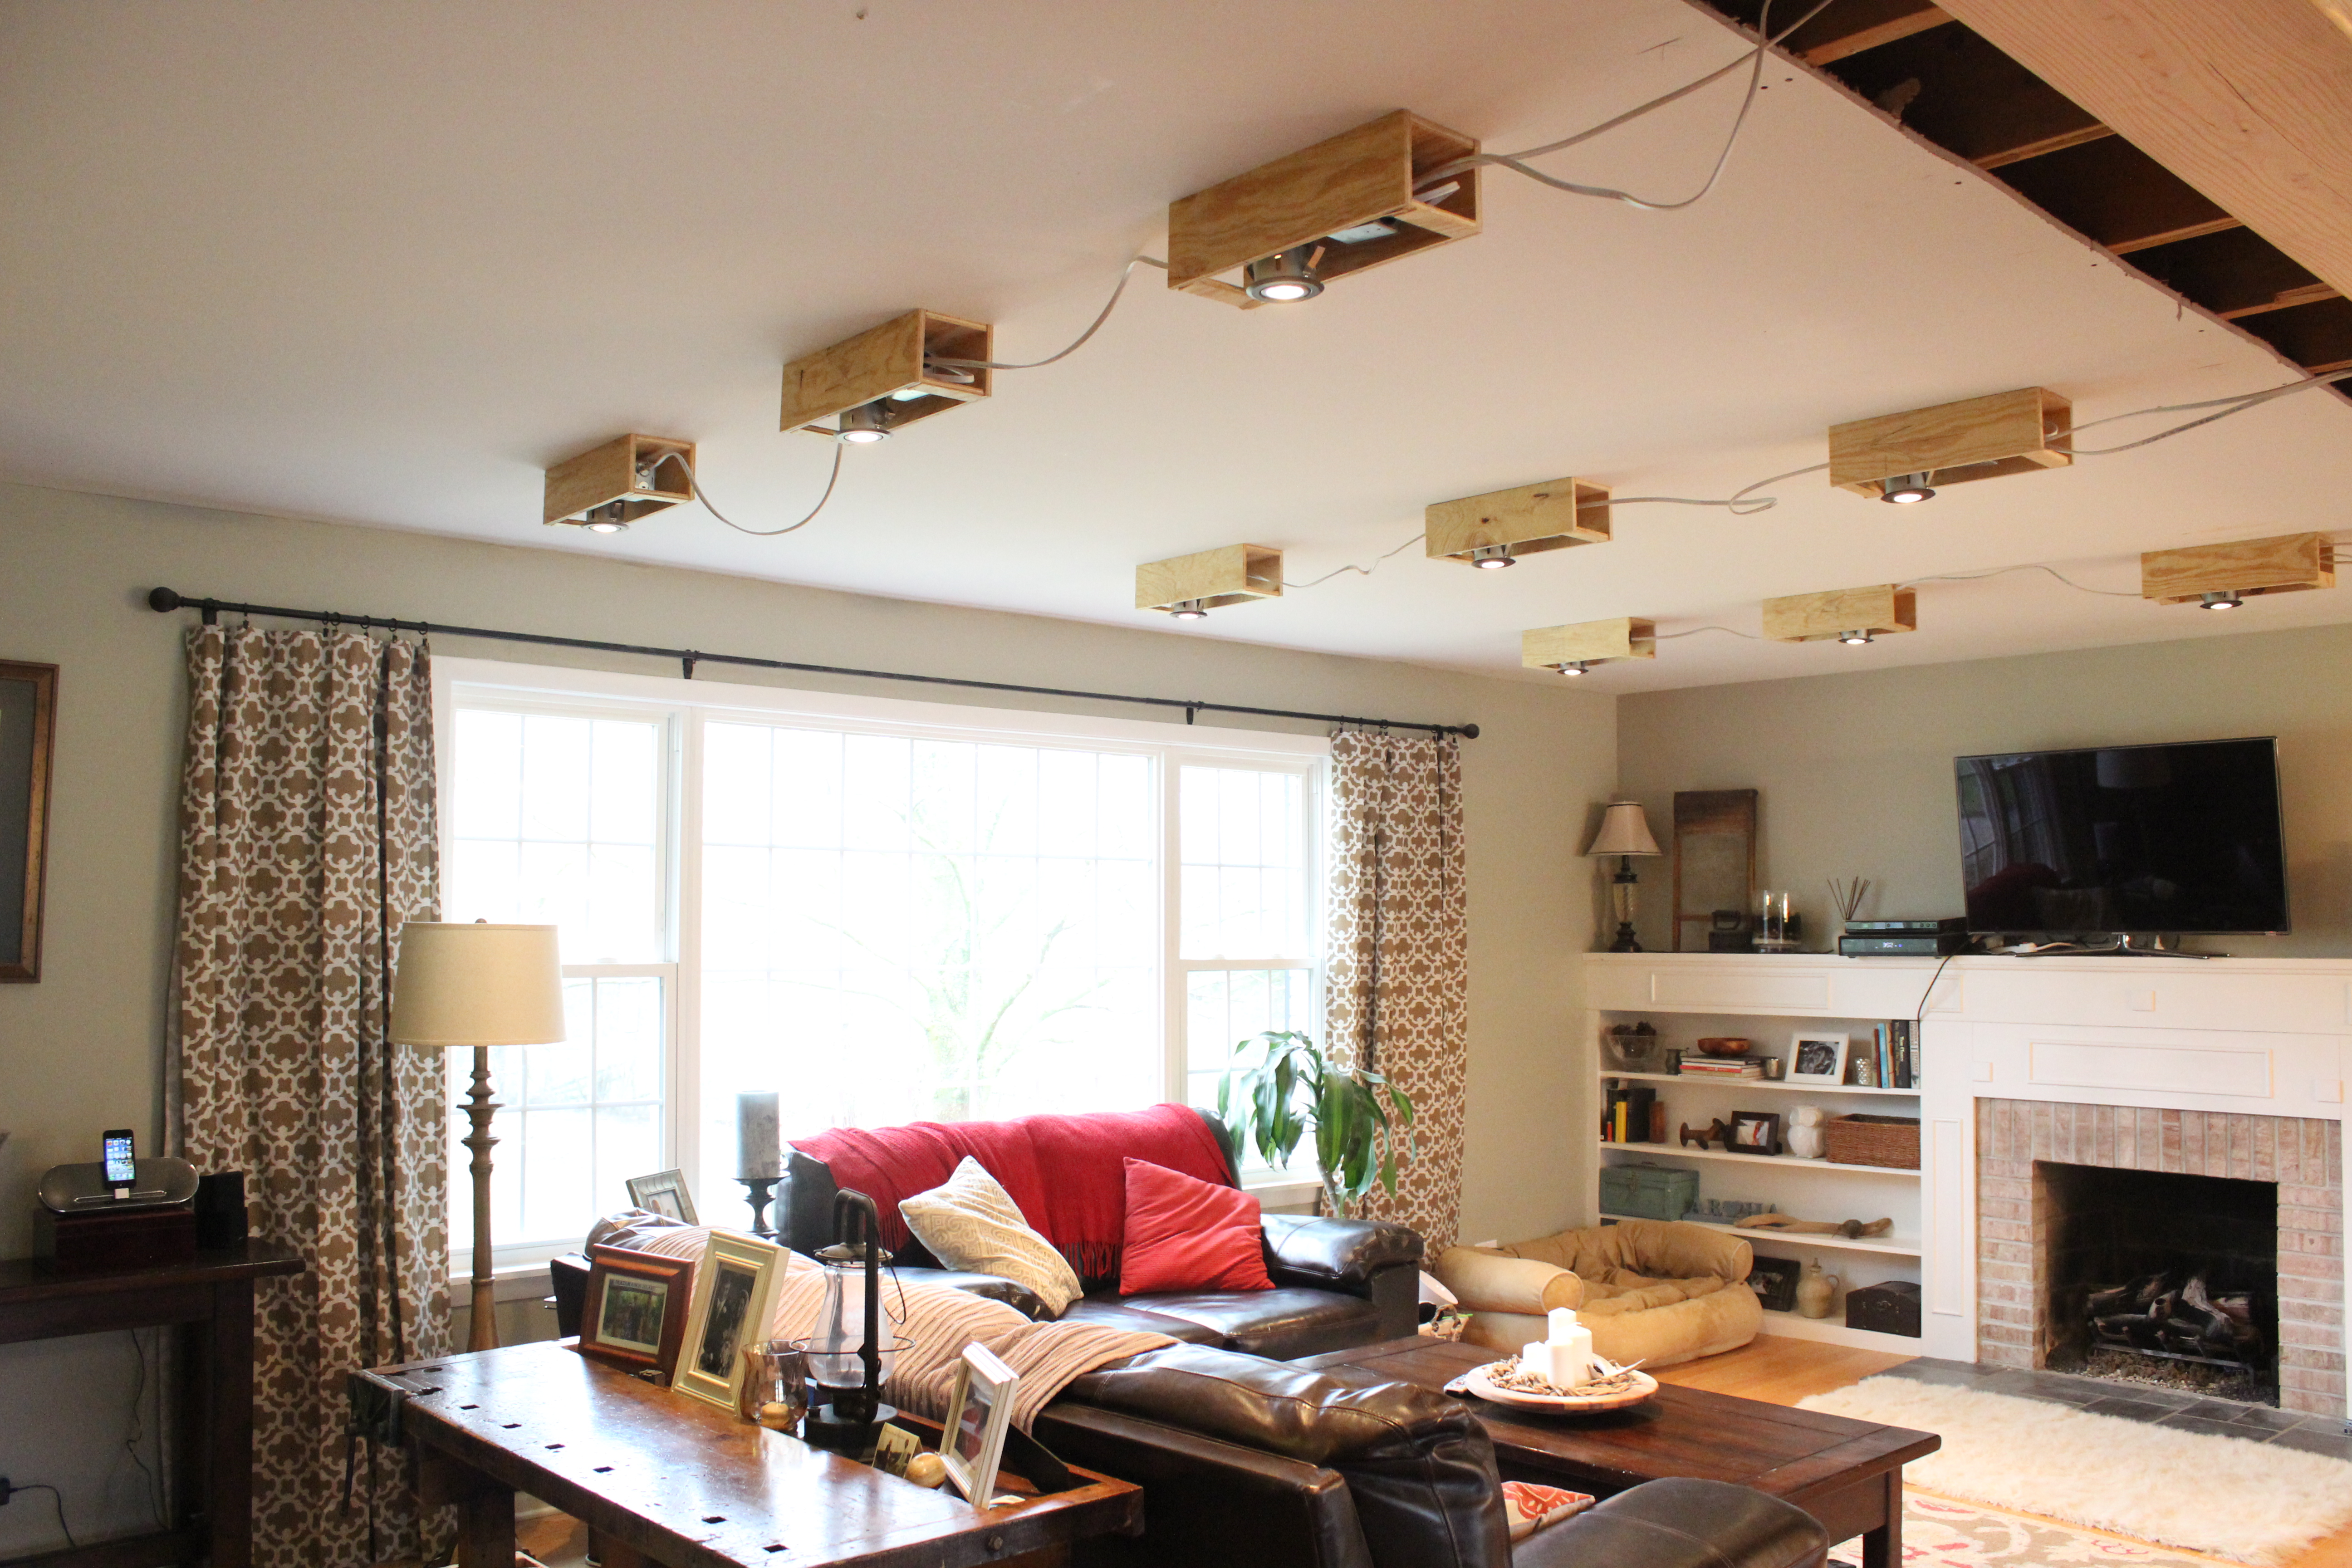
As planned, we also added dimmable can lights in the living room (there was no lighting in the room previously). Here’s what those looked like before wrapping them in barn wood. We built boxes around them and had an electrician wire them up.

IMG_2899

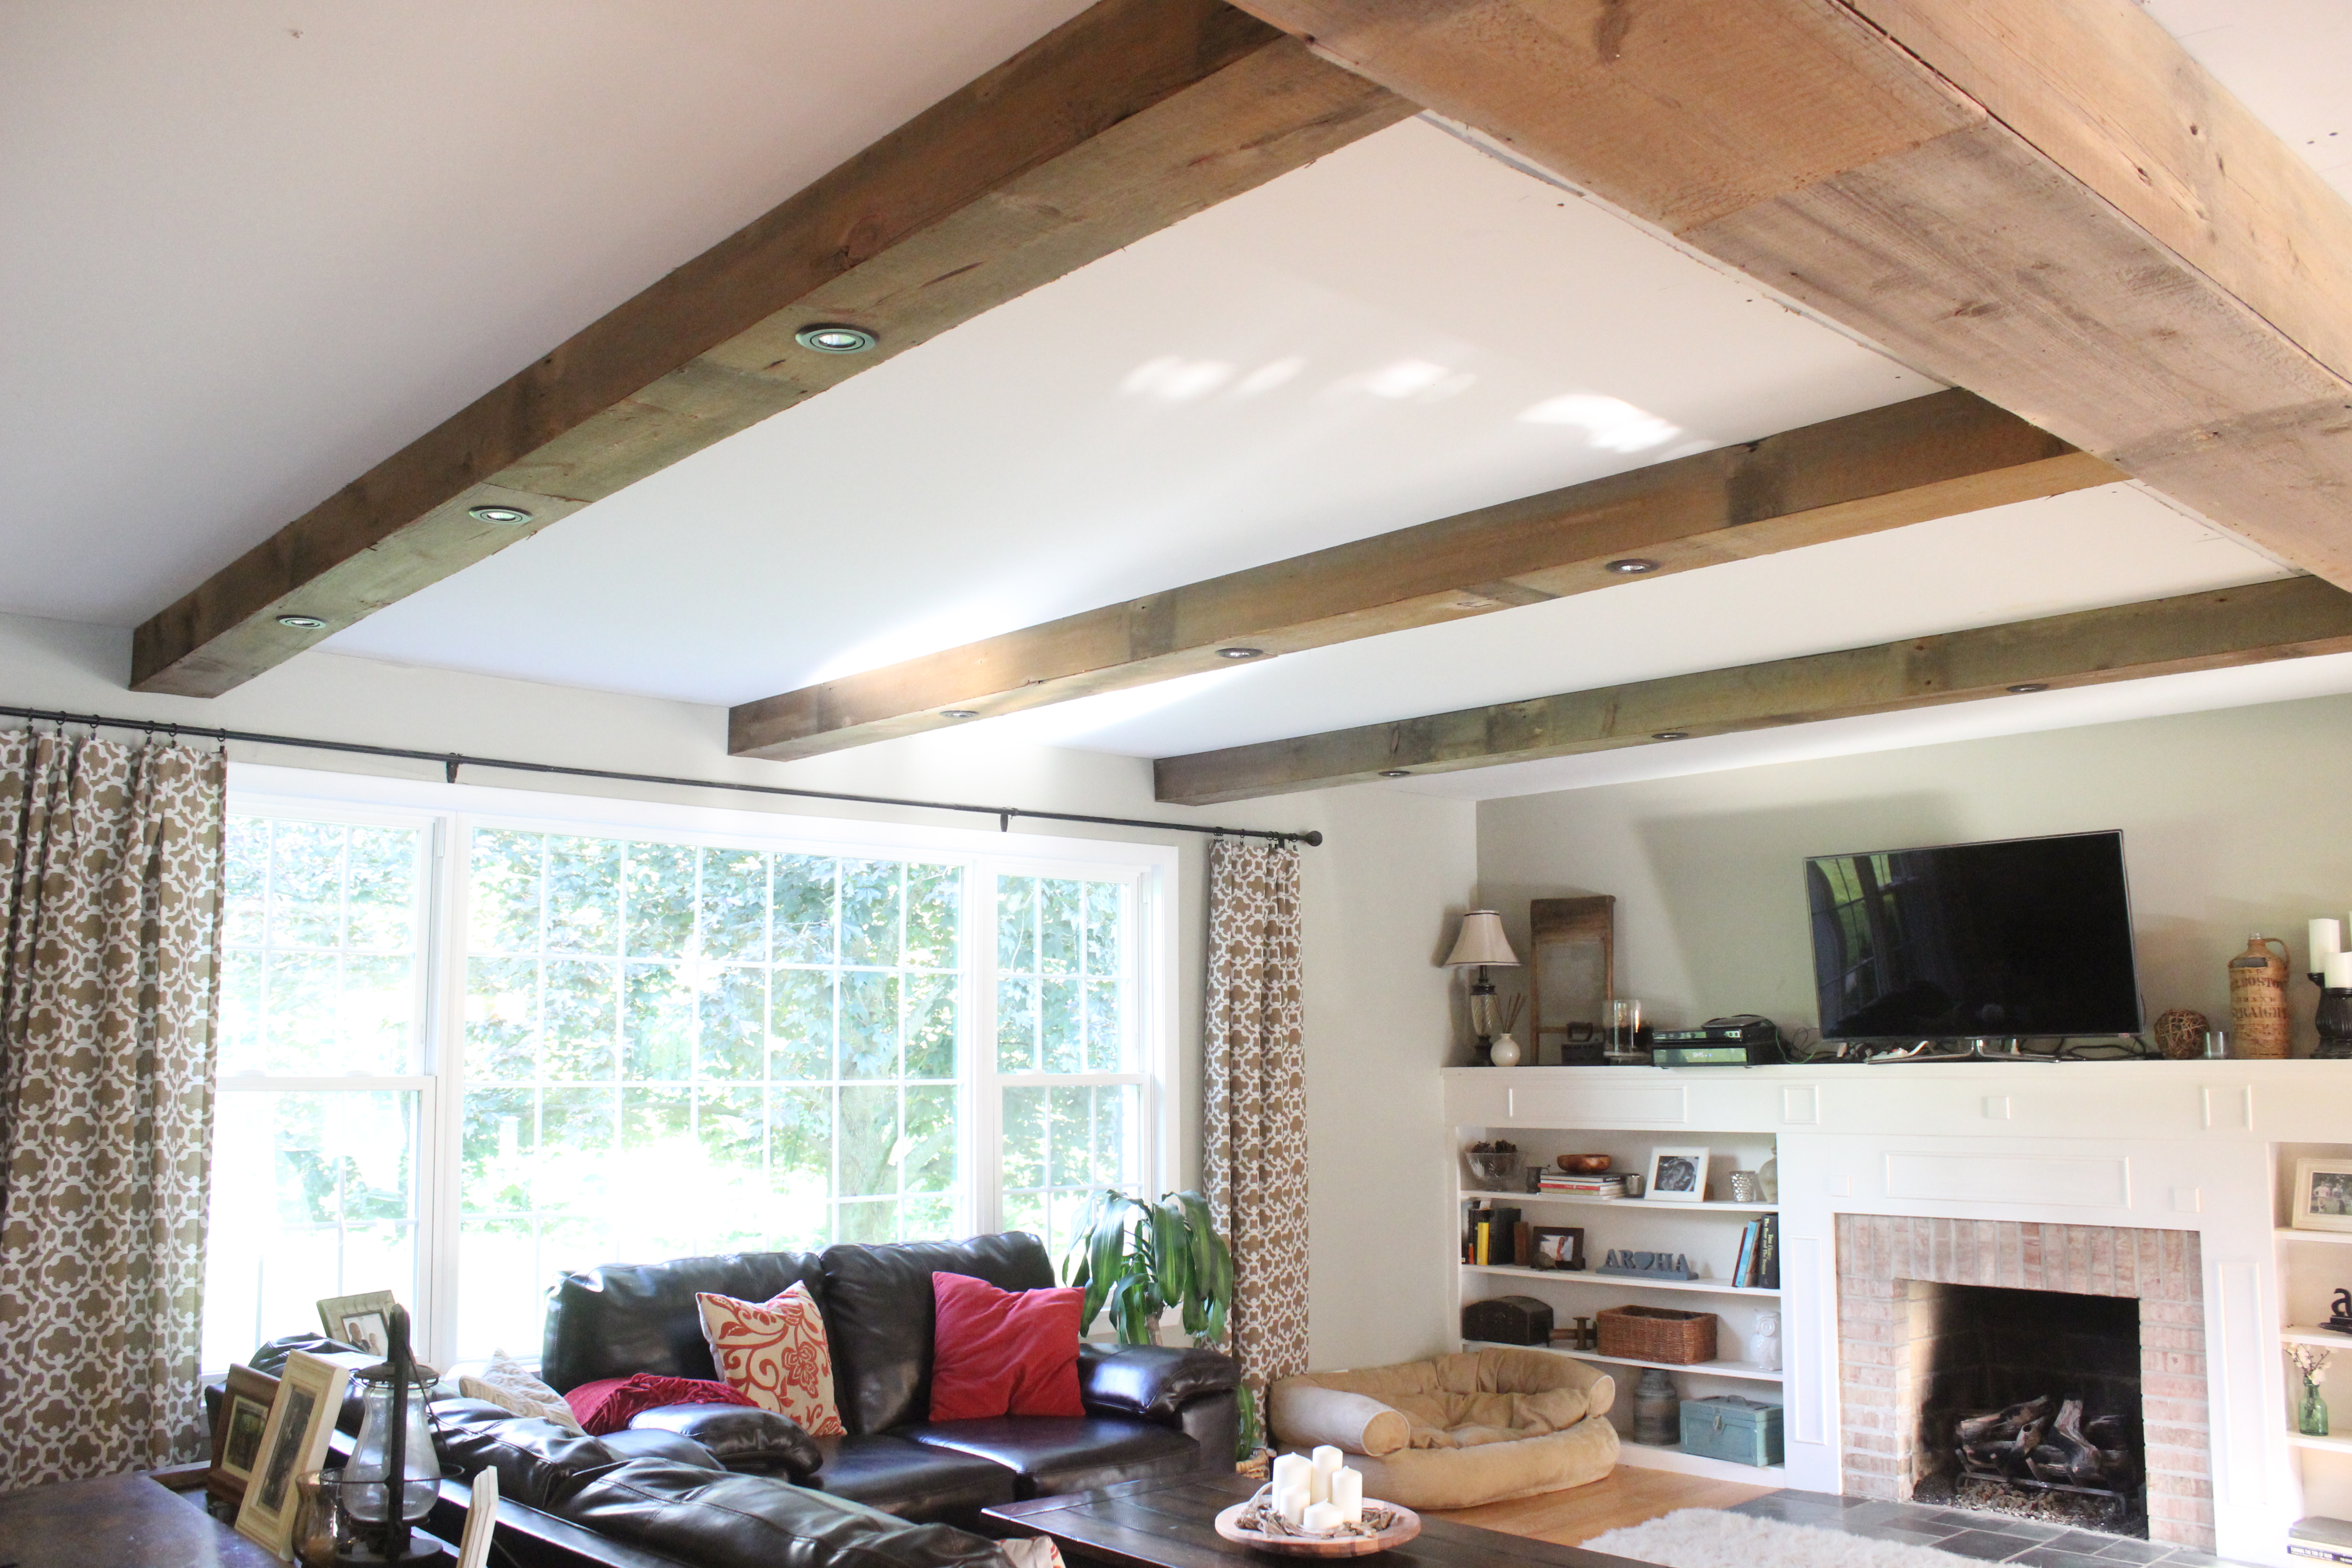
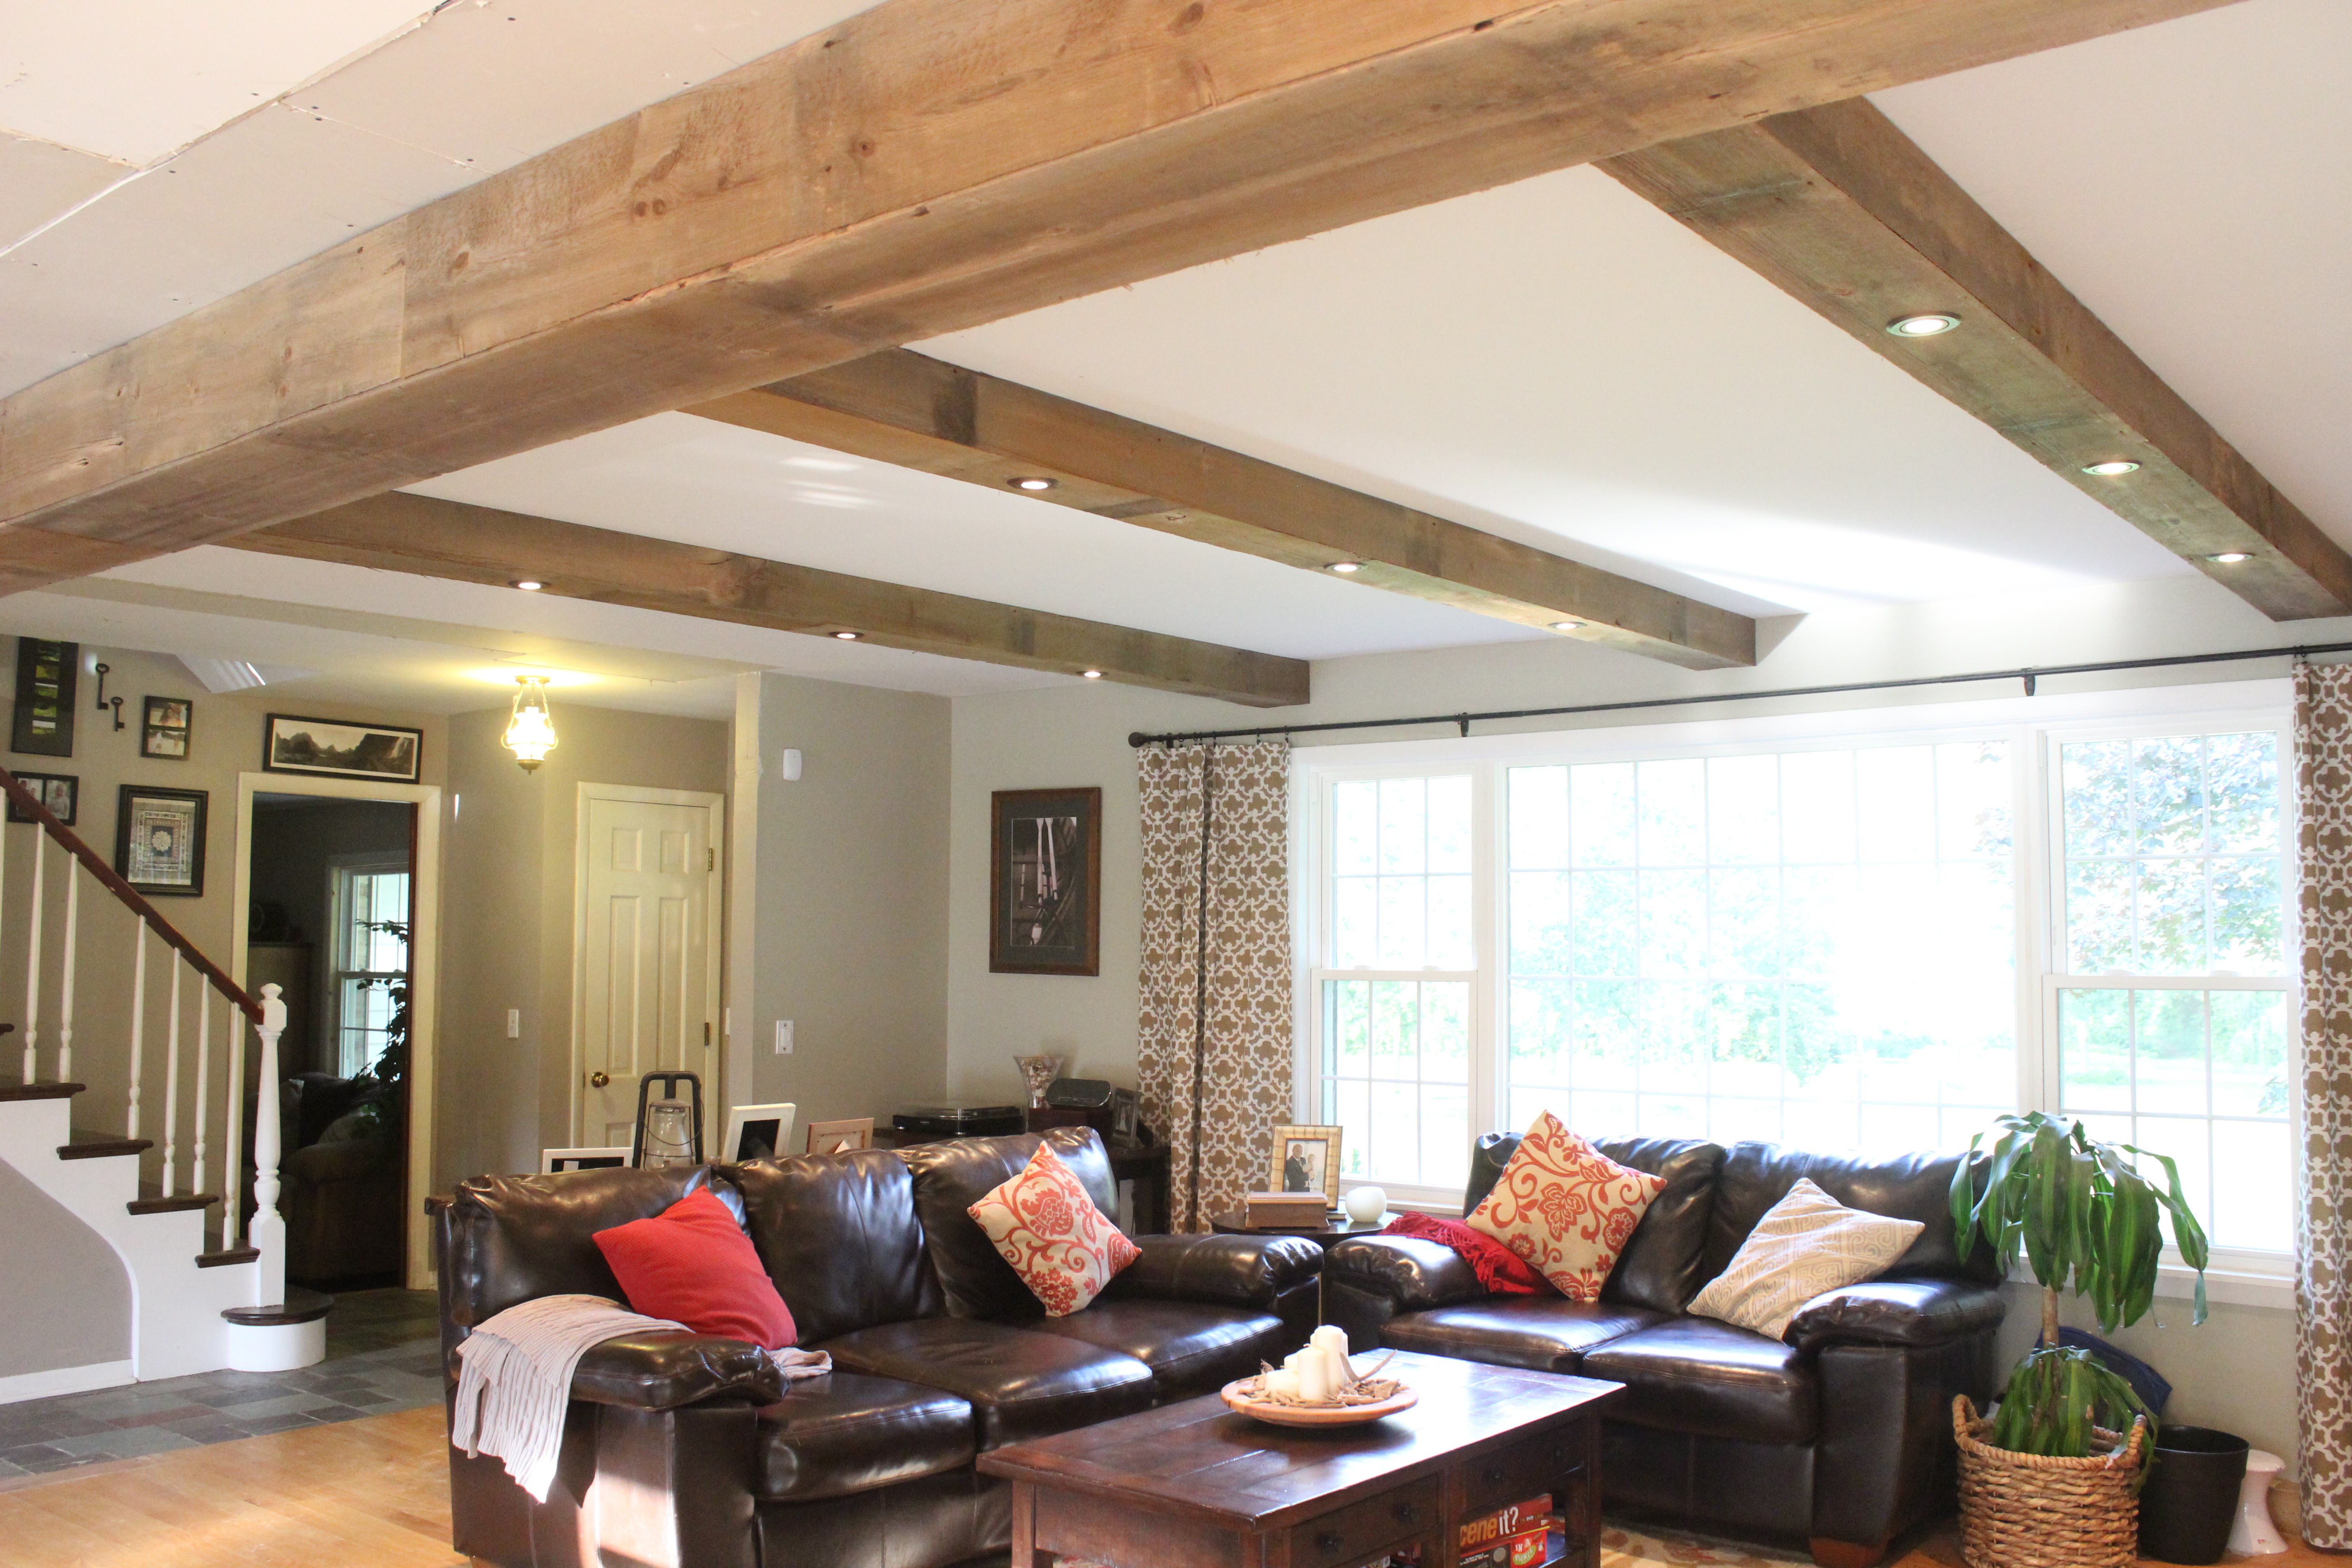
IMG_2901And here is how they look today!

IMG_3238

IMG_3234

We still have to drywall the end supports, and patch and paint the ceiling, but things are shaping up!IMG_3242

IMG_3241We’re really happy with them and think they add a lot of charm and character to the house. Not to mention function with 9 new lights.

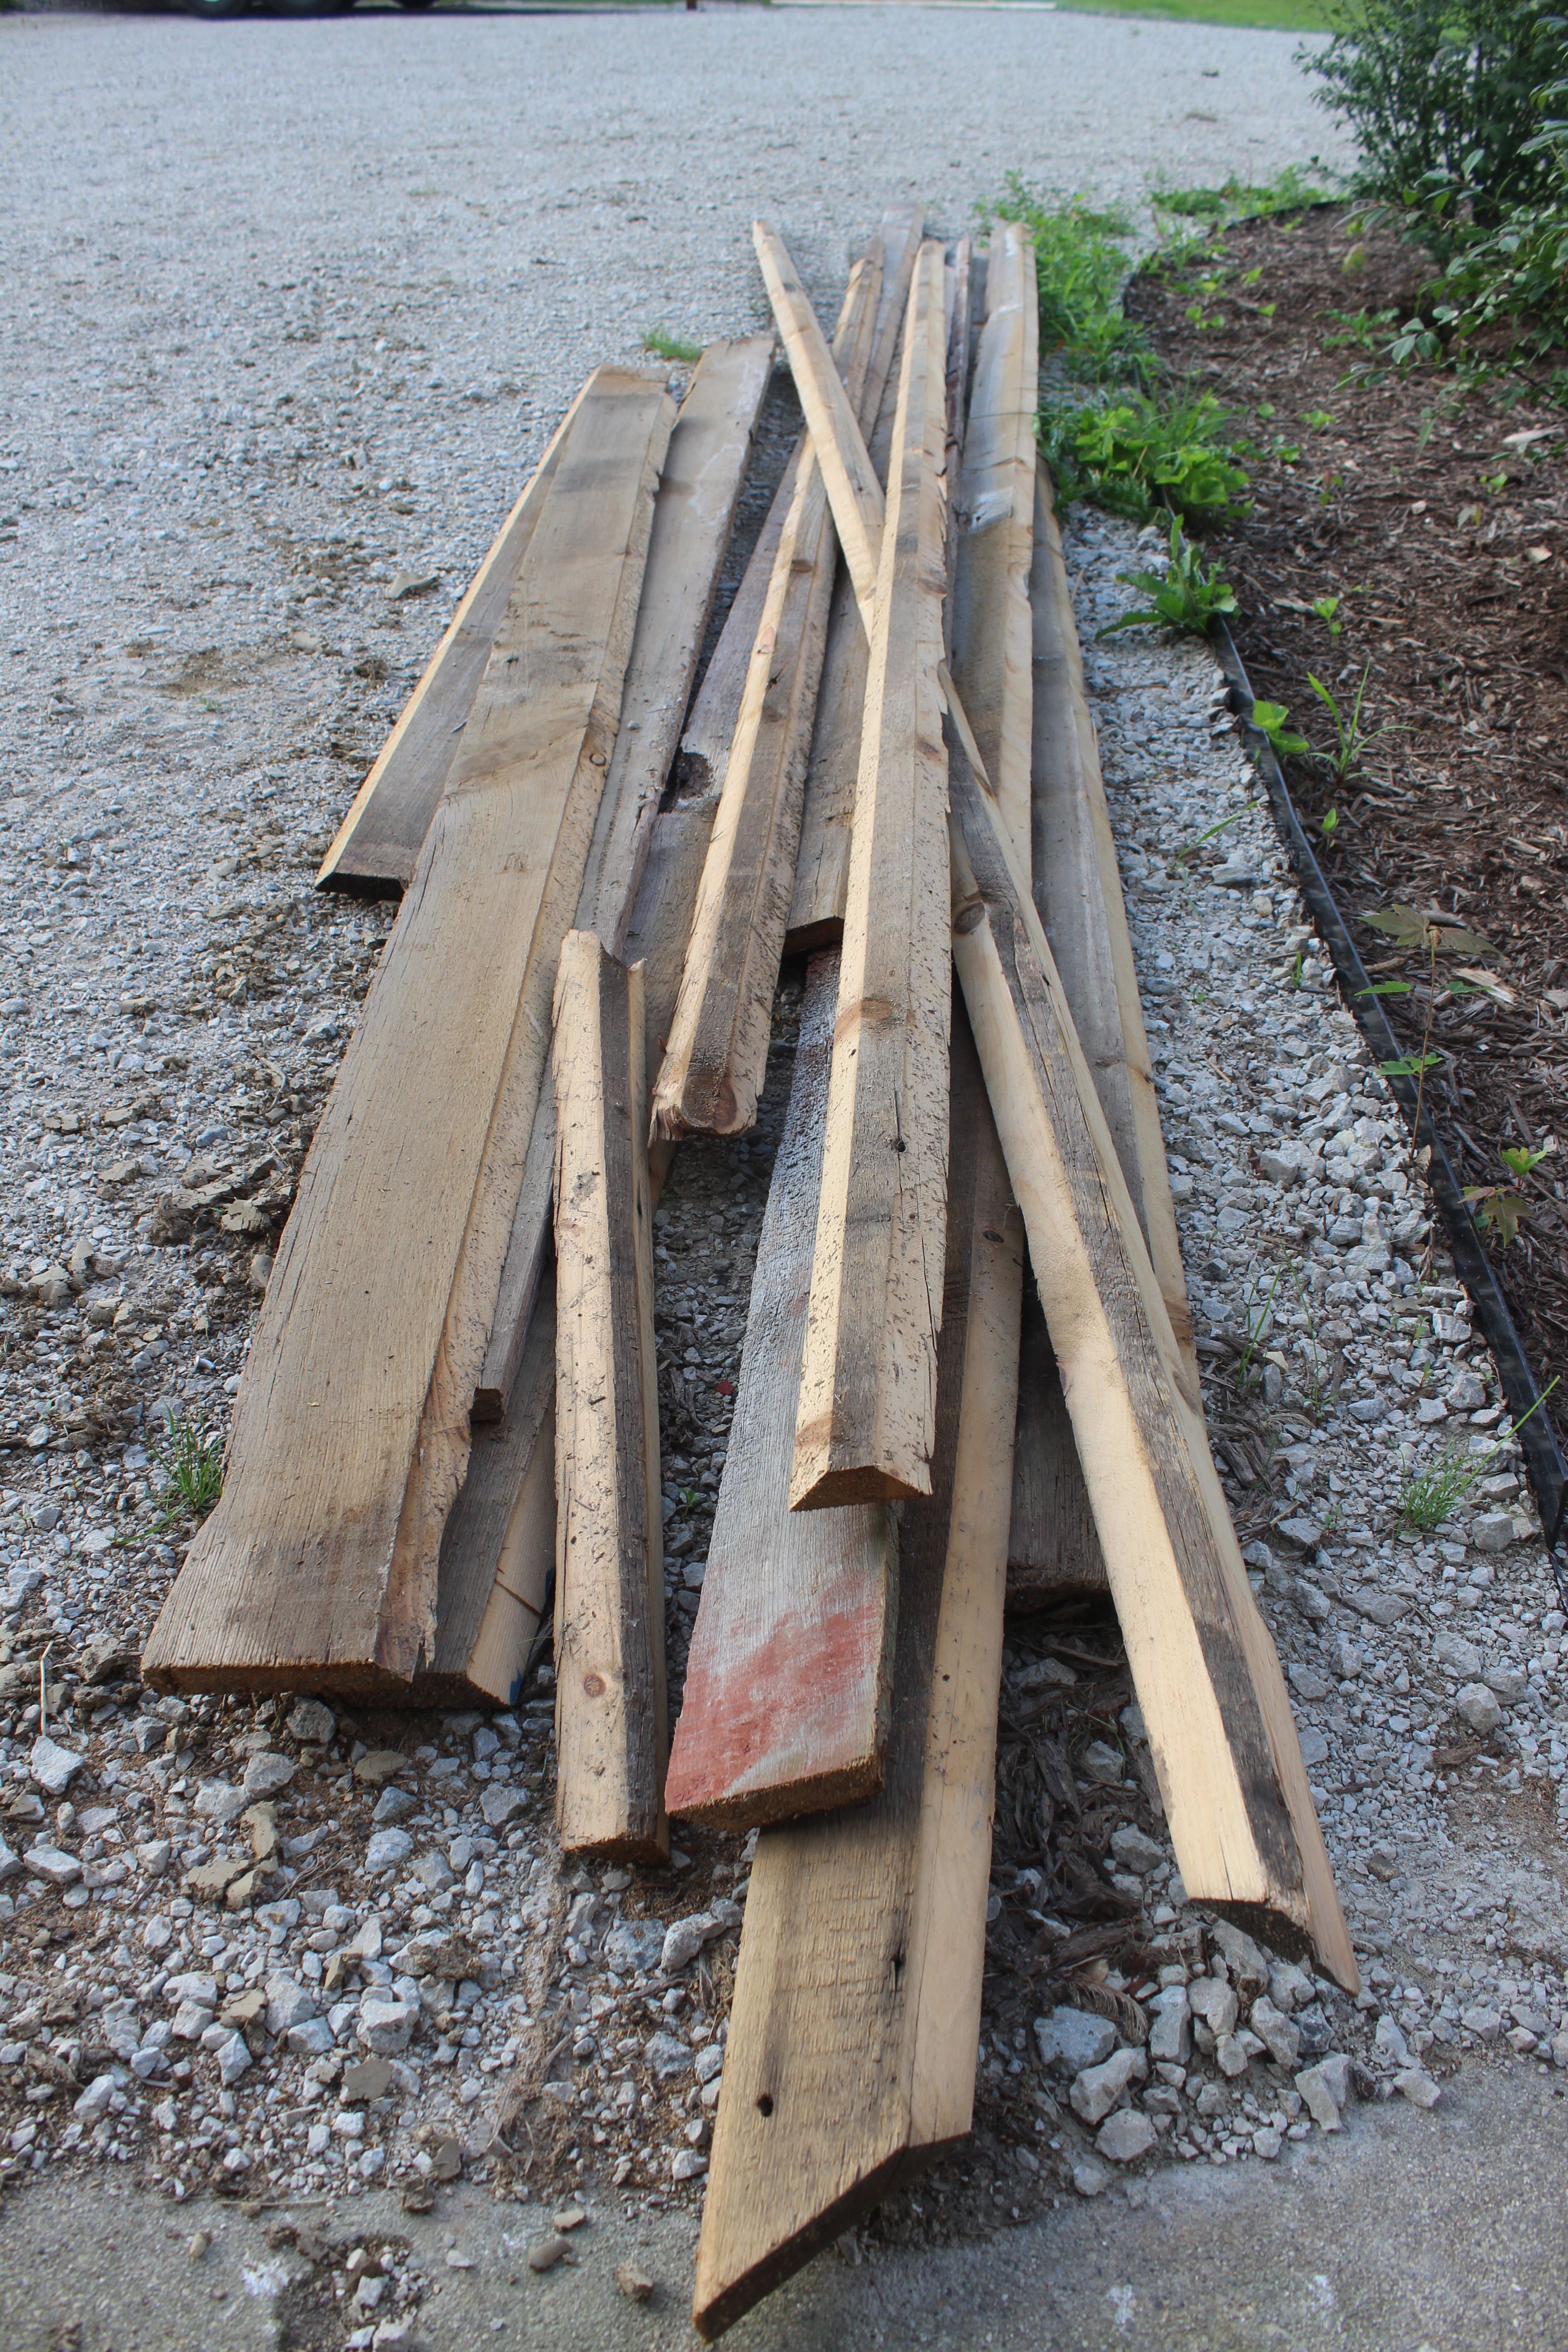
And we have a little bit of scrap barn wood left over that we will definitely put to use somehow (maybe frames or shelves?).

IMG_3246

Creating an Open Floor Plan

1 Apr

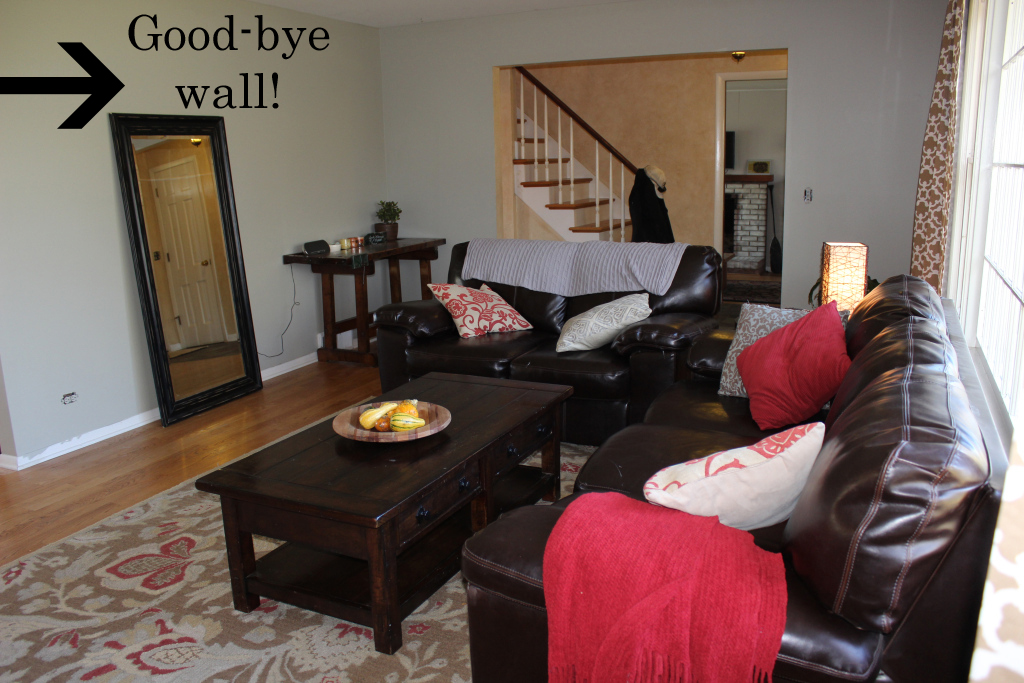
Time to show you how we took down the main structural wall separating our living room and kitchen to create an open floor plan. I’ll preface this by saying, “Don’t try this at home.” My husband Ben is a professional contractor. We also consulted a structural engineer who told us what was needed to support the house.

living room wall removed

The engineer told us if we wanted to remove the wall we either needed a column (boo) or a header. We went with a header which had to be 26 foot long, 8.5″ wide and 18″ deep. It’s massive. A whopping 1,200 pounds. Which isn’t a big problem for new construction, but getting it into an existing house was quite the feat.

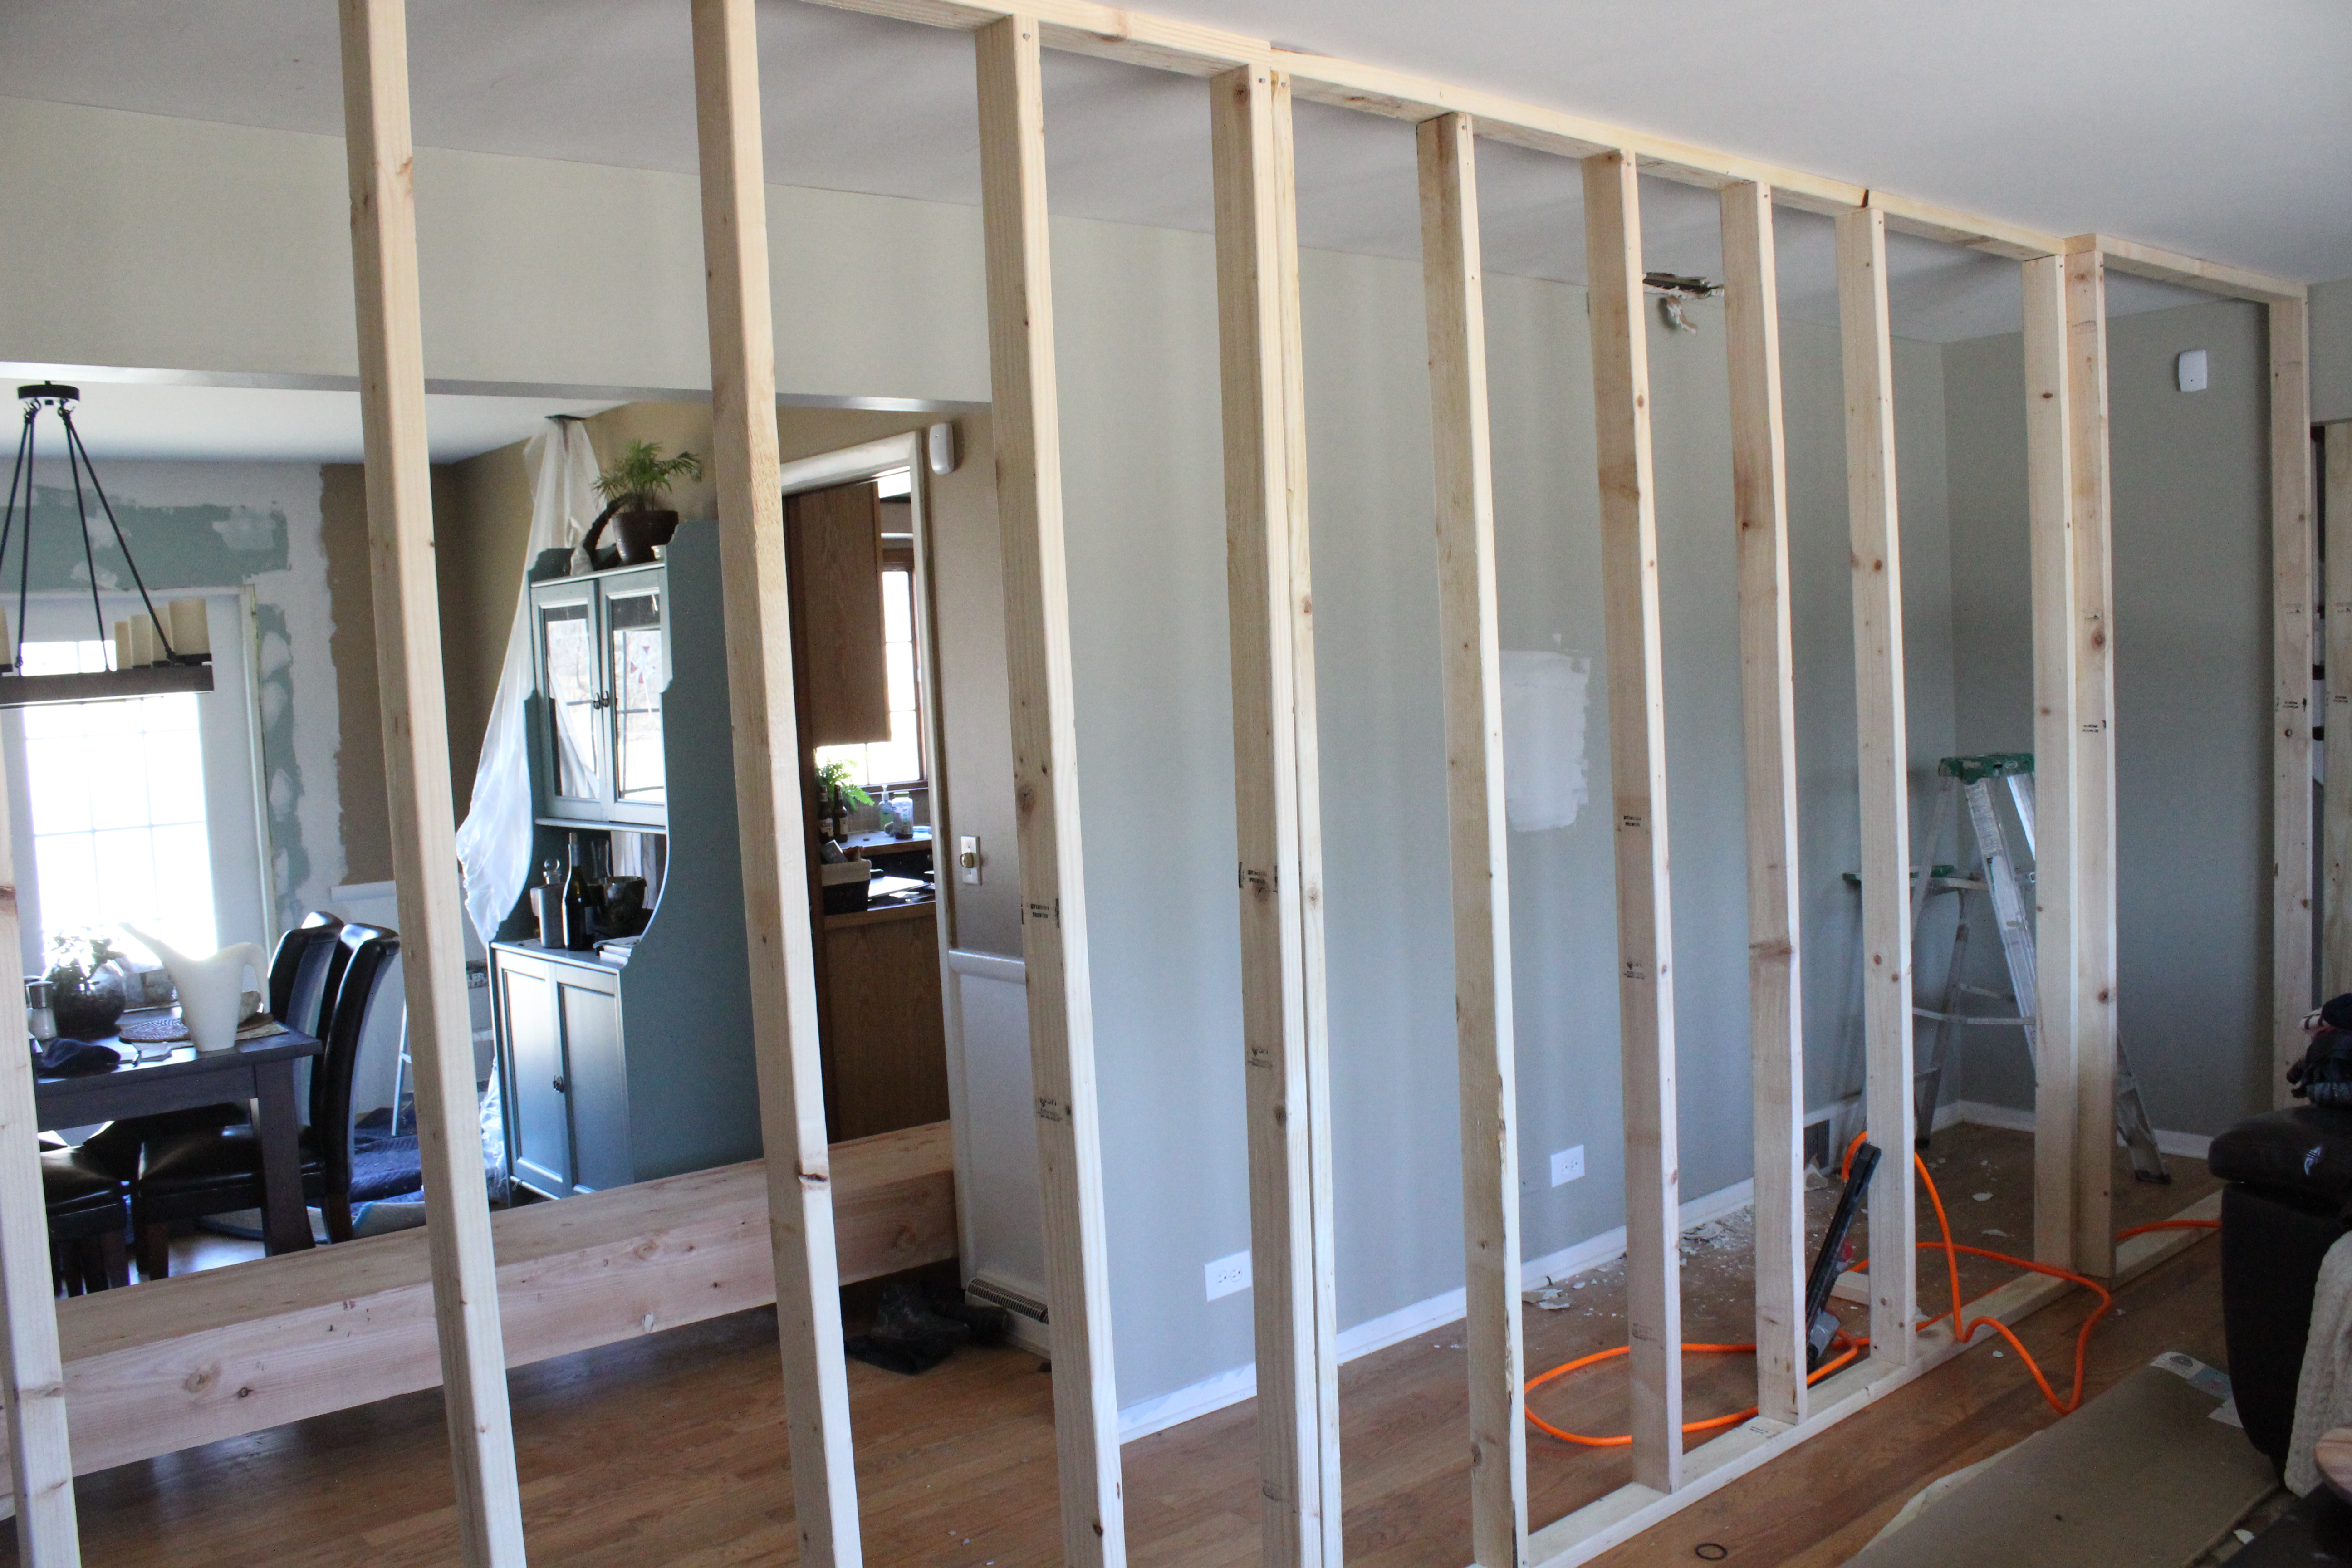
Luckily, Ben had the help of his friend Lee (we owe you, man!) Ben and Lee used the bobcat to lift it onto furniture dollies, and then used ramps to get it into the house. Next, they built walls on both sides of the existing wall that was to be removed.

IMG_2795

The walls would take the weight of the house once the existing structural wall was gone. They covered the new walls with plastic to protect the rest of the house from dust. Then demo began.

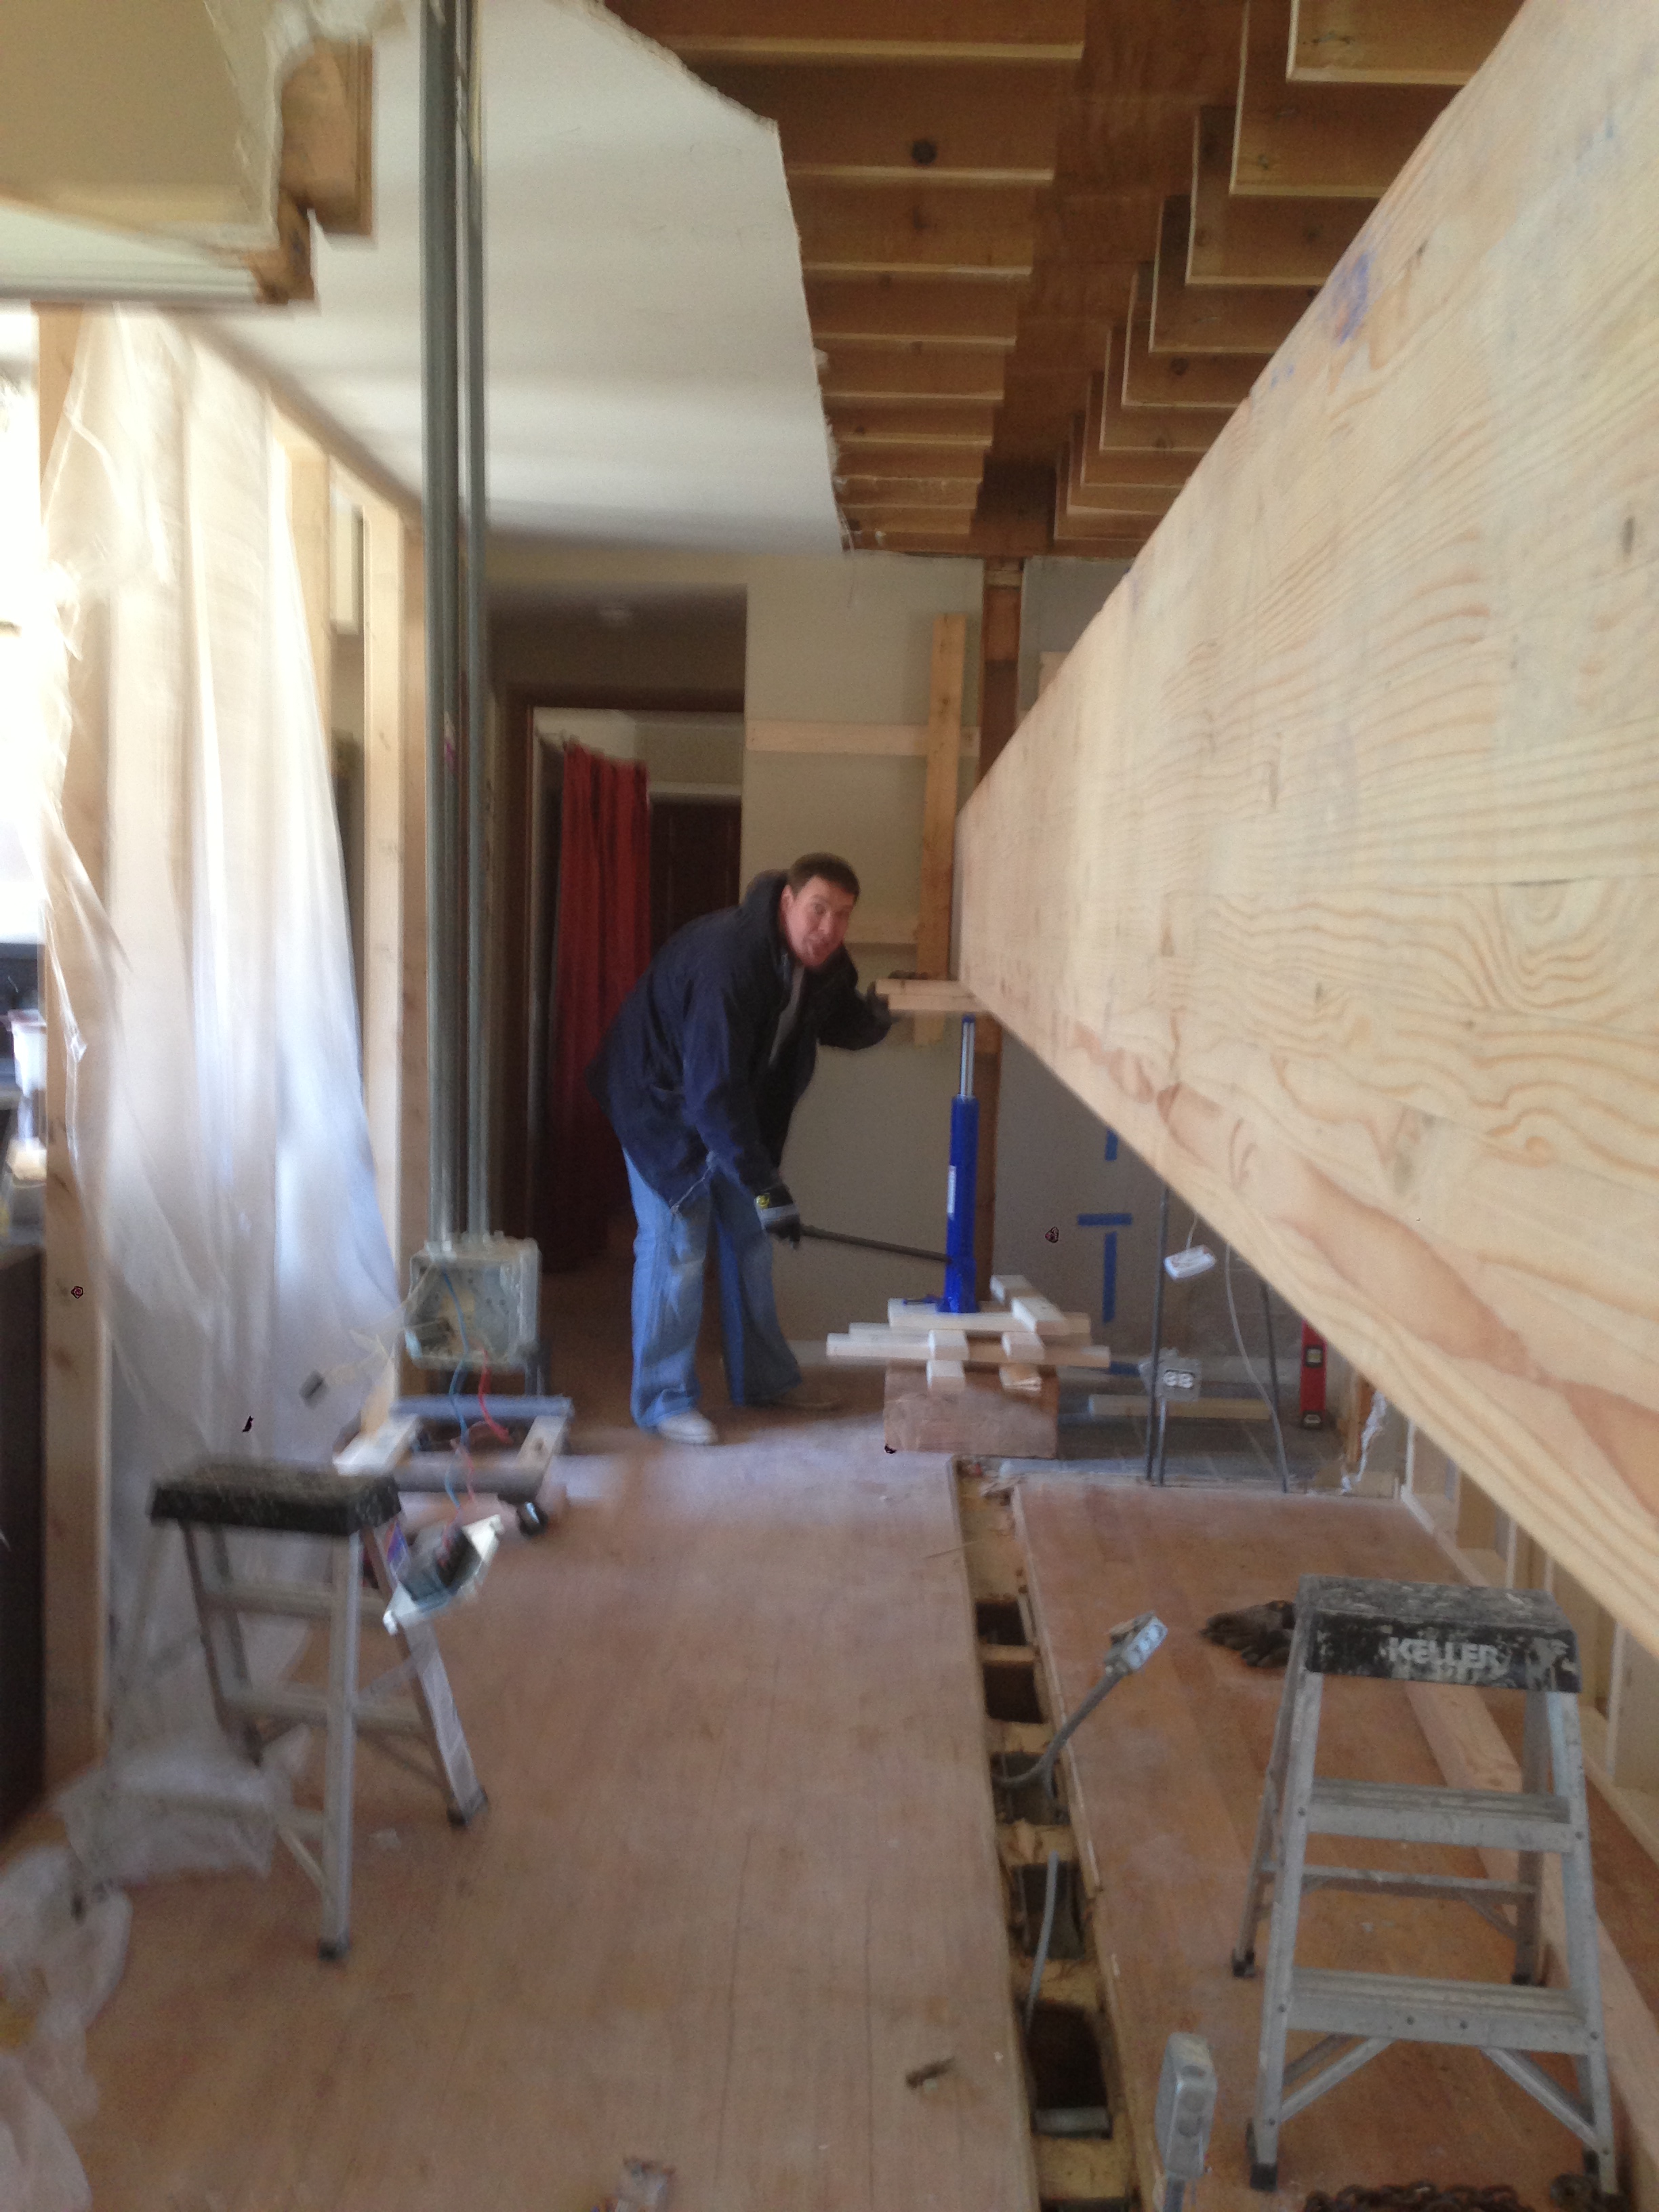
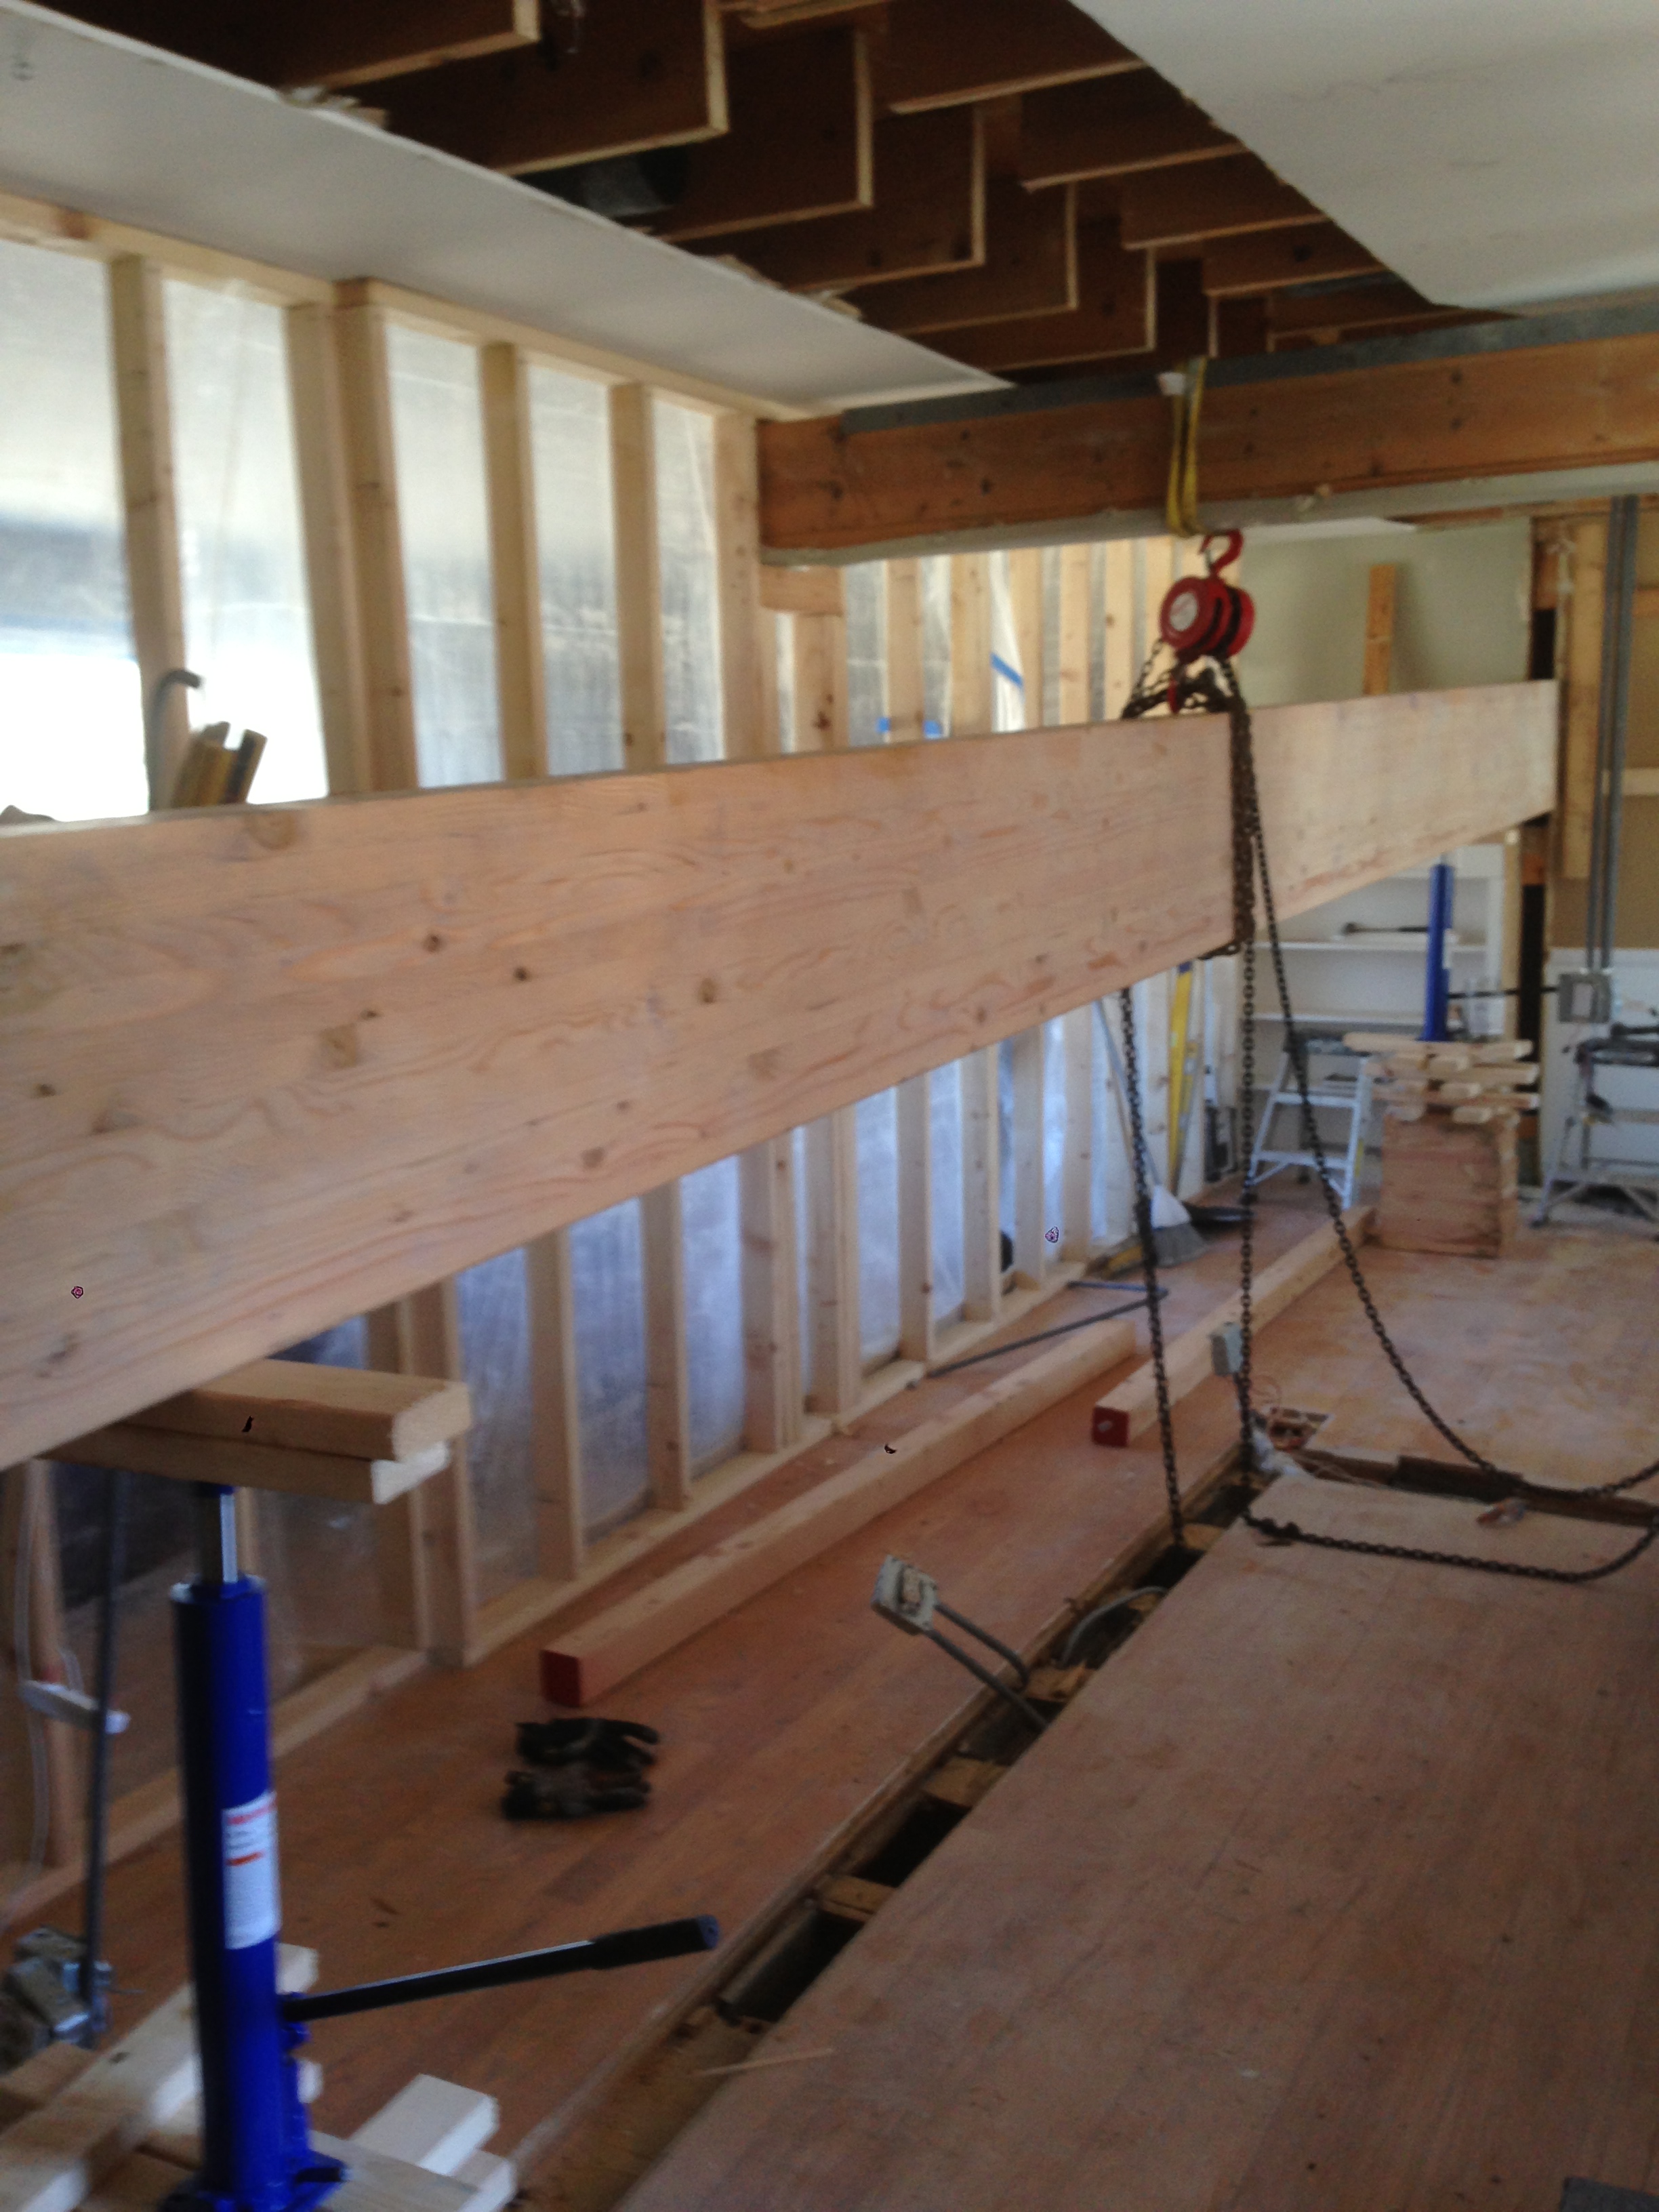
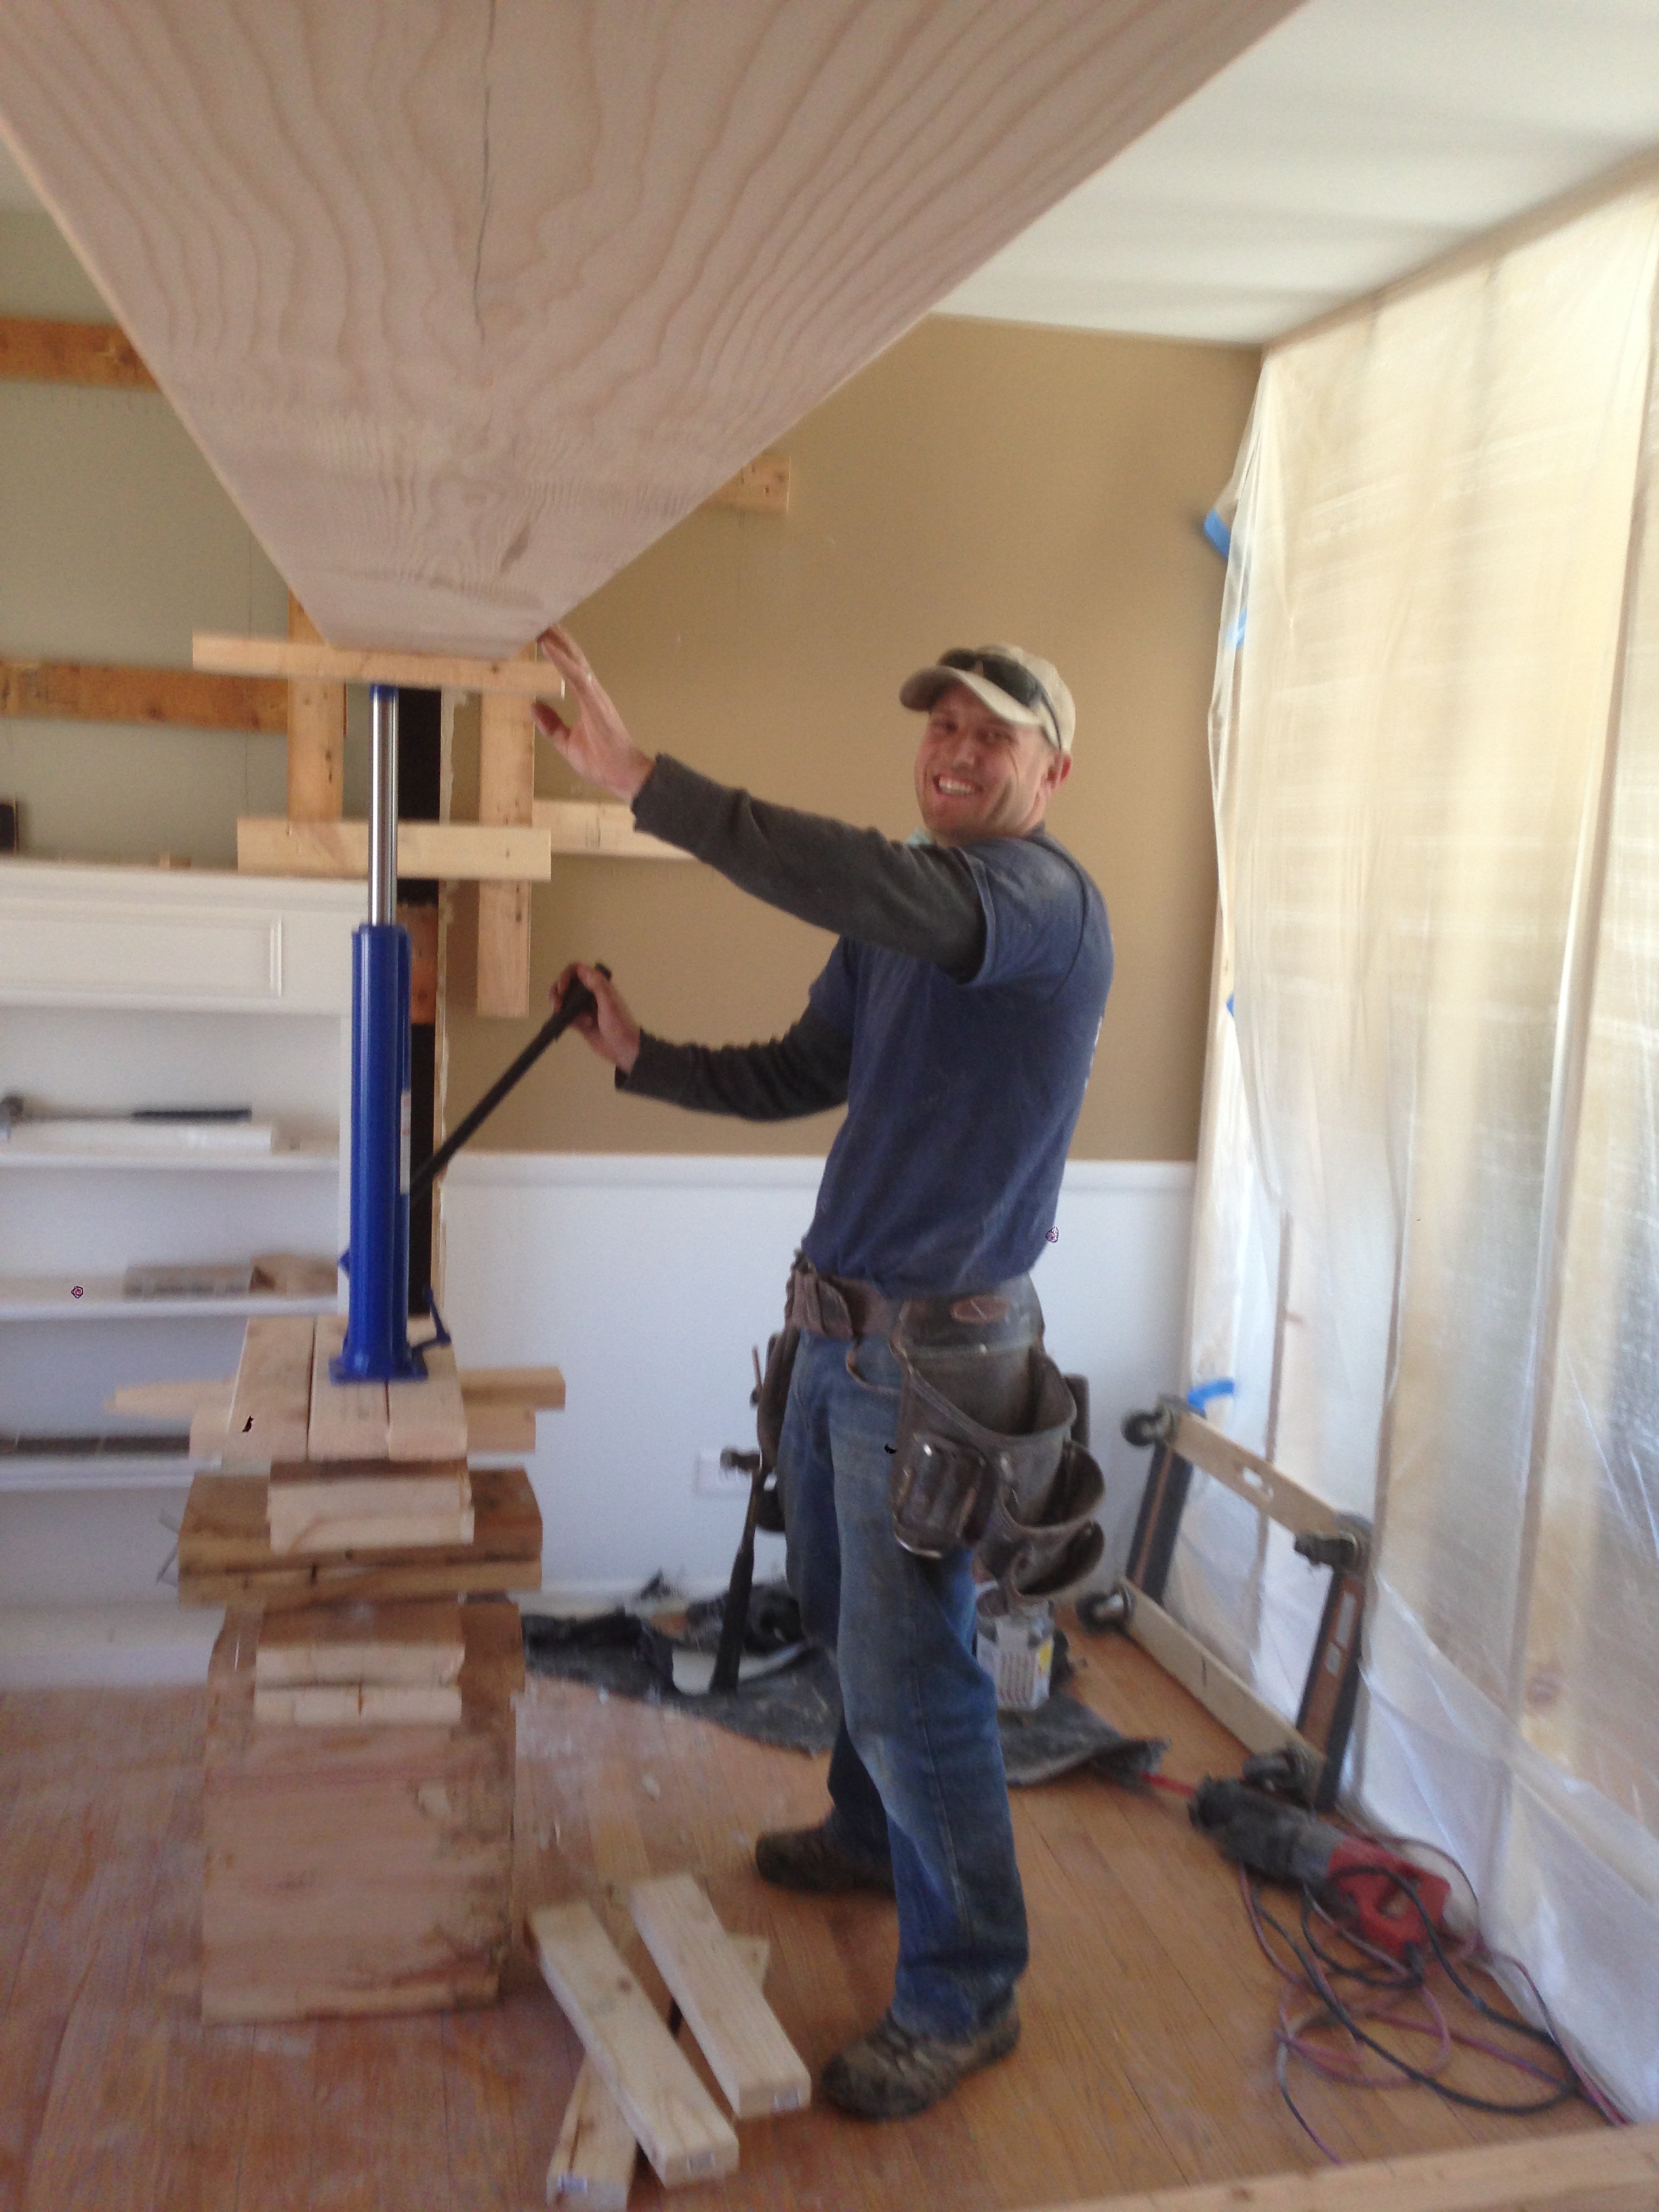
To get the mammoth header into place, they used jacks and a block and tackle to slowly inch it upwards to the ceiling.

photo 2-8

photo 1-10

Look at that smile…photo 4-4Next came special made brackets and putting the posts into place. Finally, they took the temporary walls down and it was done!

After that, Ben patched the holes in the floor where the wall was. We also had the HVAC guy come out to re-route the ducts that were once in the wall.

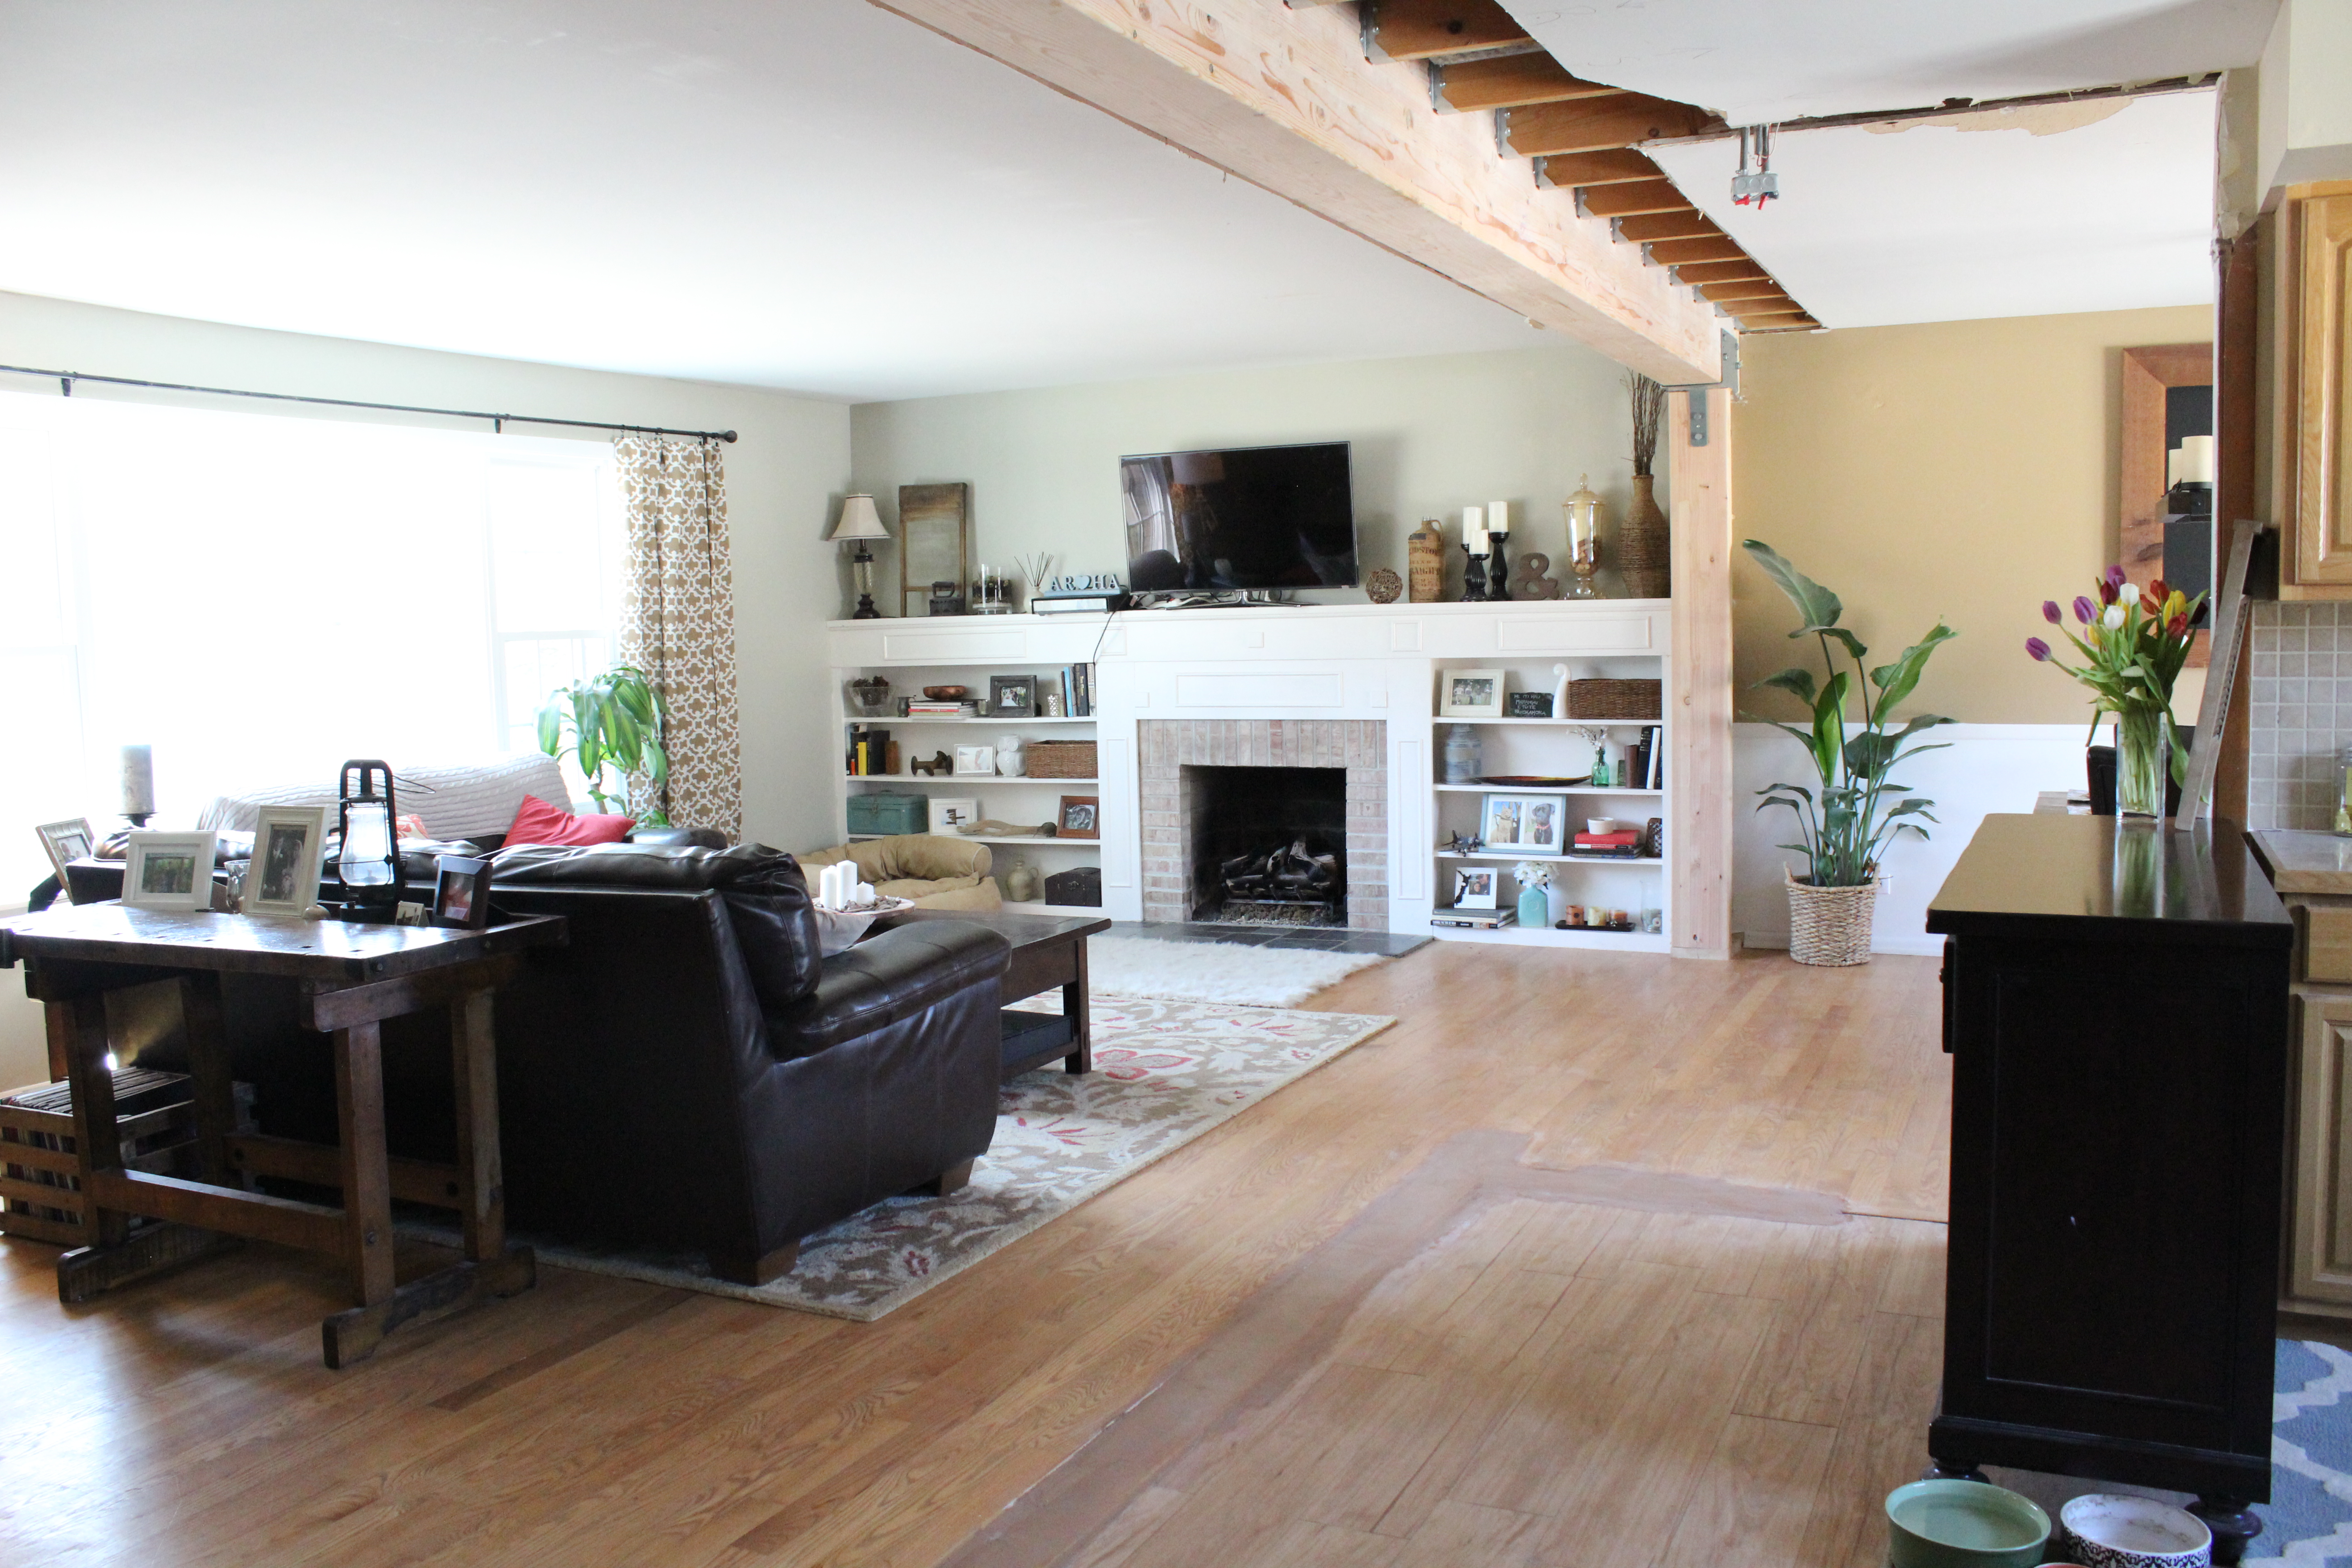
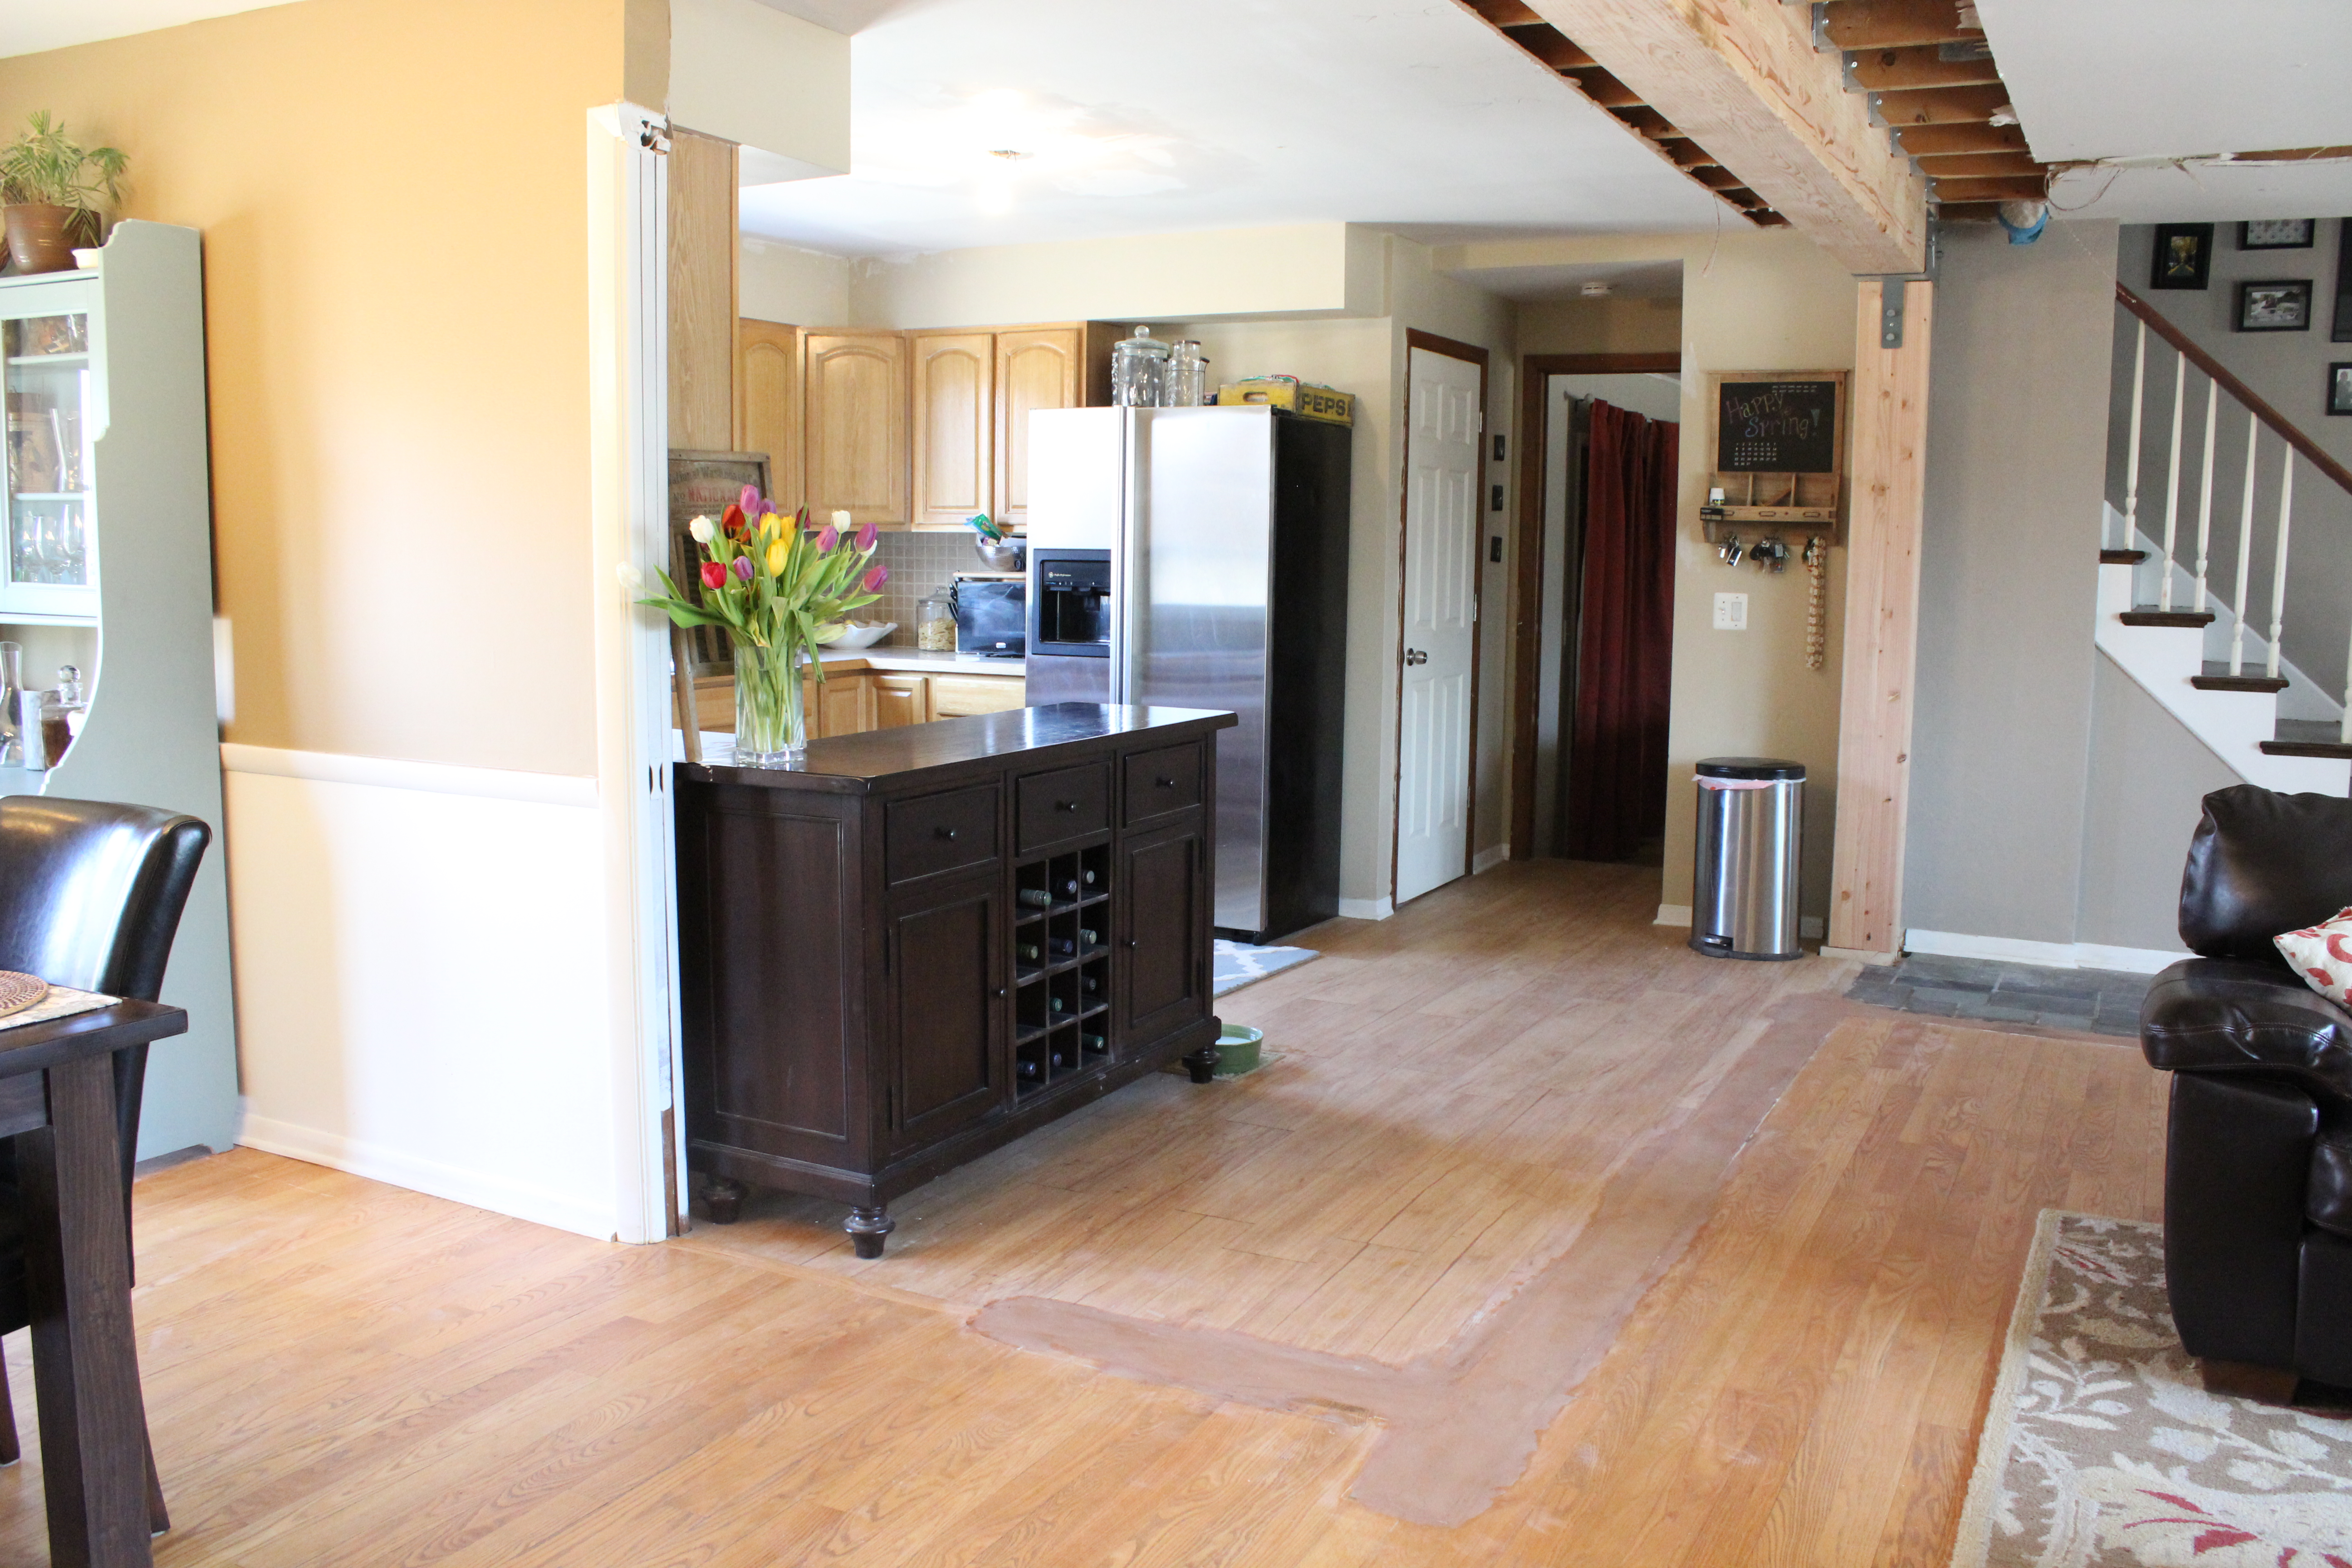
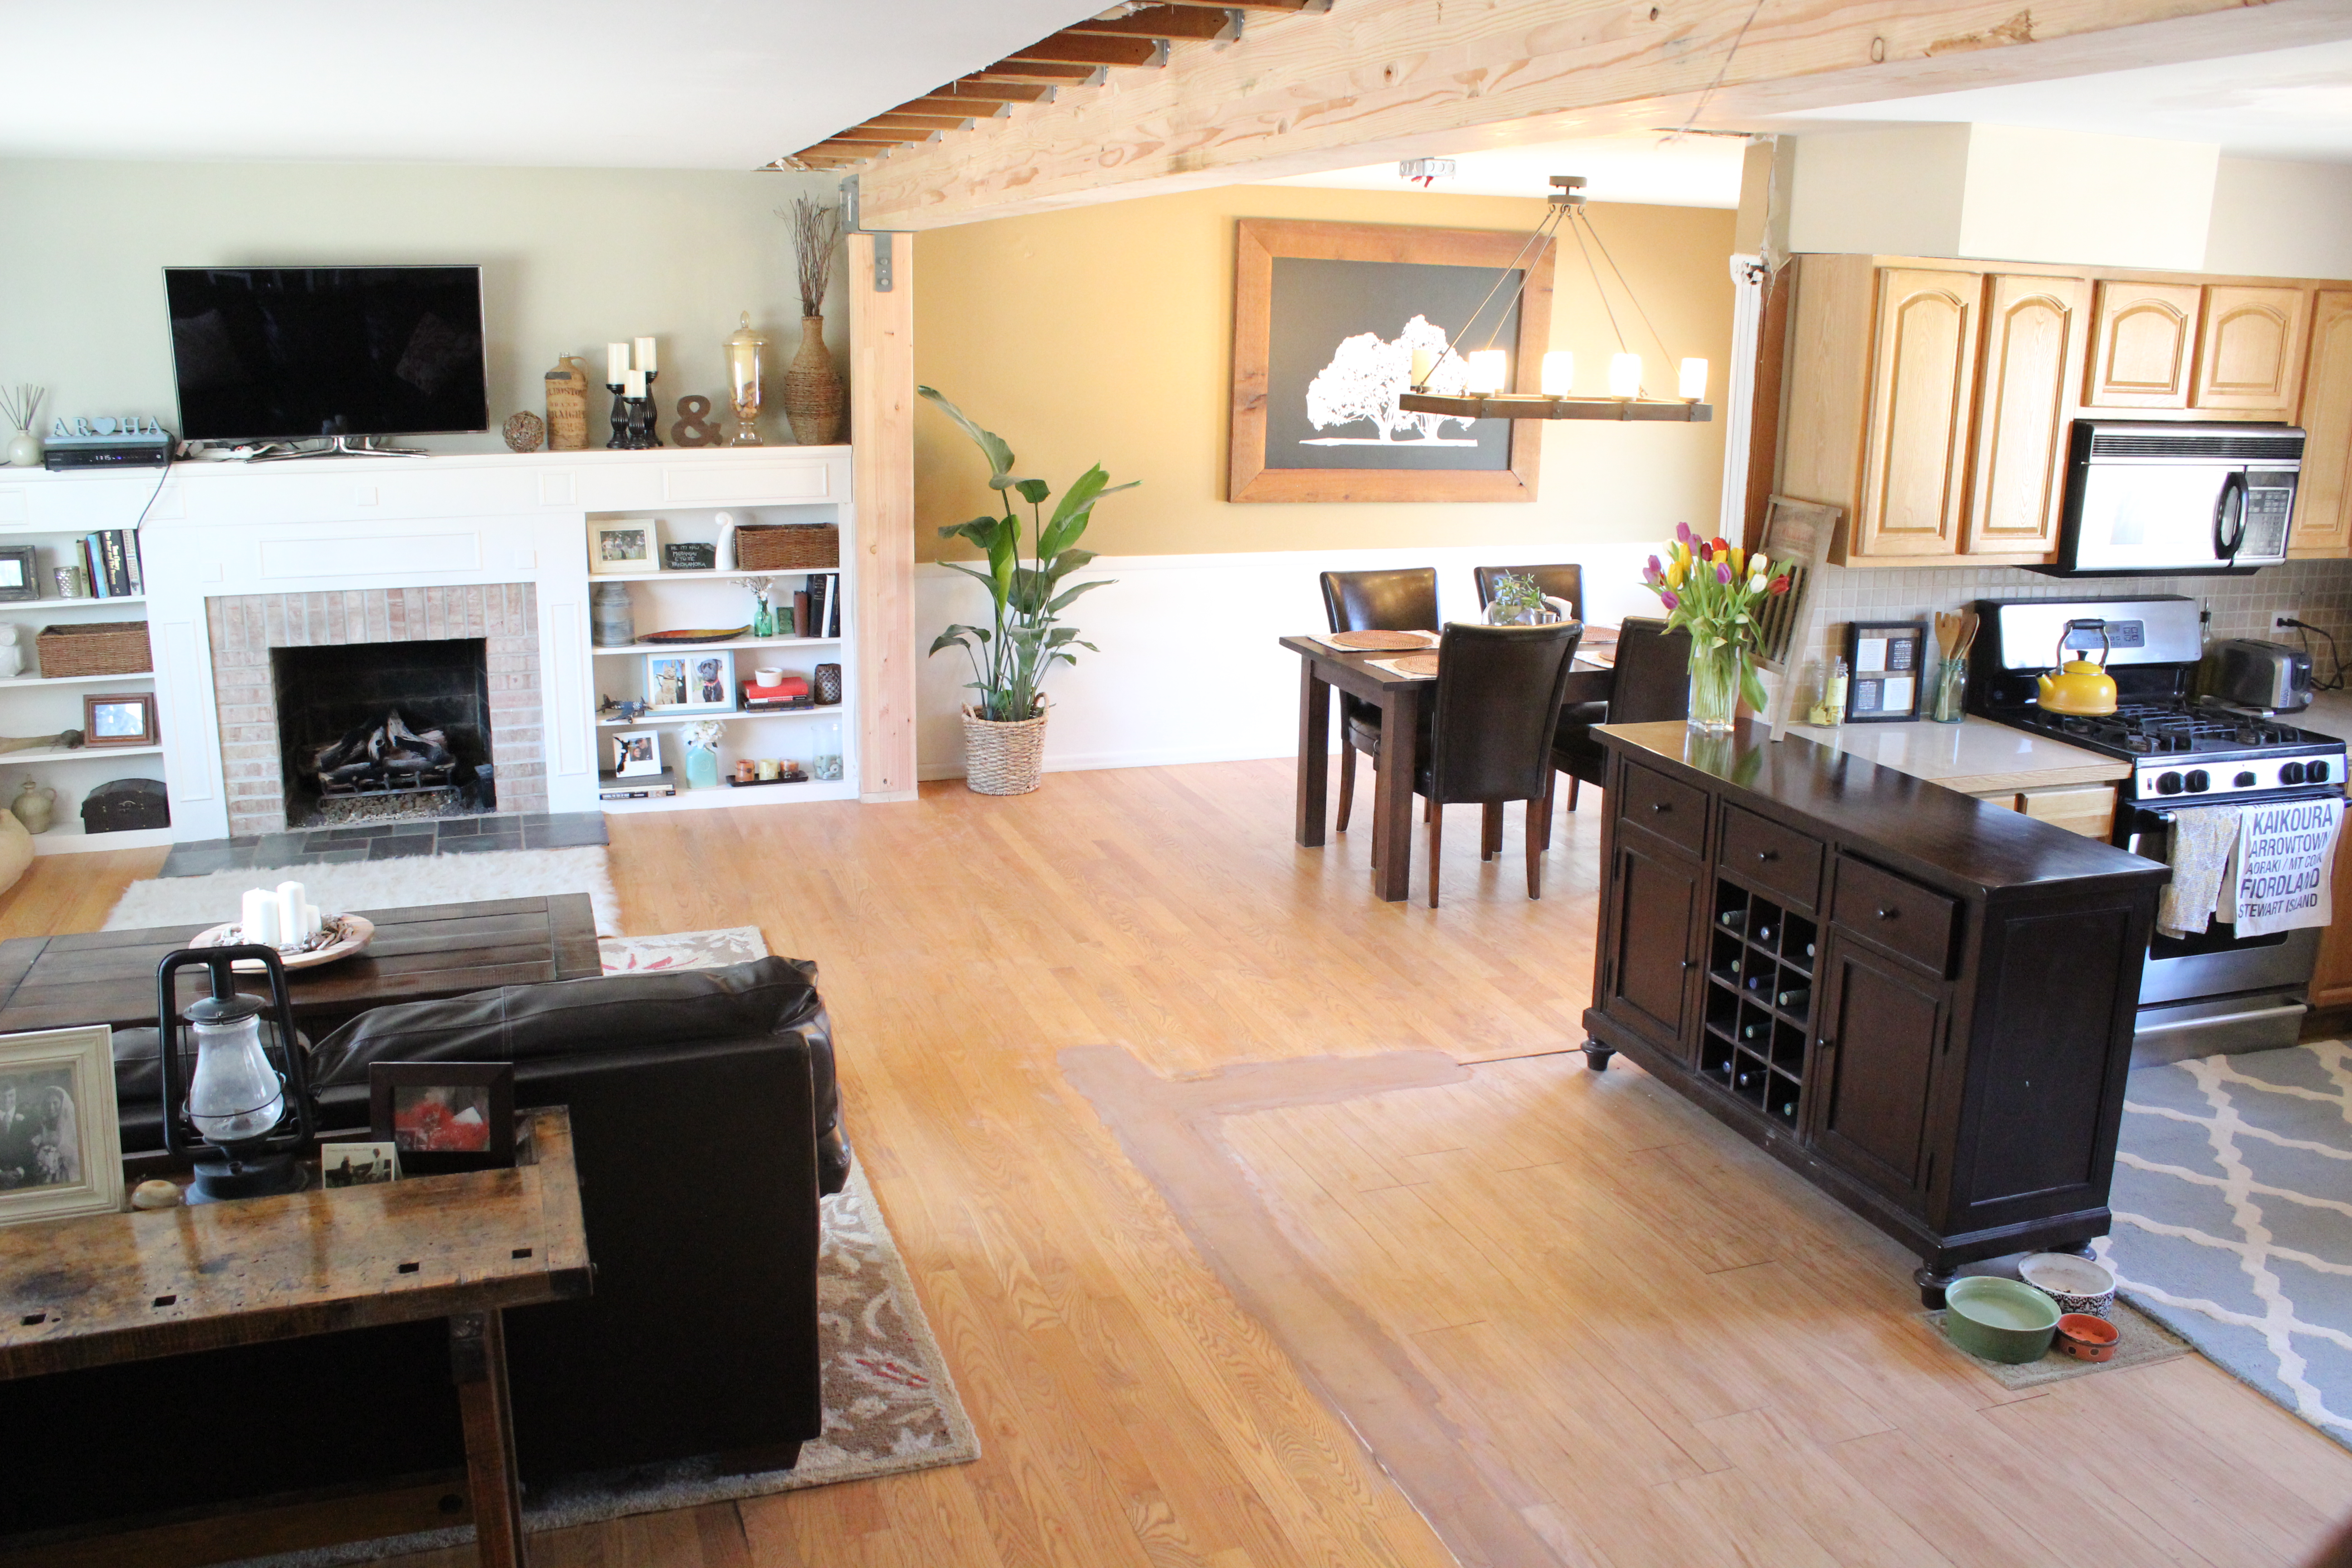
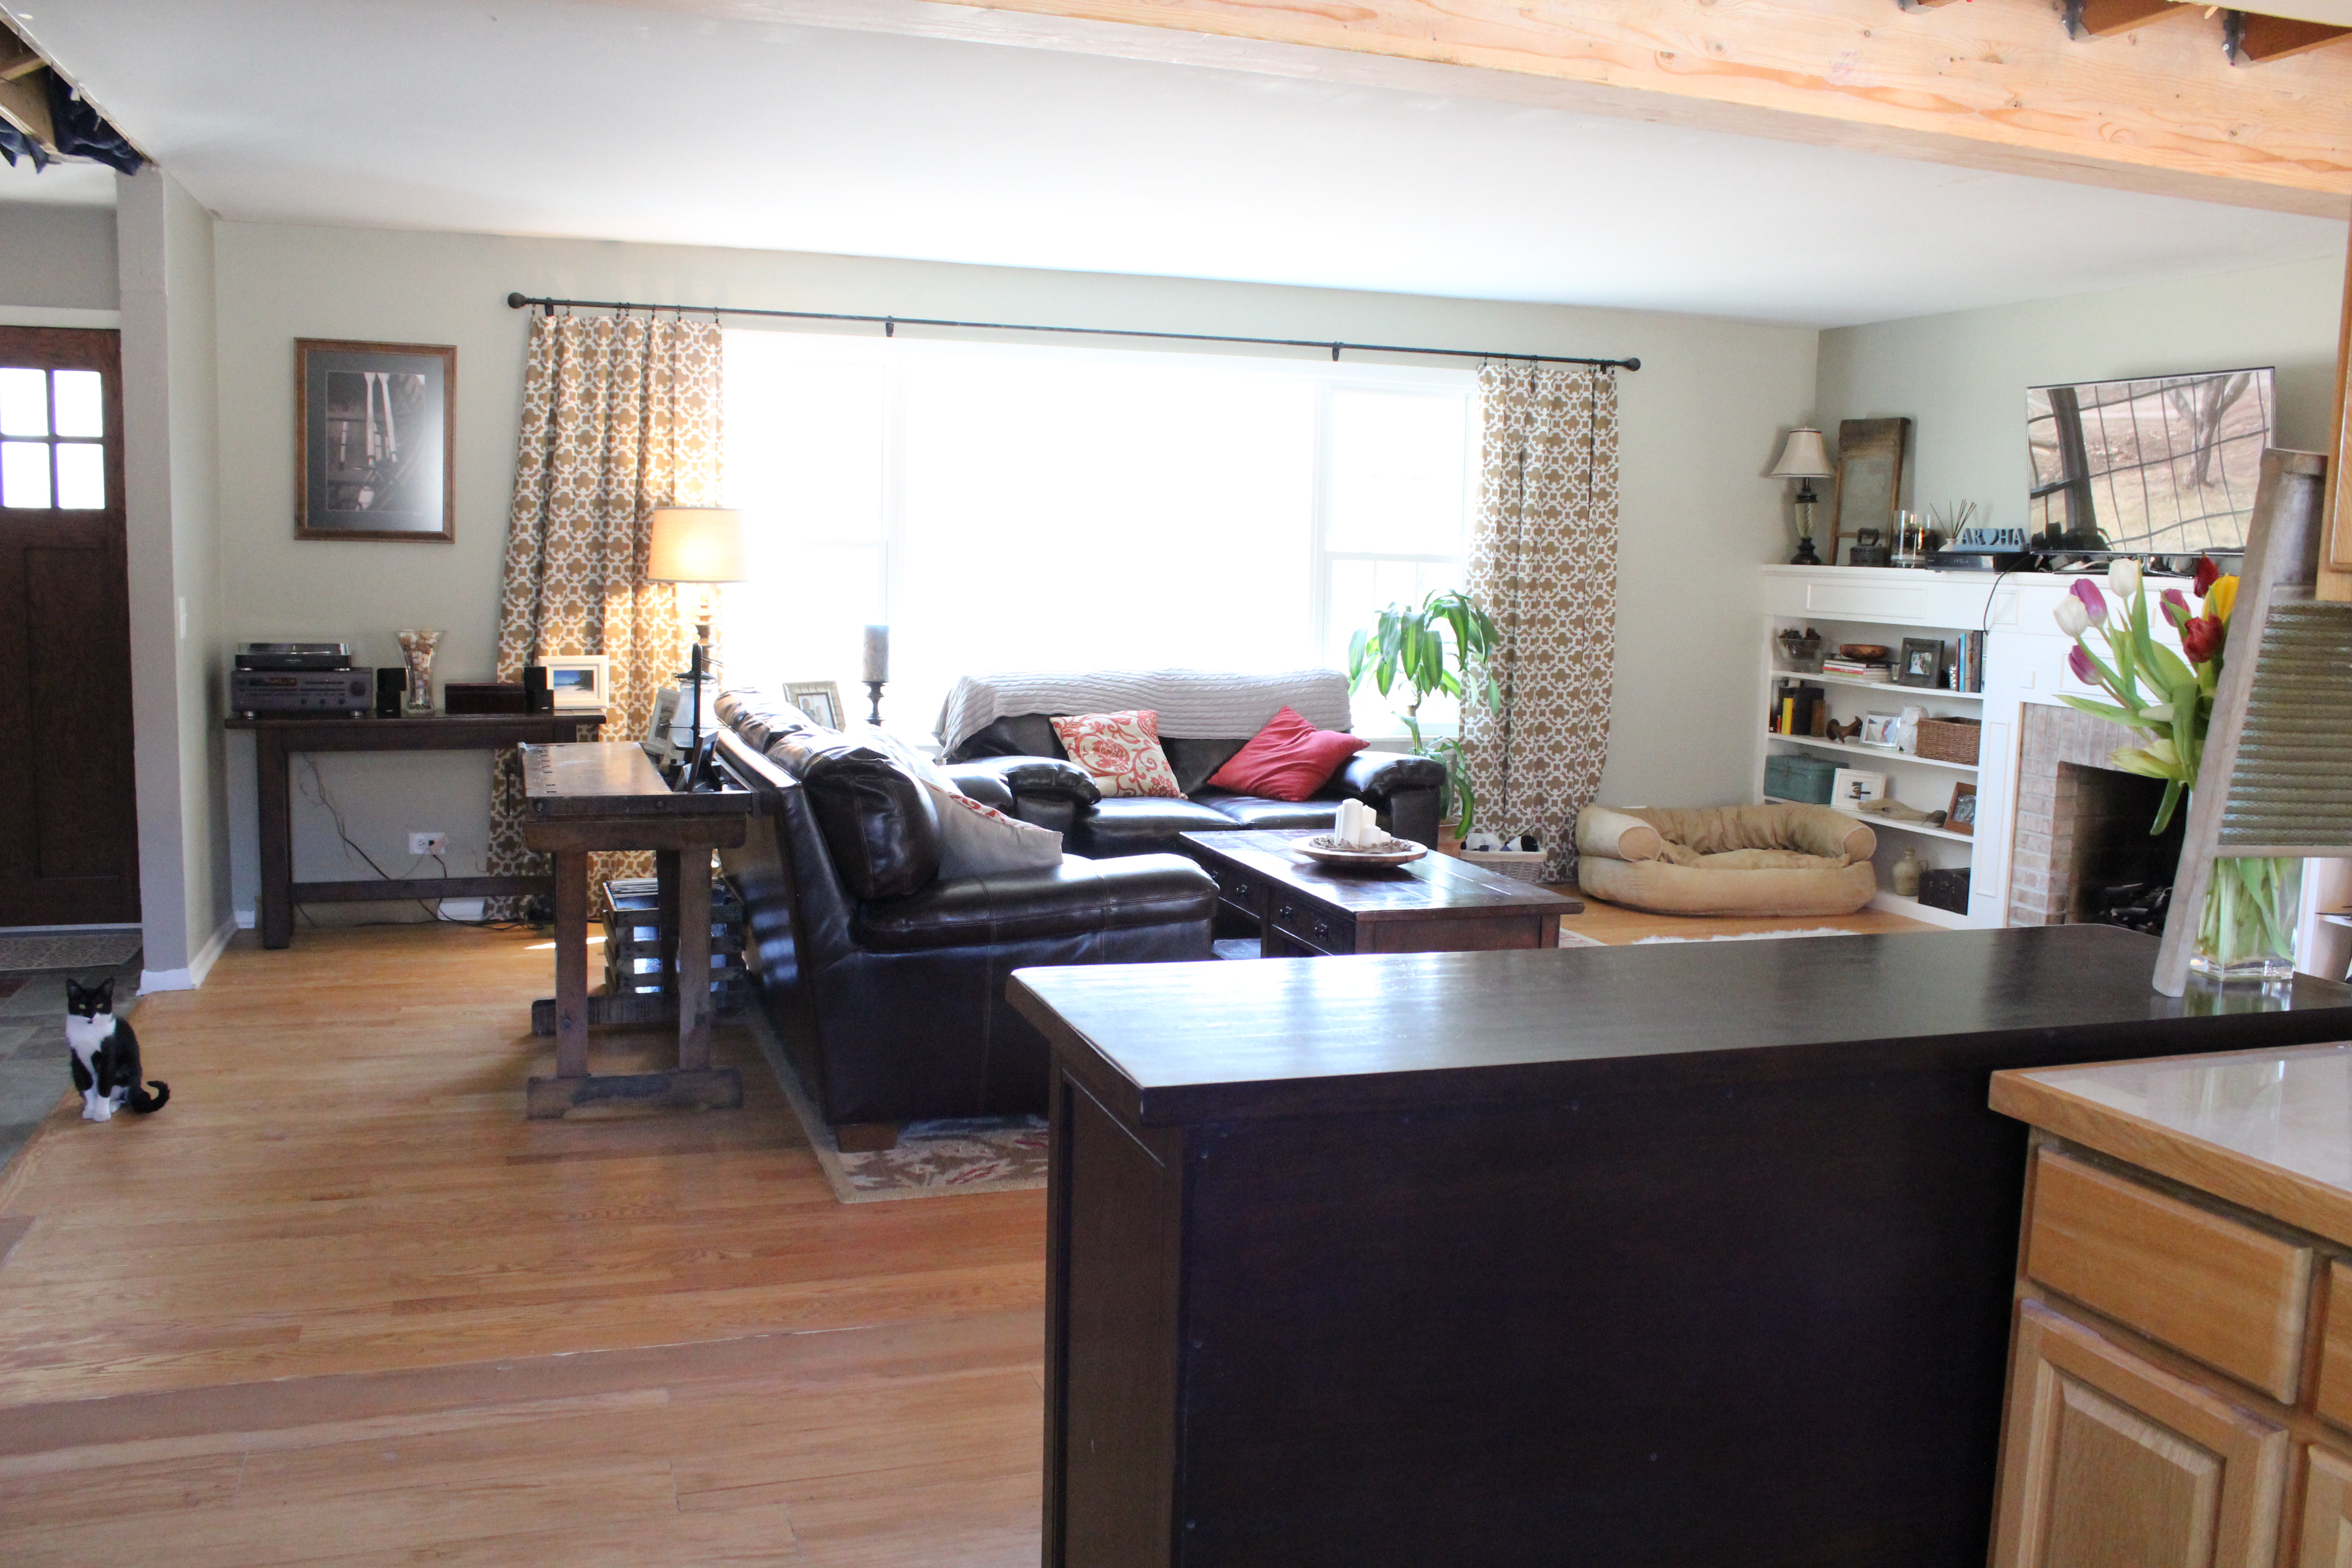
So without further ado, here are some after pictures. It still looks crazy because there are holes in the ceiling, the posts and beam are bare, and the floors don’t match. Plus the kitchen isn’t remodeled. But you get the idea…

IMG_2825

This is the view from the stairs:IMG_2821The buffet we have there represents where the future island/peninsula will be. So image it twice as deep with stools and pendant lights above. Plus we decided to make it 2-tier so you can’t look right into the kitchen at your dirty dishes from the couch.

Here’s the view from inside the kitchen:

IMG_2820

From the front door:IMG_2802

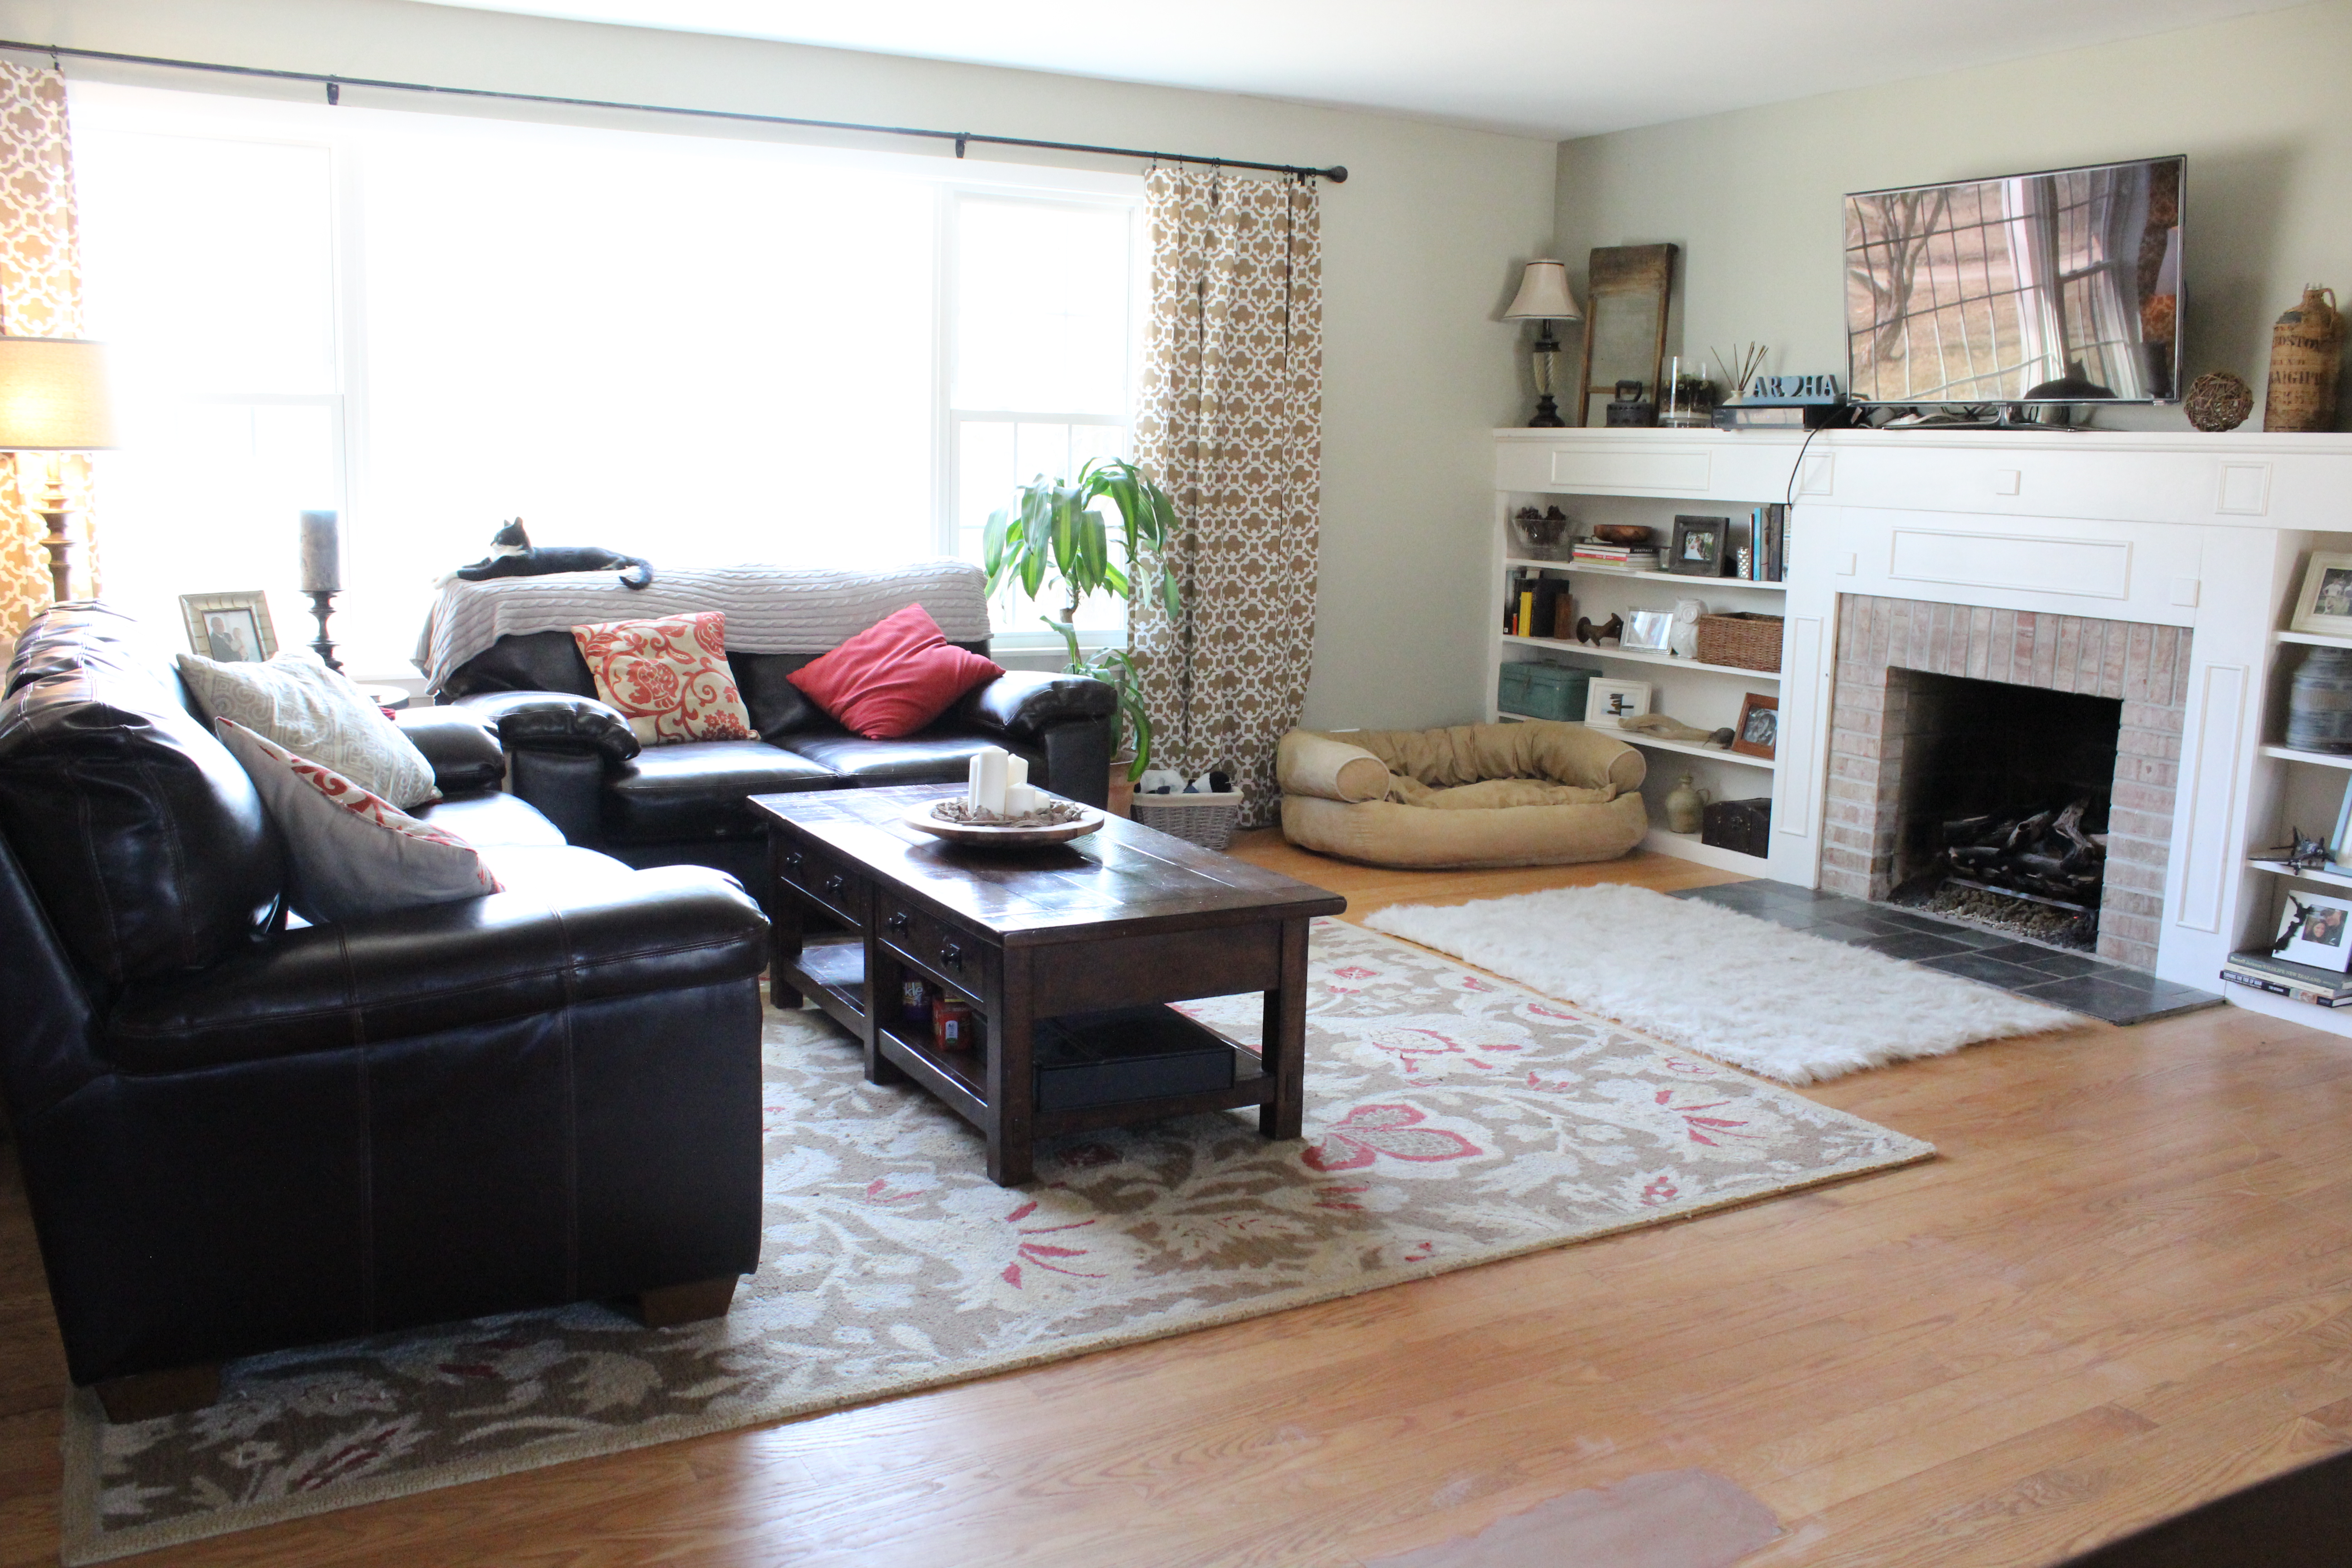
We also rearranged the furniture in the living room so the 3-seater couch faces the TV and fireplace. So much better! IMG_2800

The next step is covering the beam in barn wood and creating some fake beams to go perpendicular to it in the living room. Plus adding can lights to them since there are no overheard lights in there. Then drywall. We also want to overhaul the built ins around the fireplace so they are cabinets on the bottom and then shelves extending to the ceiling.

IMG_2805

Savvy readers may also have noticed the new French doors in the dining room. I’ll be back with another post on those next.

What do you think? Aren’t Ben and Lee amazing? Can you envision it all finished with a beautiful open kitchen? We can, and seriously can’t wait.