Back in June, I showed you through the “flip” we purchased. We successfully fixed it up from top to bottom over the summer and yesterday we closed it- woo-hoo! It actually pre-sold during demo which meant we didn’t even have to put it up for sale. Our agent took some interested buyers through it during construction explaining what it would look like once it was done, and they agreed to buy it.
It was a great arrangement, though they did request to change a few things to their preference. Though we still picked out all the colors and finishes.
So on with the finished tour!
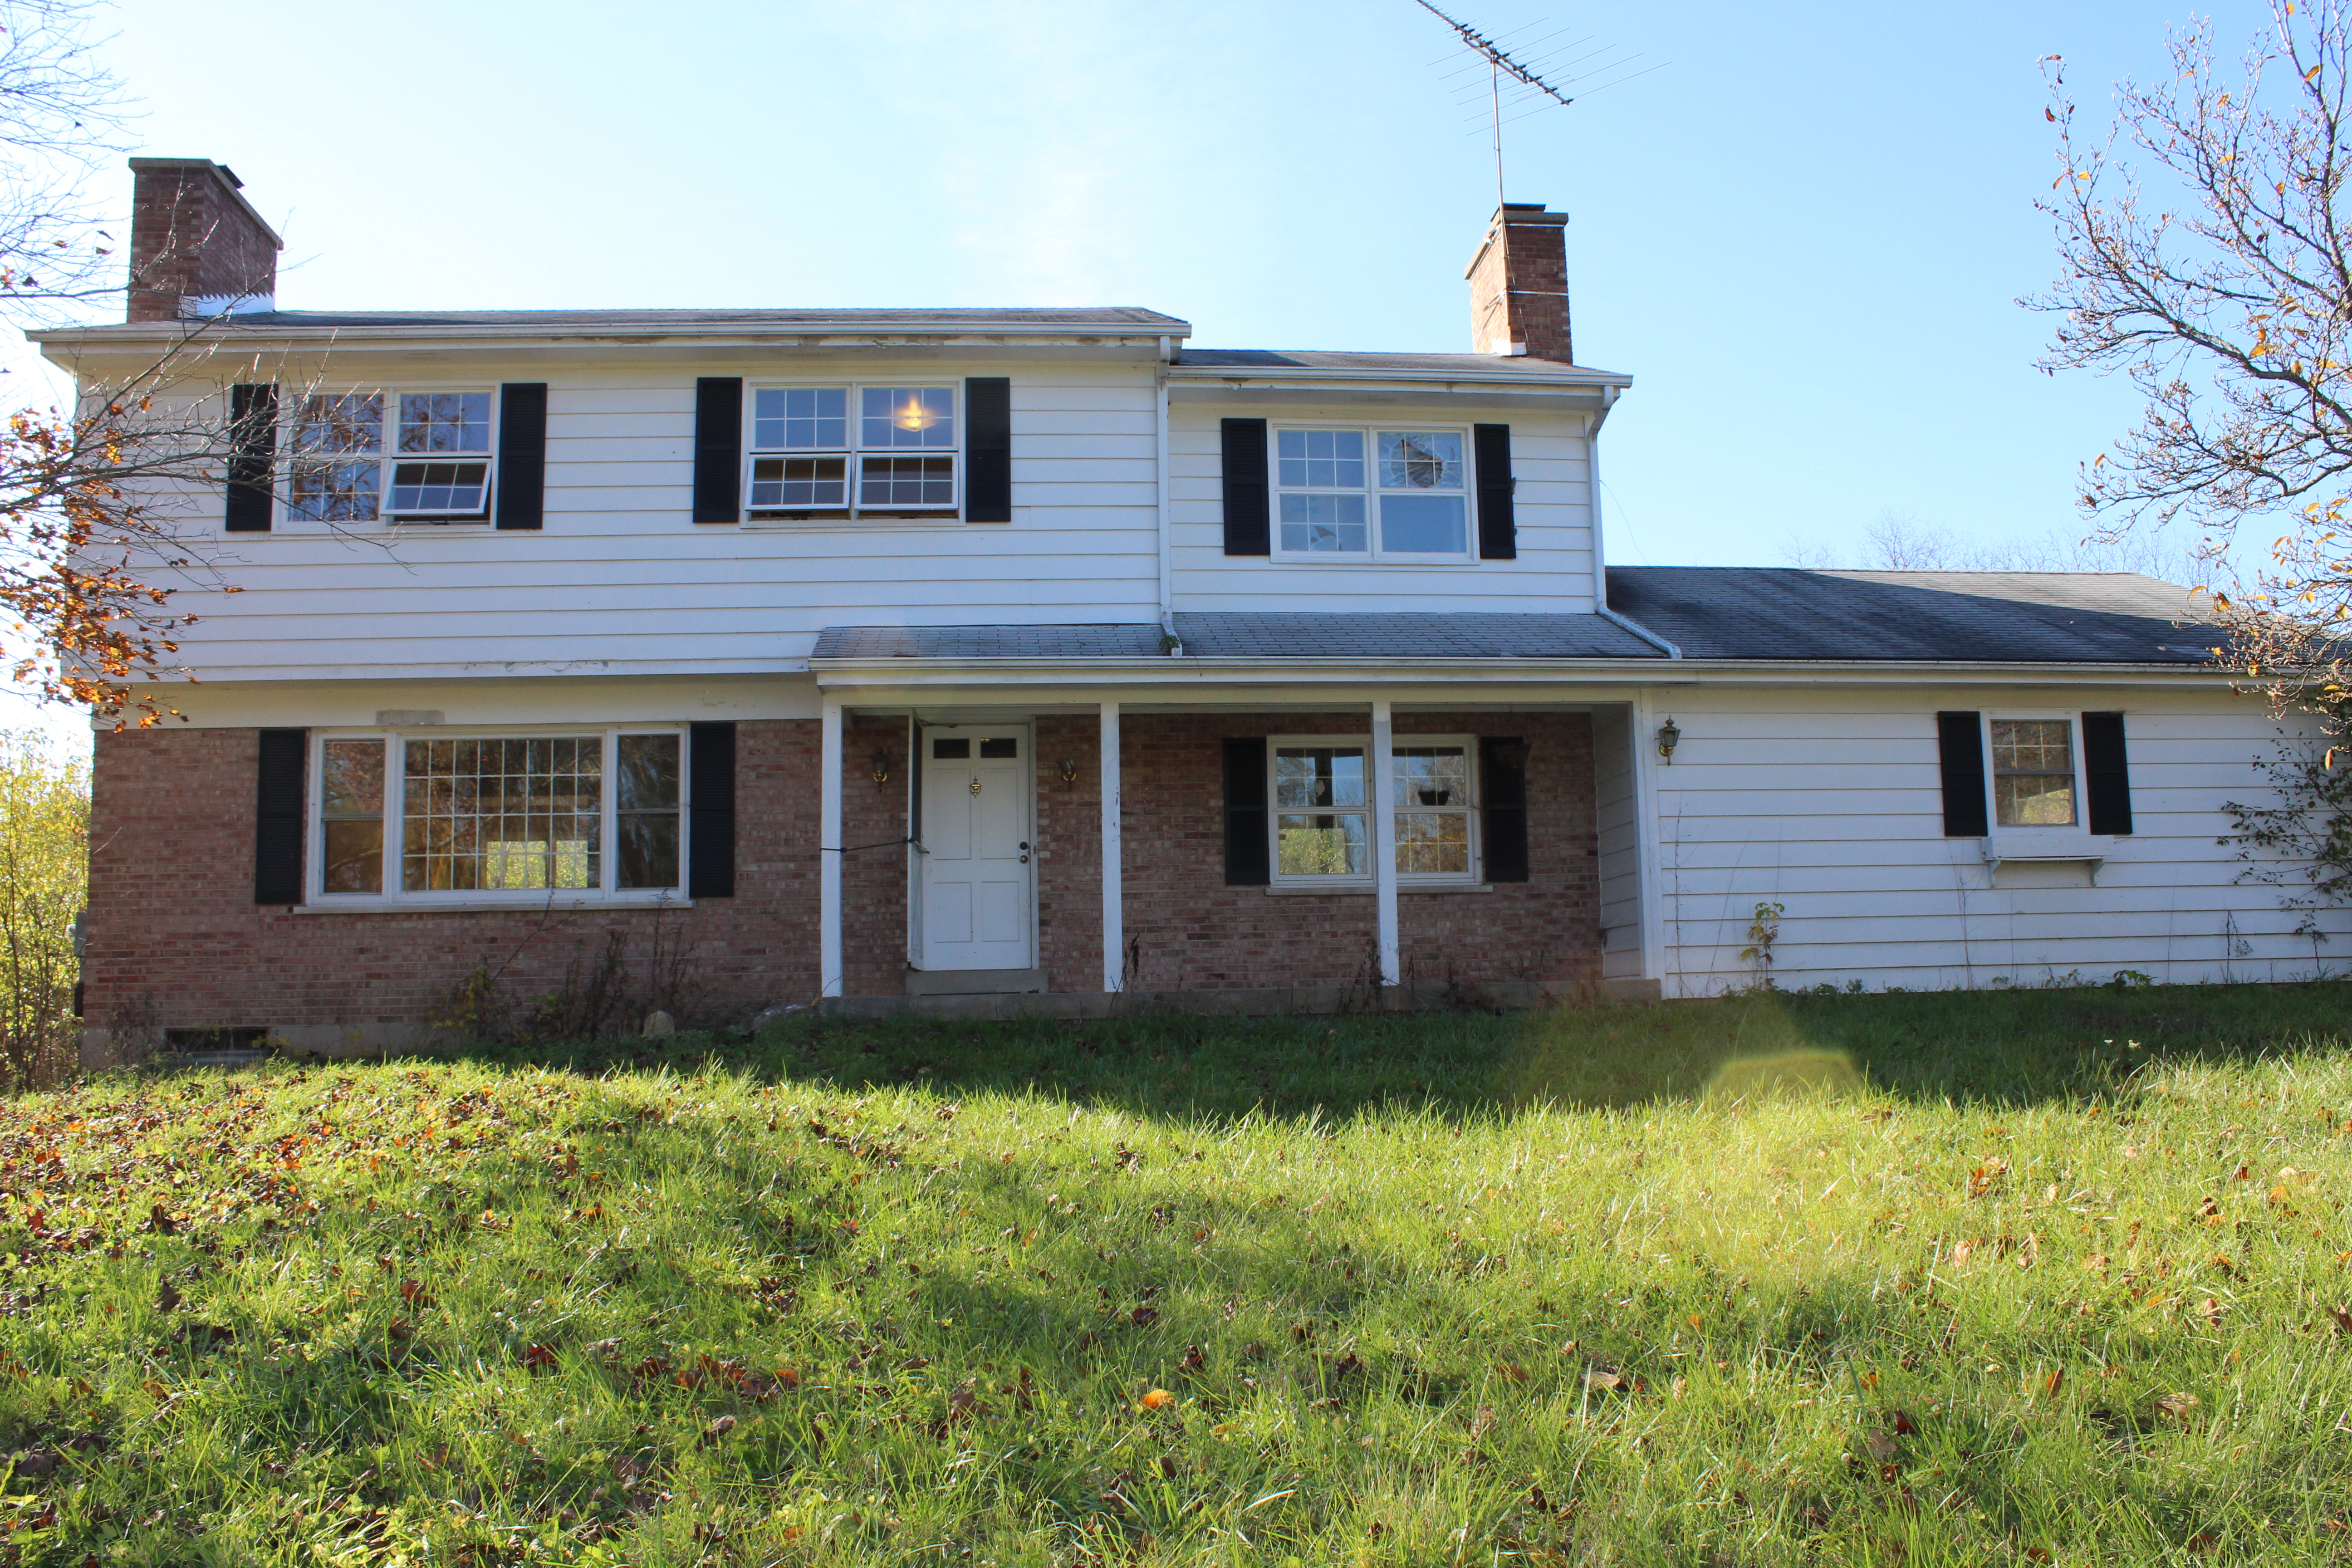
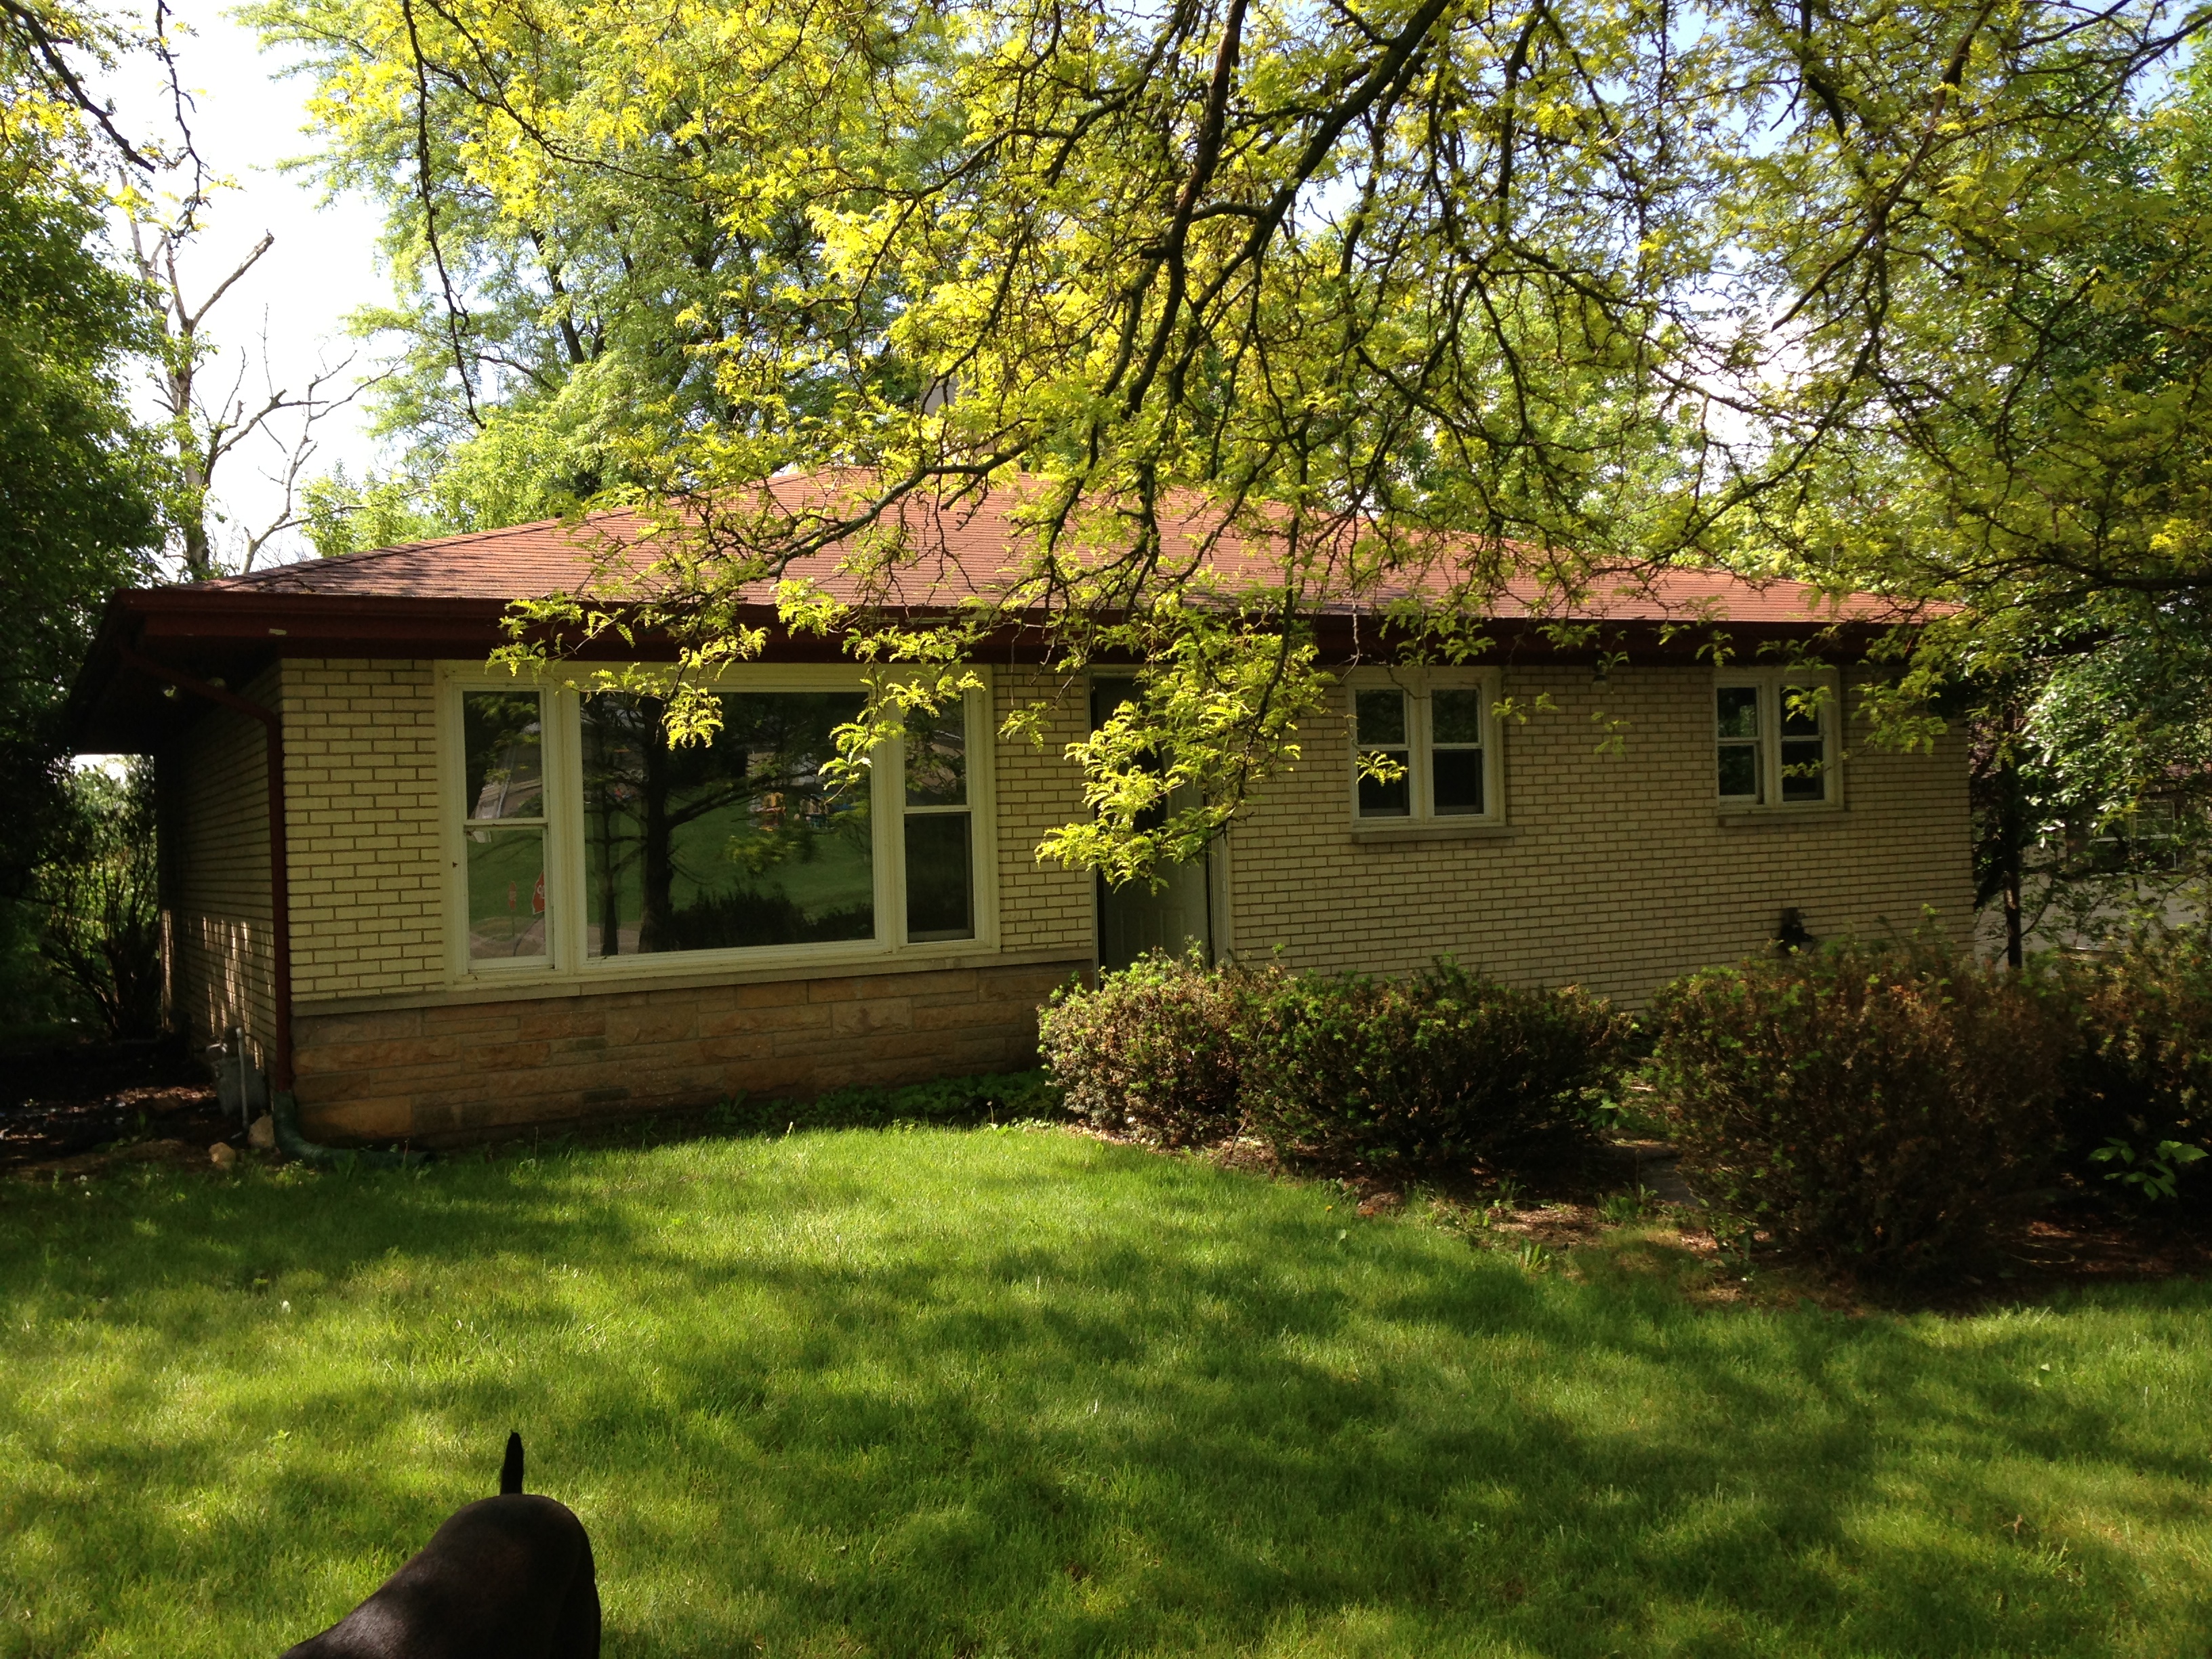
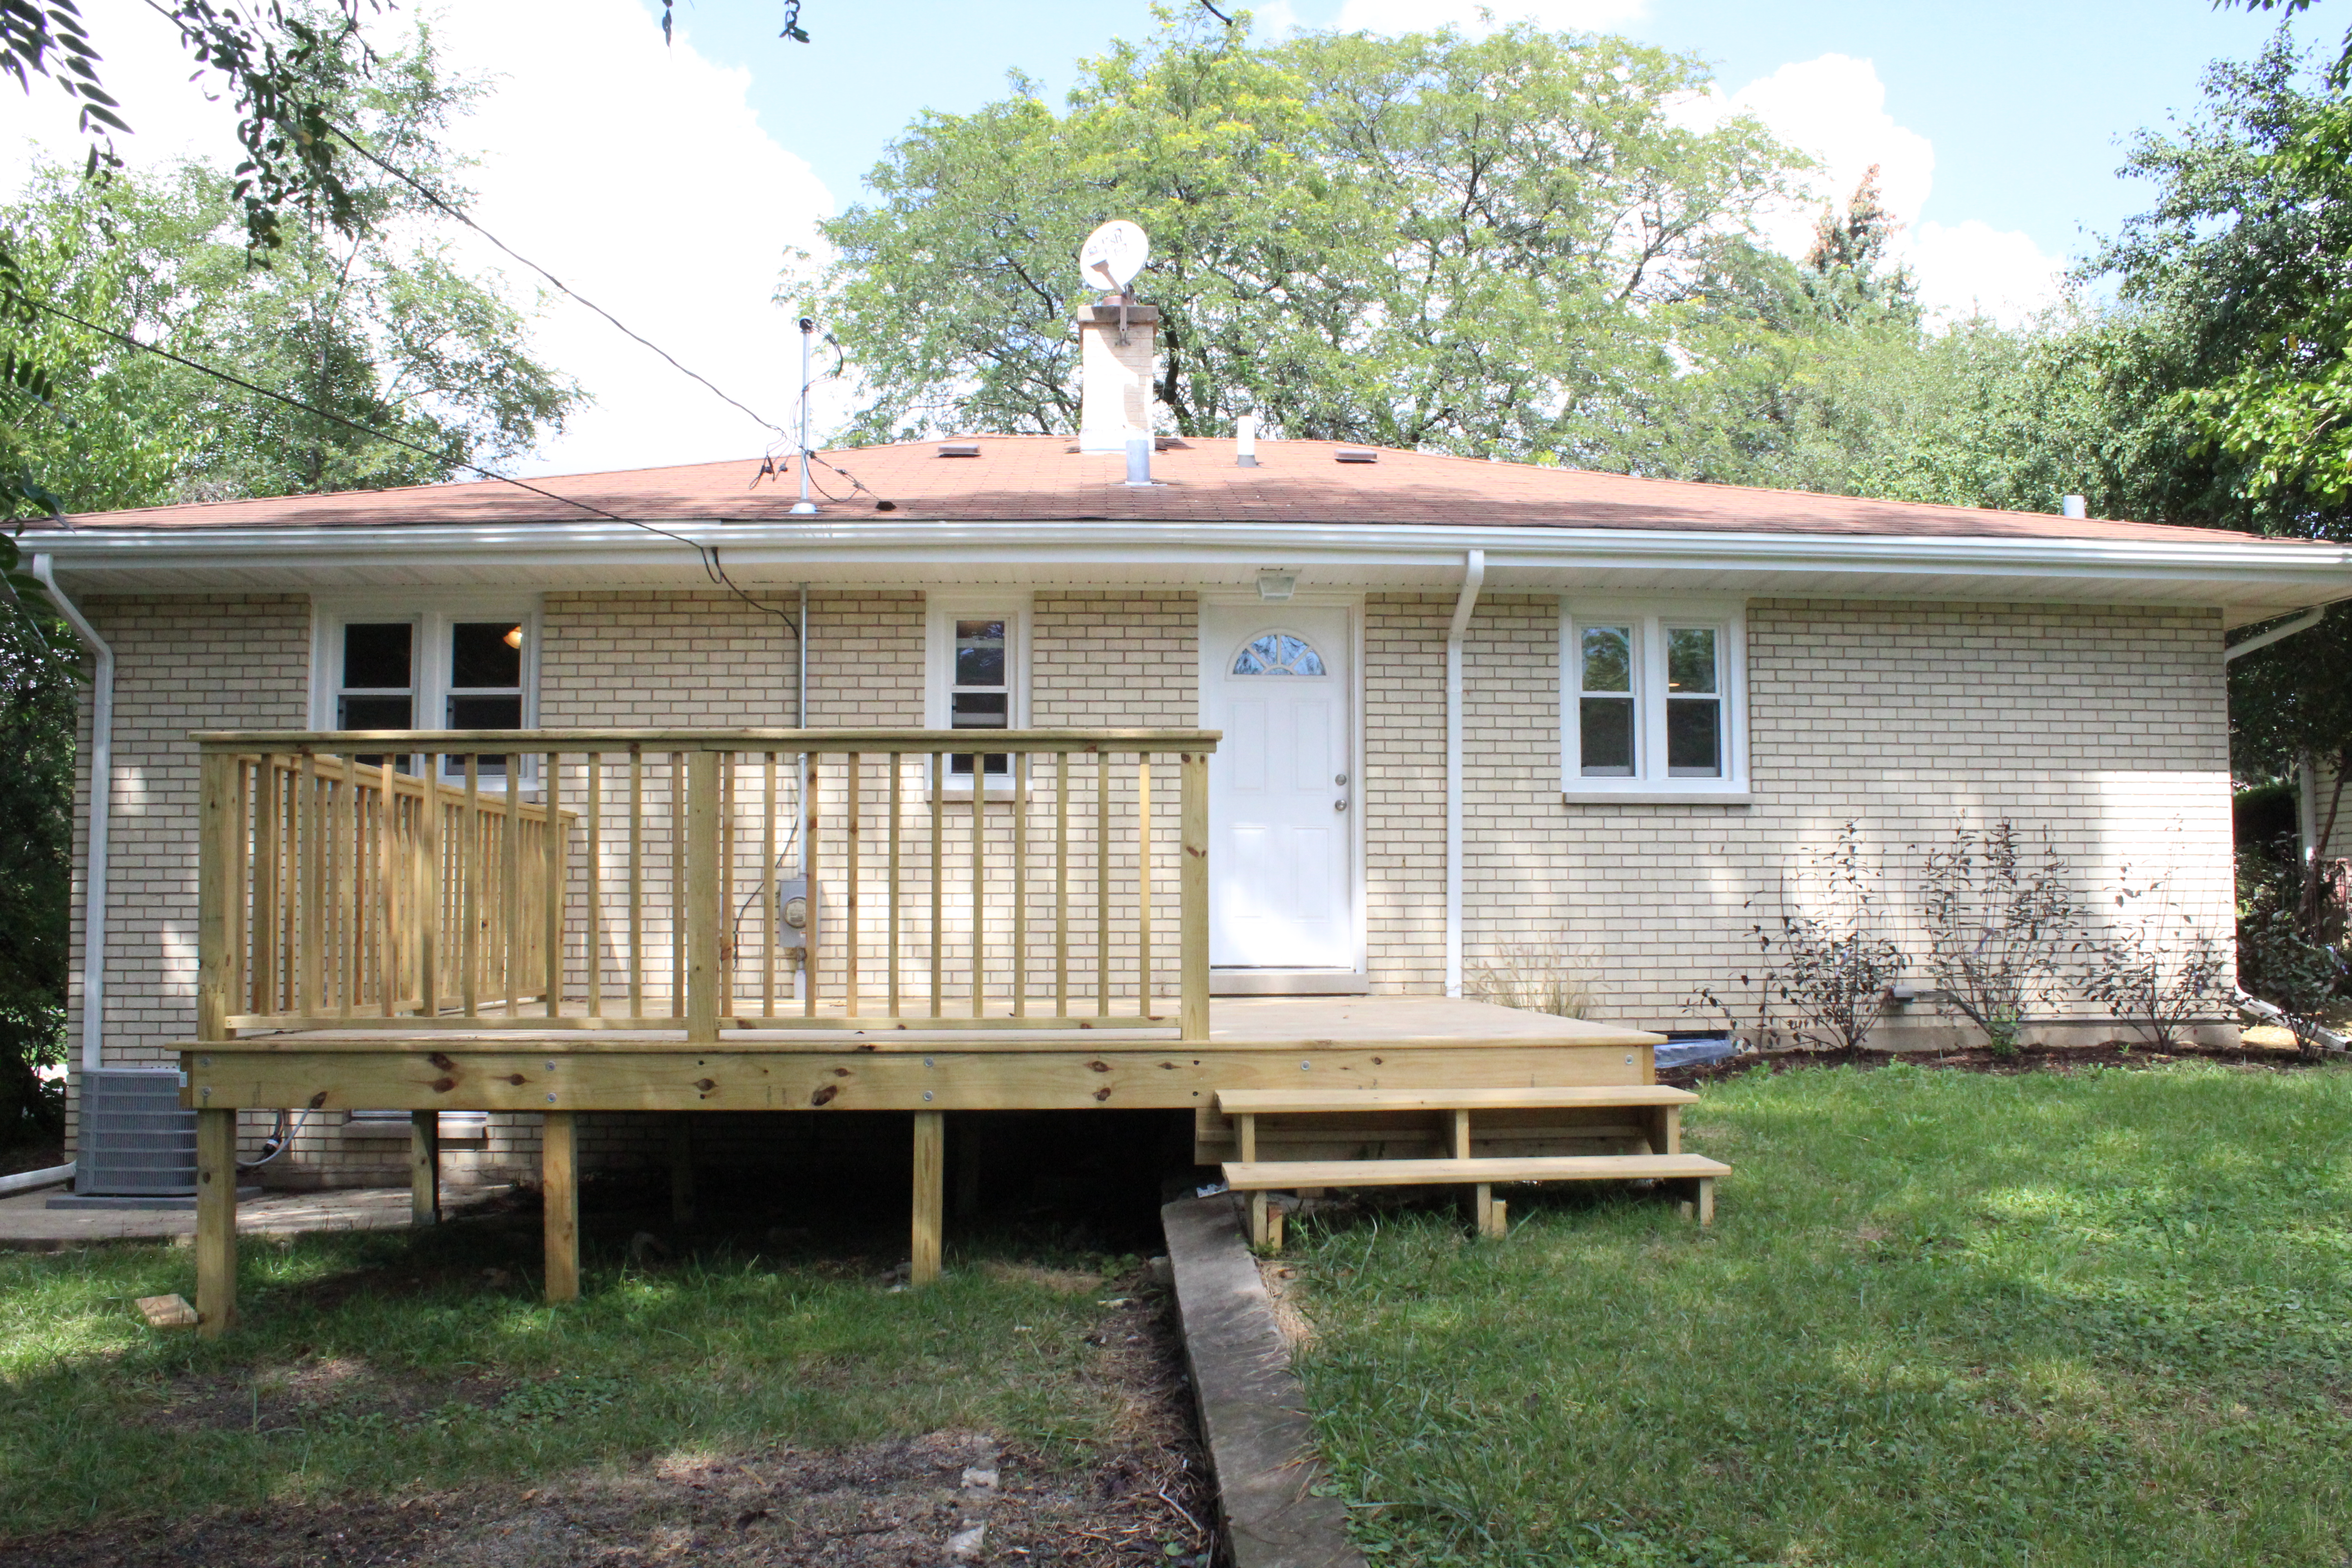
Here was the front exterior before.
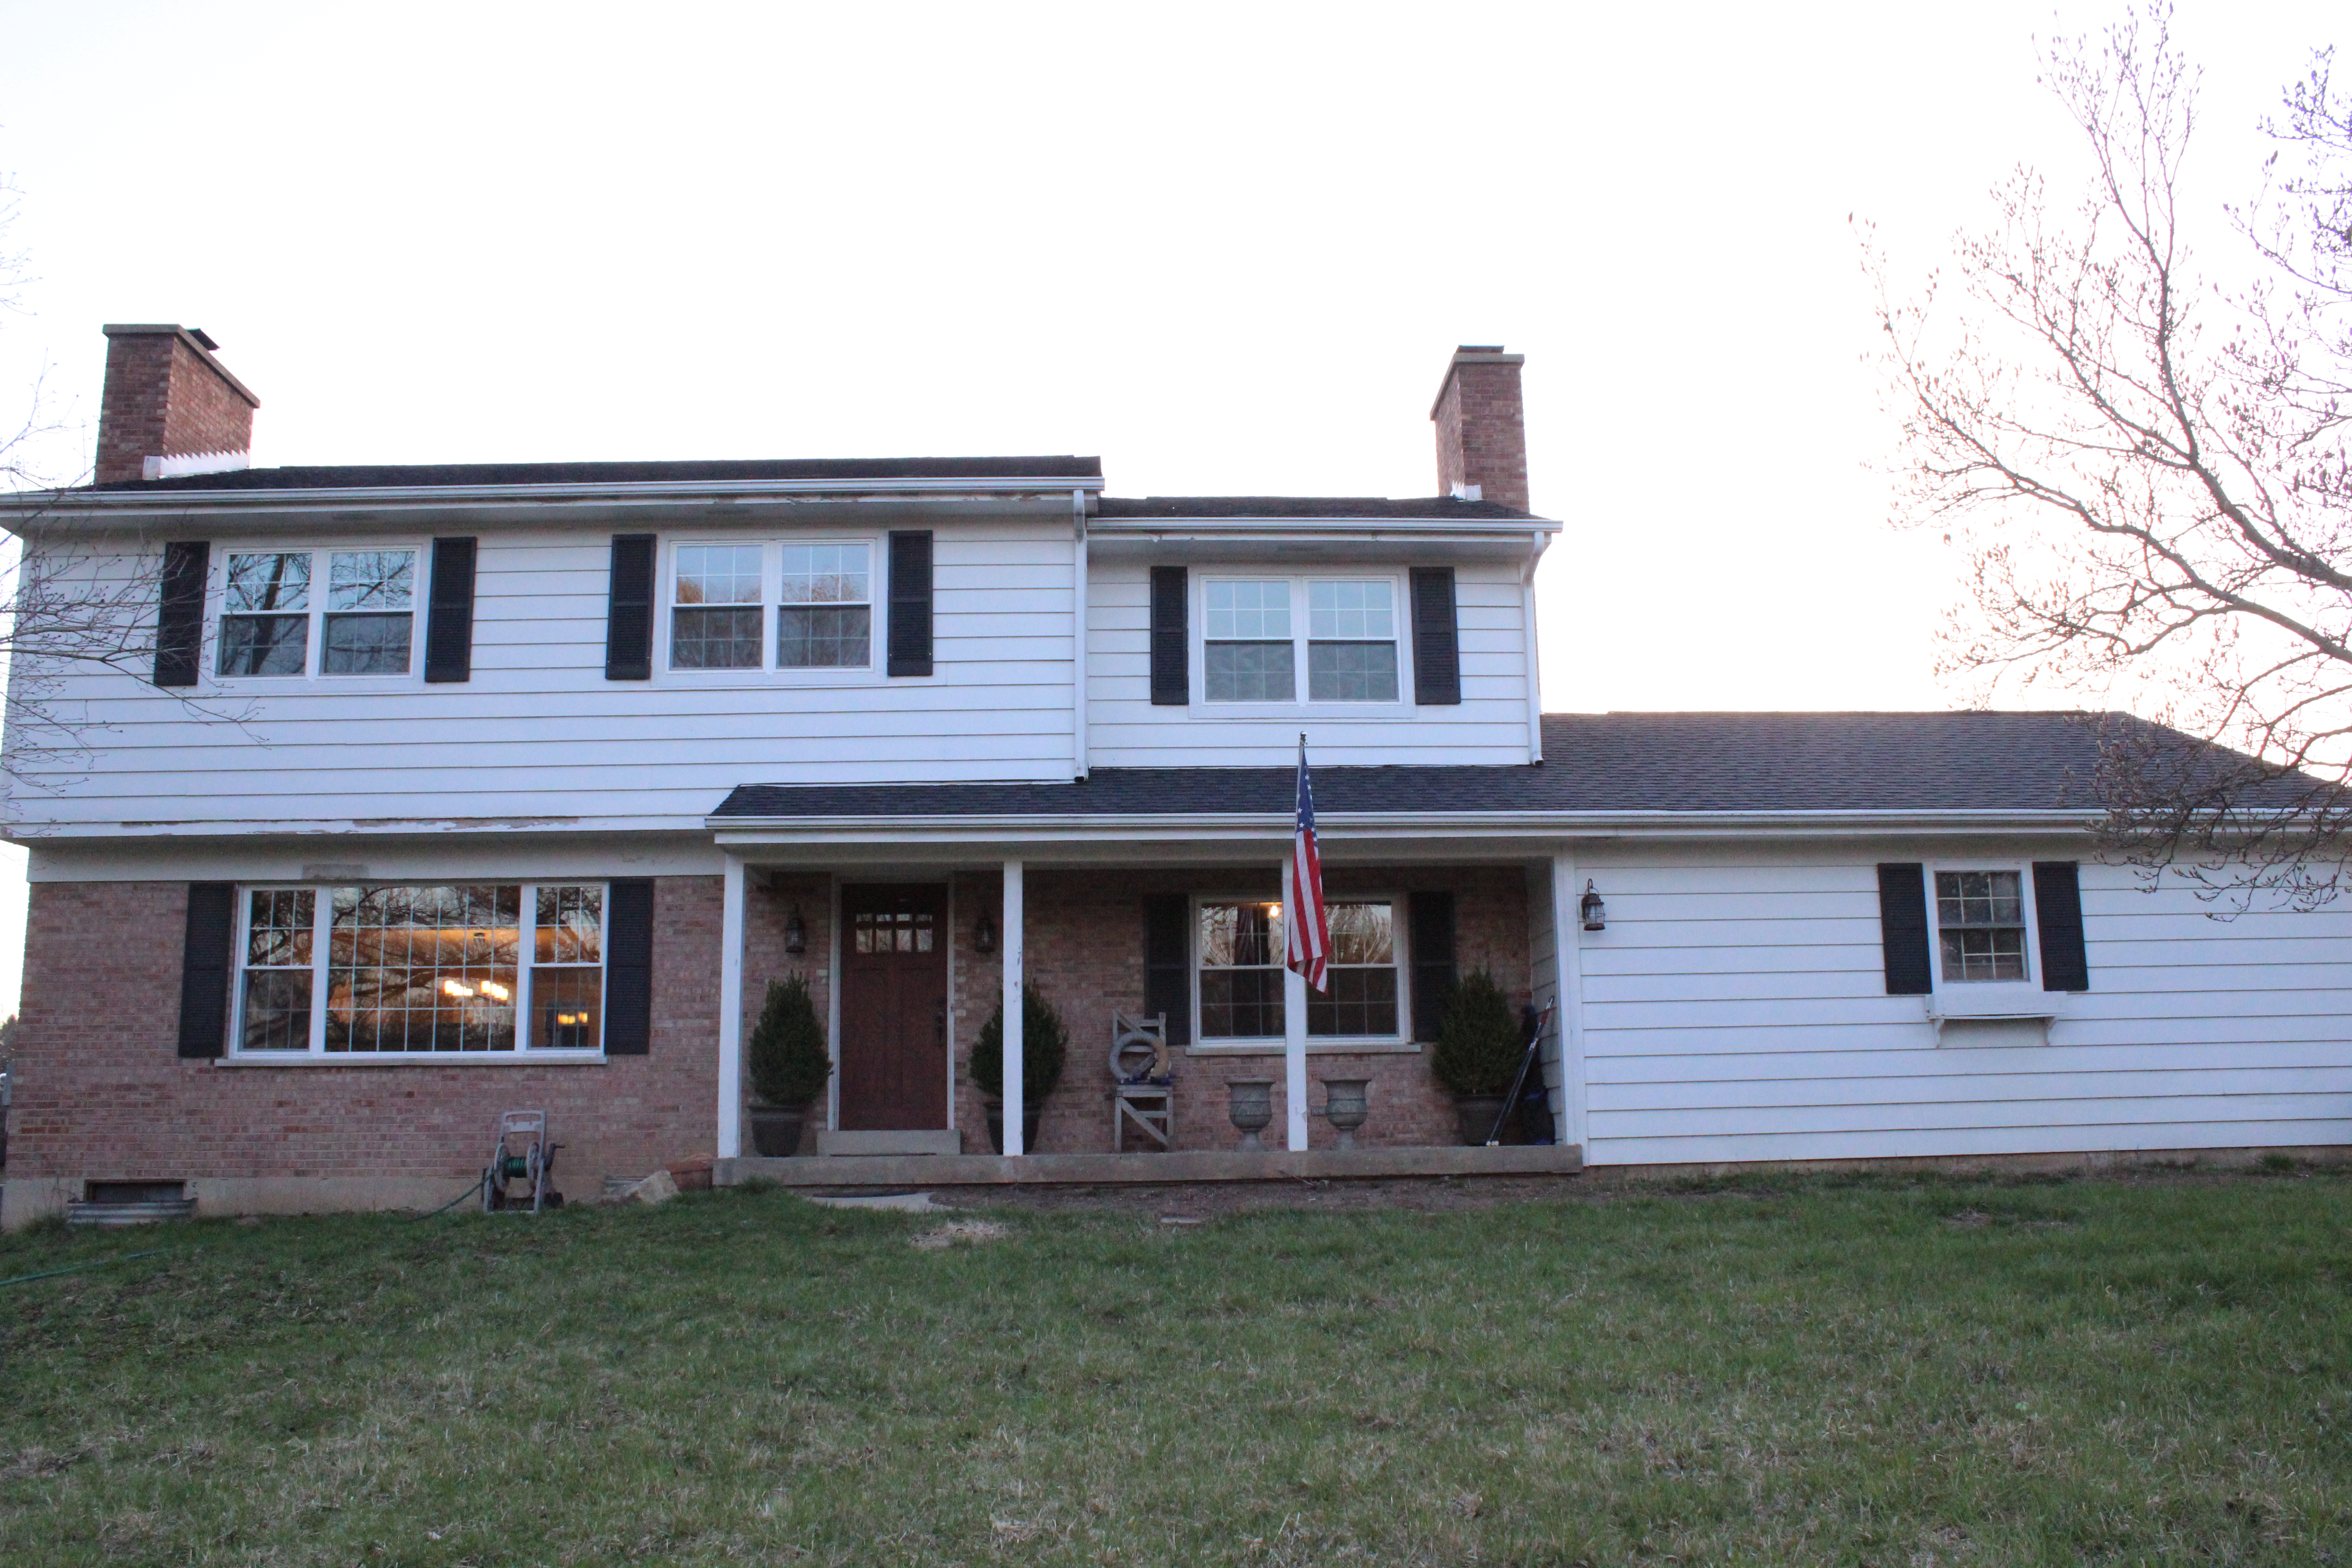
And after new soffits, gutters, landscaping, window and door paint, and a new front path, here is the after.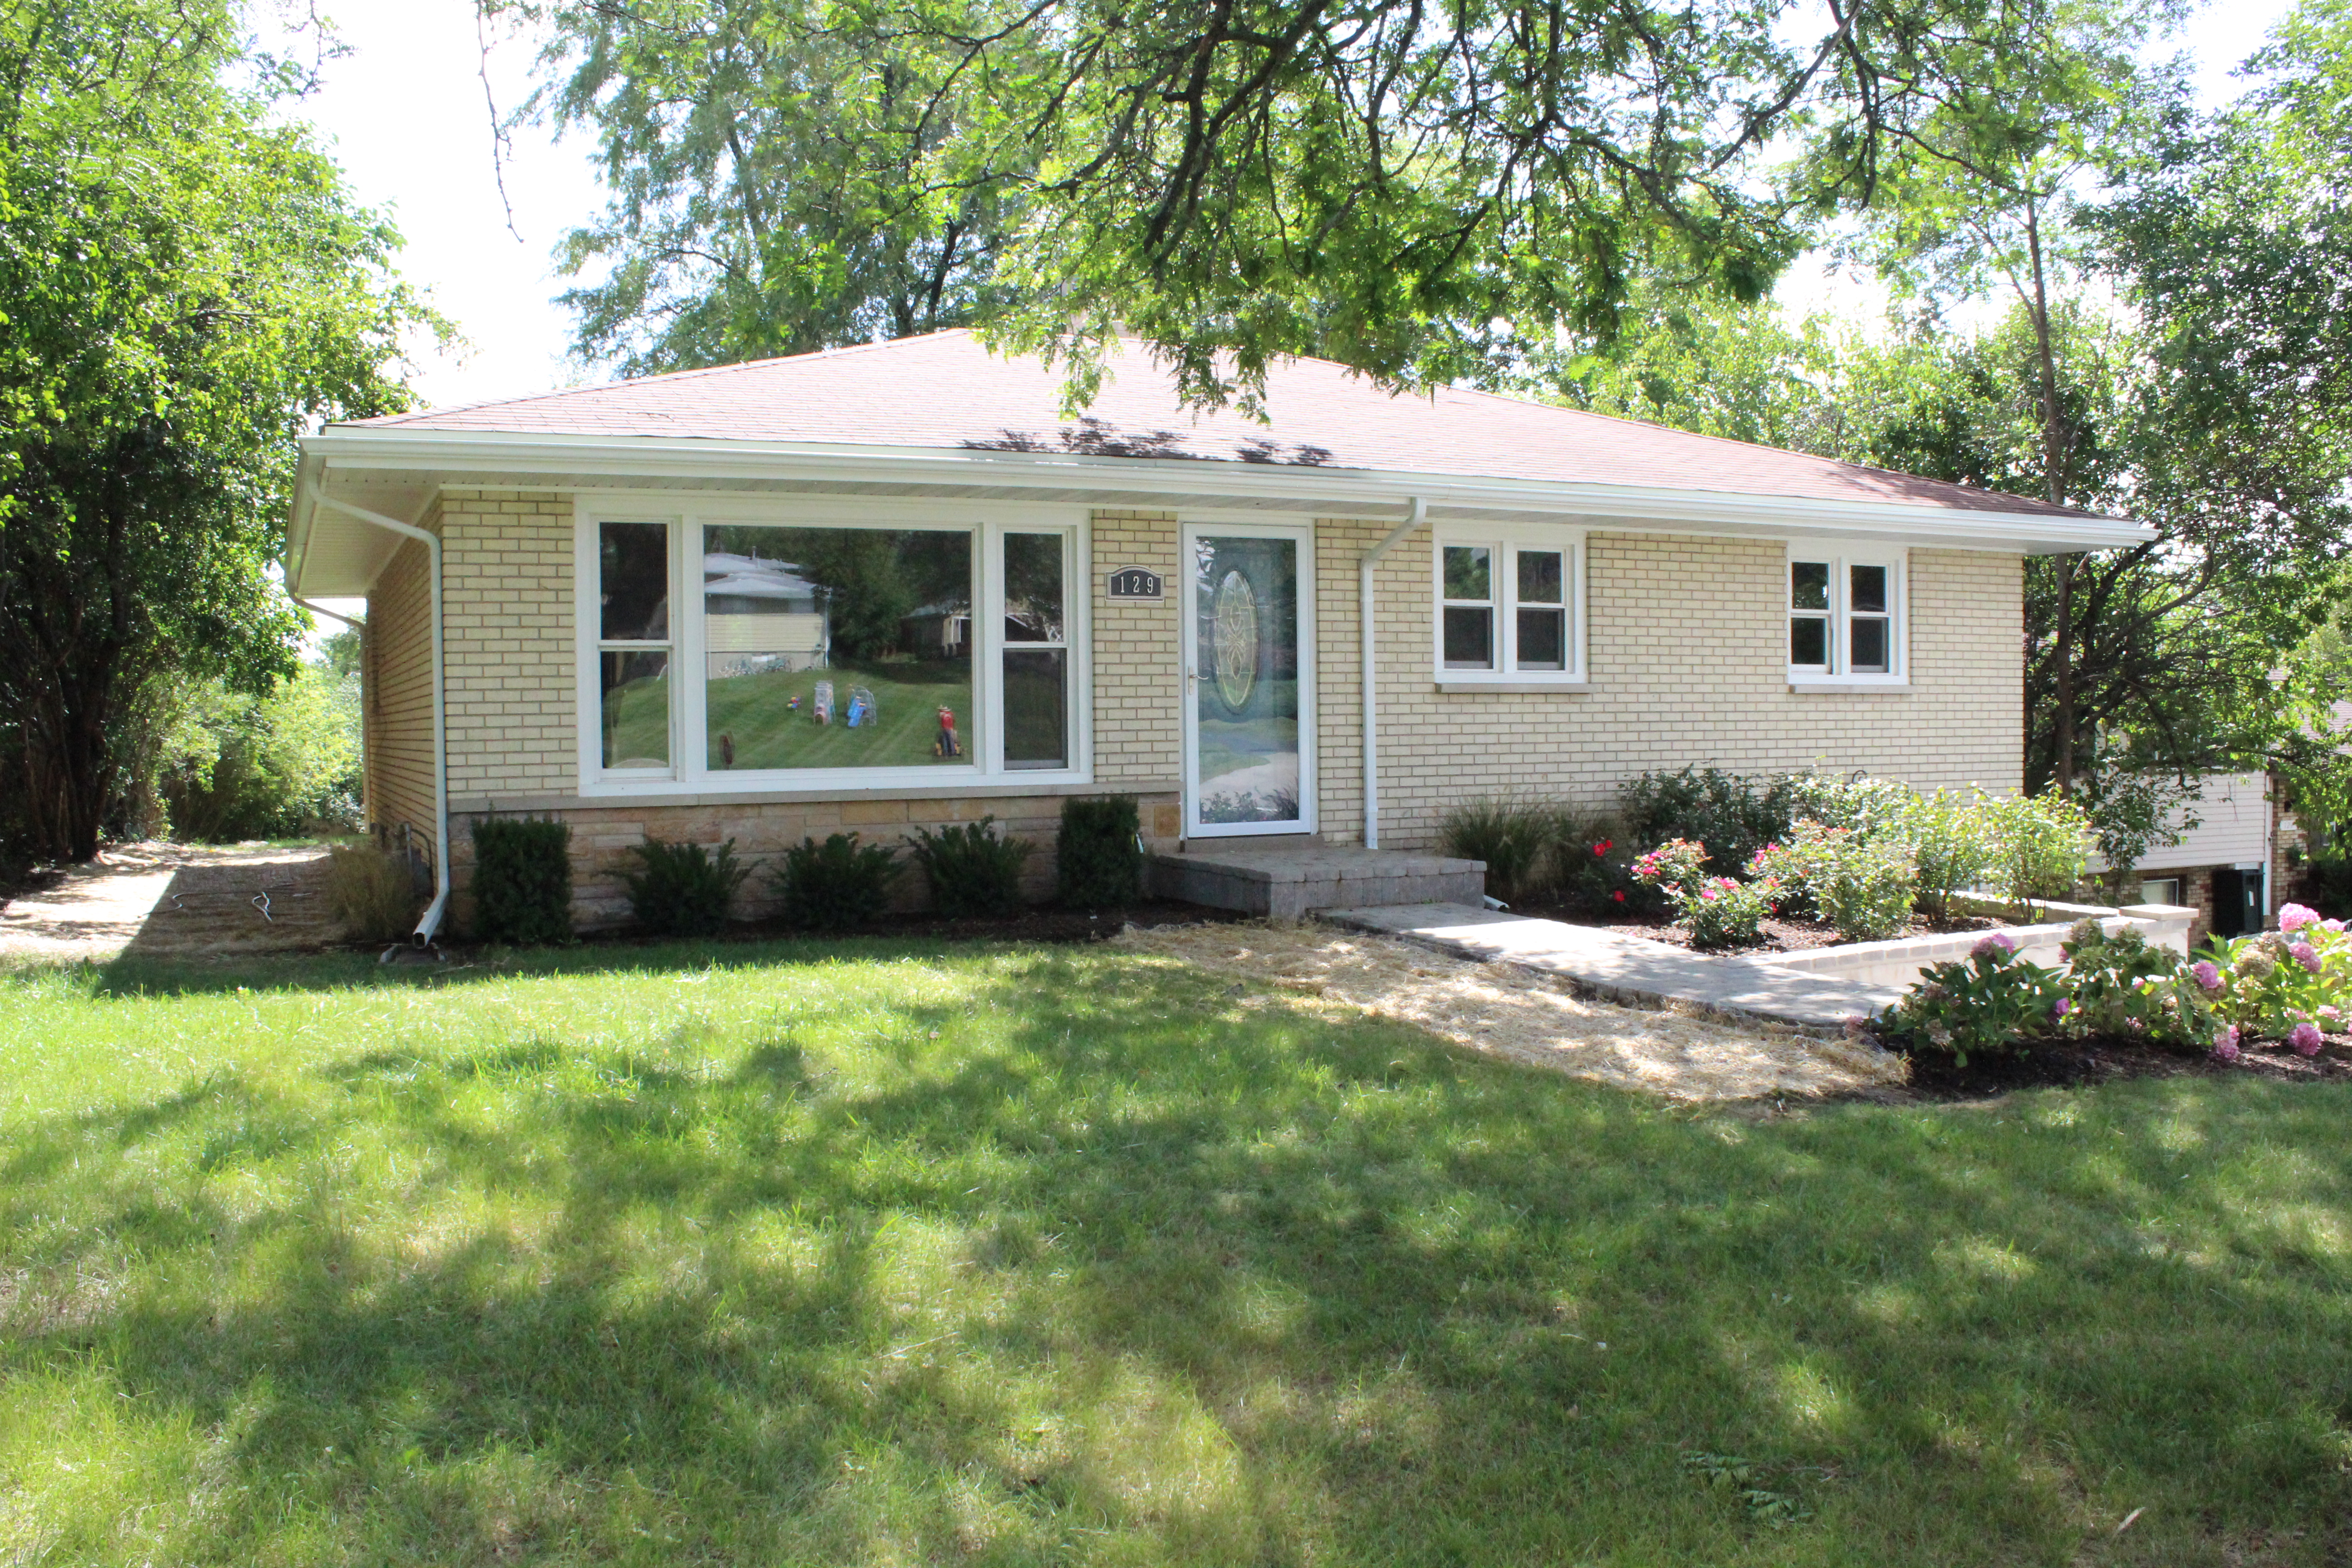 The grass seed hadn’t grown through the straw matting we laid on the side of the path and house just yet, but it’s quite an improvement.
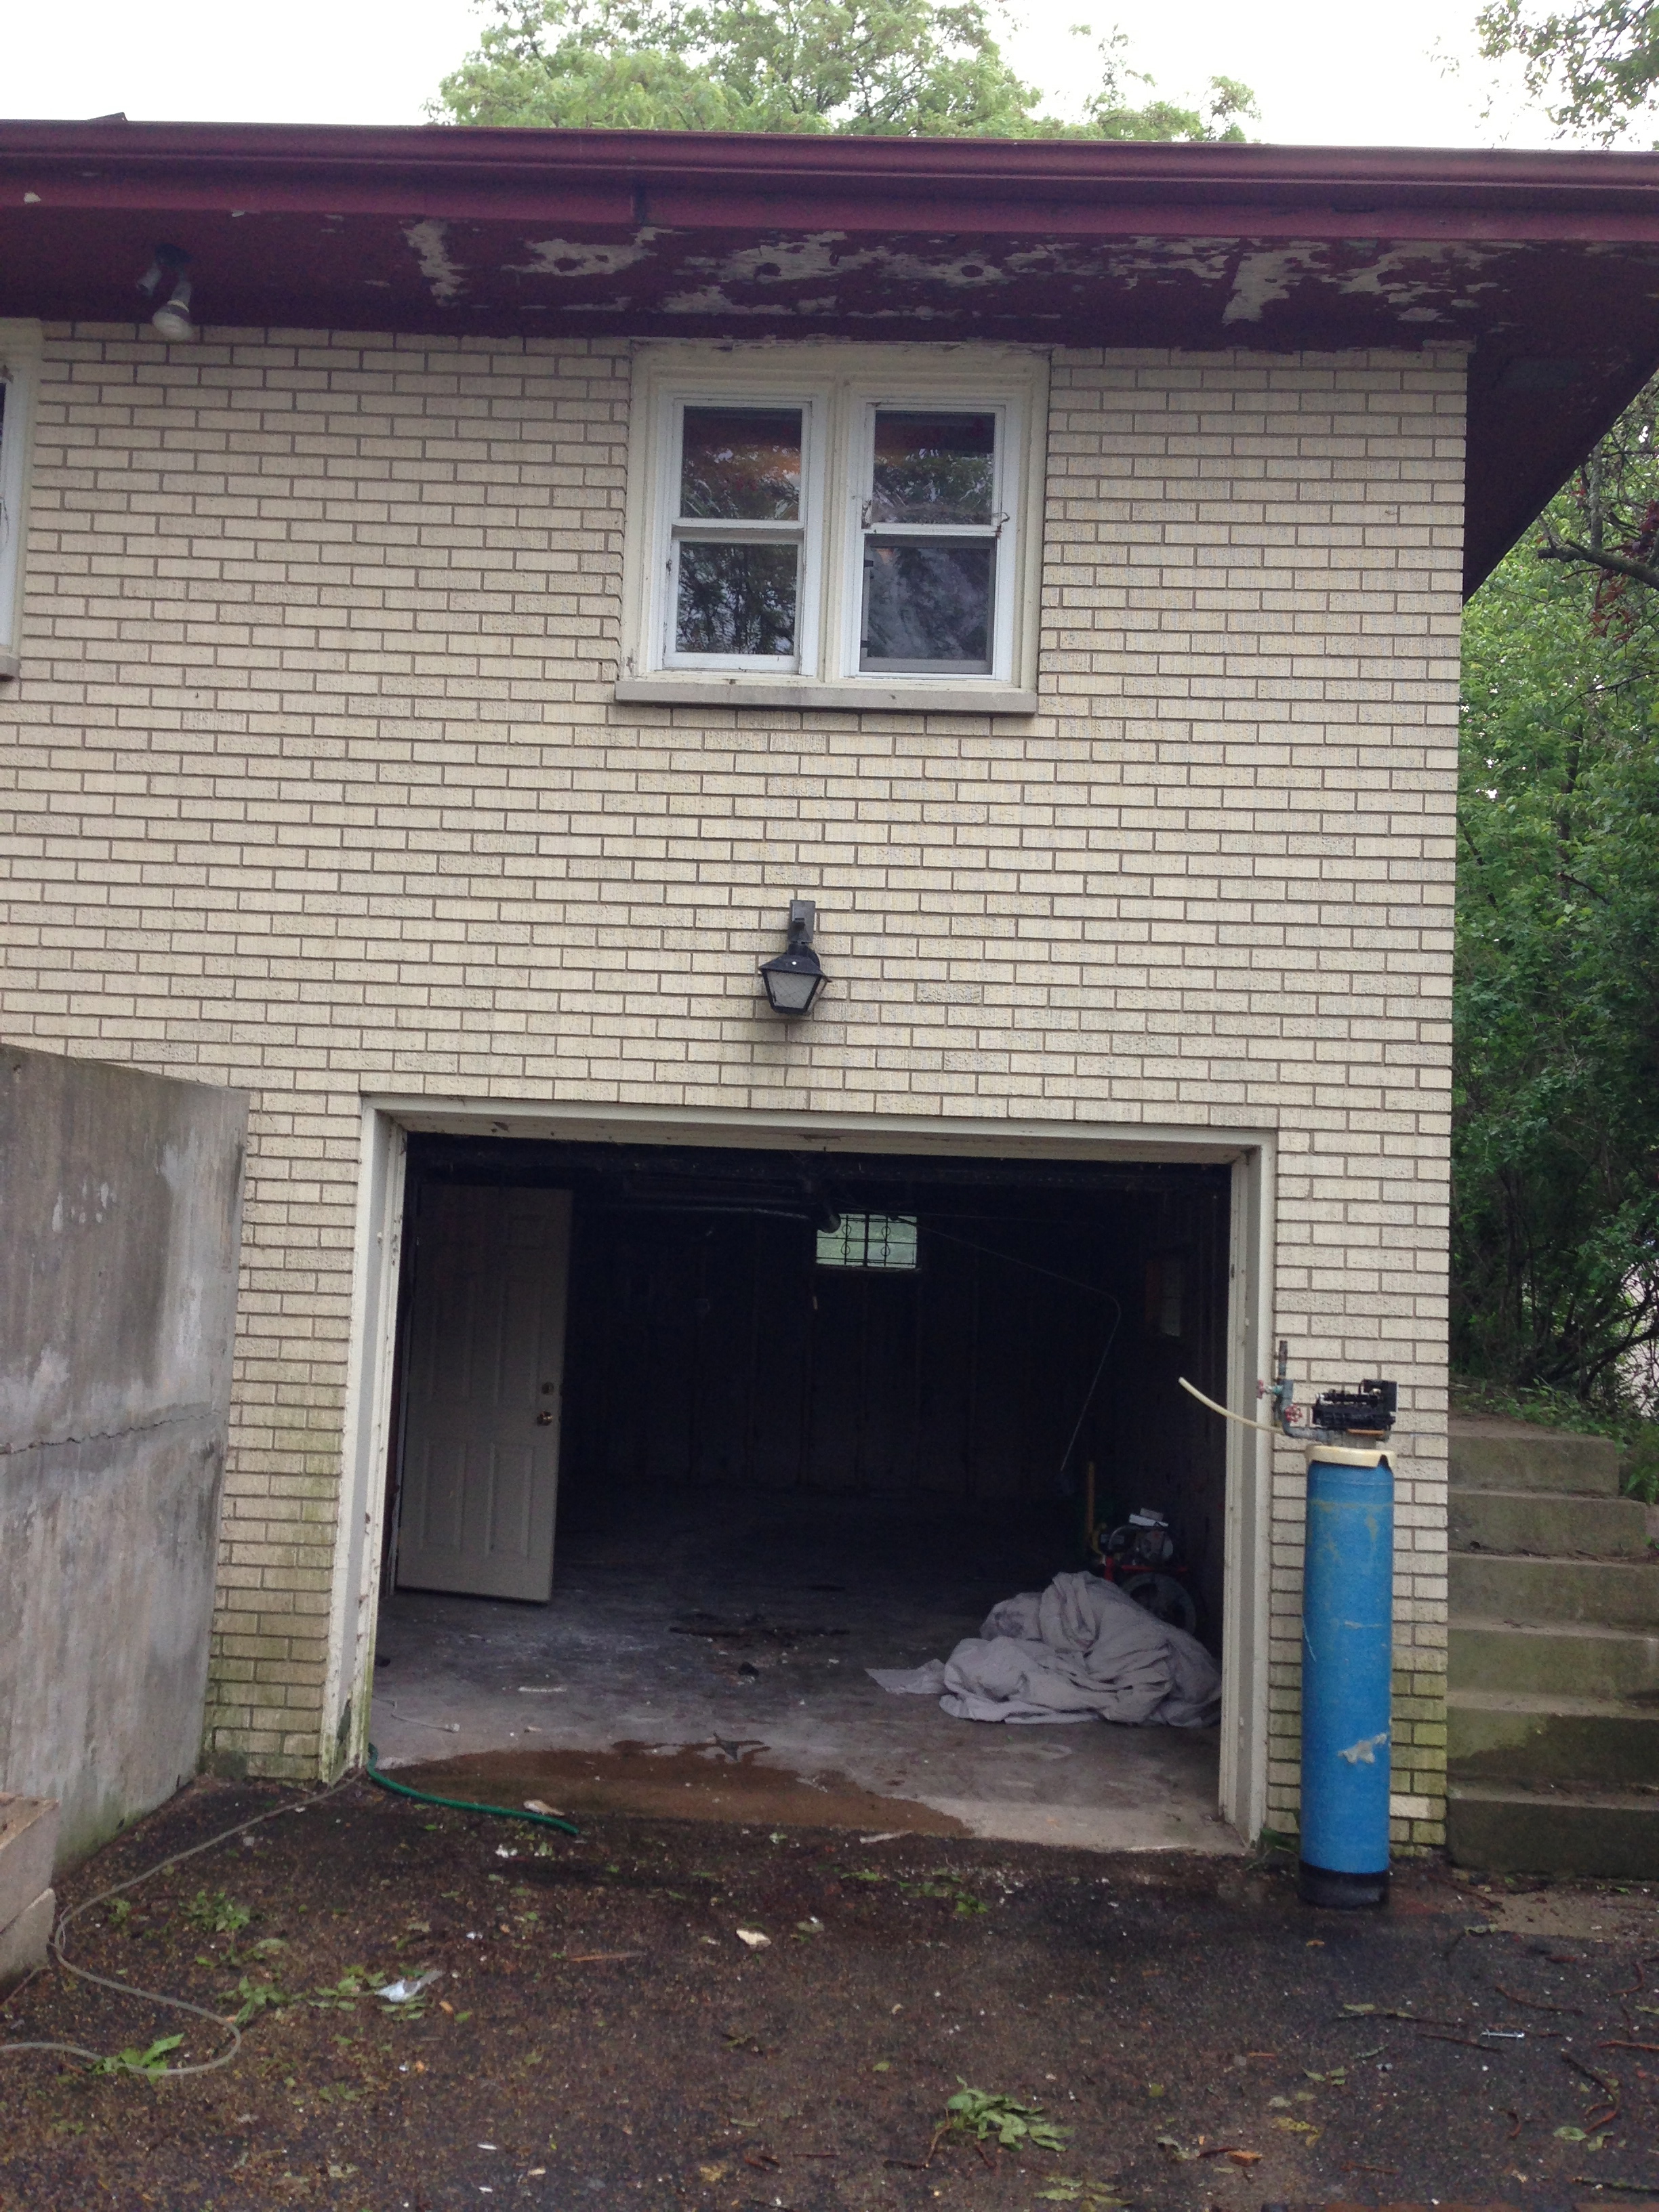
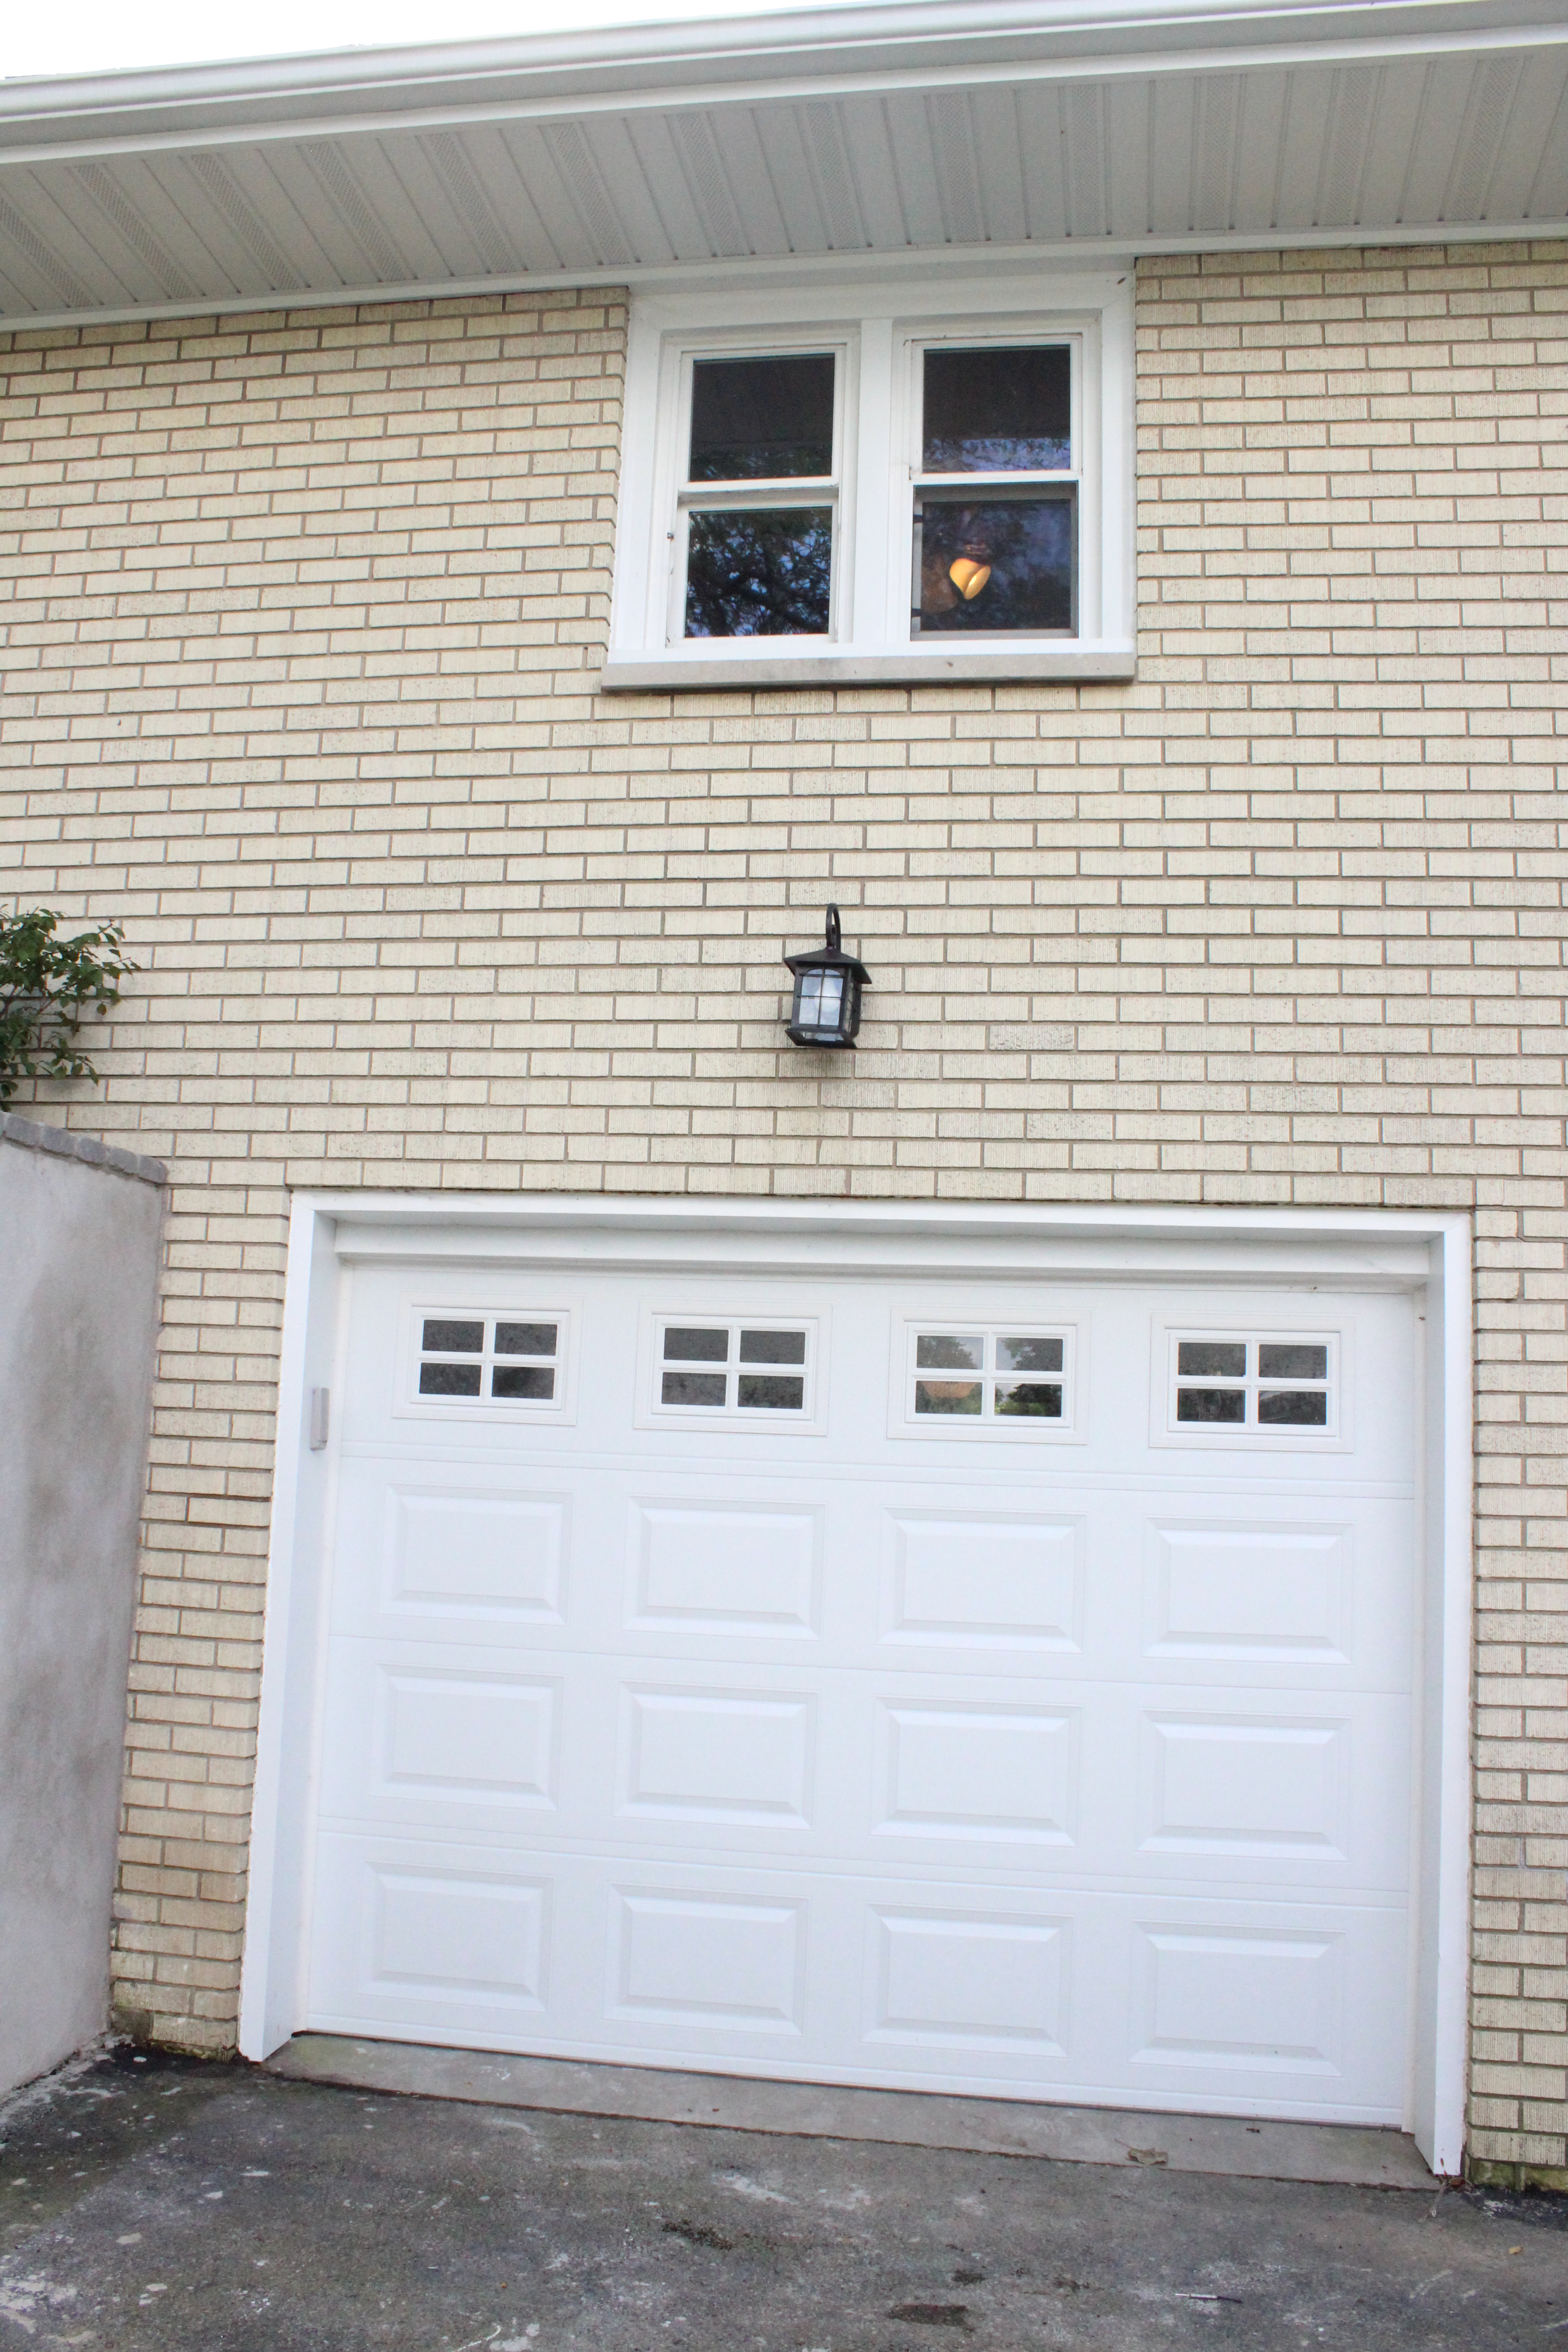
Here was the garage before.
 And after a new door, light, soffits, gutters, and a re-surfaced retaining wall, here it is now.
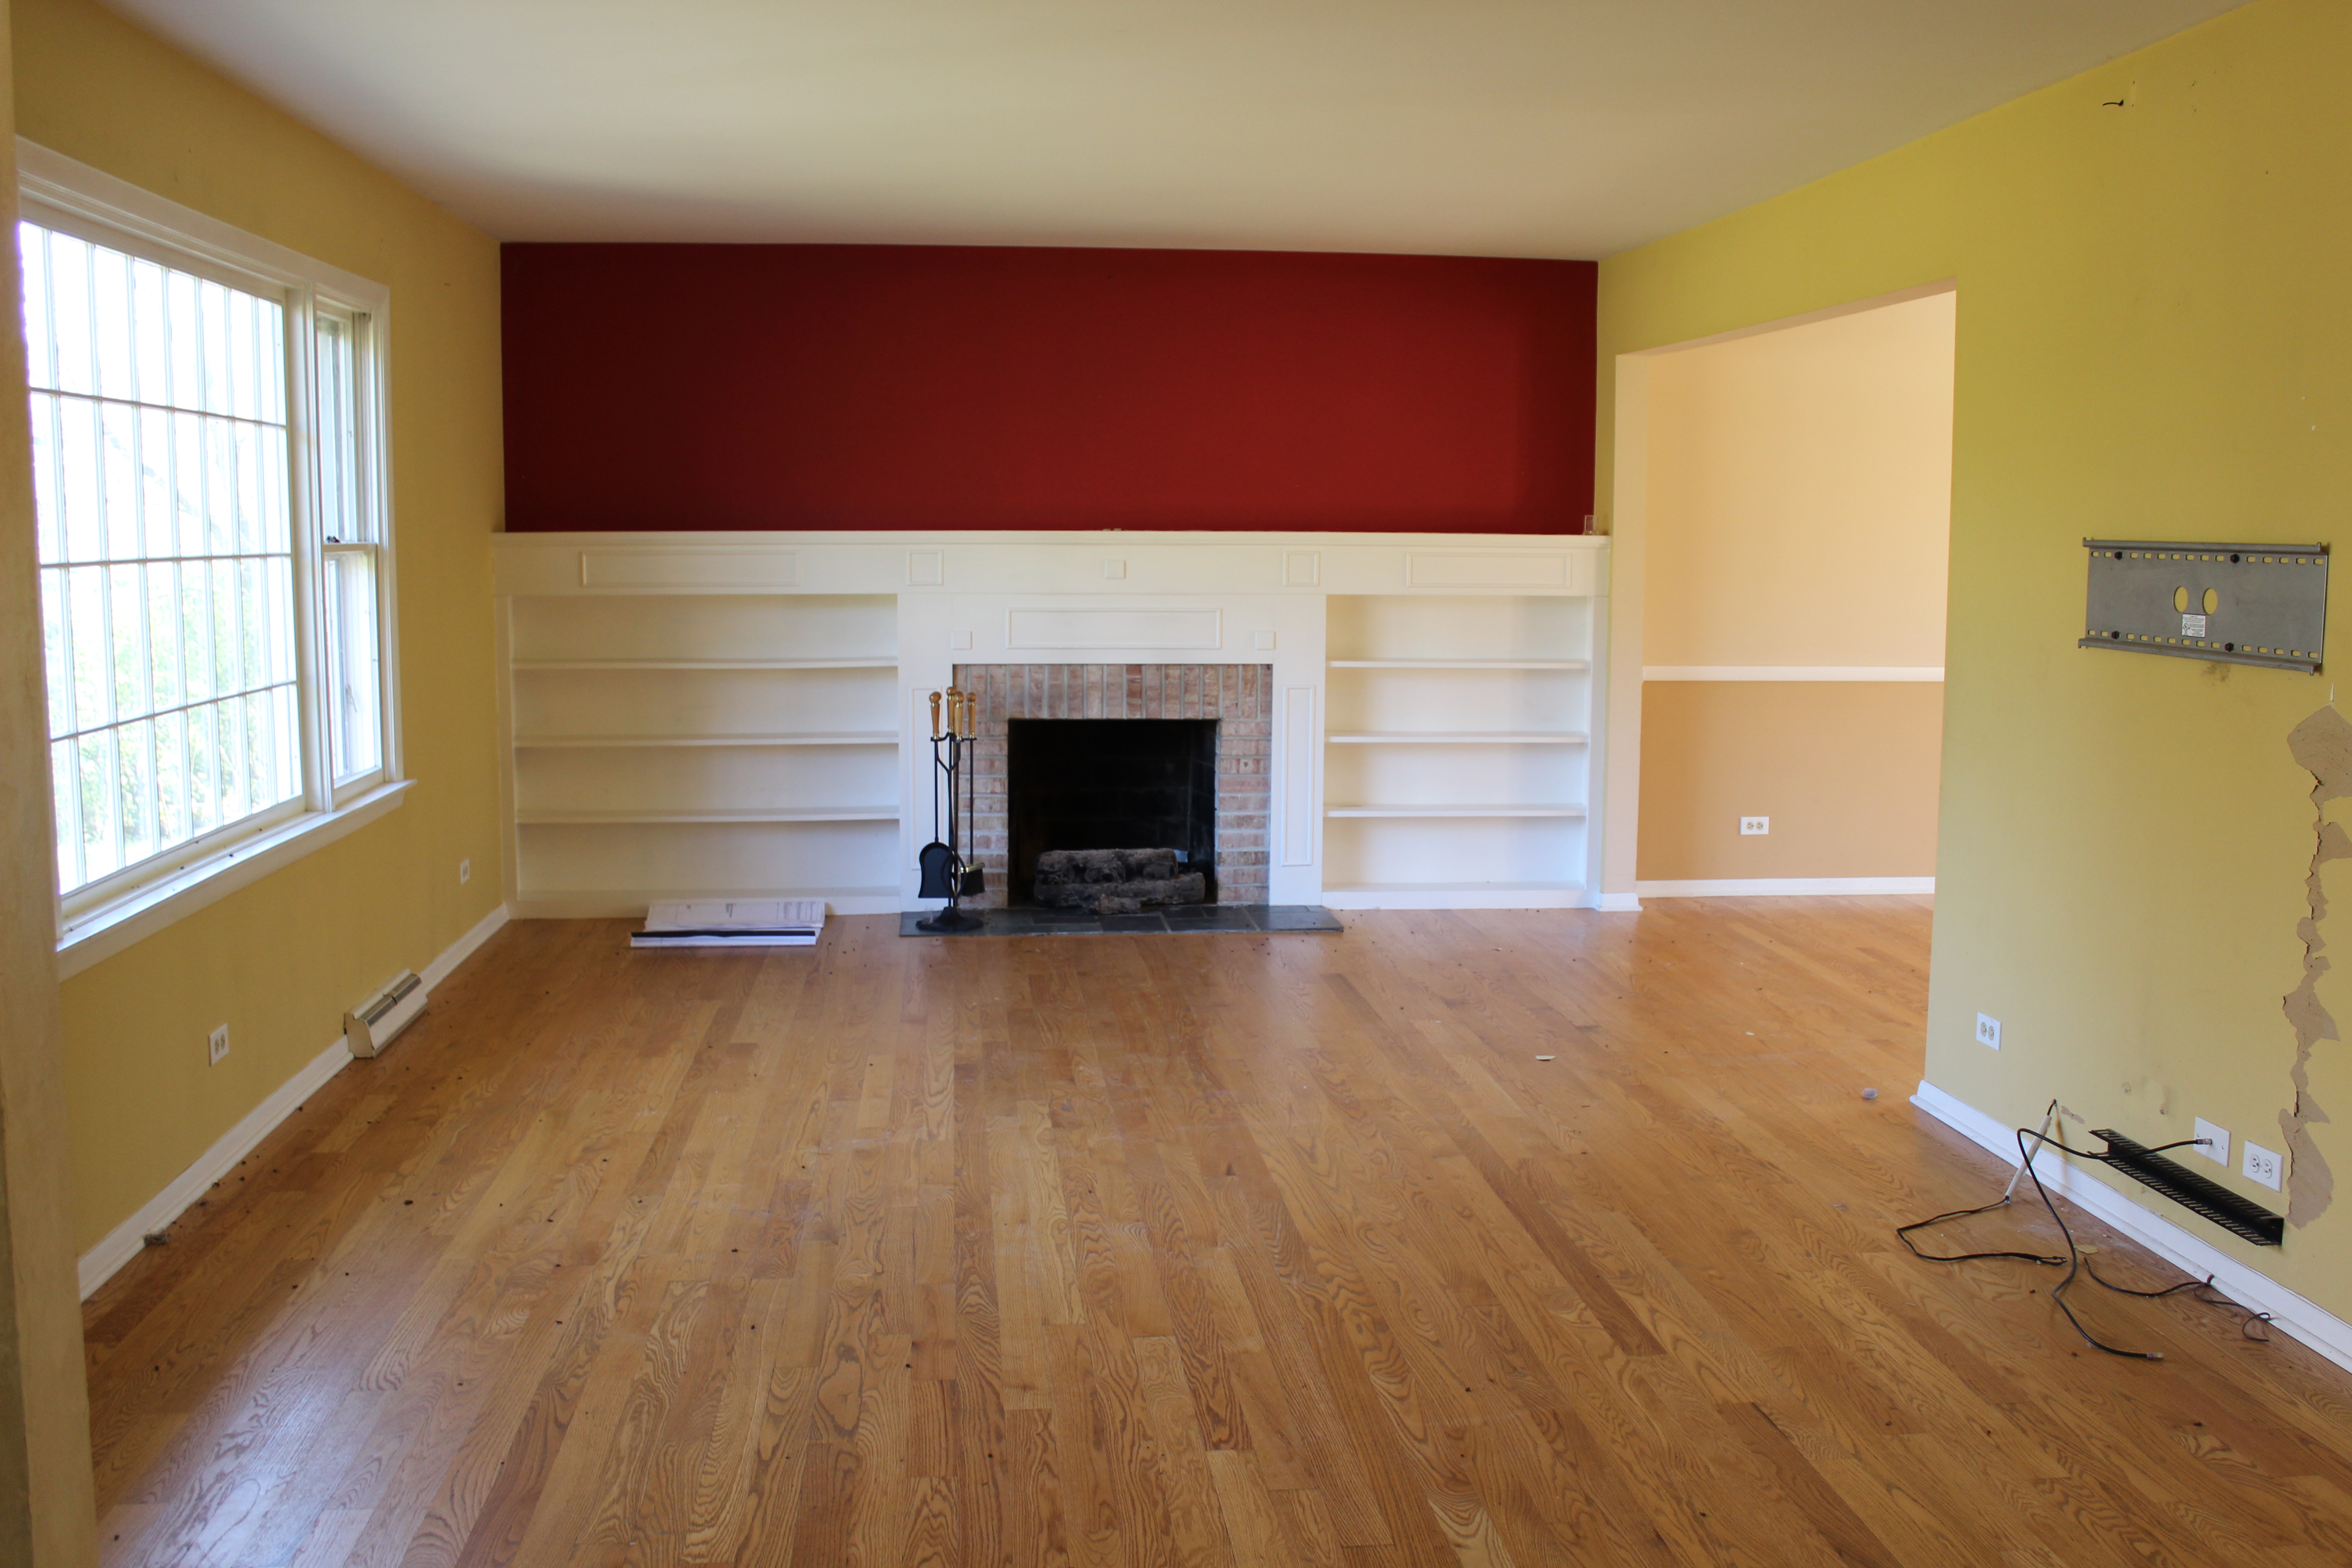
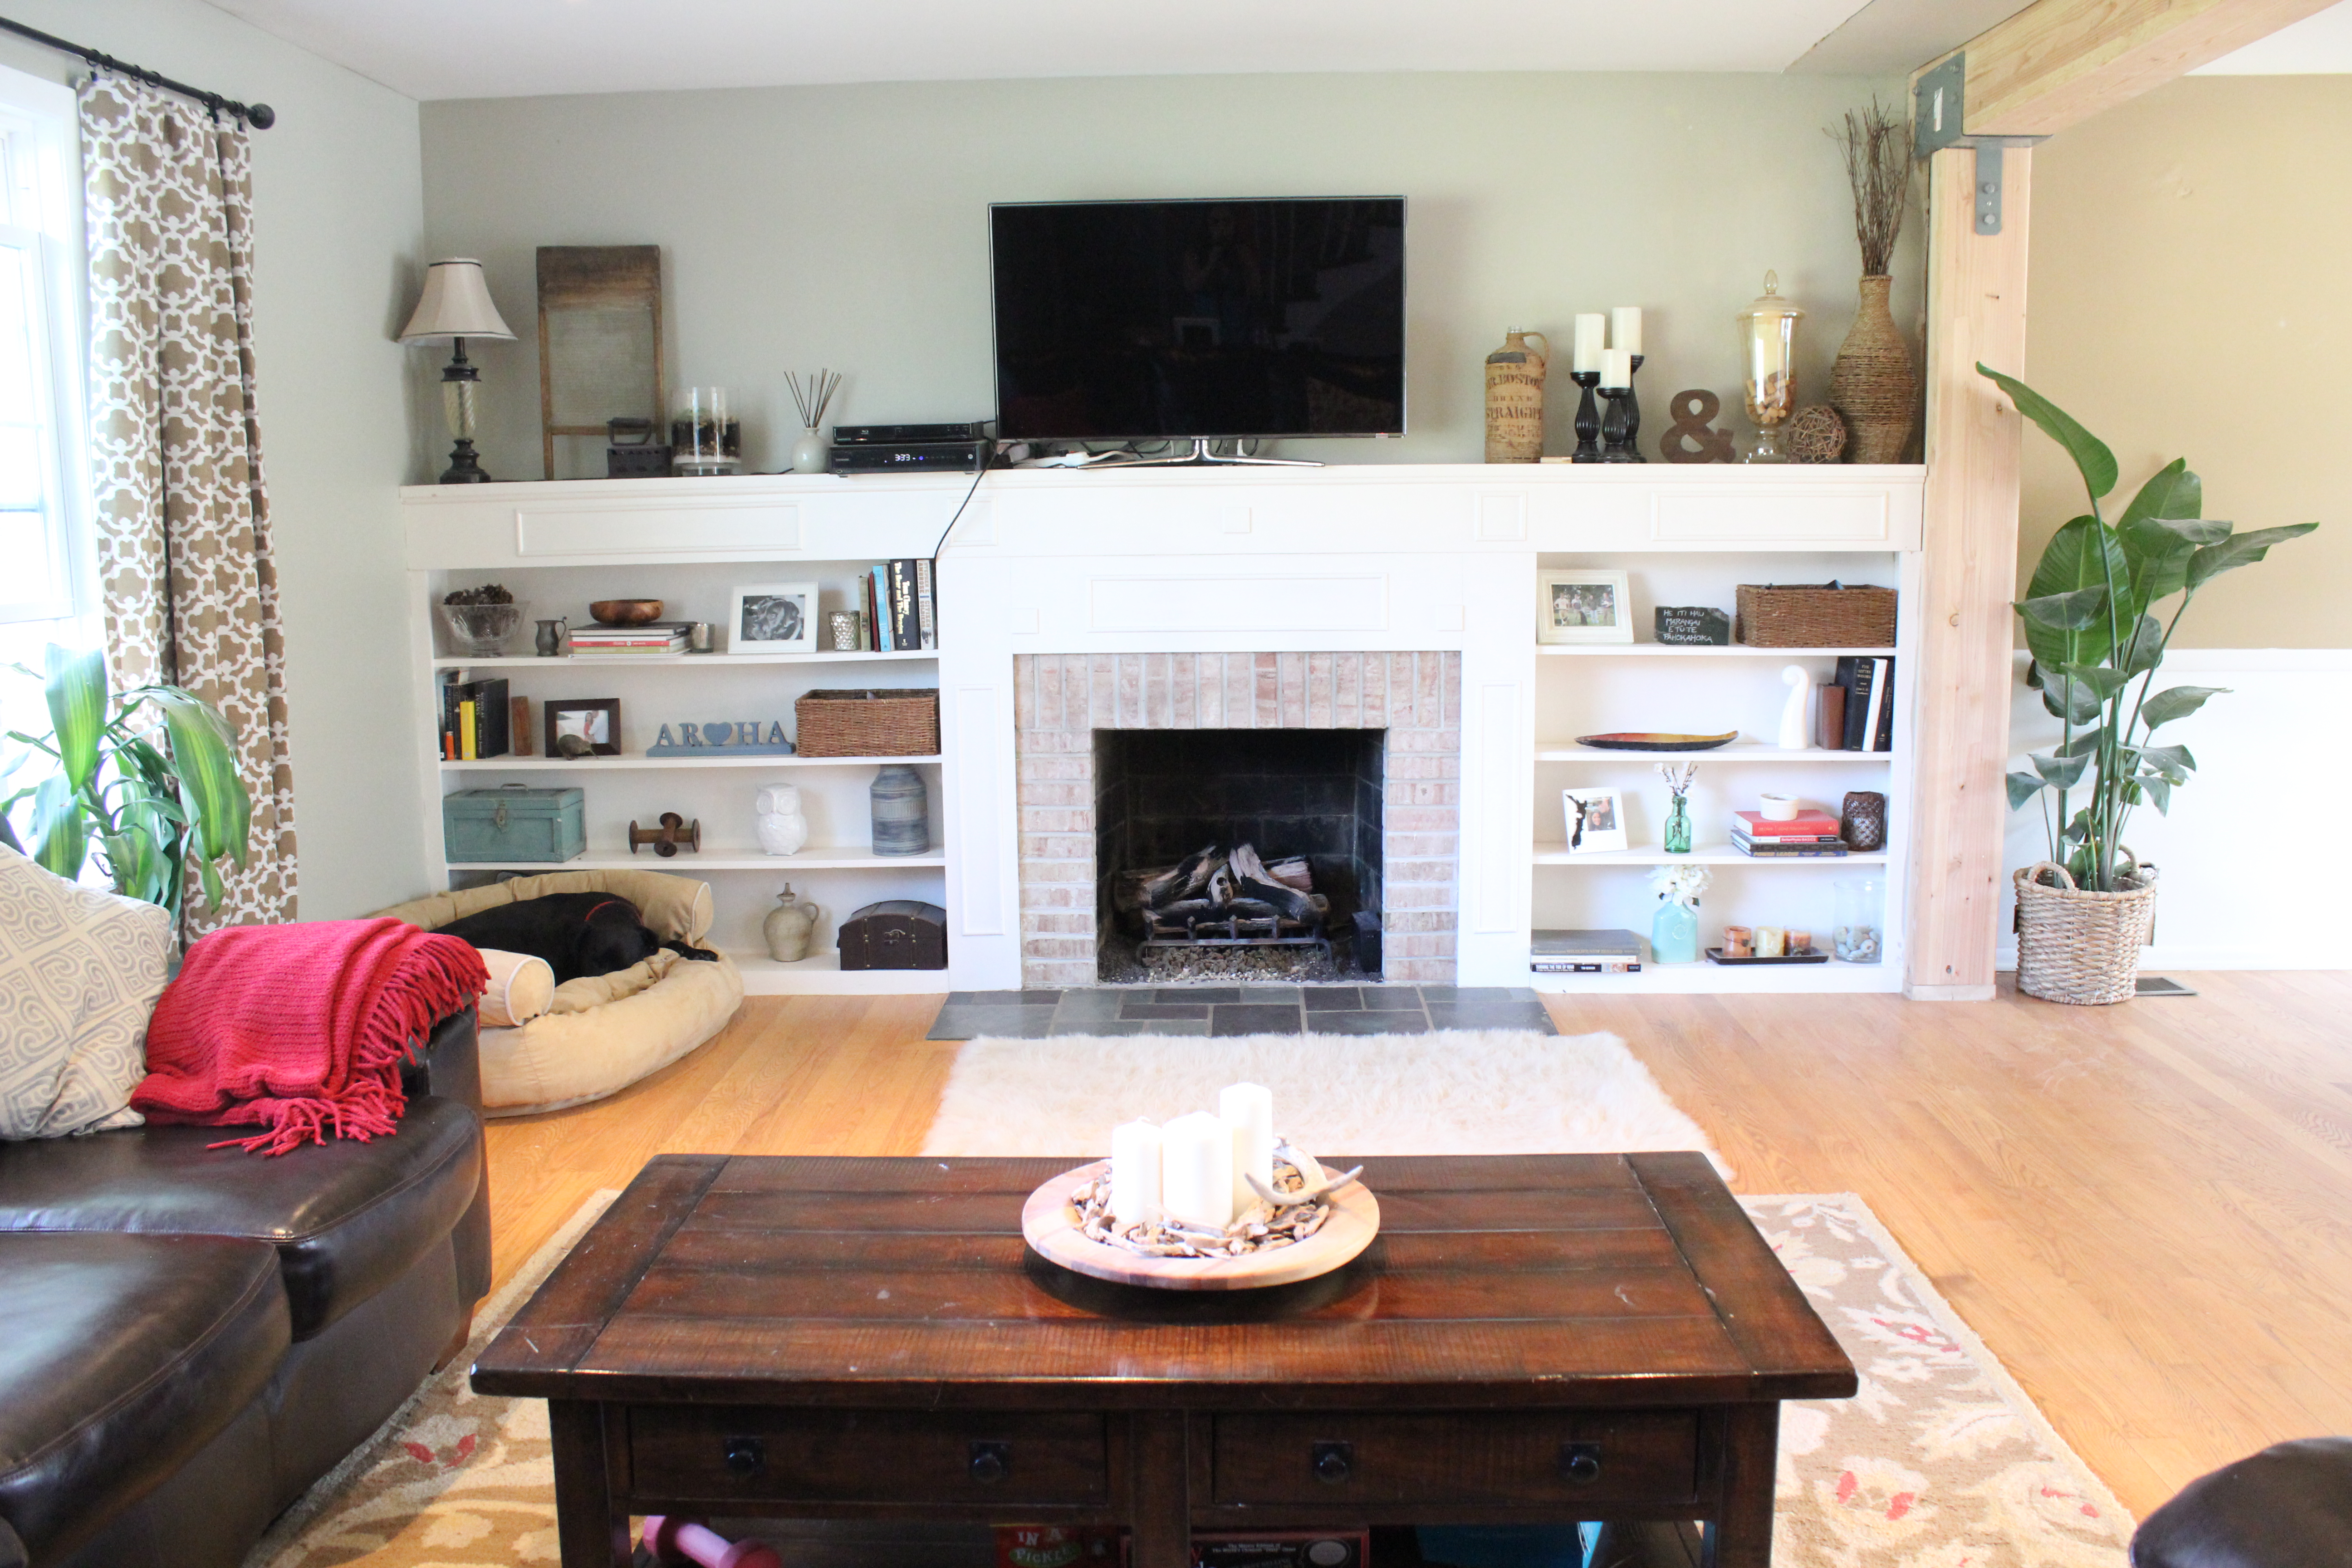
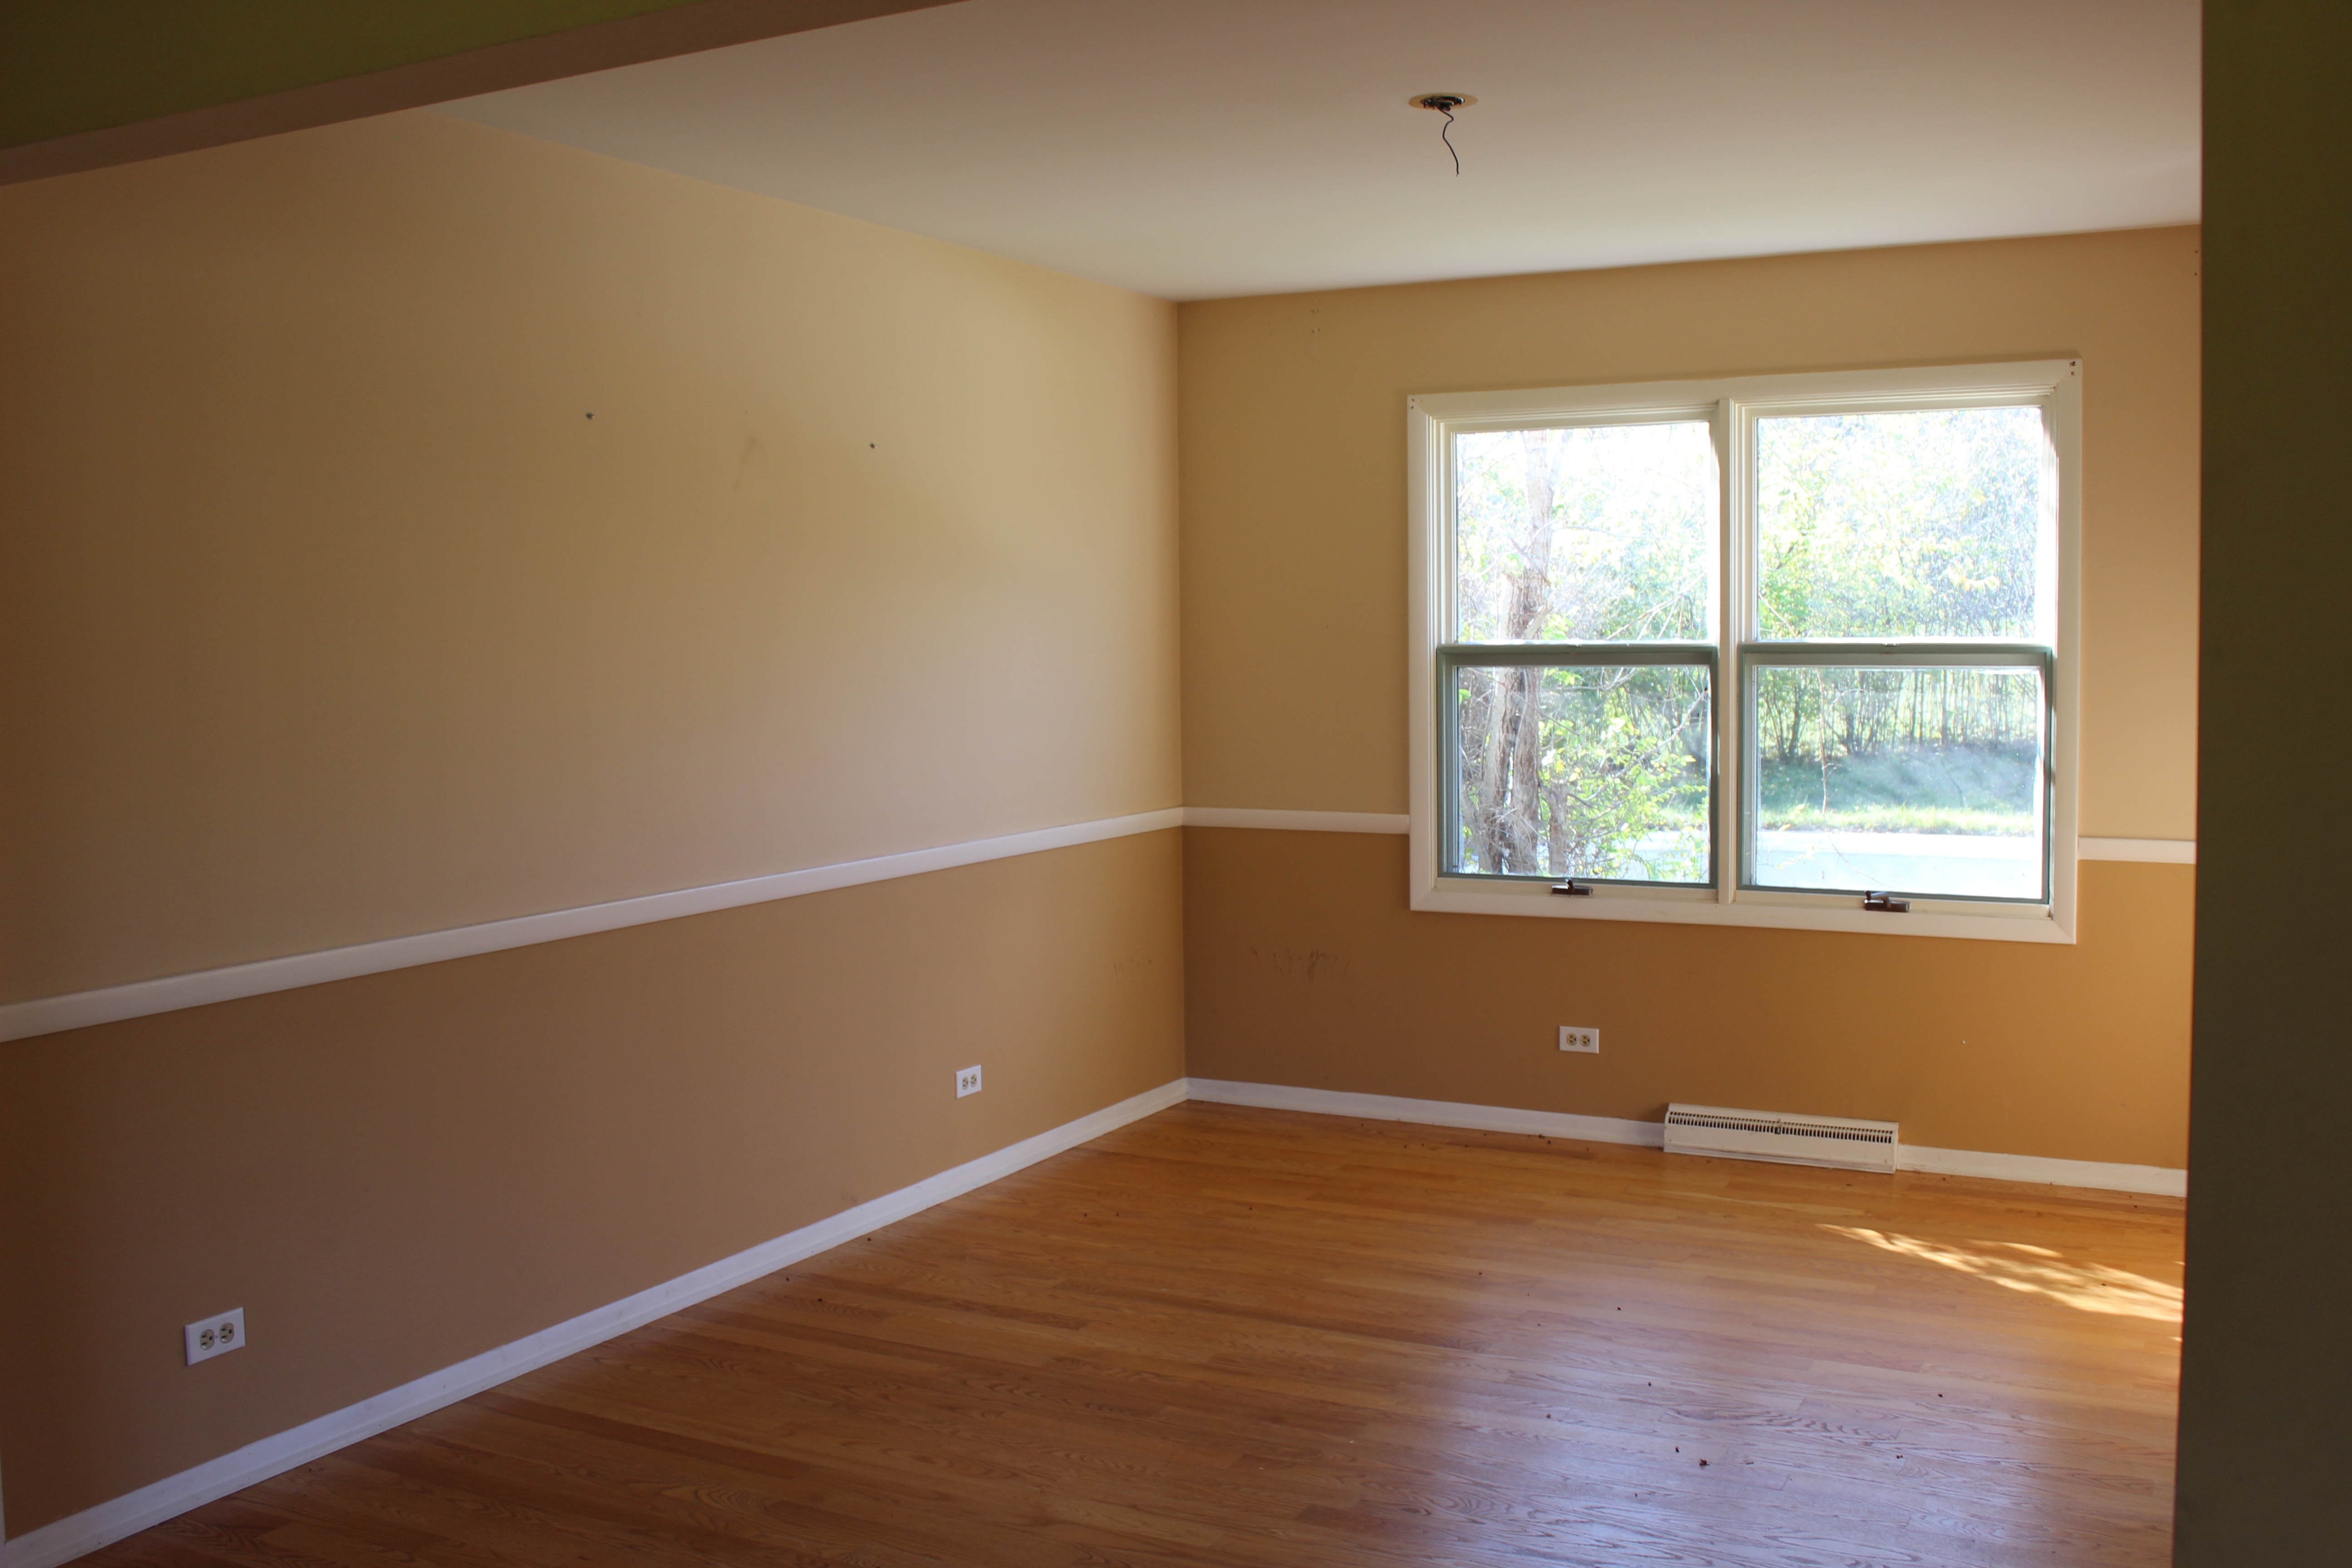
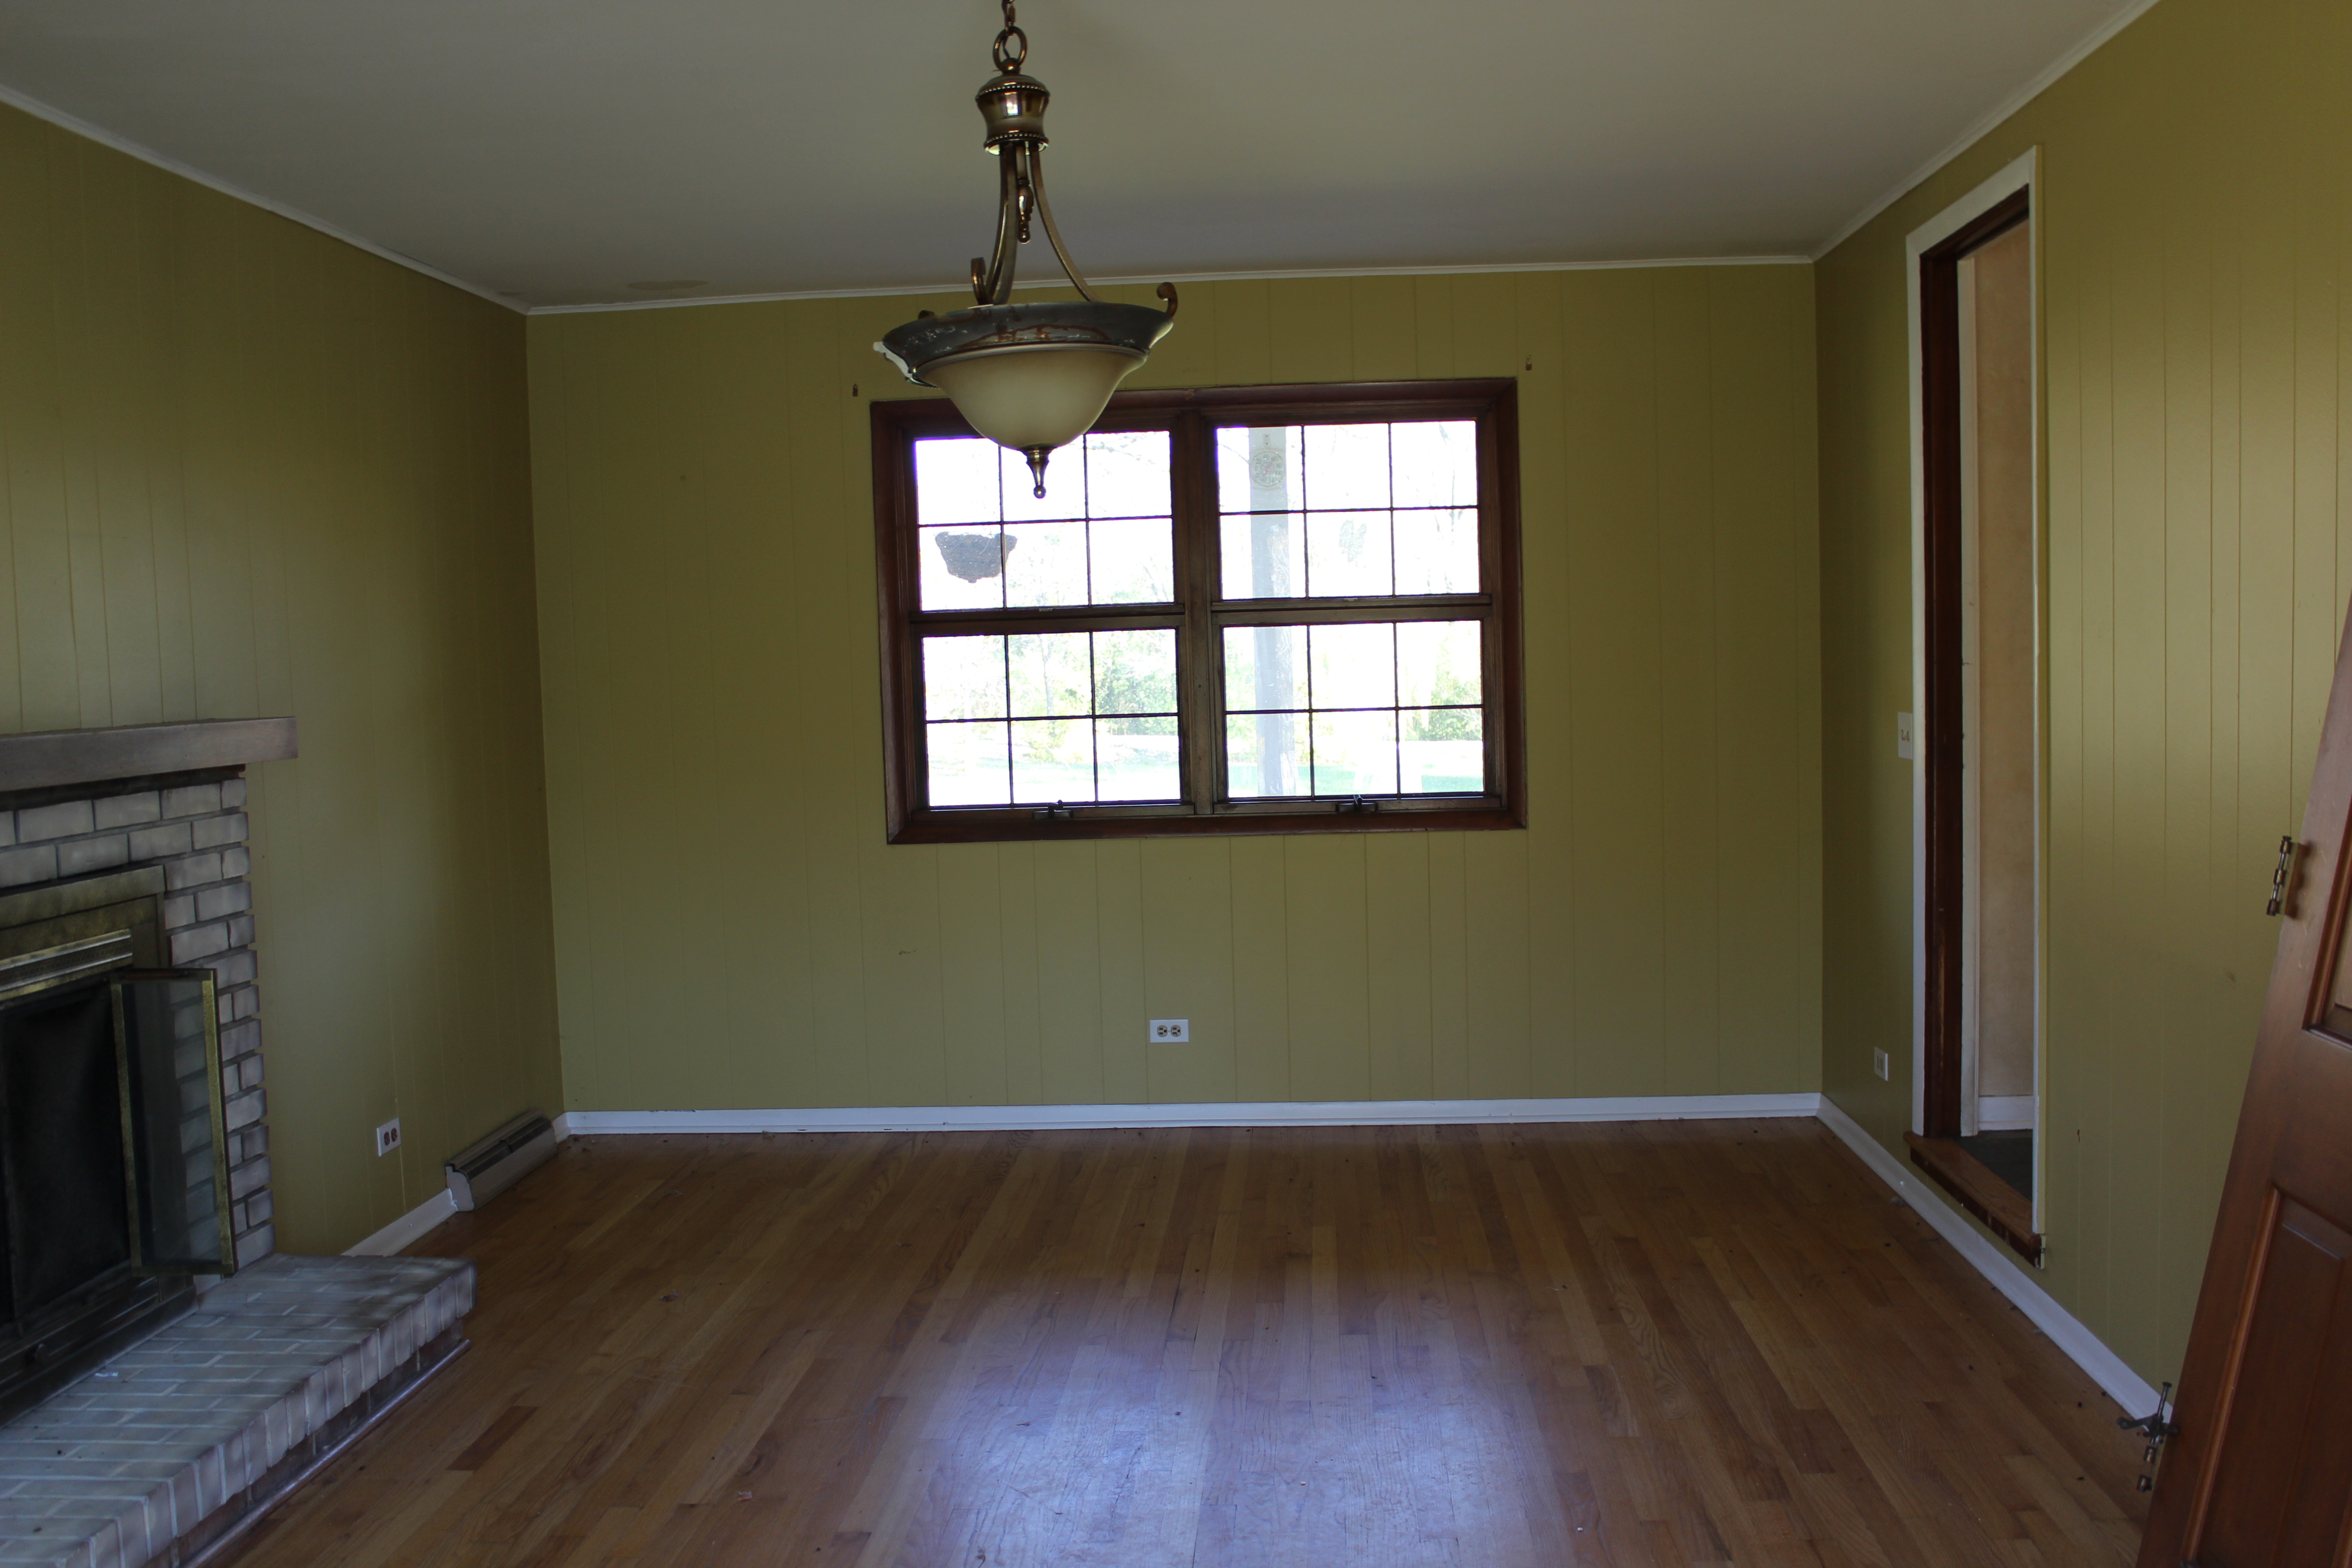
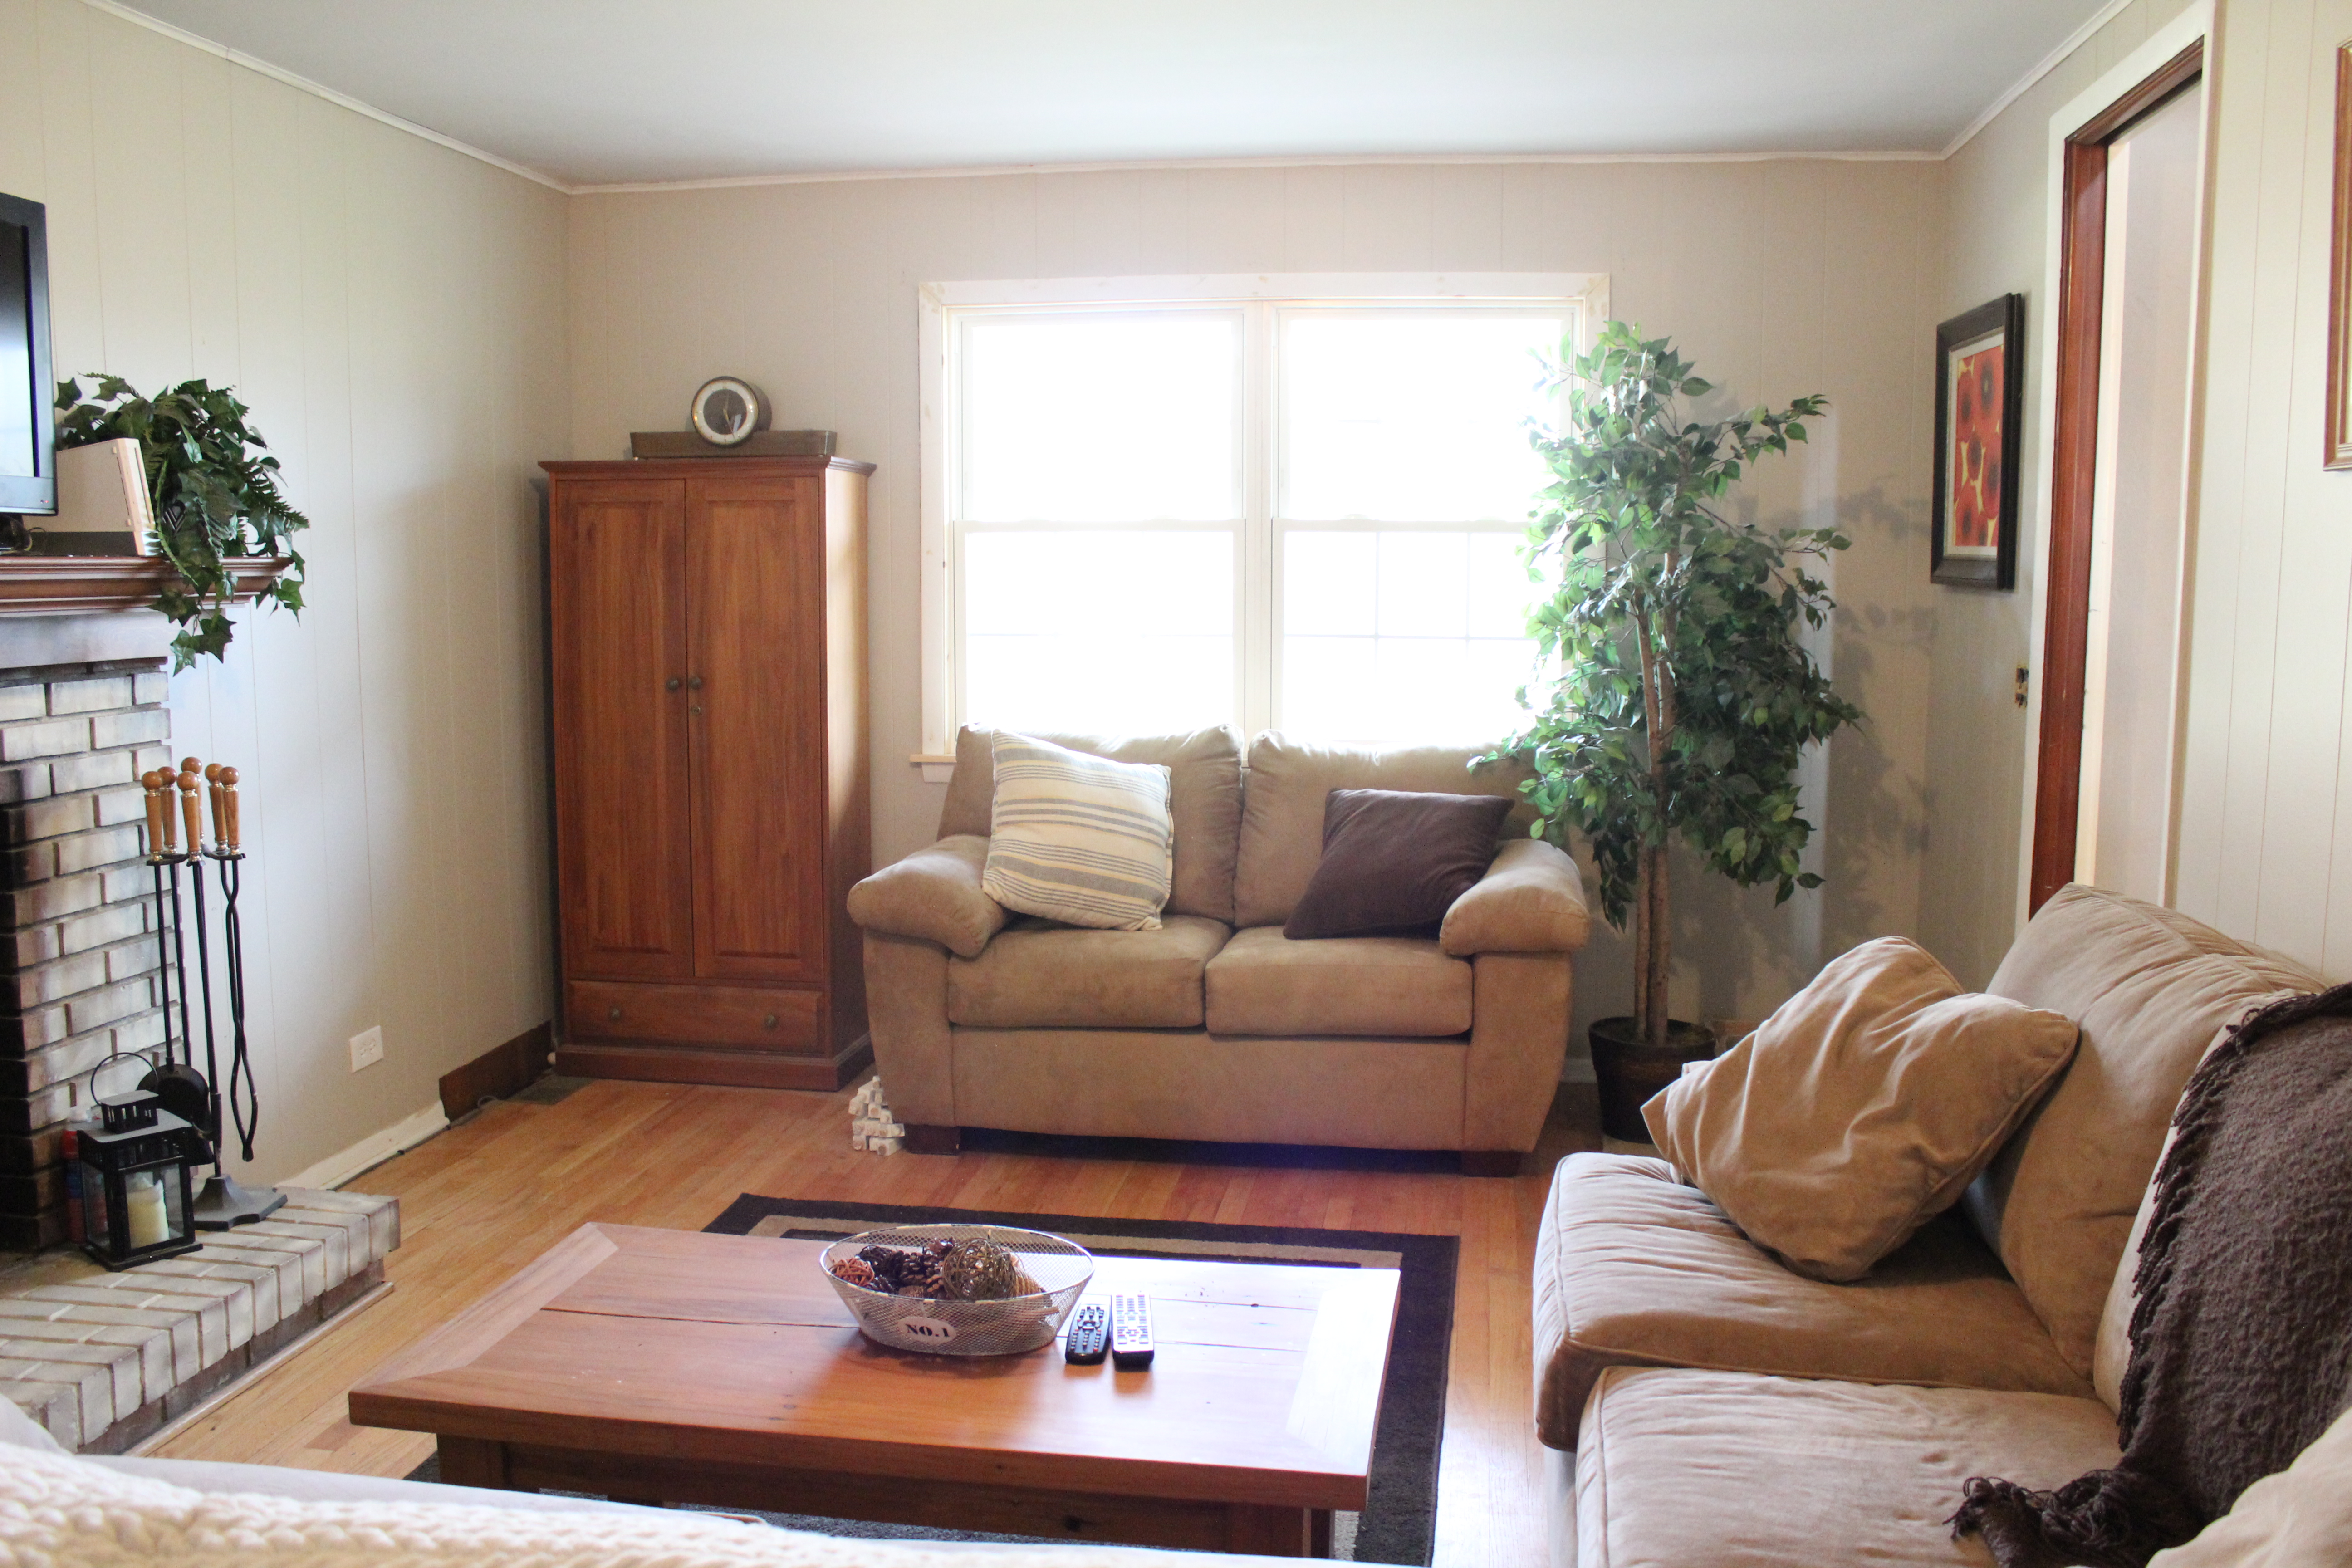
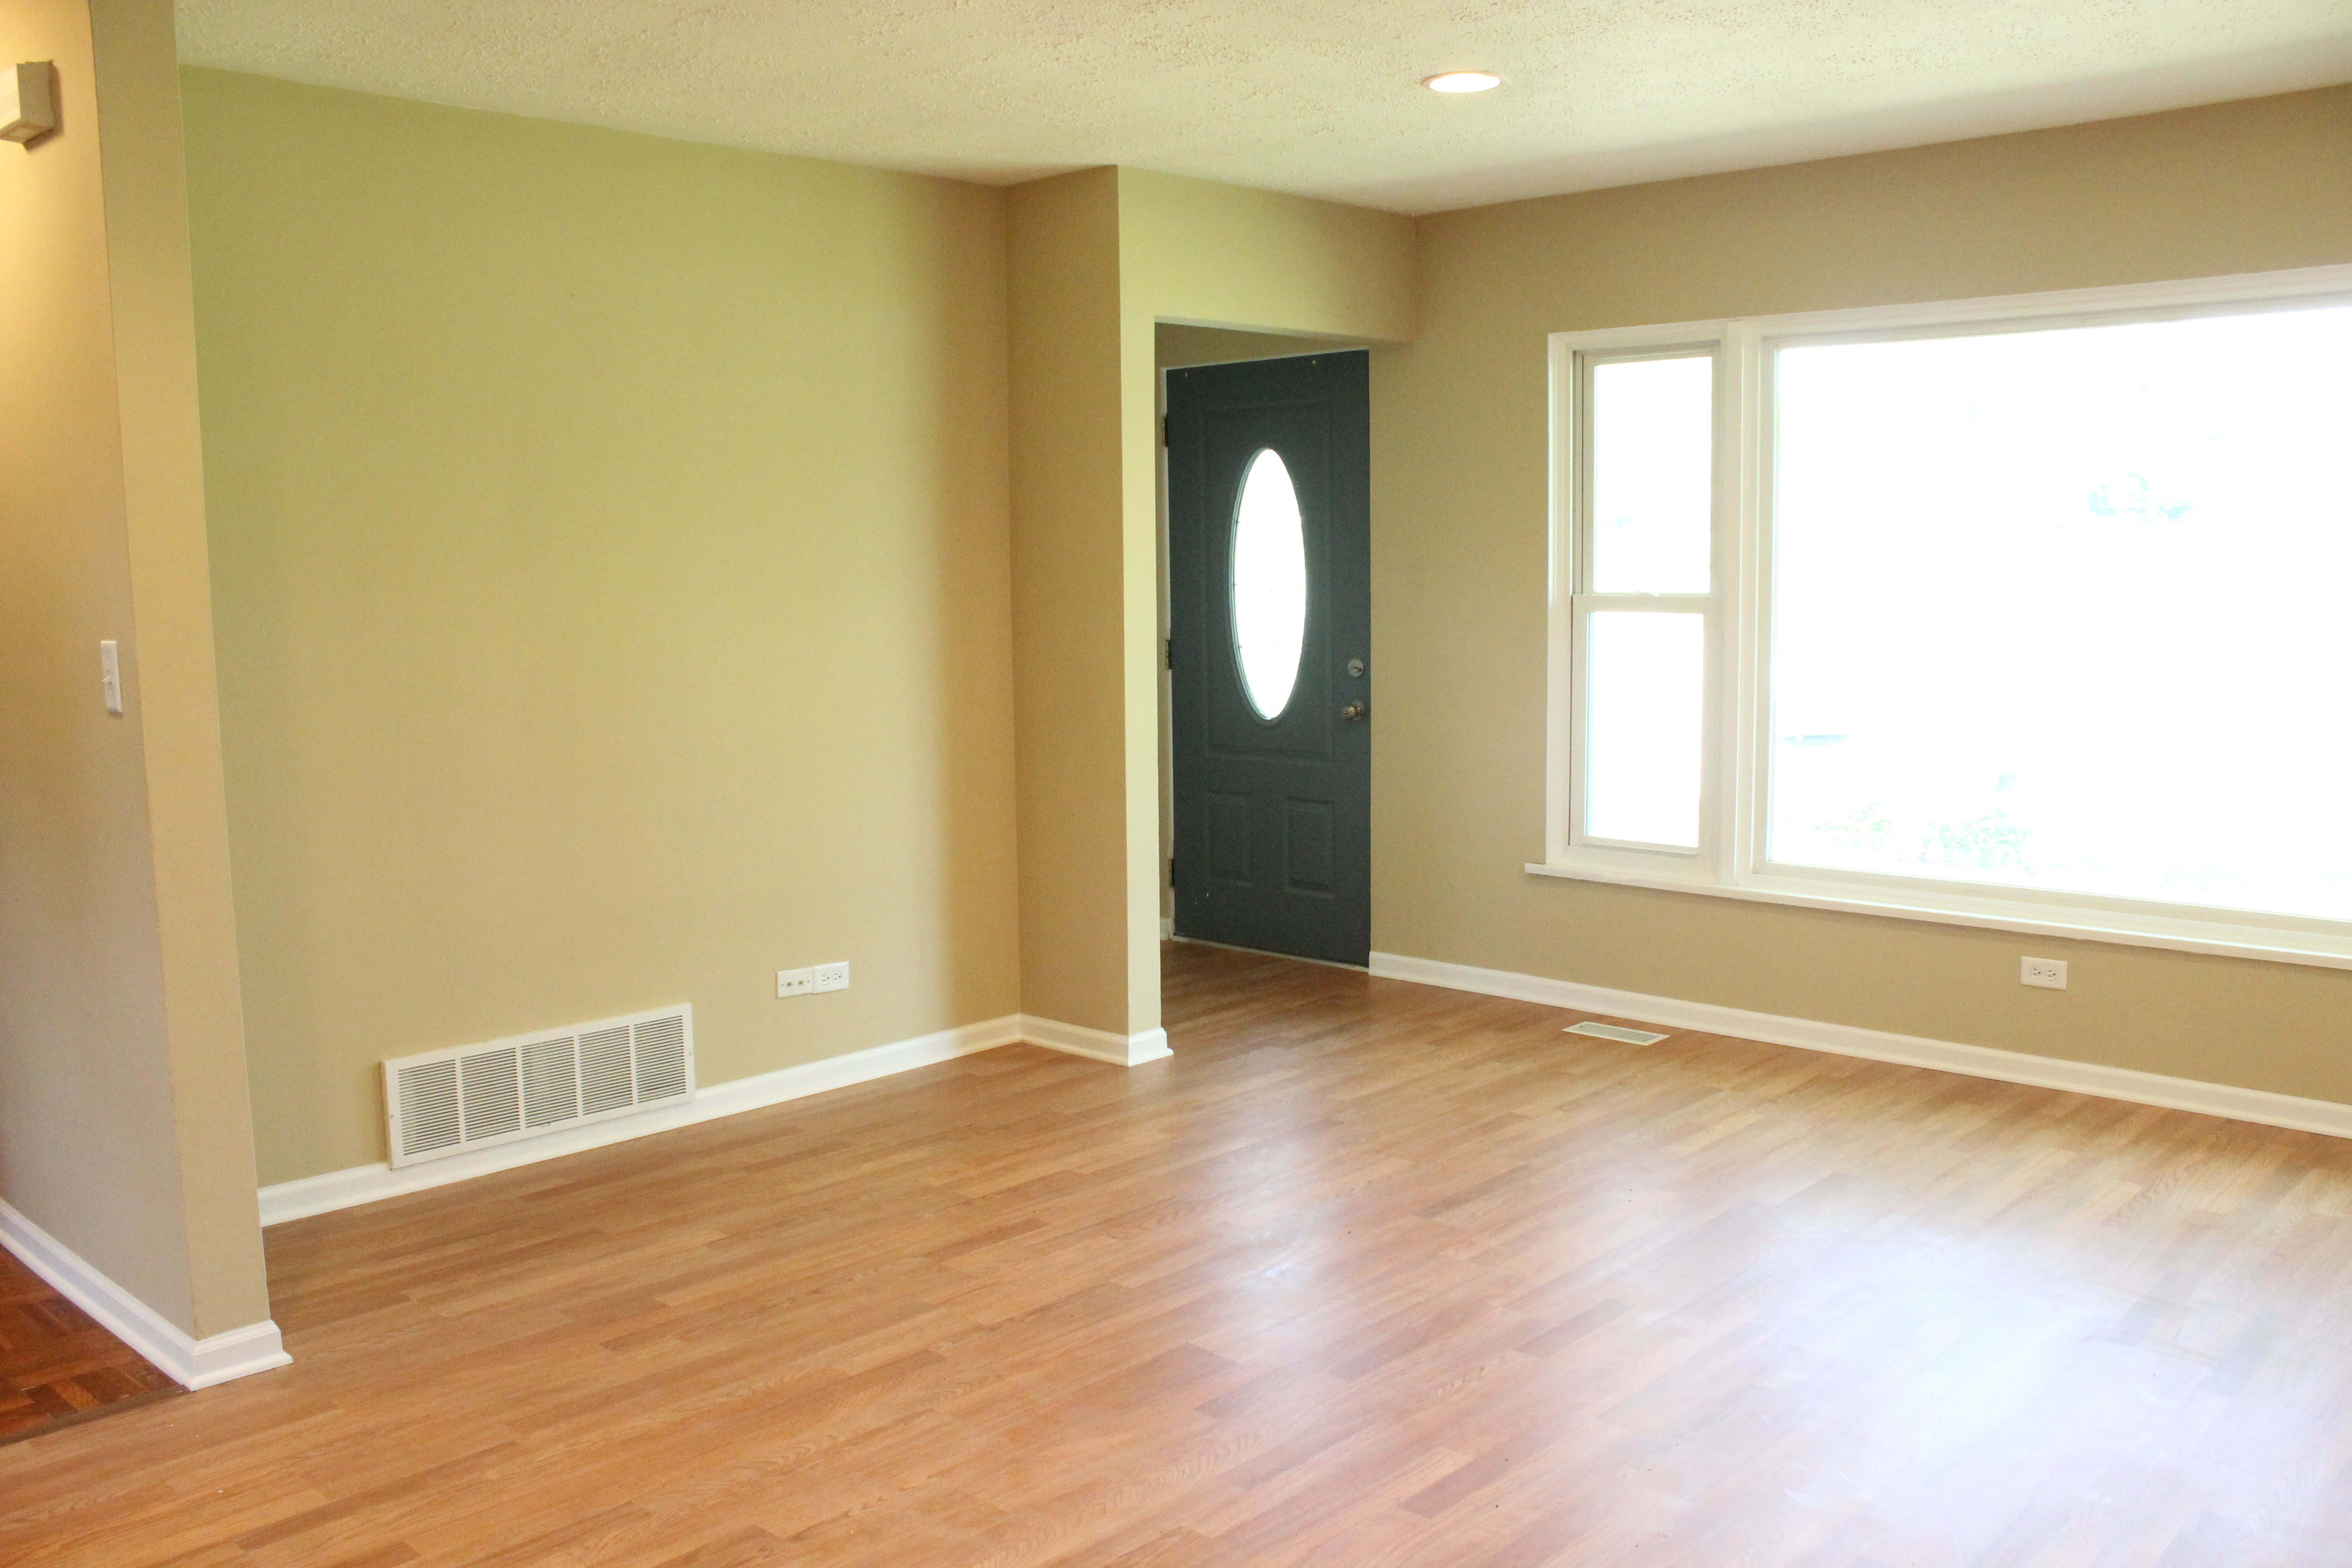
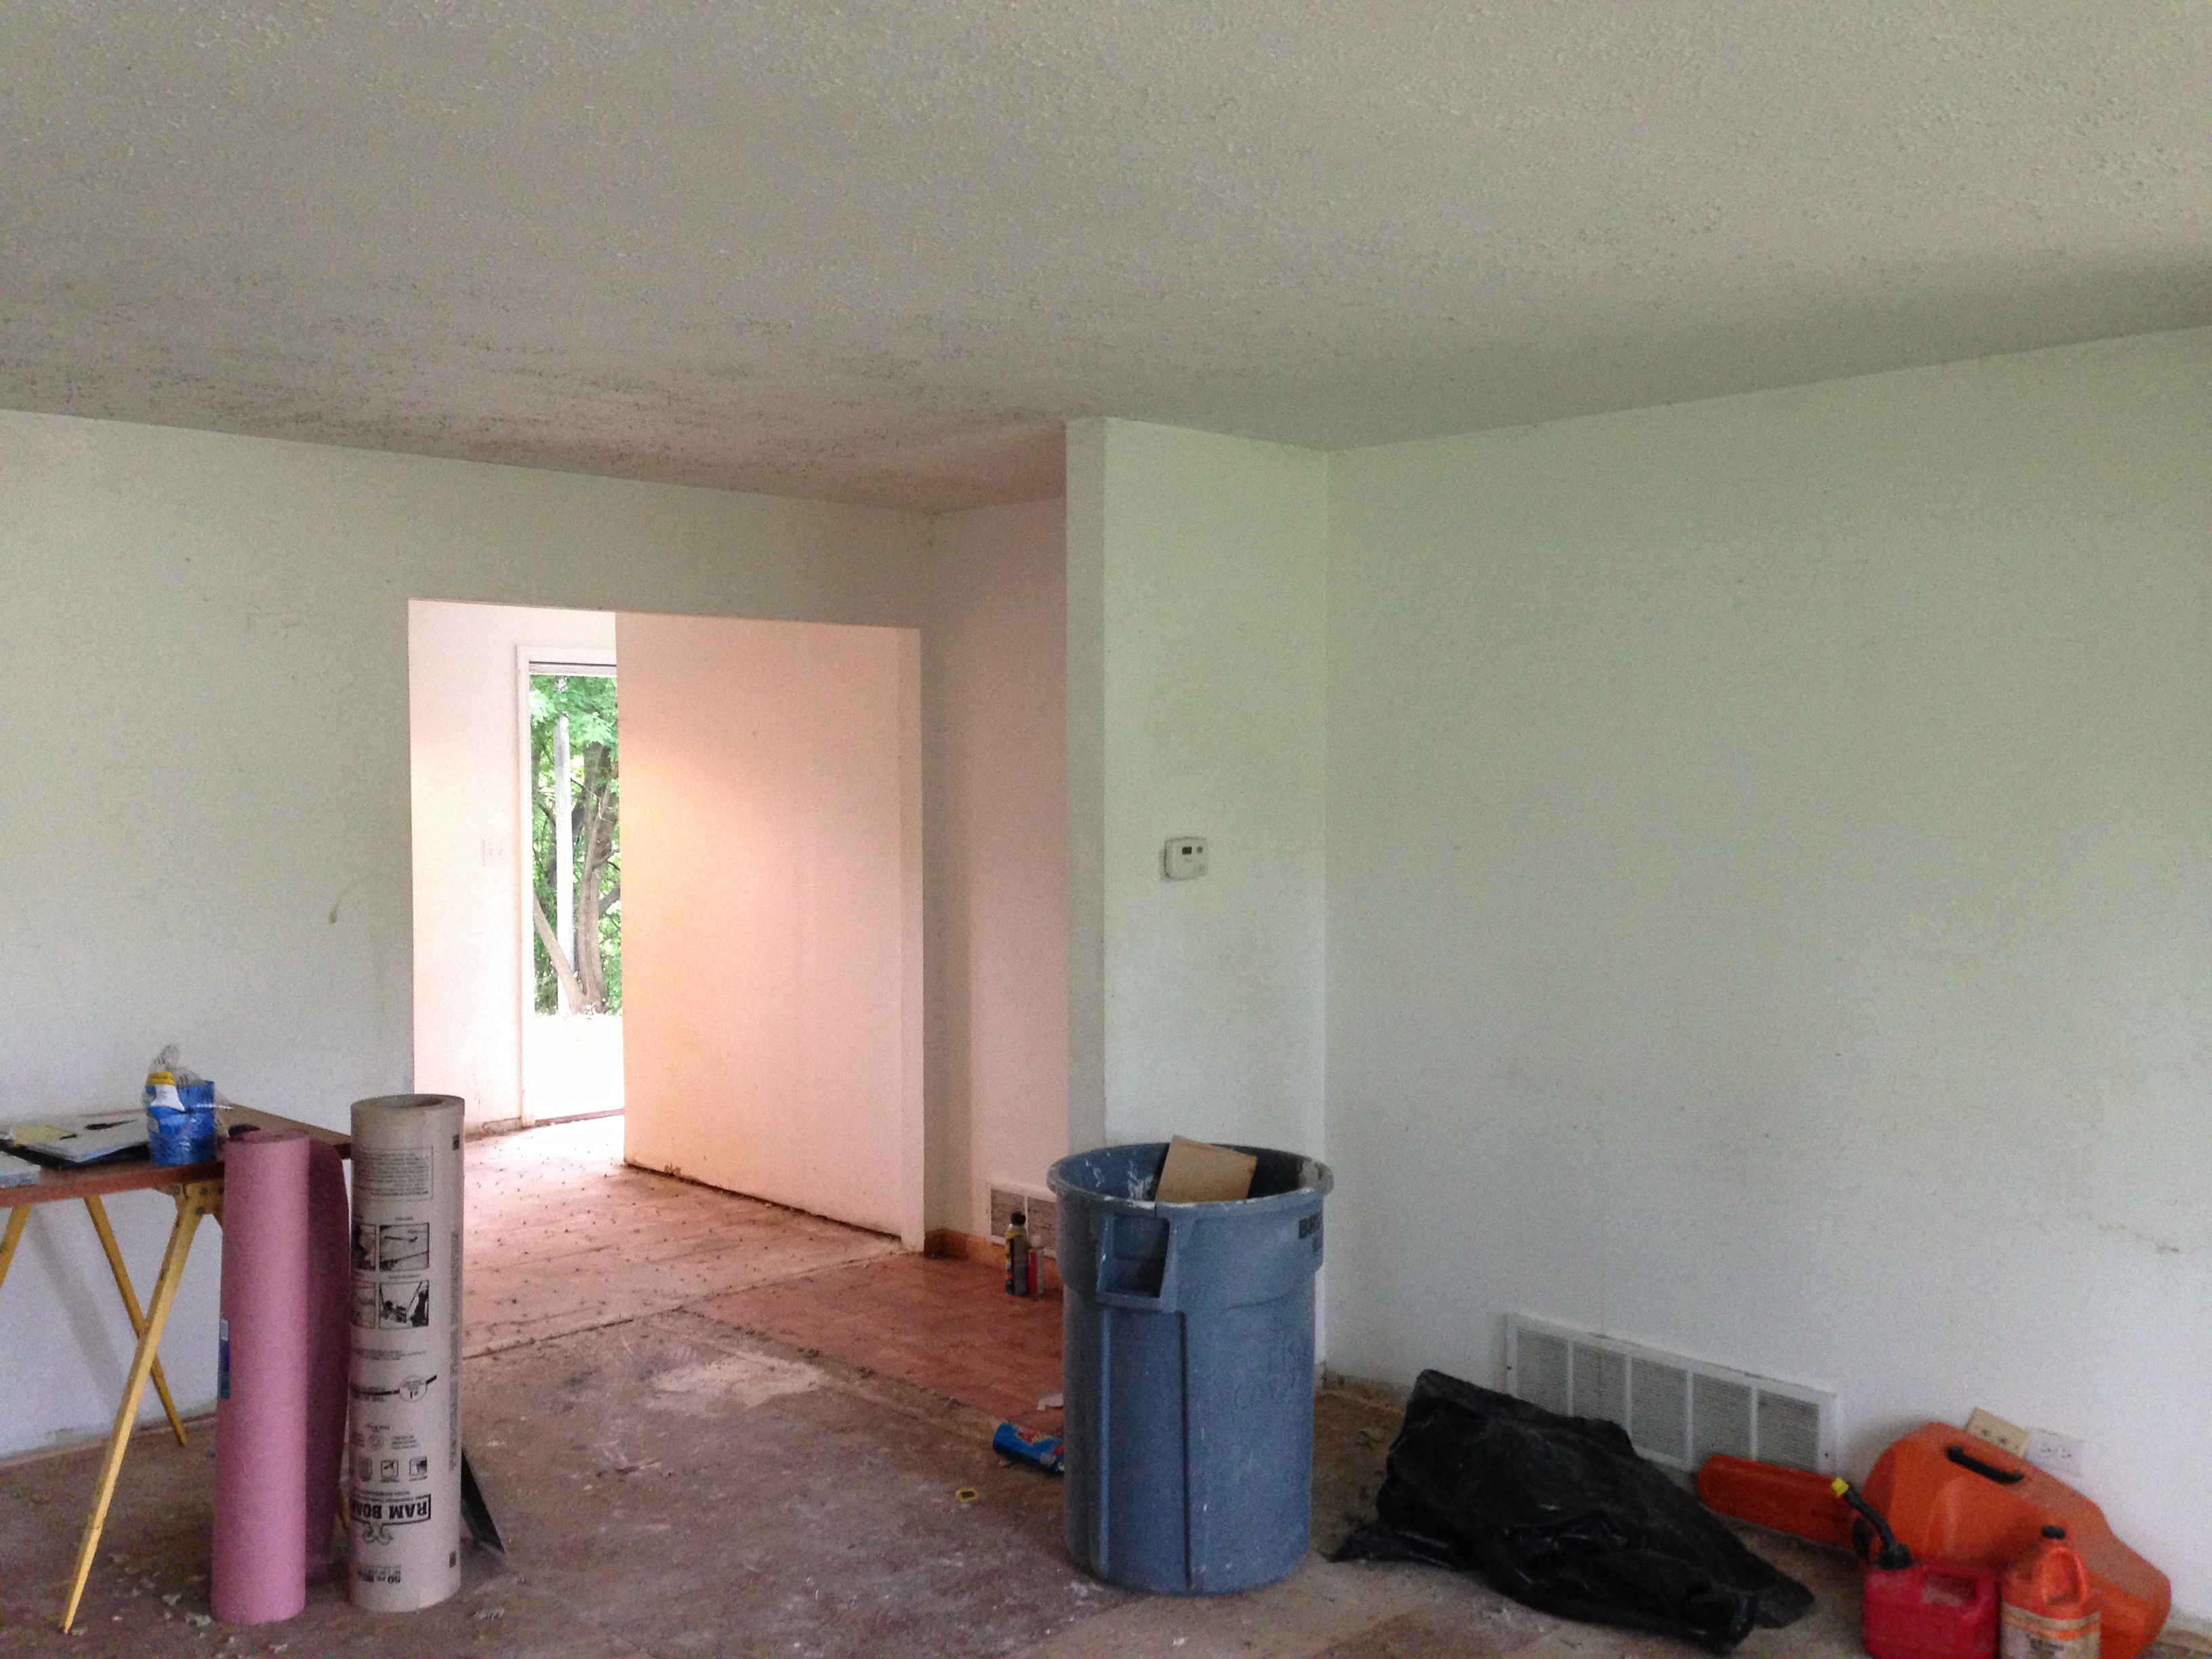
Moving inside to the living room. Here is the before:

And after some paint, trim, lights and new floors:

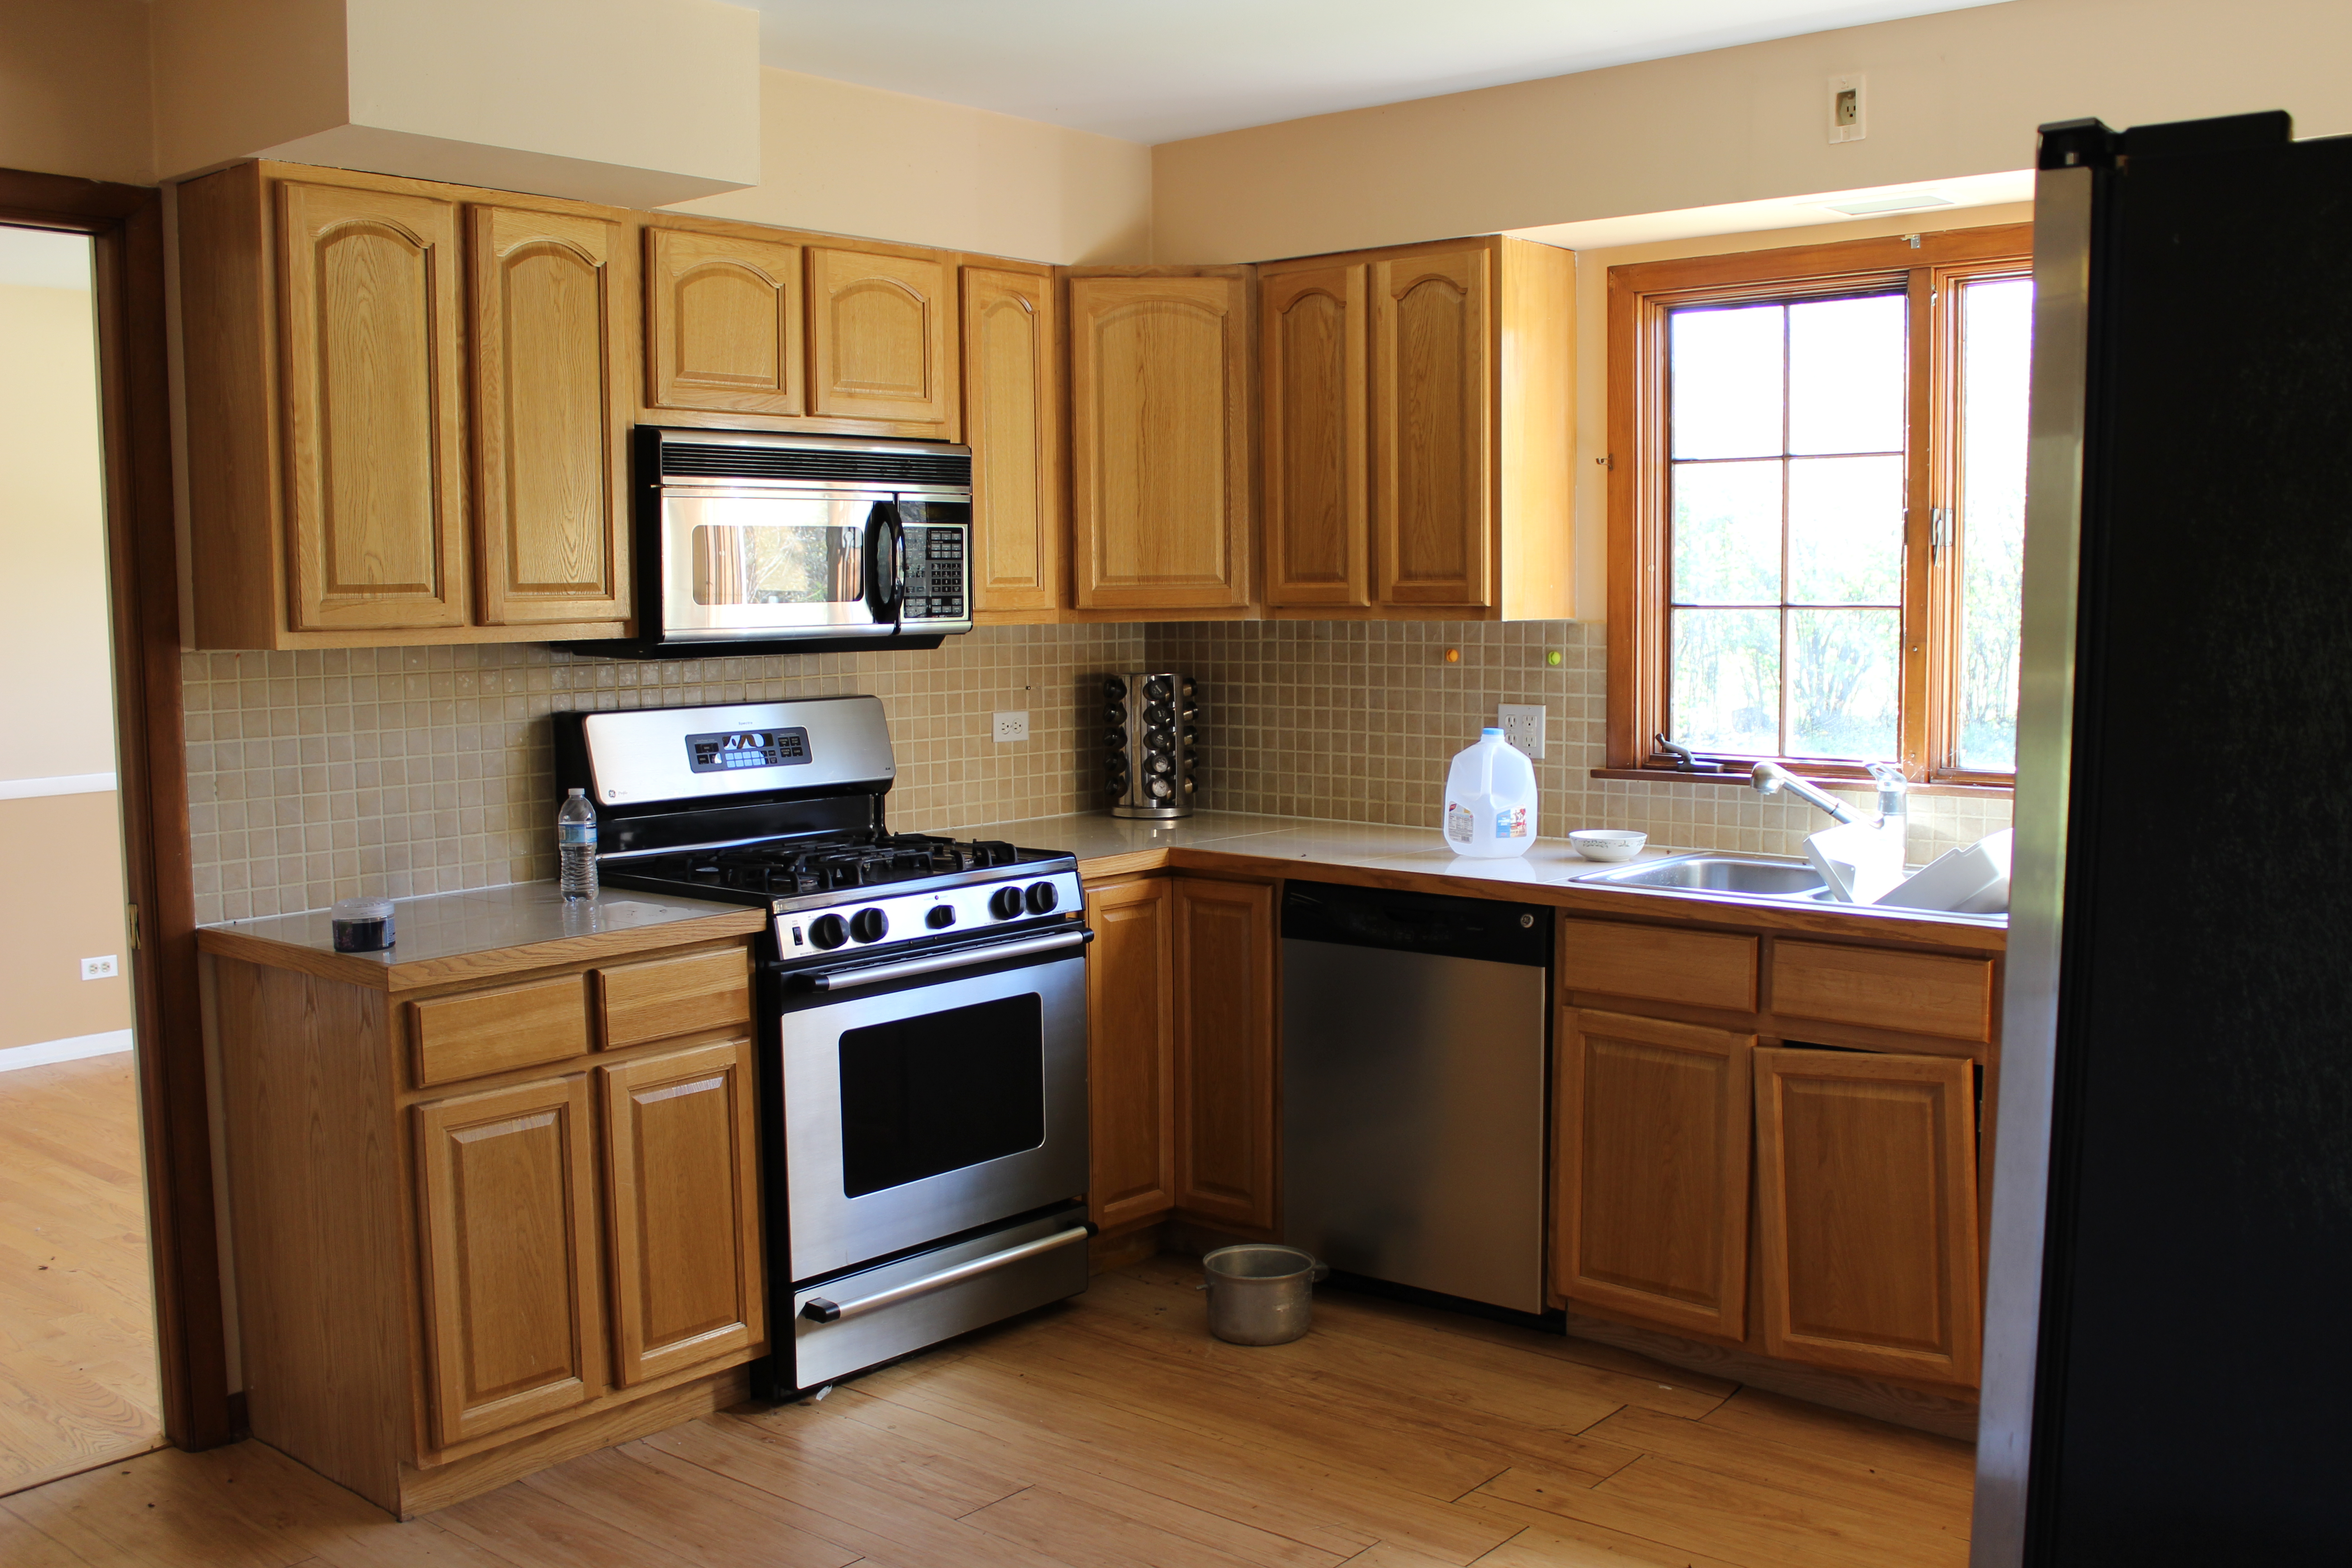
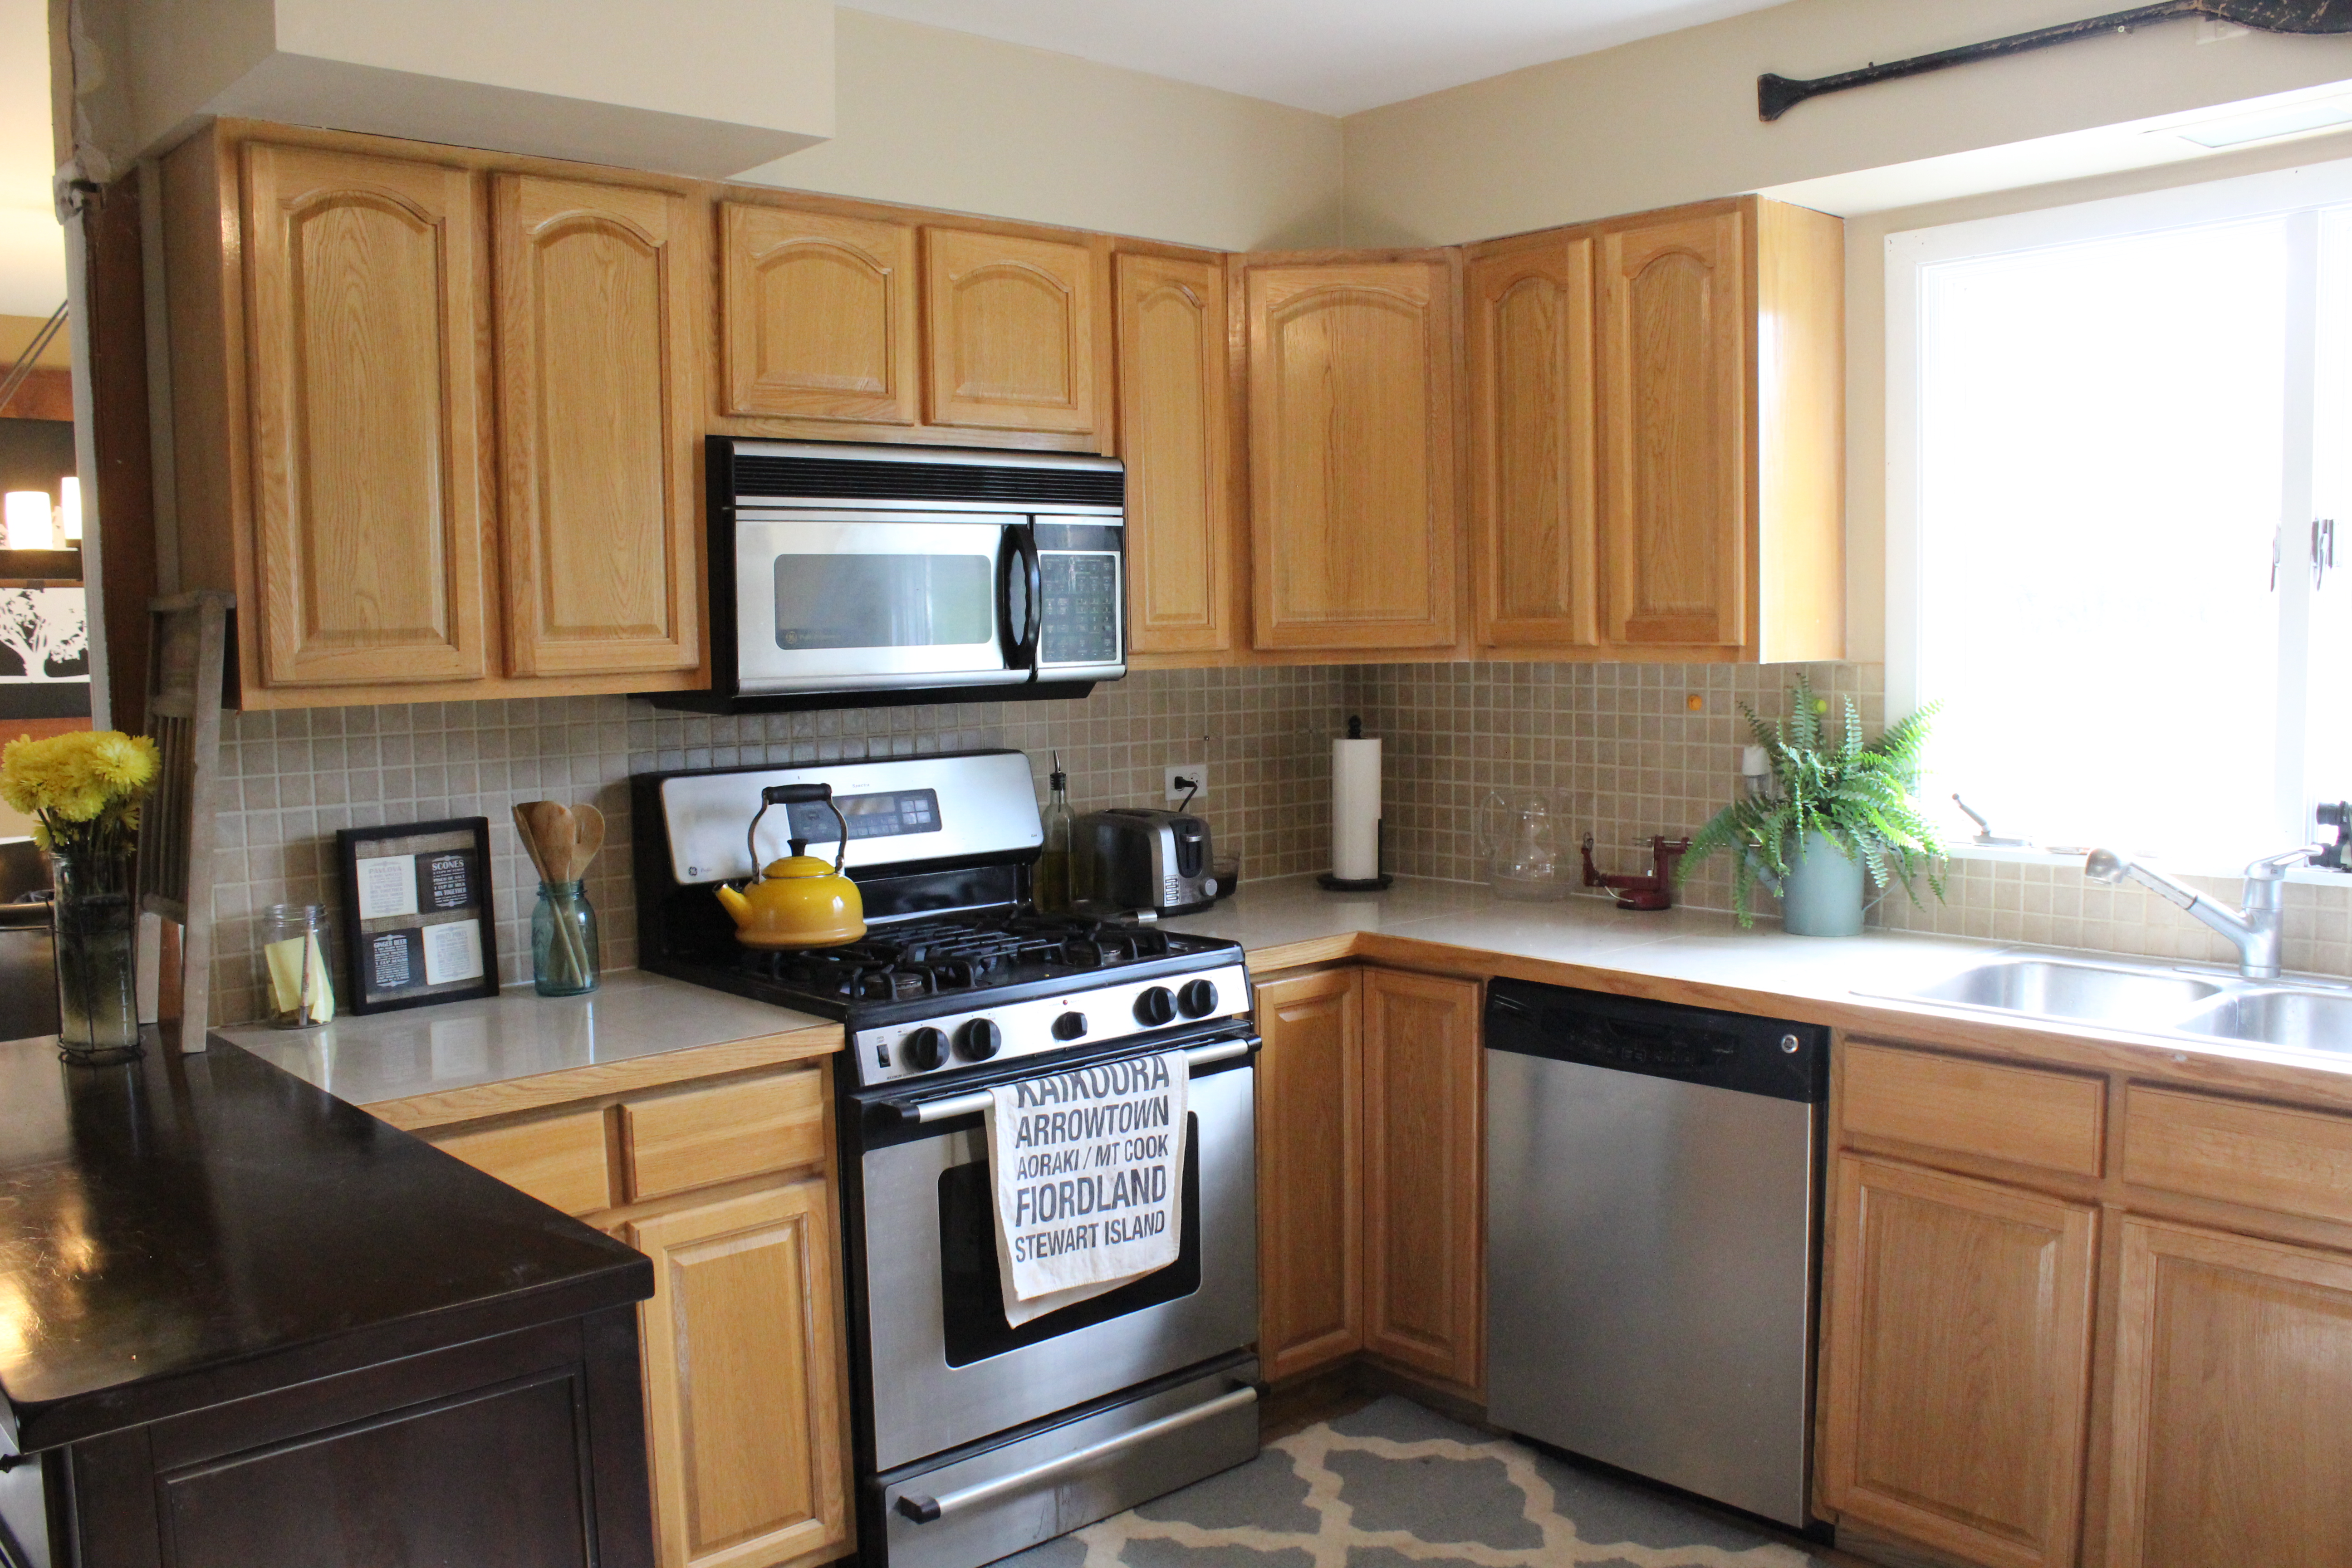
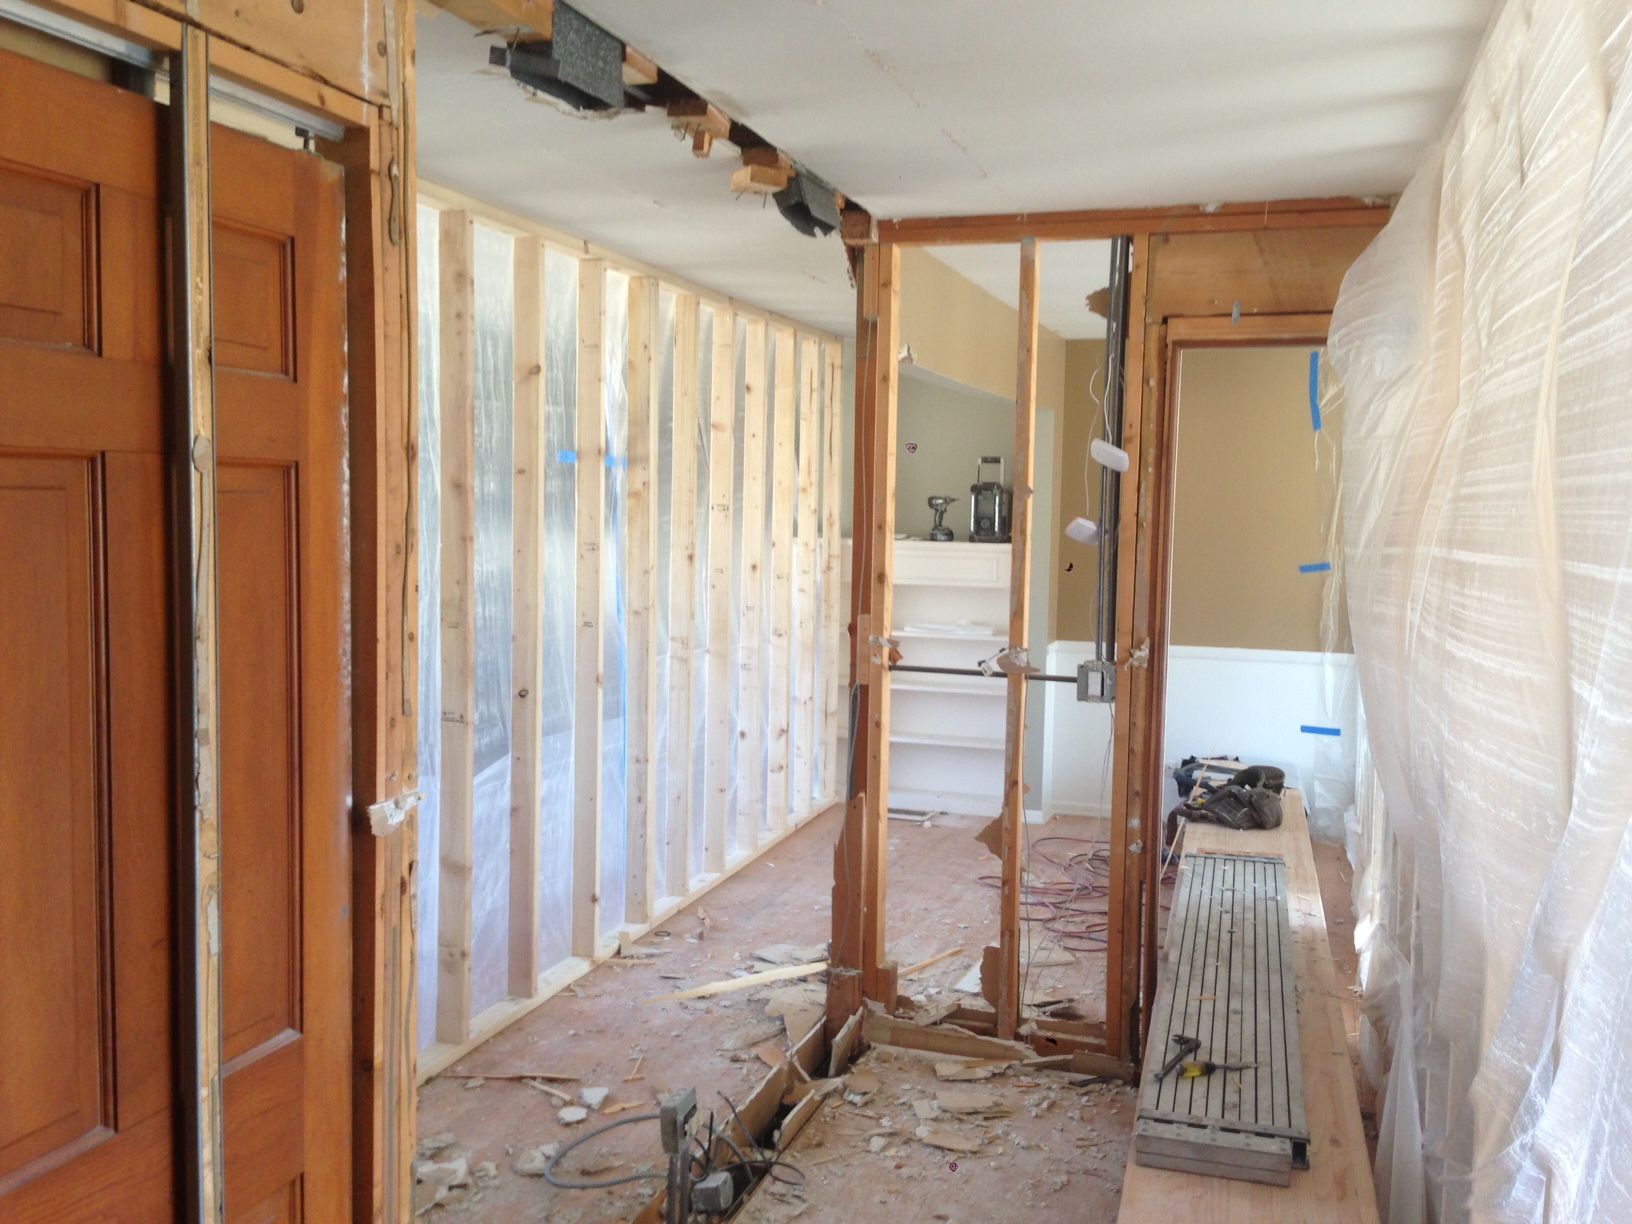
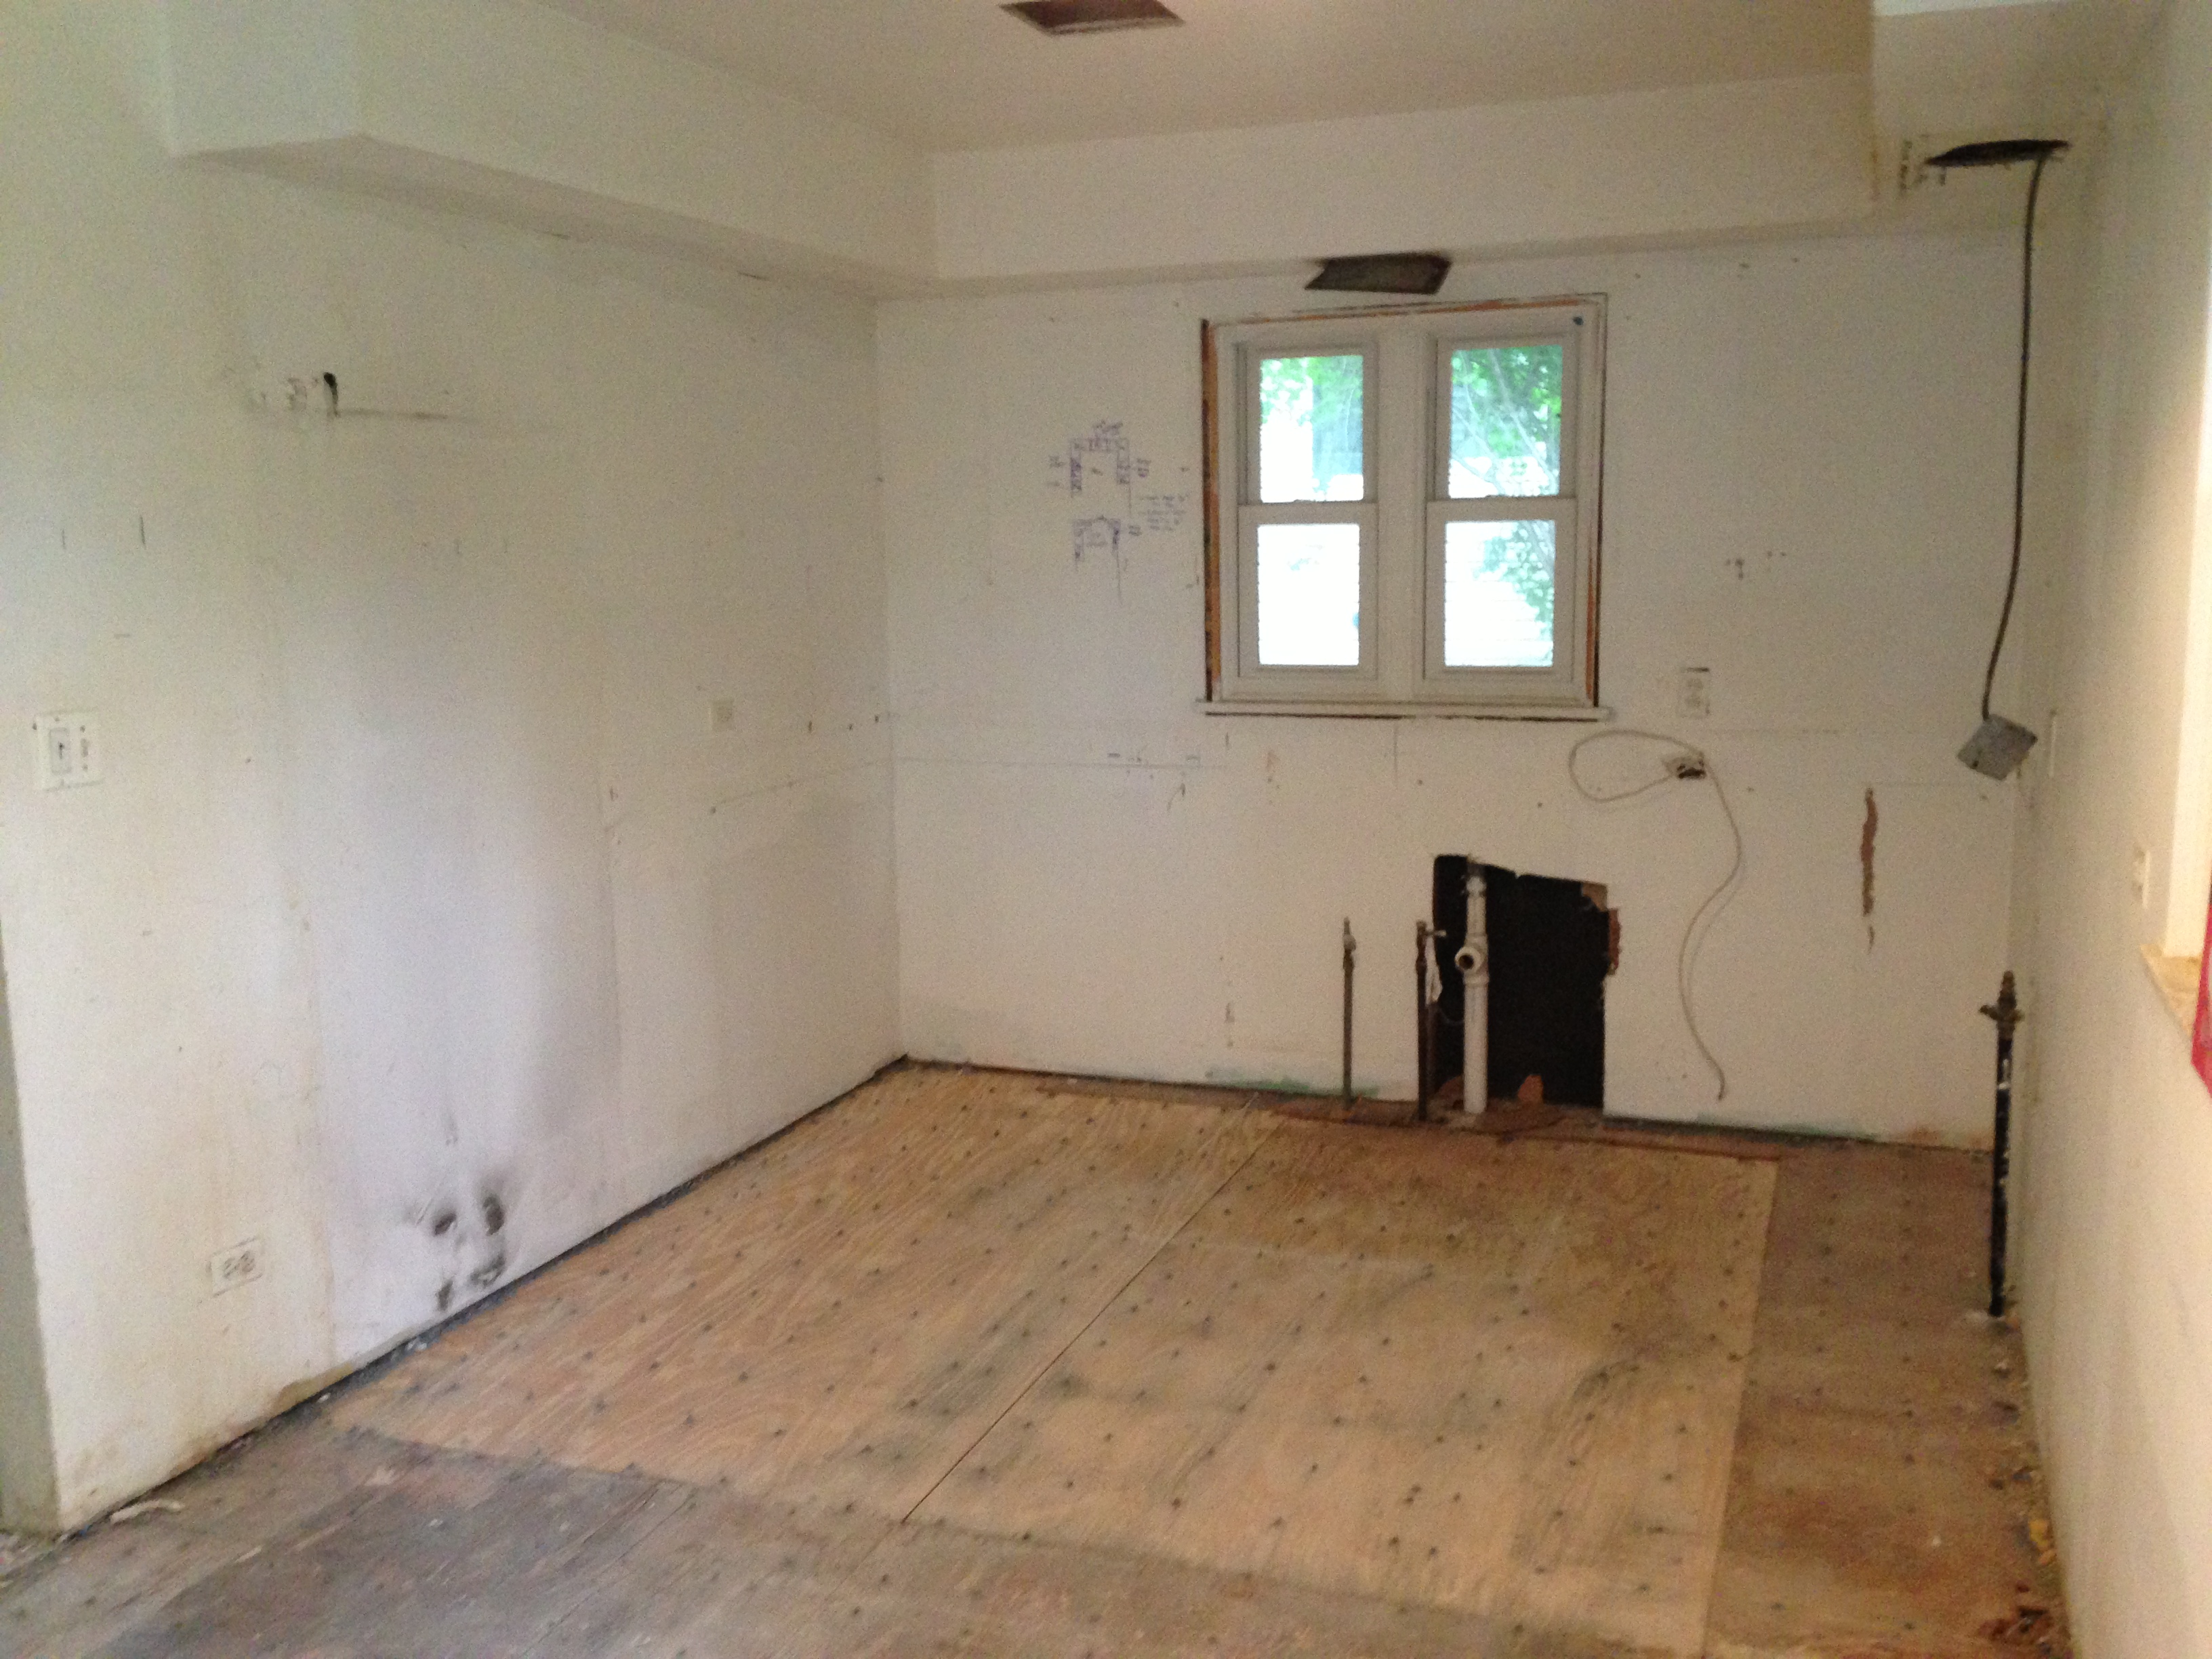
The kitchen before (it was already demo’d in this photo):
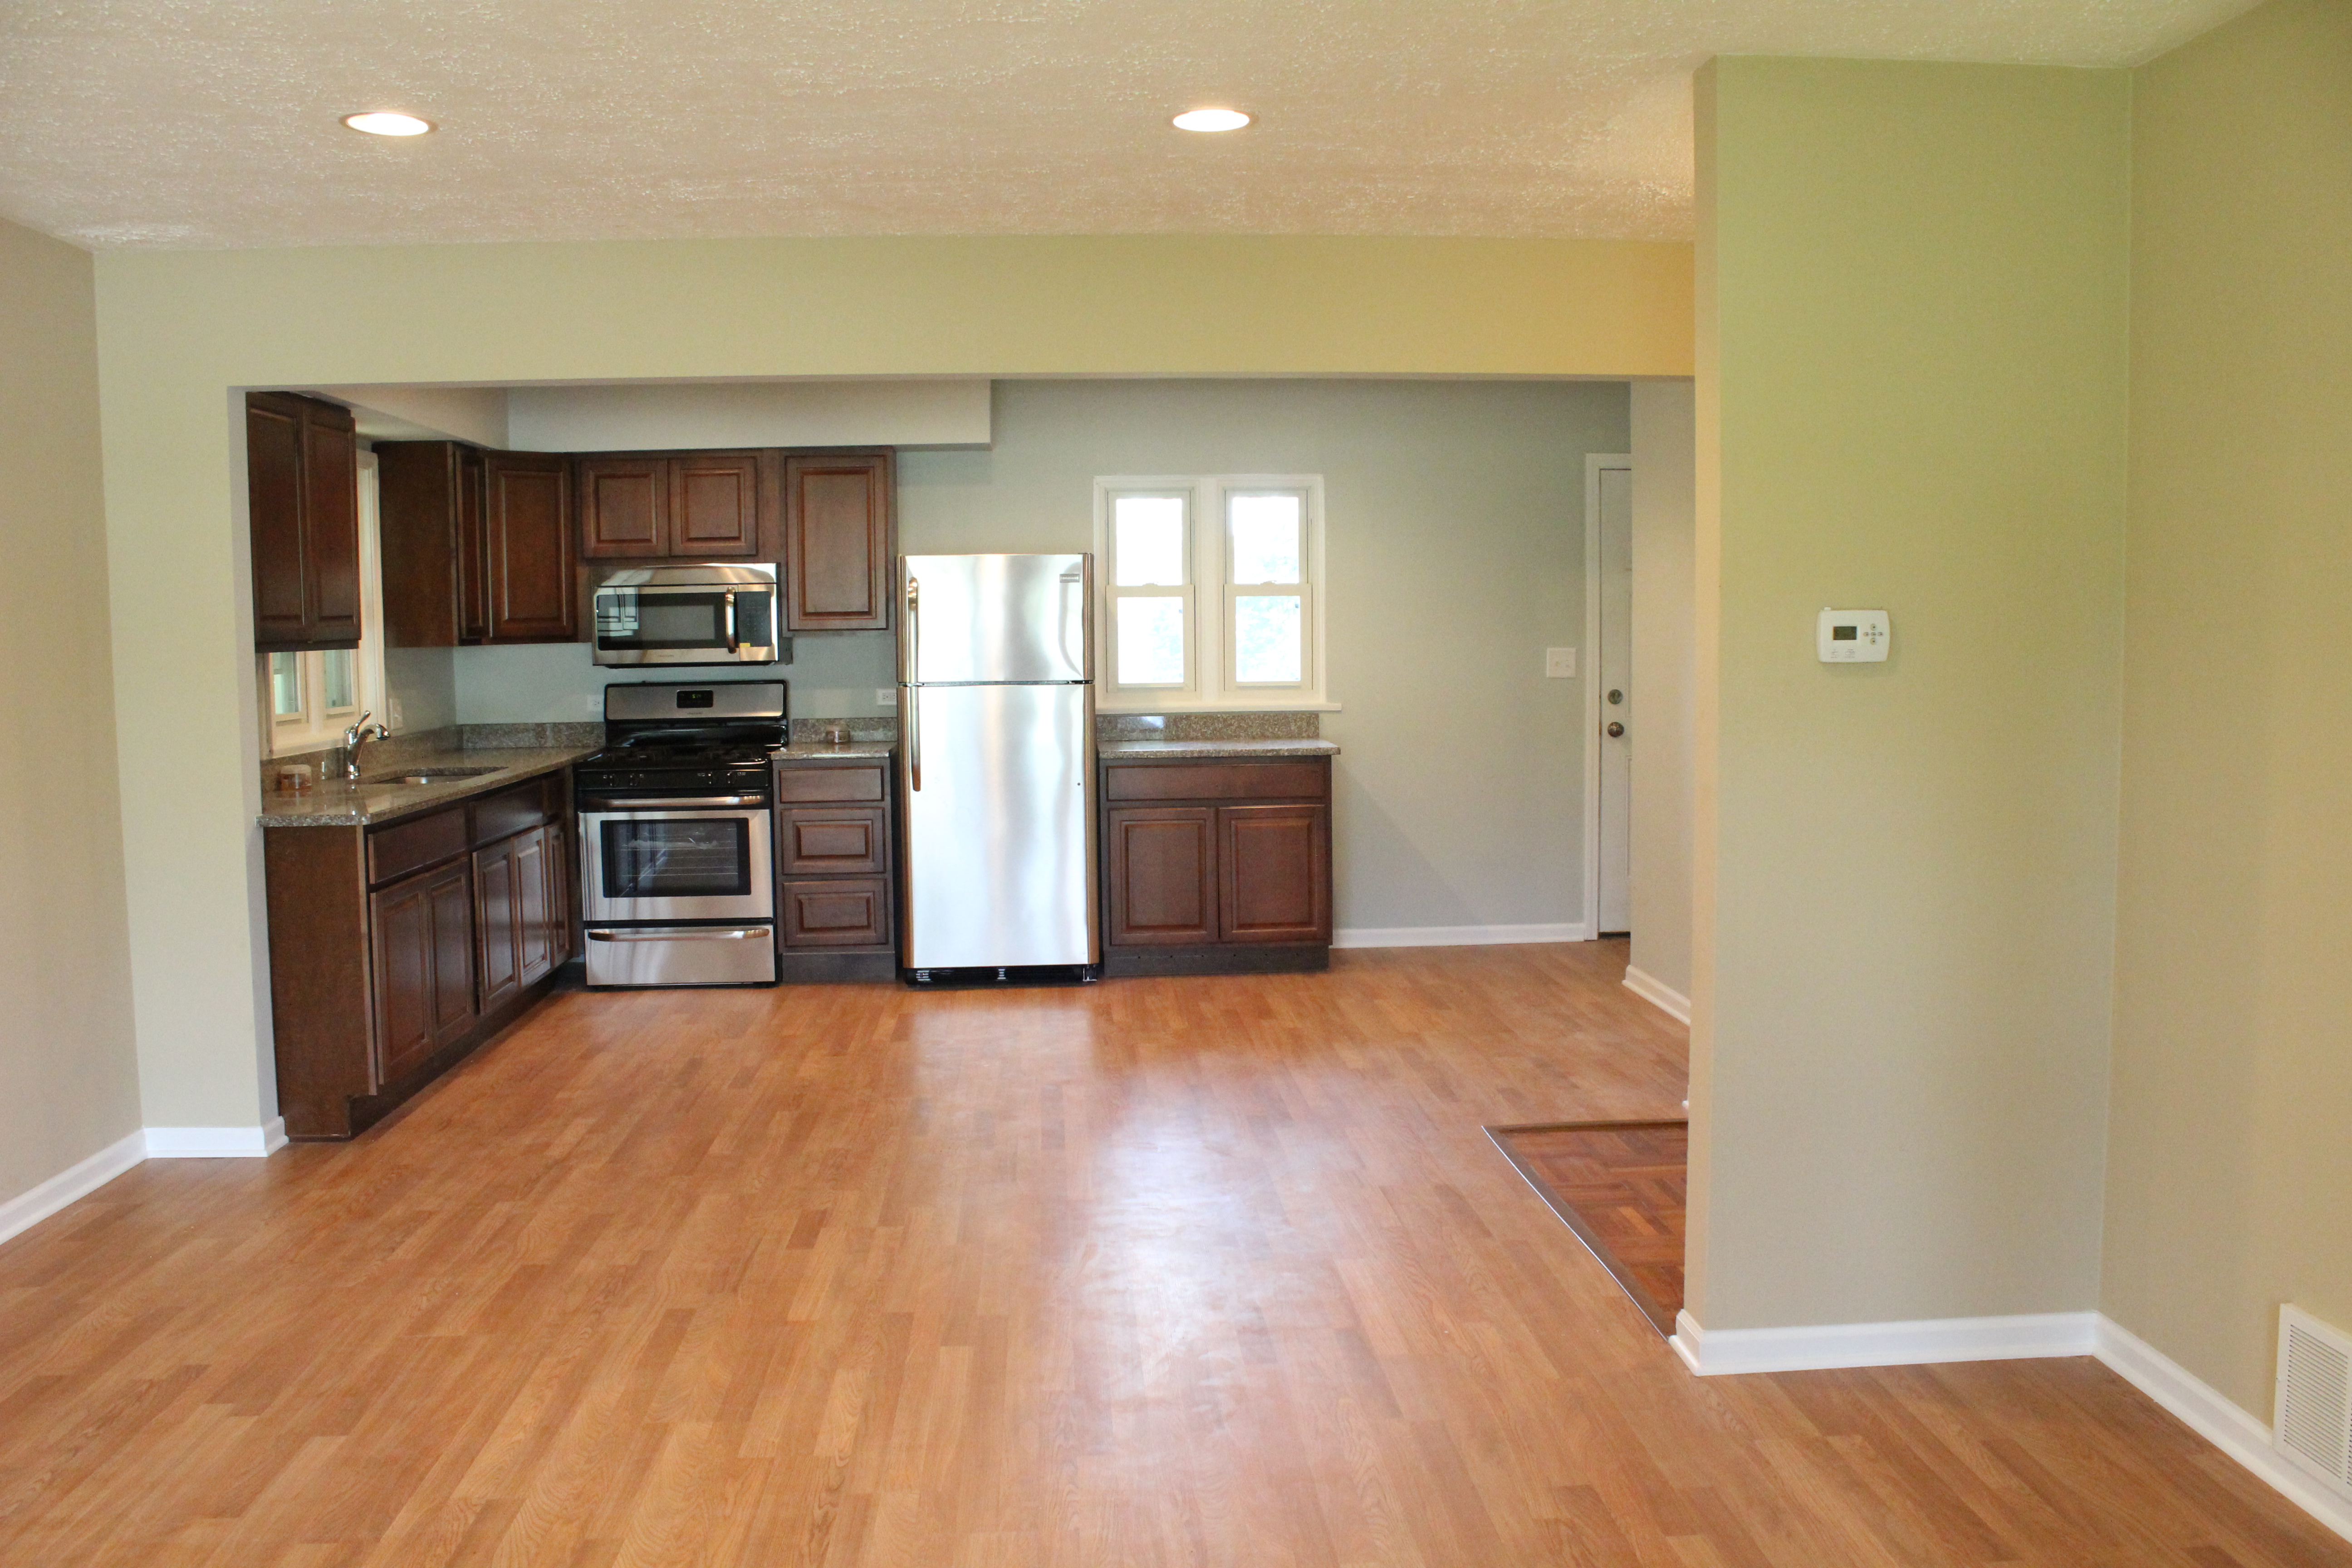
And after: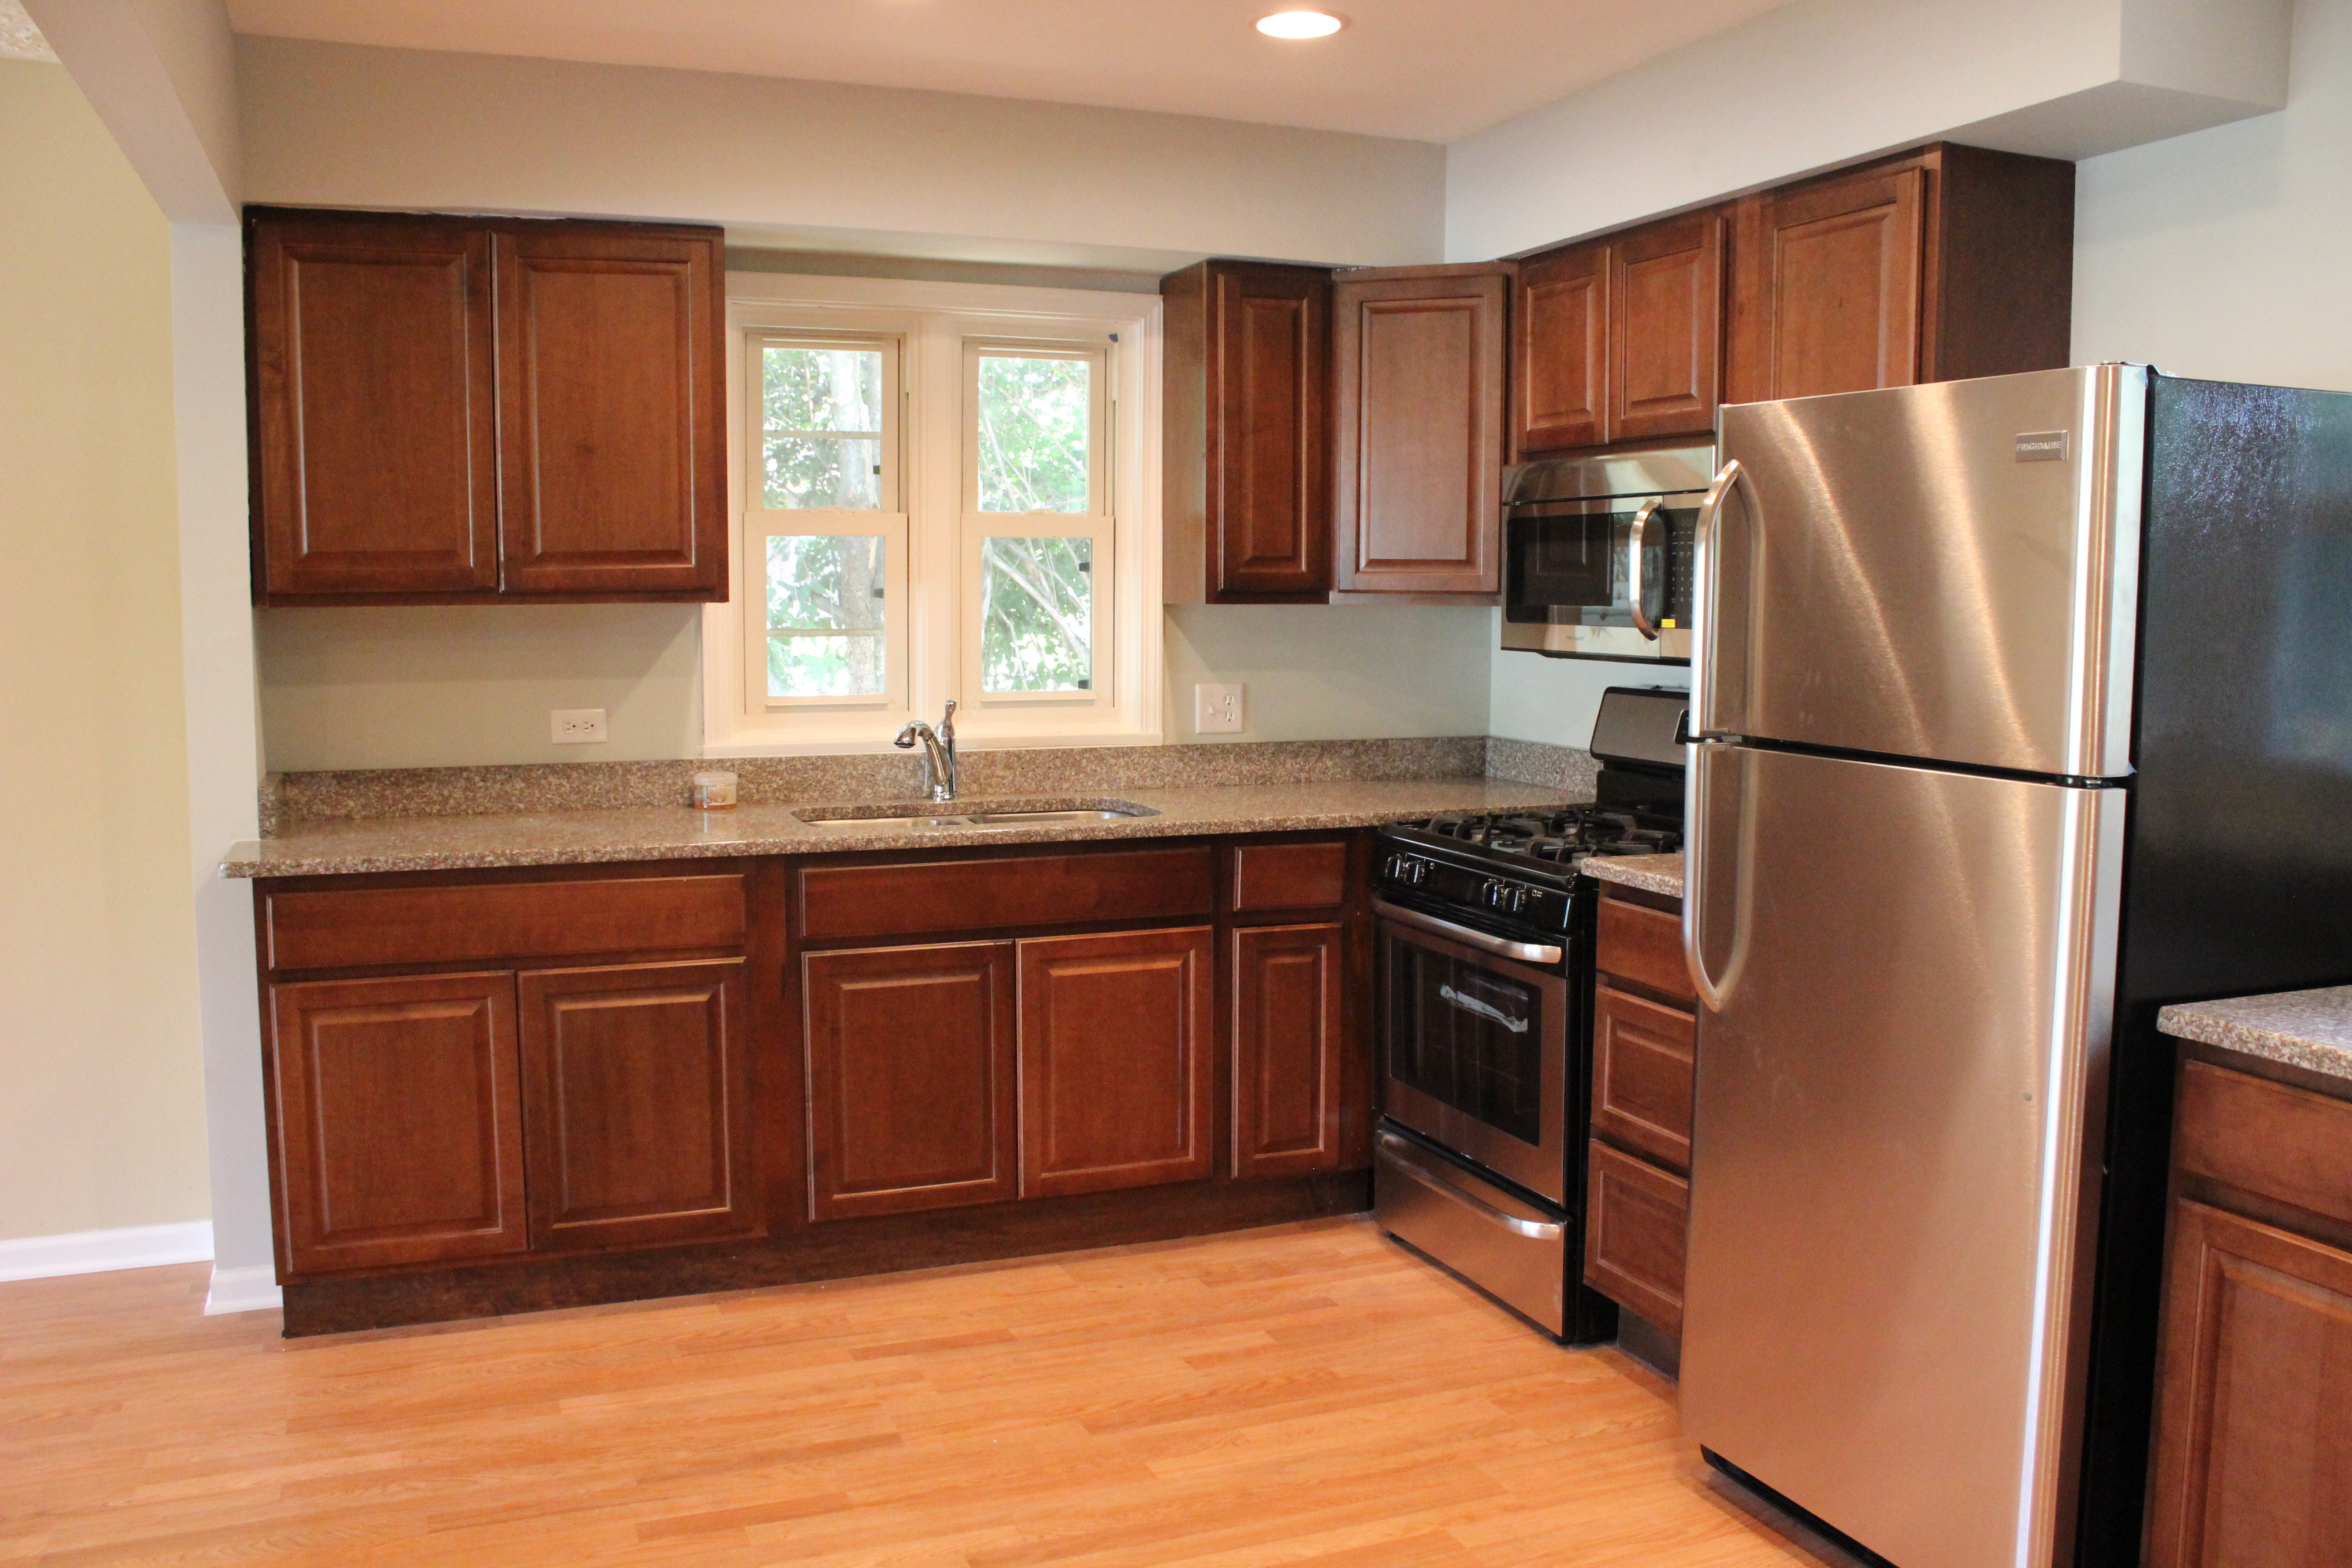 The buyers wanted the wall between the kitchen and living room removed. And didn’t want a dishwasher for a reason I will never understand.
Before view from living room to kitchen:
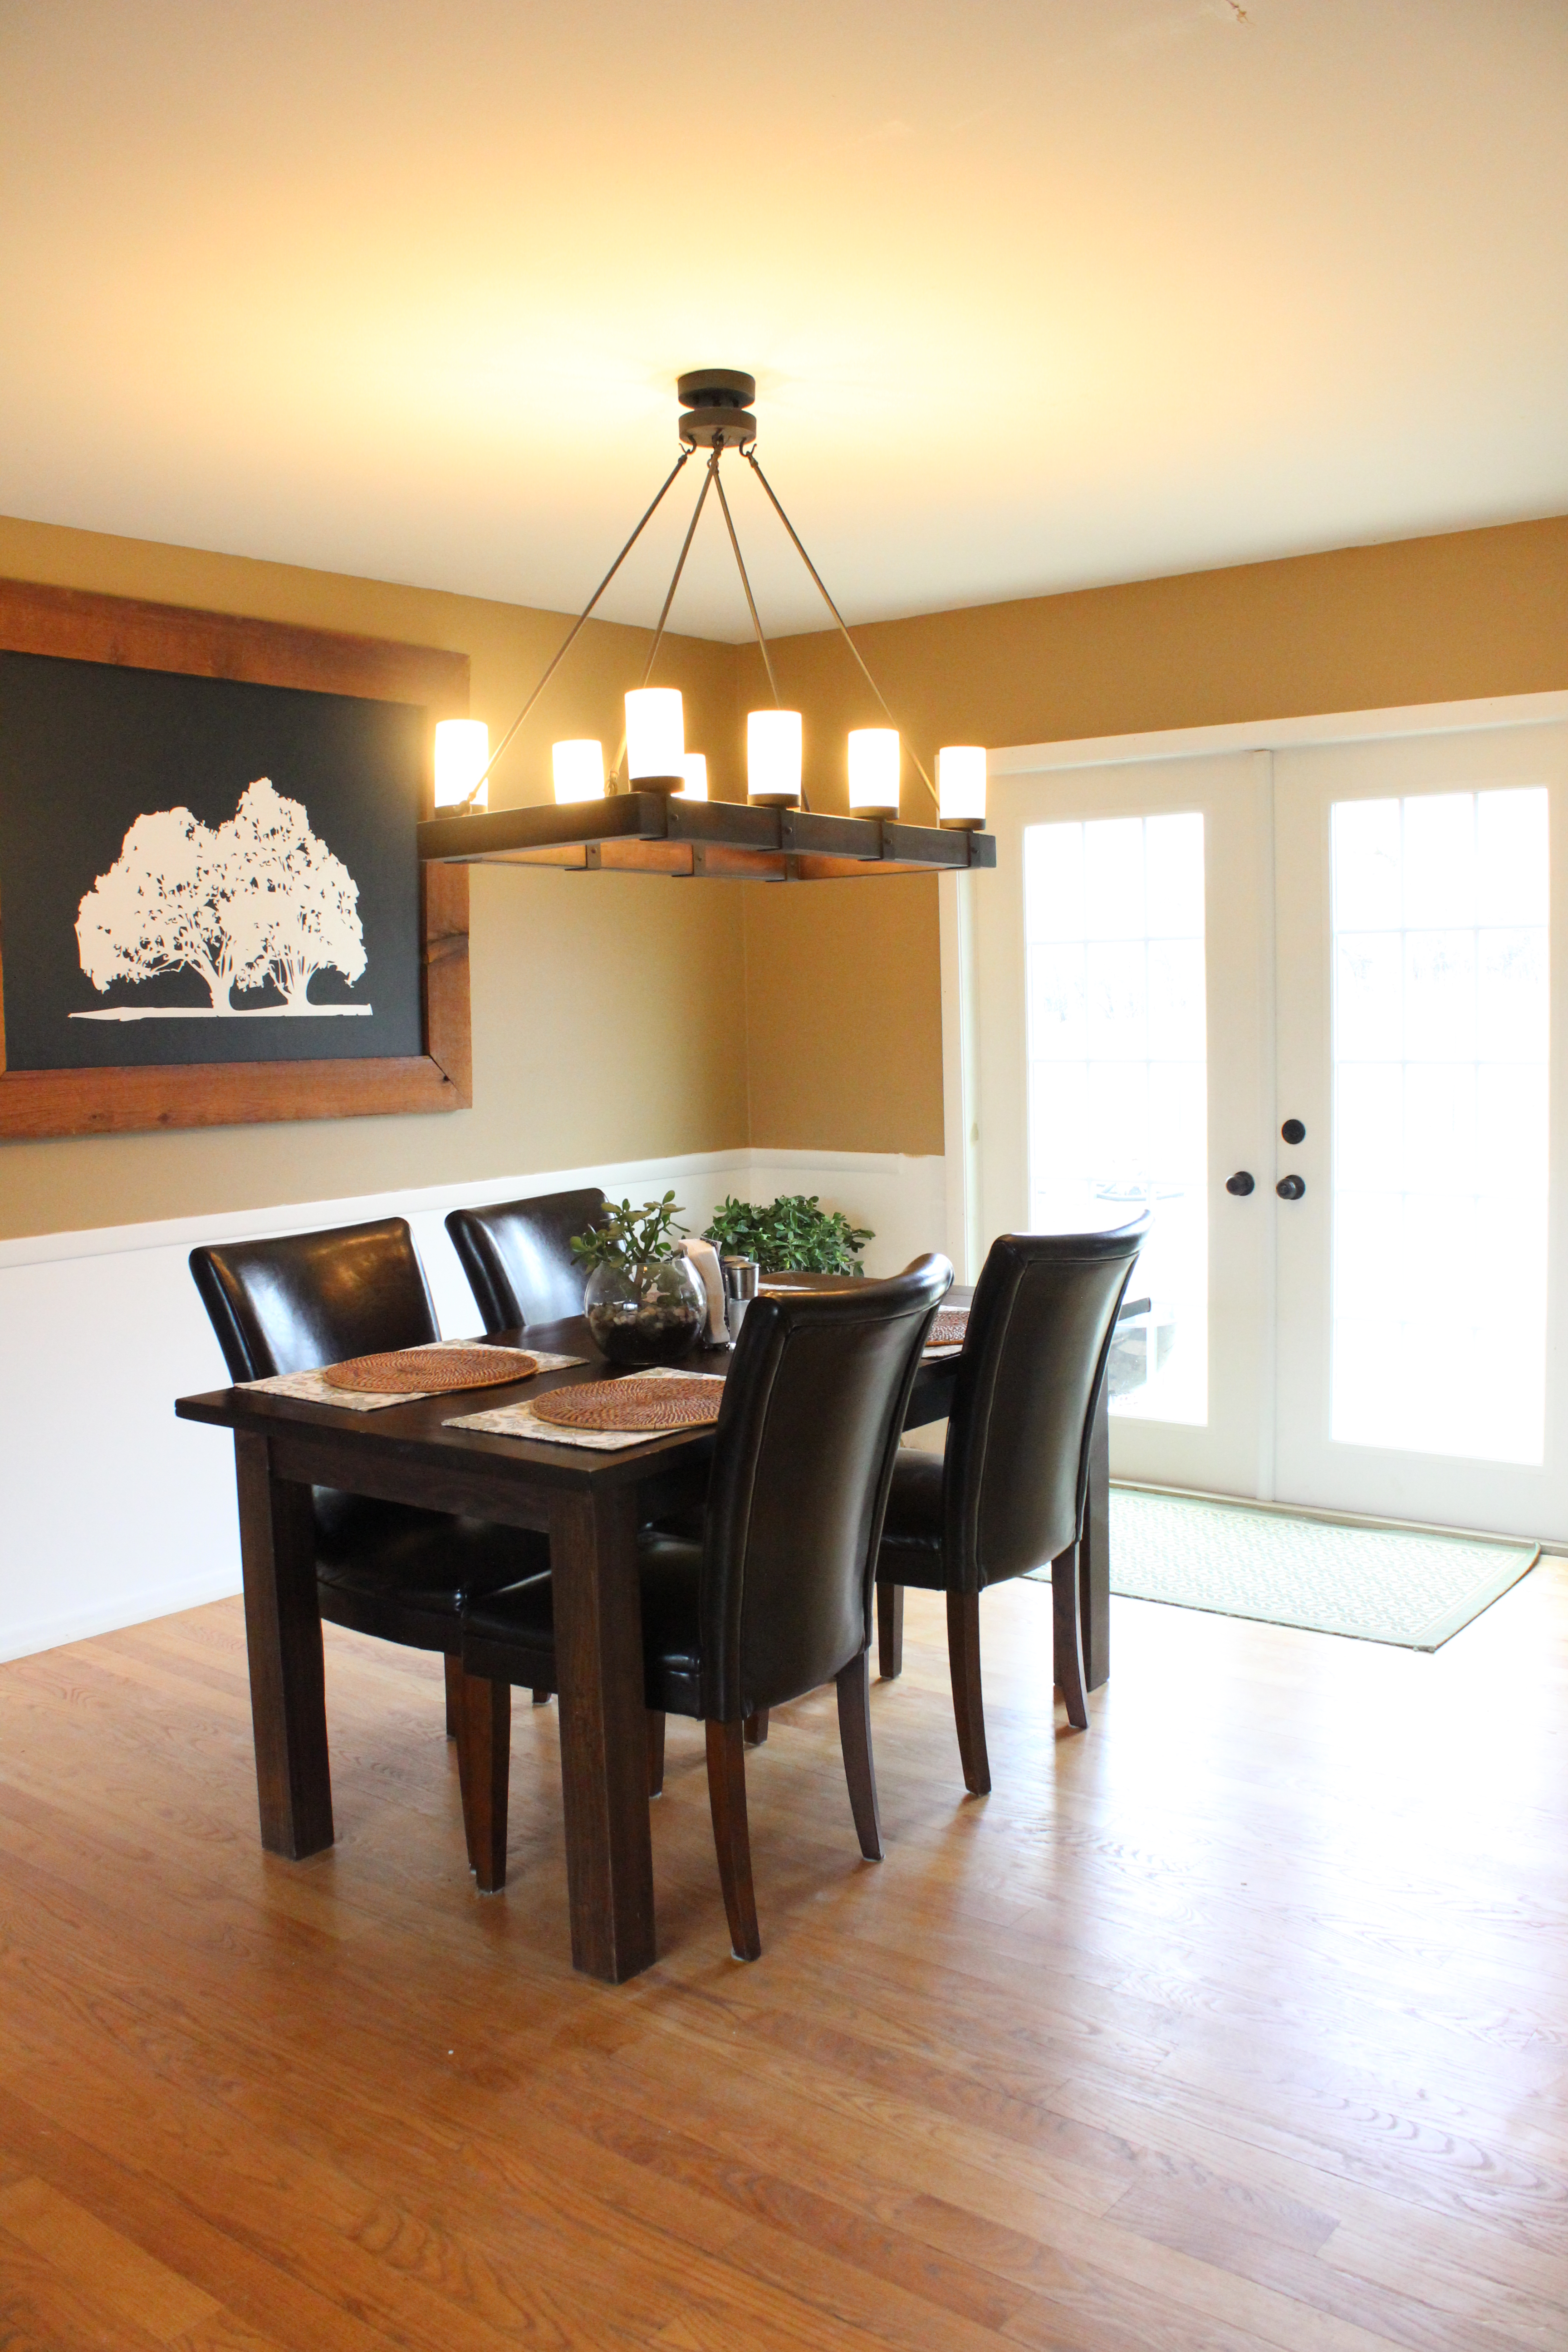
 After:
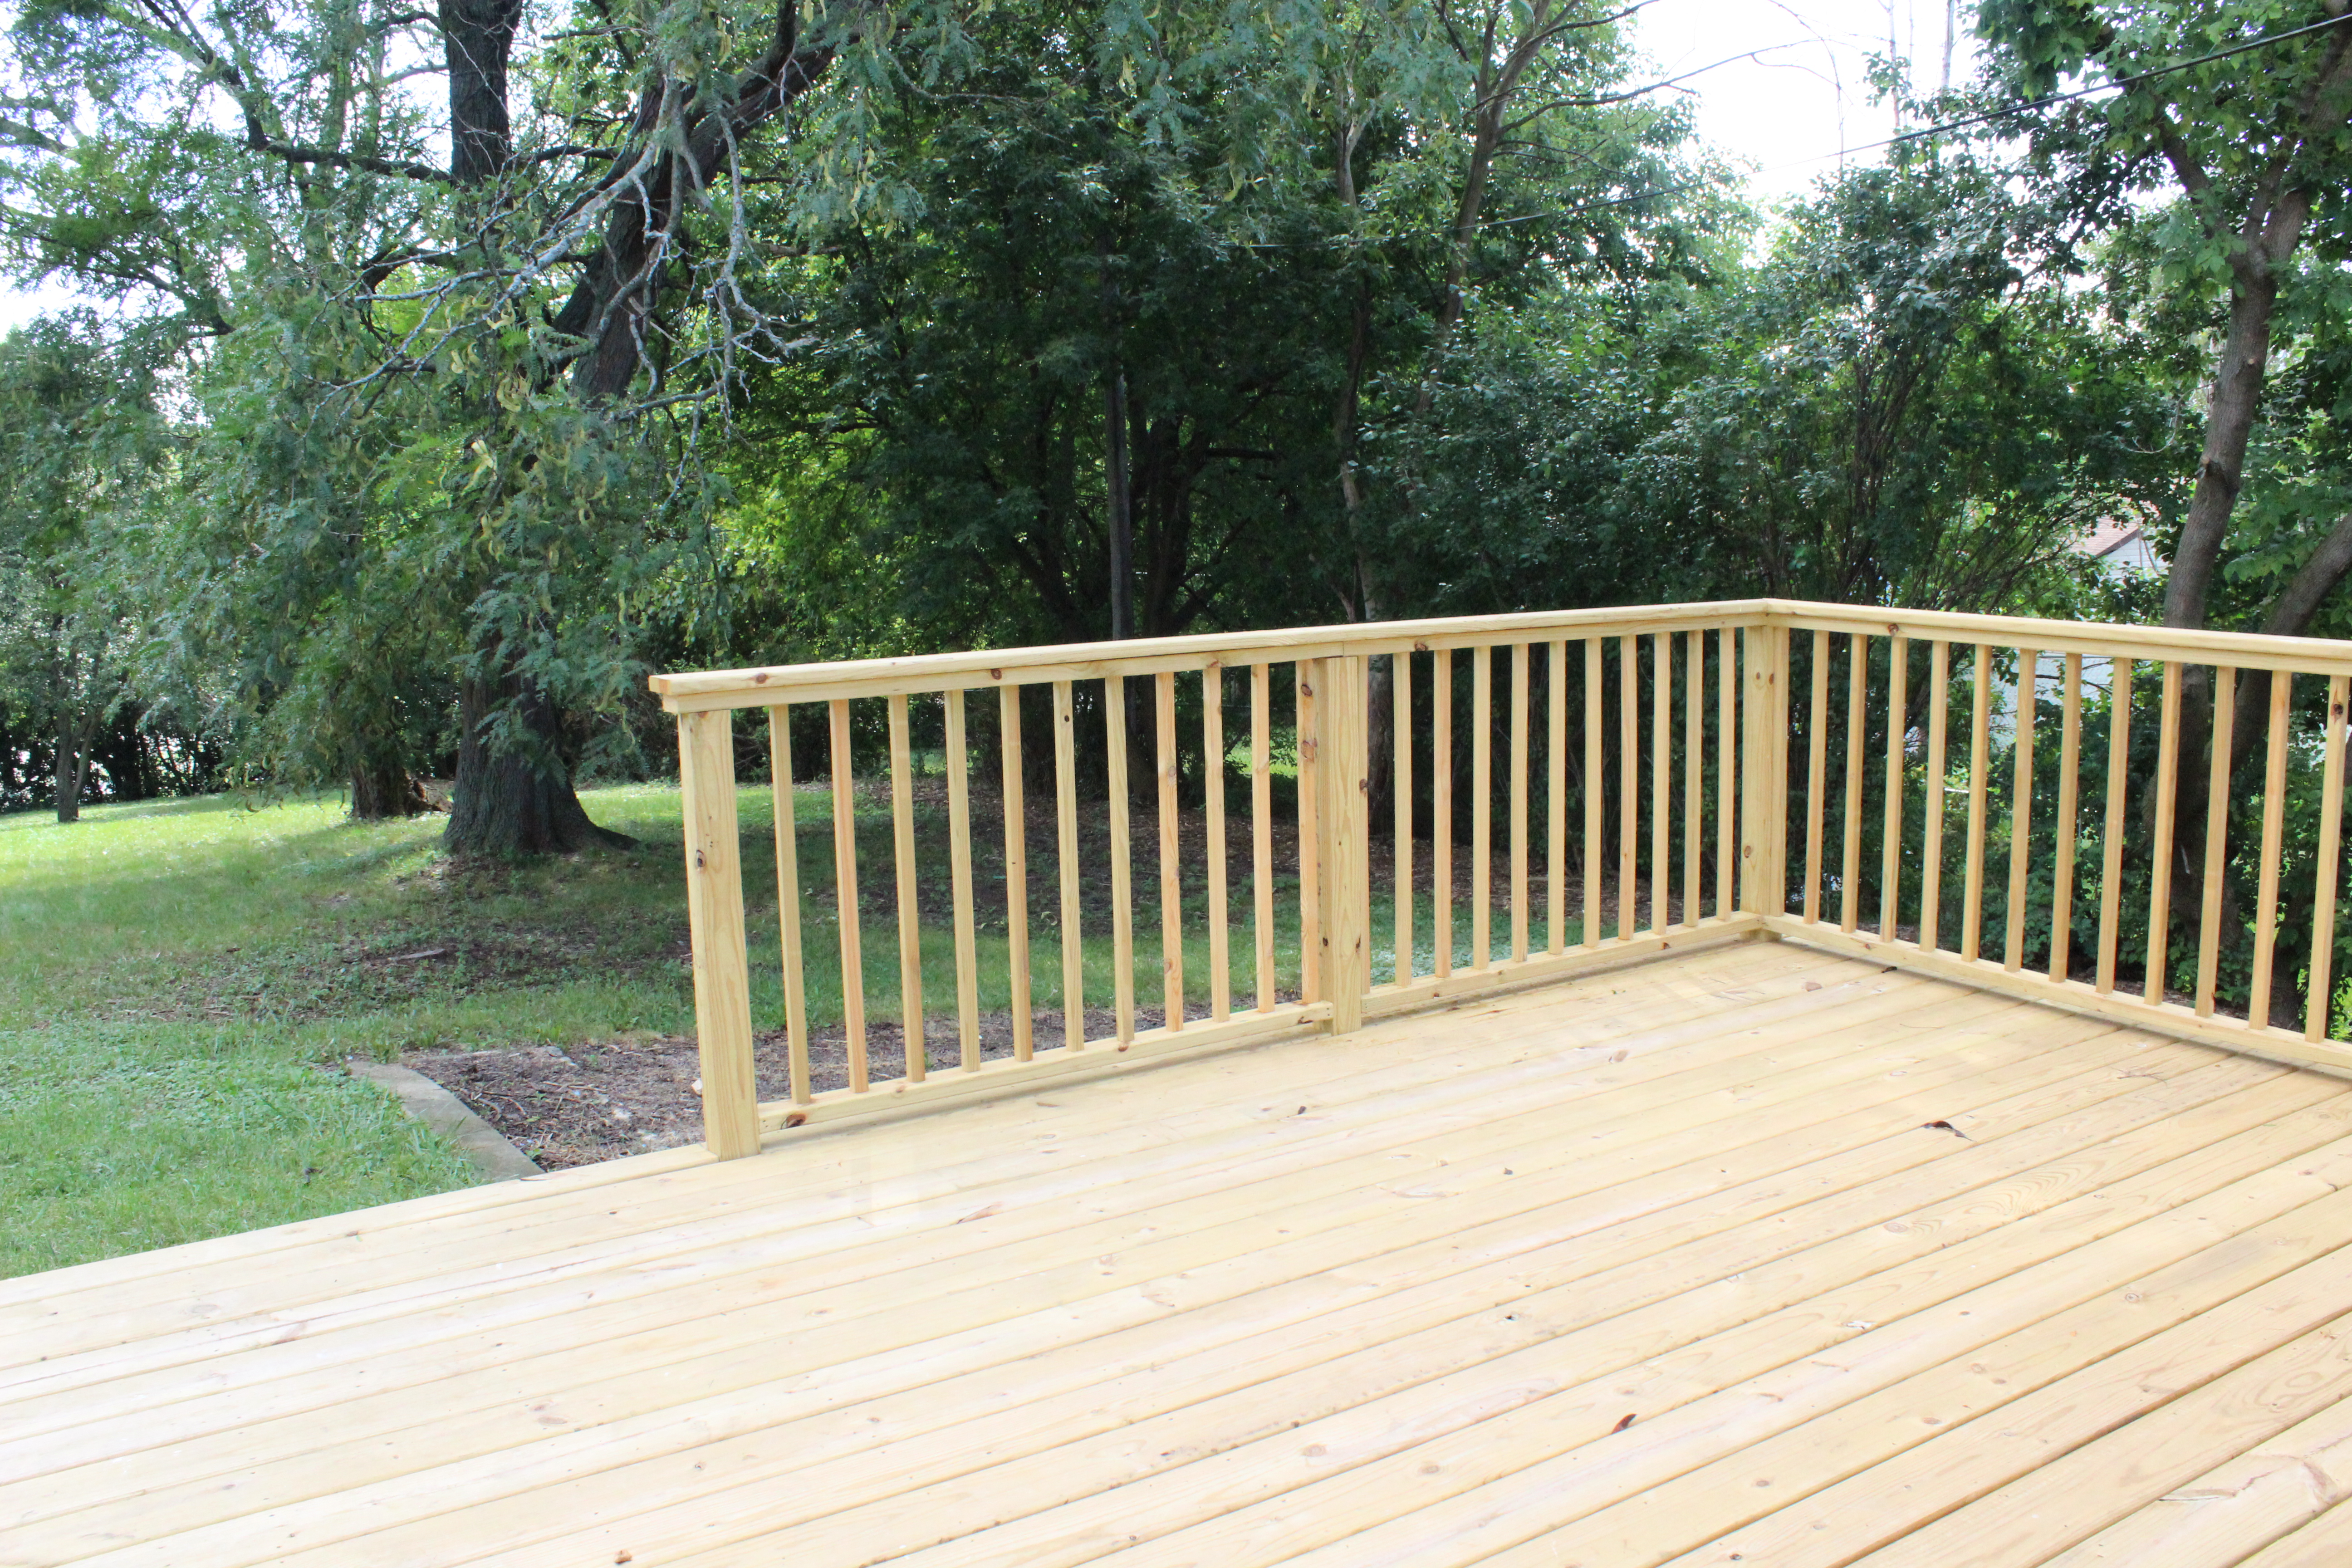
Outside the back door, Ben built a beautiful new deck.
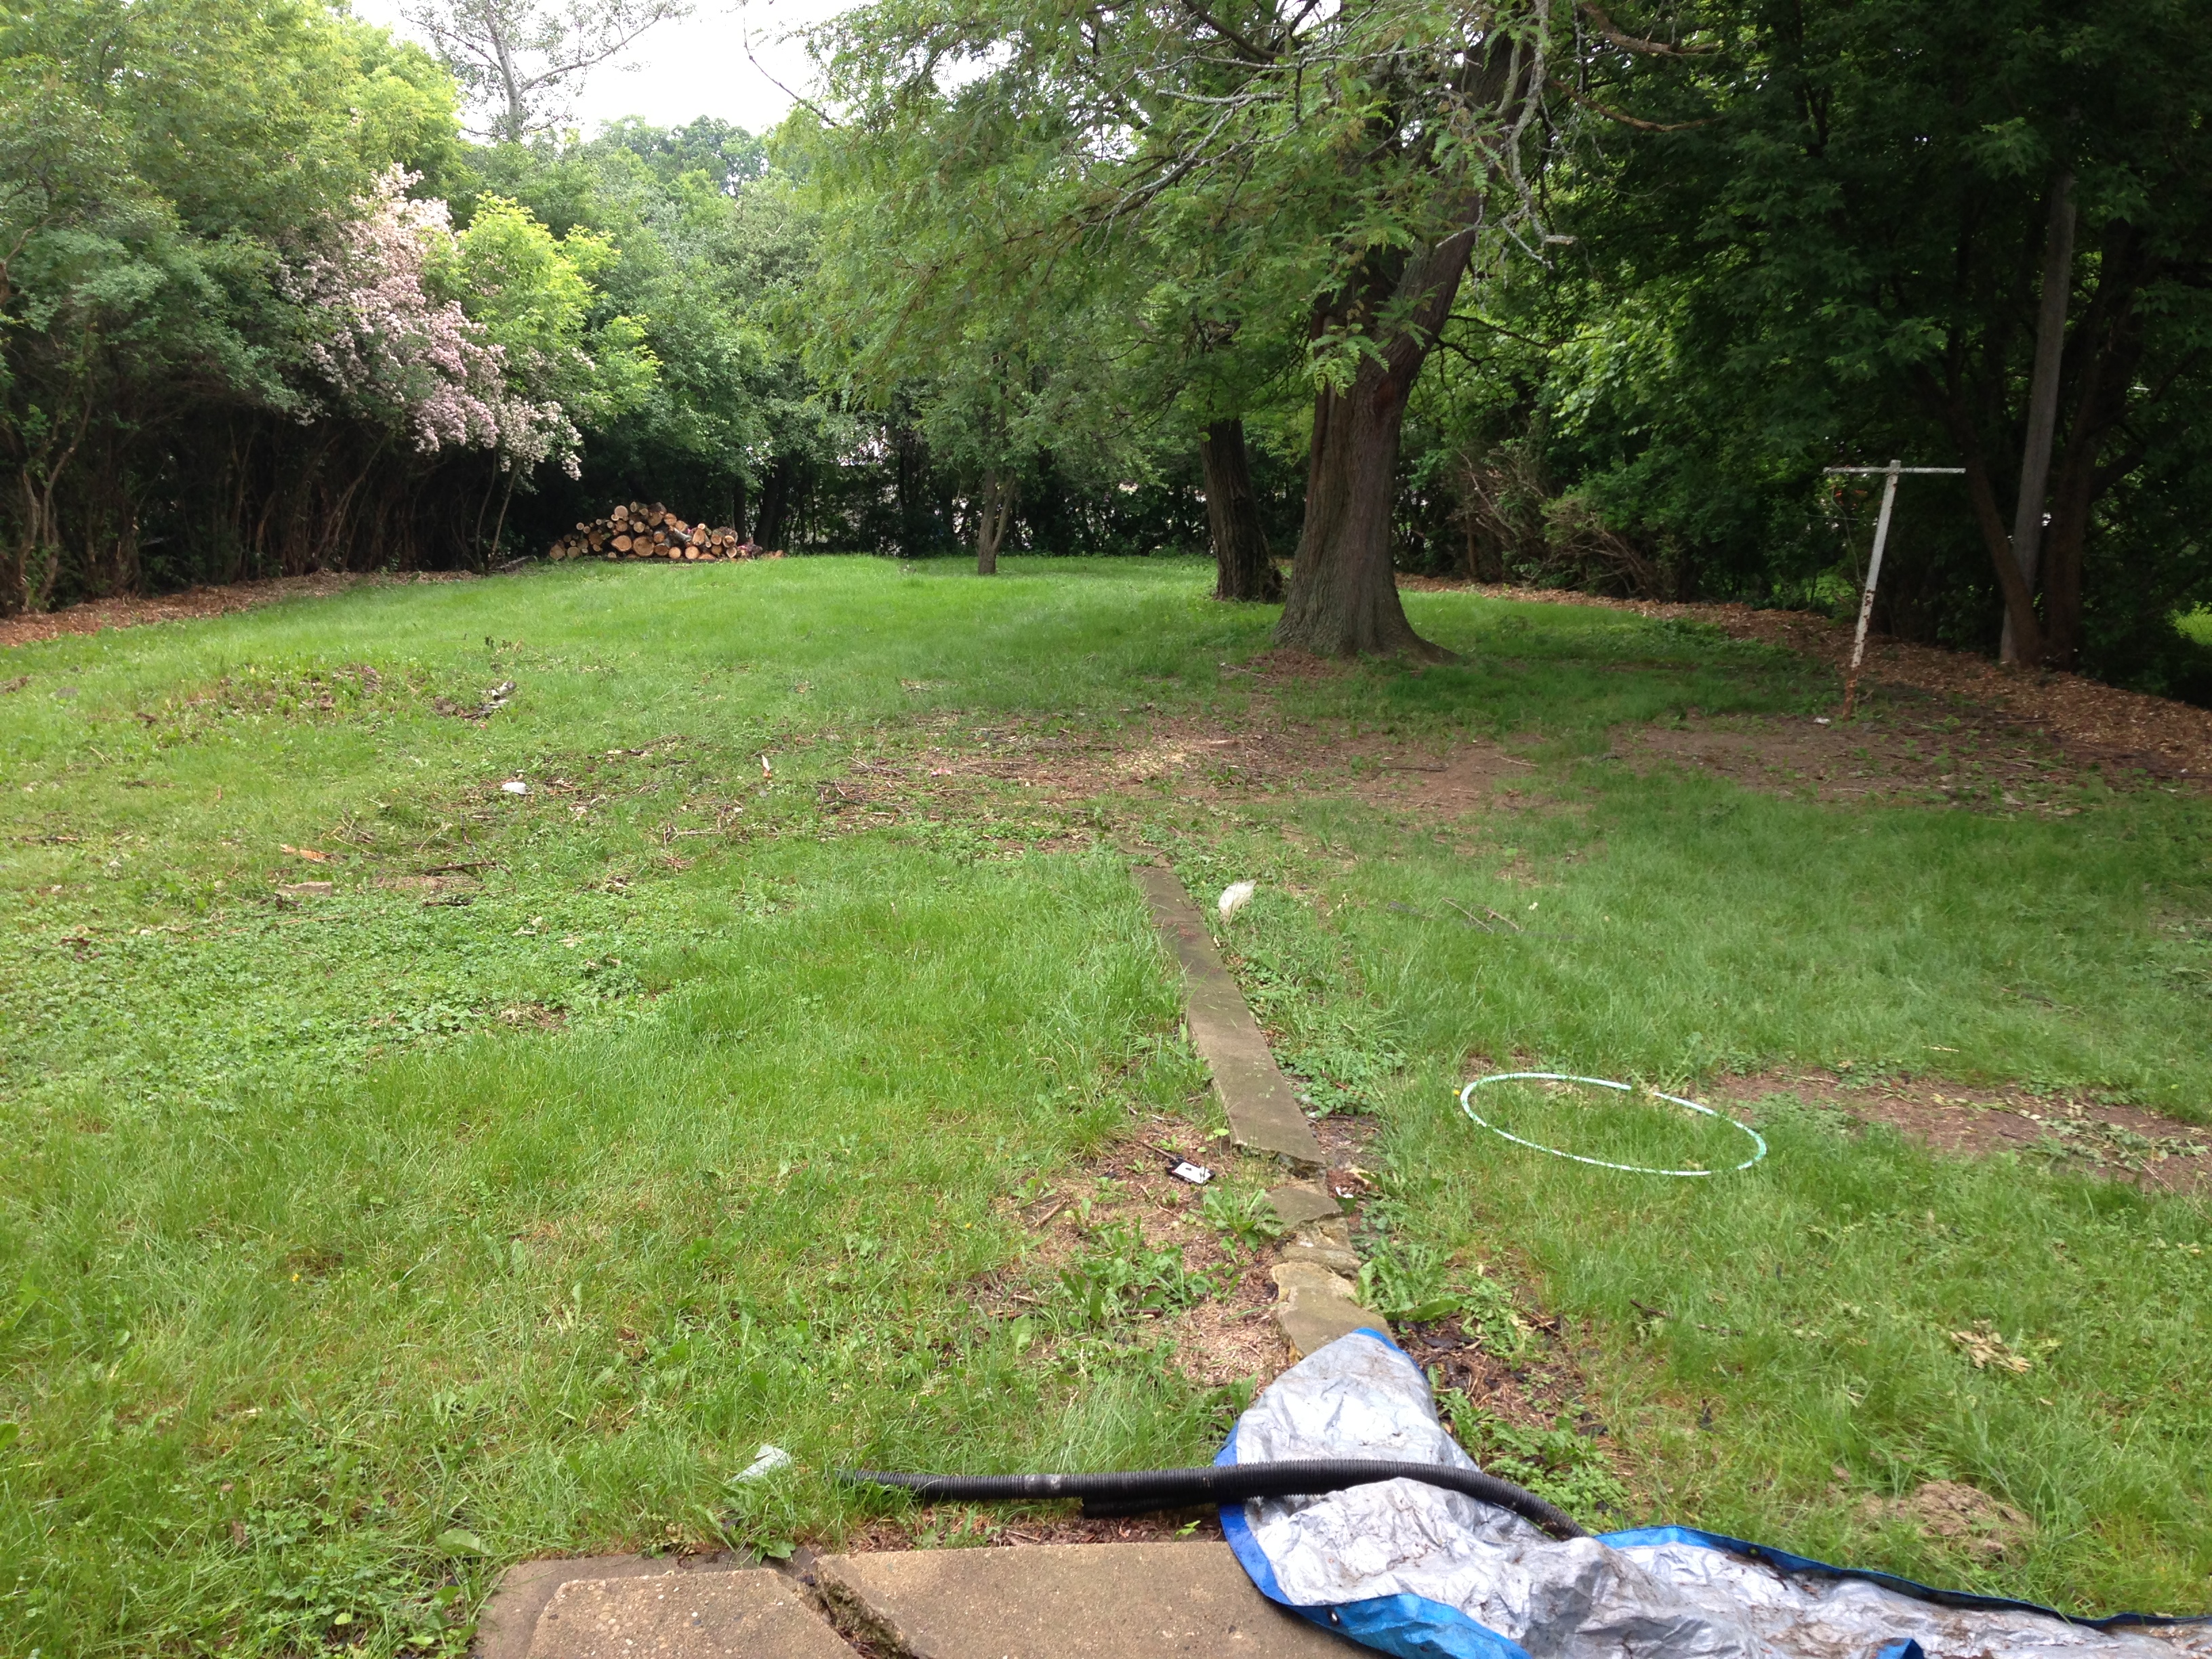
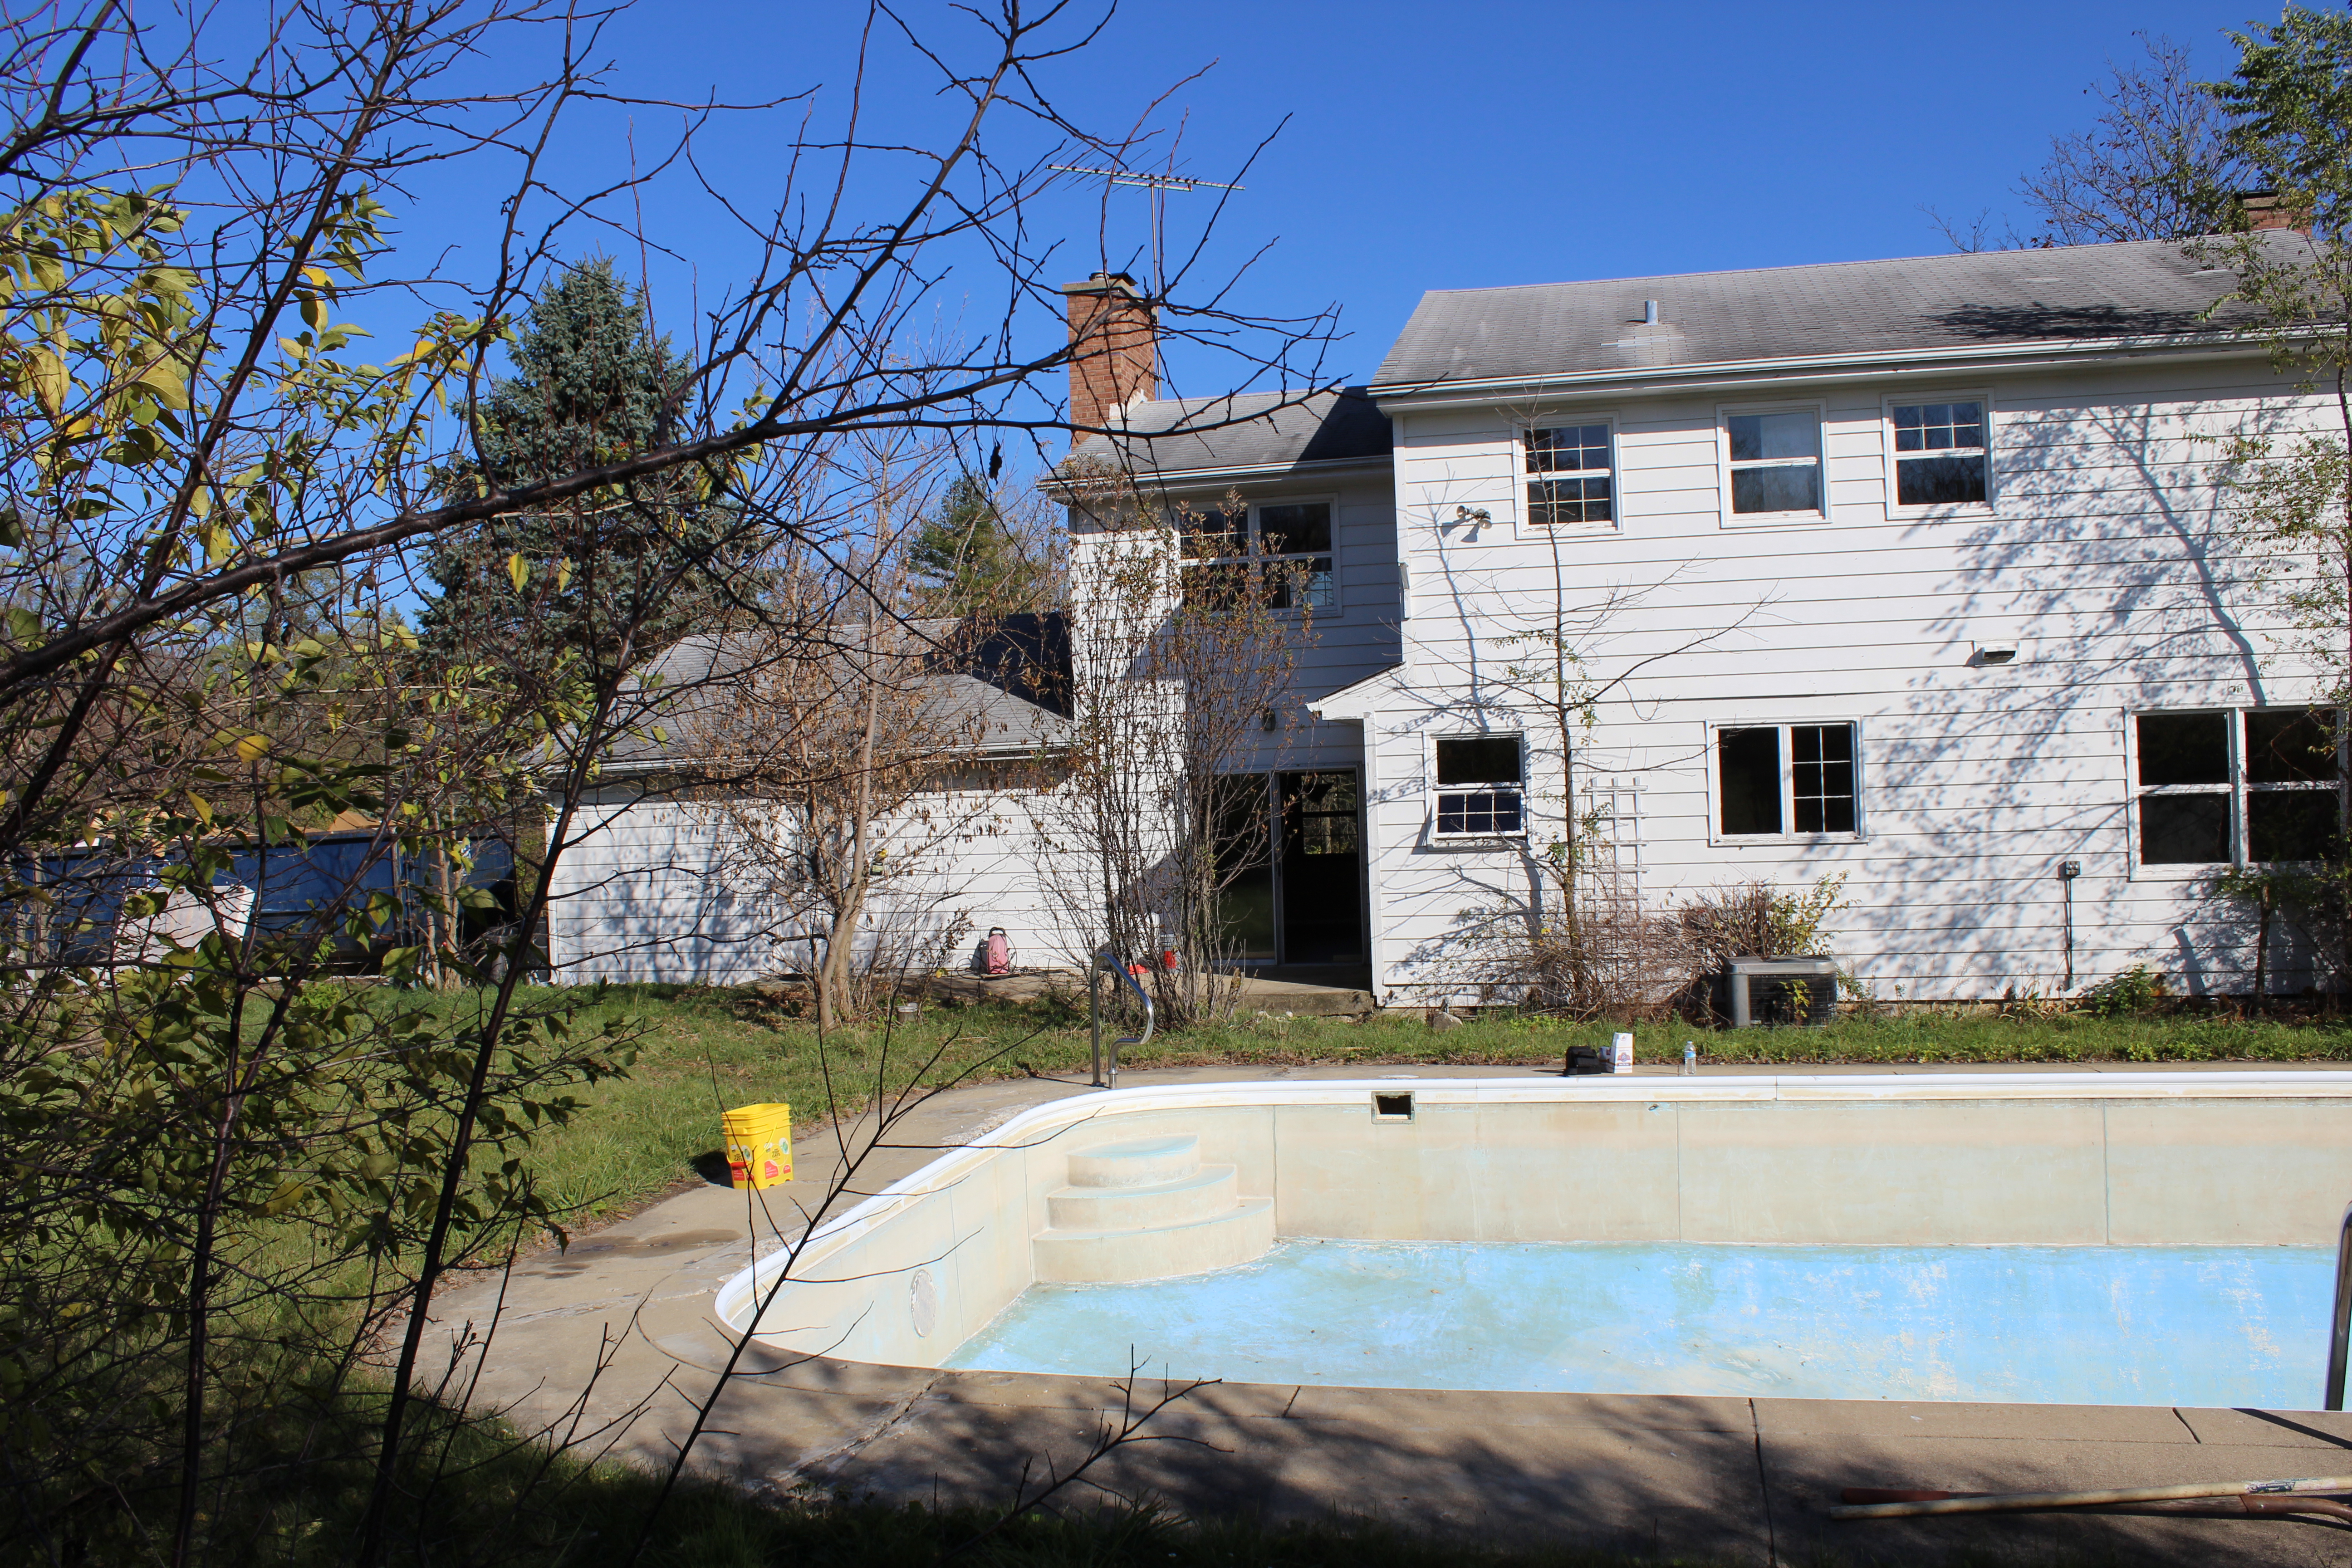
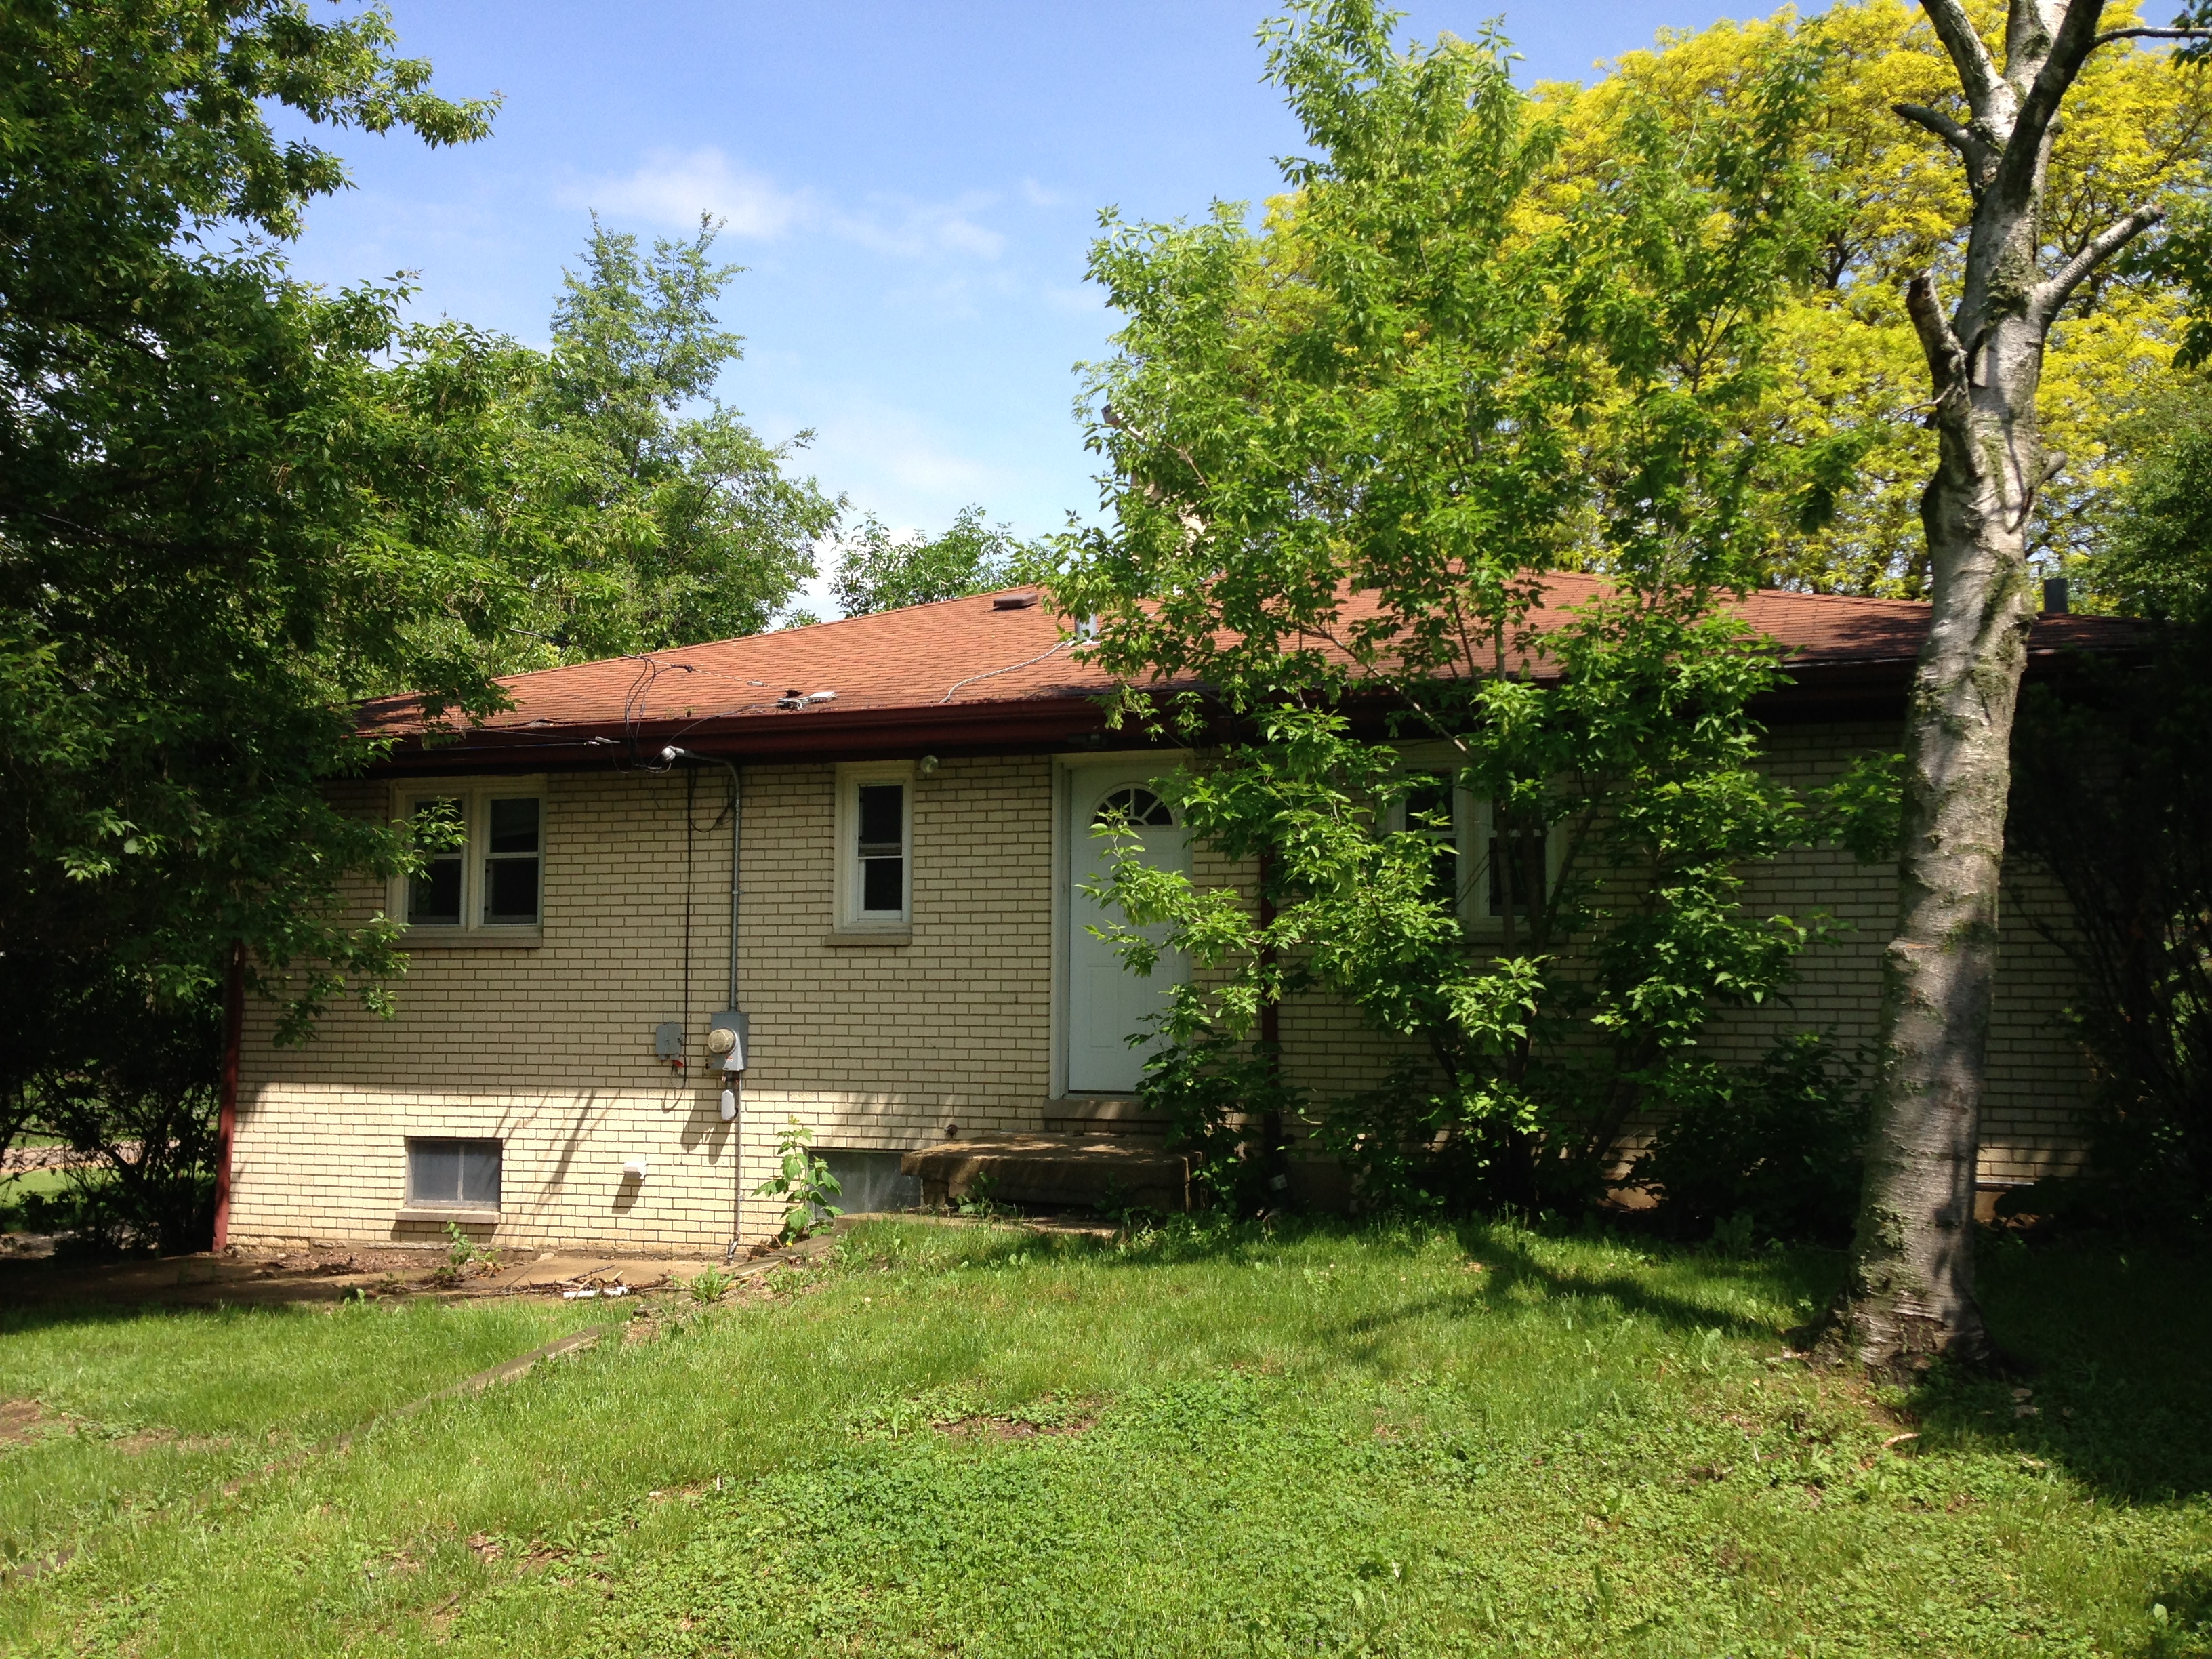
 Here was the view of the back before:
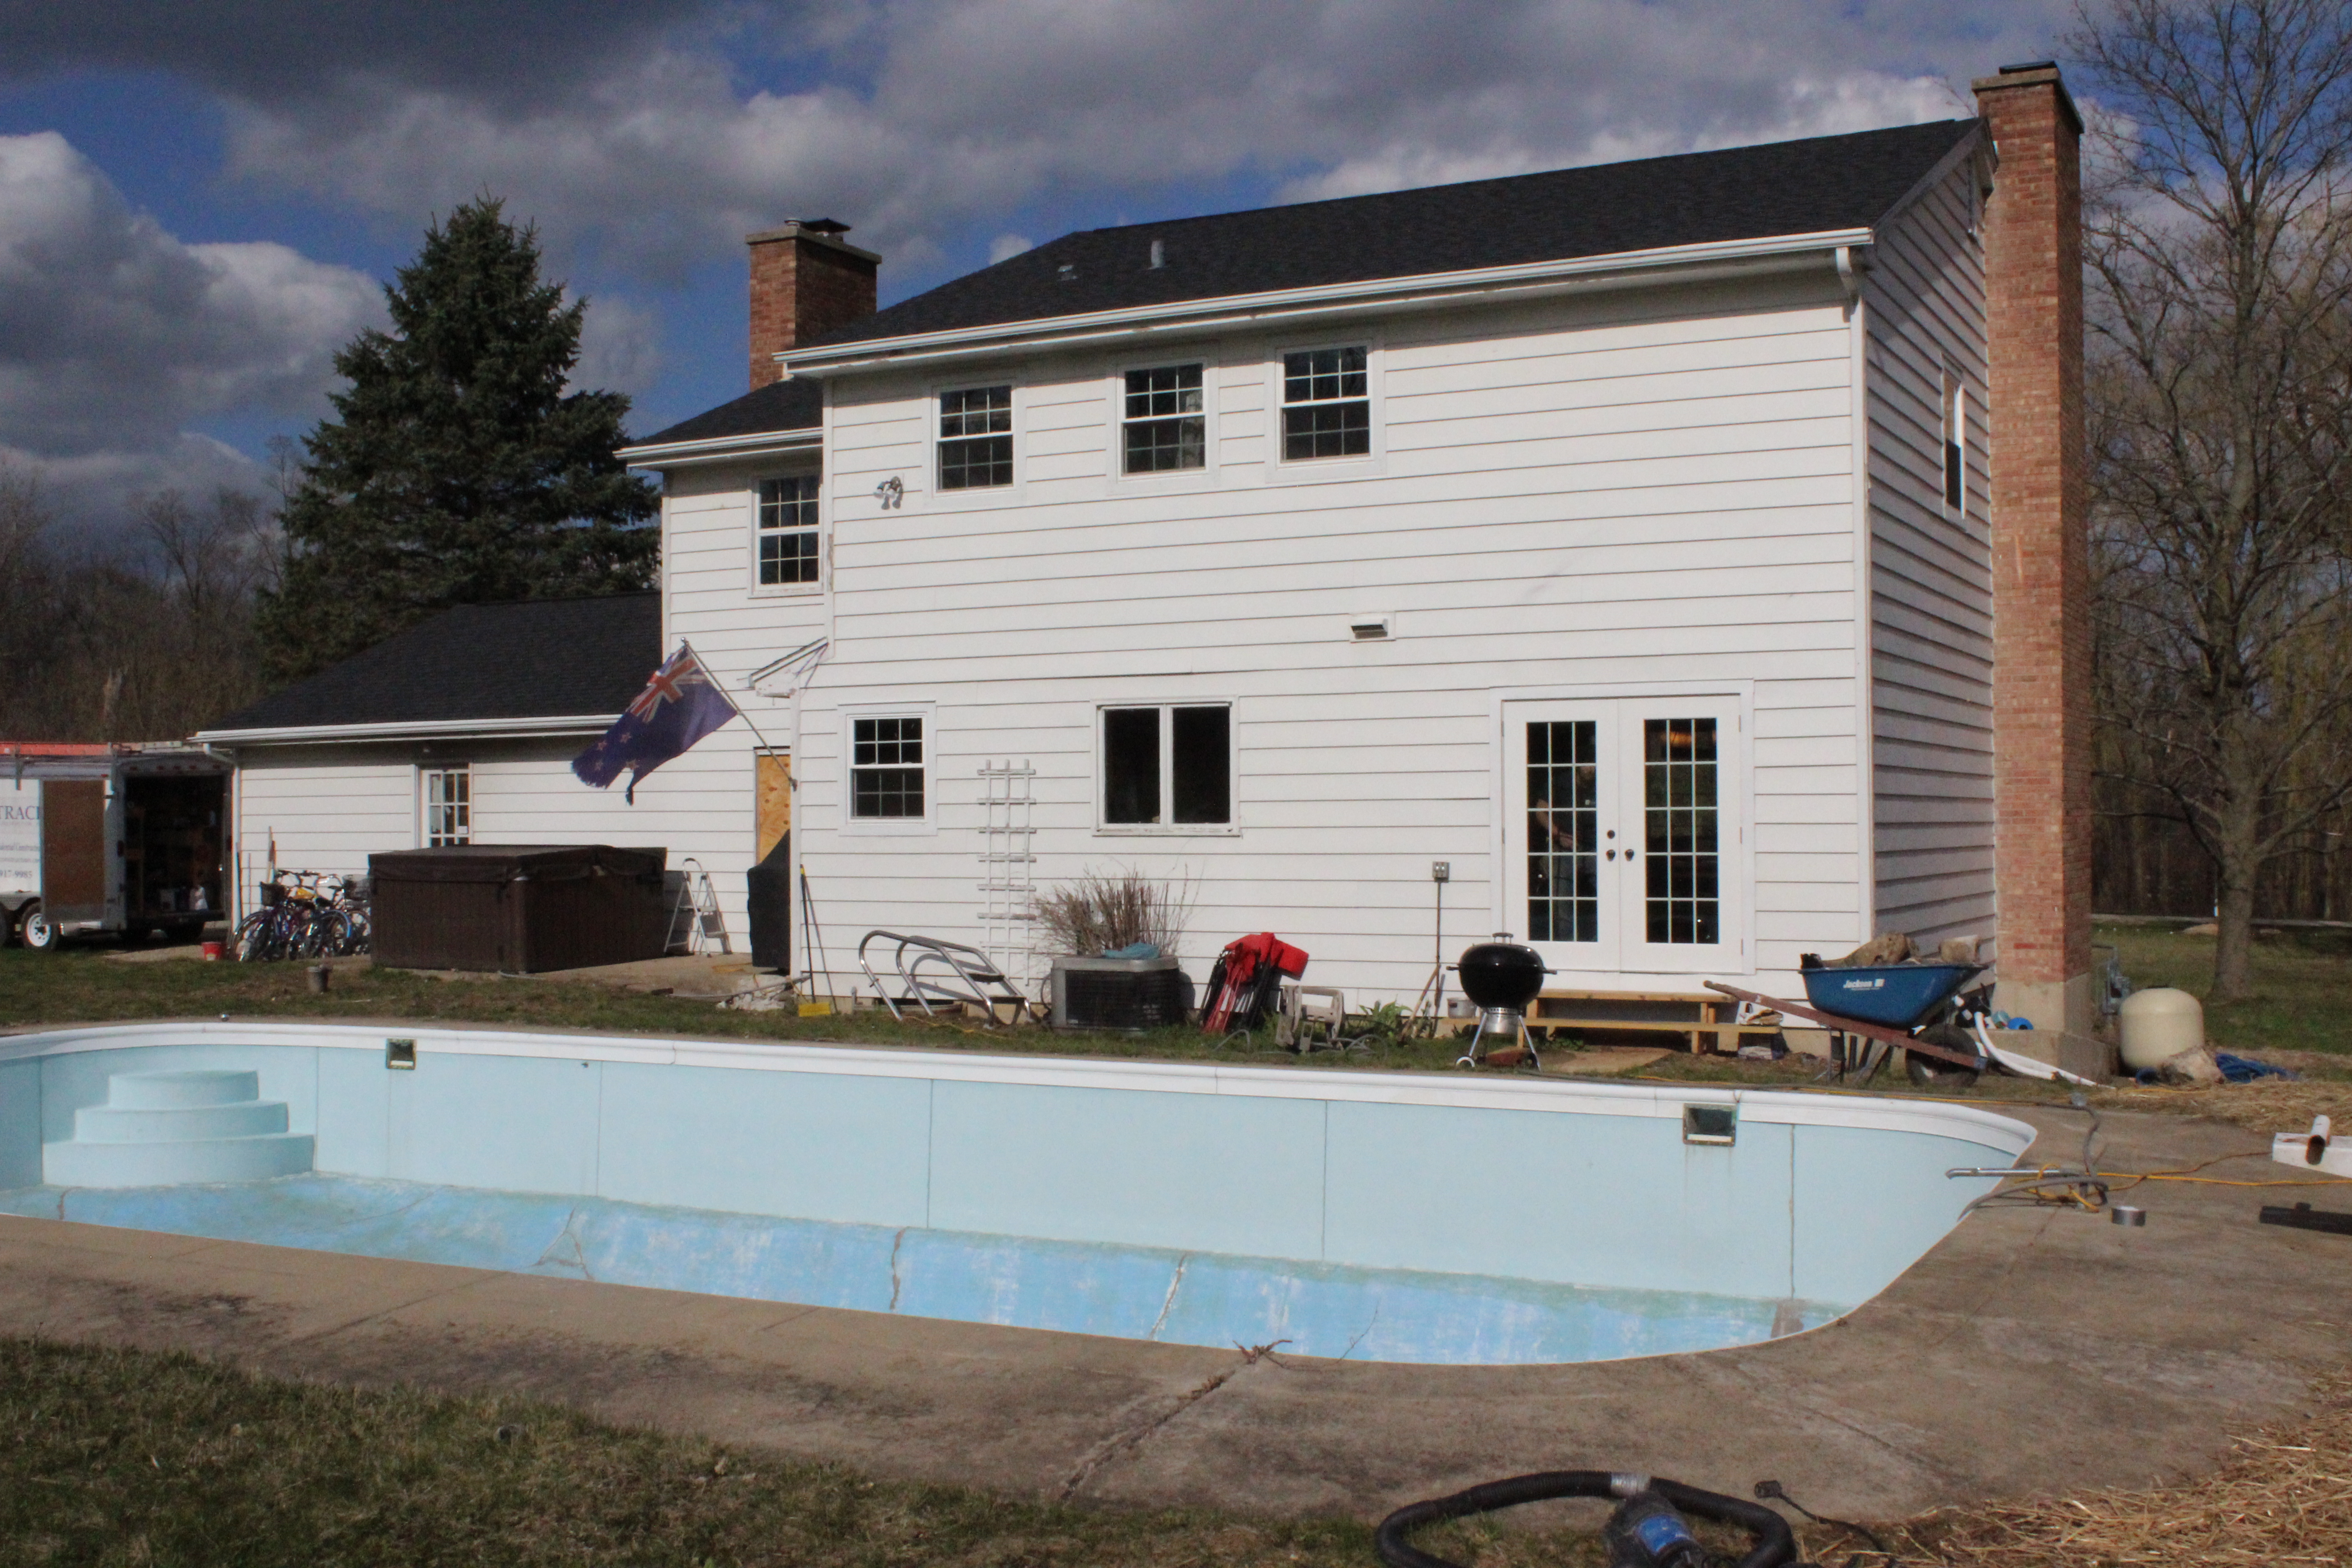
 And after:
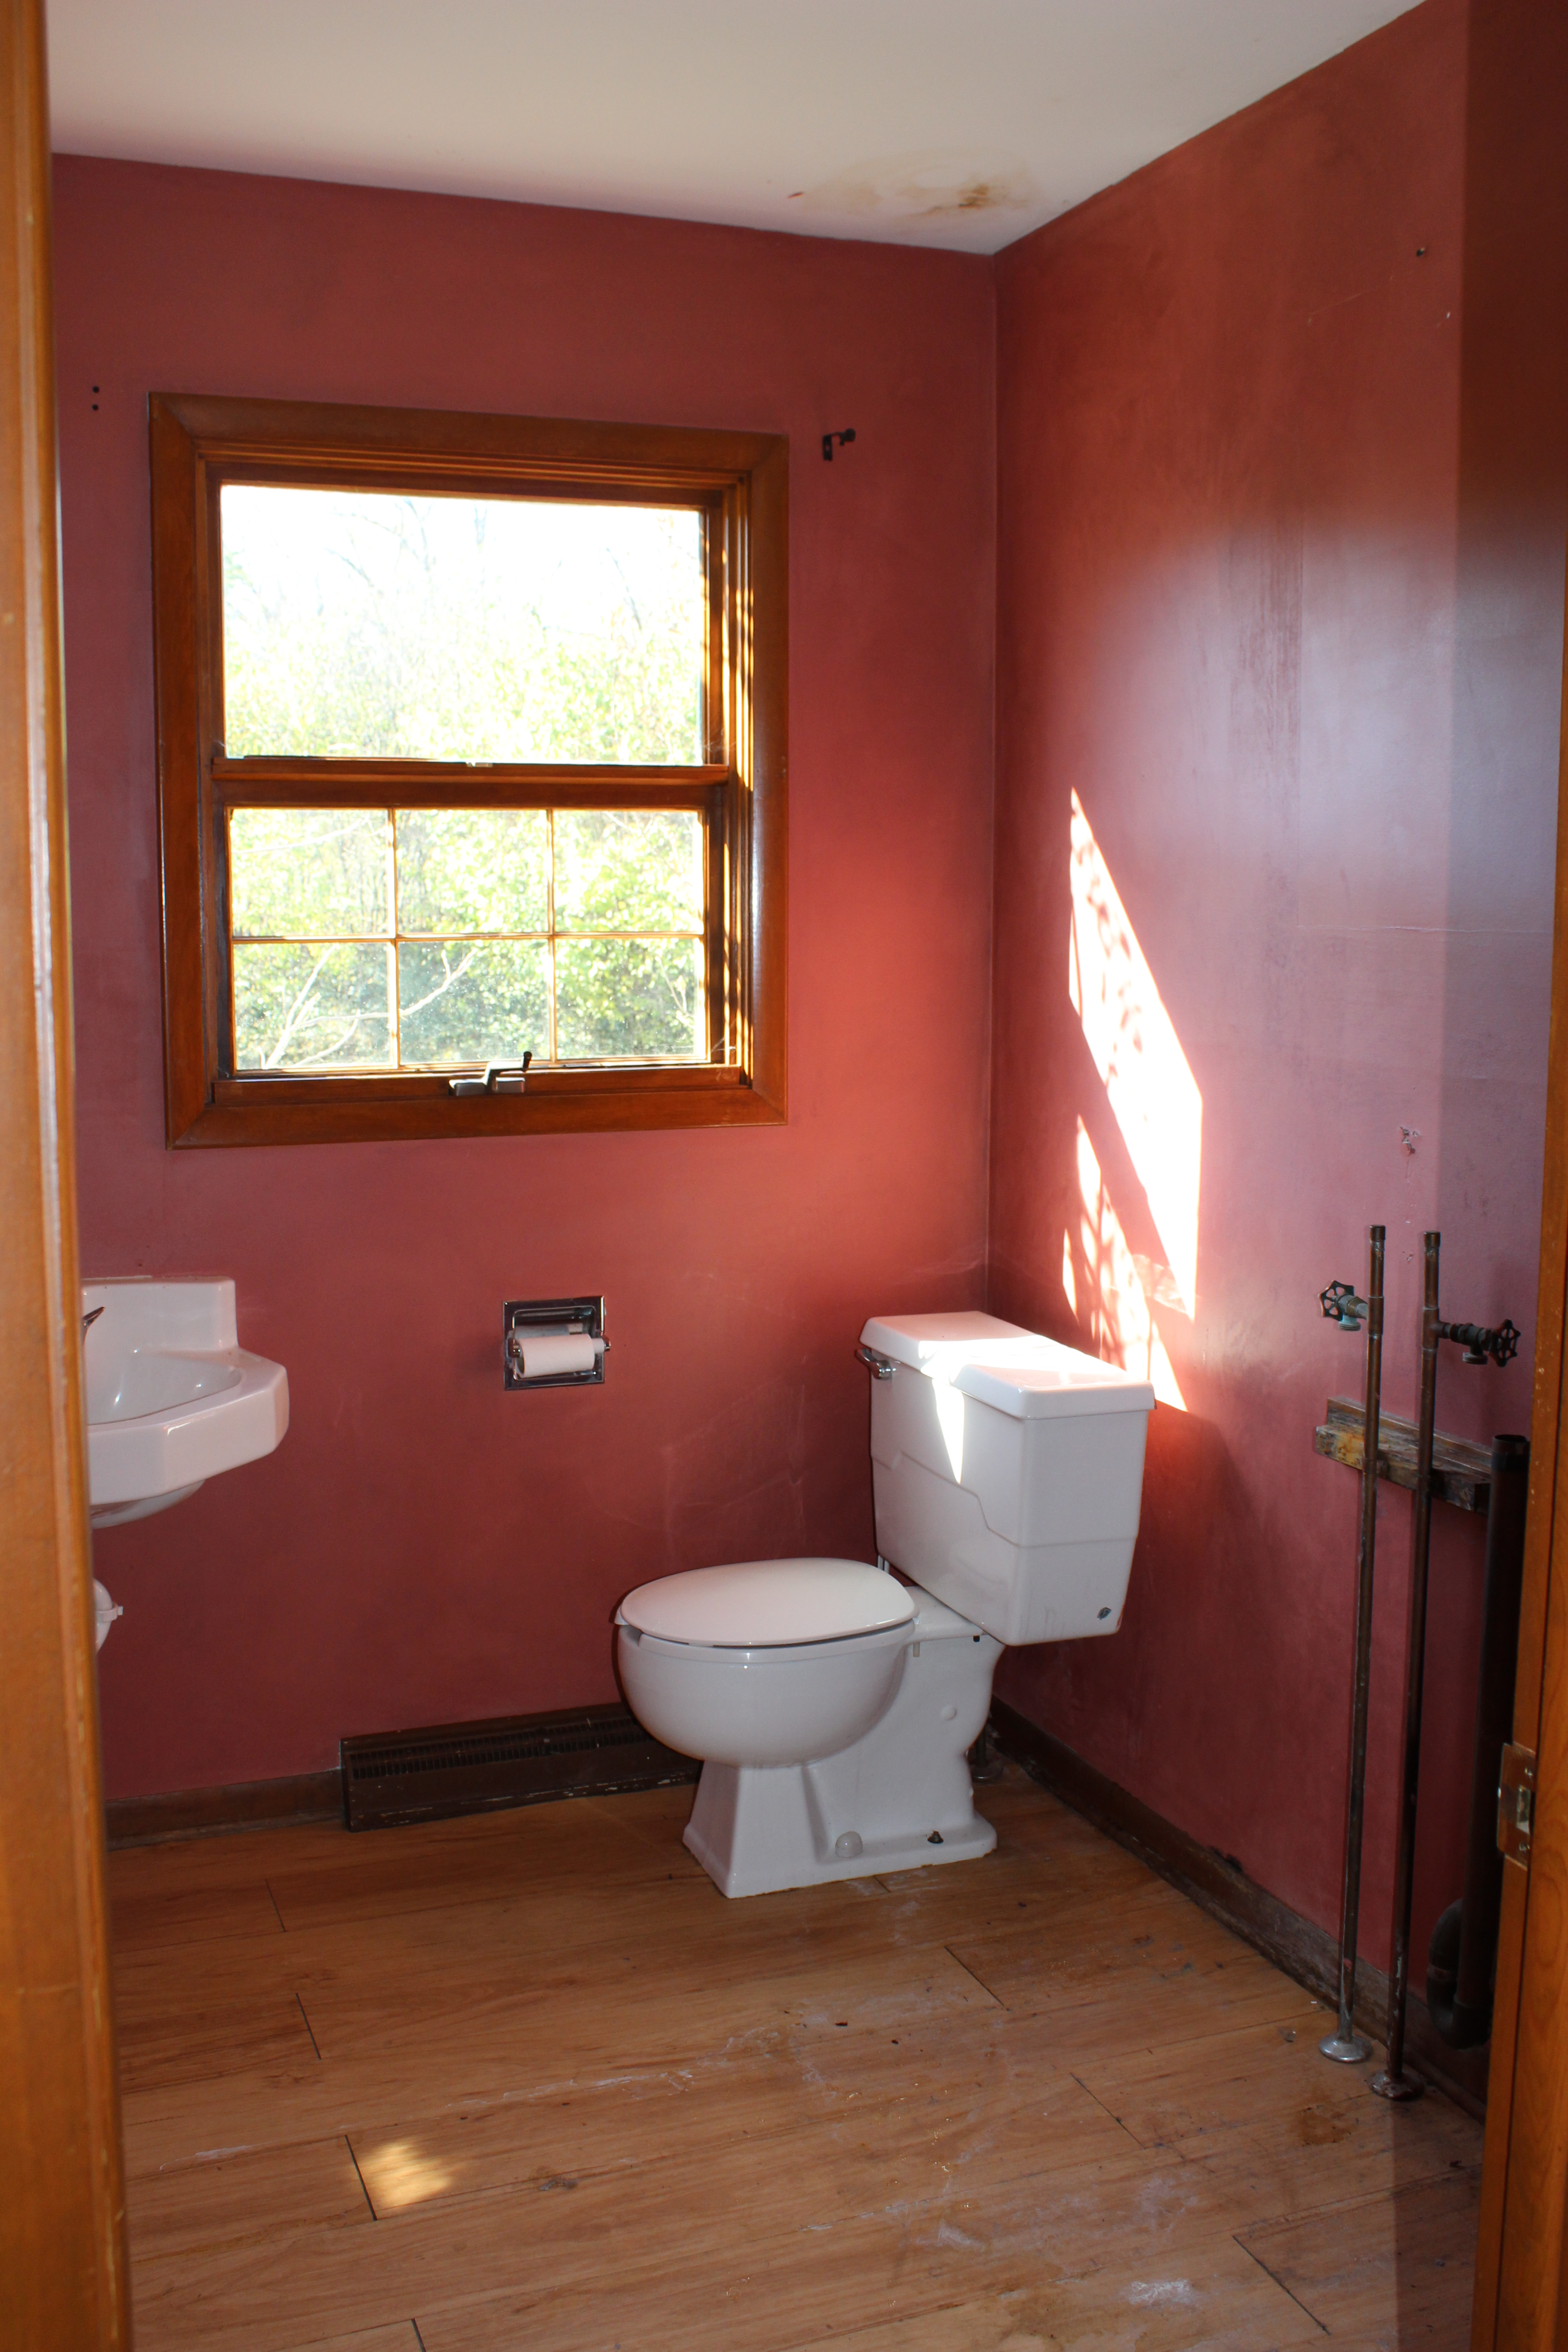
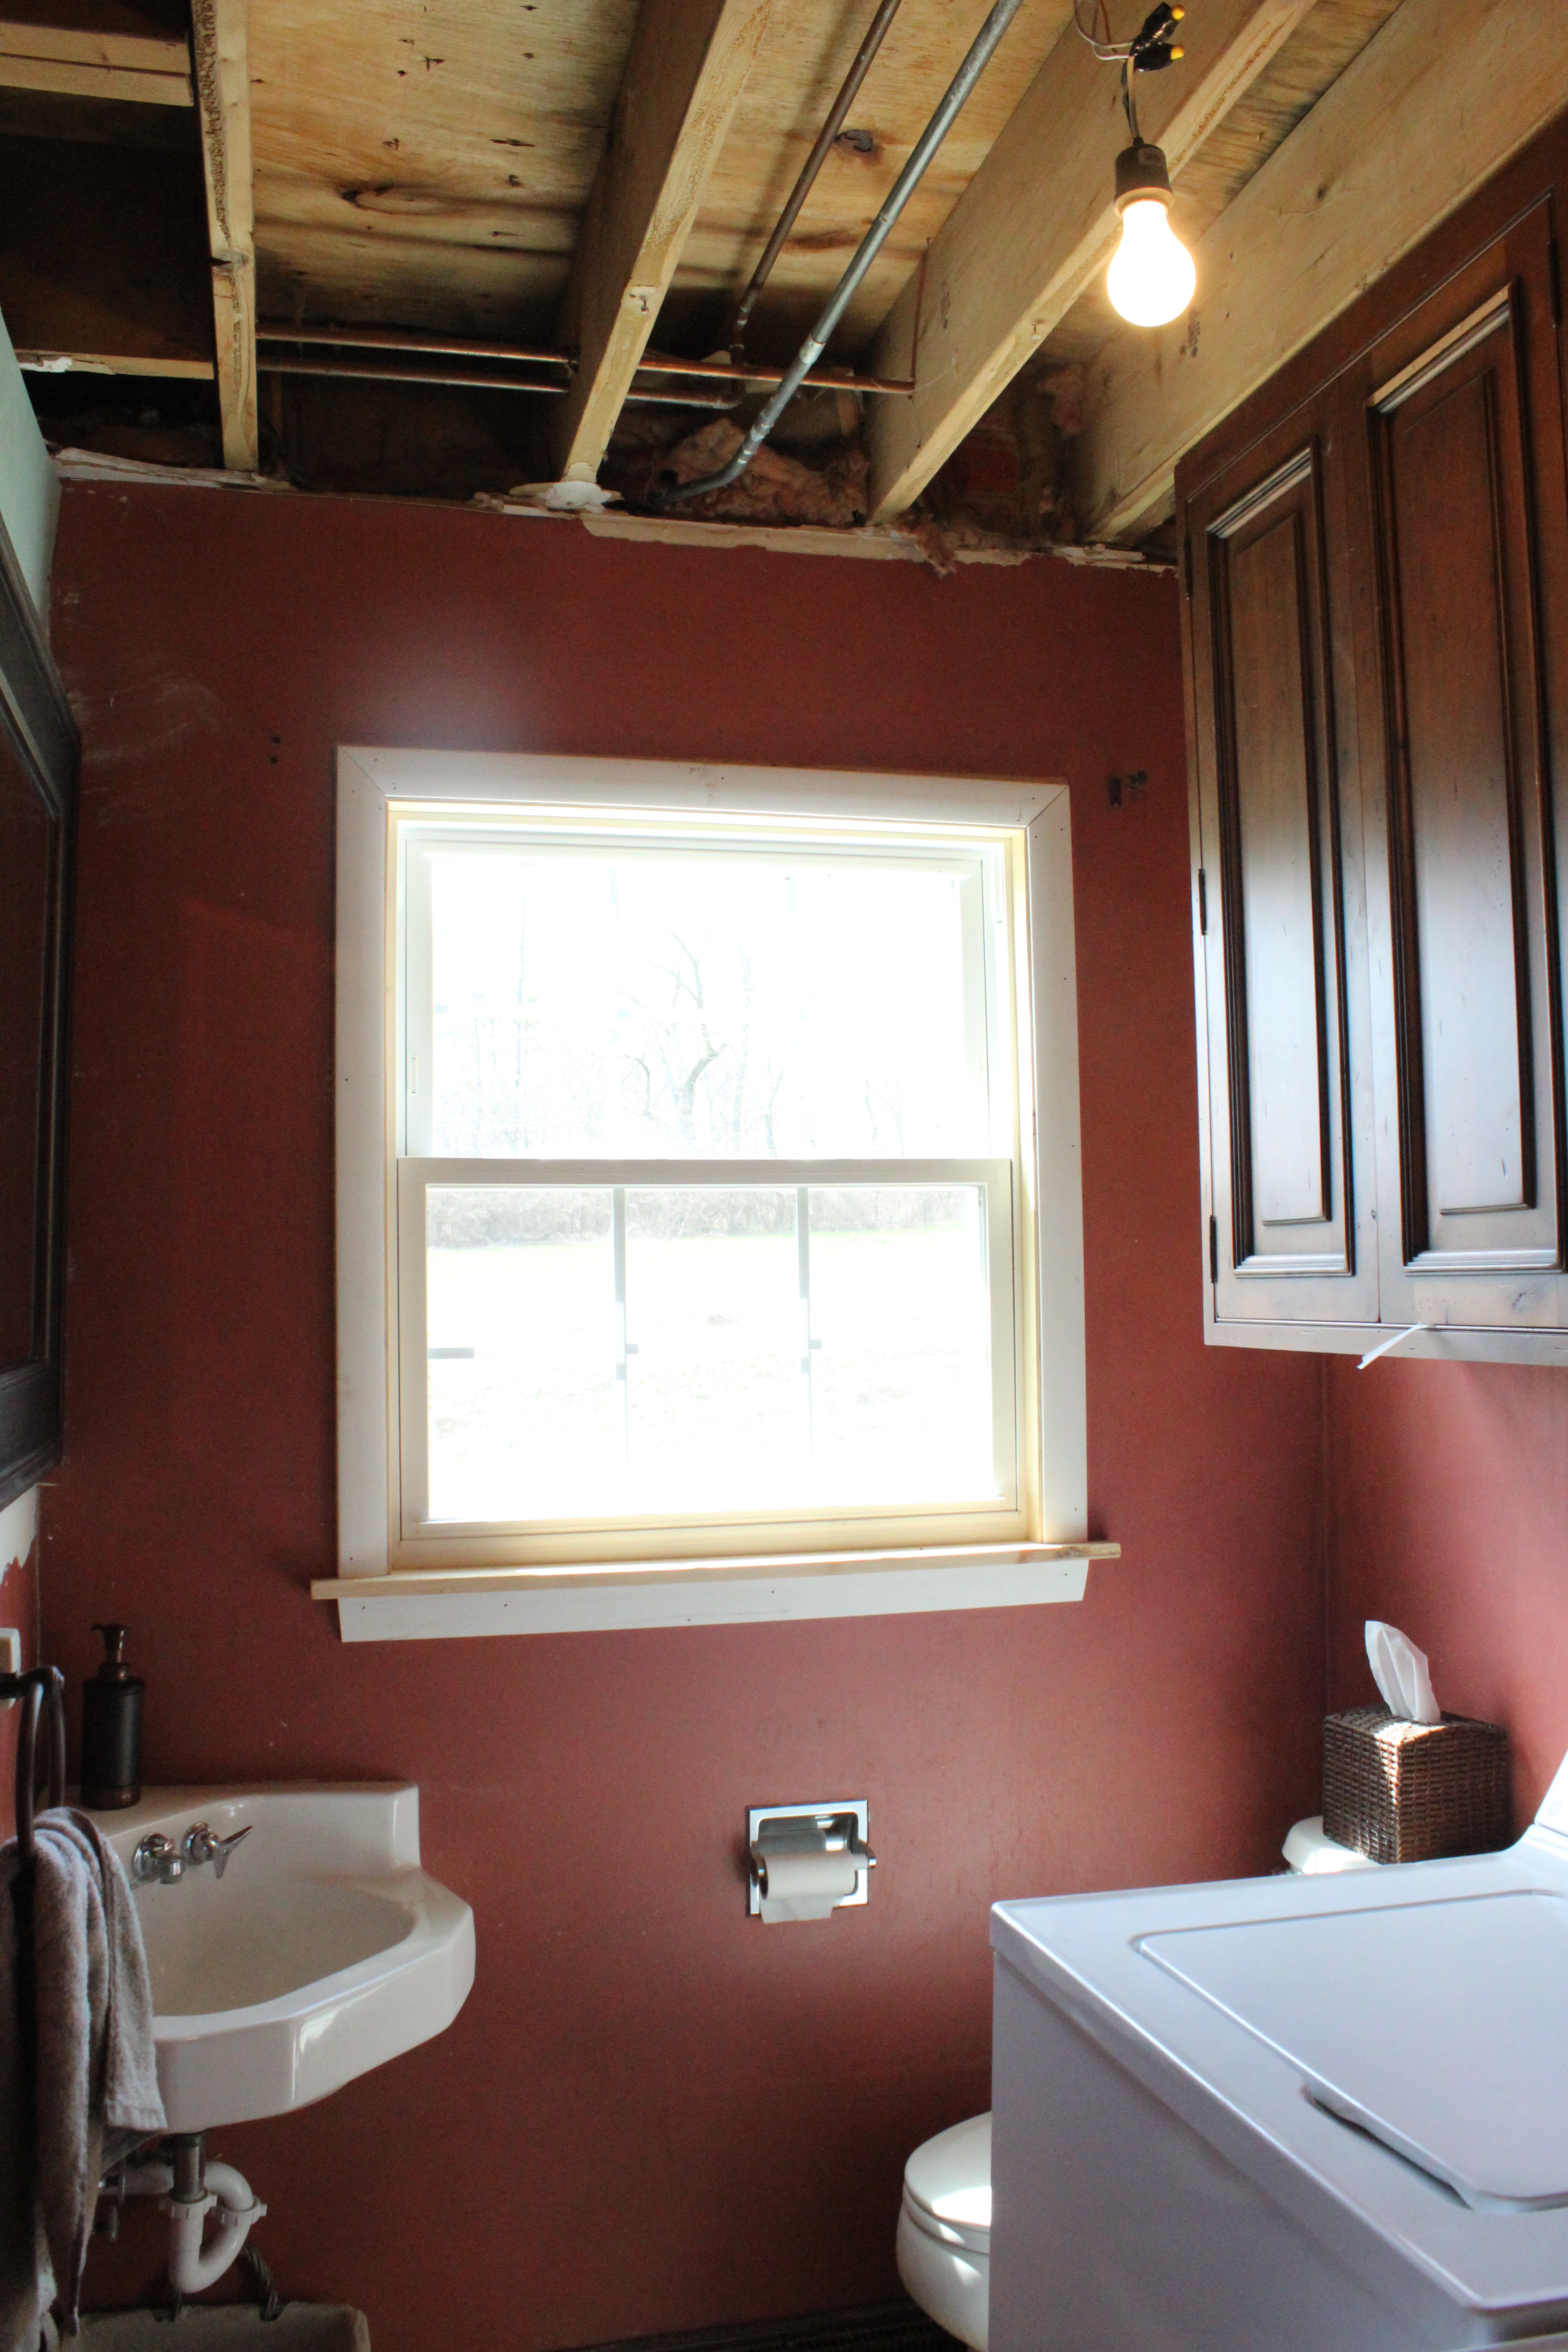
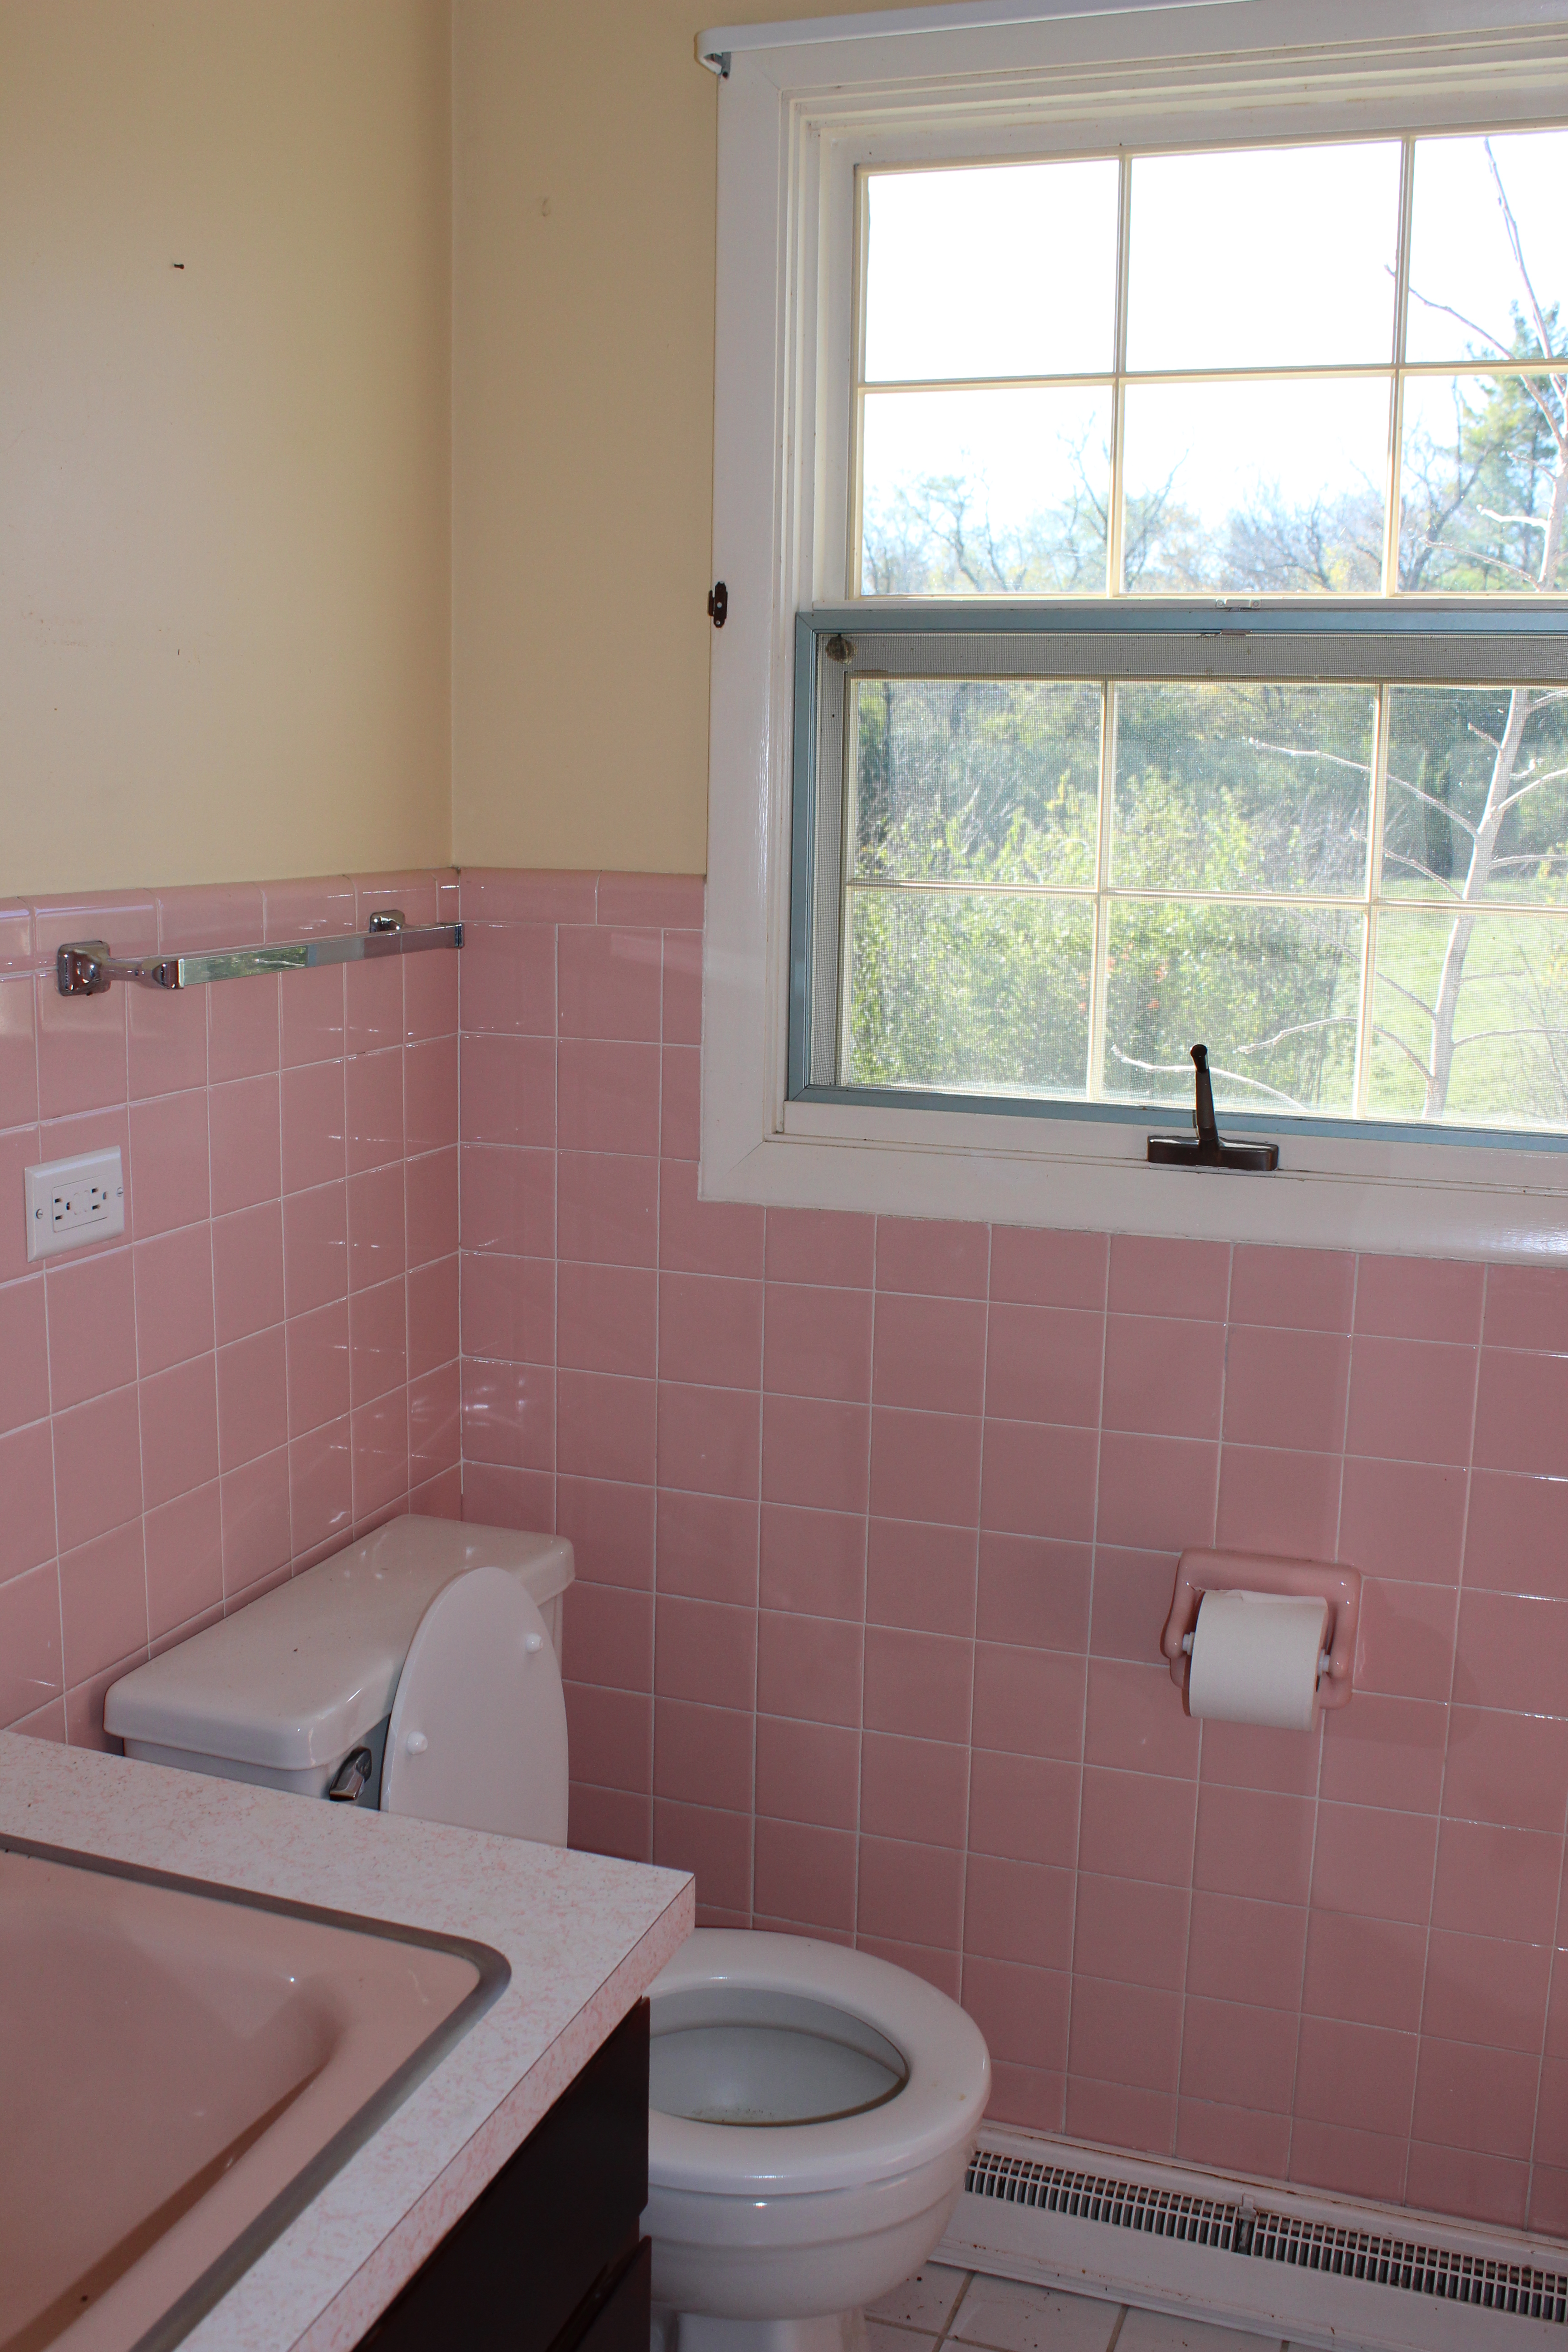
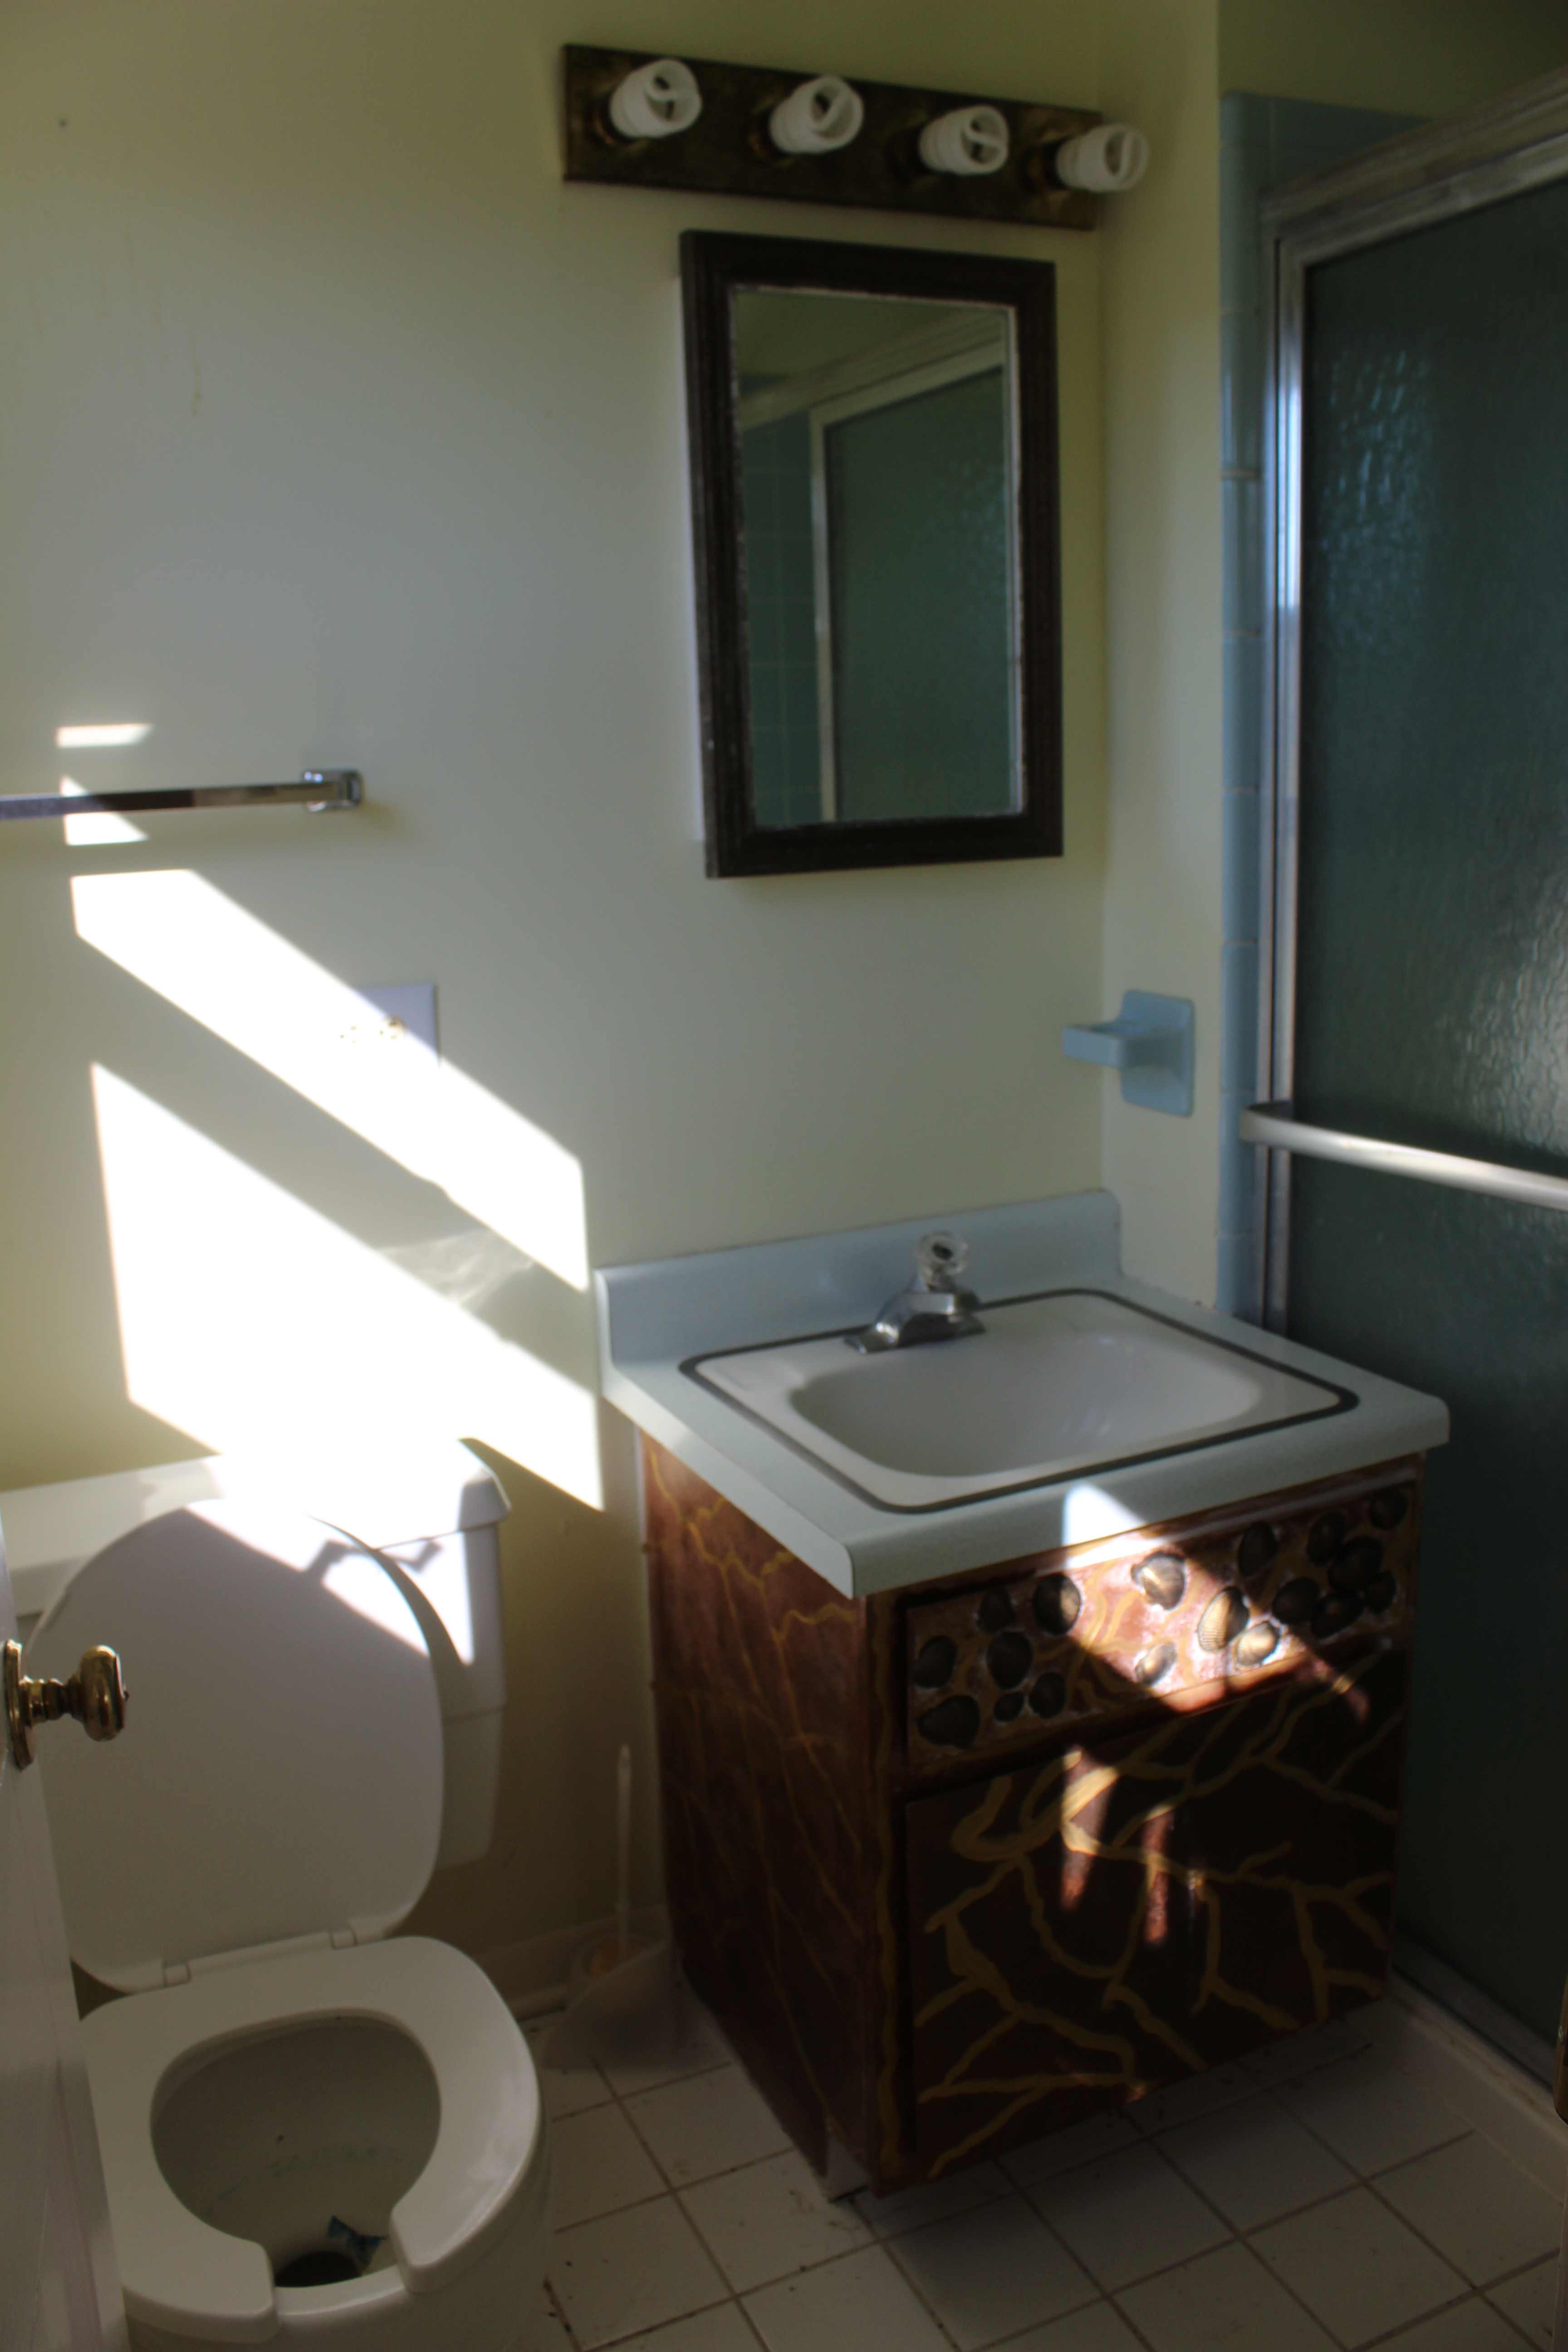
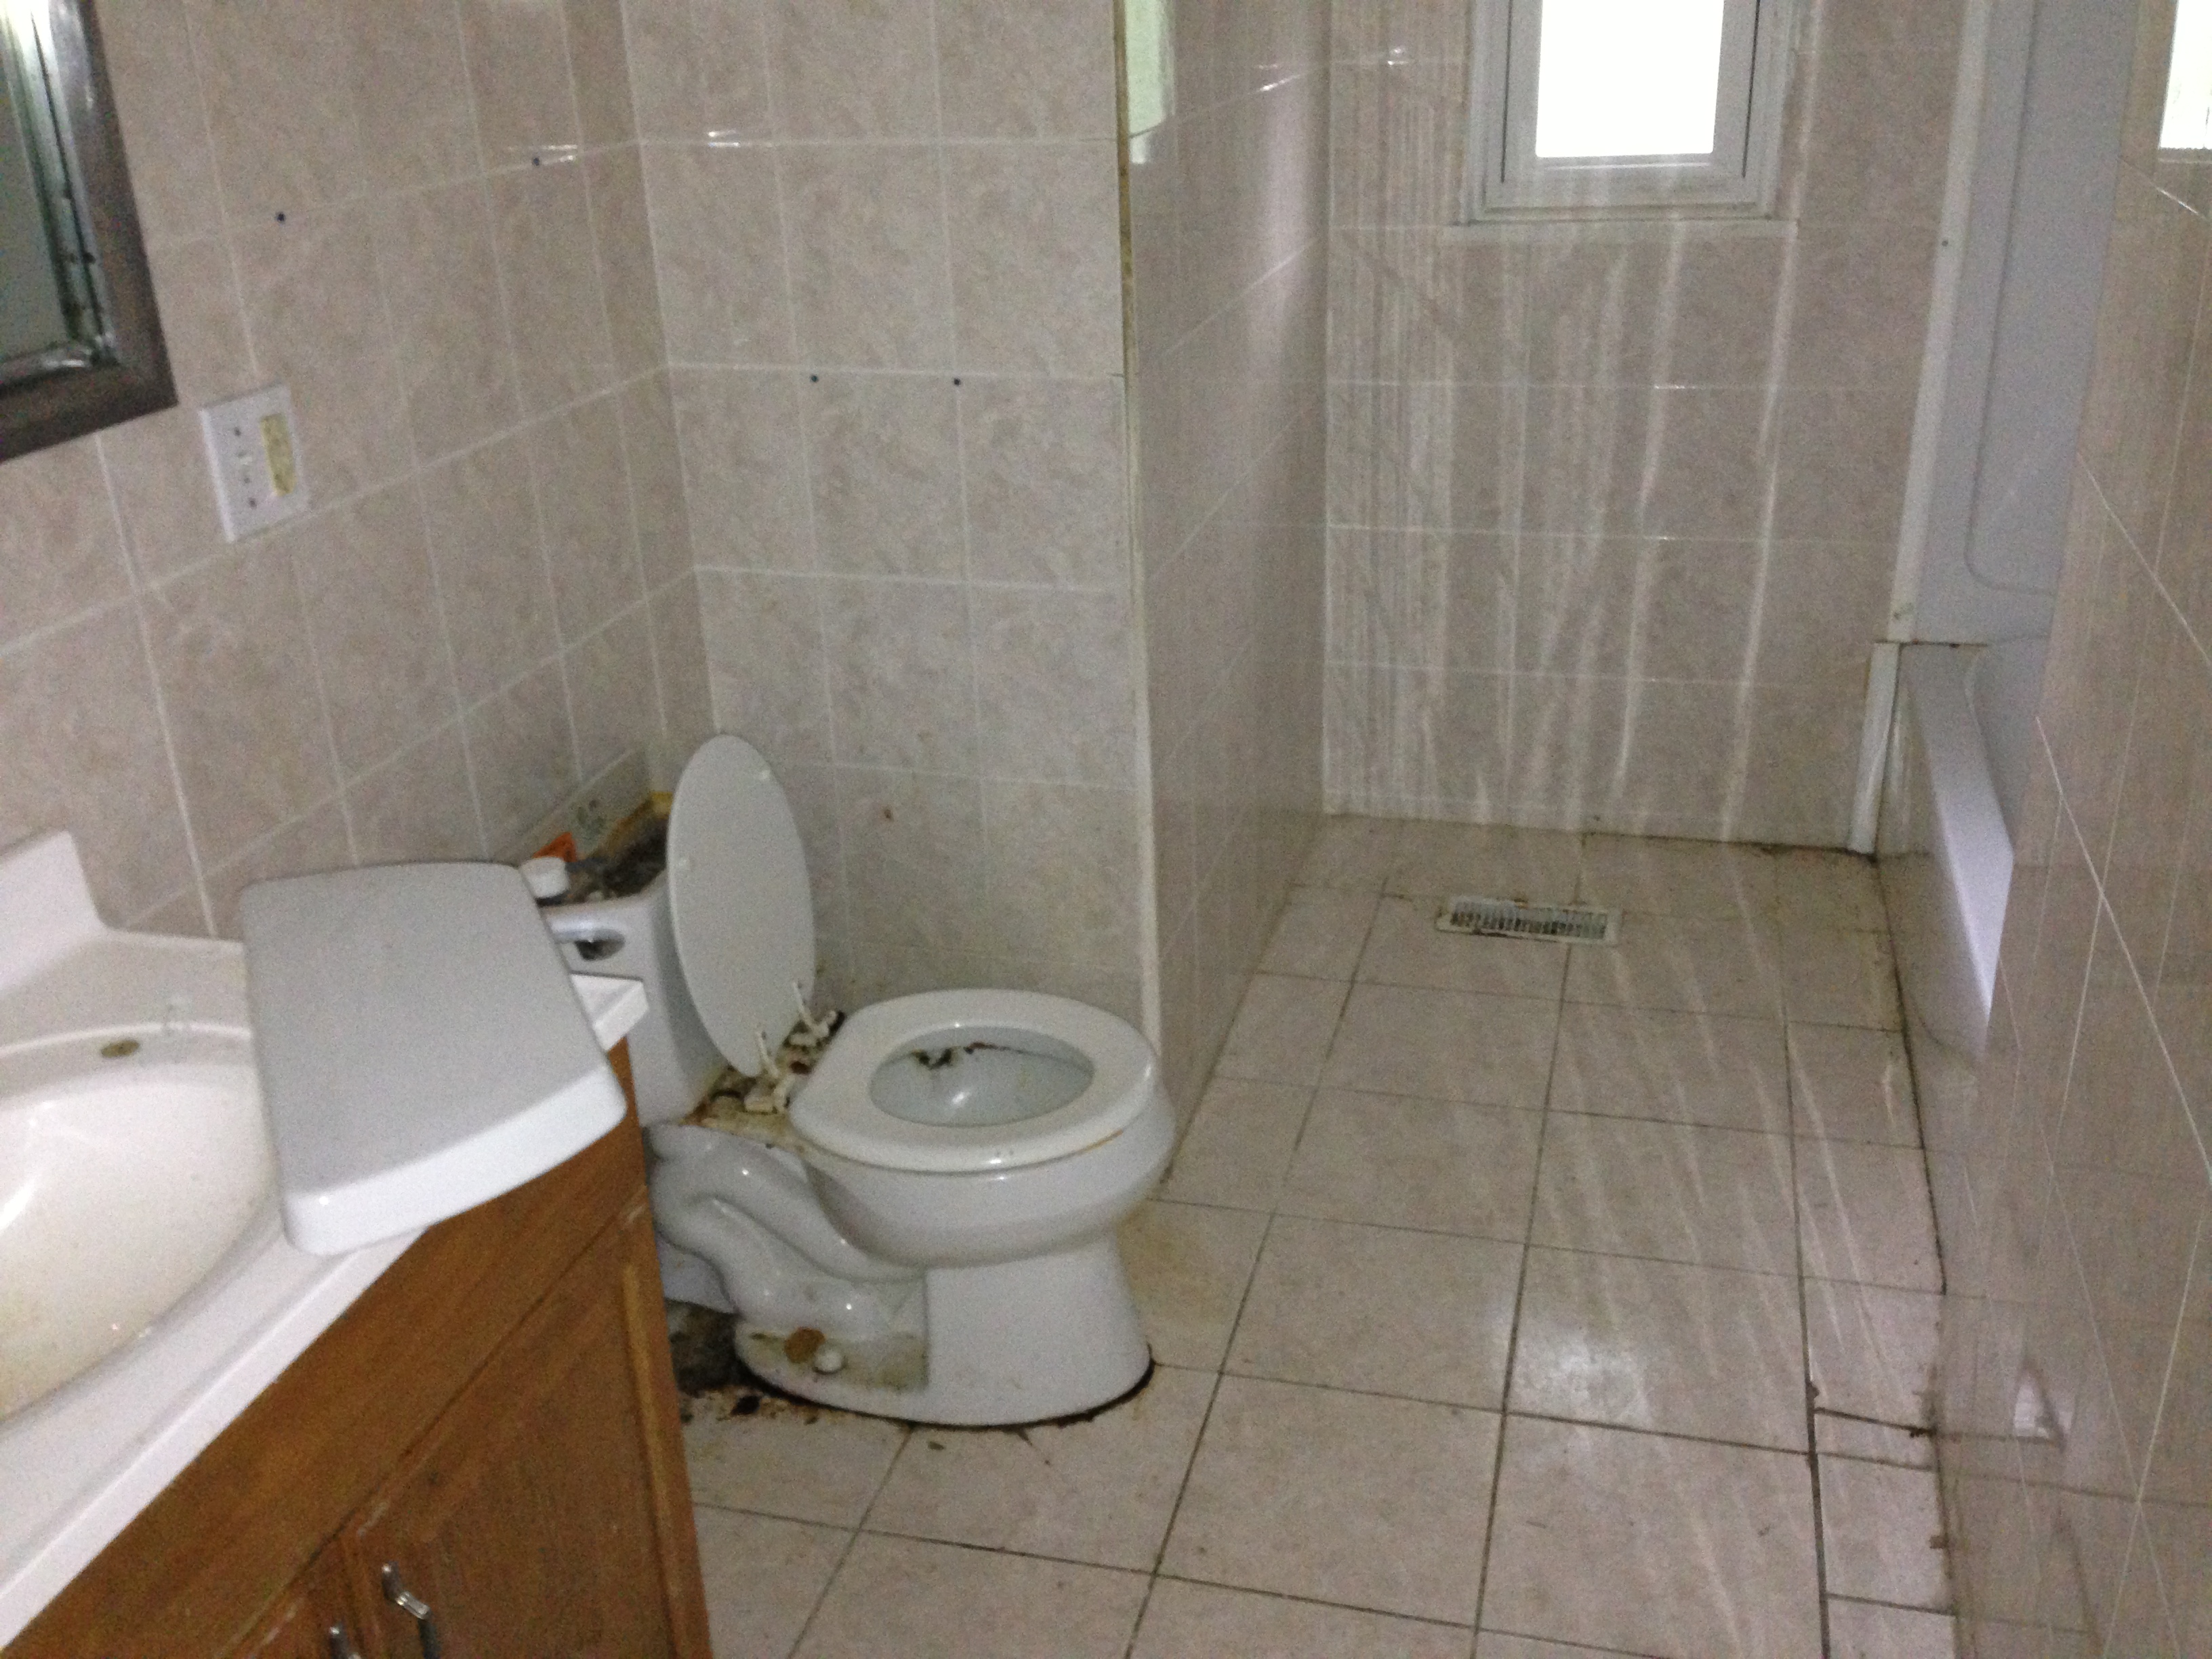
Back inside, here is the upstairs bathroom before:
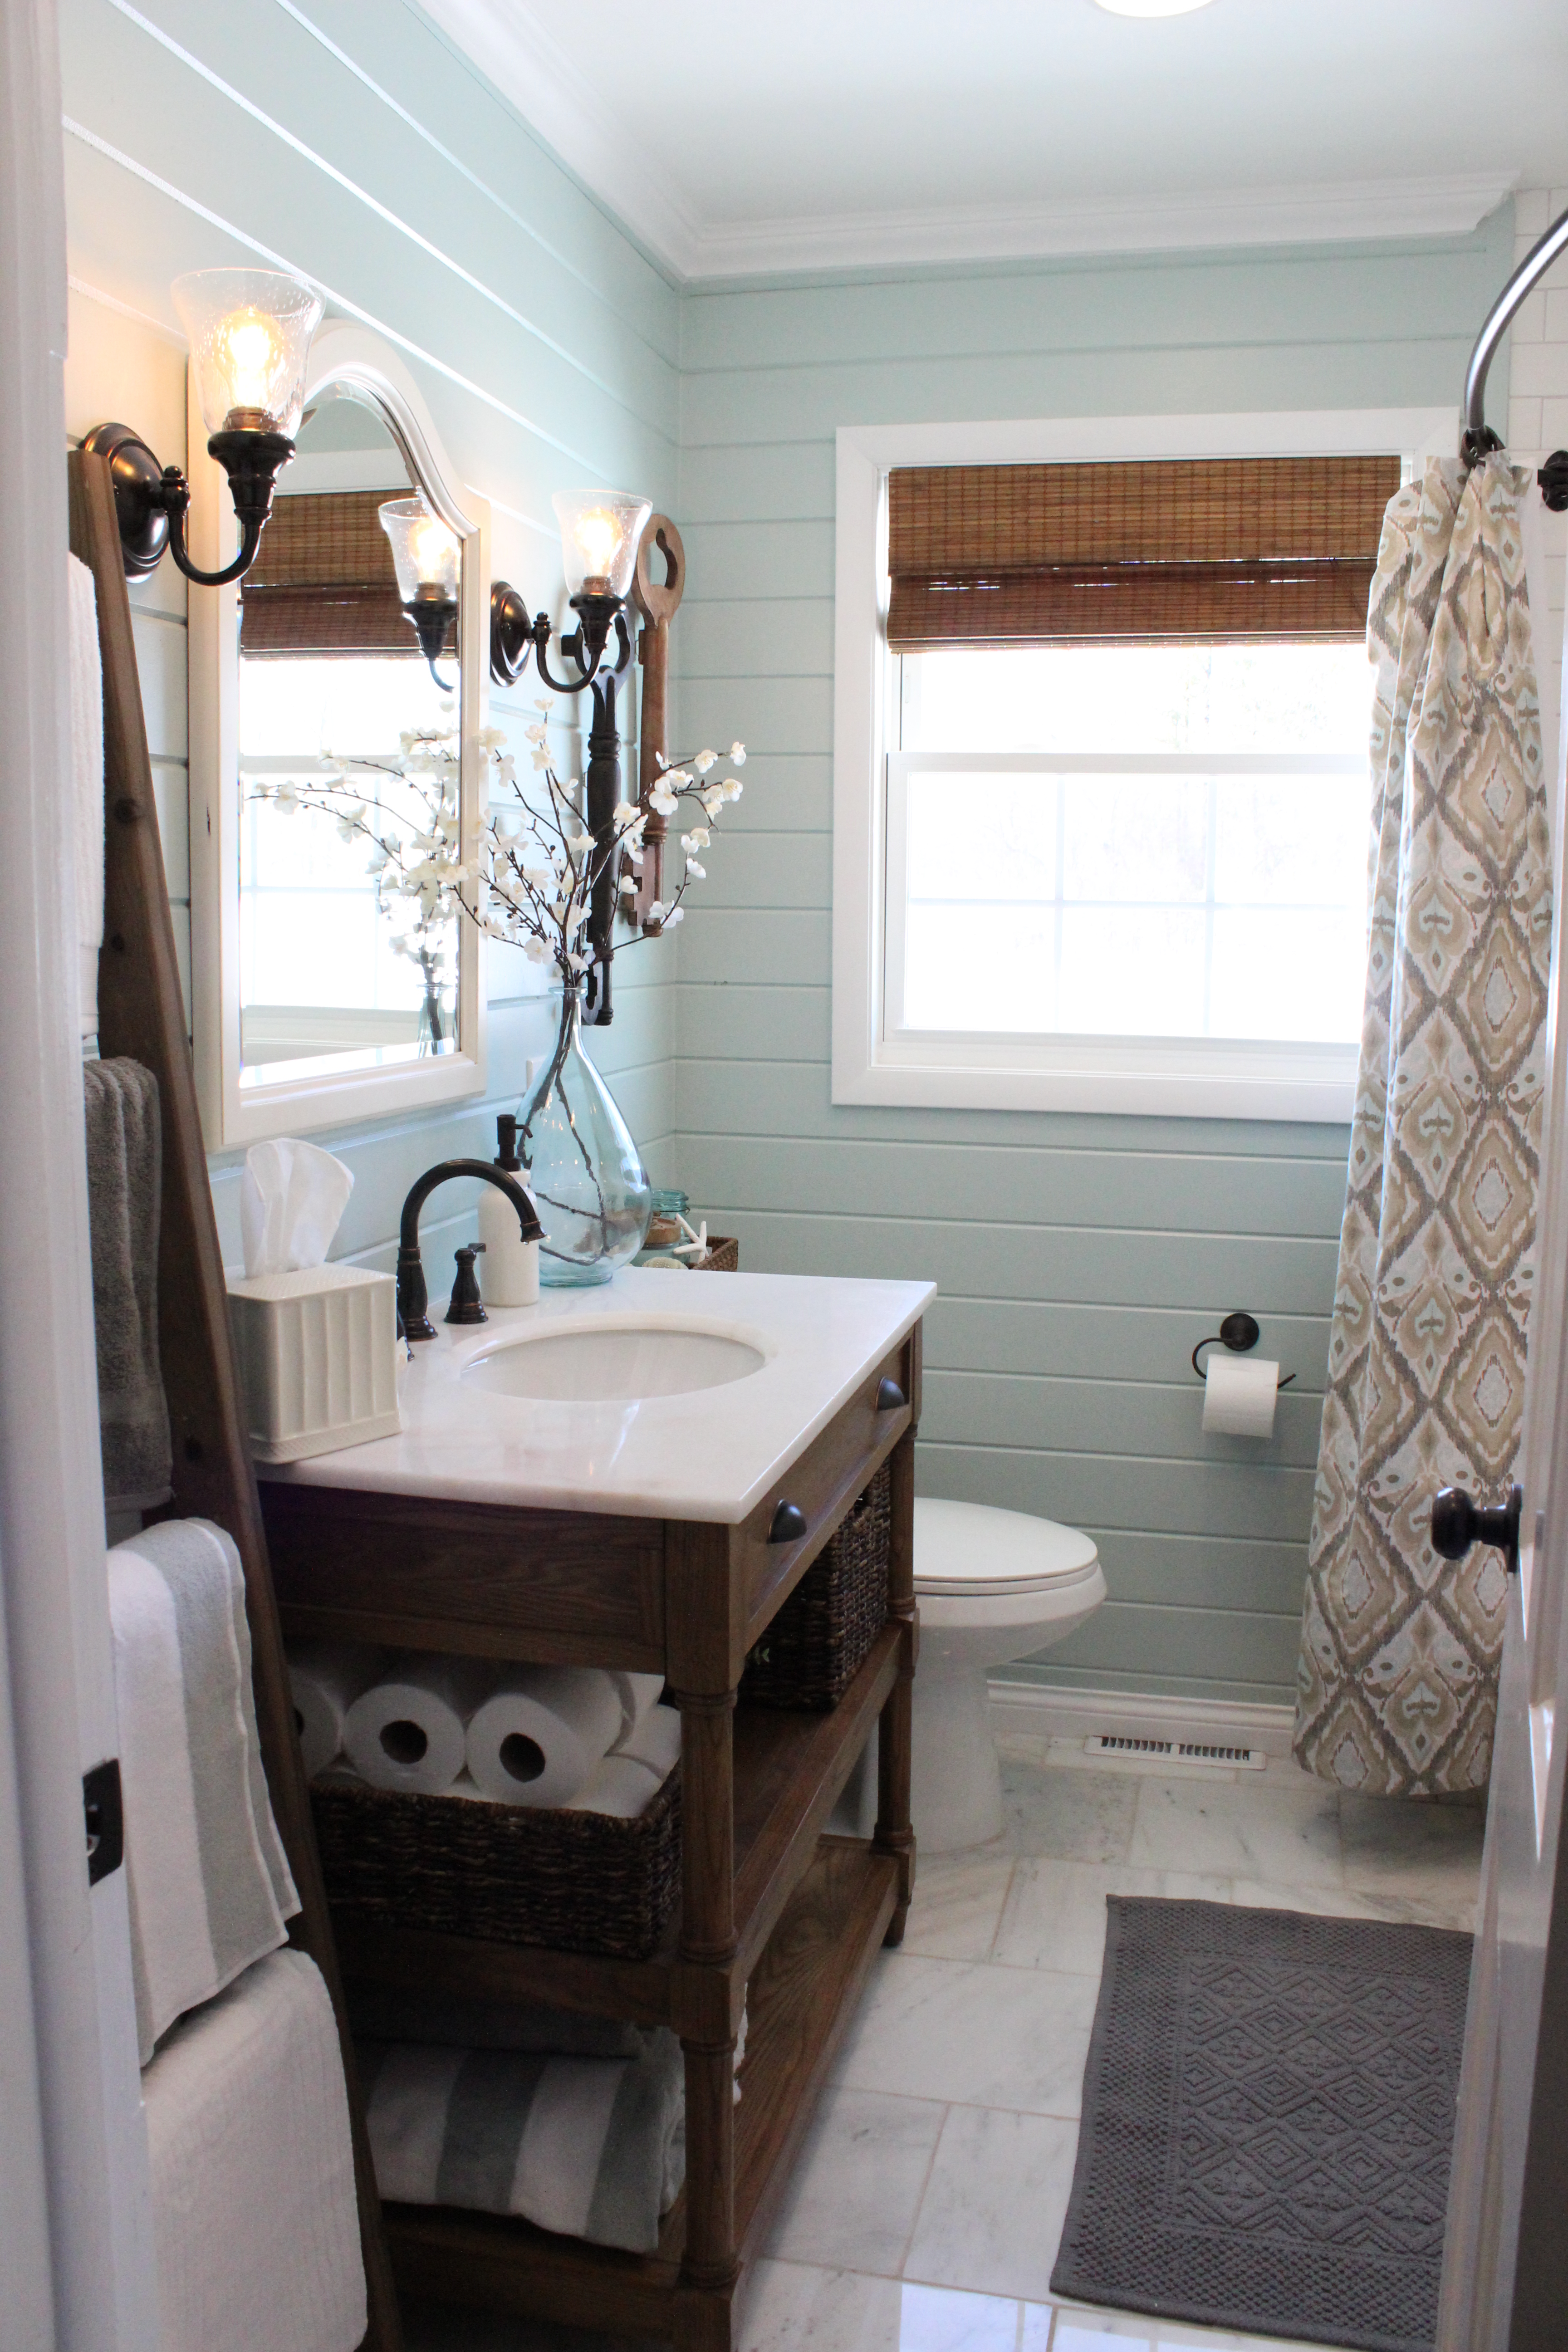
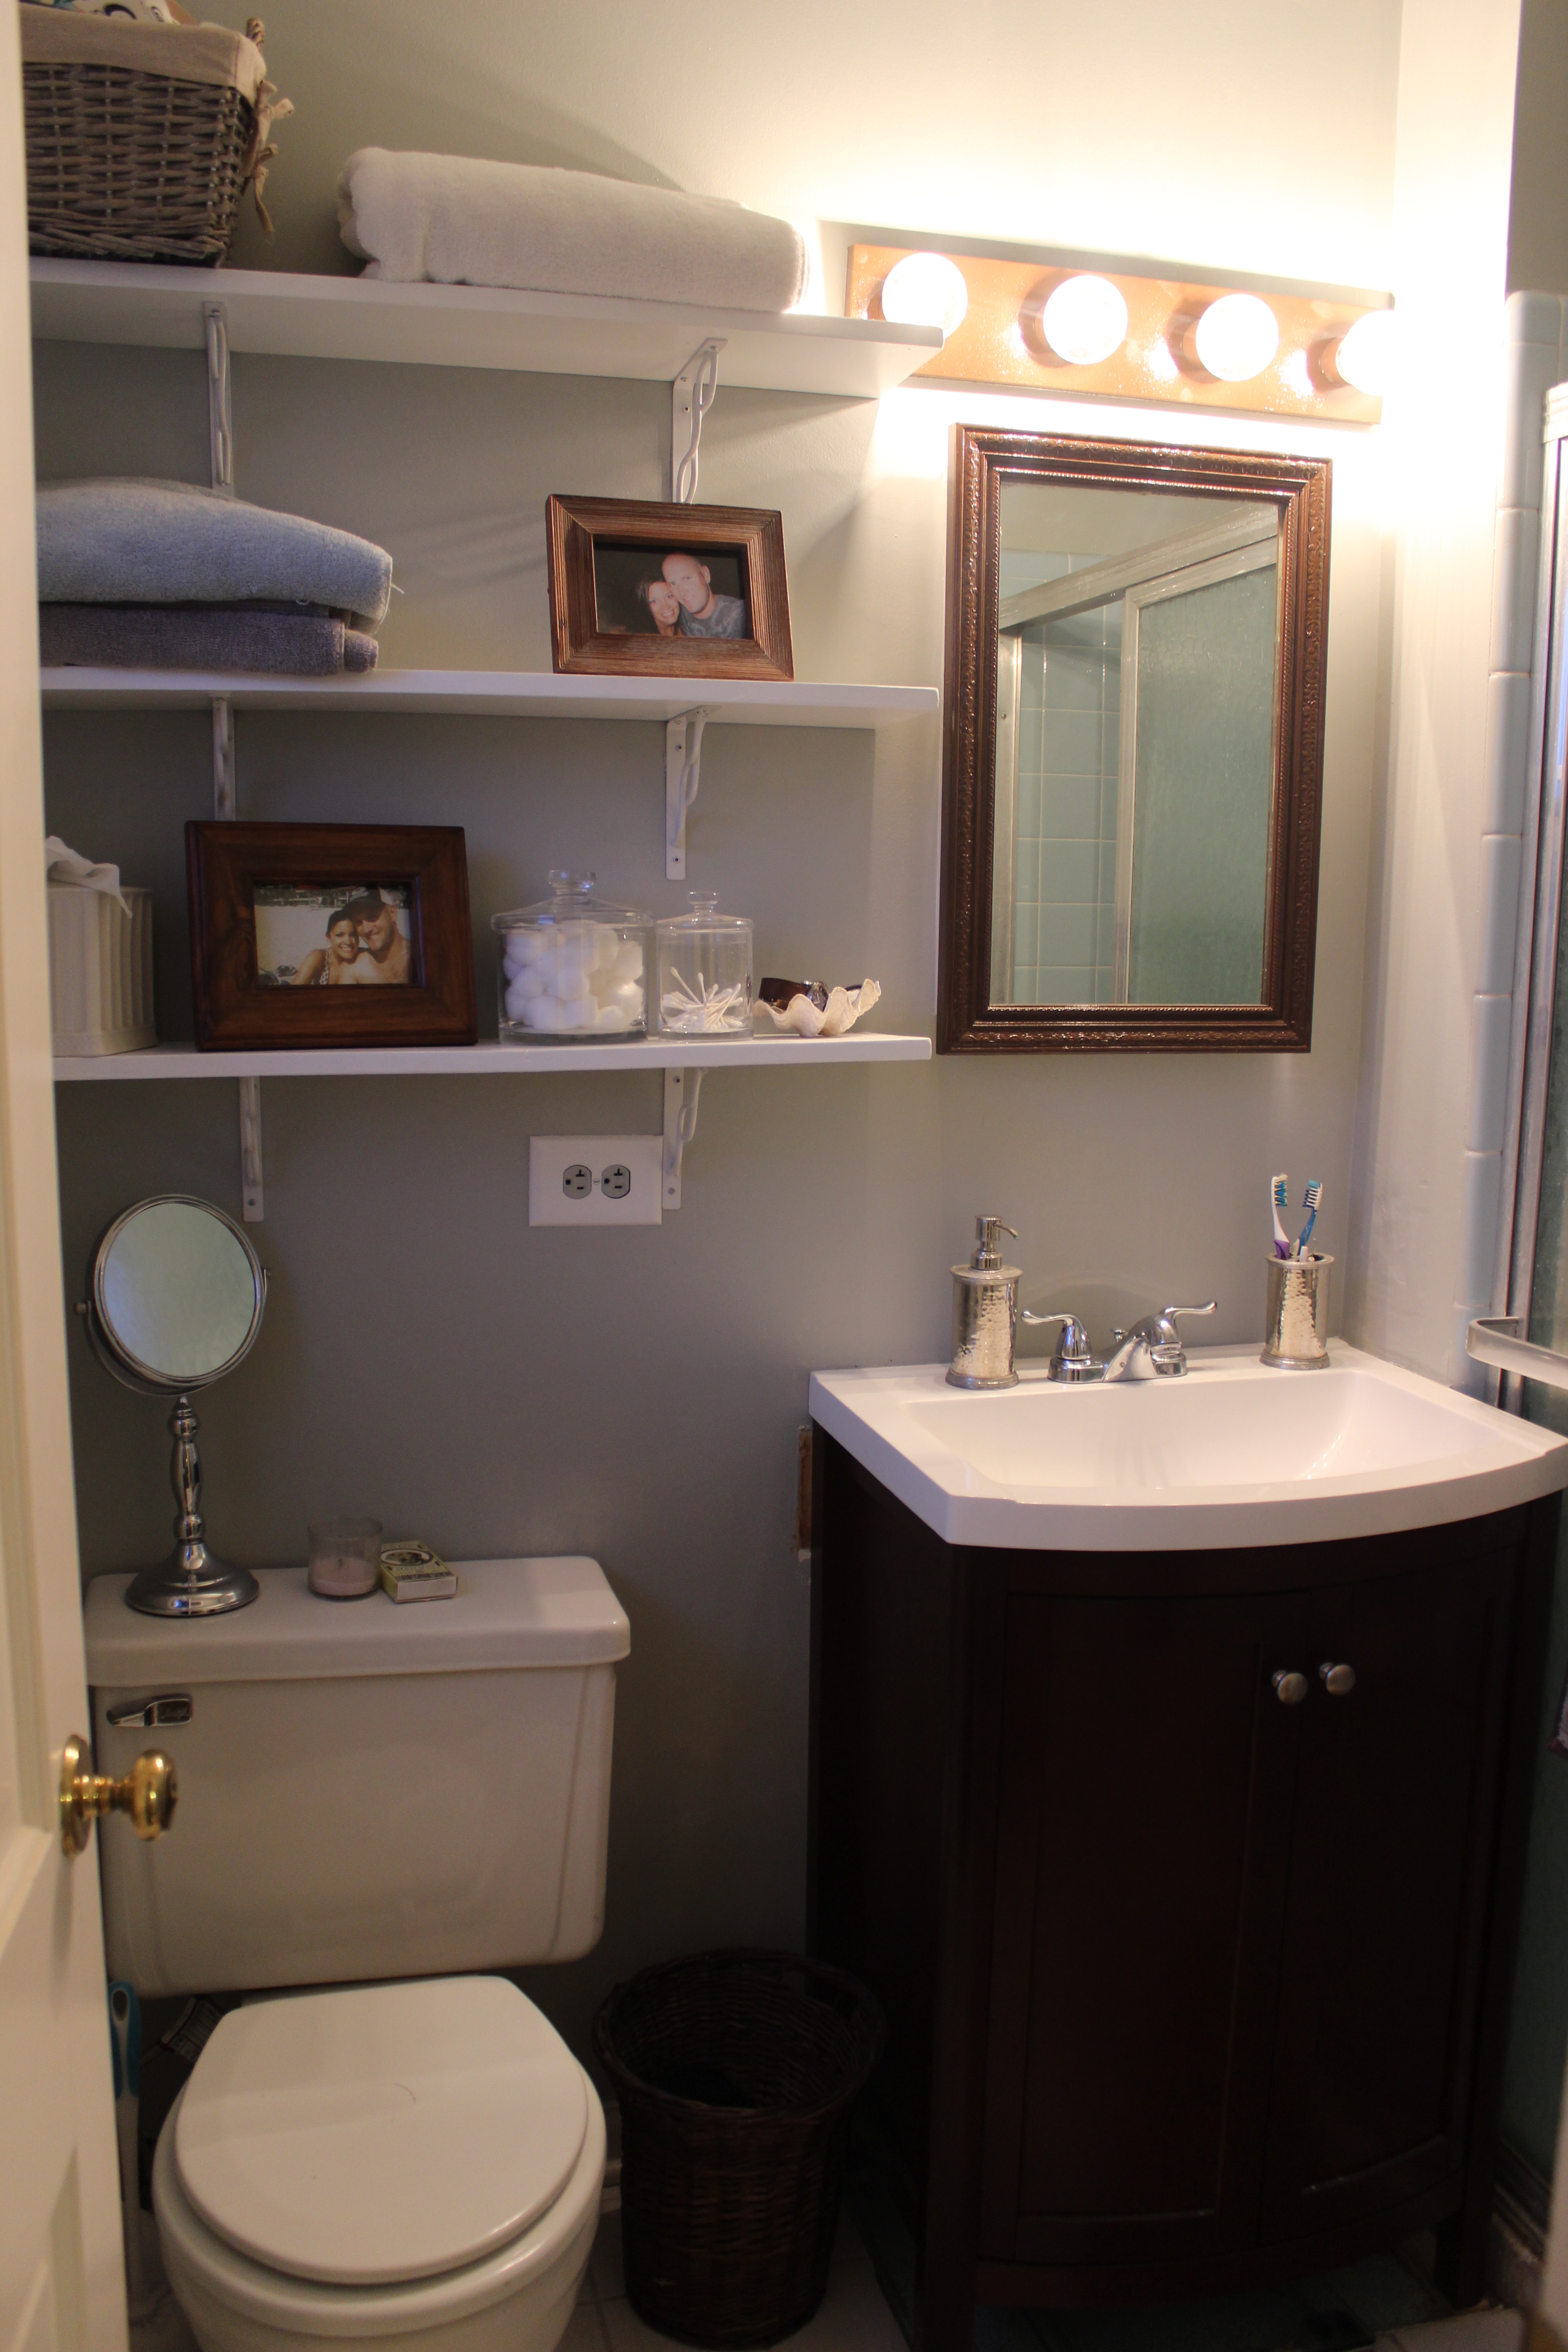
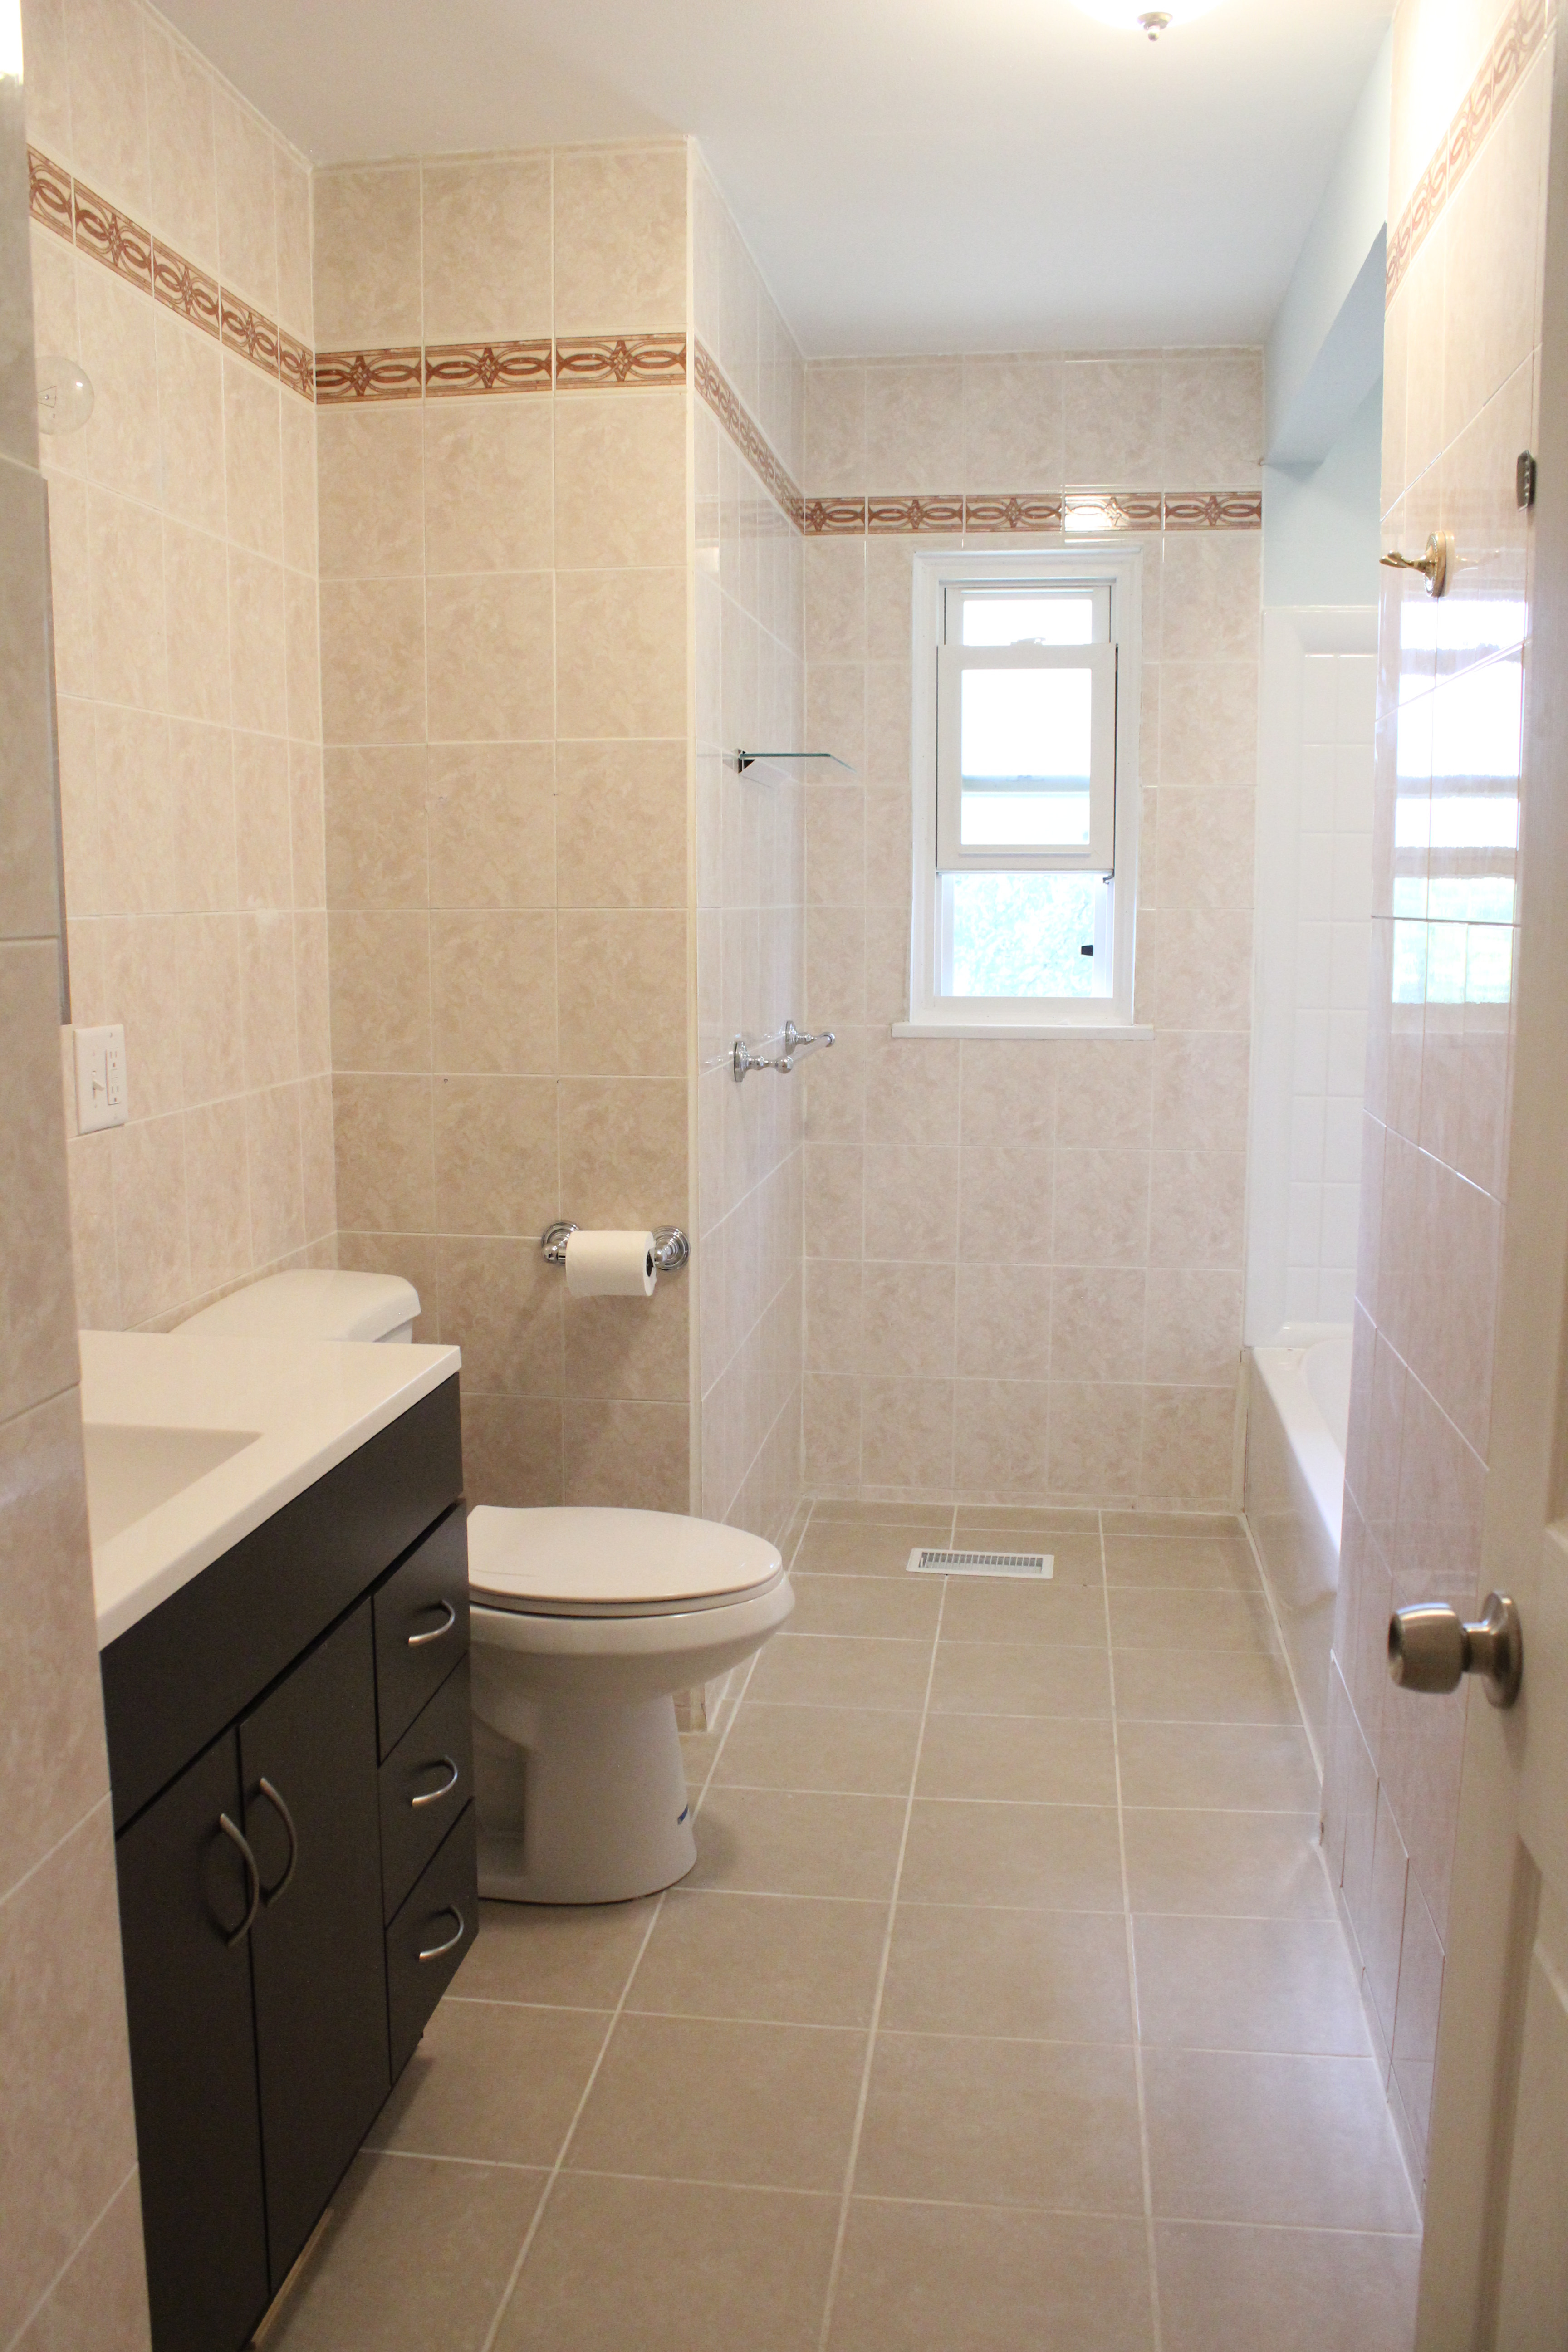
 And after a new toilet, vanity, tub, sink, floor tile and fixtures:
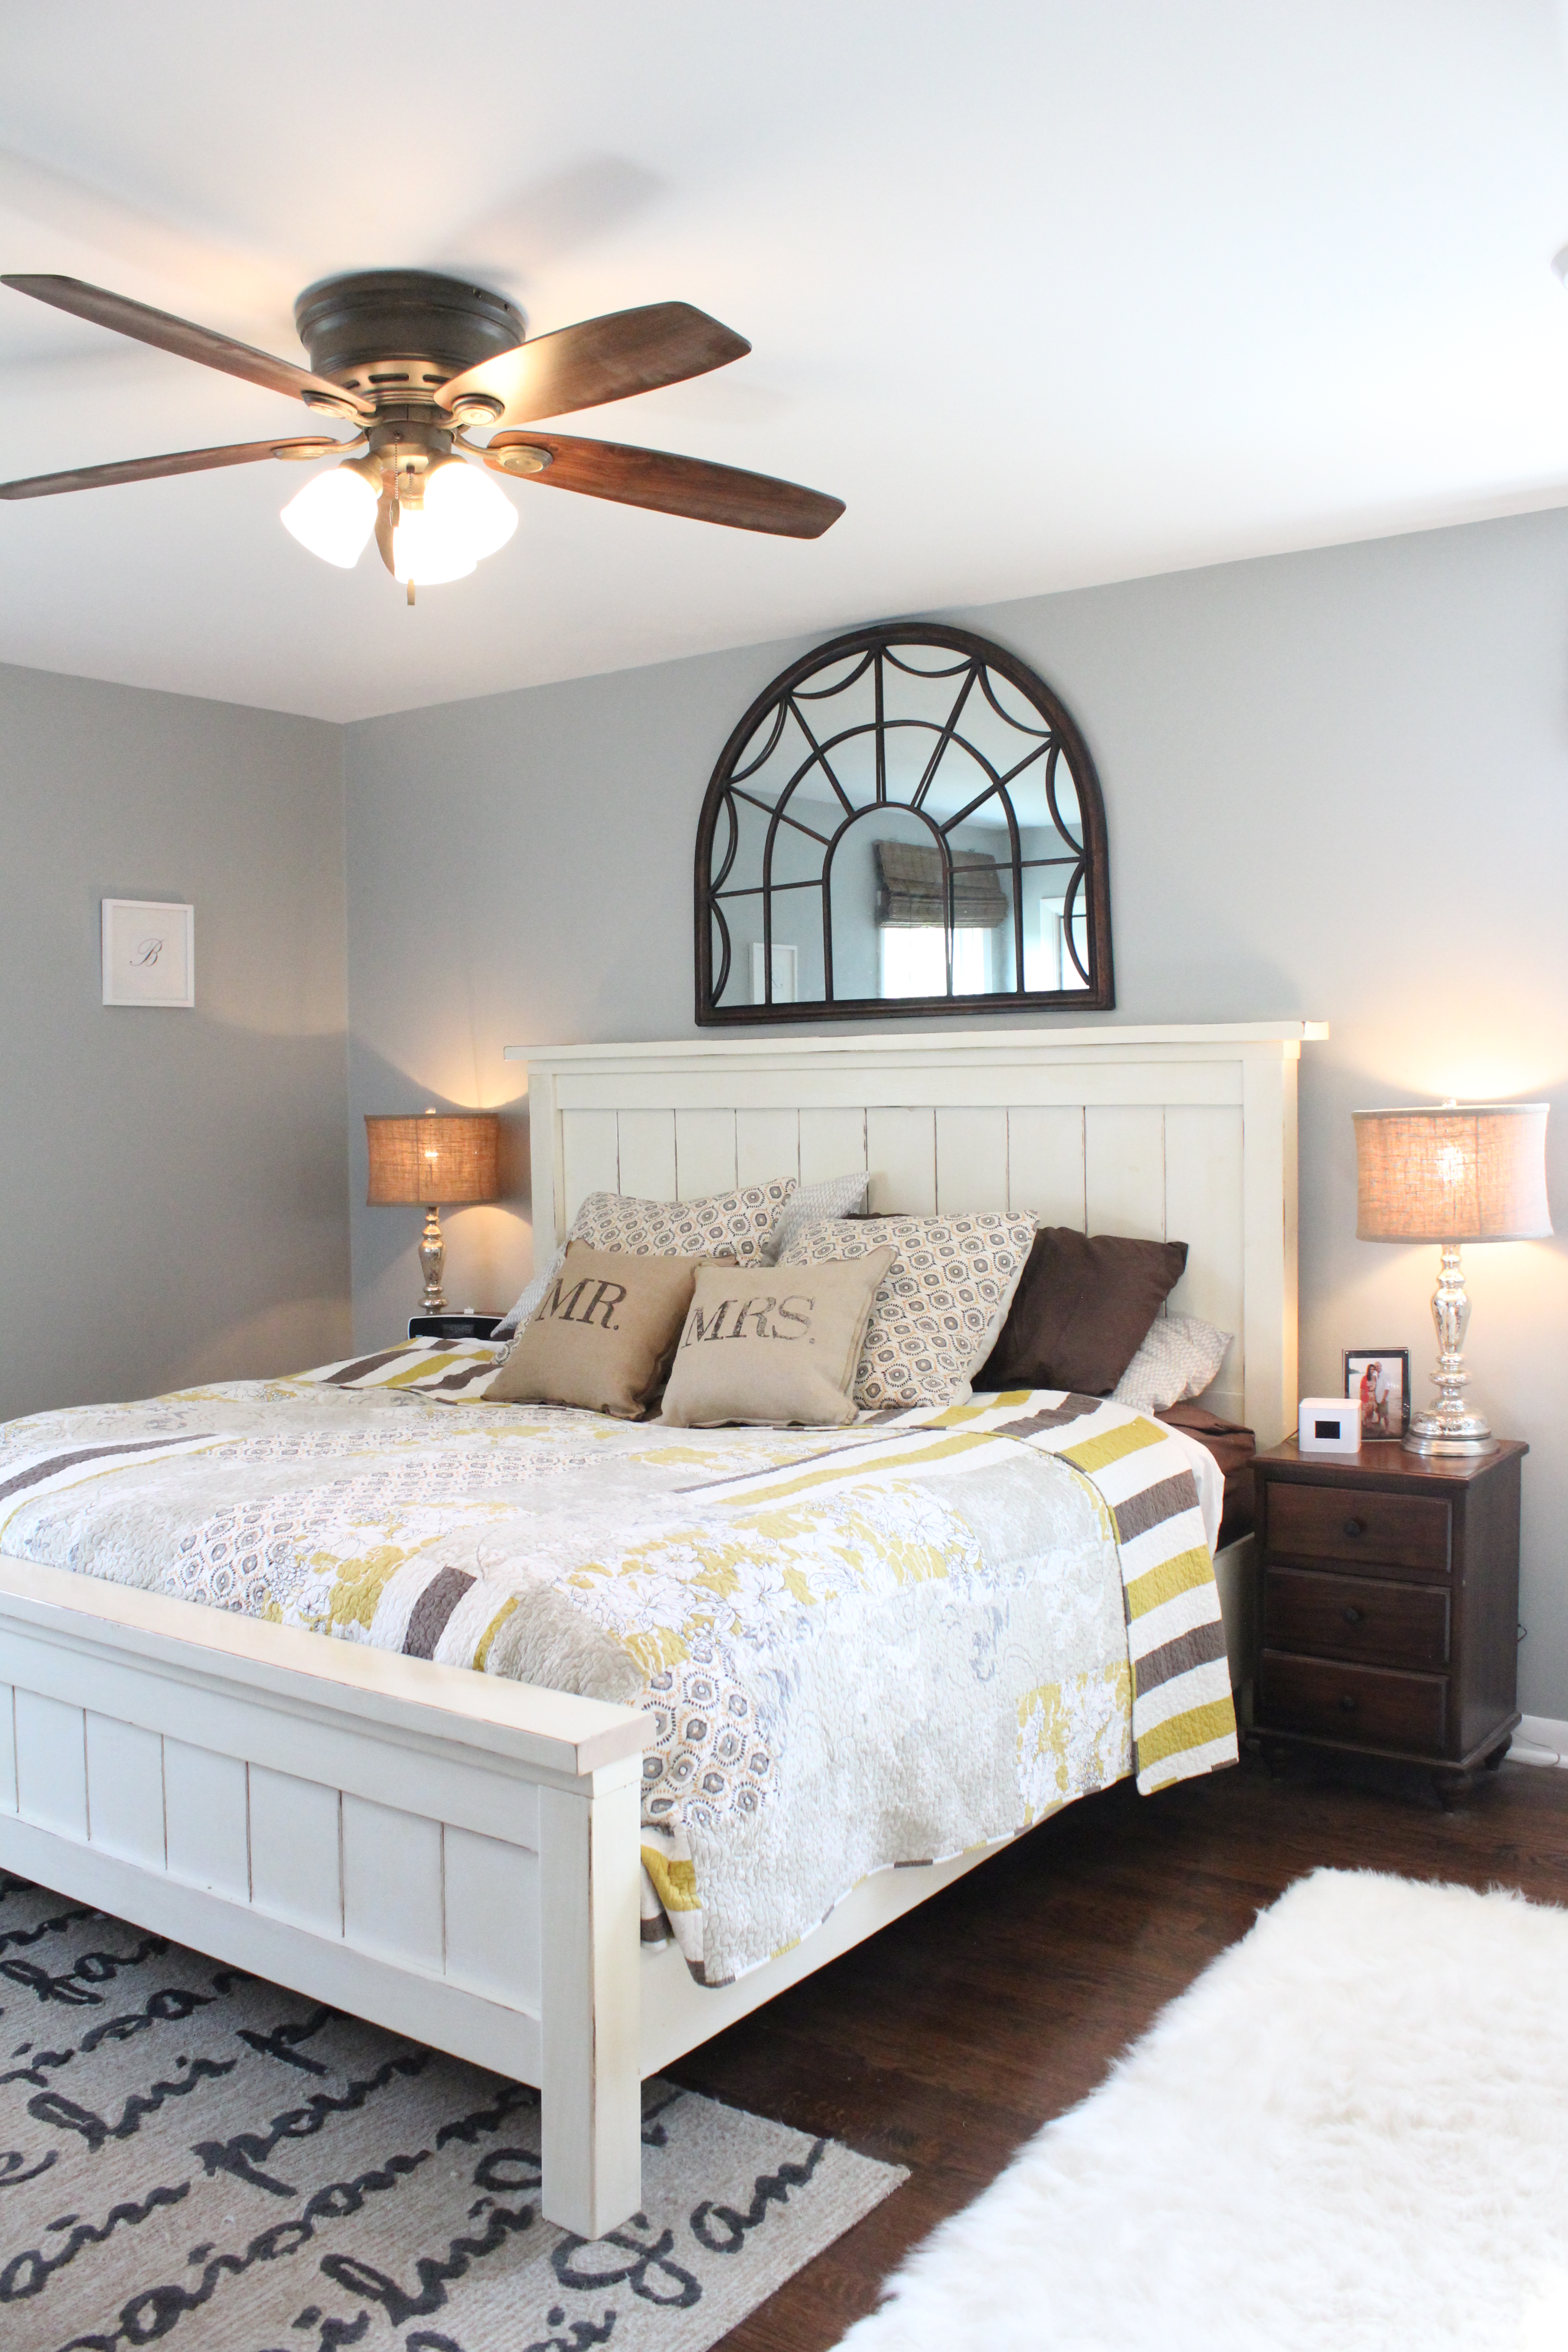
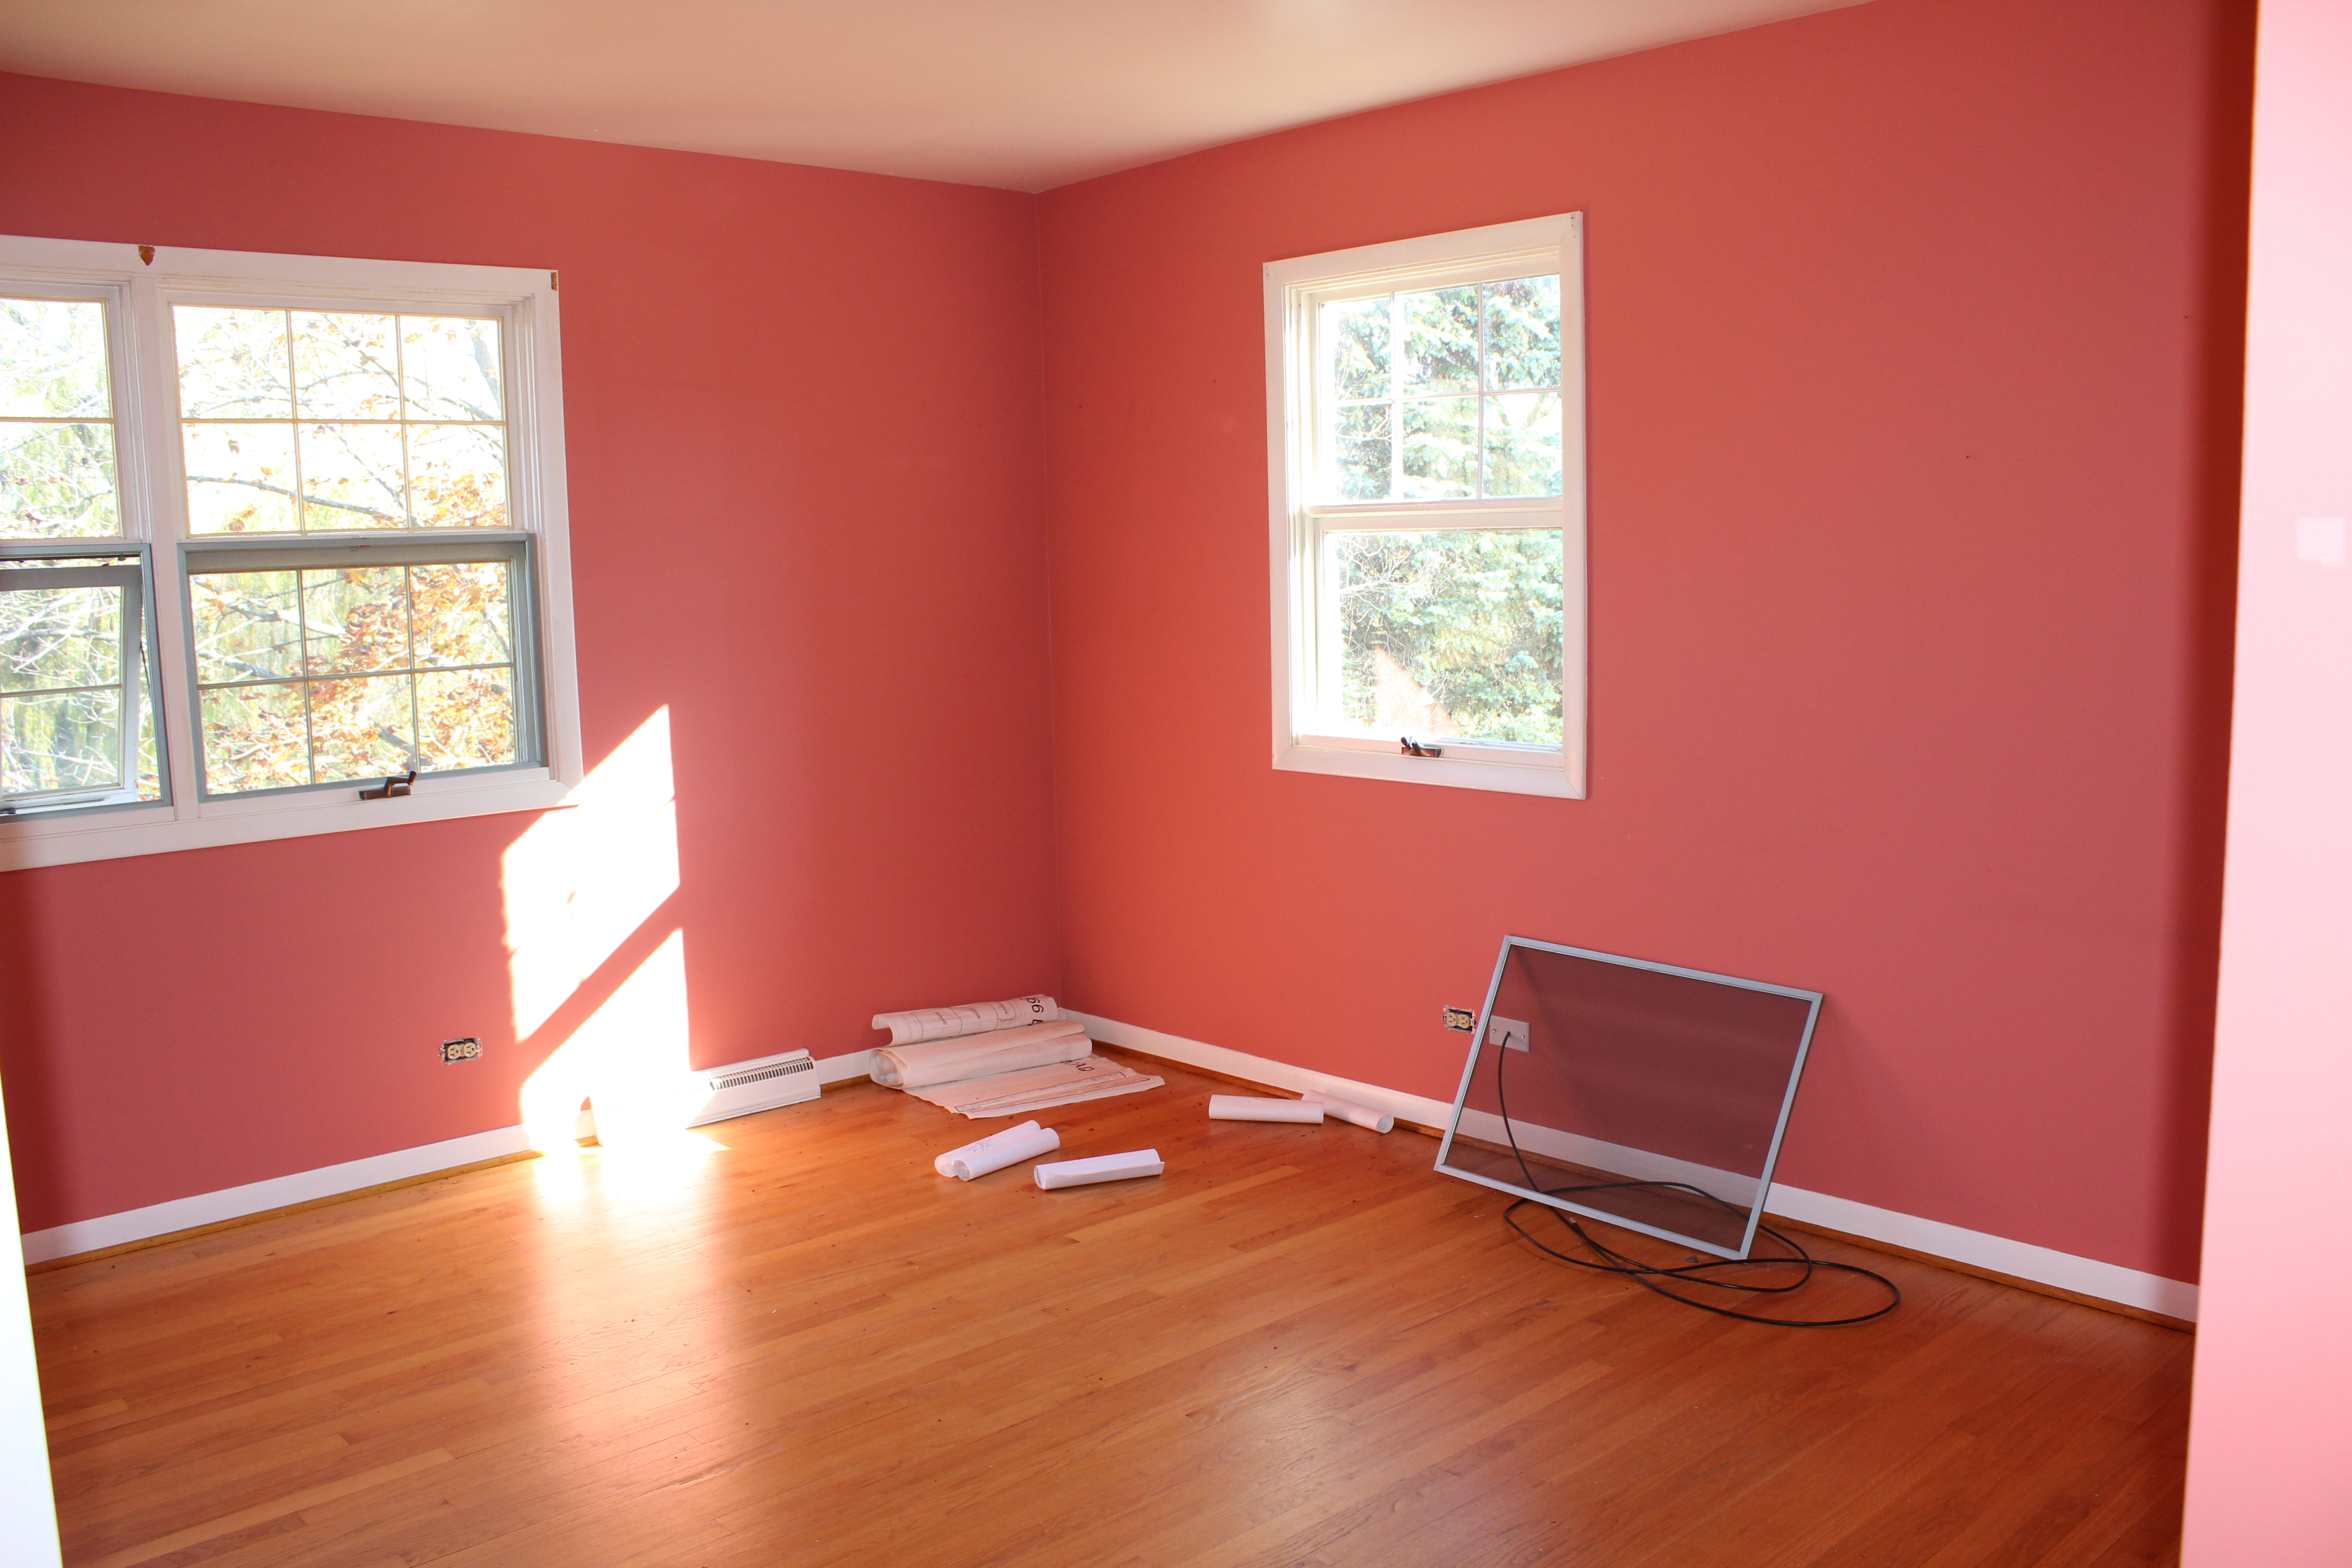
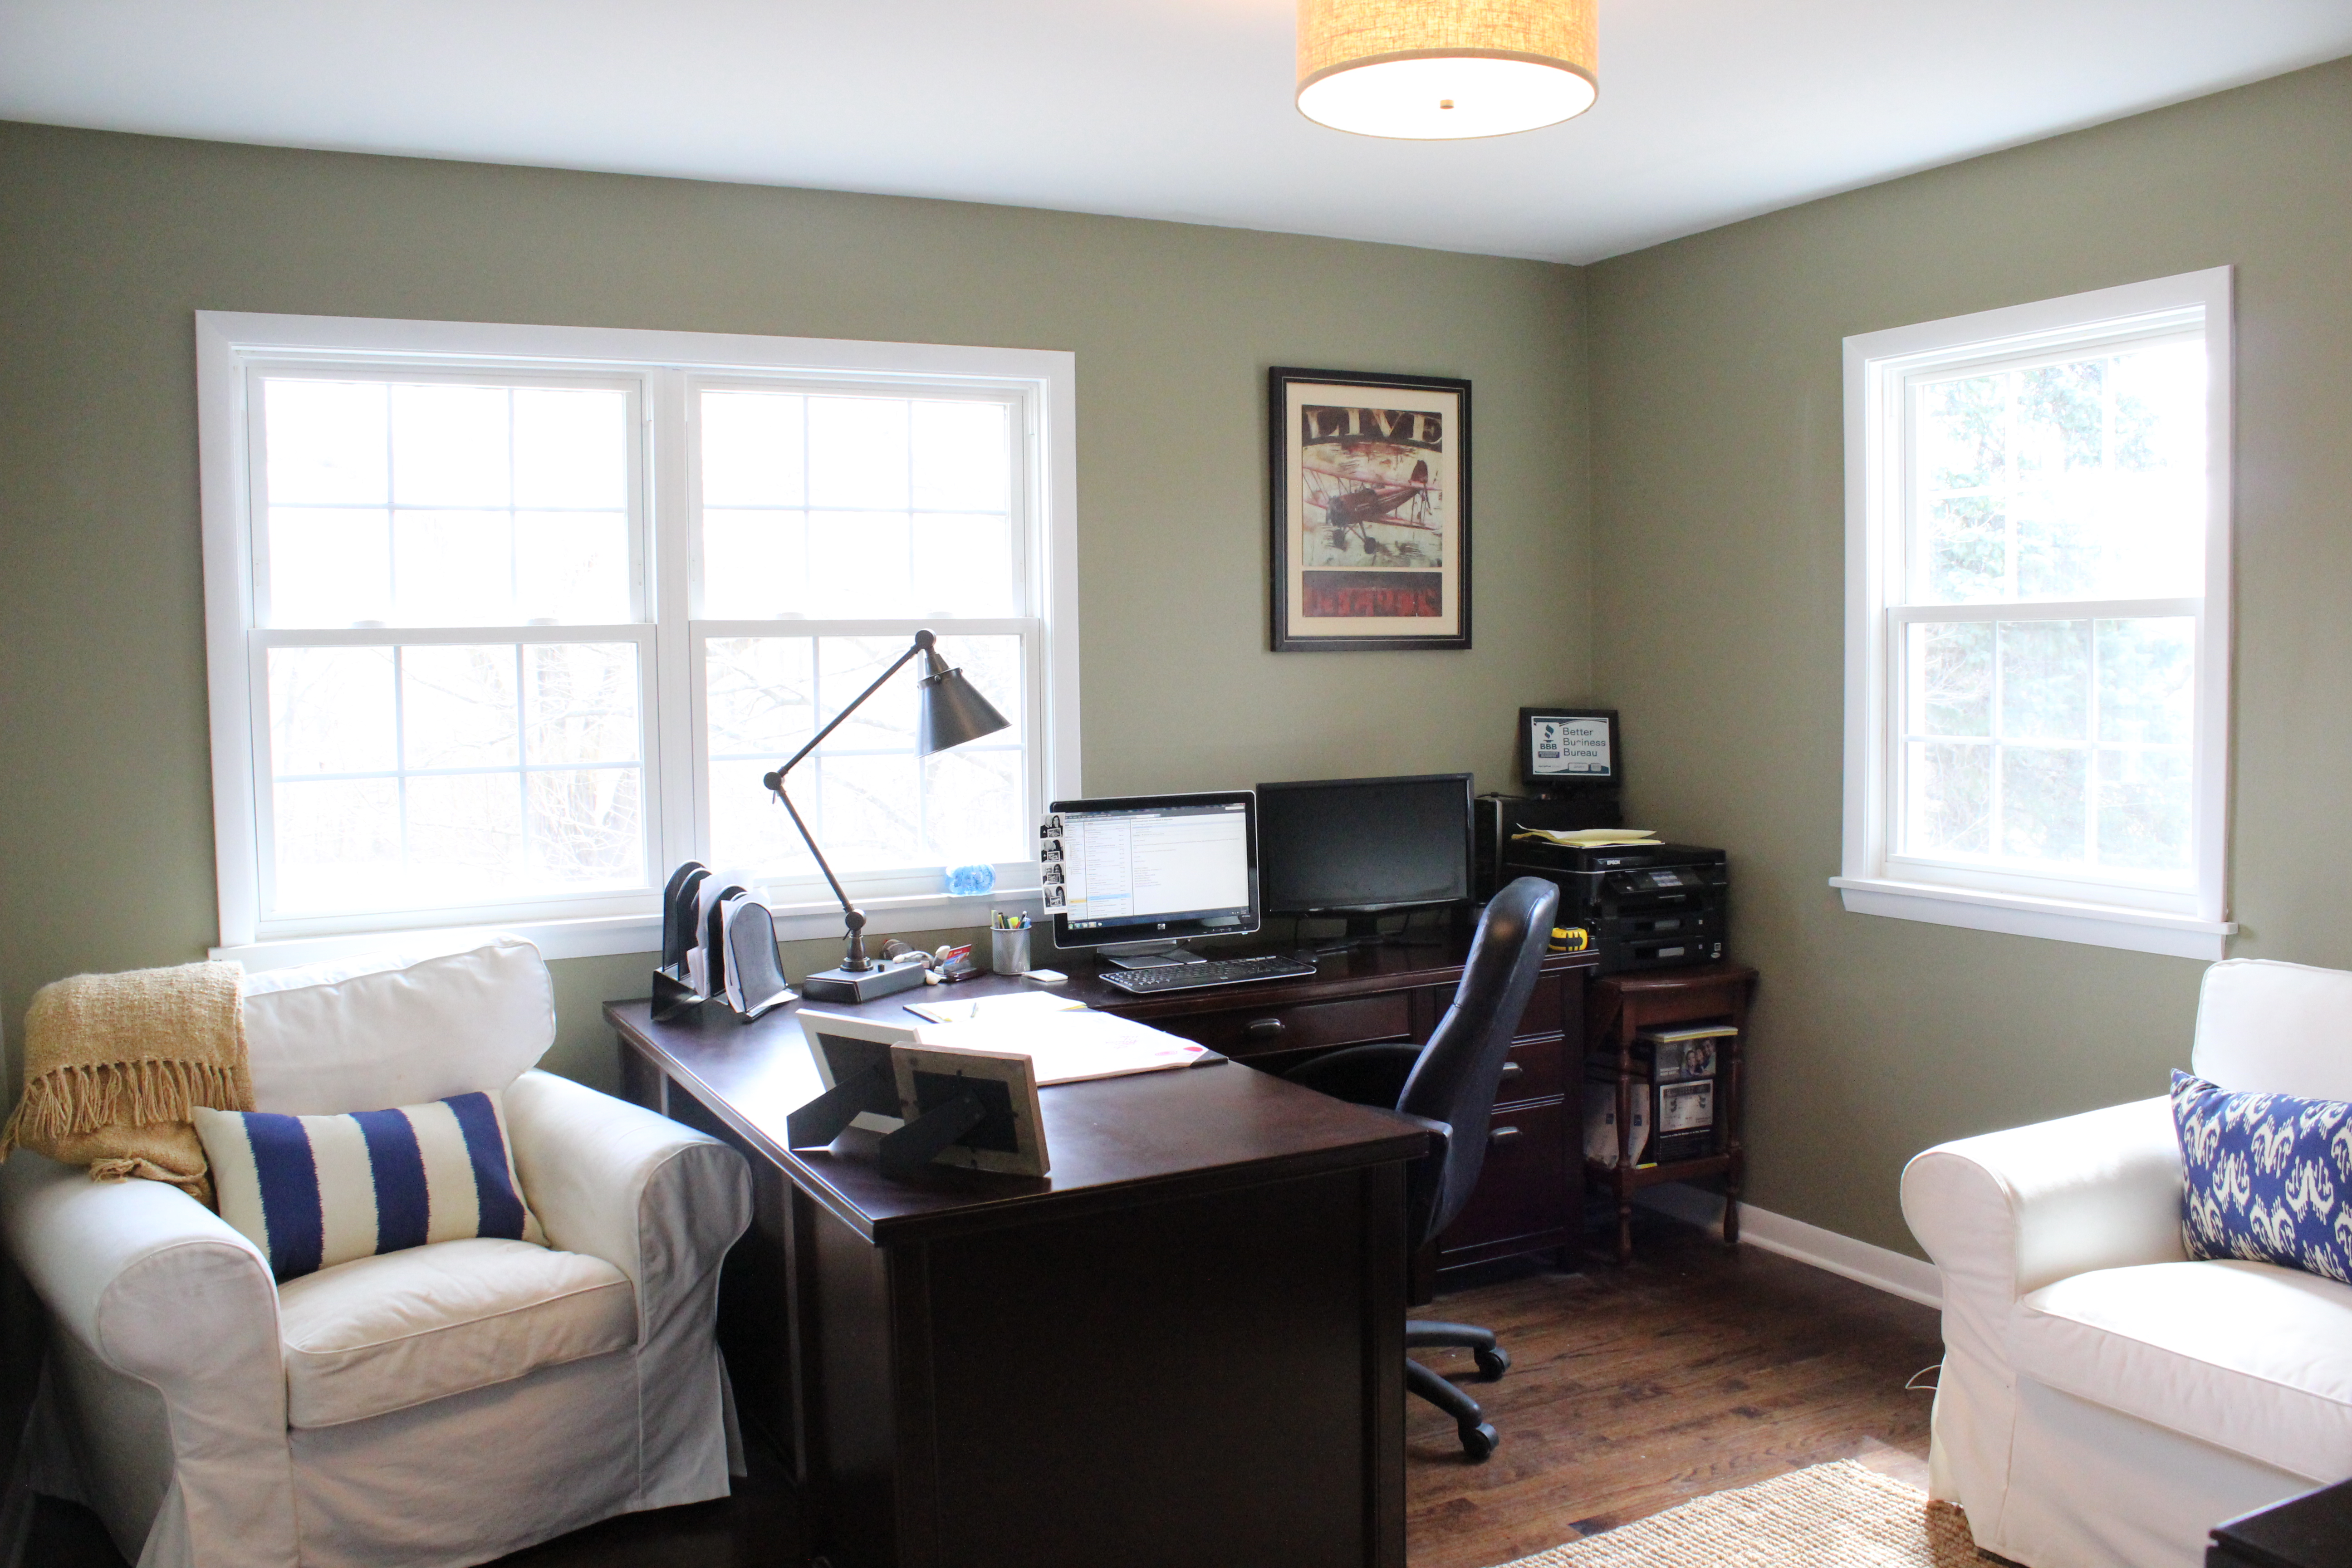
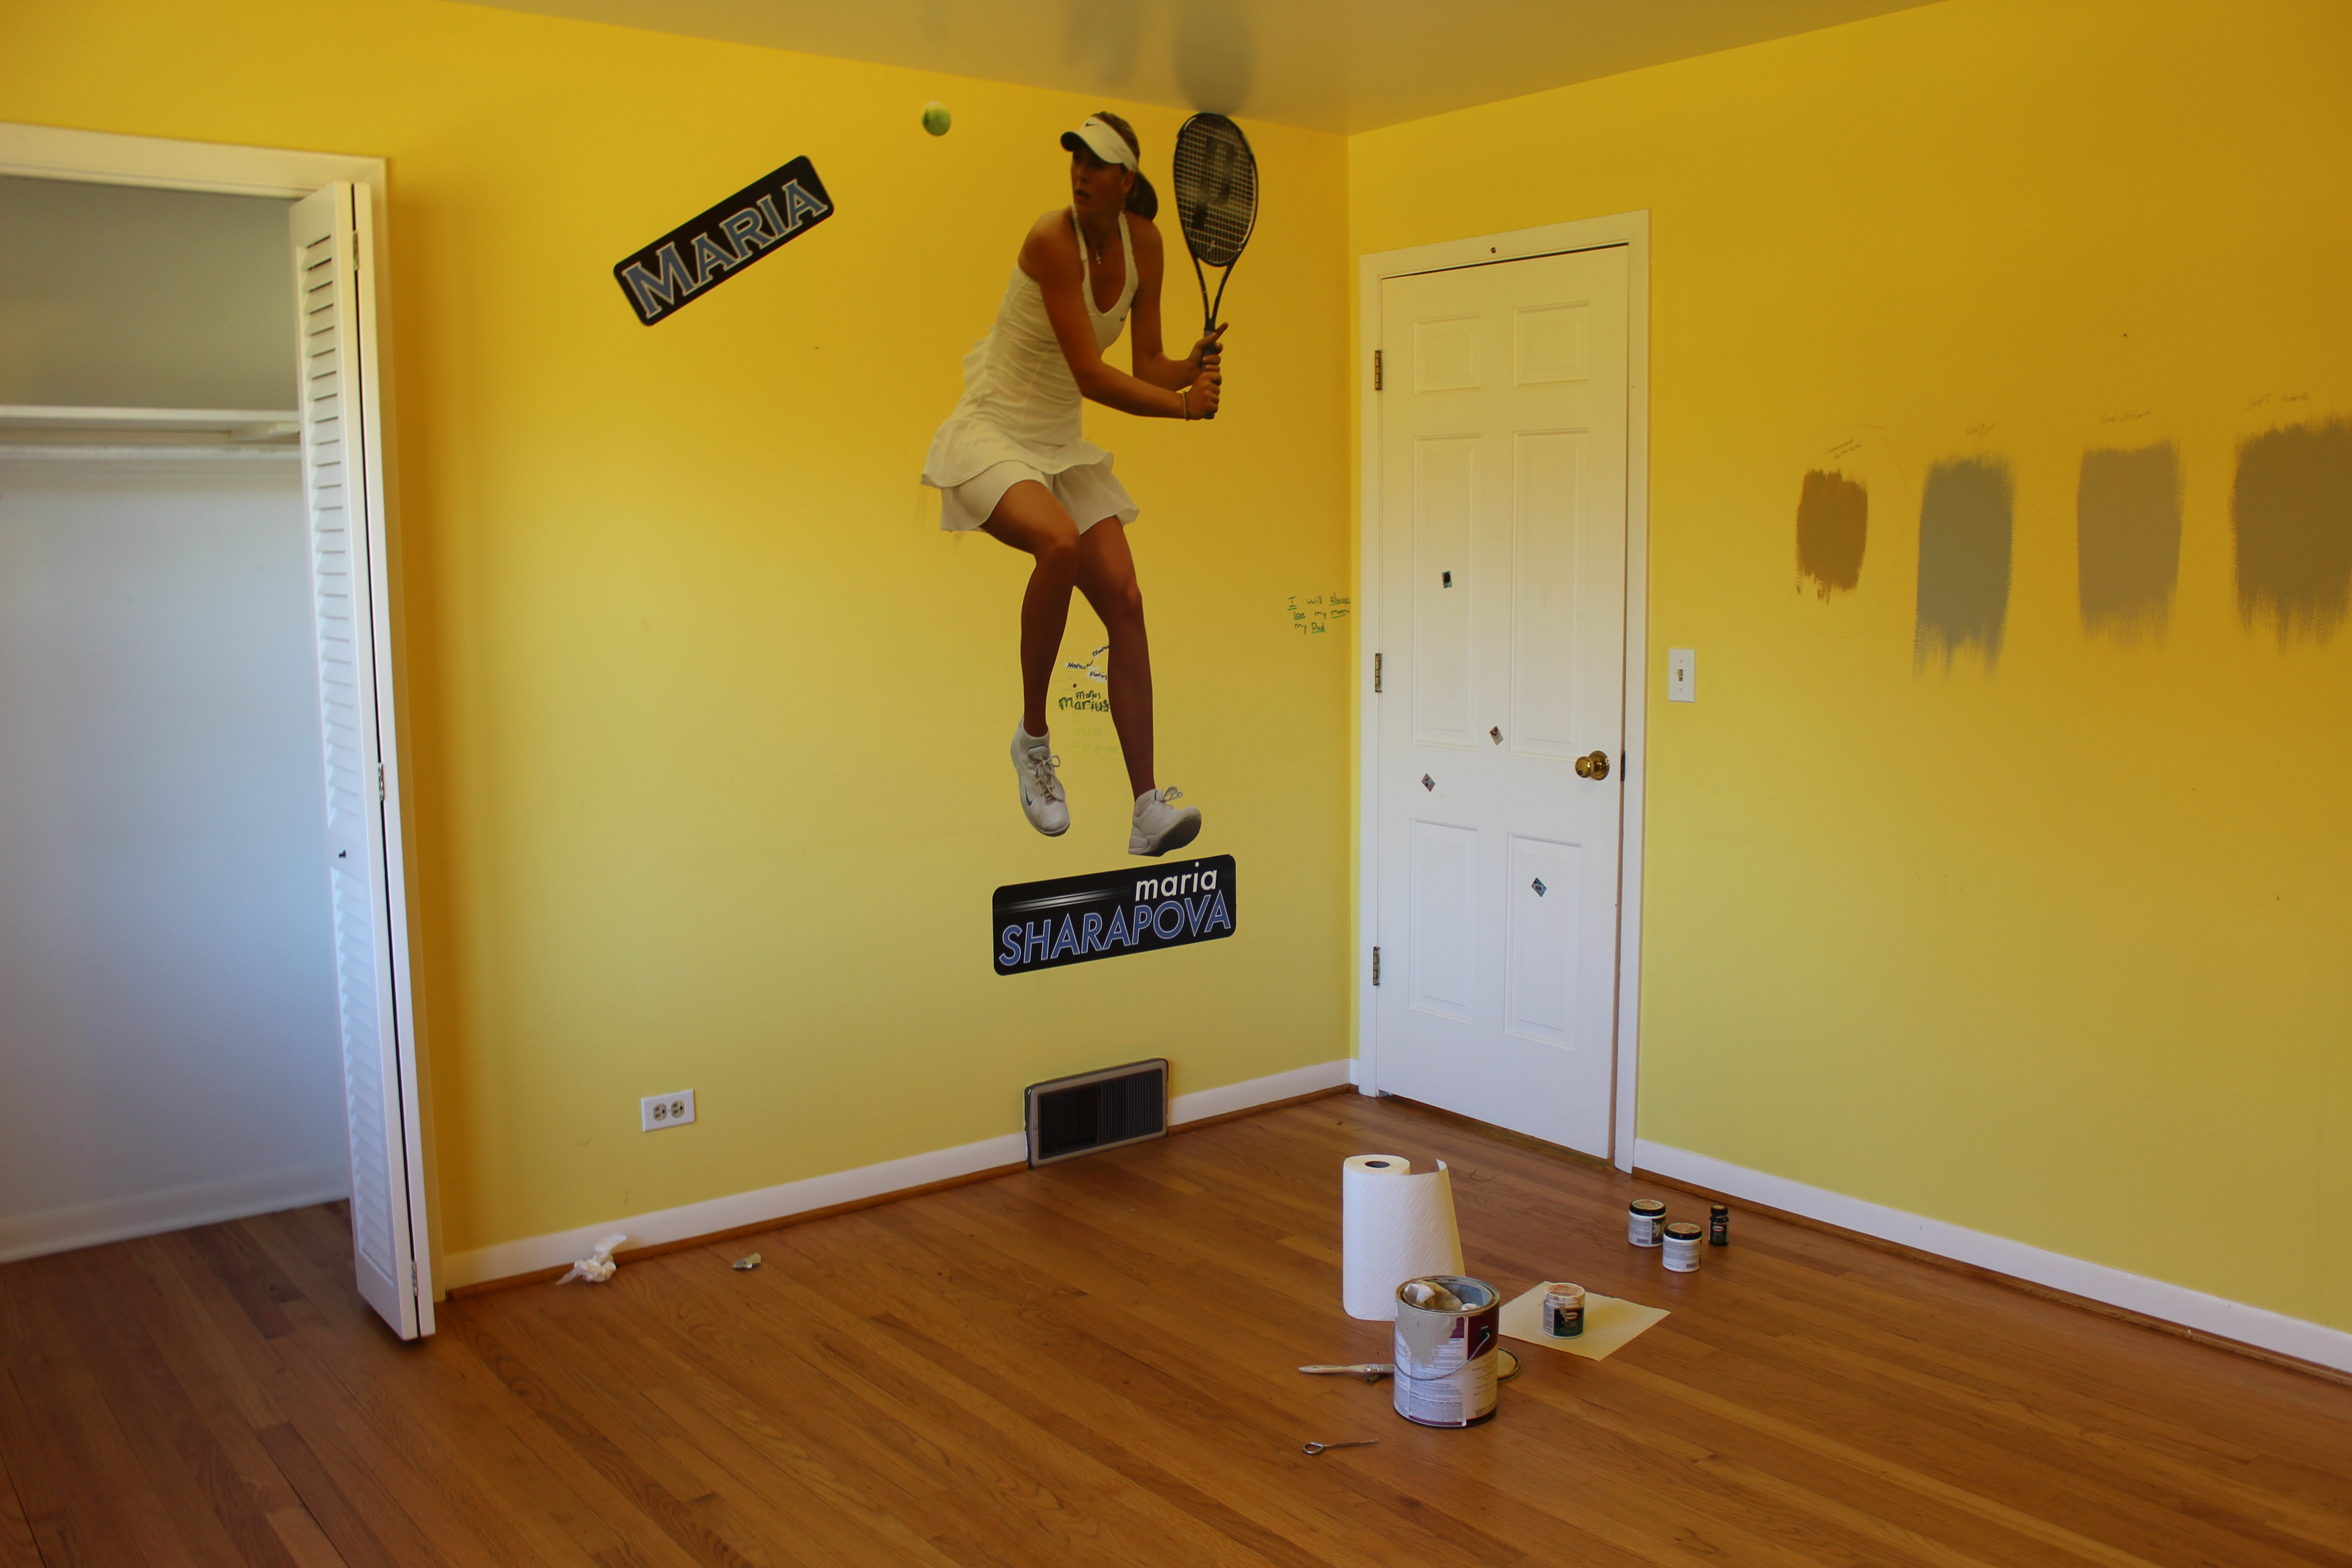
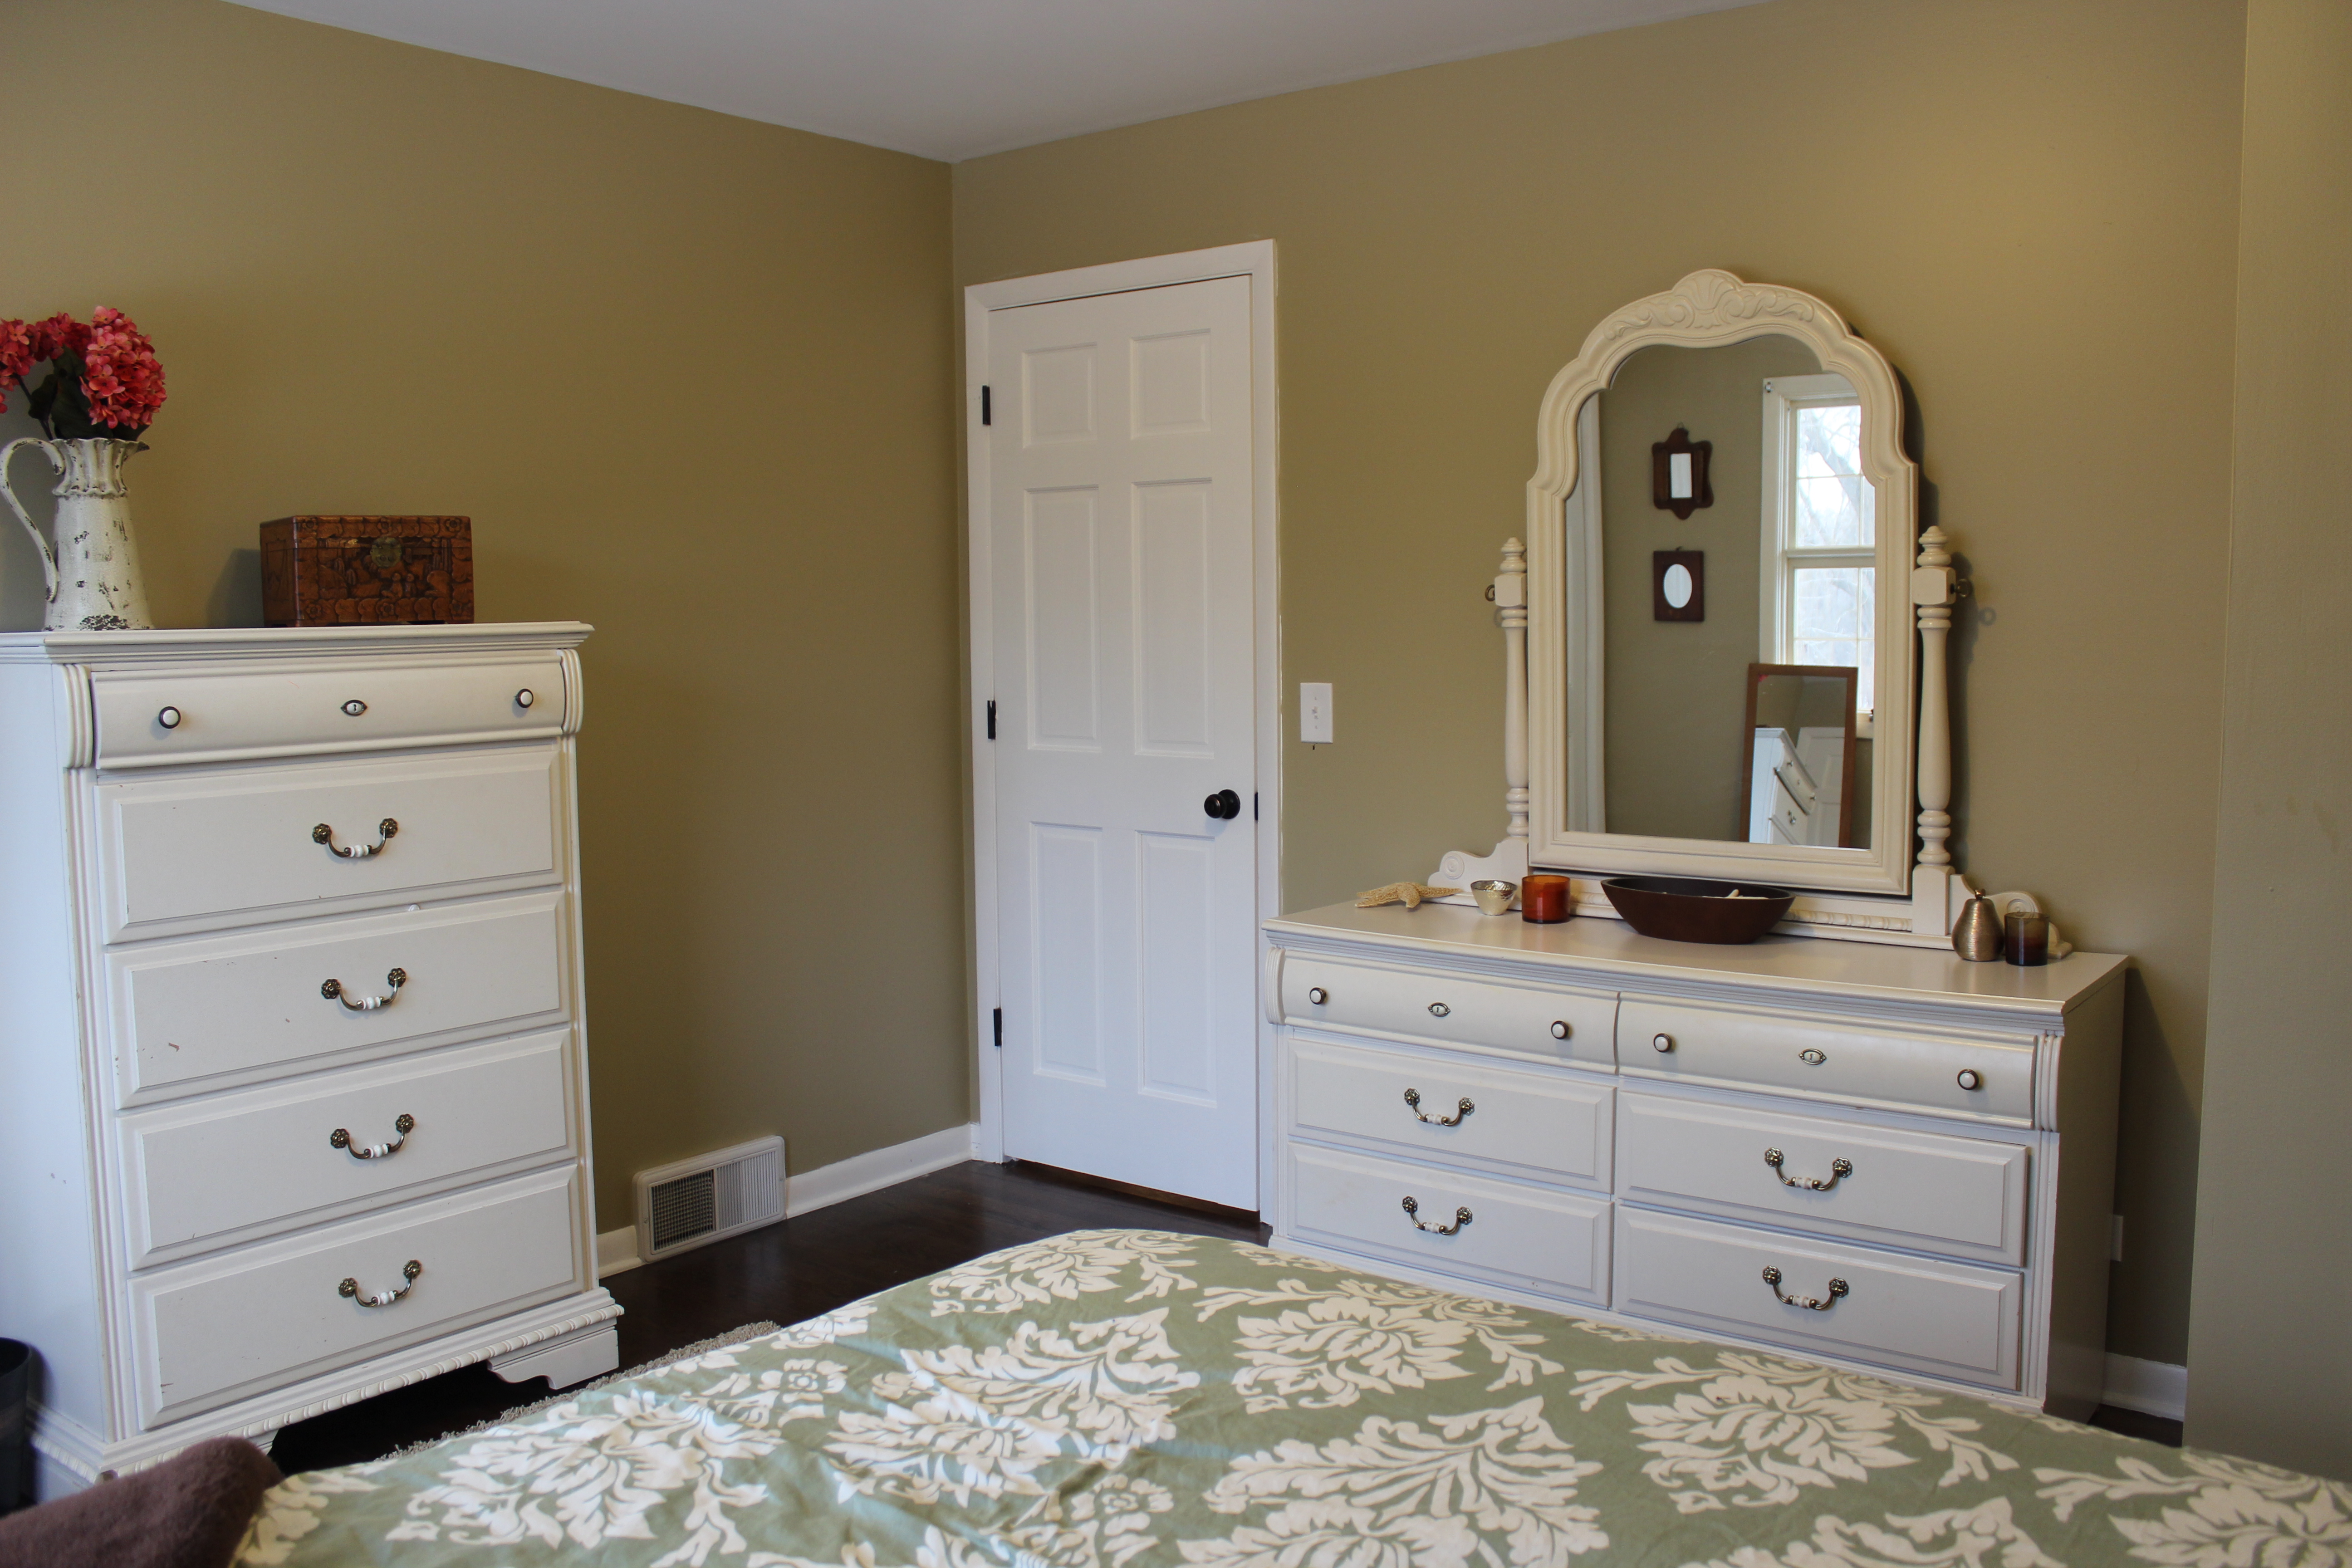
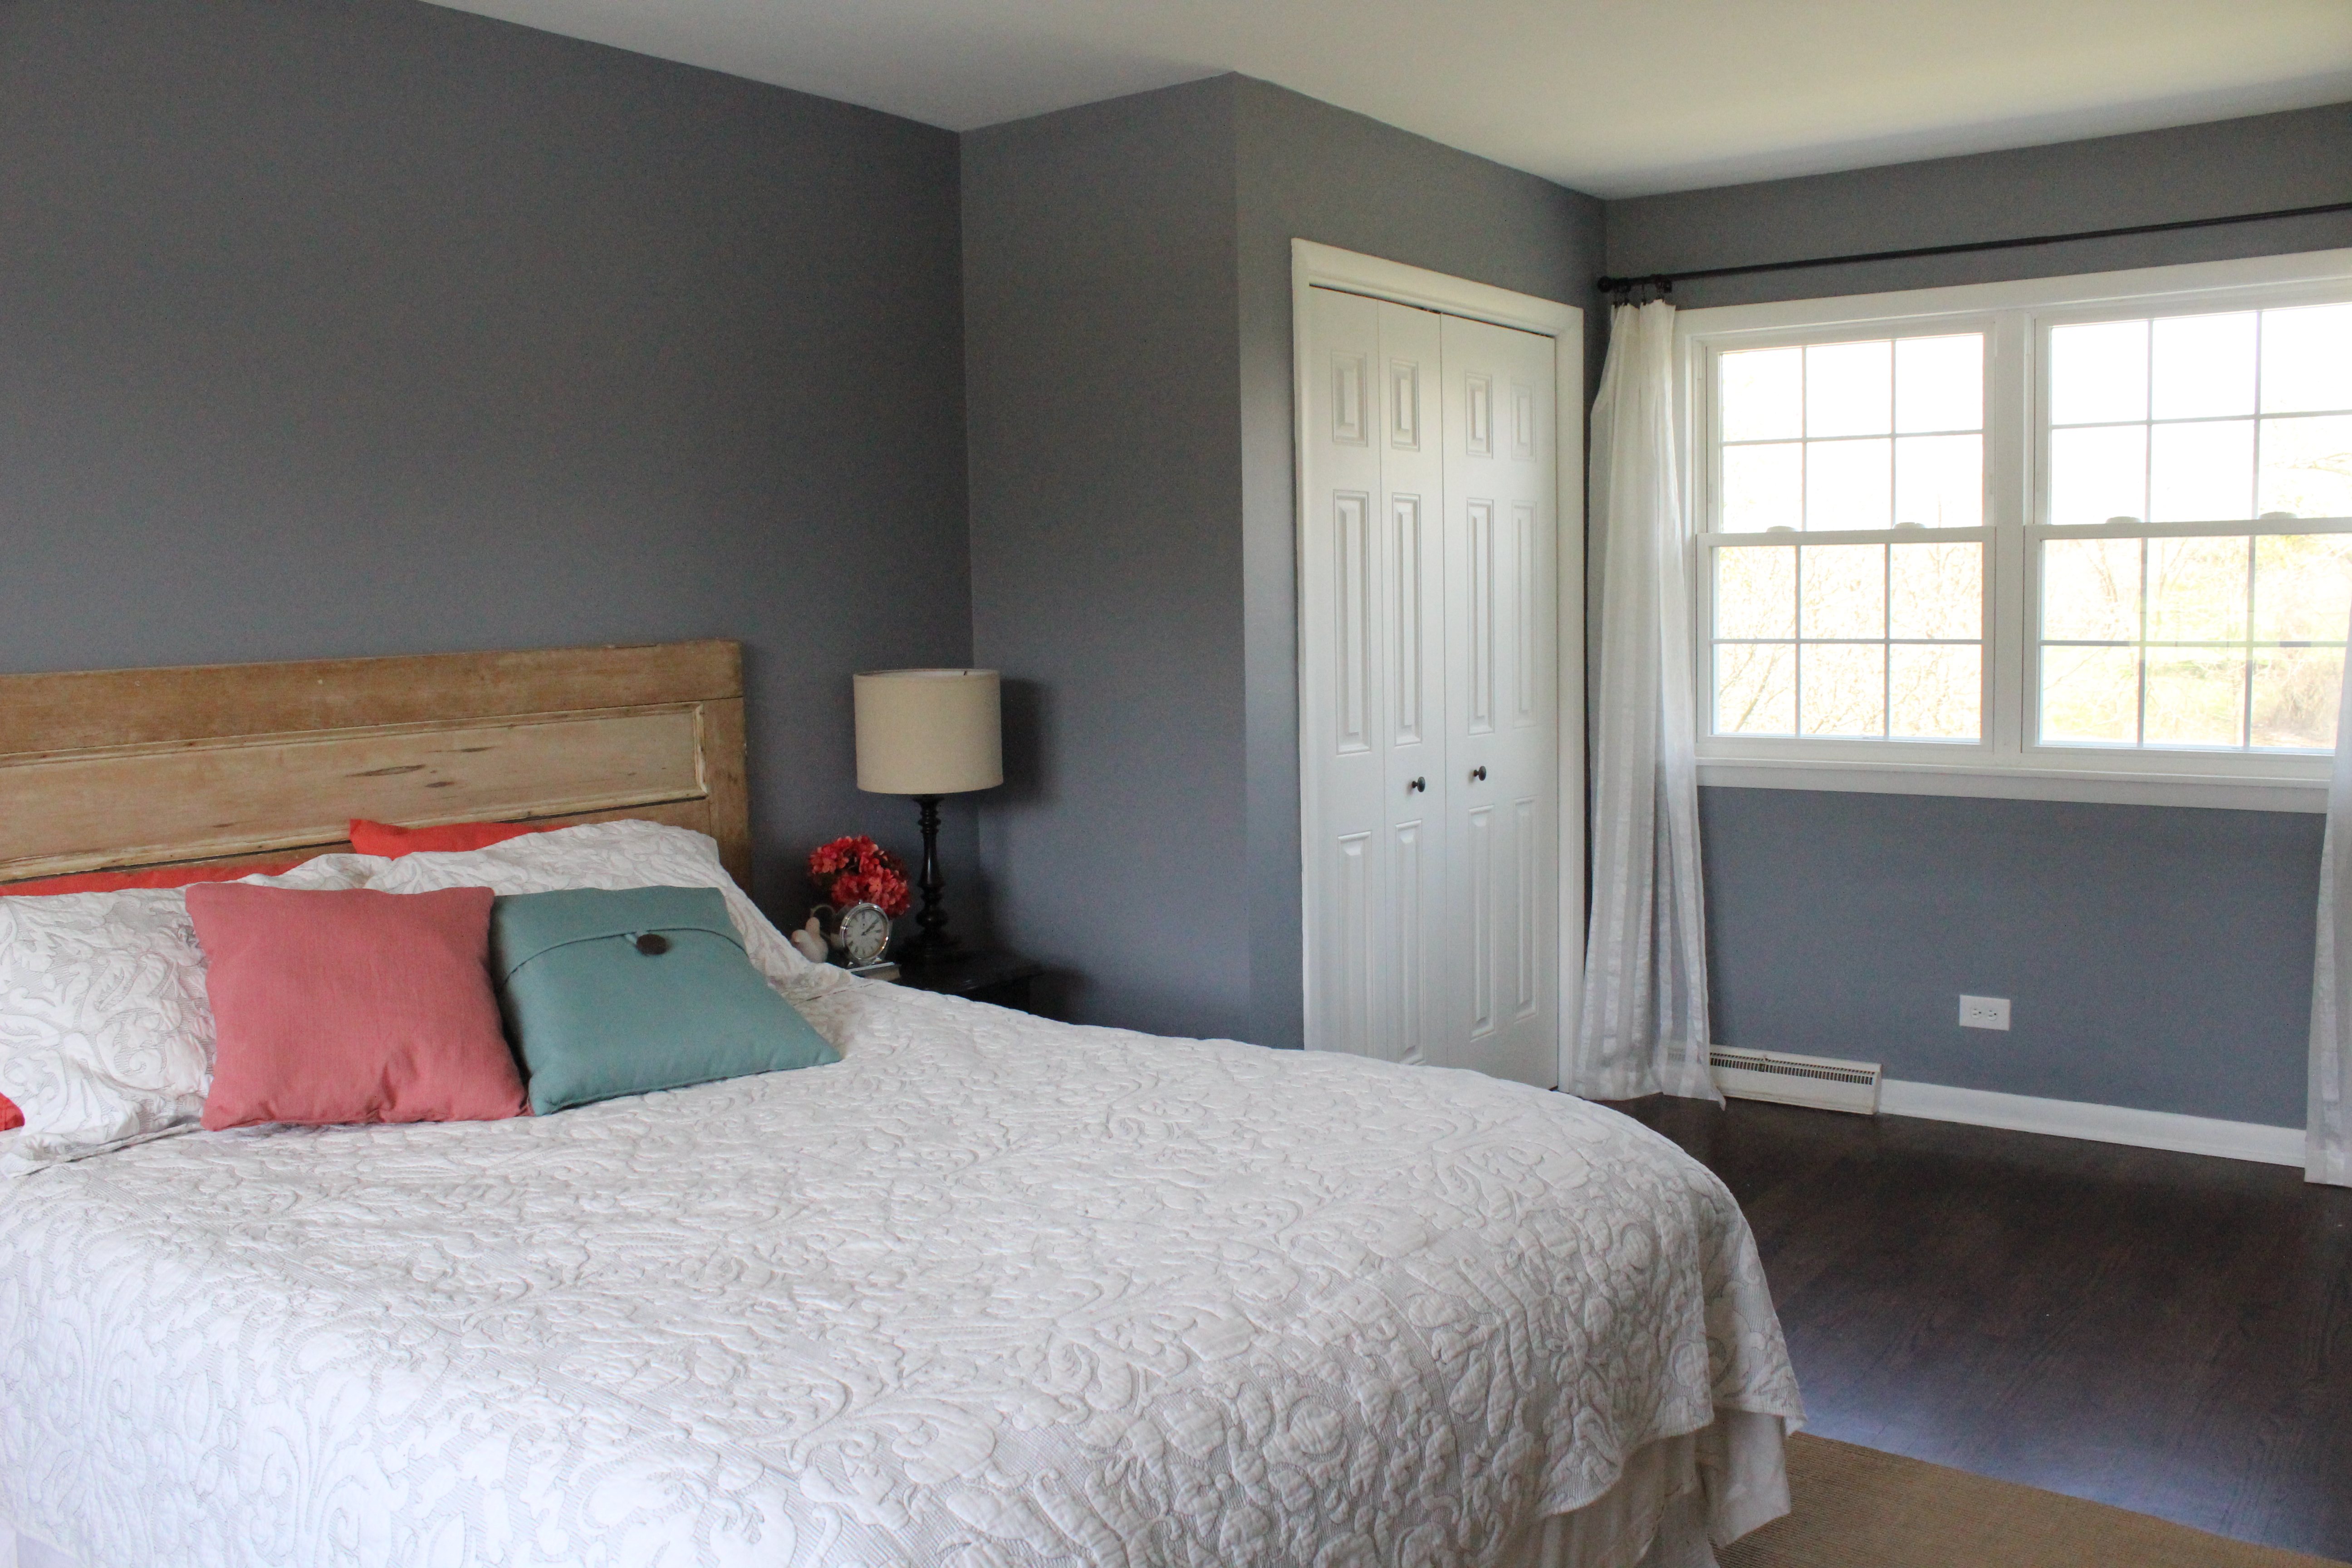
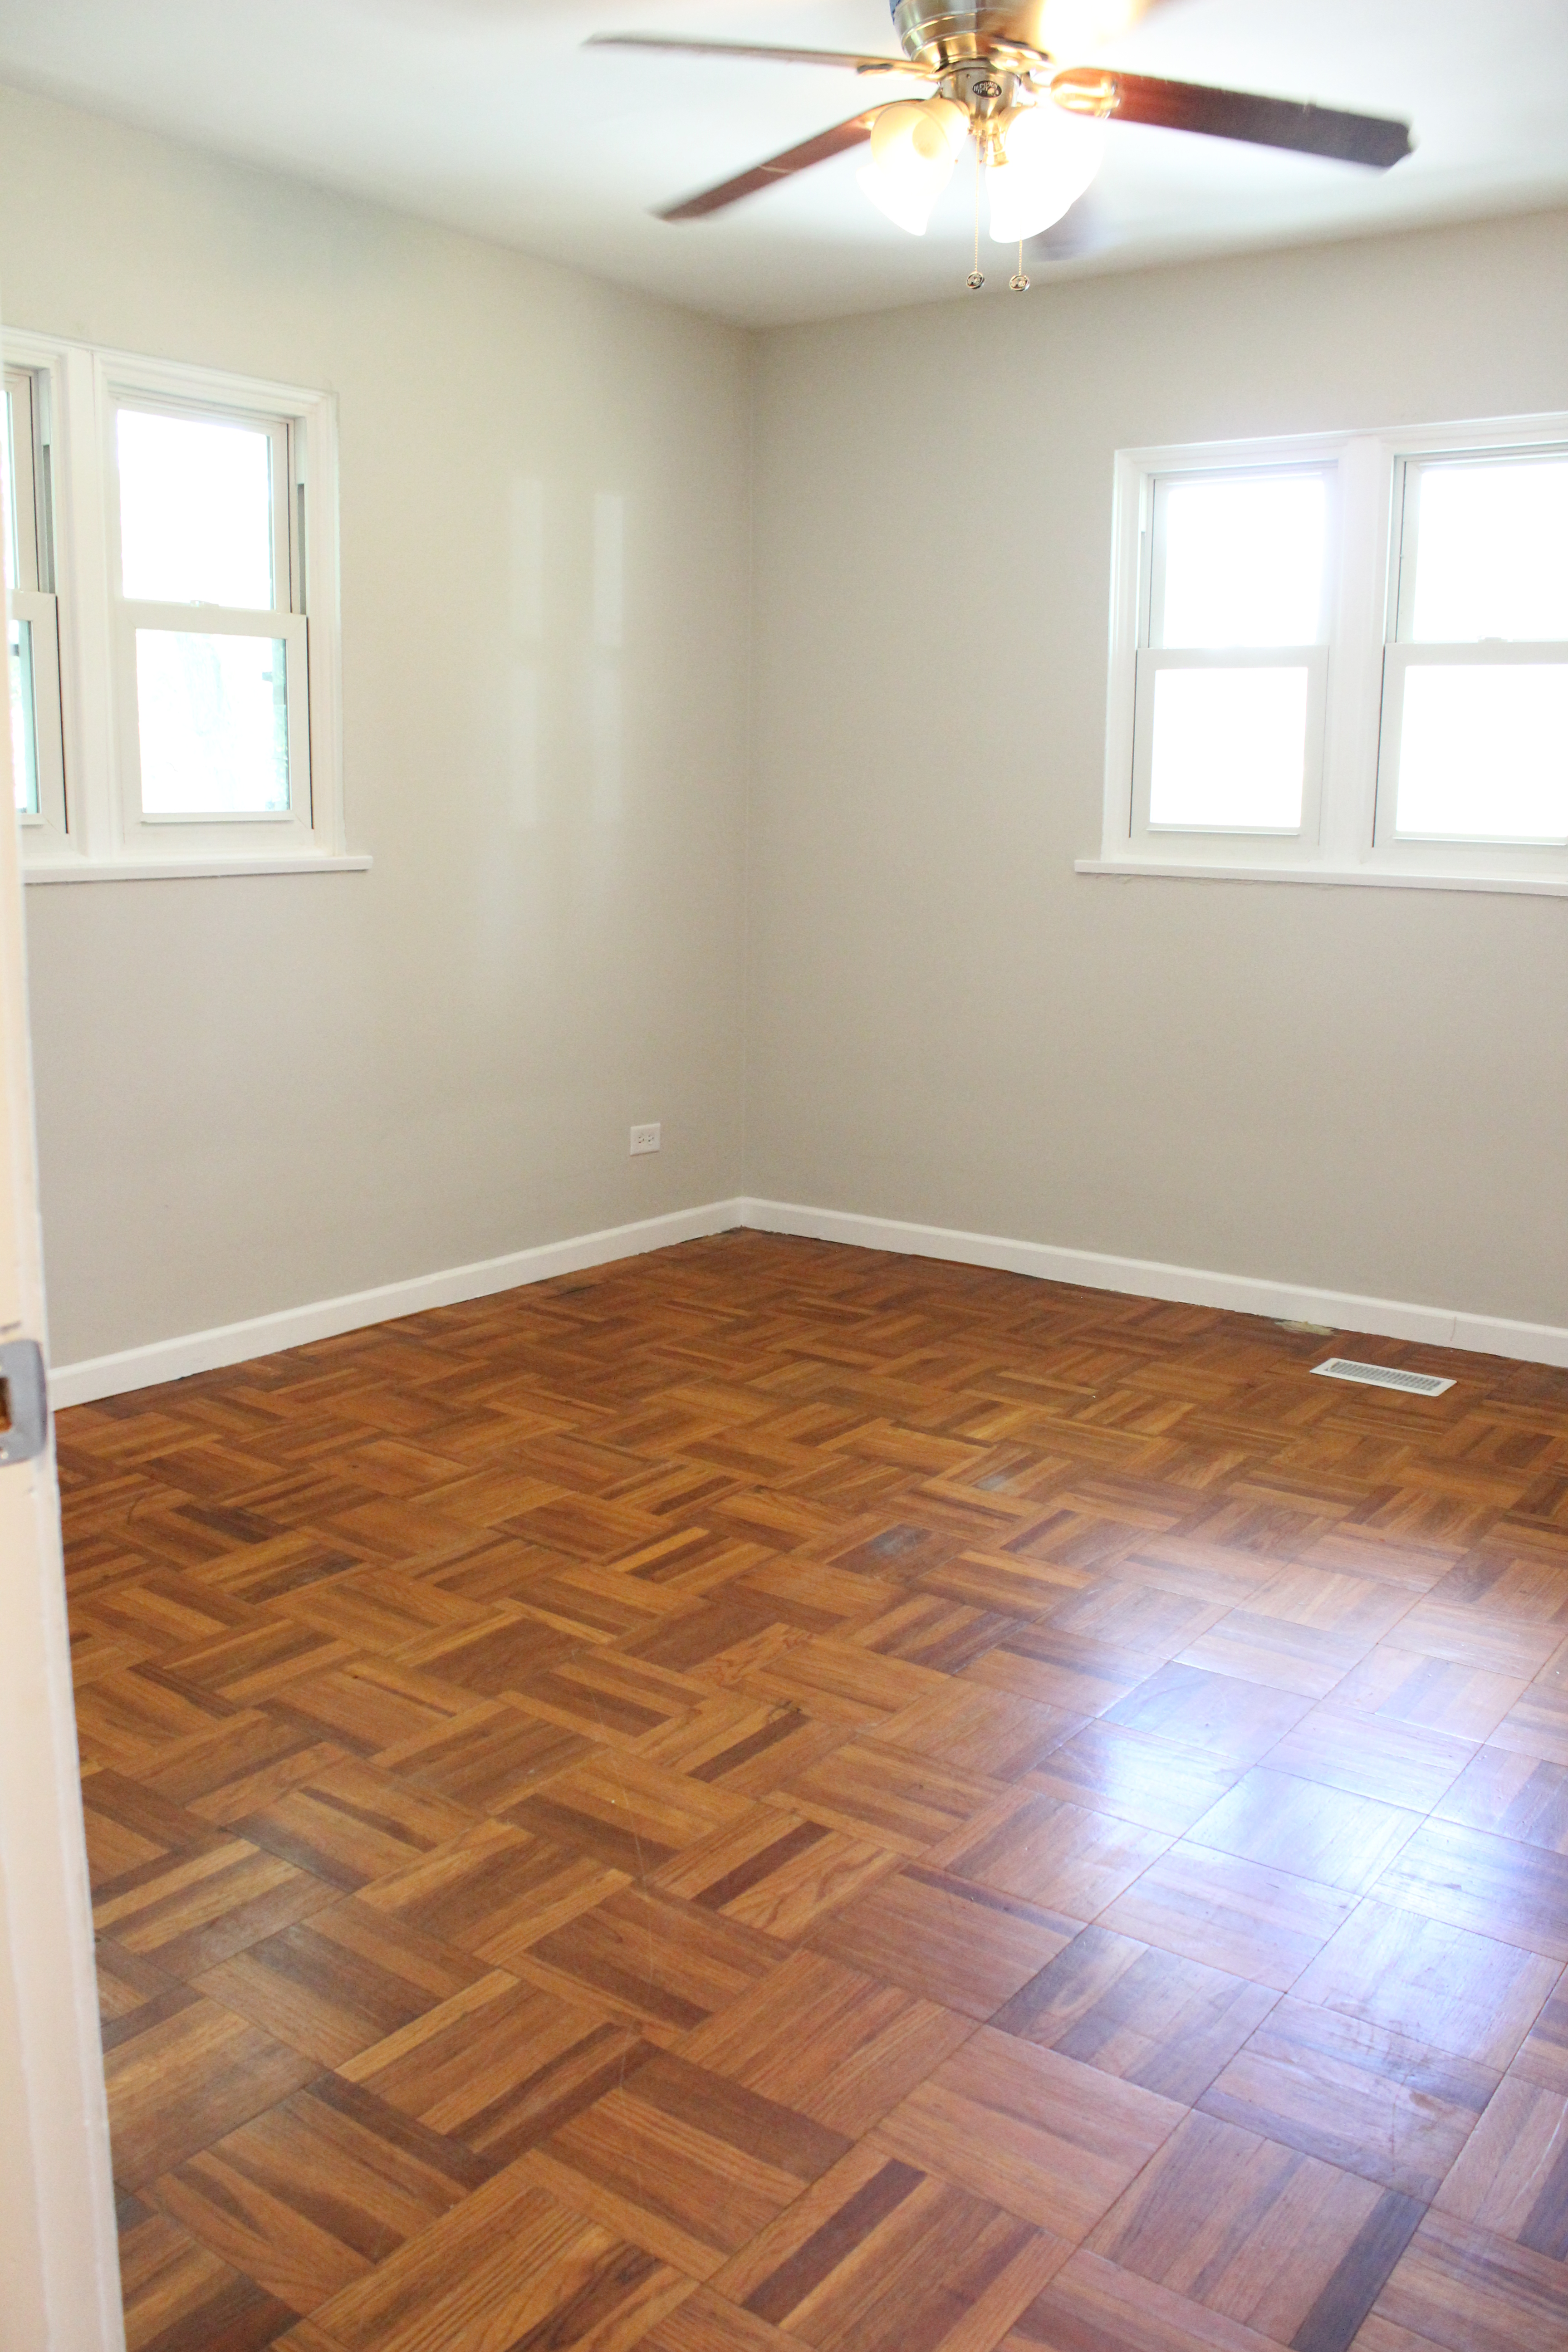
The three upstairs bedrooms just got new paint and trim.
Before: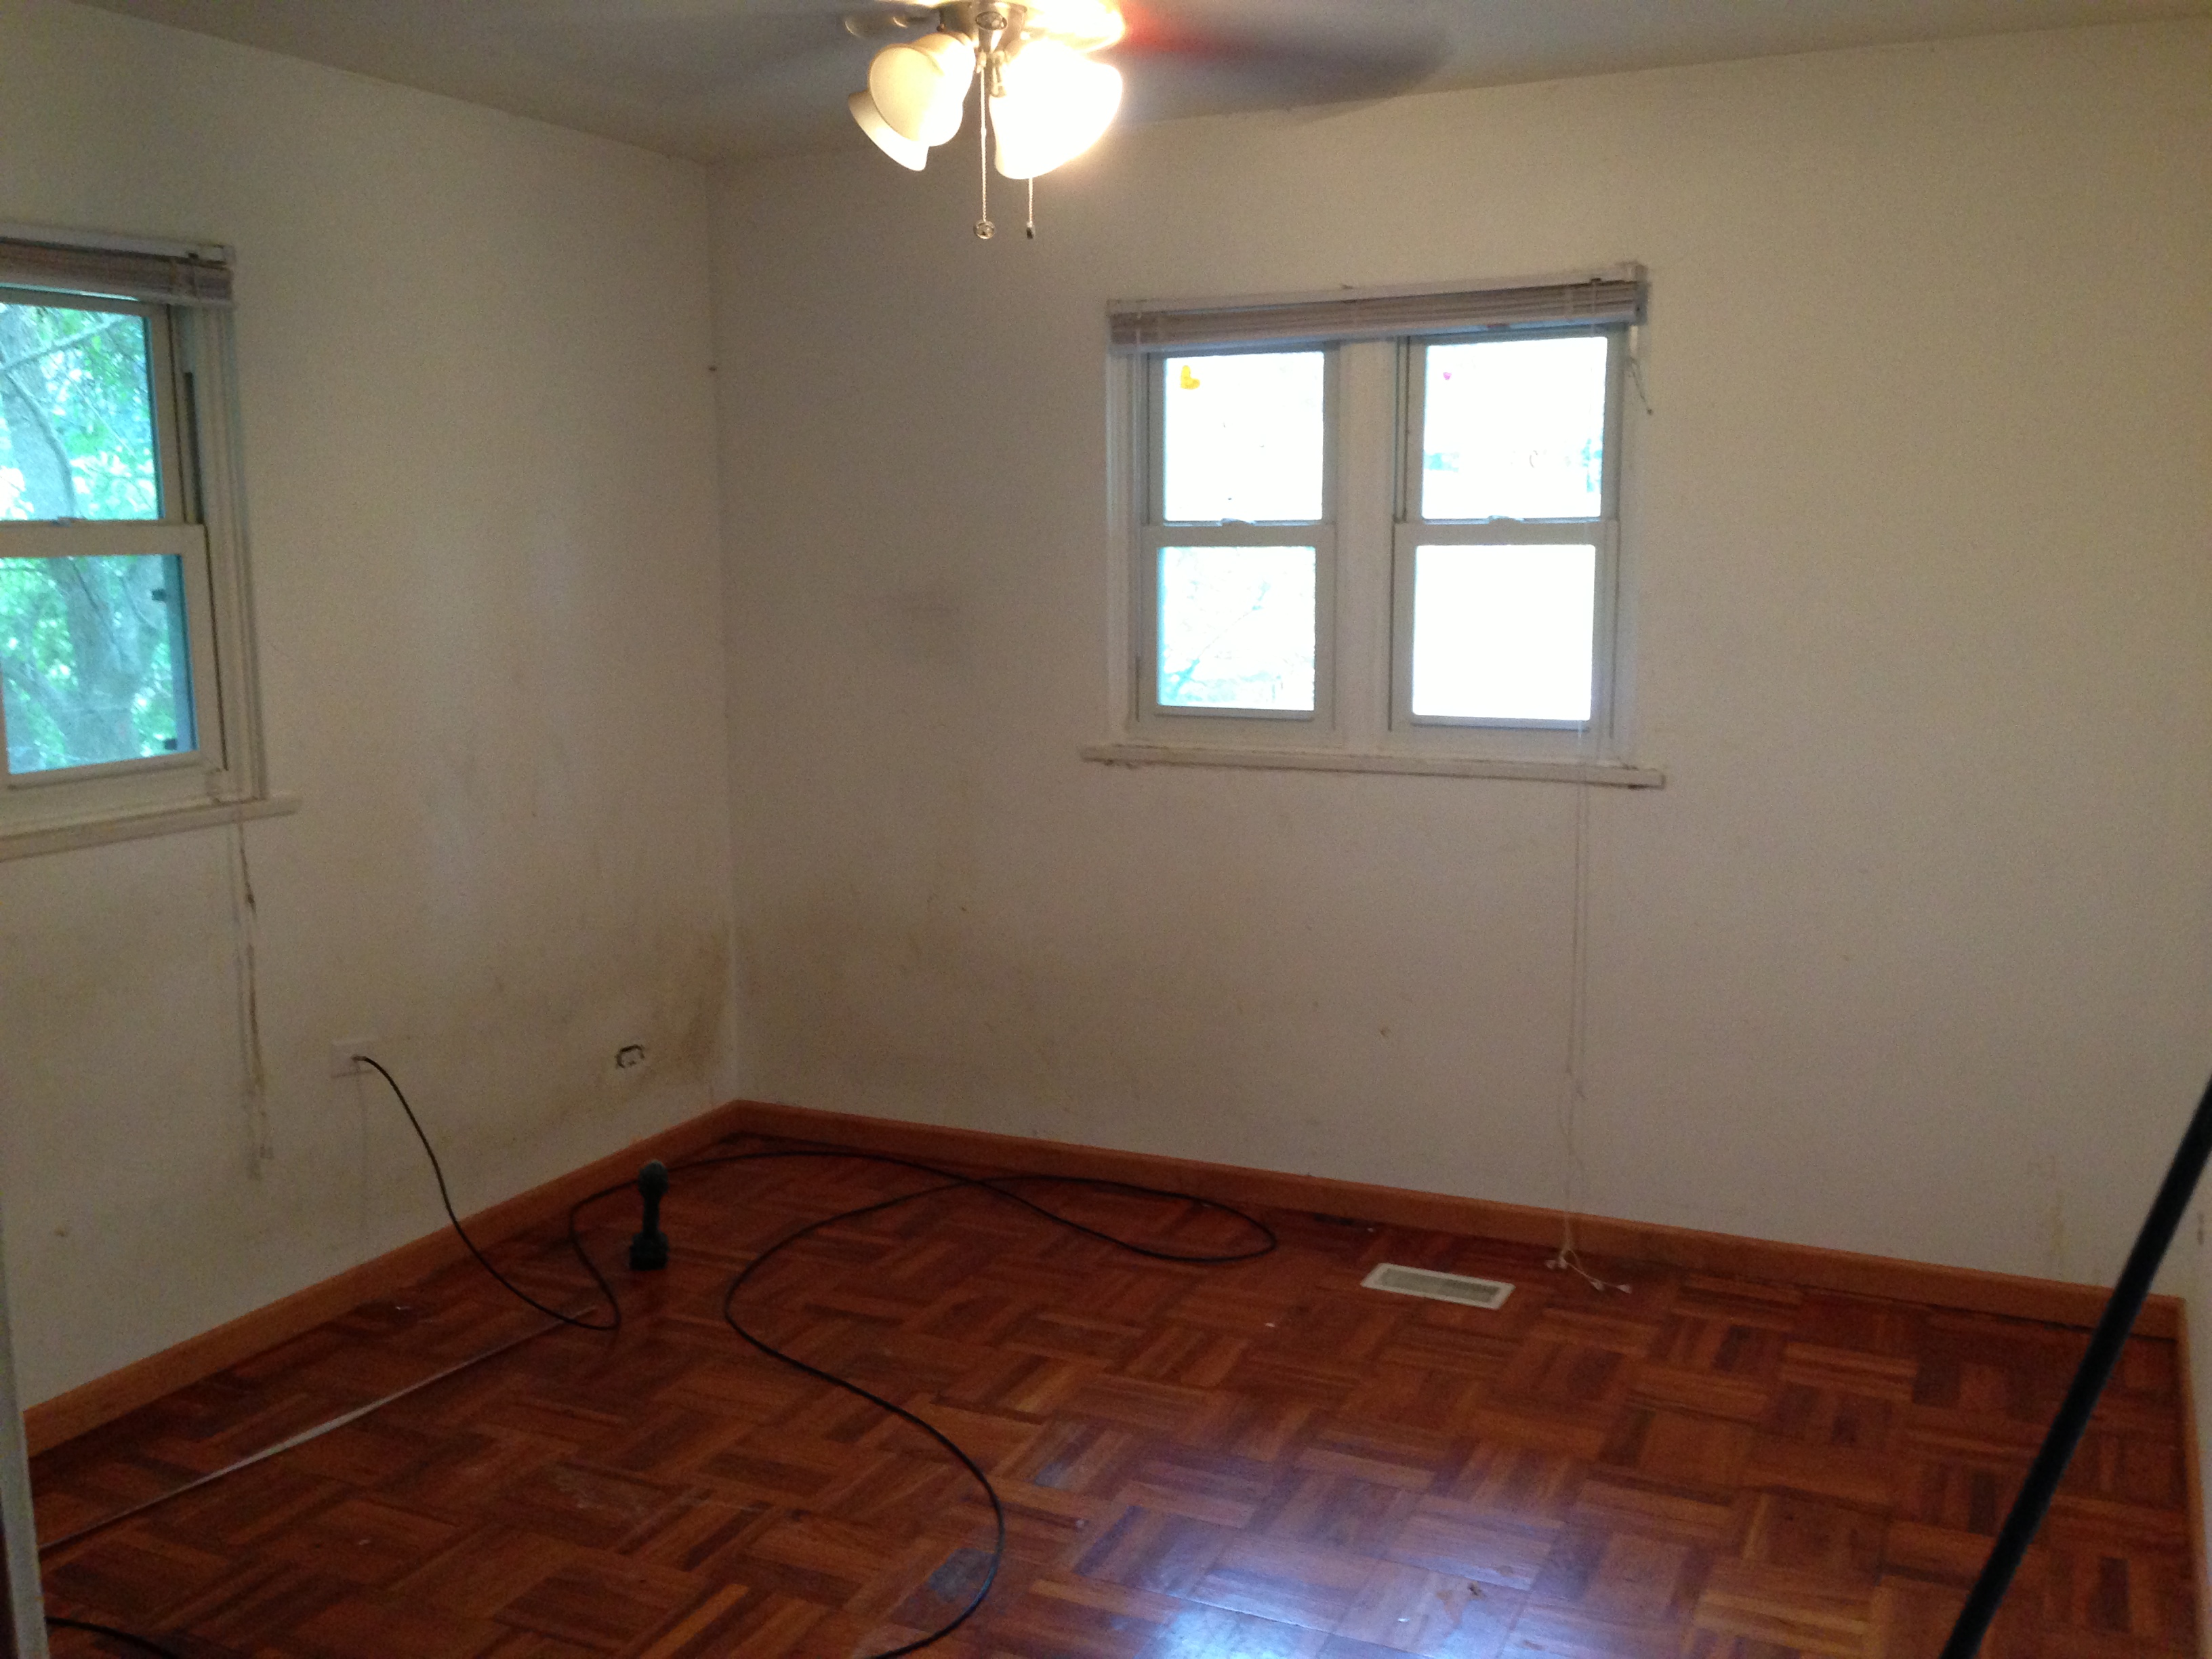 After:
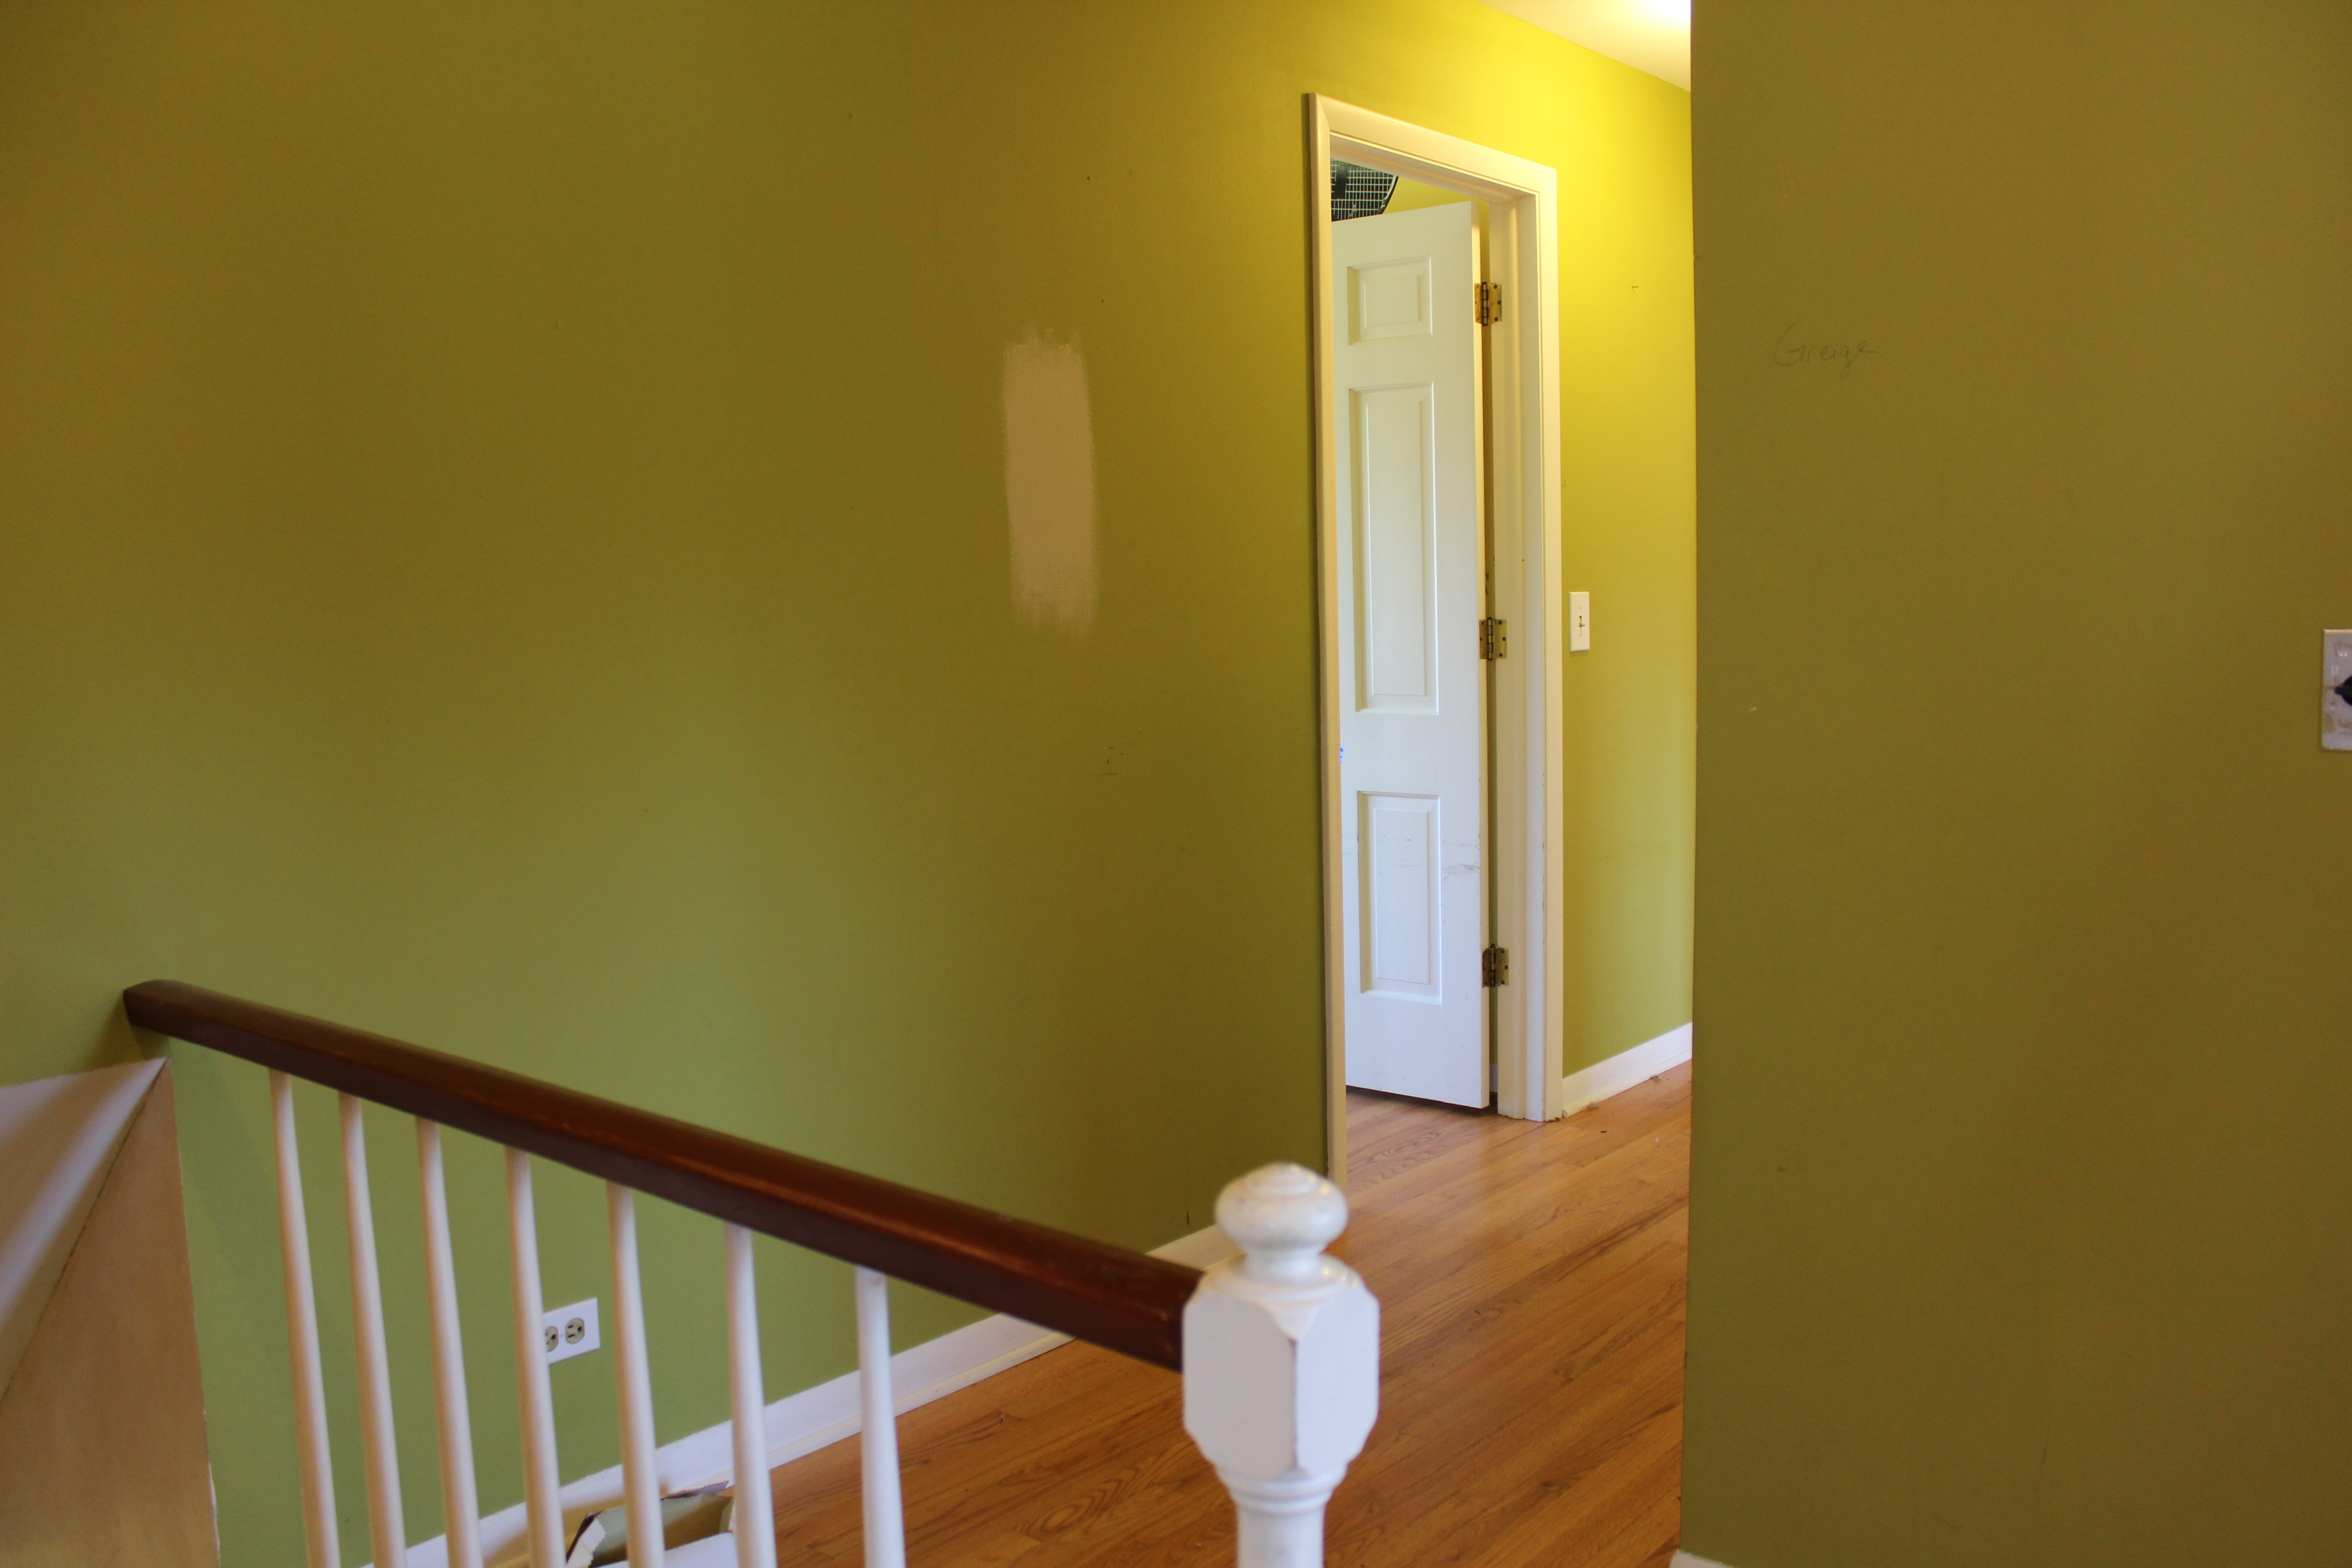
 Hallway before:
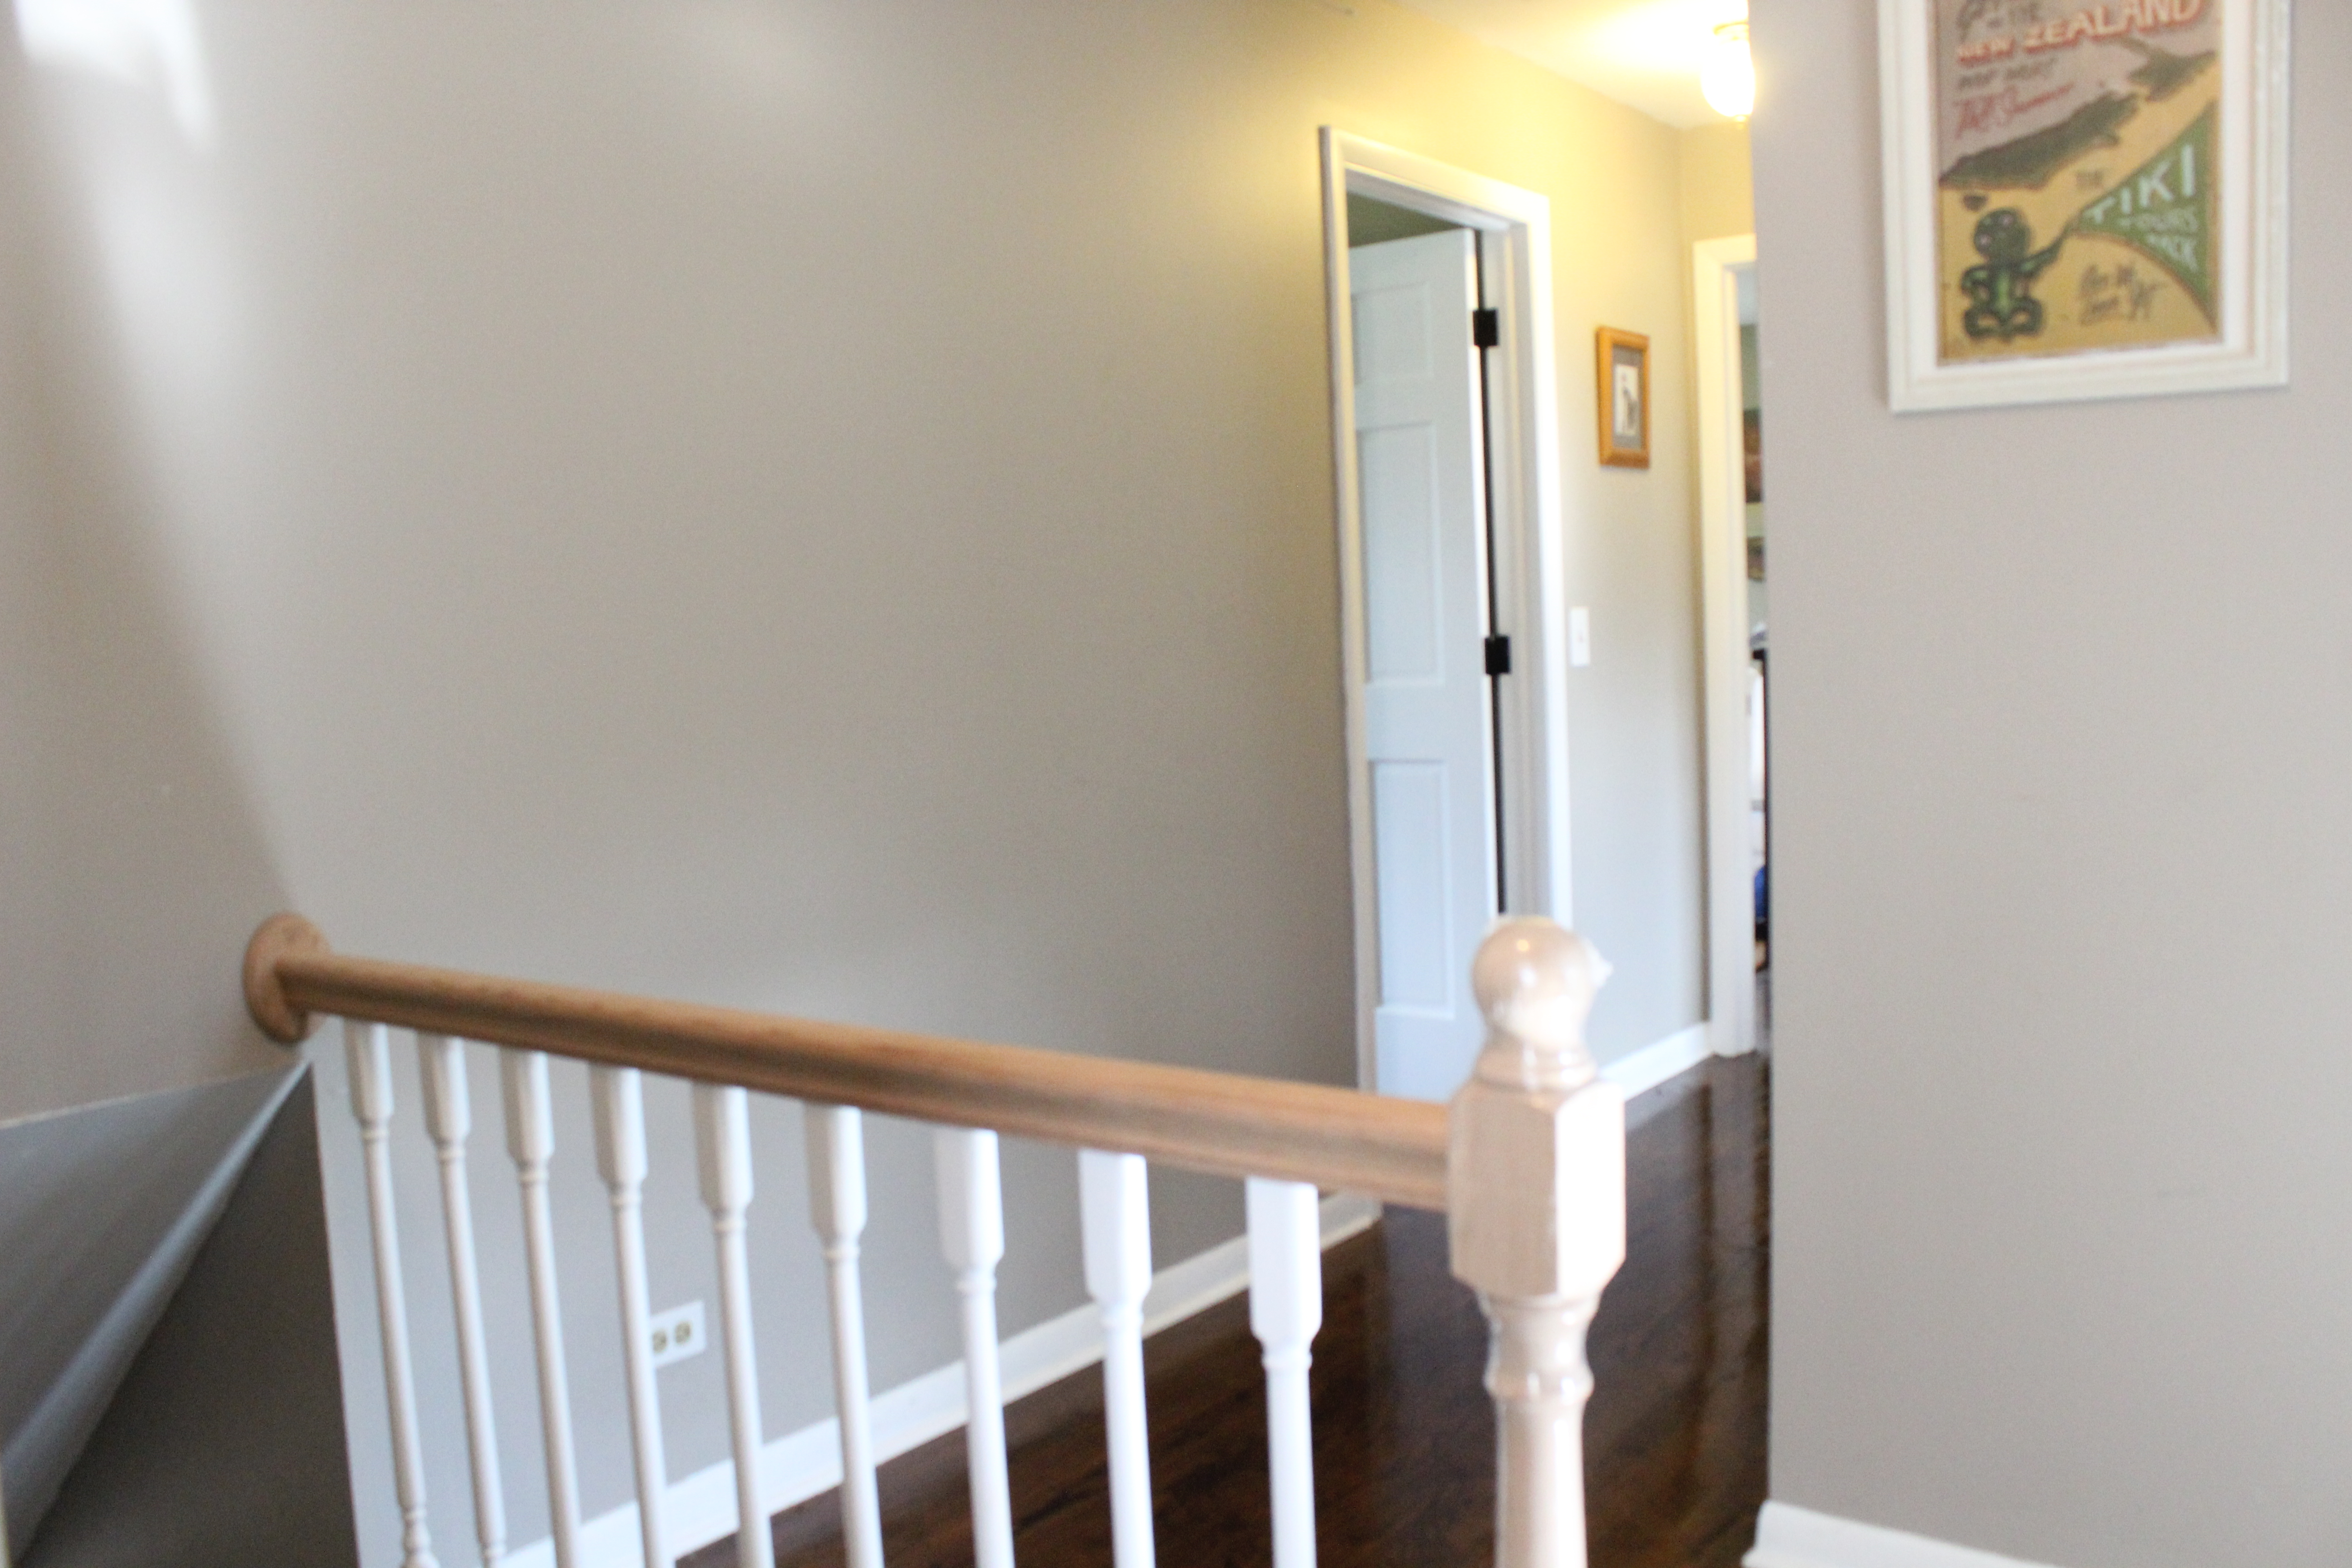
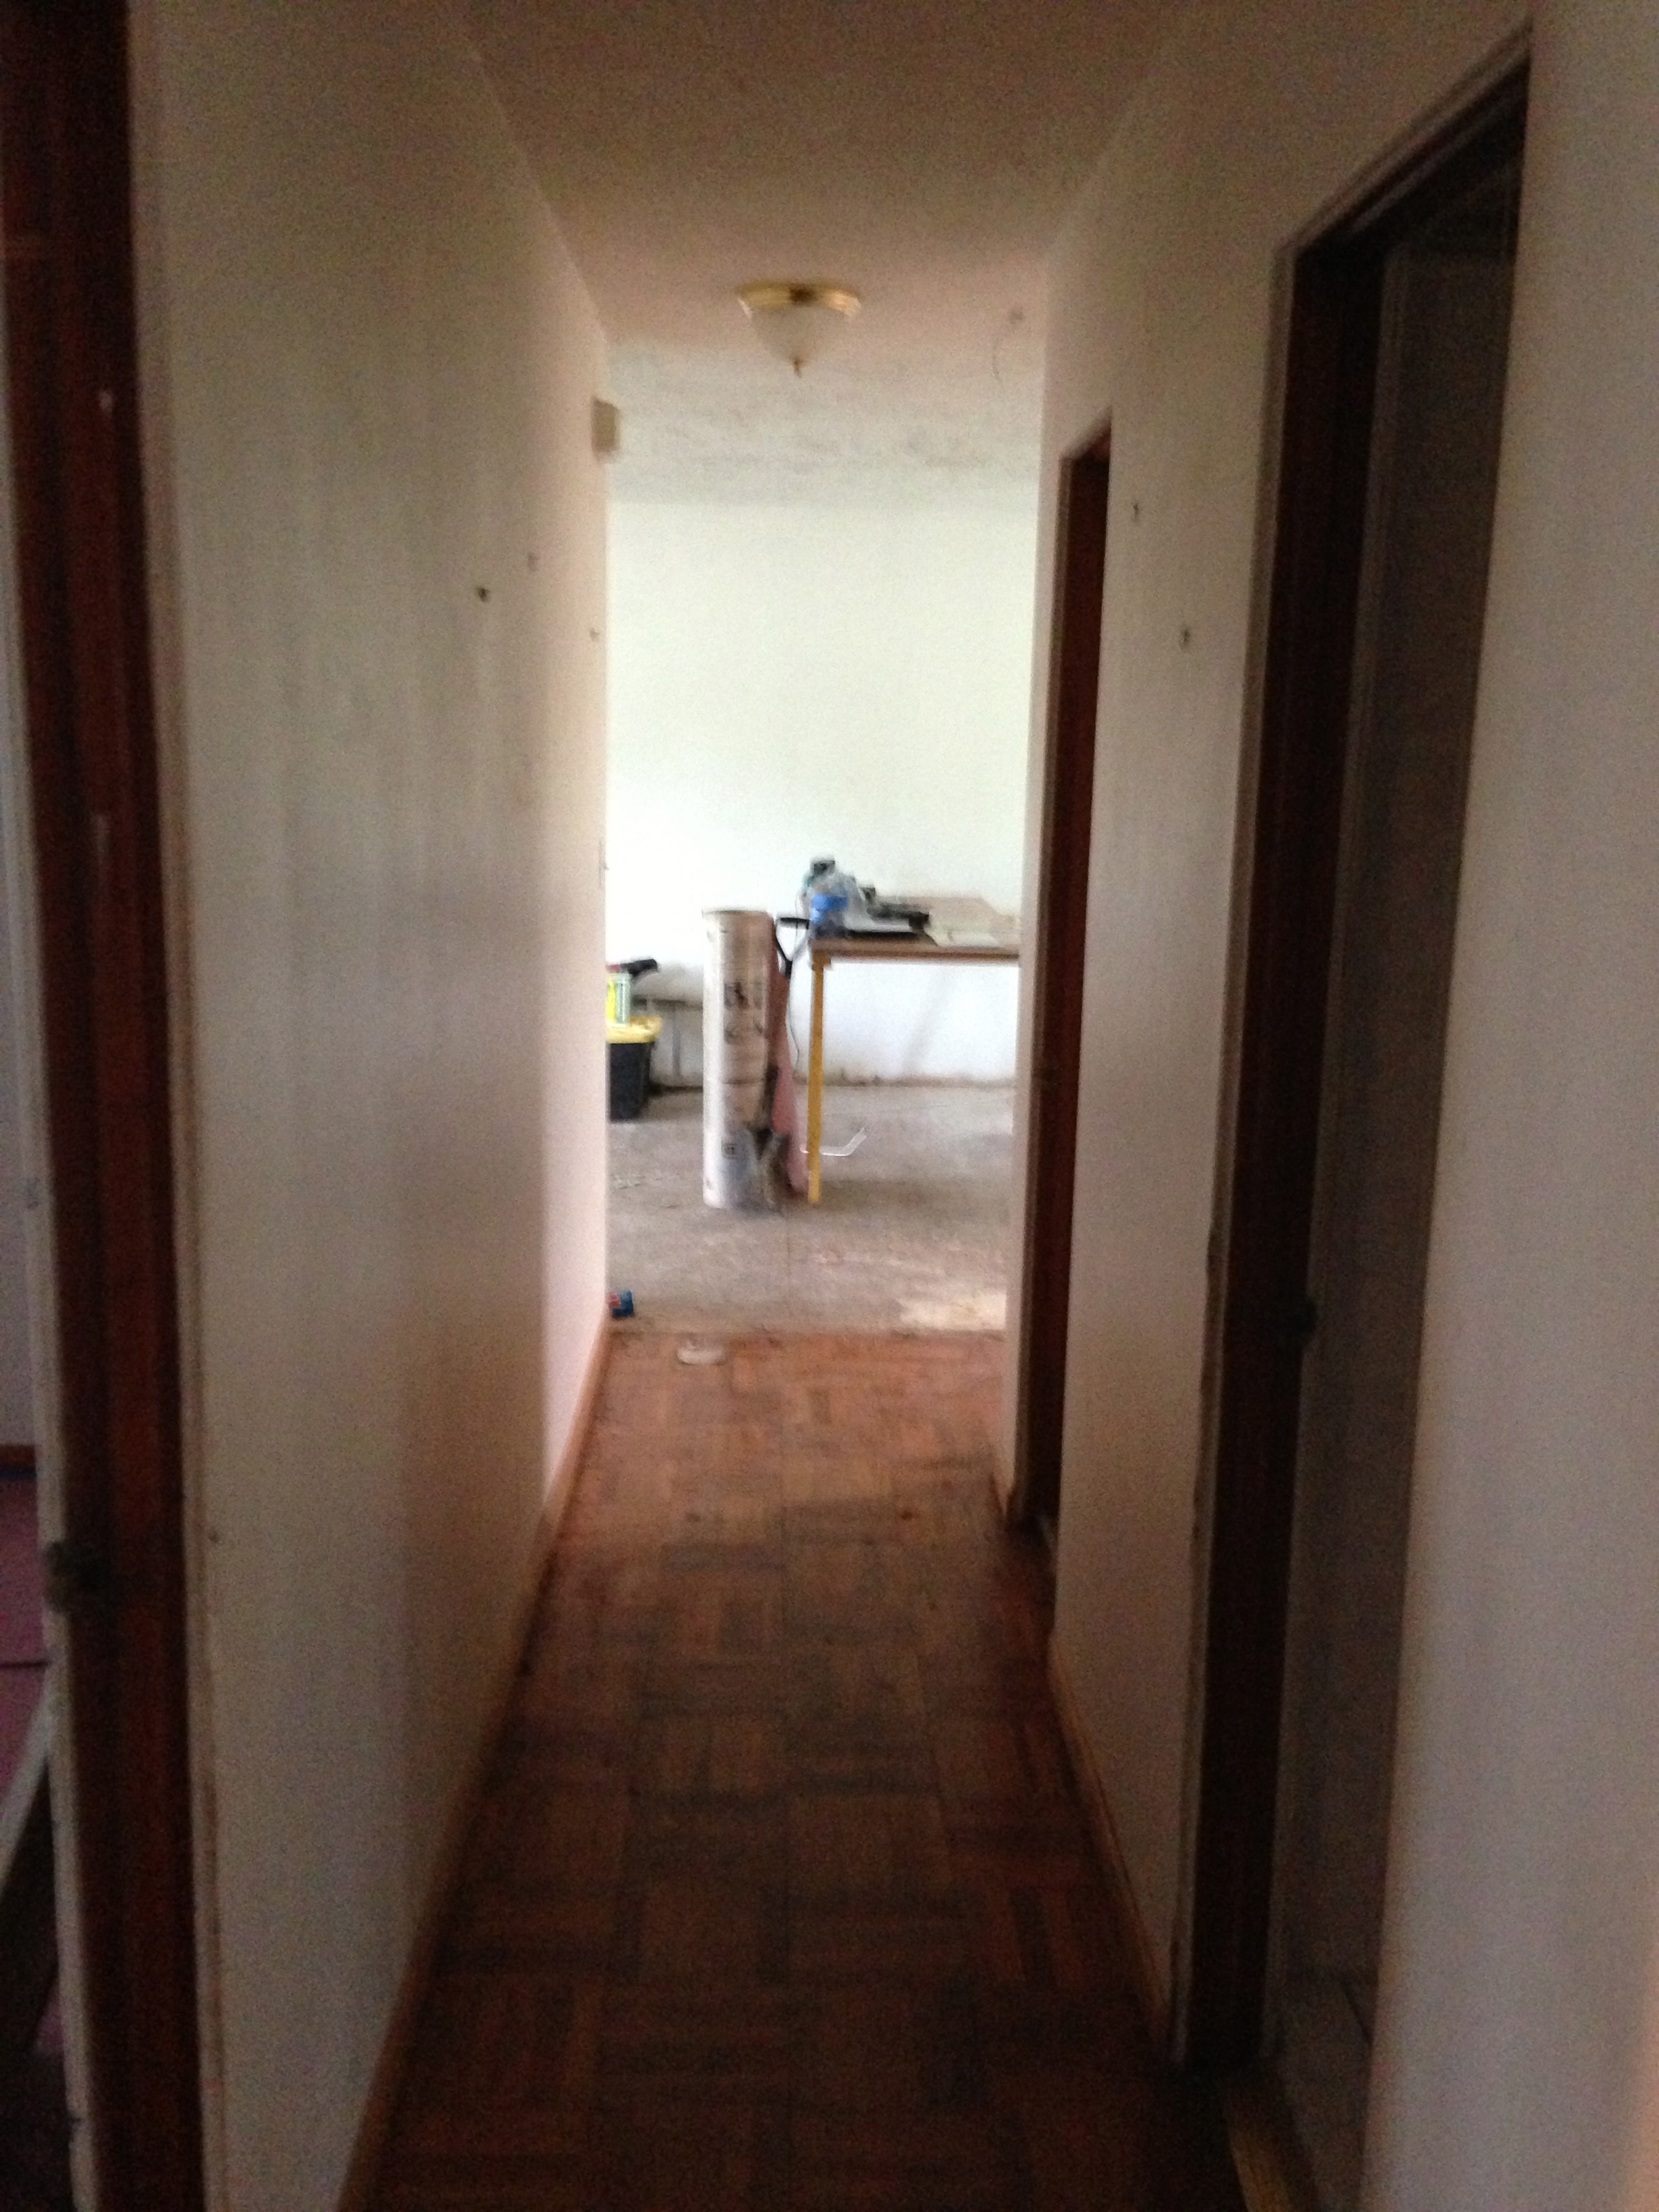 After:

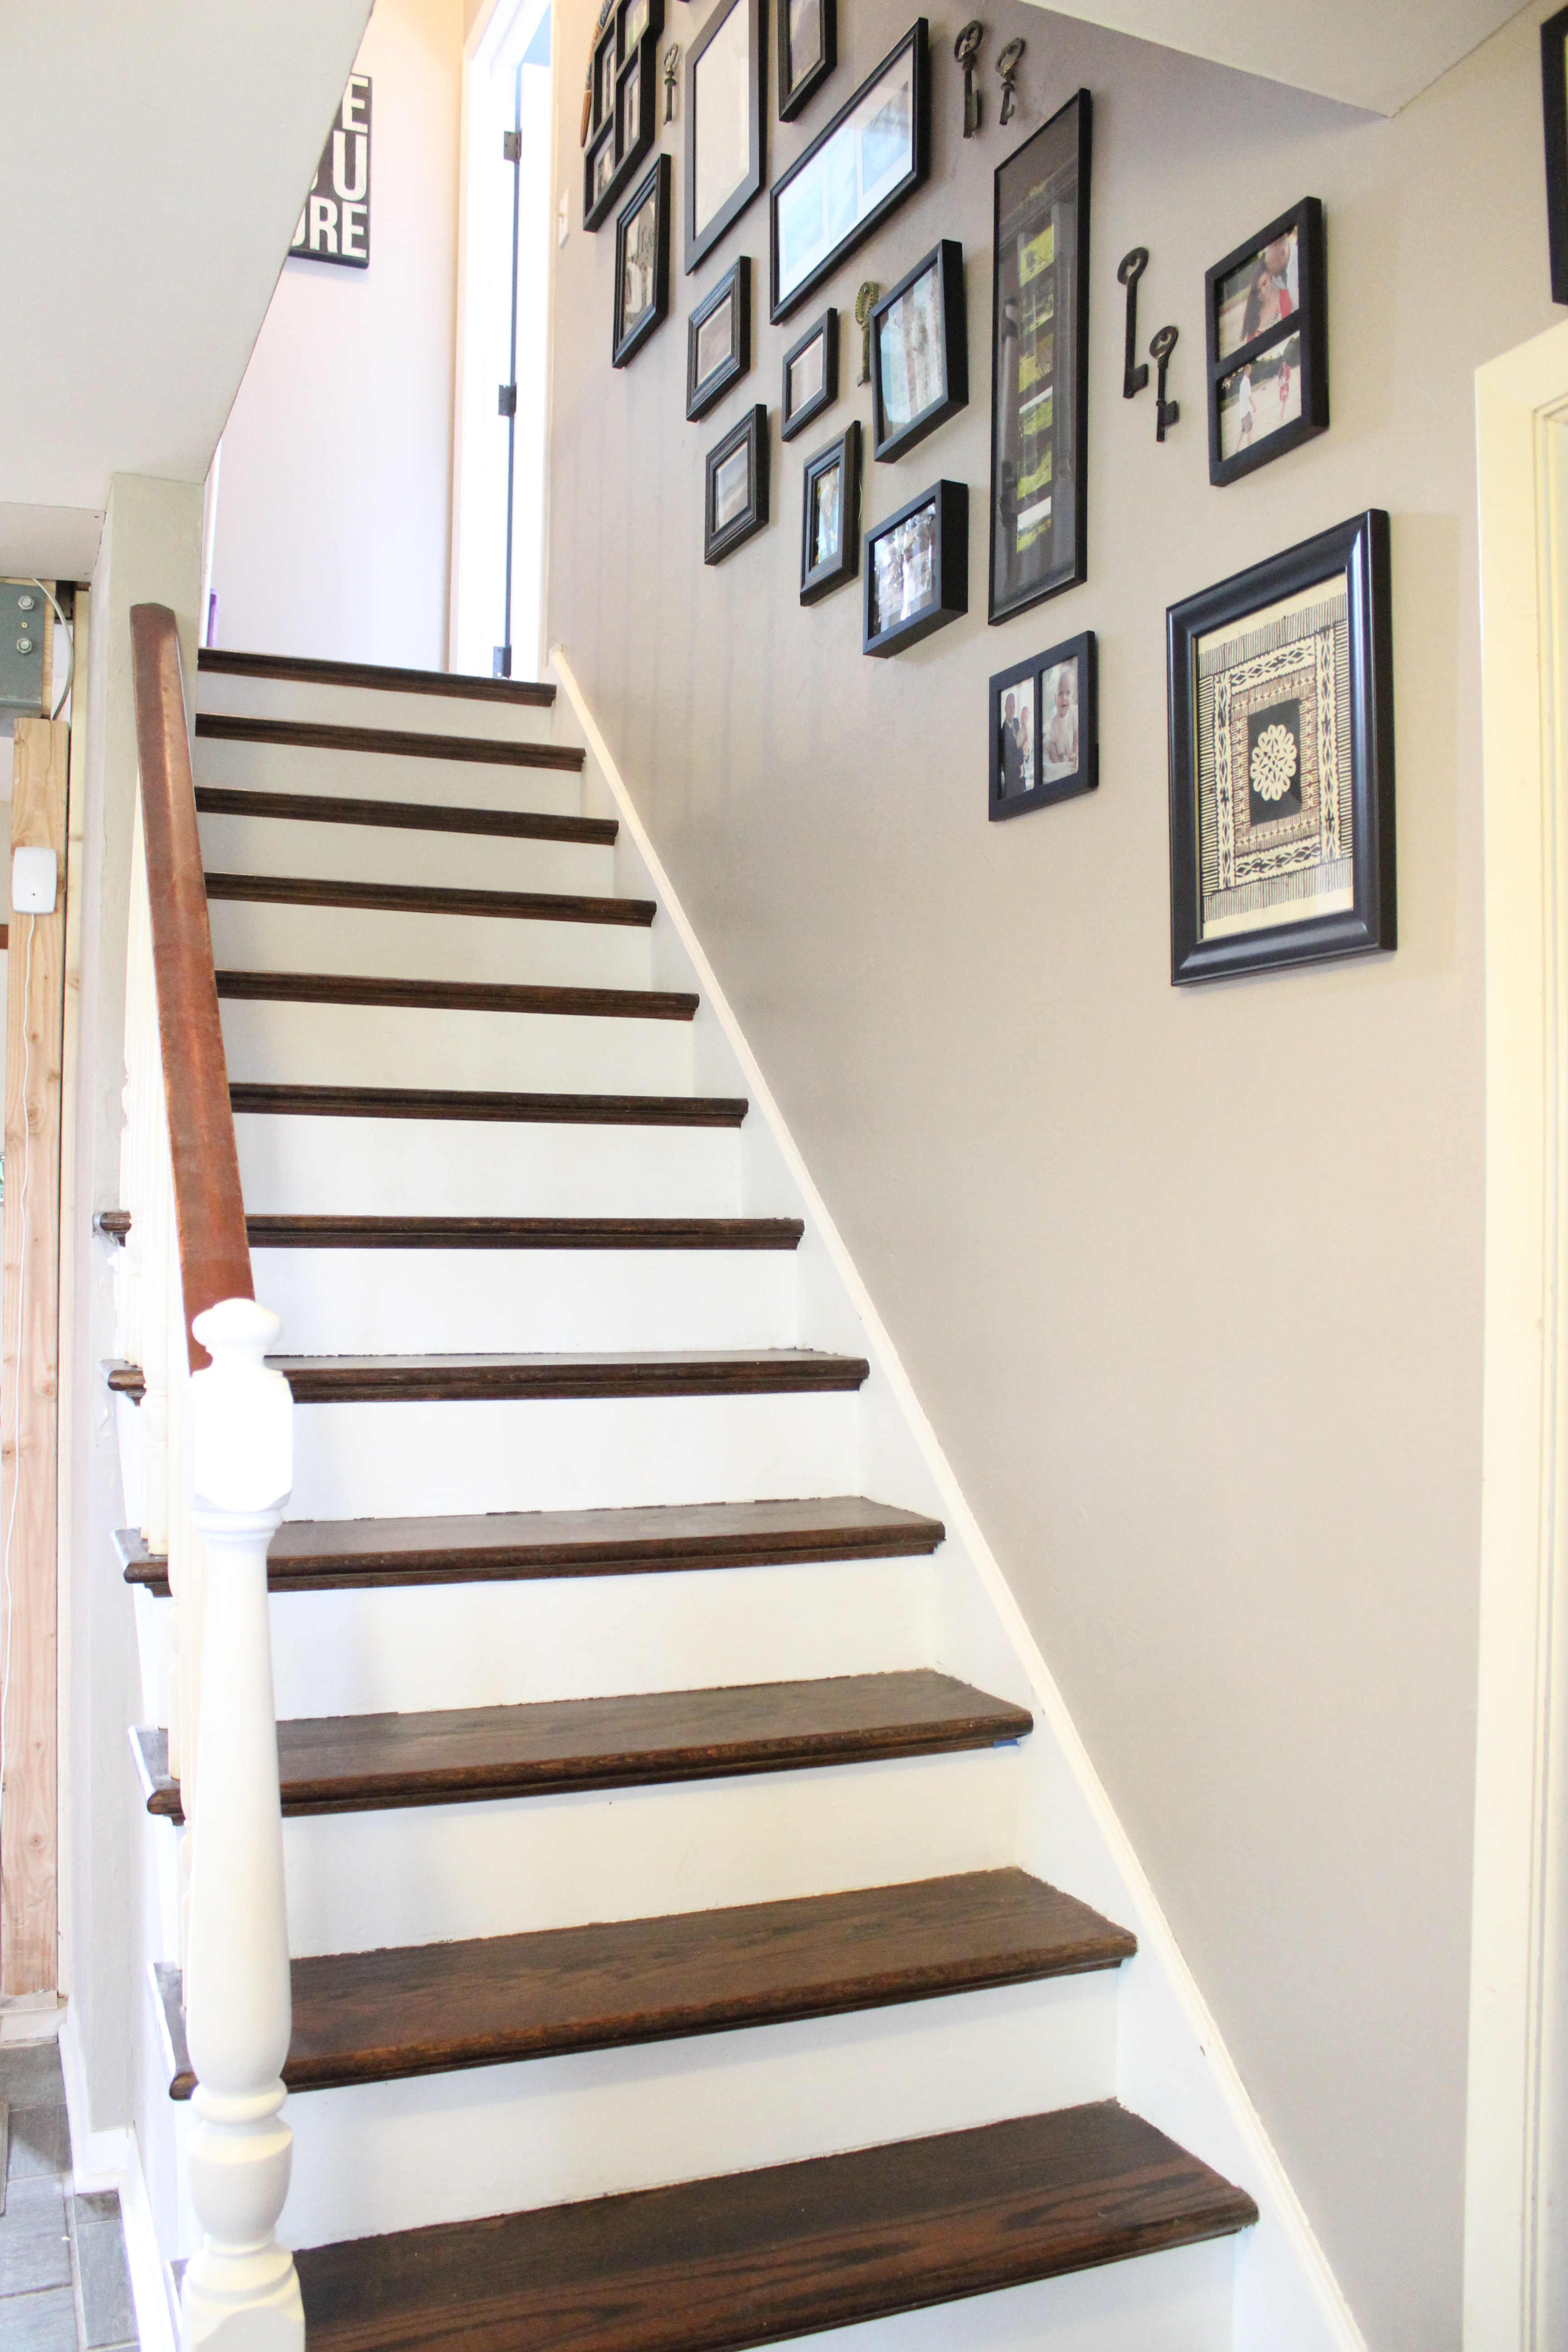
Here were the scary stairs down to the basement before:
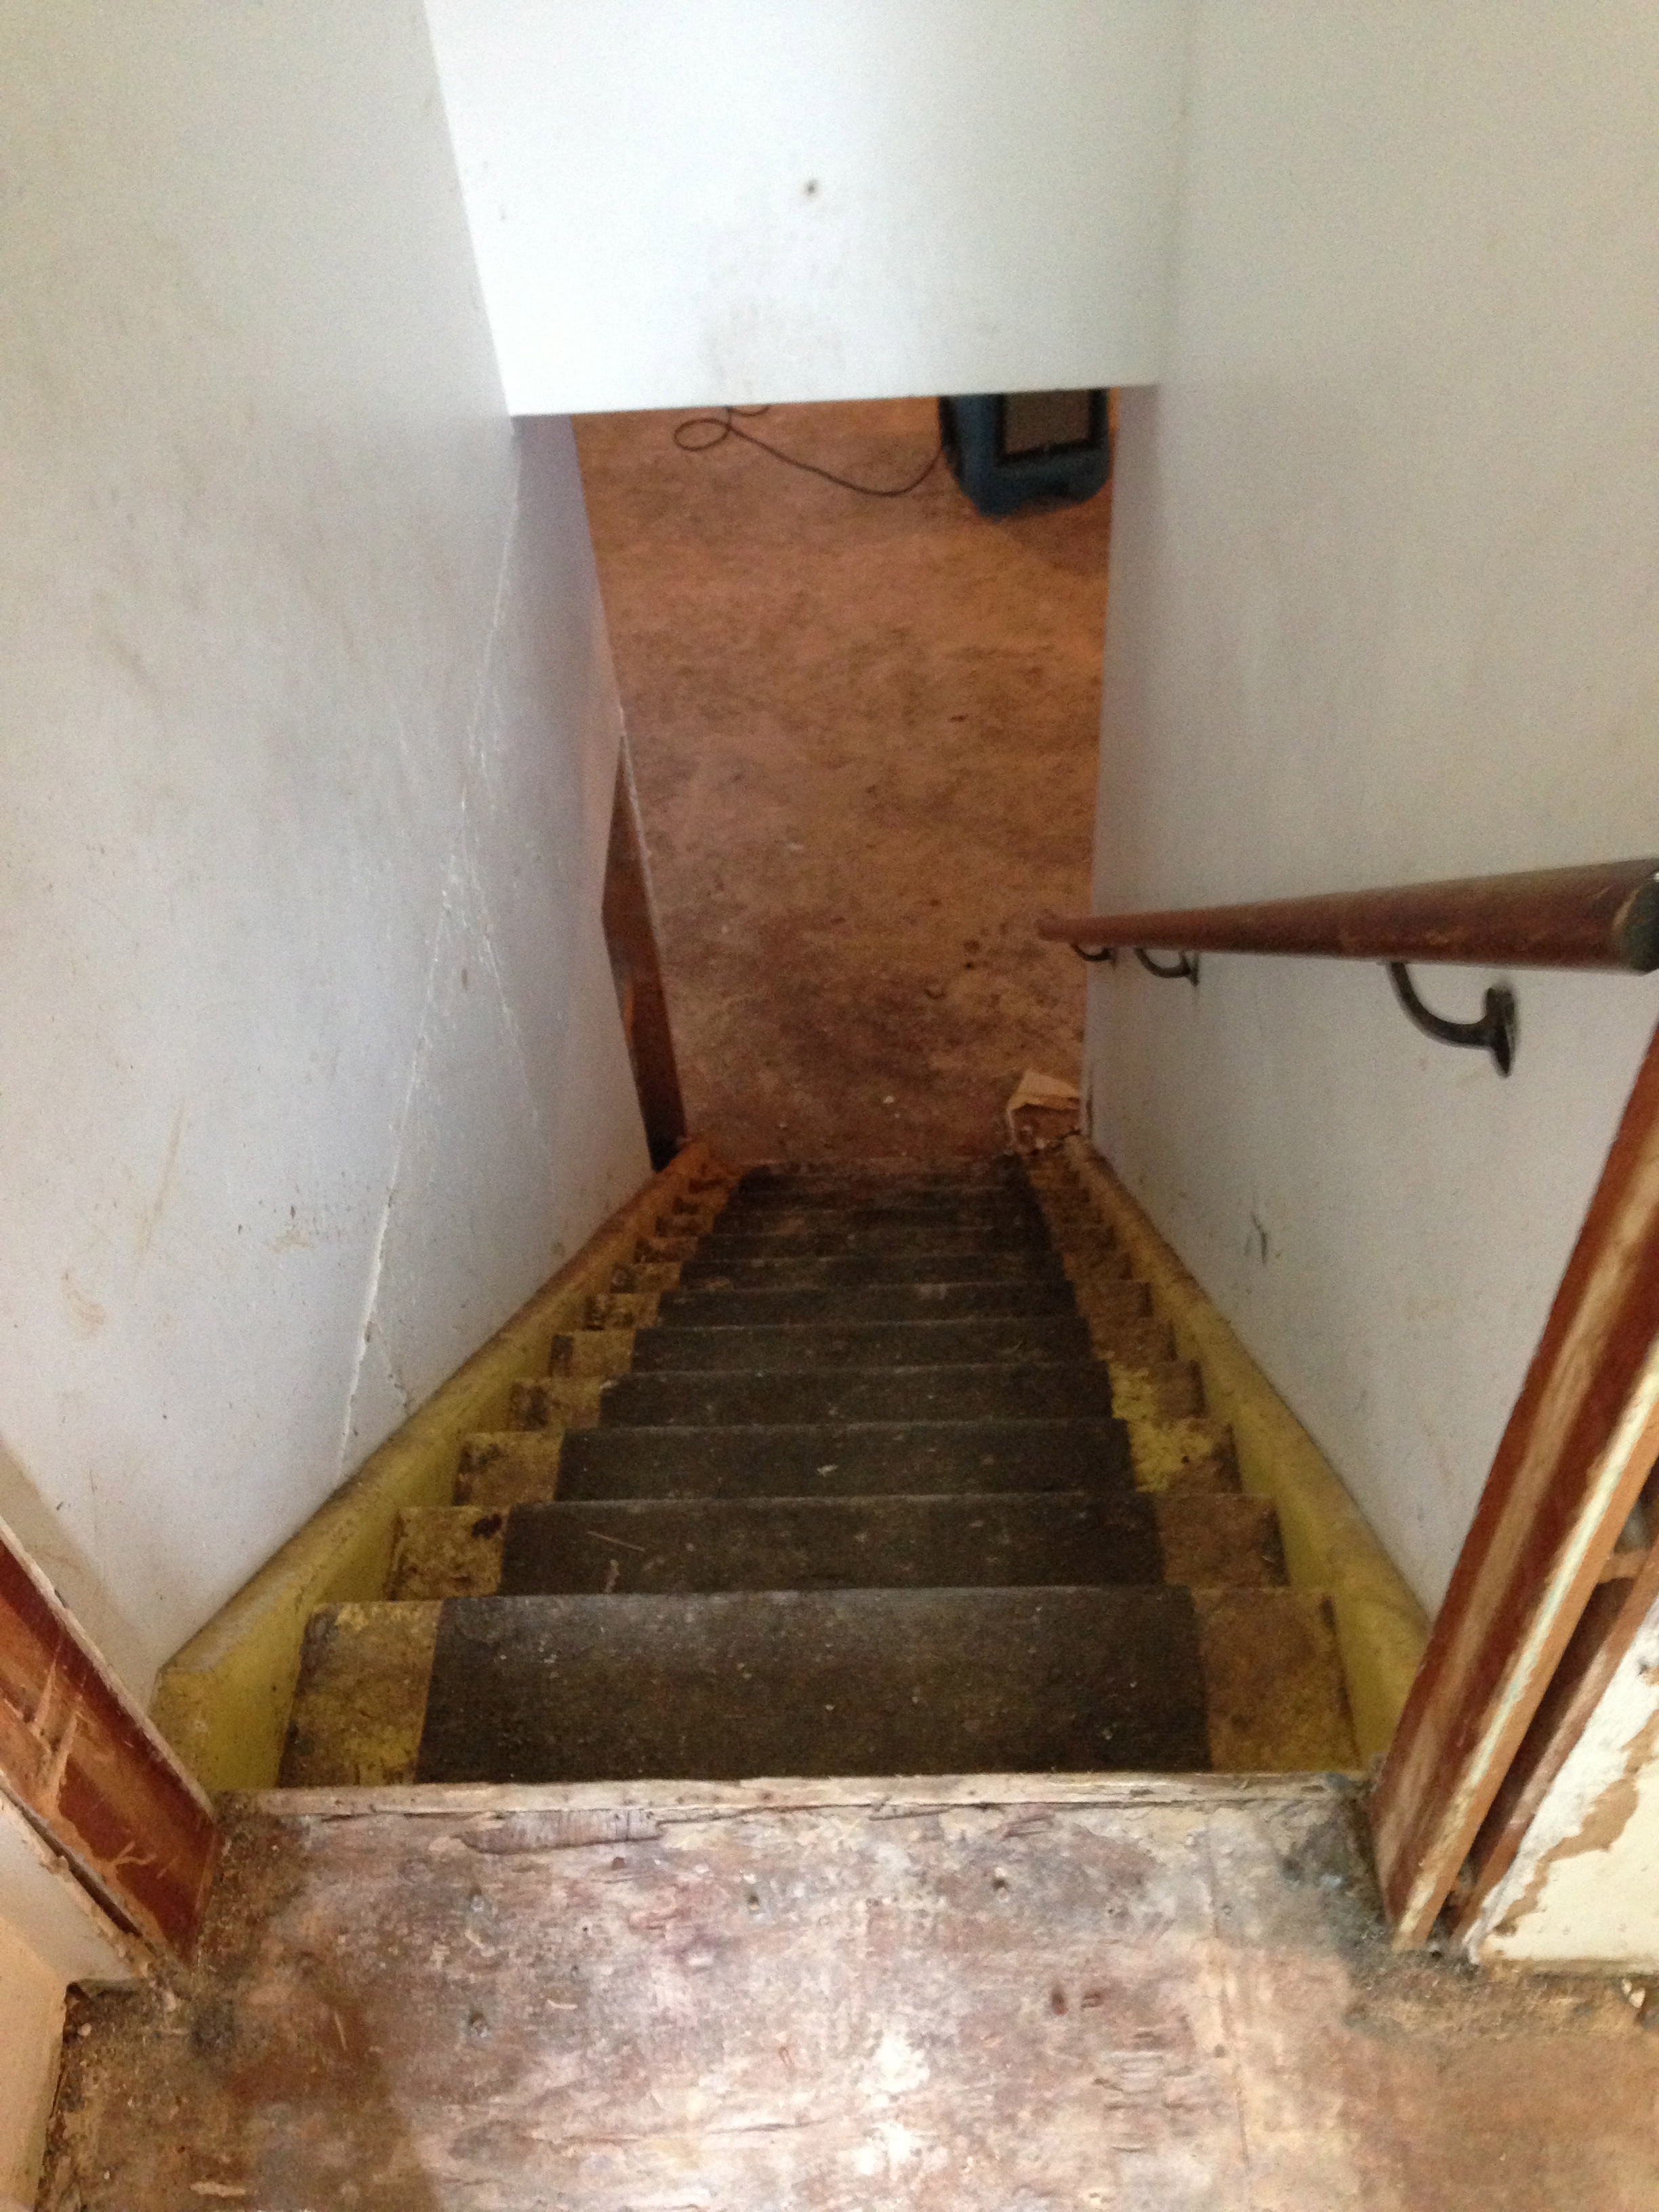
And now:

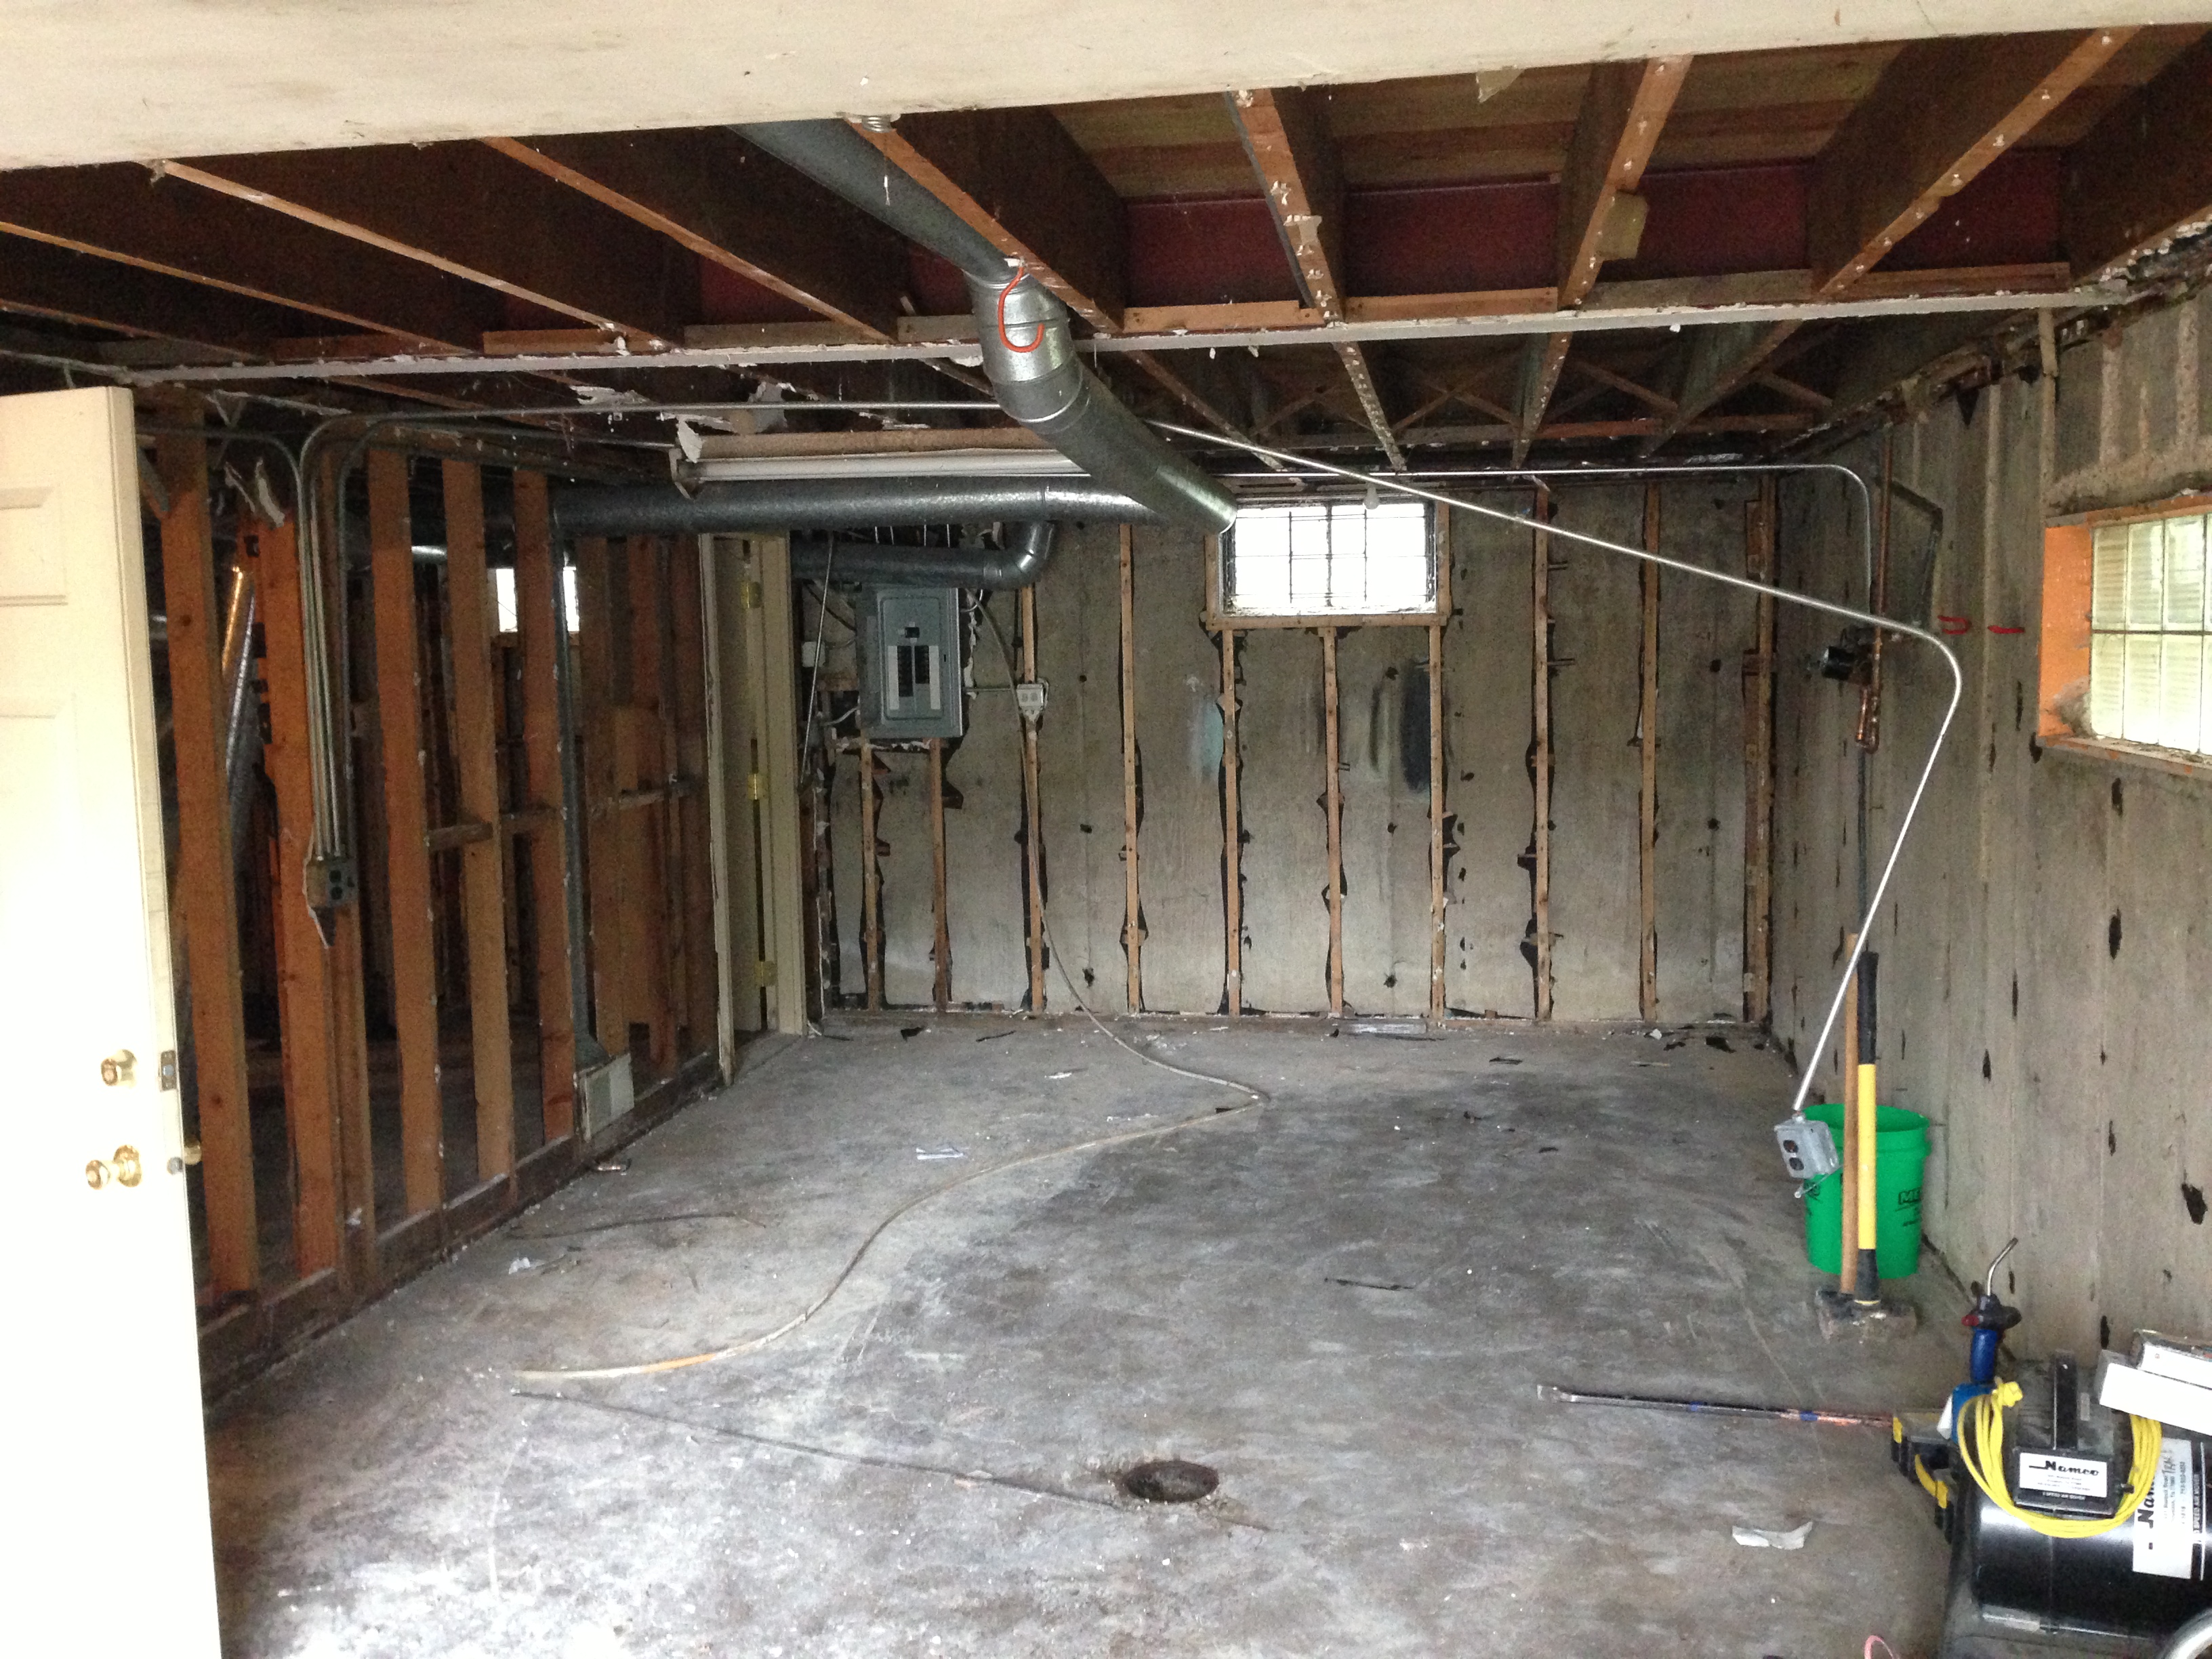
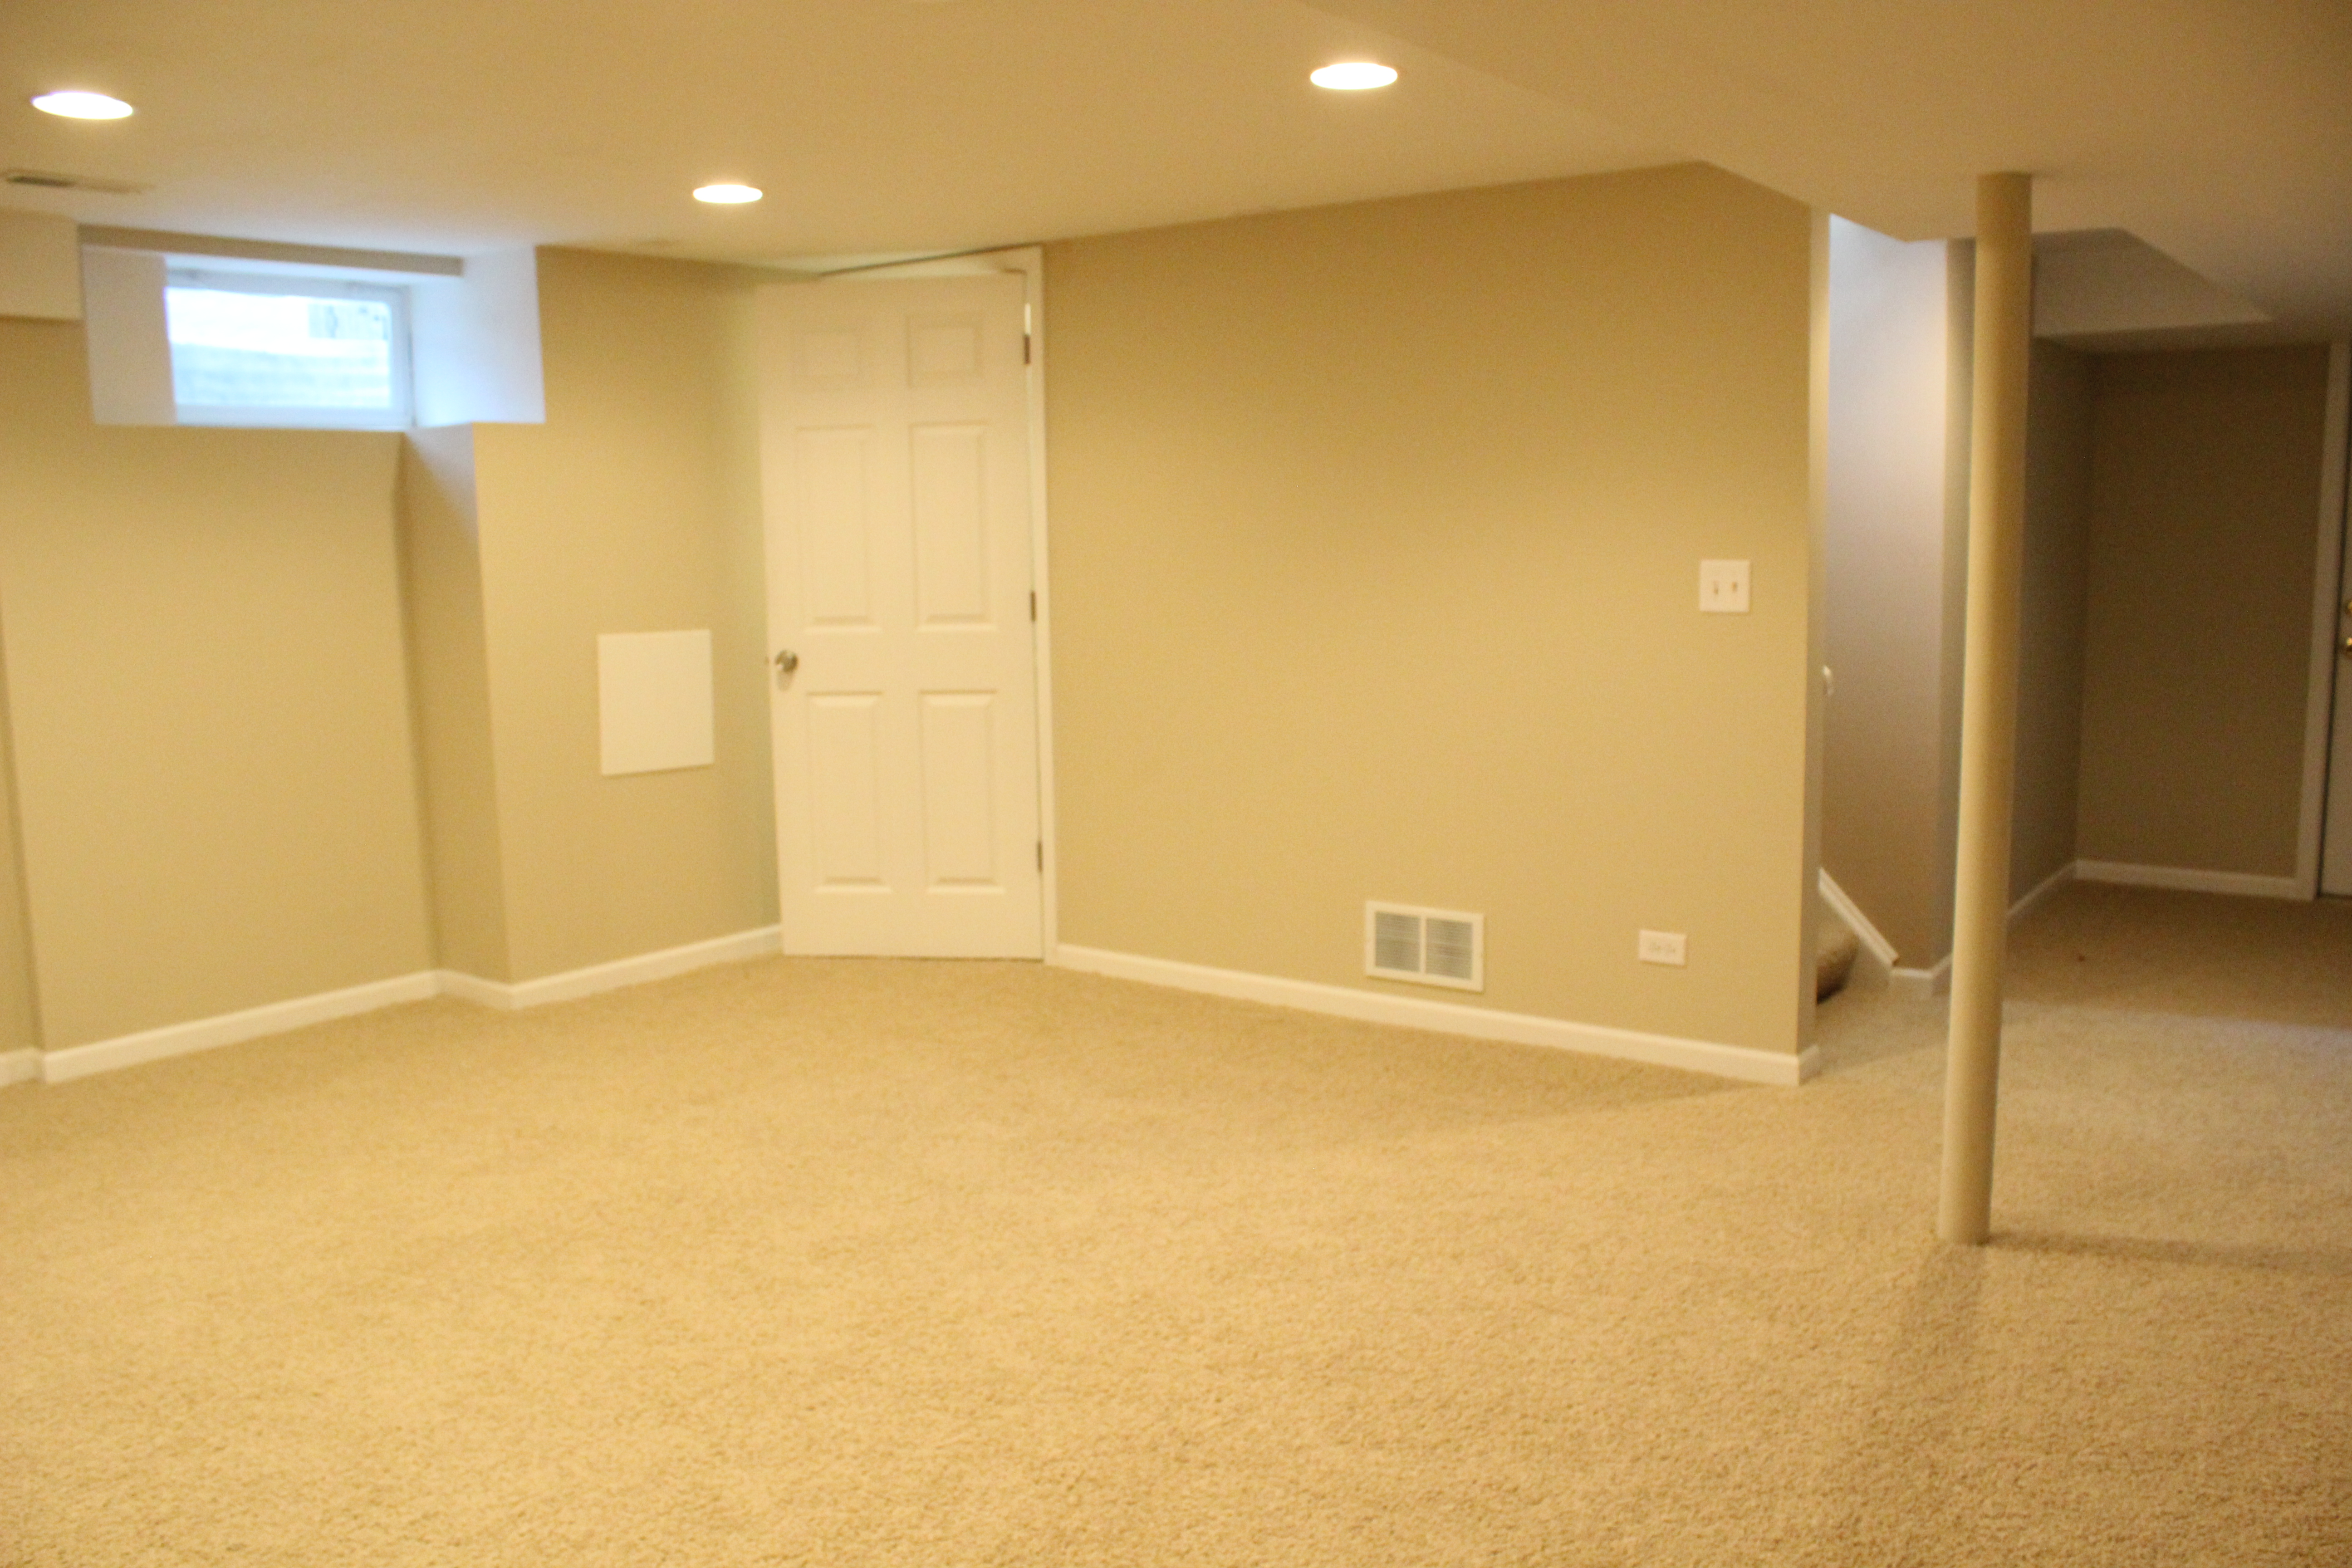
And the biggest transformation of all is the basement. What looked like this before:
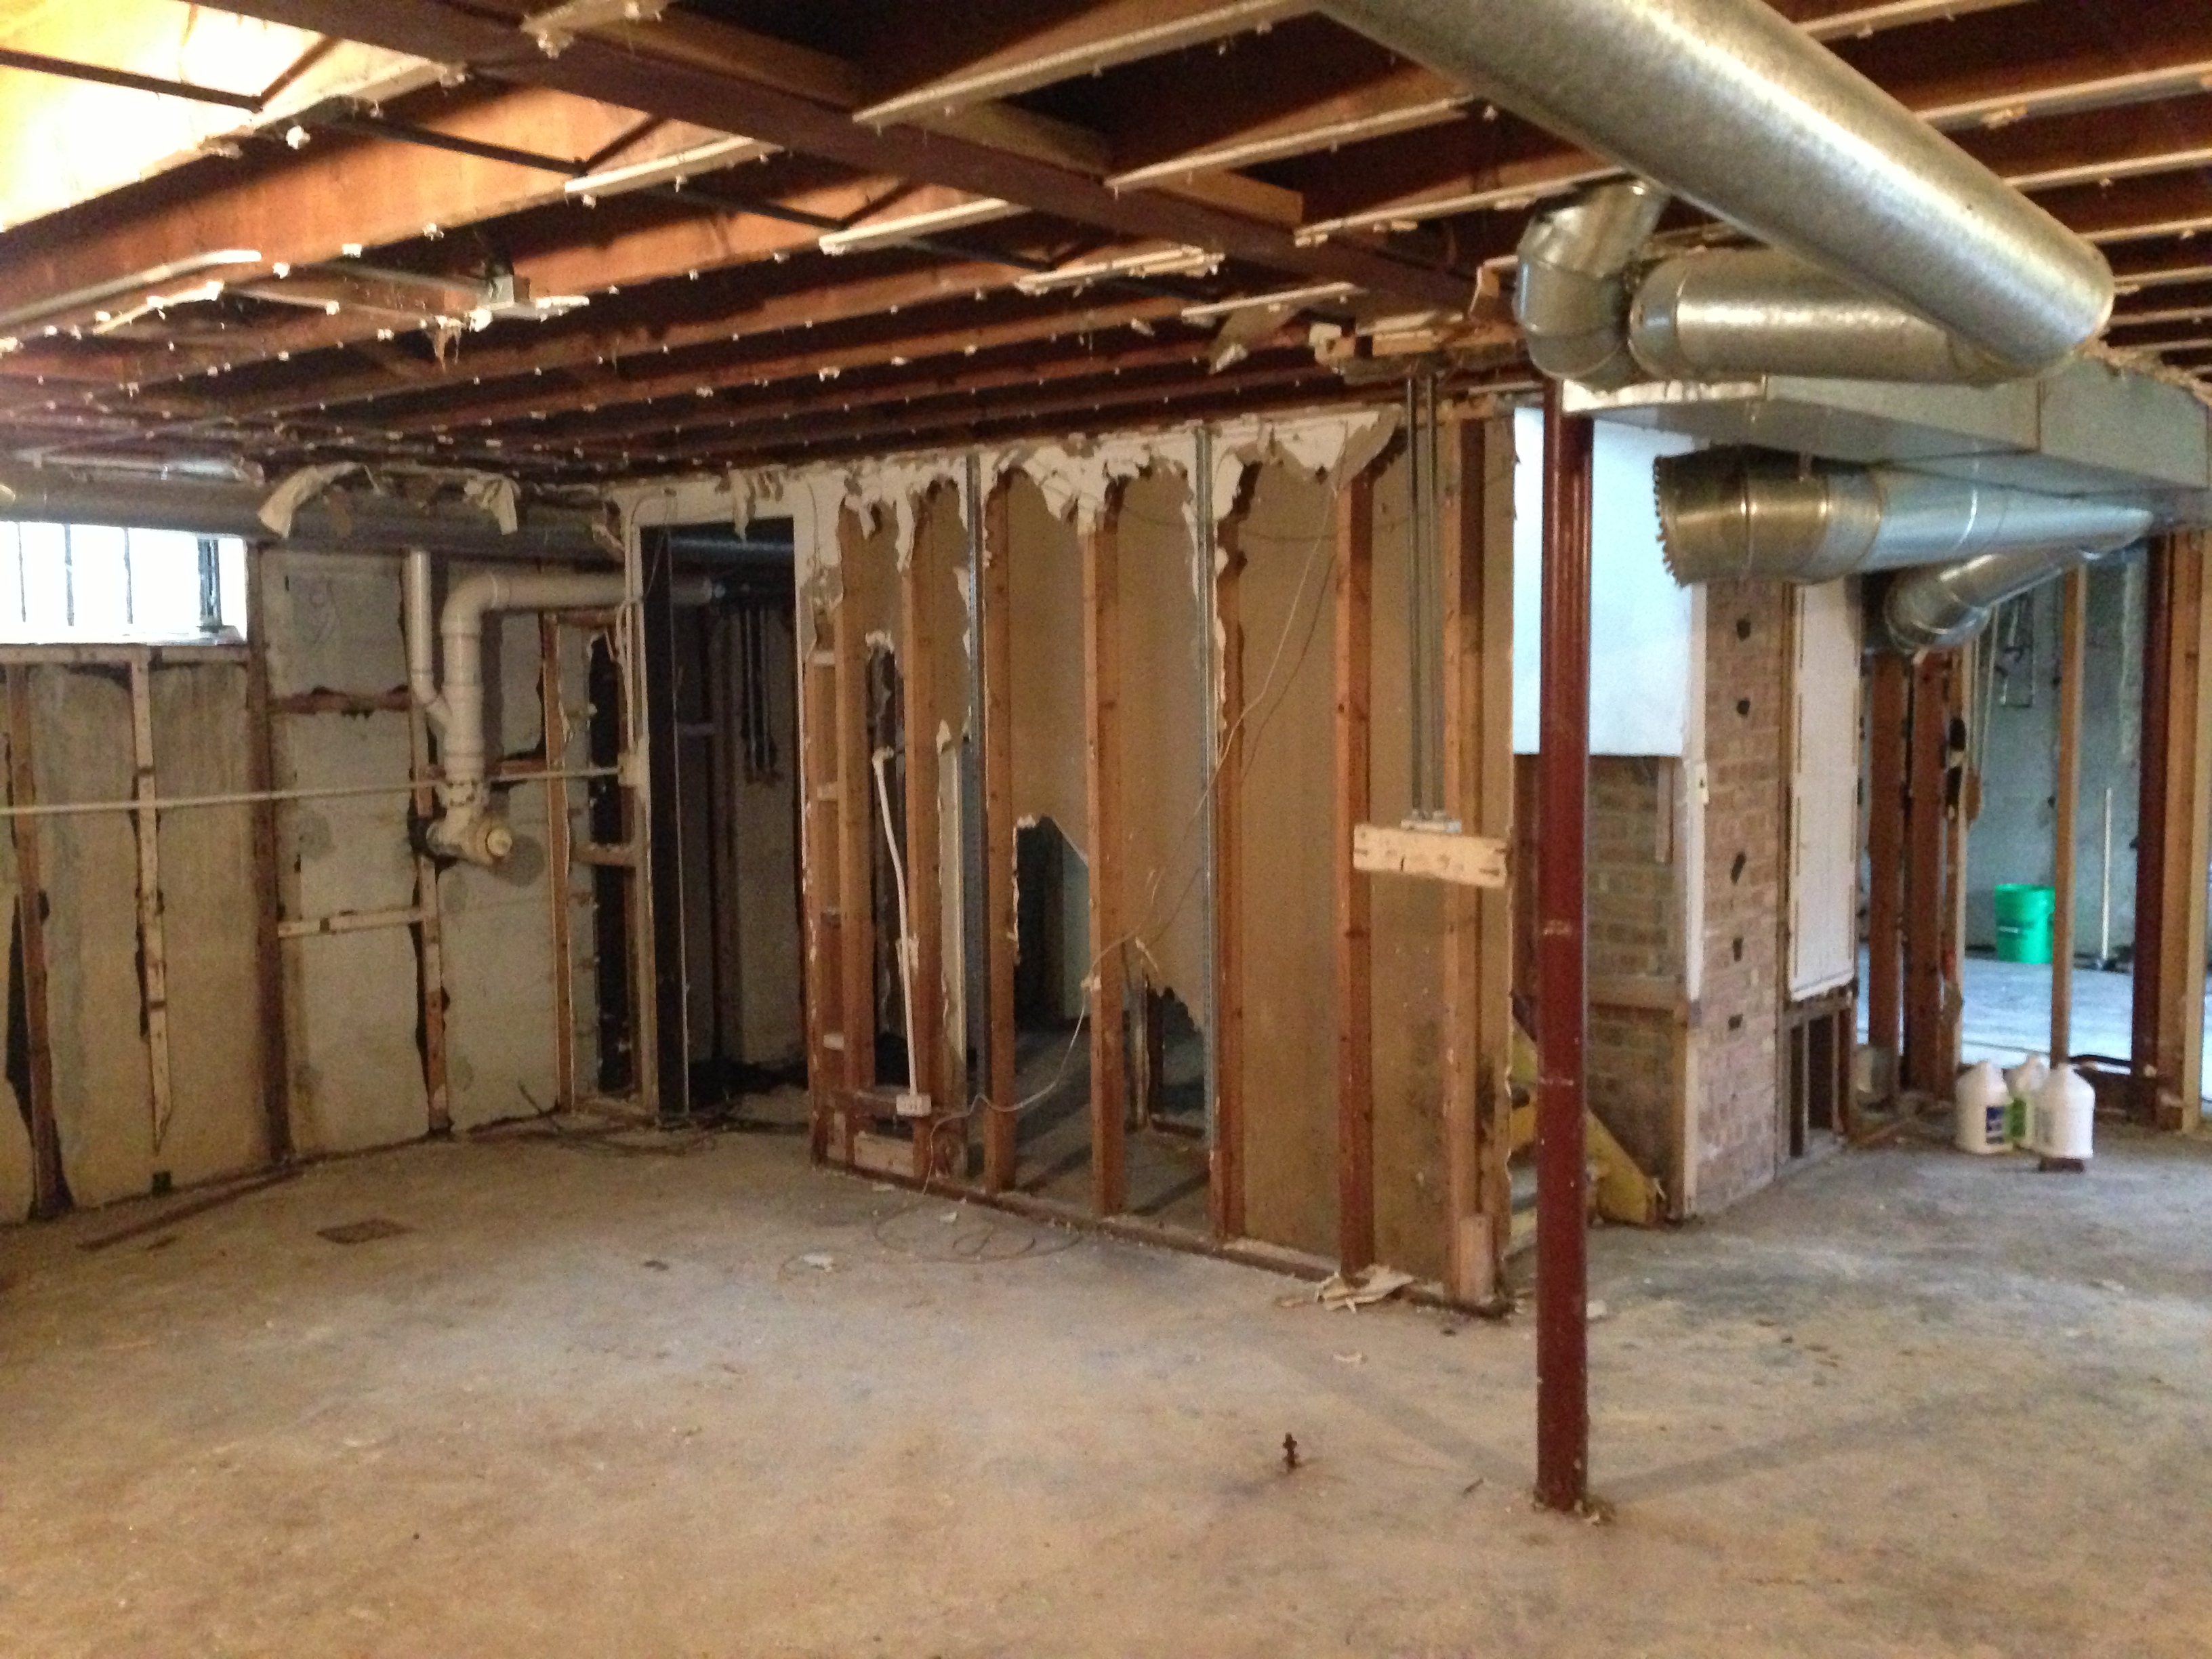
Is now this:
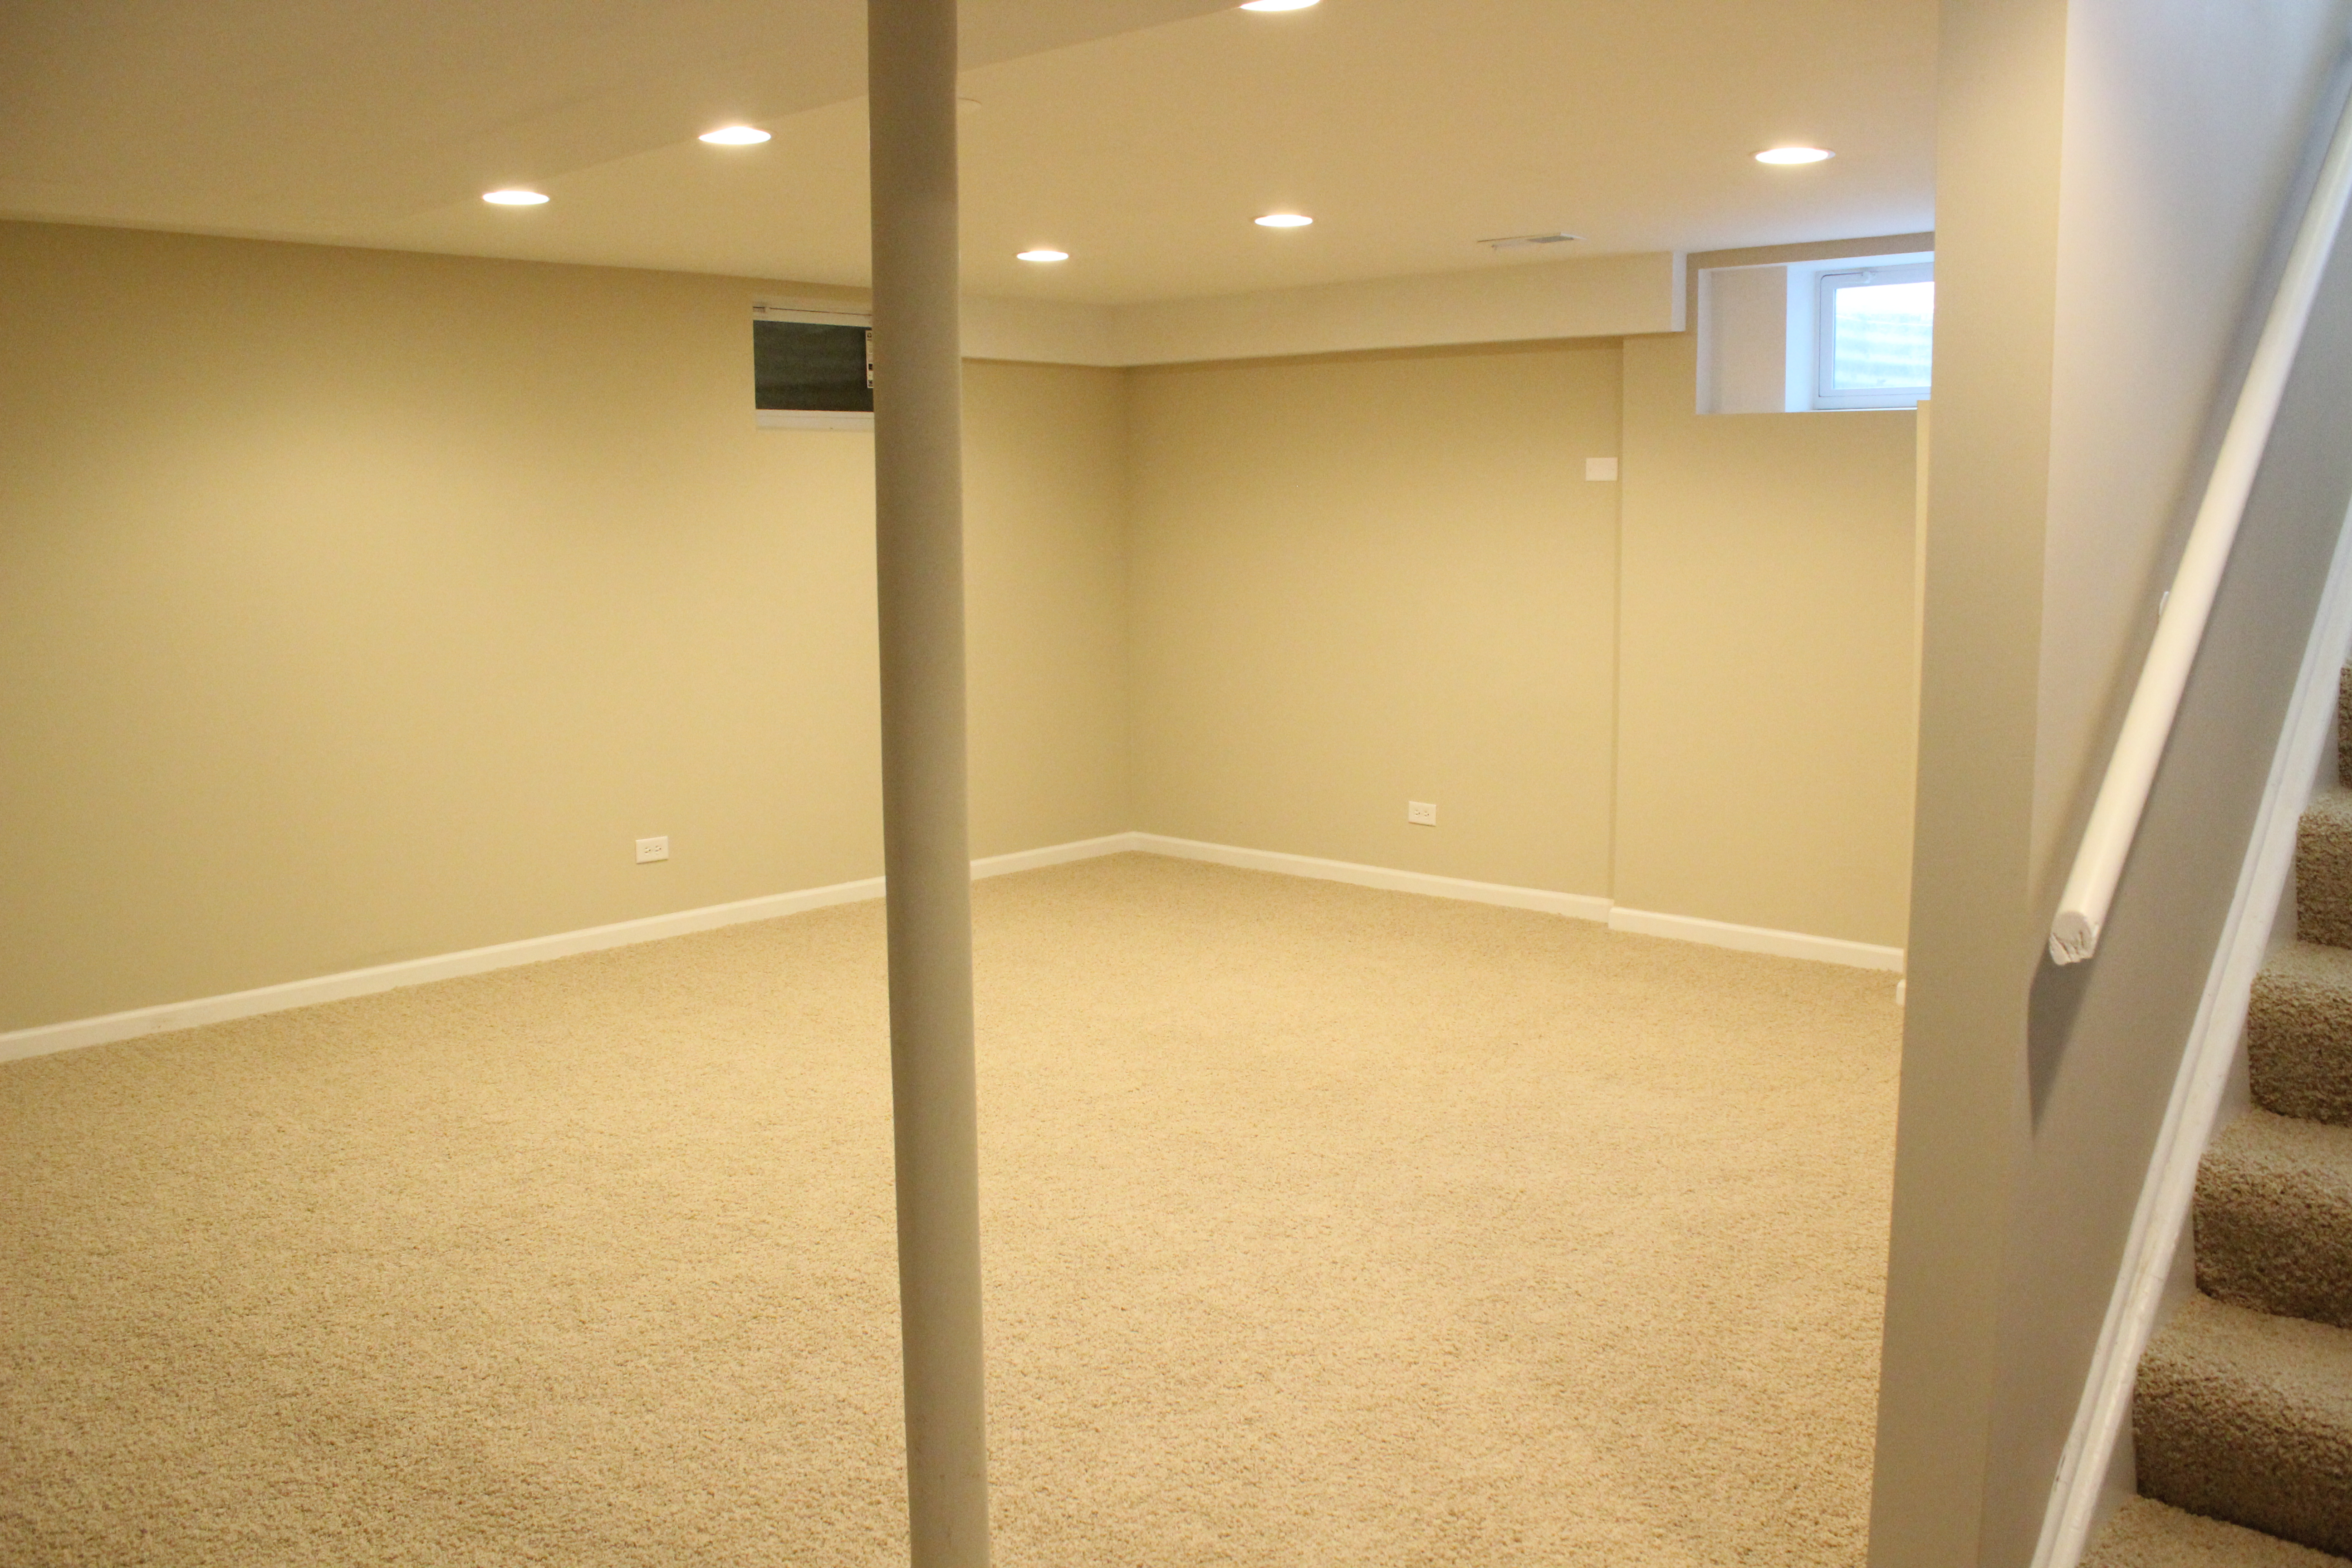
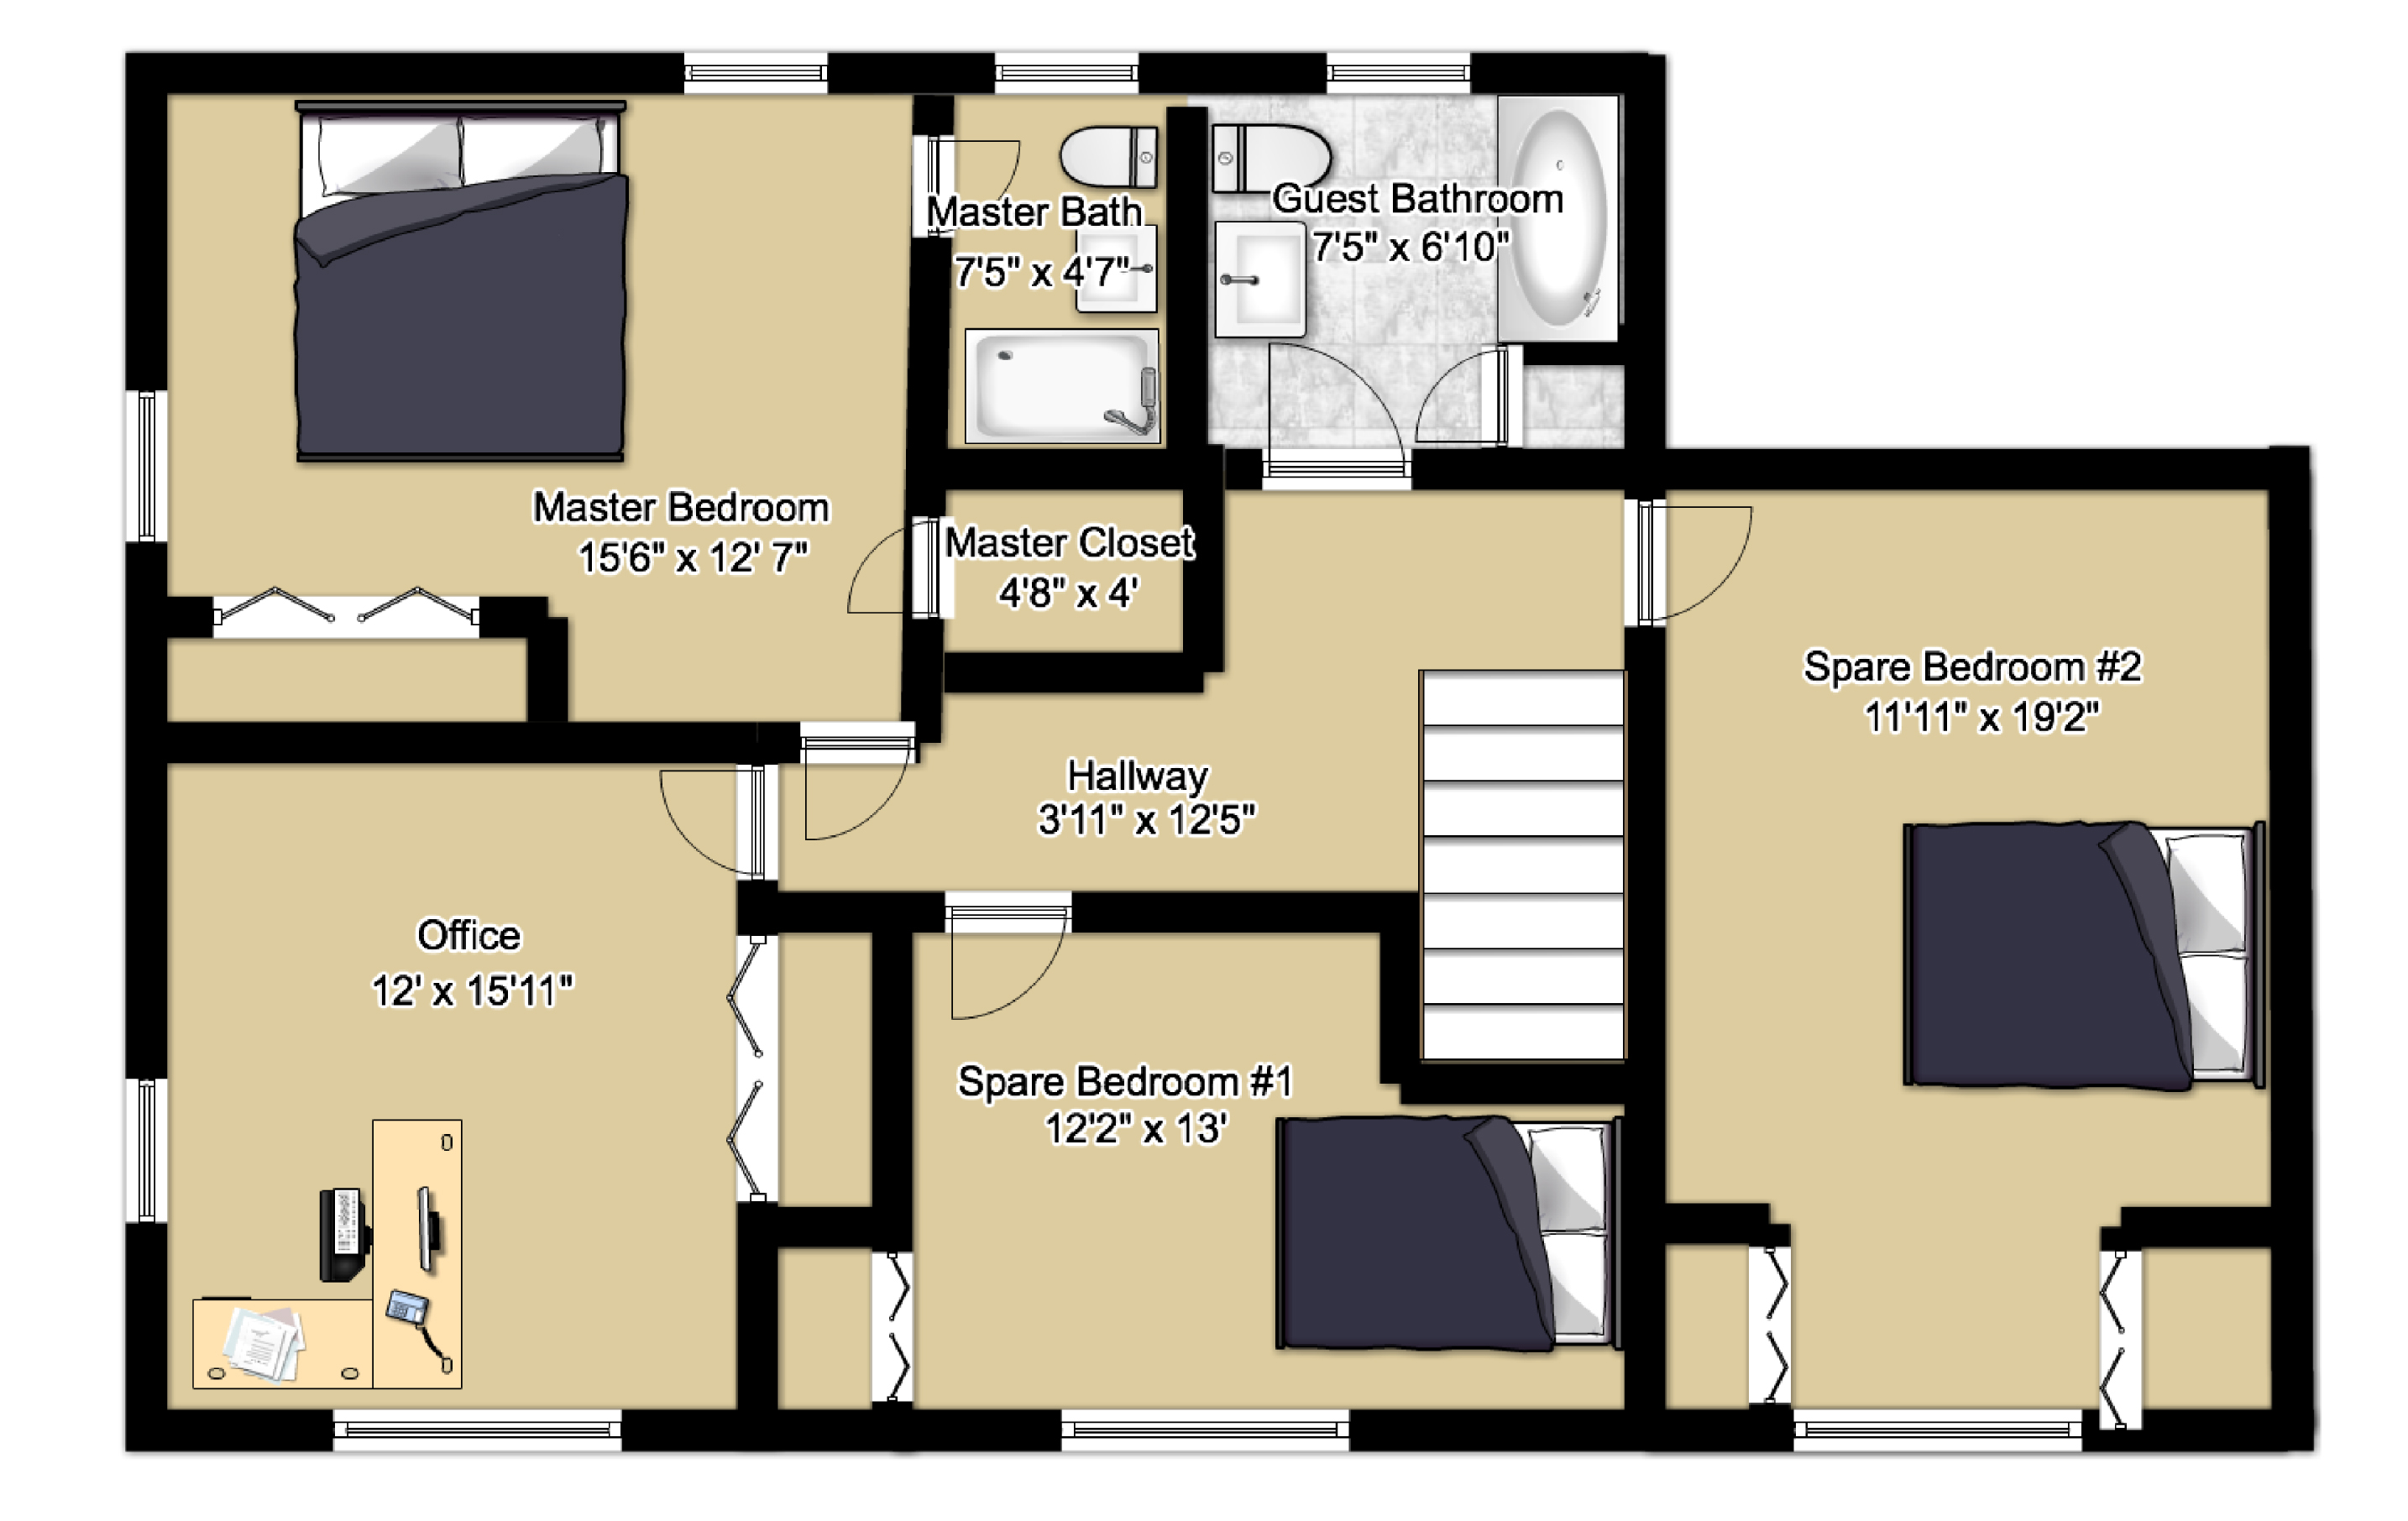
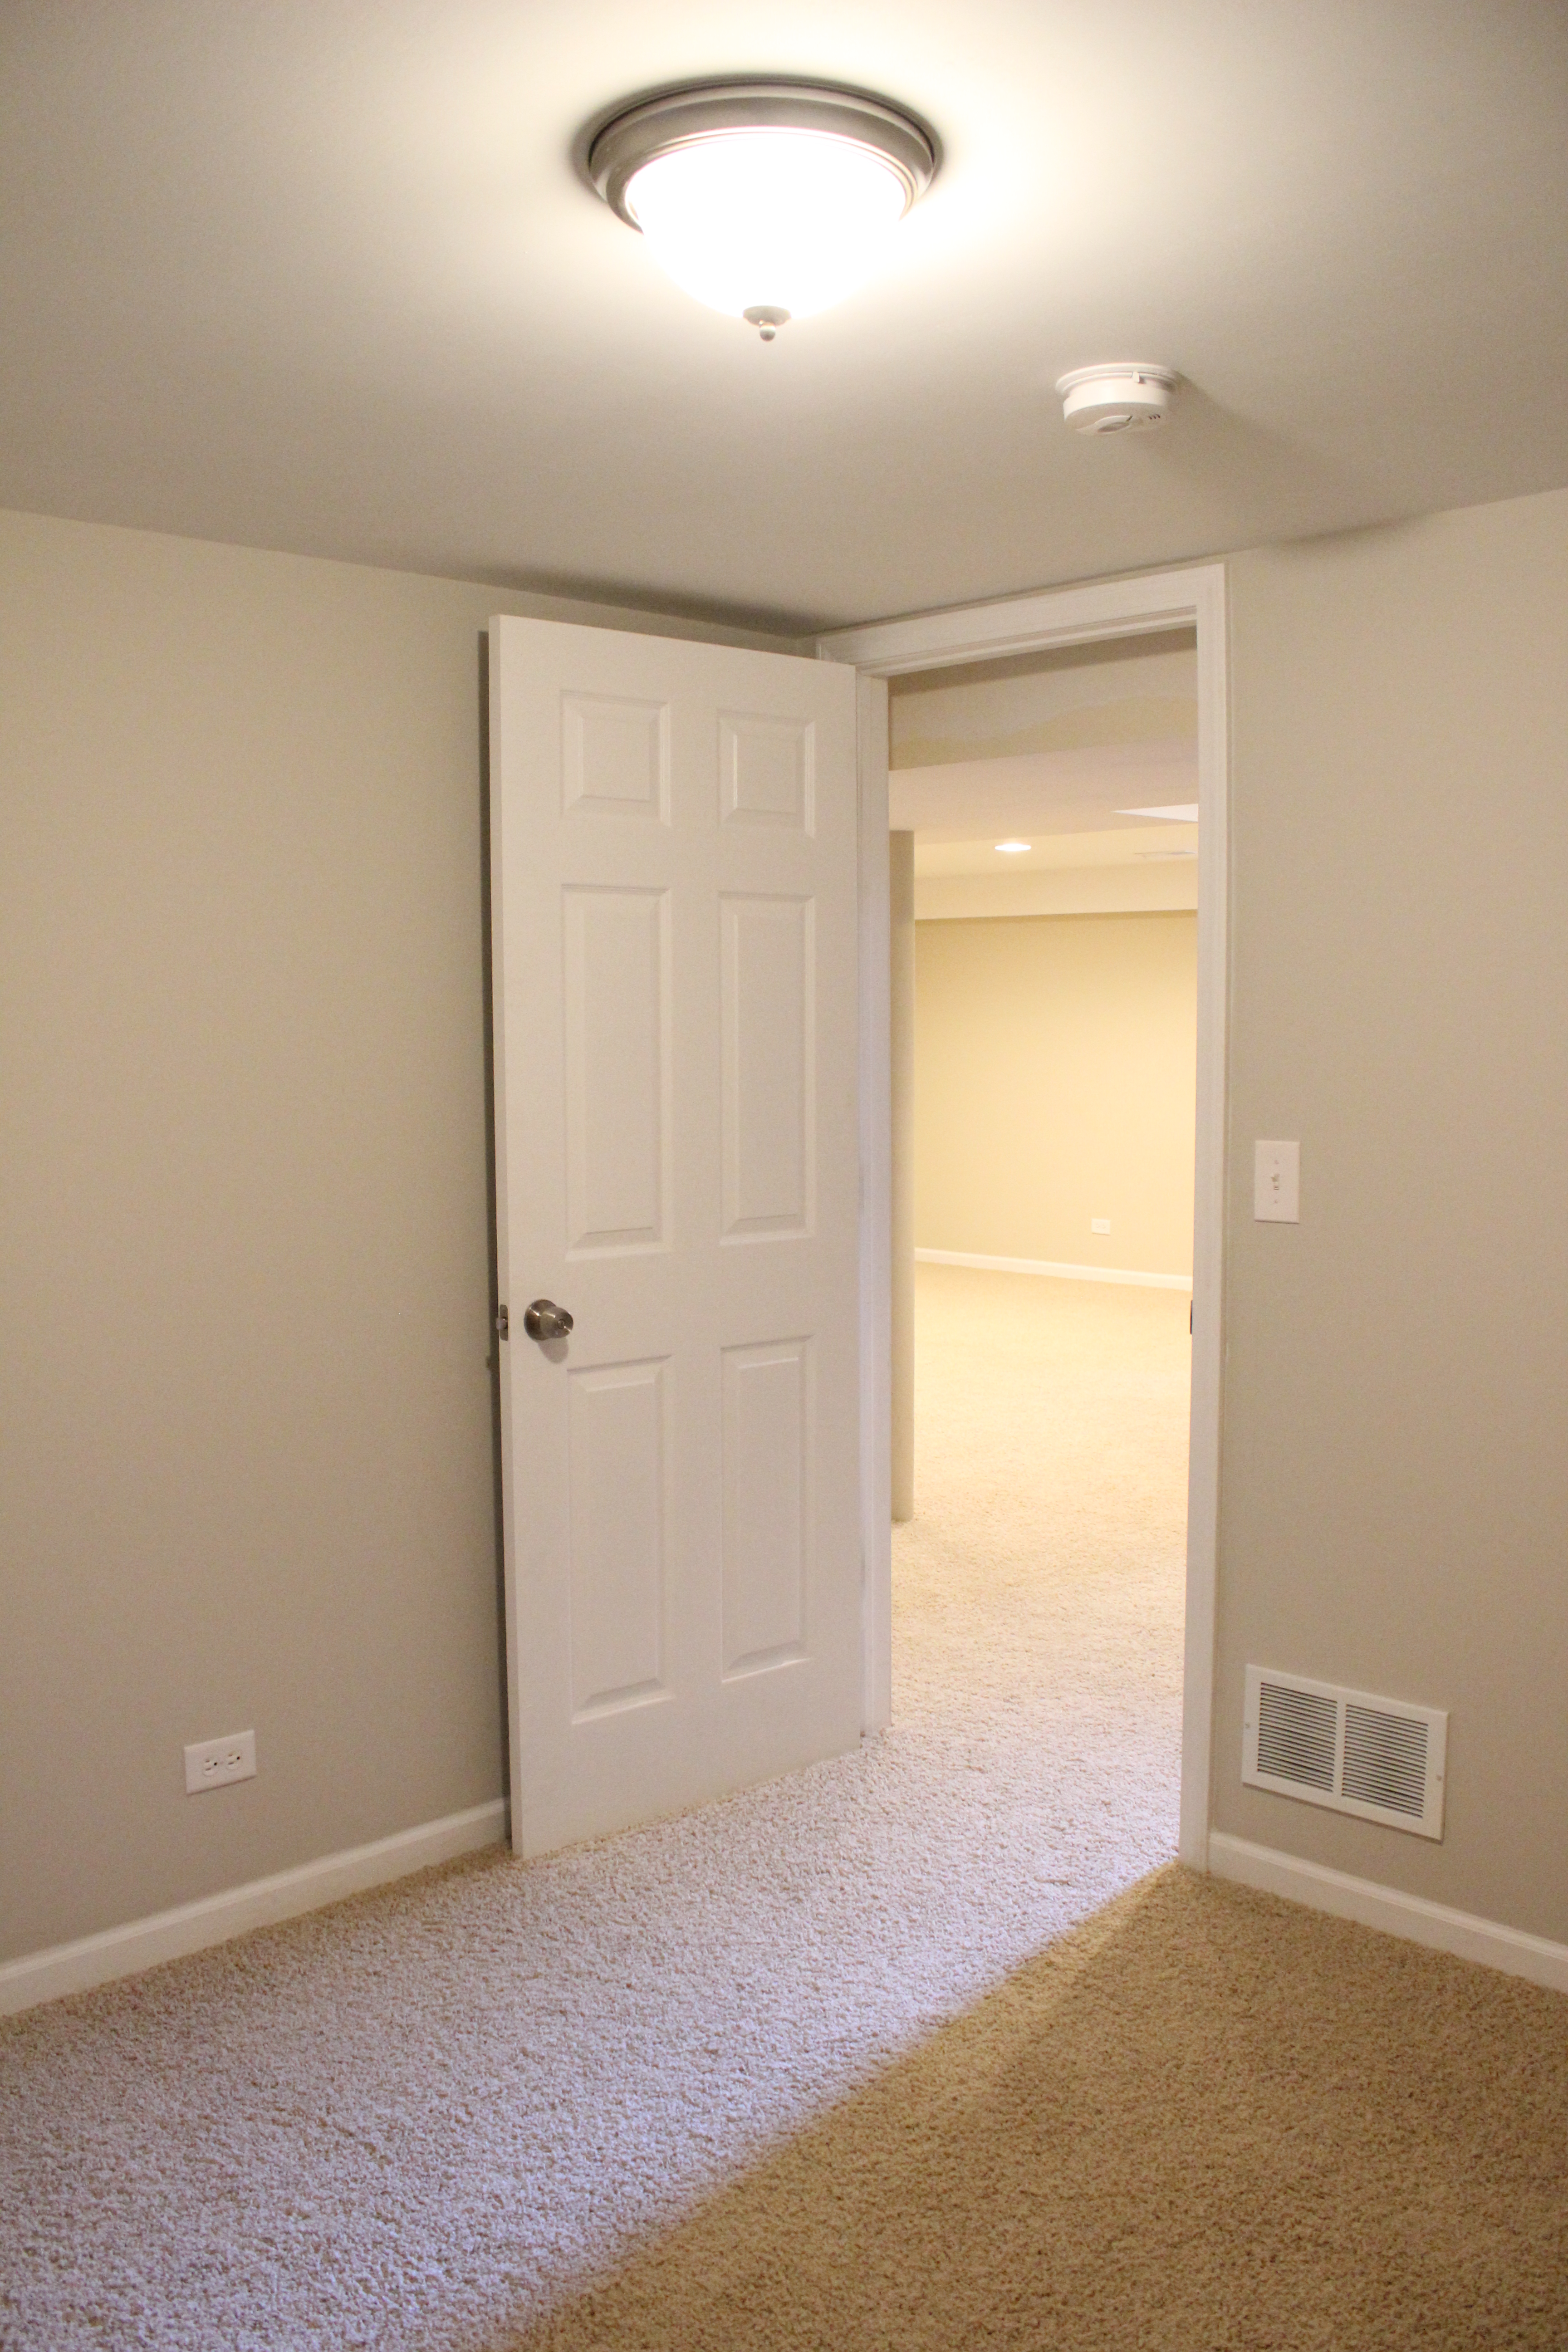
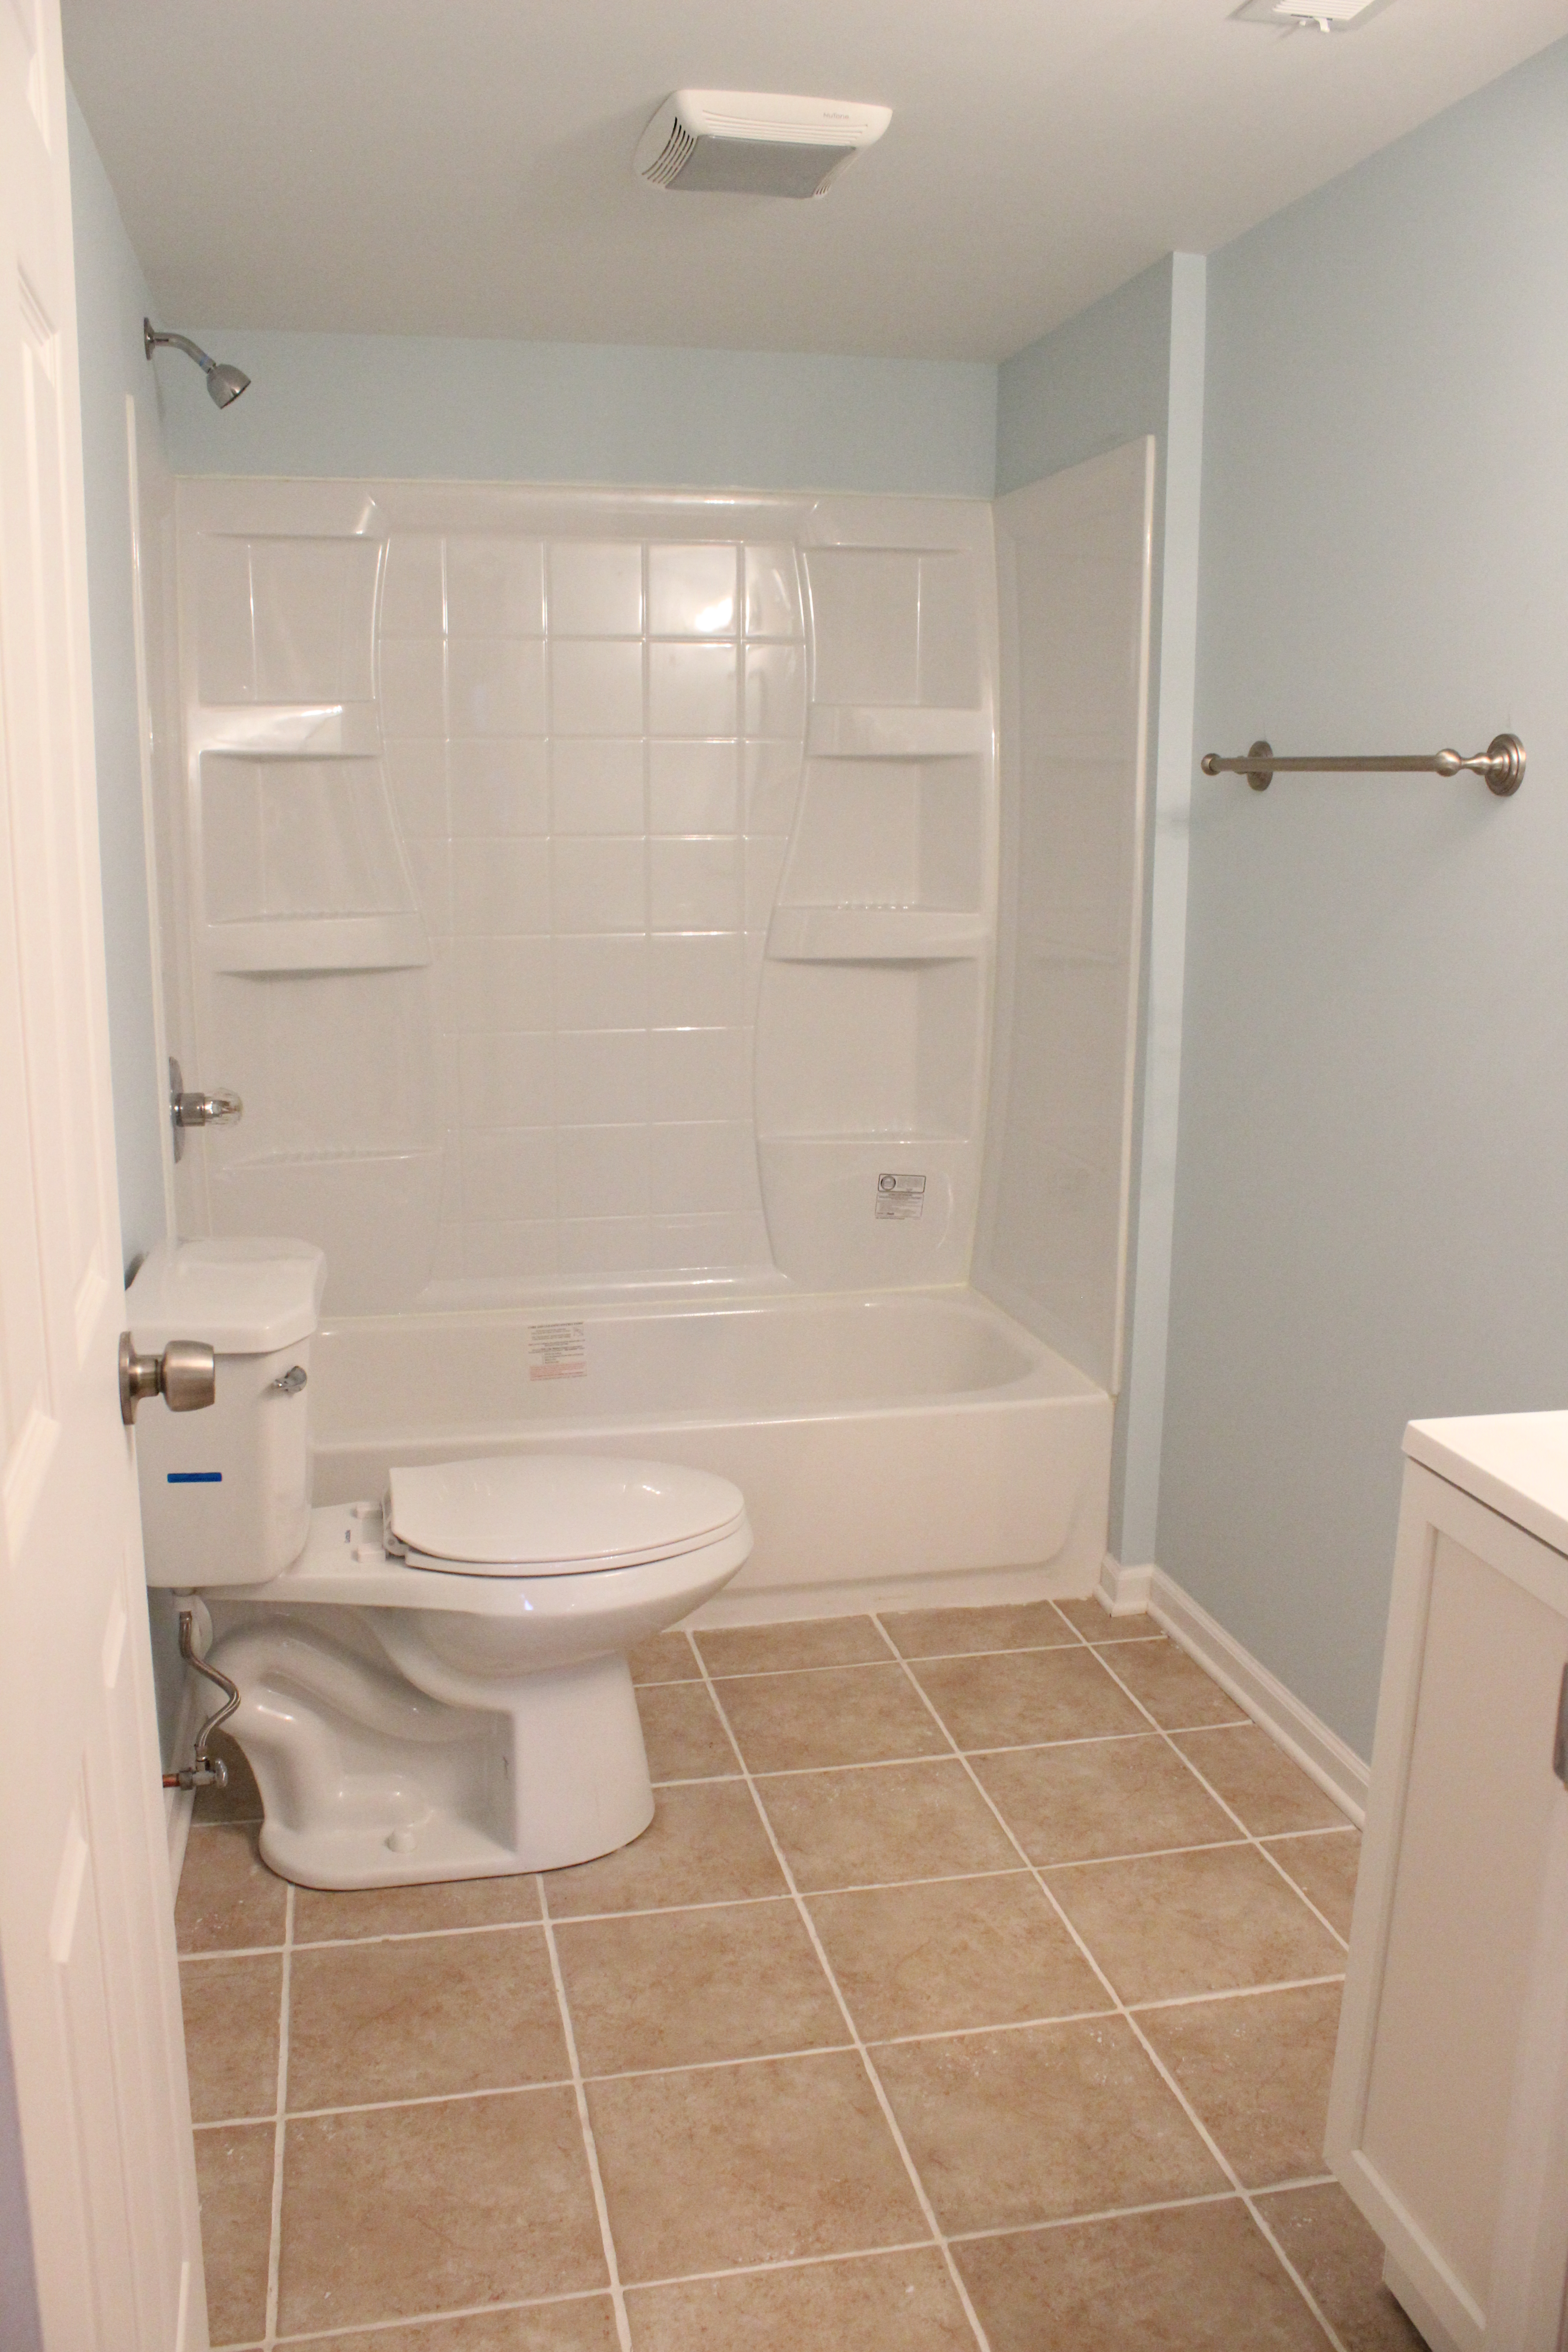
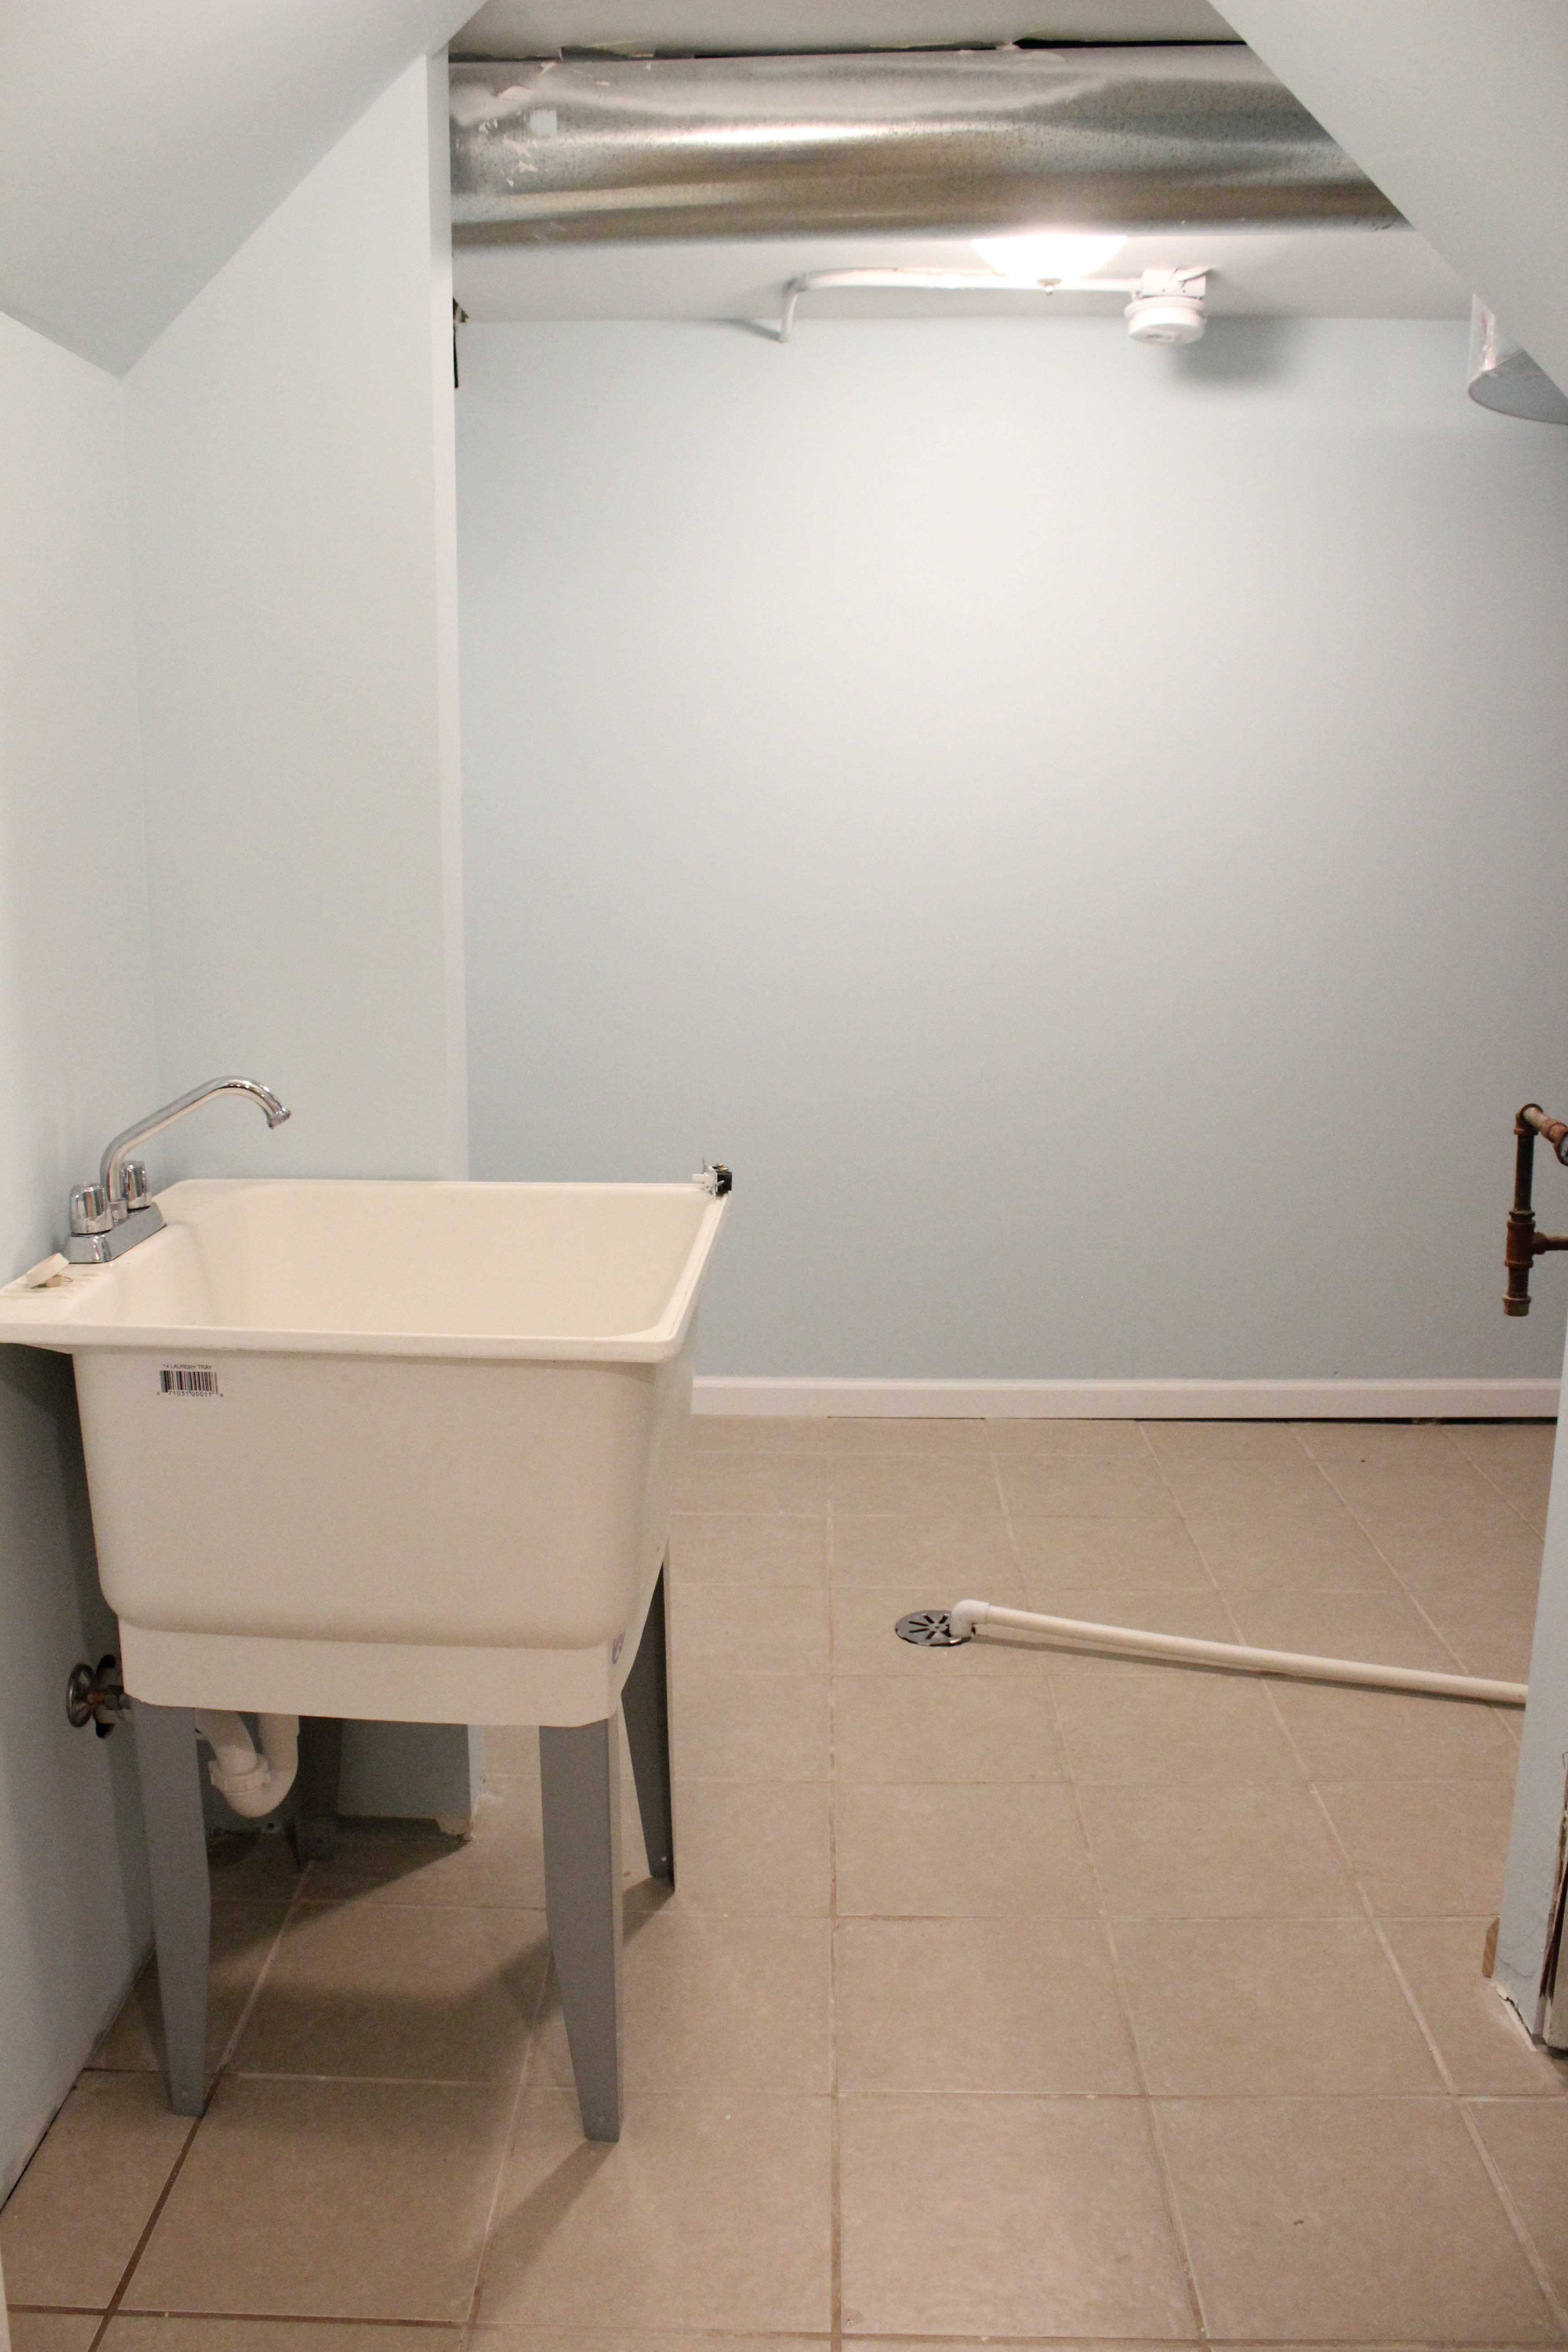
We also added 2 all new bedrooms, a bathroom and a laundry room.
That concludes the tour.
Now, we can focus our time, attention, and a little bit of profit into getting our own place ready for the baby! Kitchen reno is starting in the next week or two, so stay tuned.