6 Month Progress Report

24 Apr

This week marked 6 months in our house (and 6 months of blogging). Time has flown by and while it usually seems like renovations are moving slowly (and never-ending), I think looking at how each space has evolved in 6 months helps show just how much we’ve been able to accomplish thus far.

So here is a house tour with pictures of each space when we closed compared to how they look today…..

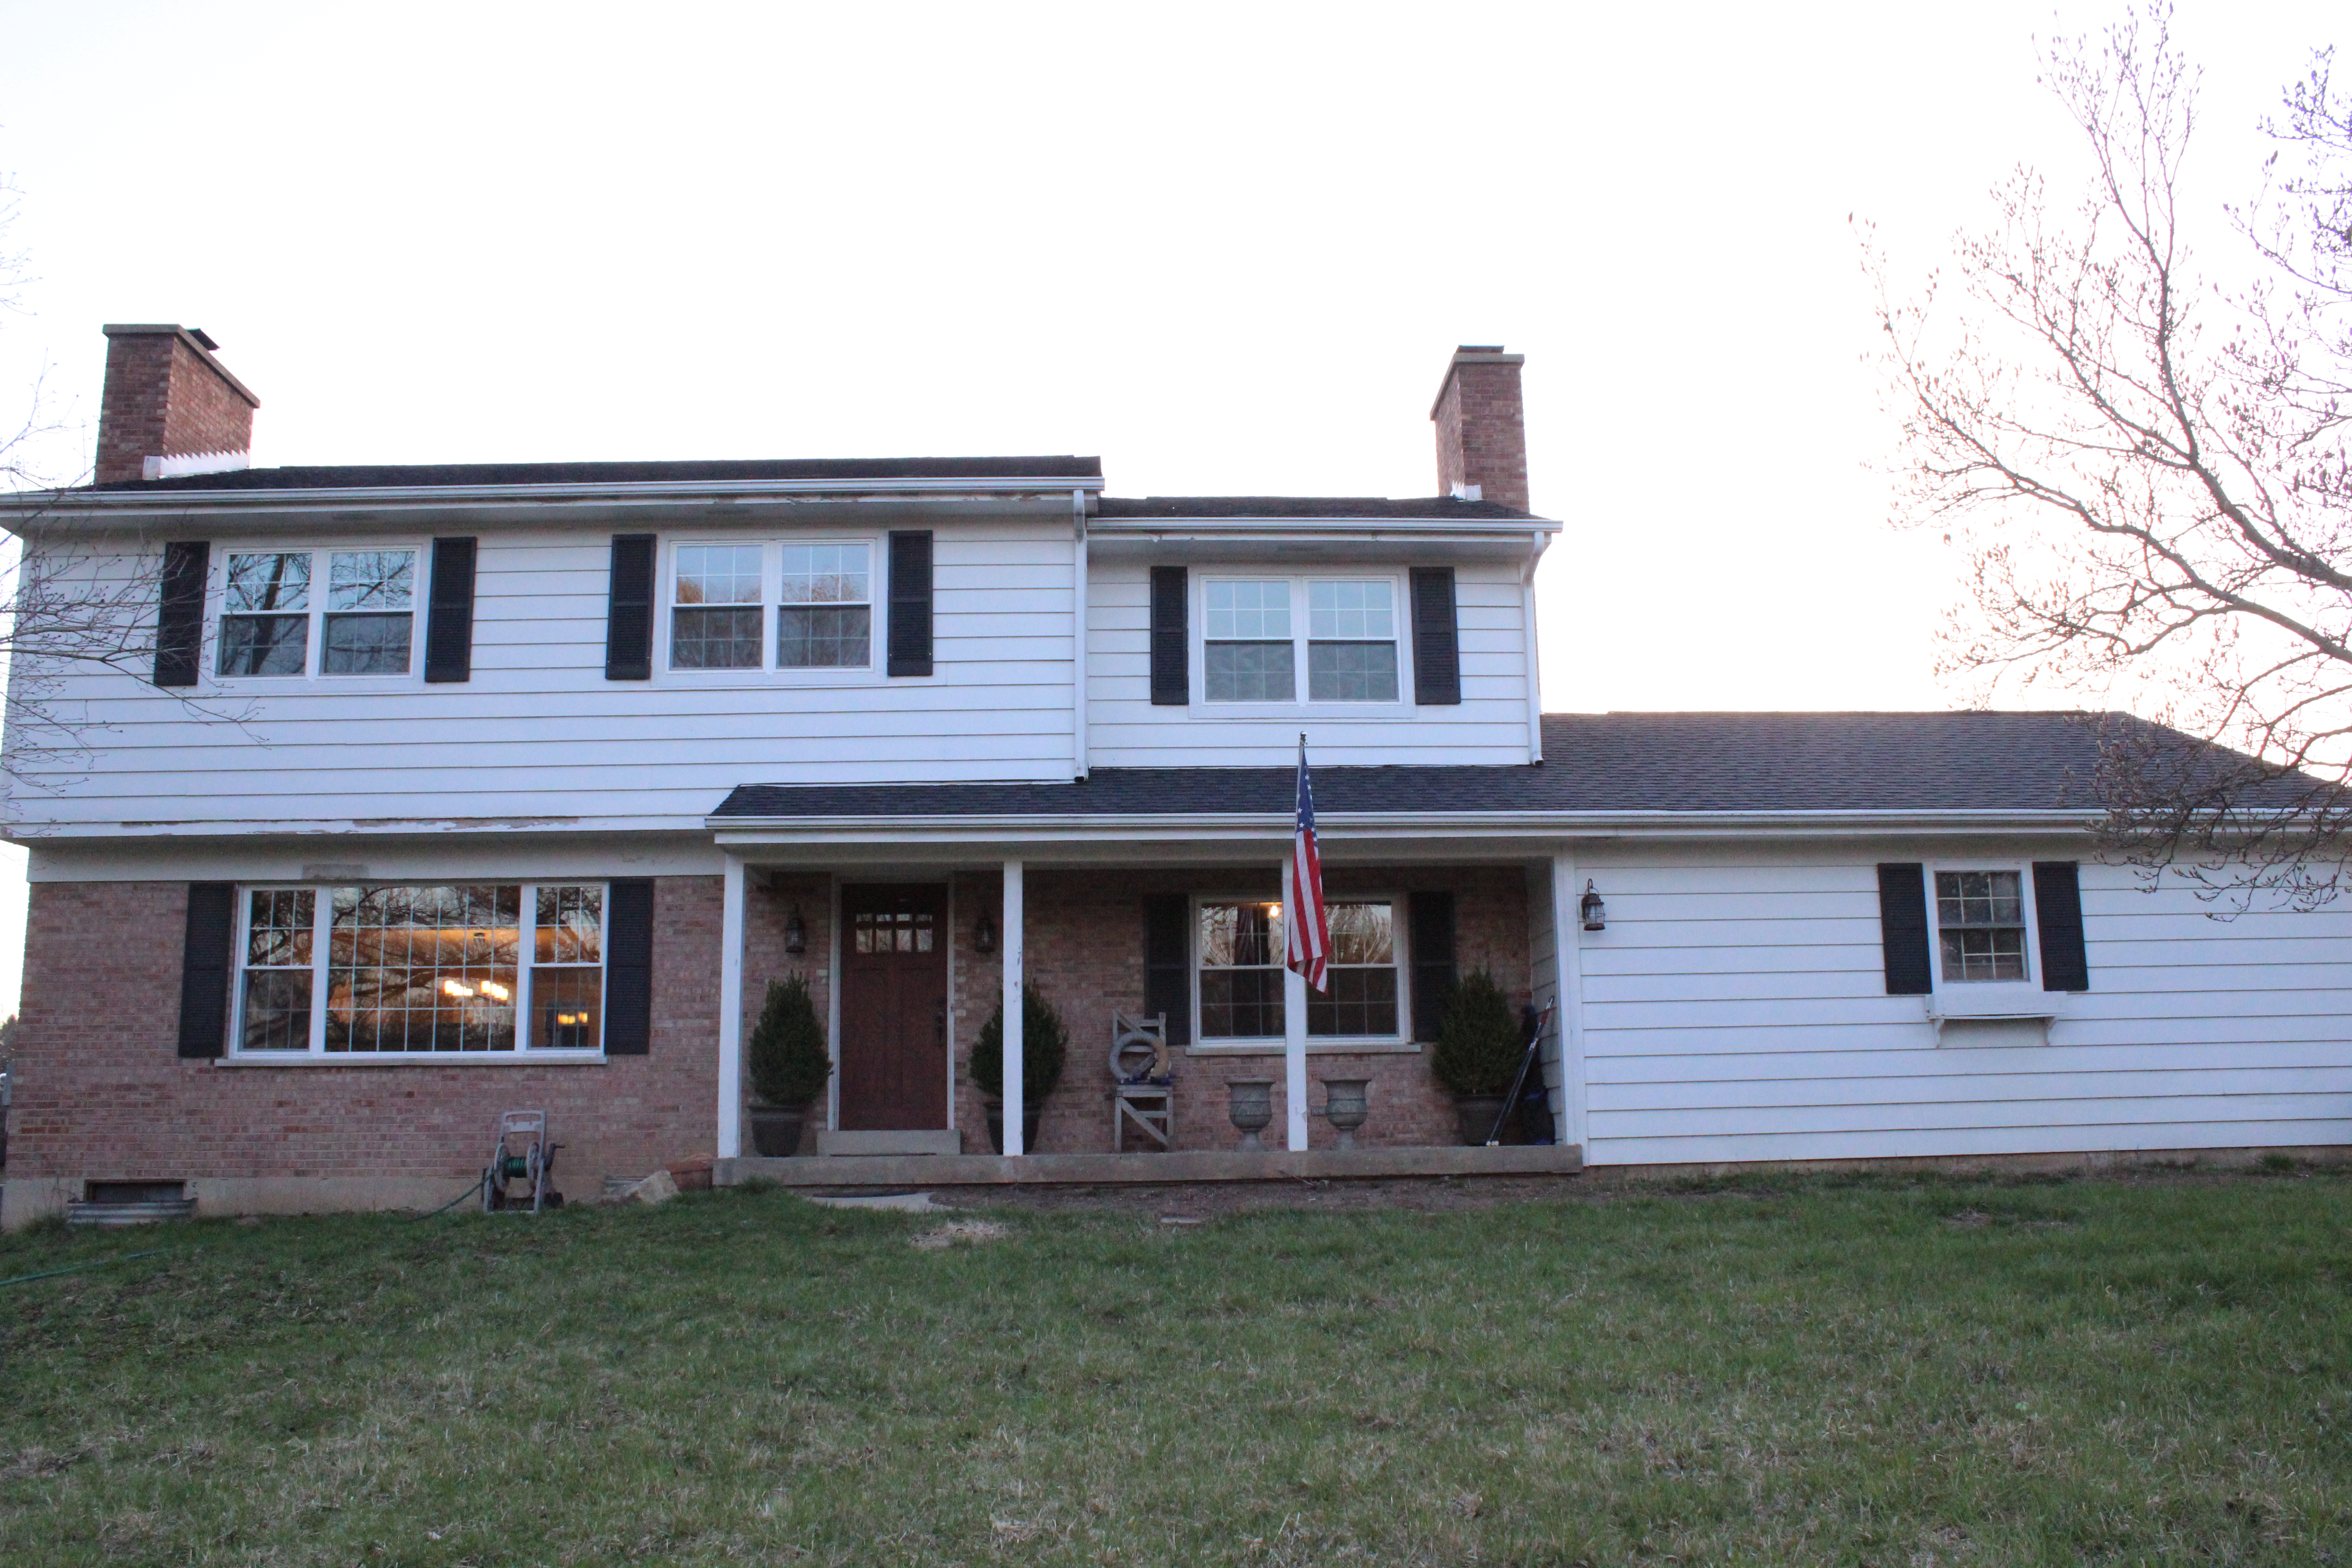
Front Exterior

Before

12 Oaks Before 308

Current

IMG_2979

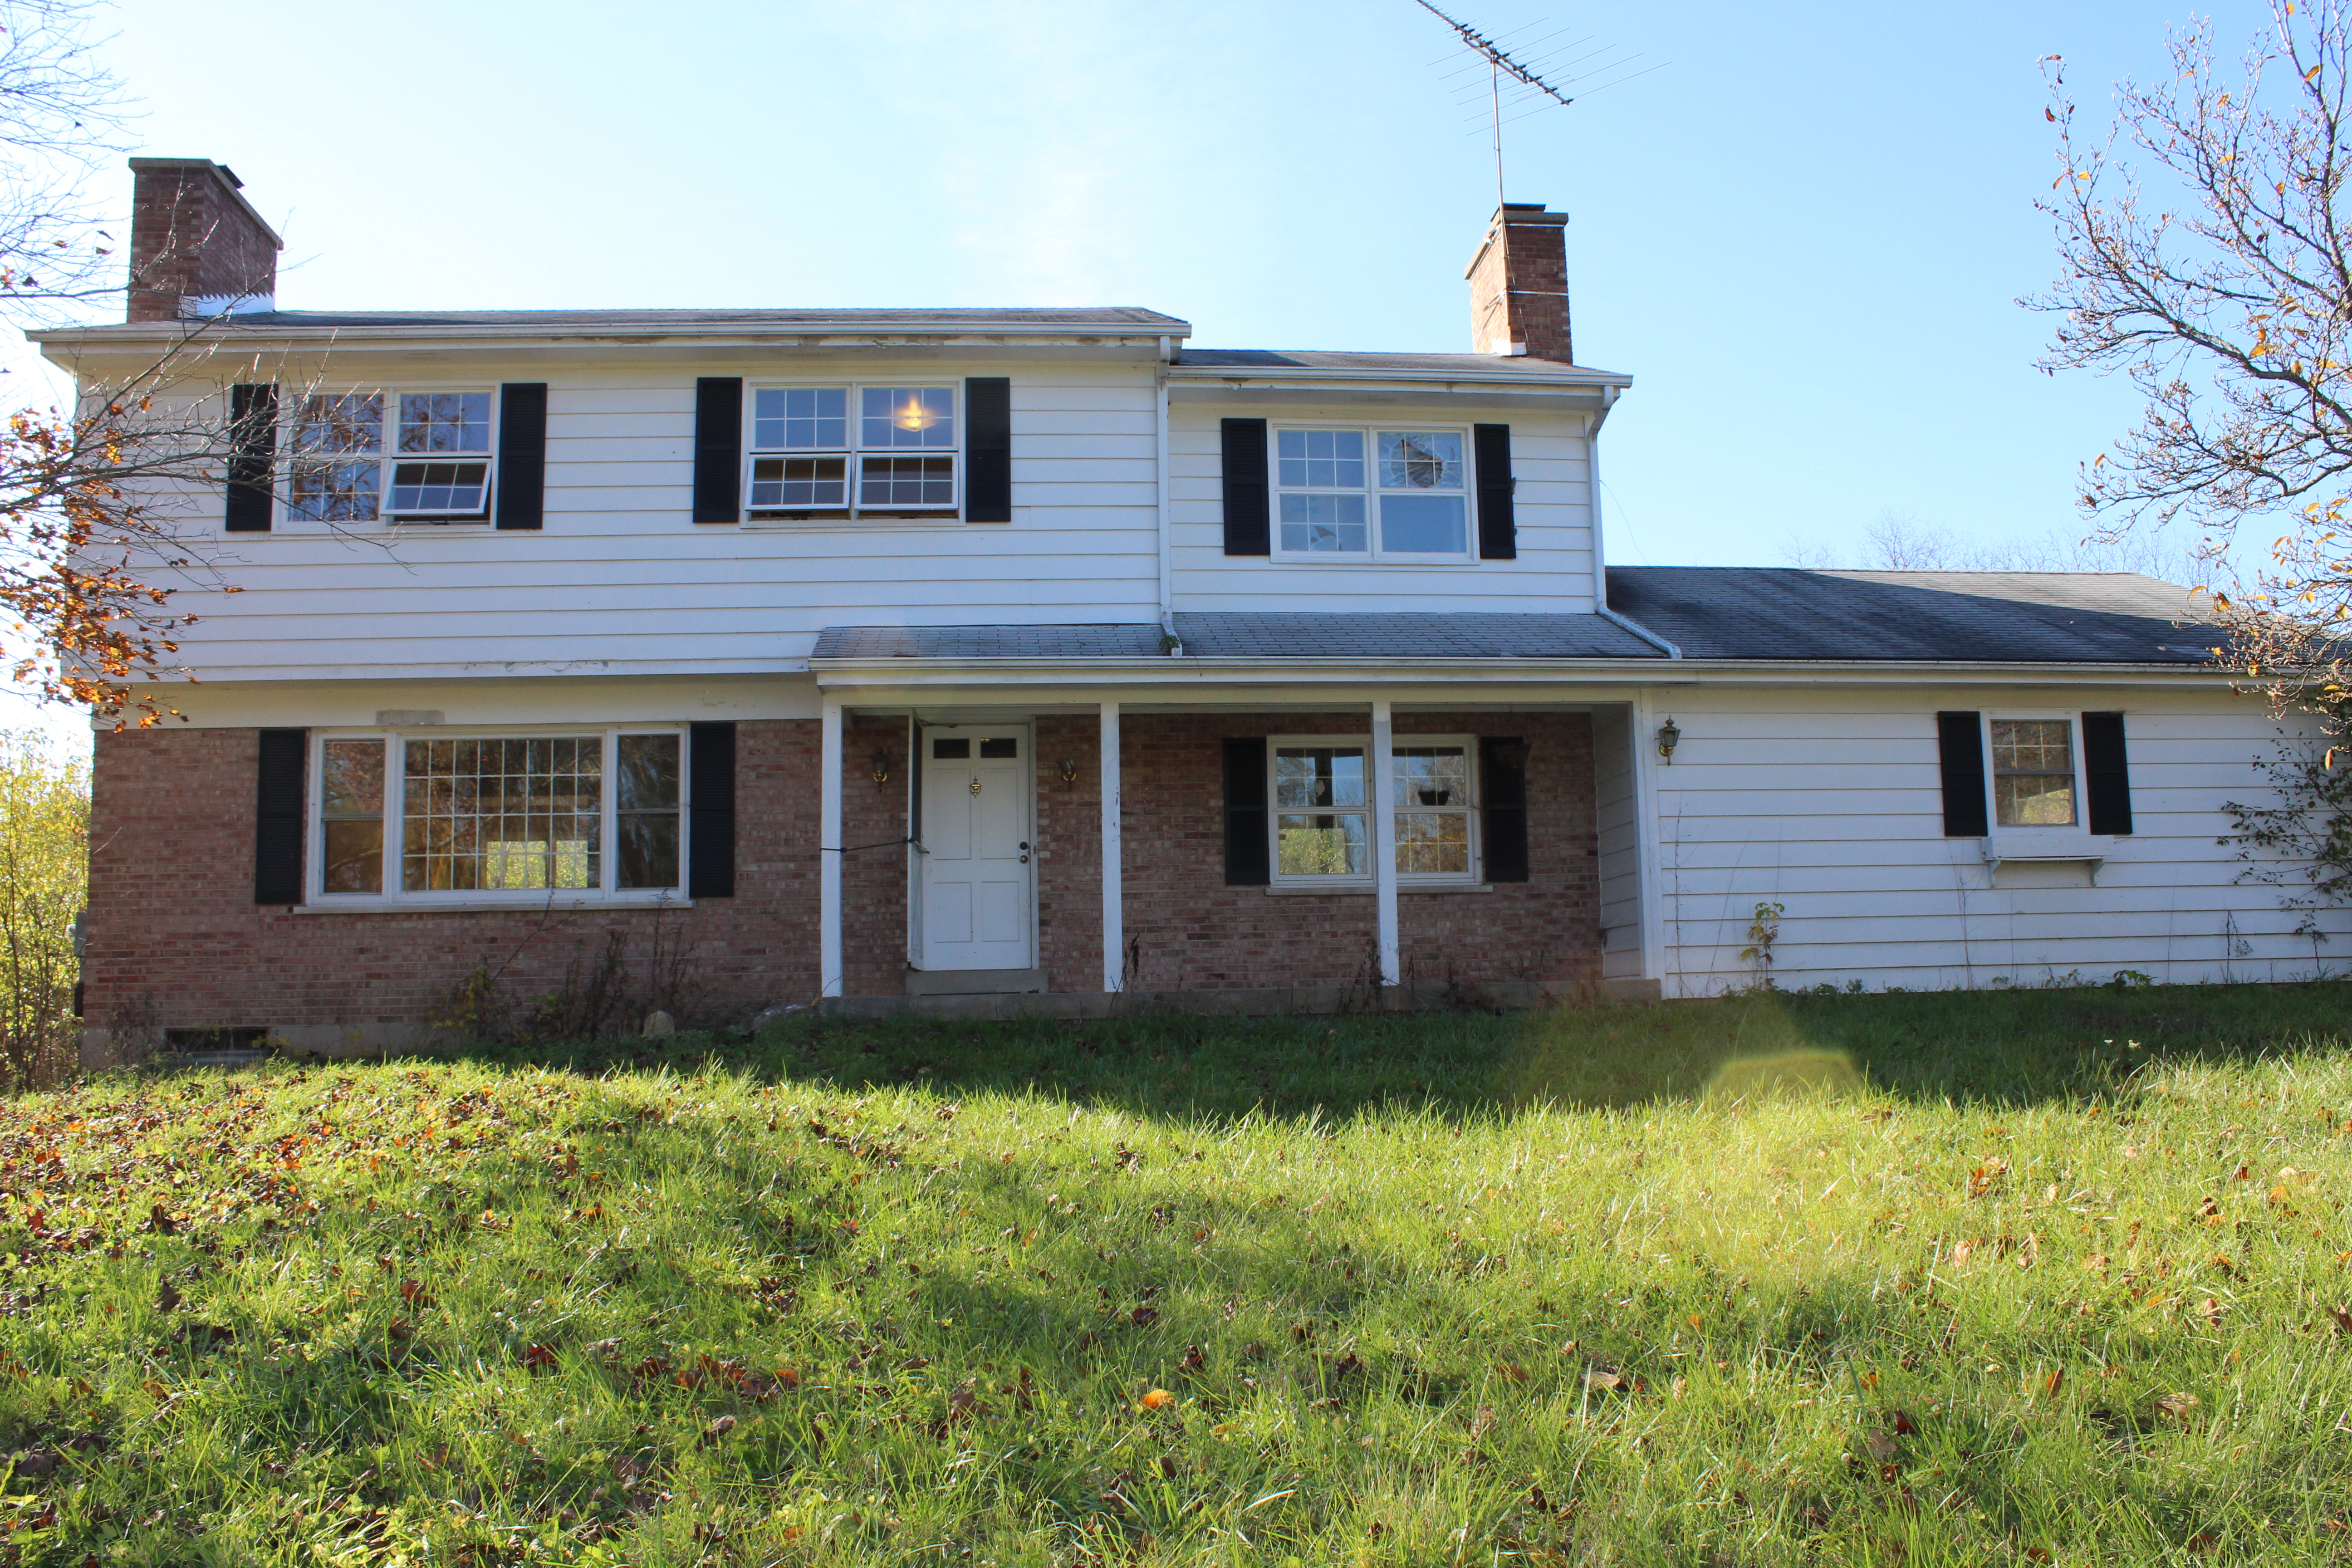
Upgrades so far include a “new” front door and lights, new roof and new windows. Next up will be landscaping and then painting.

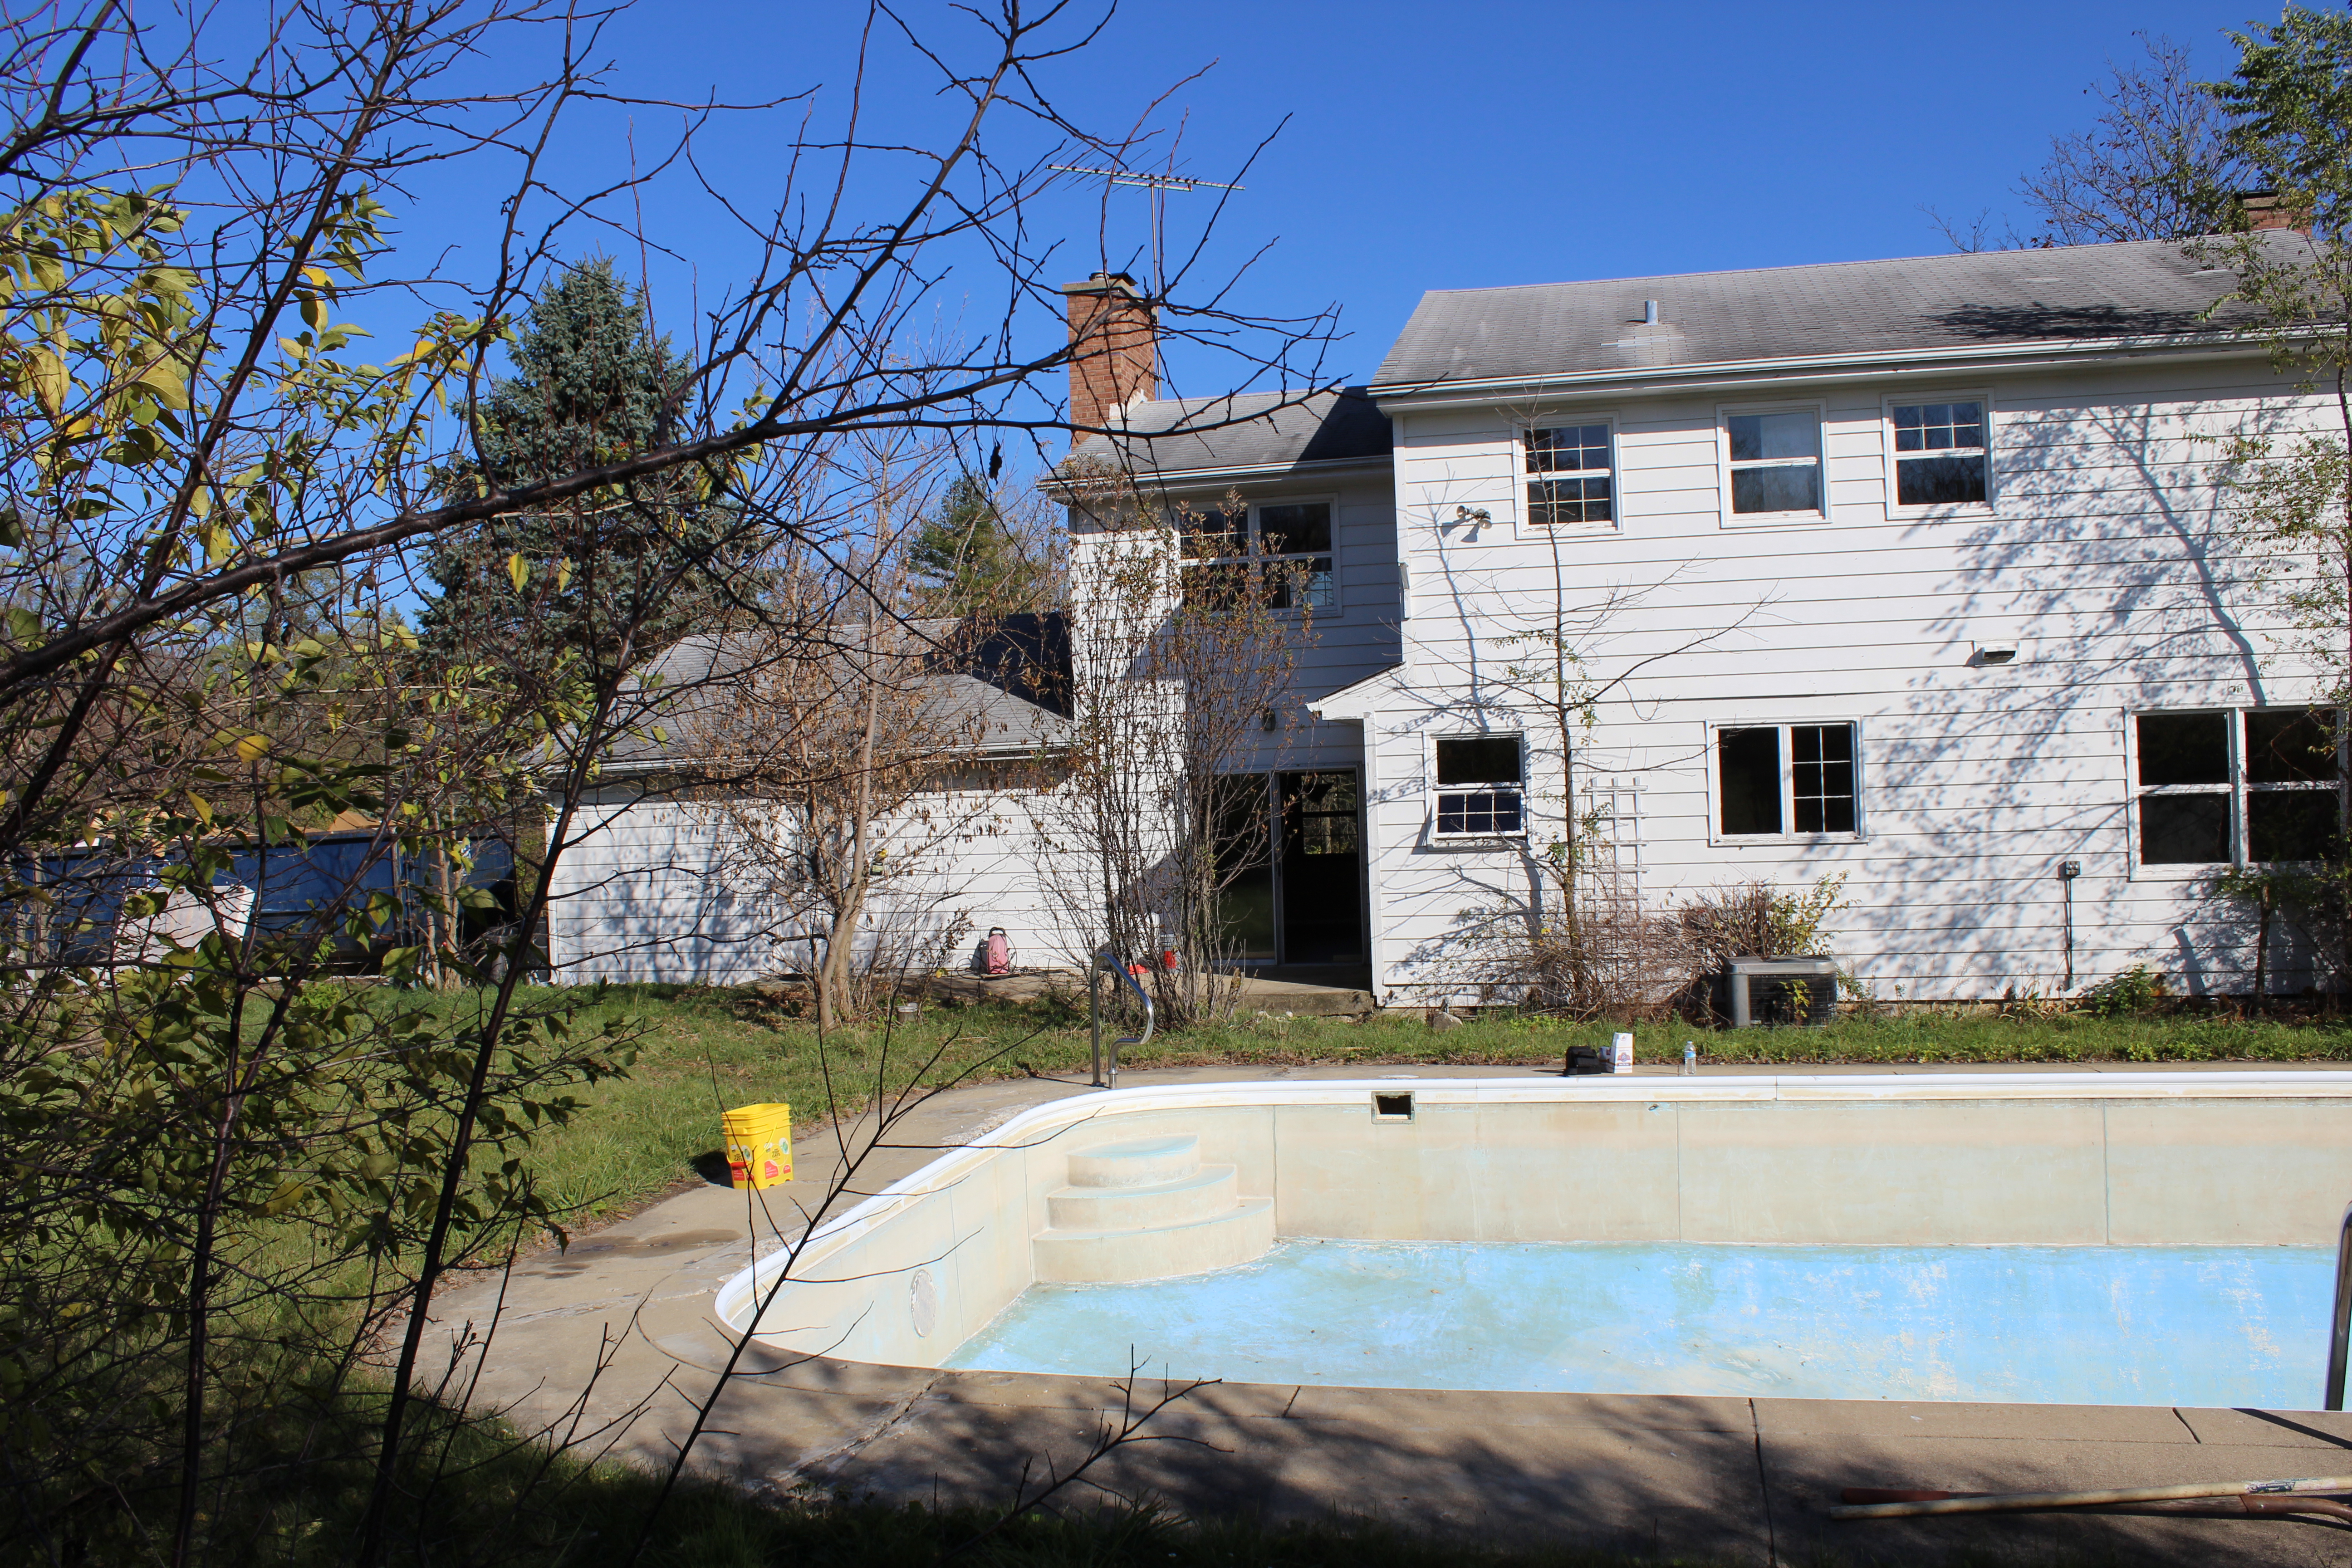
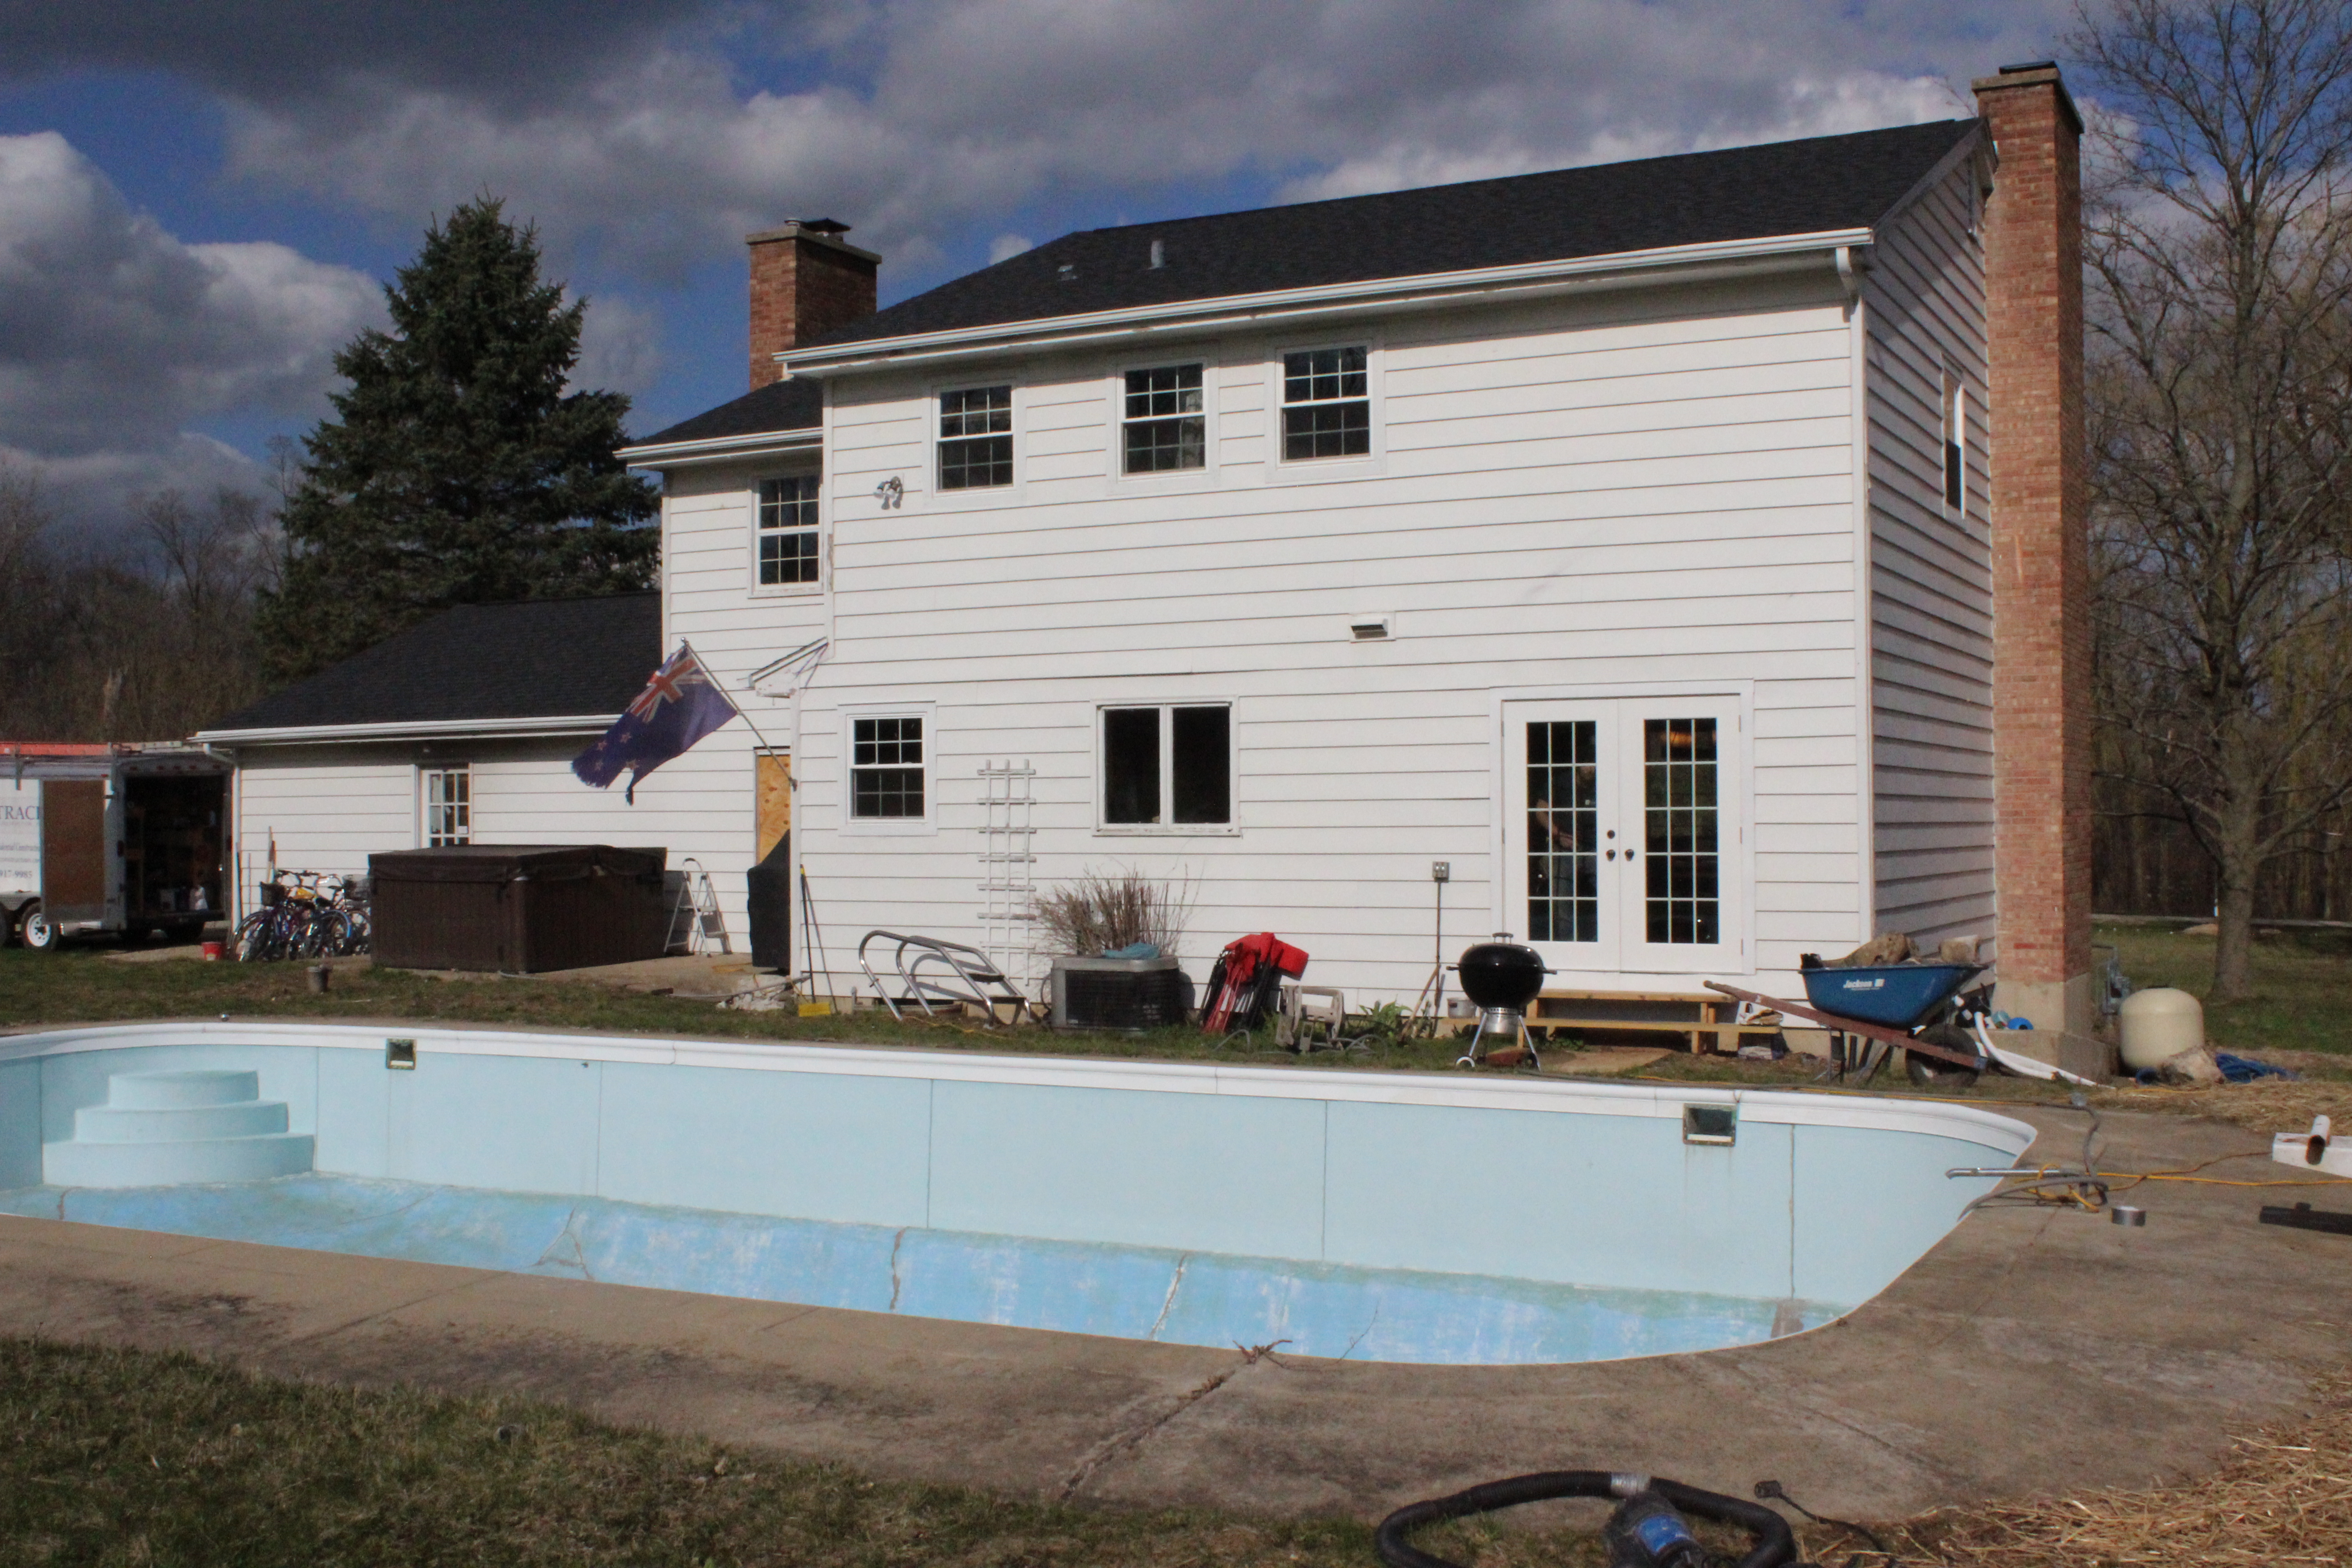
Back Exterior

Before

Back of house and pool

Current

IMG_2967

Not a huge improvement yet but in addition to a new roof and windows, we added the french doors, cut down a lot of weeds and started working to restore the pool (details to come on that).

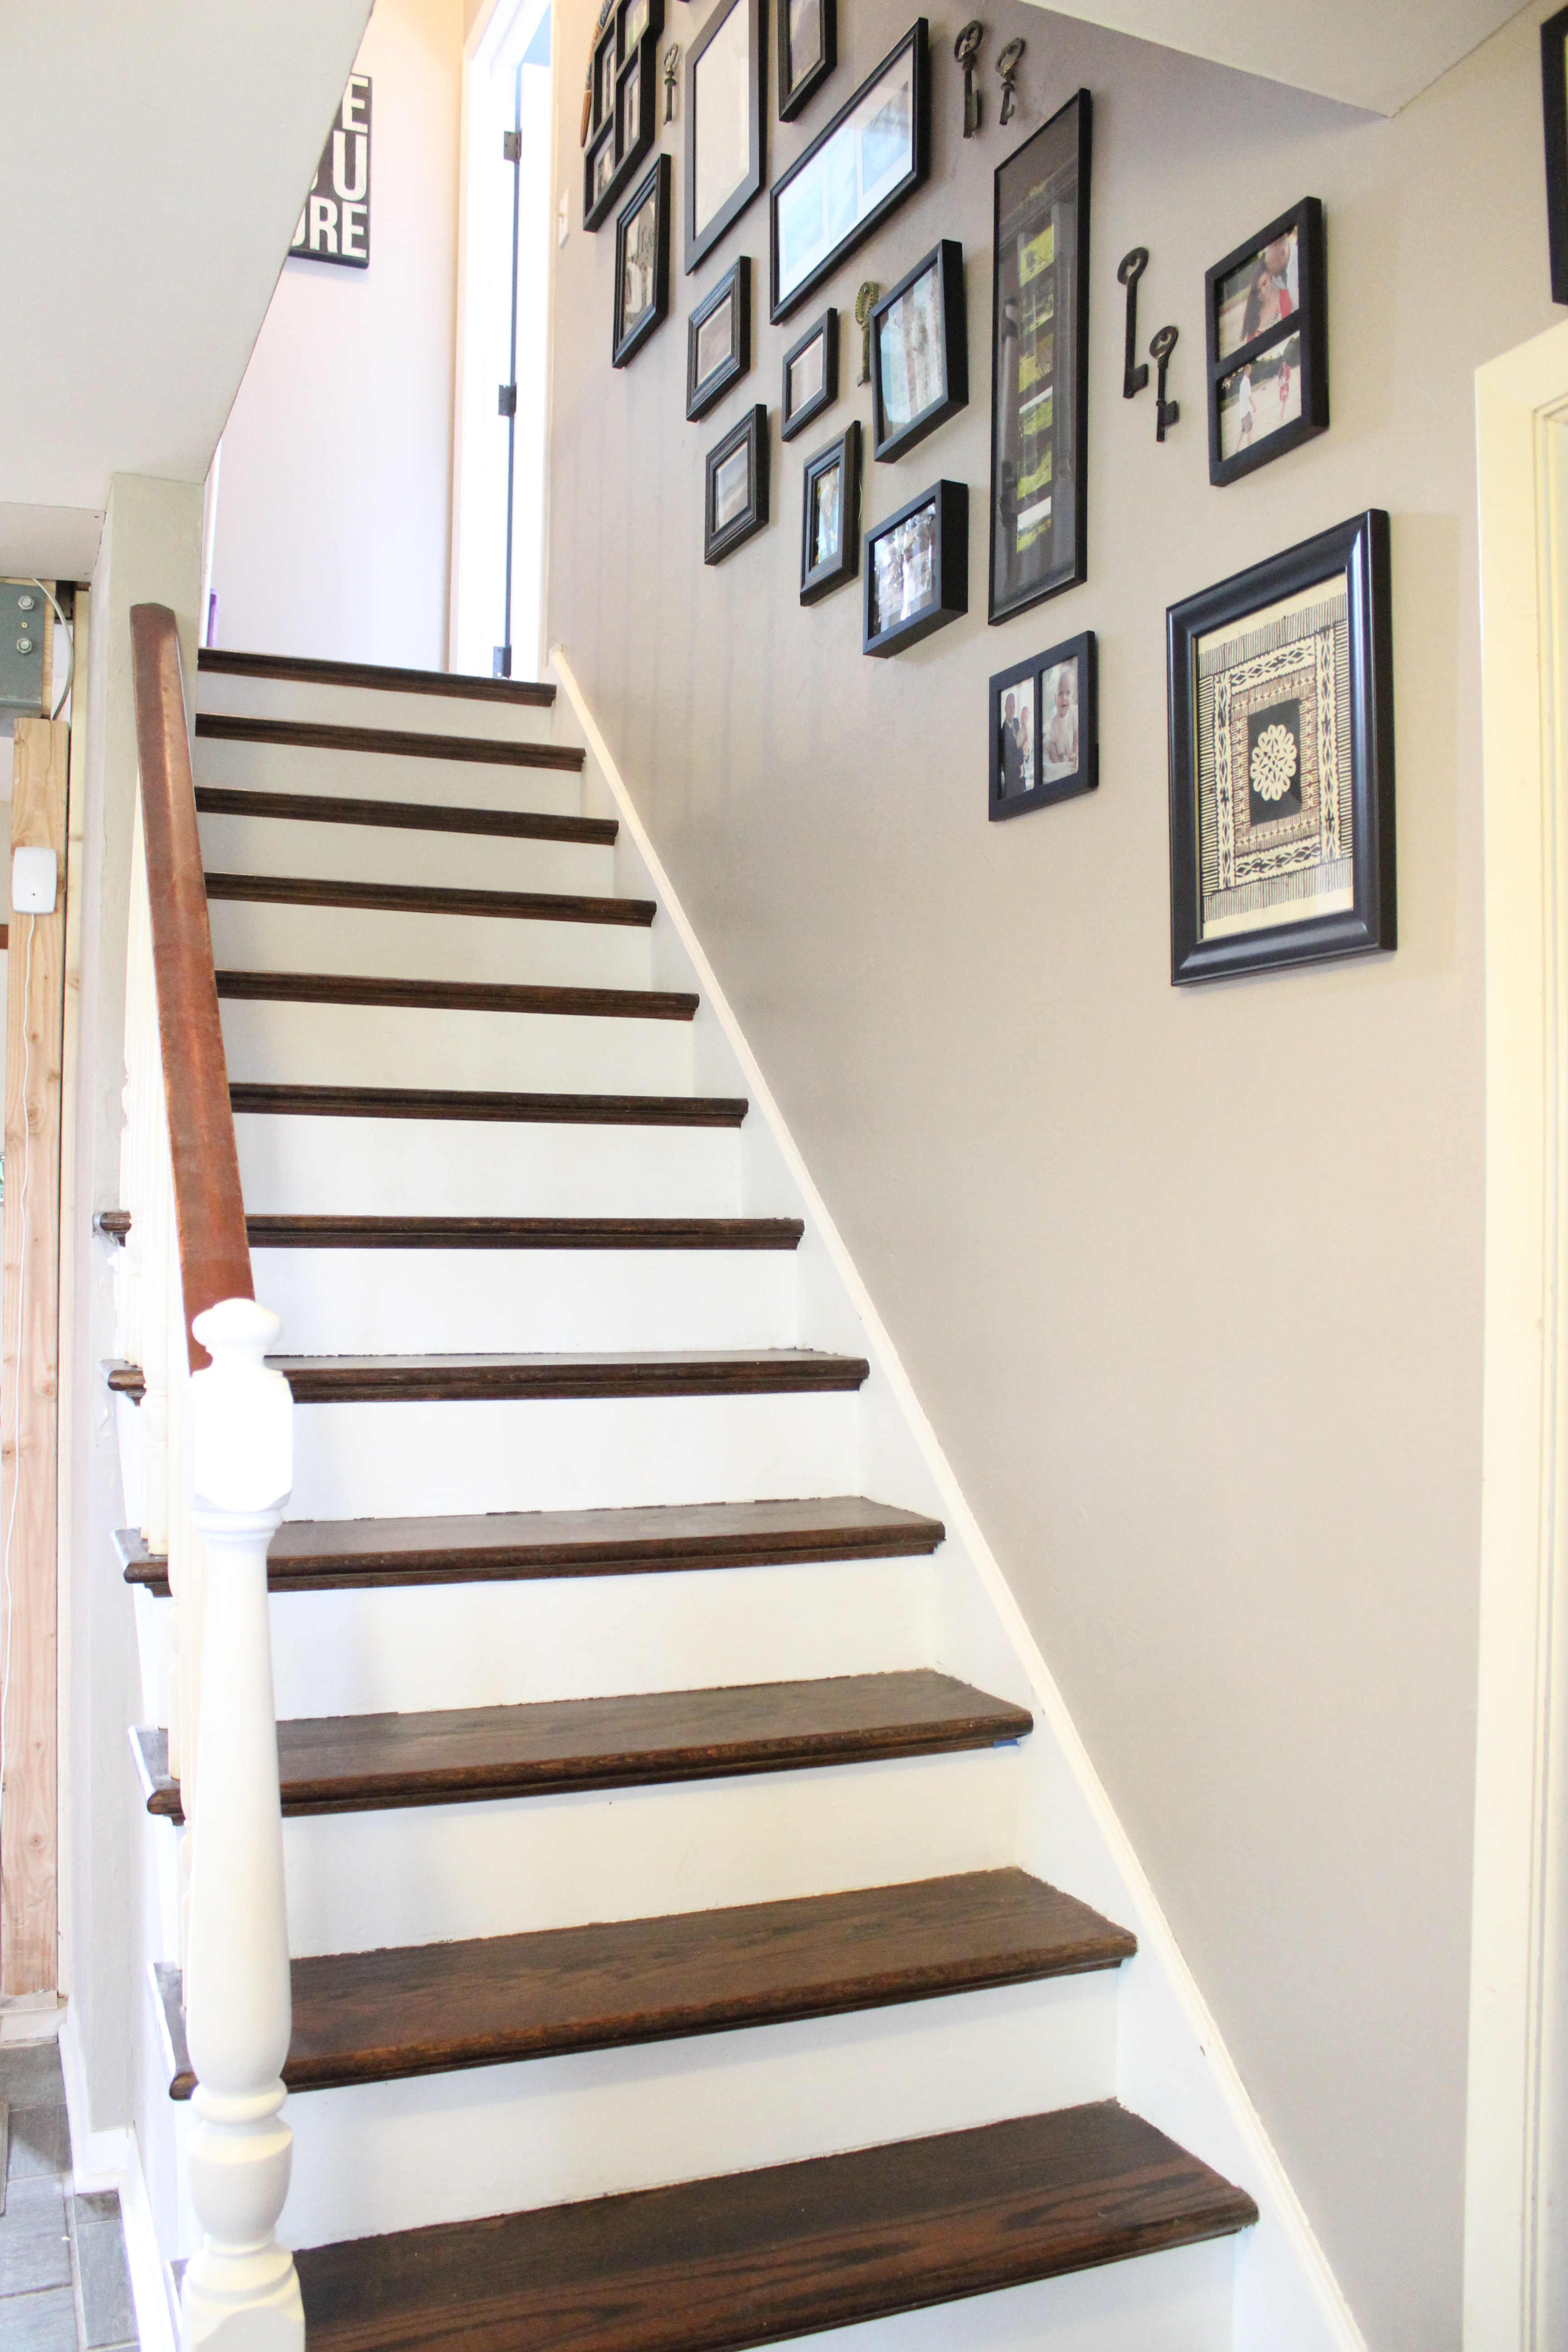
Entry/Stairs

Before

Entry

Current

IMG_2996

Upgrades to this area include re-finished stairs and paint (Perfect Greige by Sherwin Williams). To come will be a new railing.

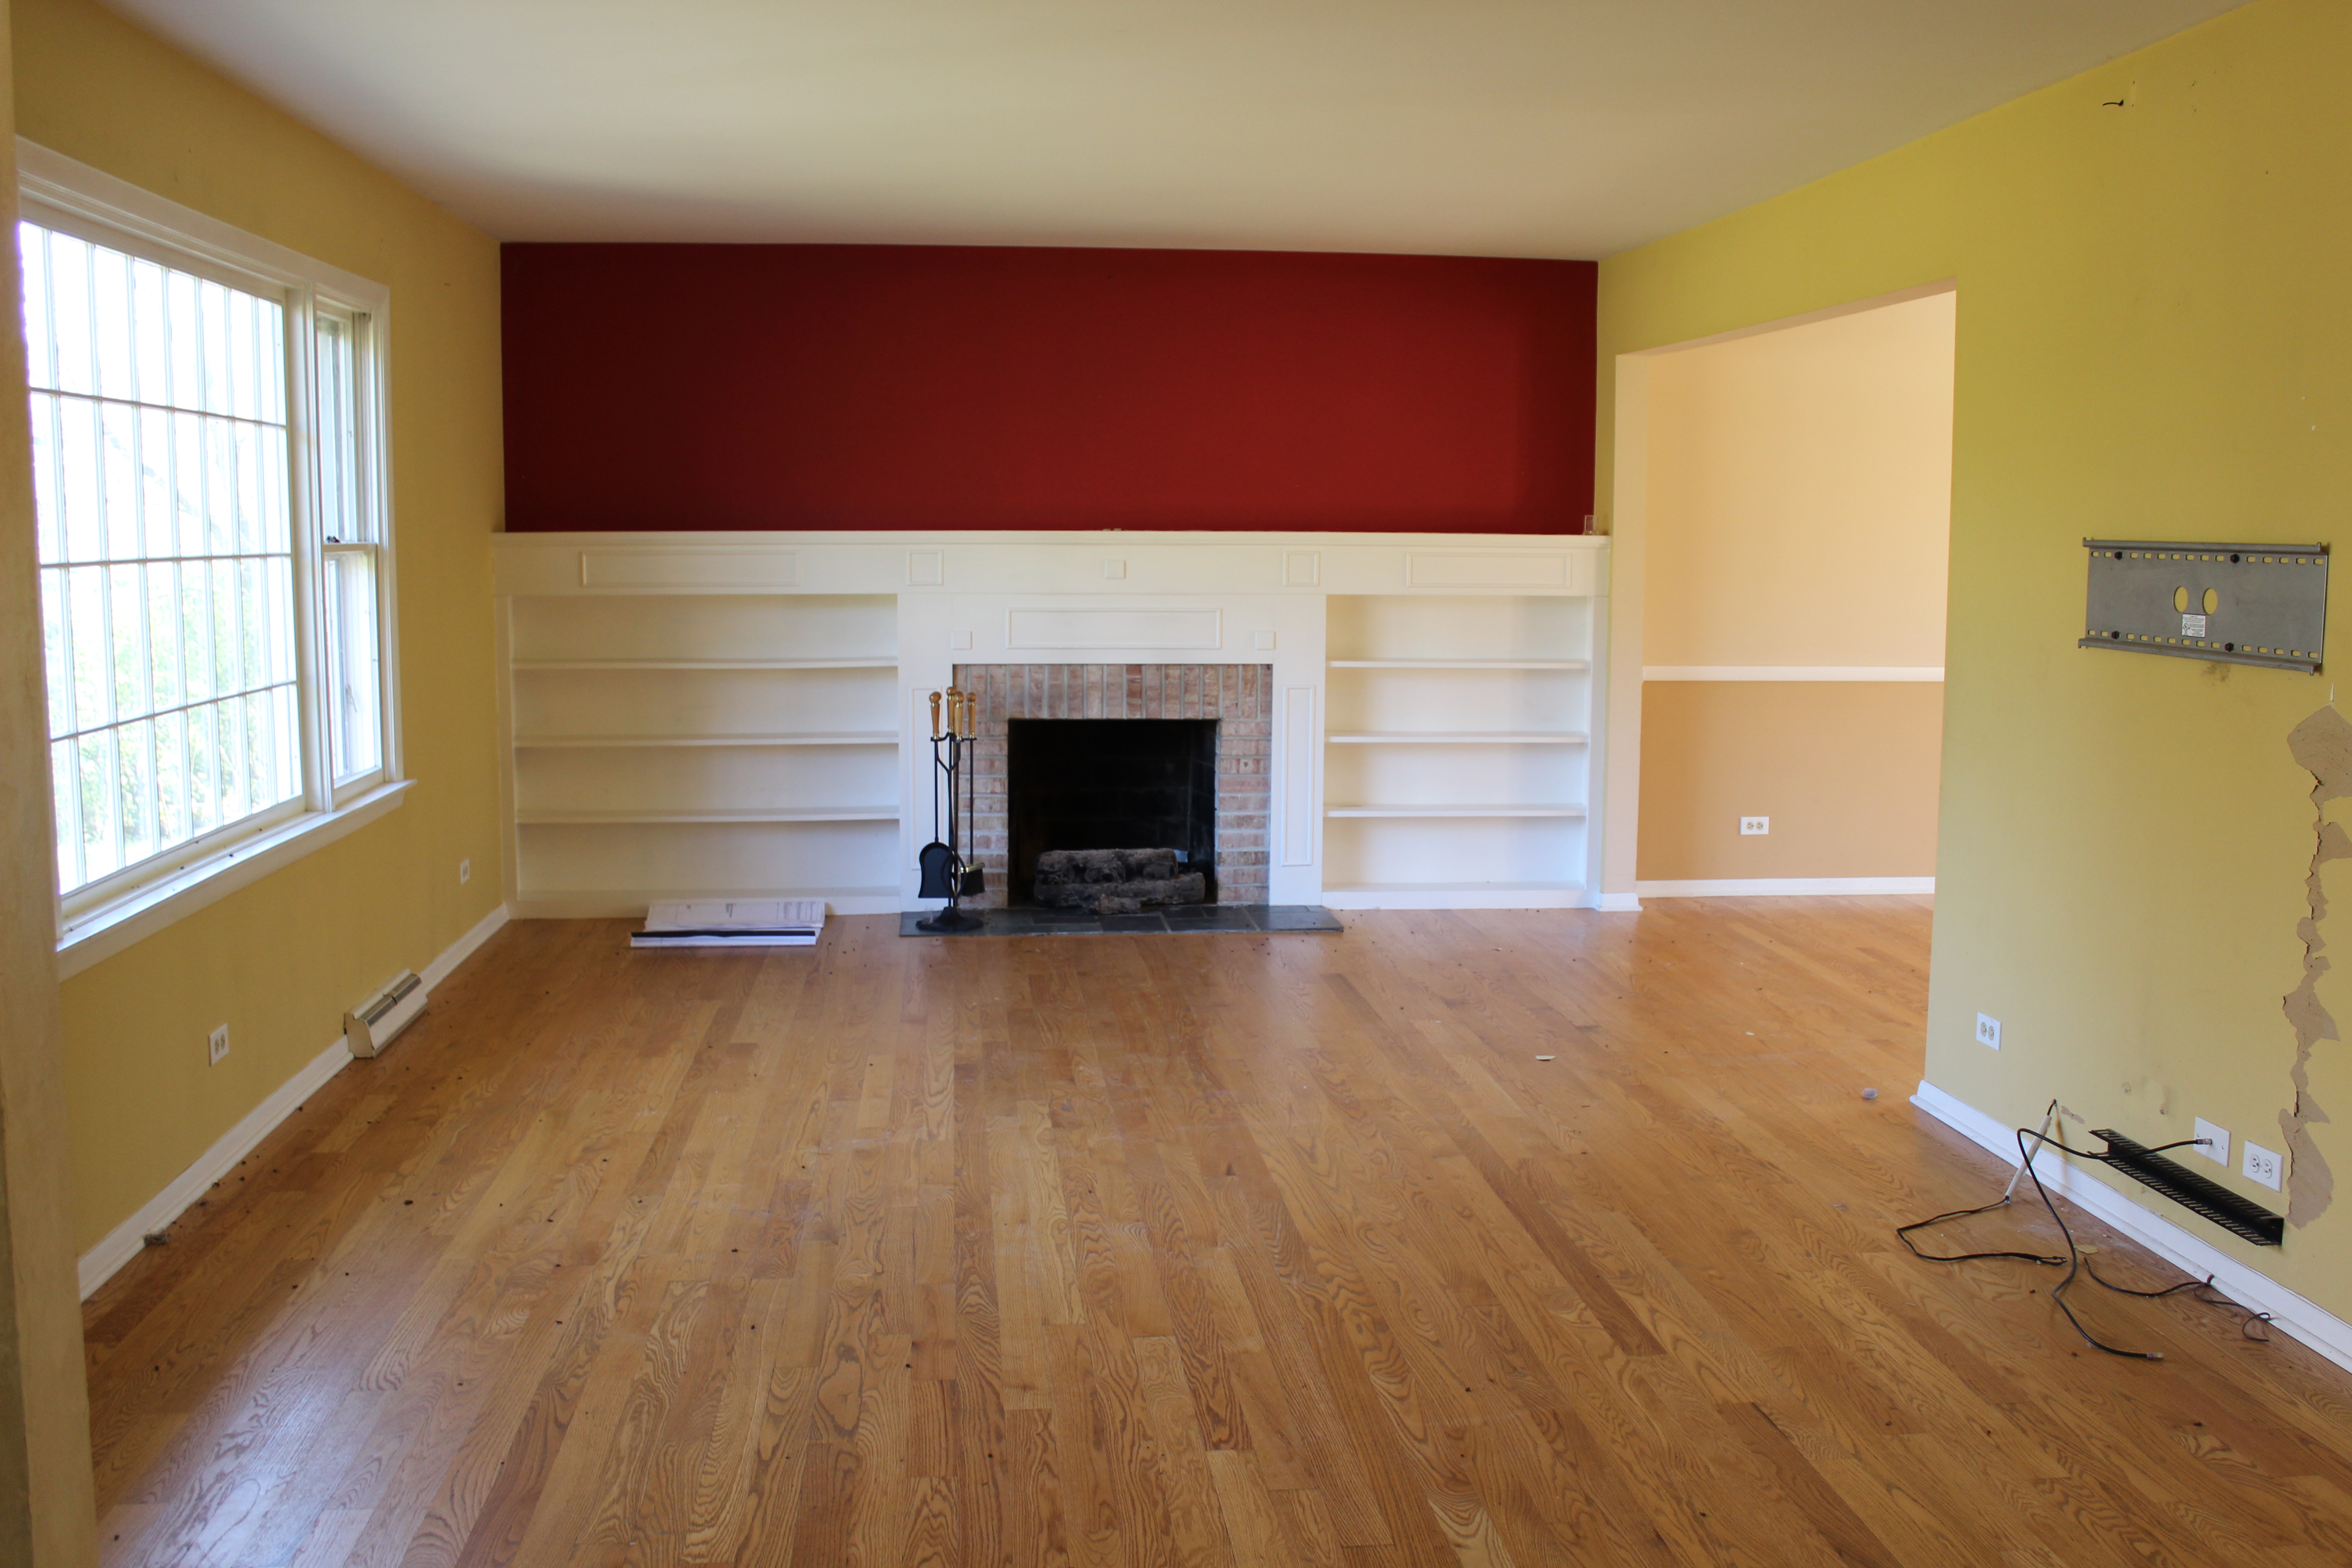
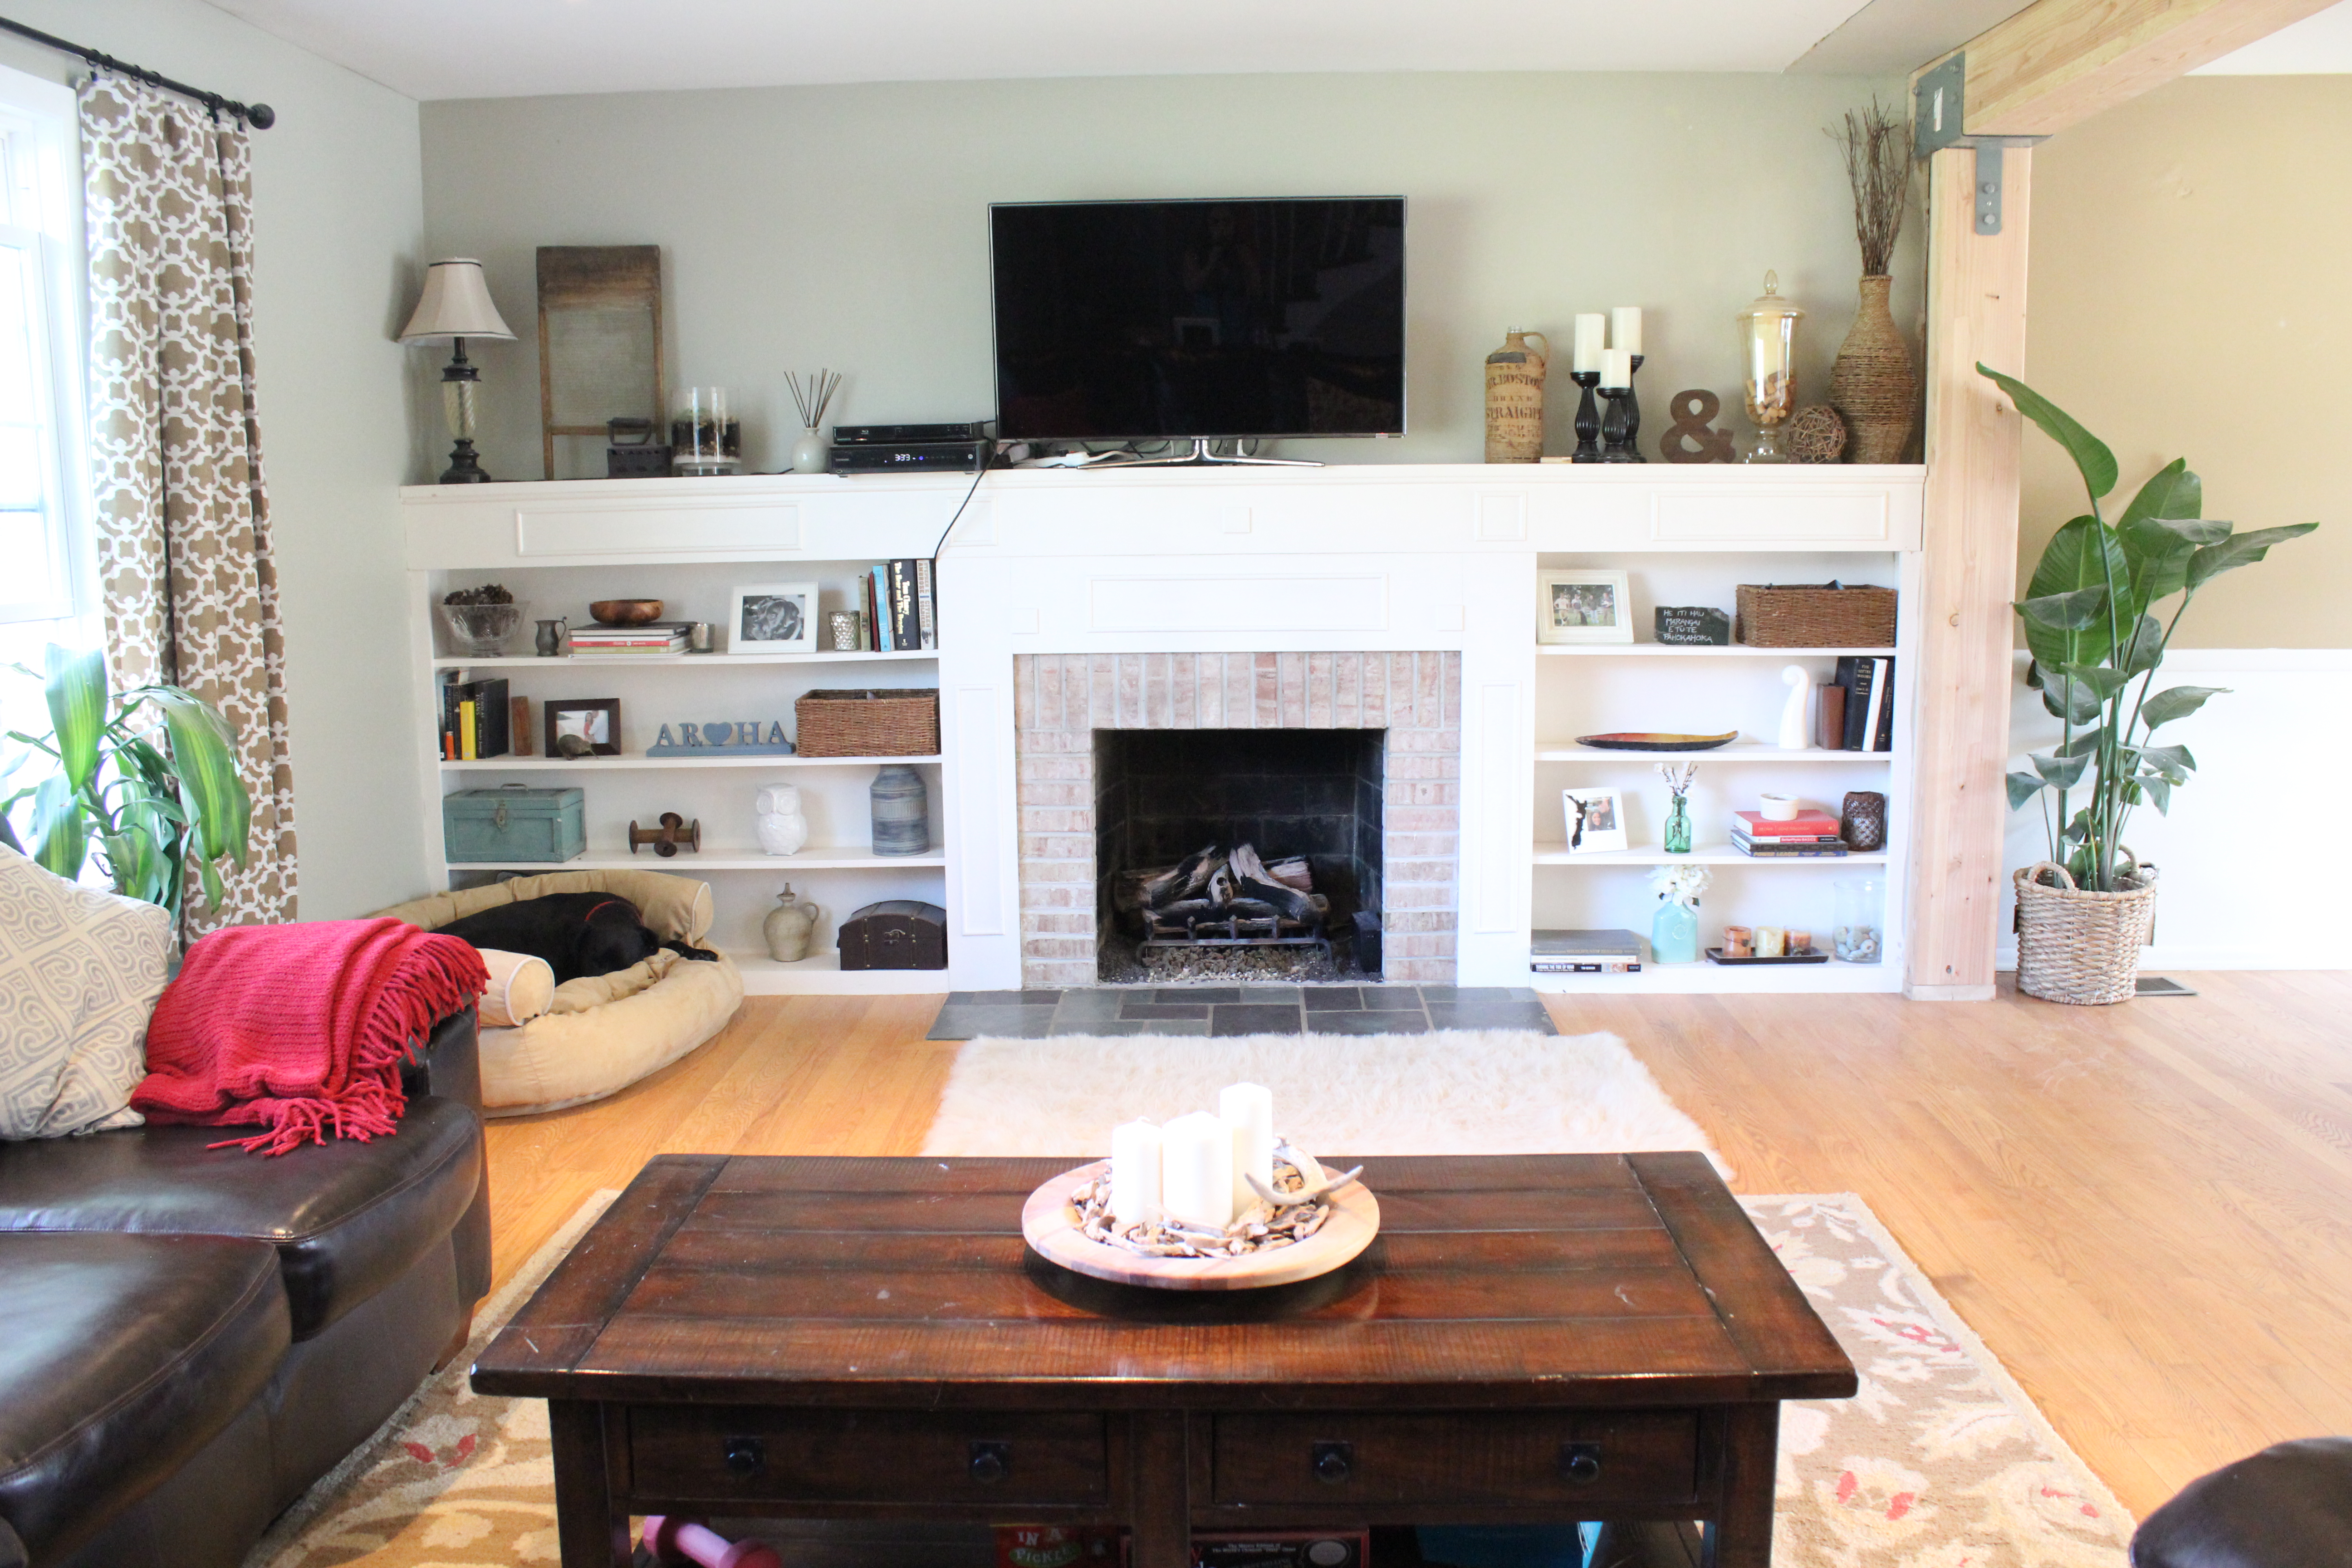
Living Room

Before

Living Room on Closing Day

Current

IMG_2991

Besides paint (Analytical Gray by Sherwin Williams), the major change in here is the wall removed. Next in here will be finishing the support beam and putting lights in the ceiling. Down the road we are going to change up the built-ins so they are floor to ceiling with cabinets at the bottom. Plus re-finishing the floors.

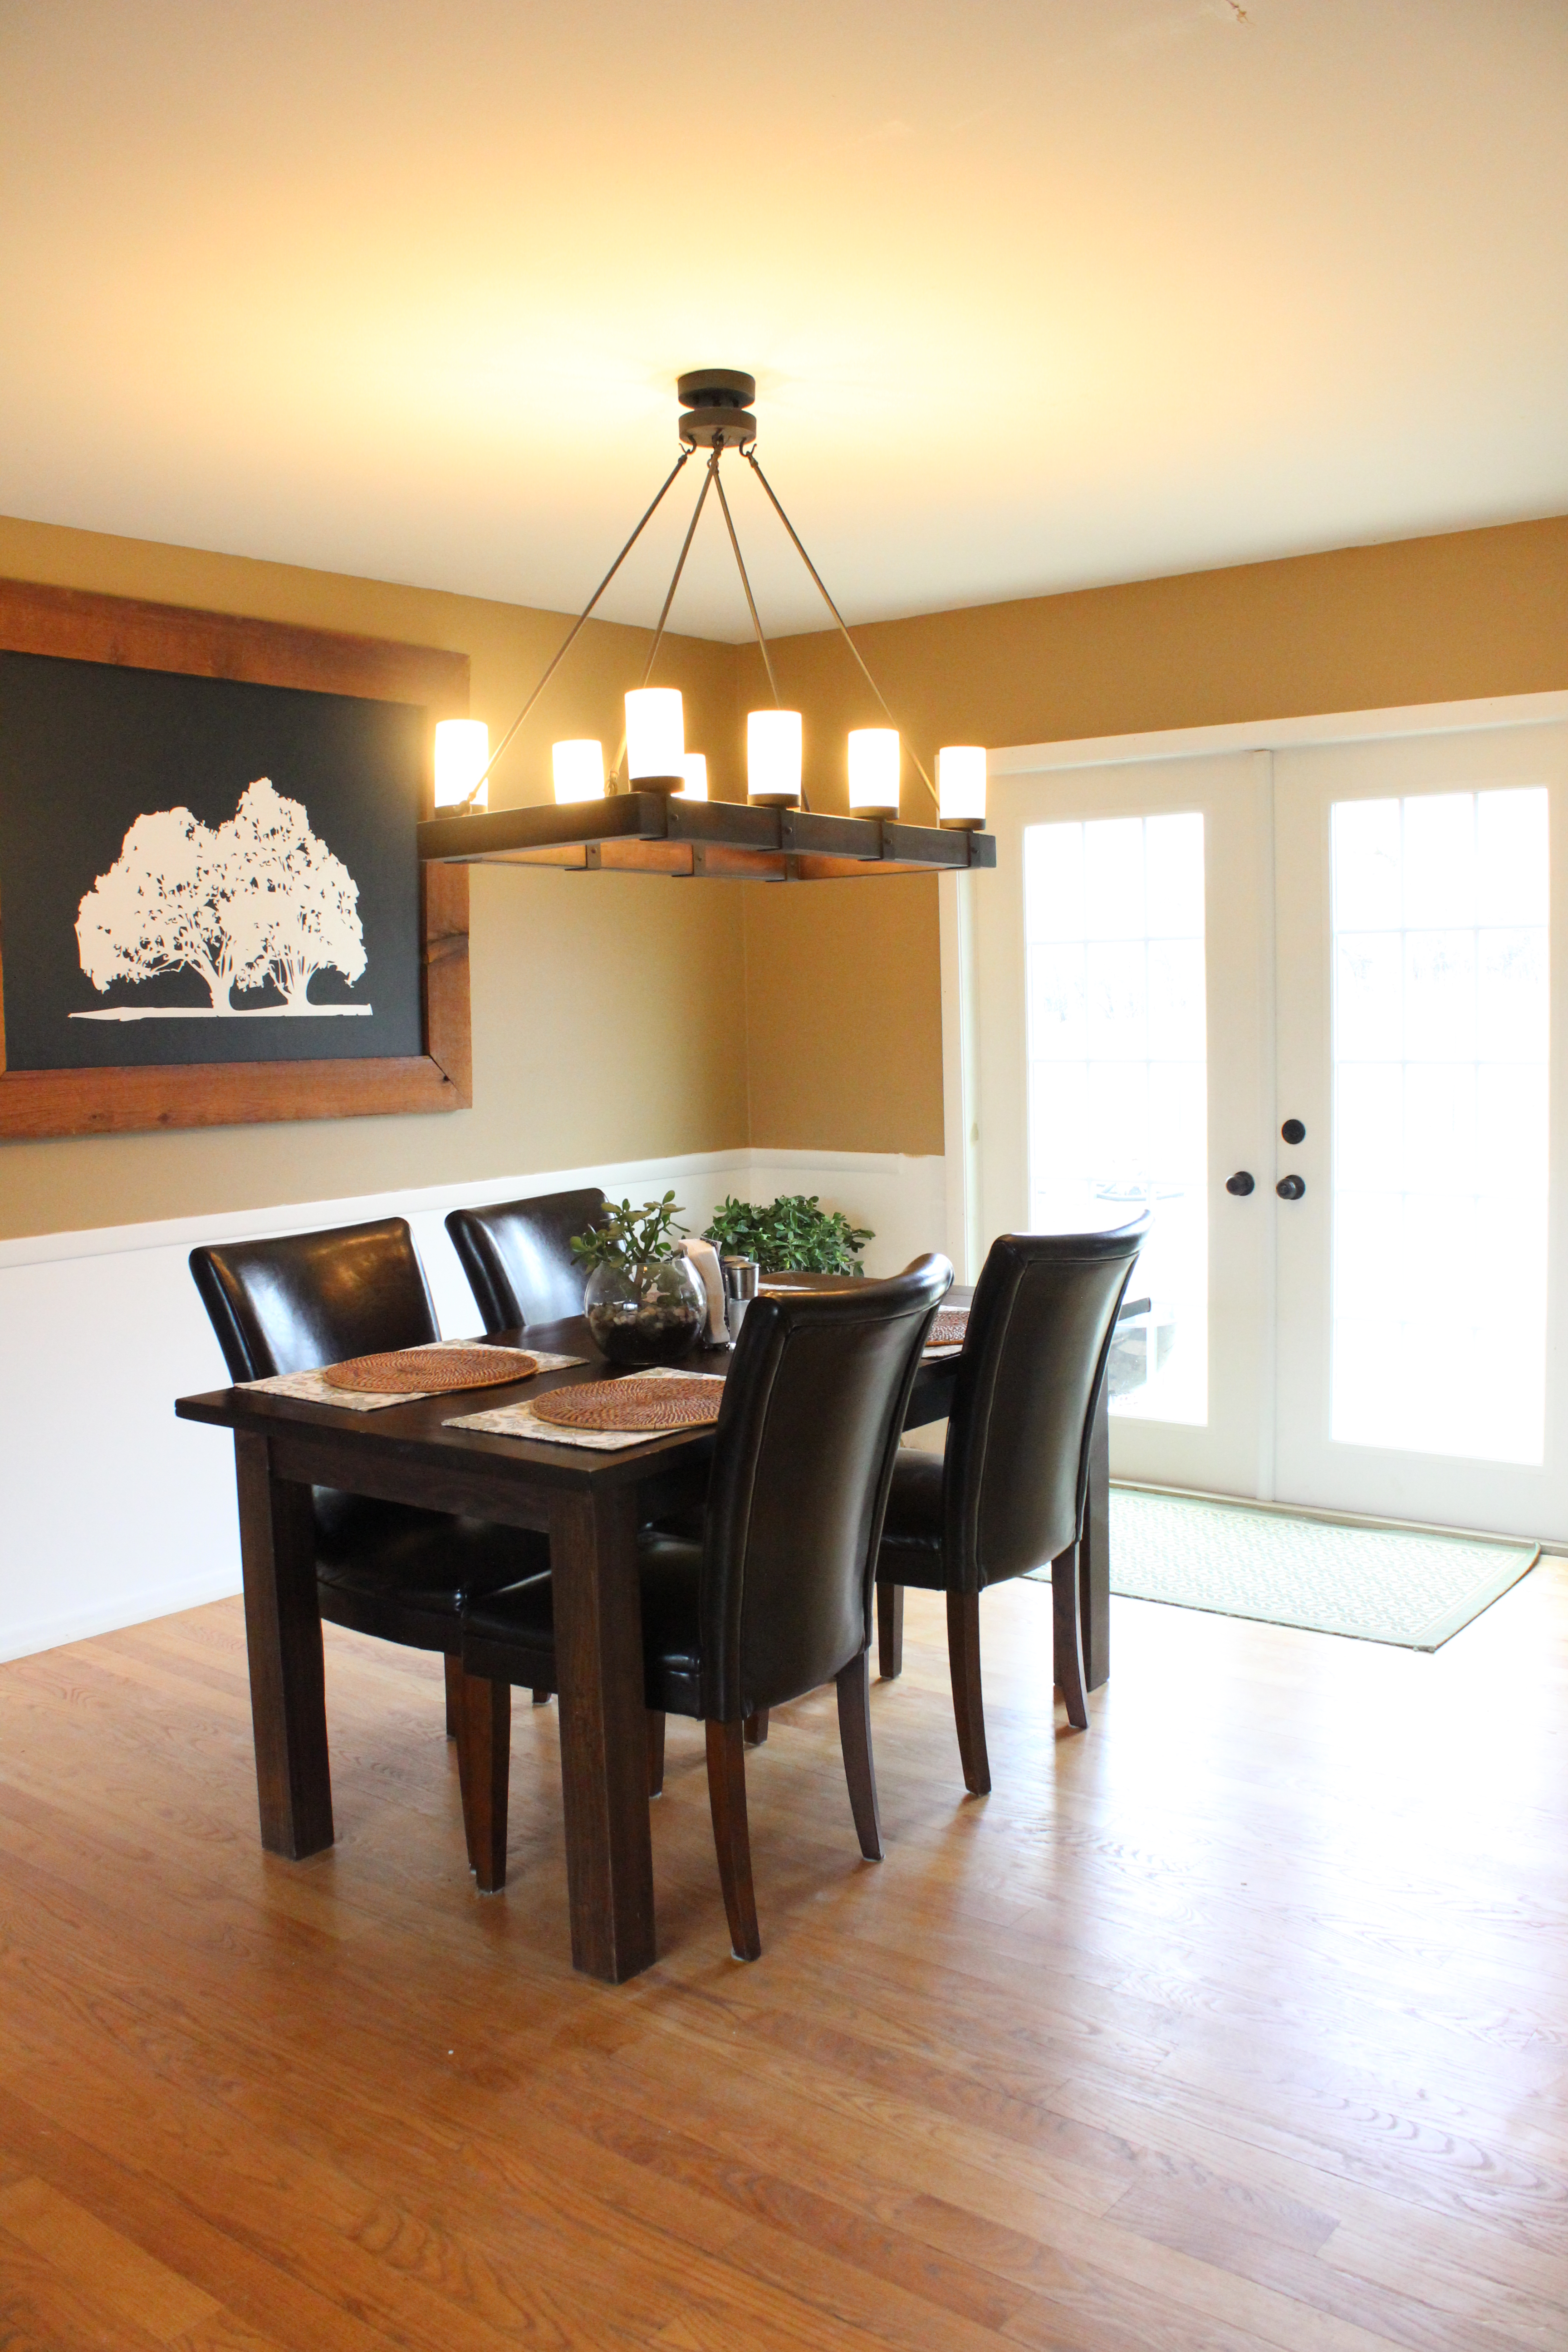
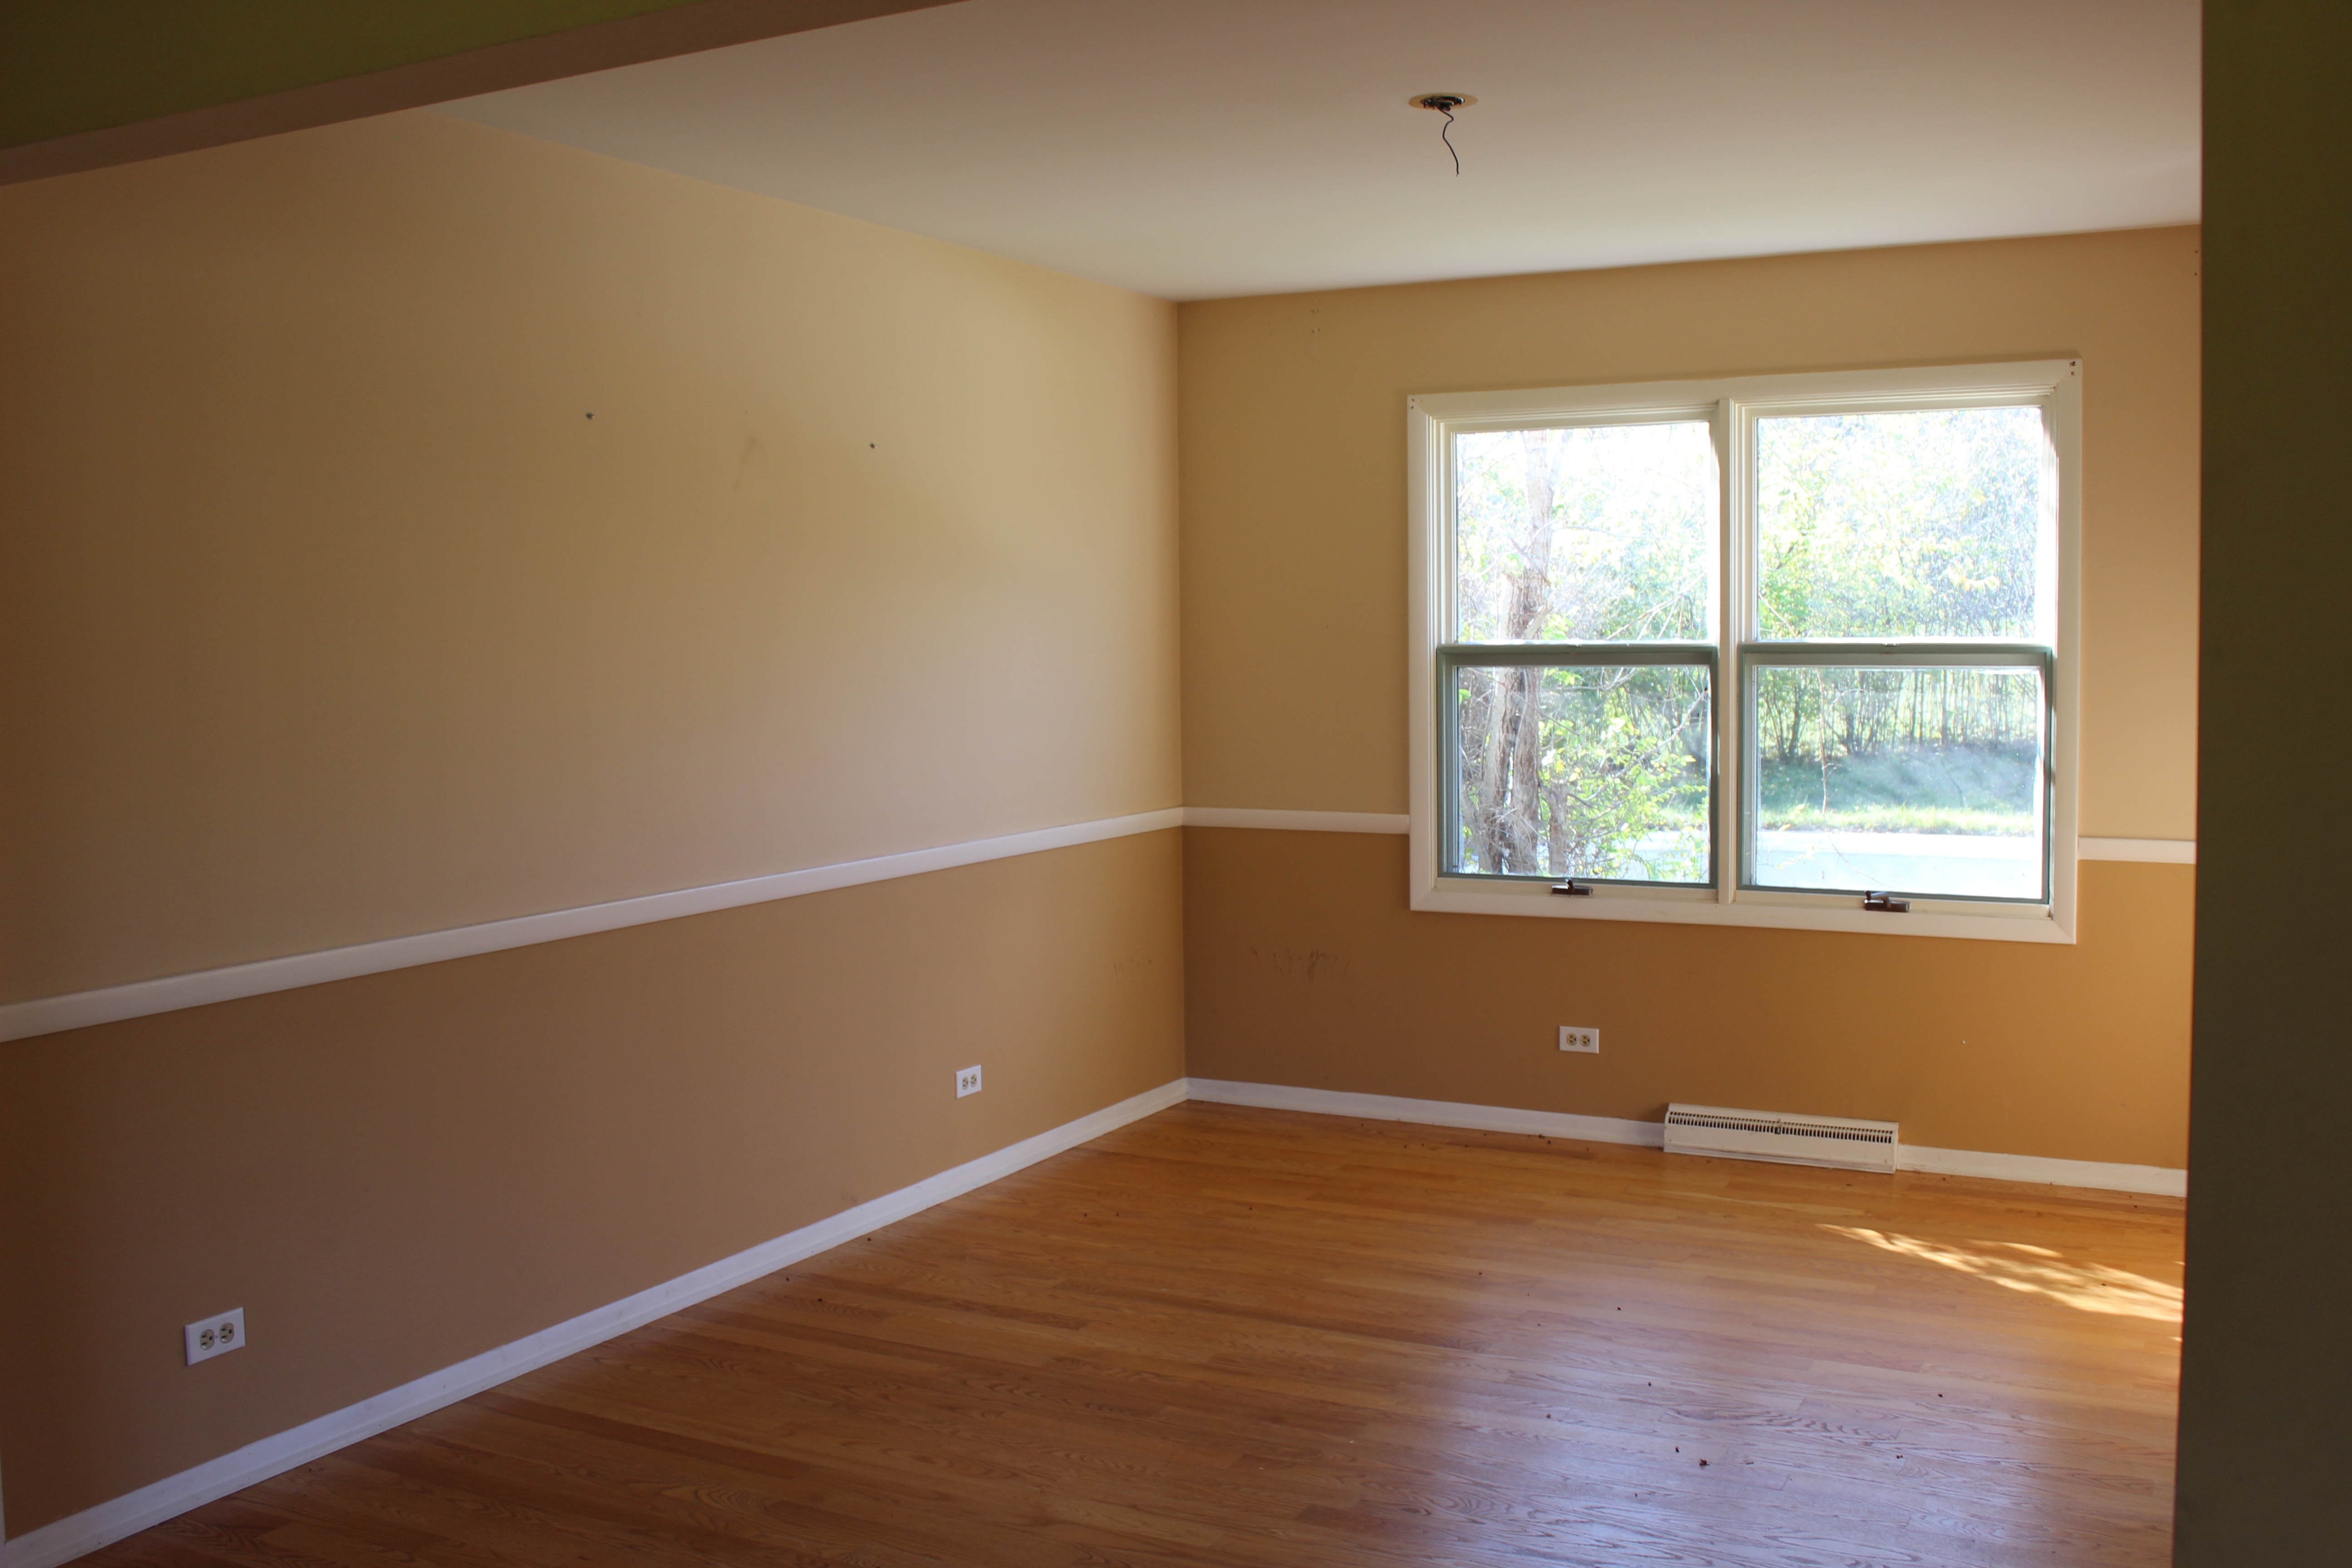
Dining Room

Before

12 Oaks Before 139

Current

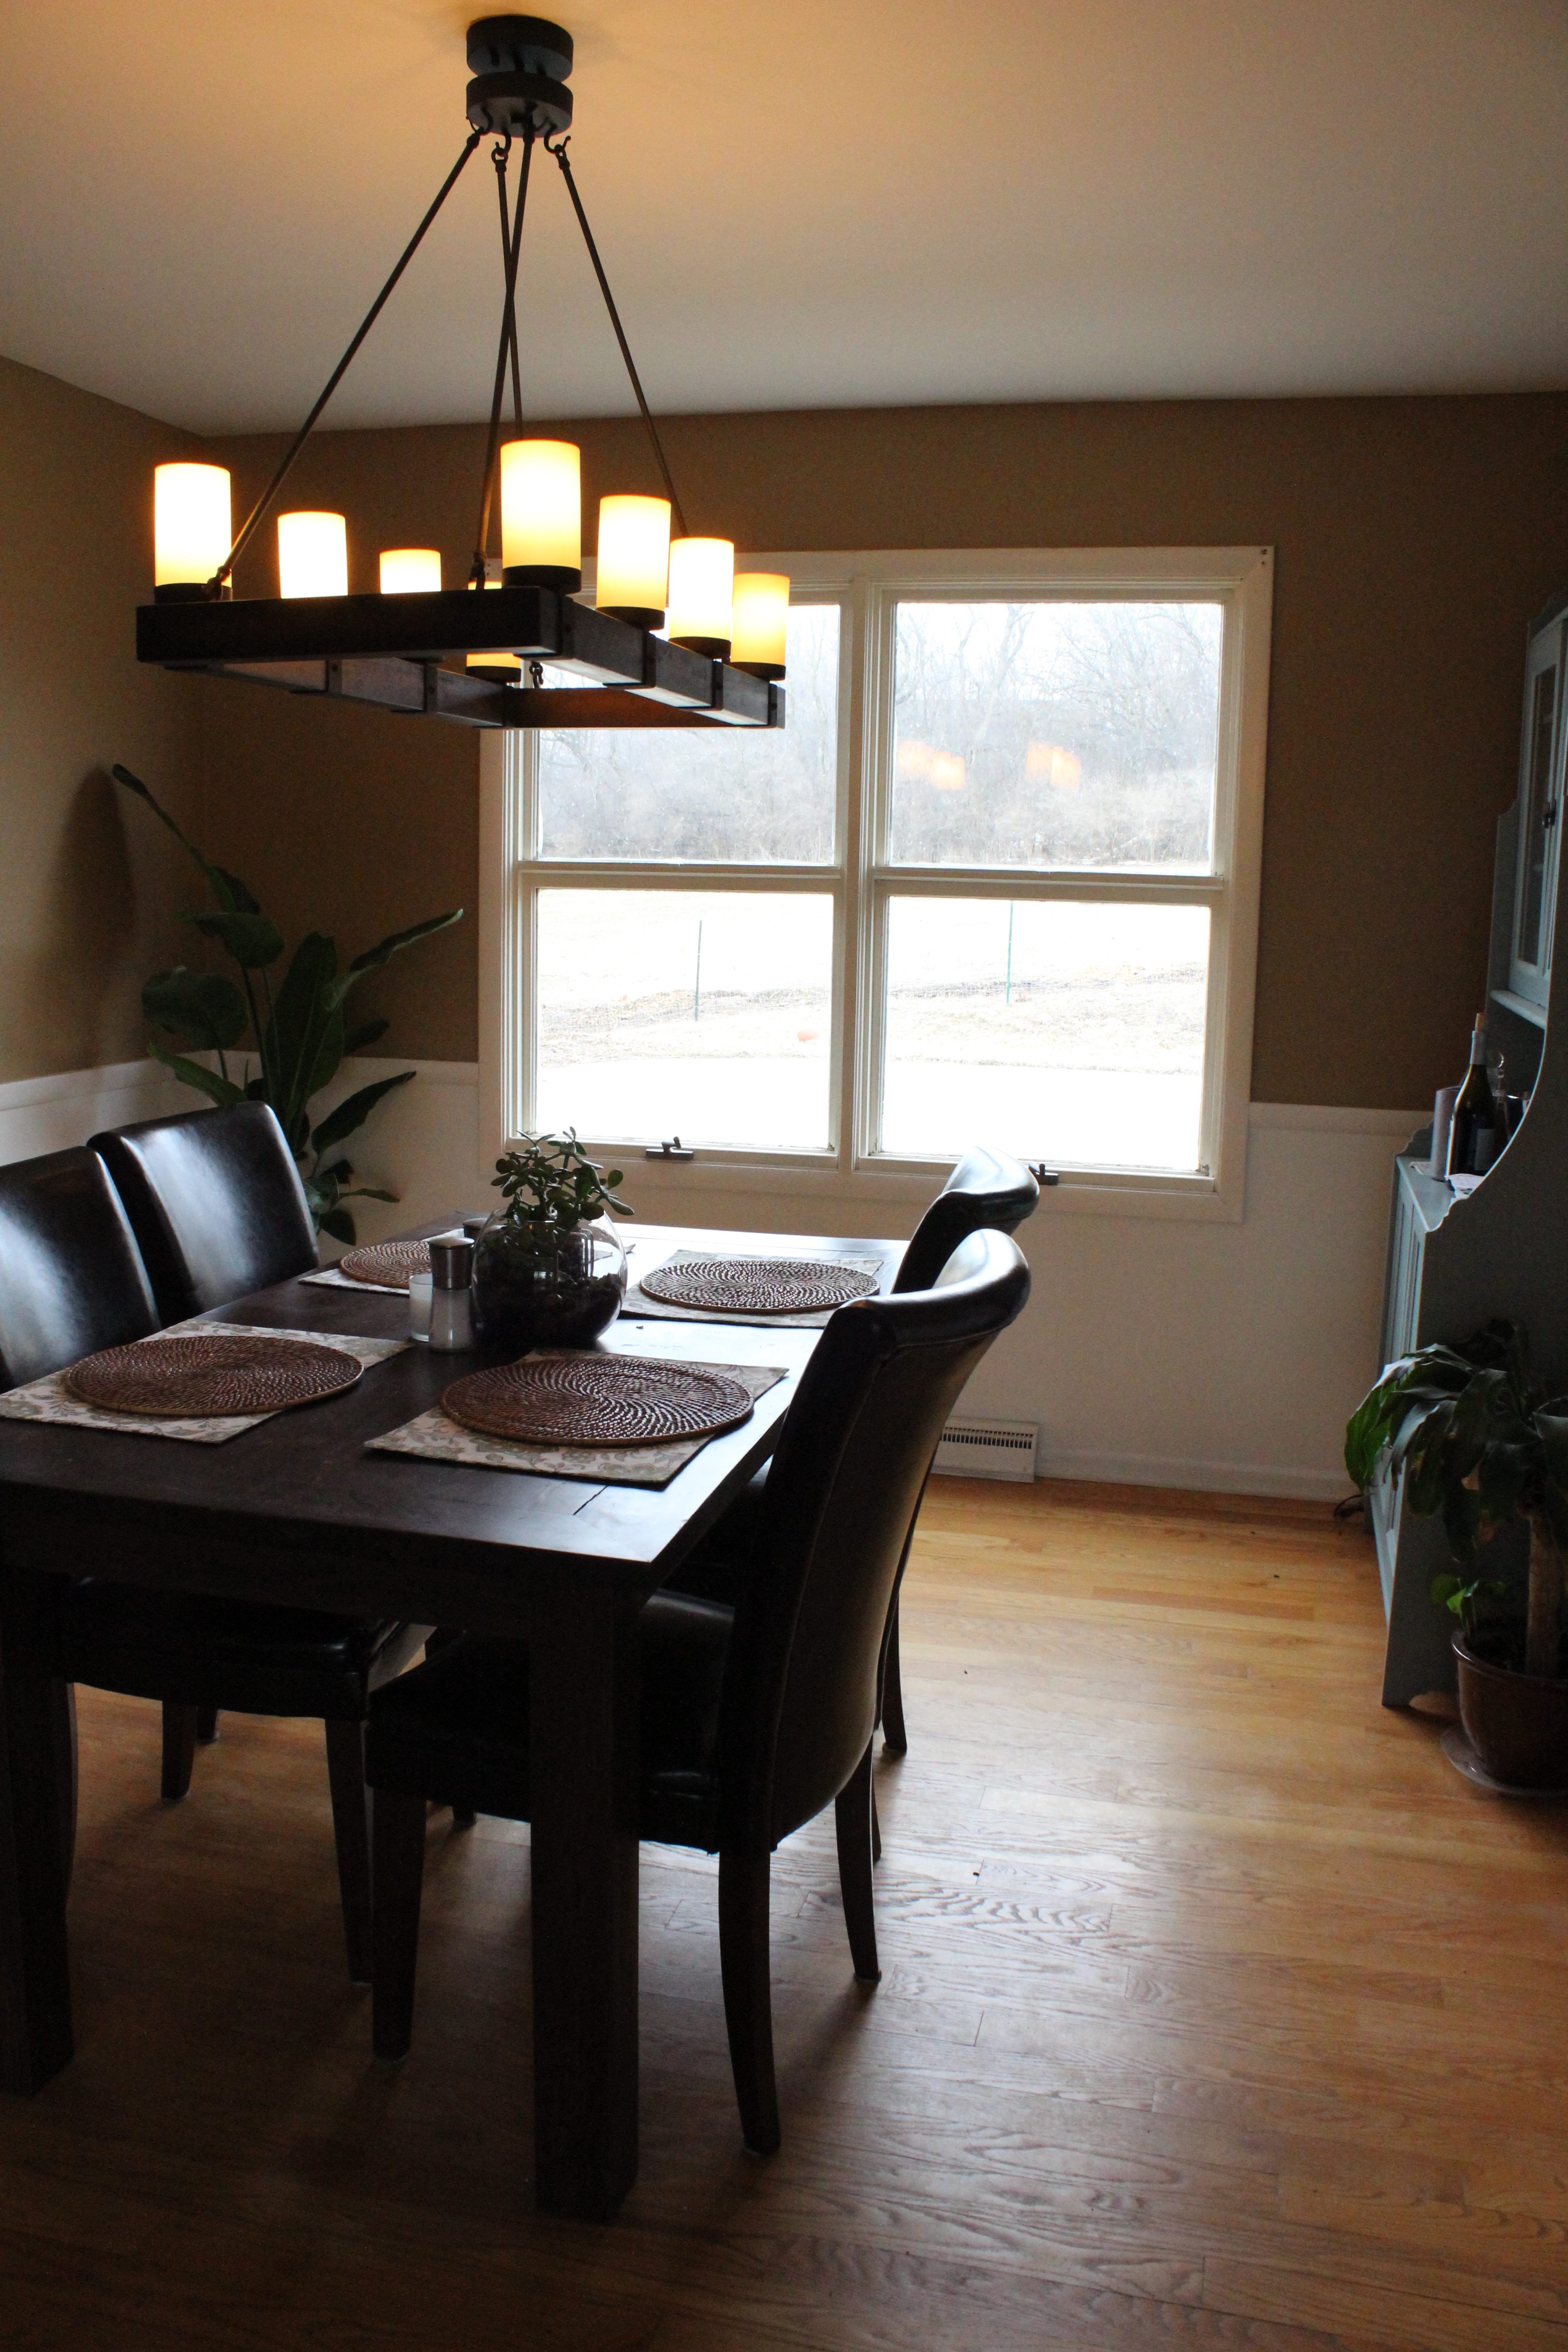
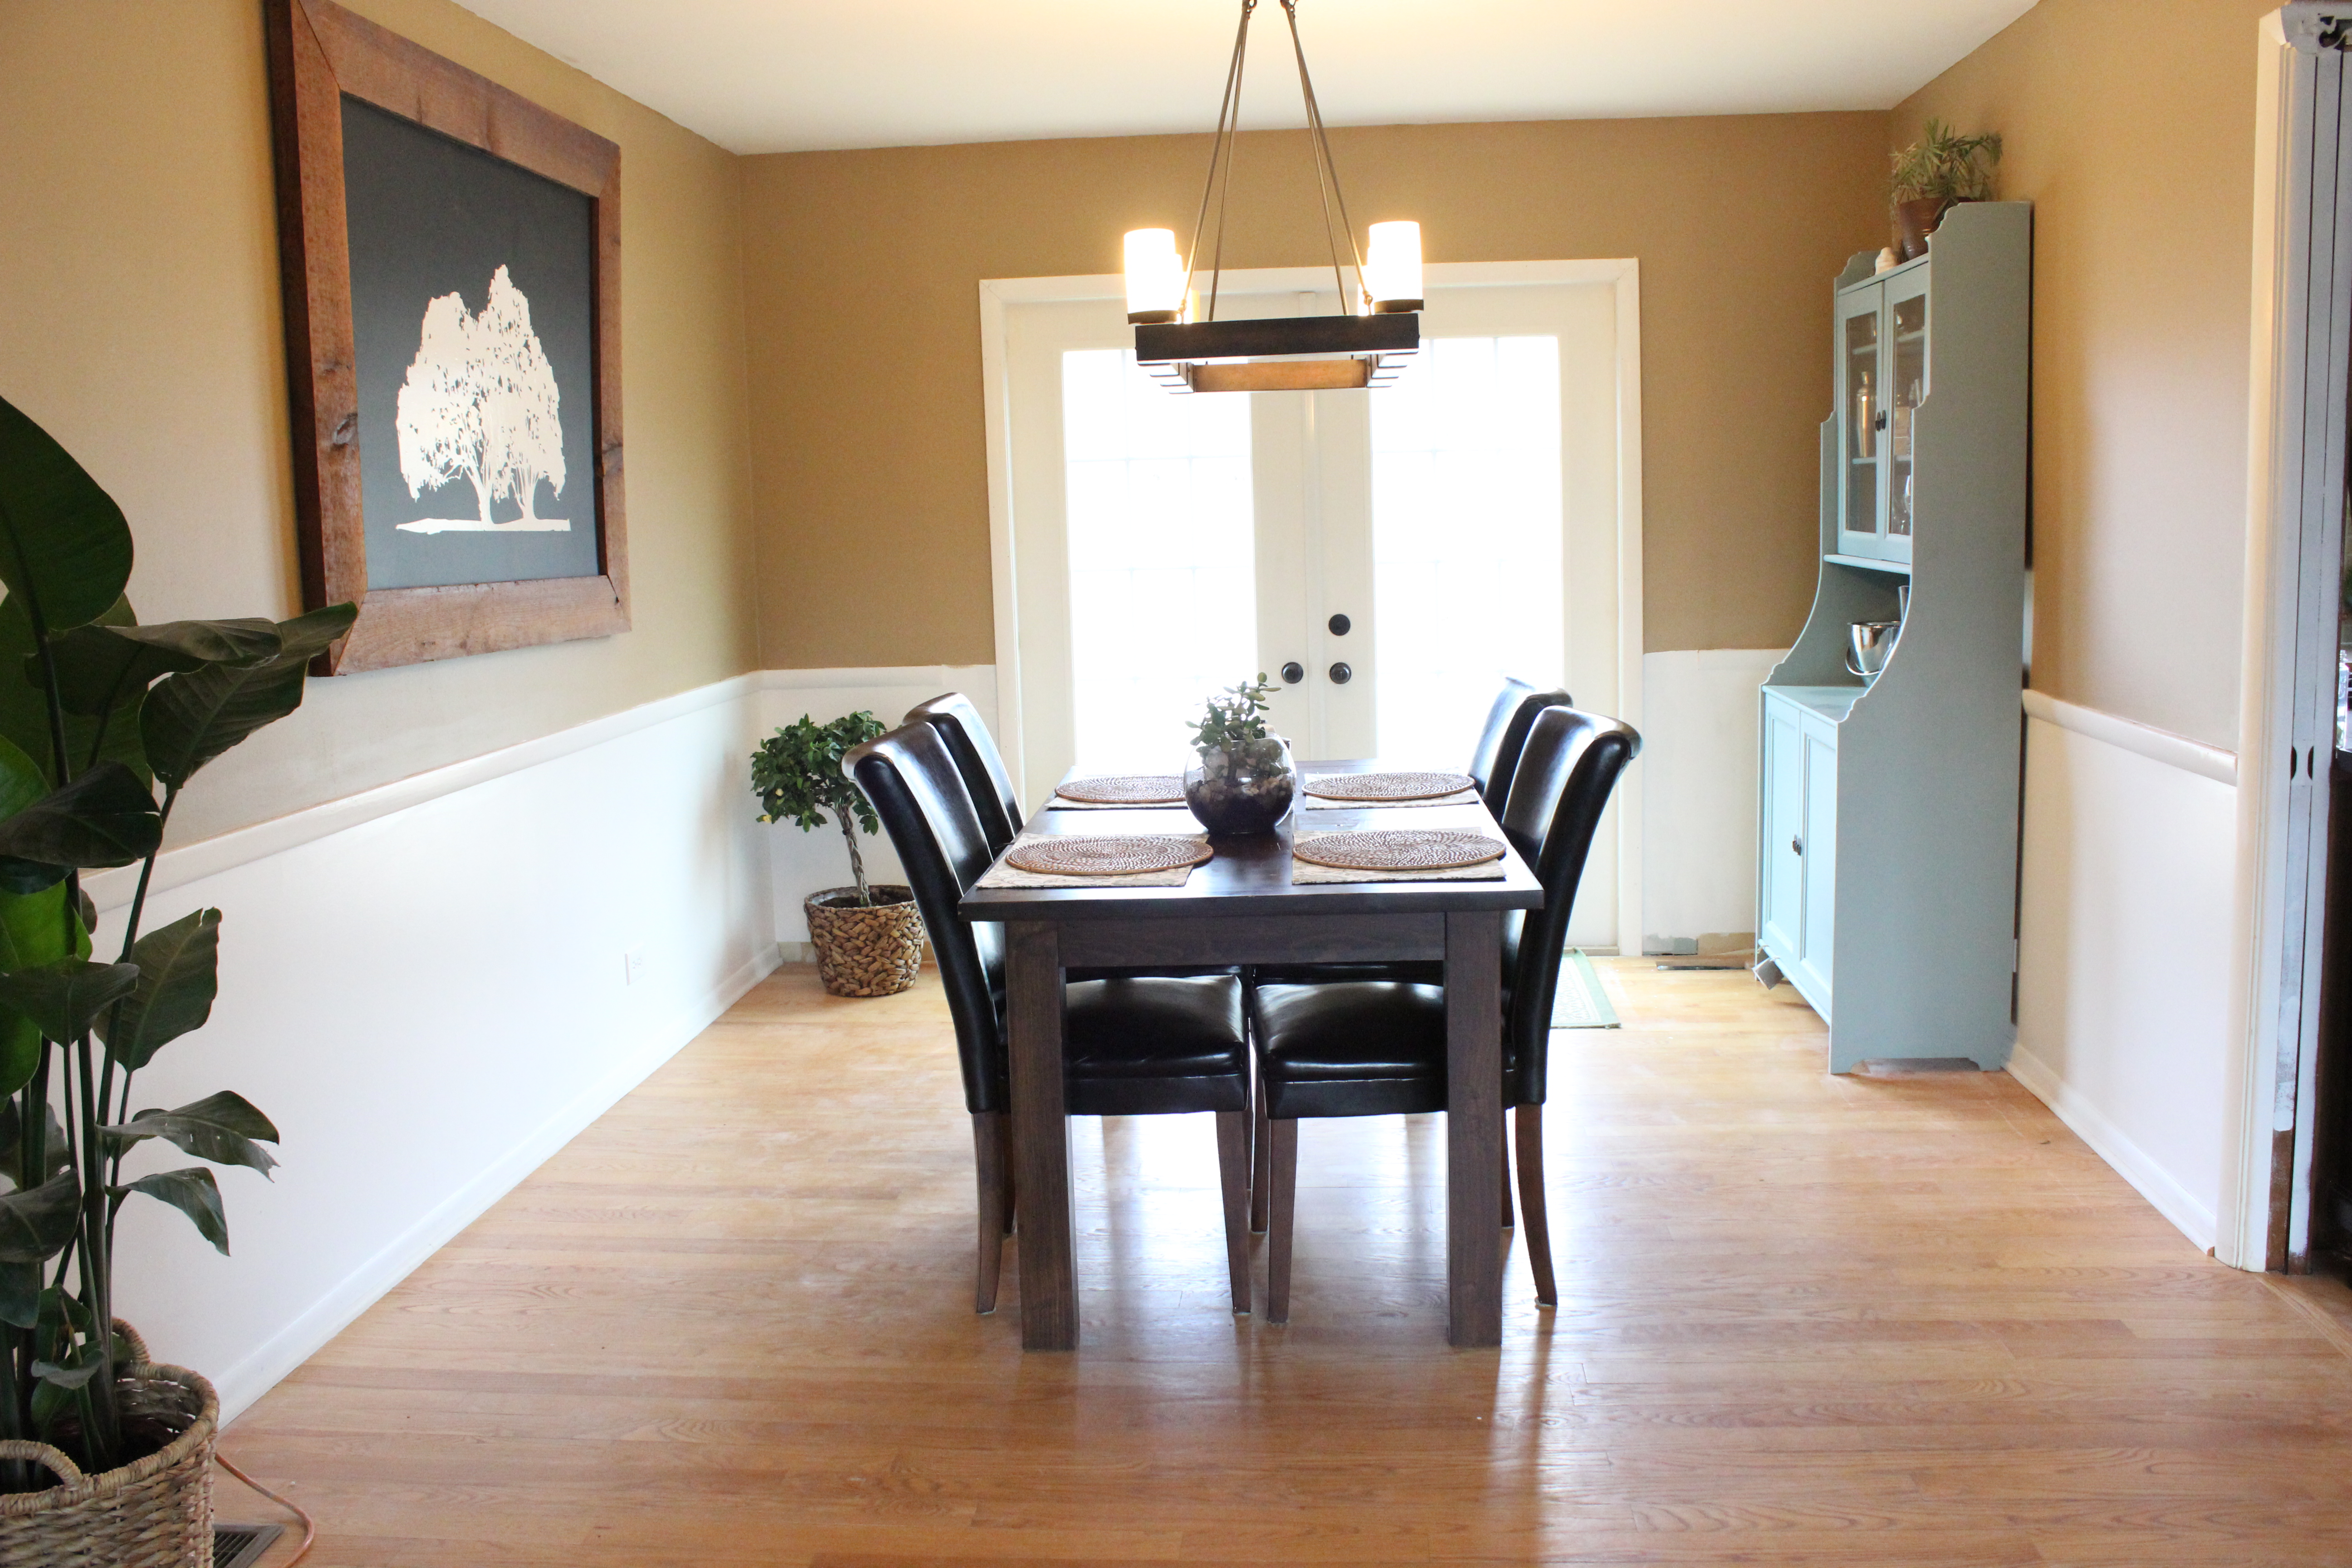
IMG_2848This room has seen a new light, french doors and paint (Cliff Rock by Behr above the chair, white below). Also we made the homemade tree art here. Future plans in here include shadowbox molding, a new handmade table and a rug.

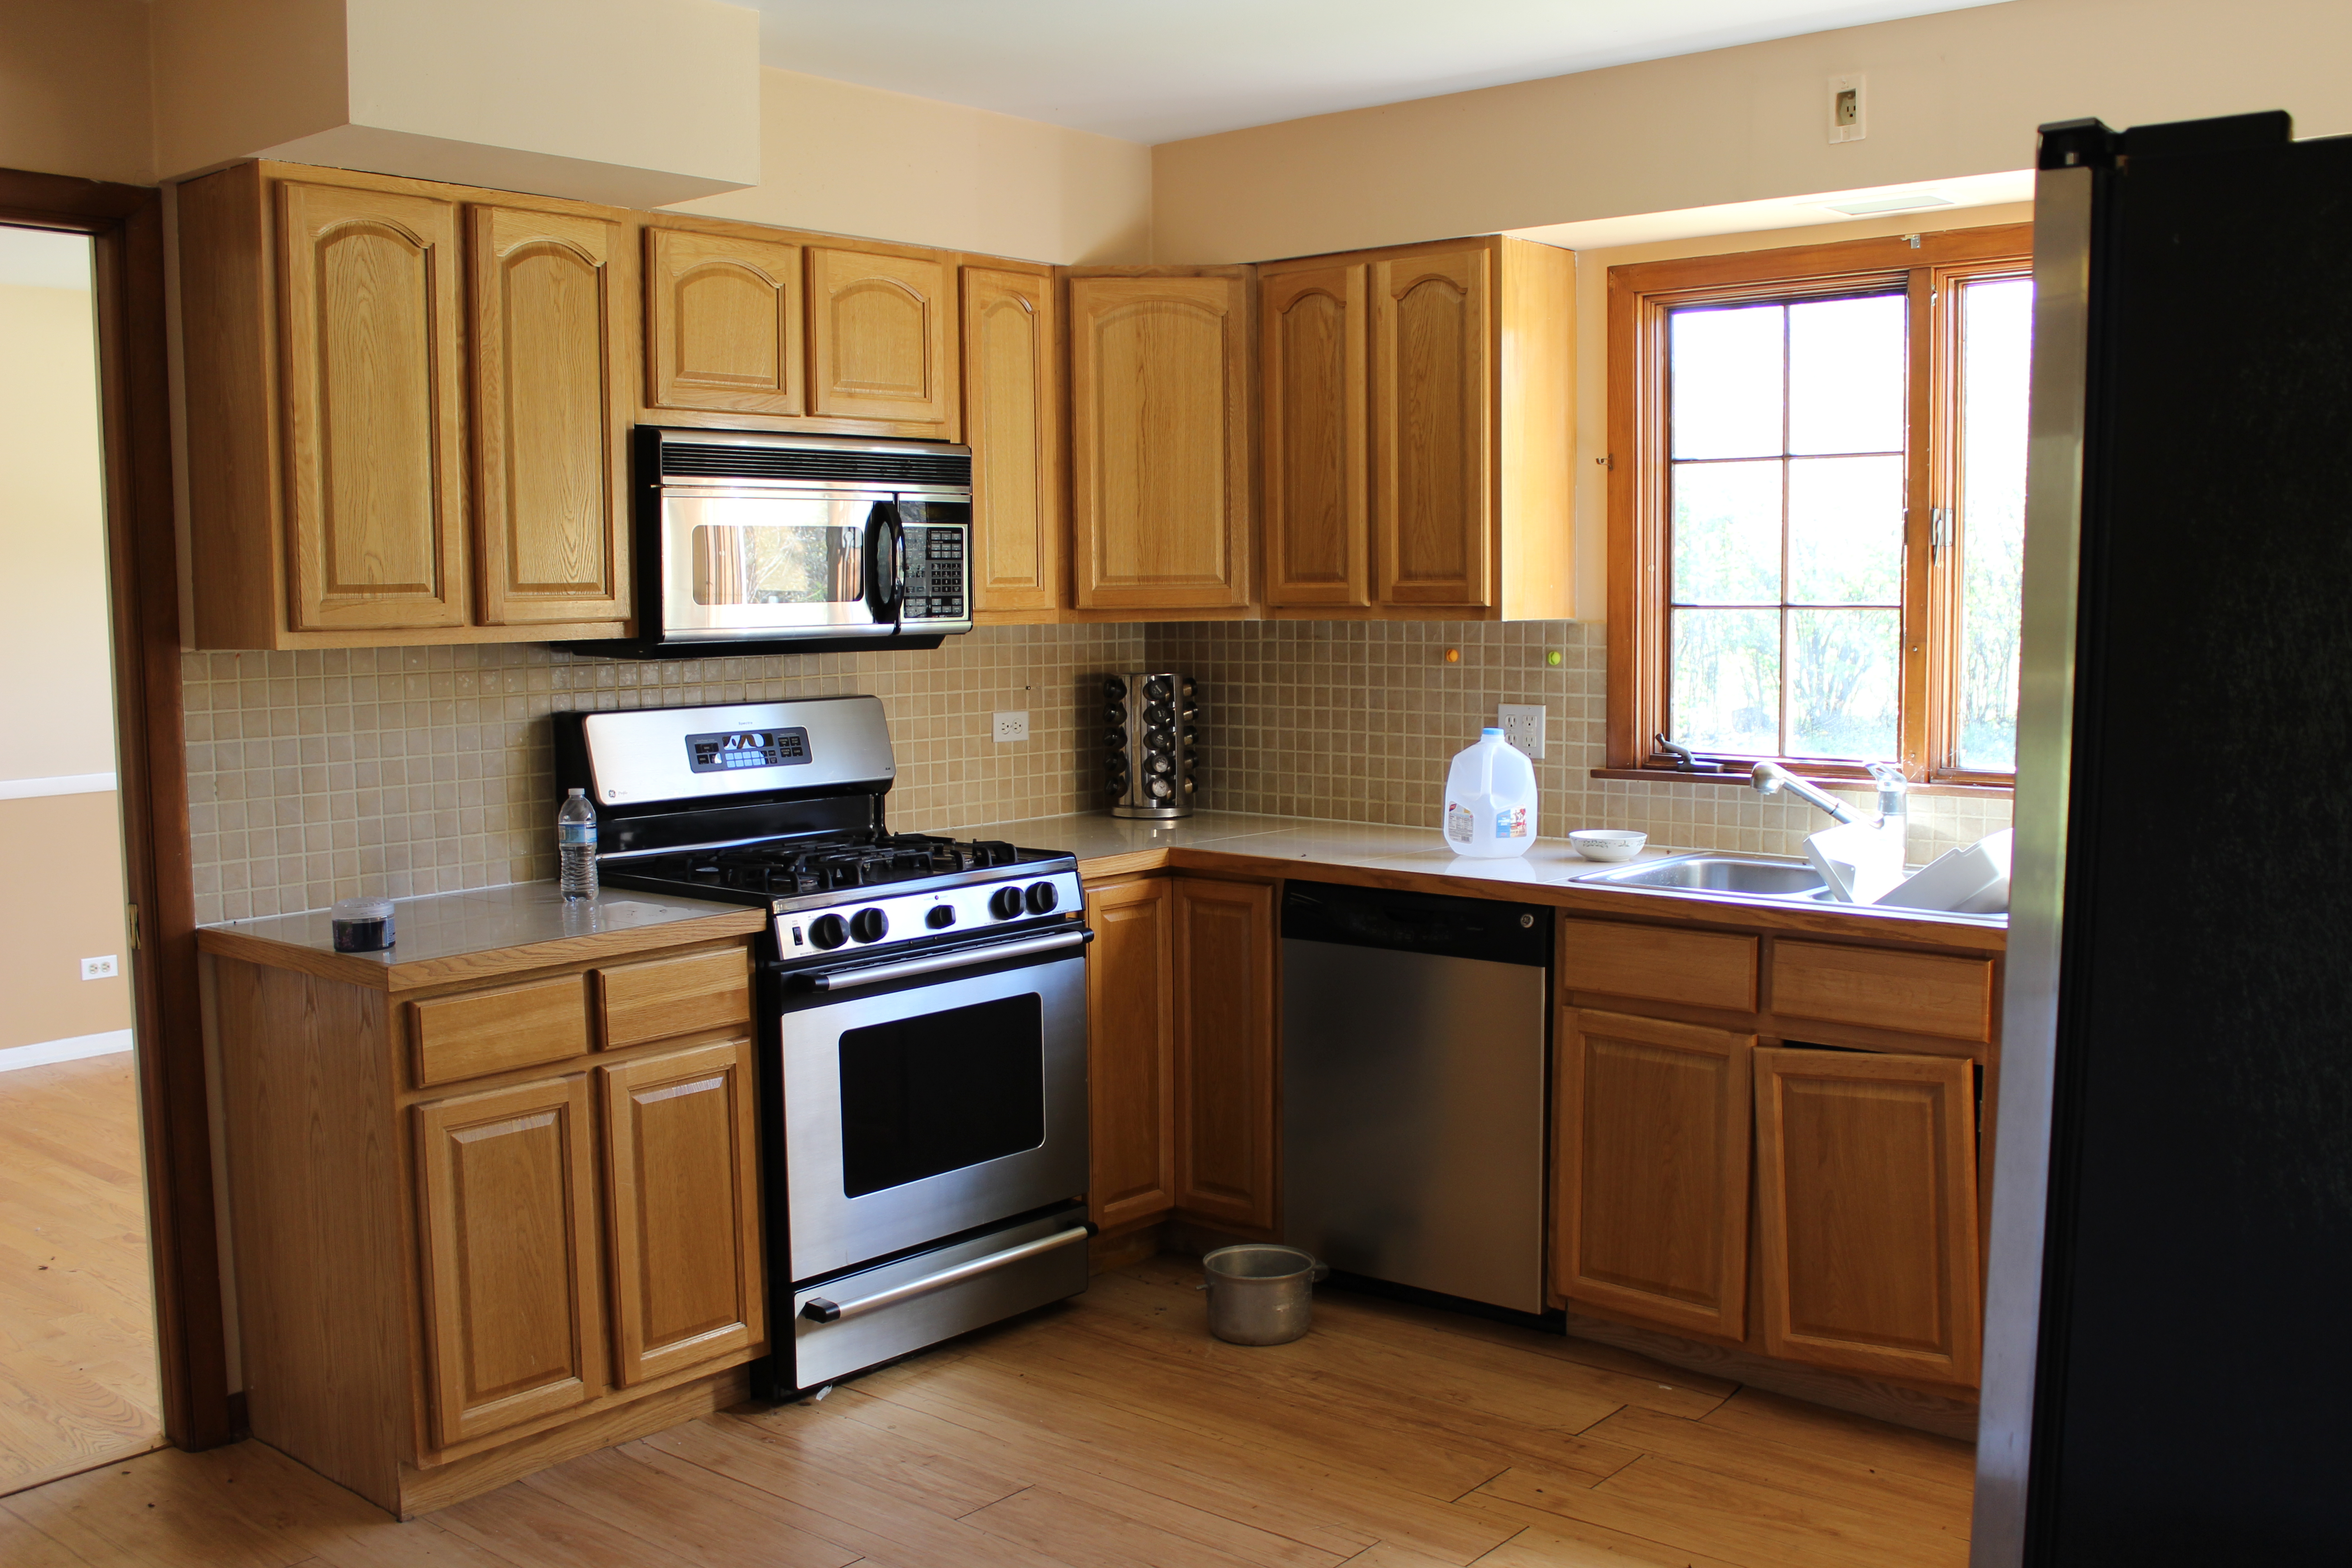
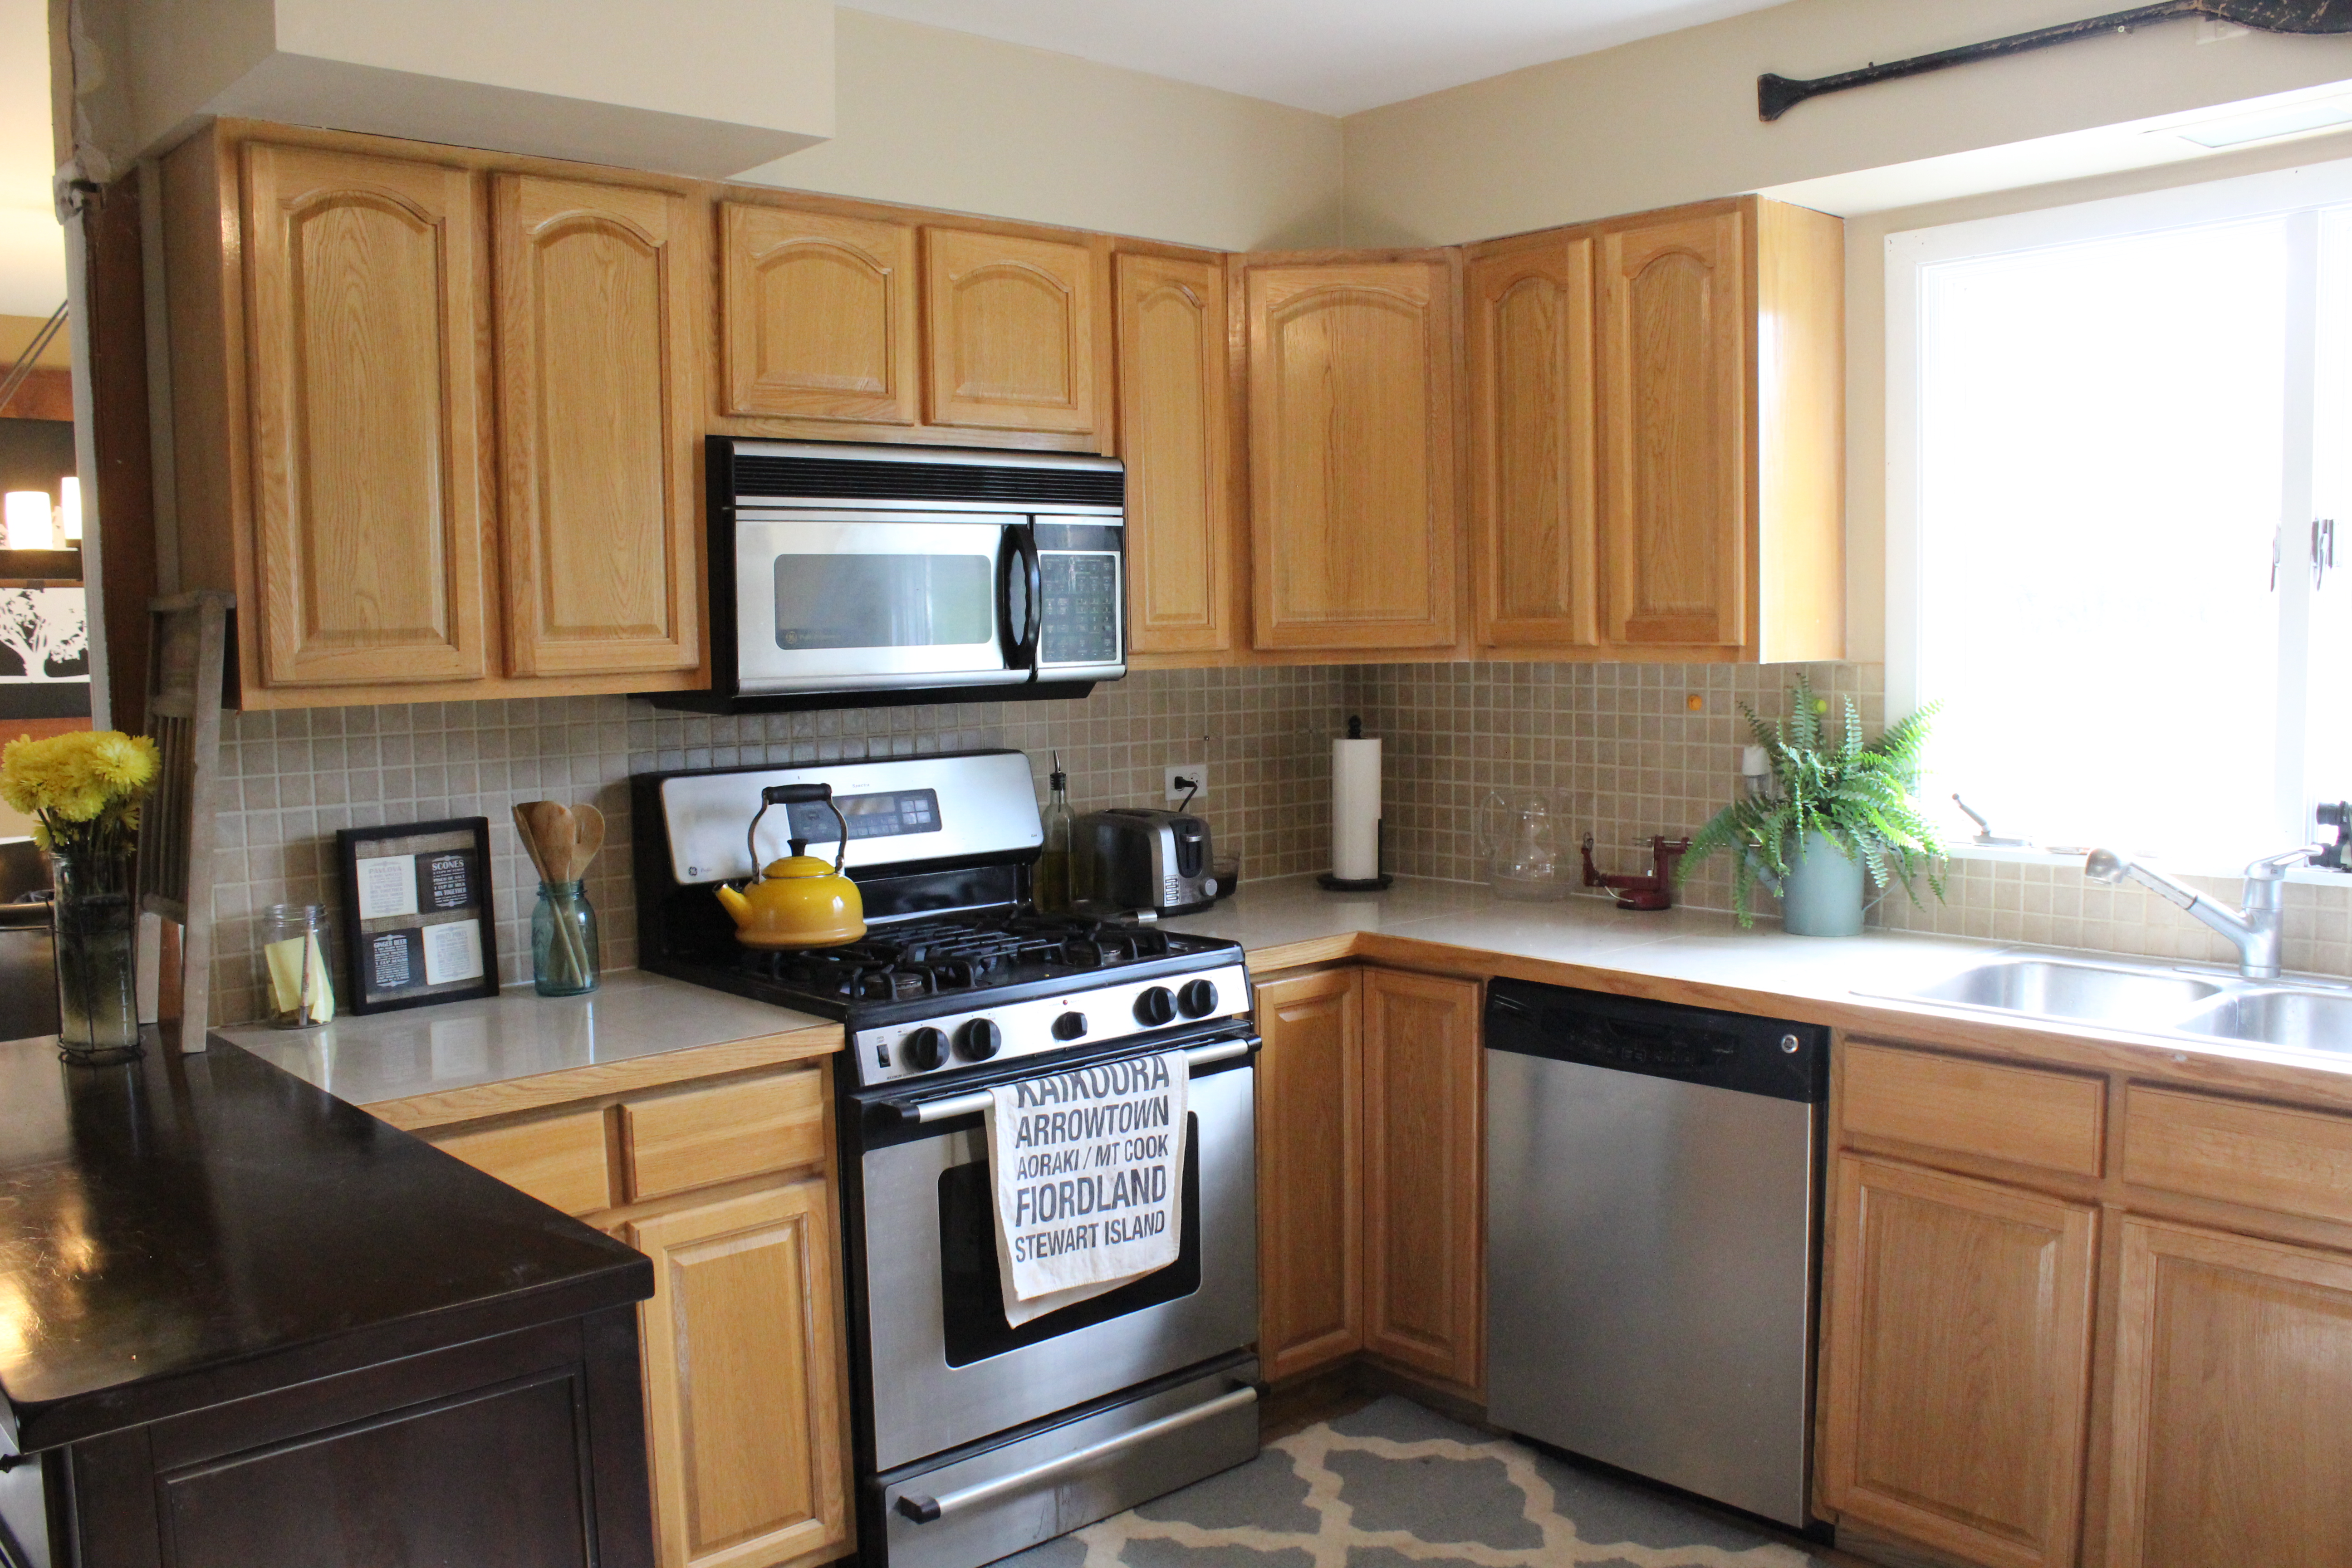
Kitchen

Before

12 Oaks Before 129

Current

IMG_2975

Not much has changed in here besides taking out the main wall. A complete renovation will come including new cabinets, countertops, lighting, flooring and appliances.

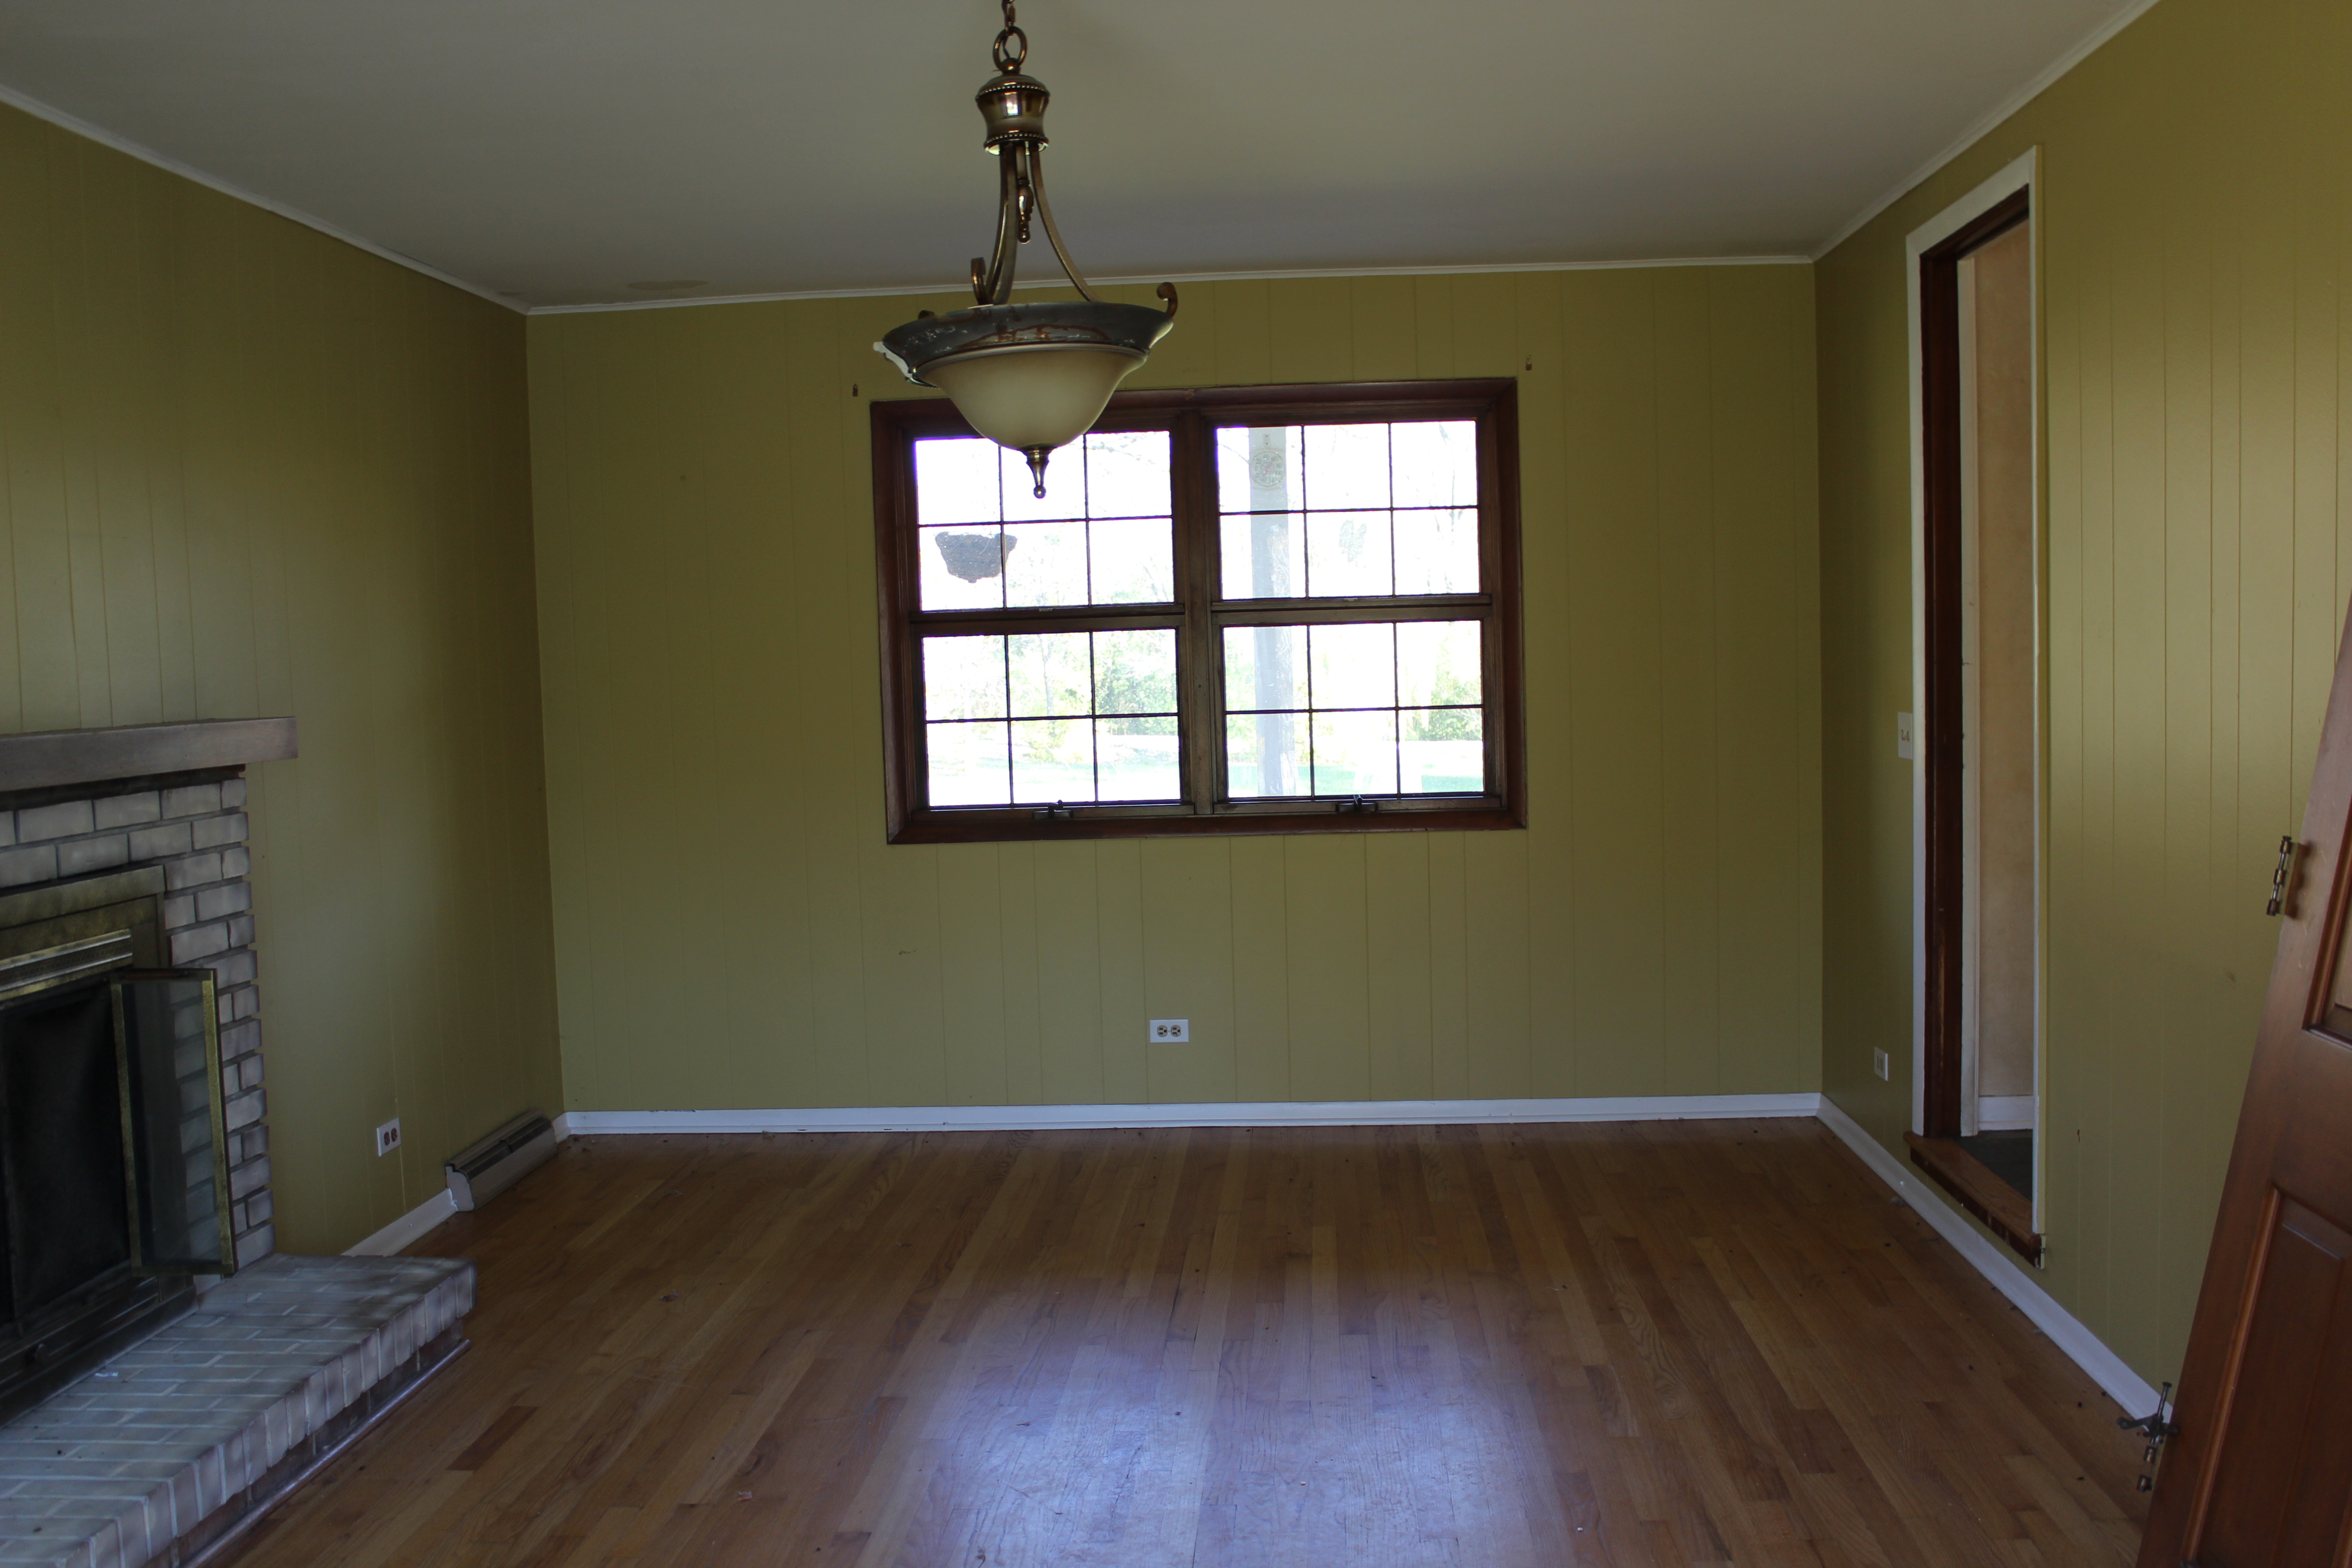
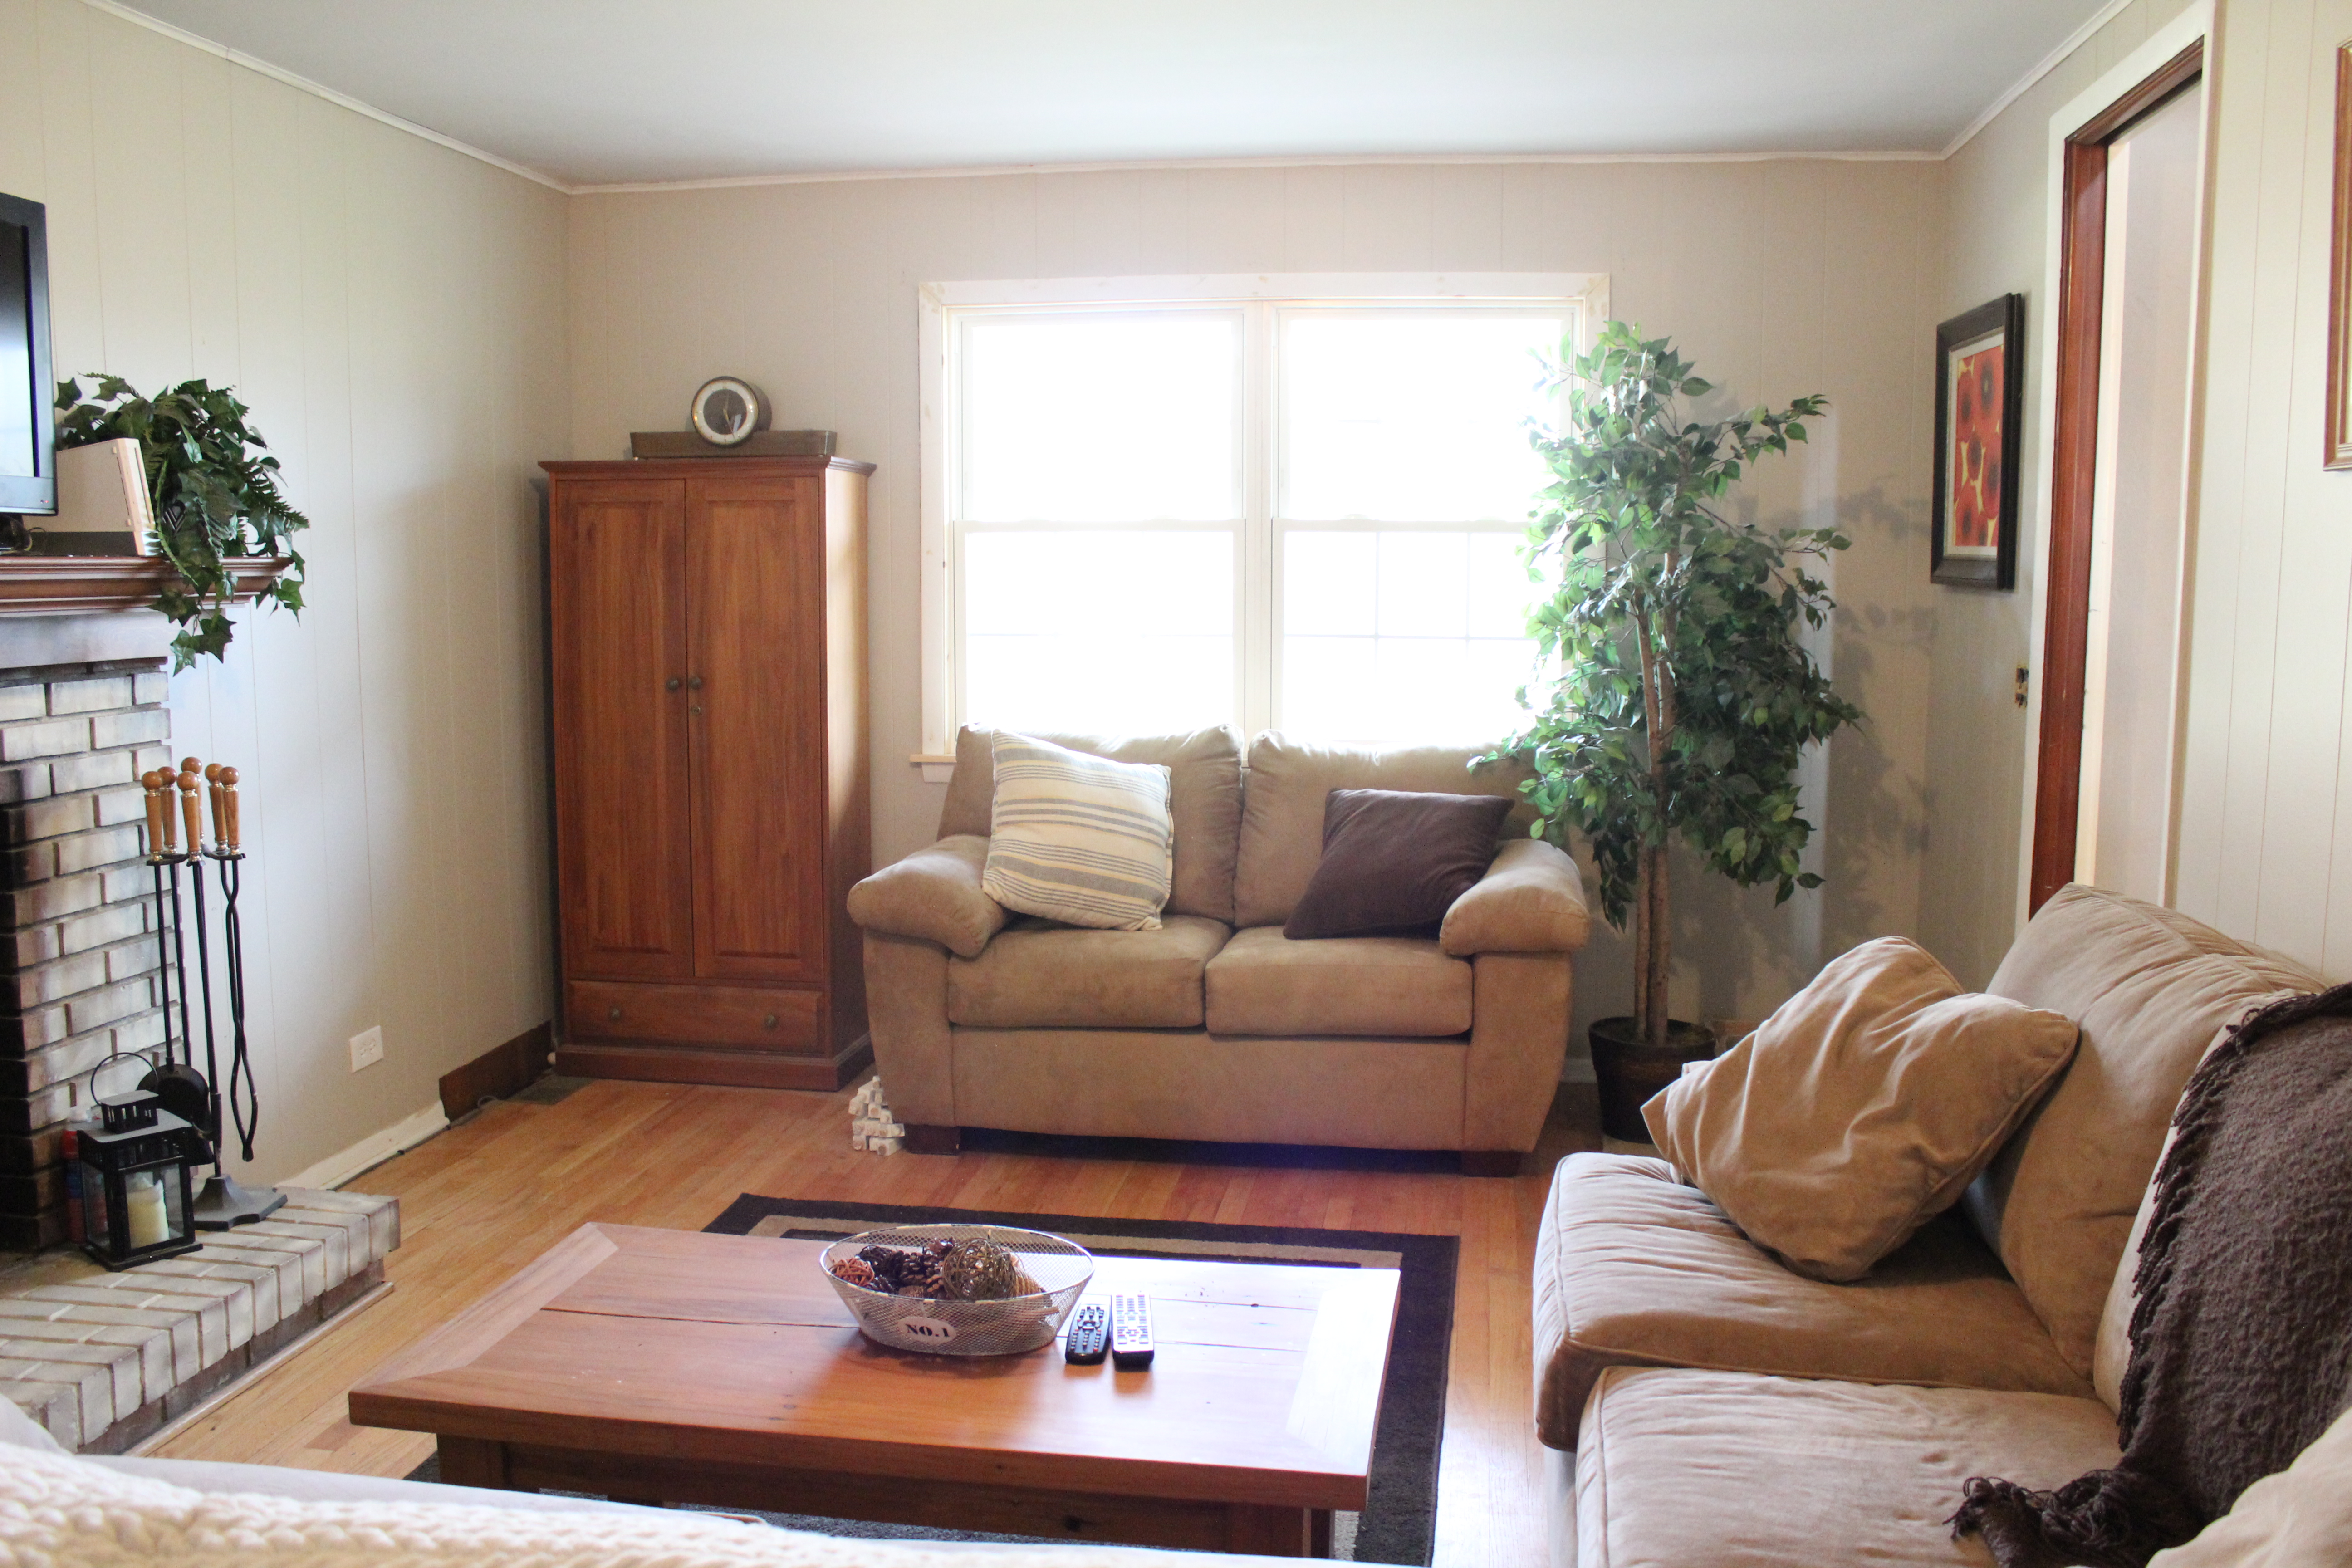
Den

Before

Den

Current

IMG_2974

Little progress in here except for paint (Behr’s Wheat Bread). We’re now thinking of turning this into a 1st floor office. Still need to re-do the fireplace, re-finish the floors and add some french doors.

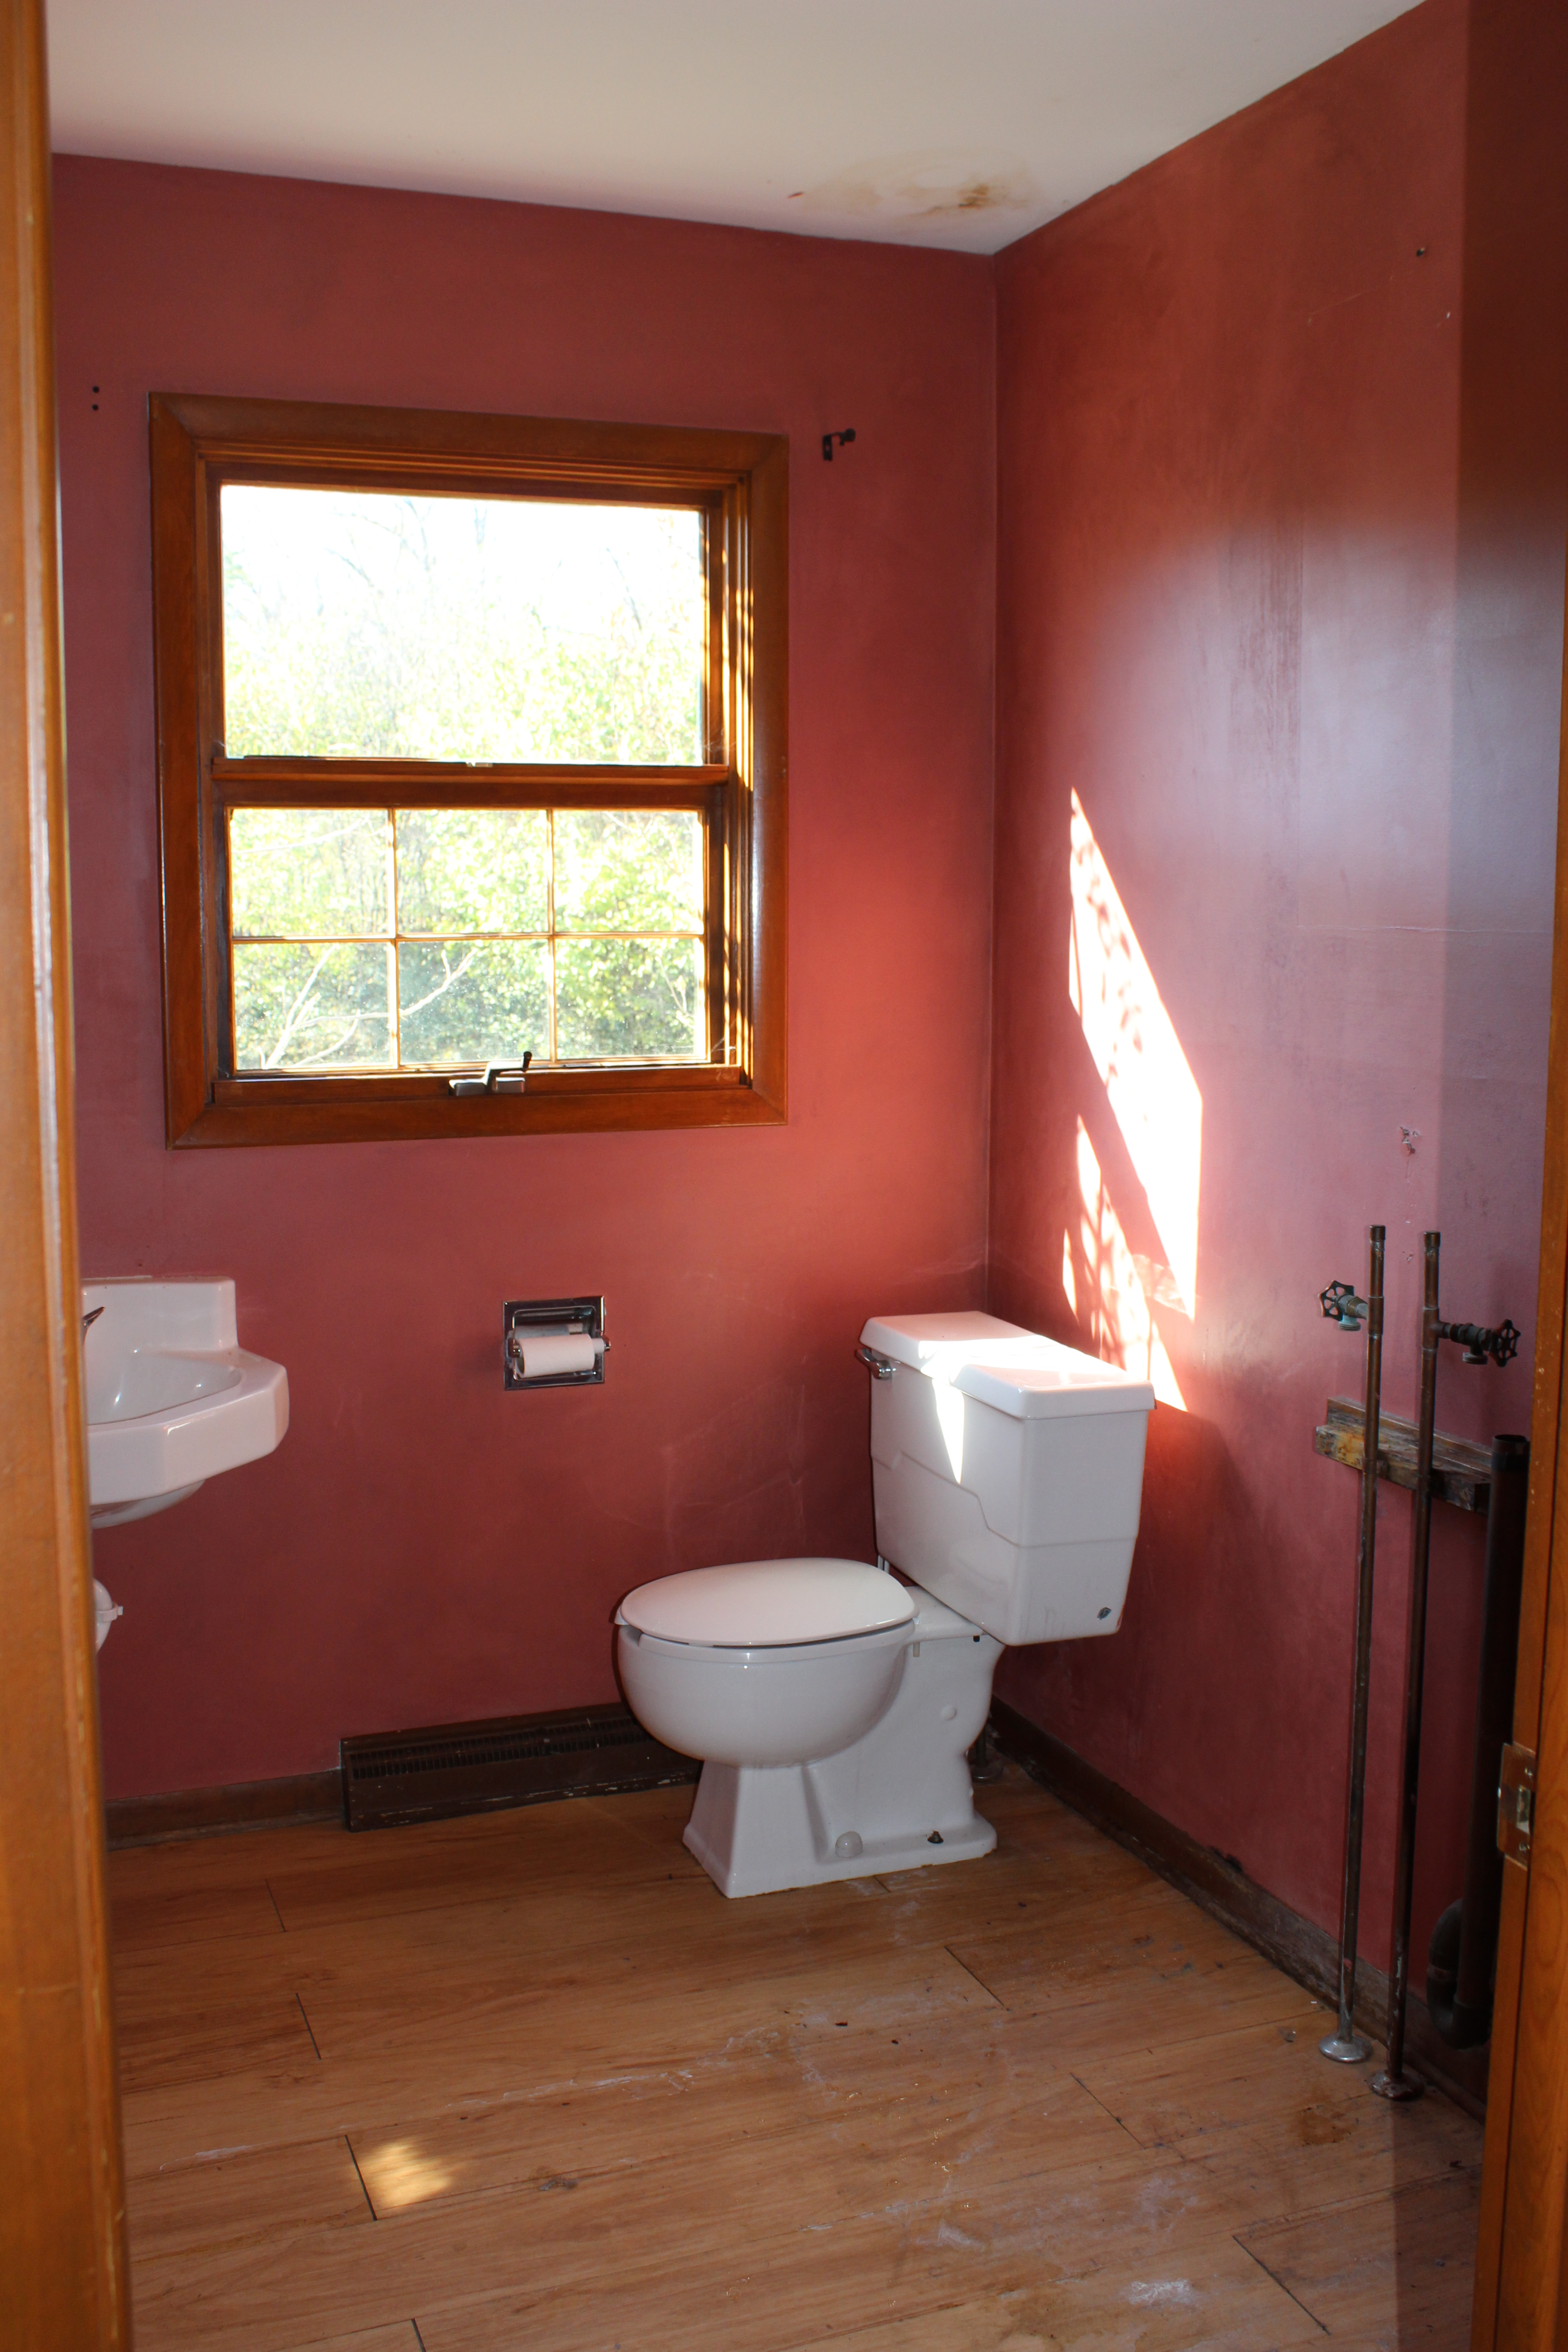
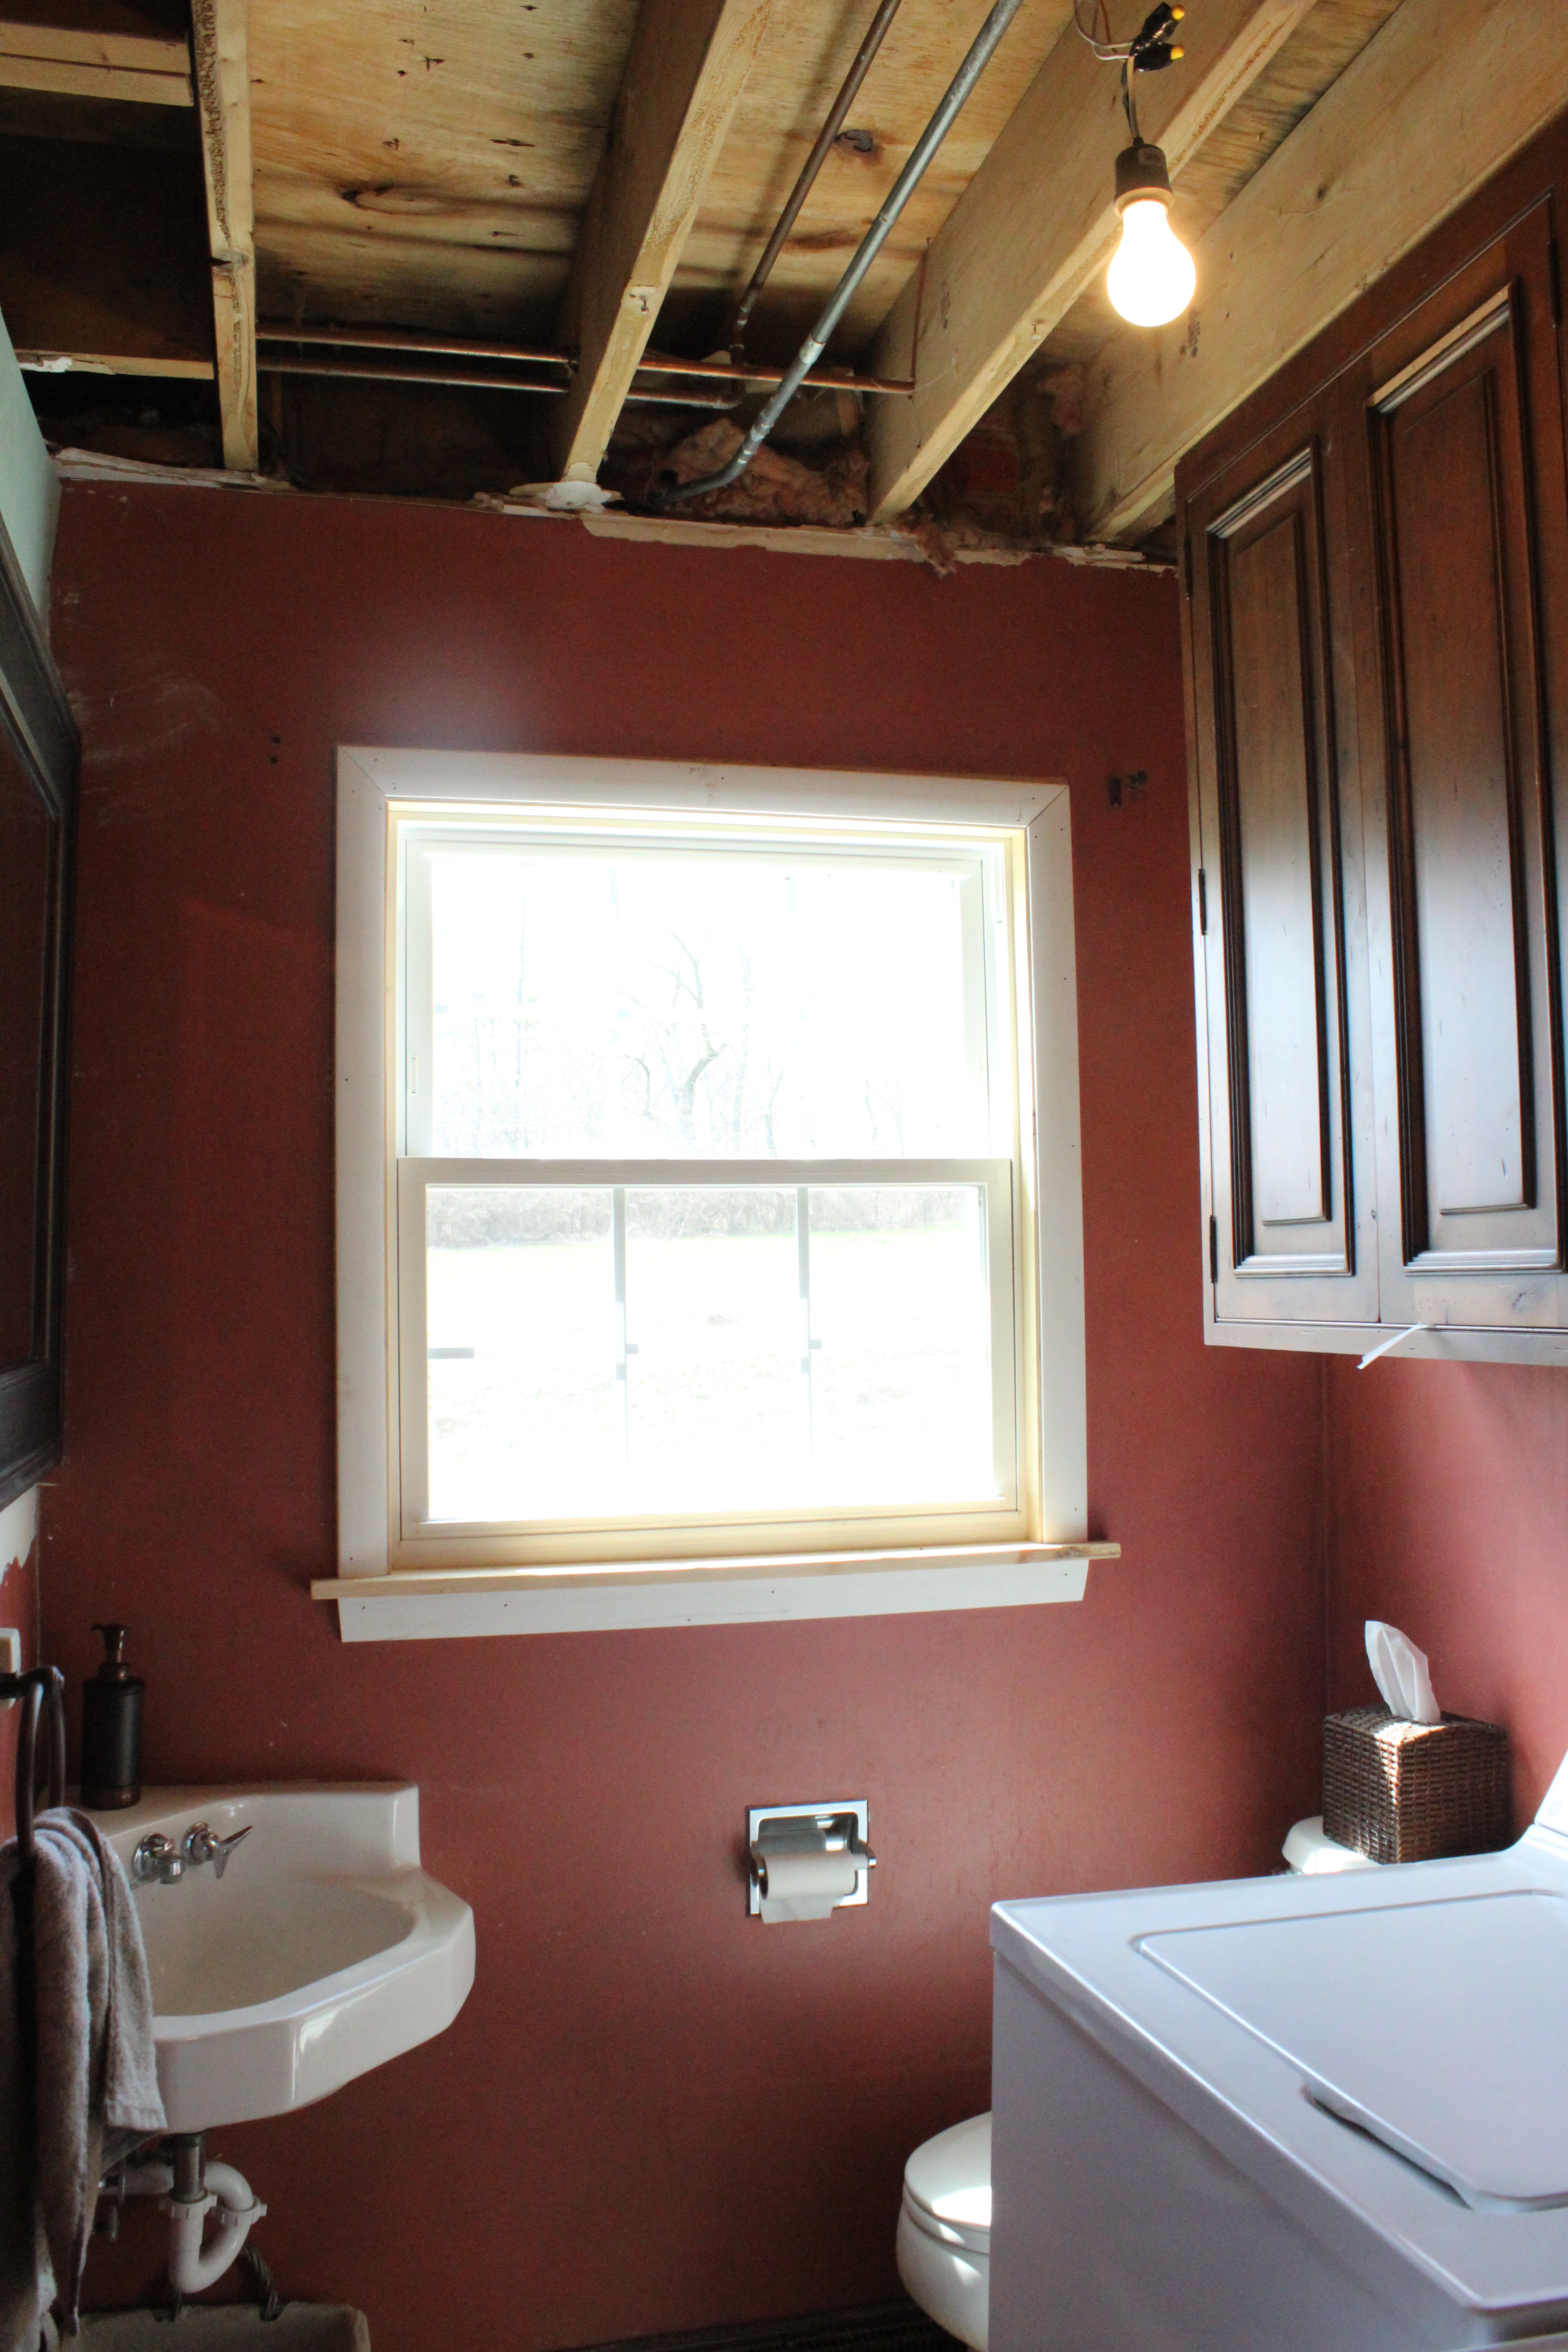
Powder Room

Before

First floor bathroom

Current

IMG_2984

Little progress in here too but that’s because this is going to turn into the kitchen pantry. See our future floor plan to learn more.

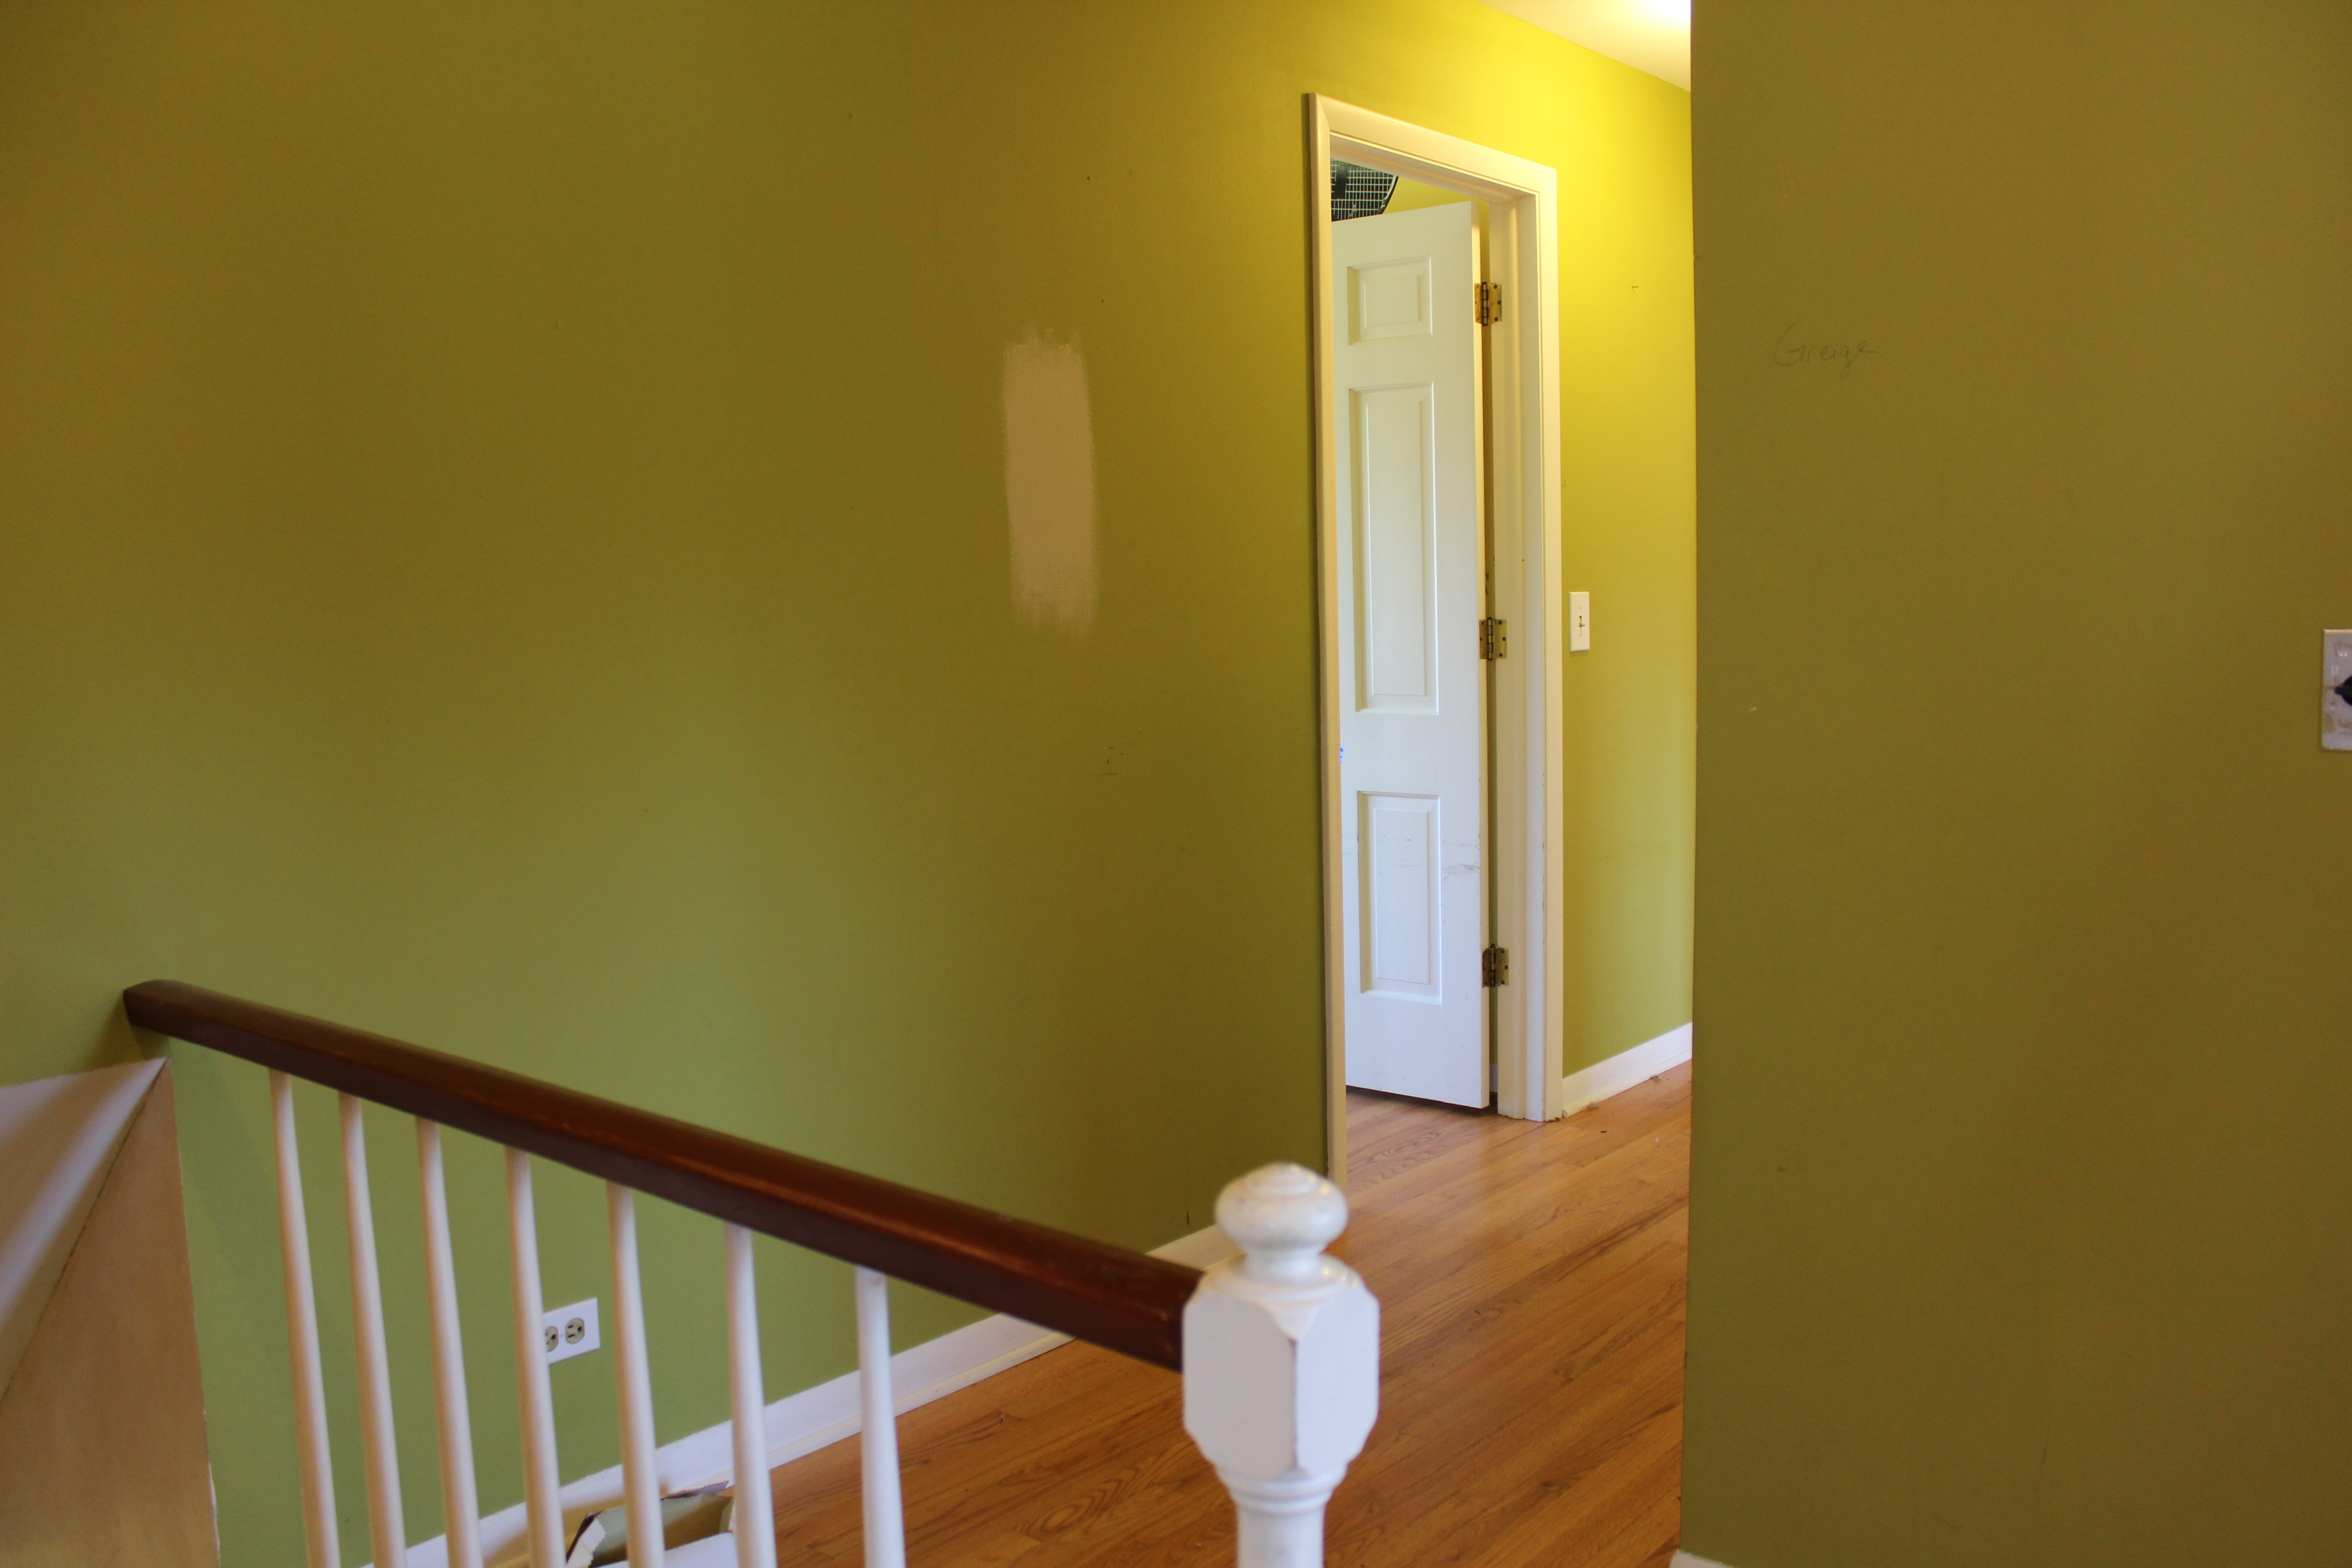
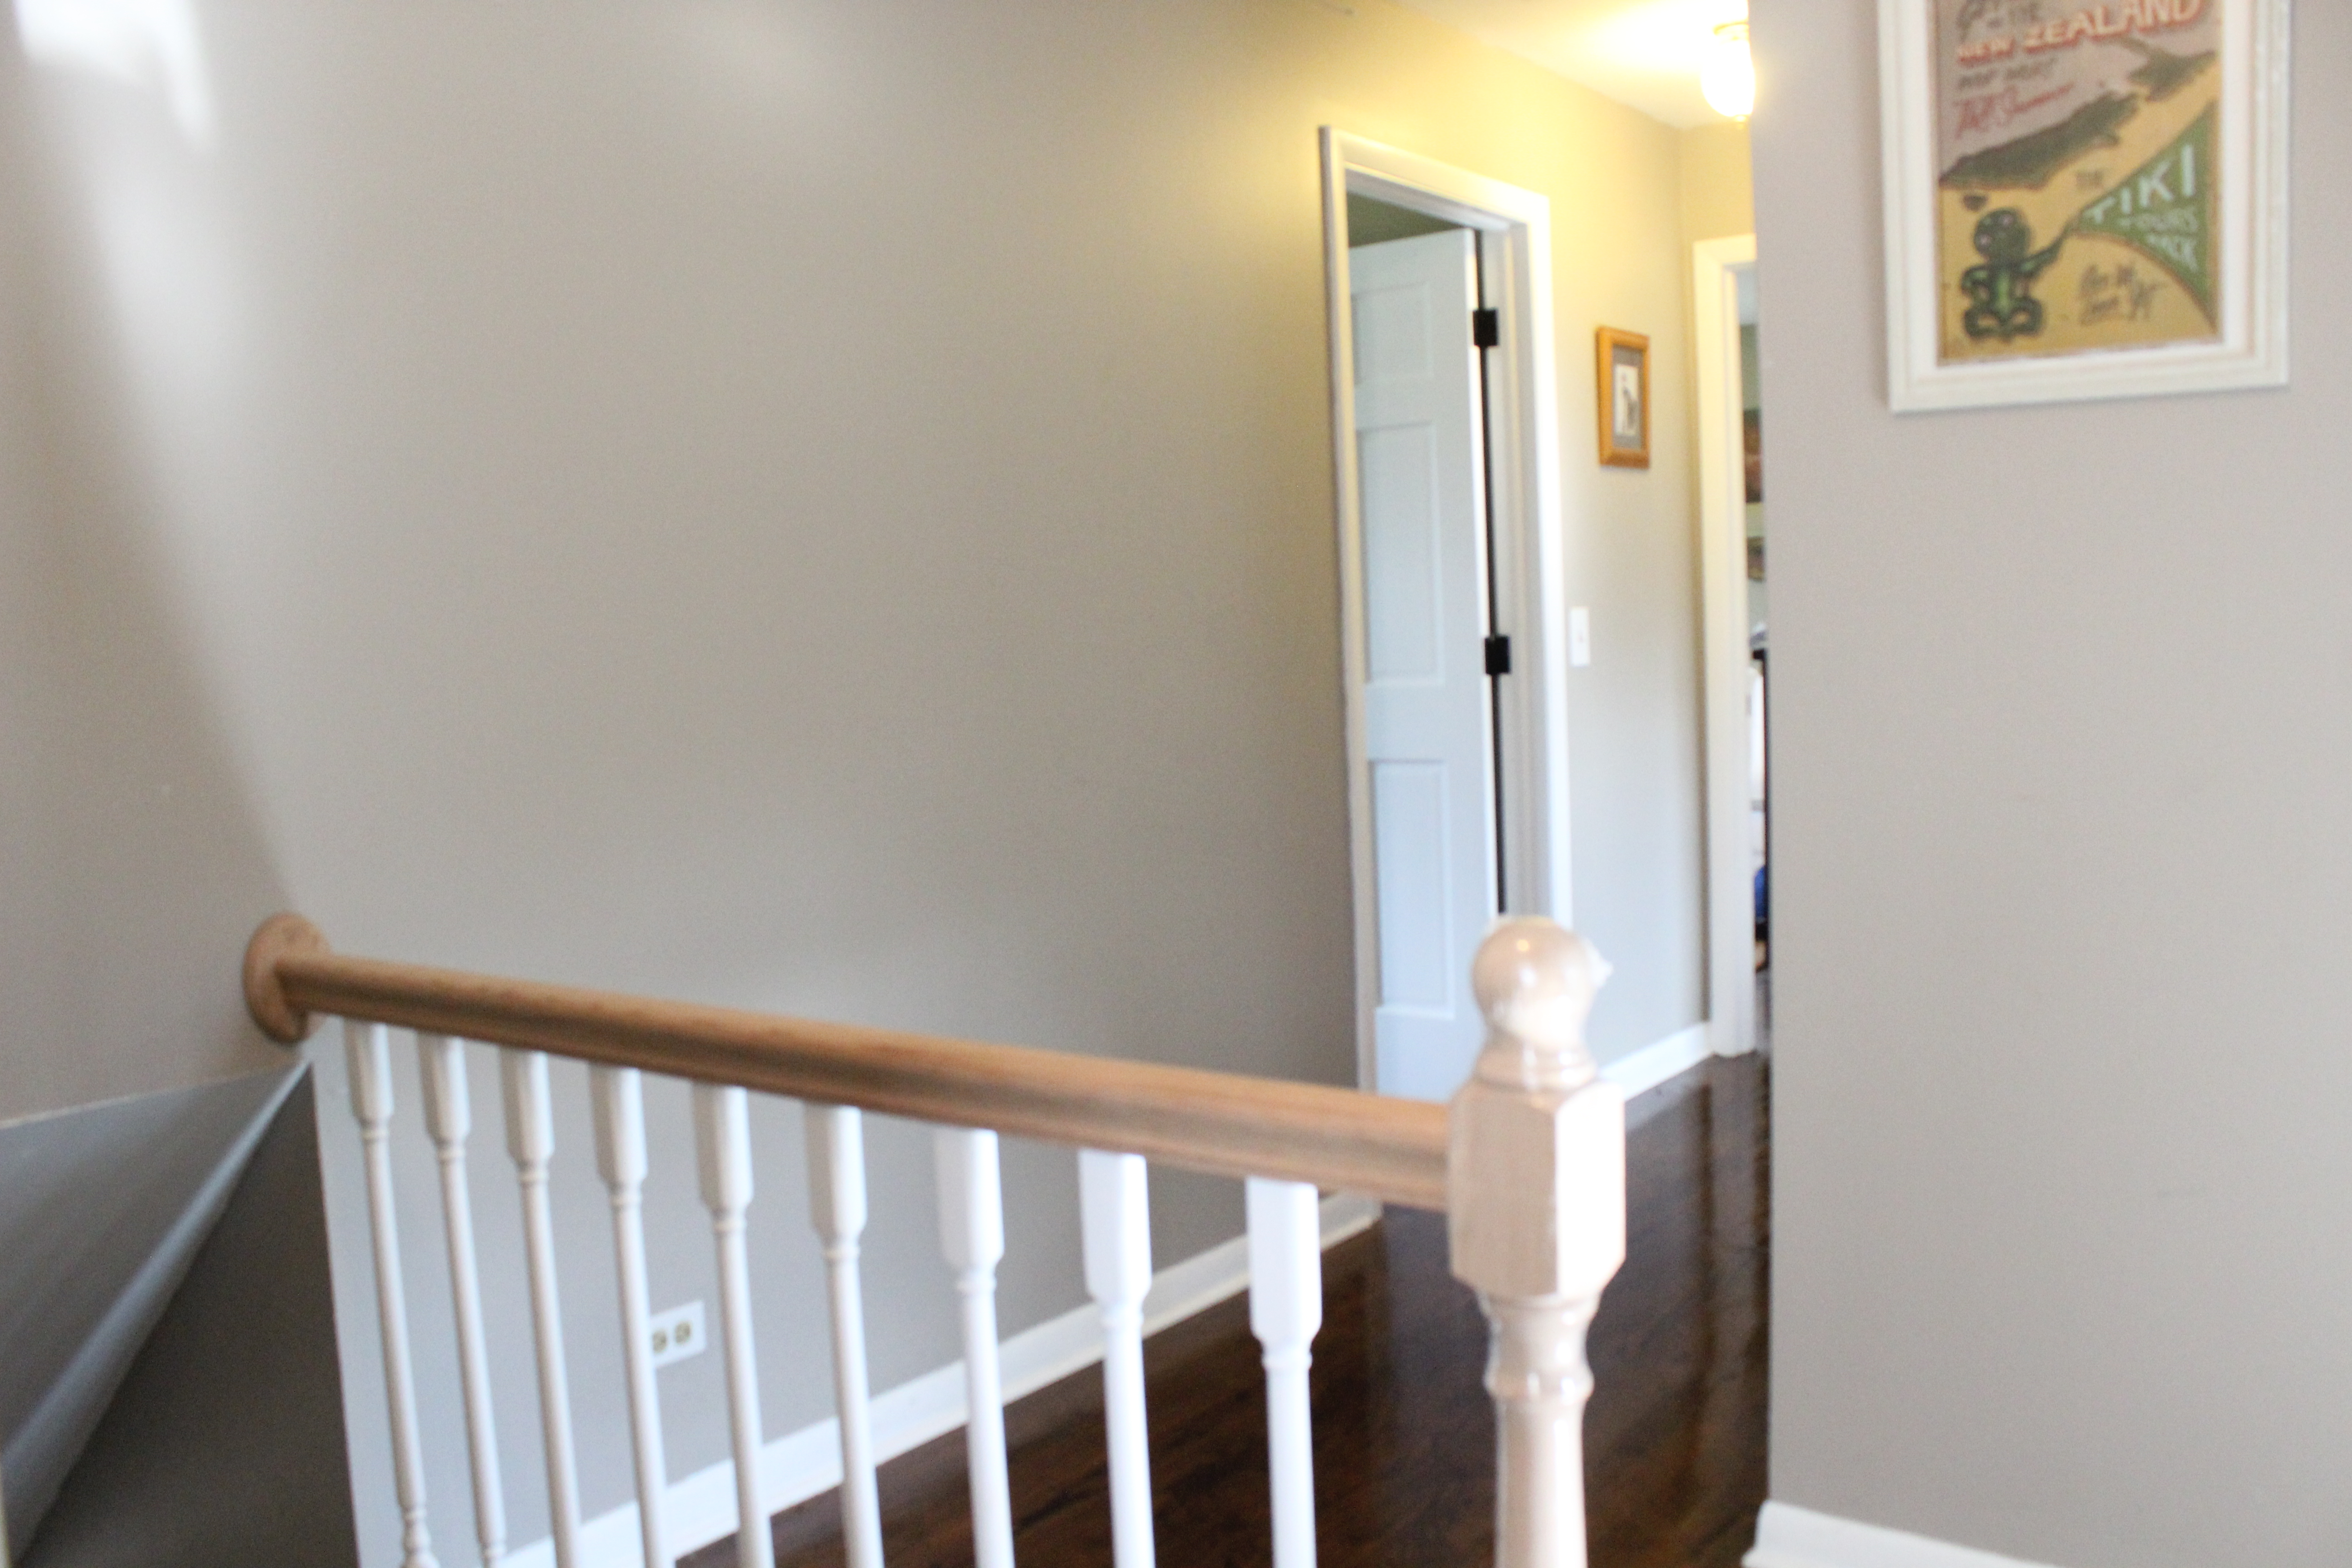
Upstairs Landing

Before

Upstairs hallway before

Current

IMG_2964

Paint and floors are new in here. That railing and banister is also new but just needs to be stained to match the floors.

Guest Bathroom

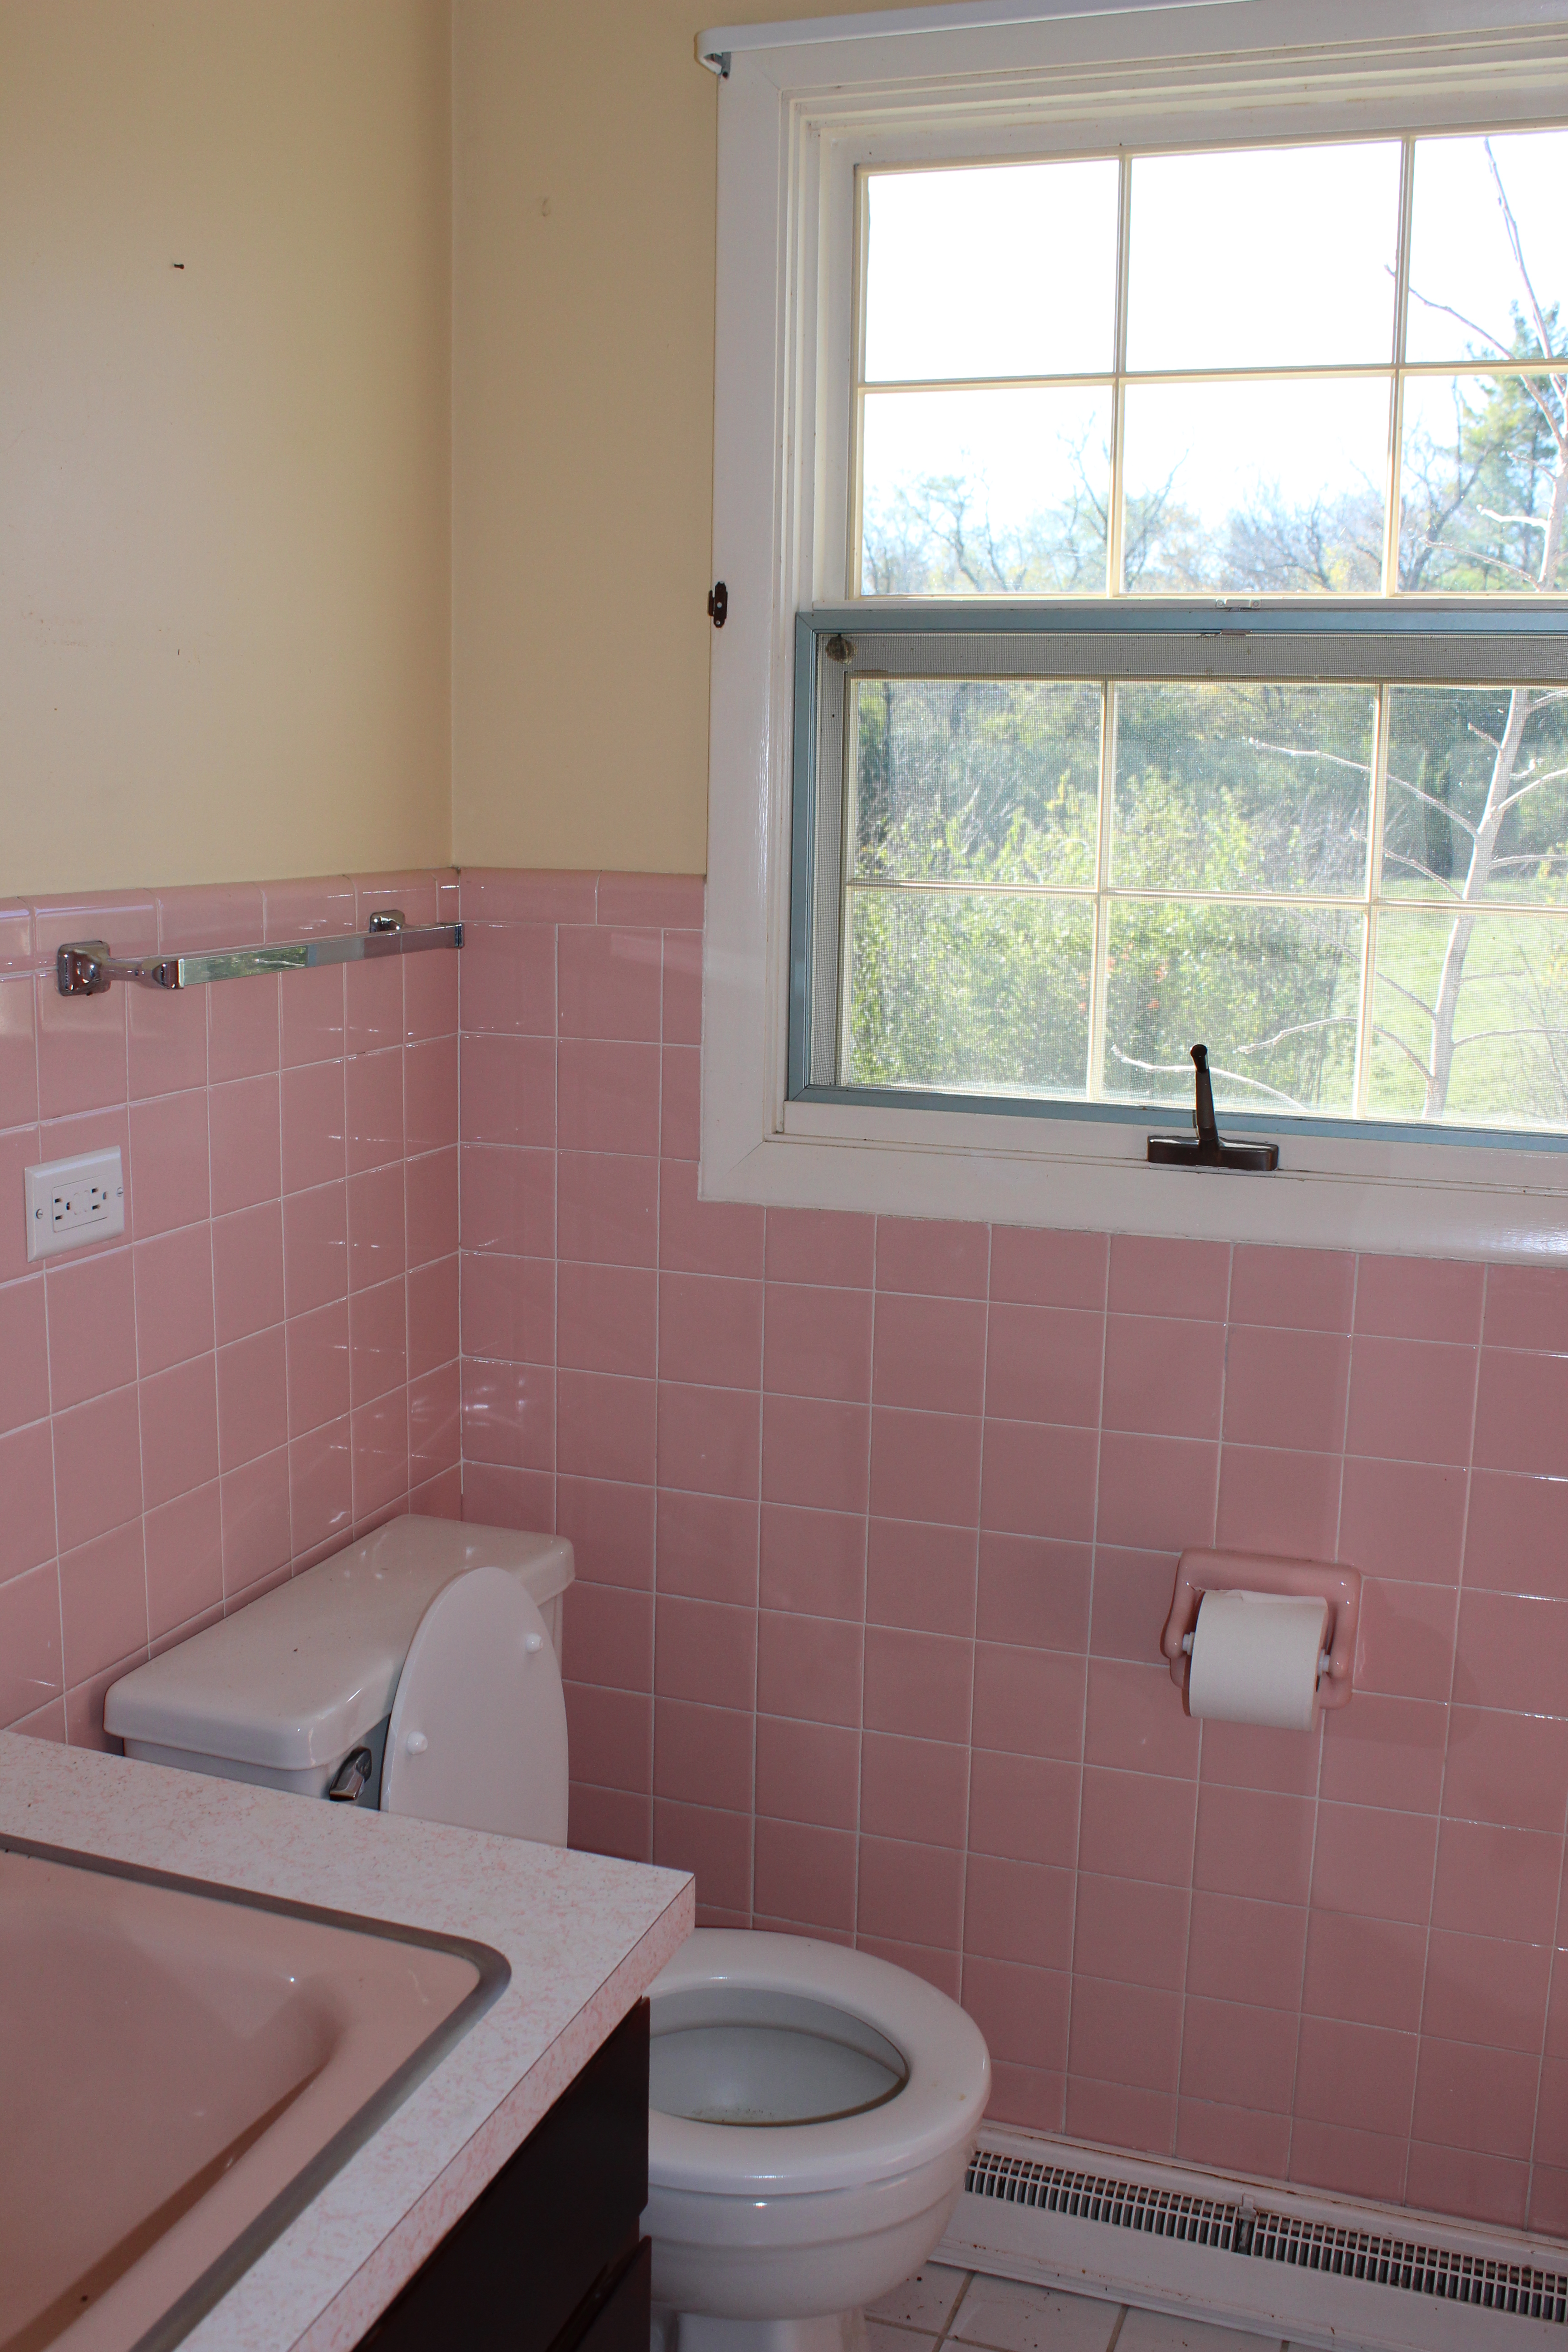
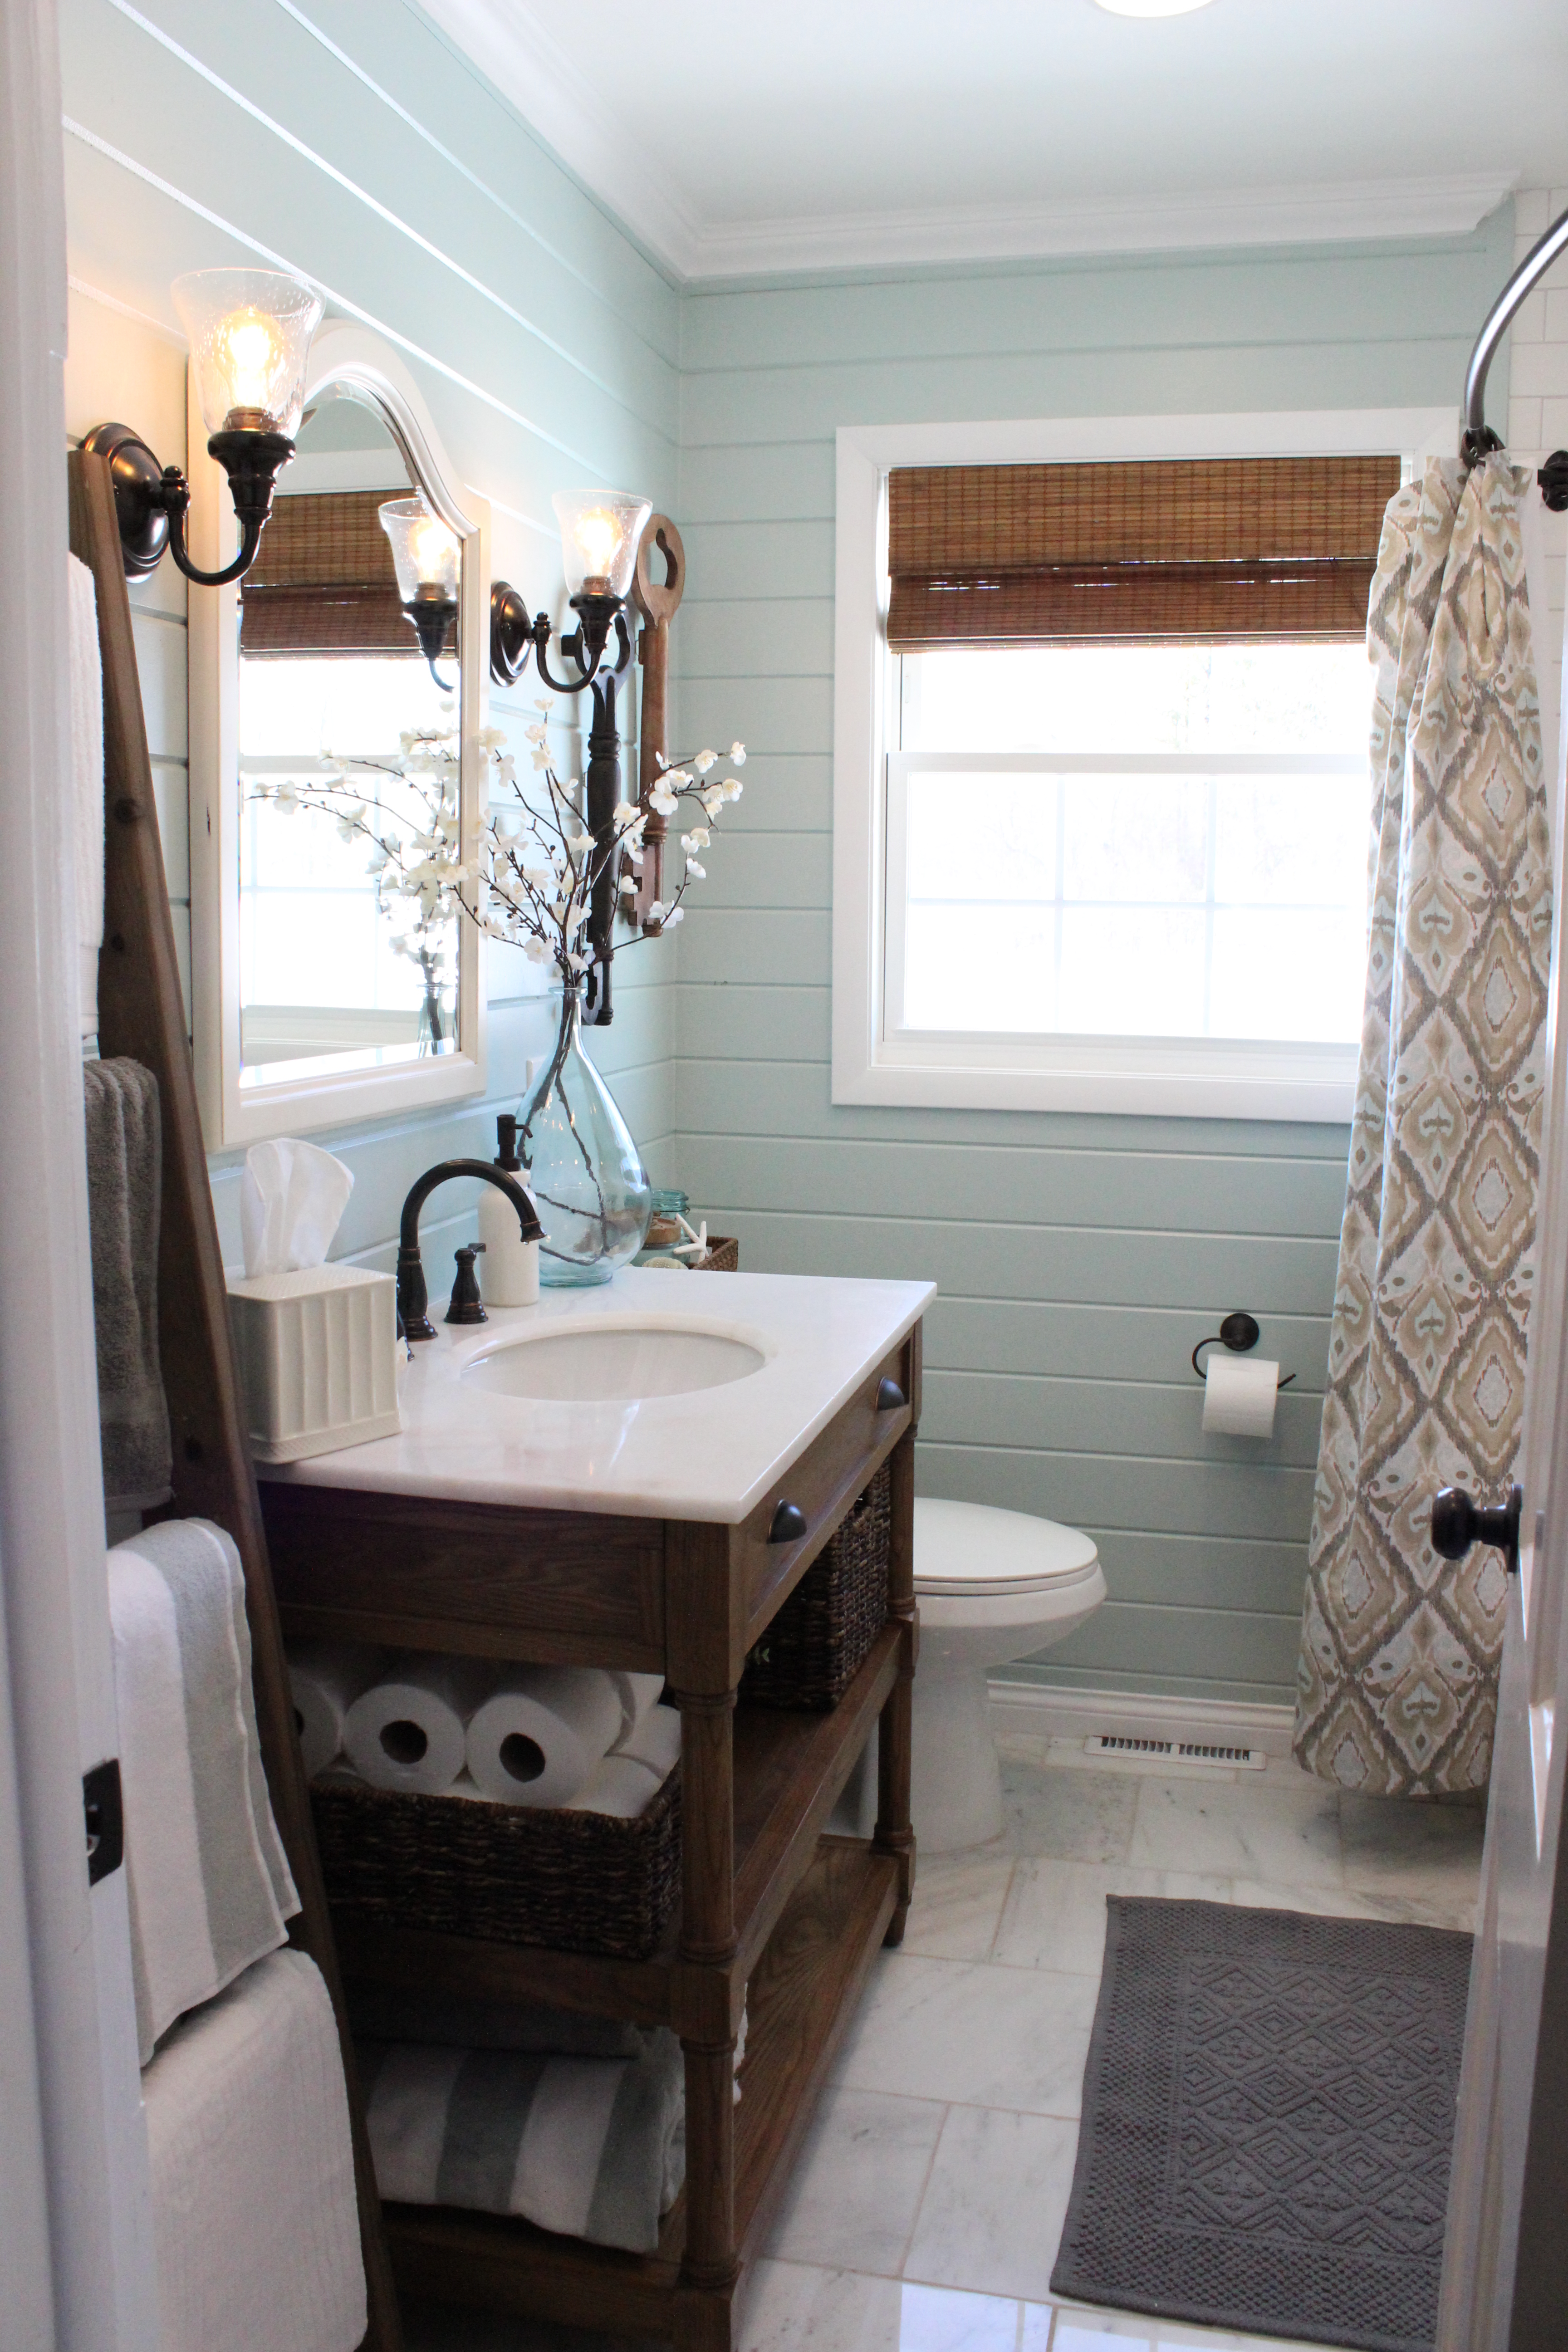
Pink bathroom beforeAfter

IMG_2632

This is the only room I’m calling “After” instead of “Current” because it is 100% done. We’re pretty proud of this space especially since its the reason we are getting most of our blog traffic because of people finding it on Pinterest and other blogs. You can get all the bathroom details here.

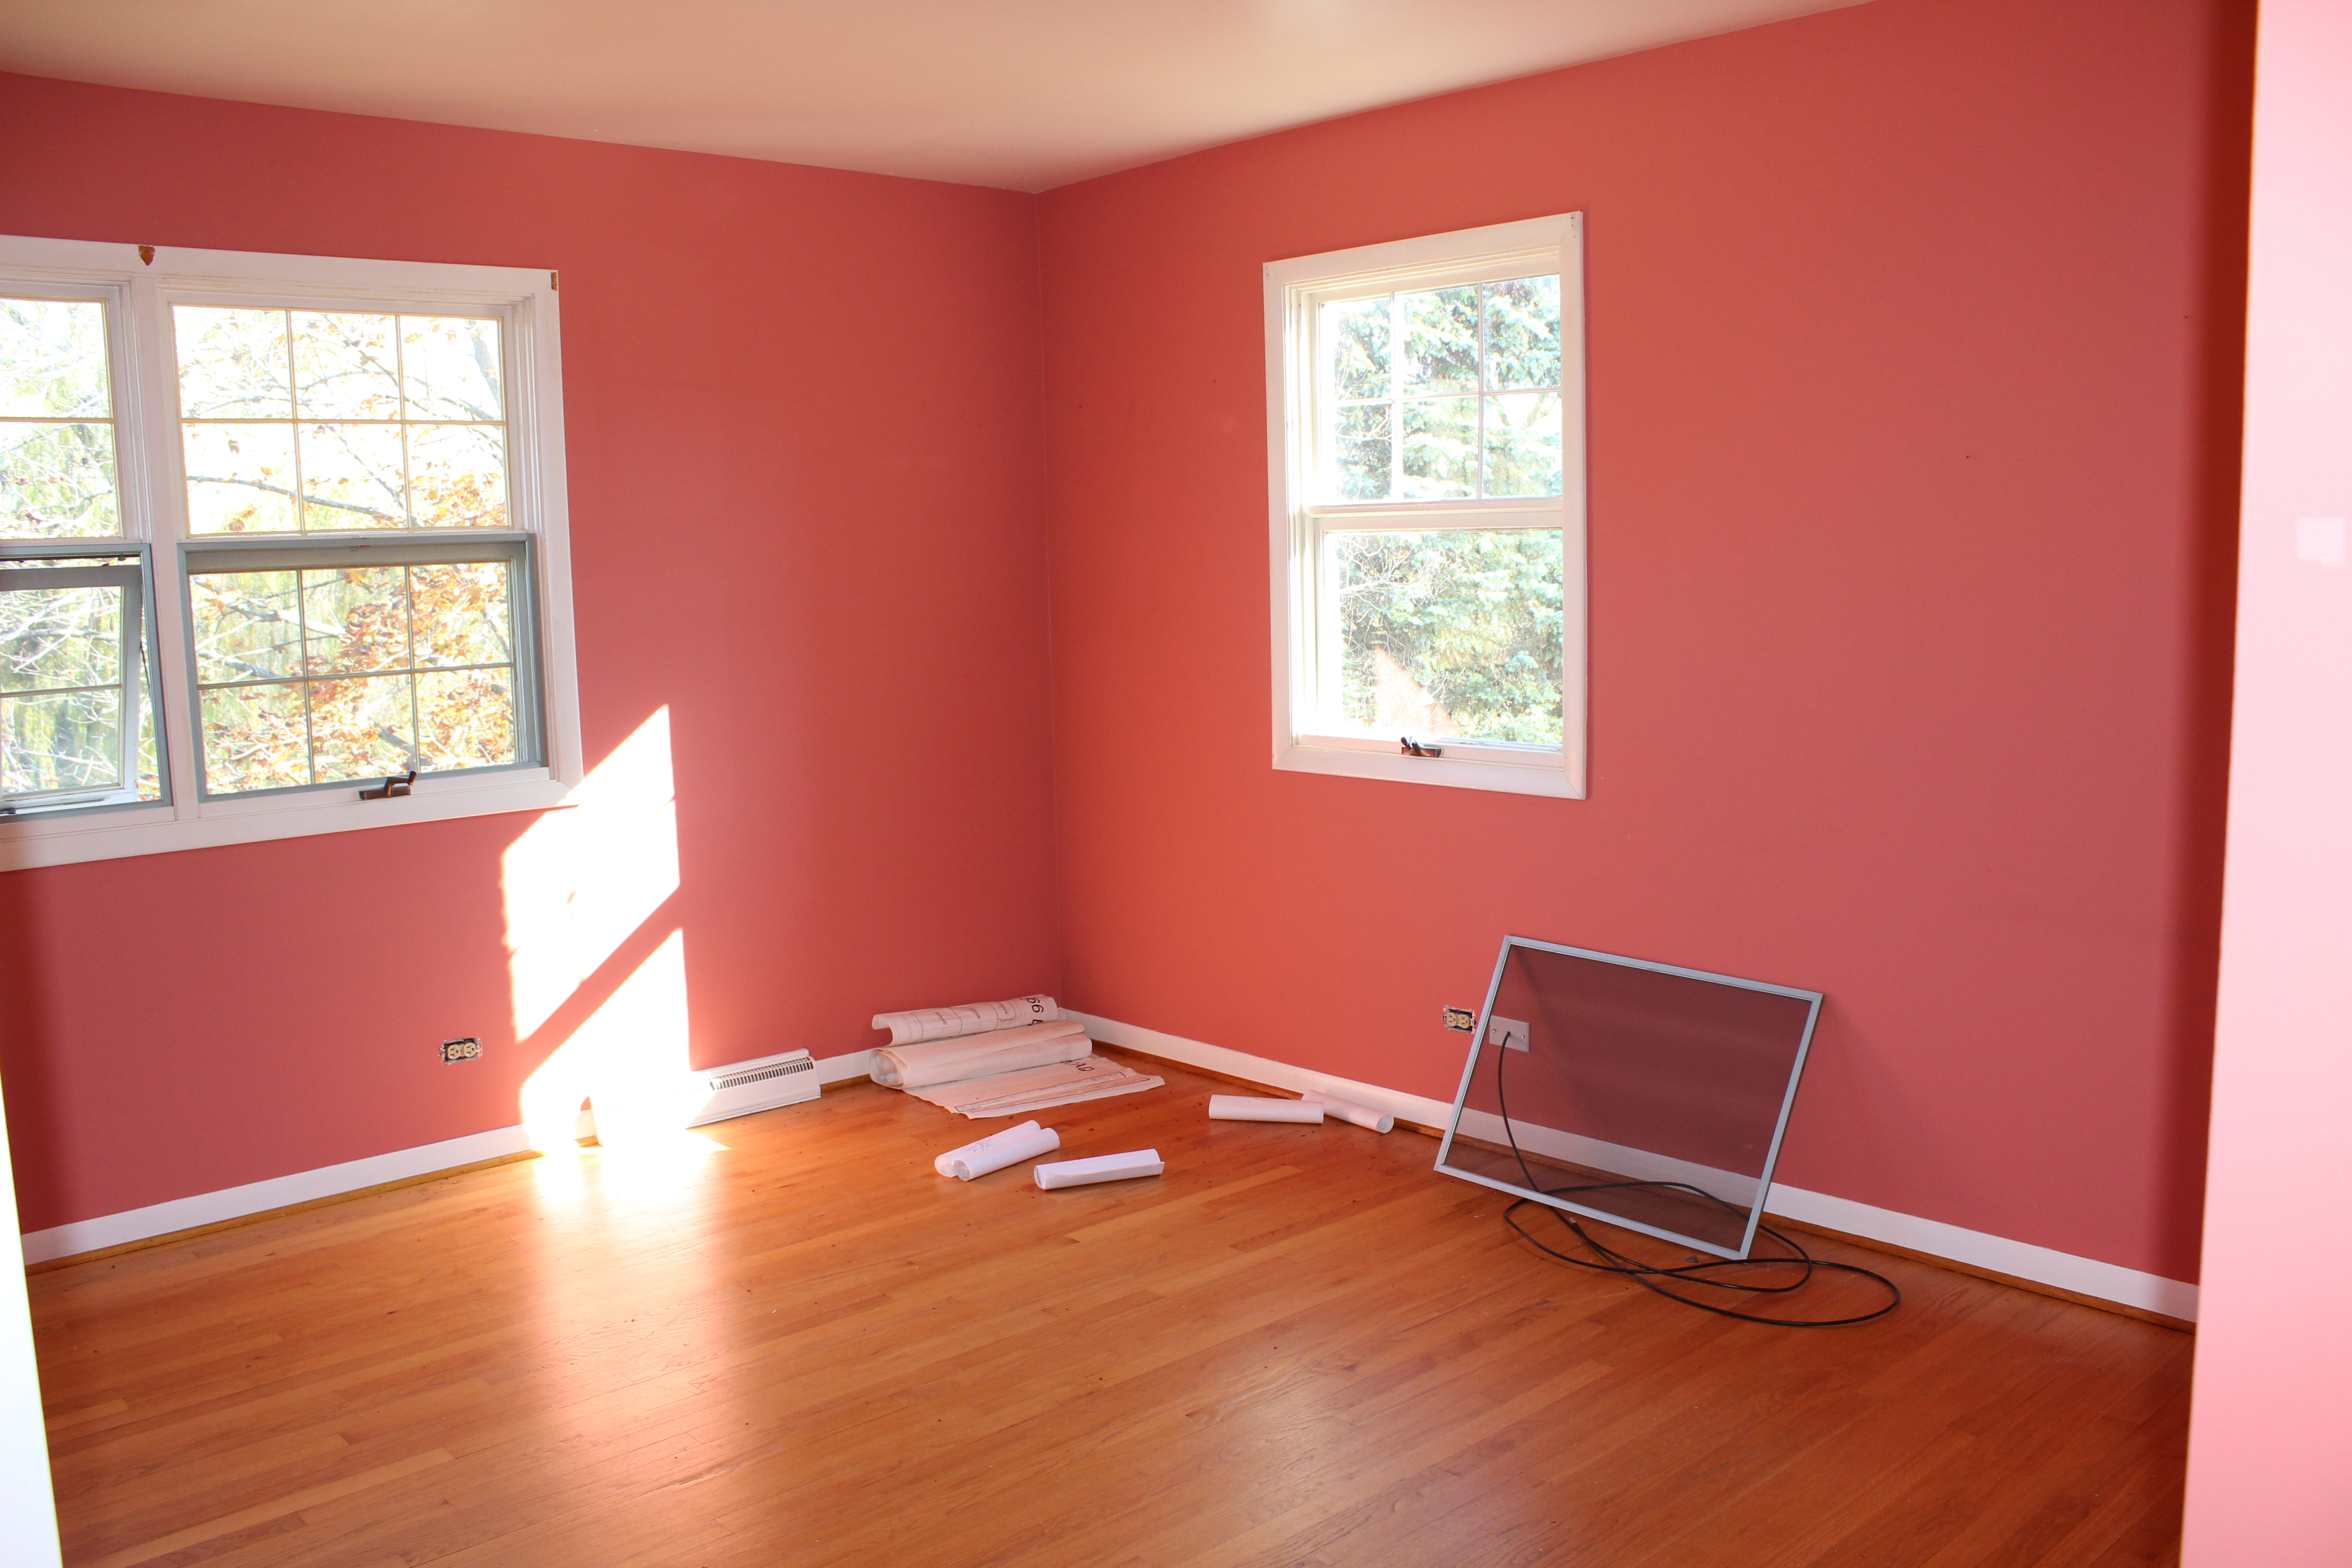
Master Bedroom

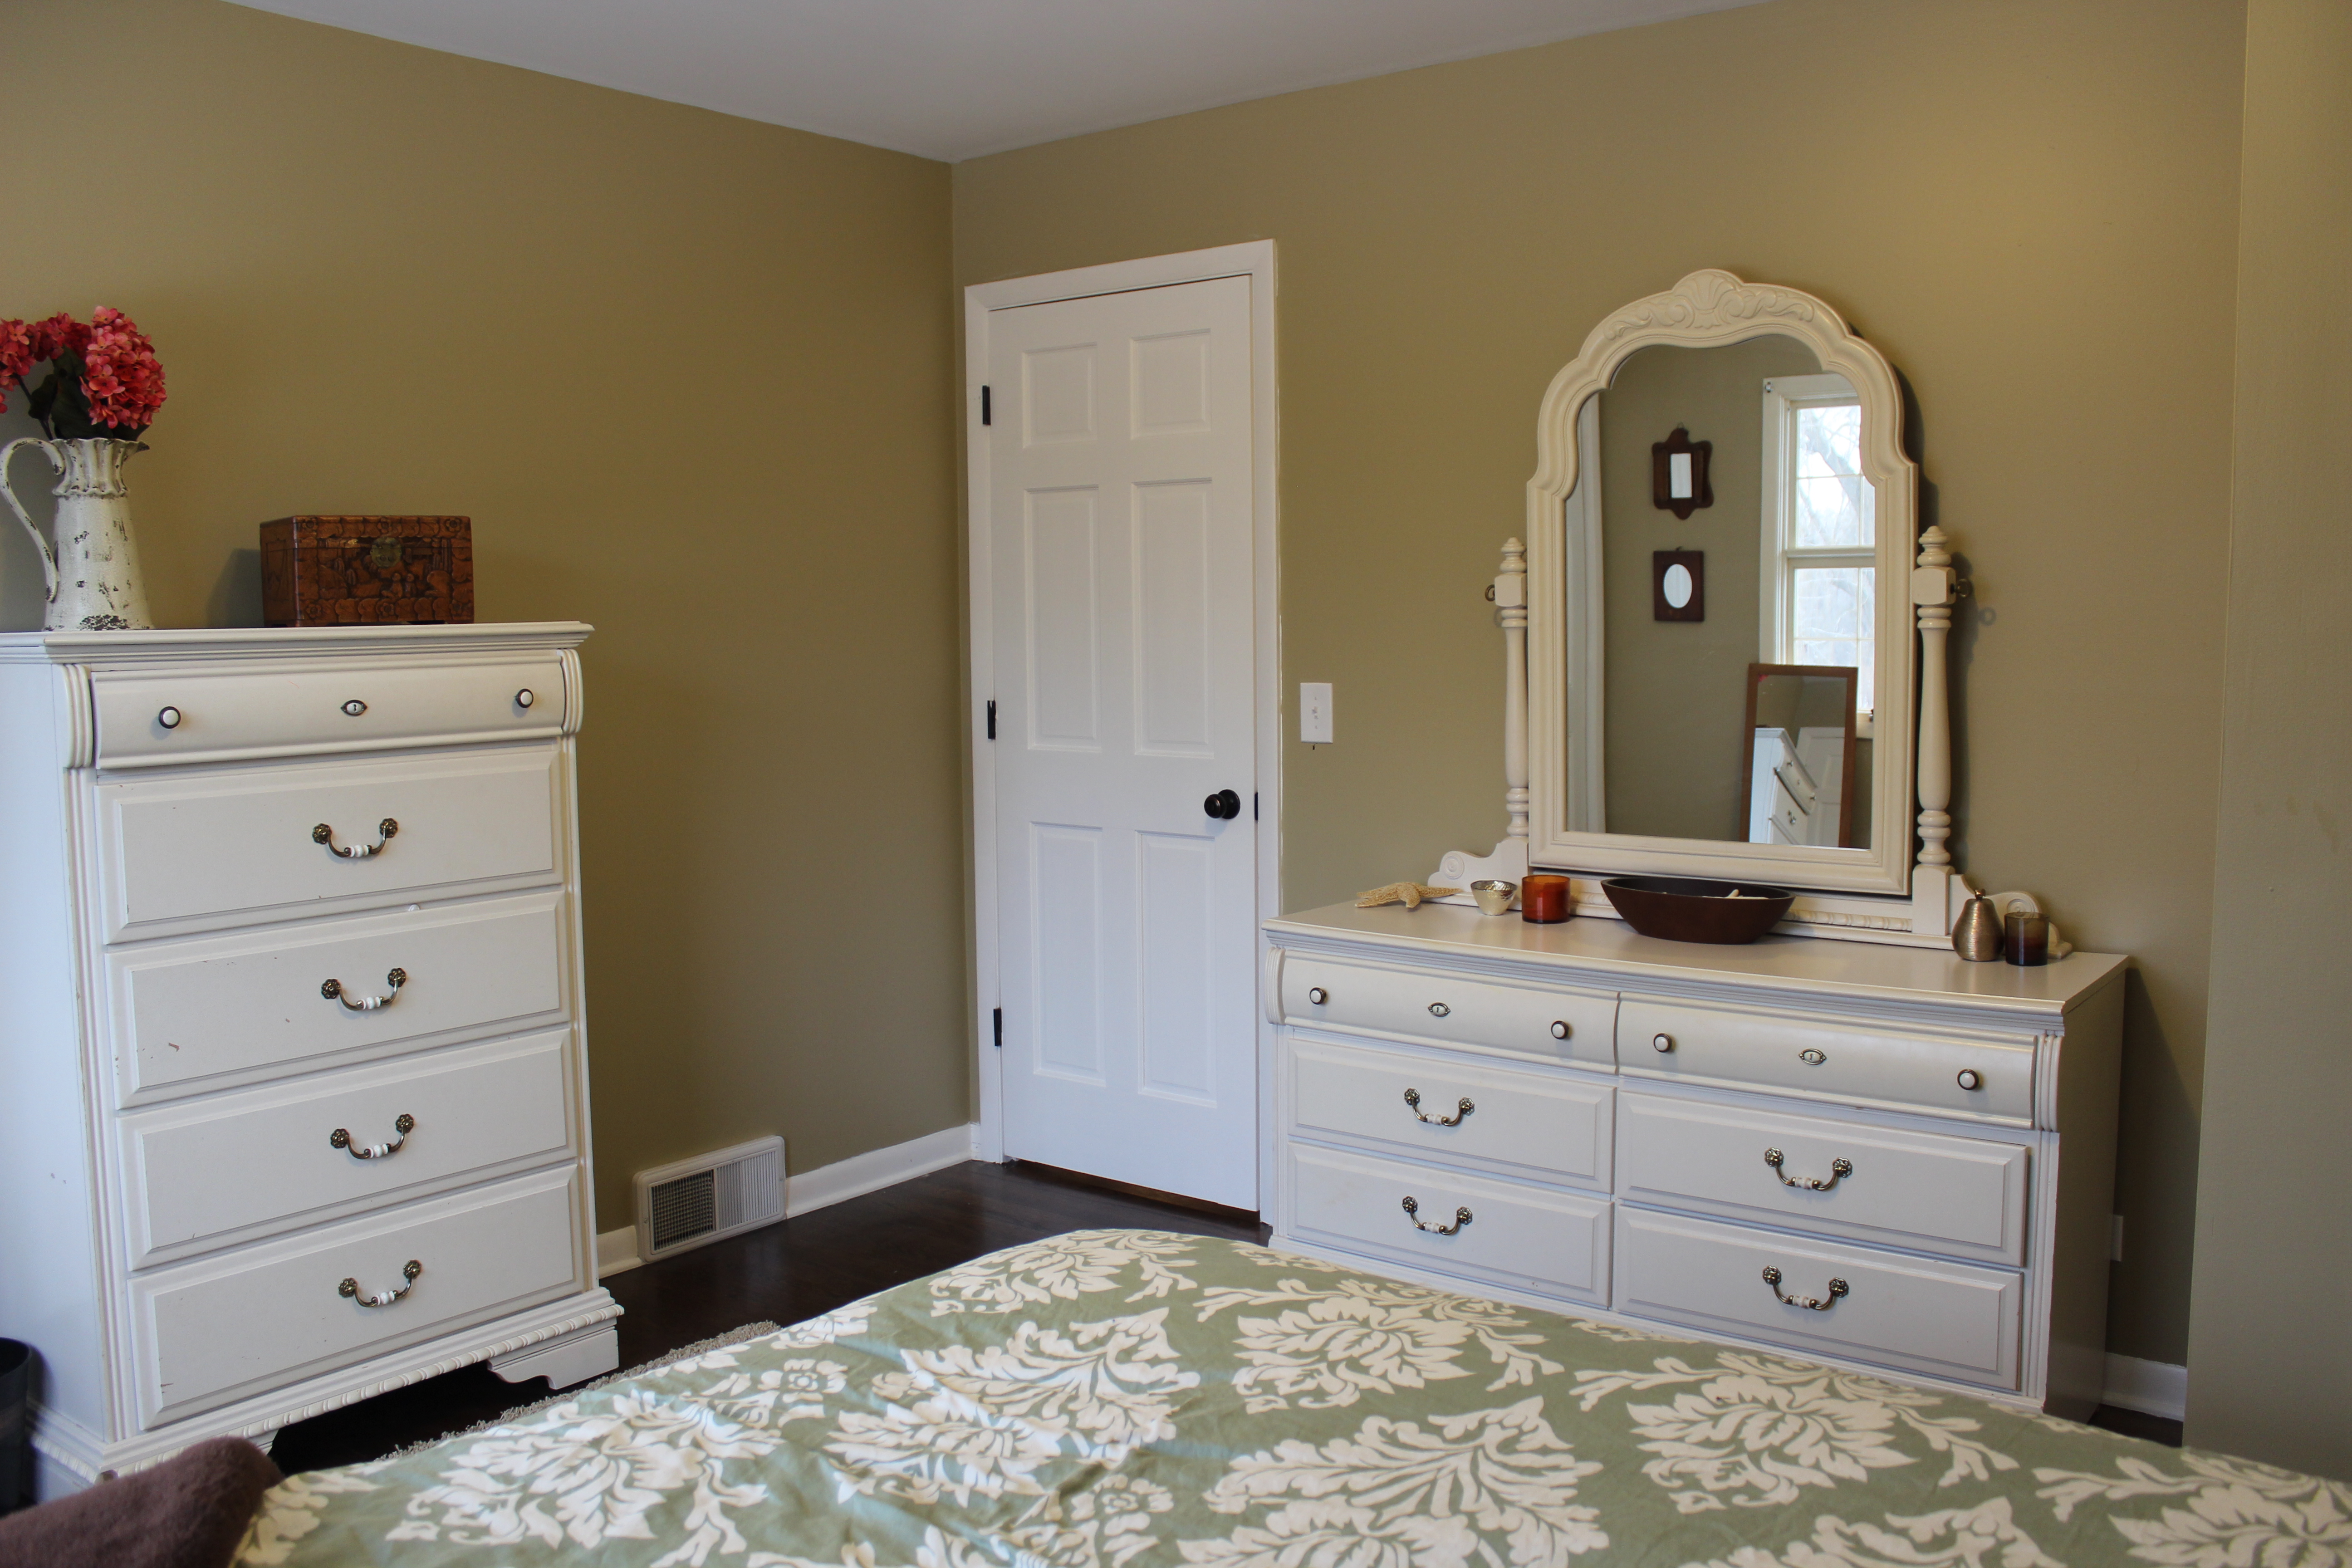
Before

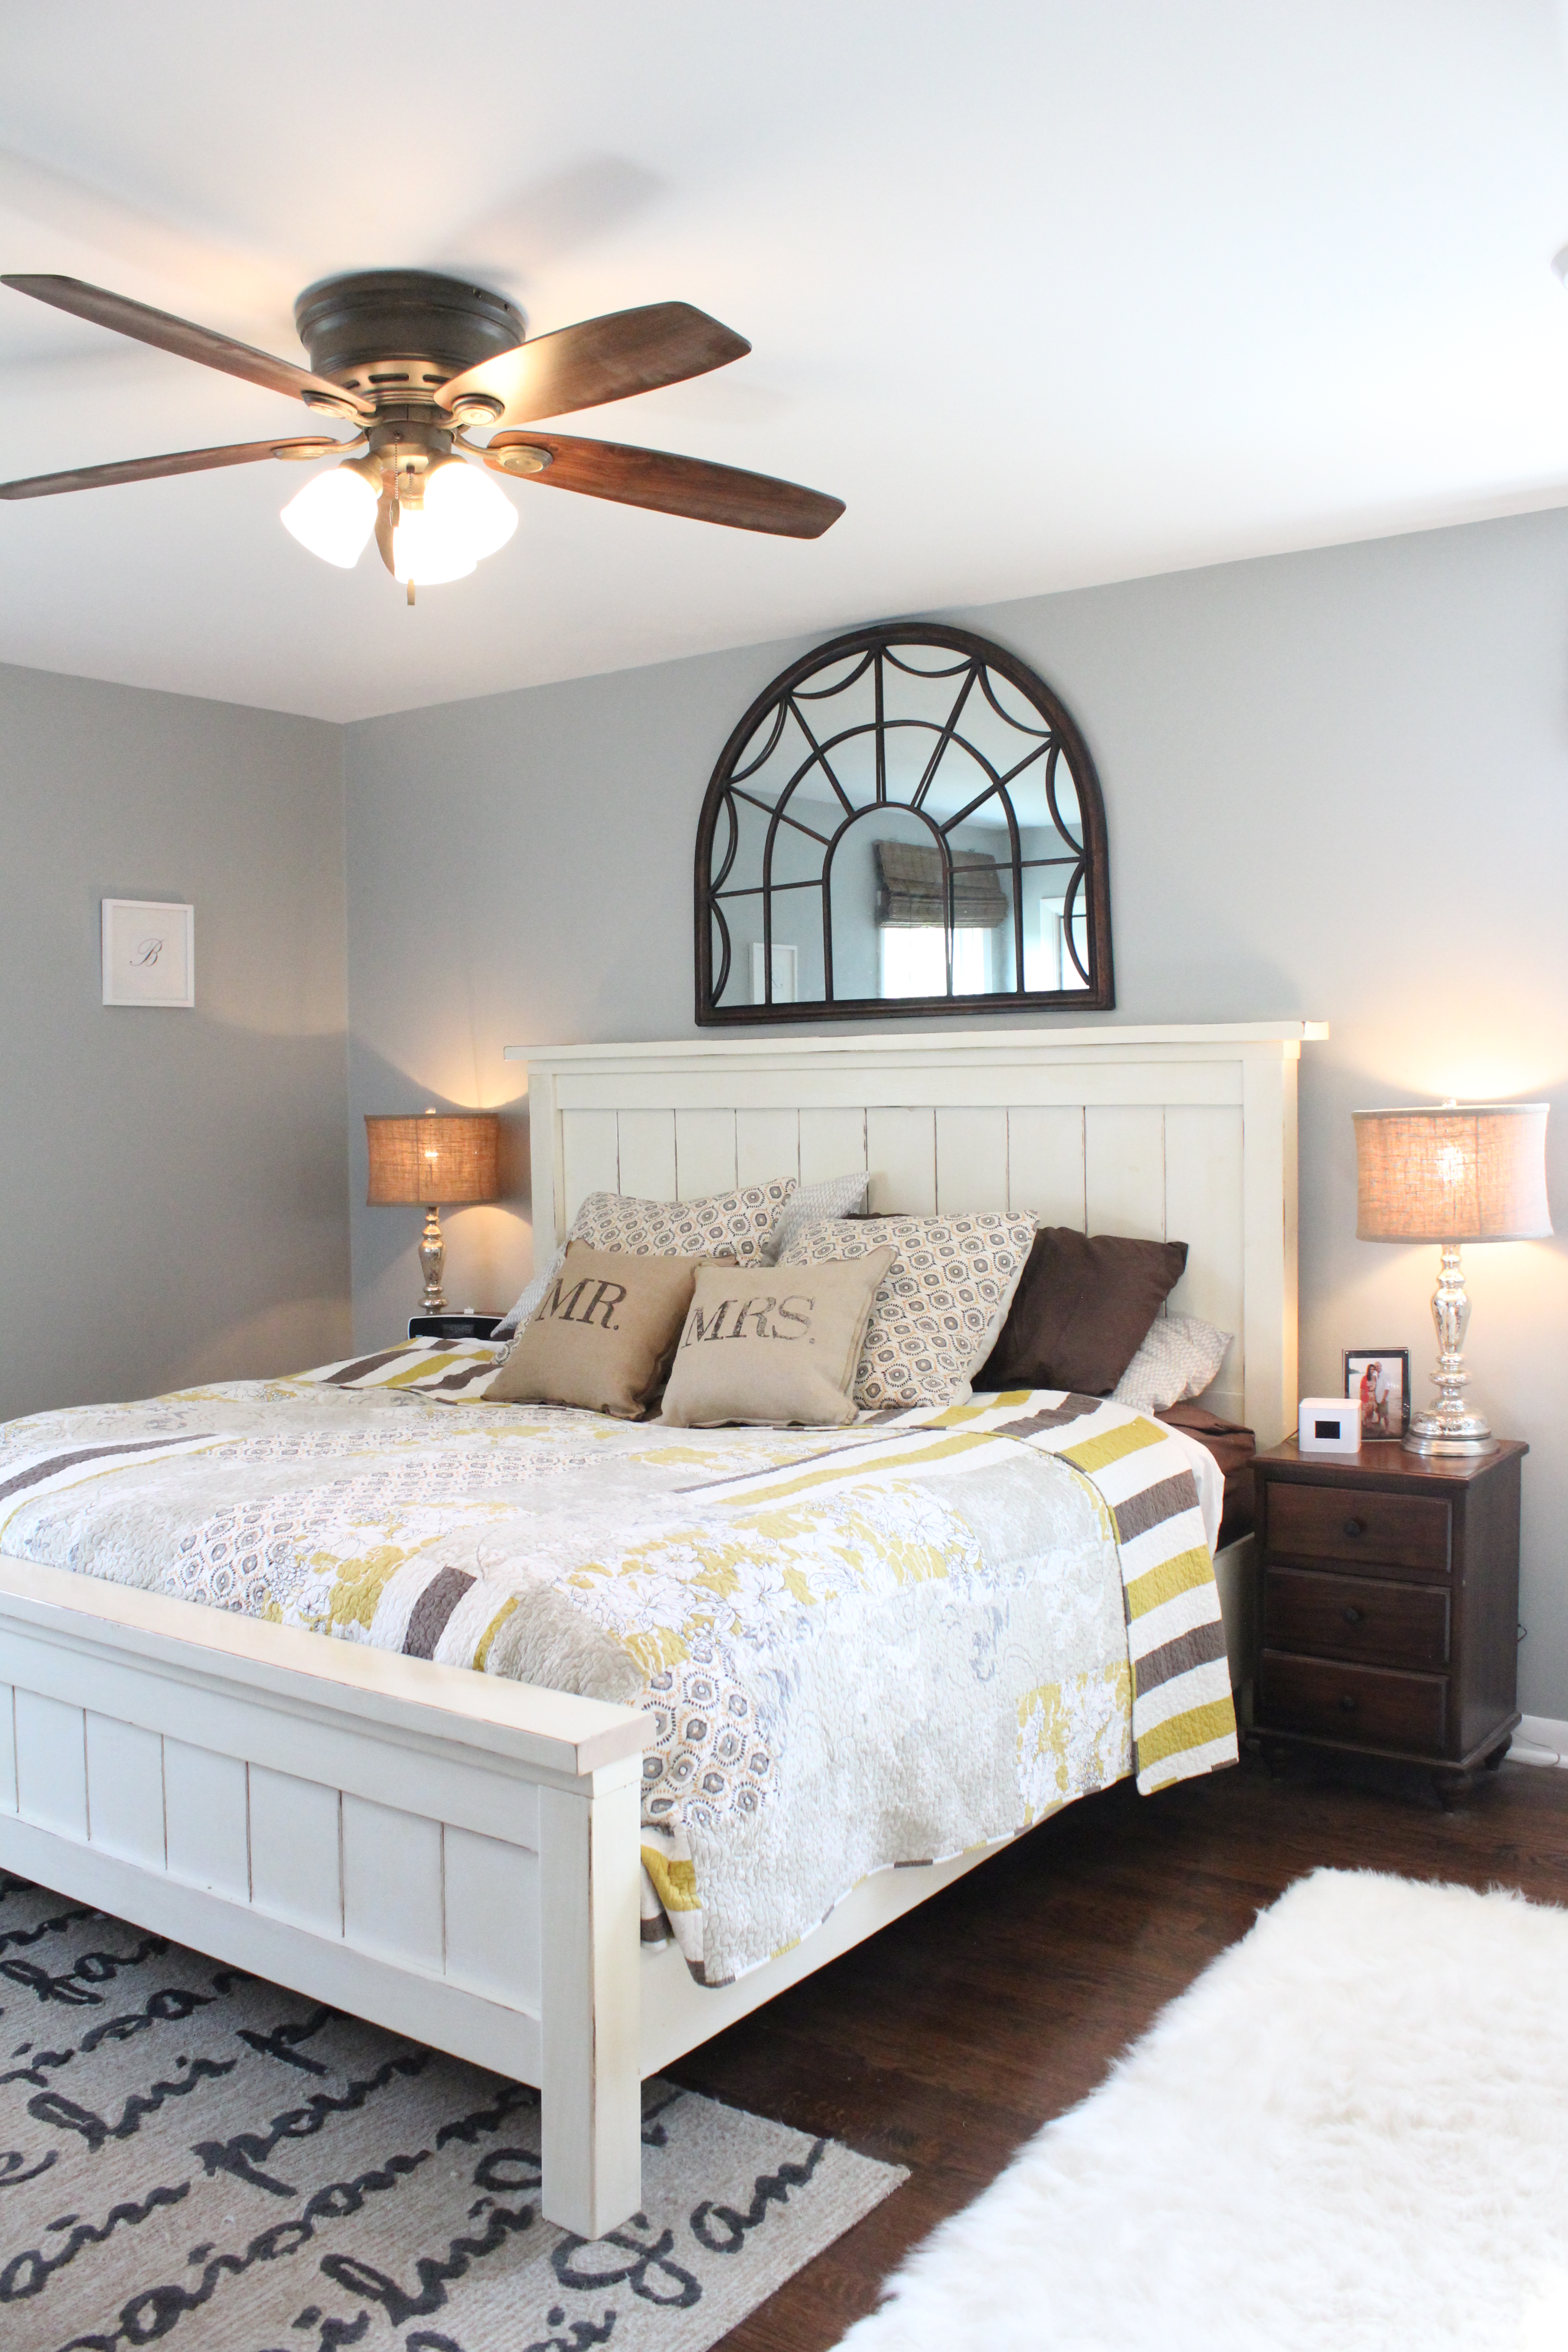
Master Bedroom

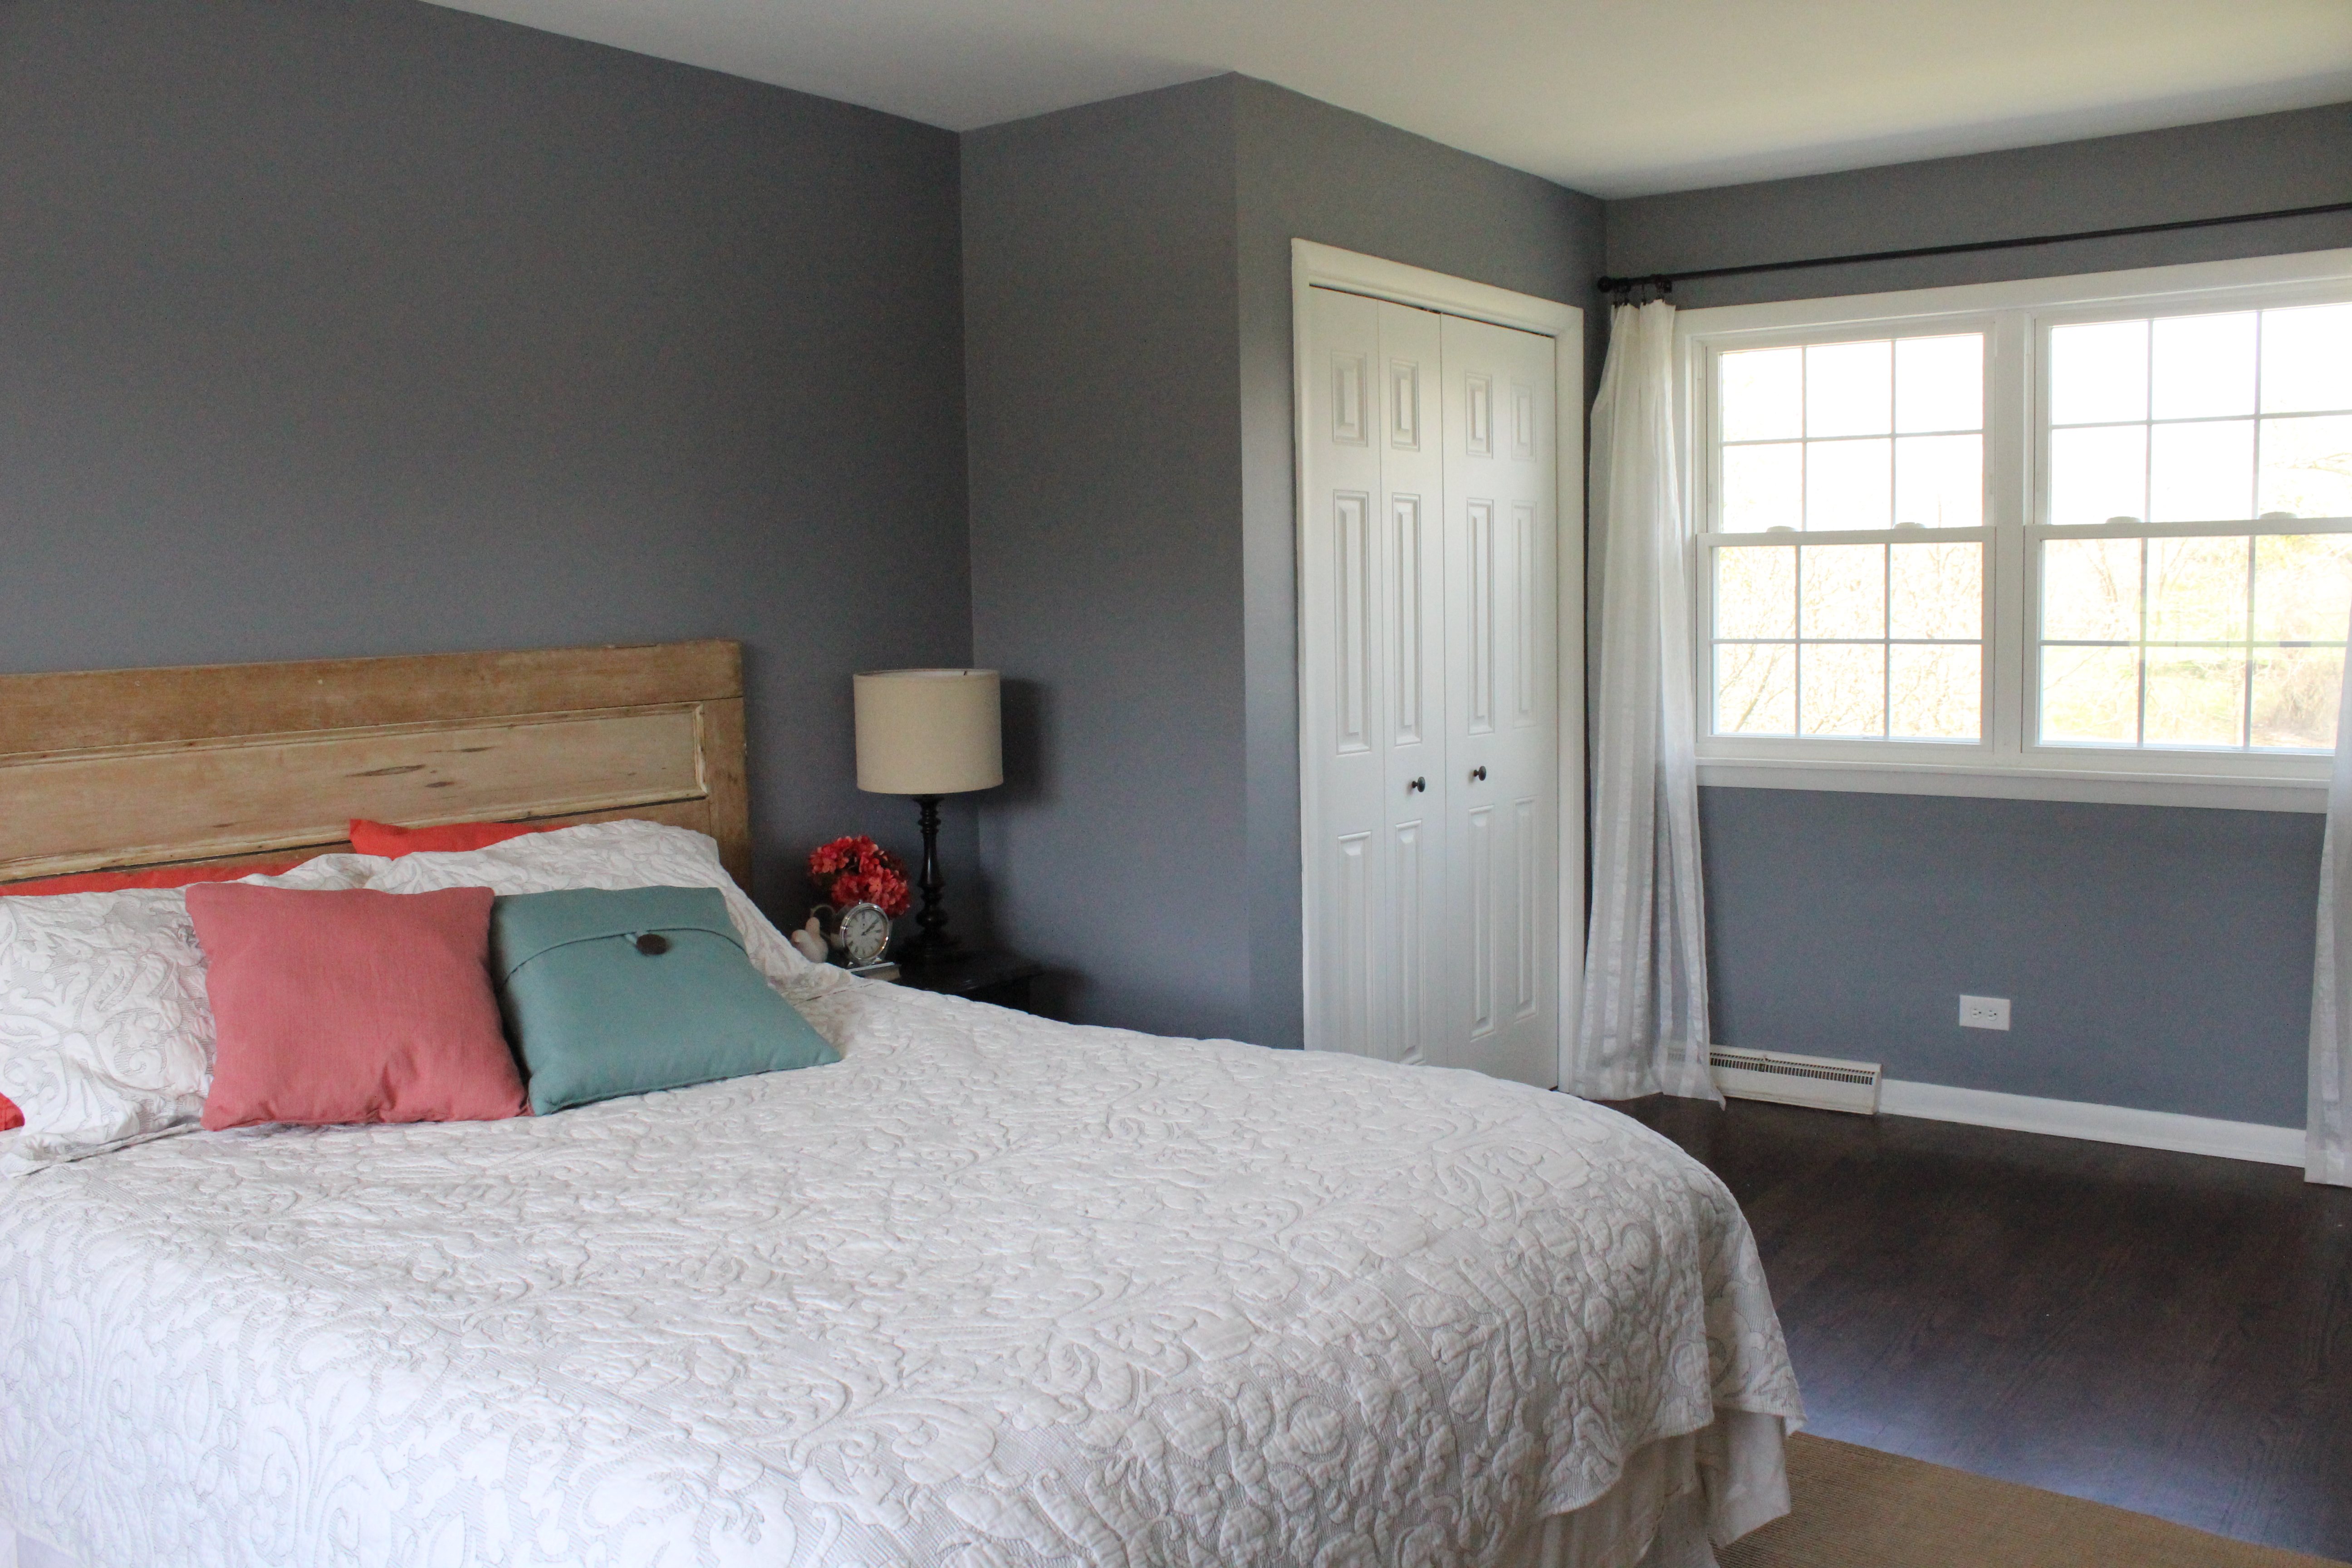
After

IMG_3004

Paint is Benjamin Moore’s Metropolitan. Also new is the ceiling fan and floors re-finished.

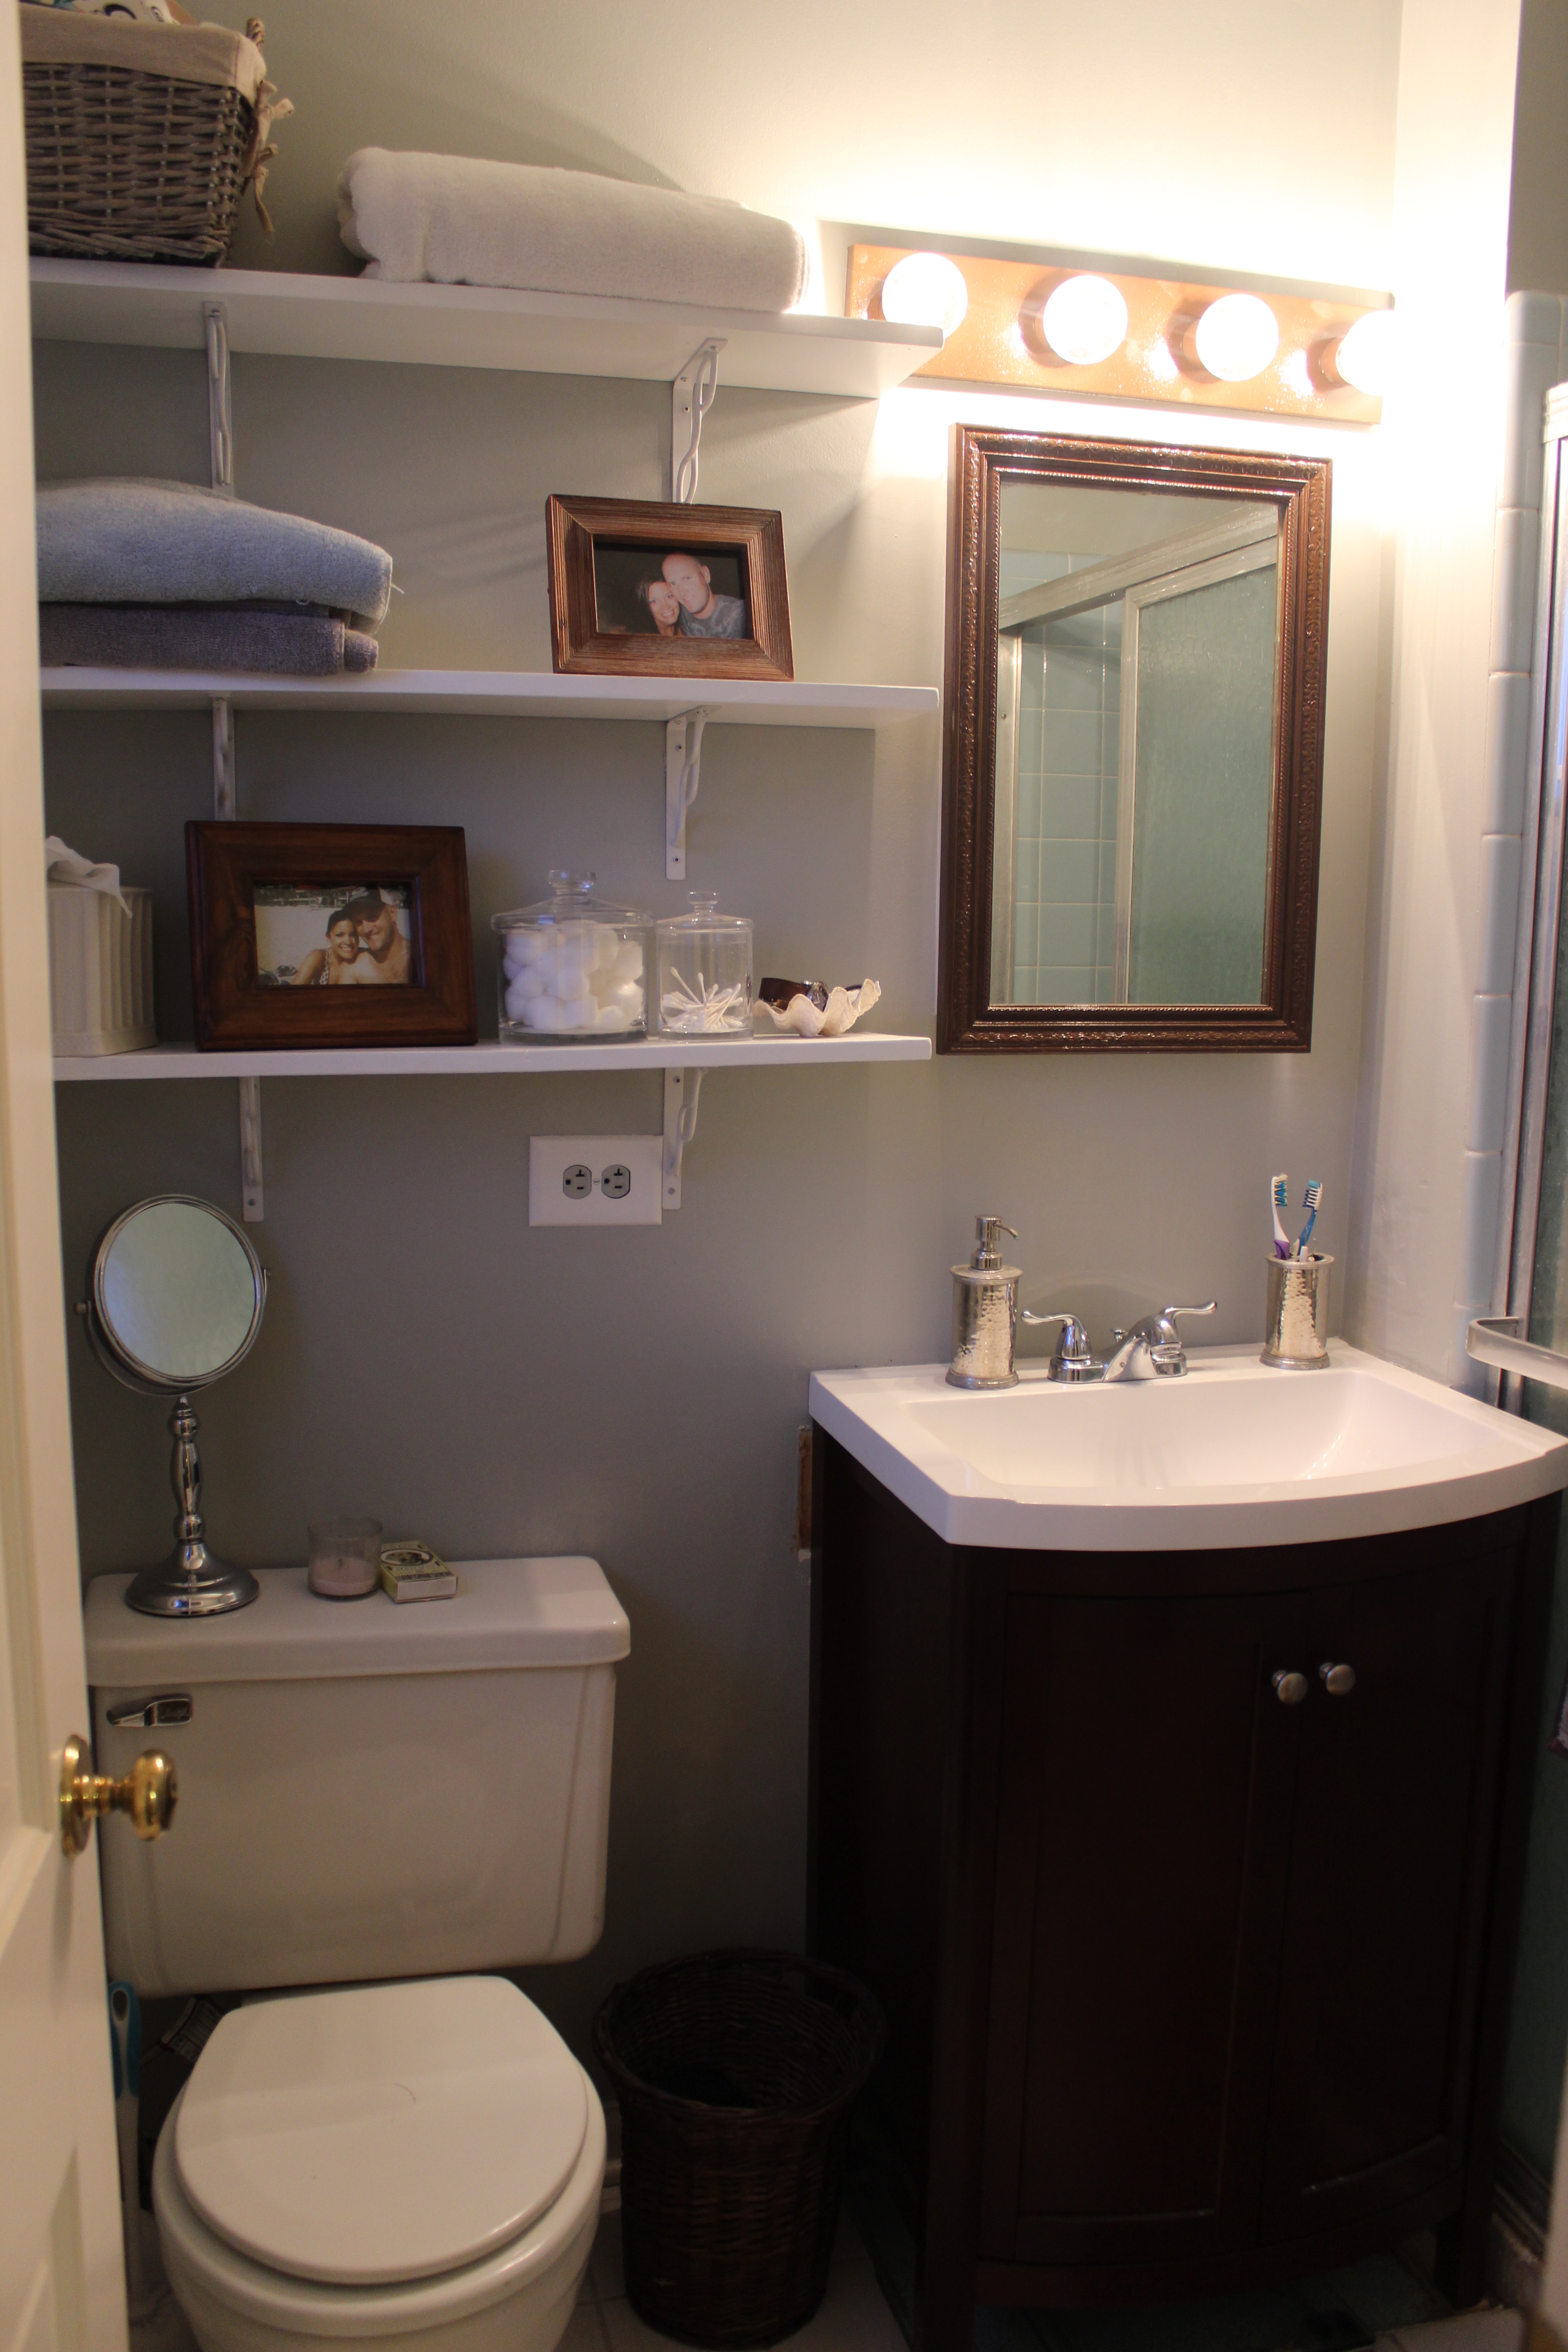
Master Bathroom

Before

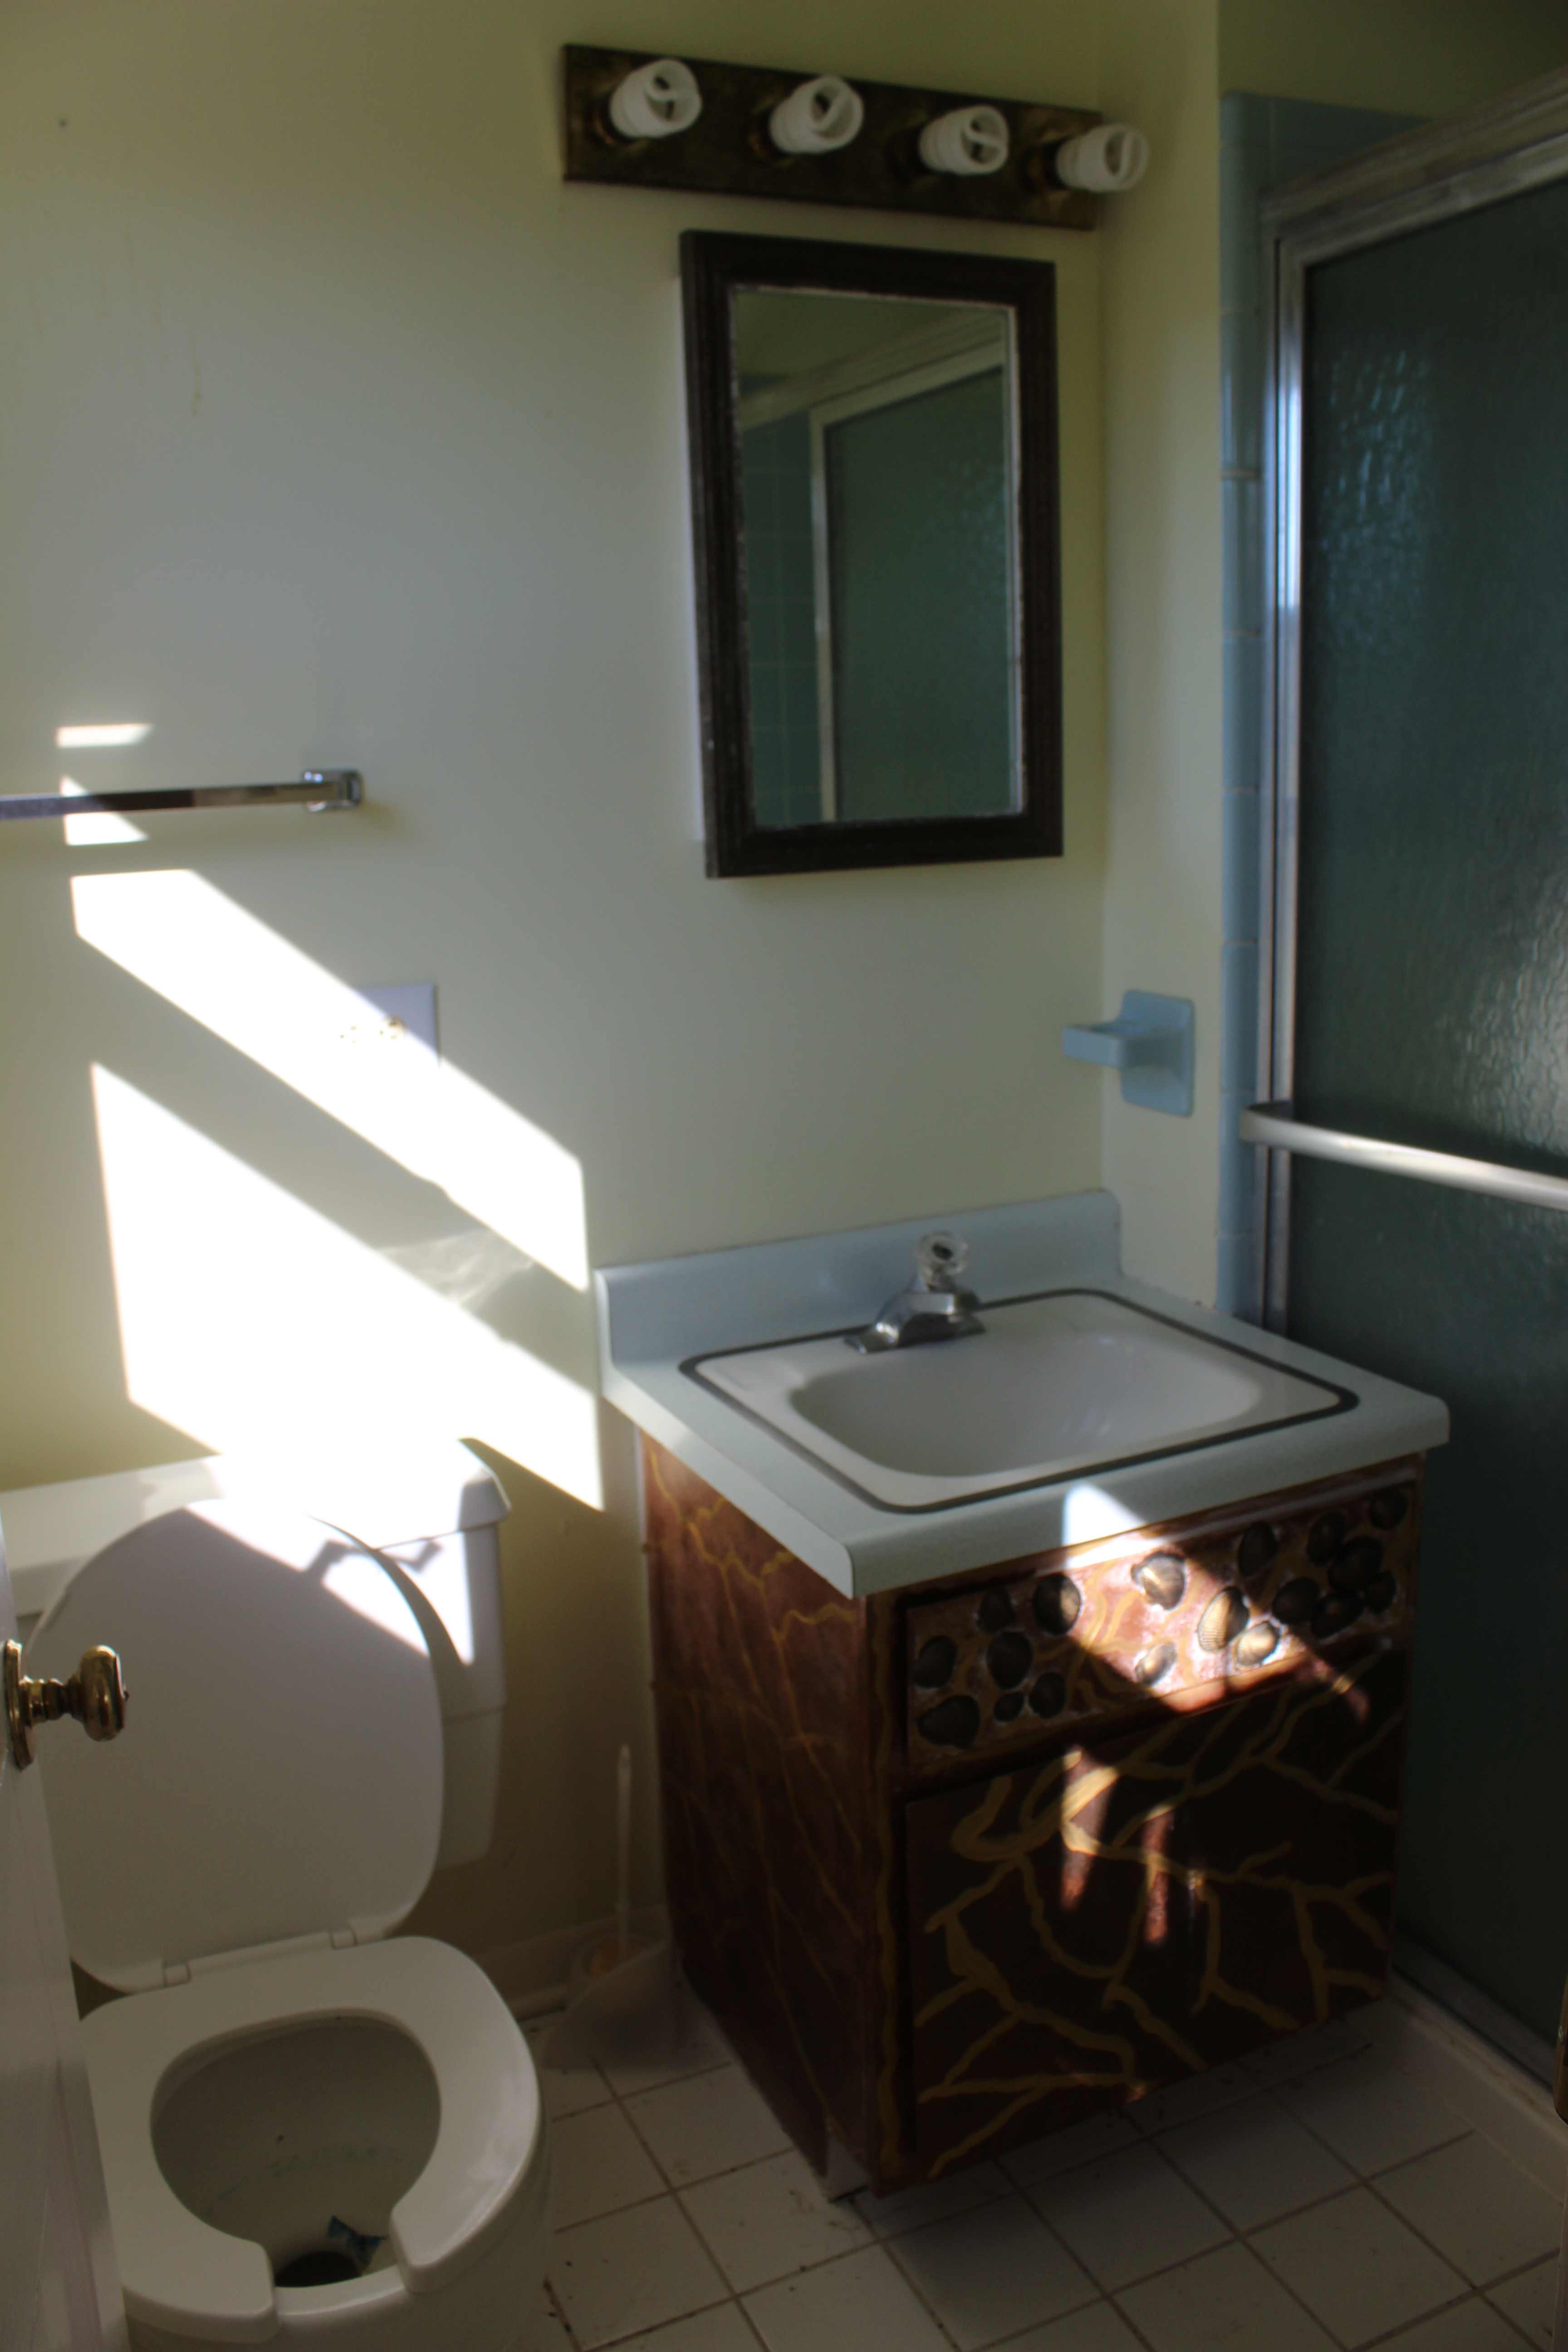
Master Bathroom

Current

IMG_2060

We just painted, added some shelves and put in a cheap vanity in here. This room is going to turn into an upstairs laundry when we relocate our master bedroom.

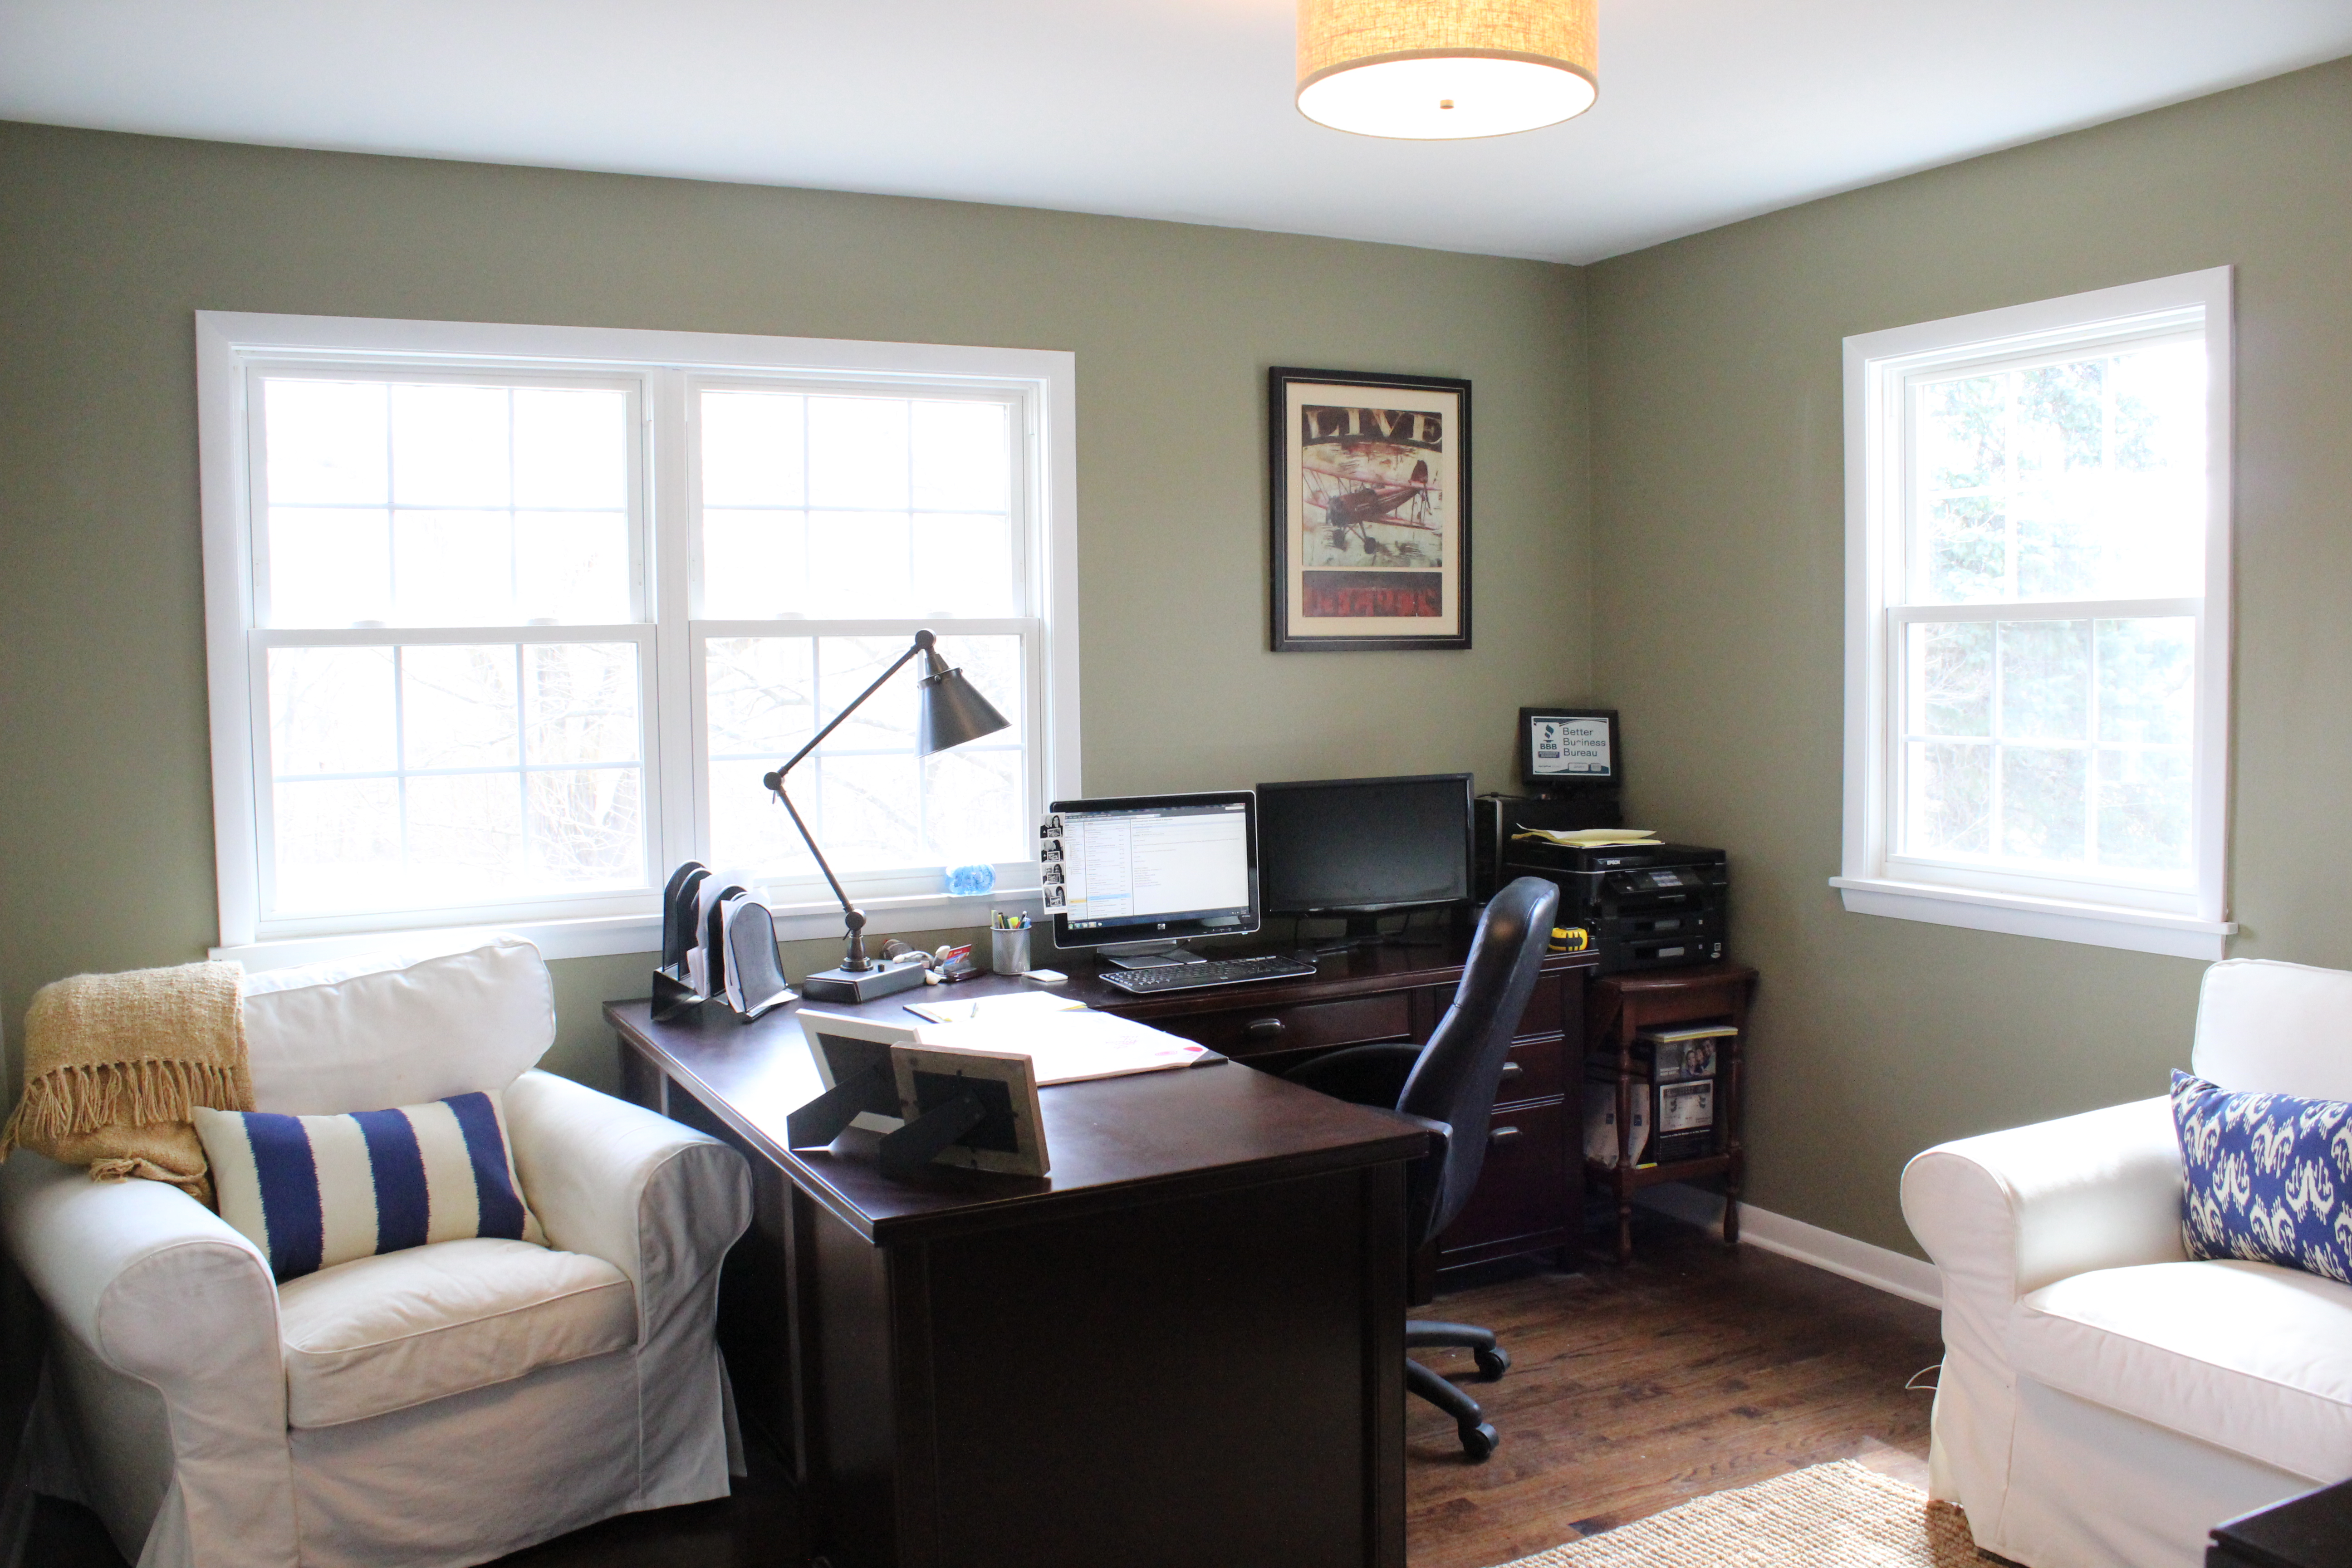
Office

Before

Bedroom #3 (Future office)

Current

IMG_2874

This room got a new coat of paint (Benjamin Moore Dry Sage), light, windows and re-finished floors.

Spare Bedroom #1

Before

12 Oaks Before 261

CurrentIMG_2269

Paint color in here is Glidden’s Soft Suede.

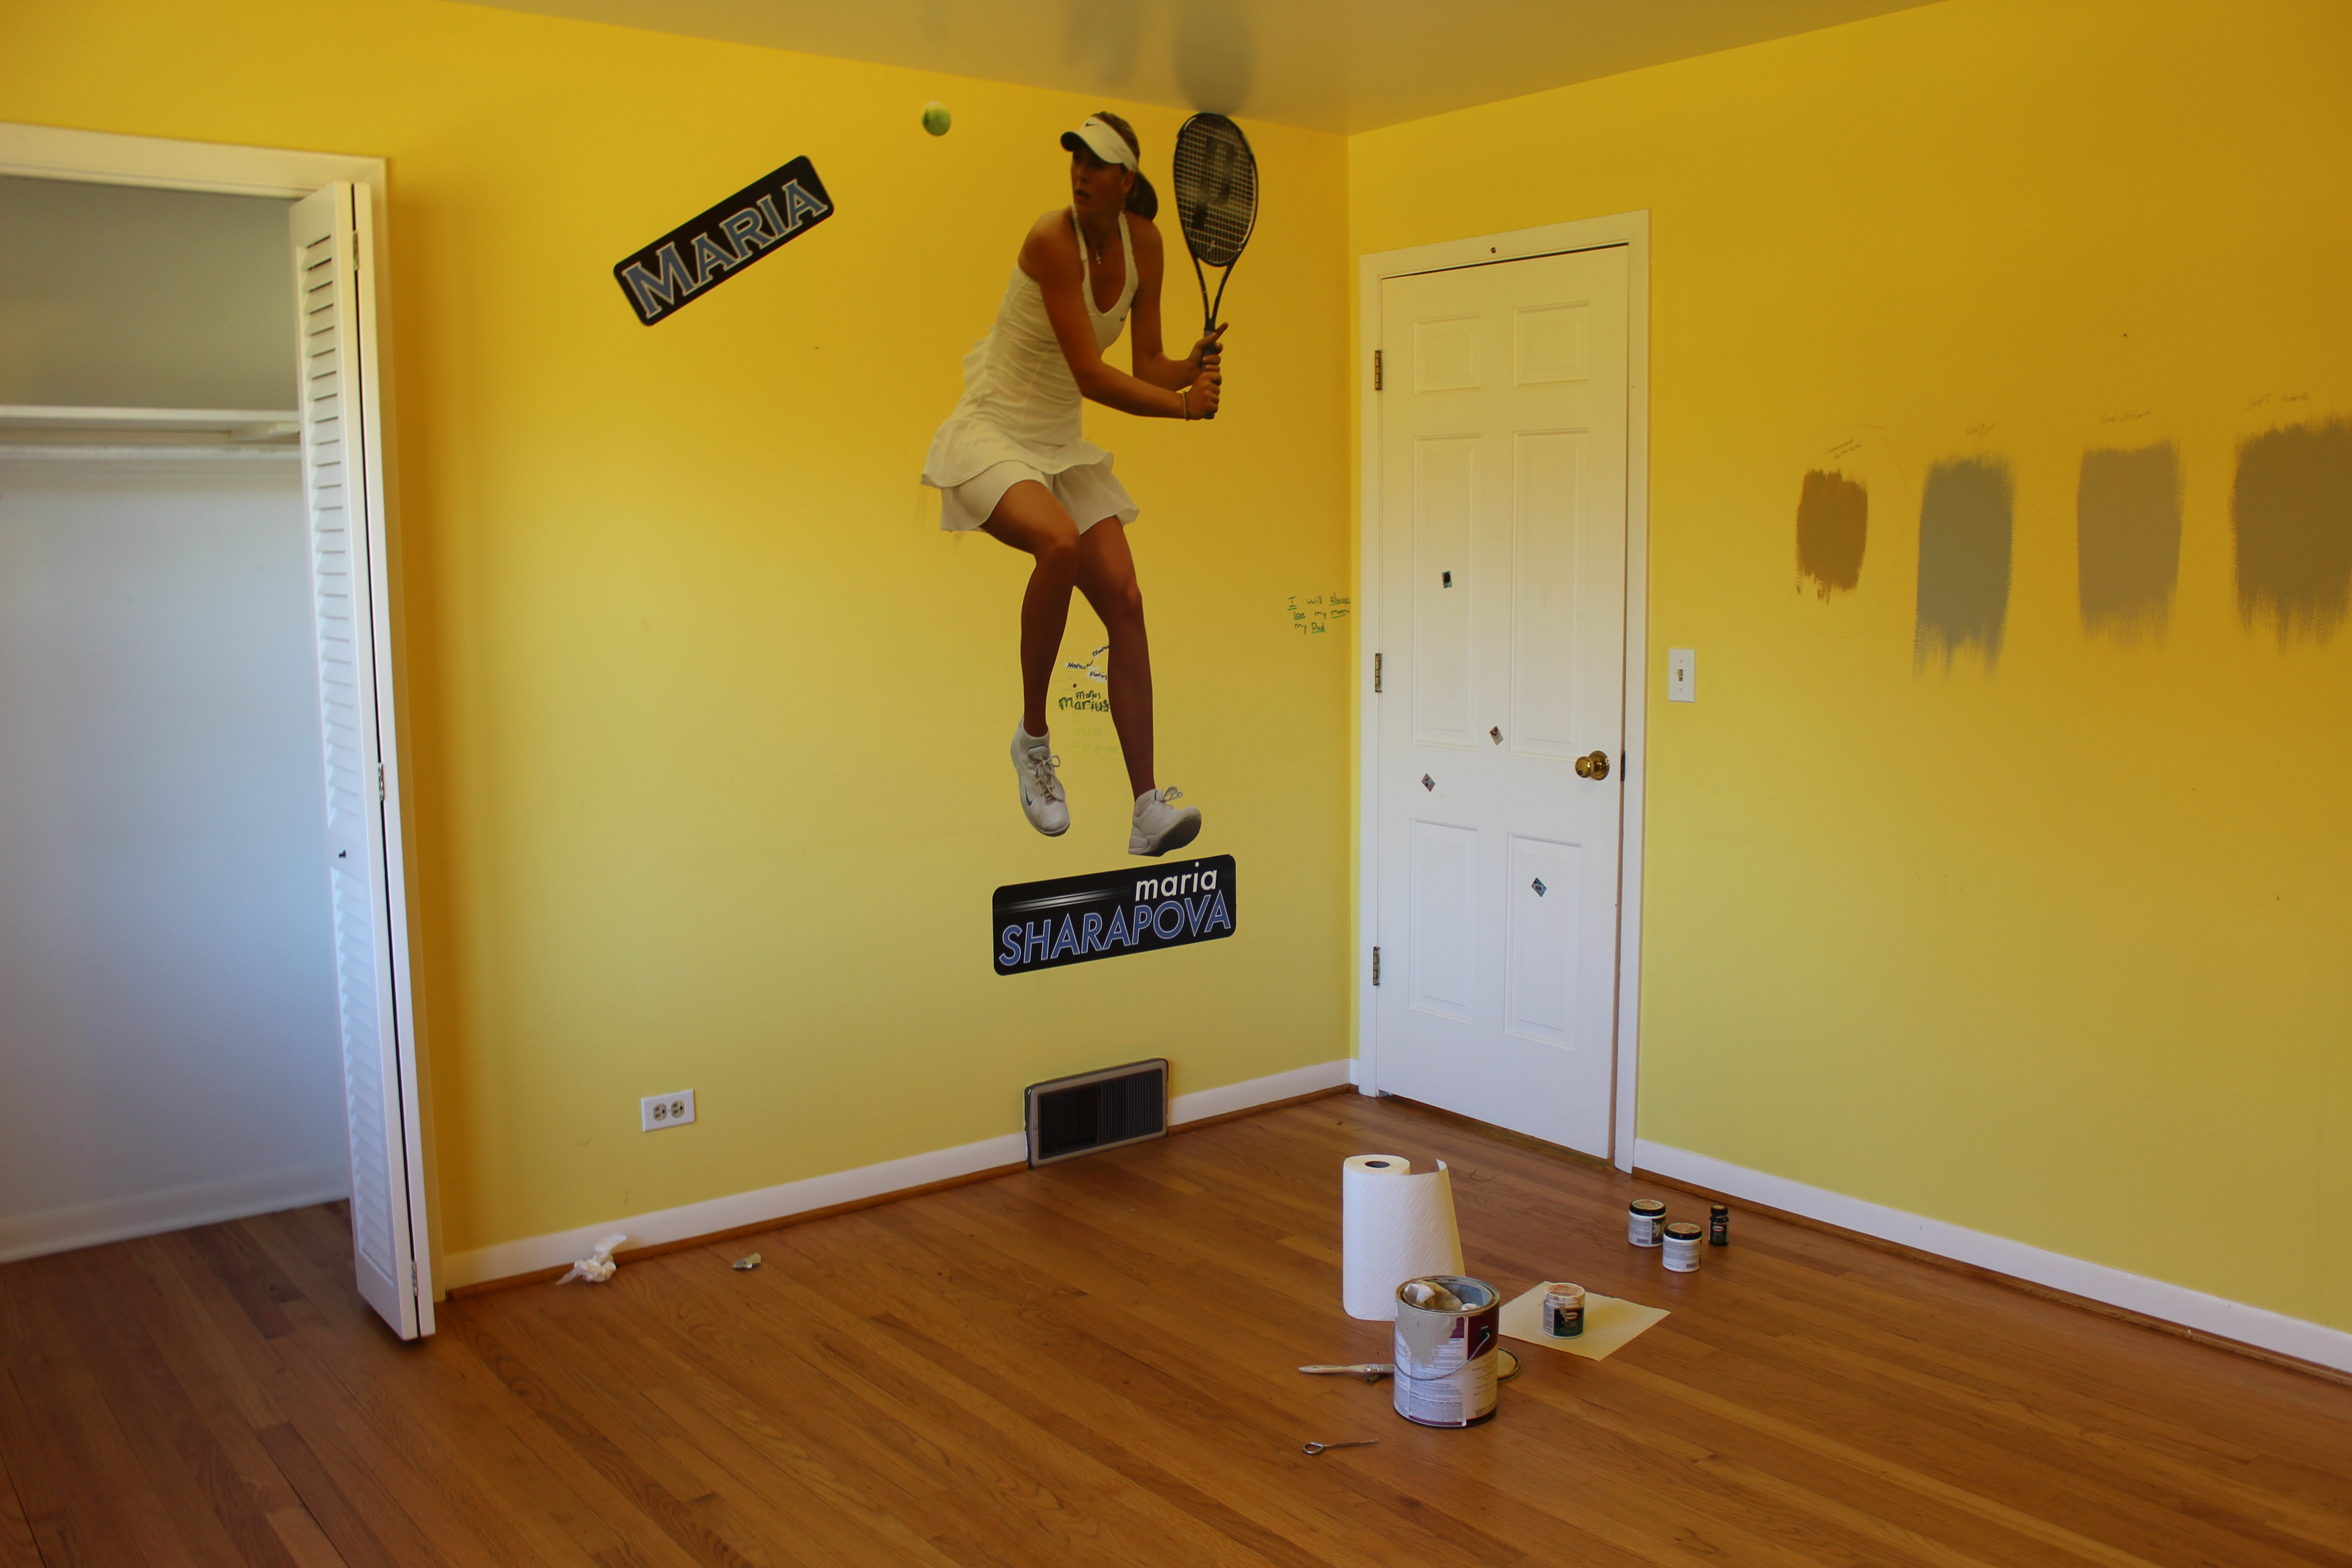
Spare Bedroom #2

Before

12 Oaks Before 229

Current

IMG_2981

New window, closet doors and floors re-finished in here. The paint color is a lightened version of Benjamin Moore Mineral Alloy.

That concludes the tour. Not bad, right? A lot accomplished, but still a lot to go. Our guess is it will take 2 years to complete everything so I guess we are 25% of the way there.

Helping the Earth

22 Apr

To celebrate Earth Day (and because we were disgusted by all the trash on the side of the roads near our house), we decided to do a big clean up over the weekend.

My Mom and 14-year-old brother joined us and after only a couple hours we picked up 5 big lawn bags full of trash. The streets look so nice now and we had a lot of fun with it so plan to make it an annual affair.
IMG_2917

To make clean up easier, we carried buckets (bags would blow around and drag), and then we would just dump the bucket in the lawn bags each time it was full. The 4-wheeler helped us too!

IMG_2912

We found all kinds of junk, but this wins the creepiest award. haha

IMG_2910

I think this would be a great activity to get the kids involved. It definitely makes you never ever want to litter.

Anyone else doing something to help out for Earth Day? Any fellow trash picker uppers?

Brand Spankin’ New Windows

13 Apr

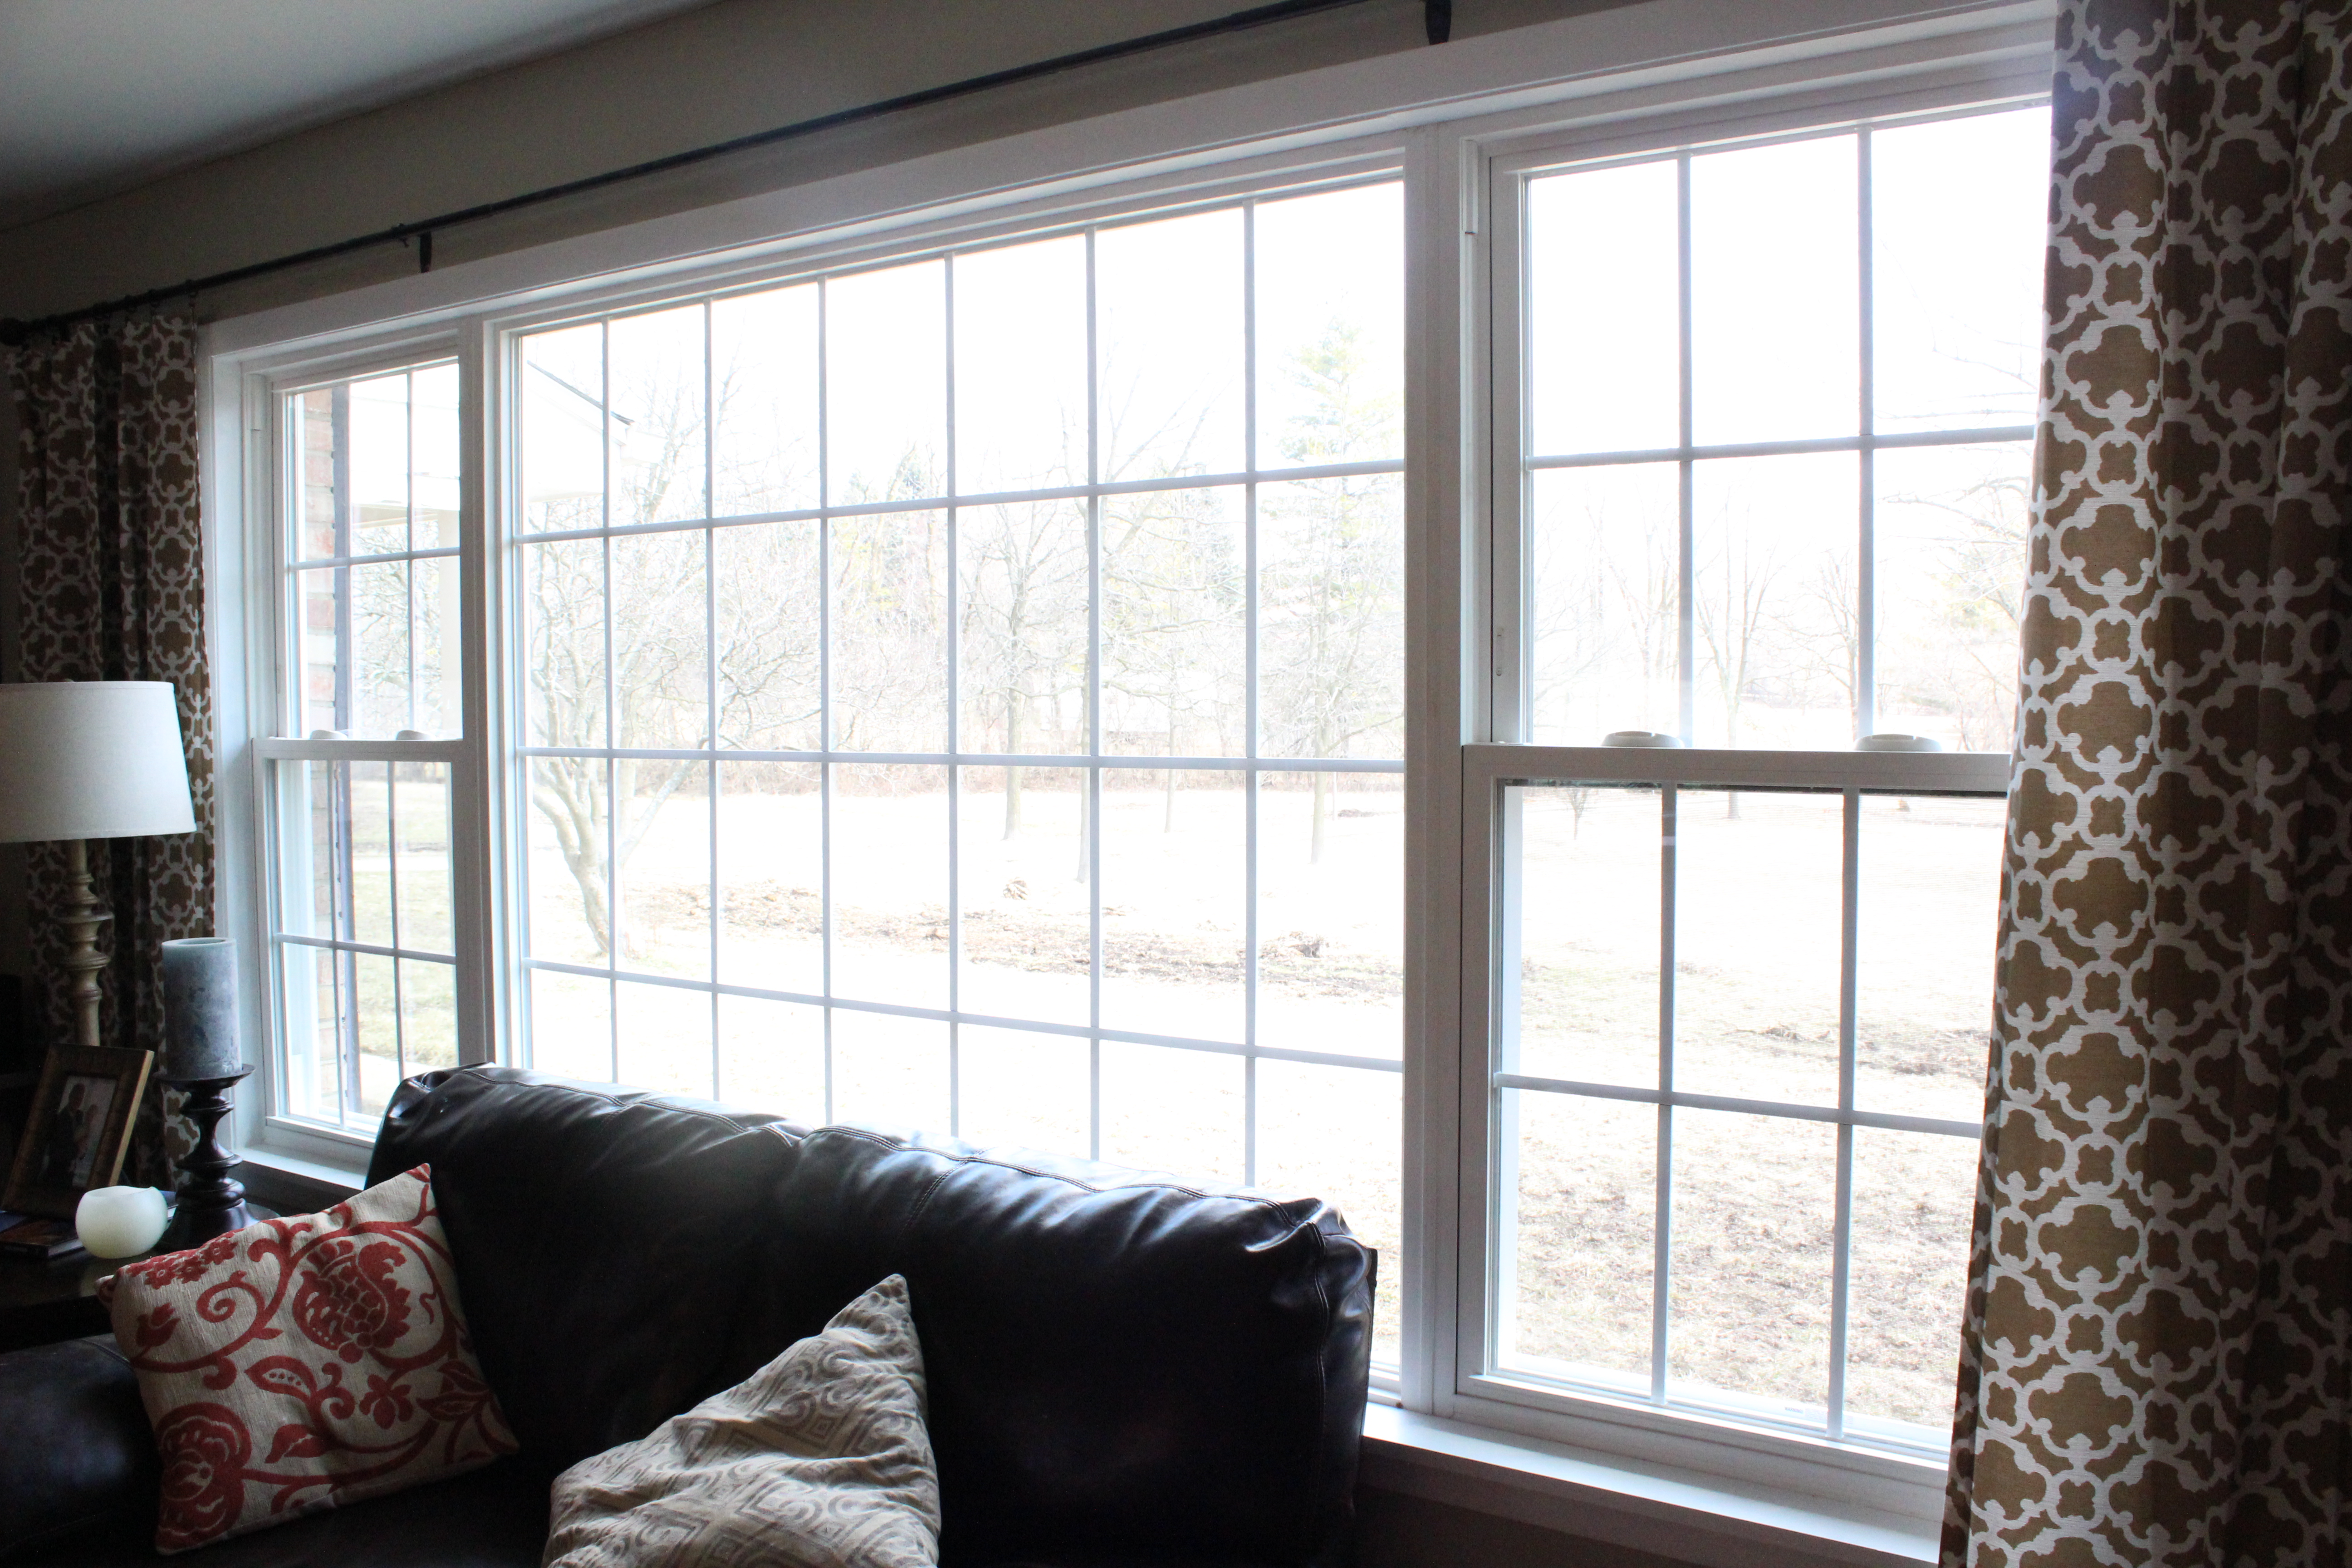
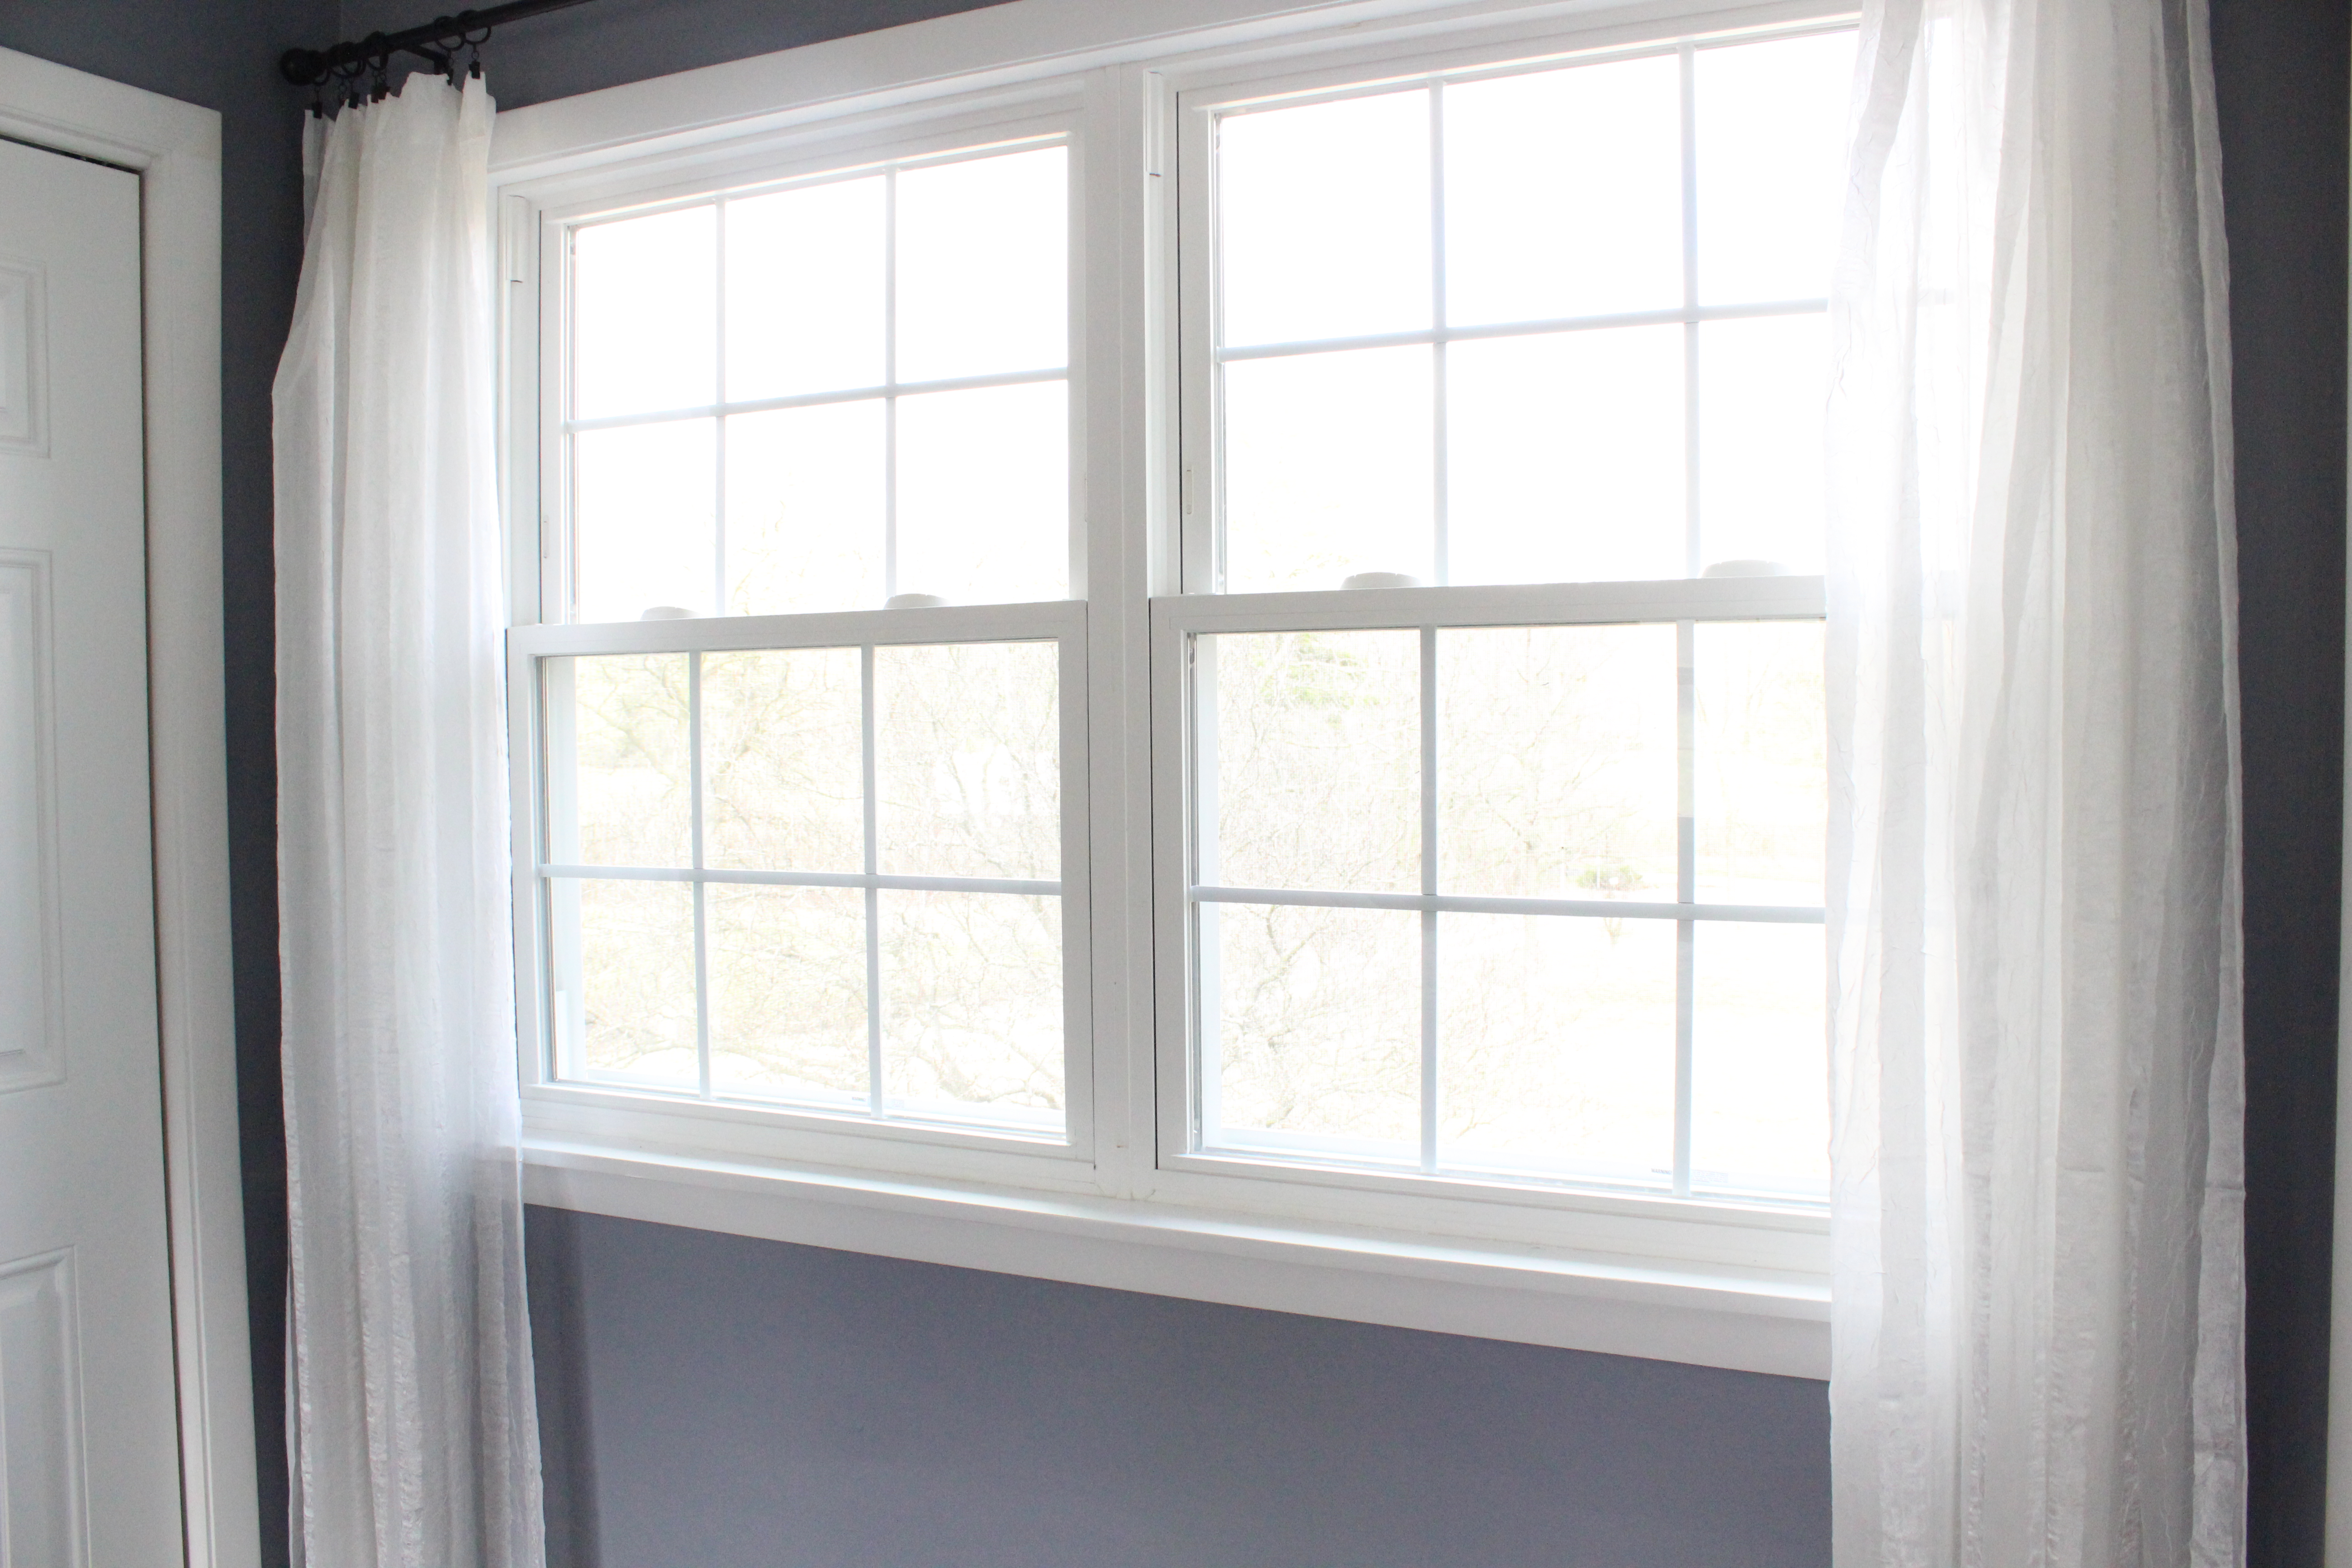
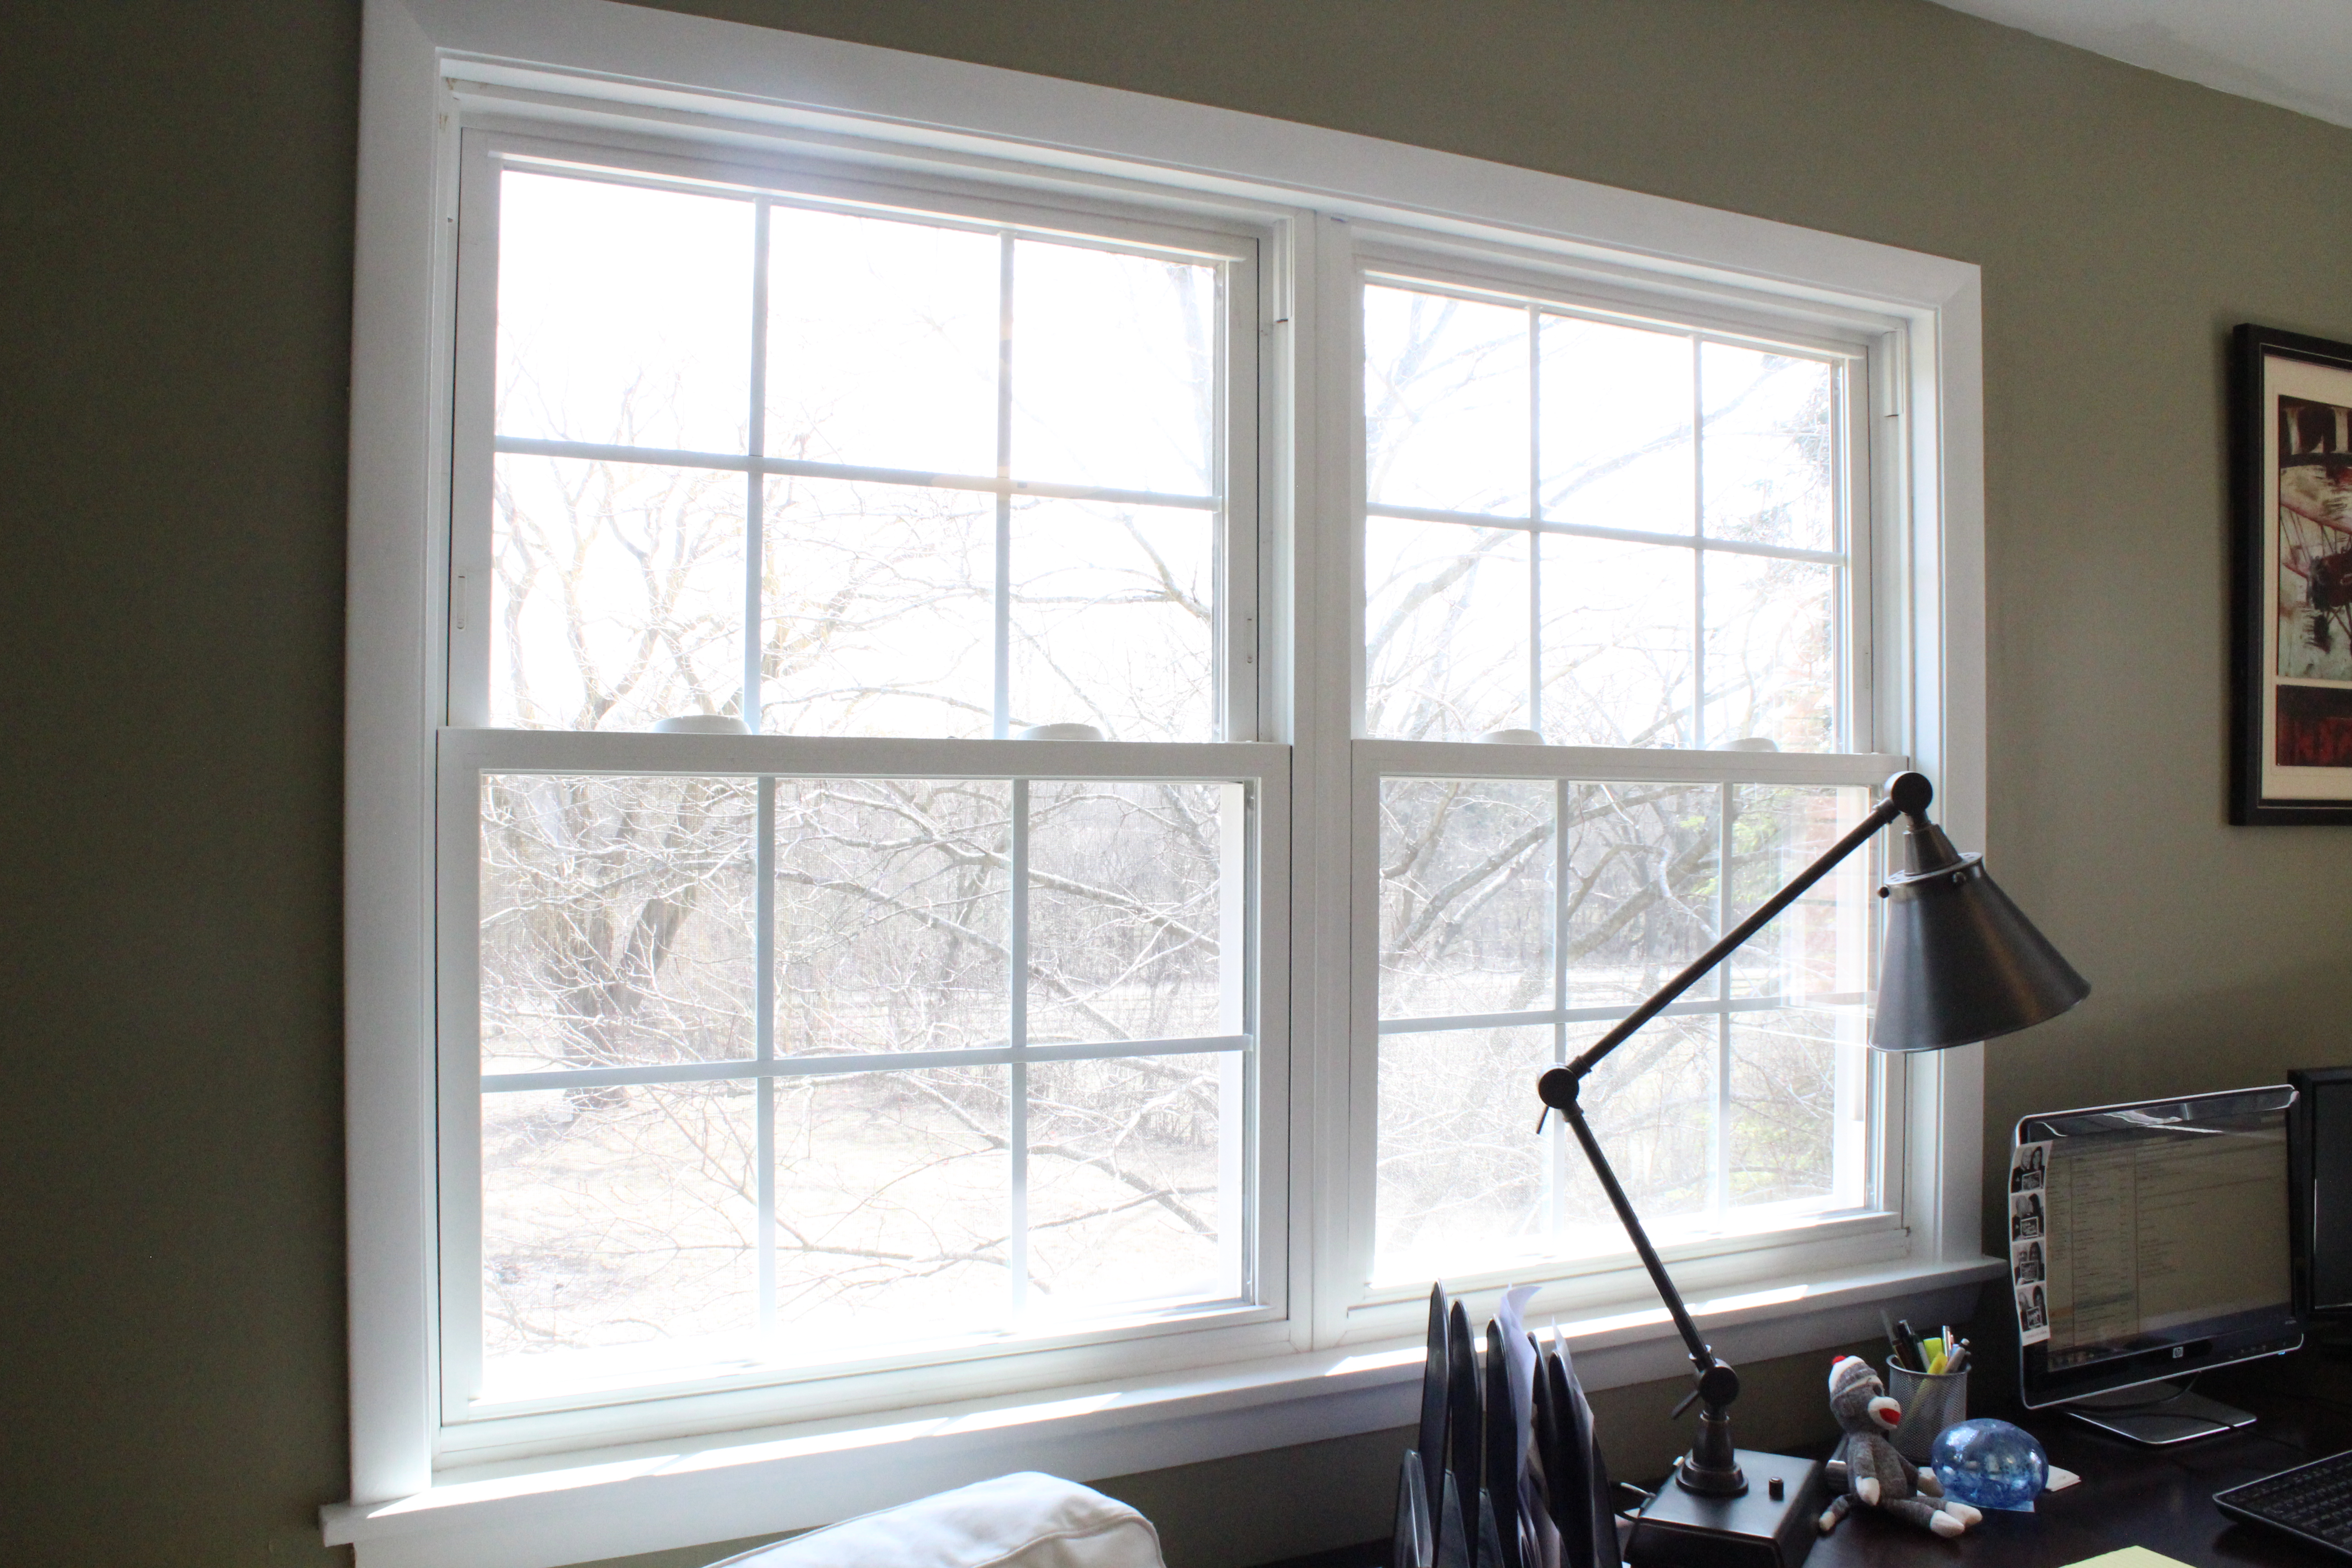
Our house was in desperate need of new windows. They were old, cracked, broken and overall just grody. We knew they would need to be replaced but it was a big investment, both in money and time to put in all 27 (!) of them.

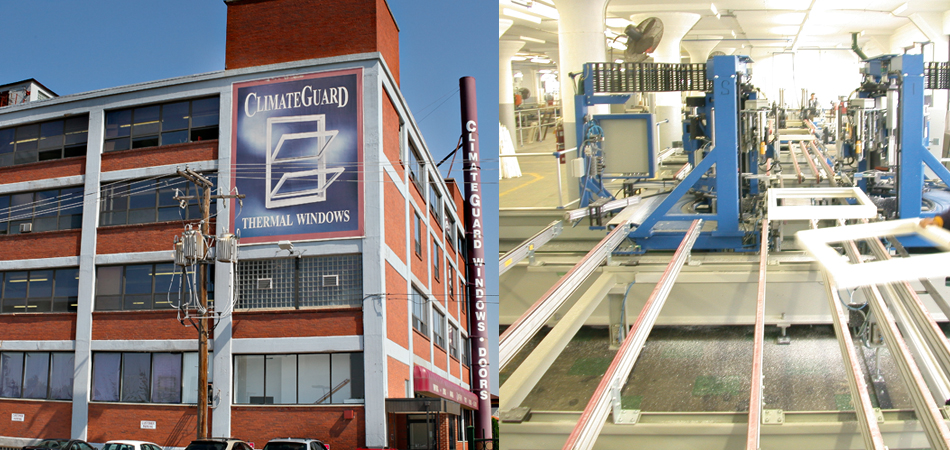
We got a couple of initial quotes and even doing the installation ourselves, we thought we’d have to put it off for a while. But then Ben got a call from a local showroom called Studio 41 who had been trying to get him in for a couple years. They make their own windows called Climate Guard and offered to give him a tour of their downtown Chicago plant, take him to lunch and give him a great deal on the windows.

studio 41

Source: http://www.climateguardwindows.com/

It worked. They were a couple thousand dollars cheaper than any other place, had free delivery and the quality was excellent (low E, double glazed, etc.) We got the Climate Guard 2500 vinyl double hung windows with grills.

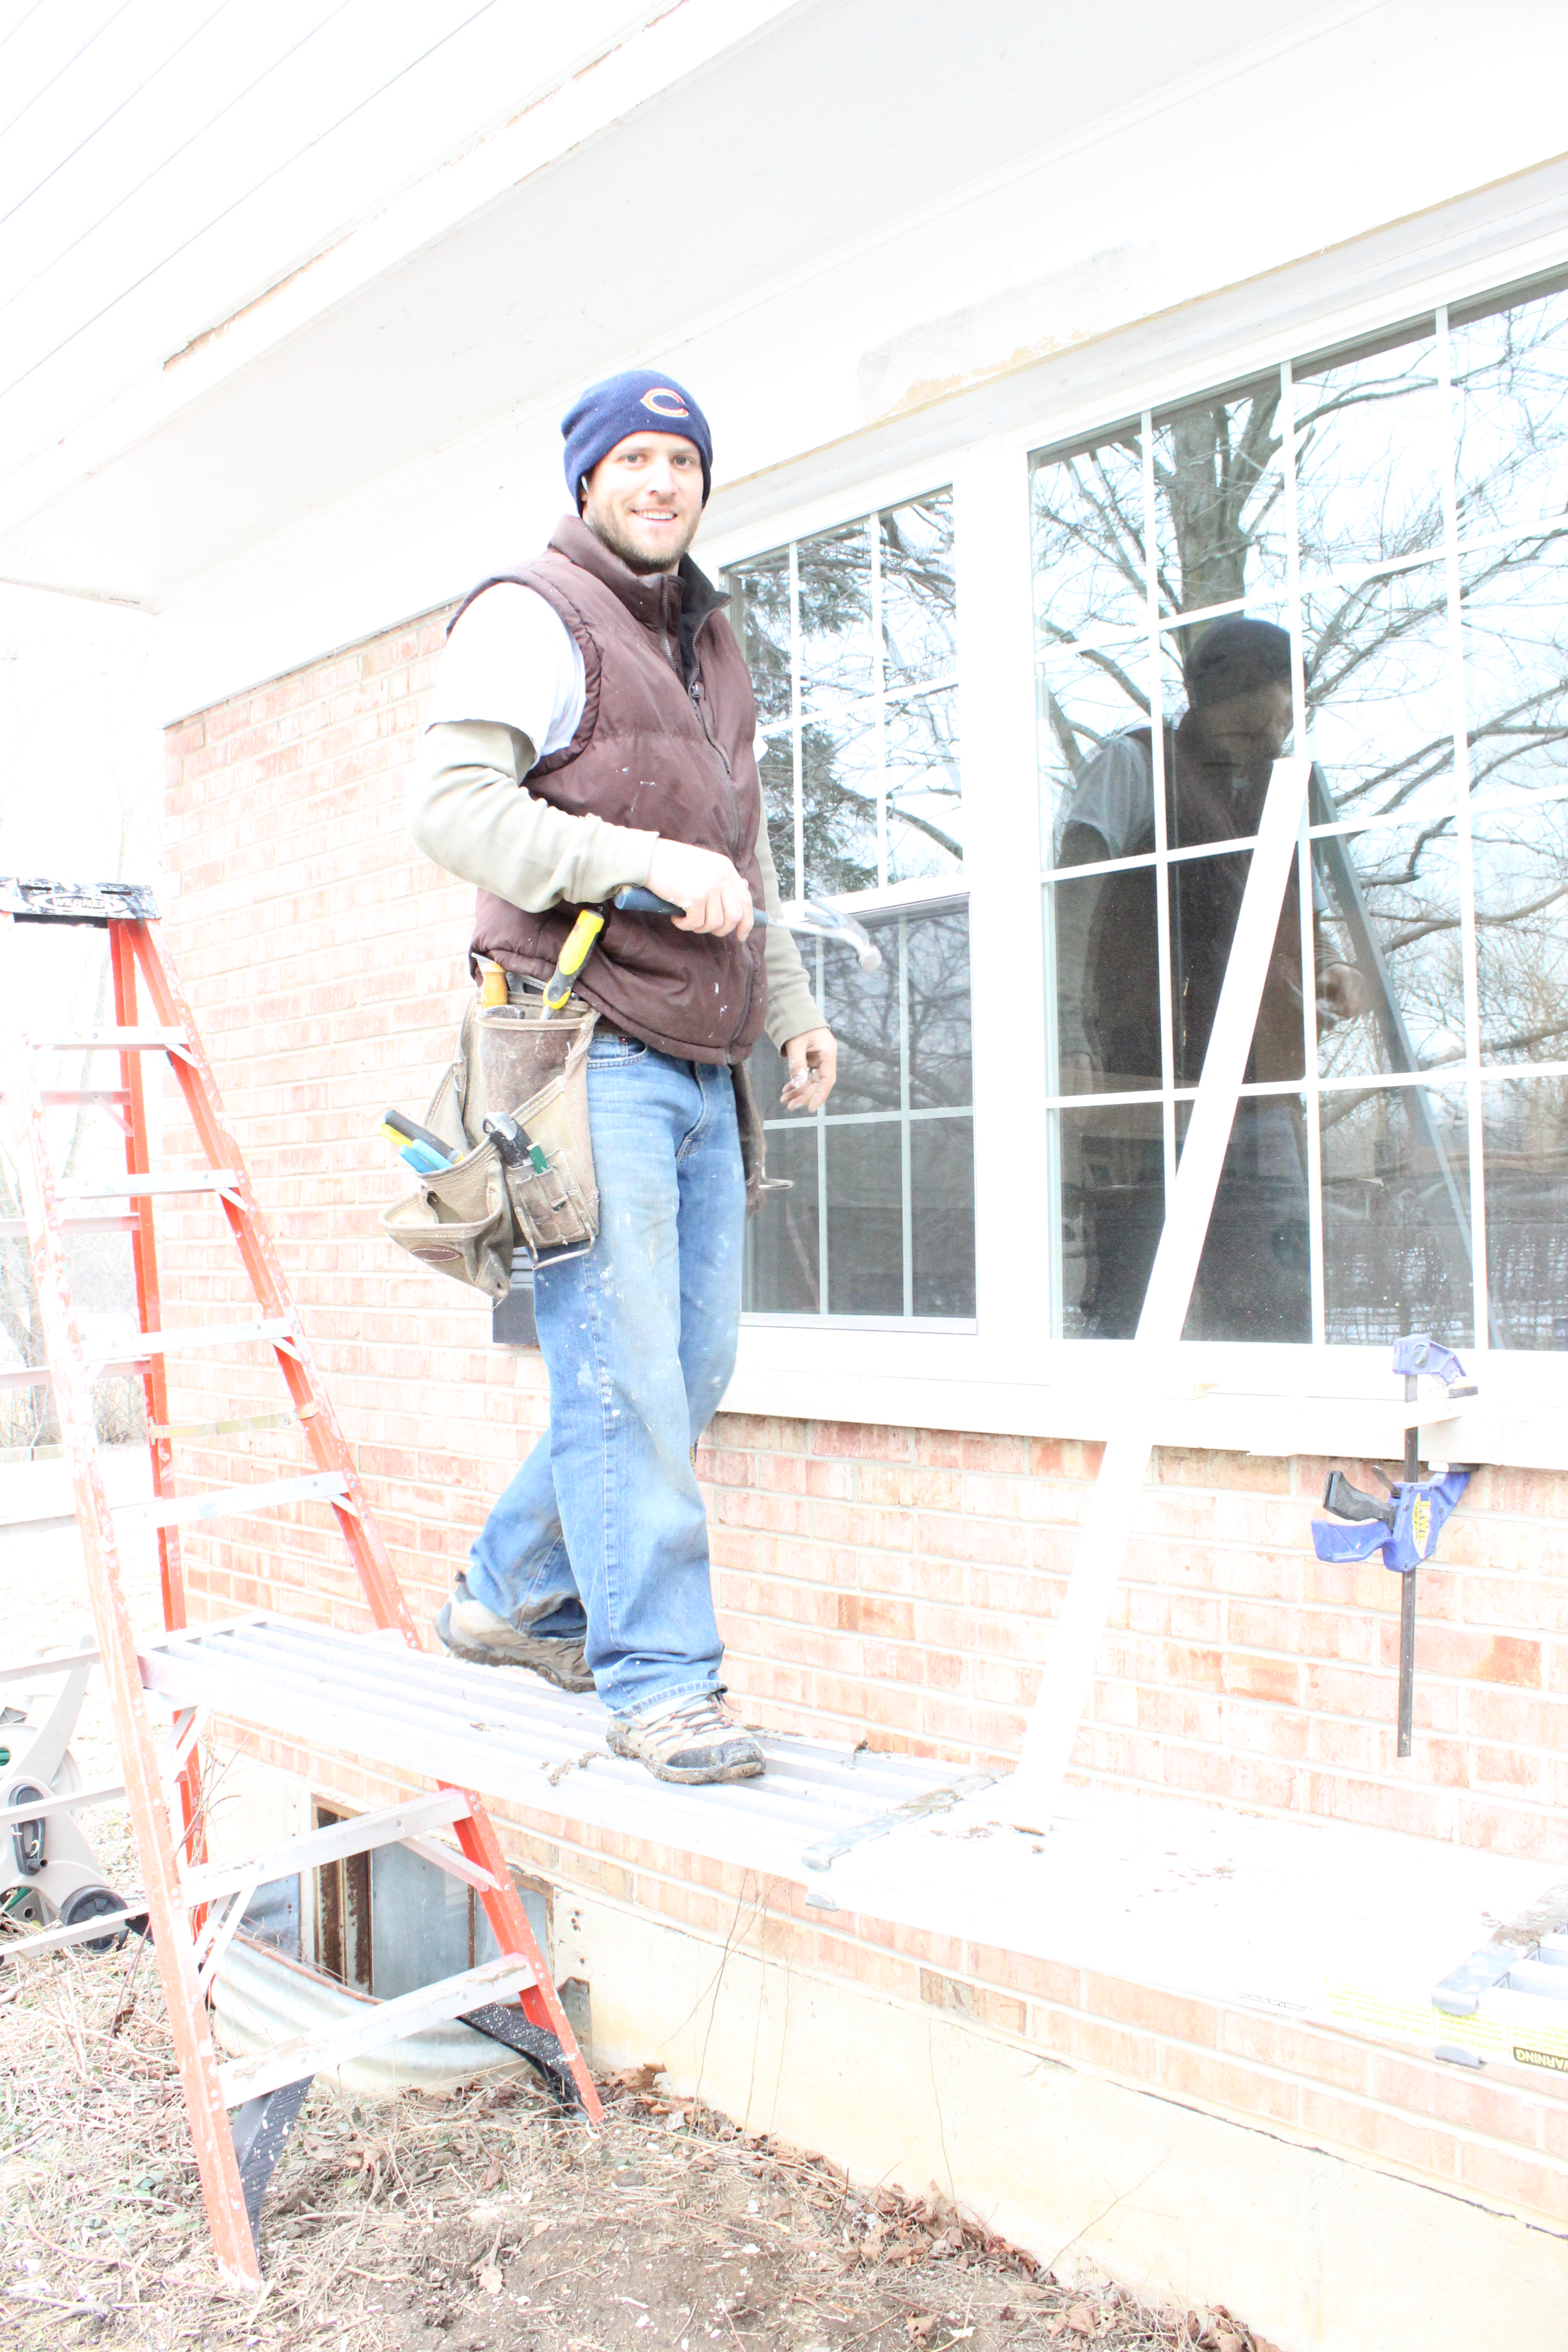
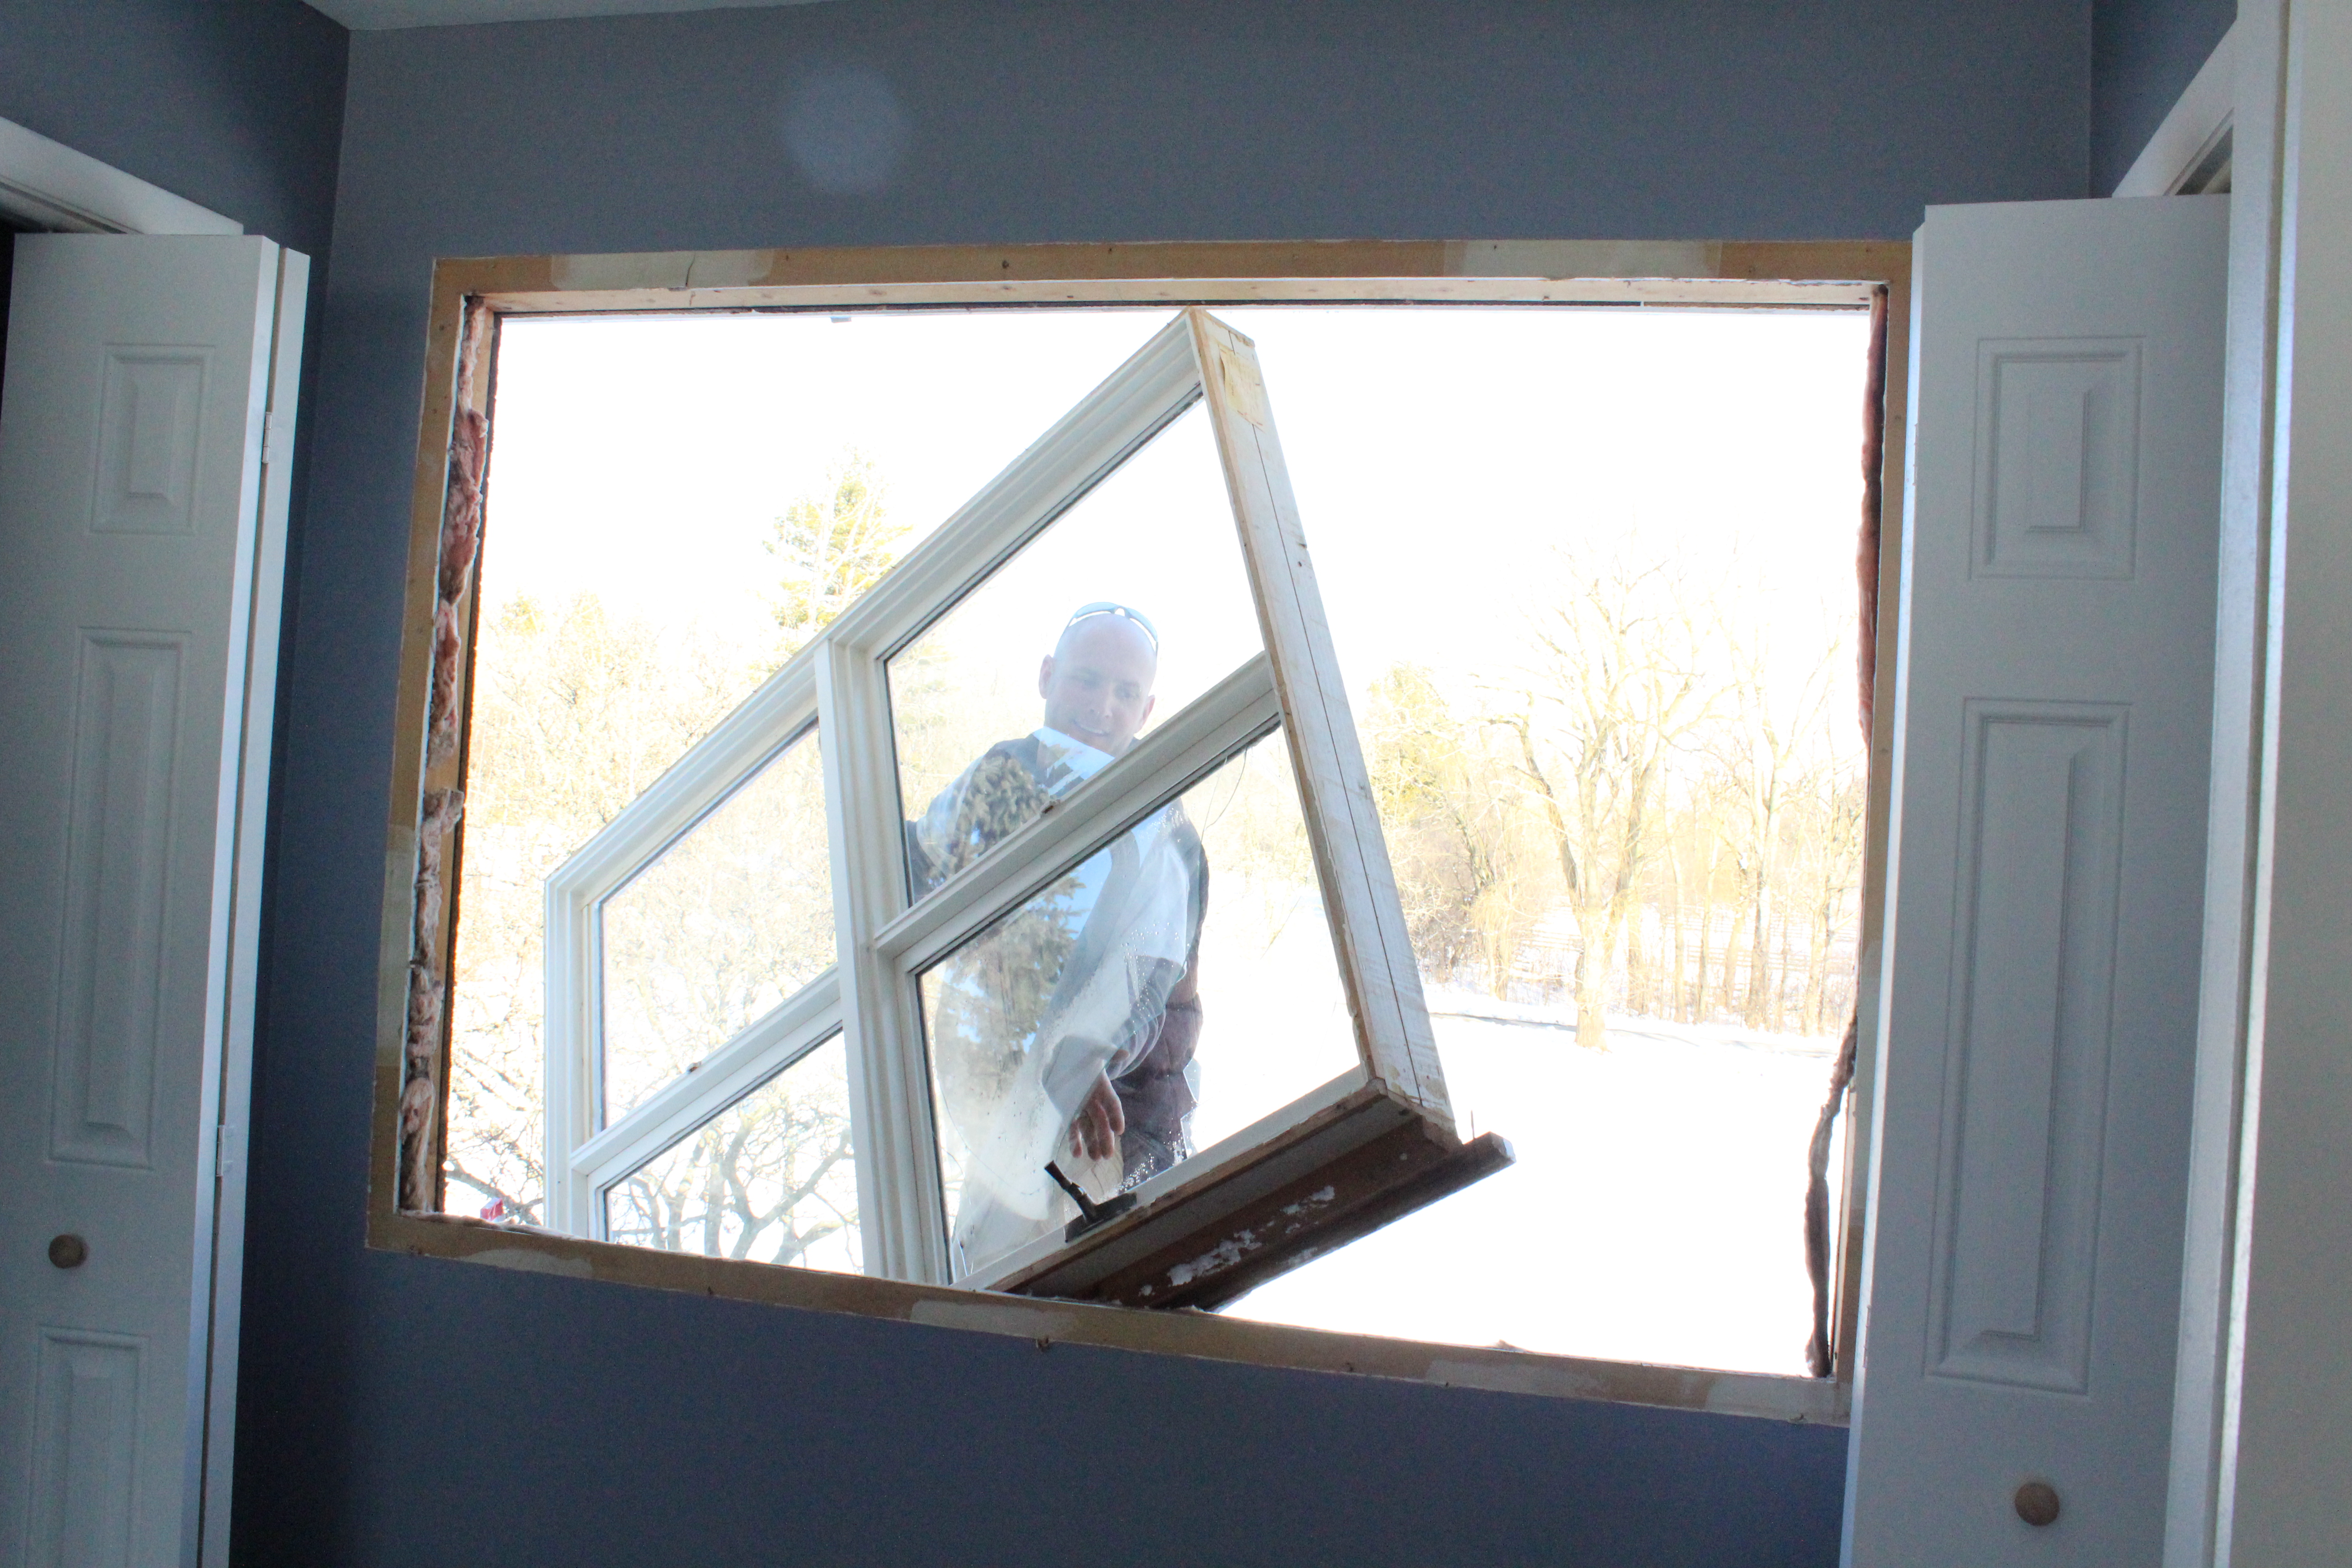
Slowly but surely Ben put in each of the windows which consisted of removing the old ones, putting in the new ones, spraying in foam around the windows to make them 100% air tight, and then putting new trim on inside and out.

IMG_2623

Installation is really important so Ben says this isn’t really a DIY project. You can have the best windows but if they aren’t plum or sealed correctly, you will lose a lot of energy and can have major problems like rotting or insects.

IMG_2731

Each window took a couple hours, so times 27 it was a time consuming project.

It is totally worth it though! I won’t share photos of every single window, but here are a few from the inside….

IMG_2891

IMG_2882

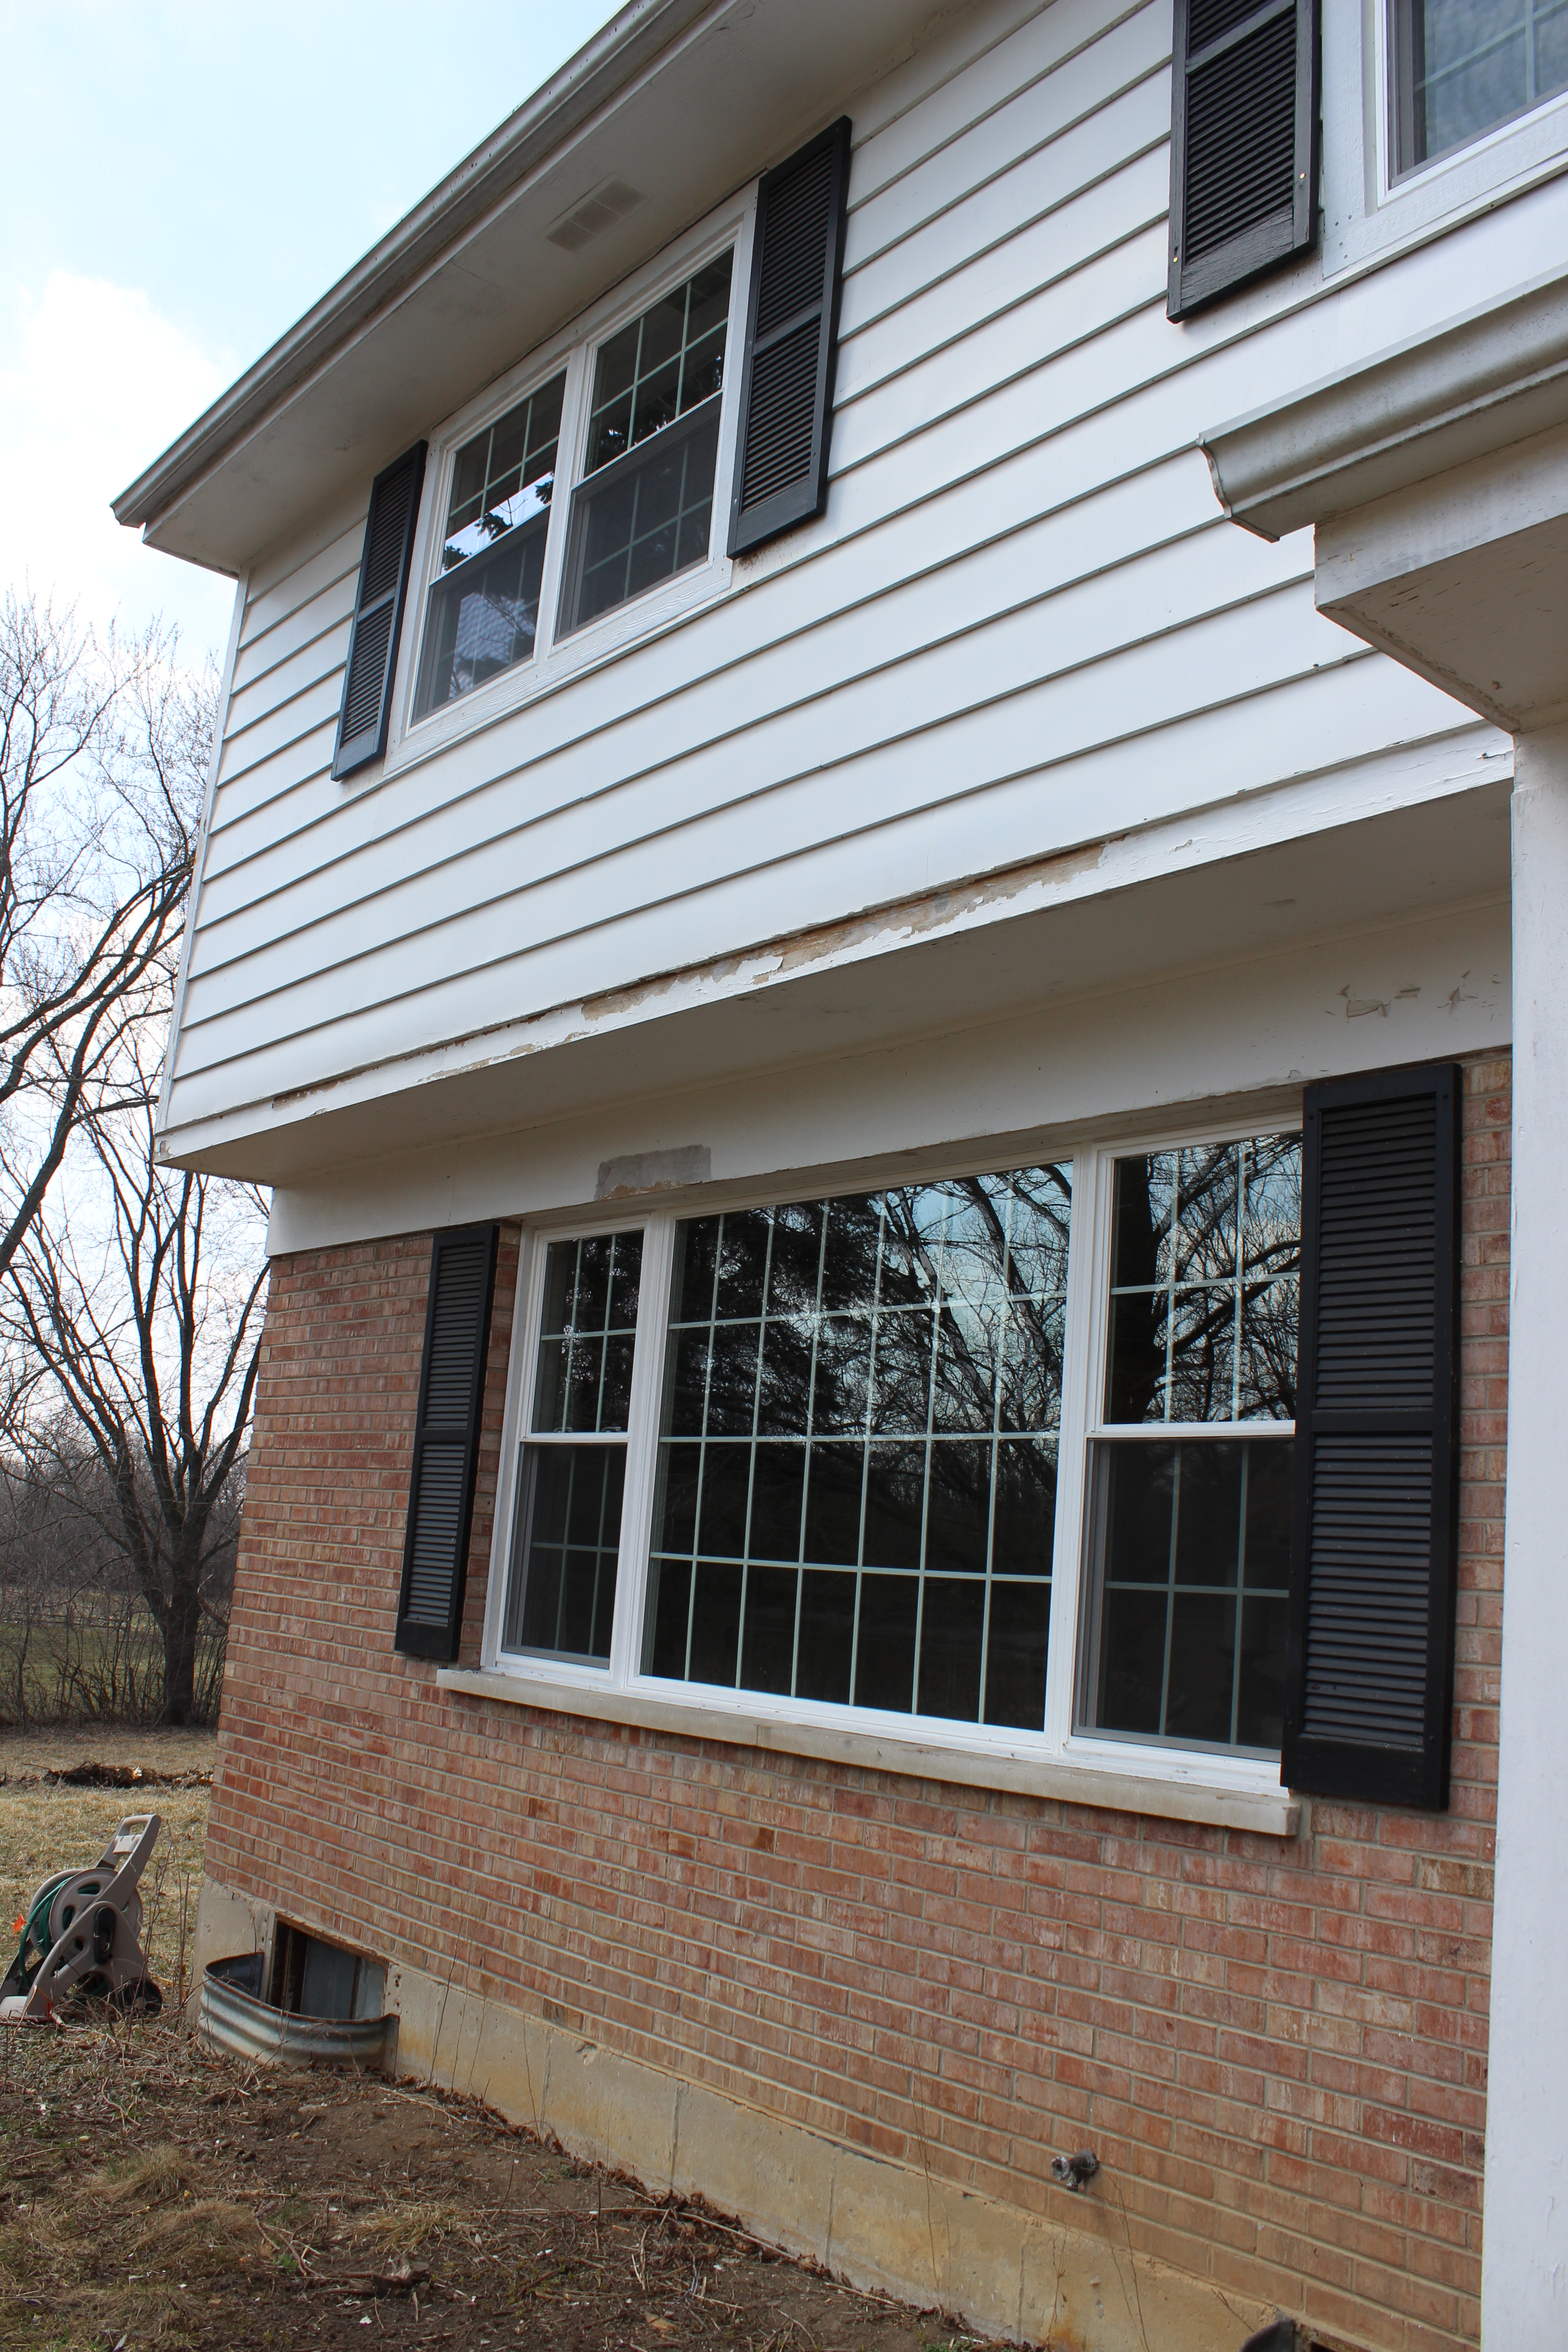
IMG_2878And outside…

IMG_2884

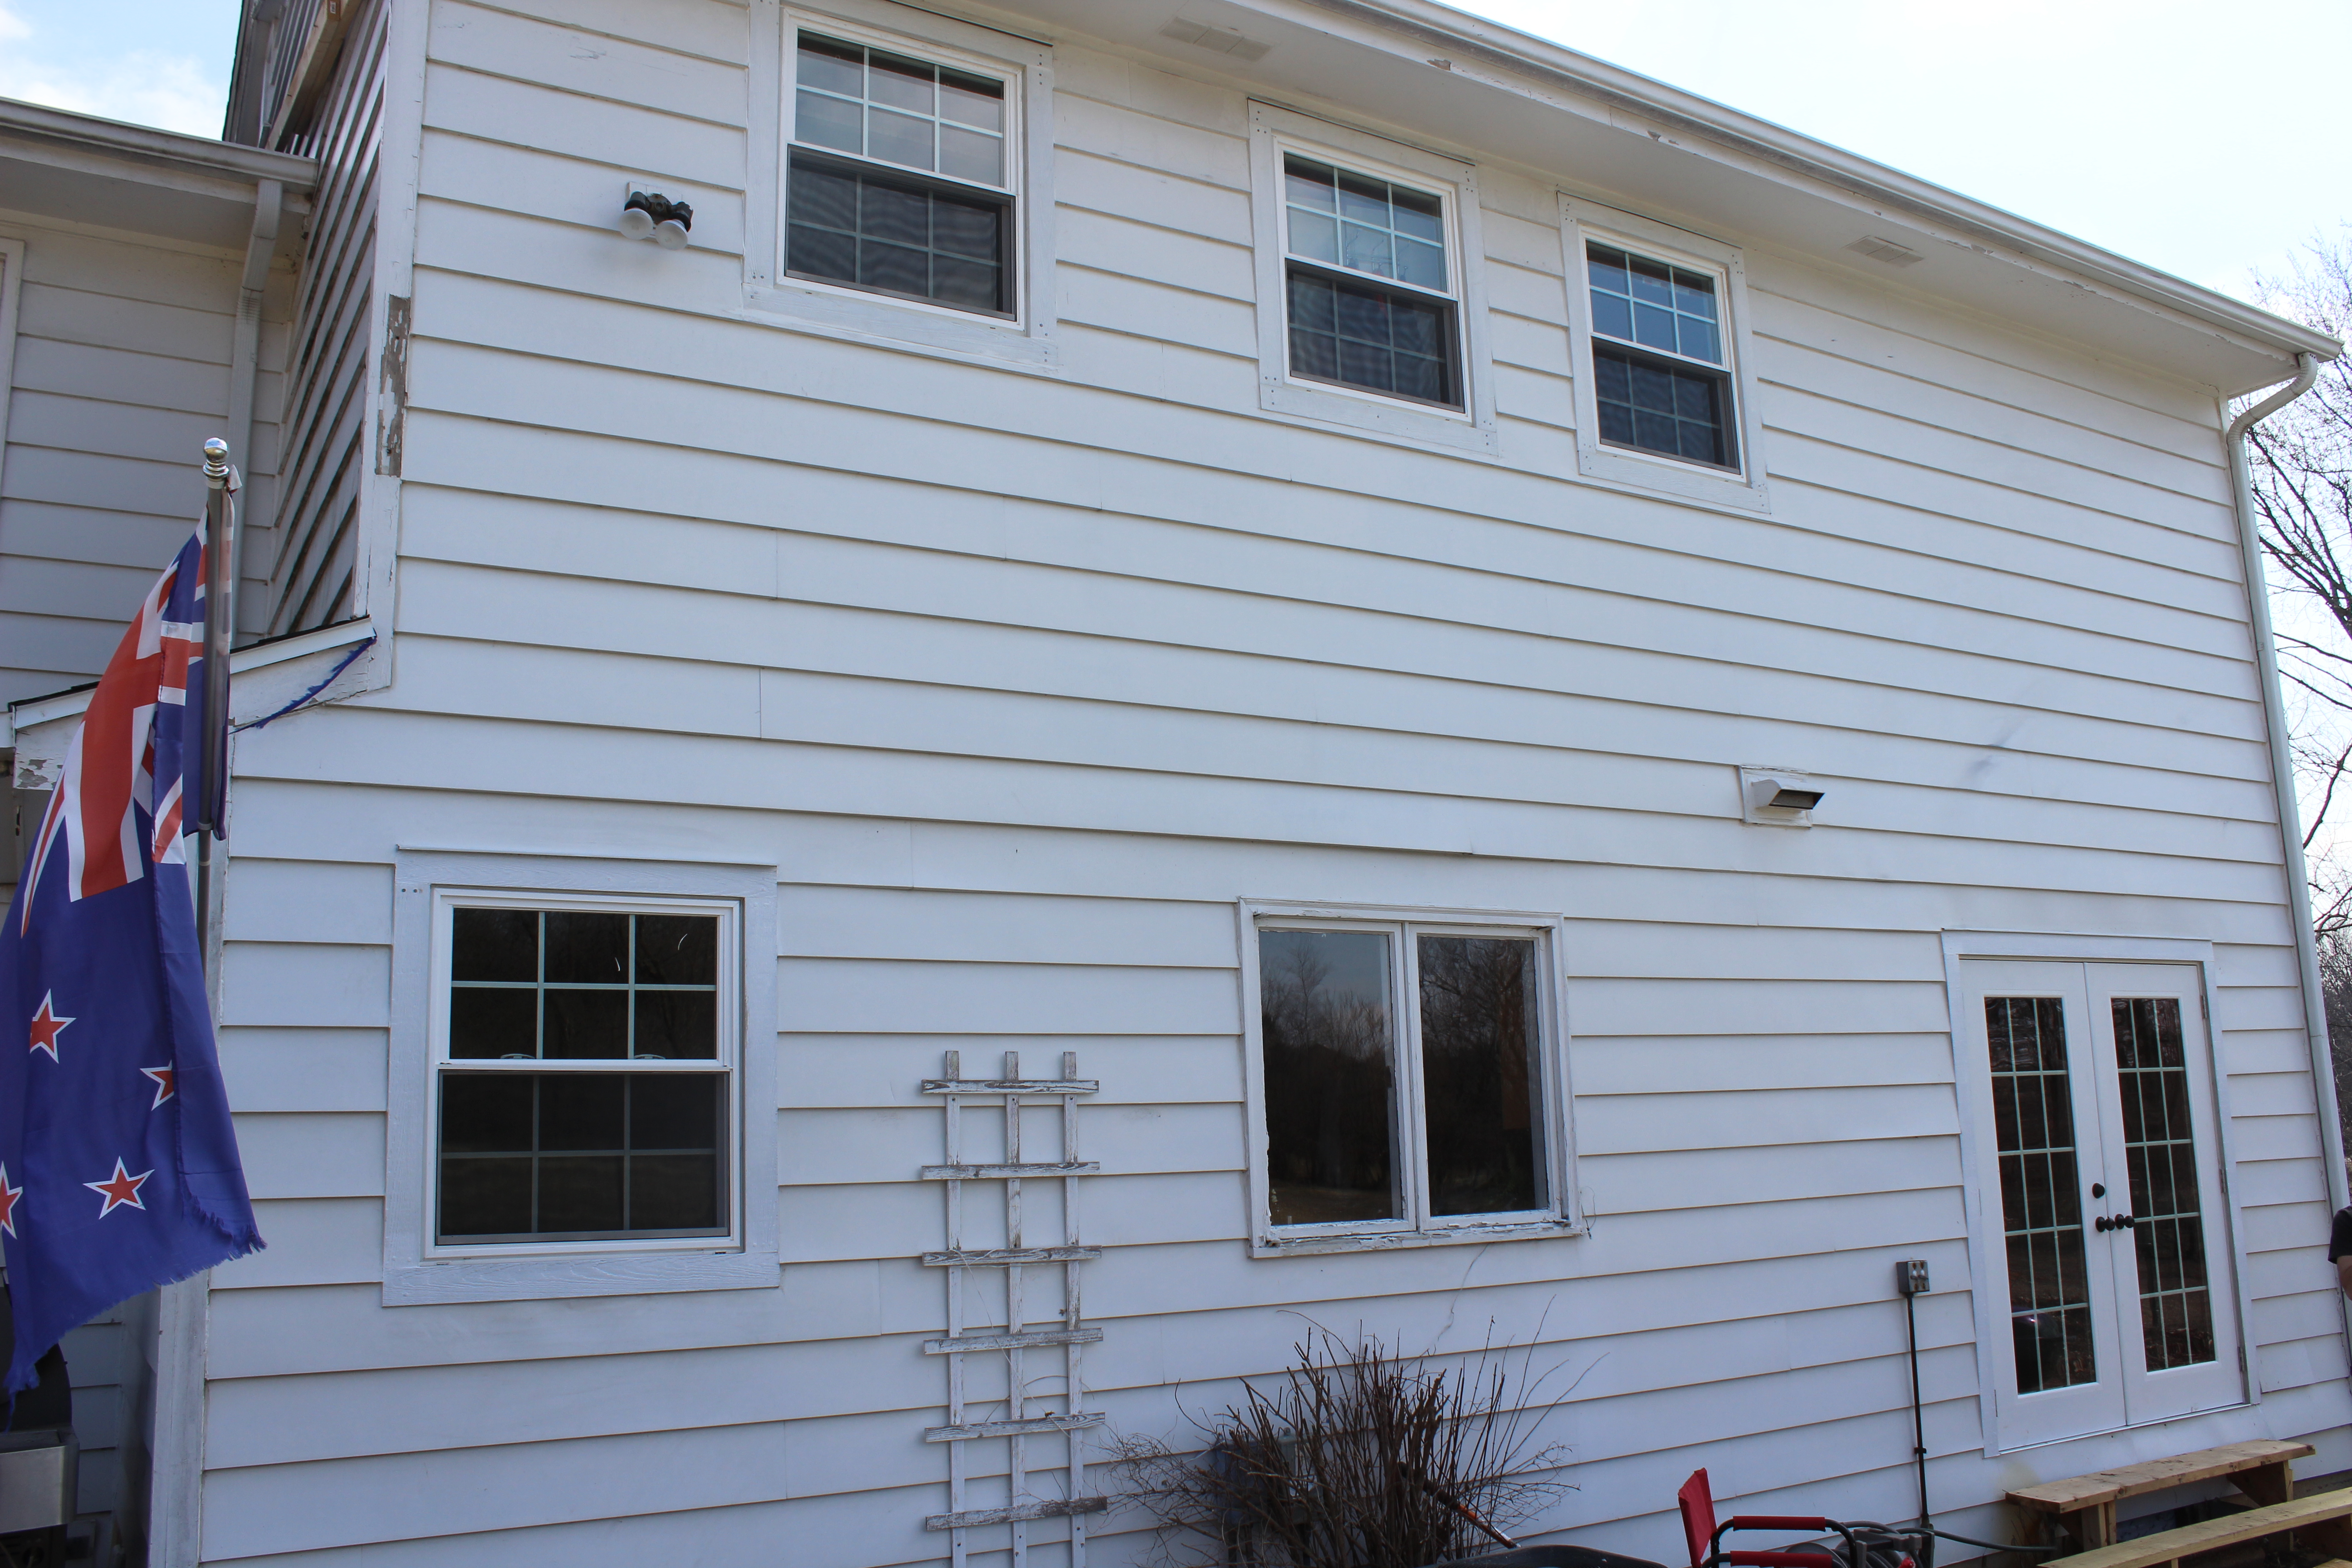
Can you spot which of these windows isn’t new?IMG_2885That’s the kitchen and we’re holding off on replacing it because we plan to make it bigger when we do the kitchen remodel.

Windows are one of those upgrades that isn’t wildly exciting, but is functional, helps a lot with energy costs and is really good for resale.

Now that Spring is here (barely), we’re tidying up on the outside and starting to work on the pool. Plus we are still working on the living room and installing lights, whole home audio and framing out the beams. Lots going on so stay tuned!

A Window Becomes French Doors

7 Apr

Pretty much right from the beginning we knew we wanted to take out the window in our dining room and add French doors. This way we’d be able to walk out right to the pool from the main living area. Now that they are in, it feels like it was always supposed to be this way.

Here’s a before shot of the aformentioned window.

IMG_2726

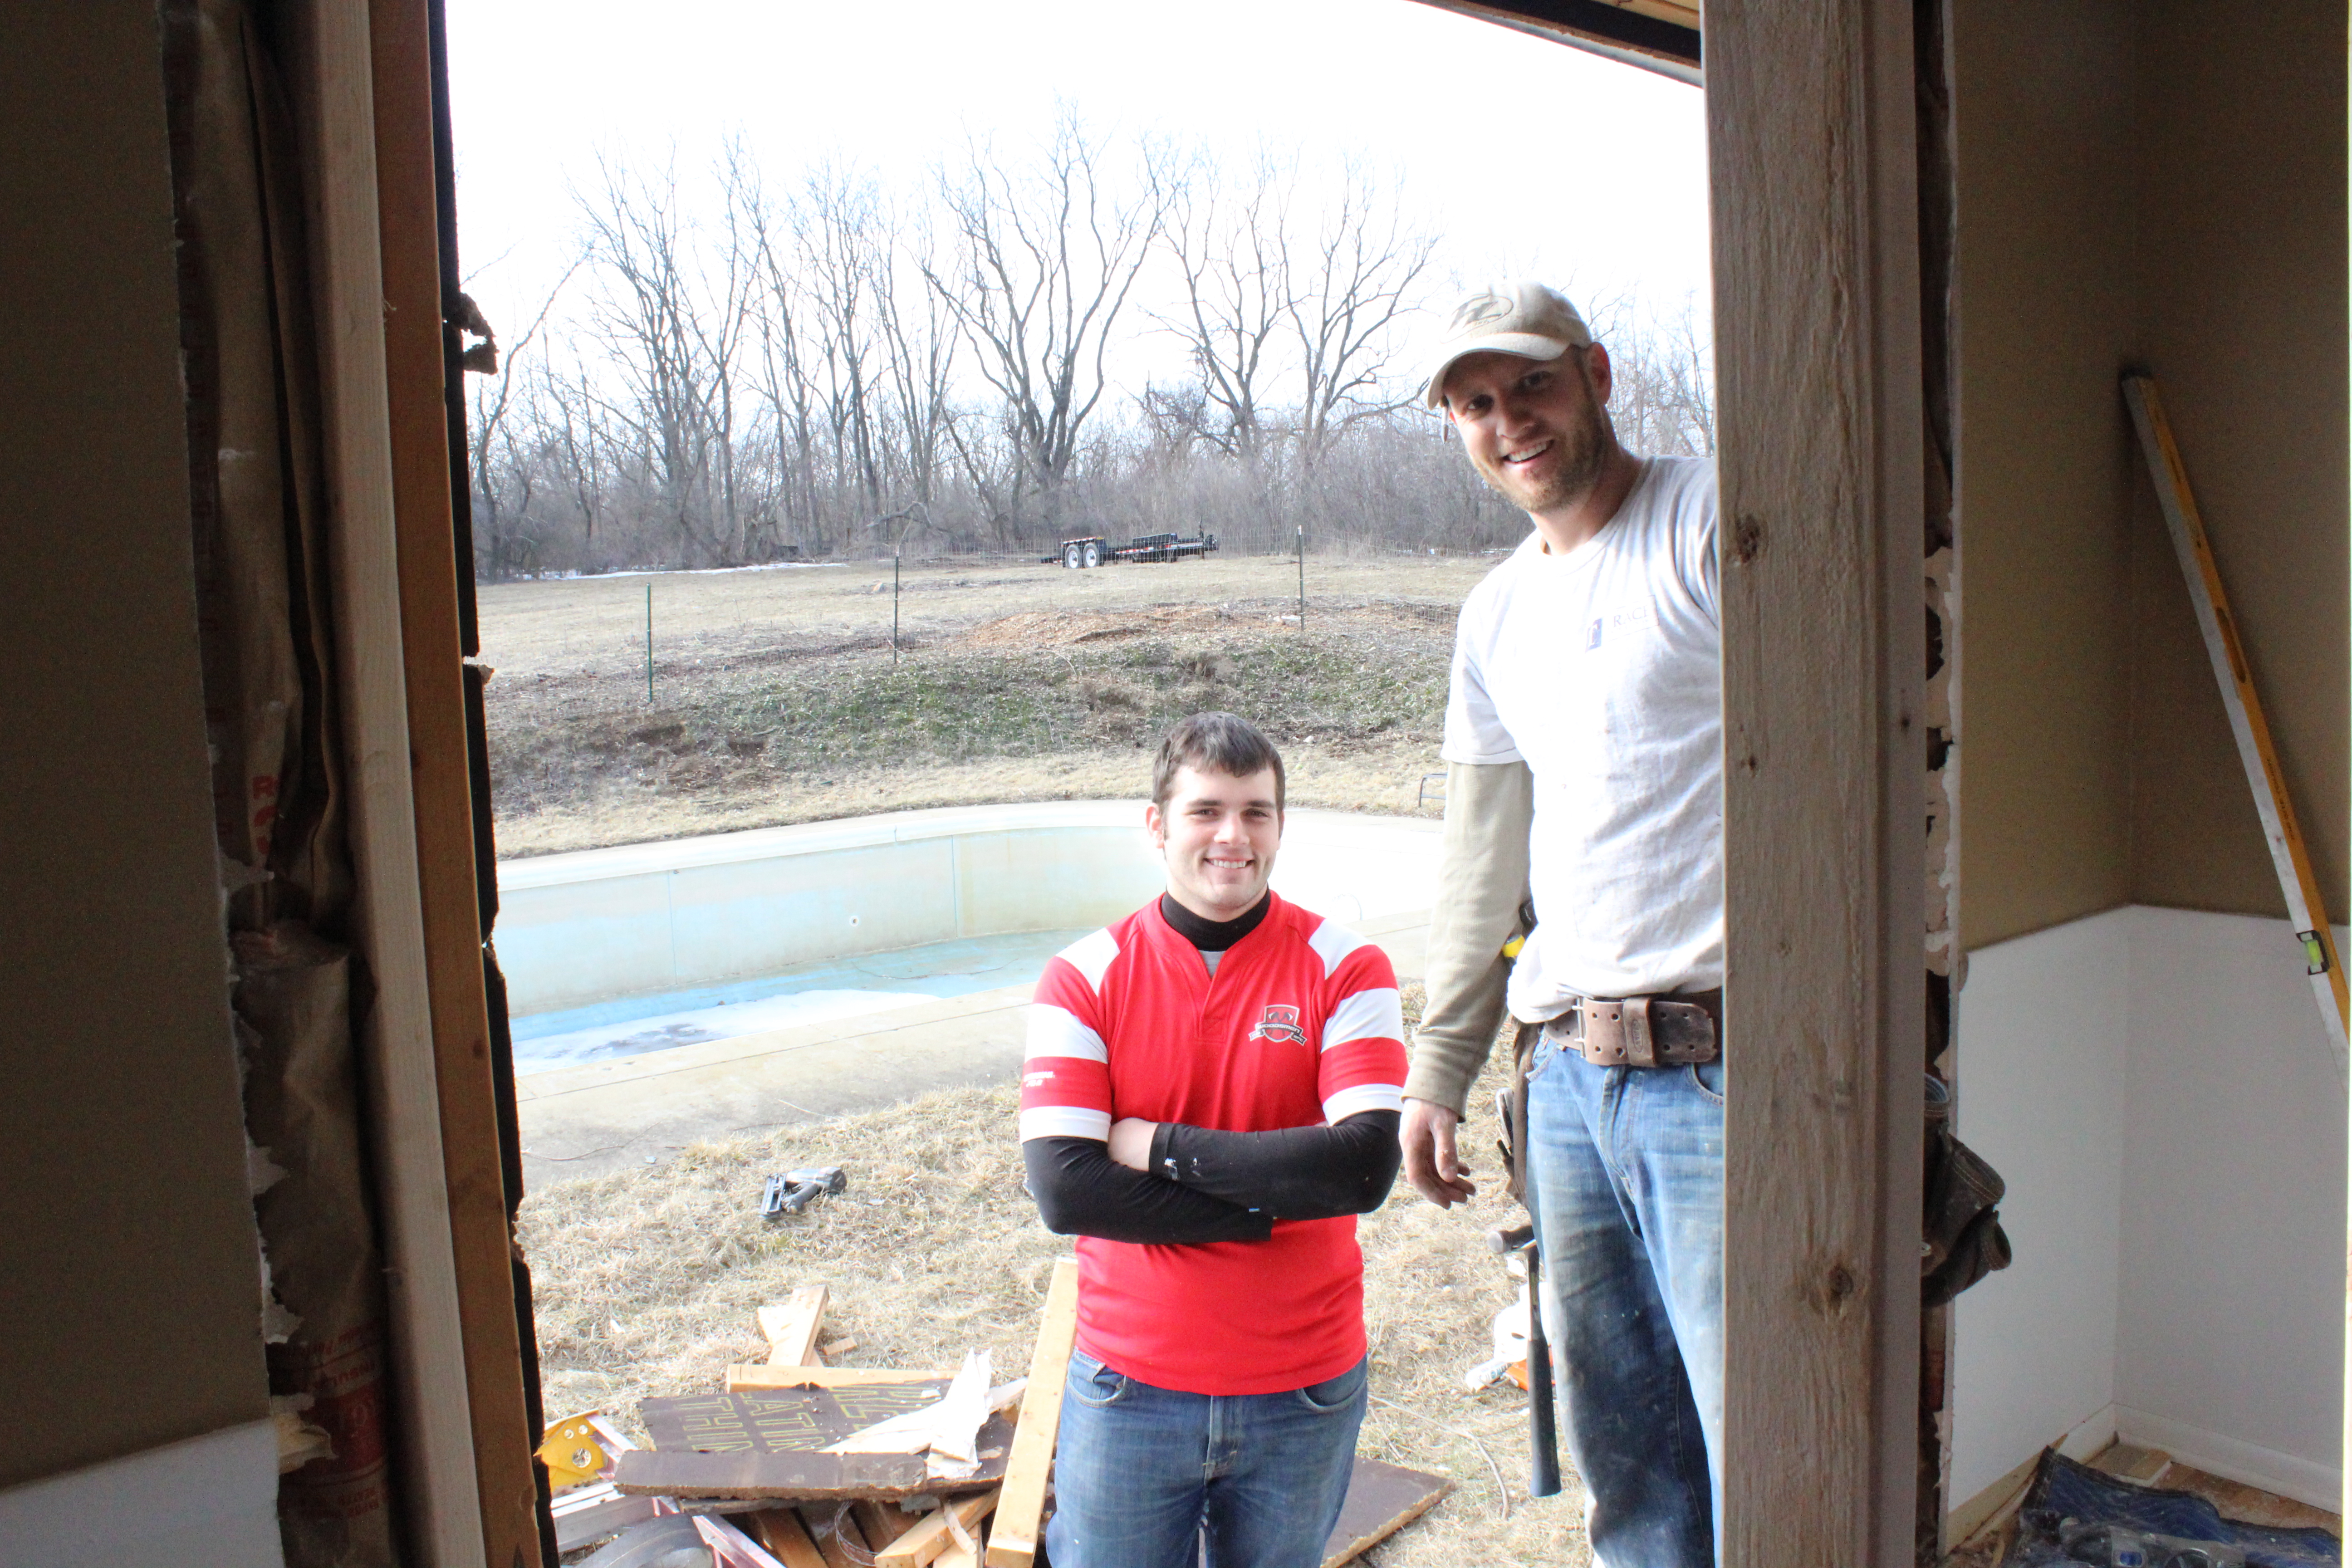
Here’s Ben and my brother Josh working on the doors. Josh helped us out while he was home on spring break from college a couple weeks ago (thanks bro!).

IMG_2741

And here is how the room is looking now. It makes a huge difference!

IMG_2848

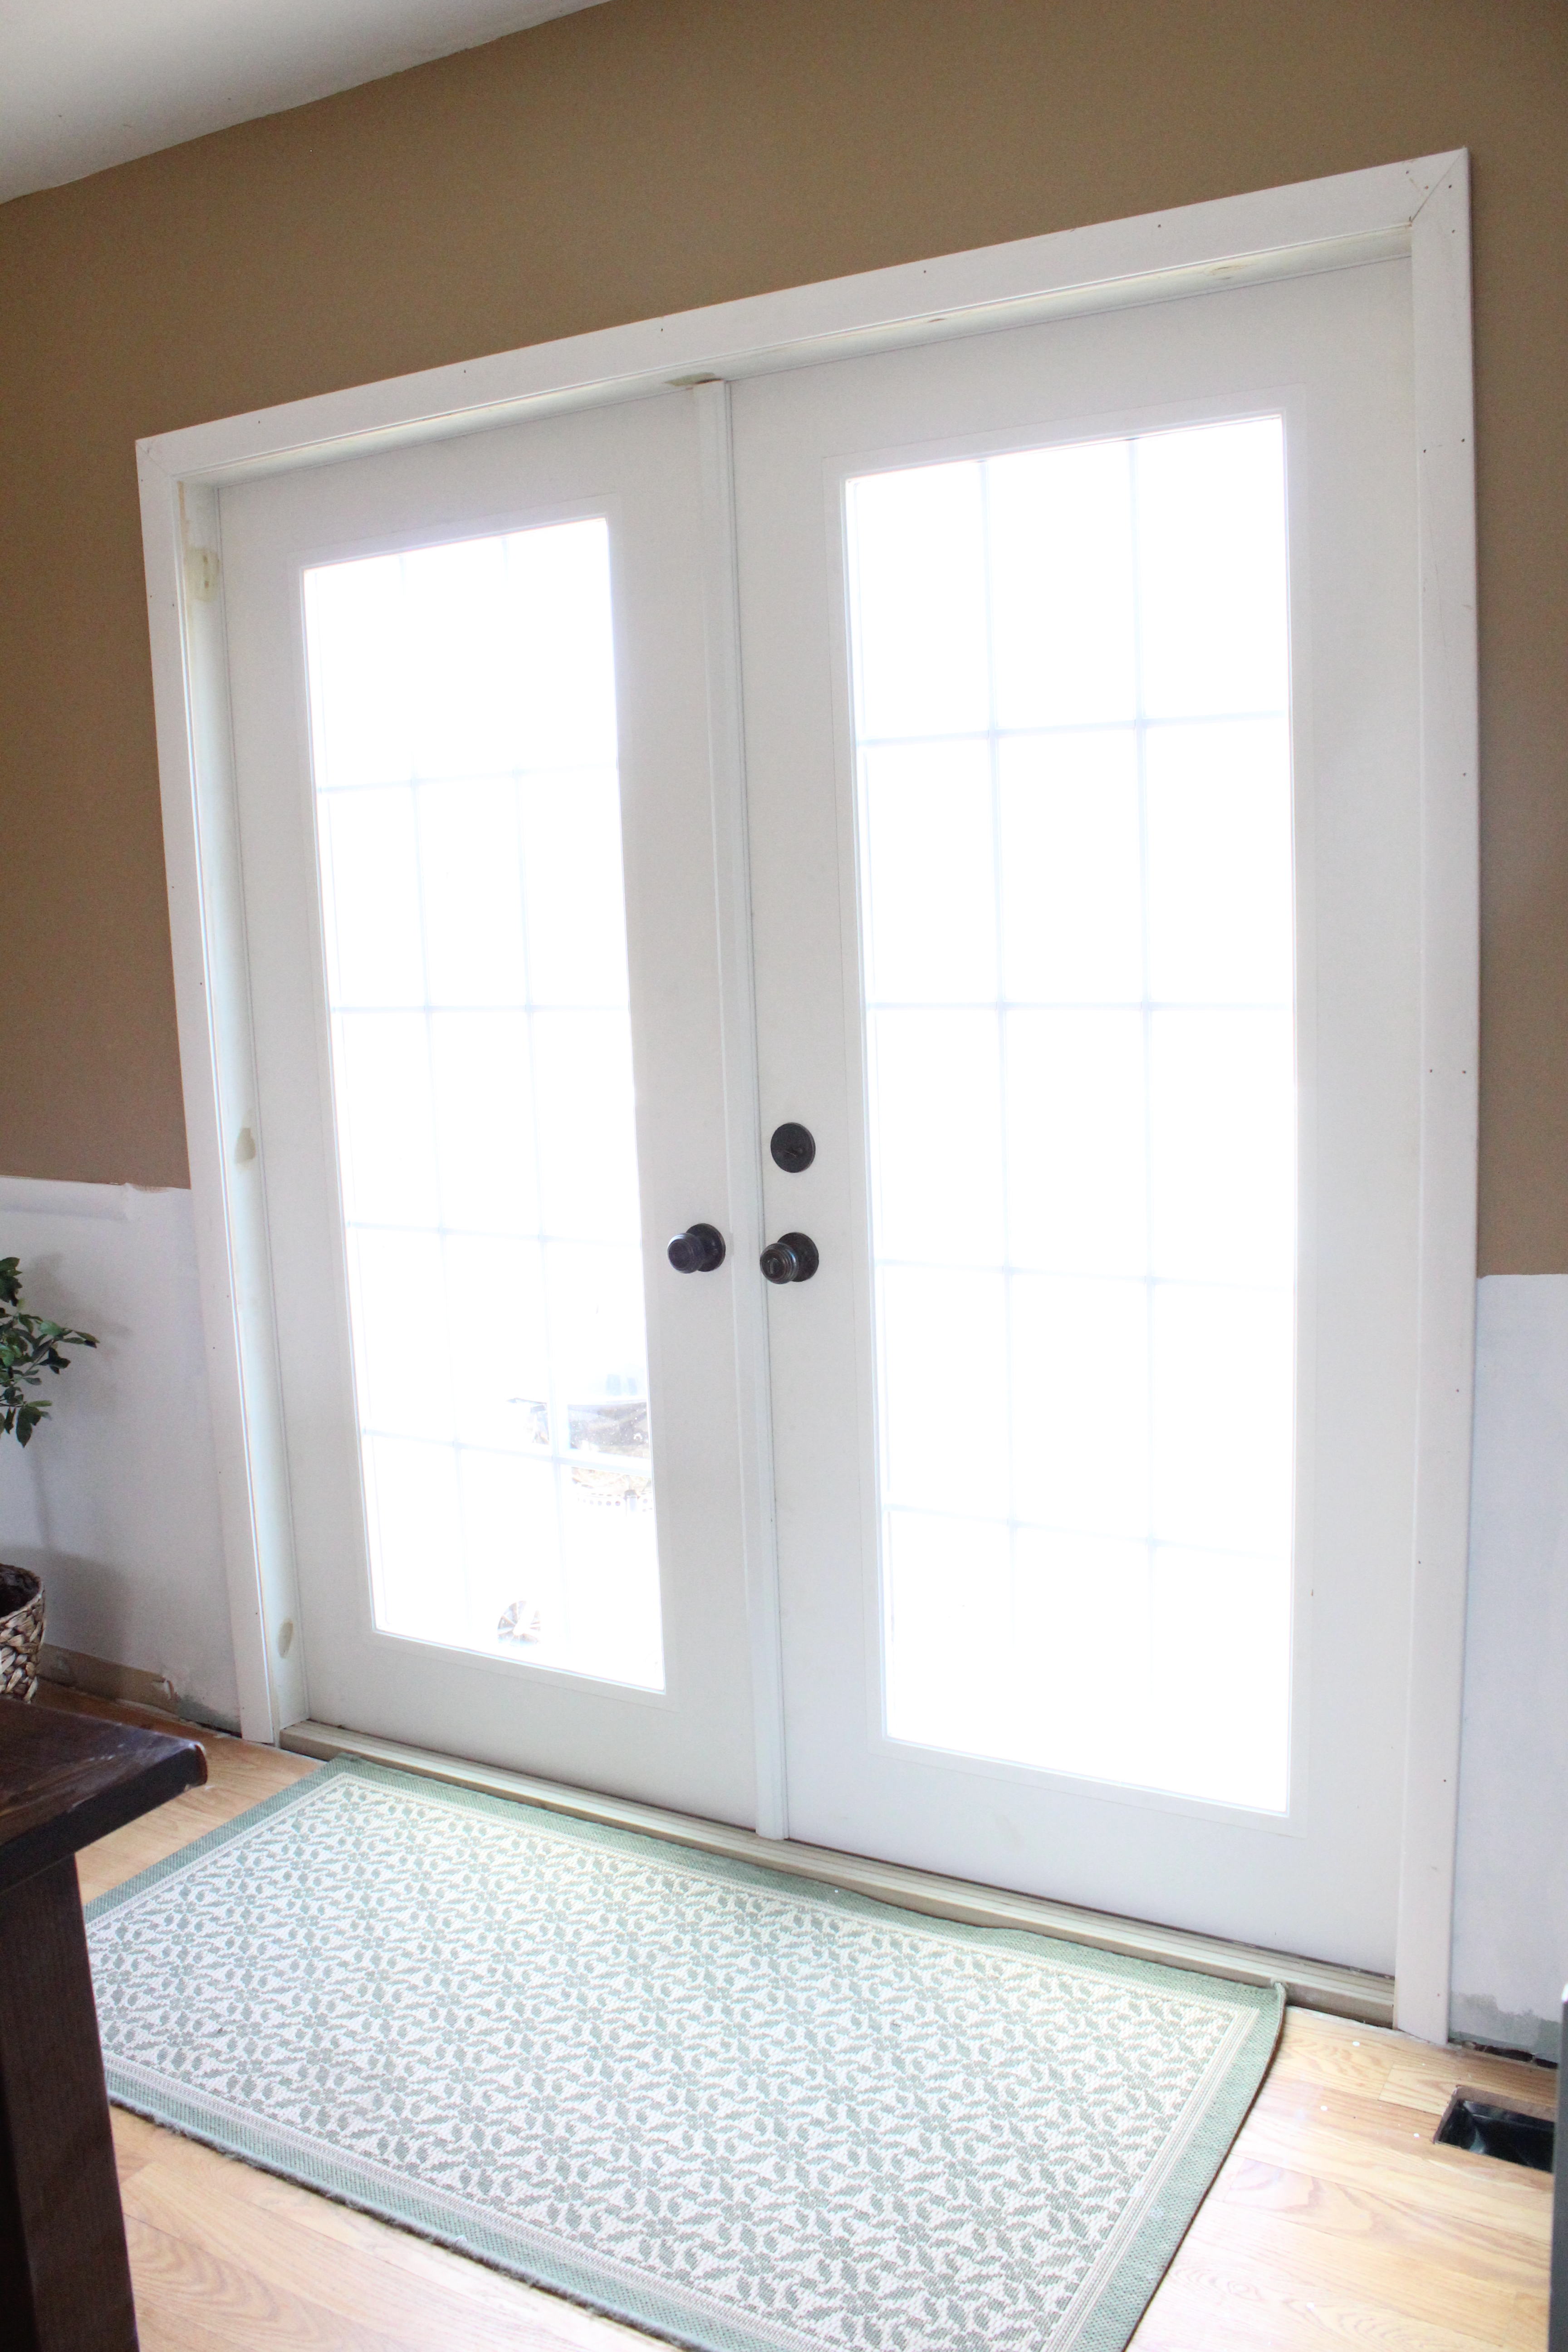
The doors let in a ton more light and it is so convenient to walk right outside from here. We use them constantly.
IMG_2849

My apologies it’s really difficult to take good photos of windows and doors from indoors. Tips welcome.

IMG_2853

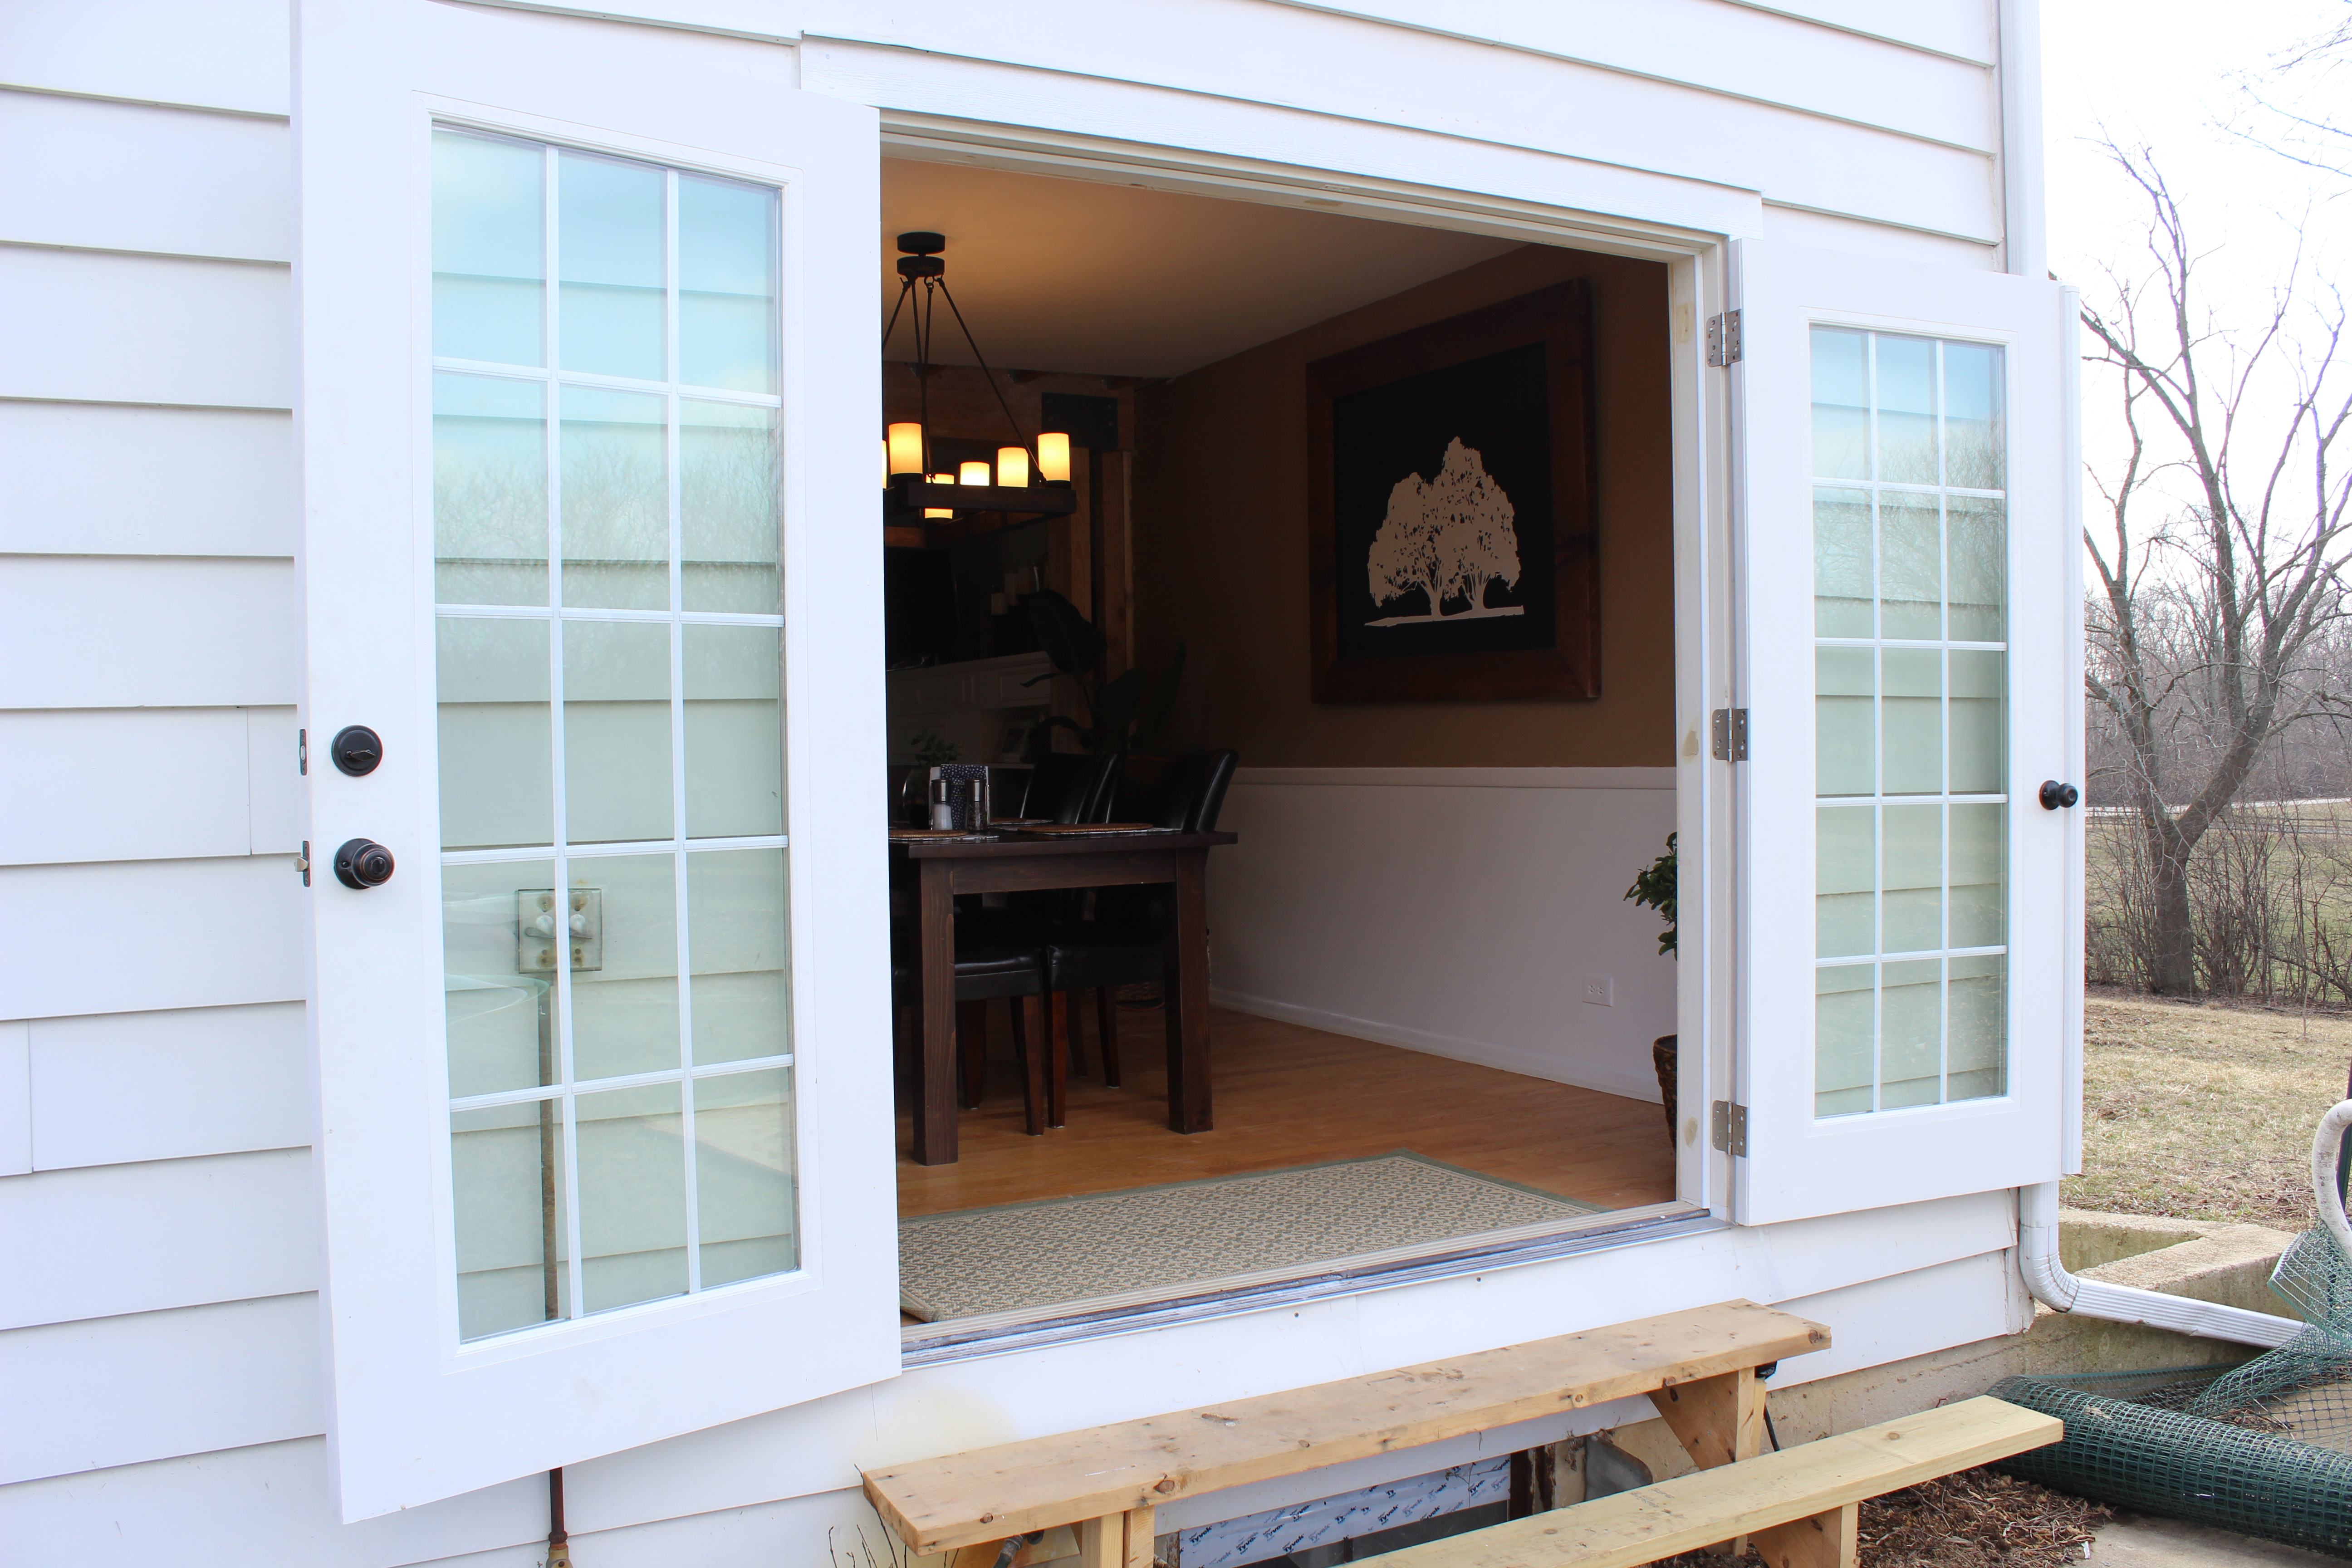
What’s really neat is that you can open just one, or both of the doors at the same time.

IMG_2871

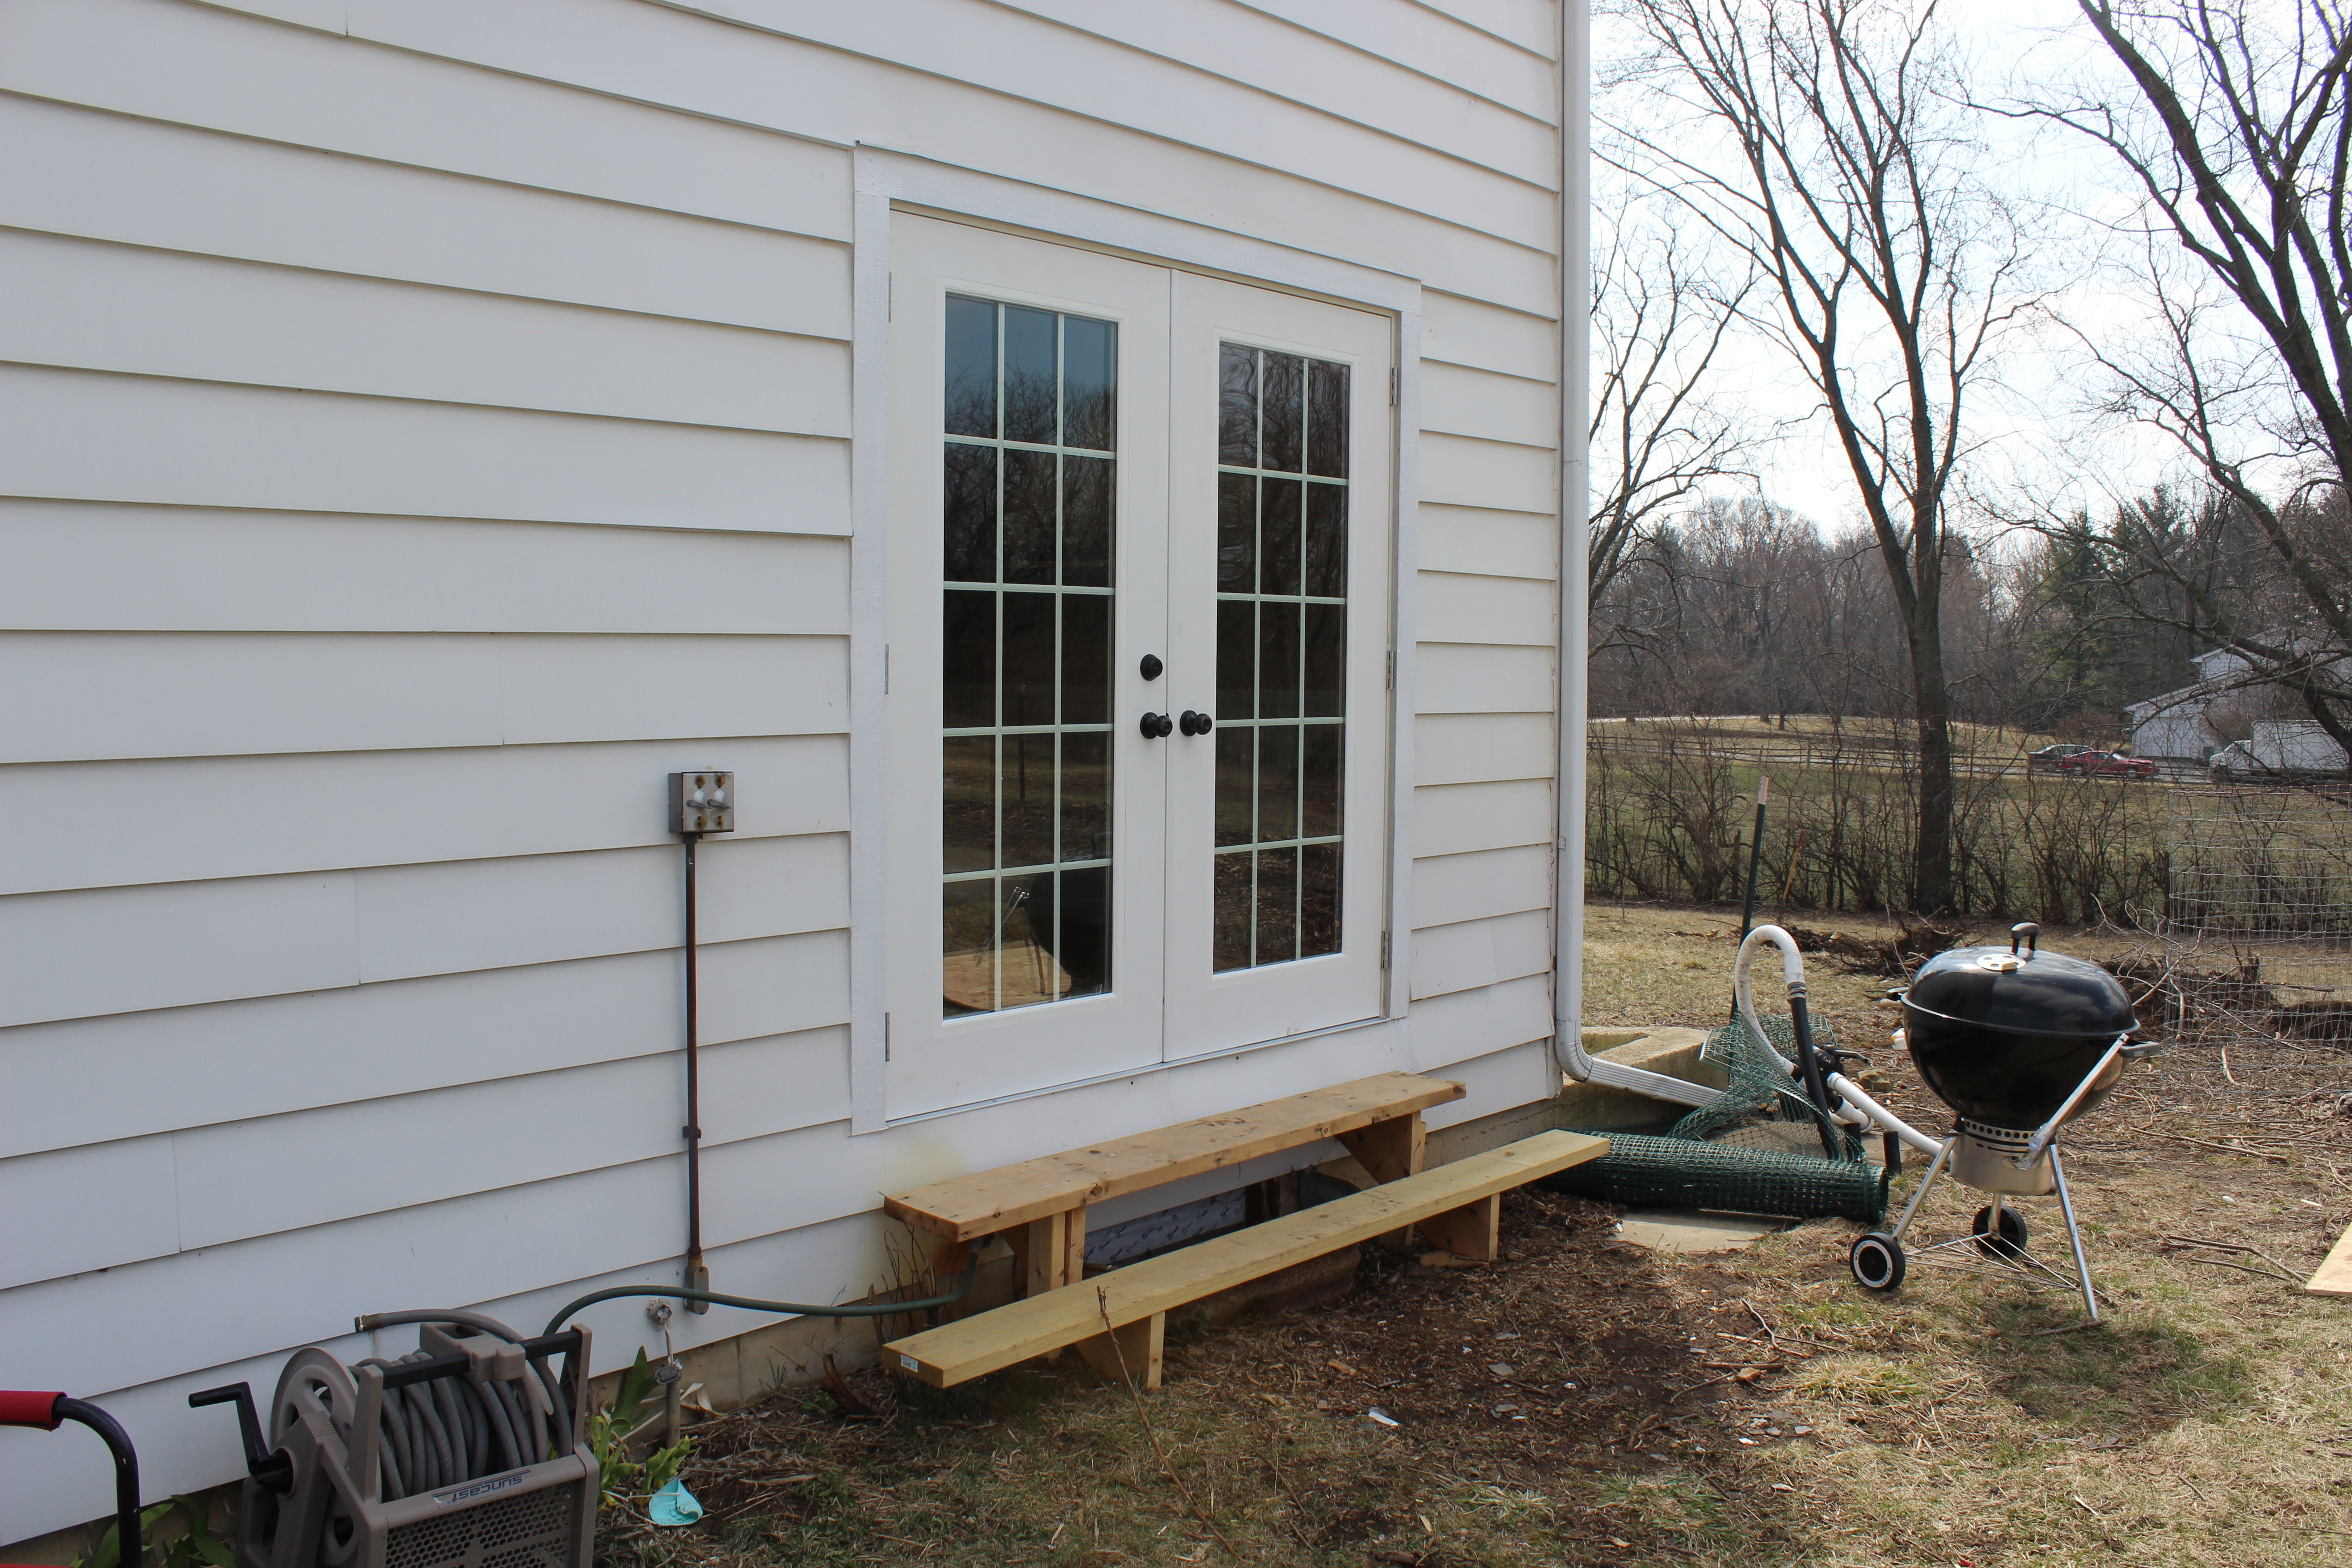
Of course those stairs are temporary and it will lead out to our future patio and deck.

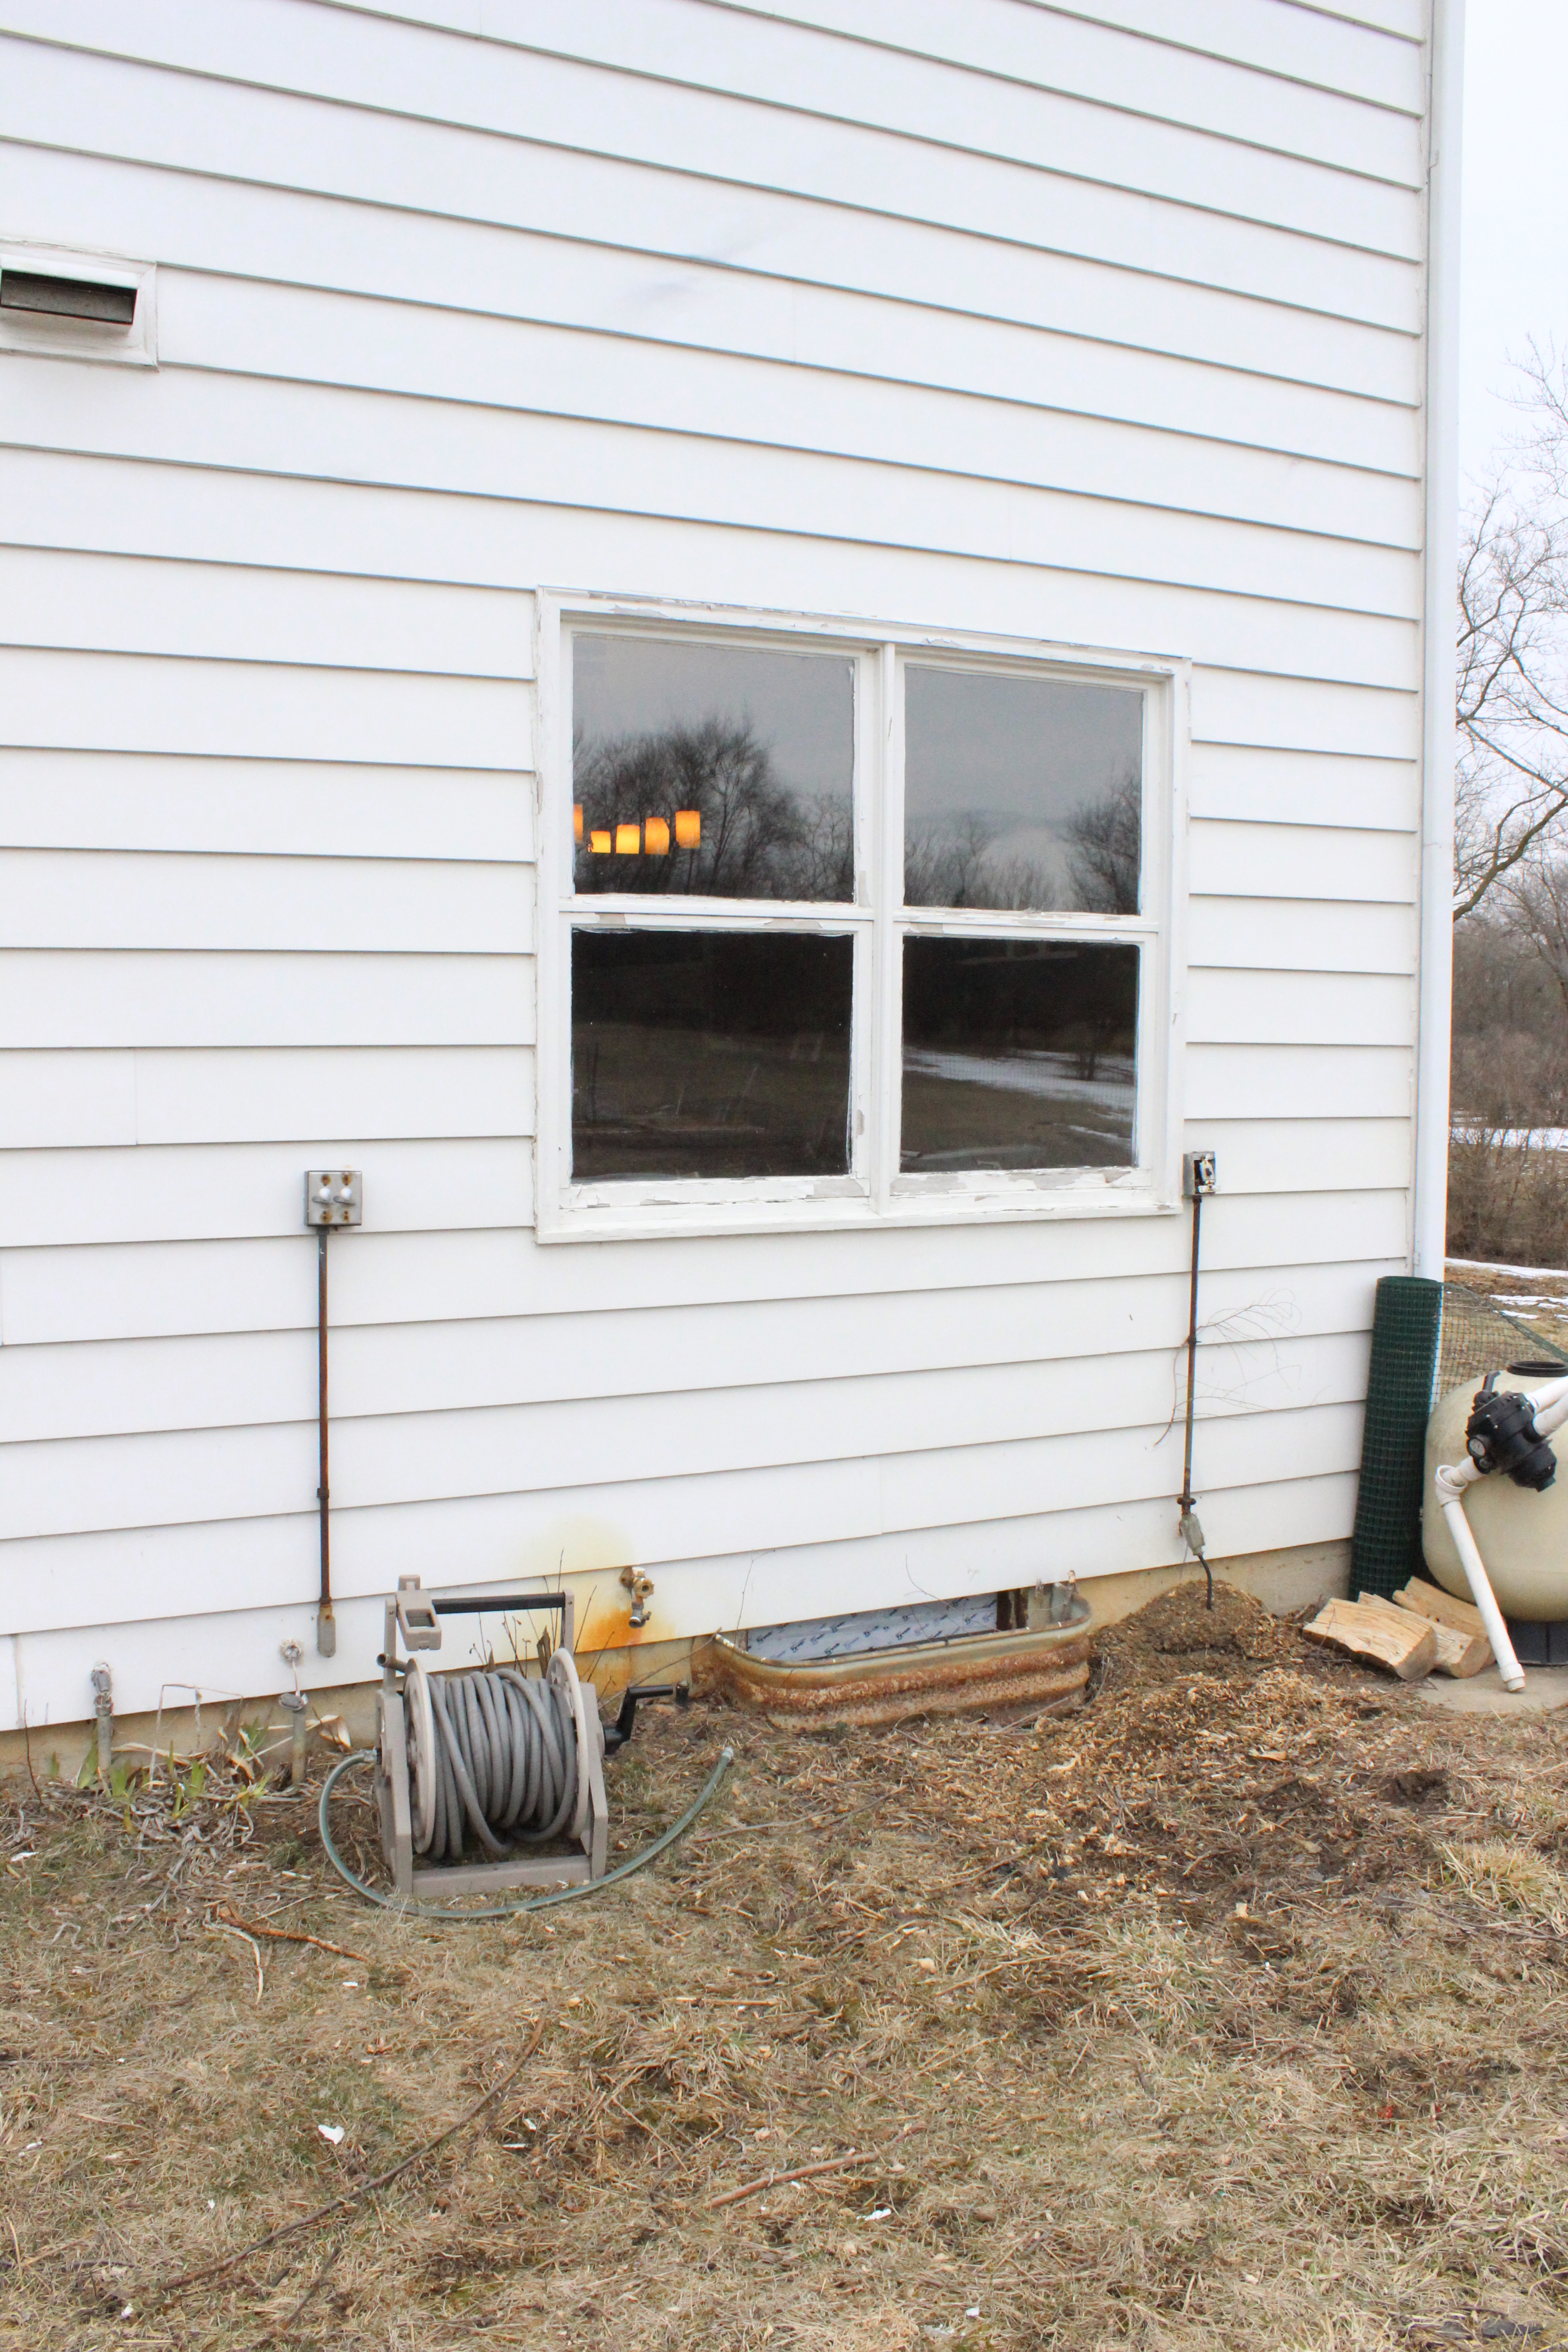
Here’s a shot of the window from the outside before.
IMG_2734

And now.IMG_2864The doors came from Home Depot by a brand called Feather River. They were only about $400 without hardware and we just added 2 oil rubbed bronze doorknobs and a deadbolt. Not bad since we were quoted up to $3,600 for them.
Gotta love when an upgrade is equal parts form and function!