Archive | Decor RSS feed for this section

5 Years Later (What’s Changed)

24 Oct

Today marks 5 years since we closed on 12 Oaks, so I thought we should recap everything we’ve been able to accomplish since October 2012.

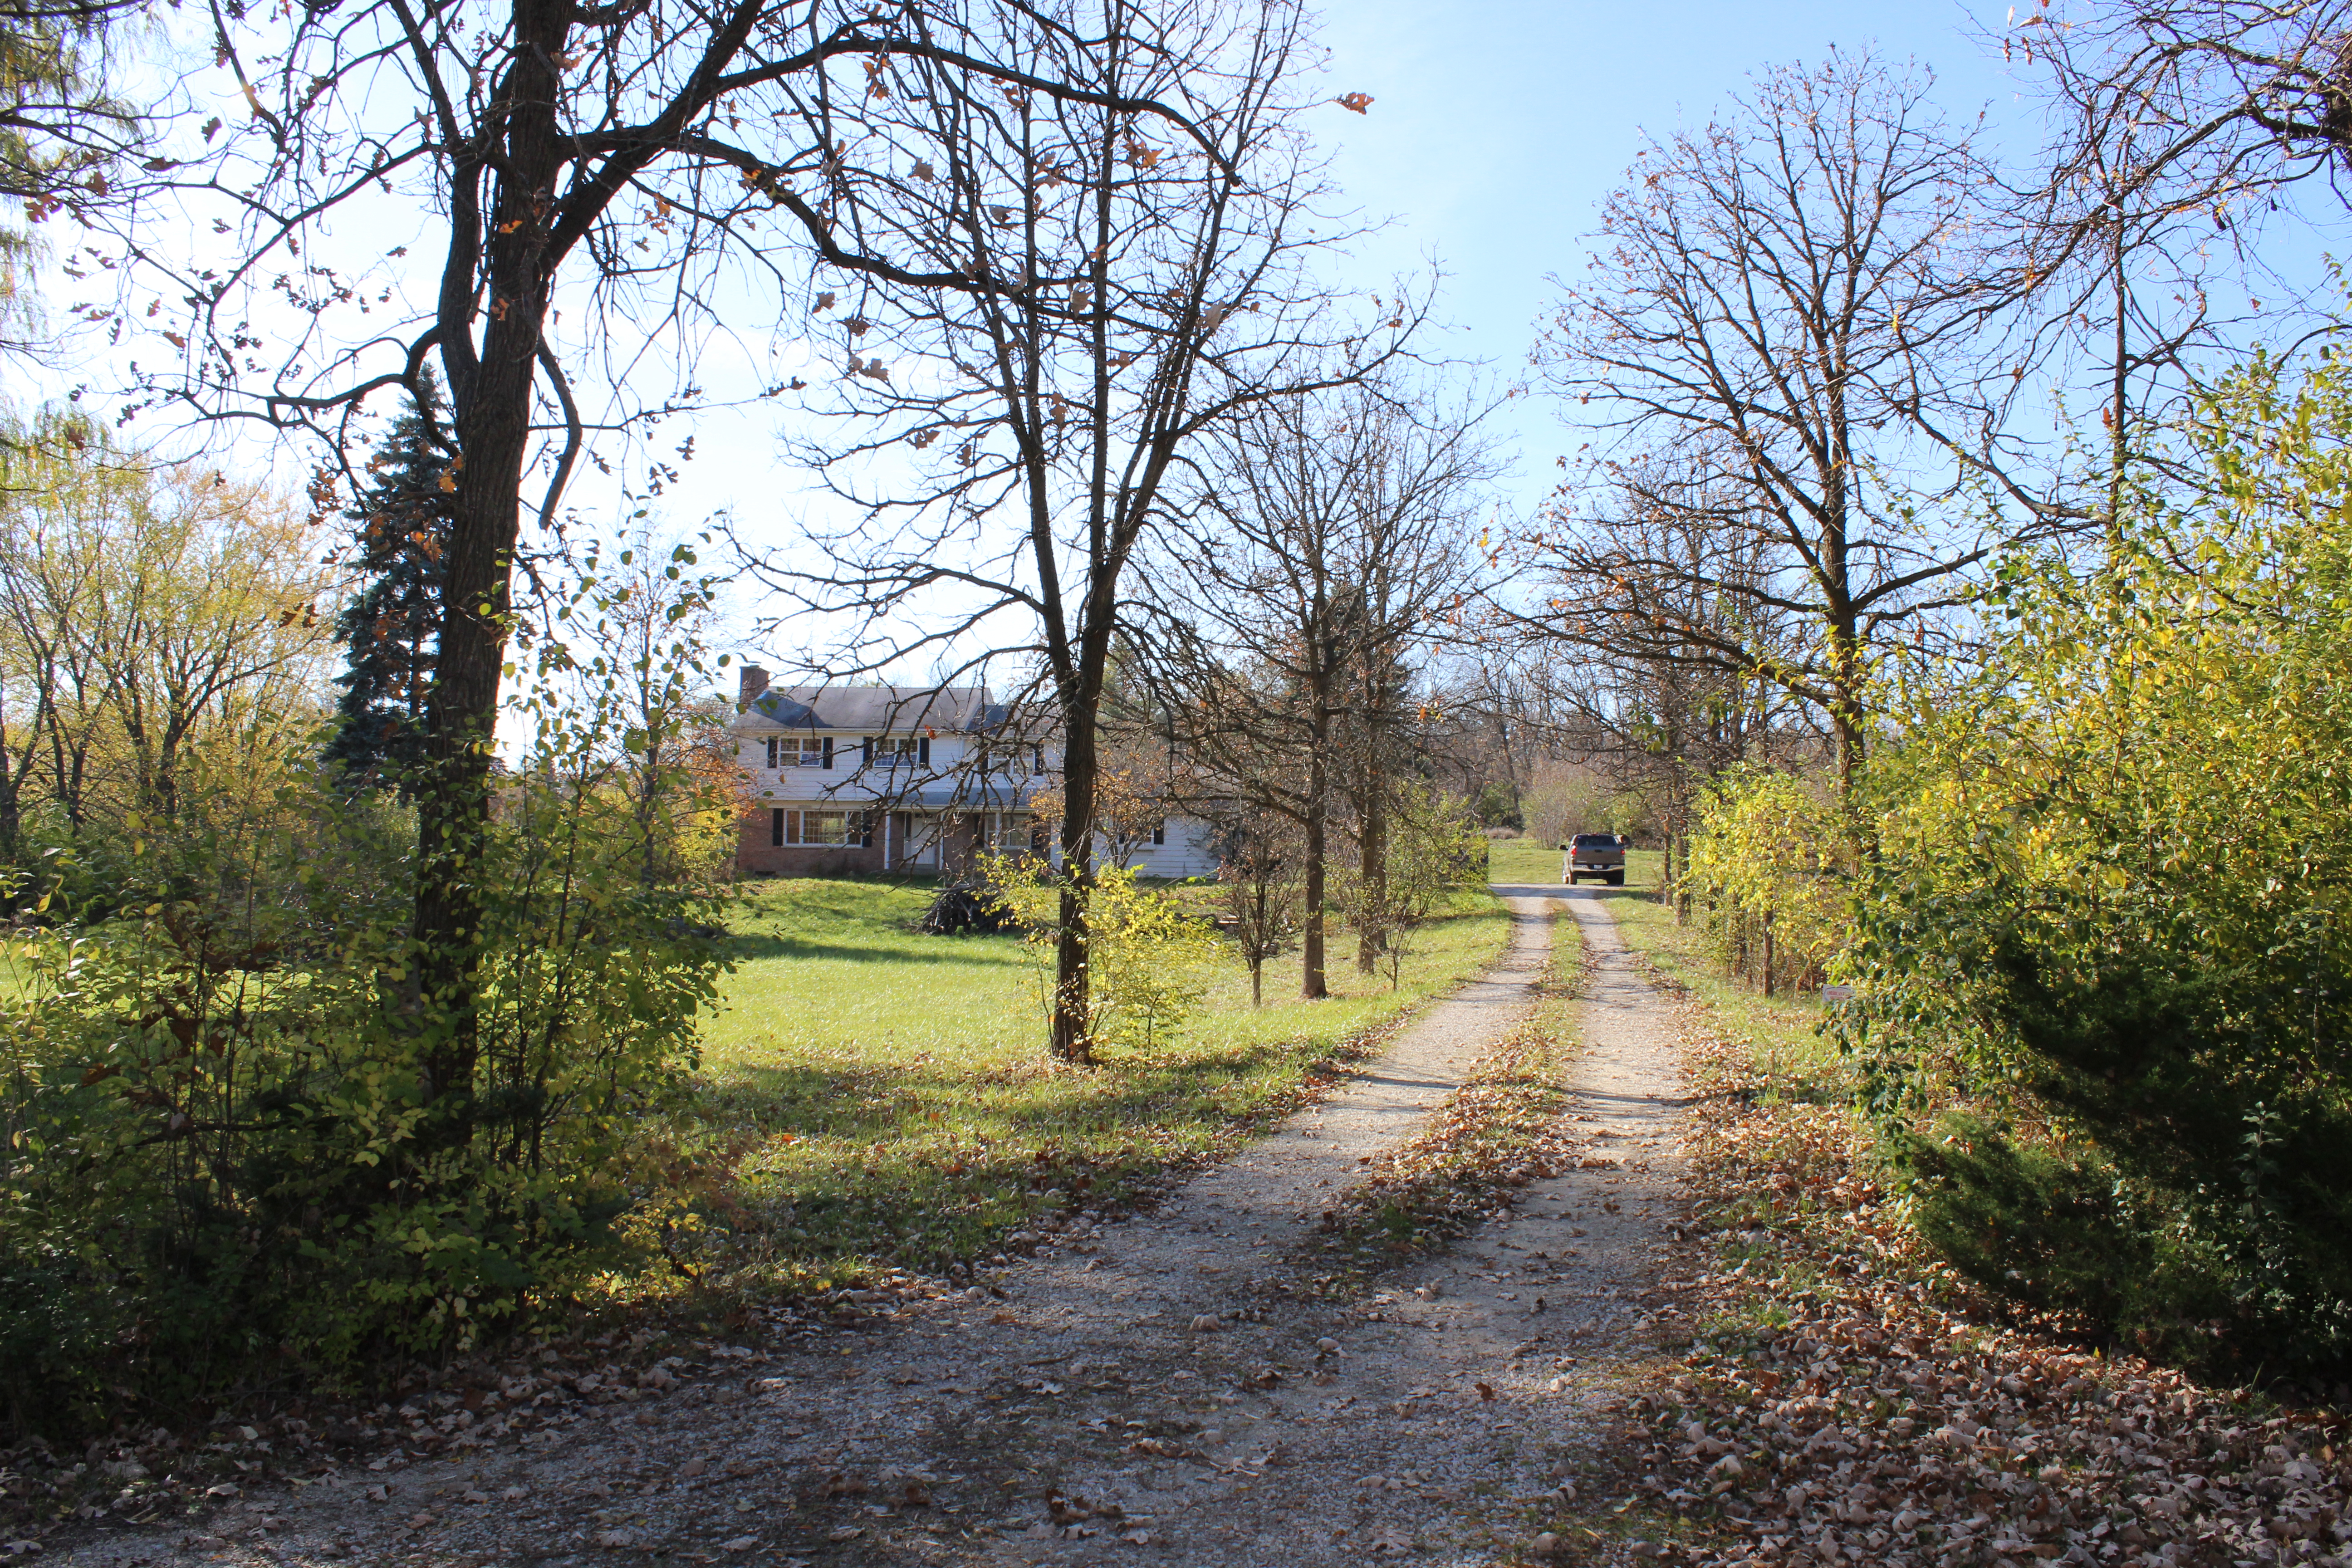
Here we go, starting with the driveway which was just gravel and so overgrown.

Here is the same view now:

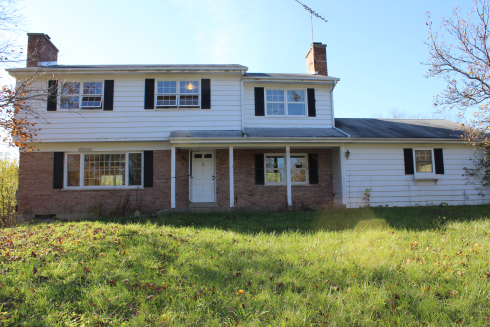
The front of the house was in need of some major TLC. Overgrown weeds, old broken windows, chipped paint, etc., etc.

Front Oaks Exterior Before

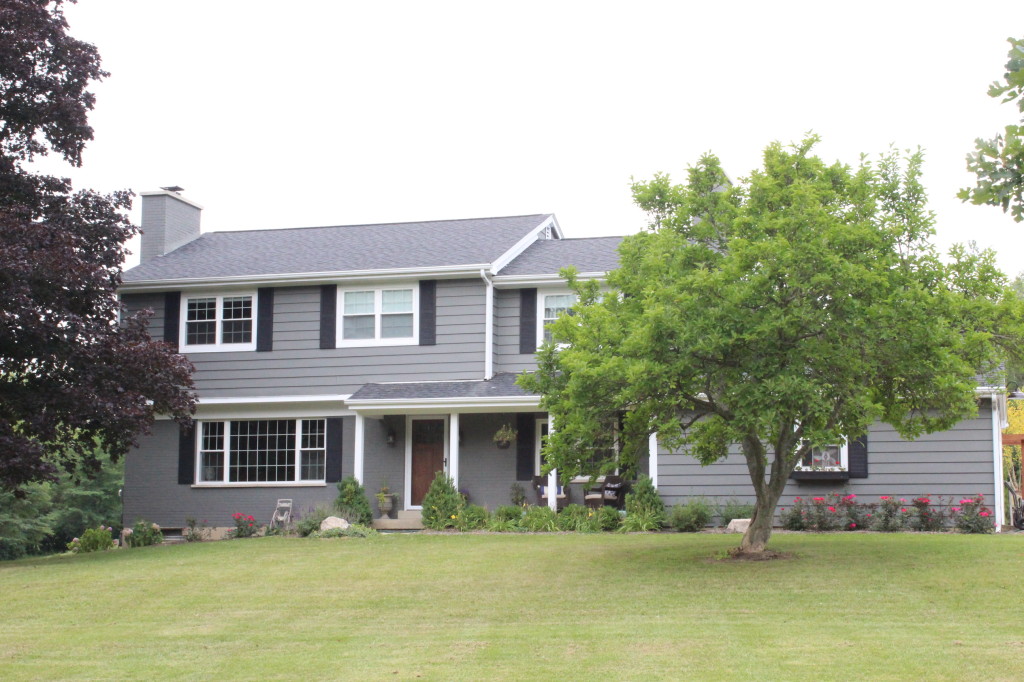
After A TON of work including a new roof, windows, landscaping, door, and paint, here she is now:

IMG_4813

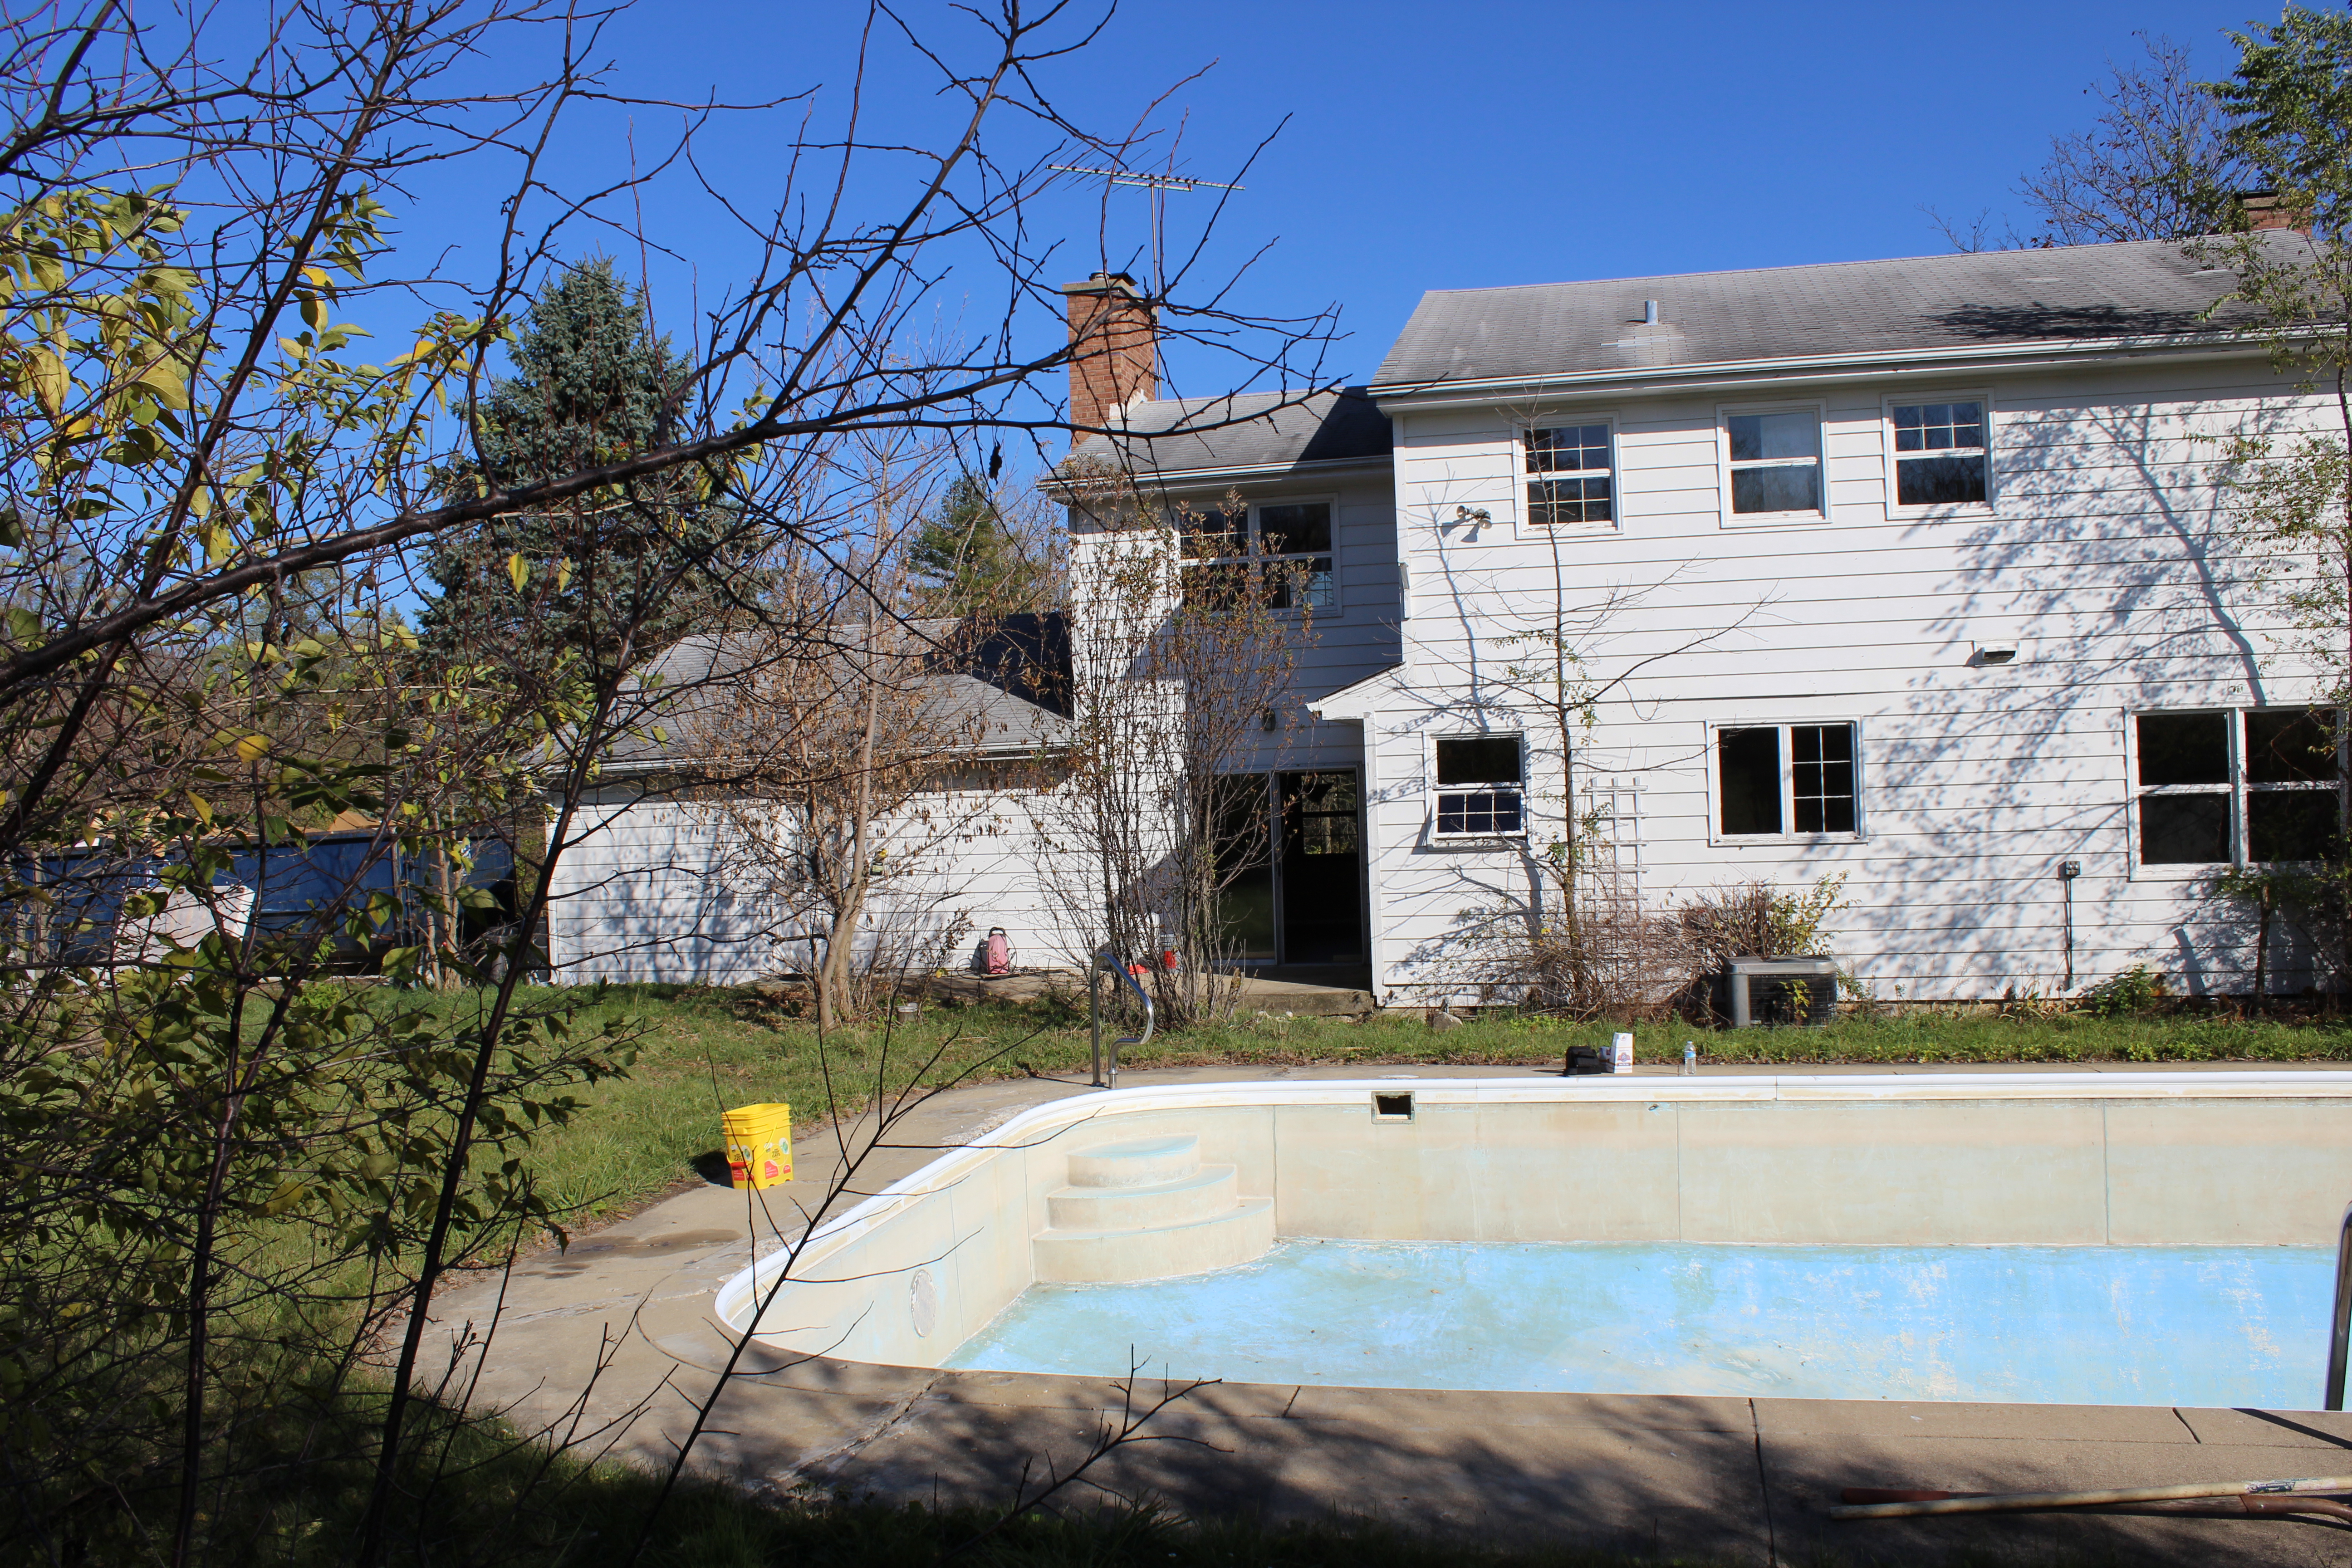
Moving to the back of the house and pool, we had this mess:

12 Oaks Before 387

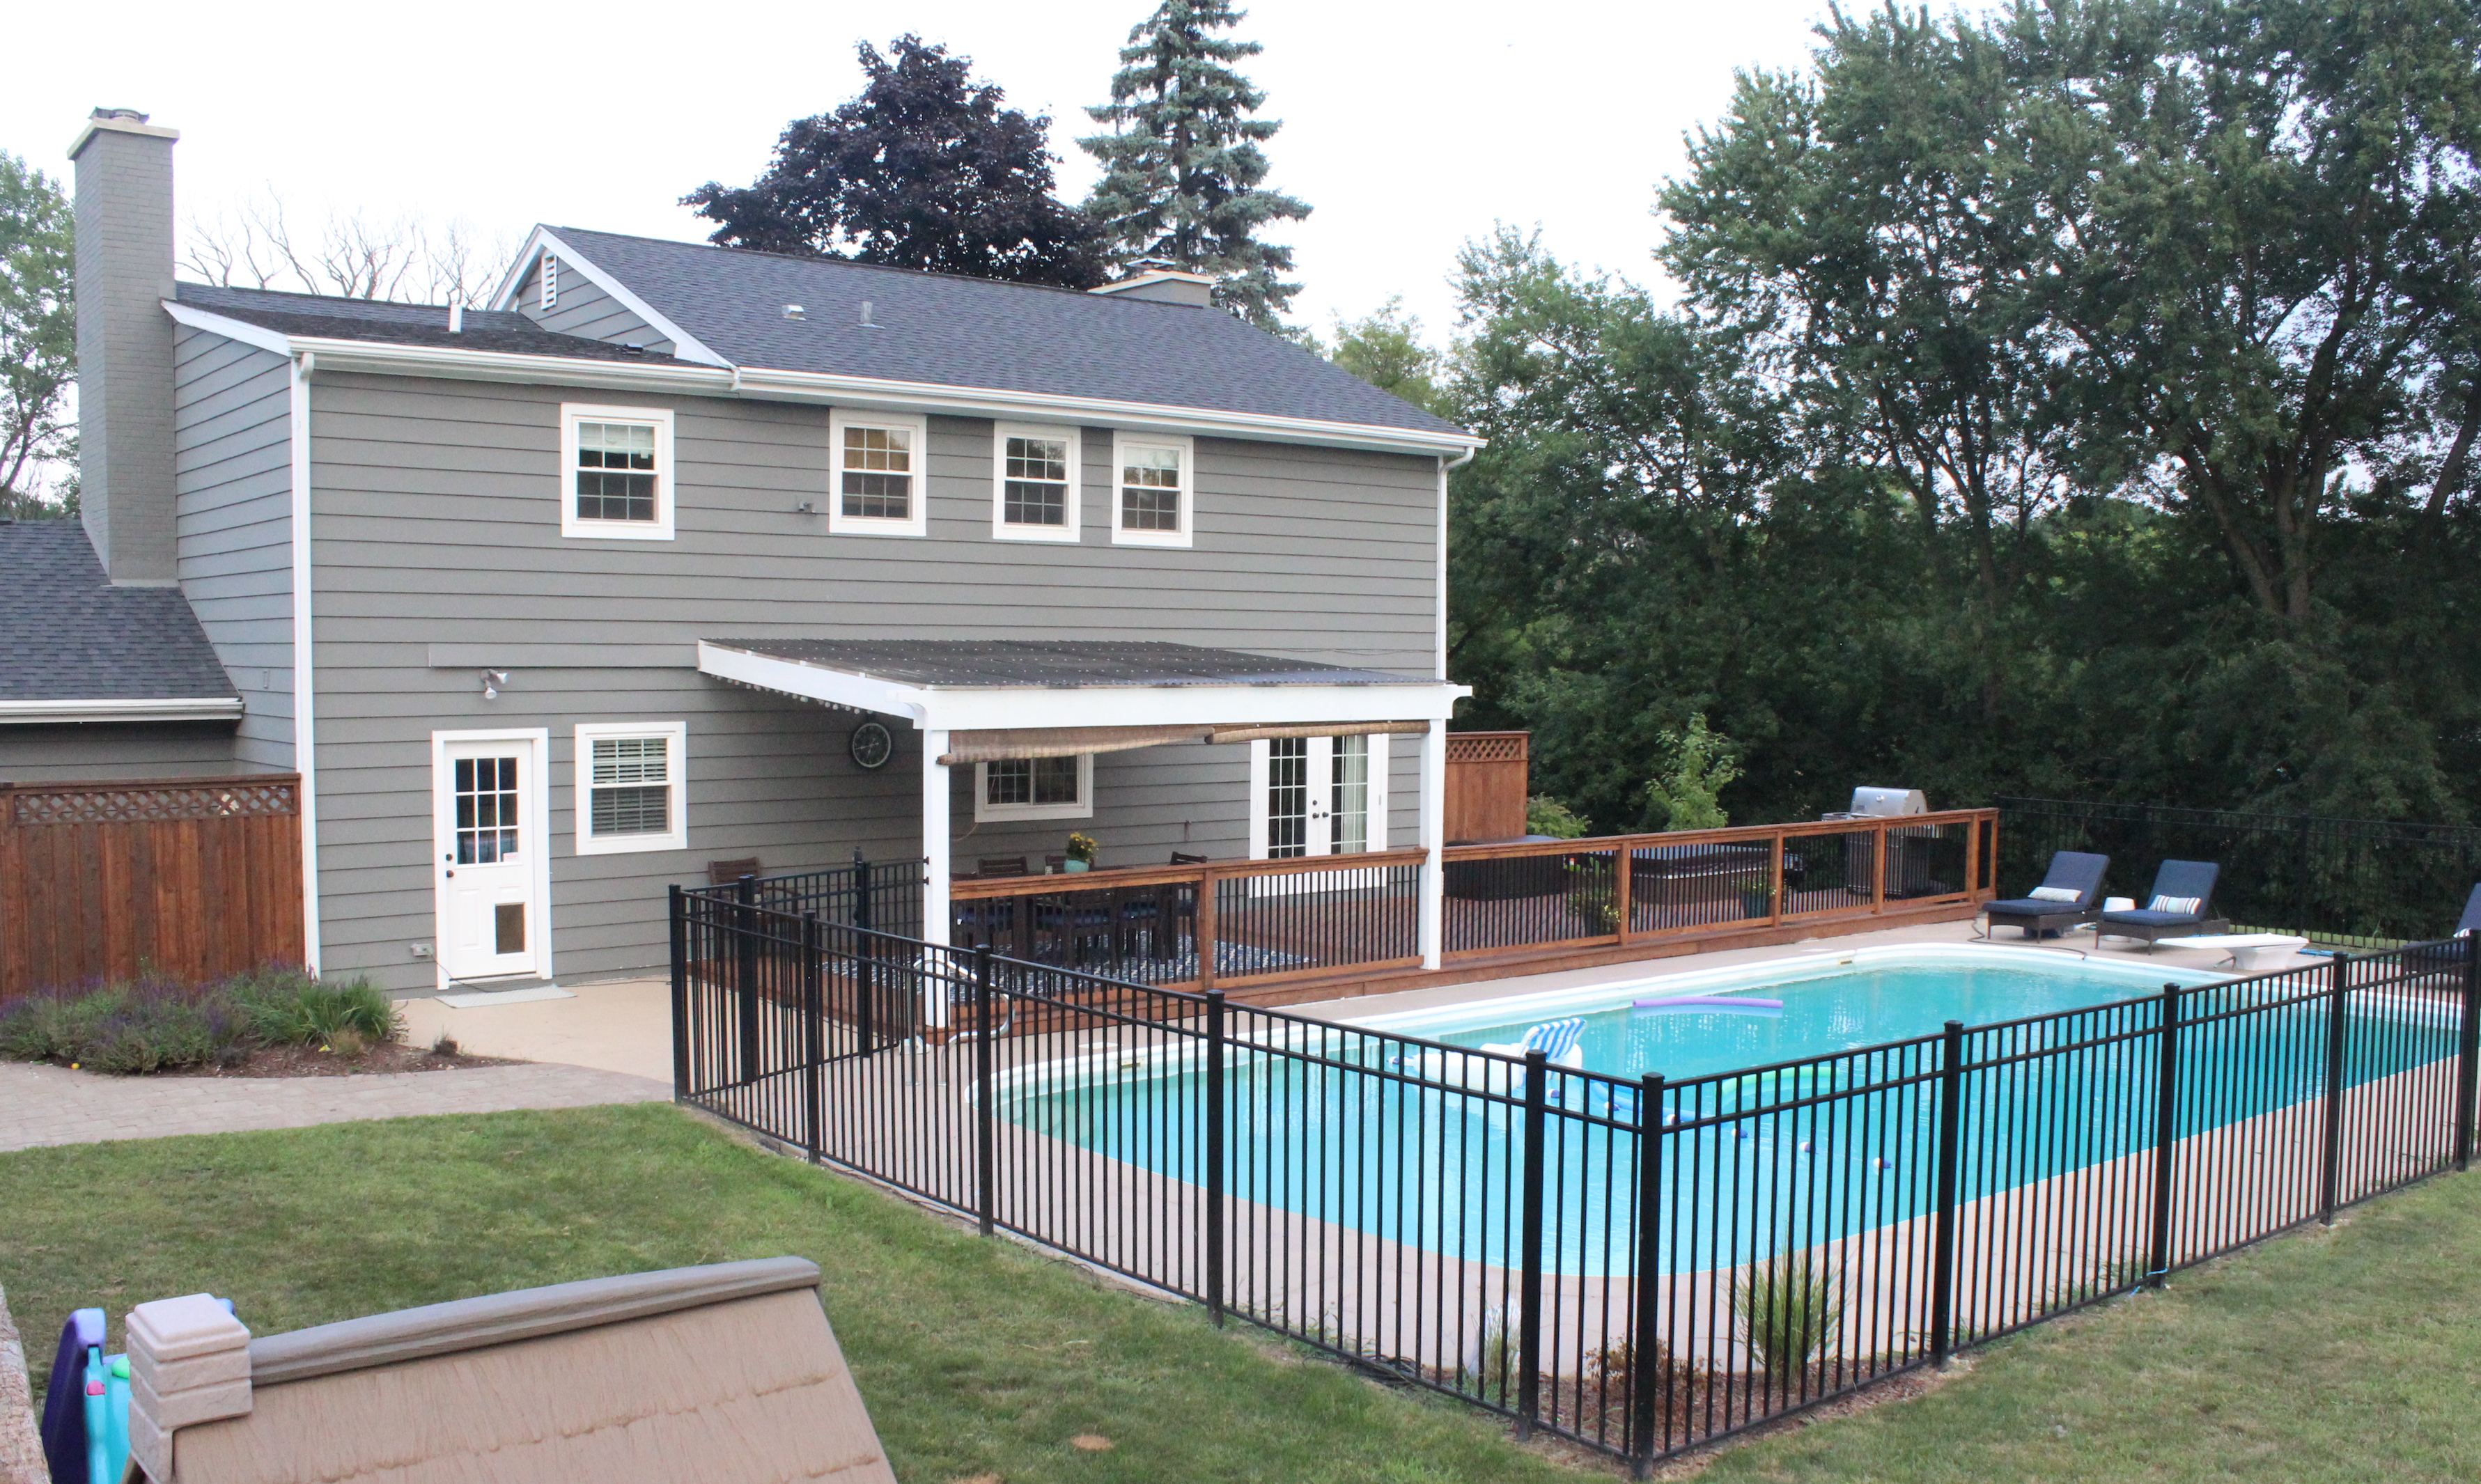
And now after a deck, pergola, small addition (left side of the pergola), pool fence, garbage enclosure, landscaping, etc. (More on the backyard transformation here.)

IMG_5890

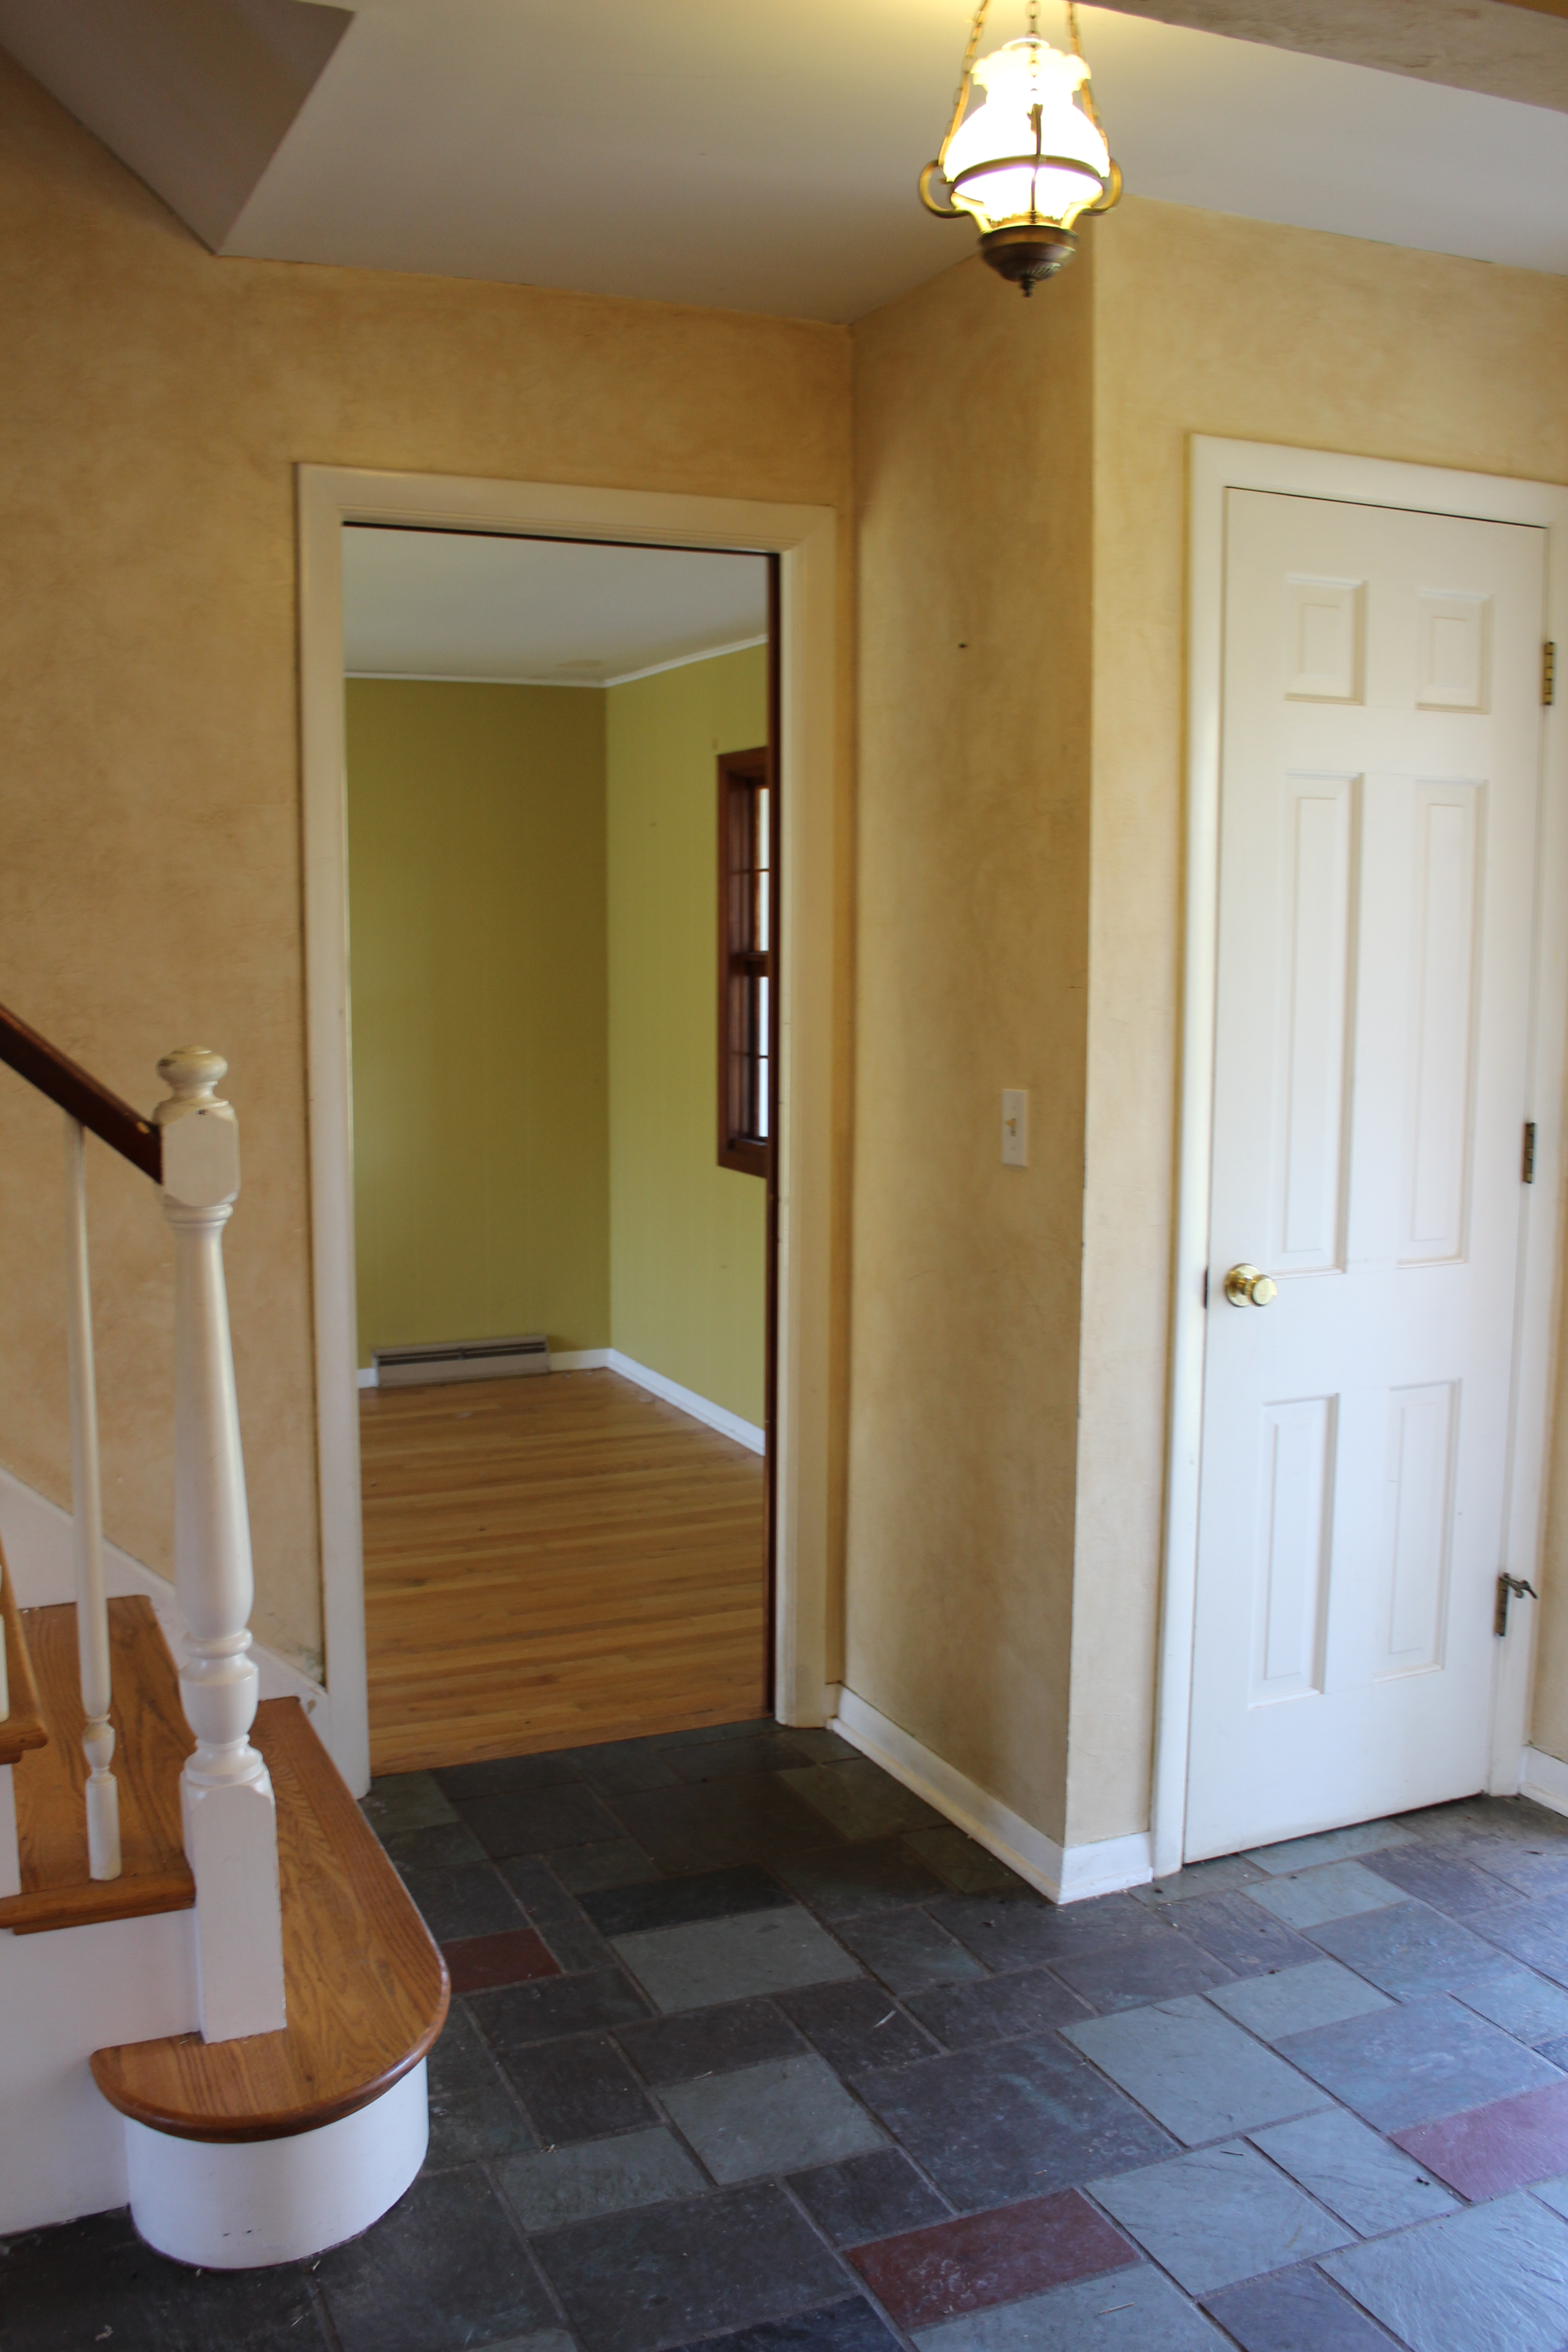
Here was the entryway/stairs 5 years ago:

12 Oaks Before 156

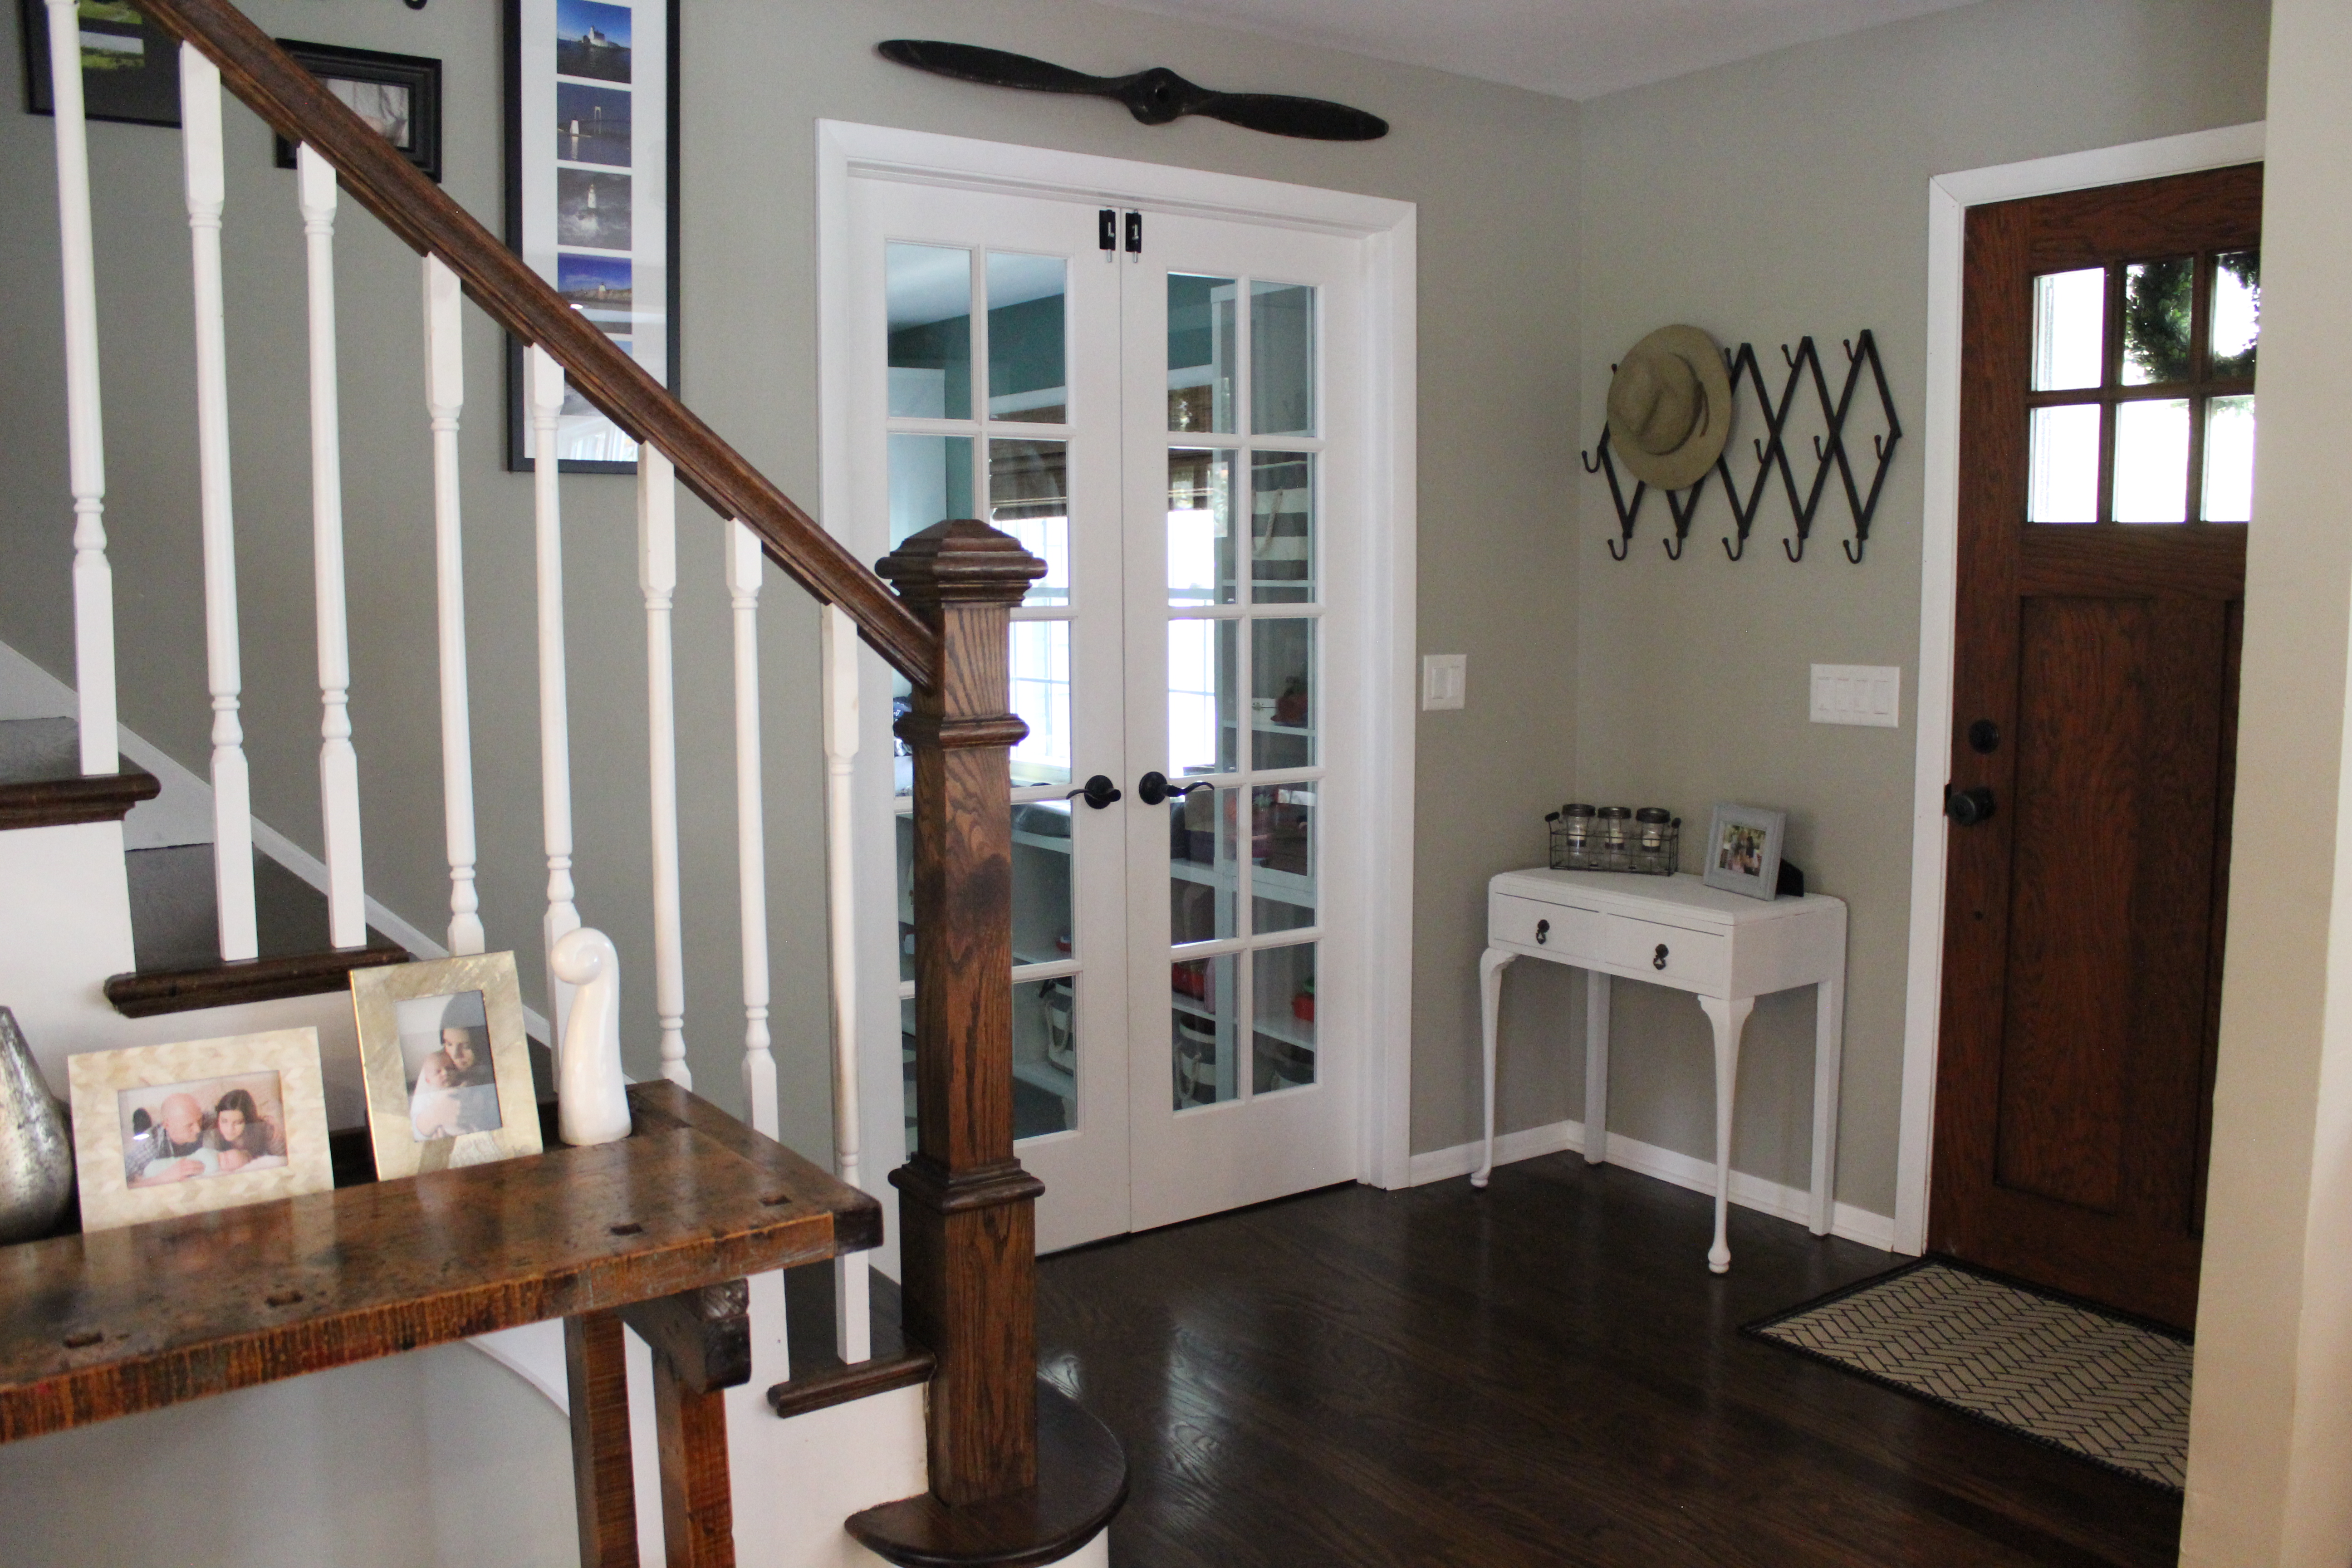
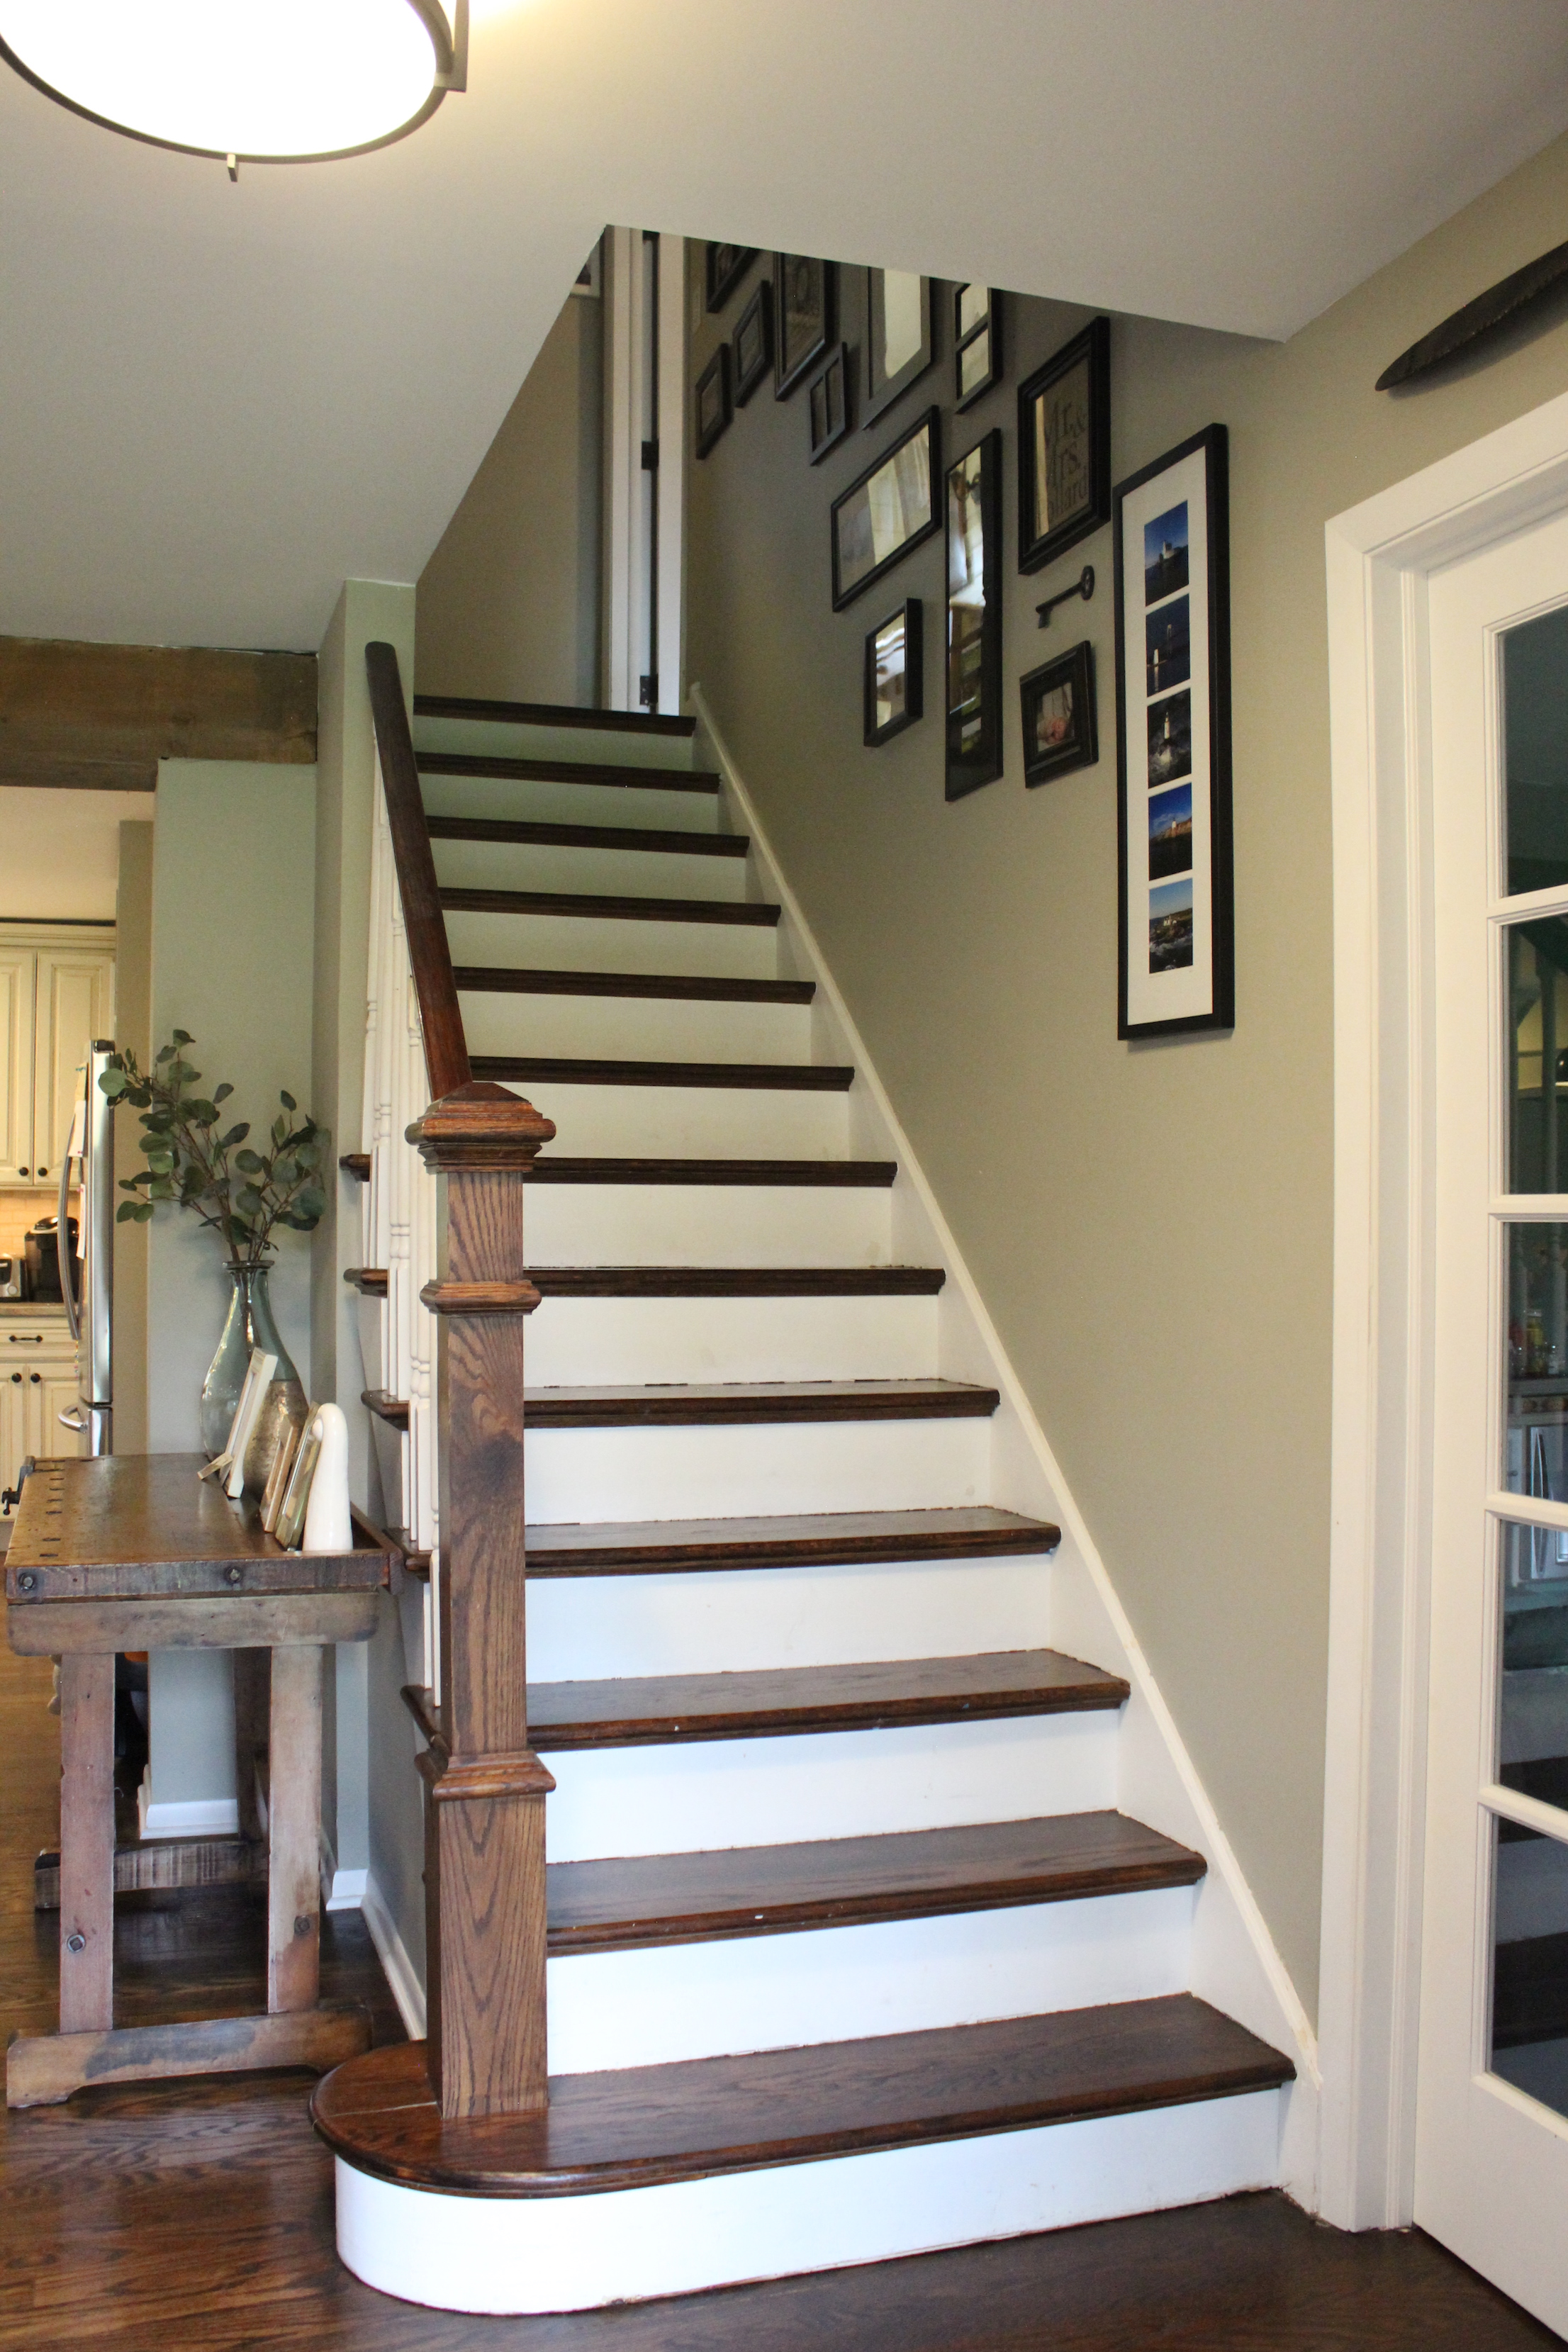
And now after removing the closet, putting in french doors to the now playroom, new hardwood floors, stain, paint, etc.:

See more about our stair and entryway makeover here.

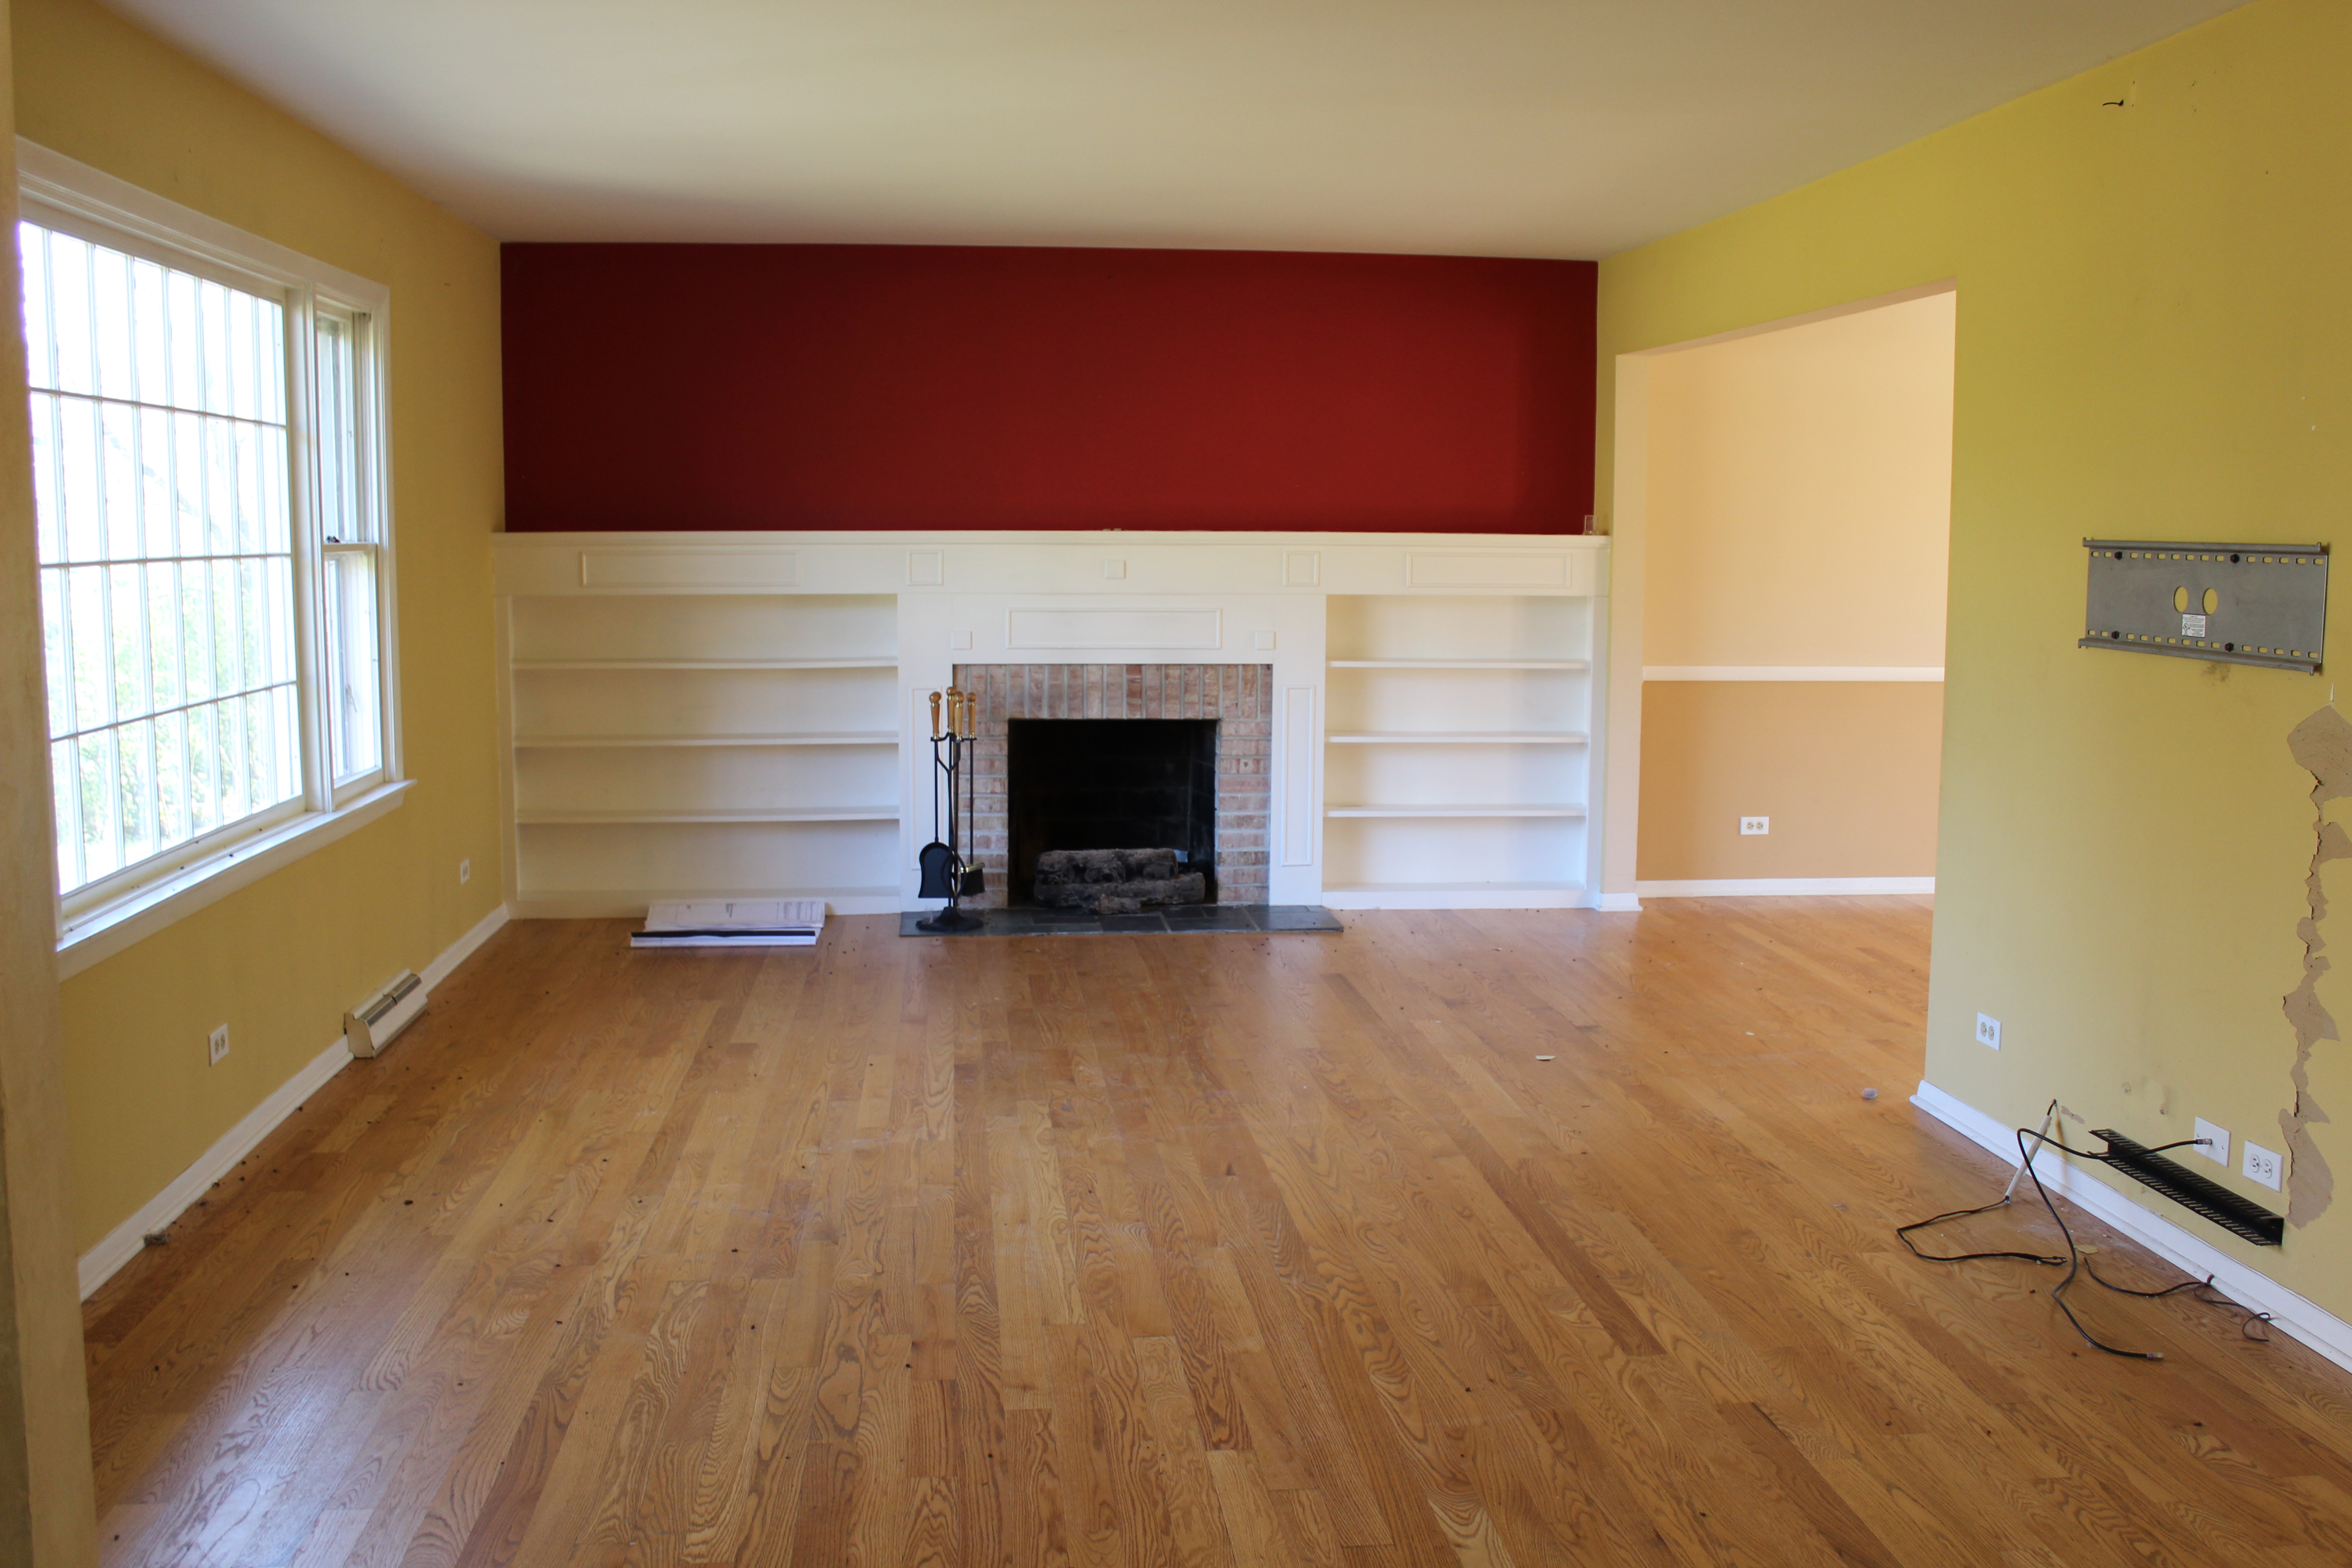
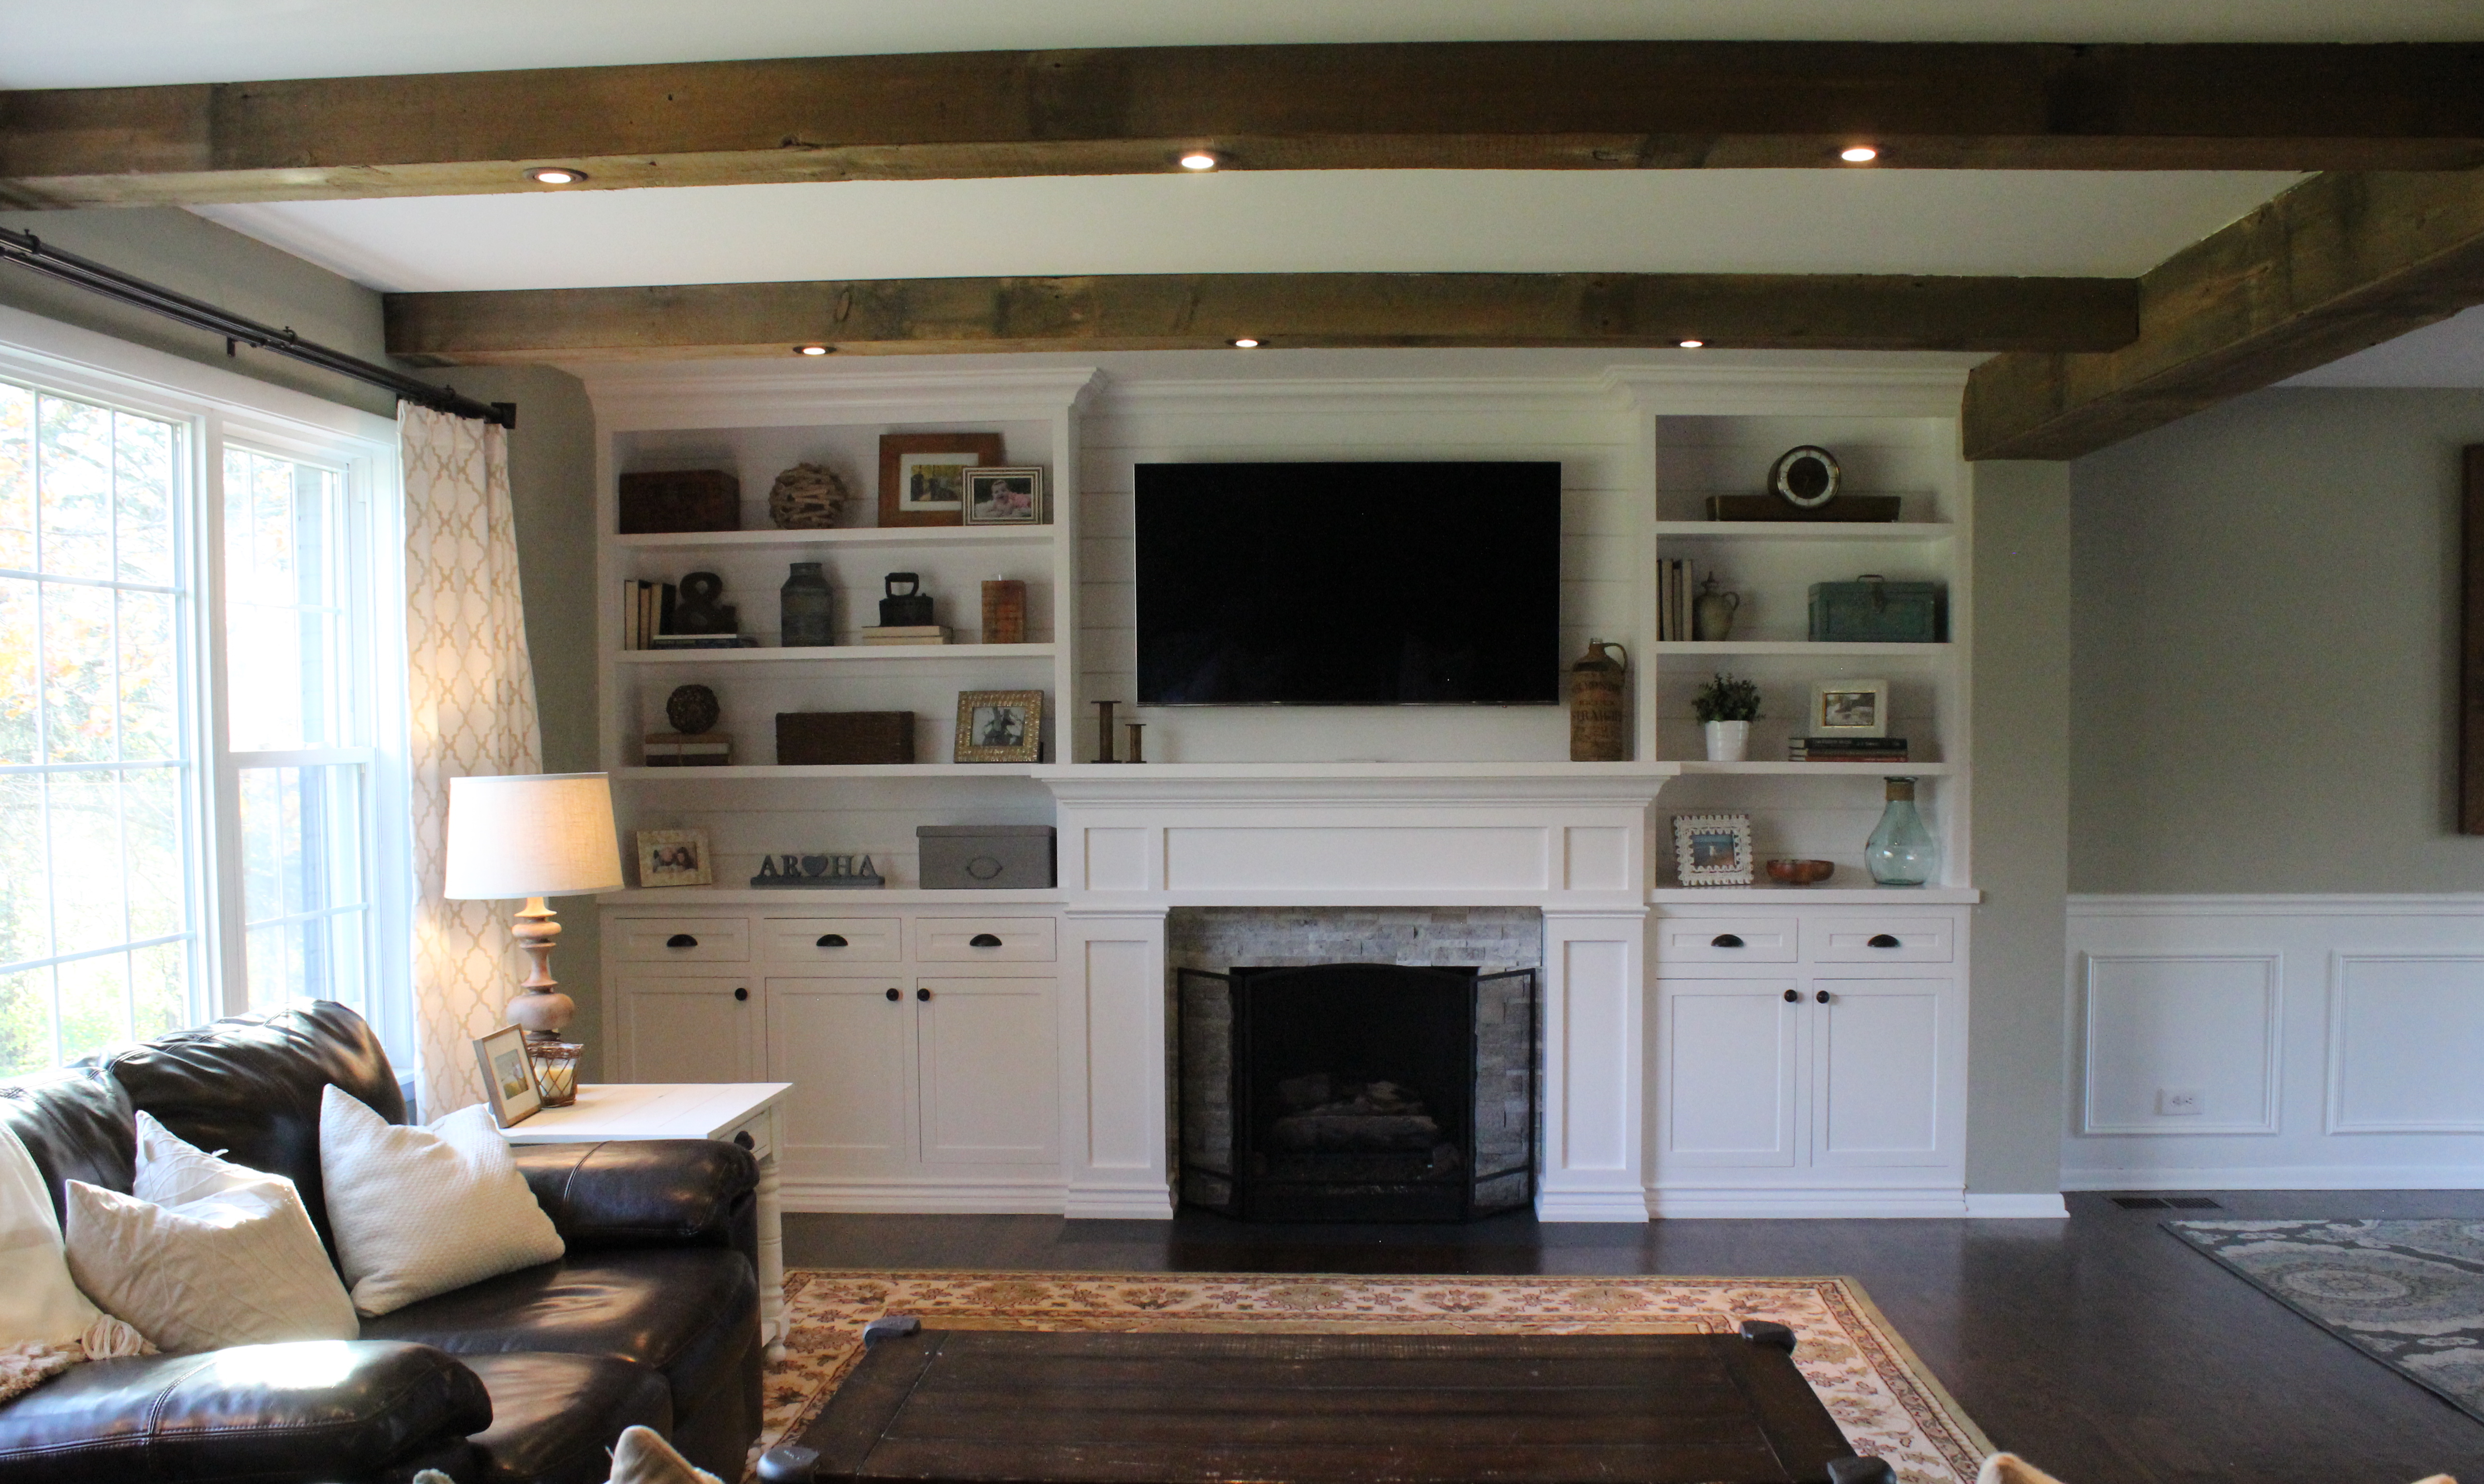
Here was the living room 5 years ago which was closed off from the kitchen:

Living Room on Closing Day

And now its all one big open space with barn wood beams, new built ins, and more:

living-room-new

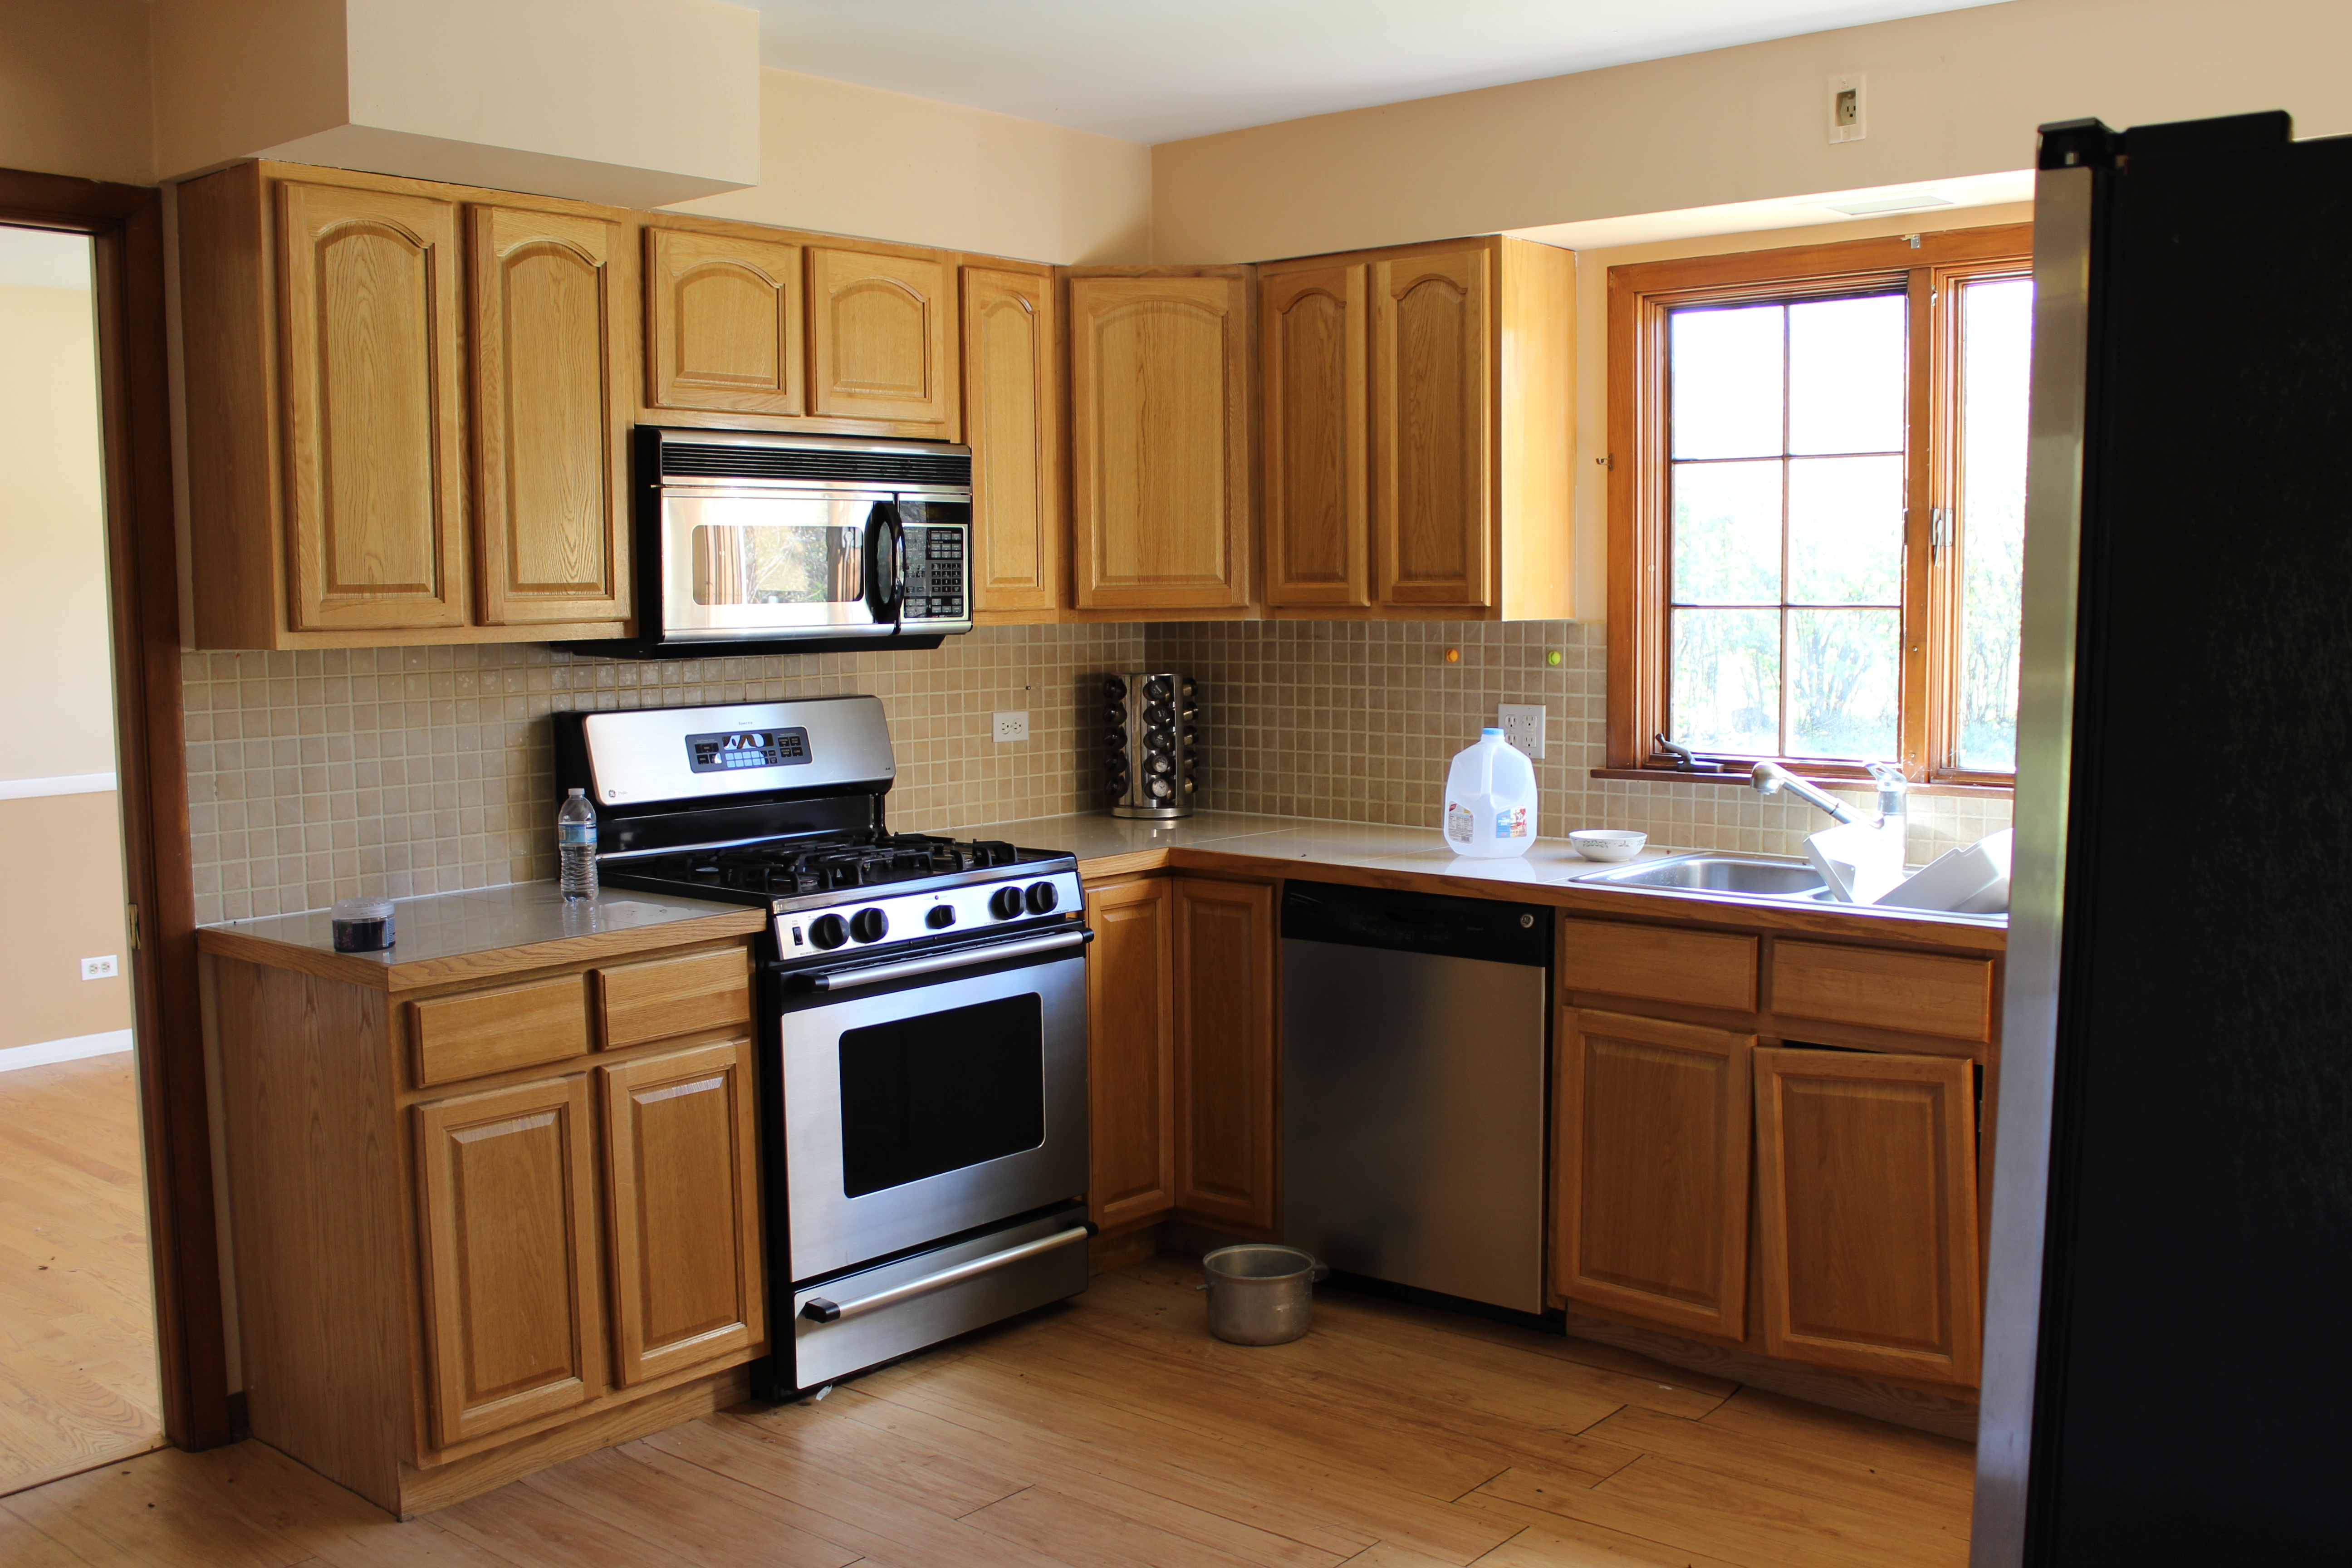
Here was the kitchen 5 years ago:

Kitchen

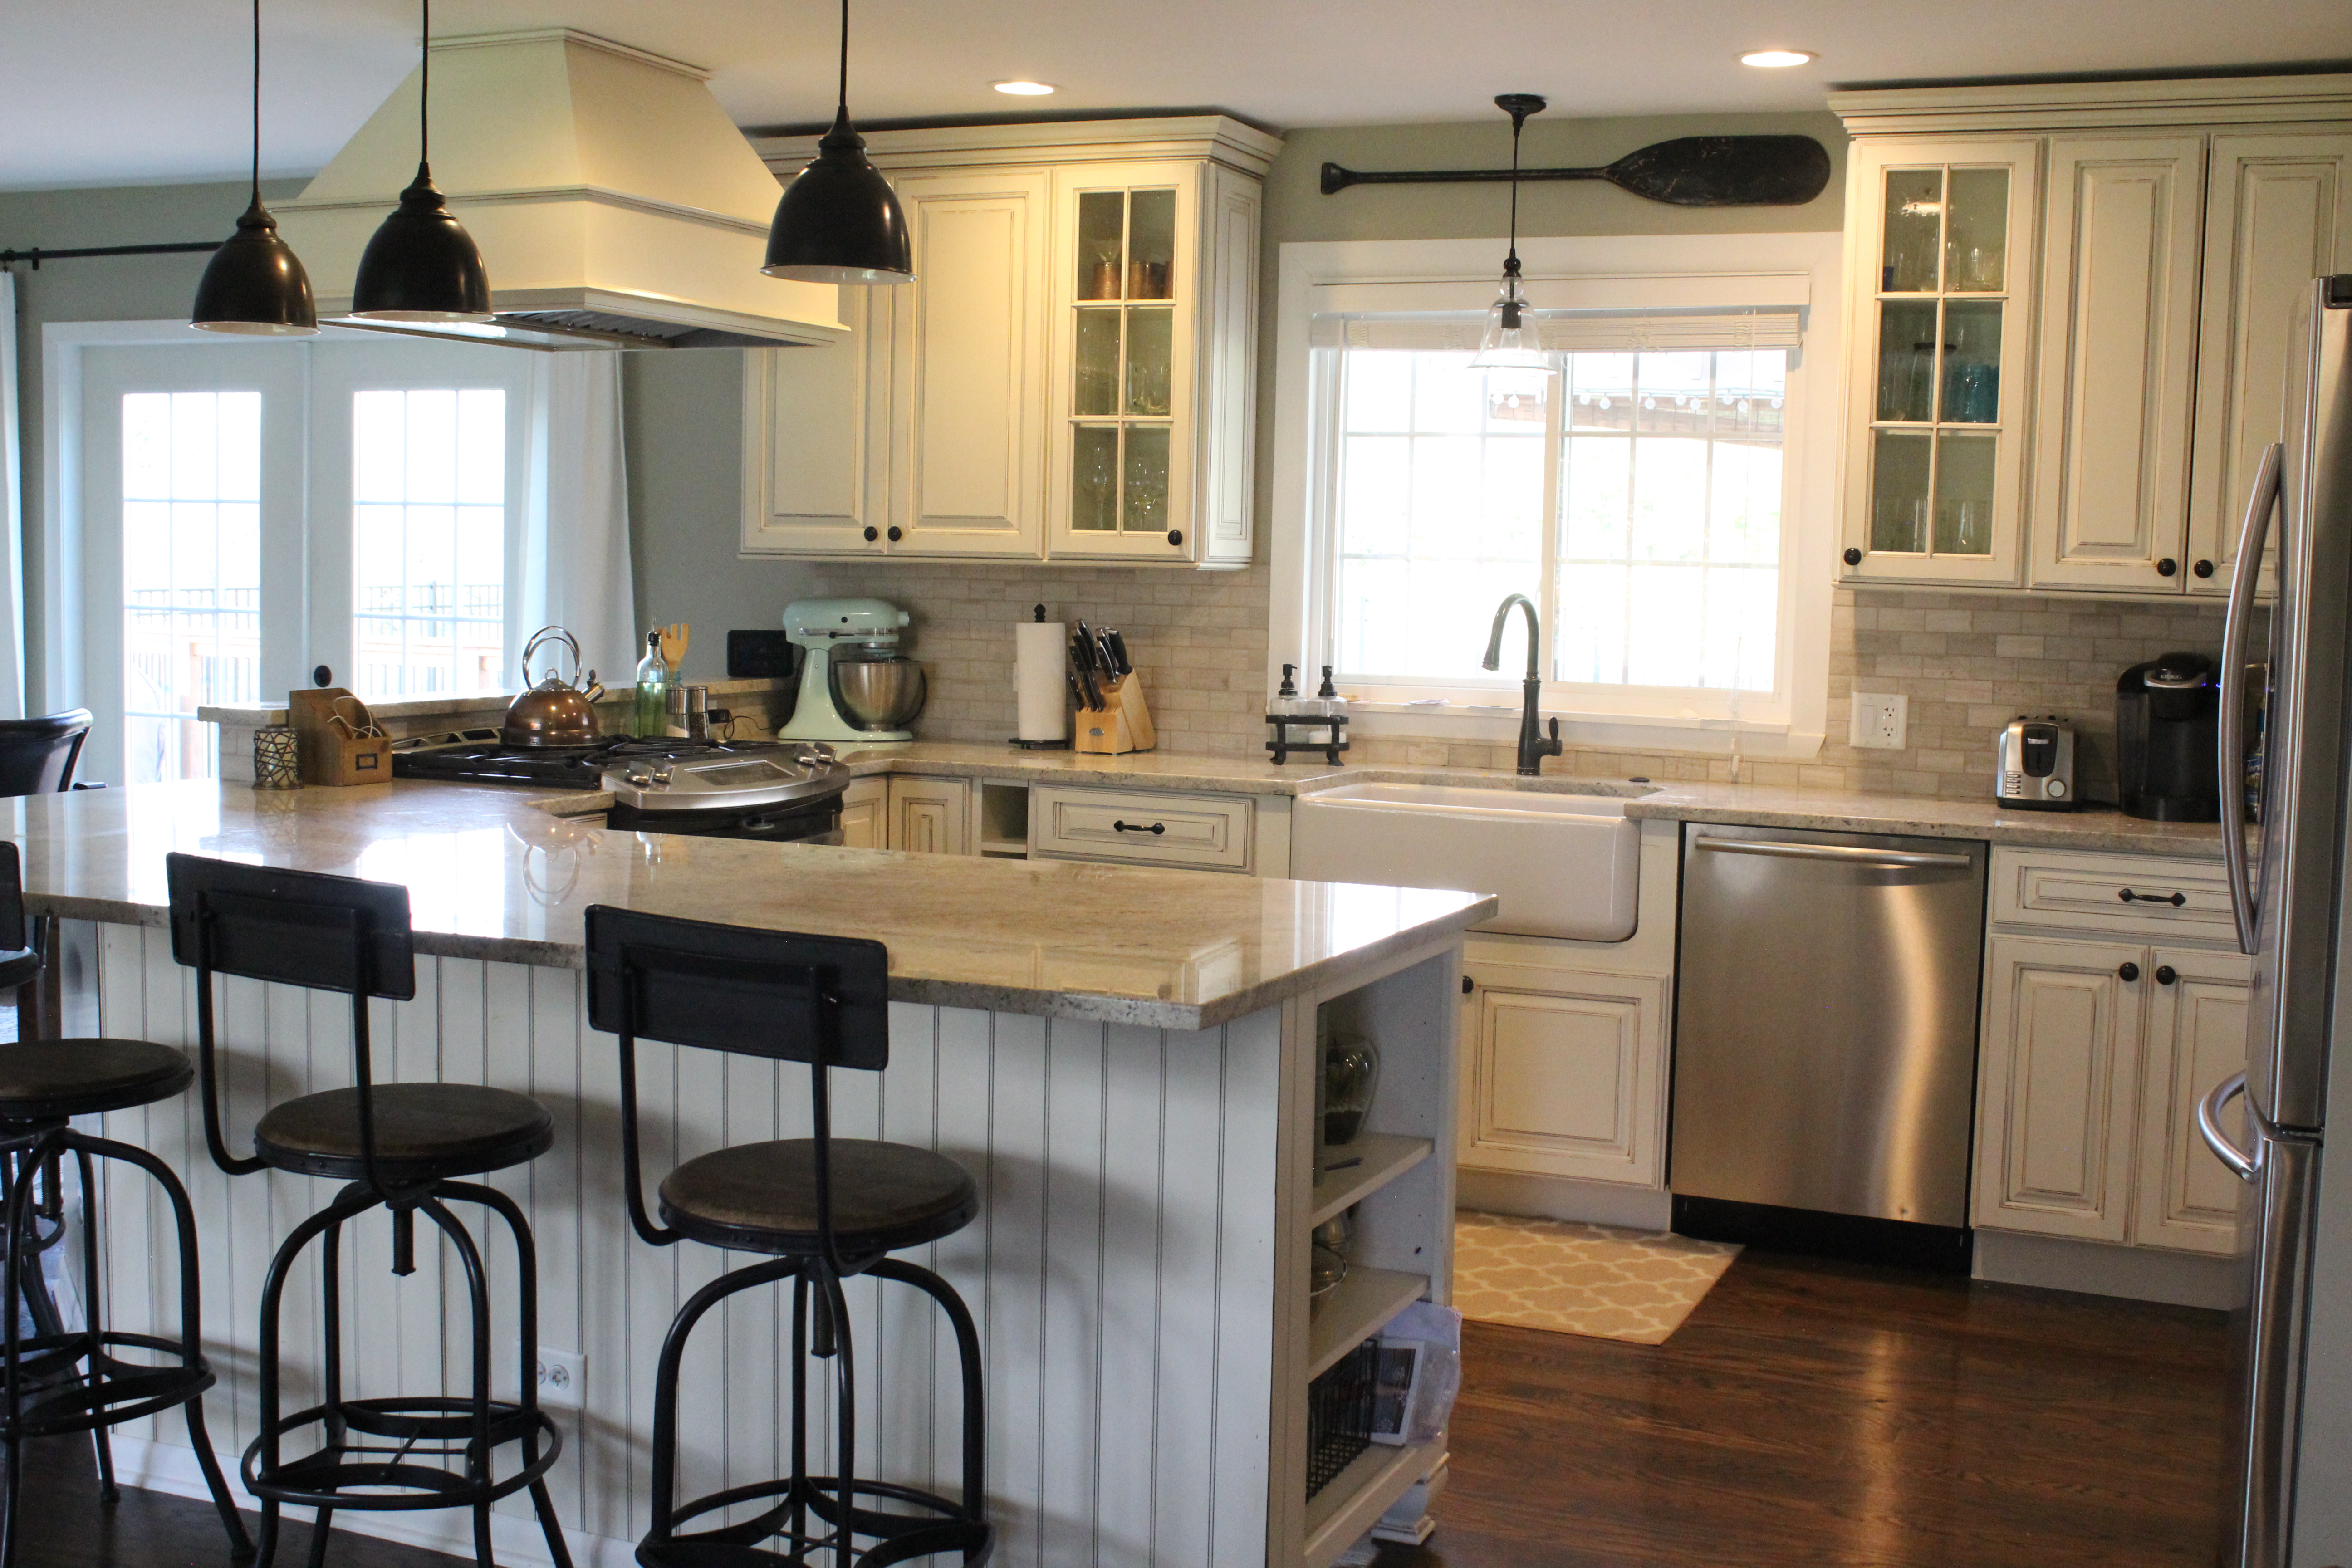
And here it is now after a full gut and kitchen remodel:img_6052
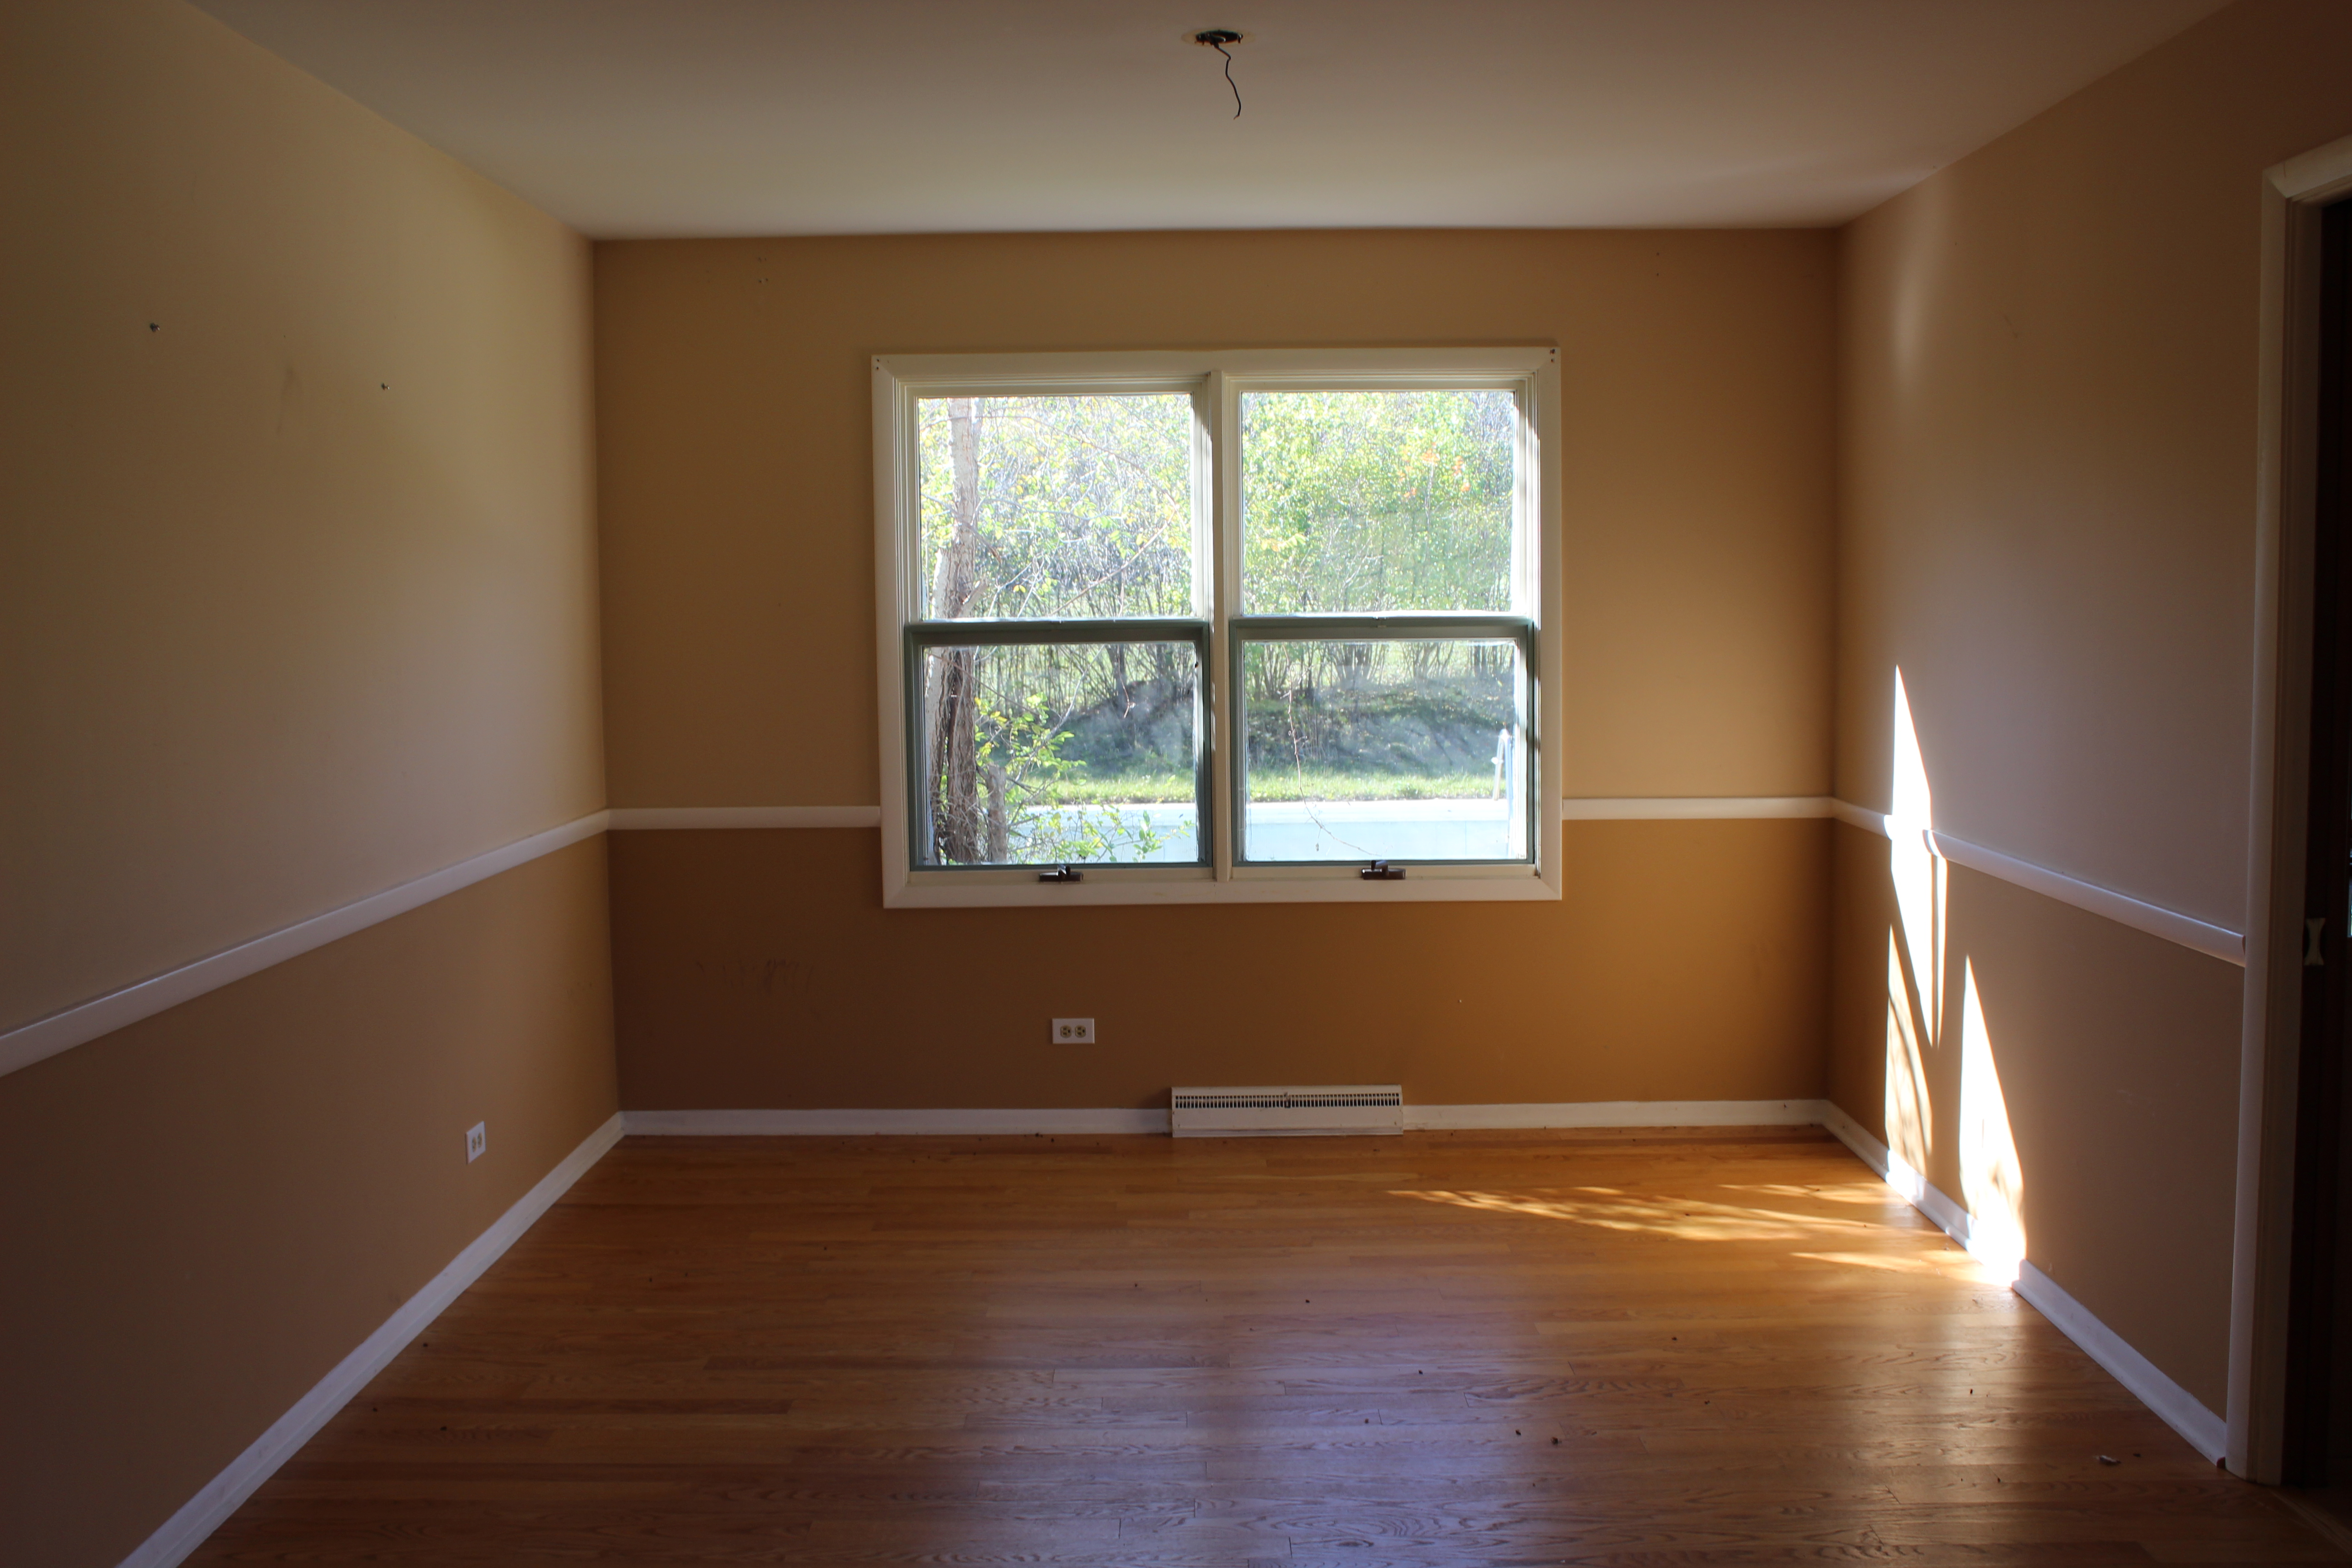
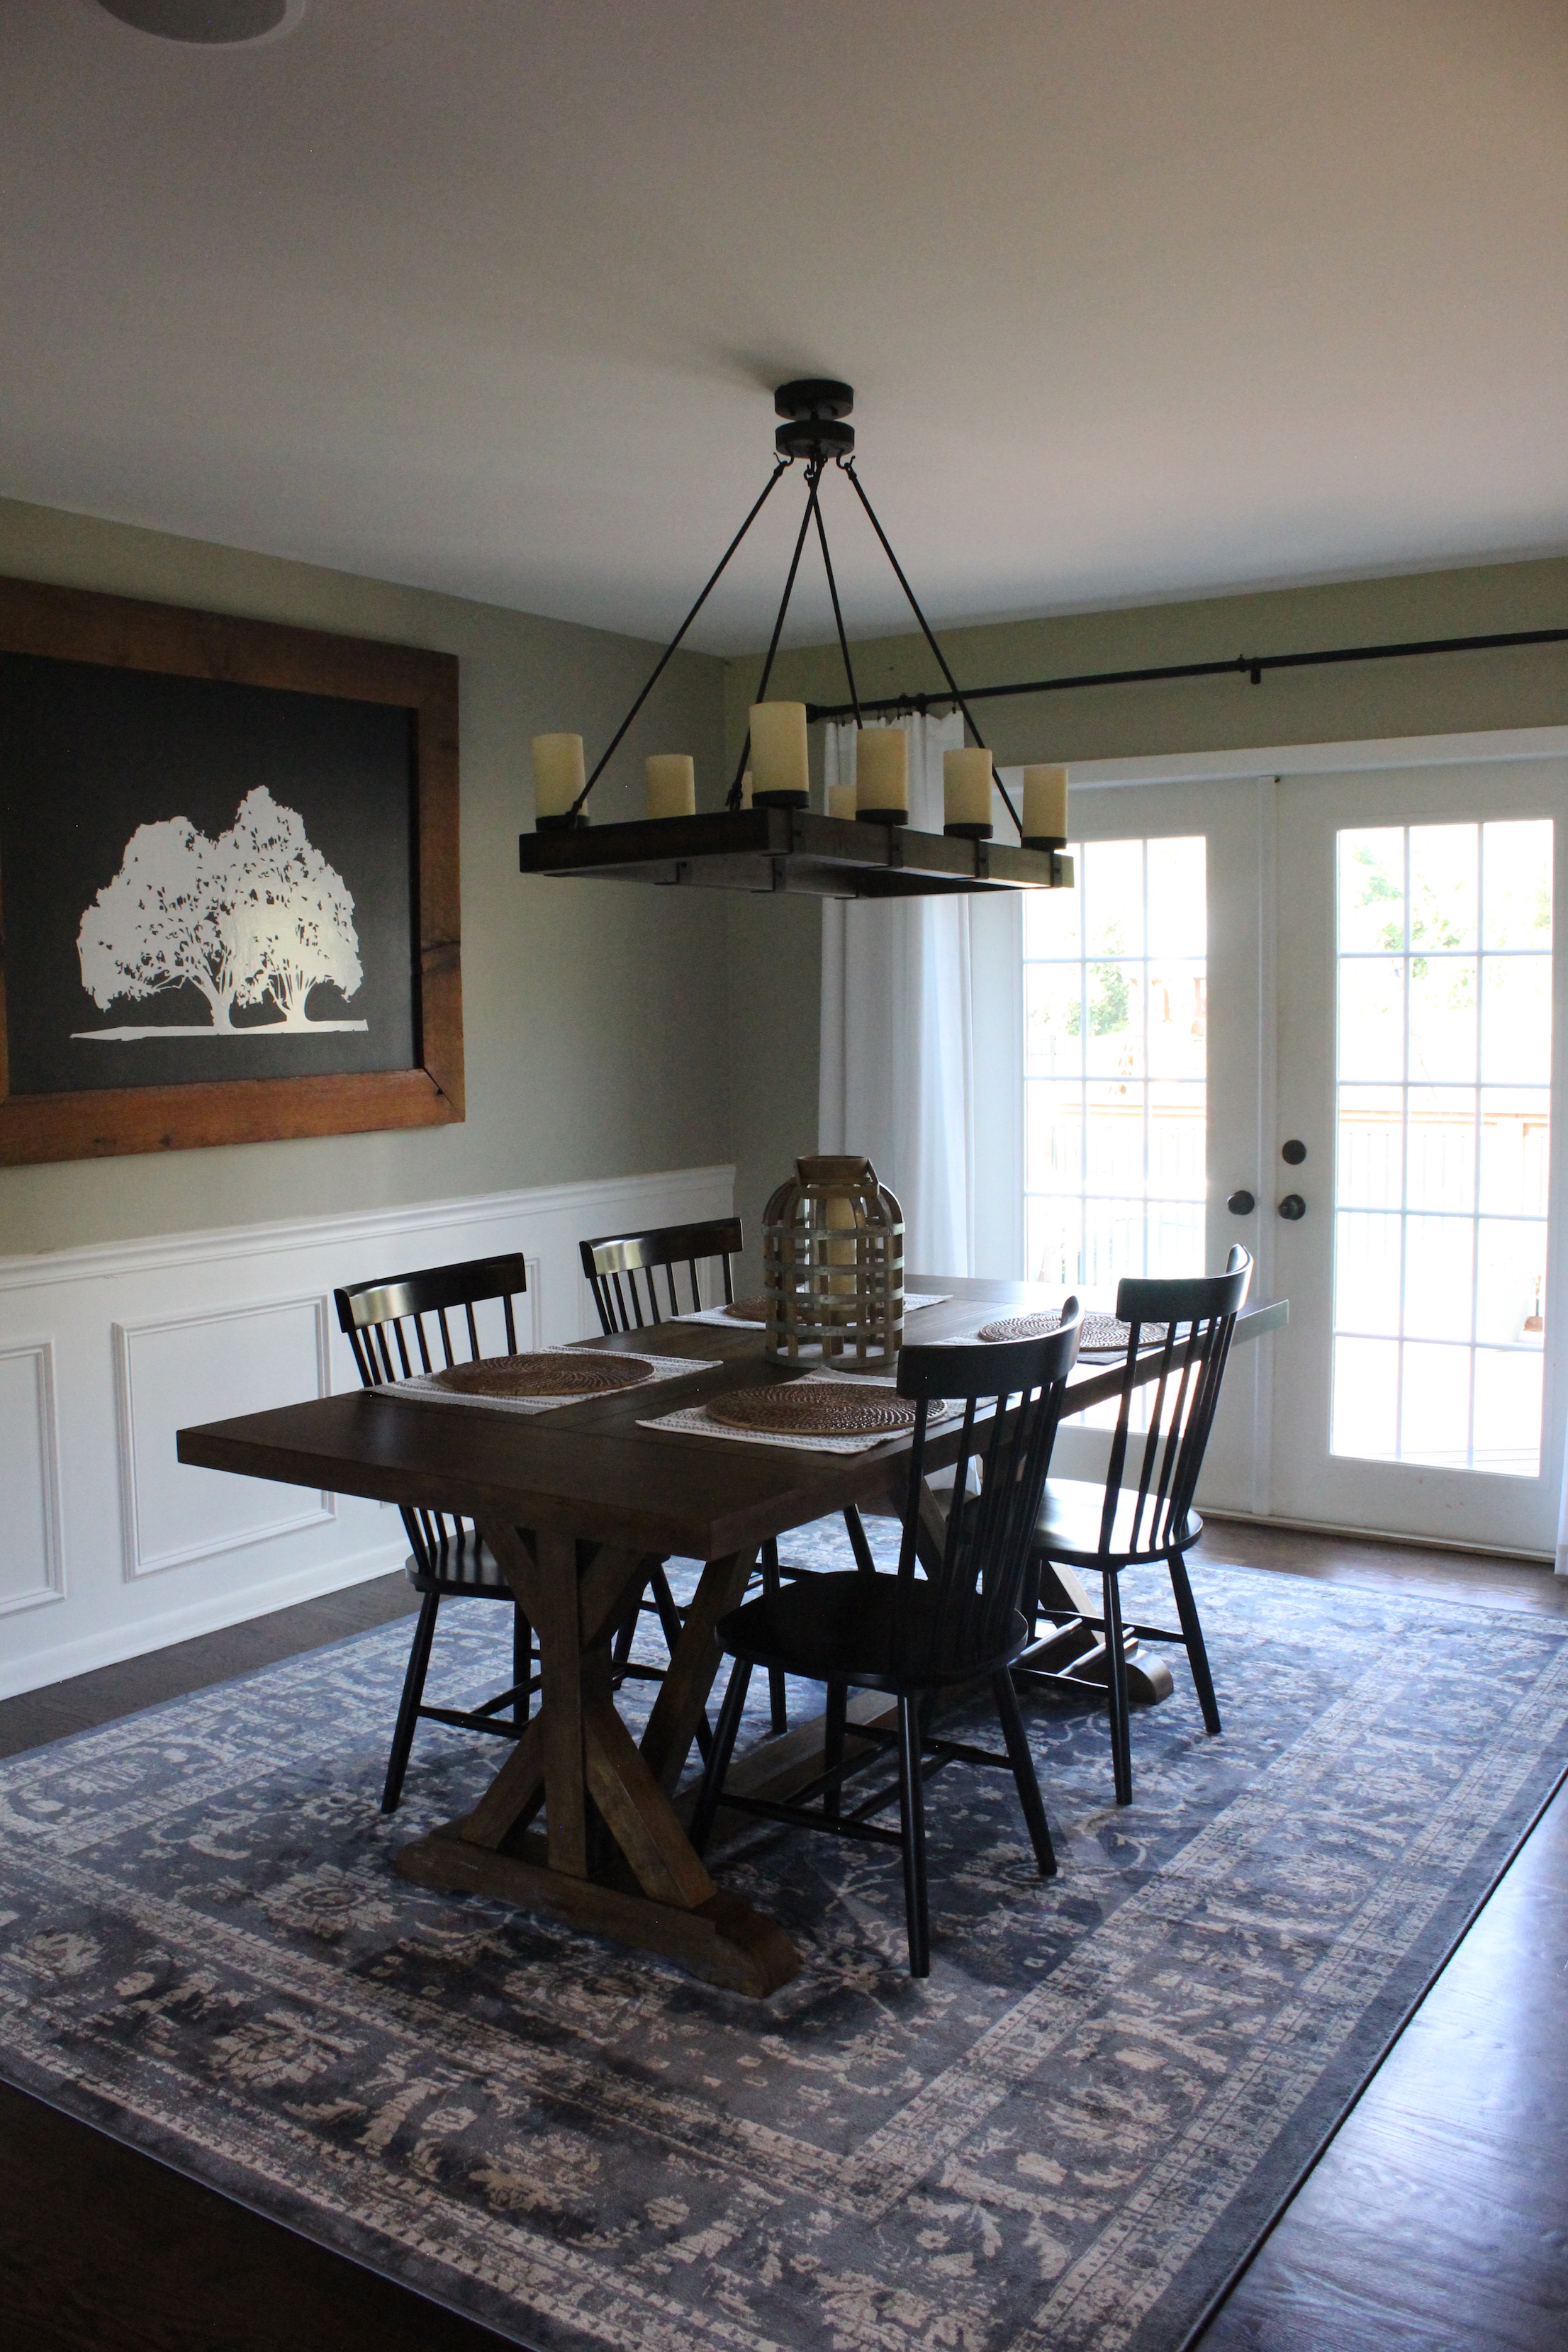
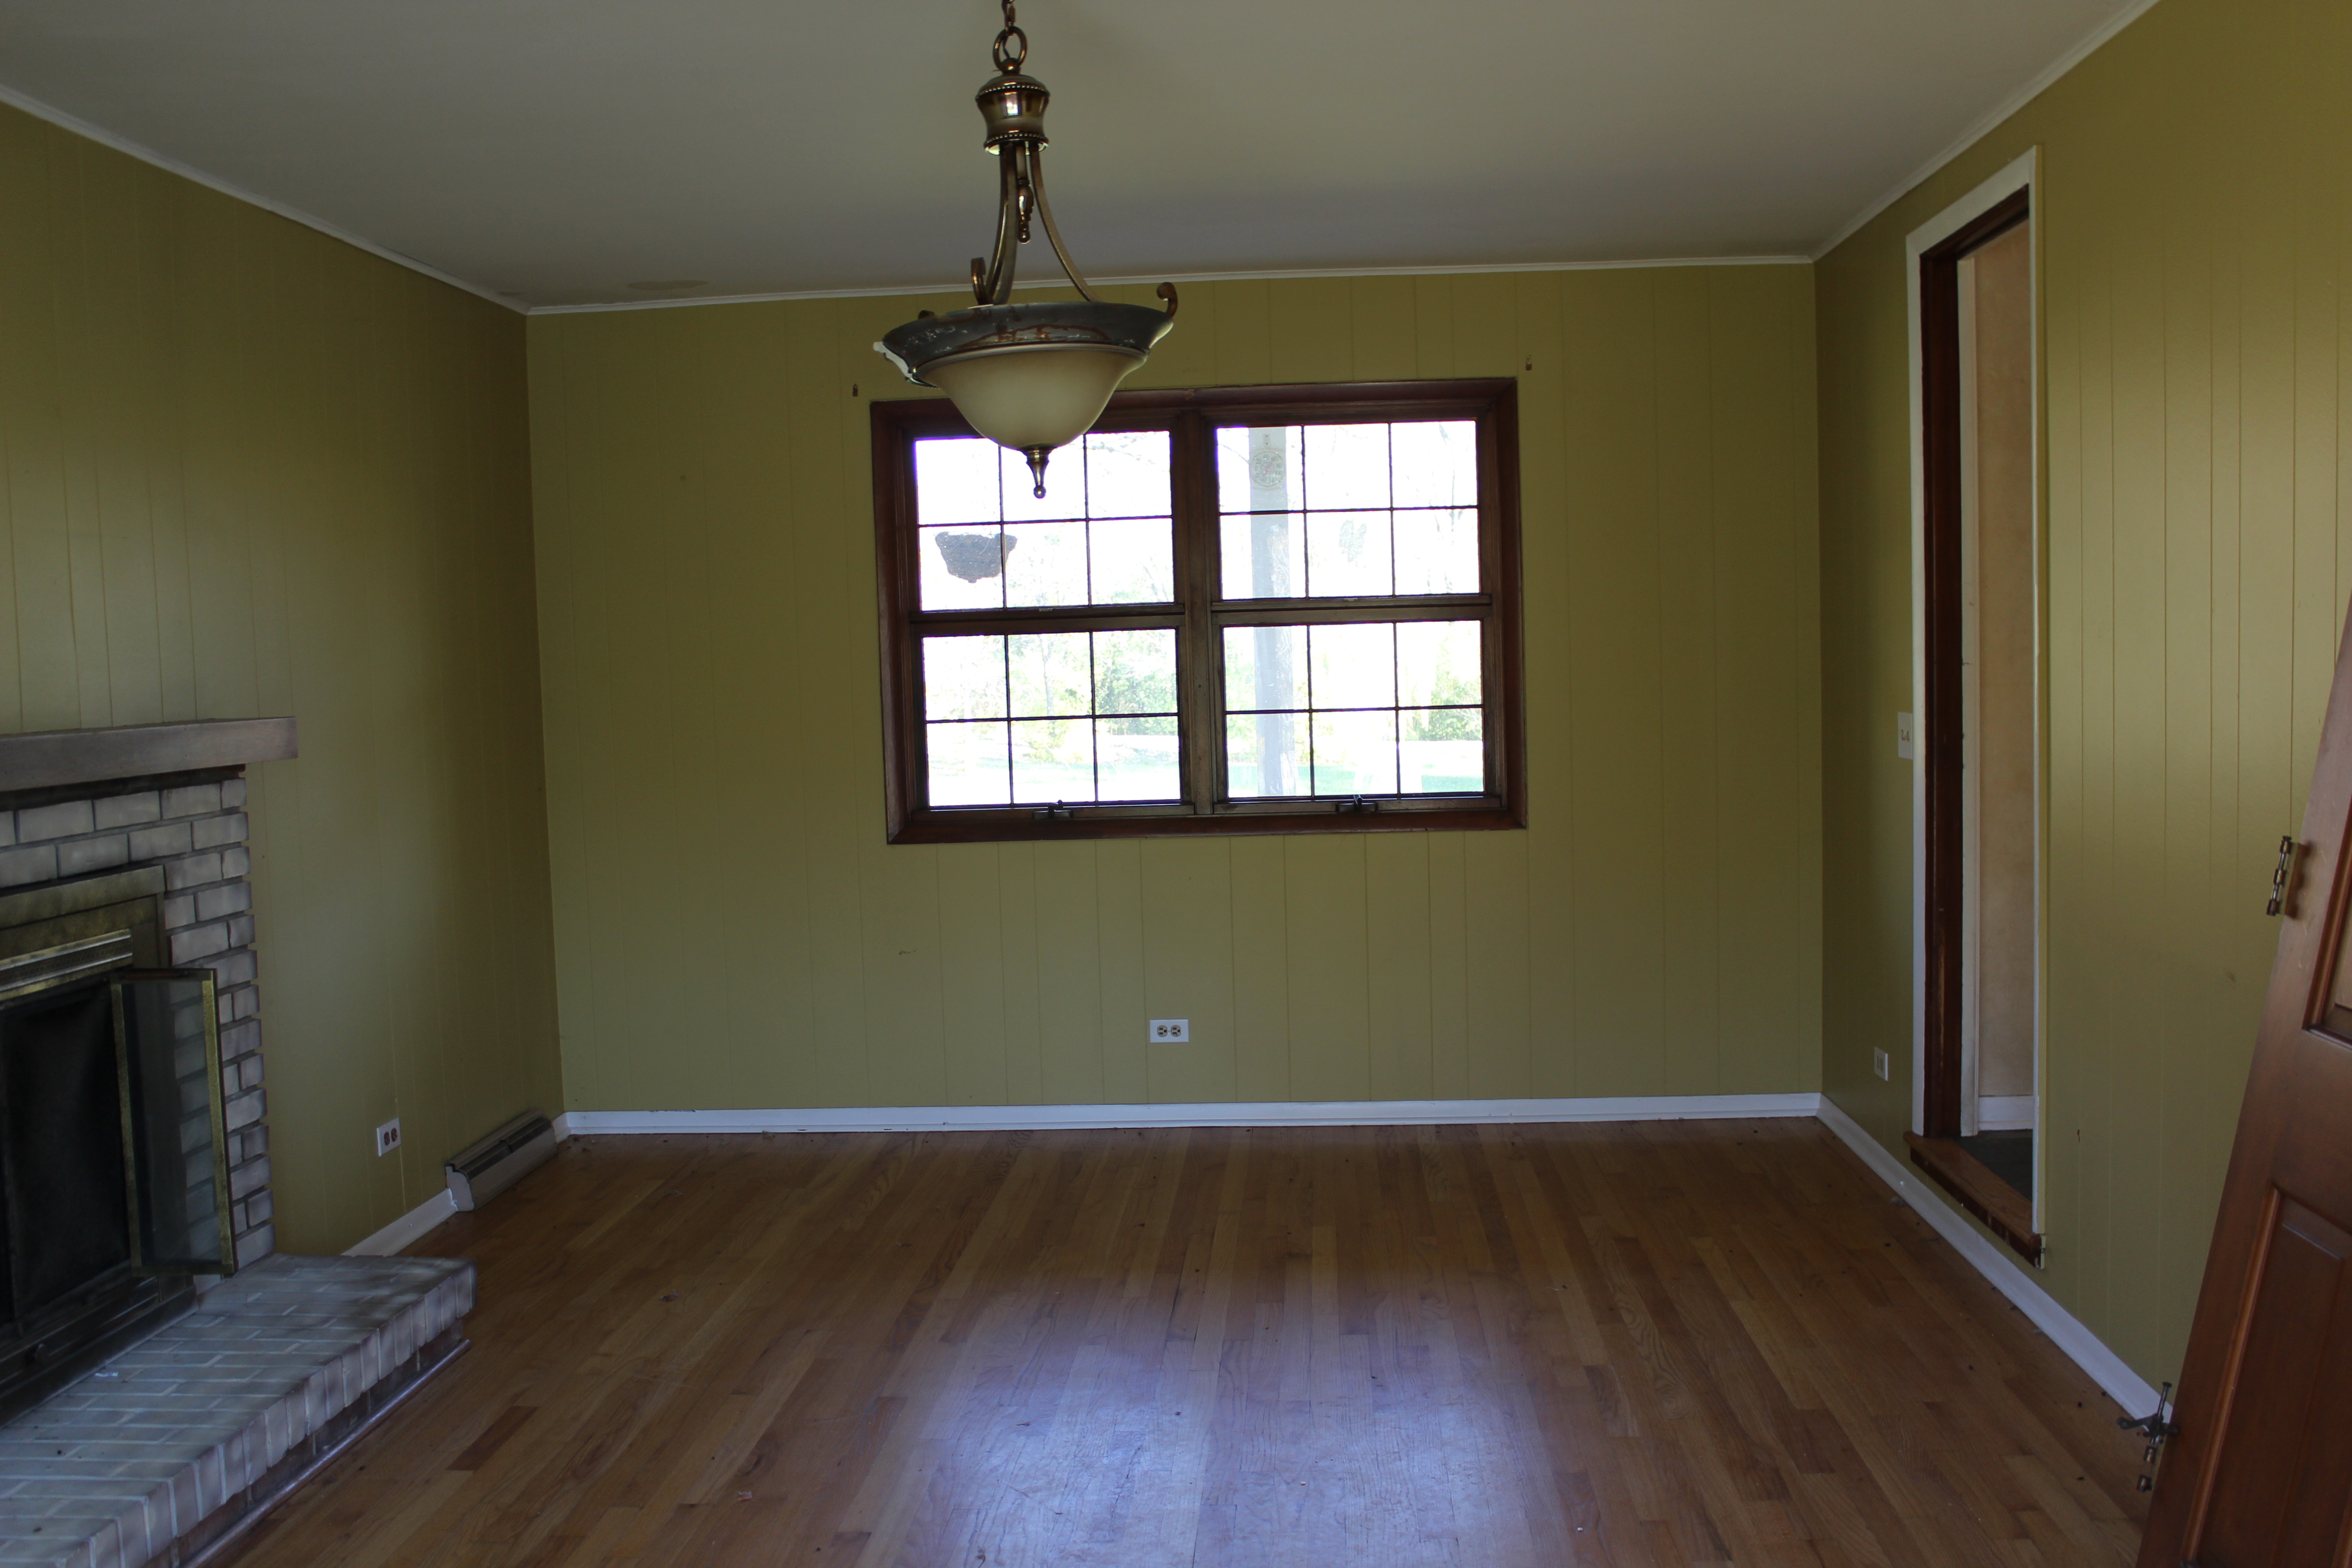
This was the dining room before:

12 Oaks Before 137

And now after opening it up to the kitchen, installing french doors to the deck, new stain, paint, lighting, etc.:

There was a weird den on the other side of the stairs:

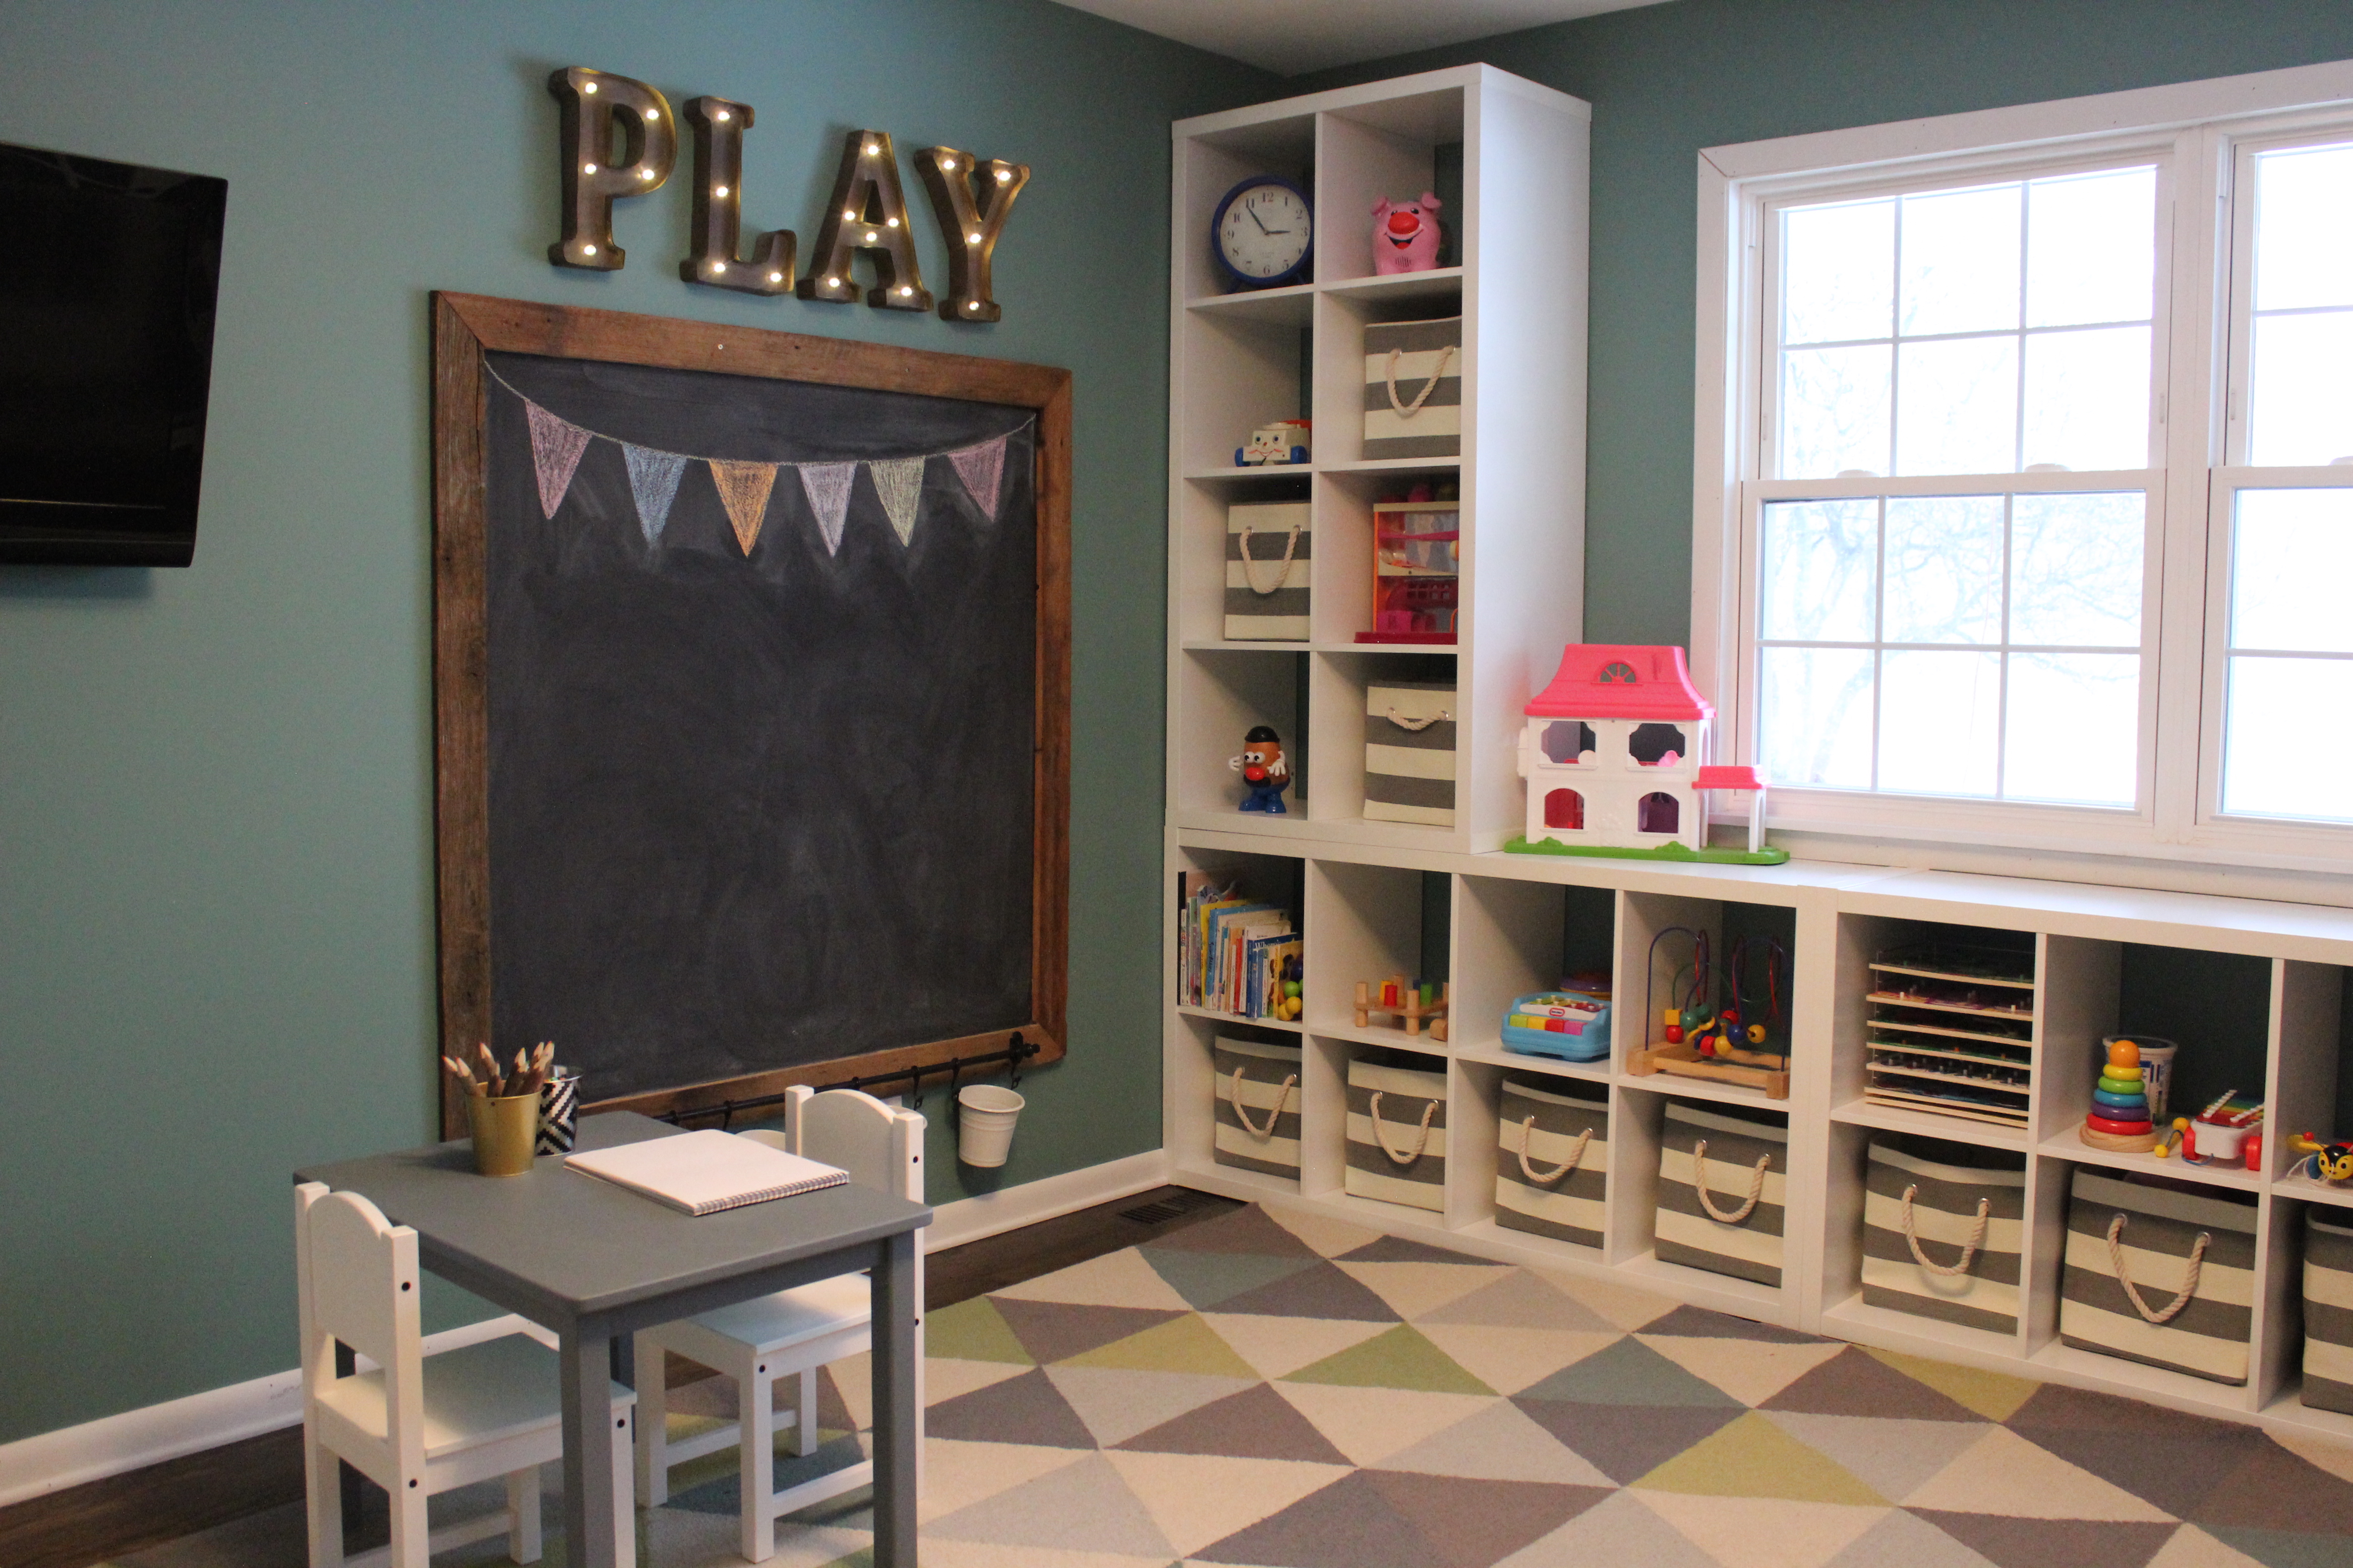
We turned it into a fun & functional playroom:

right corner good

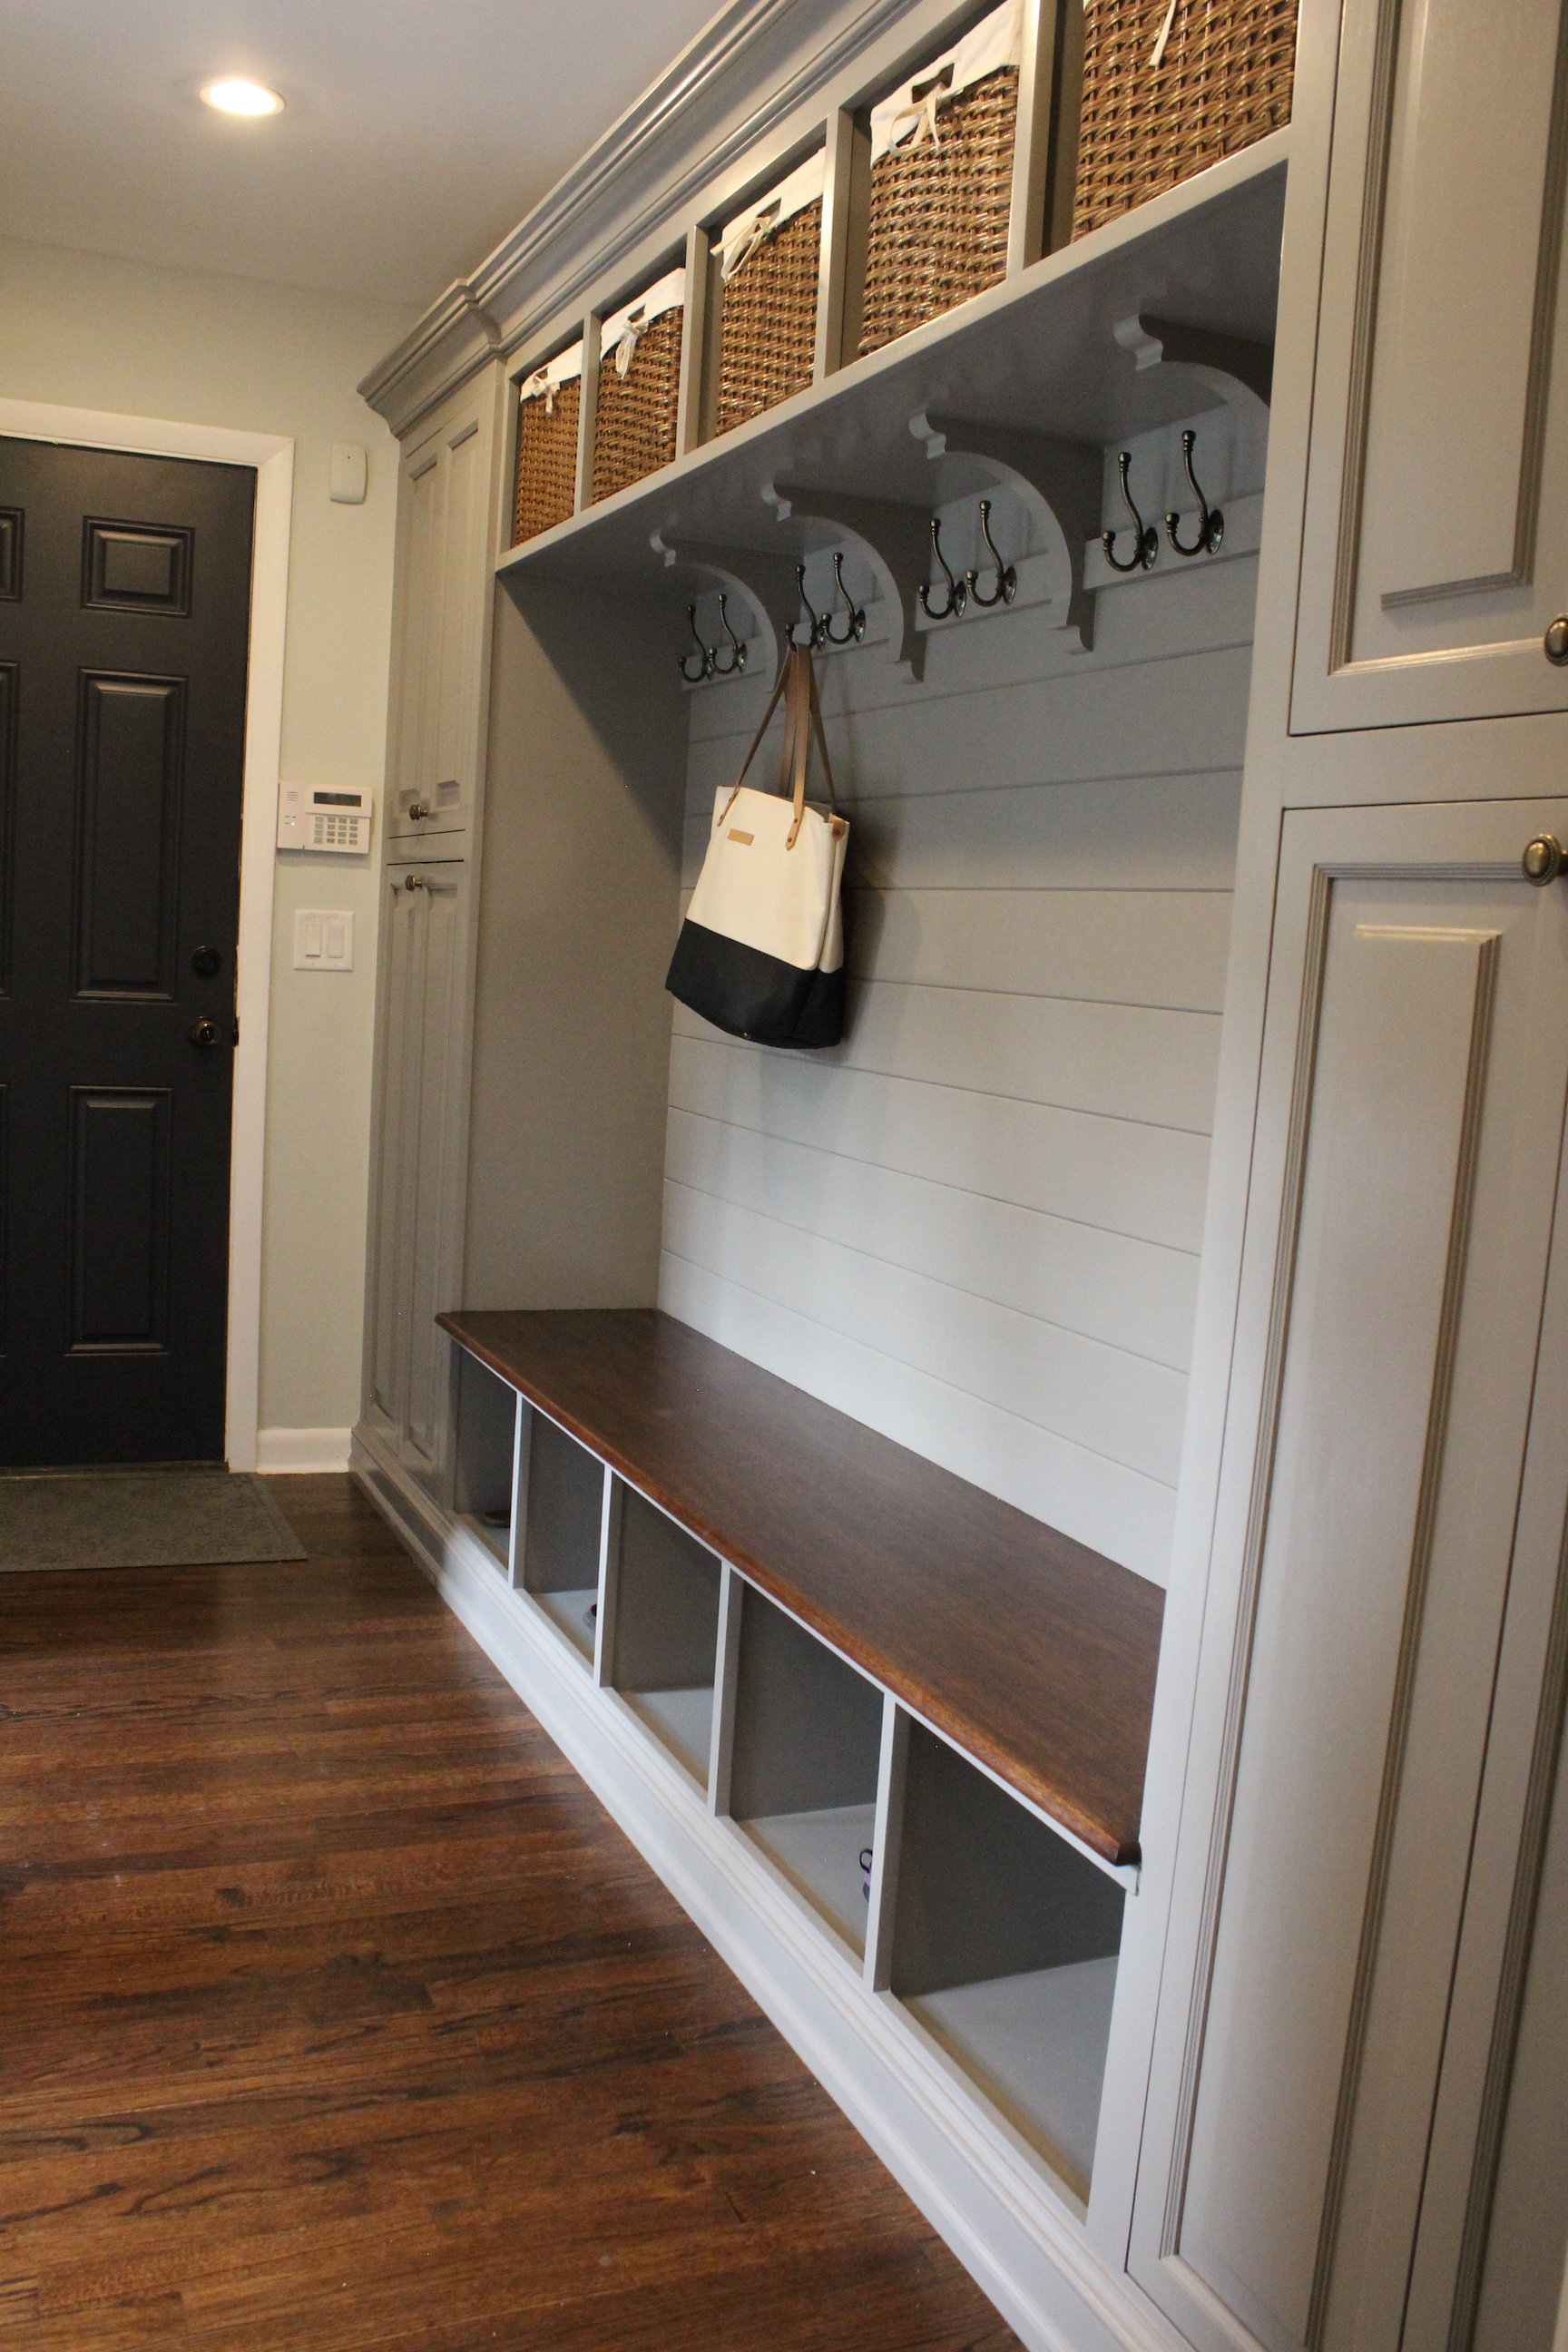
And built a mudroom on the other side of the playroom off of the garage:

mudroom-whole-view

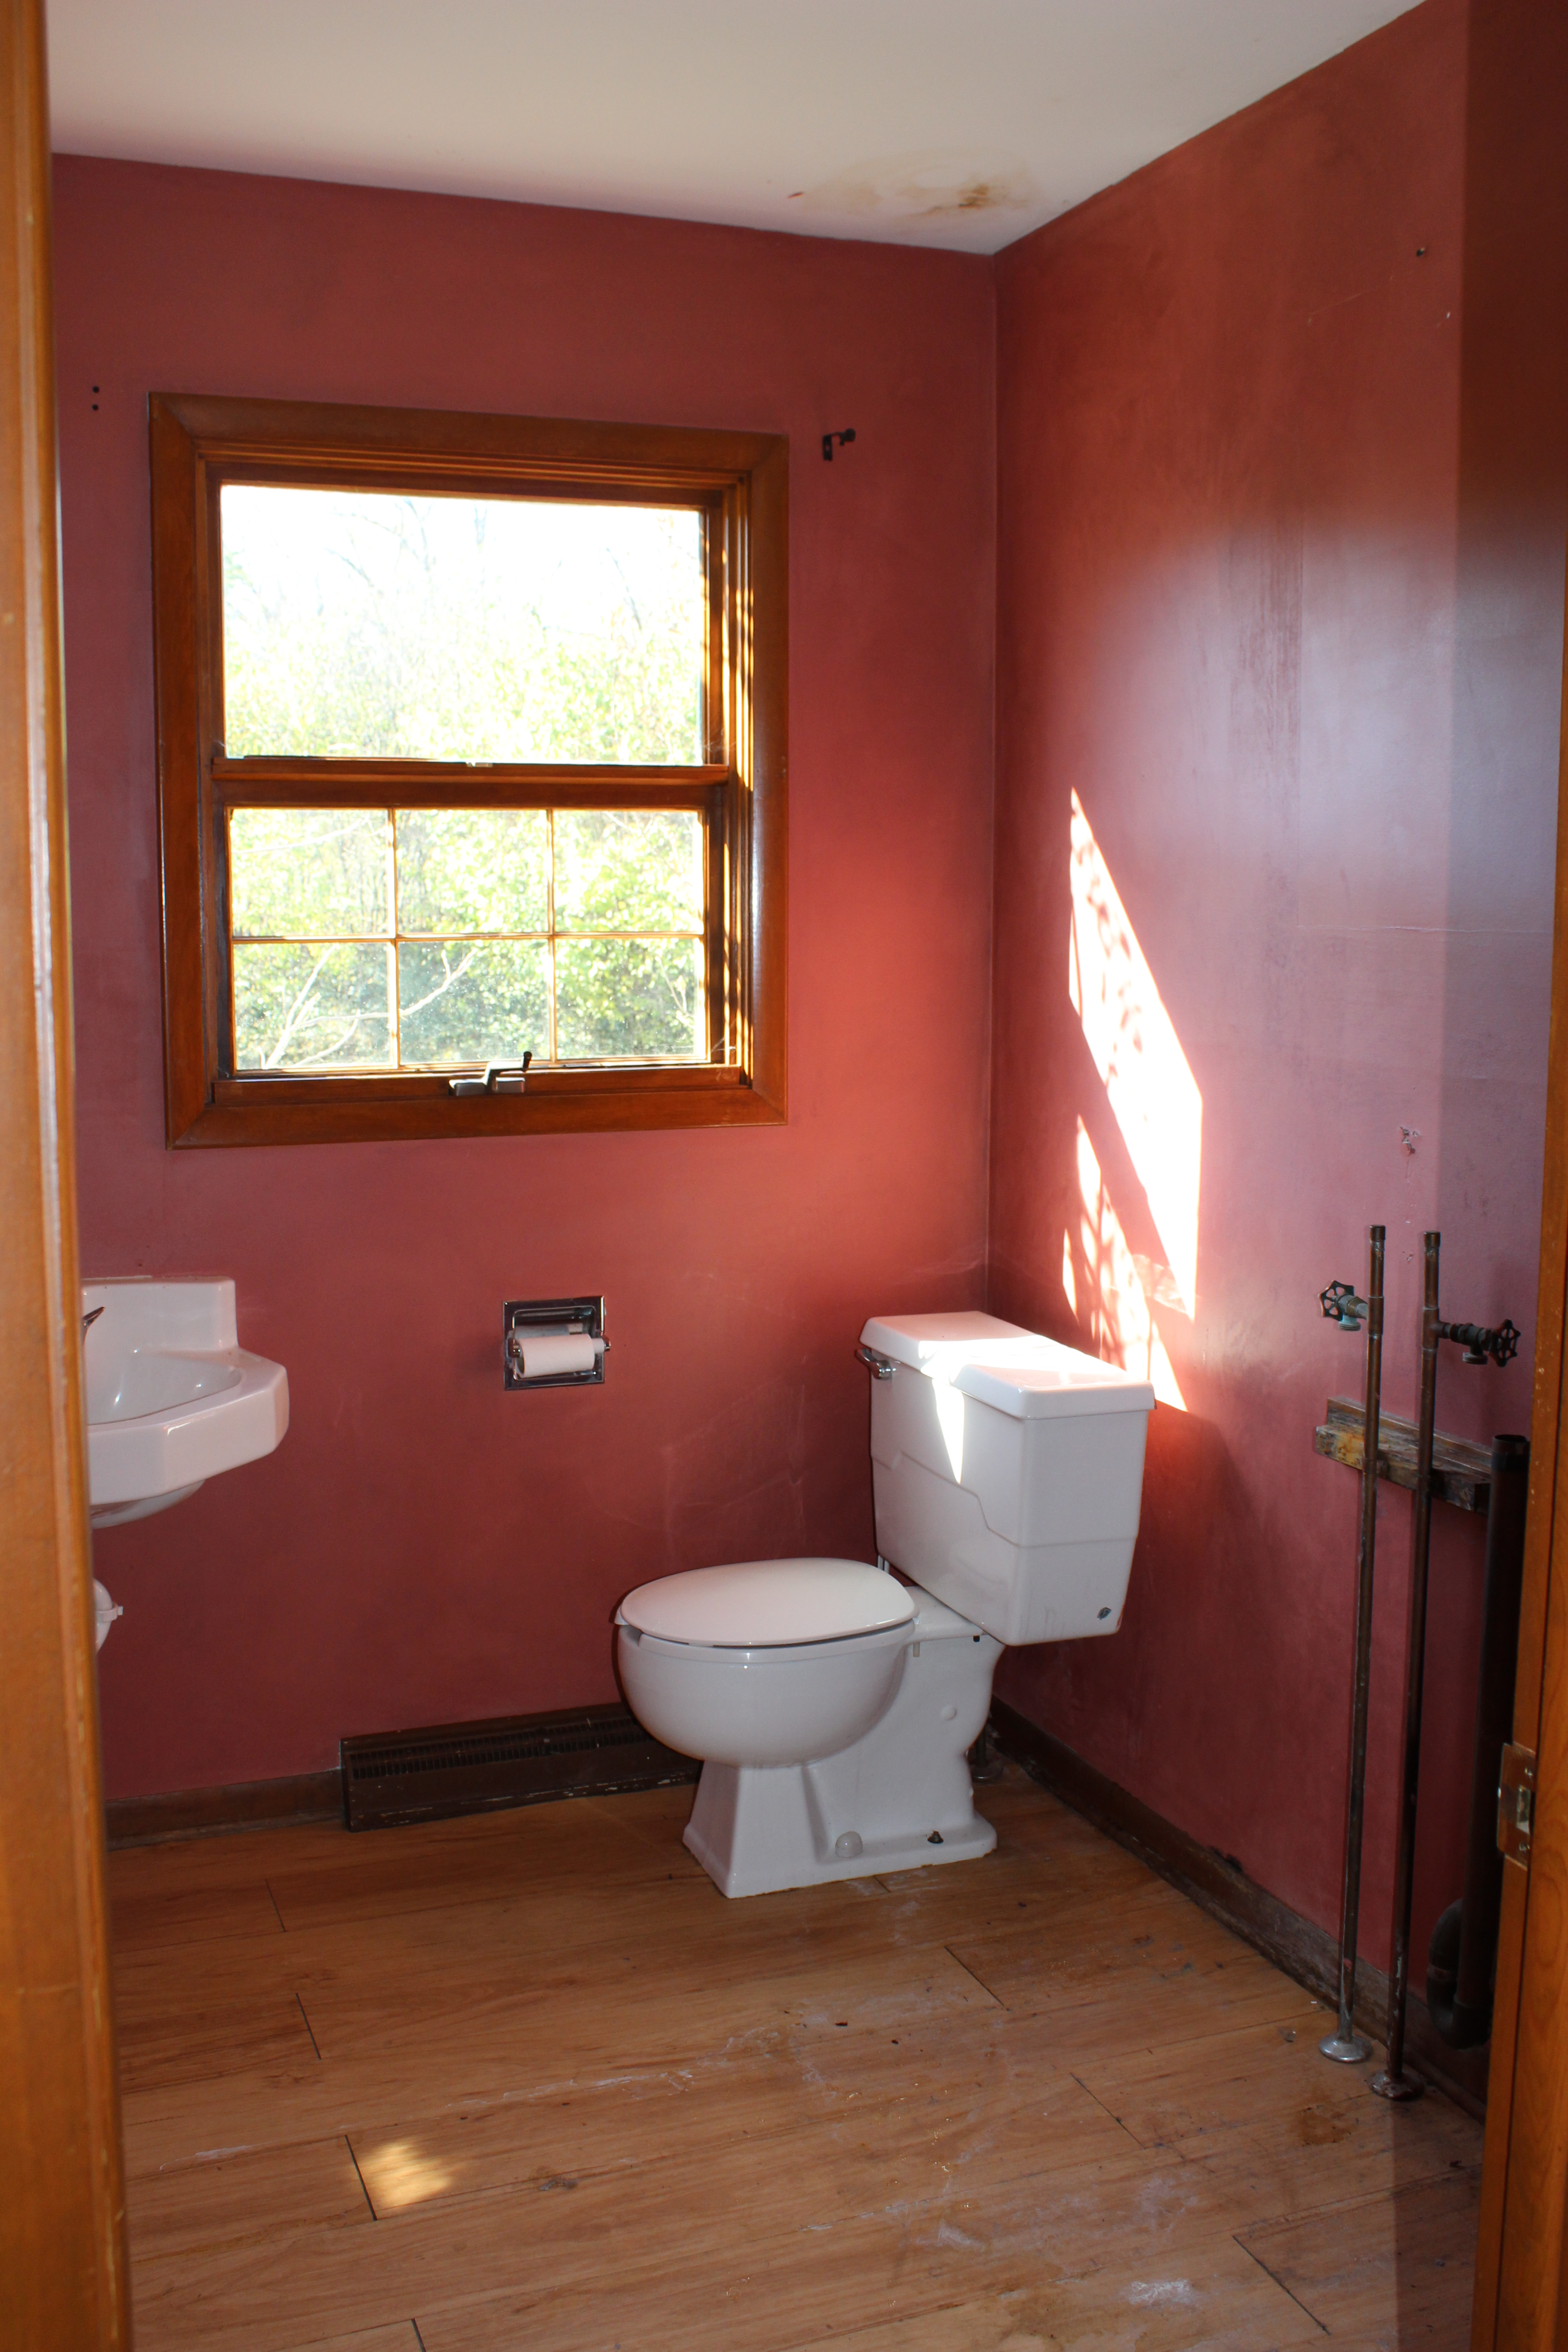
There used to be a powder room/laundry room combo on the first floor:

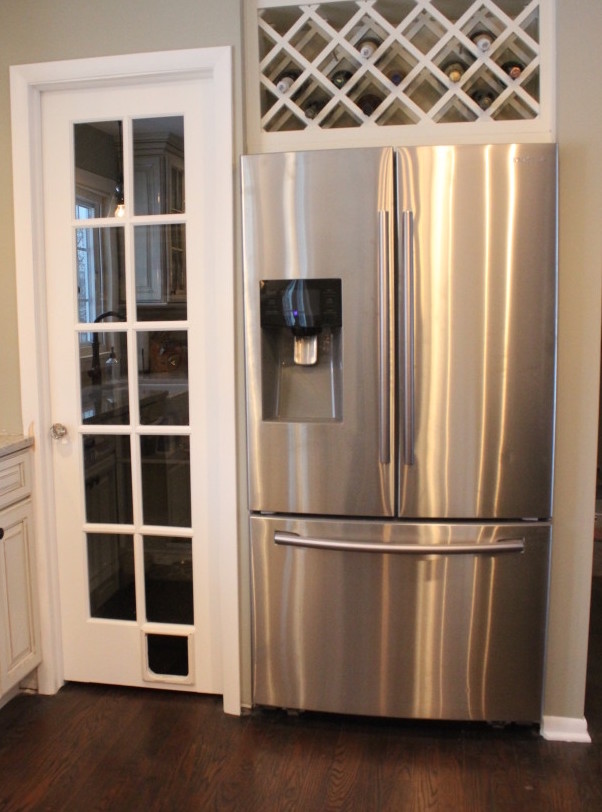
We incorporated that space into the kitchen and walk-in pantry:

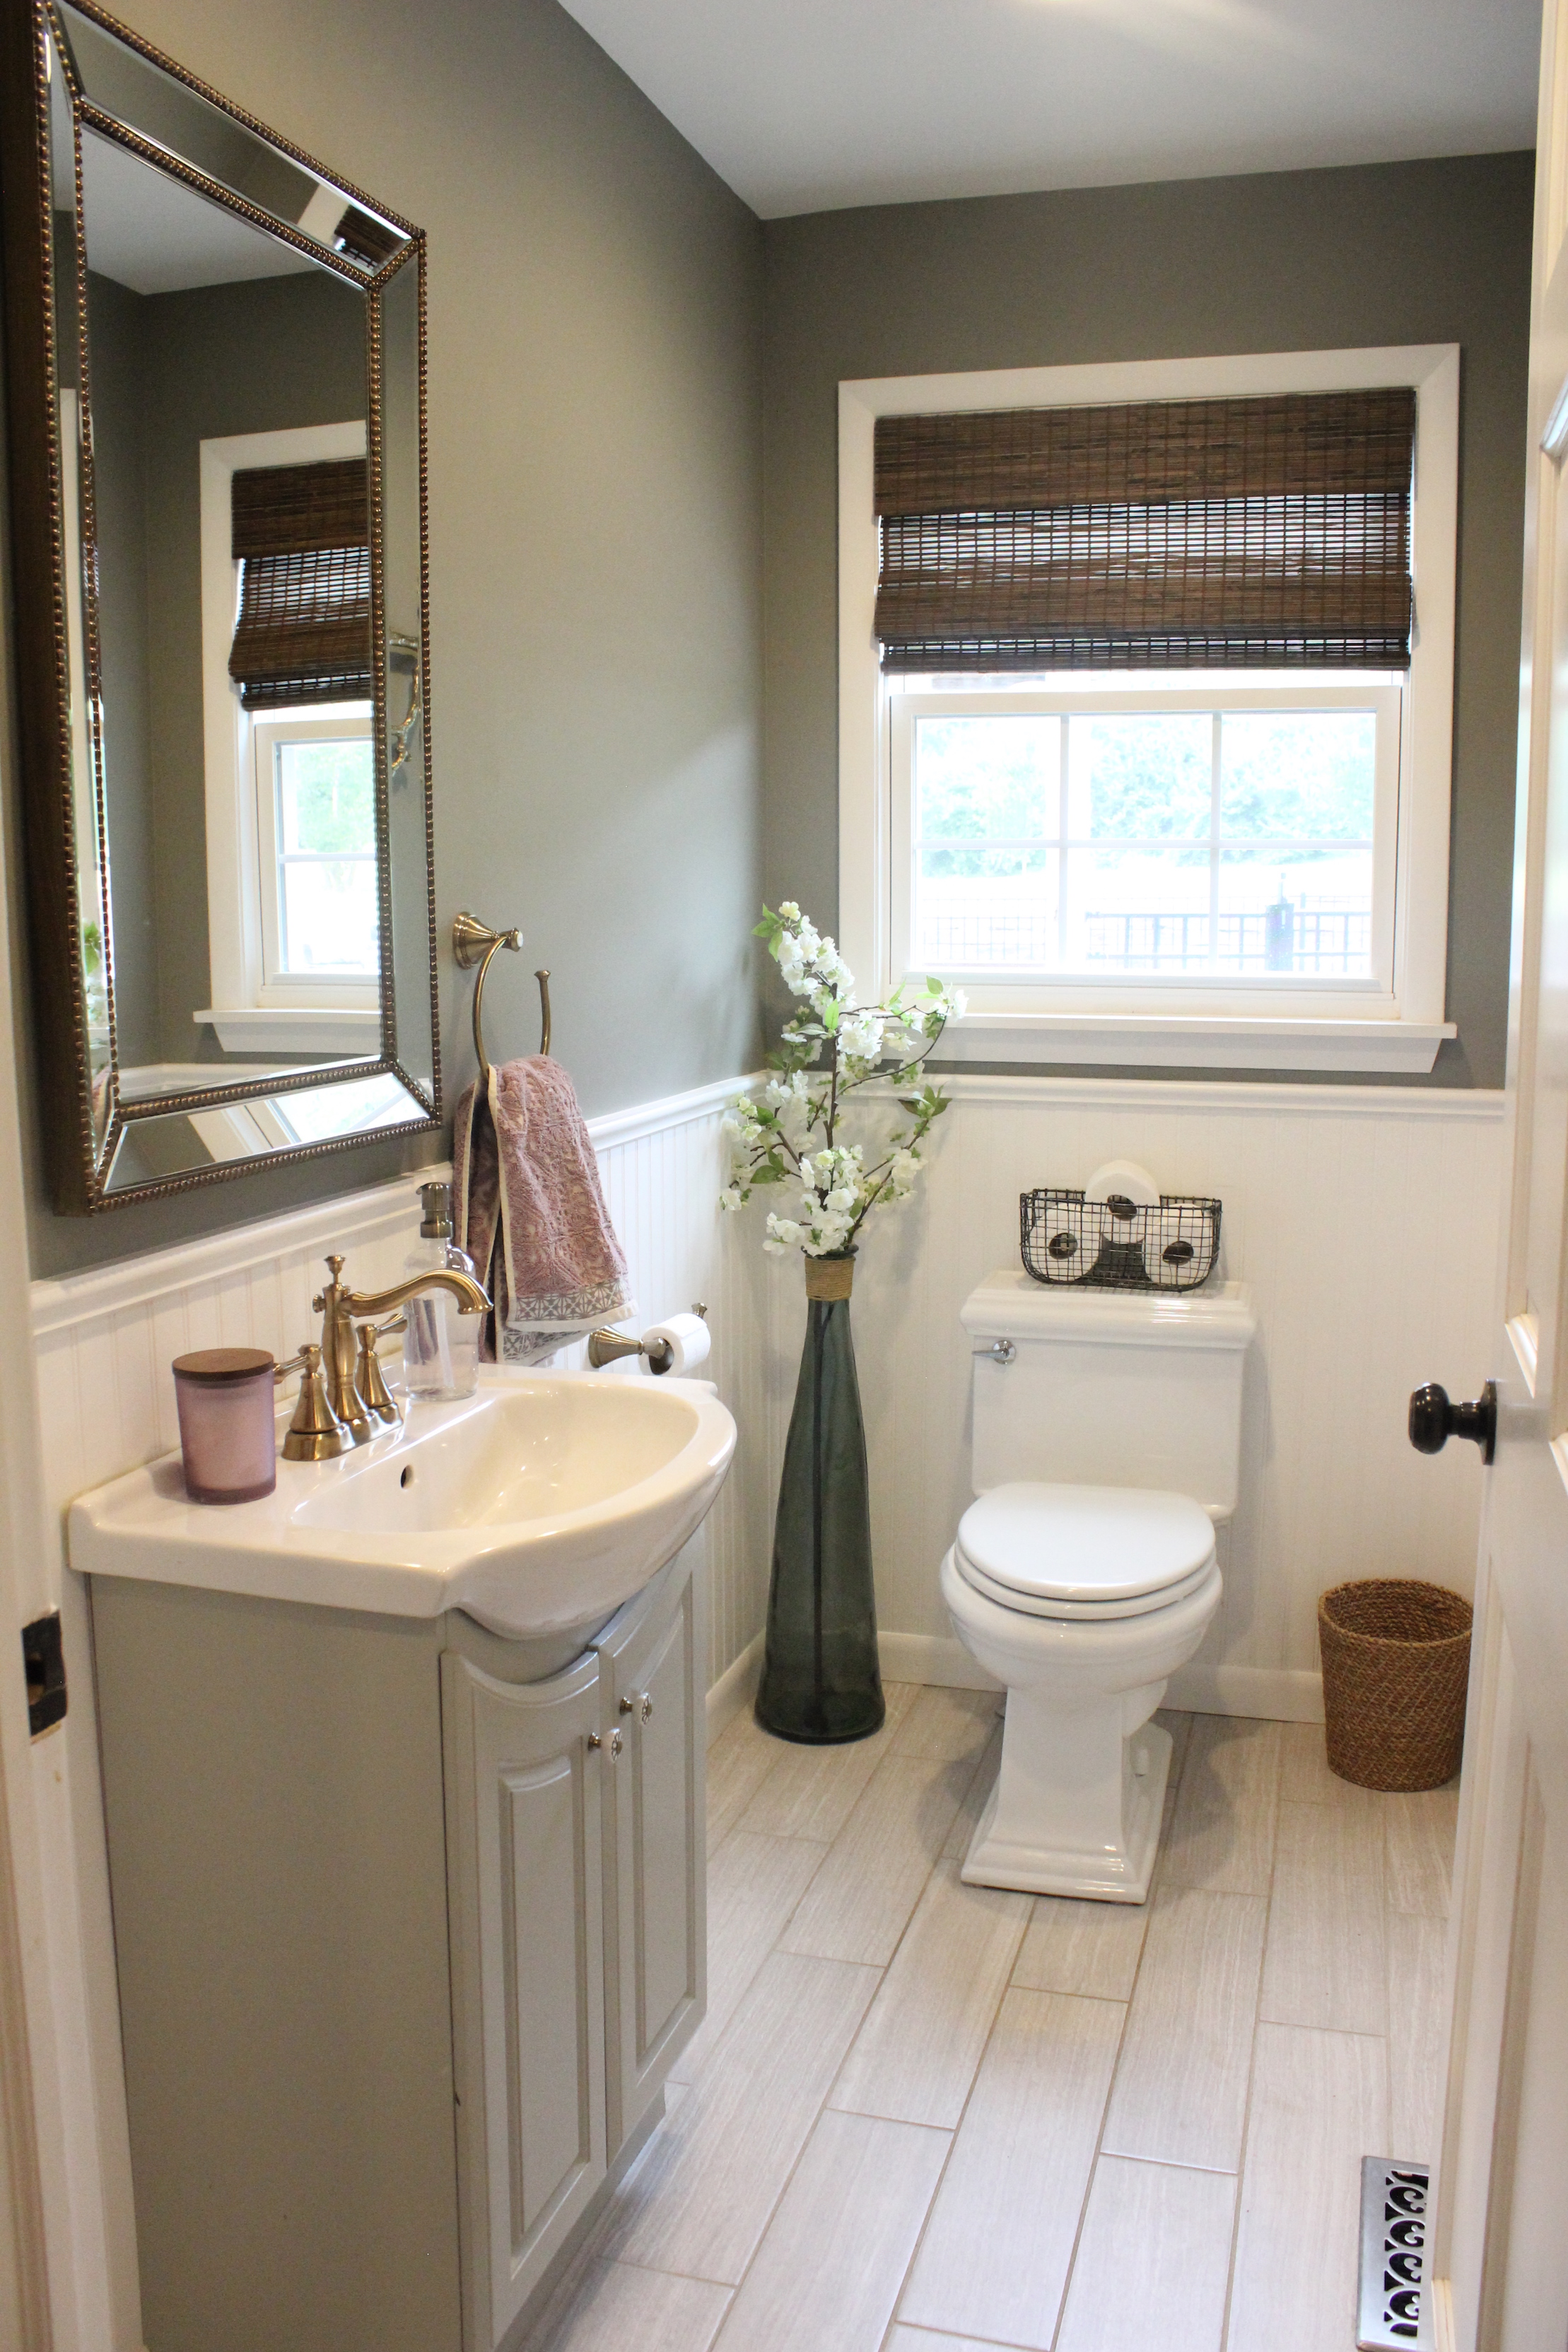
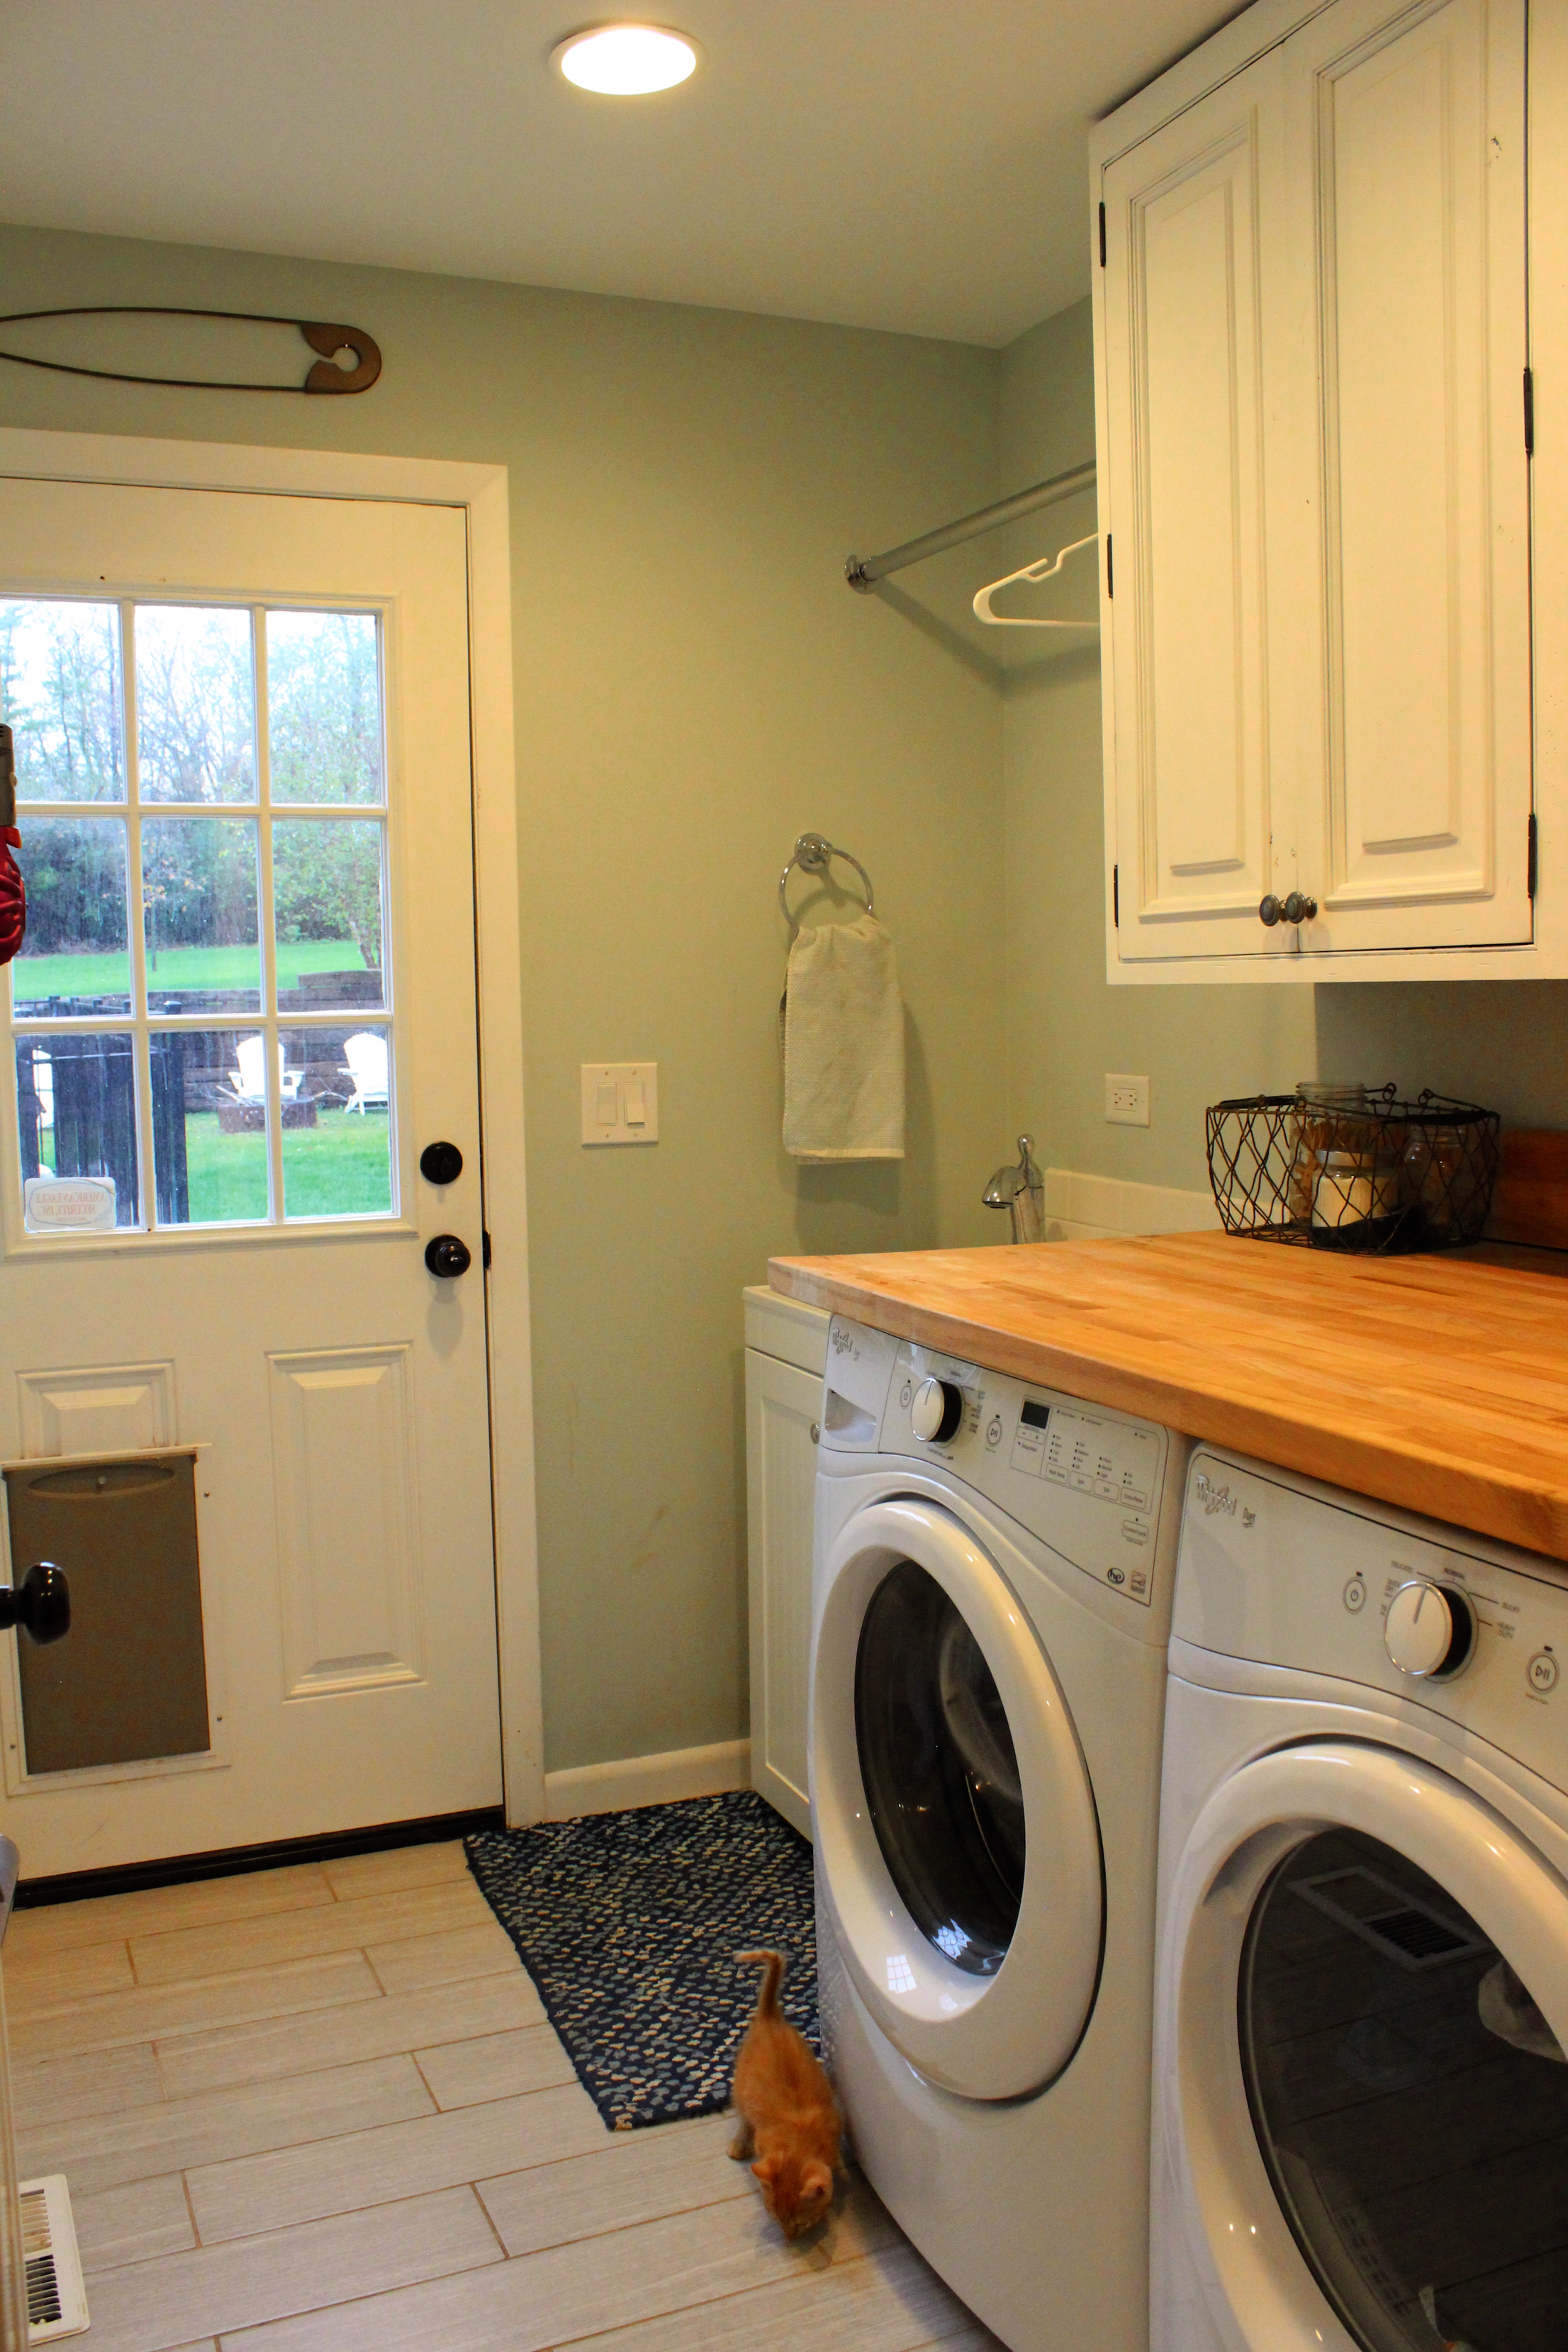
And then built a separate powder room and laundry room as part of the addition:

(There’s a cameo by our new kitten, Simon!)

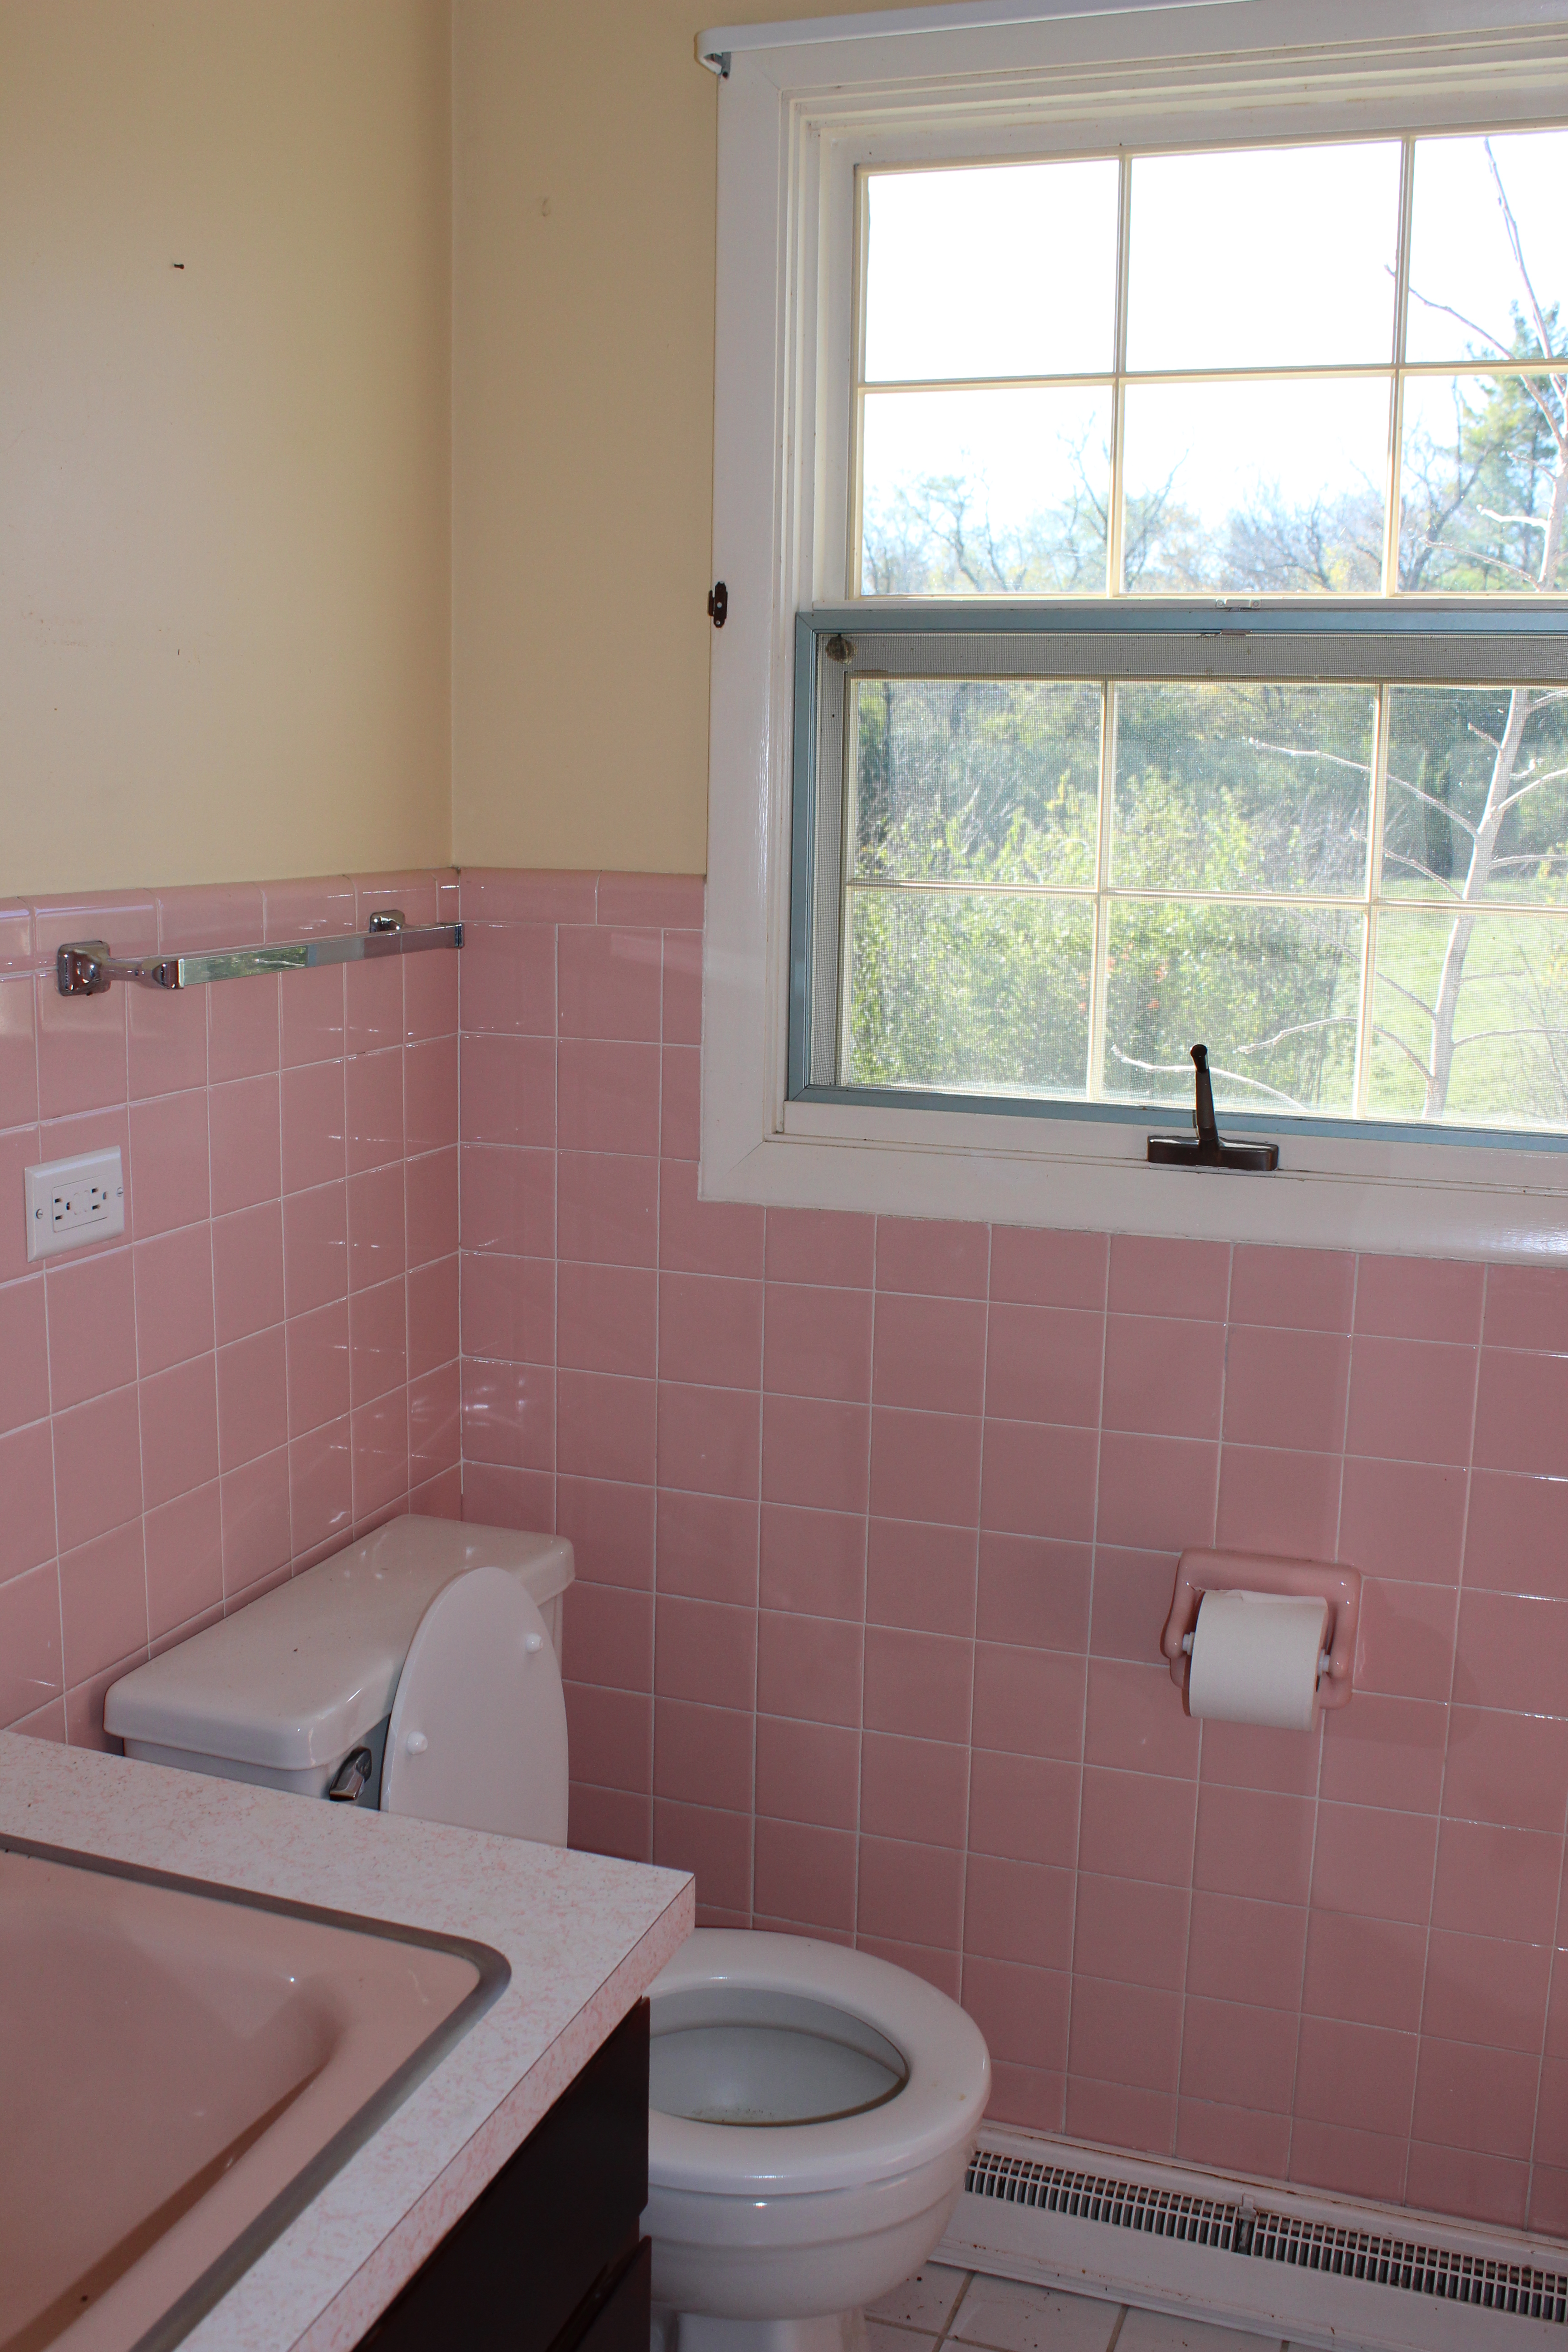
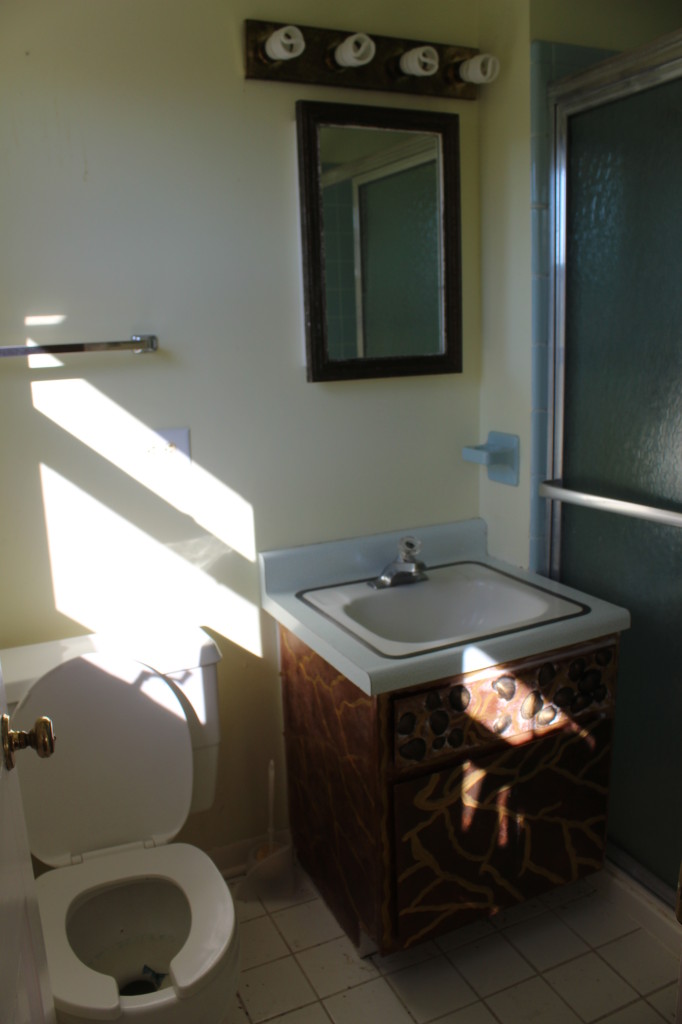
Moving upstairs, we have the old guest bathroom:

Pink bathroom before

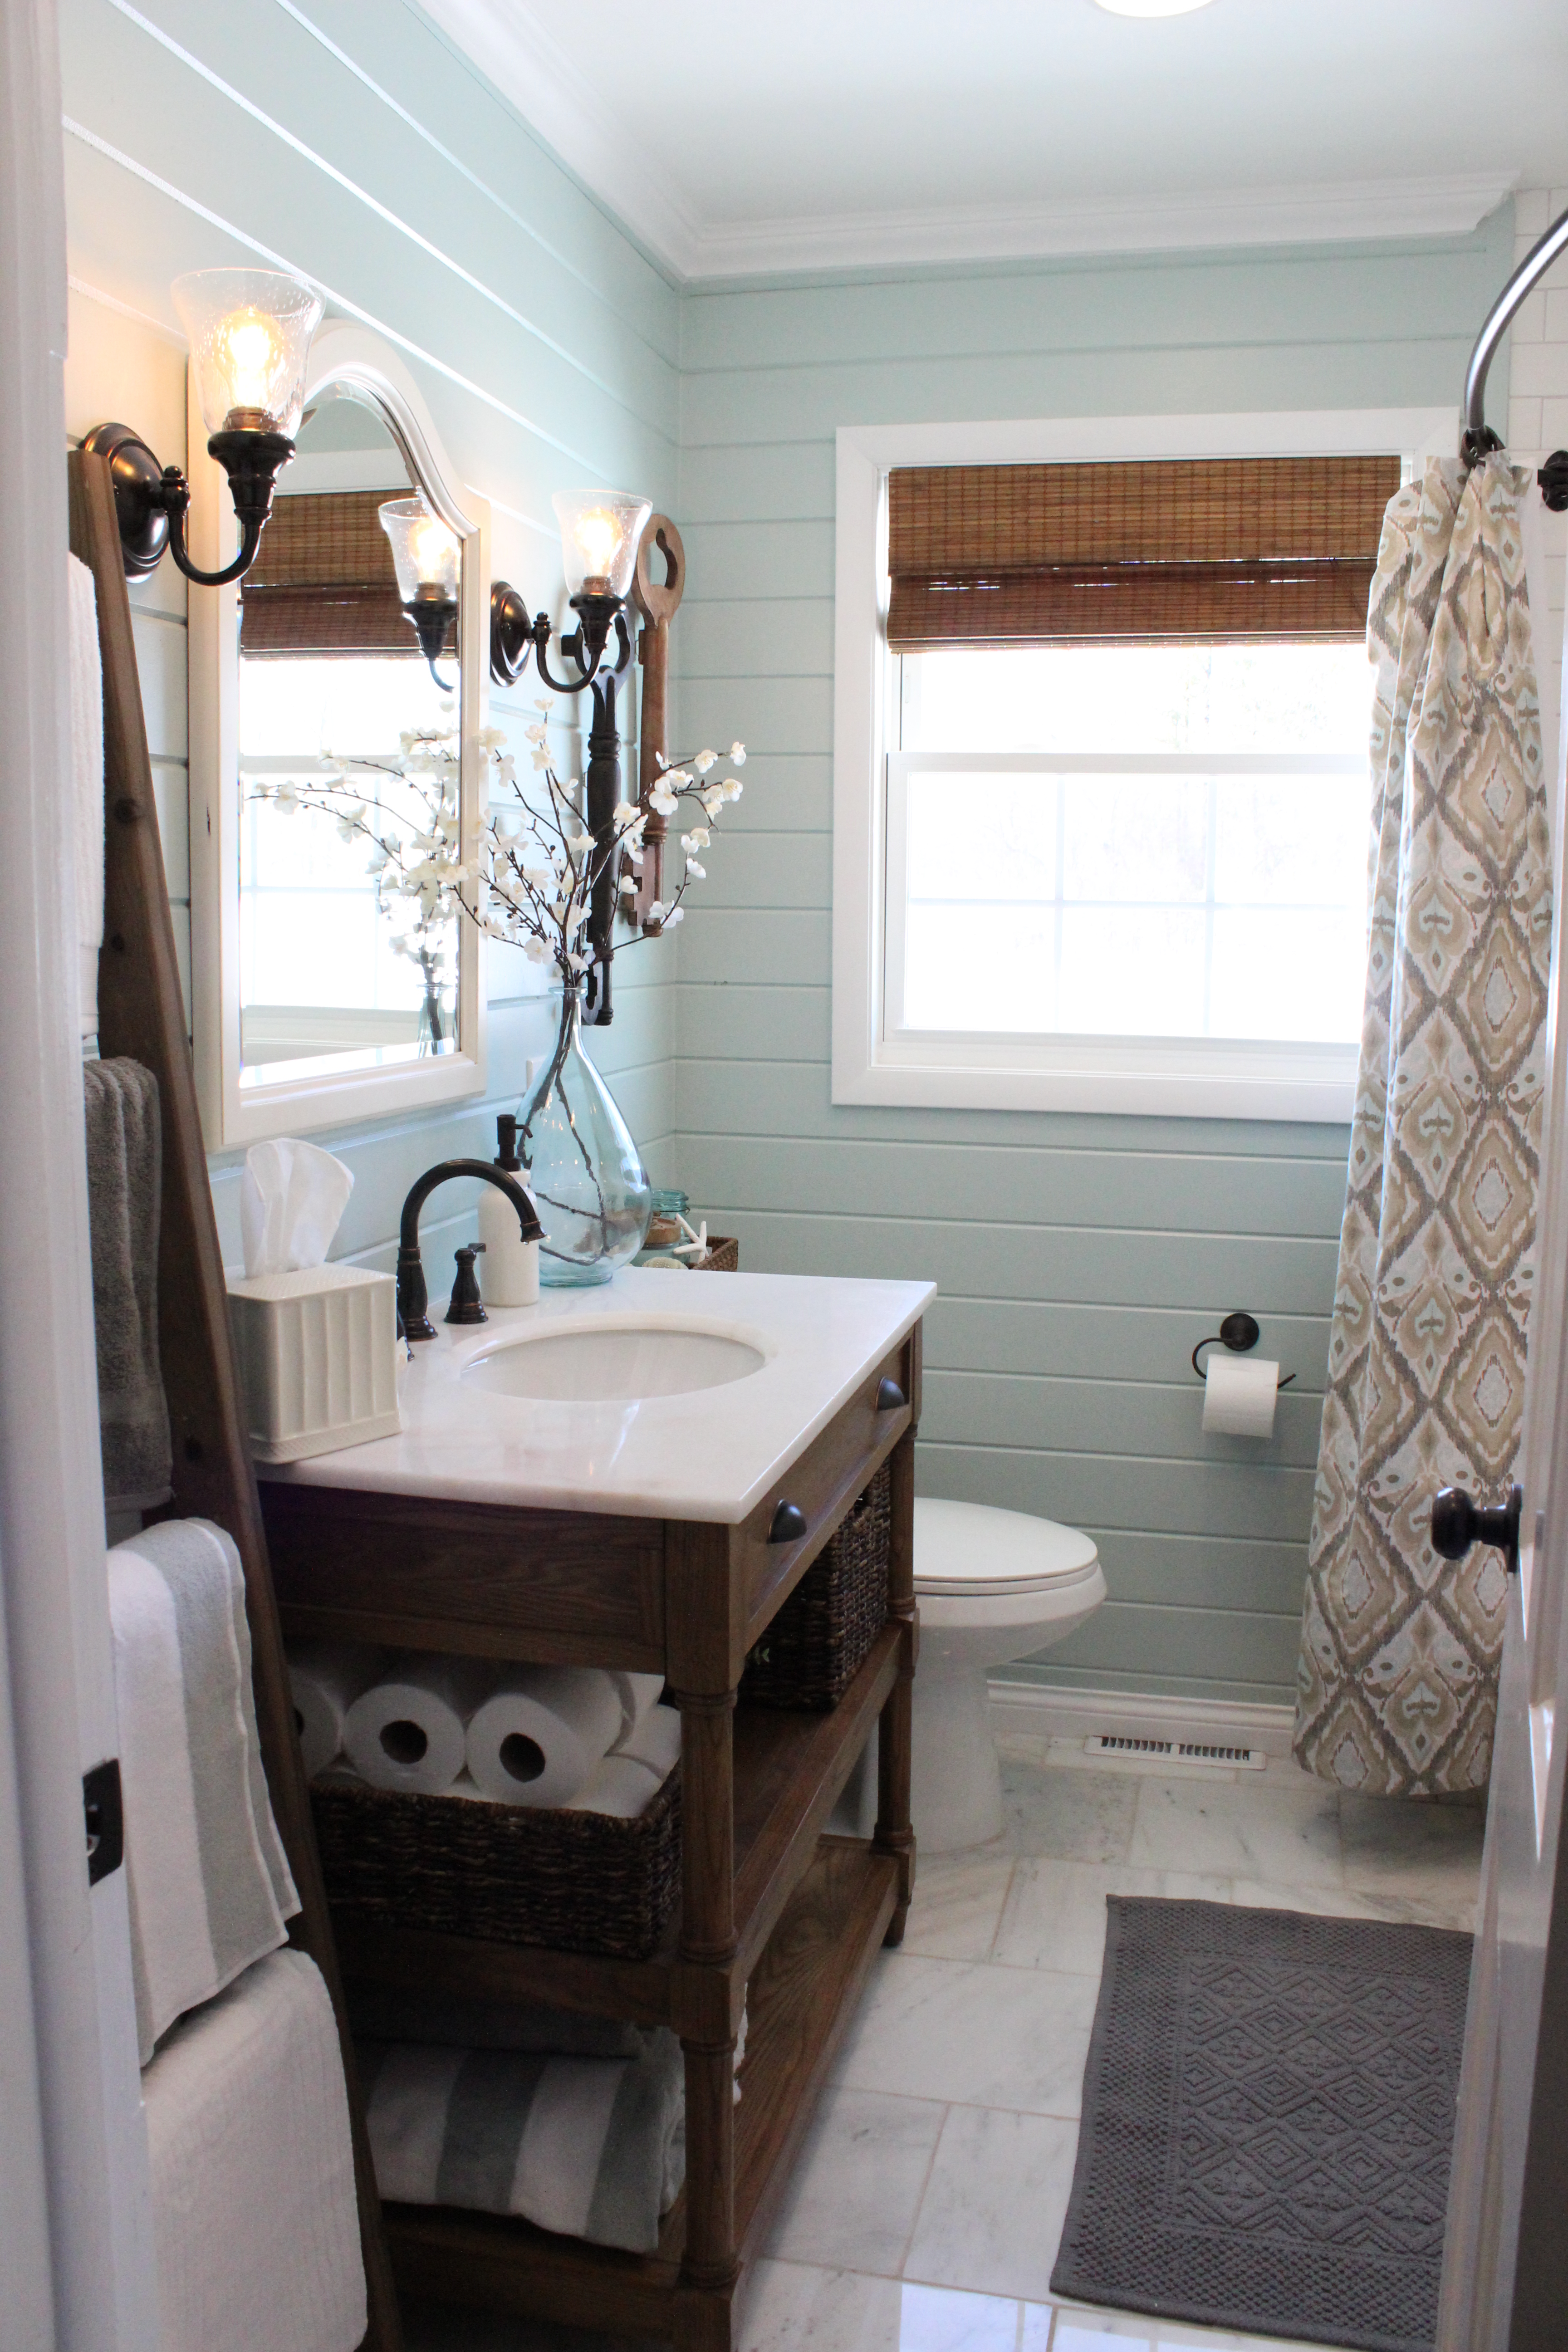
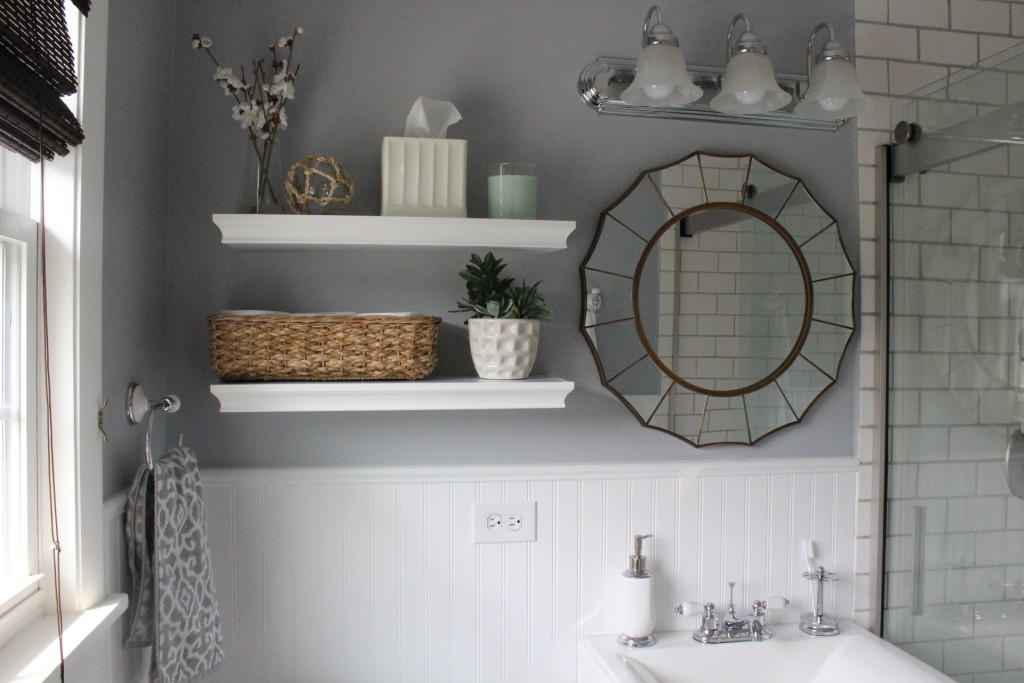
Which turned into what I affectionately call the “Pinterest bathroom,” after it got really popular on there, ha! (See more after pictures/sources of the bathroom here.)

IMG_2632

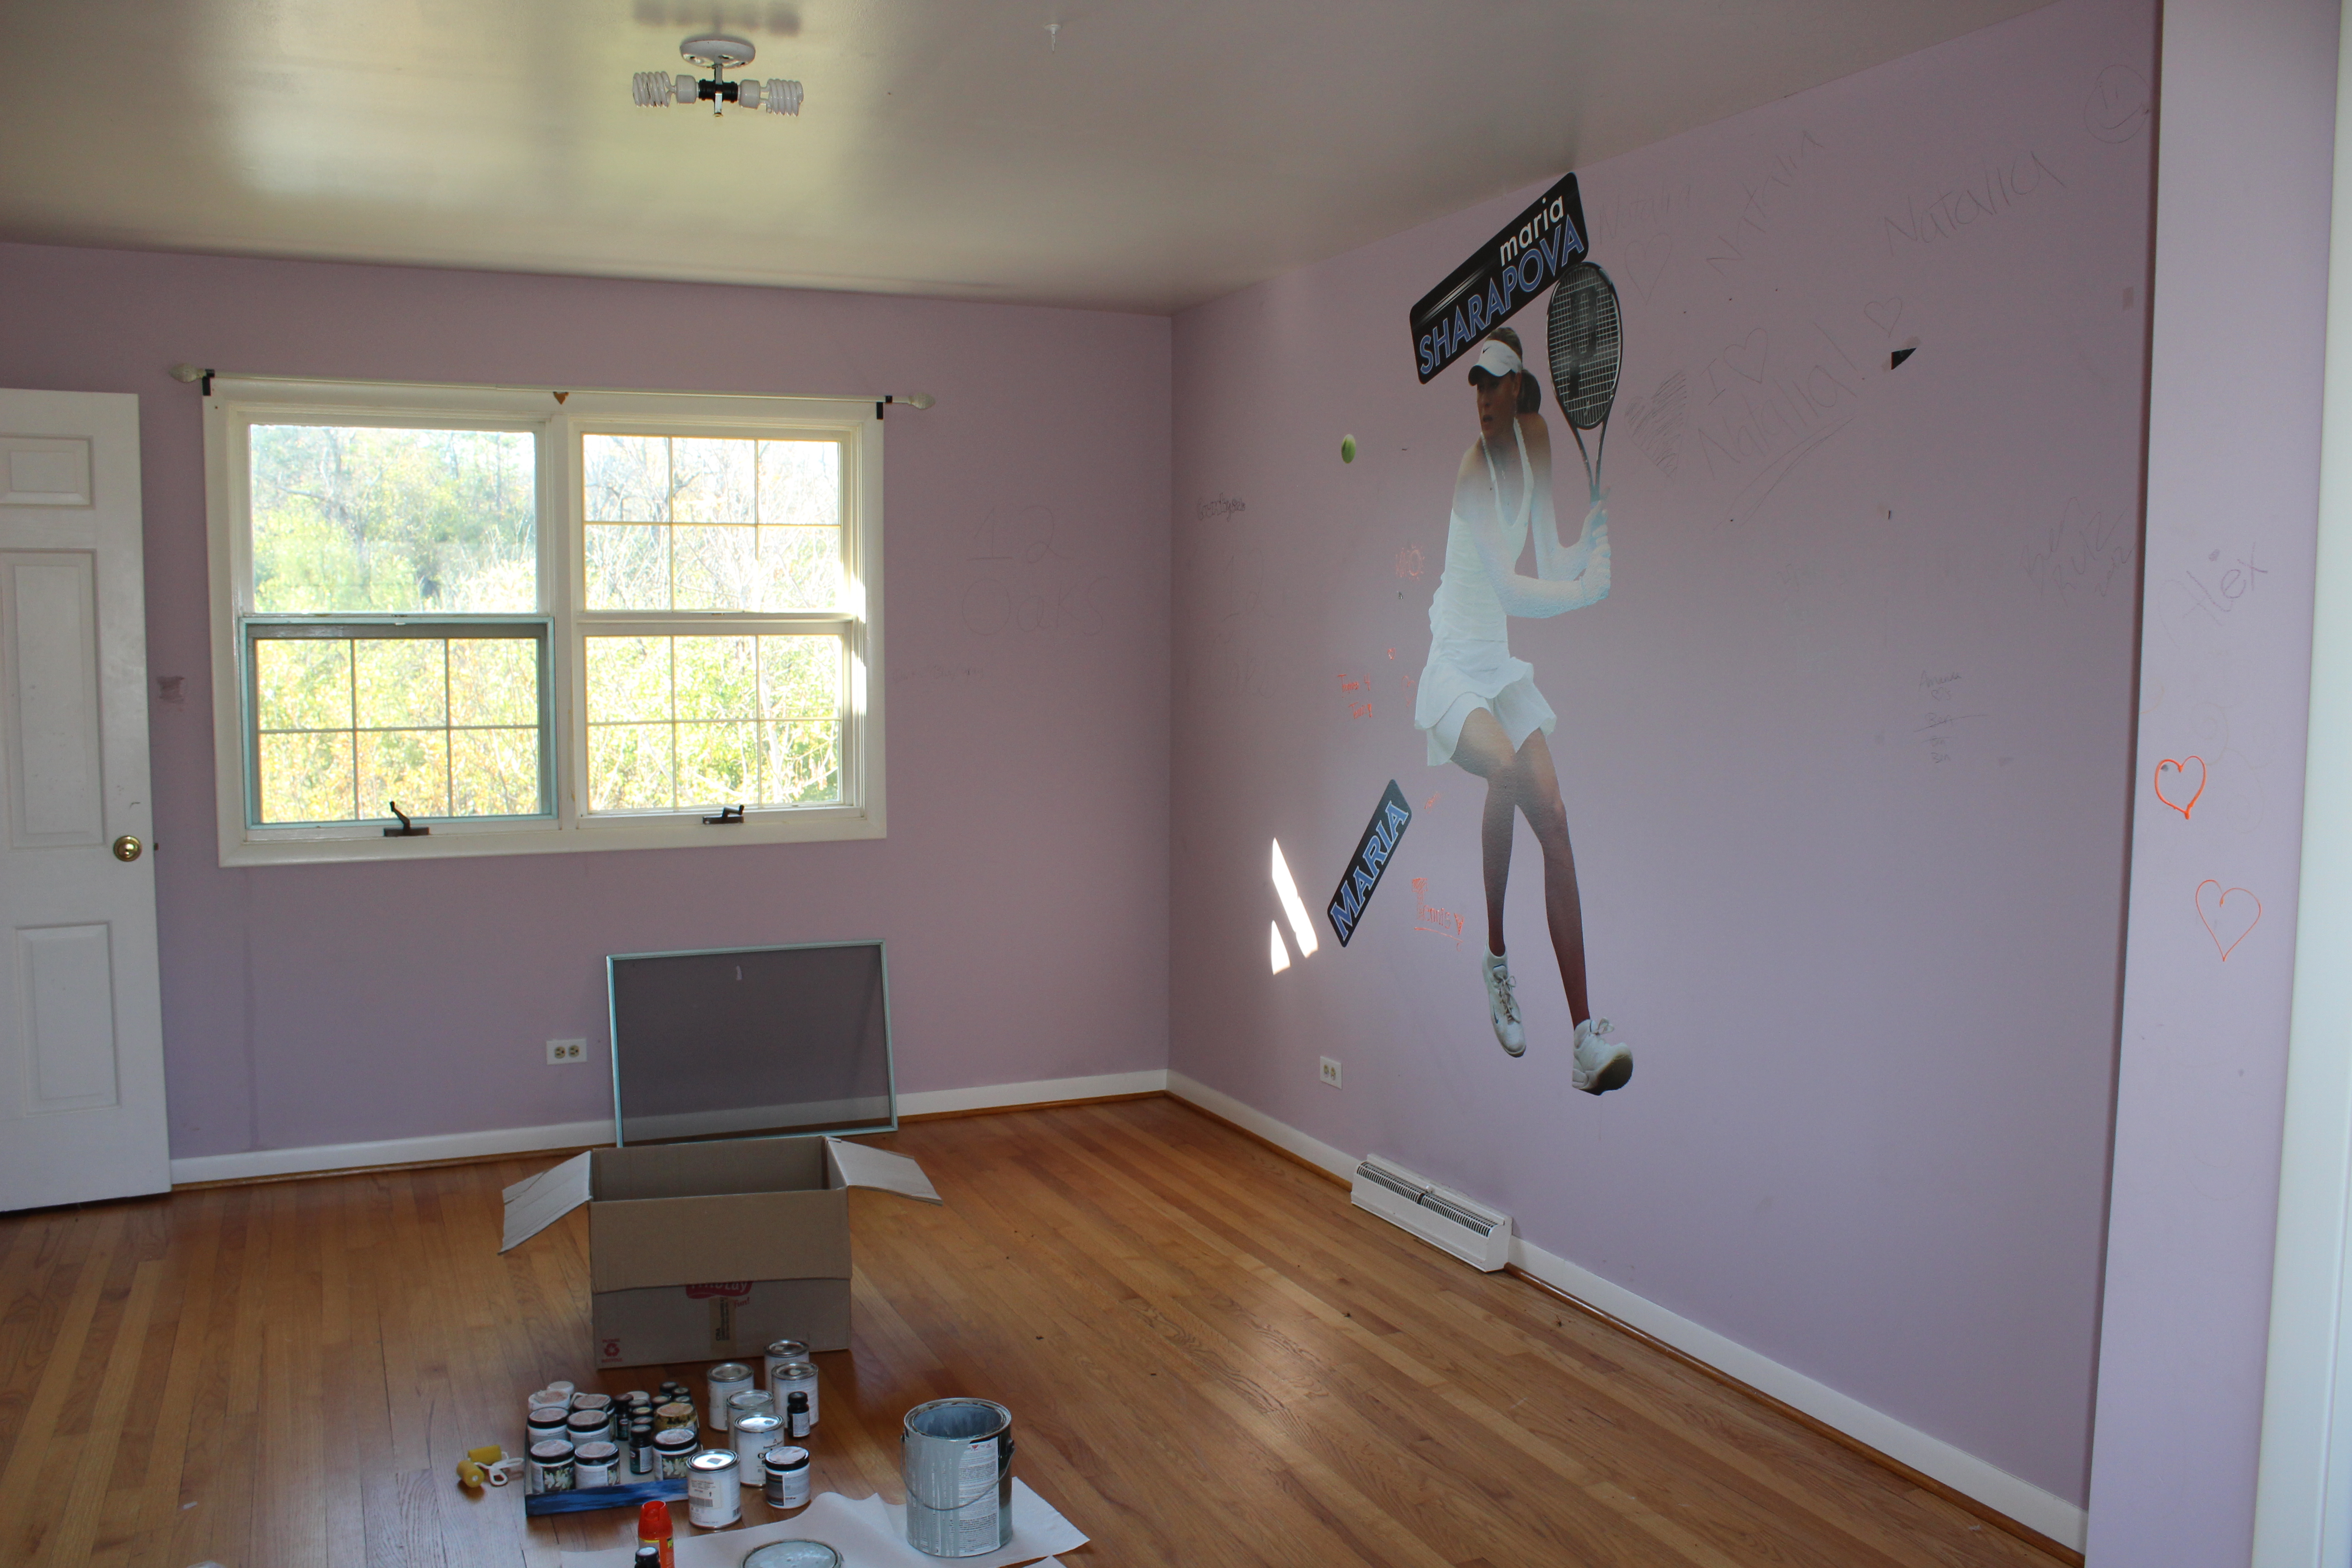
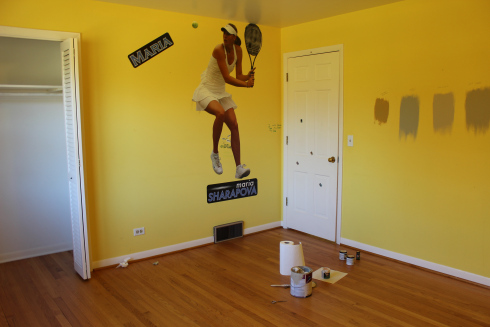
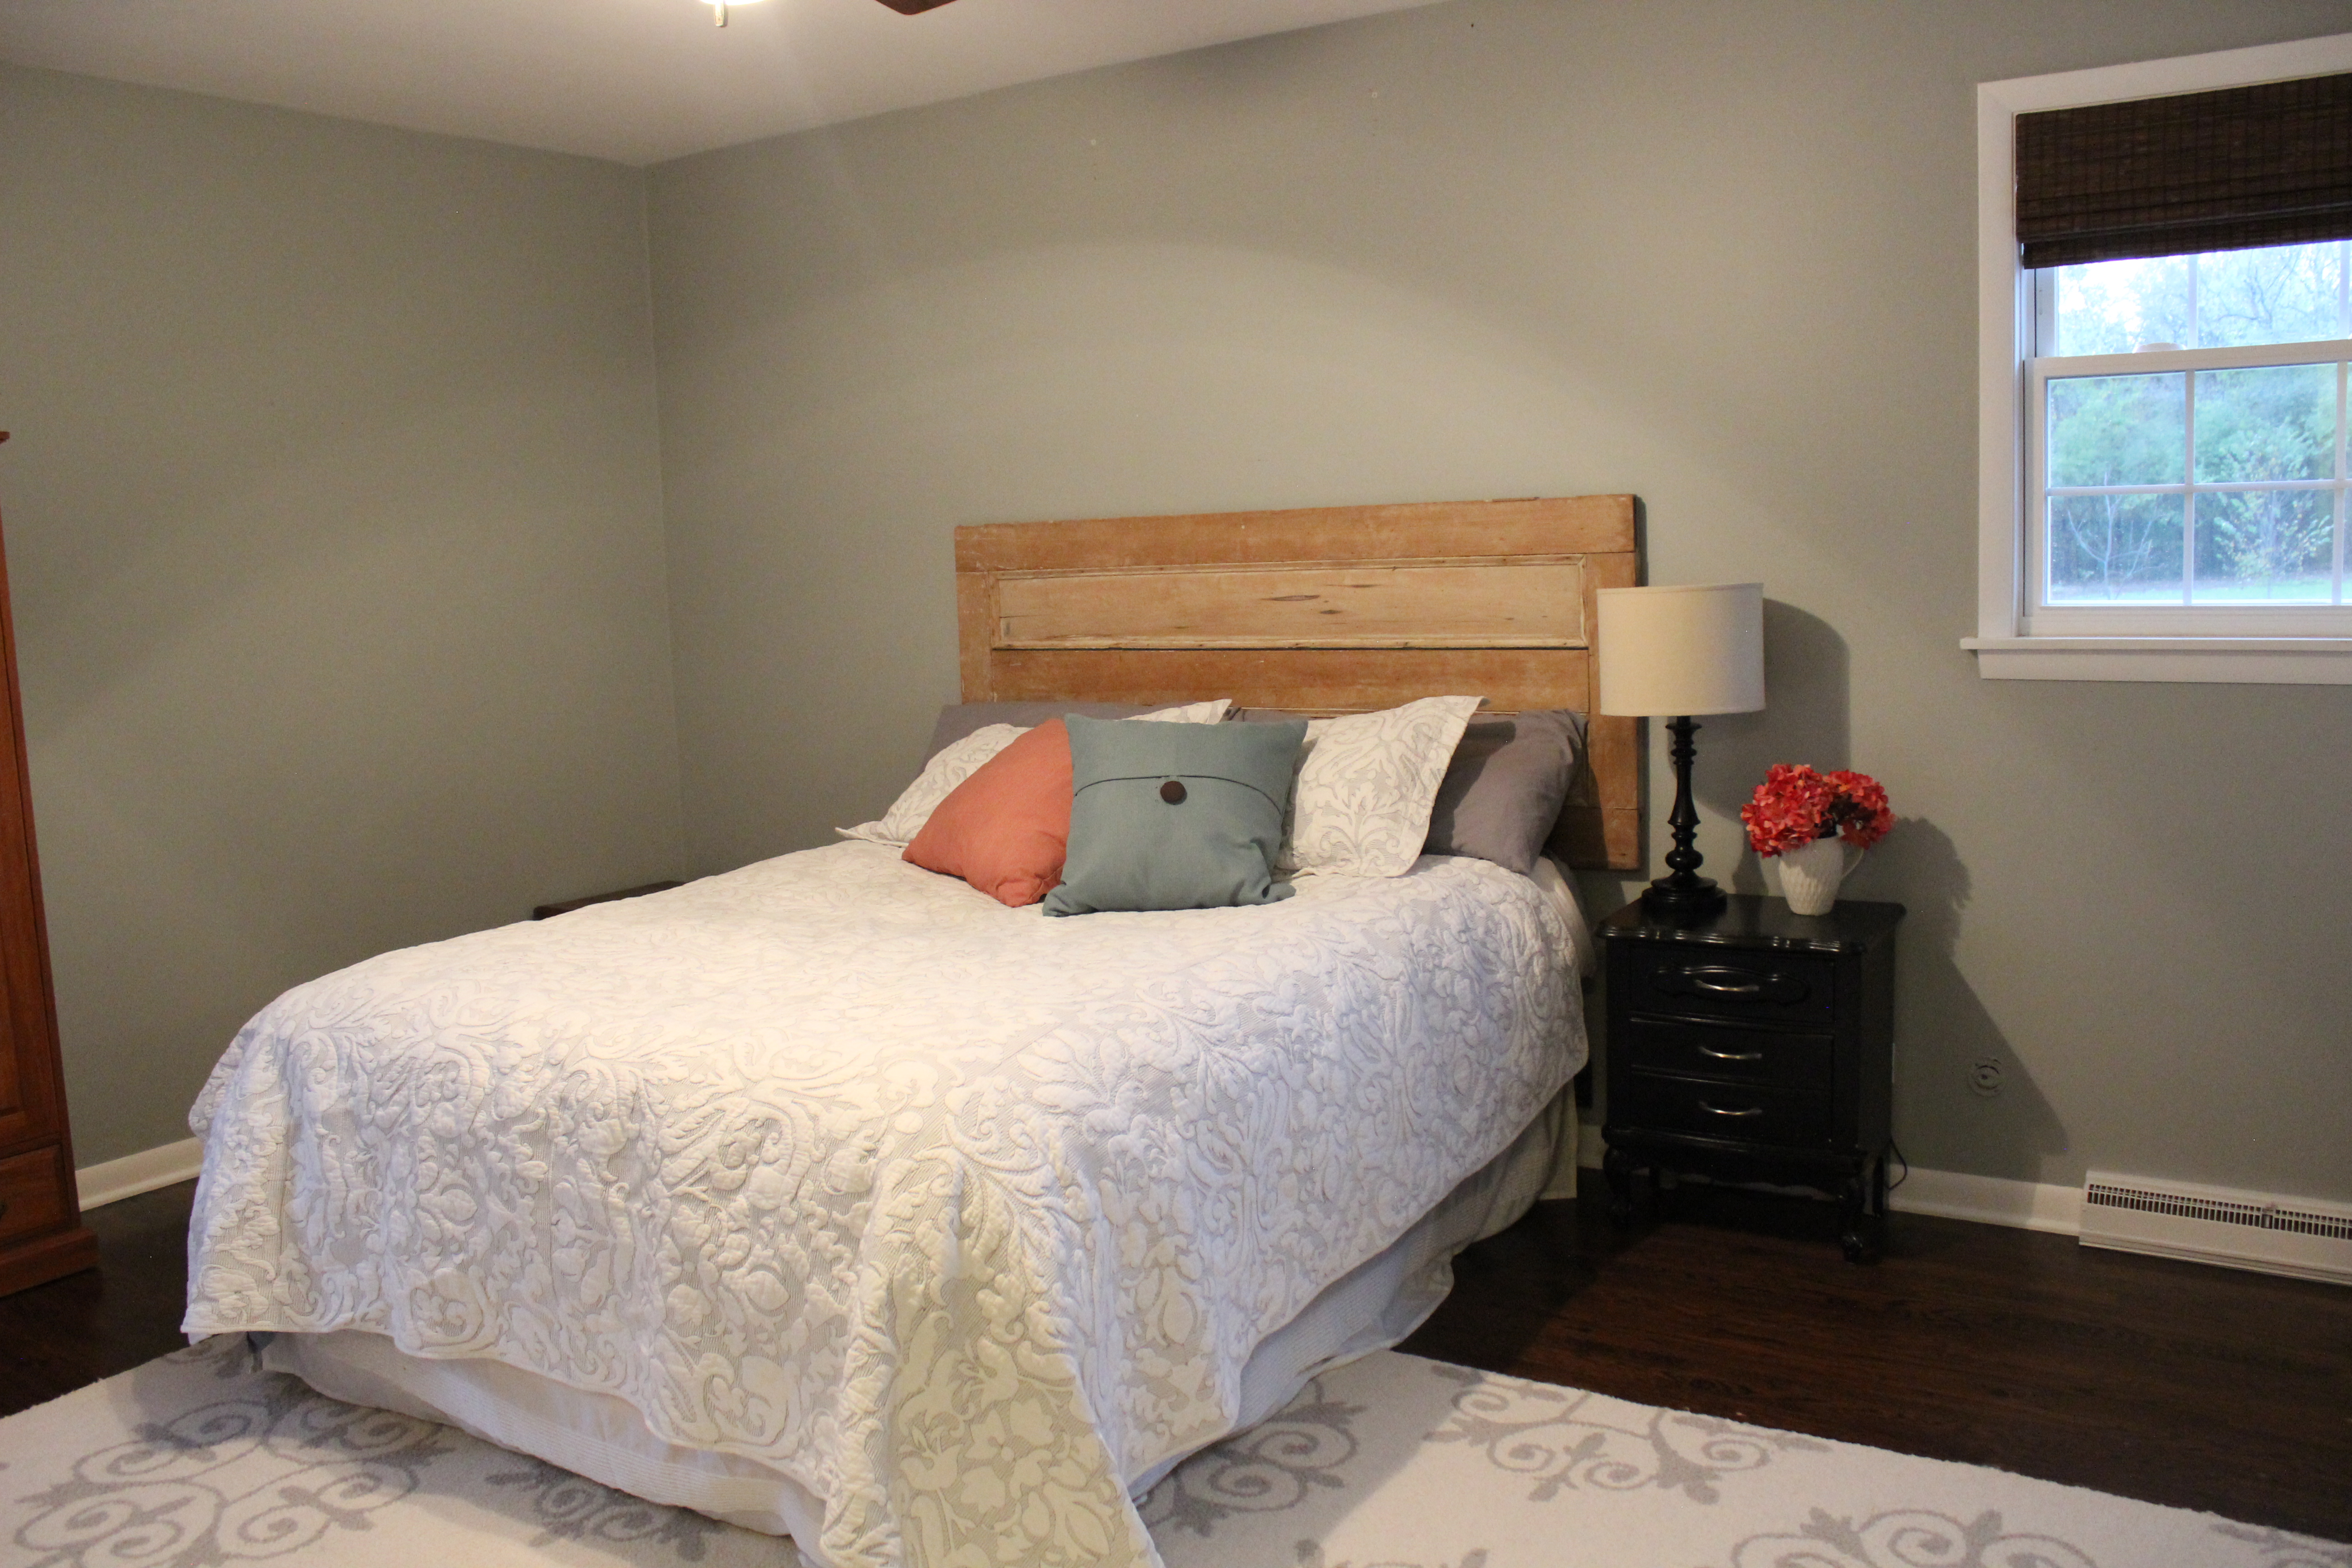
This was what our master bedroom looked like 5 years ago (Go Maria Sharapova! lol)

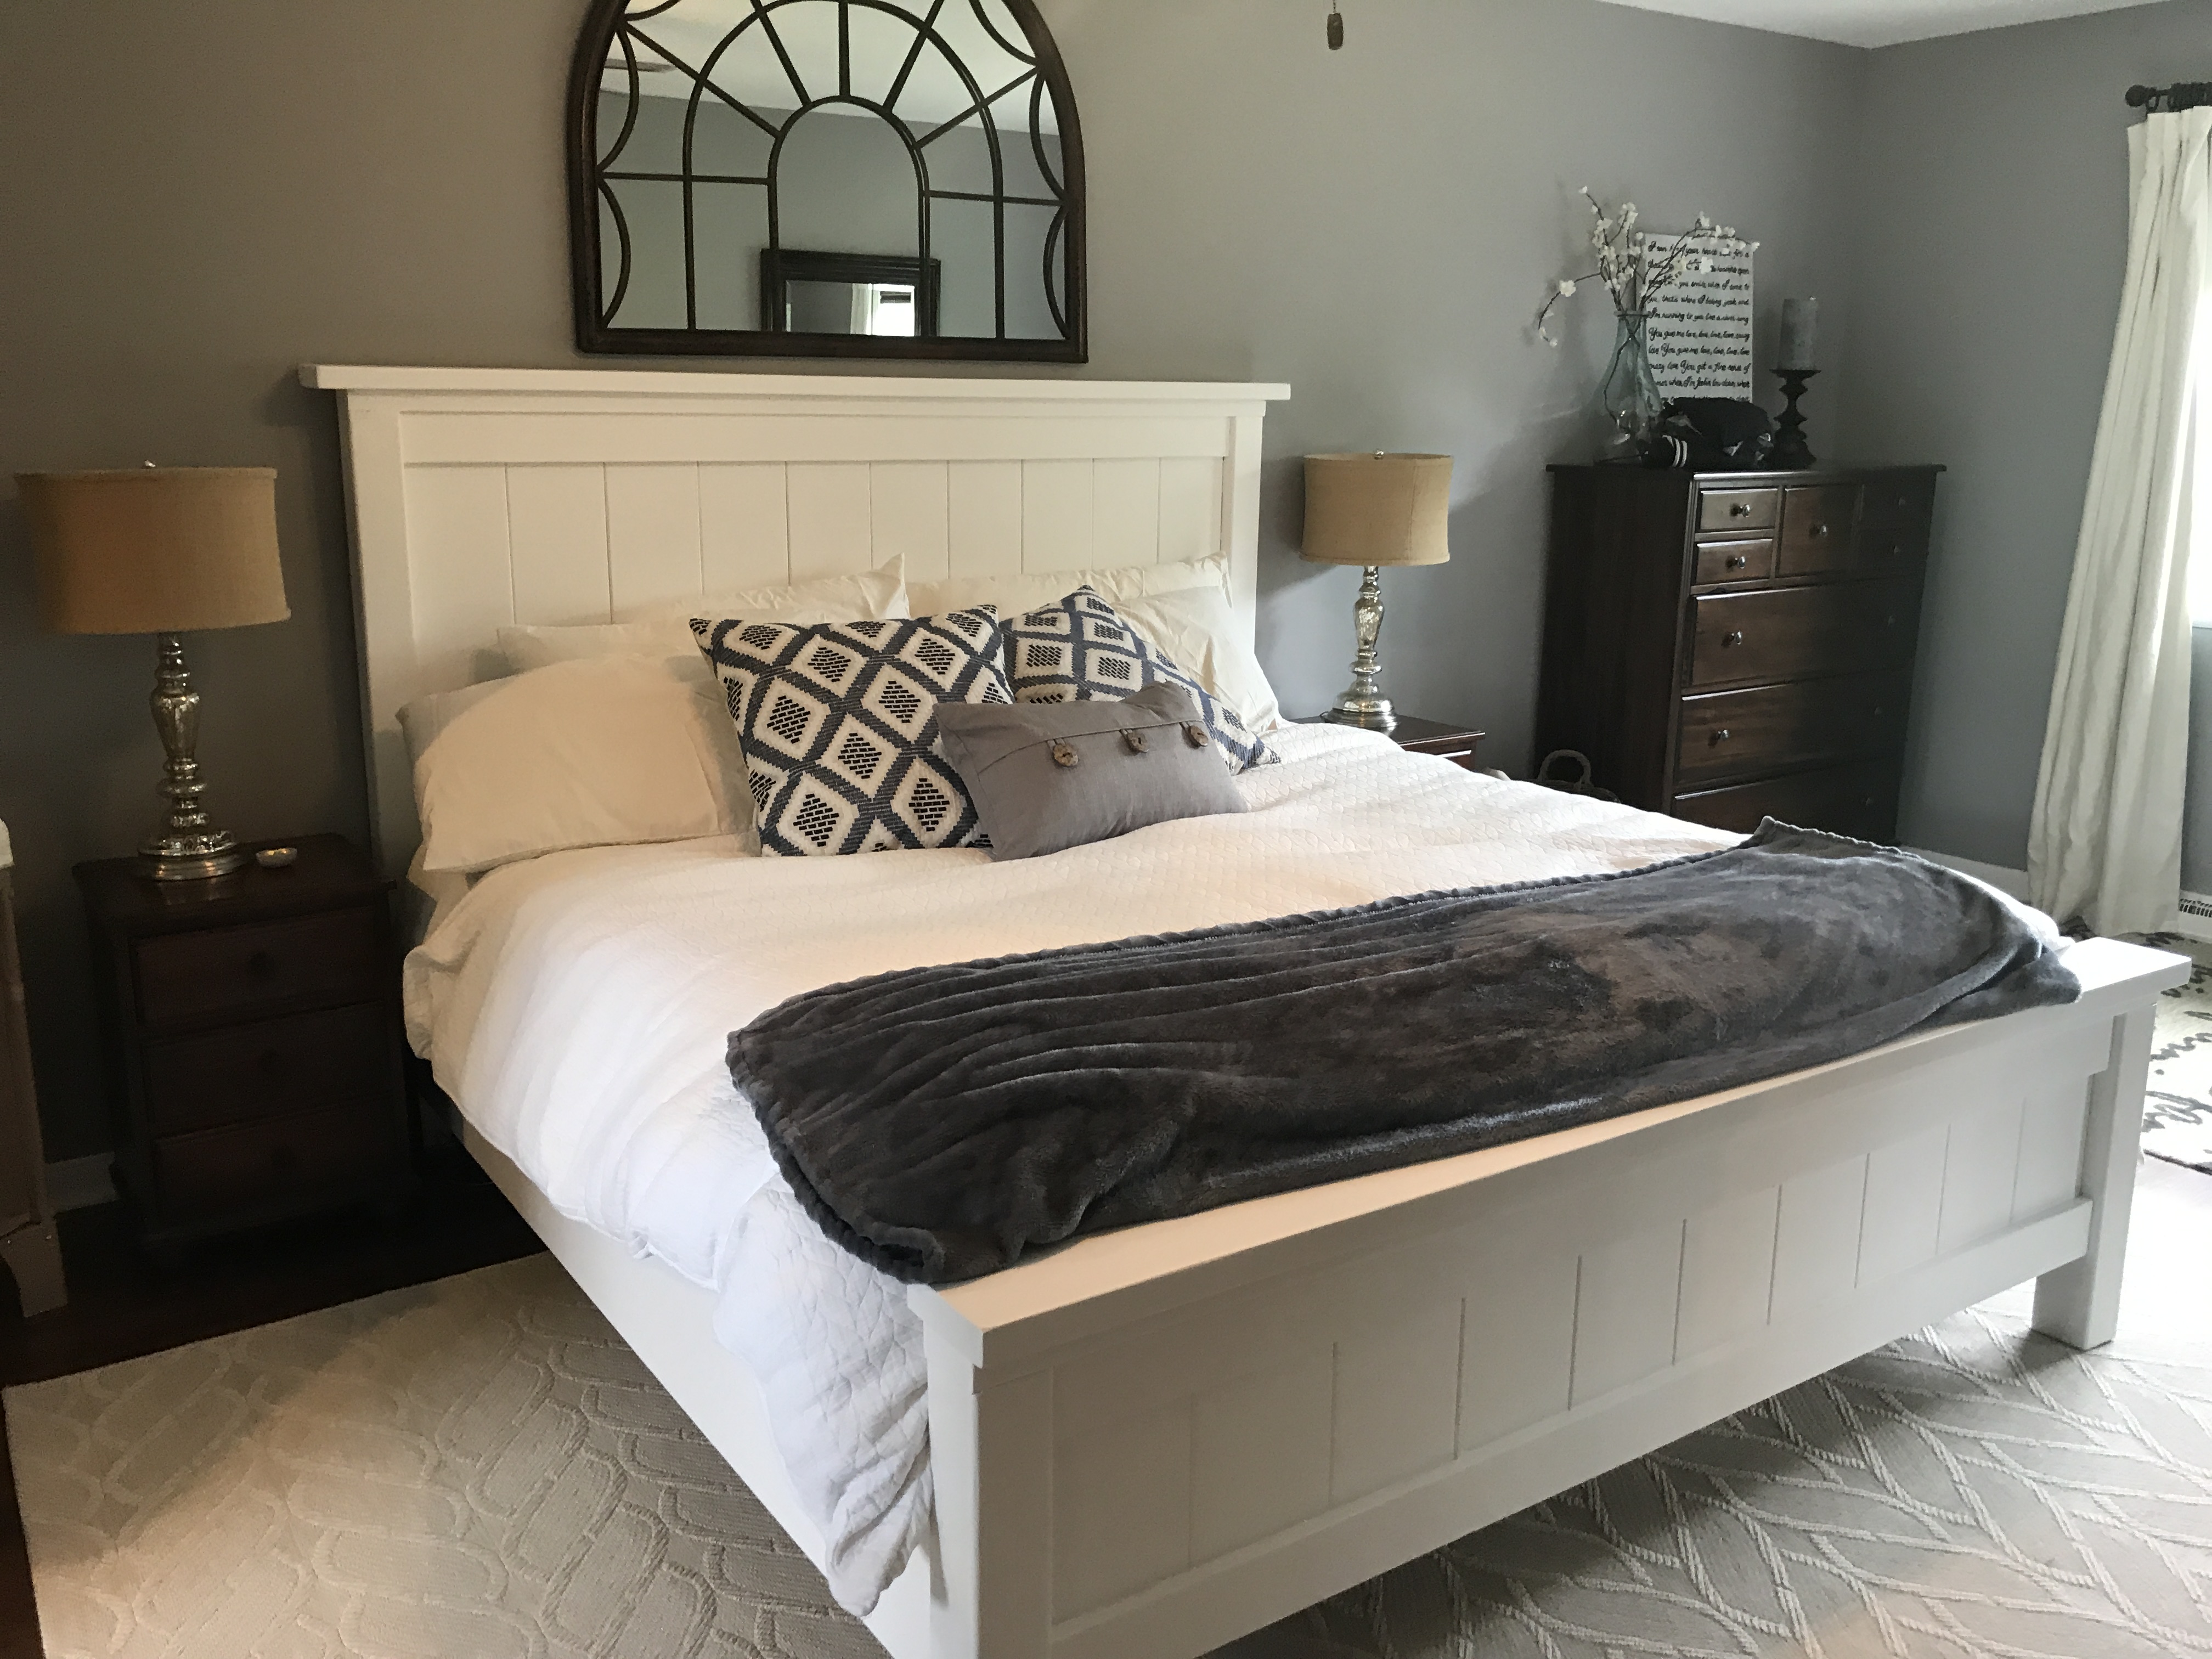
And here it is now:

Connected to our master is the upstairs part of the addition which includes a new walk-in closet and master bathroom:

There was another Sharapova bedroom 5 years ago:

Spare Bed 1 Before

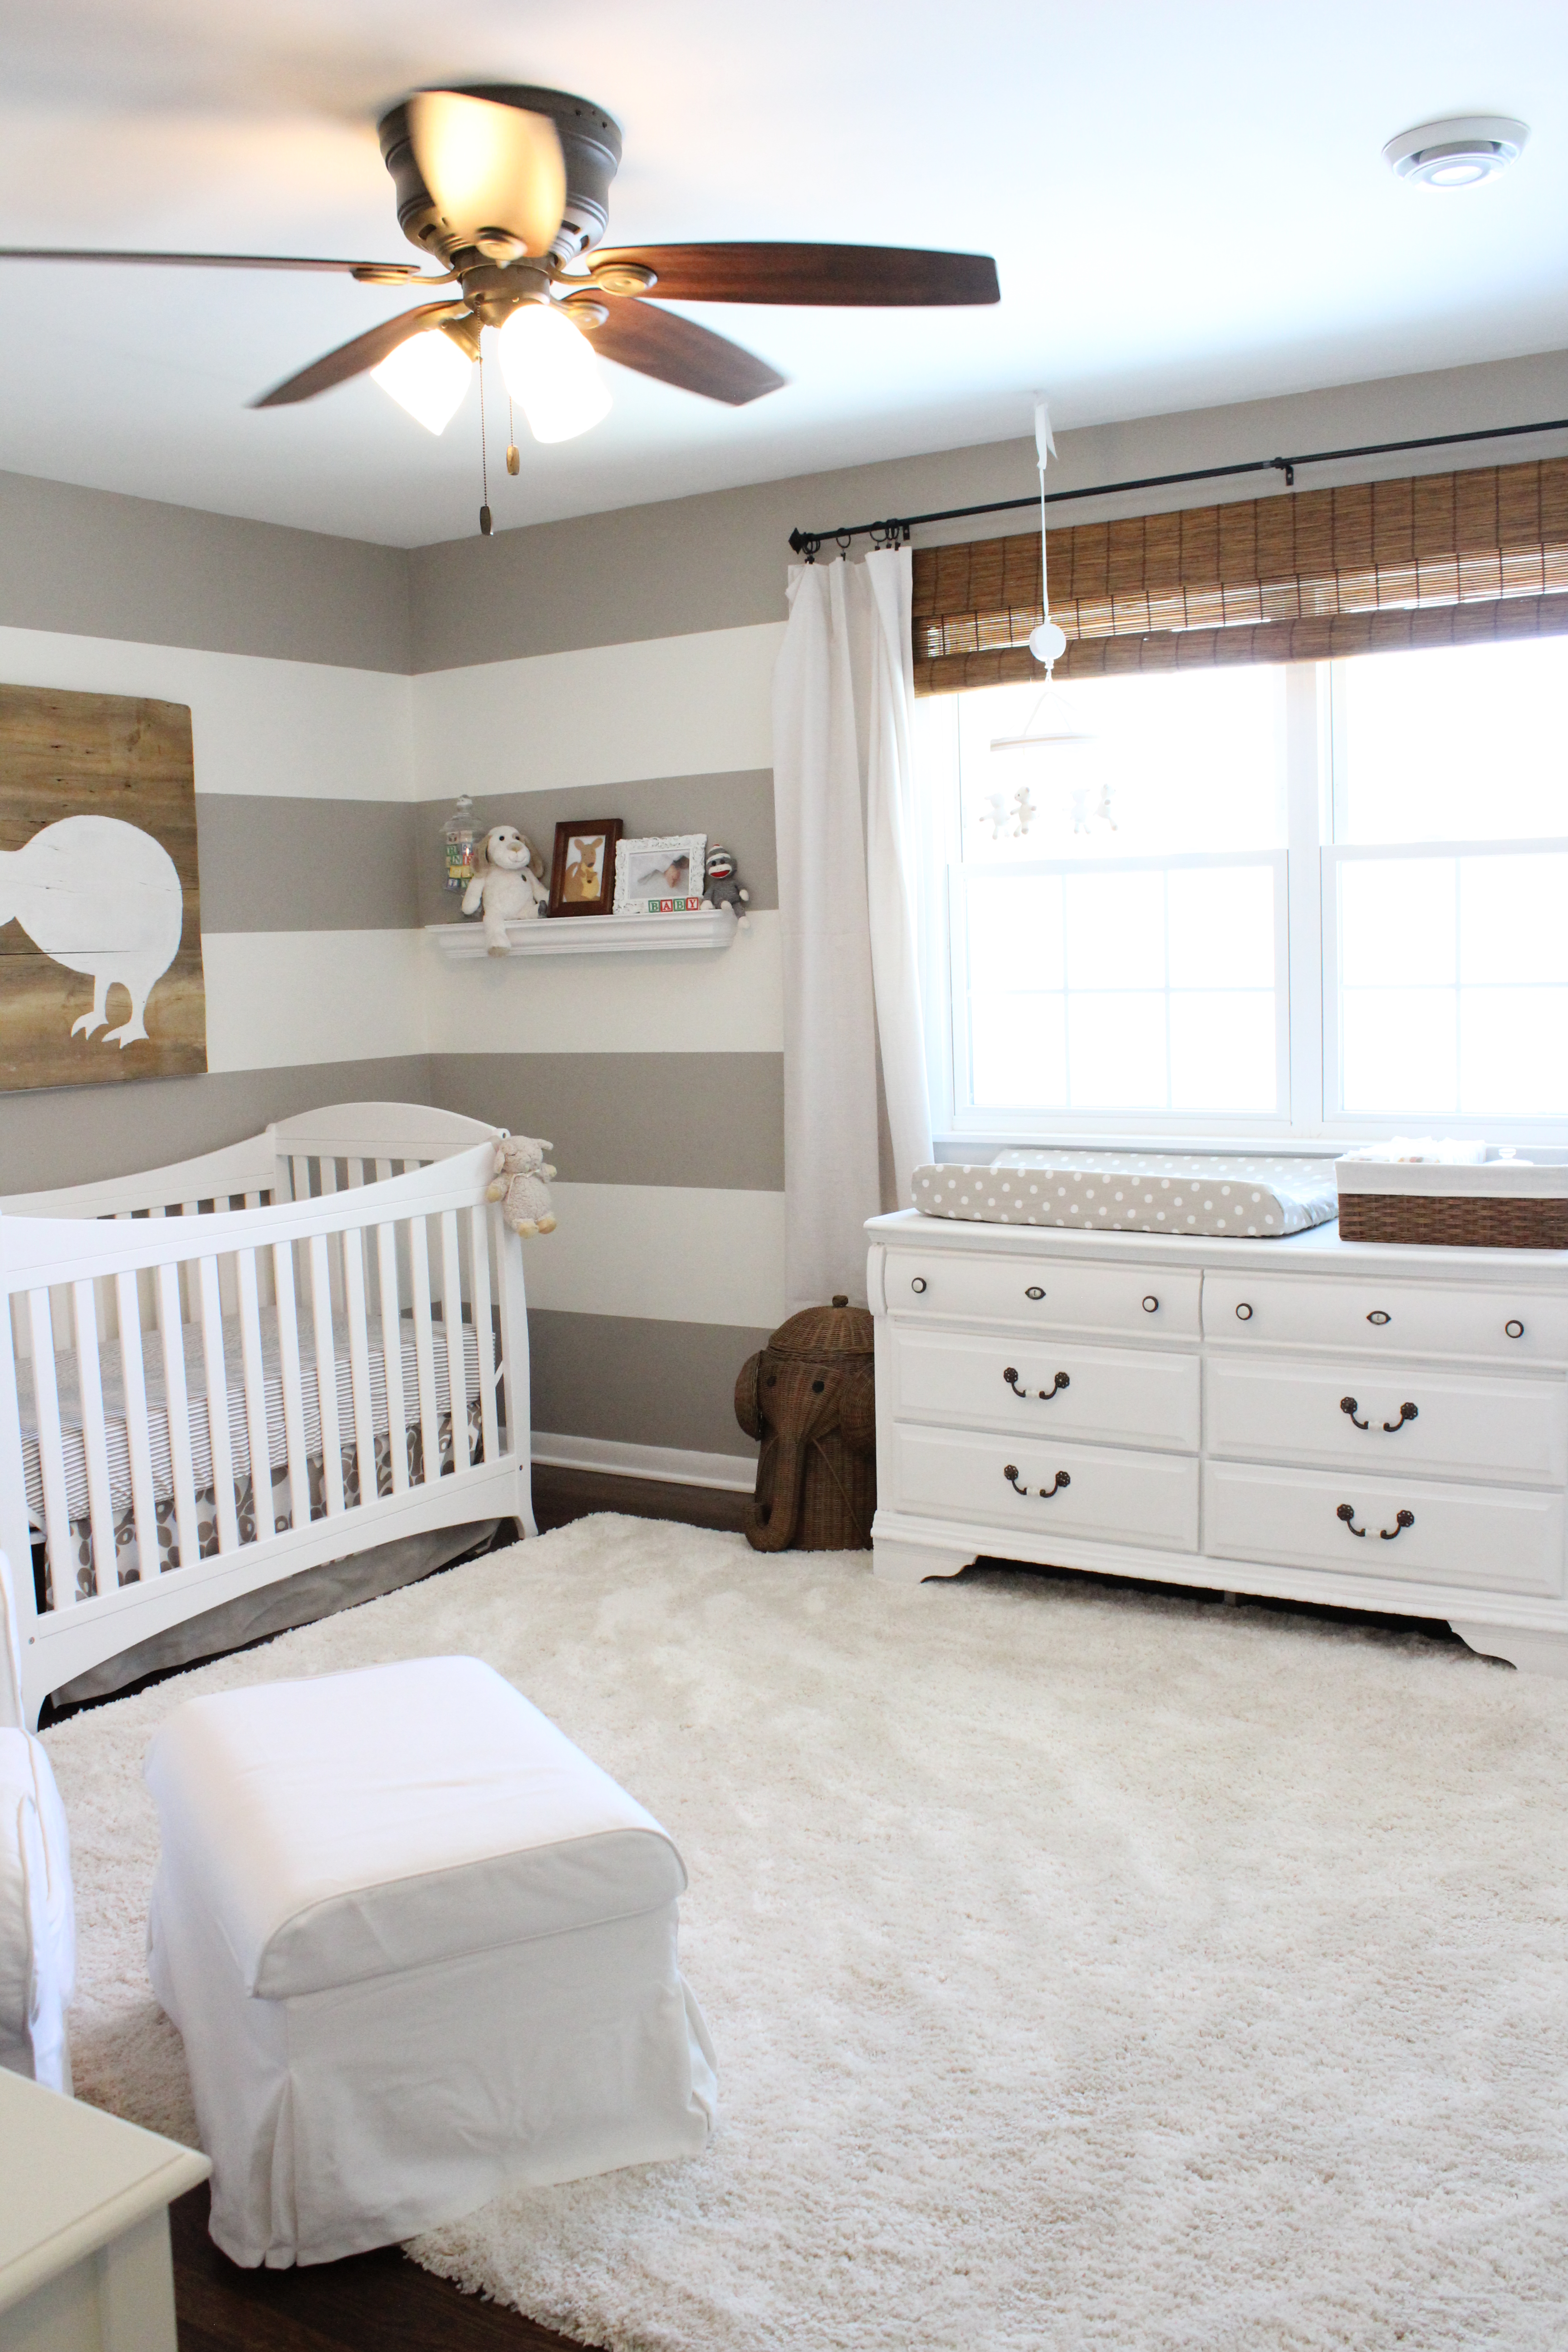
This turned into our nursery:

IMG_4281

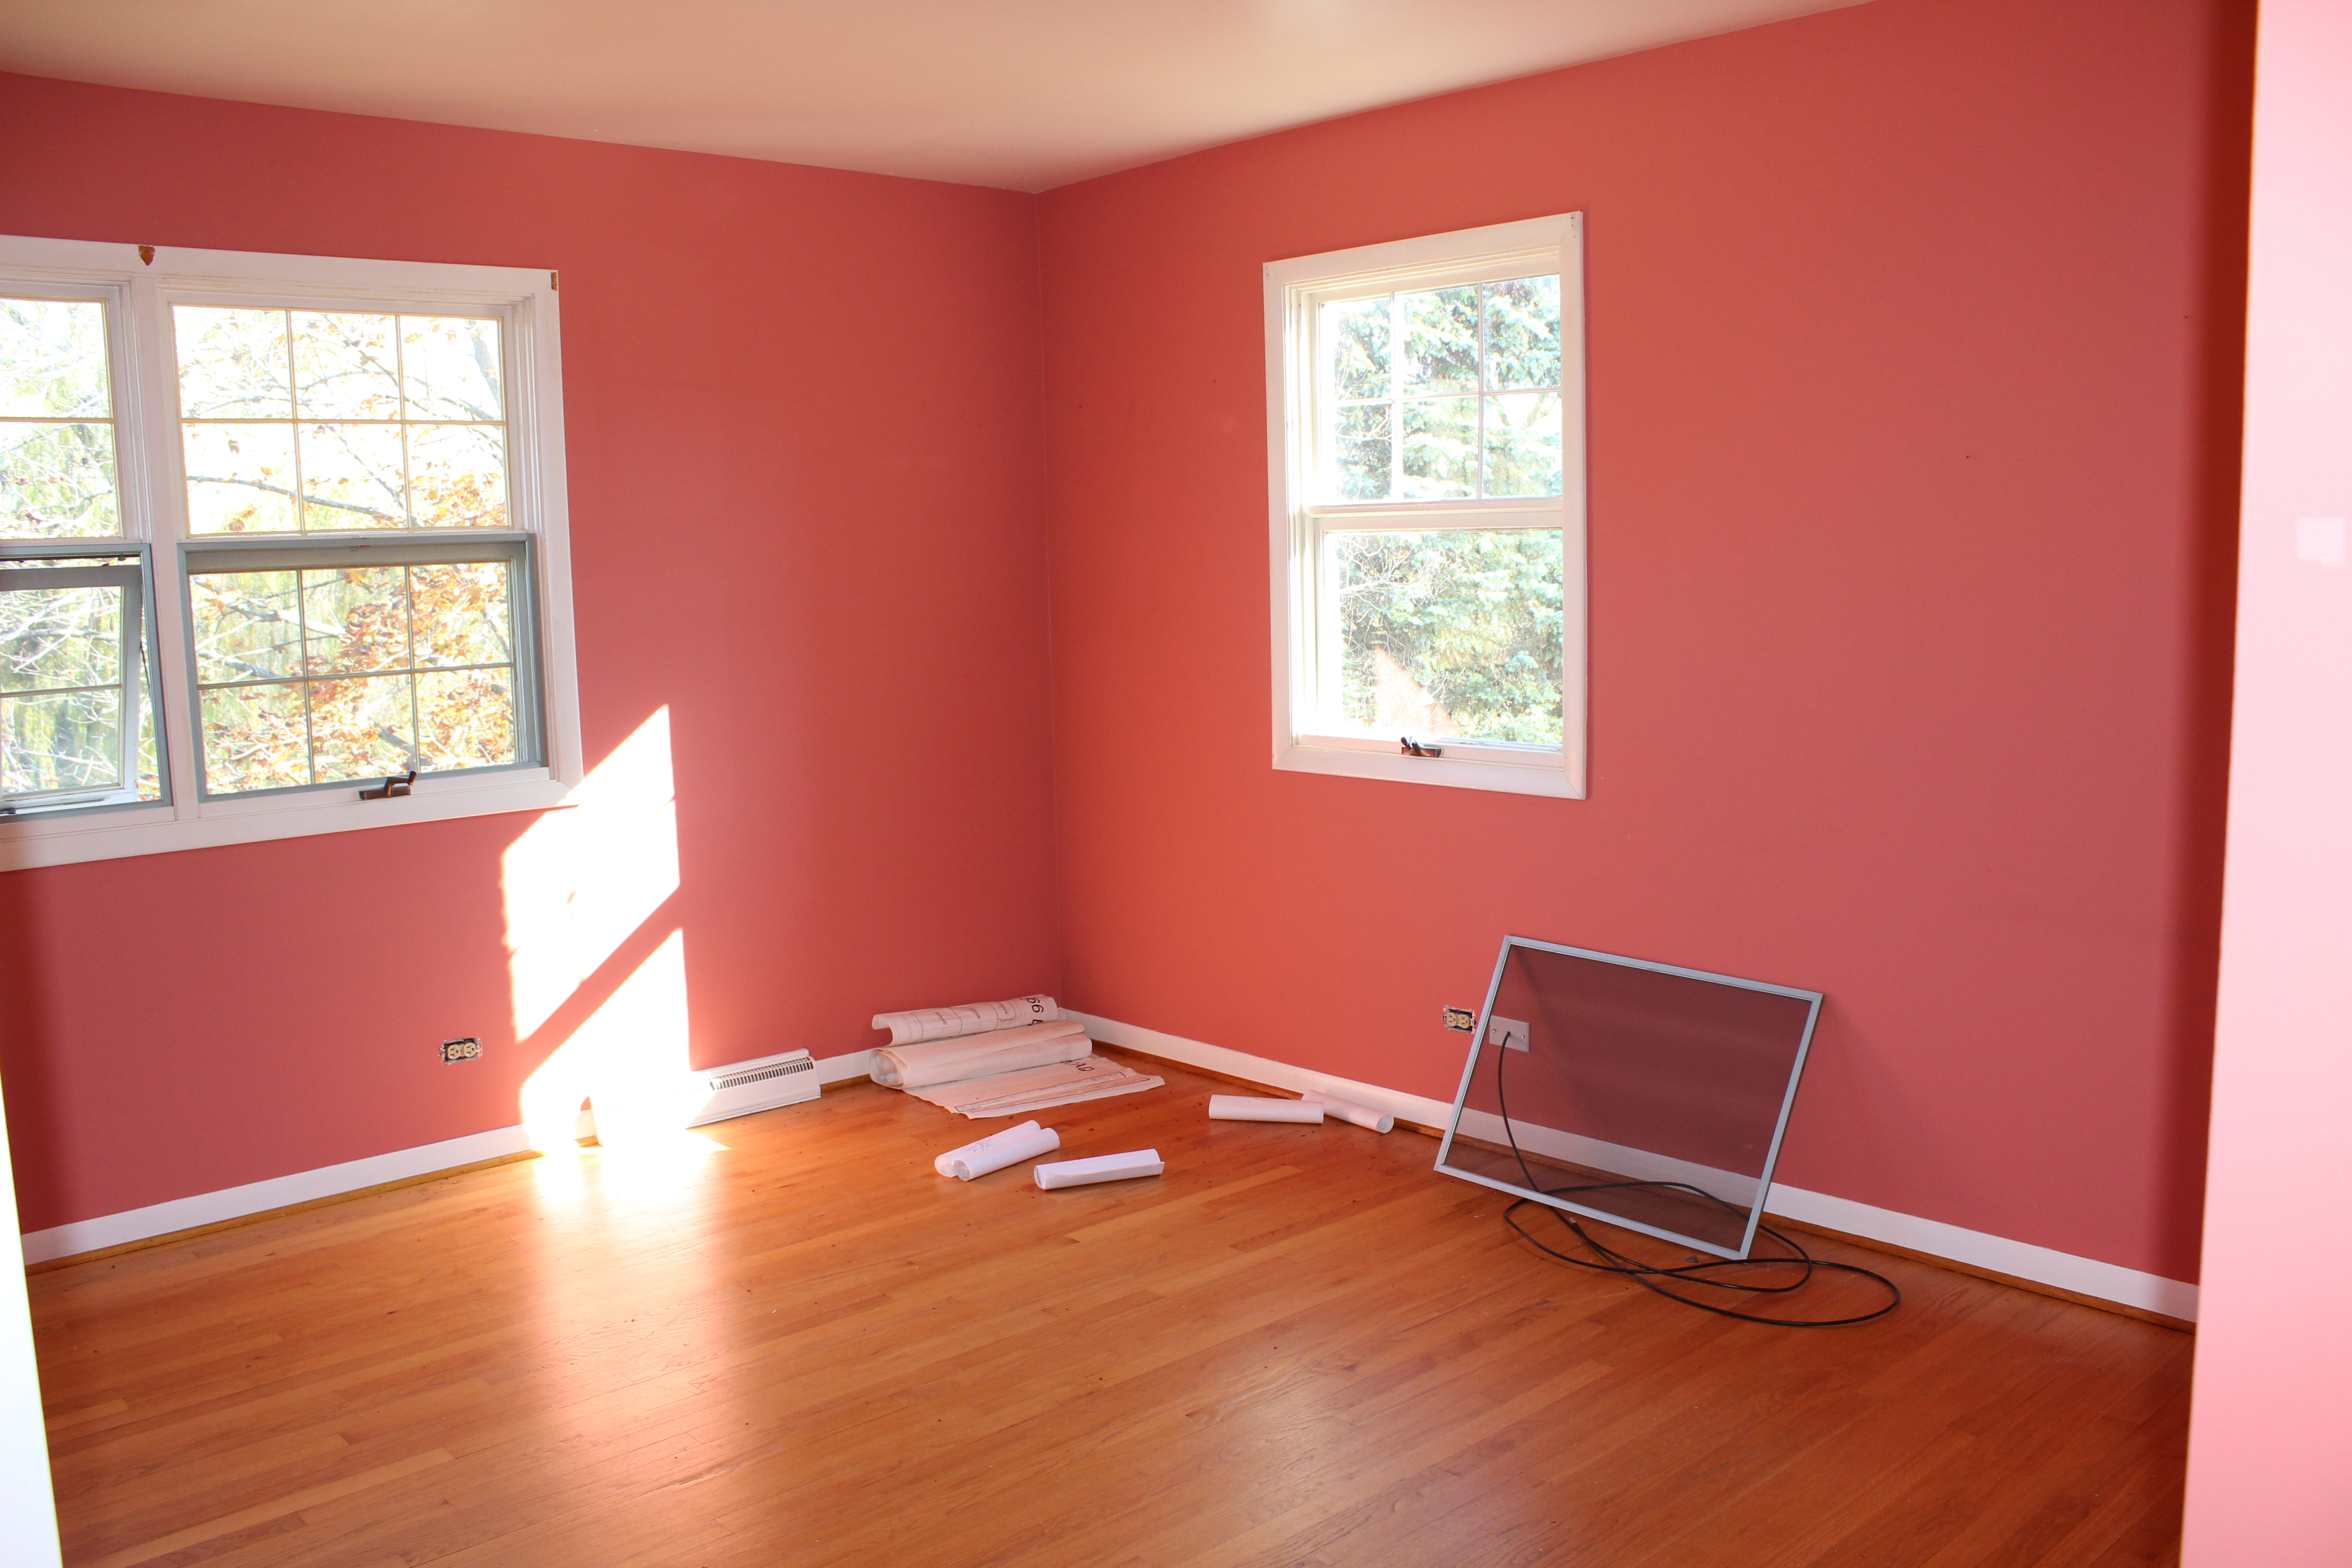
Another upstairs bedroom 5 years ago:

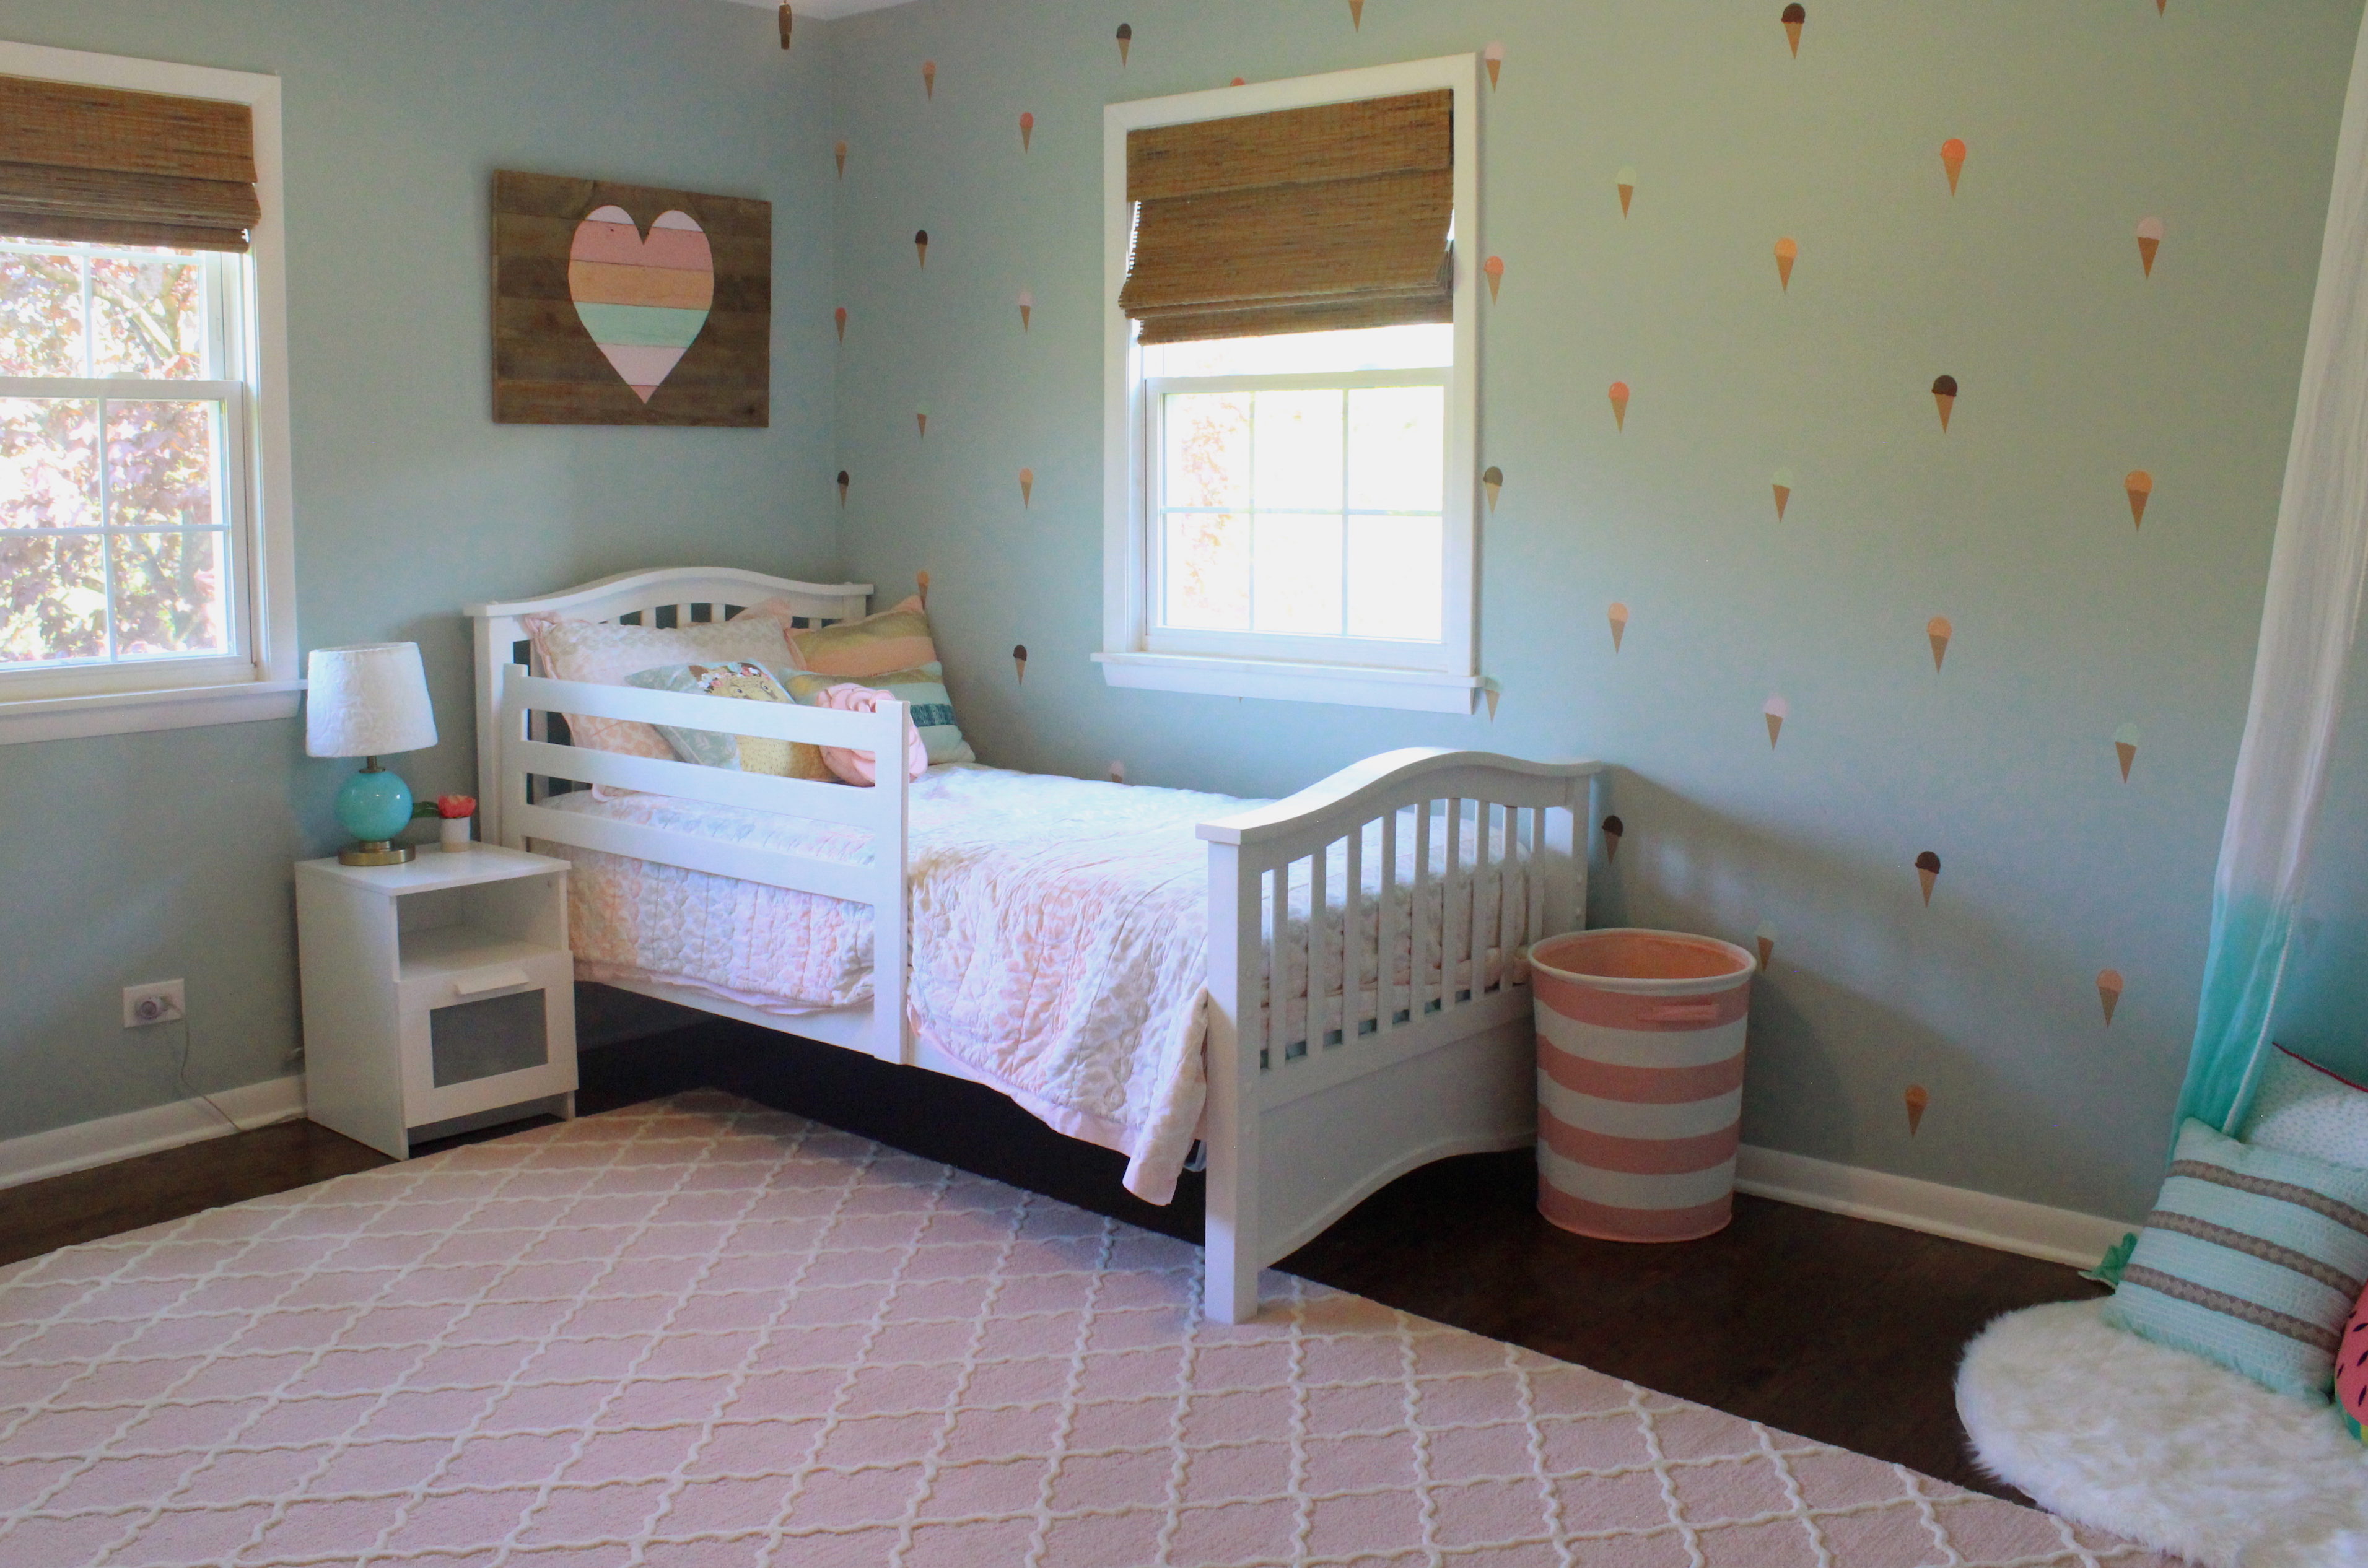
Is now our daughter’s “big girl” room:

The former master bathroom, which is now a guest bathroom, looked like this 5 years ago:

Master Bathroom

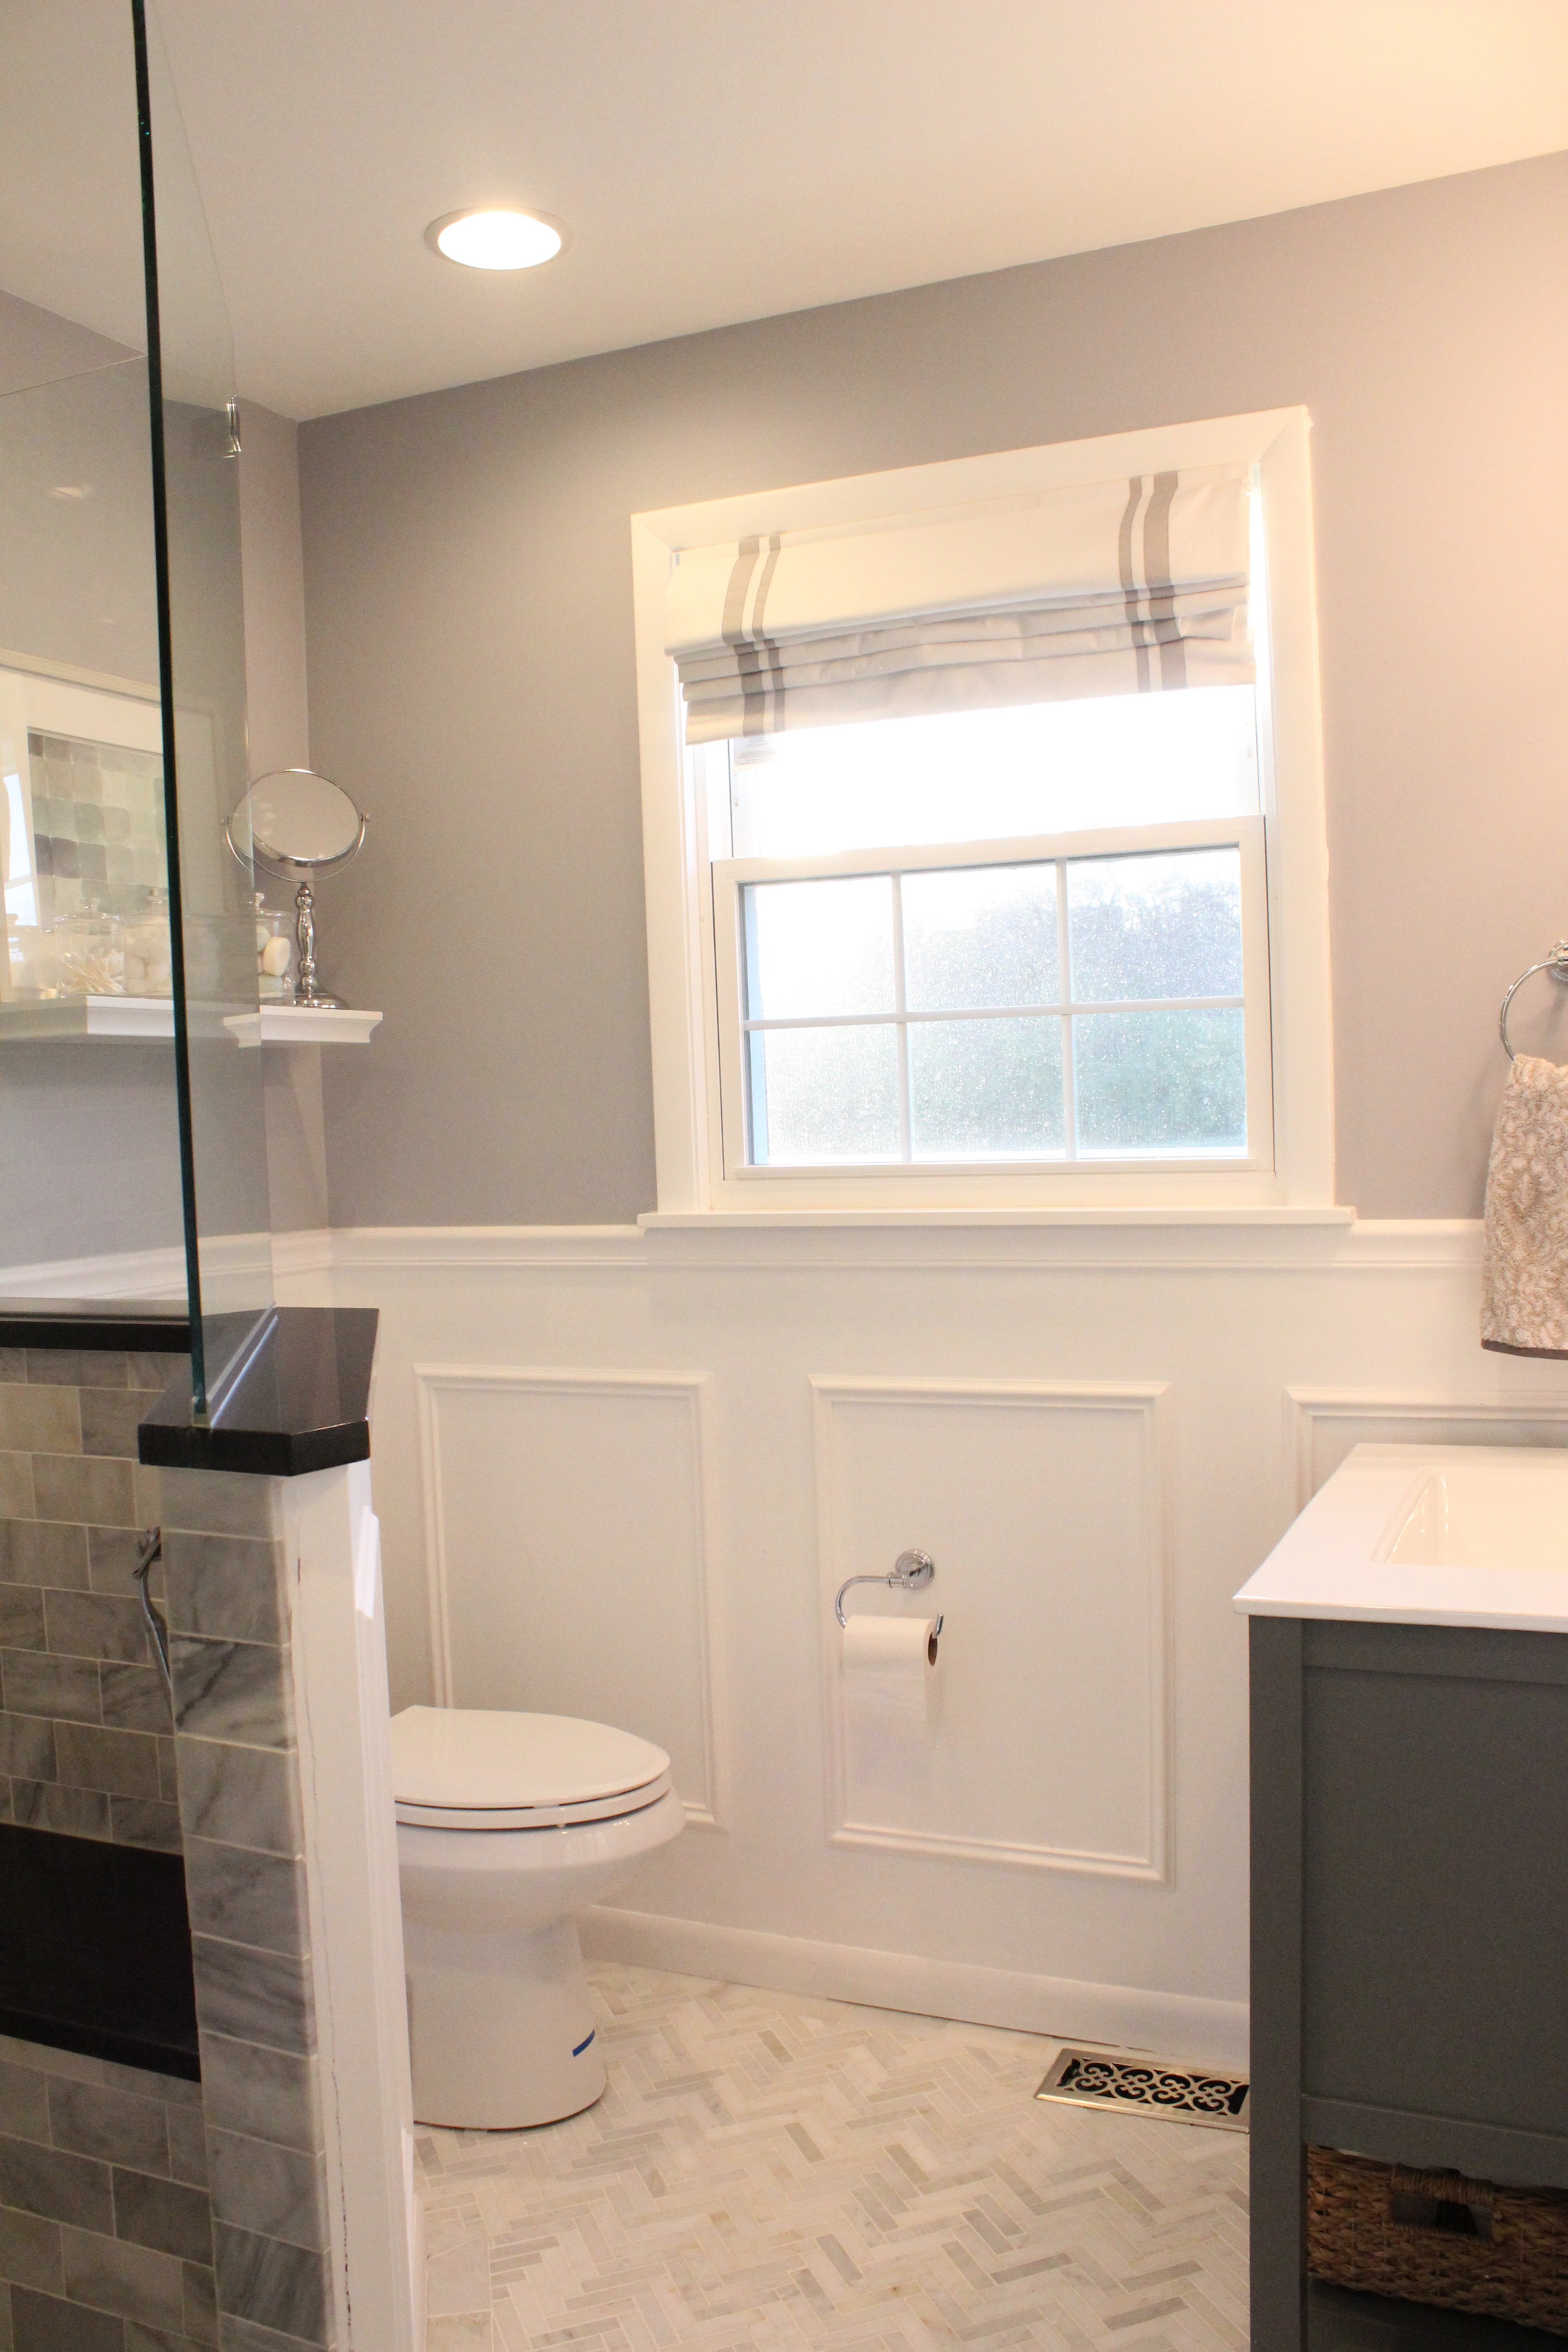
And here is the renovated guest bath now:

IMG_5533

Lastly, here is our current guest room, which admittedly is a catch-all for old furniture. I will re-do it hopefully soon.

Whew! I’m super proud of all we’ve been able to accomplish at our home over the past 5 years, not to mention the 3 flips/income property houses we also renovated during that time, plus welcoming 2 amazing kiddos!

There’s still plenty left on our to-do list, particularly on the outside/pool area, the garage, basement, and maybe even building a barn. Thanks for following along on our journey!

SaveSave

SaveSaveSaveSaveSaveSaveSaveSaveSaveSave

SaveSaveSaveSave

SaveSaveSaveSave

SaveSaveSaveSave

SaveSave

SaveSaveSaveSave

SaveSave

SaveSave

SaveSave

DIY Nursery Button Monogram

14 Apr

I’ve been having fun personalizing and adding more color and “girly-ness” to our formerly gender neutral nursery. I shared plans to make a K monogram out of buttons last month.

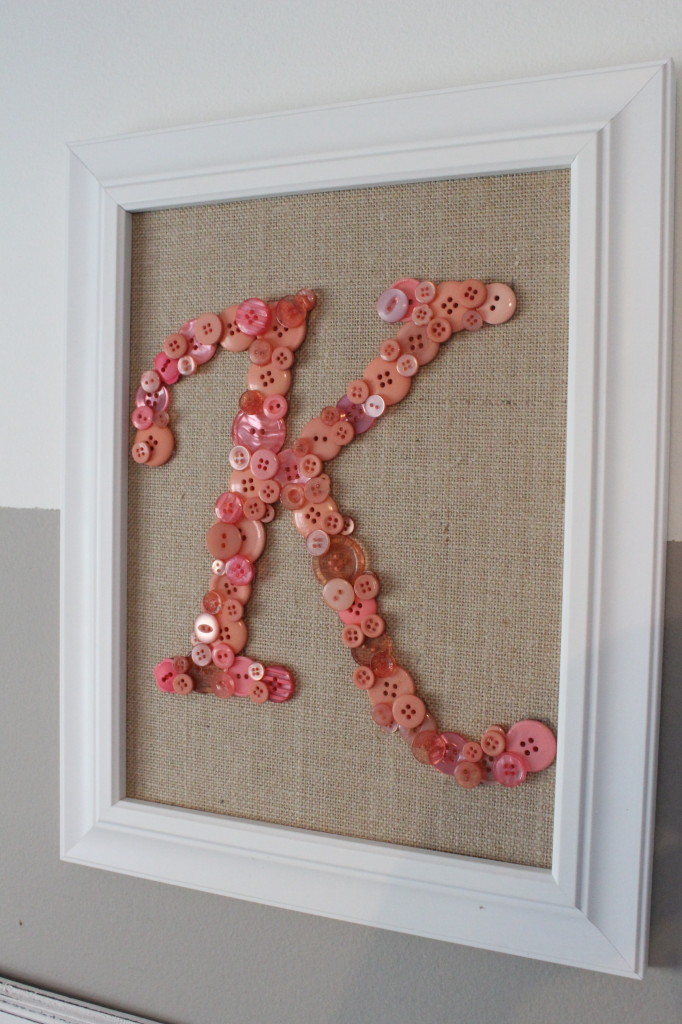
Here is the finished product:

IMG_4575

For my supplies, I ordered 200 pink/coral buttons from Etsy, and then picked up a 9×12 frame, Fabritac fabric glue and these neat pre-made burlap-covered boards from Michaels, which made it so easy.

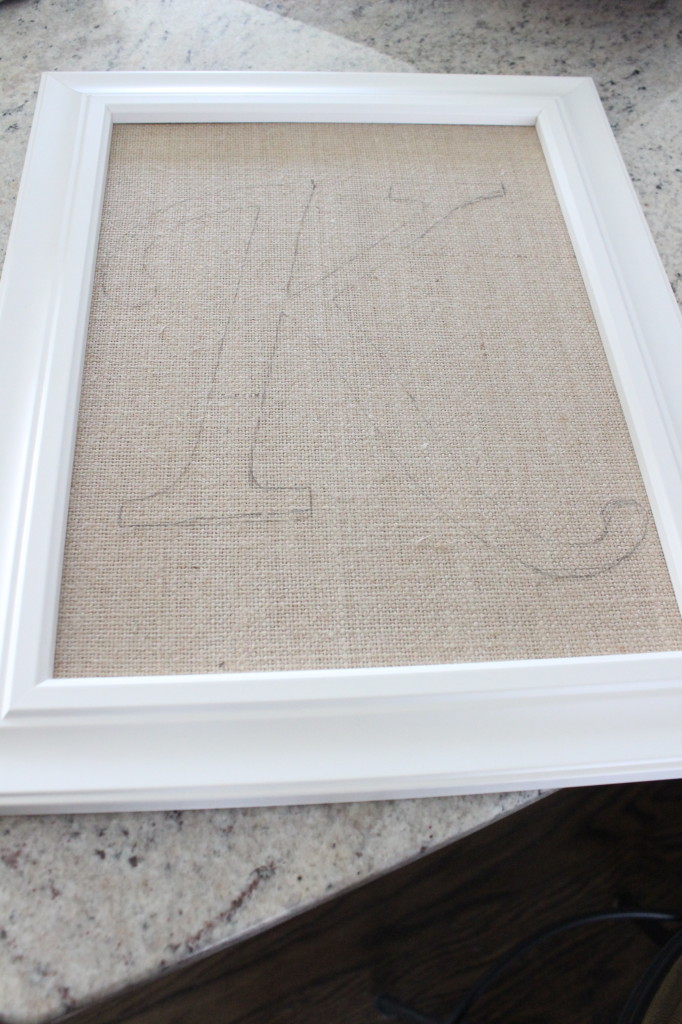
Then I printed a K on the computer and outlined it in pencil on the burlap.

IMG_4577

Next came the fun part.. gluing on all the buttons. I started with the biggest ones and then layered on the smaller ones. It took less than an hour.

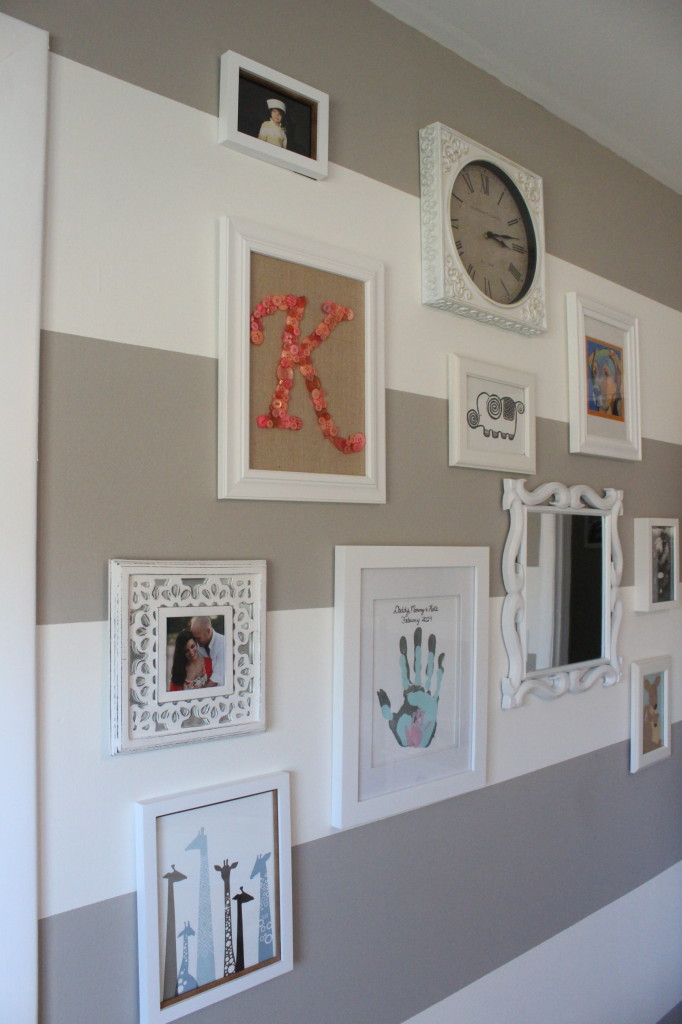
I debated hanging it on the outside of Kate’s door, but decided we didn’t want to put a hole in it, so I added it to her gallery wall.

IMG_4576

You can also see I moved the baby handprint art to the gallery wall from over the chair in order to make room for this…

IMG_4572It was a gift from one of Ben’s clients. I think it is off of Etsy.

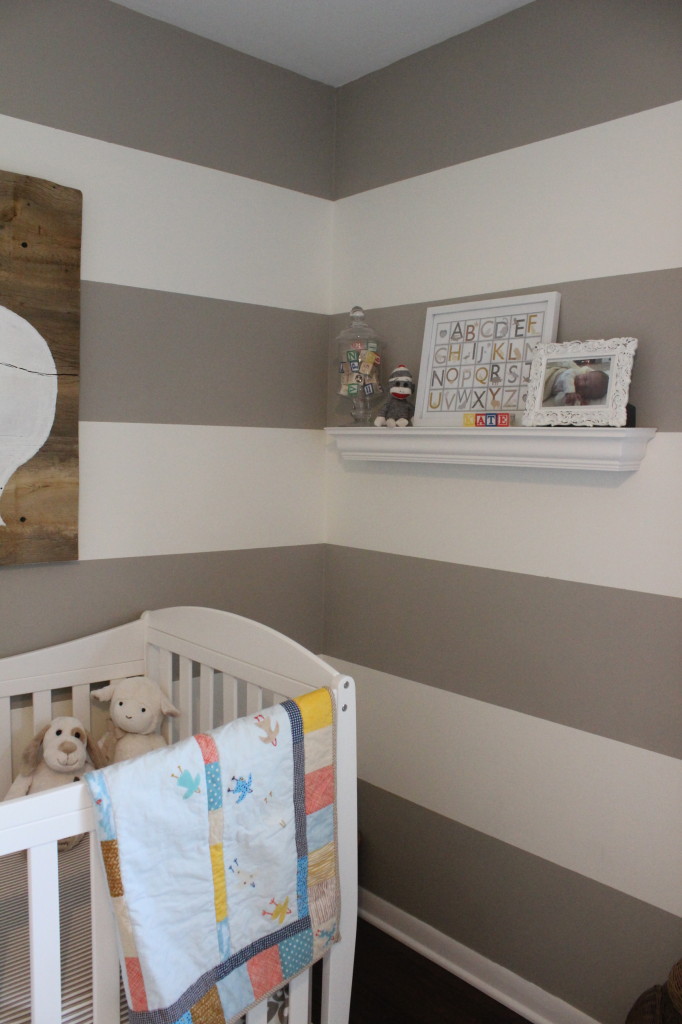
More personalizing was framing a photo of her, spelling out her name in blocks, and draping a colorful quilt (handmade by Ben’s Aunt) over the crib.

IMG_4578

That’s all I have planned in the nursery for now, but I’m sure the photos and things will rotate over time.

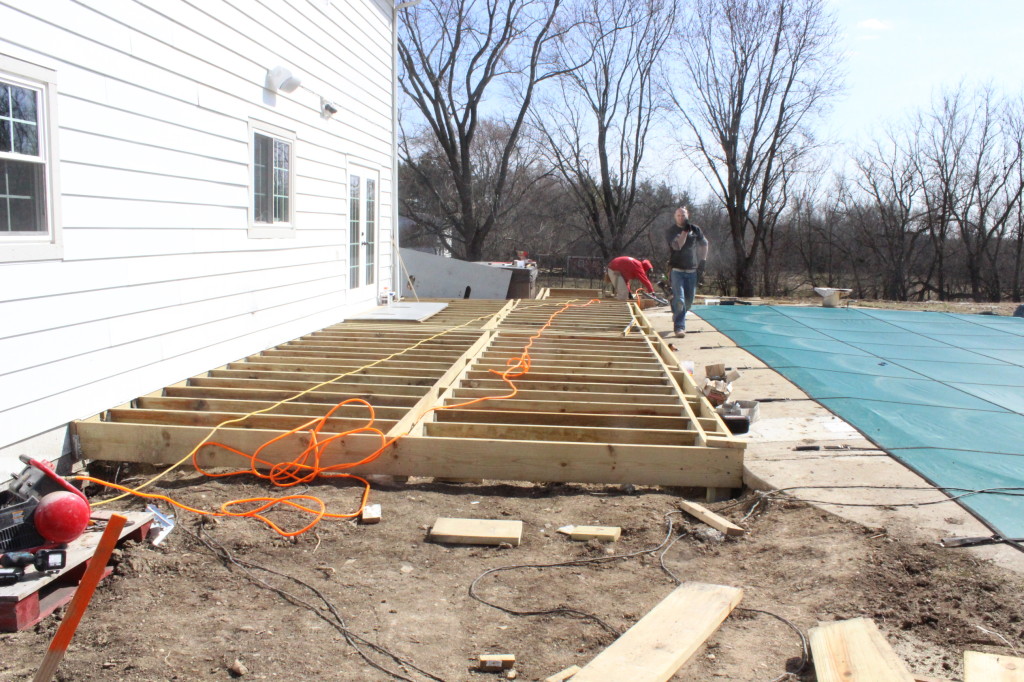
Right now, our sights are 100% set on finishing the deck. Here is a sneak peak of some of the progress.

IMG_4573

An update to follow!
Baby’s First Craft

9 Mar

We’re back!! We welcomed a beautiful baby girl to the world three weeks ago tomorrow. Here is a photo of our little bundle of joy, Kate, cuddling in front of the fireplace.

photo-151

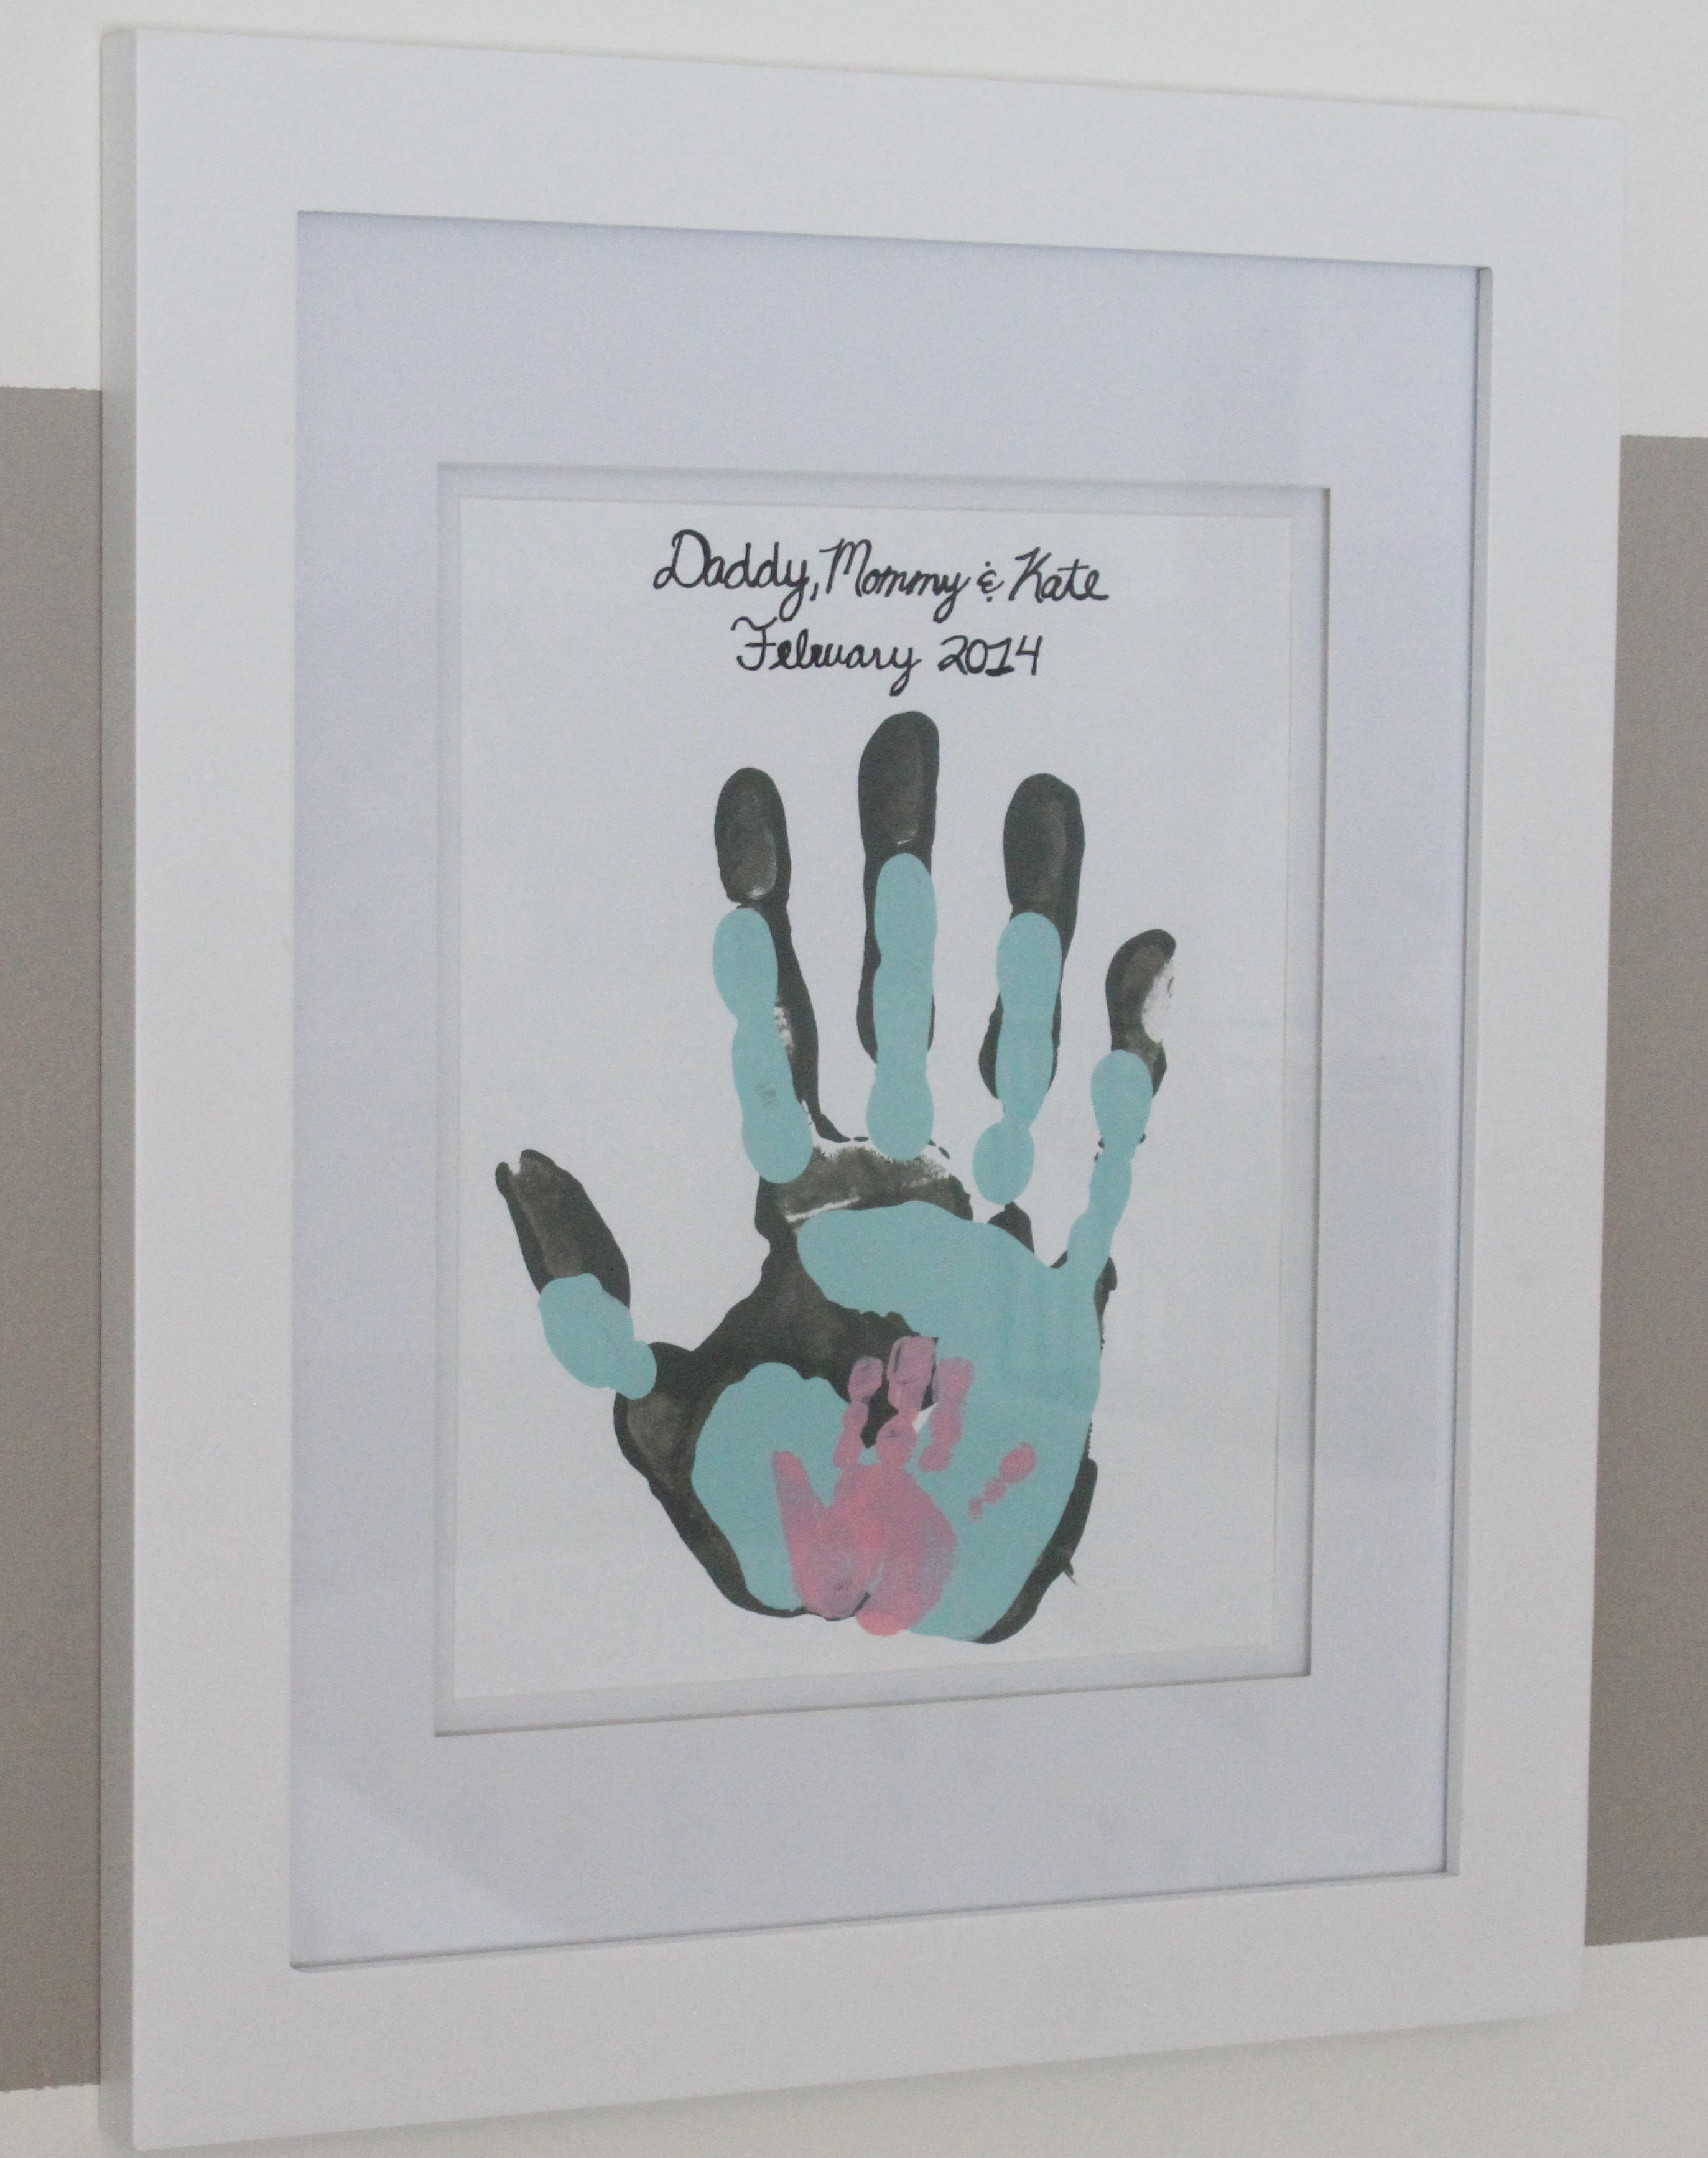
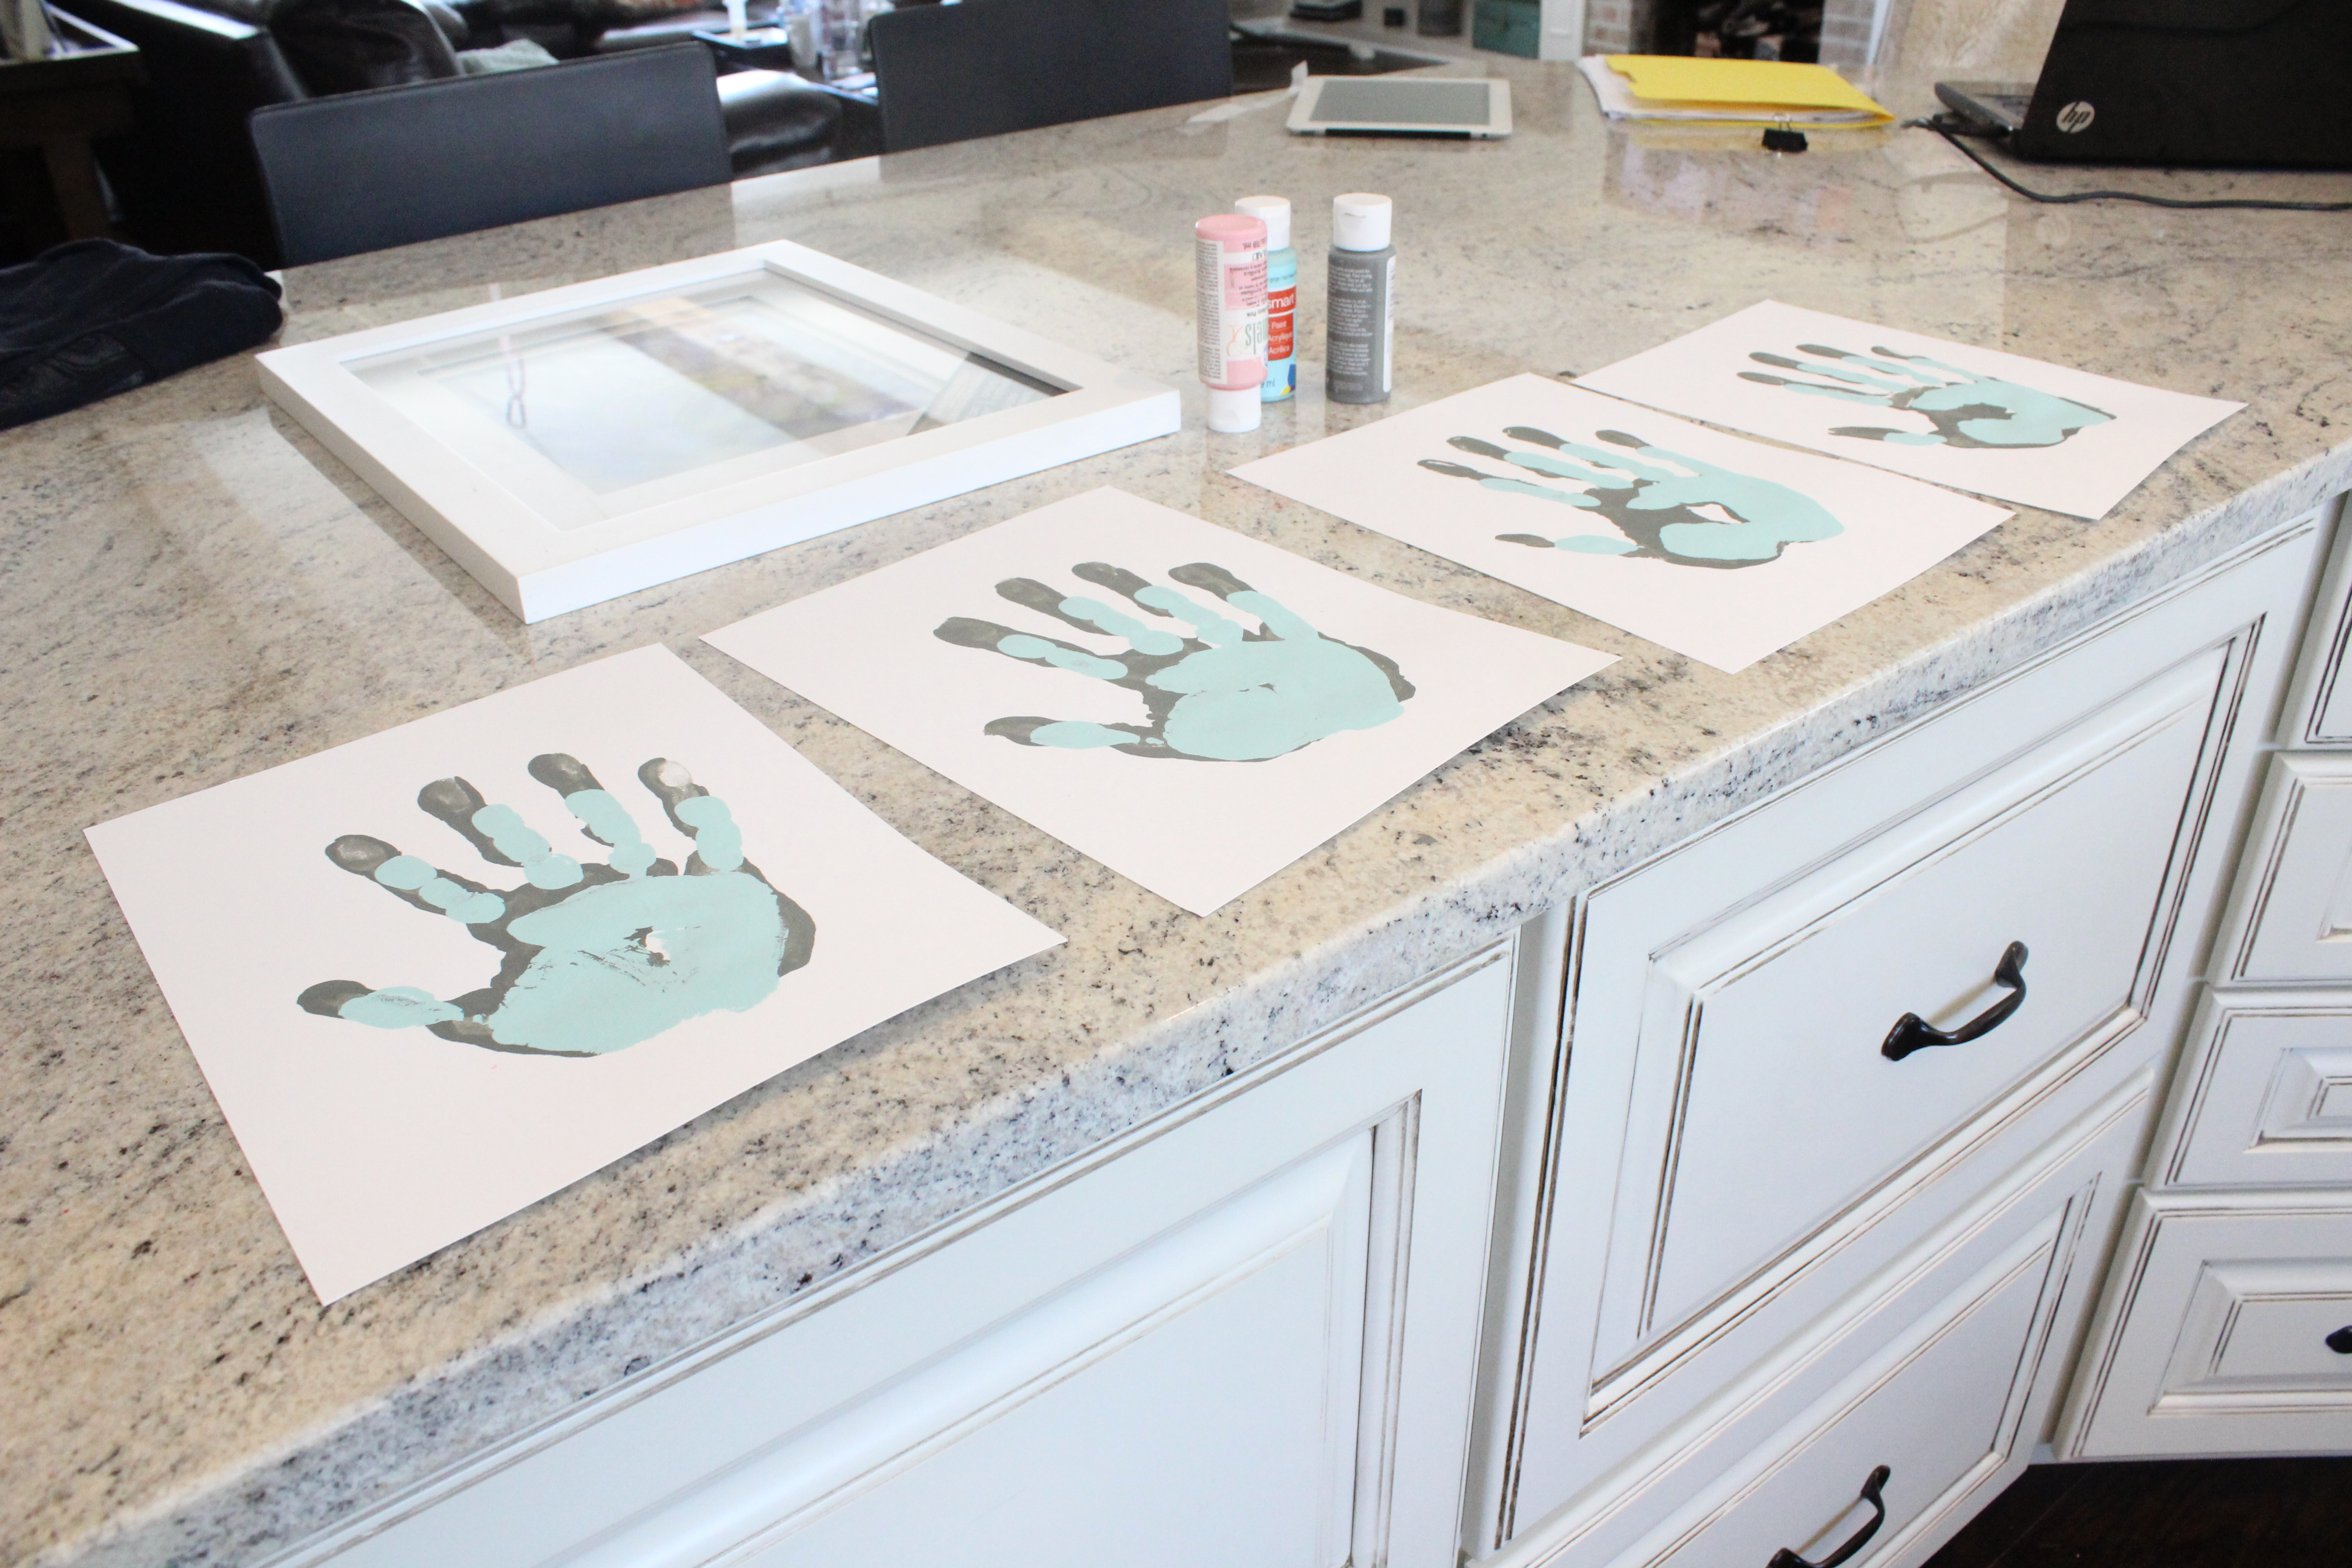
It has been a whirlwind three weeks. It’s strange to even be back on the computer. While DIY has obviously taken a back seat, we were able to do a fun little handprint craft project to capture this time when she is so tiny.

handprint close up

To make it, I picked up three colors of acrylic paint, an 8 x10 frame and four pieces of white card stock from Michael’s.

I made four versions knowing we might have trouble getting a good print from Miss Kate.

IMG_4423It’s very important that the baby be asleep when you take their handprint. We tried it with her awake and just ended up with a clenched fist full of paint and a huge mess. Rookie mistake!

With her sleeping, it was still a bit of a challenge but we got three good ones out of four.

We hung the handprint art in Kate’s room above the rocker.

IMG_4445

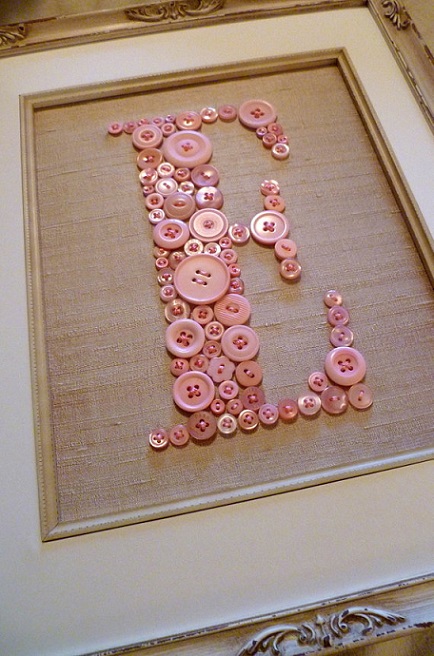
Looking forward to starting on my next craft for Kate which is going to be something like this.

button-canvas-wall-art

Source: http://diycozyhome.com/how-to-make-a-button-monogram/

I’m also going to have a final kitchen reveal and an update on the addition very soon!

How to Make a Rustic Ladder to Hang Towels/Blankets

27 Feb

This may be one of my favorite DIY projects yet. Super cheap (less than $20), pretty simple and a result that is not only functional but makes a big statement in the room.

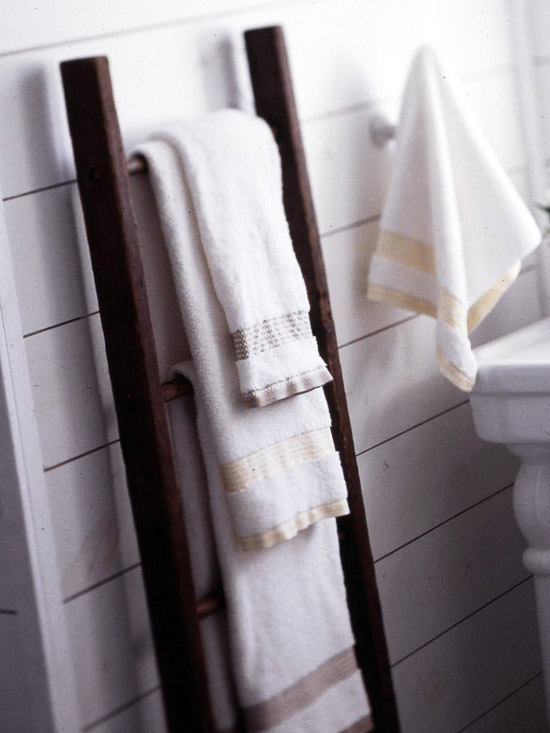
Here was my inspiration for the ladder found on Pinterest, originally from Better Homes & Gardens.

bathroom ladder

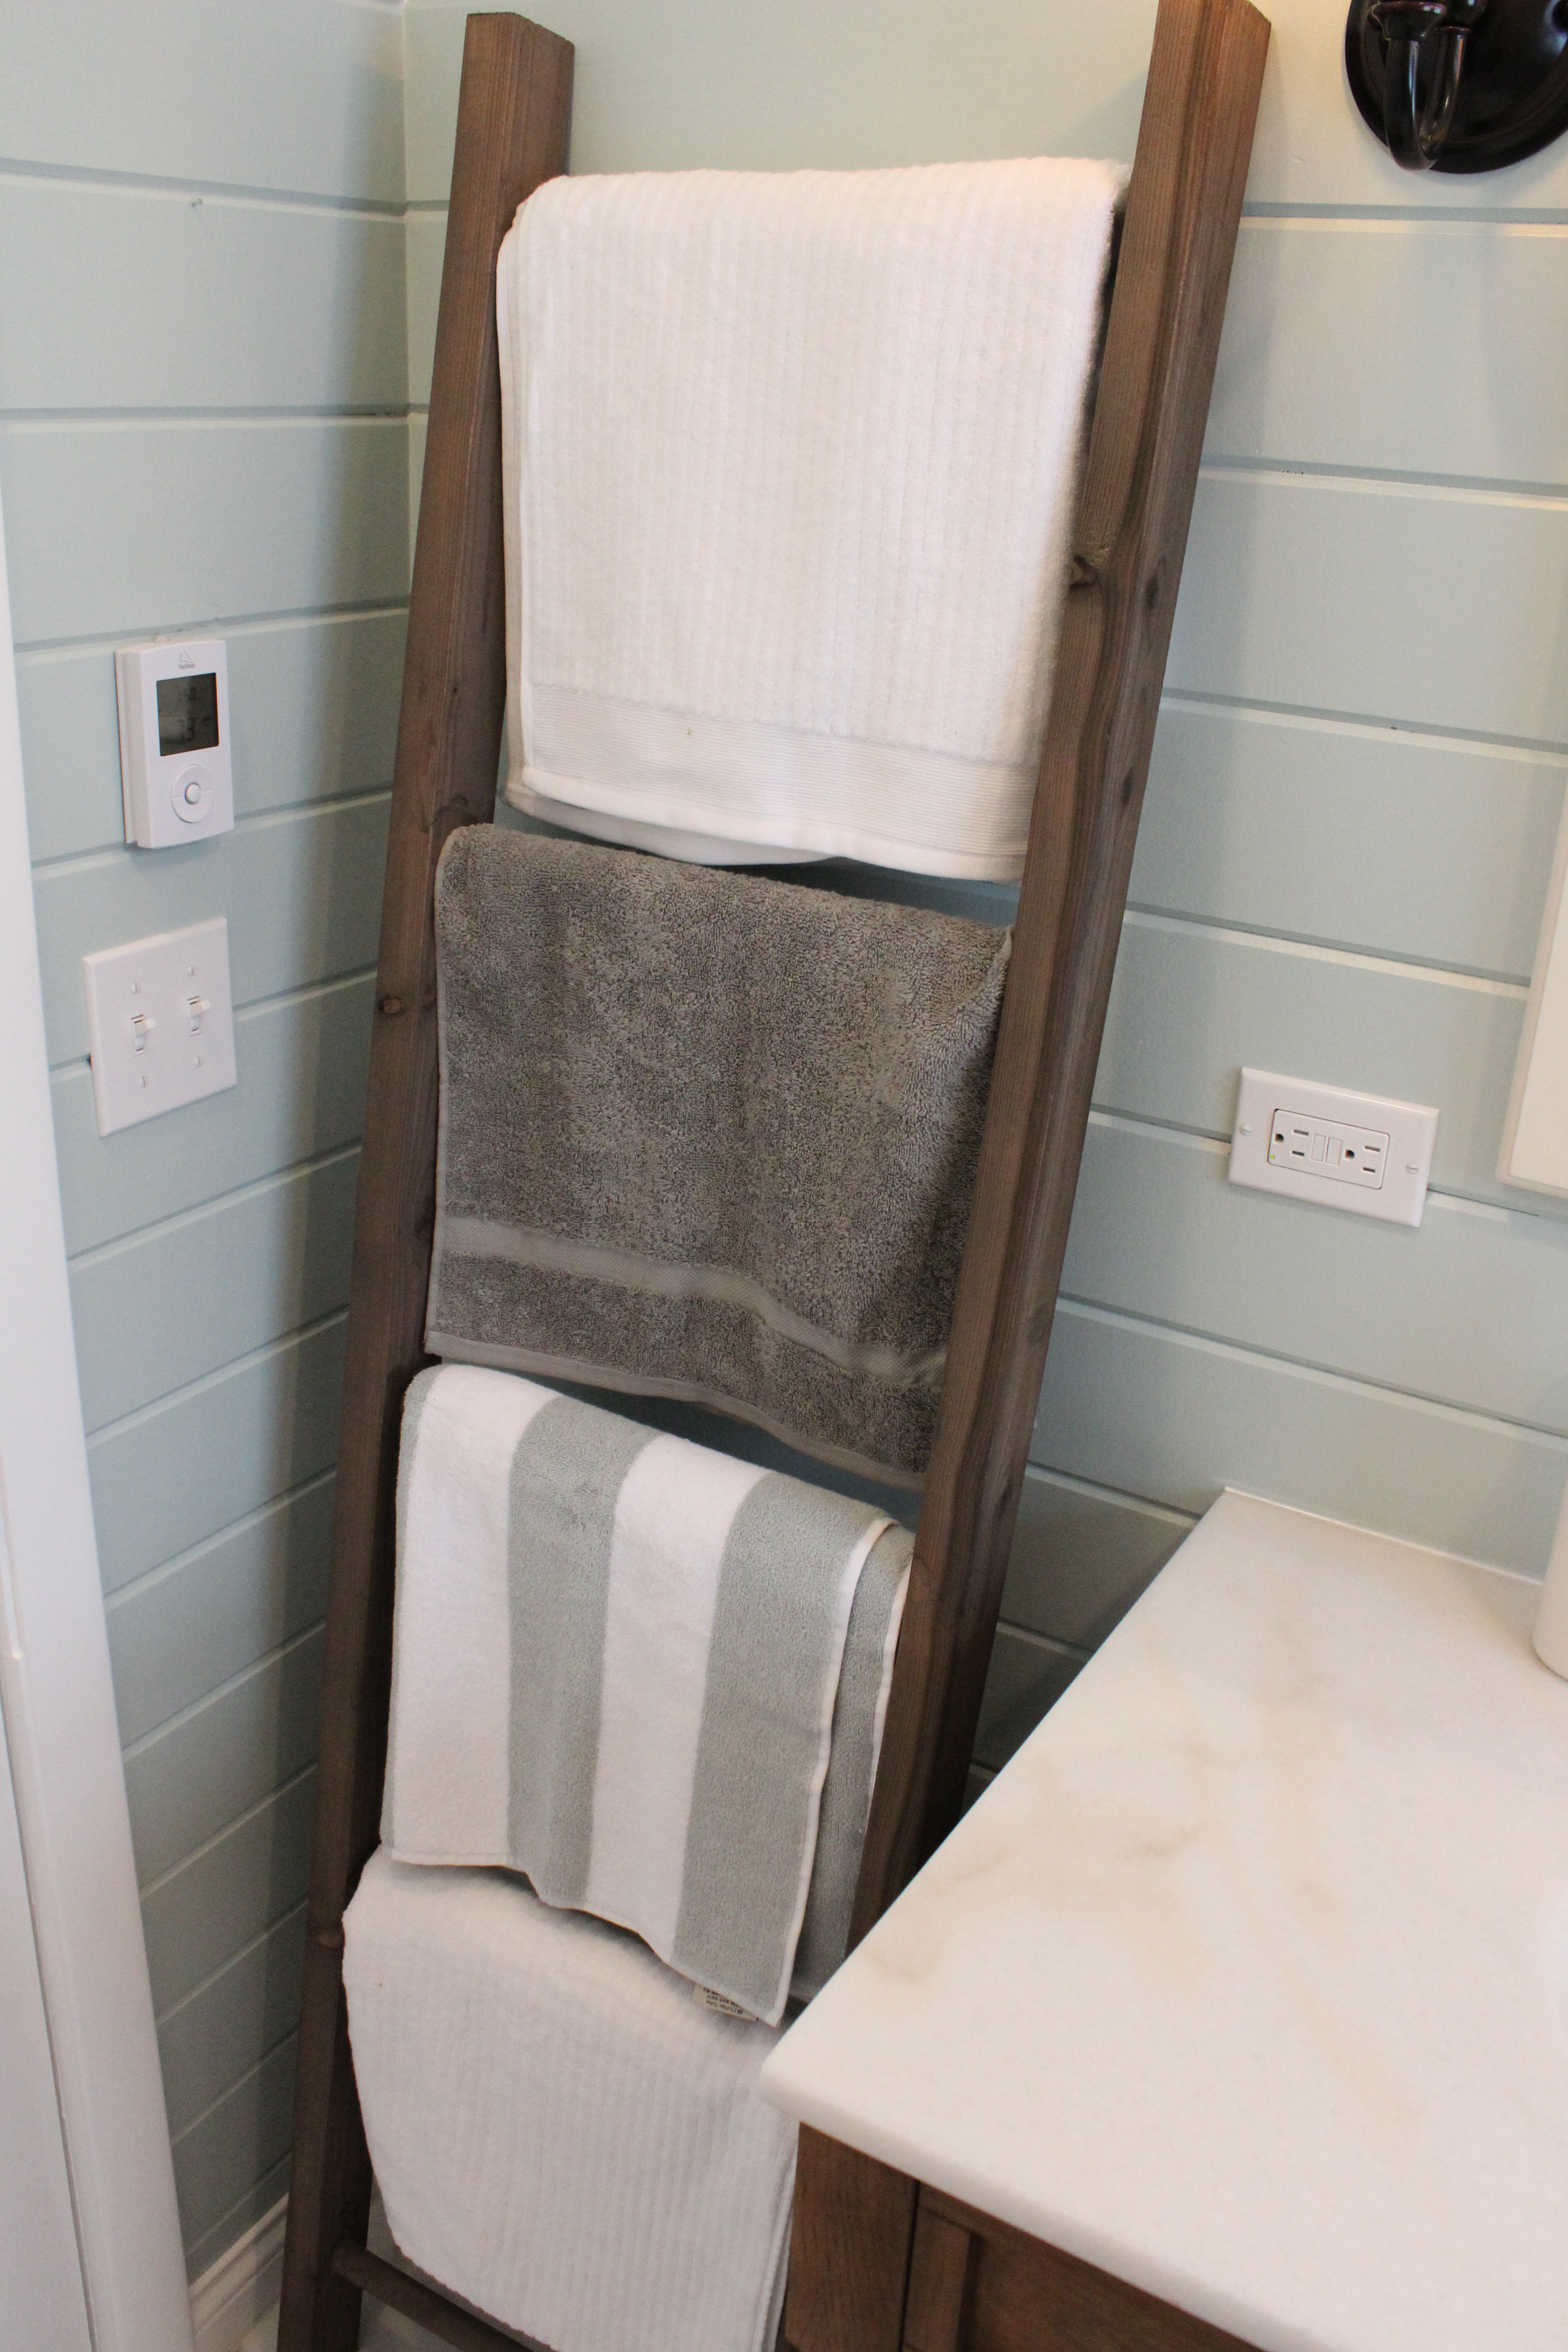
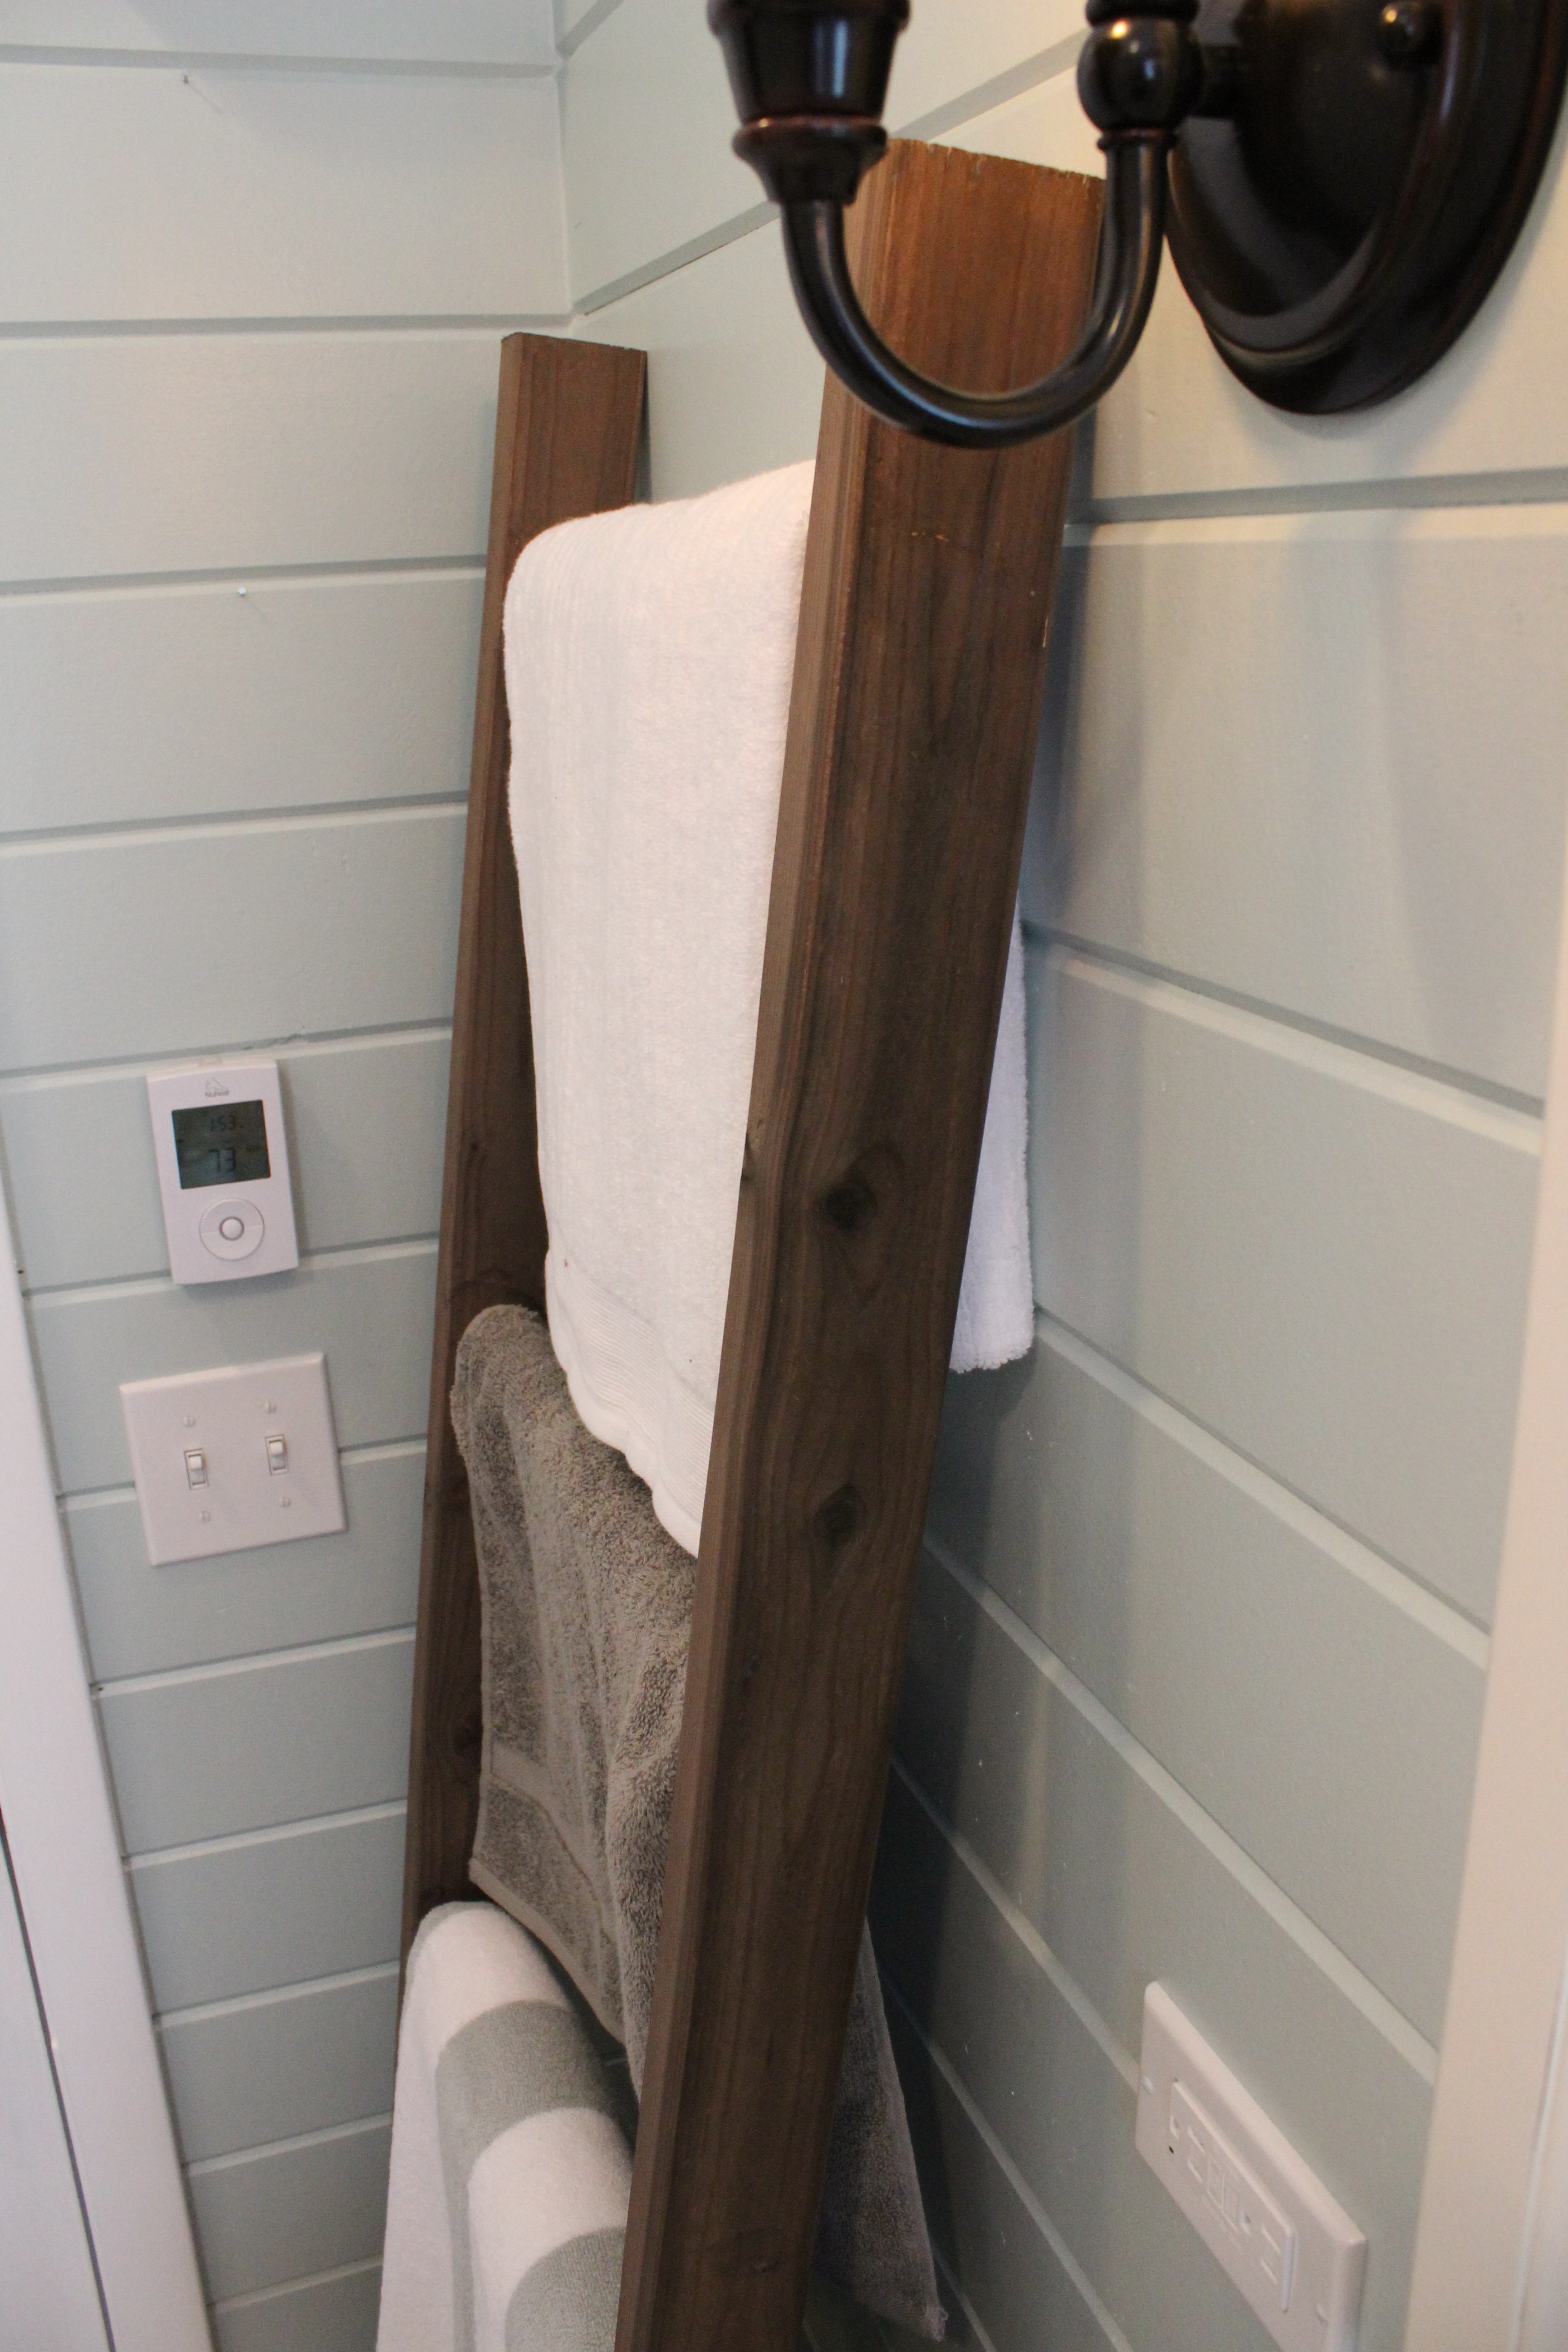
And here is our DIY-version in the newly remodeled guest bathroom (sharing big bathroom reveal later this week). Update: Bathroom revealed here!

How to Build a Rustic, Weathered Ladder for Towels or Blankets

Not only does it work great for towels, but I’ve seen ladders used to hang blankets in living rooms and I love that use too.

So if you are wondering how to make one of your own, here is a step by step, including  giving it the weathered, rustic look.

Step 1. Get all your materials

You will need to gather/purchase the following materials that should be around $20 or less. We had everything but the lumber on hand so ours was $16.

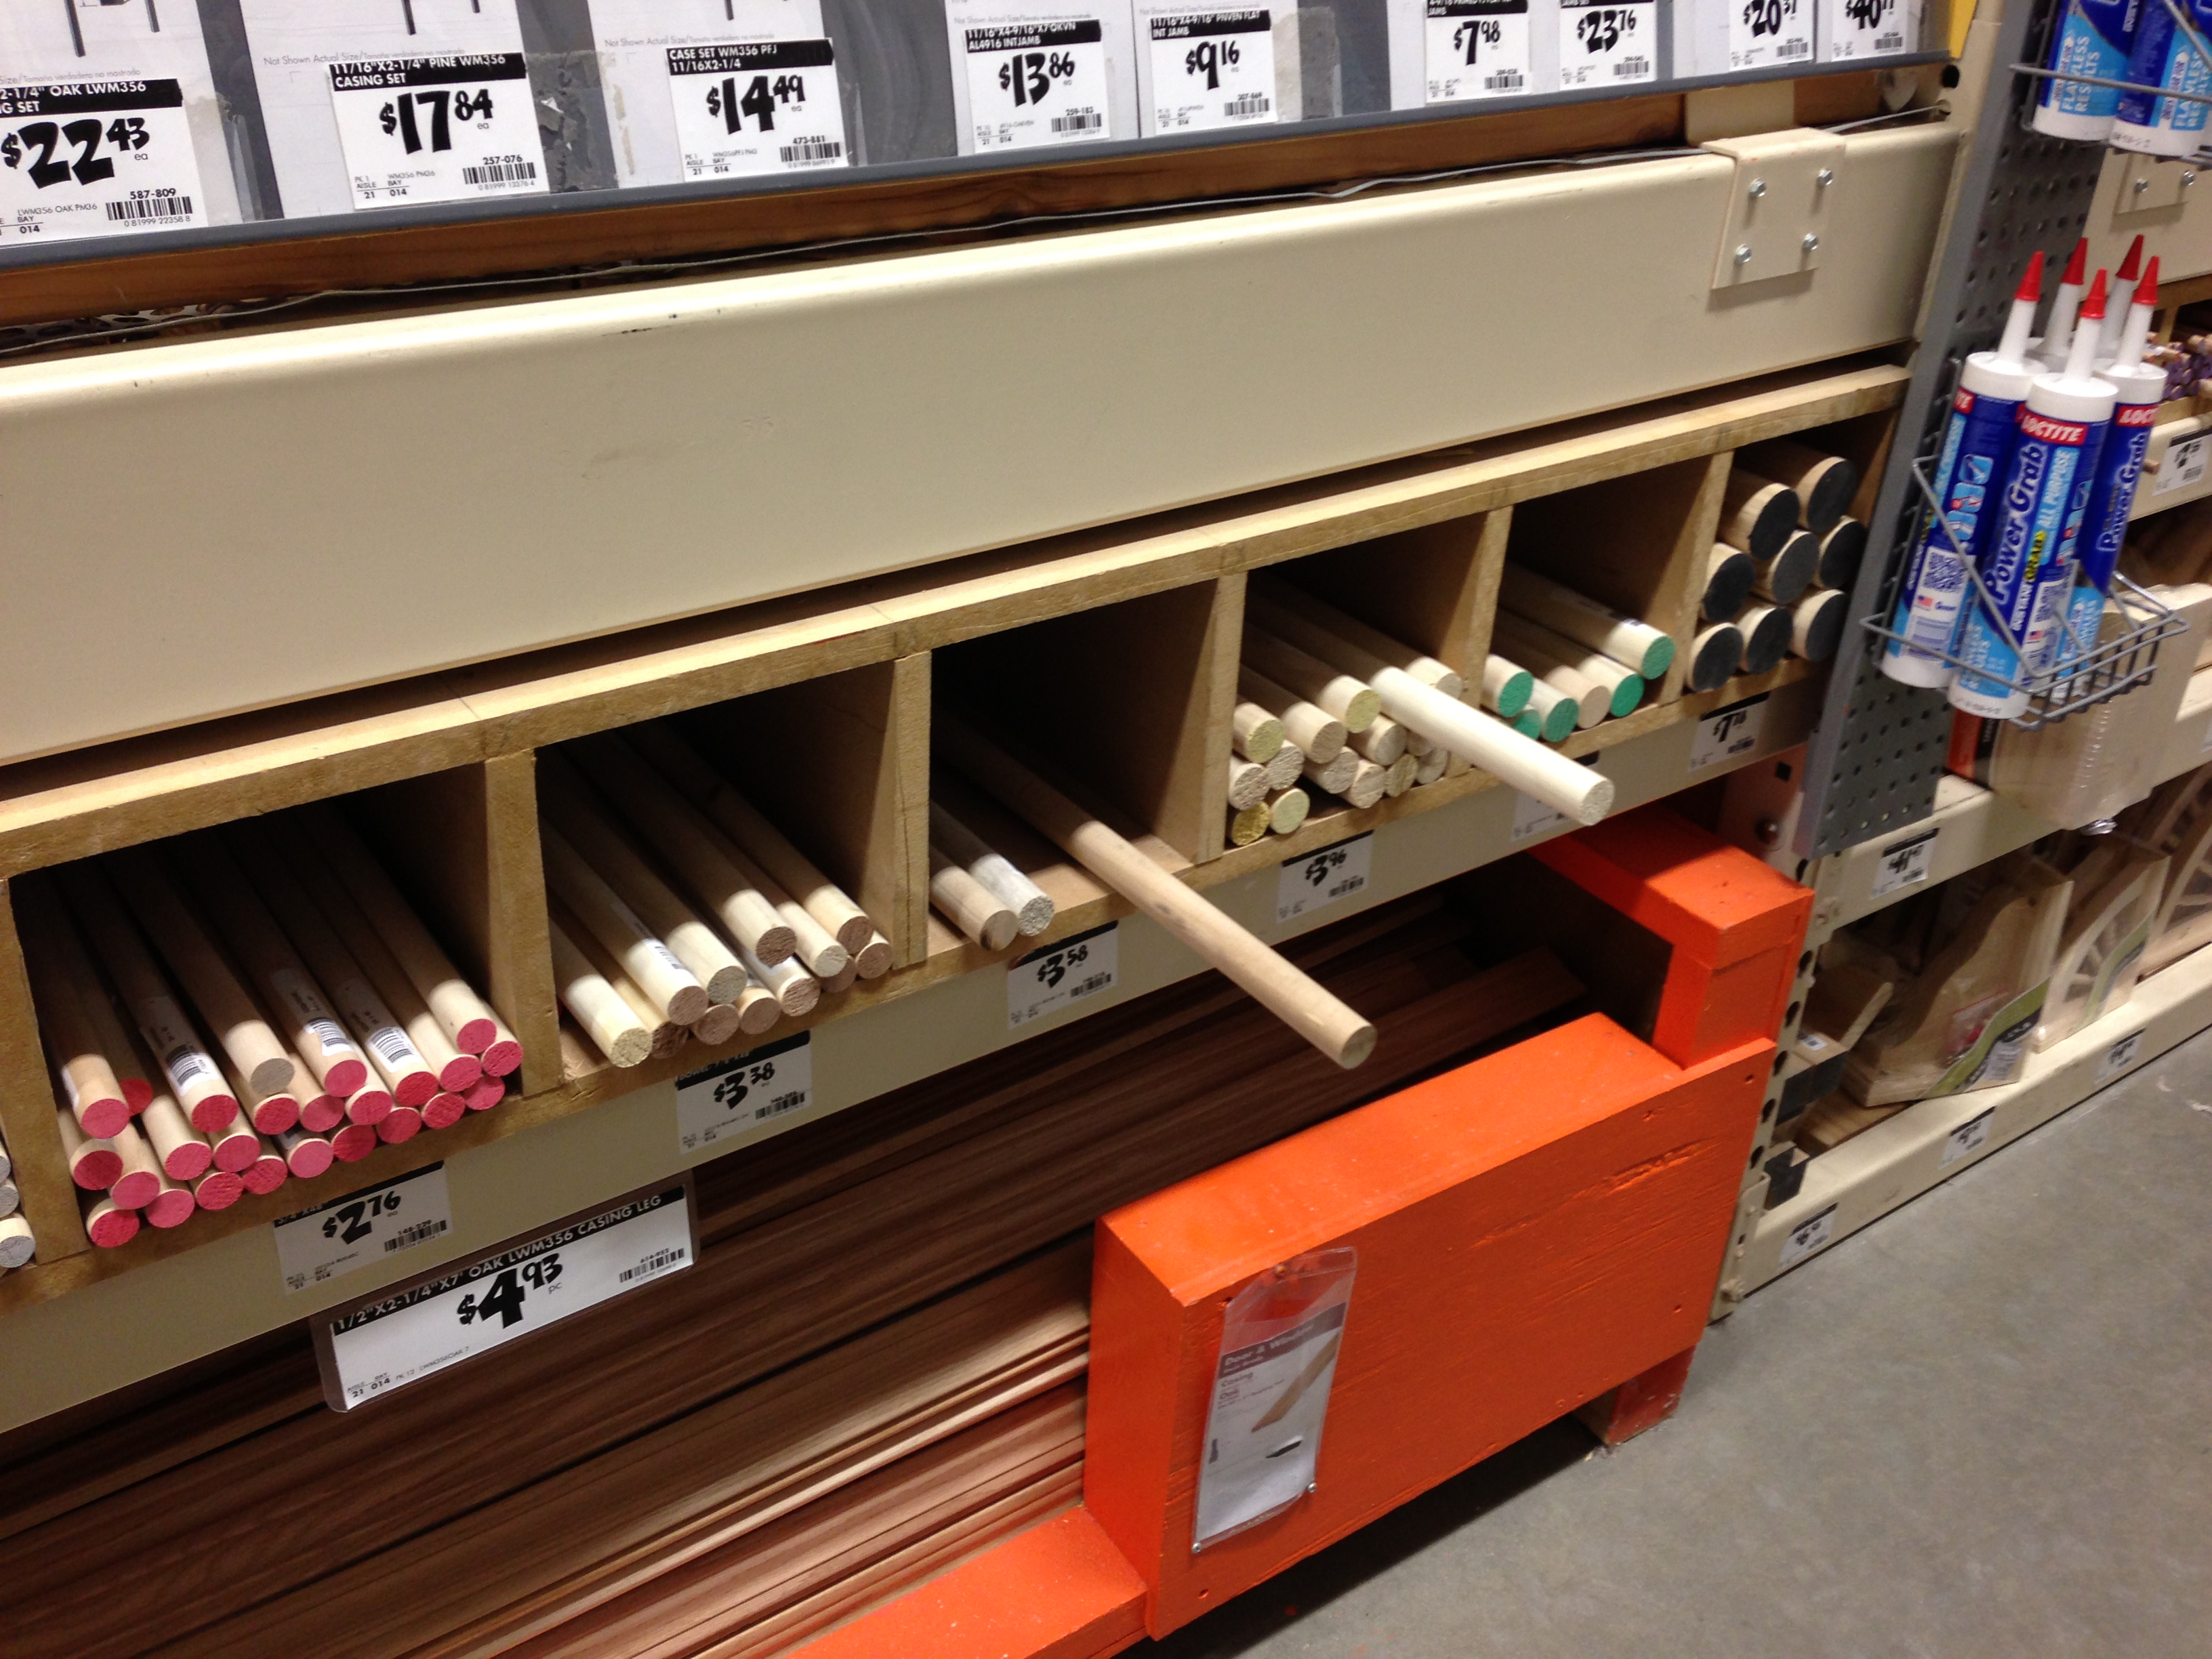
  • 3- 4ft 1″ diameter pine dowel rods (ours were less than $4/each from Home Depot)
  • 2- 8 ft 2″x3″ pine studs (ours were less than $2/each)
  • Wood glue
  • Sand paper

photo-100

To make the weathering solution you’ll need:

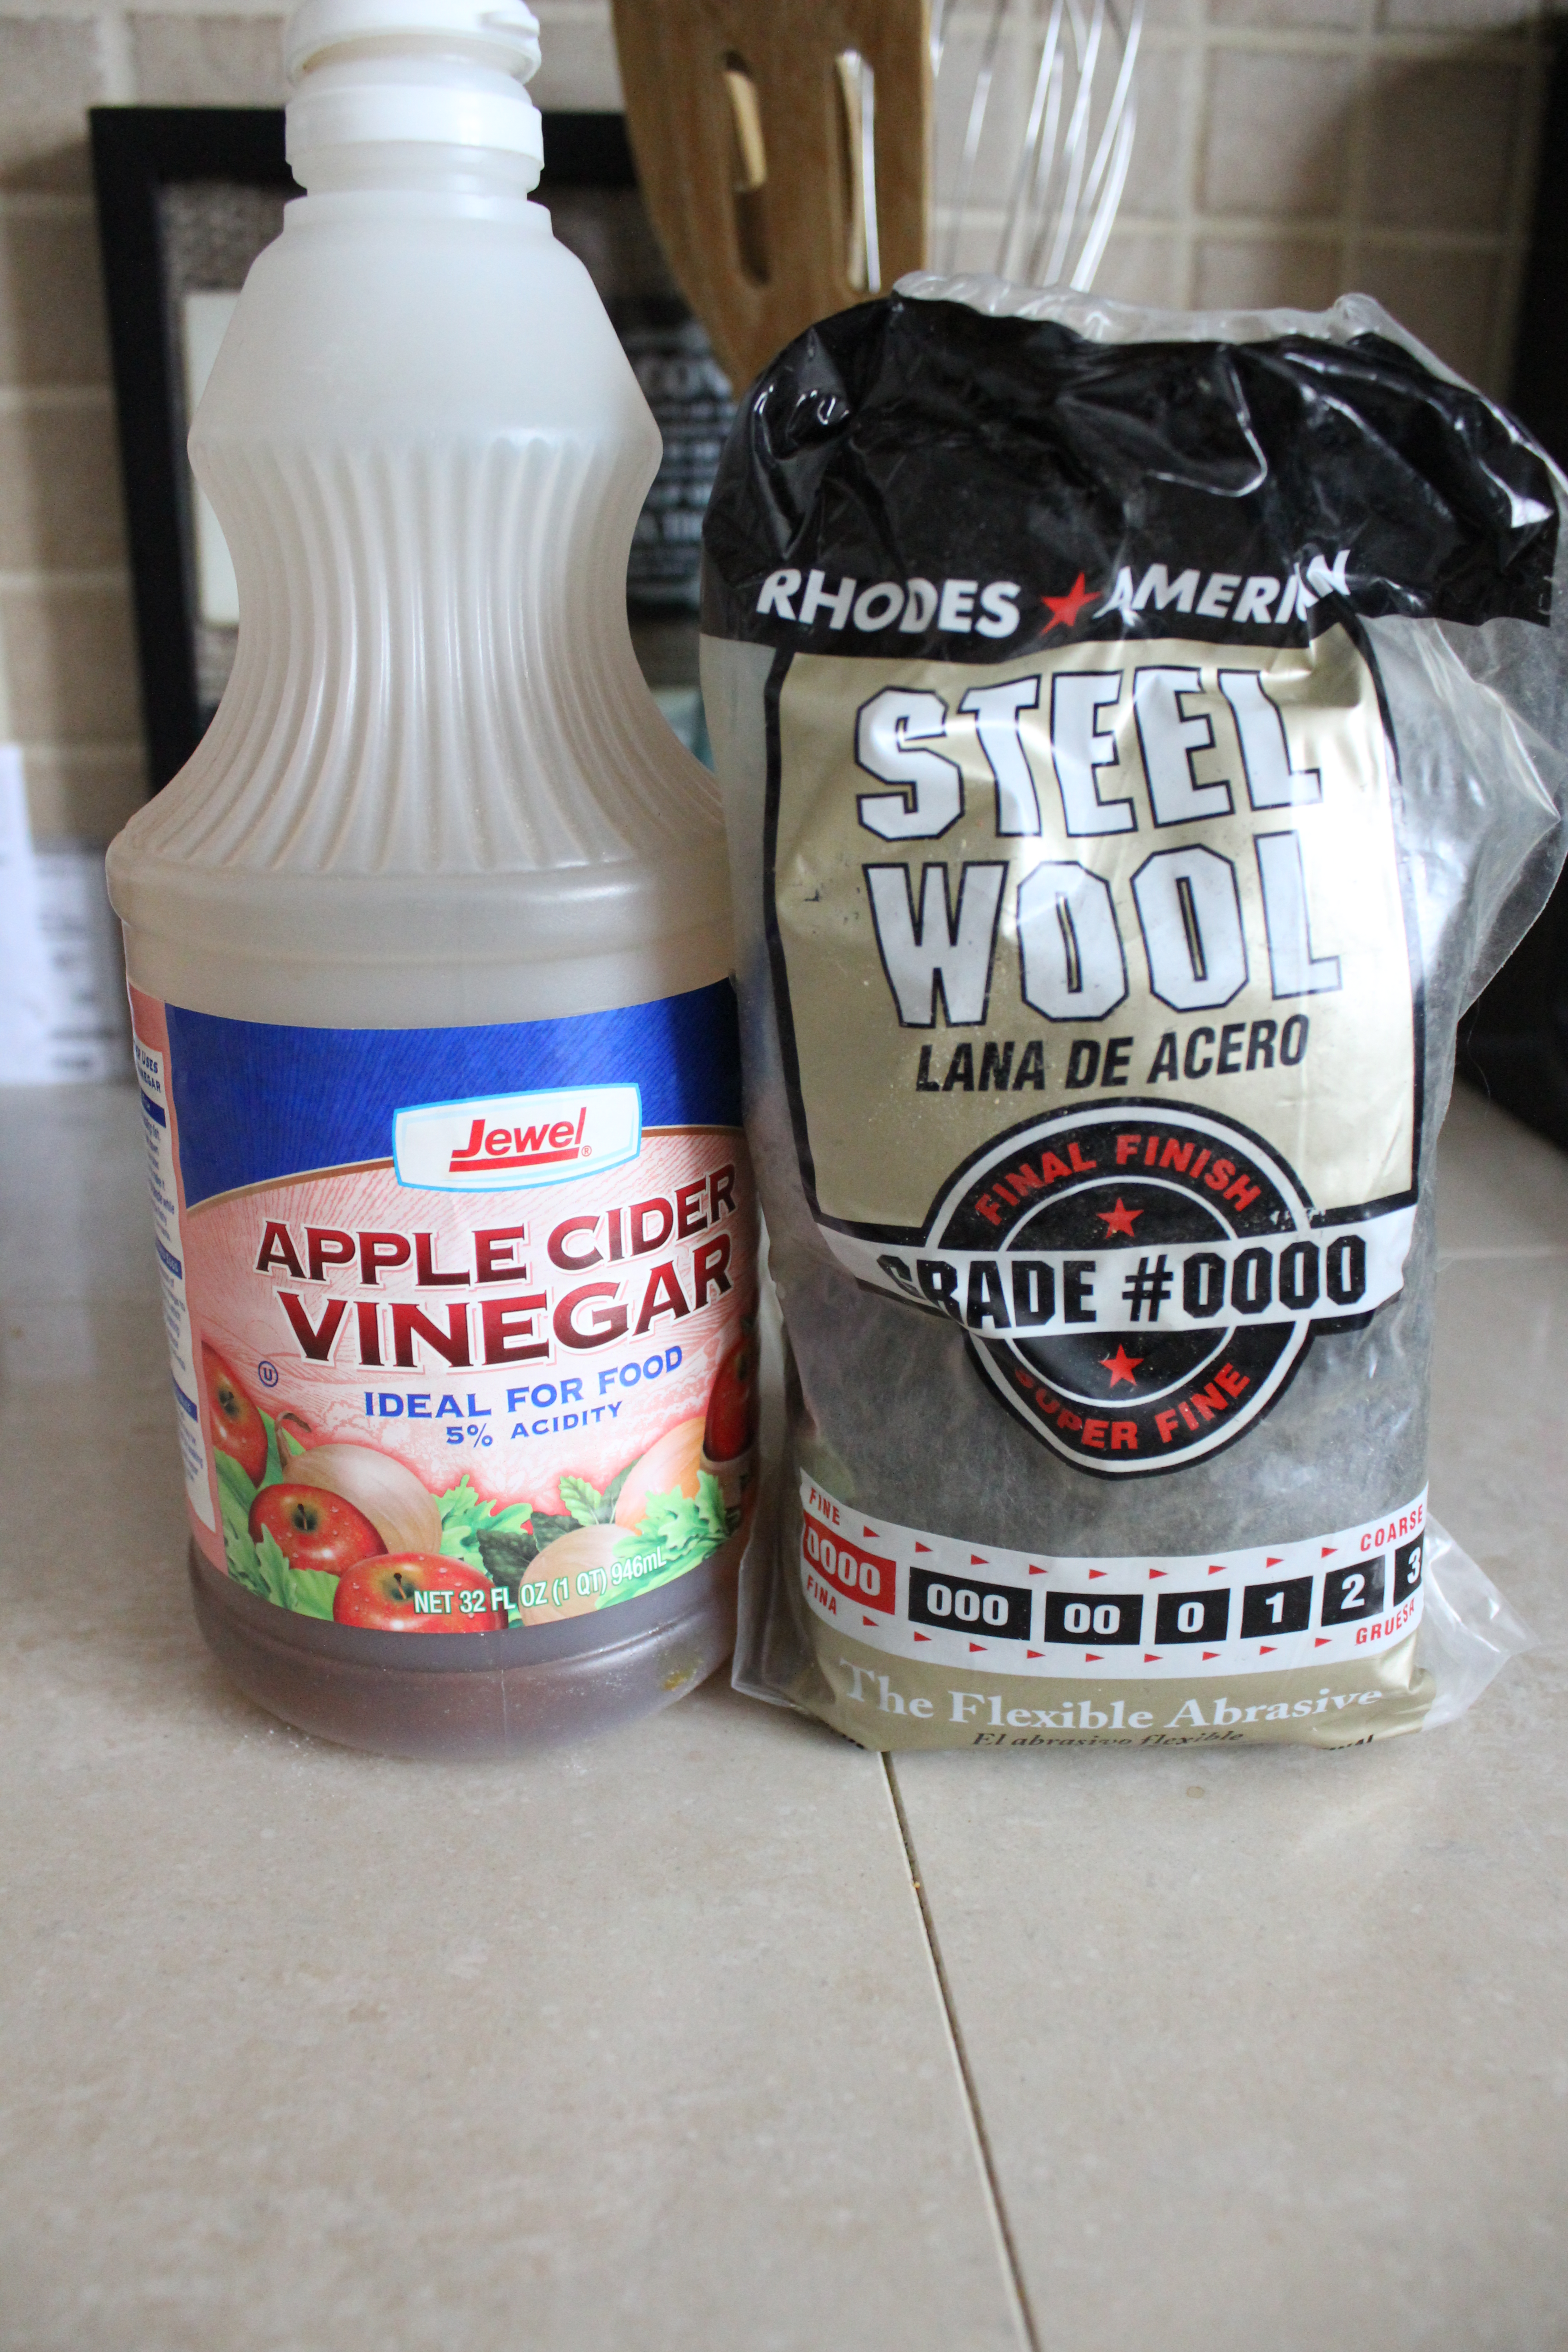
  • Very fine steel wool
  • Vinegar
  • Black tea
  • Empty glass jar/lid

IMG_2615

Step 2. Make weathering solution 24 hours before.

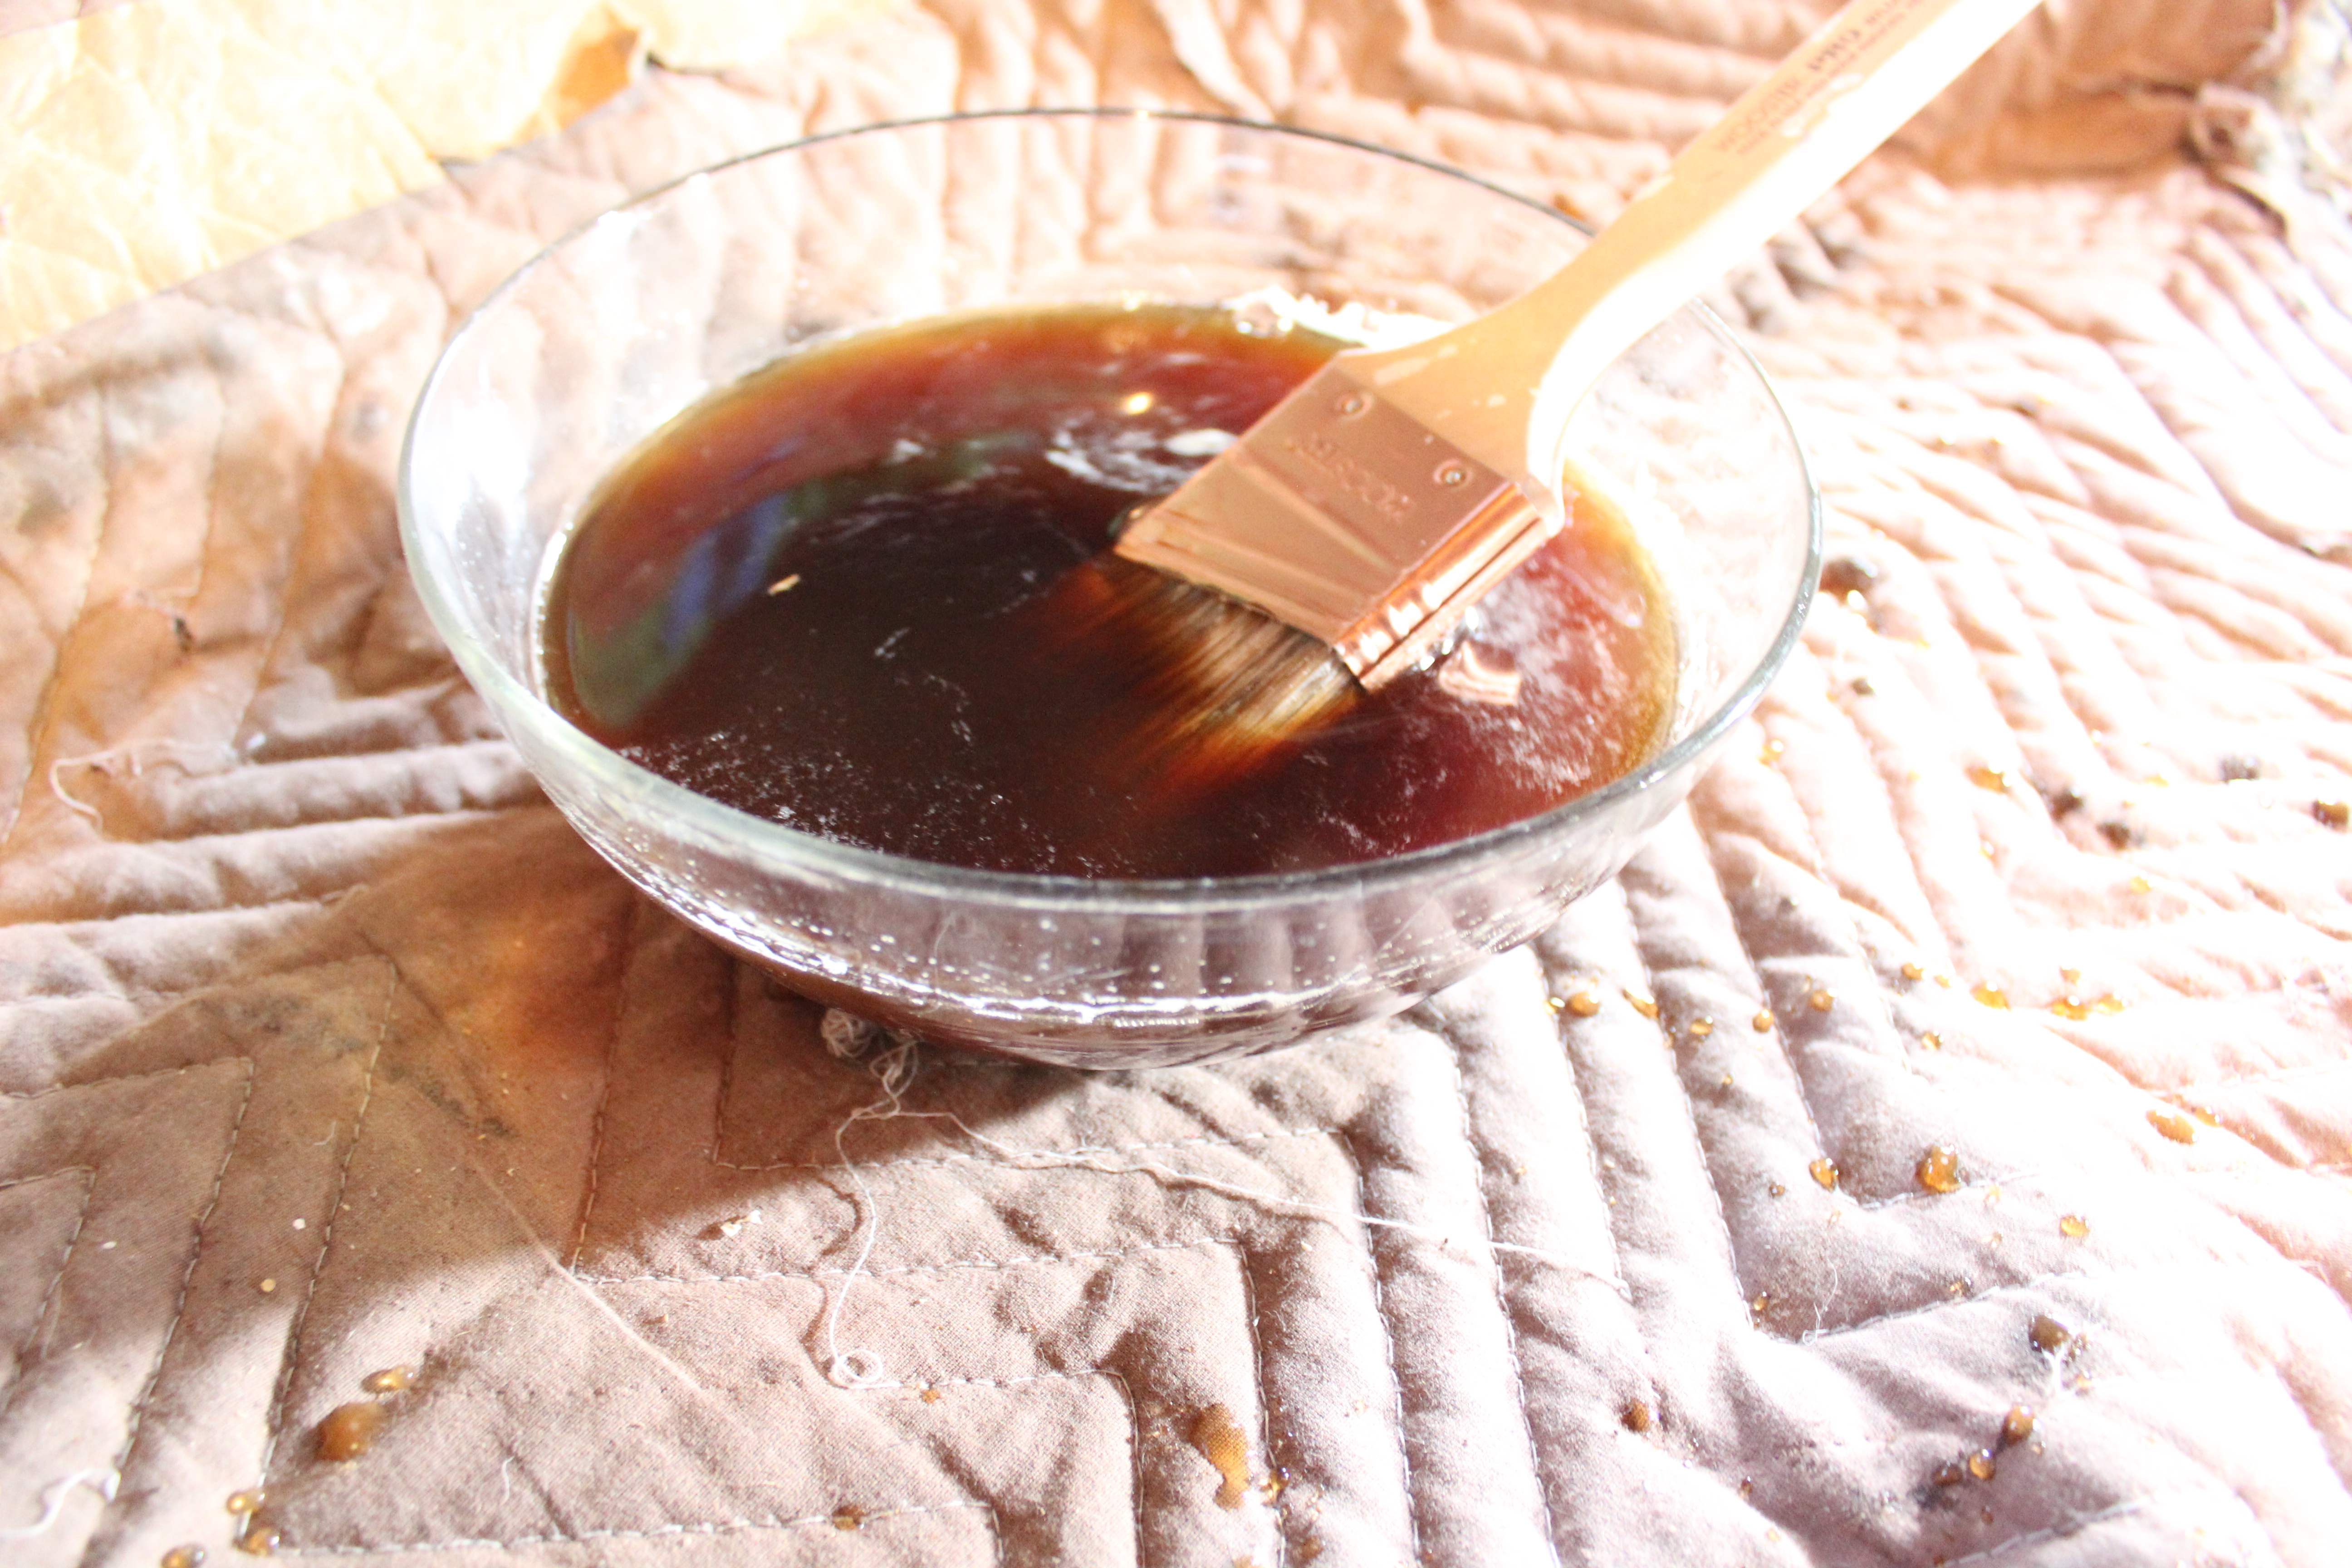
Take a handful of very fine steel wool and mix with vinegar in a glass jar. The steel wool will start to dissolve but won’t dissolve completely. Wait at least 24 hours before applying to your wood.

Step 3. Make your cuts.

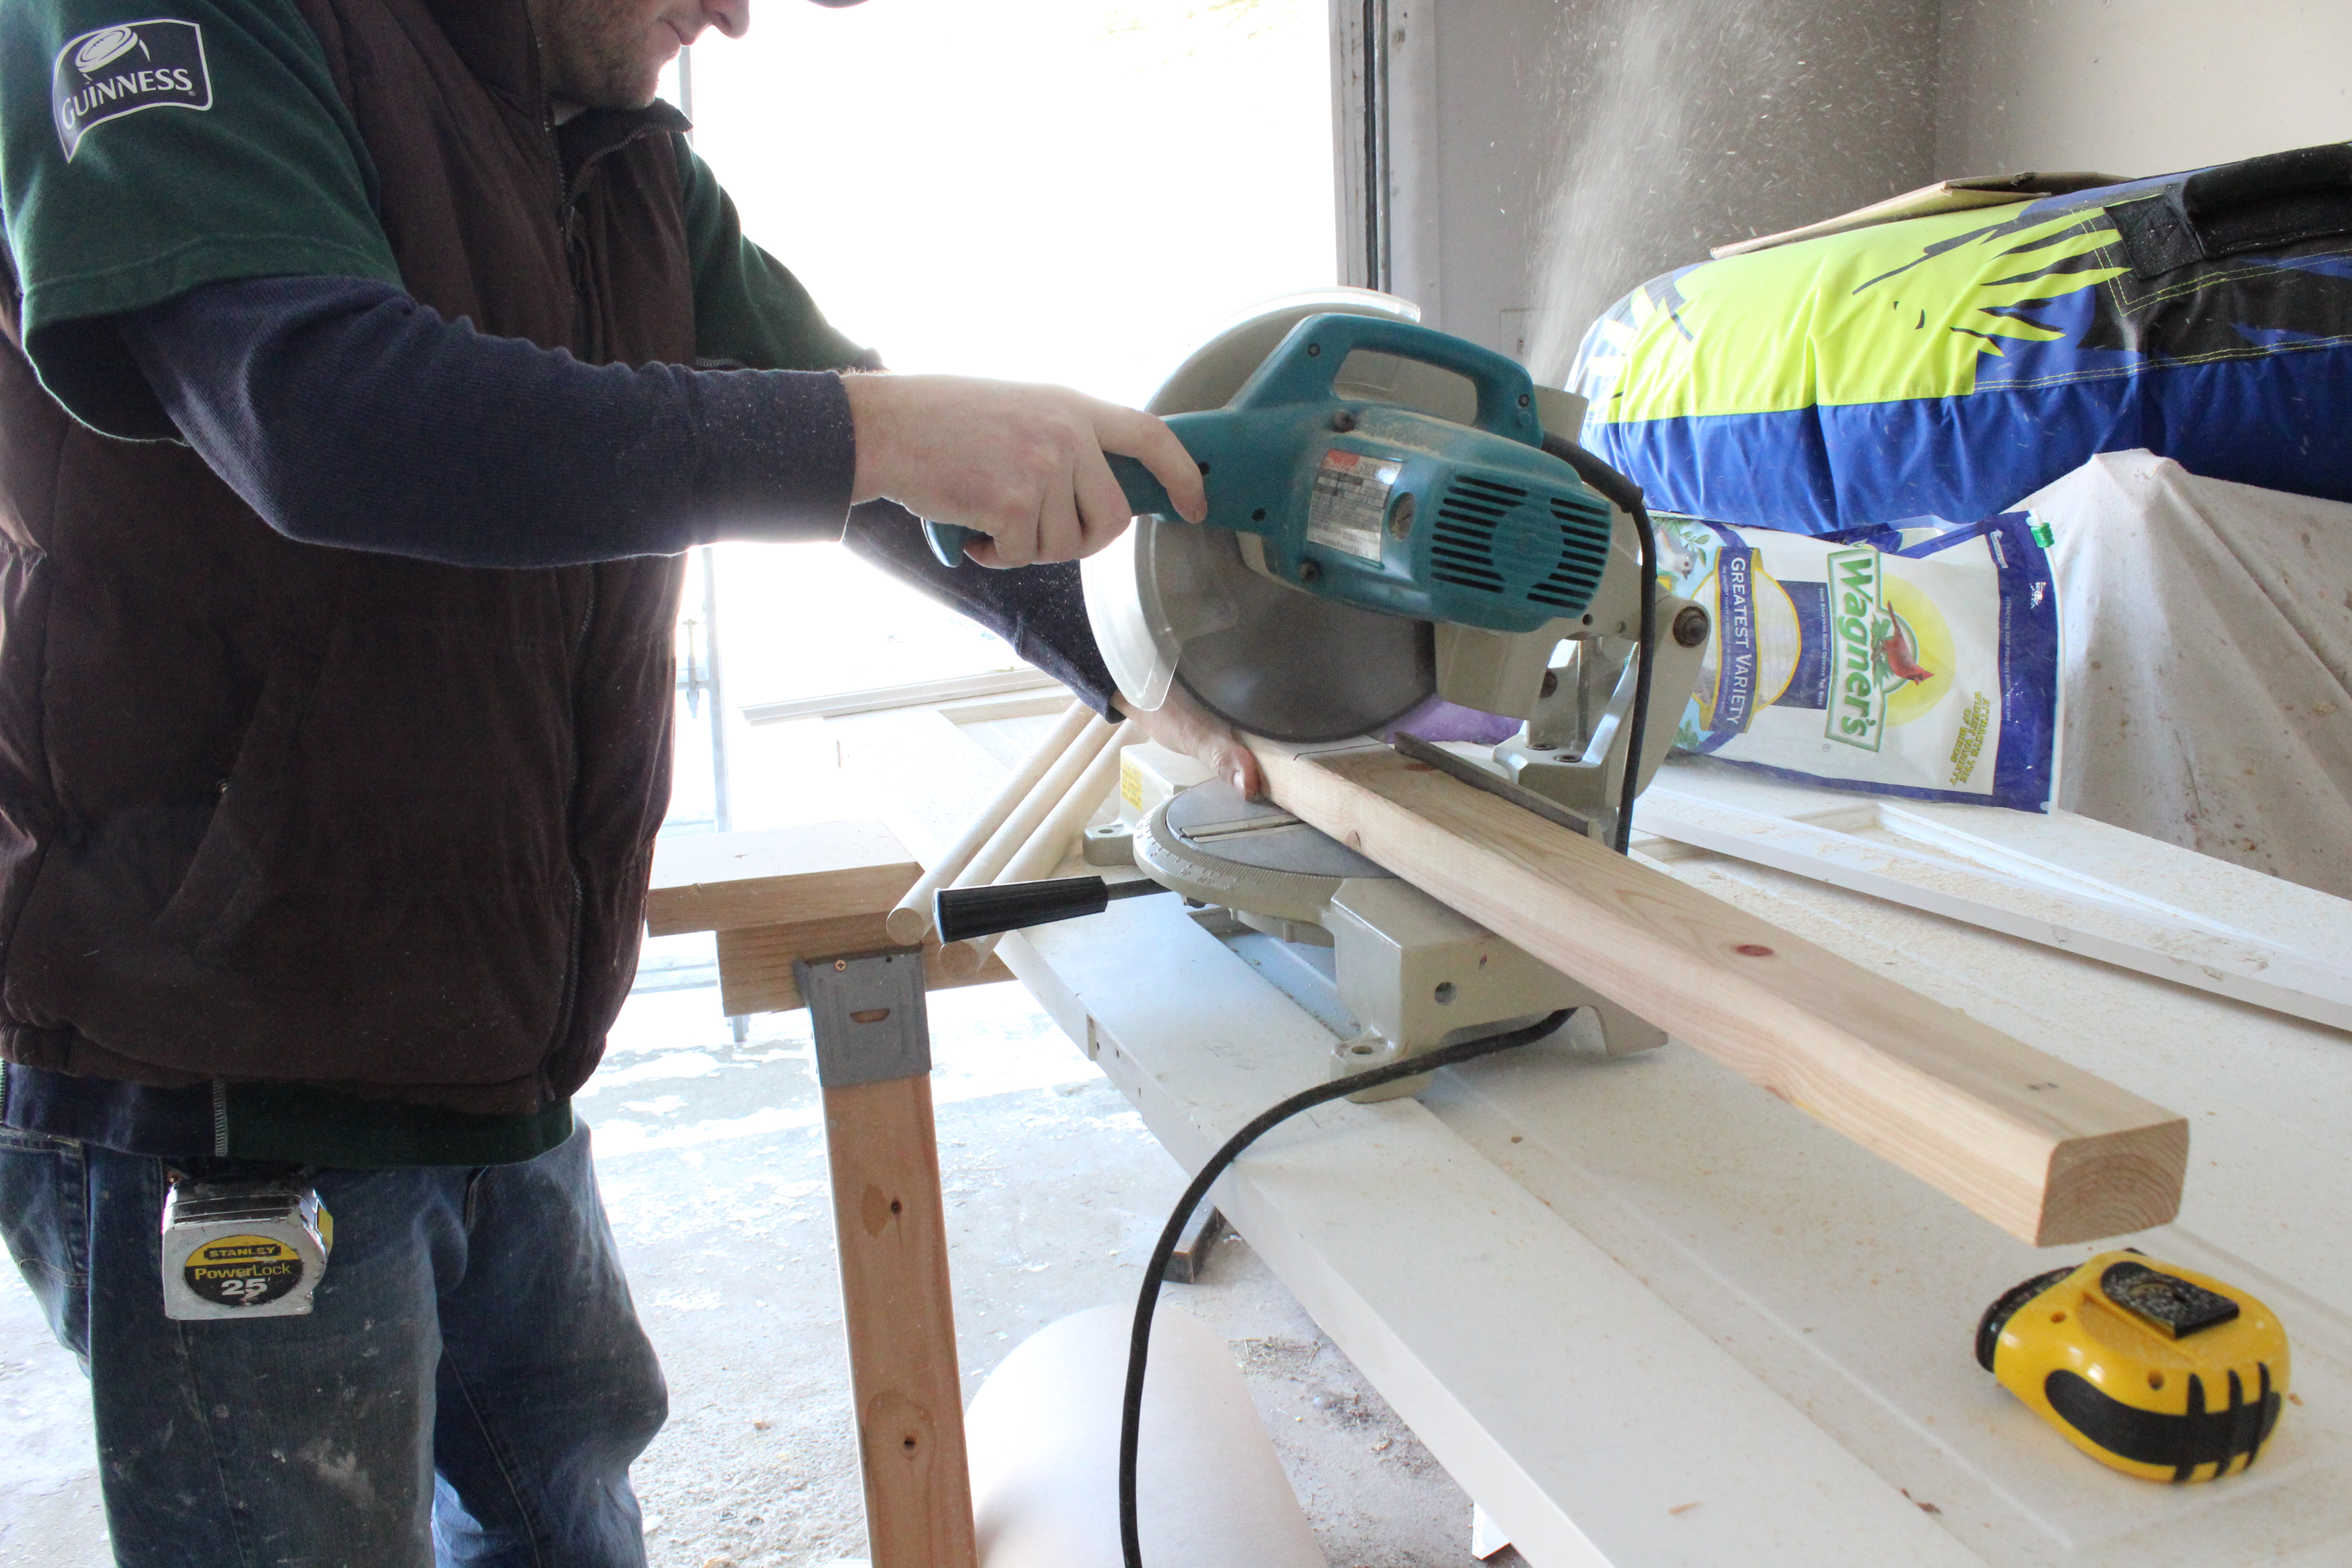
We cut the dowel rods into 5-16″ long rungs and cut down the 2x3s to 6 feet long.

IMG_2562

Step 4. Sand your wood.

We used an electric hand sander but you could also do it by hand.

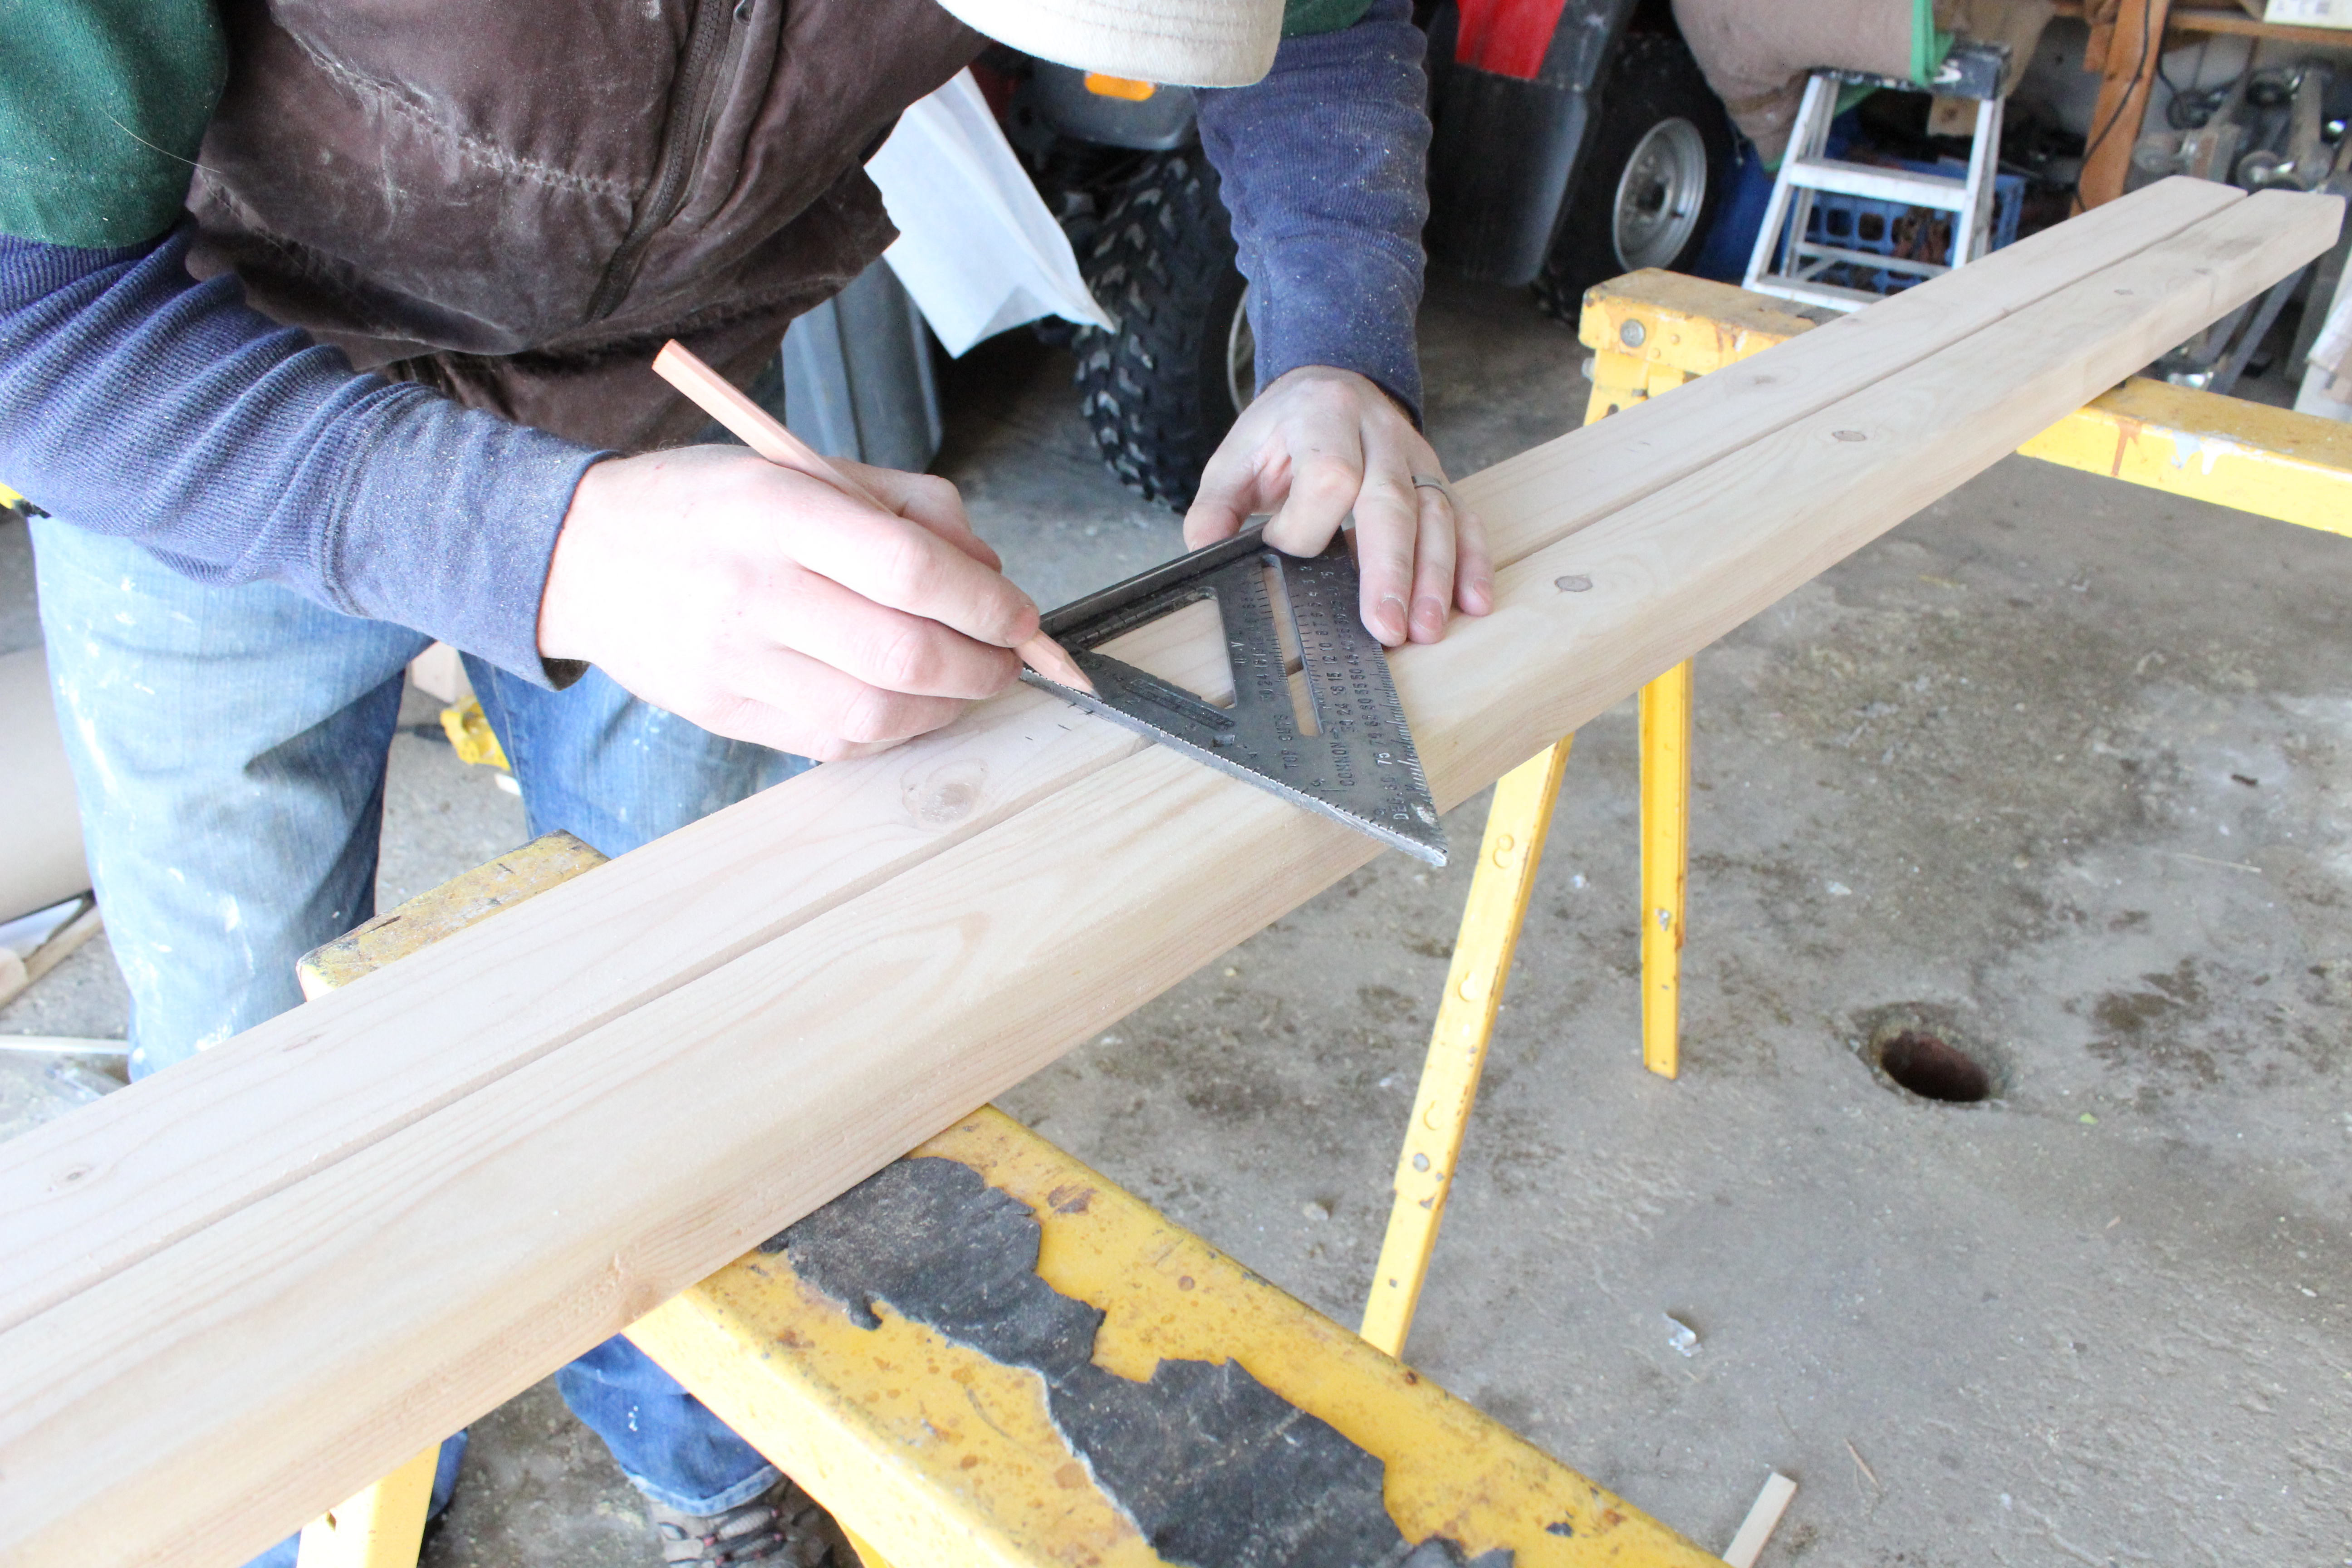
Step 5. Mark sides for holes.

We started our first hole 2.5″ from the bottom and then spaced them 13.5″ apart from the centers. Make sure your marks align perfectly on both sides.

IMG_2569

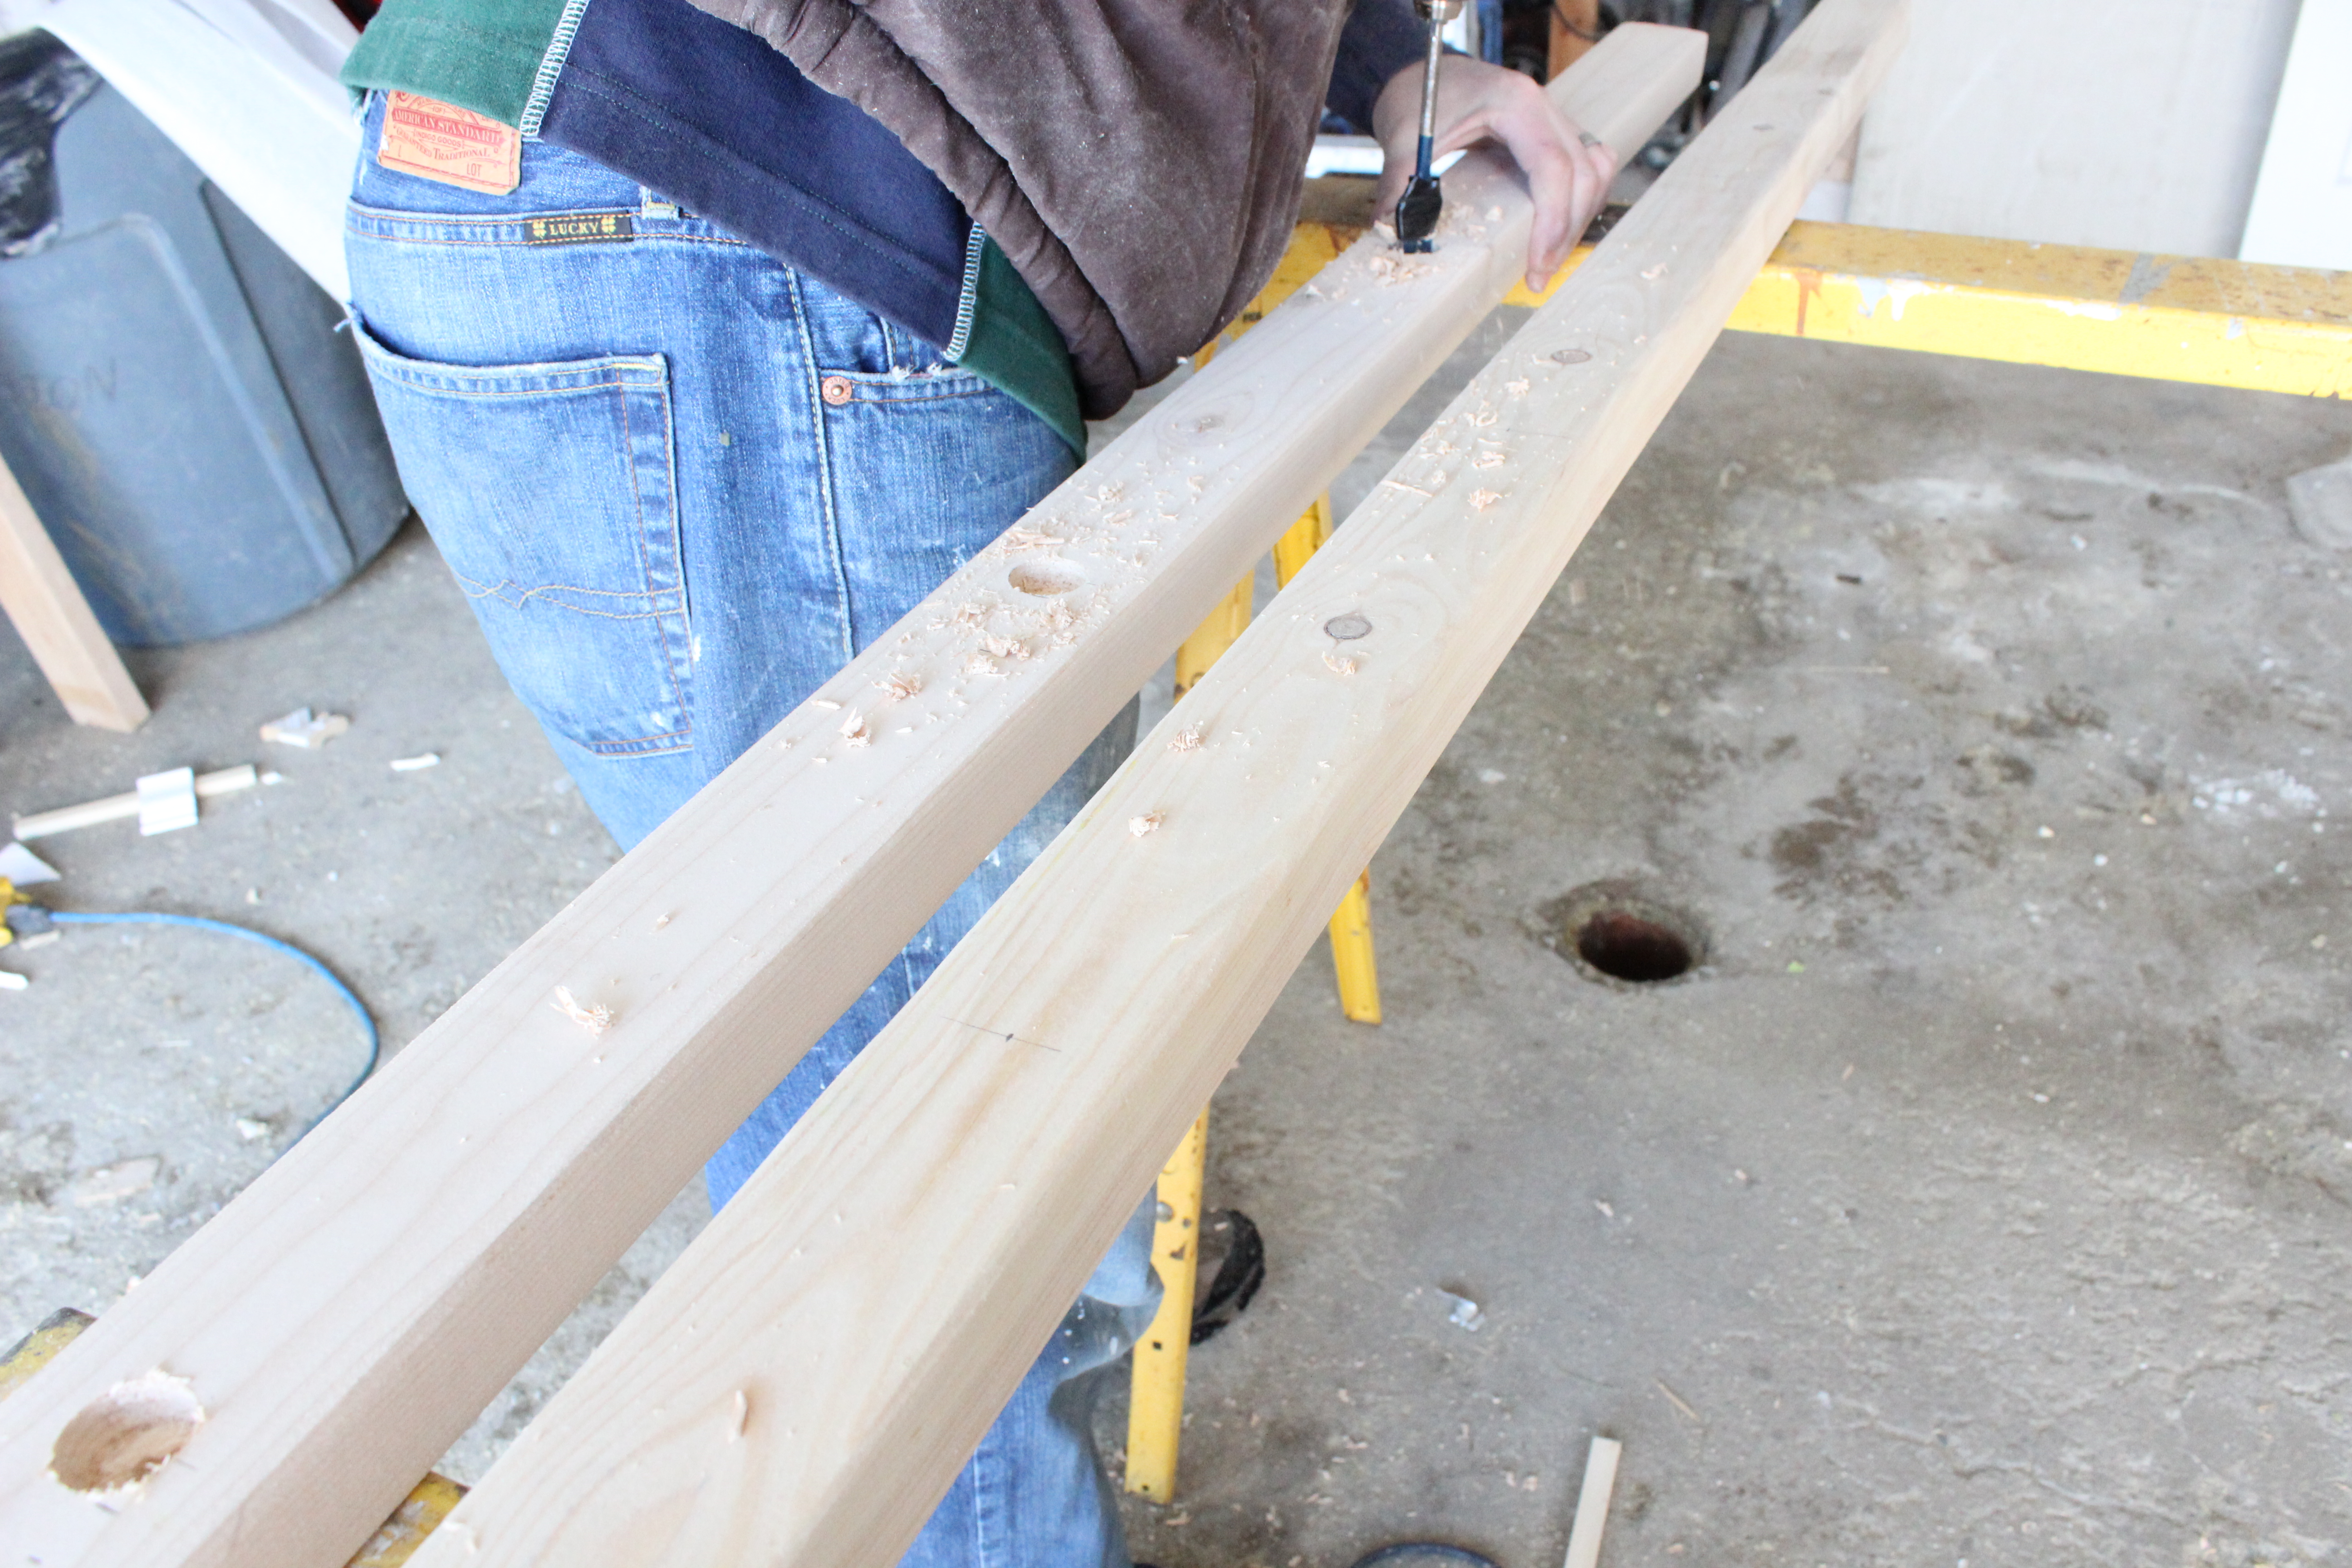
Step 6. Drill 1″ wide holes that are 1/2″ deep. 

We placed a piece of tape 1/2″ up the drill bit to know how deep to go. Also go over holes with a light sand to smooth out rough edges.

IMG_2574

Step 7. Sand down edges of your rungs to ensure they will fit into the holes. 

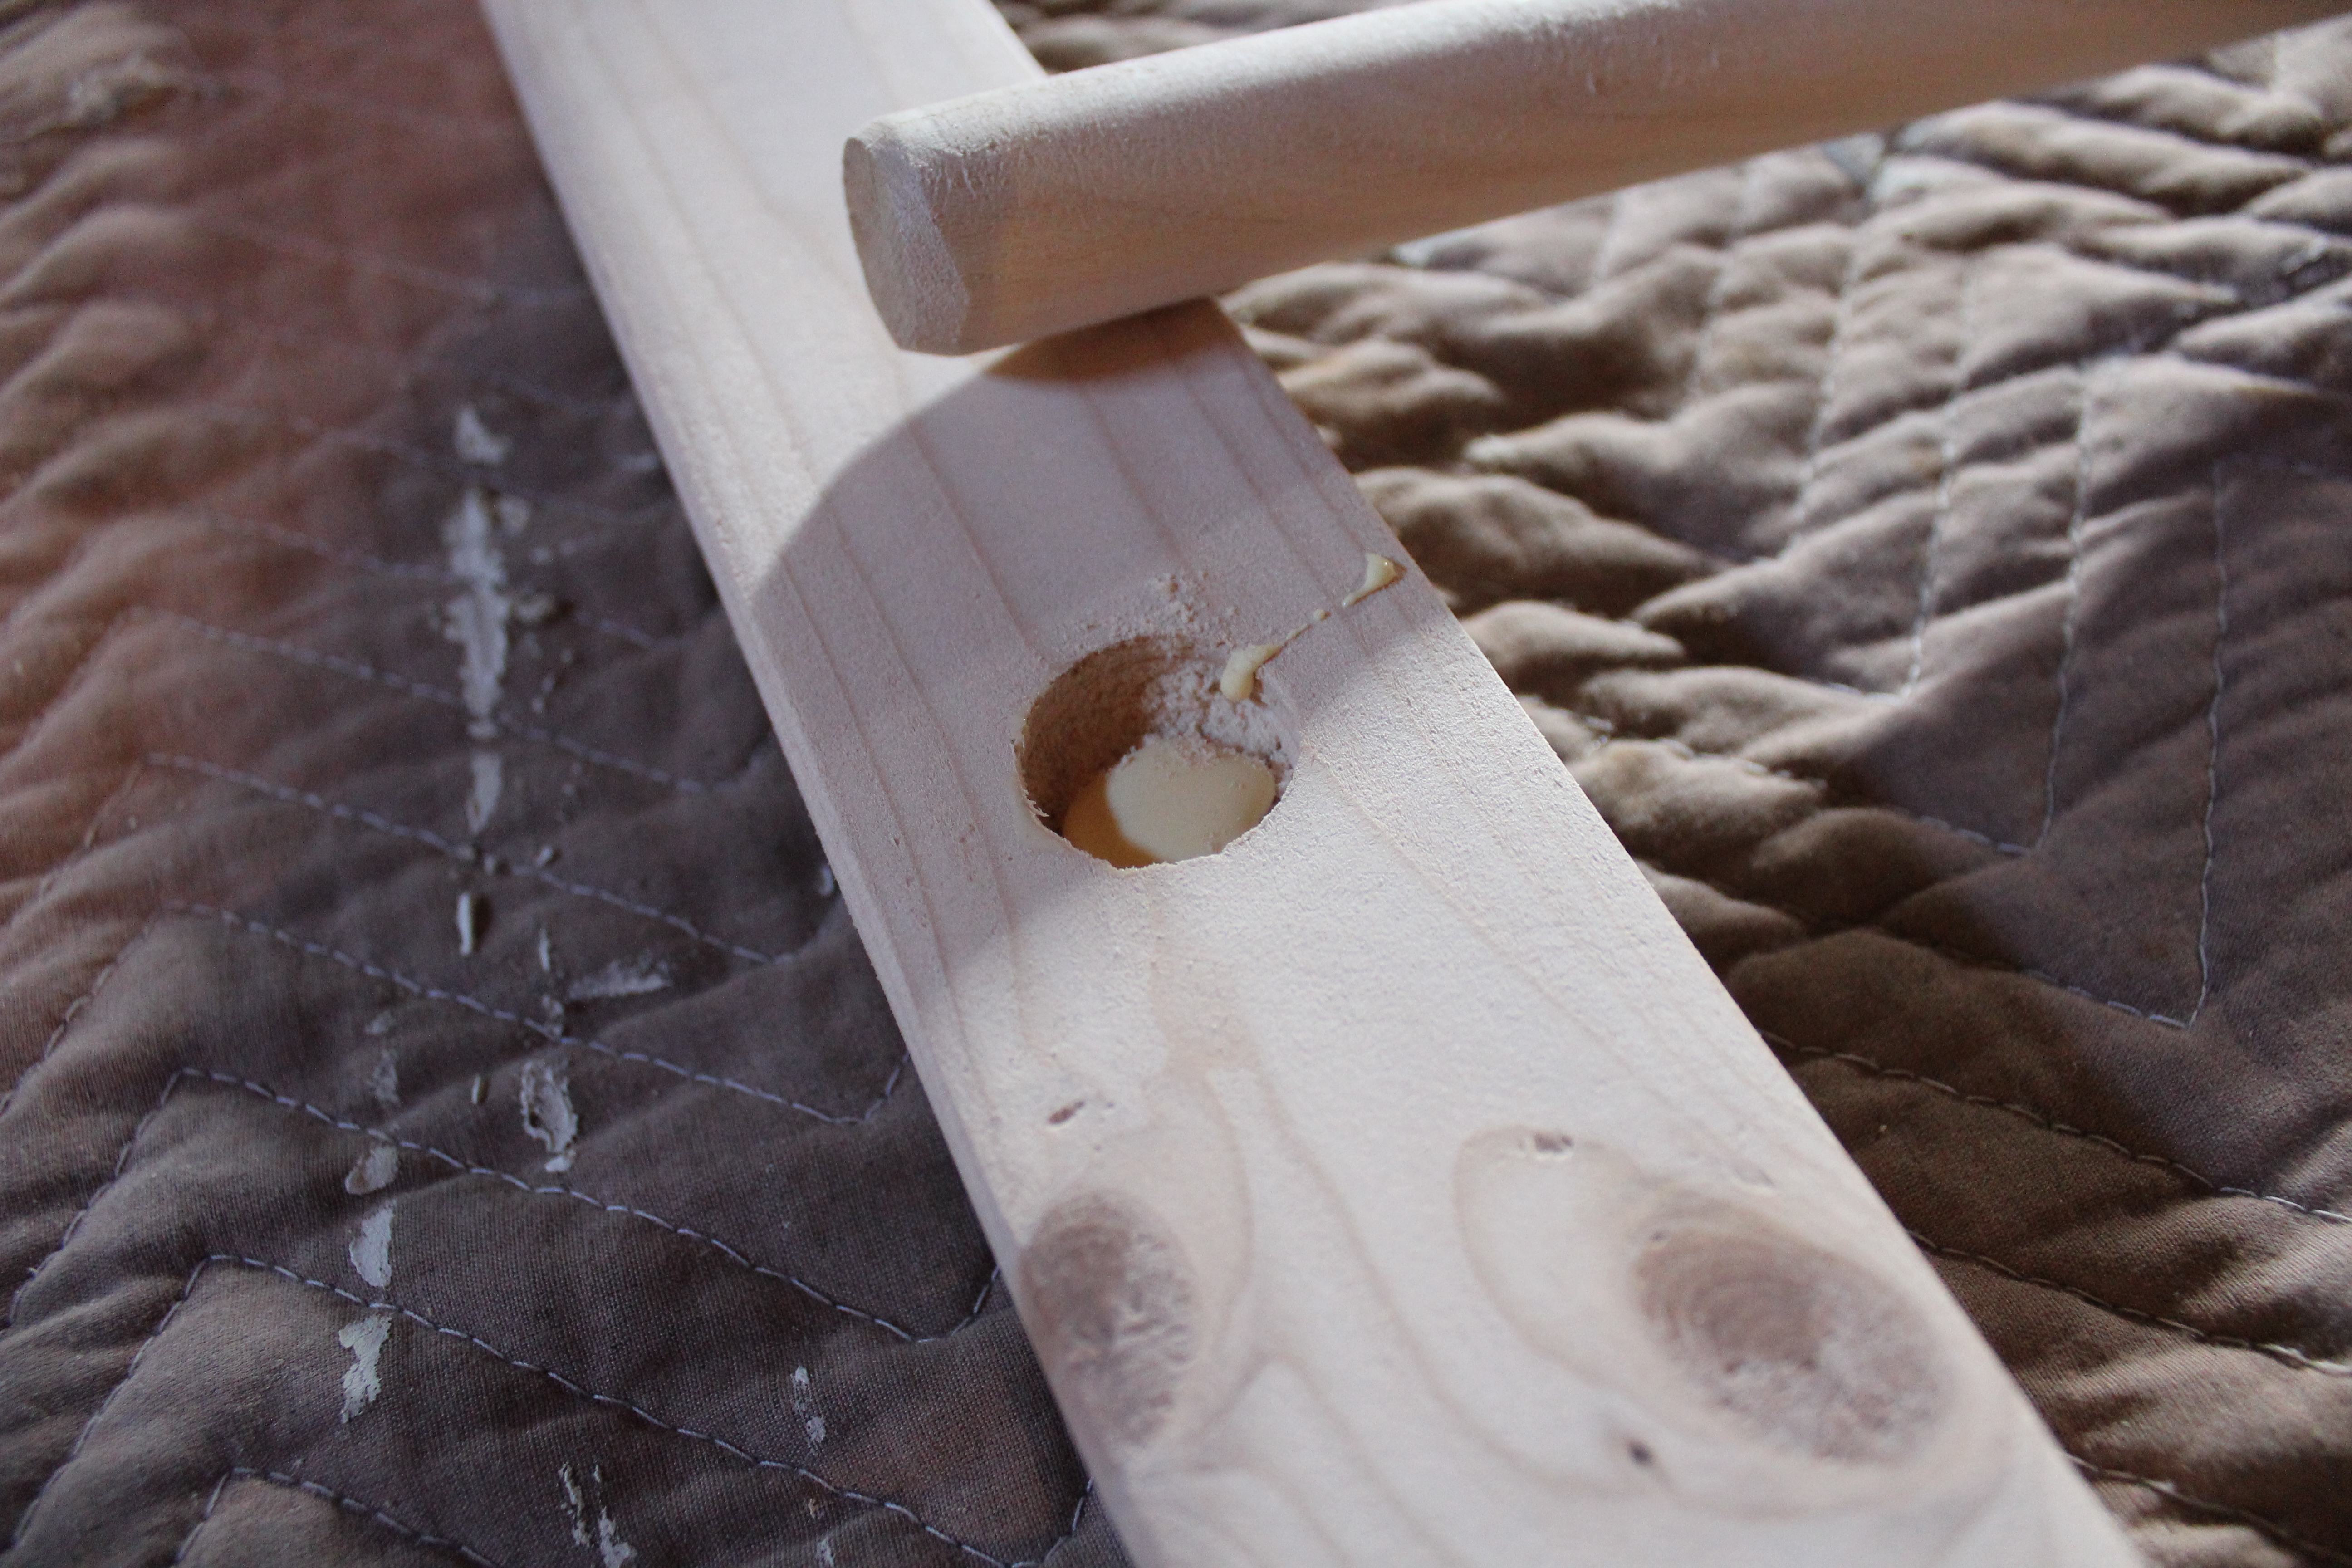
Step 8. Fill one side of holes with wood glue and place rungs in.

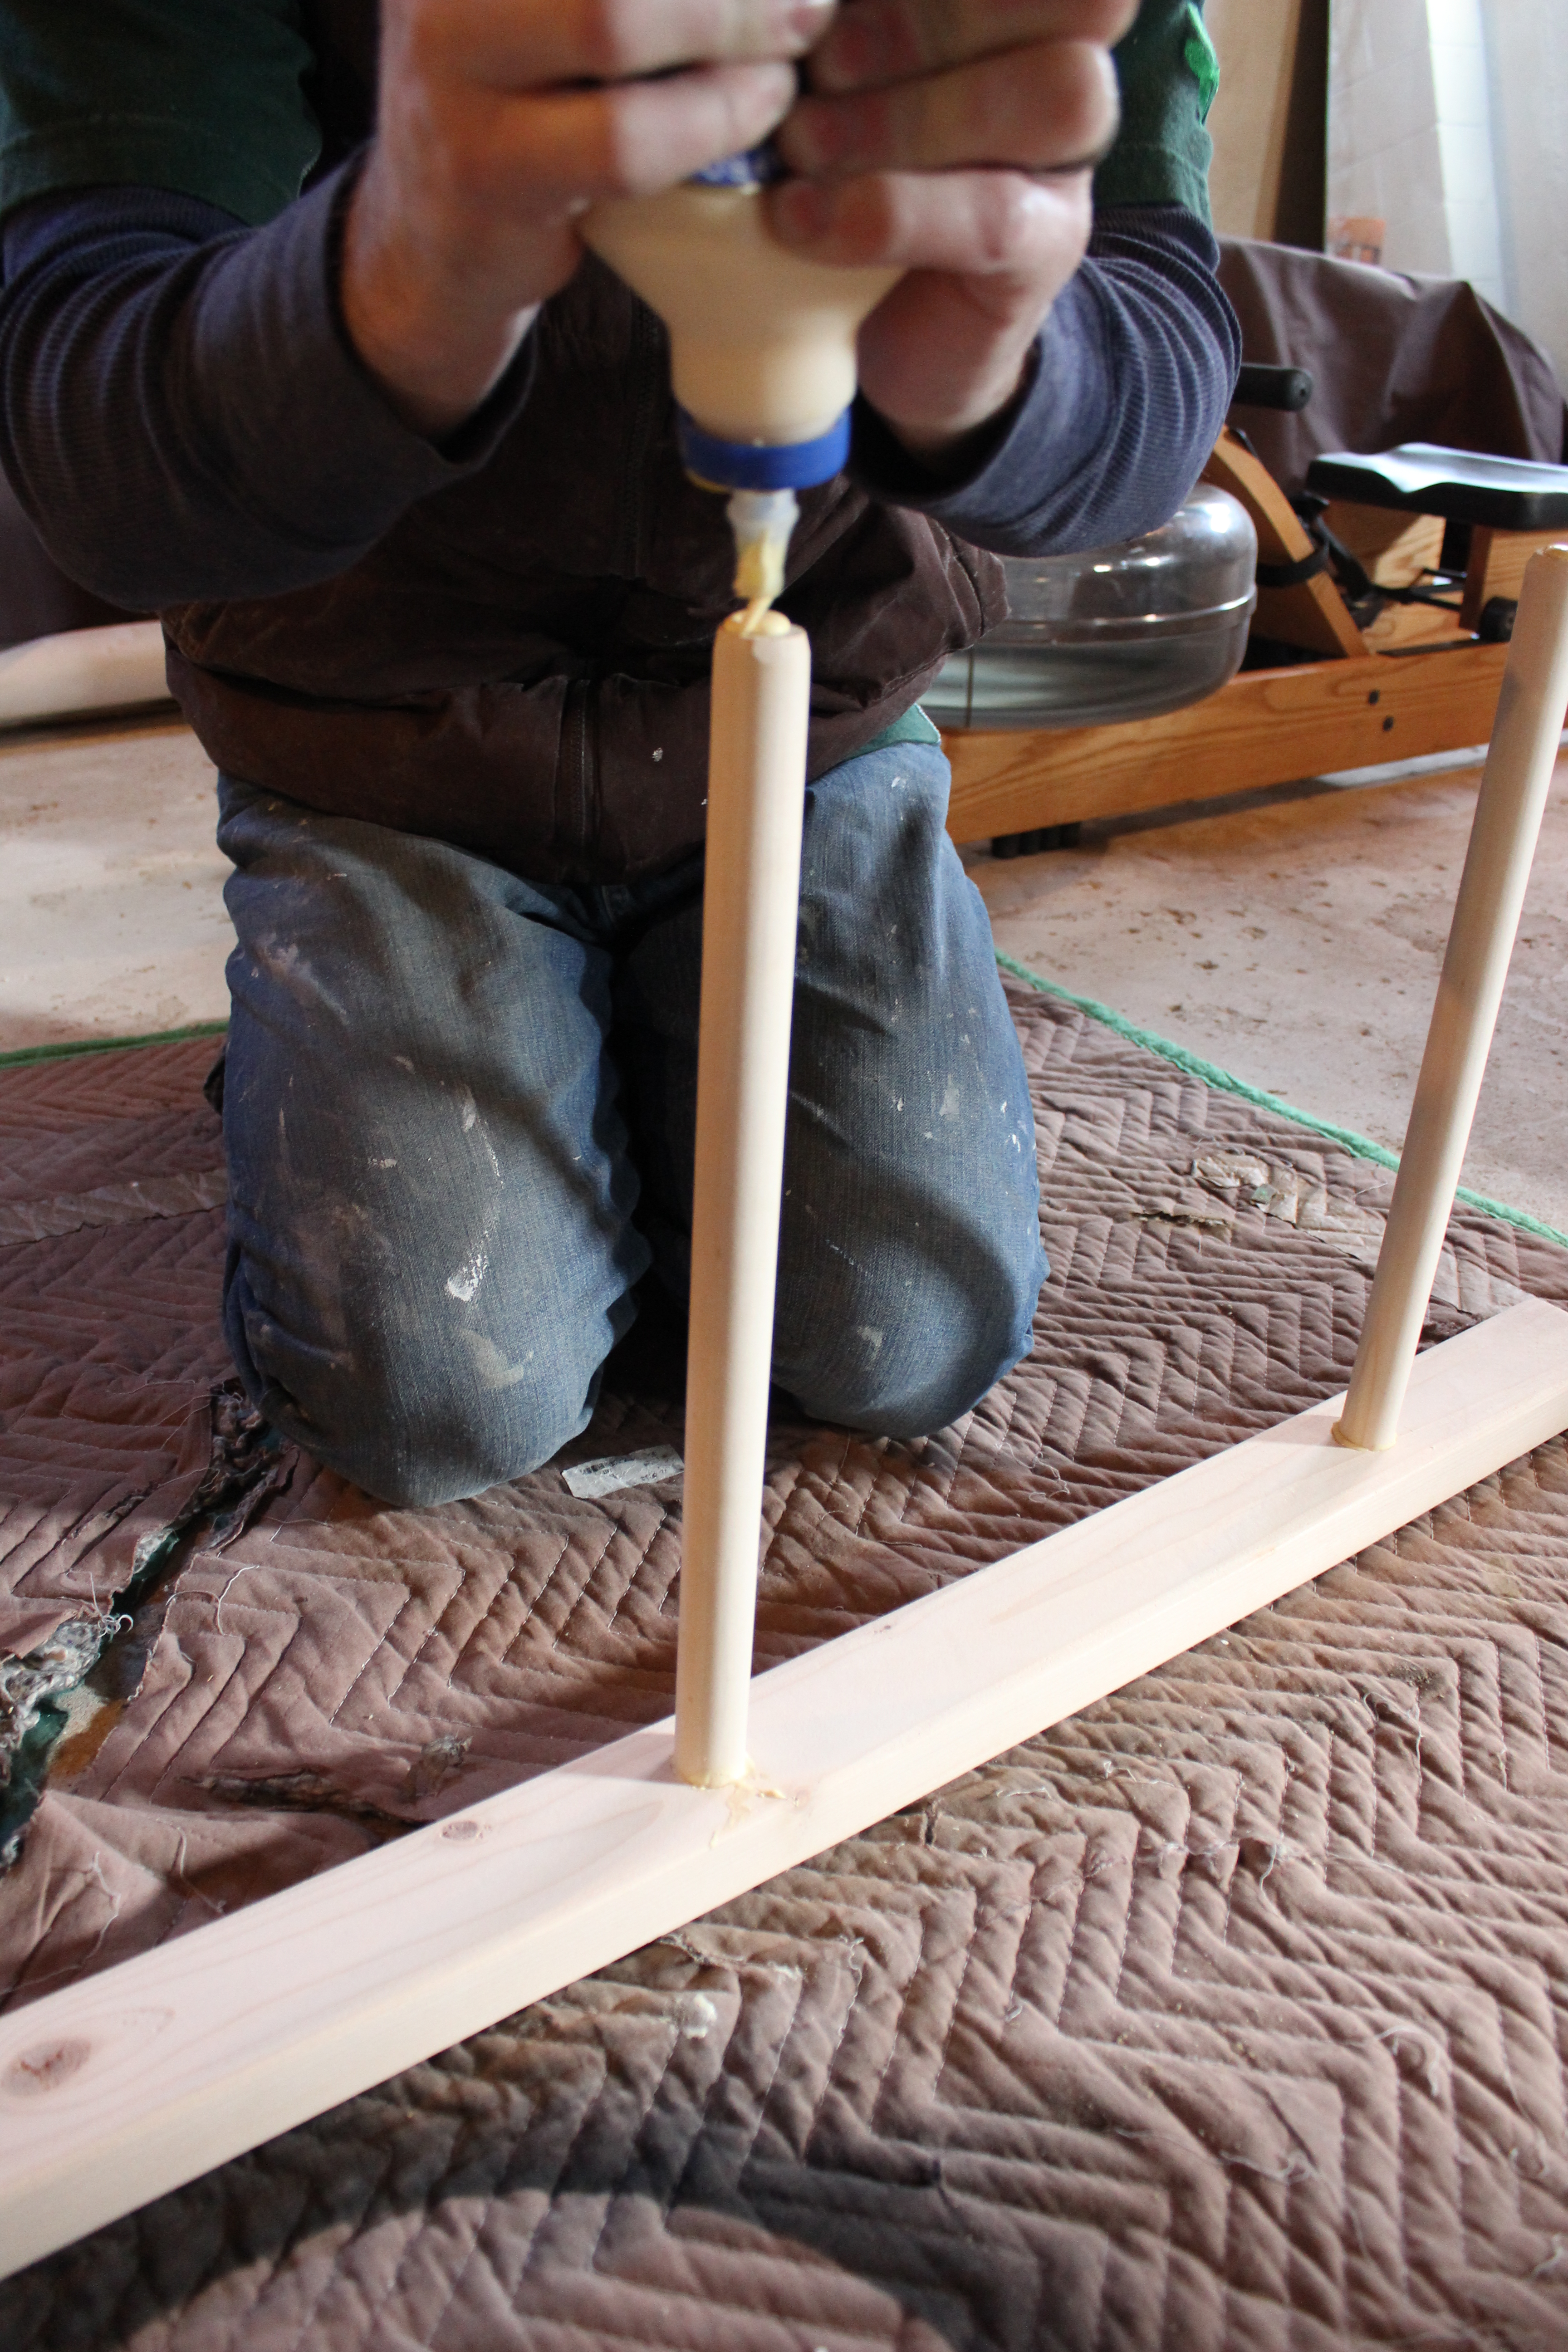
IMG_2582Step 9. Put glue on other side of rungs and place side onto rungs.

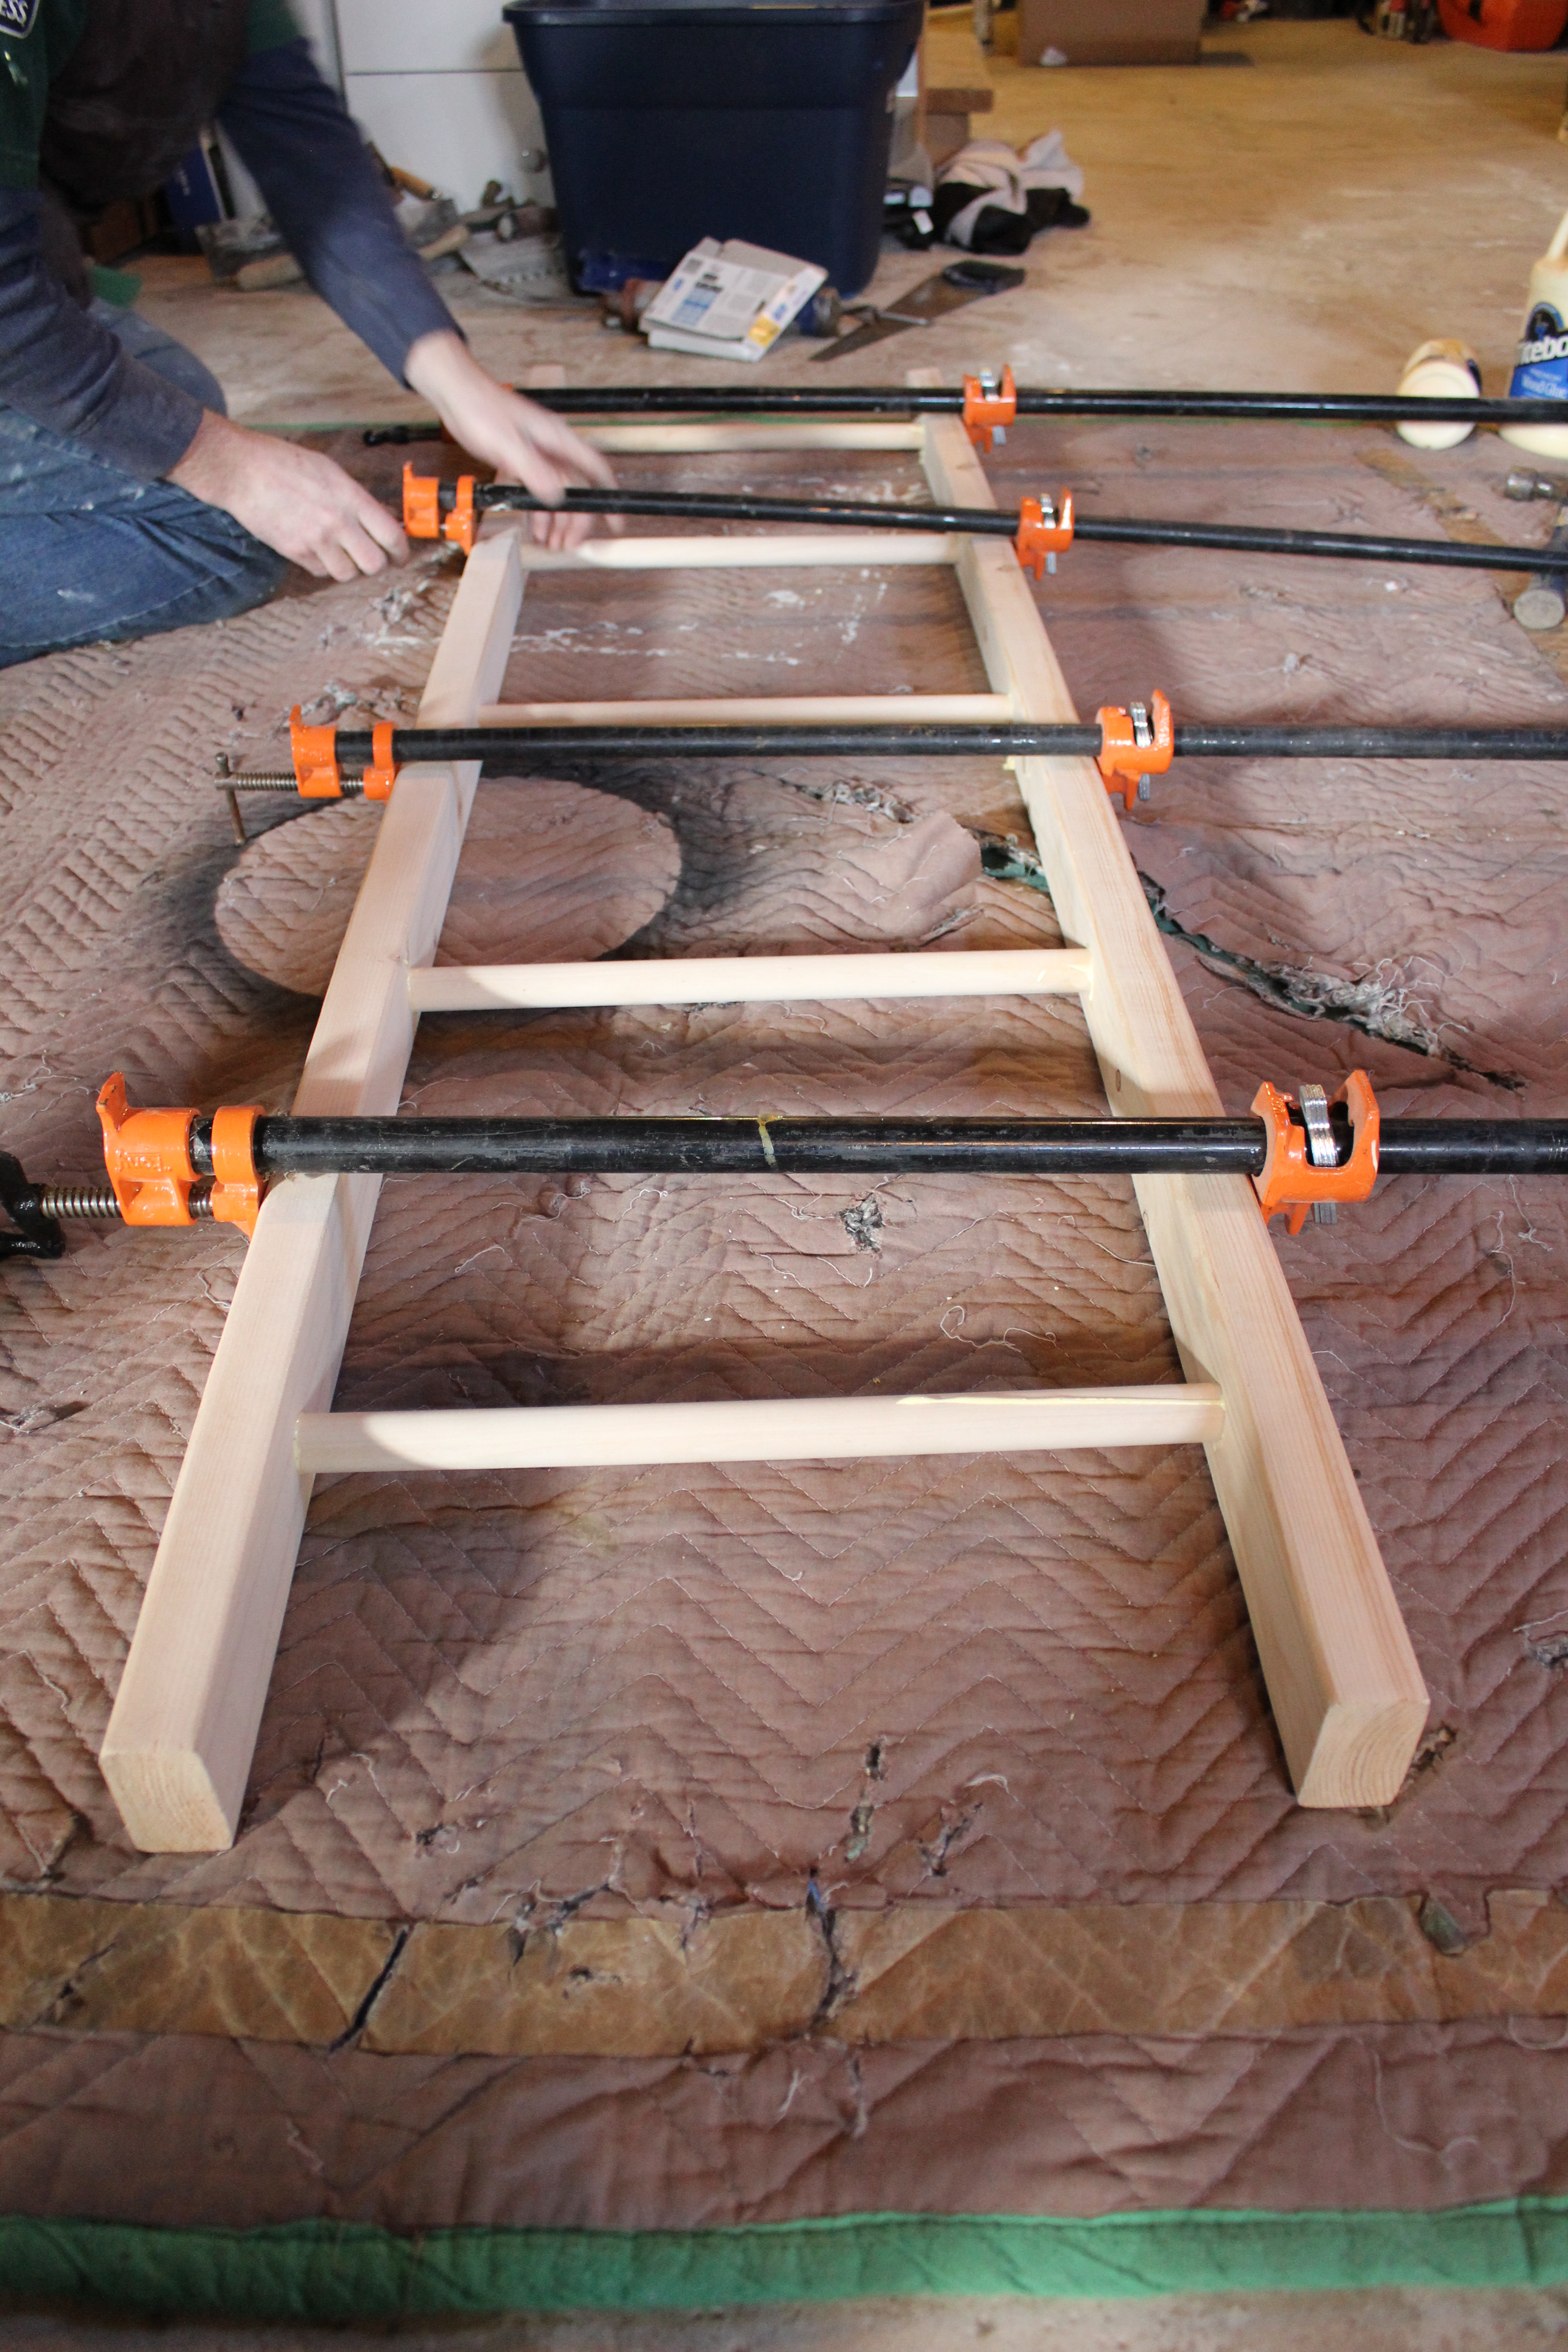
IMG_2586Step 10. Attach clamps for at least 2 hours to dry. Wipe up all access glue.

IMG_2588Step 11. Brew some very strong tea and brush it on your ladder. Apparently the tea releases tannins in the wood which allows it to oxidize from the vinegar/steel wool. We coated ours with tea twice, letting it dry in between coats and before the next step.

IMG_2594Step 12. Your final step! Brush on your vinegar/steel wool solution. It will start to turn the wood darker as soon as you brush it on and within an hour or so will be completely weathered.

IMG_2611

I couldn’t believe how well the weathering process worked and without buying expensive stains or paints. Just household items.

What do you think? Worth $20 and a couple hours of time? I’d say so.