Archive | Bathrooms RSS feed for this section

6 Month Progress Report

24 Apr

This week marked 6 months in our house (and 6 months of blogging). Time has flown by and while it usually seems like renovations are moving slowly (and never-ending), I think looking at how each space has evolved in 6 months helps show just how much we’ve been able to accomplish thus far.

So here is a house tour with pictures of each space when we closed compared to how they look today…..

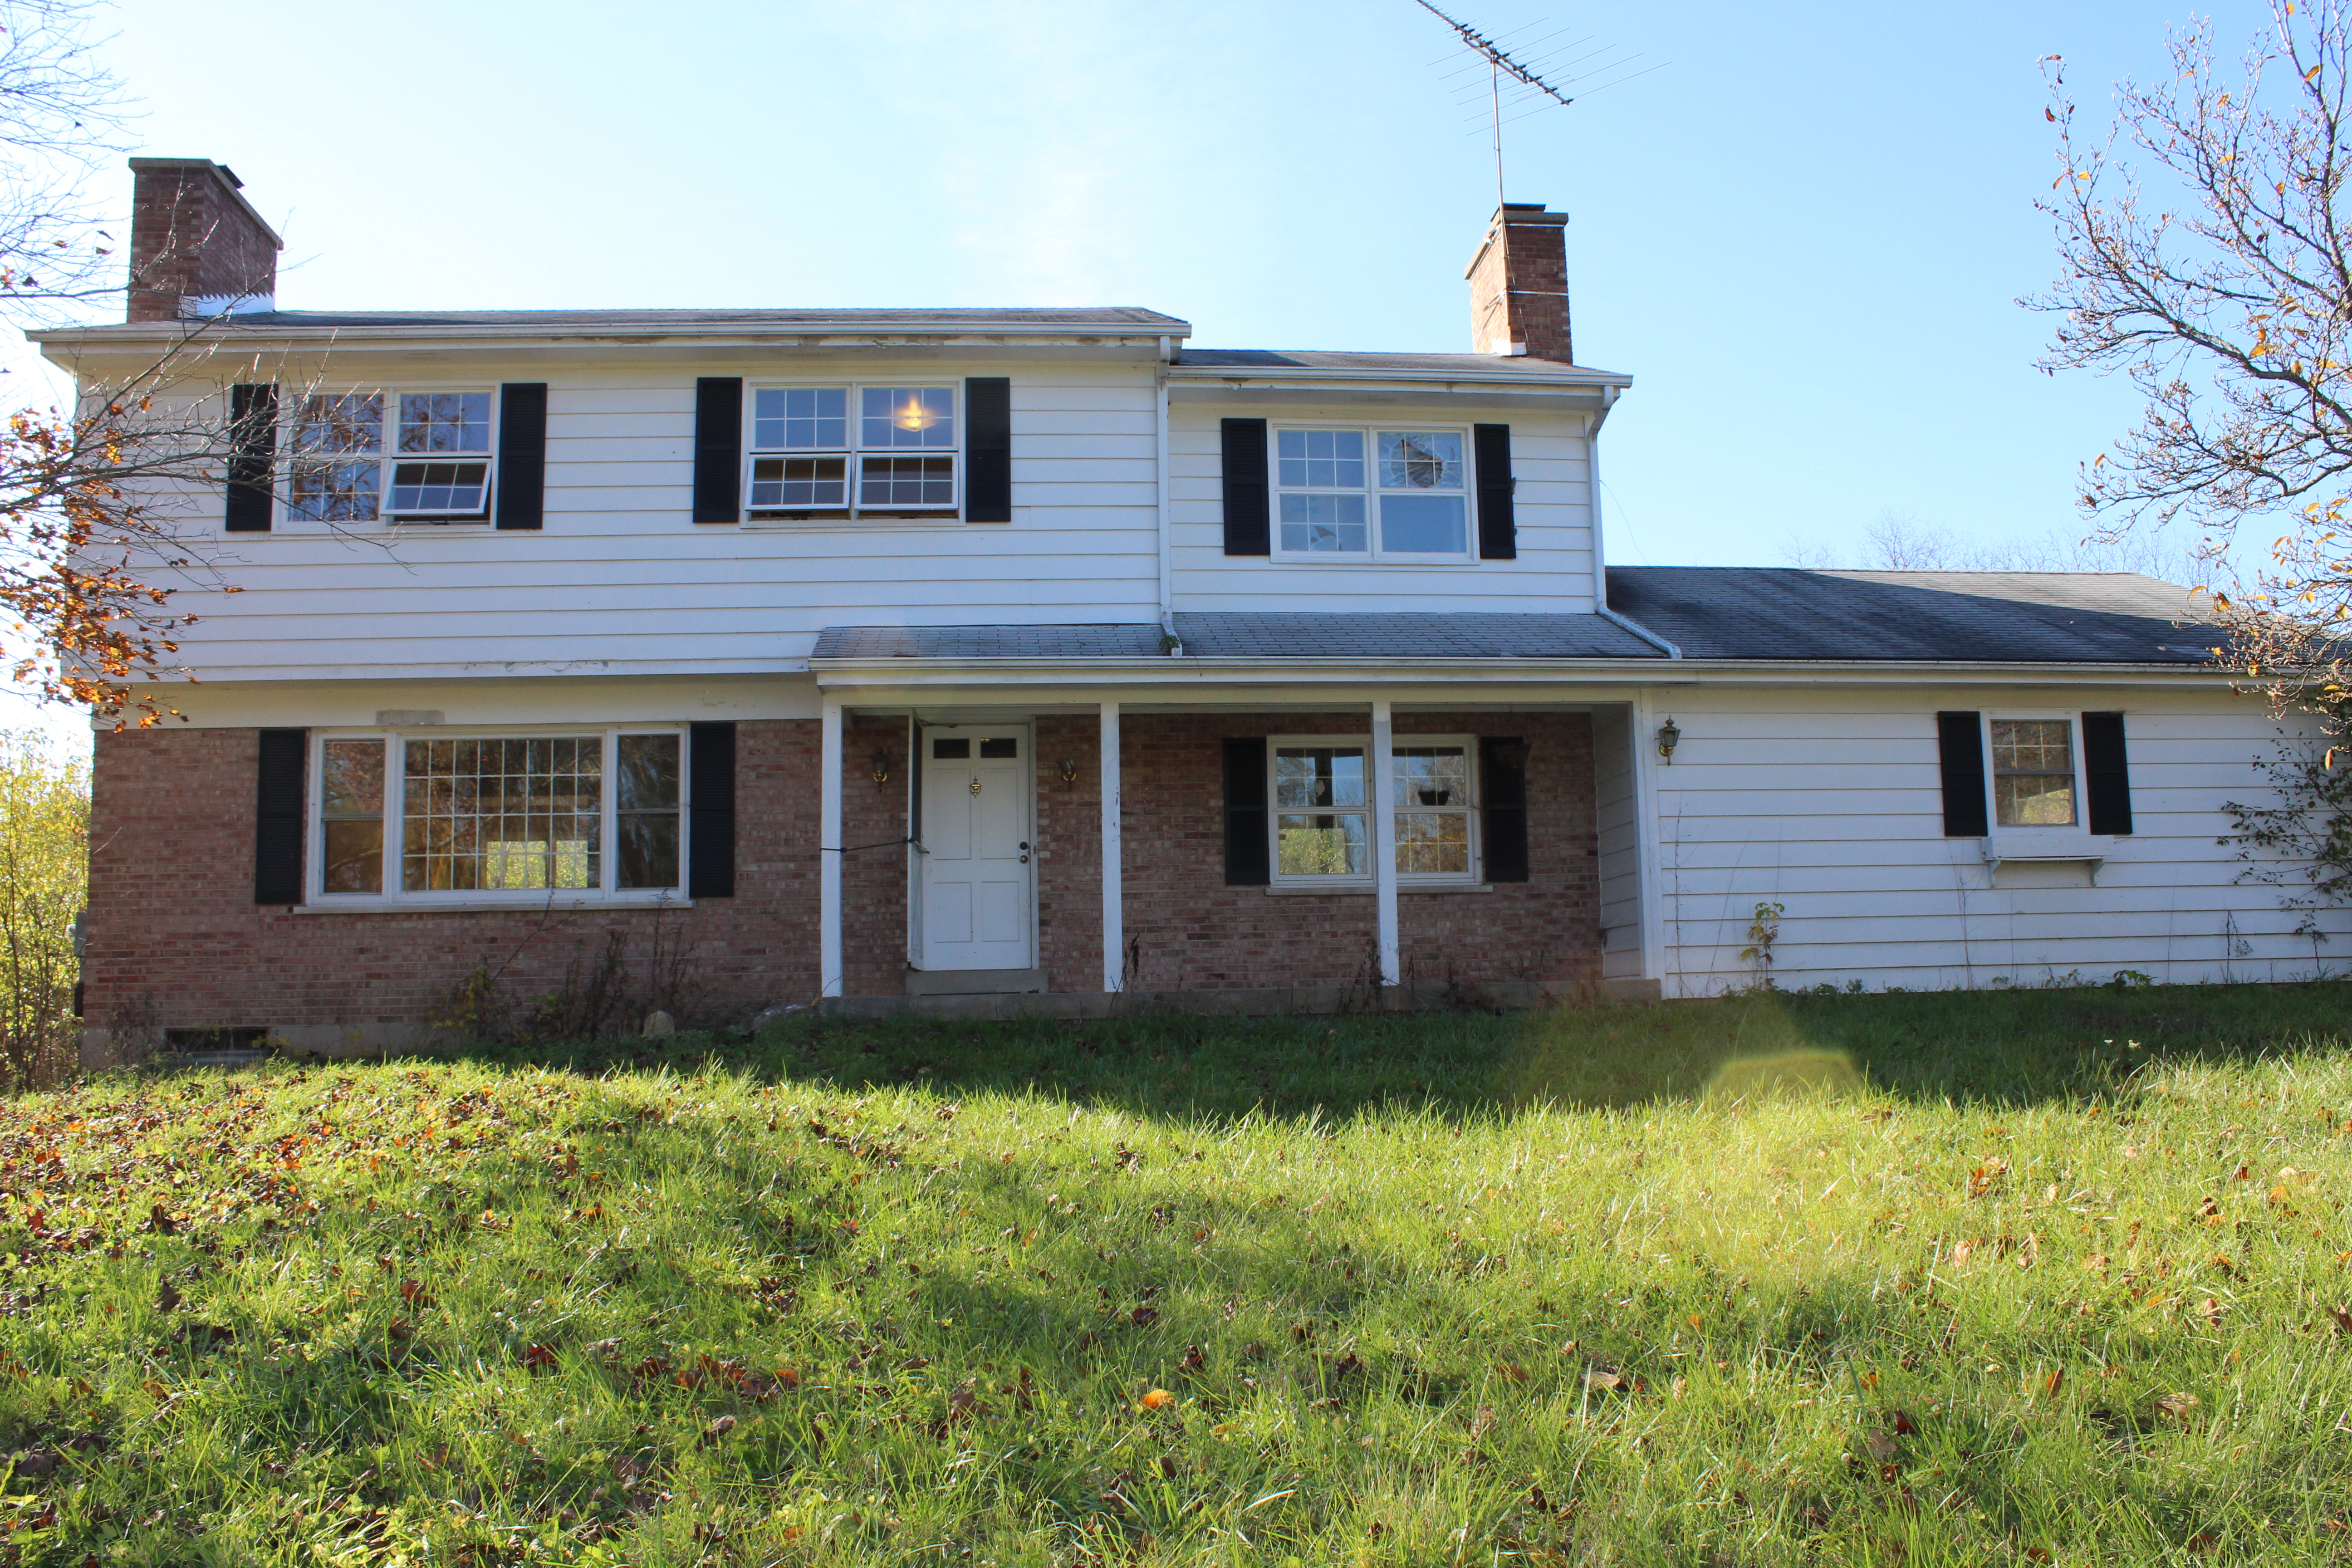
Front Exterior

Before

12 Oaks Before 308

Current

IMG_2979

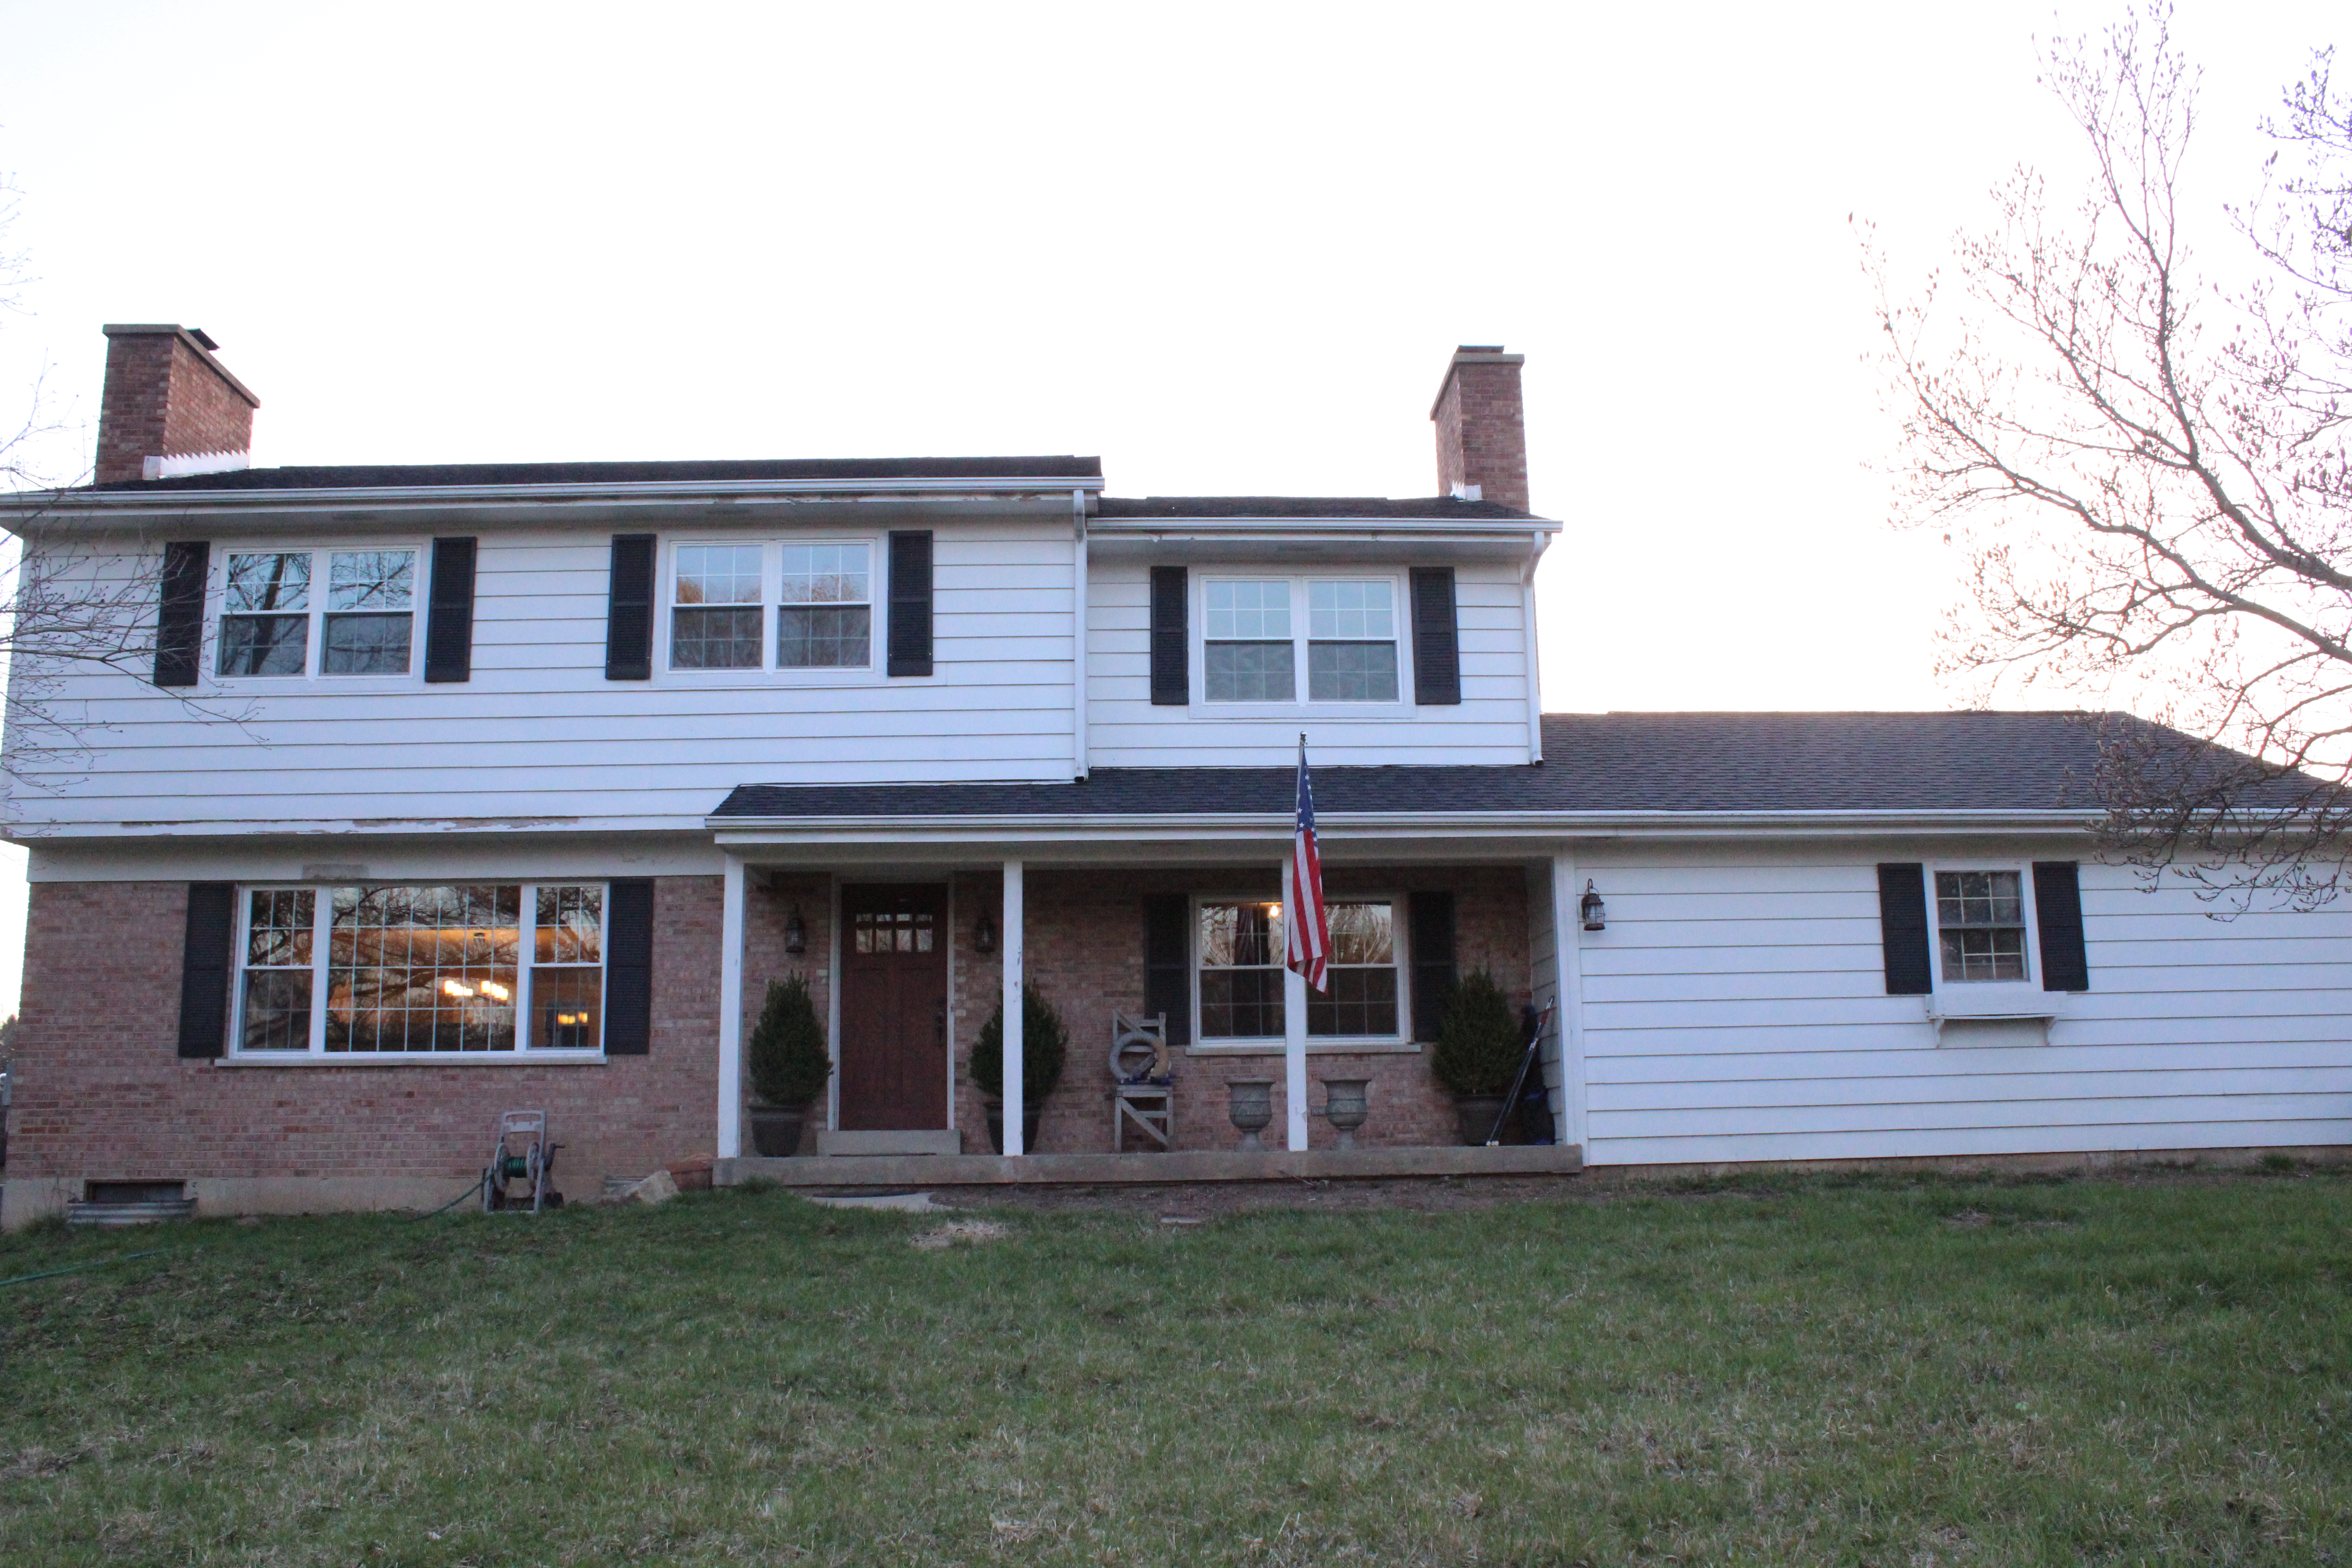
Upgrades so far include a “new” front door and lights, new roof and new windows. Next up will be landscaping and then painting.

Back Exterior

Before

Back of house and pool

Current

IMG_2967

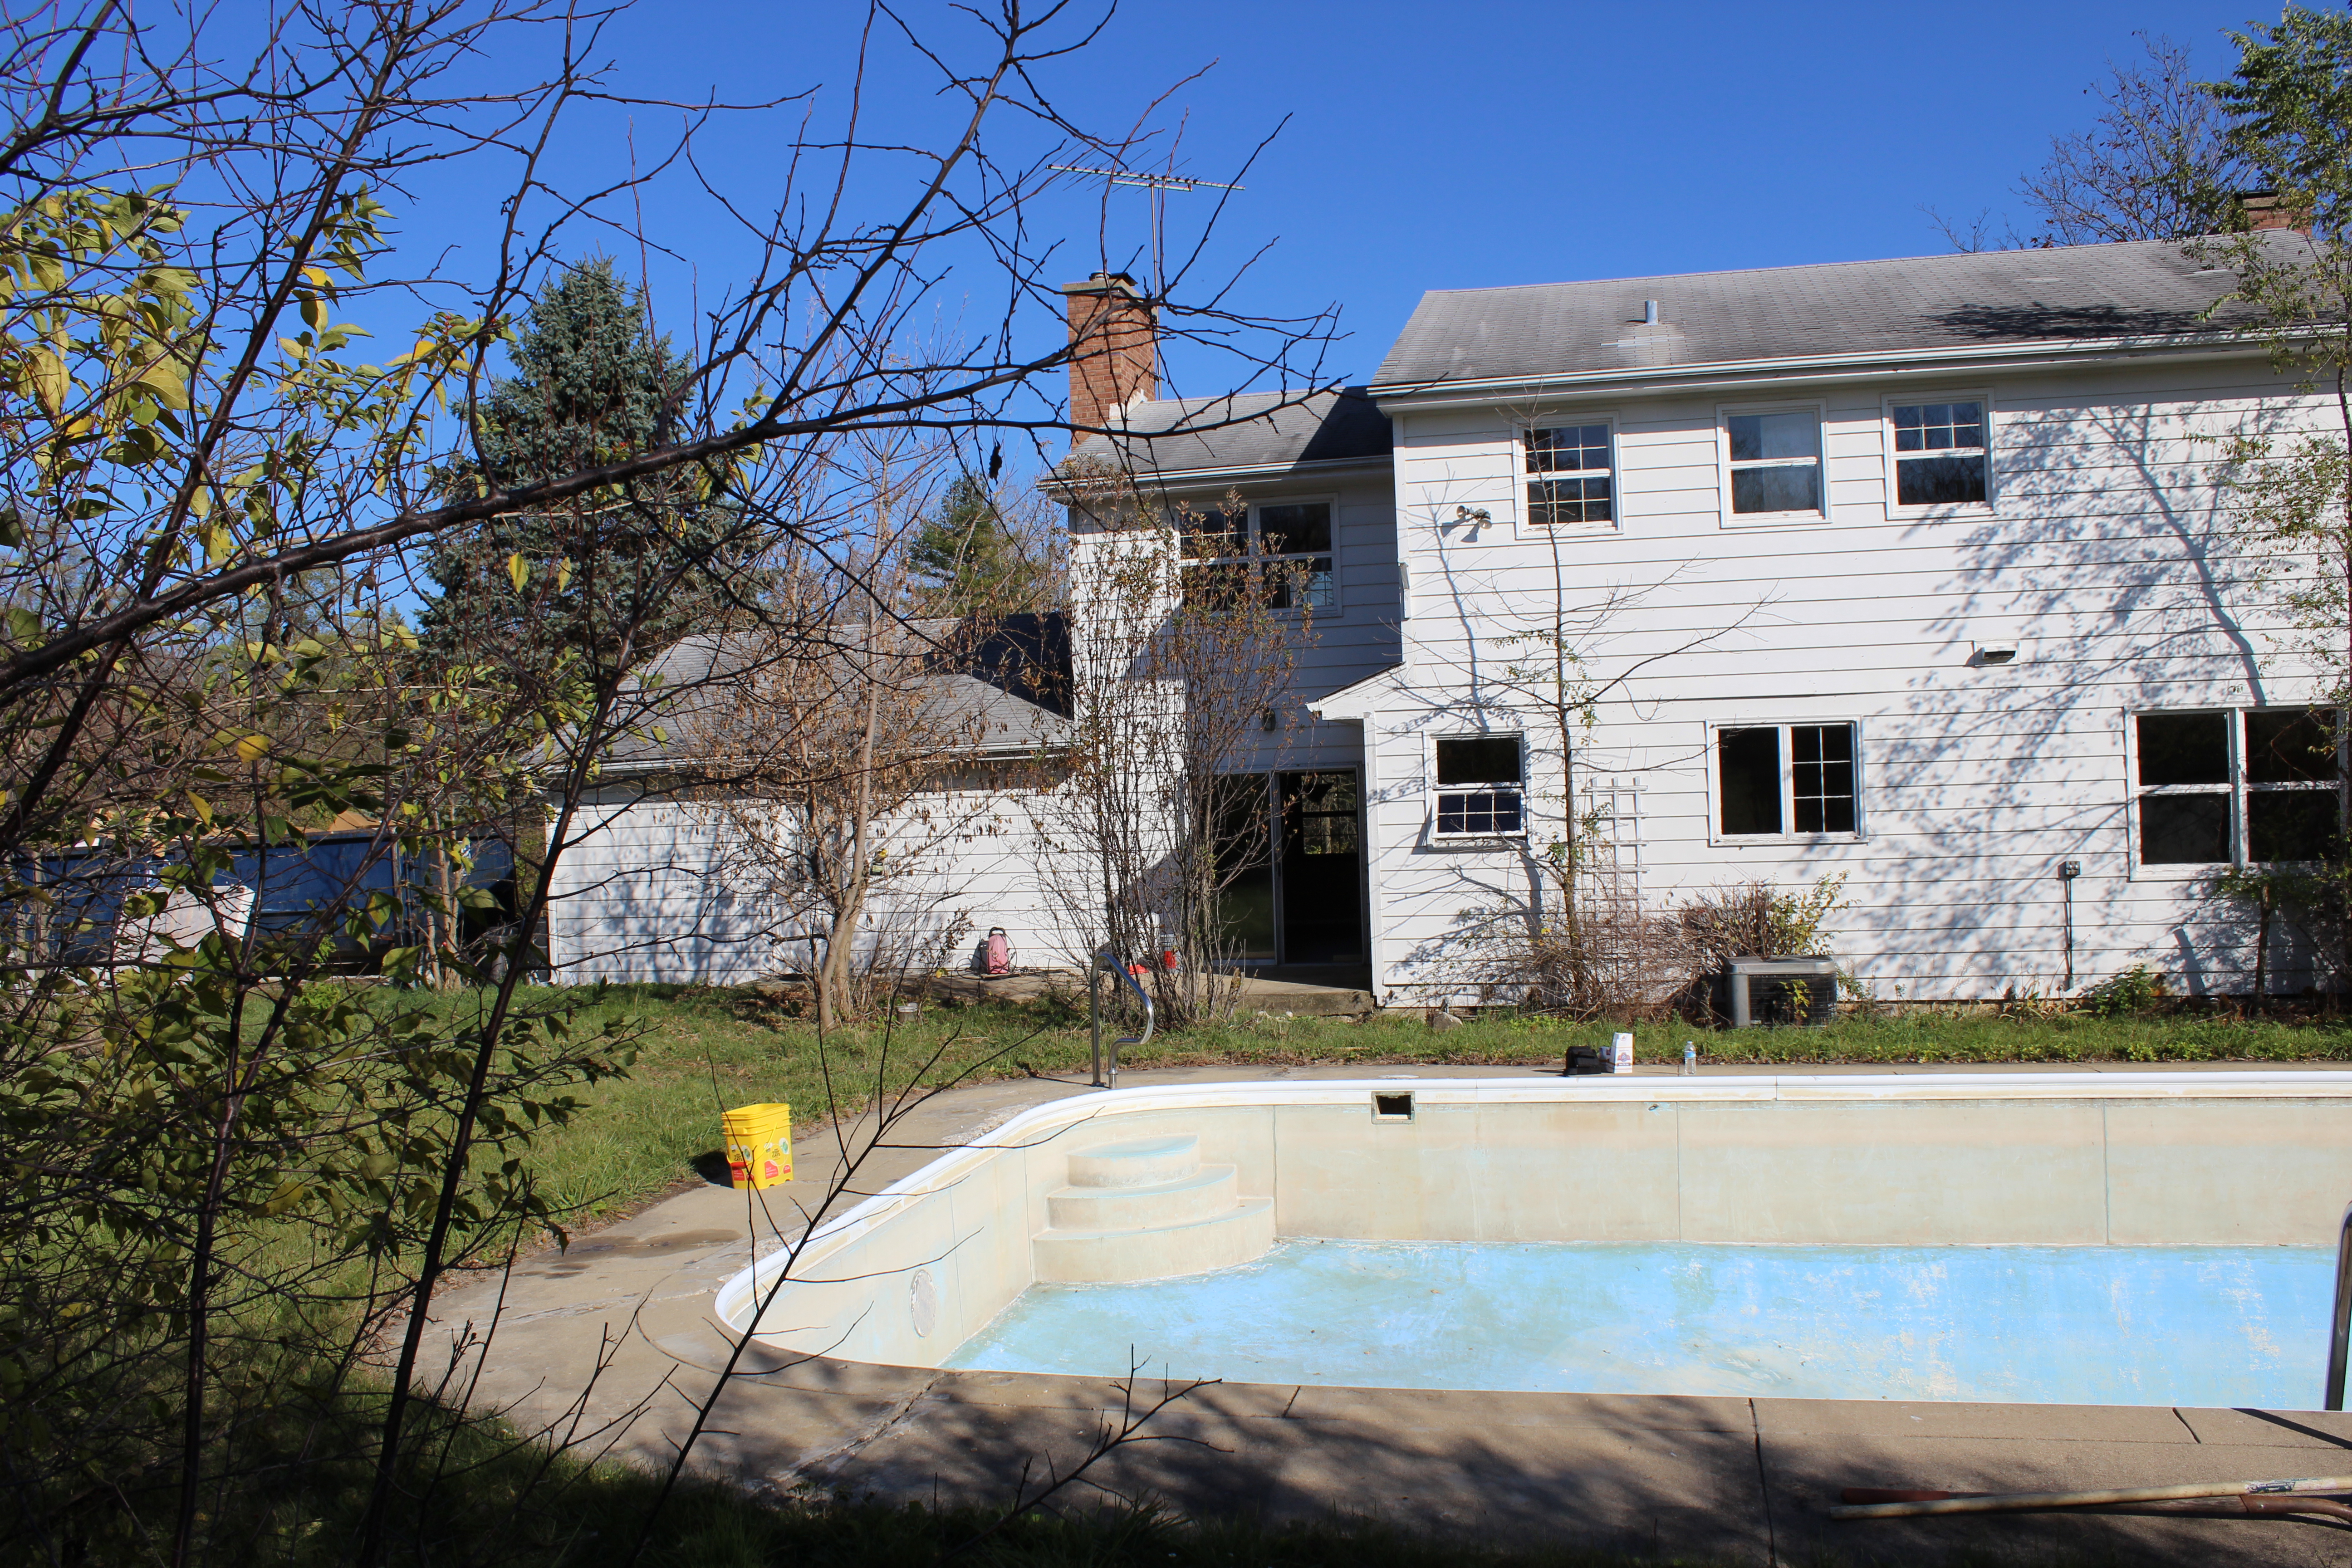
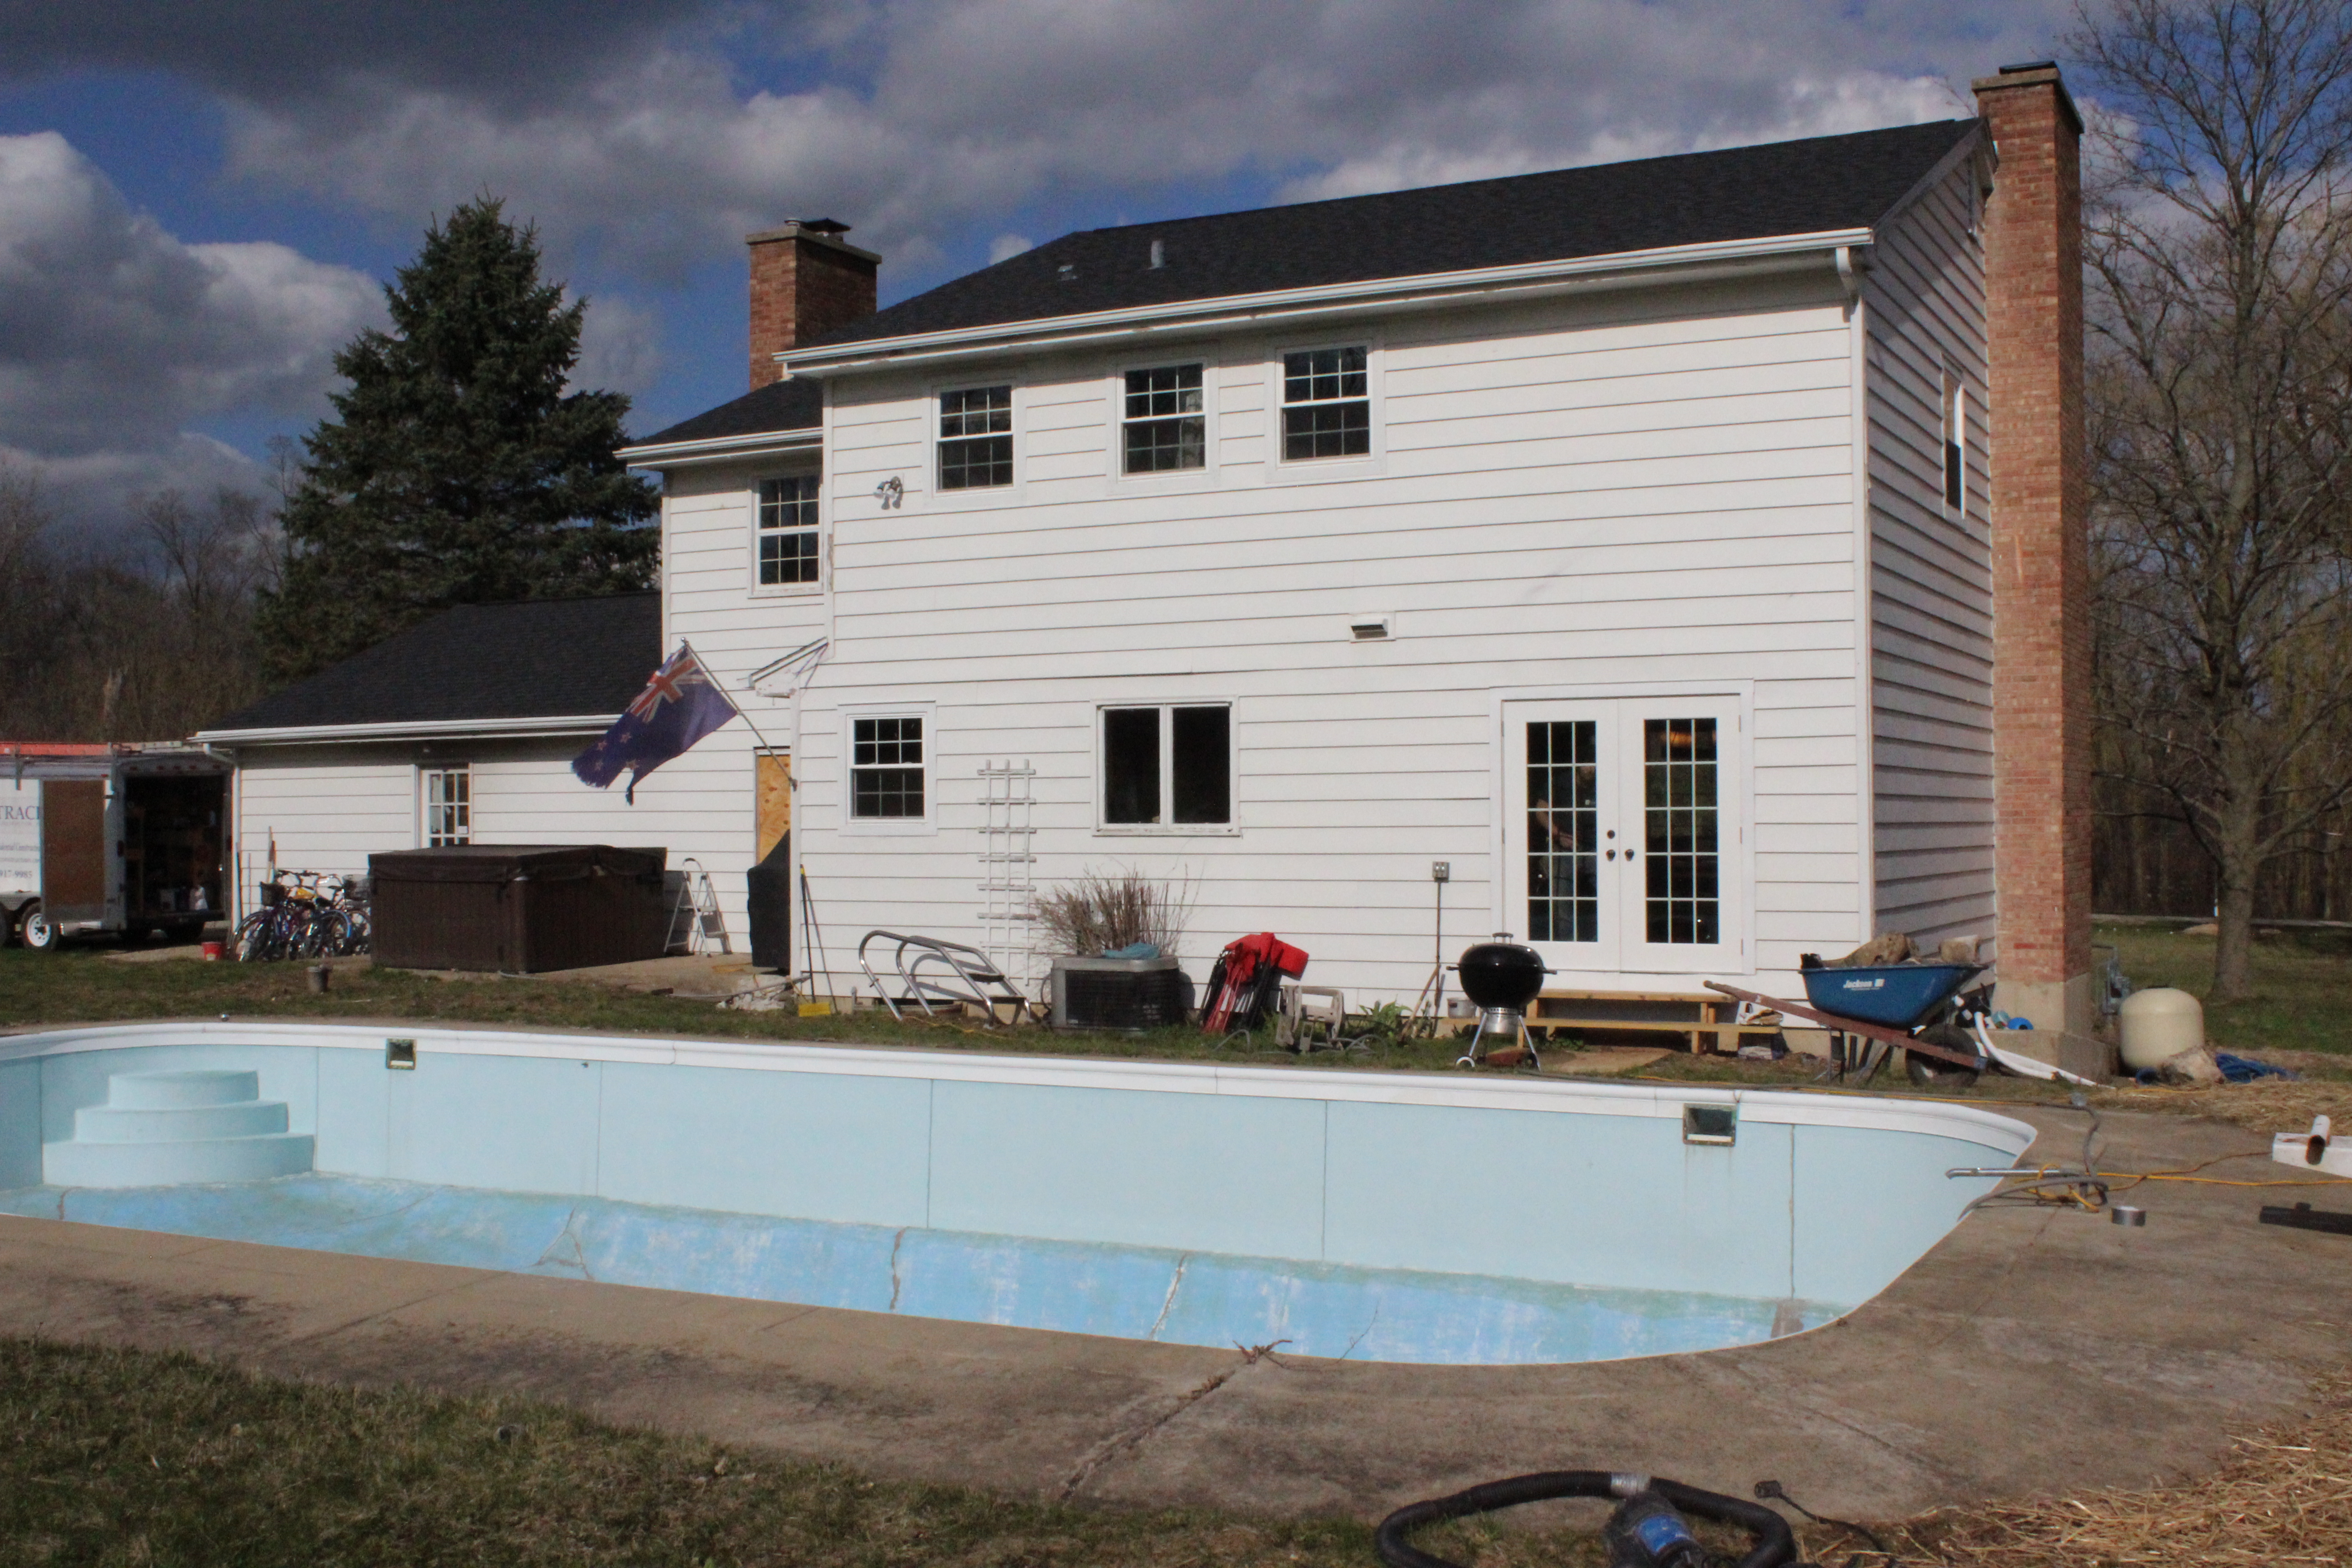
Not a huge improvement yet but in addition to a new roof and windows, we added the french doors, cut down a lot of weeds and started working to restore the pool (details to come on that).

Entry/Stairs

Before

Entry

Current

IMG_2996

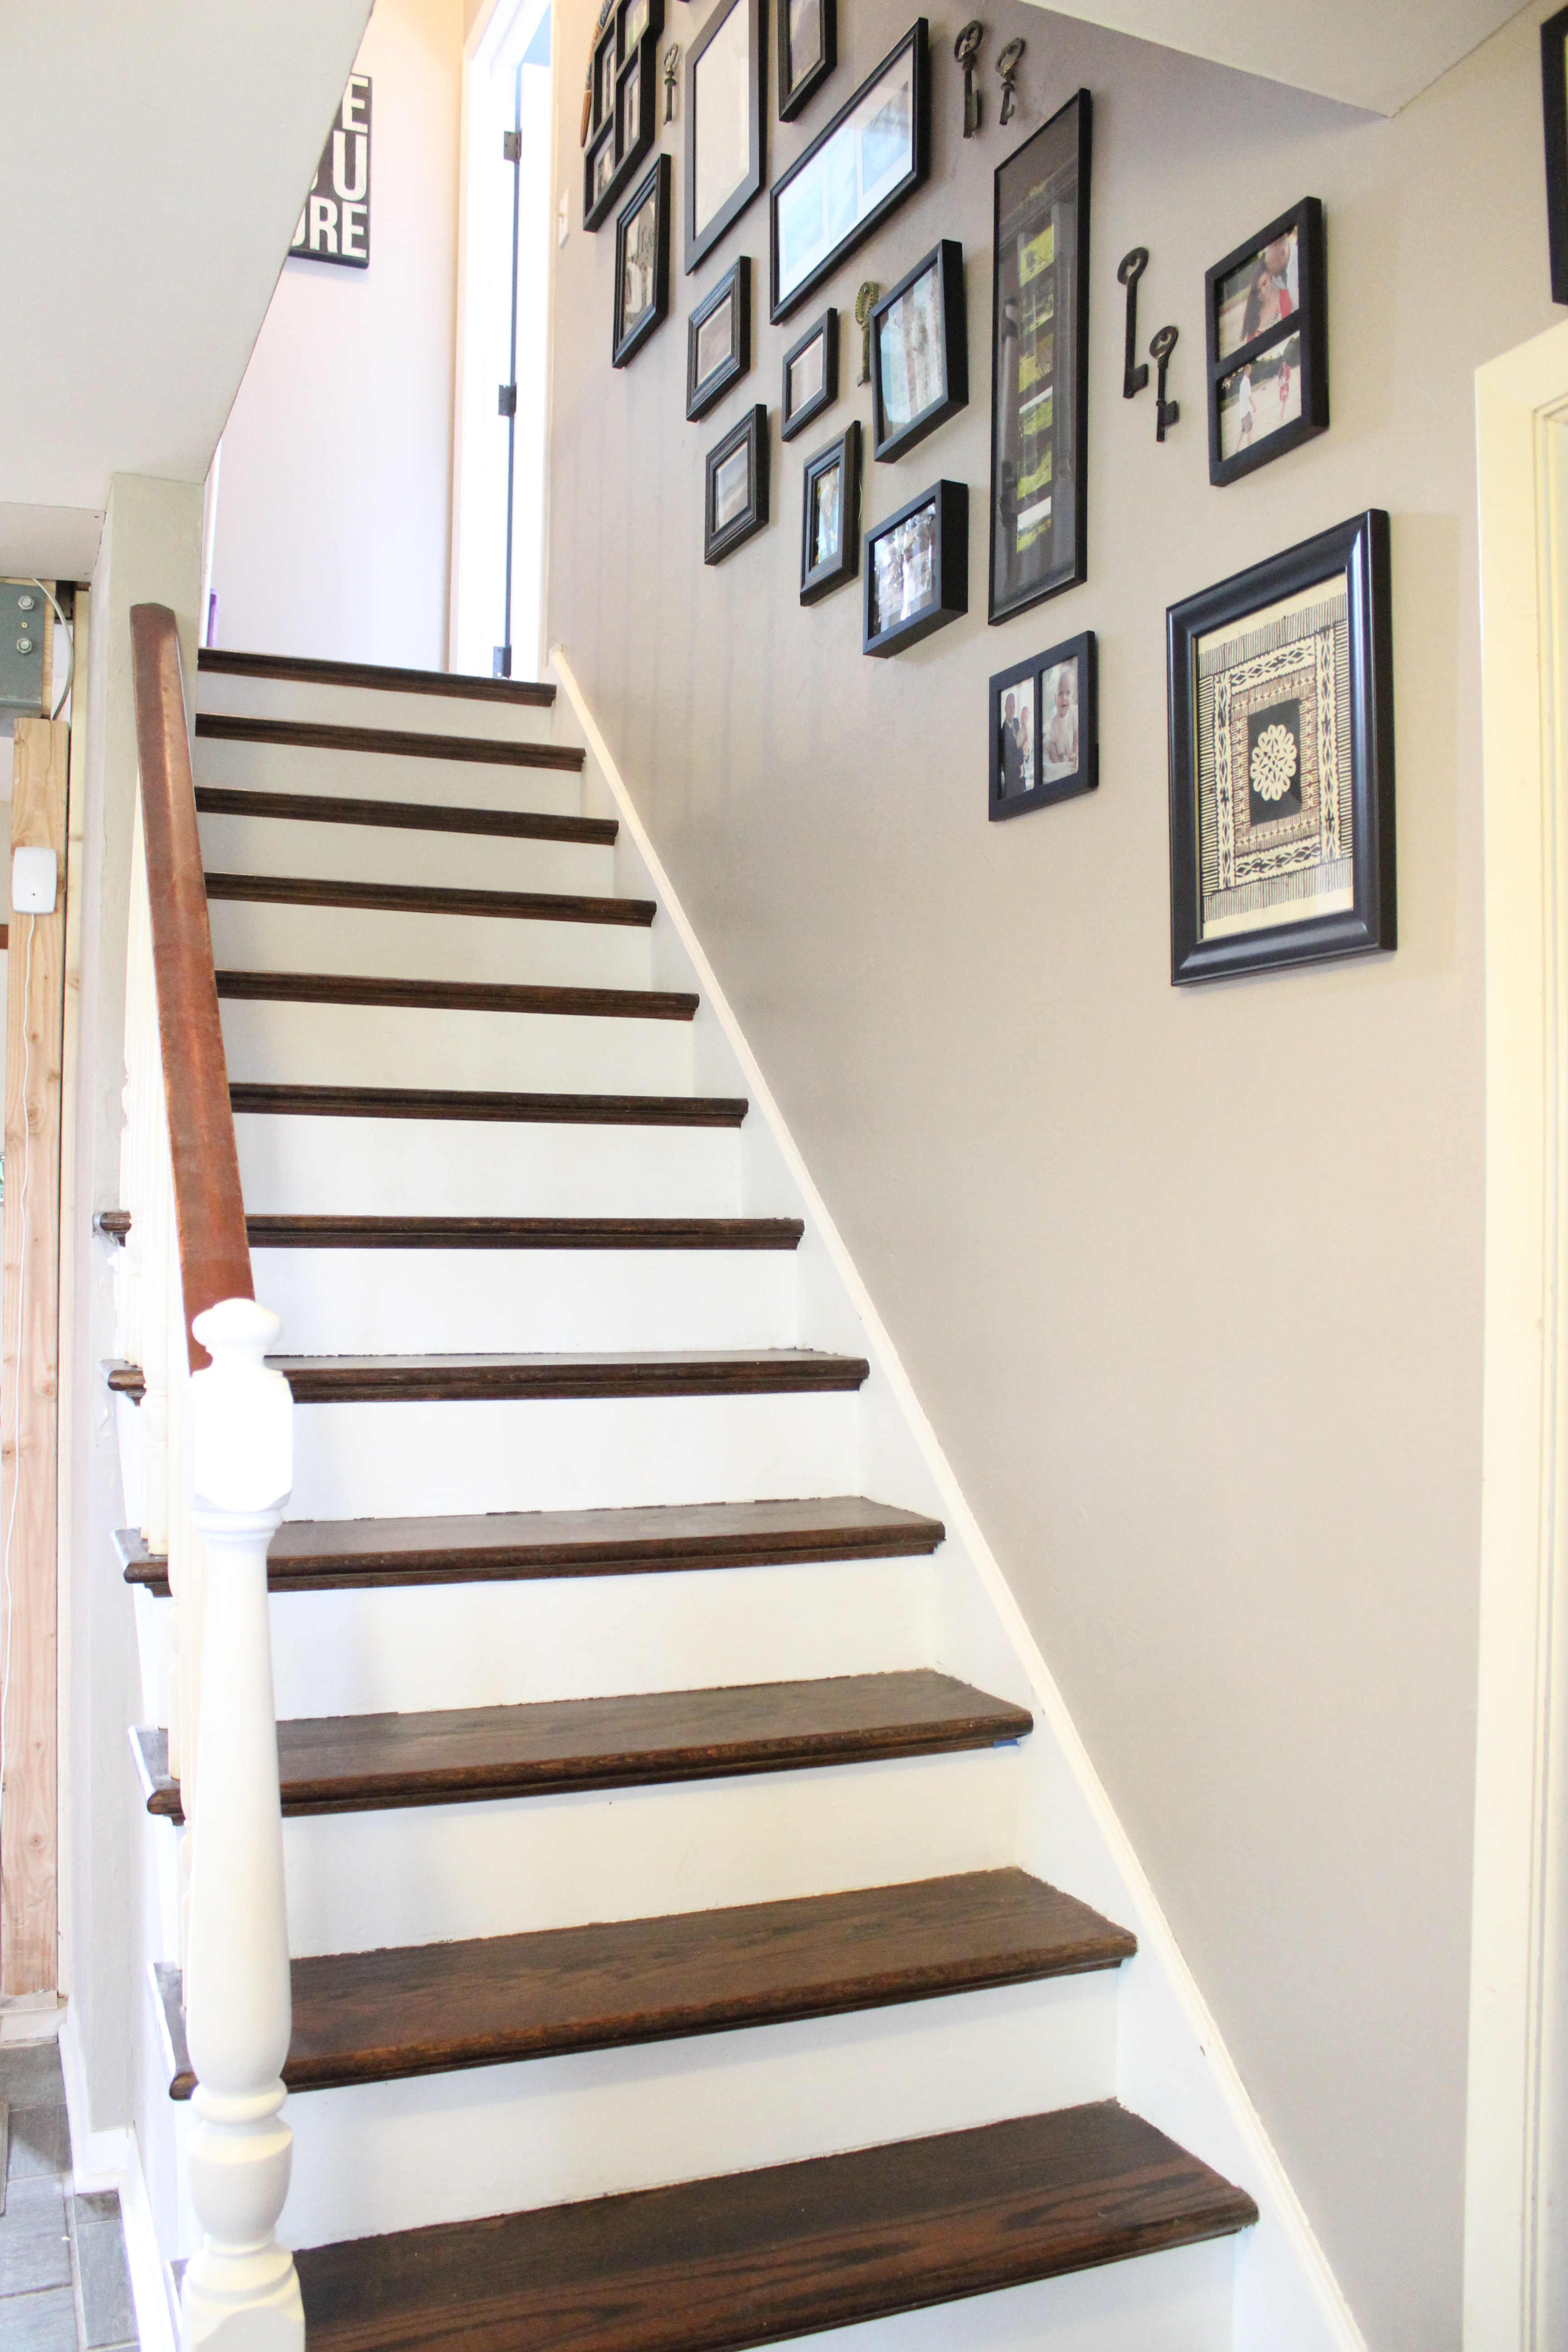
Upgrades to this area include re-finished stairs and paint (Perfect Greige by Sherwin Williams). To come will be a new railing.

Living Room

Before

Living Room on Closing Day

Current

IMG_2991

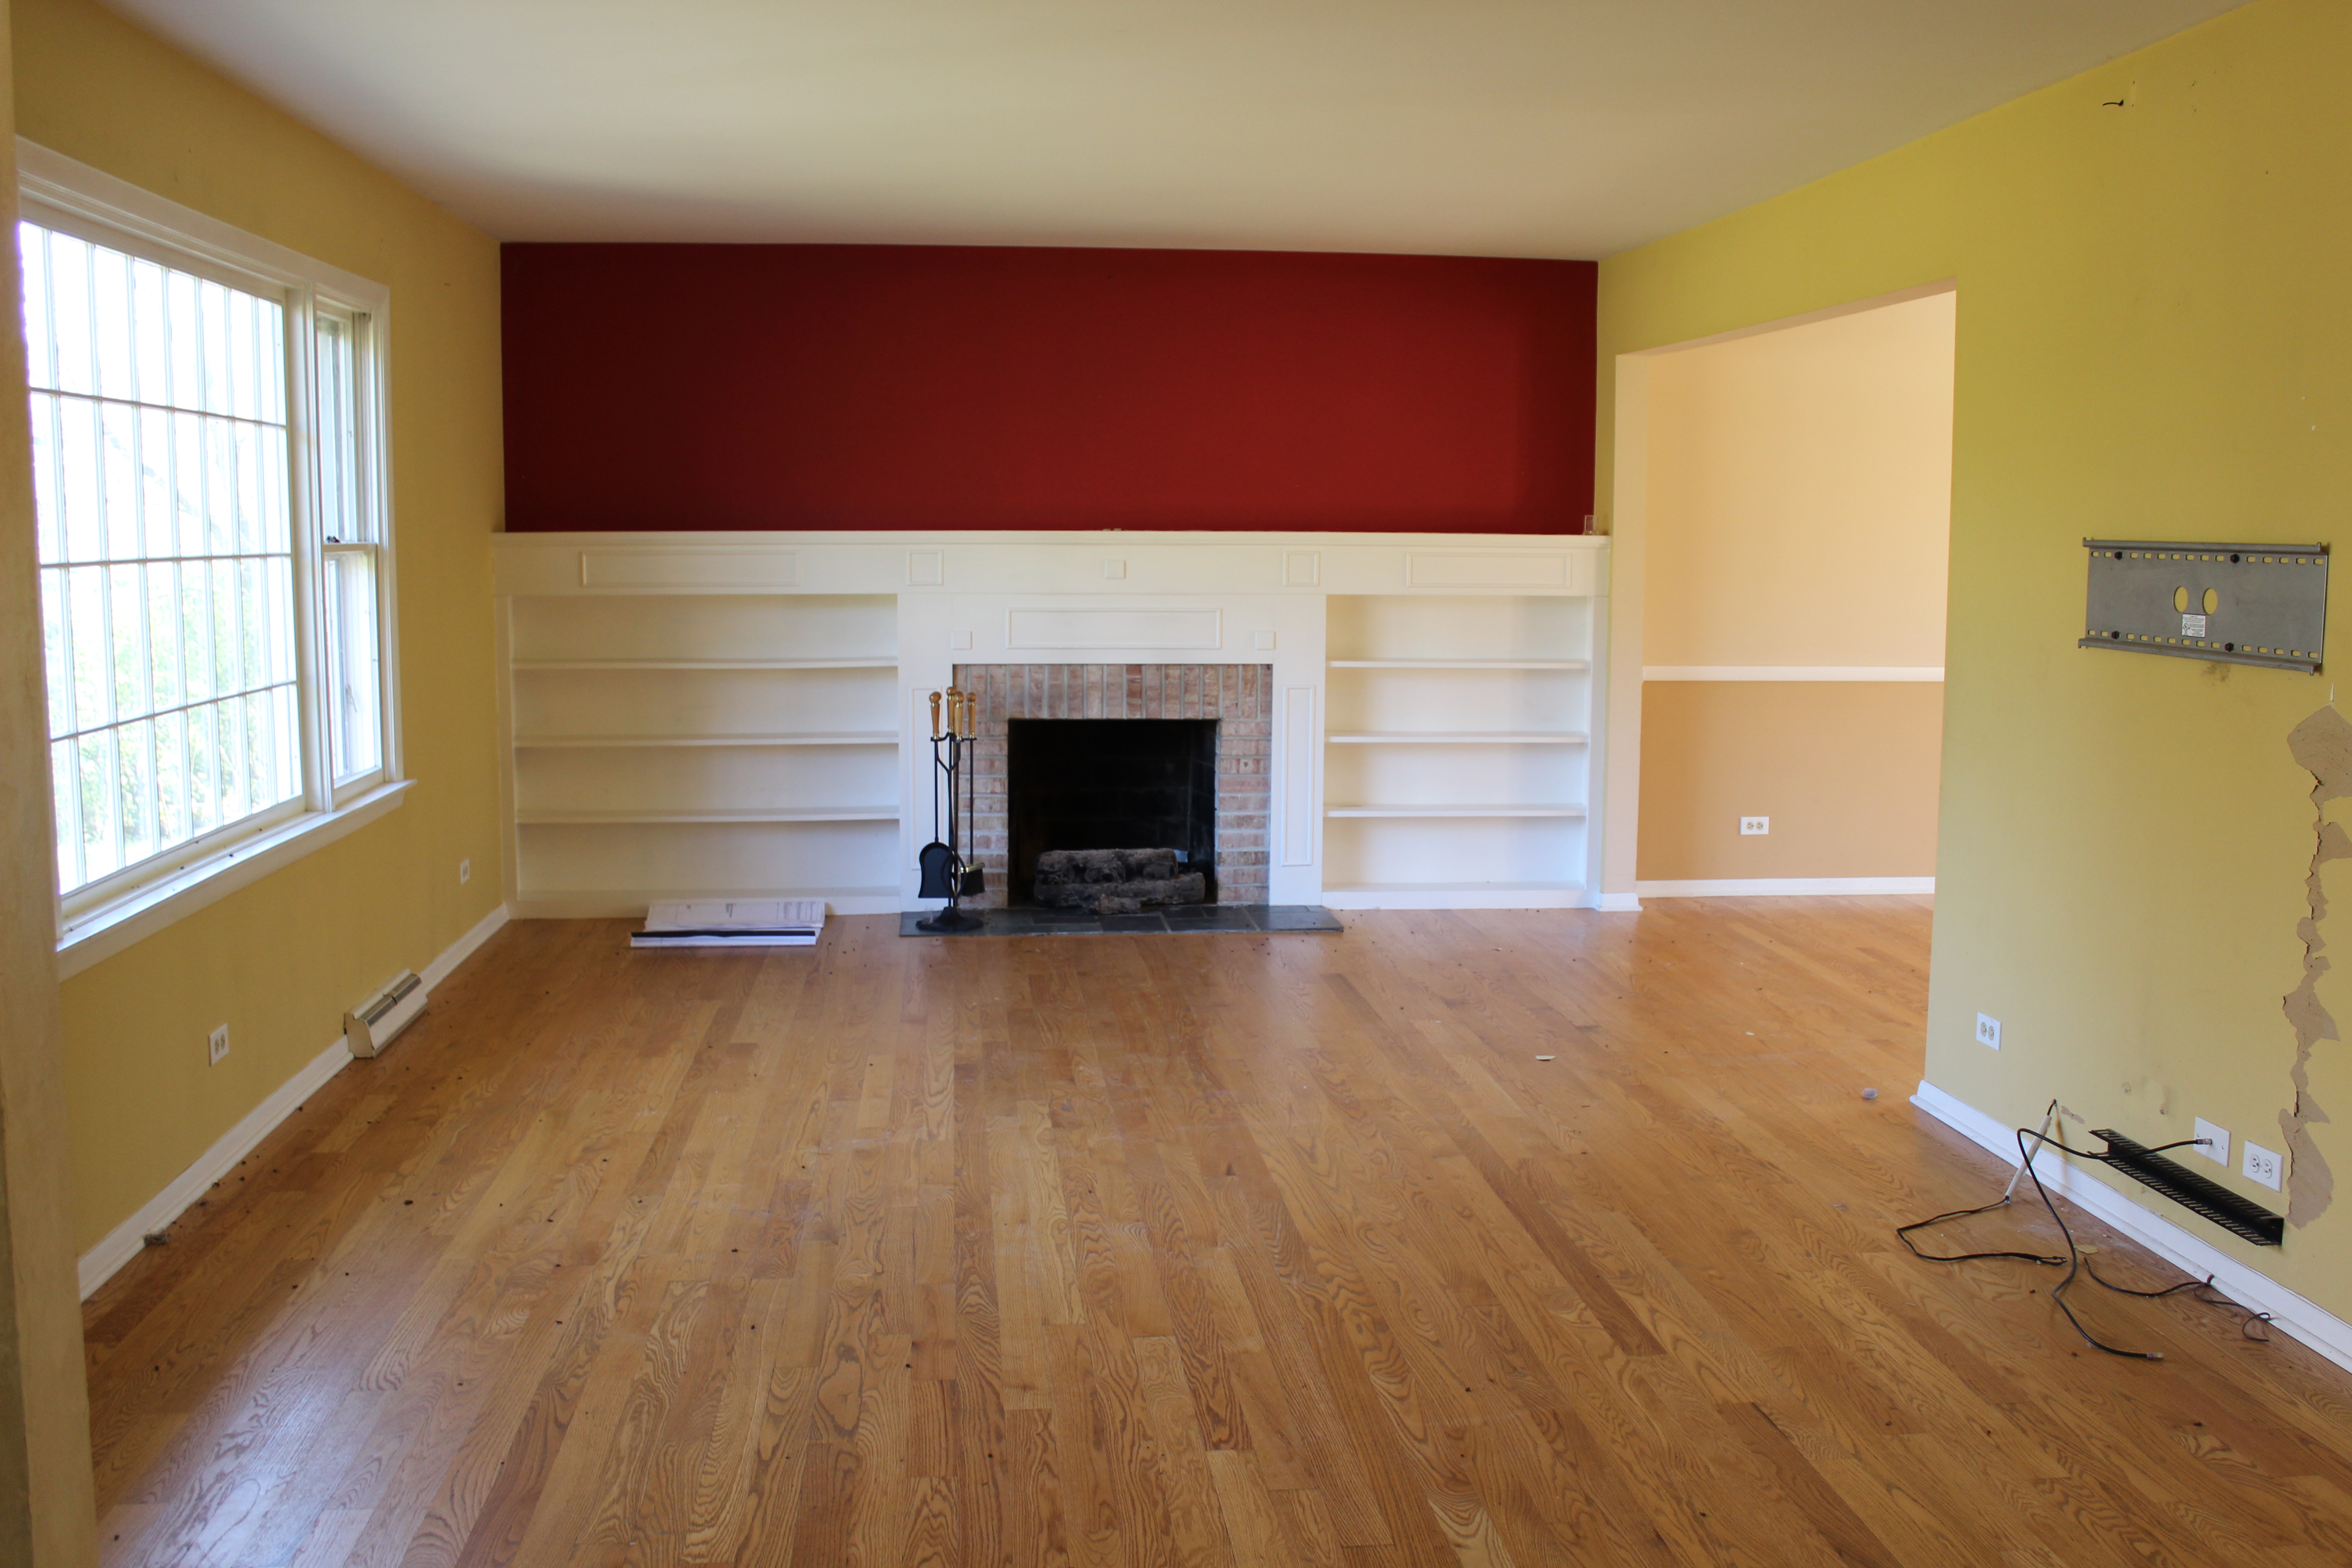
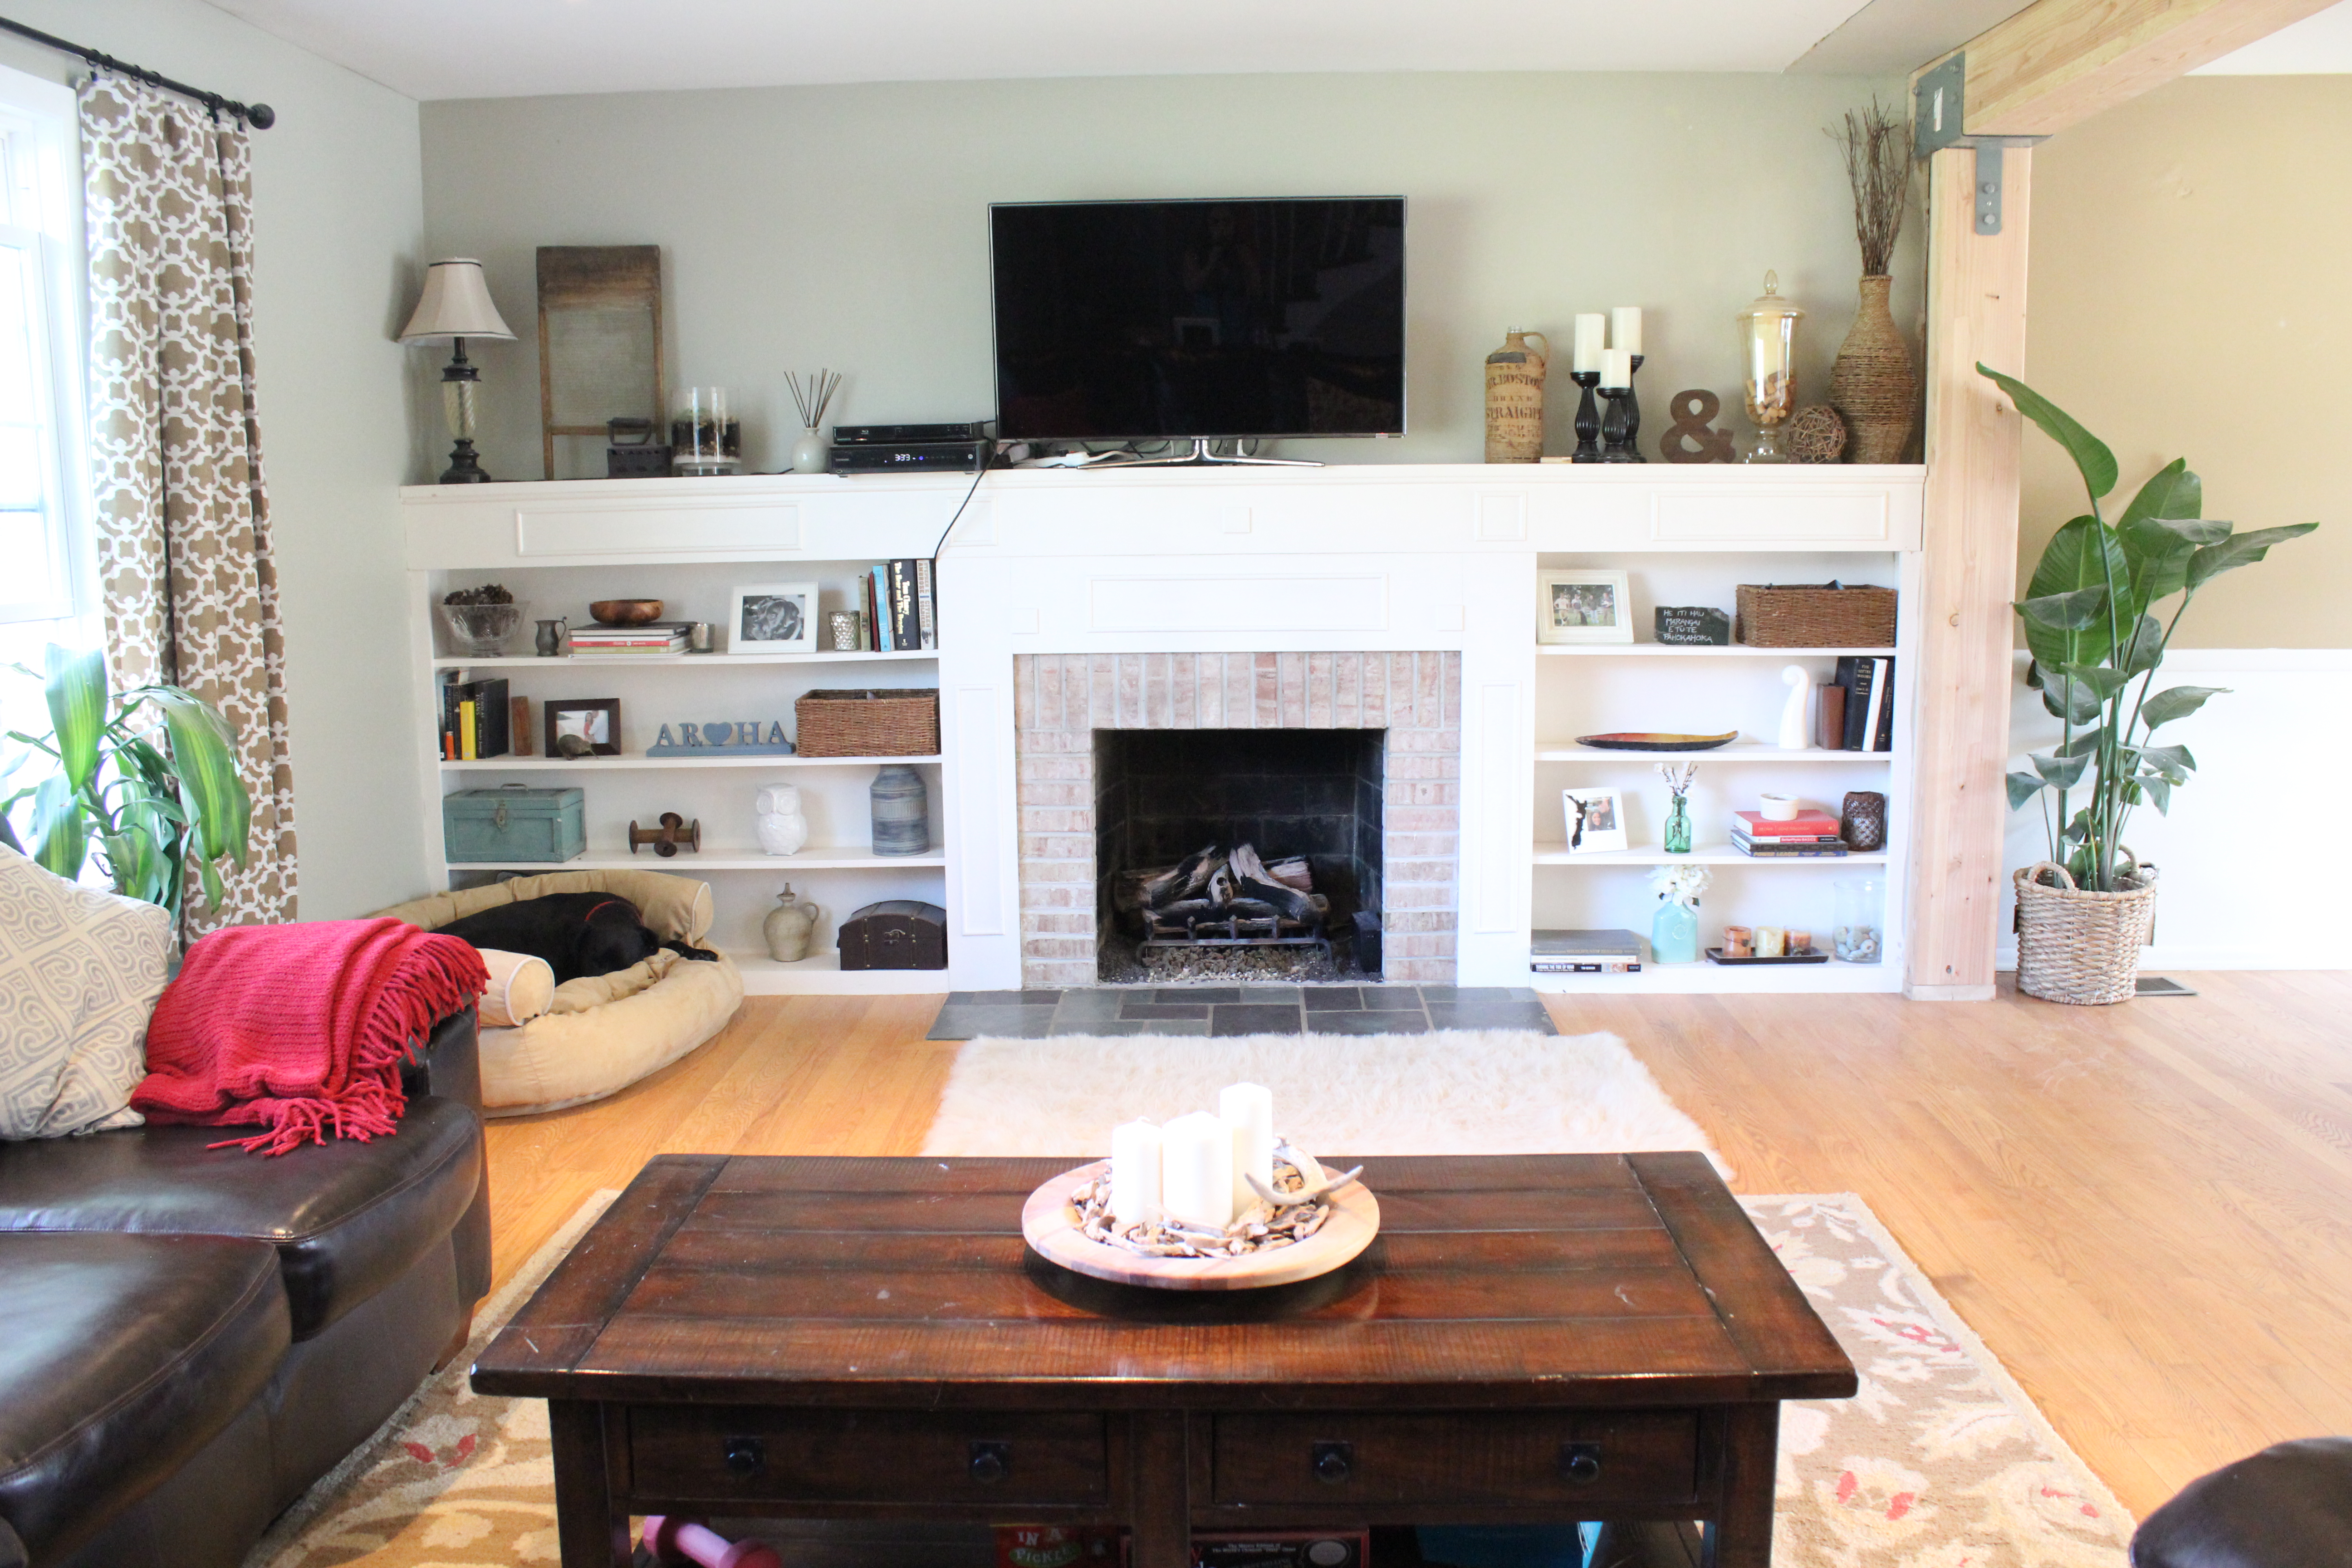
Besides paint (Analytical Gray by Sherwin Williams), the major change in here is the wall removed. Next in here will be finishing the support beam and putting lights in the ceiling. Down the road we are going to change up the built-ins so they are floor to ceiling with cabinets at the bottom. Plus re-finishing the floors.

Dining Room

Before

12 Oaks Before 139

Current

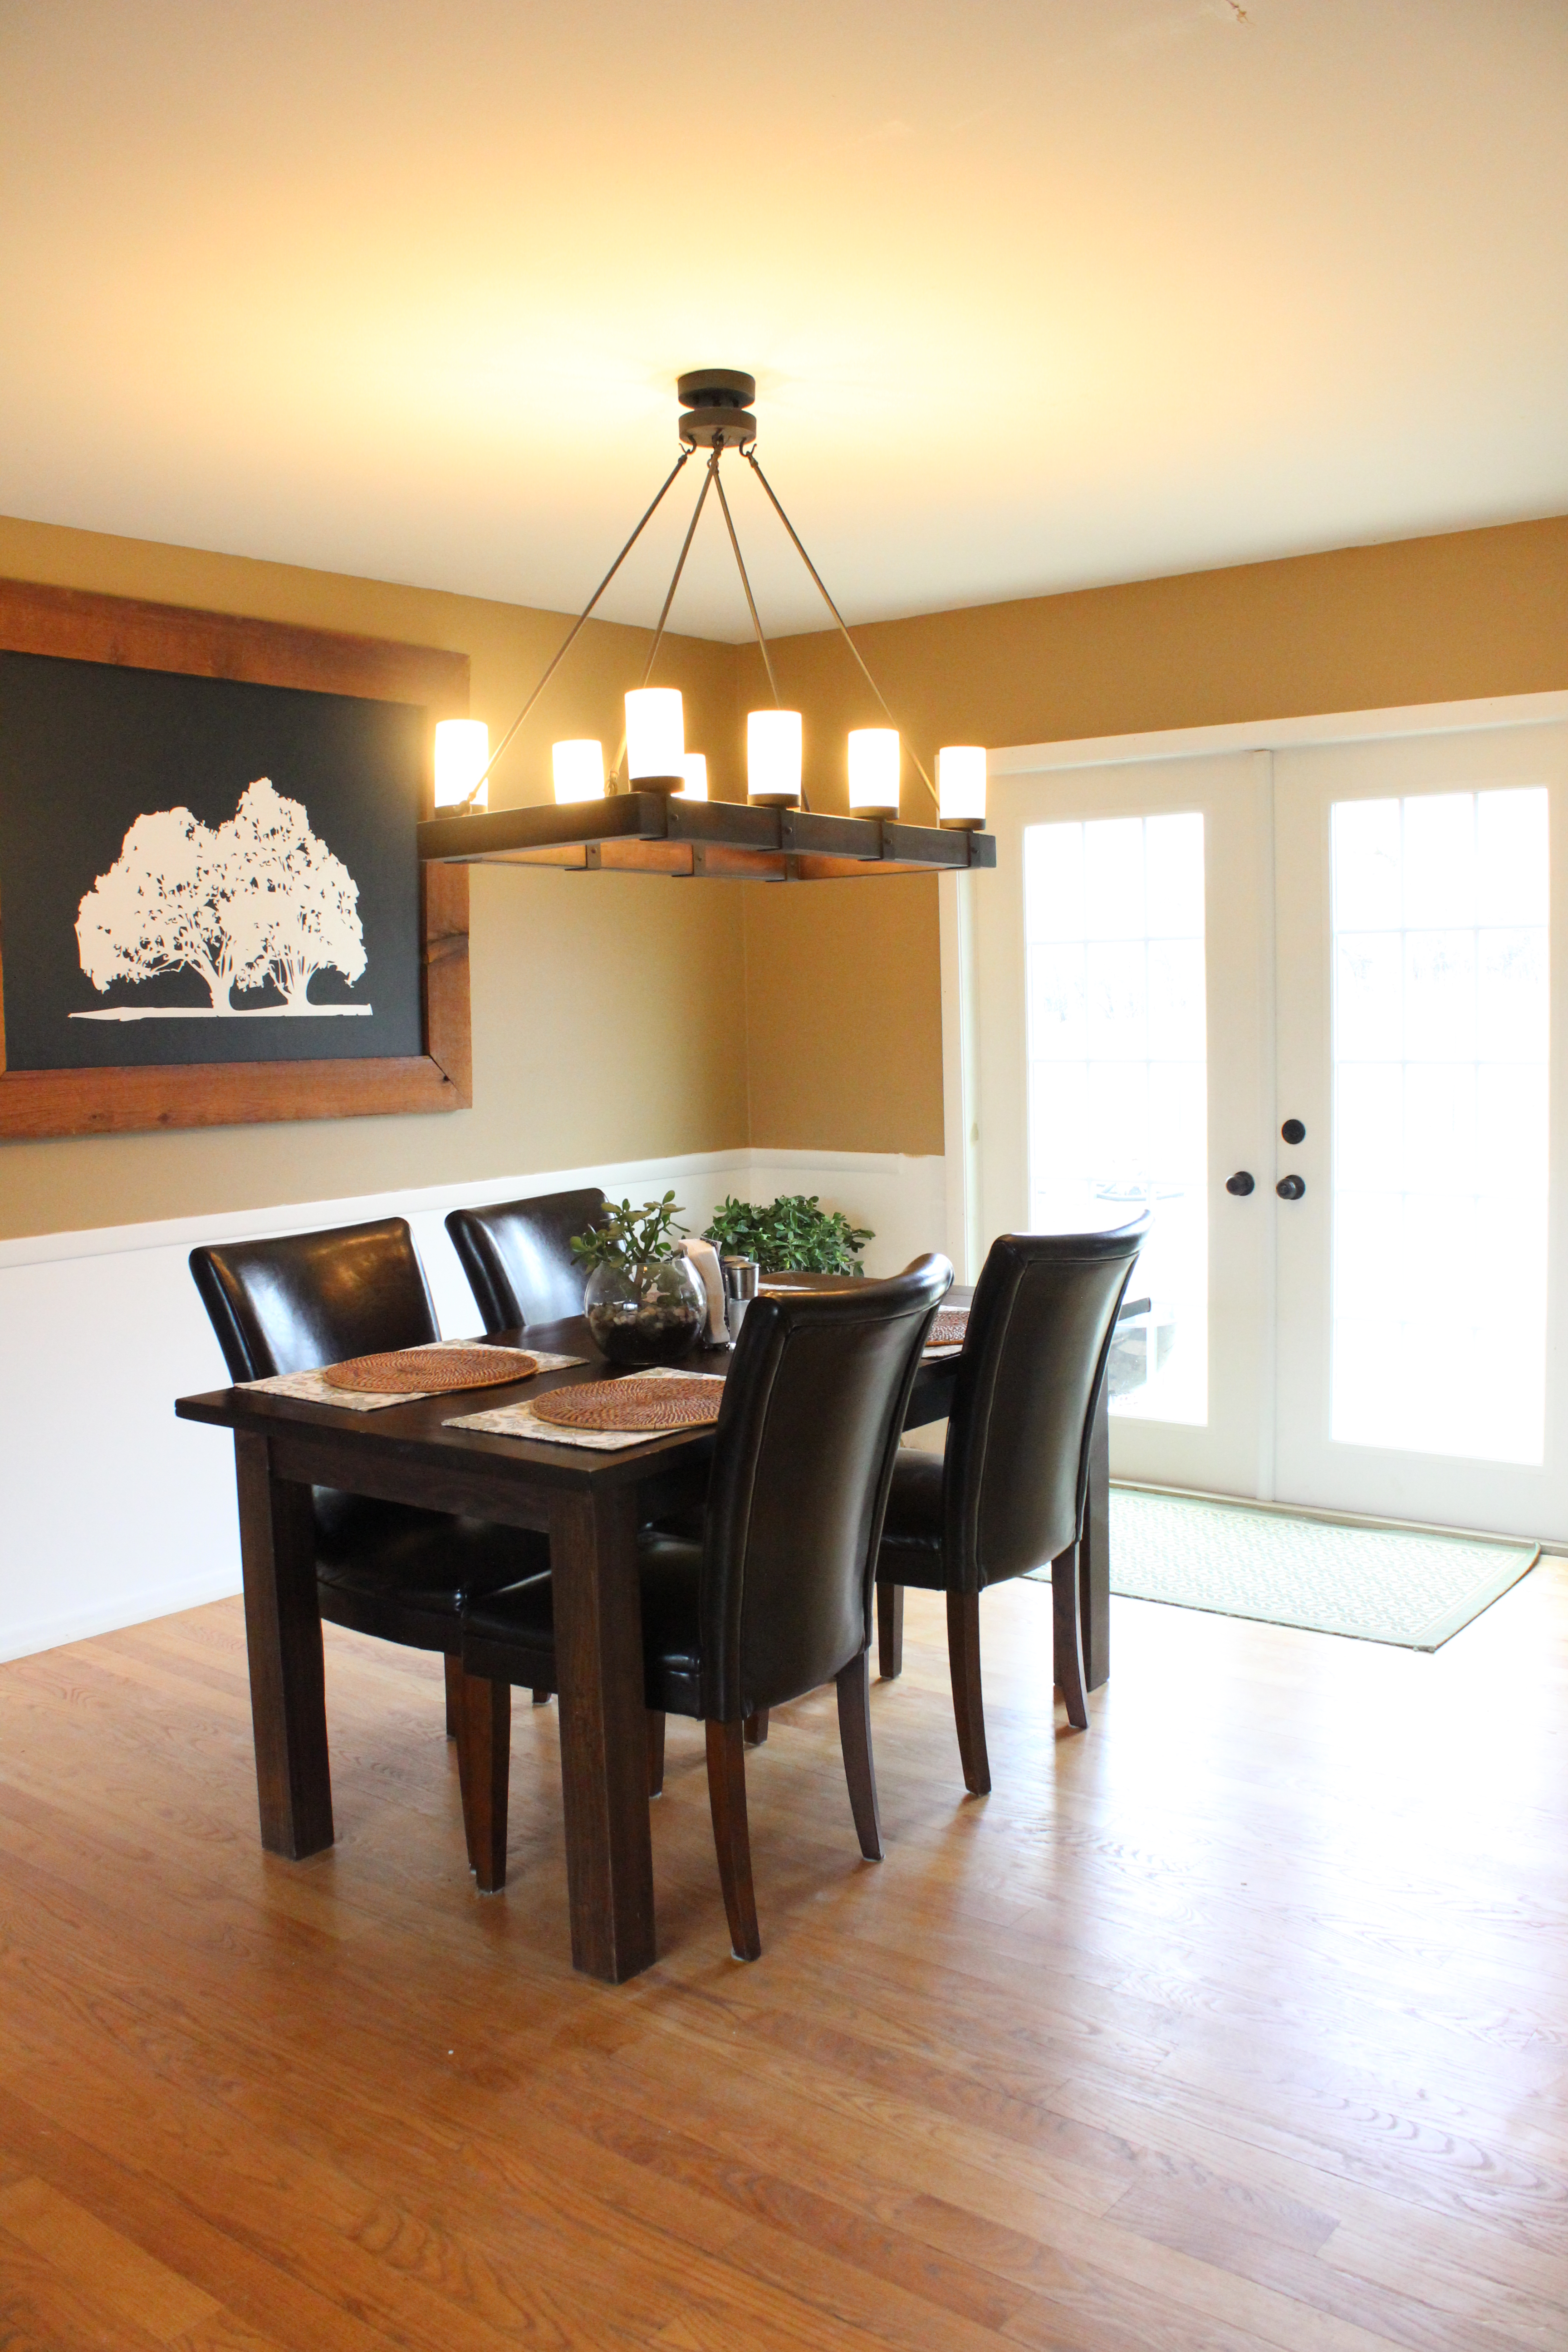
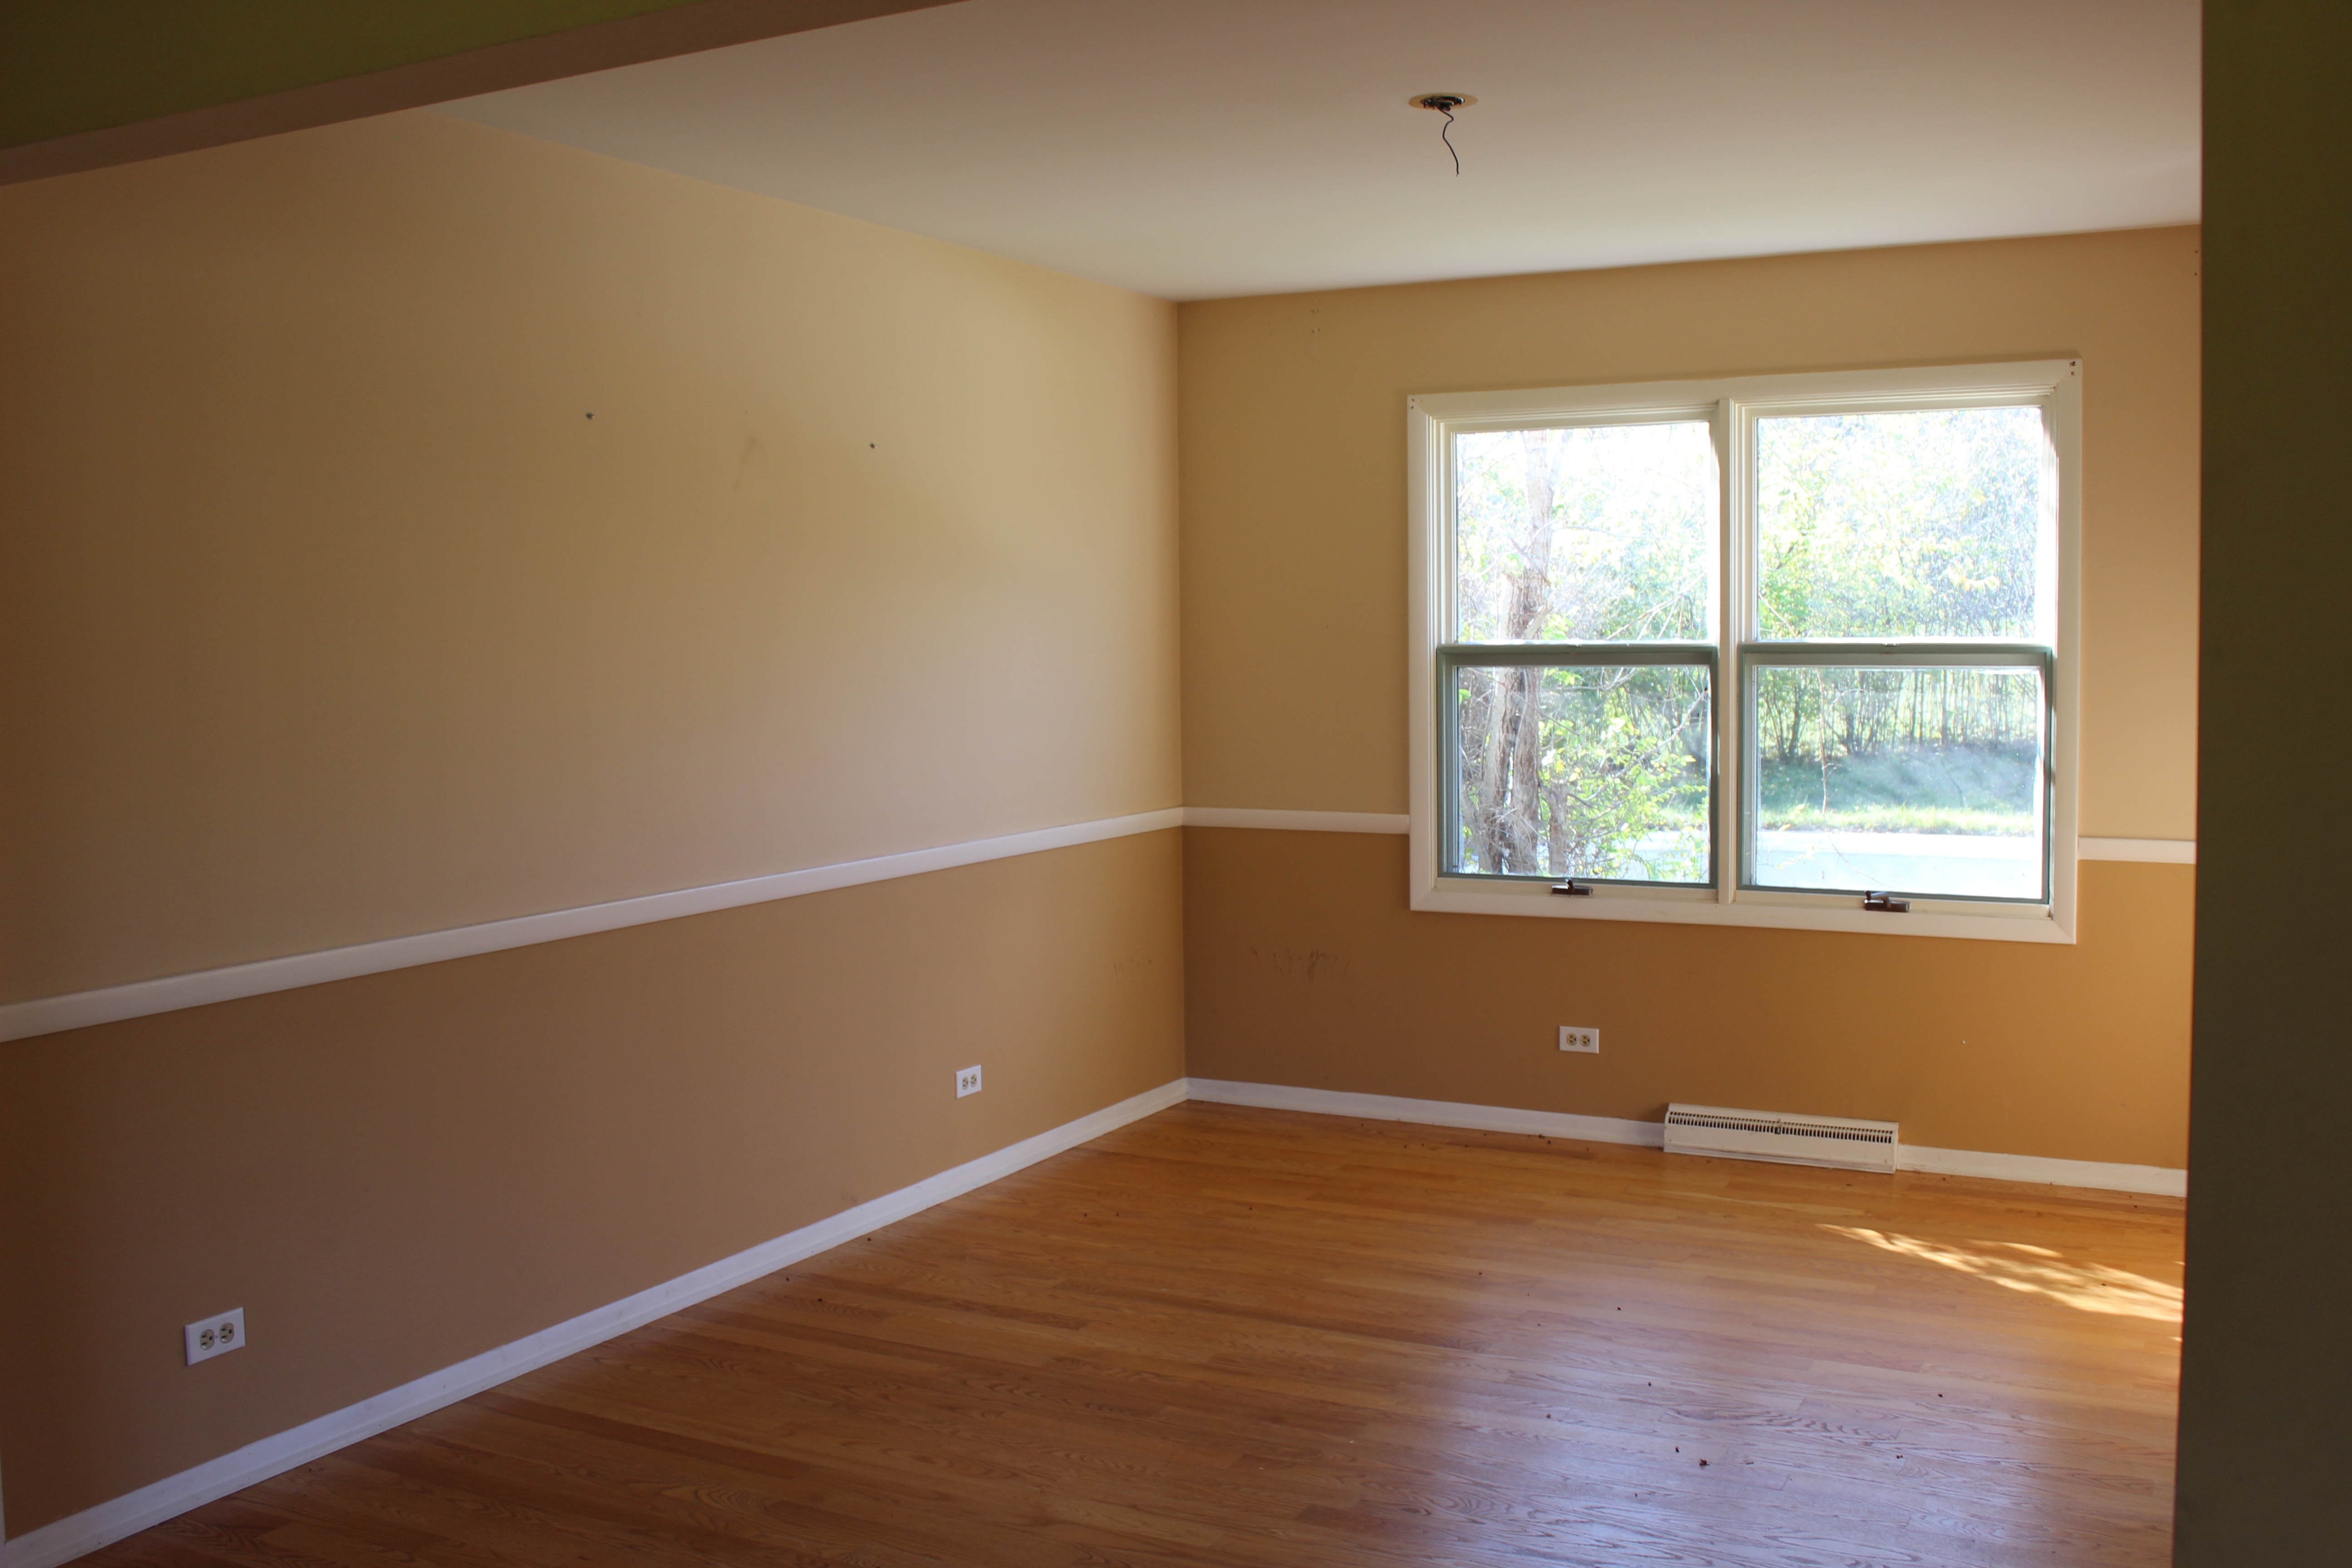
IMG_2848This room has seen a new light, french doors and paint (Cliff Rock by Behr above the chair, white below). Also we made the homemade tree art here. Future plans in here include shadowbox molding, a new handmade table and a rug.

Kitchen

Before

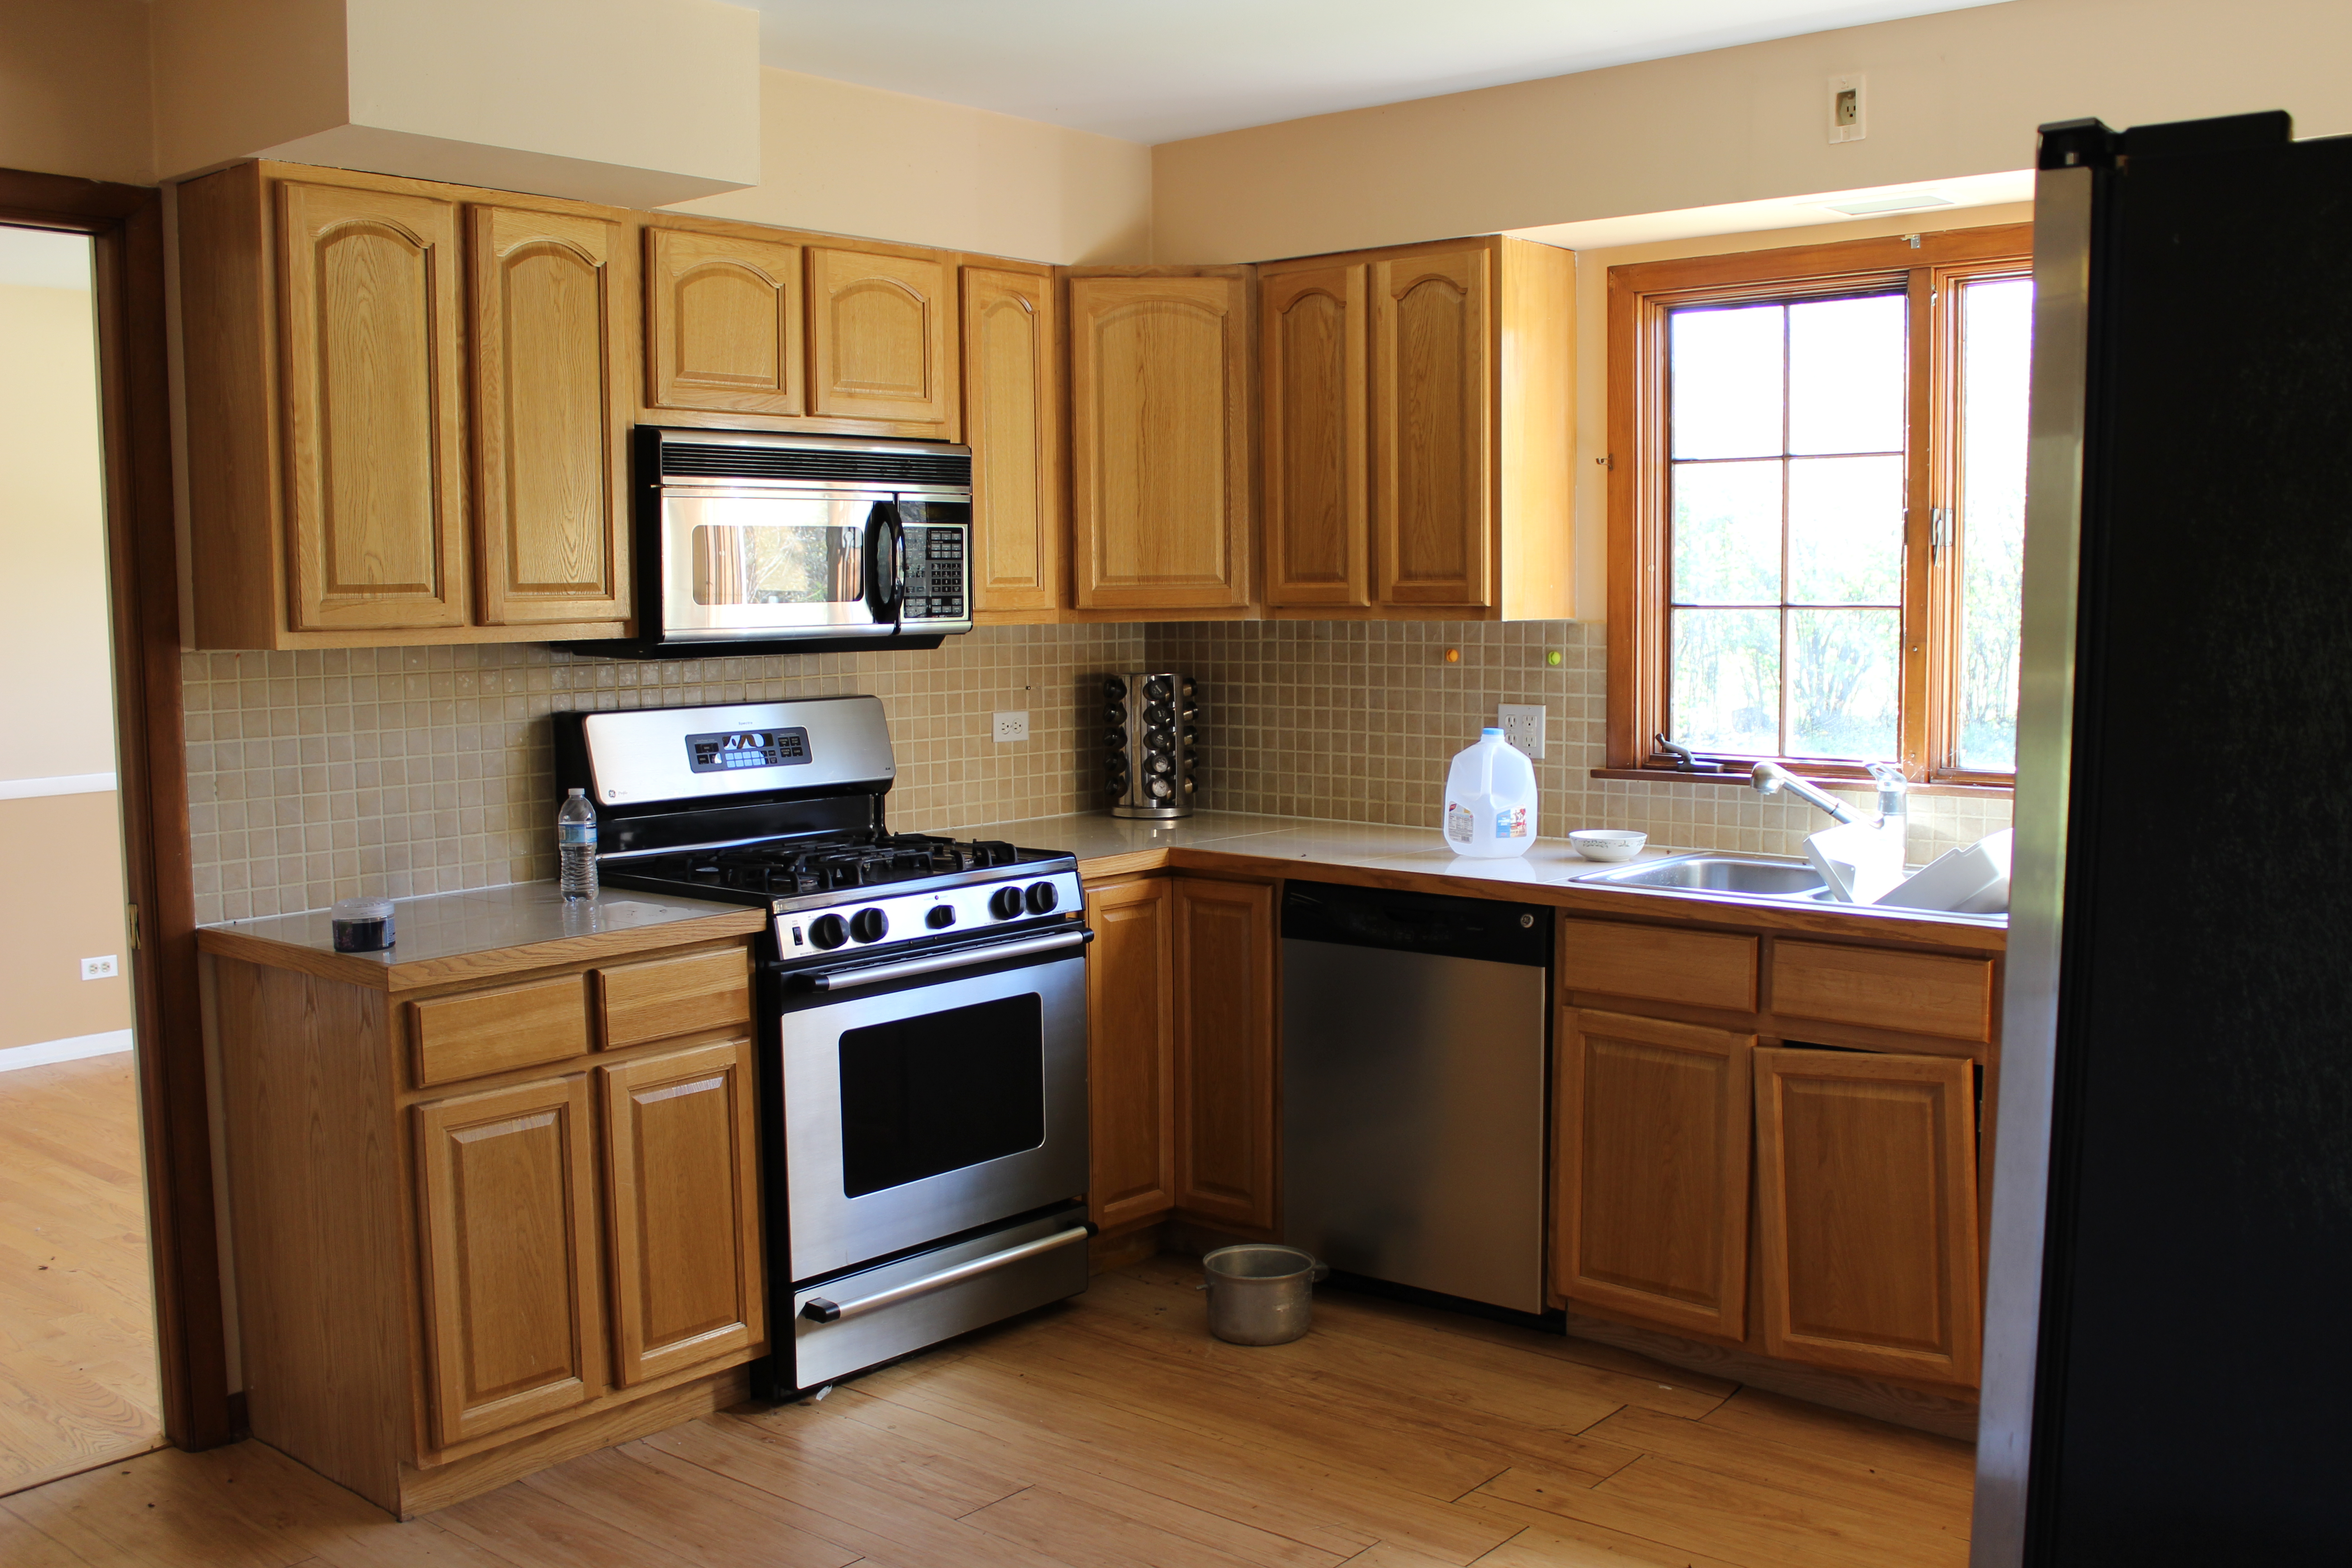
12 Oaks Before 129

Current

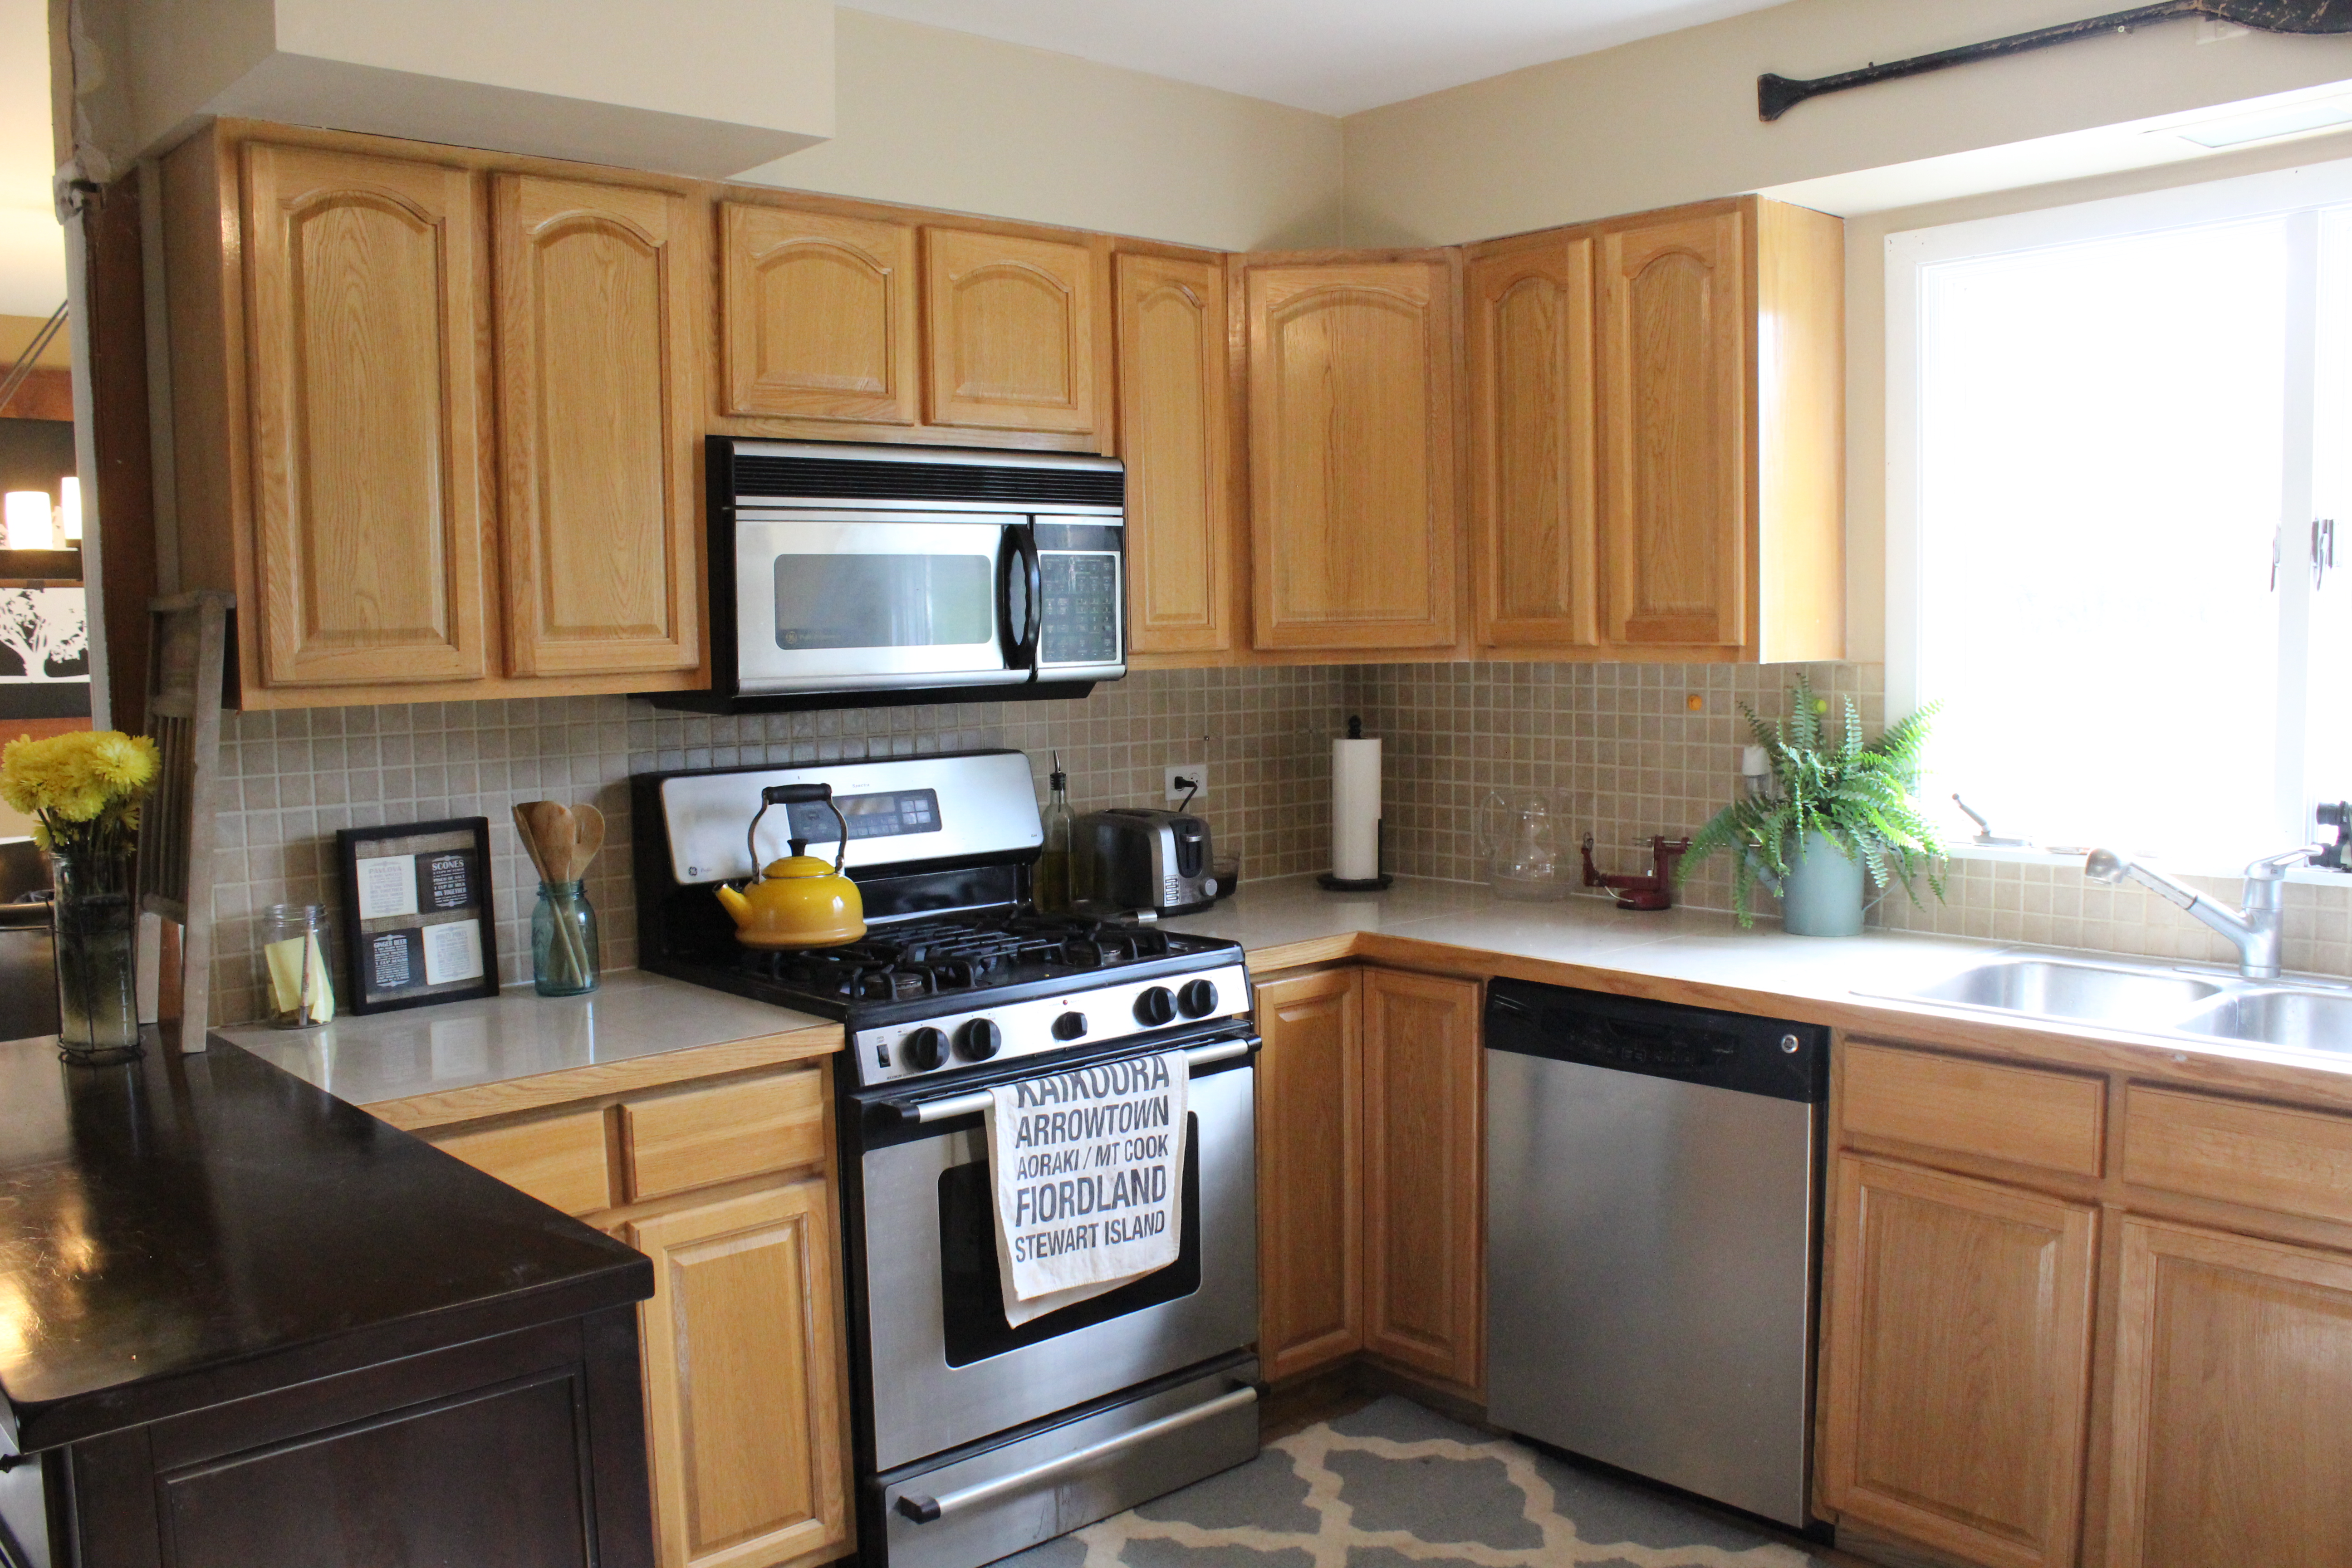
IMG_2975

Not much has changed in here besides taking out the main wall. A complete renovation will come including new cabinets, countertops, lighting, flooring and appliances.

Den

Before

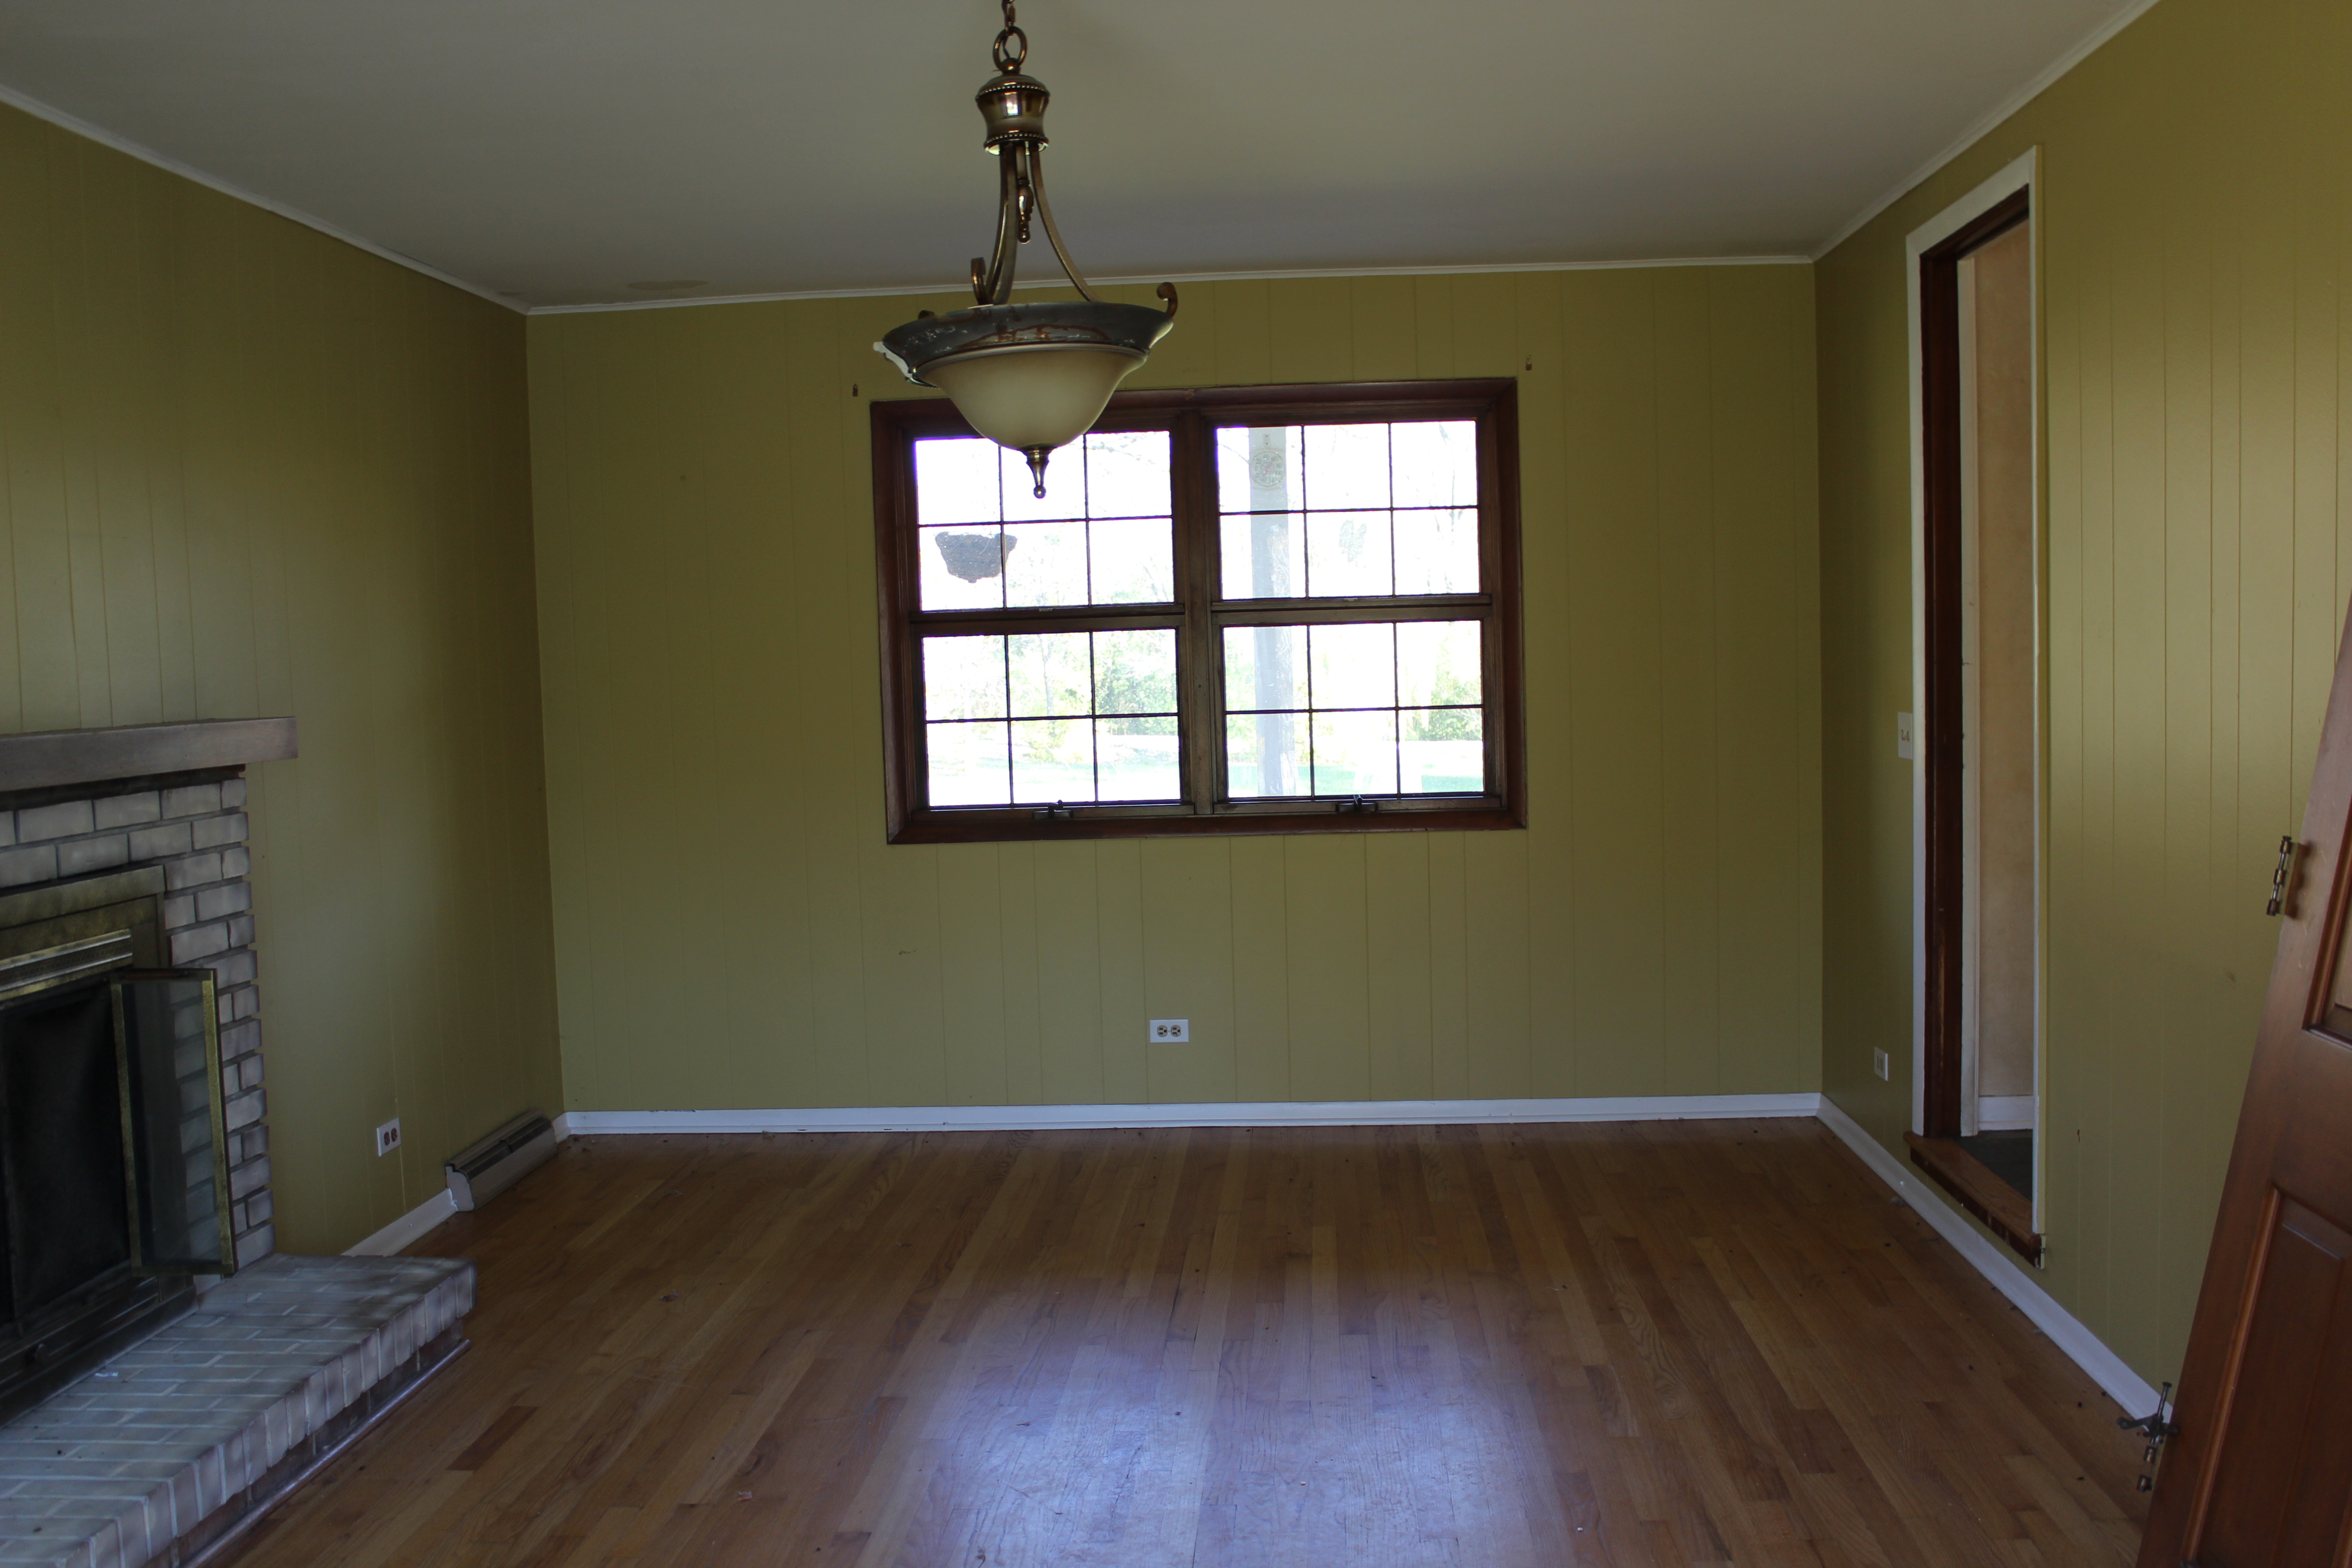
Den

Current

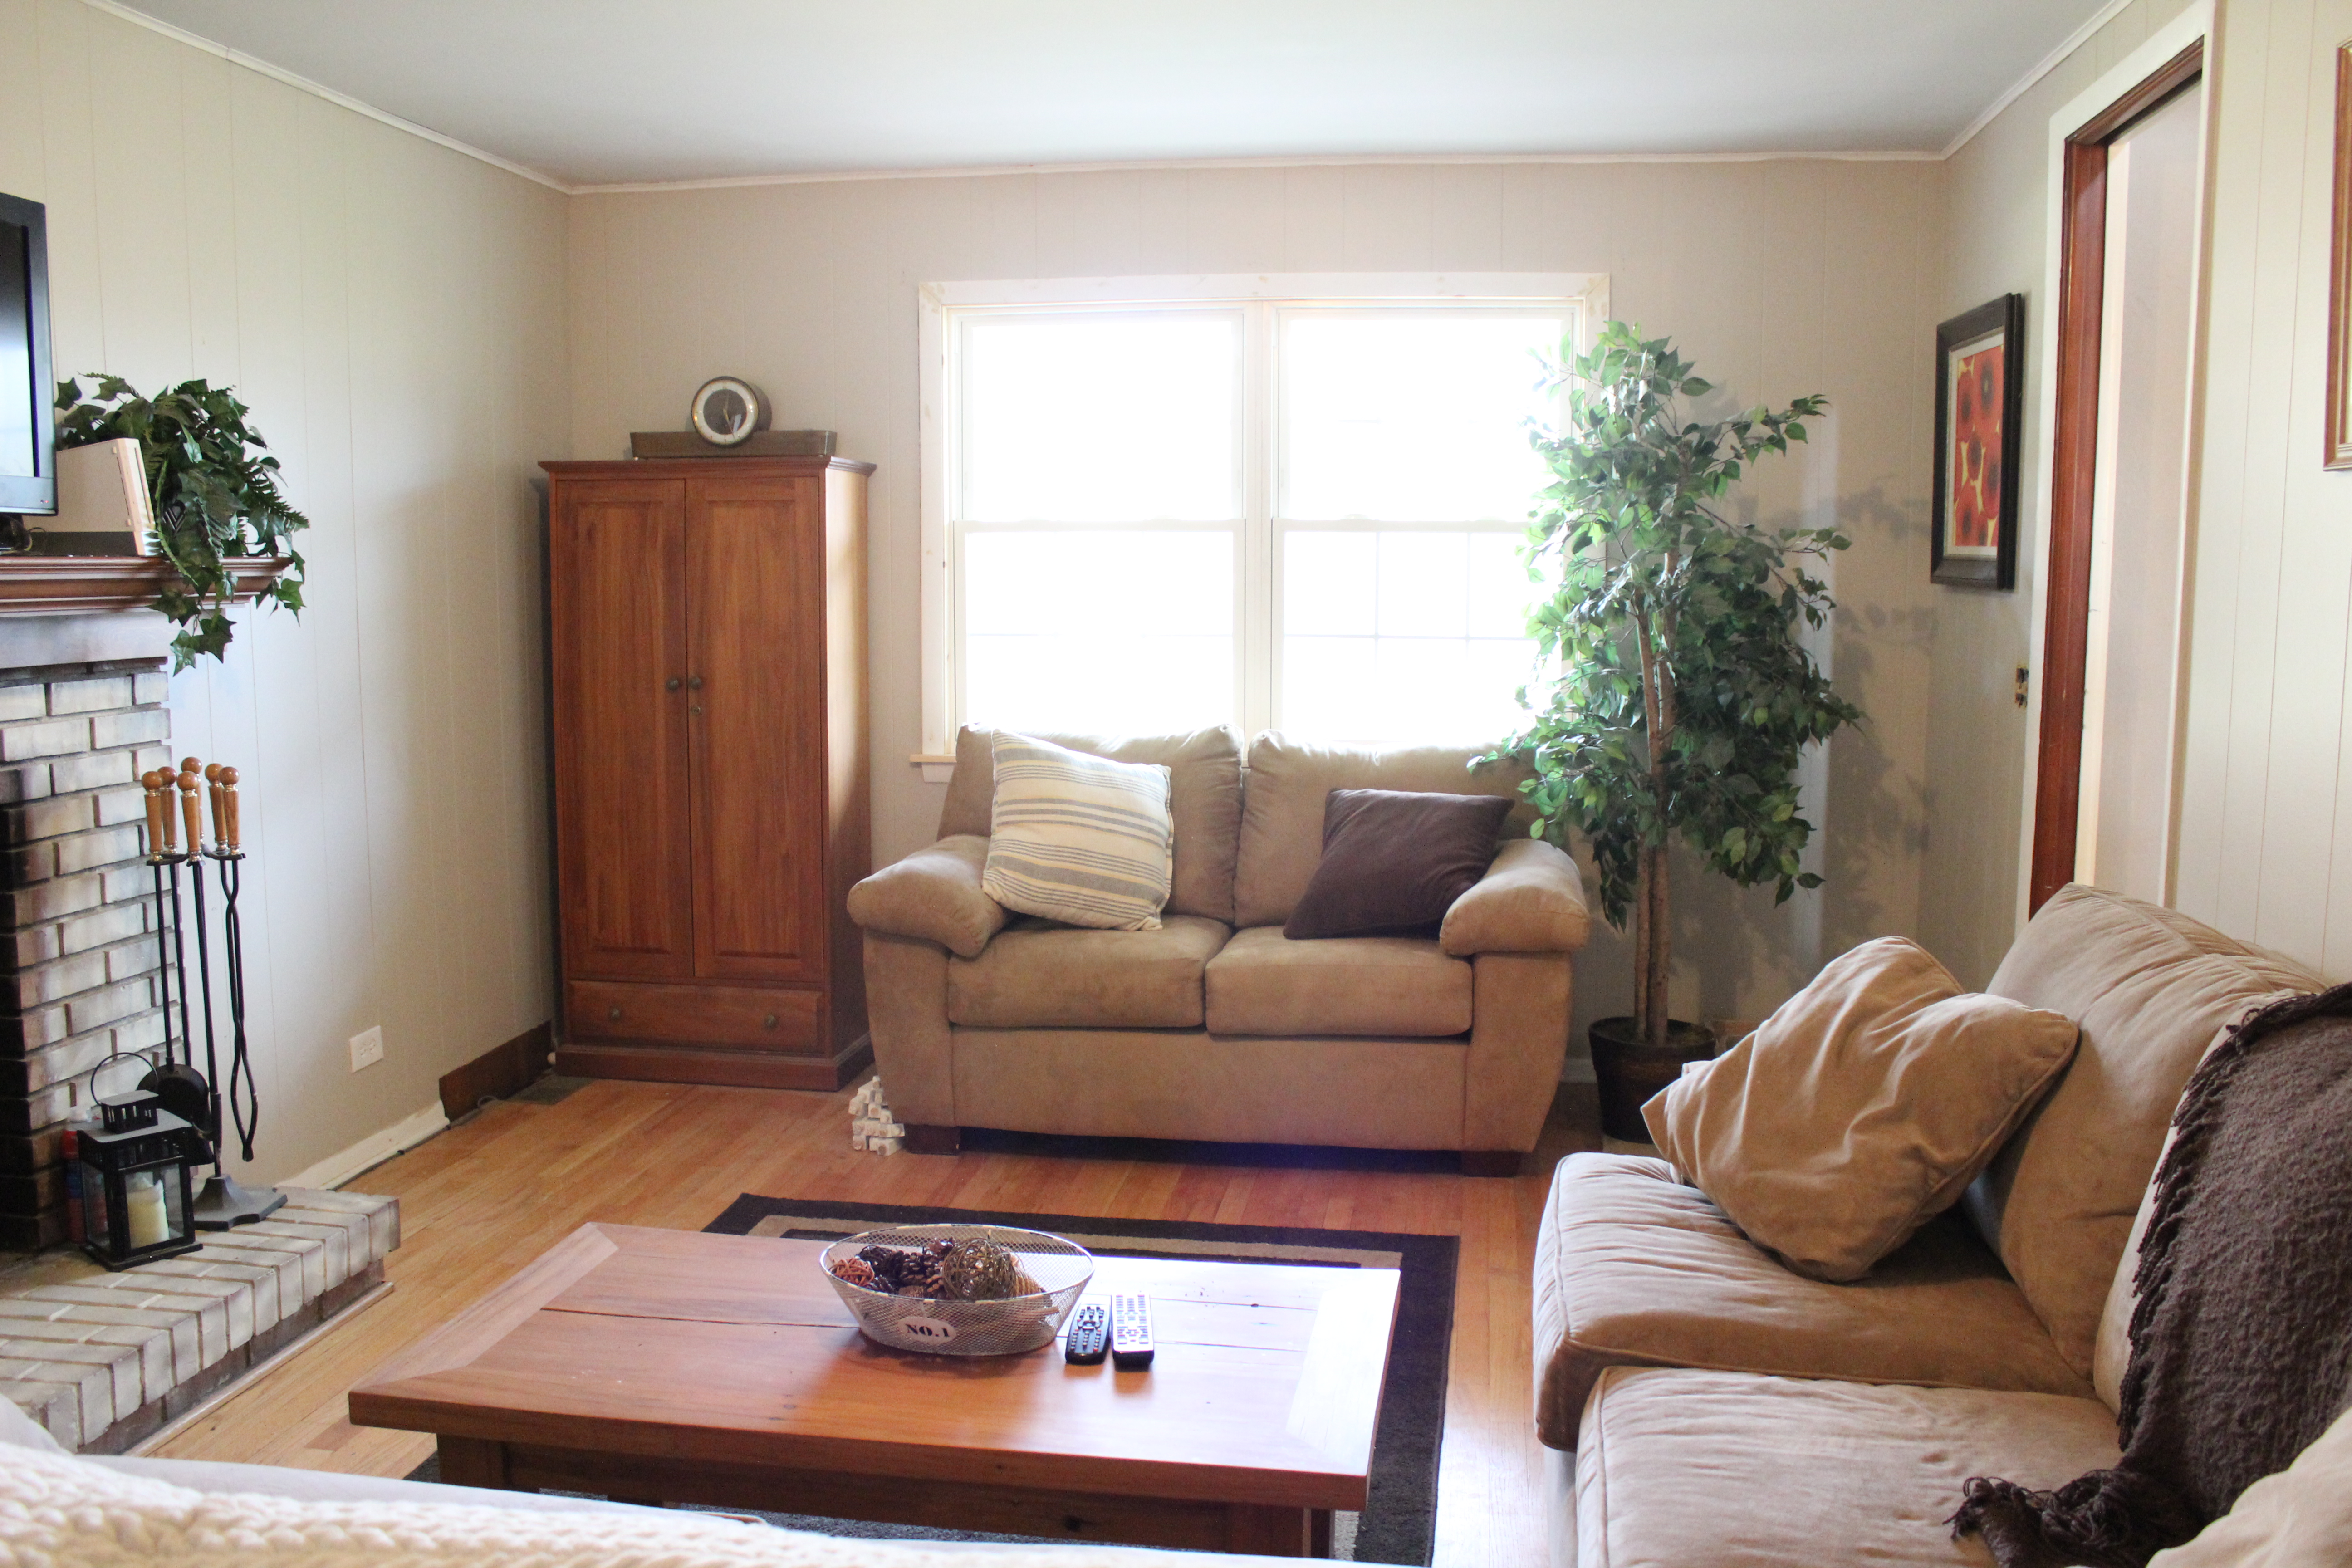
IMG_2974

Little progress in here except for paint (Behr’s Wheat Bread). We’re now thinking of turning this into a 1st floor office. Still need to re-do the fireplace, re-finish the floors and add some french doors.

Powder Room

Before

First floor bathroom

Current

IMG_2984

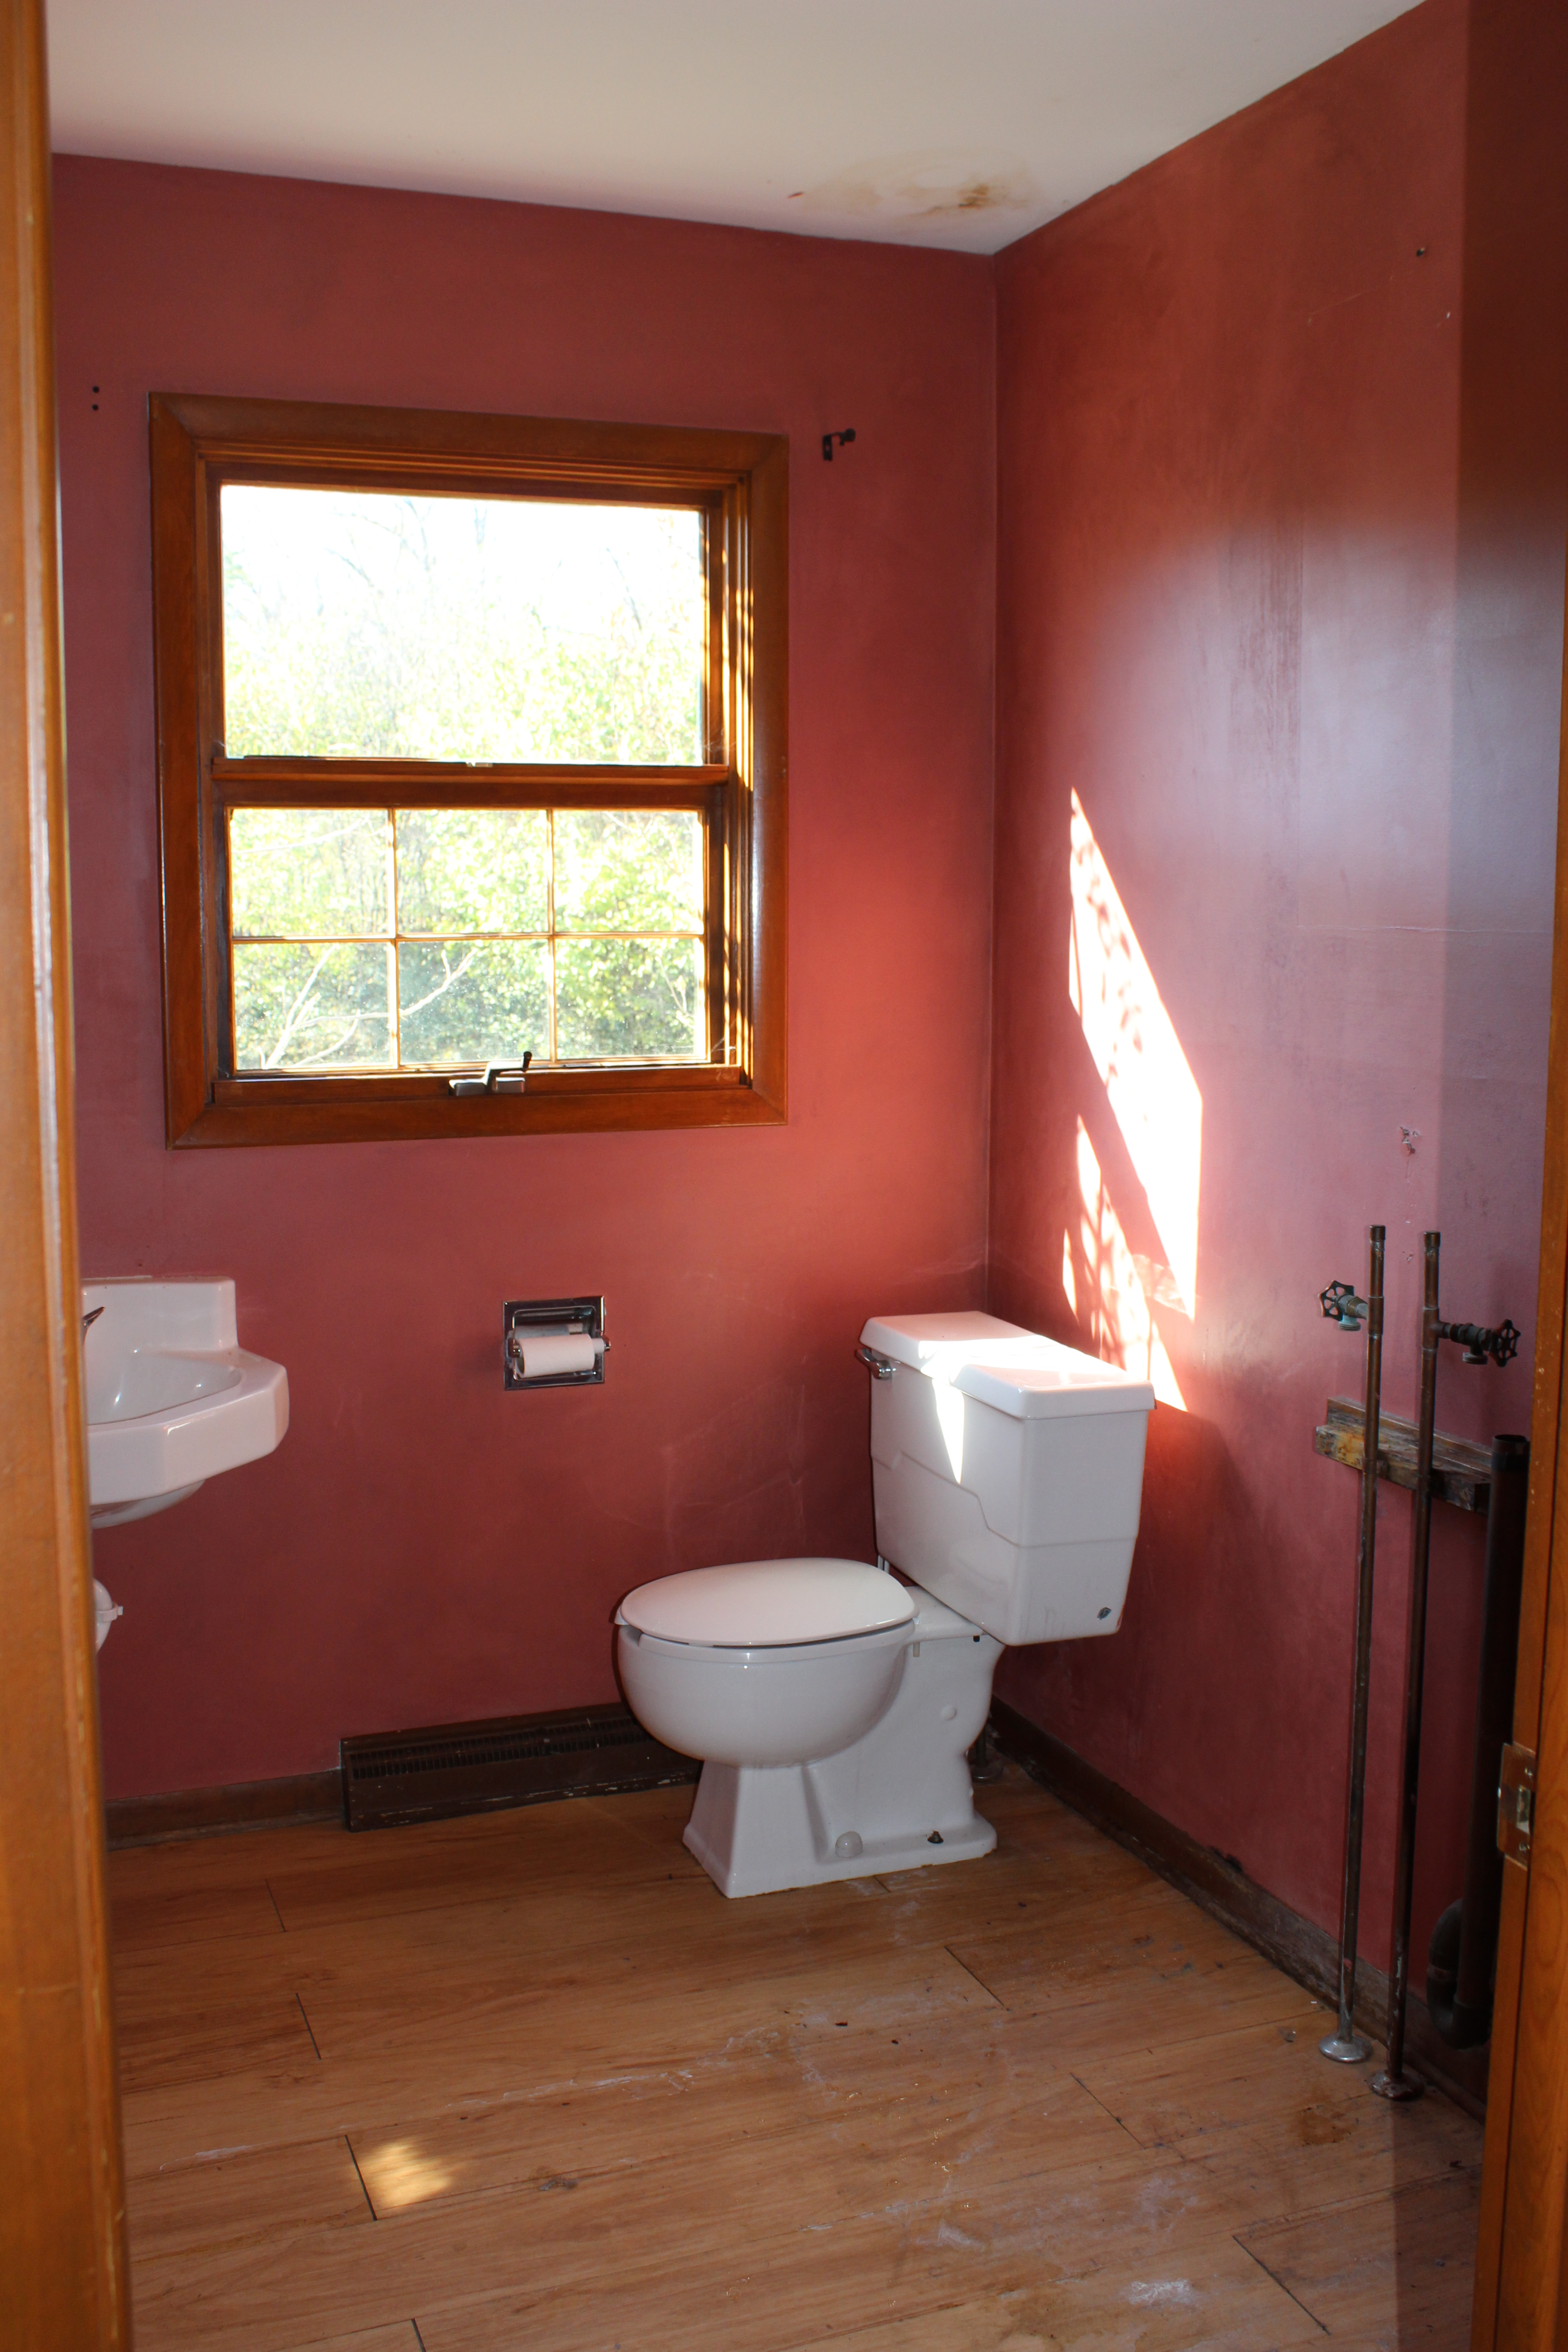
Little progress in here too but that’s because this is going to turn into the kitchen pantry. See our future floor plan to learn more.

Upstairs Landing

Before

Upstairs hallway before

Current

IMG_2964

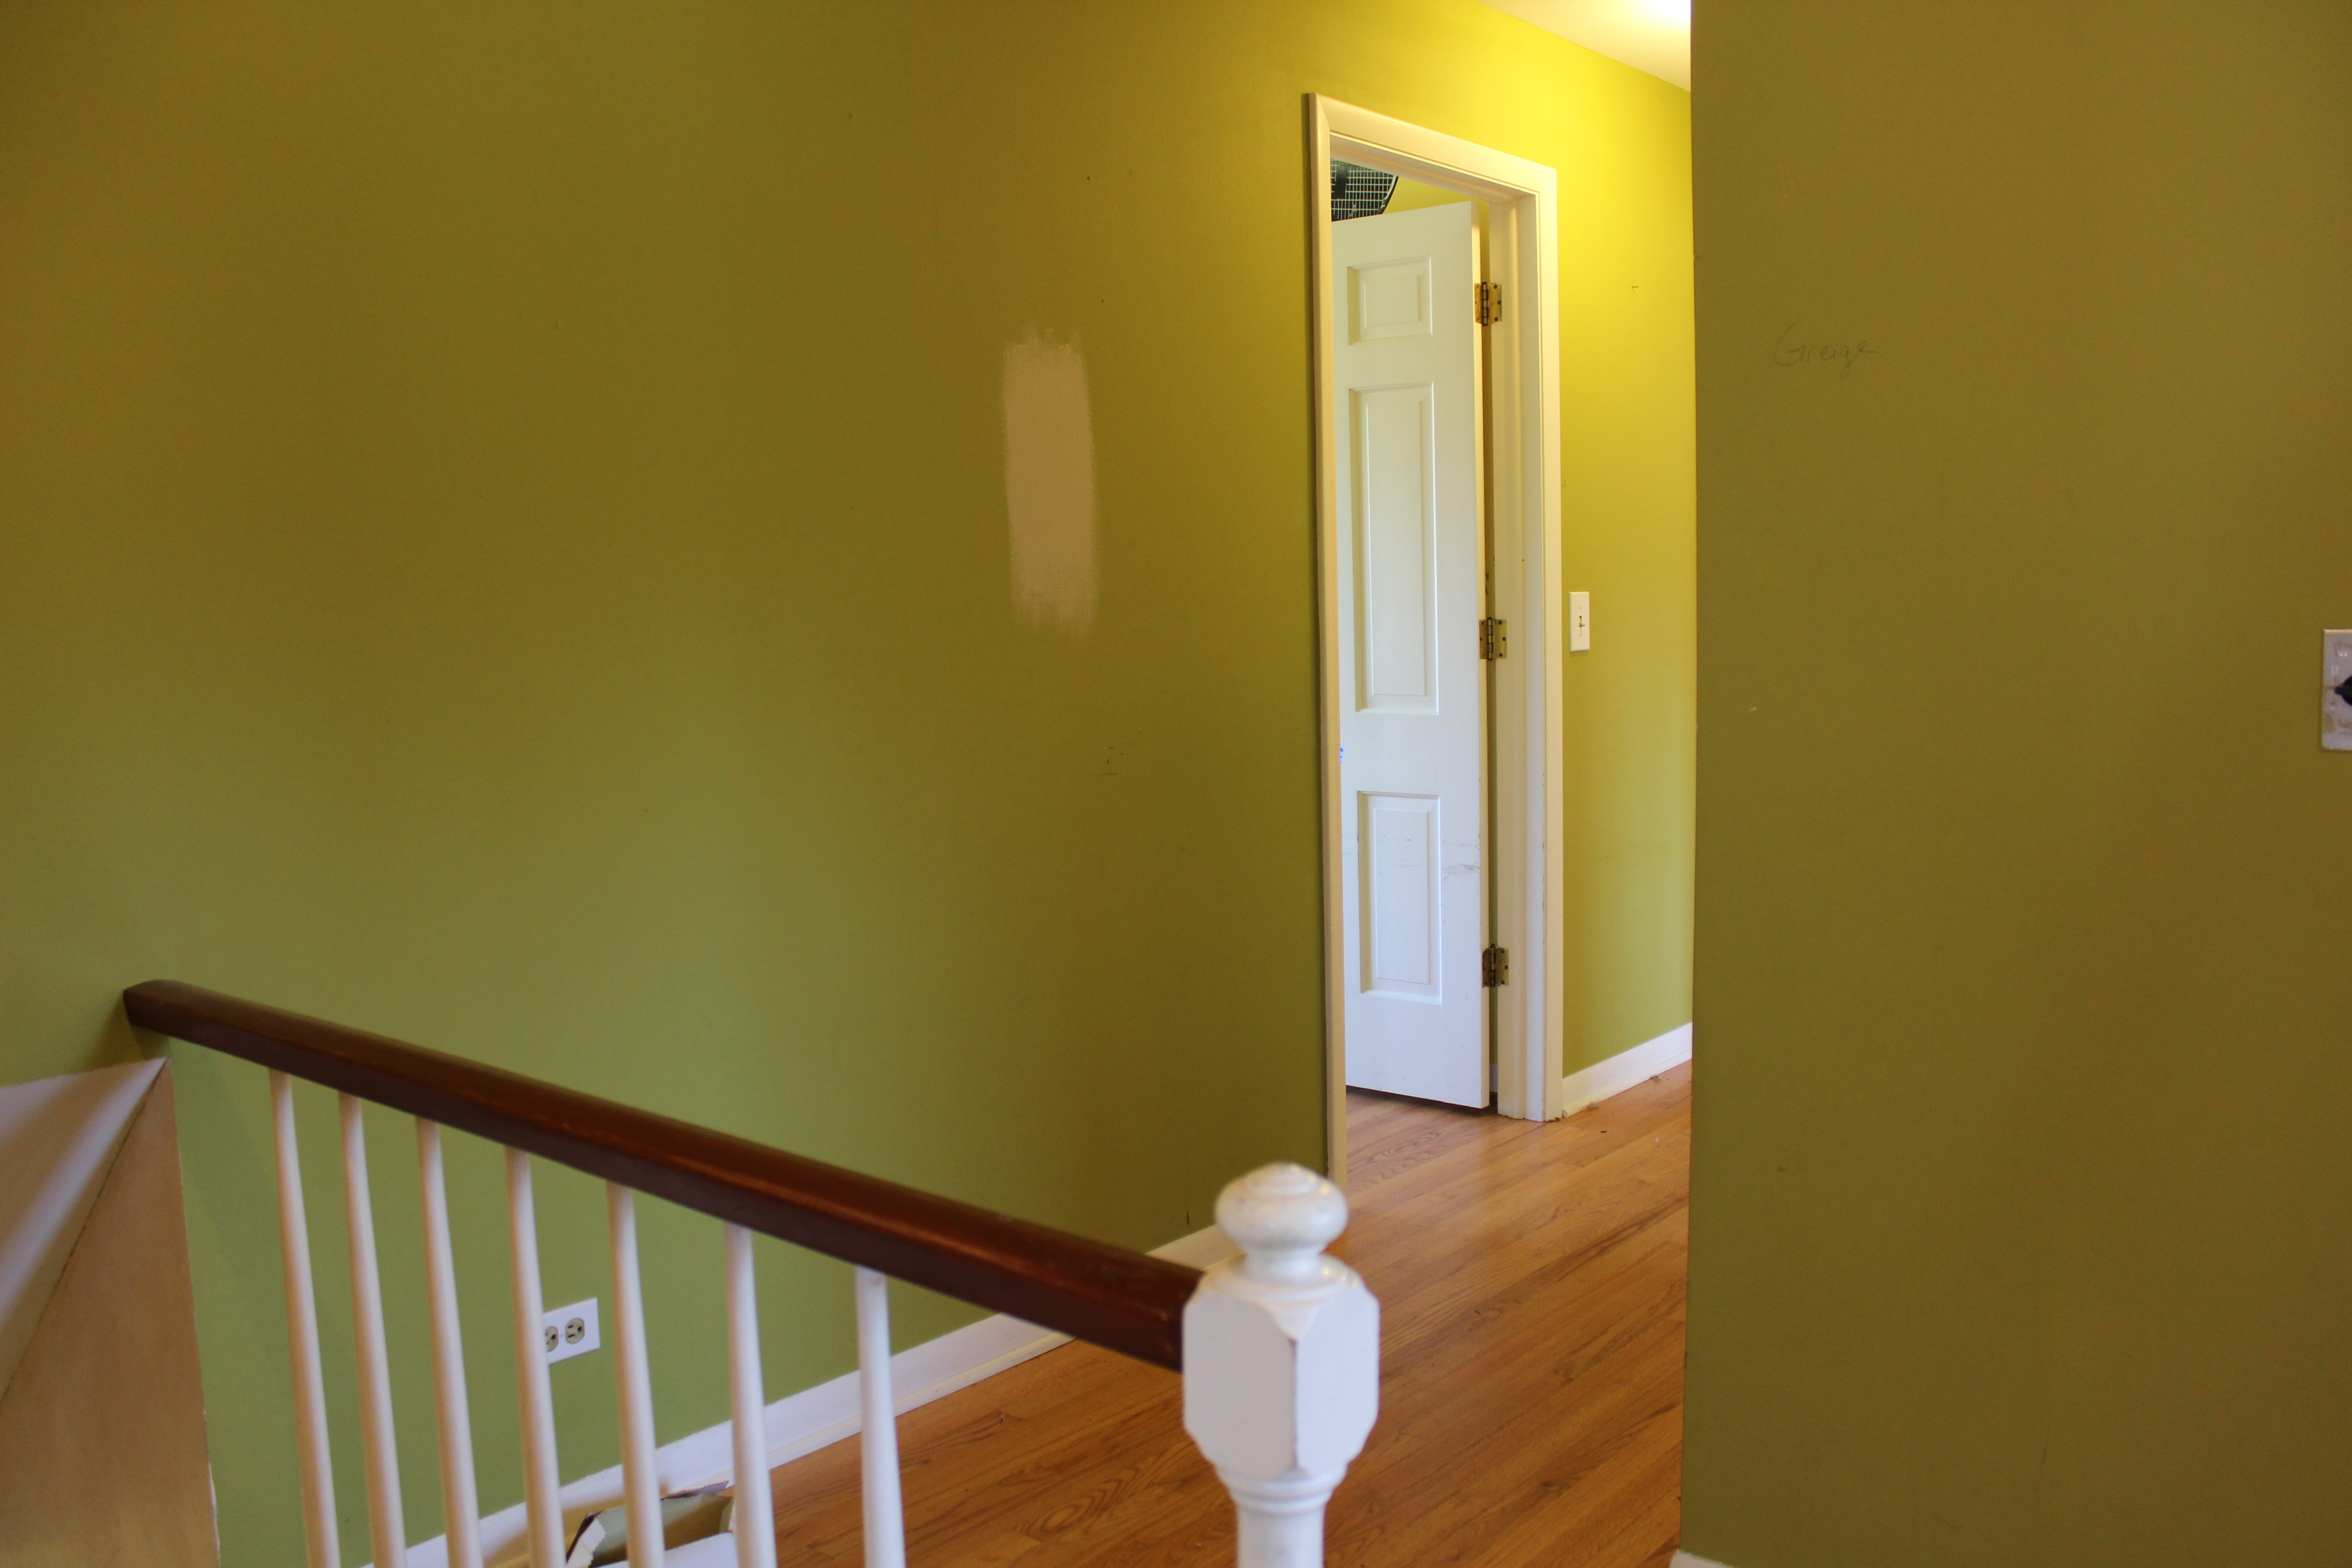
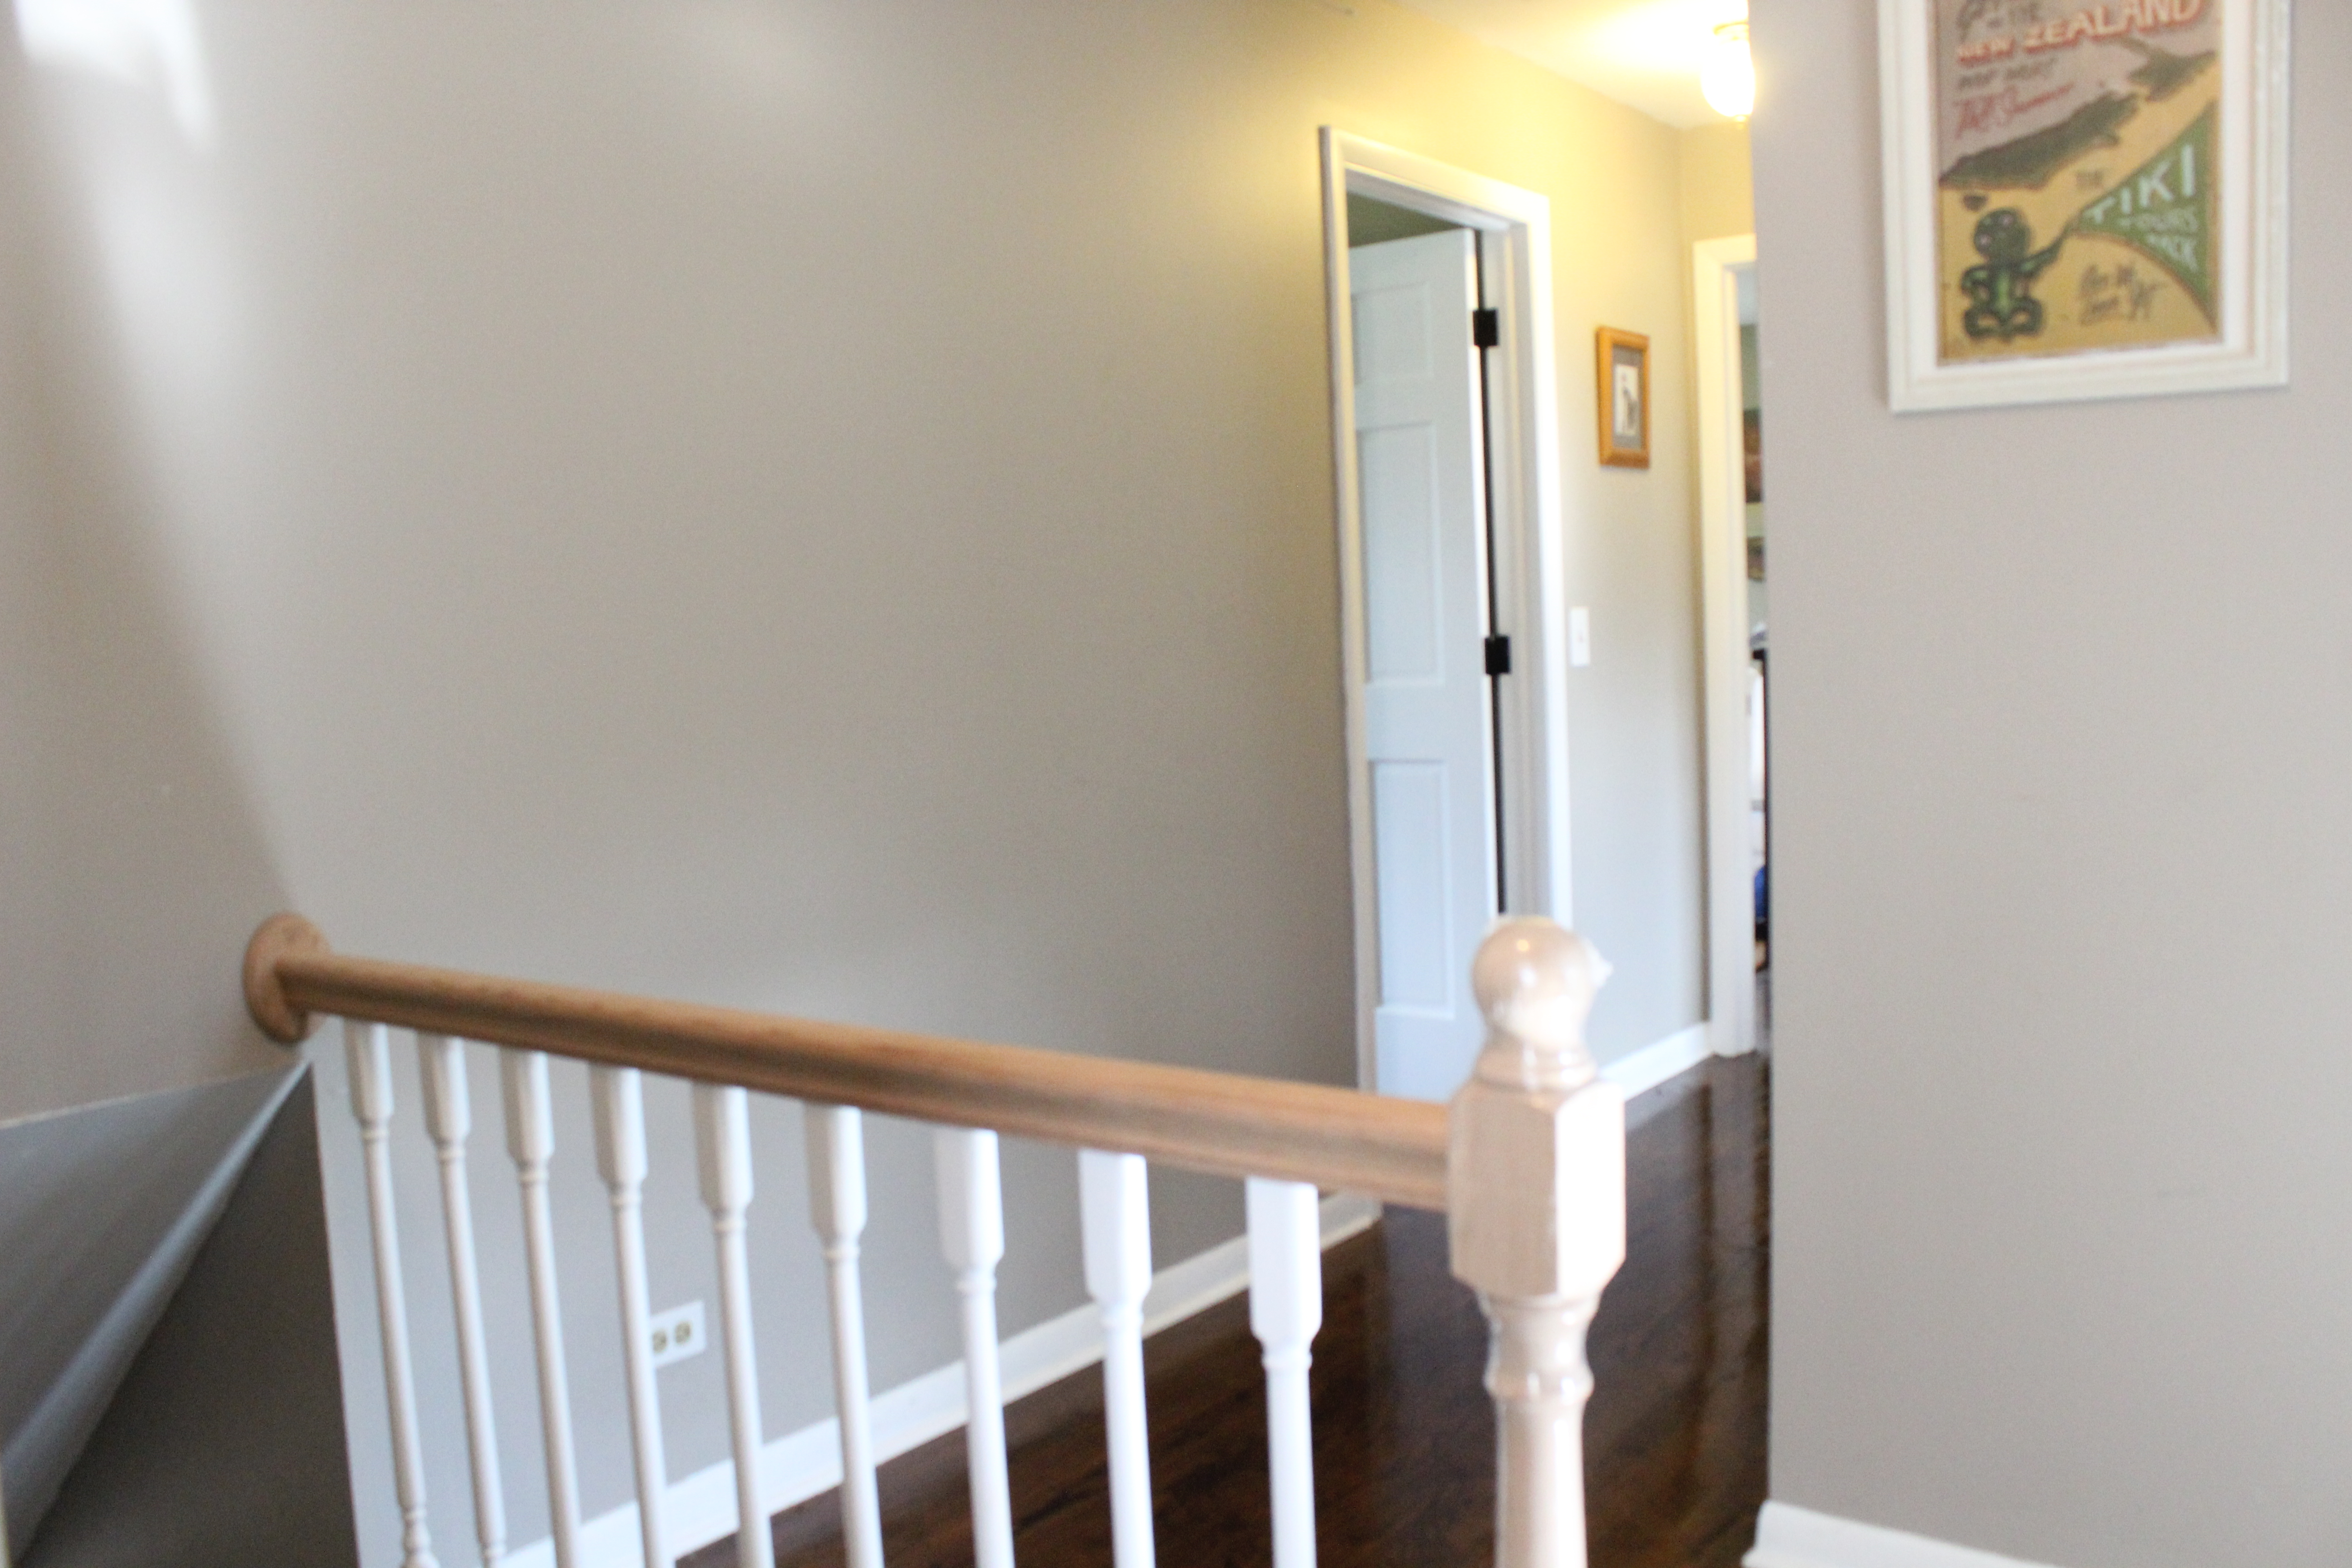
Paint and floors are new in here. That railing and banister is also new but just needs to be stained to match the floors.

Guest Bathroom

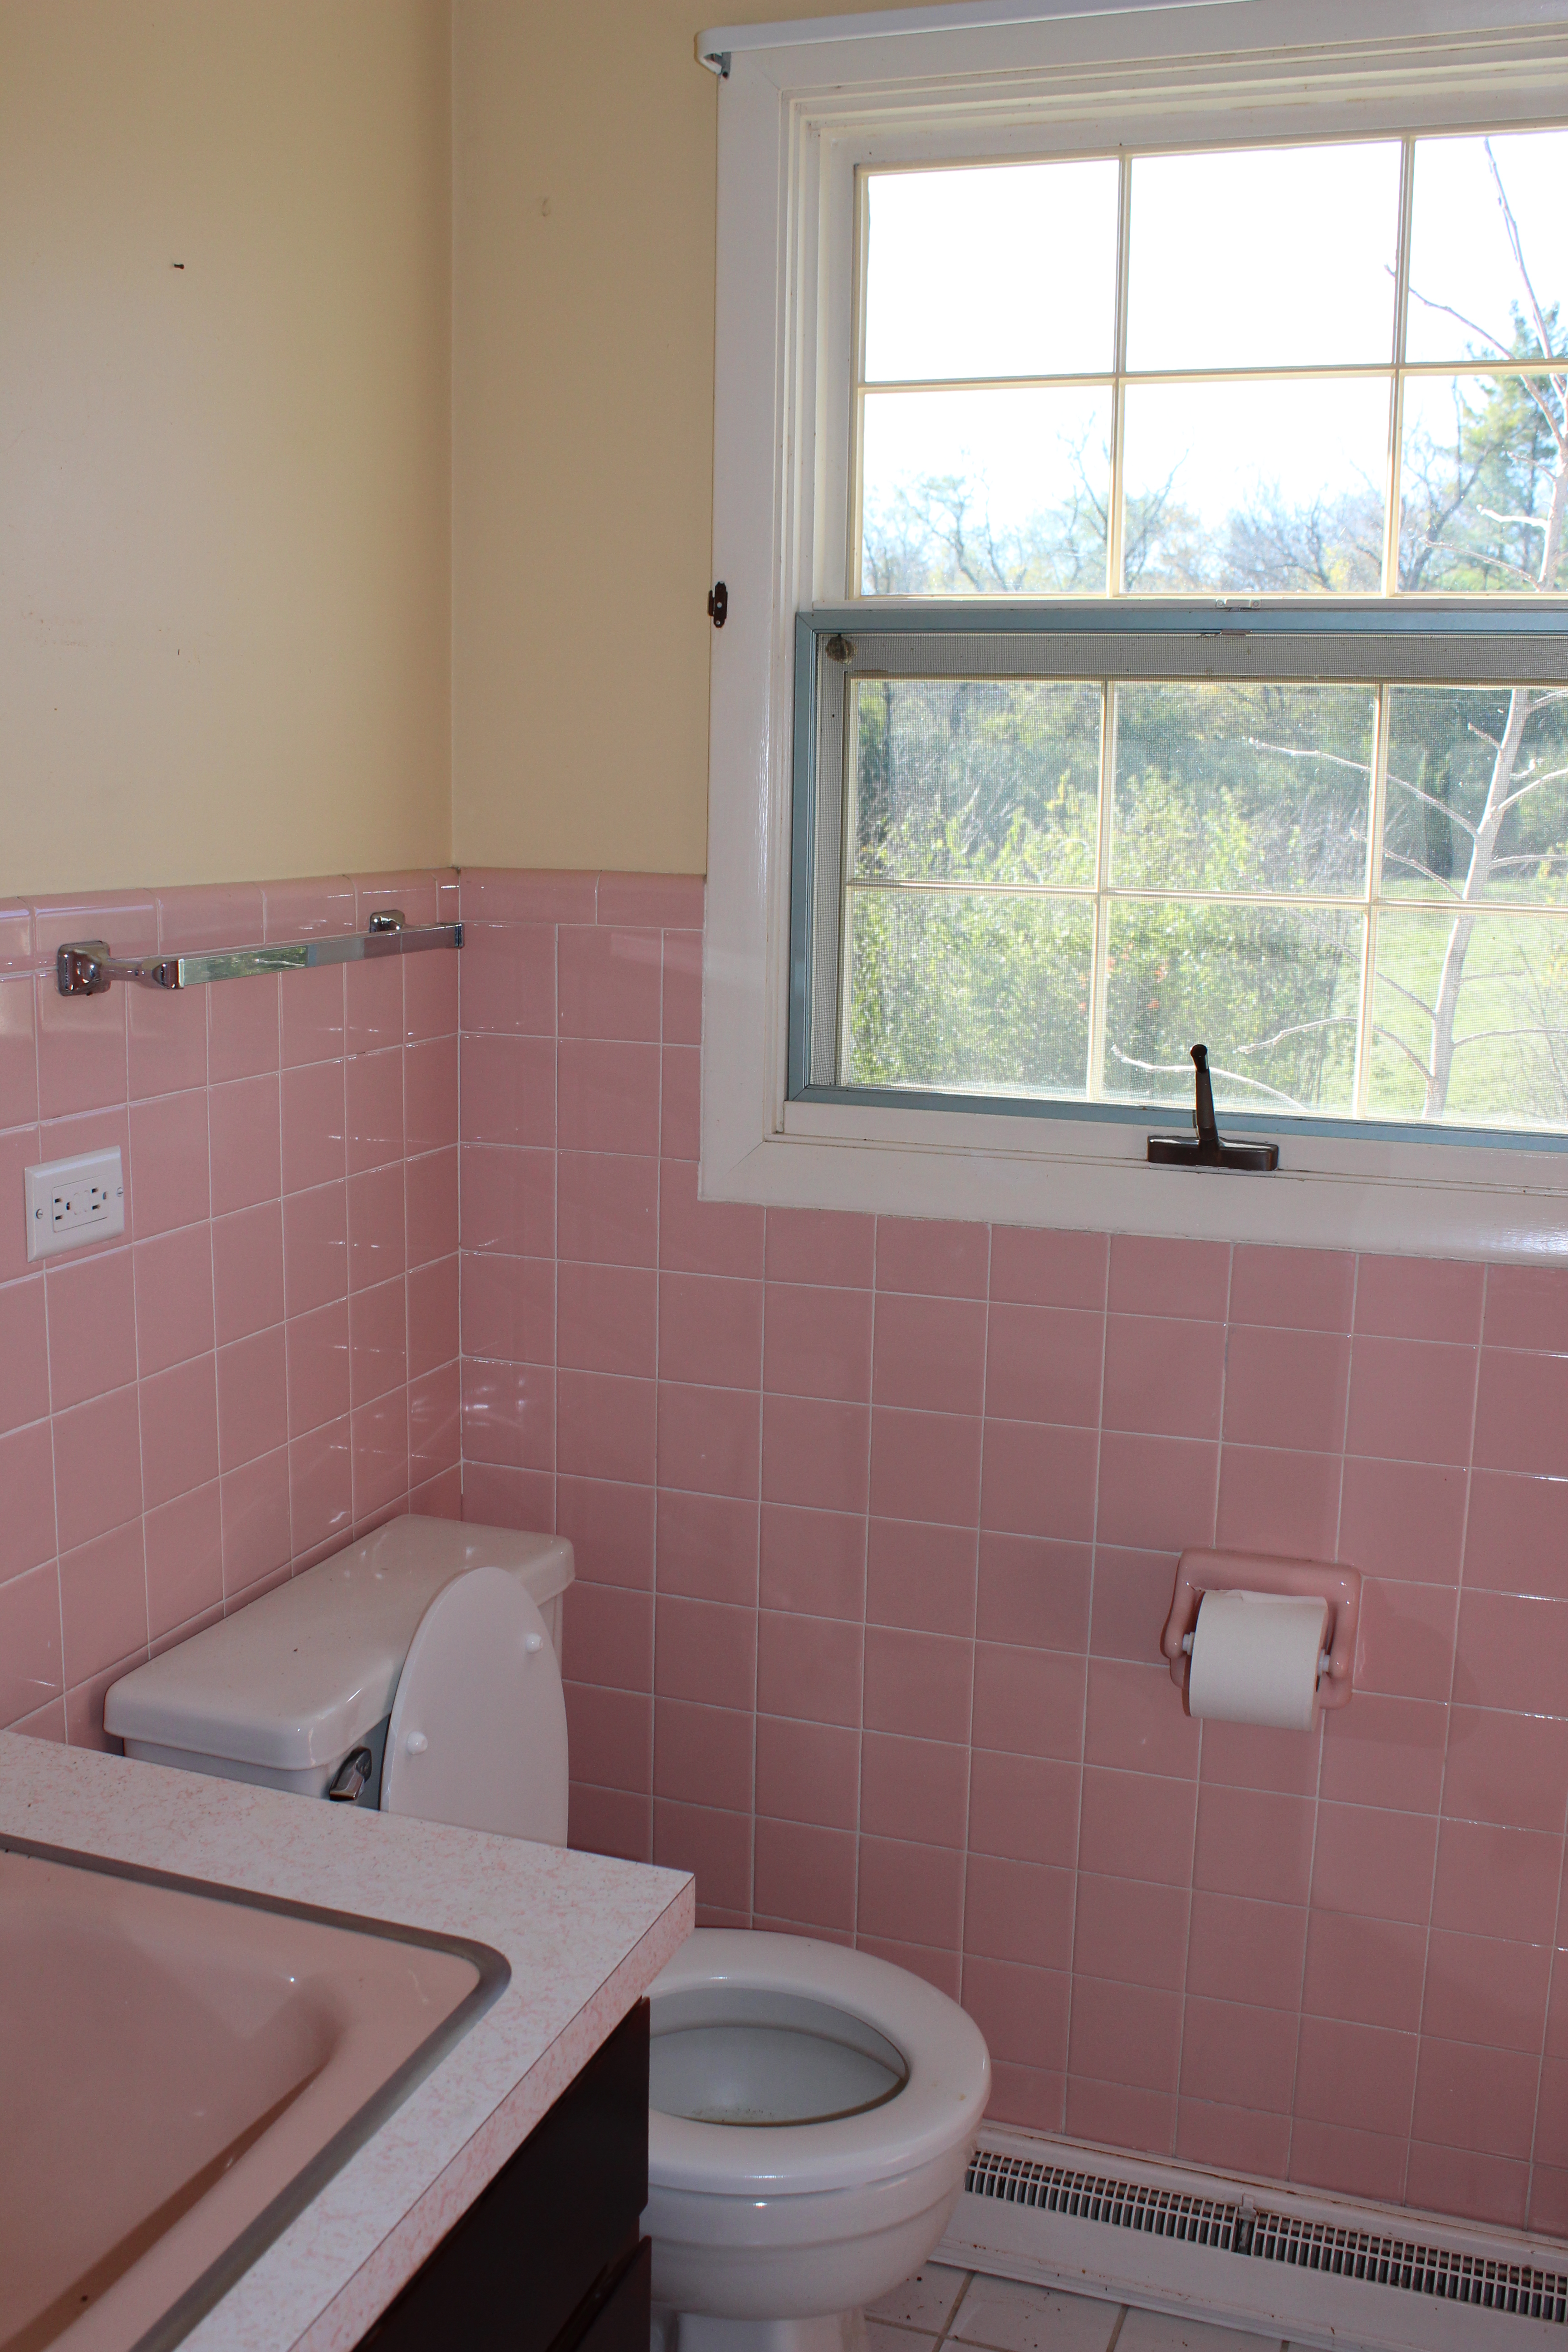
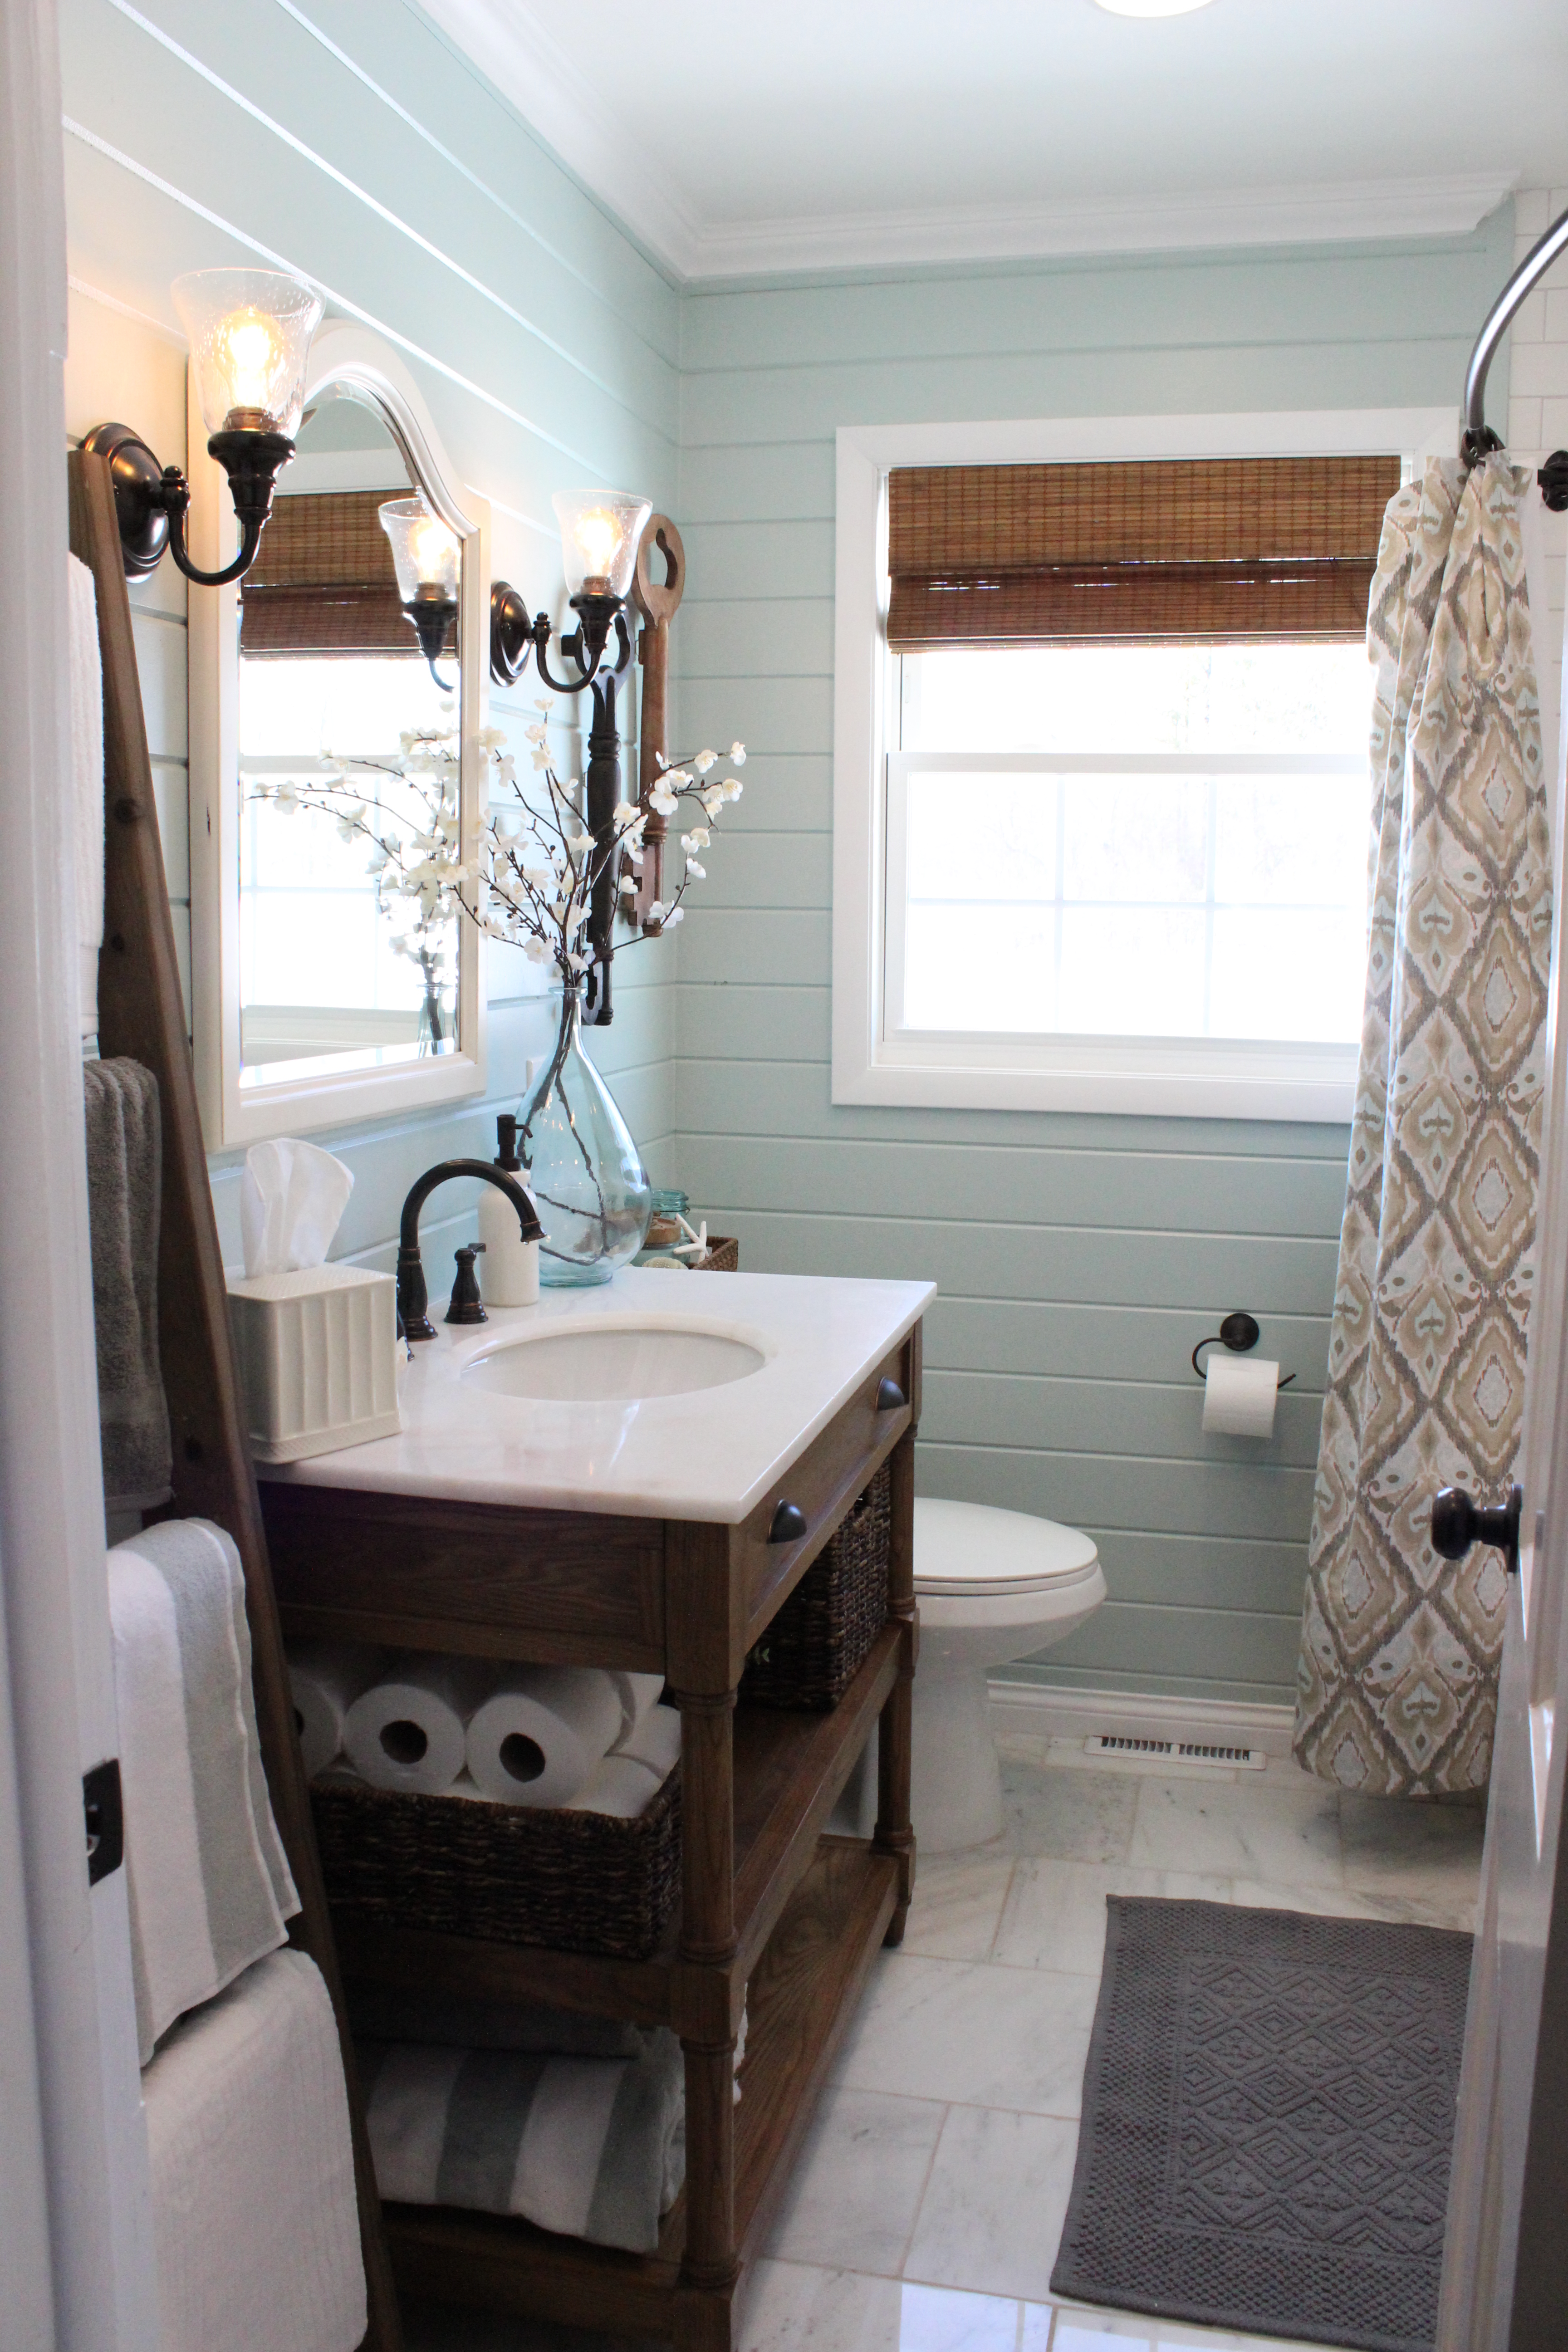
Pink bathroom beforeAfter

IMG_2632

This is the only room I’m calling “After” instead of “Current” because it is 100% done. We’re pretty proud of this space especially since its the reason we are getting most of our blog traffic because of people finding it on Pinterest and other blogs. You can get all the bathroom details here.

Master Bedroom

Before

Master Bedroom

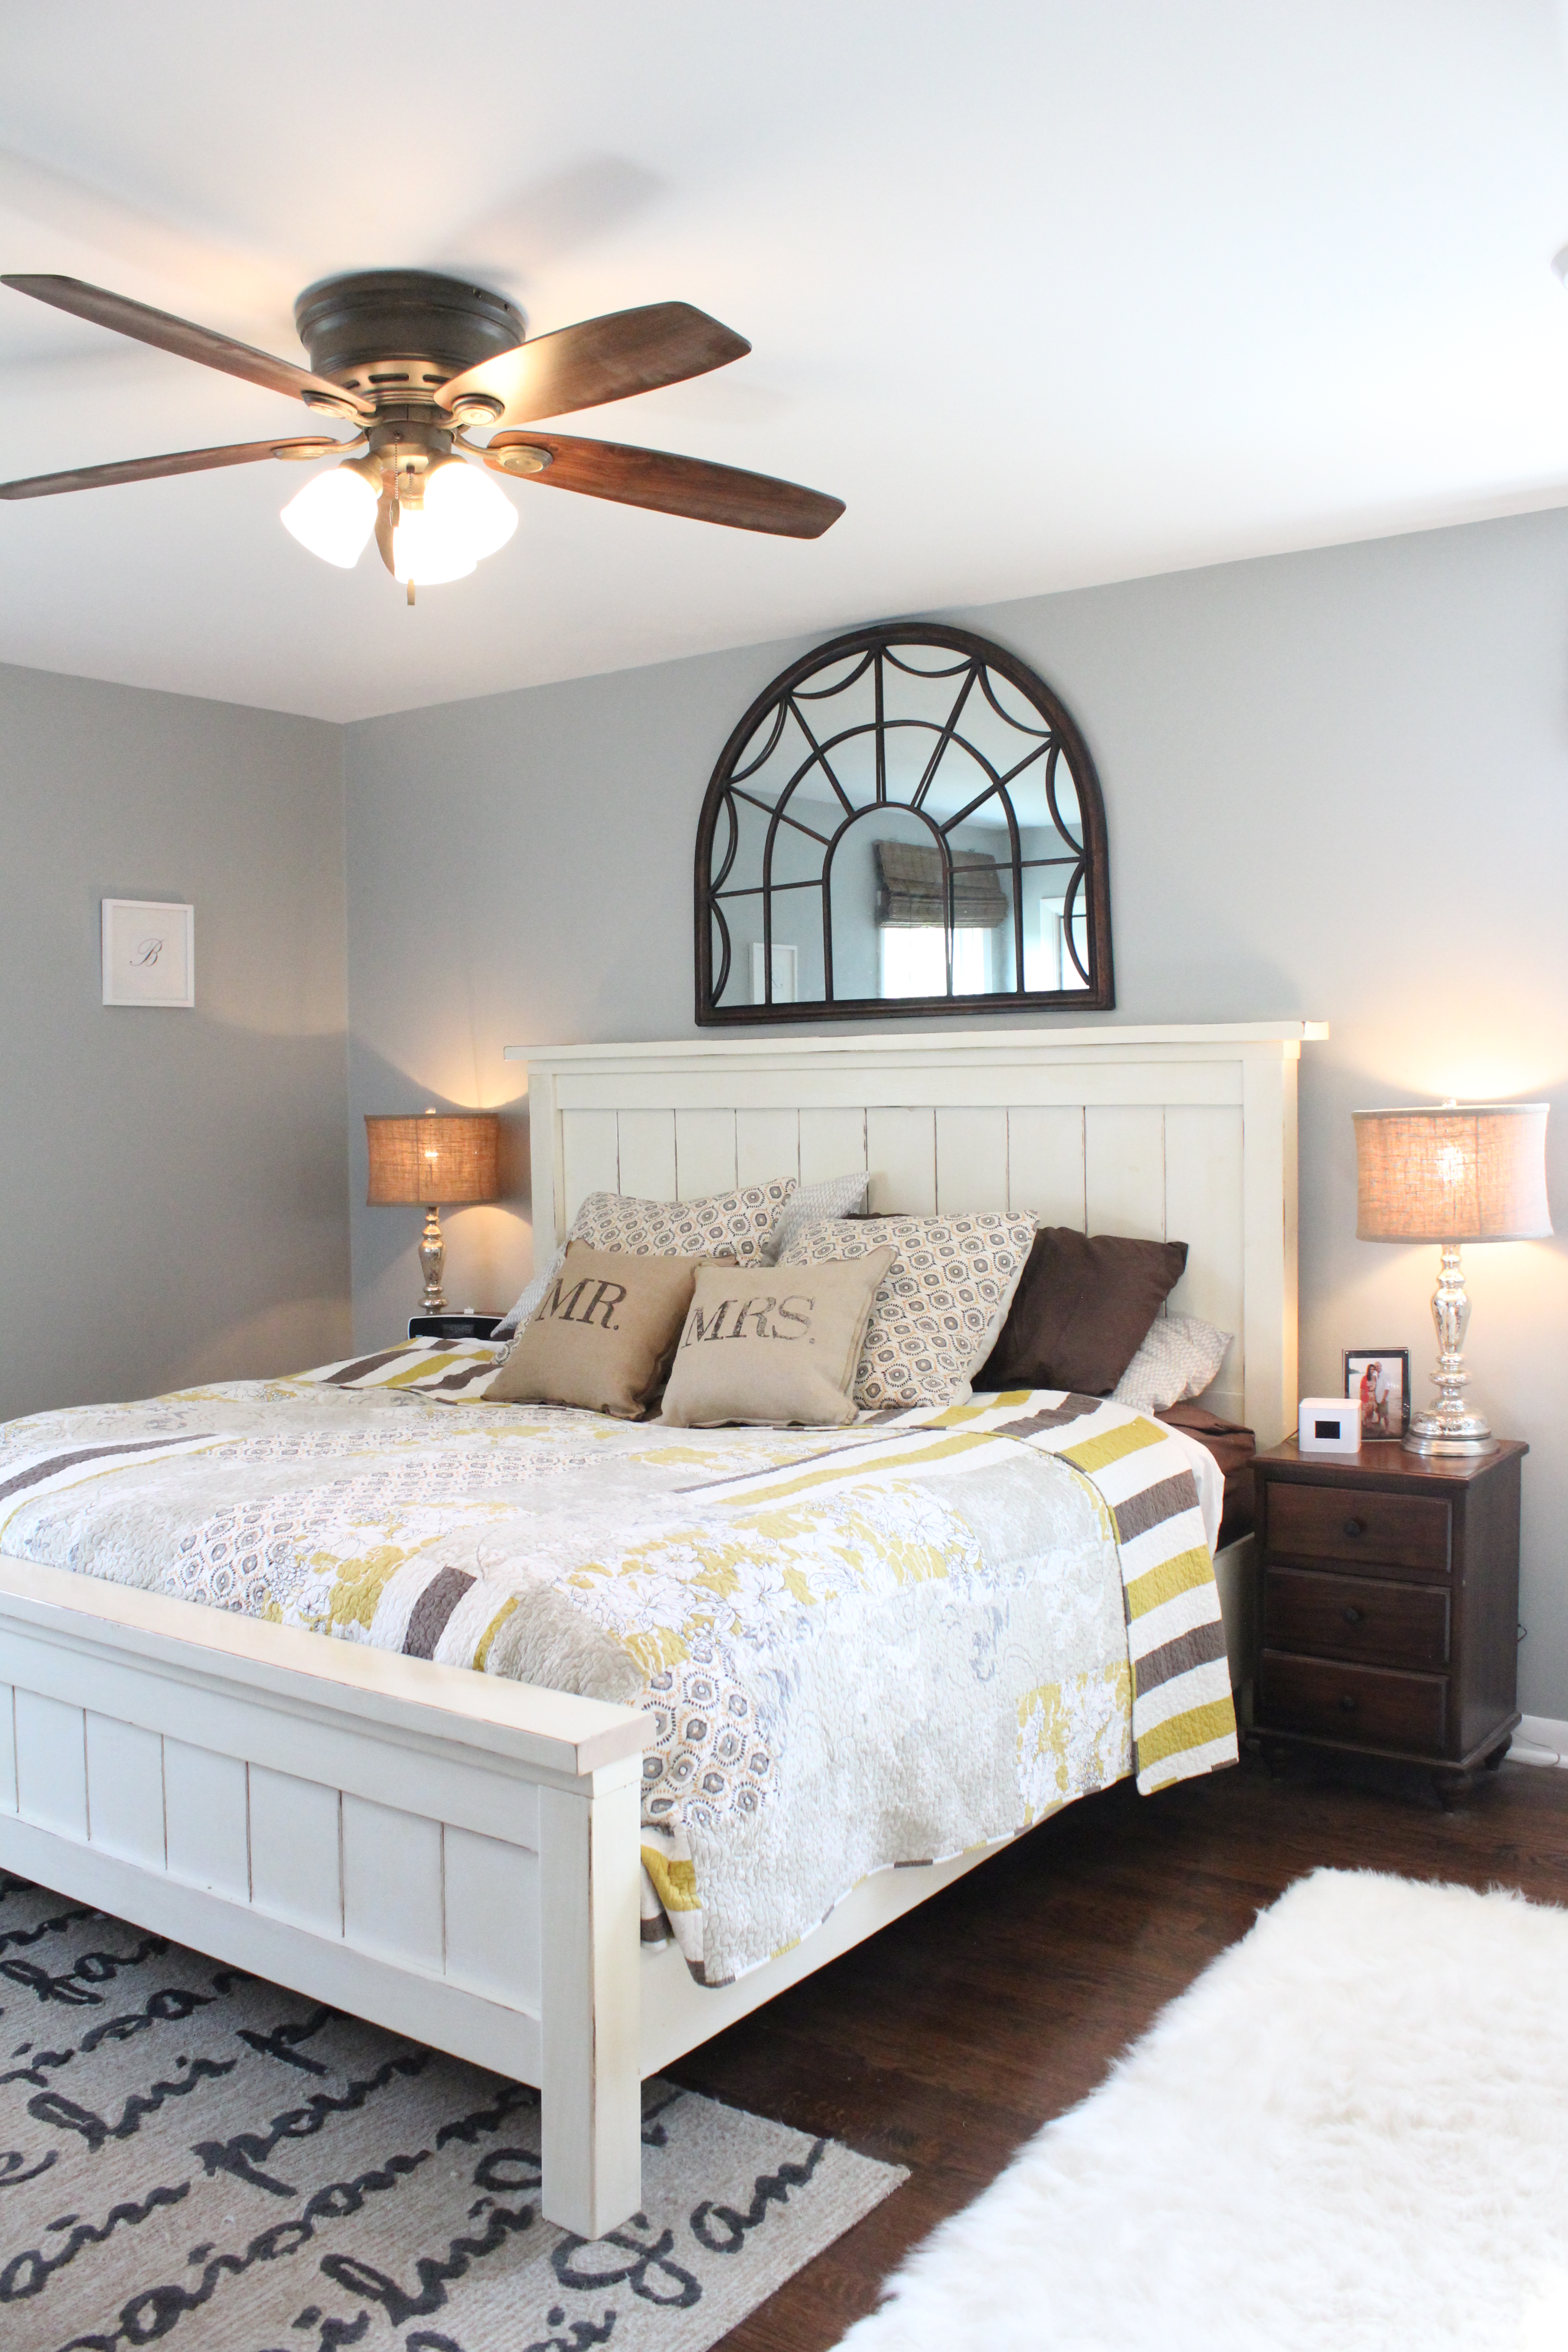
After

IMG_3004

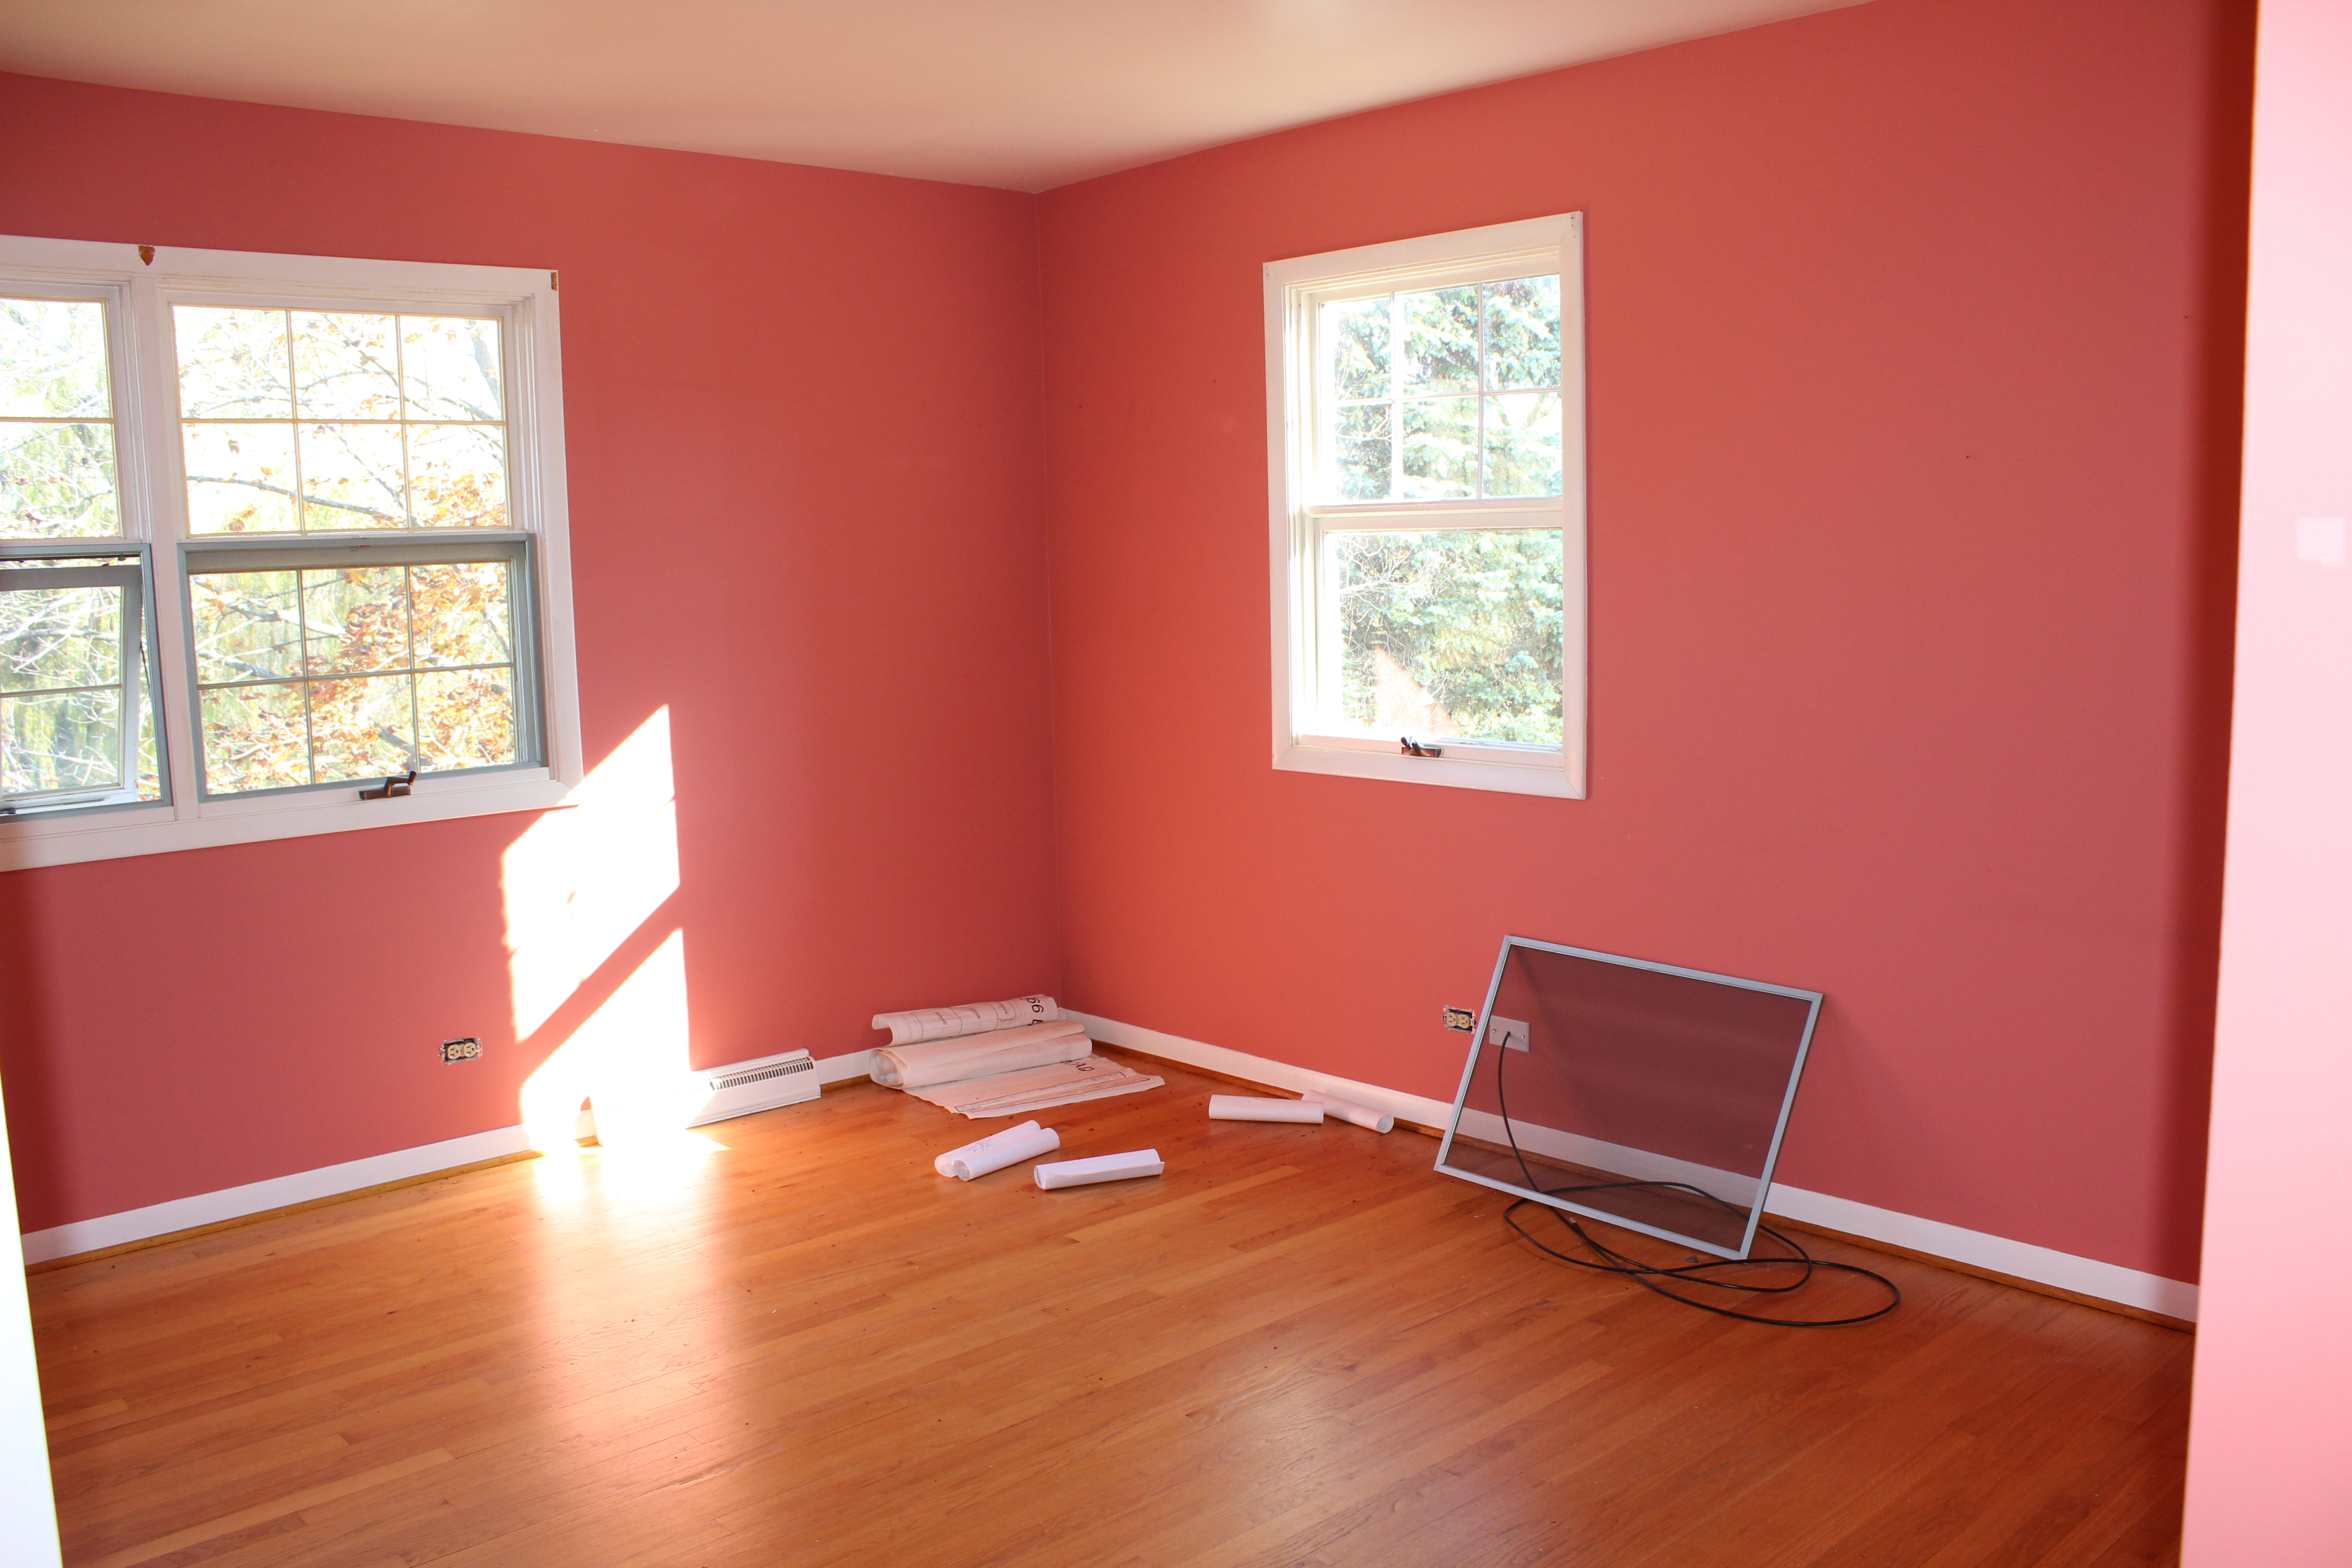
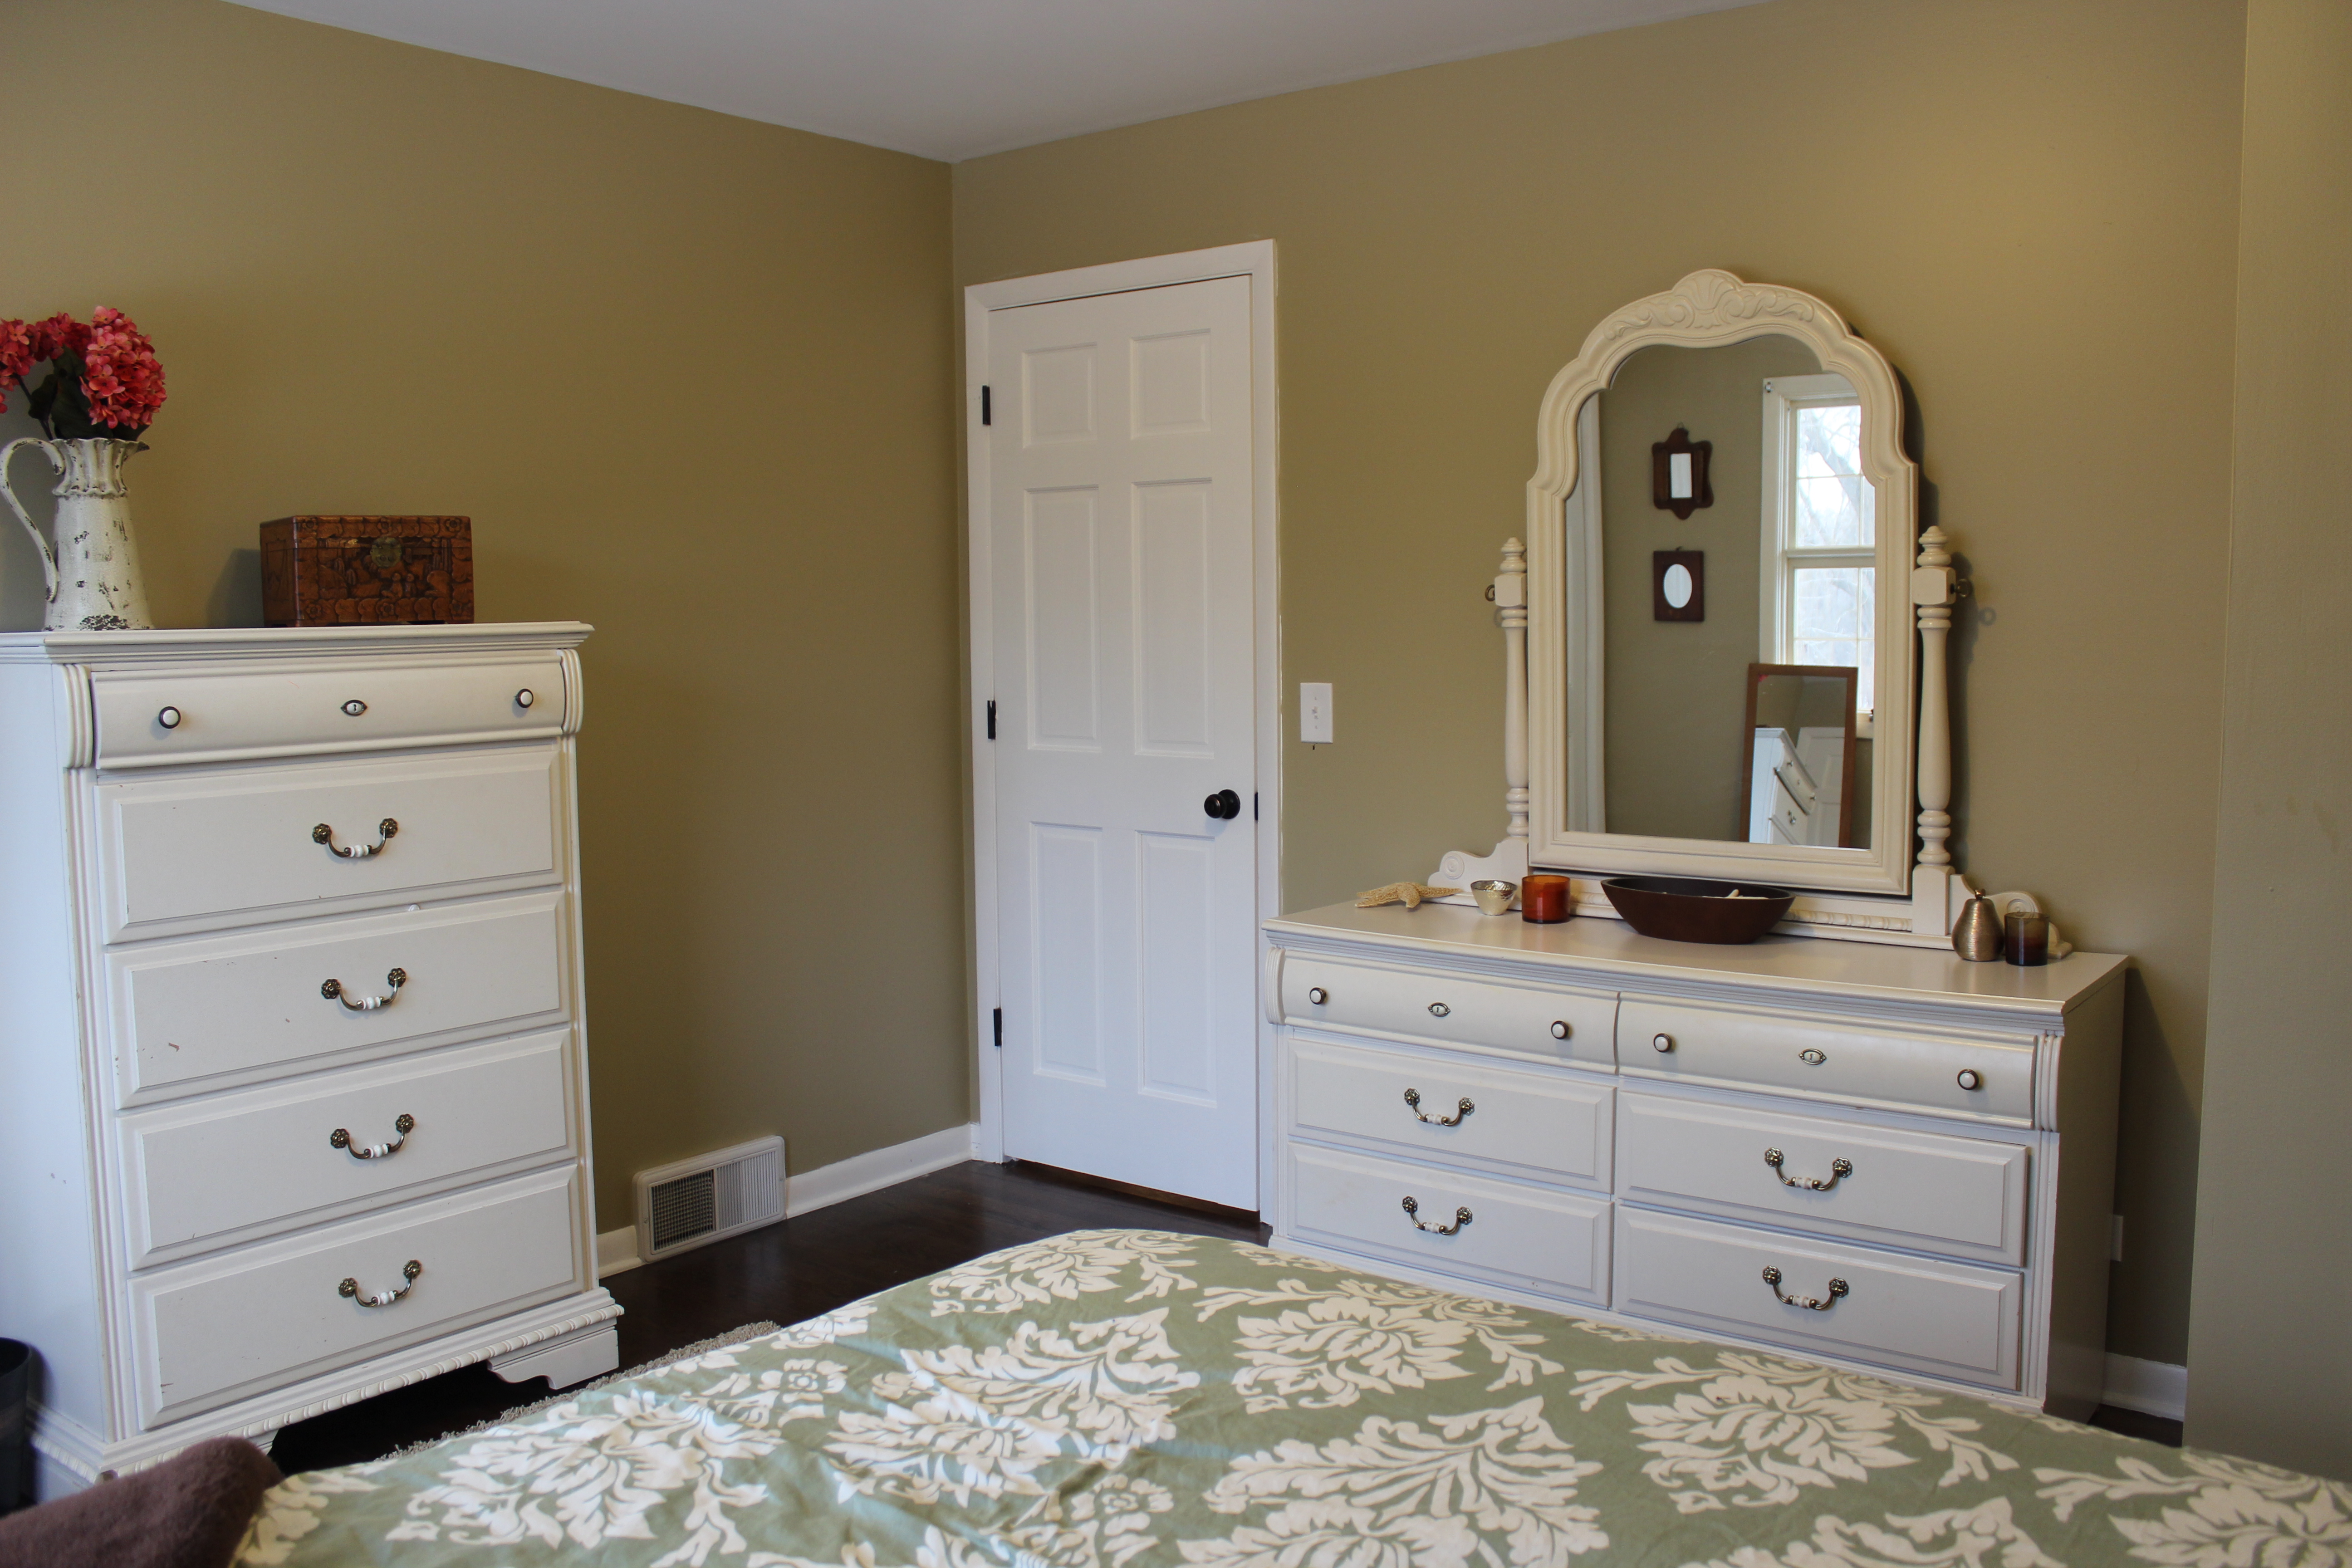
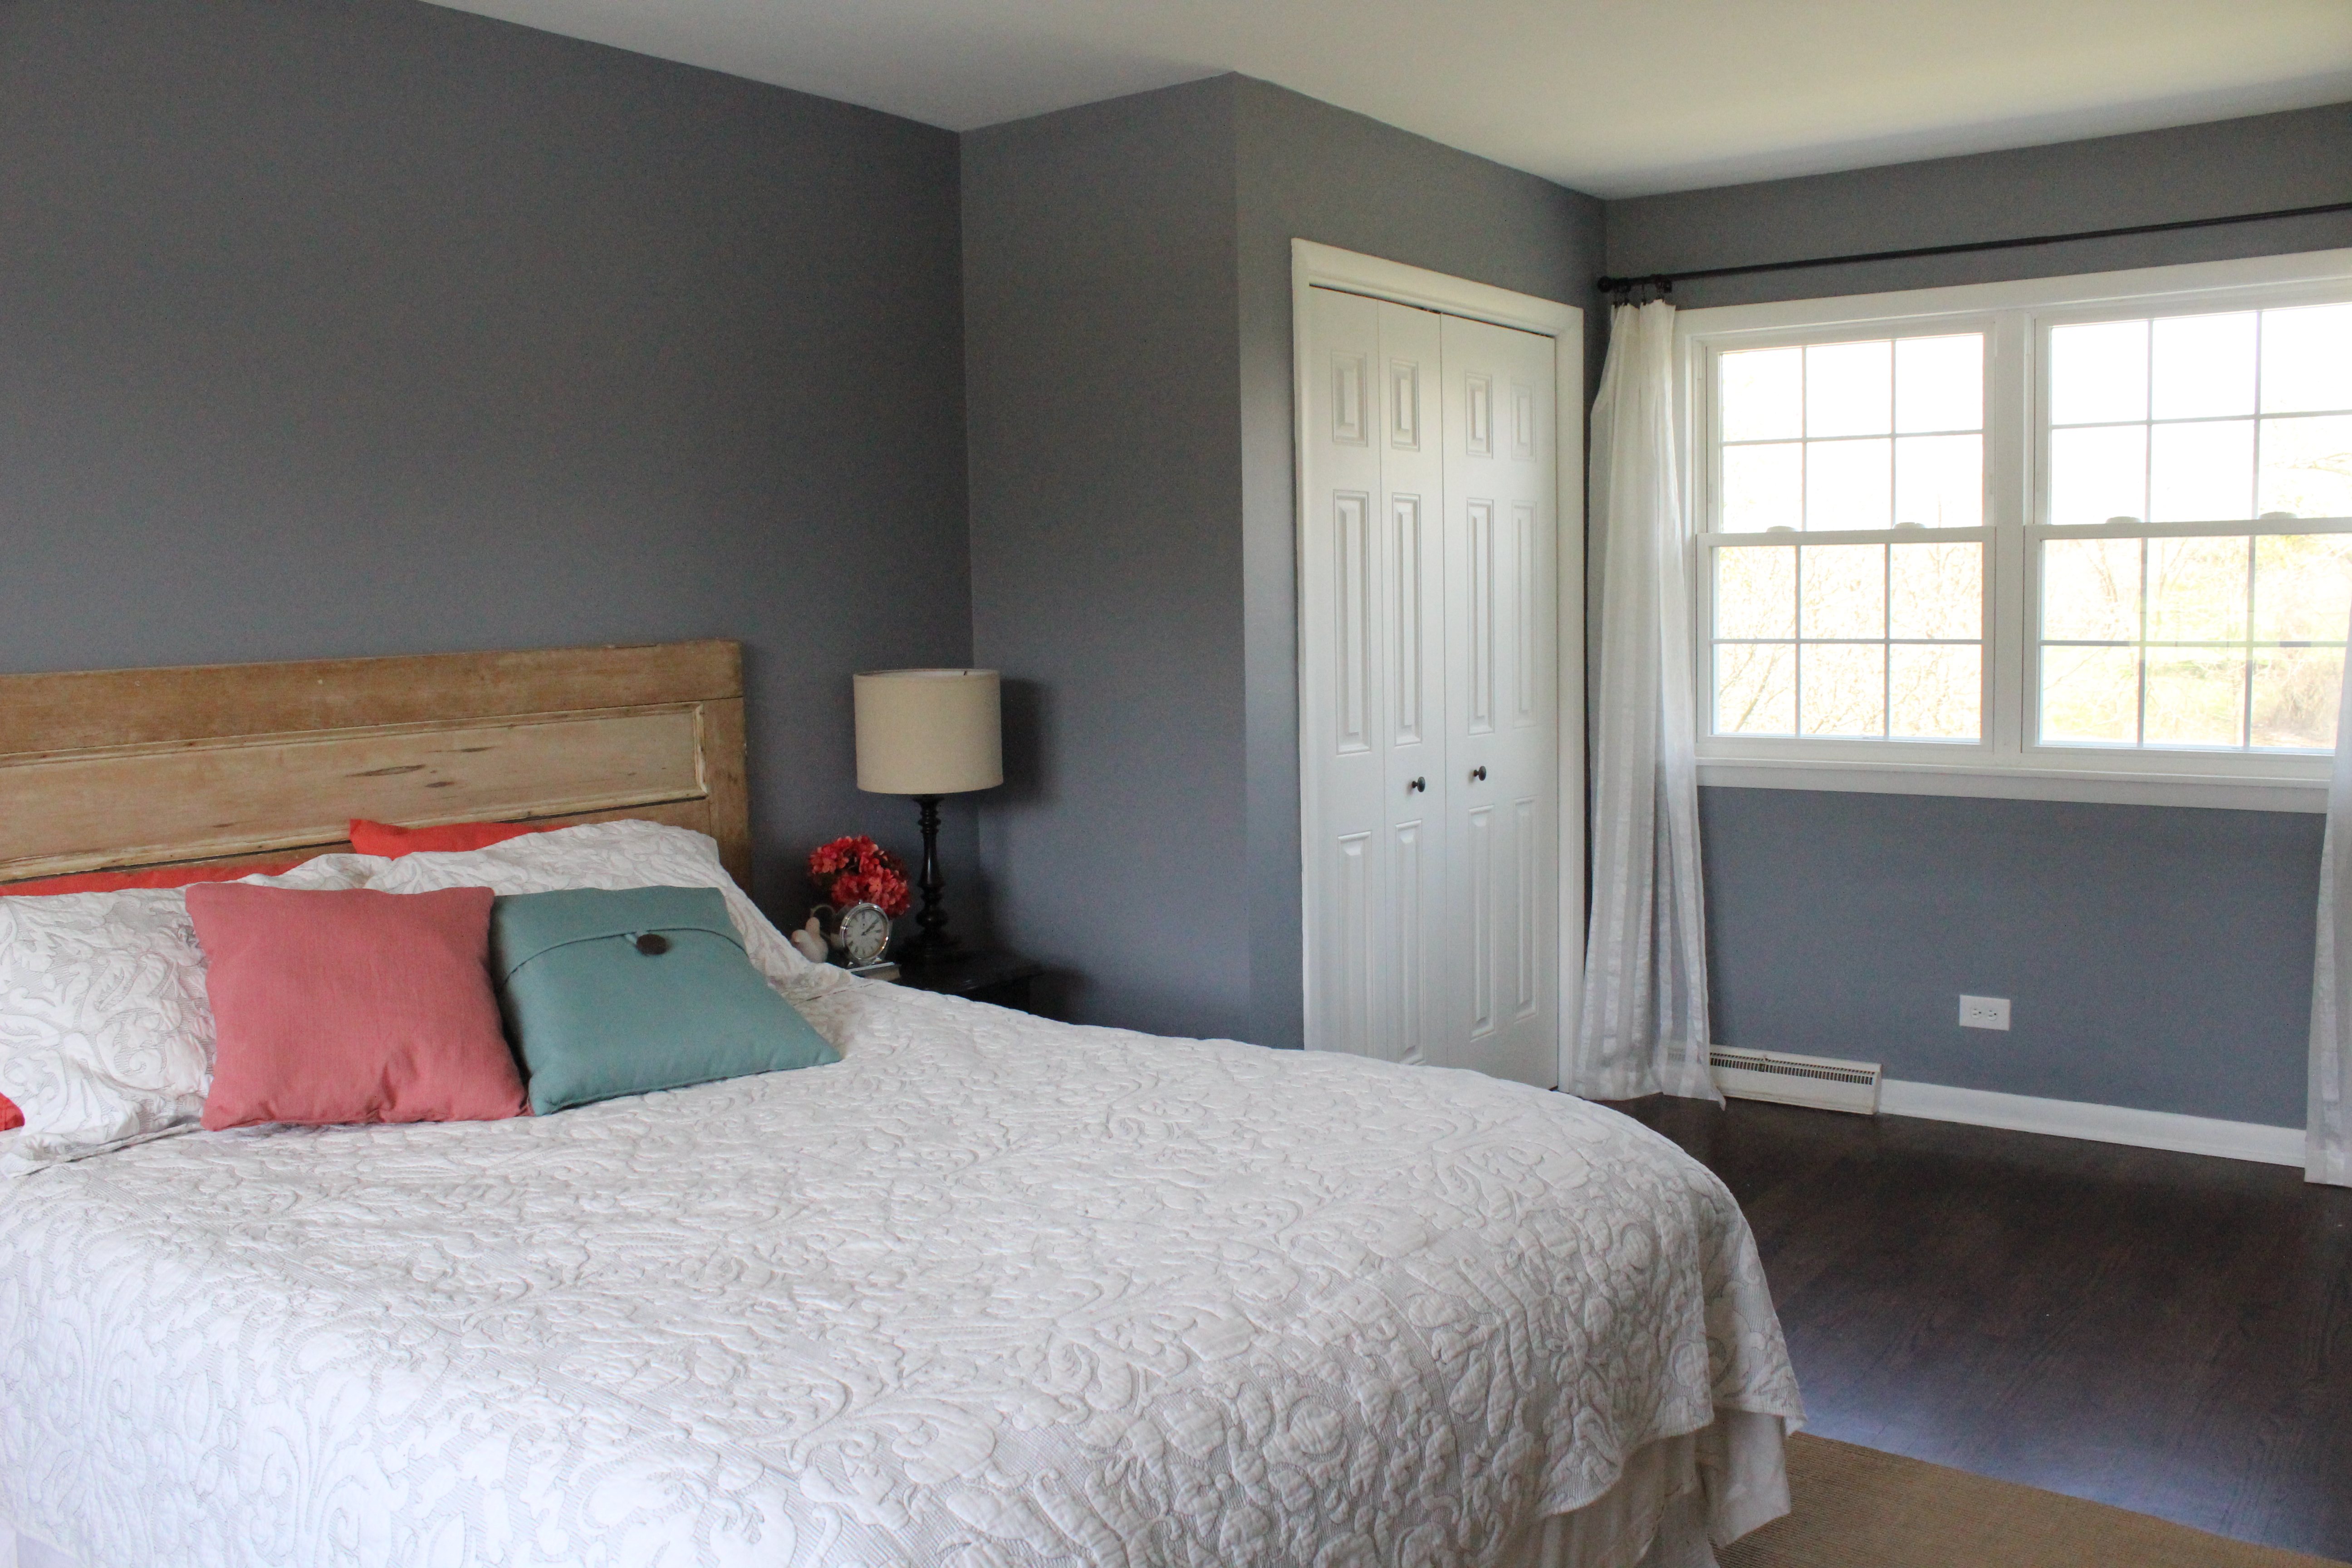
Paint is Benjamin Moore’s Metropolitan. Also new is the ceiling fan and floors re-finished.

Master Bathroom

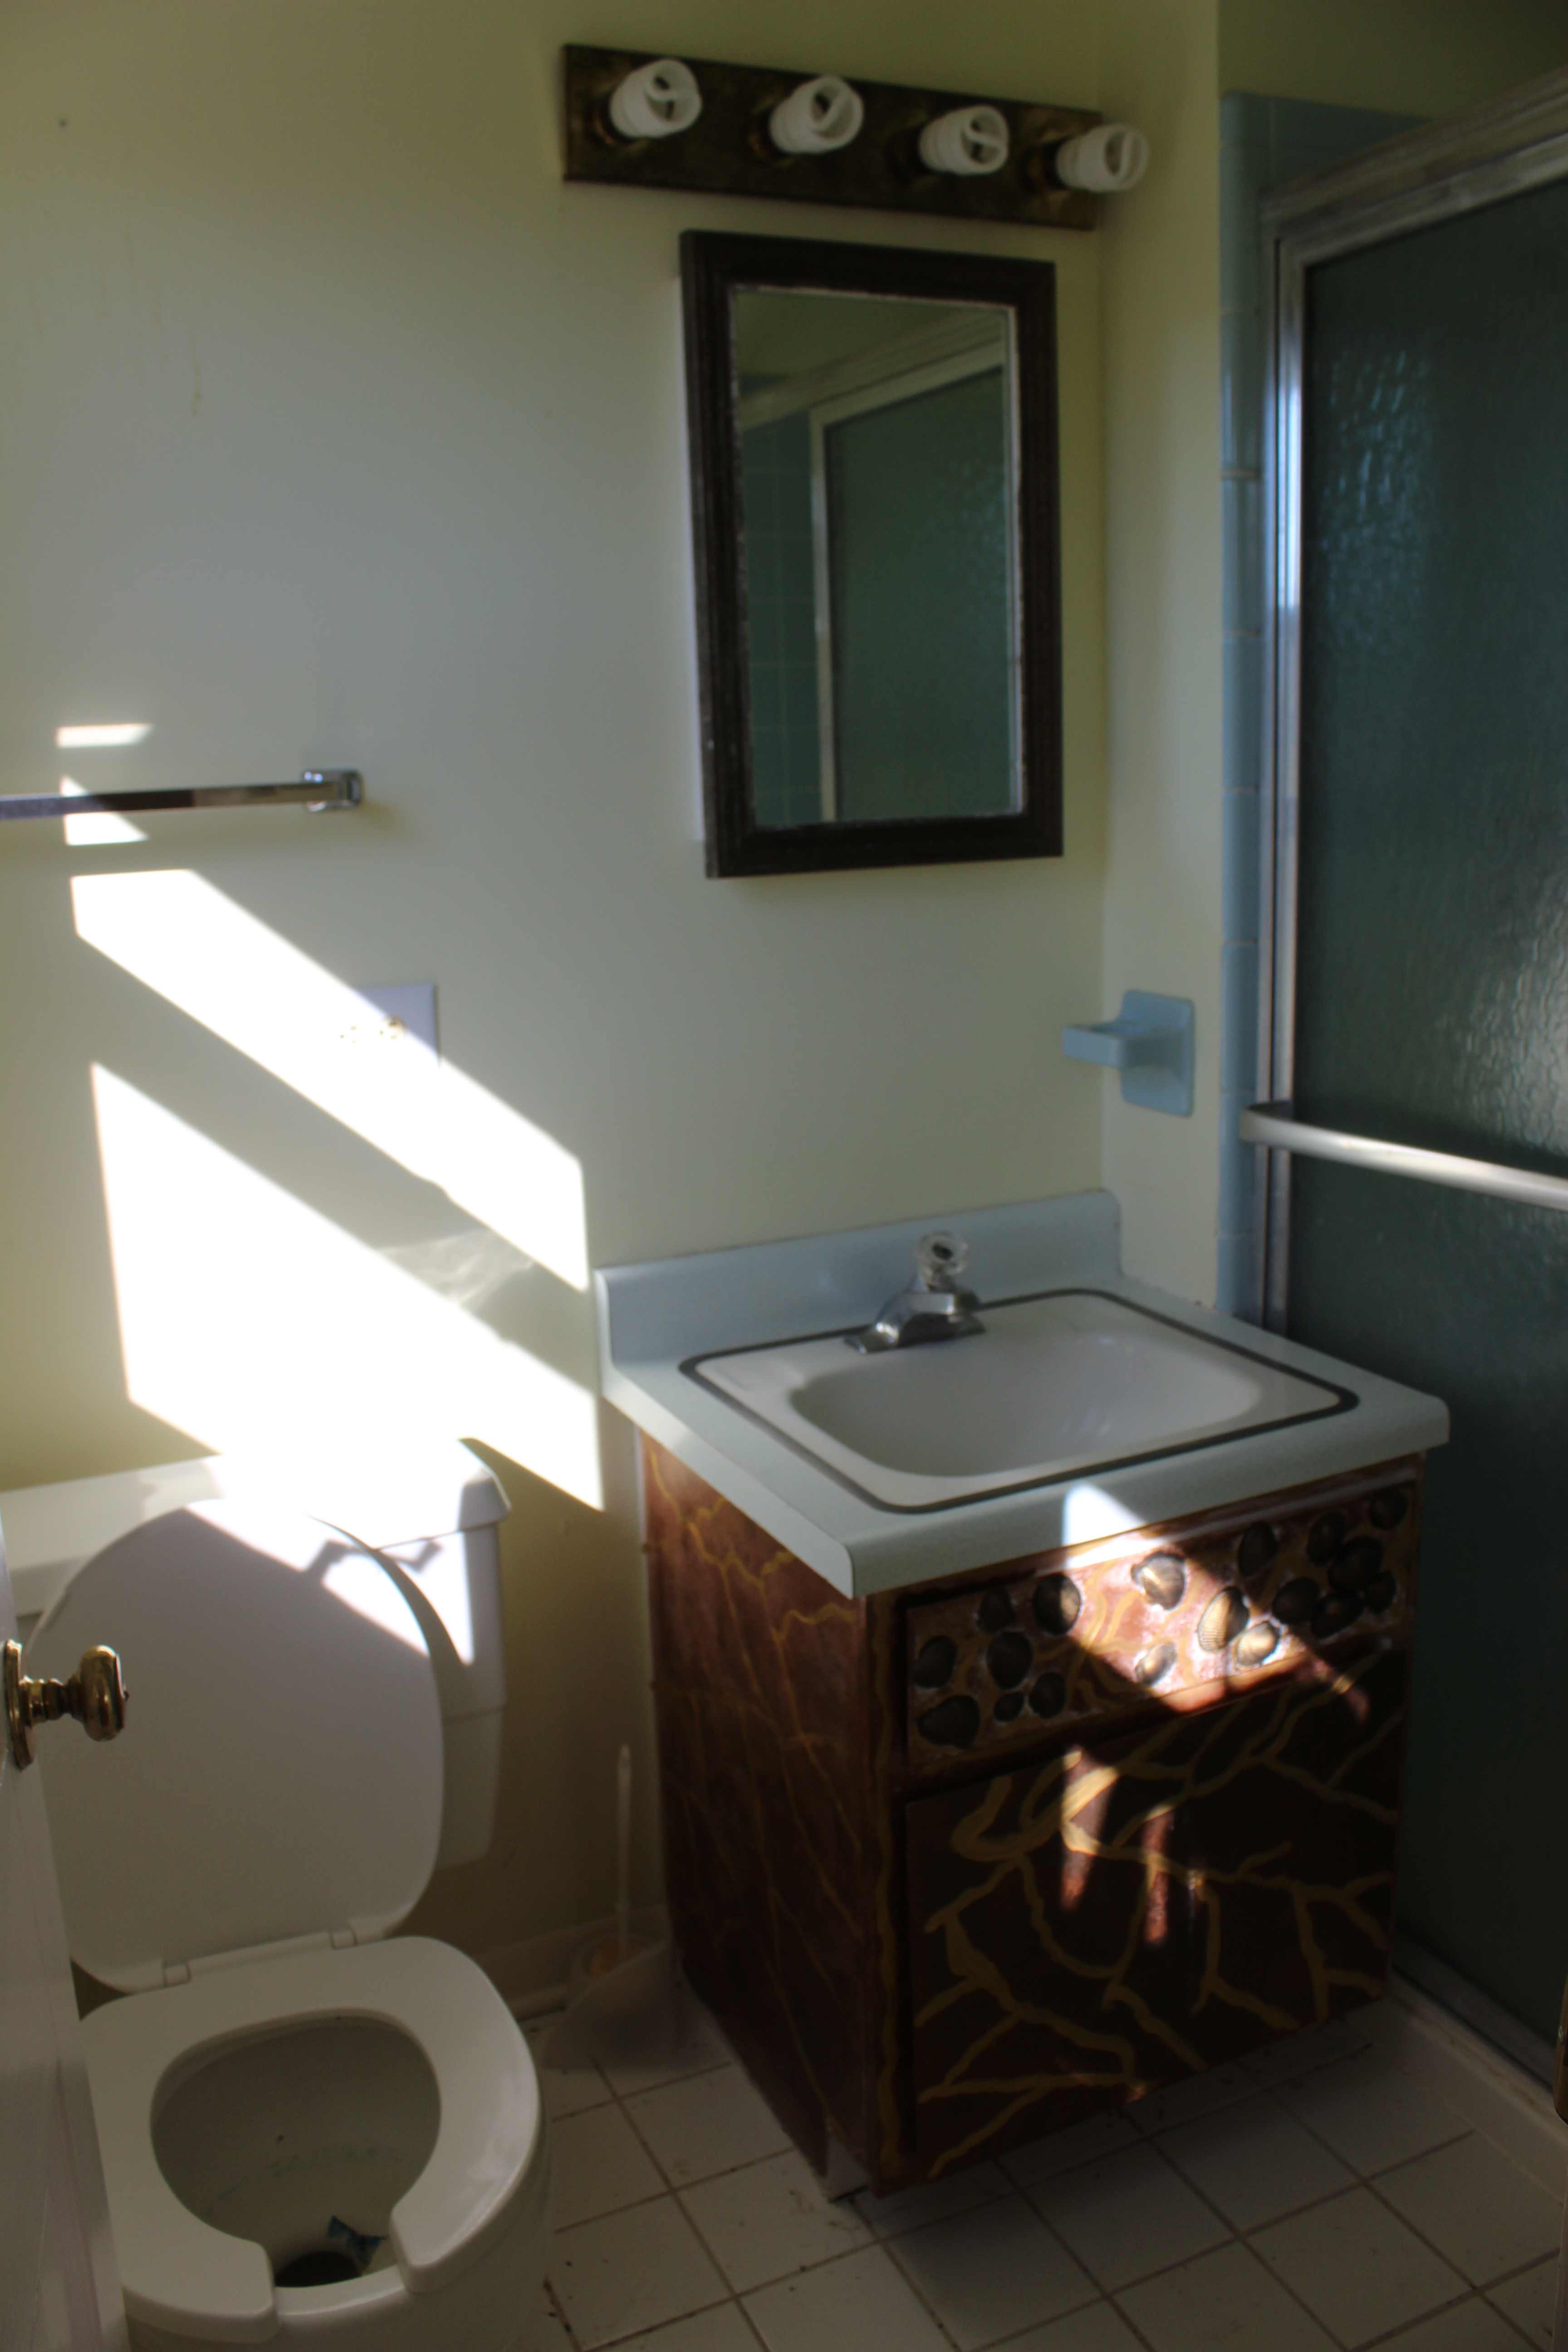
Before

Master Bathroom

Current

IMG_2060

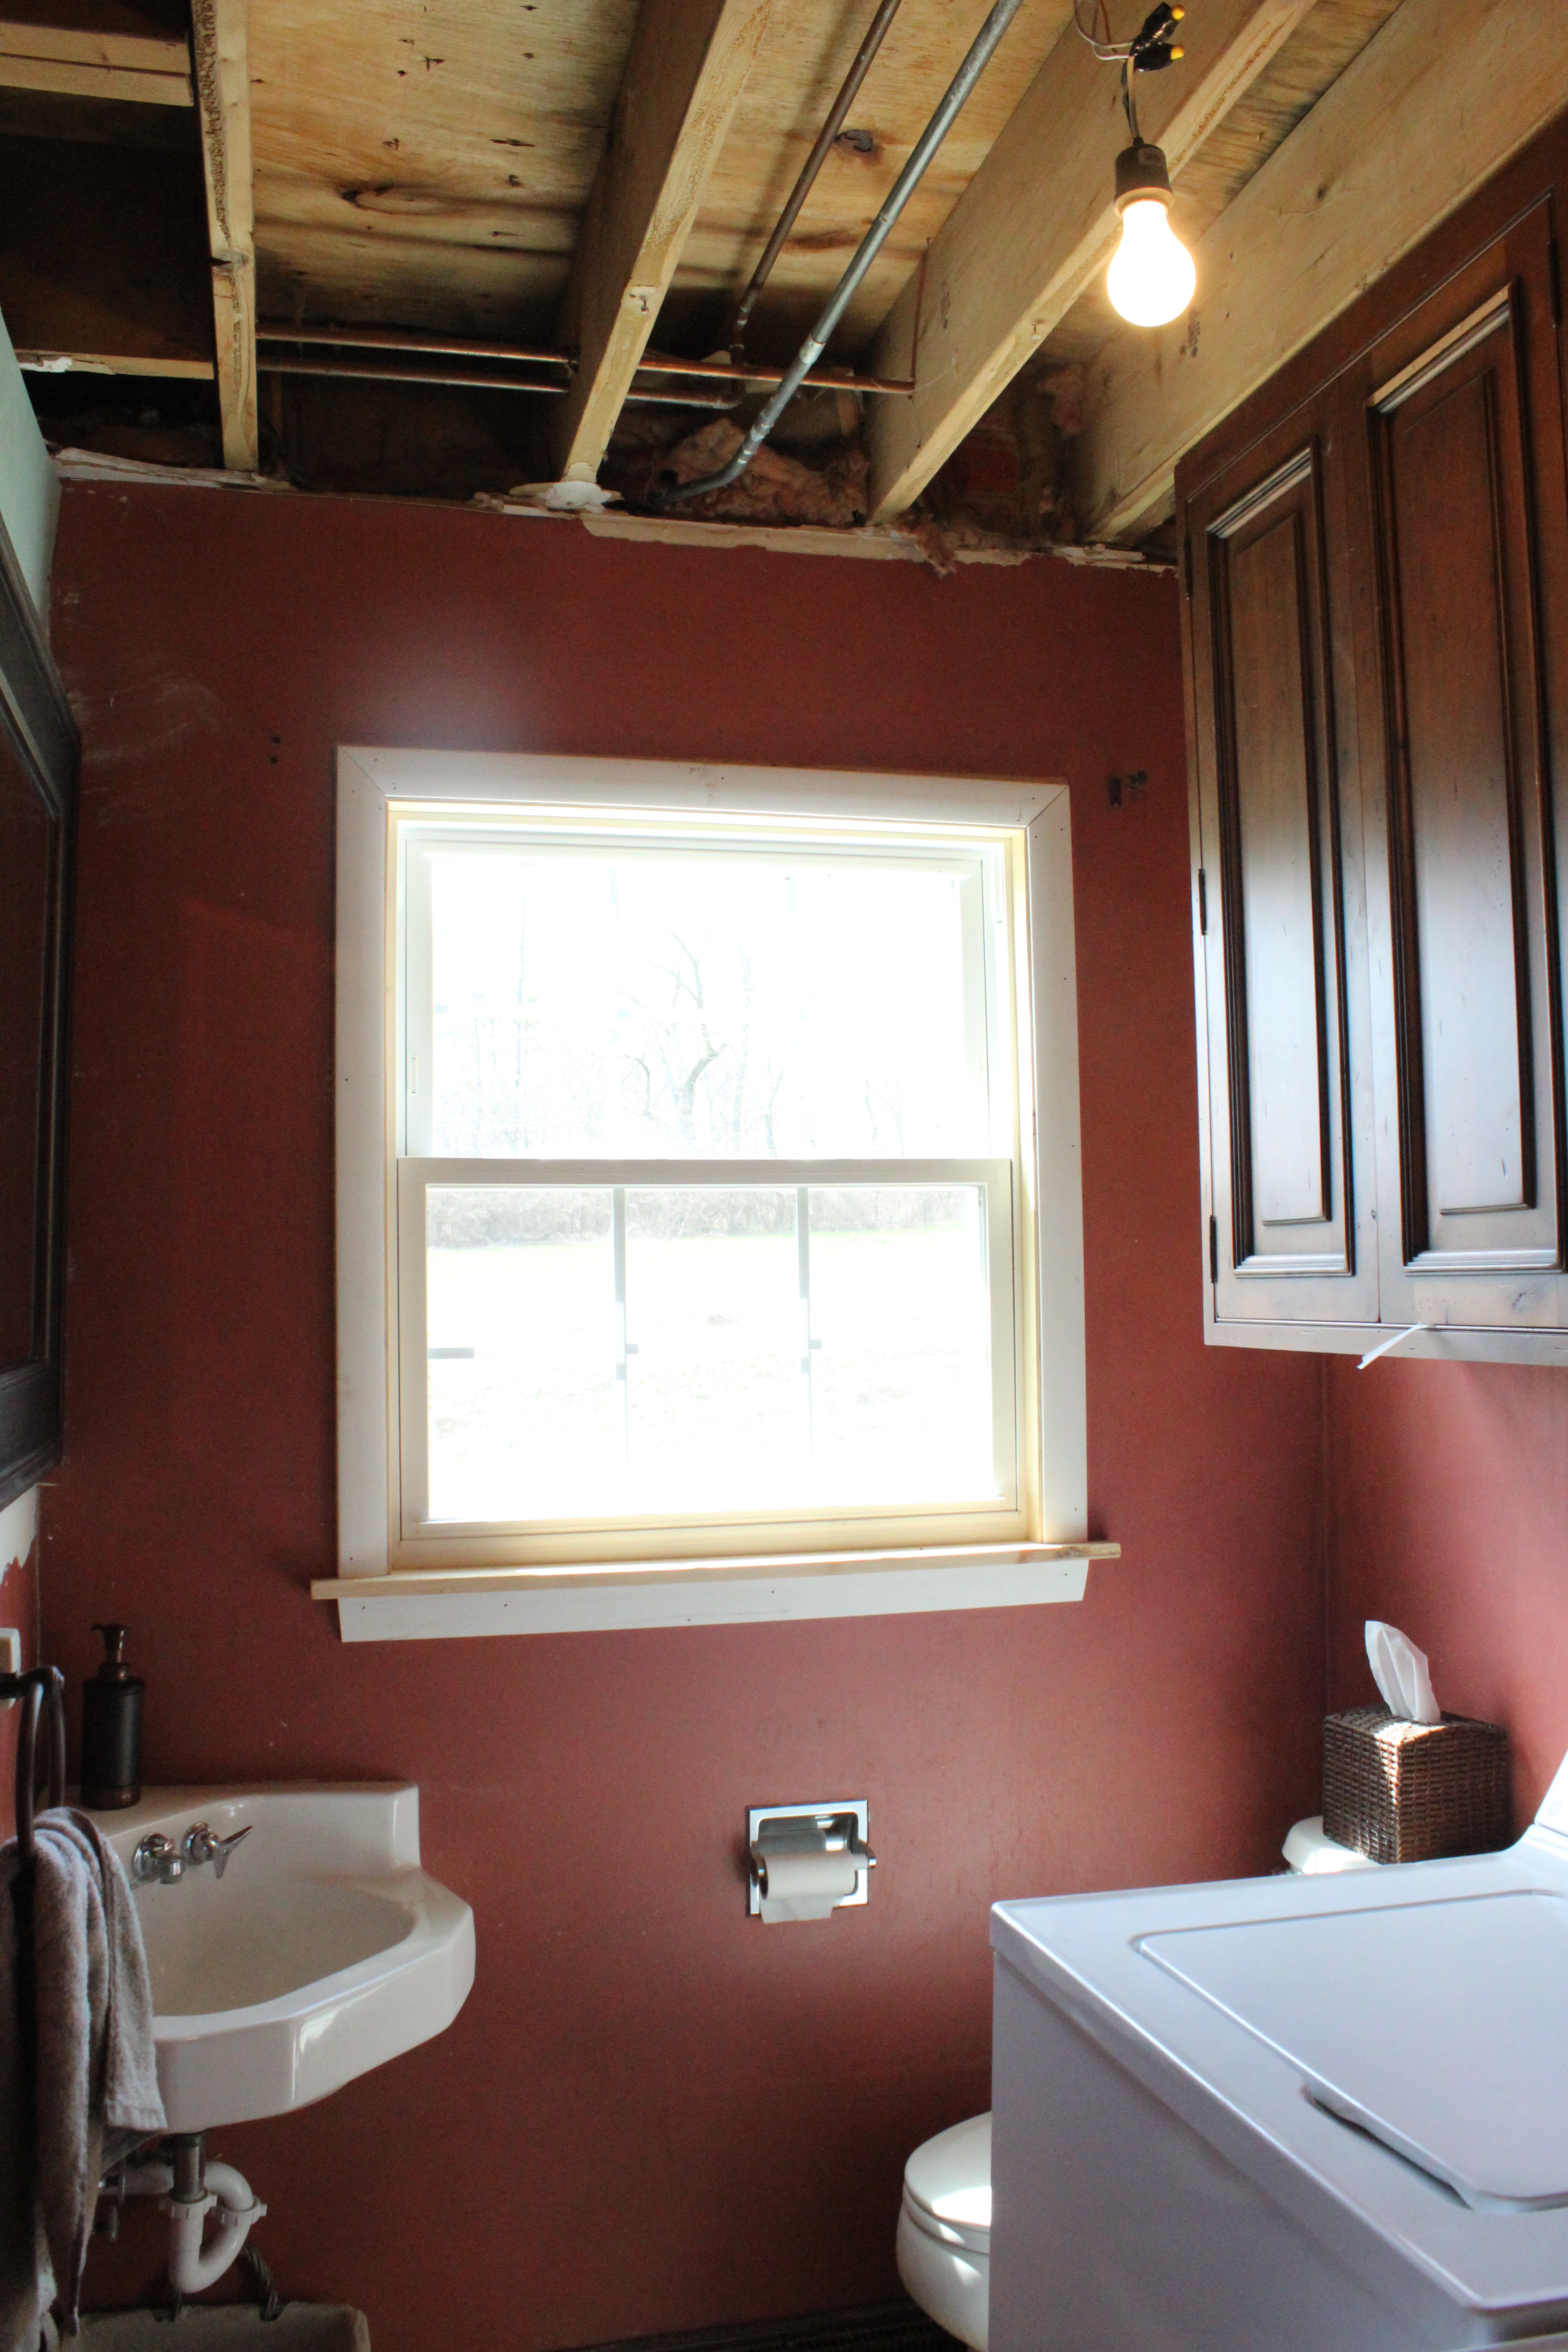
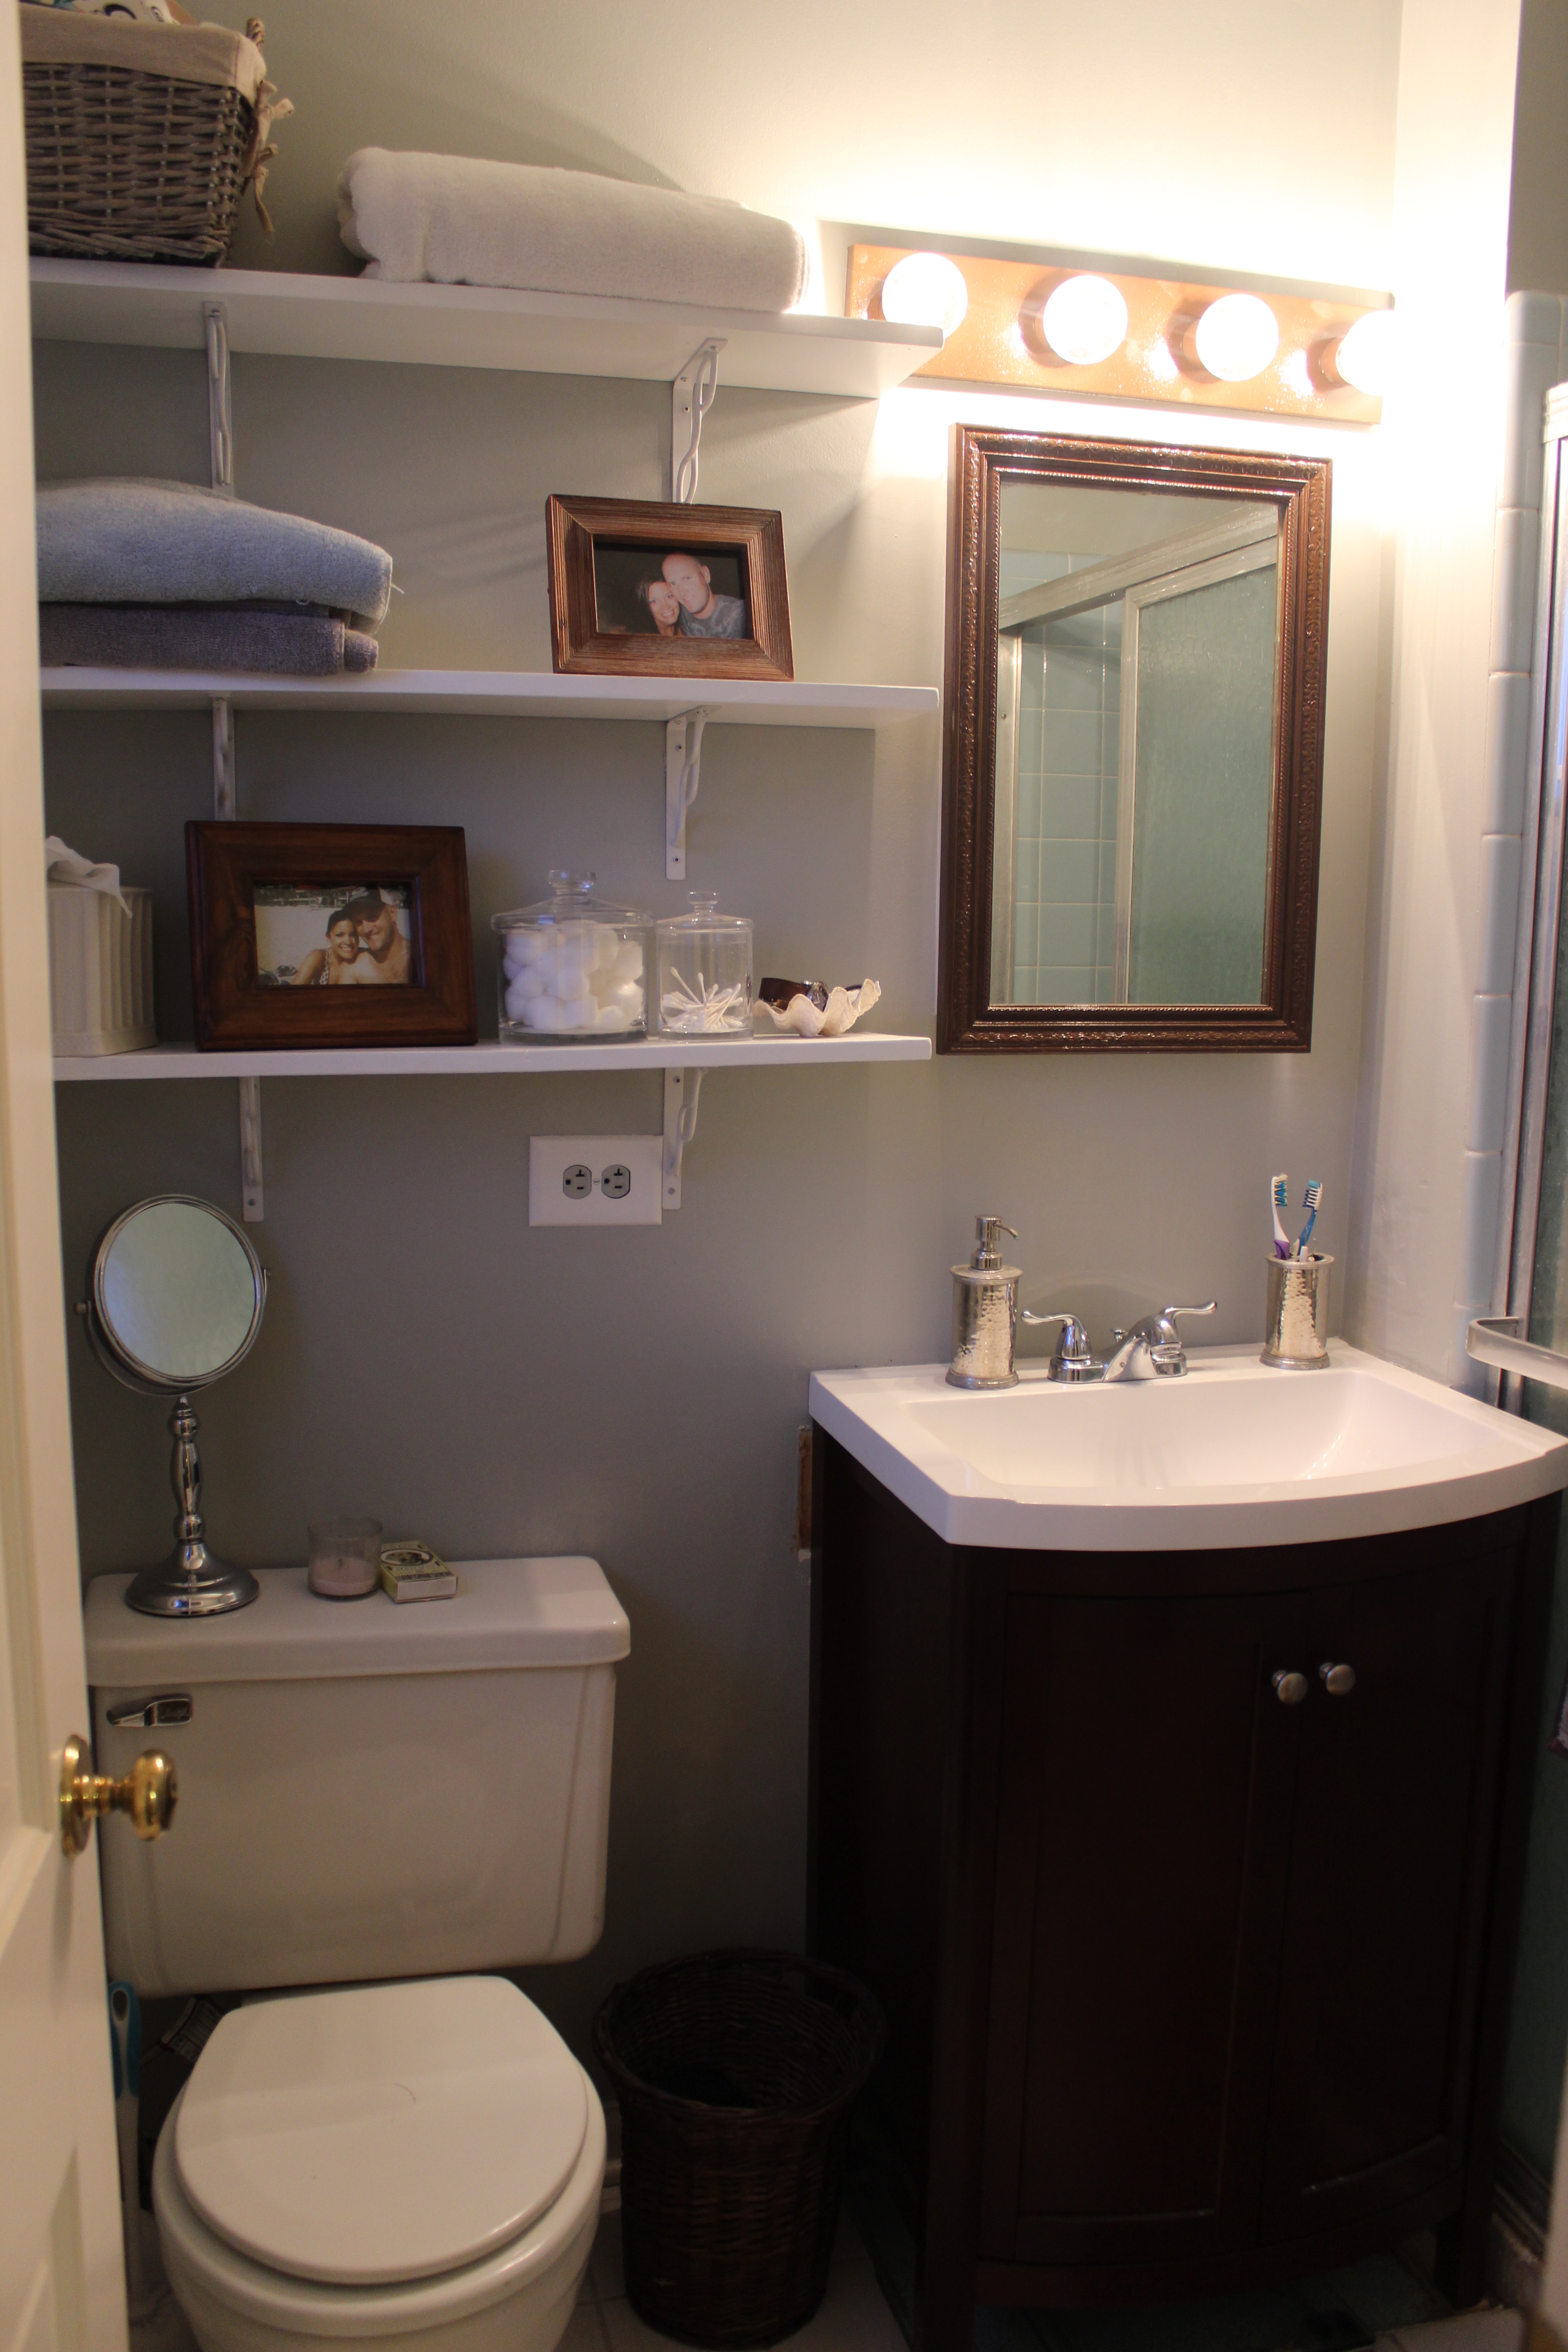
We just painted, added some shelves and put in a cheap vanity in here. This room is going to turn into an upstairs laundry when we relocate our master bedroom.

Office

Before

Bedroom #3 (Future office)

Current

IMG_2874

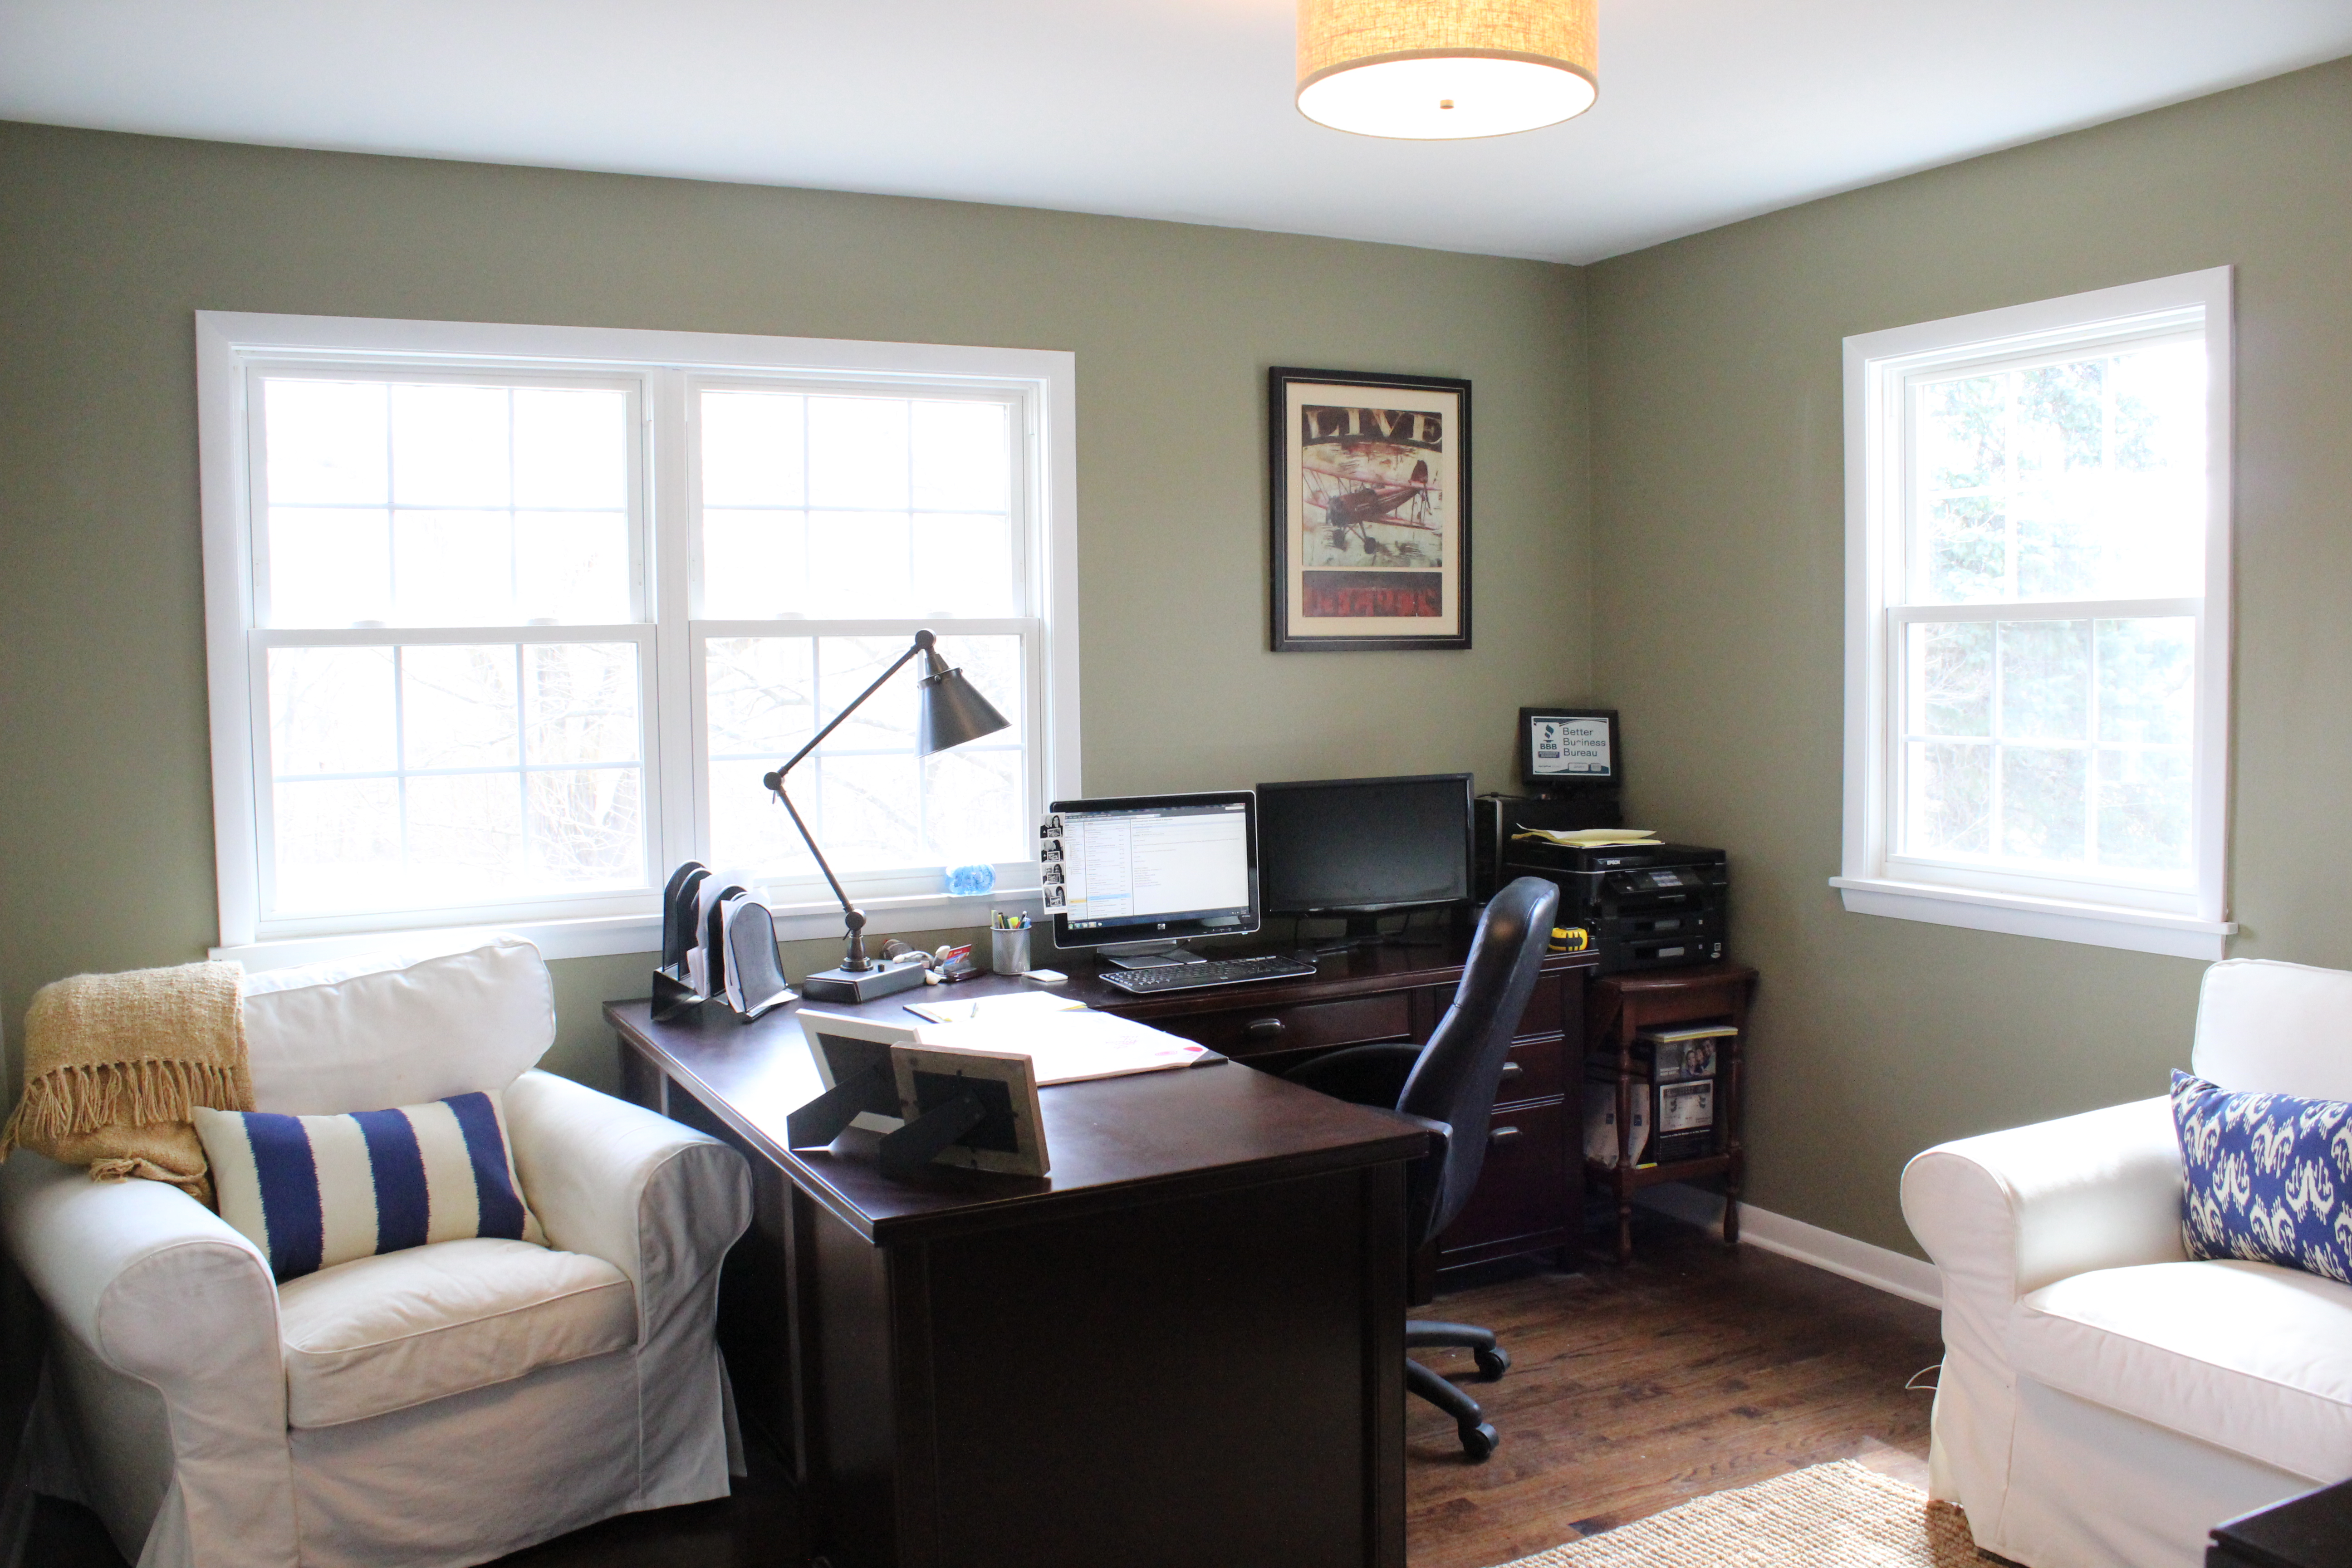
This room got a new coat of paint (Benjamin Moore Dry Sage), light, windows and re-finished floors.

Spare Bedroom #1

Before

12 Oaks Before 261

CurrentIMG_2269

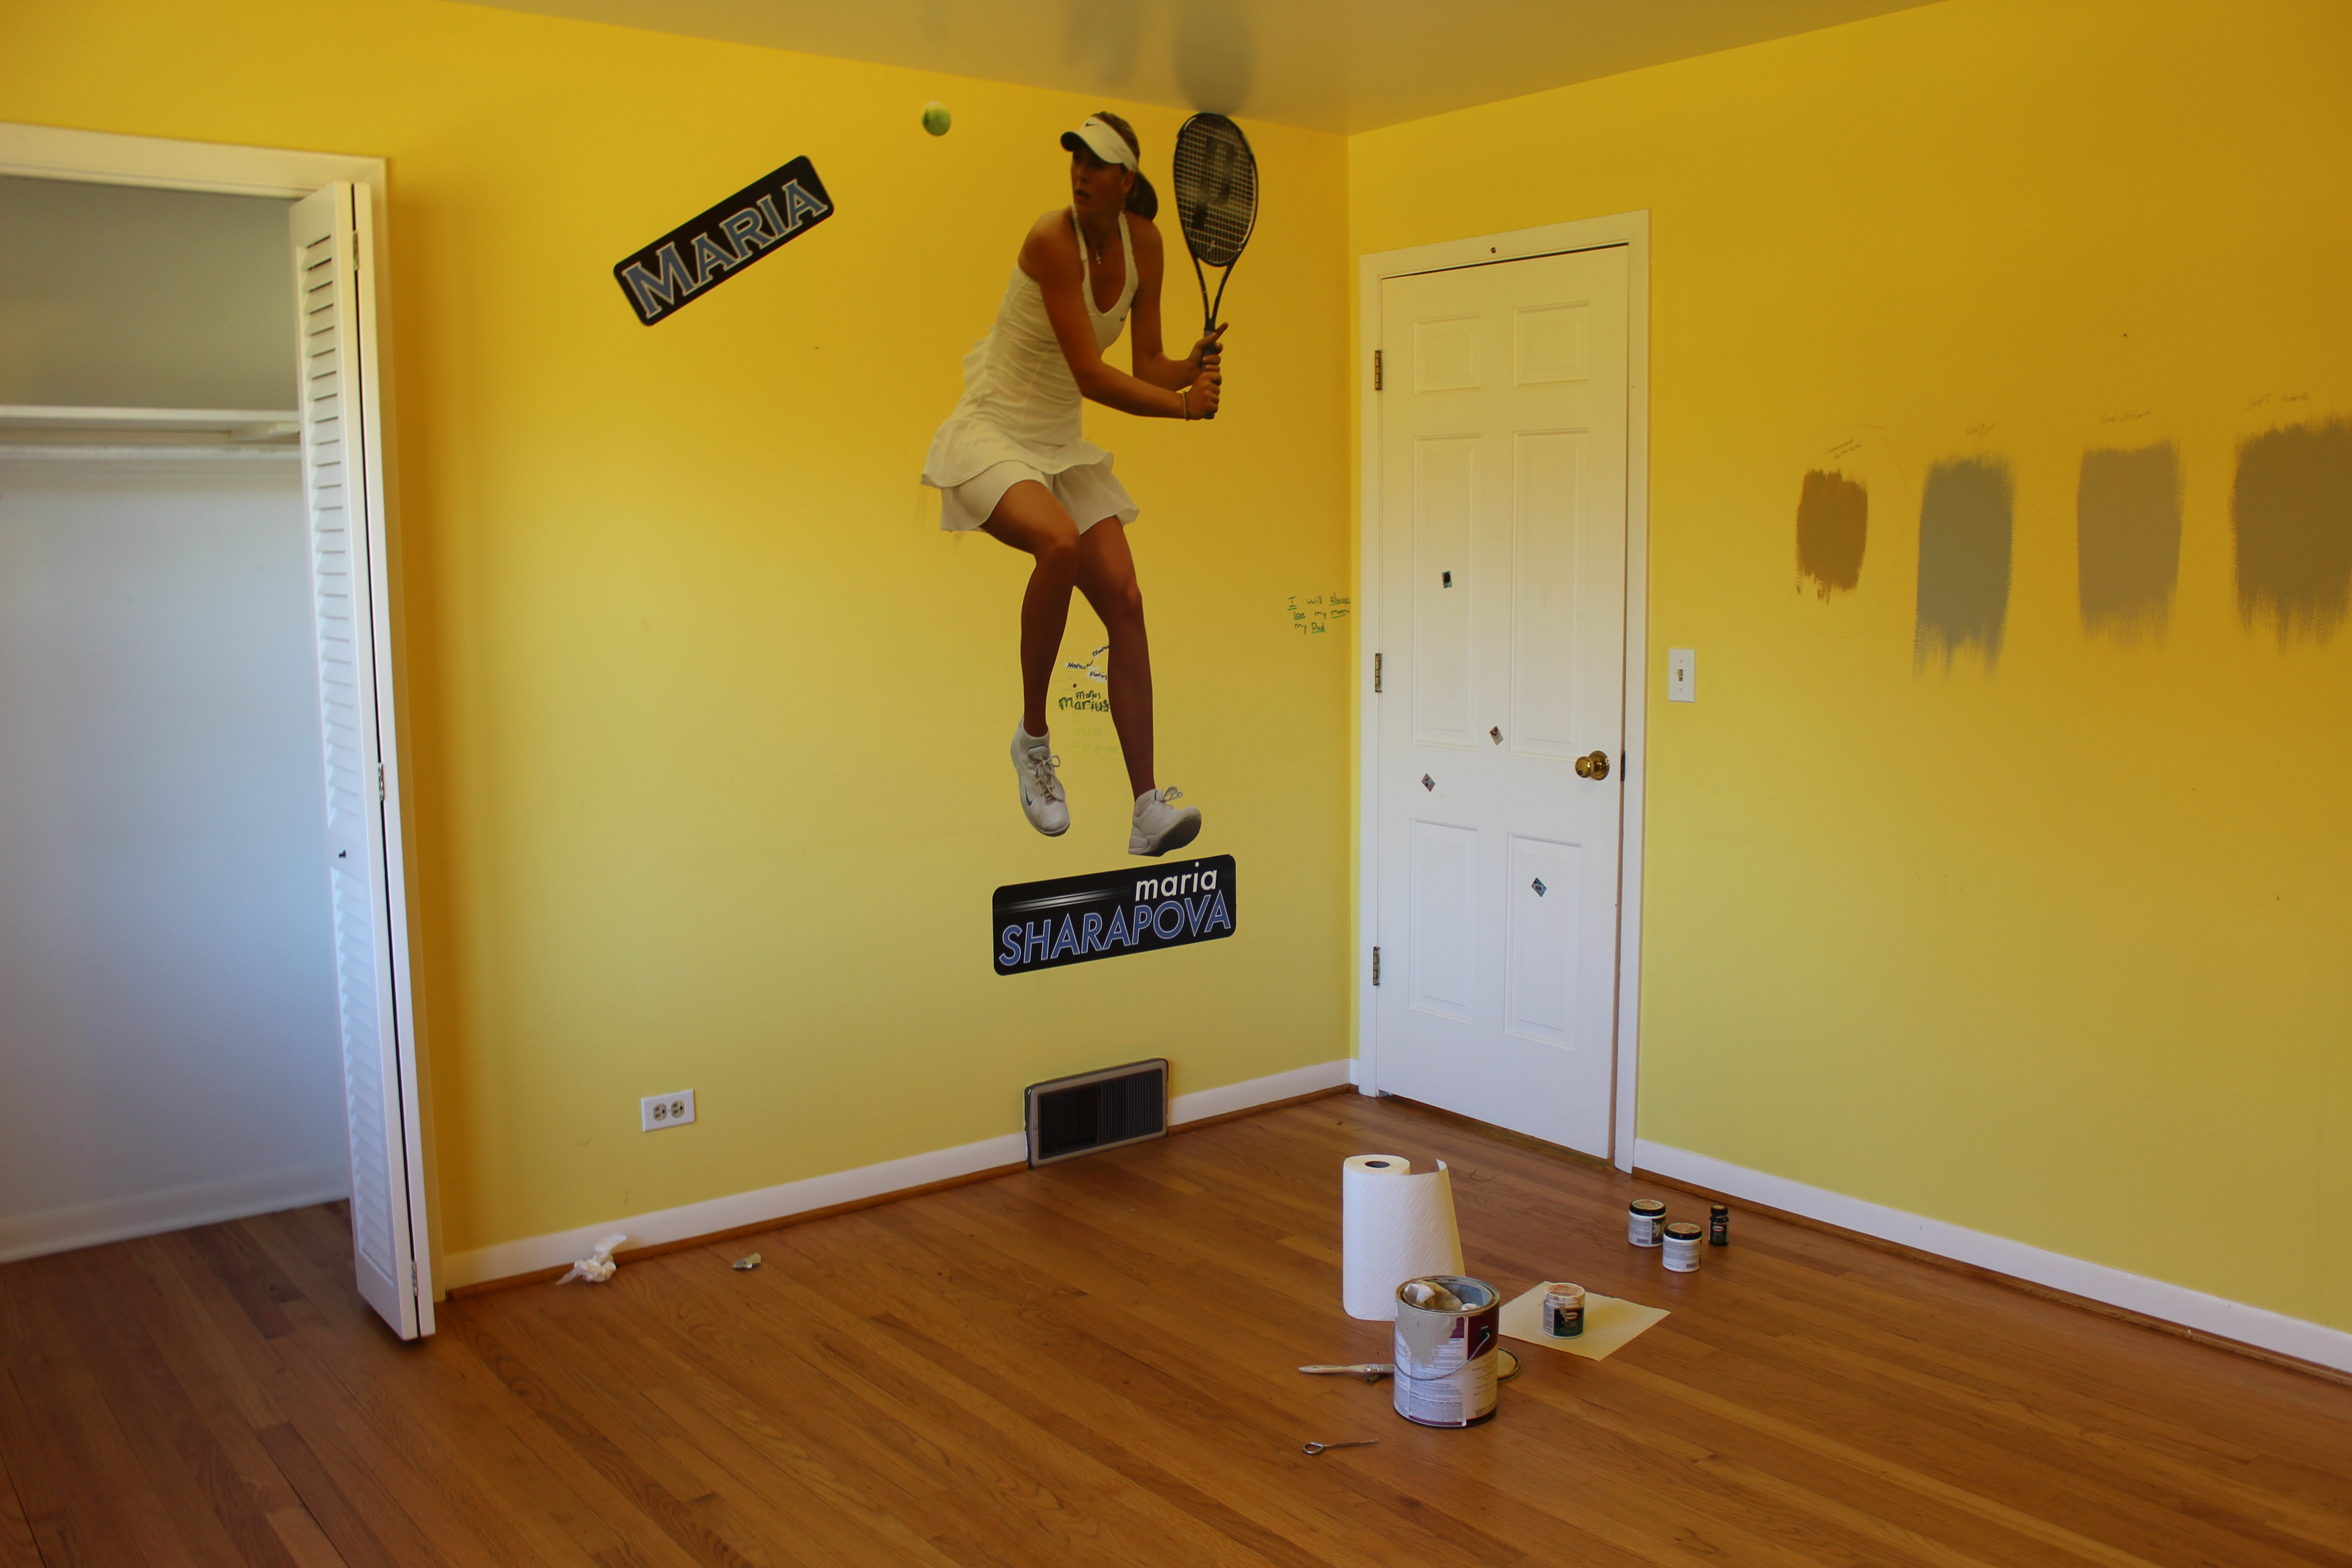
Paint color in here is Glidden’s Soft Suede.

Spare Bedroom #2

Before

12 Oaks Before 229

Current

IMG_2981

New window, closet doors and floors re-finished in here. The paint color is a lightened version of Benjamin Moore Mineral Alloy.

That concludes the tour. Not bad, right? A lot accomplished, but still a lot to go. Our guess is it will take 2 years to complete everything so I guess we are 25% of the way there.

Floor Plan: Current & Future

20 Mar

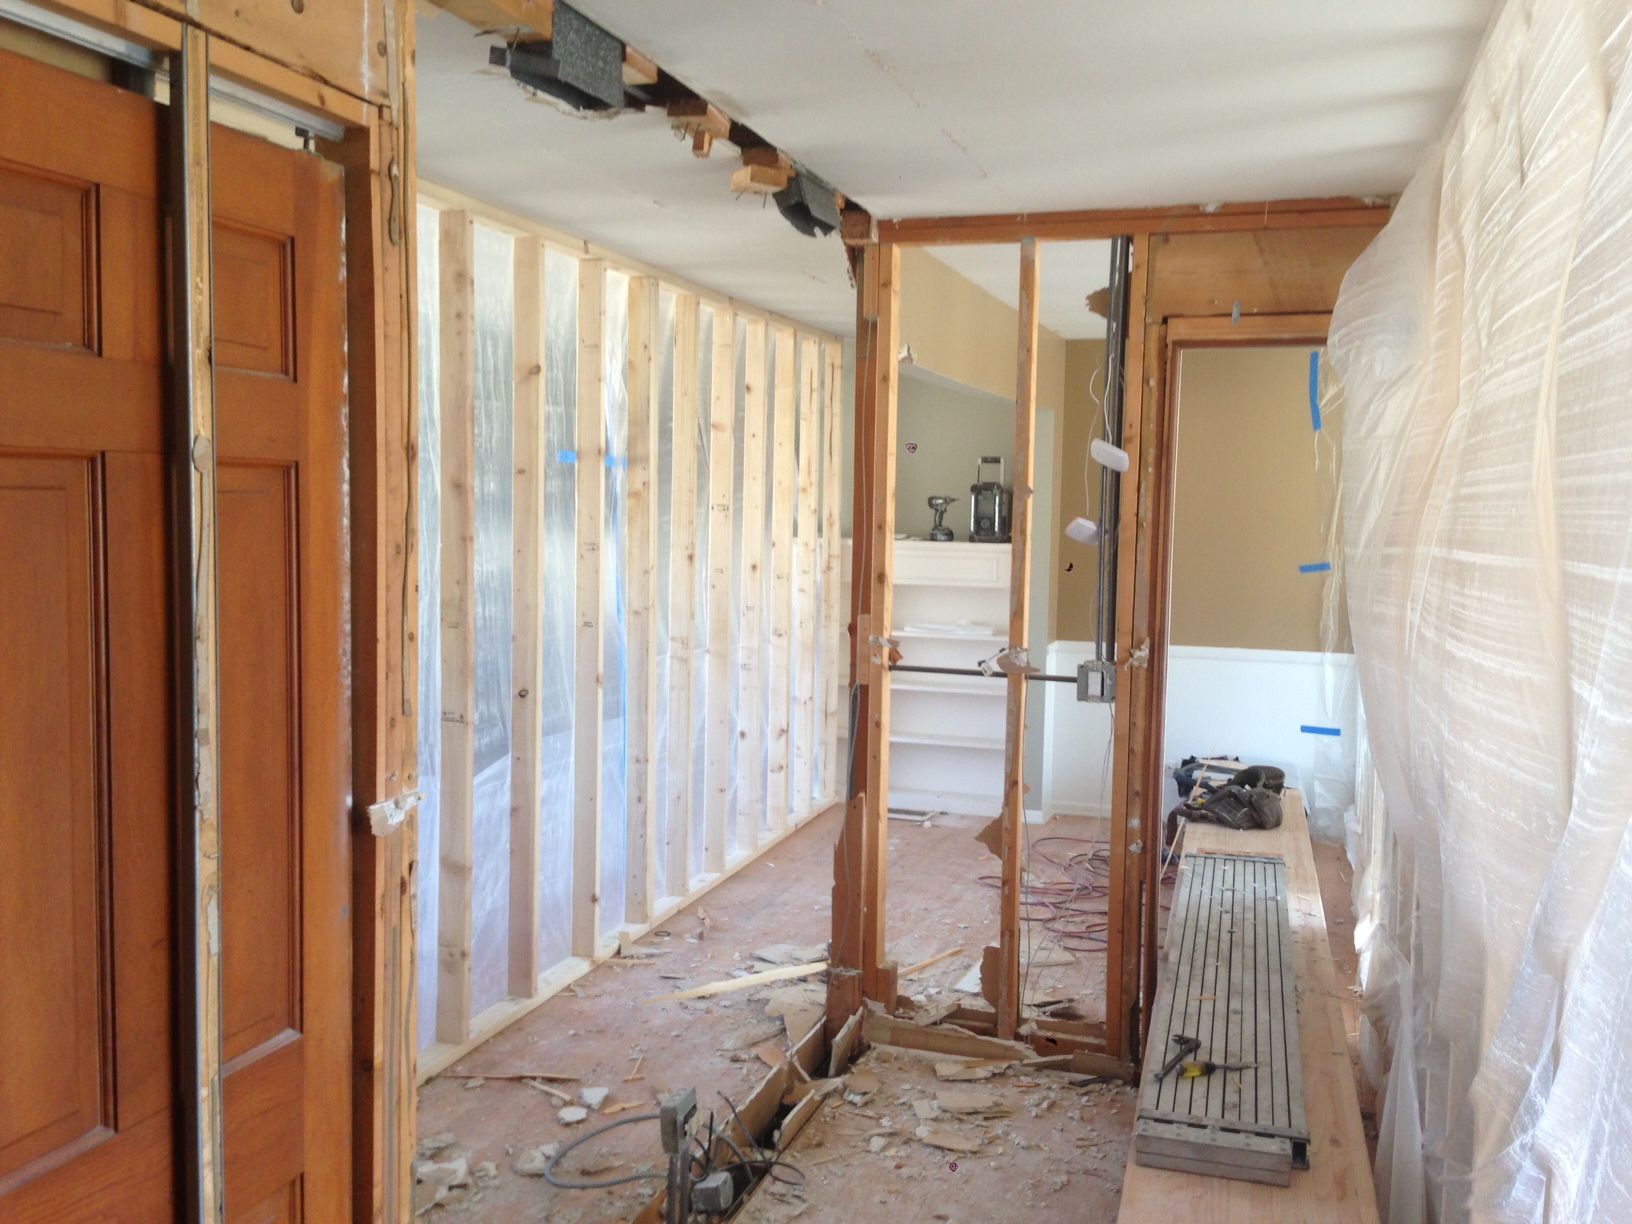
While our house is under utter disarray (read: we’re removing the main structural wall of our house), I thought it would be a good opportunity to share our current floor plan and what we’re thinking it will look like after all of our renovations.

Oh and here’s a glimpse of what our house looks like right now. It’s crazy but we’re so excited, we don’t care that we’re cordoned off to one area of the house.

photo-115

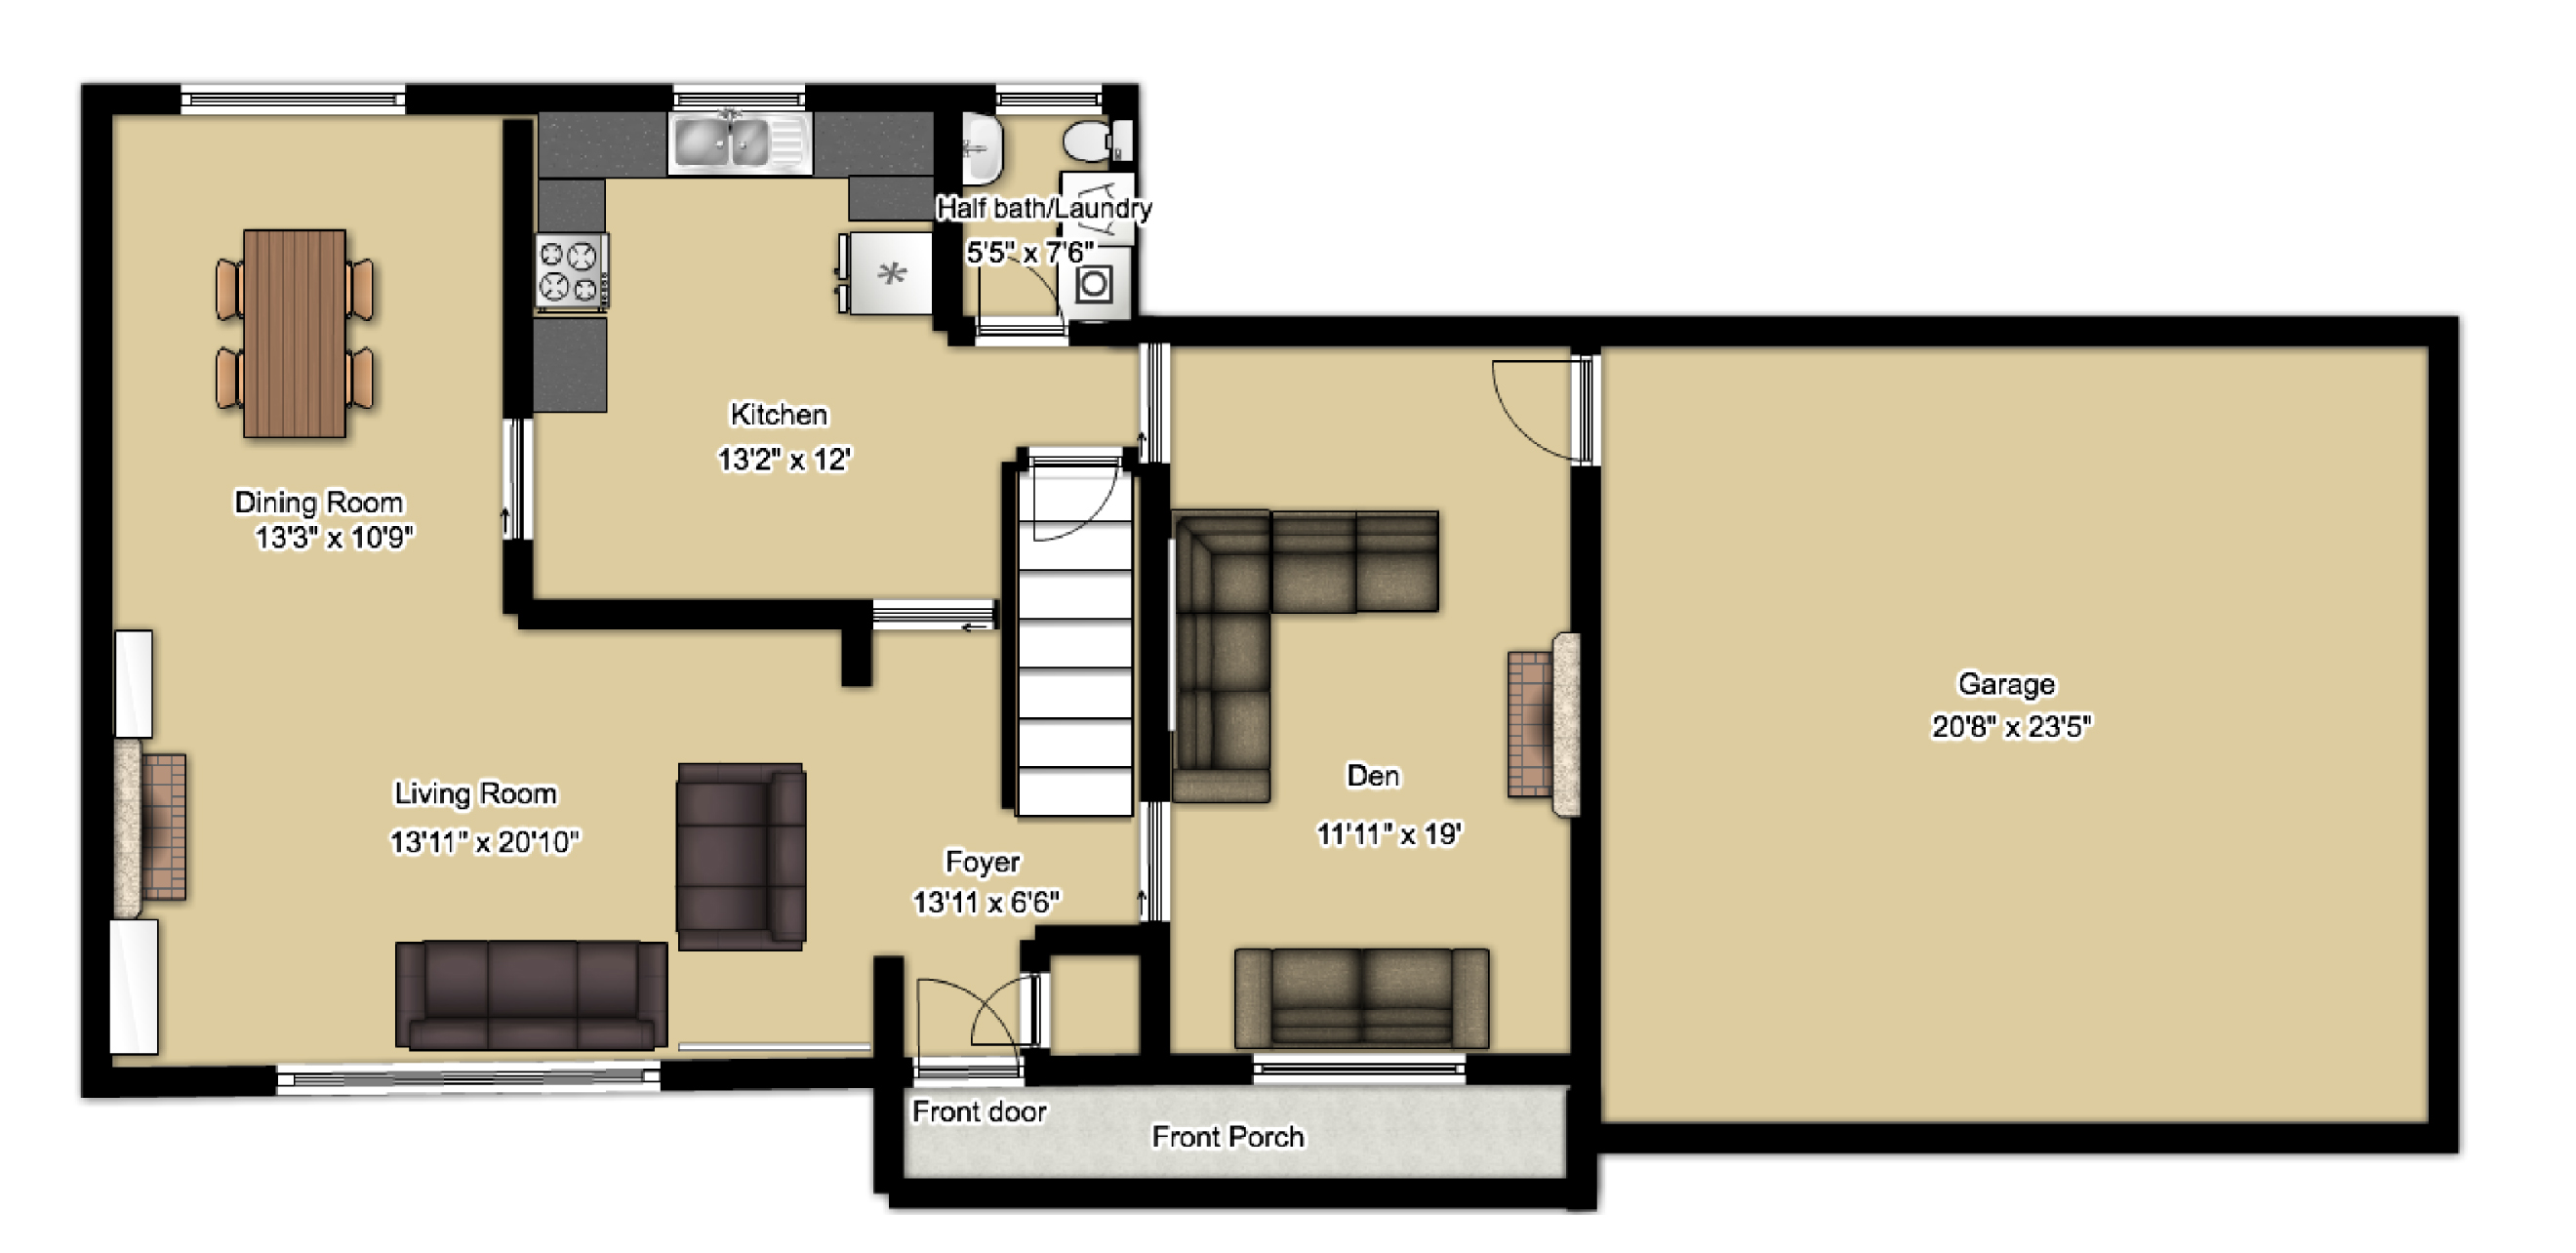
Ben created the floor plan using floorplanner.com. It’s a free tool and really easy to use. Or so I’m told. My brain doesn’t function that way, so it looked pretty daunting to me.

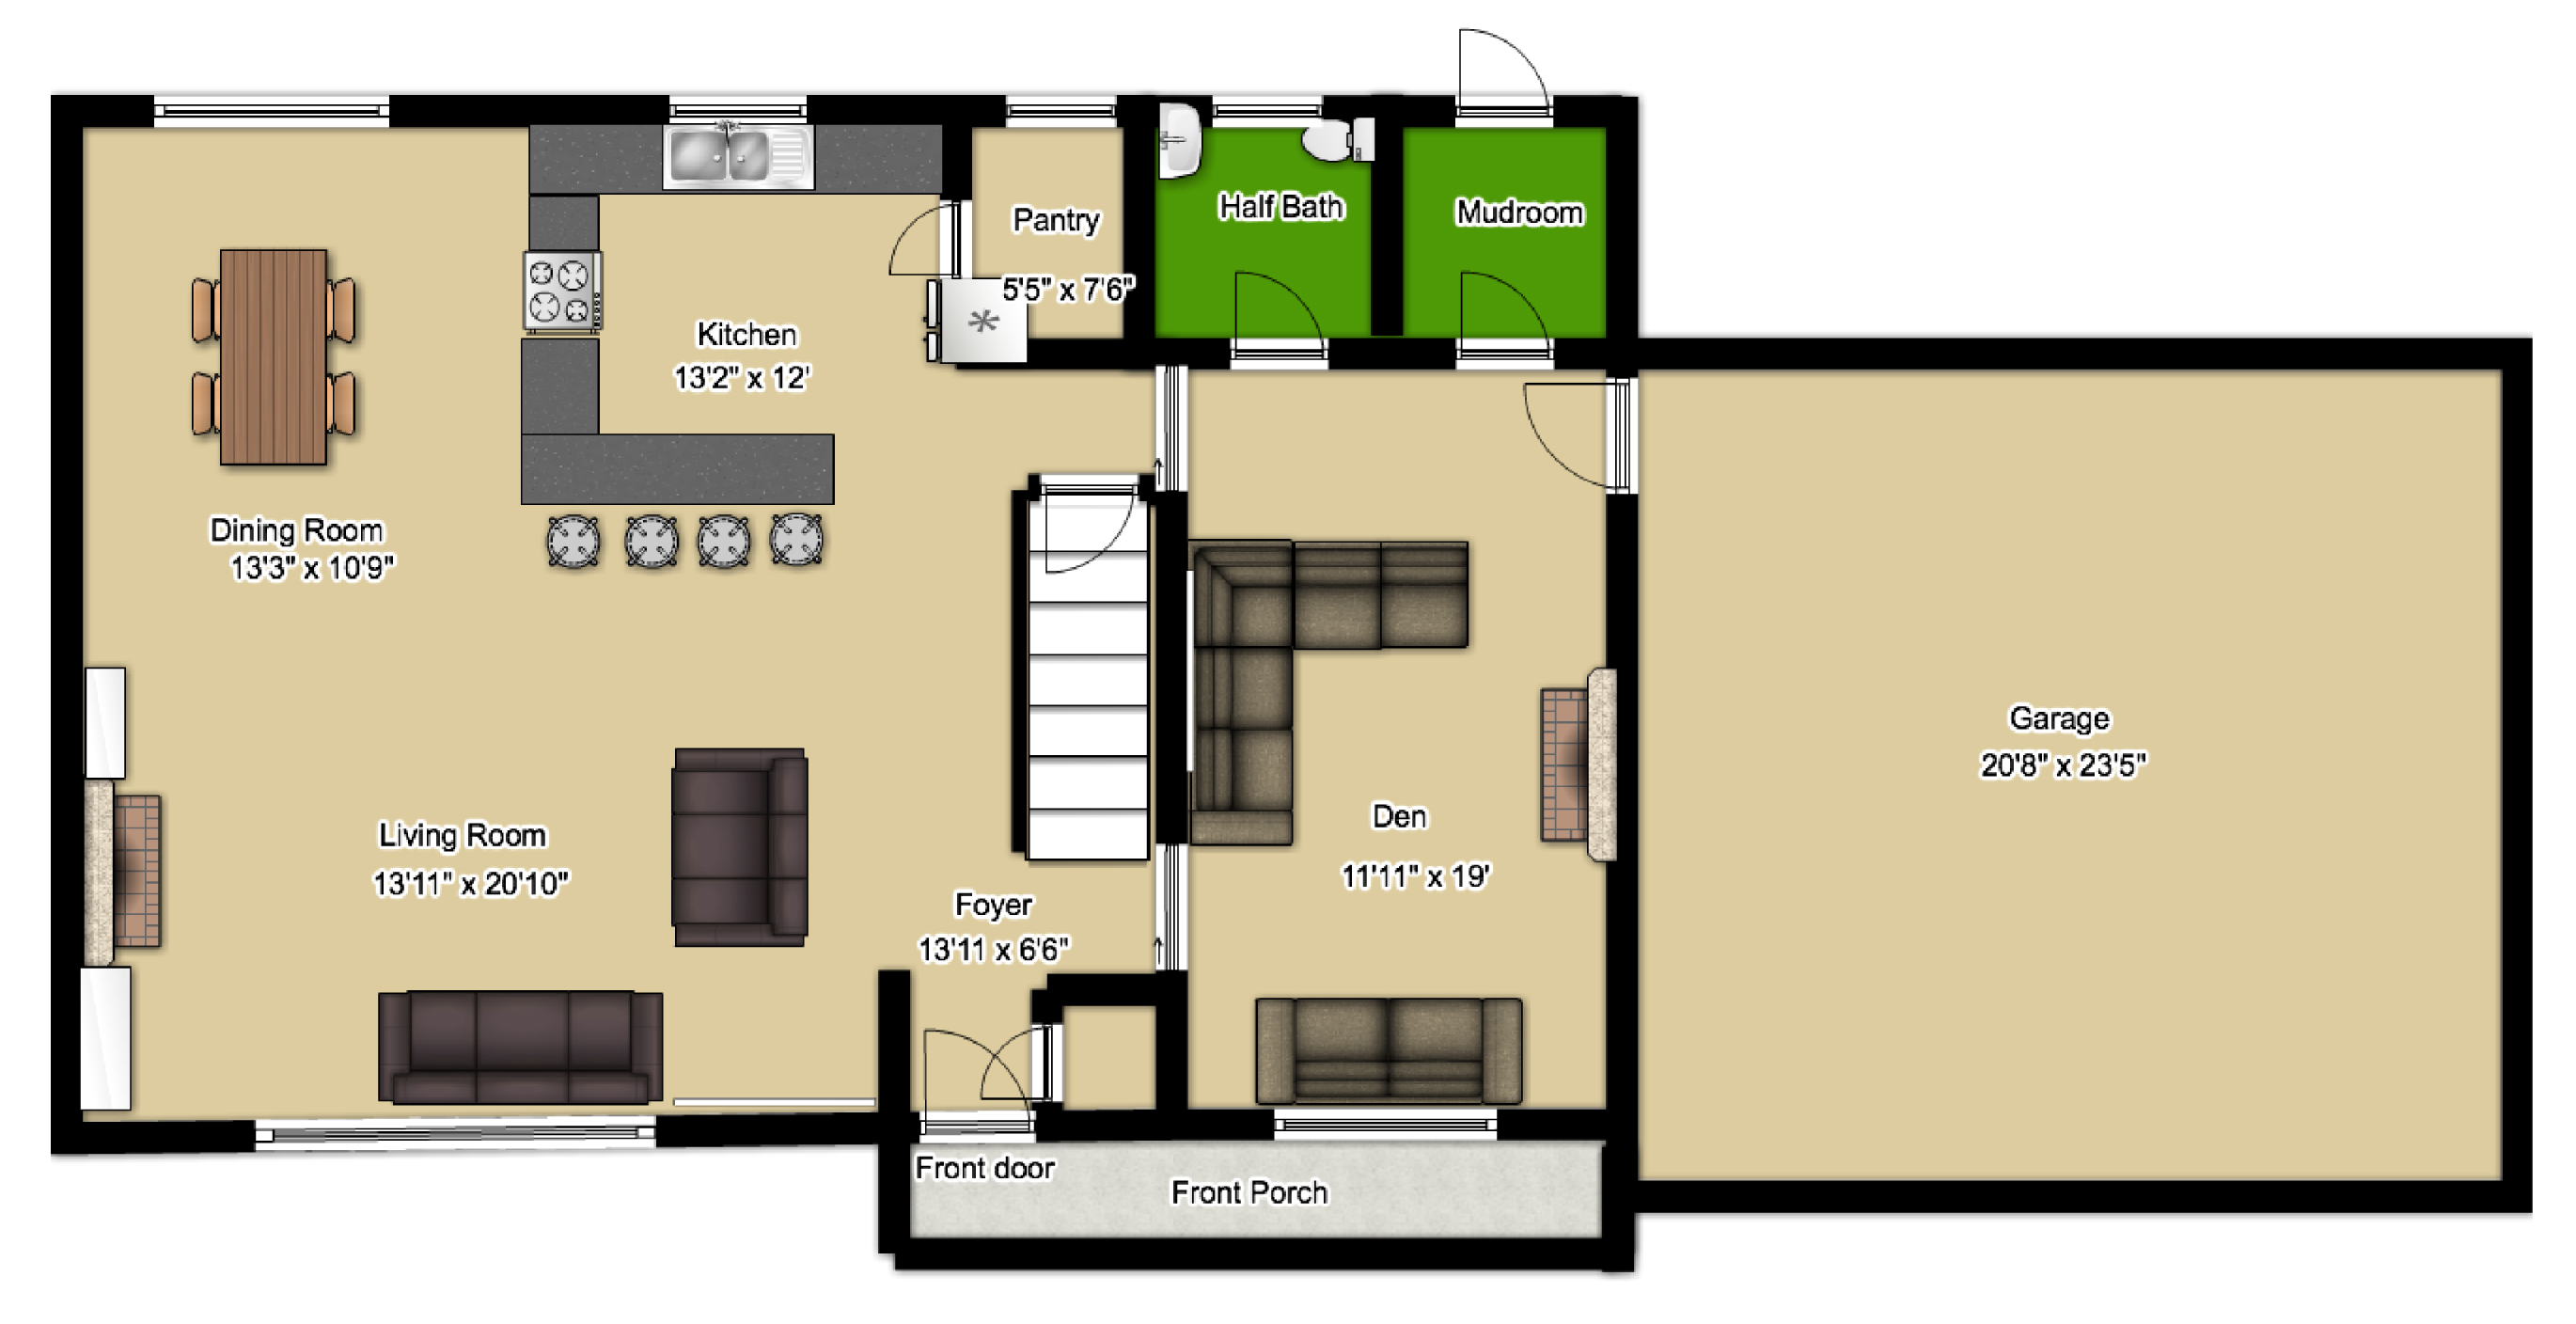
So here is the first floor as it exists today (or maybe yesterday?)

Untitled

(Sorry if it’s too small to read, you can click on them and it will open in a new window where it’s much bigger.)

And here is the future floor plan as we’re thinking right now. It could change, but you’ll notice we want to:

  • Create an “open” floor plan by removing the big wall separating the kitchen and living room
  • Build a U-shaped island in the kitchen with stools
  • Turn the current half bath/laundry into a large kitchen pantry that you enter from a nook inside the kitchen.
  • The green area is a small addition where we would move the half bath and add a mudroom with cubbies and cabinets. A door from the mudroom would lead out to the pool and backyard.
  • The fridge is recessed into the pantry so it doesn’t take up a lot of room in the kitchen
  • We’re thinking of doing a half wall in between the kitchen and dining room, but still debating it, due to thinking about placement of a hood.

Untitled

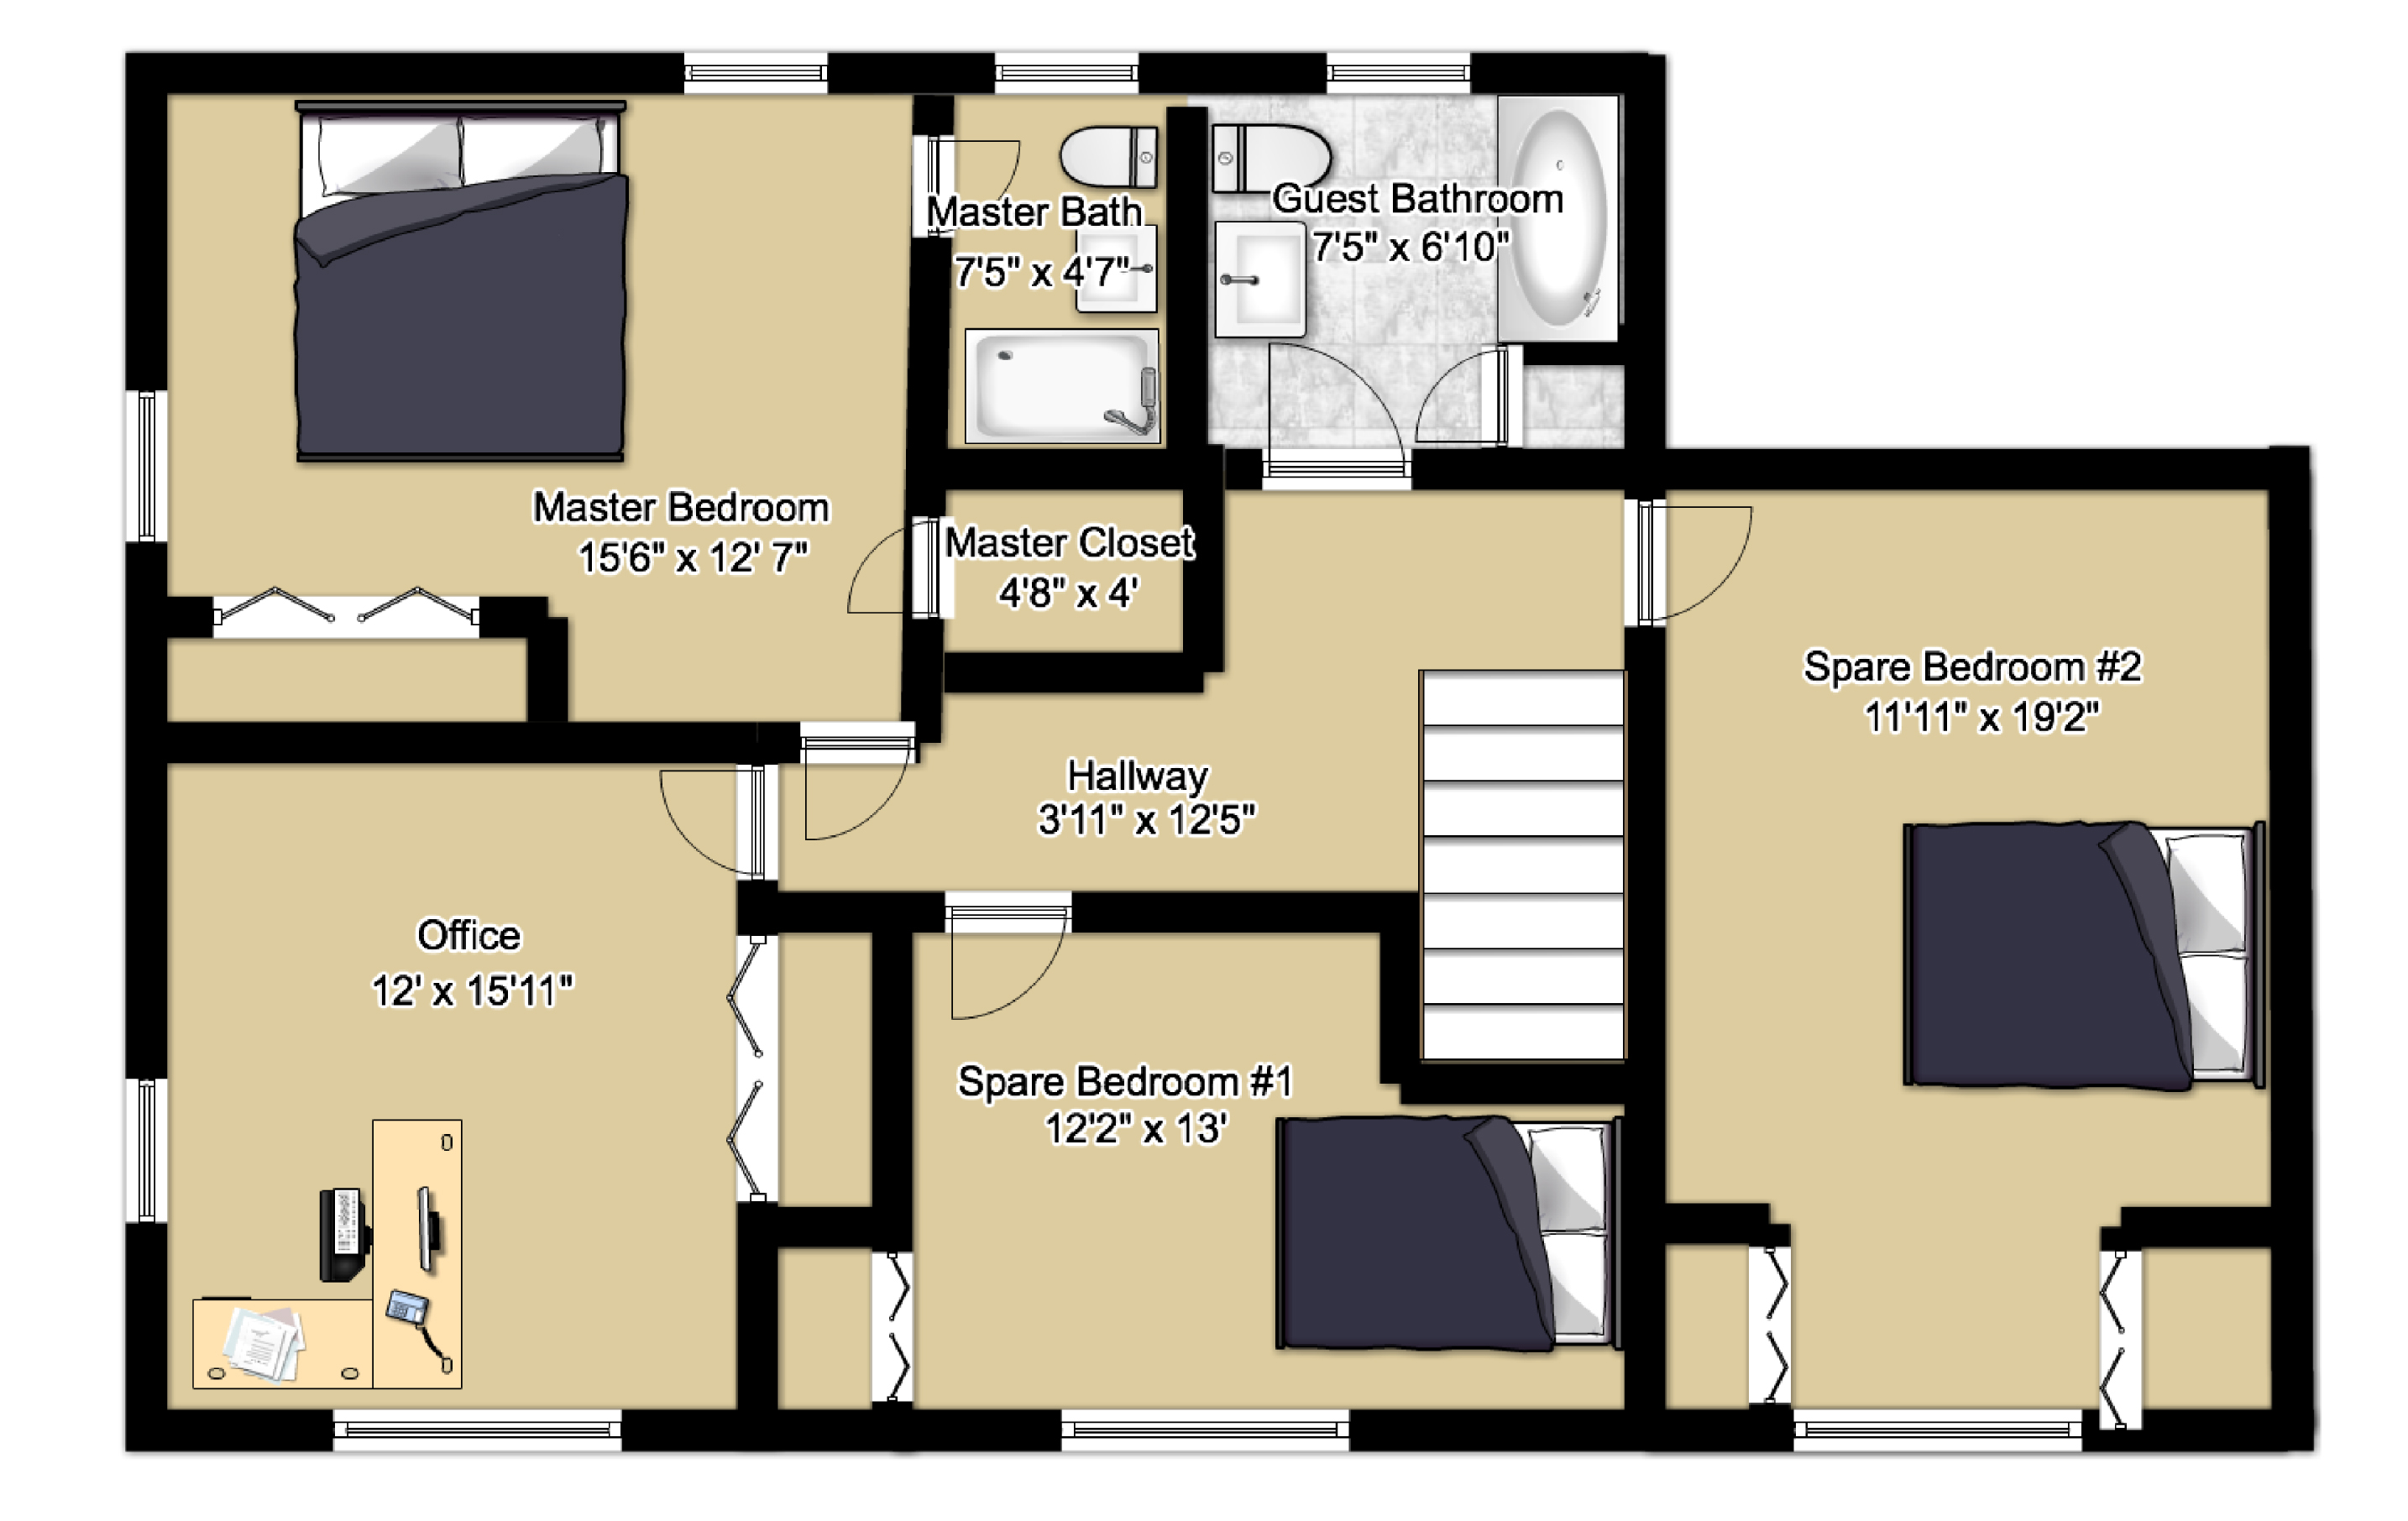
Moving upstairs. Here it is currently.

Untitled

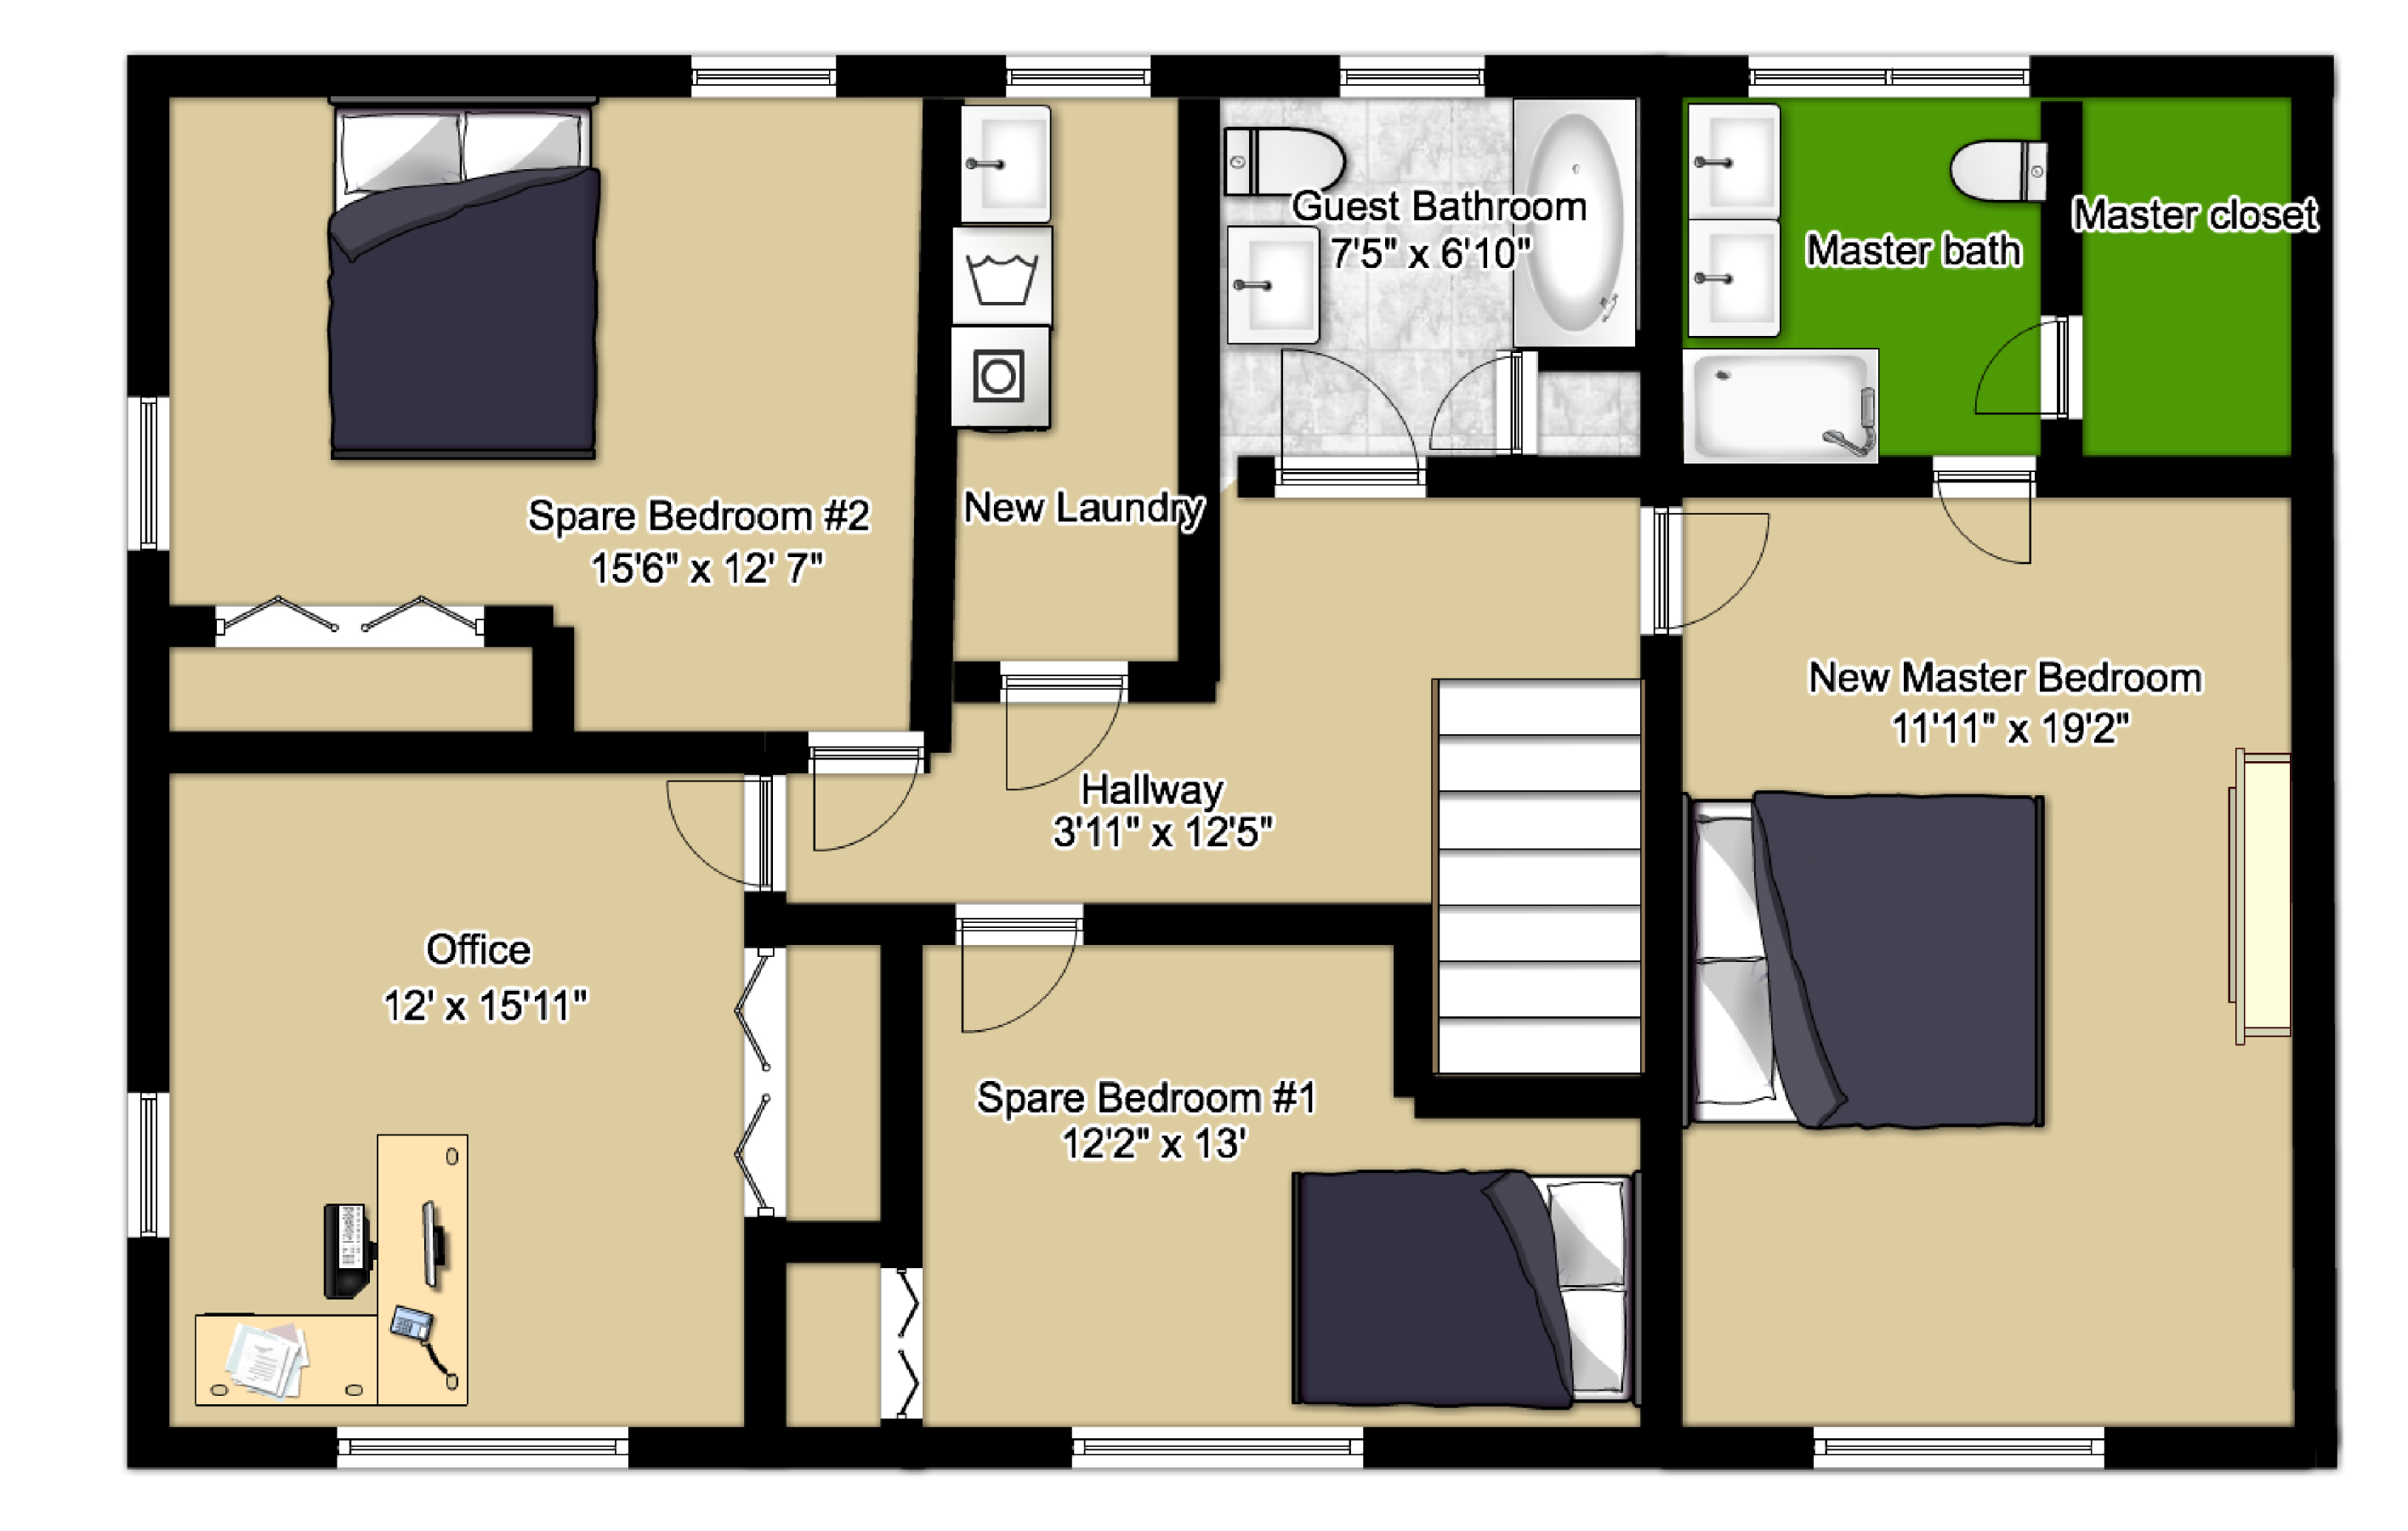
And then after the addition, it would look like this. You’ll notice we want to:

  • Swap the the master bedroom with the bedroom on the far right. This room is already bigger and has the BEST natural light of any room.
  • The addition turns into a master bathroom and closet.
  • We’d remove the 2 closets in the new master to make the room even bigger. You could put a little sitting area over there.
  • Take out the bathroom and closet in the old master and put in a small laundry room. That room still has a large closet (it had 2) and we don’t think our guests or kids will need their own bathroom en suite.
  • Expose the fireplace in the new master bedroom. There is already a chimney there and who doesn’t dream of a fireplace in their bedroom?

UntitledOther than removing that wall which started today, everything is still up for debate. Let us know what you think. Does anyone have a 2nd floor laundry? It makes sense because that’s where all your clothes are, but who knows. Do you think we’ll have enough room for a bathroom and closet in the new master? It’s probably hard to tell but that is a concern for us. What do you think of the size and shape of our island? We wanted it to be floating, but I don’t think it will work that way. Do you like the open floor plan feel? Share your thoughts.

I’ll be back next week to share after photos once the wall removal is complete. And we put in french doors off the dining room last week. Lots going on!

Operation New Bathroom: The Reveal

3 Mar

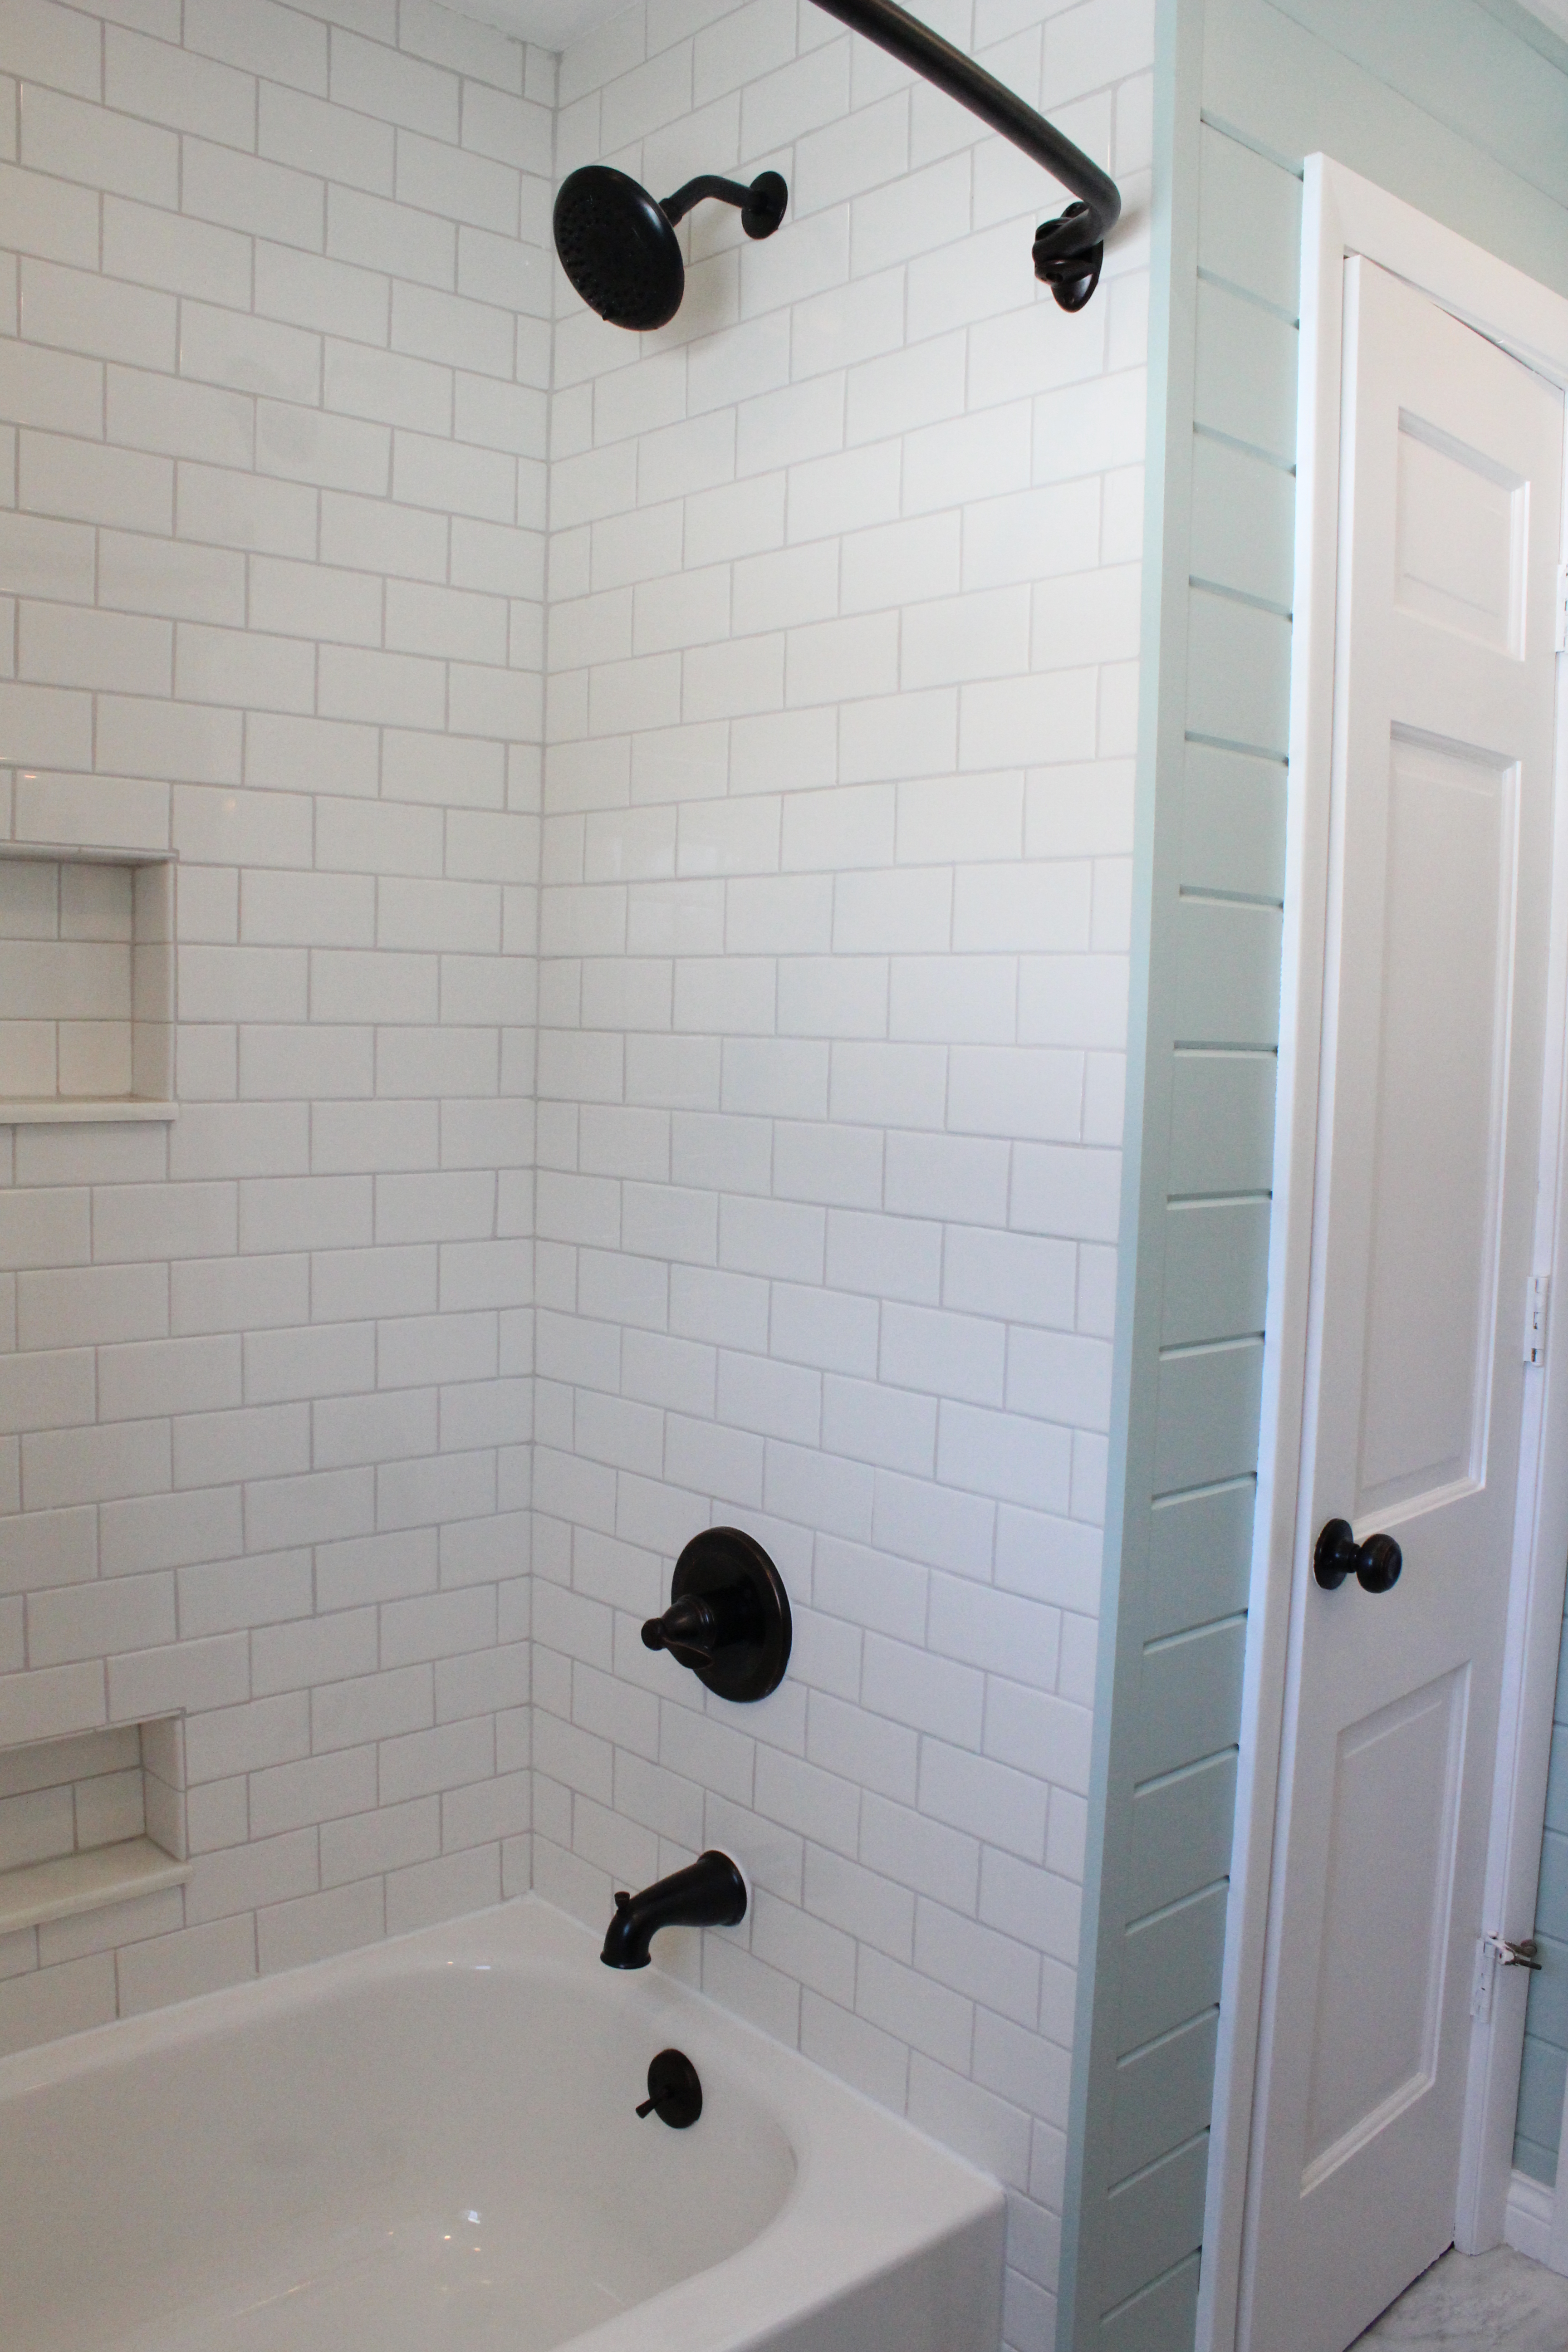
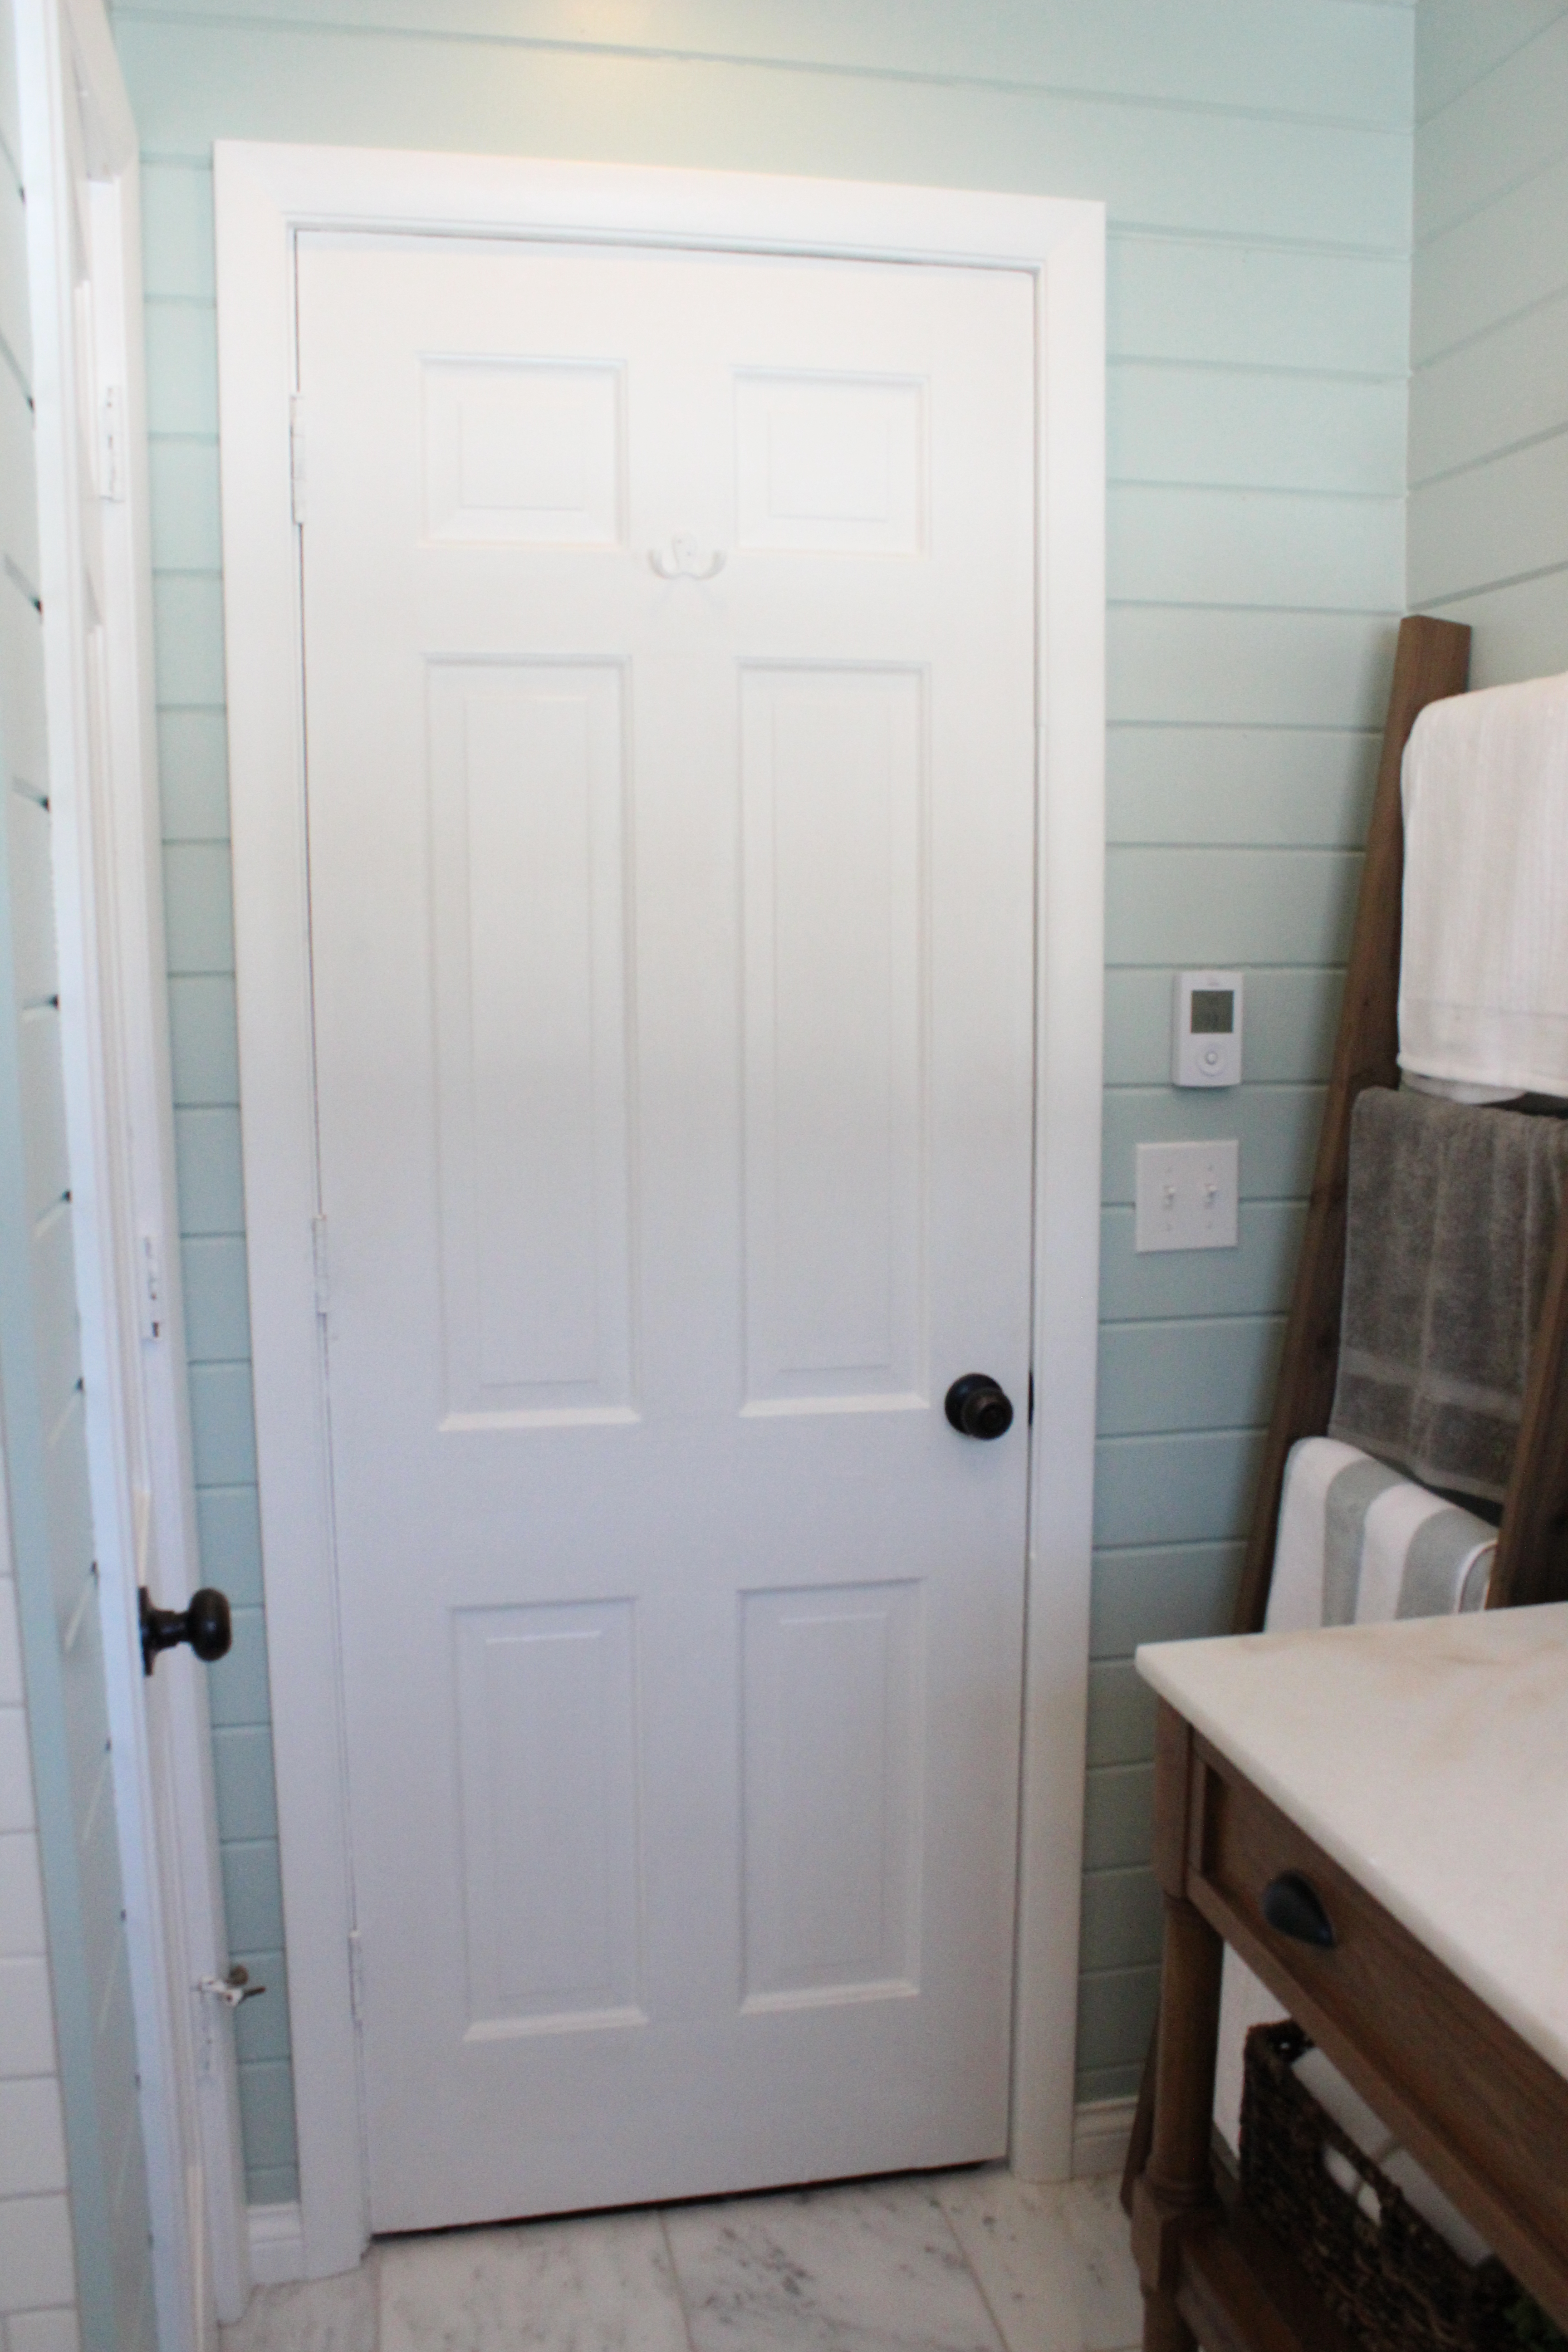
Our new guest bathroom is finally complete! Its been a labor of love and we did every single thing in this room ourselves except for the electrical rldrk, so we are especially proud.

Before we show all the after pictures, let’s reminiscence about how it looked when we moved in.

Pink bathroom beforeWe demo’d it completely soon after and started from a clean slate.

And now here is our brand new guest bathroom!

IMG_2632

IMG_2645

IMG_2646

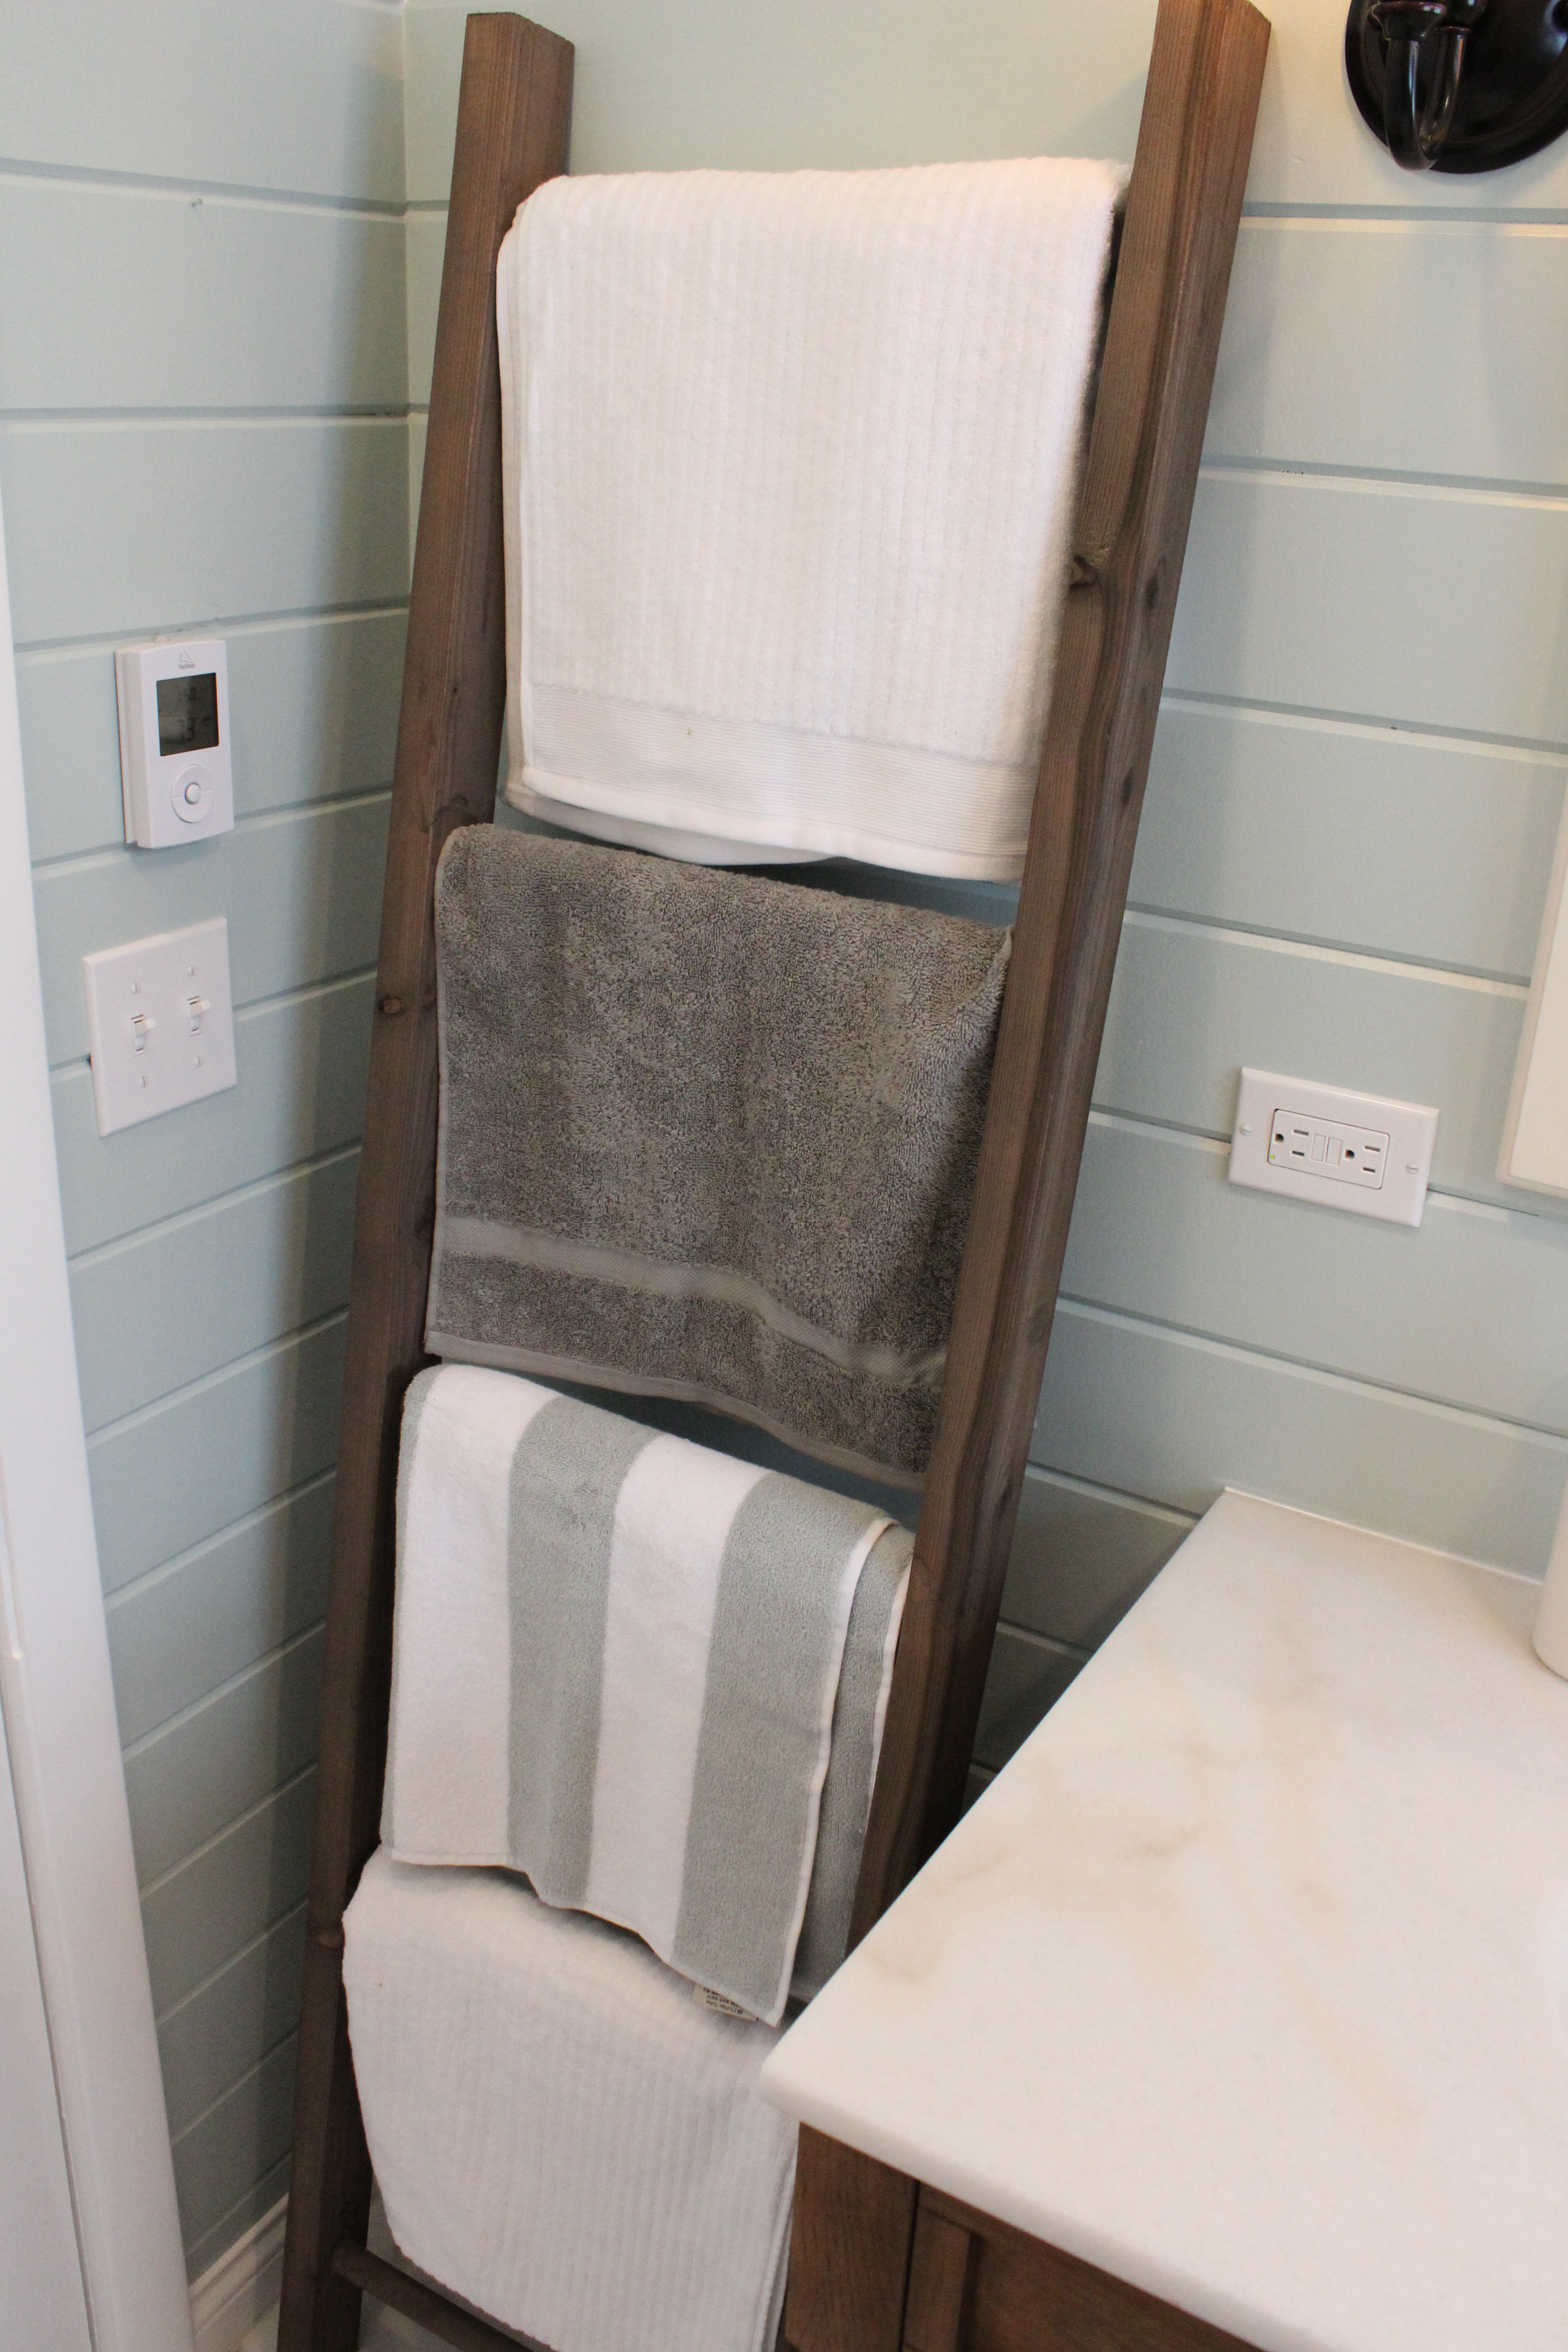
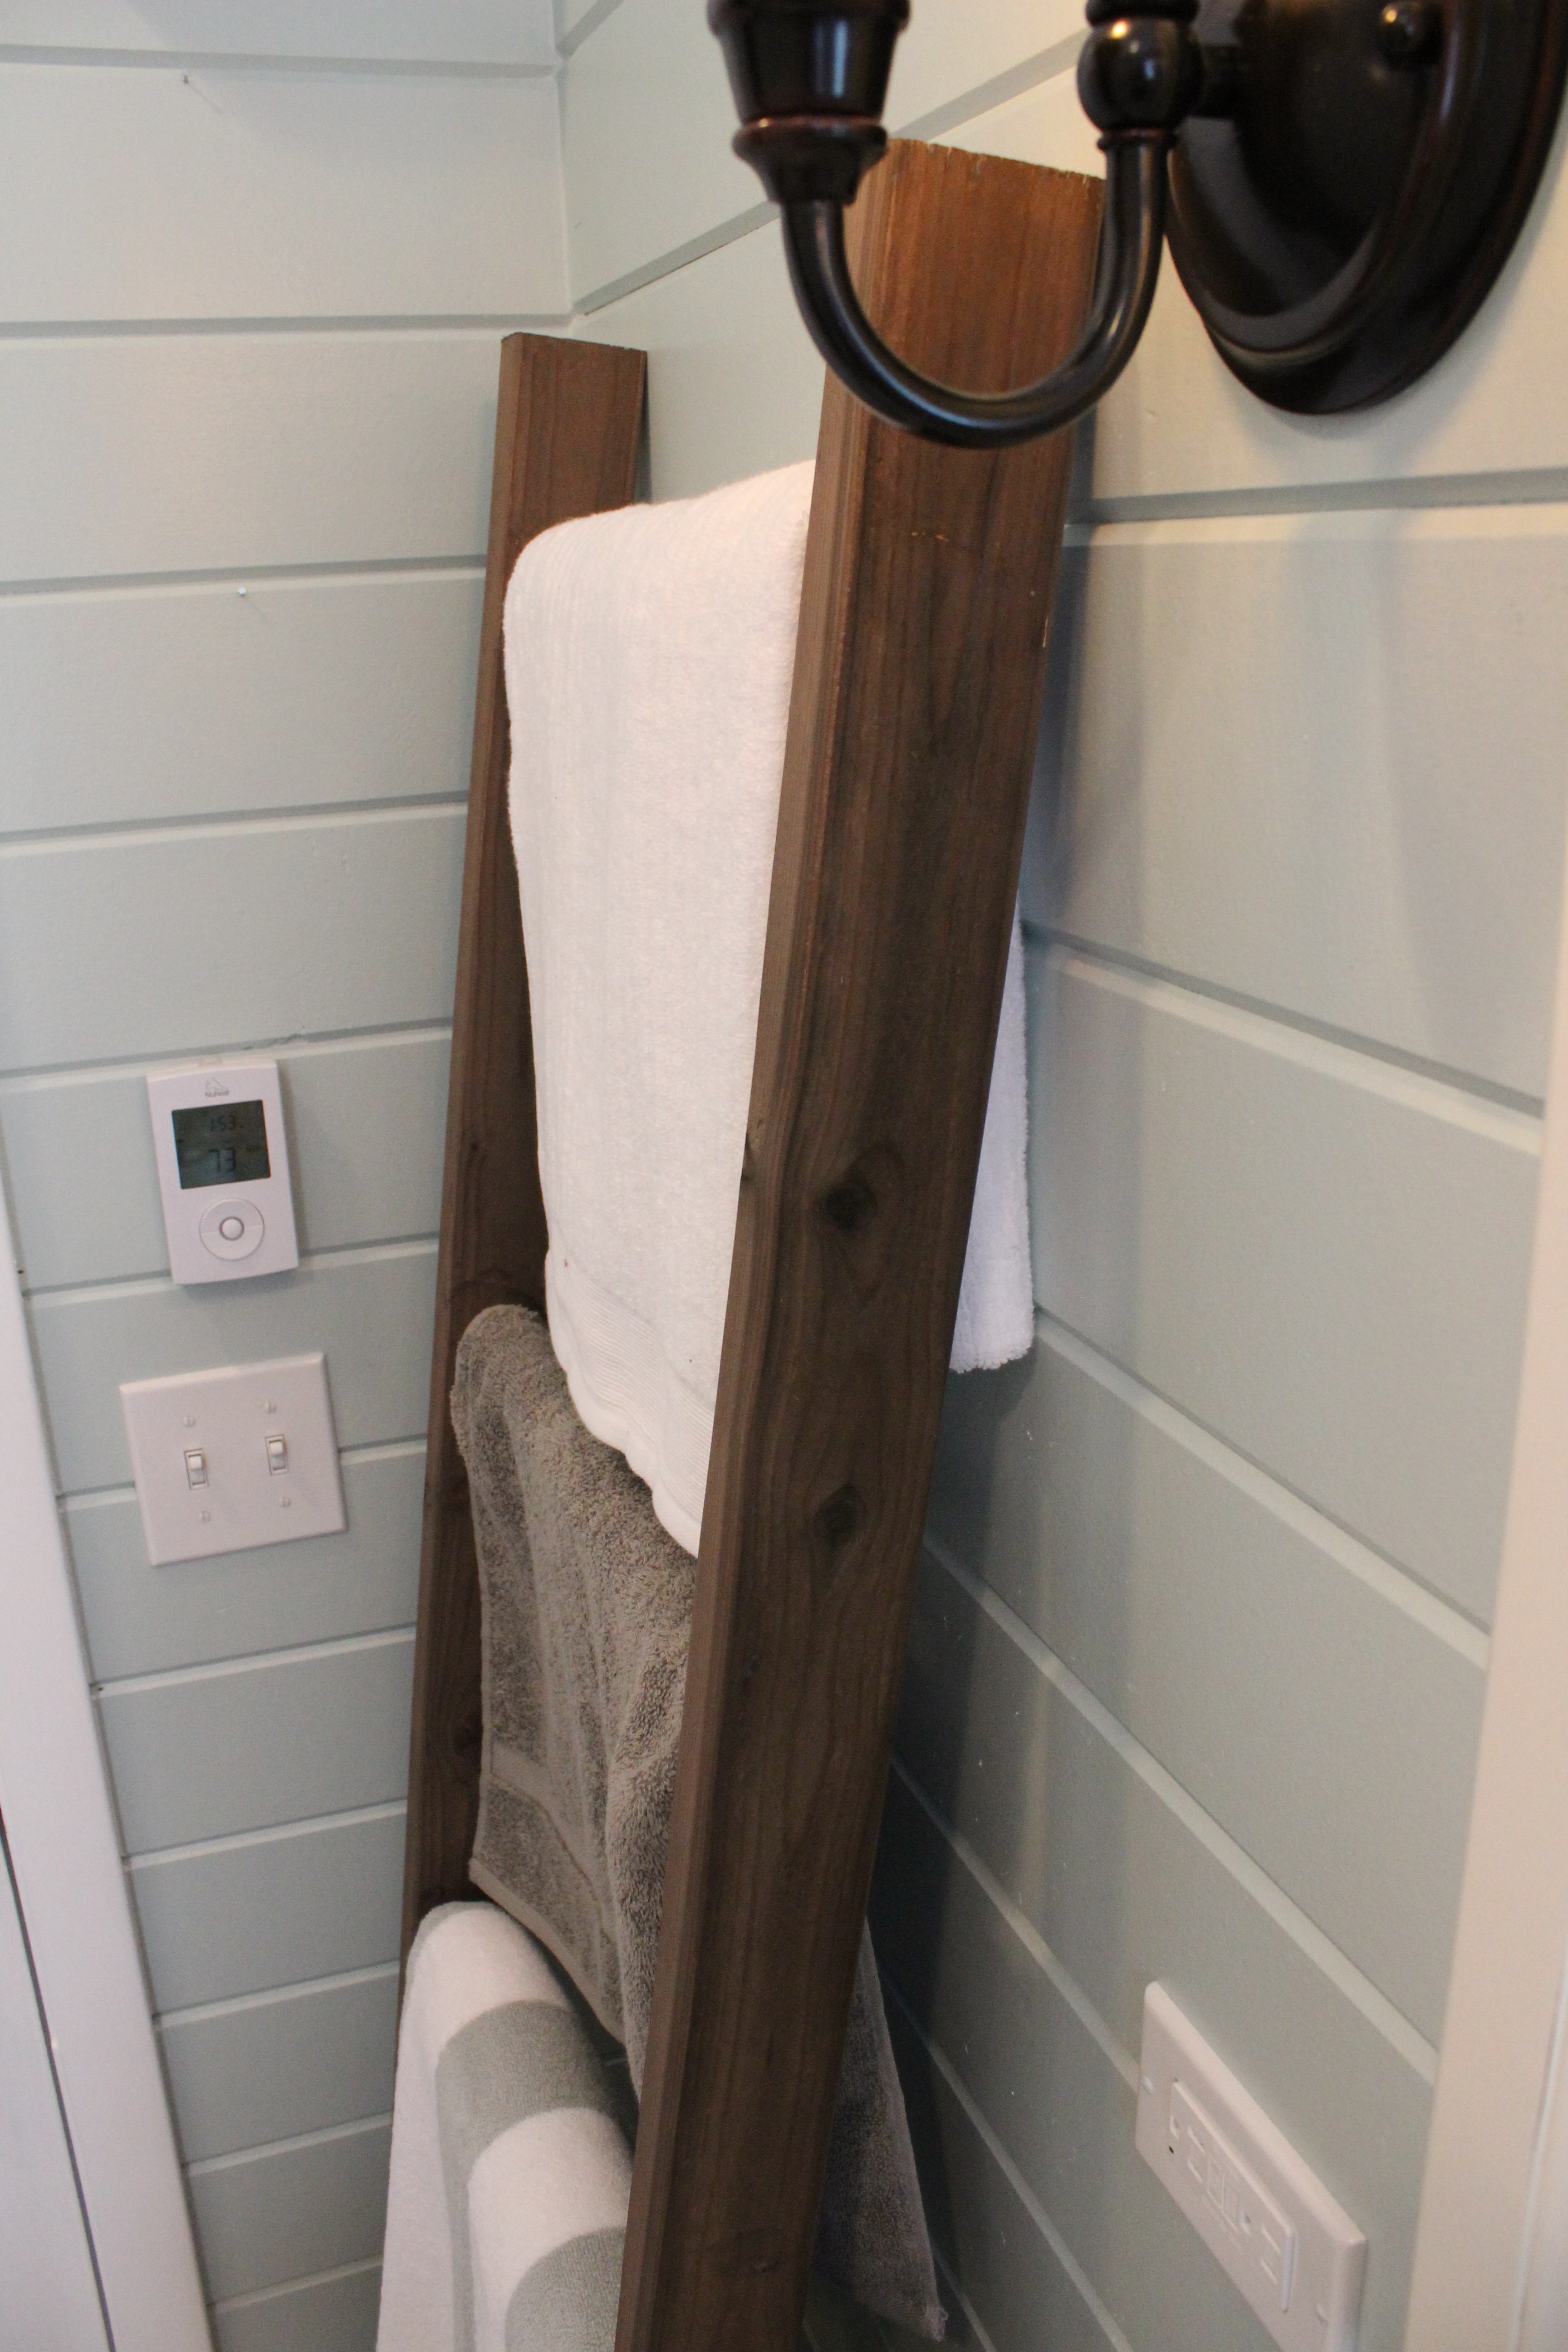
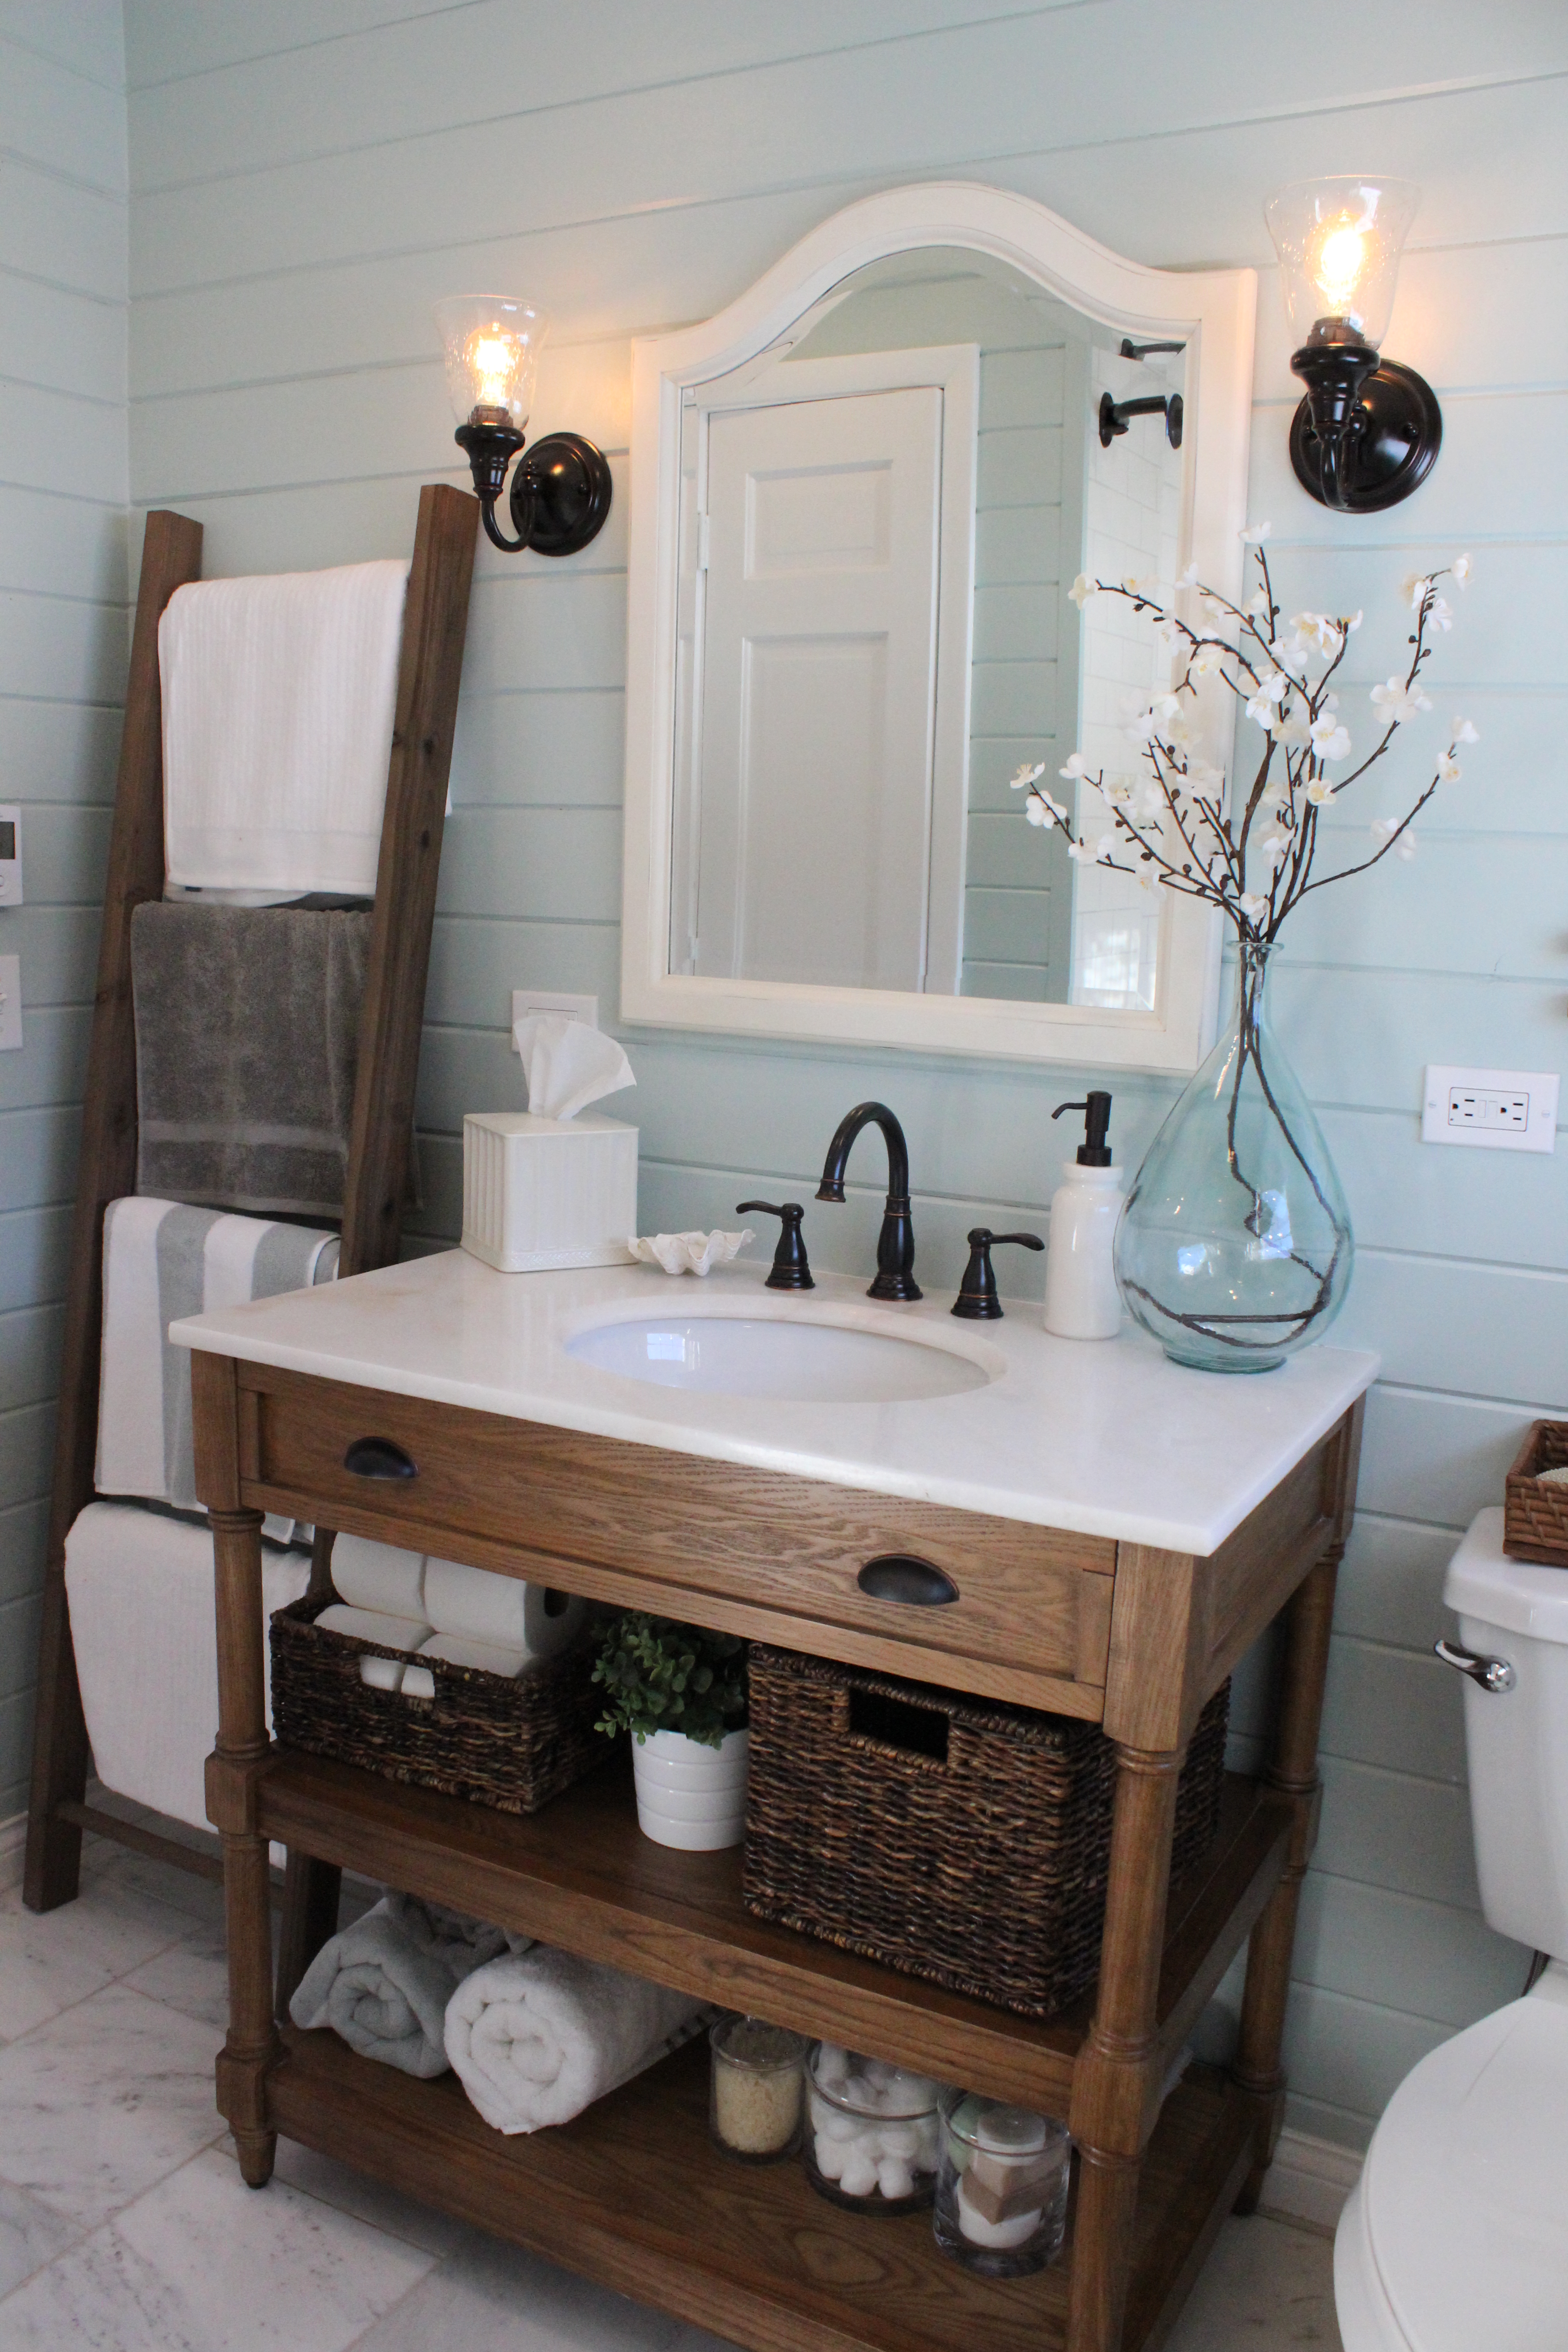
IMG_2647Since the last bathroom update, we added our DIY towel ladder (step-by-step here) and decorated the vanity with baskets, towels, etc. We also added pulls to the top to look like a drawer.

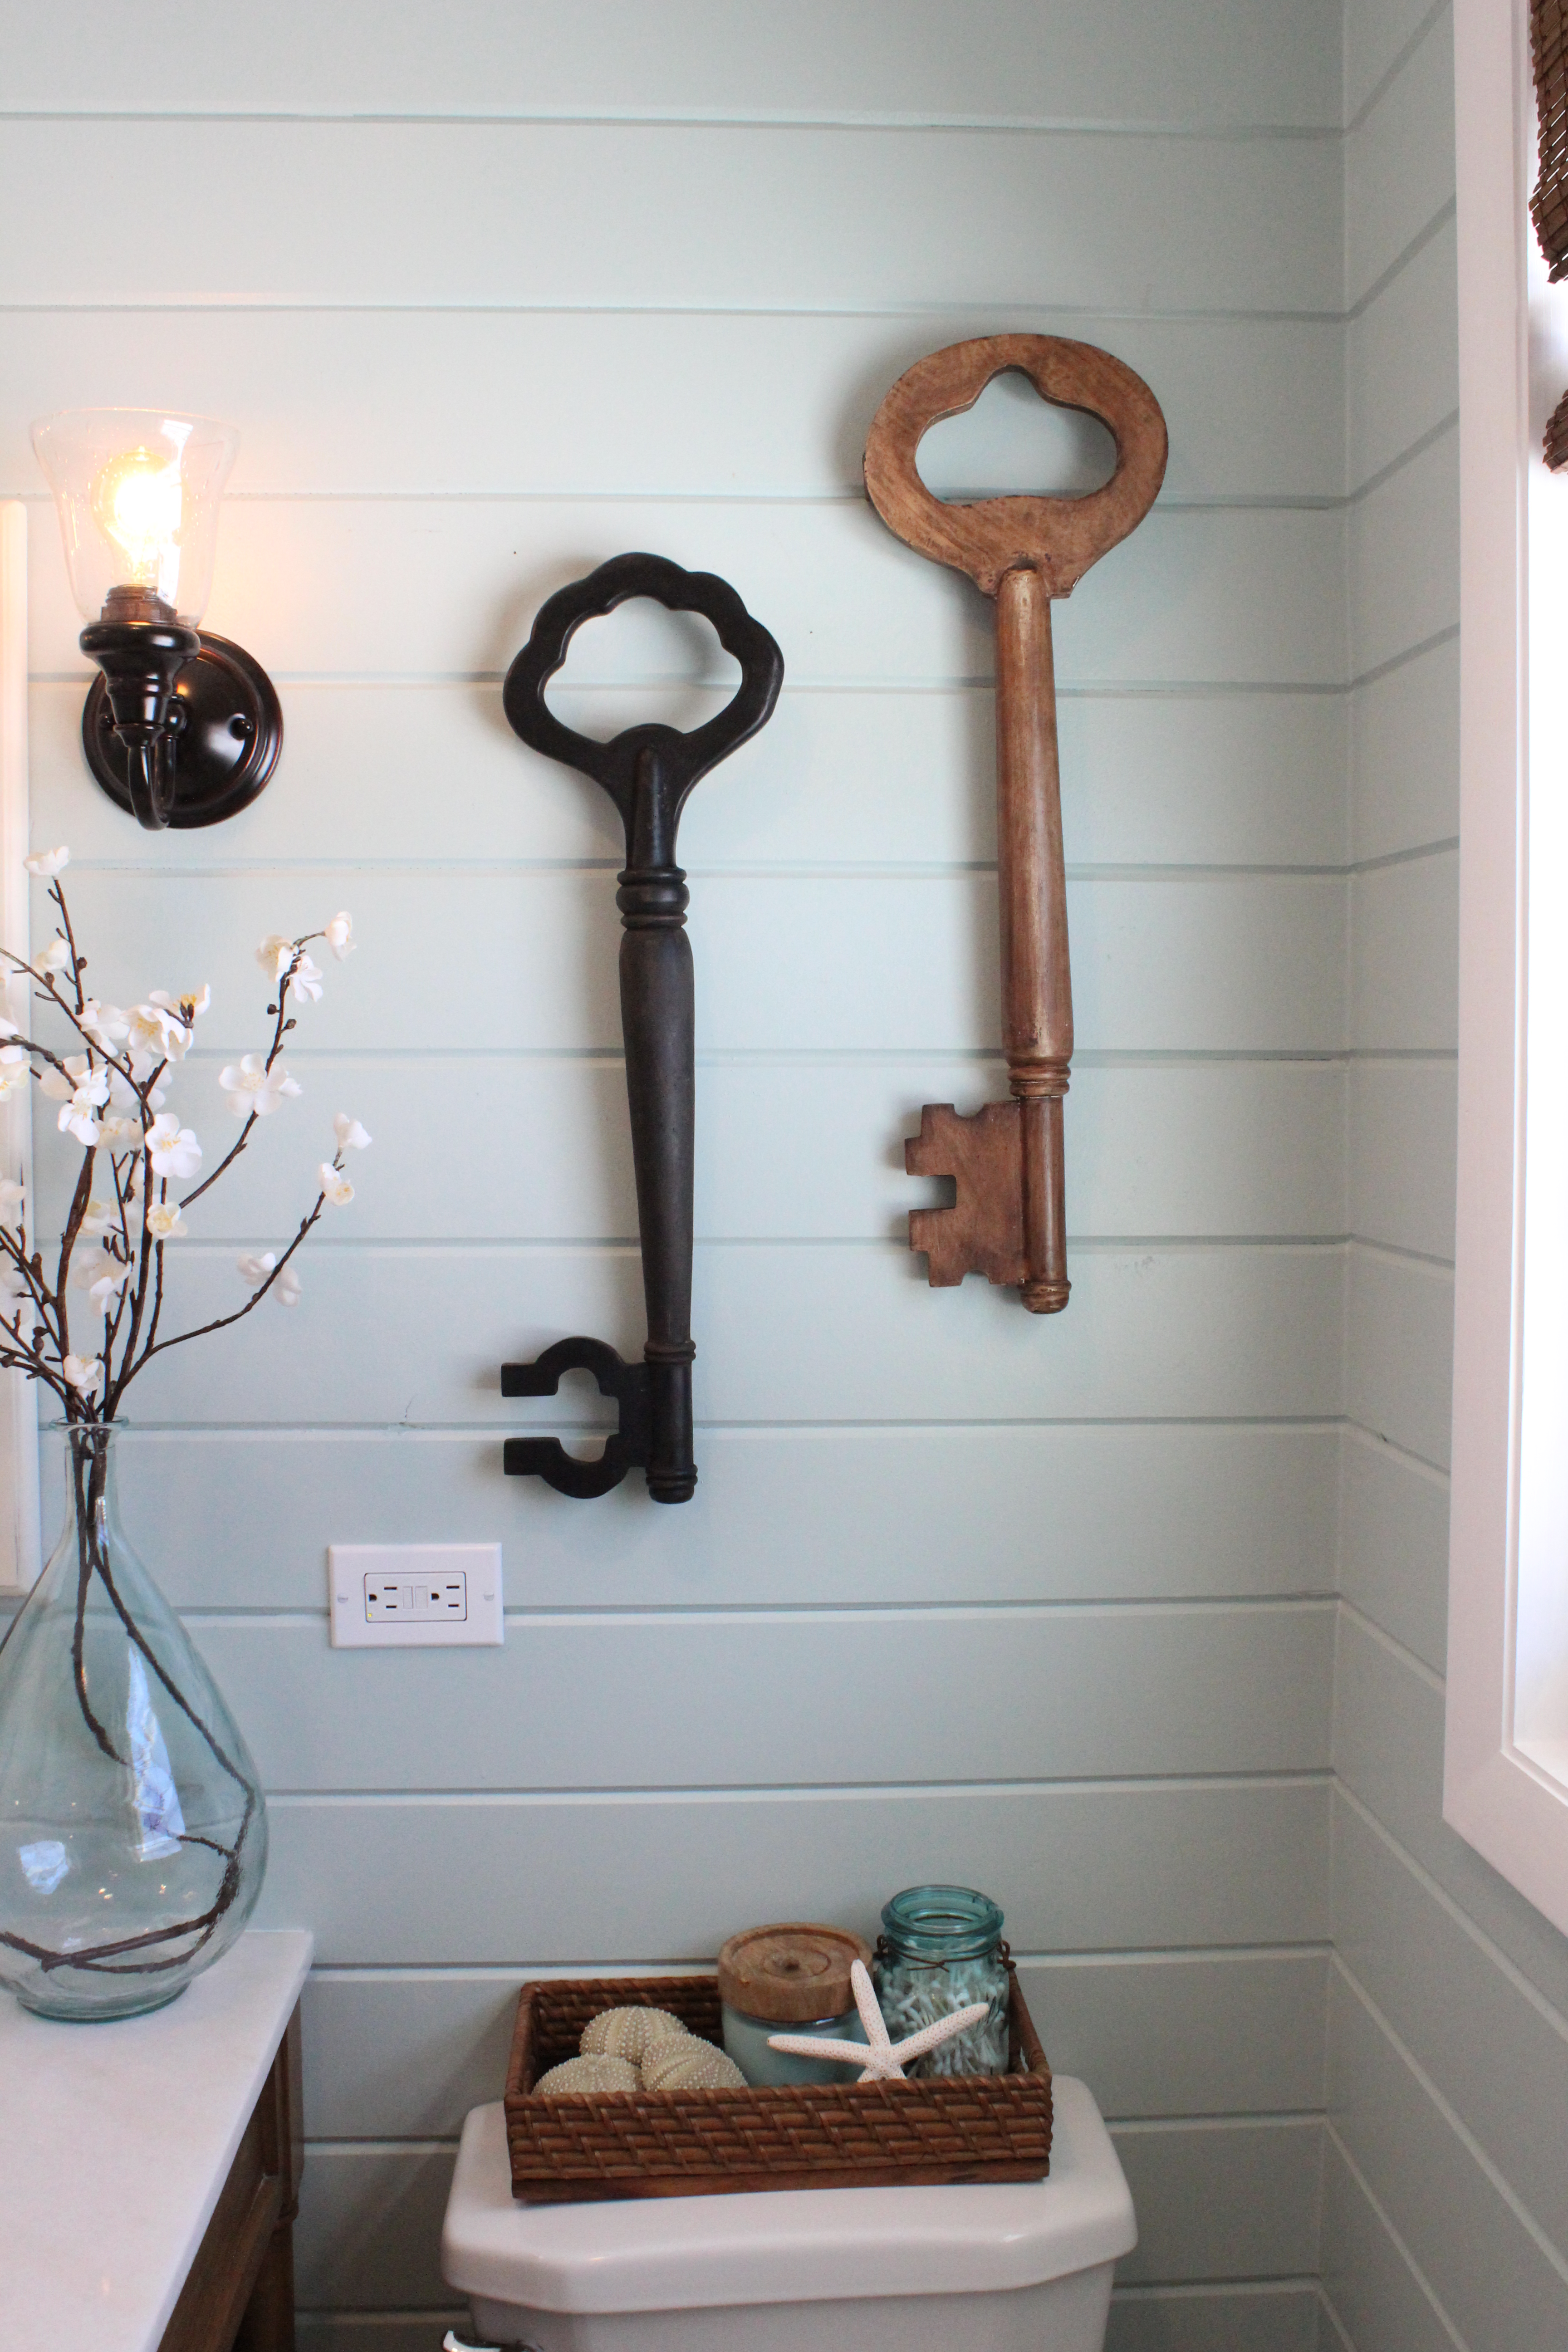
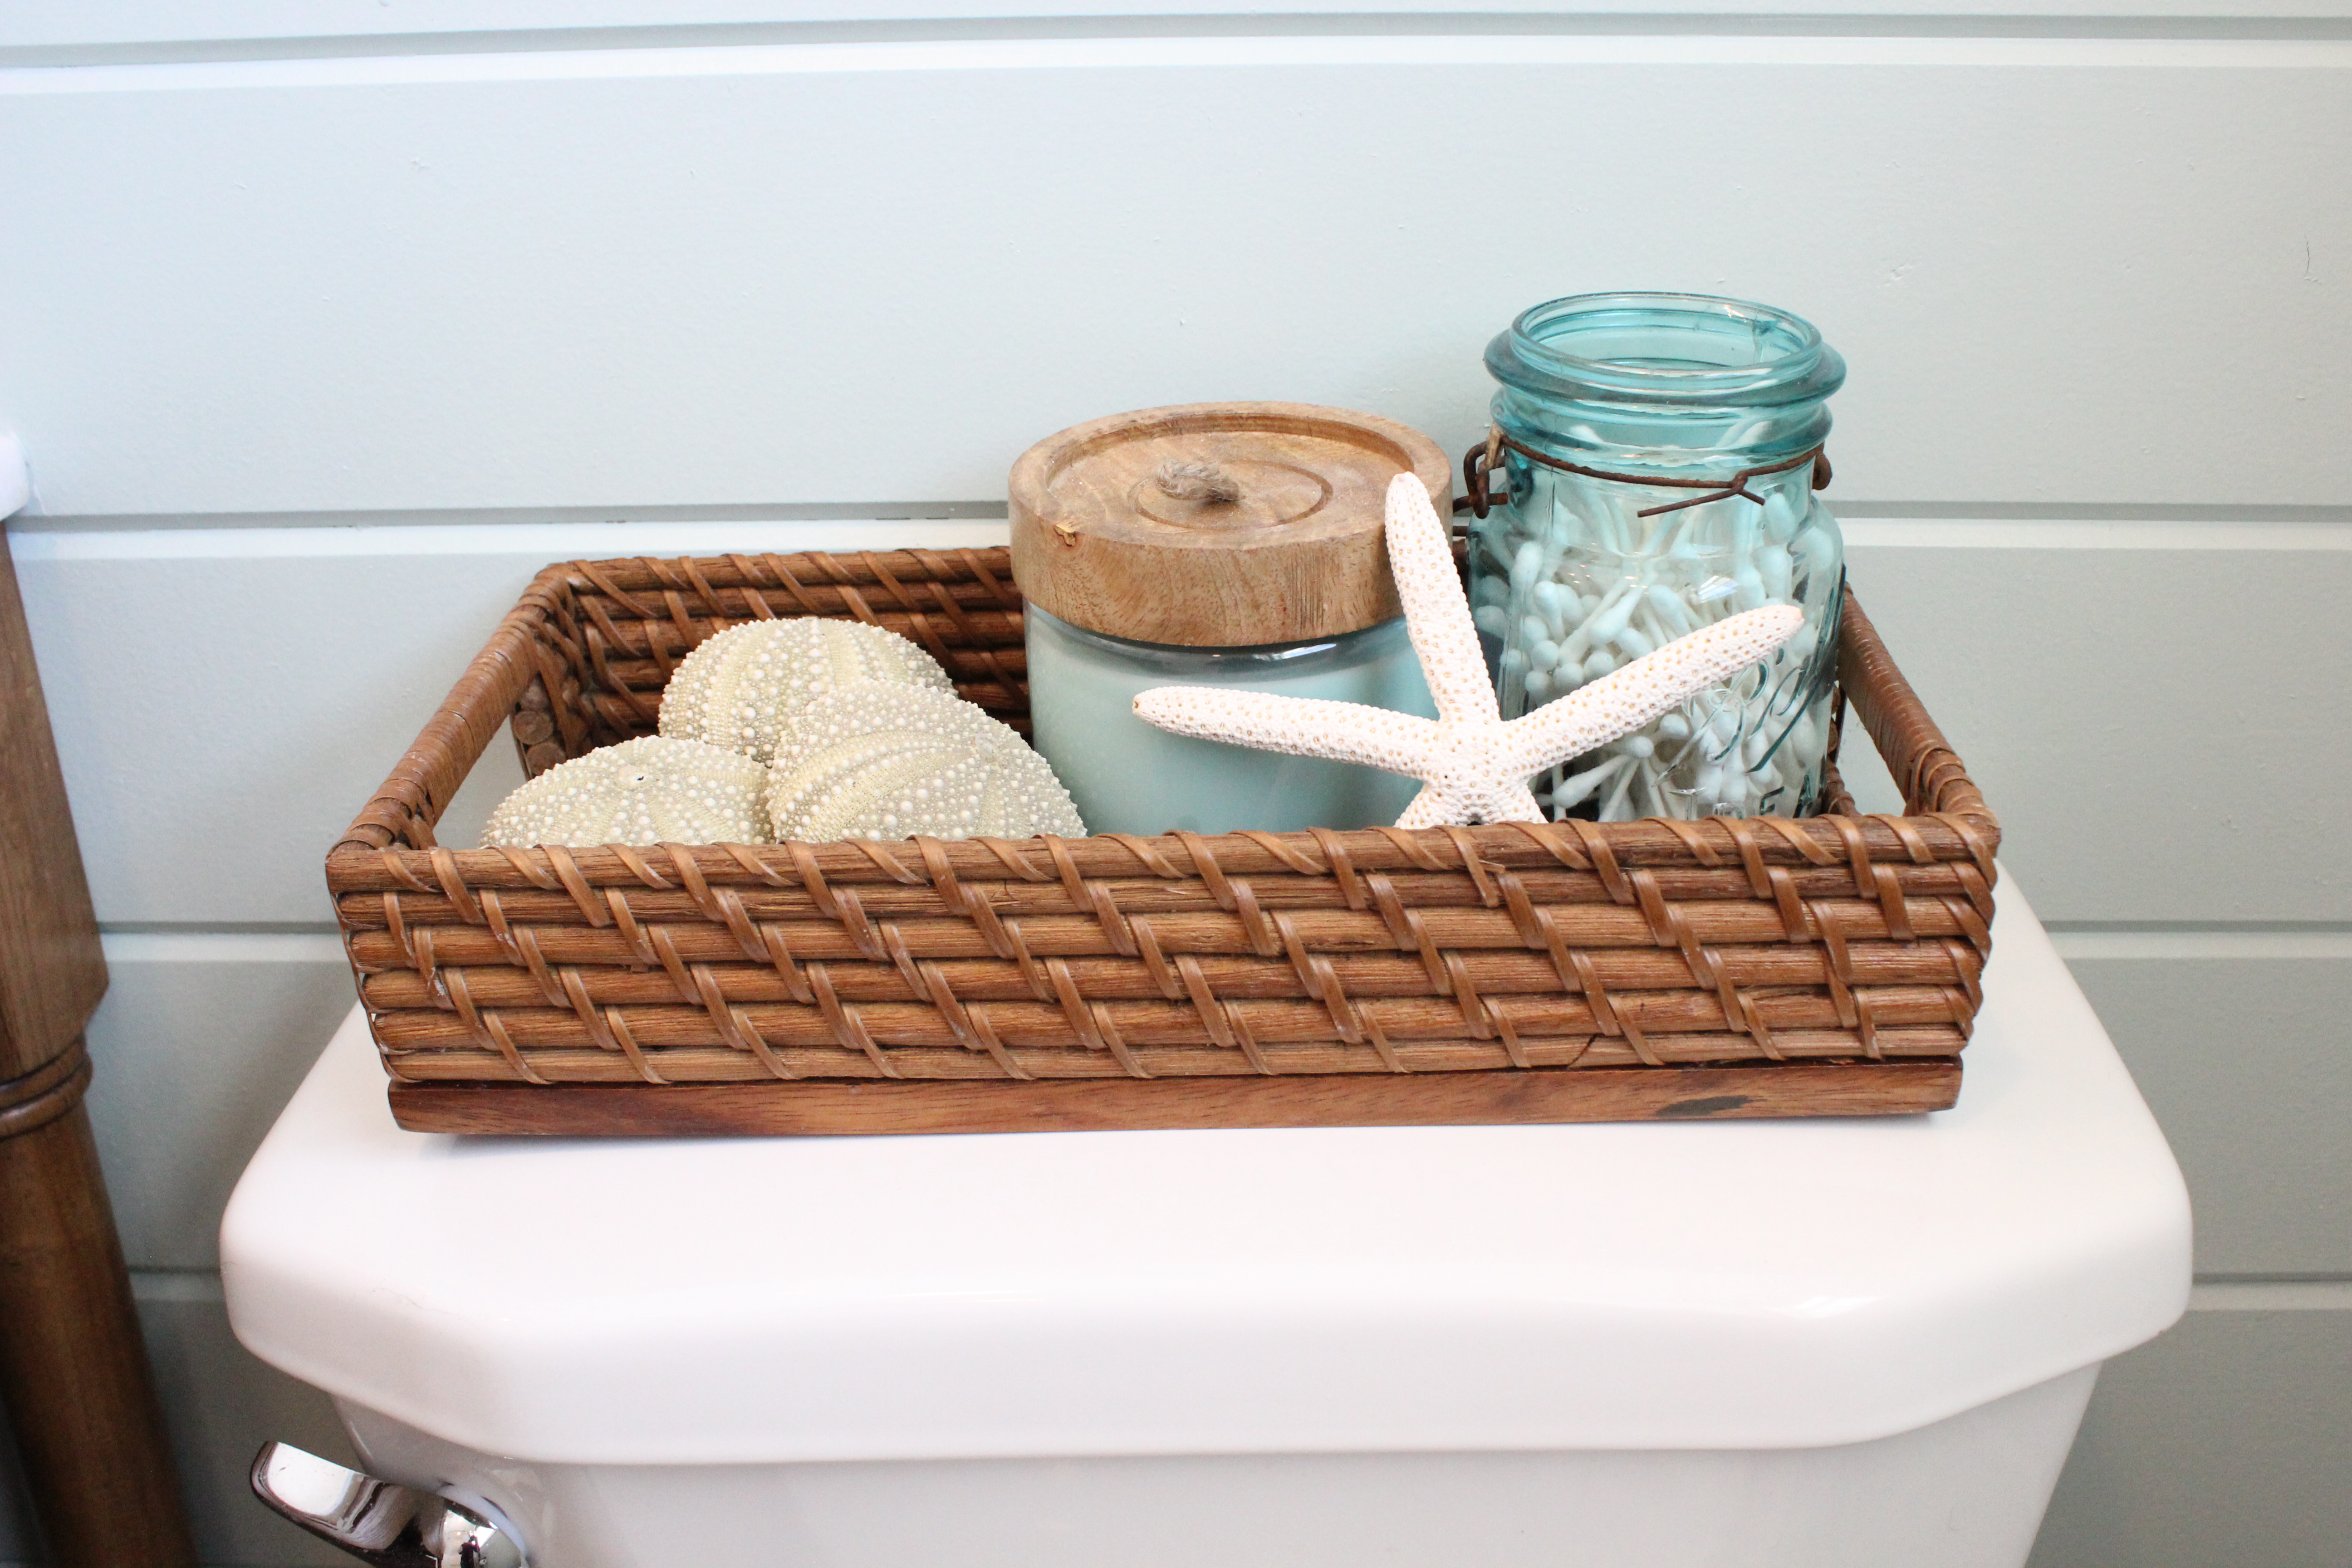
IMG_2672We hung a couple large wooden keys above the toilet and added a little tray over the toilet which holds a blue Ball jar full of cotton swabs, a candle and some shells. We brought in a little bit of Ben’s homeland with the kina shells from New Zealand.

IMG_2640

IMG_2638

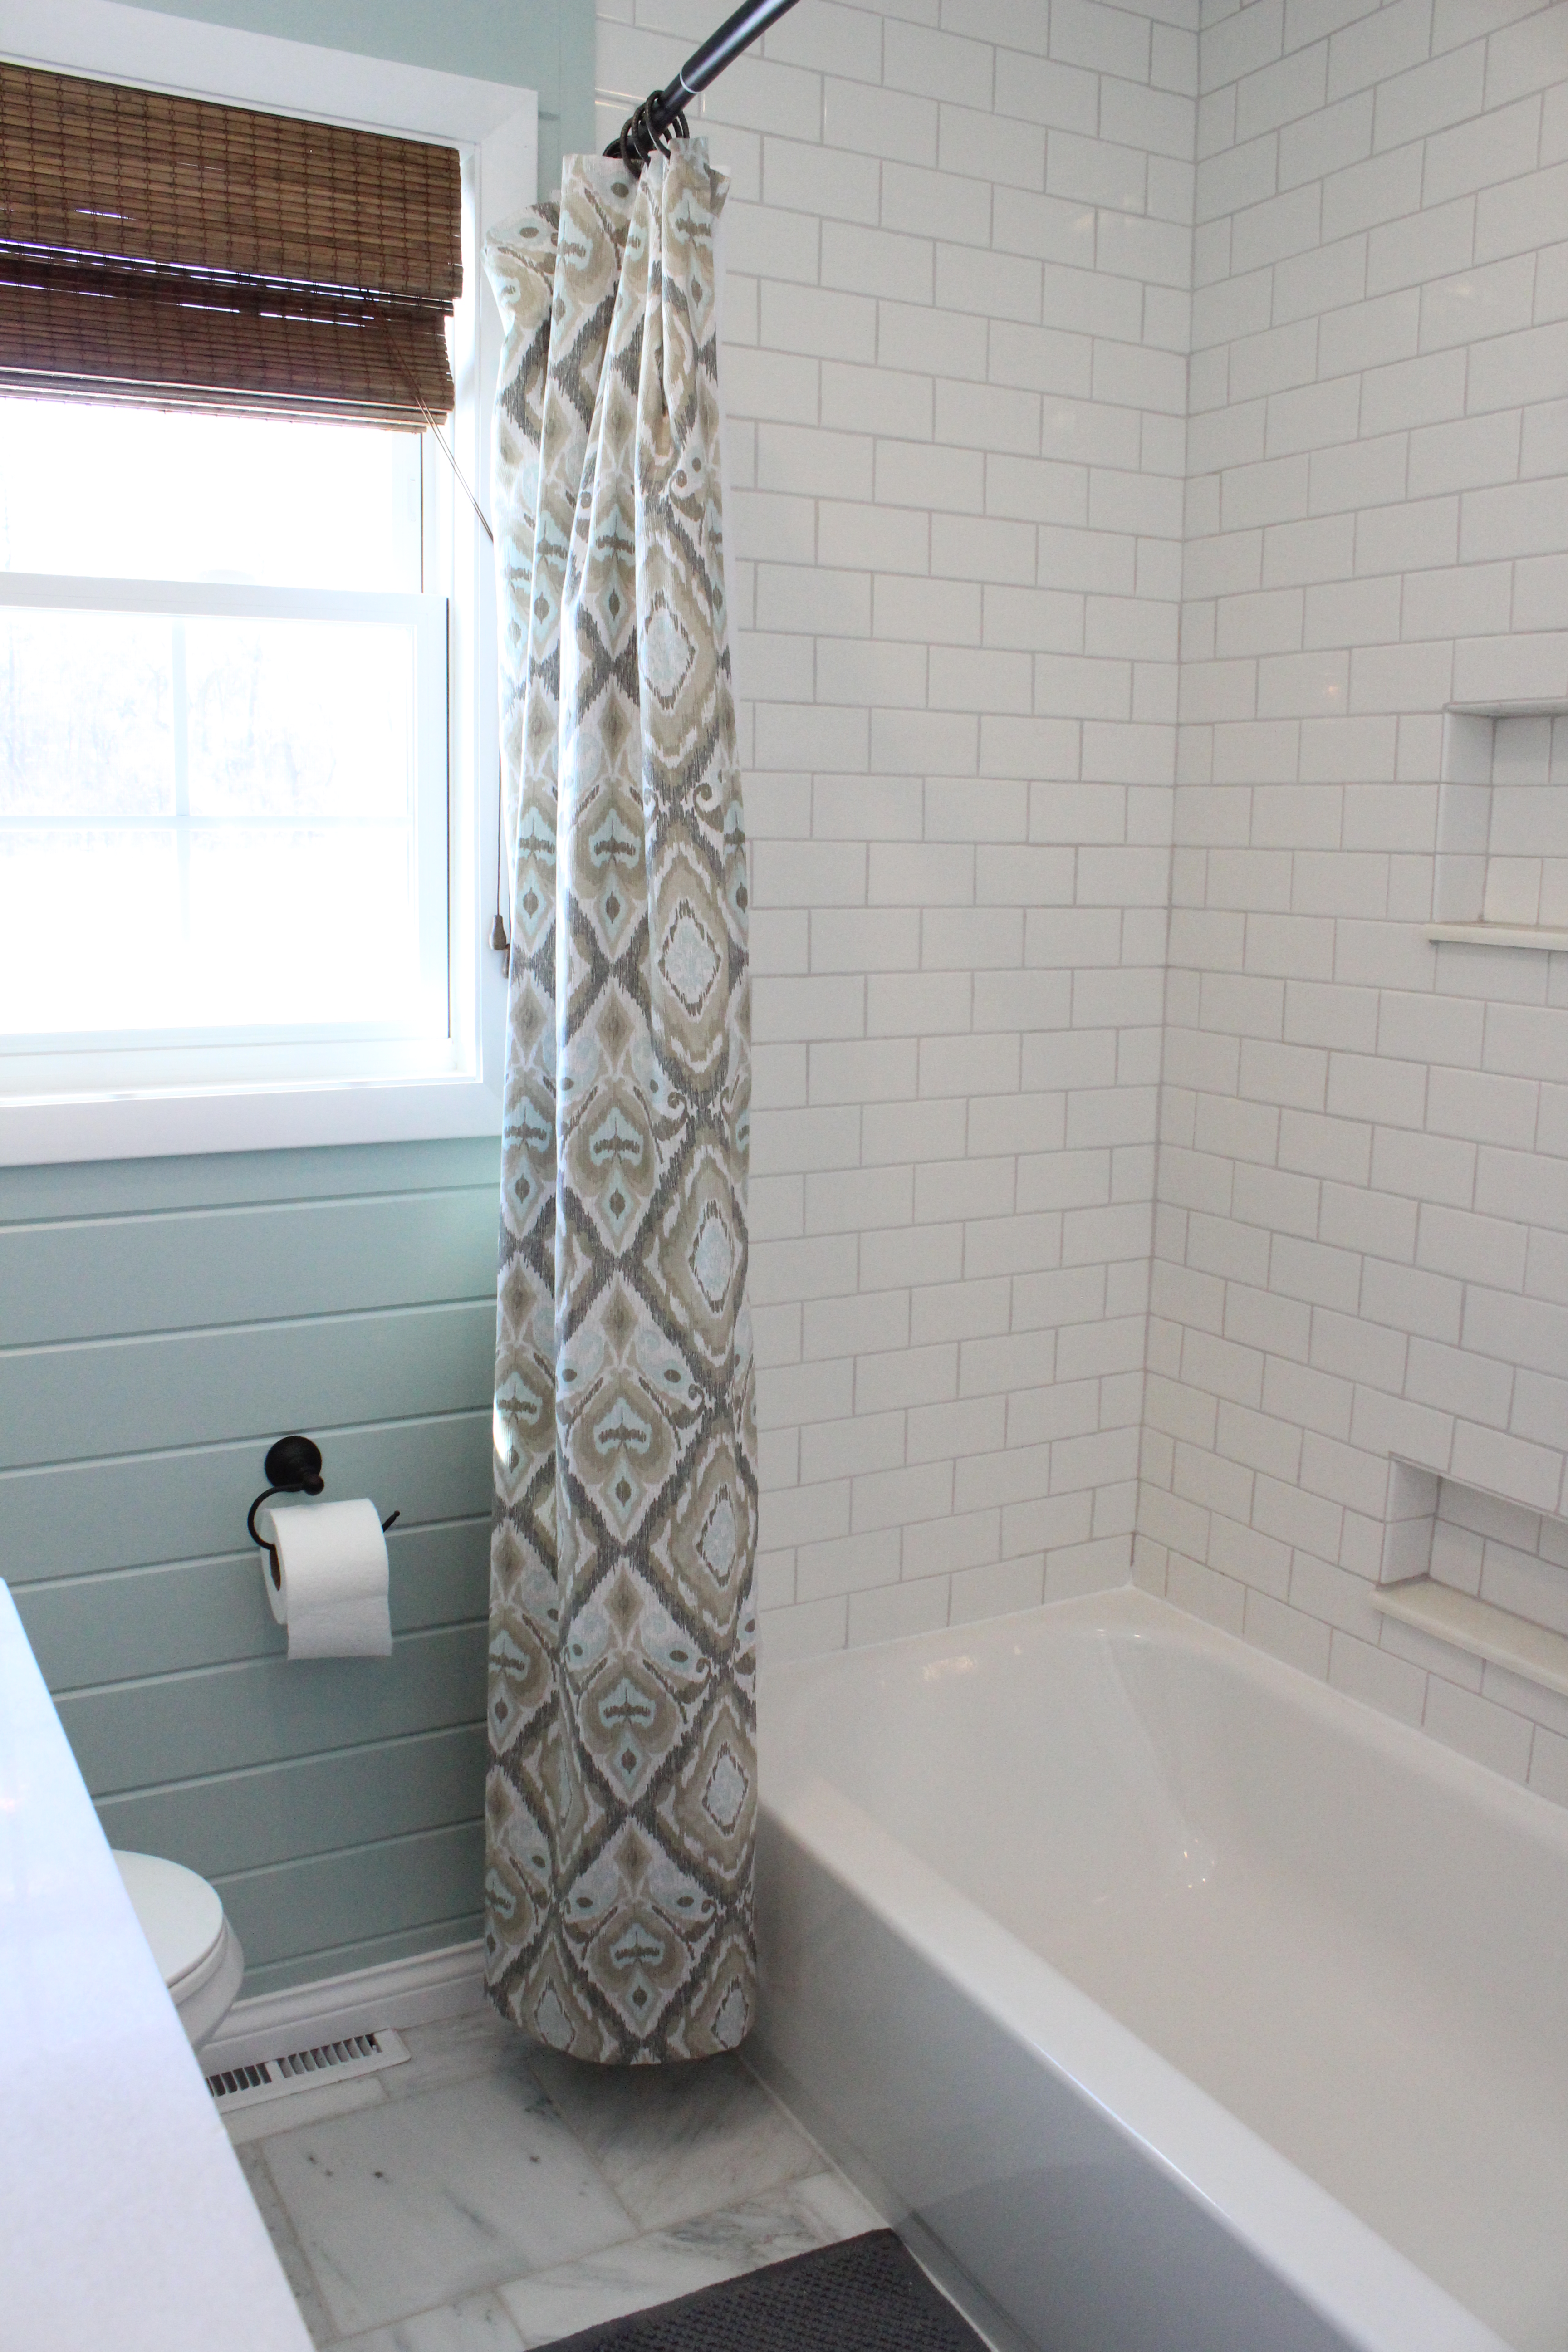
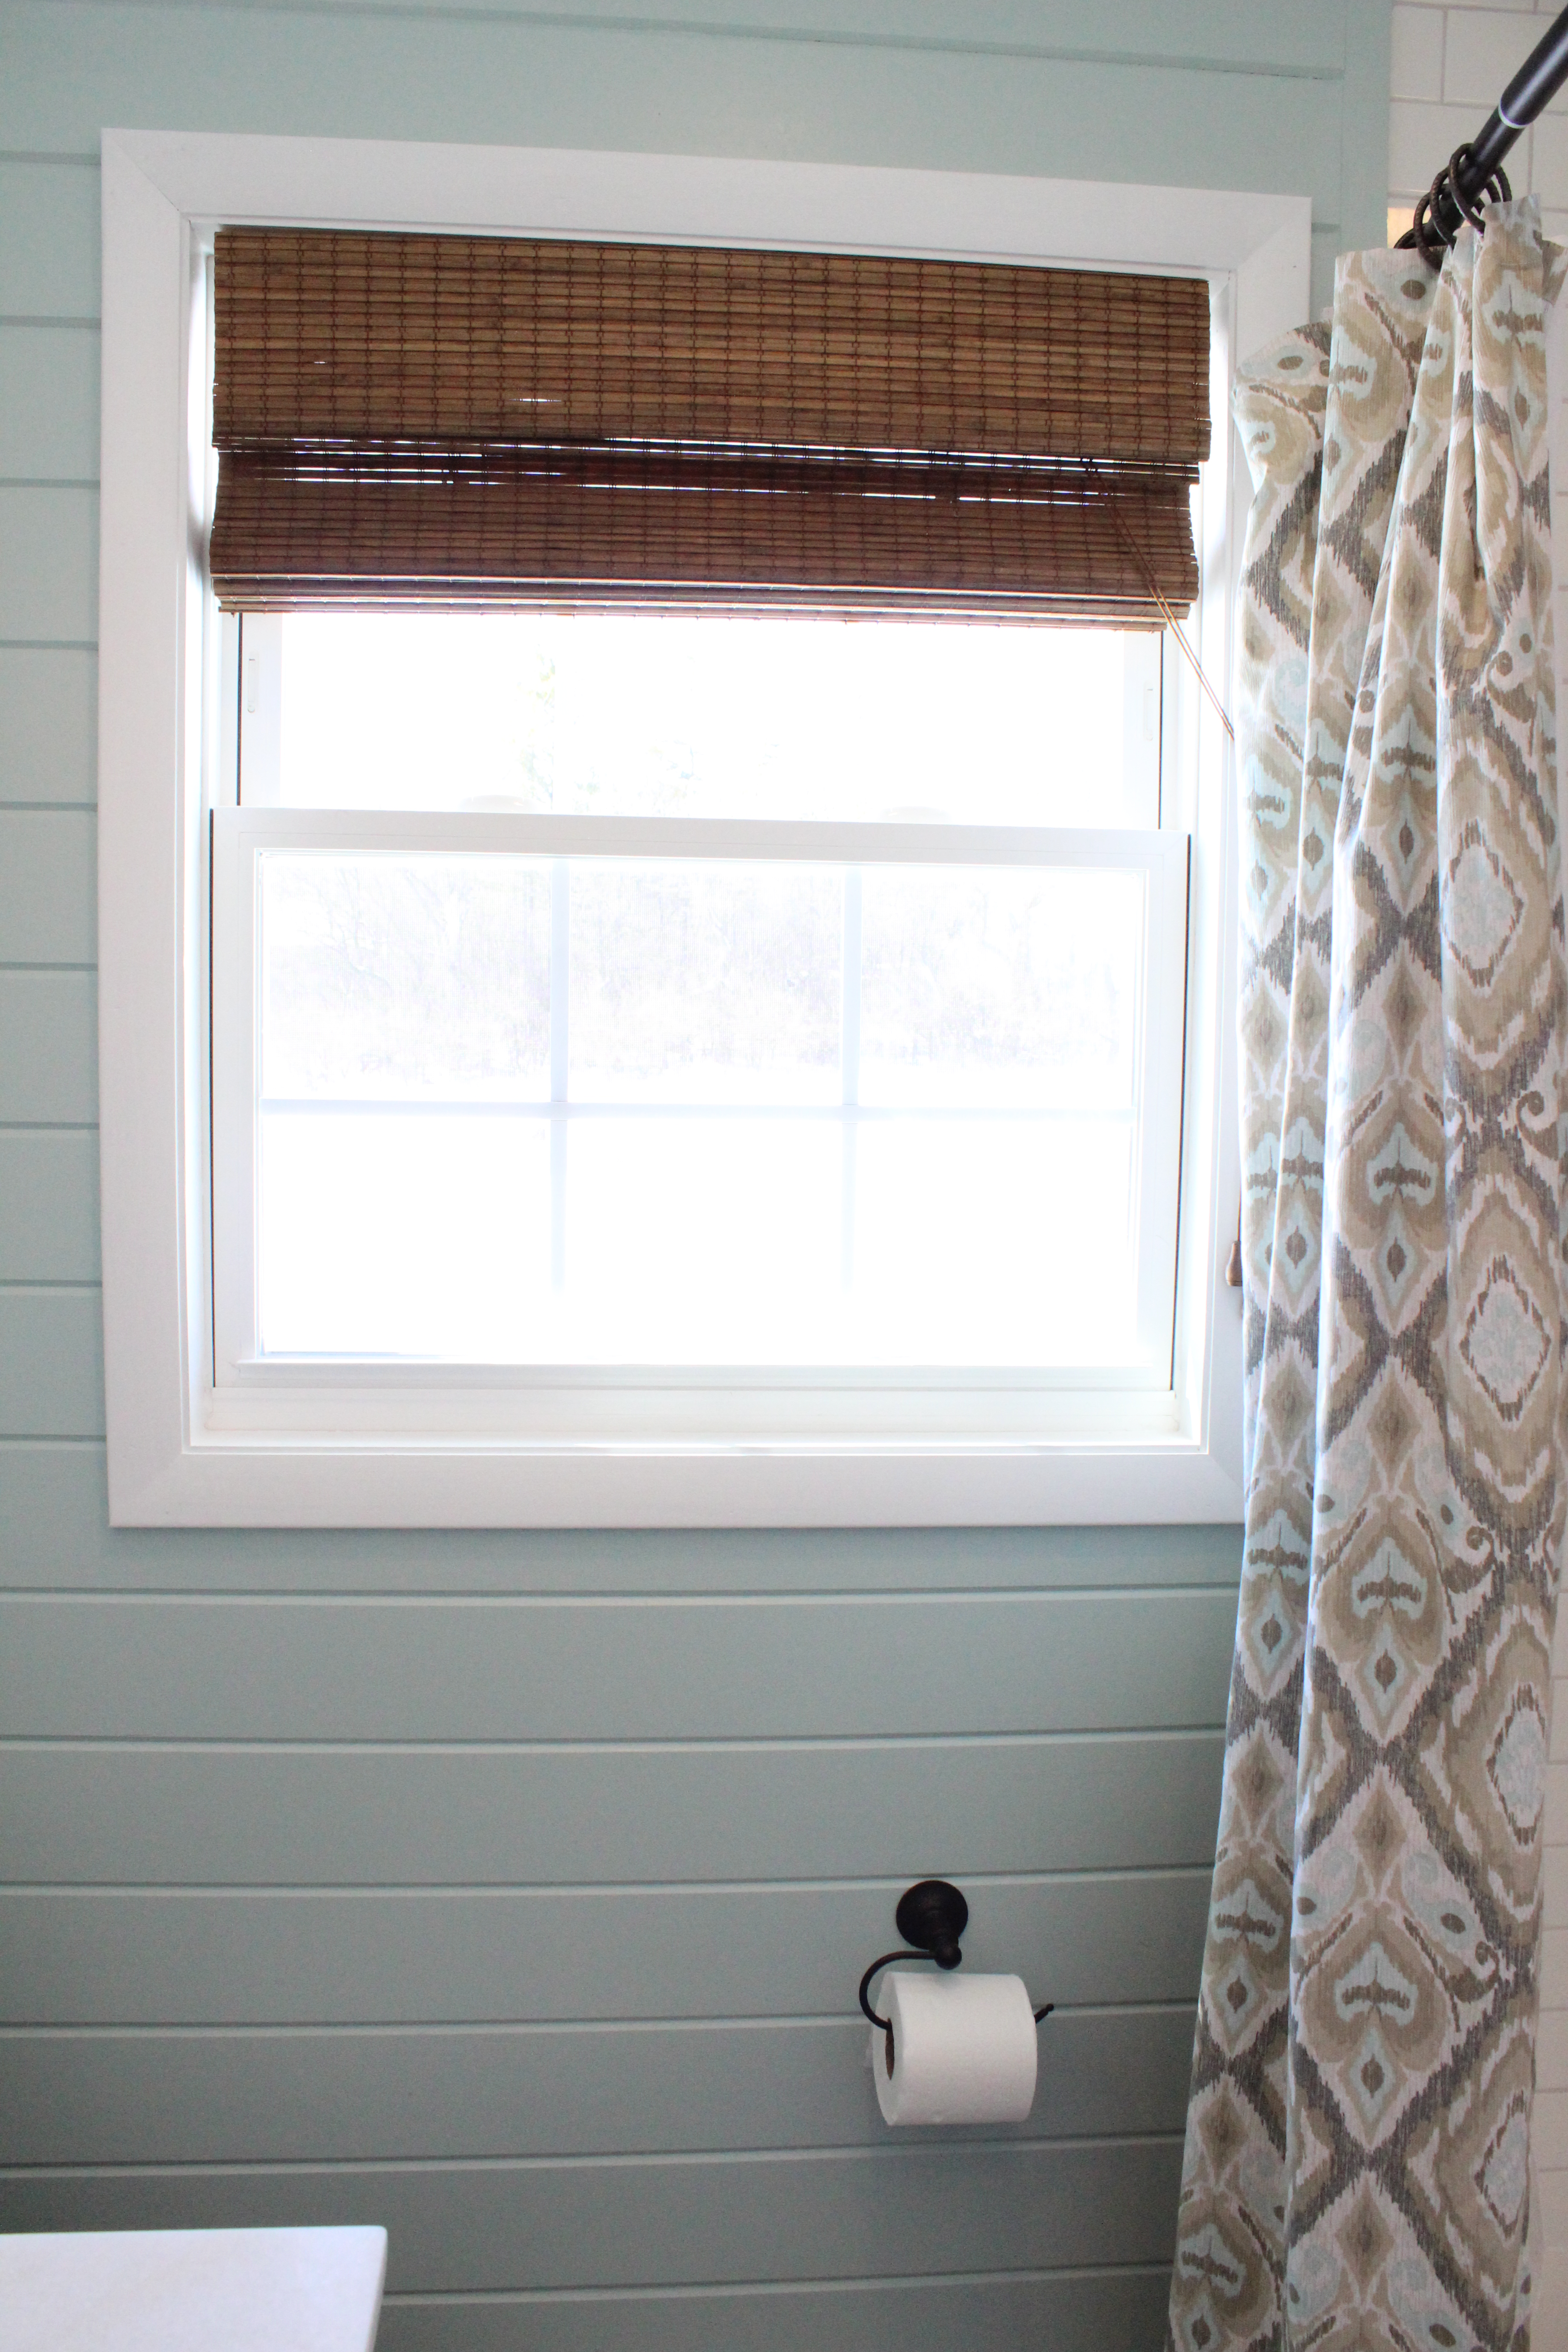
Ben installed a beautiful new window and we hung an inside mount bamboo shade from Home Depot.

IMG_2642

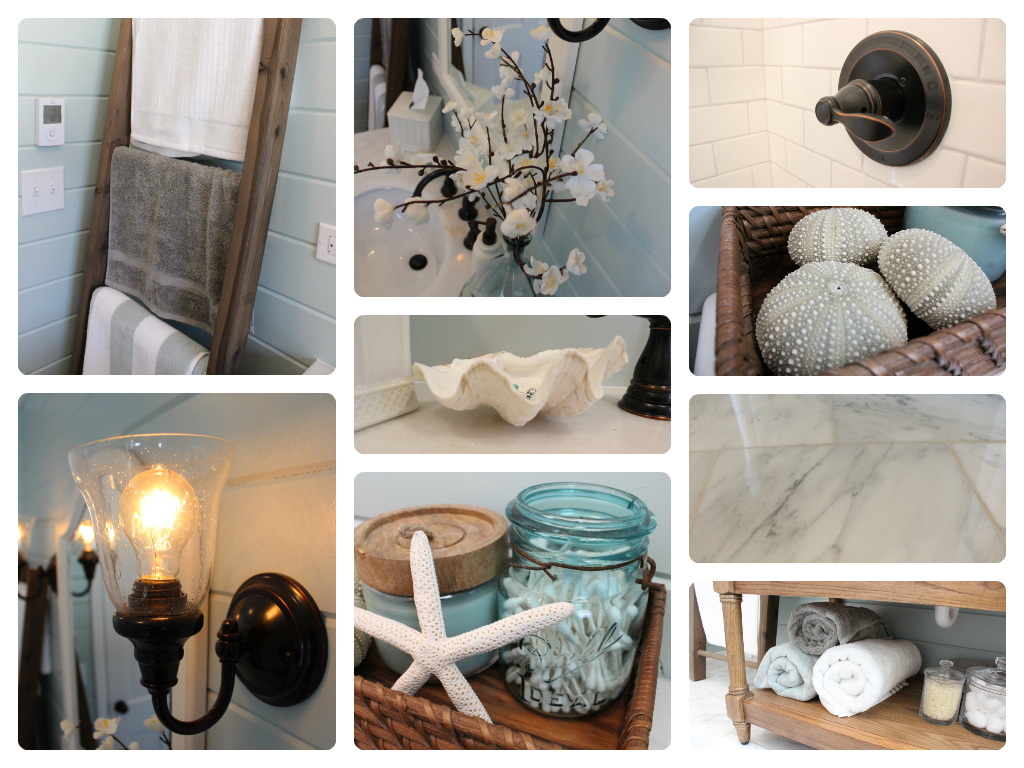
Just for fun, I put together this little collage of all of the little details of the room.

Bathroom collageWe’re so happy with the way everything turned out, and are even happier to call the first space at 12 Oaks D-O-N-E!

If you want to see how we got to the big bathroom reveal, check out Part I (drywall, tile backer, lights), Part II (tile, grout, wood wall planks) and Part III (vanity, trim, sconces, fixtures).

Finally, I wanted to share a big ole source list, including paint and grout colors, for anyone who is wondering where to get anything.

Wall paint: Benjamin Moore’s Palladian Blue; floor tile: white marble from Home Depot, tub/shower tile: white subway tile from Home Depot, vanity (including marble top): Home Depot/Decorators (also available on Amazon here); faucet: Delta from plumbingdepot.com; shower curtain: Kohls; light fixtures and “hidden” fan: Home Depot; towel ladder: DIYed for $16 (here’s how); toilet: Glacier Bay from Home Depot; mirror: Home Decorators; floor mat: World Market; bamboo blinds: Home Depot; bathtub/shower fixtures: Delta from Home Depot; grout: Mapei’s Frost color; baskets and over toilet tray: World Market; faux flowers: World Market; soap pump: Target; Ball jar: Antique find from Lake Geneva, WI; flower vase: TJ Maxx (similar one from World Market); tissue holder: Home Goods; clam shell: Fiji from our honeymoon; starfish: Michaels; wooden keys: Grandinroad; sconces (including vintage light bulbs and glass shades): Lowe’s; striped towels: Pottery Barn; white and gray towels: Target; glass canister set: Crate & Barrel; white pot and faux plant: Ikea; toilet paper holder: Moen from Plumbing Depot; kina shells: New Zealand; window: Studio 41; curved shower rod: Home Depot.

I think that covers about everything. Now on to the next million projects which include the last spare bedroom which was being used as a work zone for the bathroom, new windows, taking out the main wall in the living room and an addition. Yup, big plans.

How to Make a Rustic Ladder to Hang Towels/Blankets

27 Feb

This may be one of my favorite DIY projects yet. Super cheap (less than $20), pretty simple and a result that is not only functional but makes a big statement in the room.

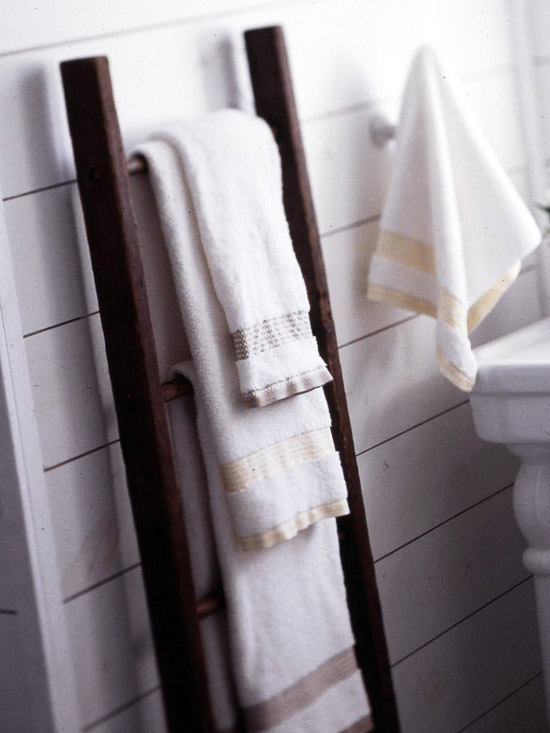
Here was my inspiration for the ladder found on Pinterest, originally from Better Homes & Gardens.

bathroom ladder

And here is our DIY-version in the newly remodeled guest bathroom (sharing big bathroom reveal later this week). Update: Bathroom revealed here!

How to Build a Rustic, Weathered Ladder for Towels or Blankets

Not only does it work great for towels, but I’ve seen ladders used to hang blankets in living rooms and I love that use too.

So if you are wondering how to make one of your own, here is a step by step, including  giving it the weathered, rustic look.

Step 1. Get all your materials

You will need to gather/purchase the following materials that should be around $20 or less. We had everything but the lumber on hand so ours was $16.

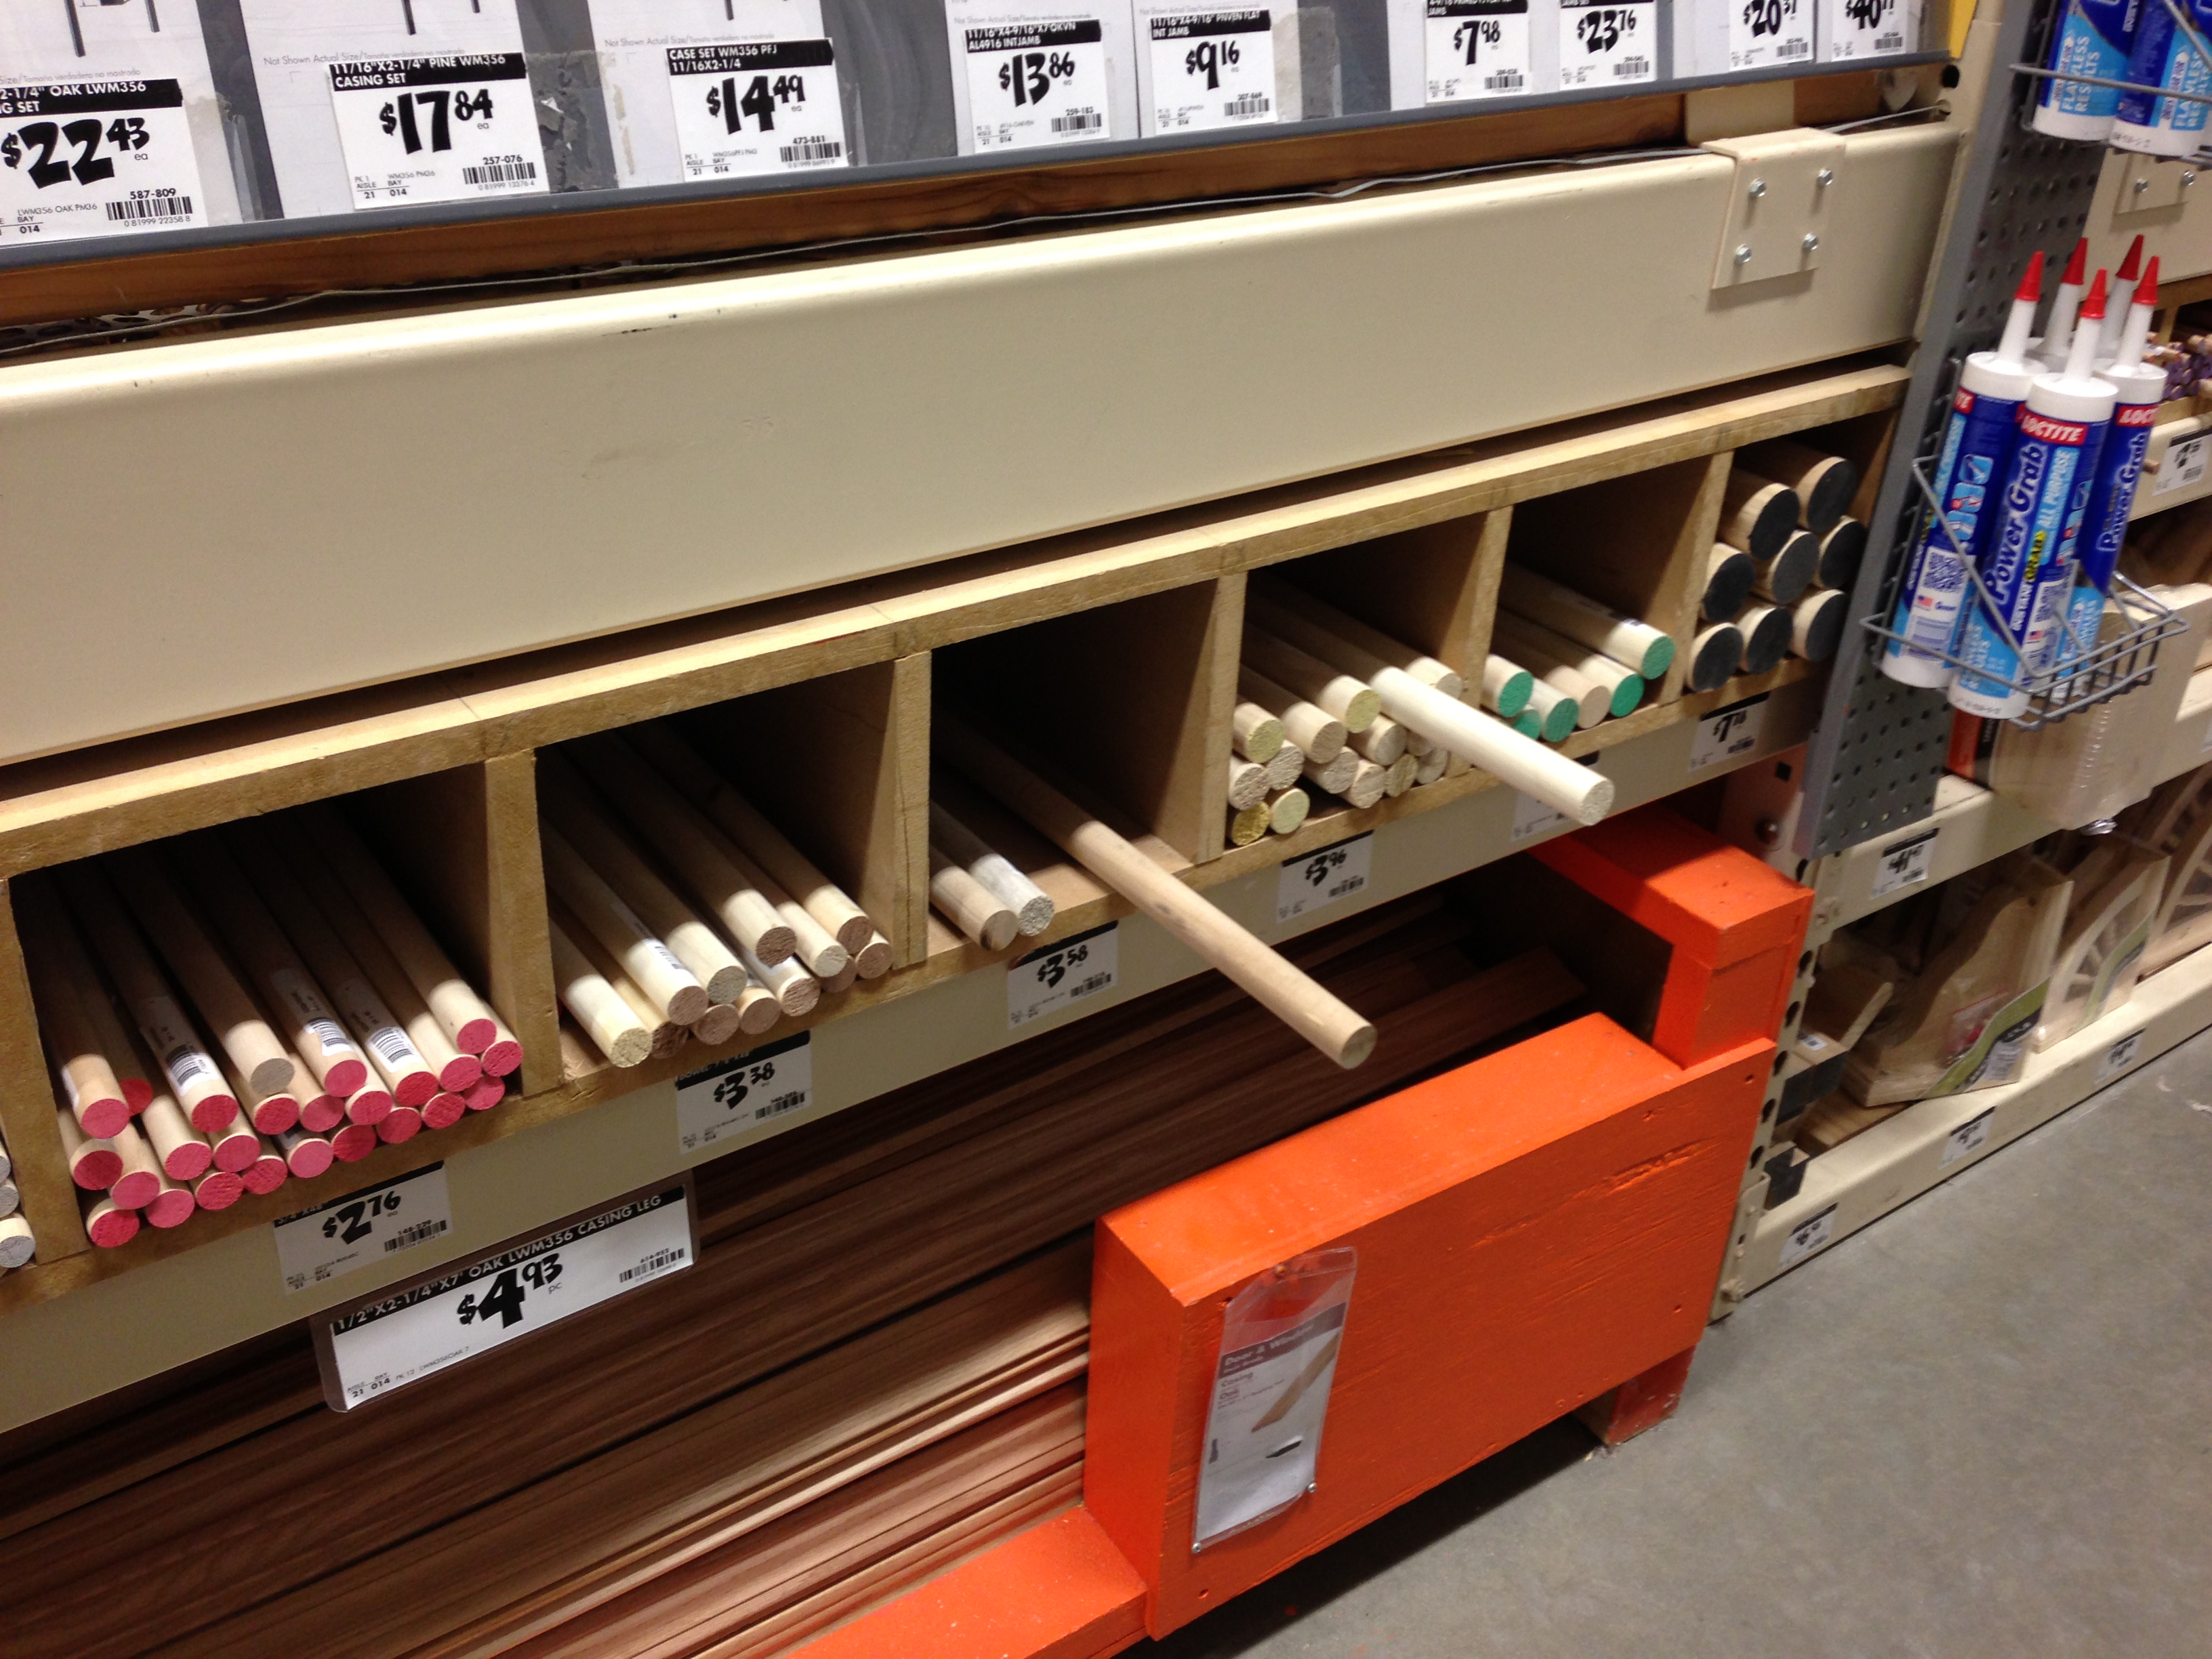
  • 3- 4ft 1″ diameter pine dowel rods (ours were less than $4/each from Home Depot)
  • 2- 8 ft 2″x3″ pine studs (ours were less than $2/each)
  • Wood glue
  • Sand paper

photo-100

To make the weathering solution you’ll need:

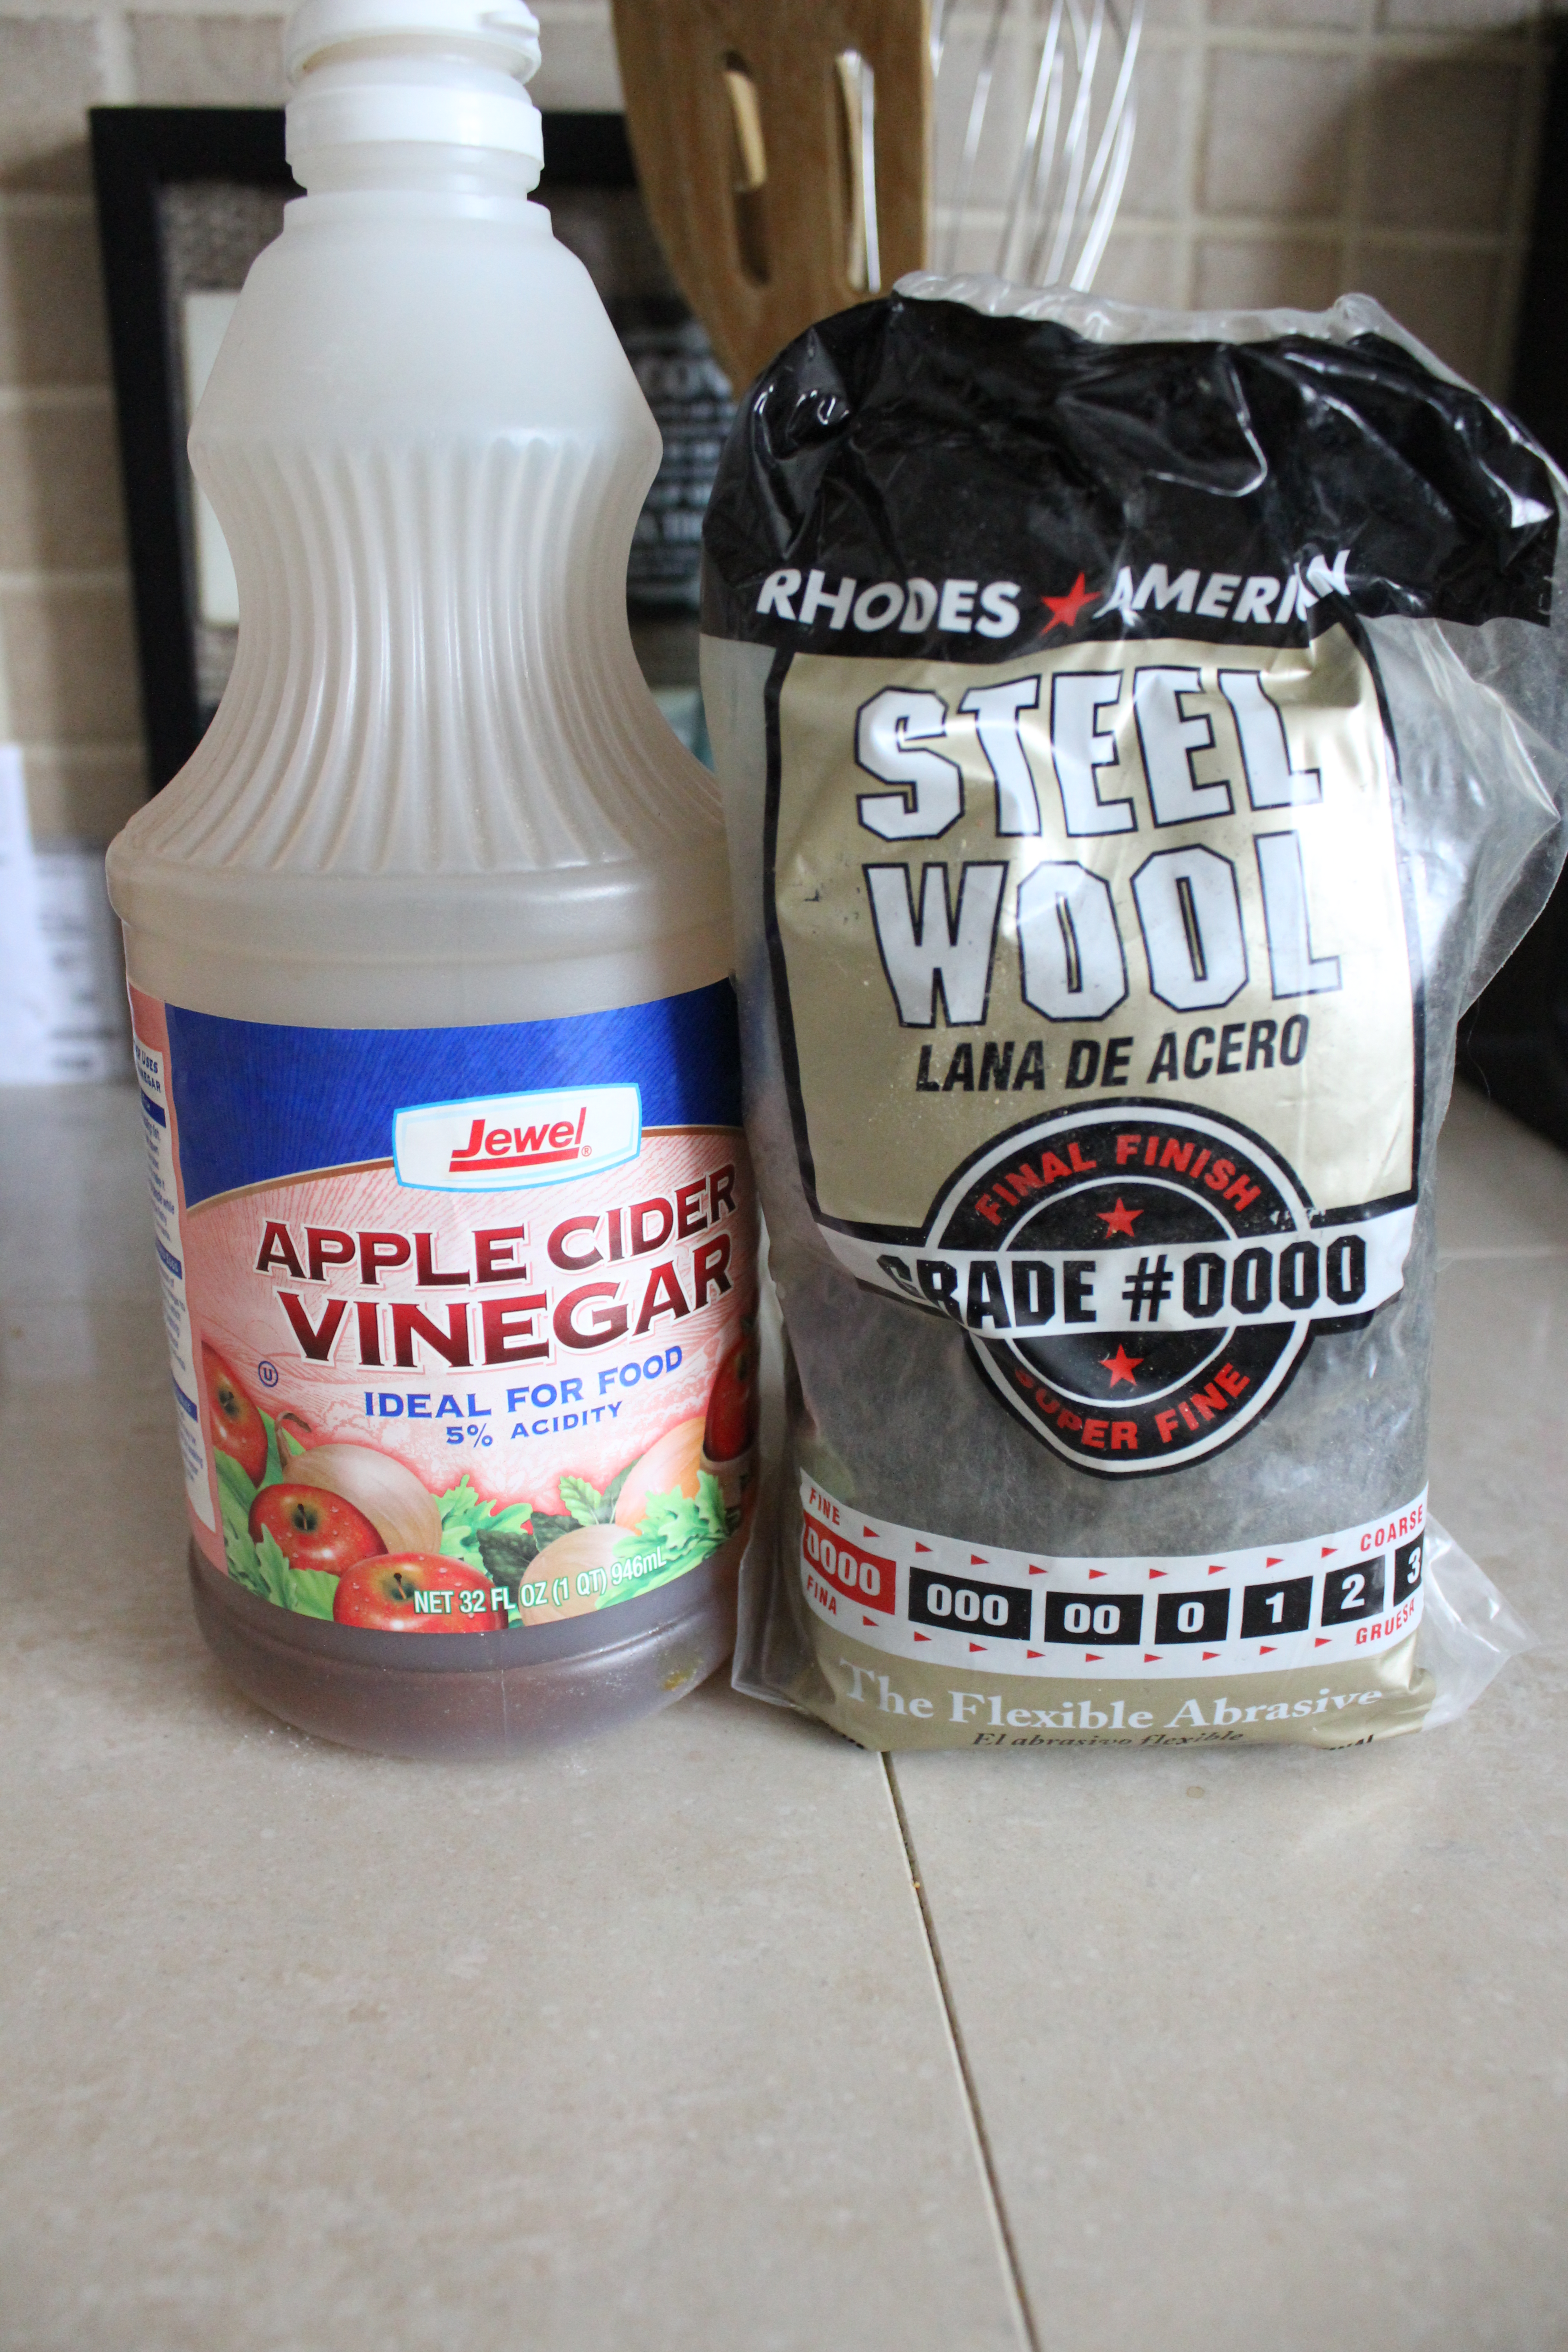
  • Very fine steel wool
  • Vinegar
  • Black tea
  • Empty glass jar/lid

IMG_2615

Step 2. Make weathering solution 24 hours before.
Take a handful of very fine steel wool and mix with vinegar in a glass jar. The steel wool will start to dissolve but won’t dissolve completely. Wait at least 24 hours before applying to your wood.

Step 3. Make your cuts.

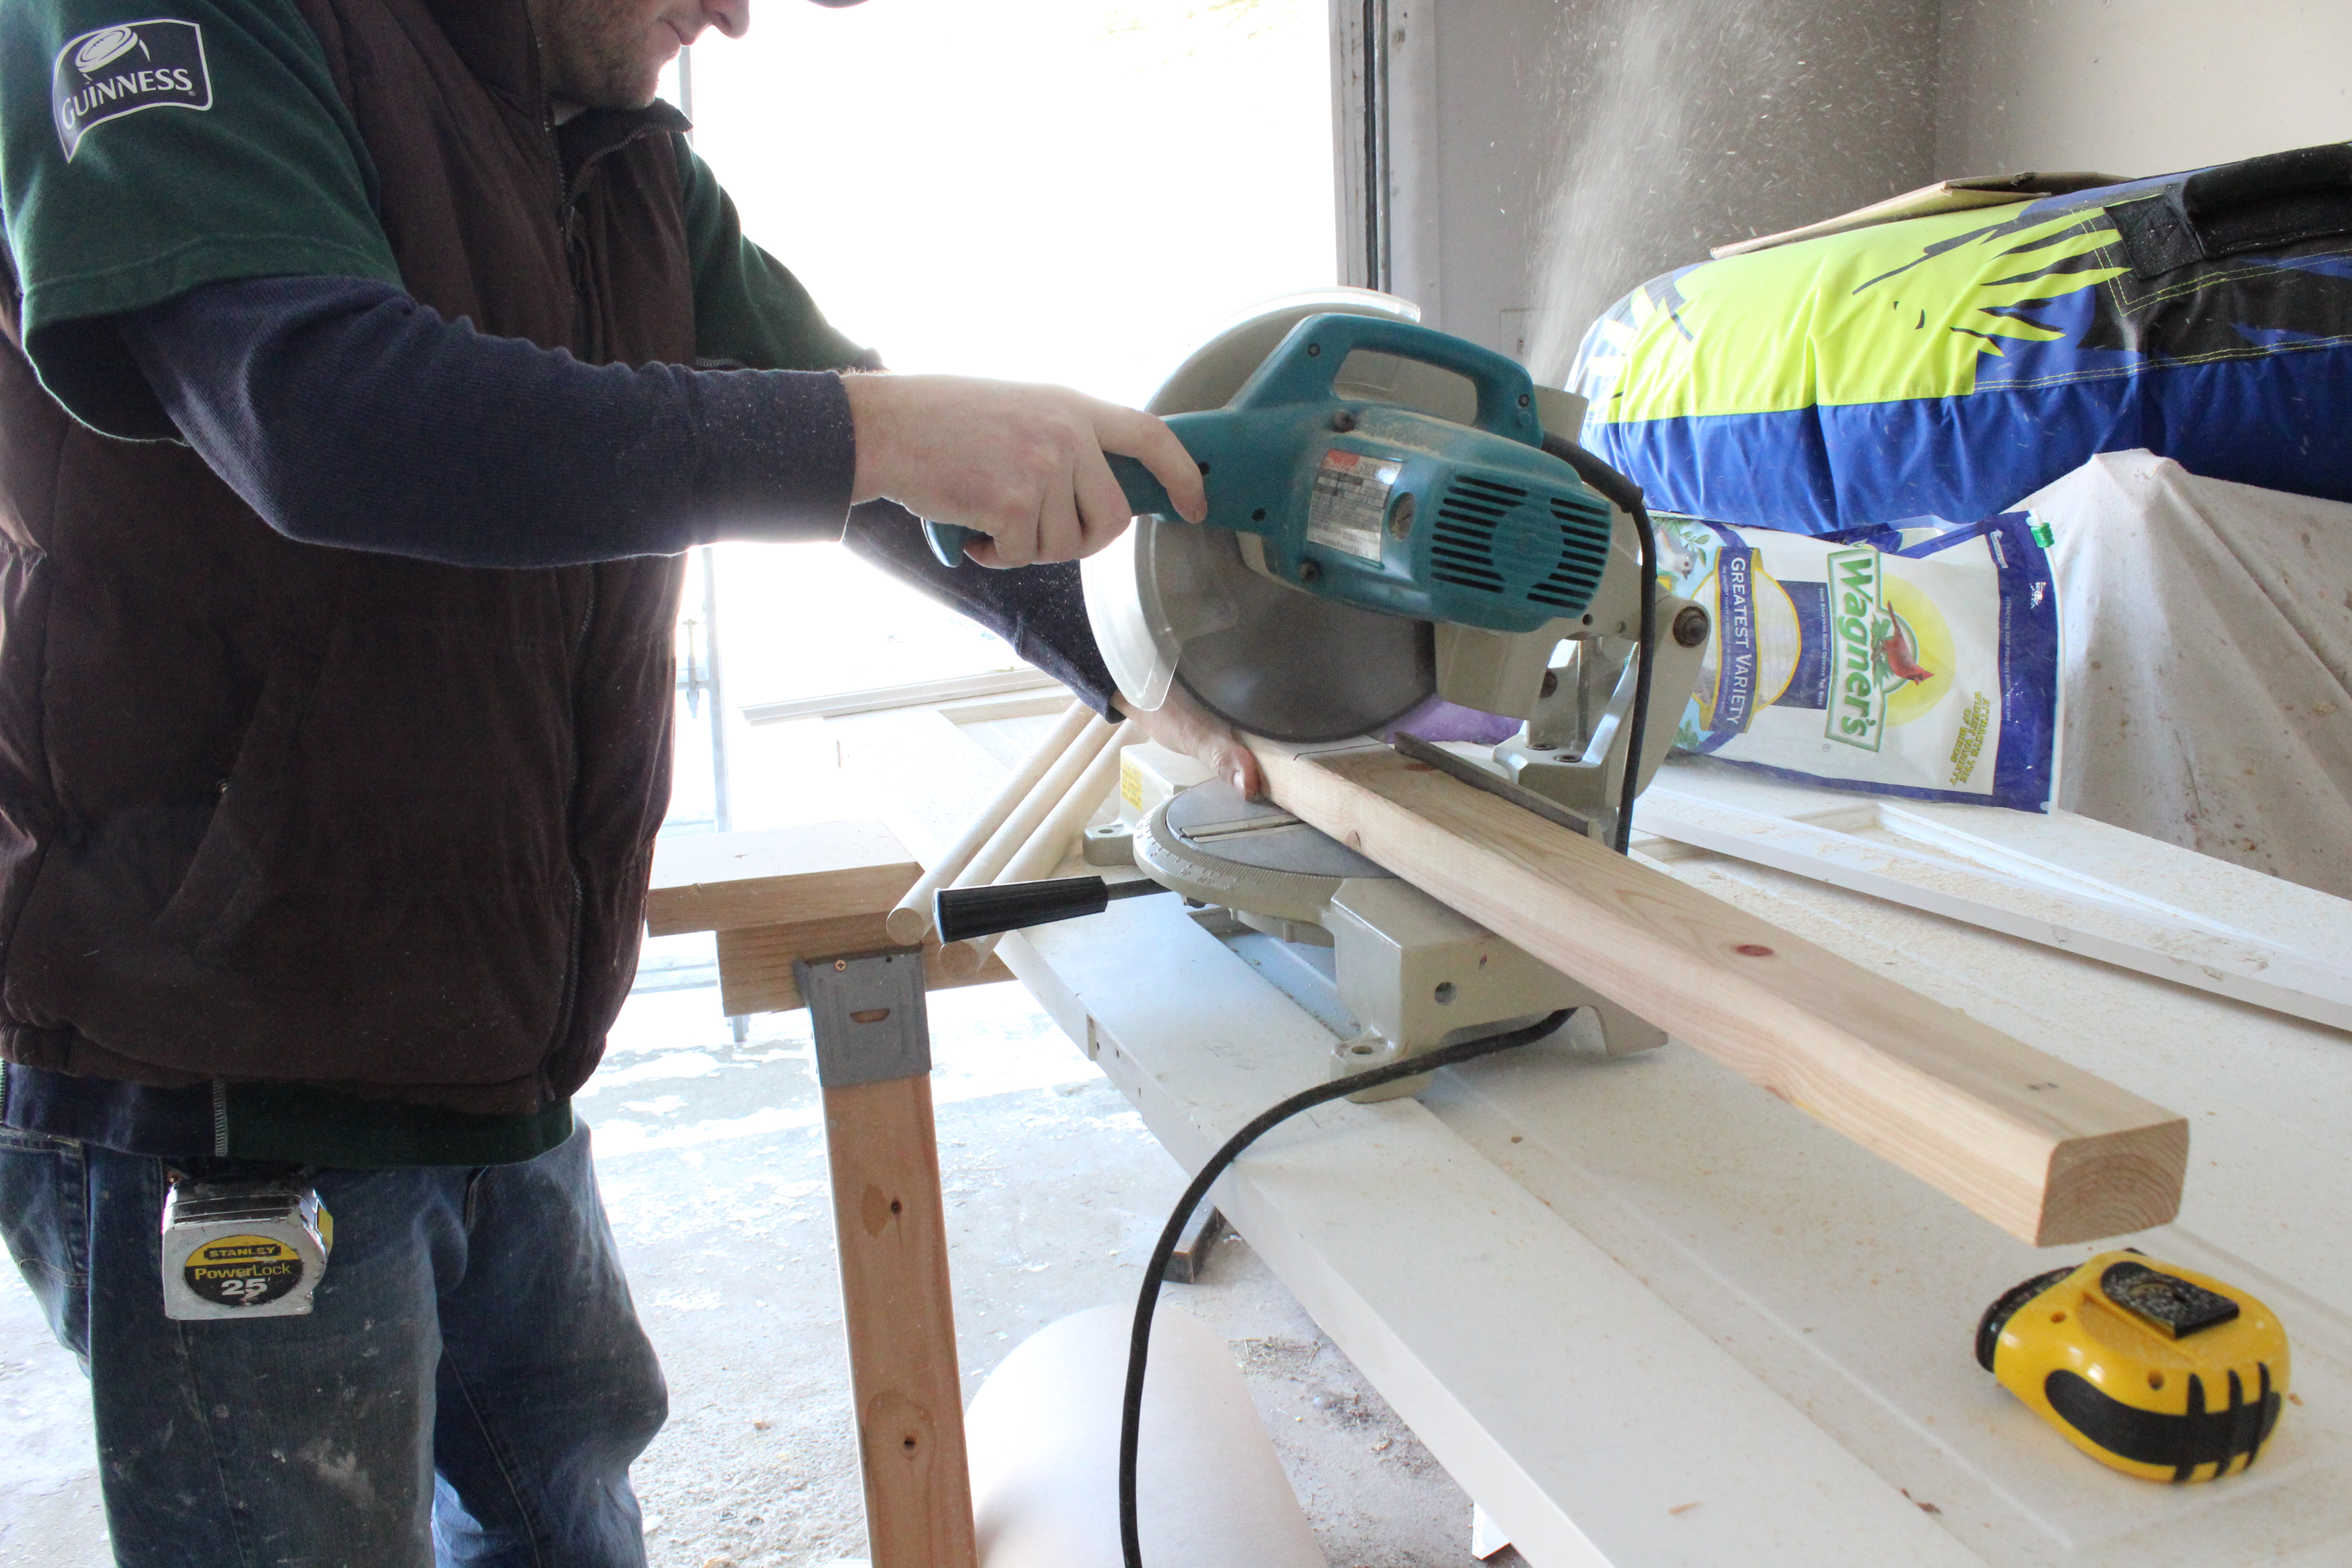
We cut the dowel rods into 5-16″ long rungs and cut down the 2x3s to 6 feet long.

IMG_2562

Step 4. Sand your wood.

We used an electric hand sander but you could also do it by hand.

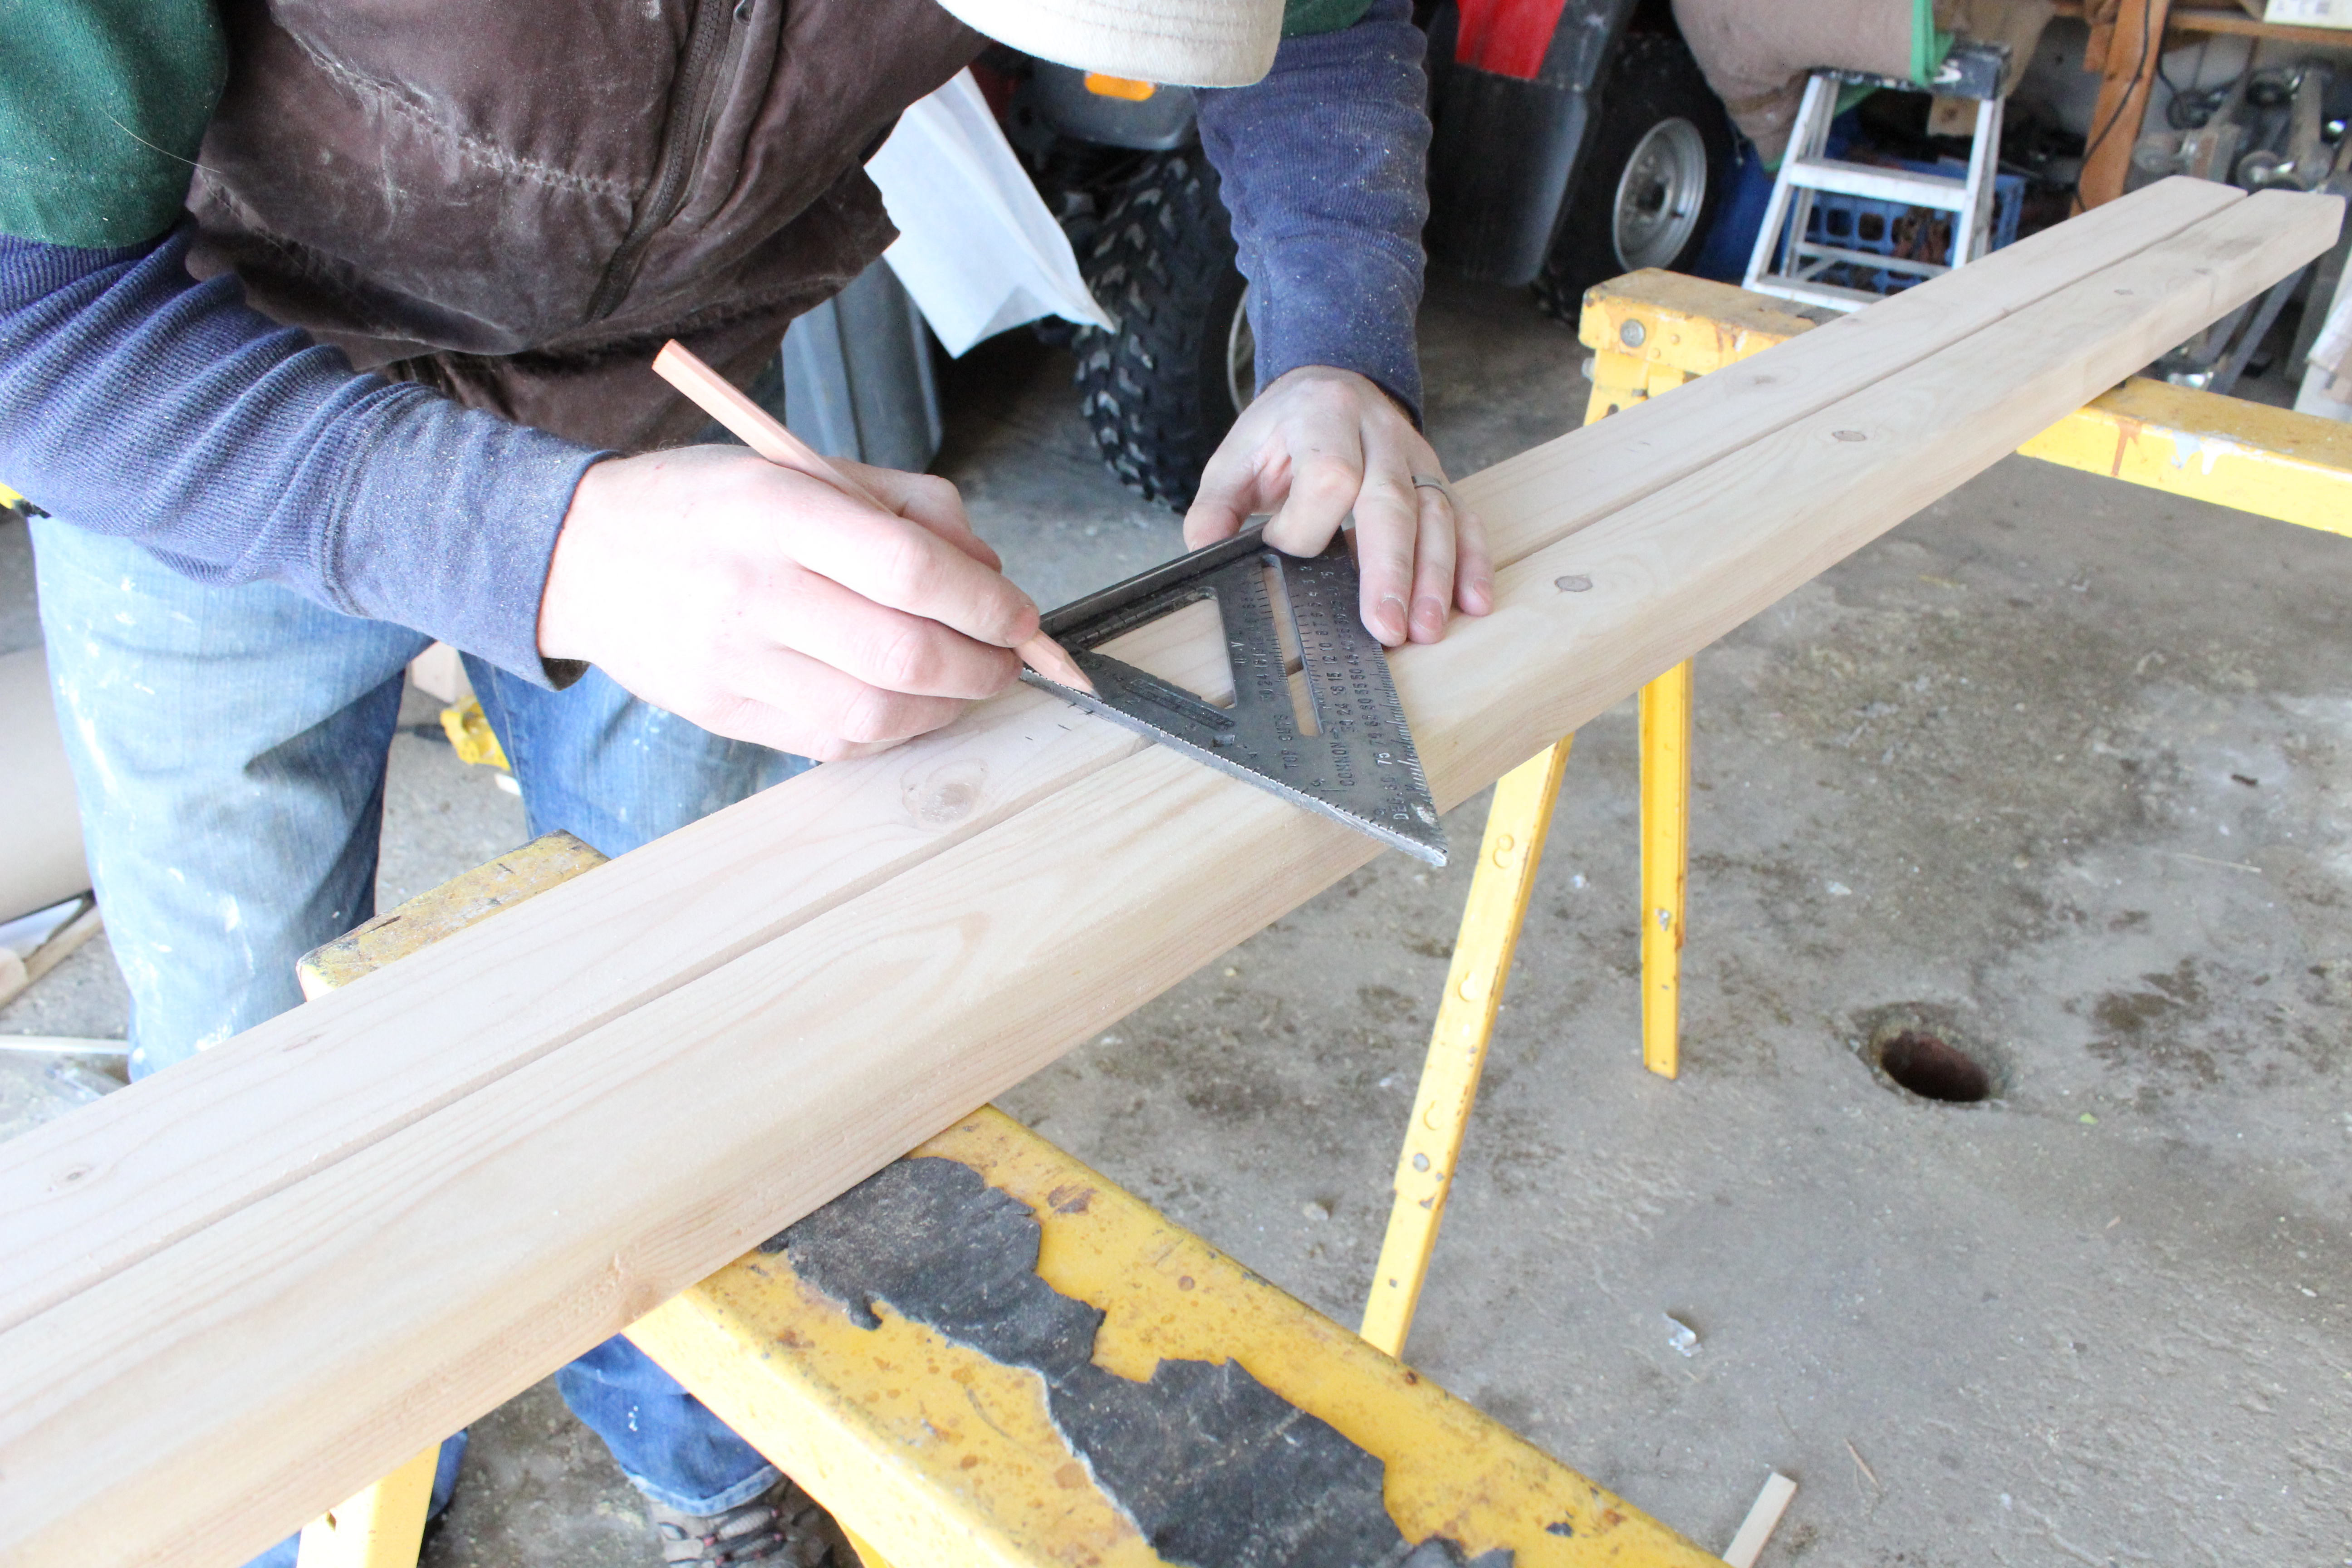
Step 5. Mark sides for holes.

We started our first hole 2.5″ from the bottom and then spaced them 13.5″ apart from the centers. Make sure your marks align perfectly on both sides.

IMG_2569

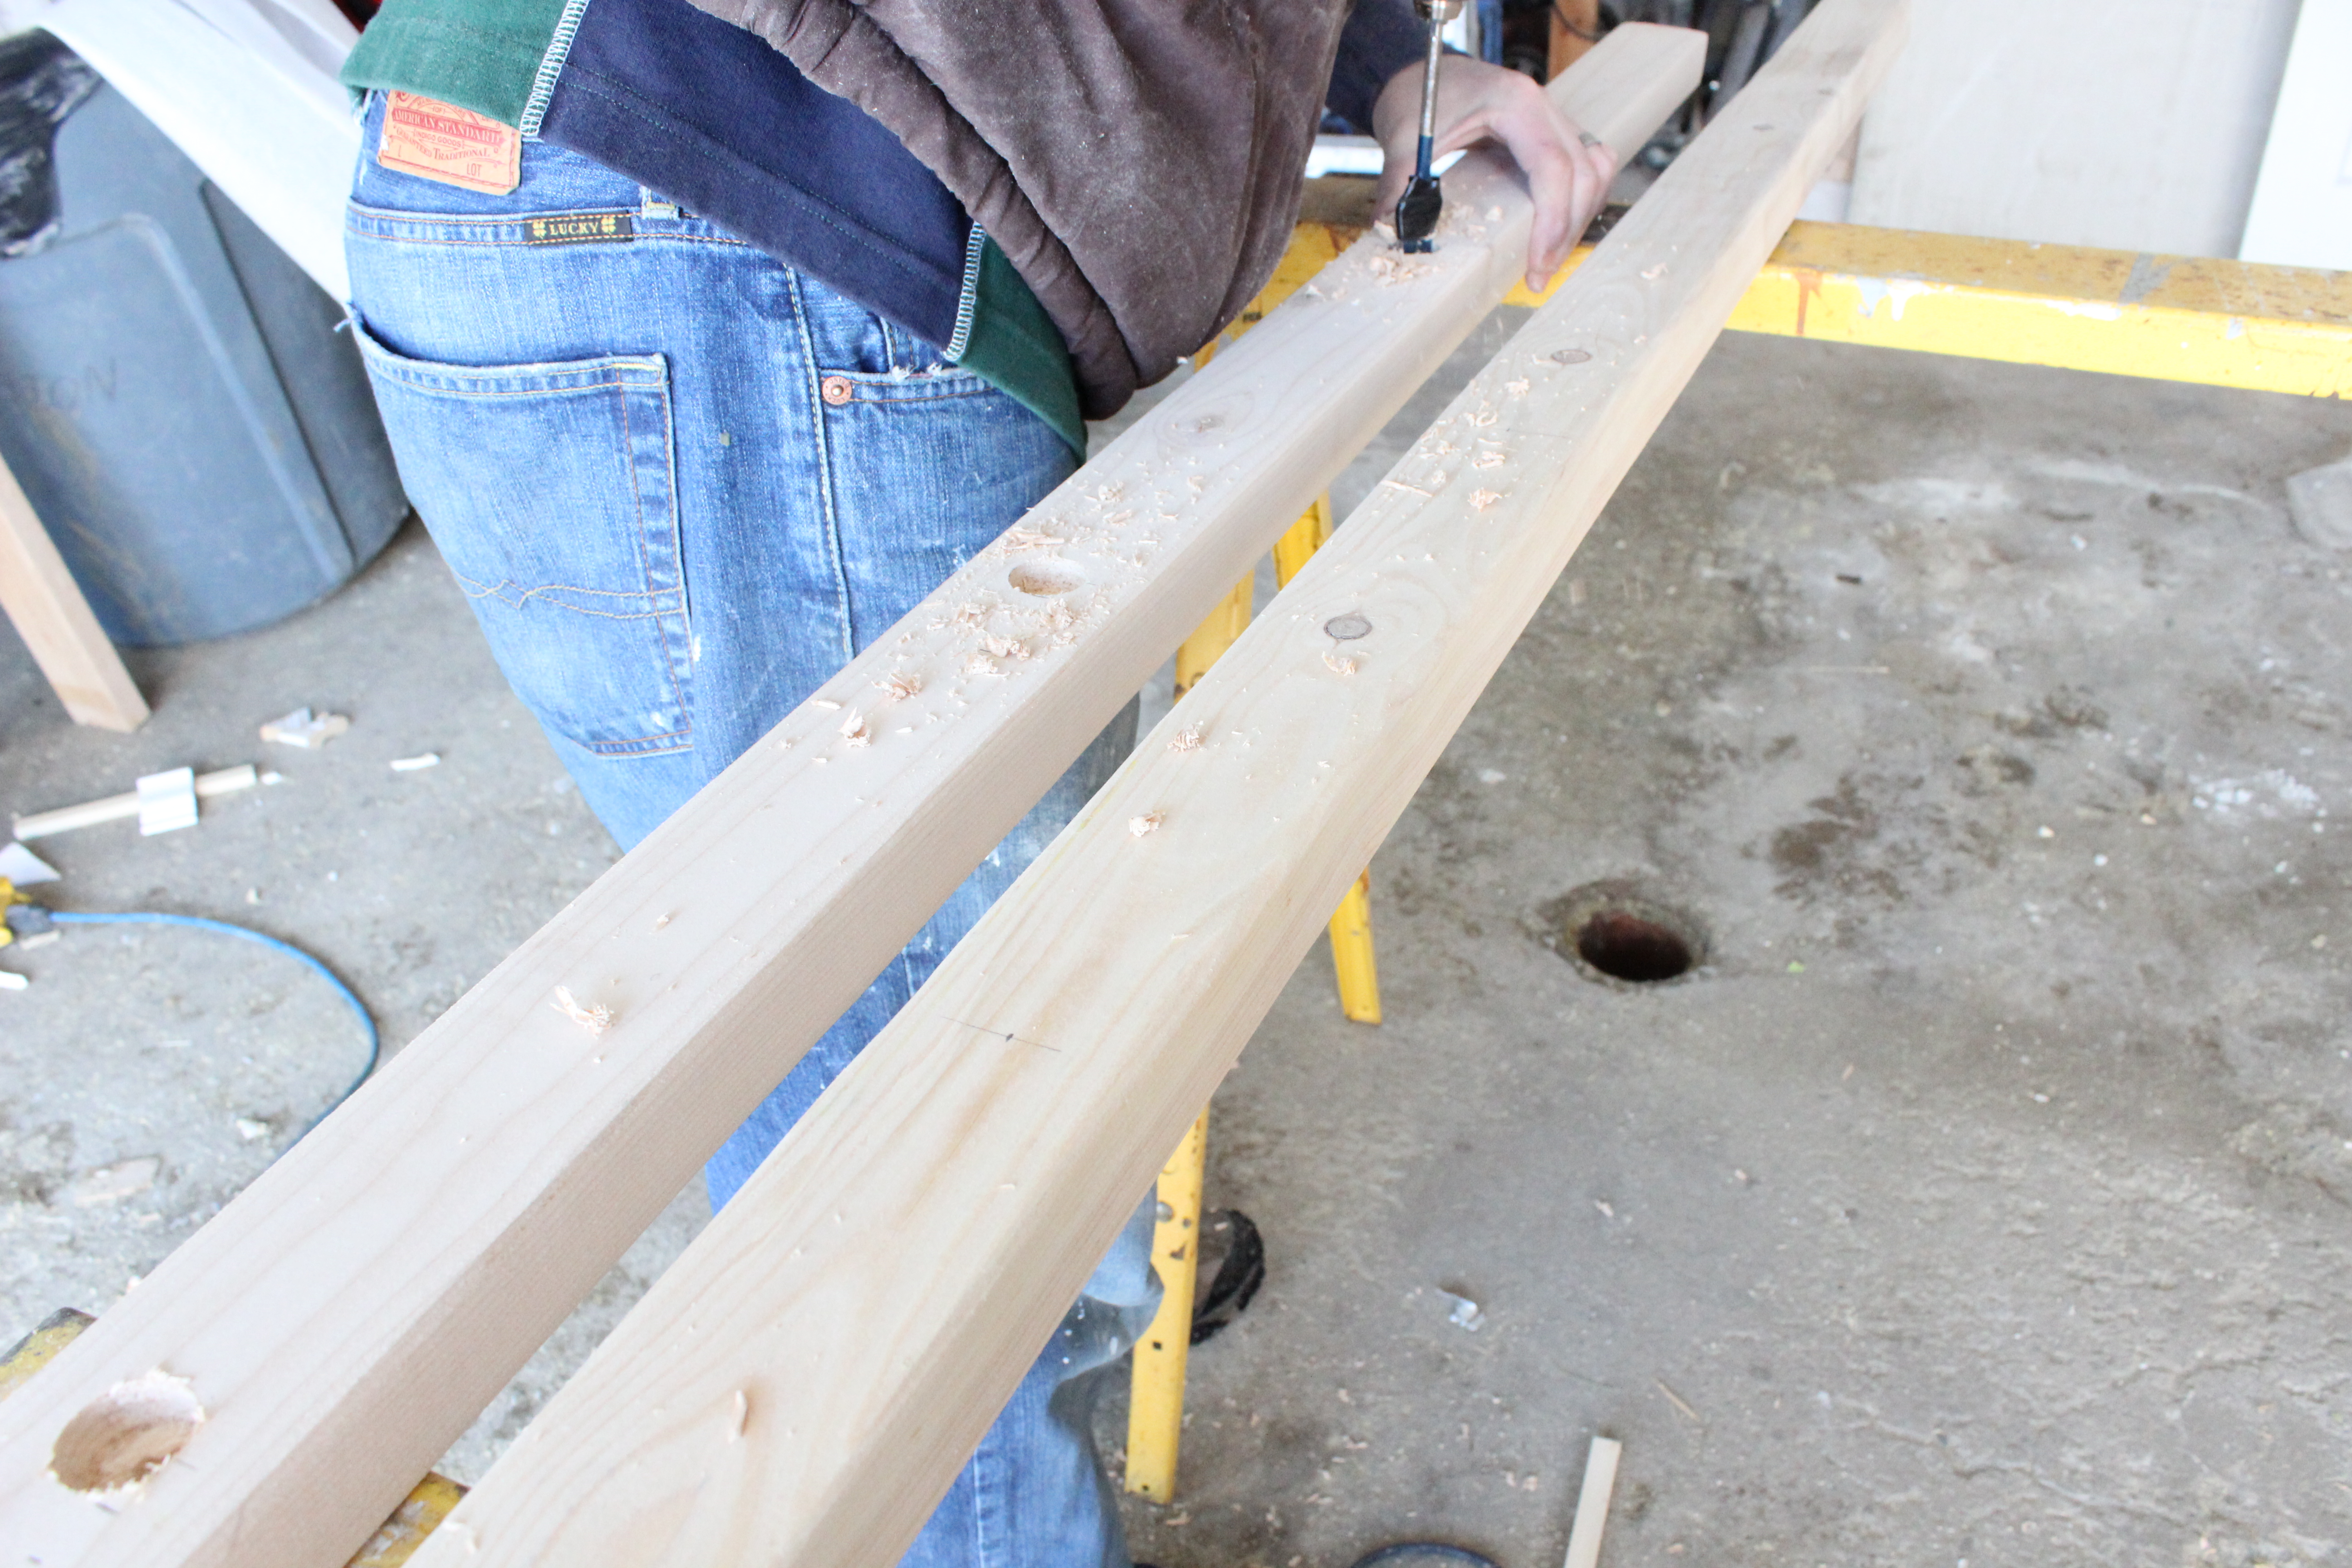
Step 6. Drill 1″ wide holes that are 1/2″ deep. 

We placed a piece of tape 1/2″ up the drill bit to know how deep to go. Also go over holes with a light sand to smooth out rough edges.

IMG_2574

Step 7. Sand down edges of your rungs to ensure they will fit into the holes. 

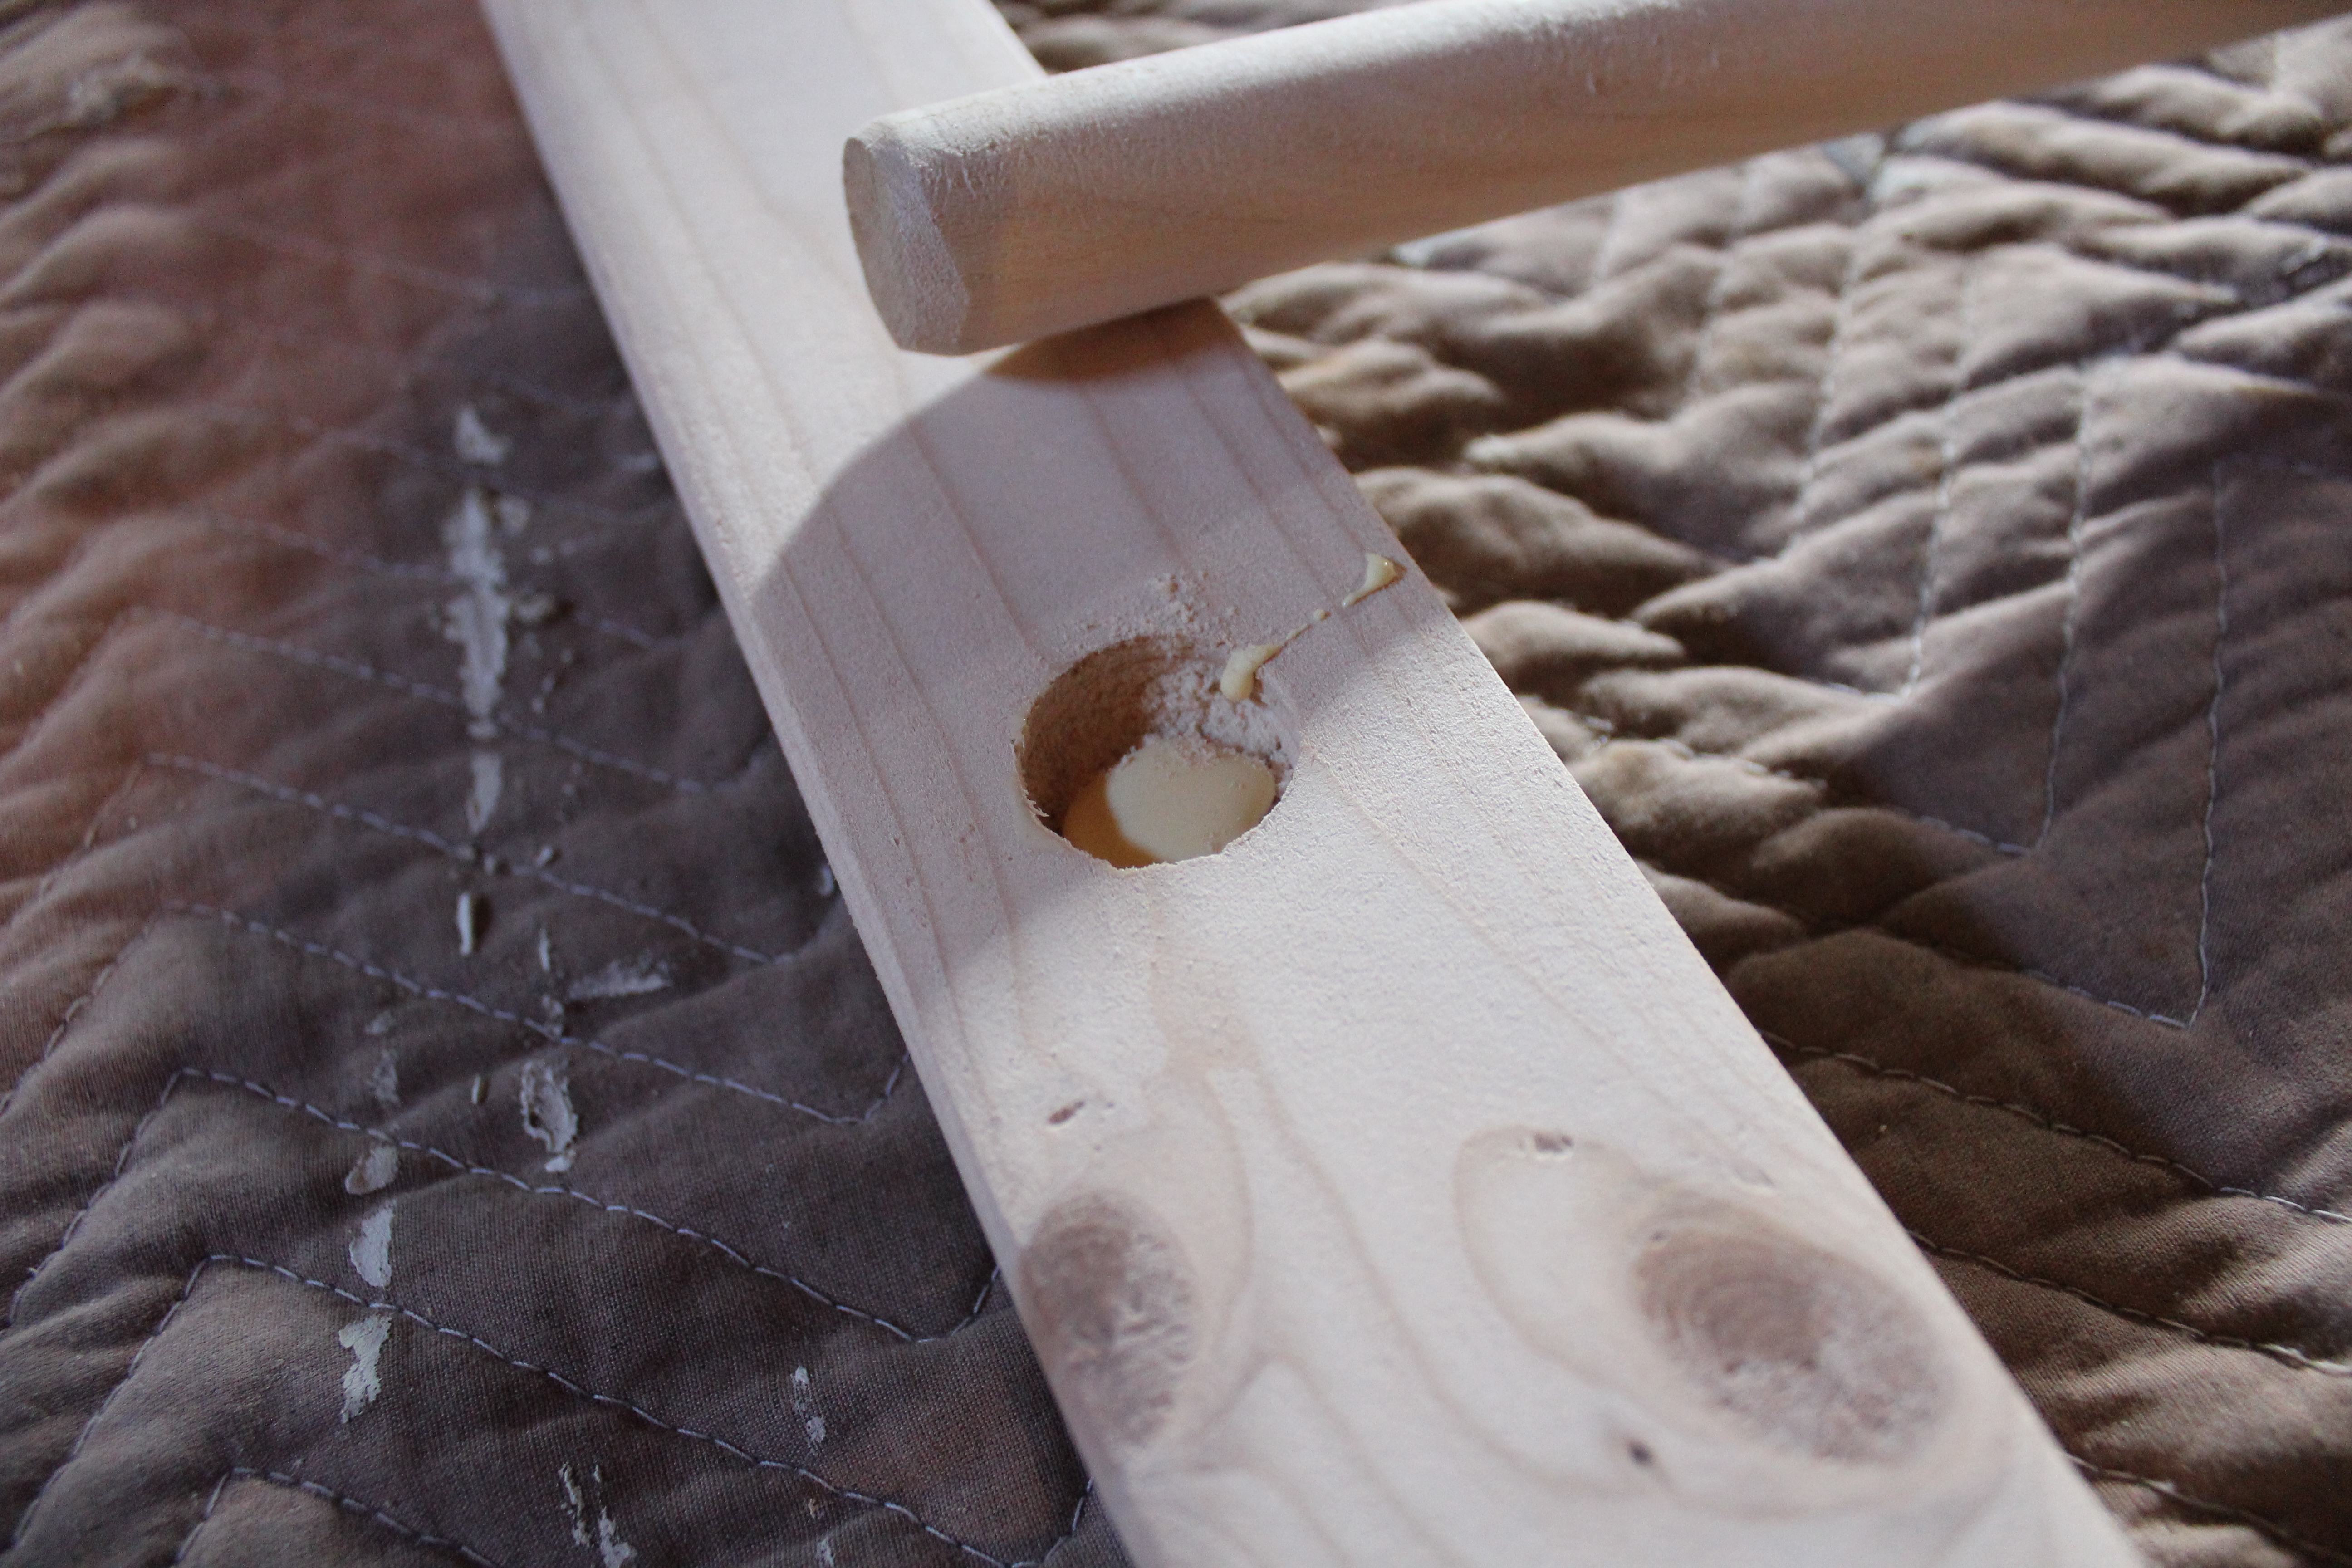
Step 8. Fill one side of holes with wood glue and place rungs in.

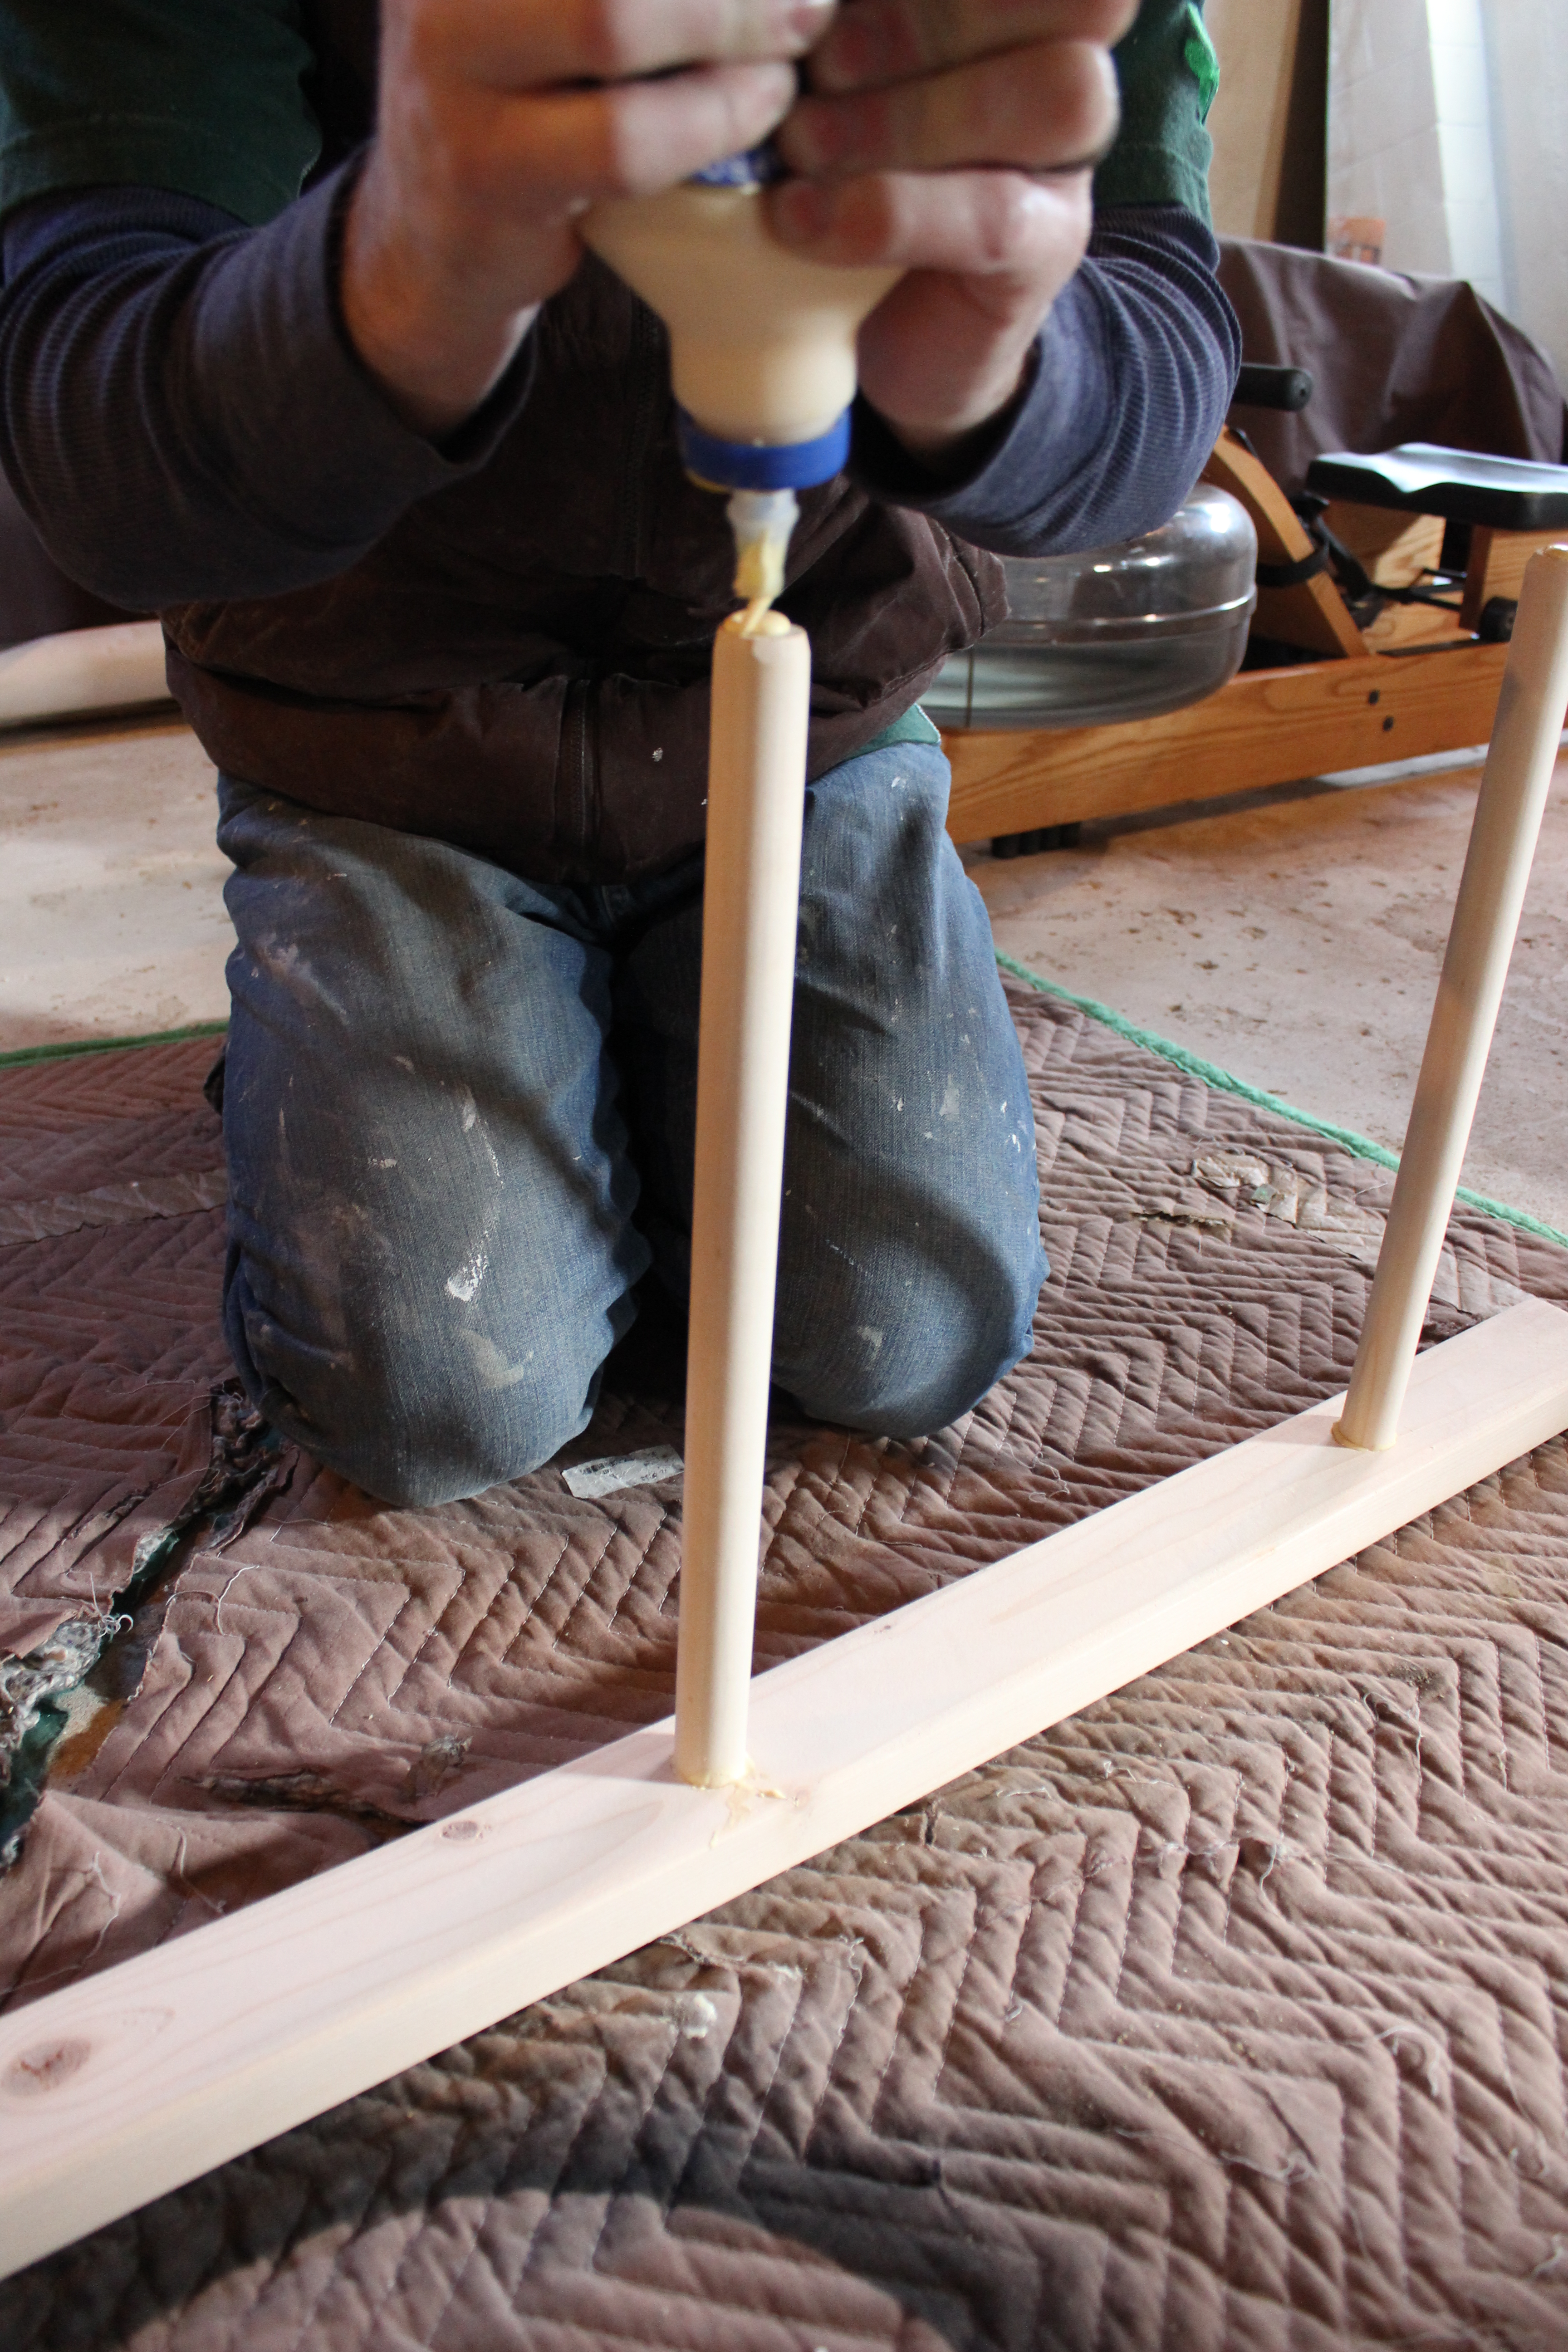
IMG_2582Step 9. Put glue on other side of rungs and place side onto rungs.

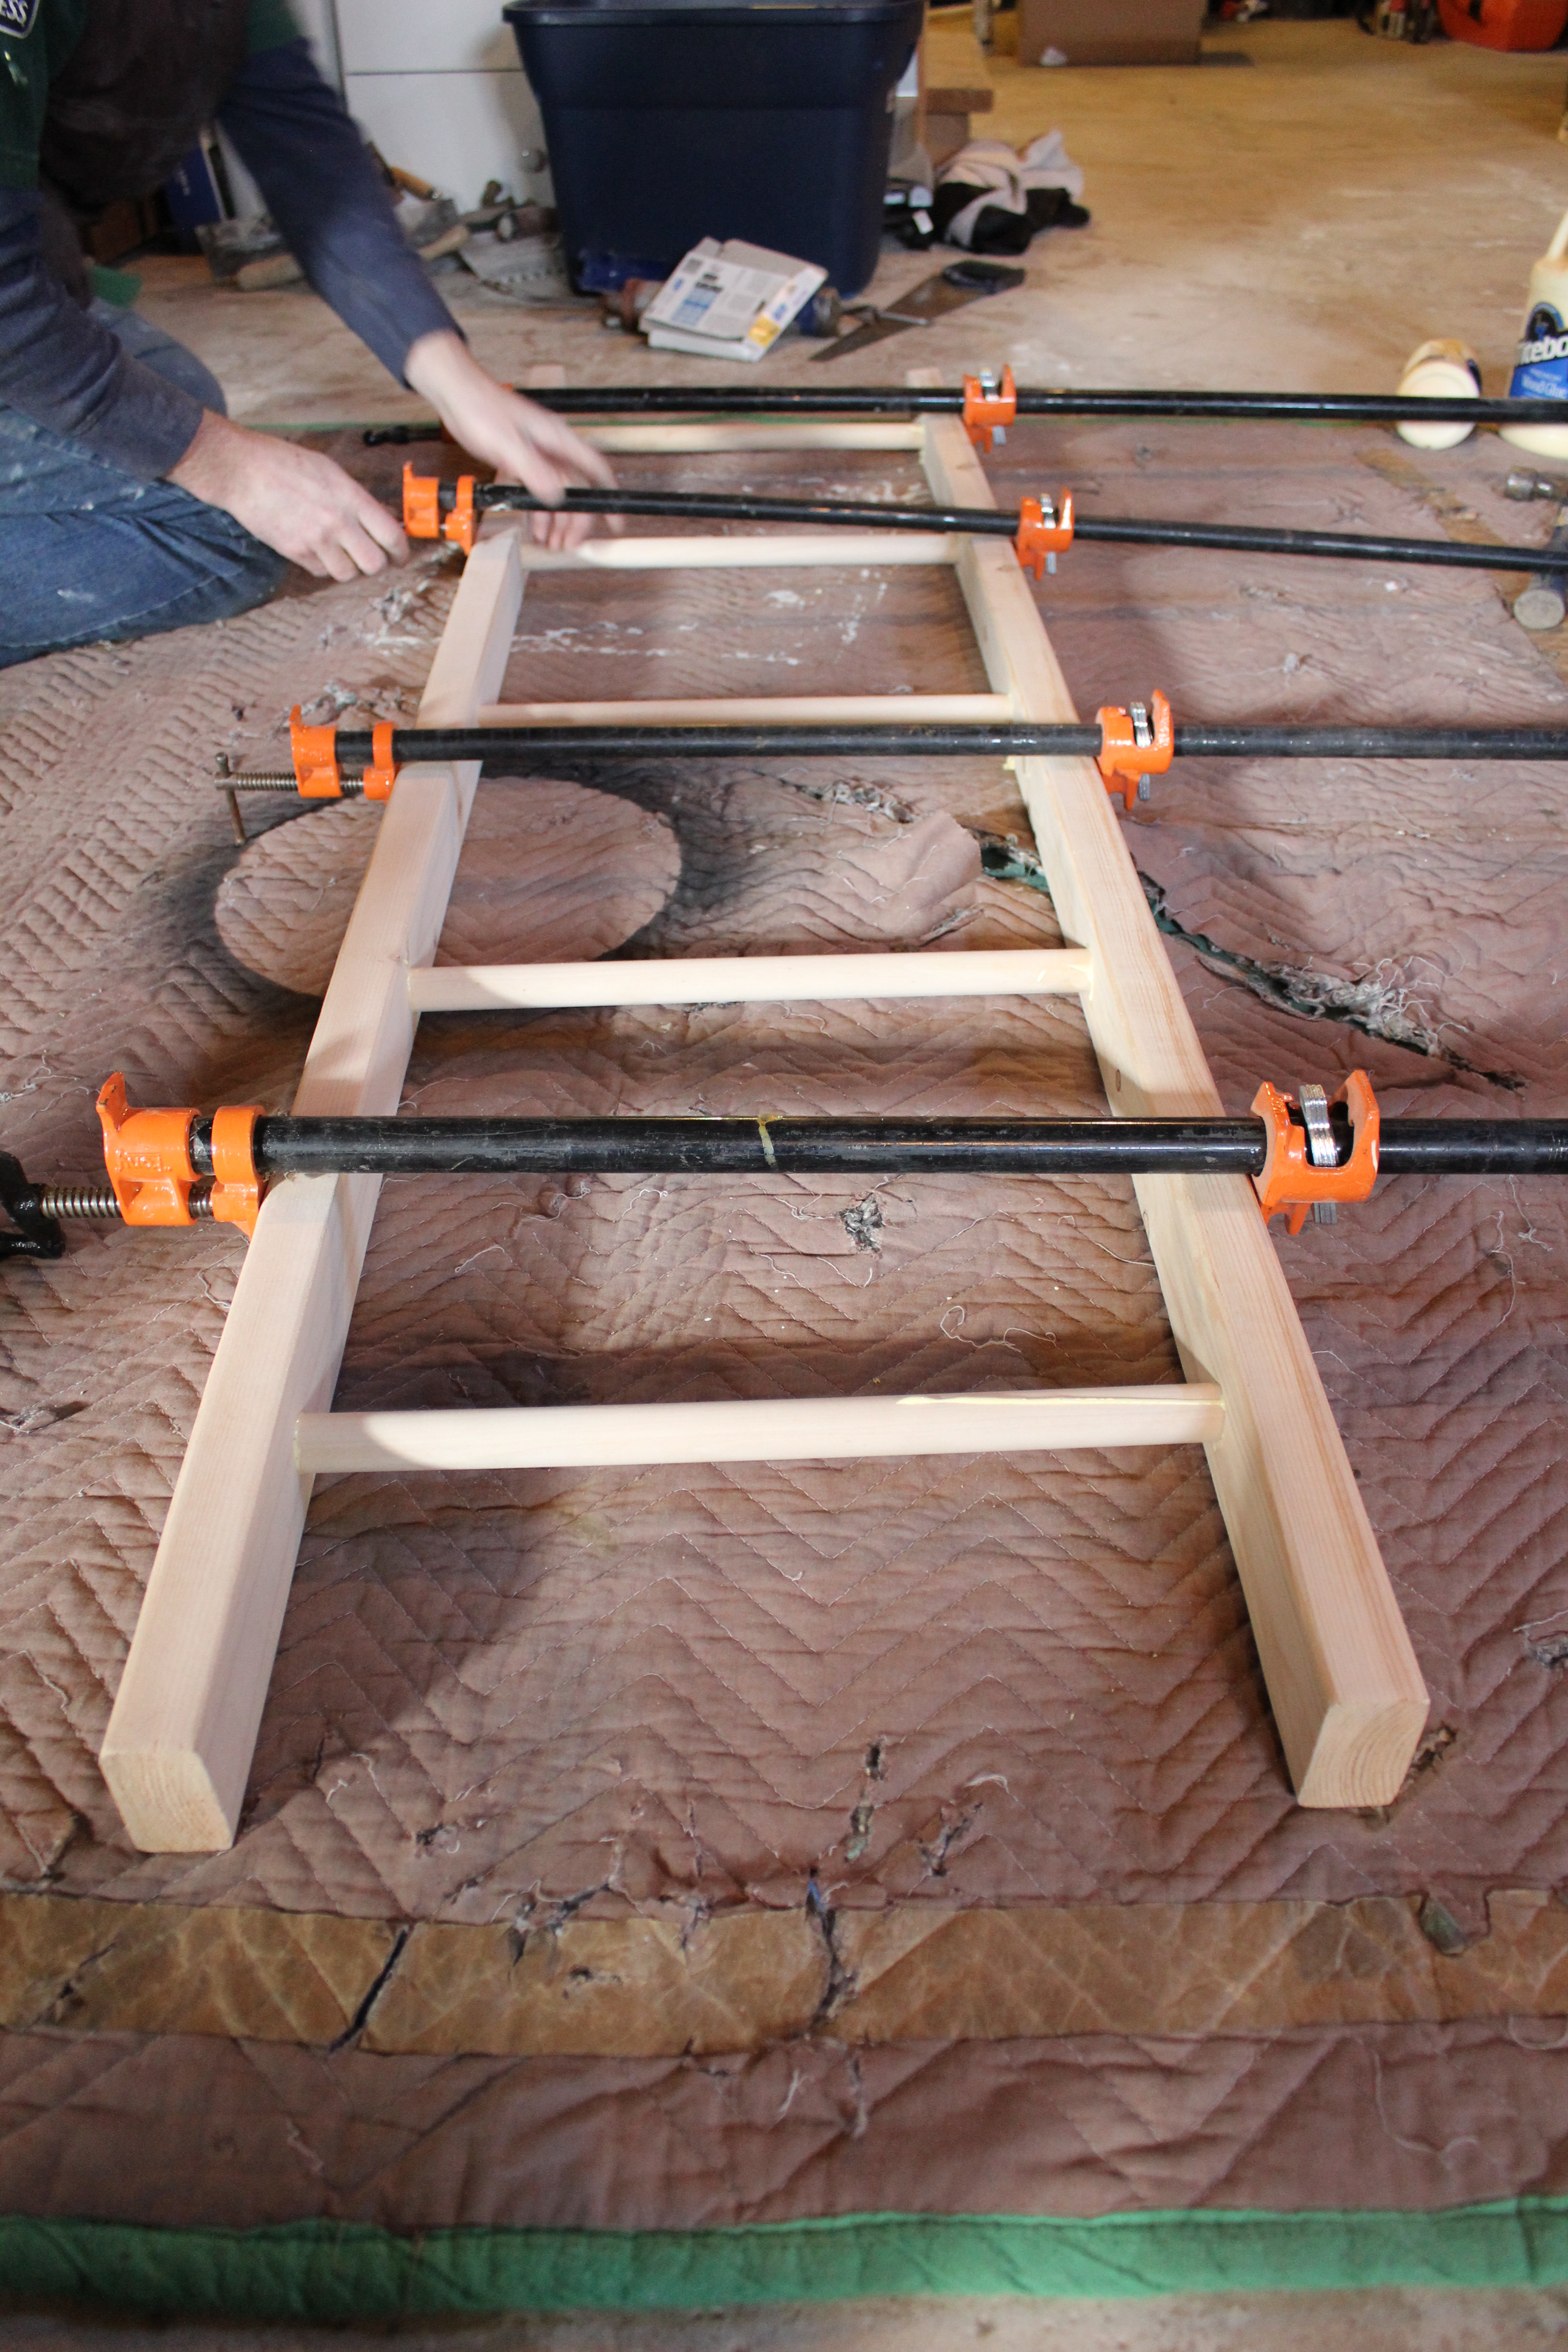
IMG_2586Step 10. Attach clamps for at least 2 hours to dry. Wipe up all access glue.
IMG_2588Step 11. Brew some very strong tea and brush it on your ladder. Apparently the tea releases tannins in the wood which allows it to oxidize from the vinegar/steel wool. We coated ours with tea twice, letting it dry in between coats and before the next step.
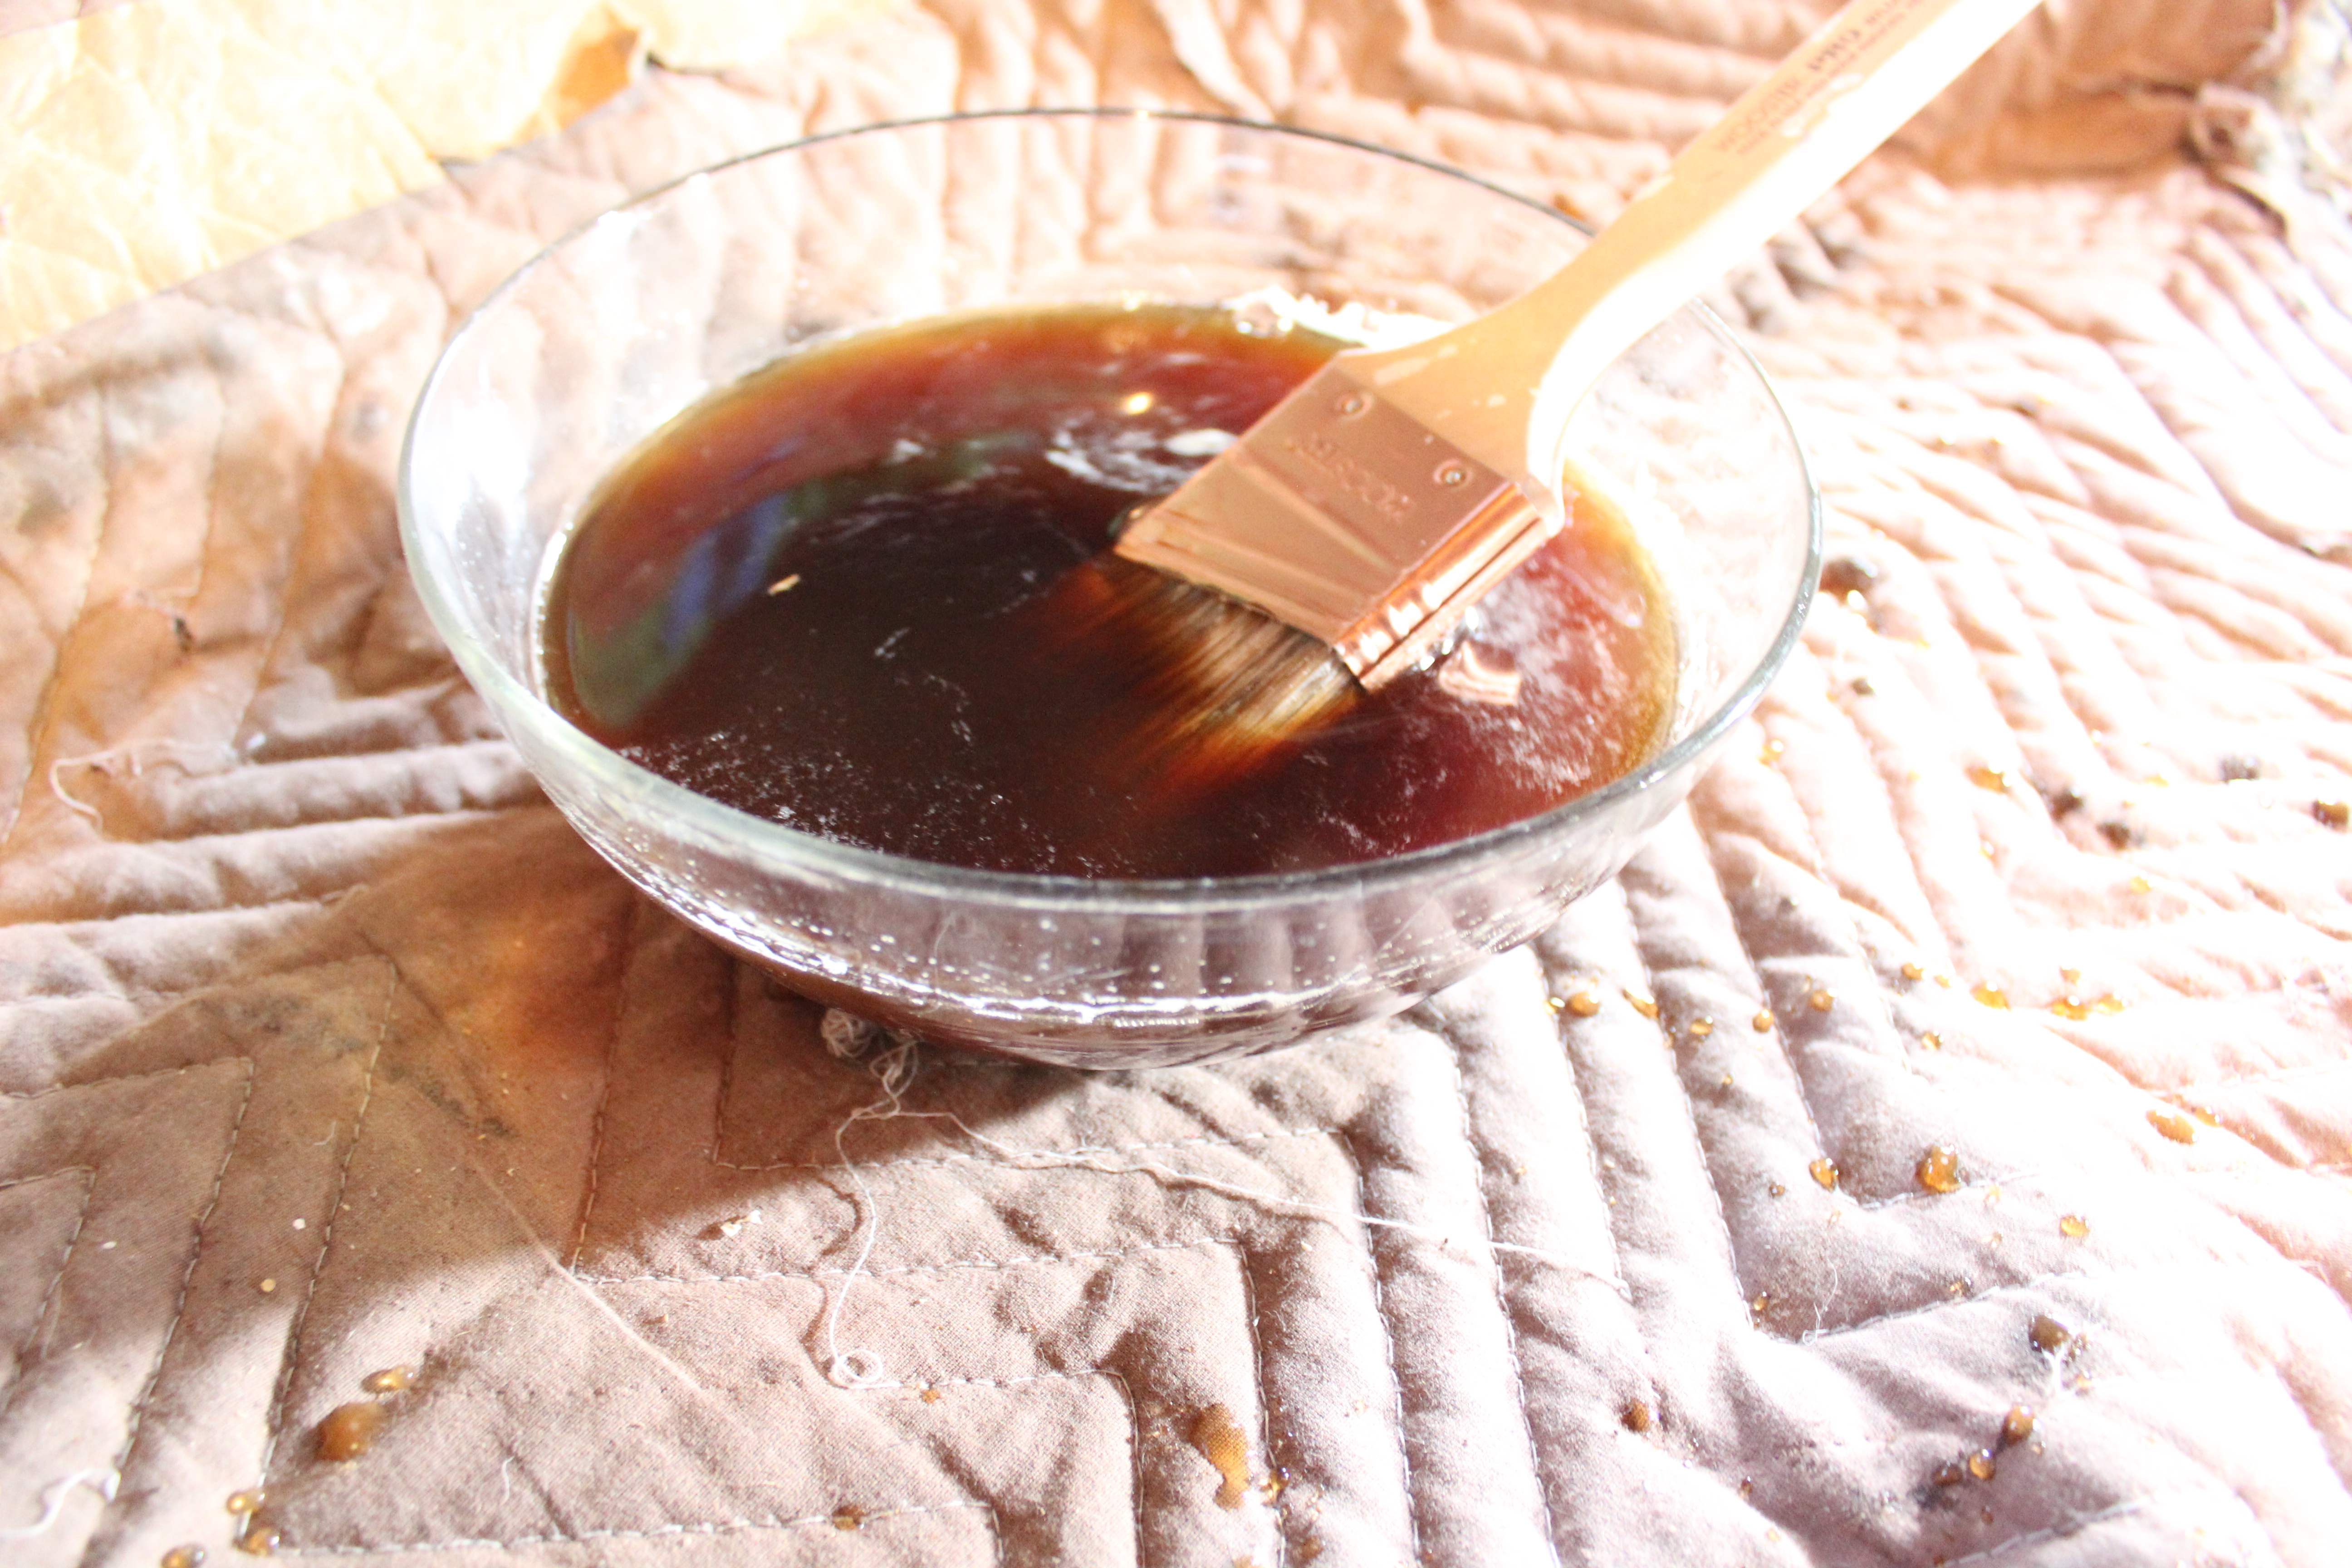
IMG_2594Step 12. Your final step! Brush on your vinegar/steel wool solution. It will start to turn the wood darker as soon as you brush it on and within an hour or so will be completely weathered.

IMG_2611

I couldn’t believe how well the weathering process worked and without buying expensive stains or paints. Just household items.

What do you think? Worth $20 and a couple hours of time? I’d say so.