Archive | Exterior RSS feed for this section

5 Years Later (What’s Changed)

24 Oct

Today marks 5 years since we closed on 12 Oaks, so I thought we should recap everything we’ve been able to accomplish since October 2012.

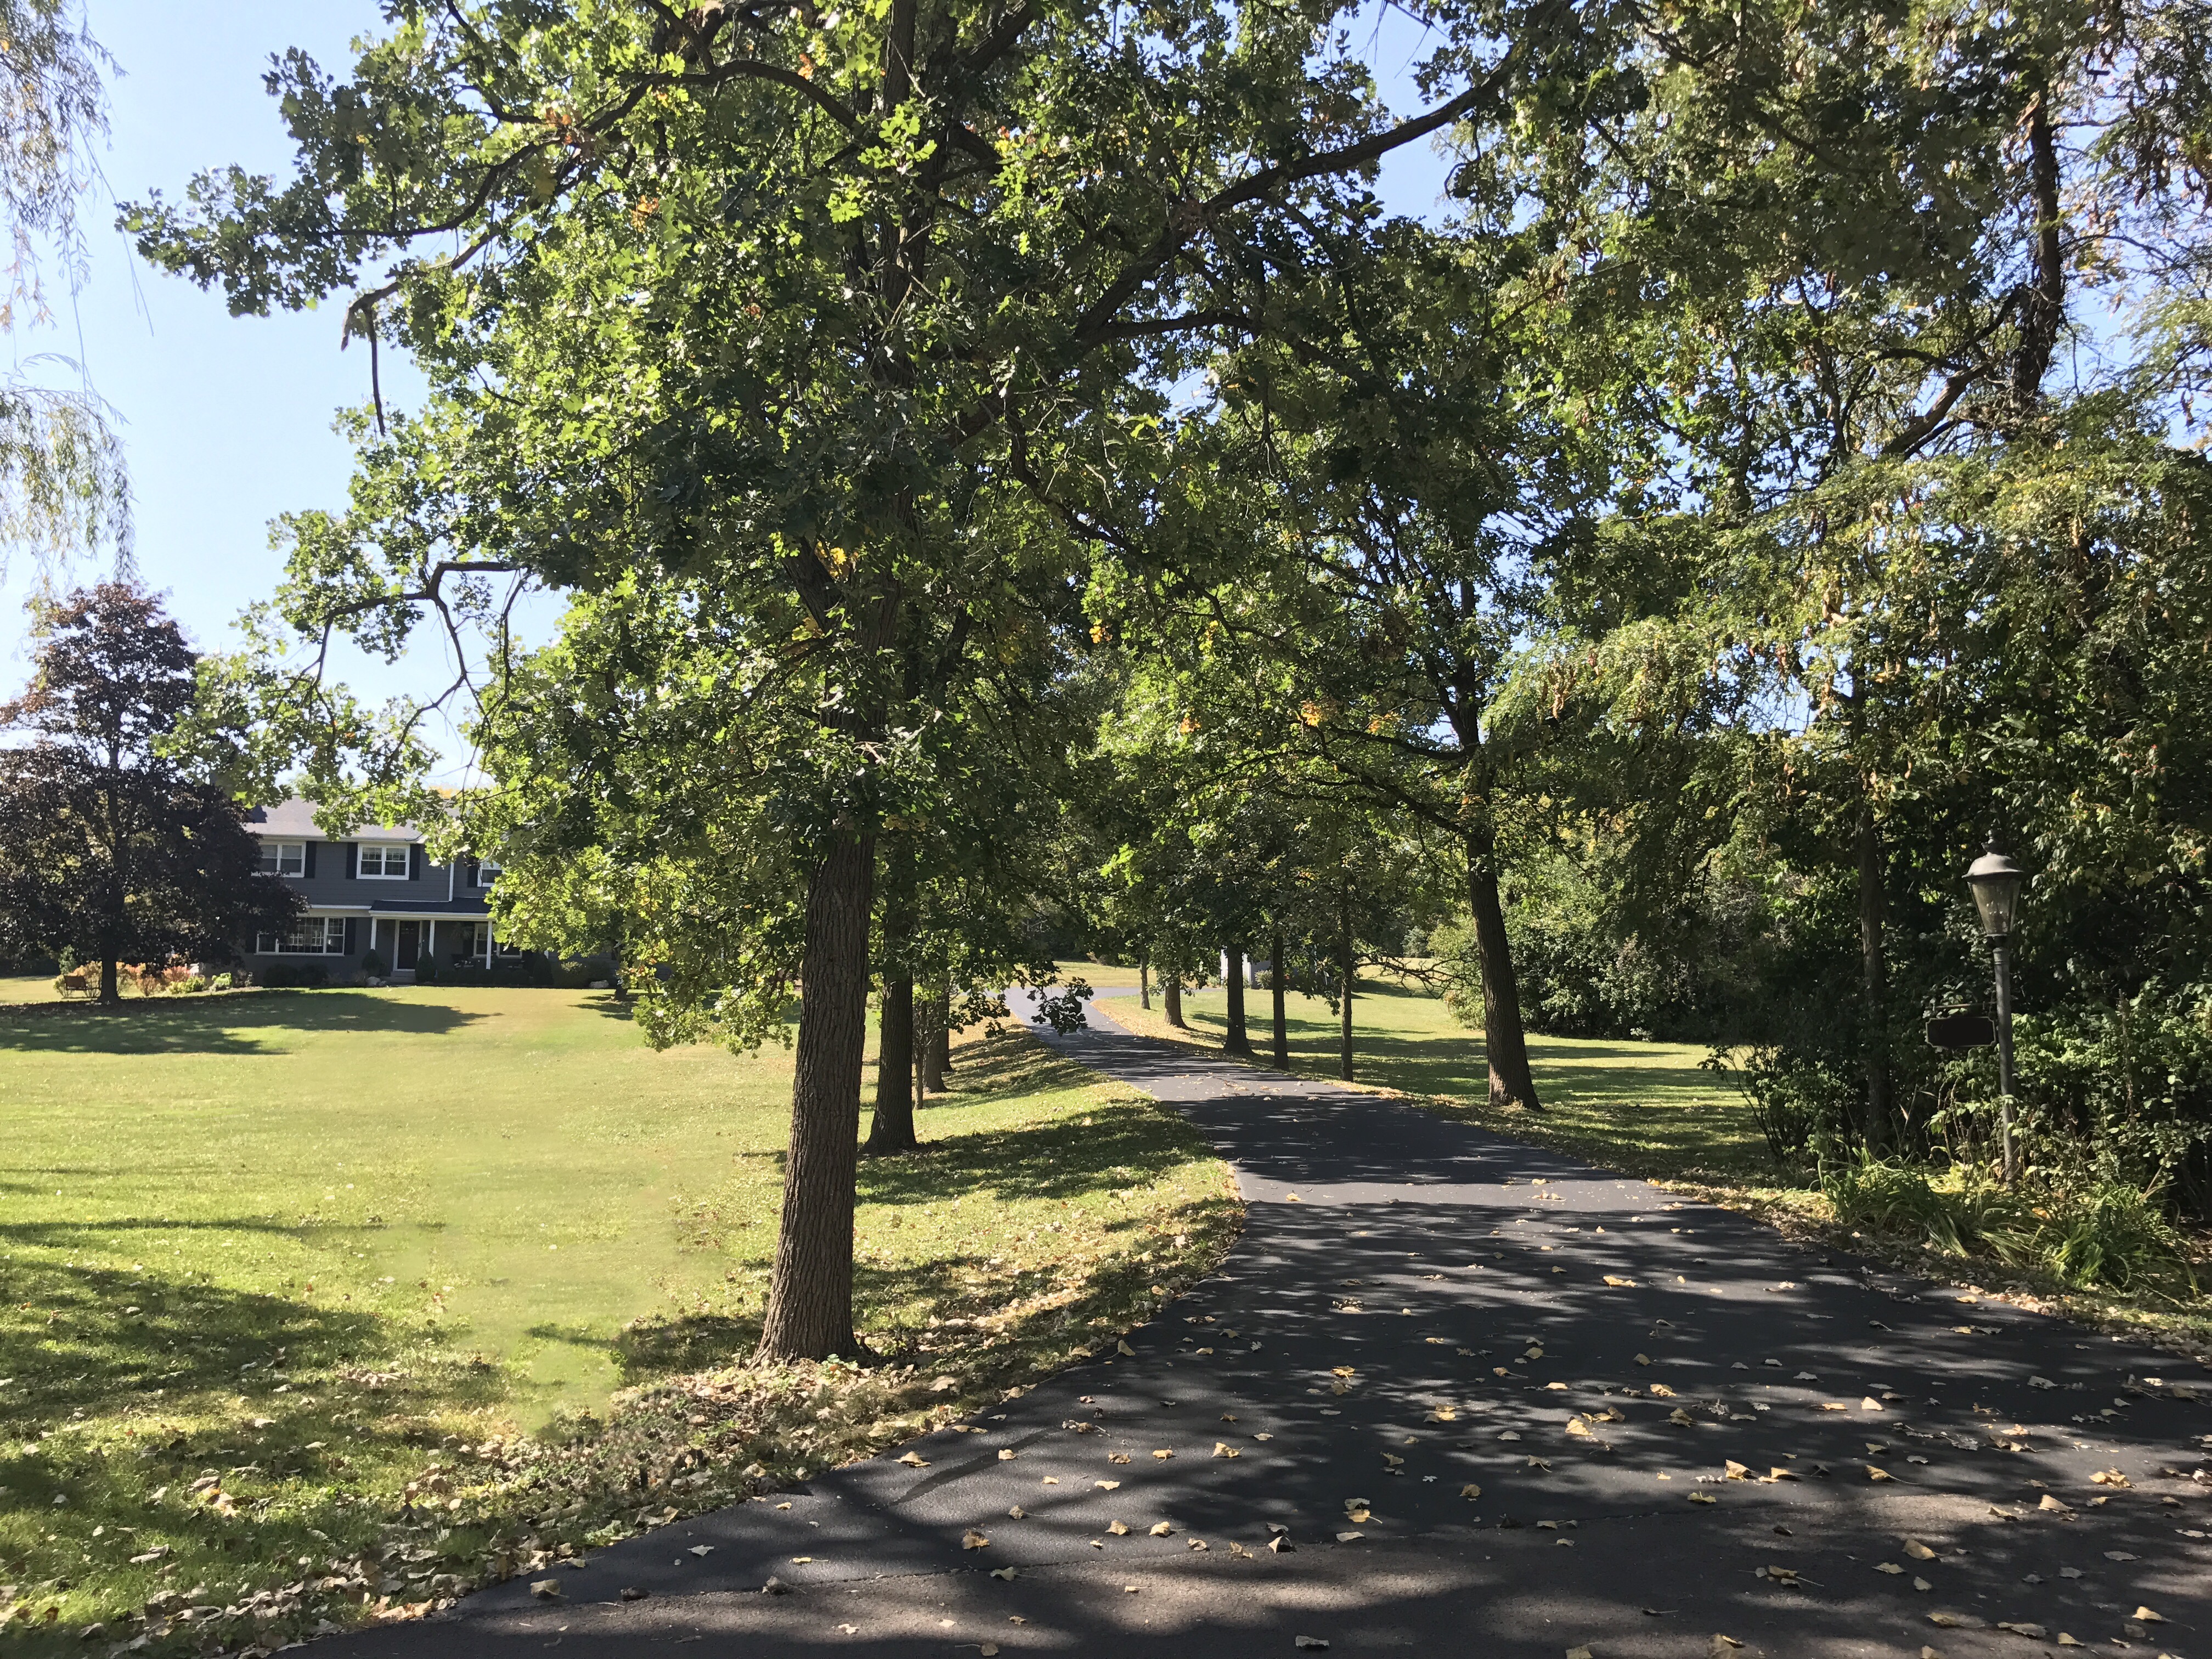
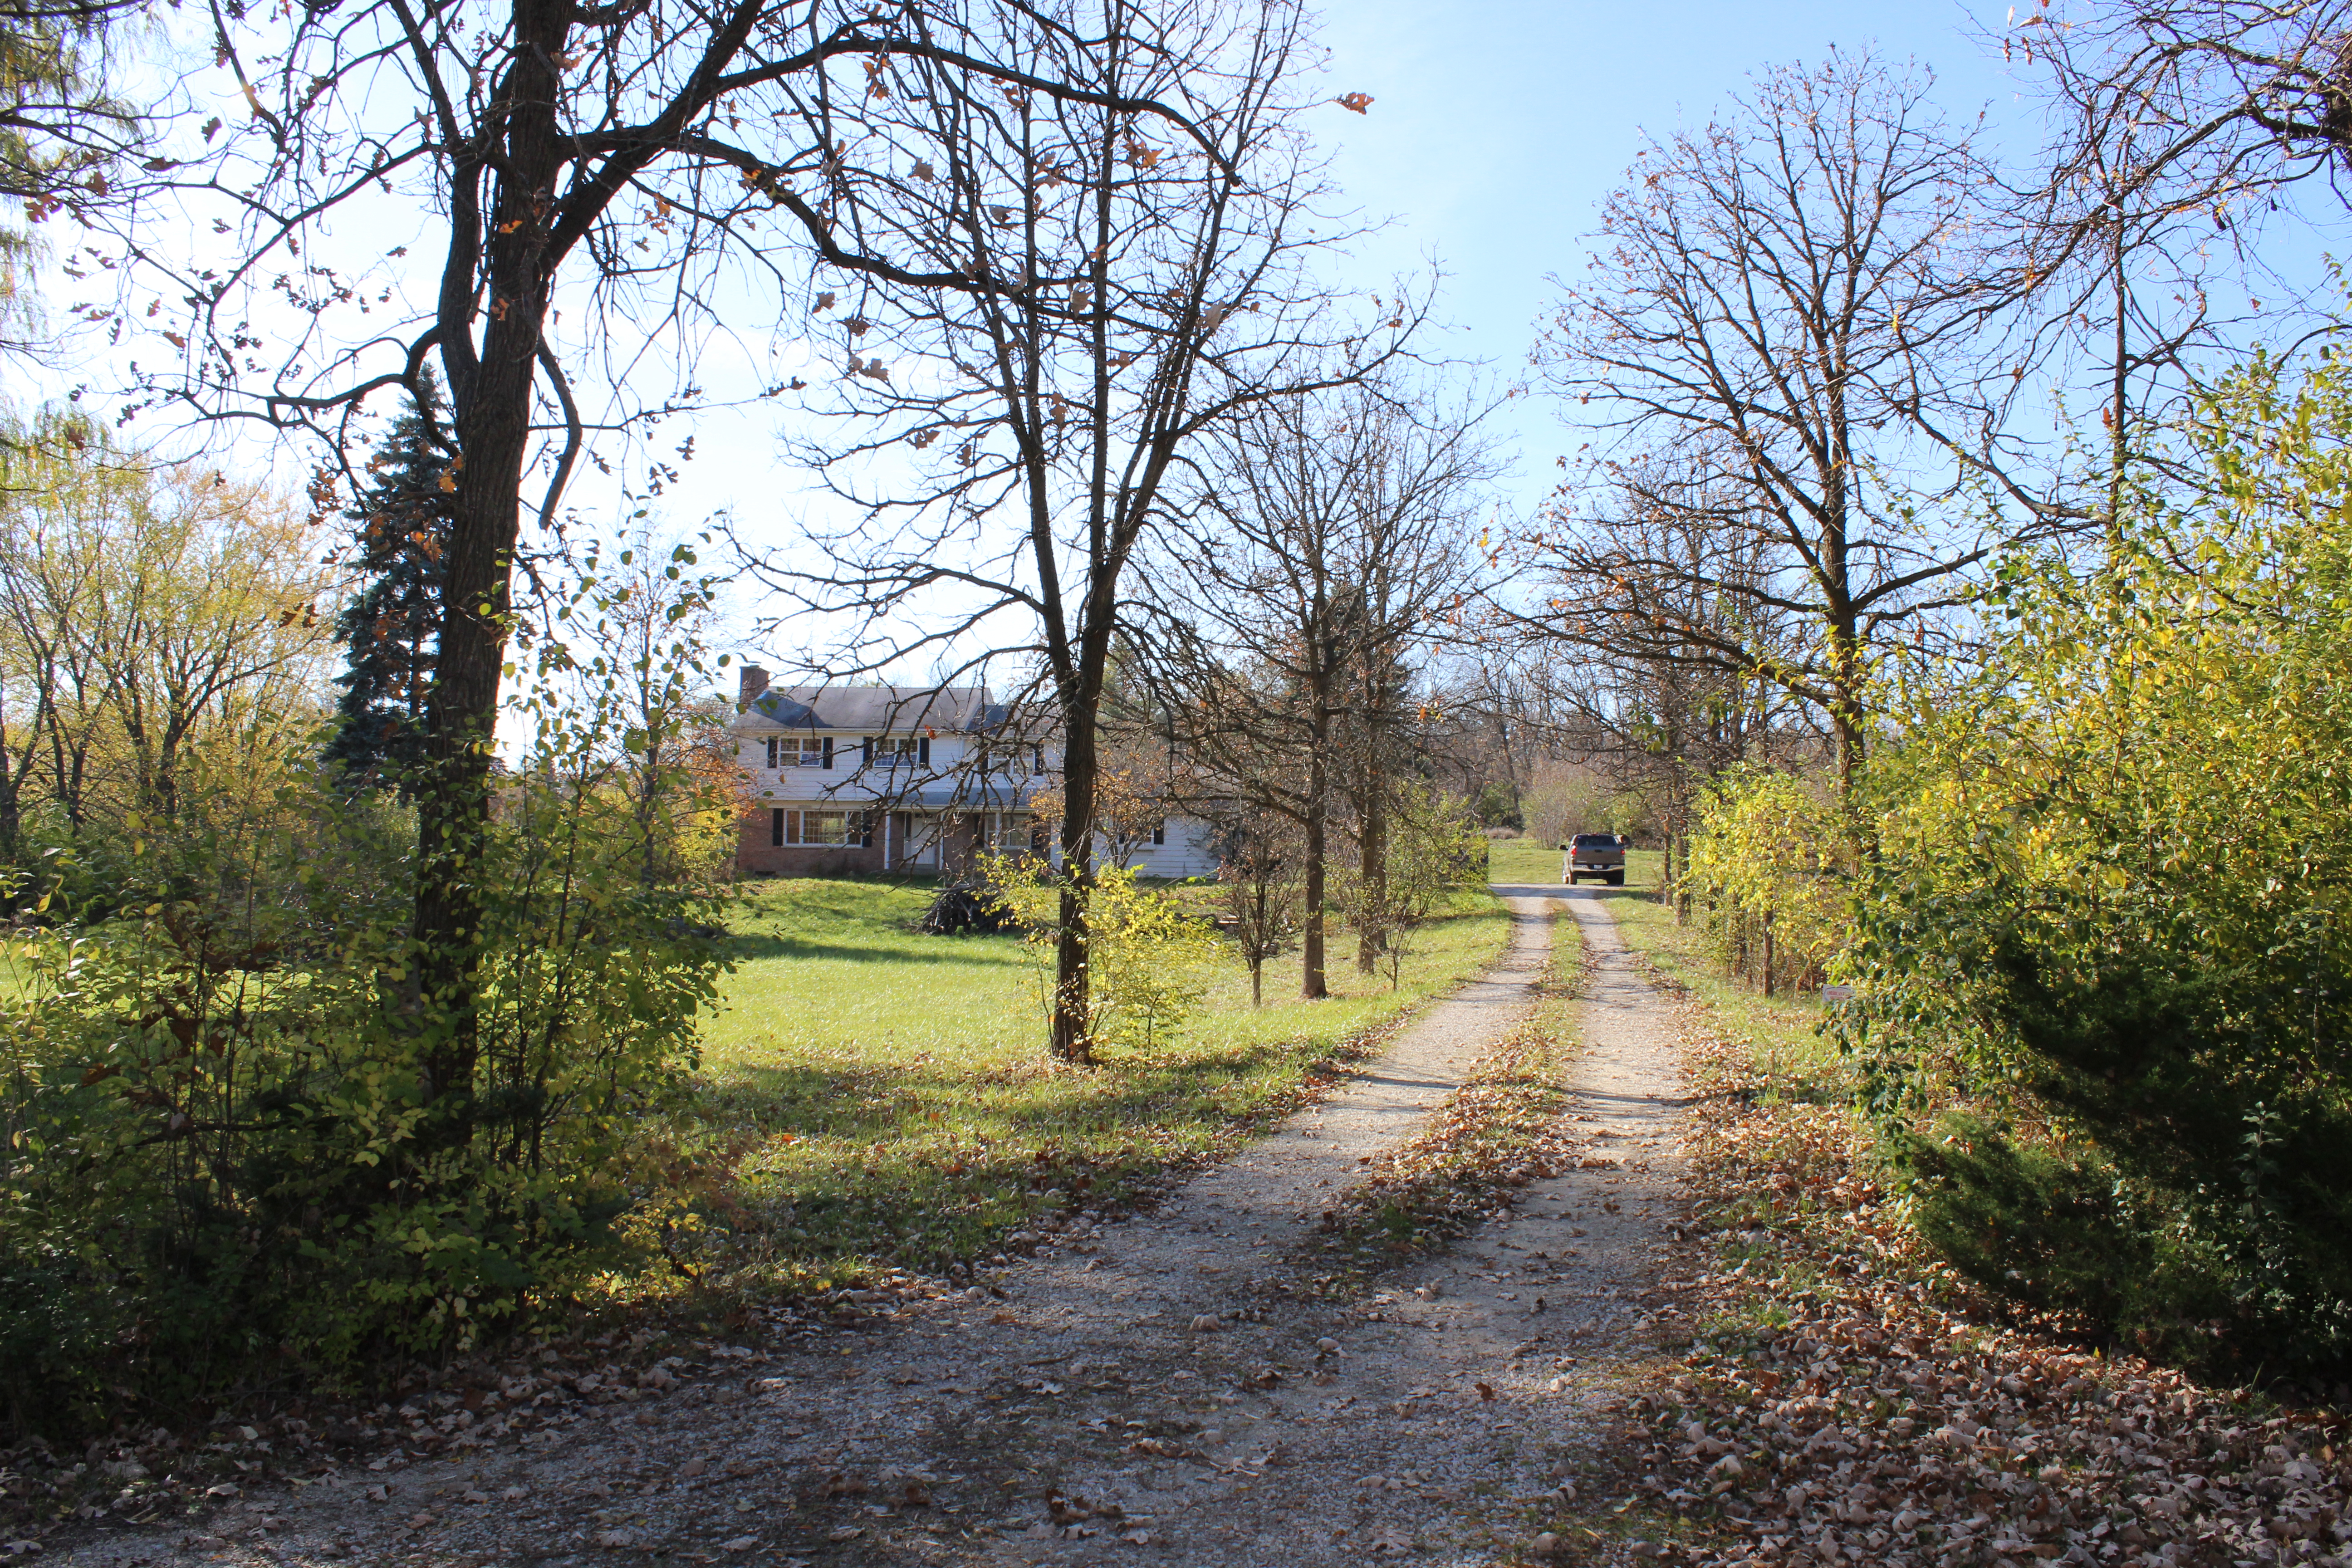
Here we go, starting with the driveway which was just gravel and so overgrown.

Here is the same view now:

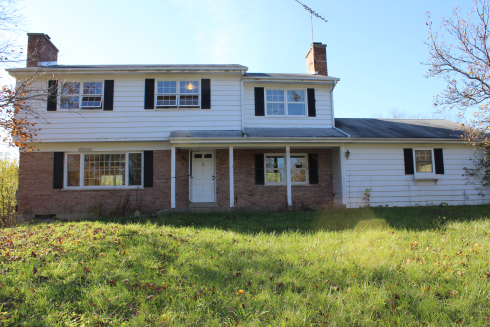
The front of the house was in need of some major TLC. Overgrown weeds, old broken windows, chipped paint, etc., etc.

Front Oaks Exterior Before

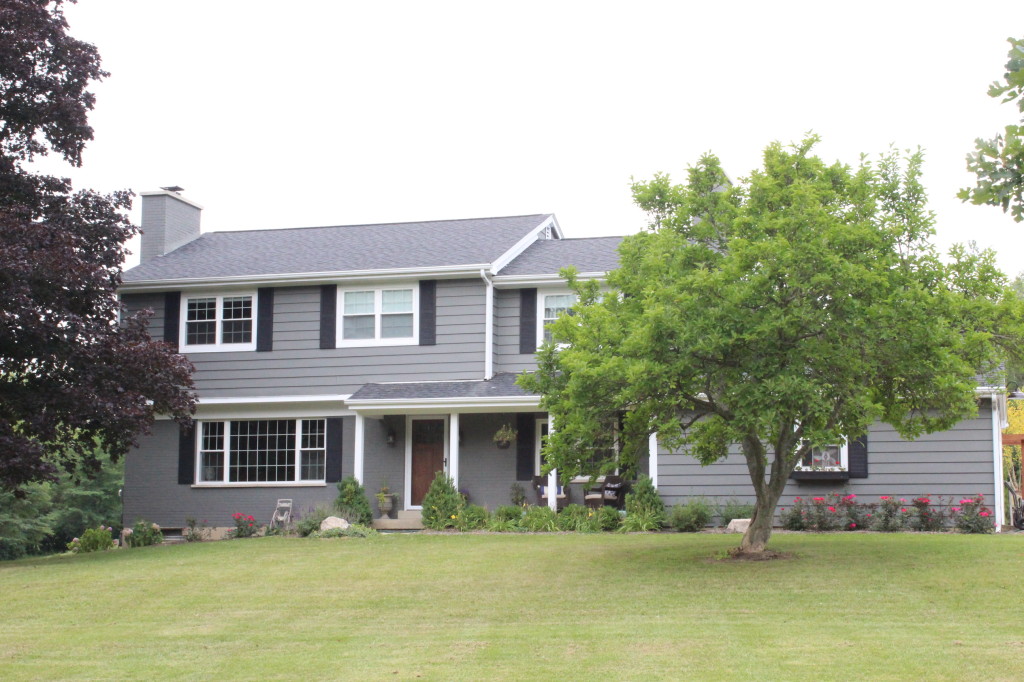
After A TON of work including a new roof, windows, landscaping, door, and paint, here she is now:

IMG_4813

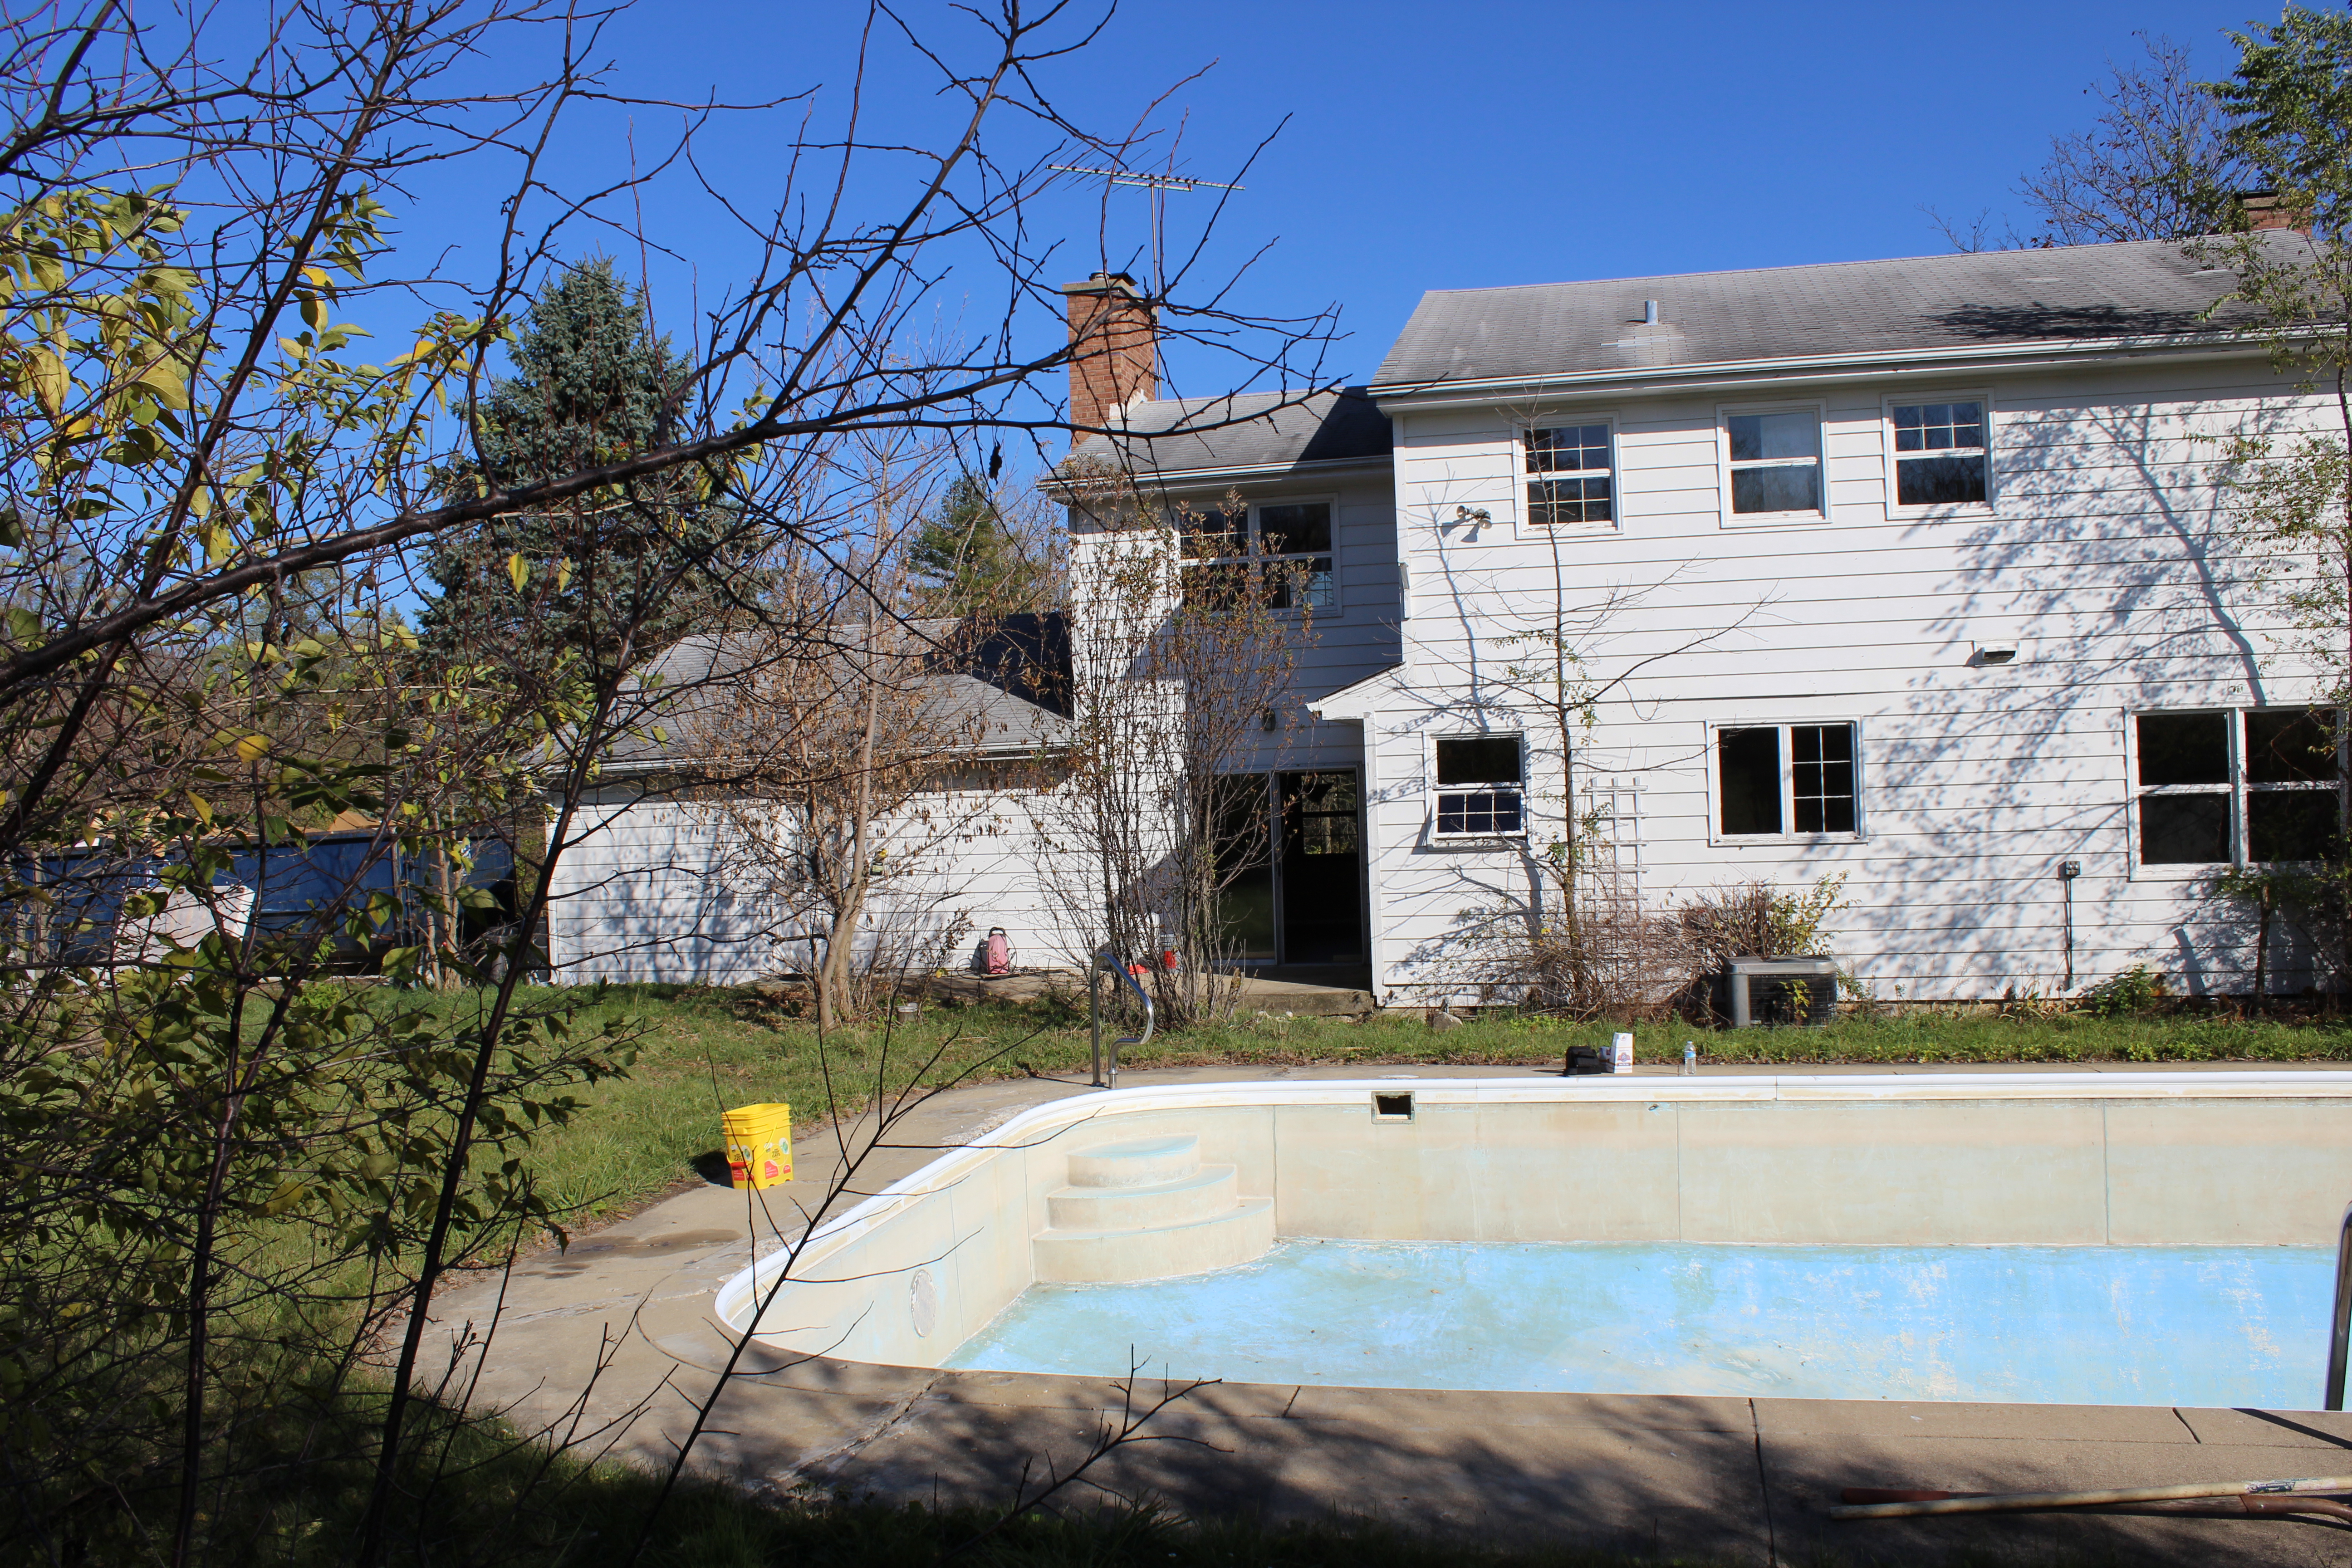
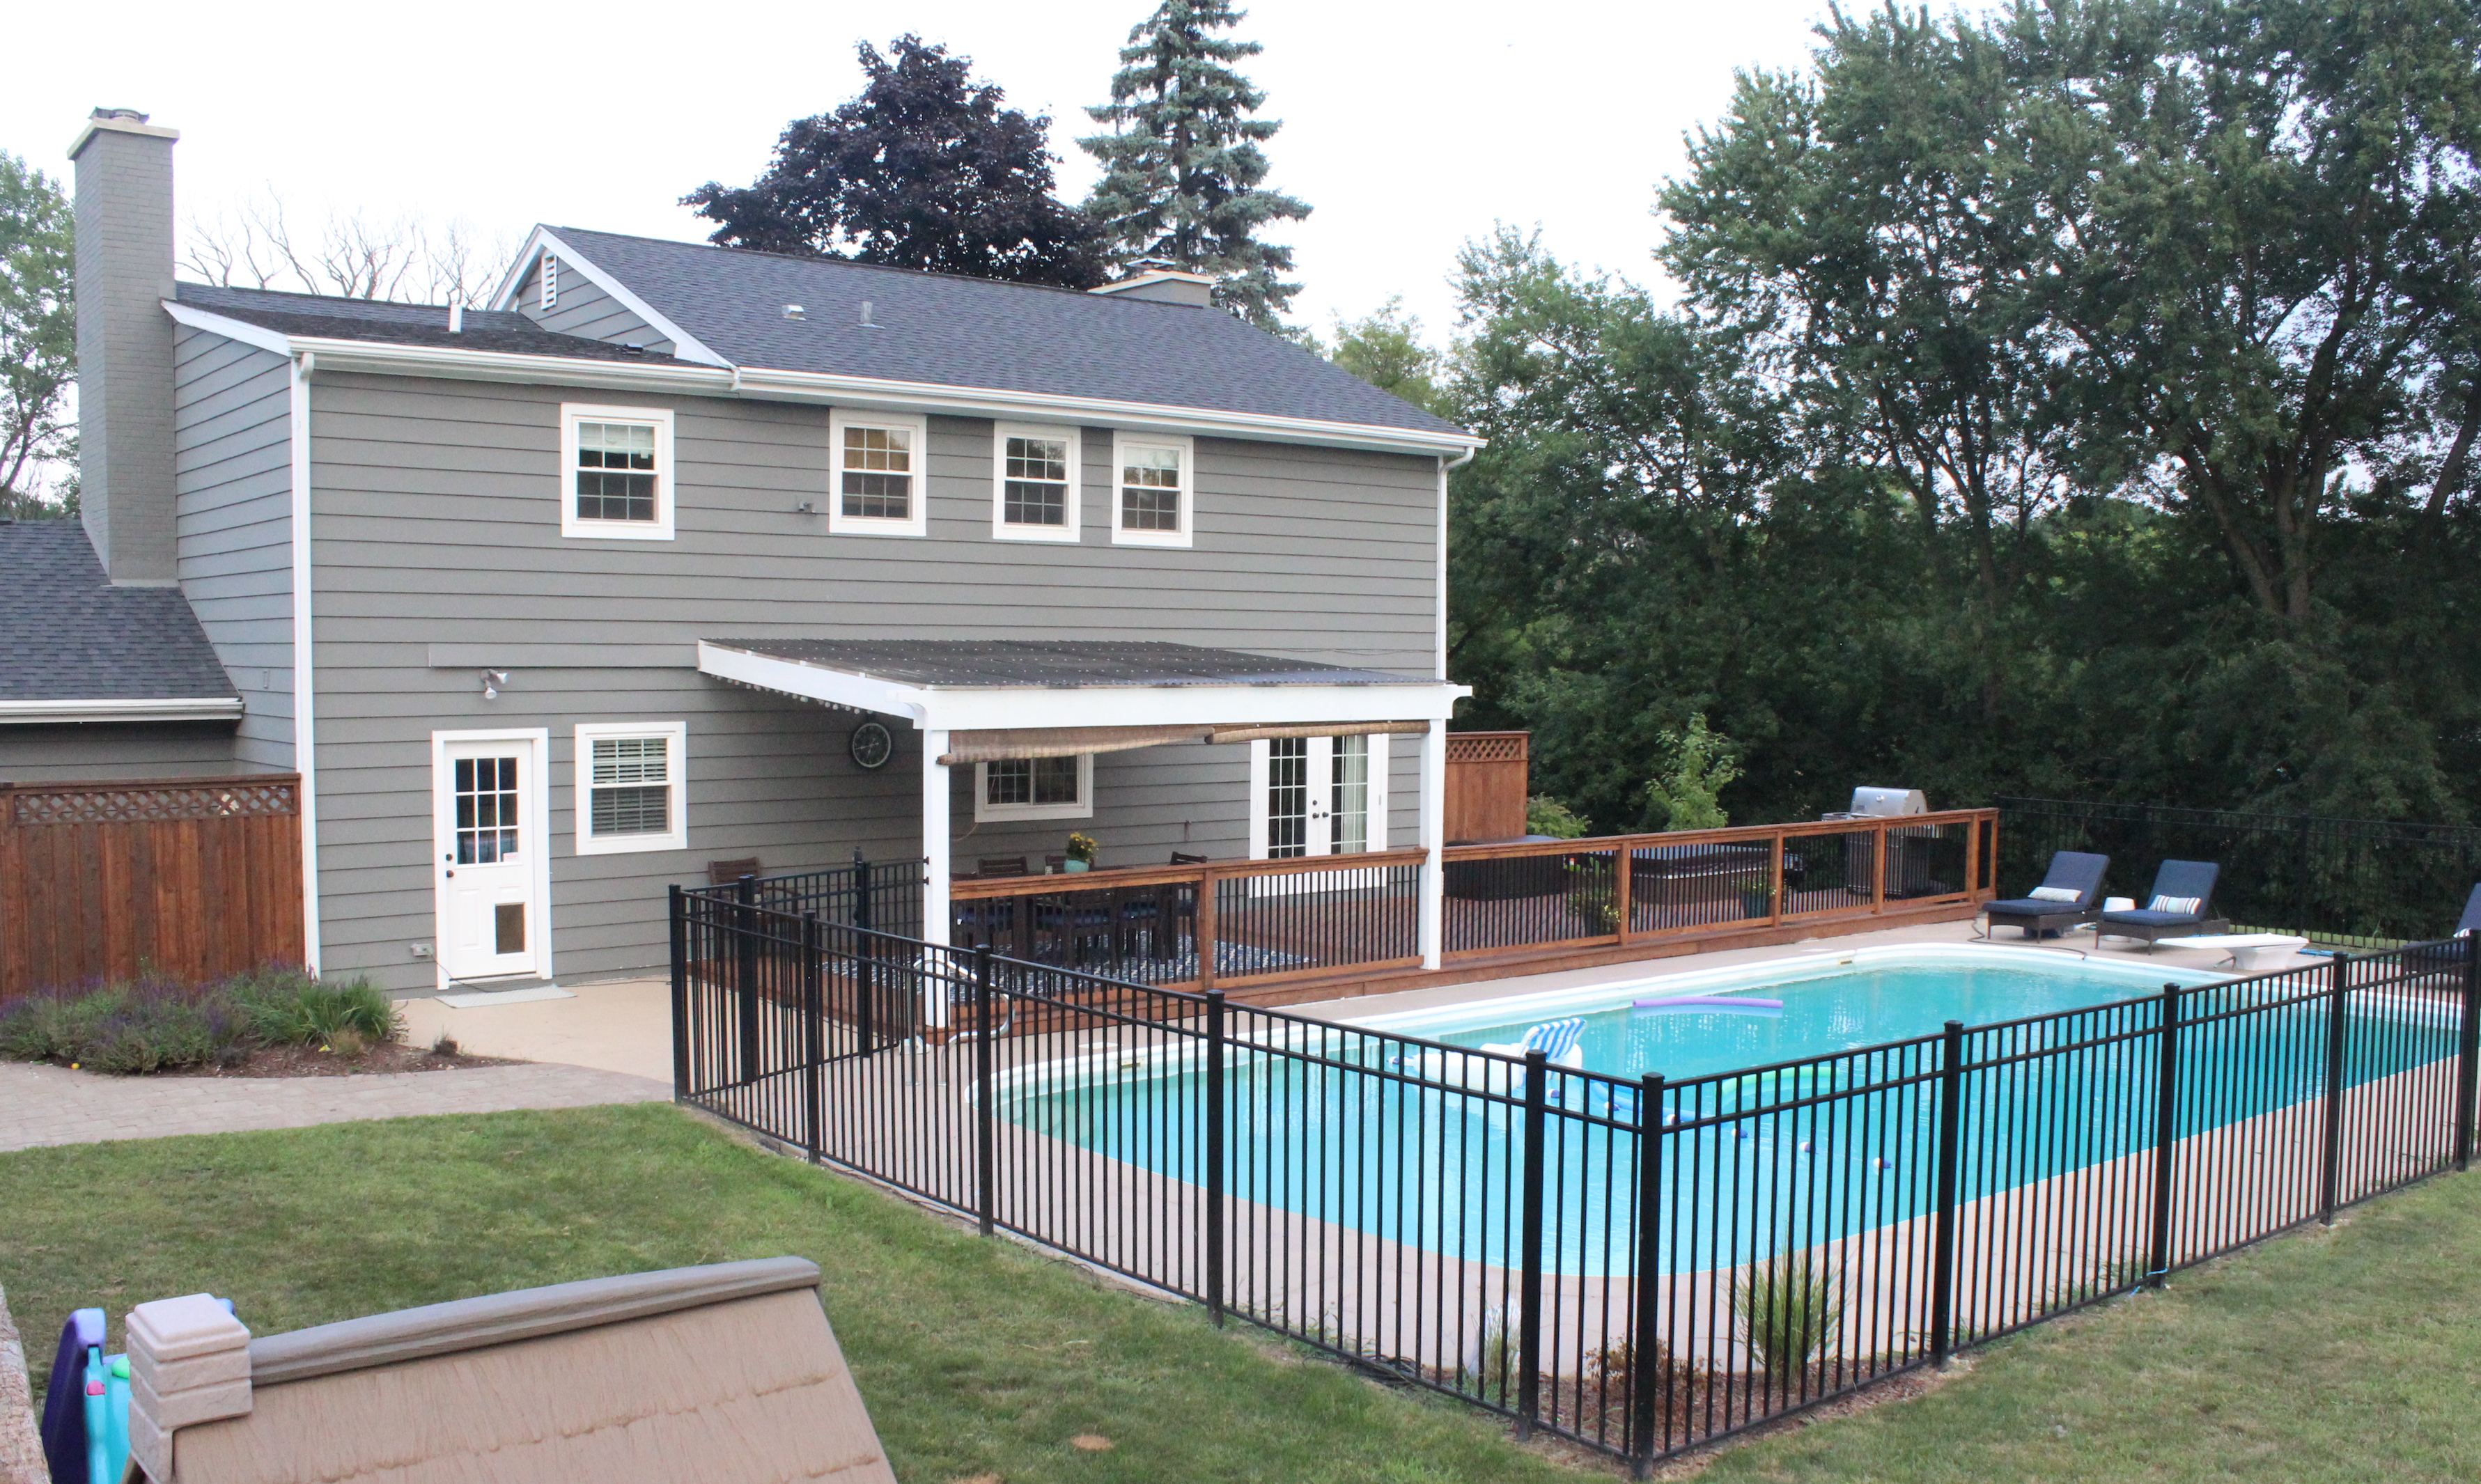
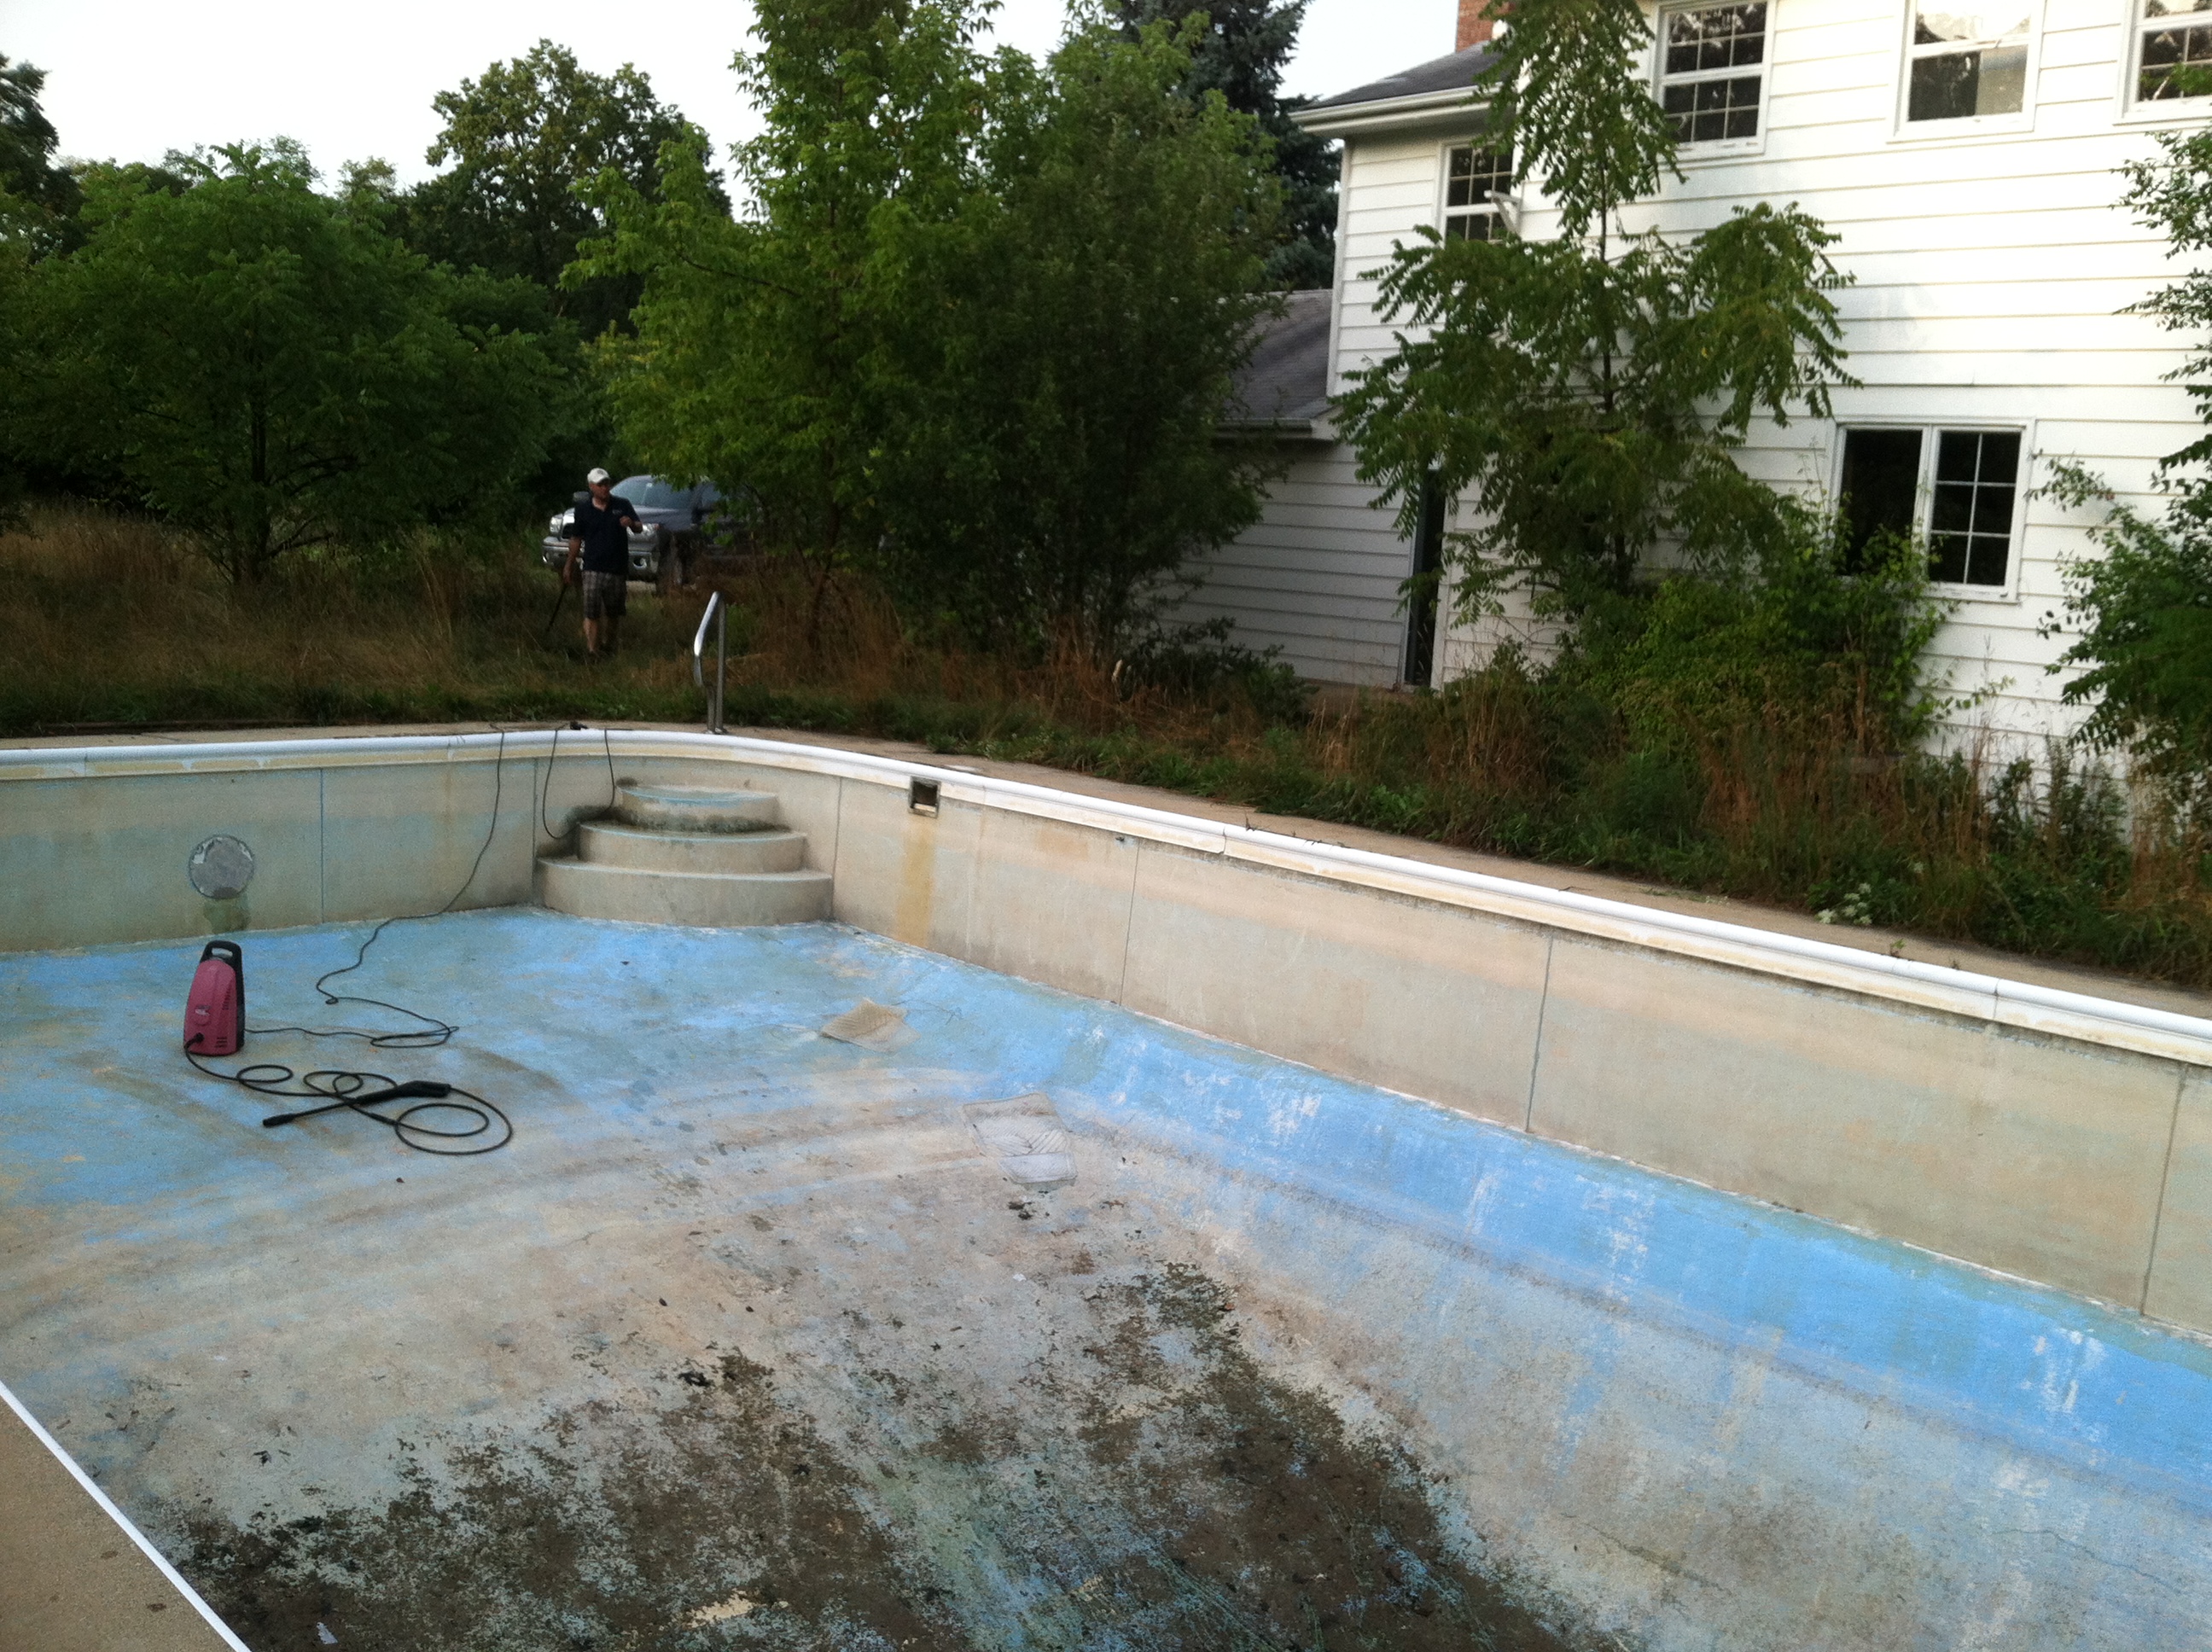
Moving to the back of the house and pool, we had this mess:

12 Oaks Before 387

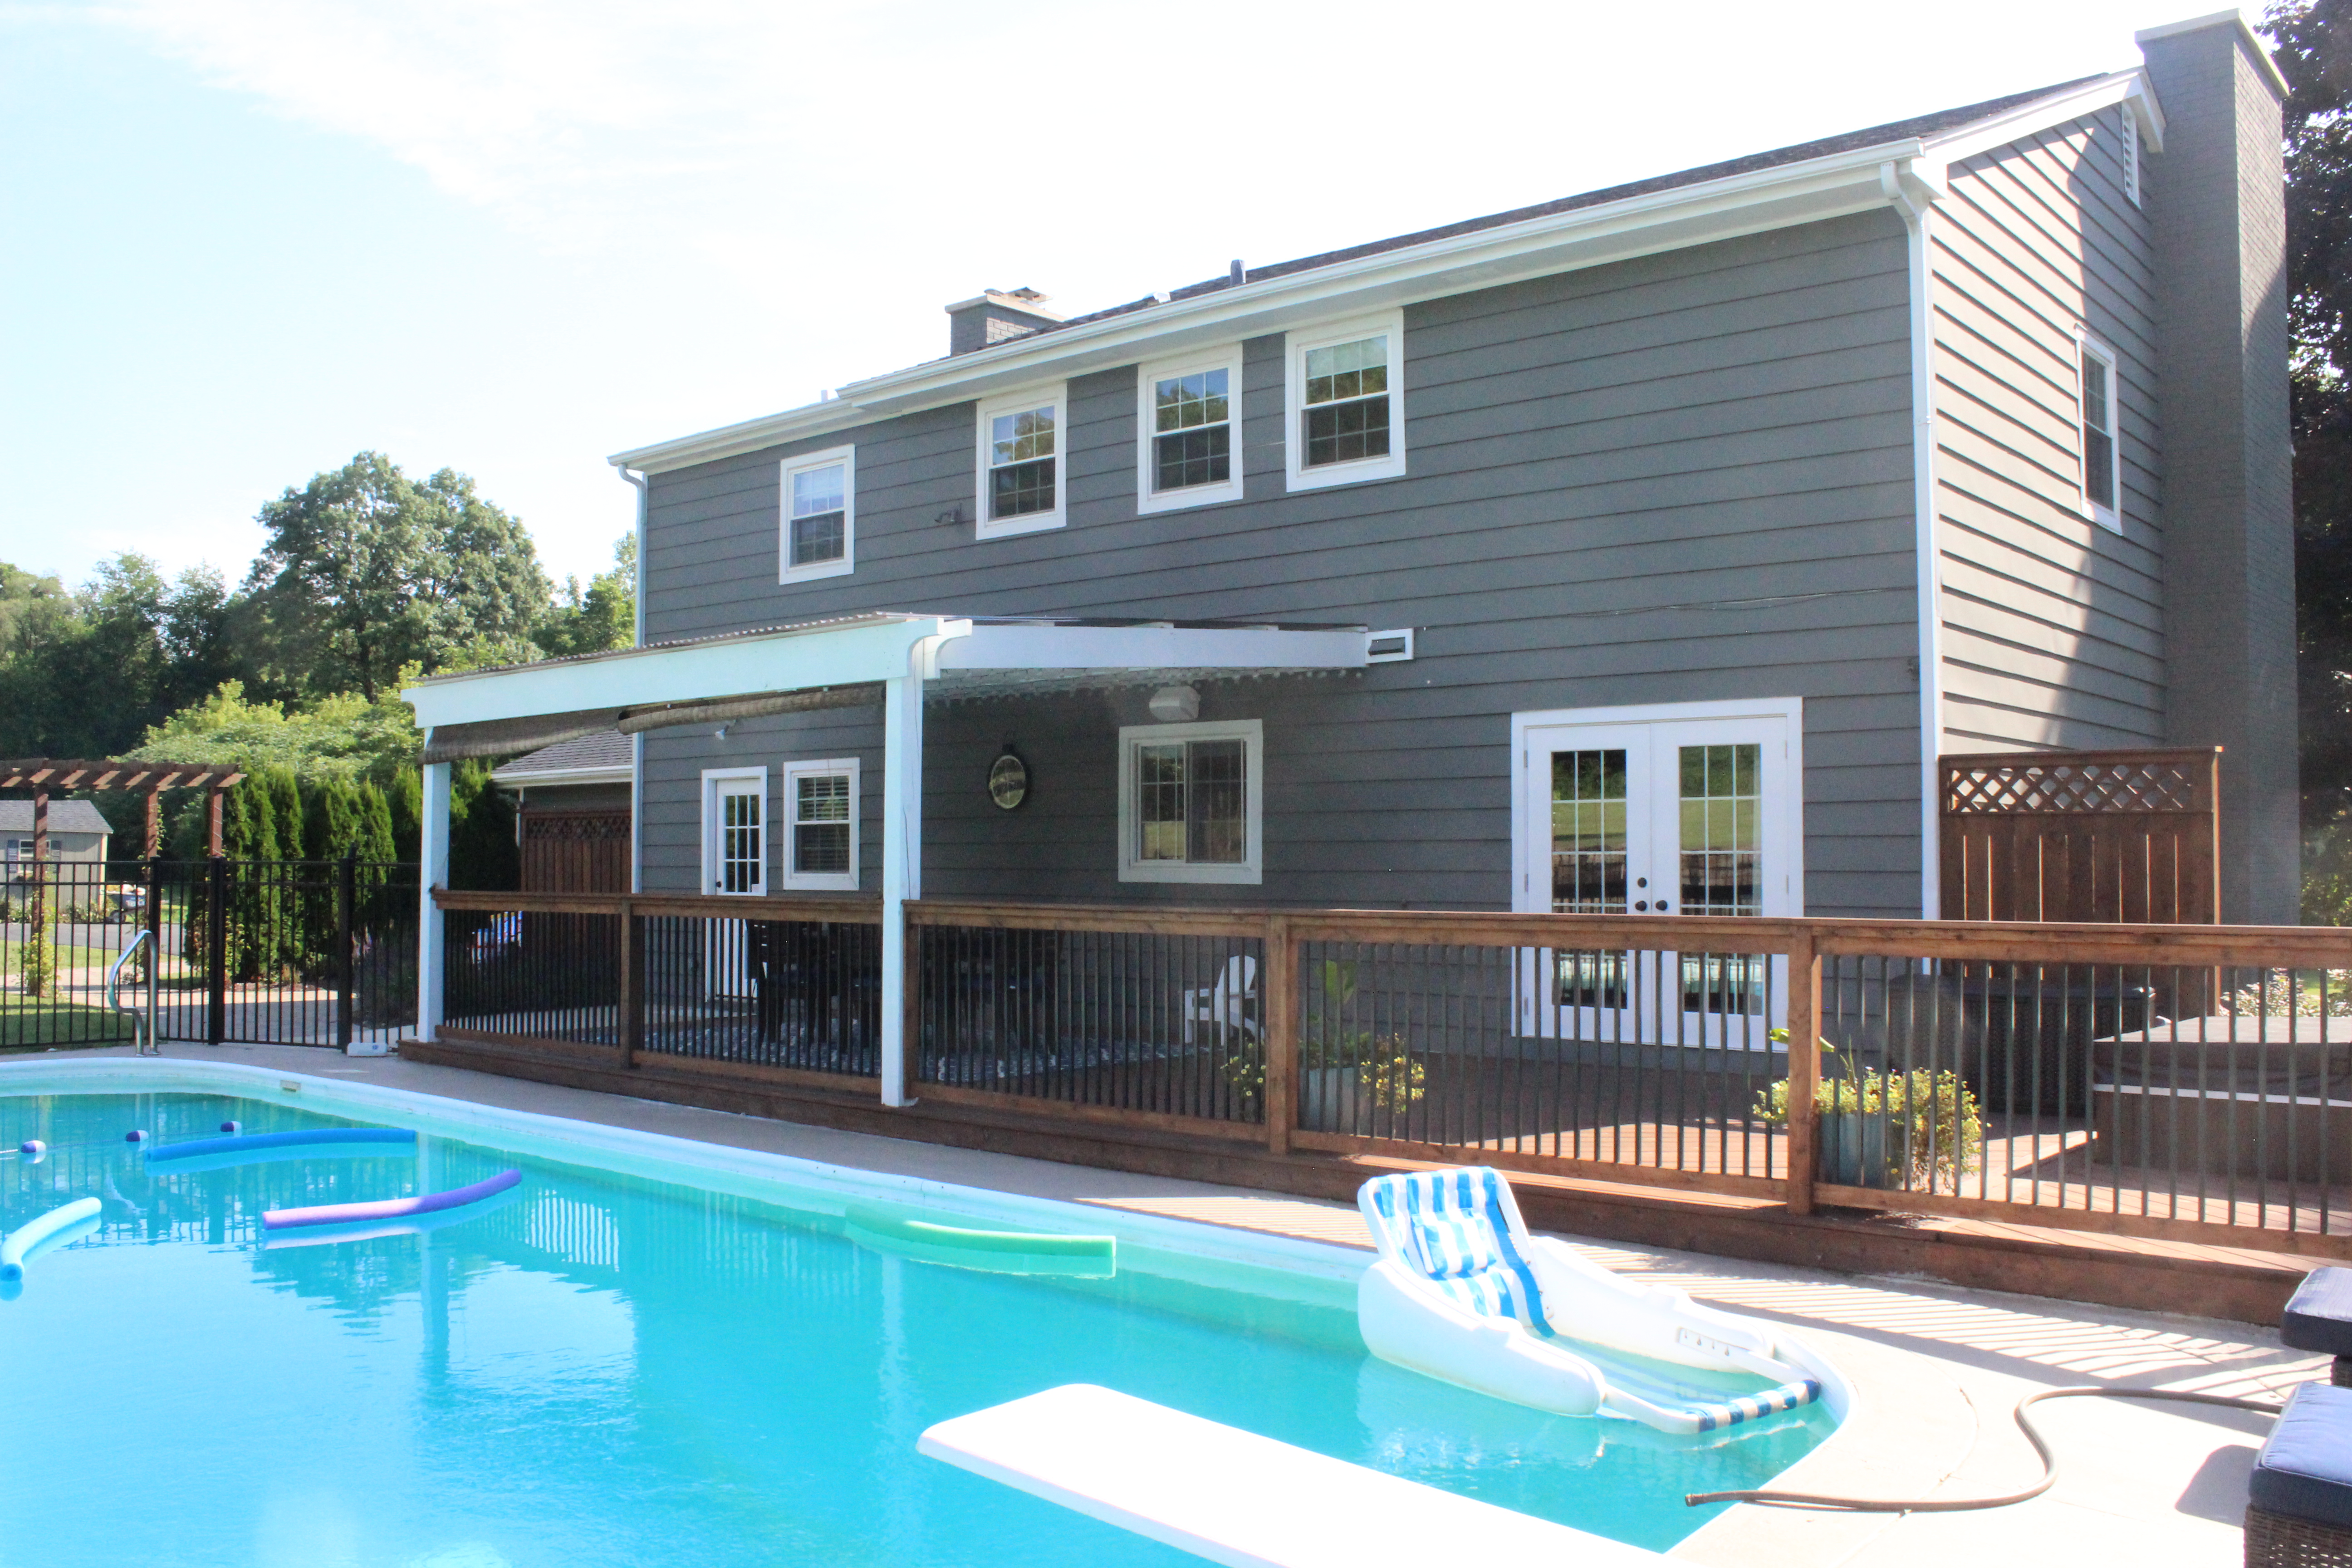
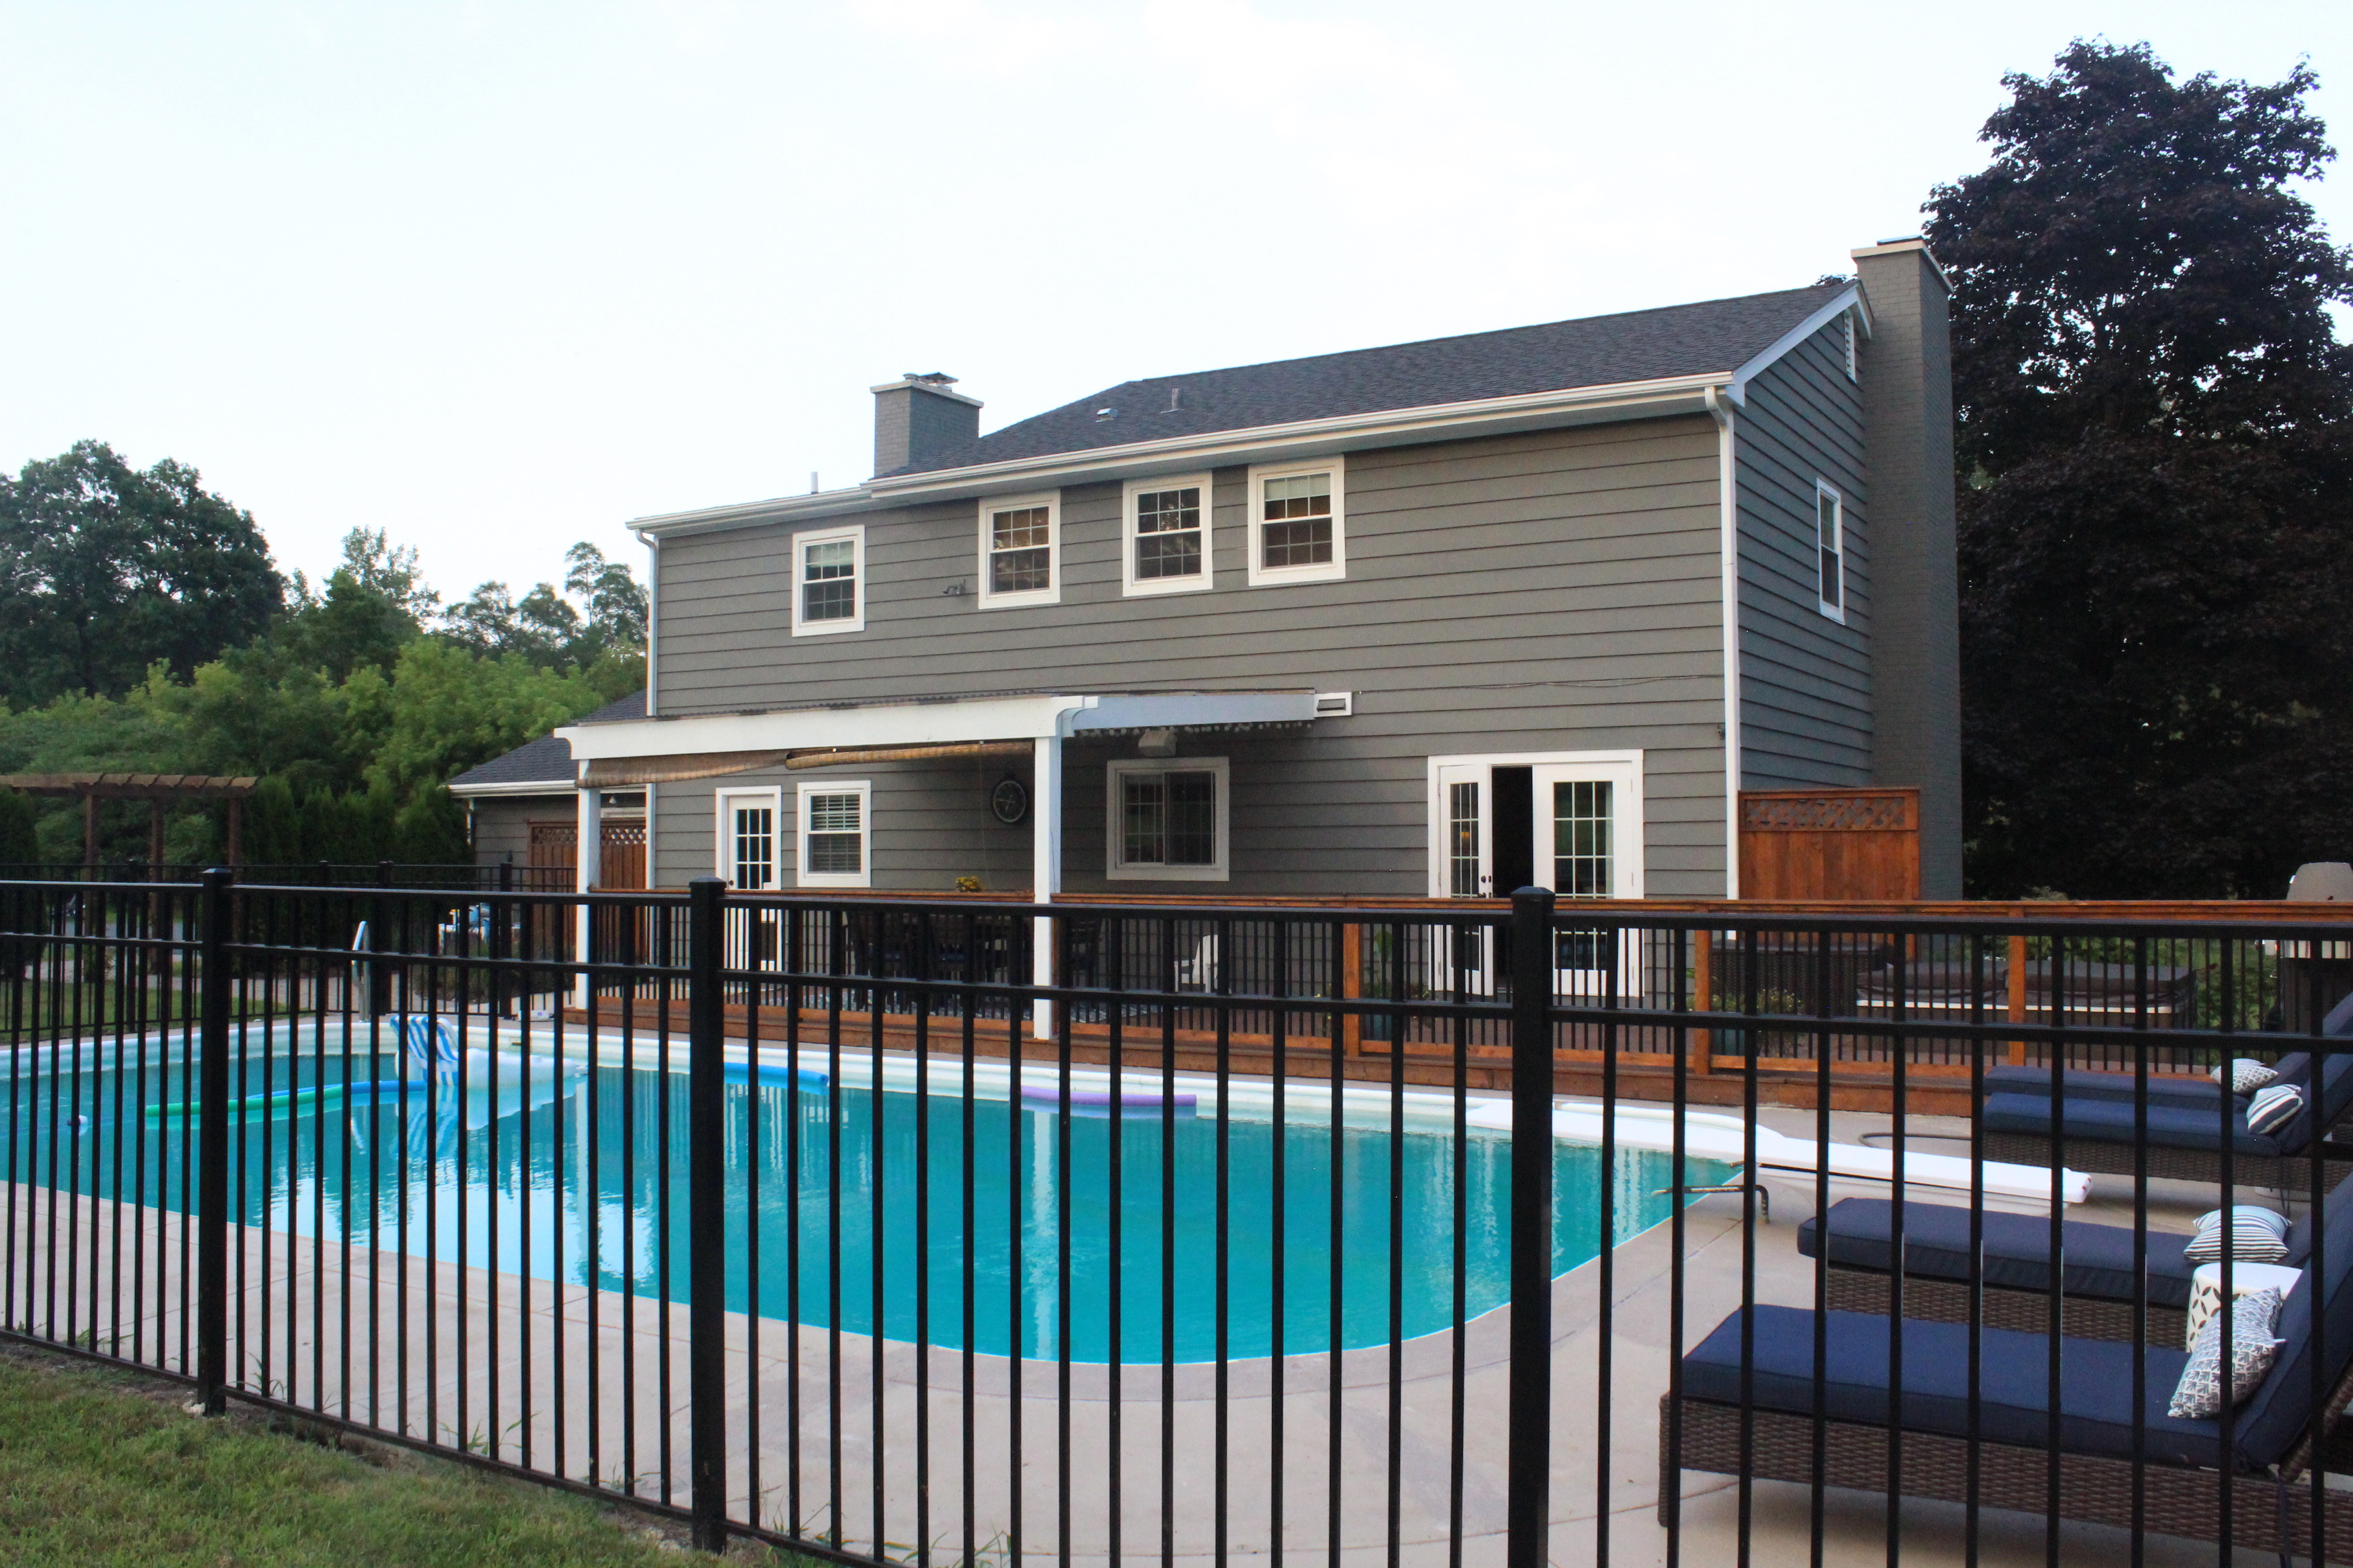
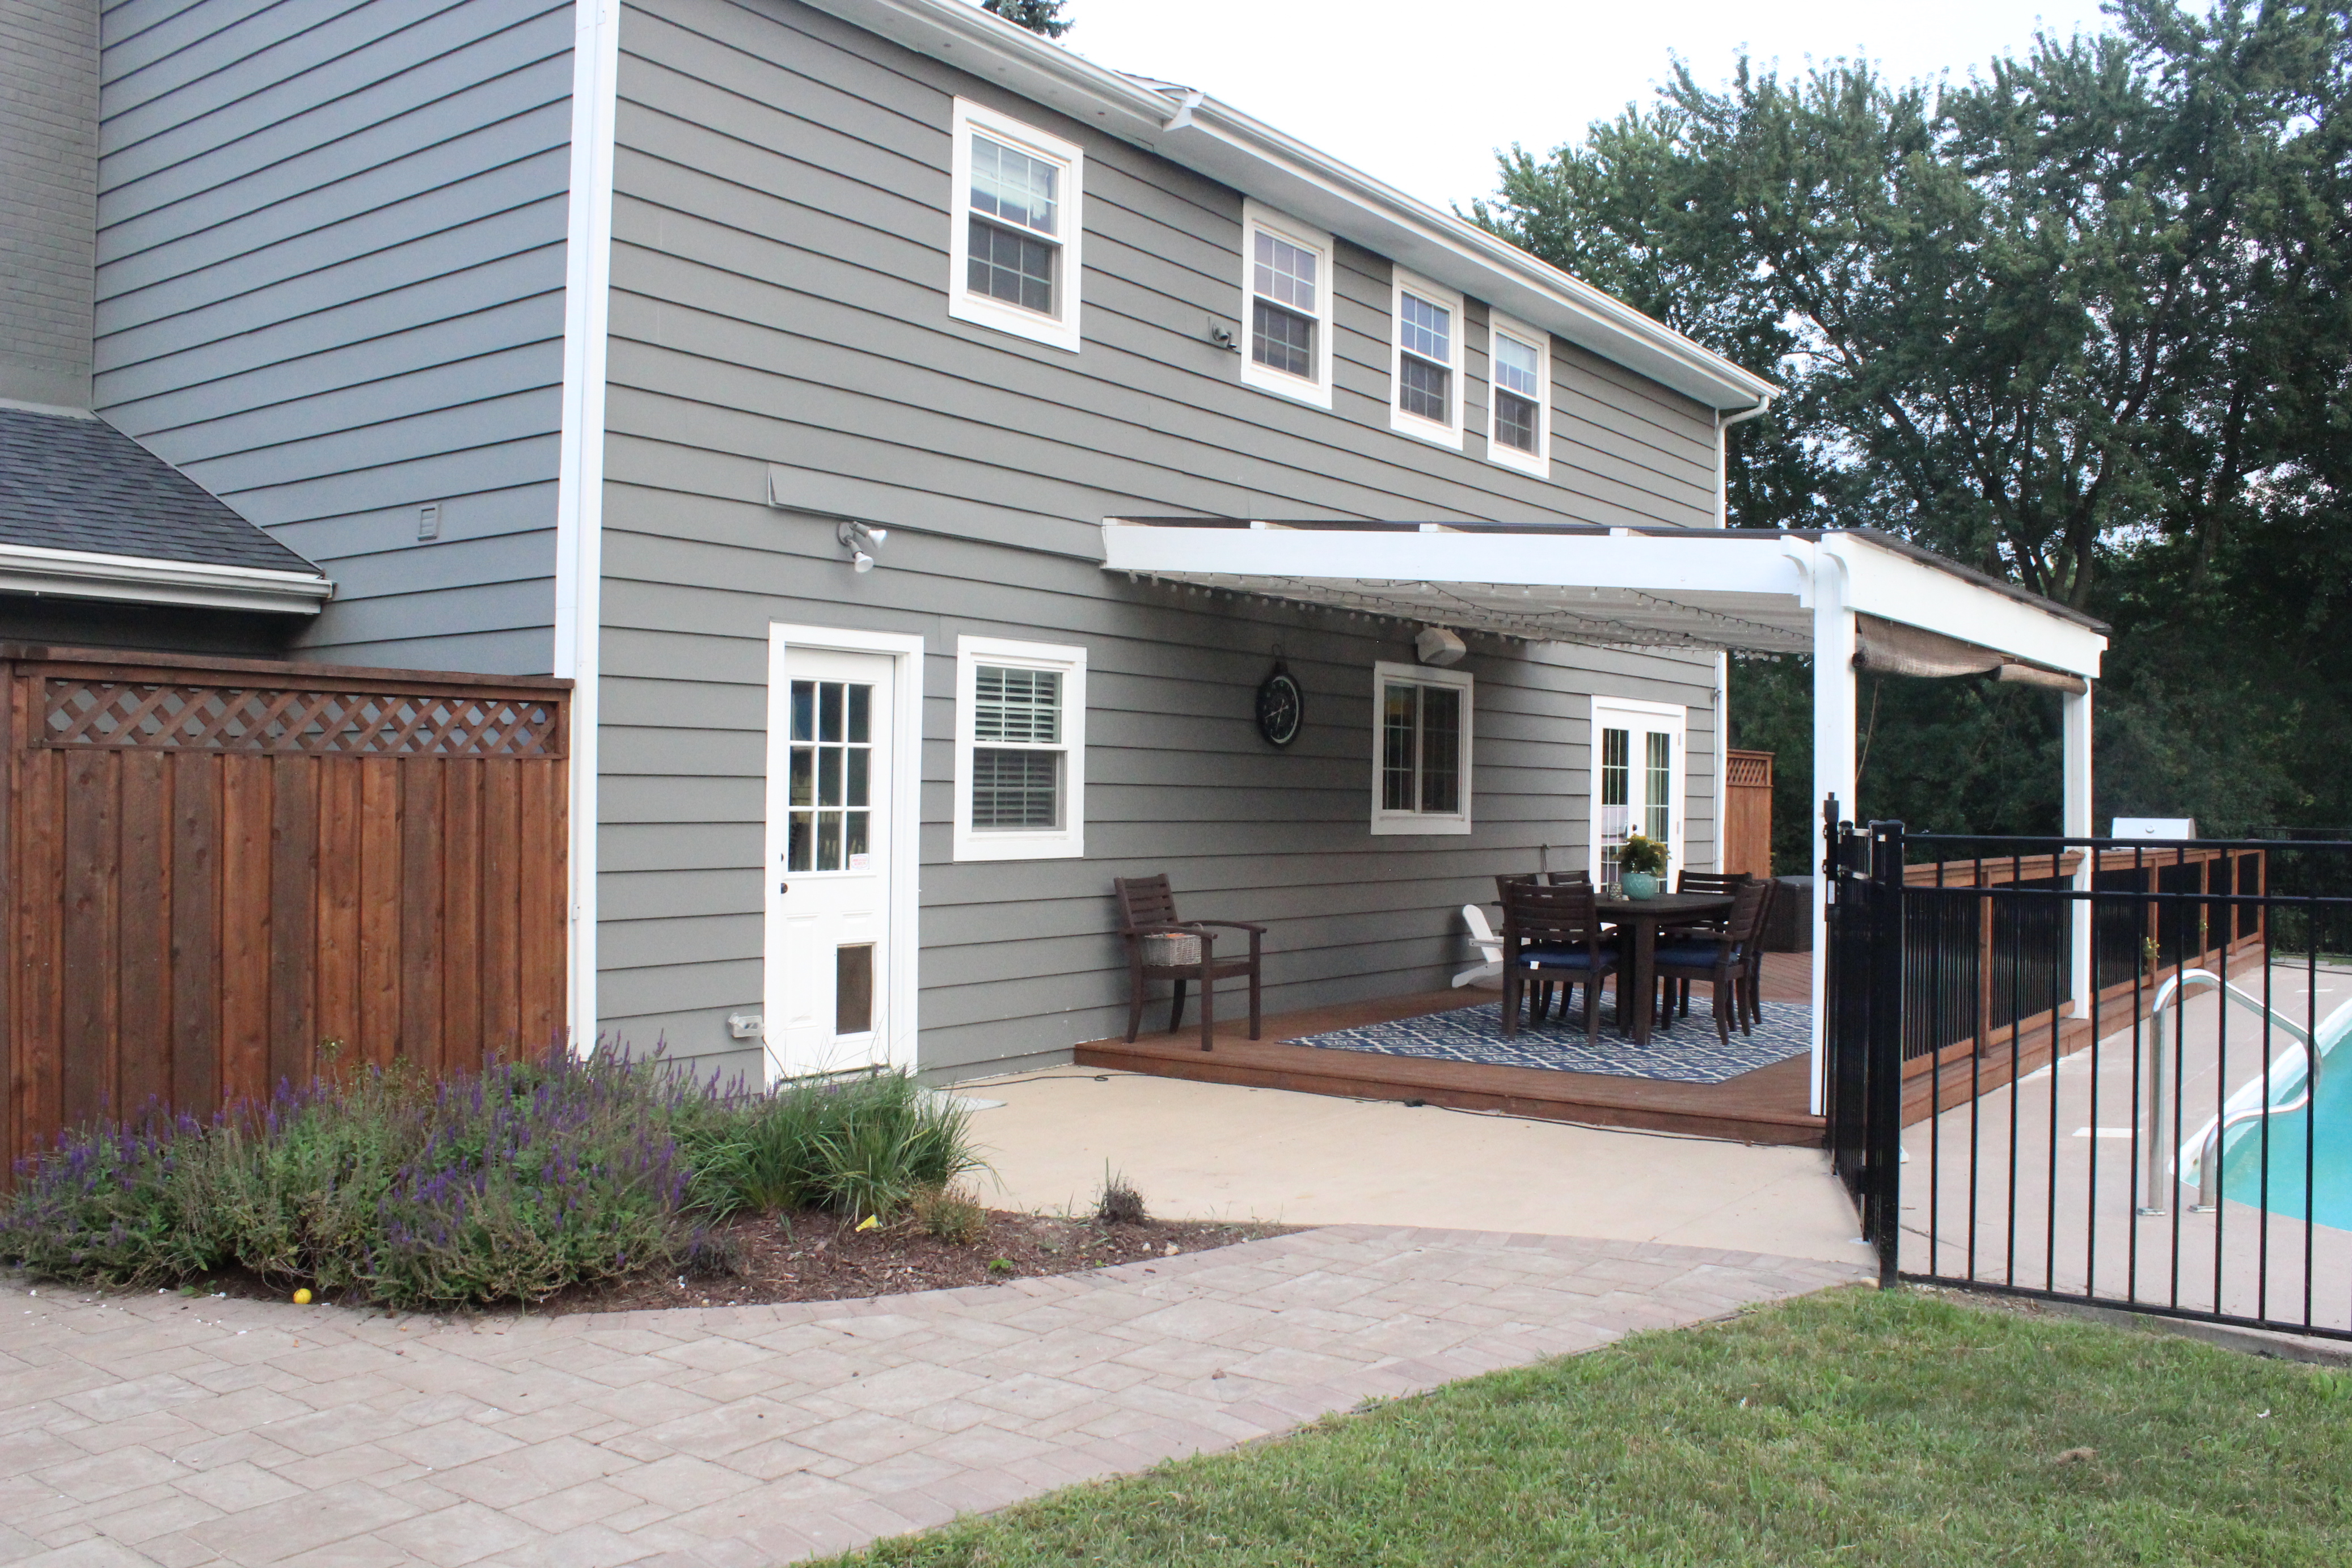
And now after a deck, pergola, small addition (left side of the pergola), pool fence, garbage enclosure, landscaping, etc. (More on the backyard transformation here.)

IMG_5890

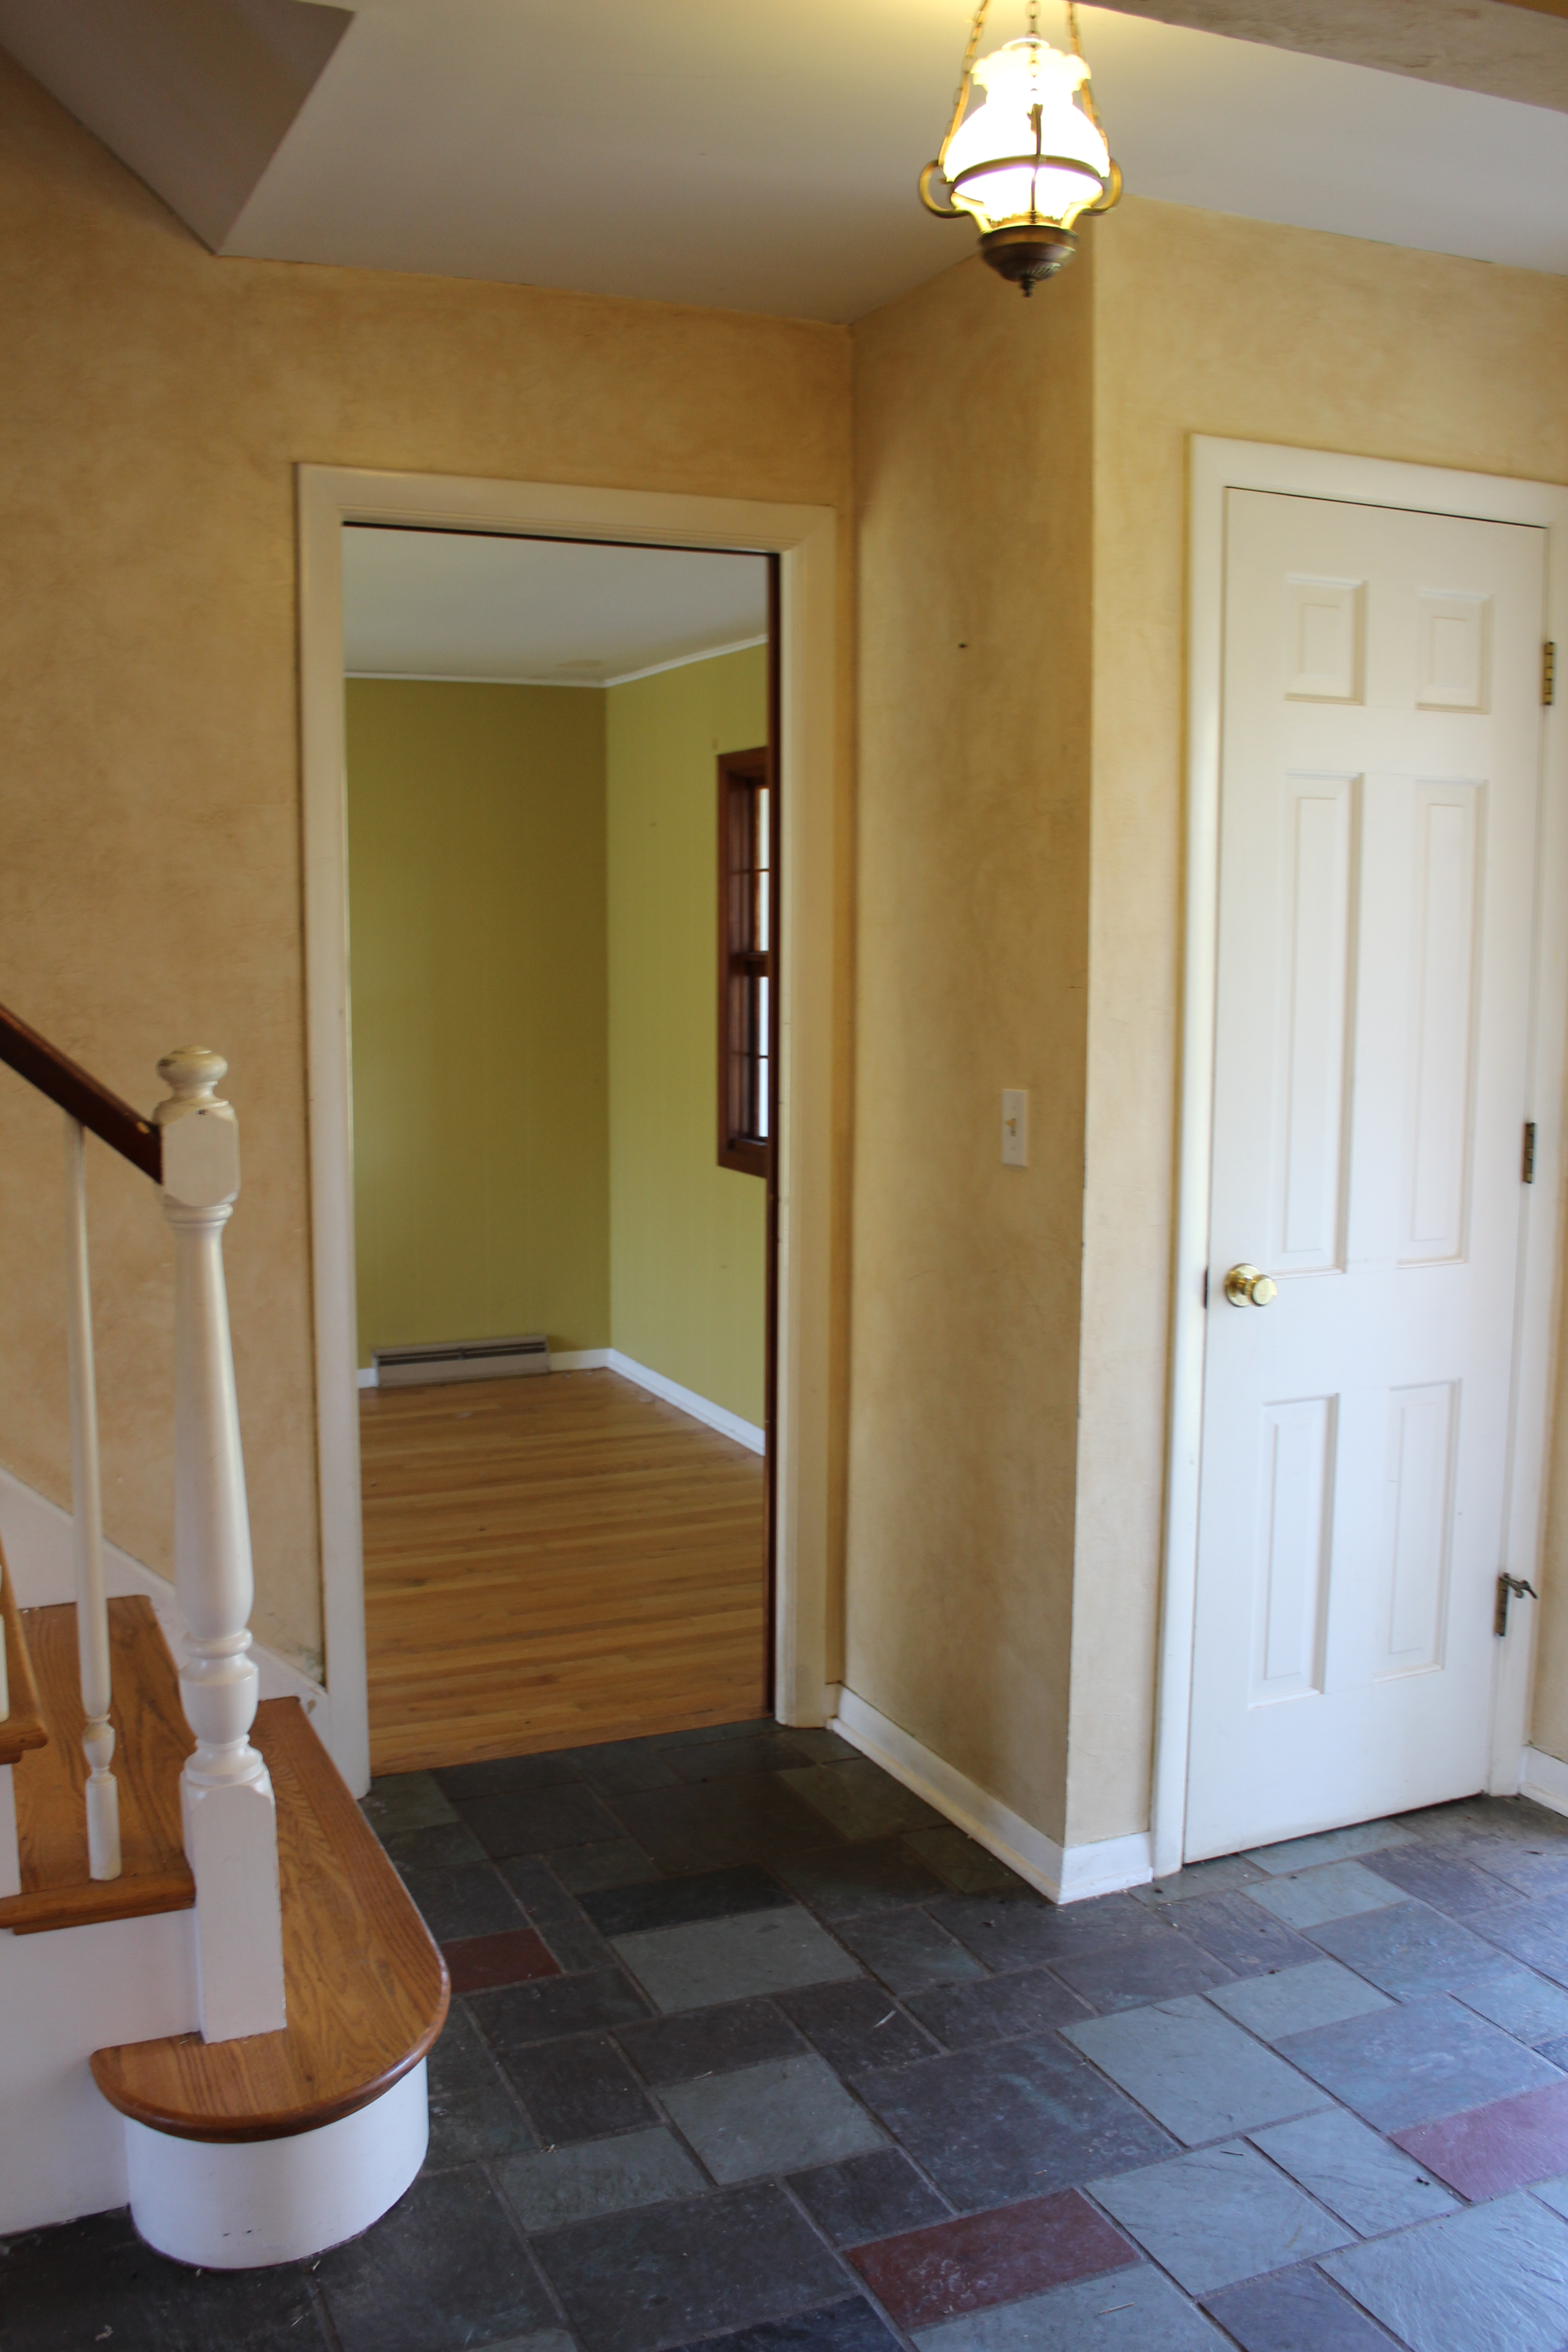
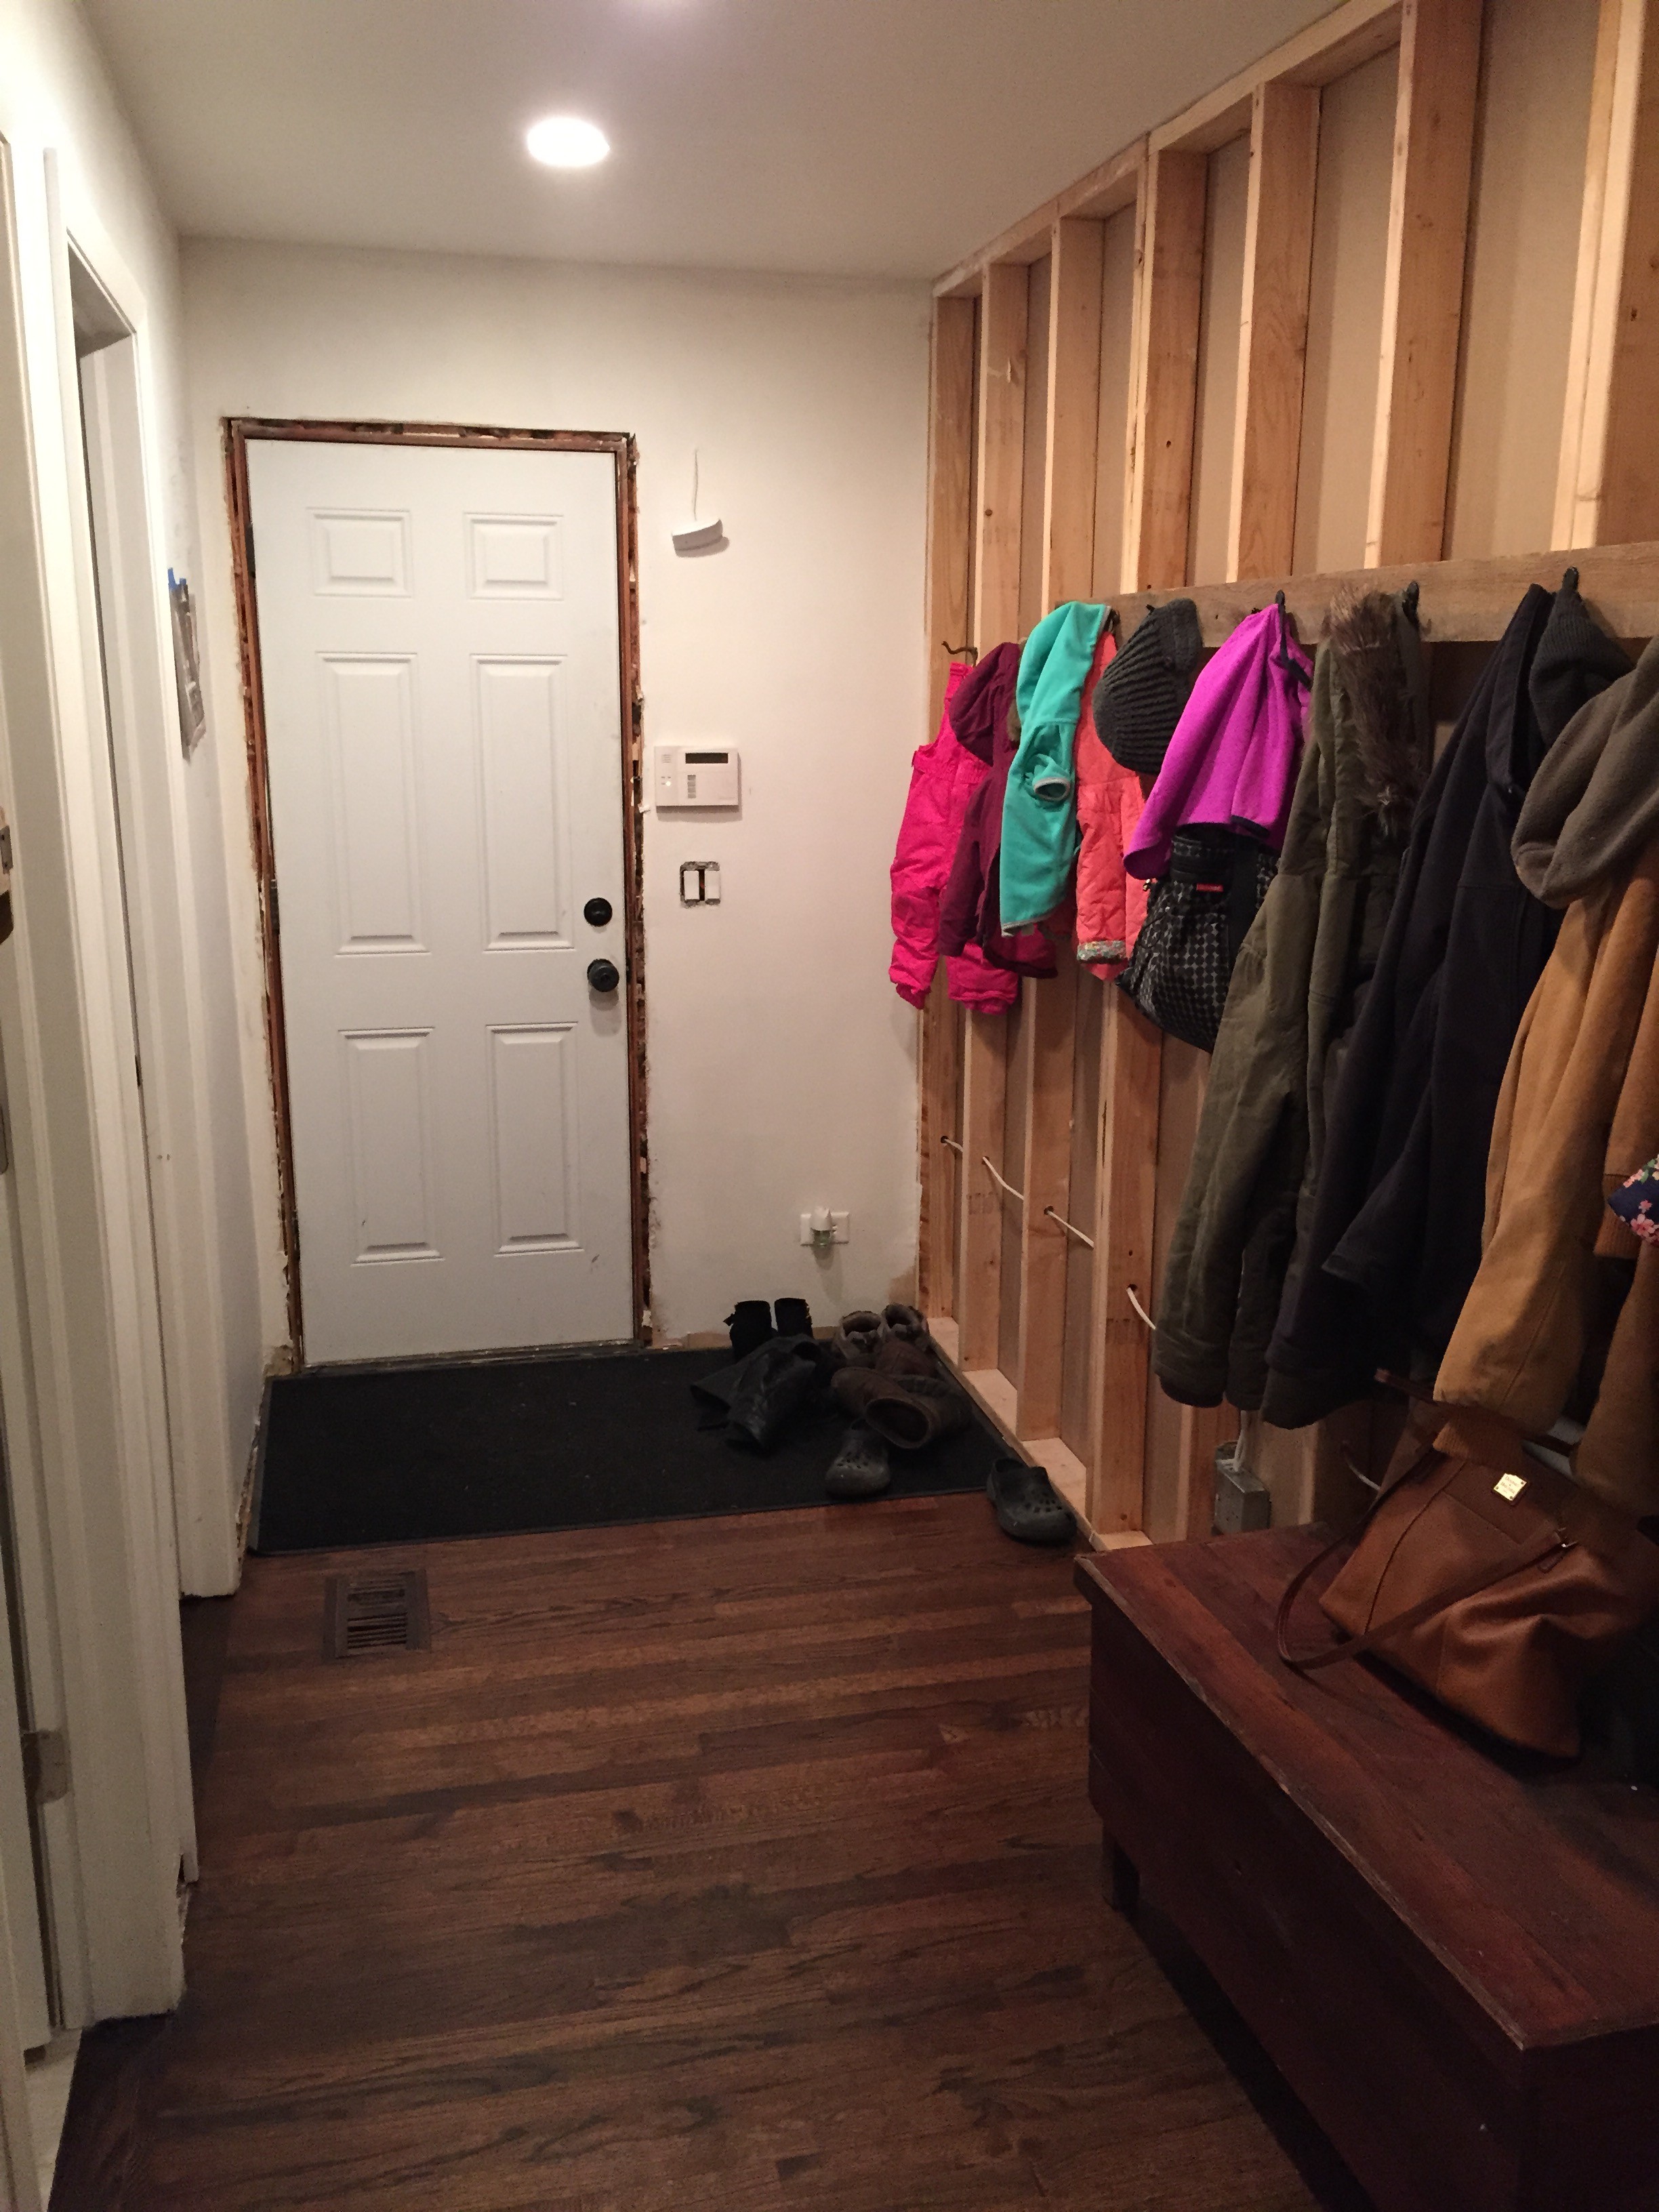
Here was the entryway/stairs 5 years ago:

12 Oaks Before 156

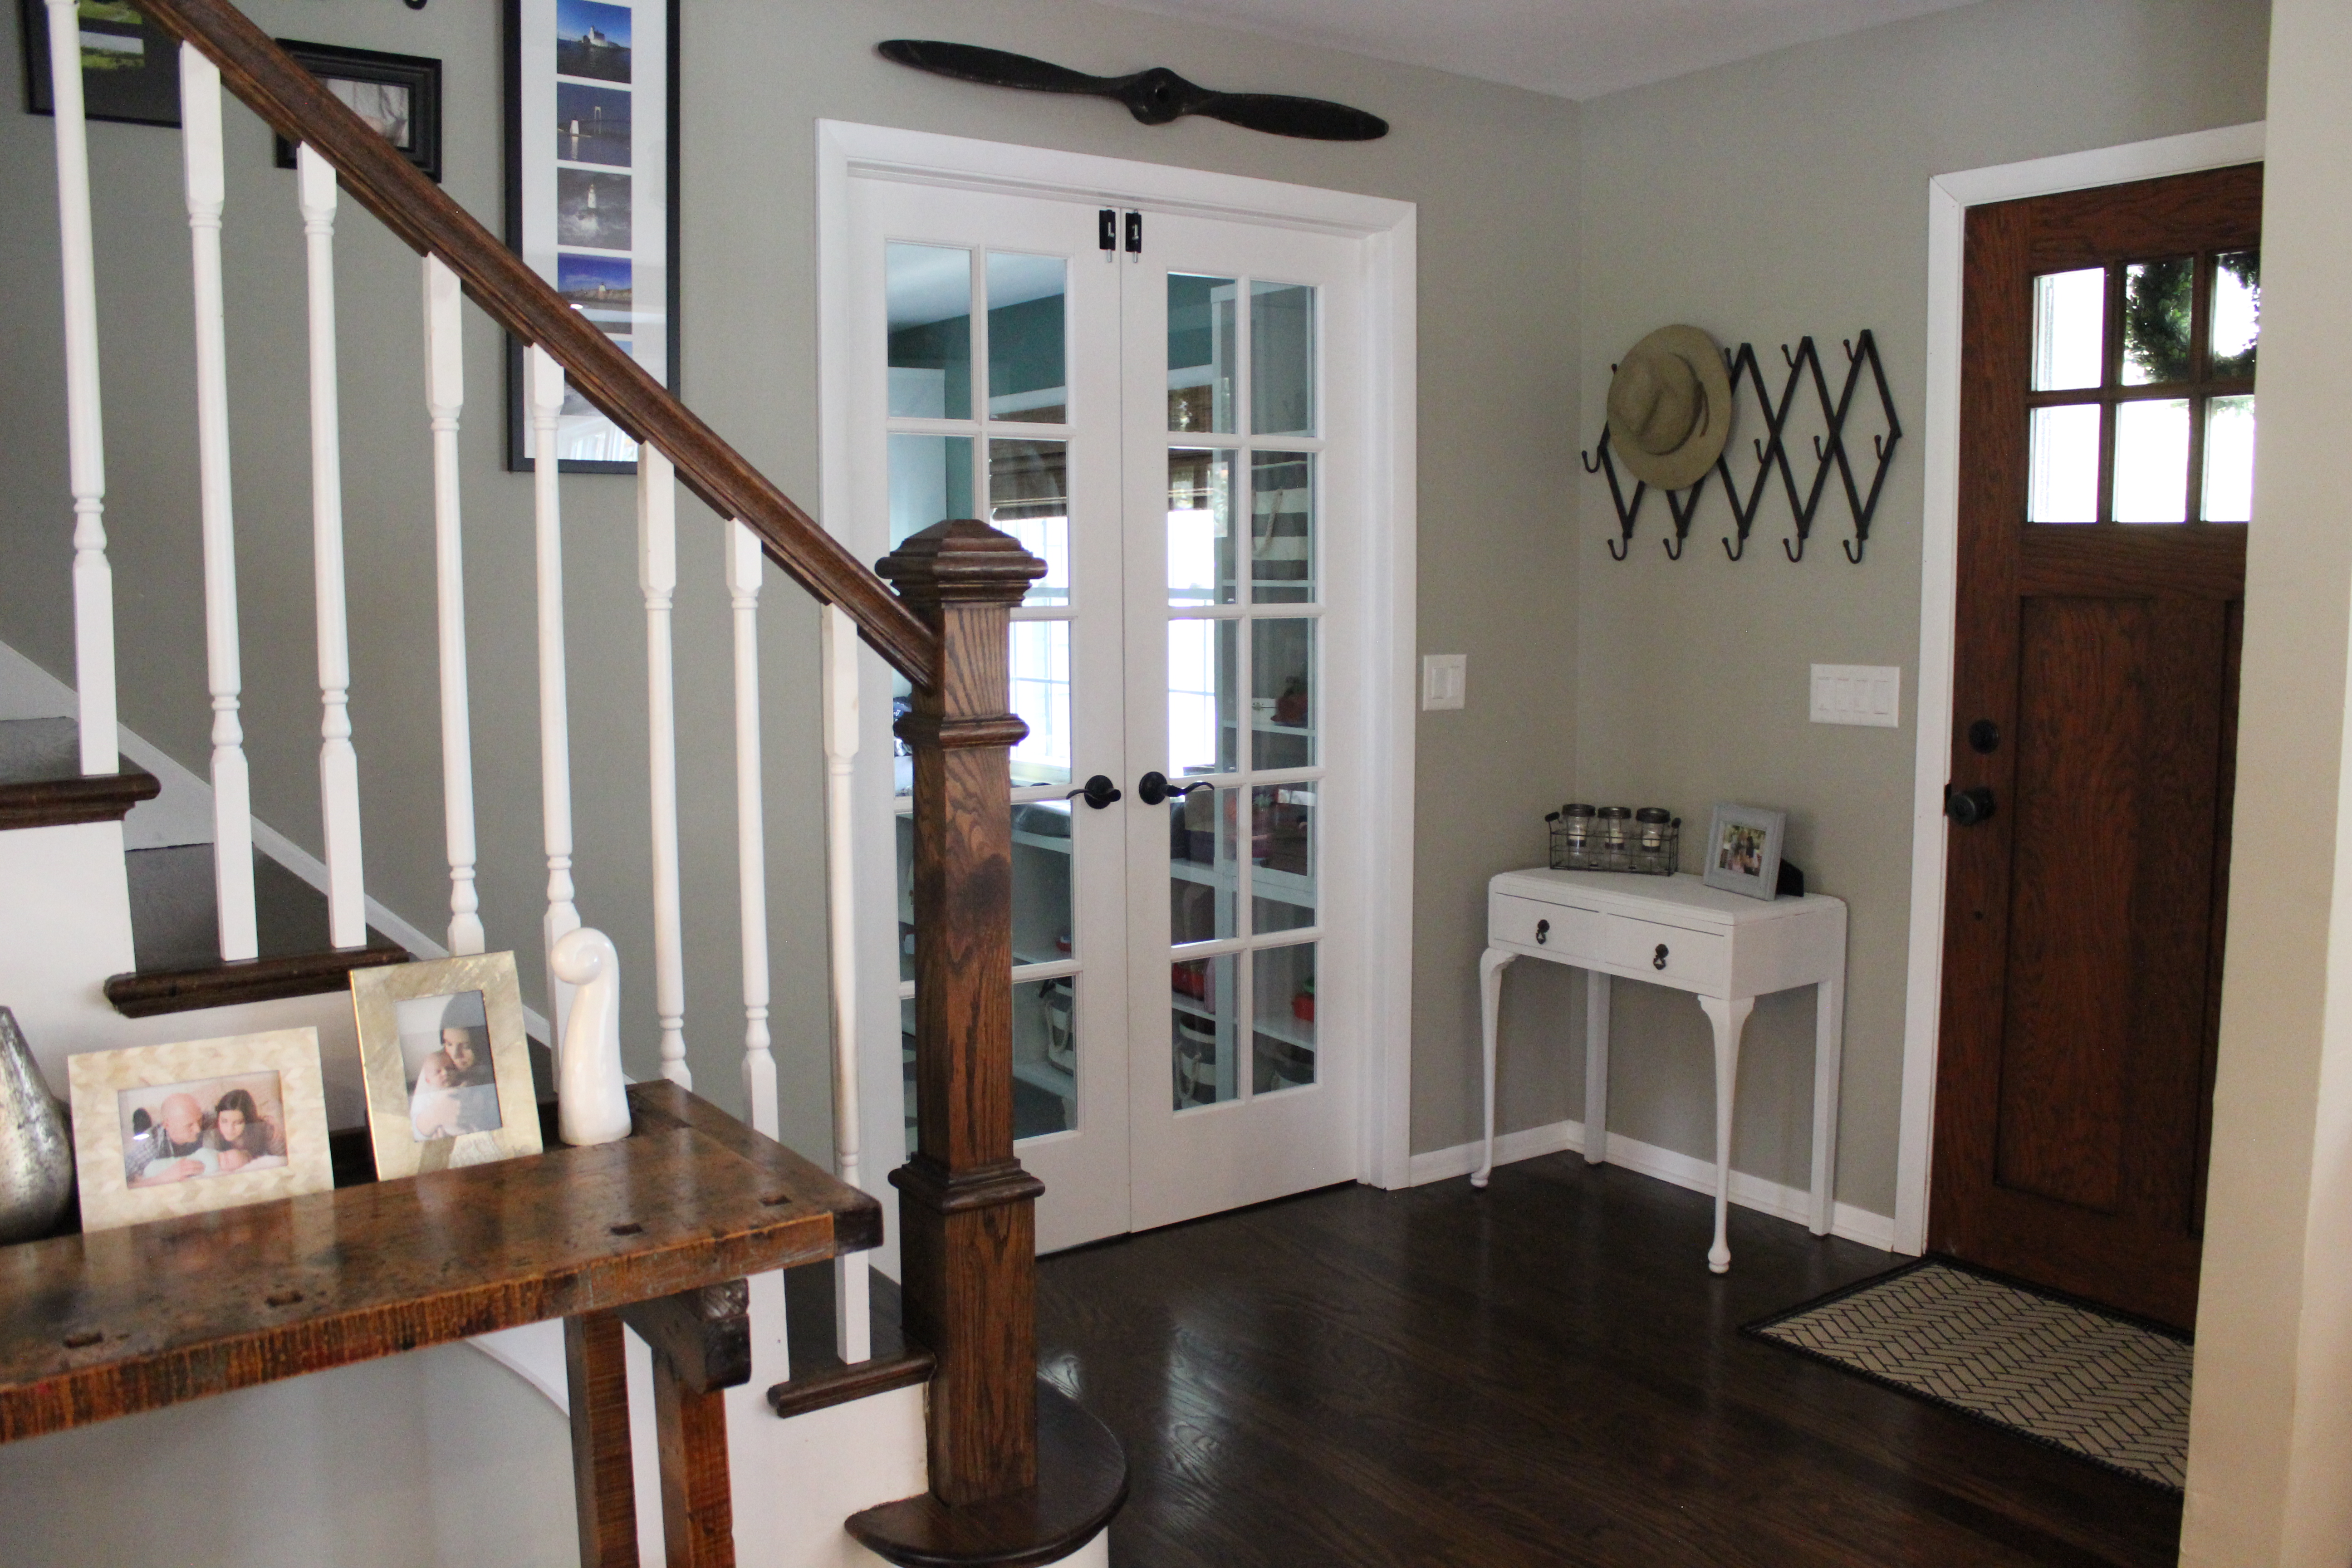
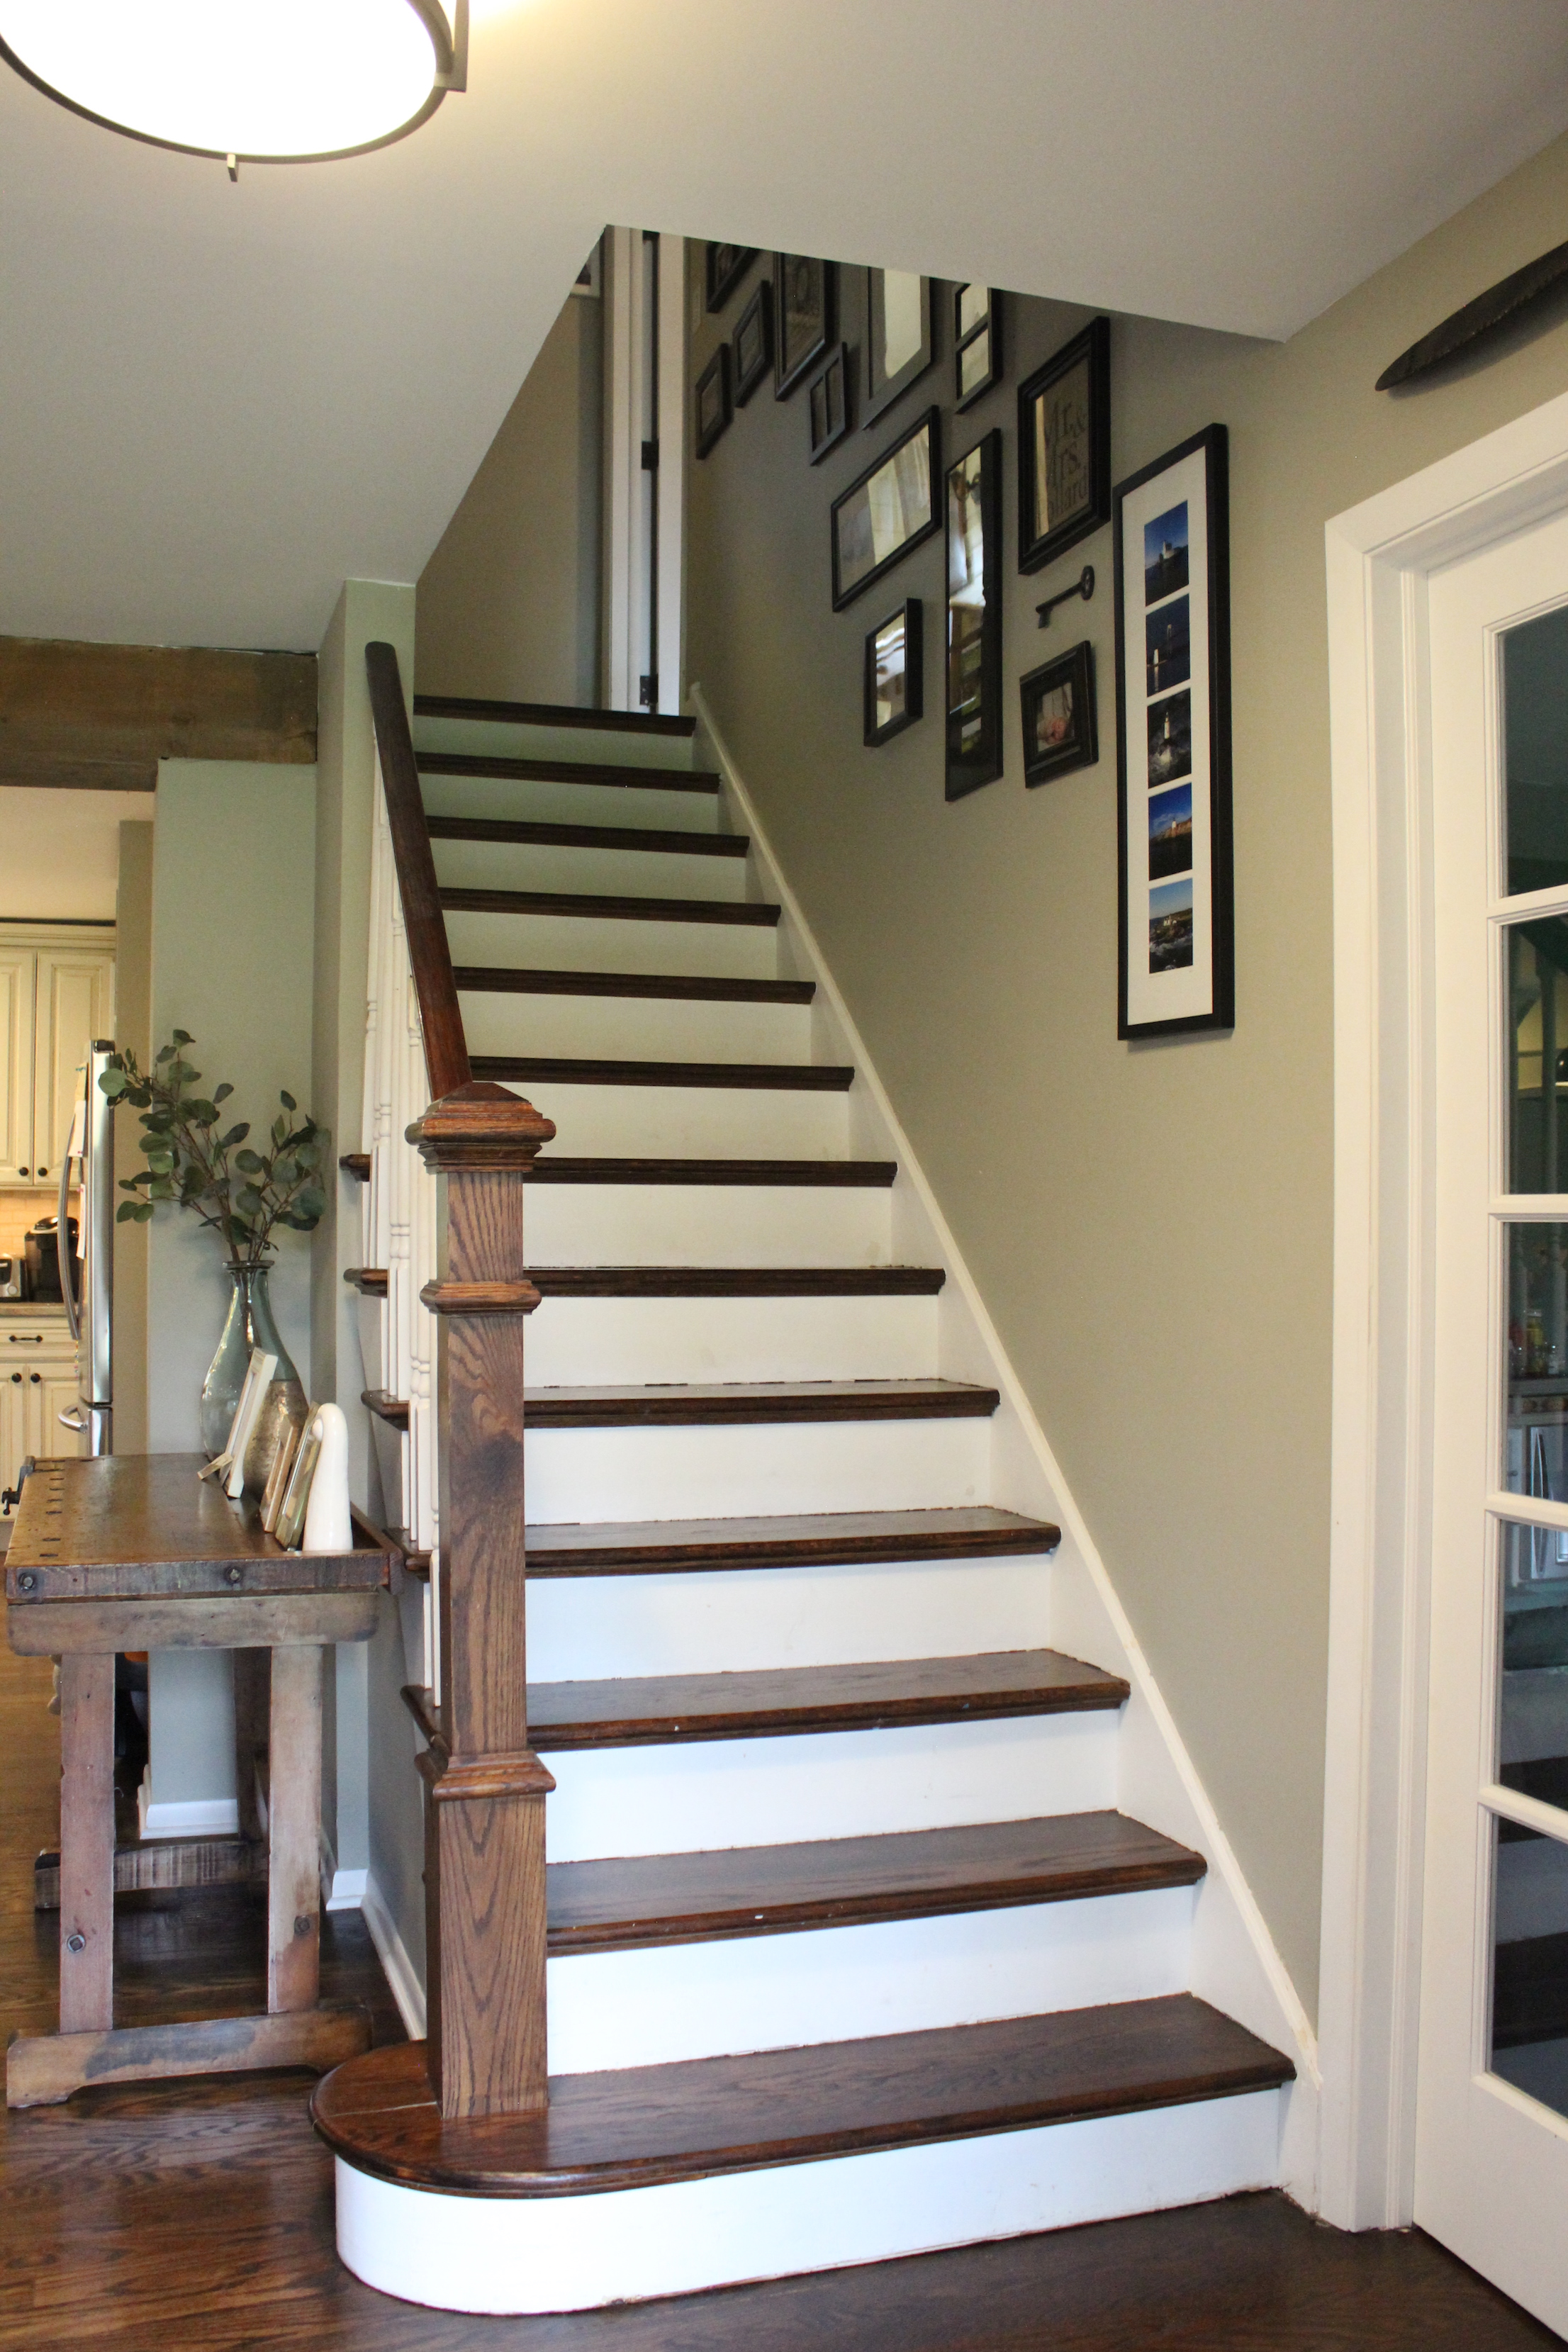
And now after removing the closet, putting in french doors to the now playroom, new hardwood floors, stain, paint, etc.:

See more about our stair and entryway makeover here.

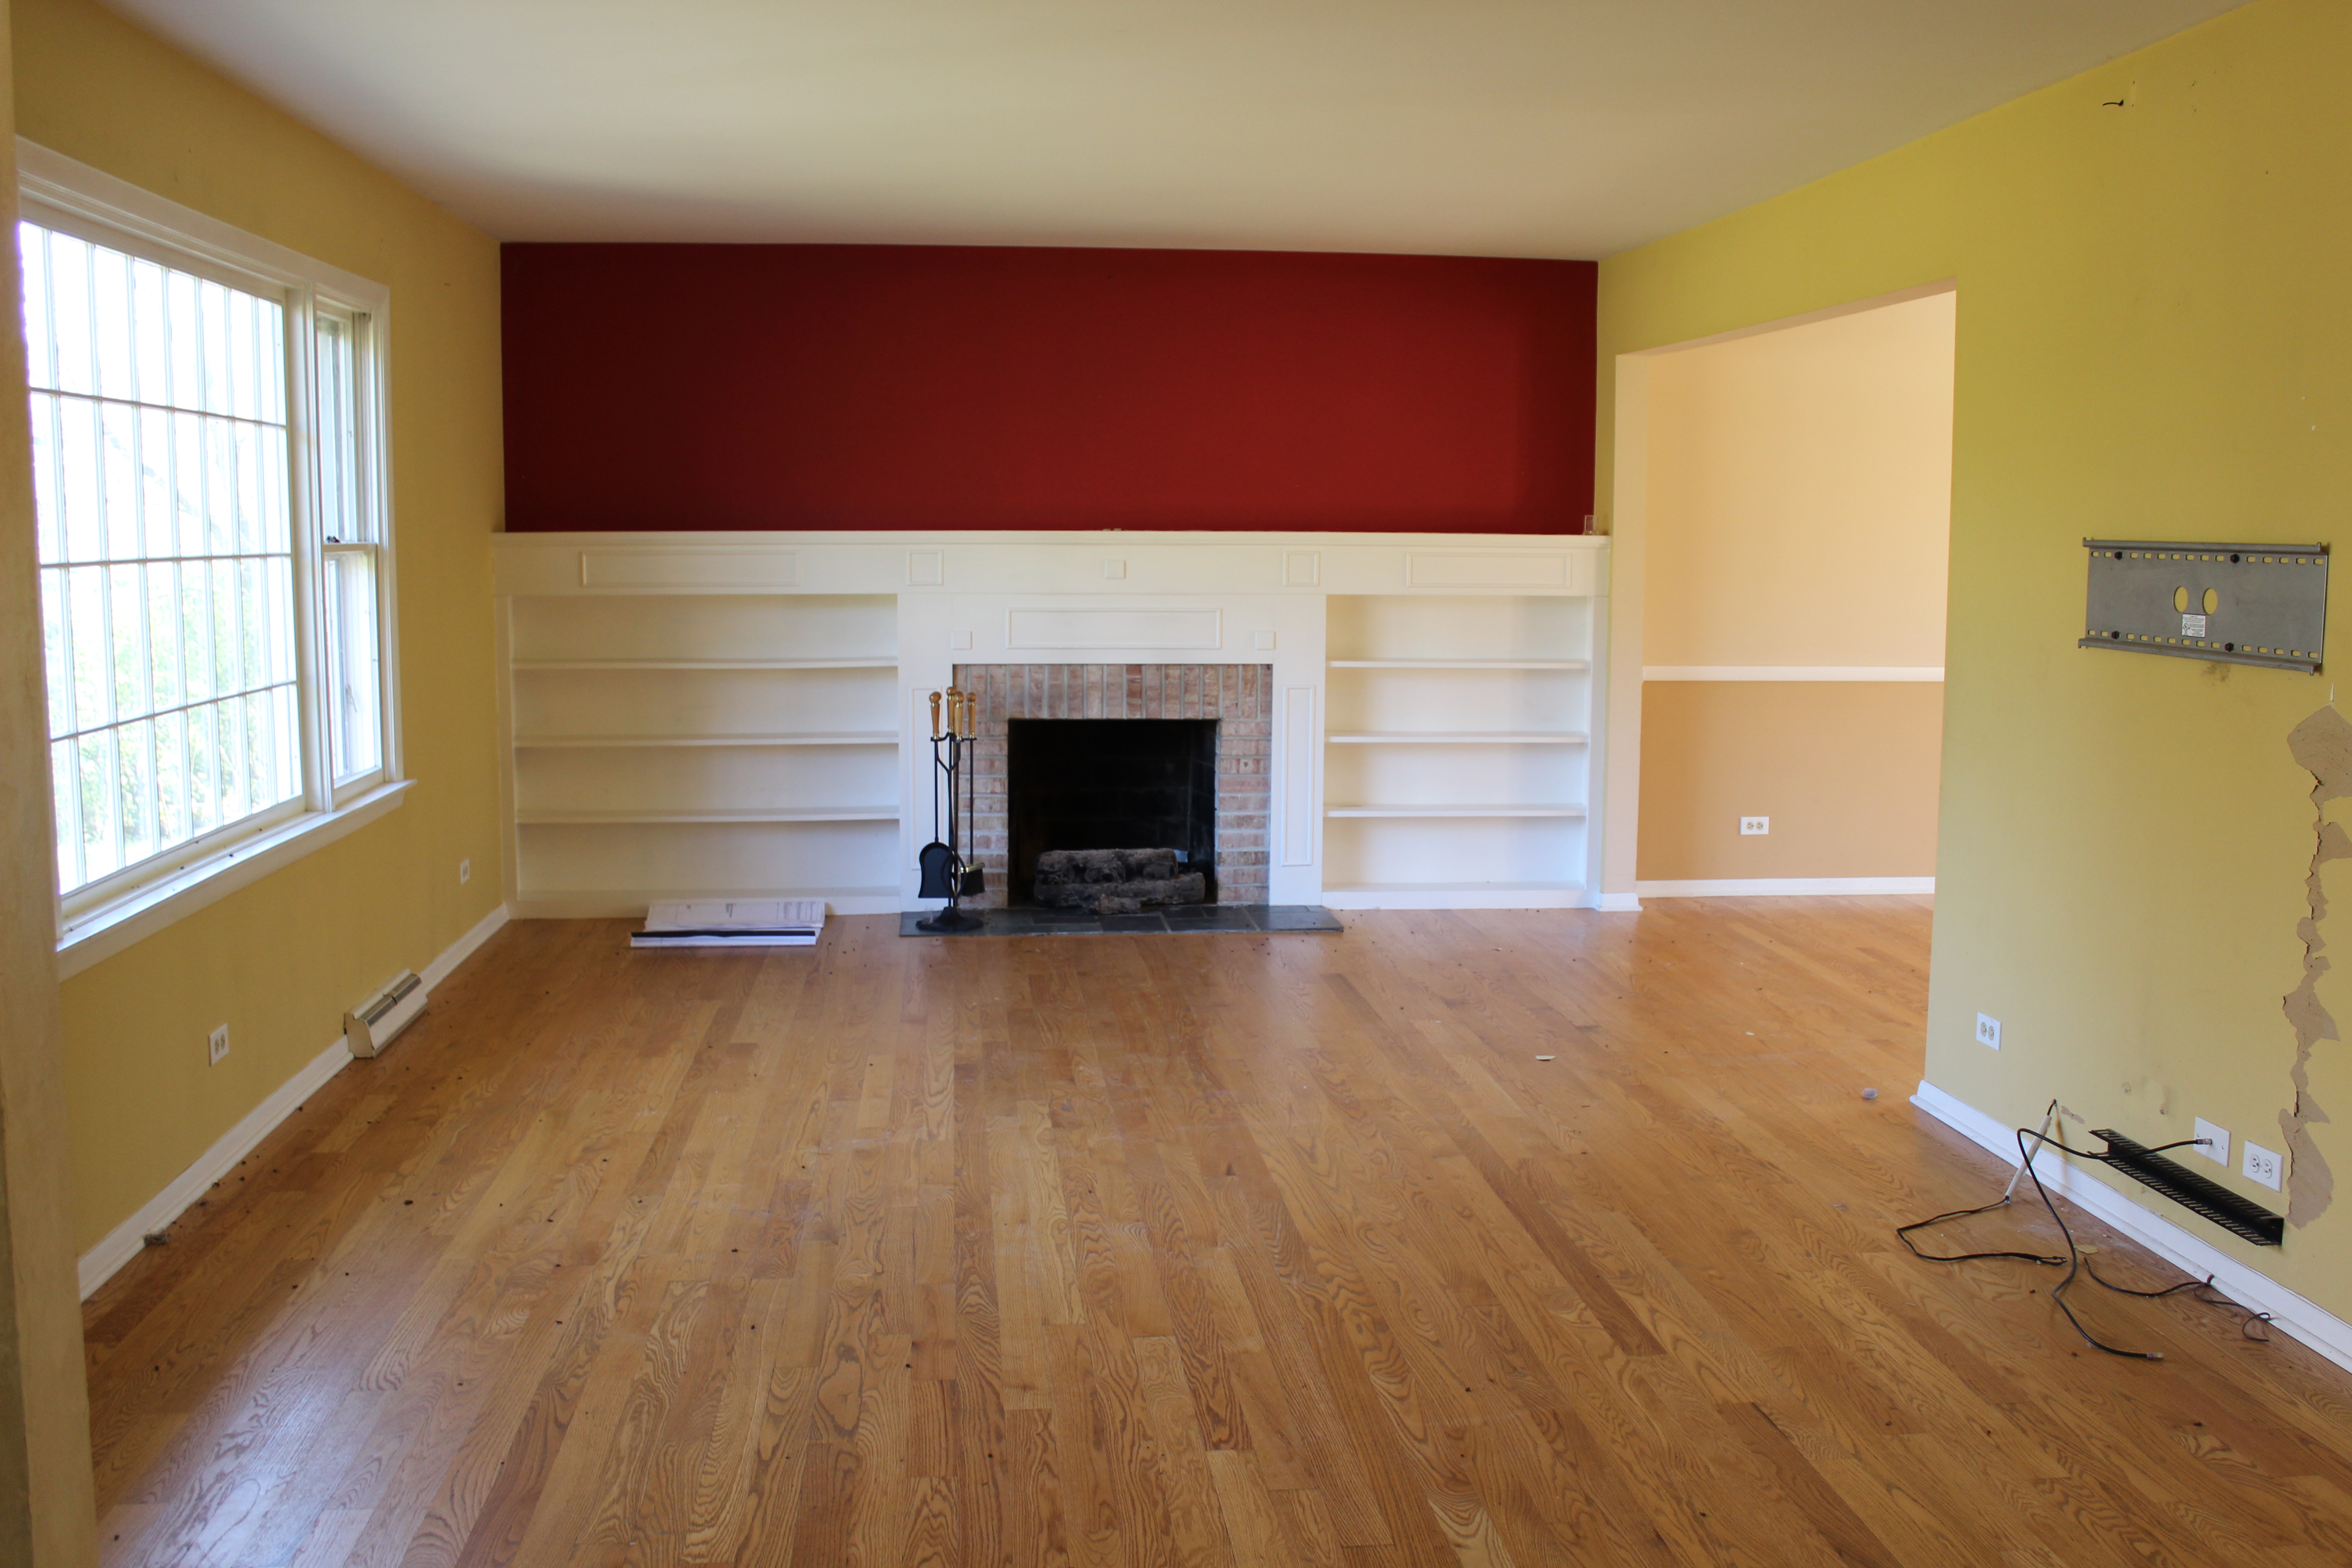
Here was the living room 5 years ago which was closed off from the kitchen:

Living Room on Closing Day

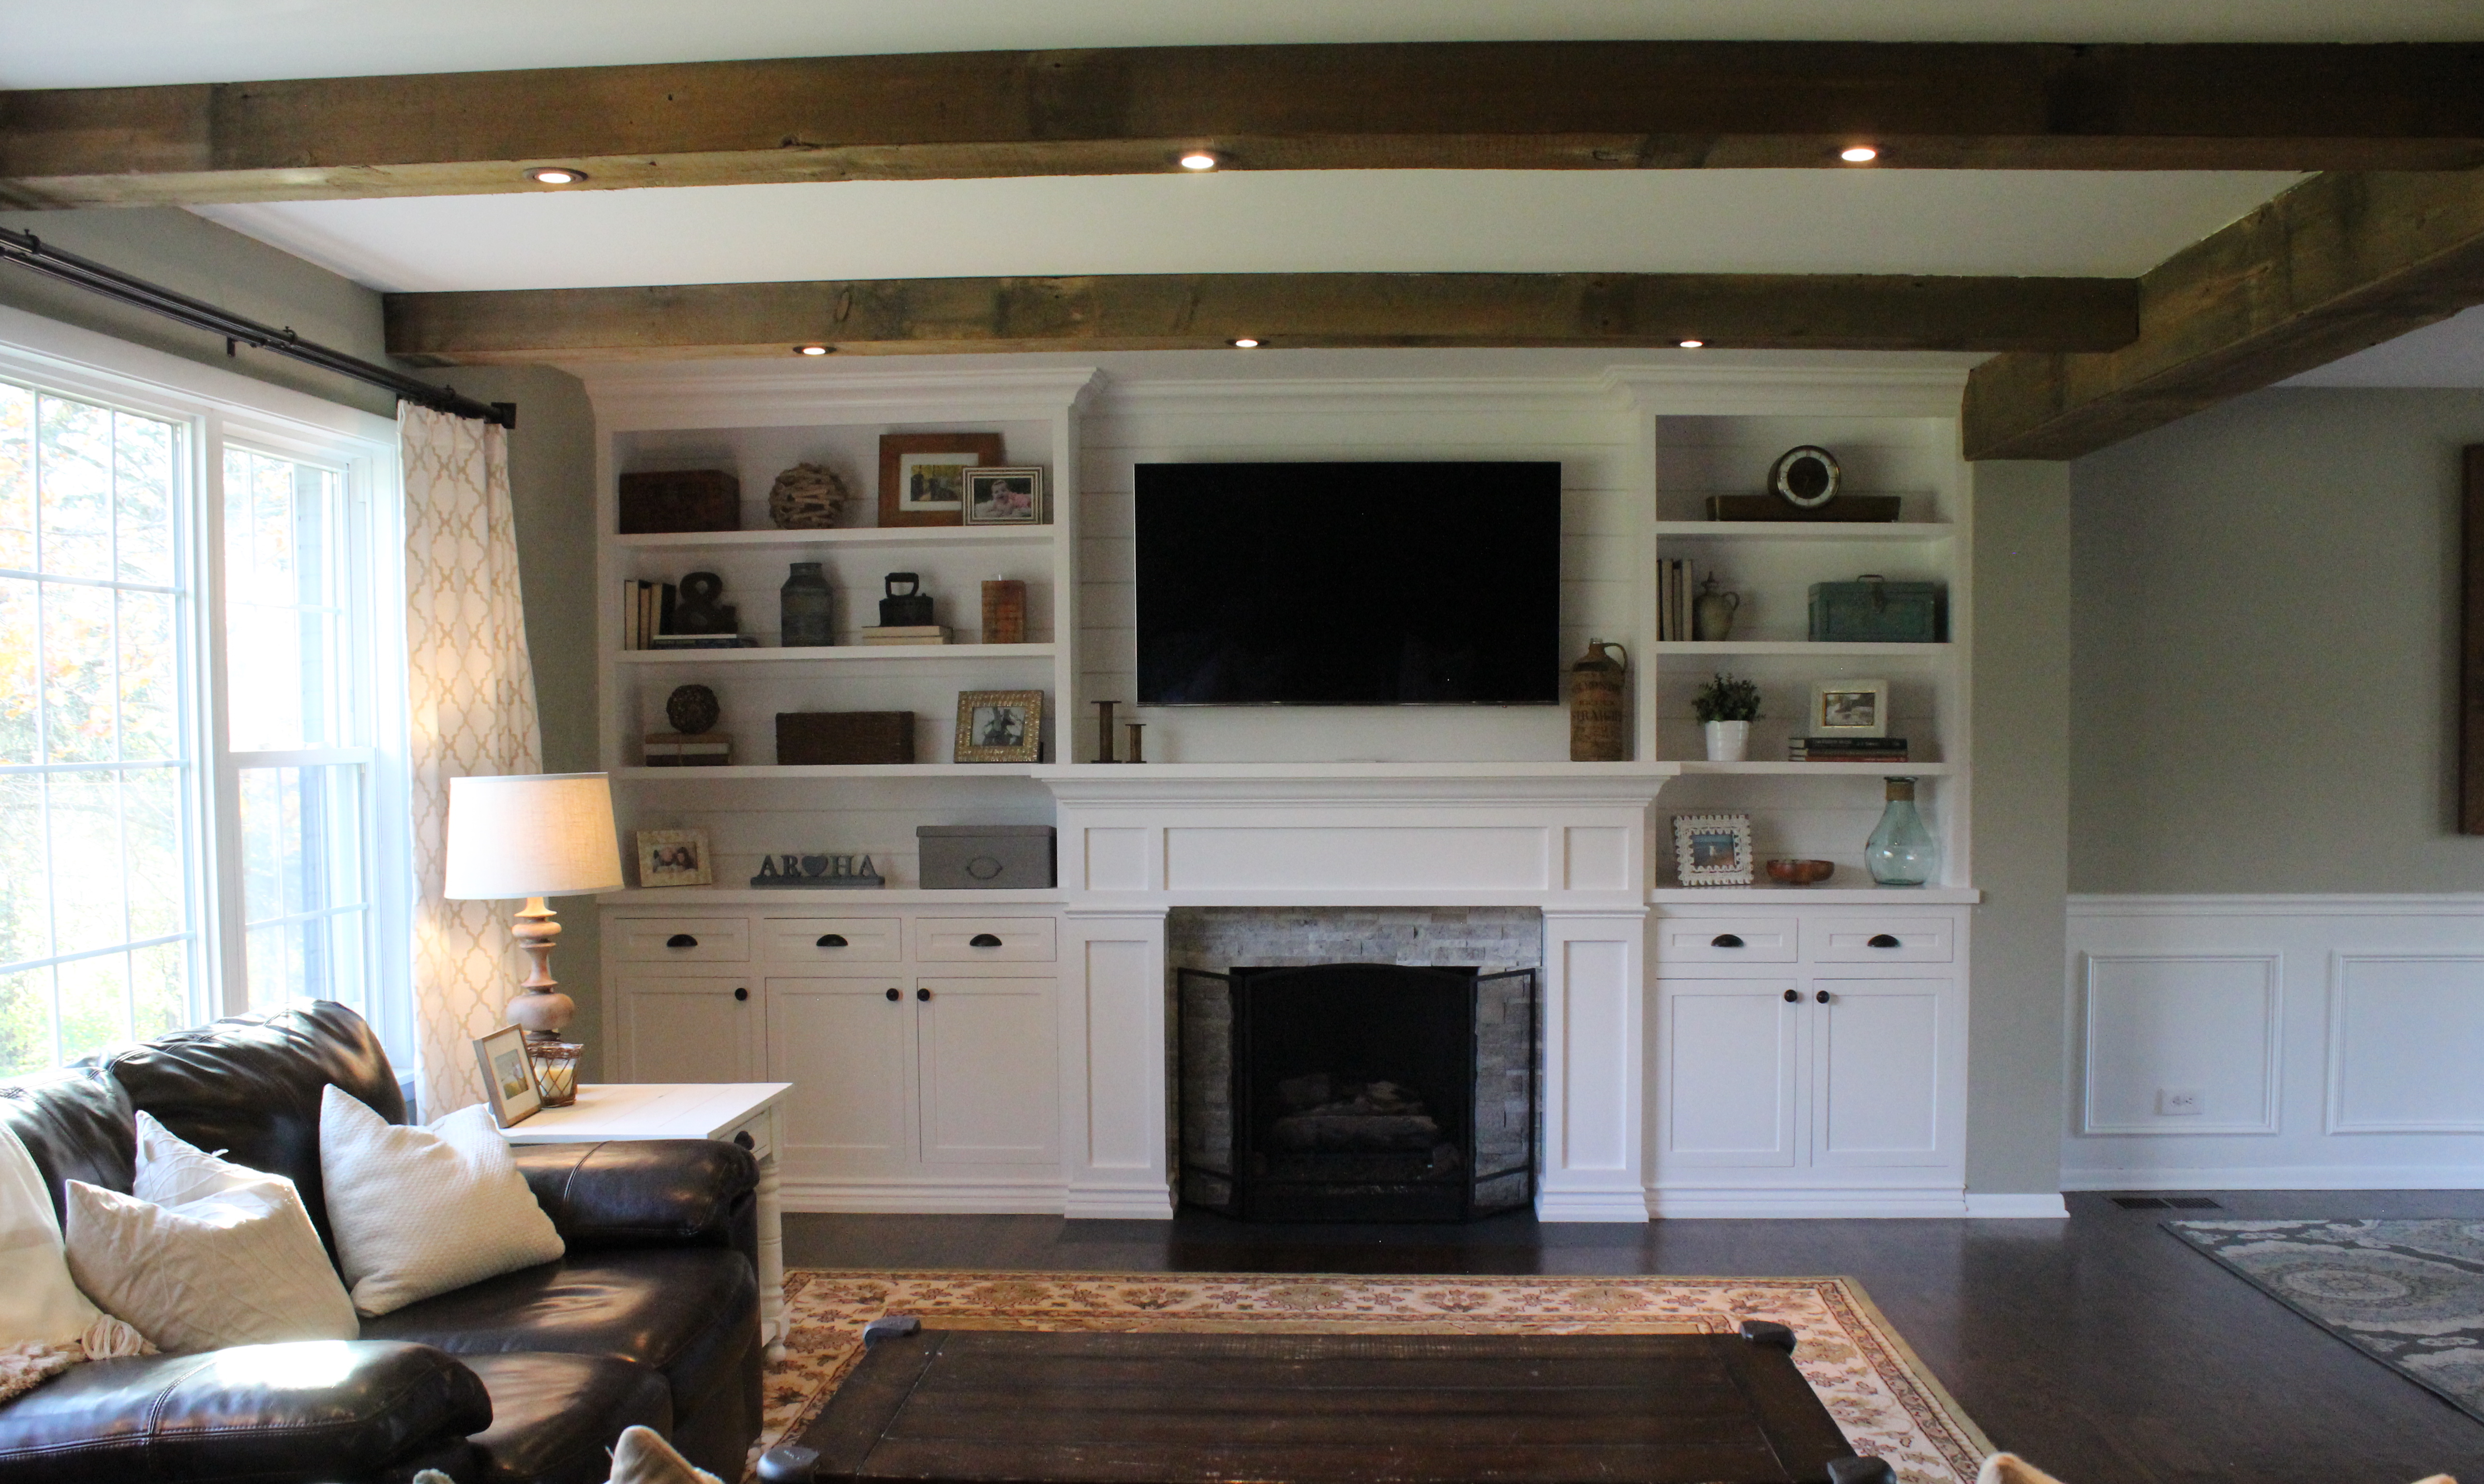
And now its all one big open space with barn wood beams, new built ins, and more:

living-room-new

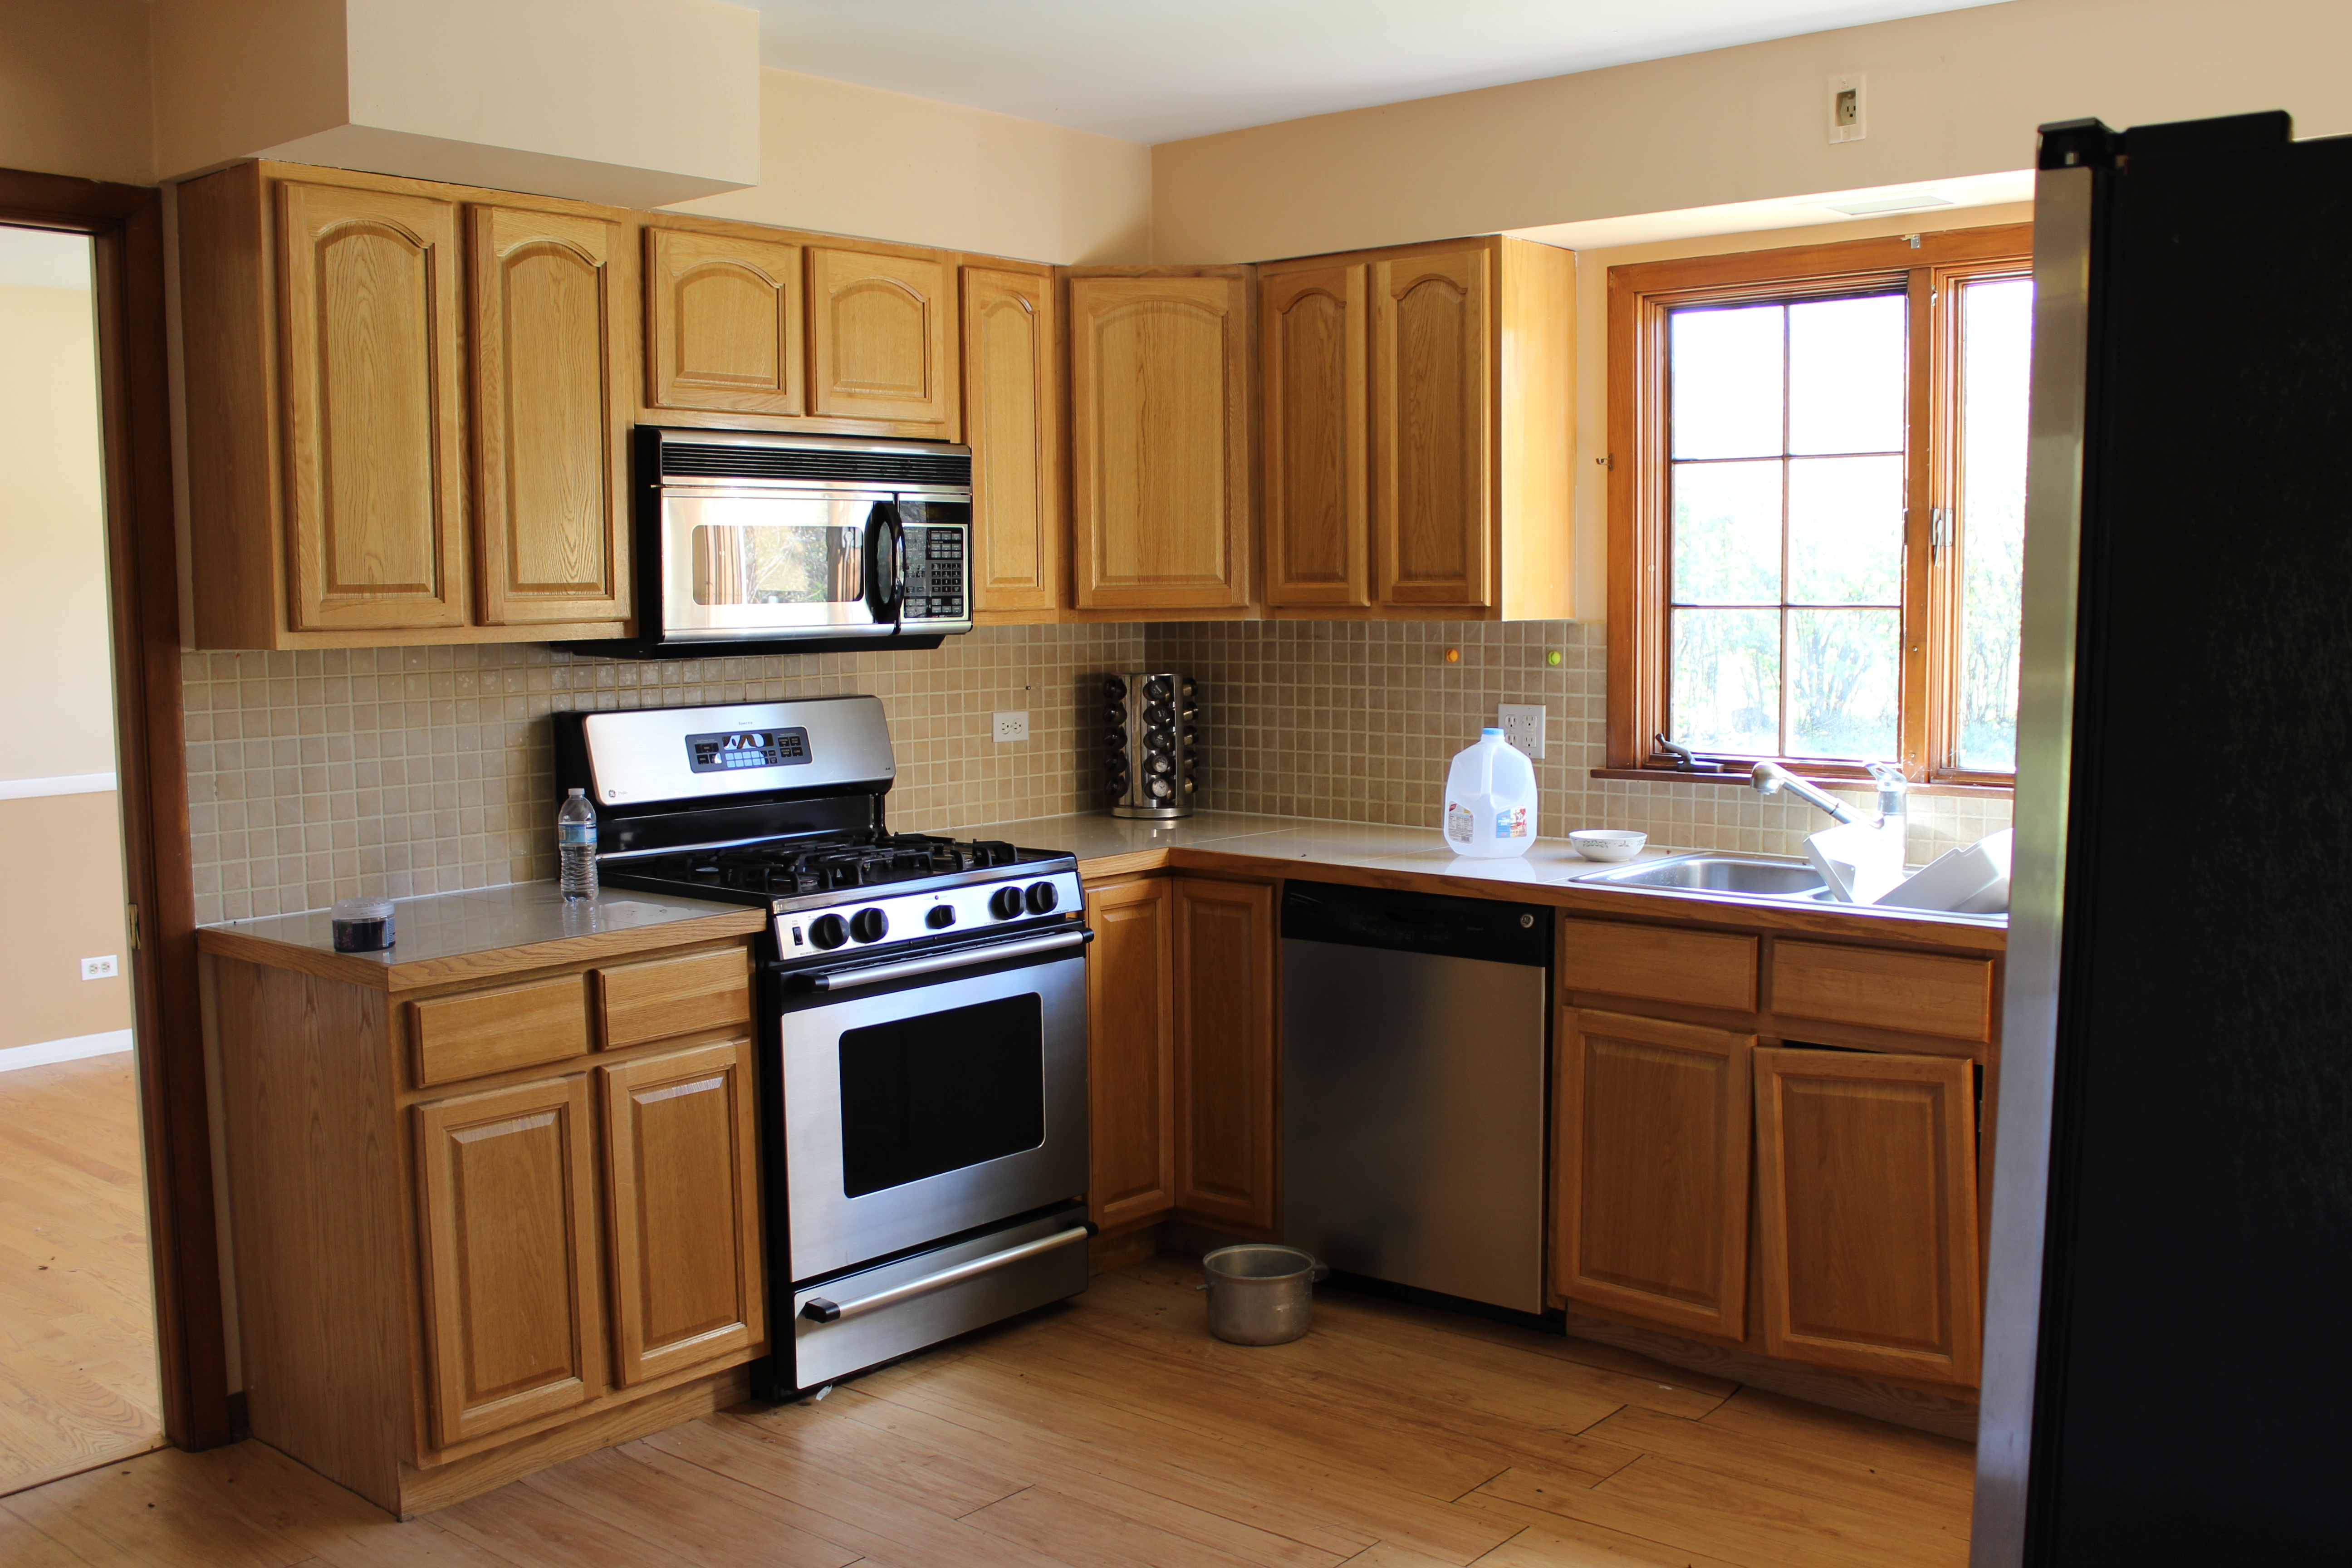
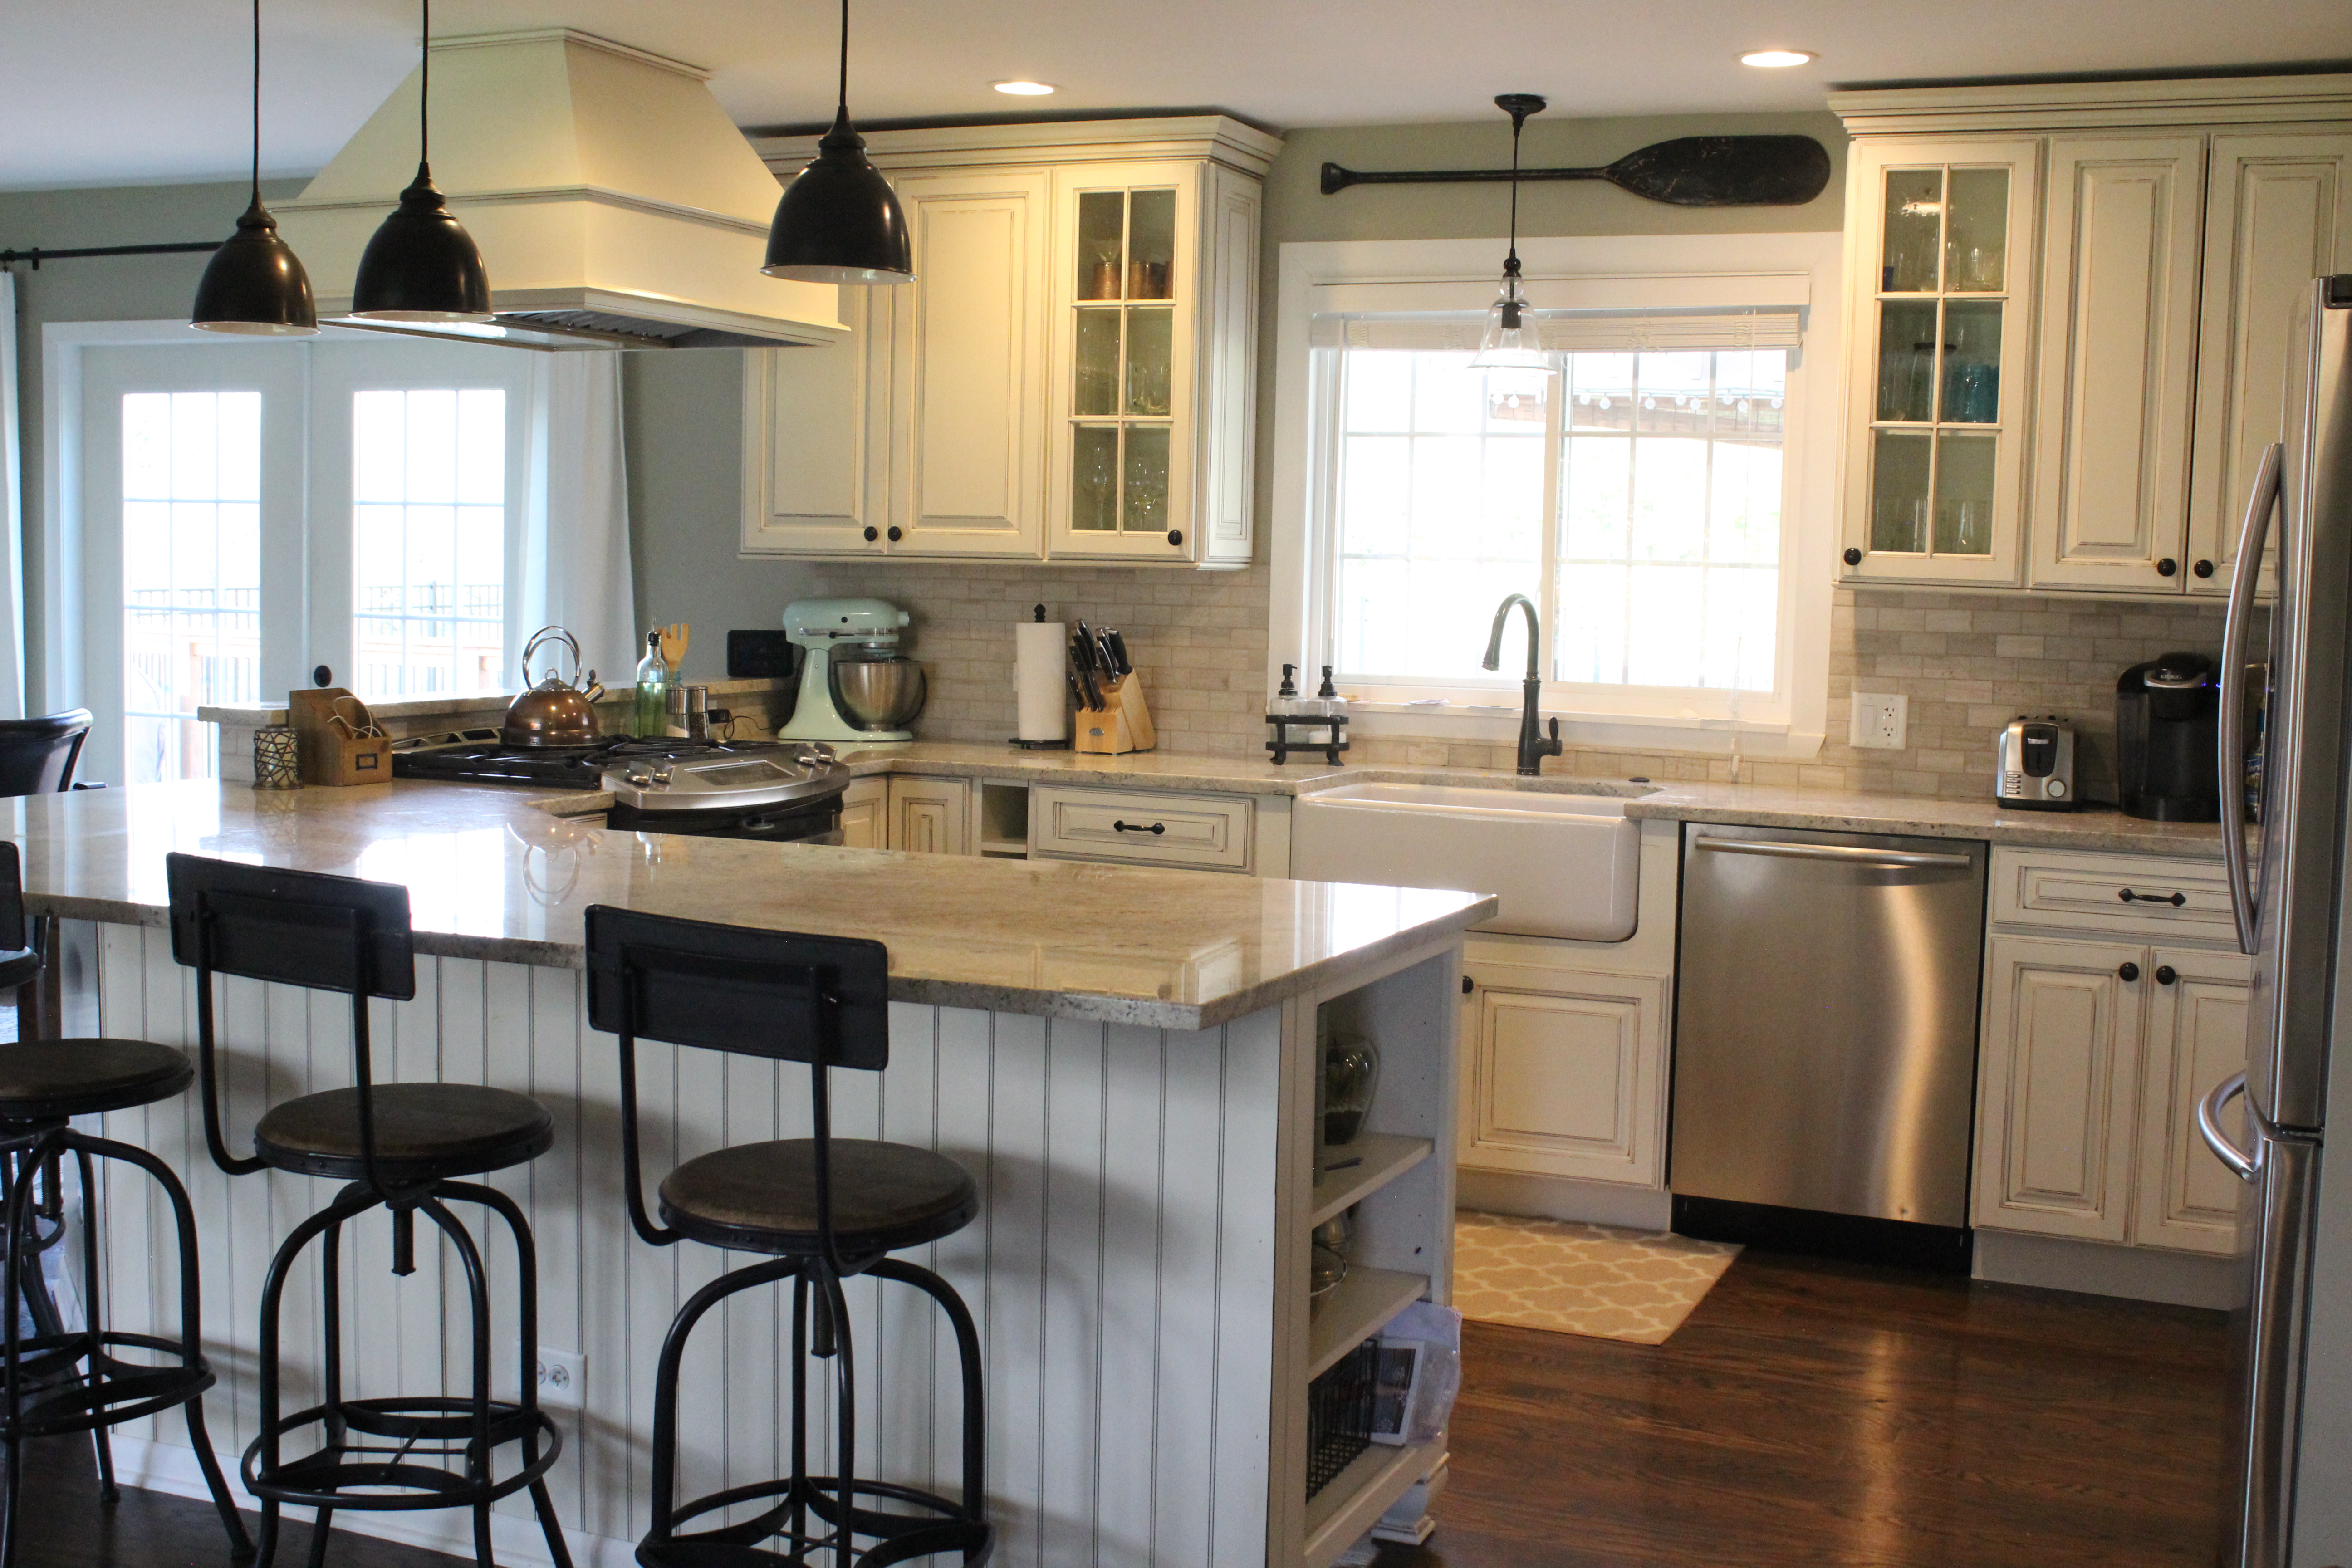
Here was the kitchen 5 years ago:

Kitchen

And here it is now after a full gut and kitchen remodel:img_6052
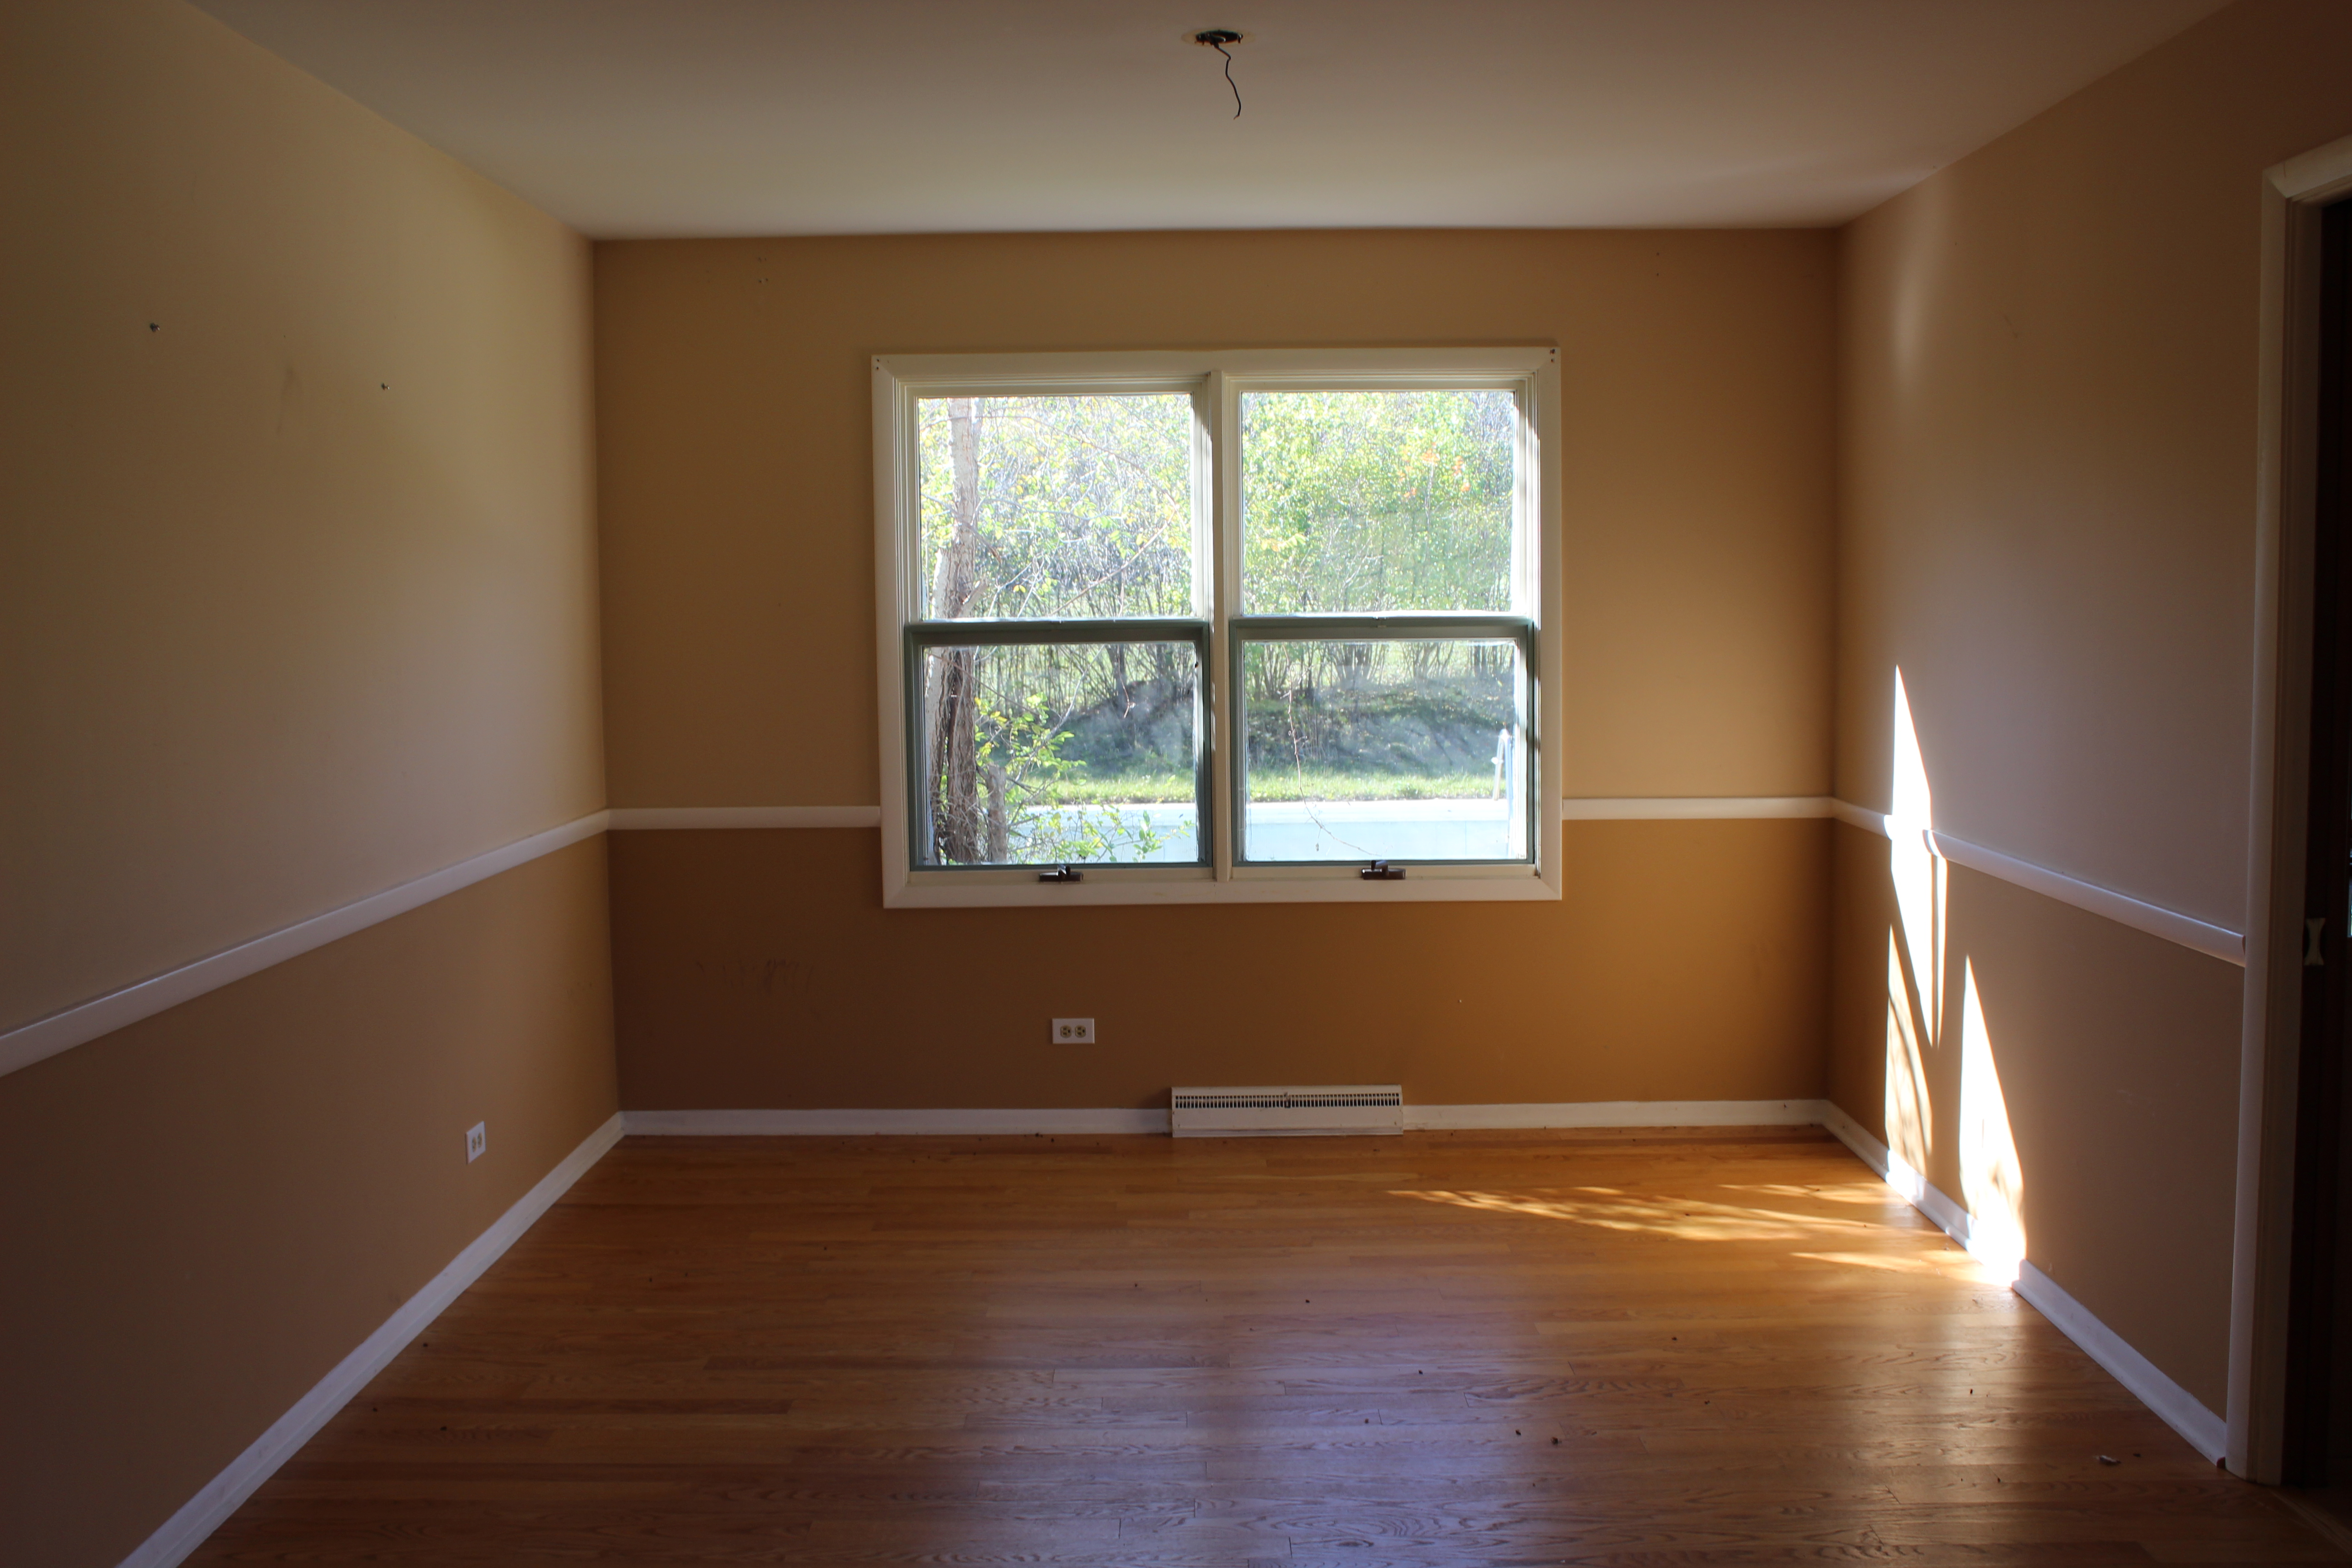
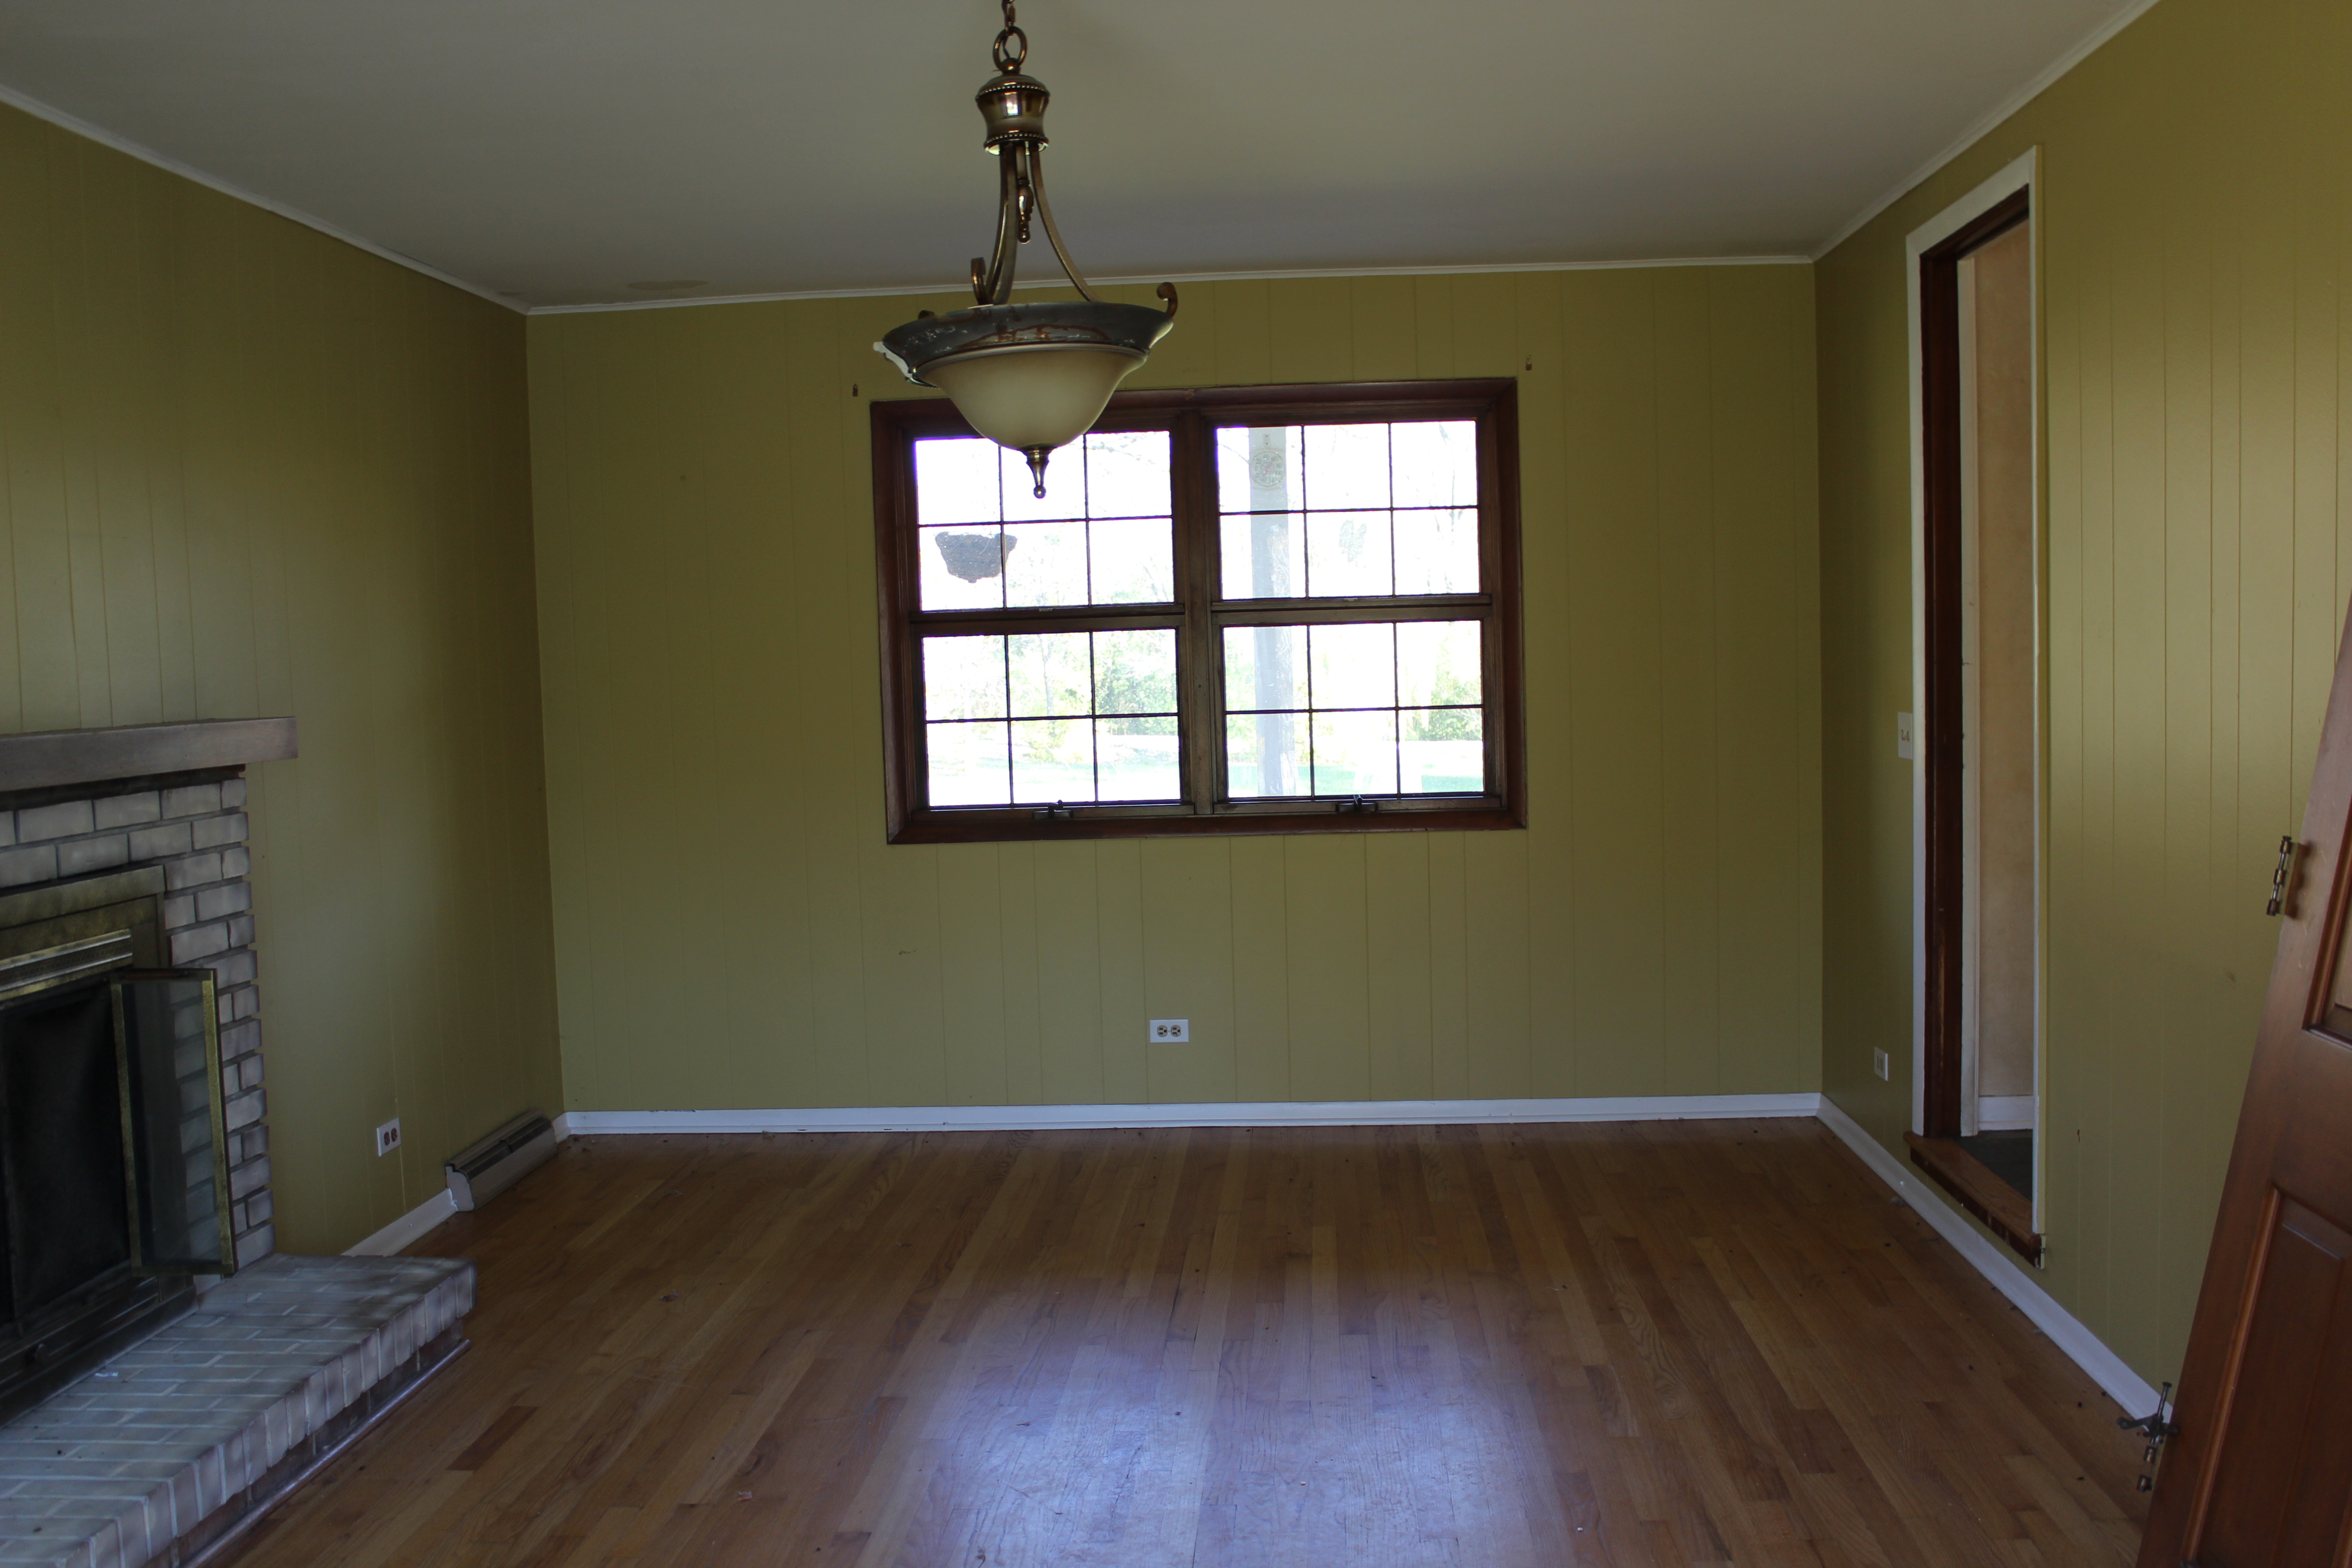
This was the dining room before:

12 Oaks Before 137

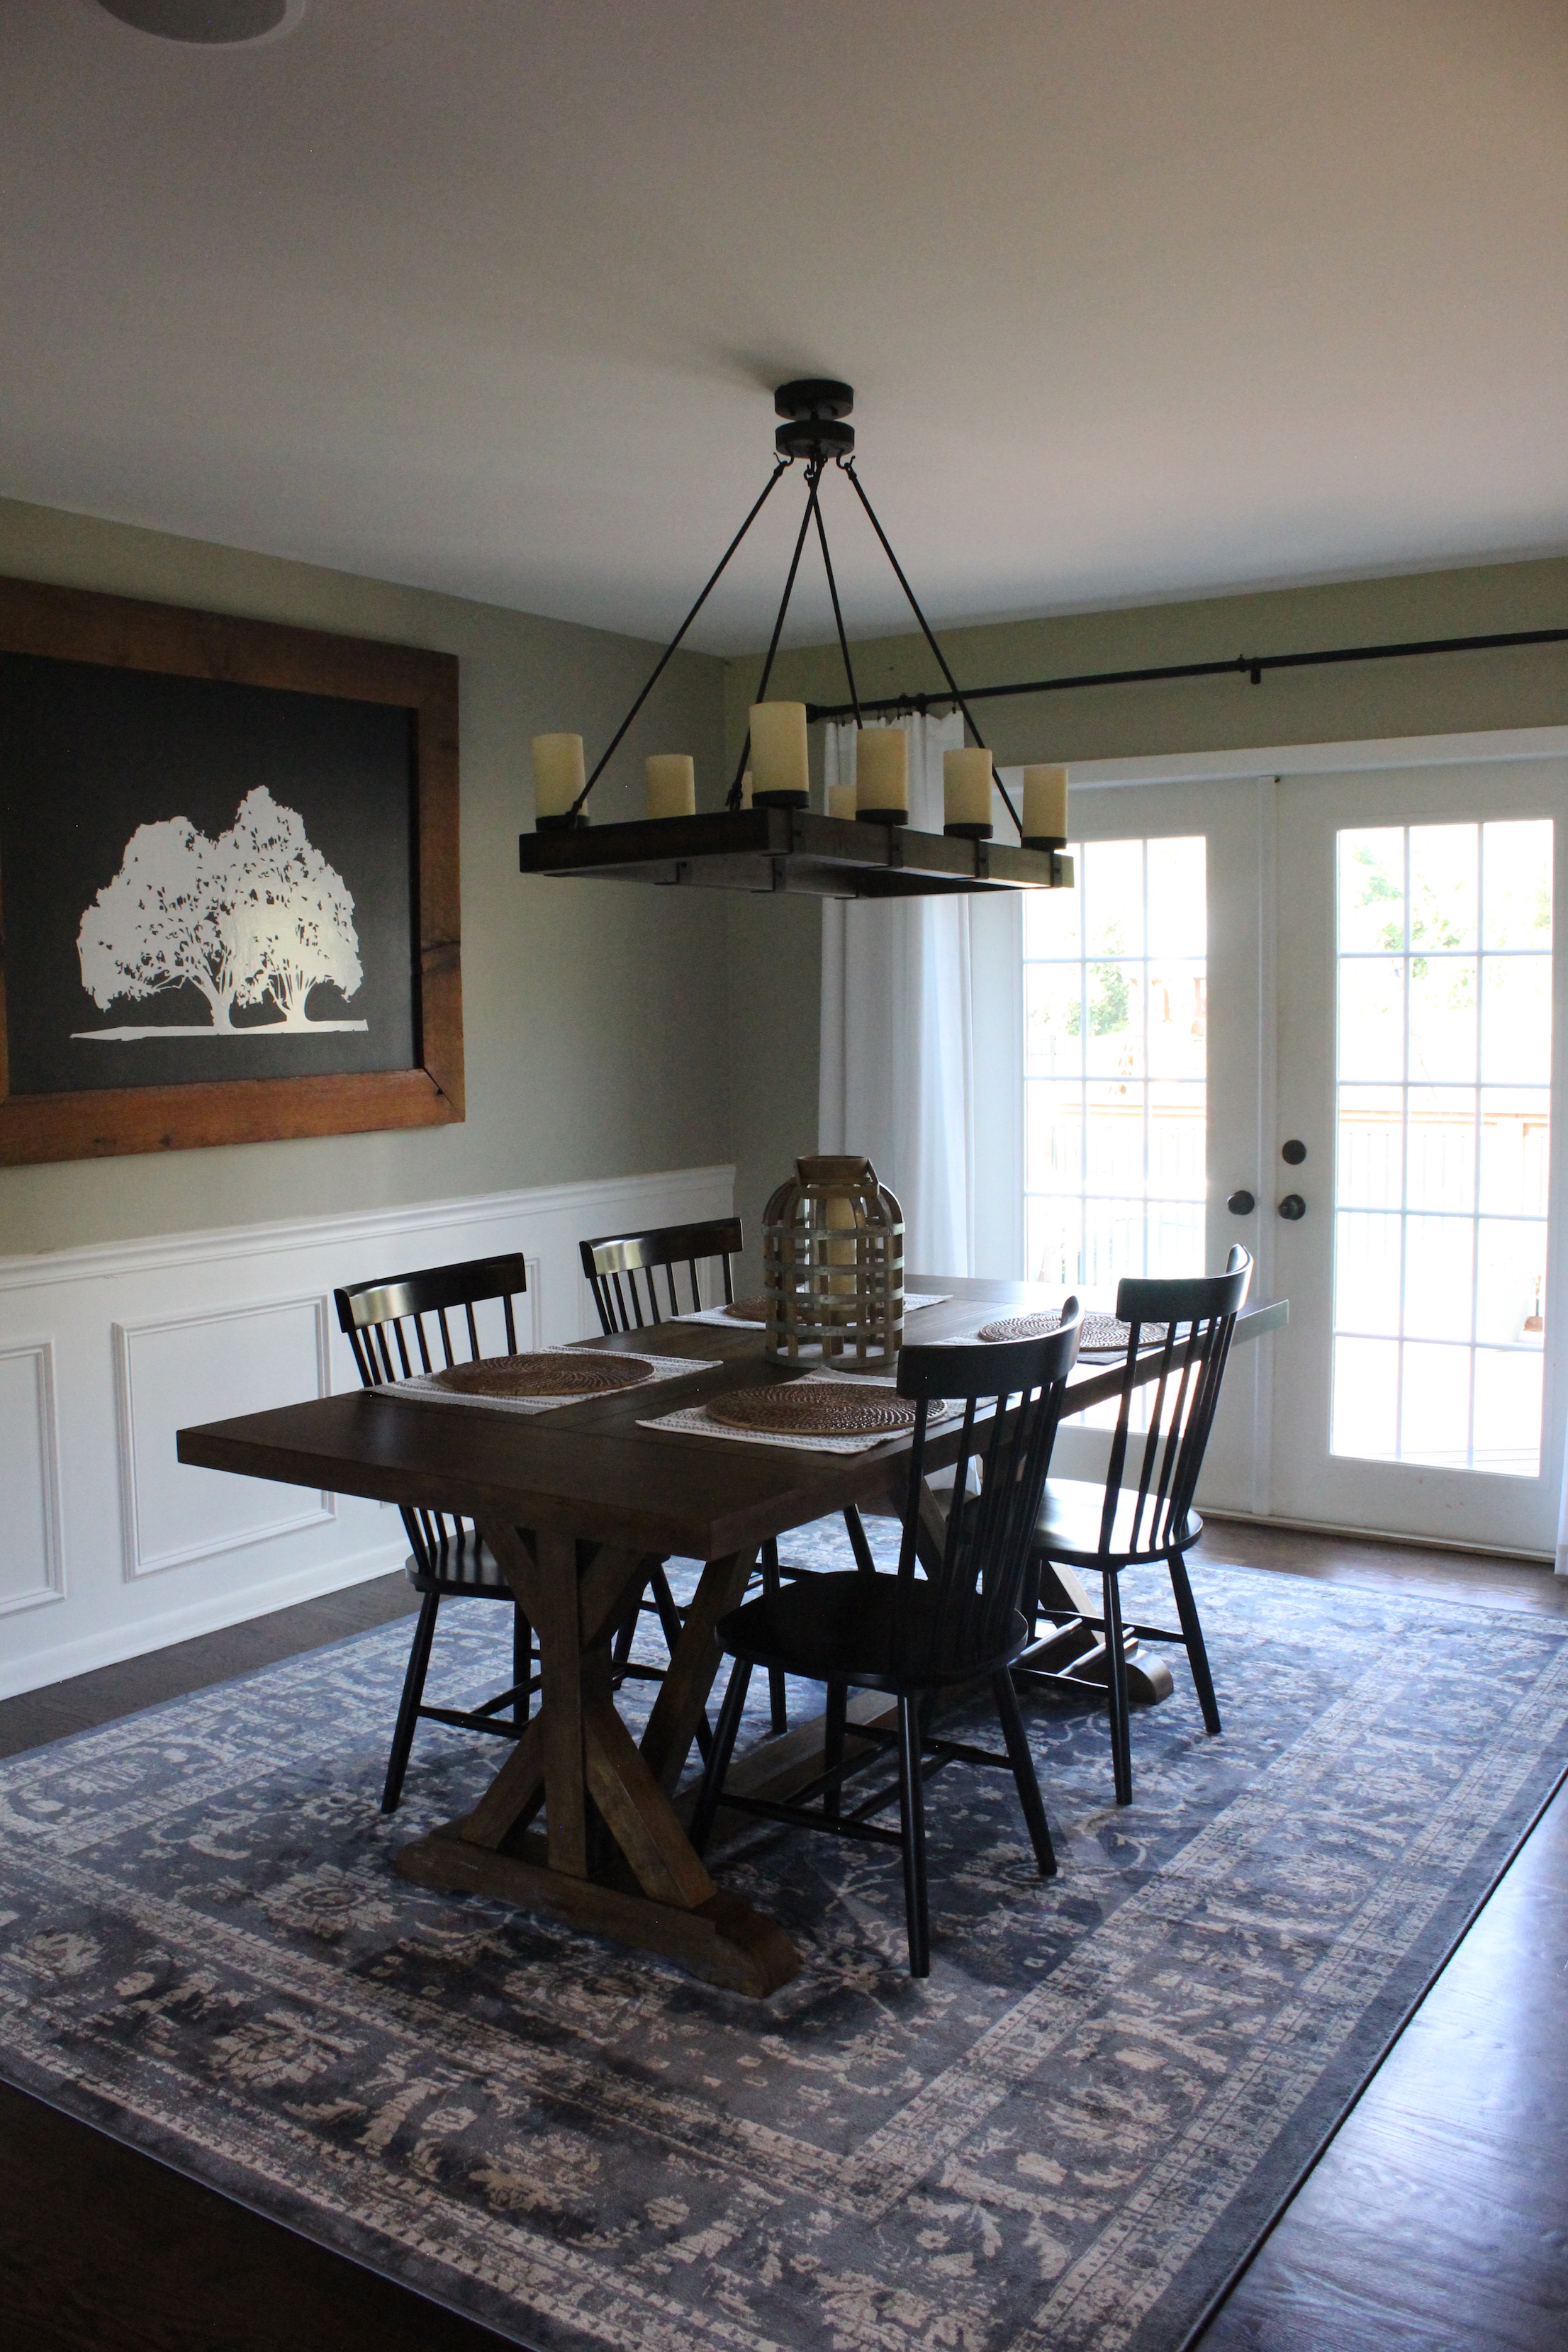
And now after opening it up to the kitchen, installing french doors to the deck, new stain, paint, lighting, etc.:

There was a weird den on the other side of the stairs:

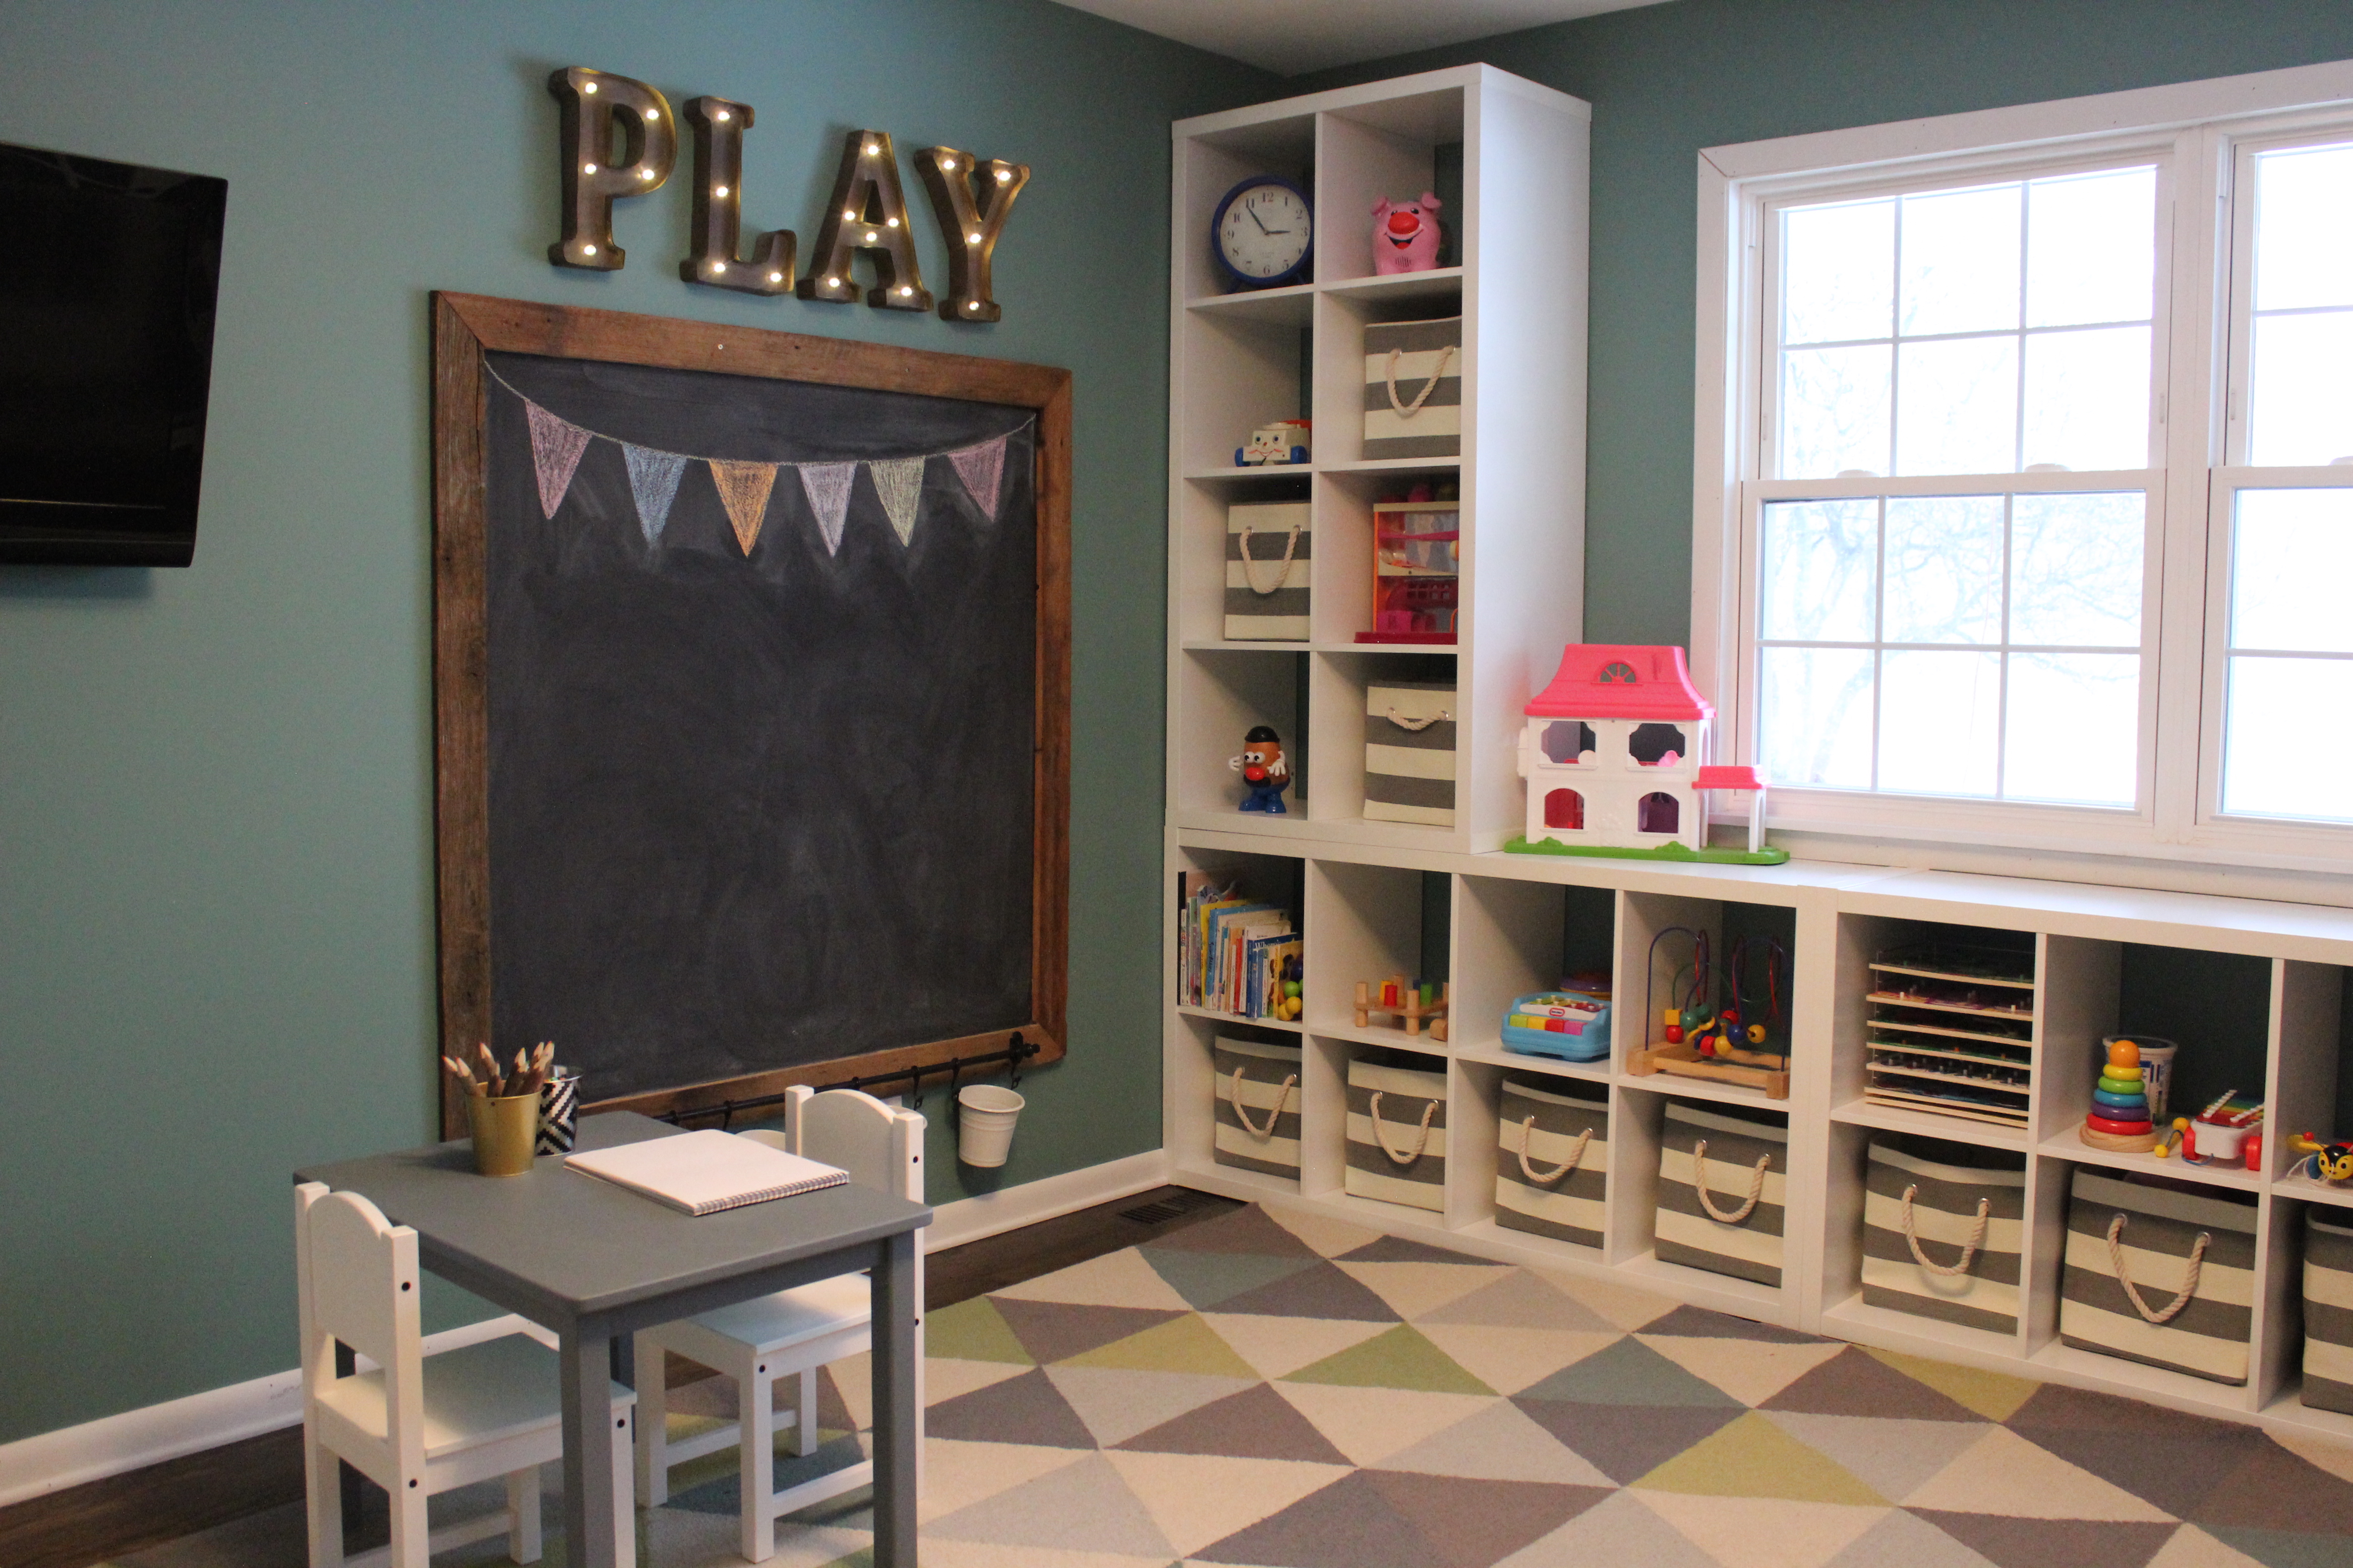
We turned it into a fun & functional playroom:

right corner good

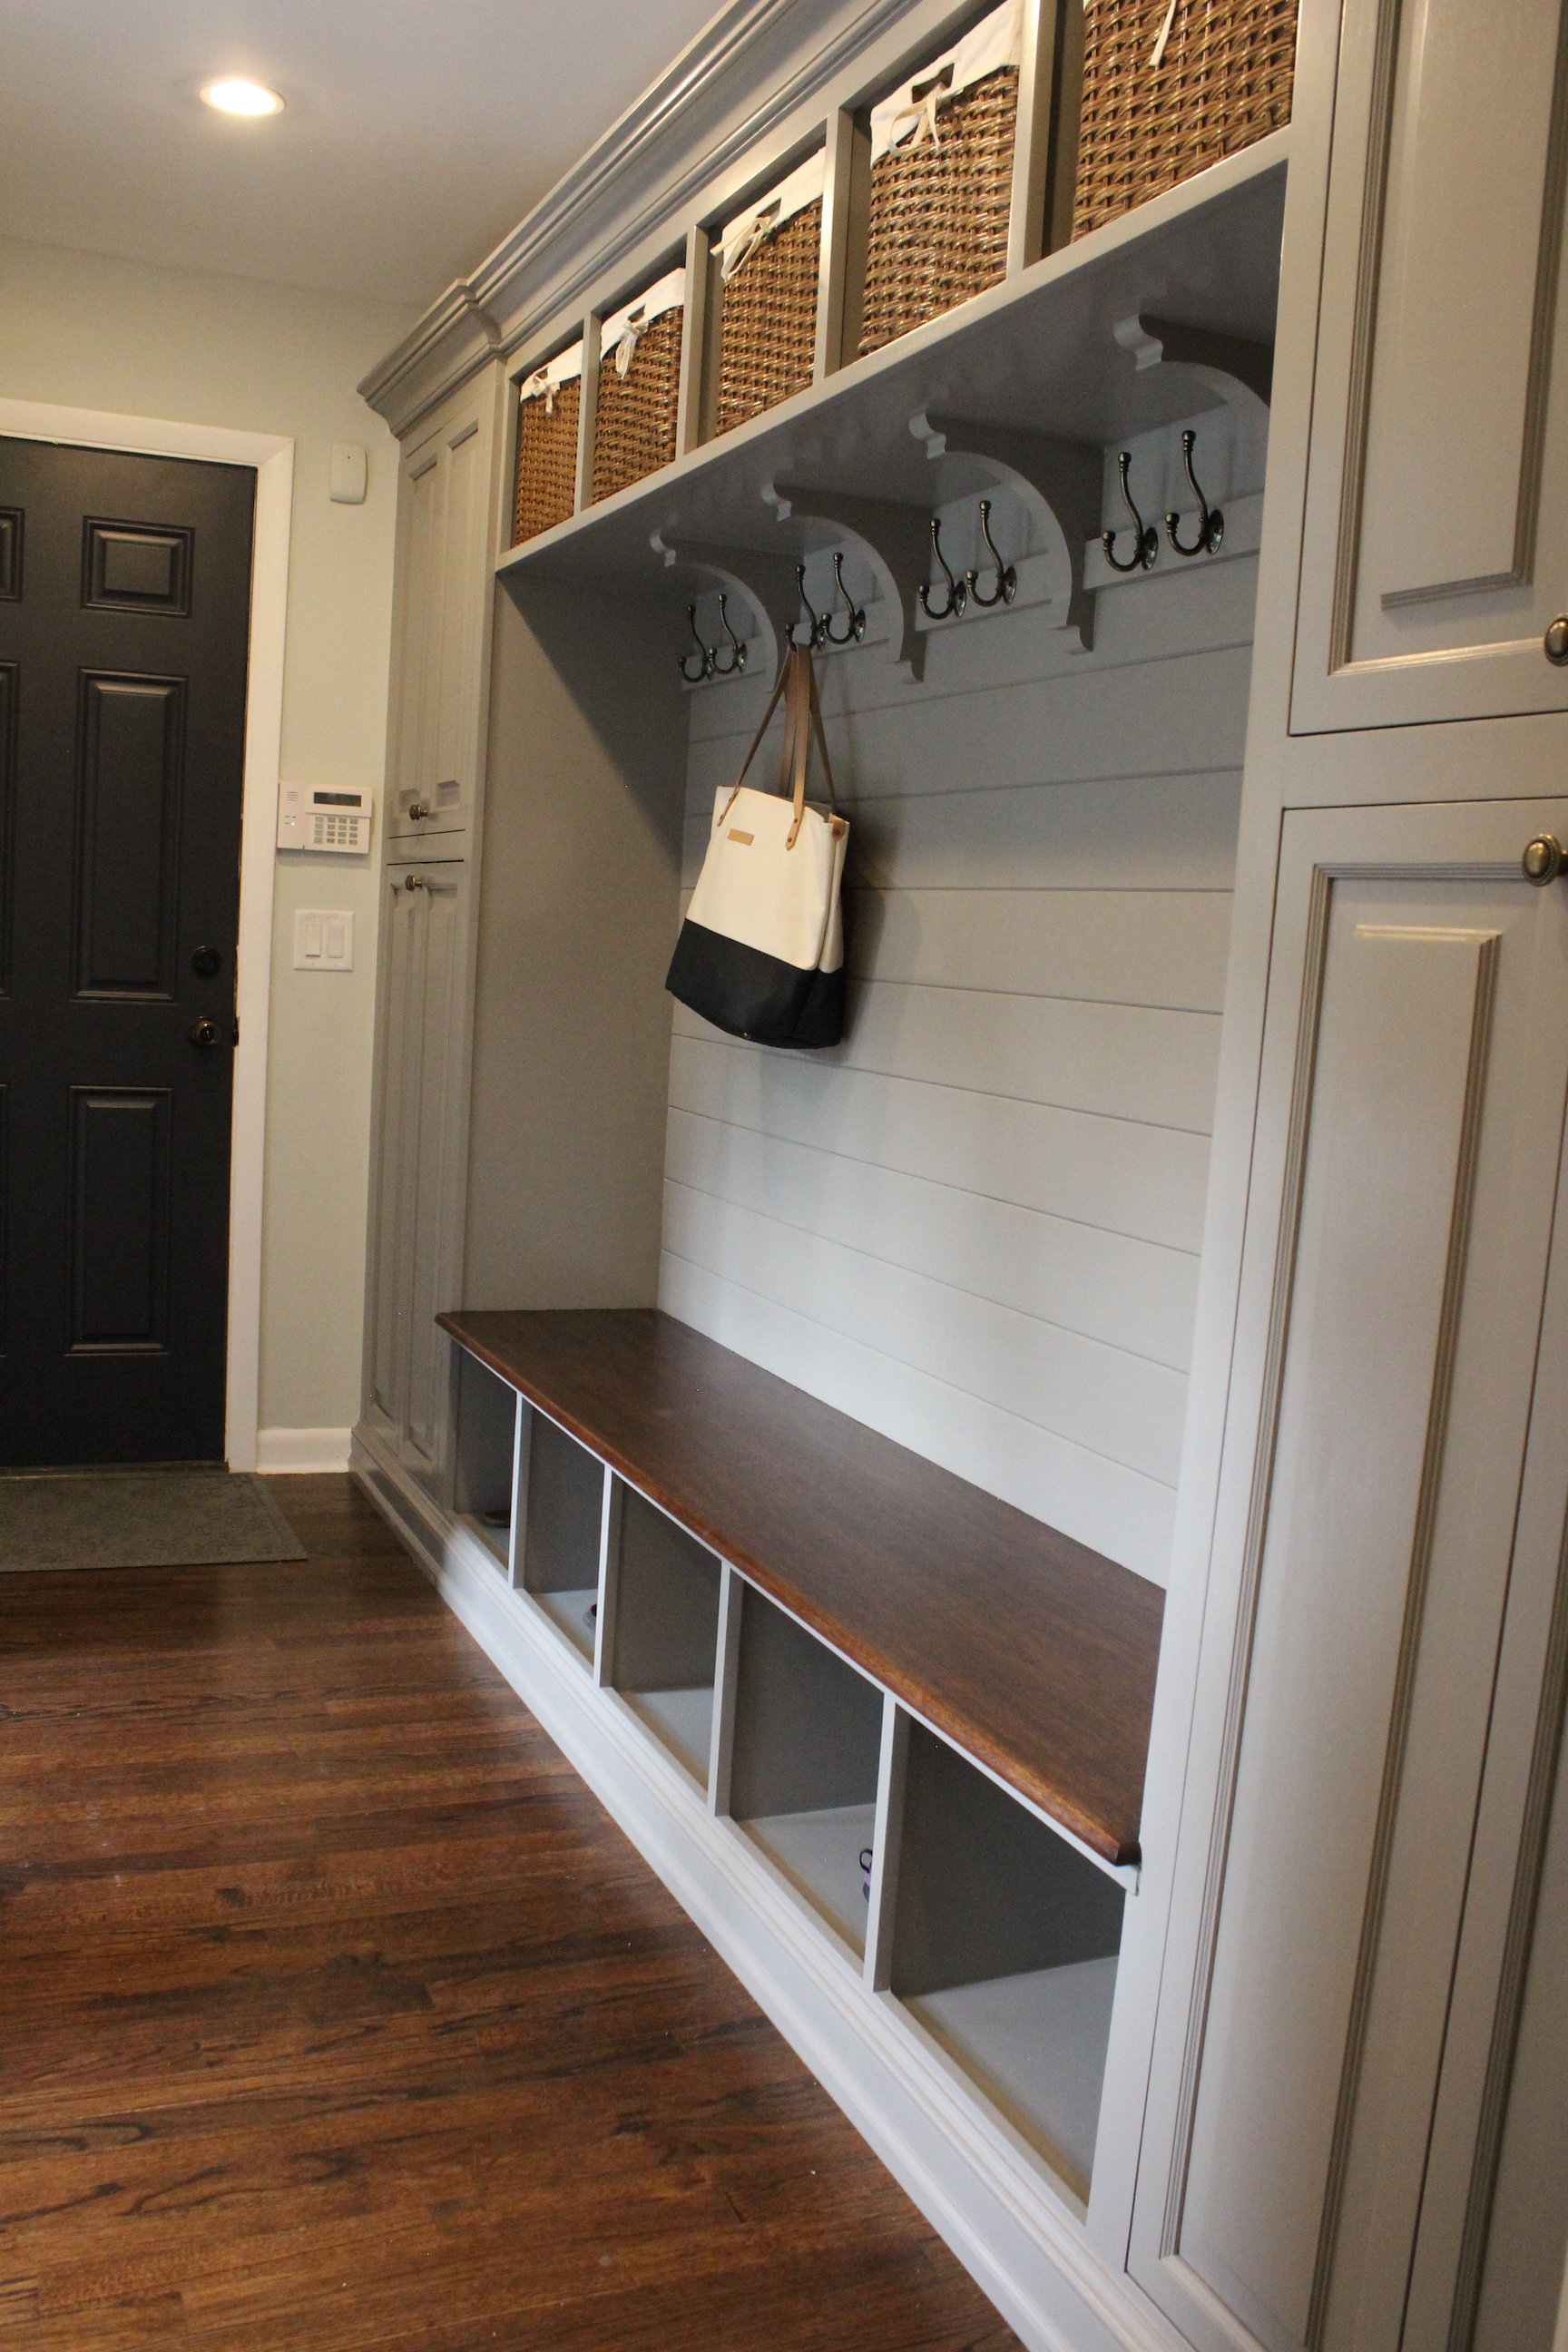
And built a mudroom on the other side of the playroom off of the garage:

mudroom-whole-view

There used to be a powder room/laundry room combo on the first floor:

We incorporated that space into the kitchen and walk-in pantry:

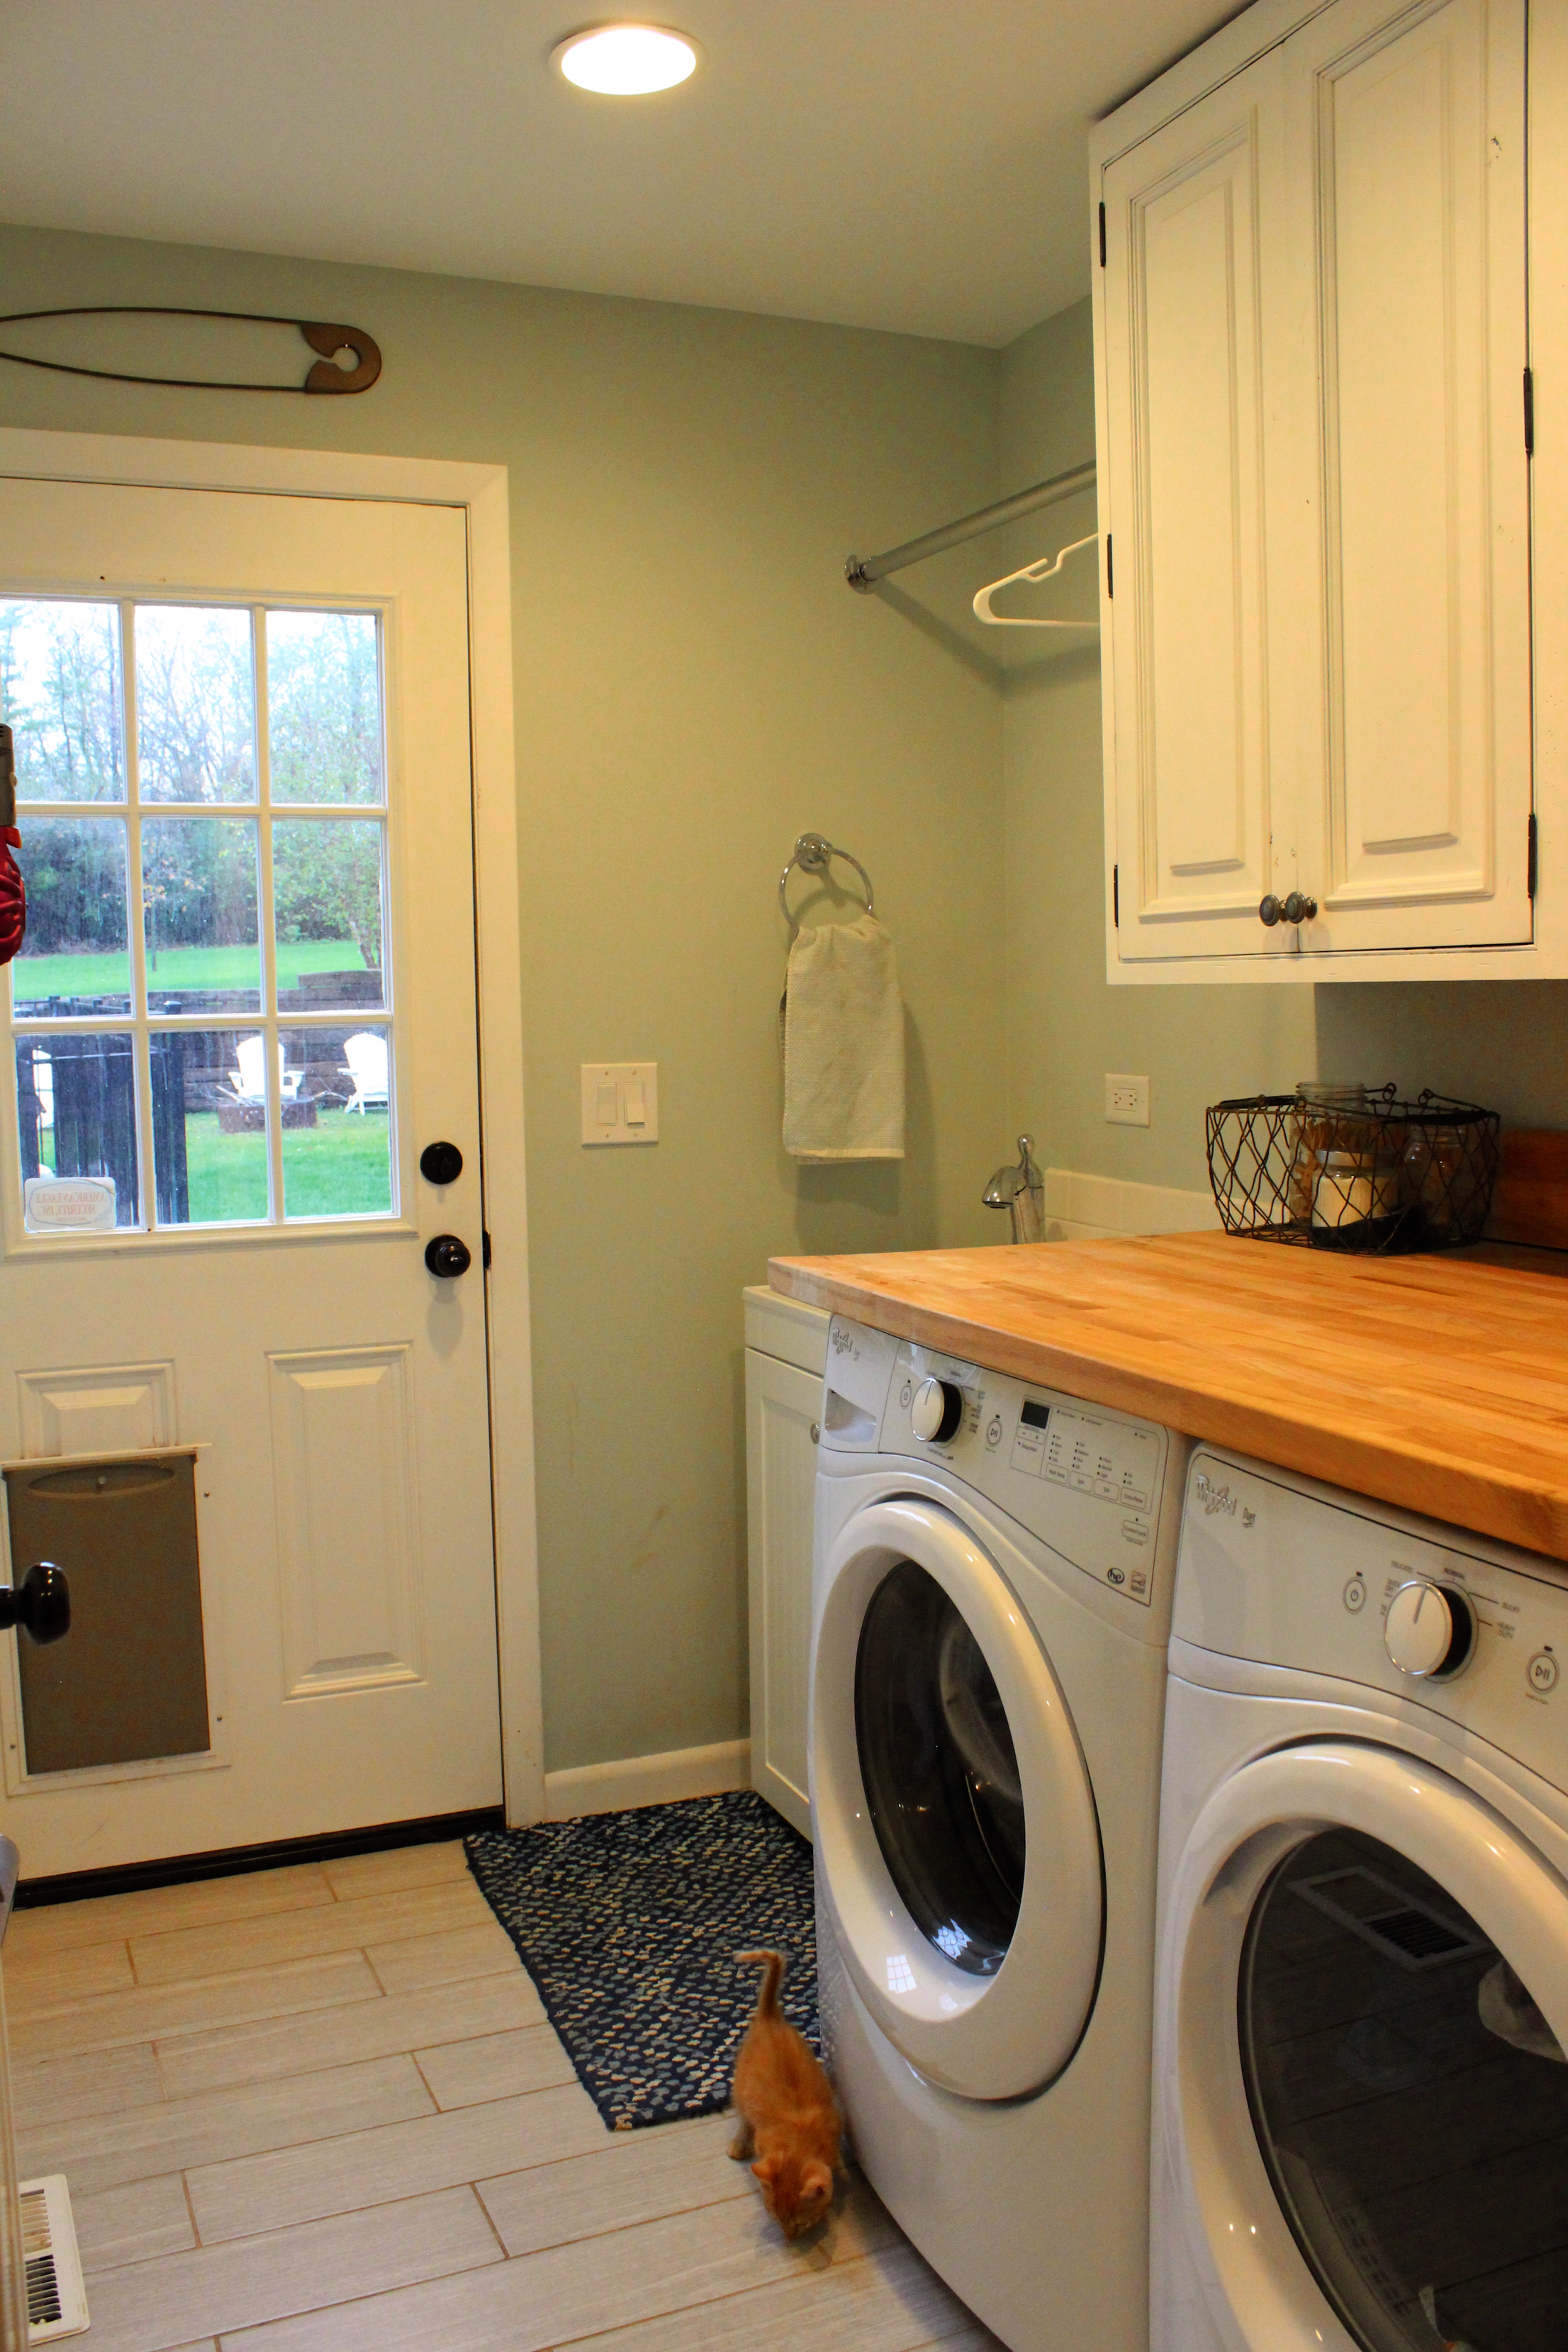
And then built a separate powder room and laundry room as part of the addition:

(There’s a cameo by our new kitten, Simon!)

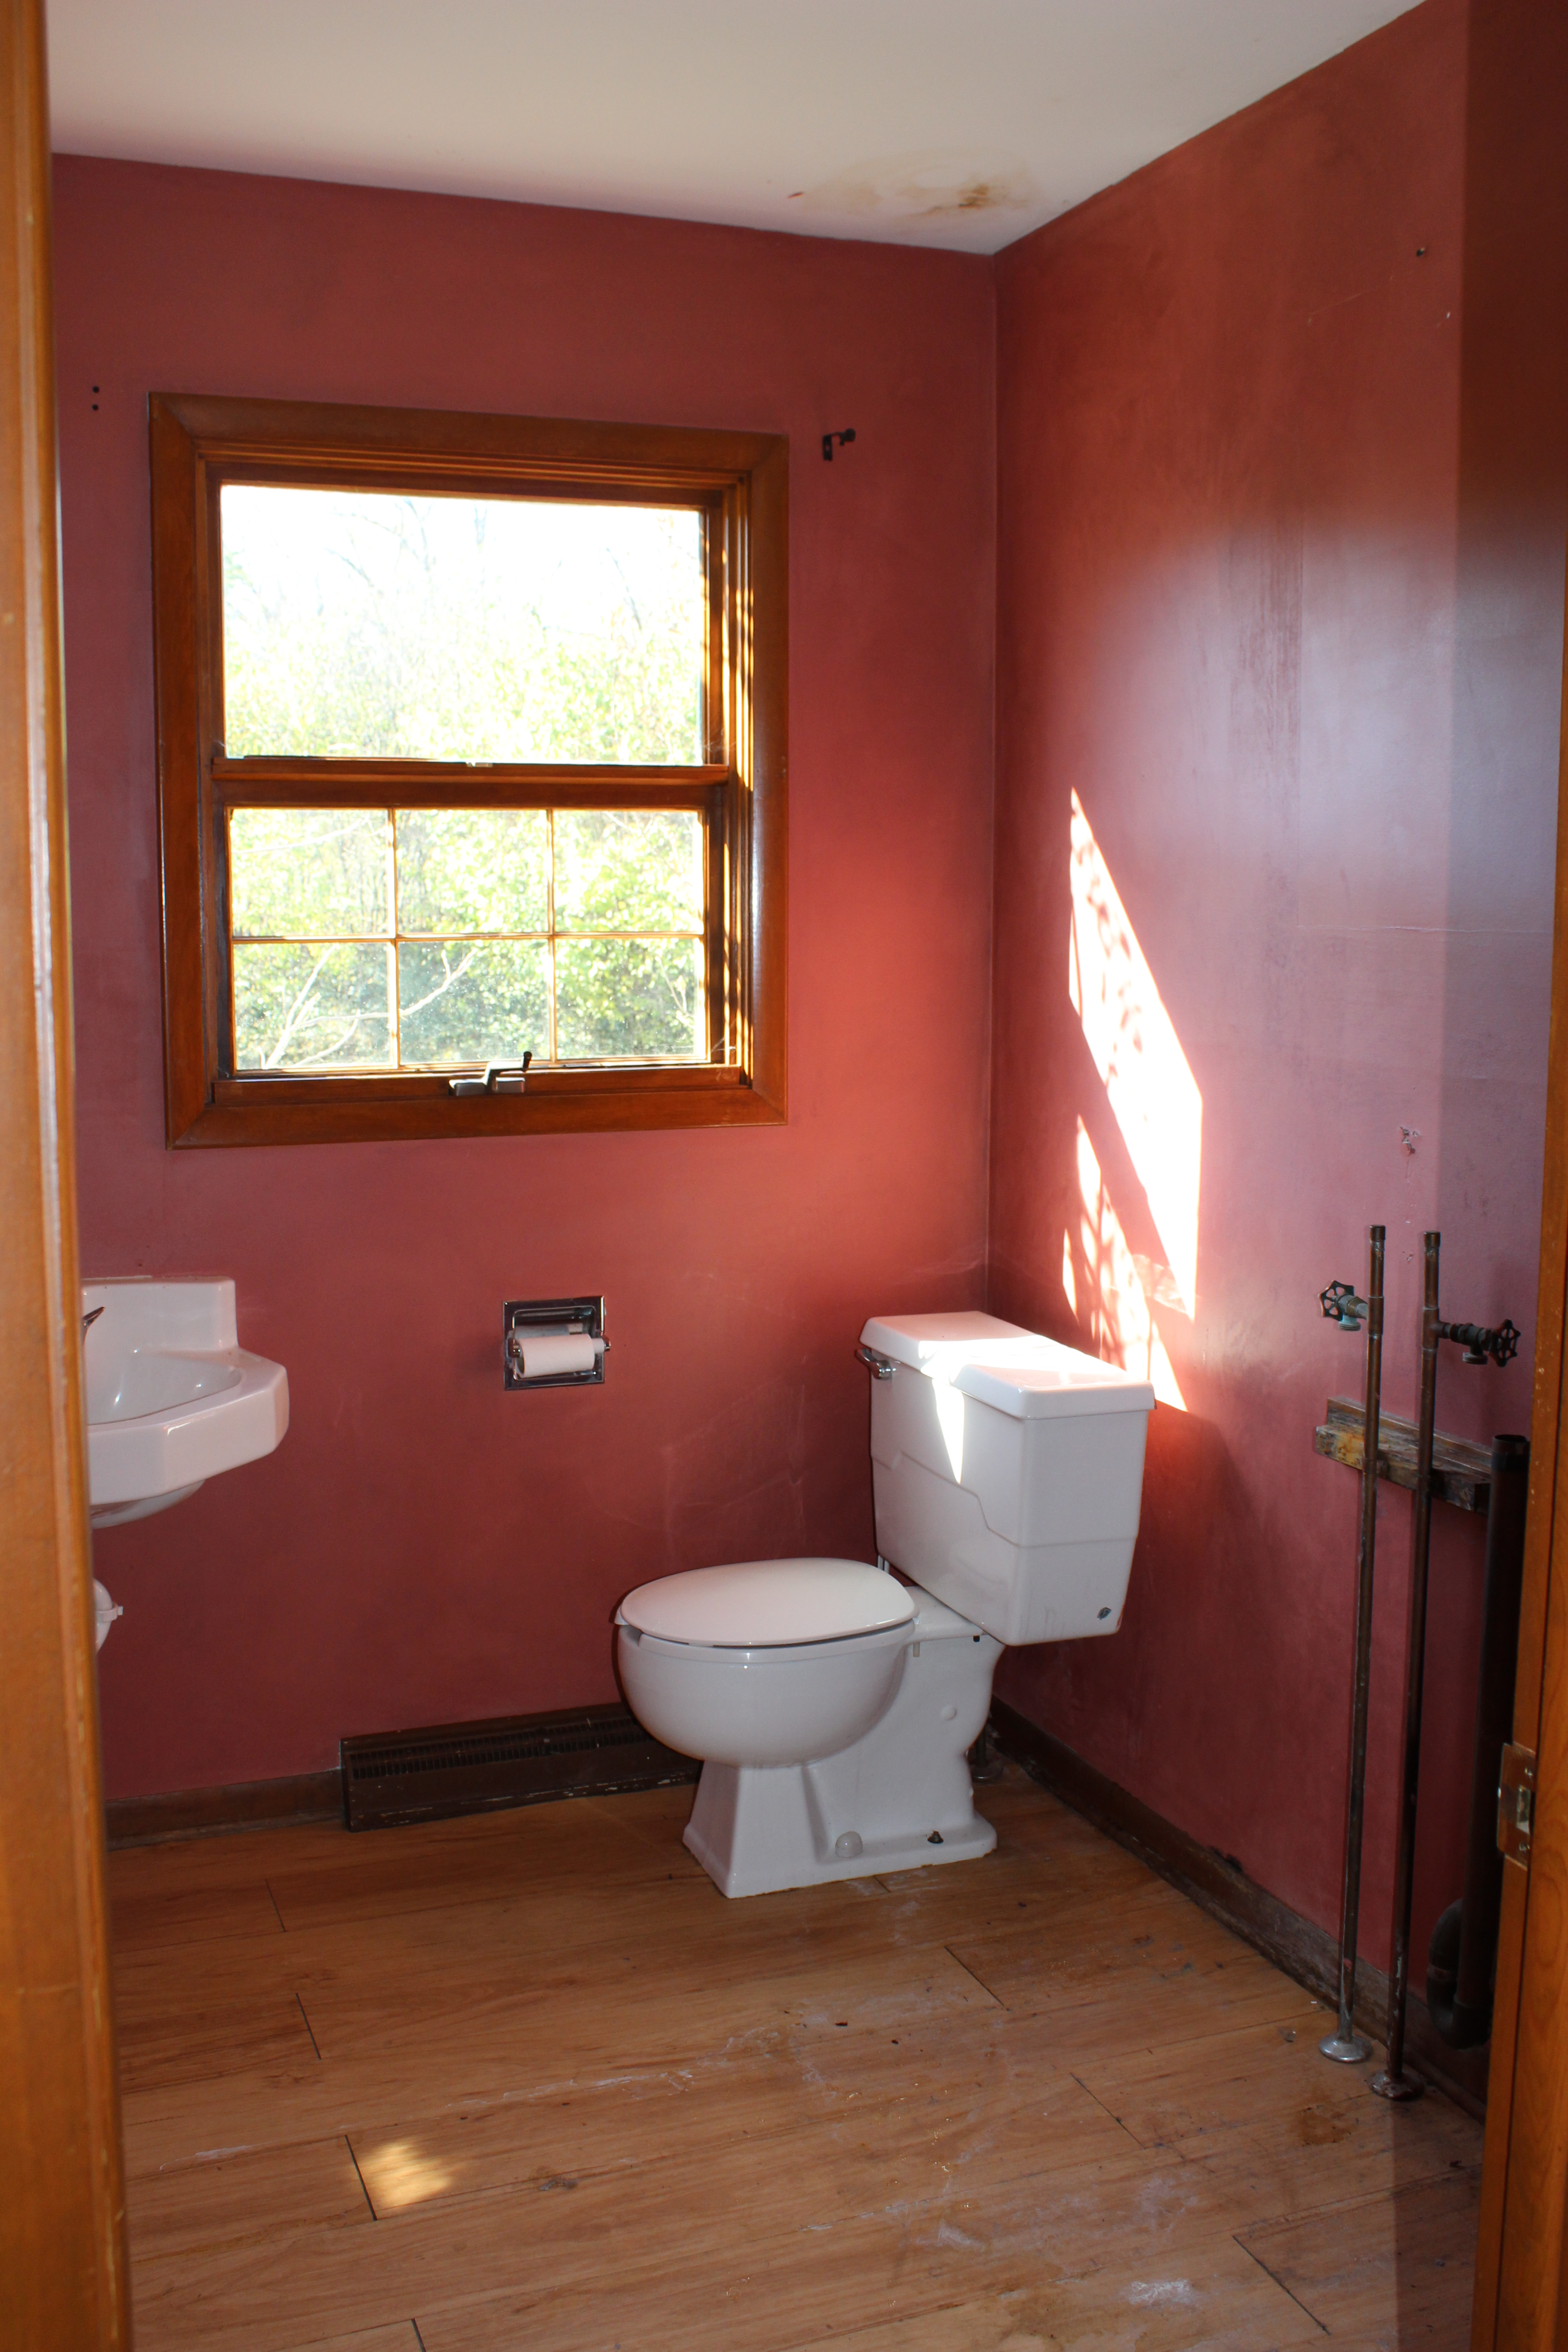
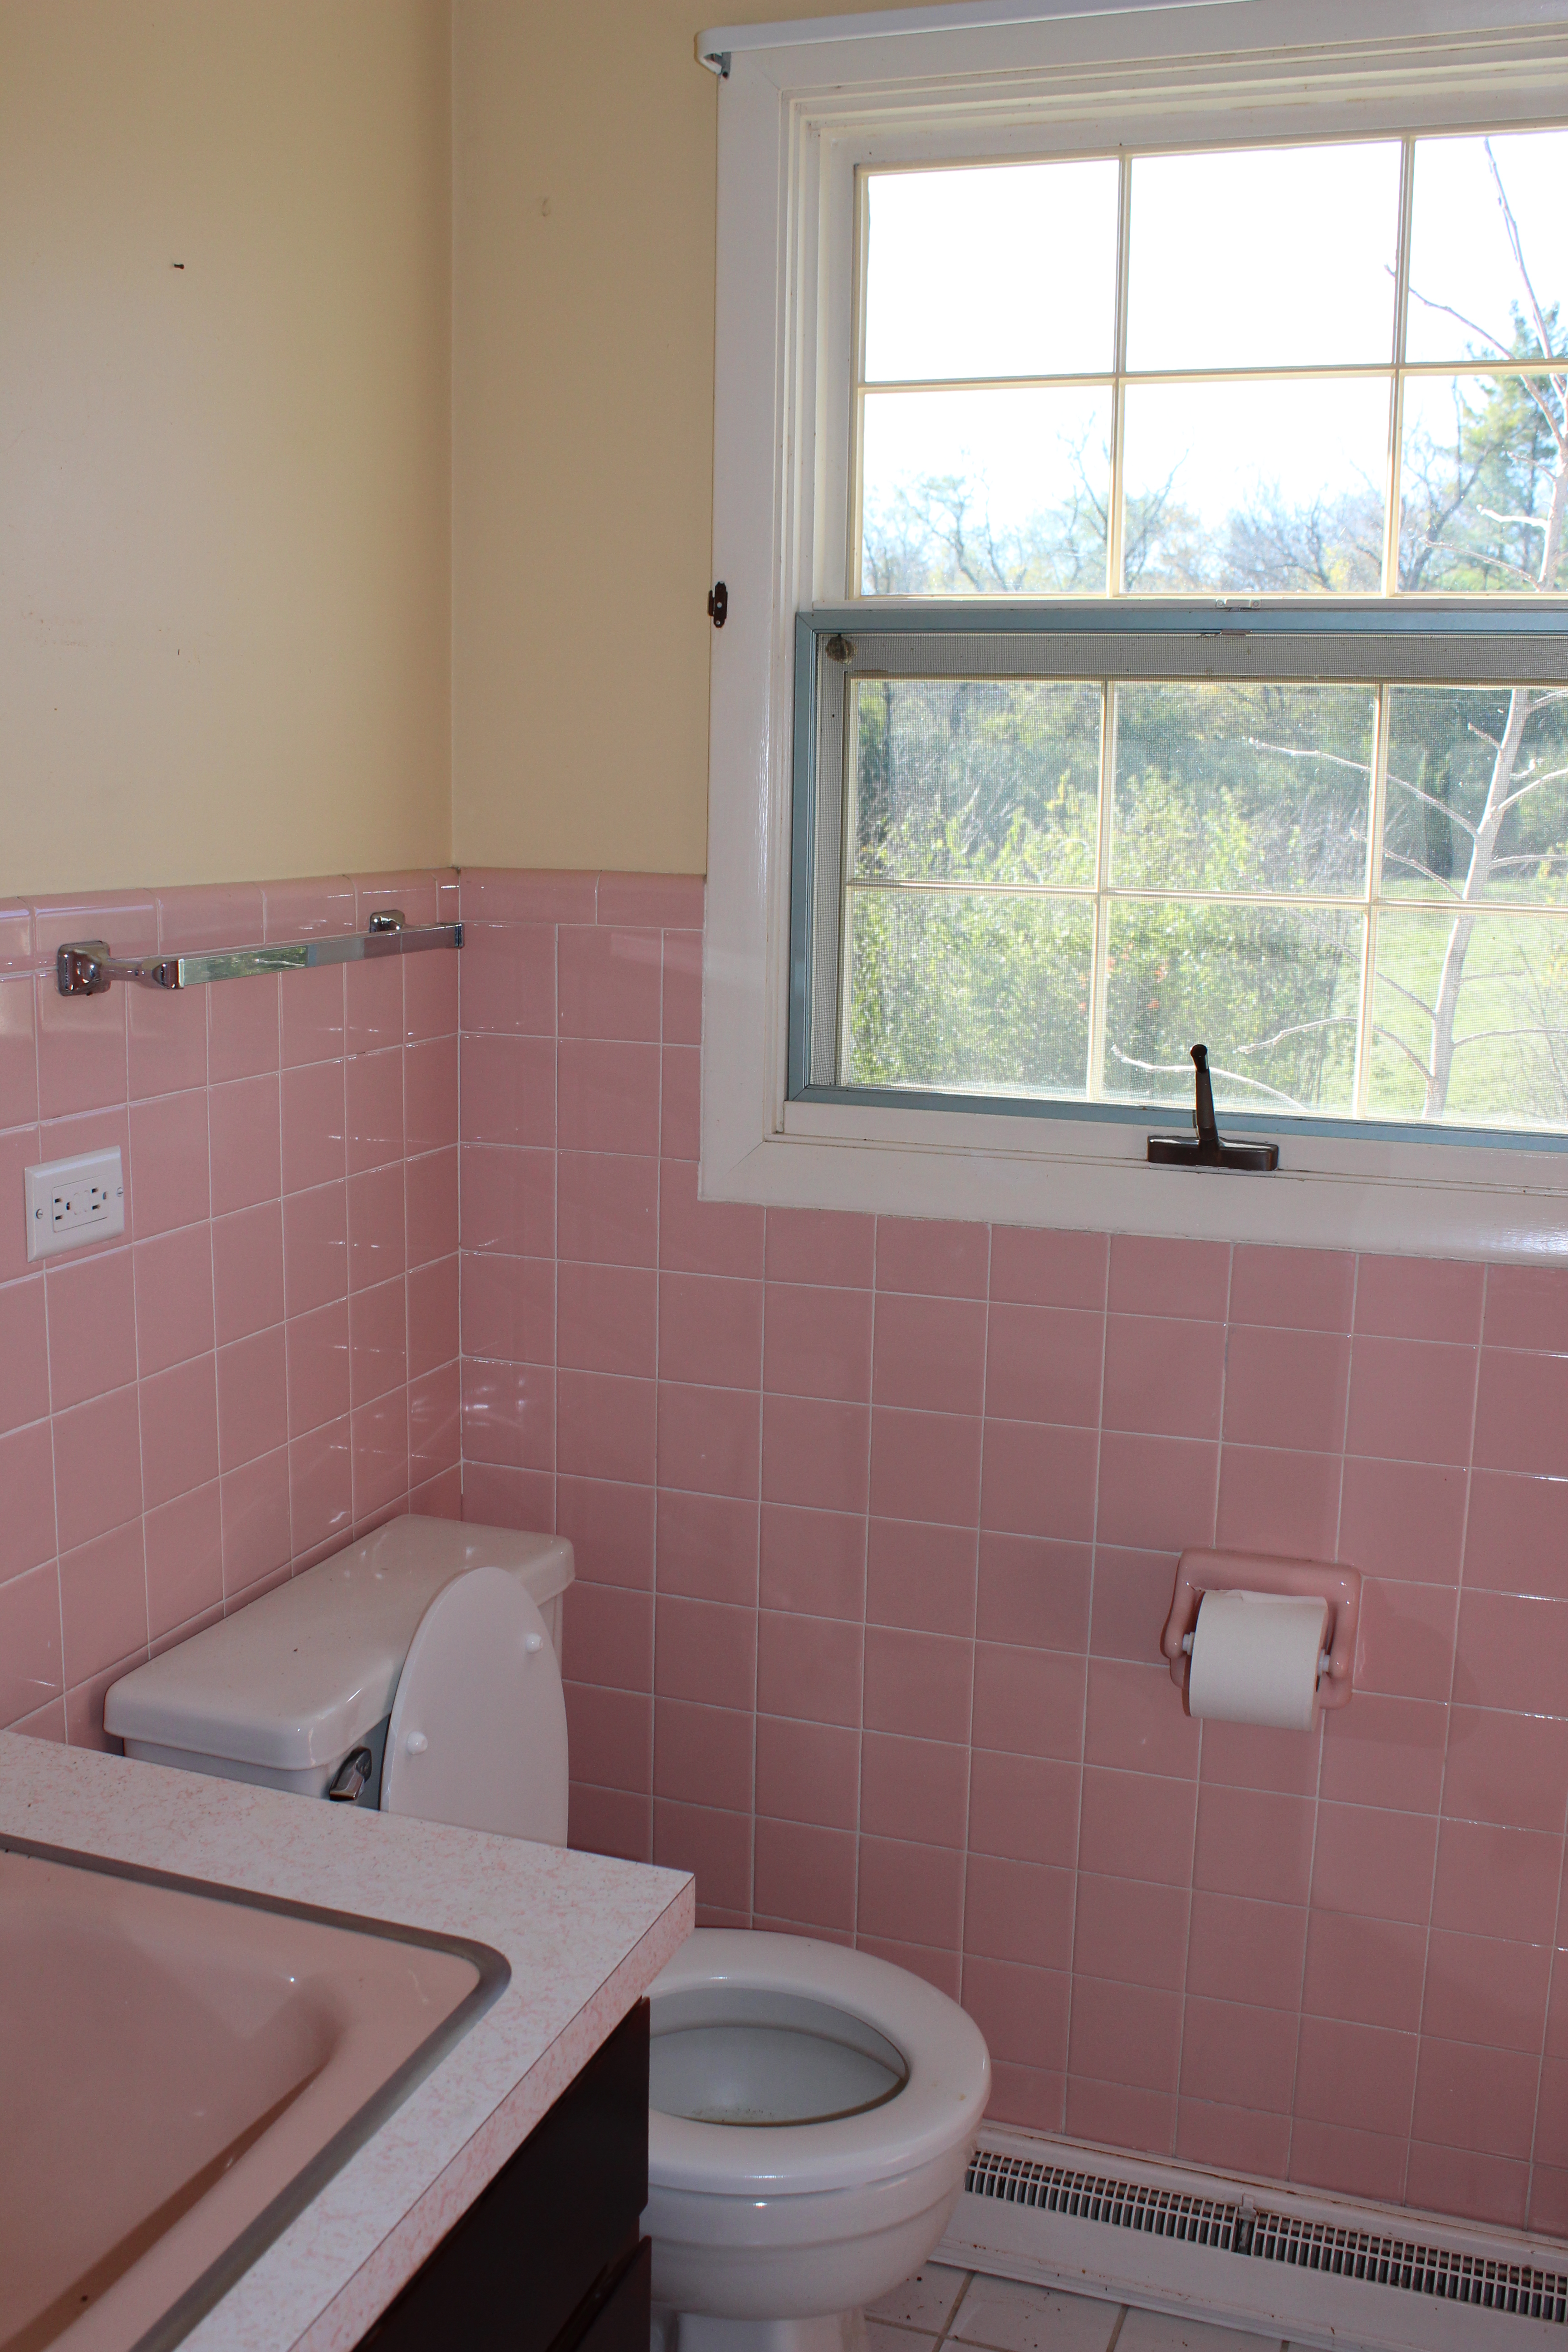
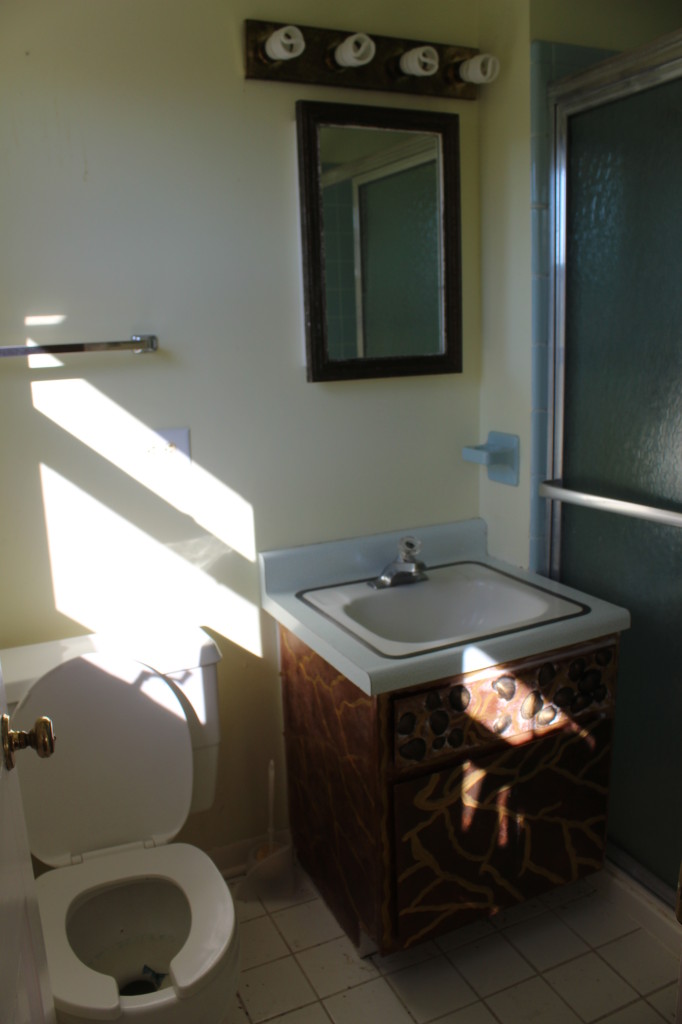
Moving upstairs, we have the old guest bathroom:

Pink bathroom before

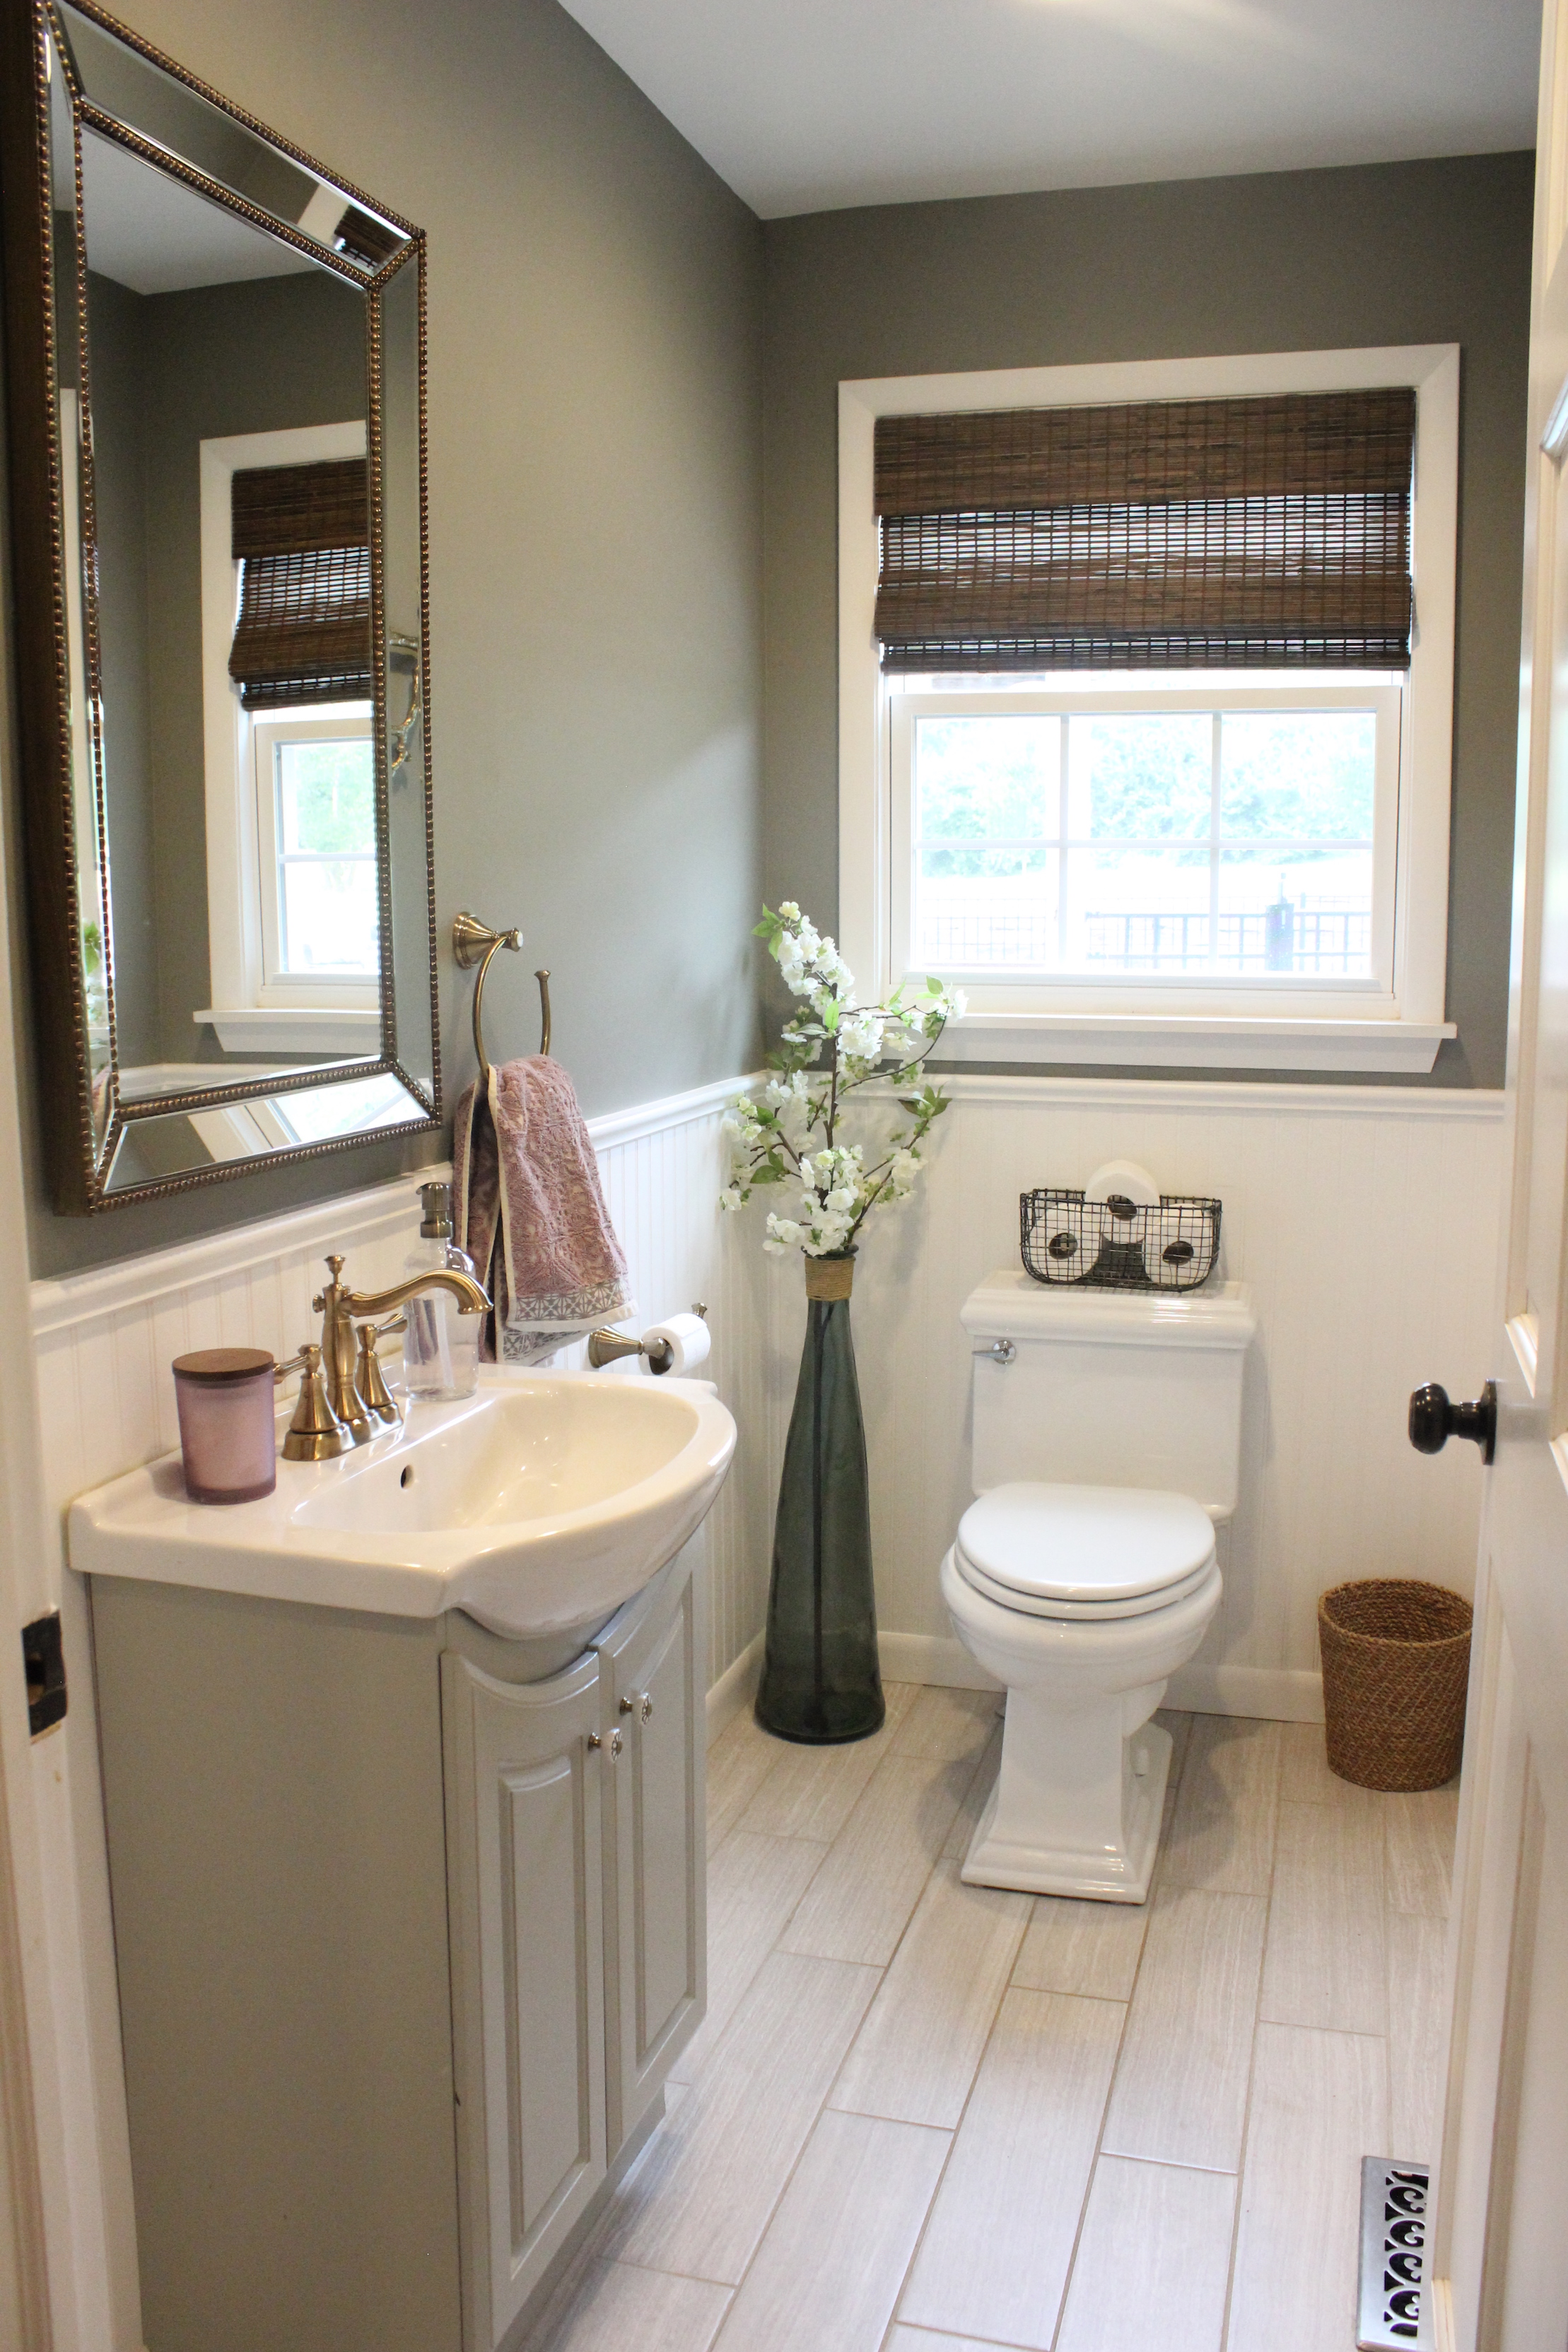
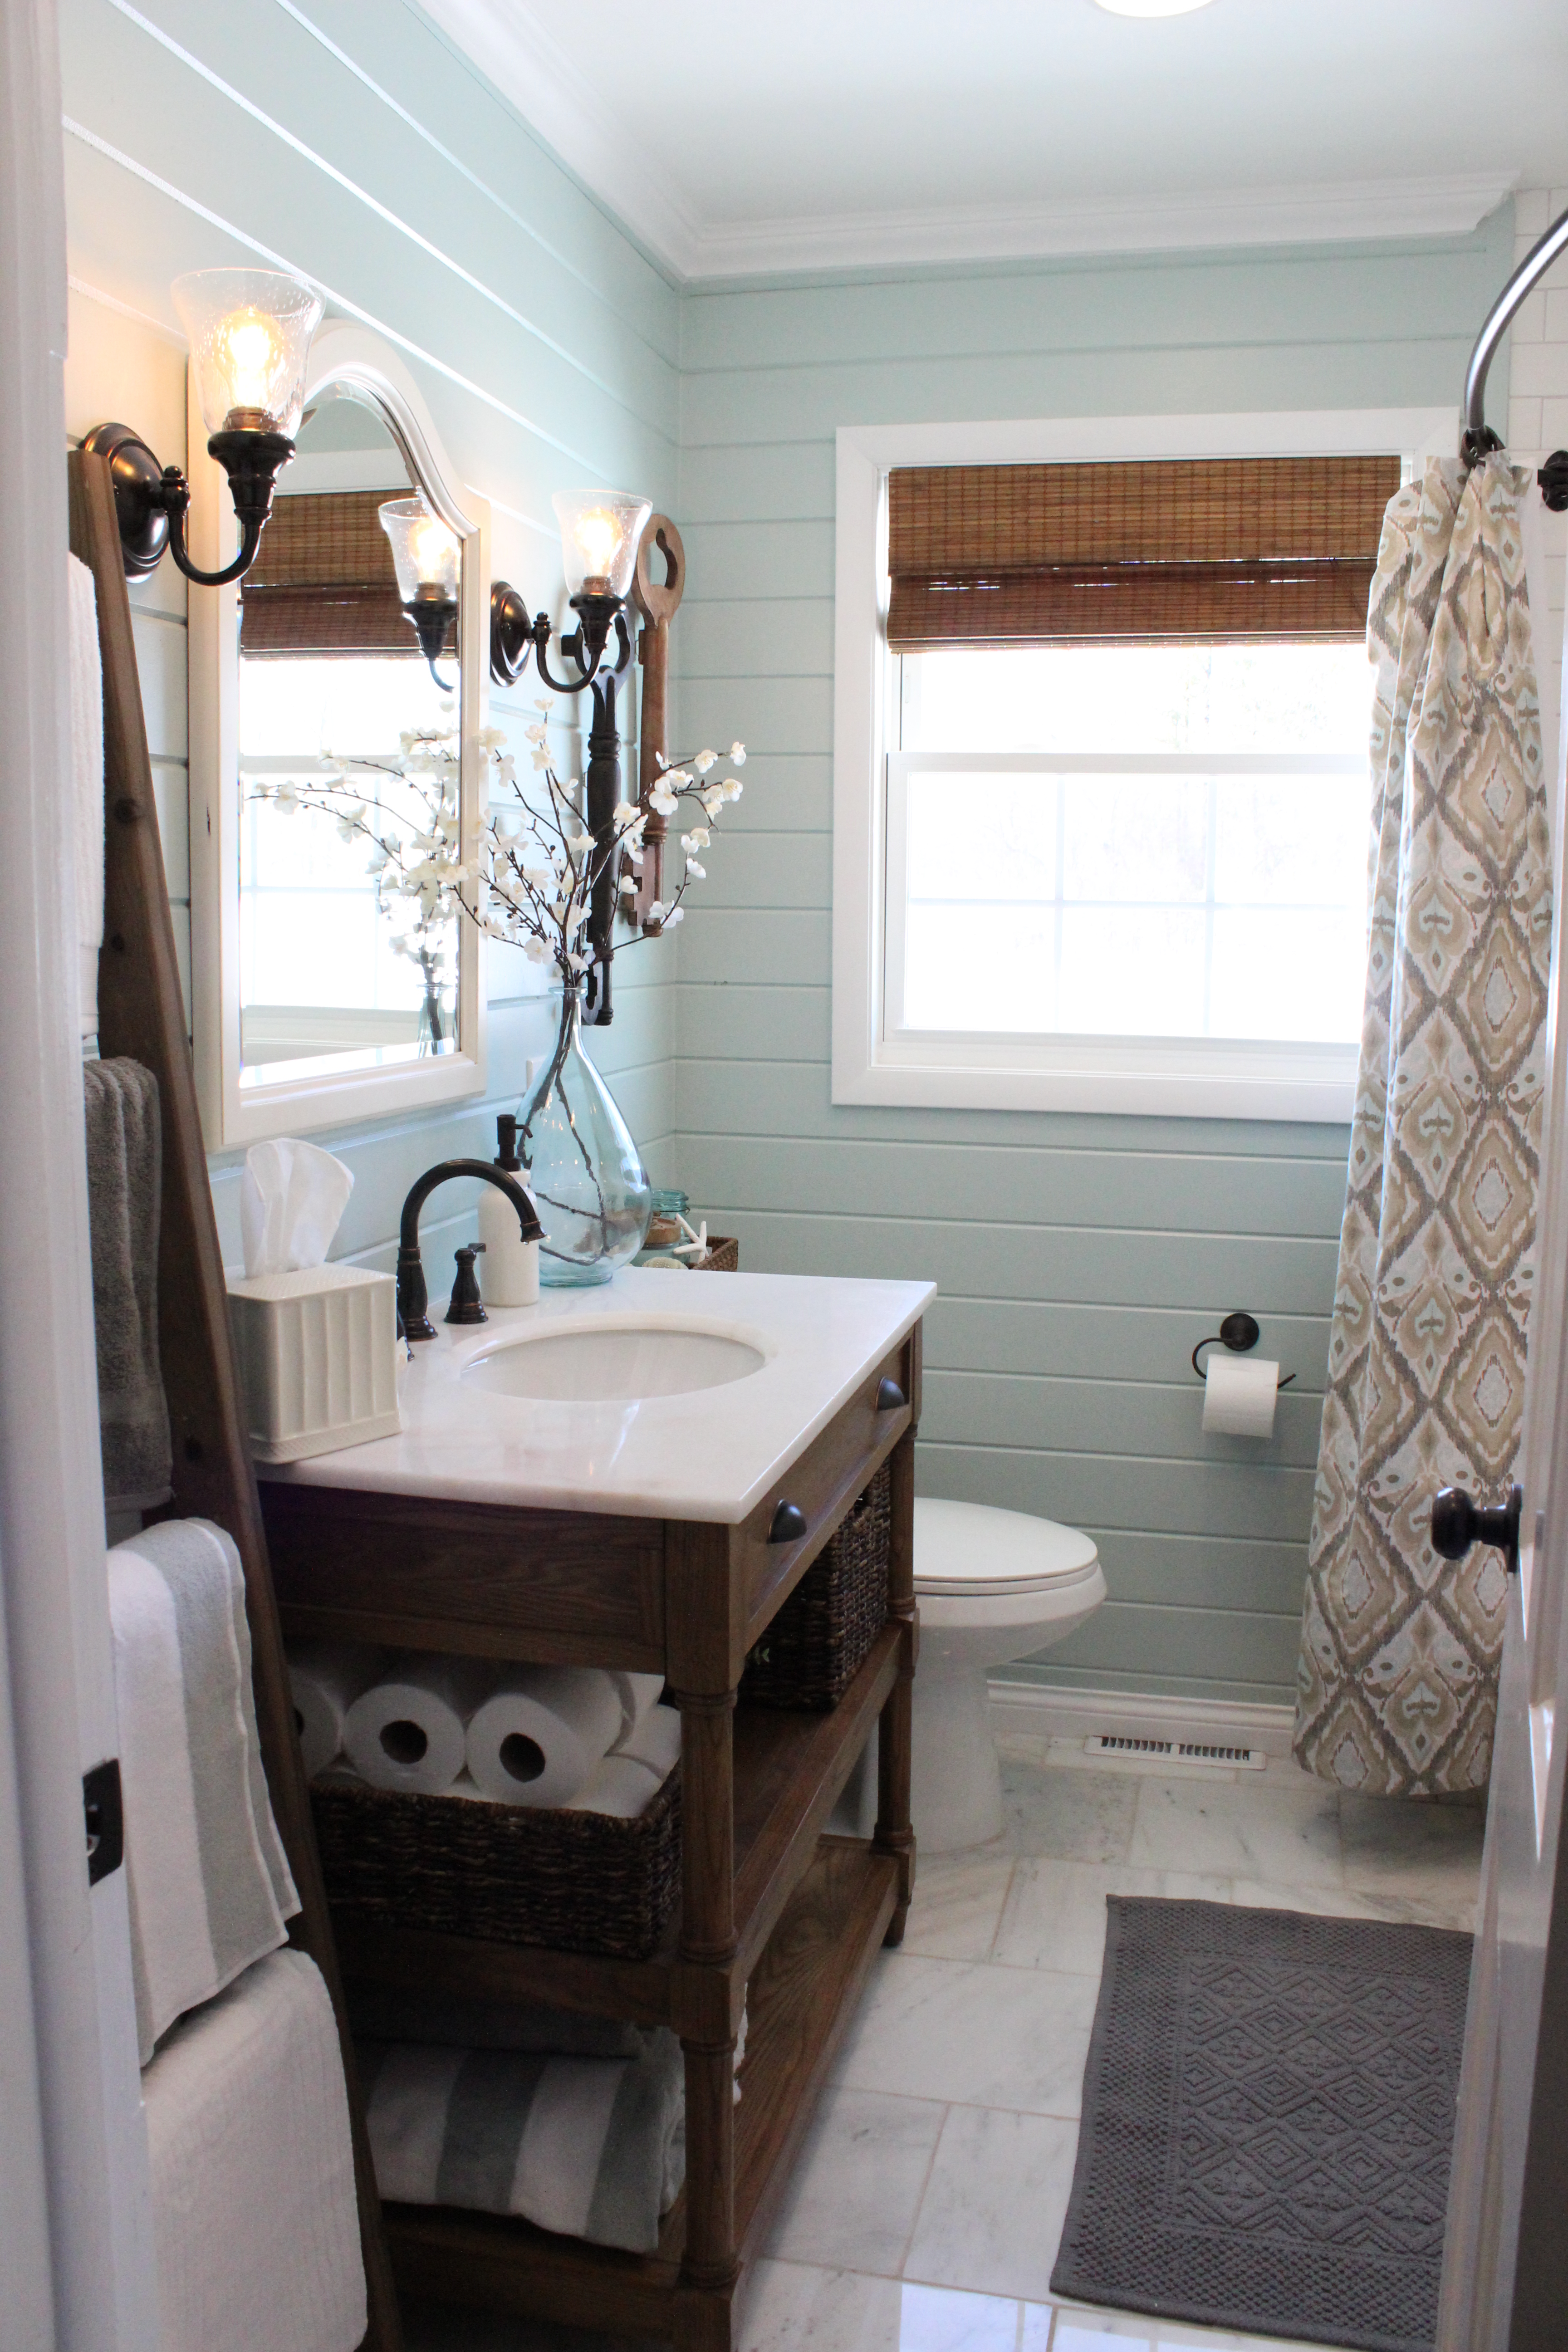
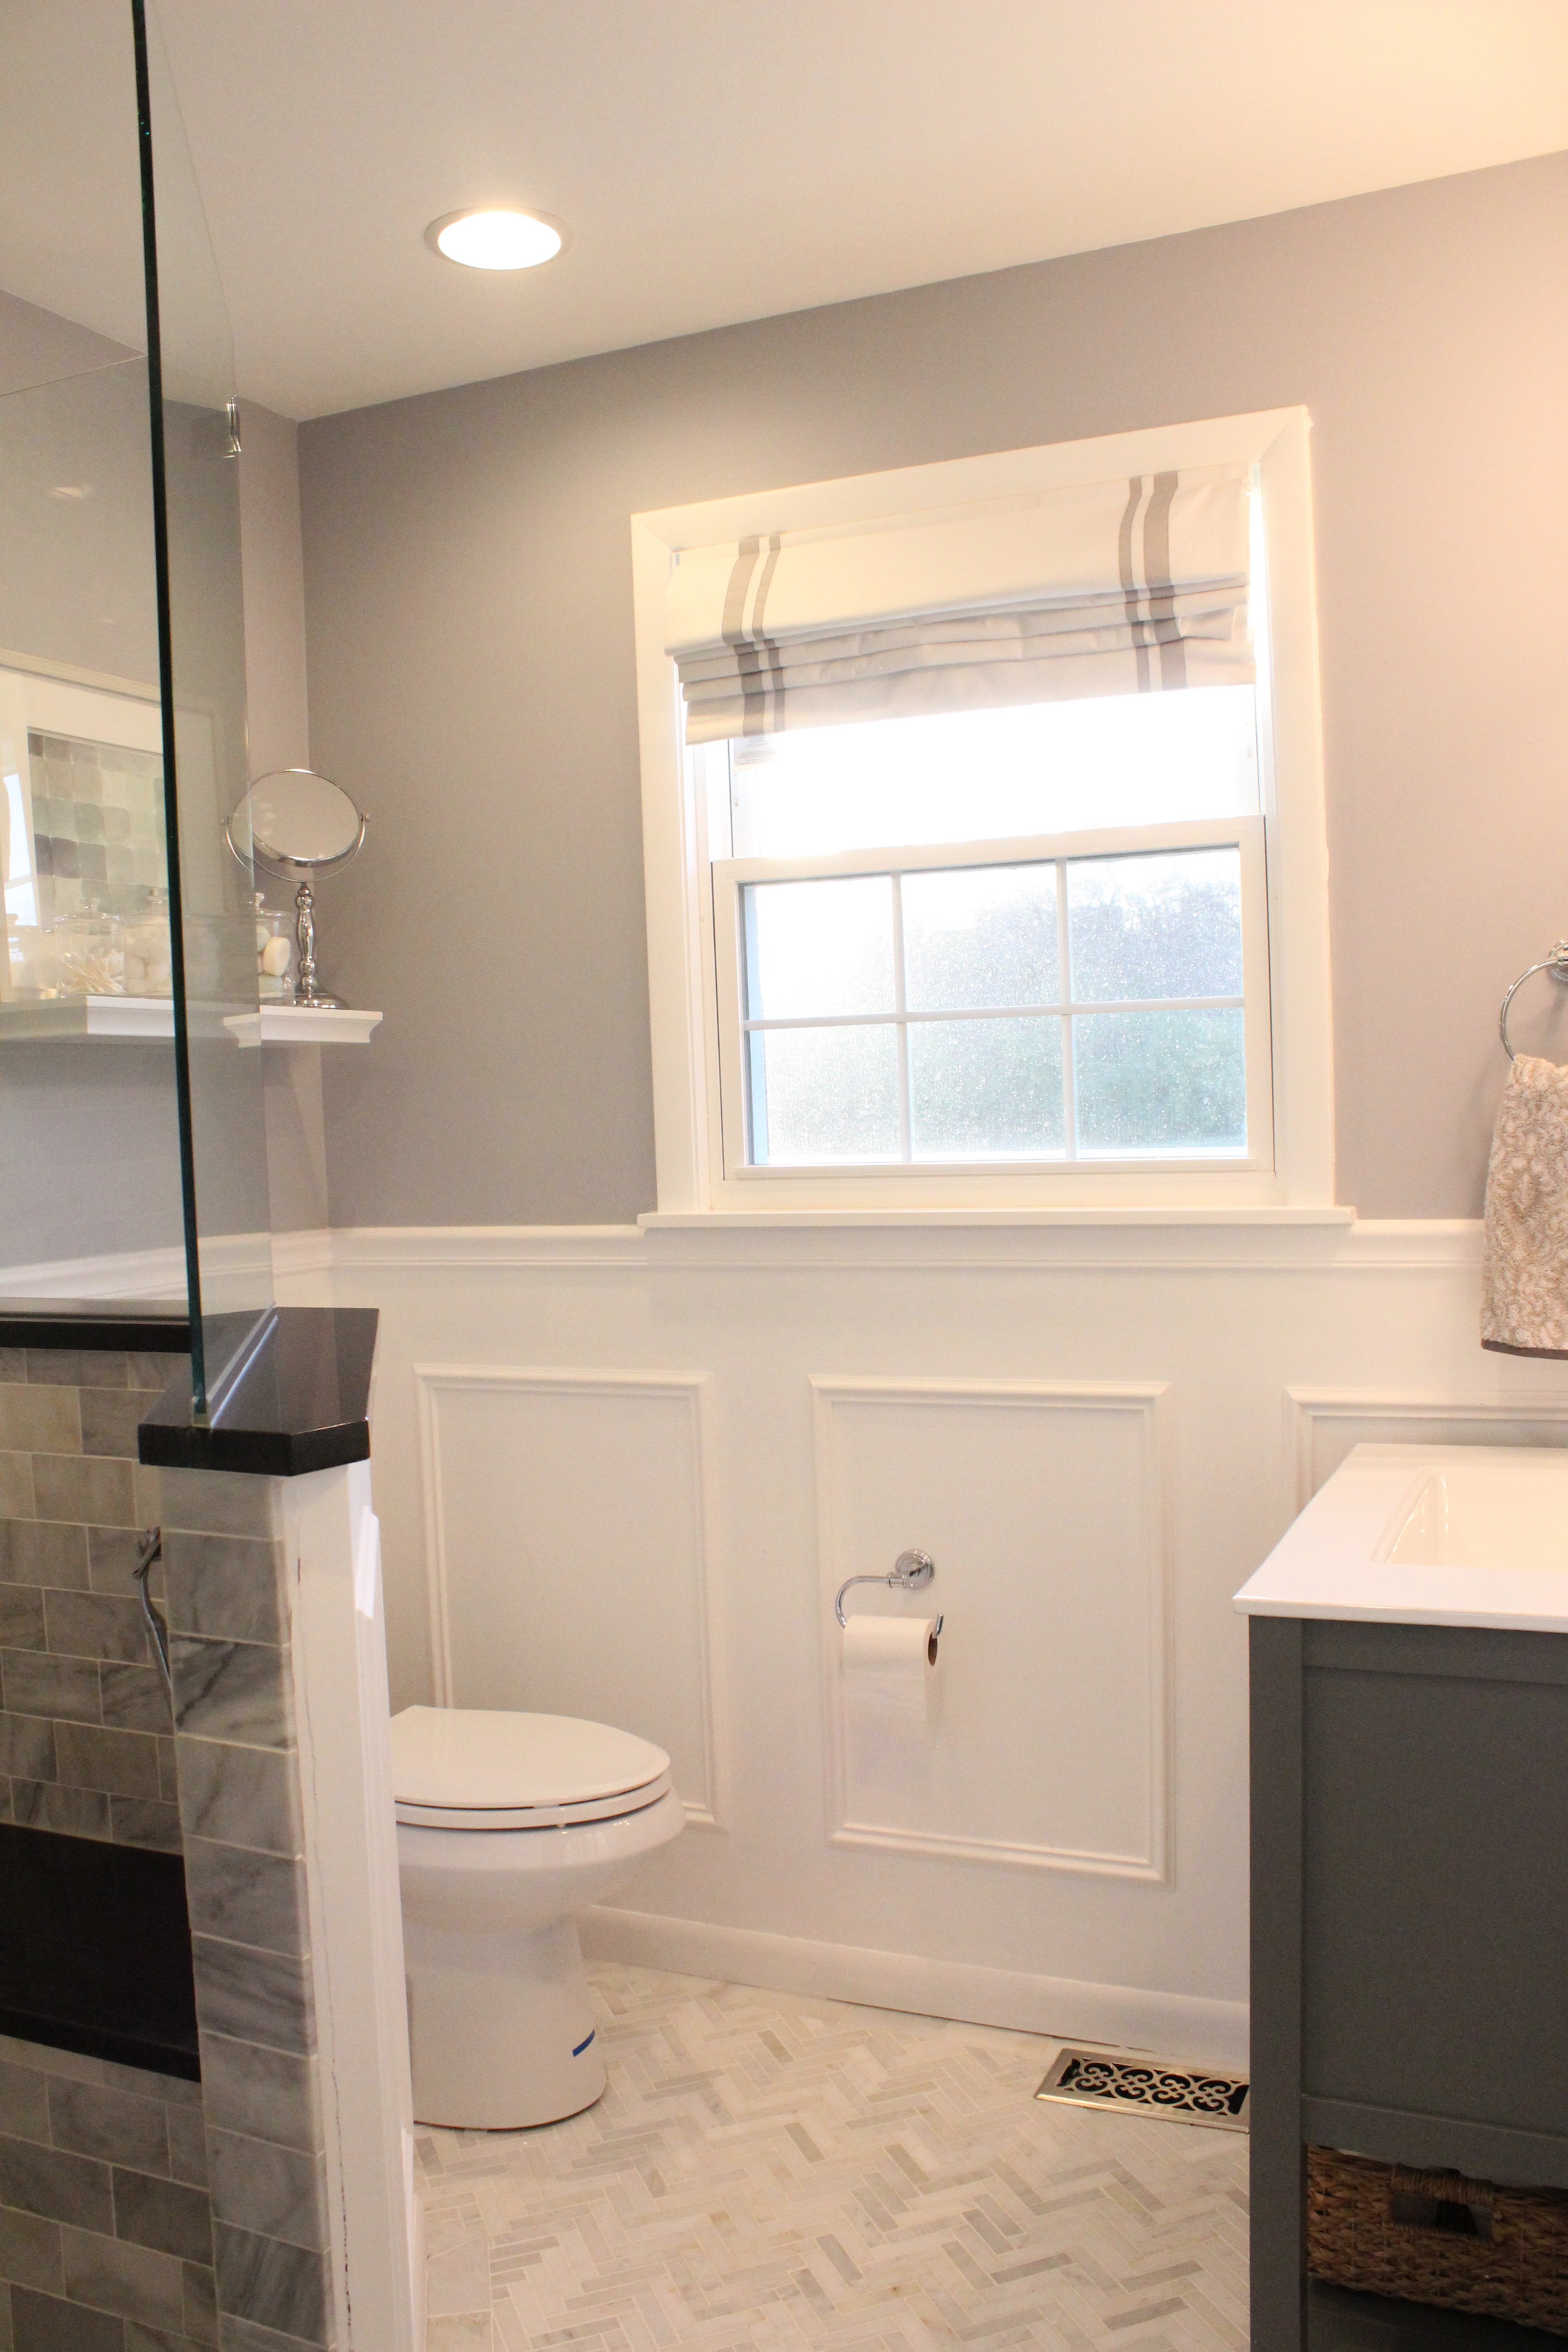
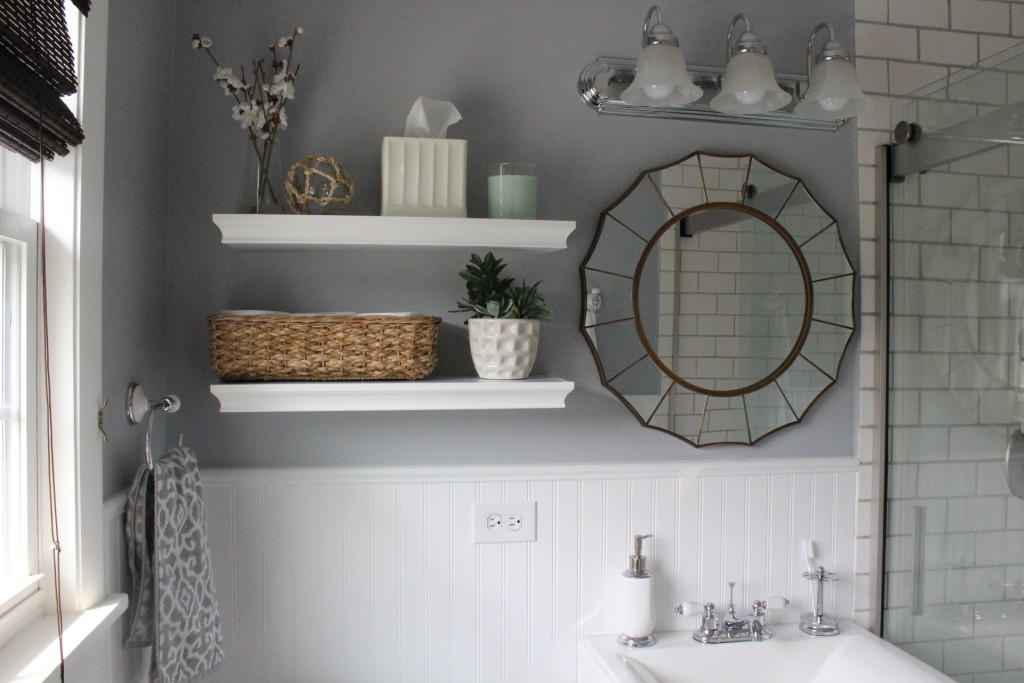
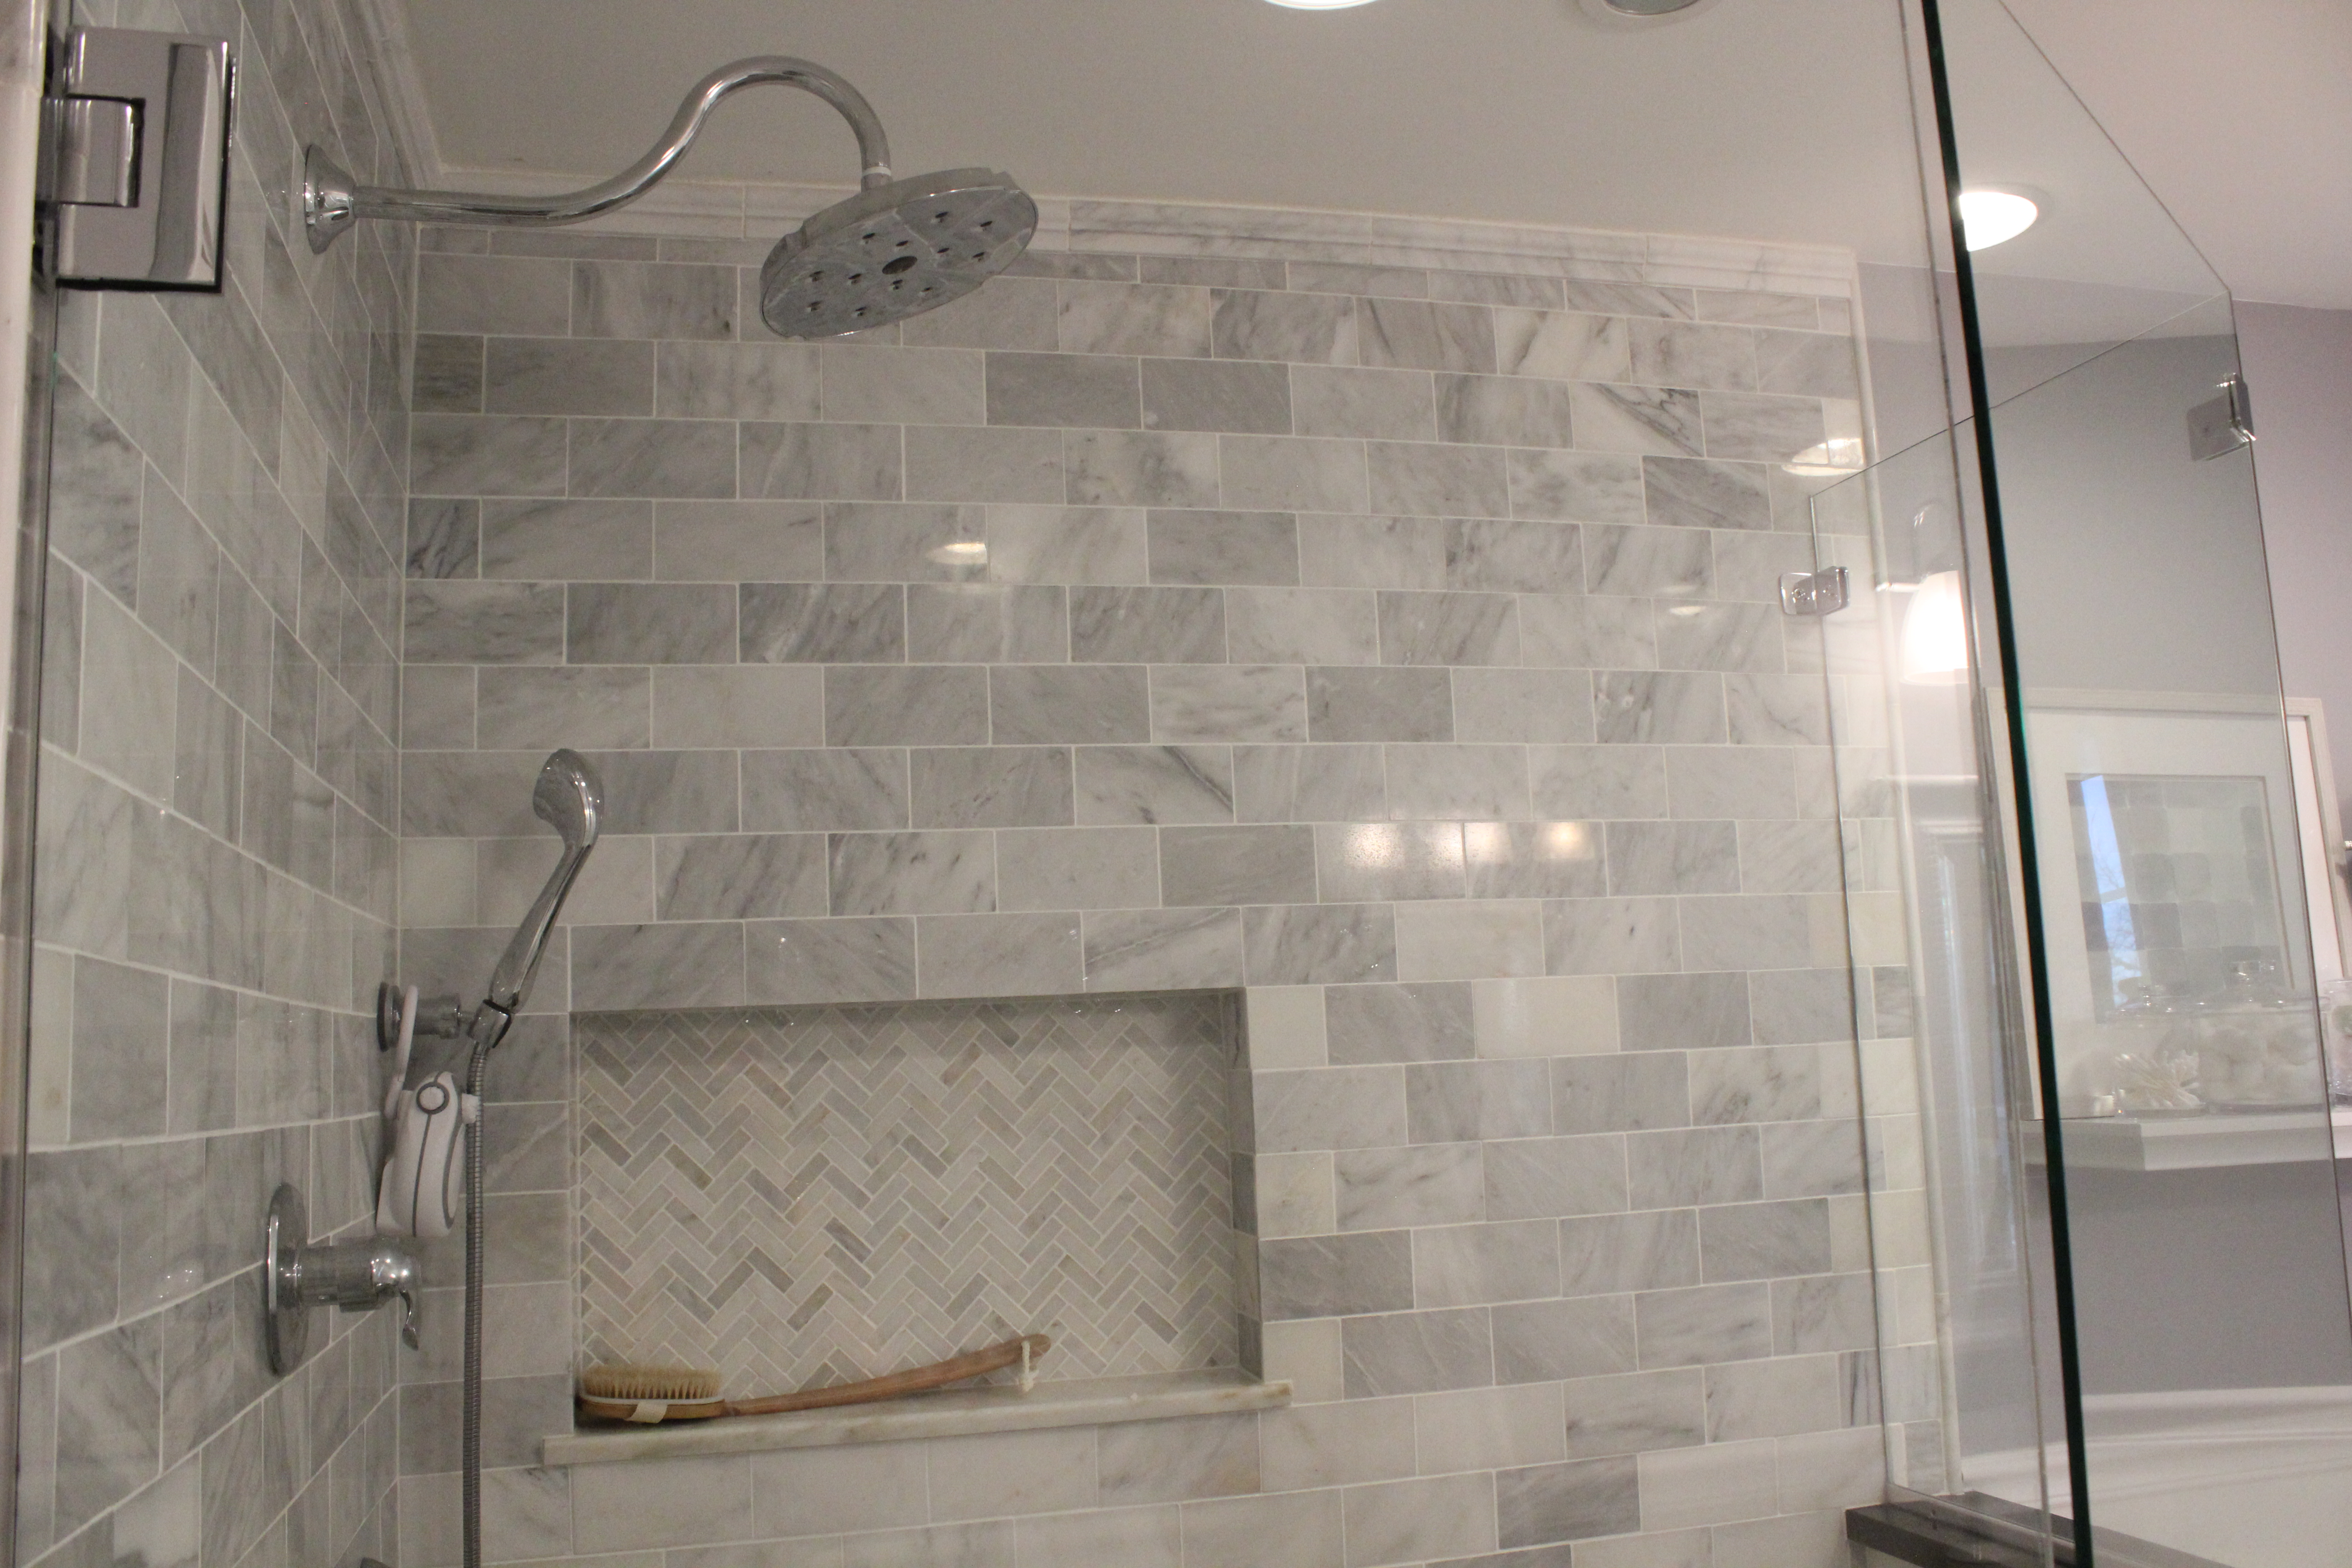
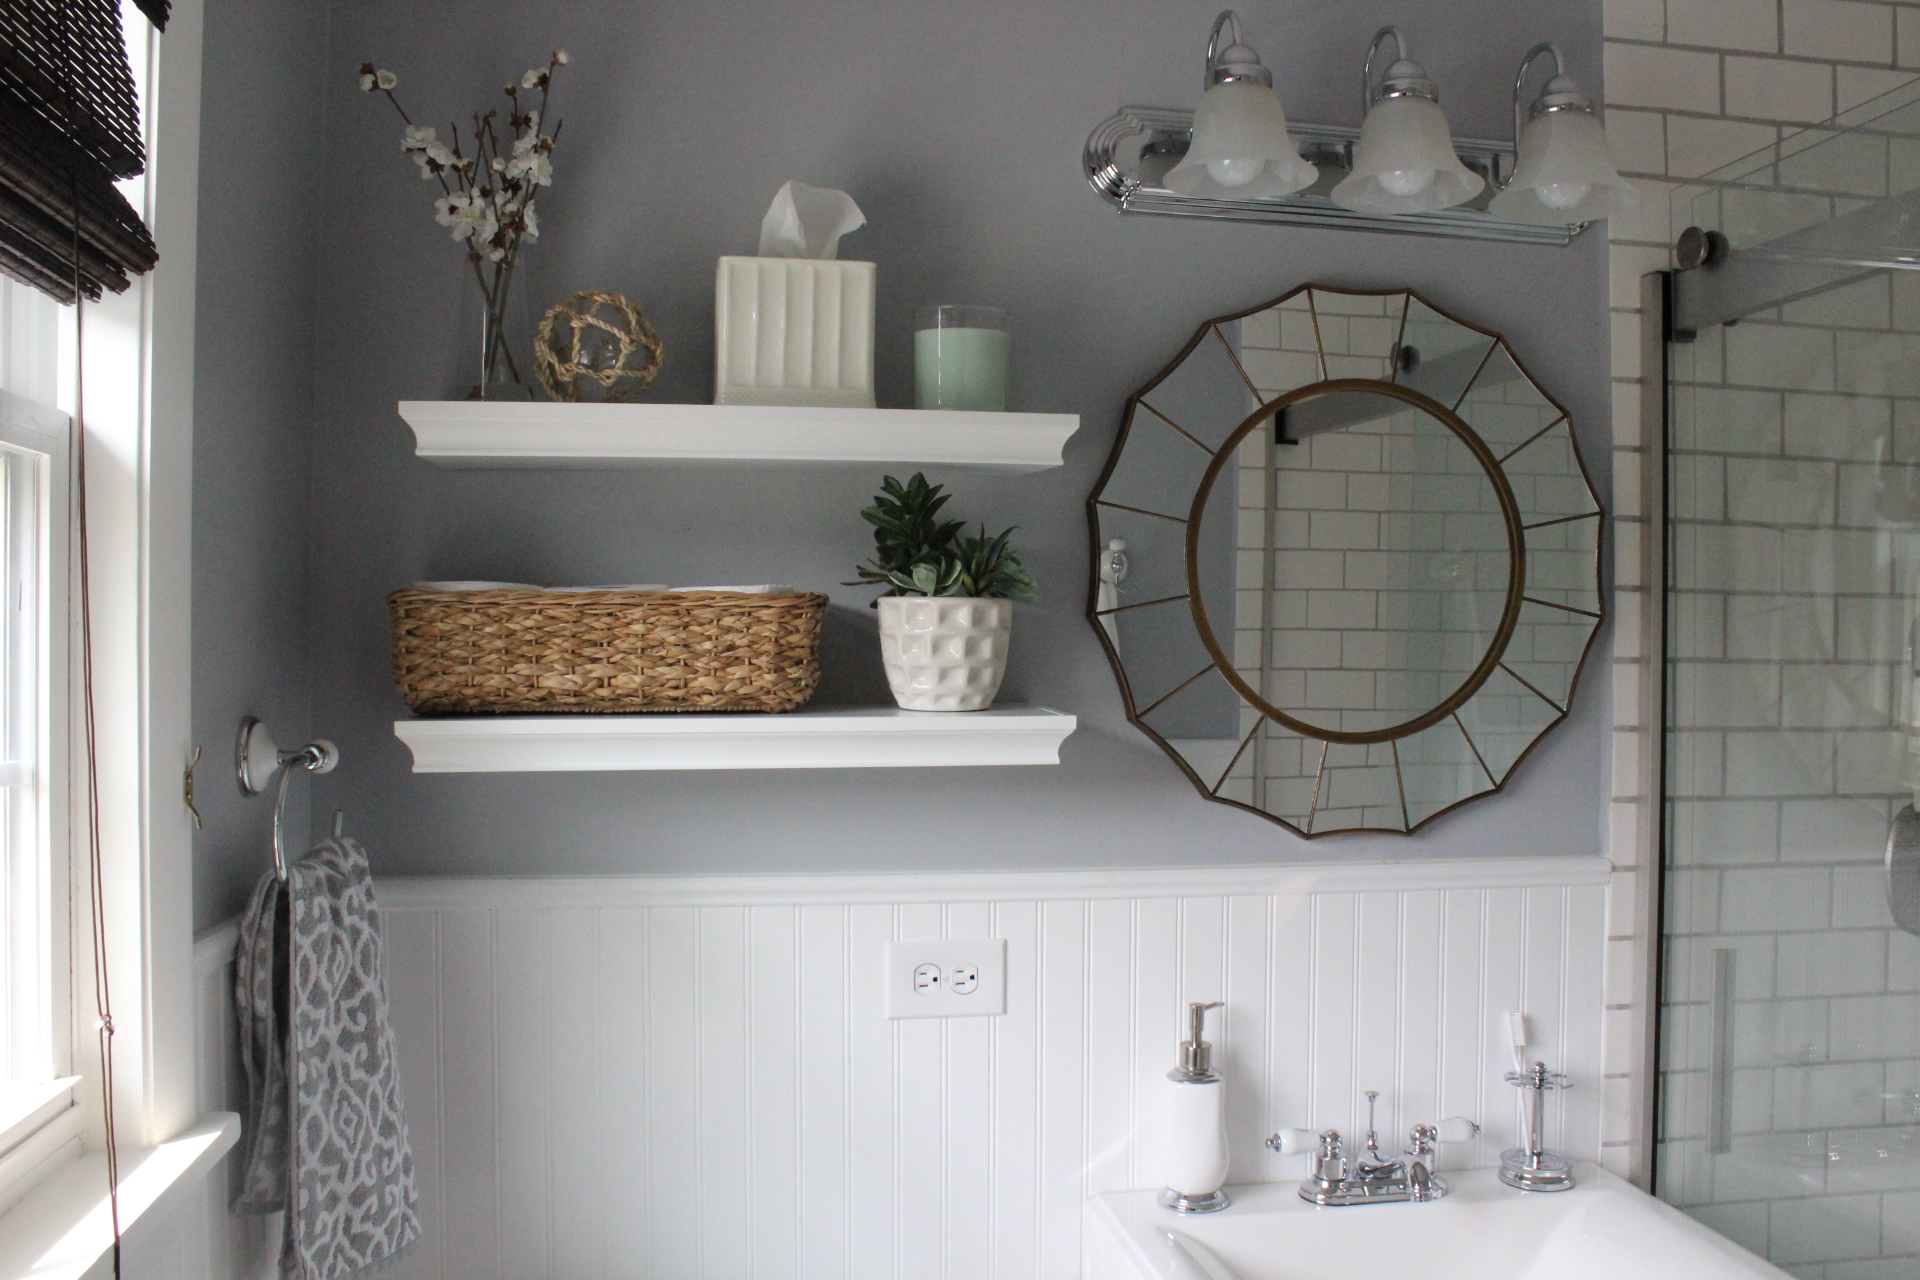
Which turned into what I affectionately call the “Pinterest bathroom,” after it got really popular on there, ha! (See more after pictures/sources of the bathroom here.)

IMG_2632

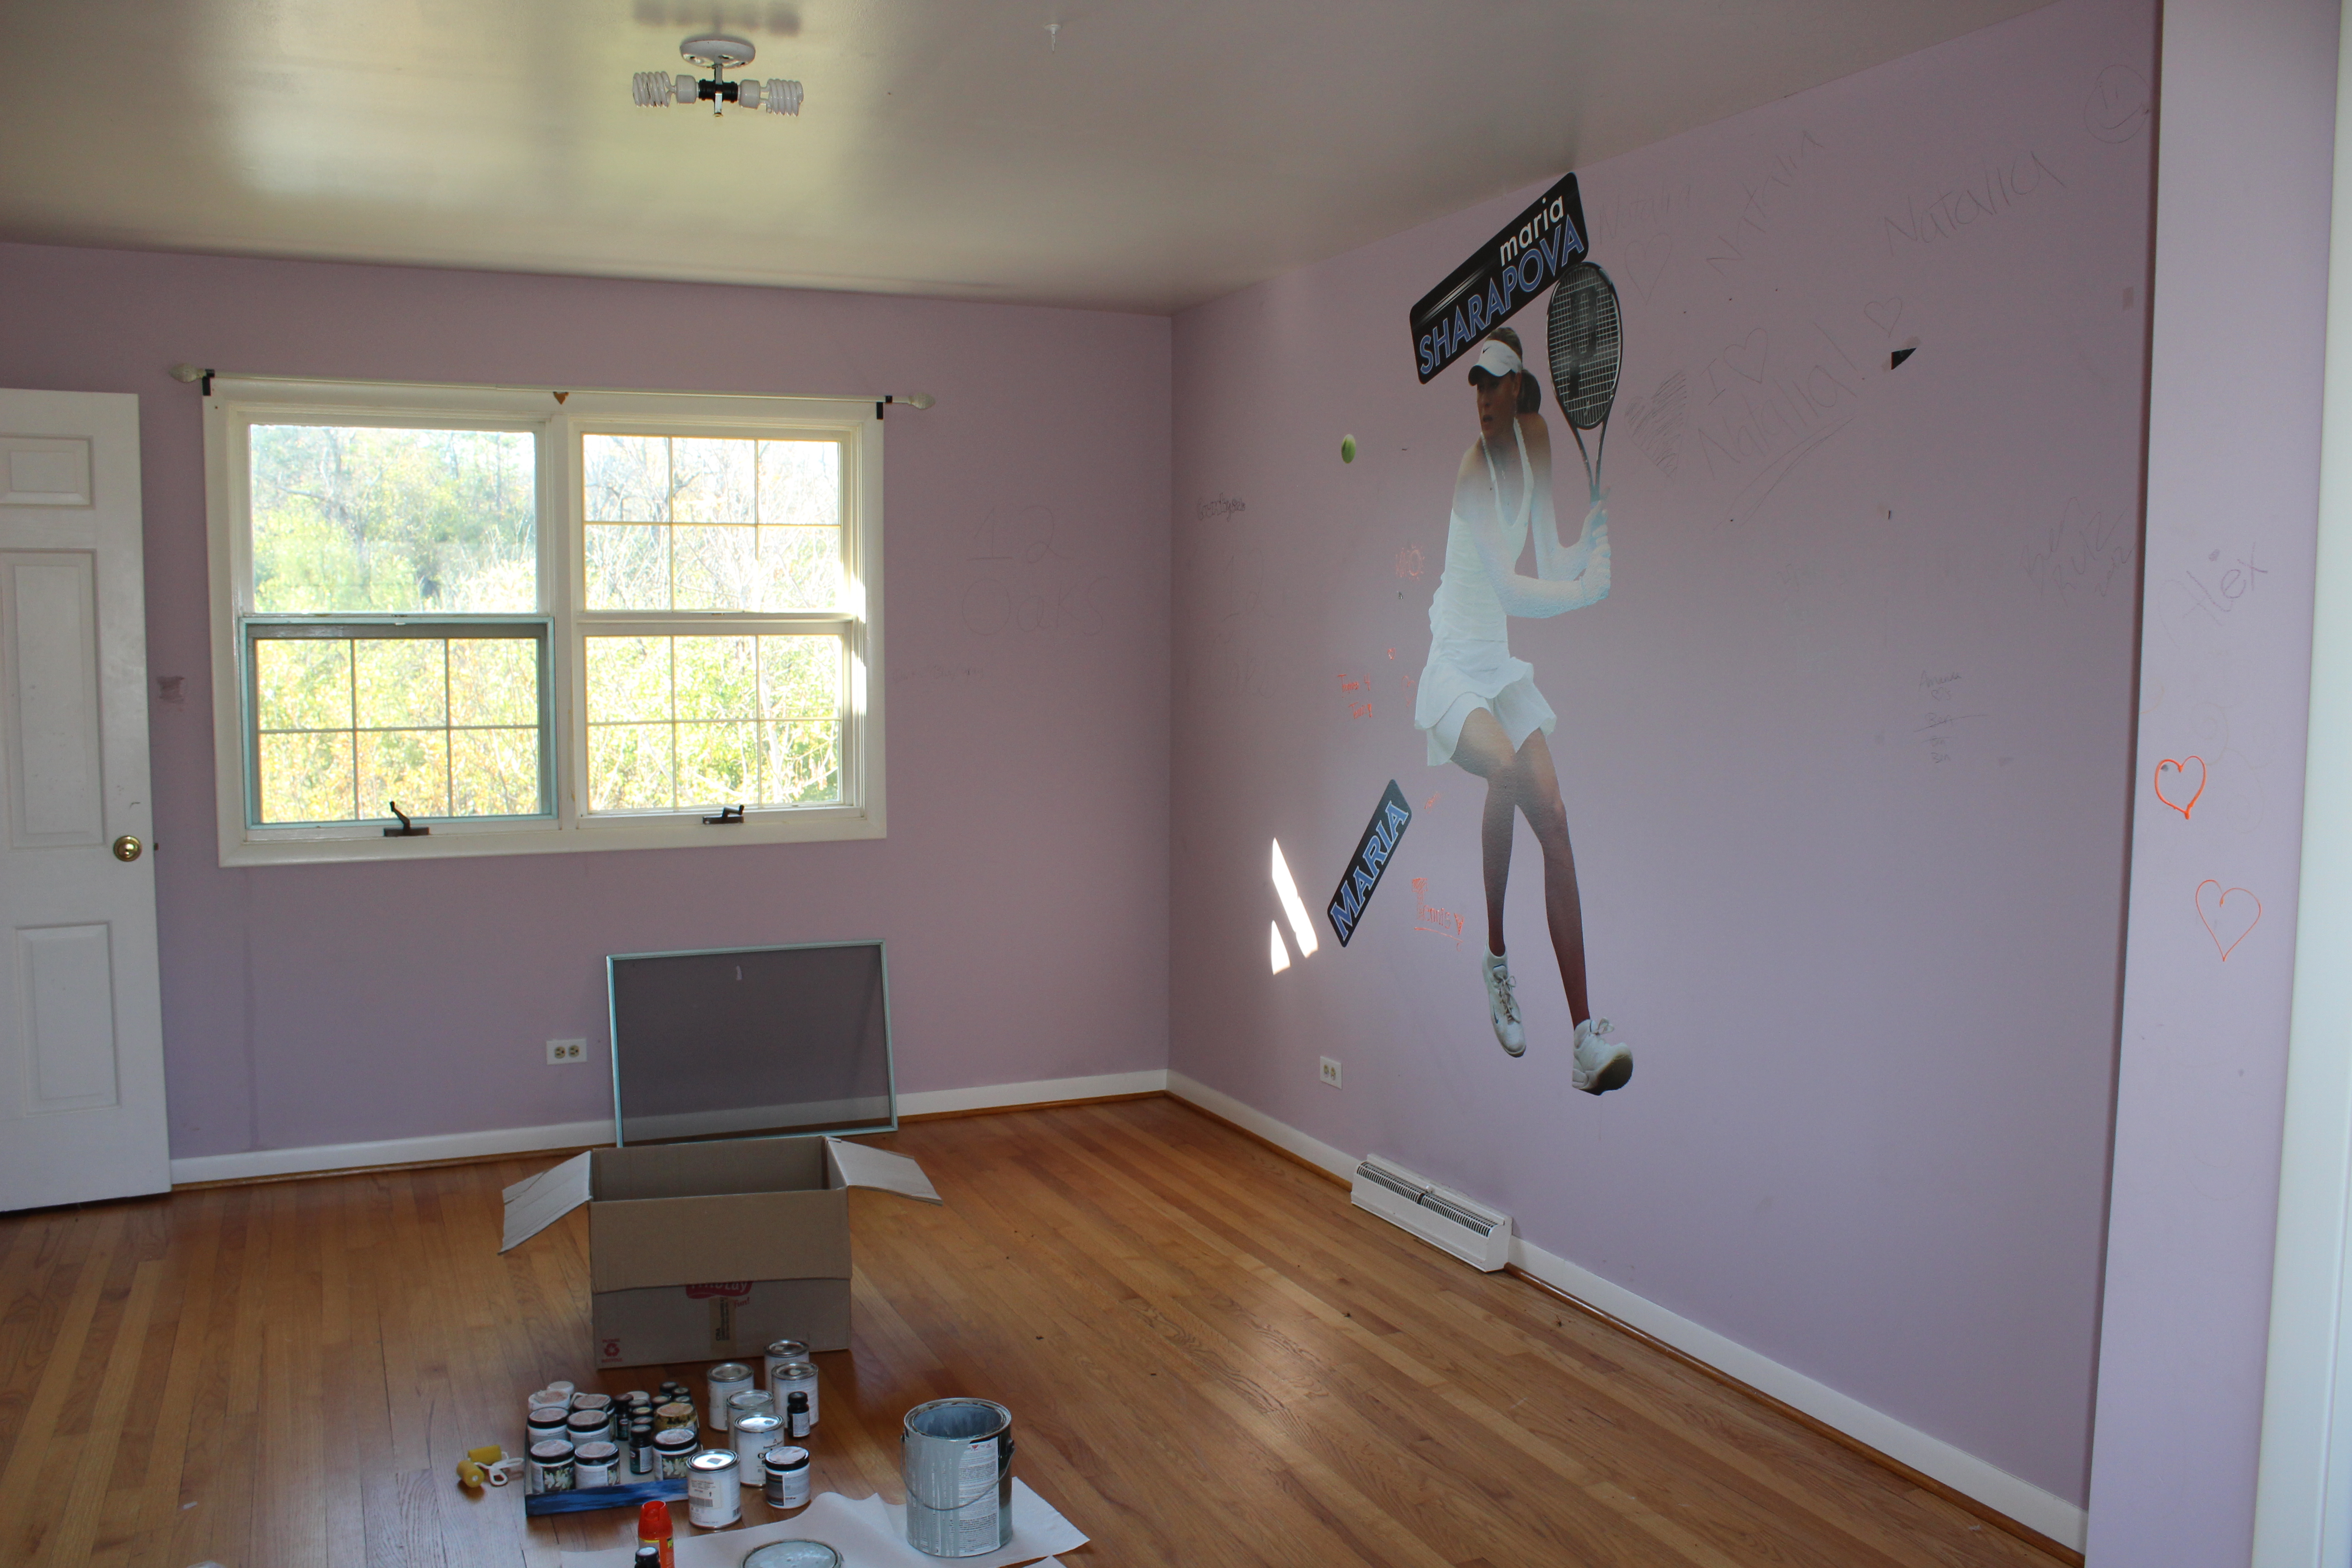
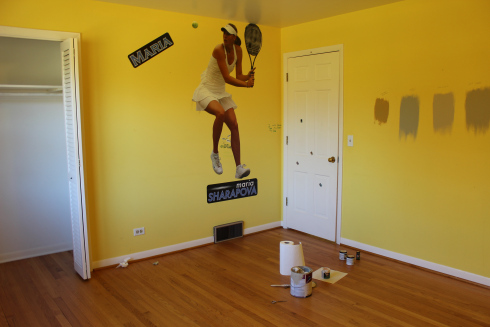
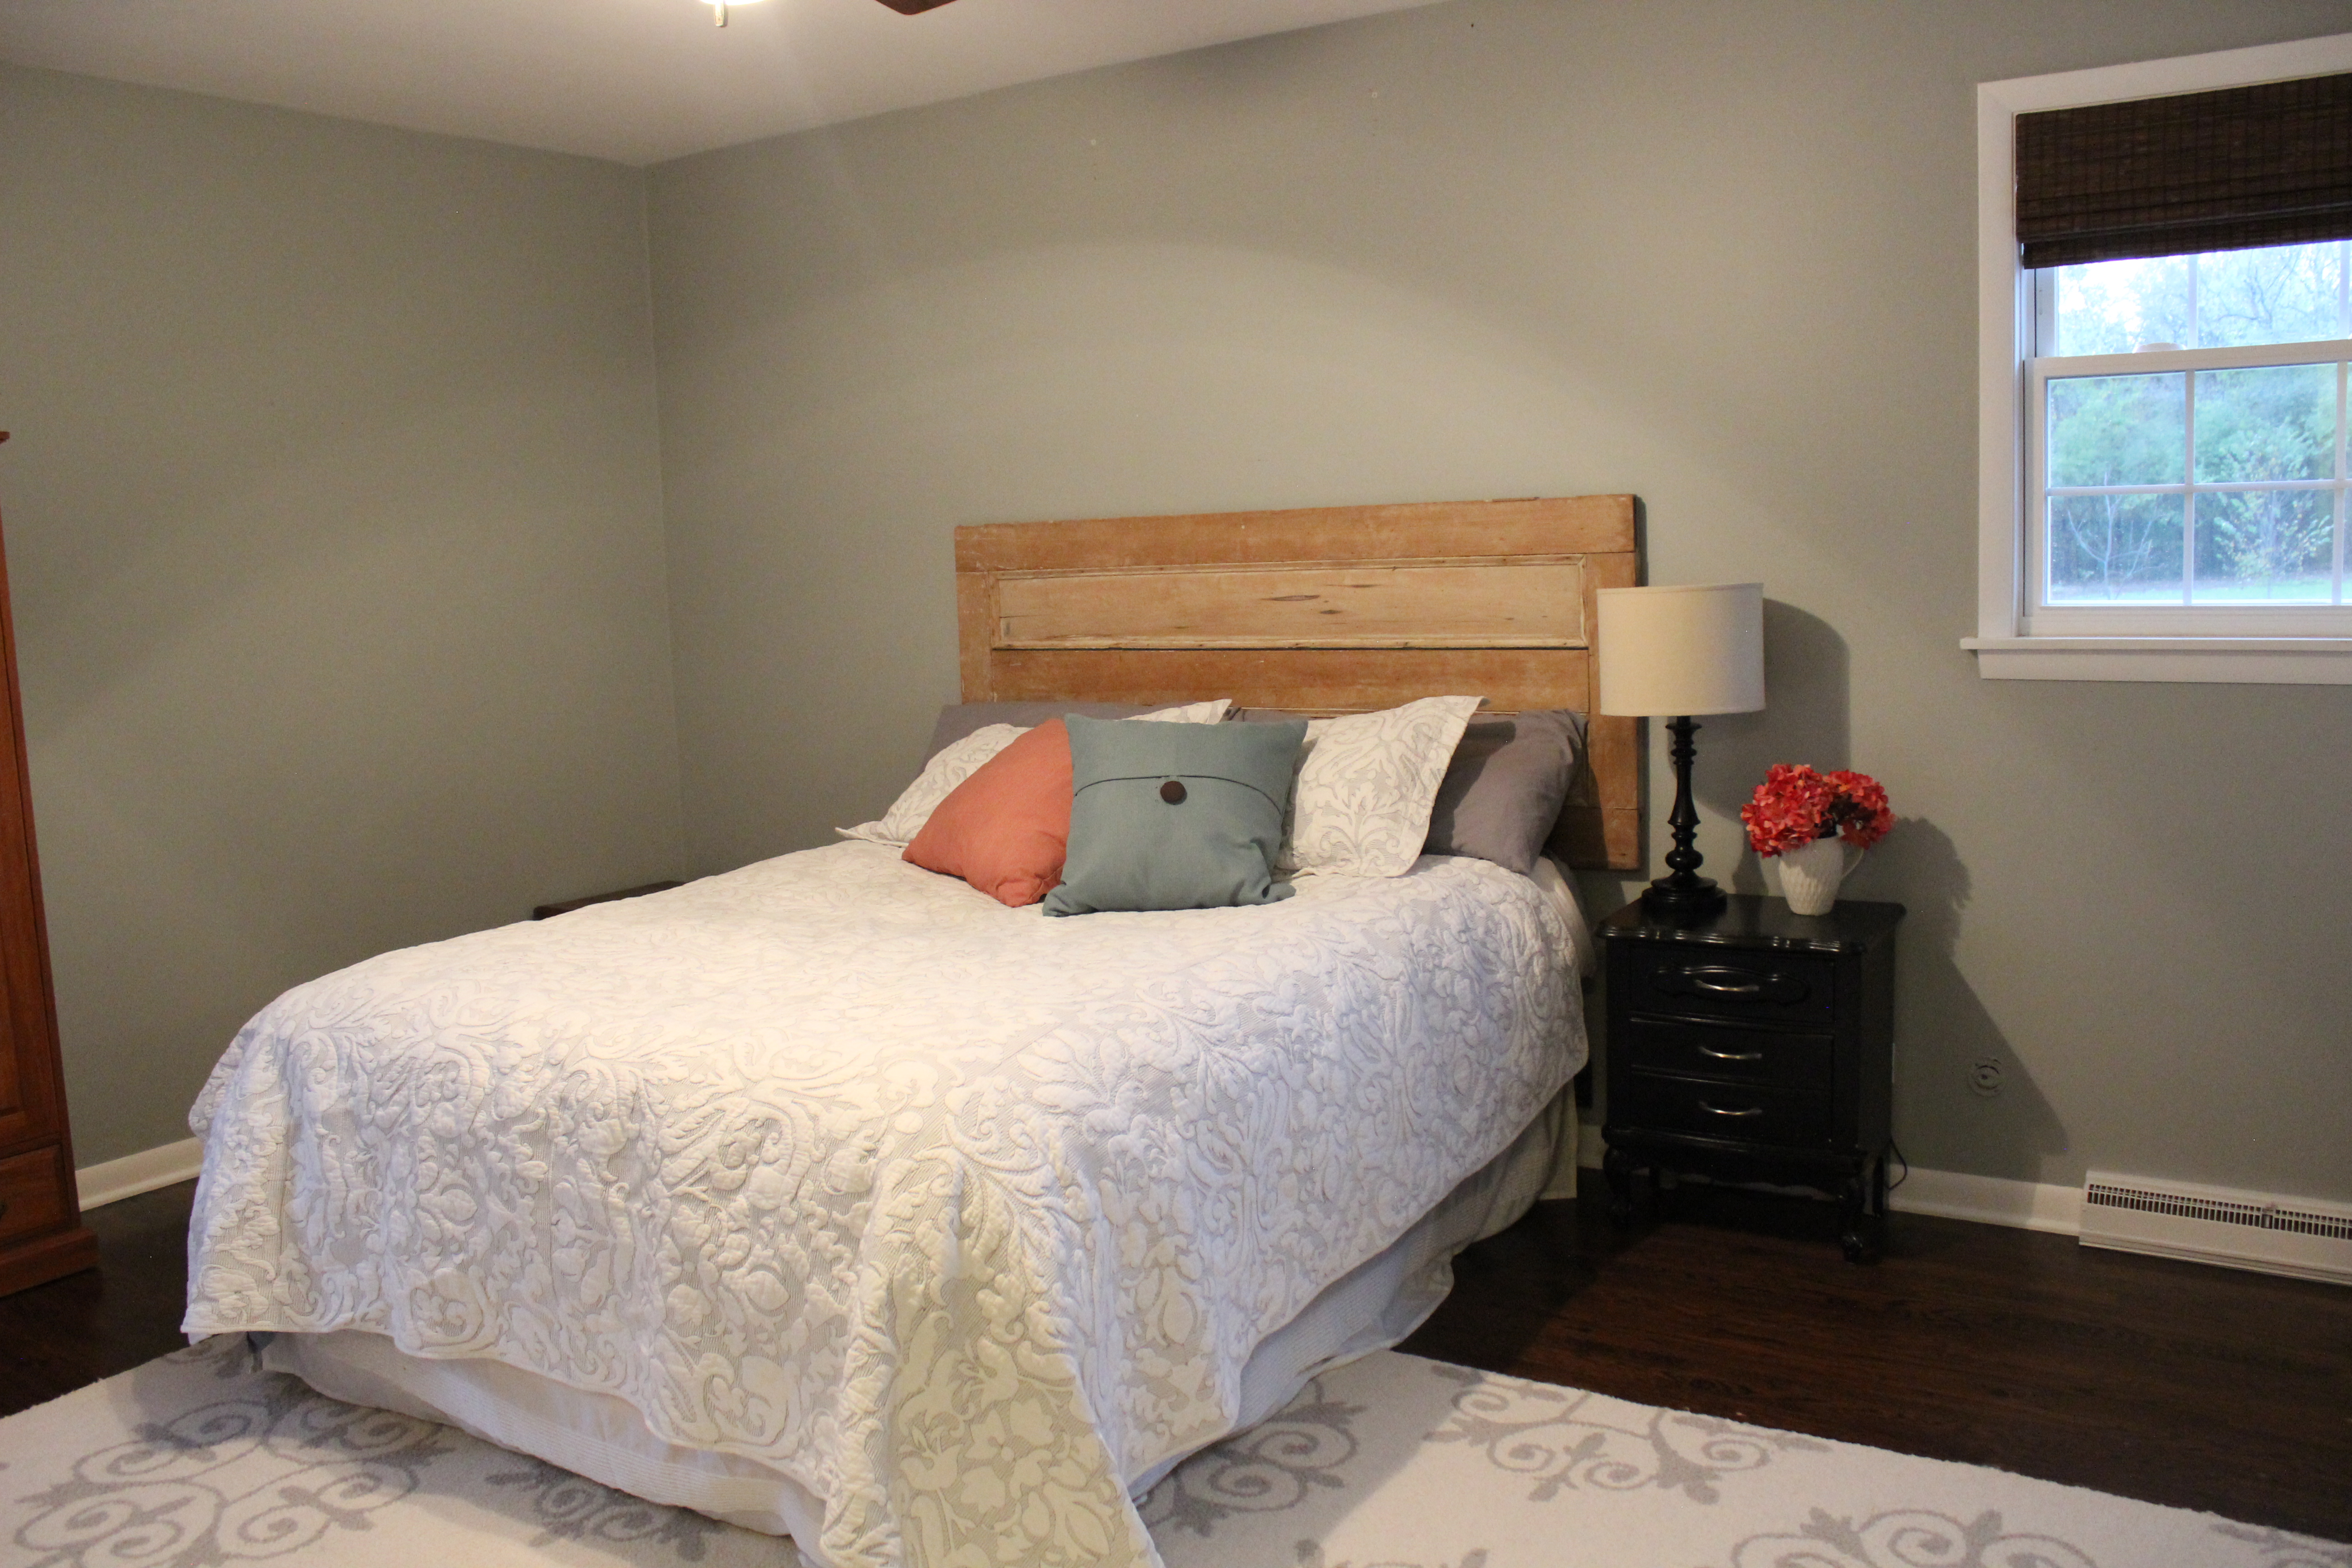
This was what our master bedroom looked like 5 years ago (Go Maria Sharapova! lol)

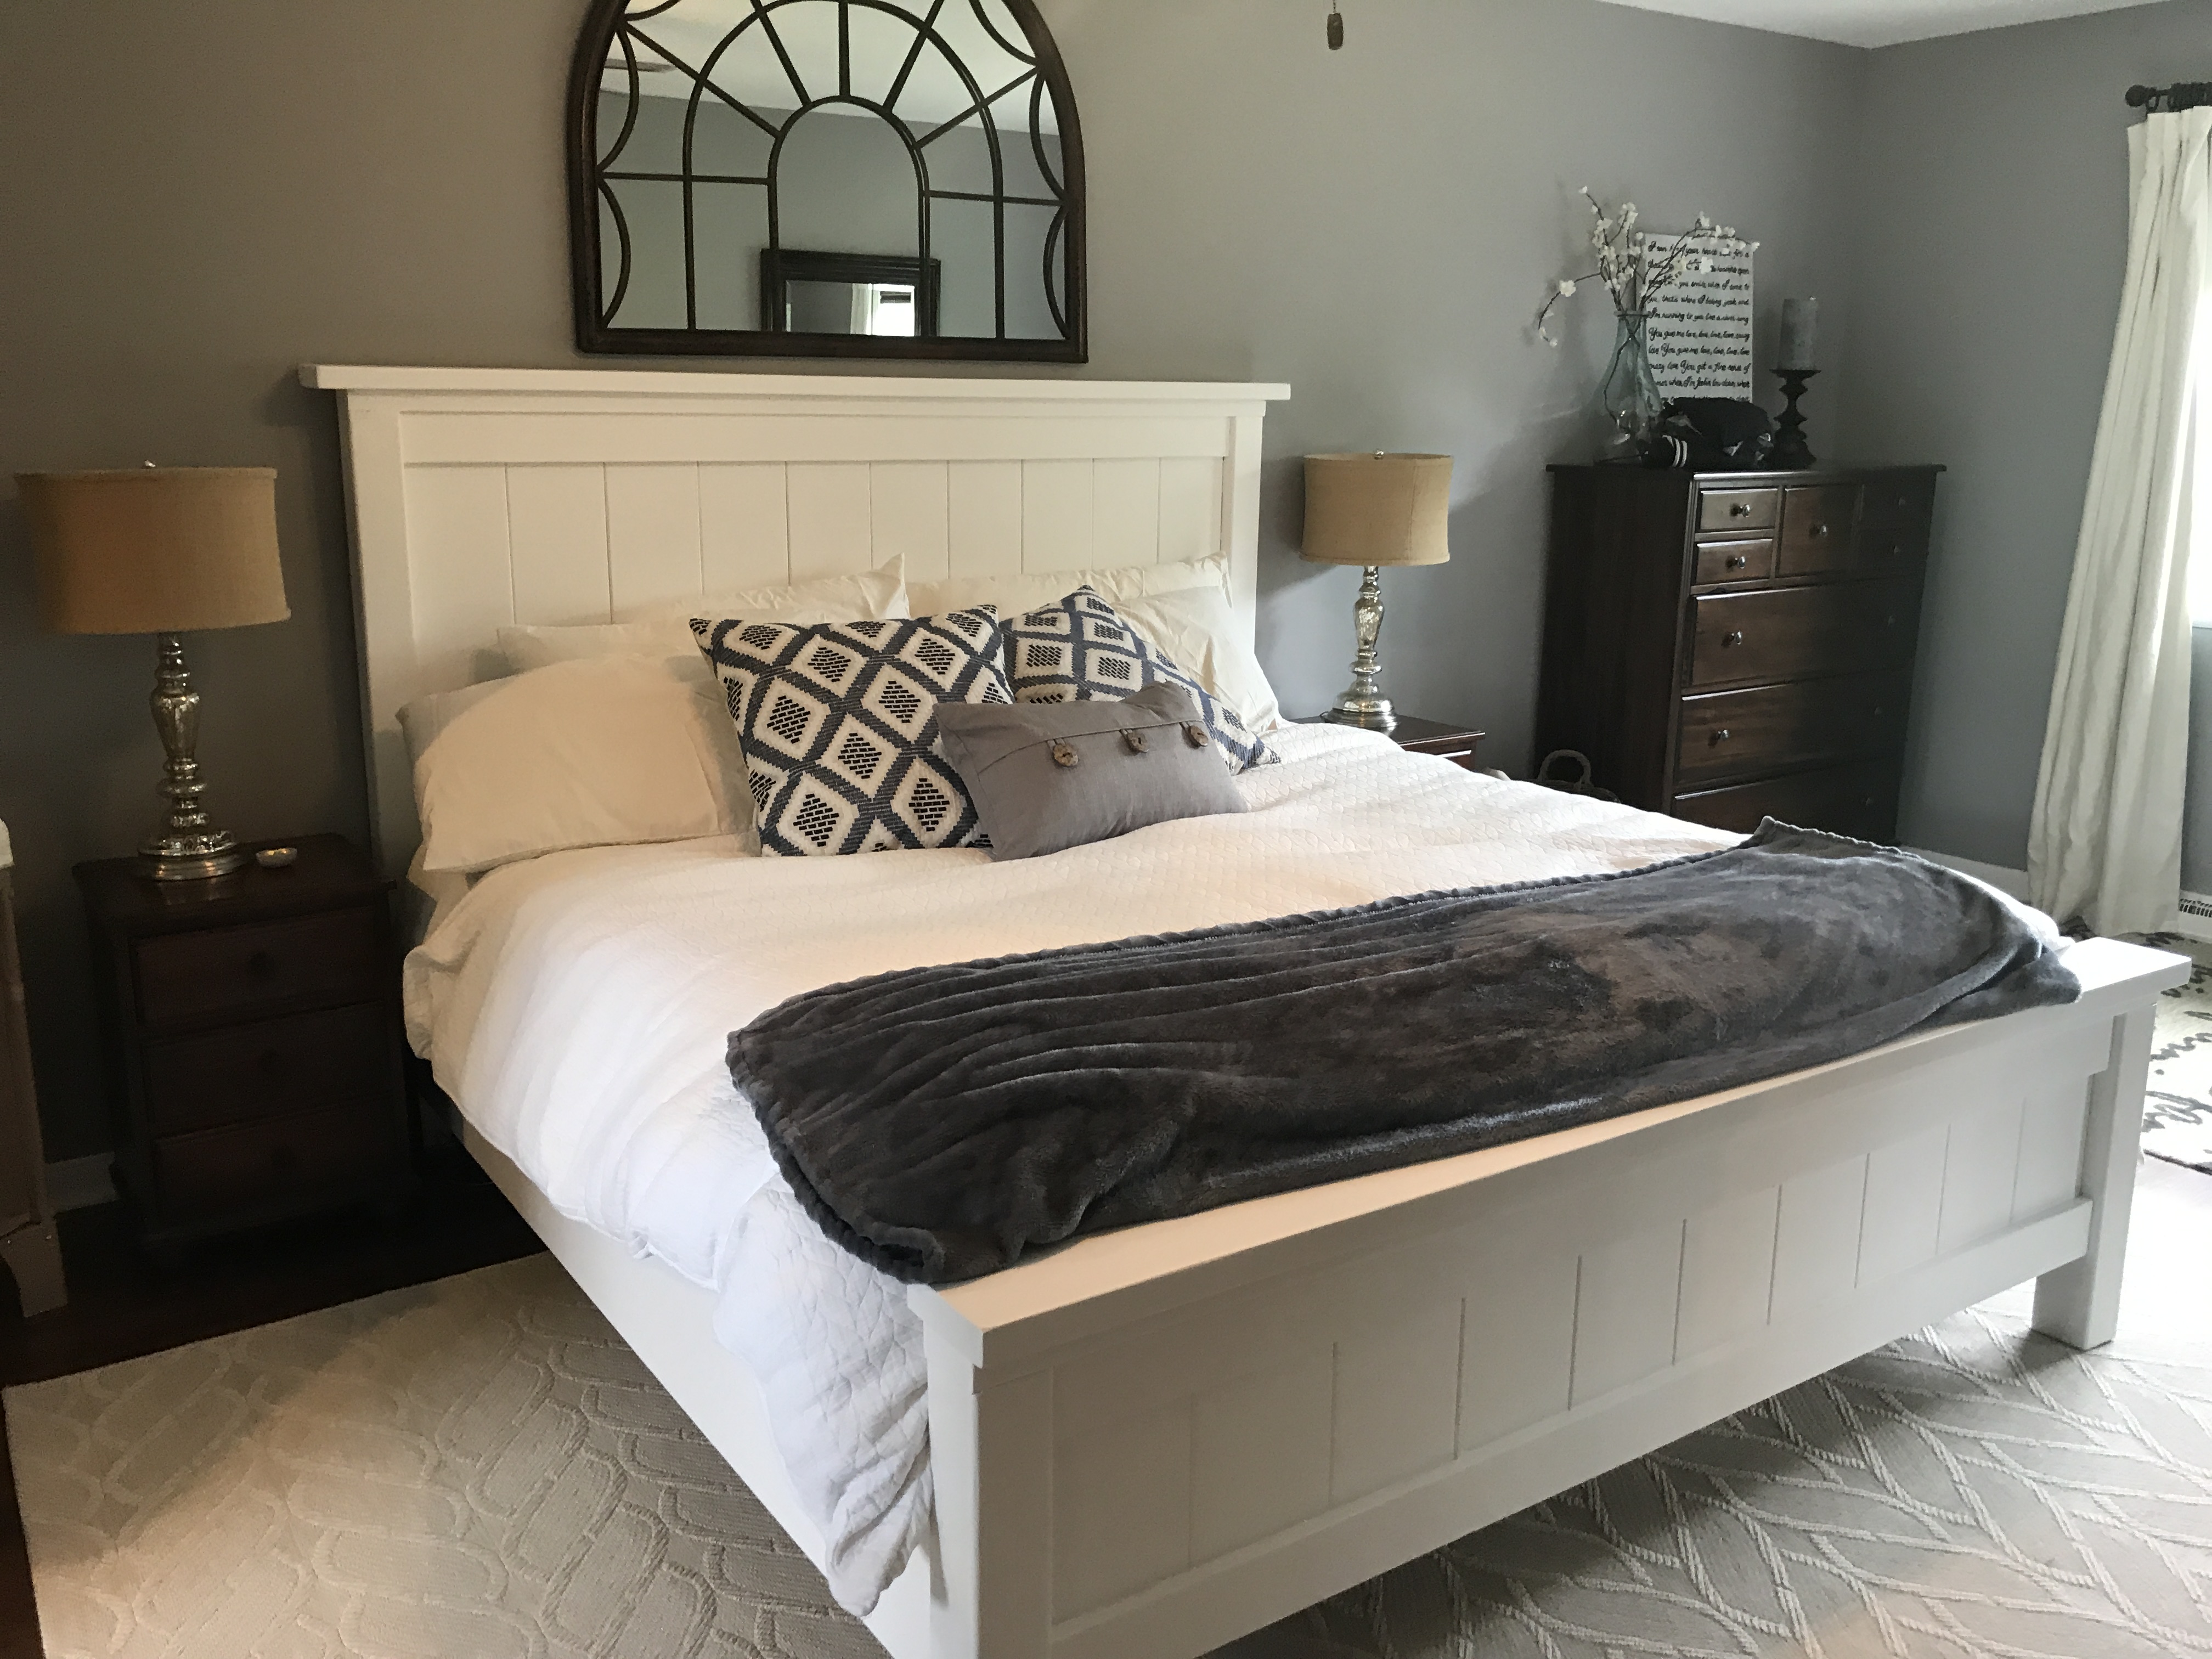
And here it is now:

Connected to our master is the upstairs part of the addition which includes a new walk-in closet and master bathroom:

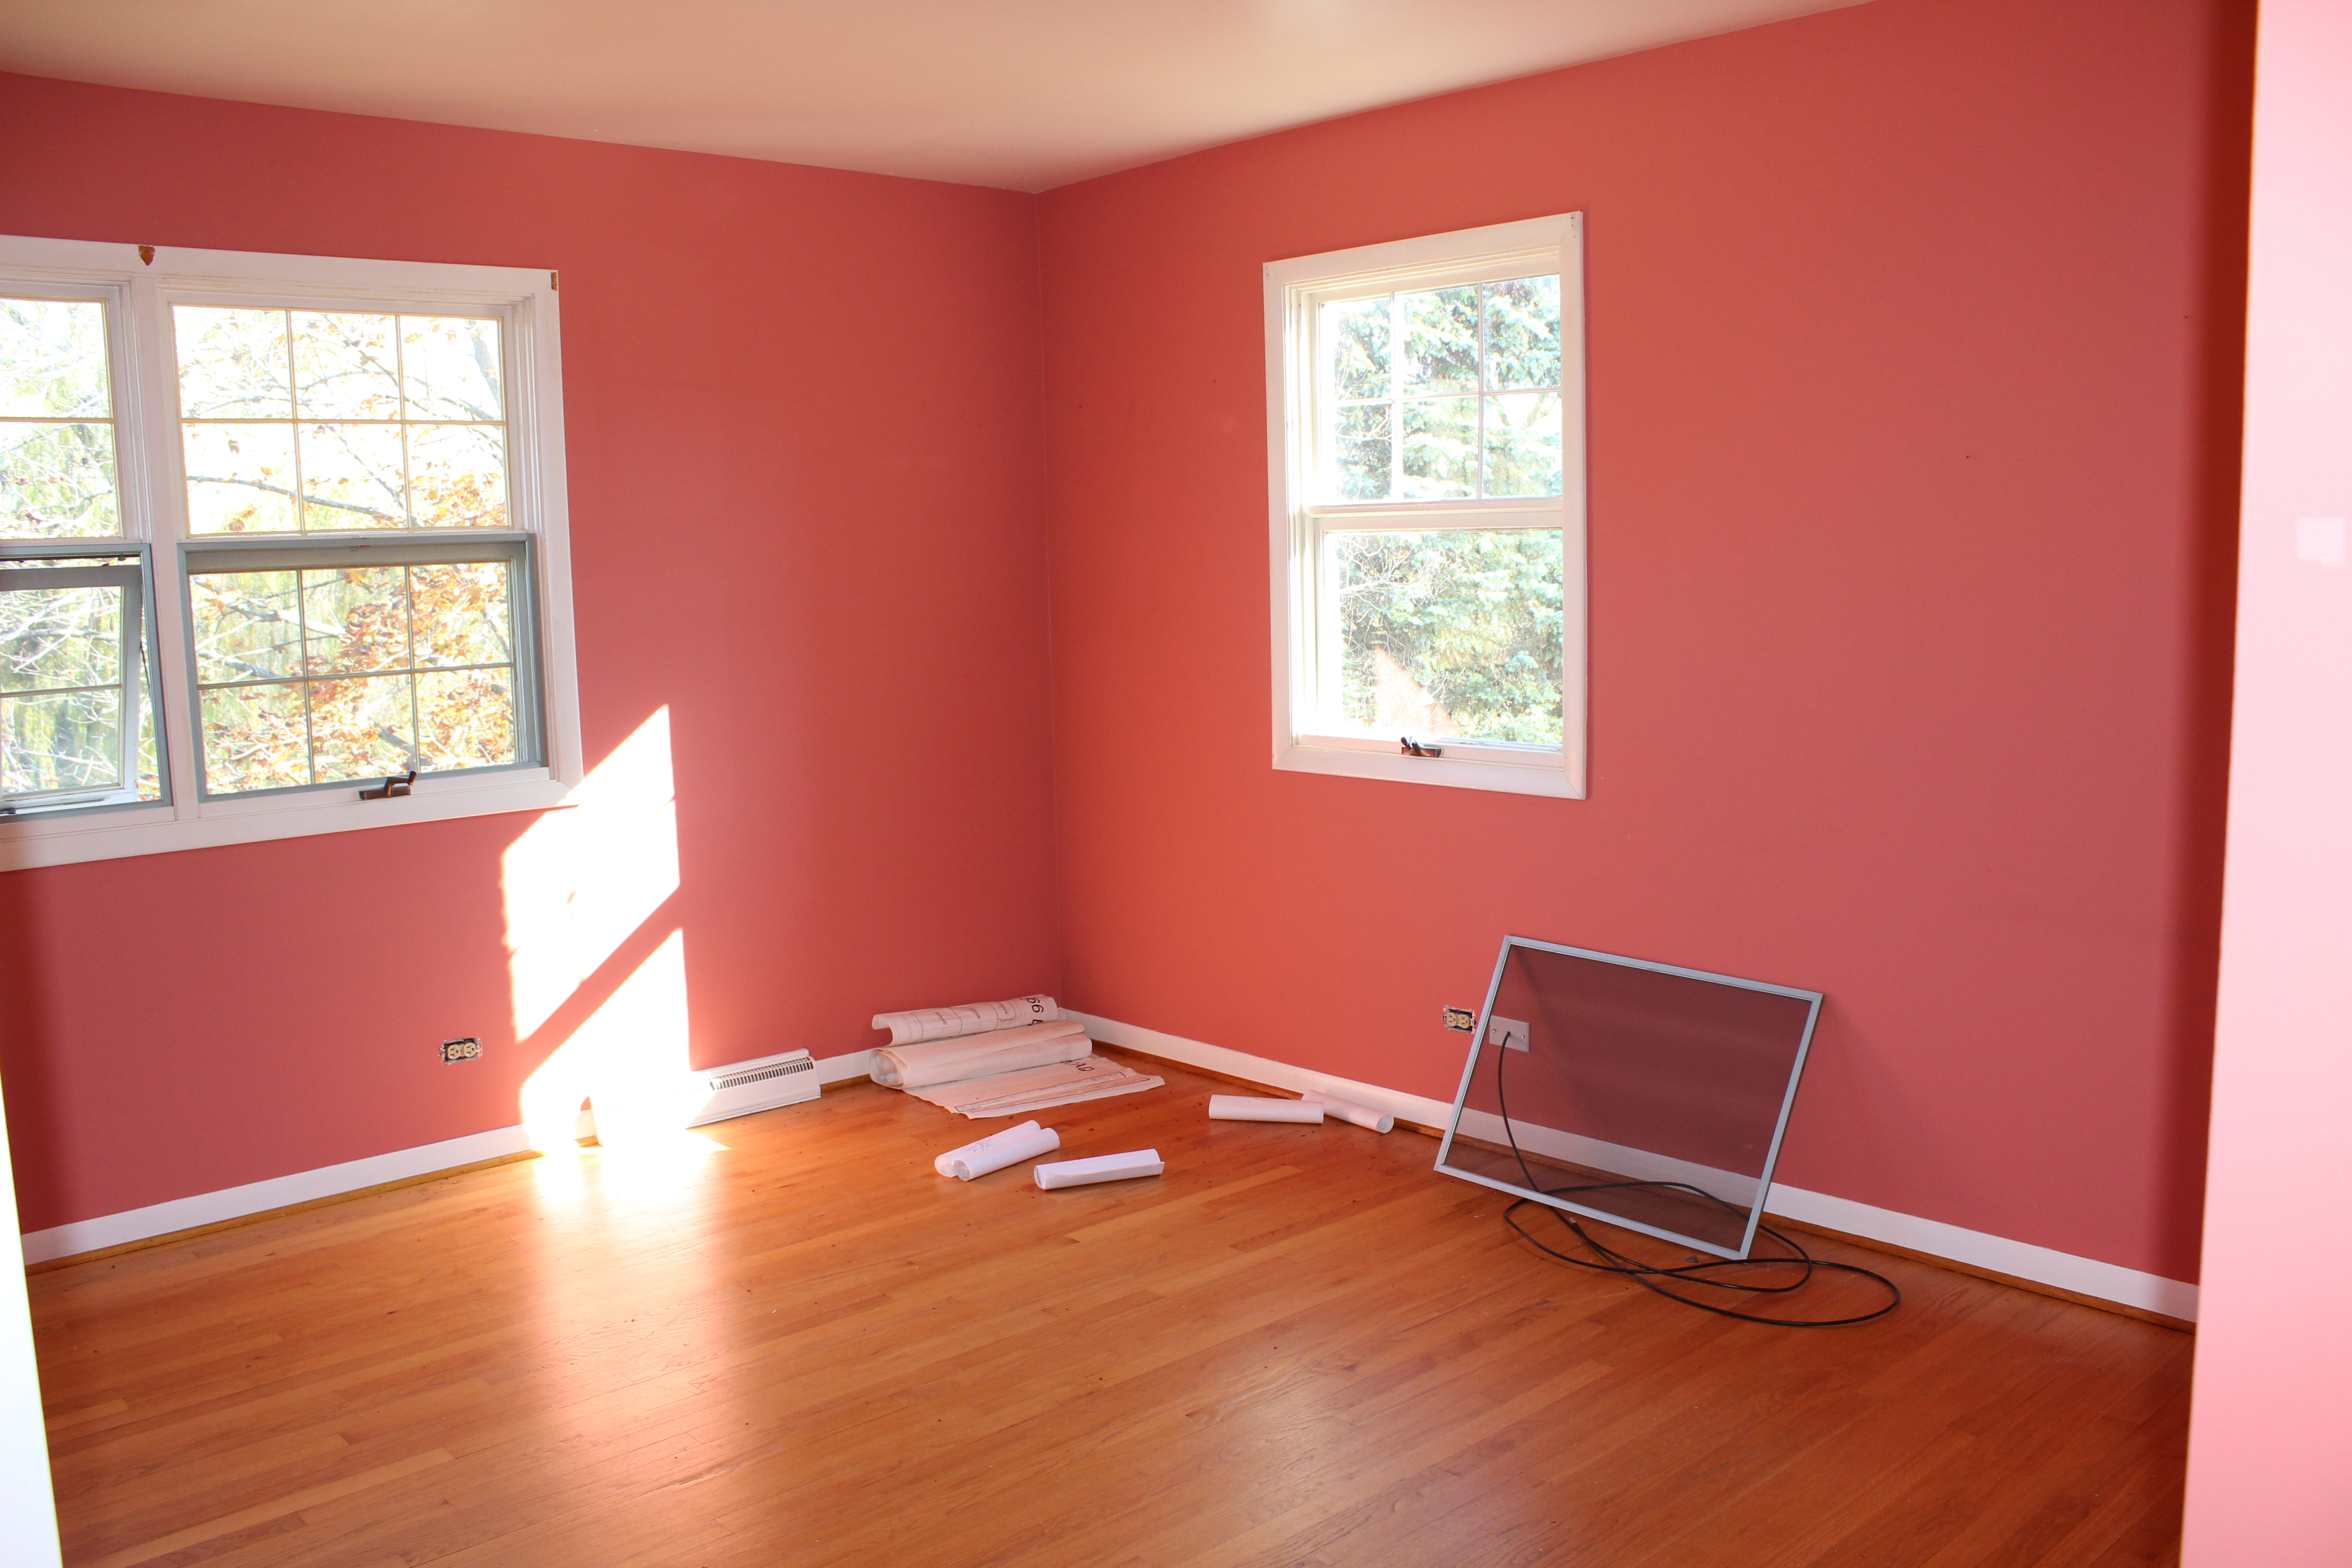
There was another Sharapova bedroom 5 years ago:

Spare Bed 1 Before

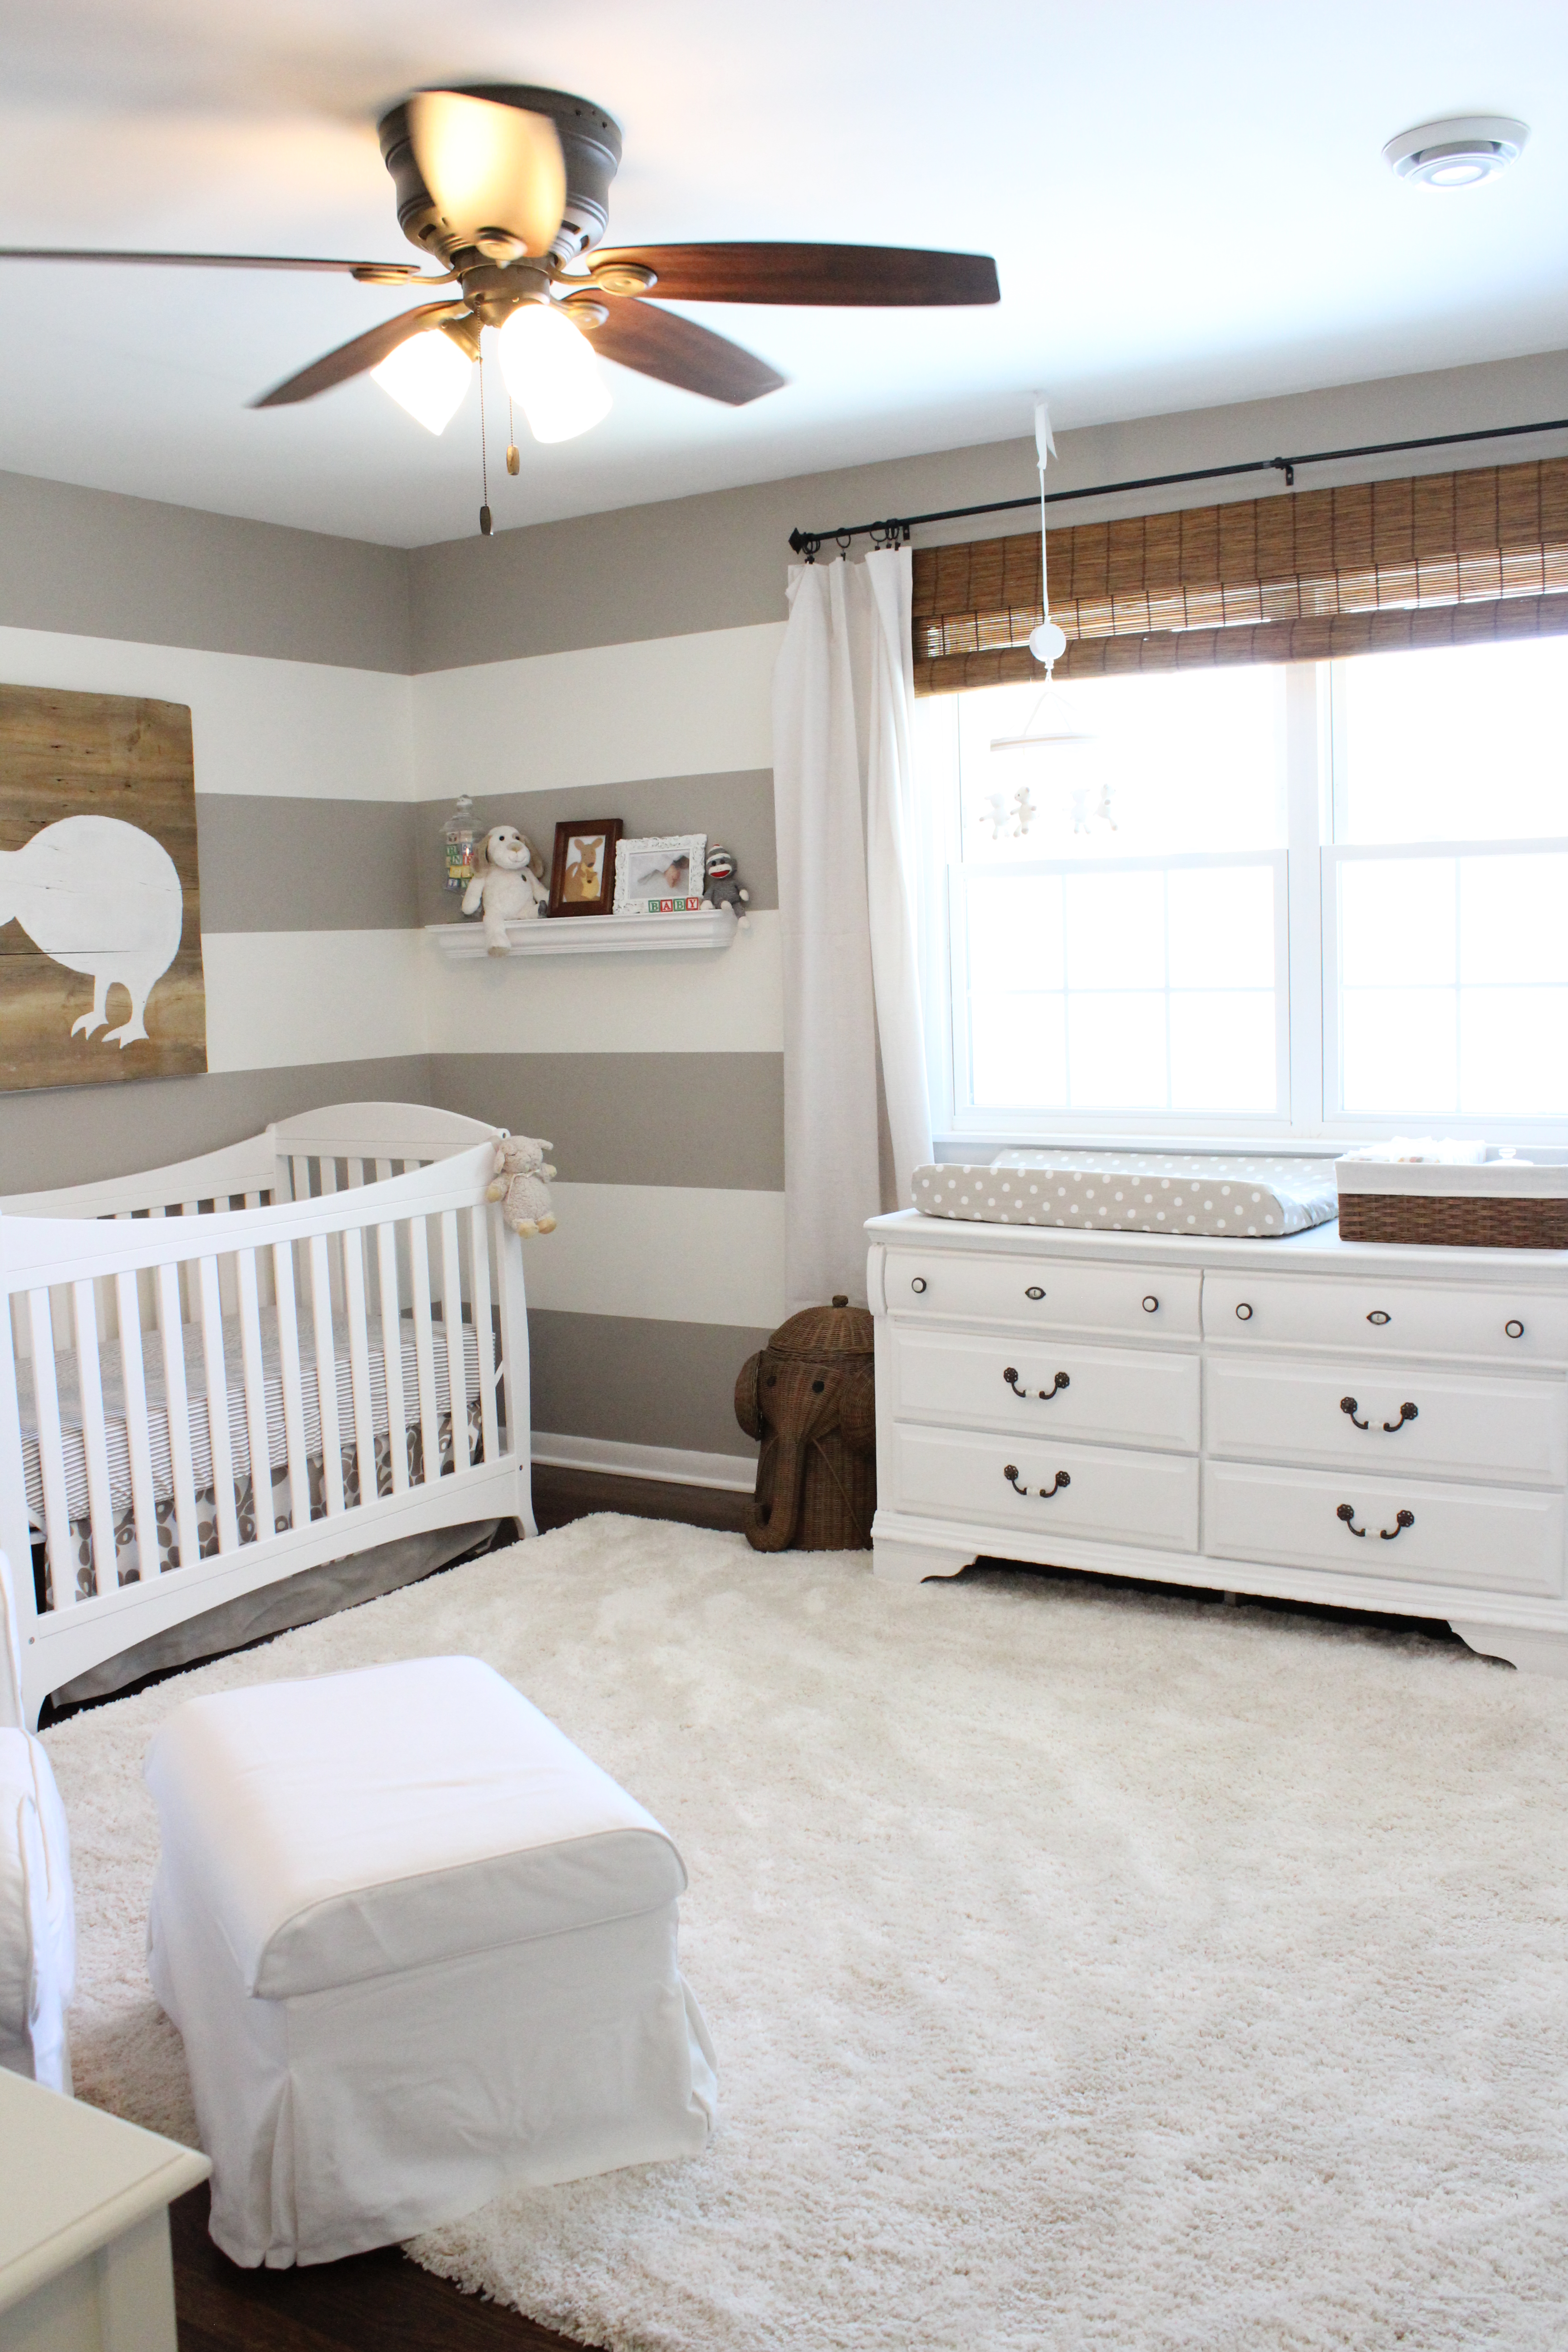
This turned into our nursery:

IMG_4281

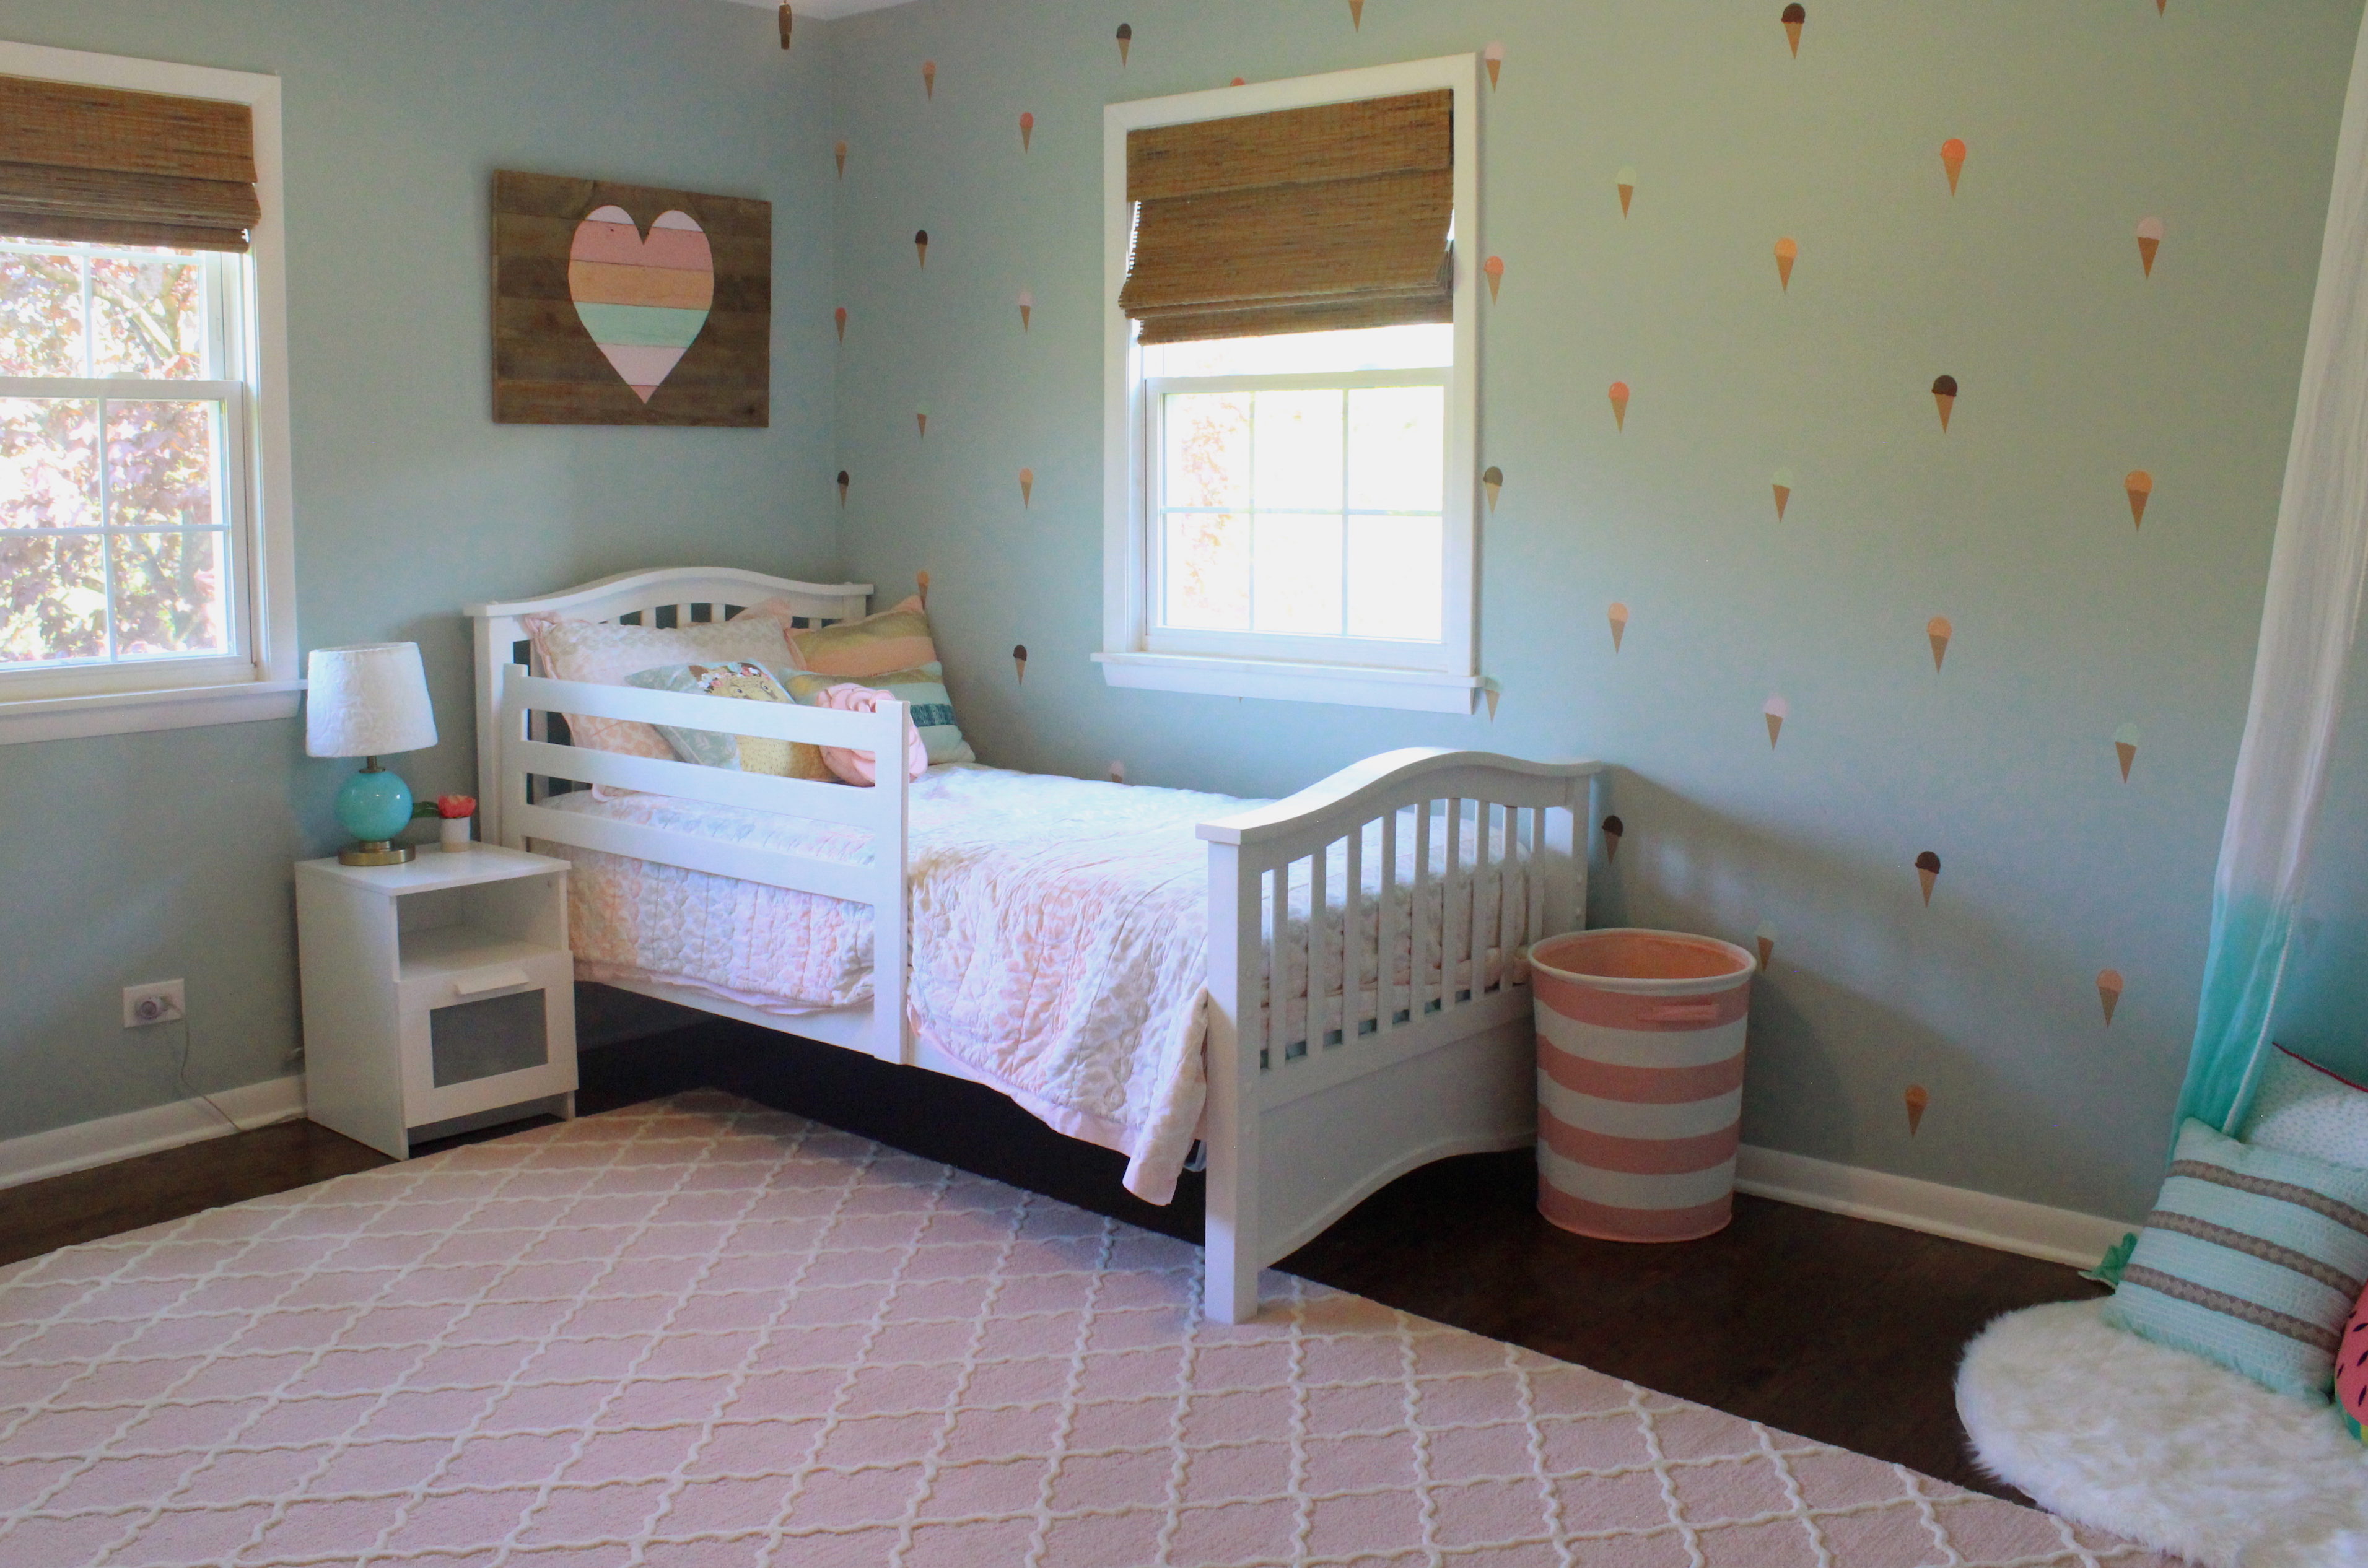
Another upstairs bedroom 5 years ago:

Is now our daughter’s “big girl” room:

The former master bathroom, which is now a guest bathroom, looked like this 5 years ago:

Master Bathroom

And here is the renovated guest bath now:

IMG_5533

Lastly, here is our current guest room, which admittedly is a catch-all for old furniture. I will re-do it hopefully soon.

Whew! I’m super proud of all we’ve been able to accomplish at our home over the past 5 years, not to mention the 3 flips/income property houses we also renovated during that time, plus welcoming 2 amazing kiddos!

There’s still plenty left on our to-do list, particularly on the outside/pool area, the garage, basement, and maybe even building a barn. Thanks for following along on our journey!

SaveSave

SaveSaveSaveSaveSaveSaveSaveSaveSaveSave

SaveSaveSaveSave

SaveSaveSaveSave

SaveSaveSaveSave

SaveSave

SaveSaveSaveSave

SaveSave

SaveSave

SaveSave

The Big Backyard Reveal: So Many Updates

24 Aug

Our backyard area has undergone A TON of changes over the past 2 summers. I last shared an update after we built the deck and retaining wall in May/June 2014.

Here is a view of it from then:

IMG_4611

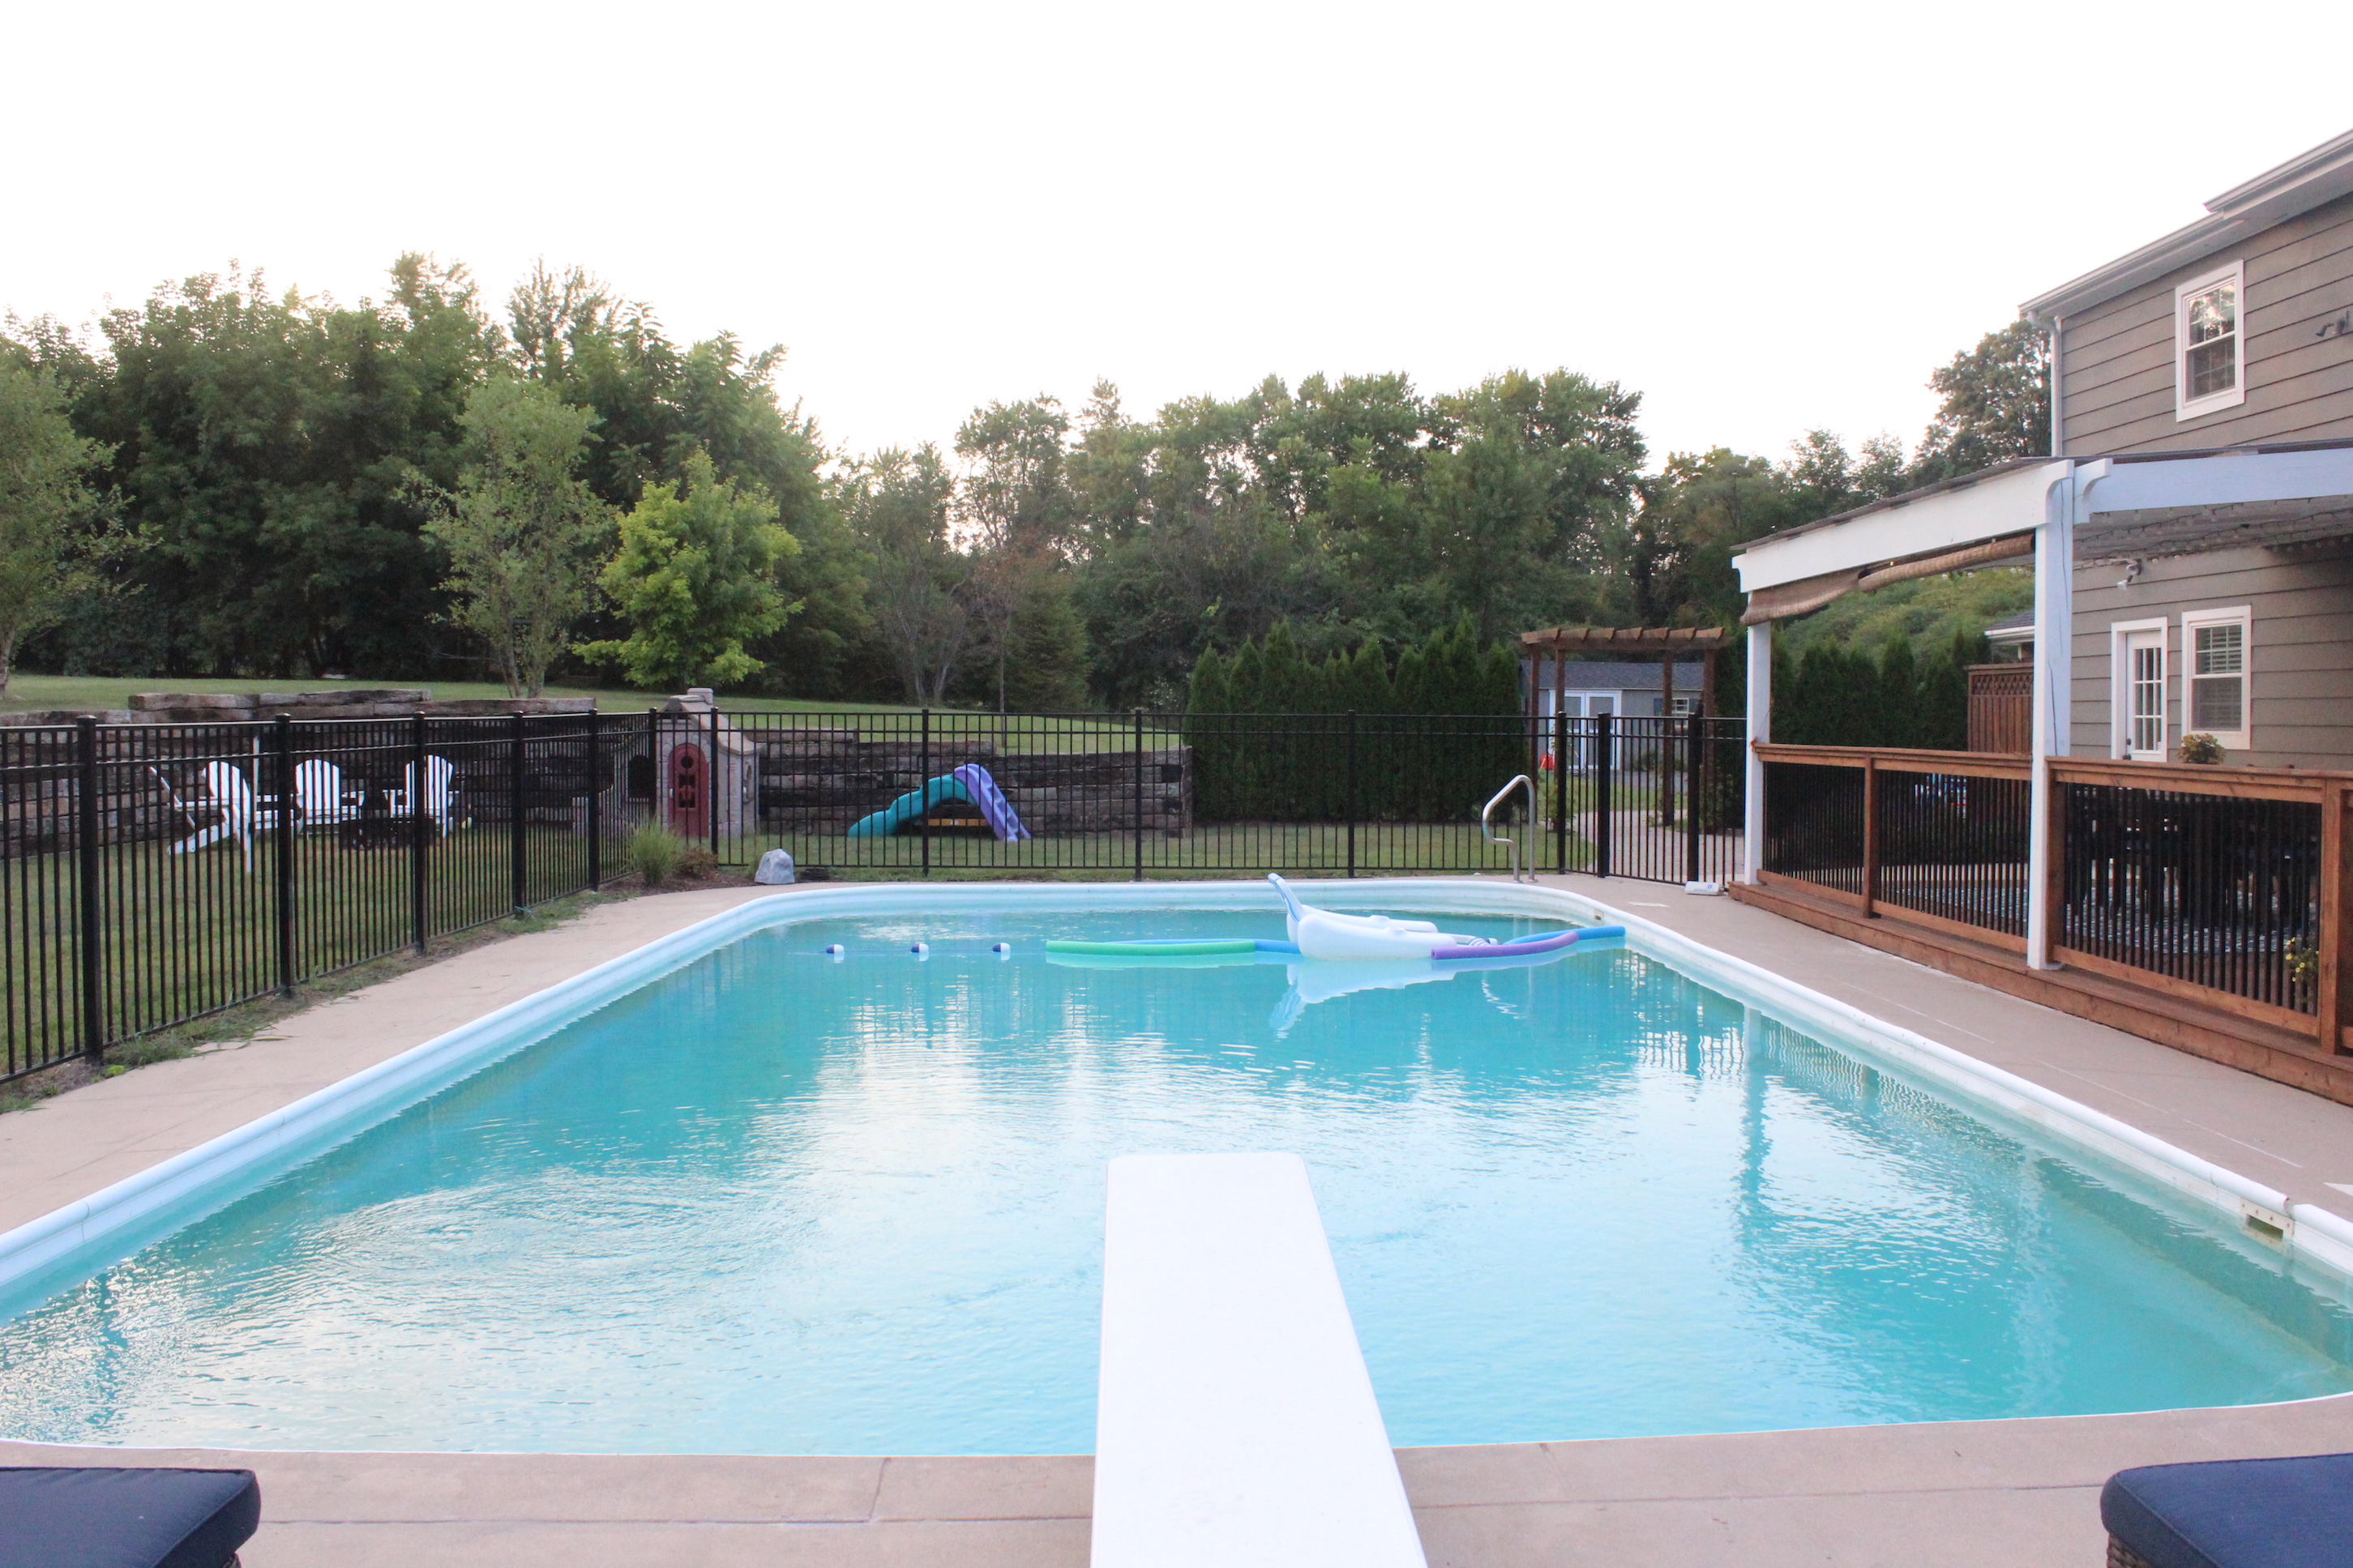
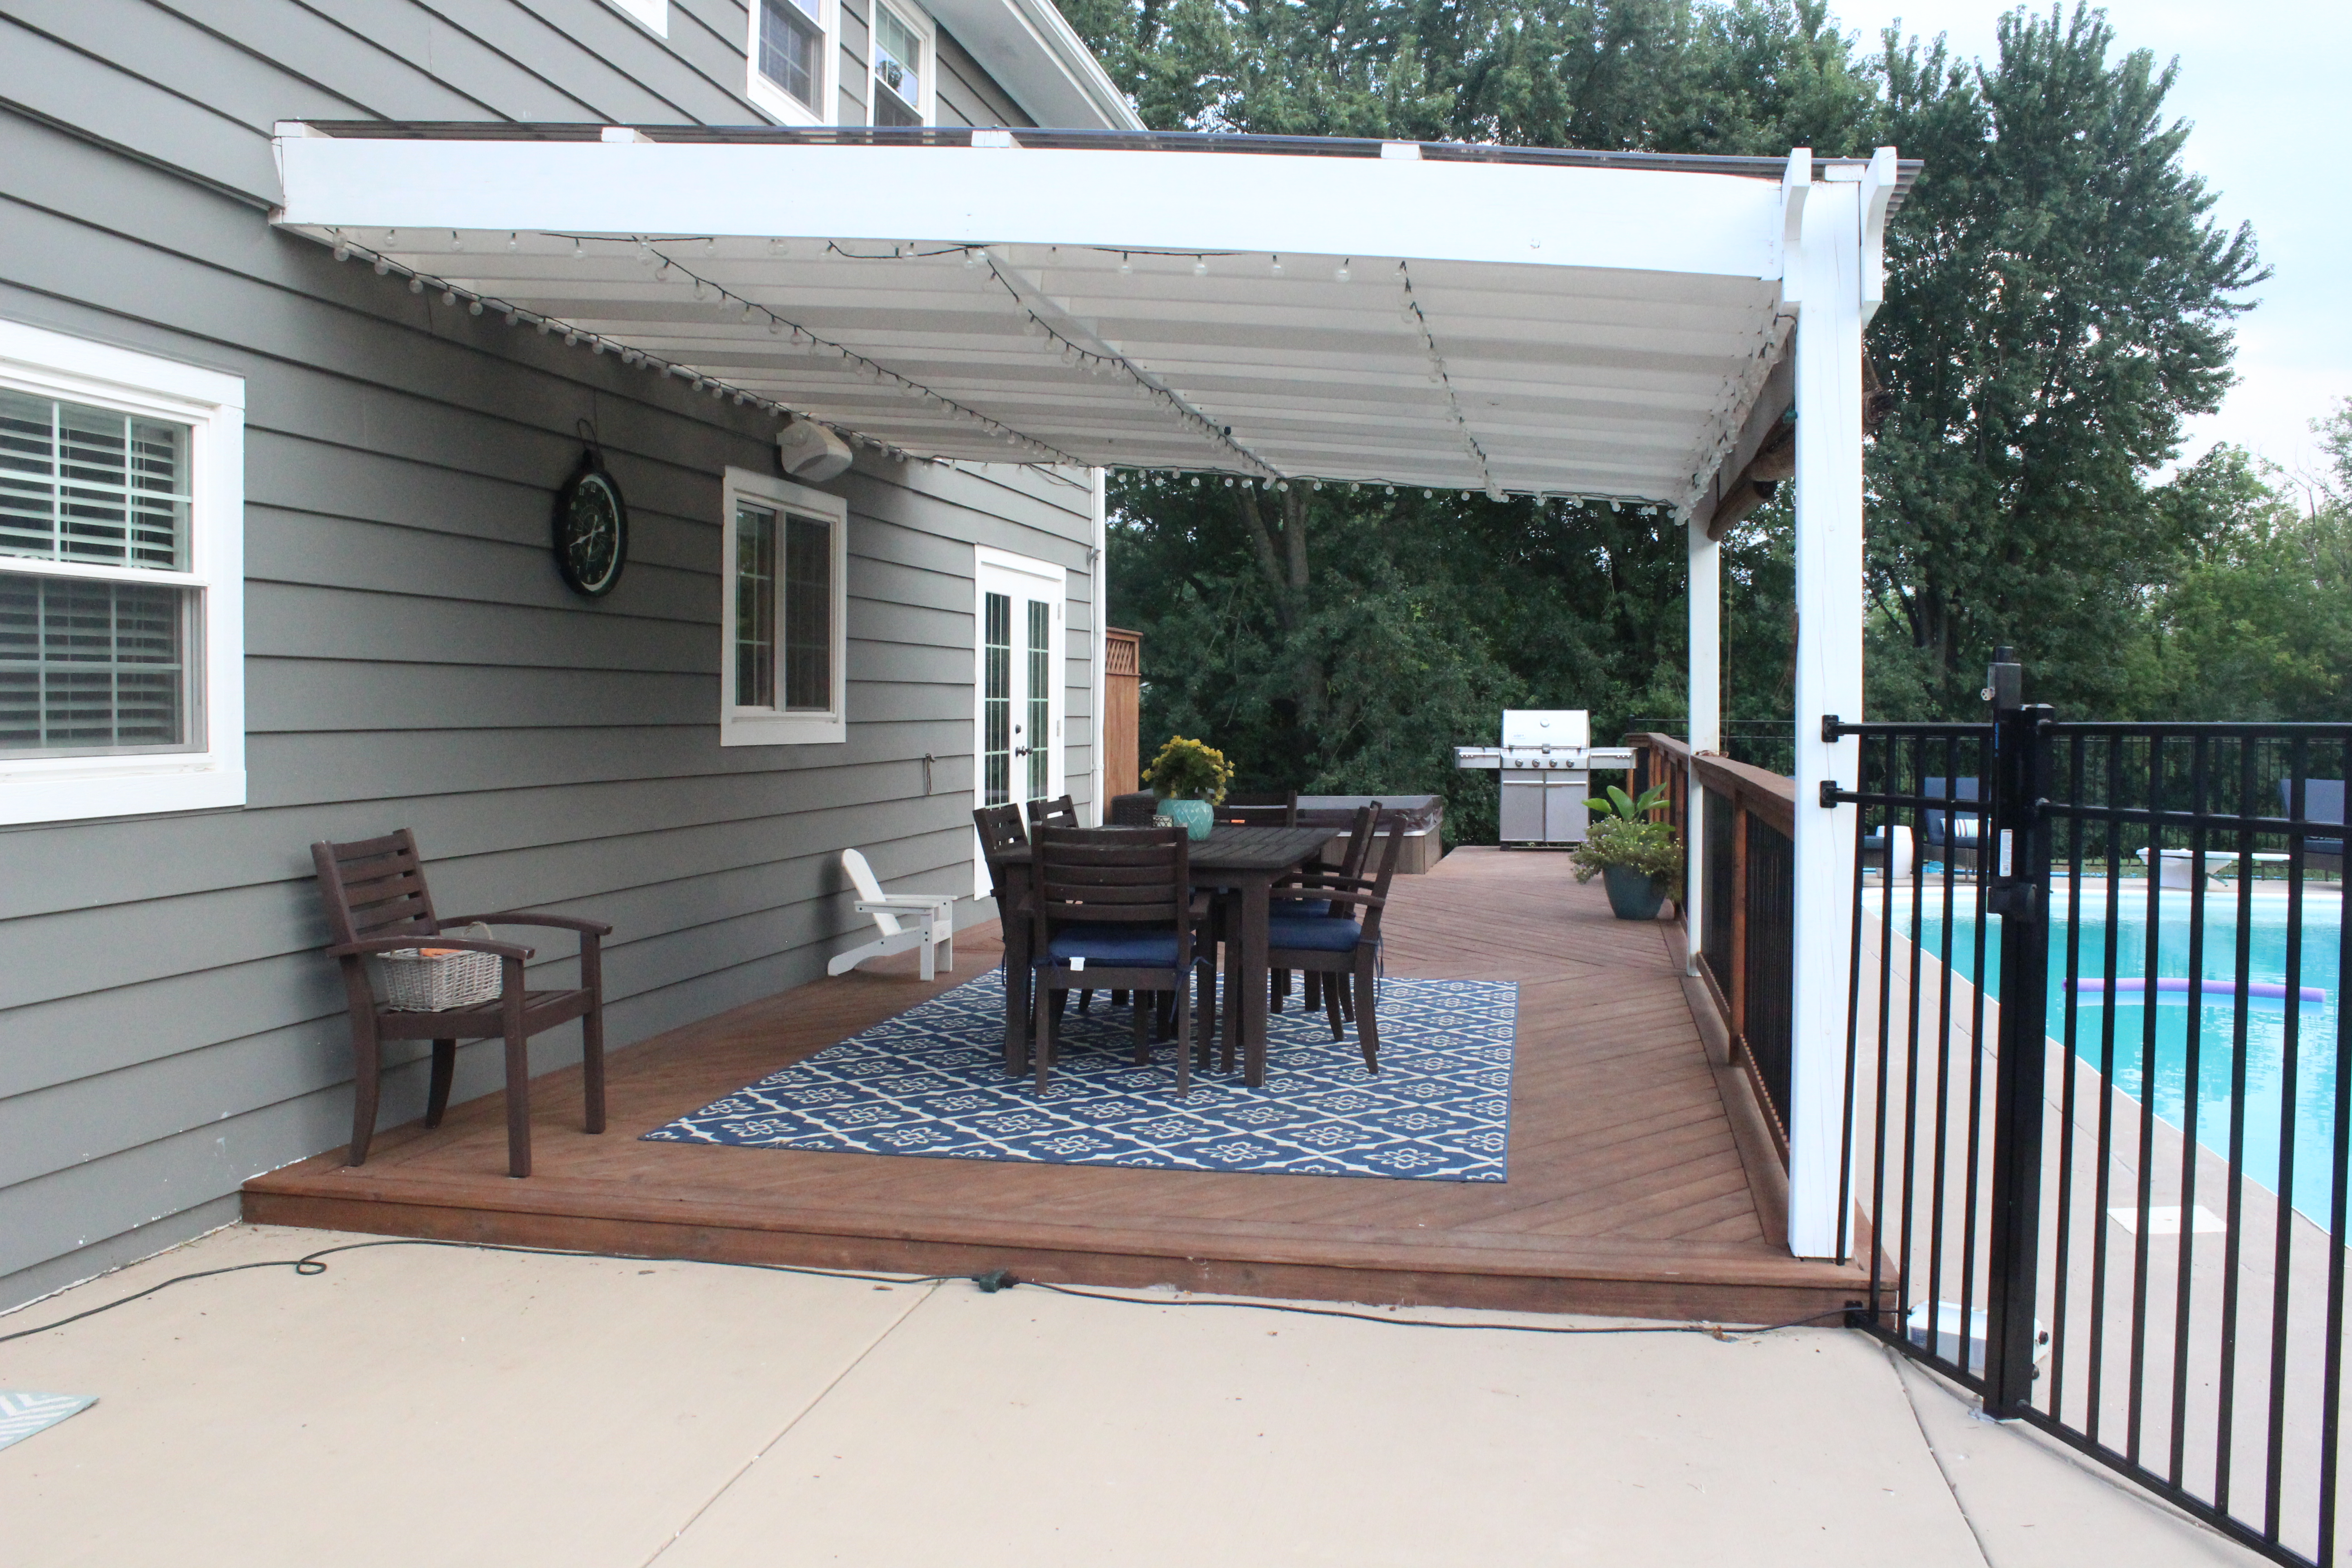
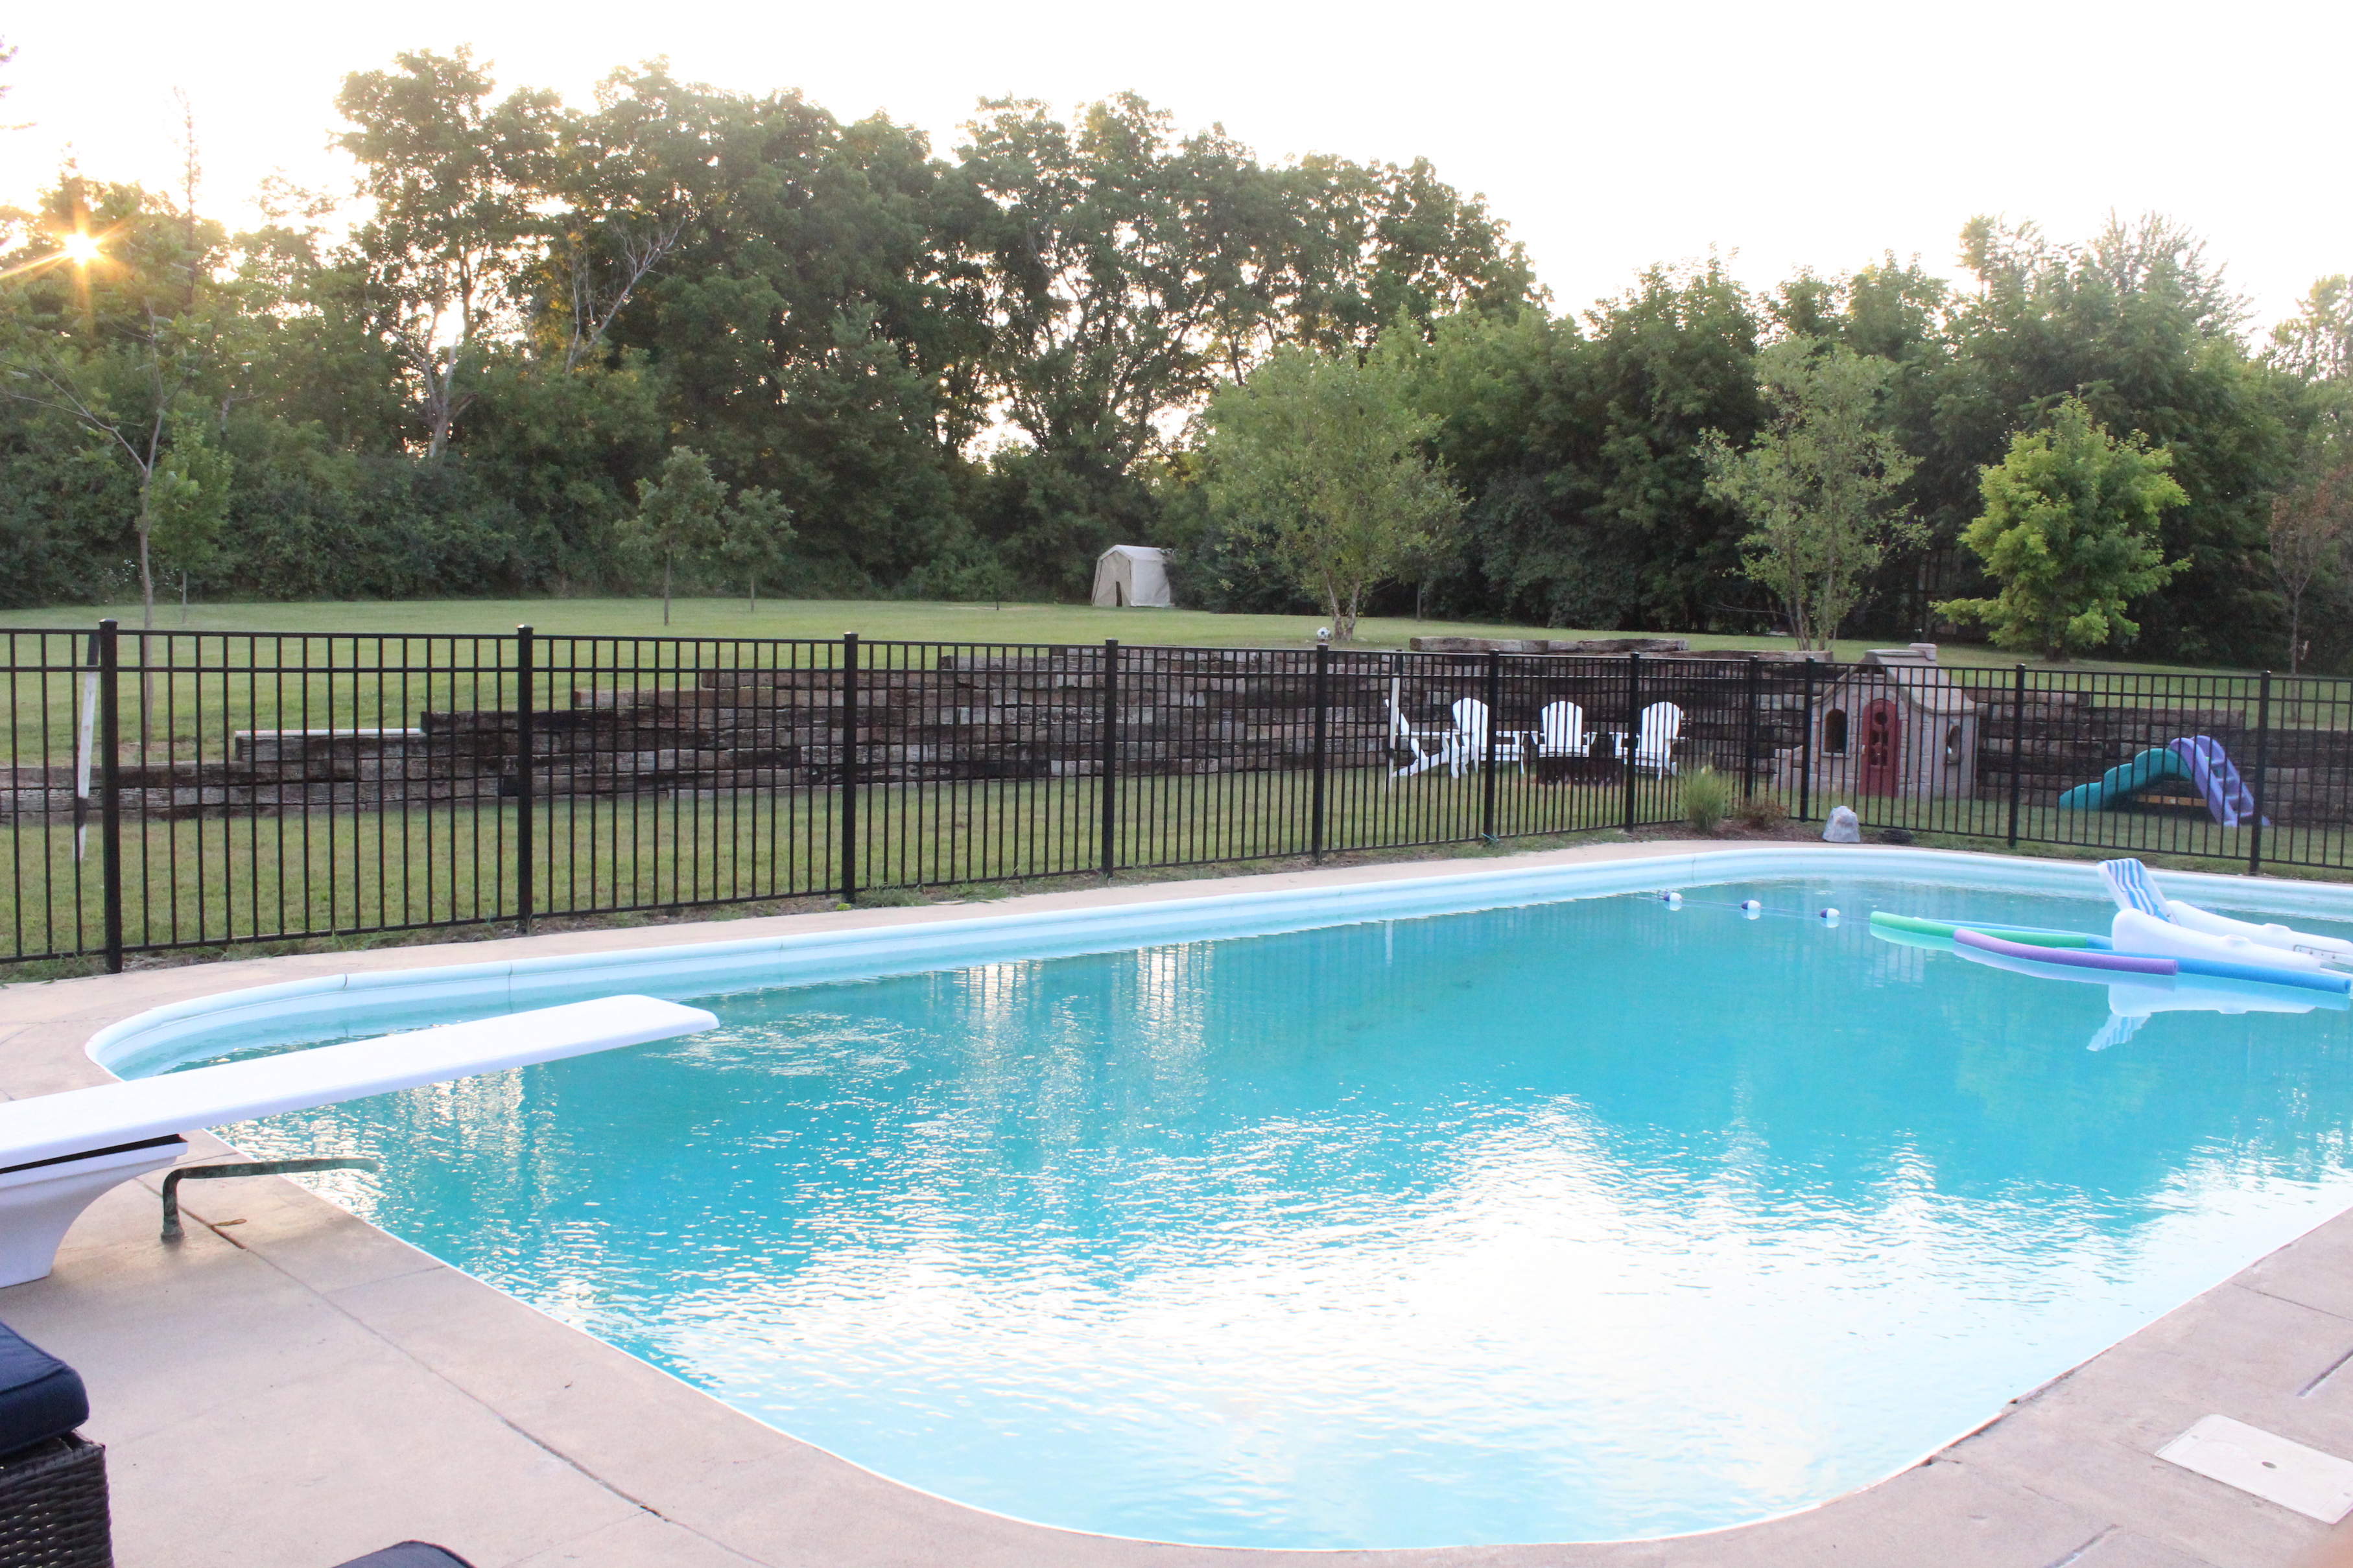
Here it is now:

back of house from diving board


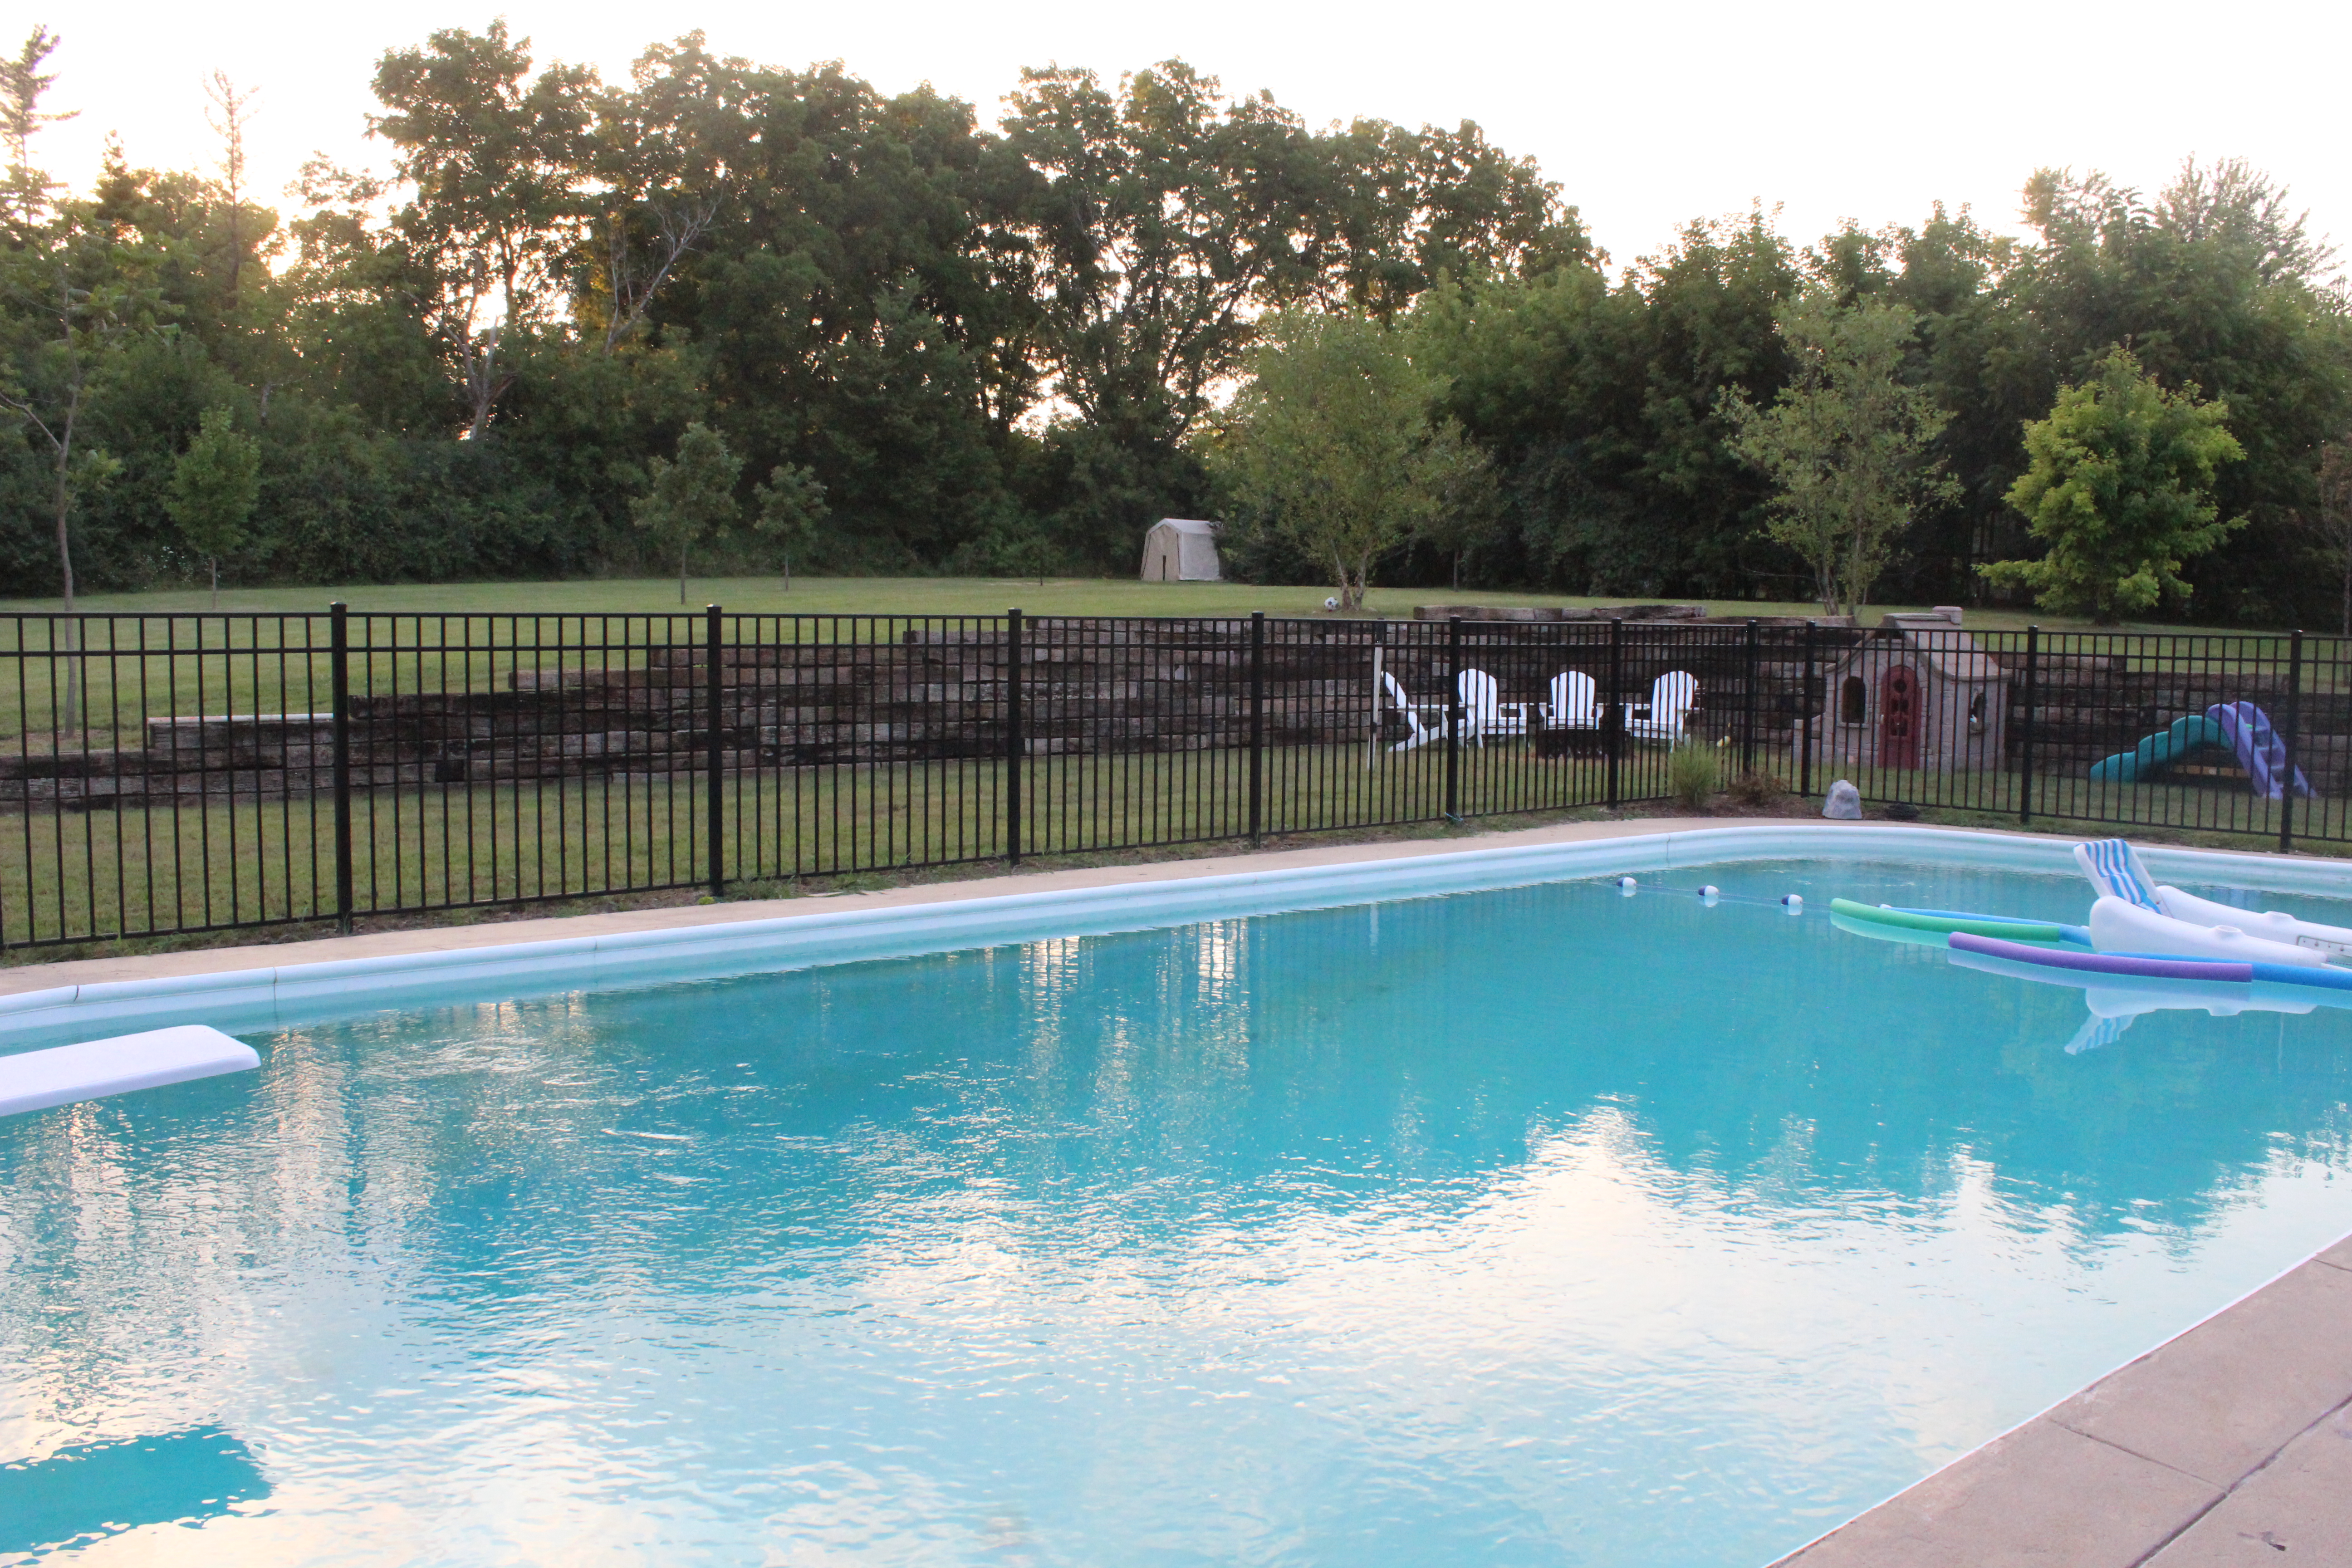
pool view retaining wall

back deck white pergola

back deck and garbage enclosure

Yeah.. we’ve been busy.

One of the biggest changes was installing that extra concrete by the back door and a stone path that leads all the way around to the driveway.

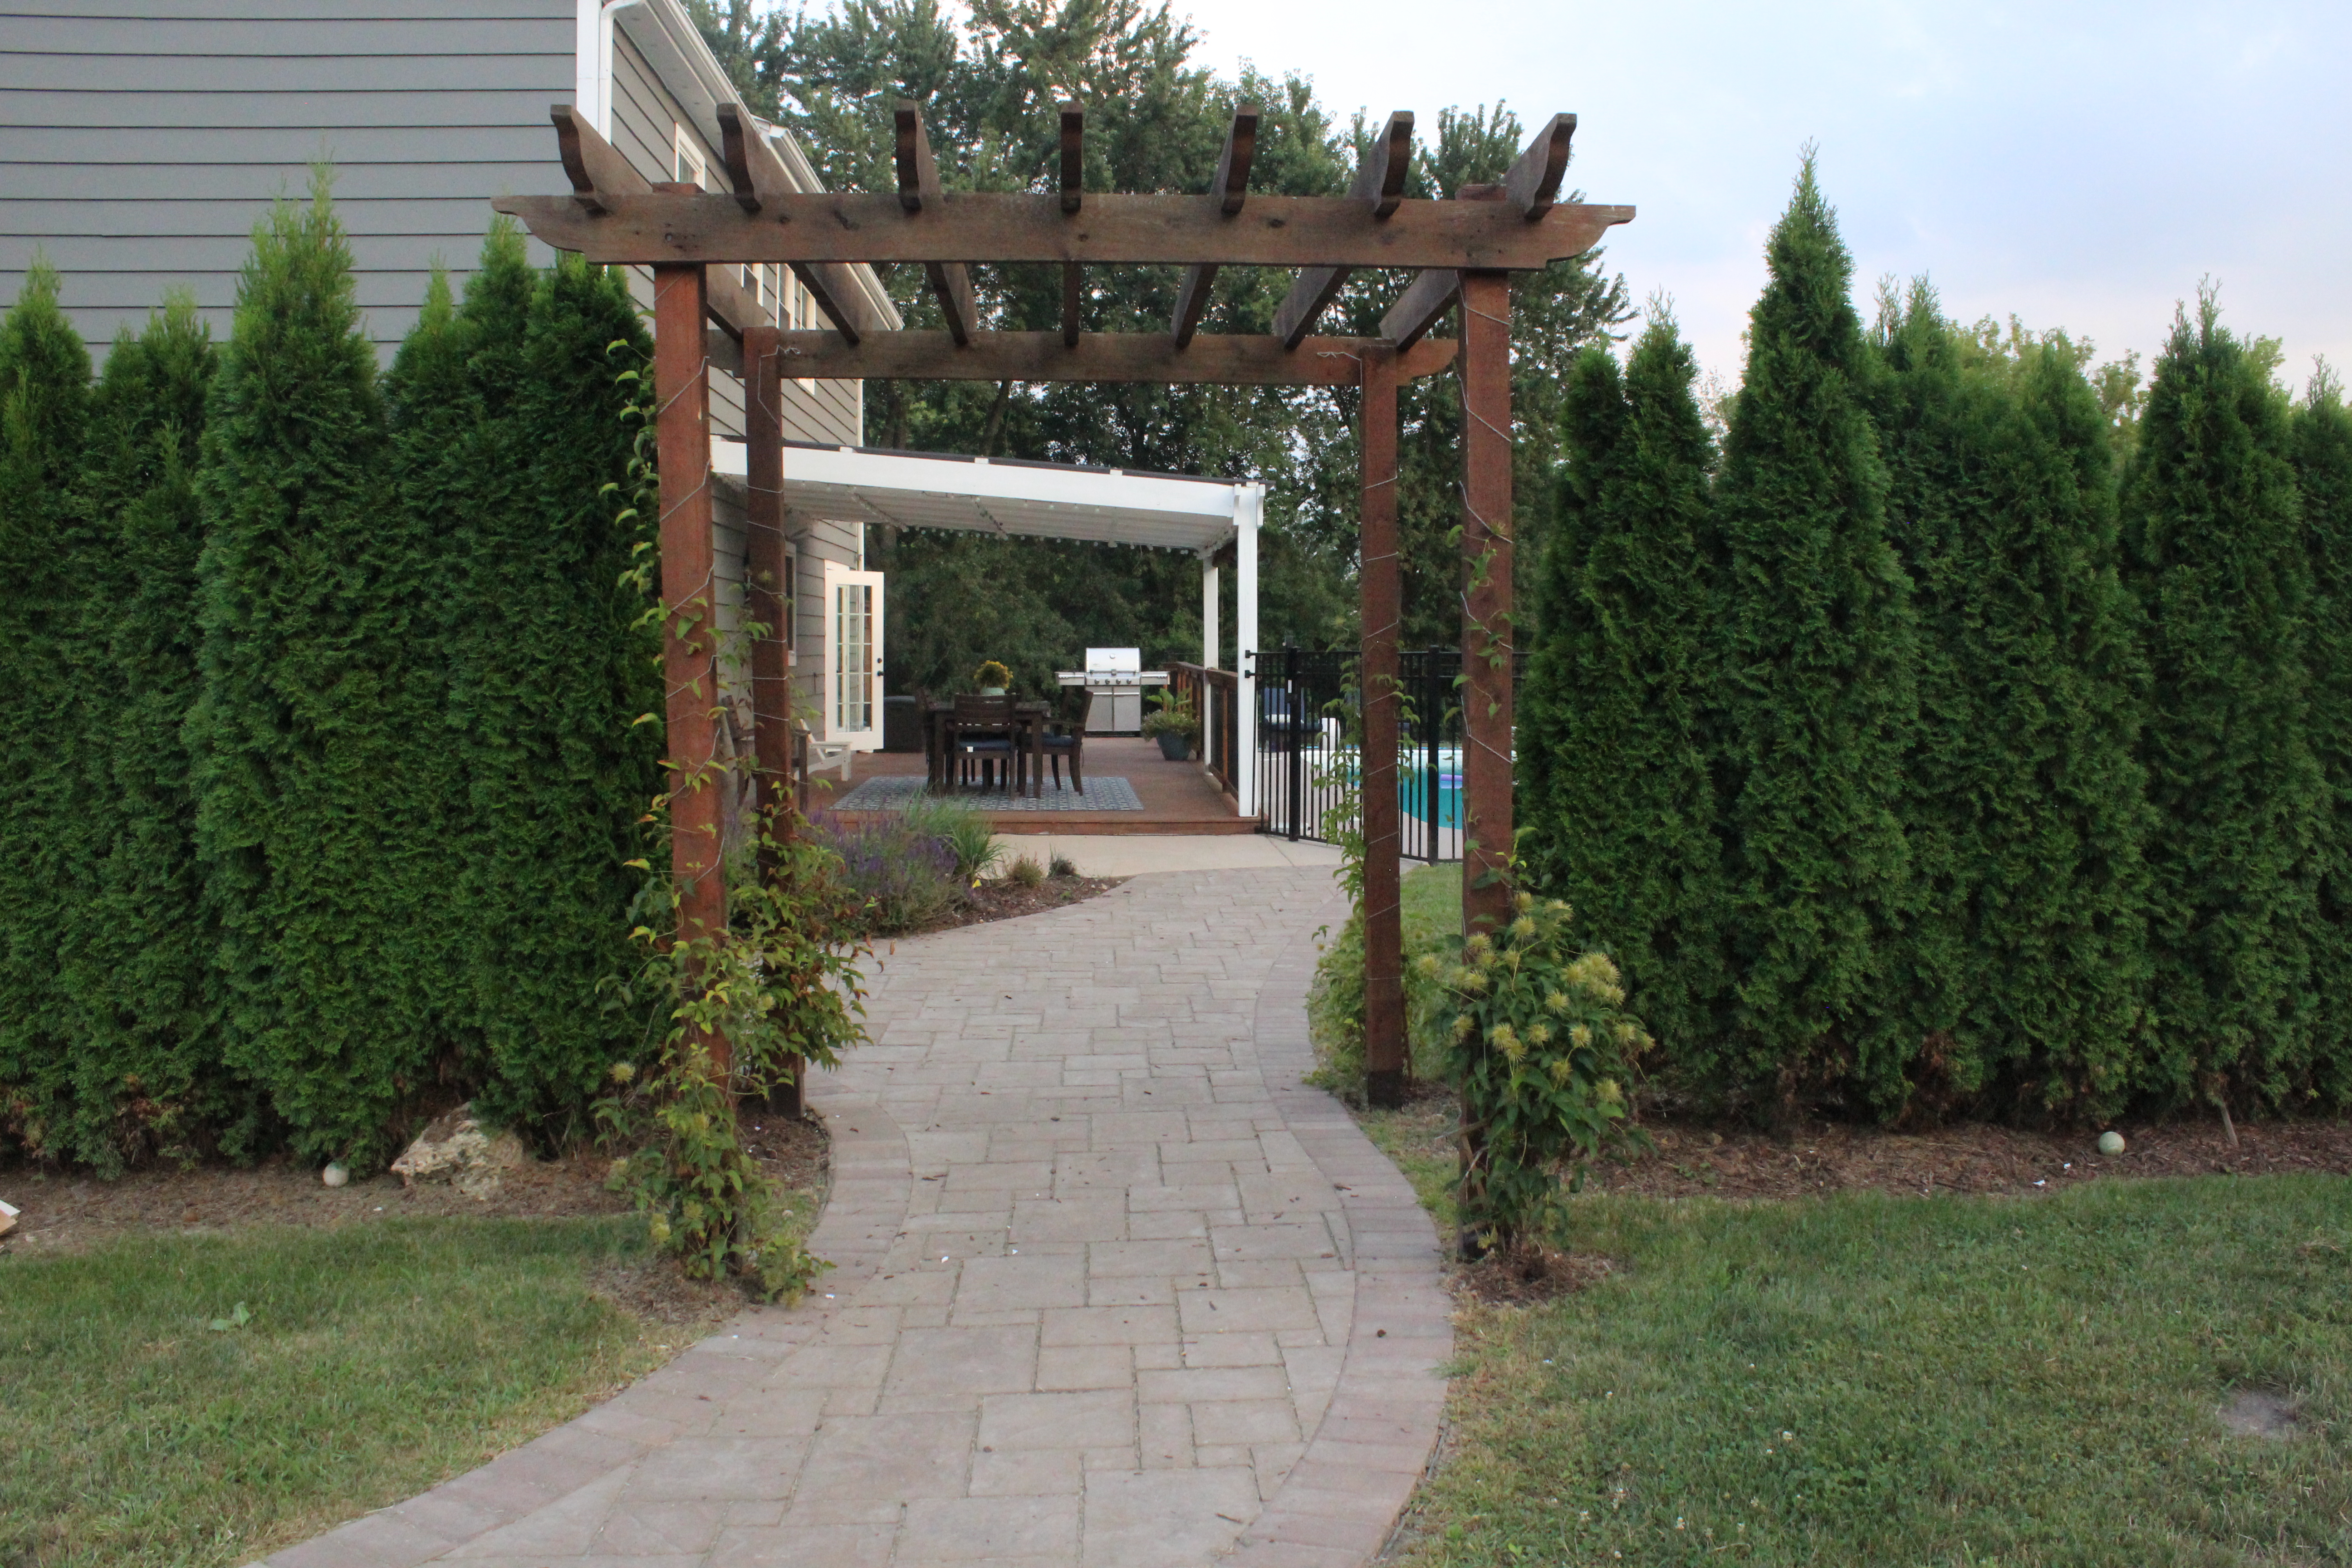
arbor blooming

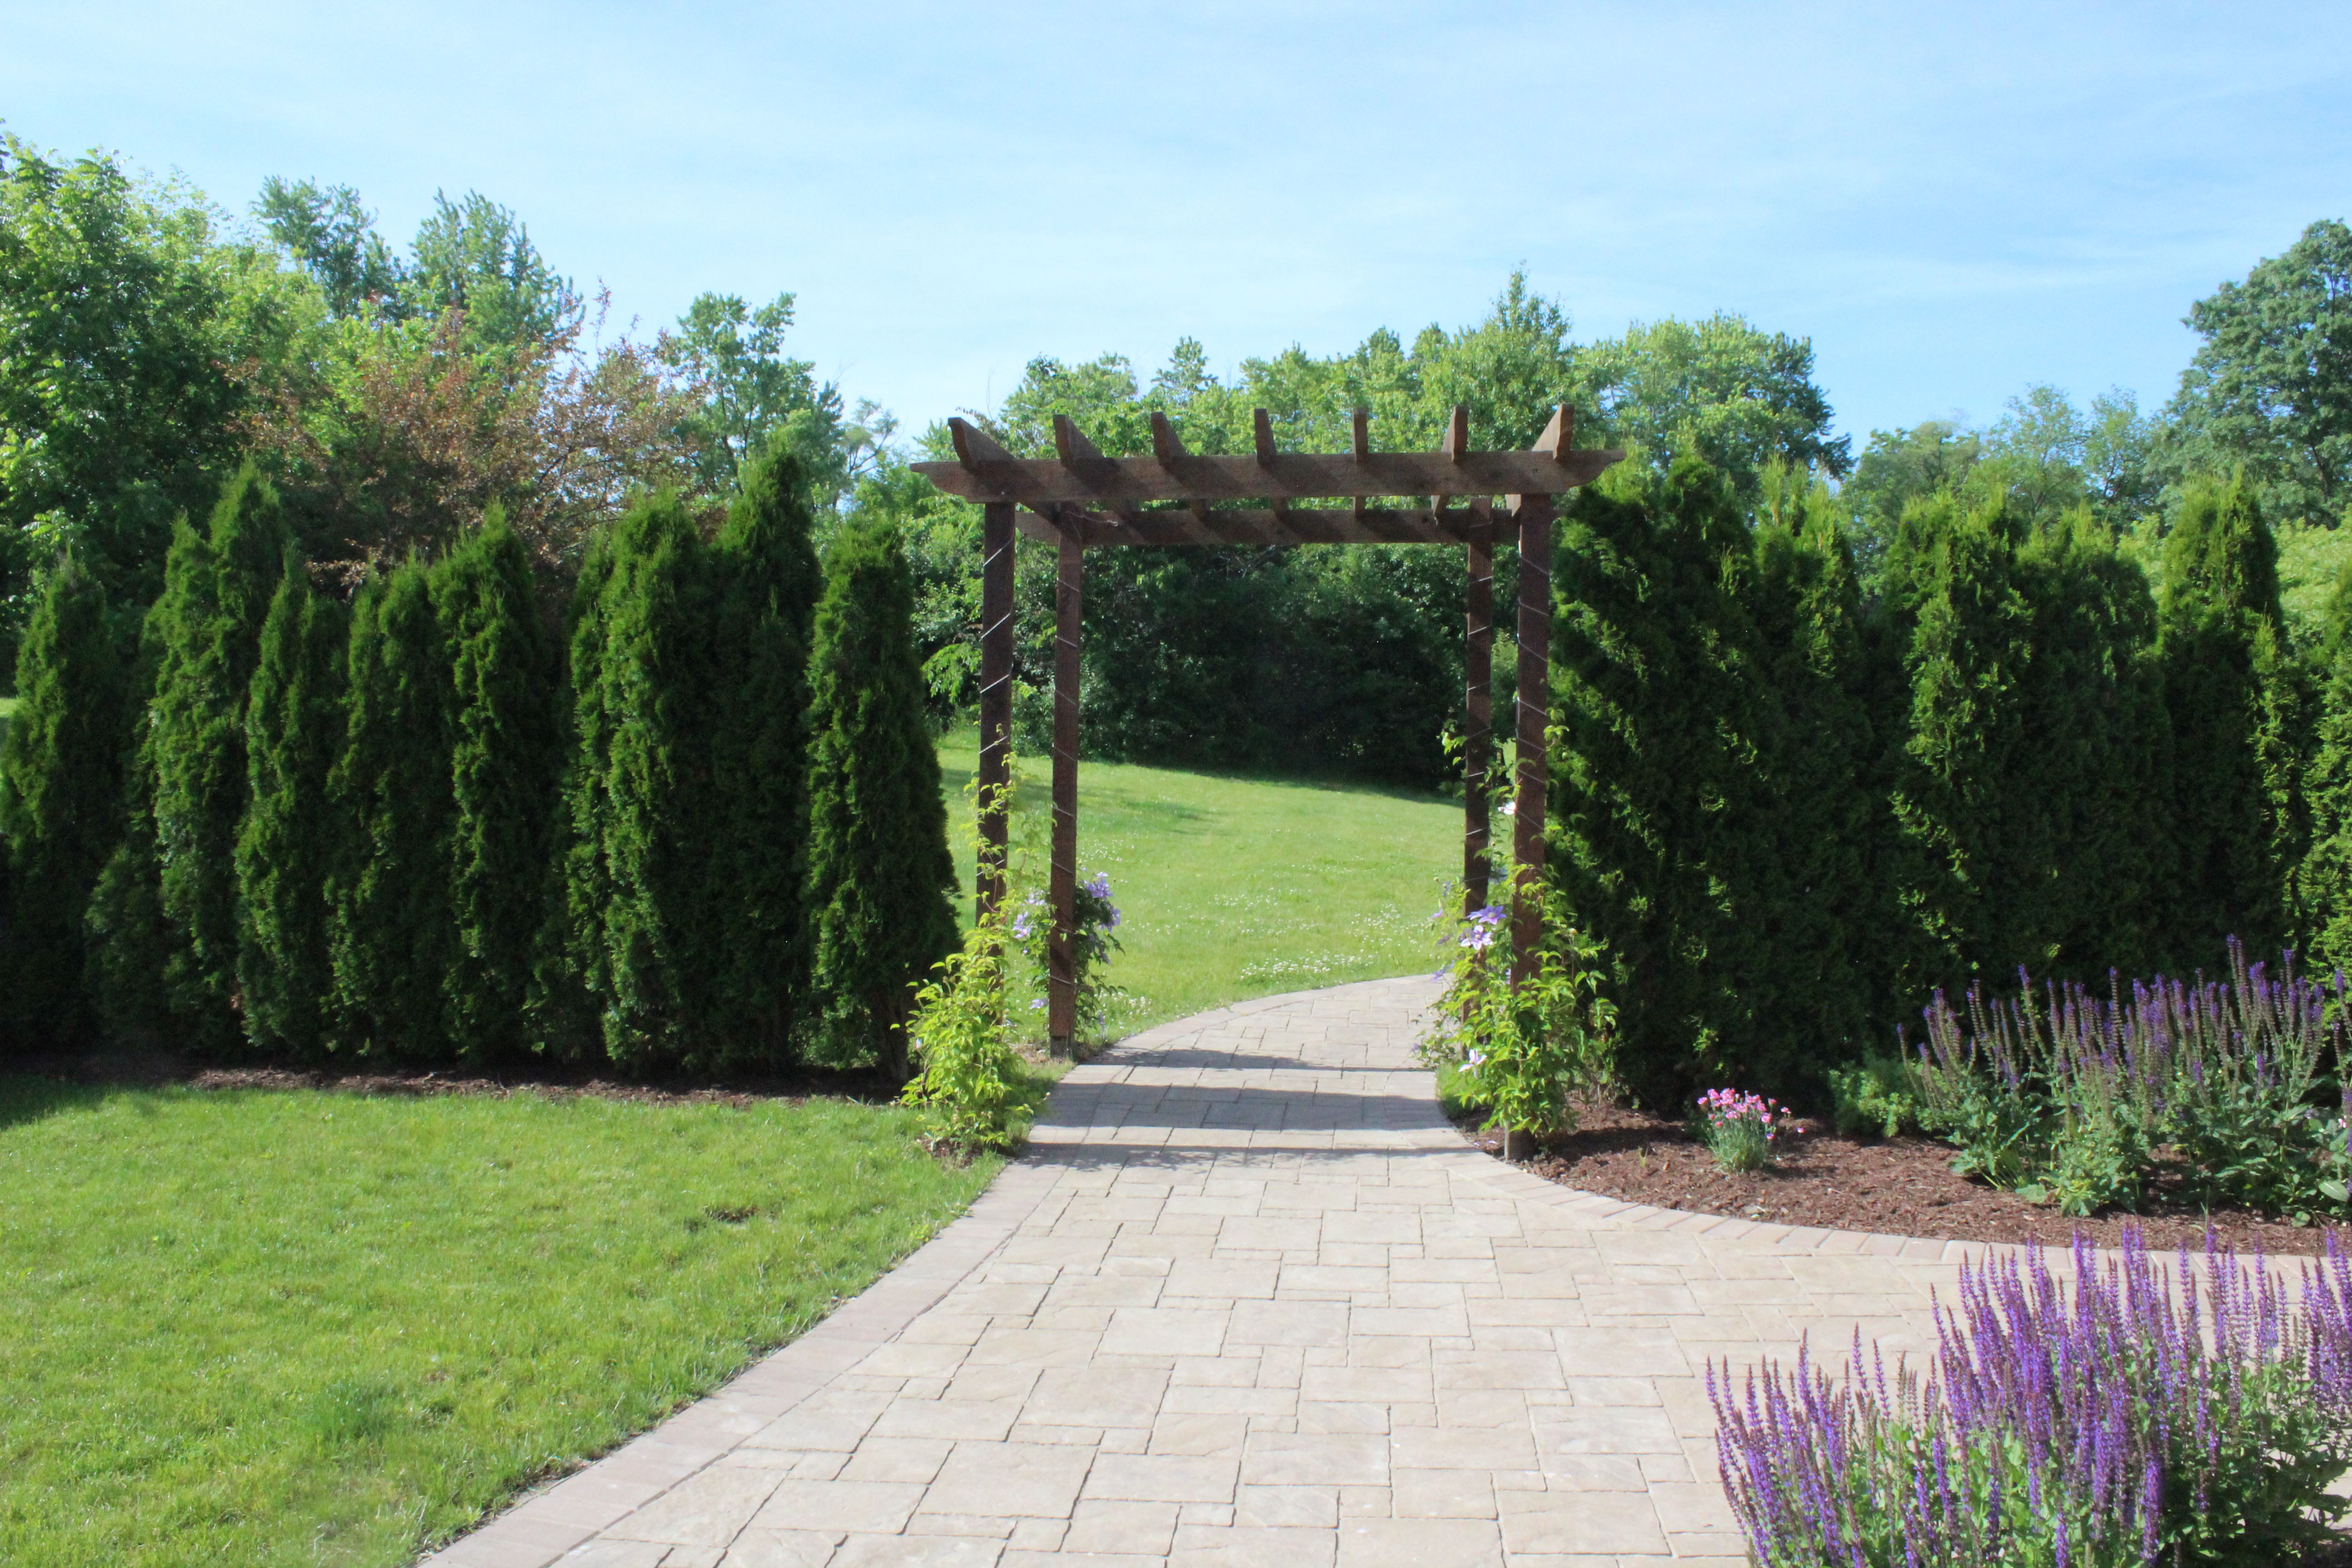
Ben put up the arbor which he built prior to our wedding and we got married under. I was so happy to see it get a new life here.

view from other side of arbor

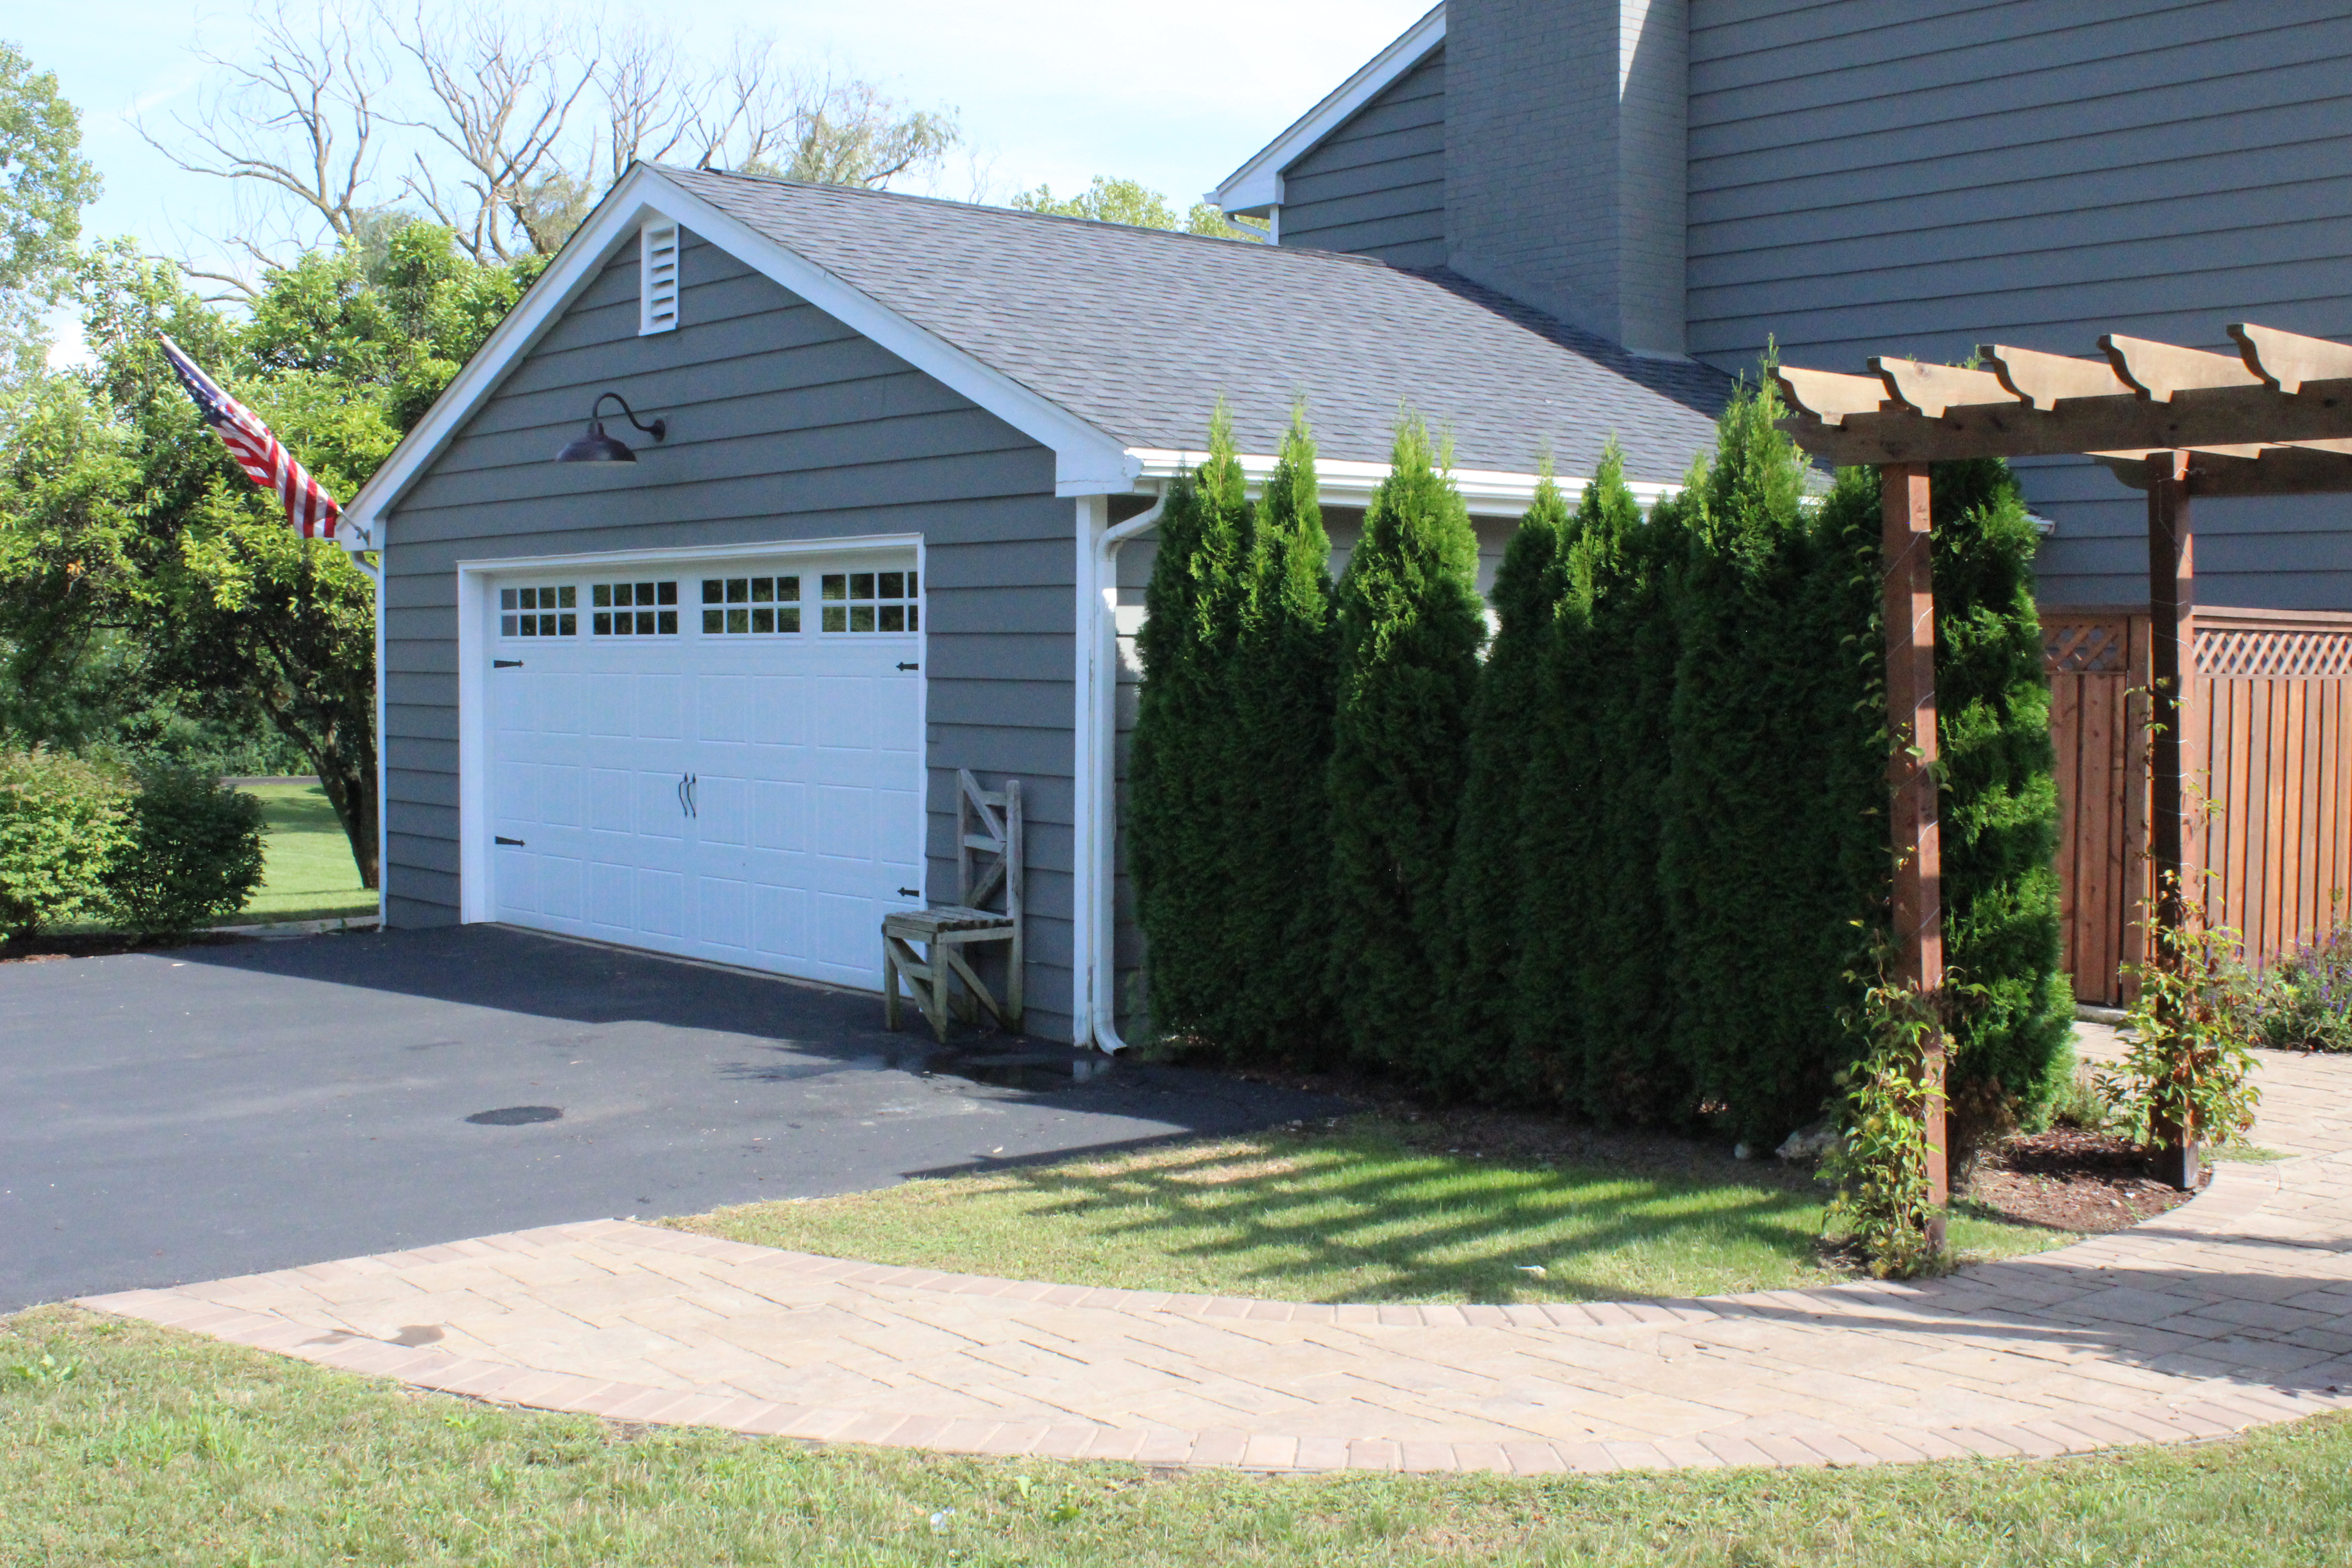
We also planted several arborvitae on either side to really divide the backyard area.

Here’s a farther away look, including a look at our new garage door:

IMG_5949

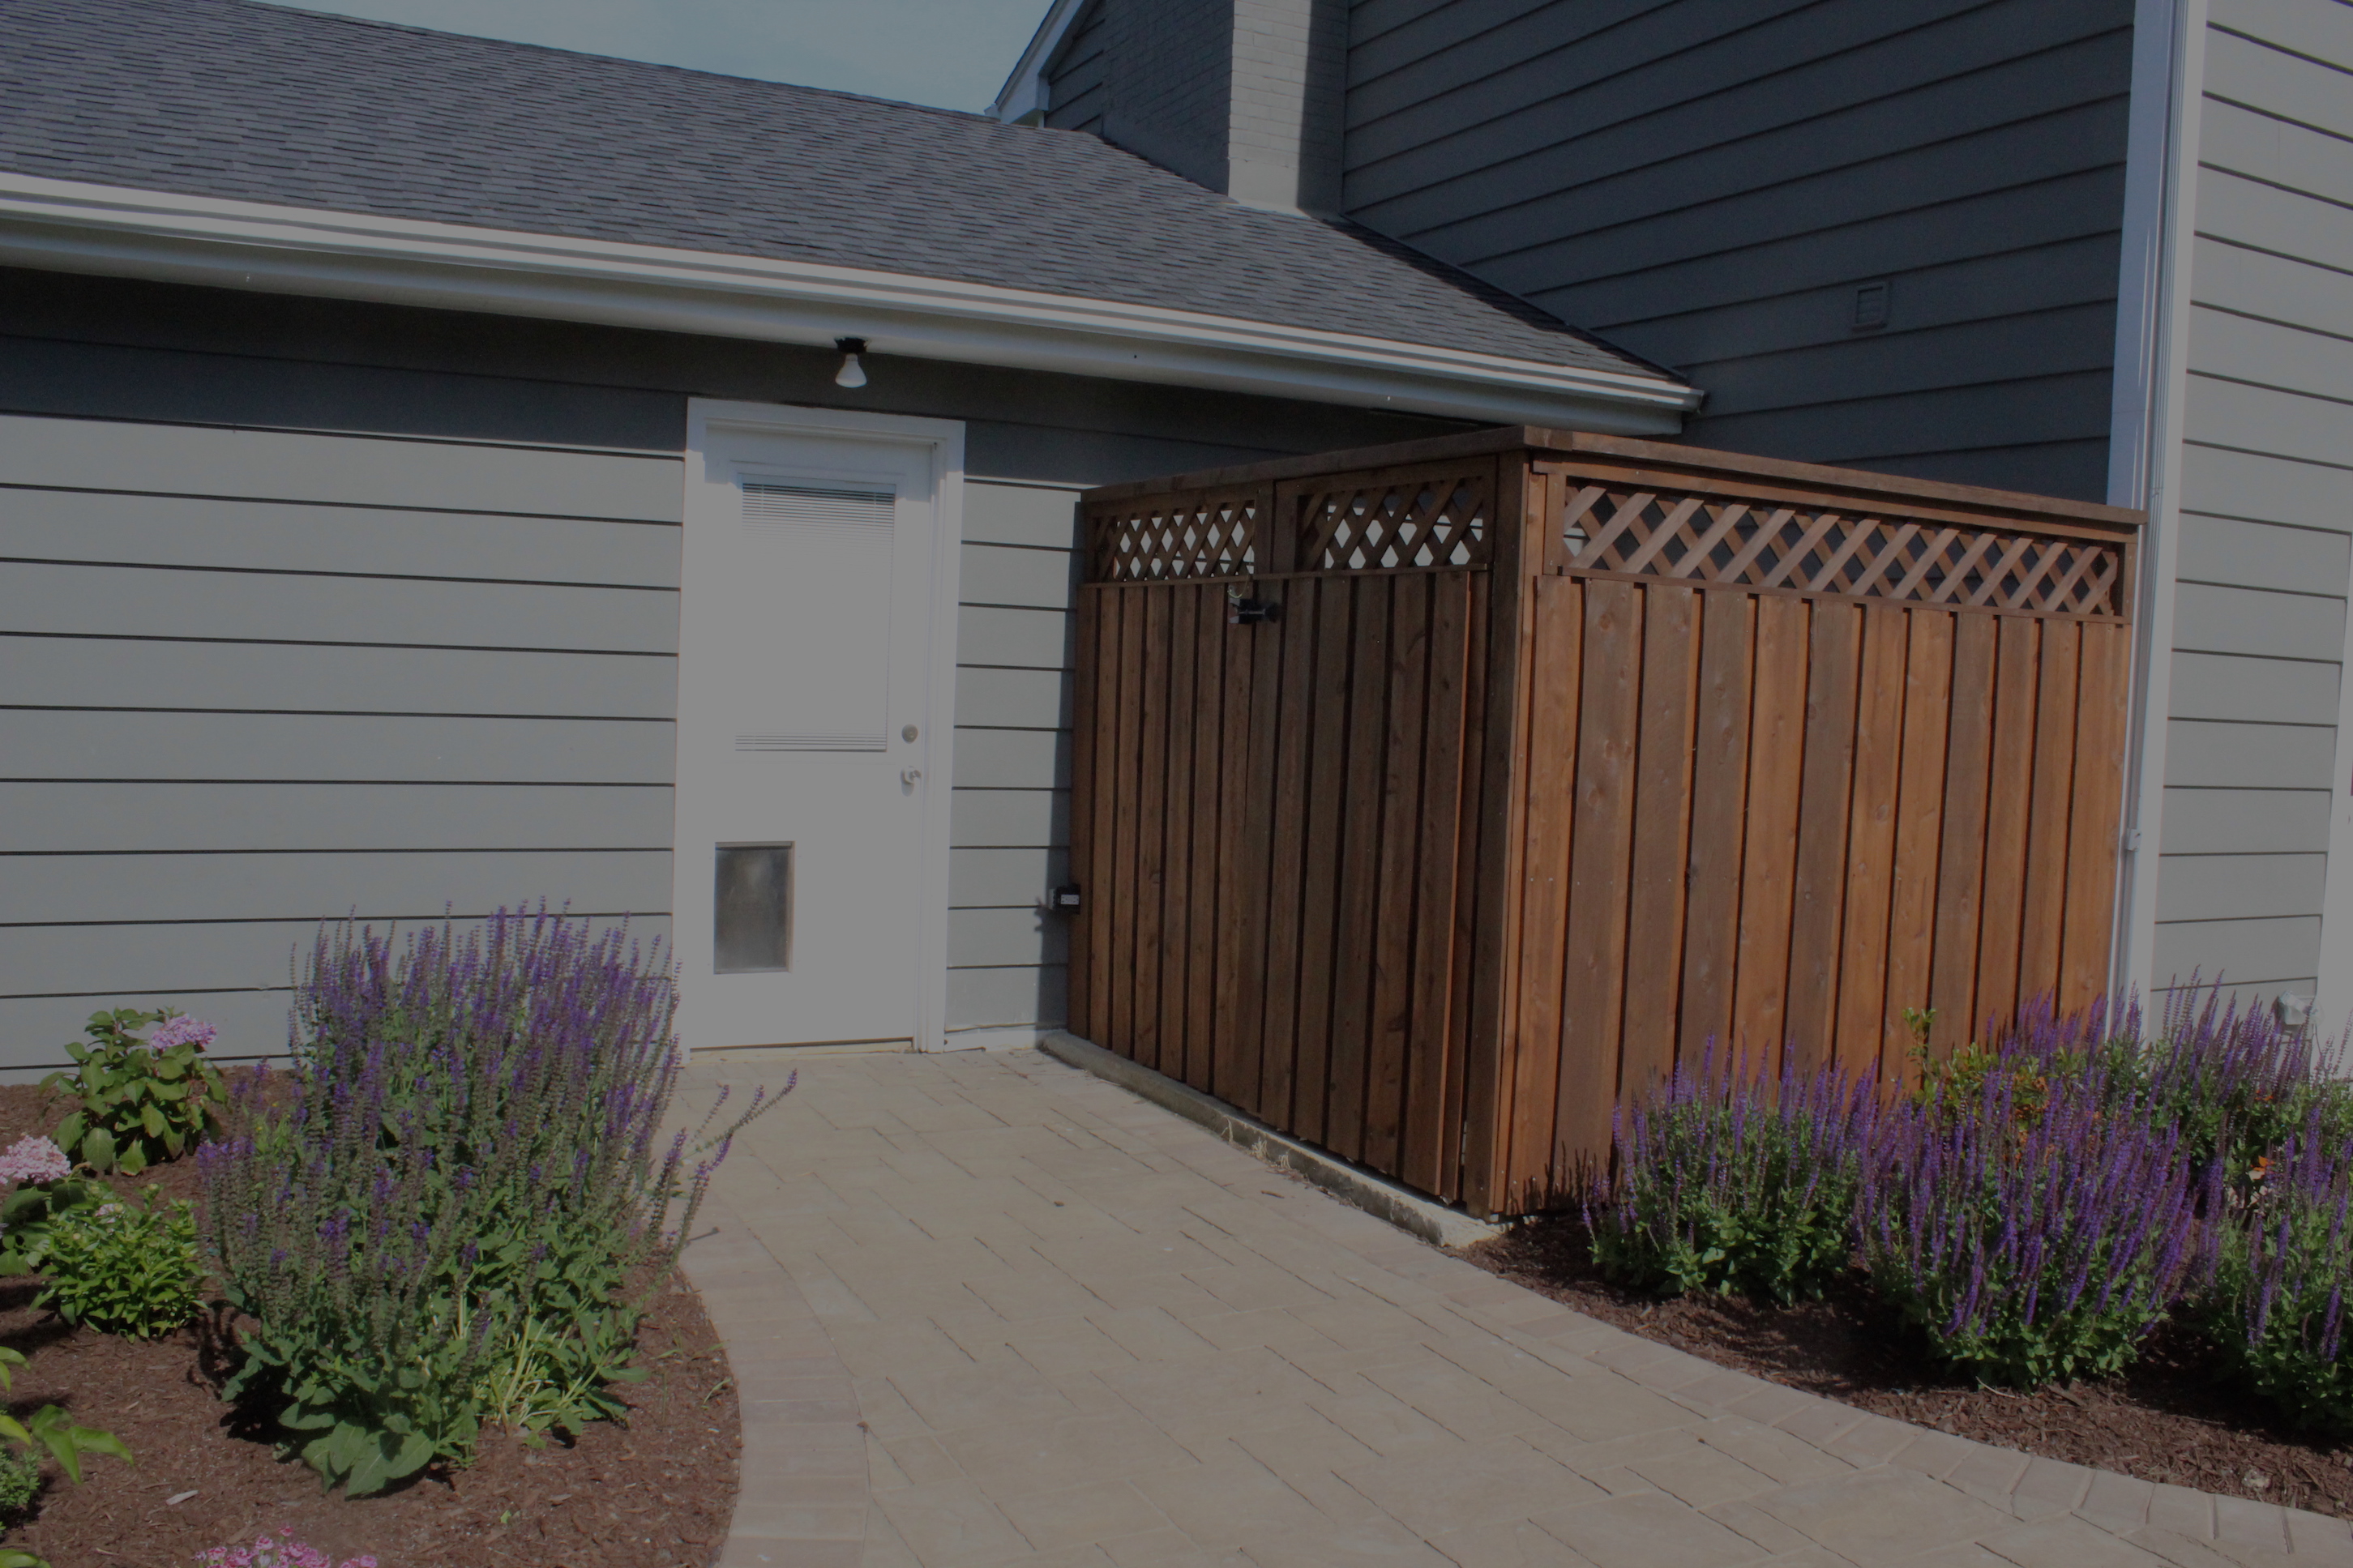
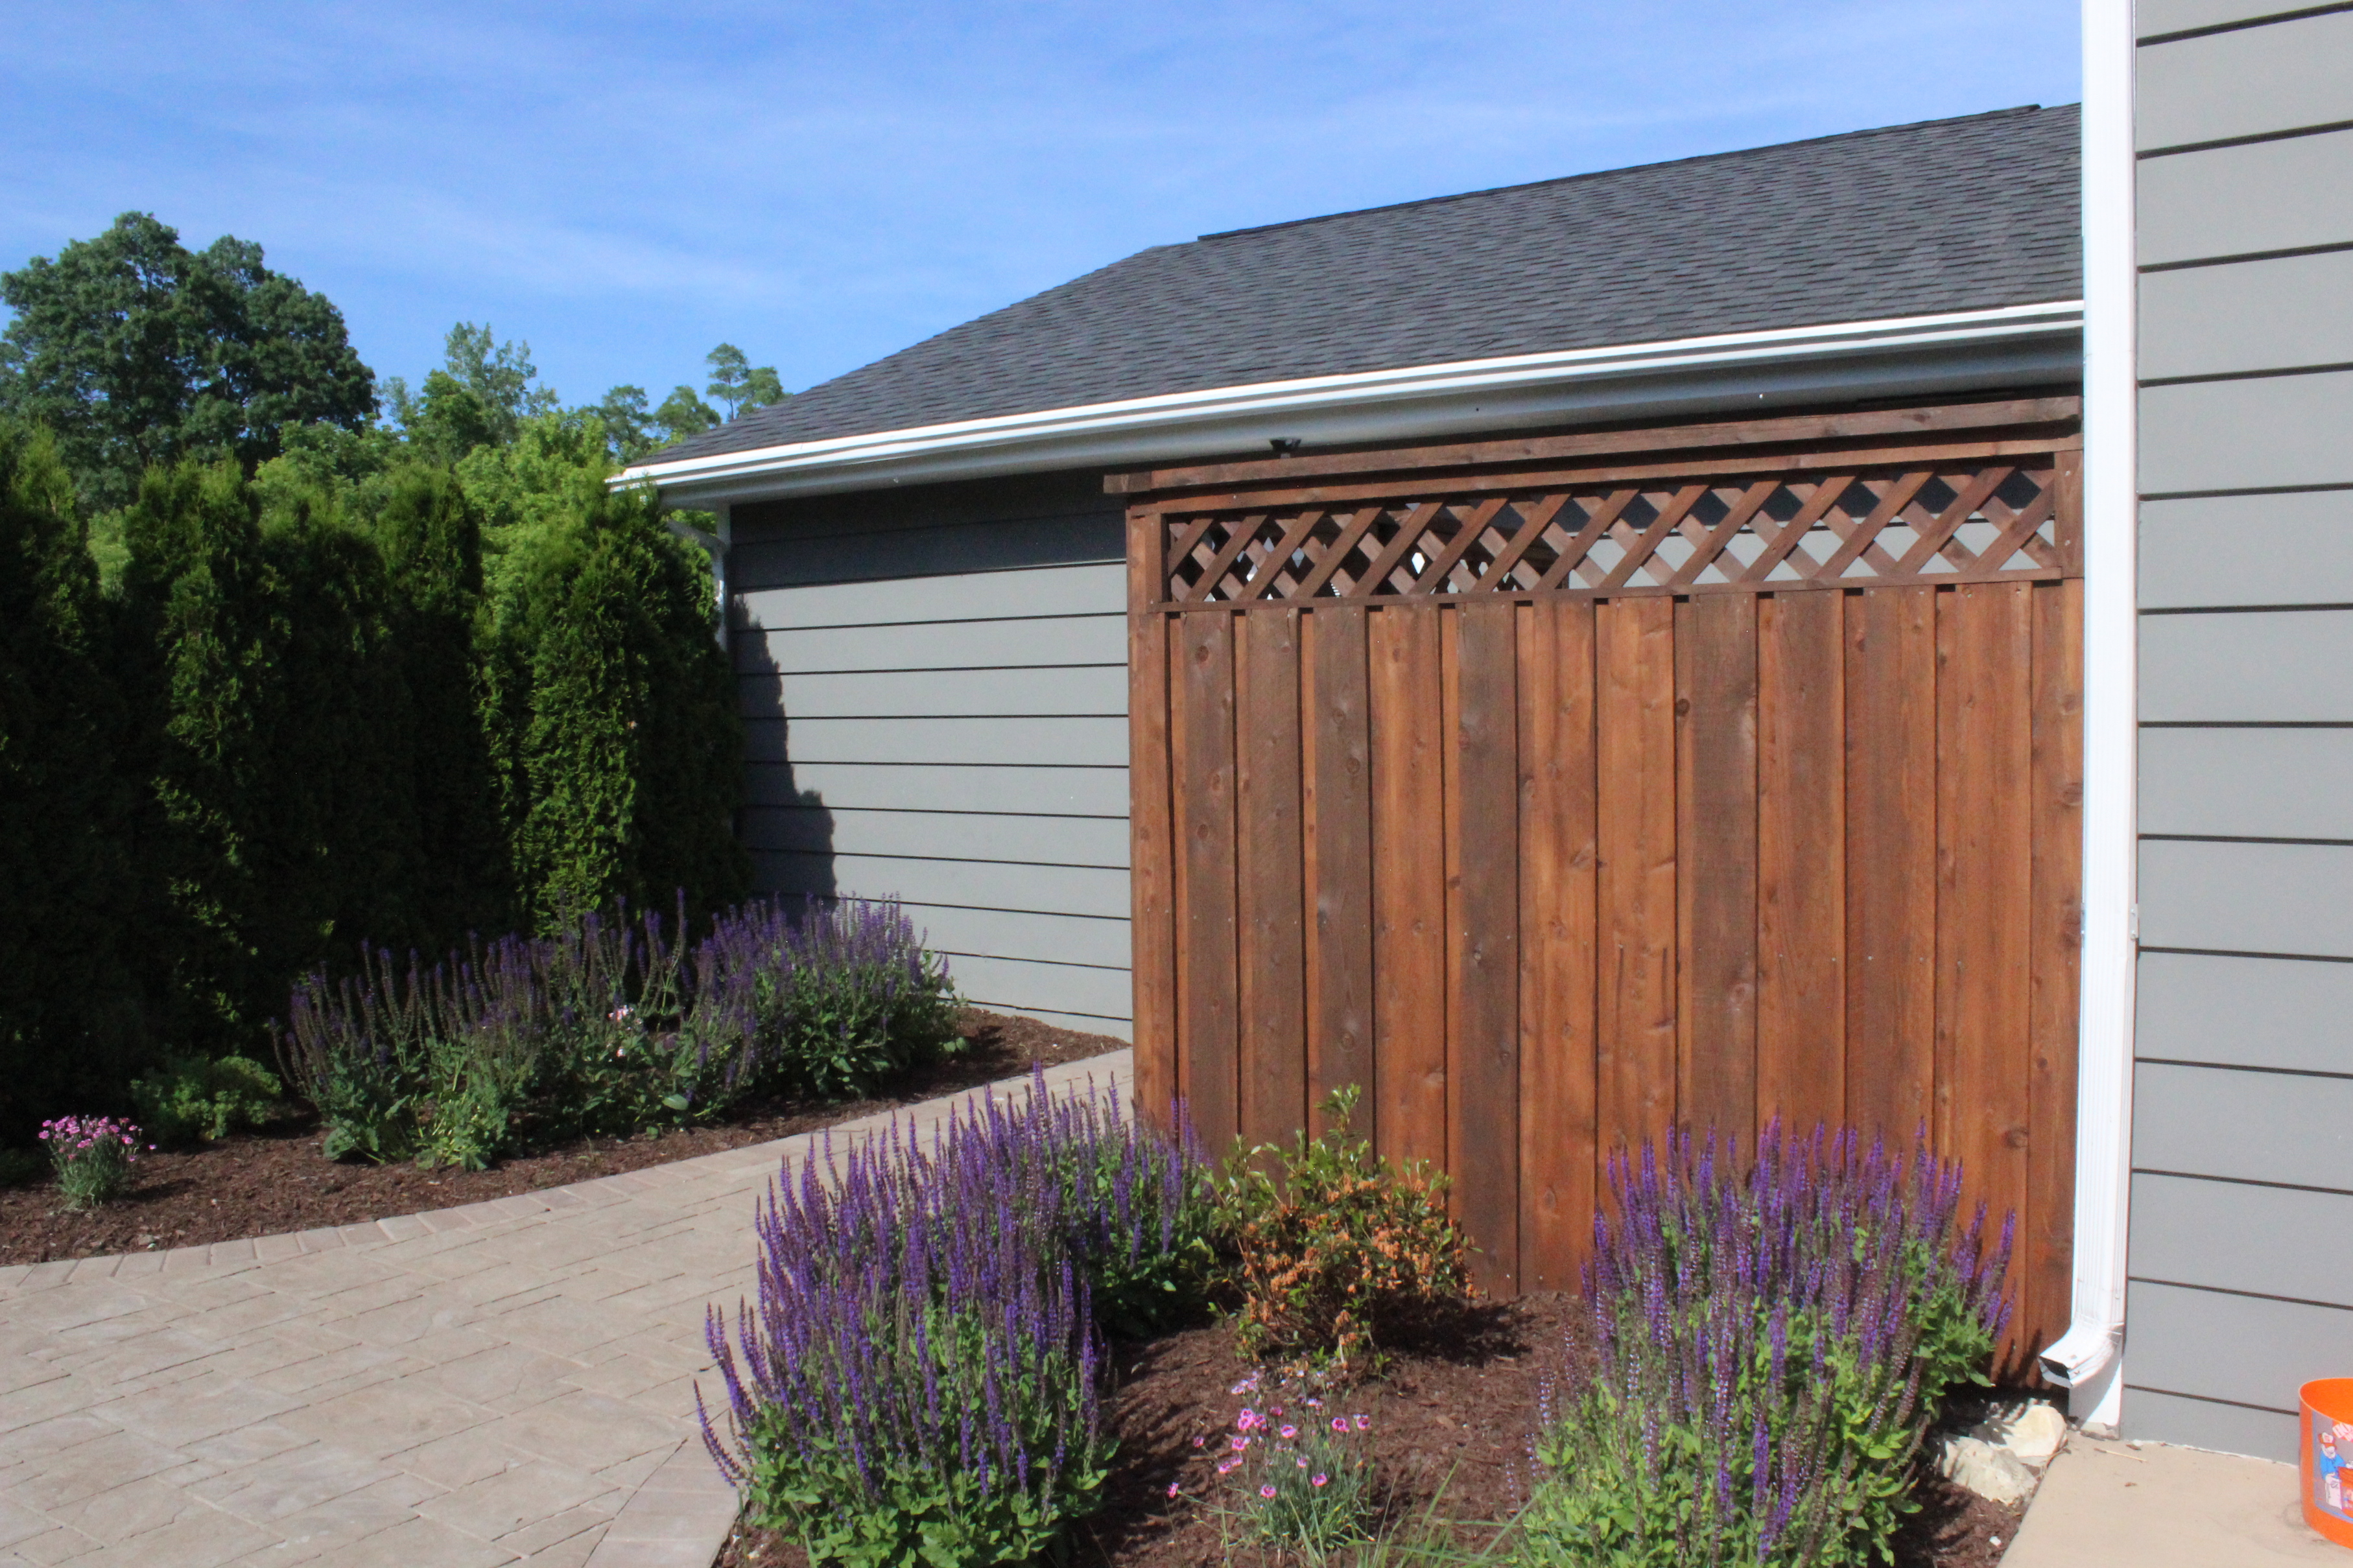
We also built this garbage enclosure which is so functional and keeps our dog out of the trash.

garbage enclosure 2

gabage enclosure

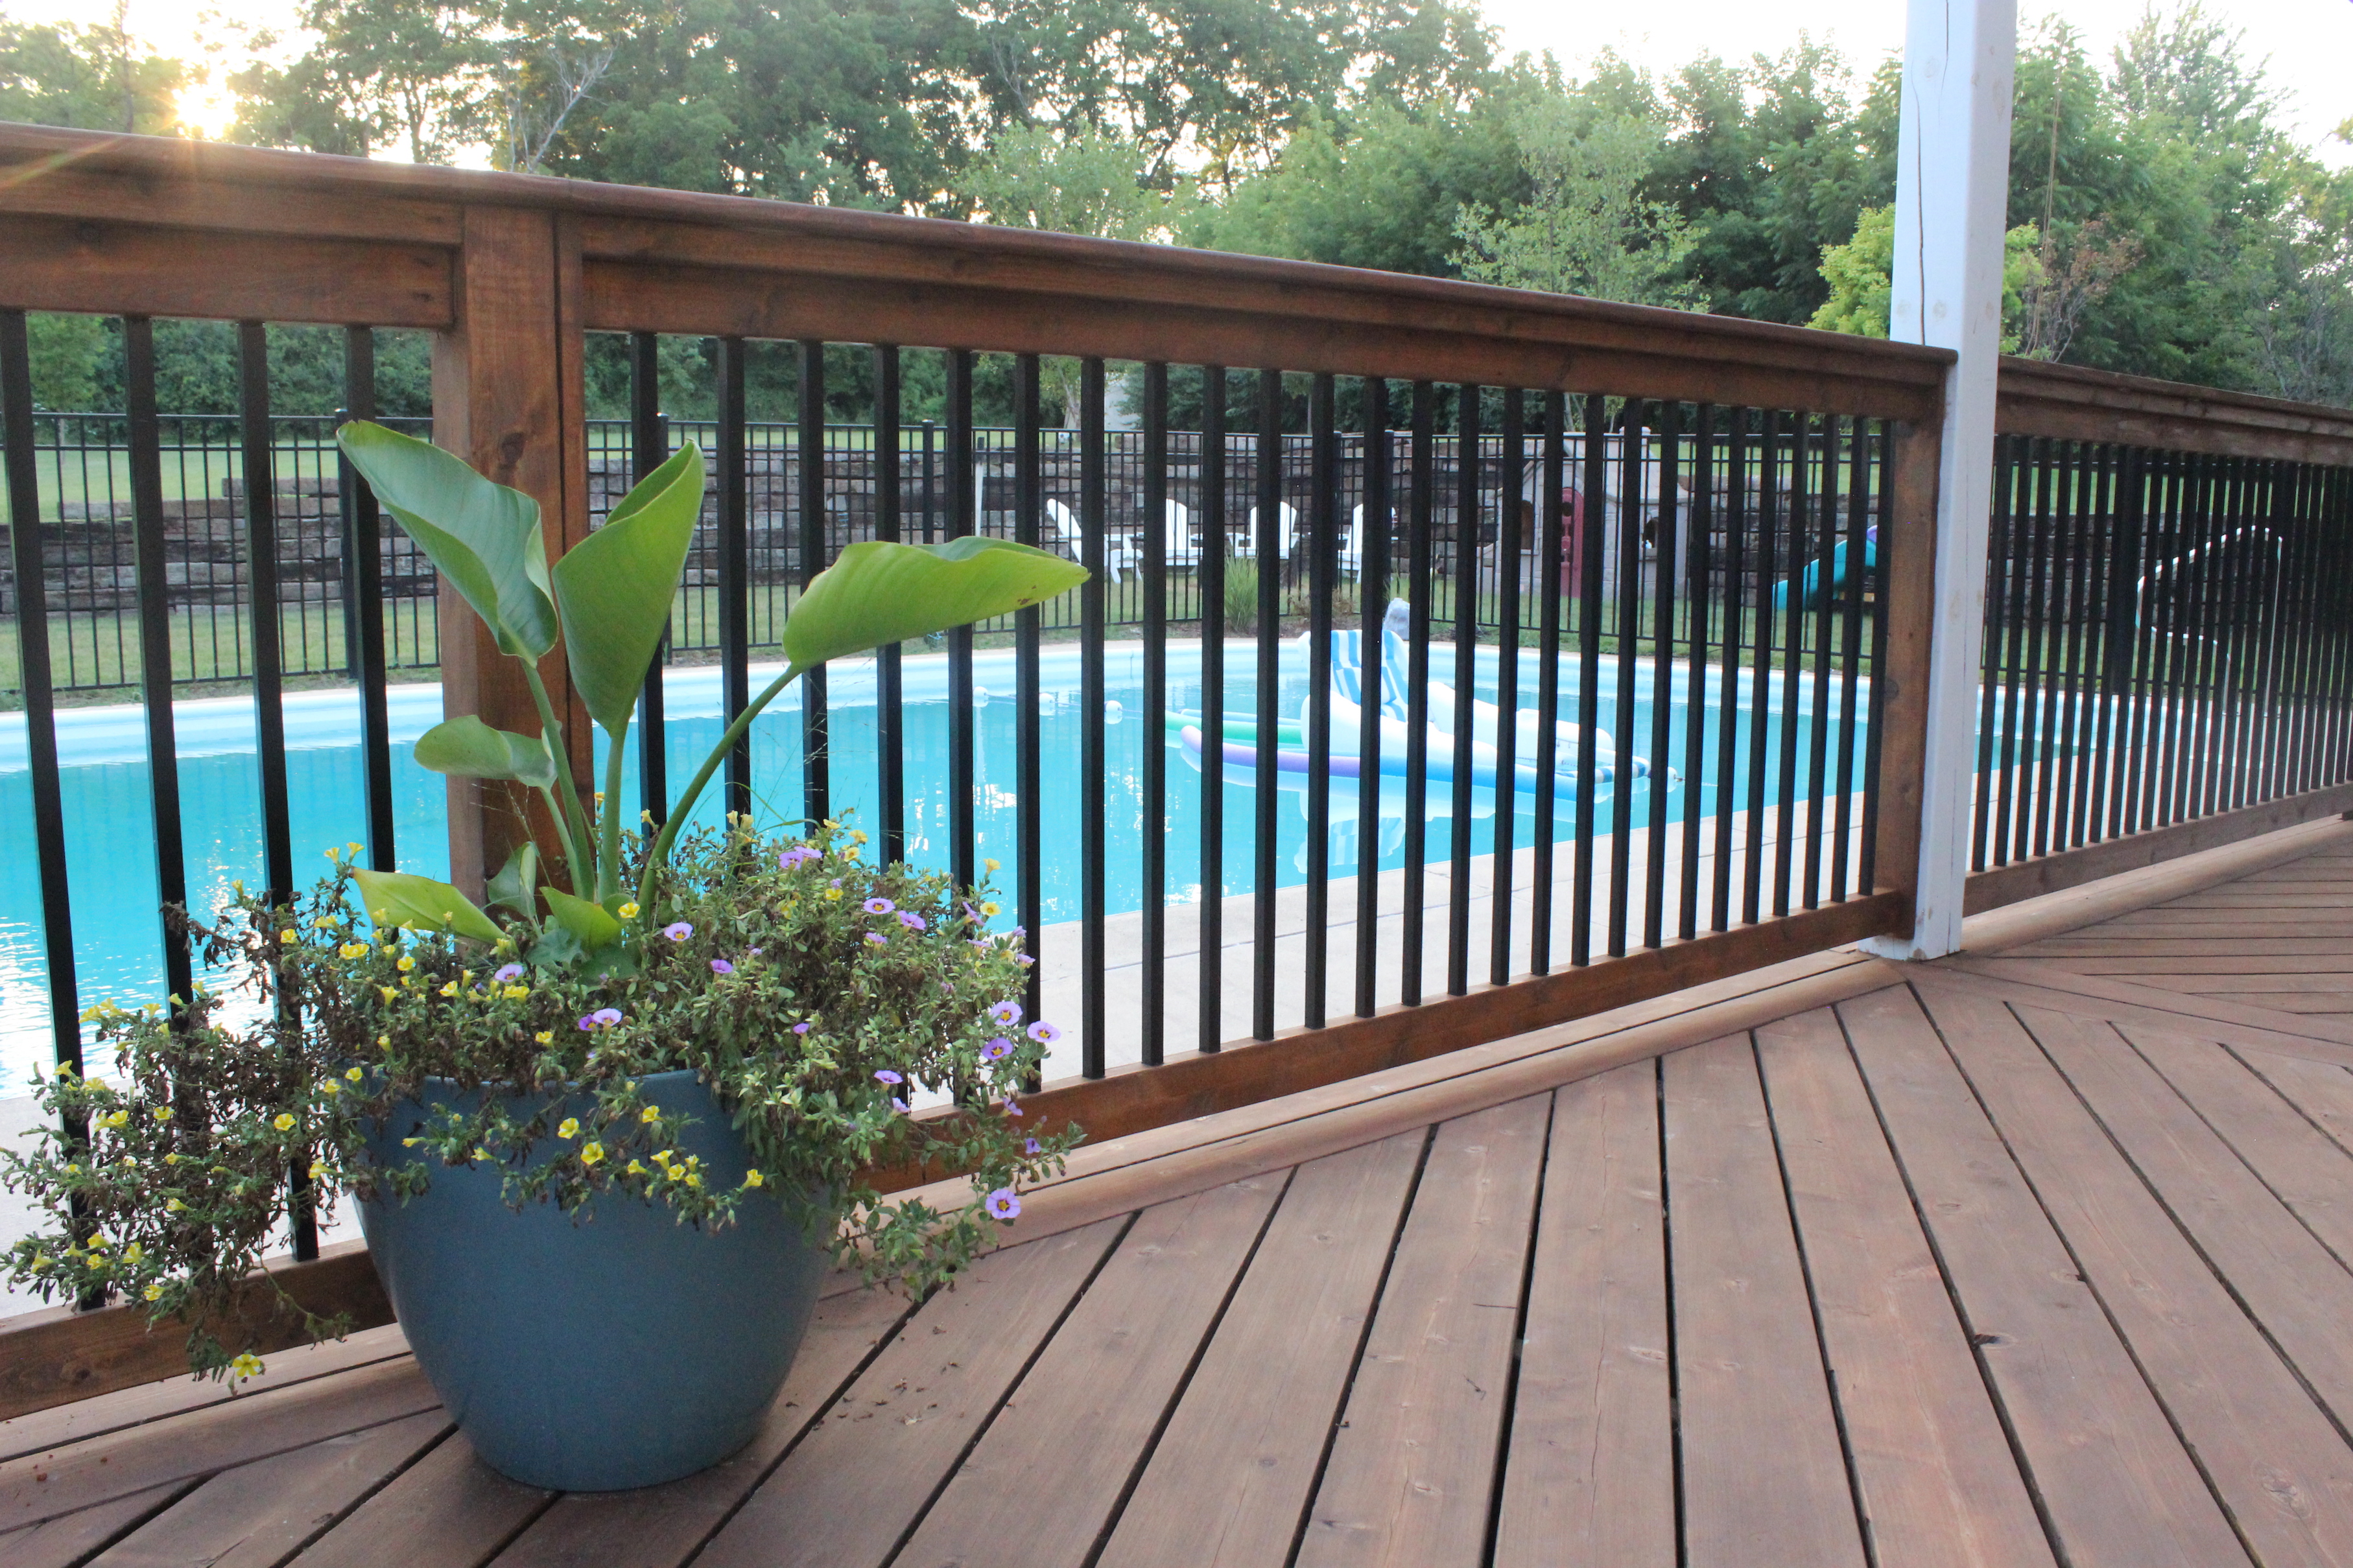
The deck, garbage enclosure and wood part of the fence were all stained the same color, which is a custom color mixing two Rymar Xtreme Weather colors (Hickory Bark and Sienna 50/50). This is supposed to be the best deck stain on the market and should last us many, many years.

Here’s a close up of the fence, which Ben built by mixing cedar railings and aluminum fence posts from Home Depot.

close up of fence

The plain aluminum part on the other three sides of the pool we hired a local company for.

IMG_5894

view from diving board across pool

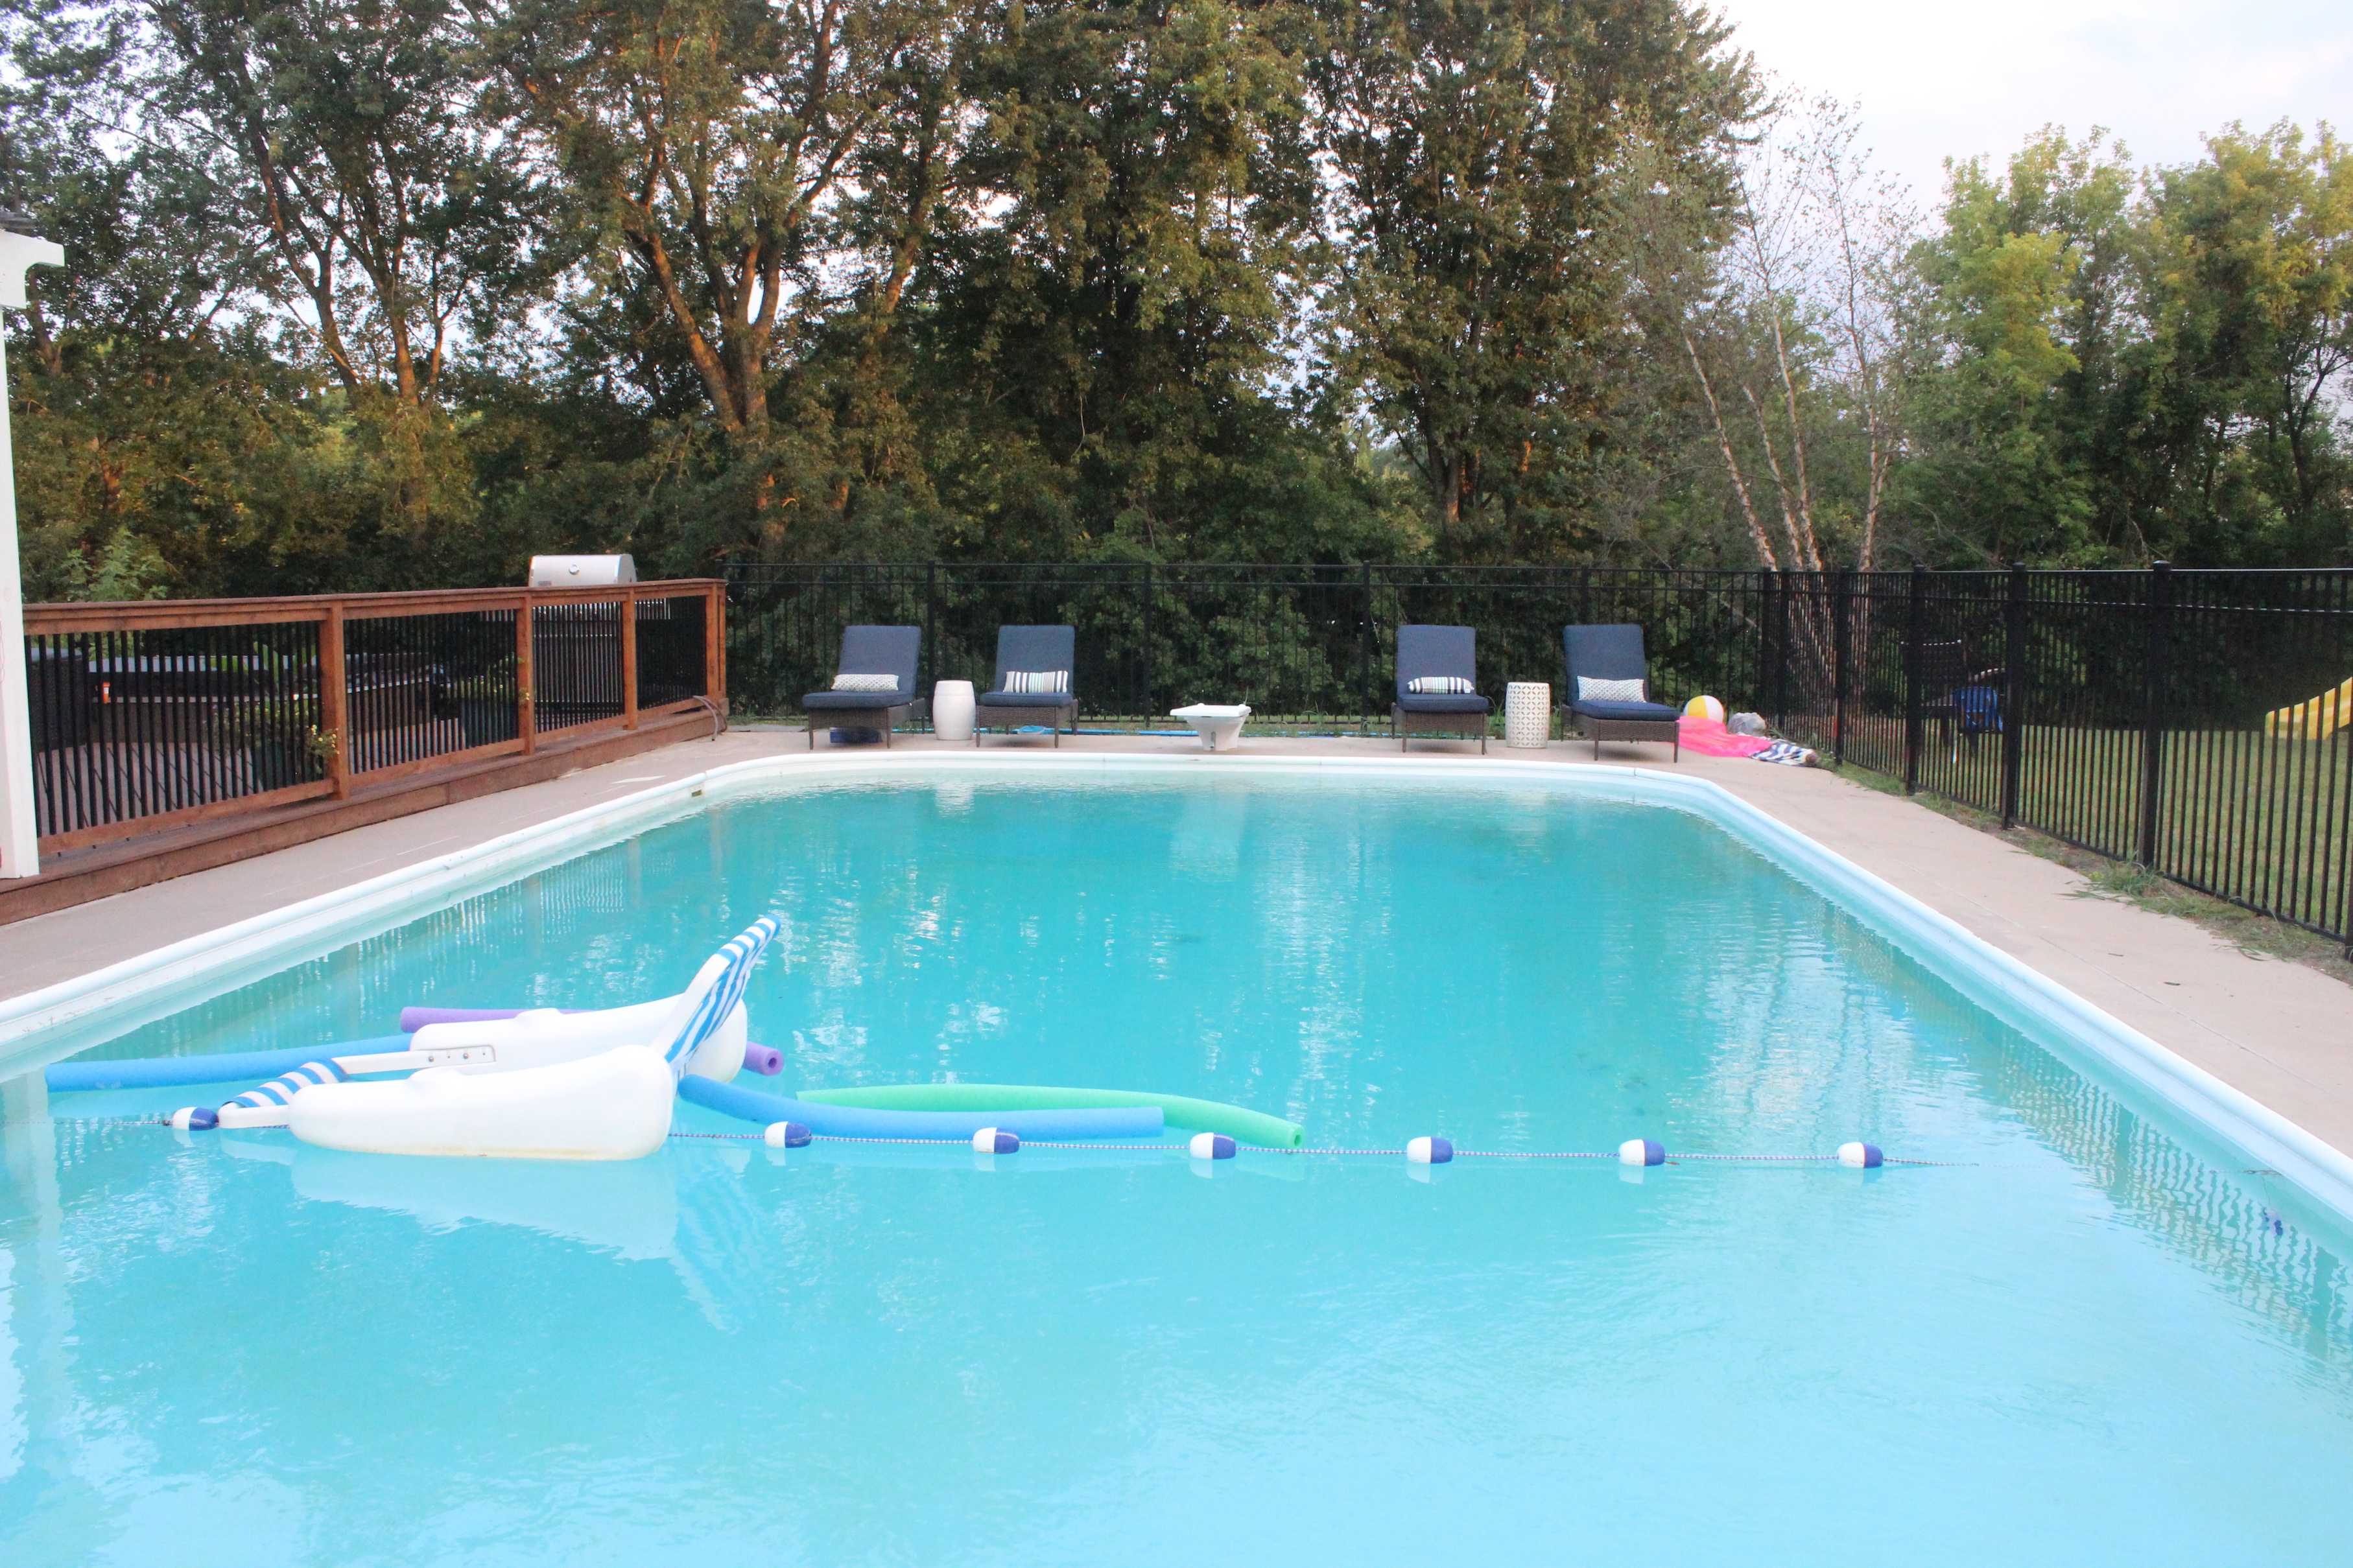
Here’s a view of the other side of the pool, and a close up of our new chaise lounges from Target (found here in 6 colors) and a new diving board.

pool long toward chairs

Target chaise loungers

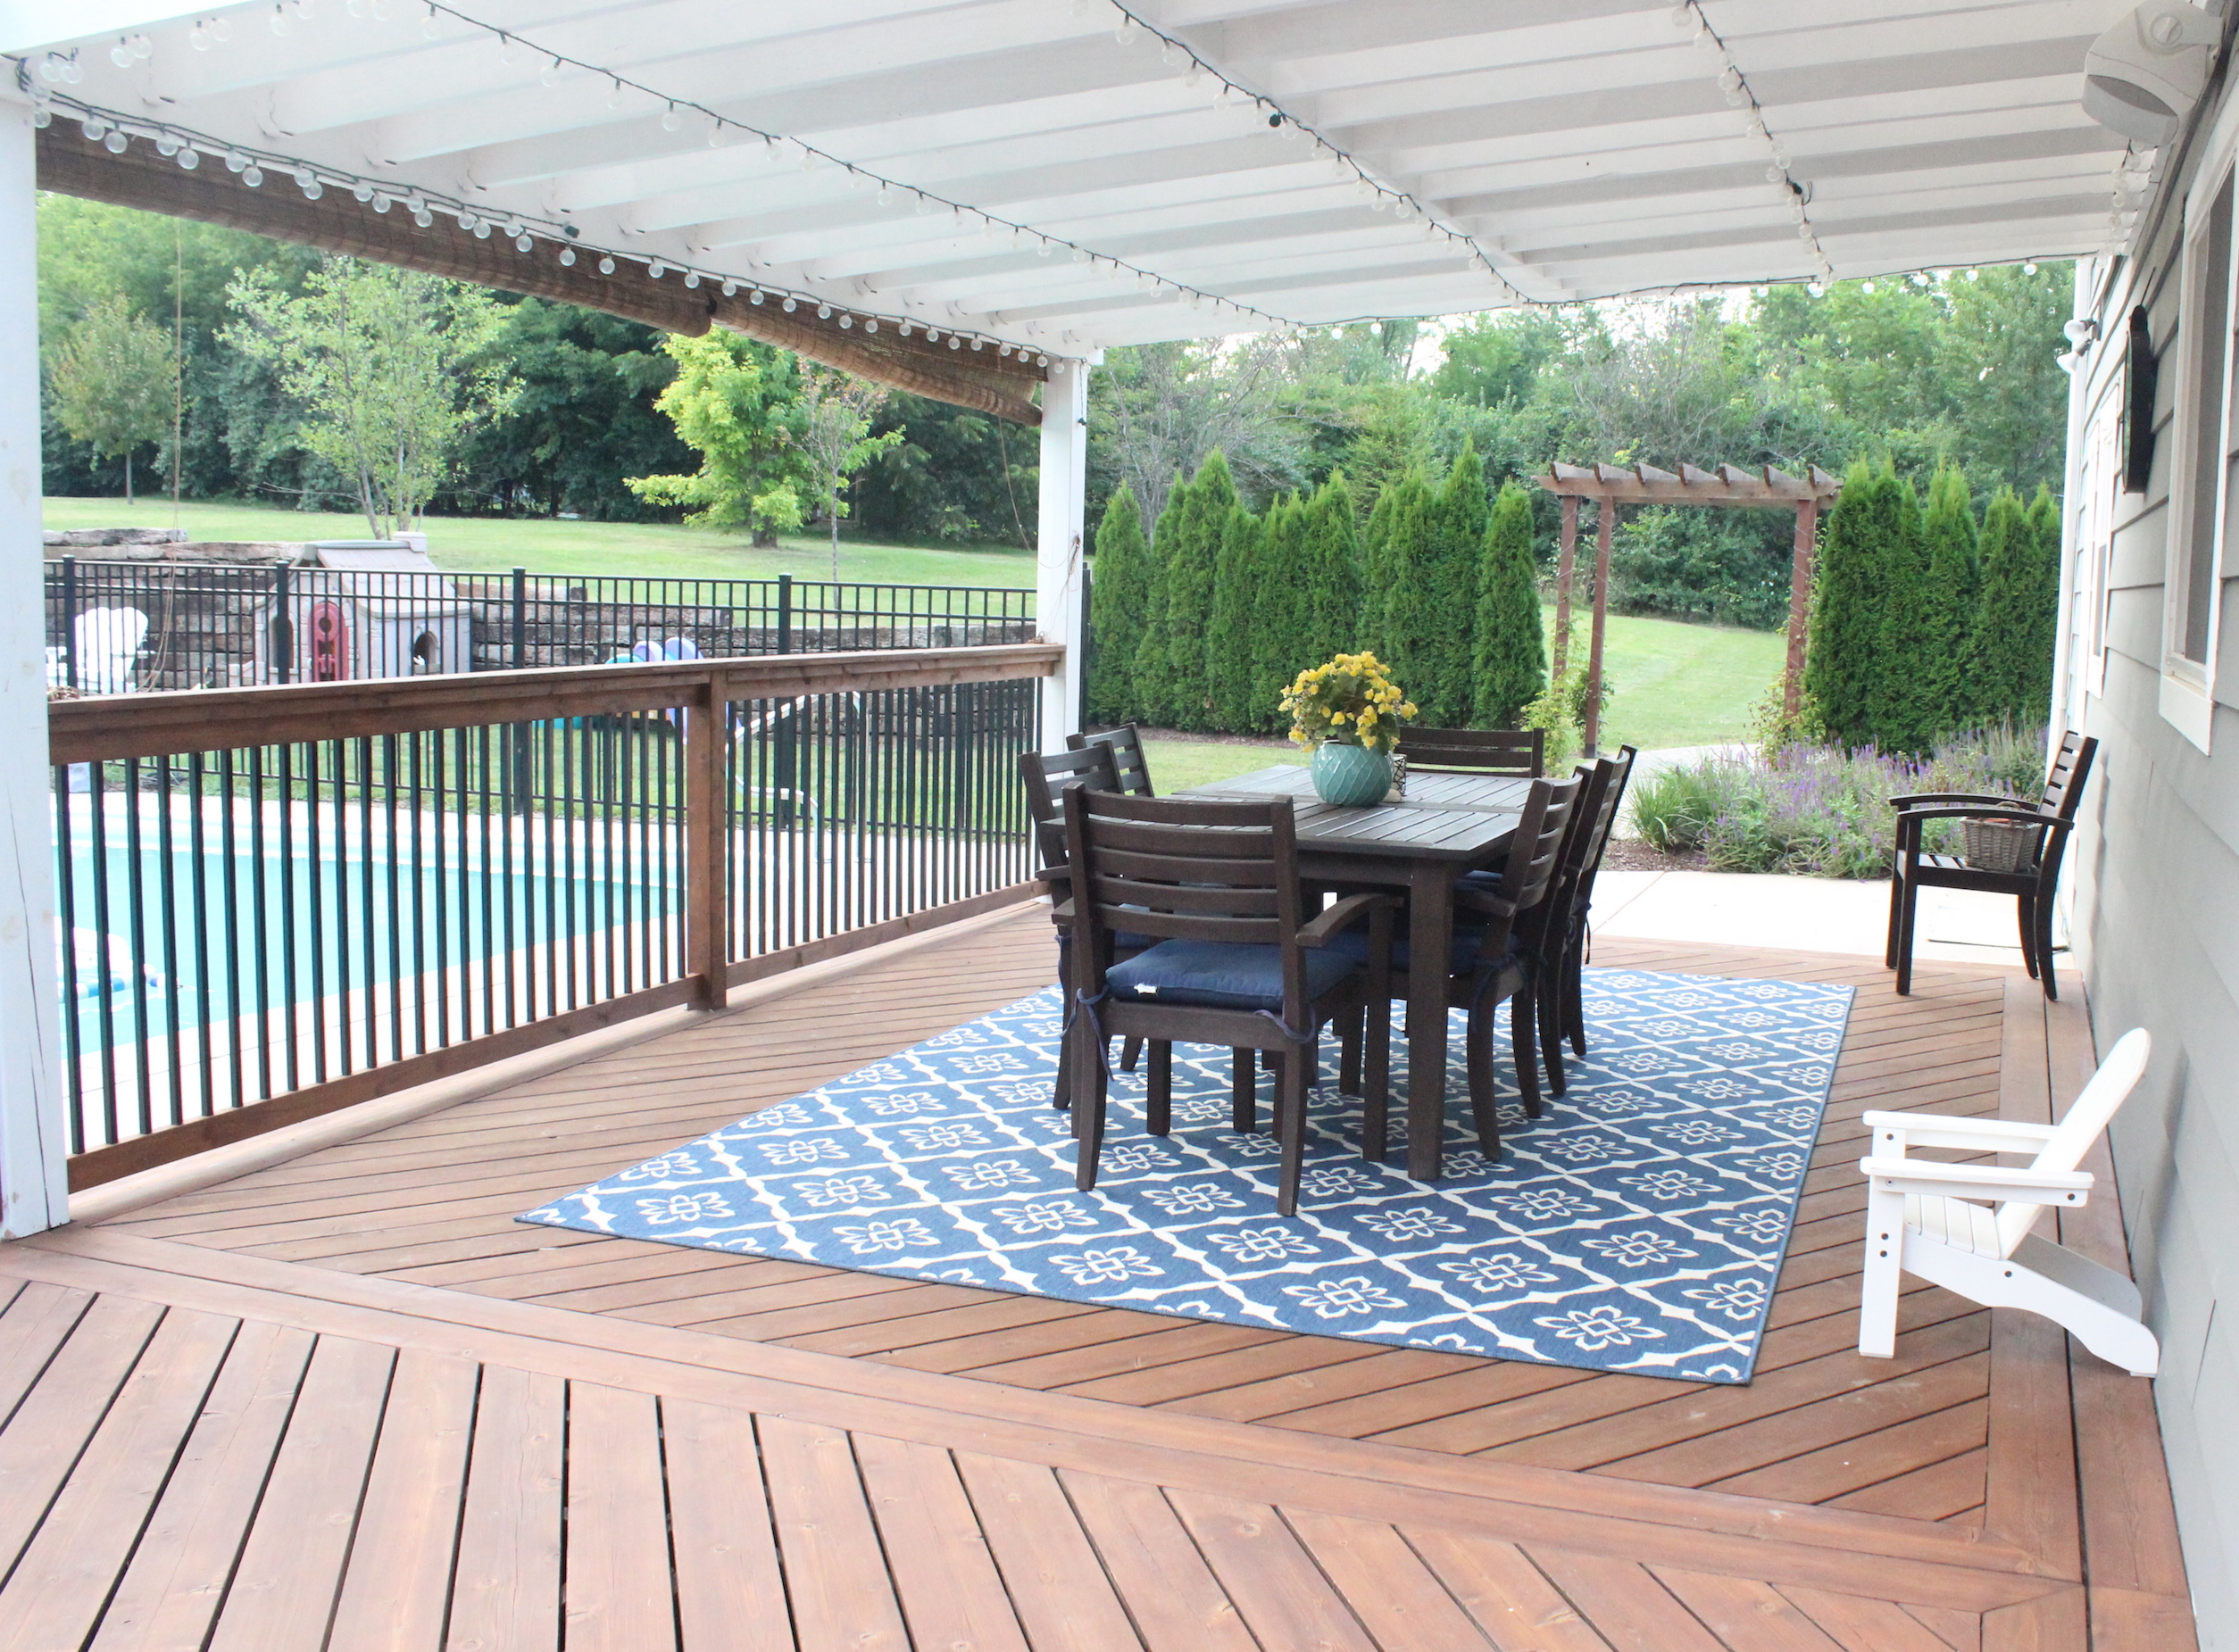
Ben also built a pergola over the back deck which provides much needed shade in the afternoon.

back deck

We strung up cafe lights under the pergola (similar here) which provide the perfect amount of ambiance in the evenings.

string lights on pergola

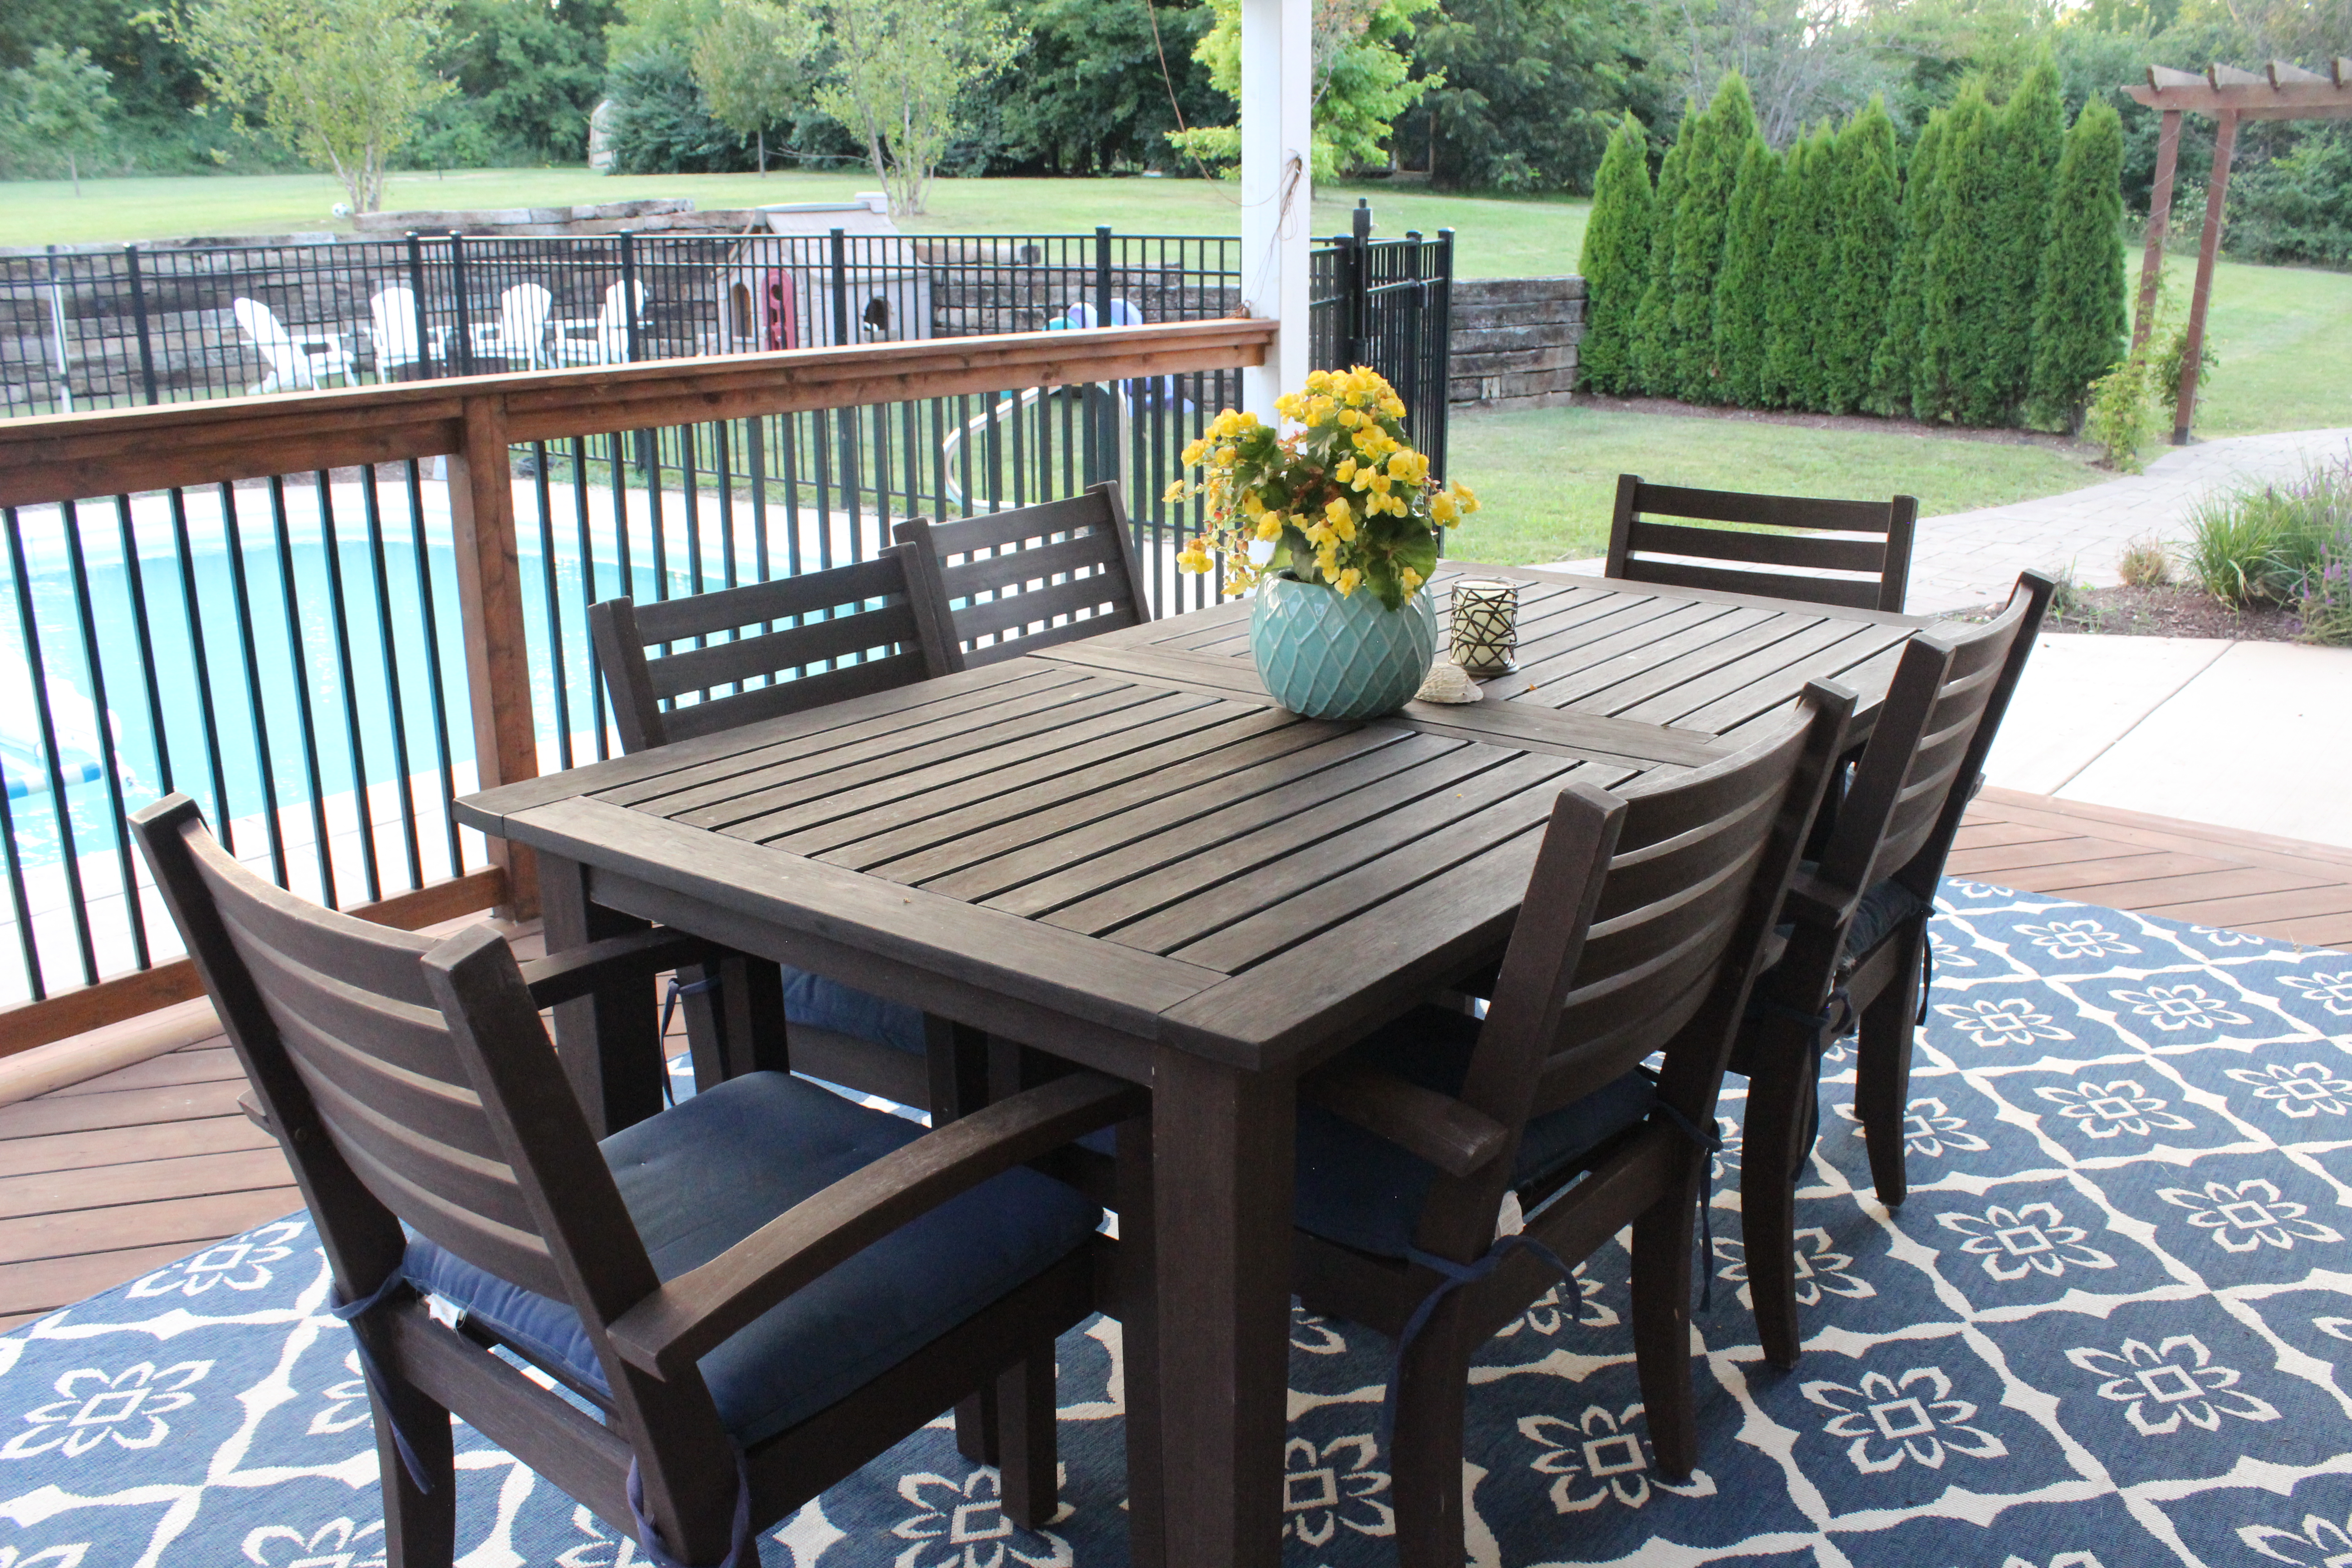
Our outdoor table is from Pottery Barn five or so years ago (similar one here). It was starting to get weathered, so we gave it a quick coat of stain and now it looks as good as new.

pottery barn table

The outdoor rug I purchased this year from Home Decorators (found here).

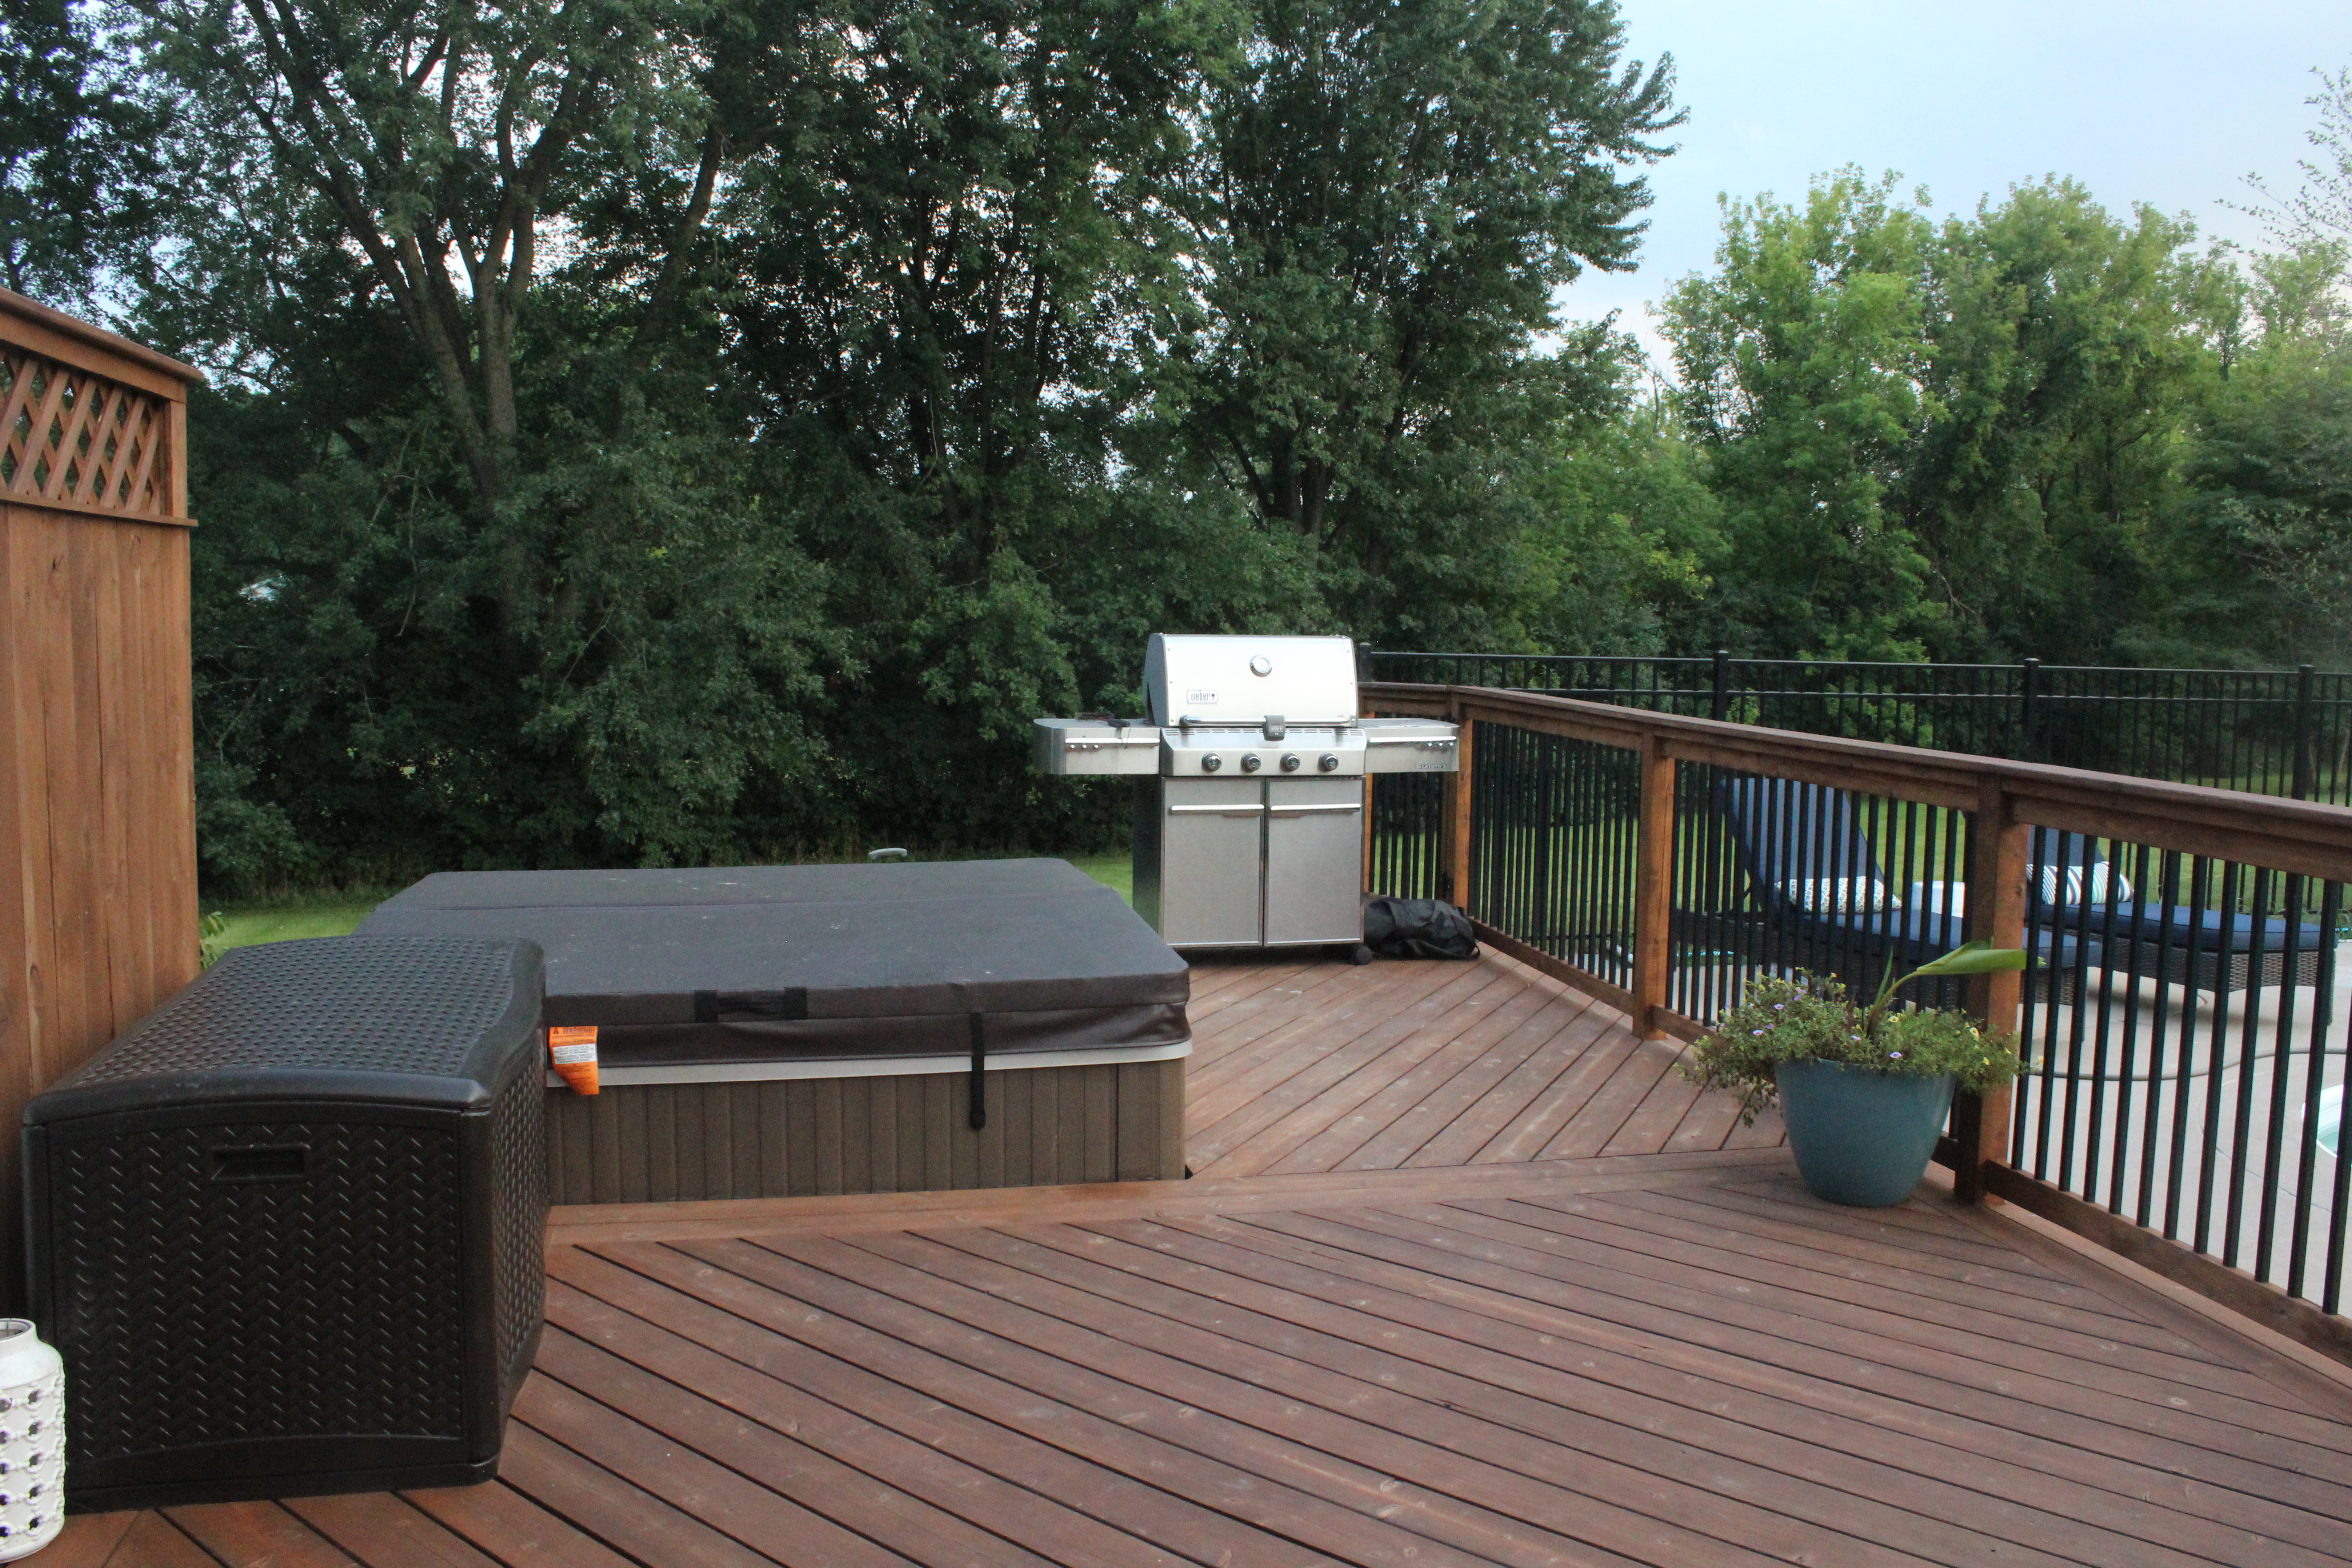
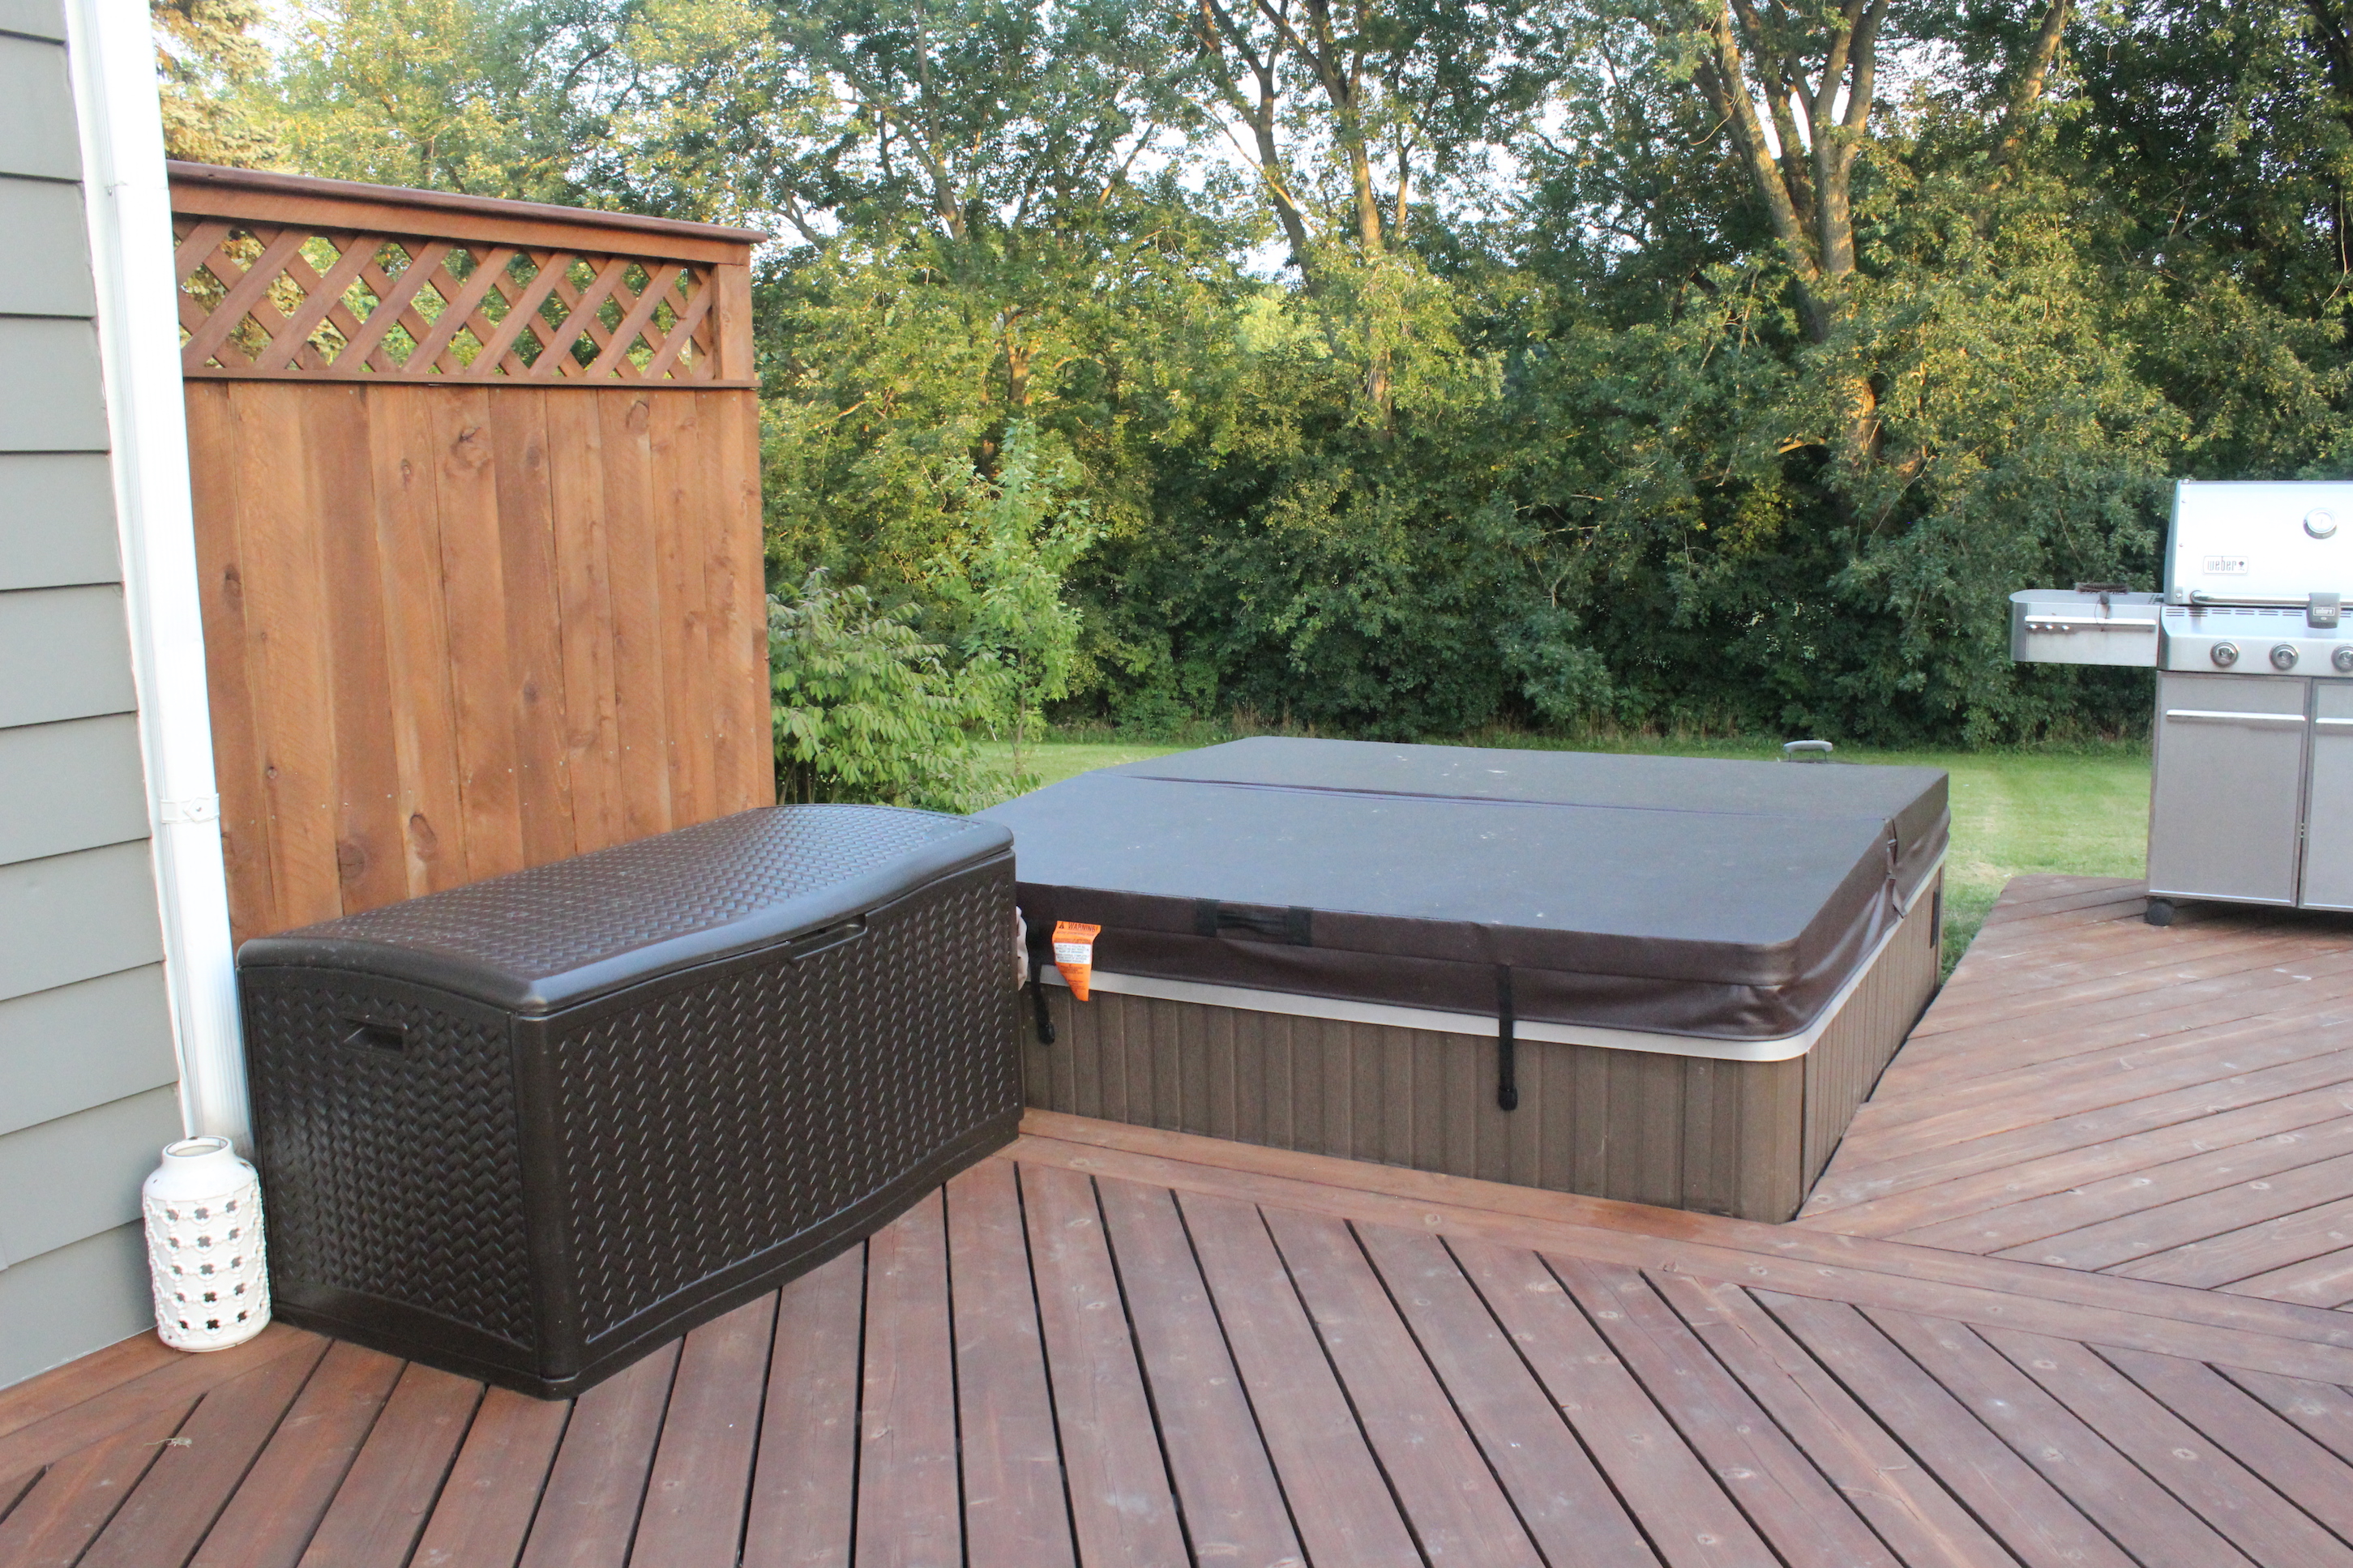
On the other side of the deck is our hot tub, grill and deck box (from Lowe’s here) for pool toy storage. 
IMG_5893

Ben also built that fence on the left for safety reasons because it drops down to the basement stairs.IMG_5906

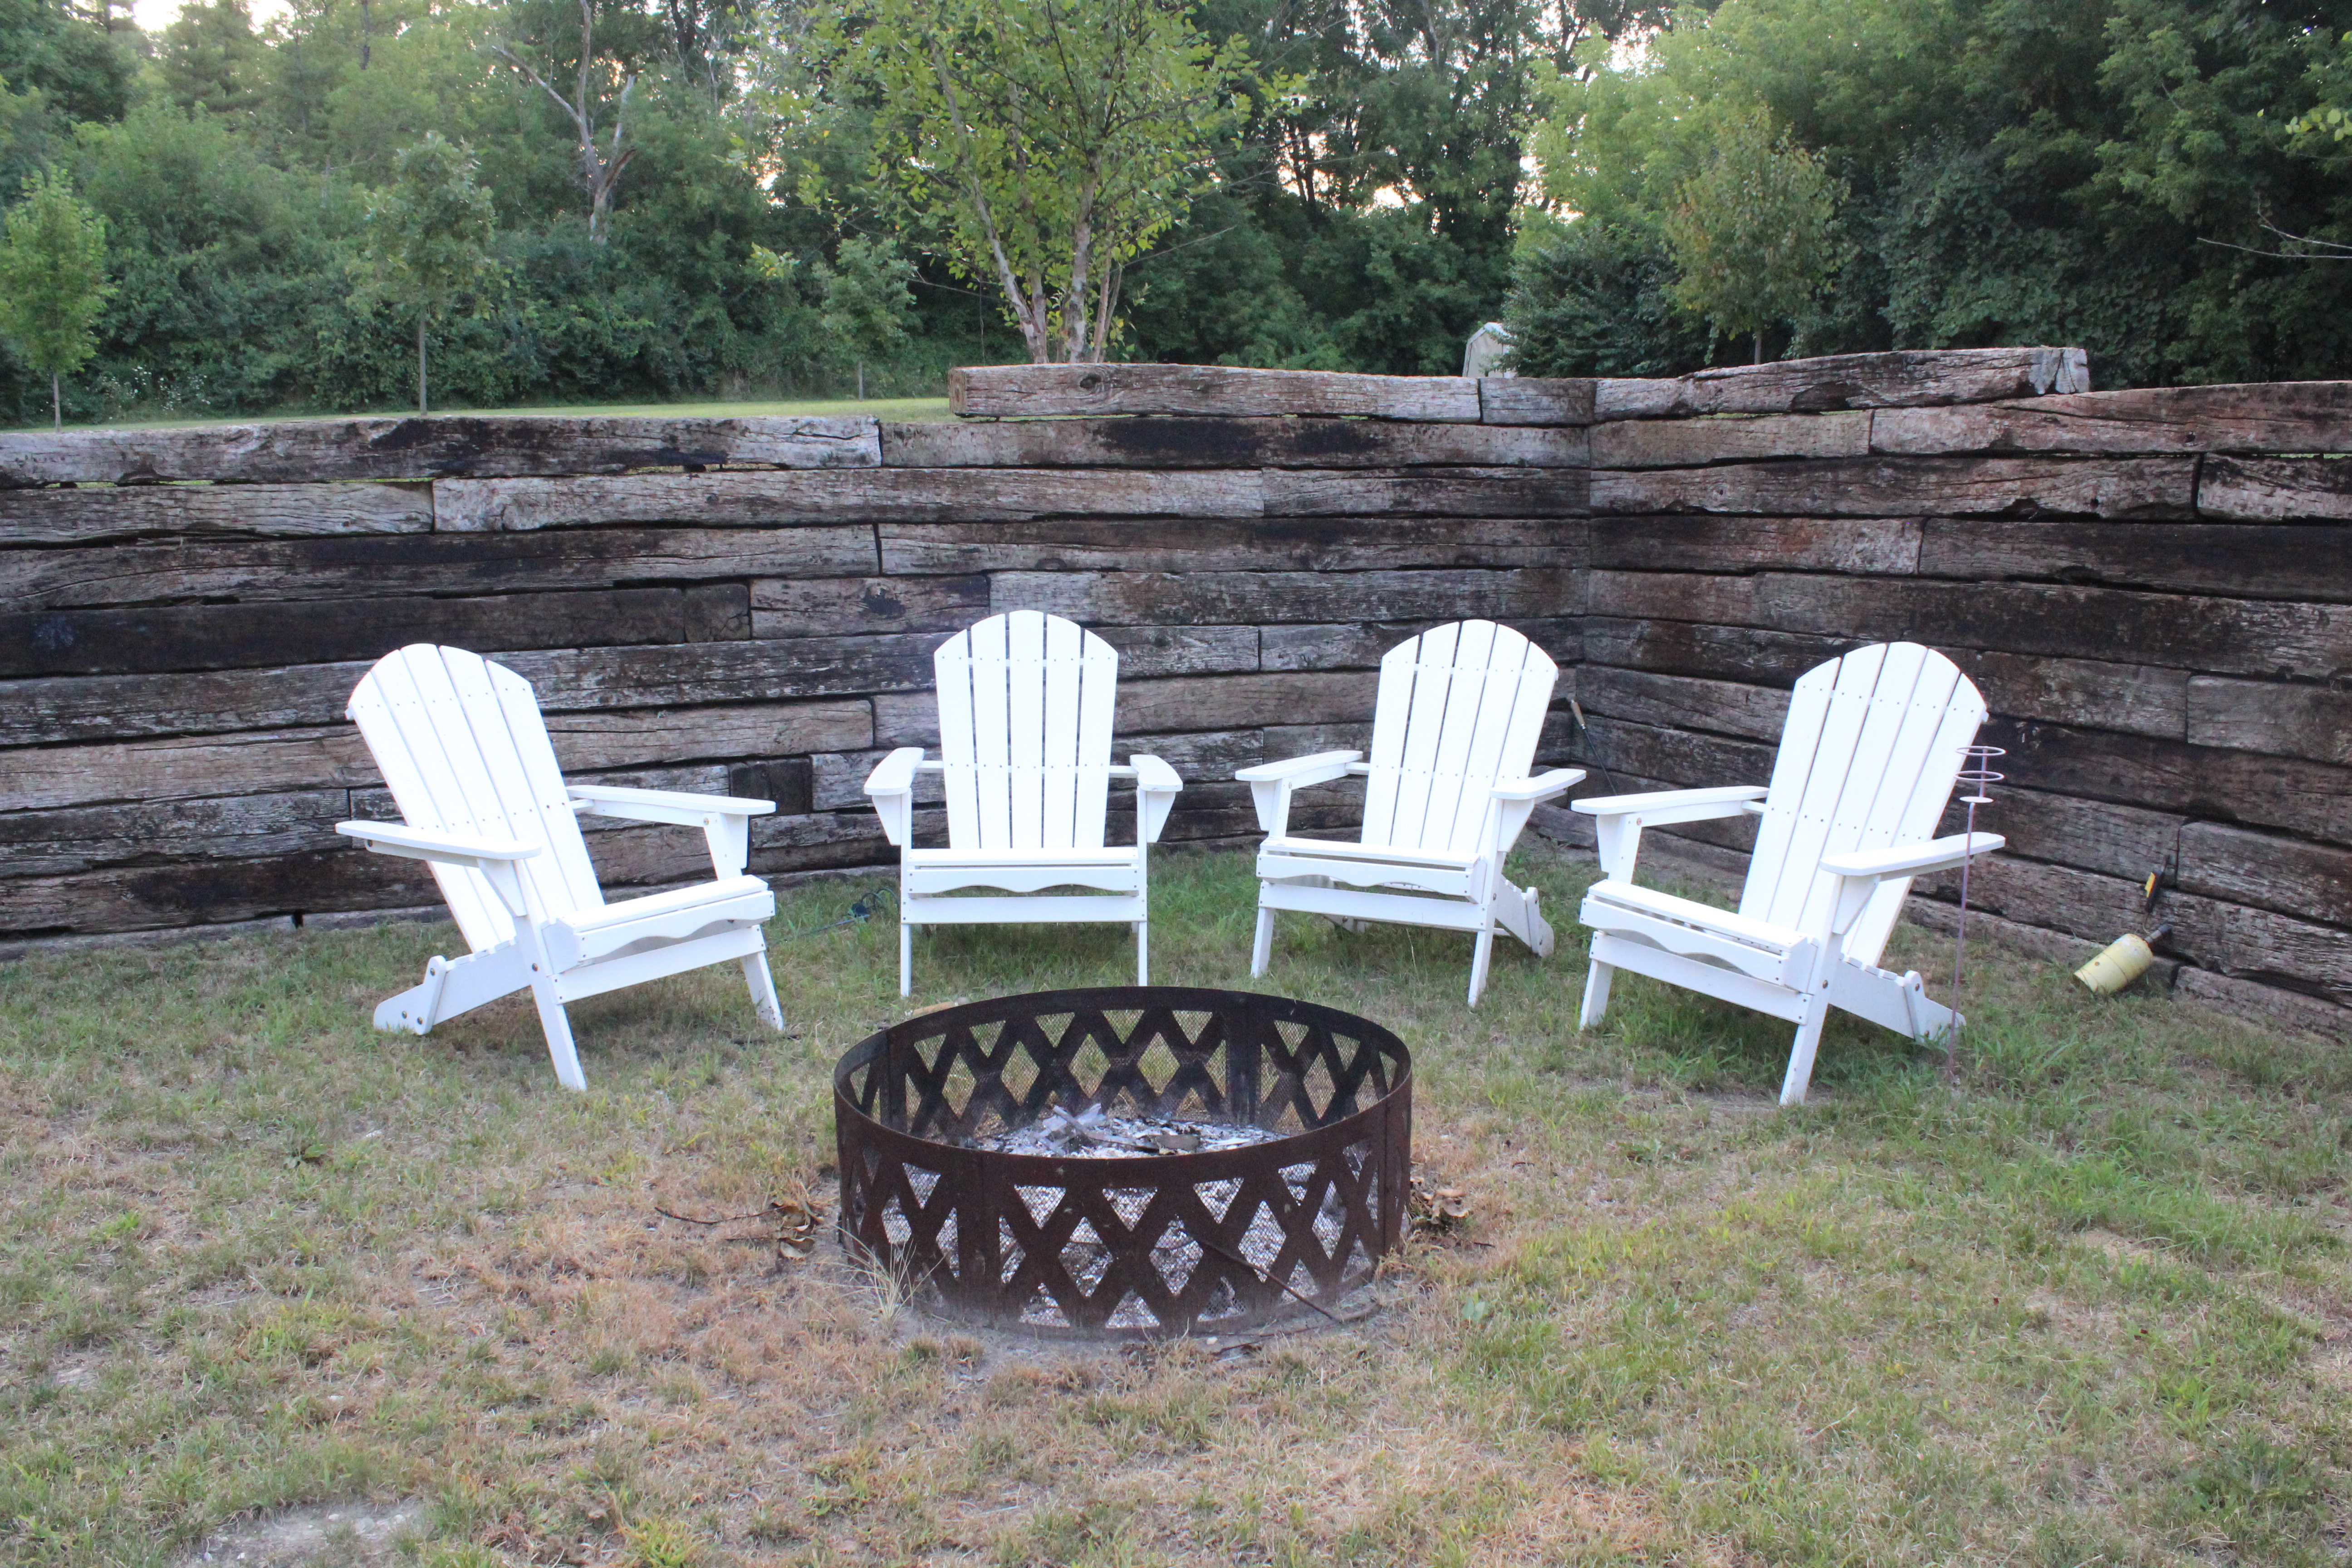
Outside of the pool/deck area we have a little fire pit area with adirondack chairs (from Ace Hardware here) and a fire ring.

fire pit

We plan to do a recessed stone fireplace (like this) next year, but for now it gets the job done.

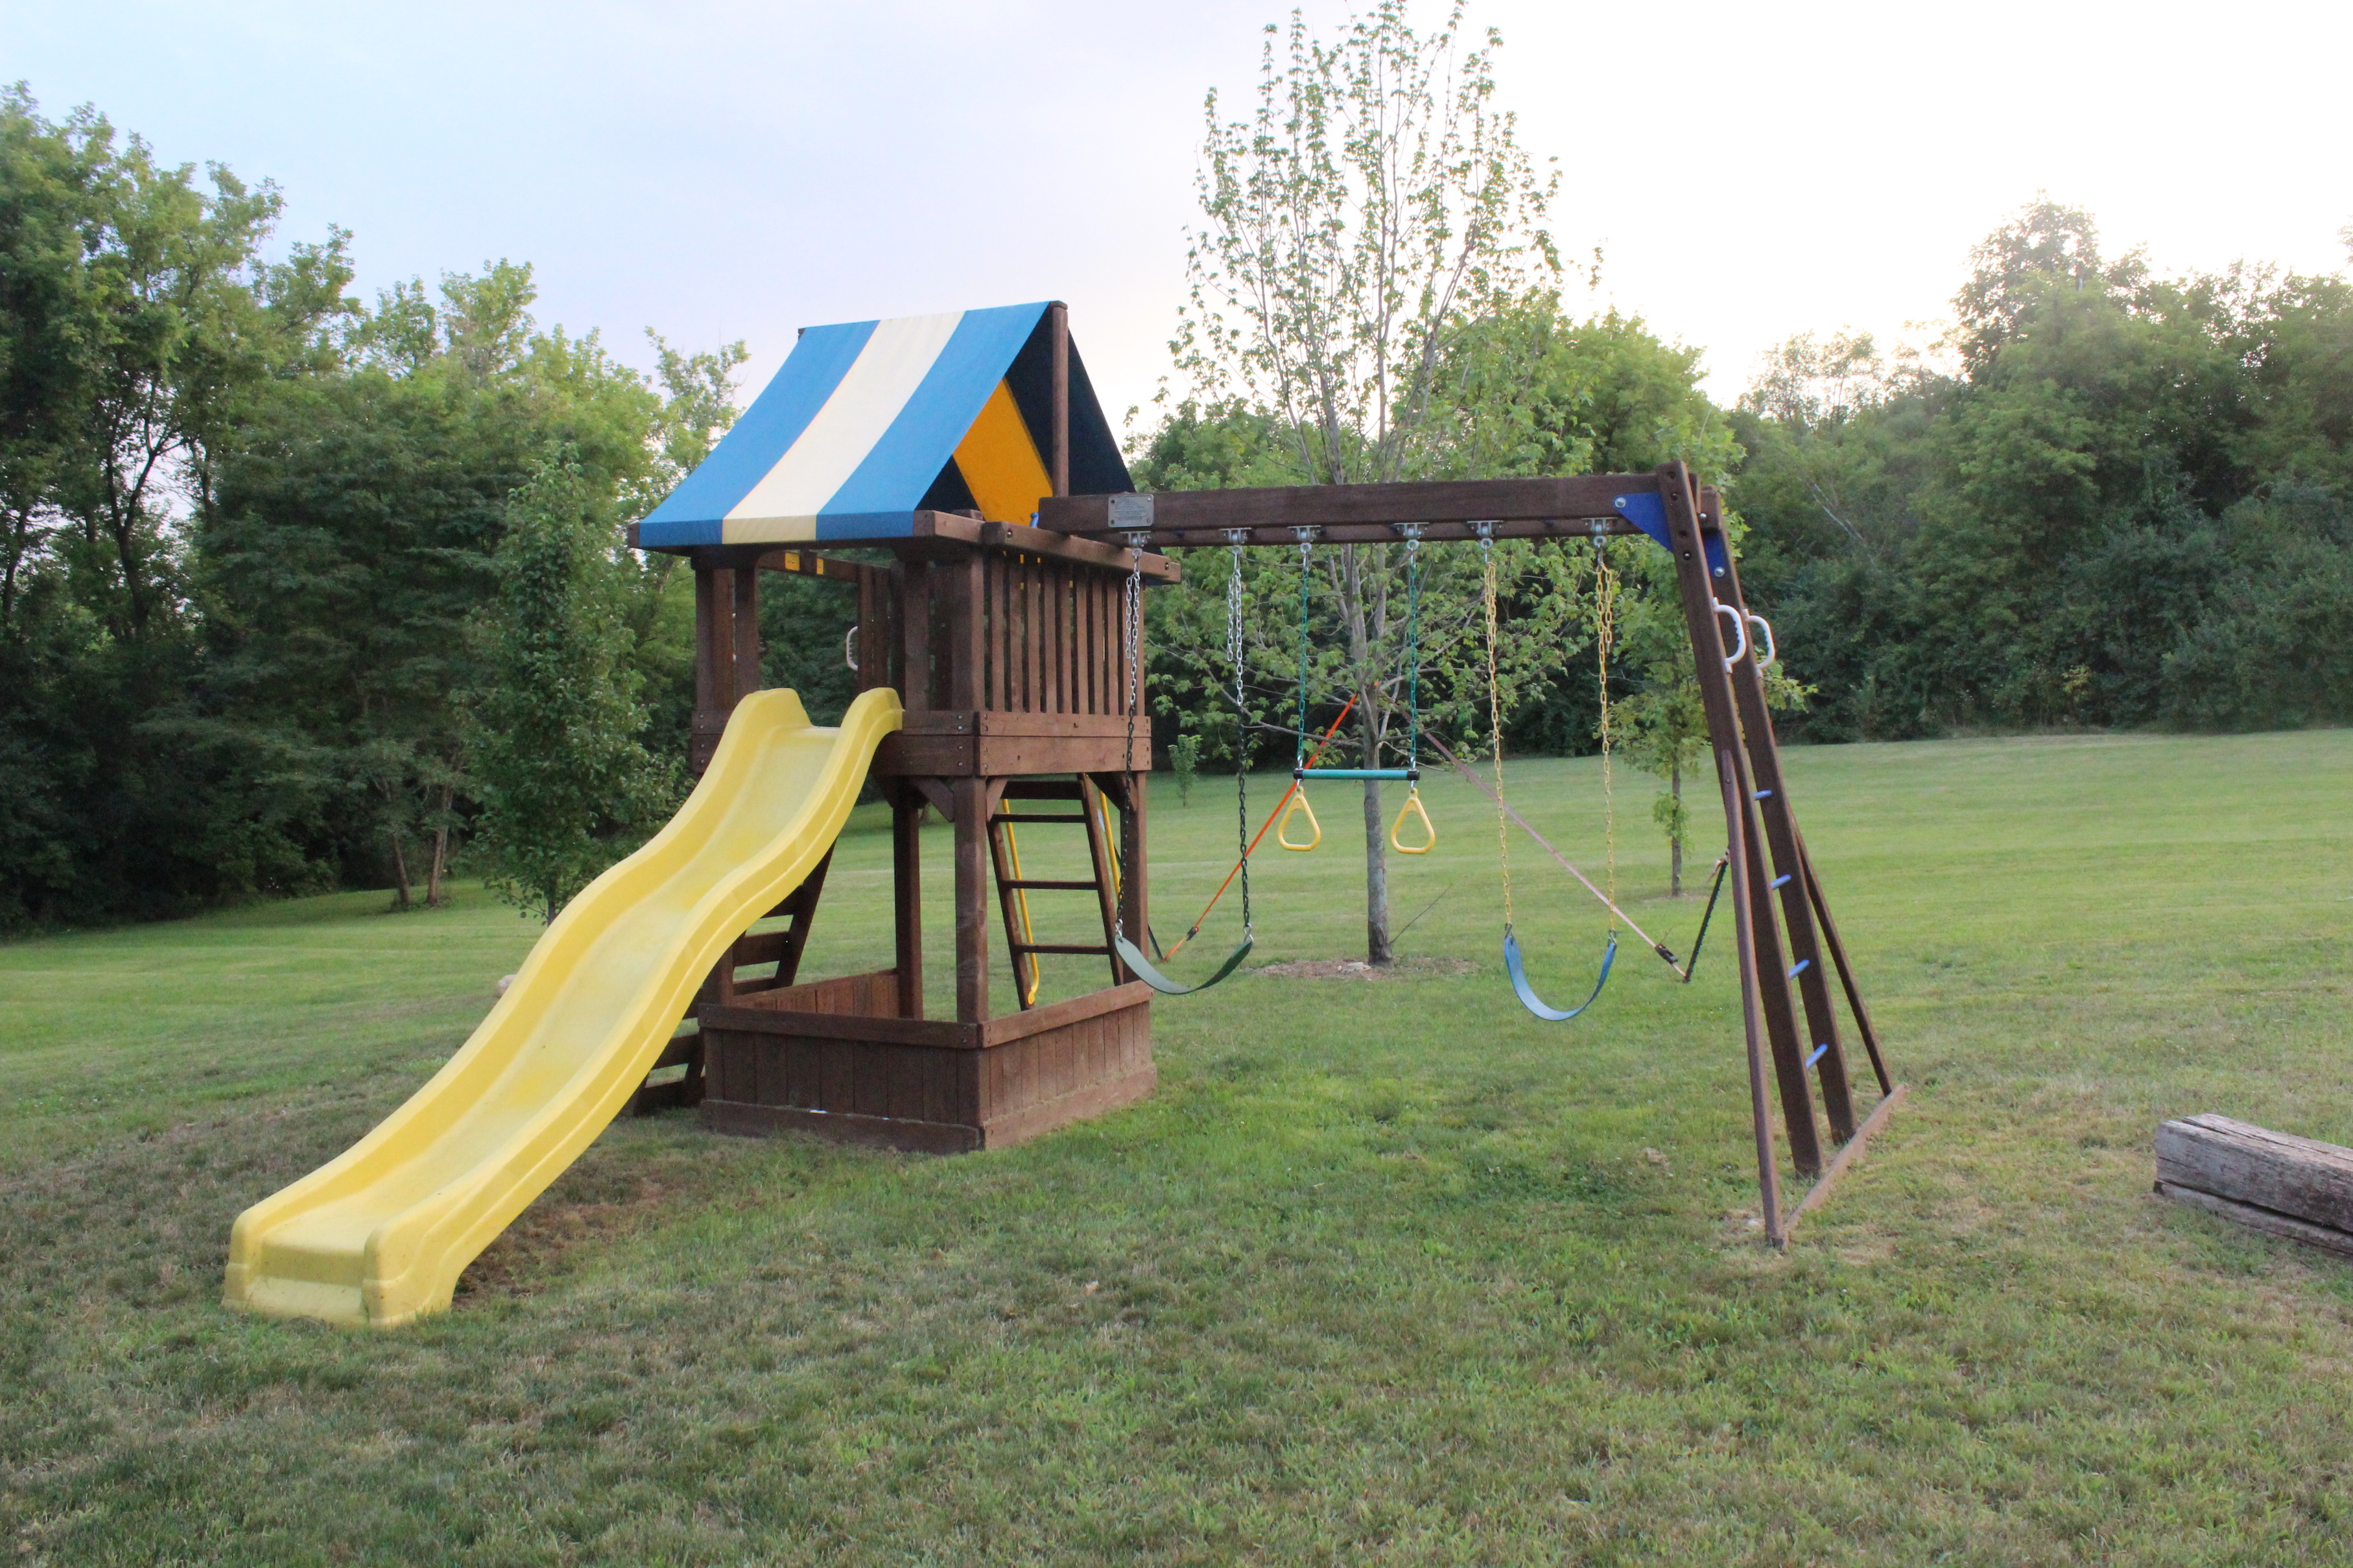
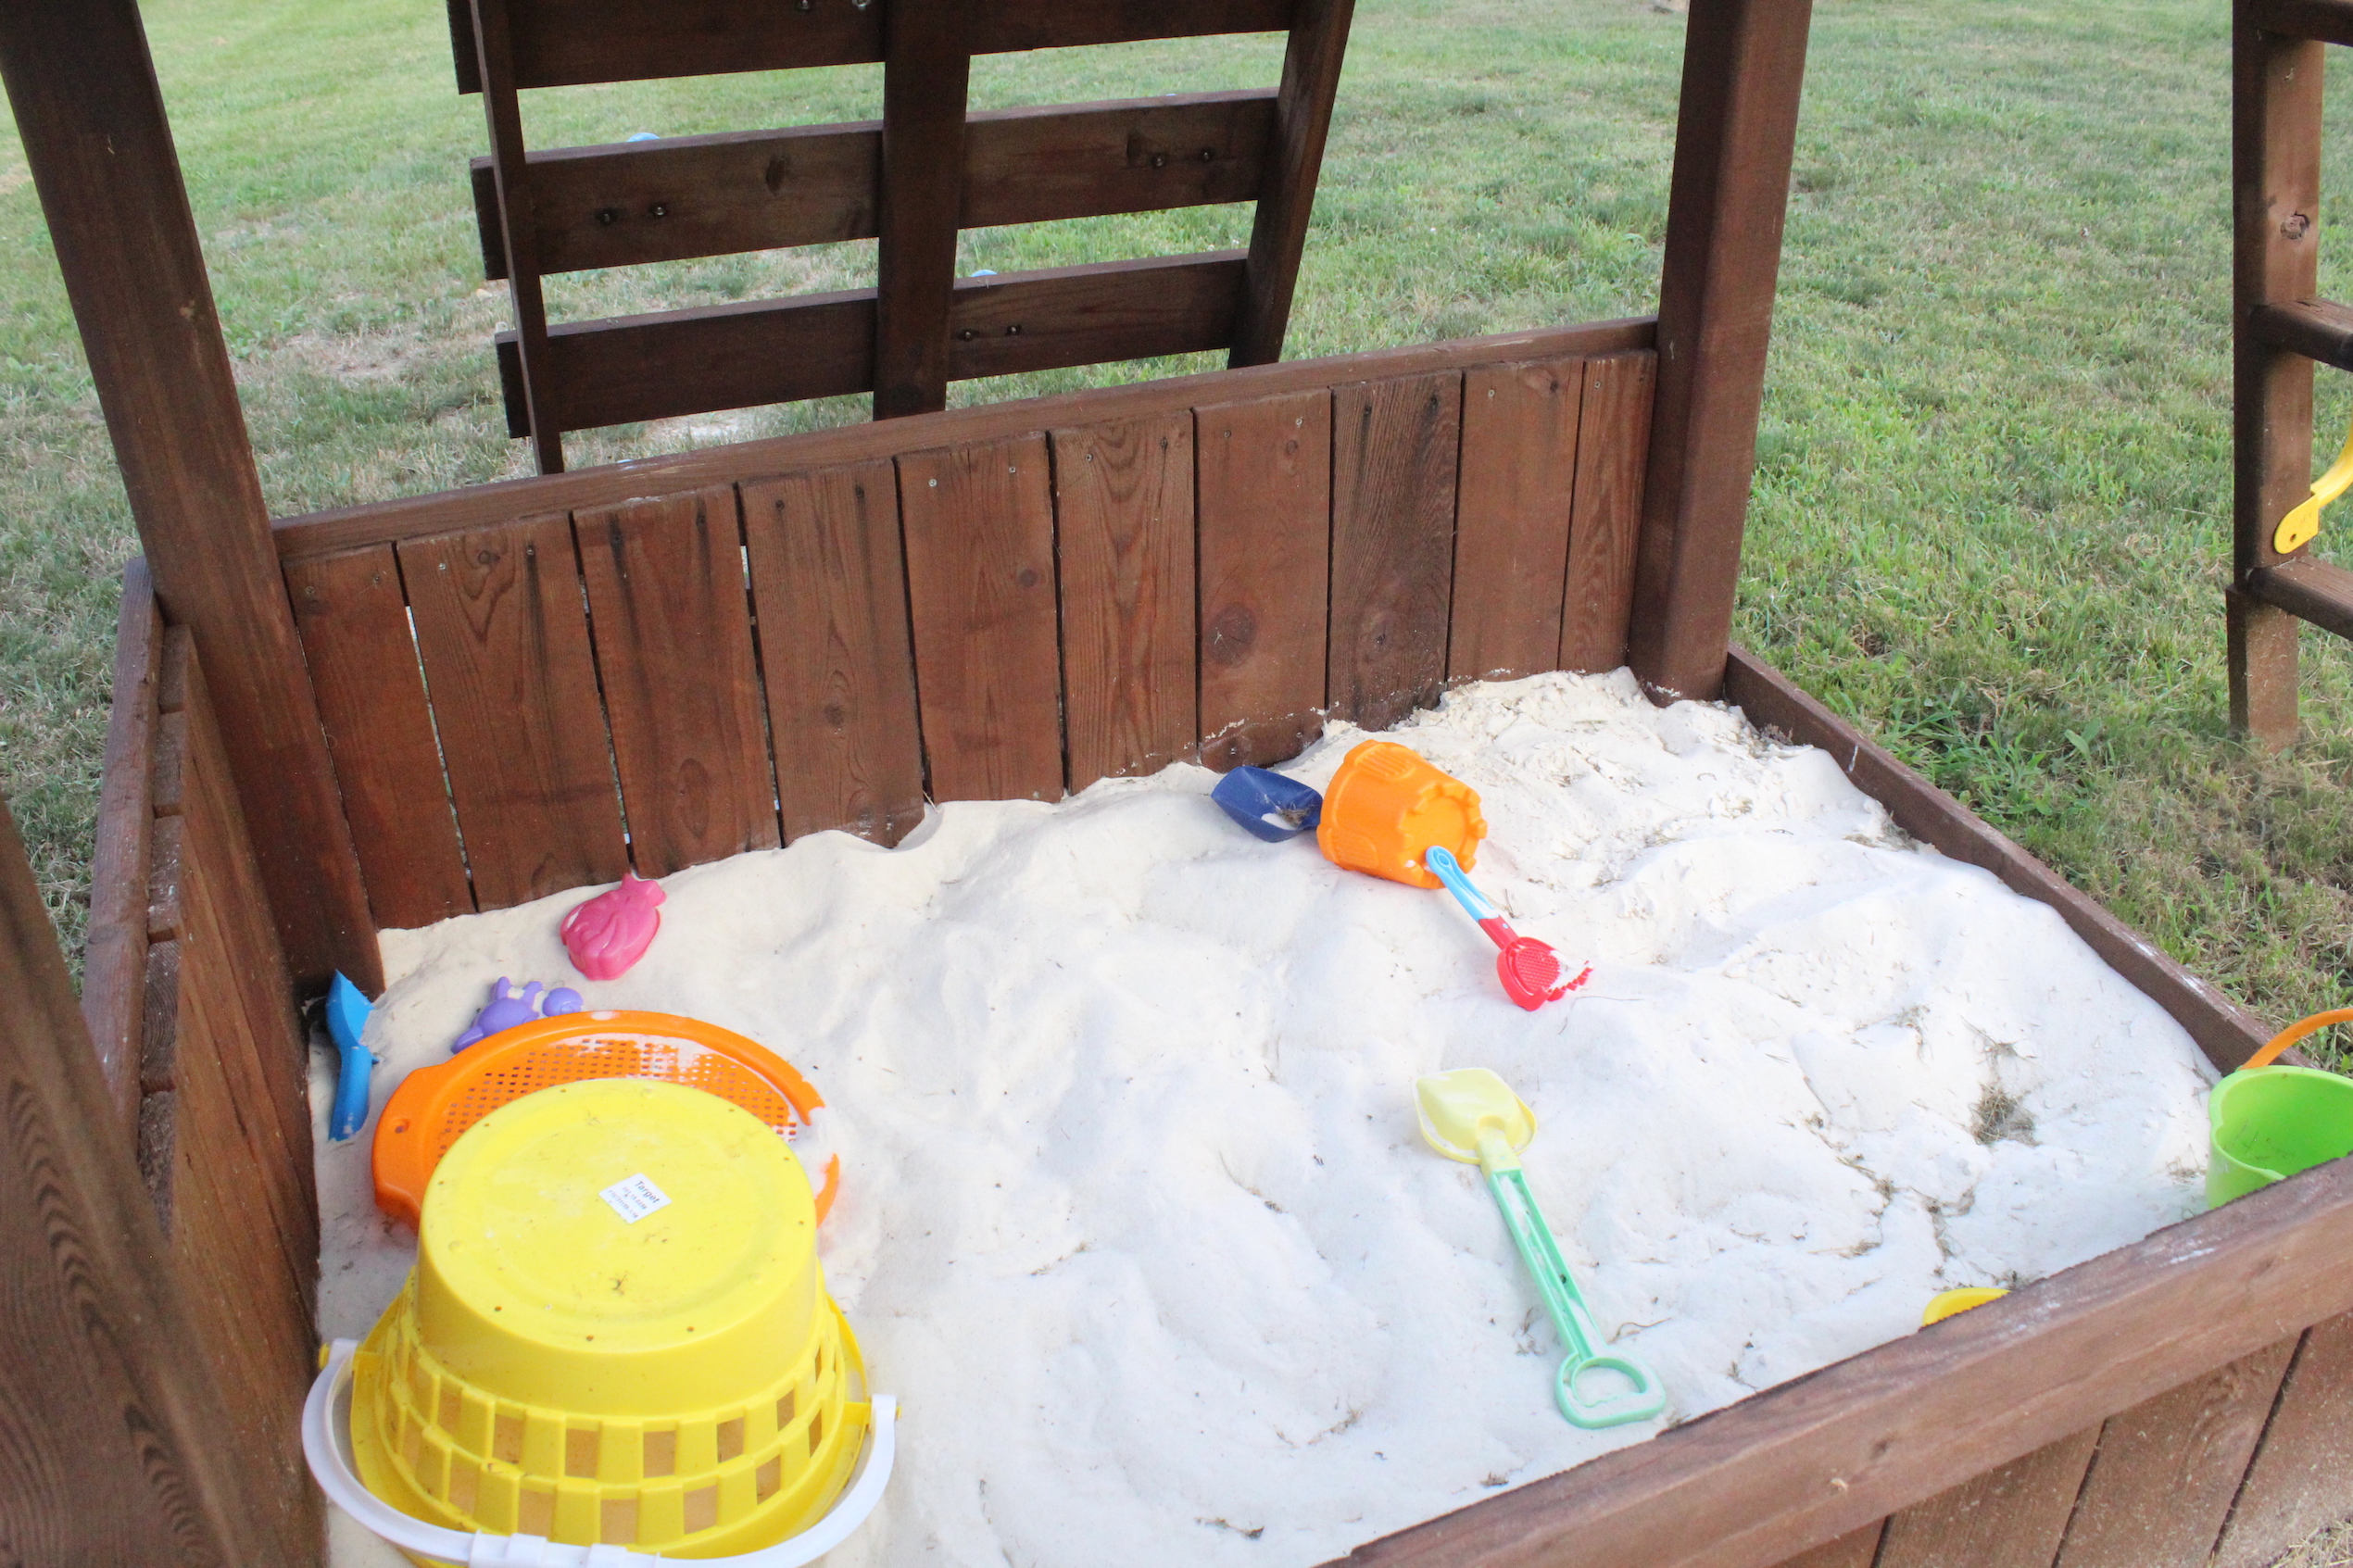
We also installed a playground (used off of Craigslist), and gave it a facelift by re-staining it (same color as the deck) and putting in a sandbox. Our 2-year-old loves it.

IMG_5895

kids sandbox

Finally, let’s look at a few before and afters.

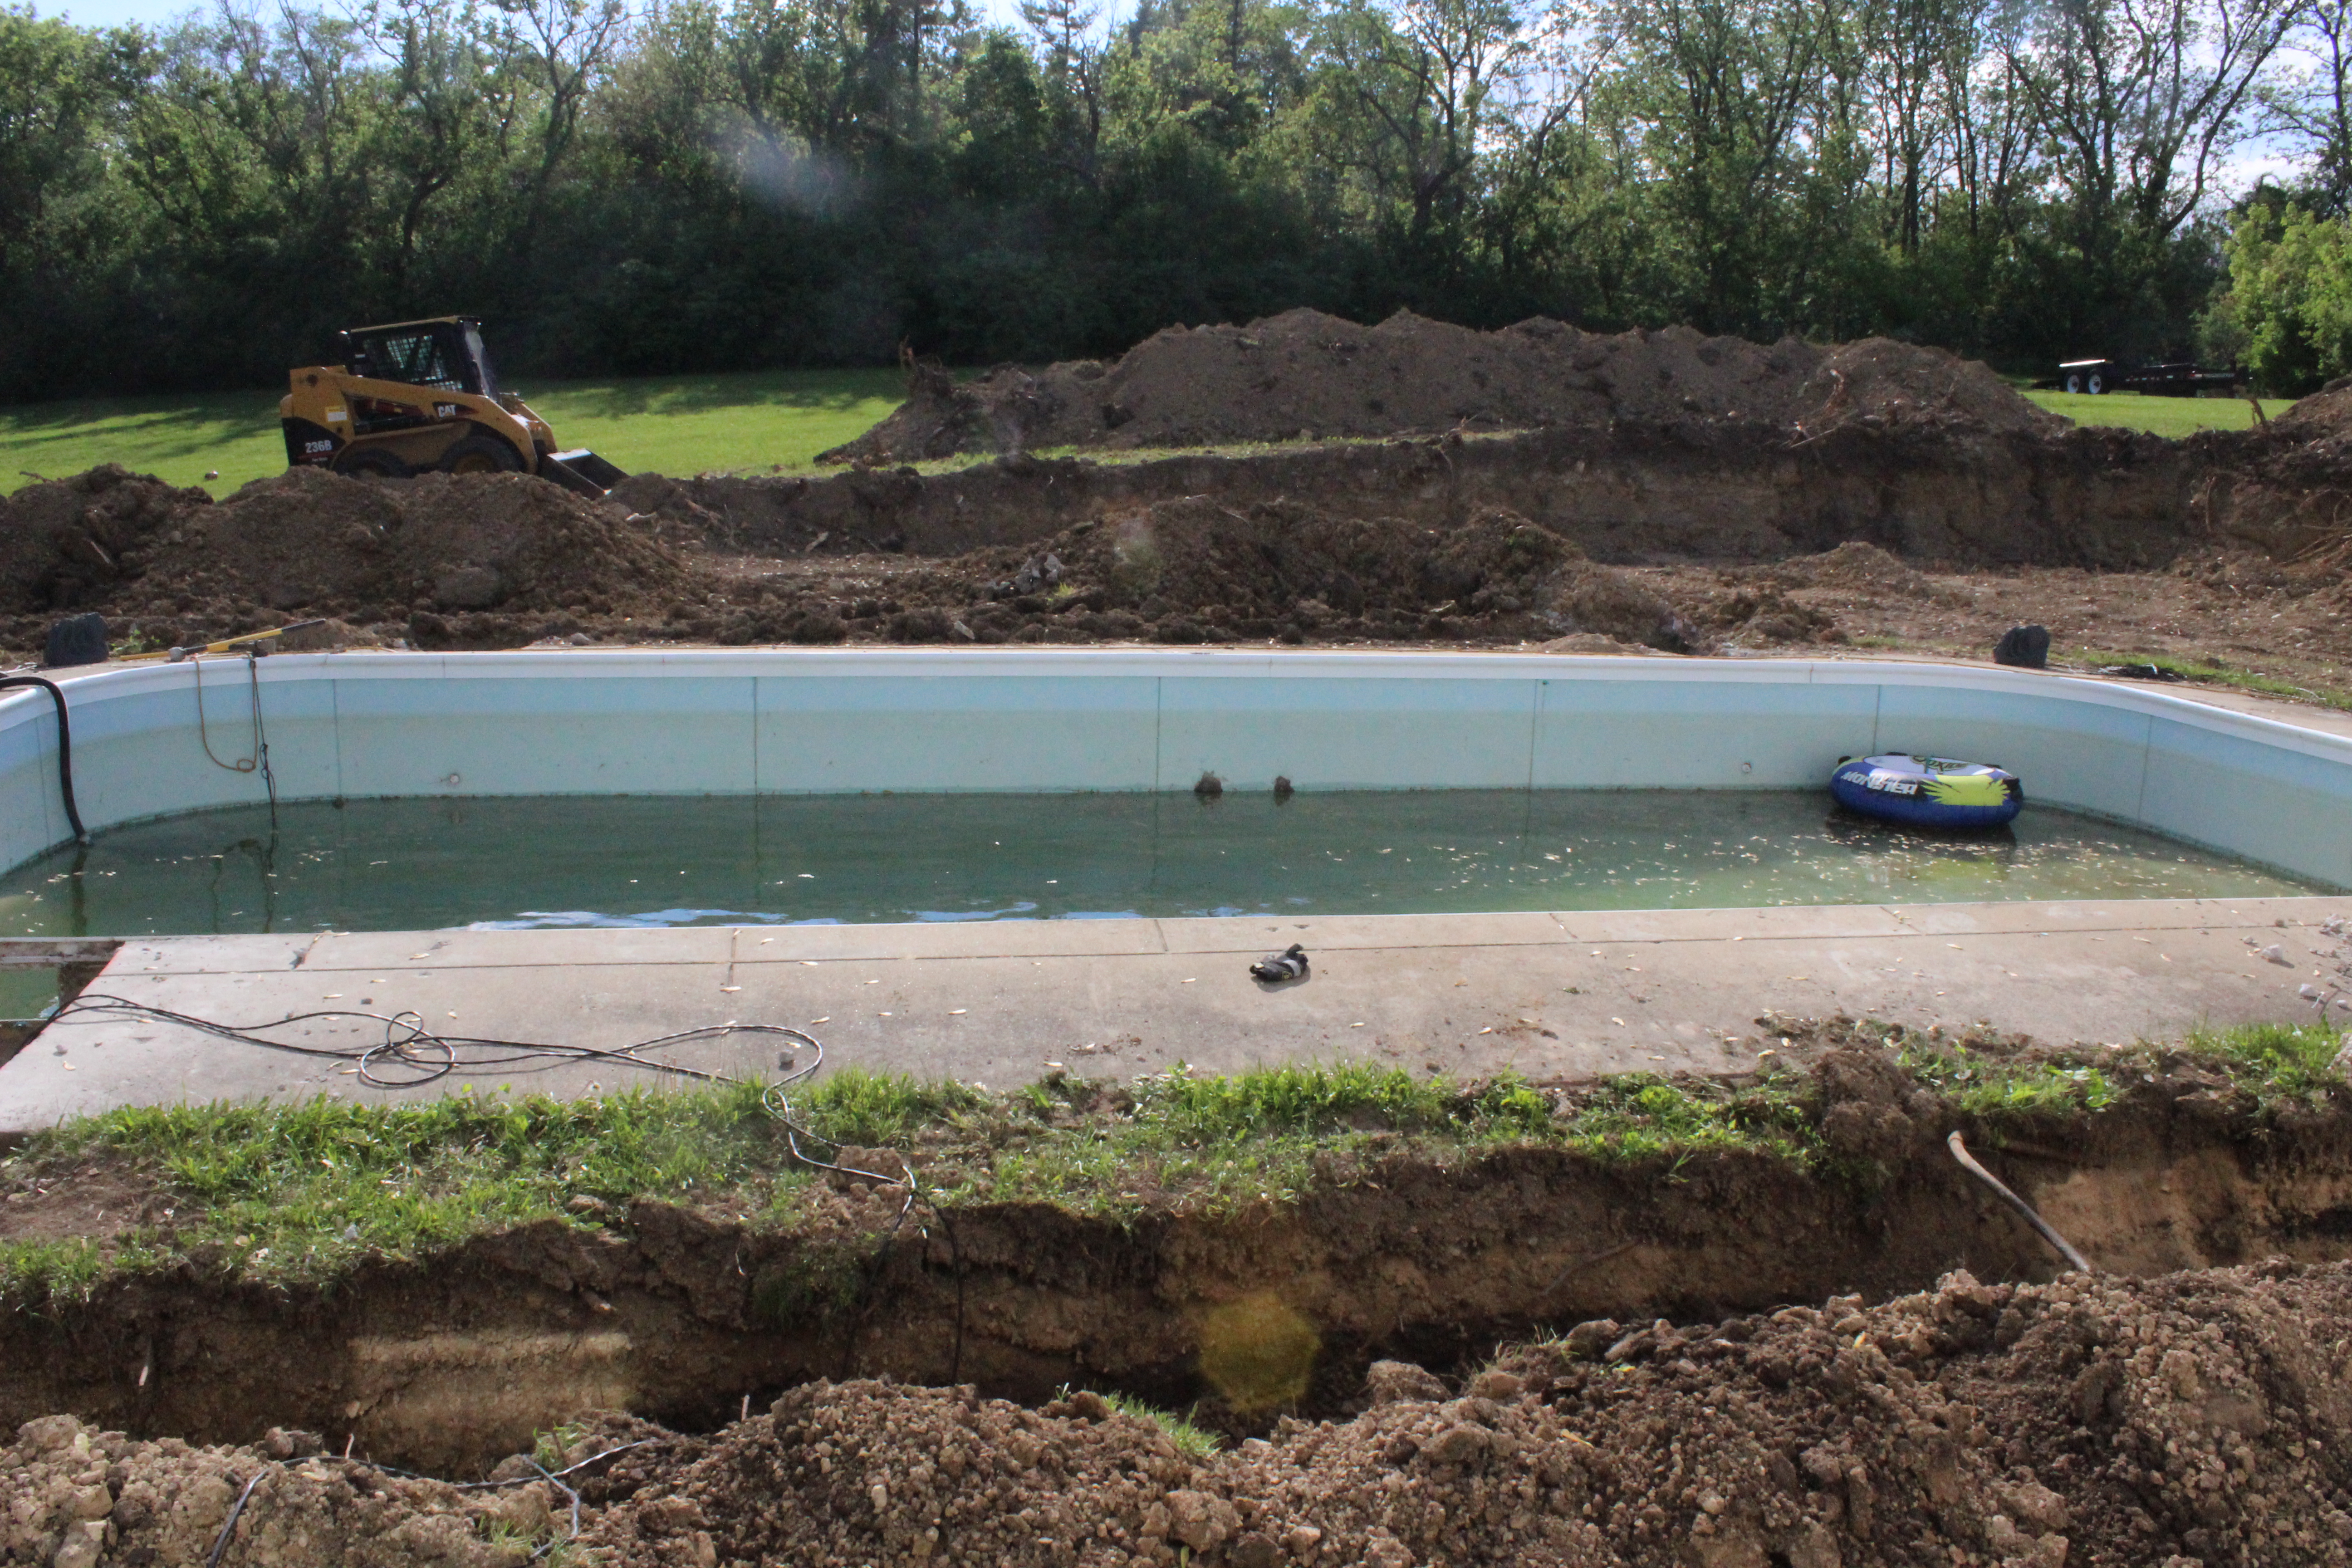
Here’s the scariness it was when we bought it:

IMG_1135

And a similar view now: pool long toward chairs

A photo from 2013 when we were digging out the retaining wall:

IMG_3128

And now:

IMG_5907

Another before from almost 4  years ago (yikes!):

photo-155

And now:

back of house from diving board

A view of the back shortly after we moved in:

Back of house and pool

And now:

IMG_5890

That last view is a good comparison showing our small addition to the house (to the left of the pergola). It houses the powder room and laundry room on the first floor, and our master bathroom and master closet upstairs. And we painted the house Amherst Gray (more on that here).

Phew, I’m exhausted just writing about all that!
It was definitely a labor of love though and was worth all the hard work. We still have a few more things we’d like to do which includes paving around the pool, landscaping a bit more, and doing the fire pit like I mentioned. But I’d say we are 90% of the way to calling this baby D-O-N-E.


How We Did in 2015 + Goals for 2016

13 Jan

Each year we set out a list of the things we want to accomplish on the house. Here’s how we did with our 2015 goals…

  1. Finish master bathroom and closet and move in to our new master. Done (mostly). We moved into the new master bedroom early in 2015 and I shared the master bathroom reveal here. We also had custom closet shelves built out and now the only thing left to do is paint them. Hope to share soon!
  2. carrera marble showerBuild out a playroom, including adding a wall and covering up a fireplace. Done! I just shared the playroom reveal this week. It is my favorite.
  3. right corner goodBuild mudroom cabinets on the opposite side of the new playroom wall. We started the cabinets, but it’s nowhere near complete. At least the mudroom is semi-functional right now. Put this one on the top of the list for 2016.
  4. IMG_0676Renovate the final bathroom upstairs. Done! You can see the full reveal here.
  5. IMG_5533Add window boxes to the front of the house. No progress made here. This may have to wait.
  6. Landscape back yard. Some progress was made here, but it is nowhere near done. I will share some photos come spring.
  7. Finish pergola on the back deck. Done! I still need to share photos of this. We love it. Again, I will share some photos in spring.
  8. Build a fire pit. Nope. We have some adirondack chairs around a fire ring, but we really want to build one in with stone. Add it to 2016!

Overall not too shabby, considering we also spent 3 months renovating an entire income property.

For 2016 our goals are to:

  1. Finish the mudroom.
  2. Paint master bedroom closet.
  3. Finish the pool fence and re-stain the deck.
  4. Install pavers around the pool.
  5. Update the living room built-ins.
  6. Finish the shed.
  7. Build a fire pit.
  8. Create a big girl room for Kate.

By the end of 2016, we will be nearly finished with major updates to the house. So exciting!

P.S. I just launched an Instagram account for the blog. Find us at 12oaksblog for progress and reveal photos! 

Income Property Reveal

1 Oct

We’re officially landlords! We put the finishing touches on our rental property this week and have tenants moving in today. We are SO pleased with how the home turned out and thankfully had an easy time finding good tenants.

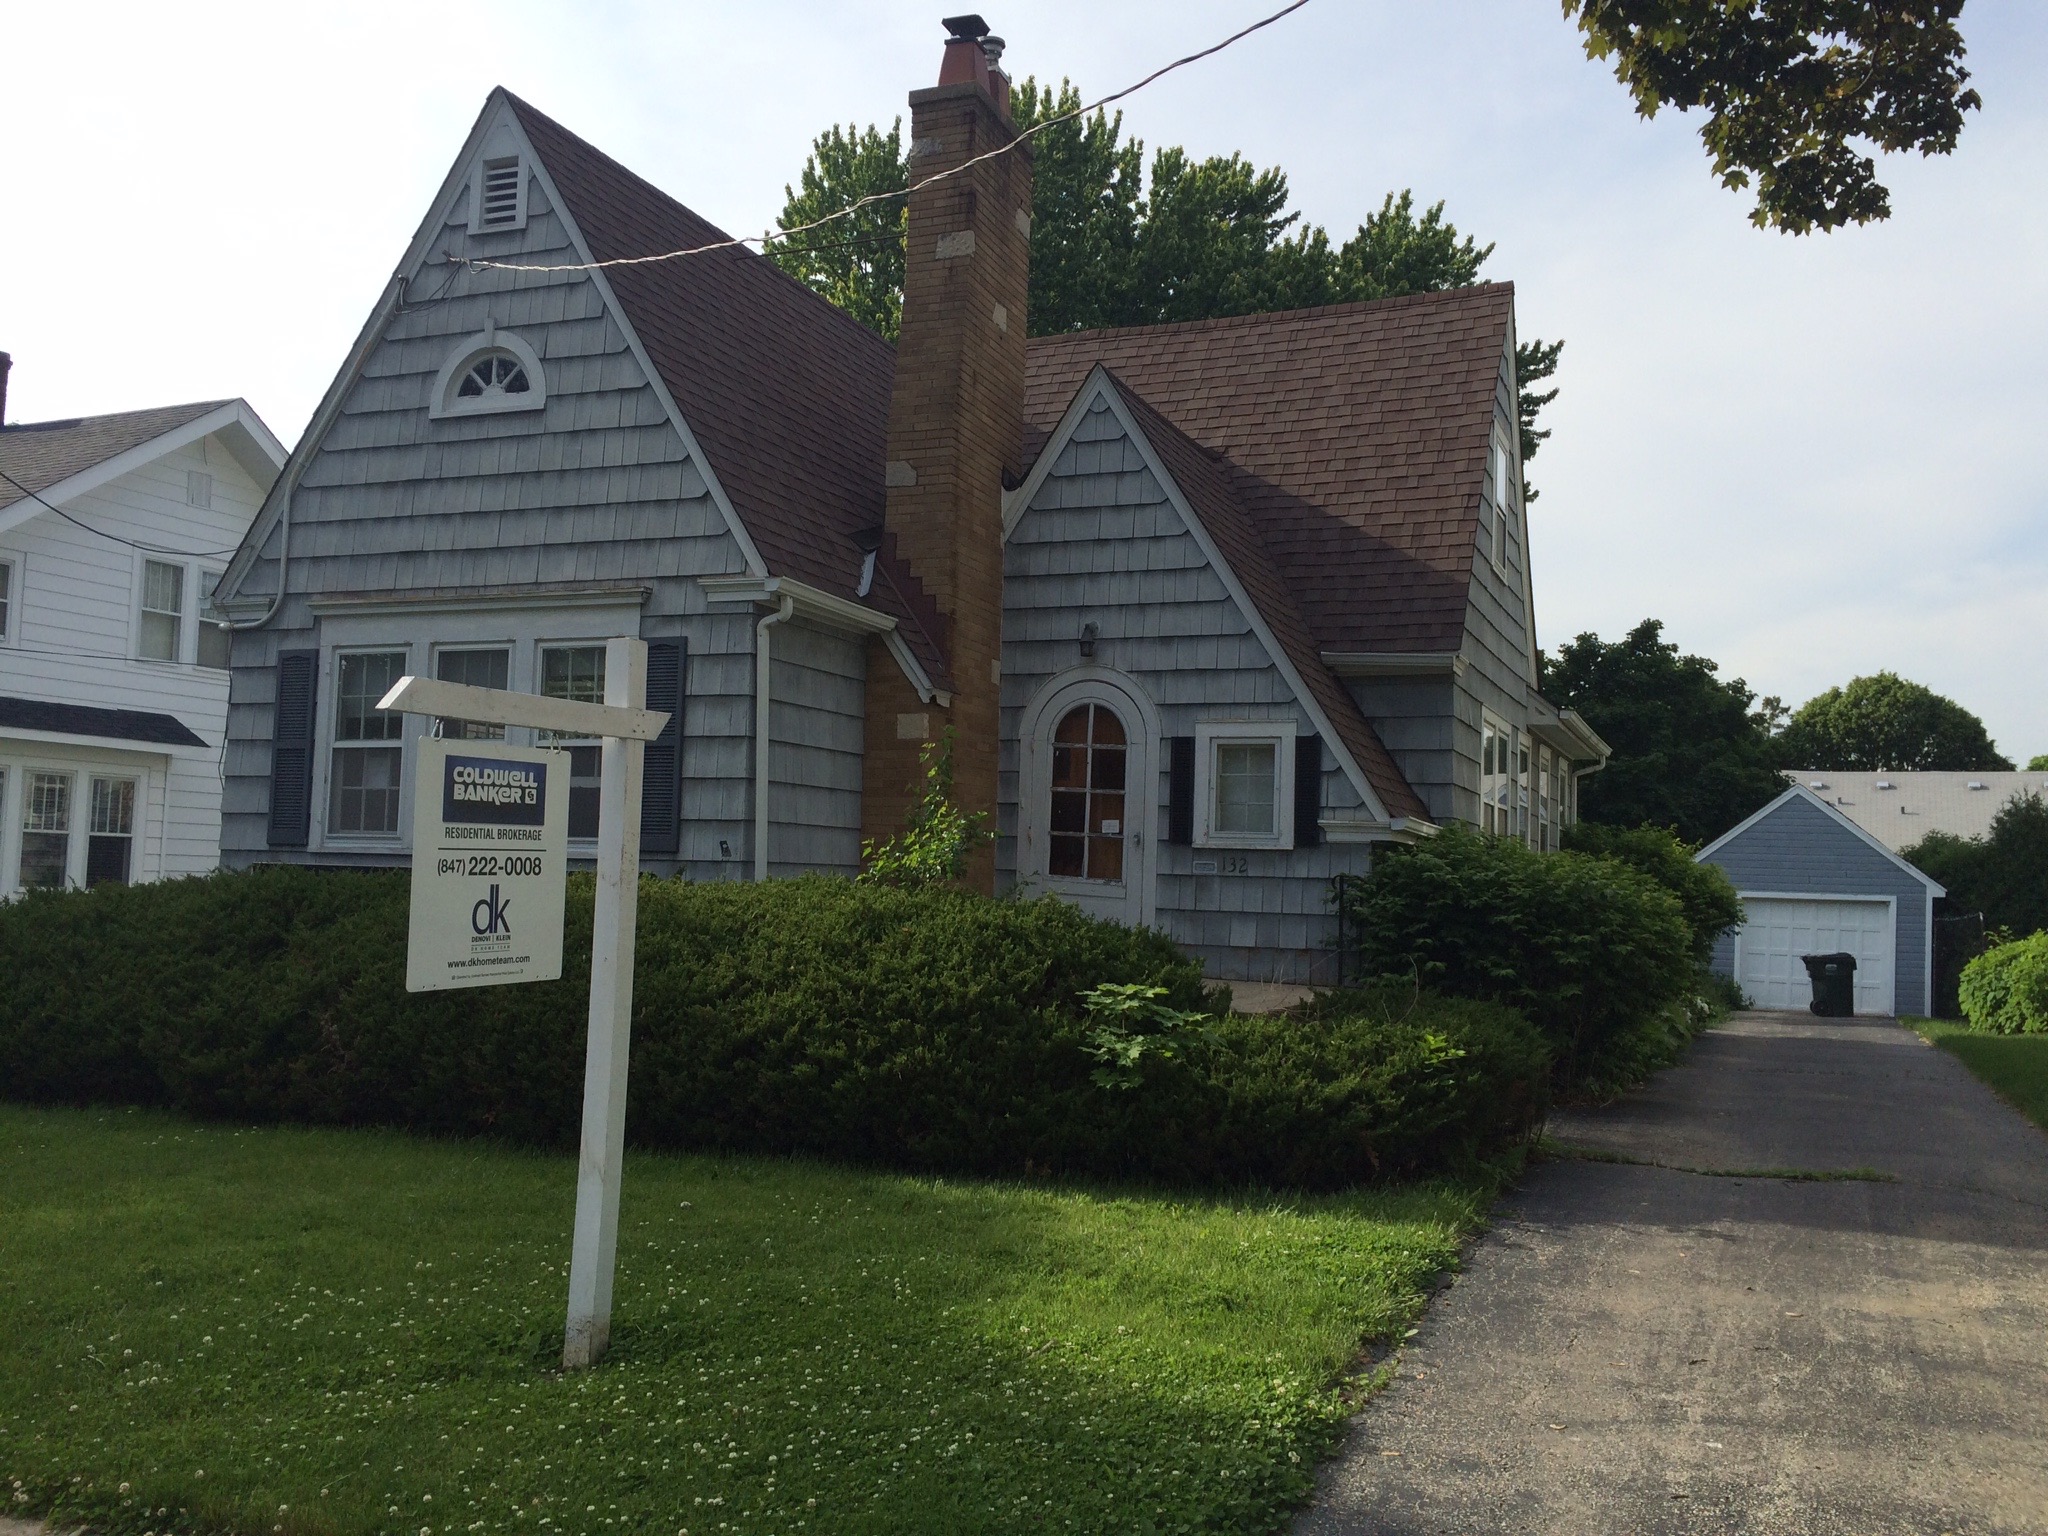
Here is a before look at the front exterior of the home:

IMG_6935

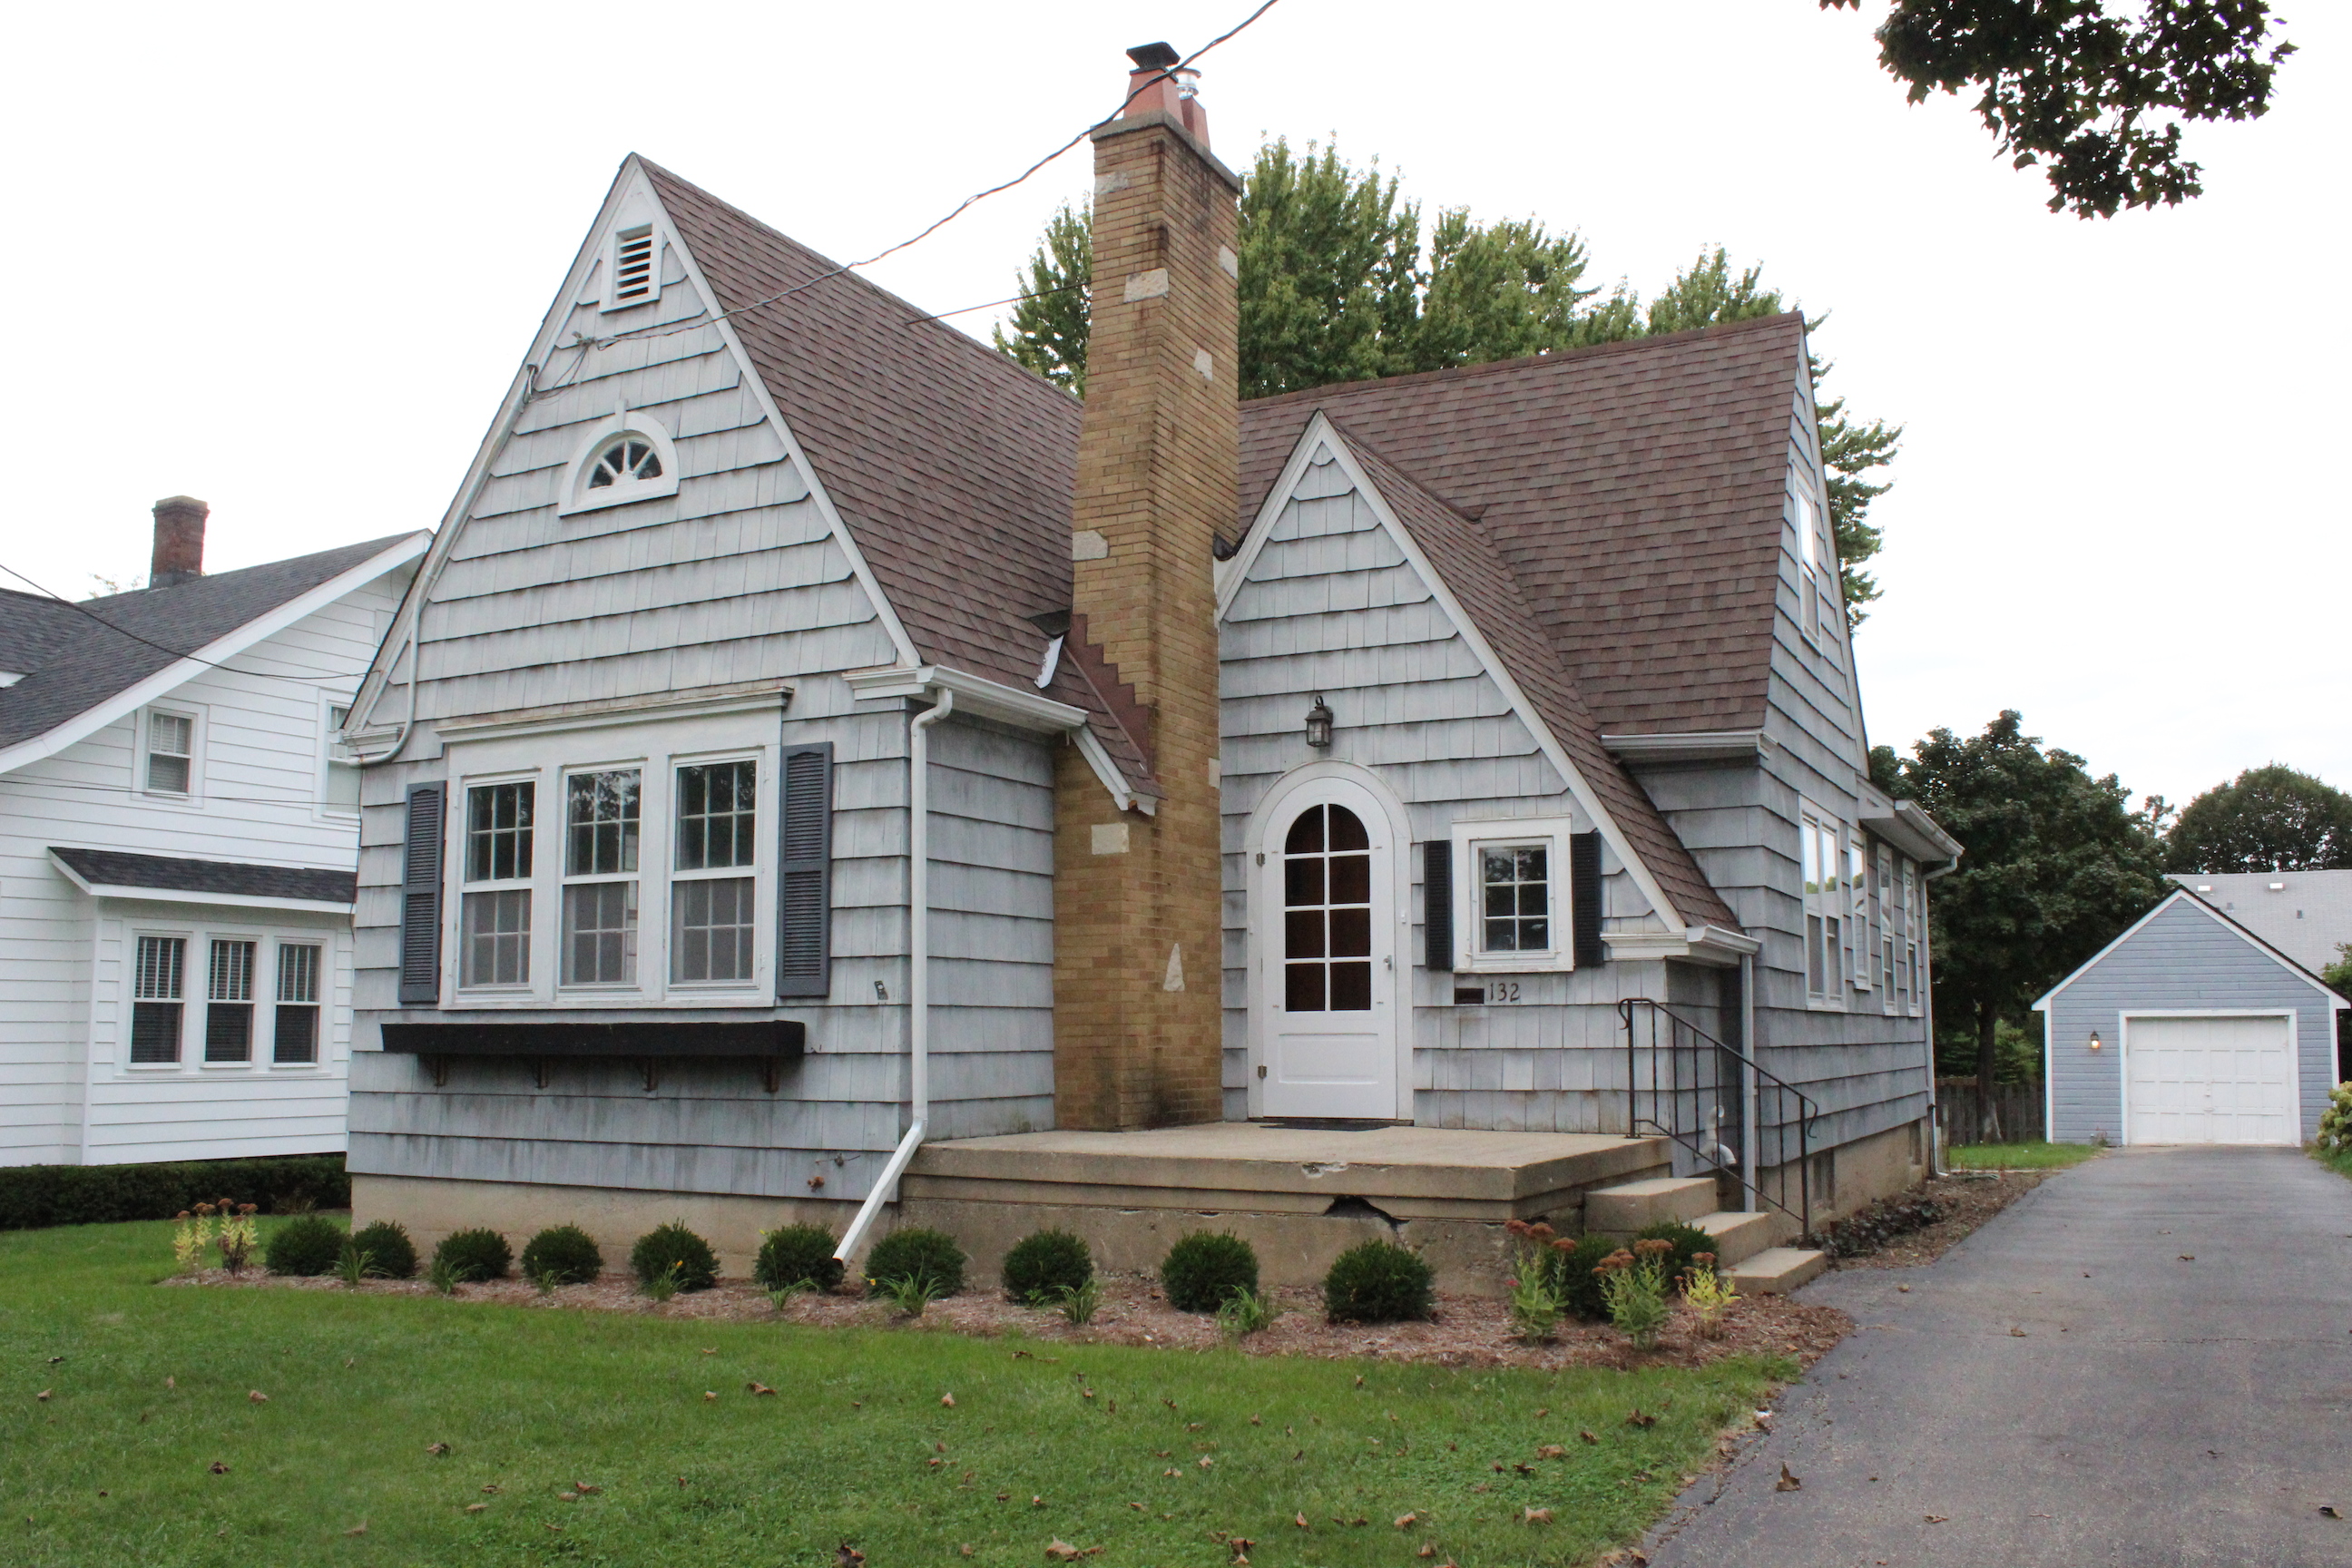
And now it looks like this:

IMG_5535 resized

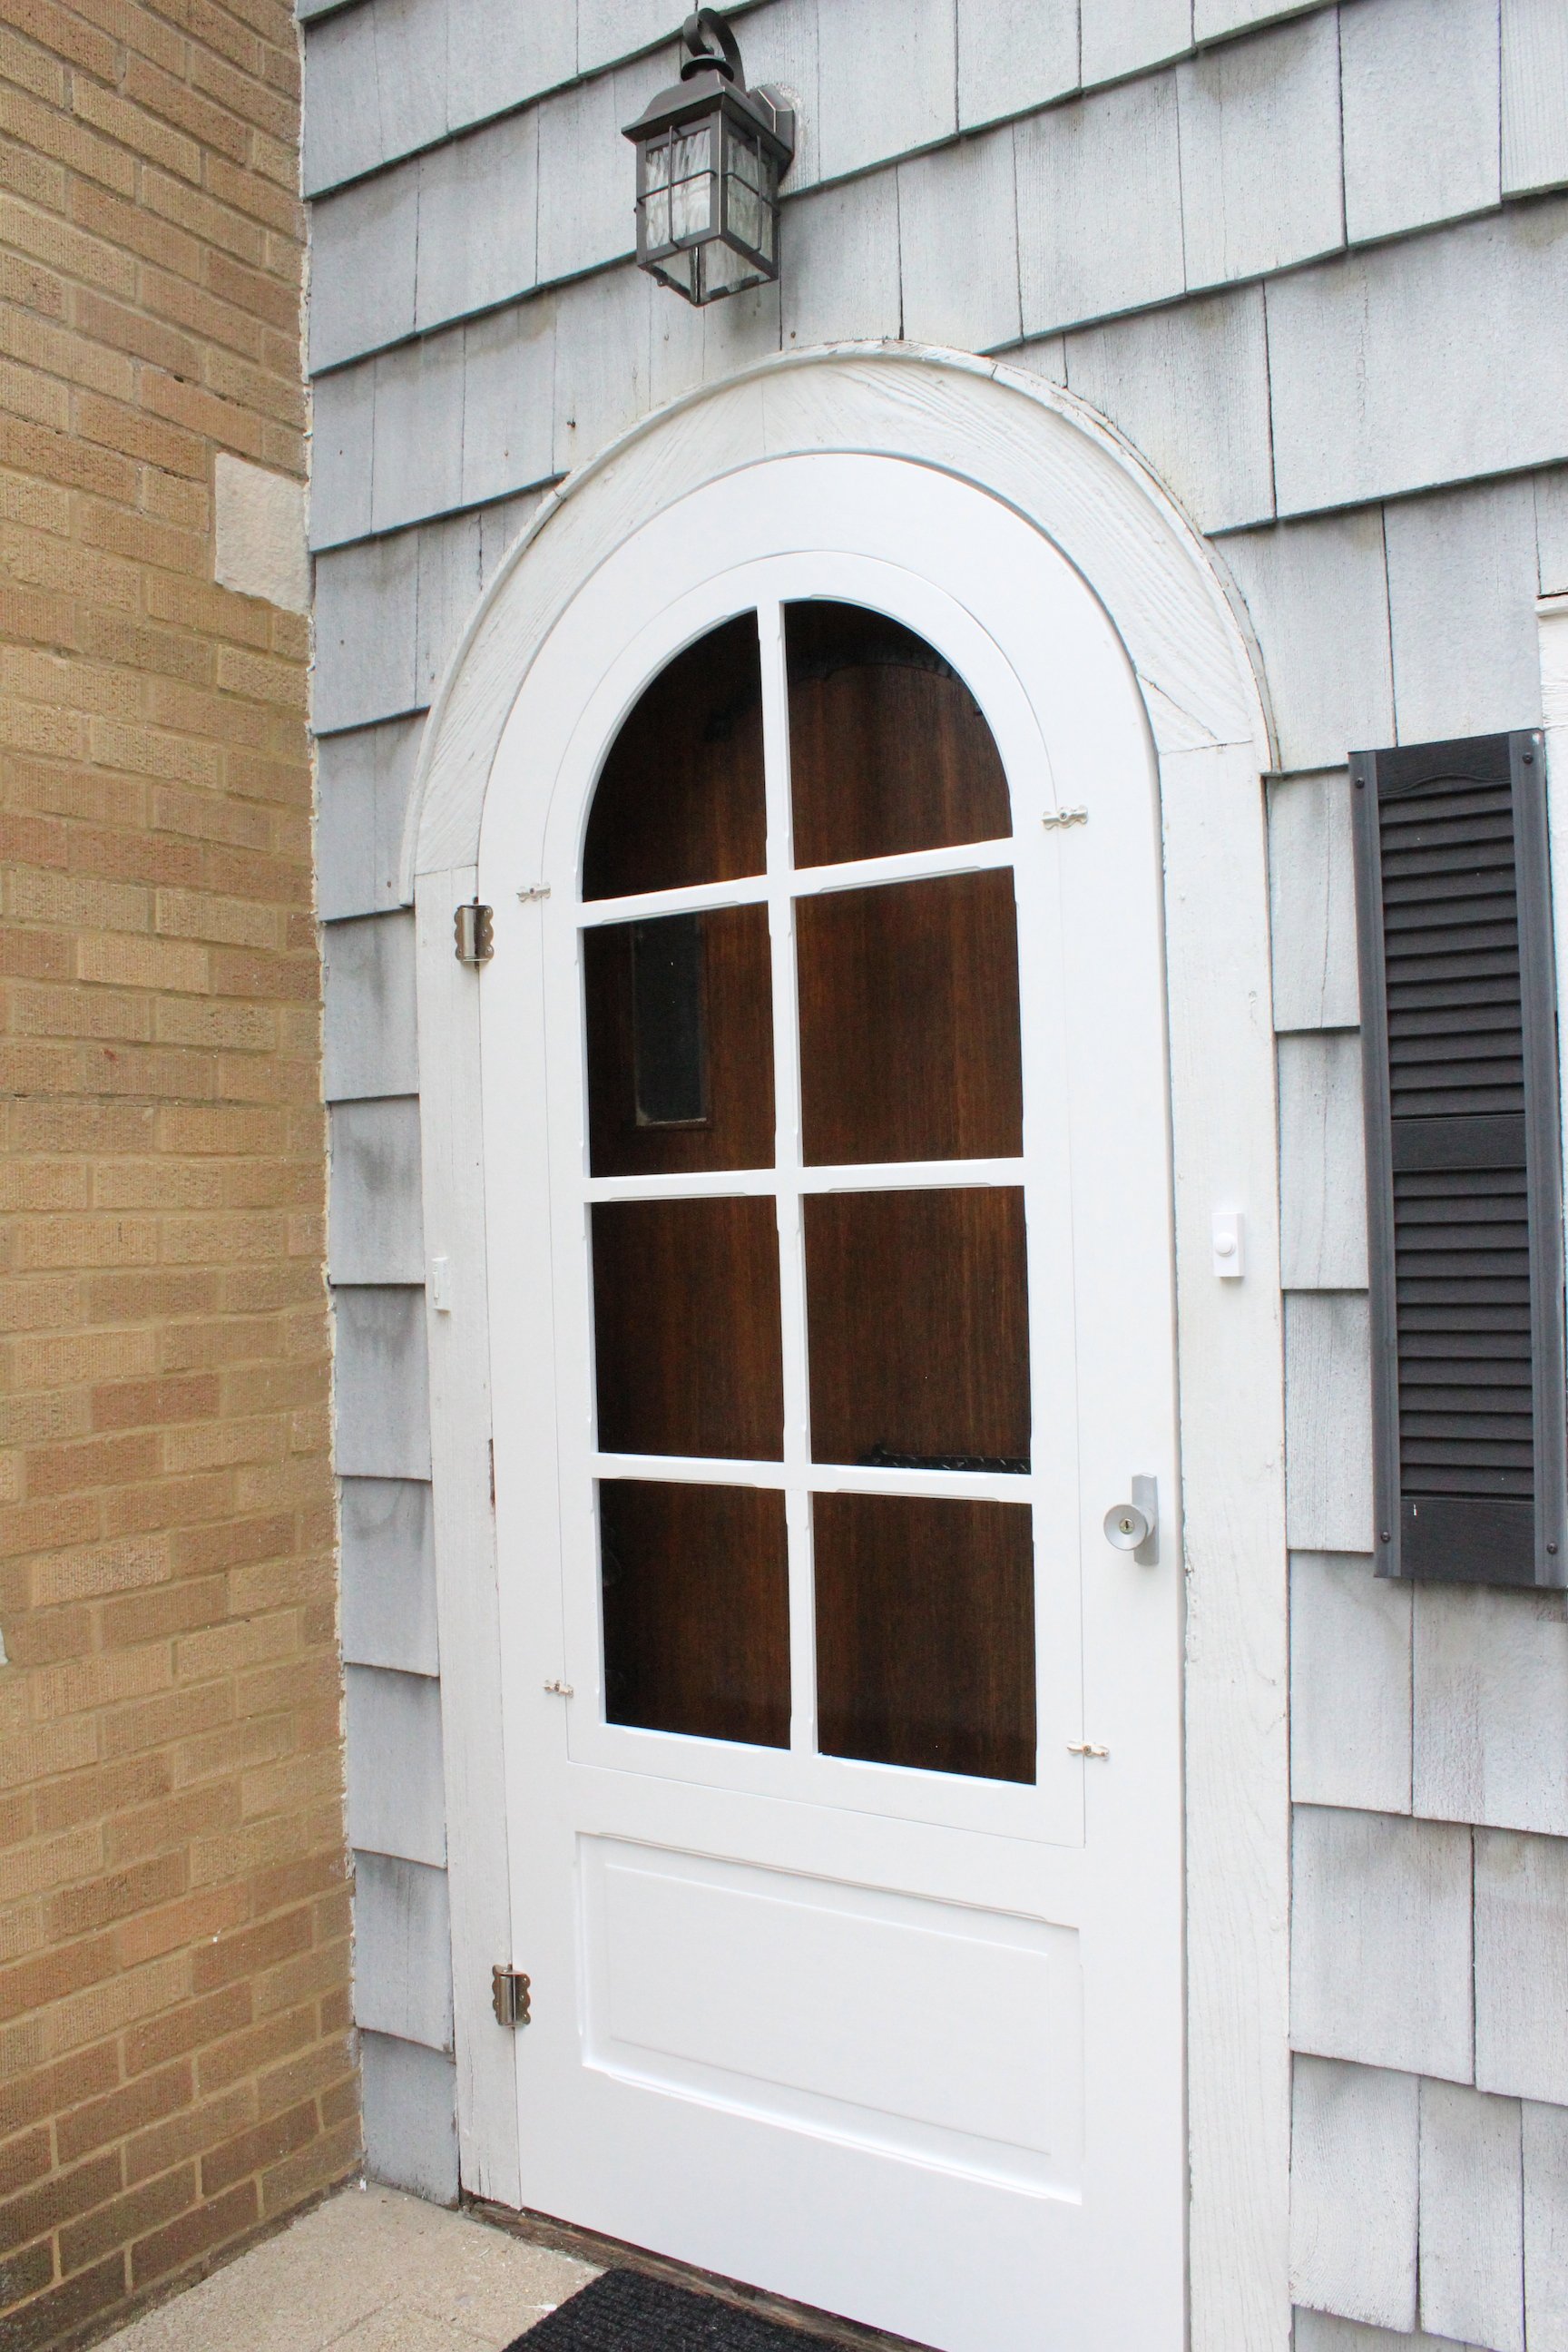
Admittedly, not much of a transformation, but we did rip out all the overgrown bushes and plant some boxwoods and other plants. We also replaced the light over the front door, had a new screen door custom built, and stained the front door.

IMG_5536 resized

The home desperately needs an exterior paint job, which is on our radar for next year.

The back yard was also very overgrown and there was a hole in the garage roof.

IMG_6941

After replacing the garage roof and ripping out those bushes, it looks like this:

IMG_5538

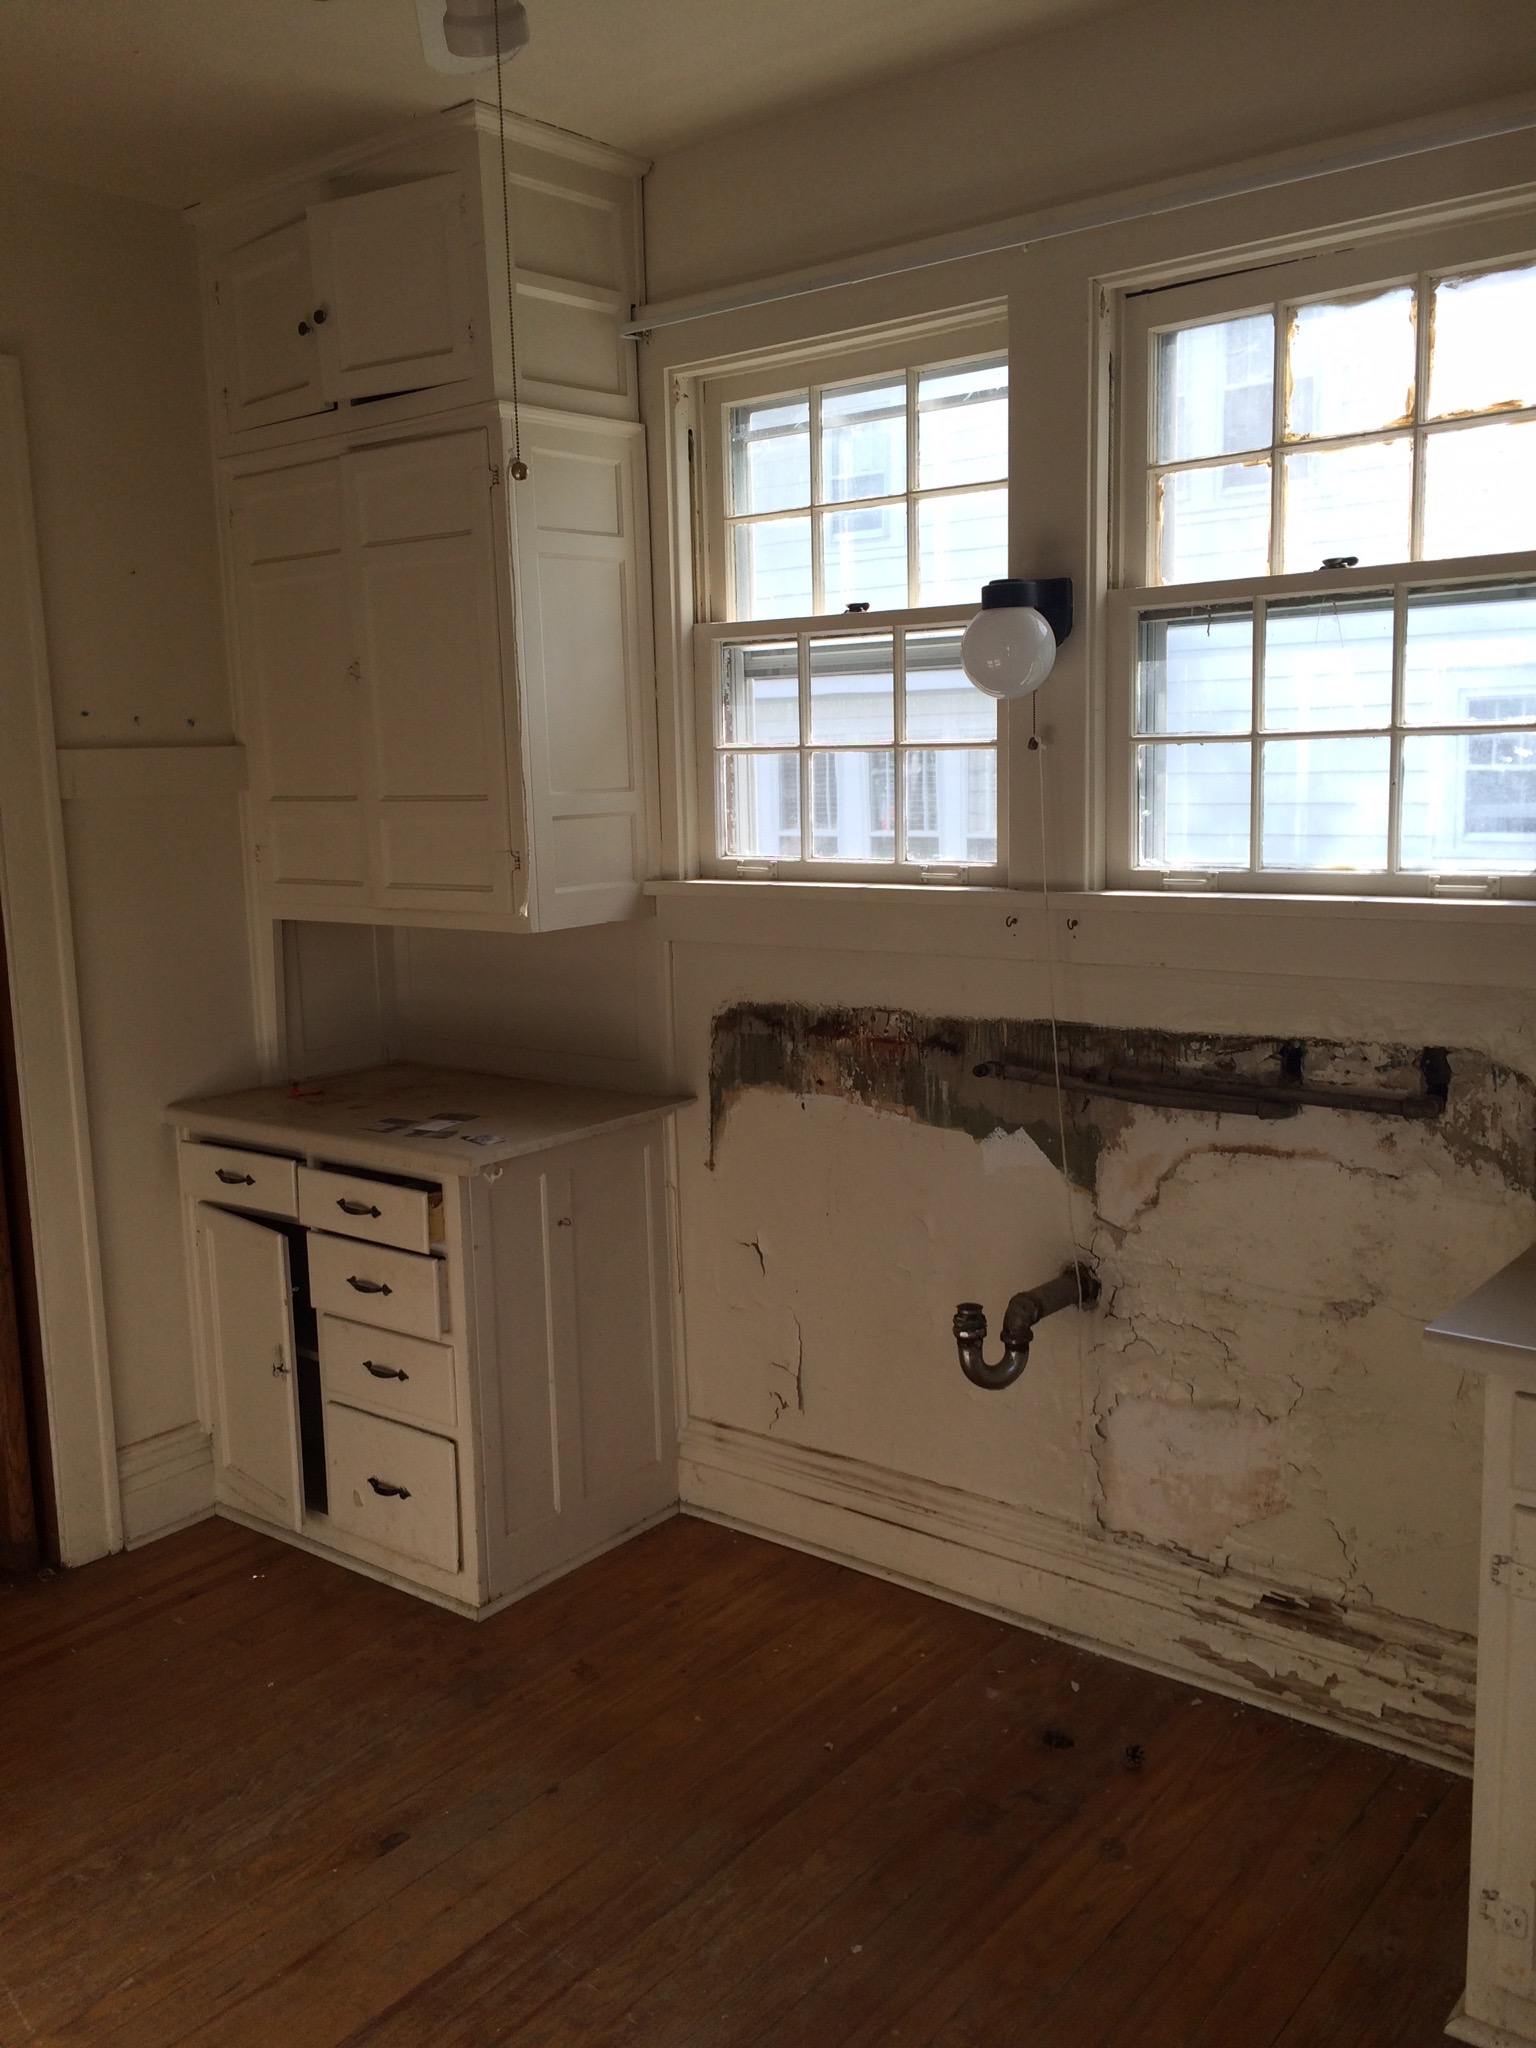
Moving inside is where the big transformation happened. The kitchen looked like this before:

IMG_6942

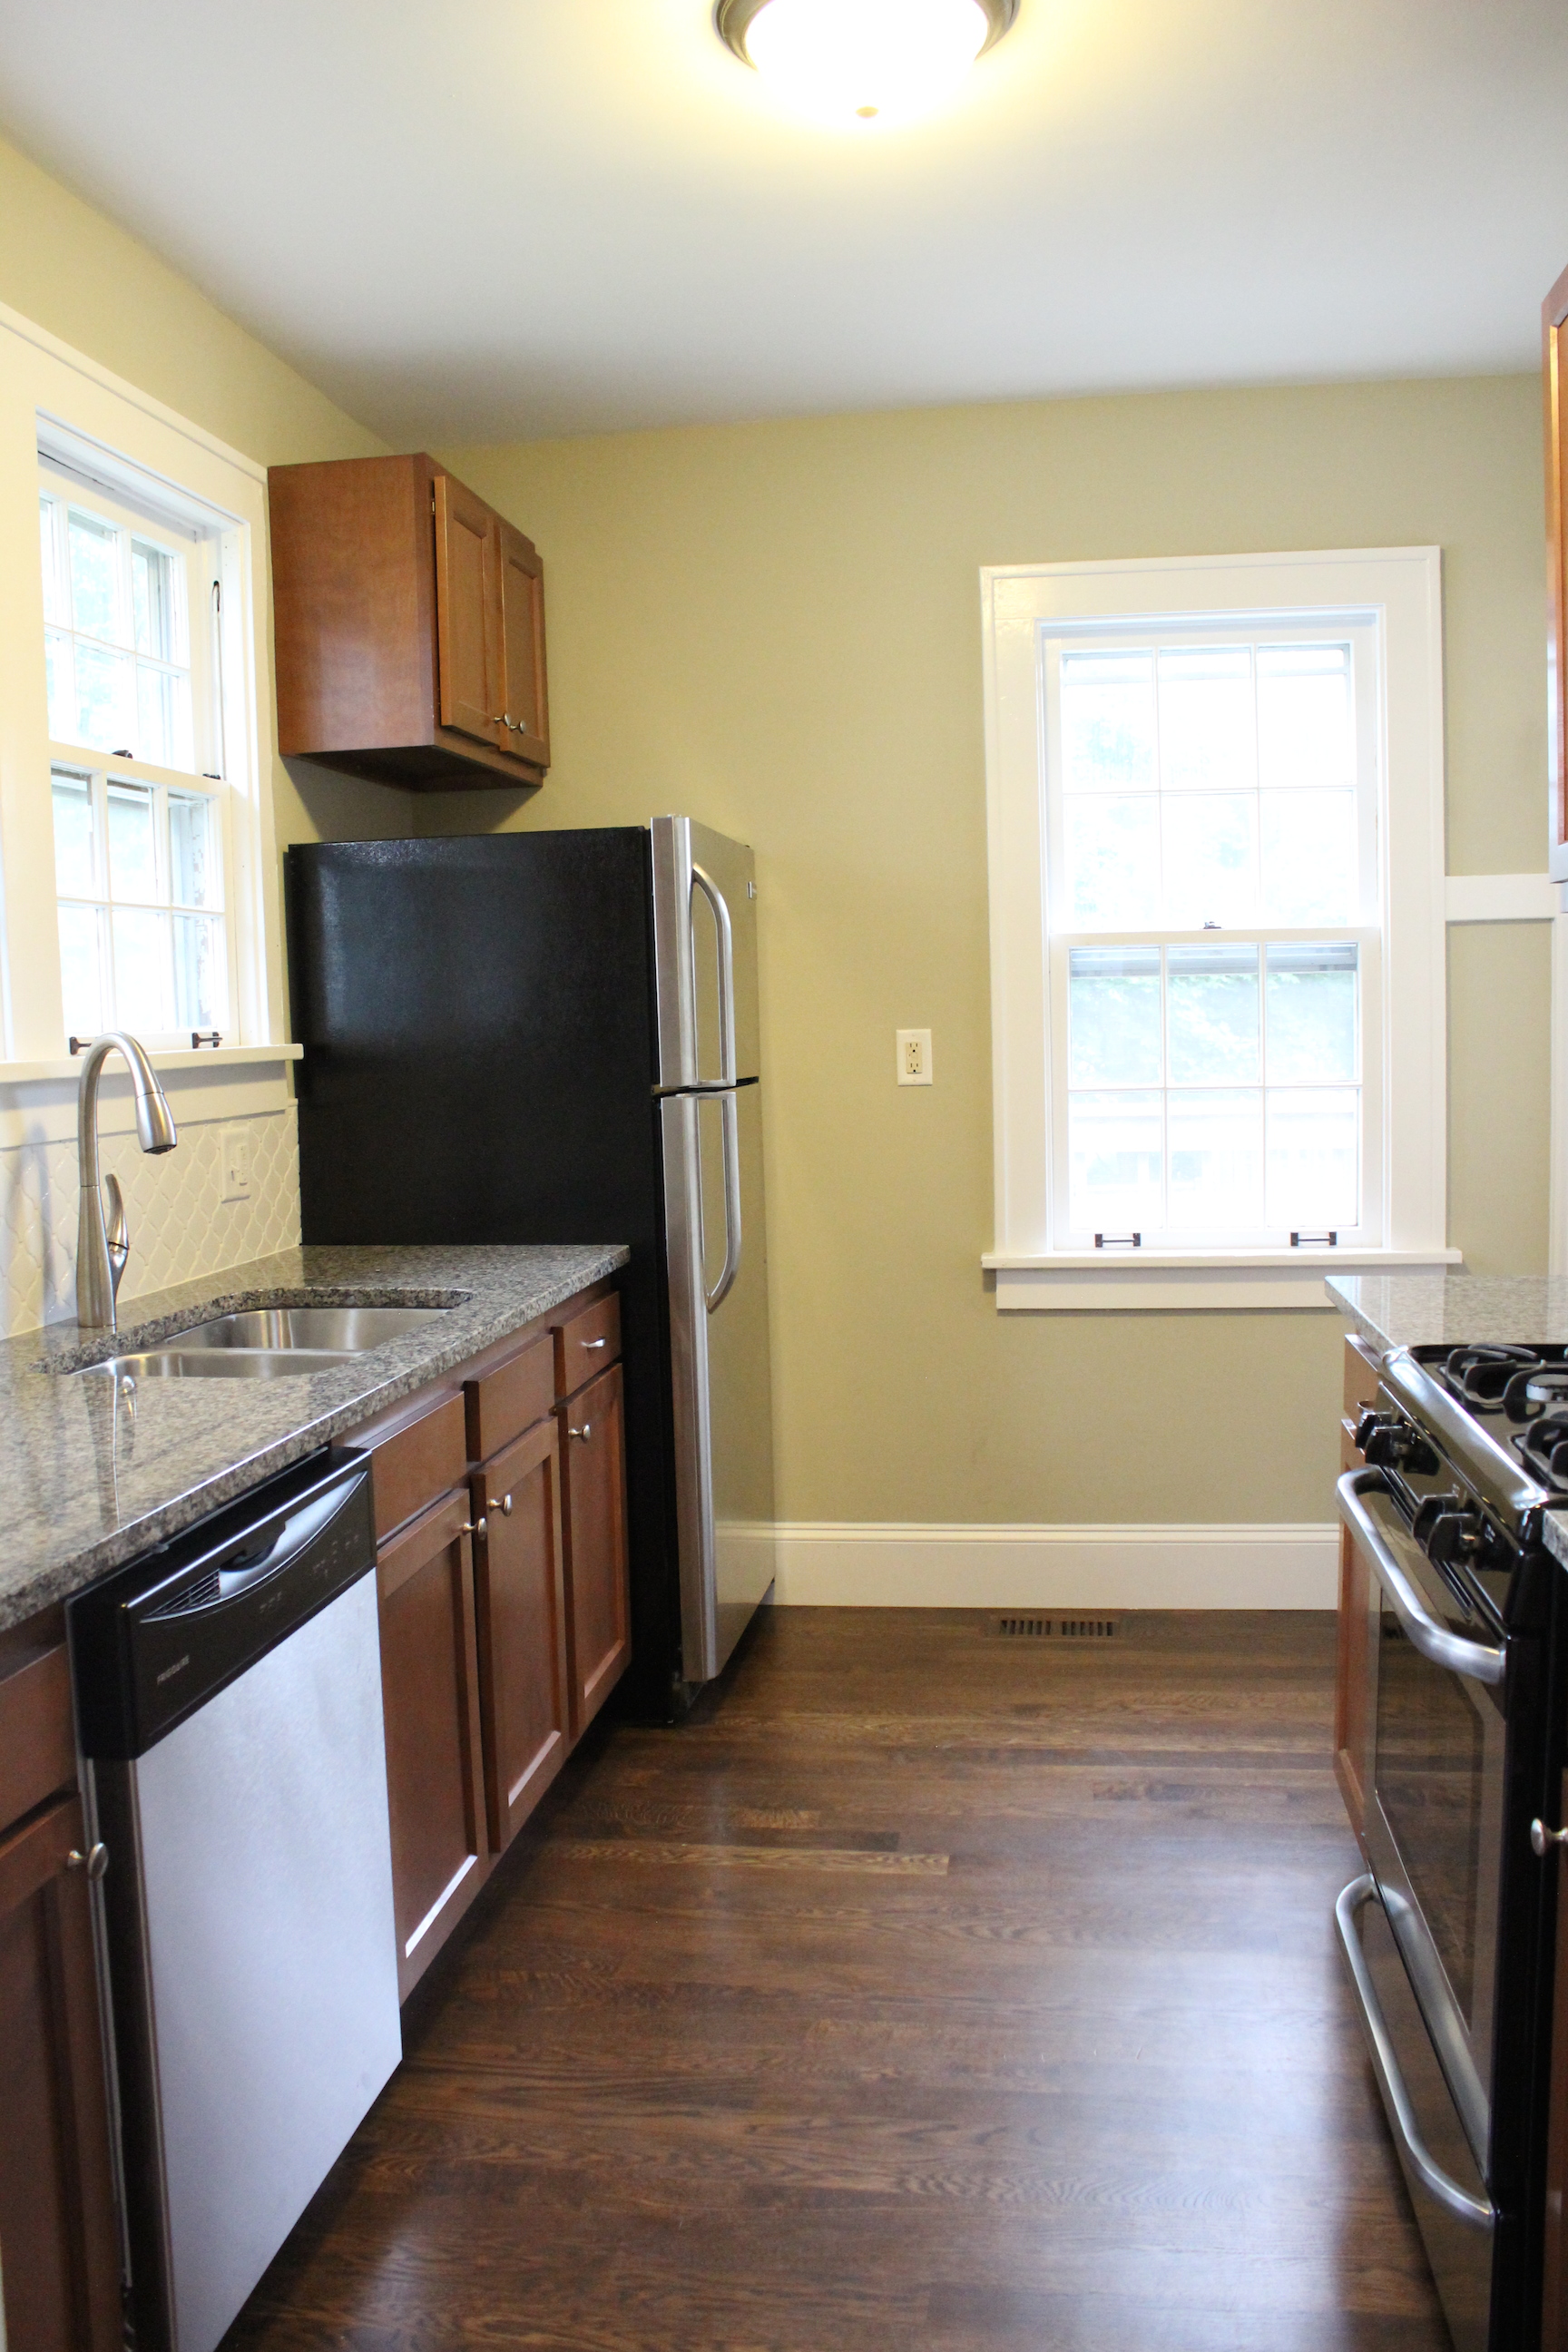
And now after new stainless steel appliances, cabinets, granite countertops, arabesque tile backsplash, new hardwood floors, paint (Analytical Gray by Sherwin Williams), lighting and more:

IMG_5542

Here’s the other side of the kitchen.


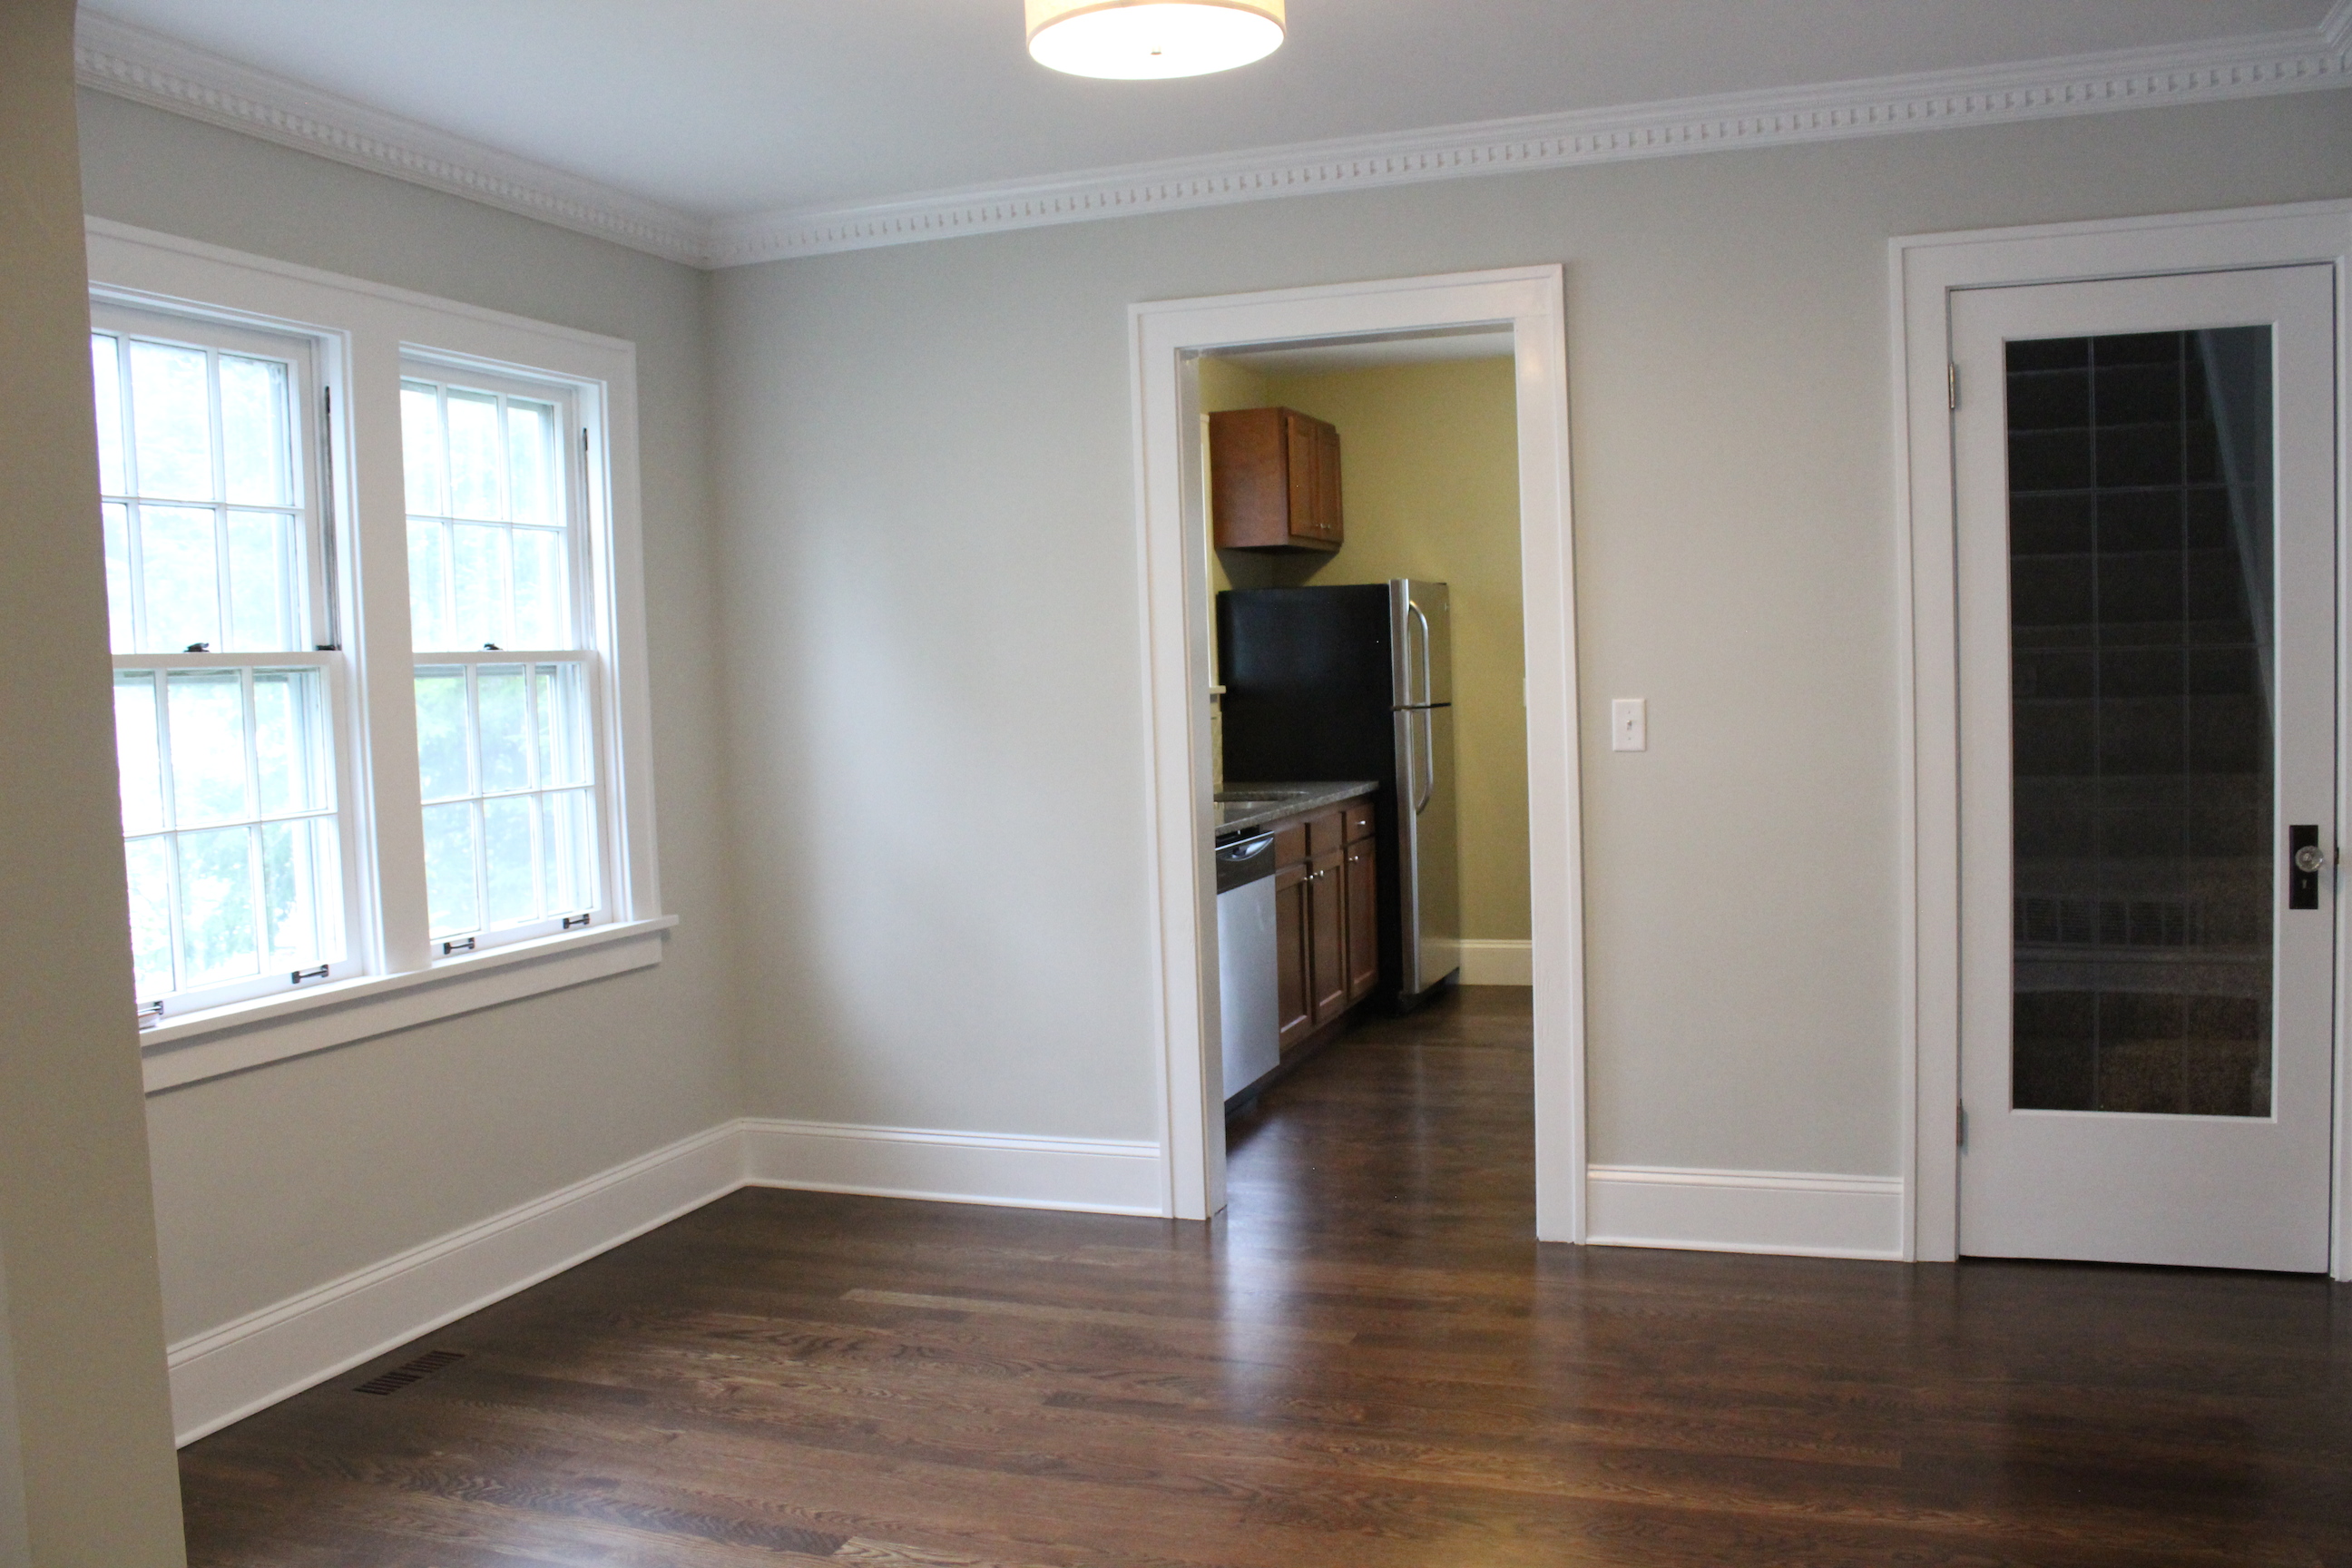
And view from the dining room.

IMG_5545

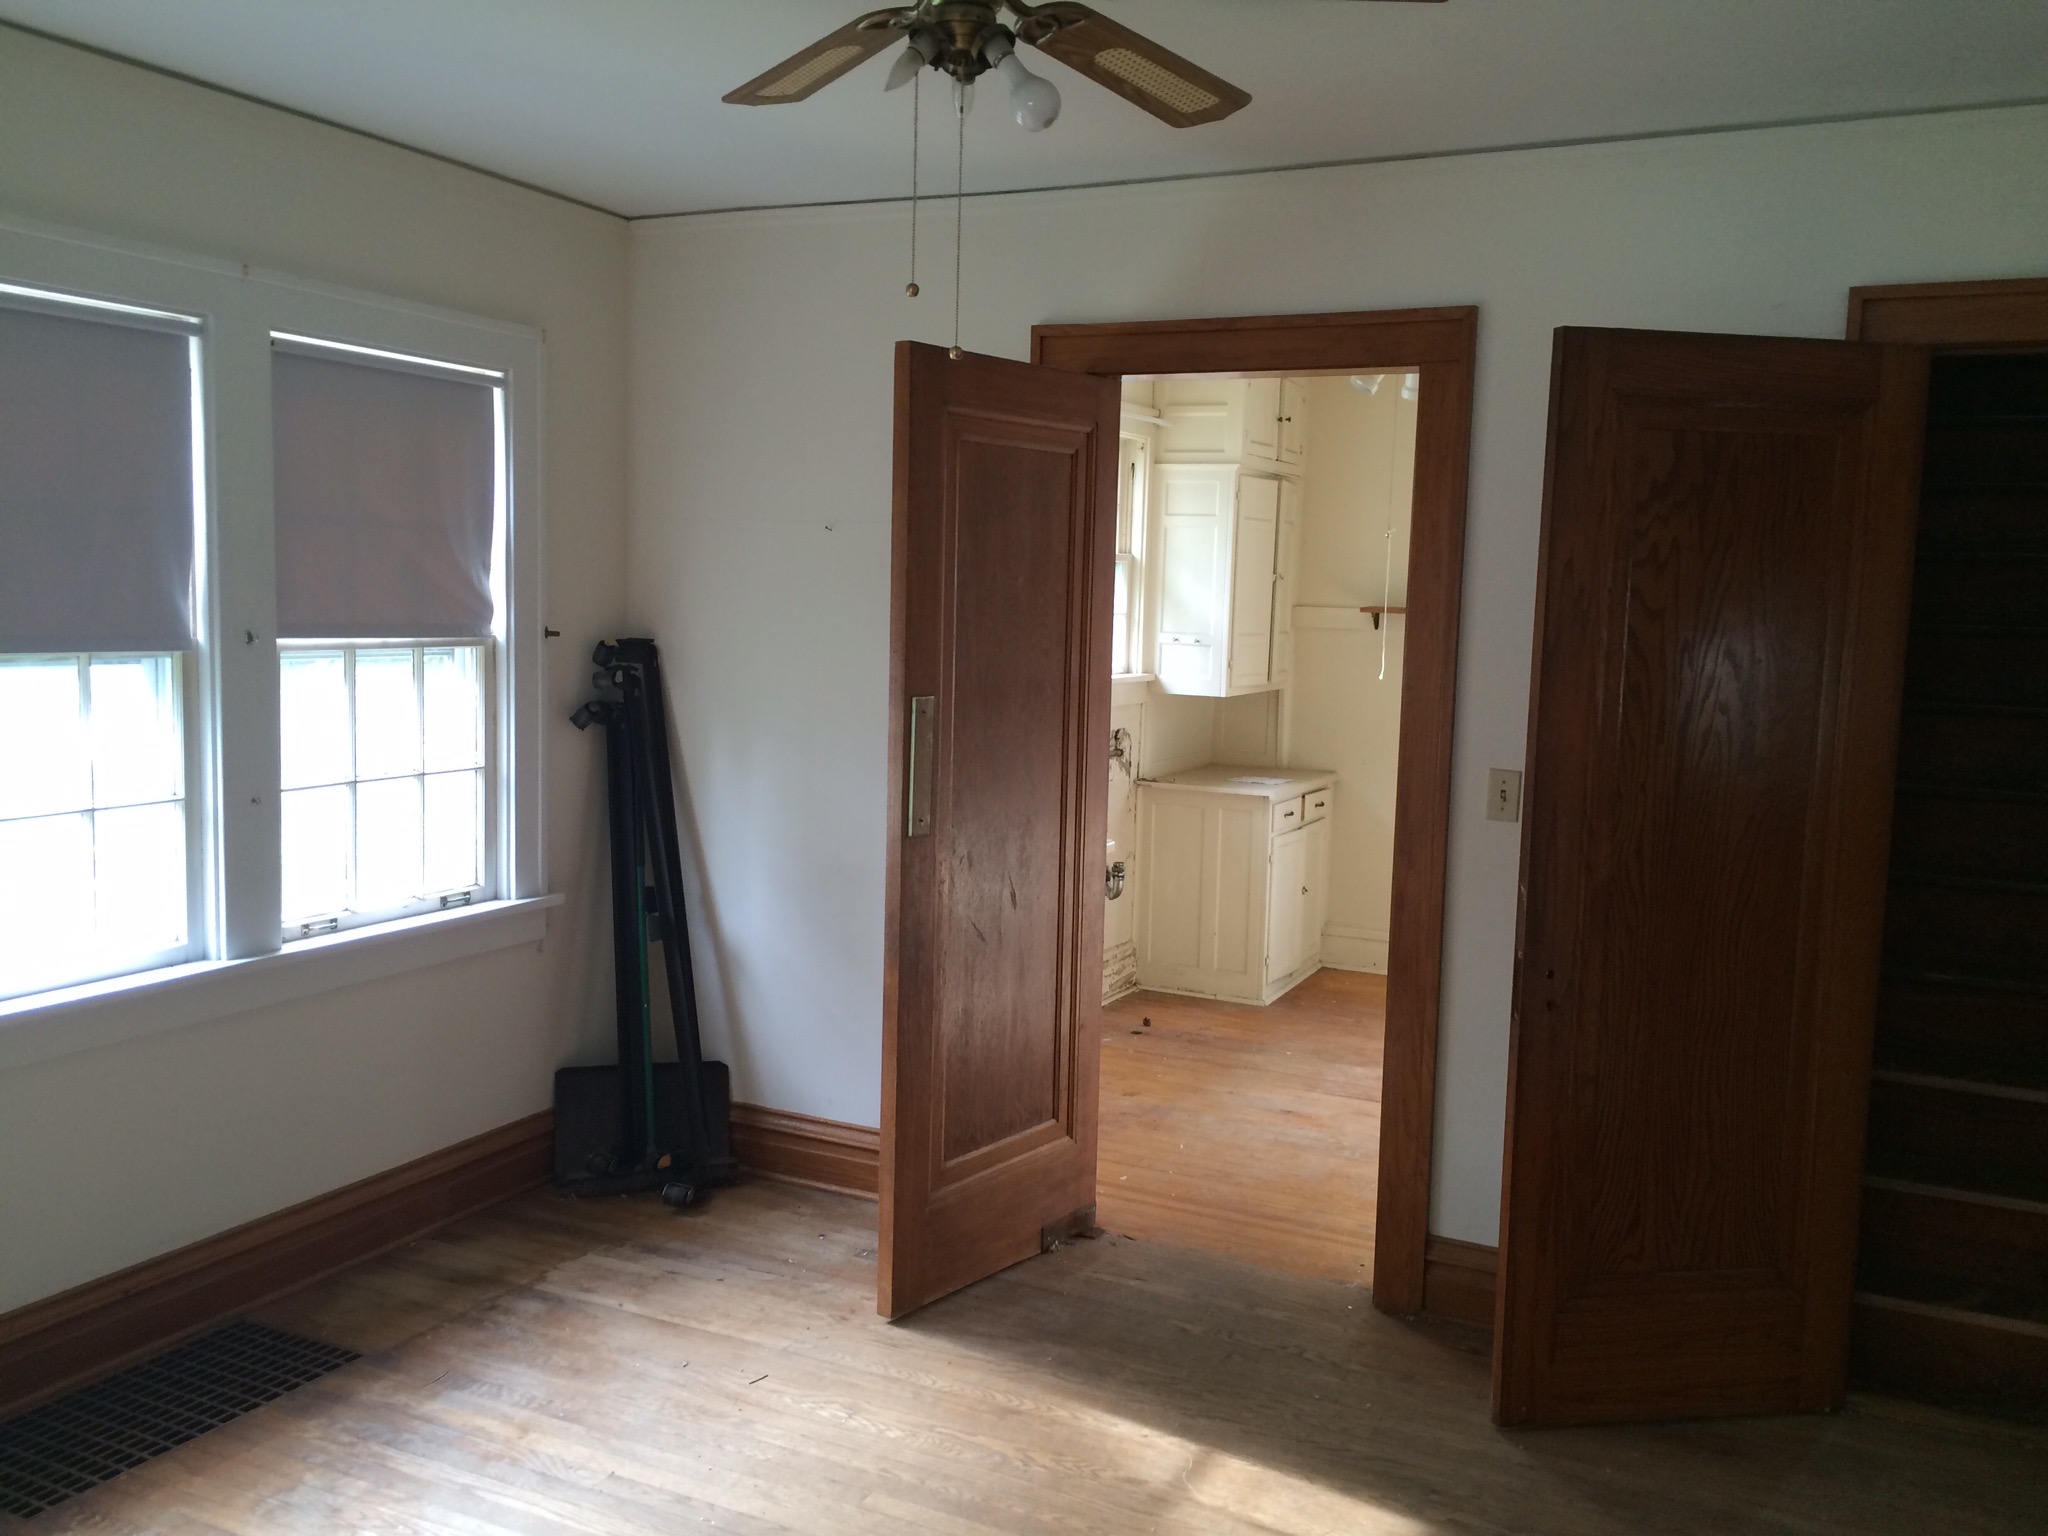
Here was the dining room before:


IMG_6954

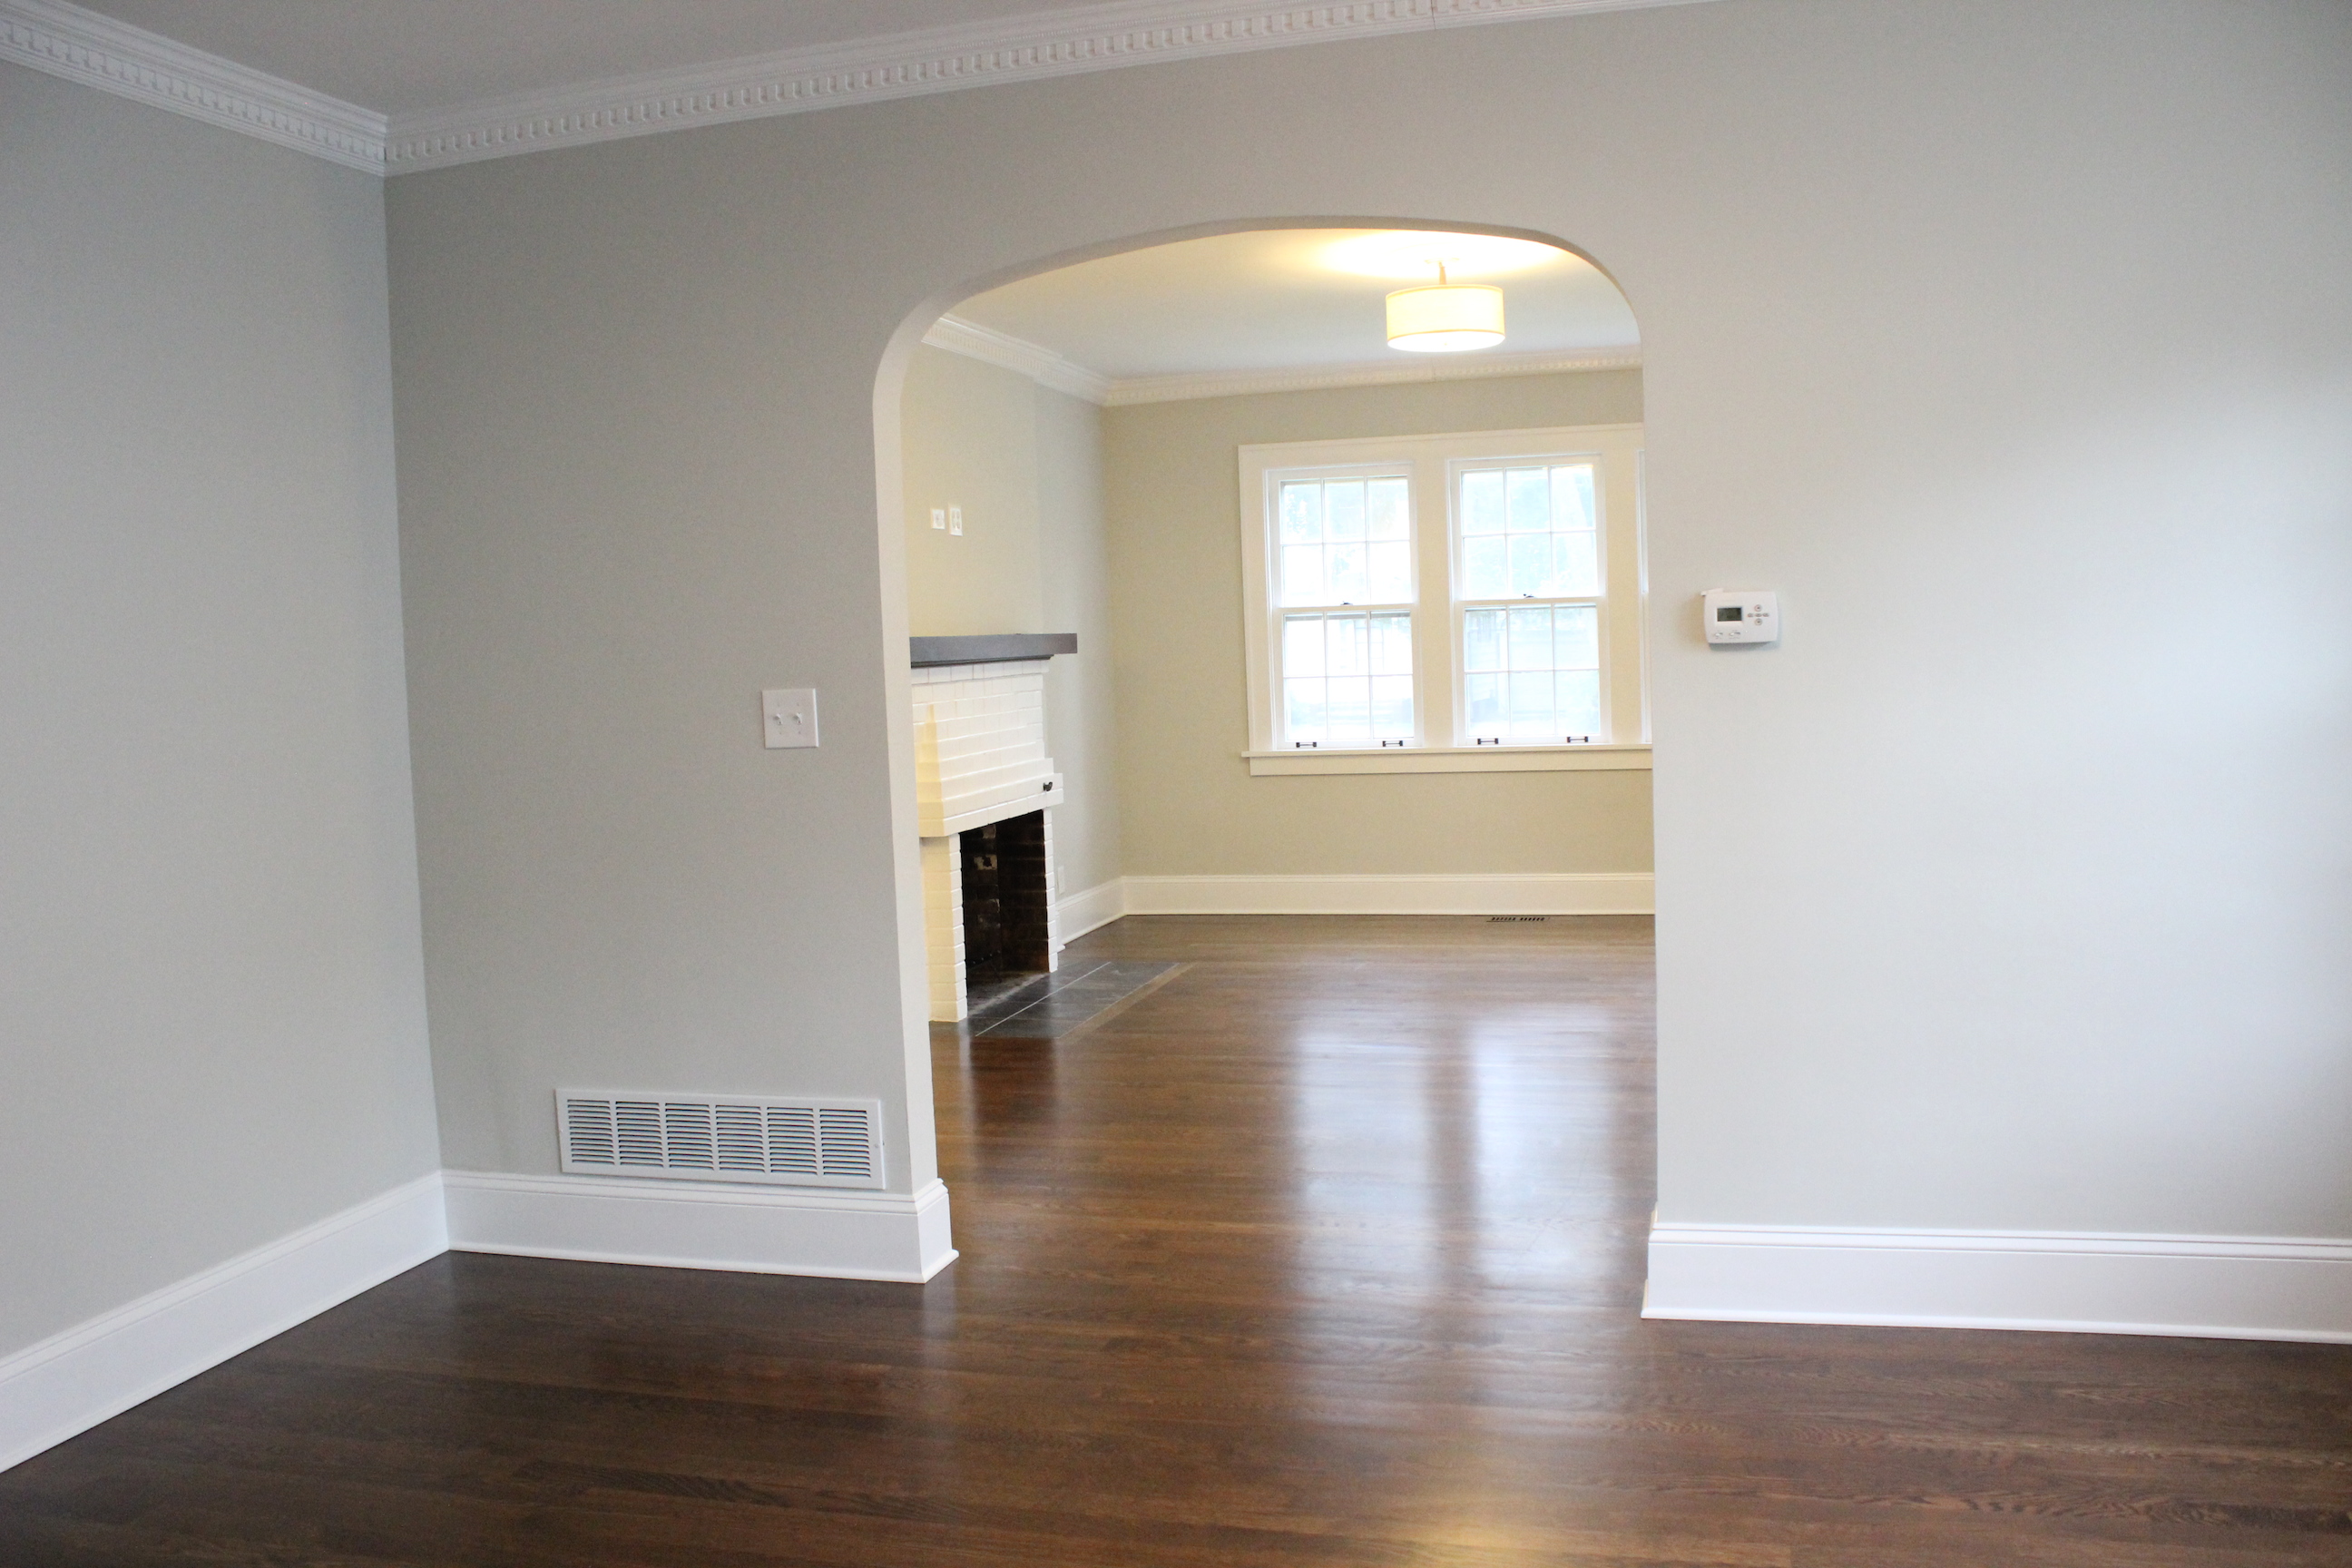
And now after new paint (Gray Owl by Benjamin Moore), crown molding, lighting, hardwood floors, baseboards, and more:

IMG_5546

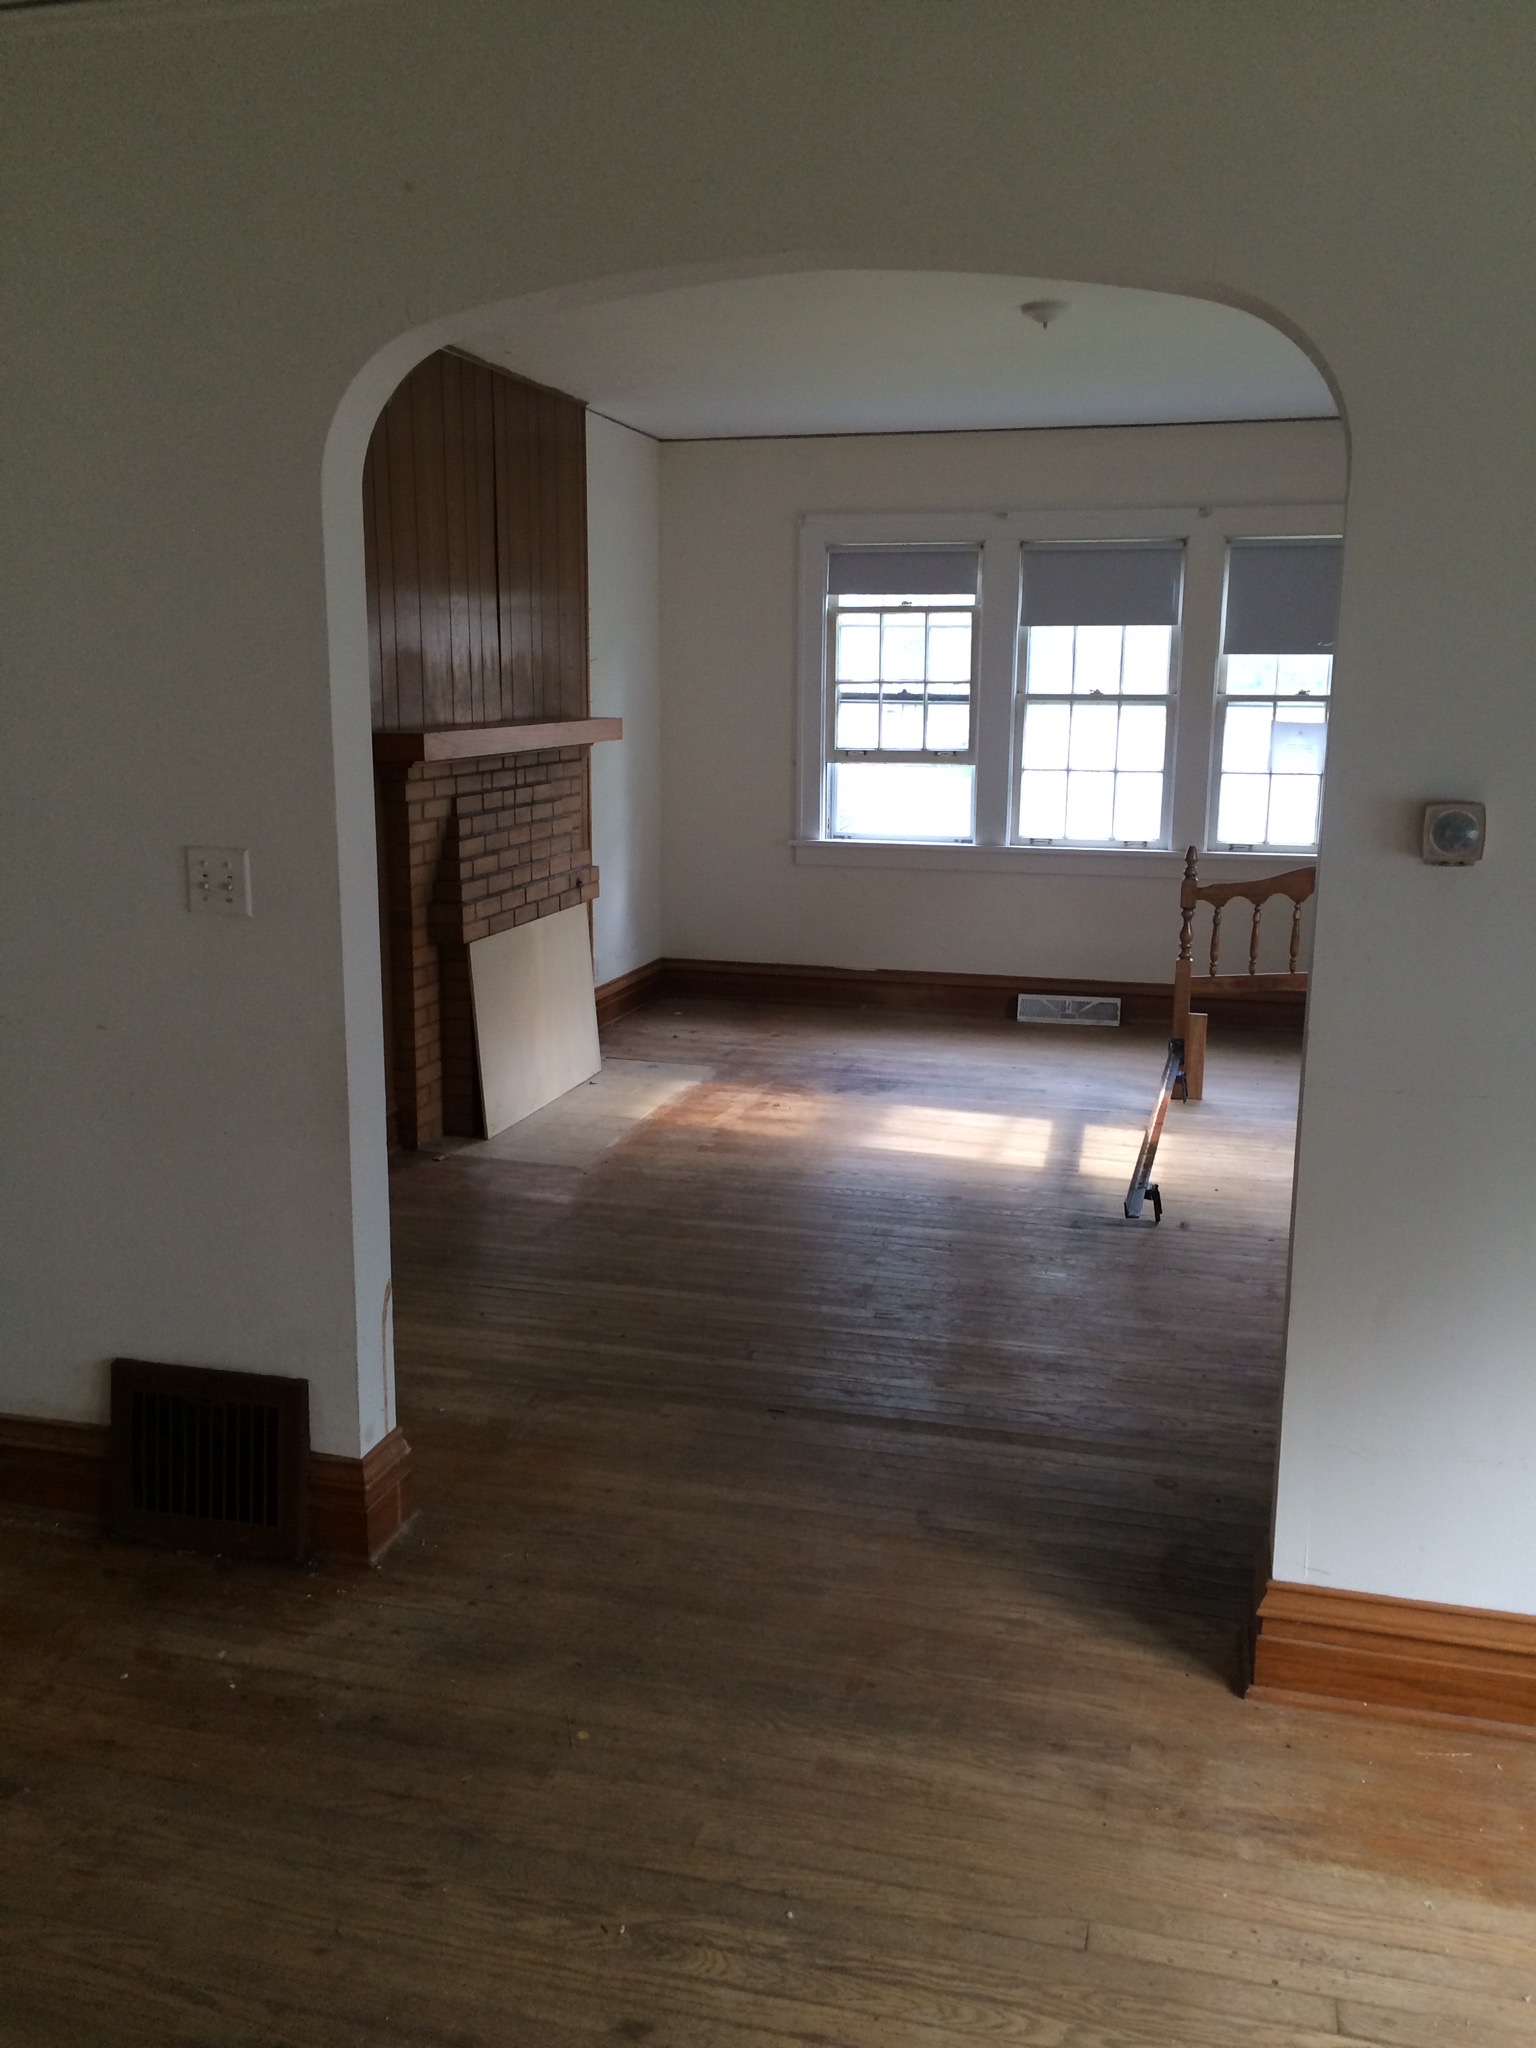
The other side of the dining room looking into the living room used to look like this:

IMG_6957

And now:

IMG_5547

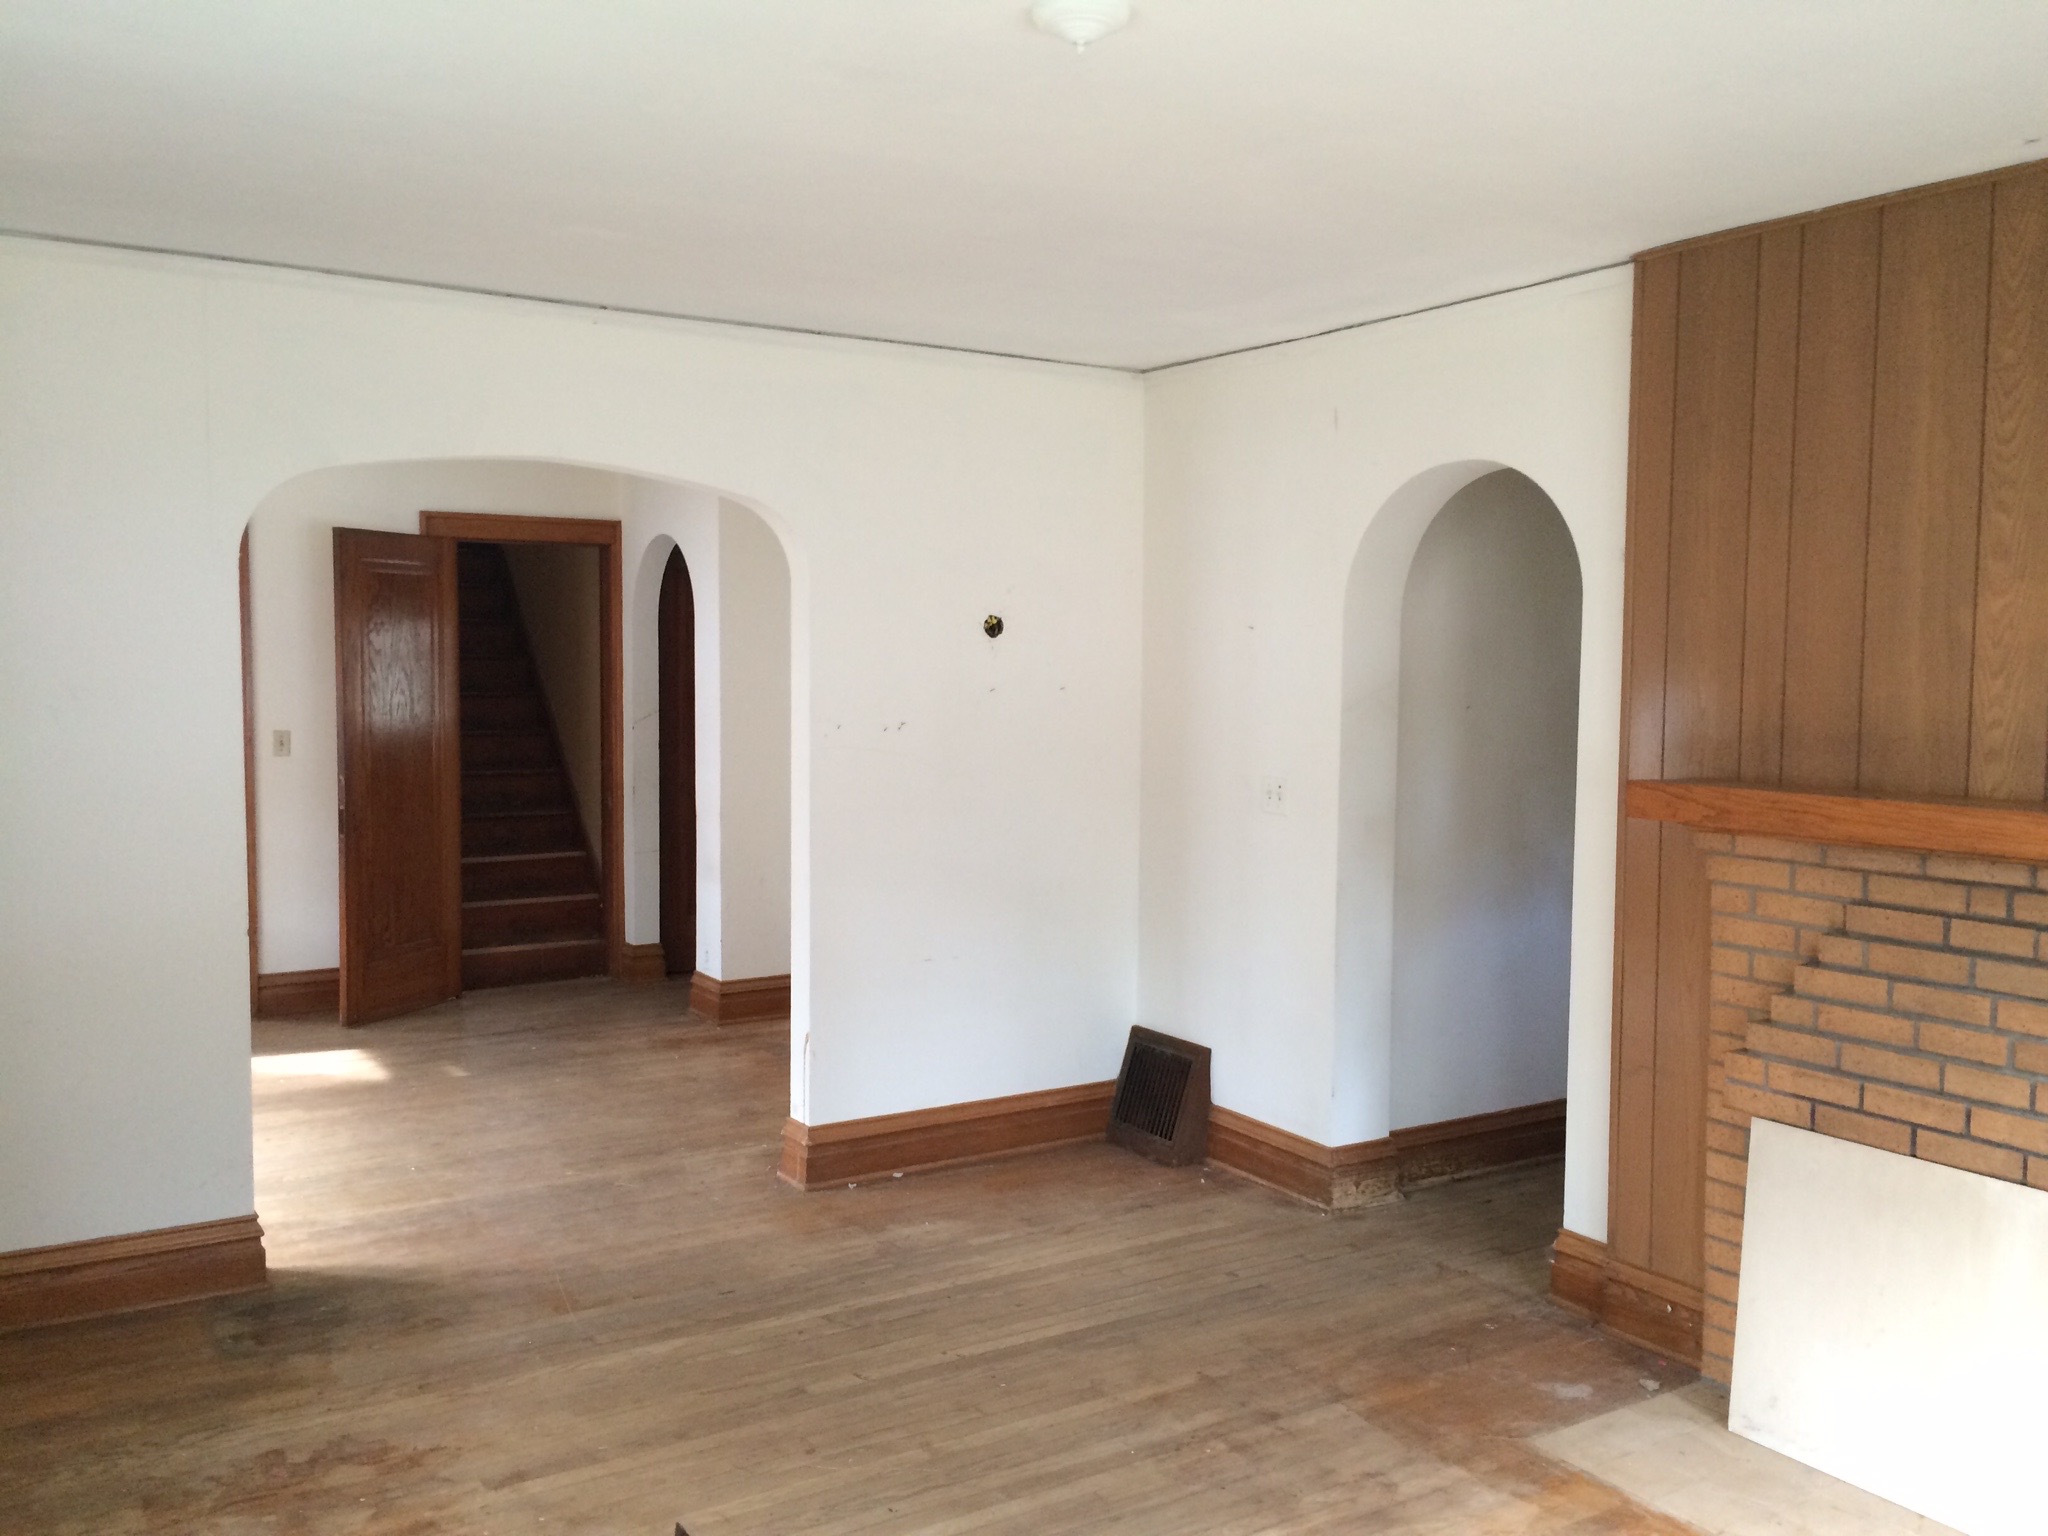
Into the living room, it used to look like this:

IMG_6952

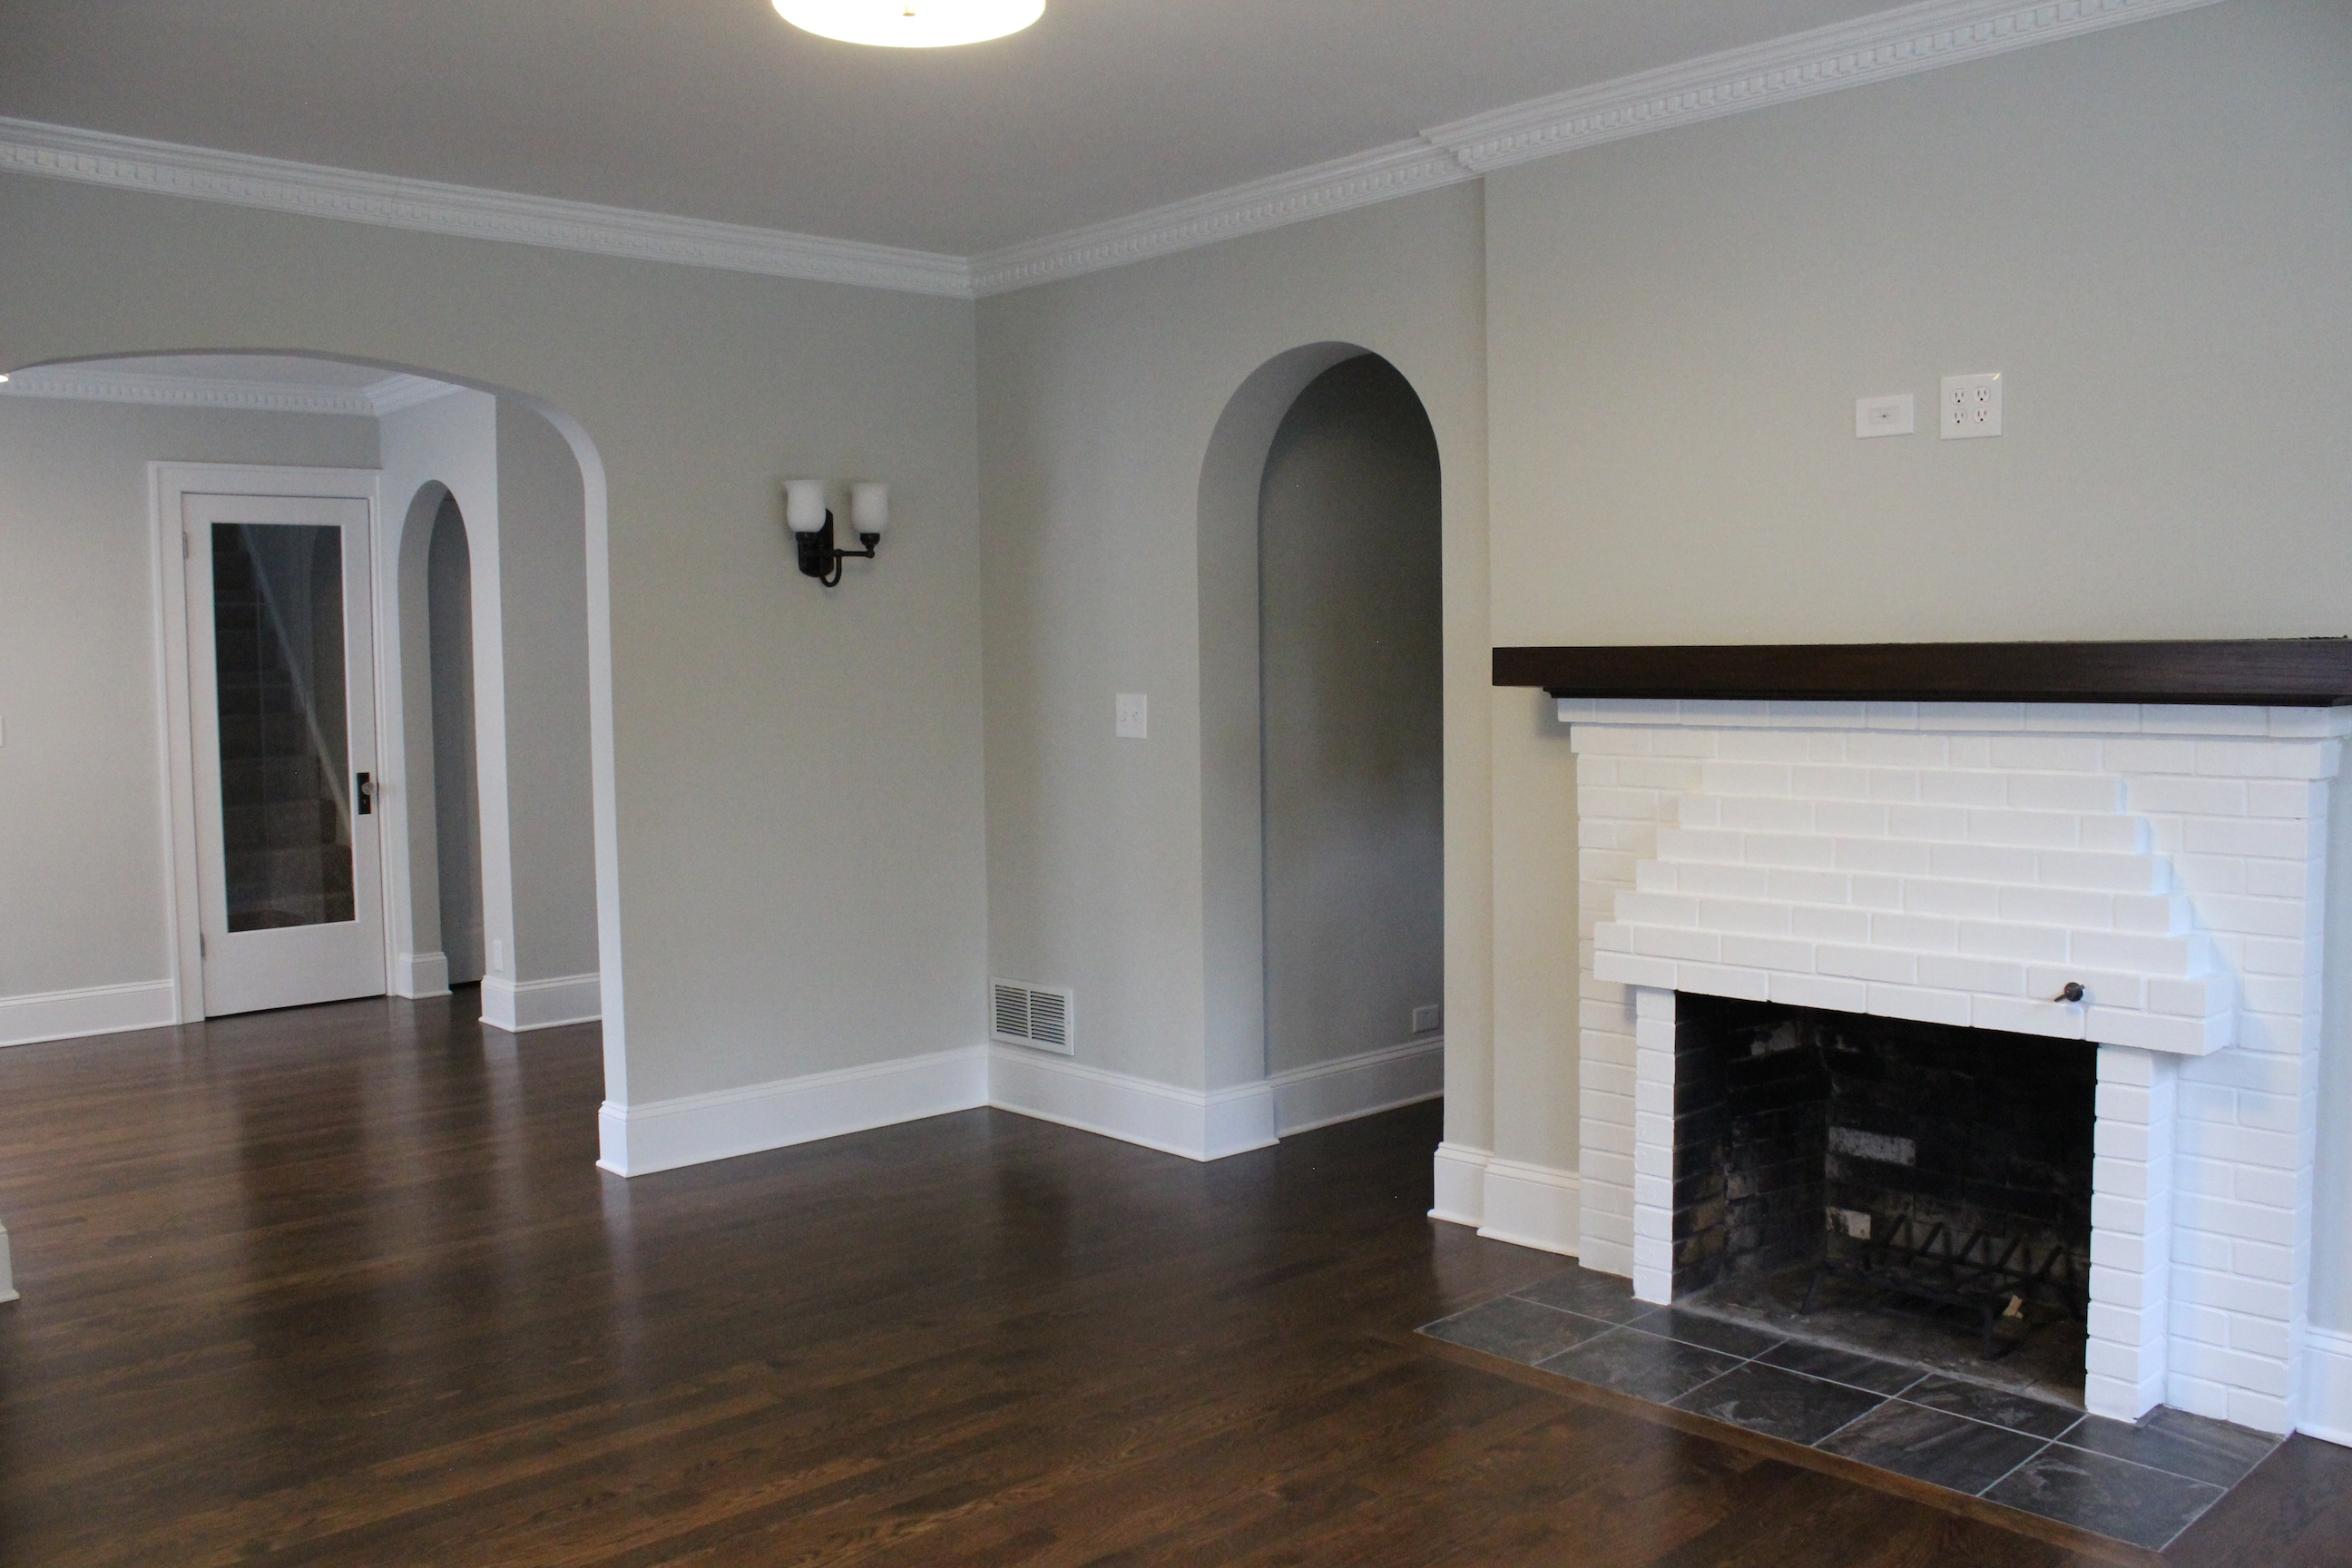
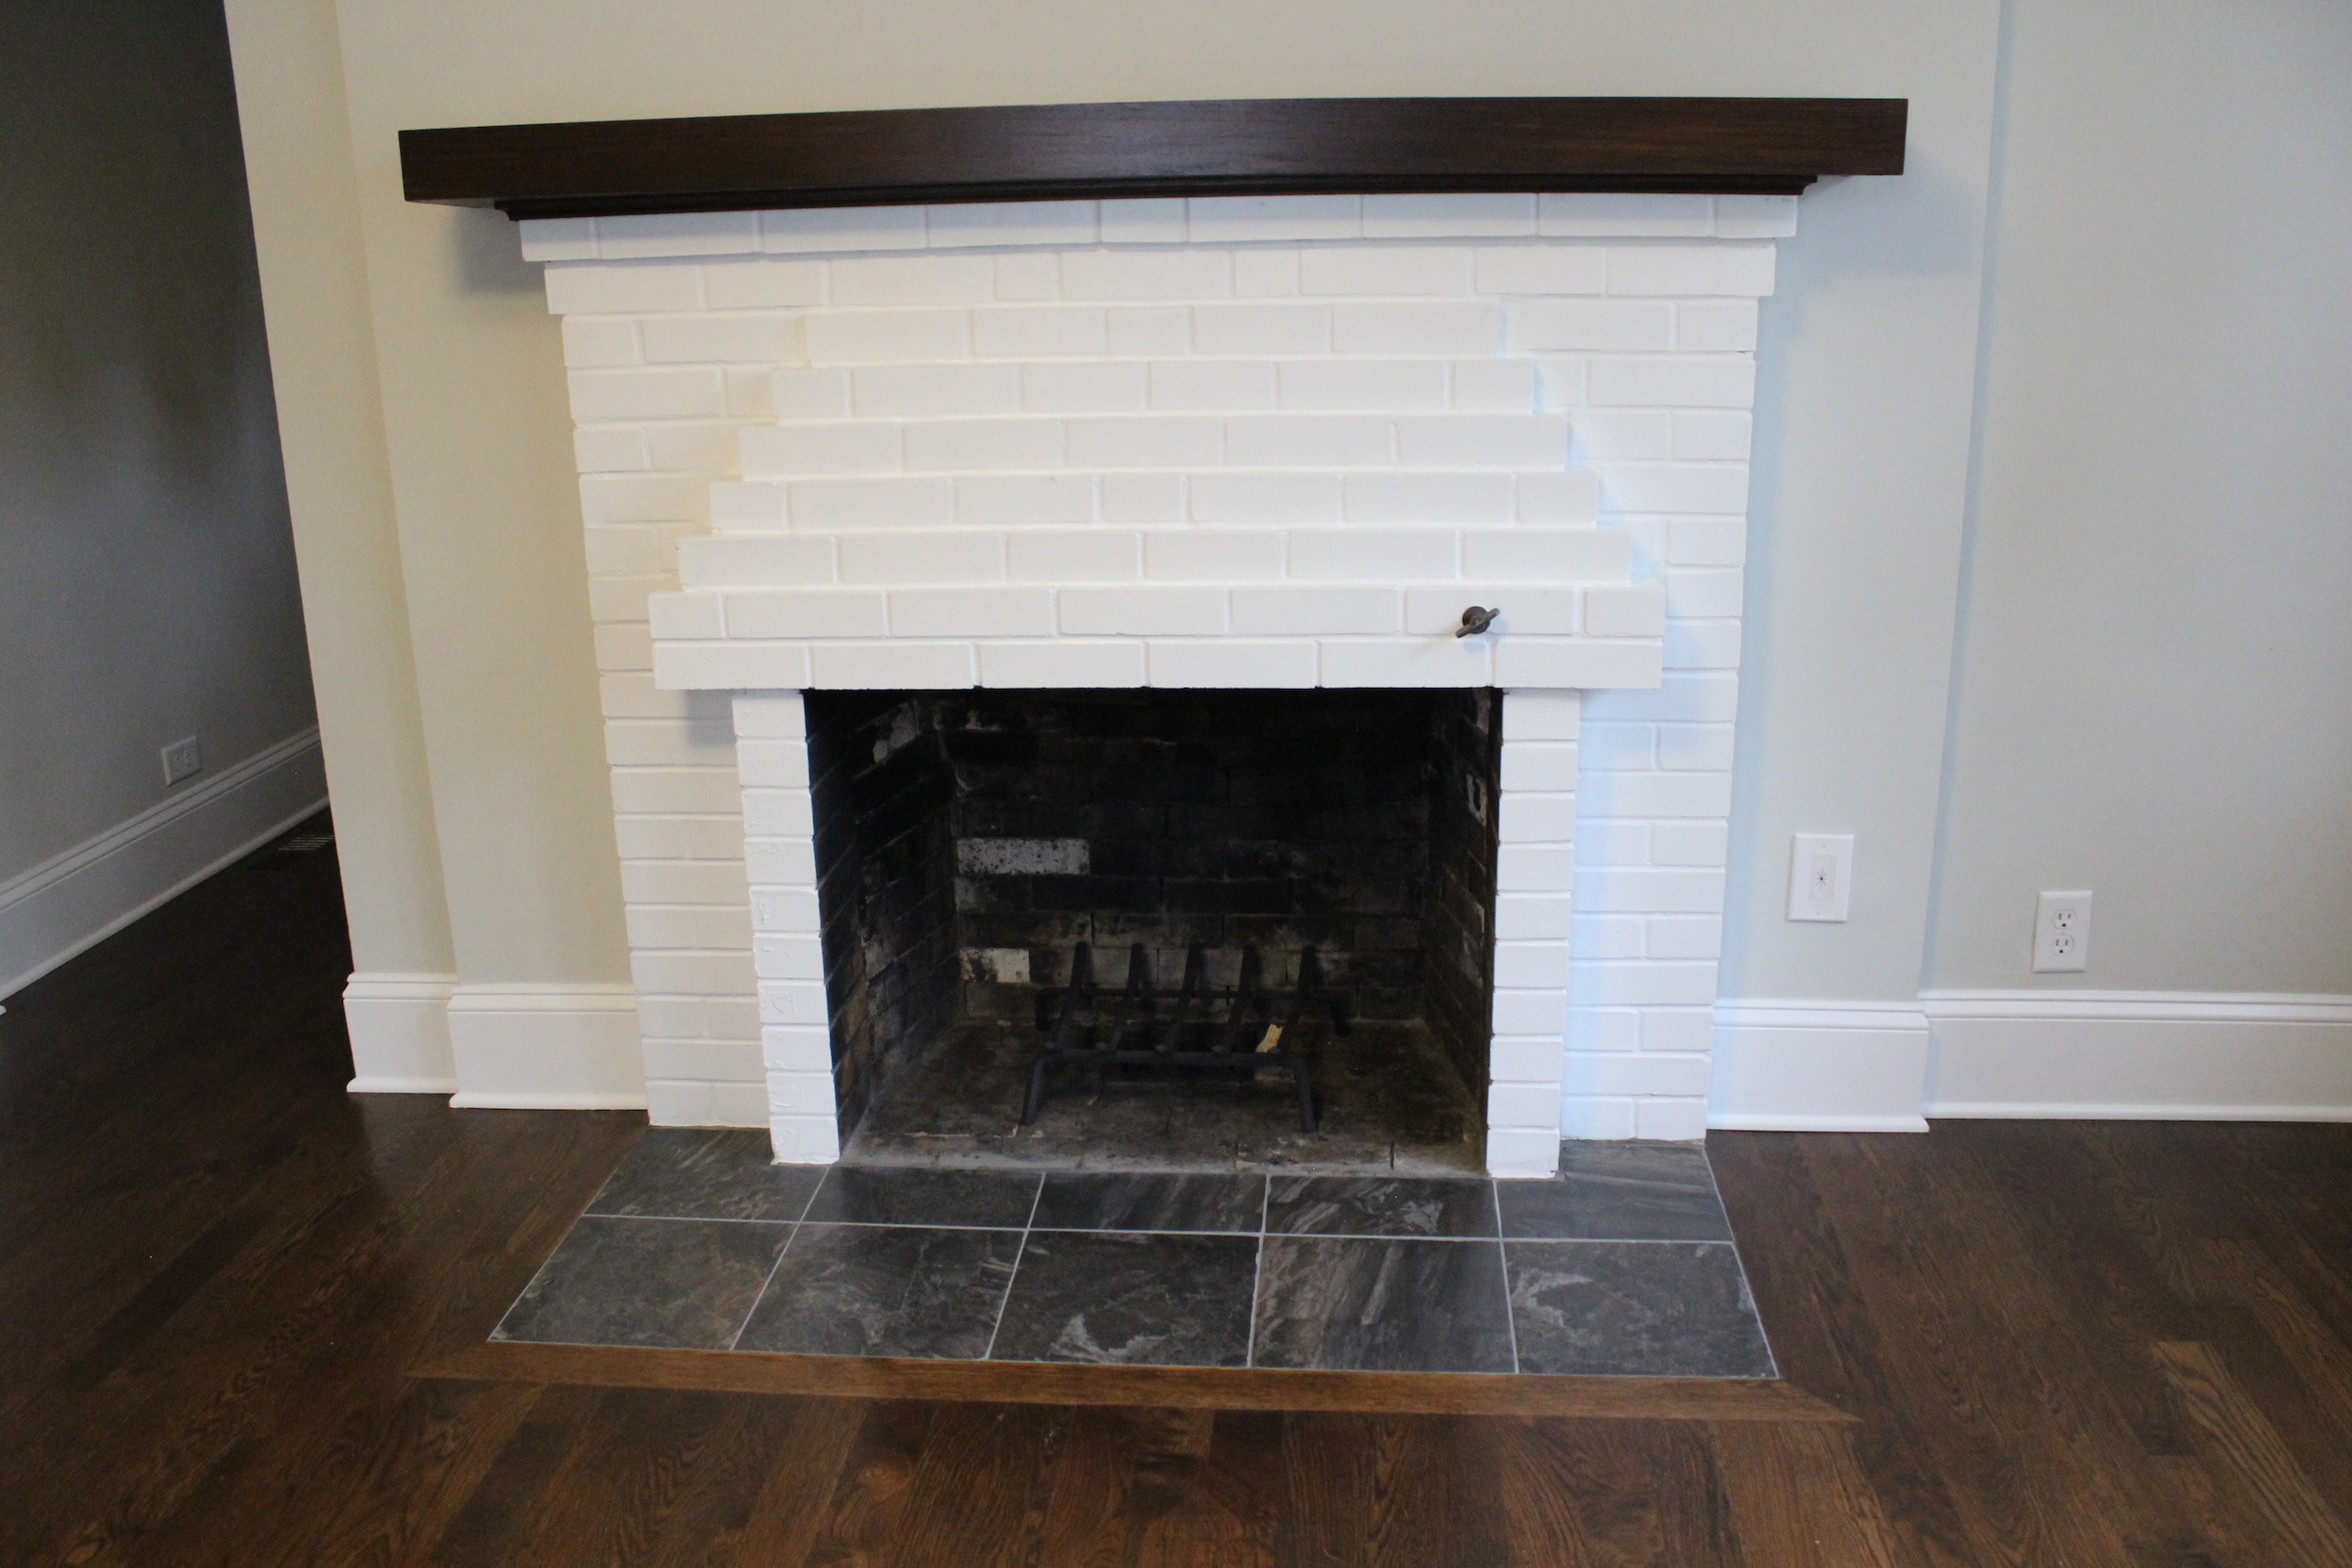
We updated the fireplace, added sconces (from Home Depot), an overhead drum light, and continued the paint, crown, baseboards and new floors.

IMG_5548

For the fireplace, we replaced the paneling with new drywall, painted the brick white, stained the mantle, and updated the tile on the hearth.

IMG_5549

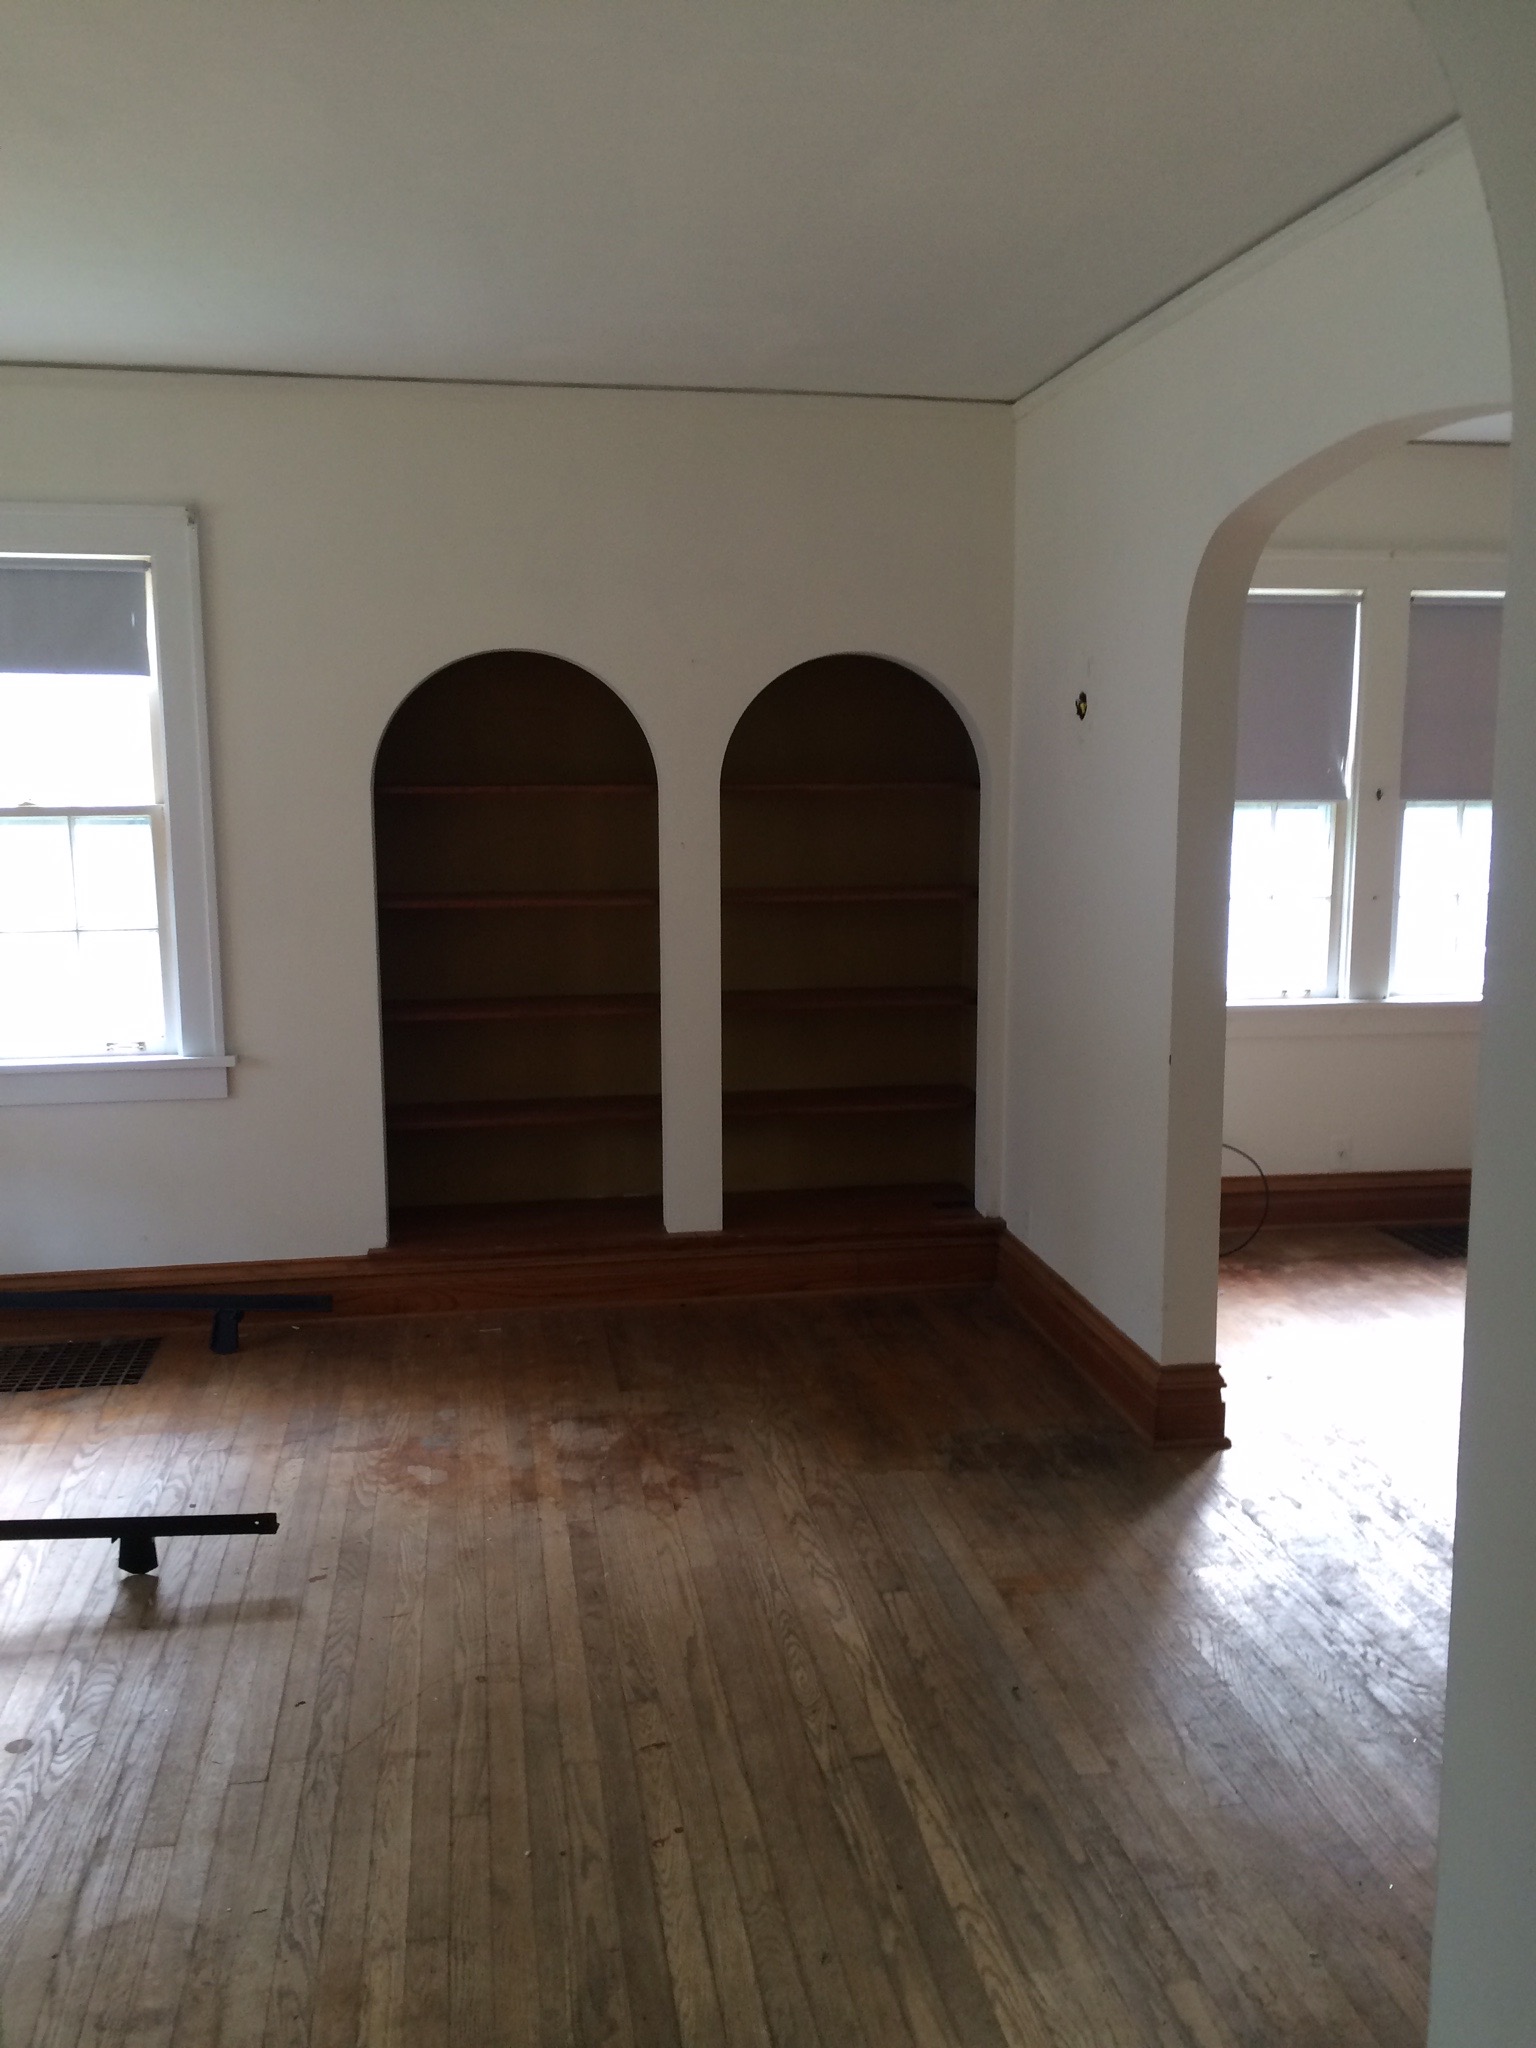
The other side of the living room looked like this.

IMG_6951

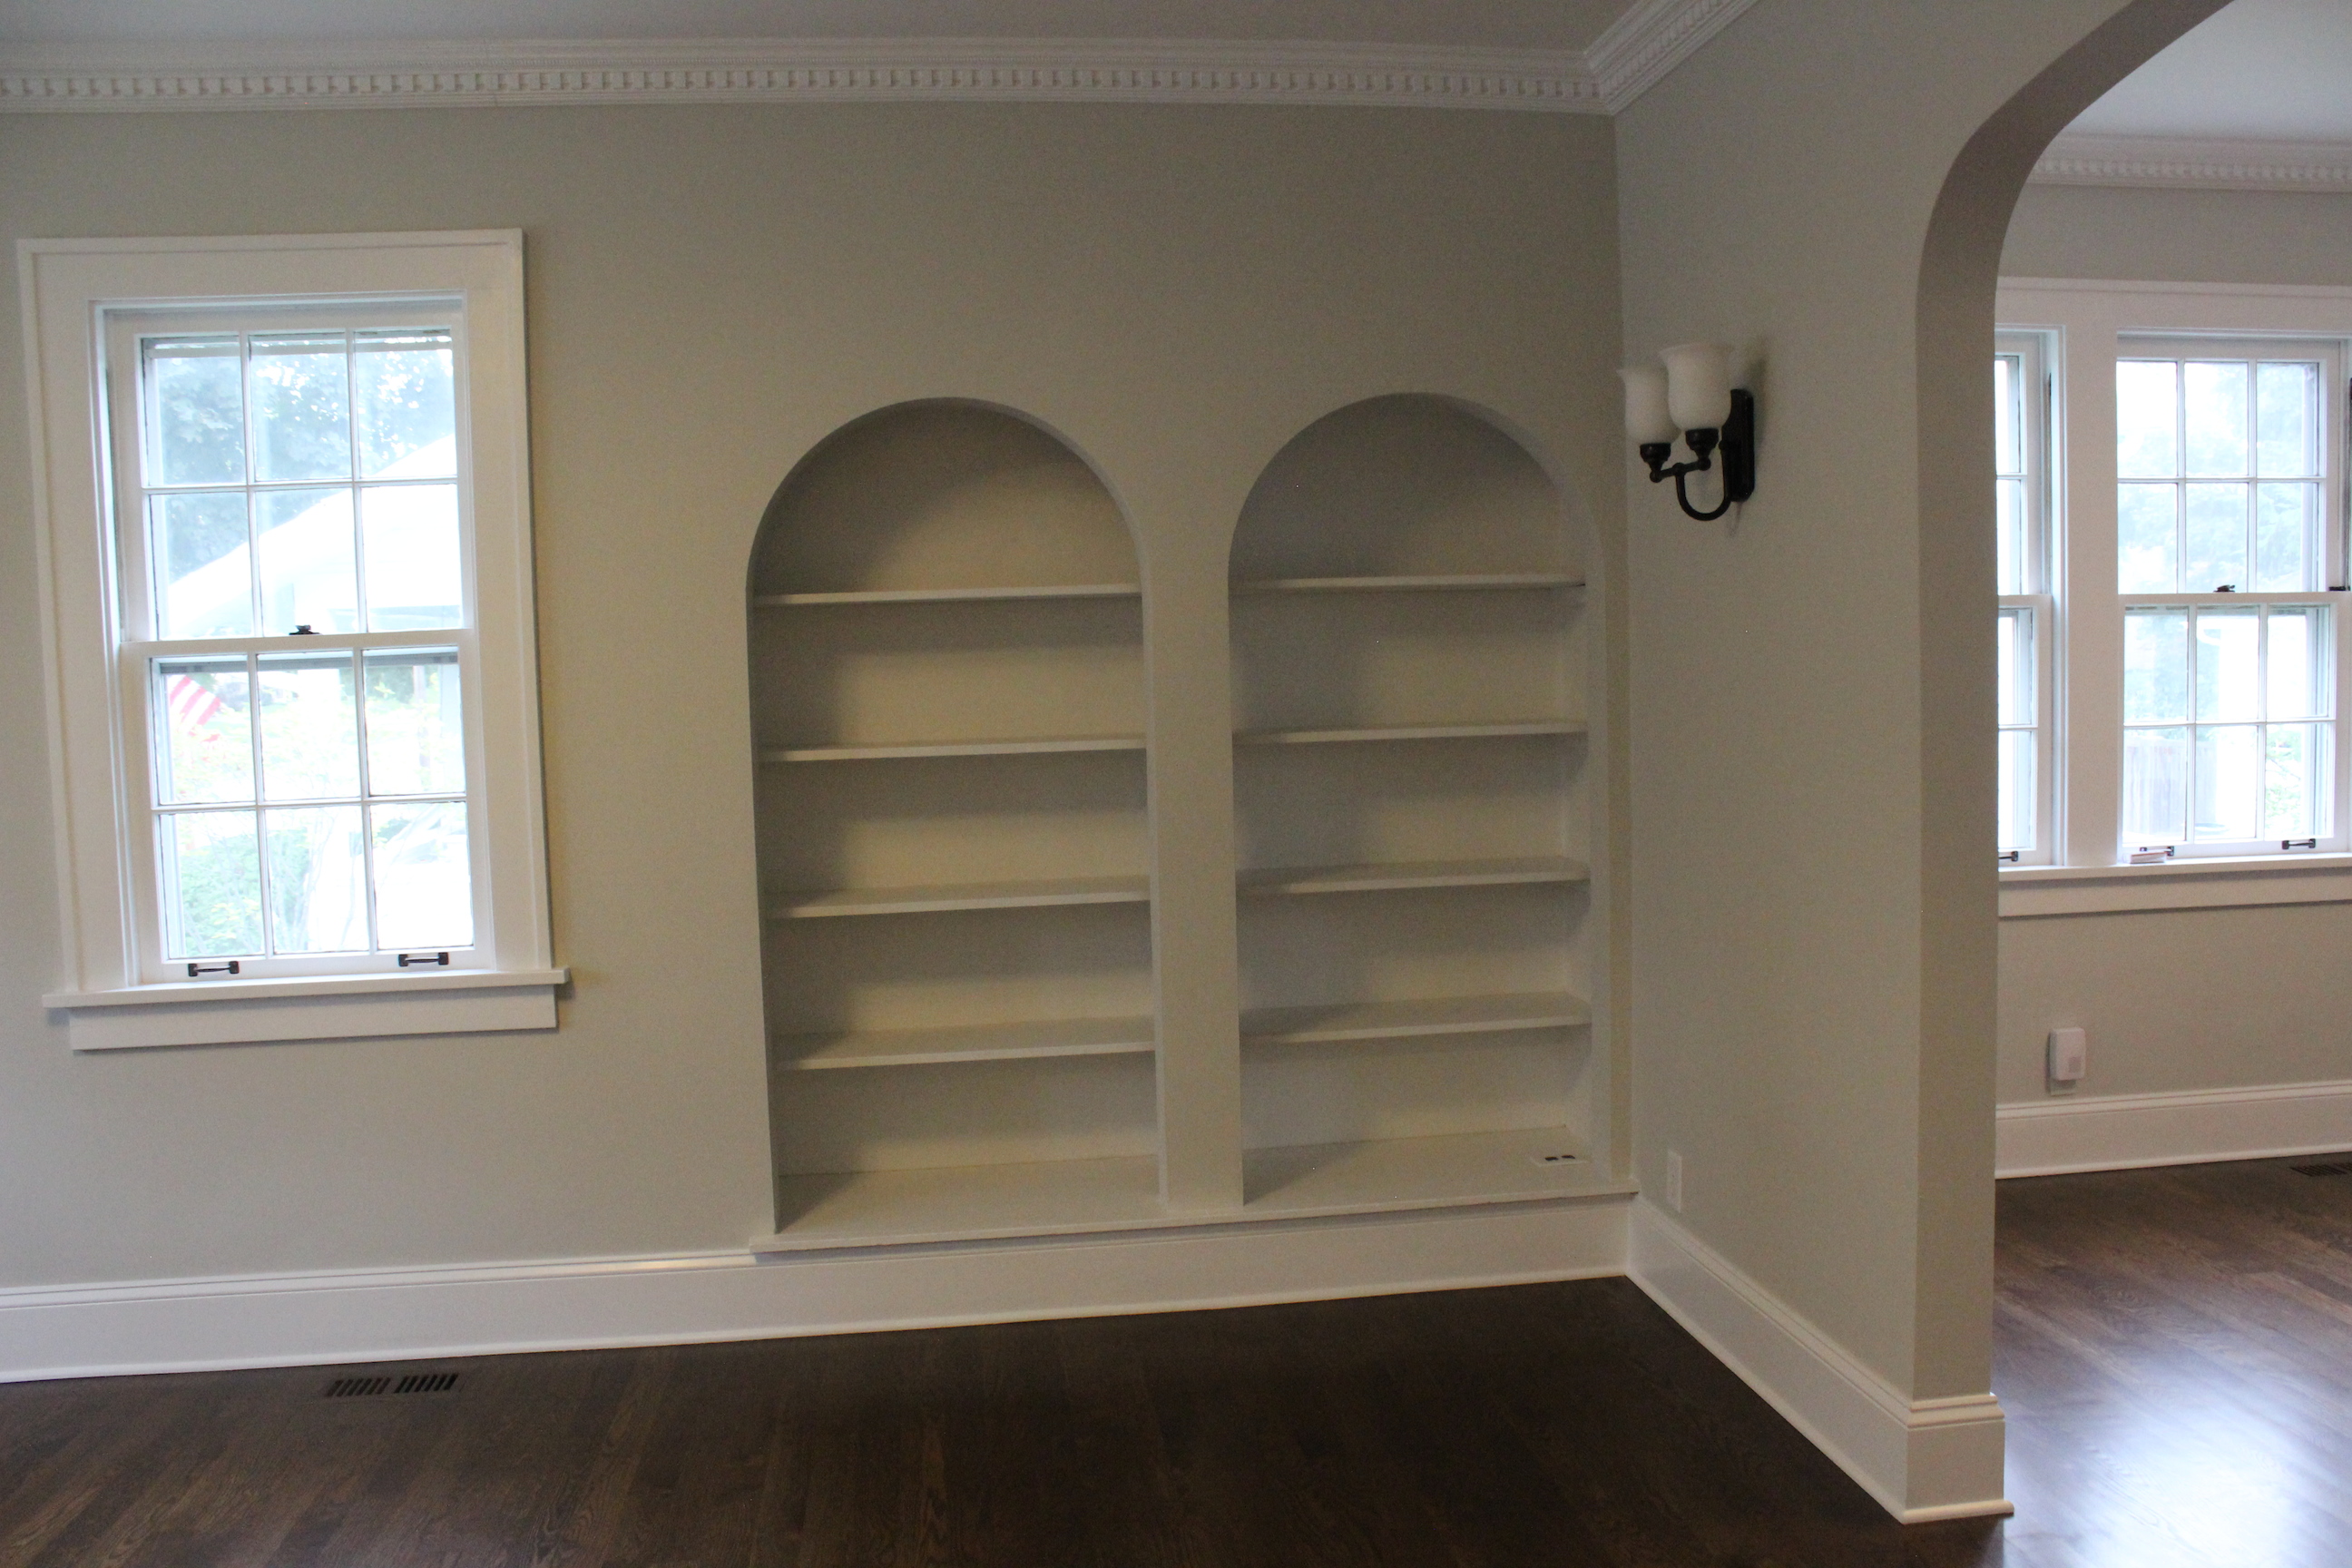
And now:

IMG_5551

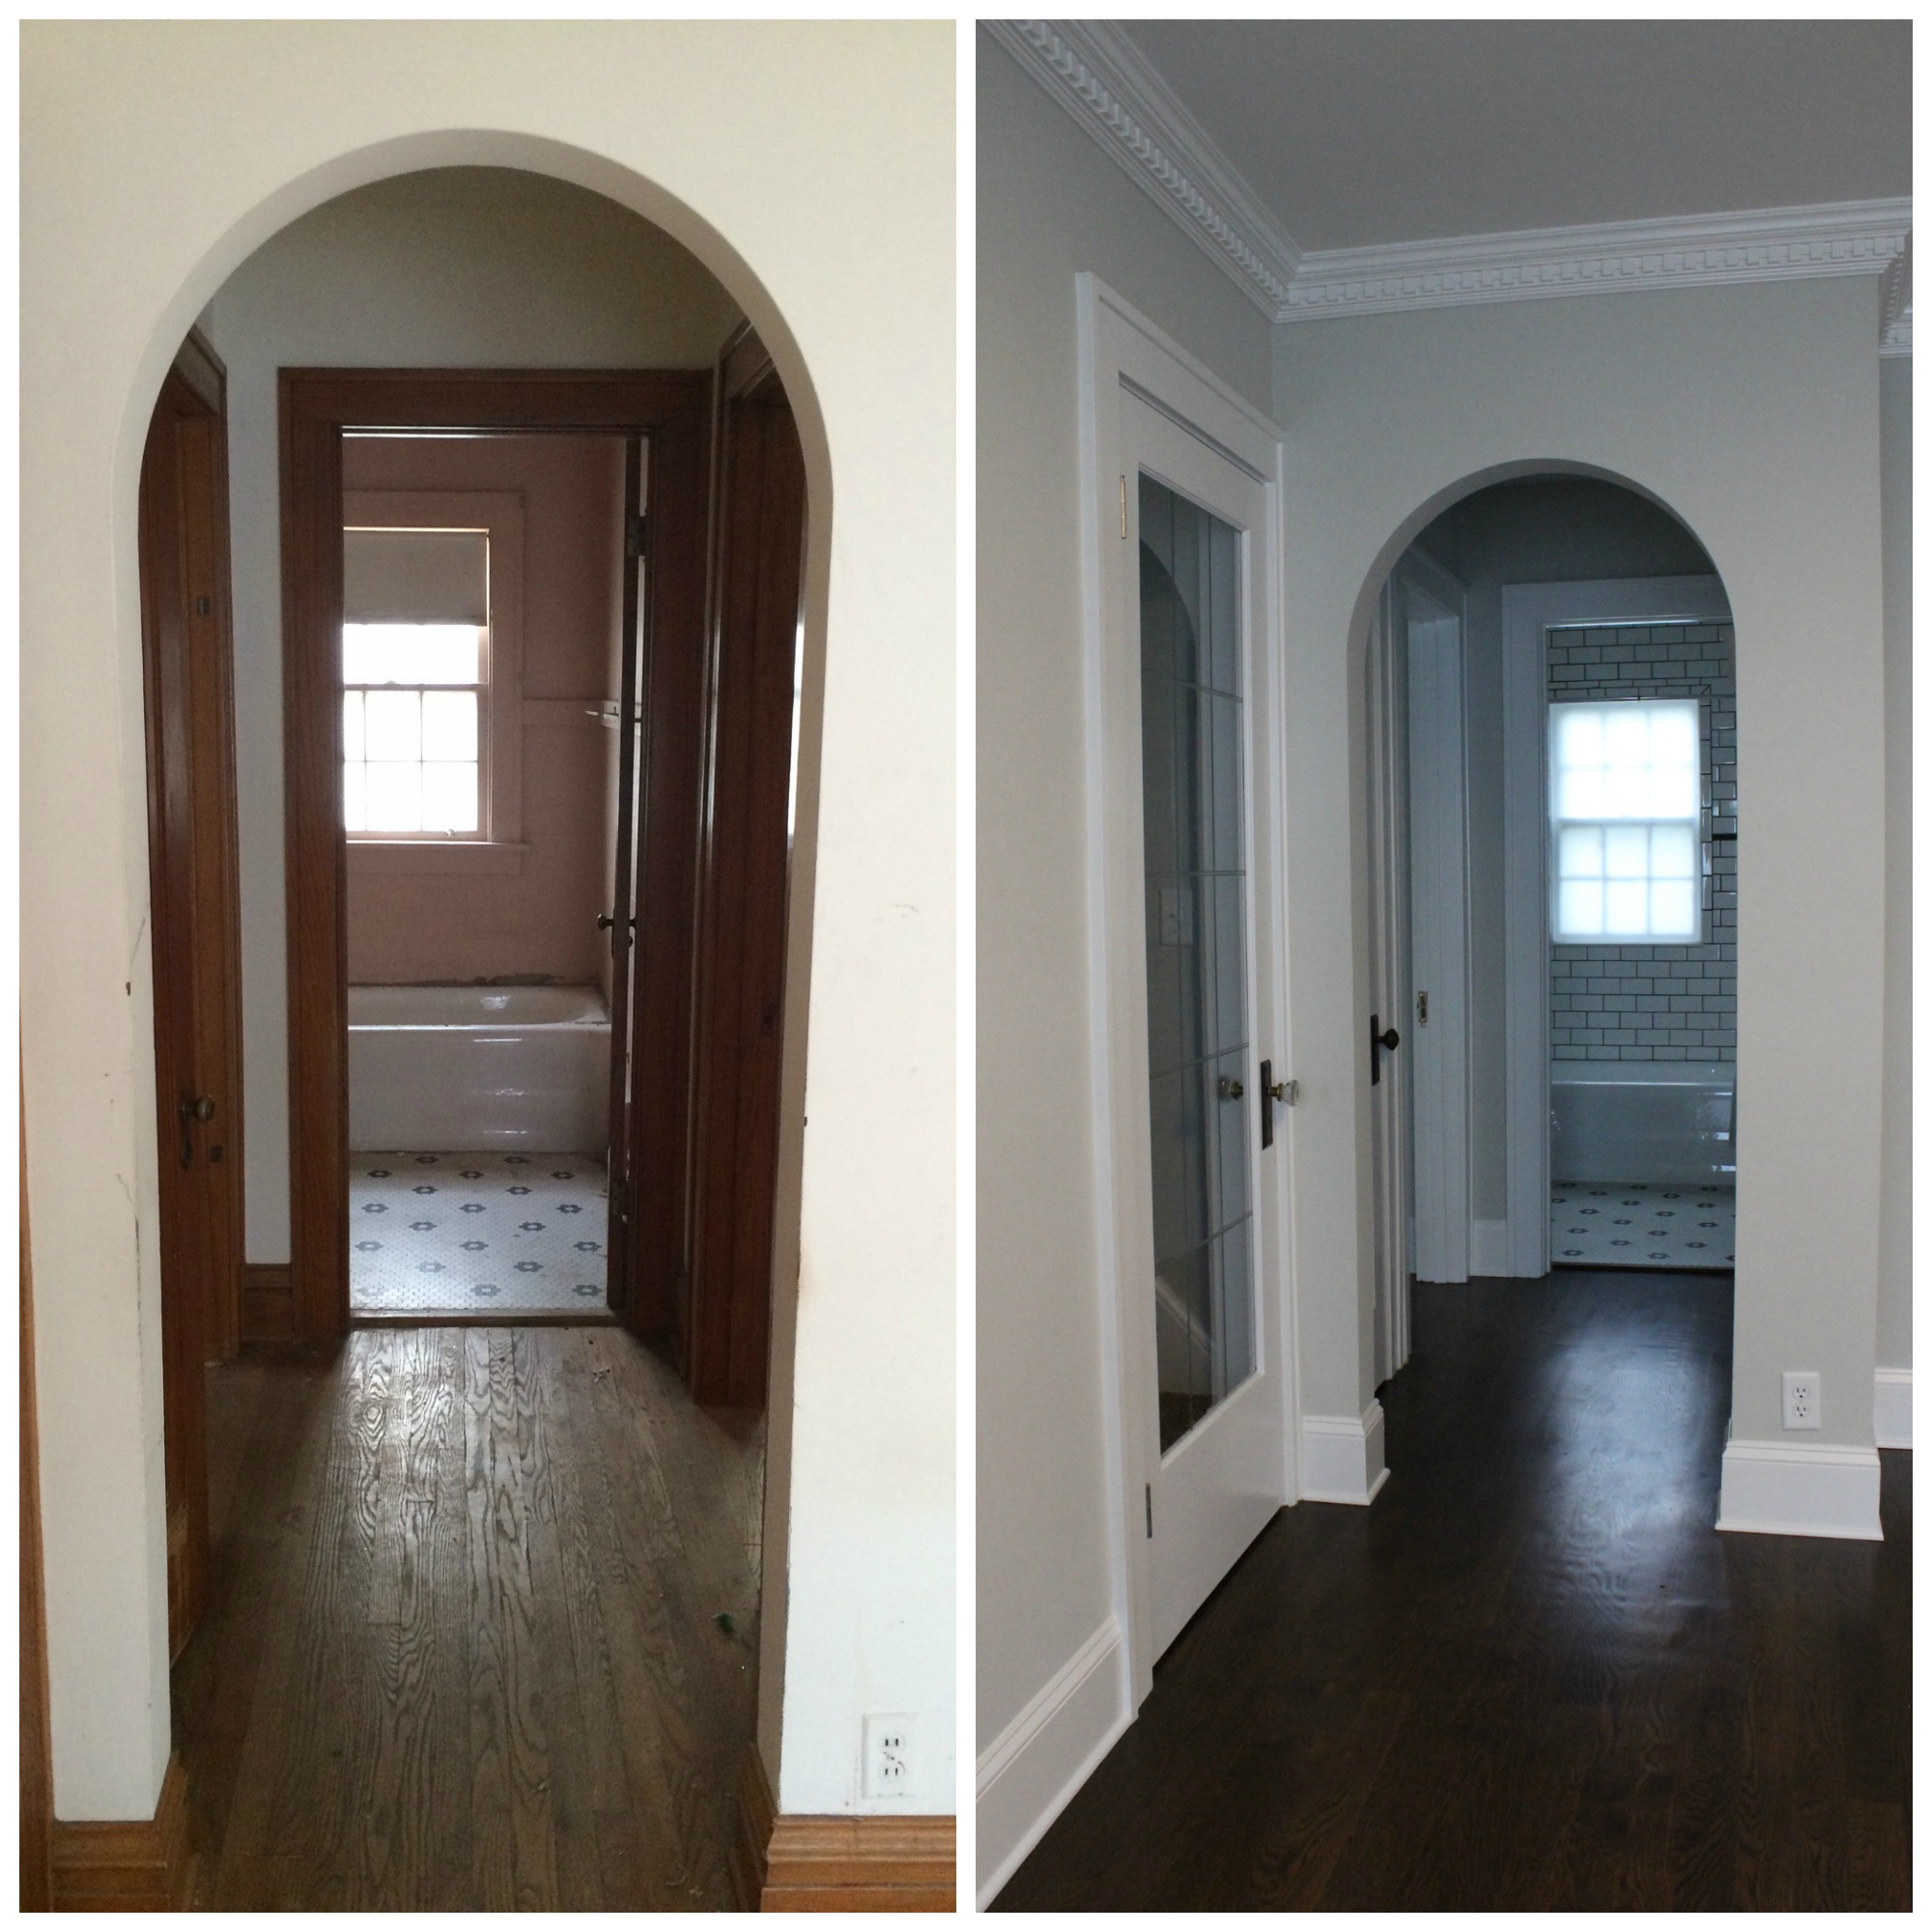
I just love all the arches throughout the home.

Here’s a before & after of the hallway leading to the bathroom and bedrooms:

hallway Coolidge

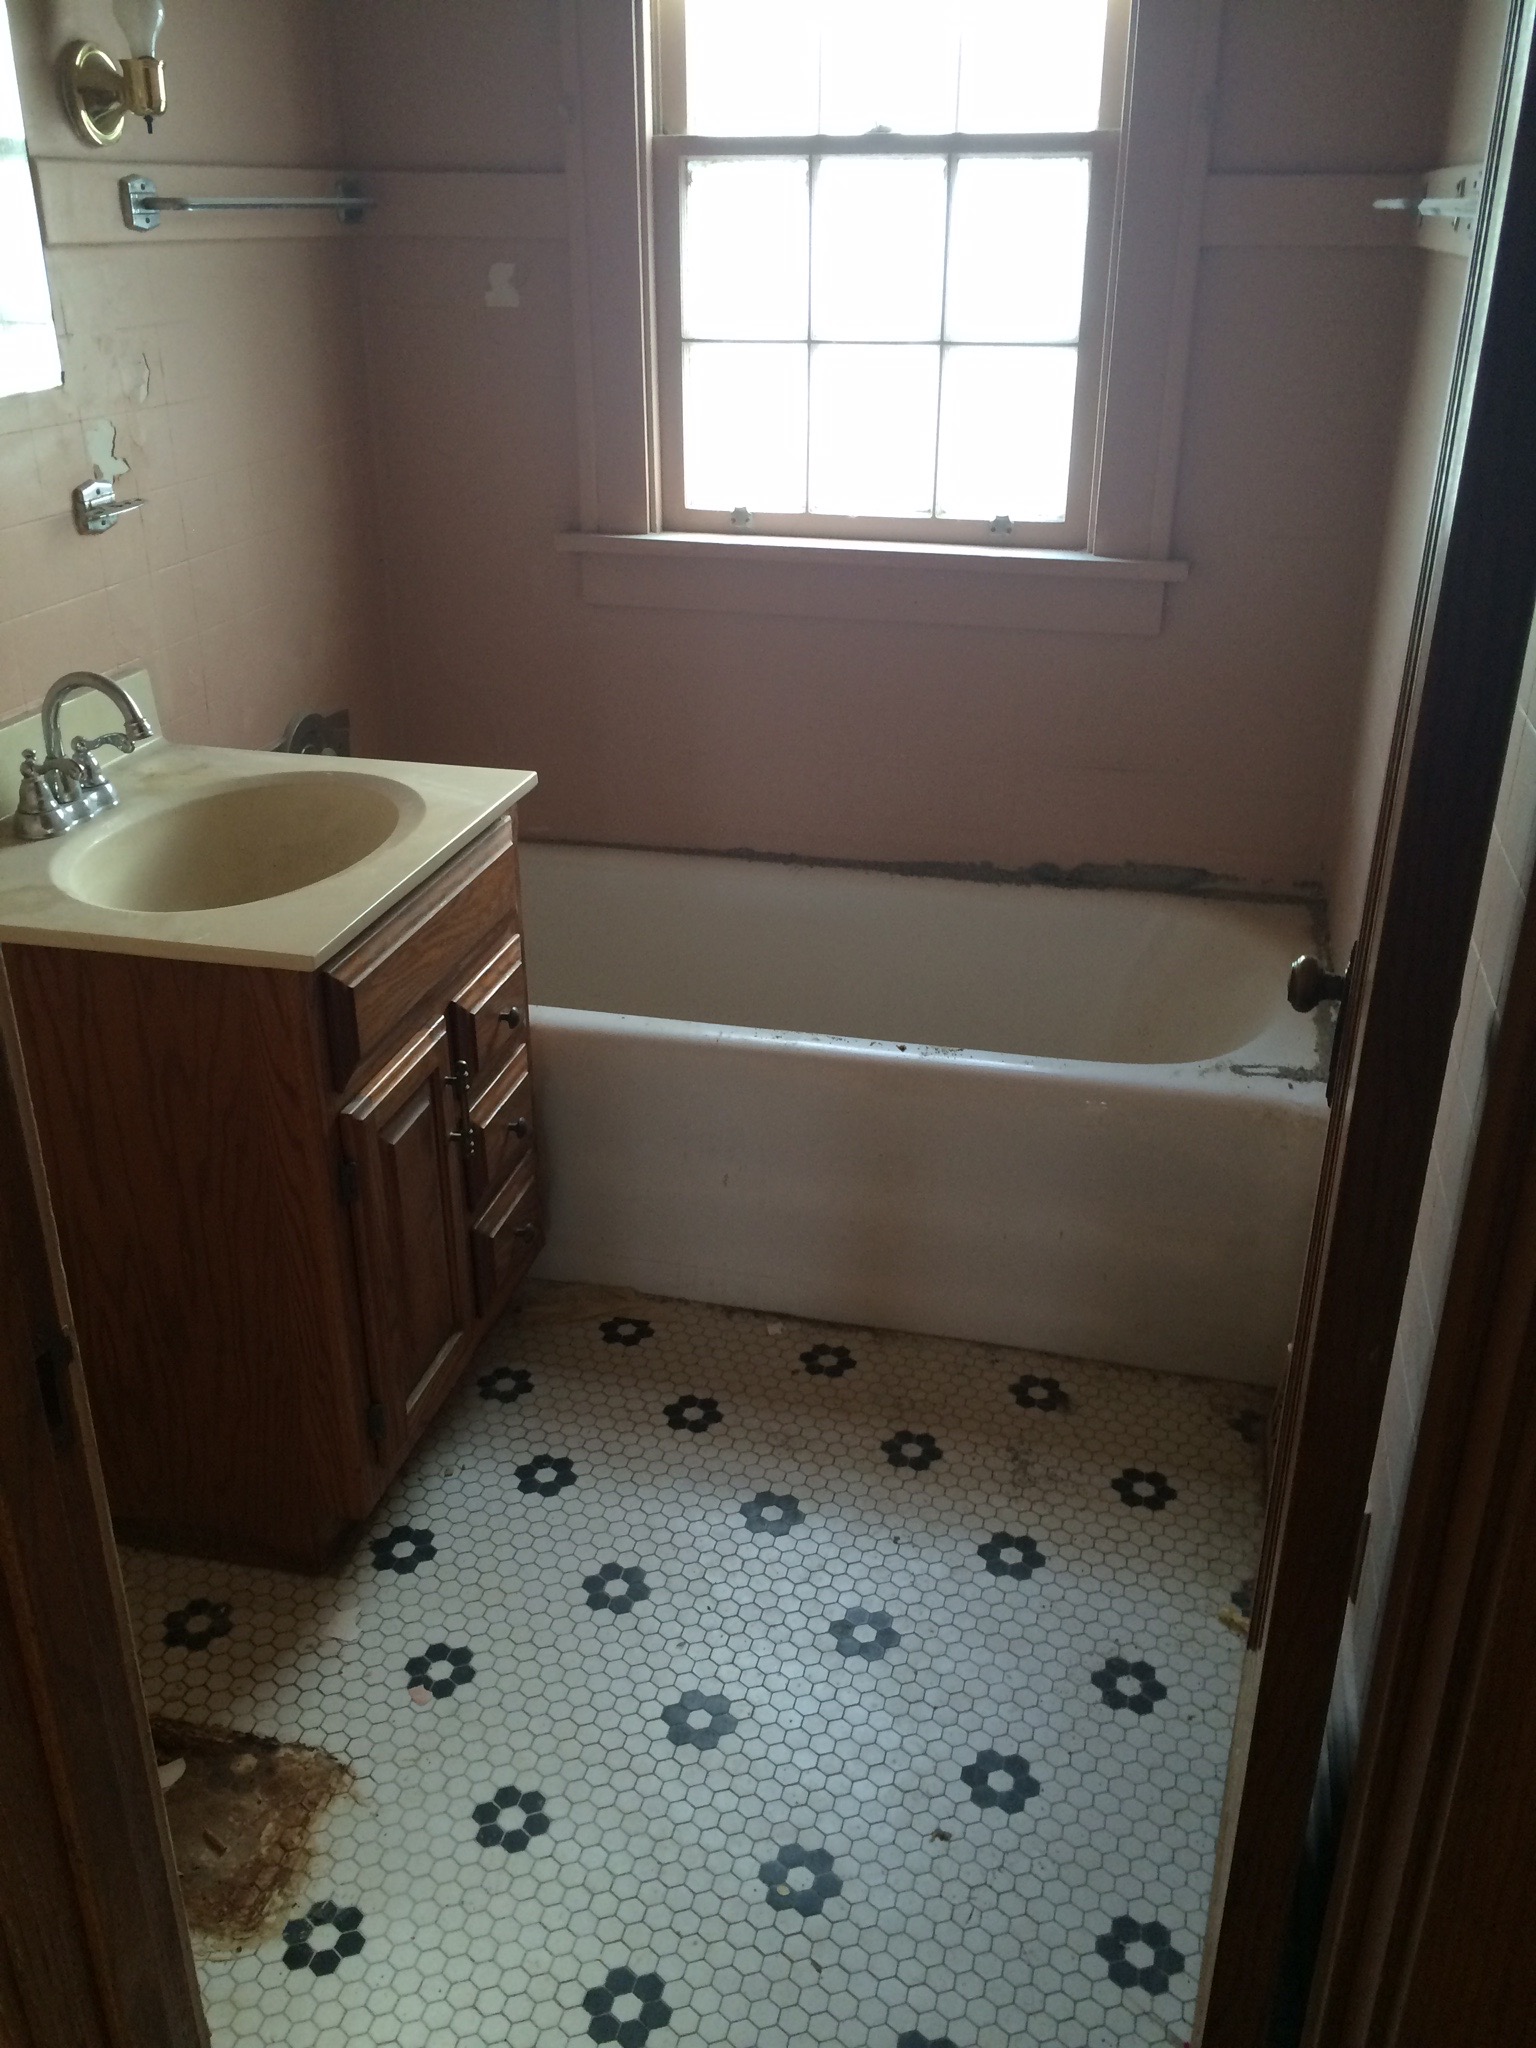
The bathroom looked like this before:

IMG_6946

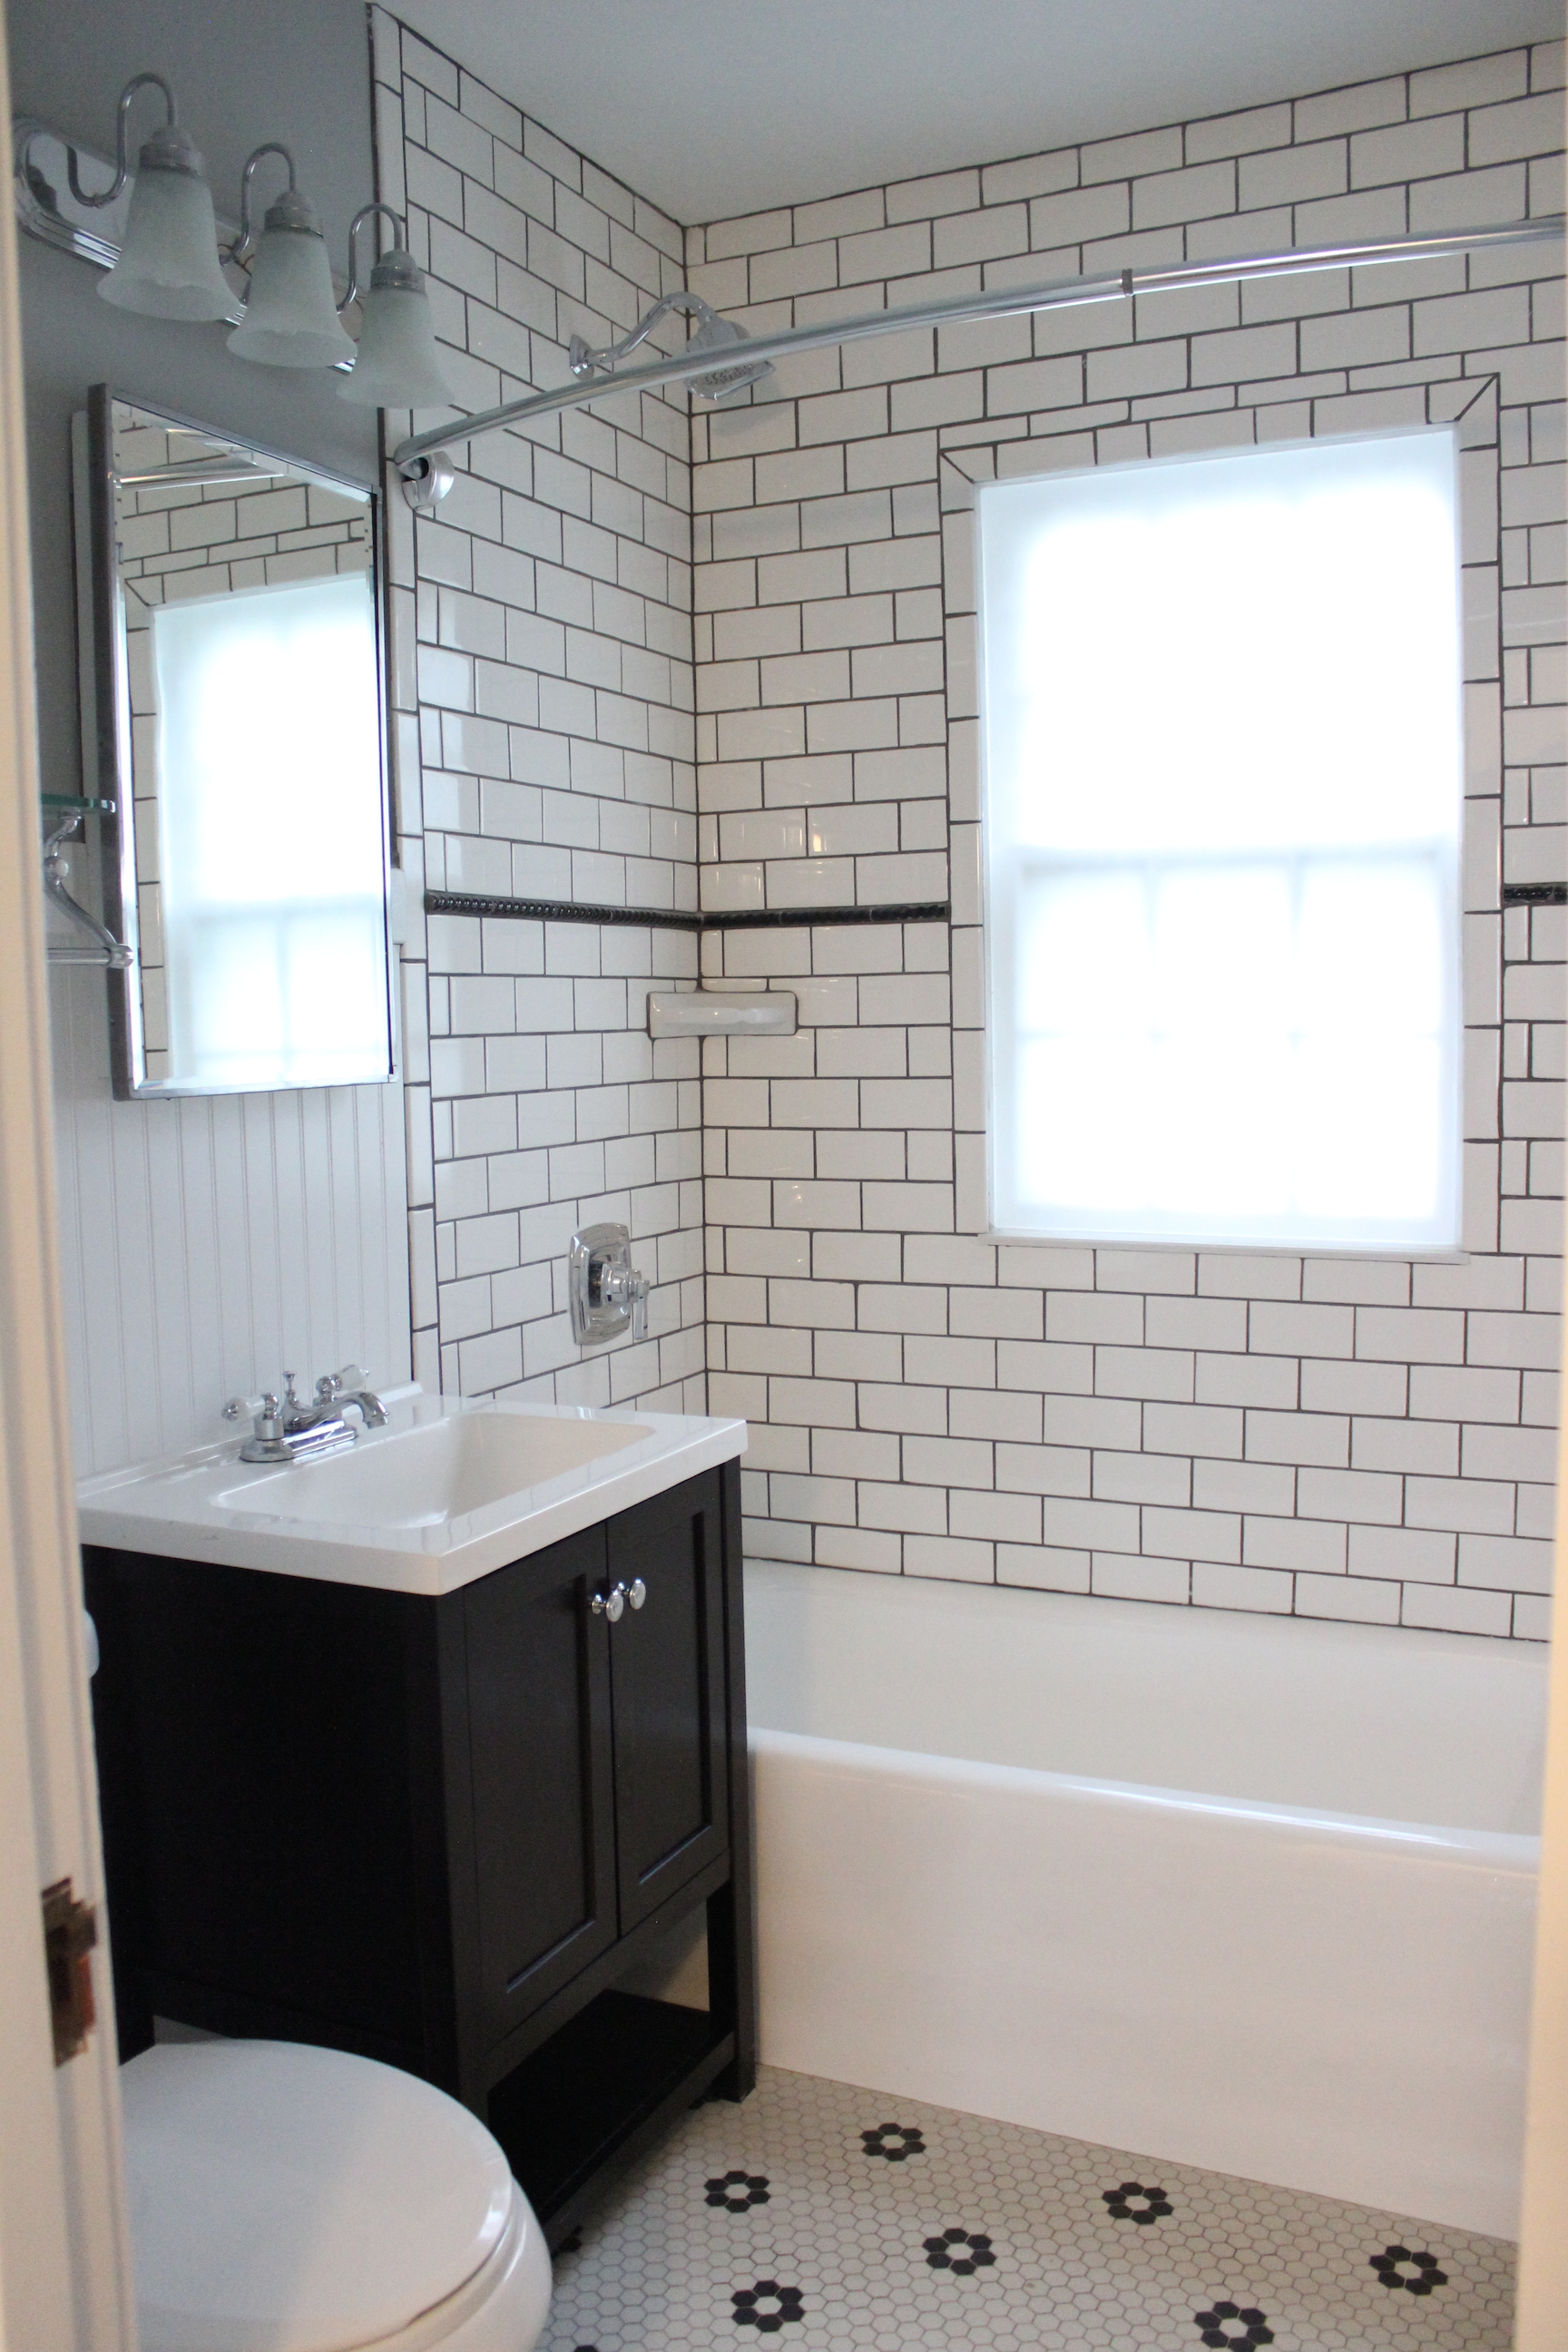
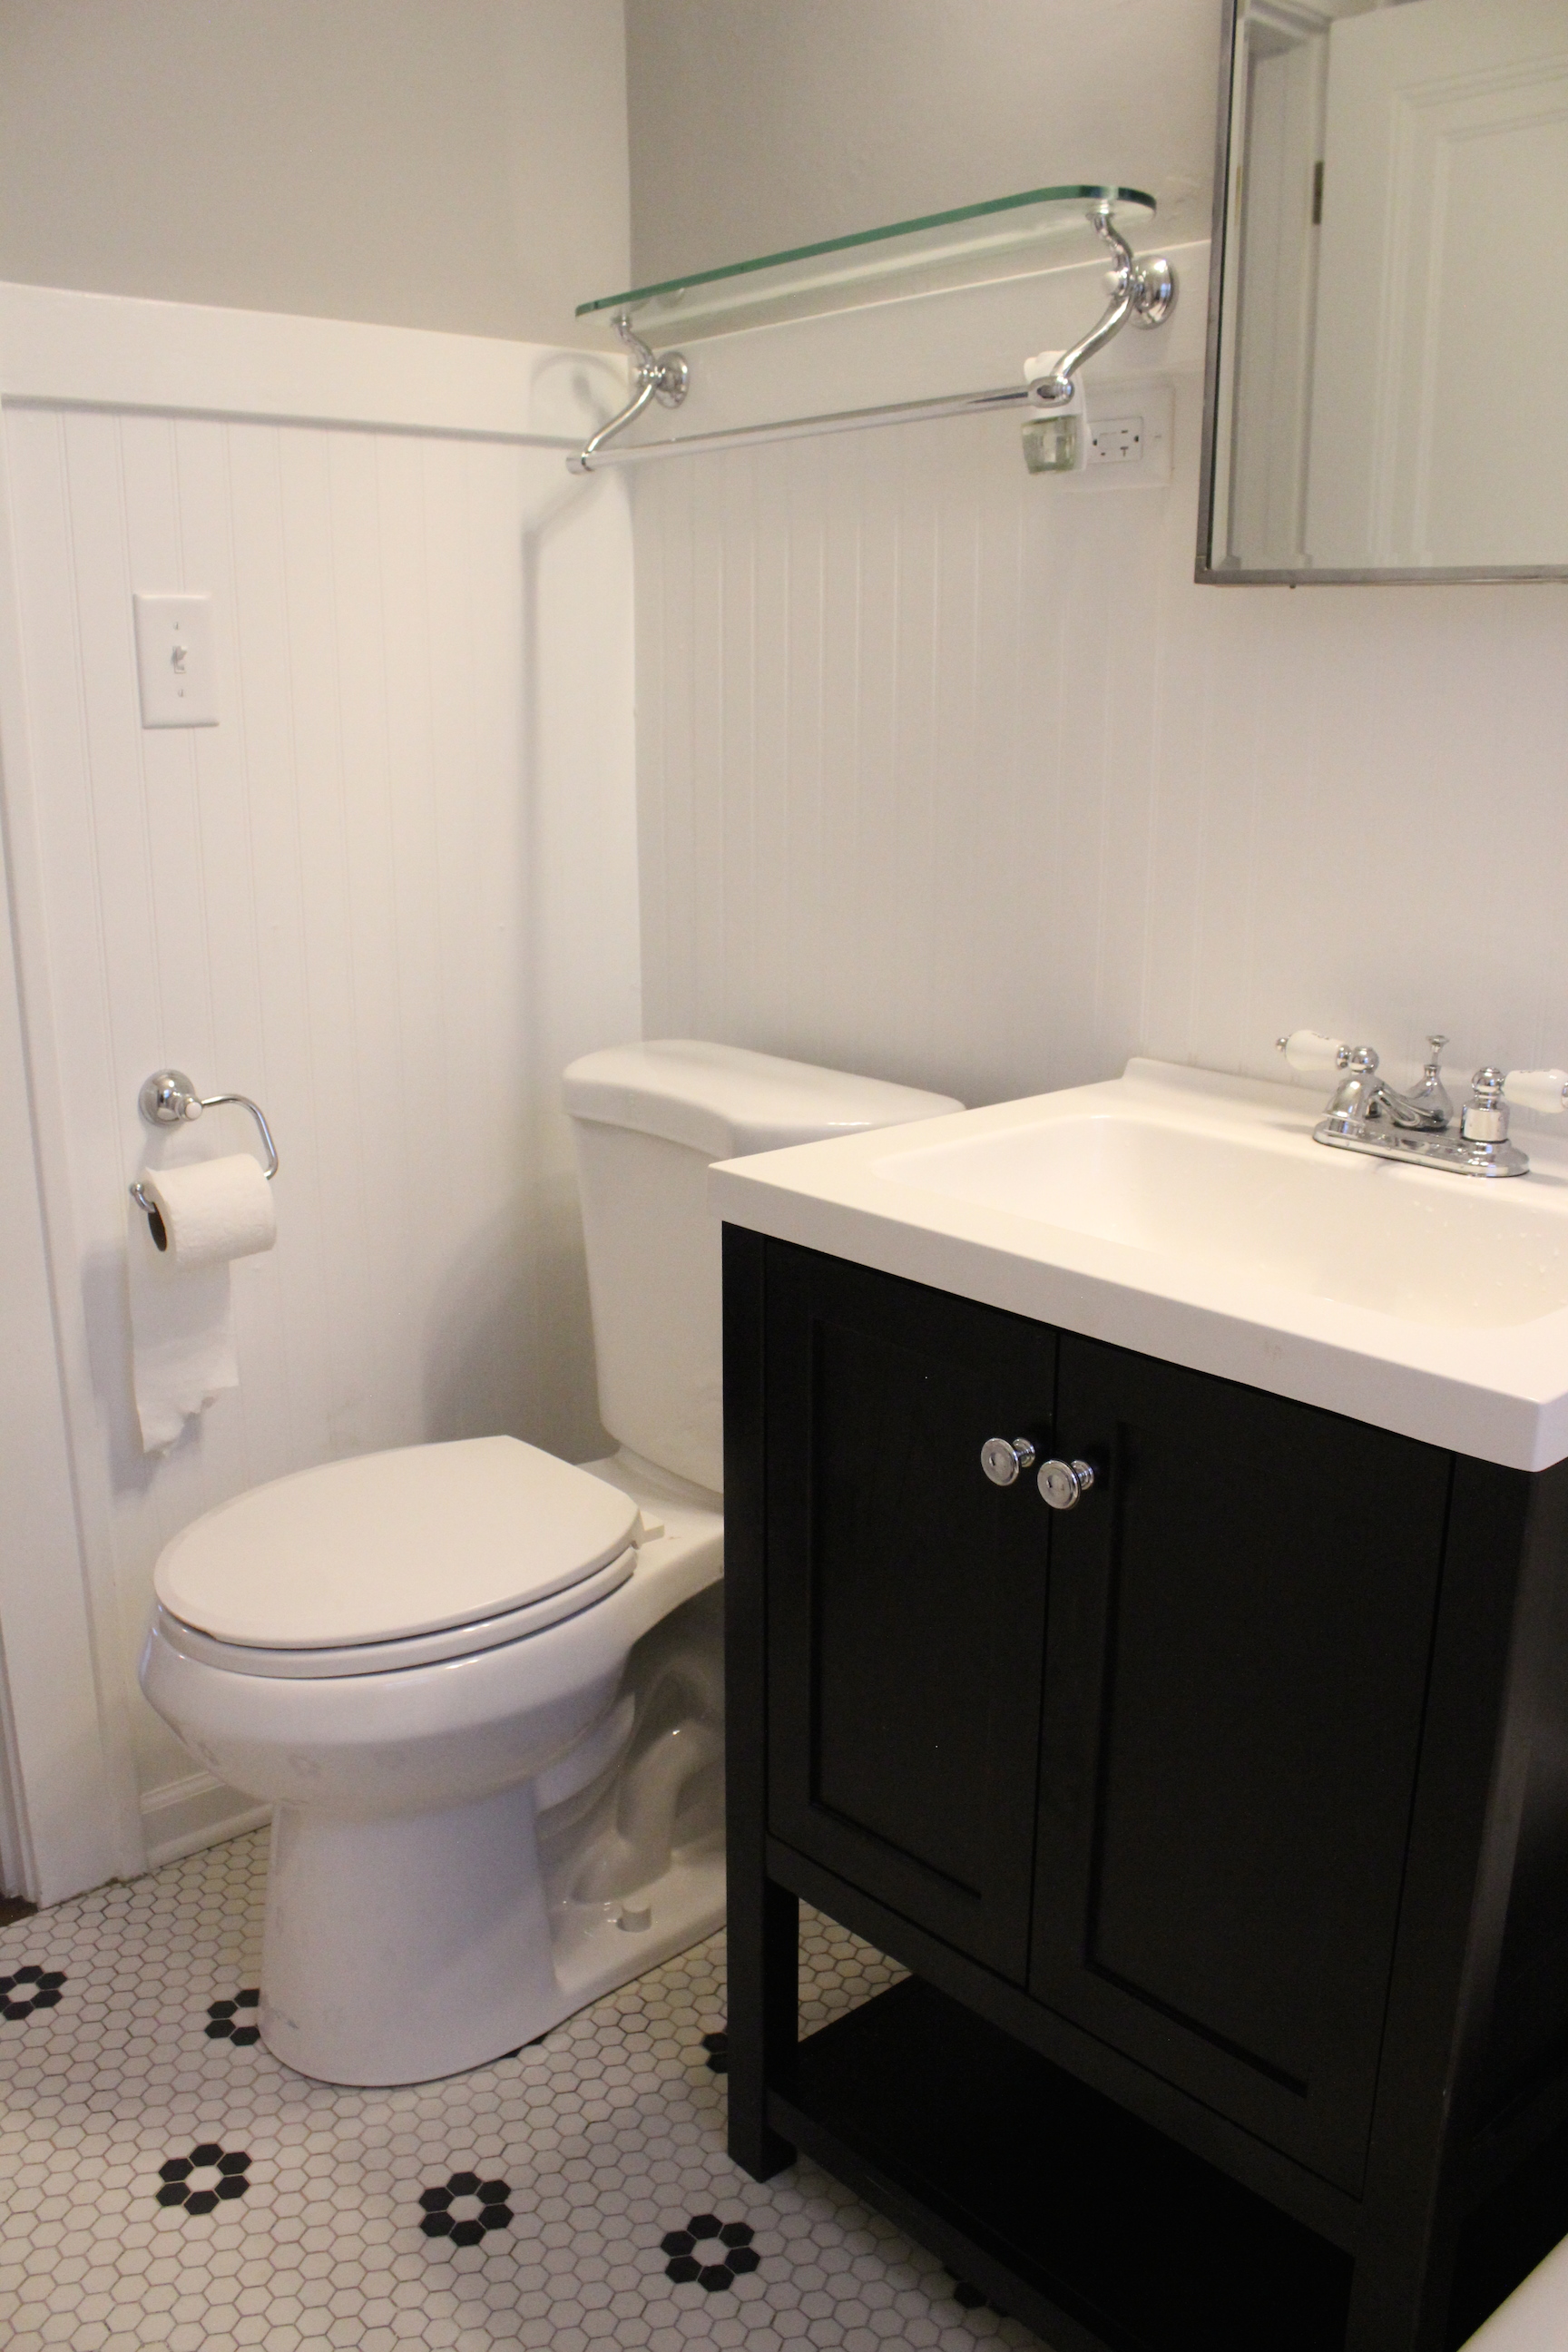
And now after adding a subway tiled shower, refinishing the bathtub, adding a new black vanity (from Home Depot), toilet, lighting, beadboard, and more:

IMG_5554

We were able to save the vintage floor tile, which fits the home perfectly. Here’s a look at the other side of the bathroom.

IMG_5555

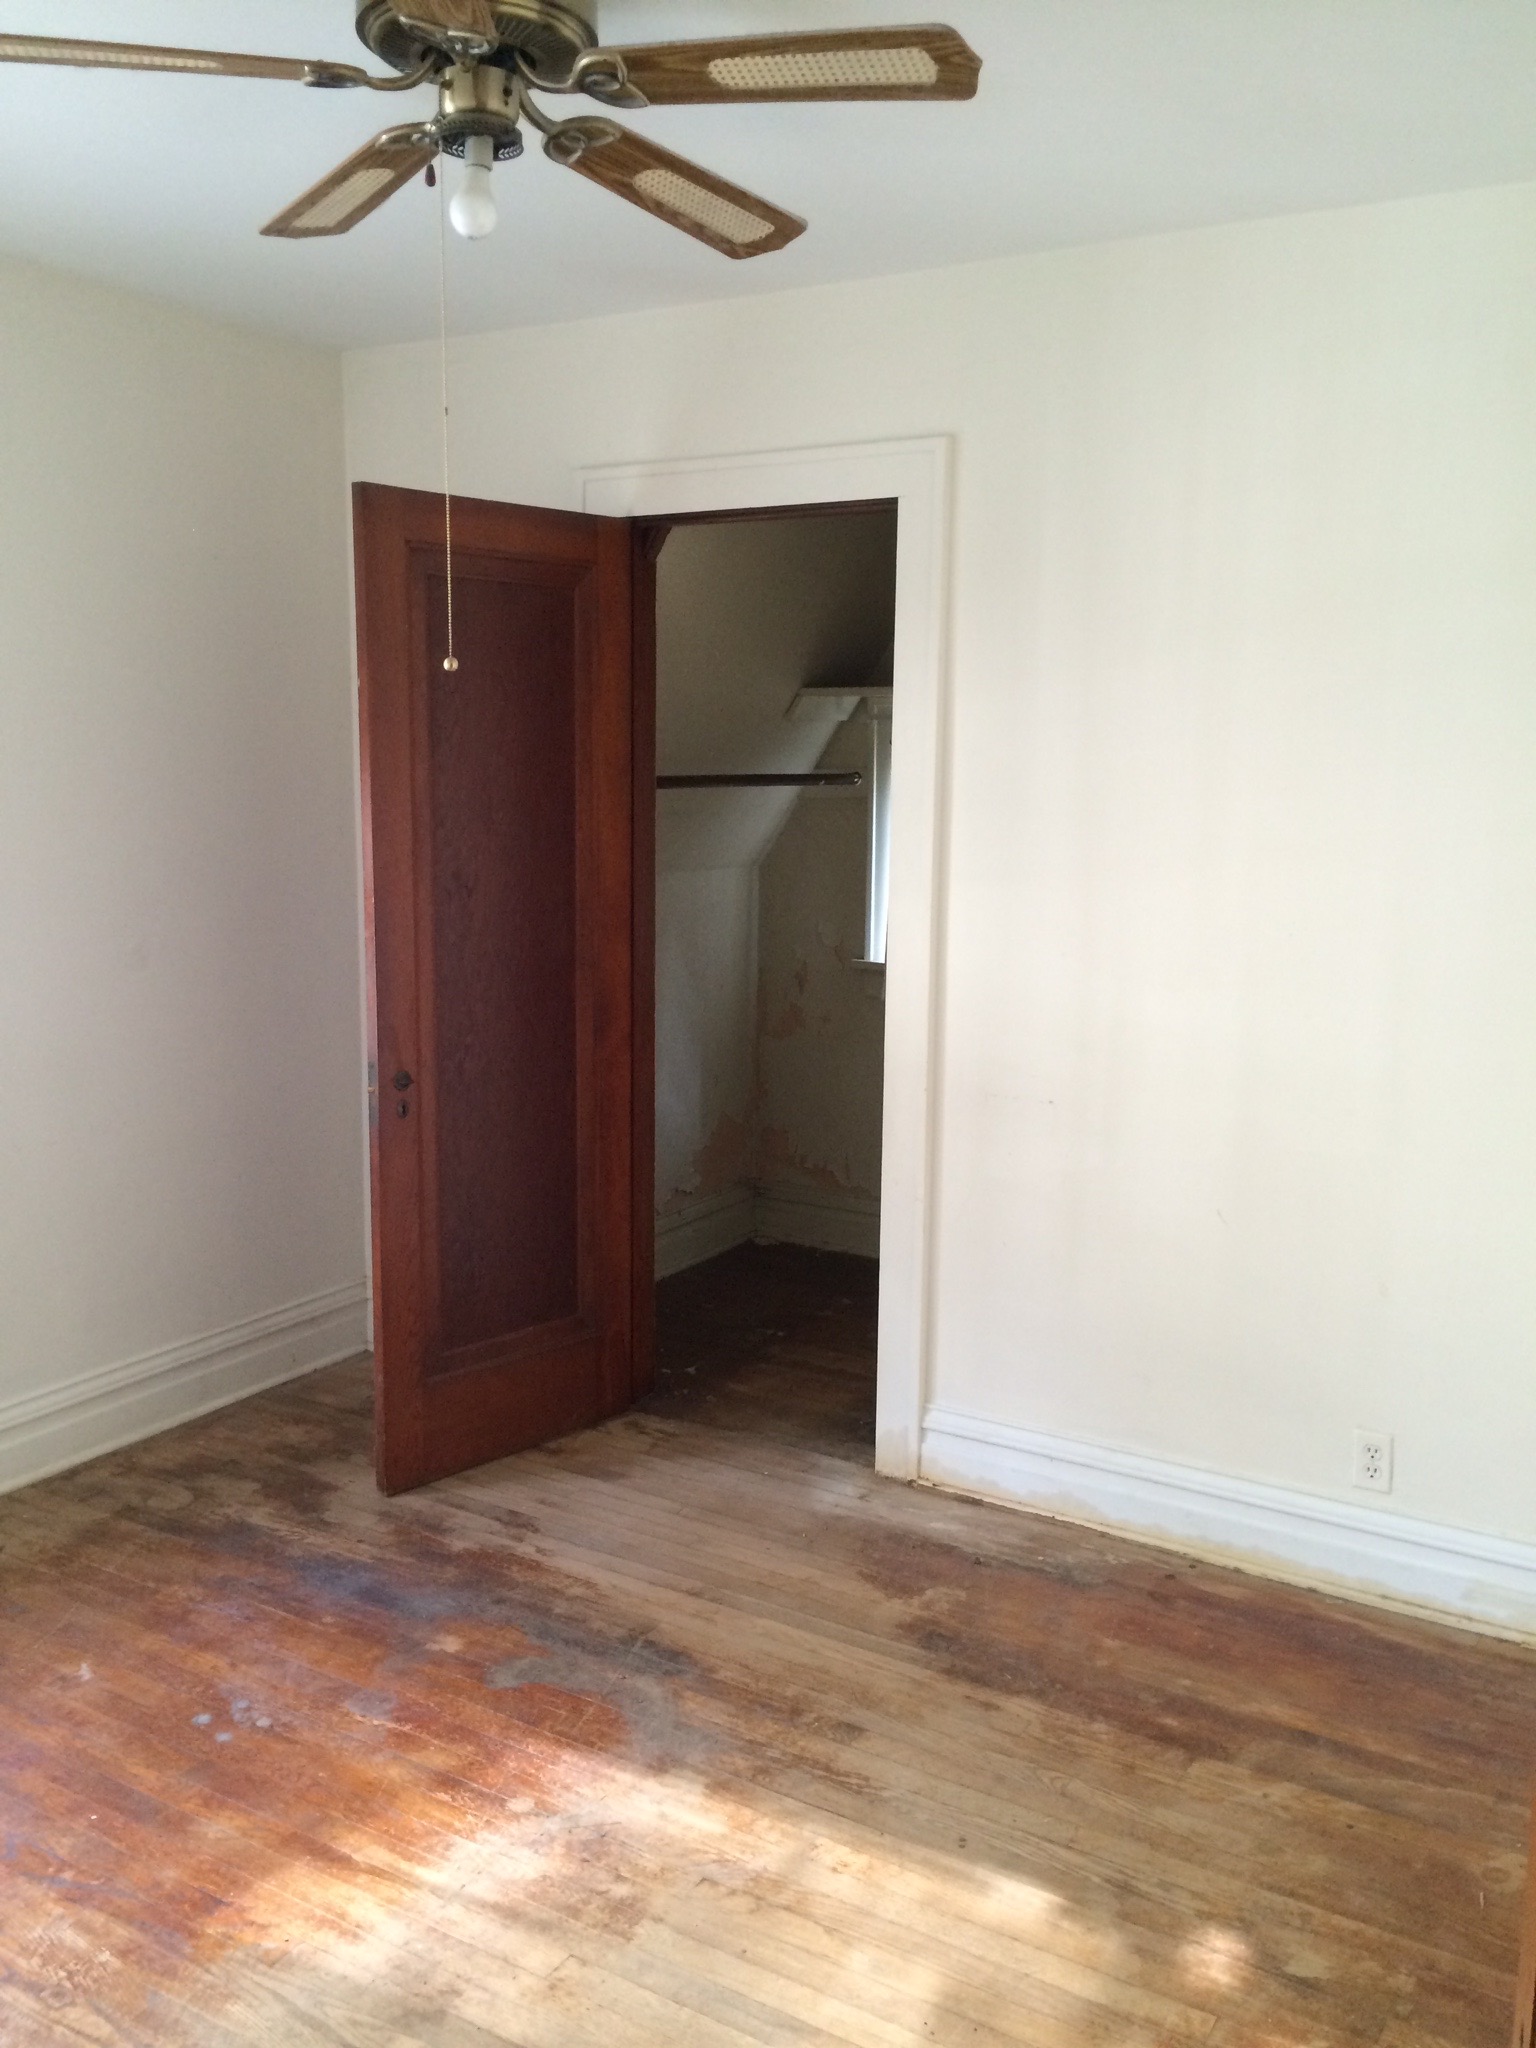
The two bedrooms looked like this before:

IMG_6949

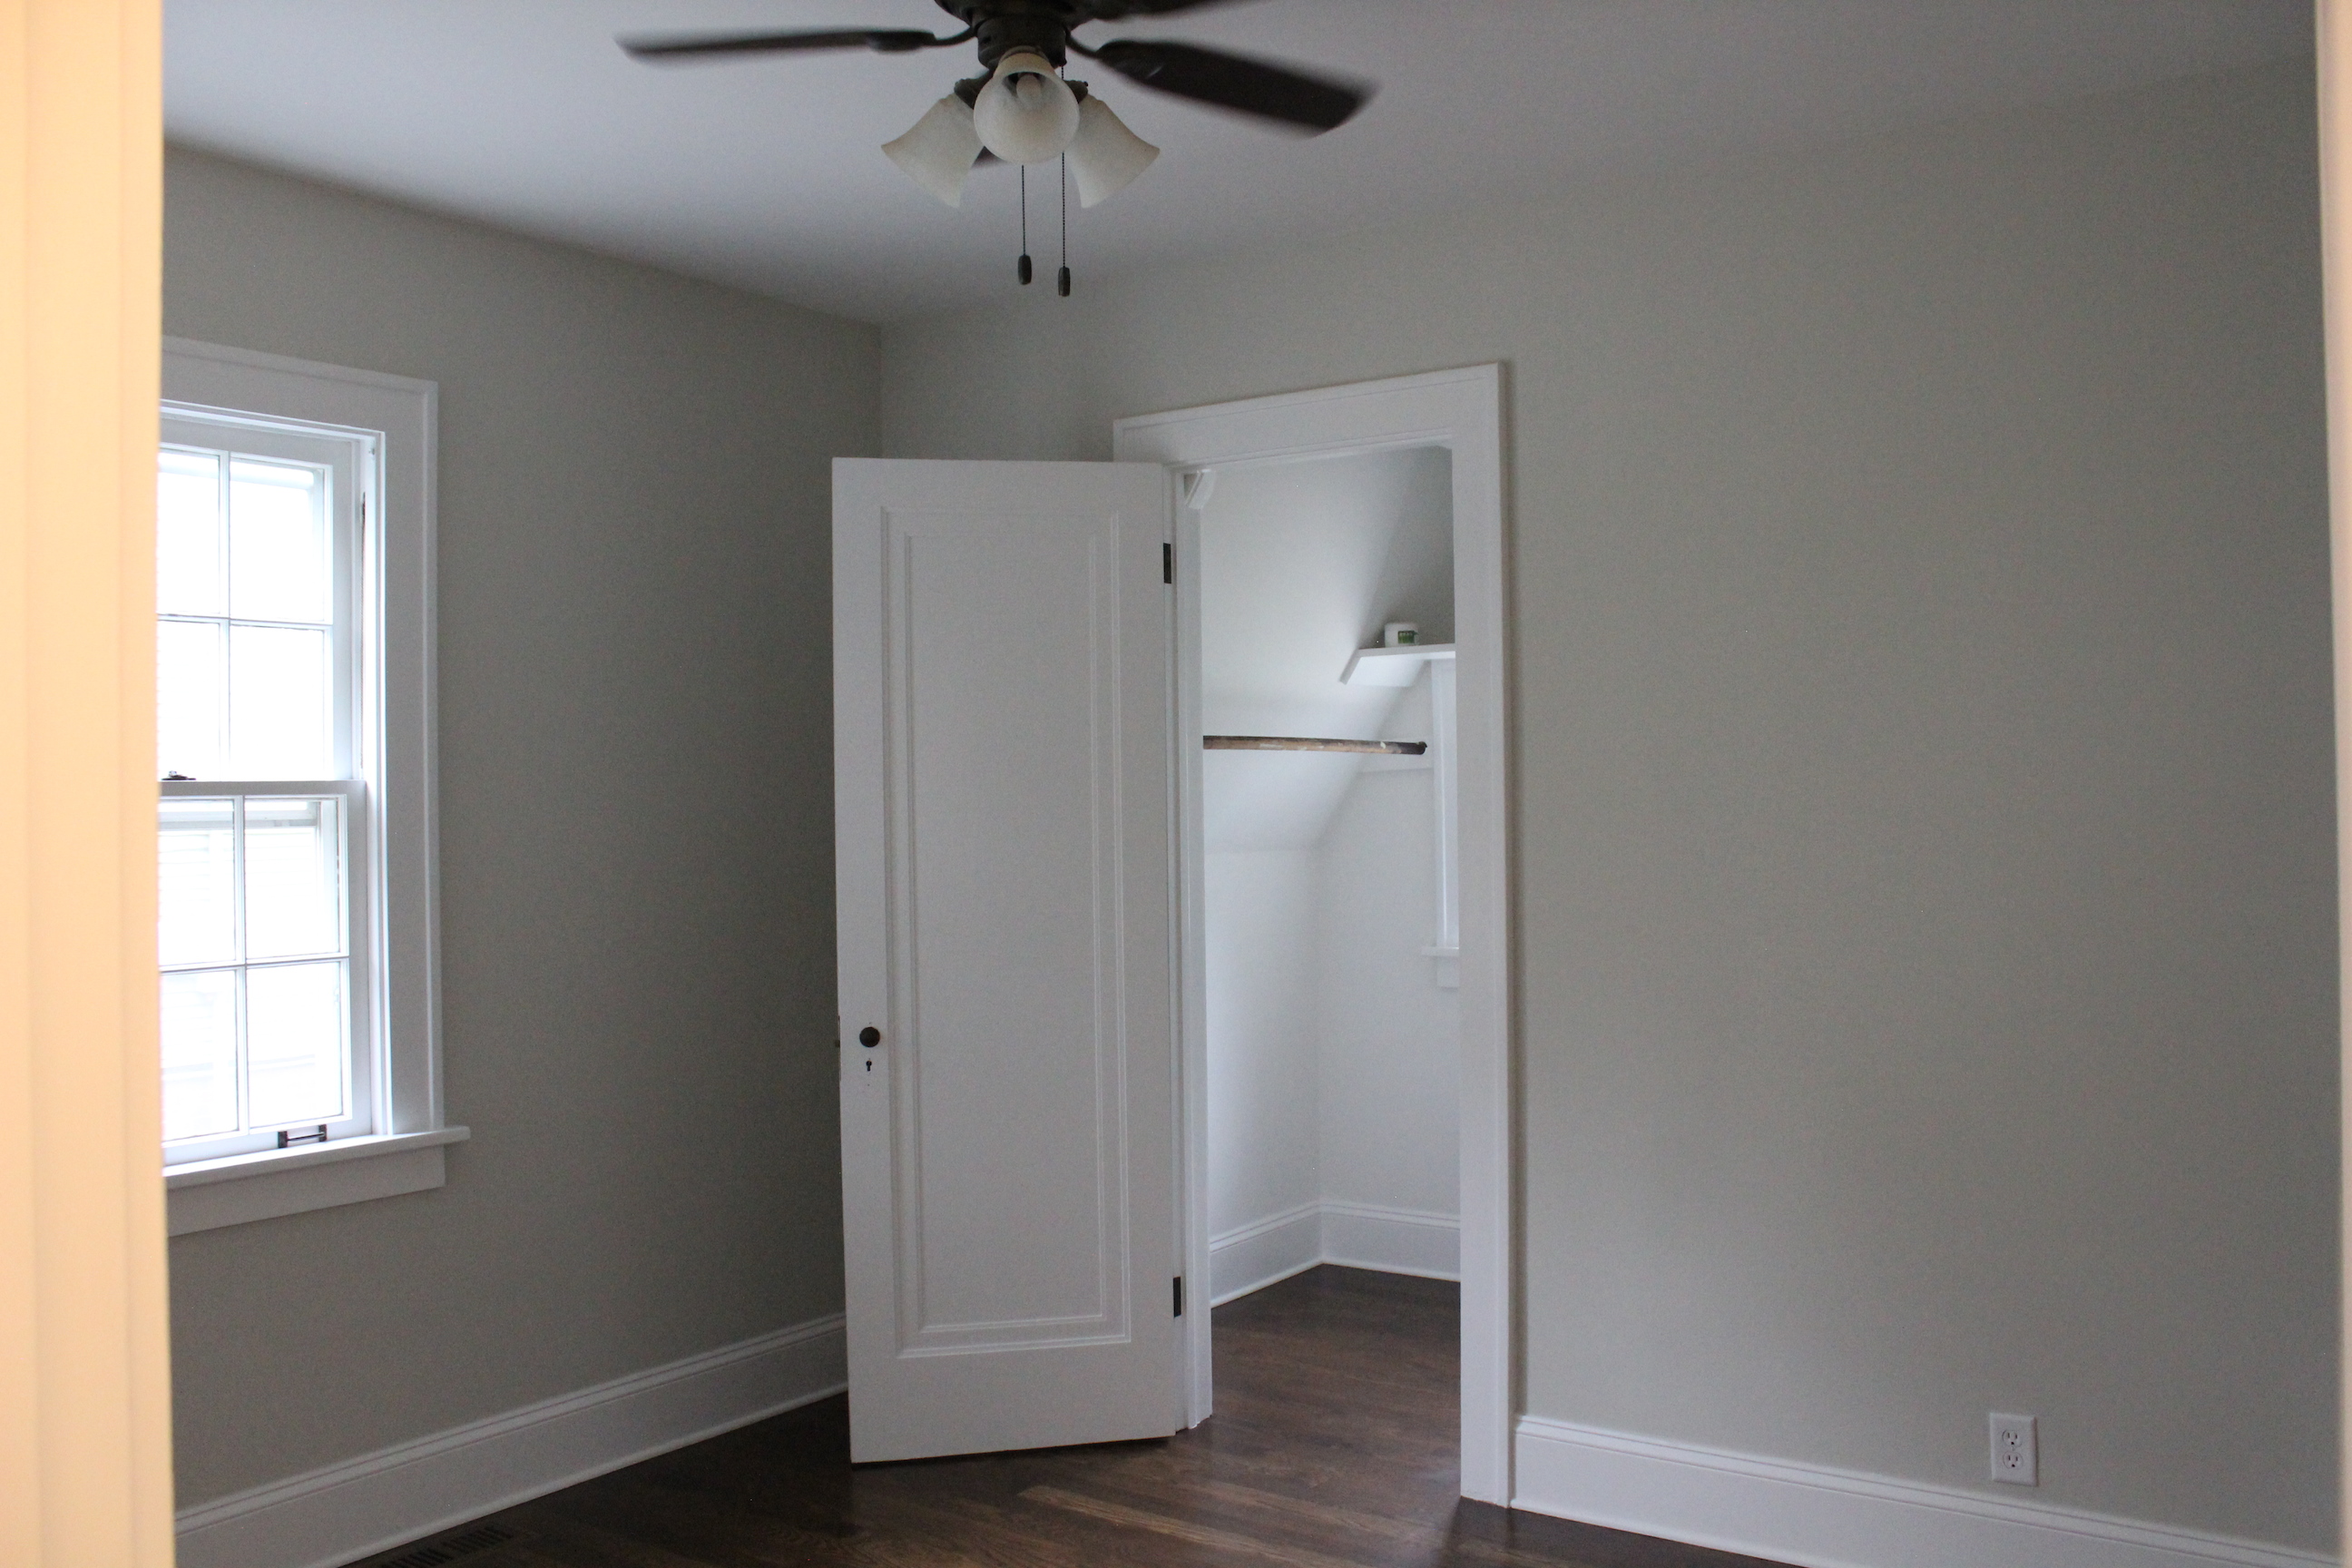
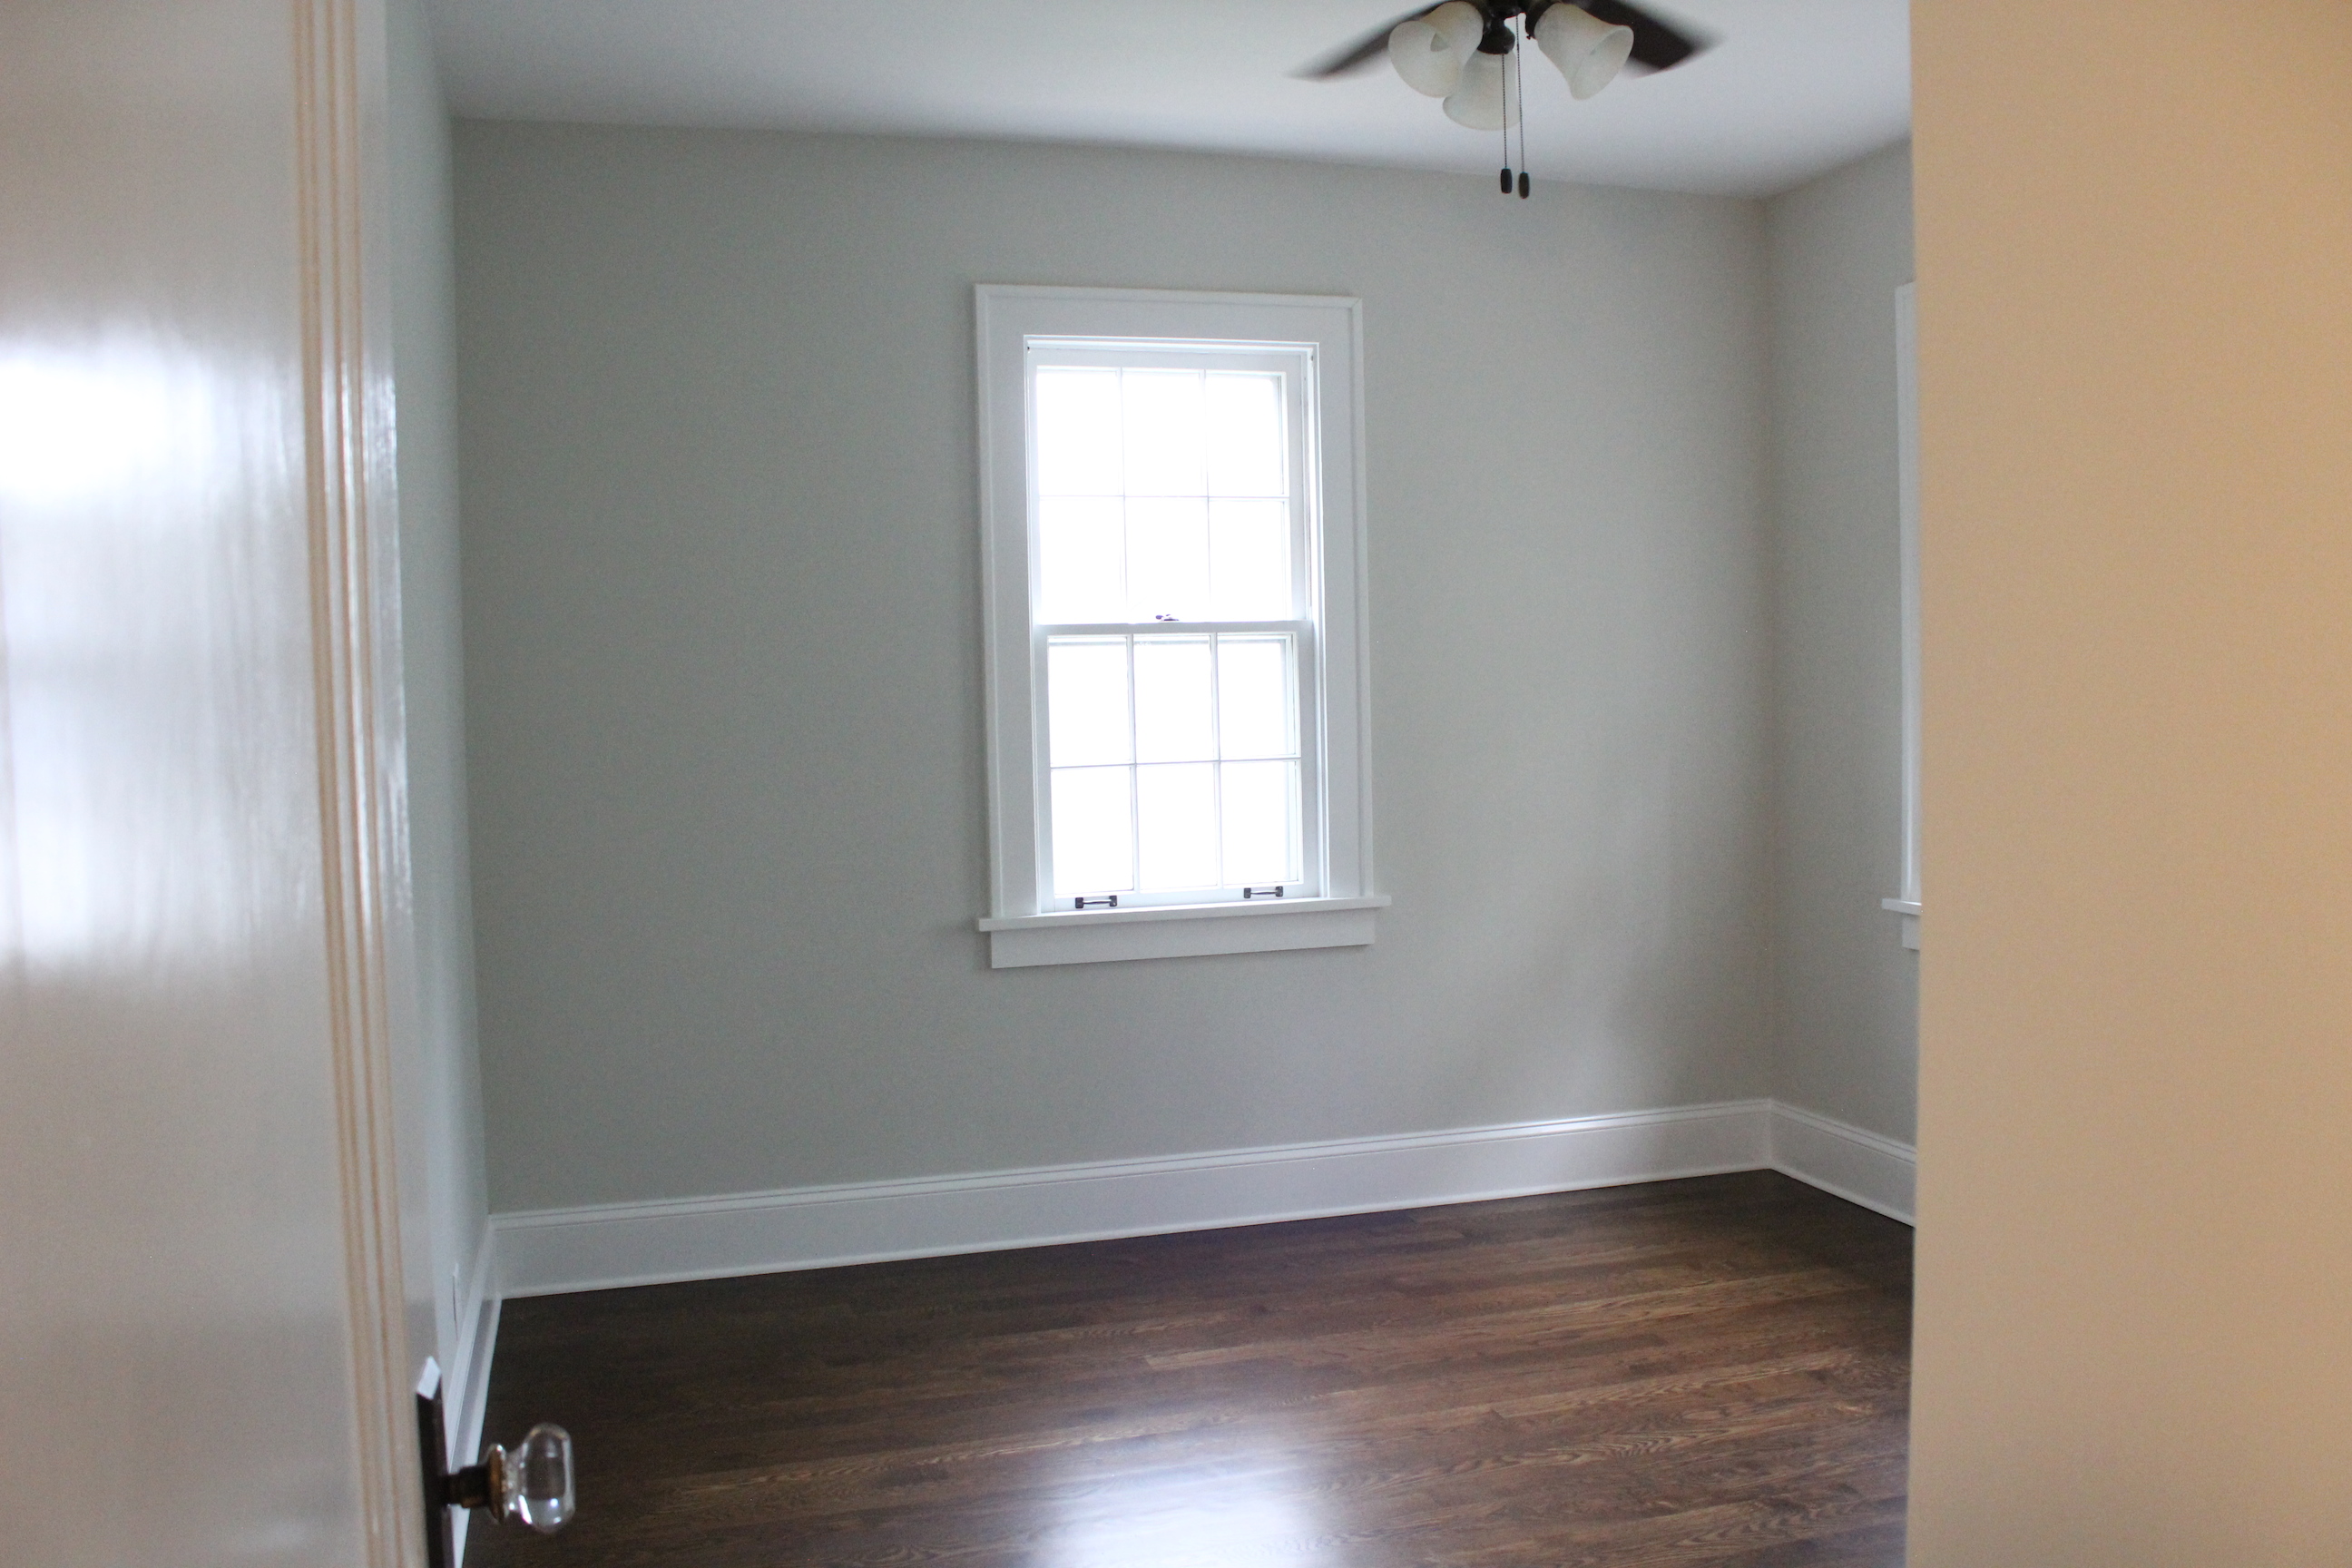
And now with new ceiling fans, paint, baseboards and hardwood floors:

IMG_5557

IMG_5558

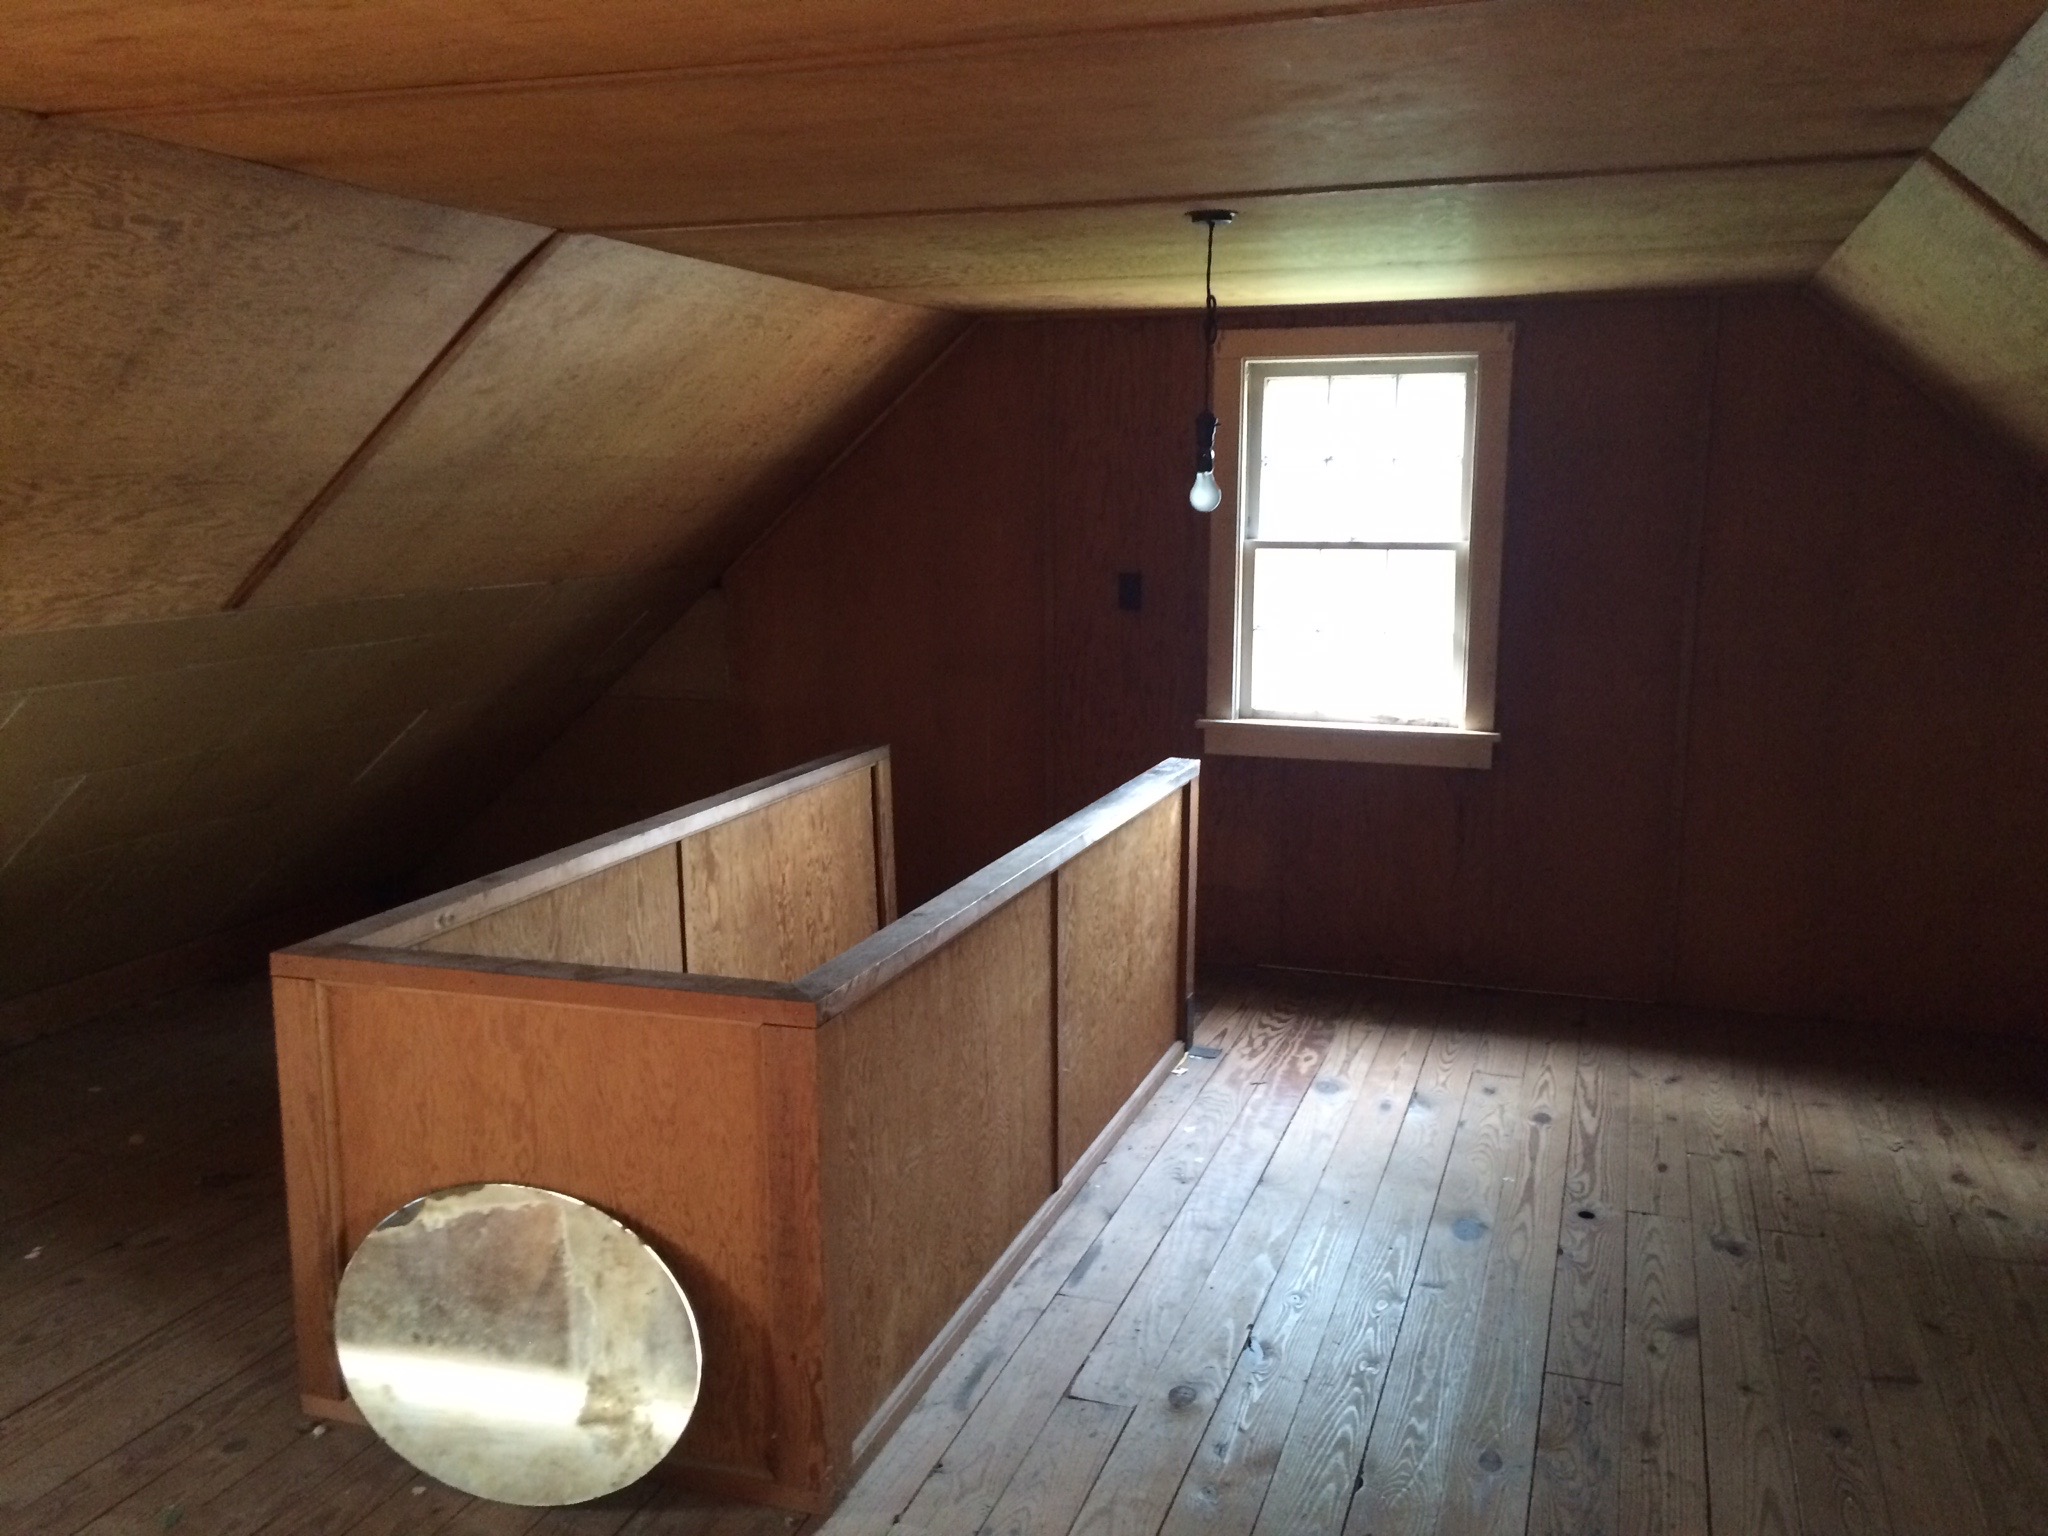
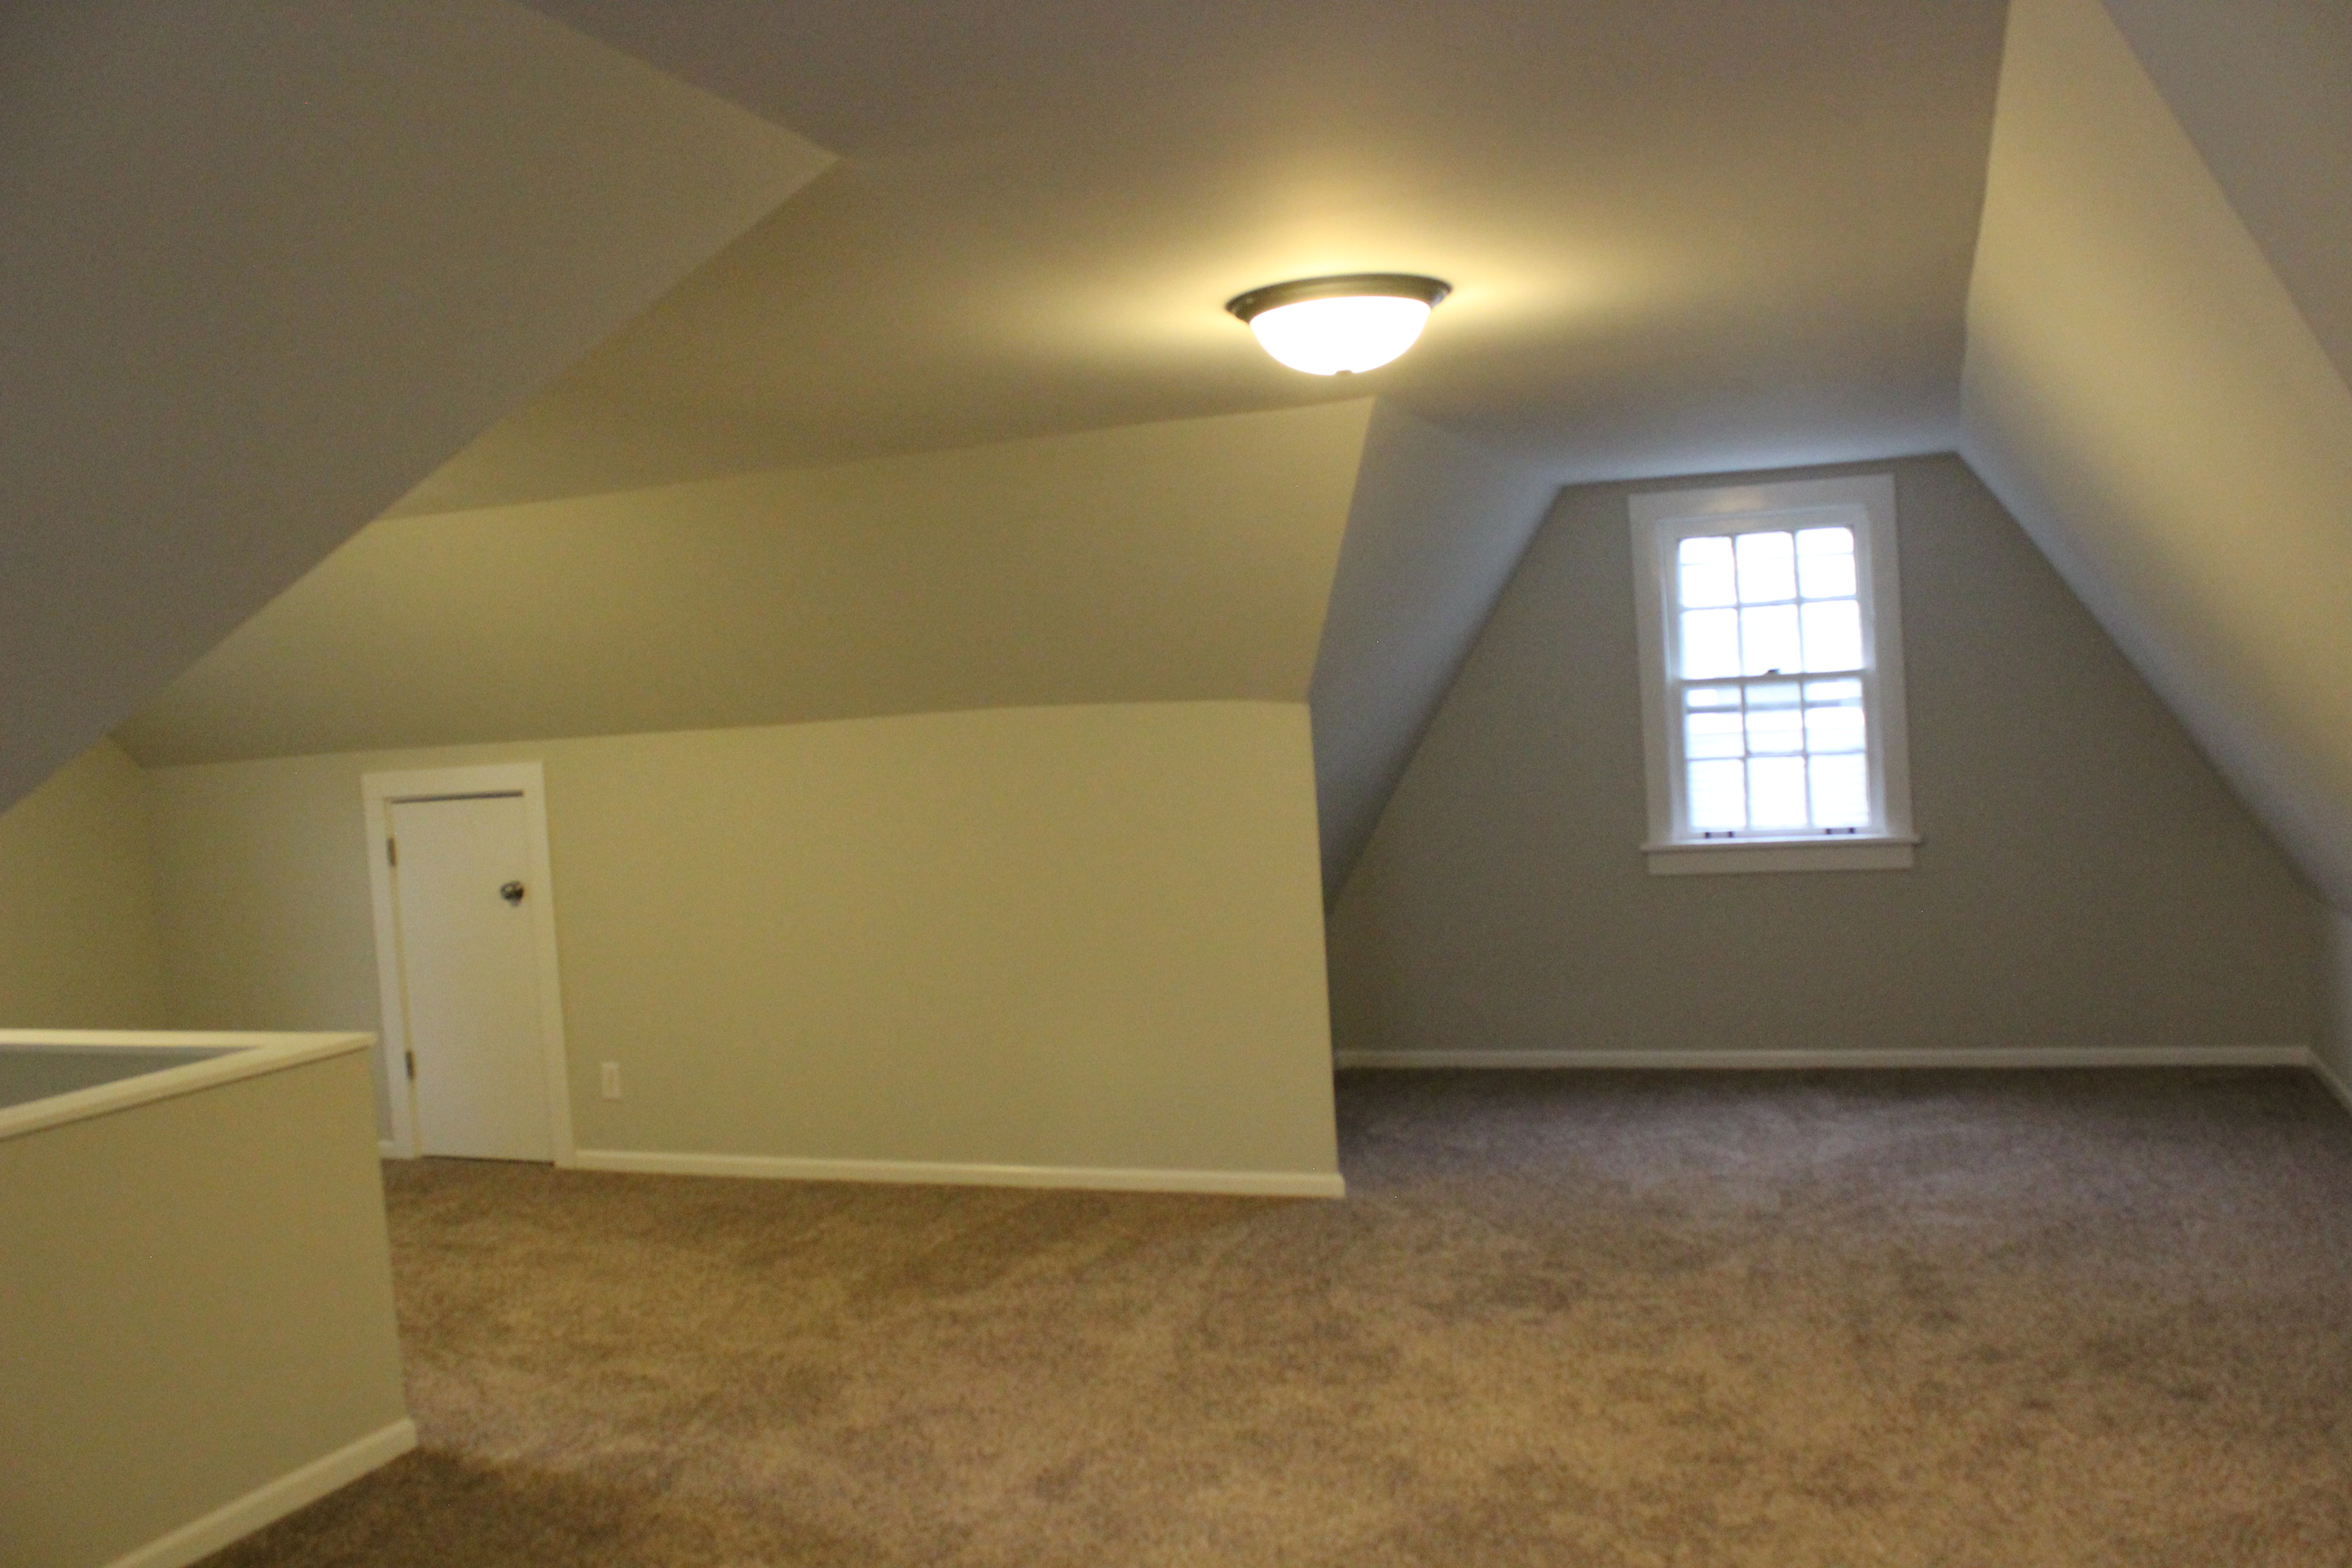
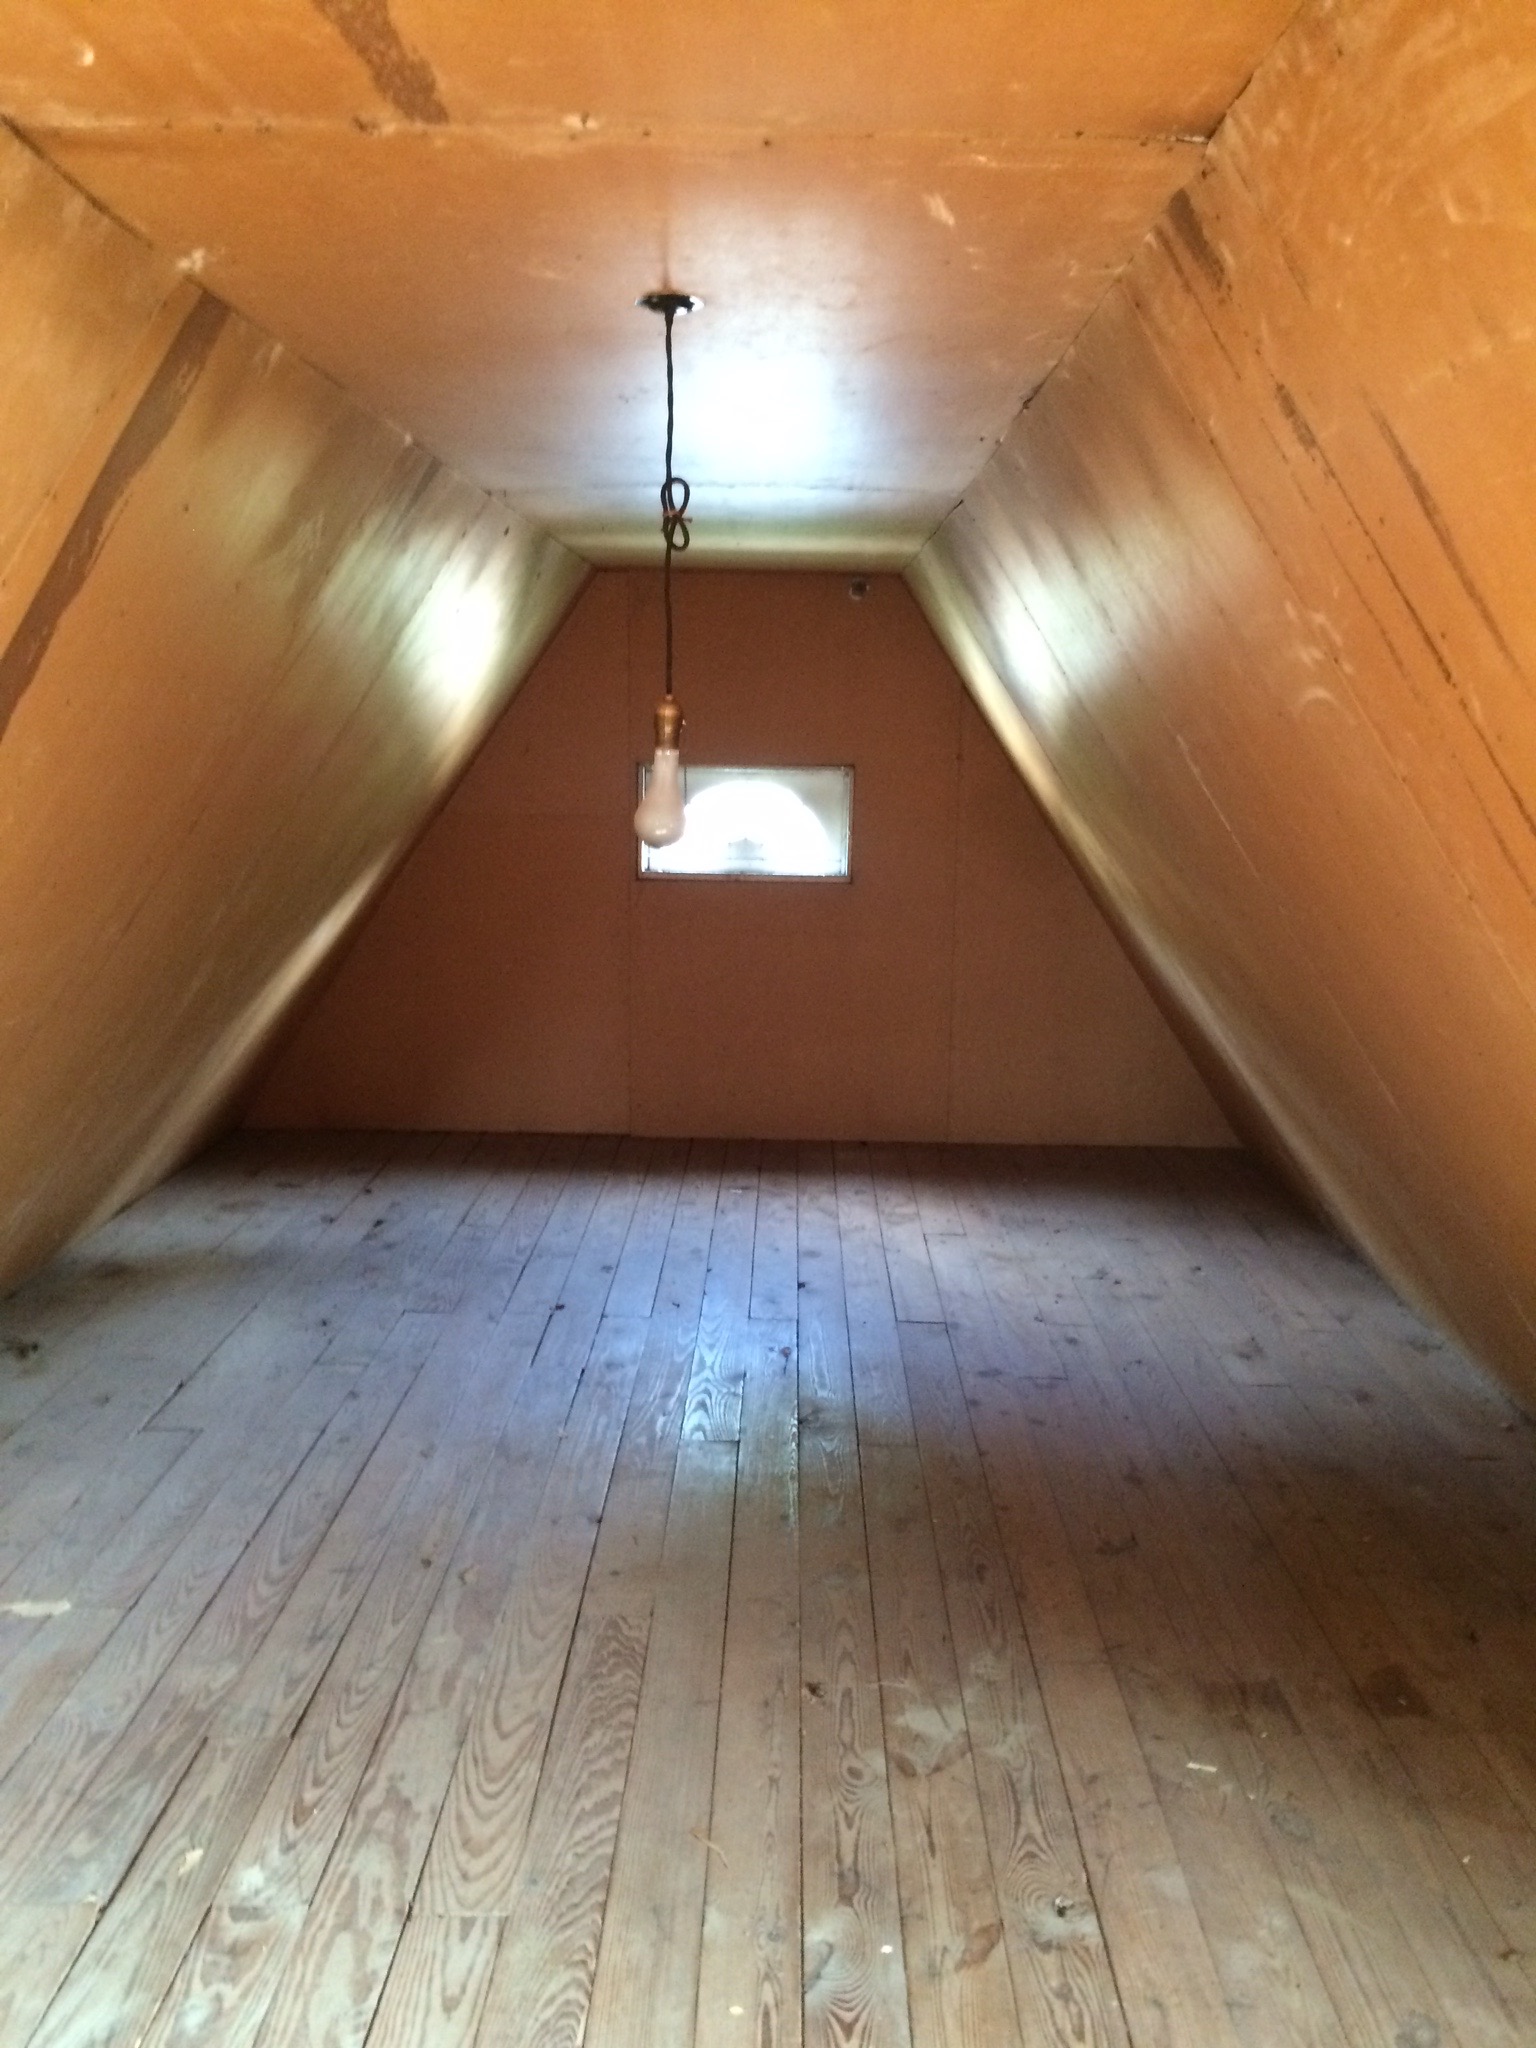
Upstairs used to be unfinished:

IMG_6944

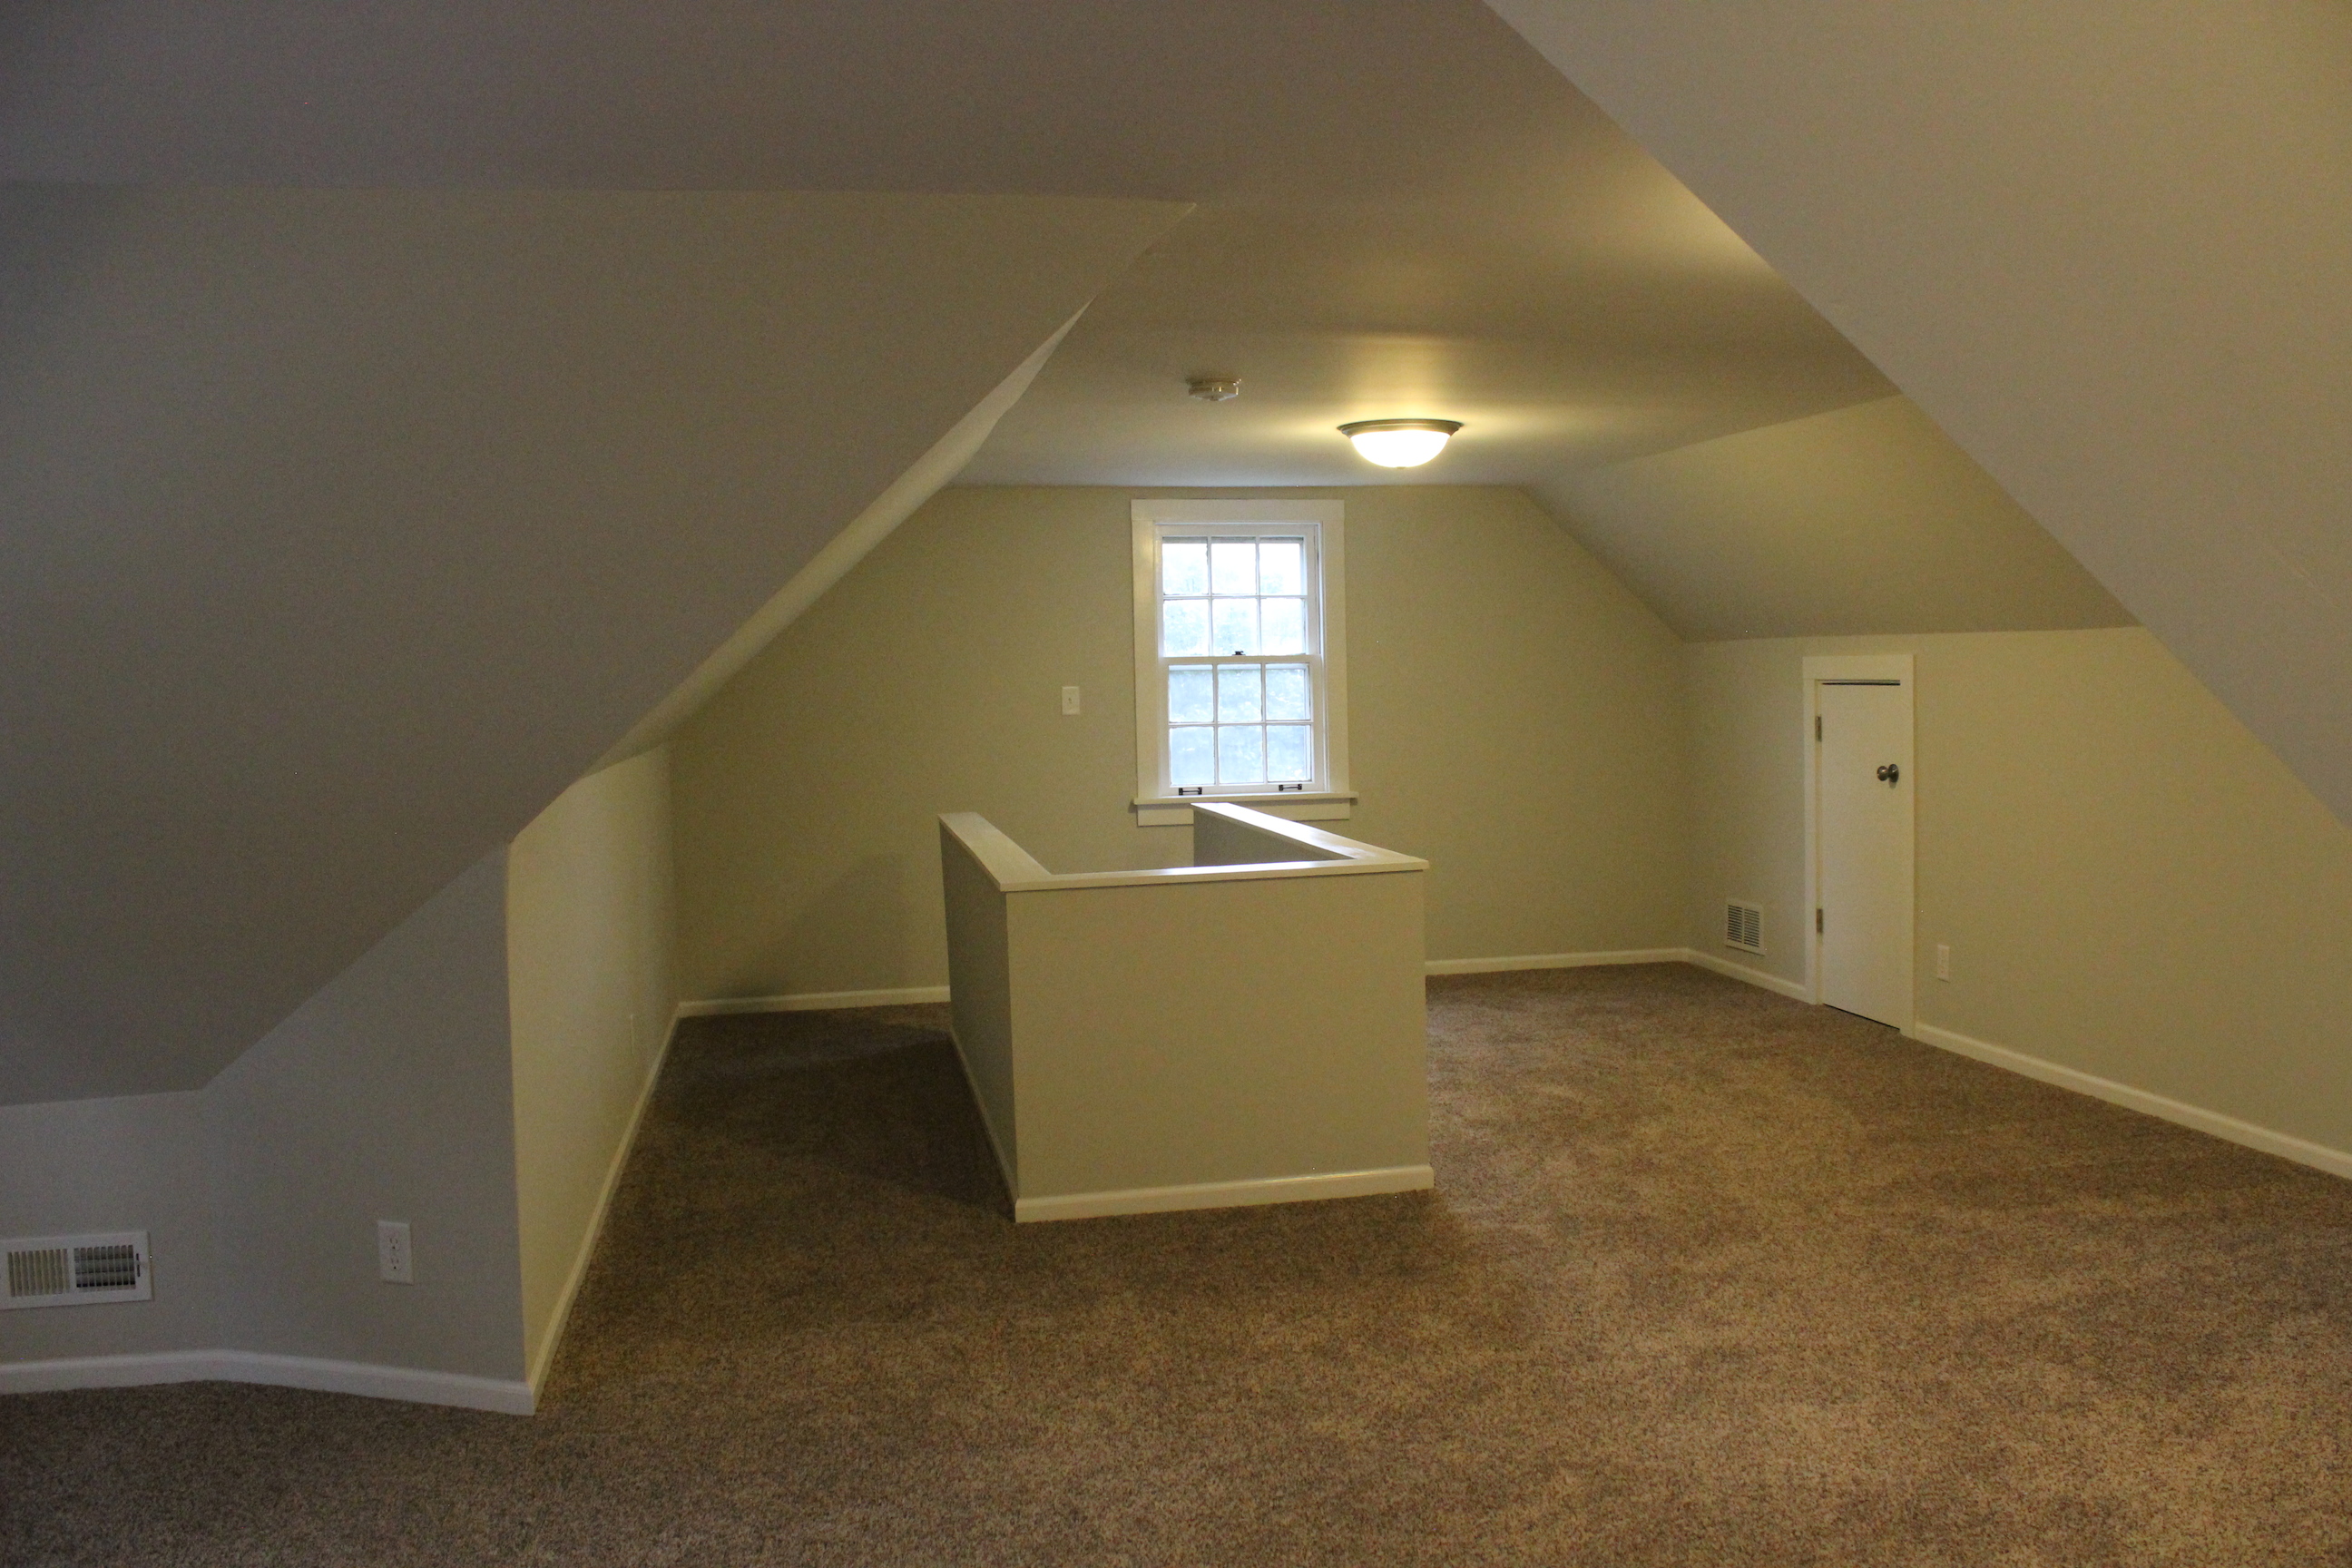
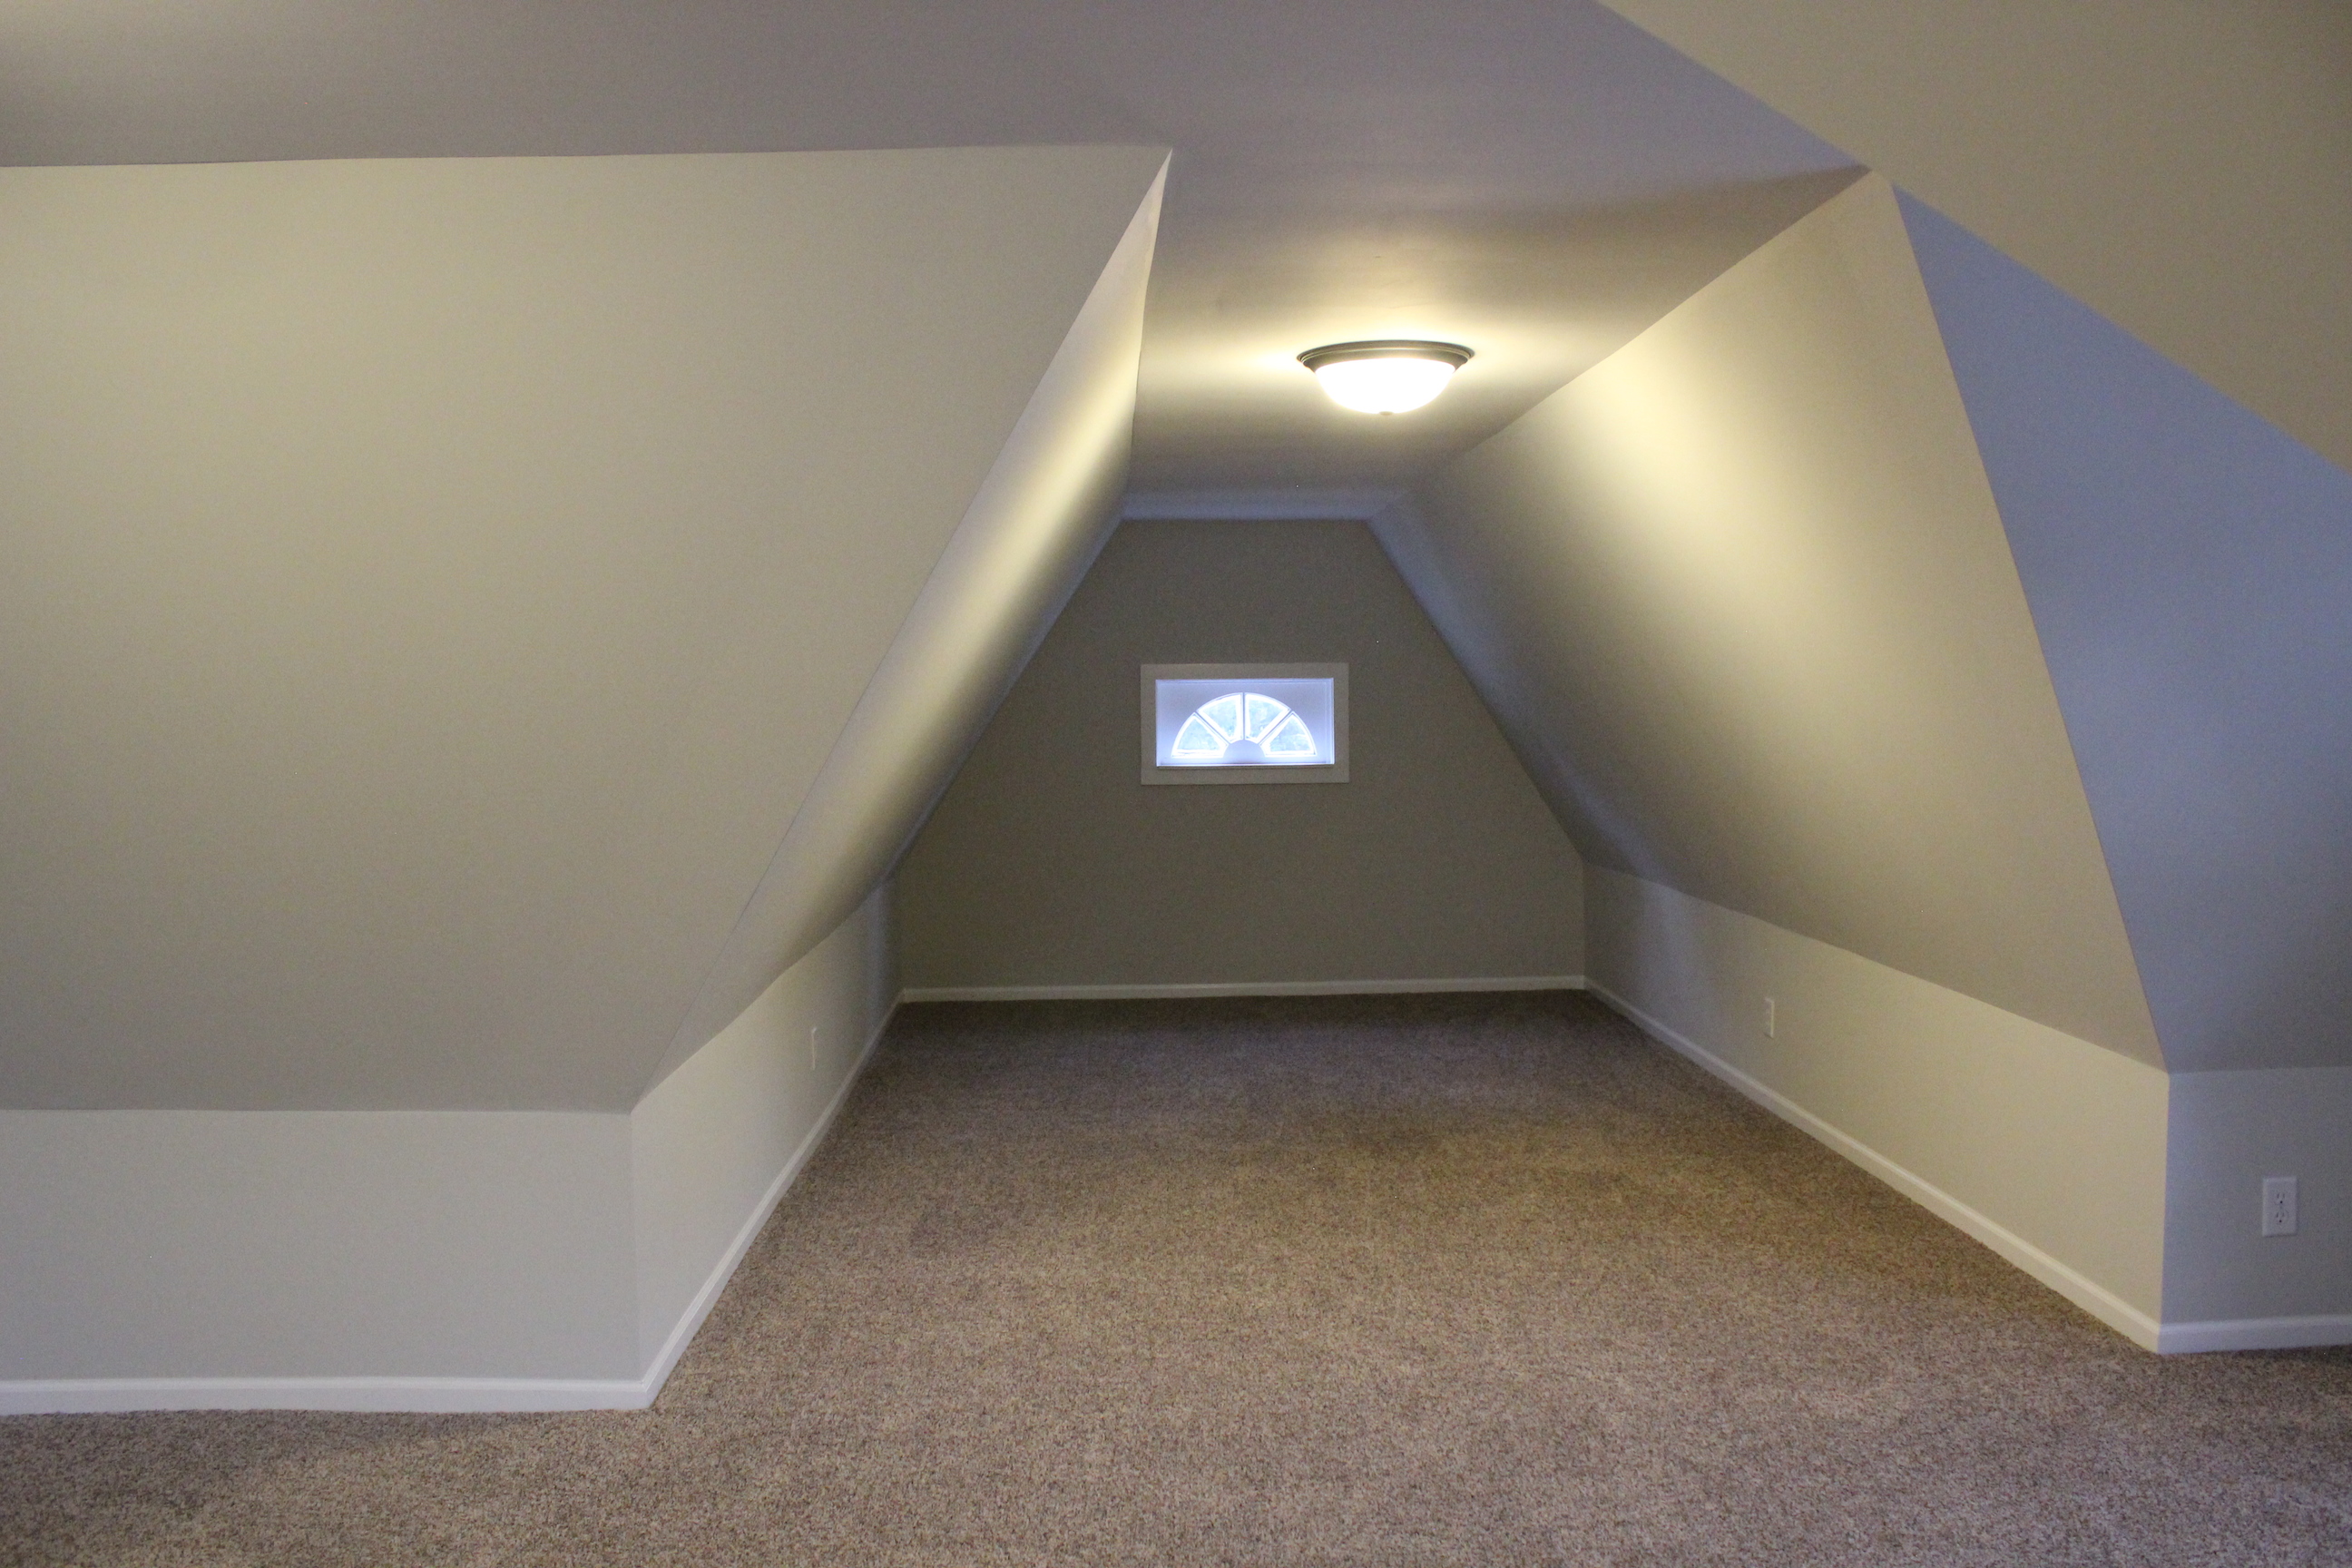
We made it into a 3rd bedroom or bonus space by adding new lighting, HVAC, carpet, paint (Gray Owl as well), baseboards, and more.

IMG_5563


IMG_5564

It is a huge space and nearly doubles the square footage of the home.

Before:

IMG_6943

After:

IMG_5562


We absolutely loved bringing this old home back to life and look forward to having this income property for many, many years to come.